
rumbeard
-
Posts
149 -
Joined
-
Last visited
Content Type
Profiles
Forums
Gallery
Events
Everything posted by rumbeard
-
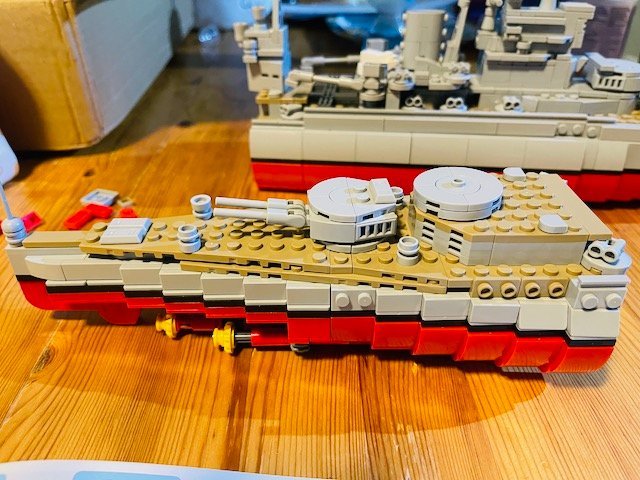
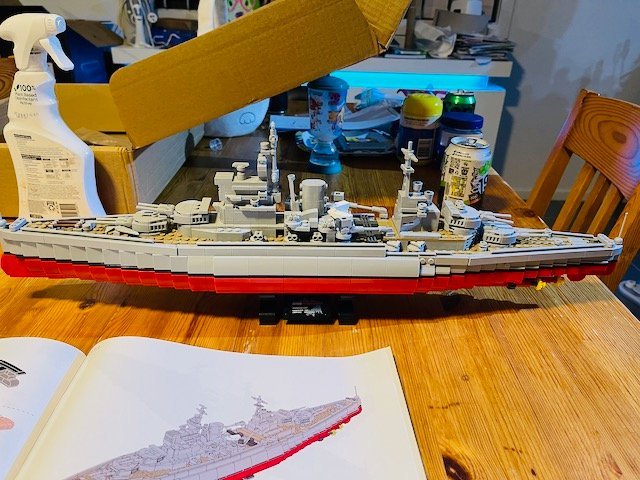
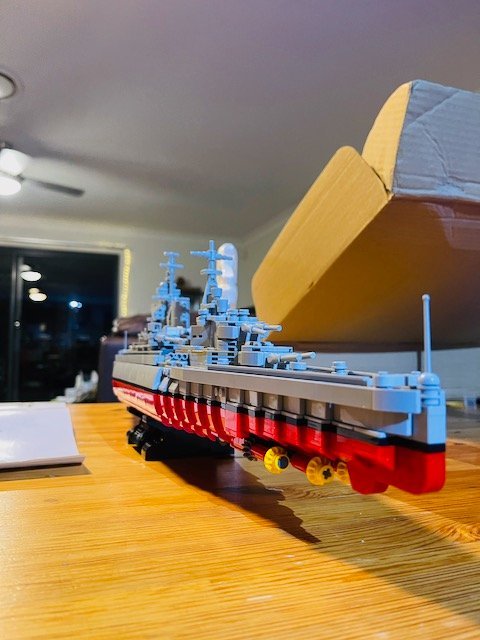
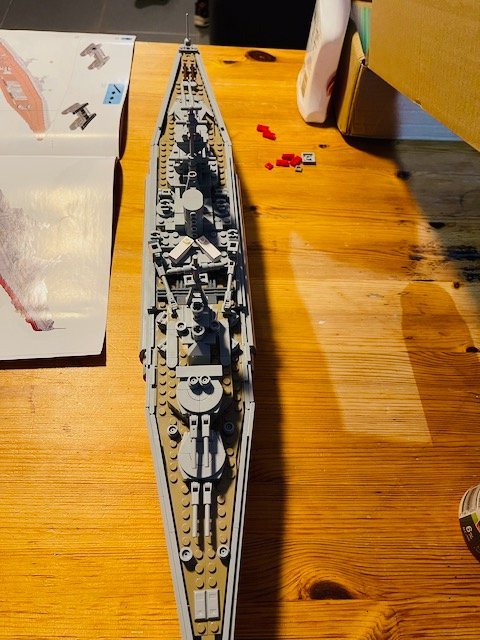
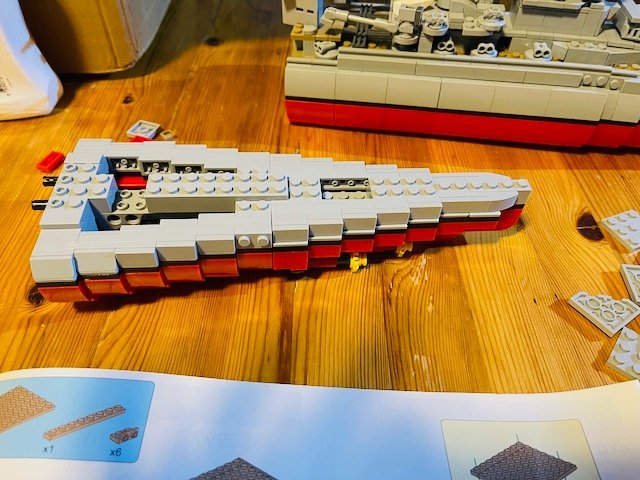
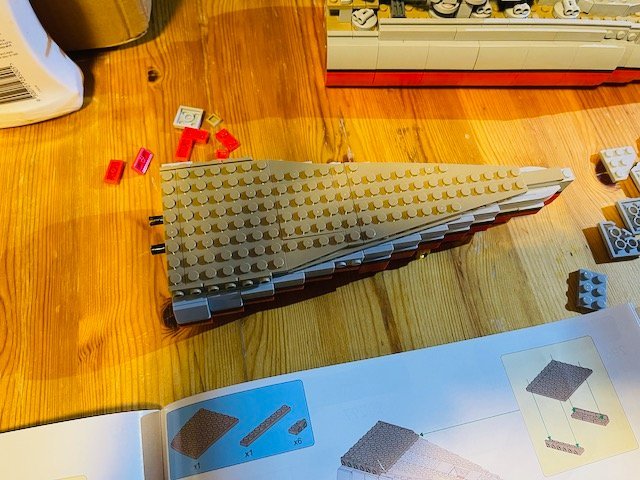
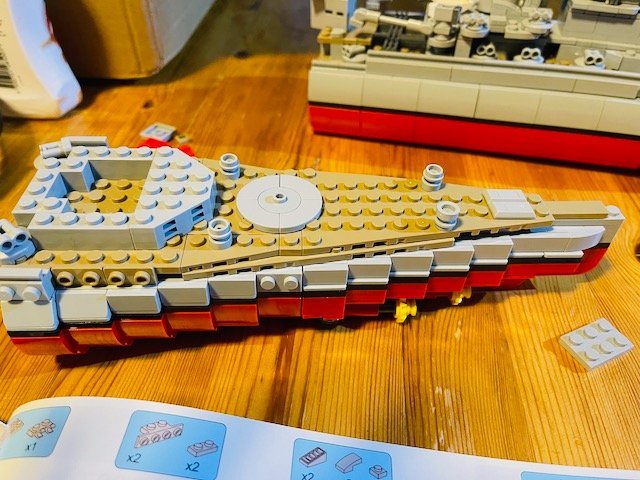
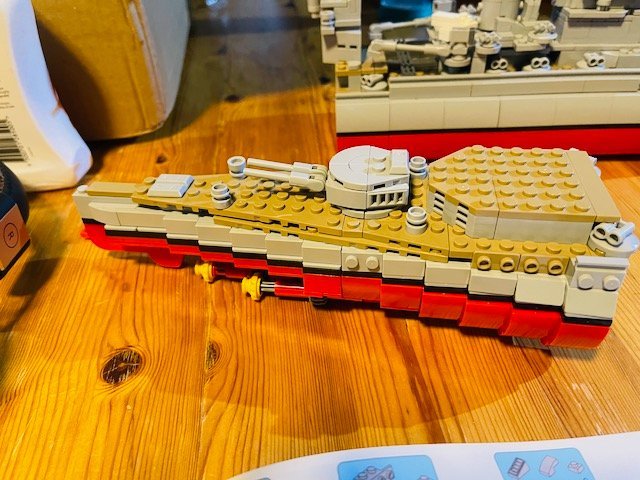
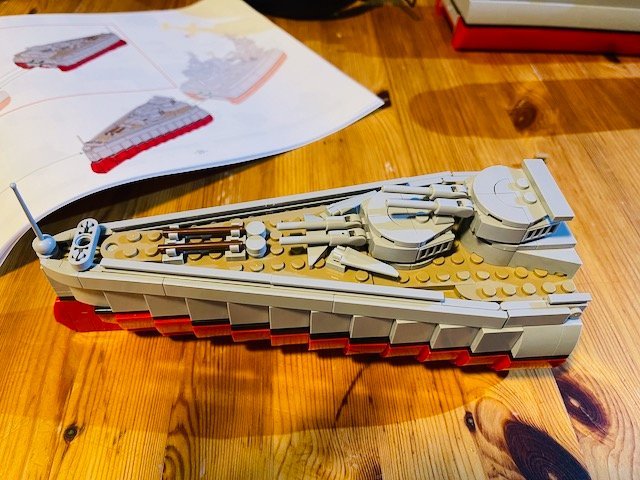
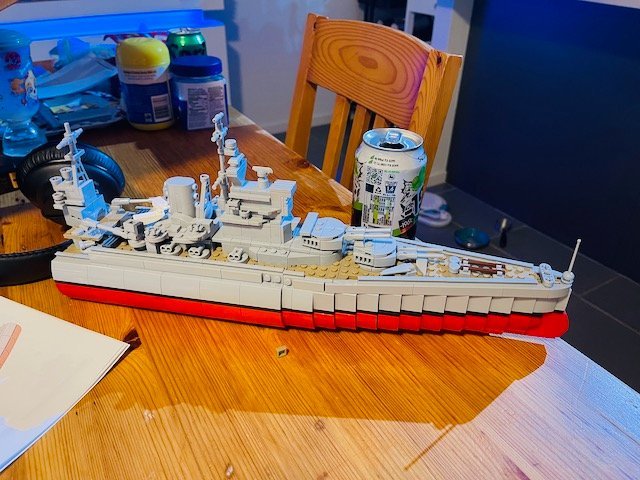
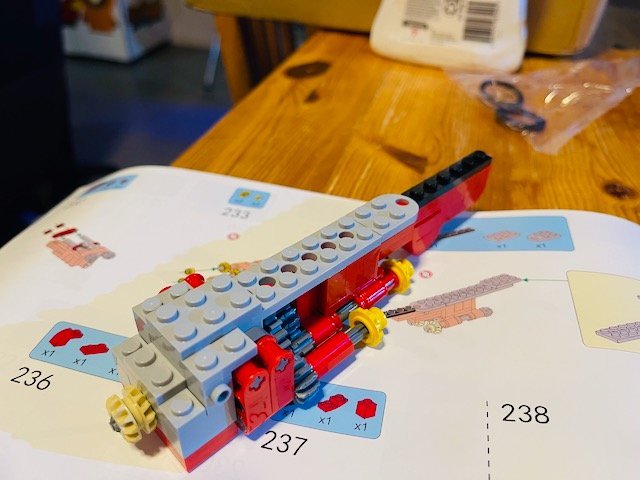
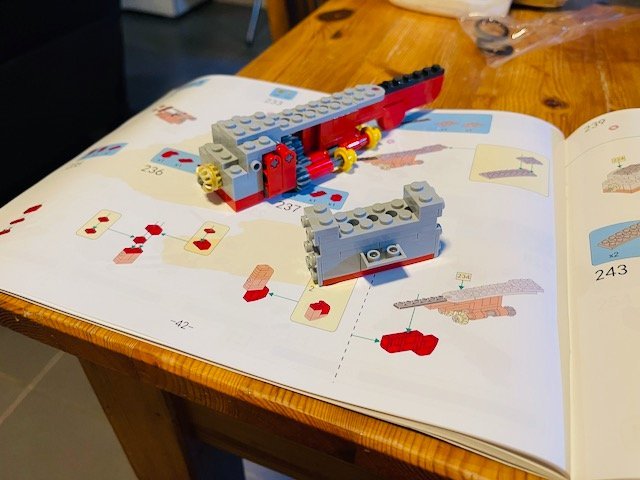
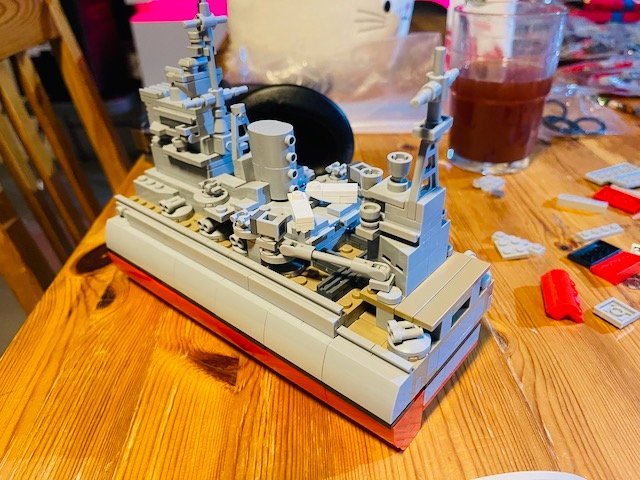
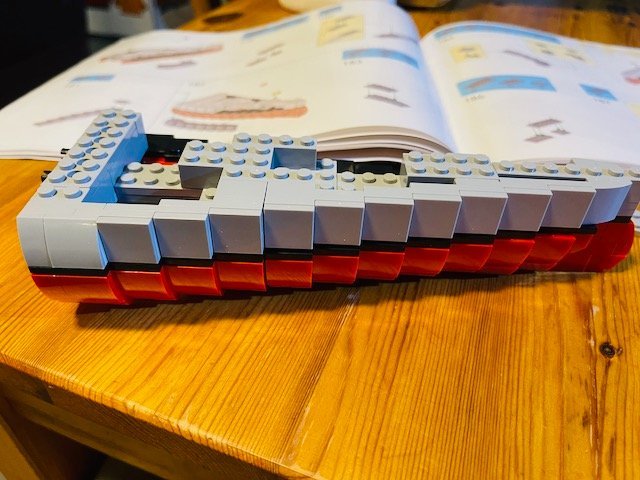
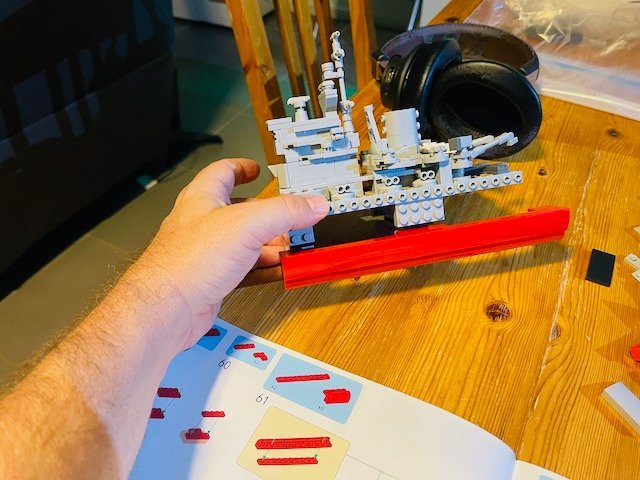
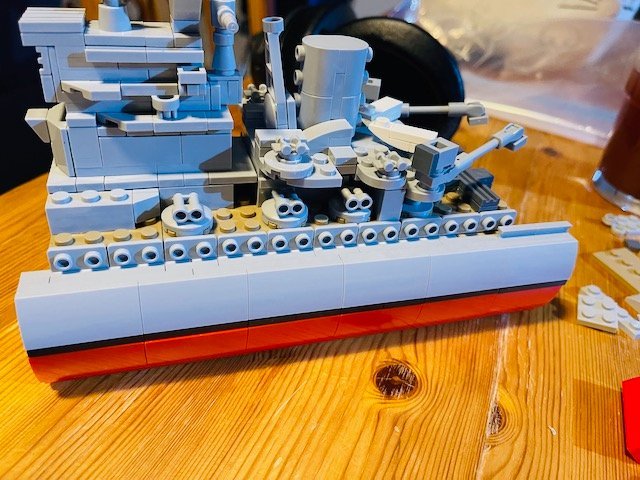
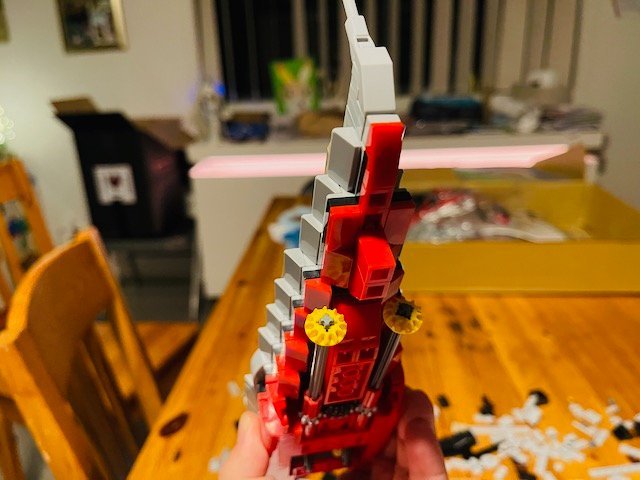
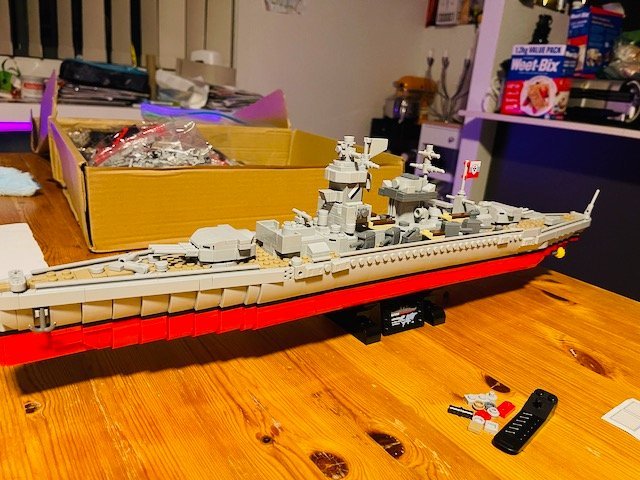
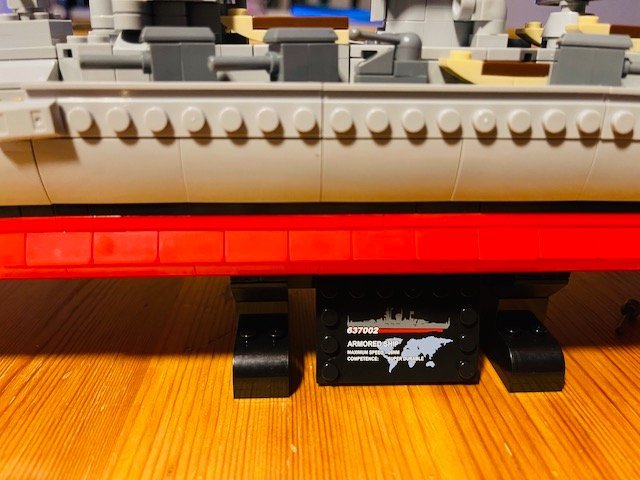
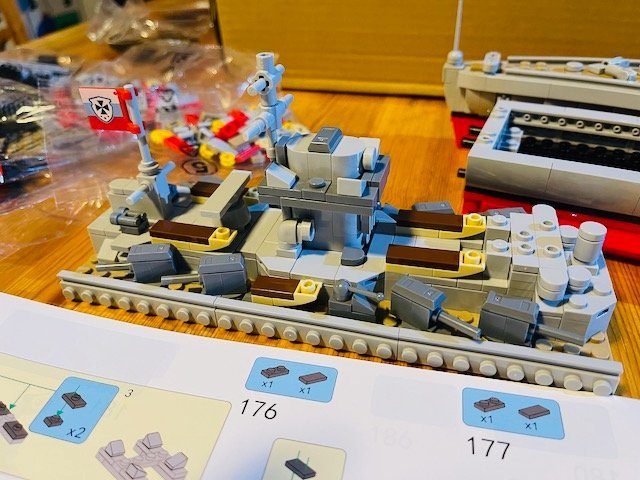
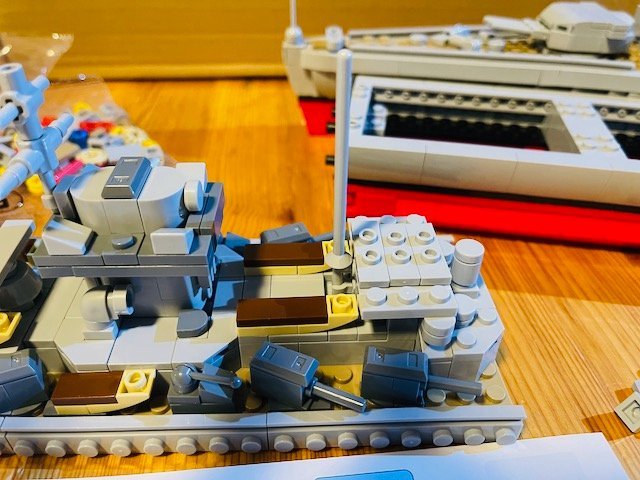
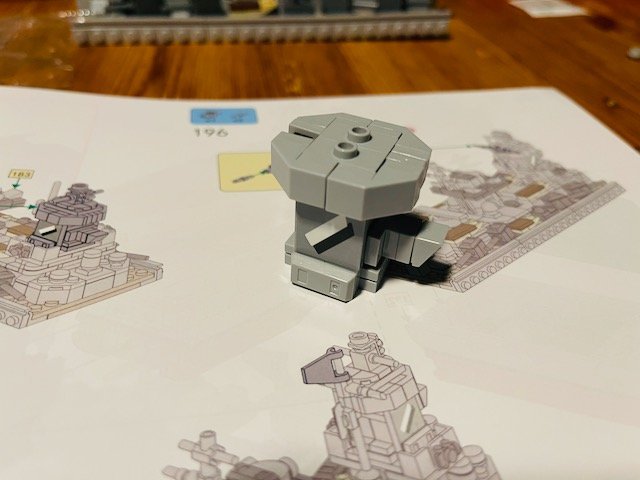
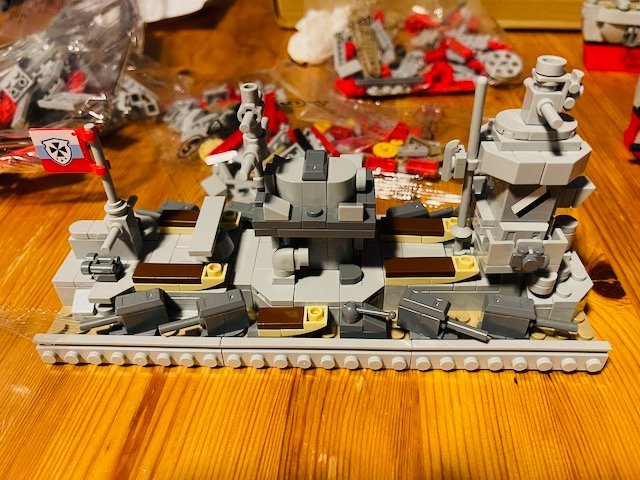
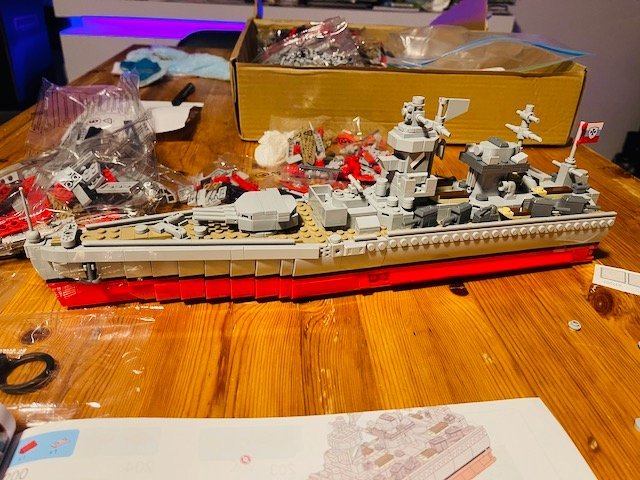
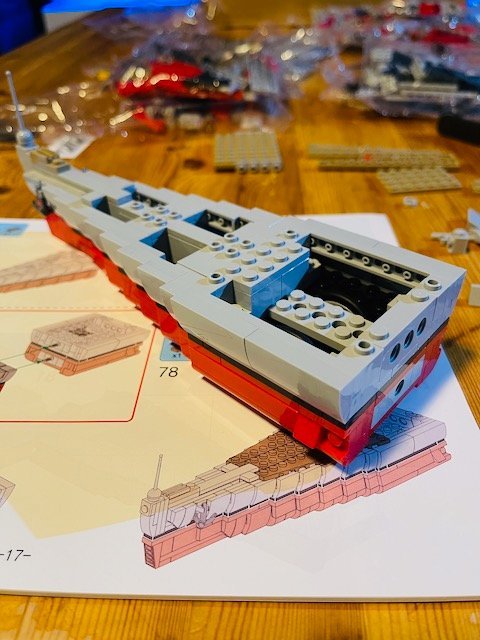
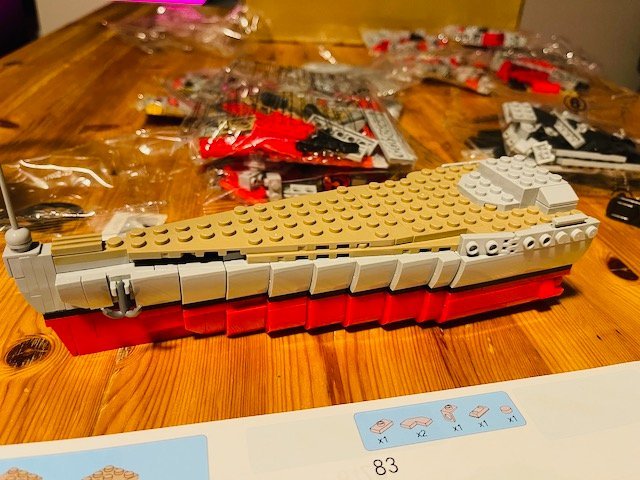
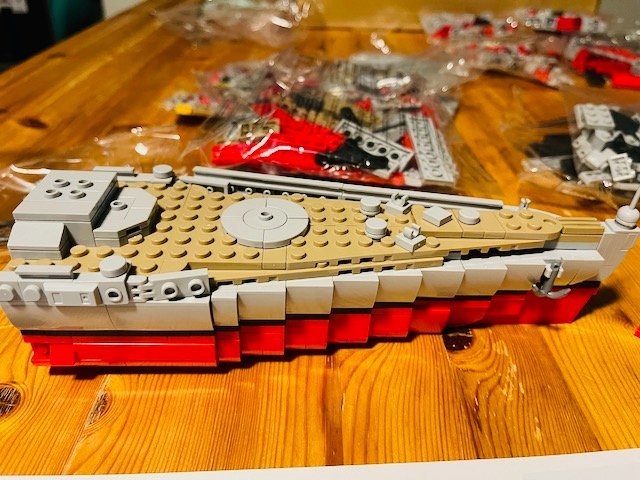
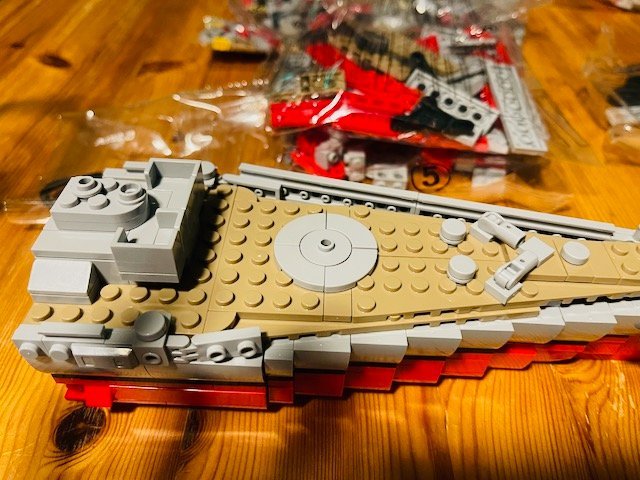
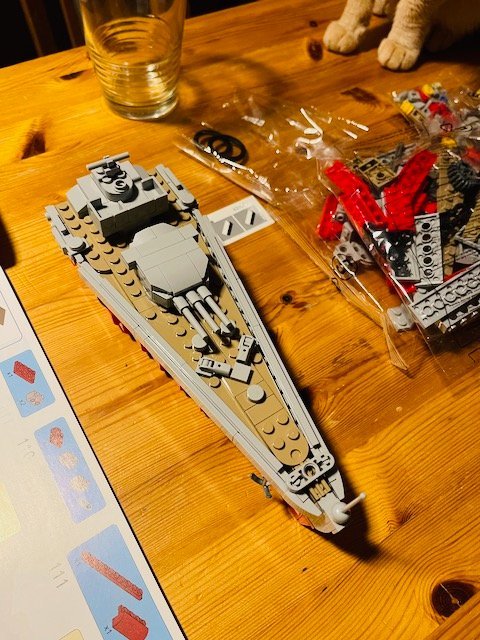
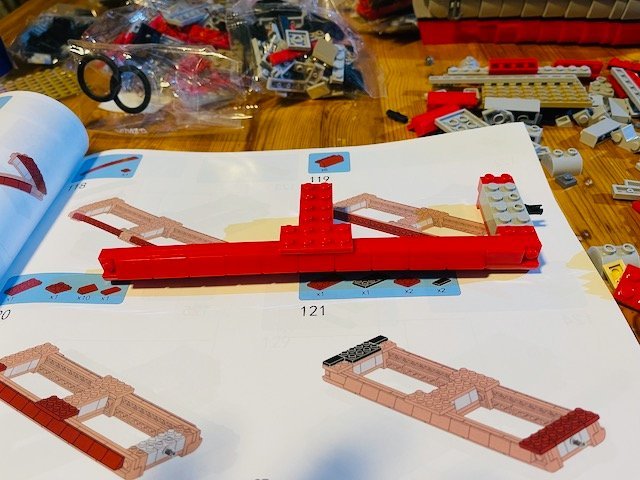
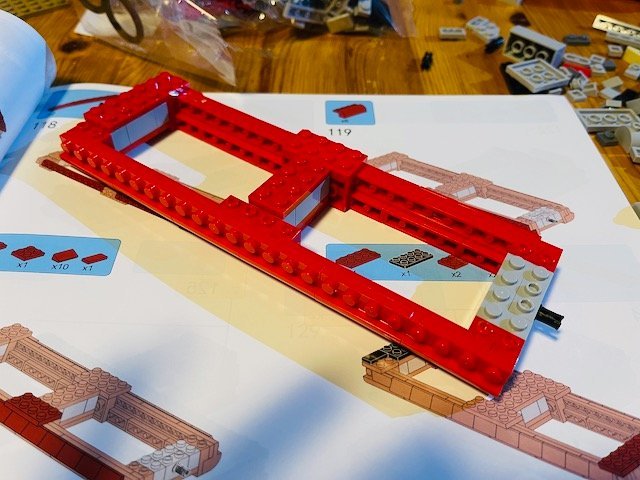
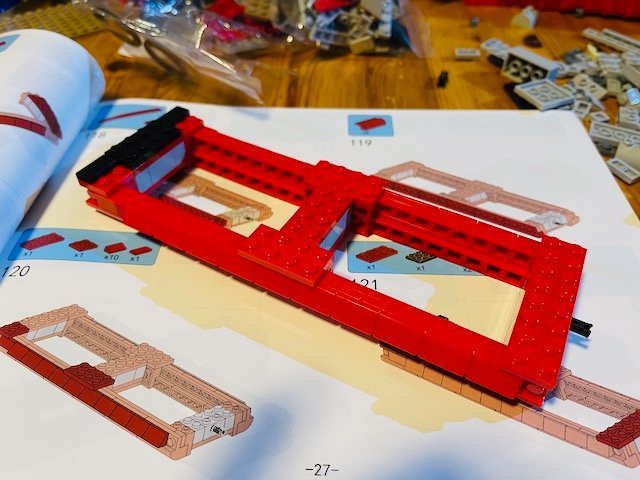
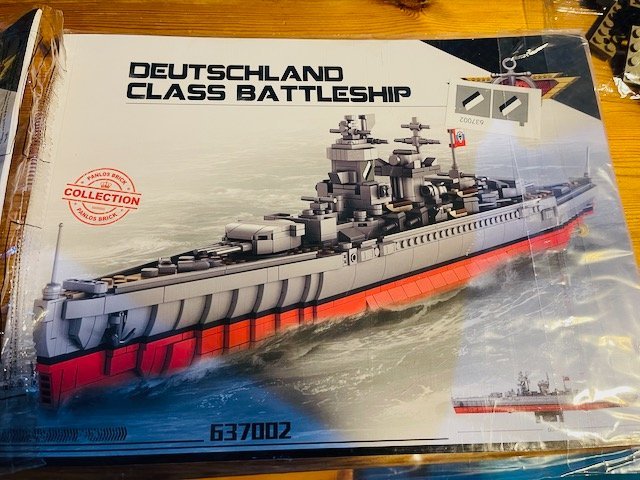
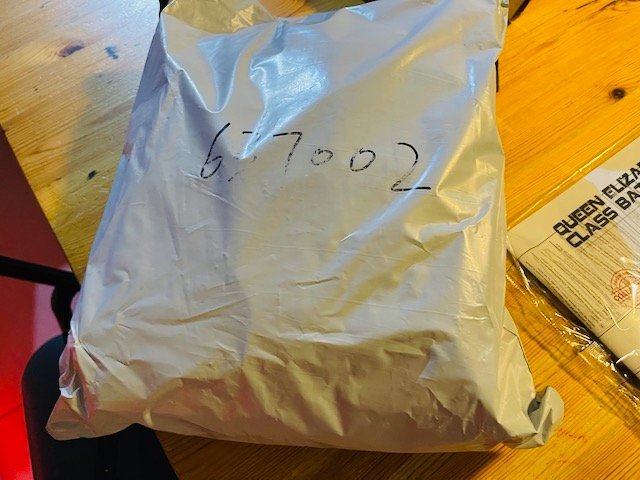
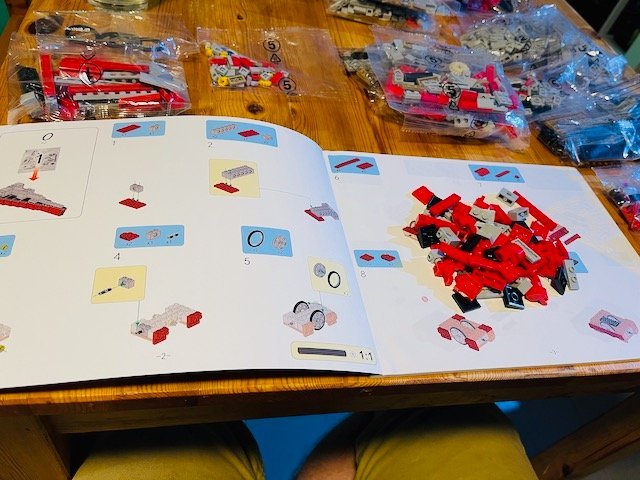
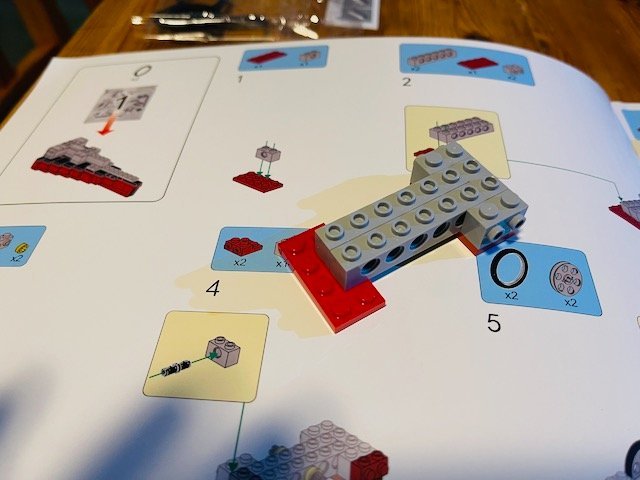
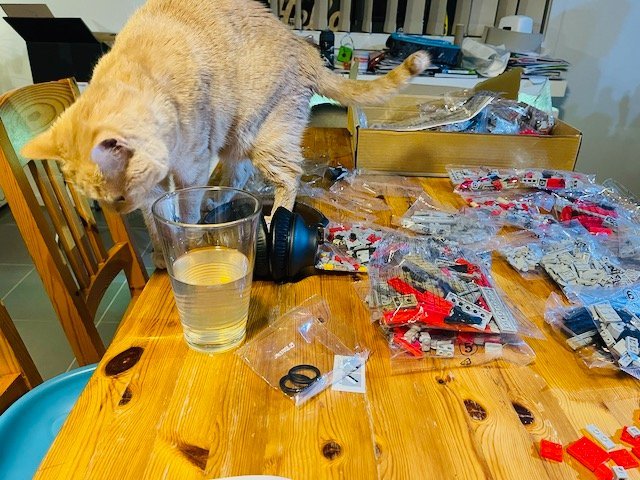
 Now for something different. A temporary diversion from Conte Di Cavour. Found these guys online and wanted this ship and Queen Elizabeth class ship for a while. The manufacturer no longer has them available but I found APO Brick a Lego and brick reseller had them so I ordered the two ships. Here's Lützow the Deutschland class pocket battleship. You can see our jerky cat trying to help me in pic 4037

- 5 replies
-
- 3
-

-
- Lützow
- Panlos Brick
- (and 1 more)
-
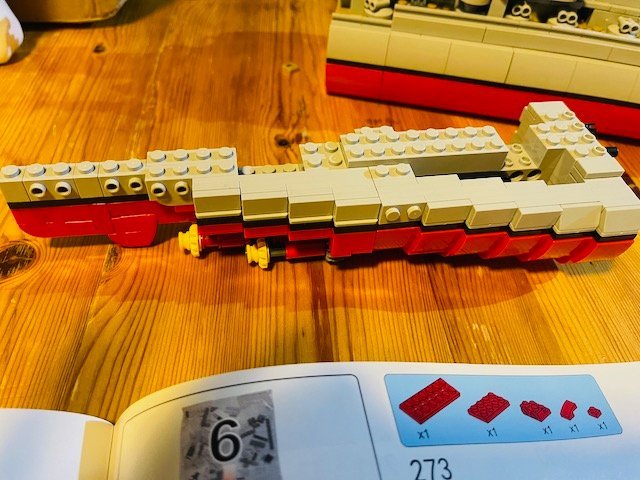
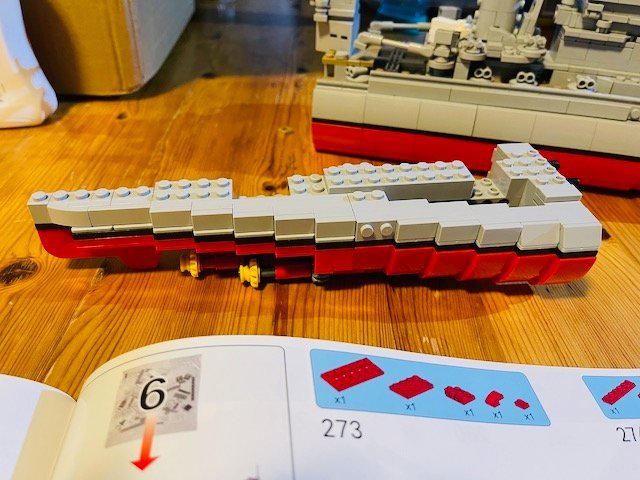
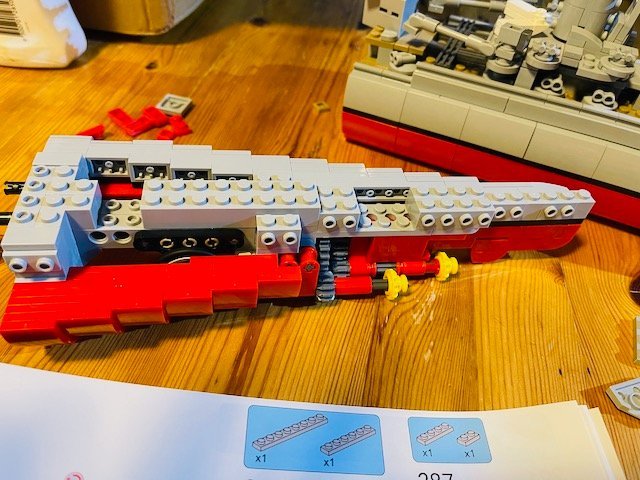
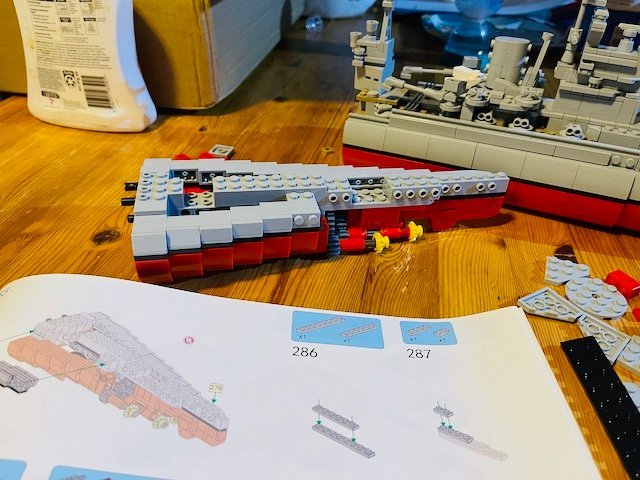
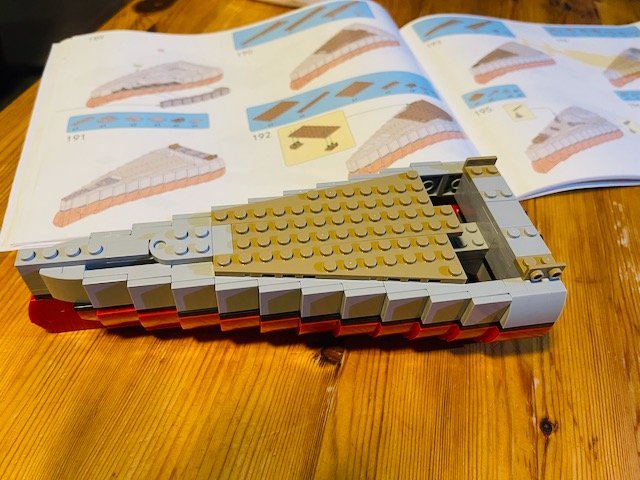
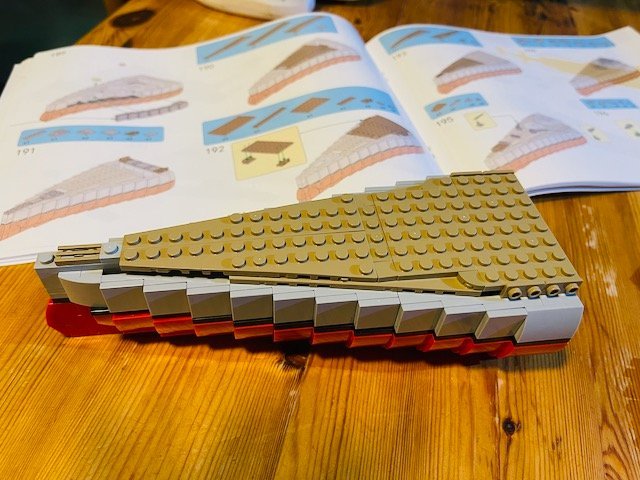
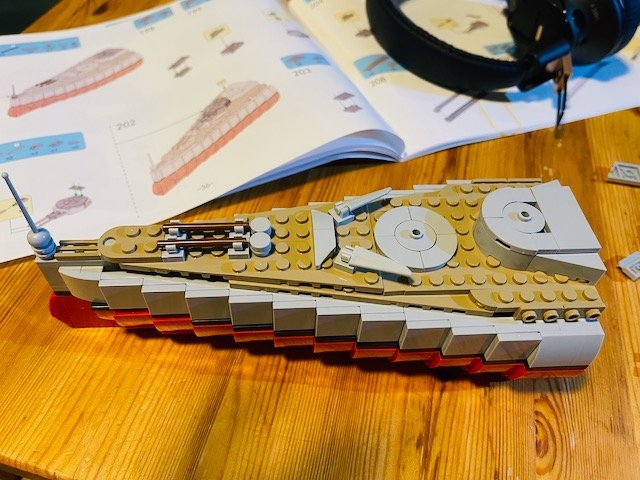
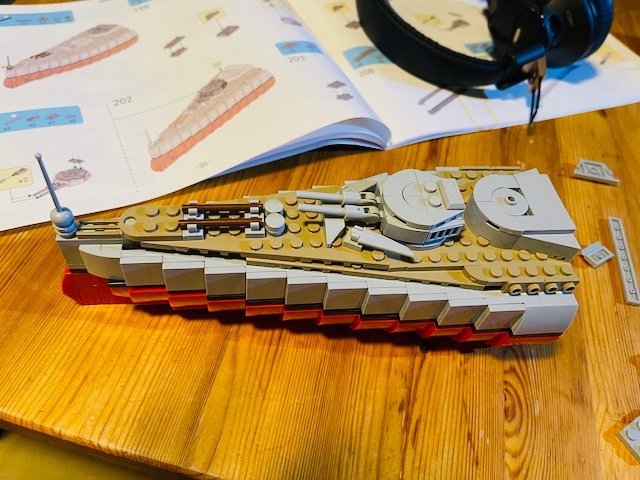
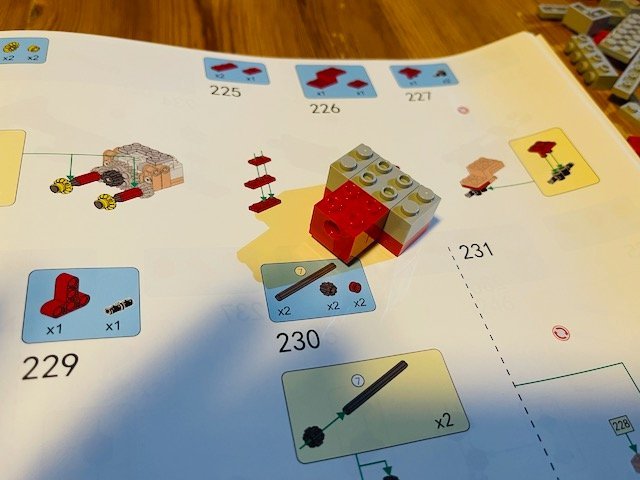
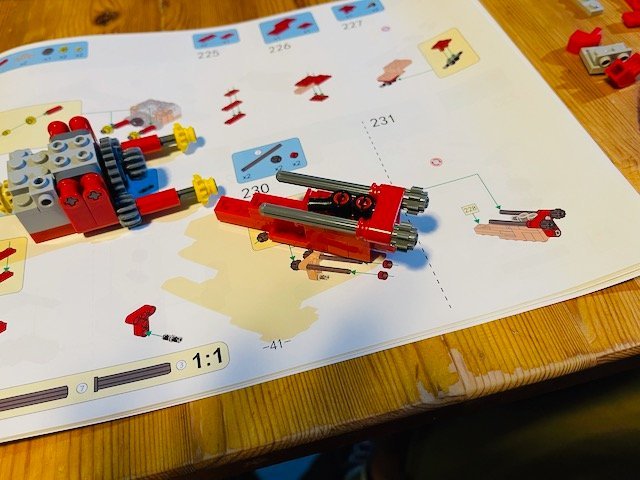
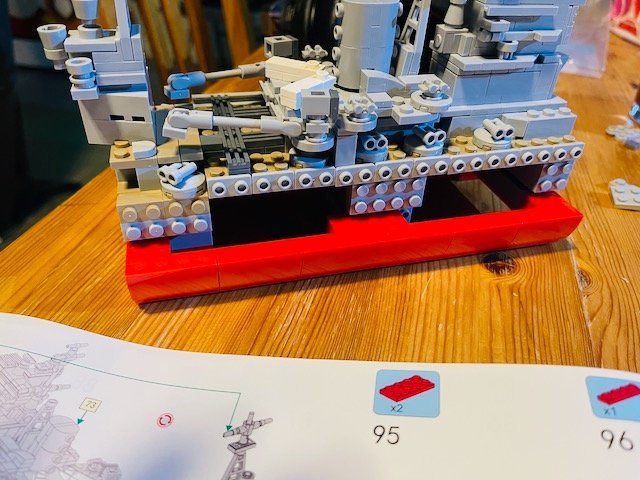
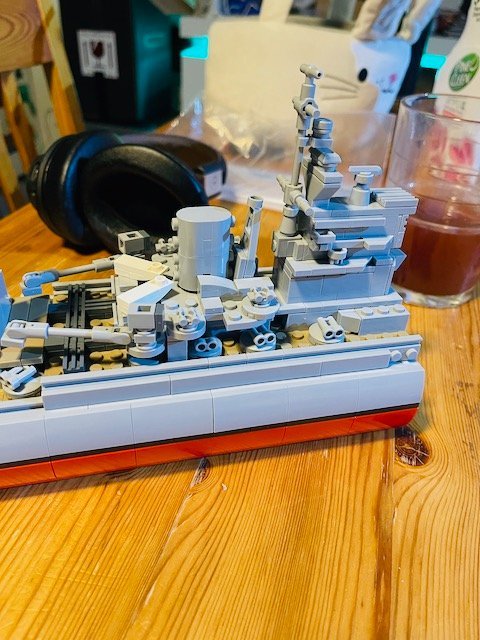
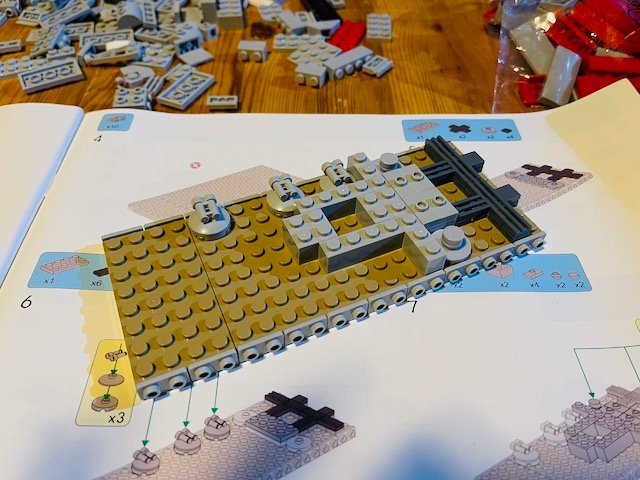
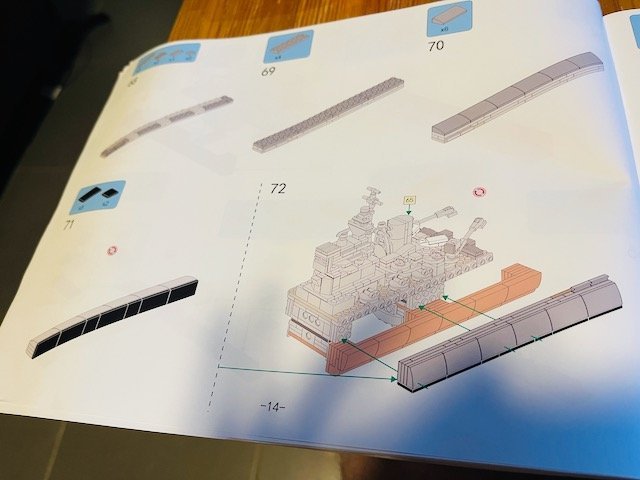
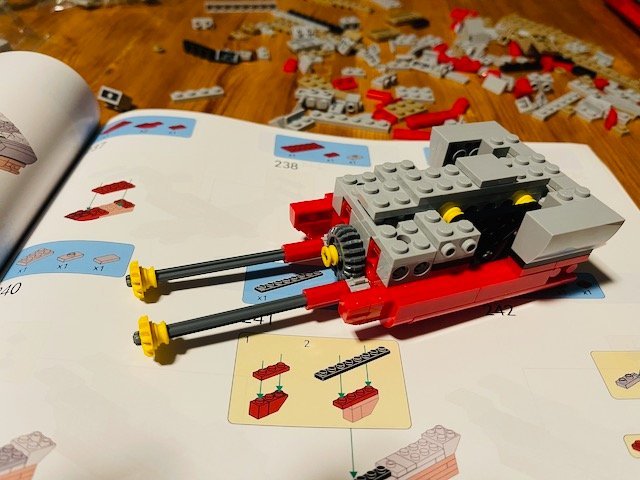
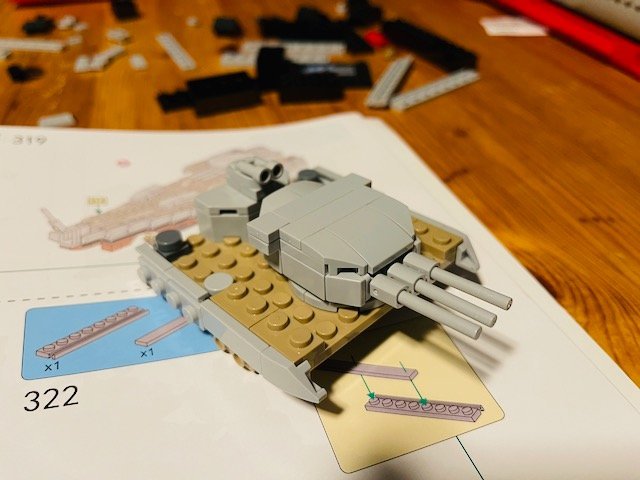
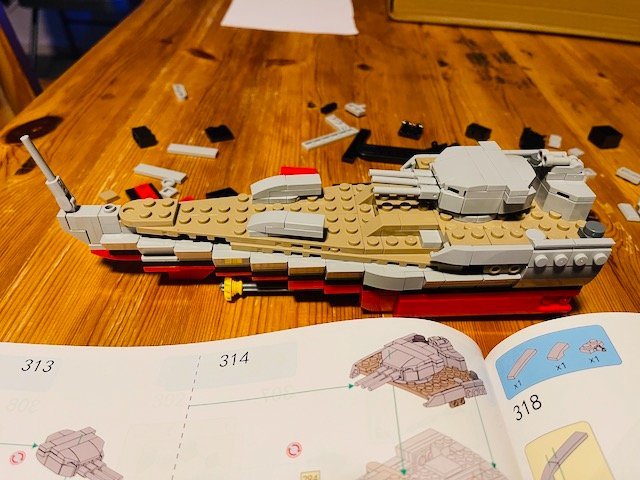
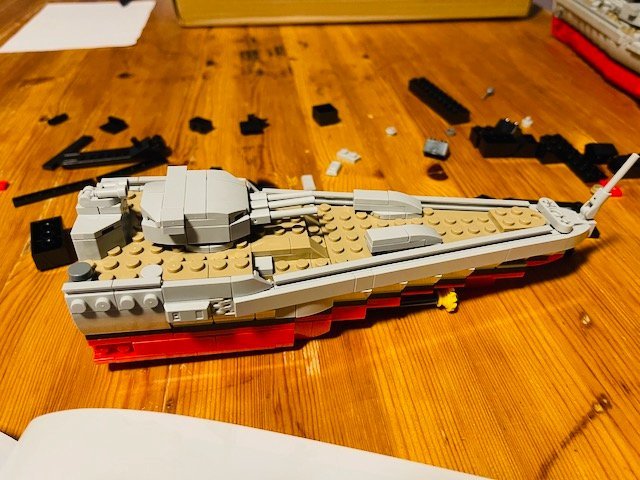
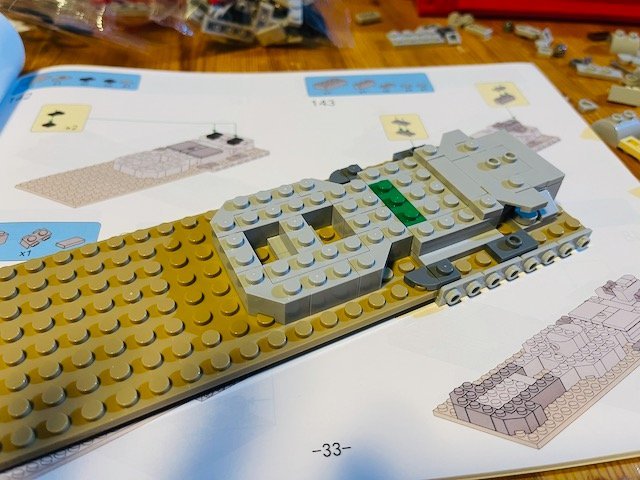
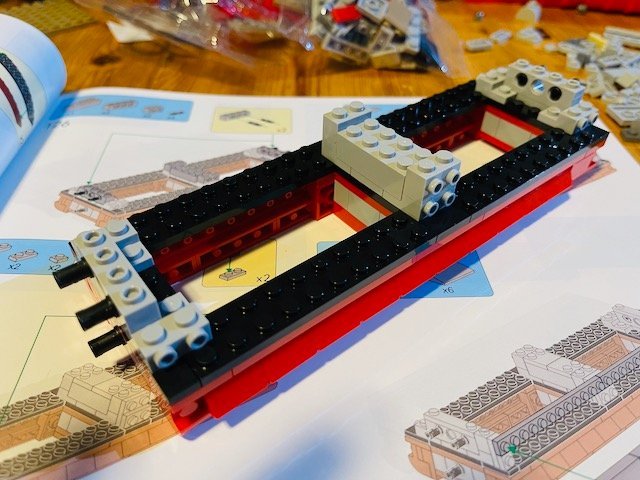
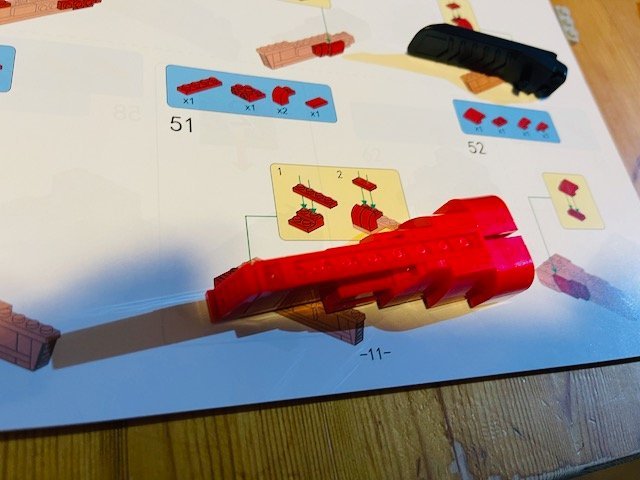
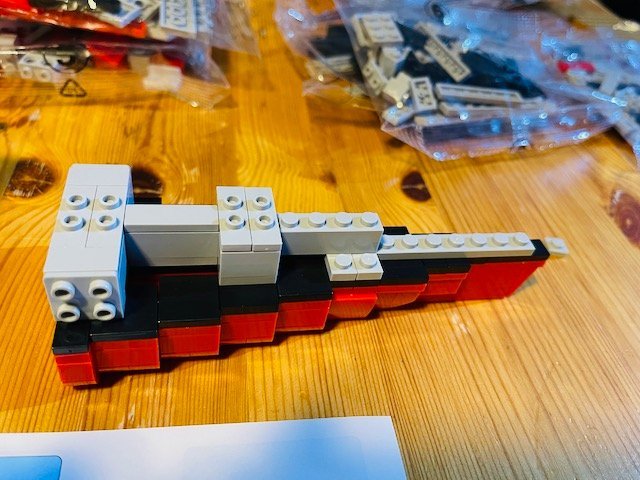
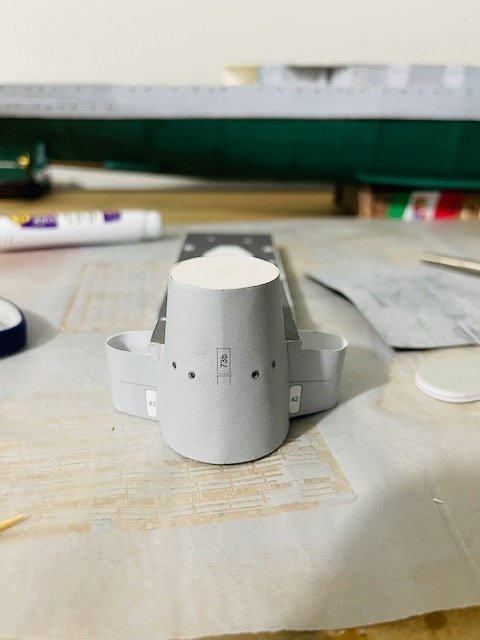
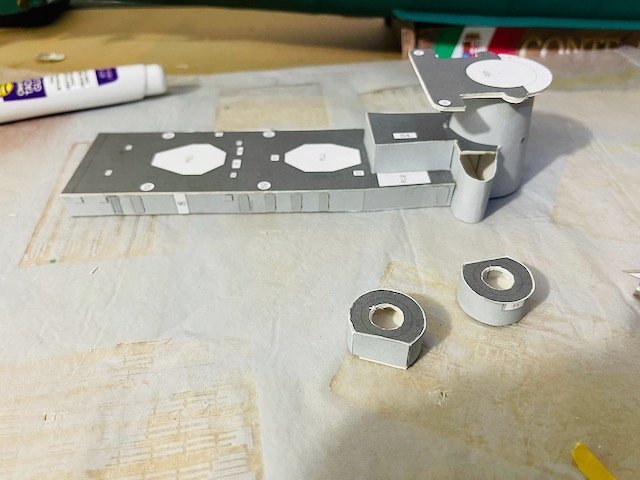
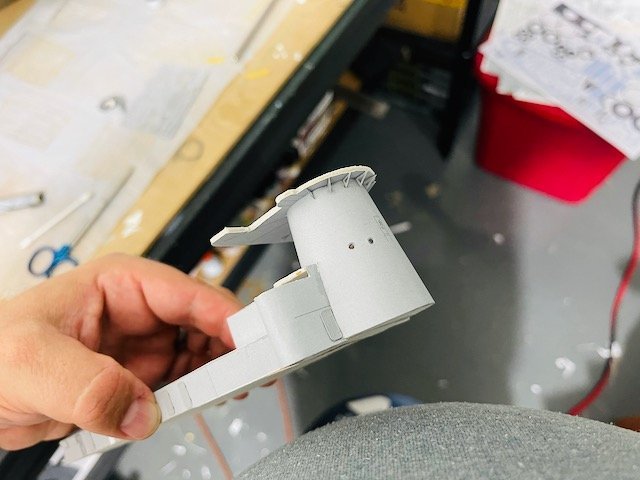
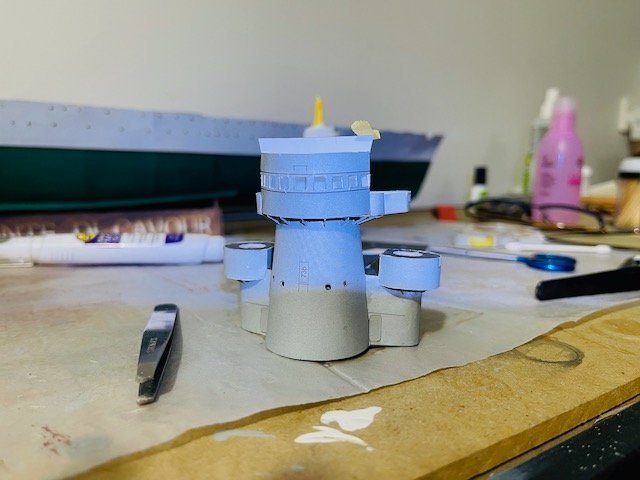
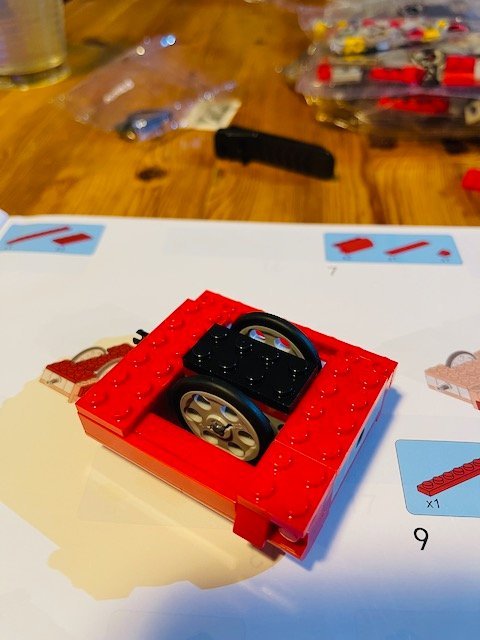
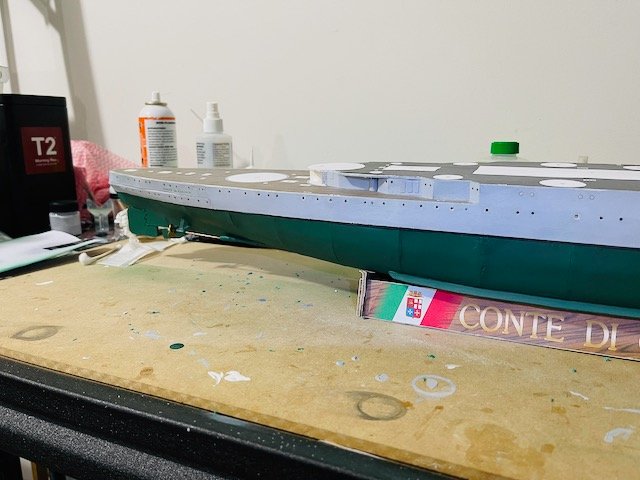
Attaching the windlasses and moving the ship to the back to start building the superstructure with part 40
- 33 replies
-
- 5
-
-
- conte di cavour
- gpm
- (and 3 more)
-
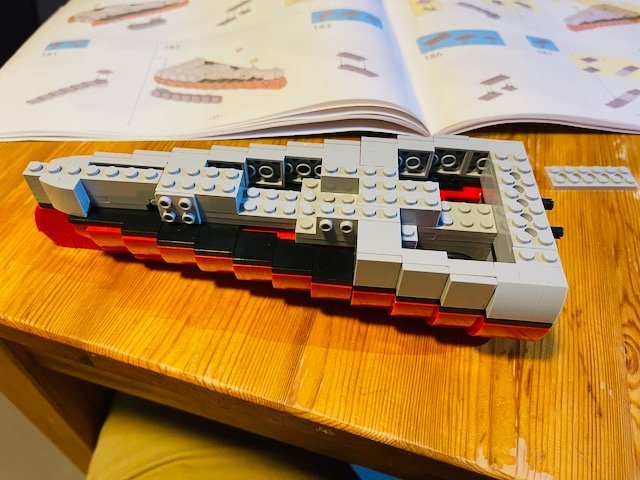
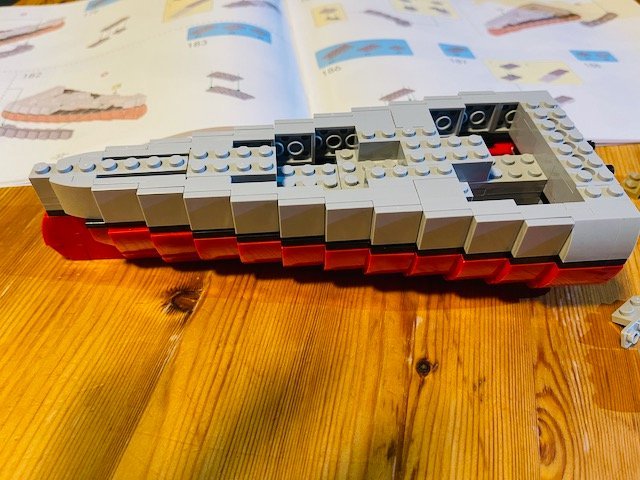
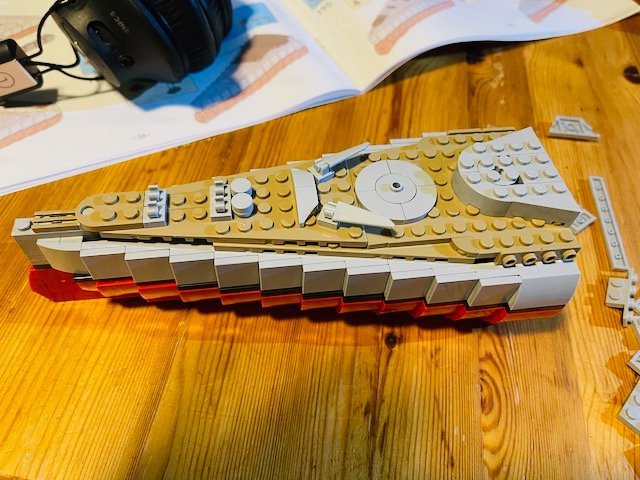
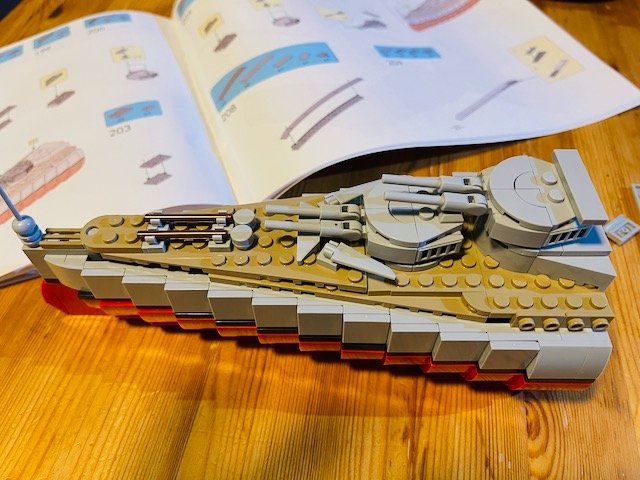
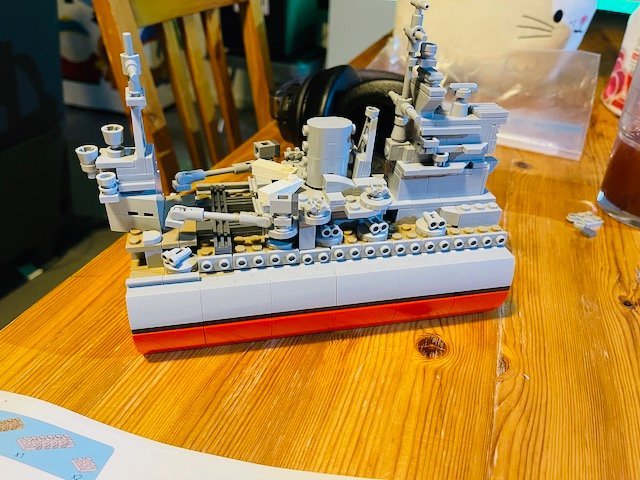
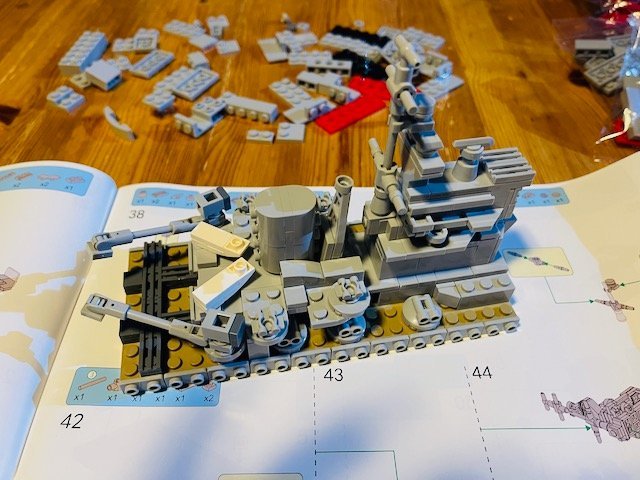
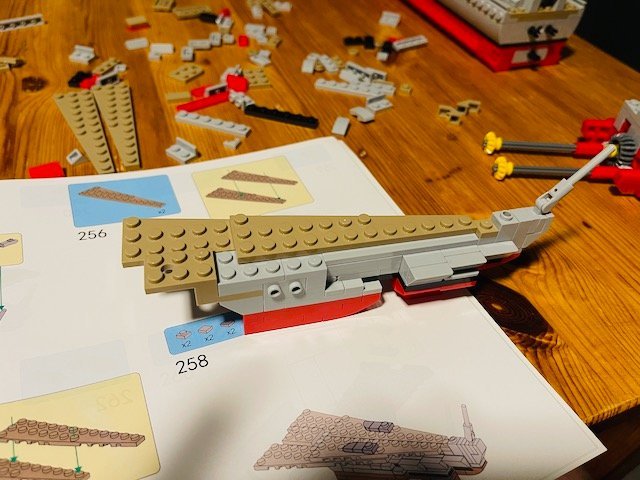
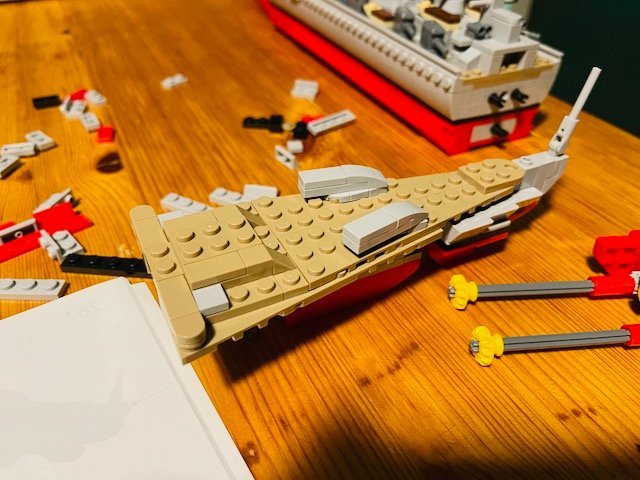
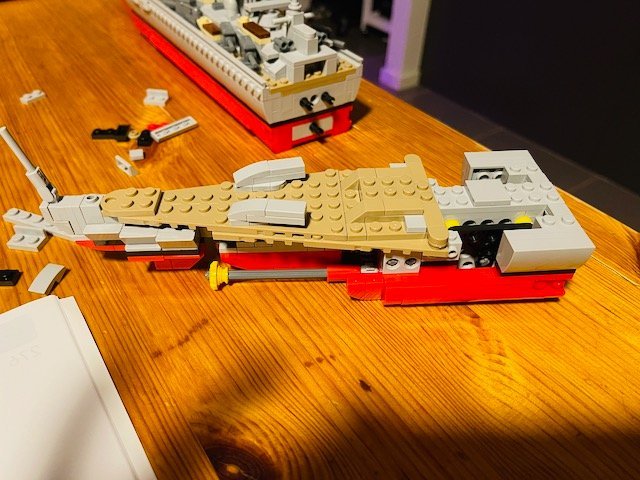
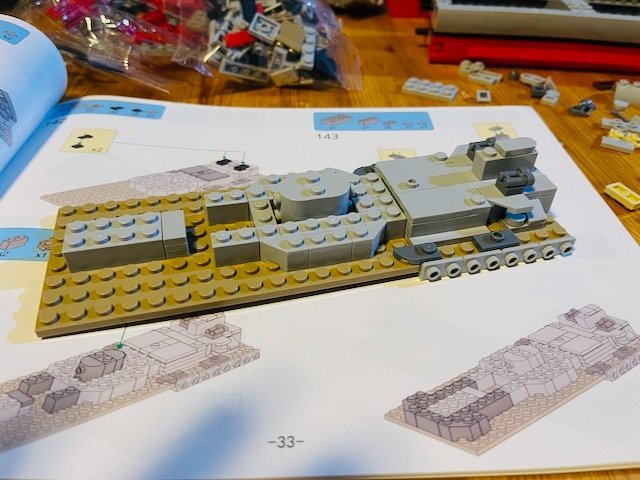
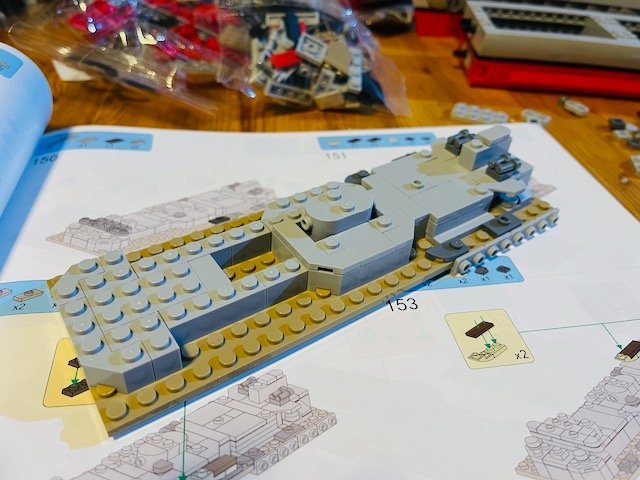
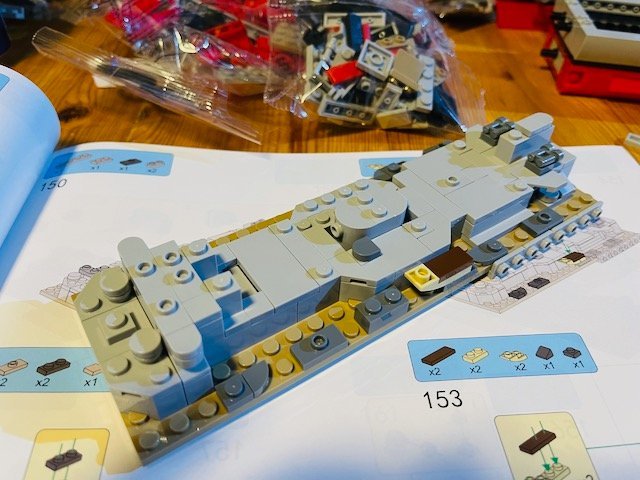
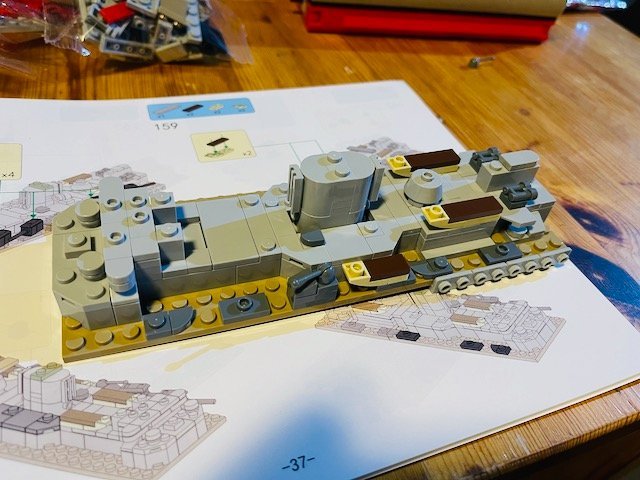
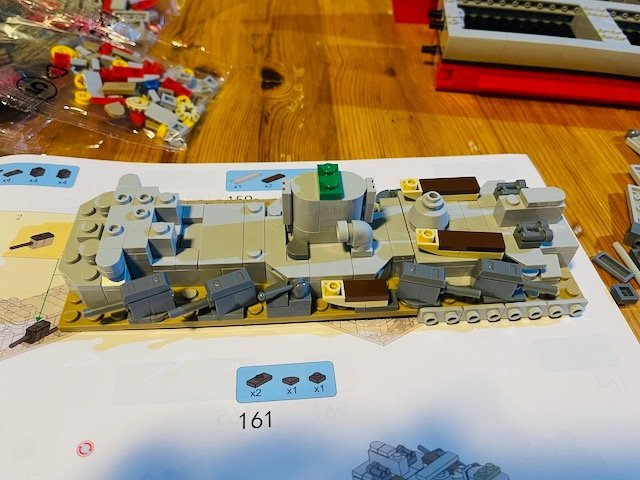
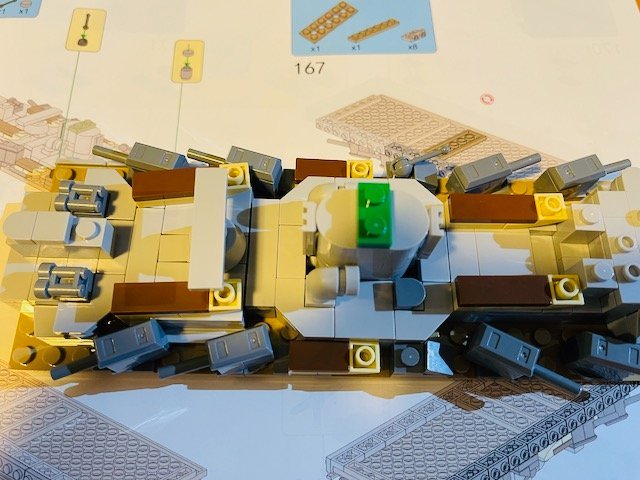
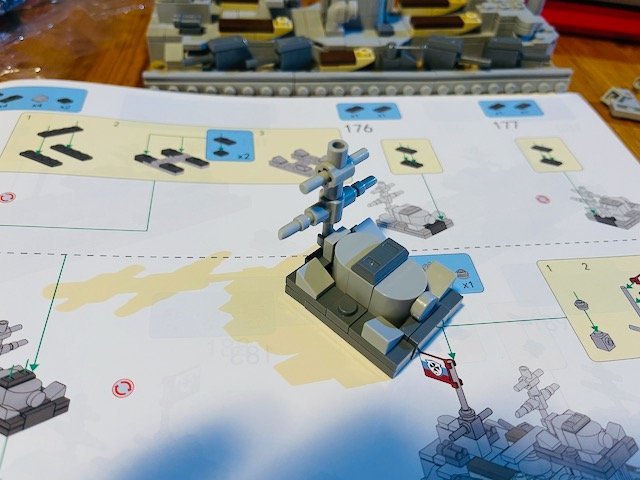
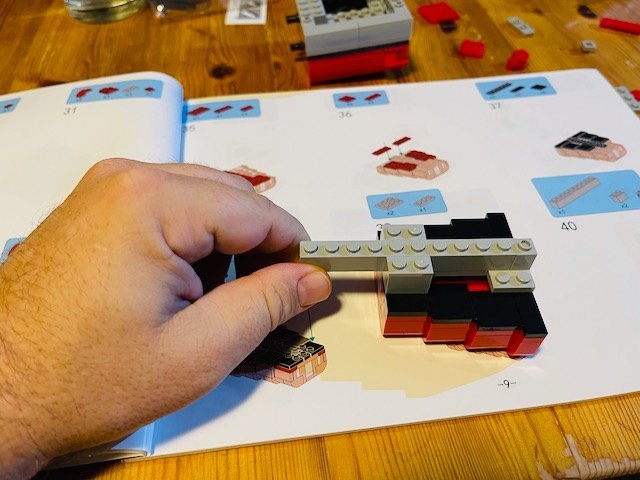
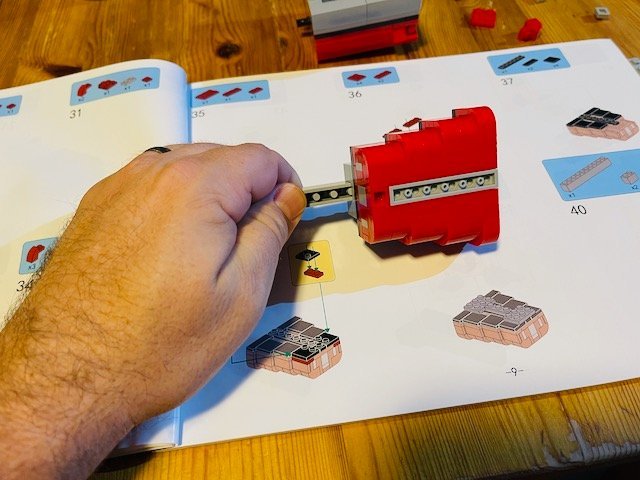
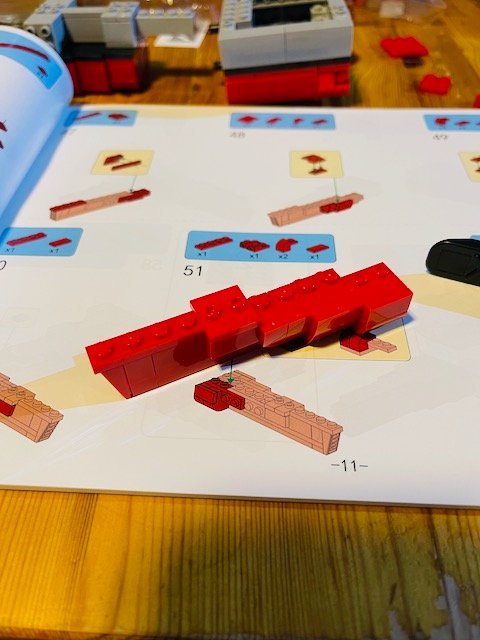
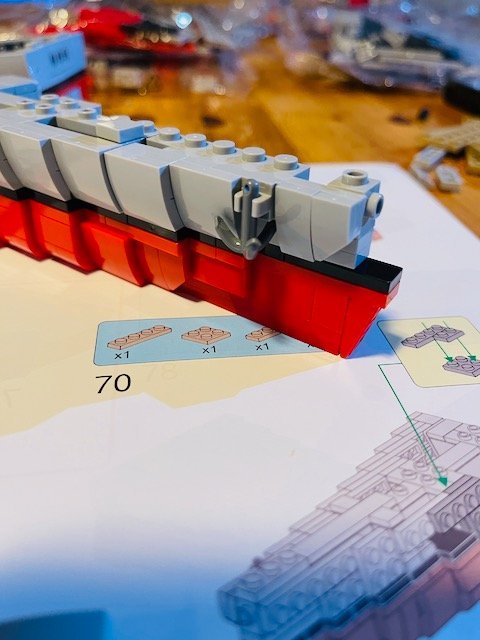
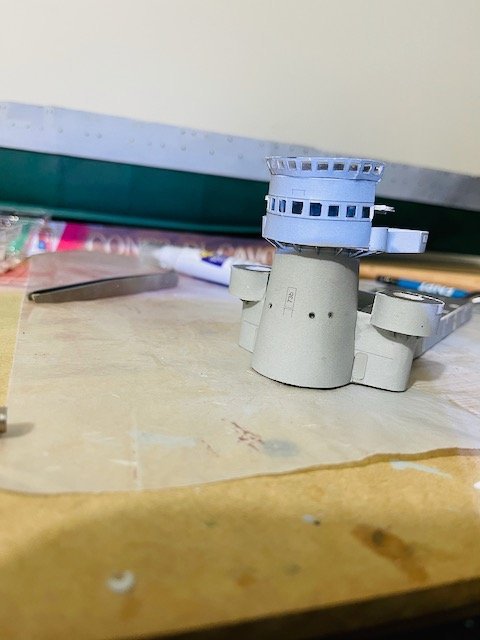
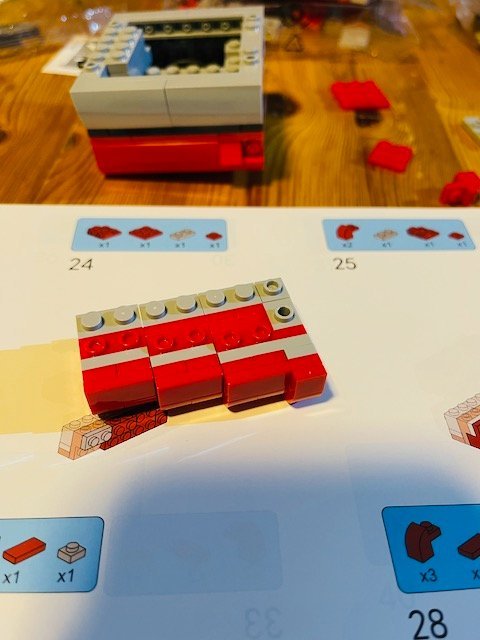
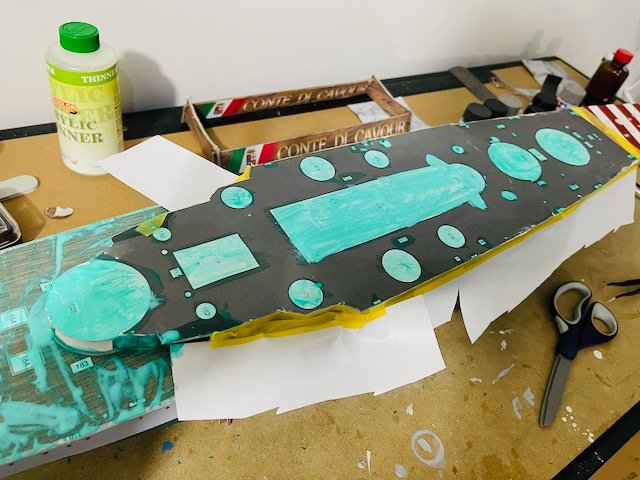
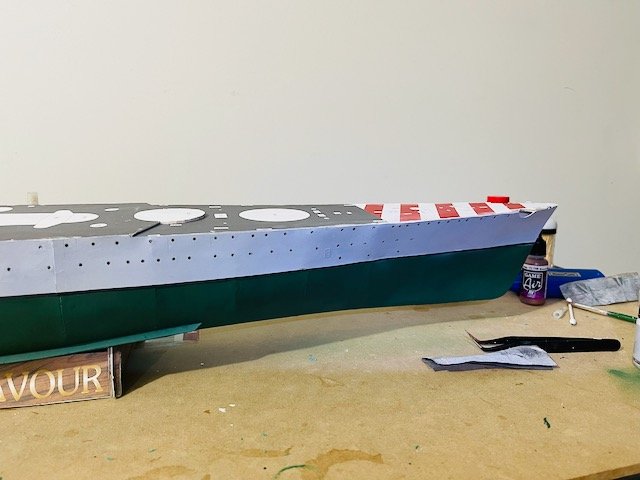
Barring the occasional touch-ups, it's time to get on with more assembly (Superstructure Time) - This is the final white and dark gray evening out of the sanded bits.
- 33 replies
-
- 6
-
-
- conte di cavour
- gpm
- (and 3 more)
-
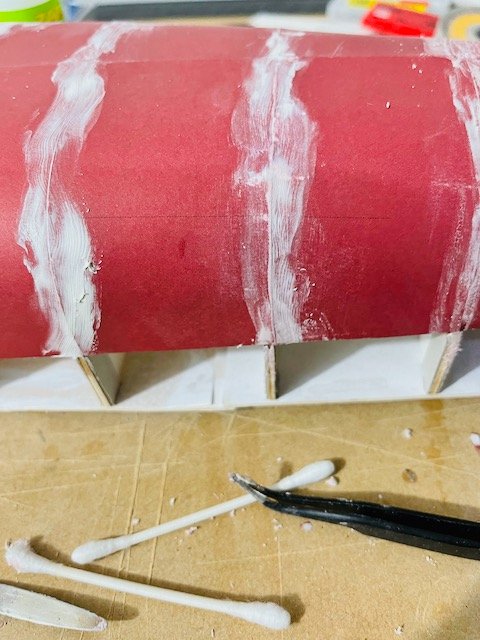
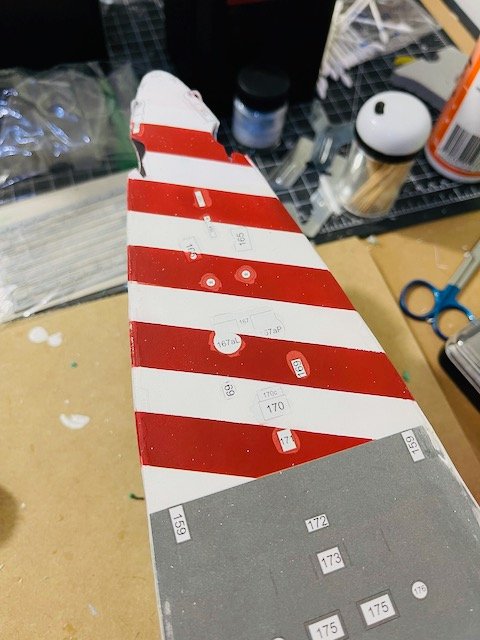
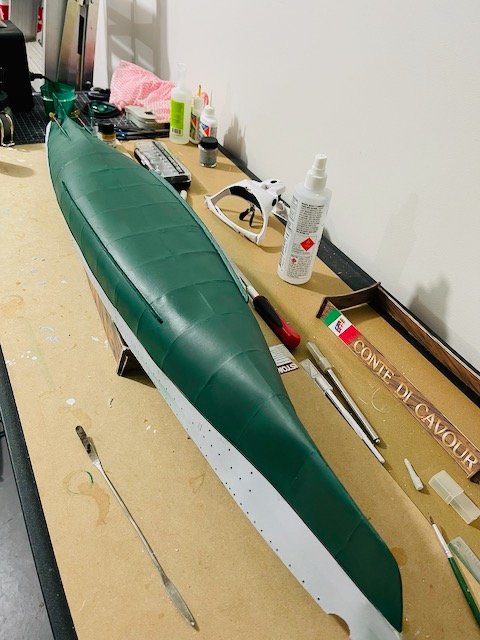
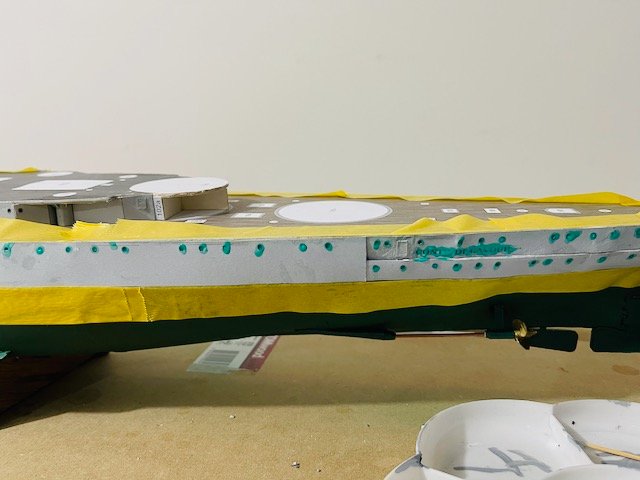
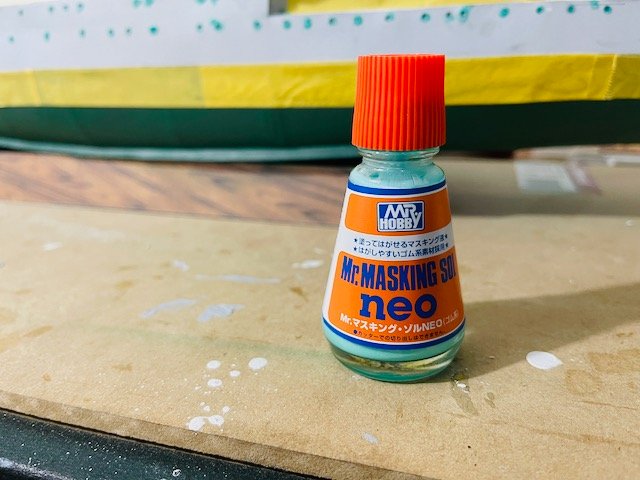
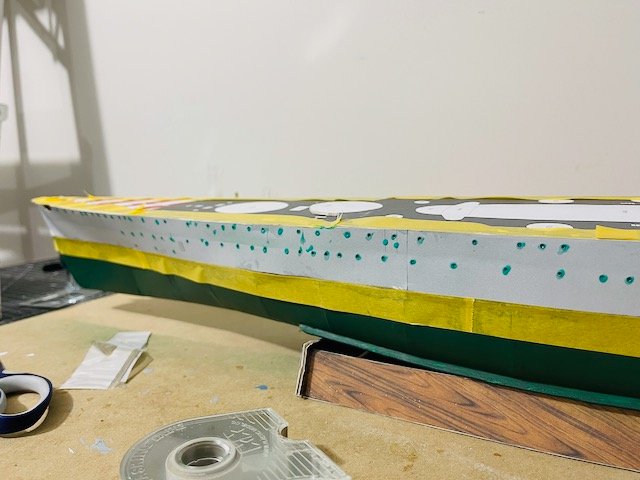
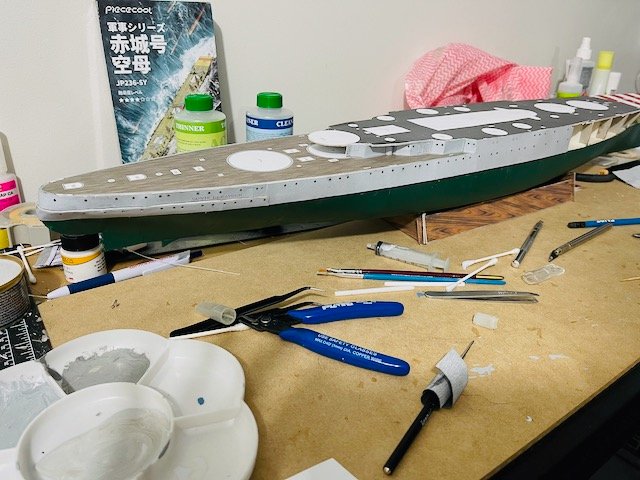
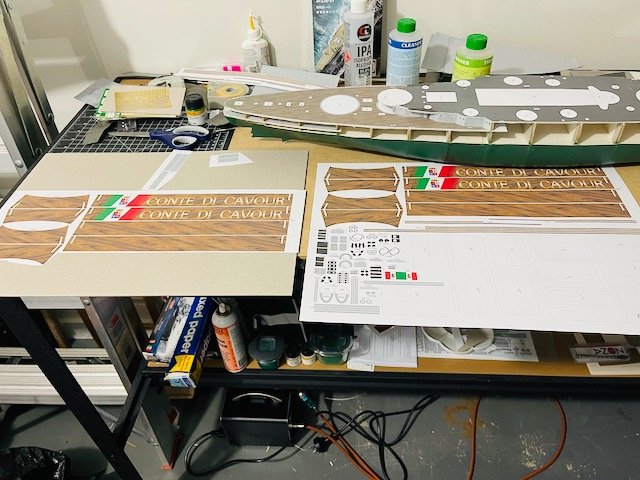
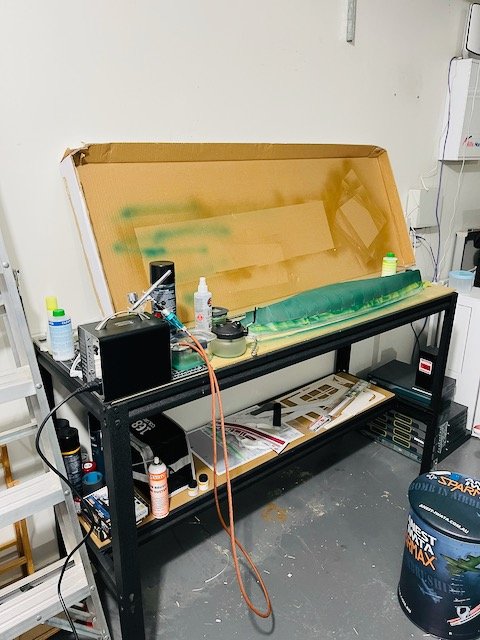
So many learning experiences. After all hope was almost lost I hit on a close-enough match for the grey. Here I post finishing prop #2, re-doing green, using this amazing product Mr. Mask Sol (a paintable rubber that rubs off with a finger pad) for portholes, touch-up including overspray mistakes, and more. The UA617 Italian Anti-vegetativo Verde Scuro is a new bottle. I notice black is a component of this paint as it settles. I tried touch up with a brush and either the new bottle is slightly different in color or it was the thickness of the green when I thinned it for airbrush as it showed a different color streak where I touched up. I tossed the old airbrush green and mixed up a fresh thicker batch and applied it for great success. Lastly I've started touching up the candy cane deck.

- 33 replies
-
- 5
-
-
- conte di cavour
- gpm
- (and 3 more)
-
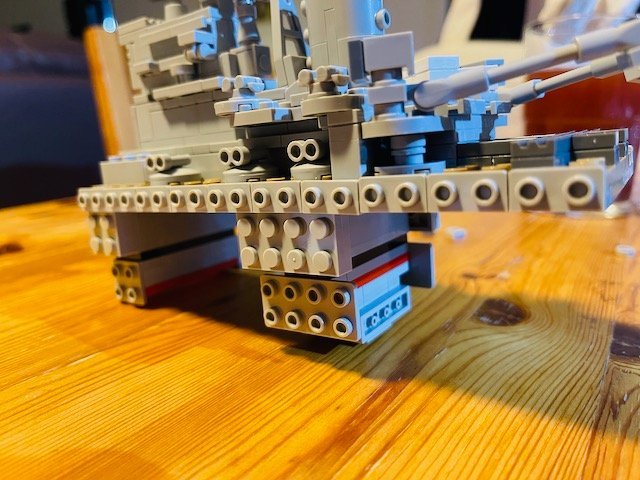
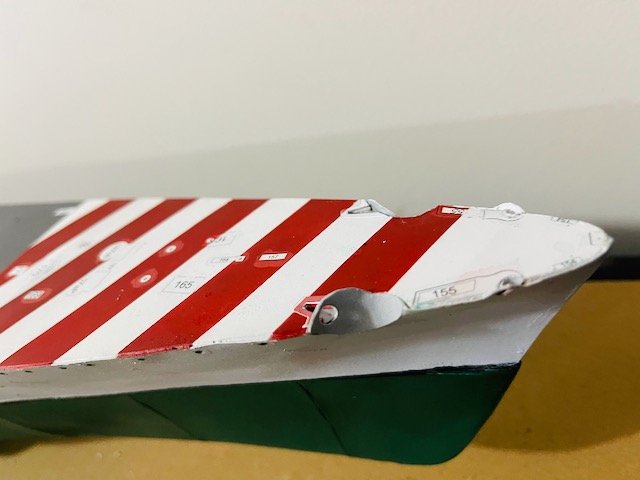
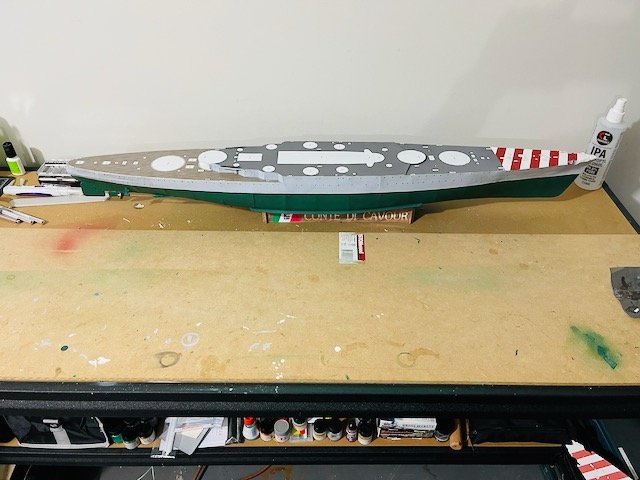
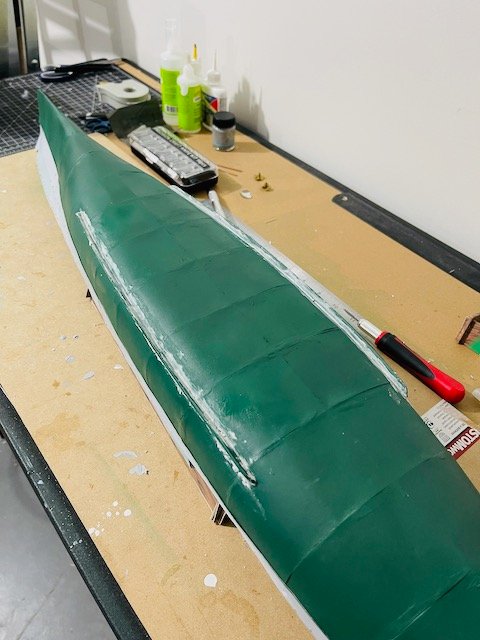
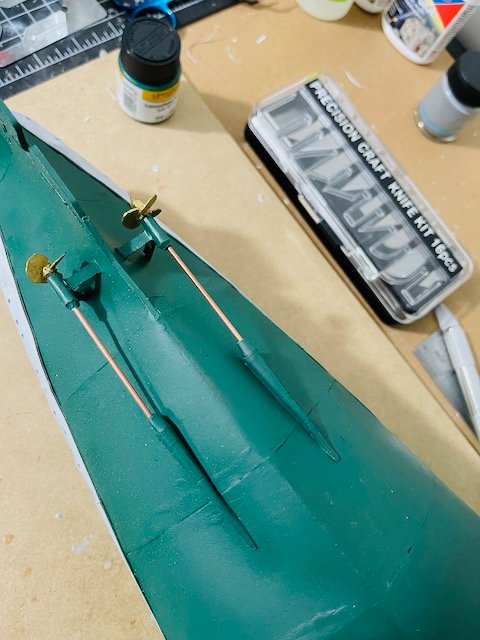
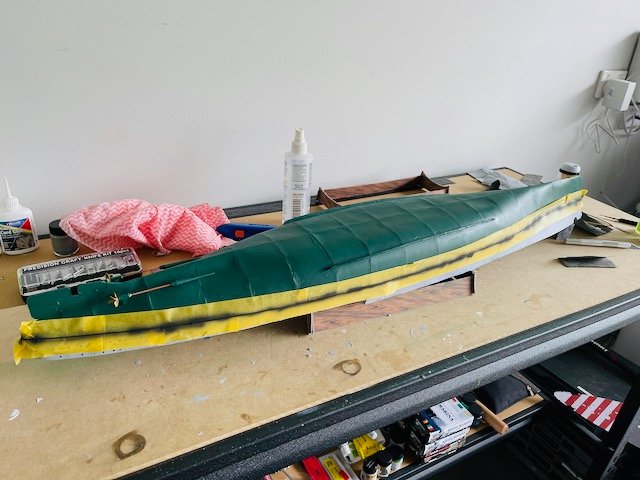
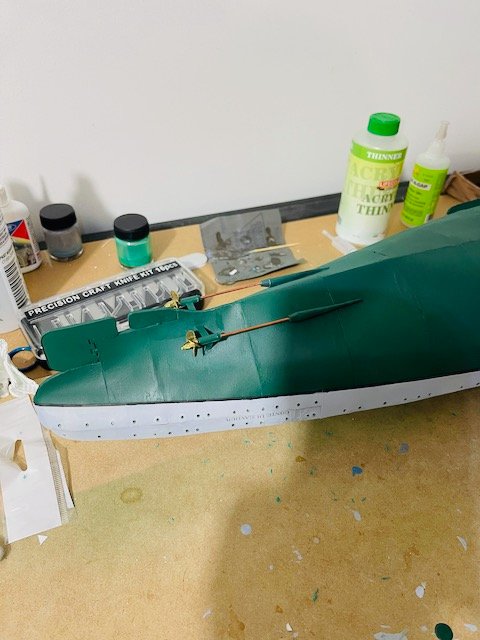
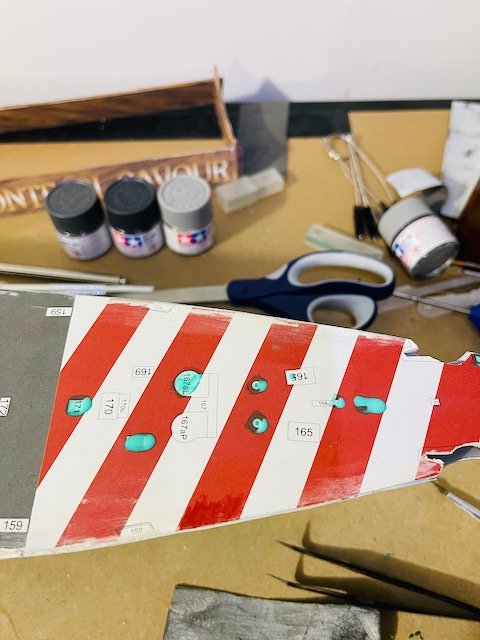
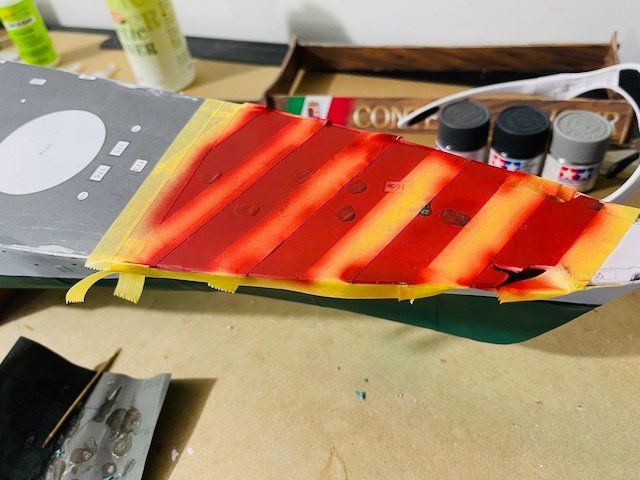
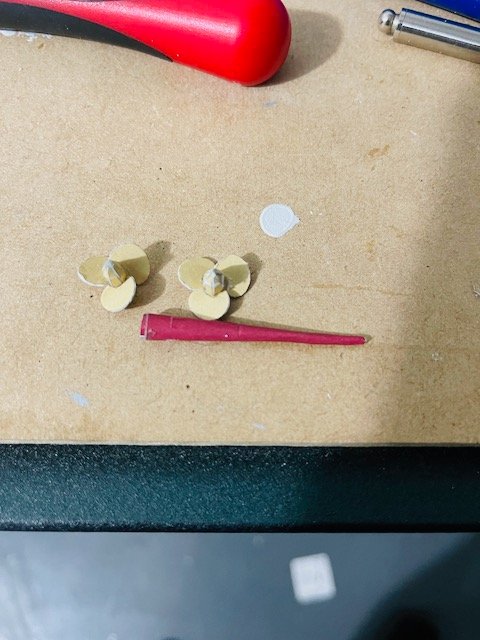
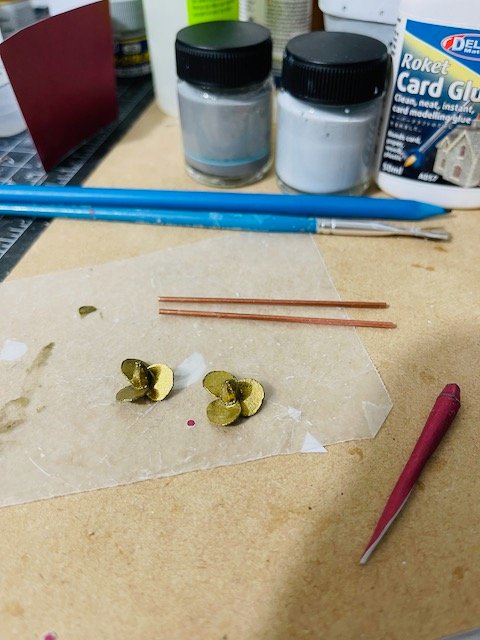
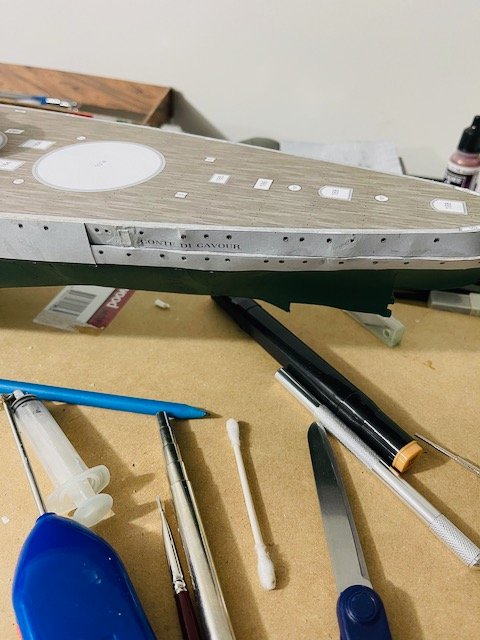
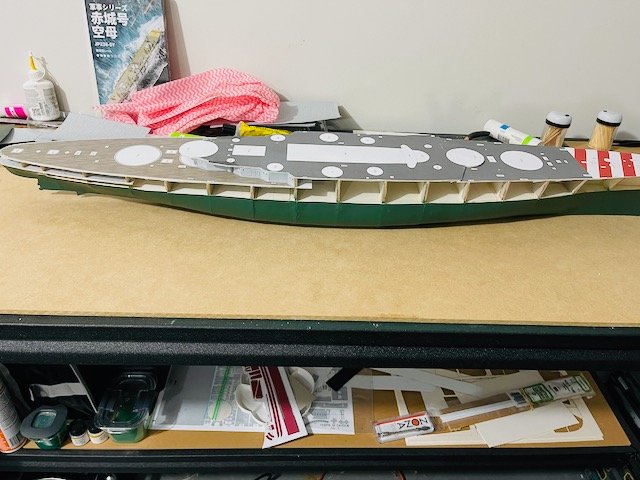
Finishing up hull bits Here are a bunch of the greebles for the hull: Rudders, prop shafts, props, bilge keels, etc. Once attached (the other side), I'll remove the prop shafts and mask and touch up the green. Then mask and do the black waterline. Finally I'll work some more on my gray and do small blends with the airbrush (this will be trickier). I will also need to touch up the deck zebra stripes as I did a bit of sanding where the side hull joined the deck.


- 33 replies
-
- 6
-
-
- conte di cavour
- gpm
- (and 3 more)
-
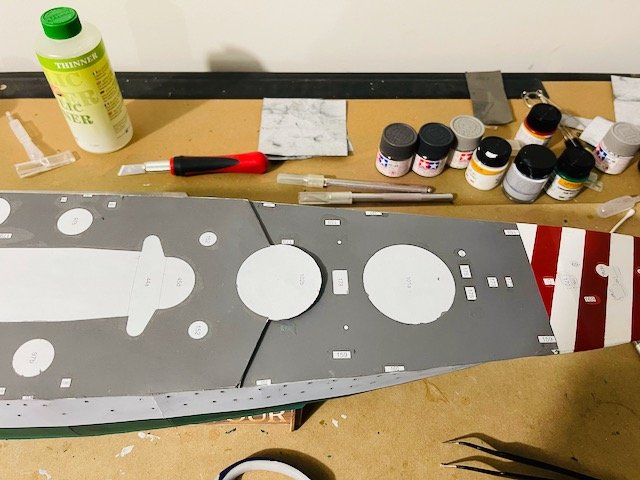
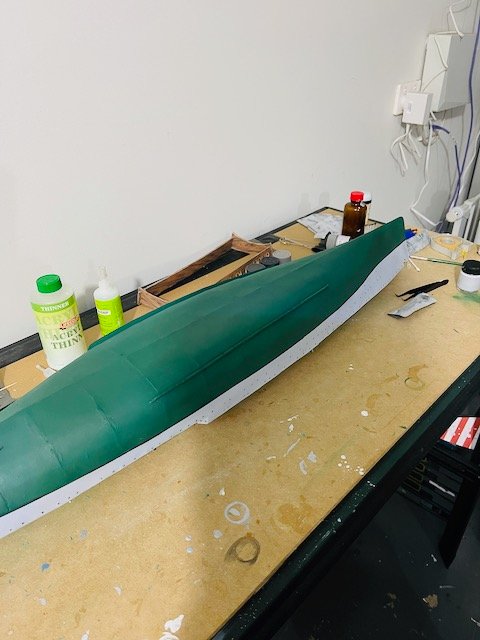
So I'm looking for some input here. I've reached the stage where I'm going to finish the hull and start on the super-structure. Some things are obvious that I need to do (e.g. sand one hull seam and re-paint, add the chines, props and rudders and paint, putty the stern crack and bow above the waterline and touch up. I spent two weeks and 3 bottles of white paint trying to color match the grey and I think I'm very close. I need just a touch more white. You see this in one of the photos. The main thing not sitting right with me is some slightly sloppy glue work where either a porthole is sitting on a bulkhead and I have wavyness at the stern or one wave at the bow because there's a bow in the plate. Suggestions on how to fix or reduce the look? Also would like suggestions on if there's a mostly transparent darkening wash people would use for weathering that would hide grey touch up even better?


- 33 replies
-
- 7
-
-
- conte di cavour
- gpm
- (and 3 more)
-
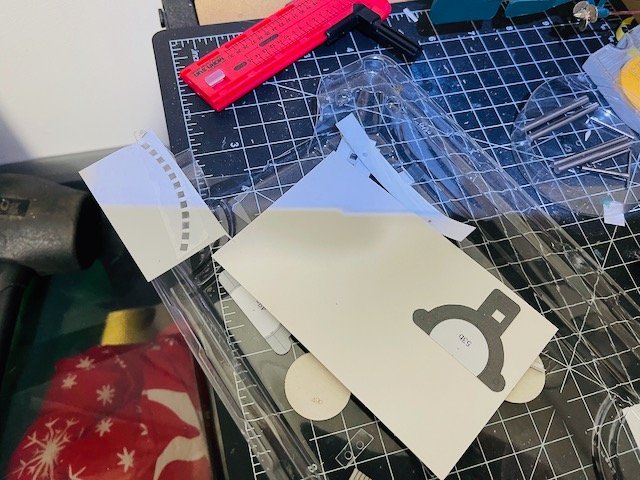
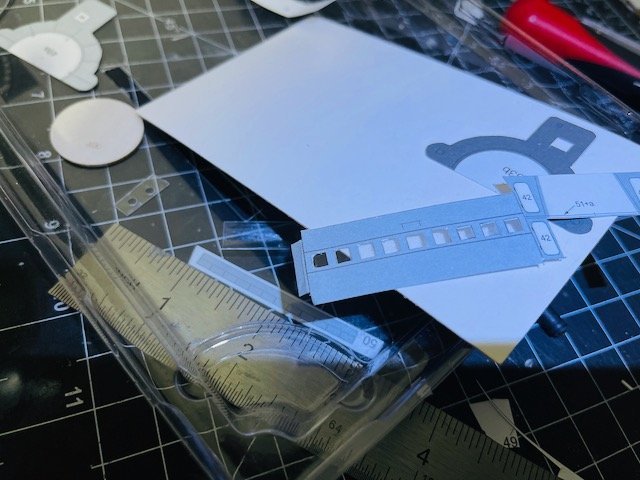
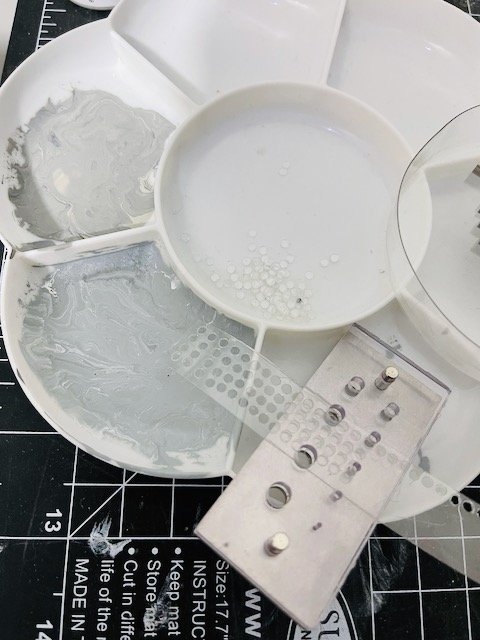
Punch & Die tool making 220 porthole windows from a scrap from a Paw Patrol toy package. Also trying to match the grey paint which is not the same as the grey in my RN Lifecolor kit. I ended up getting super close but the grey was too warm (yellow greenish which I could see in bright sunlight). I bought some Azure Blue and added 1 ml, so the total mix is Silber Grau (Lifecolor Kriegsmarine set) 10 ml, 19ml Lifecolor flat white, 1 ml Azure blue Hull coming along. I messed up the other side of the fantail because I glued a PE door too low, so it will need touch up and it's slightly wavy but I think I can fix this OK.
- 33 replies
-
- 6
-
-
- conte di cavour
- gpm
- (and 3 more)
-
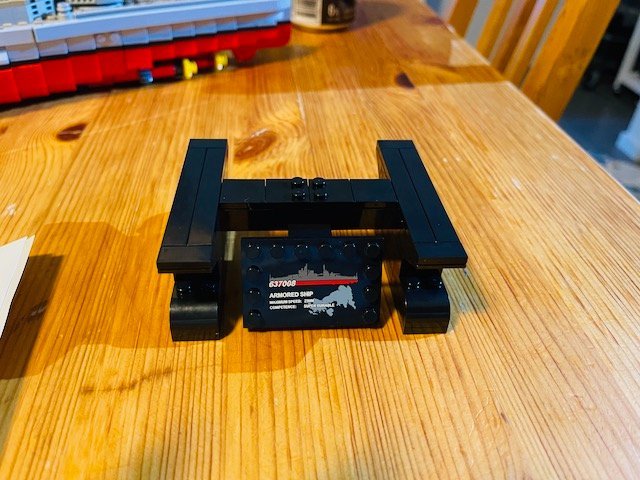
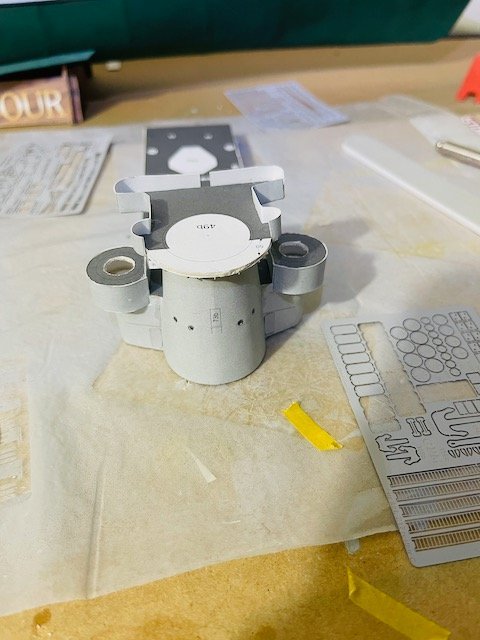
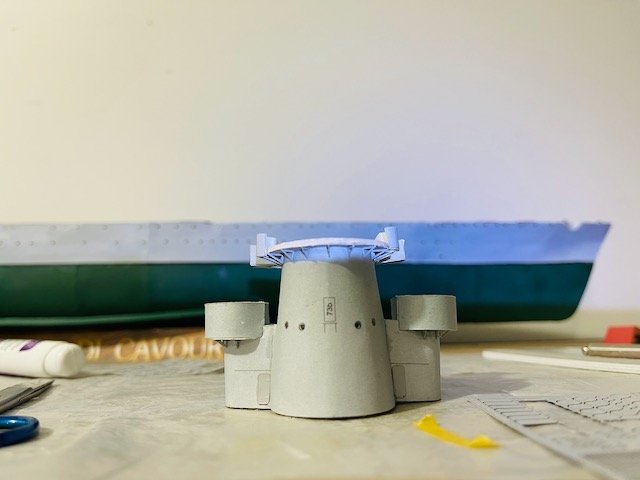
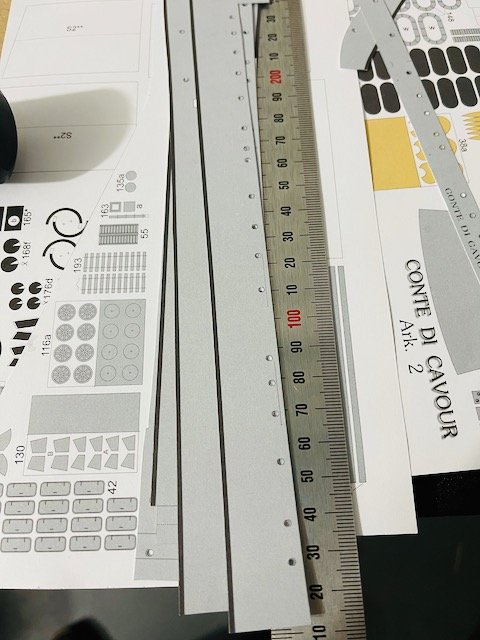
Made the stand and then remade it using Roket card instead of CA (the first one). I like how it turned out. Also cut out hull skins. I'll need to colour match this grey in acrylic and then paint my first PE parts (doors) and add the portholes after punching them out.

- 33 replies
-
- 9
-
-
- conte di cavour
- gpm
- (and 3 more)
-
And the thing that tipped me over the edge was a note from a papermodelers forum member pointing at the really cool site: Forums - Betasom - XI Atlantic Submarine Group which has a lot of history on it.
- 33 replies
-
- 2
-
-
- conte di cavour
- gpm
- (and 3 more)
-
Moravia Boya ve Kimya San. Tic. Ltd. Şti. (moraviapaint.com) - Still in business. Started in the 1860's in Trieste
- 33 replies
-
- 2
-
-
- conte di cavour
- gpm
- (and 3 more)
-
From this: Quite a few early 20th-century anti-fouling paint used iron oxide, thus the red color. The Italians used 'Italian Moravian' which had copper sulphate, thus the green. I figure it's just convenience, since the Italian used their 'Italian Moravian' while other countries continued to tinker with their paint. Also they had the first layer red but the final layer green. Tashkent's Keel: Why Green? - Battleship Era - World of Warships official forum
- 33 replies
-
- 2
-
-
- conte di cavour
- gpm
- (and 3 more)
-
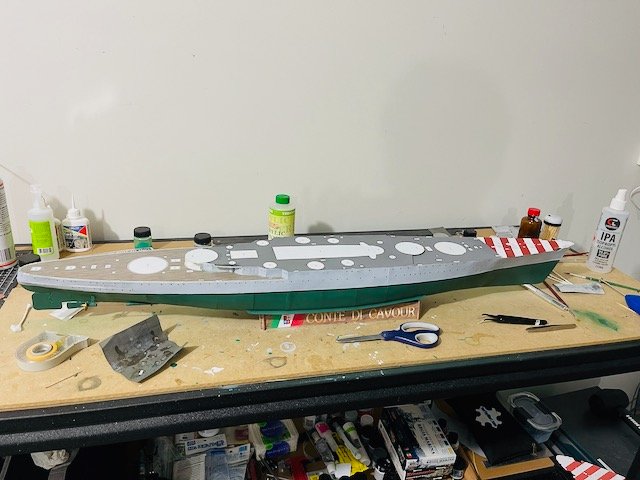
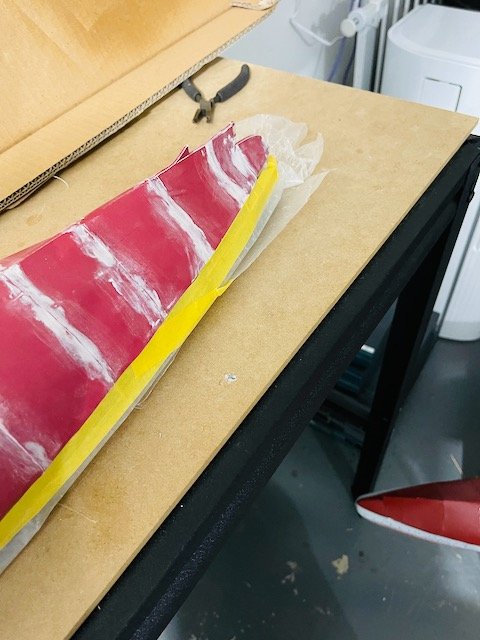
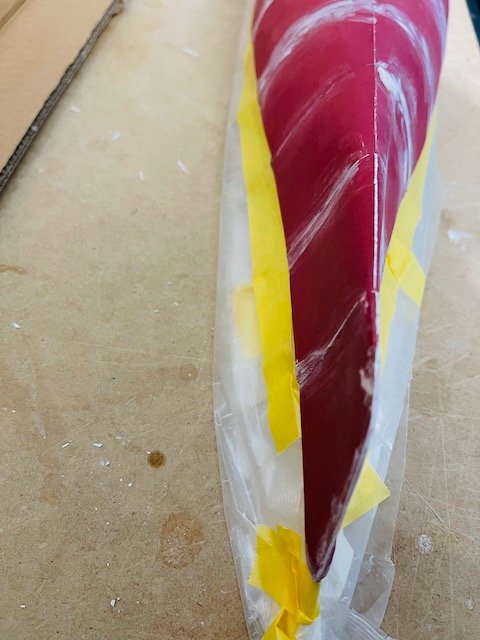
Last coat before varnish. I like how it turned out. This paint is also a tiny bit scratchy (might need a bit more of a wipe down next time) but this makes it seem more real.
- 33 replies
-
- 7
-
-
- conte di cavour
- gpm
- (and 3 more)
-
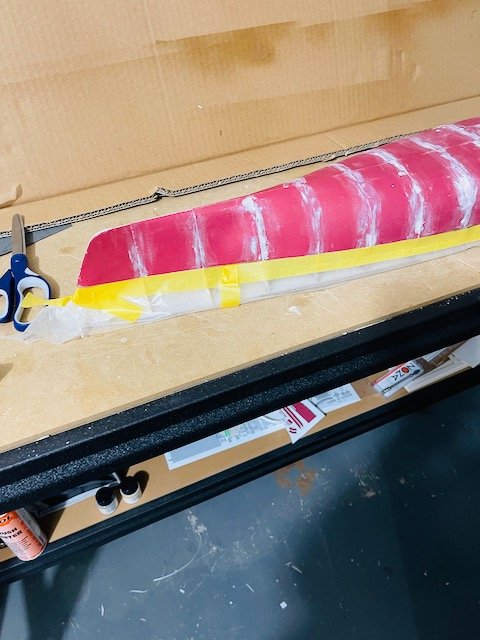
Masking and painting. (First two coats, will need a last one after all is dry) I learned that after sanding I really should have re-sealed it. There is a slight skin sag but I think it will turn out OK.

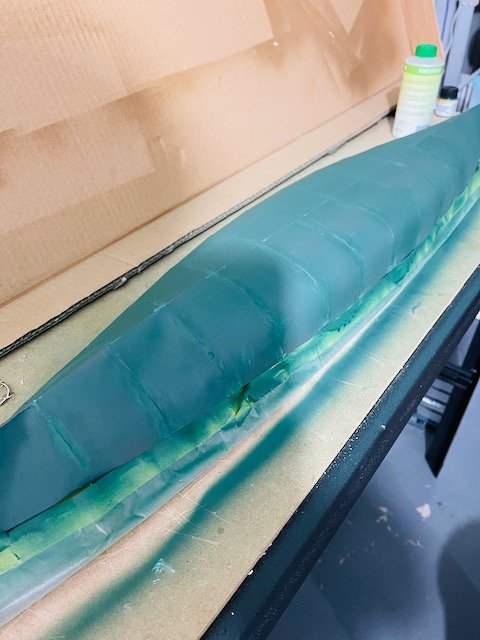
- 33 replies
-
- 8
-
-
- conte di cavour
- gpm
- (and 3 more)