
rumbeard
-
Posts
149 -
Joined
-
Last visited
Content Type
Profiles
Forums
Gallery
Events
Everything posted by rumbeard
-
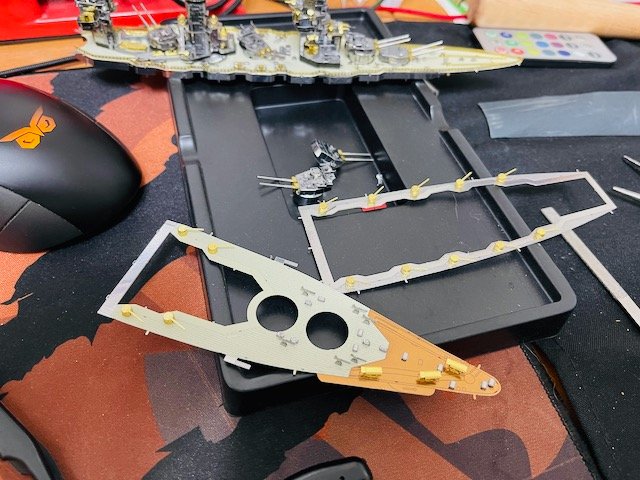
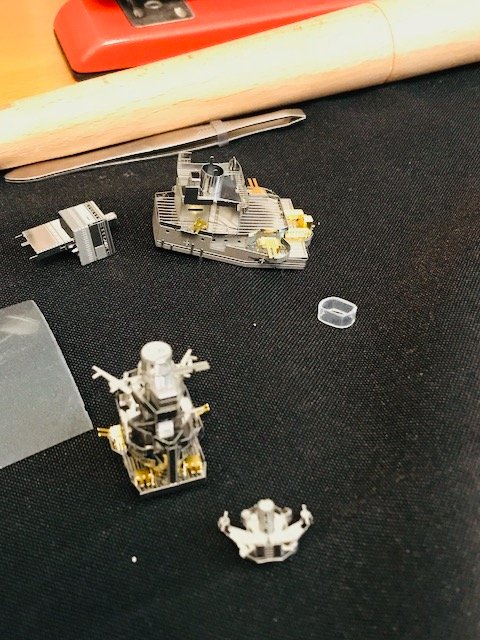
 Superstructure beginning
-
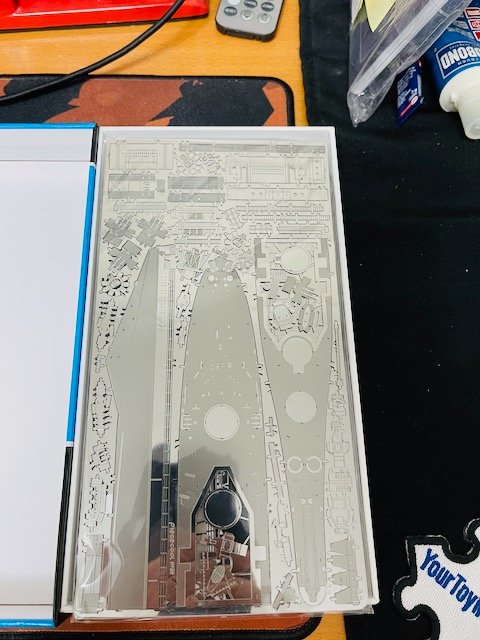
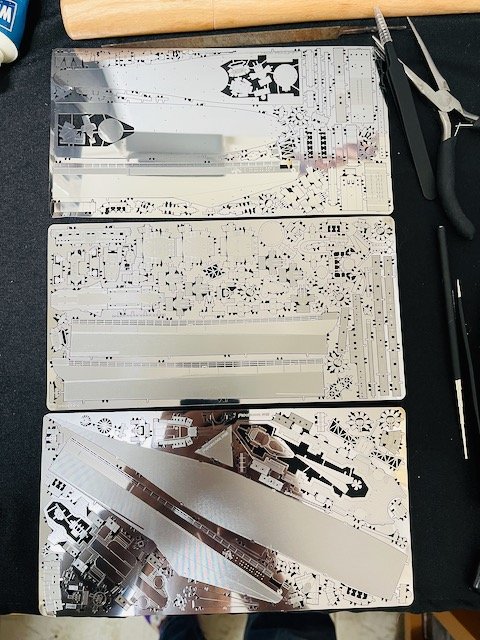
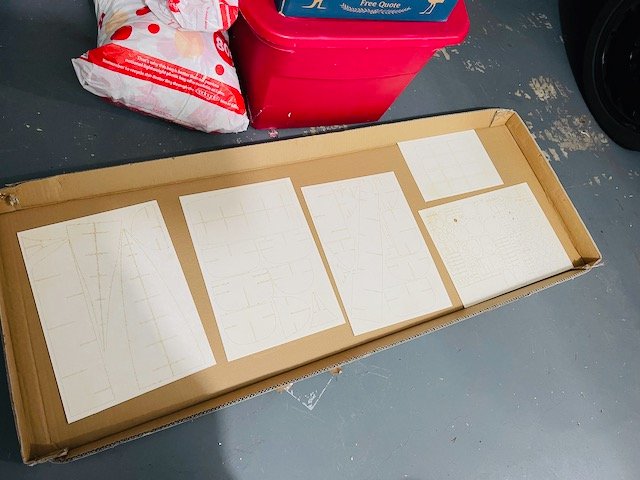
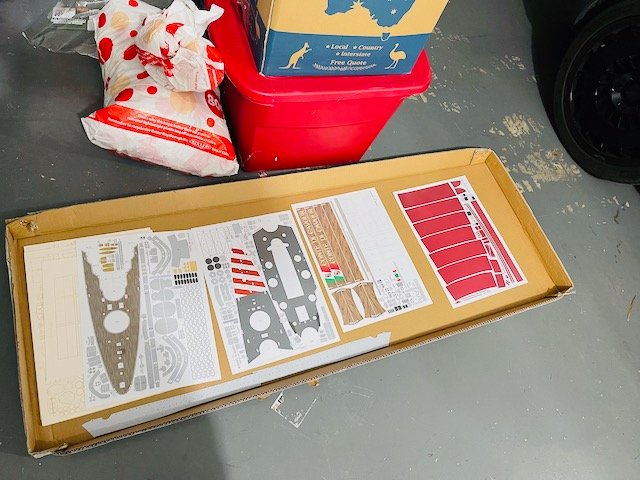
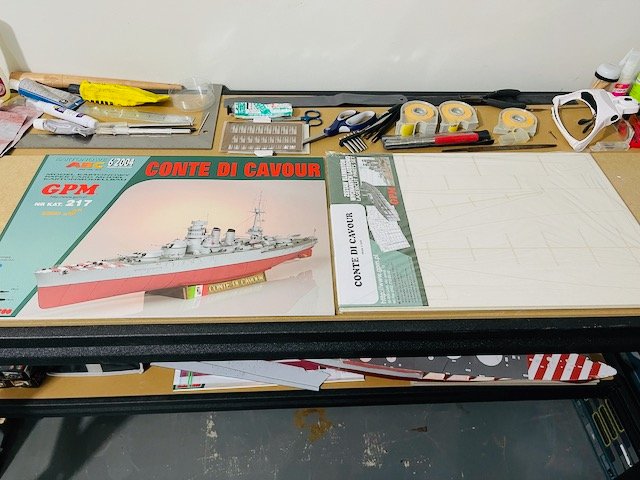
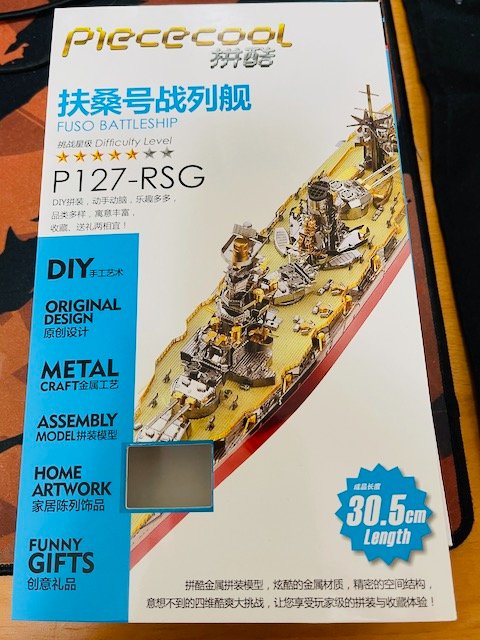
Unboxing
-
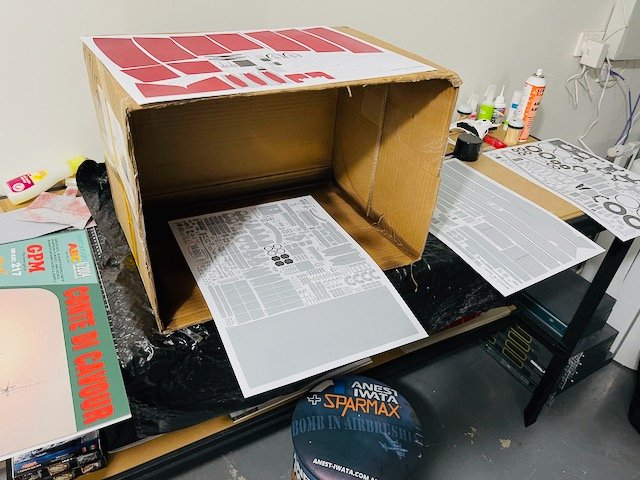
More framing. New technique with the Roket: If one has enough space around the rib hold bottle horizontal or -5 degrees downward (tip pointing up). Bead down the crevice. If not enough space place 1 cm blob in crevice center and take a q-tip and paint up and down the crevice.


- 33 replies
-
- 9
-

-
- conte di cavour
- gpm
- (and 3 more)
-
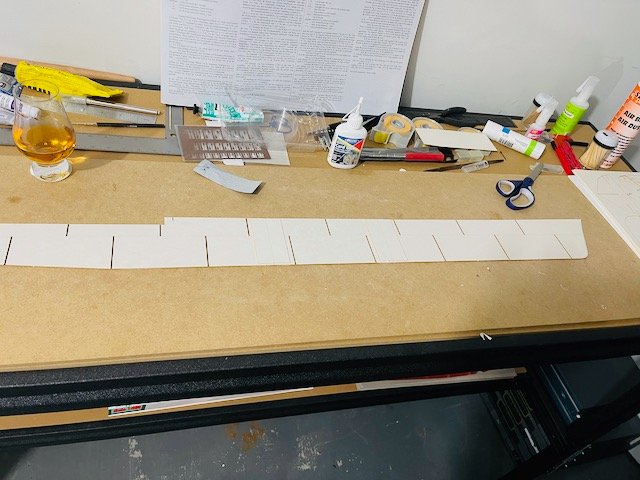
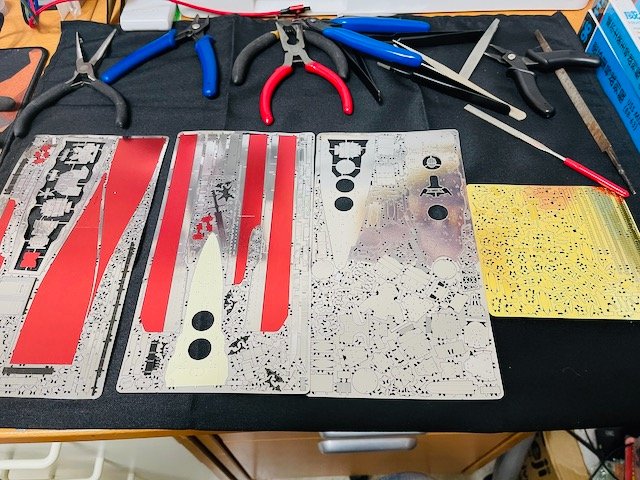
Coating all the sheets including the laser cut sheets with Micador Satin picture varnish on both sides The first gluing. Trying Roket Card Glue. I'll use the Zap I think for laminating and smaller parts as the Roket gives almost zero time to move after you place the object. Roket seems good for the laser forms, though.
- 33 replies
-
- 7
-
-
- conte di cavour
- gpm
- (and 3 more)
-
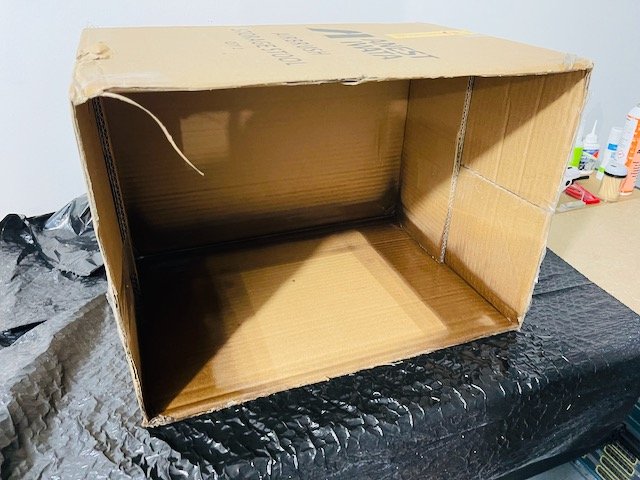
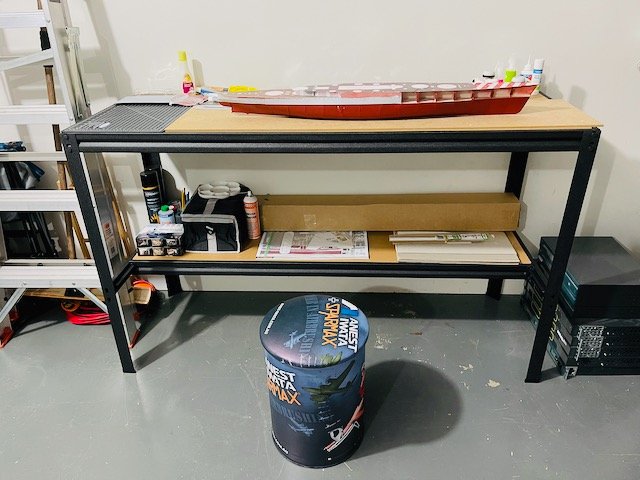
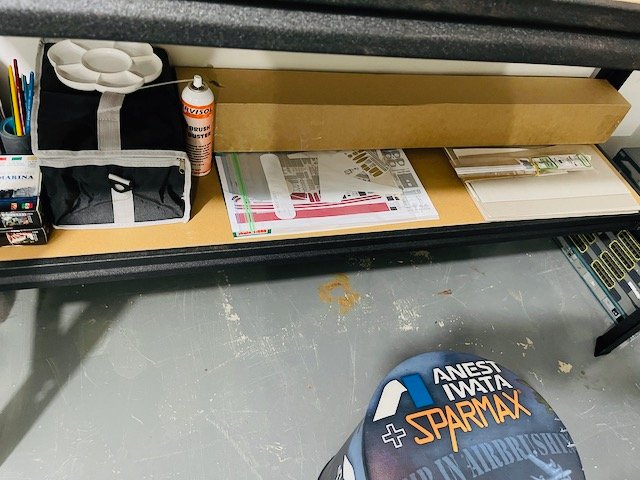
So I mentioned on another build thread or gallery that I wanted to revamp my garage and add a workbench to start converting to a man-cave. I bought the bench yesterday and put it together today. The first four pics are that with the old ship I screwed up (bad masking job and bad putty job). Guess what arrives on my doorstep? The replacement kit. Enjoy as I start to construct like a patient madman.
- 33 replies
-
- 8
-
-
- conte di cavour
- gpm
- (and 3 more)
-
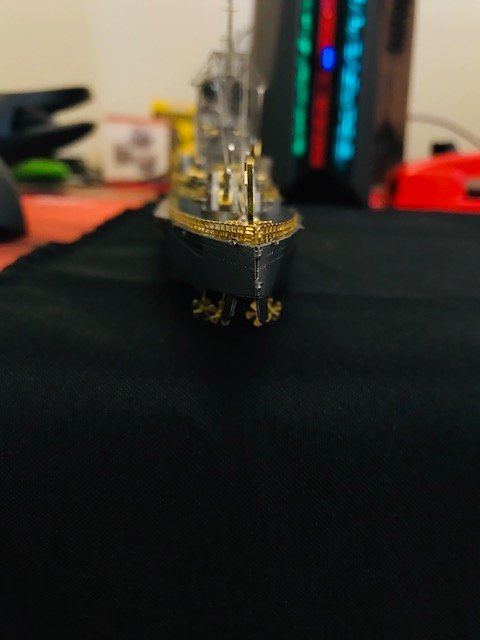
The hull is composed of a few pieces. You attach the side walls and I add the curves and bends with my giant wooden mandrel and my hands. Then you add the bottom plates. The trickiest bits are determining whether you twist tabs, bend tabs outside, or bend tabs for inside insertion. (this is often done with tubes but can get tricky on small tubes and result in undesirable deformation. I often use my judgement in addition to the instruction suggestions because for certain bends I found my choice was a better result.
-


-
-
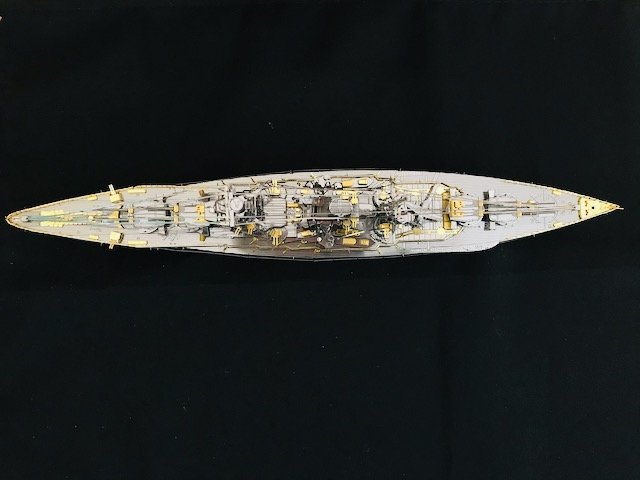
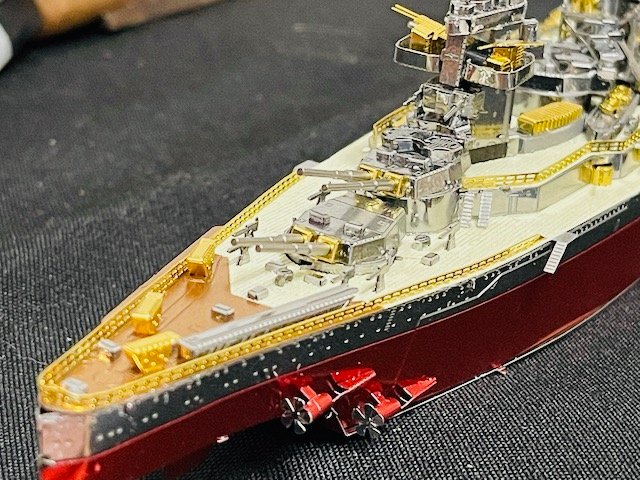
Attached fore and mid Starting on poop deck/fantail All of it together minus hull
-
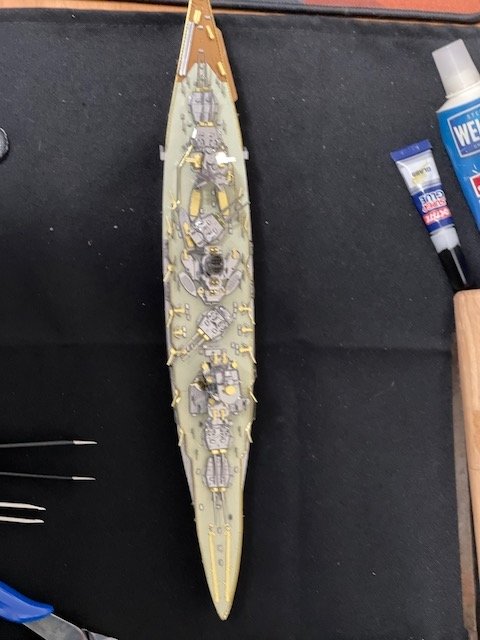
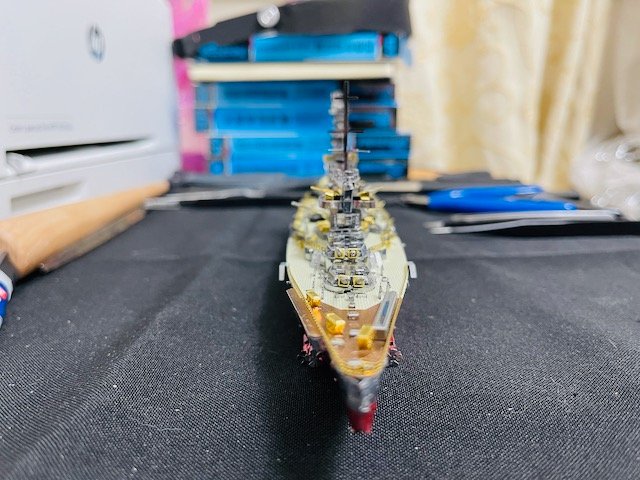
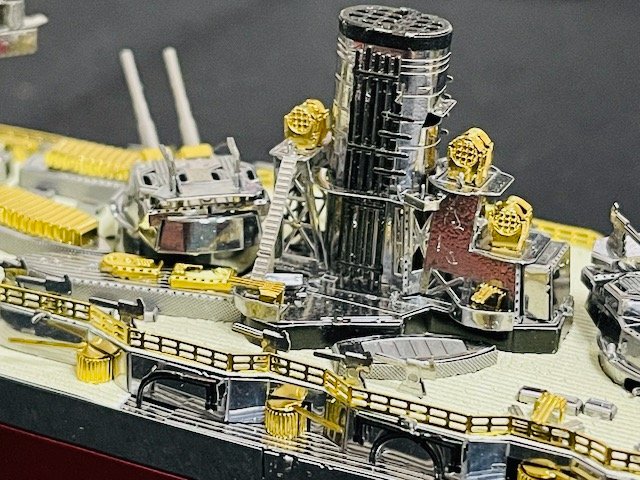
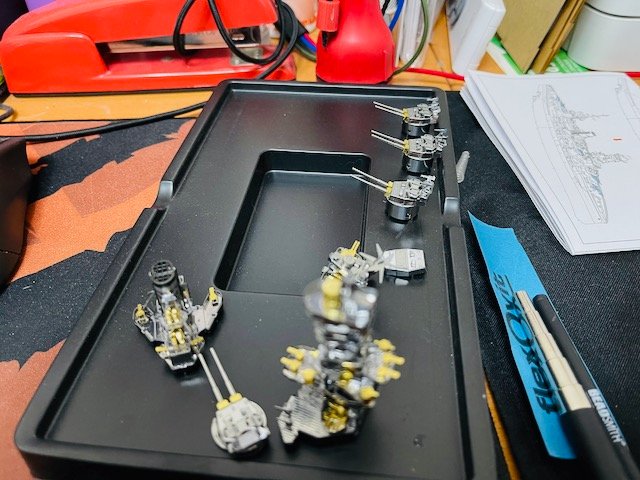
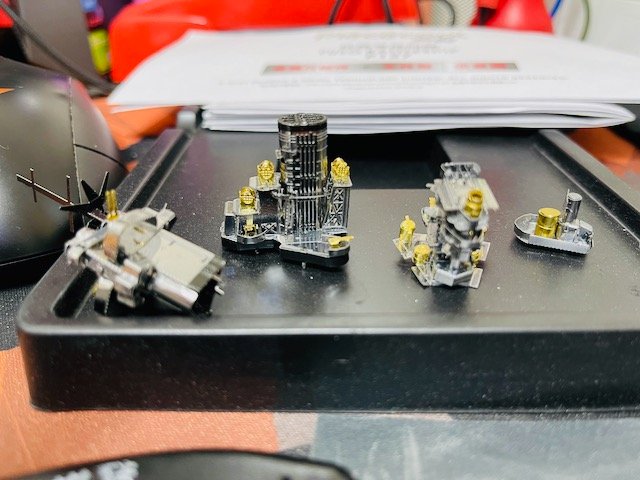
Turrets, fore, and mid decks with greebles. For the later Yamato these became extremely repetitive. The advantage to that, however, is you get really good at banging them out perfectly after 2 to 3.
-
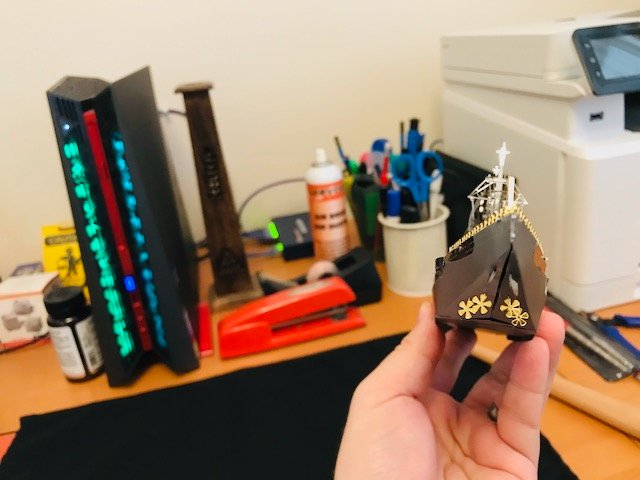
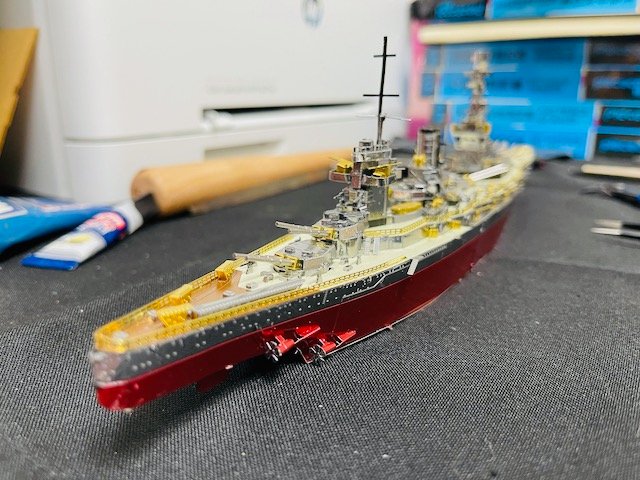
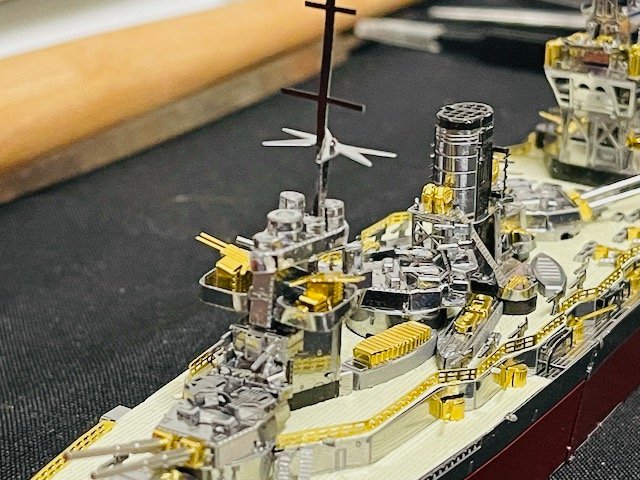
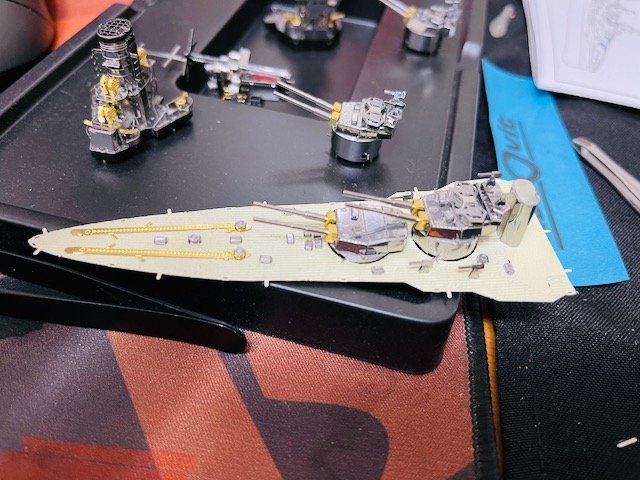
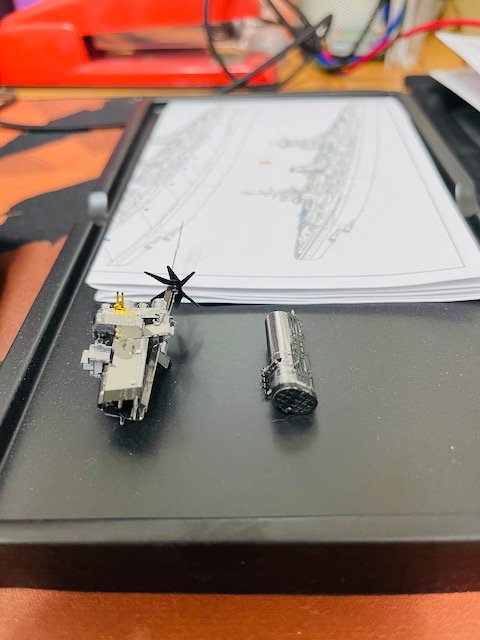
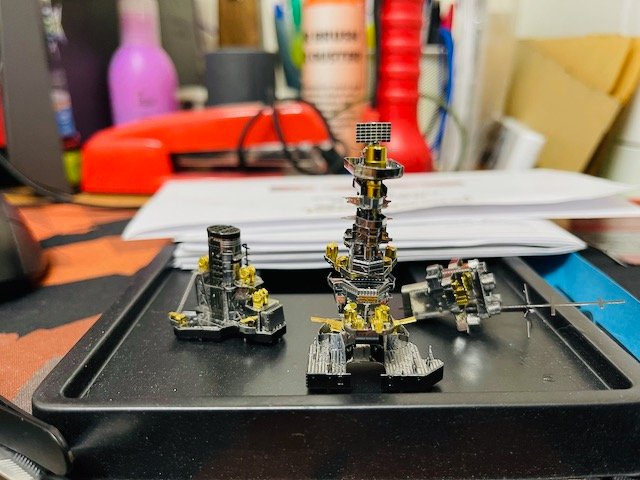
As before you start with the bridge, funnels, and other super-structure items. Antennae and funnels take some practice. Rigging often breaks when trying to hold it steady and add parts. I often have to come back later when the masts are affixed to the deck and glue them in place.
-
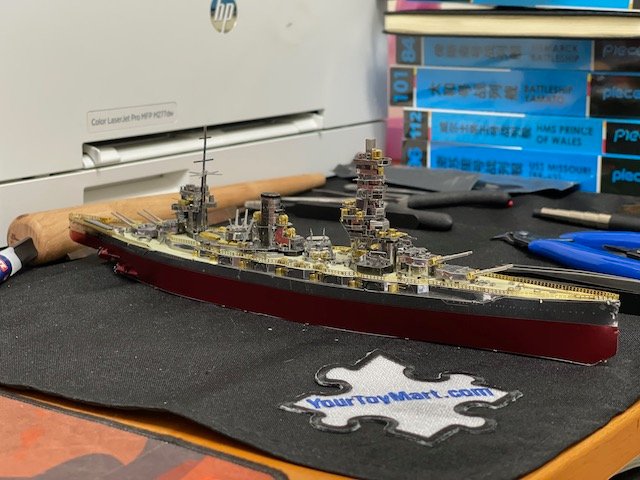
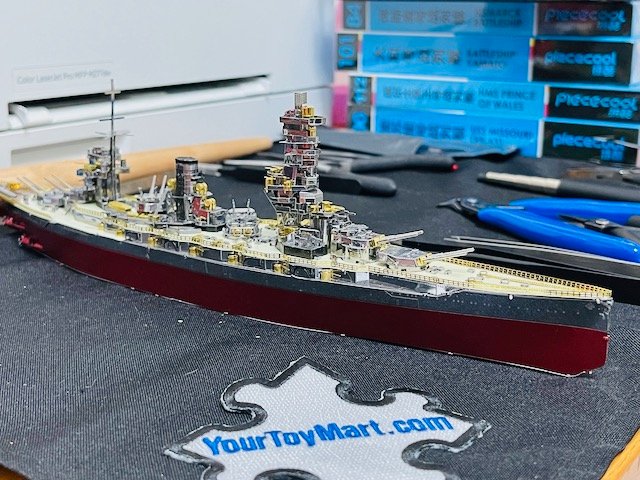
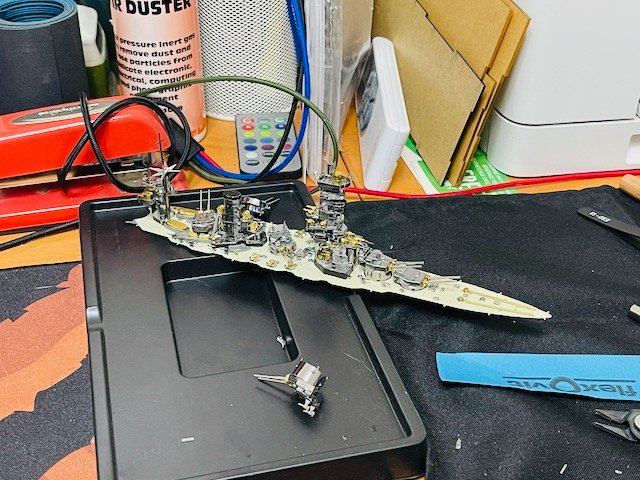
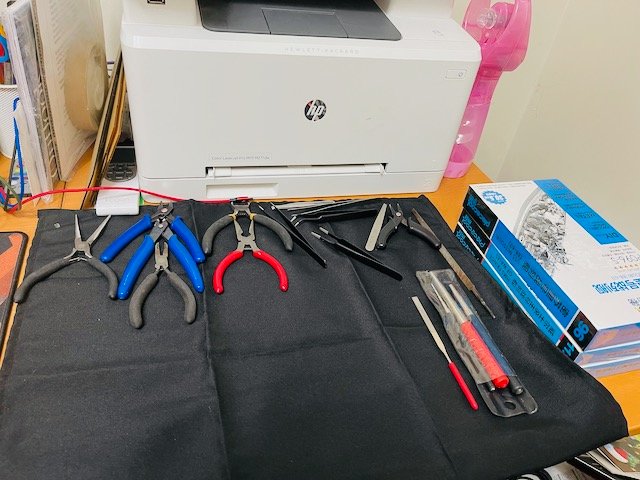
Fast forward three years and I bought a kit of my favourite battleship. I also noticed there were eight or so other ships to build and resolved to get them too. Also got much better tools. Mandrels are very important for curved part bending. I also set up a workspace which will move to the garage this weekend with the purchase of a workbench since my new favourite scale for card models is 1:200 and they are huge.
-
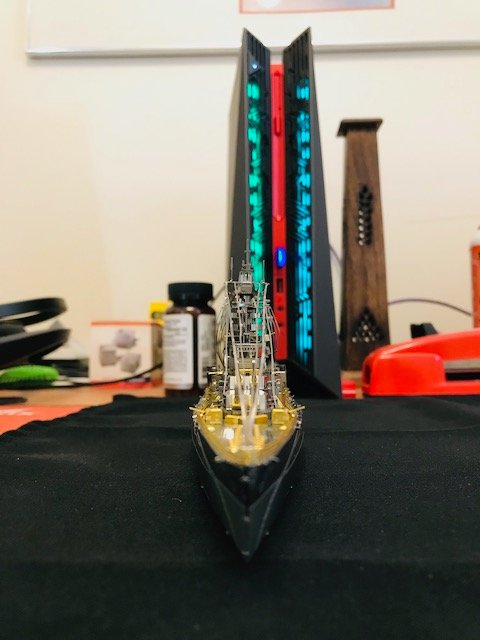
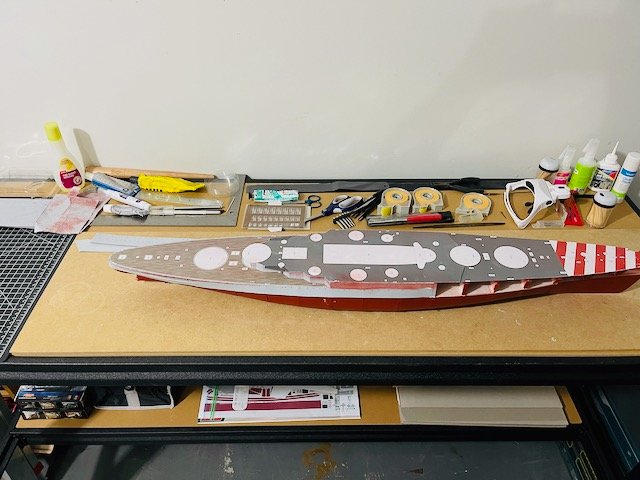
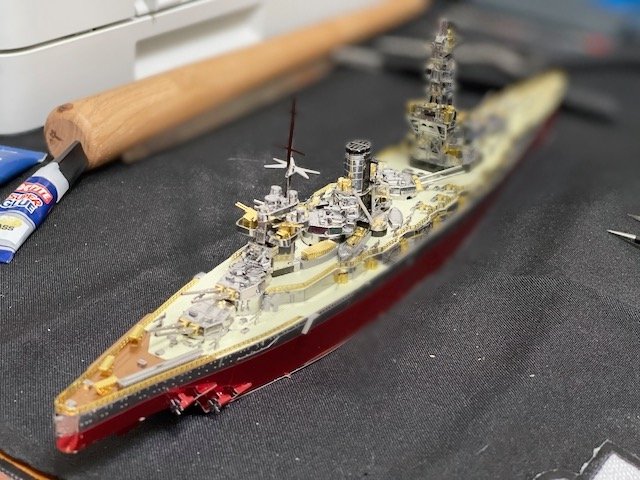
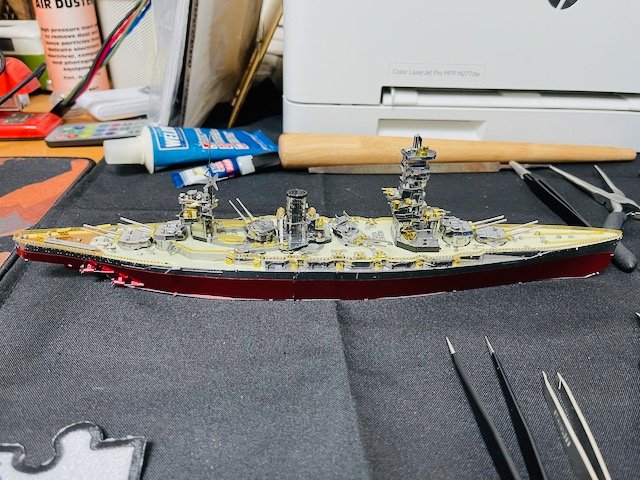
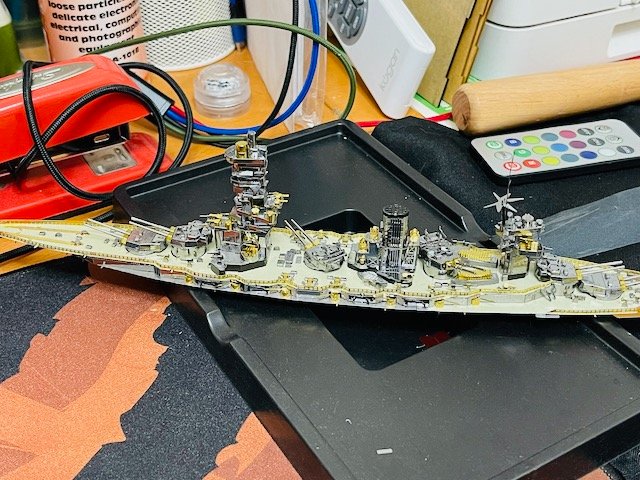
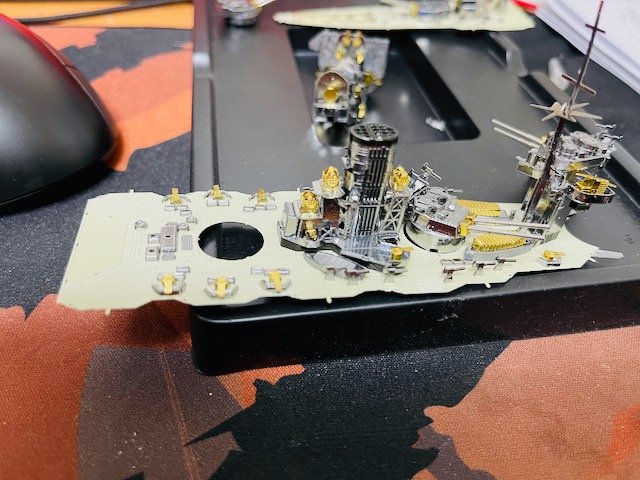
Starting to take shape. The superstructure gets assembled top down to the deck and then the hull is formed and attached.
-
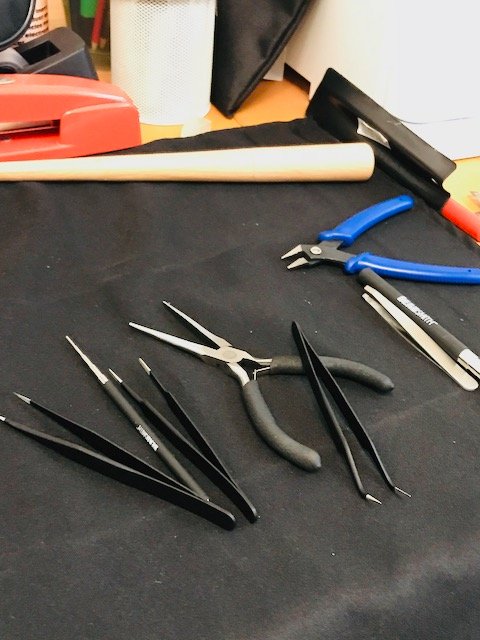
Had to buy tools Cutting is fairly easy and straightforward as is sanding the burrs. I got quite adept at using the straight flat edged tweezers for a lot of crease work. Don't bend more than 1 and a half times or things do snap. That's when I bust out the Weldbond.

-
I'm Rumbeard and have been into scale modelling from the young age of ten or so. I'm 46 now. I went from the usual snap-tite kits to glue + brush paint to airbrush and getting every Scale Modeler magazine from the public library as a teen. I've been on a very long hiatus until last year in the modelling area since university and have gotten back in with Piececool metal ship models. My interests are WWII history both aviation and ships, WWI ships, cooking food from Mexico, India, and Hungary (I do have Hungarian ancestry), and sailboat racing (been sailing since I was 7). Also computing history. I am a system rescuer which means I rehabilitate old servers from the bygone days (e.g. Sun, Cray, IBM rs/6000, NeXT etc.). If it's not a PC it's for me. I work in IT as a Service Delivery Manager for an American Hedge Fund in Asia Pac hours. My current project I started in a new to me medium (I know plastic and metal pretty well) card models. I got a healthy start on papermodelers.com and then got too excited and made a few mistakes so I decided to start over with a repurchase of the same kit (GPM 1:200 Conte Di Cavour). I found this site by reading the excellent build log of Dan Vadas on the Bismarck and Akatsuki. I plan to replicate his techniques mostly on my Italian ship step by step. I won't be doing portholes or porthole sills but will be doing most of the rest in PE.
-
The one thing often sold by third parties is taking a kit and recoloring or colorizing the silver only or silver+brass kits. In this genre also some people paint them and discuss their experiences as the material sometimes doesn't take paint well and you have to do some things to get paint to stick.
-
I did a lot of the kit reviews on reddit but I can post some highlights and commentary from those in a special gallery soon.
-
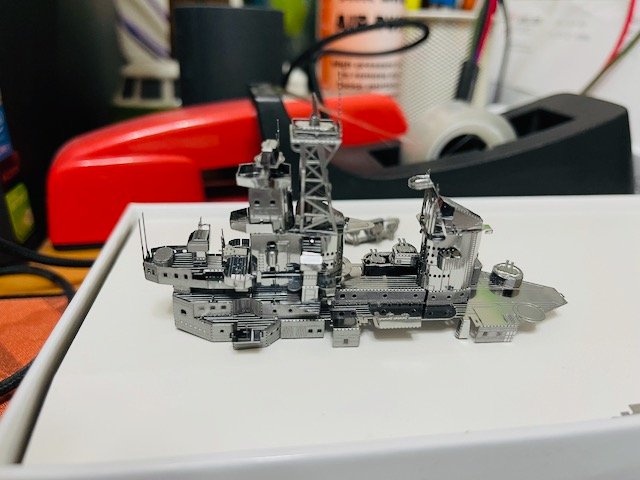
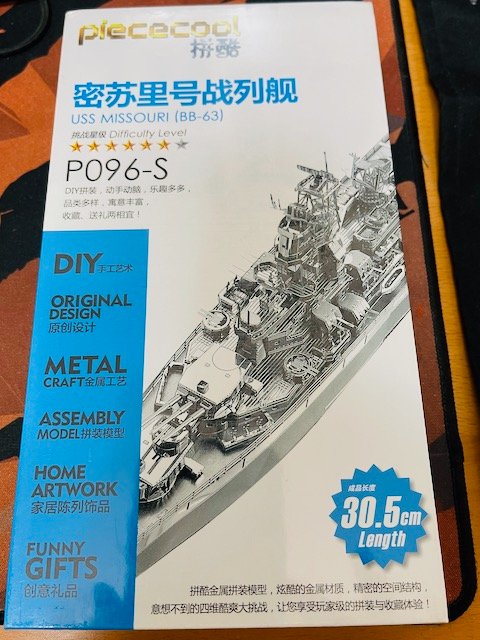
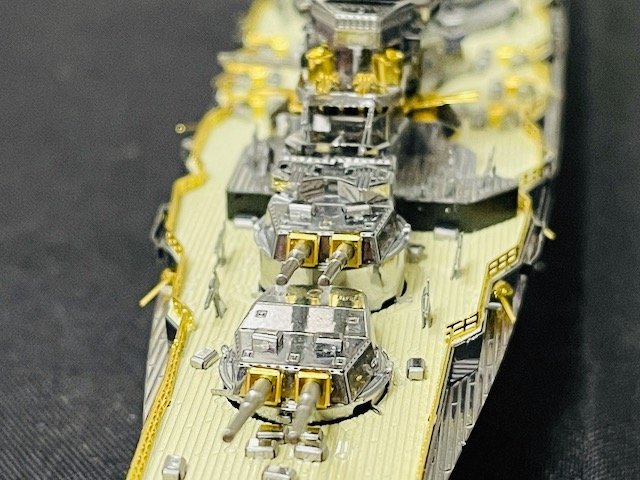
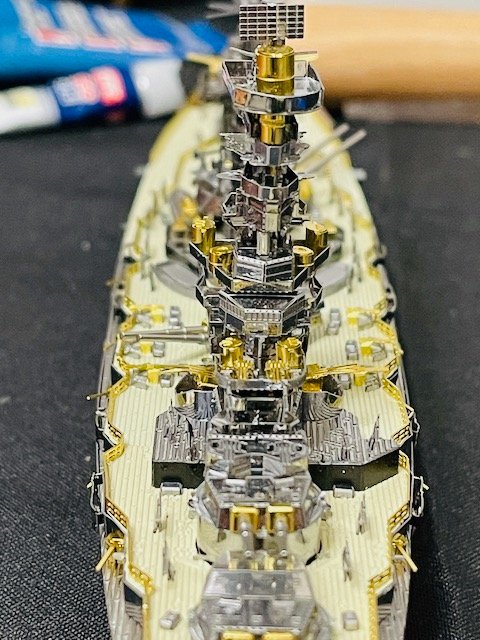
I'd love to do a specialized area for this genre. The Piececool kits are like Metal Earth but a lot more detailed. If you look at the Missouri which is printed in both brands the Piececool one is far more detailed, better textured, and has more sheets. In the card genre where we translate from Polish a lot the Piececool sheets have to be translated from Chinese or Japanese sometimes and there are folks that do pdf translated instruction sheets for the kits that don't have english specific releases.
-
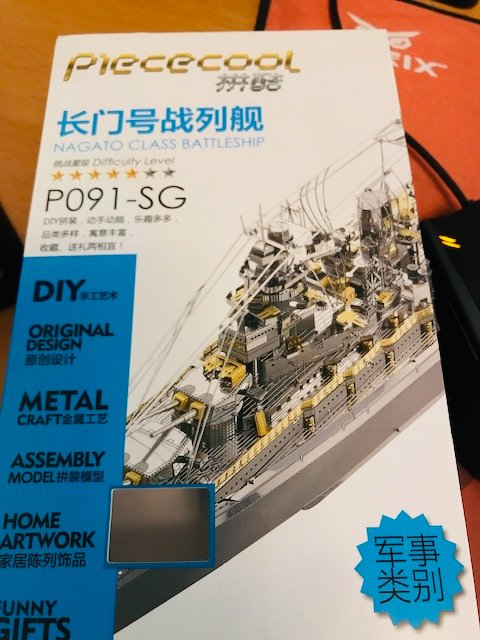
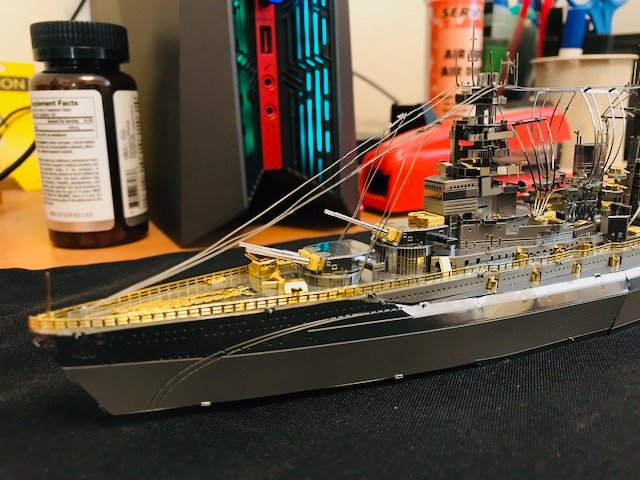
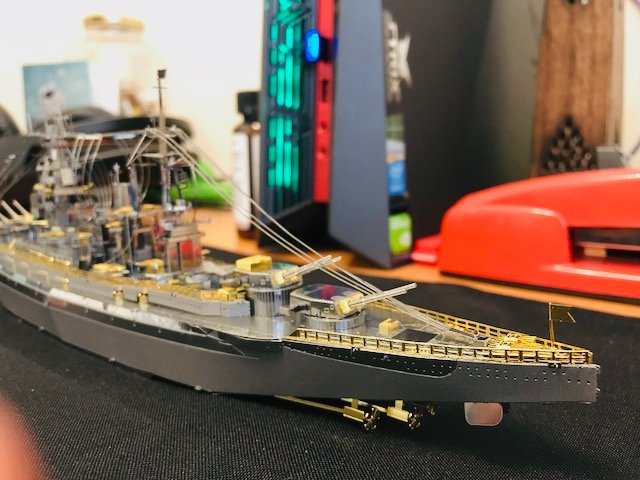
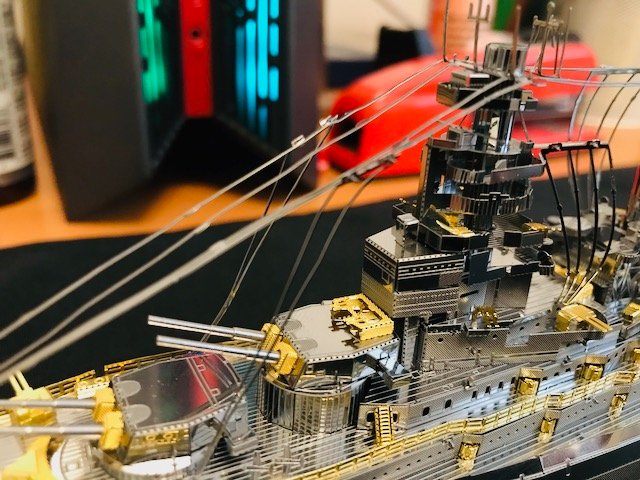
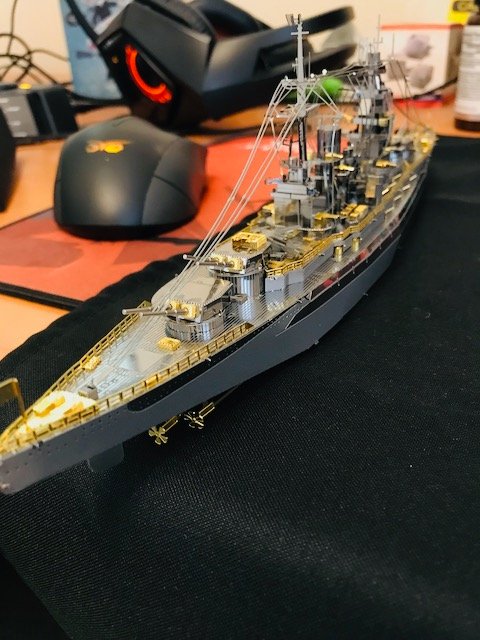
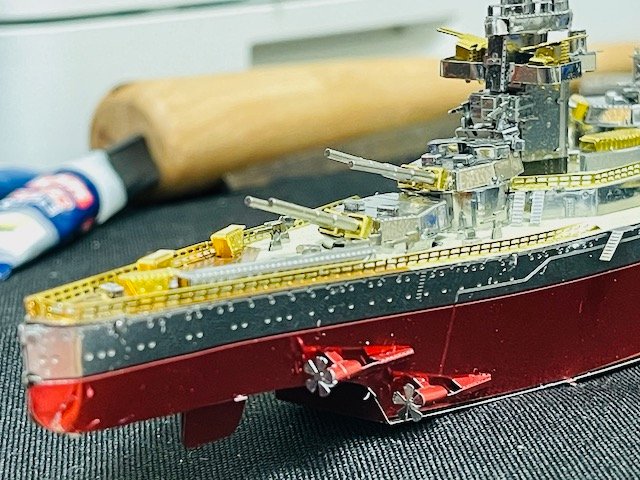
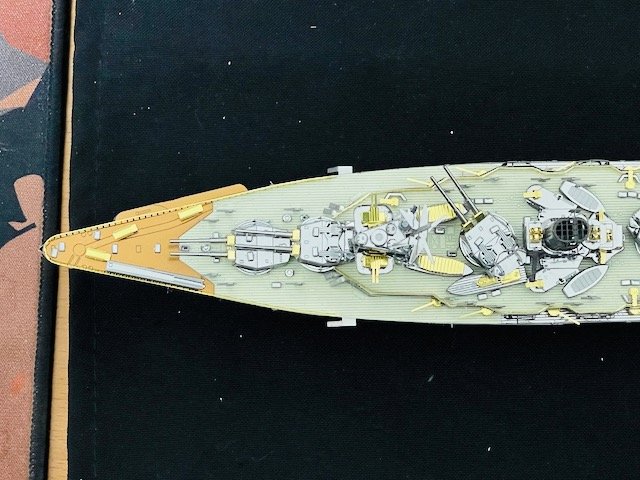
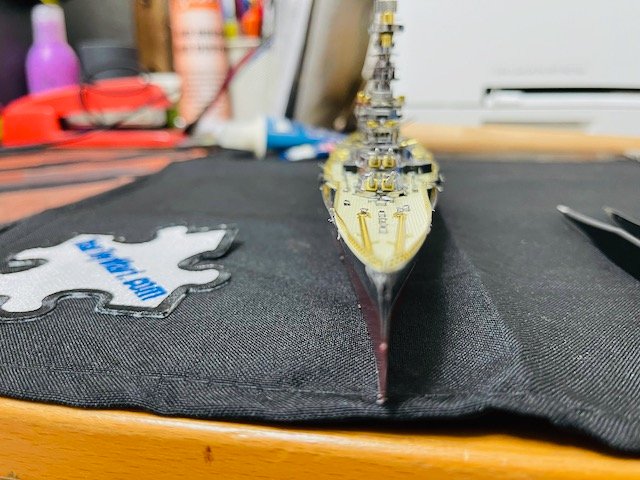
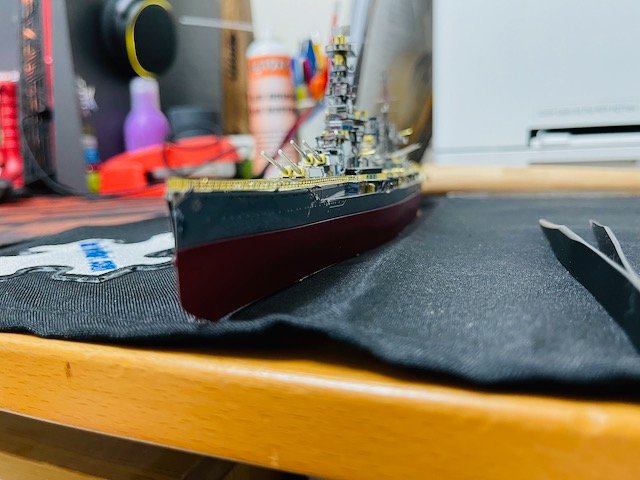
I started this one back in 2018 as my first serious foray into ship models of the metal sort after I had already built a Hindenburg and USS Enterprise from Star Trek for practice. This kit caught my eye and I loved the brass highlights.