
rumbeard
-
Posts
149 -
Joined
-
Last visited
Content Type
Profiles
Forums
Gallery
Events
Everything posted by rumbeard
-
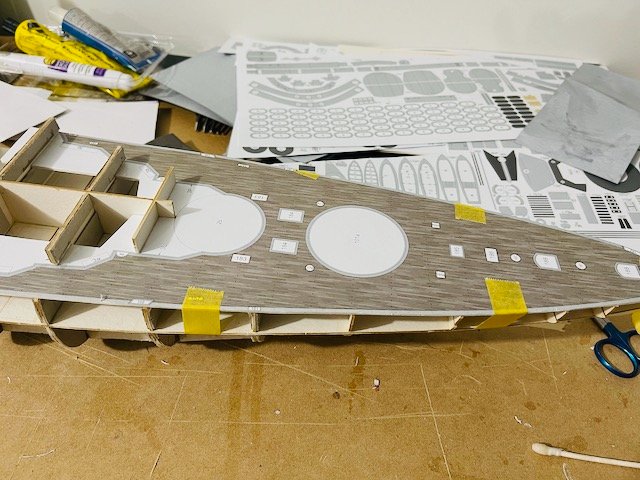
 So the hull is skinned. Next stop fairing the seams with sand paper, applying the bare minimum of putty, and sanding that. In between I'll decide how much of the rudder and screw mounts to apply or if I want to paint them separately. Masking will be done and I've decided per input on the other forum to change the hull colour to anti-fouling green from the Lifecolor Italian WWII set.
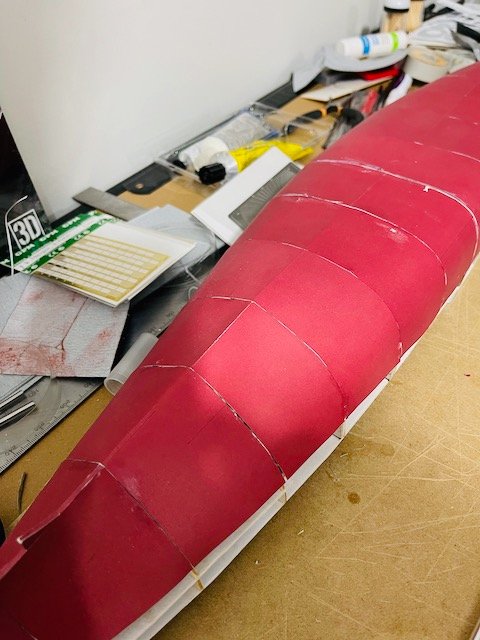


- 33 replies
-
- 9
-

-
- conte di cavour
- gpm
- (and 3 more)
-
To align these I'm using the alignment ticks down the keel and gluing keel first then adhering sides.
- 33 replies
-
- 3
-
-
- conte di cavour
- gpm
- (and 3 more)
-
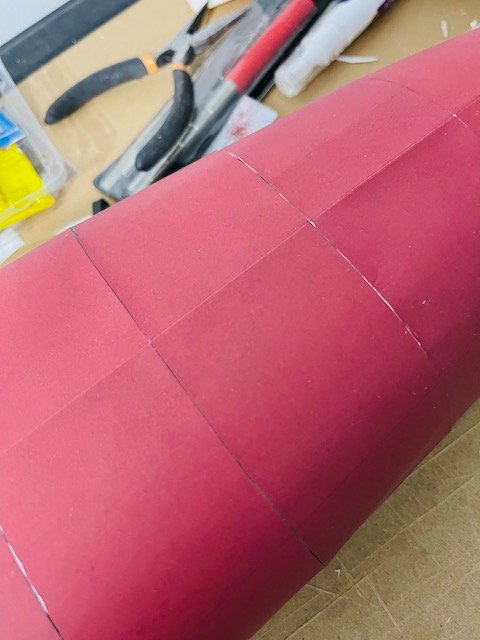
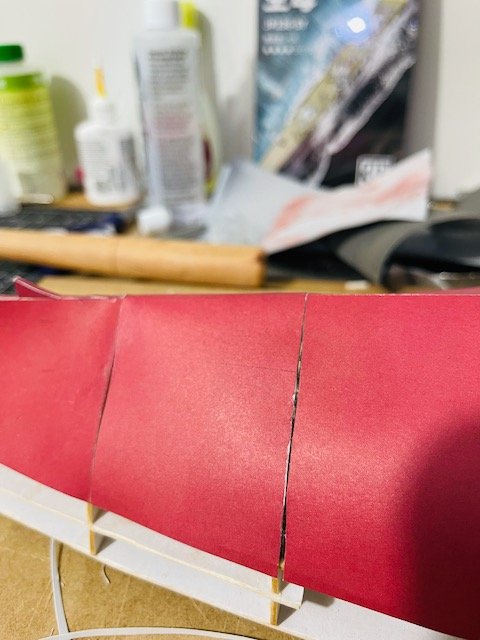
Even more fun issues today. Noticed hull plates not quite straight... trimmed and fit one. Then the other side had a gap. Made a wedge out of the trimmed scrap. Fun times. I think I can just do a very careful putty when done and sand/airbrush the seams at a minimum.
- 33 replies
-
- 3
-
-
- conte di cavour
- gpm
- (and 3 more)
-
Also the phone cameras make that hull look a lot lumpier than it is. It's smooth, there are just white worn edges and a gap or two along a seam. The panels do sit perfectly flat against the formers. No starving cow yet.
- 33 replies
-
- 4
-
-
- conte di cavour
- gpm
- (and 3 more)
-
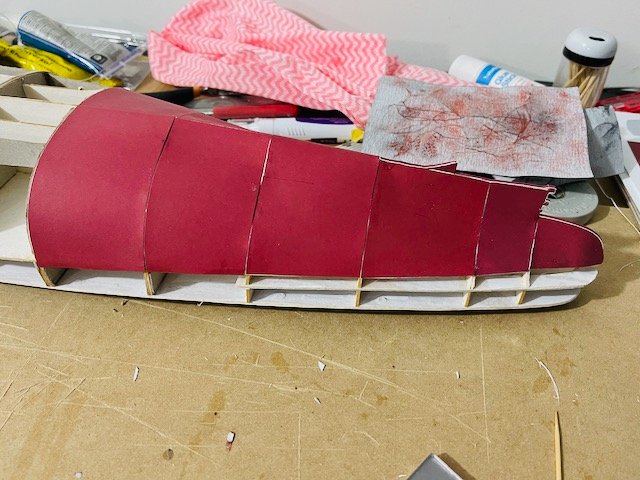
So things are coming along, but I have resigned myself to the fact that I will need to paint, putty, and touch up the hull as well as several other tiny spots. One of the hull panels didn't fit so well and required trimming. As I move forwards from the stern, however, the panels do fit better. The one thing that makes me less hesitant this time to do touch up is if I match the colors well, my new airbrush should allow me to add very tiny streams with low flow and blend into the paper look.


- 33 replies
-
- 6
-
-
- conte di cavour
- gpm
- (and 3 more)
-
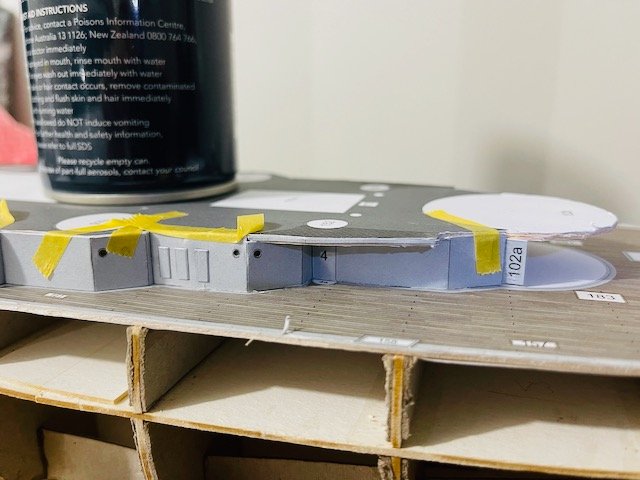
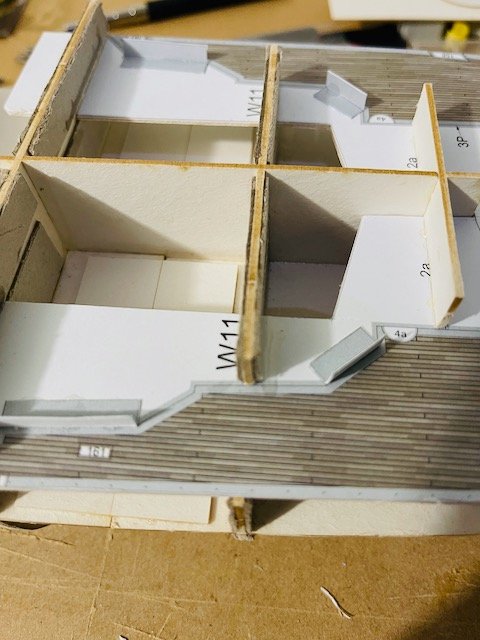
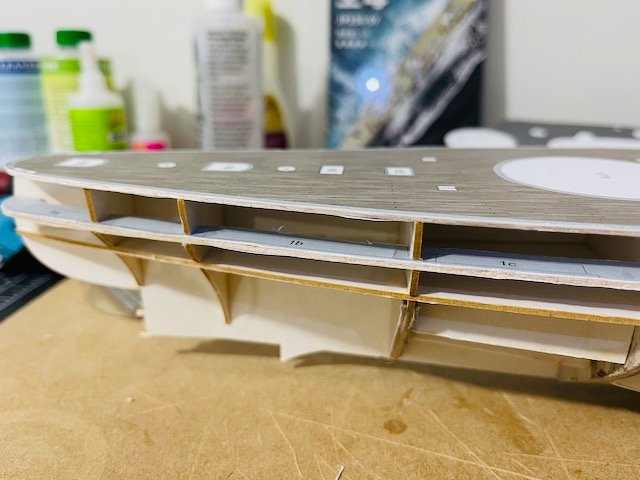
Some wall reinforcements, deck part 1, and adding portholes with the punch n' die set and scrap plastic from my 5 year old's toy boxes.

- 33 replies
-
- 6
-
-
- conte di cavour
- gpm
- (and 3 more)
-
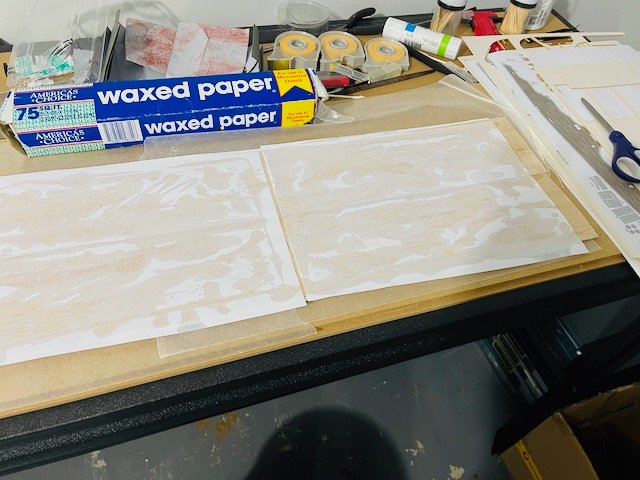
So it looks like technique two wins. I might do Roket Card next time for the copy paper and then CA for the decks.

- 33 replies
-
- 7
-
-
- conte di cavour
- gpm
- (and 3 more)
-
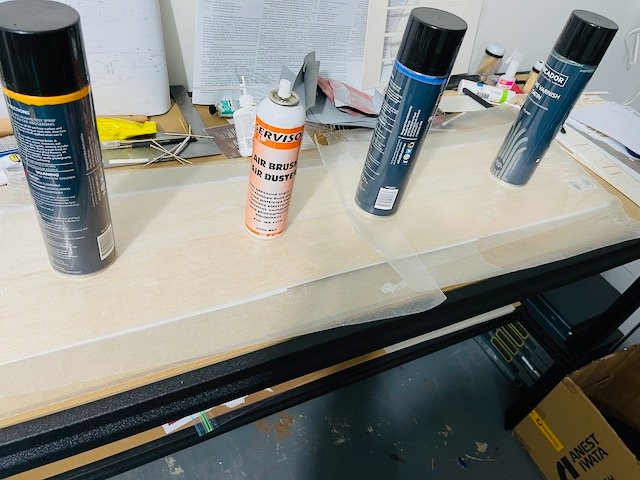
The other balsa deck I tried contact adhesive for the copy paper which results in a much cleaner look but it doesn't seem to stick hard. (still semi-peelable). Once I stick the decks as I have done here, it seems good. Last pic shows them side by side
- 33 replies
-
- 4
-
-
- conte di cavour
- gpm
- (and 3 more)
-
While that was going I did my bulkhead reinforcements ala Dan Vadas with some shortcuts by me resulting in higher strength. (instead of .5 mm card, used 1mm card, stopped trimming out middle after first two, and added secondary stringers out of left-over laser cut material)


- 33 replies
-
- 5
-
-
- conte di cavour
- gpm
- (and 3 more)
-
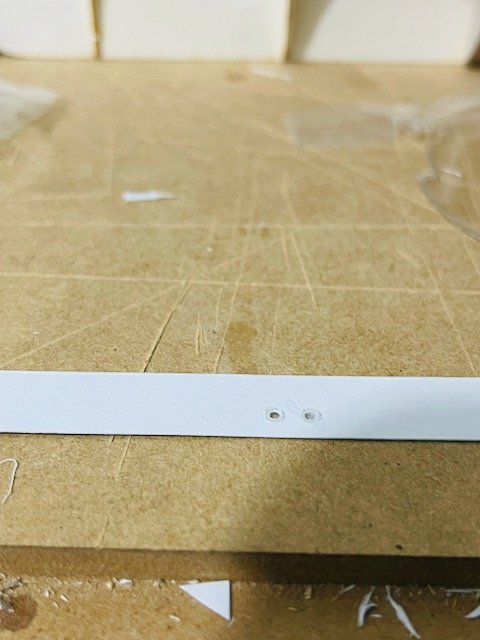
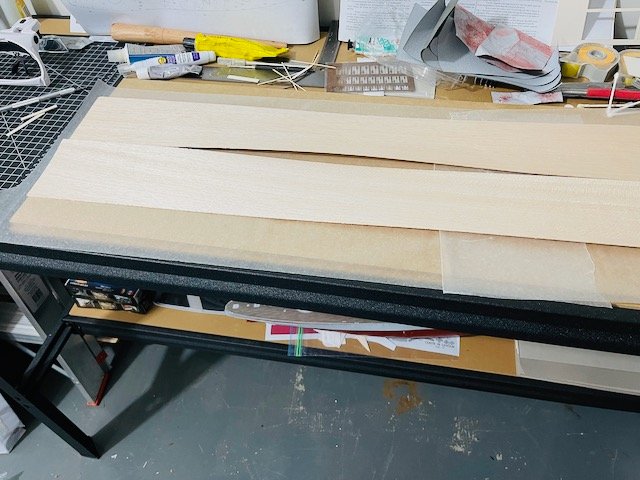
So I'm not an expert with this method yet and my balsa was a little non-flat so I tried two strategies. (Thanks PAPERFAN). First one was to do copy paper on both sides and I messed around with spreading. I ended up just putting the paper down eventually and letting the thinnest CA soak through. I don't have glass handy but lots of wax paper. It's not pretty but I glued the deck pieces to it and it will do the trick.
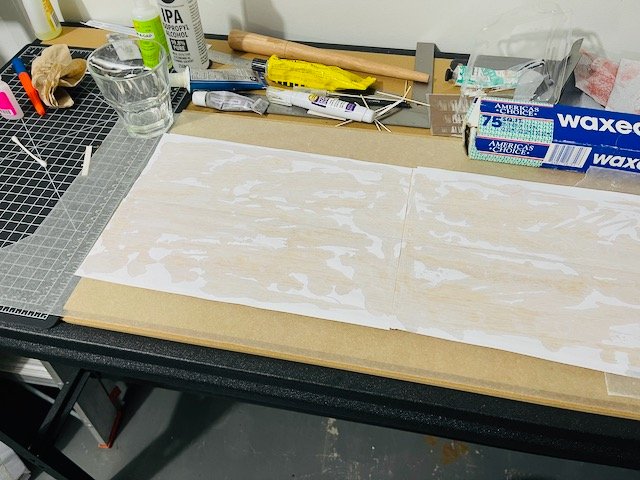
- 33 replies
-
- 3
-
-
- conte di cavour
- gpm
- (and 3 more)
-
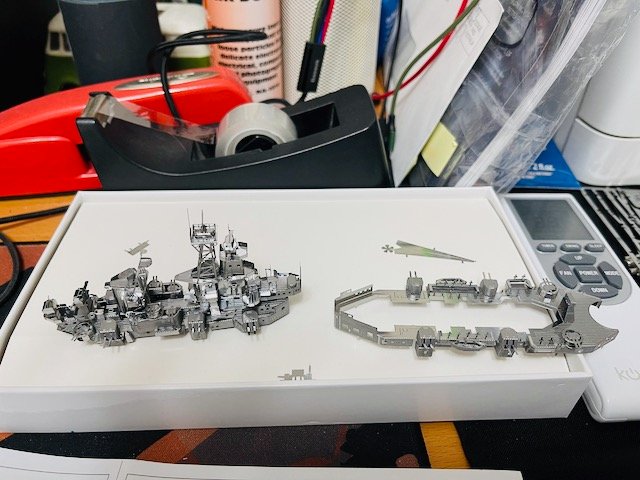
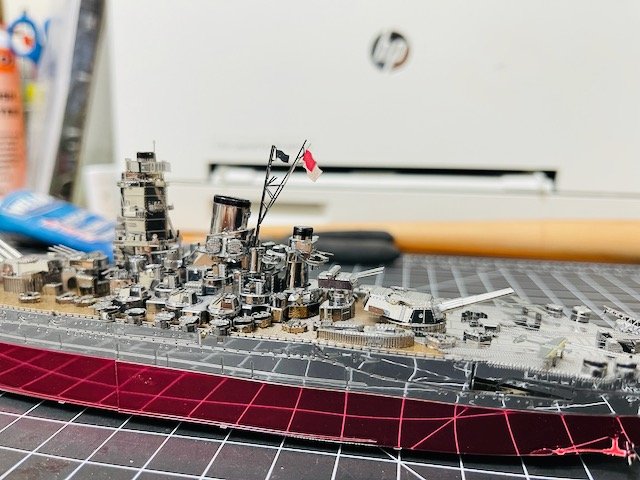
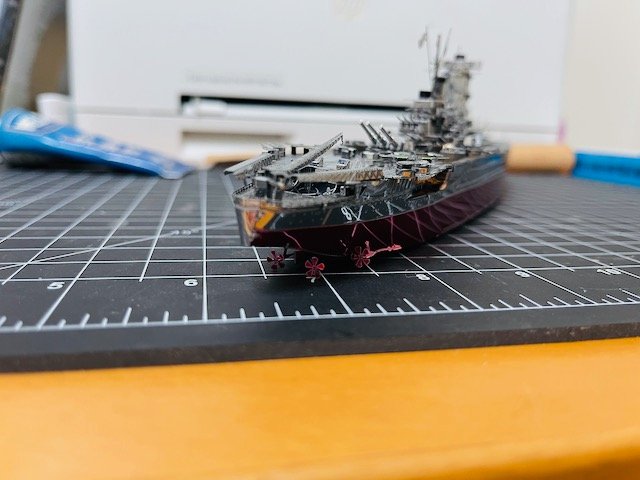
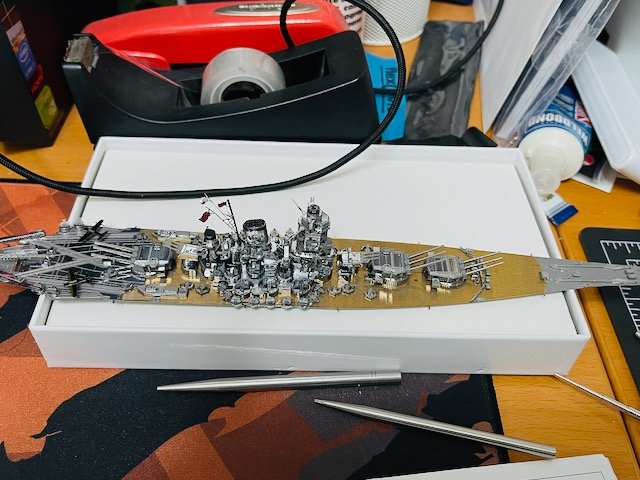
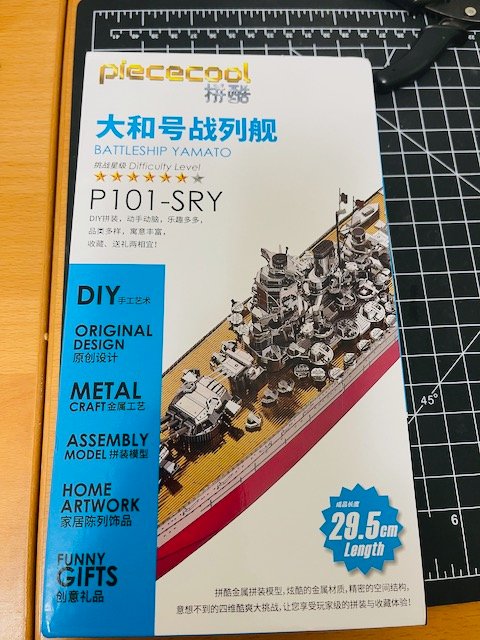
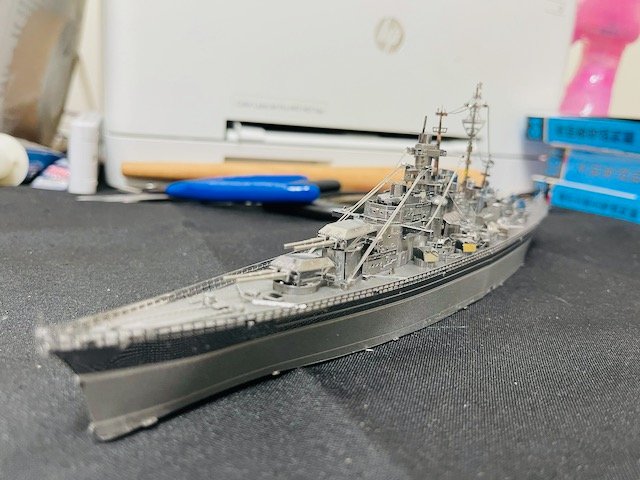
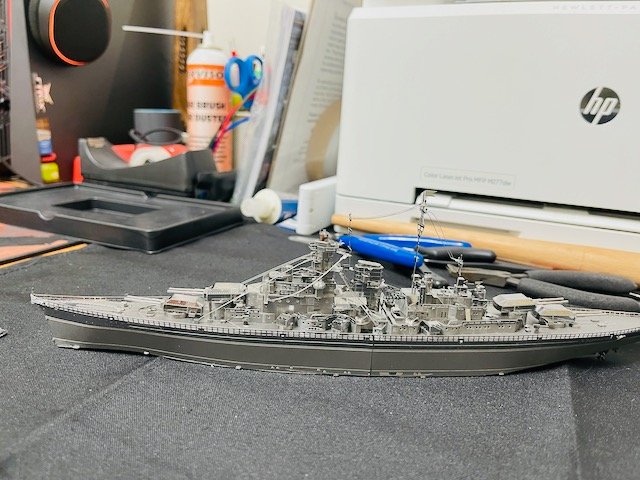
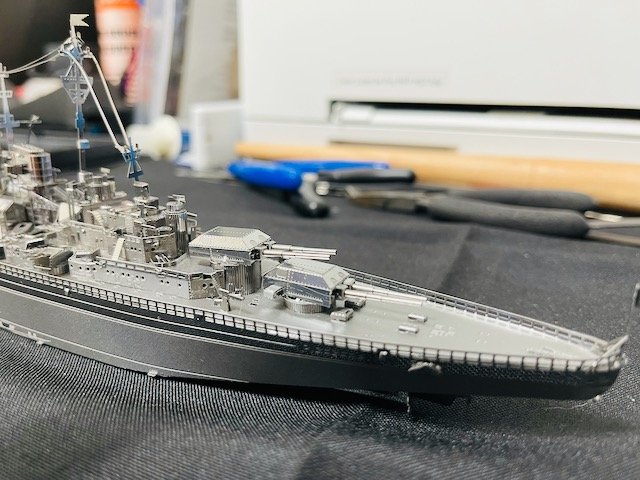
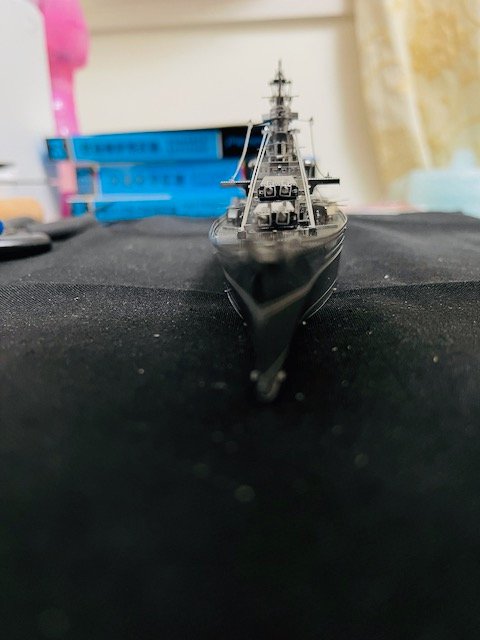
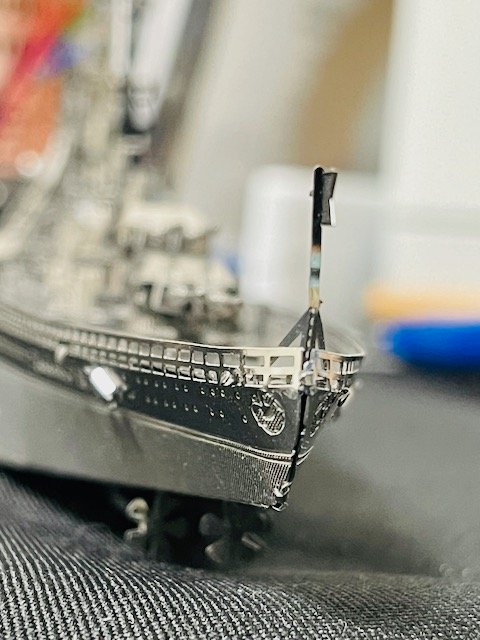
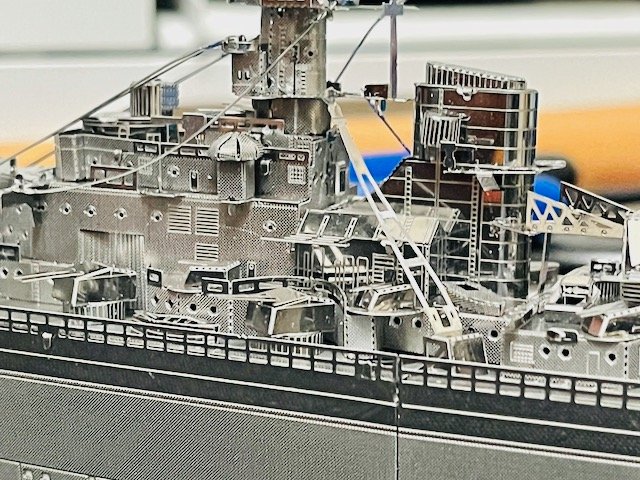
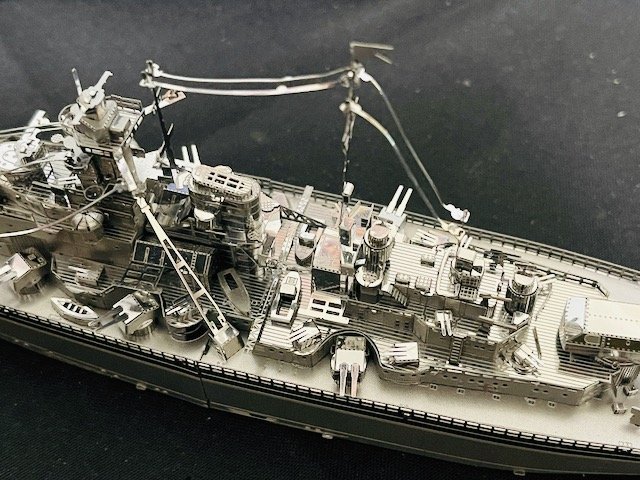
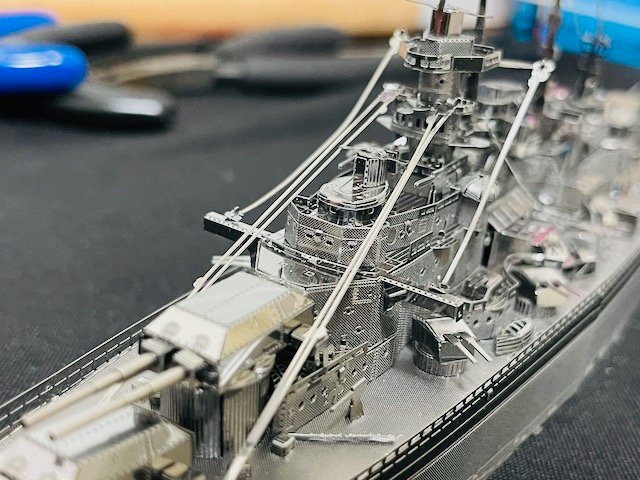
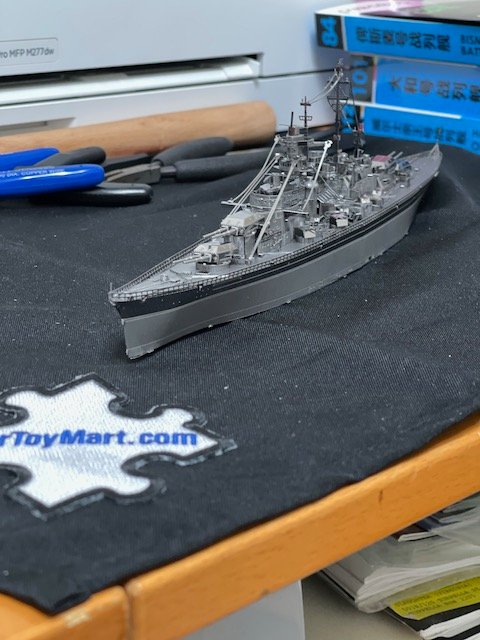
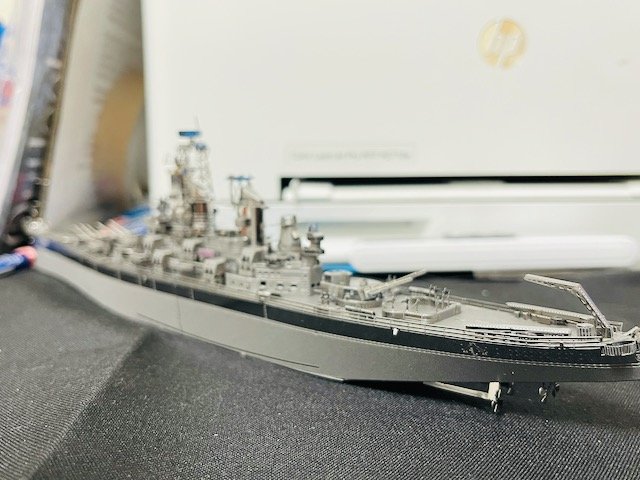
Finished.
-
Guns n' decks:
-
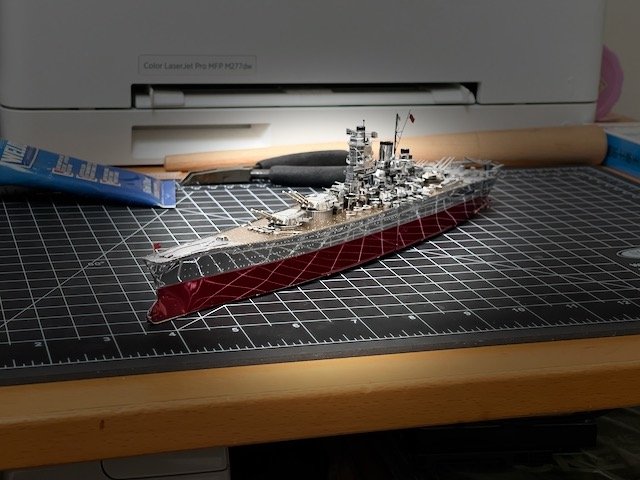
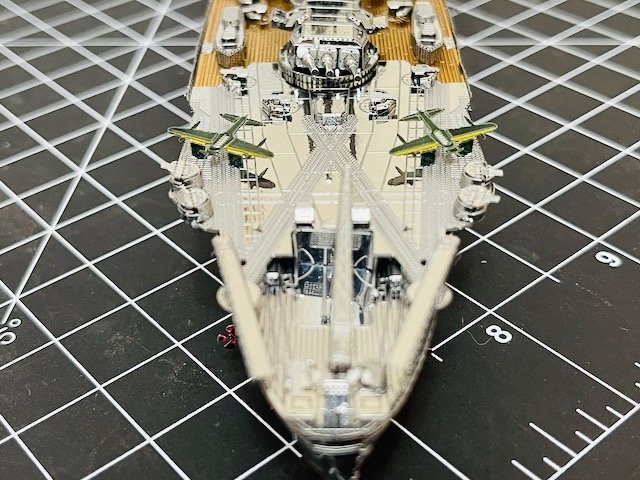
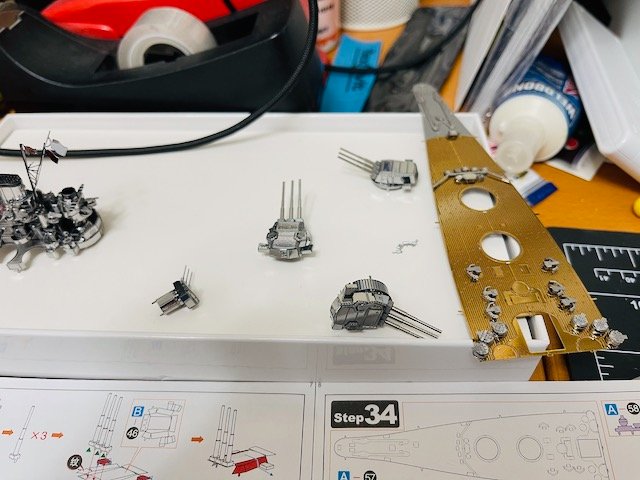
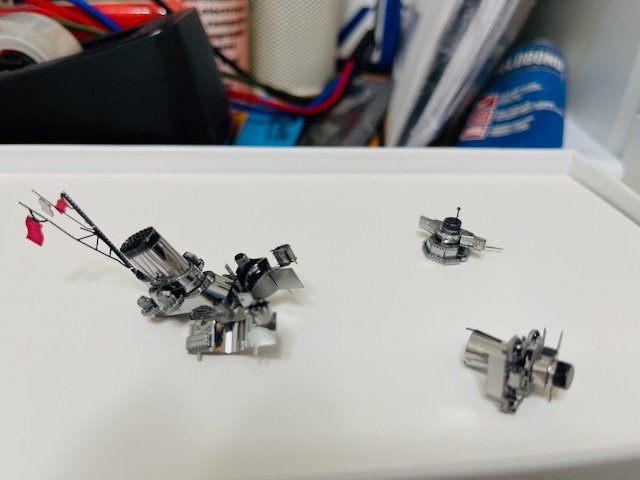
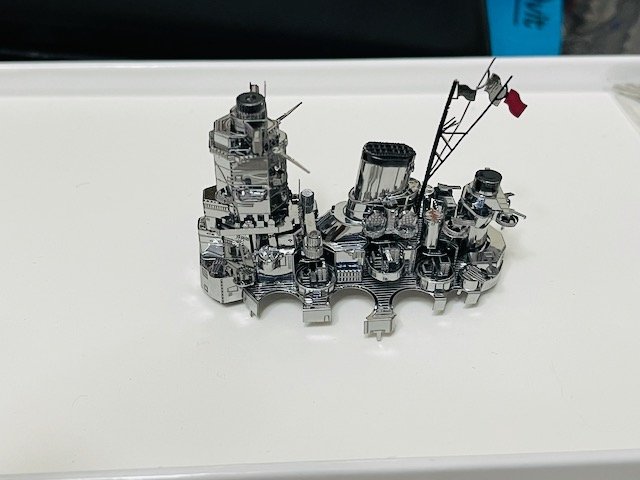
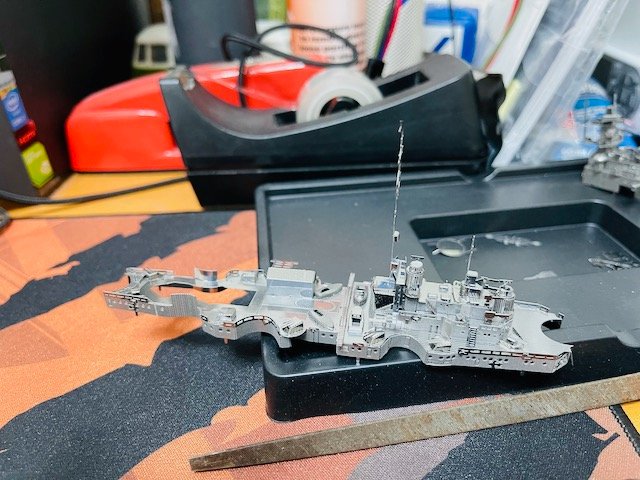
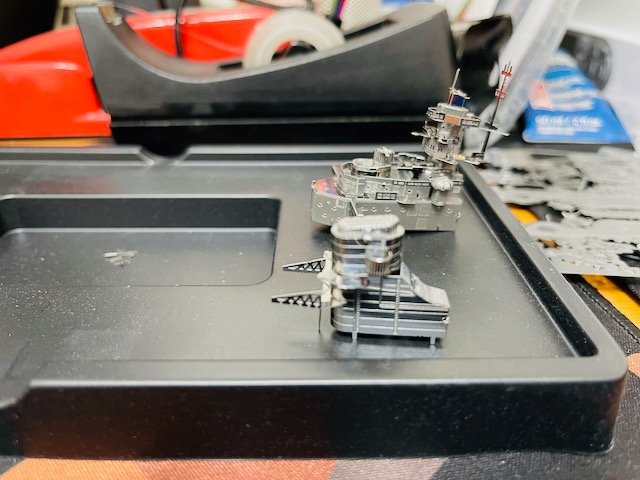
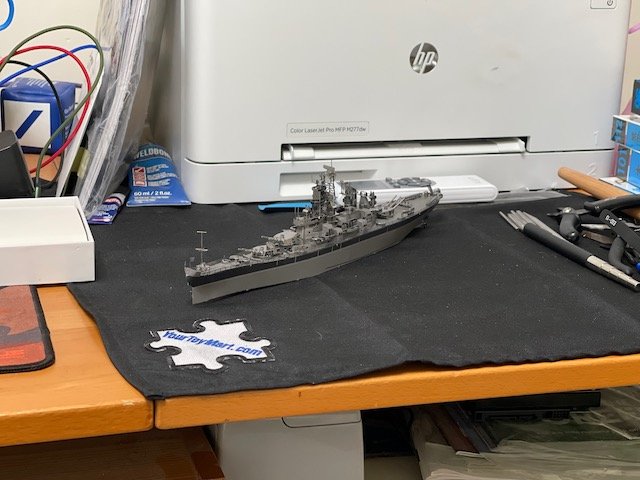
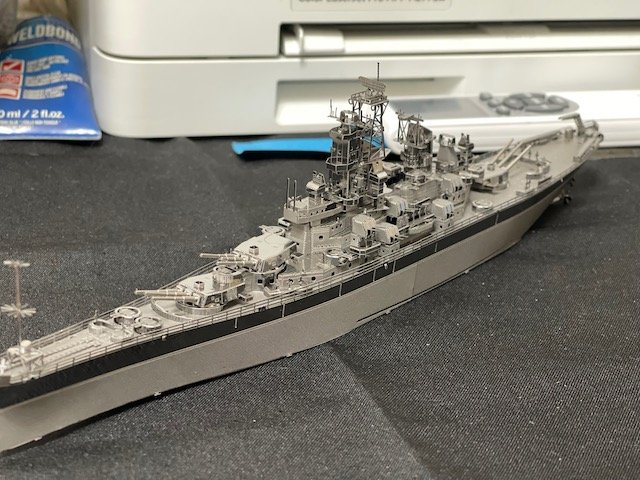
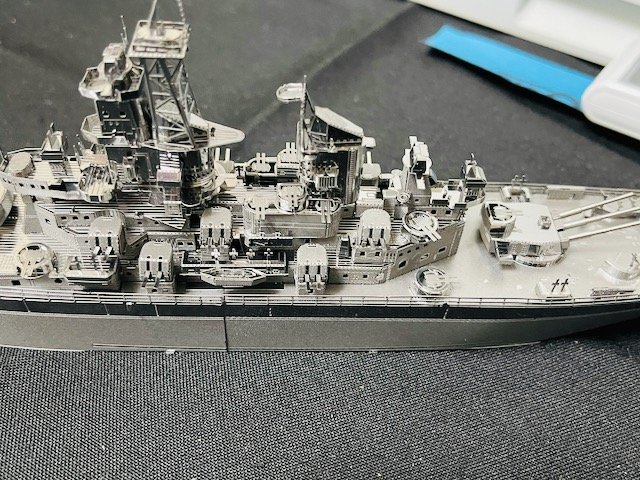
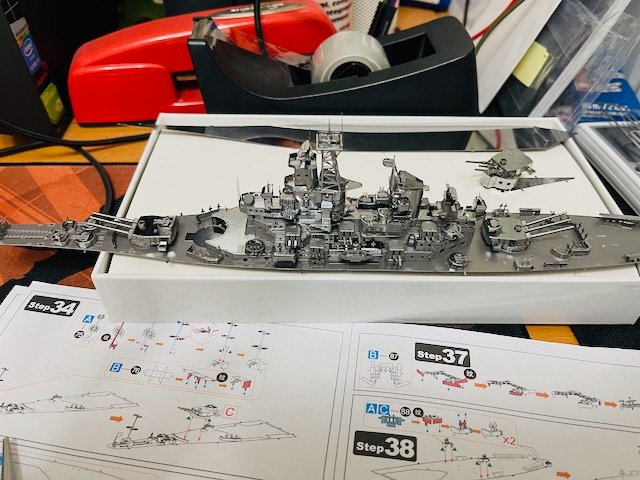
I have less build images of this than the others. Superstructure:
-
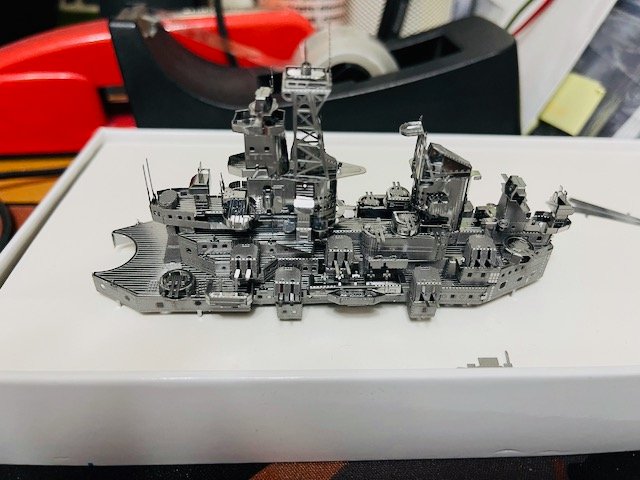
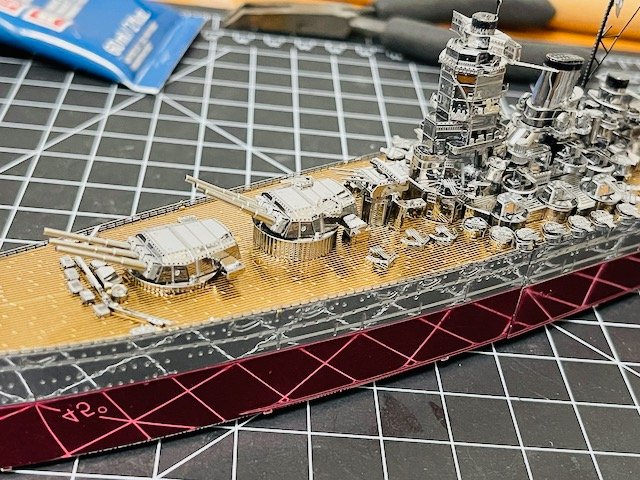
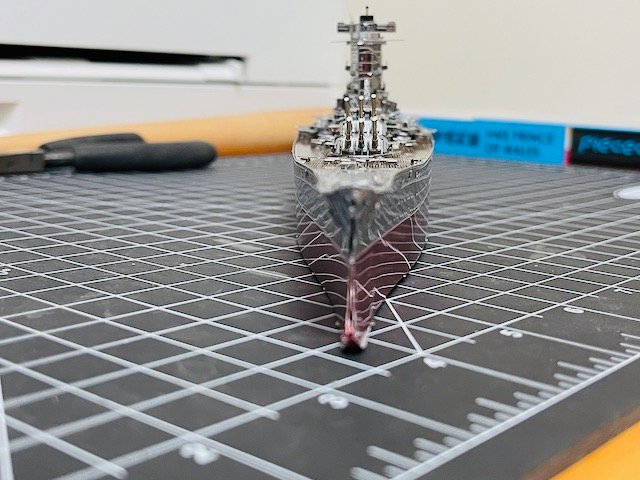
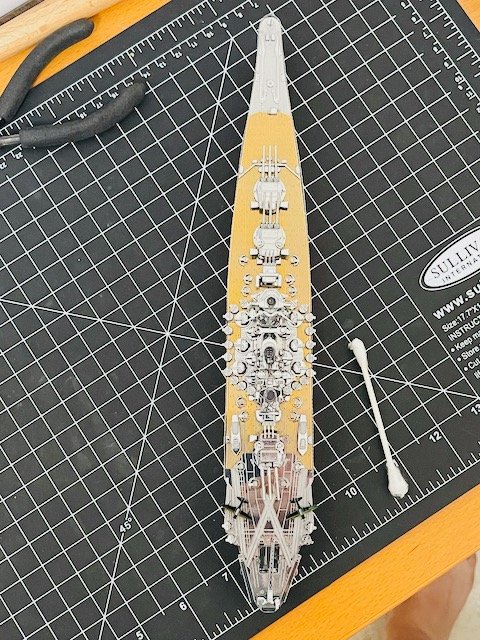
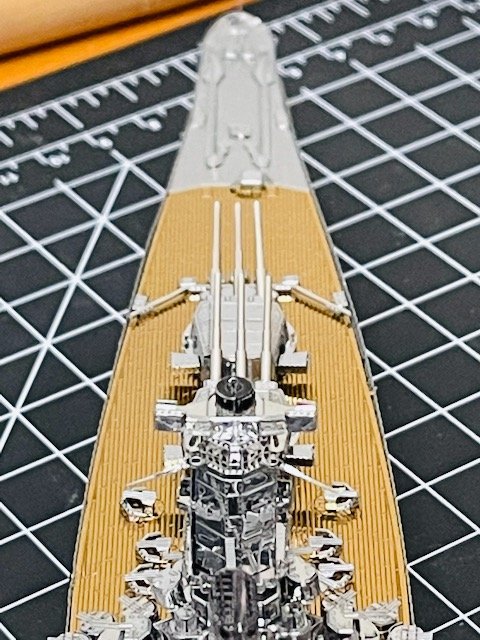
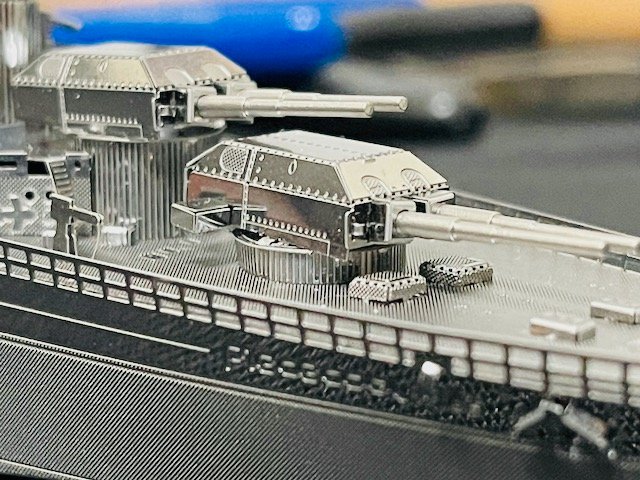
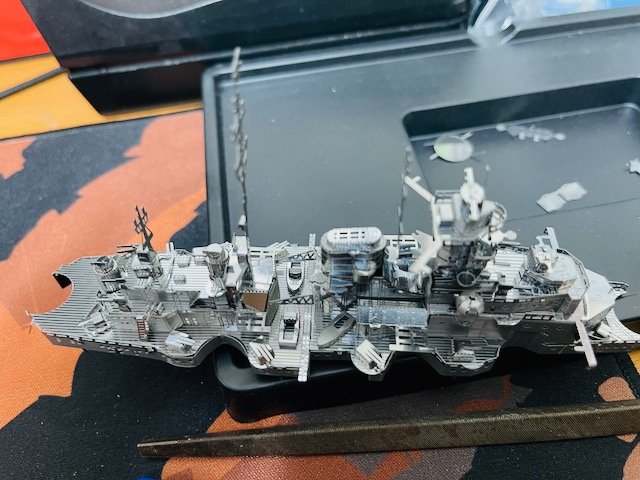
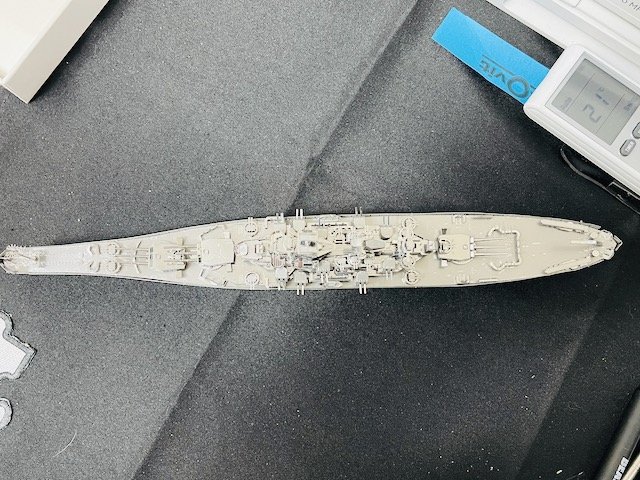
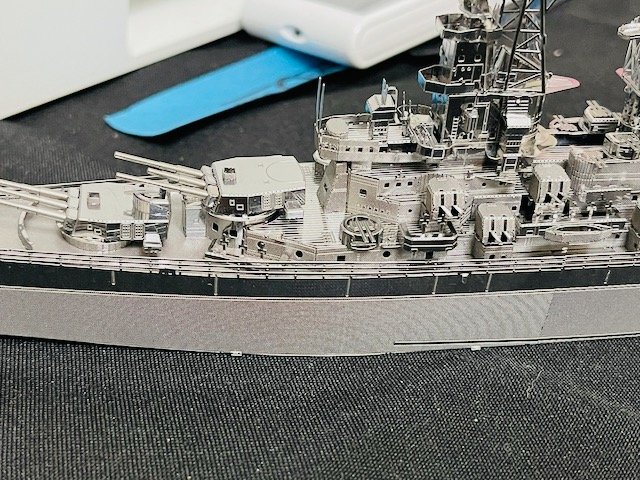
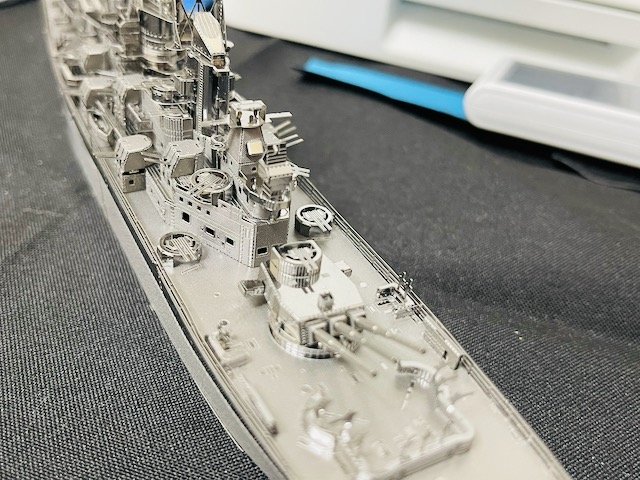
This kit had a lot more guns and a lot more repetition, however, it went together the easiest. I can't remember having to correct for any mistakes.
-
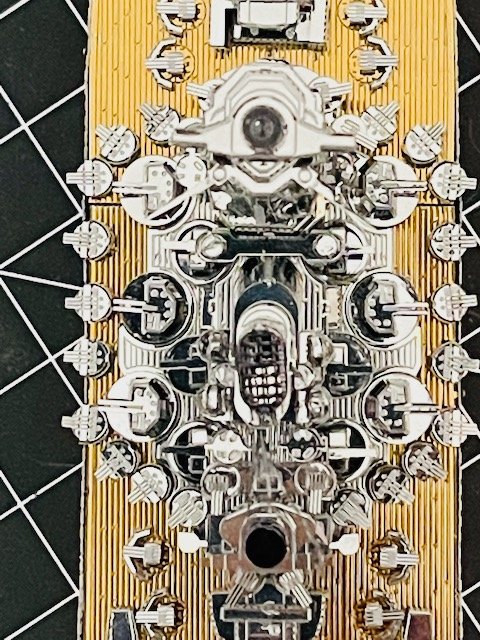
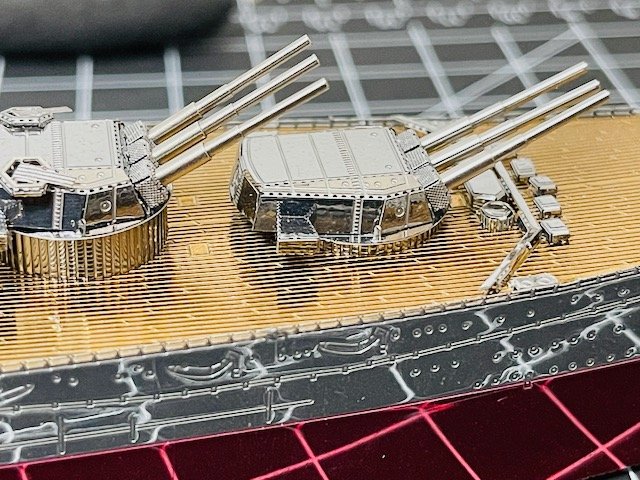
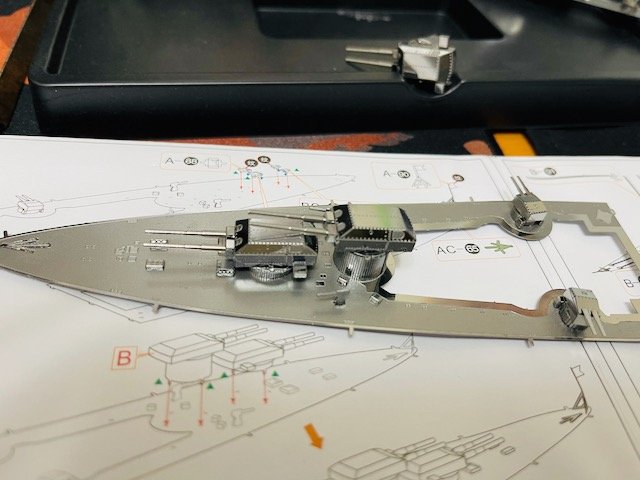
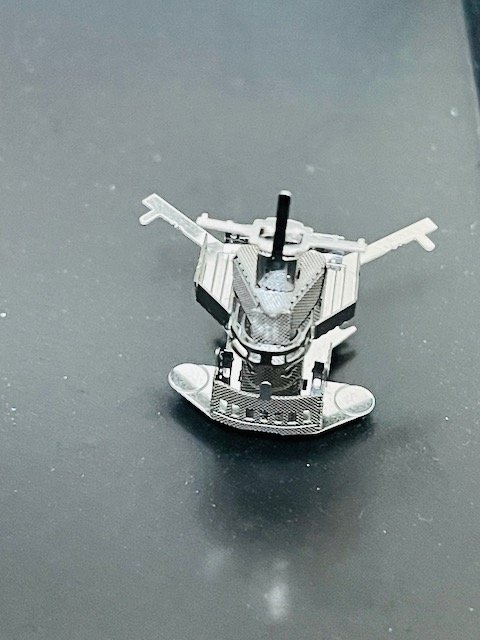
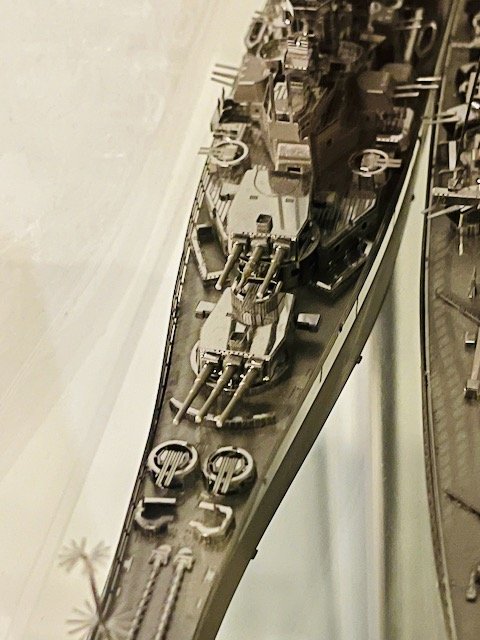
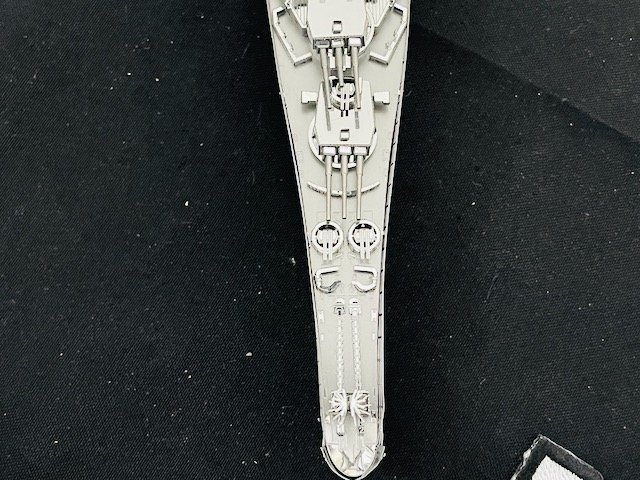
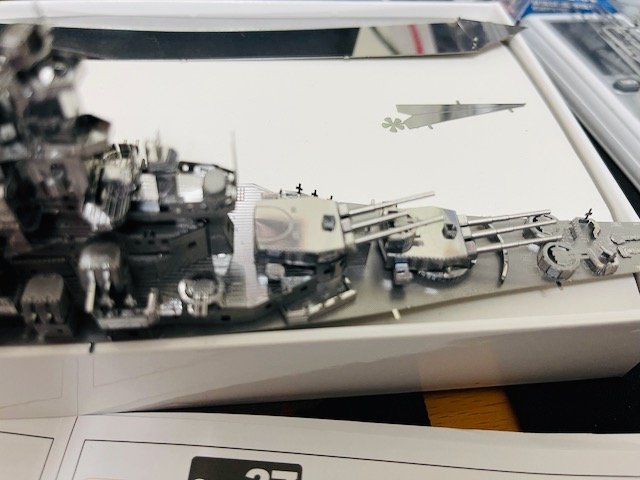
Finito. I really like these turrets.

-
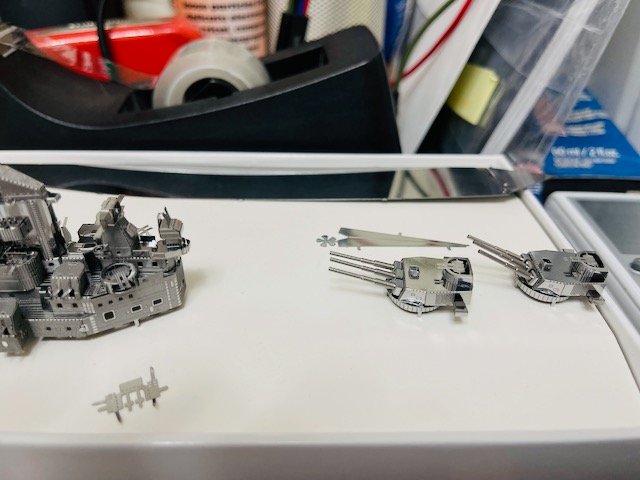
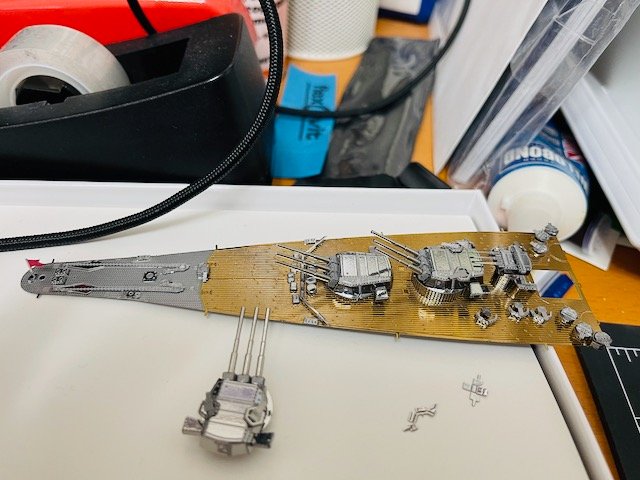
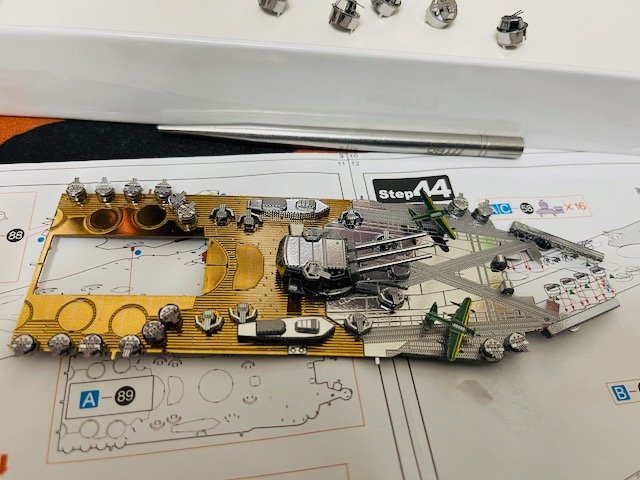
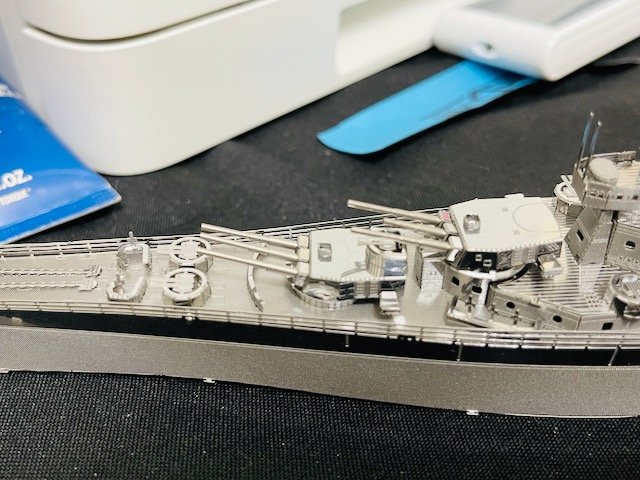
Deckage.
-
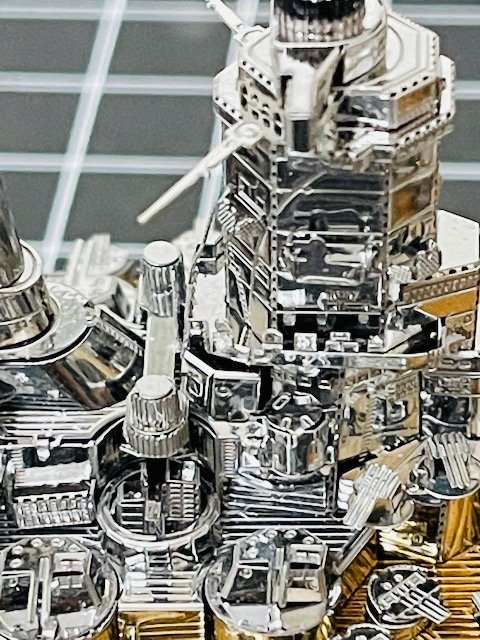
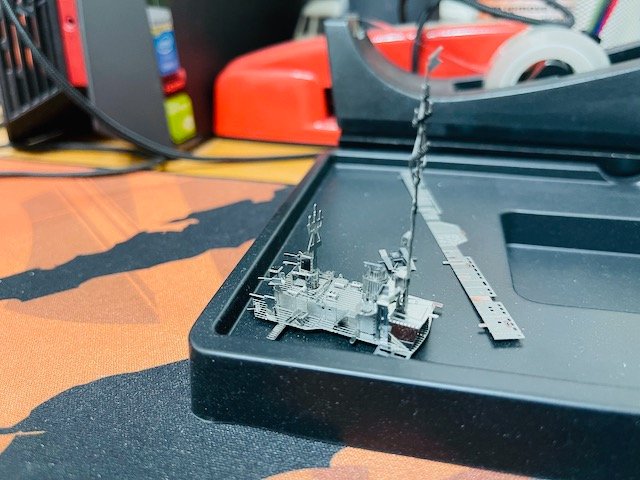
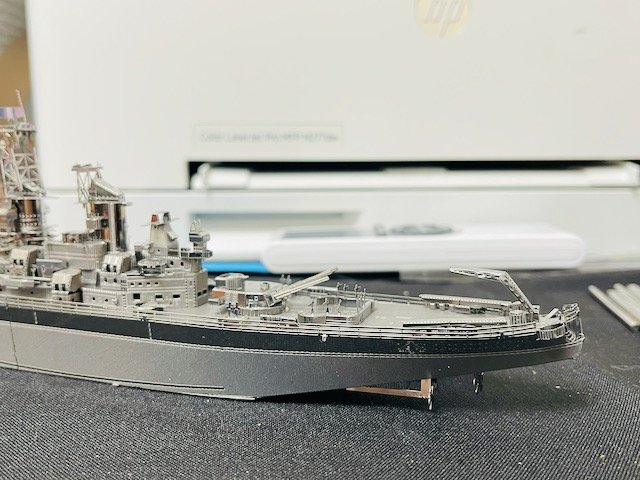
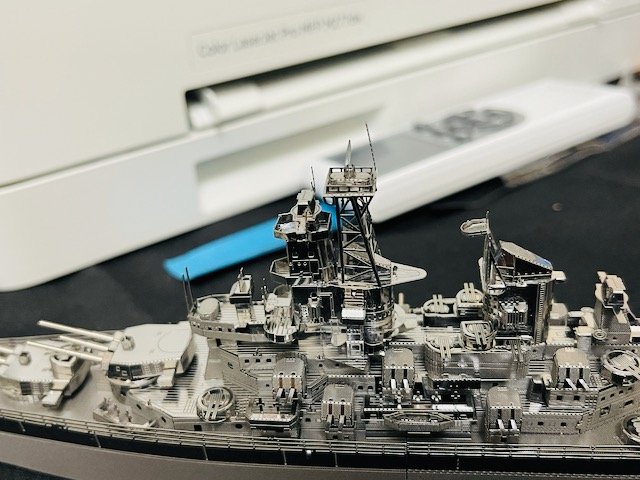
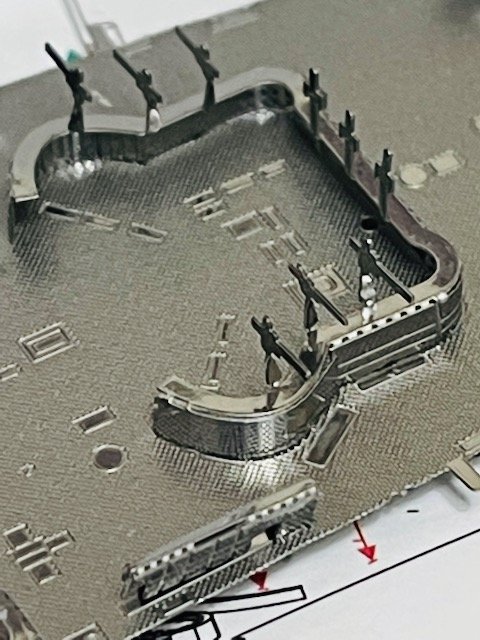
This one had one of the most fiddly riggings so far. This required a bit of Weld Bond for broken bits.
-
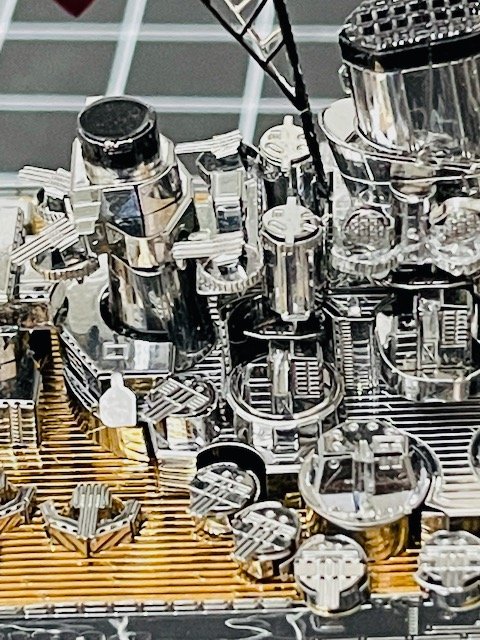
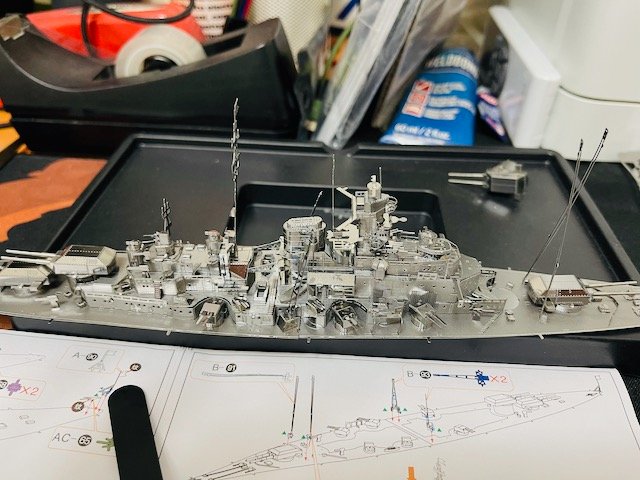
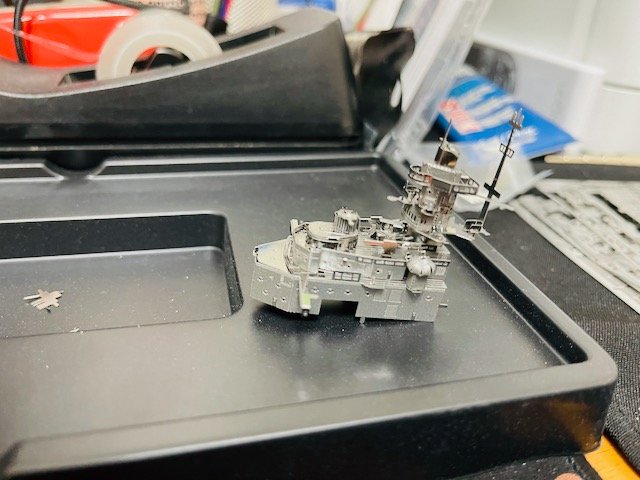
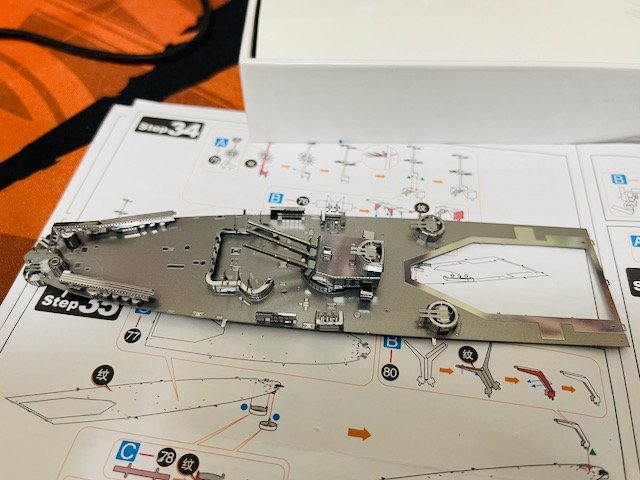
Superstructure begins.

-
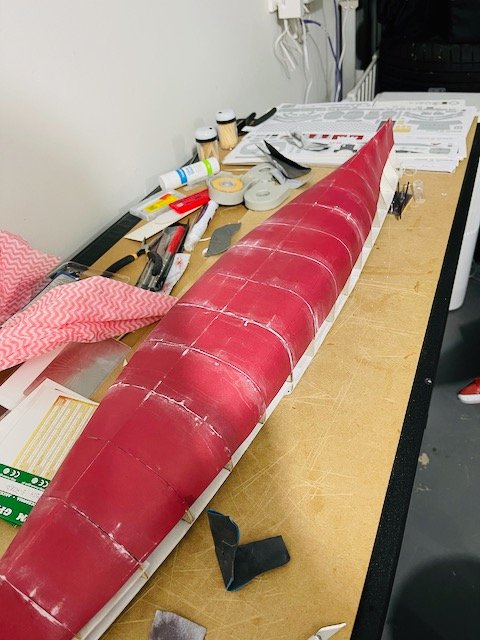
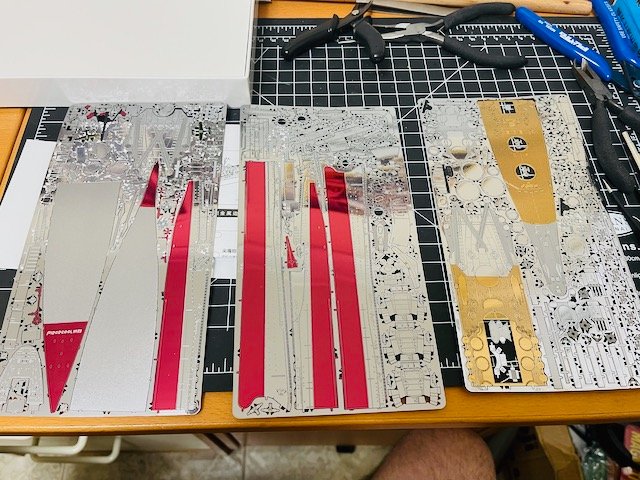
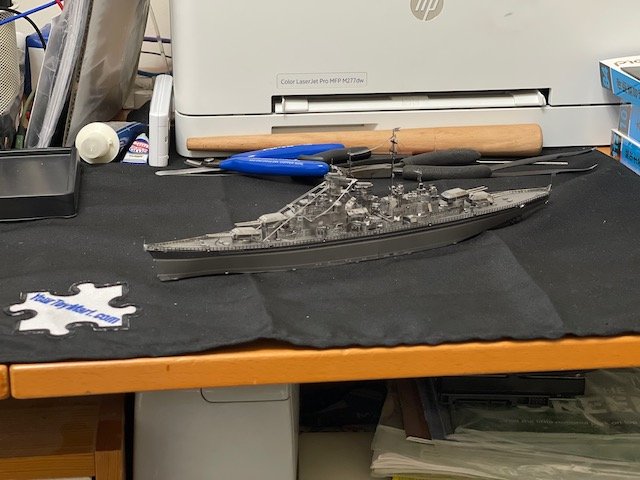
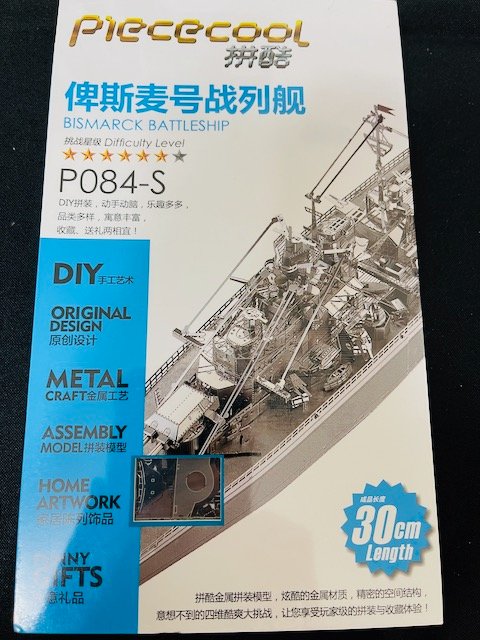
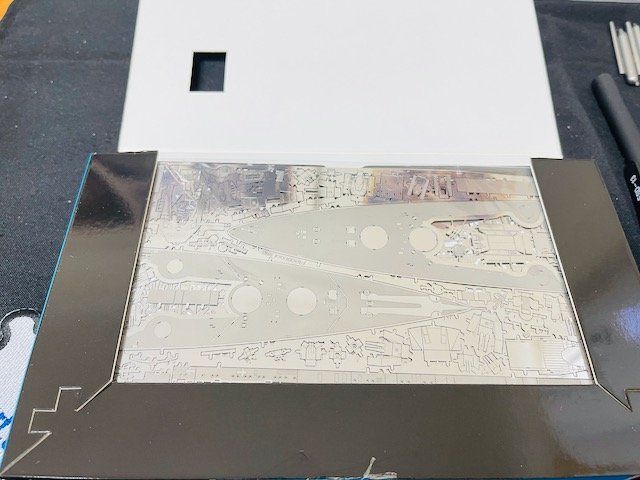
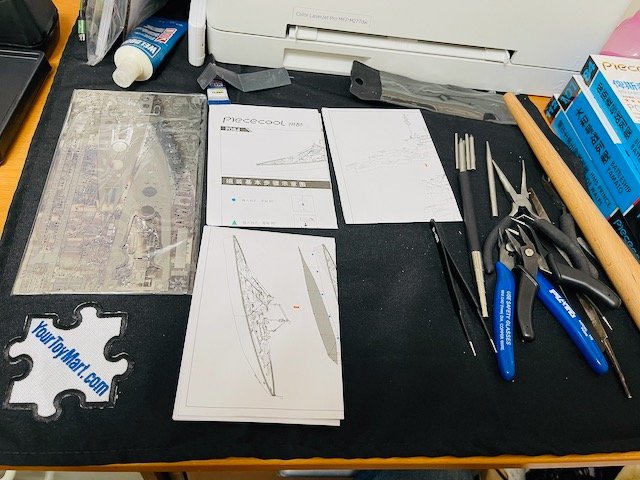
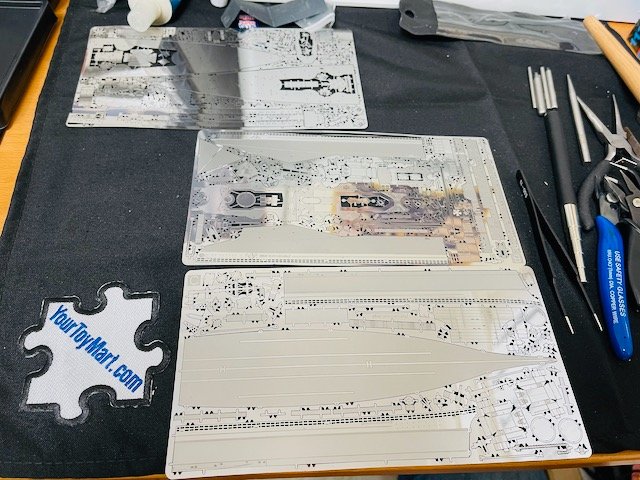
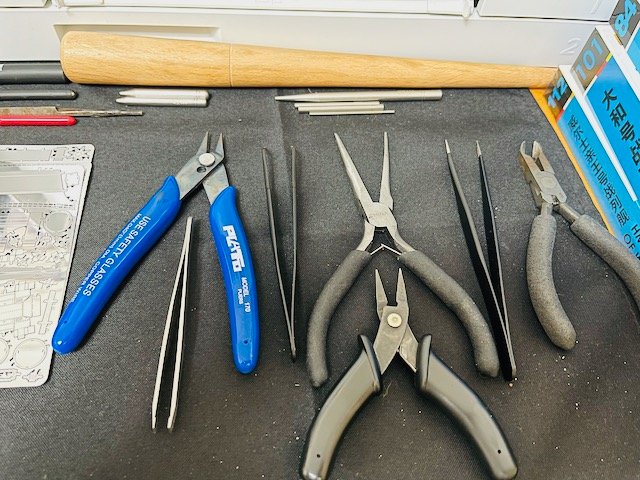
Next one is the Kriegsmarine Bismarck. Nothing better than a clean workspace with glorious tools.
-
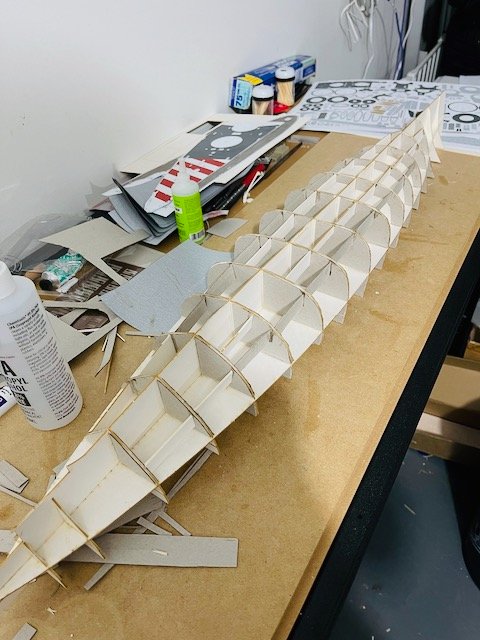
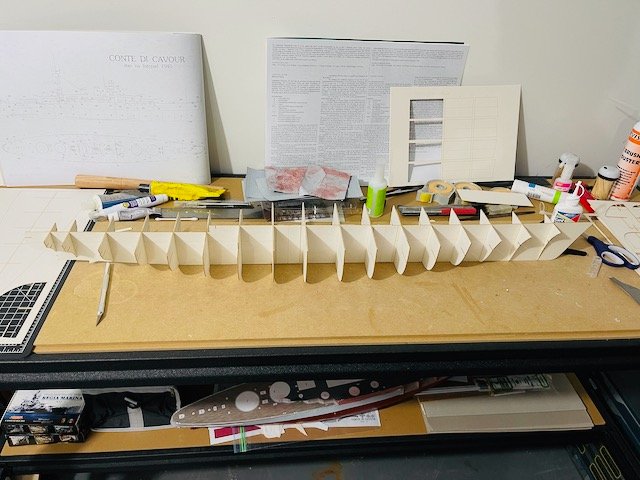
Vertical framing done, horizontal tomorrow followed by balsa deck lamination and fitting.
- 33 replies
-
- 8
-
-
- conte di cavour
- gpm
- (and 3 more)
-
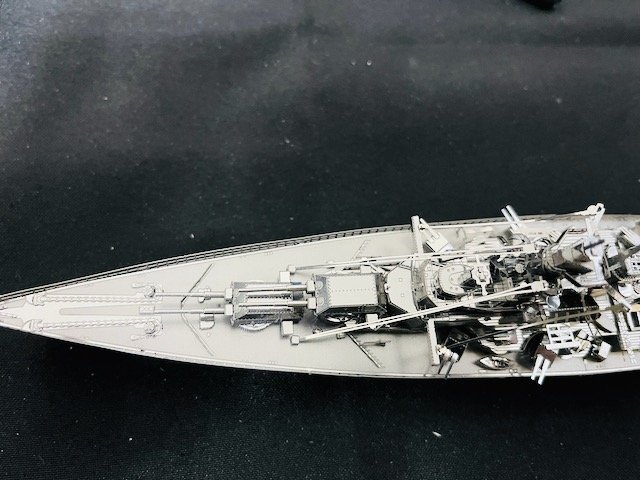
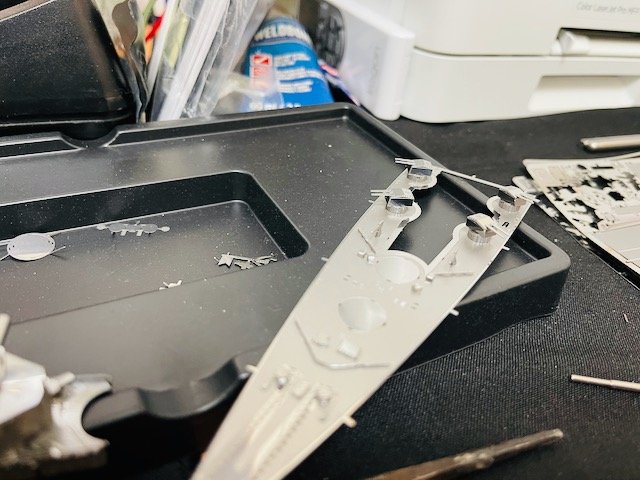
Repaired turret
-
Finished

-
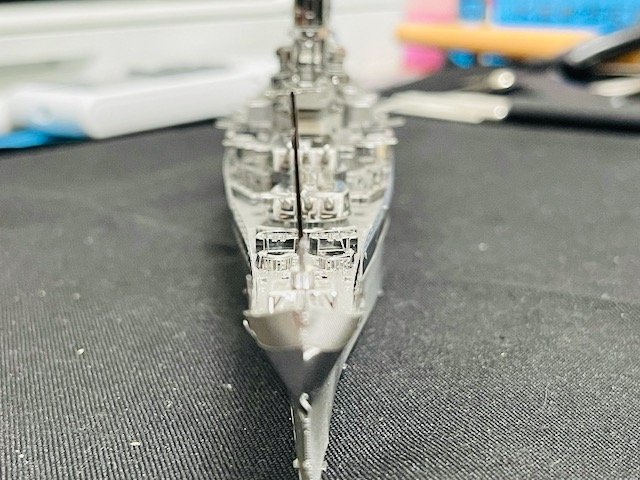
I noticed one barrel of the main battery was too short (misformed). I took a piece of large paper clip cut with wire cutters and crazy glued it onto the nubby base. Also notice the details. This one allowed bending practice for railings and other long bends. The technique used besides the long sleeve bender is to hold the part in the flat edge tweezers and then bend the other flap with your finger or pressing against something.
-
Continuing