HOLIDAY DONATION DRIVE - SUPPORT MSW - DO YOUR PART TO KEEP THIS GREAT FORUM GOING! (Only 44 donations so far out of 49,000 members - C'mon guys!)
×
O.B.one
-
Posts
62 -
Joined
-
Last visited
Content Type
Profiles
Forums
Gallery
Events
Everything posted by O.B.one
-
 Struggling to find an .stl of figures vaguely resembling the characters on the pirate ship. The captain, his legless first mate, and the Numidian lookout. I'll have to come up with something creative there
 -
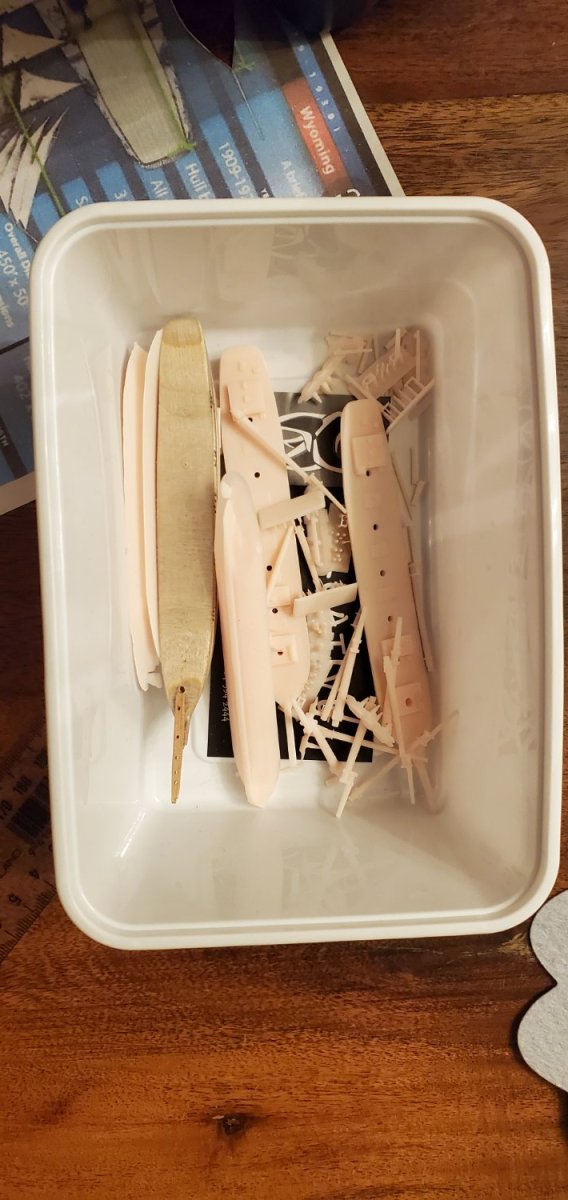
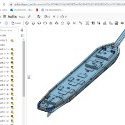
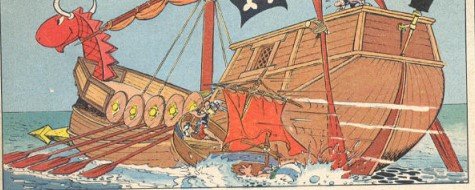
No less than 4 parts for the pirate ship. Keel, Starboard, Port, and the figure head on the bow:

-
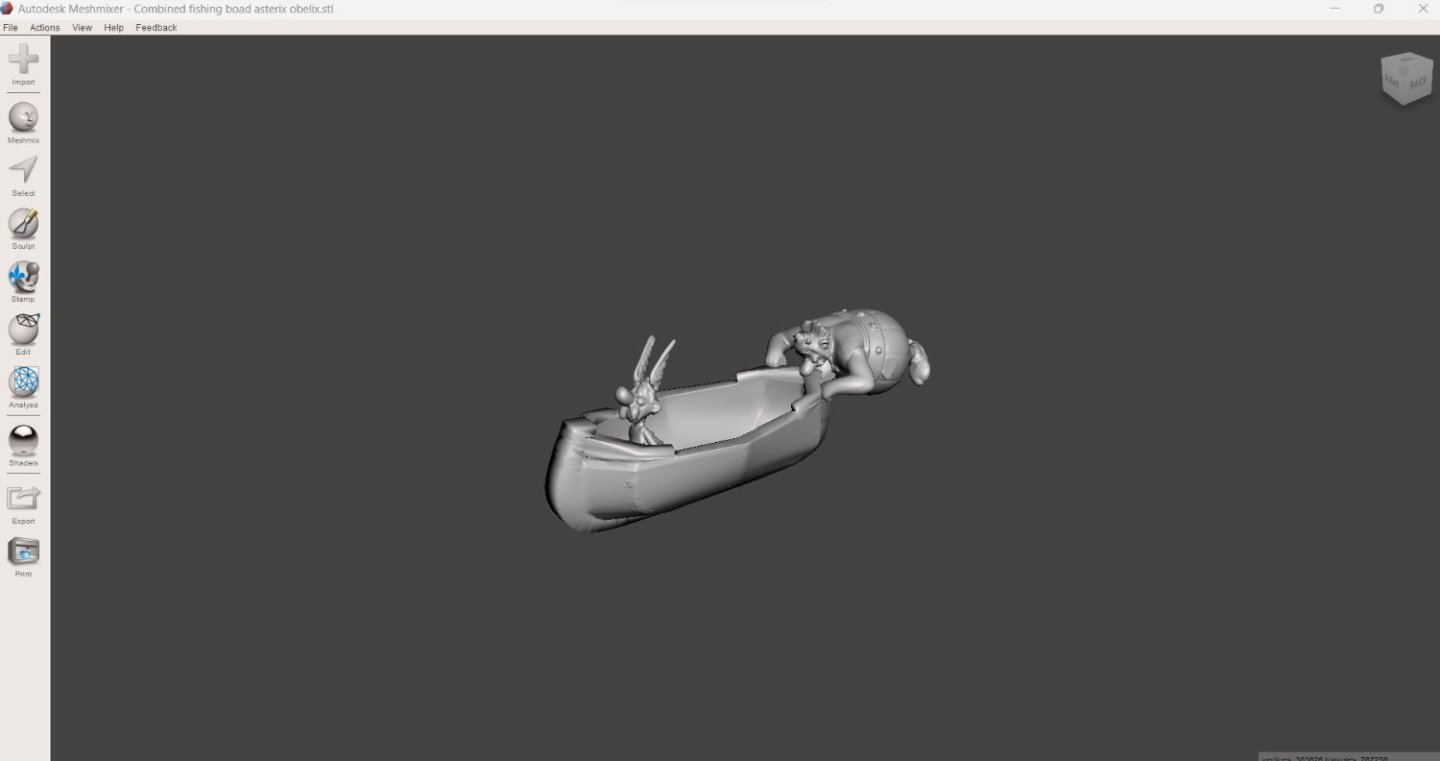
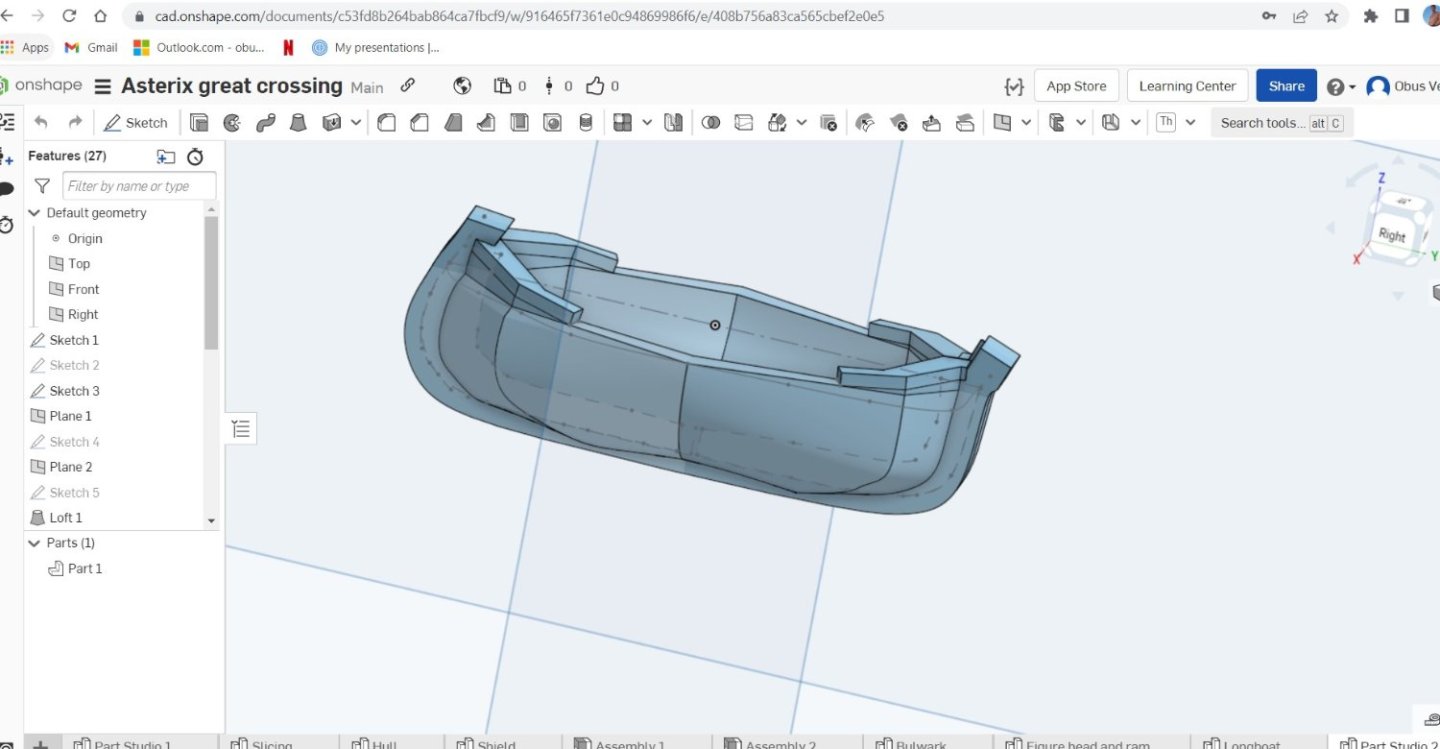
The STL's were exported. The pirate ship was sliced in Onshape, but the assembly of the fishing boat was digitally assembled in Meshmixer. I was able to find two models of Asterix and Obelix for free. Obelix actually had his hands on his hips, but I was able to slice and reorientate it. The two characters were orientated relative to the boat. Asterix in the bow, Obelix pretending to be an outboard motor. I printed it twice, just in case. One upside down the other right way up:

-
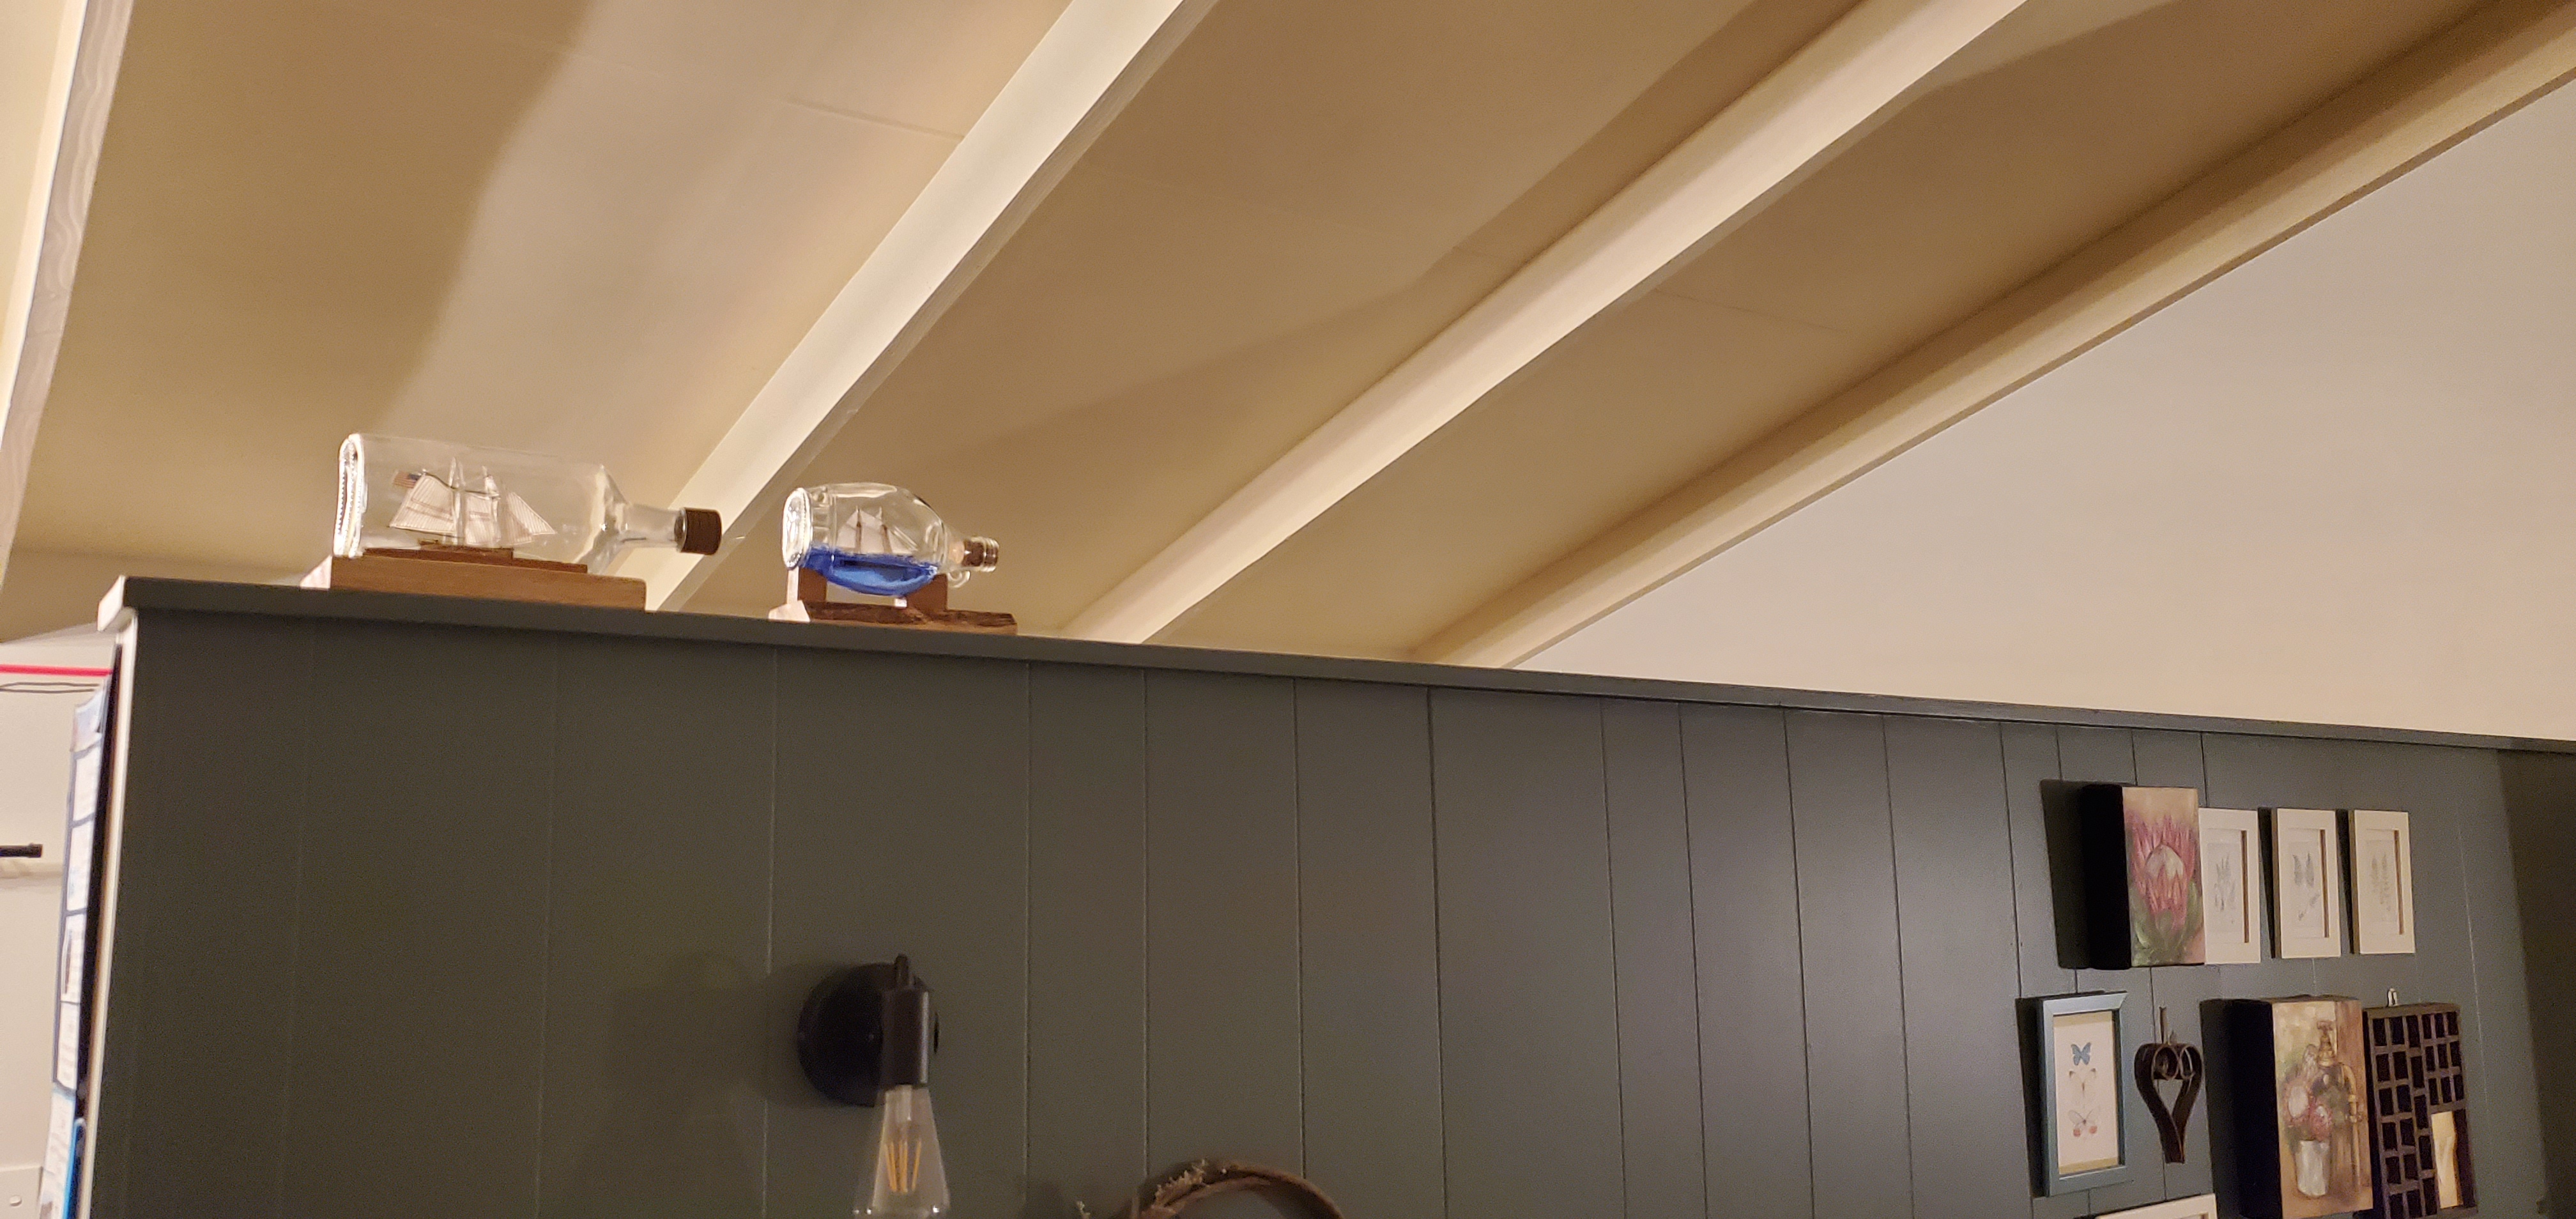
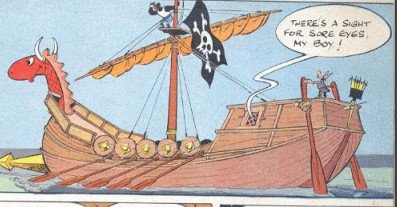
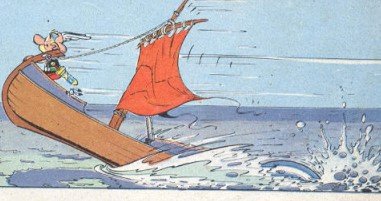
Cartoon ships are perhaps more forgiving, but they look odd and disproportional. Supposed to look funny. Problem is making it into a 3d shape that'll resemble it. For the first time I realized how animators of modern 3d movies must struggle with this. Luckily it'll be hidden in a bottle. So if some display ship builders ever wonder why on earth would you stuff your model into a bottle, it's to hide the imperfections 😛 This is the scene that I hope to reproduce And this was the two building up to it I have drafted the pirate ship in Onshape again, along with a wee fishing boat: ×

-
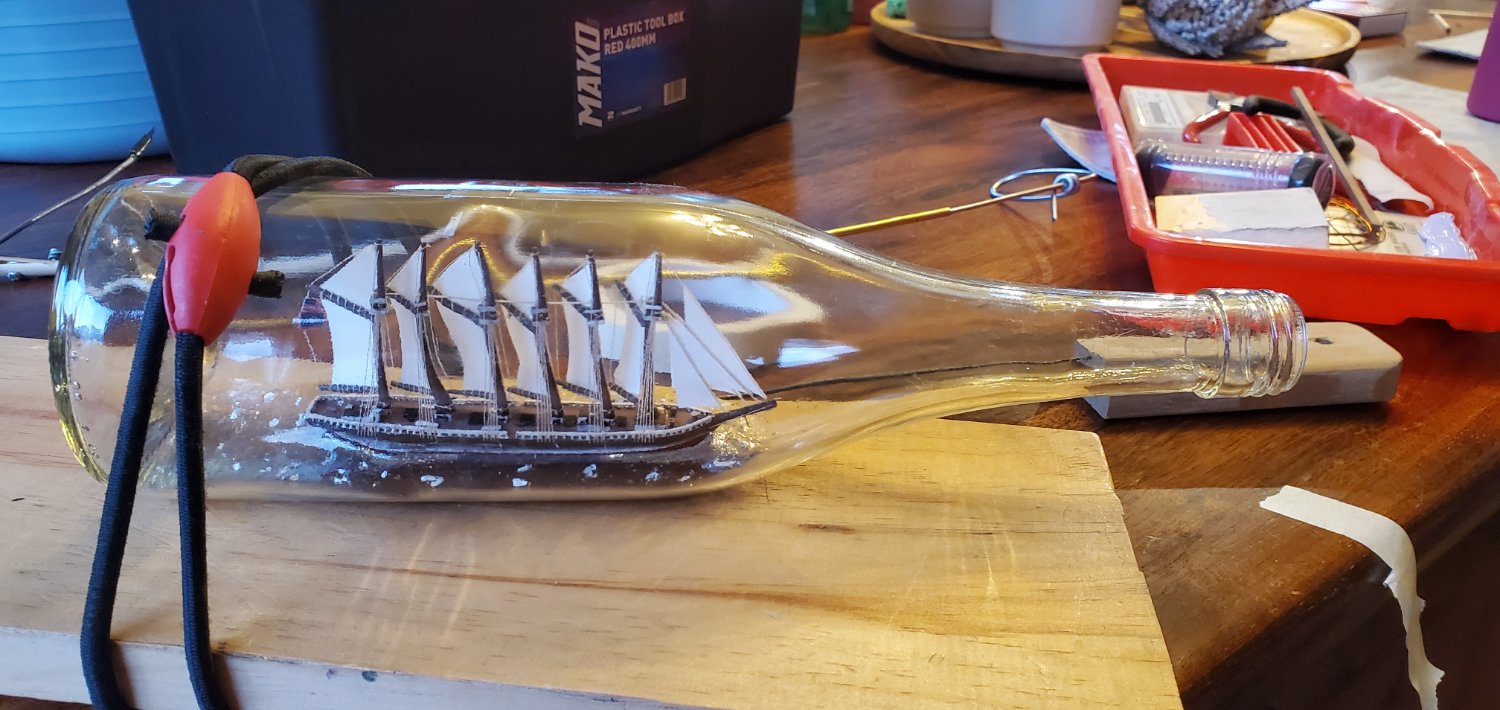
Visiting my younger brother over December, he had an empty bottle of Hennessy Cognac that he refuse to throw away for some reason. His wife wants it out. So I snuck it out without their knowledge😈 I've wondered what would be a good ship as a gift for him, but he's not into it at all. He likes fantasy Viking stuff so for a while I was considering that. Didn't feel right, Vikings in a French bottle. I wanted to keep the label on. Then it hit me, we both loved Asterix growing up. Hard choice which one to choose, in the end I settled on The Great Crossing. We'll see how it comes out.... I'll apply all the lessons learned from the Schooner Wyoming build. Photos in the morning, some minor progress.
-
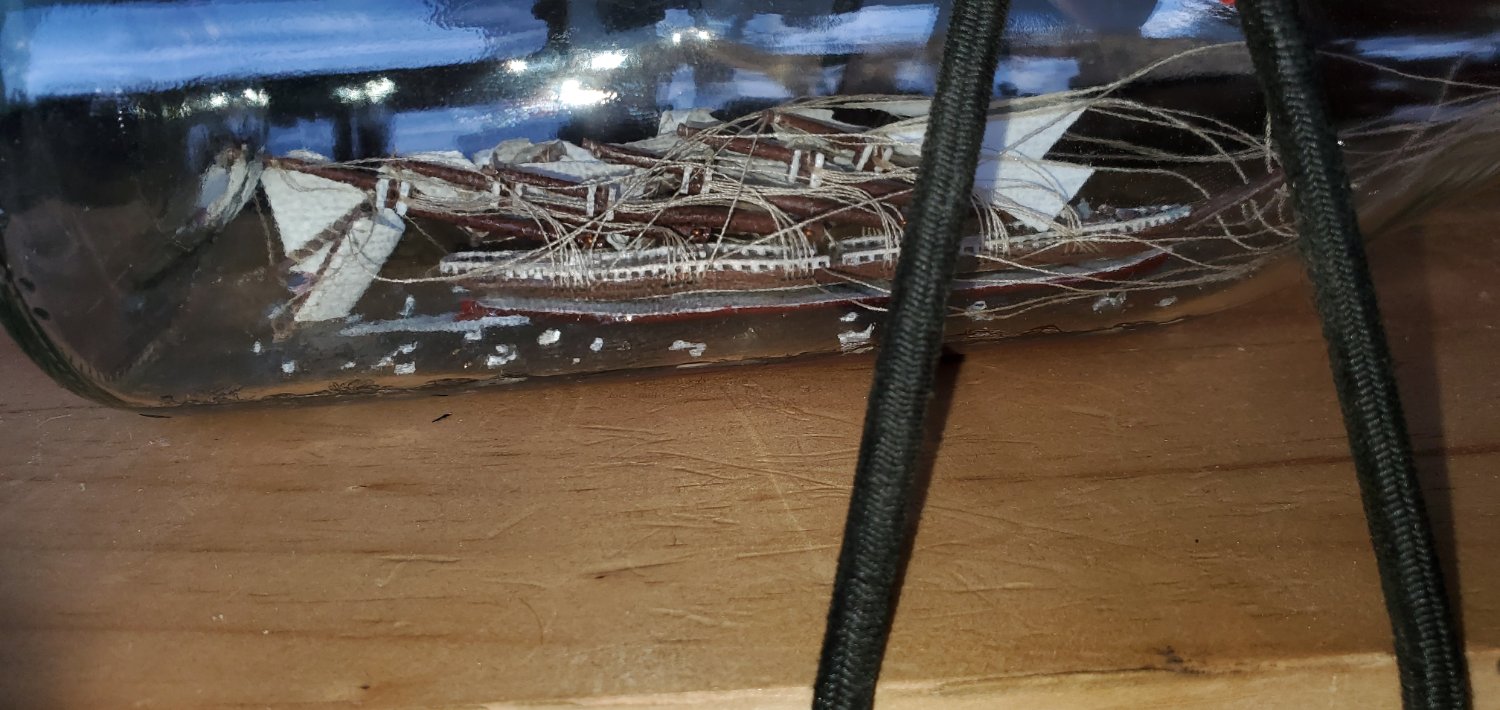
Right. I declare this one finished. It's not quite, but as near as makes no difference really. Don't look too closely. It's a passable result, but if I ever run out of space this'll be the one that goes in the bin The 3d printing was as fun as it was frustrating. I really enjoyed the digital drafting, generating the .stl, slicing and printing. Details are great. However I'd not recommend it for masts and rigging. The lack of fibers makes them really prone to breaking I lost two mast hinges, luckily I was able to put the masts in position on the broken remains in the bottle. The idea of slicing the hull in Meshmixer or similar works well in principle. However if the parts are too thin, the strain of the rigging wil deform it. I suspect that stopped the two halves from fitting as it was supposed to. I recommend that if anyone else is going to 3d print a SIB make sure either 1. You use a very rigid resin. 2. Or monobody hull, not split 3. Or simple rigging ships that dont need a lot of tightening on the rigging. 4. Non load bearing figures and details are fine. With fine details comes careful painting mind you I already have my next project in the pipeline. For the sake of being thorough, I'll take a final photo with the wooden base. Thanks for reading

-
I just looked at the photos again. I think it was the Playdoh that made it look under age. Feel free to ignore my suggestion
-
I'm no sculptor, but have done some sculpting. Plus back in Uni, we did a few semesters on wax modeling dentures, before you cast it in a flask for acrylic processing. I found it is best to get it to a point to where it looks good, then accept, and try not to improve. Often trying to improve ended up in ruining it. You reach a point where the result will be say 90% acceptable. Getting it to 100 is certainly possible but the margin for error in getting that last bit is just so much bigger. Of course this is a more scientific process, and with art it would be totally subjective. So the next bit of advice is not to destroy the first attempt, but rather do a second from scratch. Then you have 2 to choose from... But that is just from very limited experience. Other than that, it looks really good! Perhaps, if there is room, and if you have enough shark teeth. Add a few to the beak? Because of the Pirates of the Caribbean movie, that is how the vast majority of people will perceive a Kraken. You don't want it looking like an underage drinking Kraken.
-
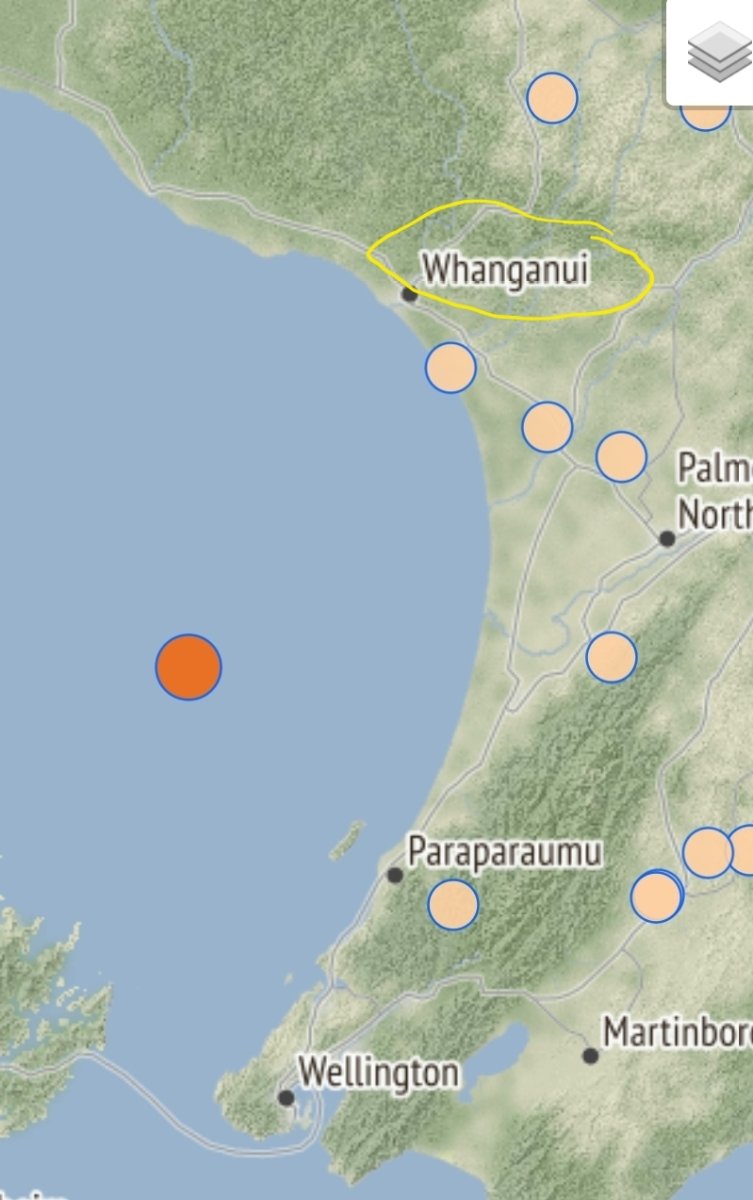
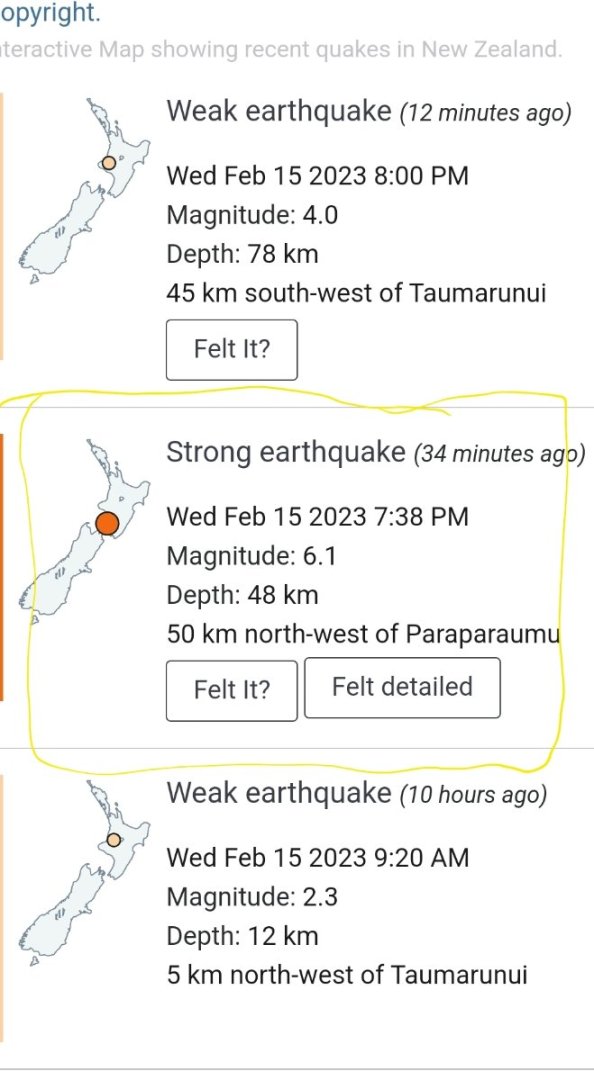
Not serious, everyone just a bit shaken, pun intentional. Luckily the buildings here are up to it, and tall furniture anchored. The dog got the biggest fright
-
What bloody else will go wrong. You wouldn't believe but just after I was applying epoxy to the lower half of the hull, starting to align the top. Earthquake 6.1 only about 70km from was enough to make stuff fall and children cry. Had to dash out for that. Net result is there is a little gap between the two halves. Aaargh. Wyoming doesn't want to be bottled. Waiting for epoxy to cure. I'm going ahead regardless. I'm at the point that I'll finish it even if it looks crap

-
Went in with difficulty, but then a click and it was easy. Not positive, hoping it's not something crucial. I can deal with a broken mast hinge...

-
I should've taken a pic before collapsing. Sofar it's ok, but the fore mast hinge snapped a small piece. Hopefully I can manage without
-
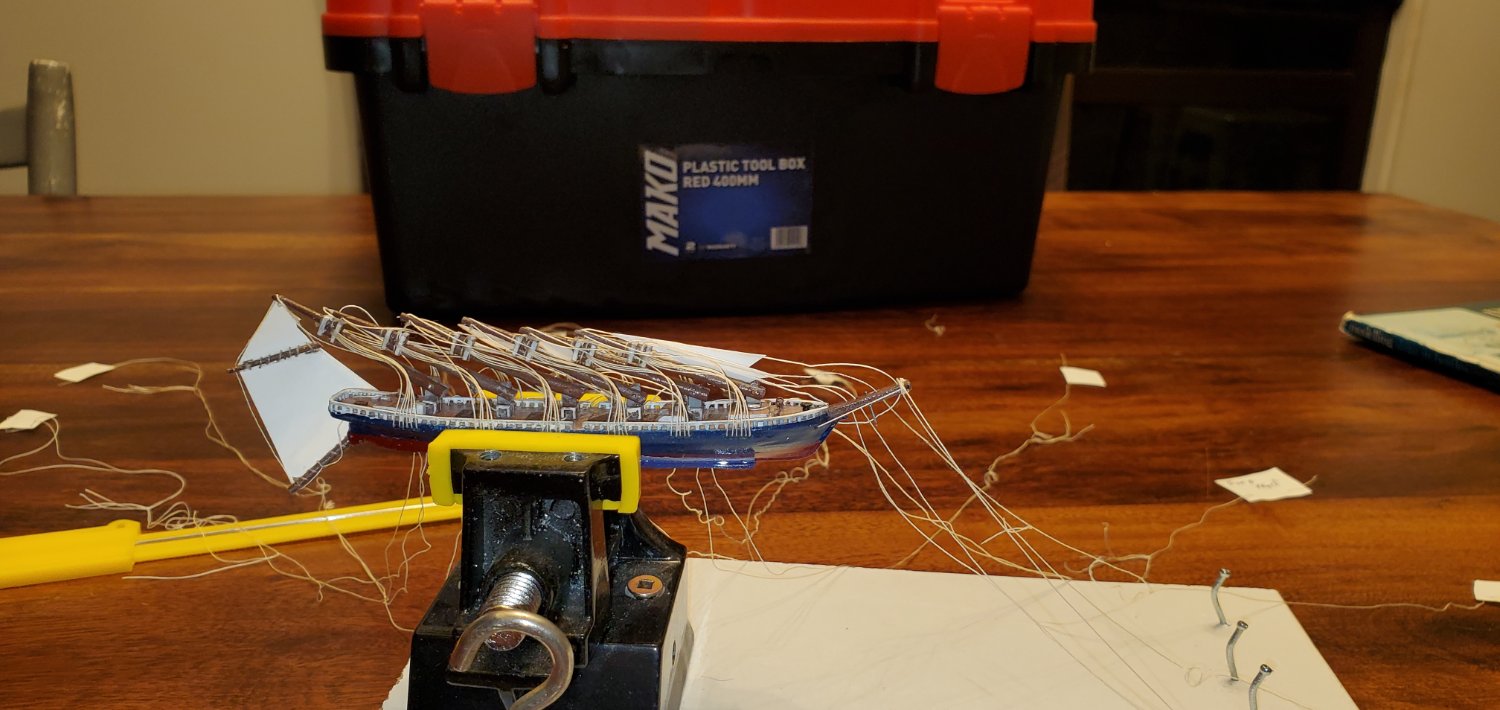
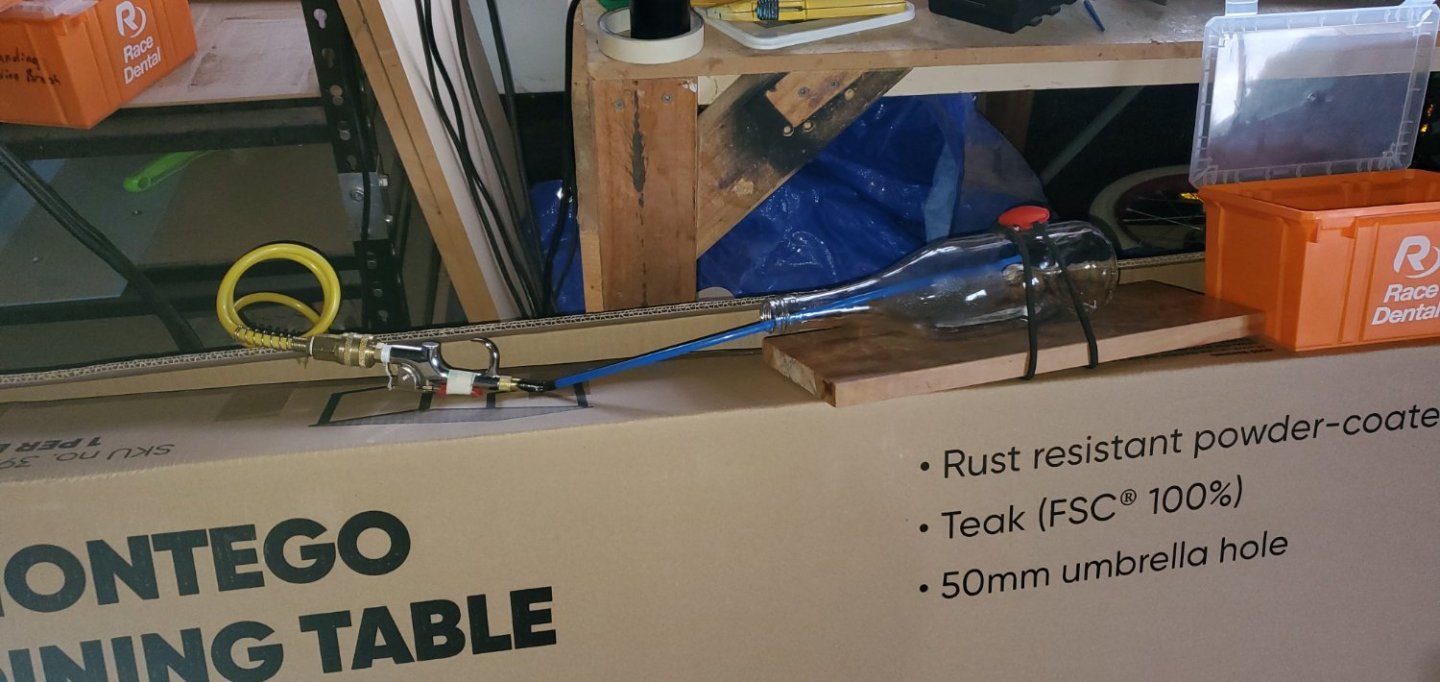
Some progress over the weekend. I'll be rigging it loosely based on Jack Needham's technique in his book 'Modelling ships in Bottles' Back staylines and shrouds are up, along with the main stayline. Not the best way to show rigging, on a white background Resin poured after the base was glued in. I added some texture with acryllic gel medium as per @Glen McGuire recommendation. It takes days to cure in the bottle. So I taped a thin tube to my compressor outlet. I closed the valve on the pressure switch enough to let a little air out. Dried in less than 60 min Still have to add some white. Unsure if it's choppy enough. What do you guys think? Thanks for reading Obus

-
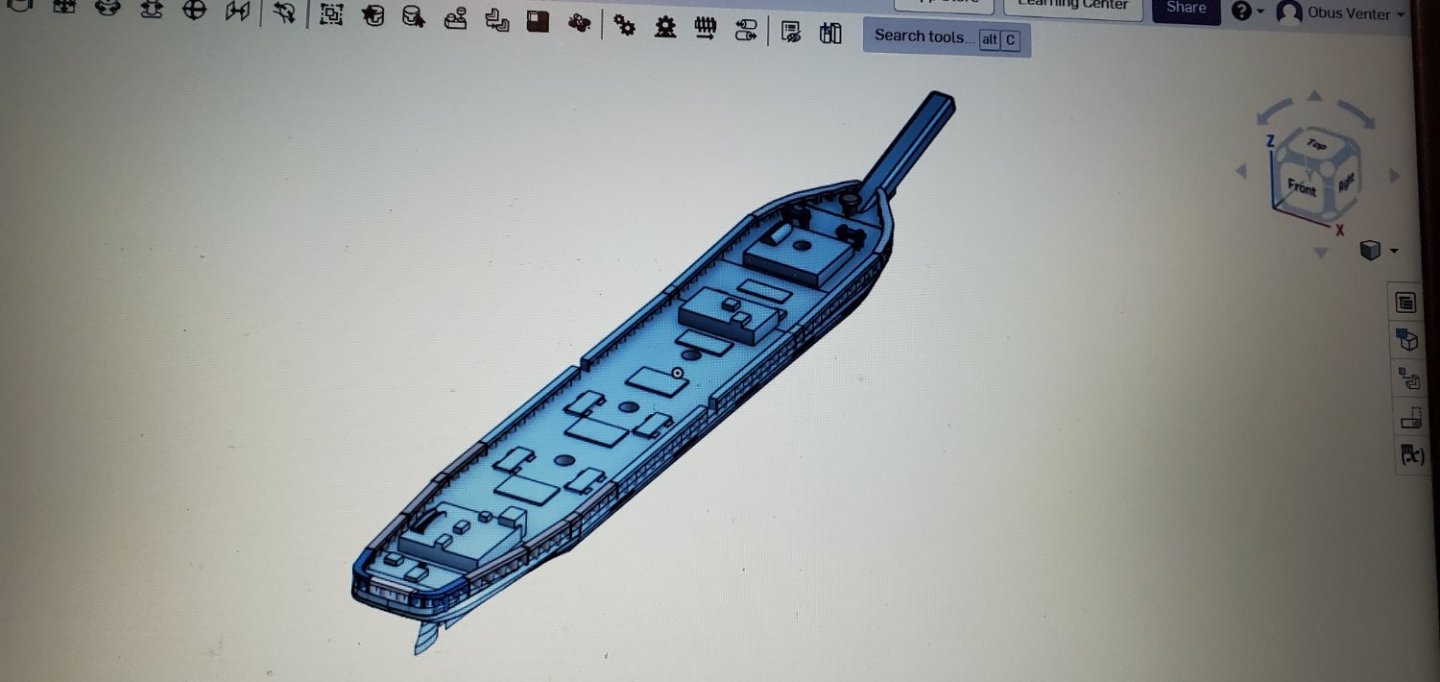
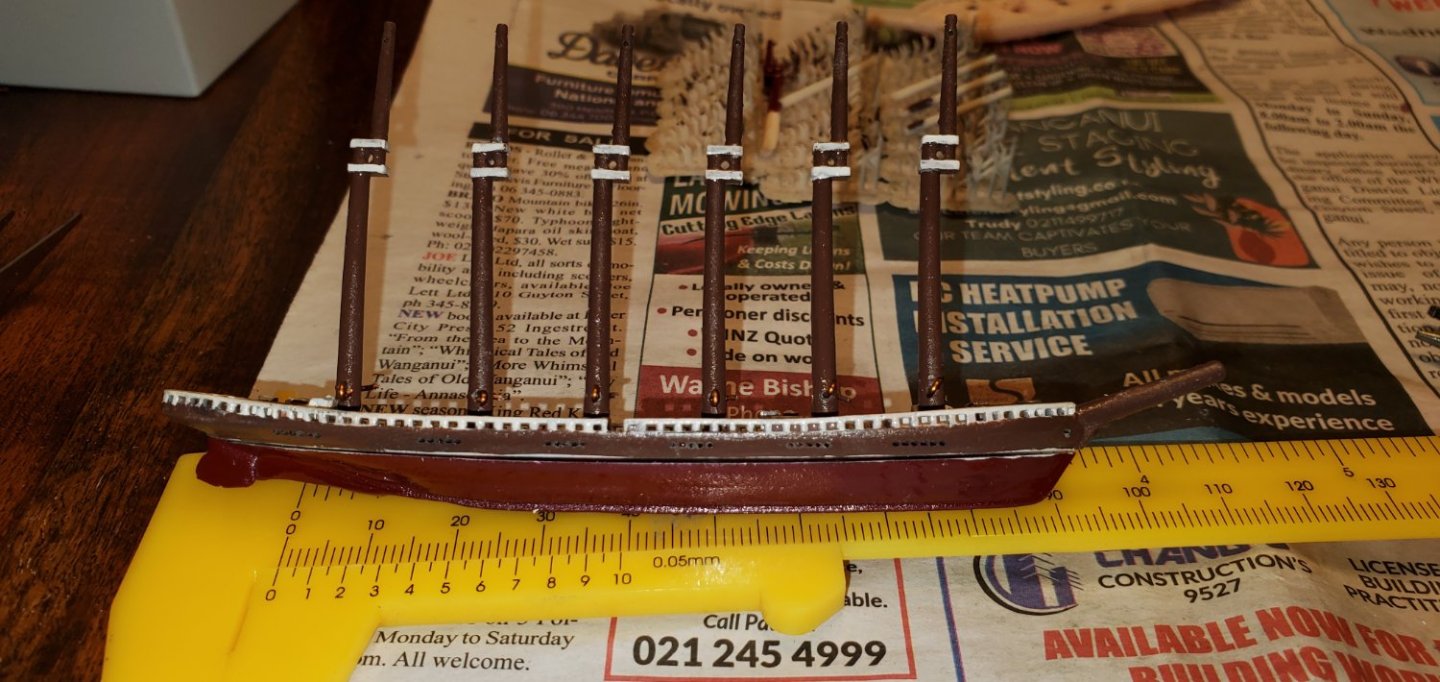
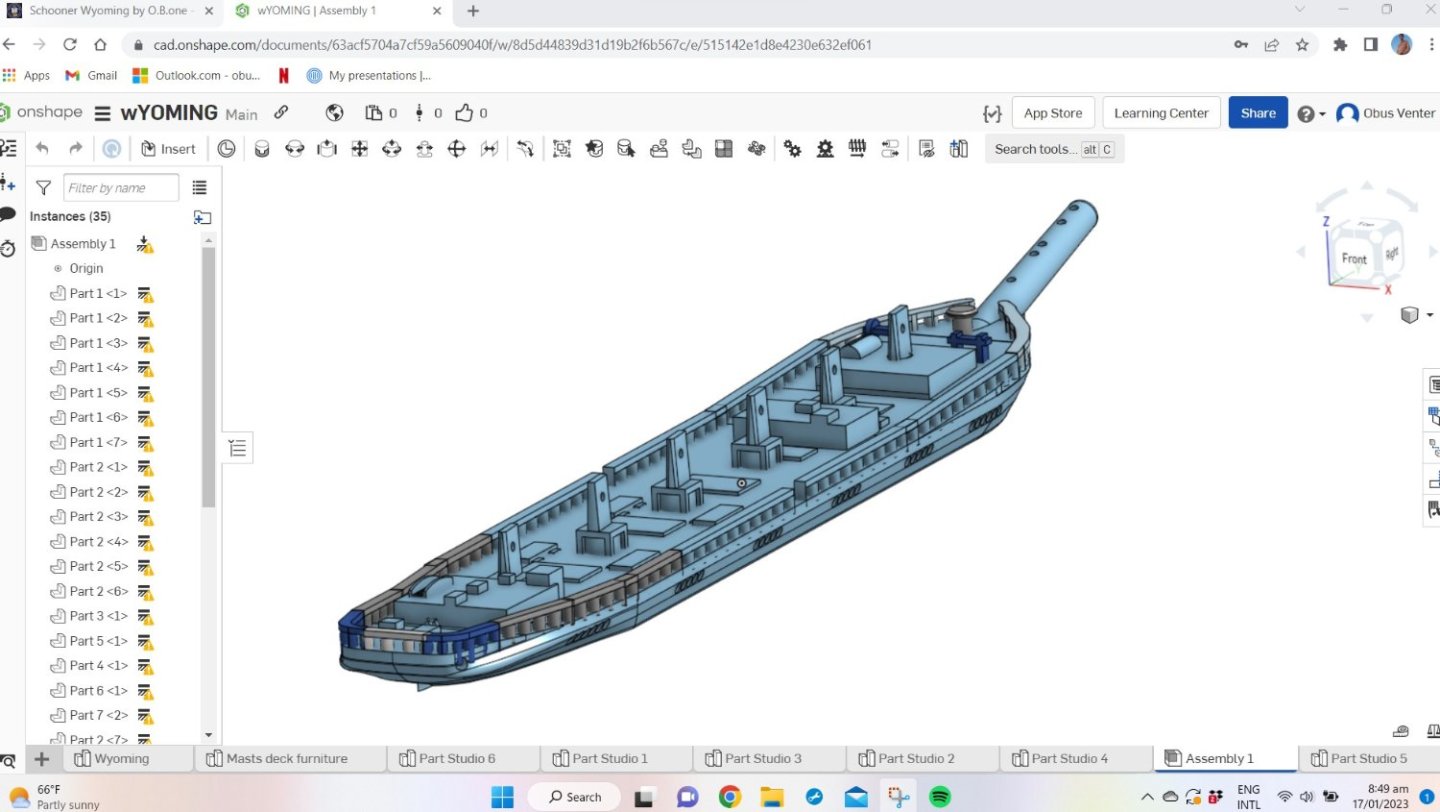
@Glen McGuire thanks for posting, I will look into that. Some progress. I printed the new hull top with some challenges. I was having issues with the resin delaminating. Those who work with resin printers will agree details is great, but they are prone to misprints. At least mine is. I can elaborate if someone wants. Good news is I now have the top of the hull with the hinge bottom printed into the deck. Printing is so clinical, it does not give the maker the joy of shaping the ship out of a shapeless piece of wood. But I do enjoy the CAD design thereof. All the pictures of the Wyoming is black and white. The only color guide I could find was of a display model at a museum. This model is dark blue, with a blood red bottom. I went for brown. By mistake, but I like it better. I can revisit the rigging and resin pouring now...
-
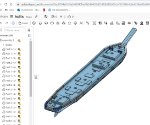
Perhaps too unique. I am making a lot of it up as I go. Especially drafting the hull to get a .stl for printing. I am not a draftsman at all, and have very limited knowledge of stuff like Solidworks. I am currently using Onshape (plus a ton of Youtube tutorials) to come up with a basic shape for the hull. Deck furniture are drafted separately, and digitally assembled. For instance the white railing is about 16 copies of the same component added to the hull afterwards. Hopefully the attached screenshot would show what I mean. I only realized after that failure last year that I can digitally stick the mast hinge into the deck, and then print it in one go. One very good advantage of drafting my own rather than trying to obtain the .stl online is I can put holes and hollows exactly where they need to be. The accuracy is unsurpassed. Sounds good, but that comes with a downside. I have no idea what the tolerances are. For instance the mast hinge. I left 0.2mm slop in there, and it was still too tight. Holes for needles have to be 0.7mm diameter. Luckily the resin print can be sanded easily, so these can be corrected .I'm also going to carefully sand that bowsprit down. Looks way too thick.
-
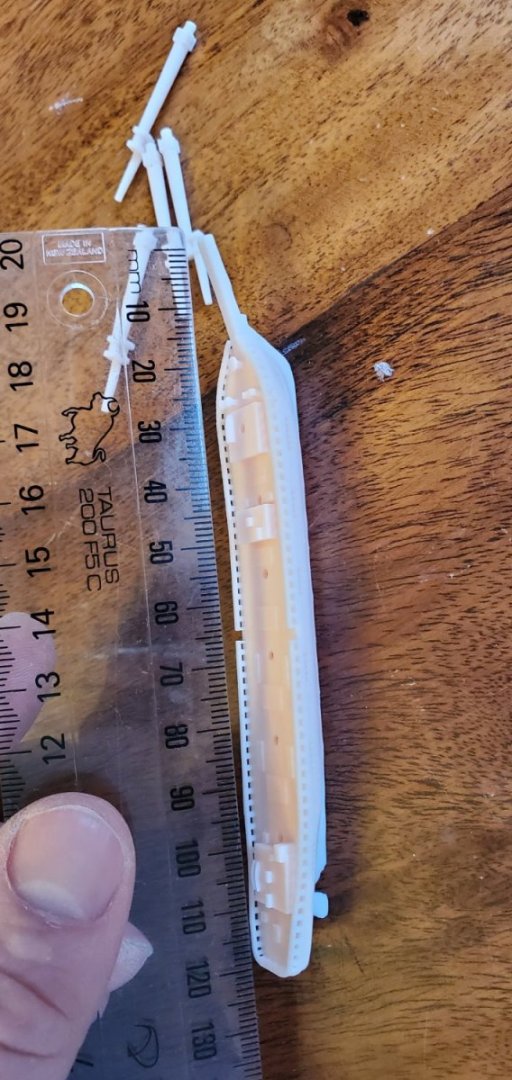
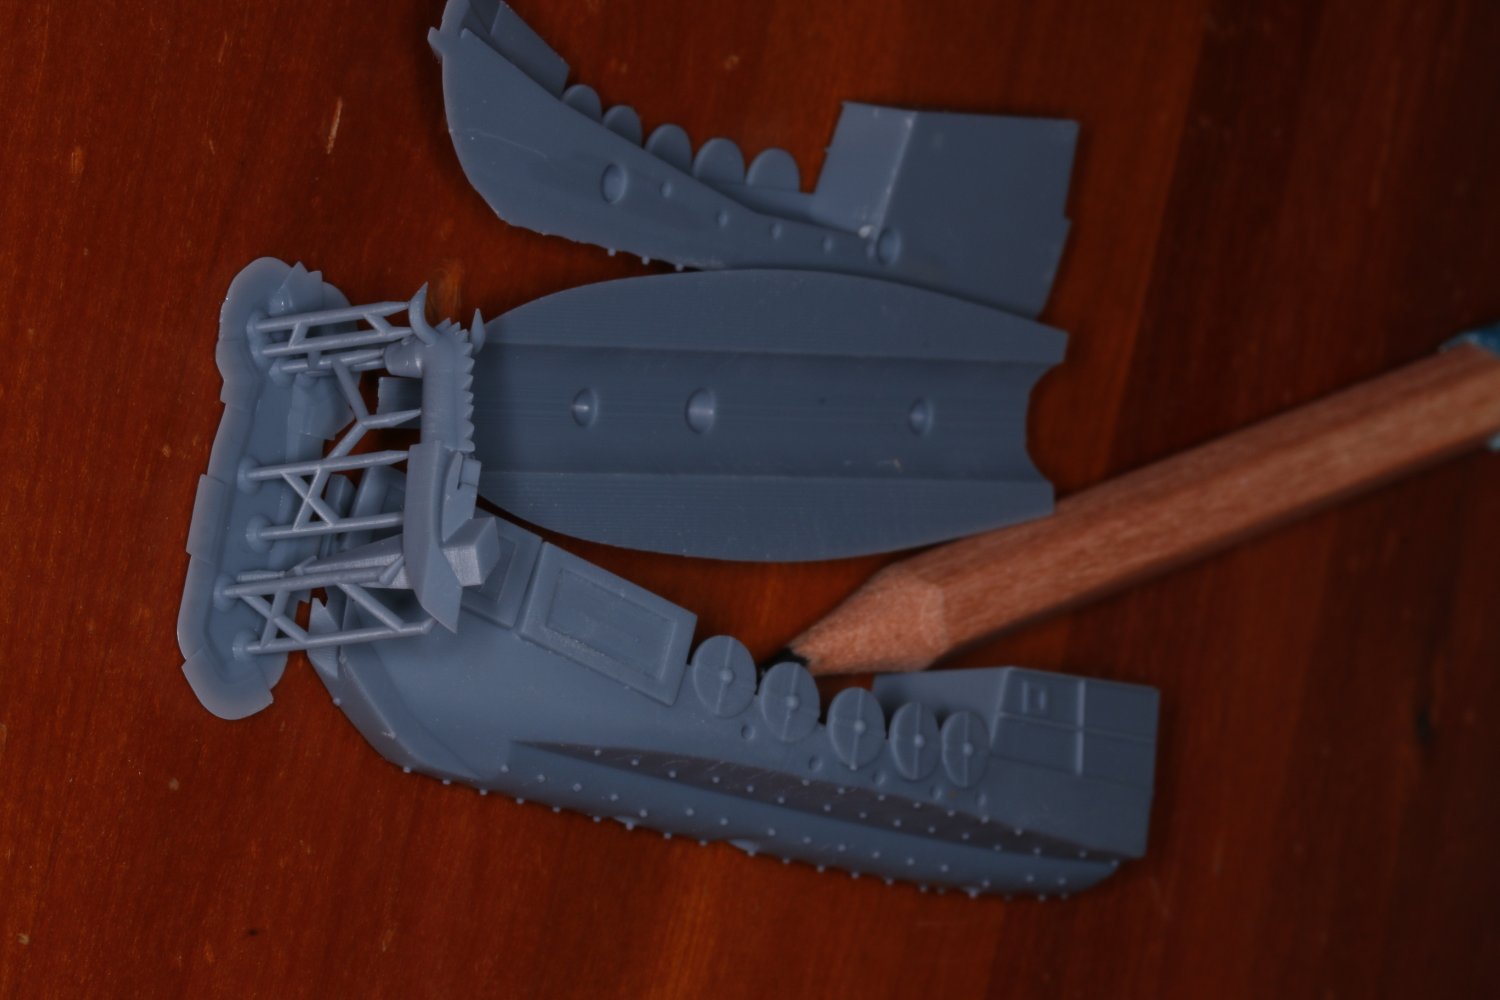
Realized there is another constriction in the neck of the bottle, for some reason. It's a screw cap bottle, not a cork. I took the model out, that wrecked it good and proper. Do over. I reprinted the ship in 2 parts this time. I also redesigned the masts to collapse 3 degrees or to the starboard side. When they go in a straight line, the foul on the hinge behind it. I am kind of glad about the failure. Wasn't happy with the proportions of especially the bowsprit. Or the color of the rigging. I can also try and improve on painting details... Nice thing about printing is it can easily be sliced. I was also able to quickly come up with a clamping analogue. Note the one in the middle with a block printed into it.

-
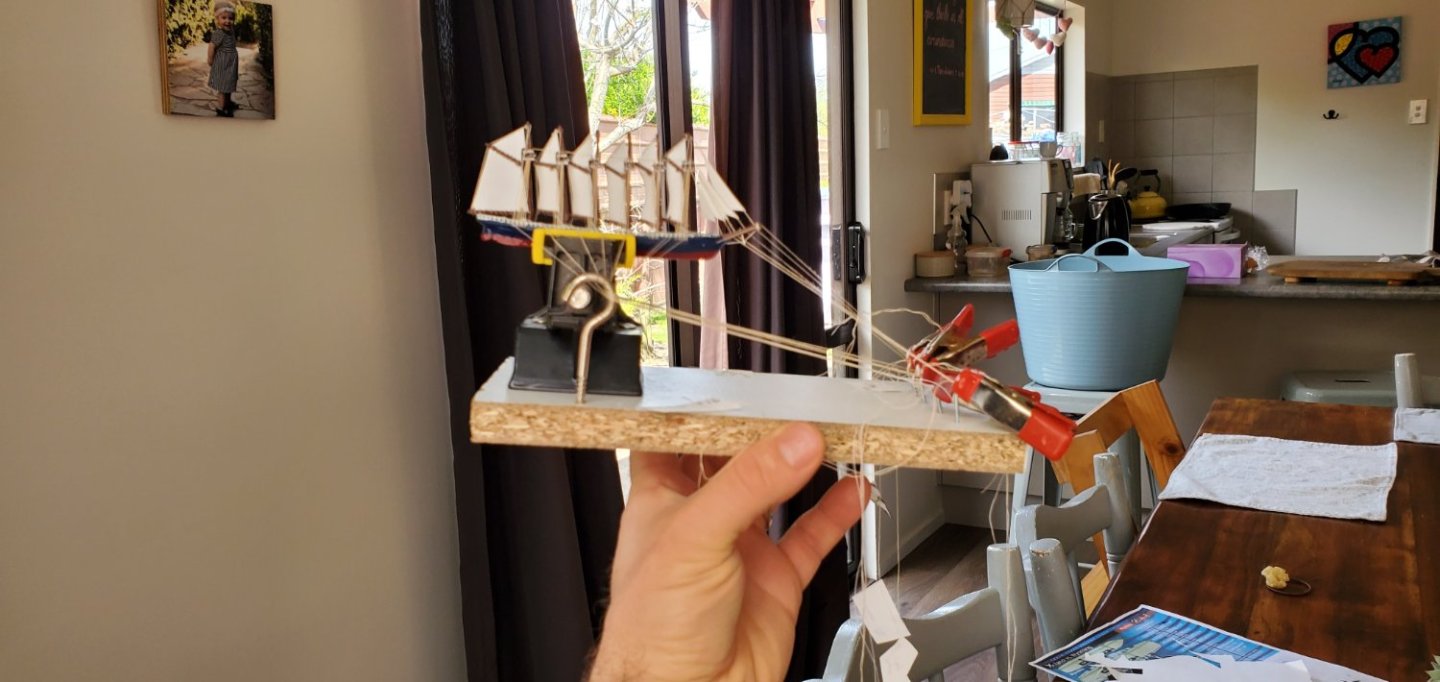
Everything went according. Until I tried raising the masts. One has debonded below the hinge. Worse, main stayline that draws everthing upright snapped when I put it in. 😤😤😤*#@>
-
Everything collapsed, ready to go. Suddenly it looks way too large for the neck... Will figure that out. But not tonight, had too much Rosé lol. Should've tried @ccoyle 's moscato, but have not come across that in New Zealand yet.

-
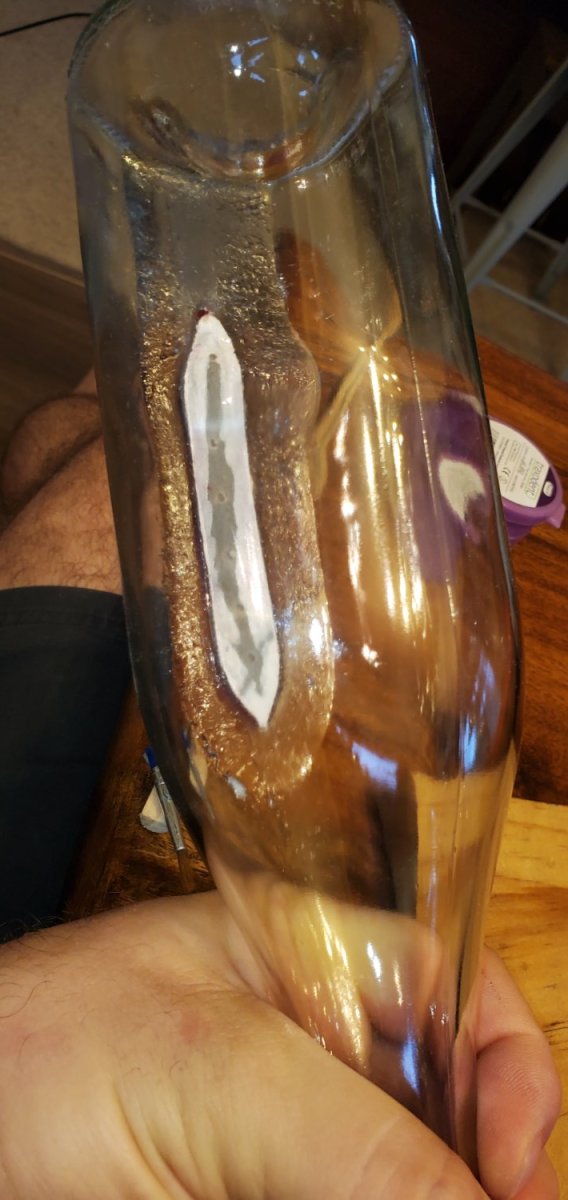
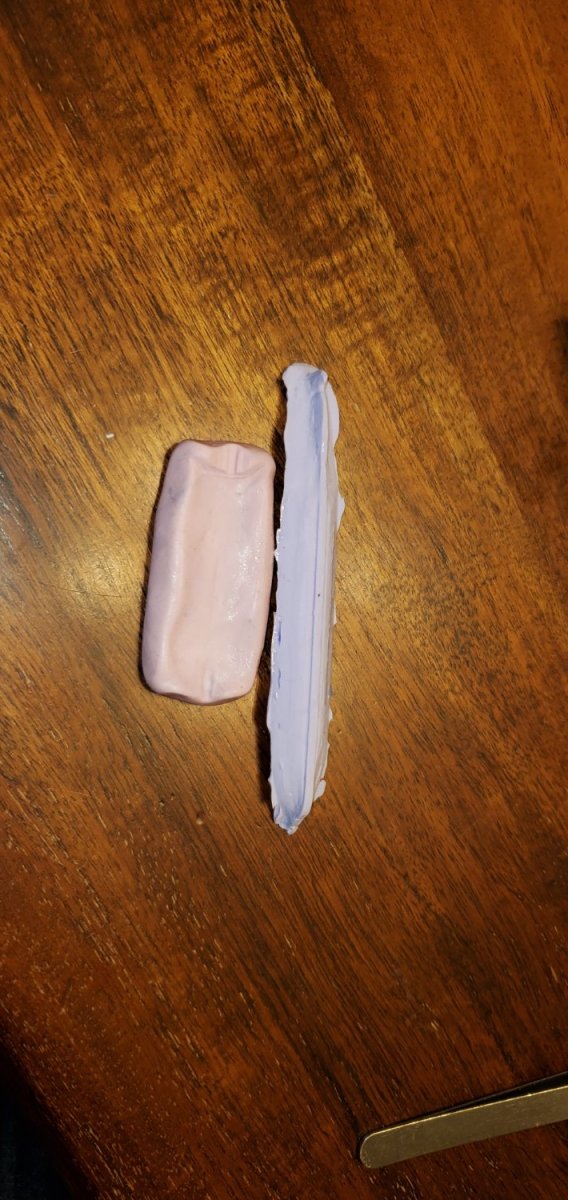
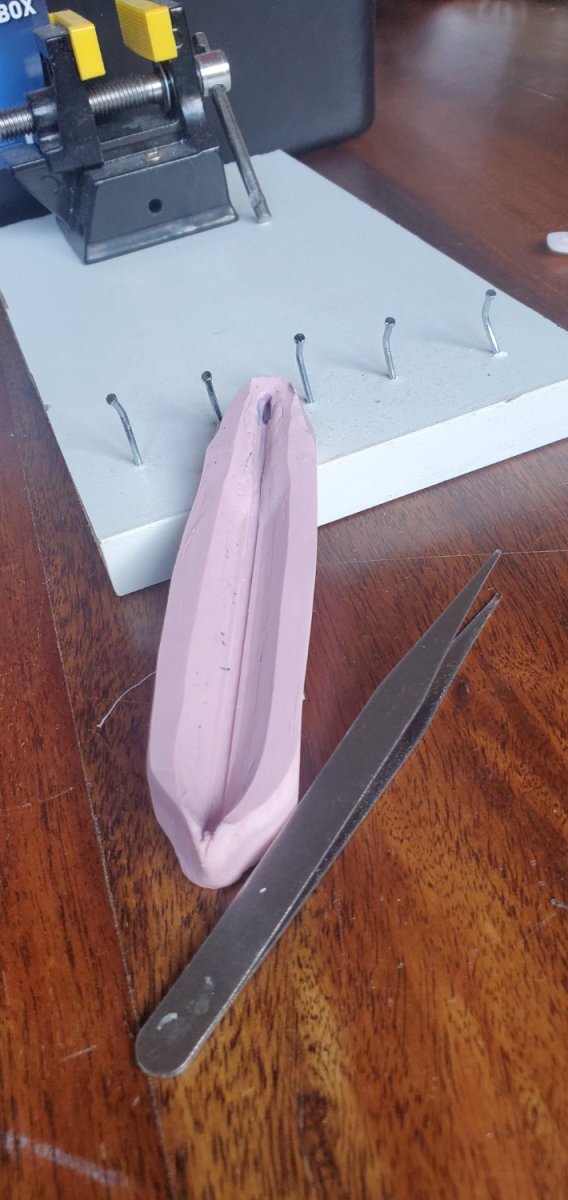
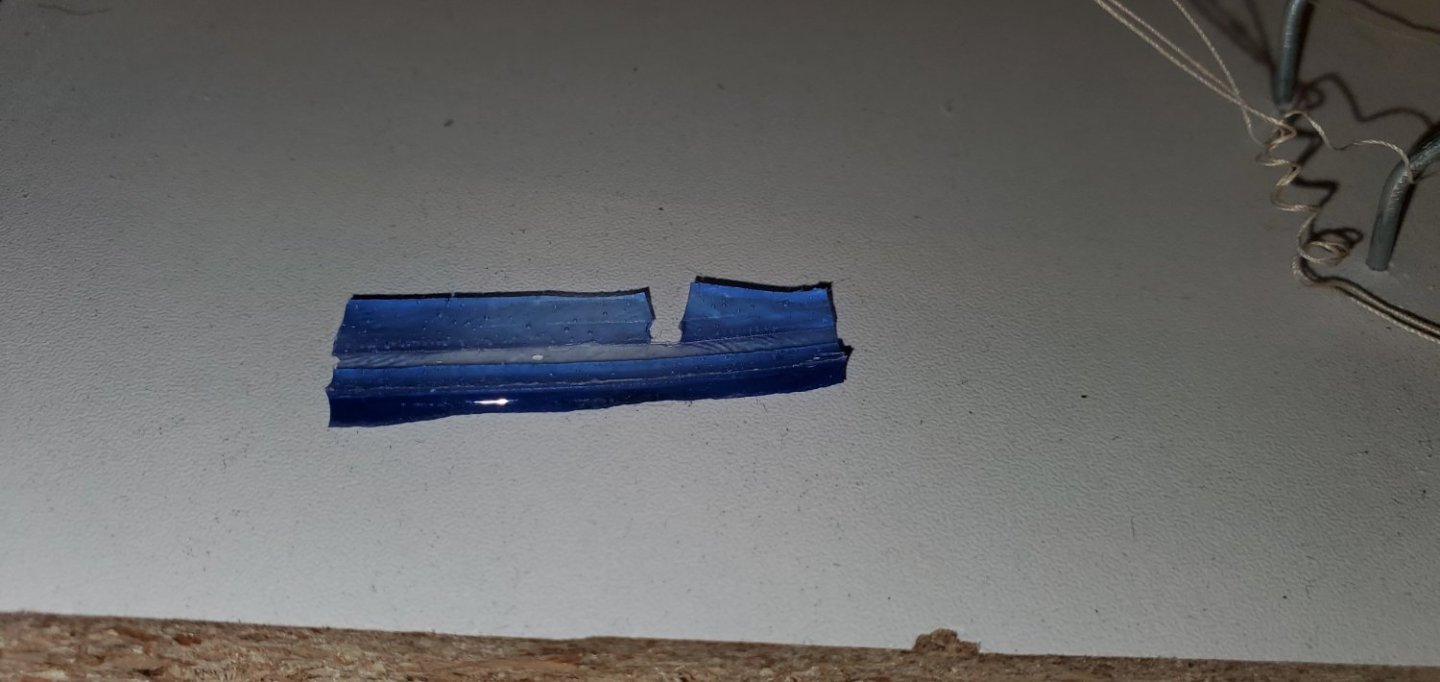
This little piece of blue resin was the result of hours of deliberation and at least 2 failed experiments the notch was an air bubble I had to remove: In the end I had to make a silicon copy of the hull, and an analogue of (what I think) the curvature of the bottle is: I stuck them together with CE and filled the gap with blue resin. I hope to stick said resin in the bottom of the bottle, stick the hull to it. Erect masts and hoist sails and all that, then hopefully just pour the resin. The resin will hopefully engulf this and the lower half of the hull.

-
I had a flop with the resin. I was hoping to pour the ocean in a bottle. One of the reasons for doing the hull in 3d printed resin is I could print a replica to use as a 'stamp'. You know, wrap in clinging plastic, position, pour resin, wait for curing, remove, trim plastic, and in theory have a neat hole in the resin that will accept the model. The resin must have eroded through the plastic or something. It was firmly stuck cant remove without breaking the glass. Now have to get a cheap Rosé in a clear bottle
-
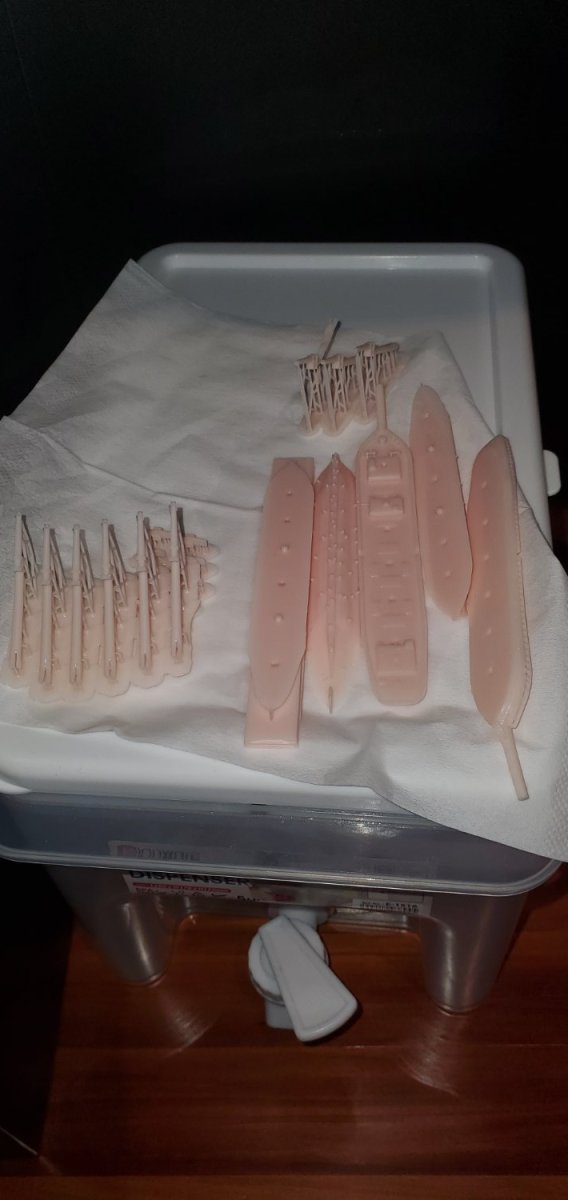
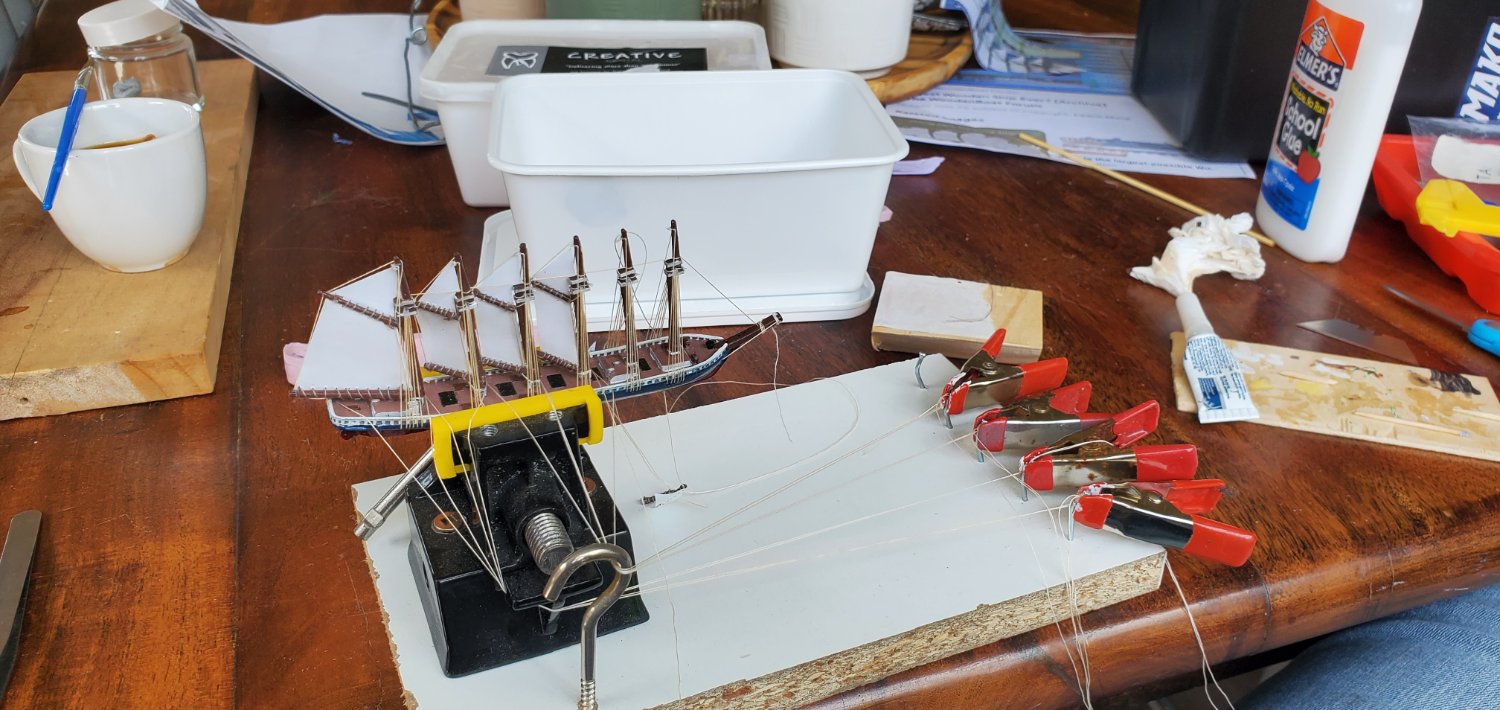
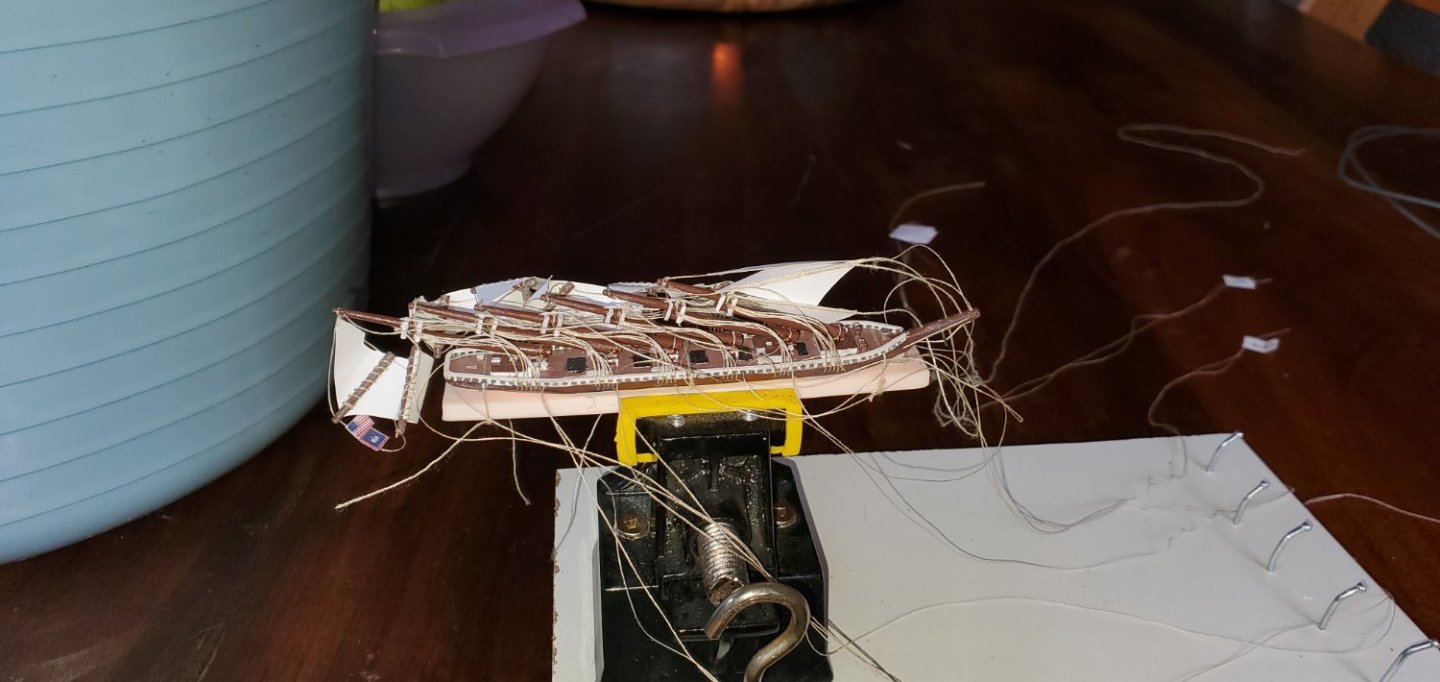
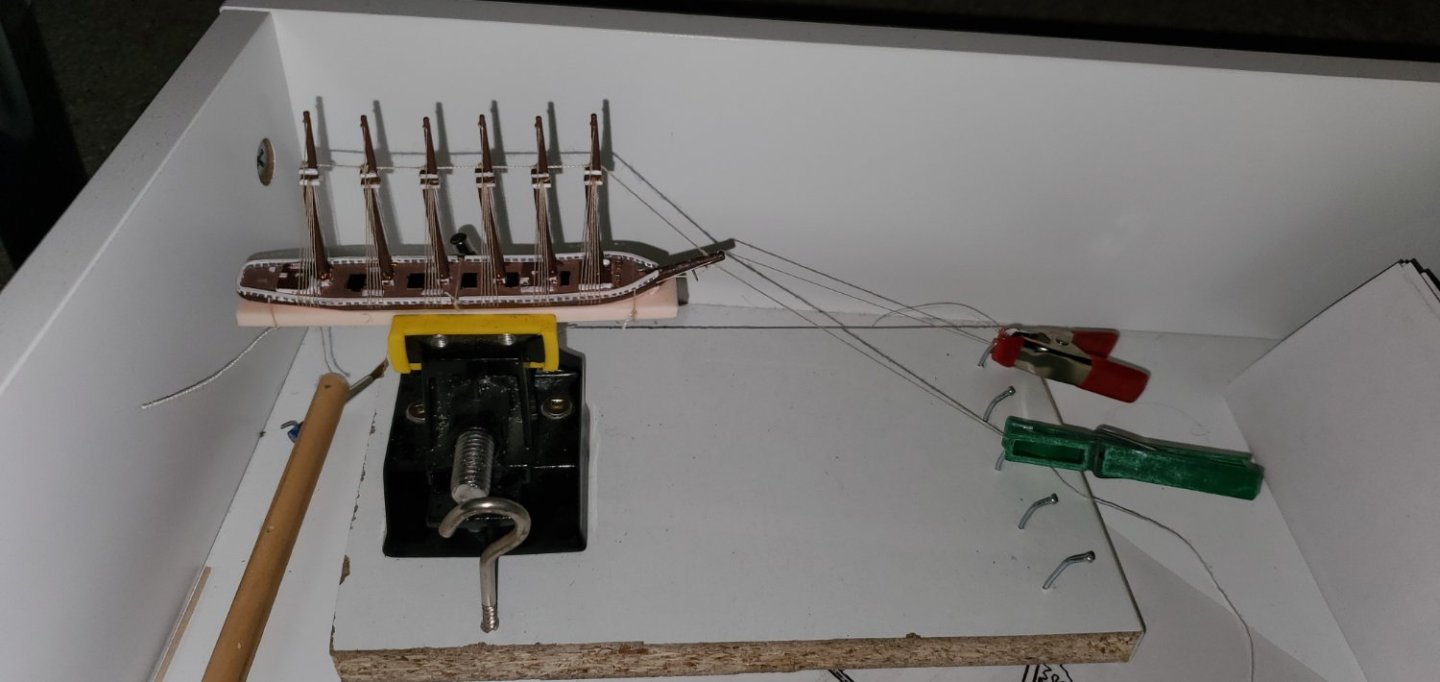
Some progress. Went back to reprint the masts eith a hinge. It's well hidden enough, but I can improve on it for the next model. 6 masts is a lot of shroud lines. And booms, gaffs, sails etc. I was going to do fabric sails but decided on paper for this one. Made the mistake of choosing white thread for the rigging, it looks too white. So I simply painted it with tea. Not too bright any more. For the next model I'll get my own in stead of raiding my wife's sewing supplies. All ready and labeled


-
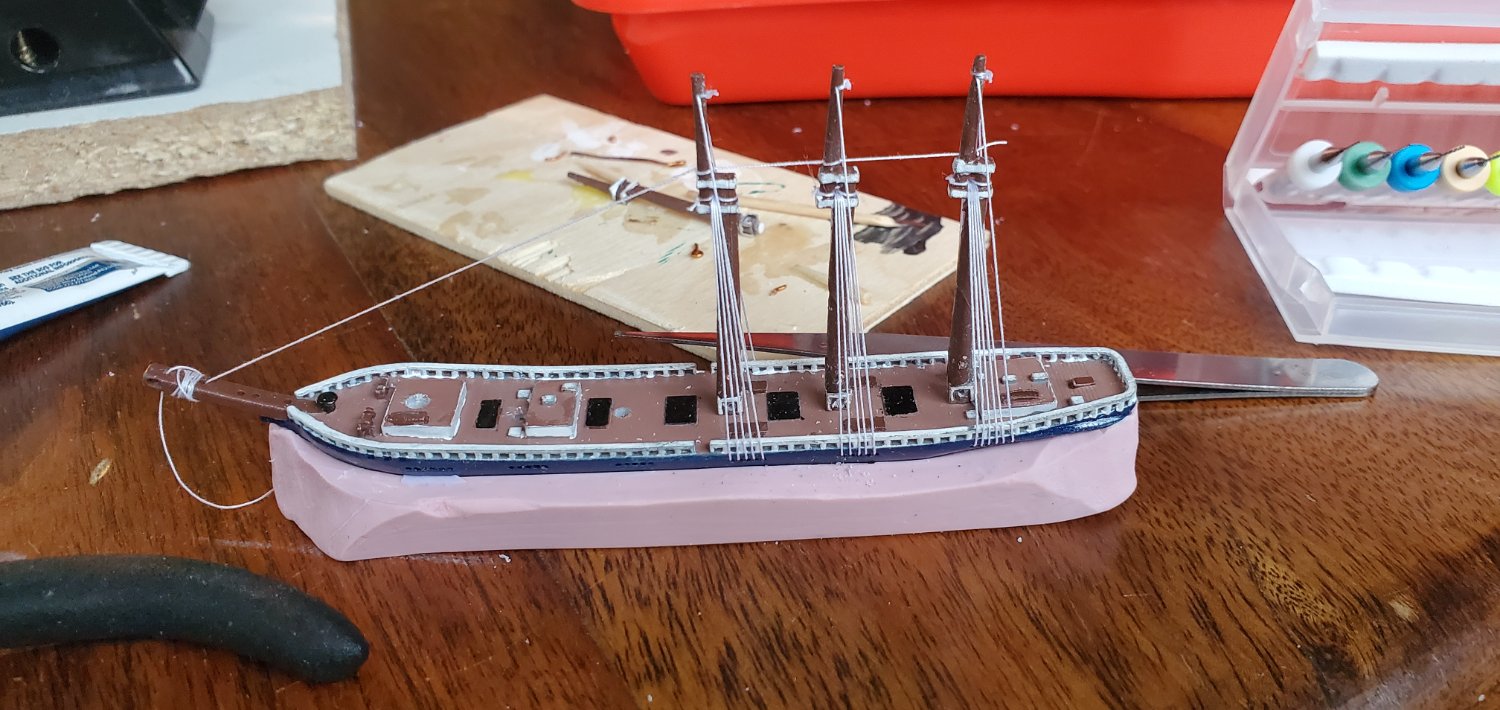
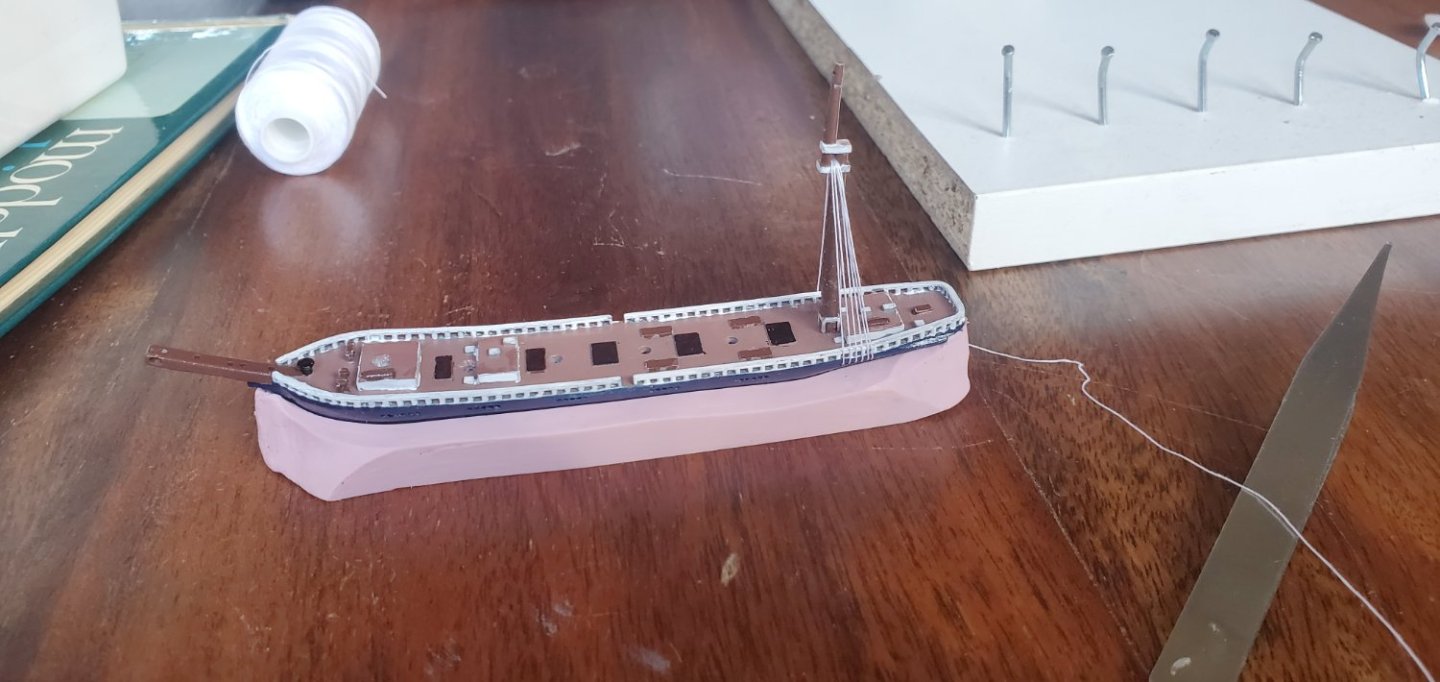
I'm not going to show paint work. I loathe any kind of paint job. So please don't look too closely. Used Timaya enamel on a standard grey primer. This is a recommendation of a friend, but I'm not convinced. Using Masking tape left somemarks and damaged paint that was left to dry 48hrs. So I free handed most of the model. One of the many advantages of doing split hull is the holes for the shrouds can be made at an angle for threading it in and out. I thought I would be so clever to 3d print the hull getting the holes through the hull perfect to 0.02mm. It was accurate, sure enough, but it also causes some unforseen challenges when threading the shrouds. You have to start and stop at the mast joints. You can't start or stop hidden "below deck" like with the traditional approach. Something else I was trying to be creative about is not hinging the masts, but give it an easy hole in the deck, and peg at the bottom of the mast. The idea is to reach in with tweezers and fit the masts like an inverted lego. Not only is the fit "too accurate" I.E. not enough slop to make it fit easily, paint in the hole or on the mast makes the fitment worse. I already broke one mast fitting in the hull. But there is also the issue wit the thread that is not elastic enough for this. So I might have to turn back to a traditional hinged mast made of wood..... The pinkn is a silicone base made of an expired silicone putty used in dentistry. I'll use this to come up with a silicone replica for the resin pour as well...

-
Found this thread searching for something else, and got sucked into reading it top to bottom. Including the info about scurvy, castration, sea monsters and penguins 😁. Amazing work, and really entertaining. Could you please describe how you get the waves on the blue resin? Or point to a link where I can see? I have been thinking about using doming resin, not sure if it'd work though
- 194 replies
-
- 2
-

-
- Bottle
- Treasure Fleet
- (and 3 more)
-
My third overall bottled ship, first scratch build of a ship that existed. I made the choice of a schooner because this would be the third go at it, and a 6 mast behemoth because of the bottle I have. It was a bottle of orange liqueur made by my brother-in-law. Passed down in his family, called Al Borducuan. Not something you'd find on the web. Which is why I wanted to use this bottle hoping he'll give me more of the stuff. At the same time I got a resin 3d printer at work. It occurred to me this thing gives way better accuracy than carving. With some self taught drafting "skills" i came up with this object below. I used Onshape, and not sure if the way I did it was correct. But the .stl could be generated from this. This is not my first attempt, I started out trying to keep deck furniture separate, but learned fine details print better if attached to the deck already. Anything less than 0.8mm does not really print well. Considerable trial and error here But I finally have a workable model: As you can see masts too short so reprint. I have to beef the masts and bowsprit up to where the resin is rigid. Too thin and it is very flexible. Hoping this doesn't make it look odd...