MORE HANDBOOKS ARE ON THEIR WAY! We will let you know when they get here.
×


Cbrand02
-
Posts
36 -
Joined
-
Last visited
Content Type
Profiles
Forums
Gallery
Events
Everything posted by Cbrand02
-
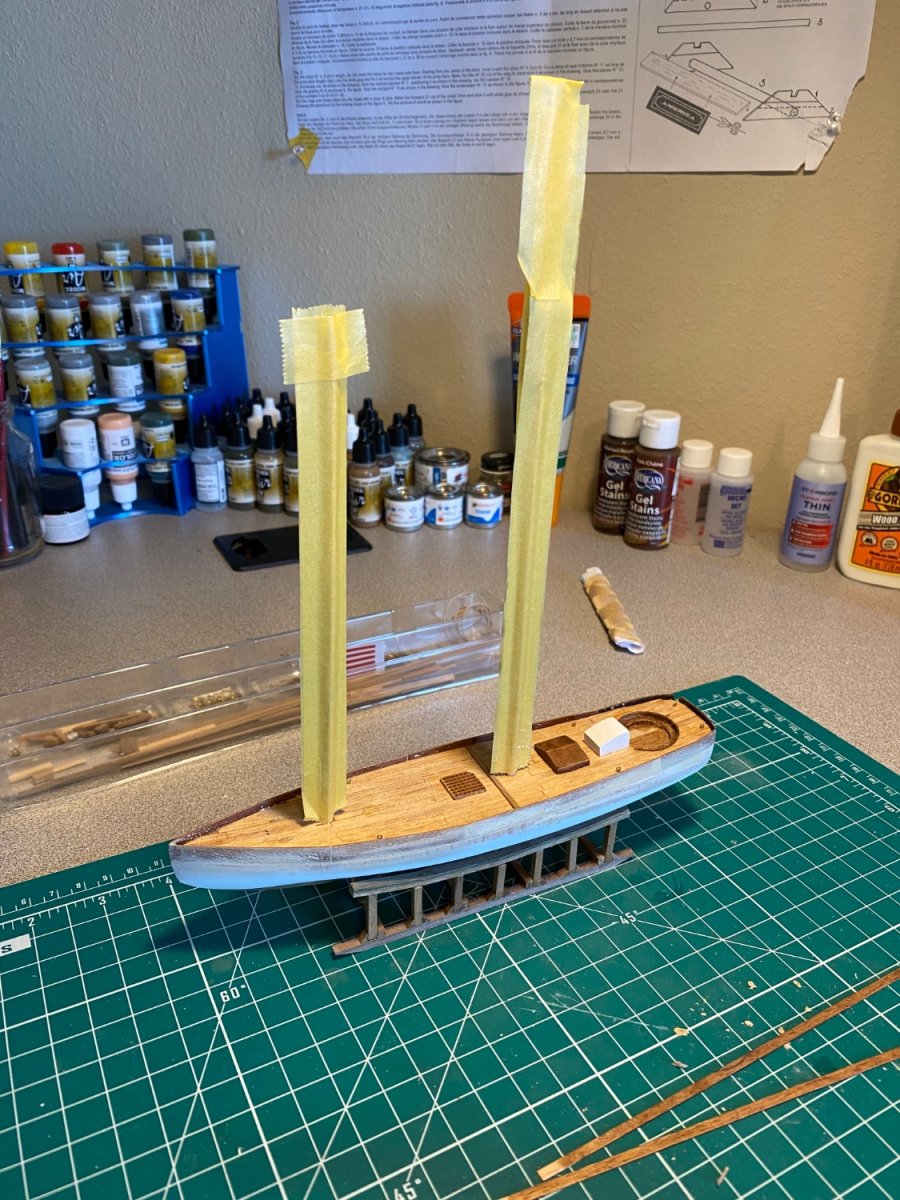
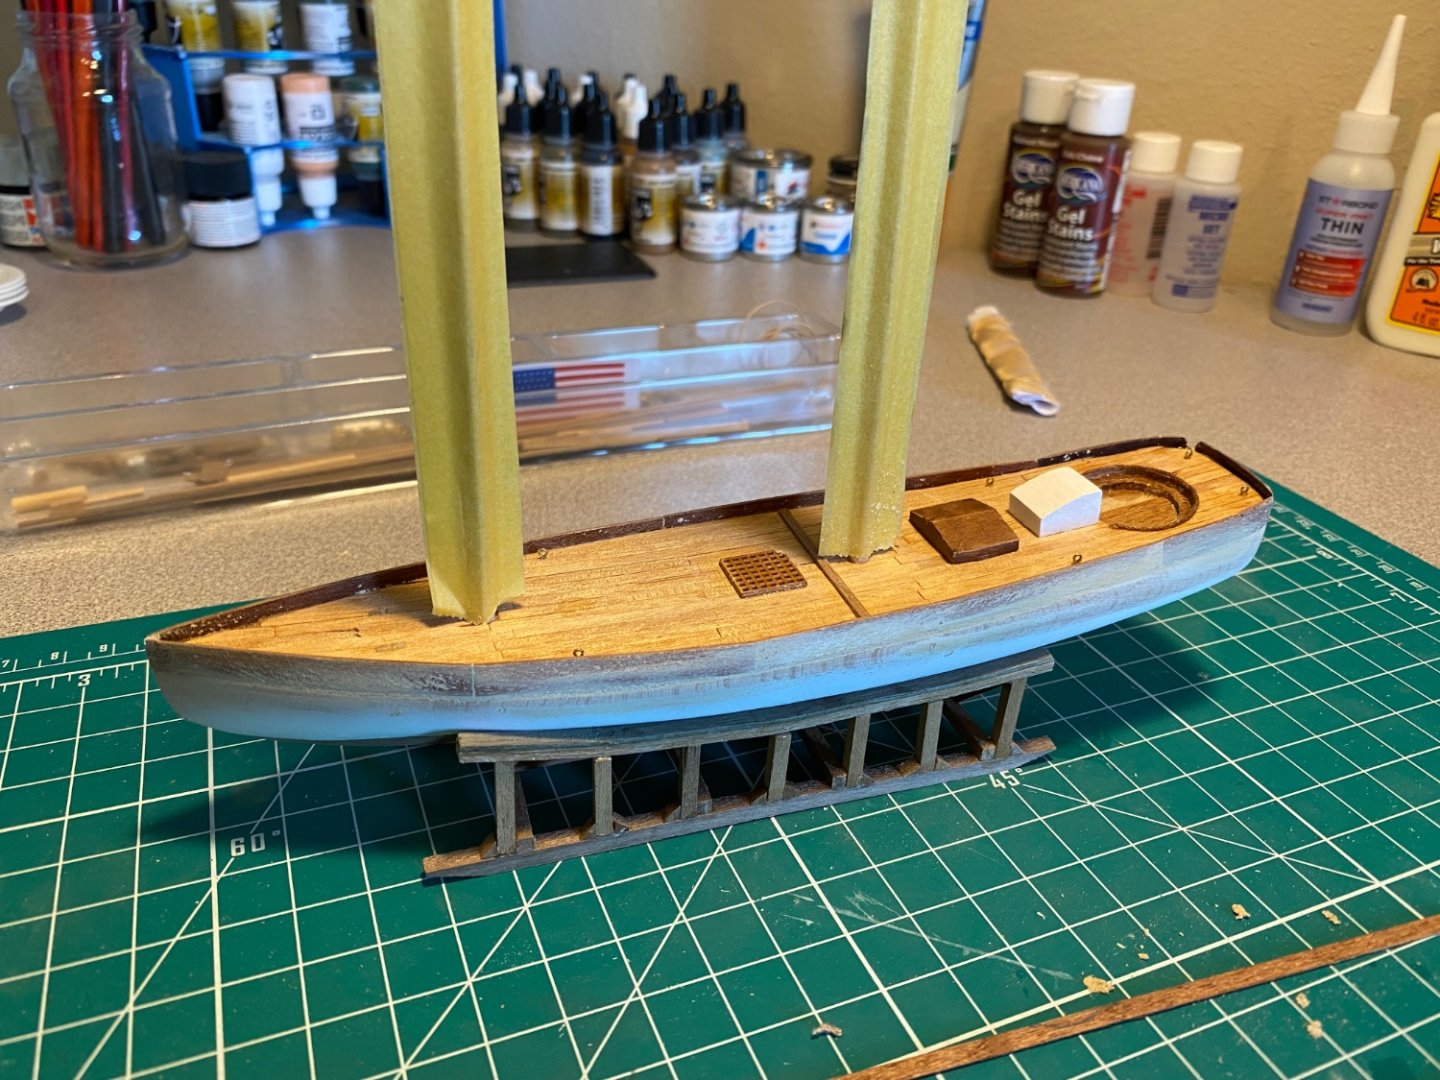
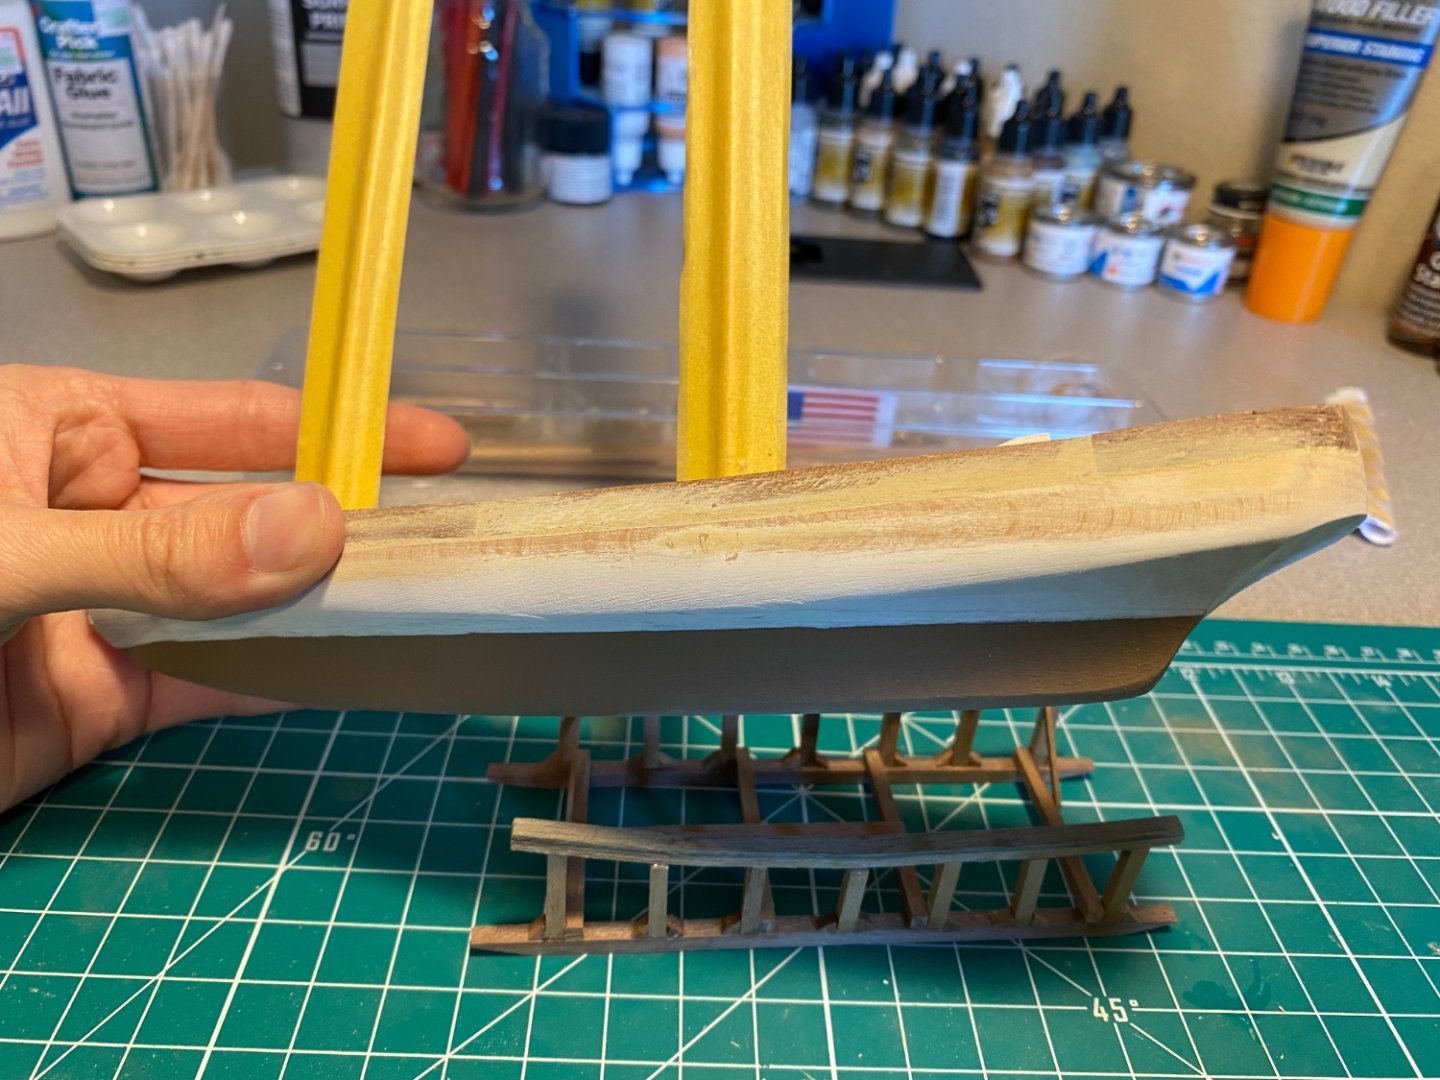
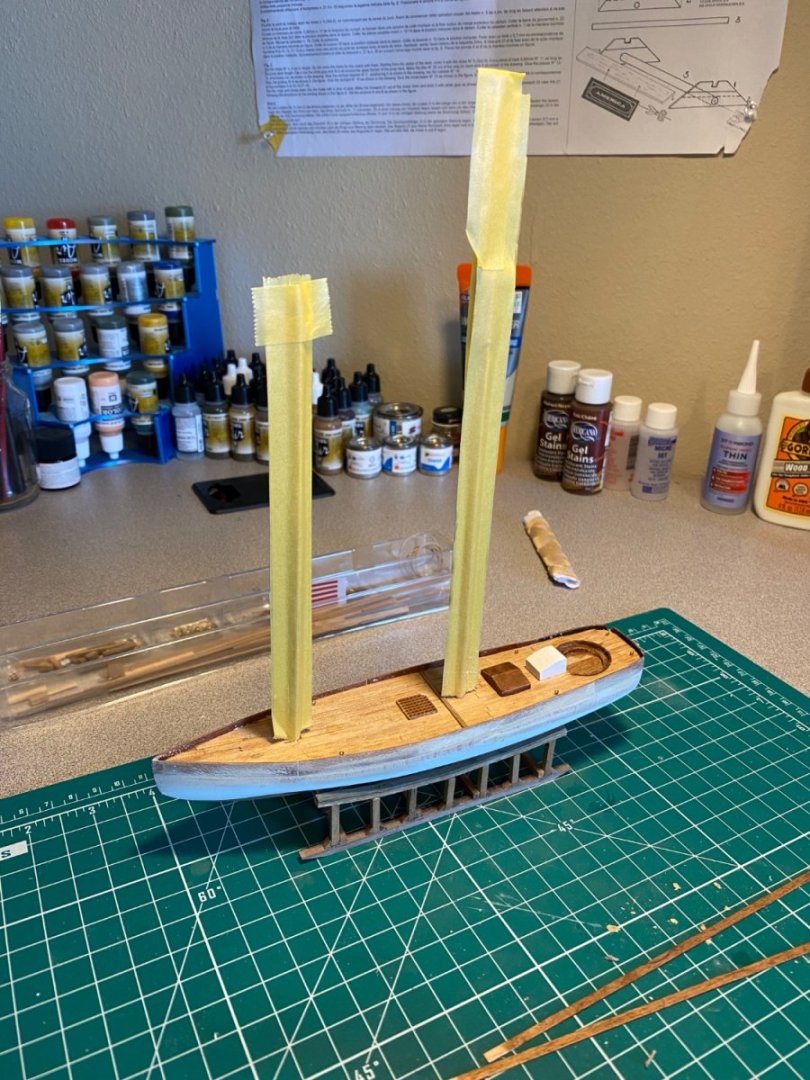
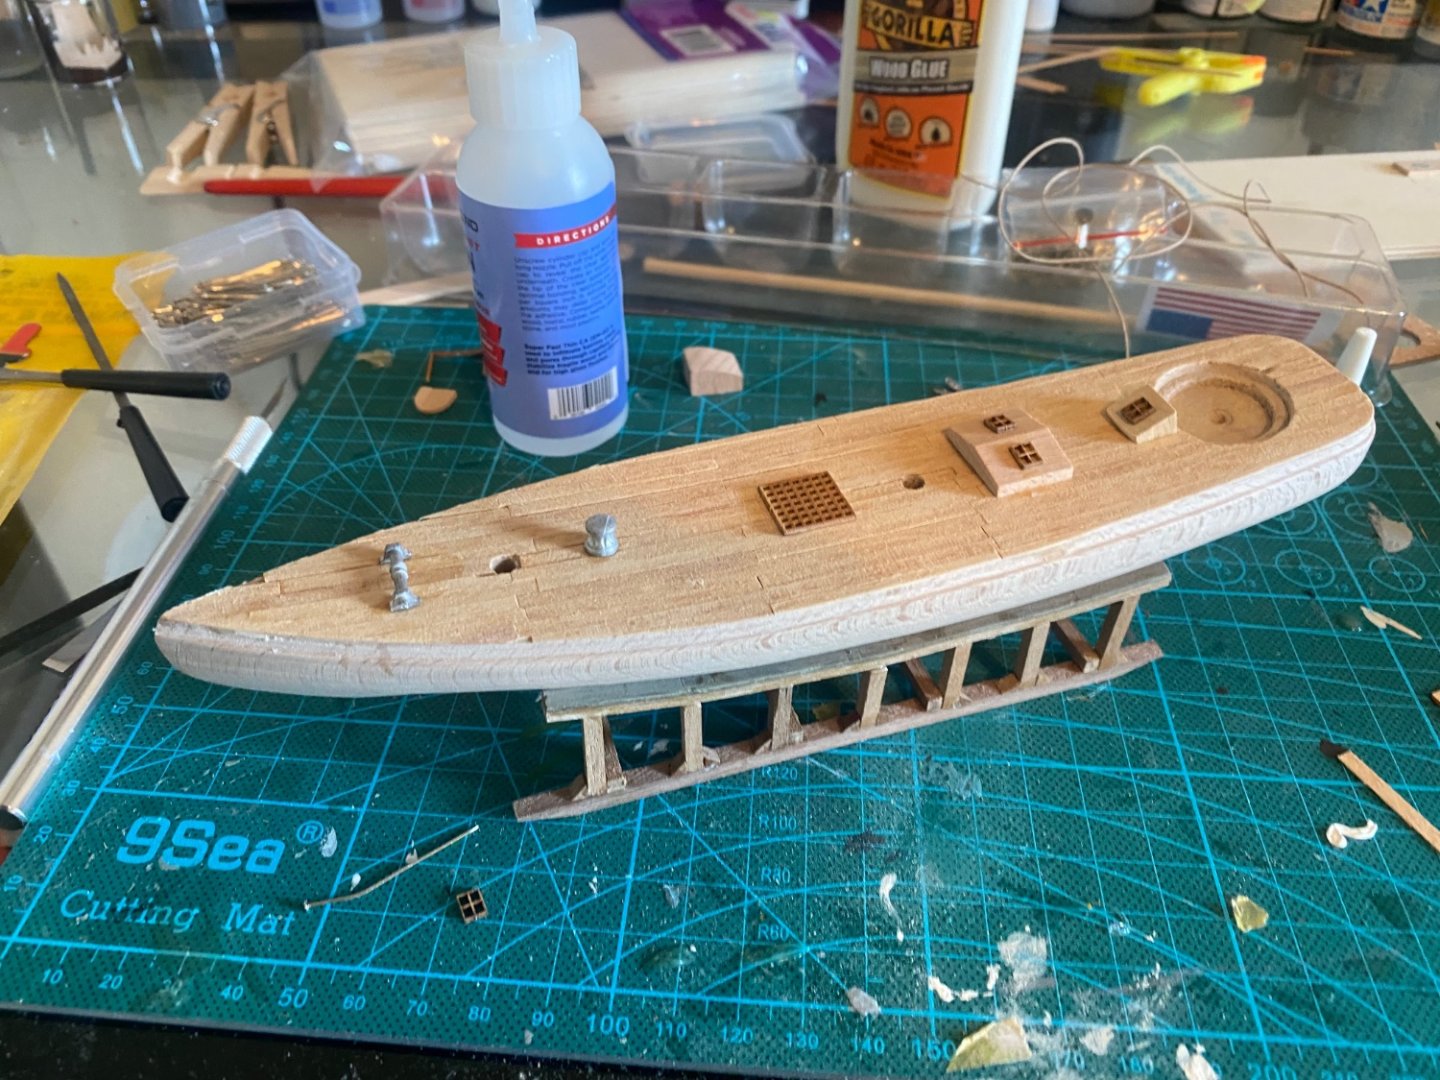
I’ve painted and stained some deck fittings, began planking the helmsman’s cockpit, removed the bowsprit, and painted a base white for the waterline and a copper-ish color for below the waterline. Unfortunately I’ve glued in the masts and they are less apt to be removed than the bowsprit, so I’m forced to work around them. I was able to fill and sand a sizable gap between the wales (deck extension?) and hull which I think looks much better. I am trying to take my time to achieve a satisfactory result rather than rush through the process to the rigging. Thus far I am much more satisfied with the state of the ship after doing more research. I've also decided to leave out the sails, but create them anyways for practice using a sewing machine. I have ordered tiny sets of blocks with 1, 2, and 3 sheaves to try and rig it in such a way that the sails are removed (gaffs lowered, jib boom supported, etc..). Does anyone have any tips for attaching the gunwales? Just the normal heat and soak method to get them to bend to shape?
-
For the rigging, this has been the most helpful thing I've found. Pretty well has taught me how to rigging works, alongside Ship Modeling Simplified. https://modelexpo-online.com/assets/images/MS2029_AMERICA_INSTRUCTIONS_NEW_PHOTOS.pdf
-
Thank you! I purchased that when I first began but have been using it for reference because the majority seemed to not apply to this scale. I'm reading through it now and it is very helpful. The "Phantom" has been a huge help, and I've also found the instructions for the newer Model Shipways "America" which has been massively helpful.
-
That looks awesome! You've inspired me a bit, I pulled off all the deck fittings and bowsprit and airbrushed a base white, going to try and achieve the paintjob of the photo on the box. I can't really fix the uneven planking, but I can stain the little "buildings" and paint the capstan and anchor winch. What kind of materials did you consult to know how to rig/build it? It seems like there are tons of different versions of this ship; the box art has a version, the line drawings have a version, there are different photos online that seem to depict different variations of the ship, etc.. I guess I just choose one and go with it? Or flex my creative muscles?
-
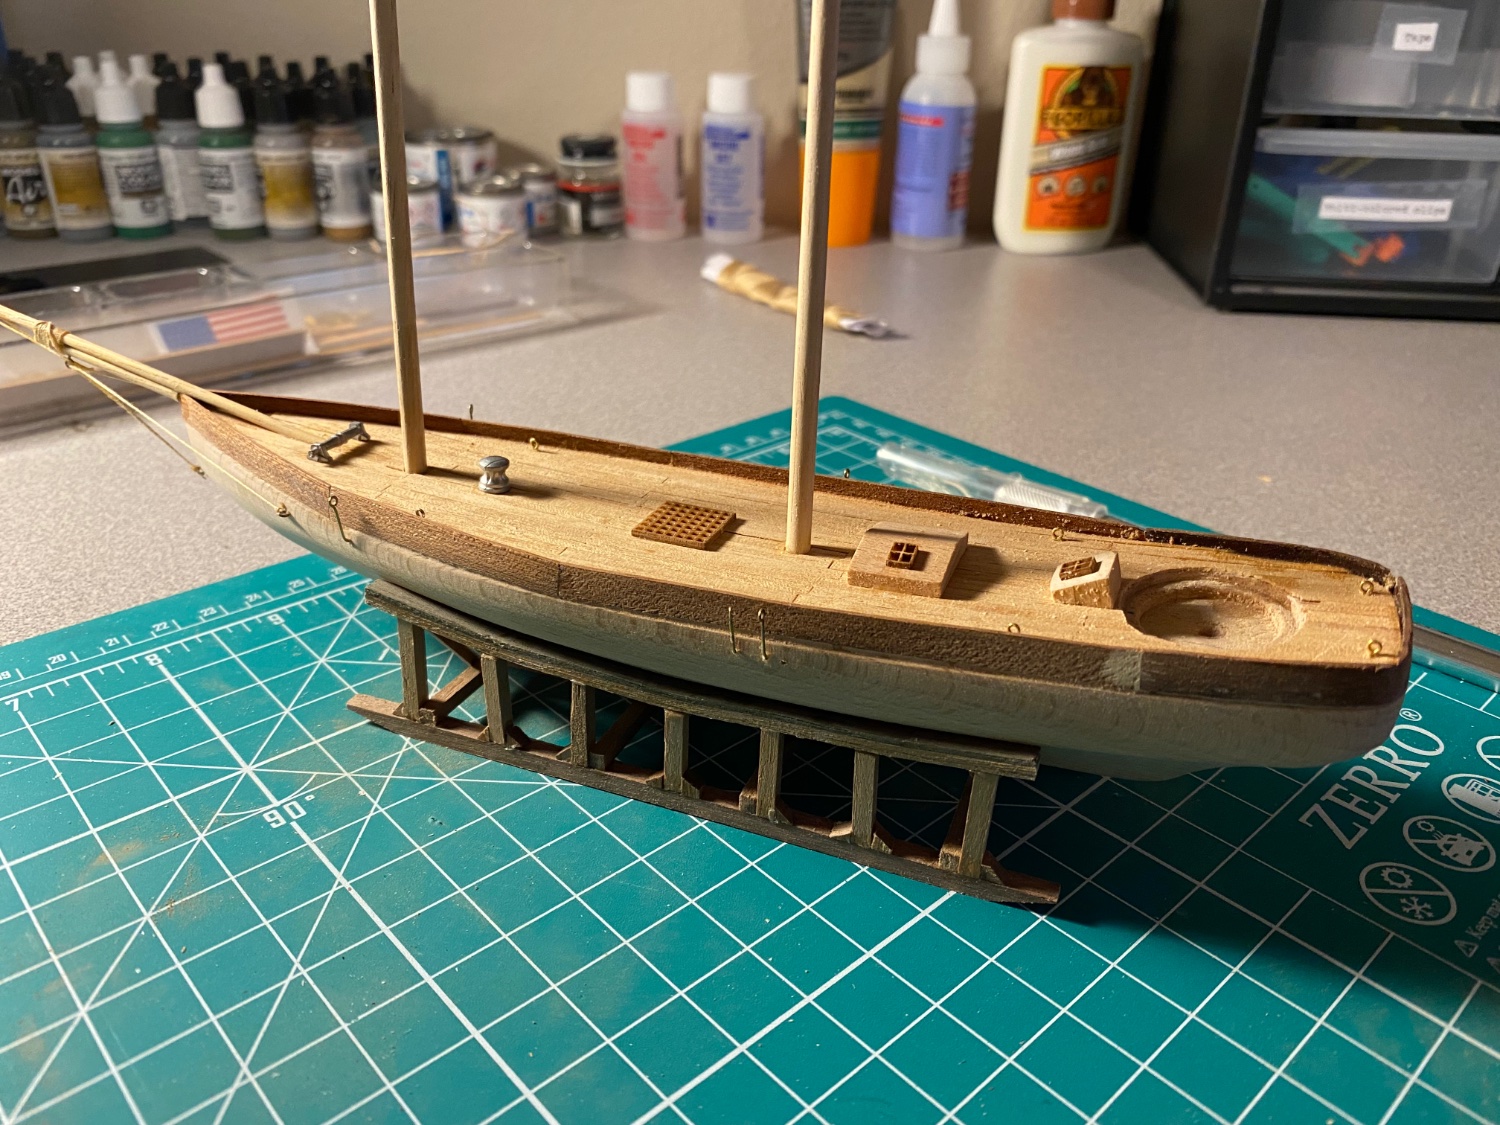
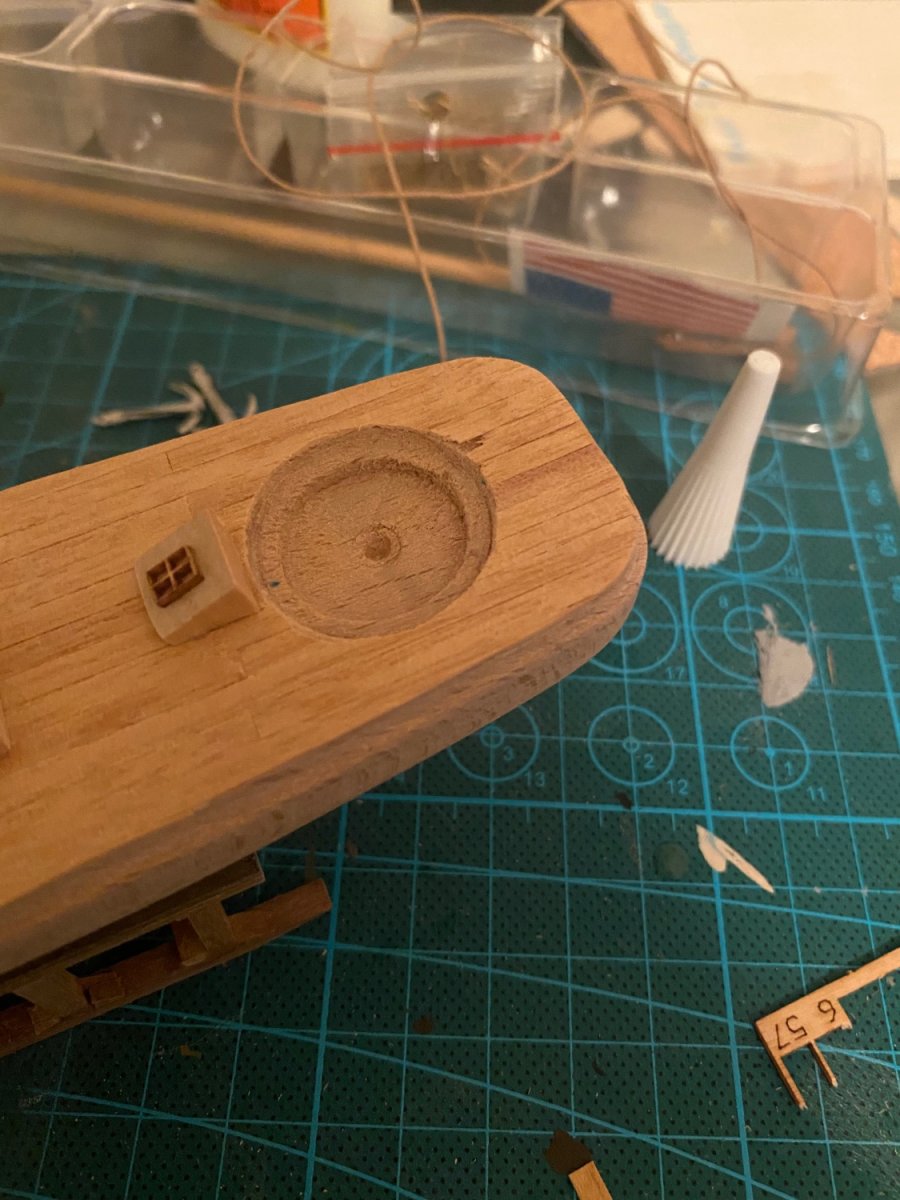
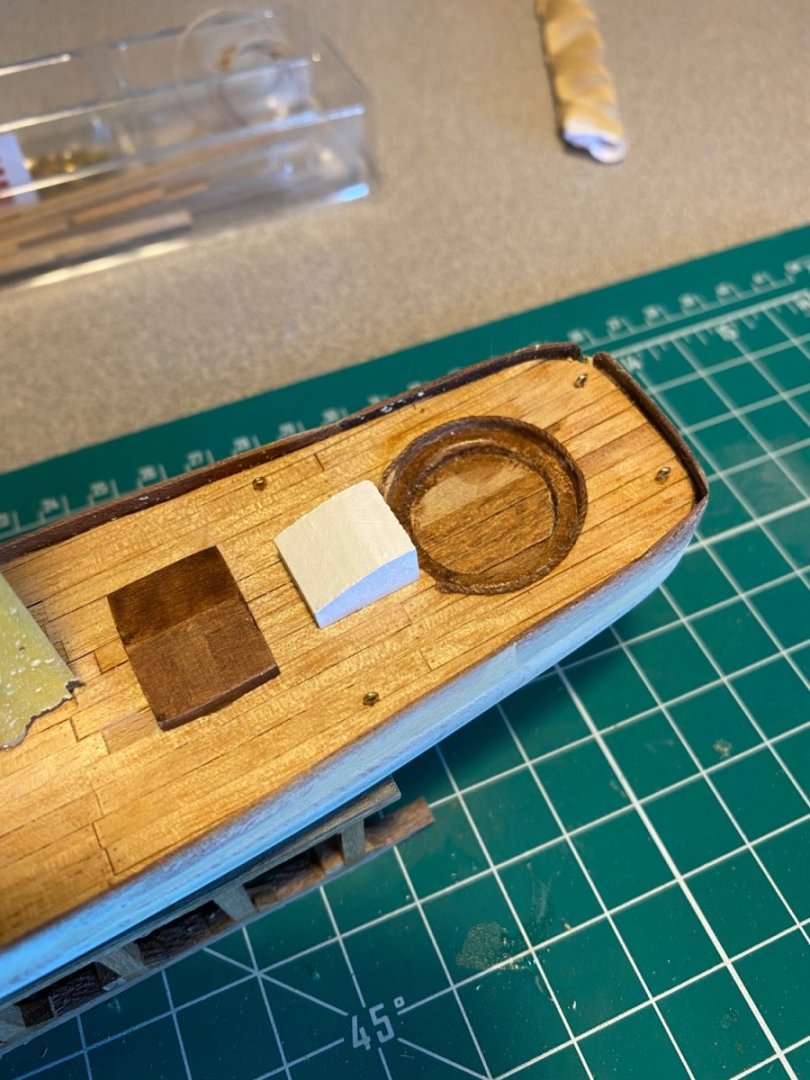
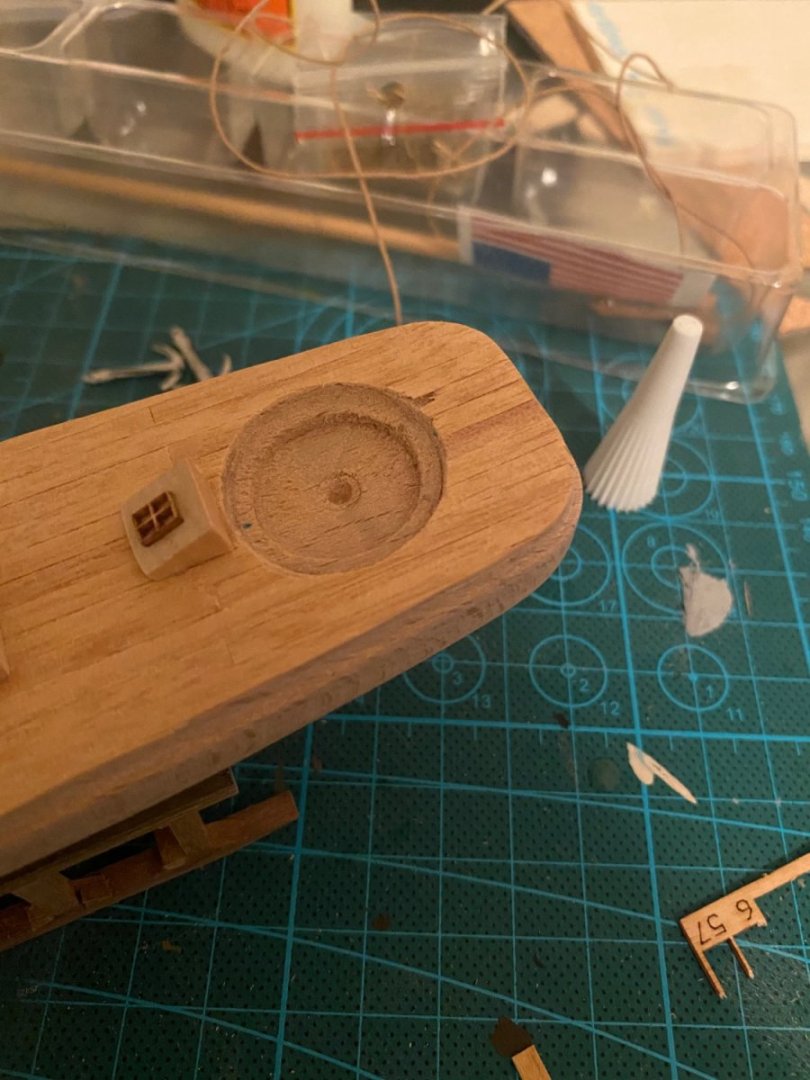
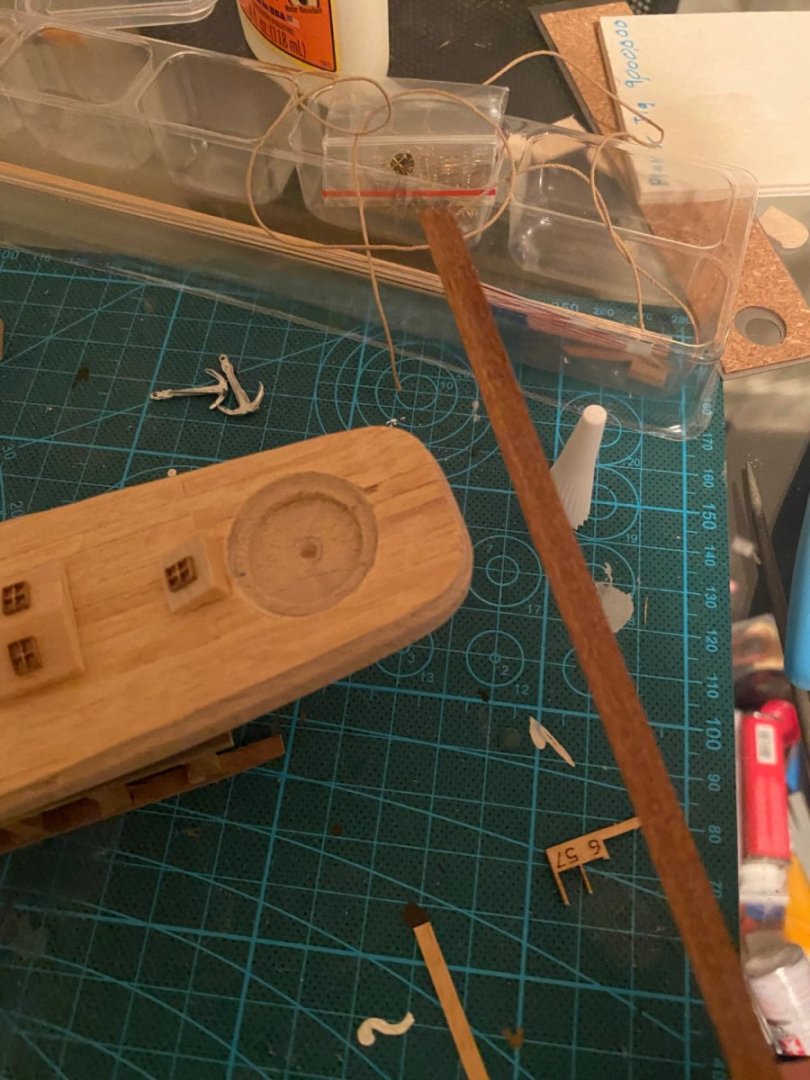
Also if anyone has any suggestions for the current state of the model, please tell me. I feel like it just looks... off. Mostly probably due to the lack of paint, but the chipped deck and uneven planking definitely doesn't add to it. There's also the strange circle near the stern that I don't know what to do with, as the instructions basically tell me nothing. There is also a higher gauge piece of rope supplied, but I can find nothing in the instructions talking about it.
-
Also thank you very much, this worked great!
-
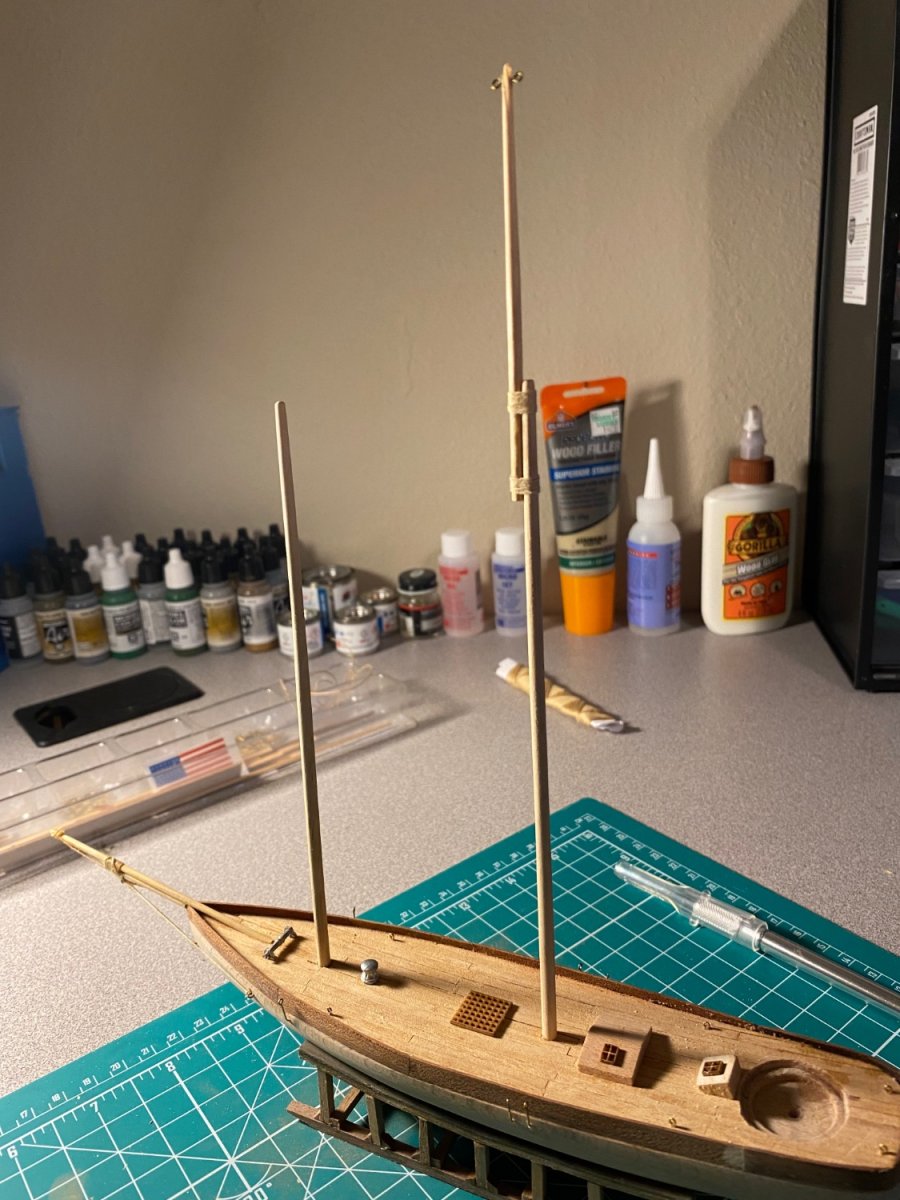
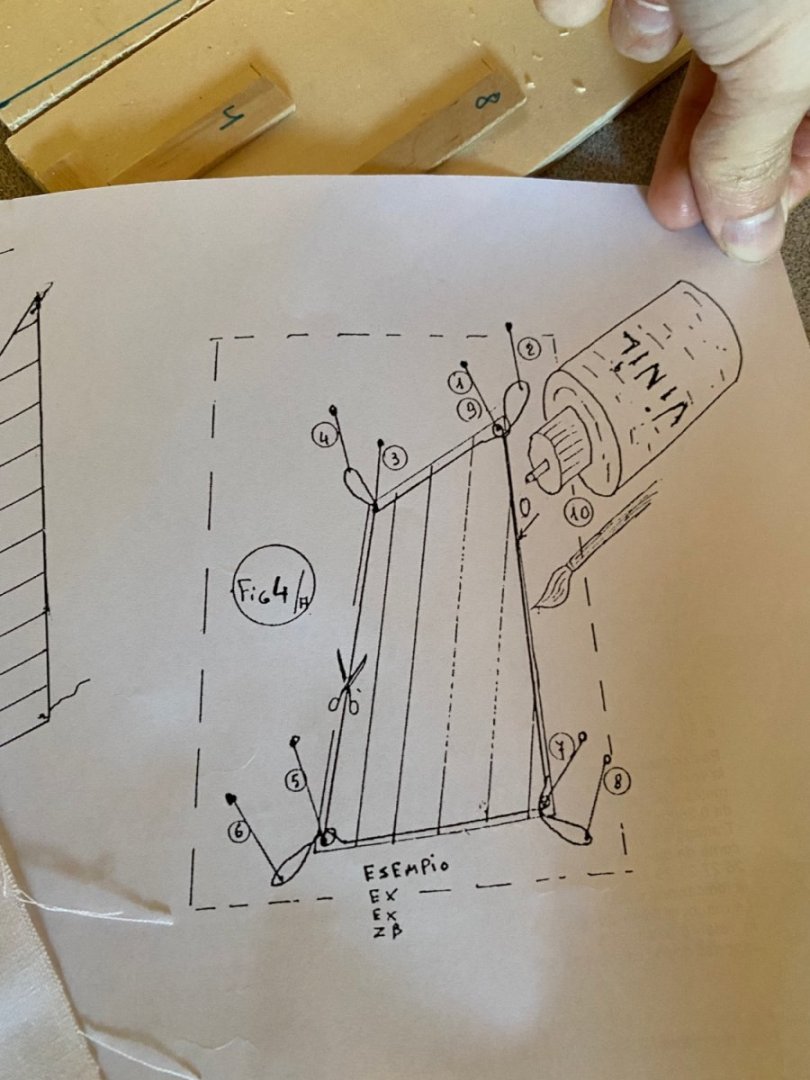
Hi all, I’ve attached the eyelets to the deck (could someone give a better name for those?), rigged the bowsprit, and set the masts as per the instructions, but there are a few frustrations with this kit. 1. There are conflicting instructions between the box photo and some line drawings. 2 drawings had different depictions of the bowsprit rigging, as well as eyelets fixed to the deck 2. The shape of the solid hull does not match that of the drawings. This makes fitting things difficult, and I have given up on attempting the rudder 3. The scale of the drawings is off. Everything is about 5cm larger in the drawings opposed to the actual thing, which also causes some drawings to be cut off. This makes fitting extremely difficult for a noob like myself and has me worried about the sails. I figure those will just take some trial and error with recreating and fitting them with paper copies 4. It seems the instructions may be for the POB version. The kit included nails and the instructions have a section about planking the hull. I’m not sure if the intention here was for planking the solid hull, but no planks were provided. This is my conclusion after all the discrepancies with the shape/size of things, that the incorrect instructions were provided. Either that or it’s just a bad print or the instructions are just bad as is In all, I’ve decided to stay away Mamoli for future builds (at least while I’m still new). I plan to go on to the Midwest Lobster Smack, since I’ve heard great things about Midwest kits and there are a plethora of build logs for that one, unlike the one I’m building now. I’ve declined to paint it, but I will finish this one out. Does anyone have any tips for making the sails? The instructions seem to indicate lining them with rope, making loops at the ends, and cutting them out. I will have access to a sewing machine later this week, but I am itching to complete this model so I can move onto one I enjoy more. I’ve loved the process, but admittedly deciphering the instructions has not been a pleasant experience for my first go around. If anyone has any materials on interpreting Mini Mamoli instructions that would be great.


-
Hi all, deck fittings have been added. I’ve seen other posts where custom windows were made and the metal fitting were painted. Not really sure what colors I’d paint the metal and the instructions are beyond awful, so I went with what was included. I am wondering, does anyone have any tips for attaching the deck extension (wales?) around this sharp bend in the stern? I would think the wood would break. I could just do two intersecting pieces and sand them down I suppose, but not sure if there’s and better ways out there.
-
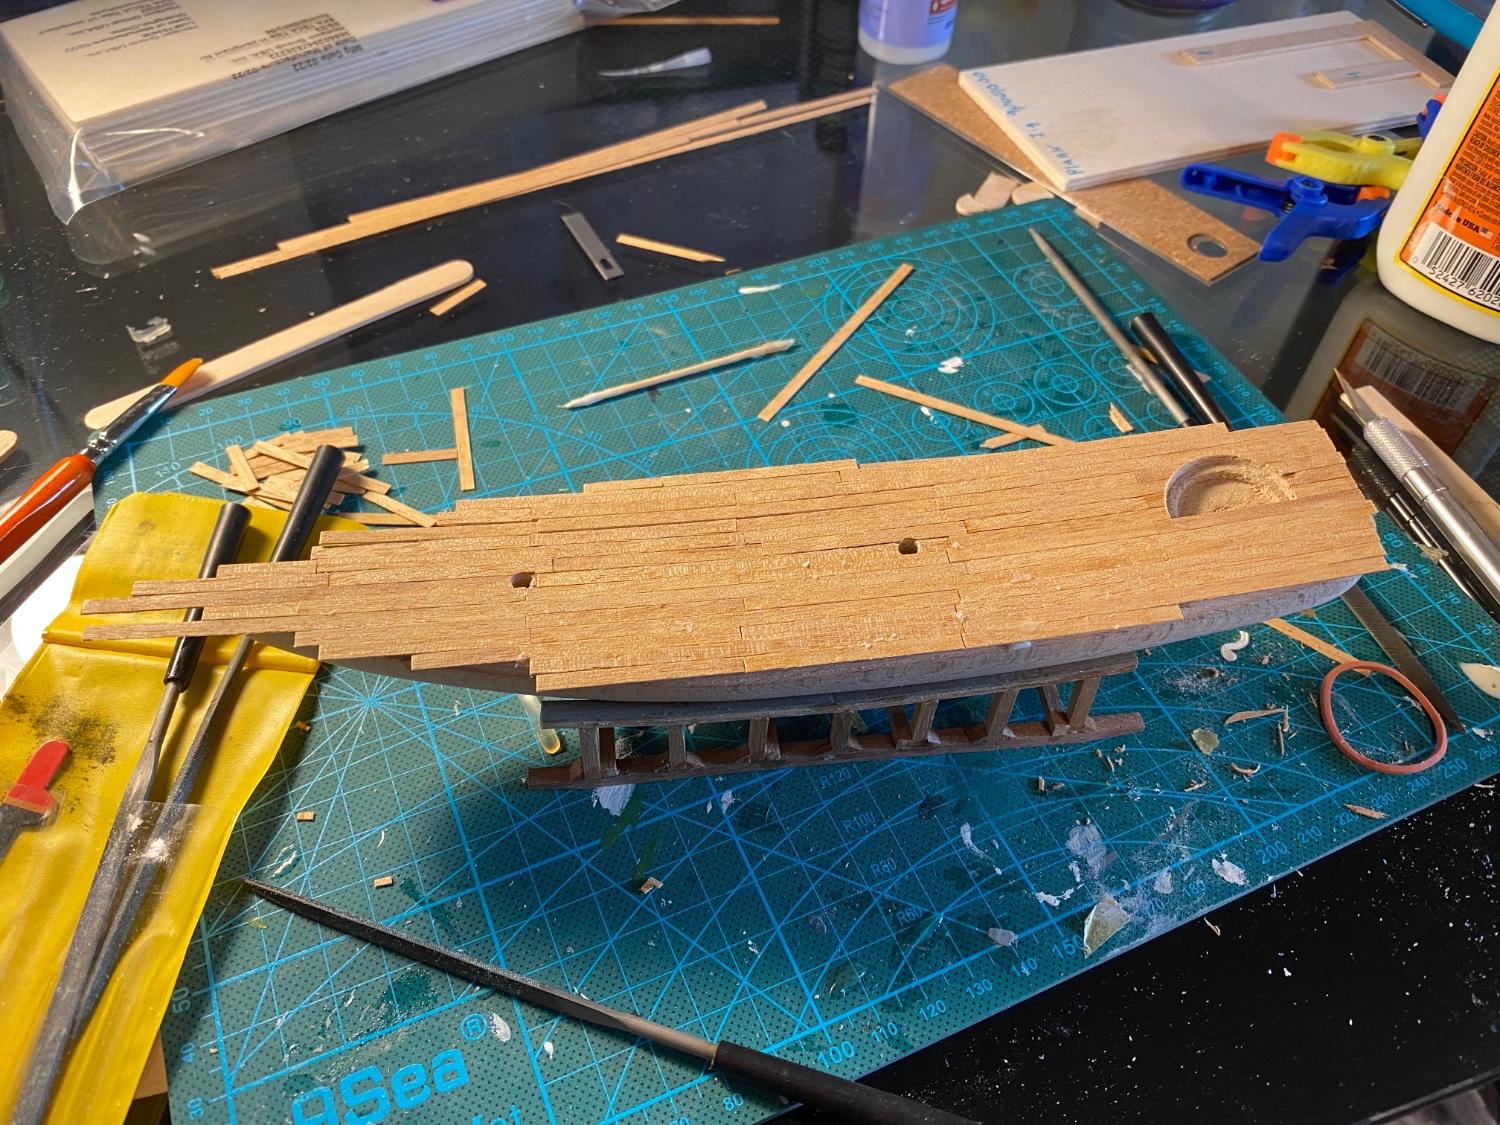
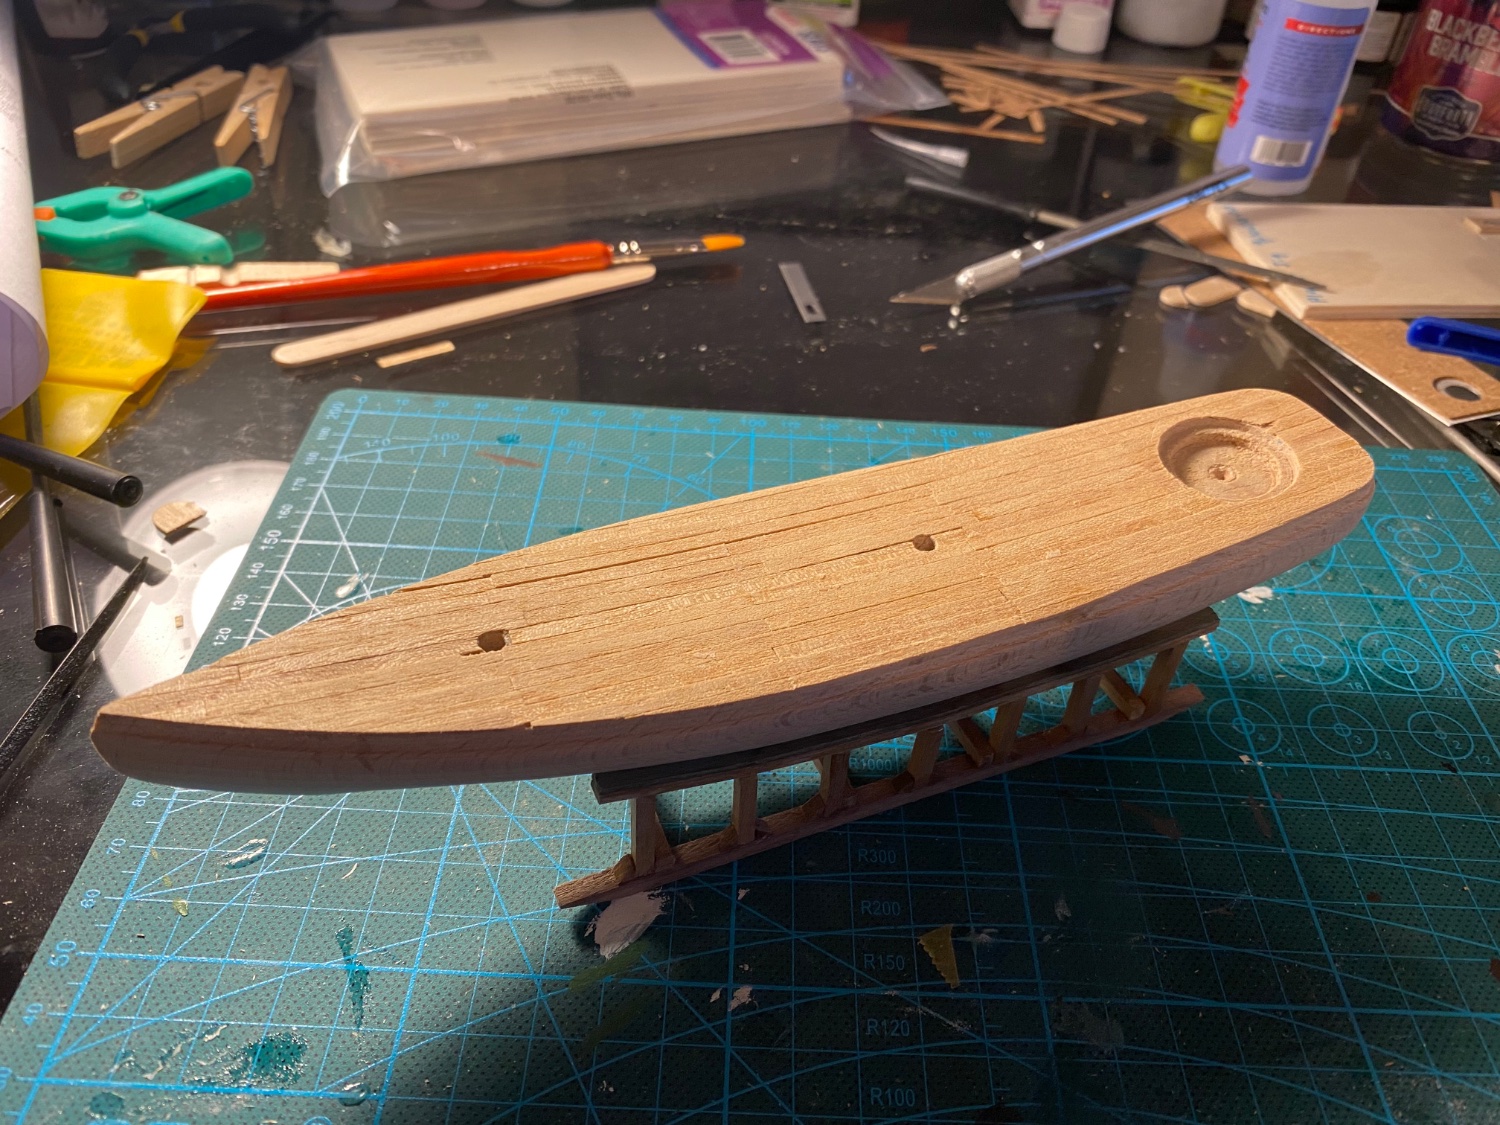
I have completed planking the deck. I wasn’t certain what order to go in, so I started with the king plank method. I chose a side and, for each line of planks, installed them in a line from the stern to the bow. I alternated rows with the 10cm planks and 8cm planks. At first I tried using contact glue, but it proved to be extremely difficult to work with and seemed to absorb into the wood, or would stick too fast. I ended up slathering on some gorilla wood glue and working in that way. Definitely some room for improvement here, but I’m satisfied with how it turned out for my first at least.


-
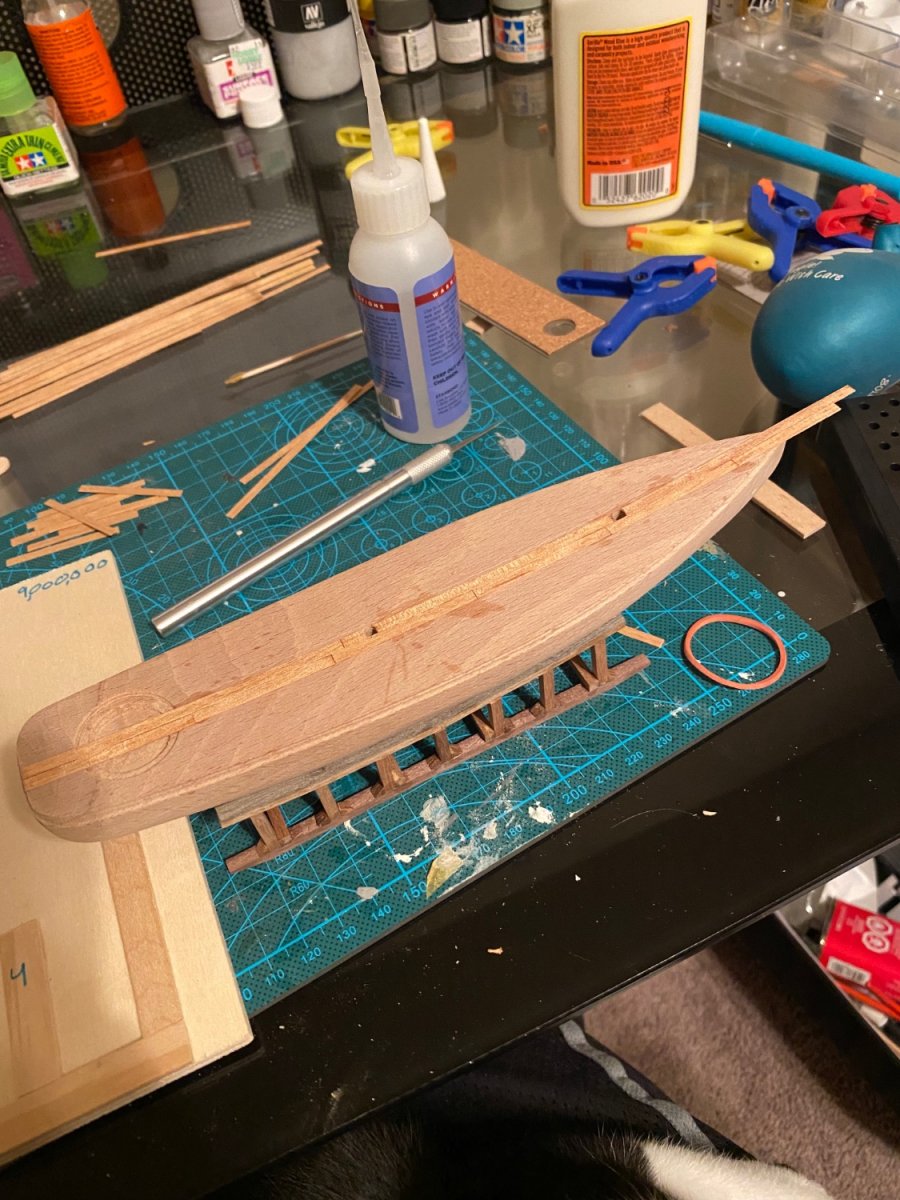
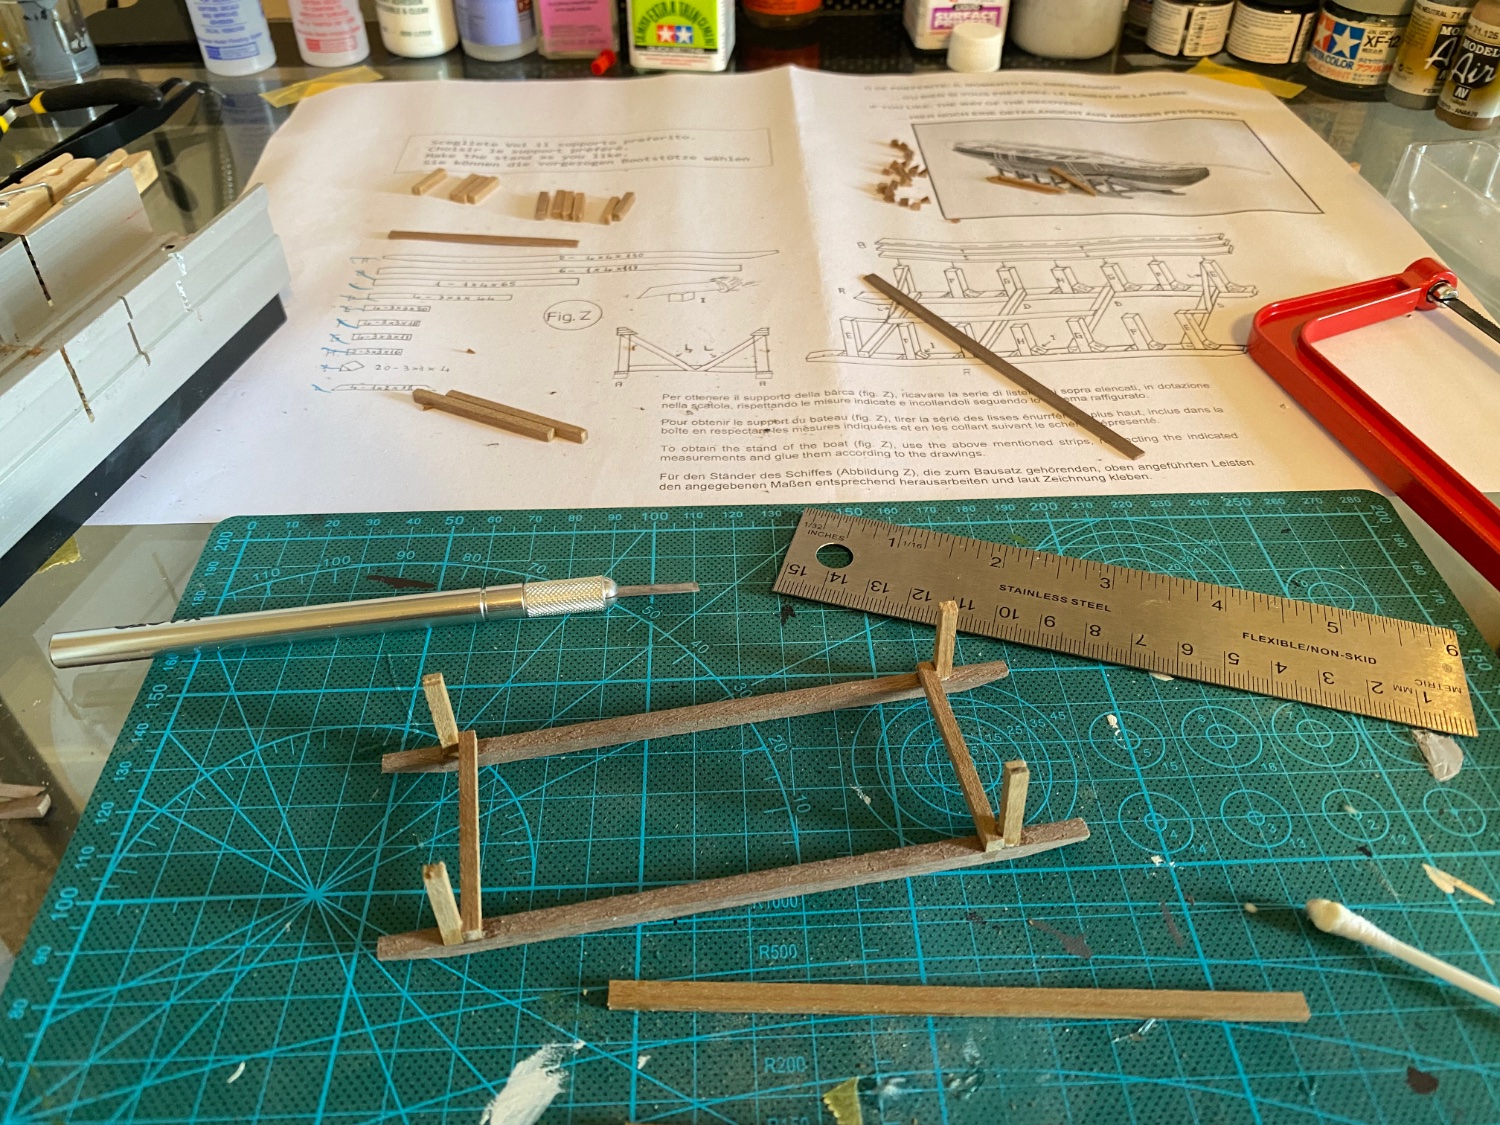
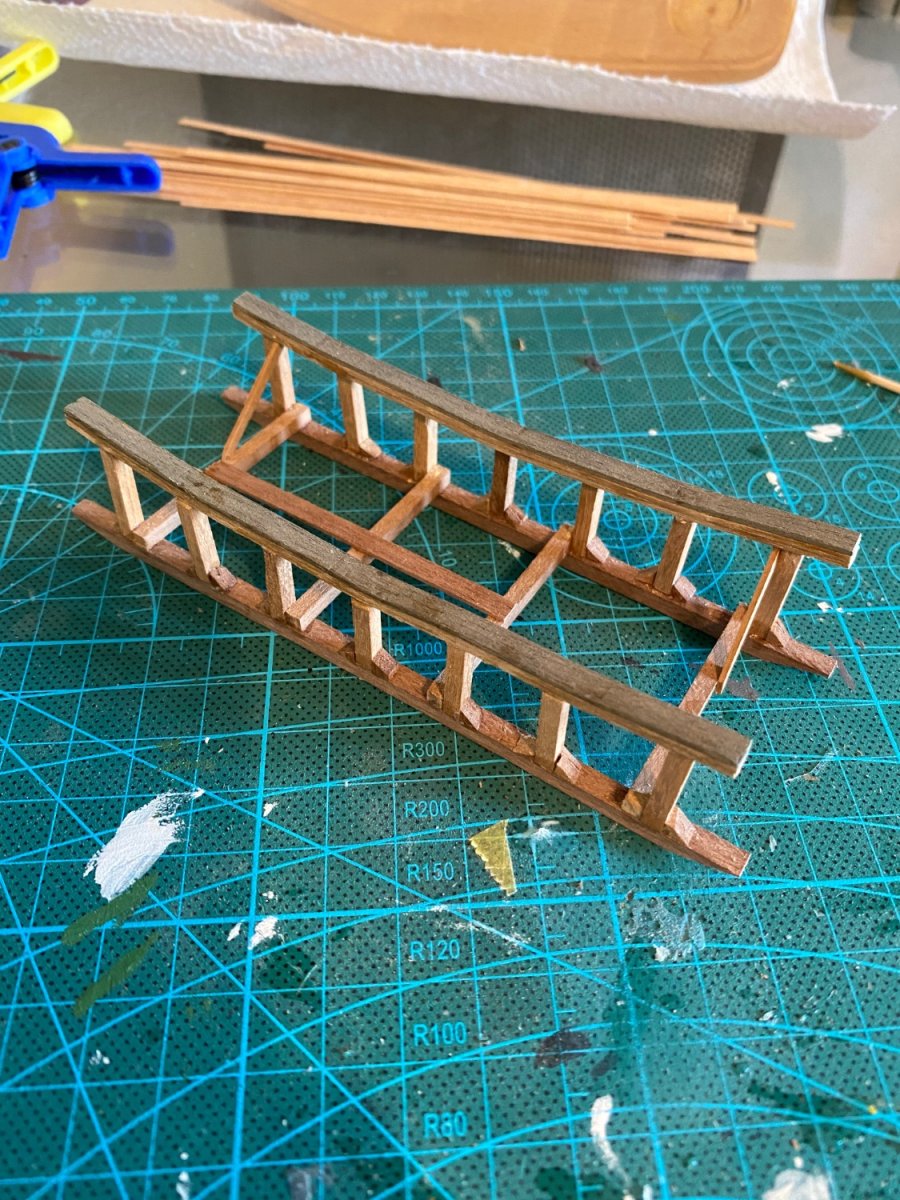
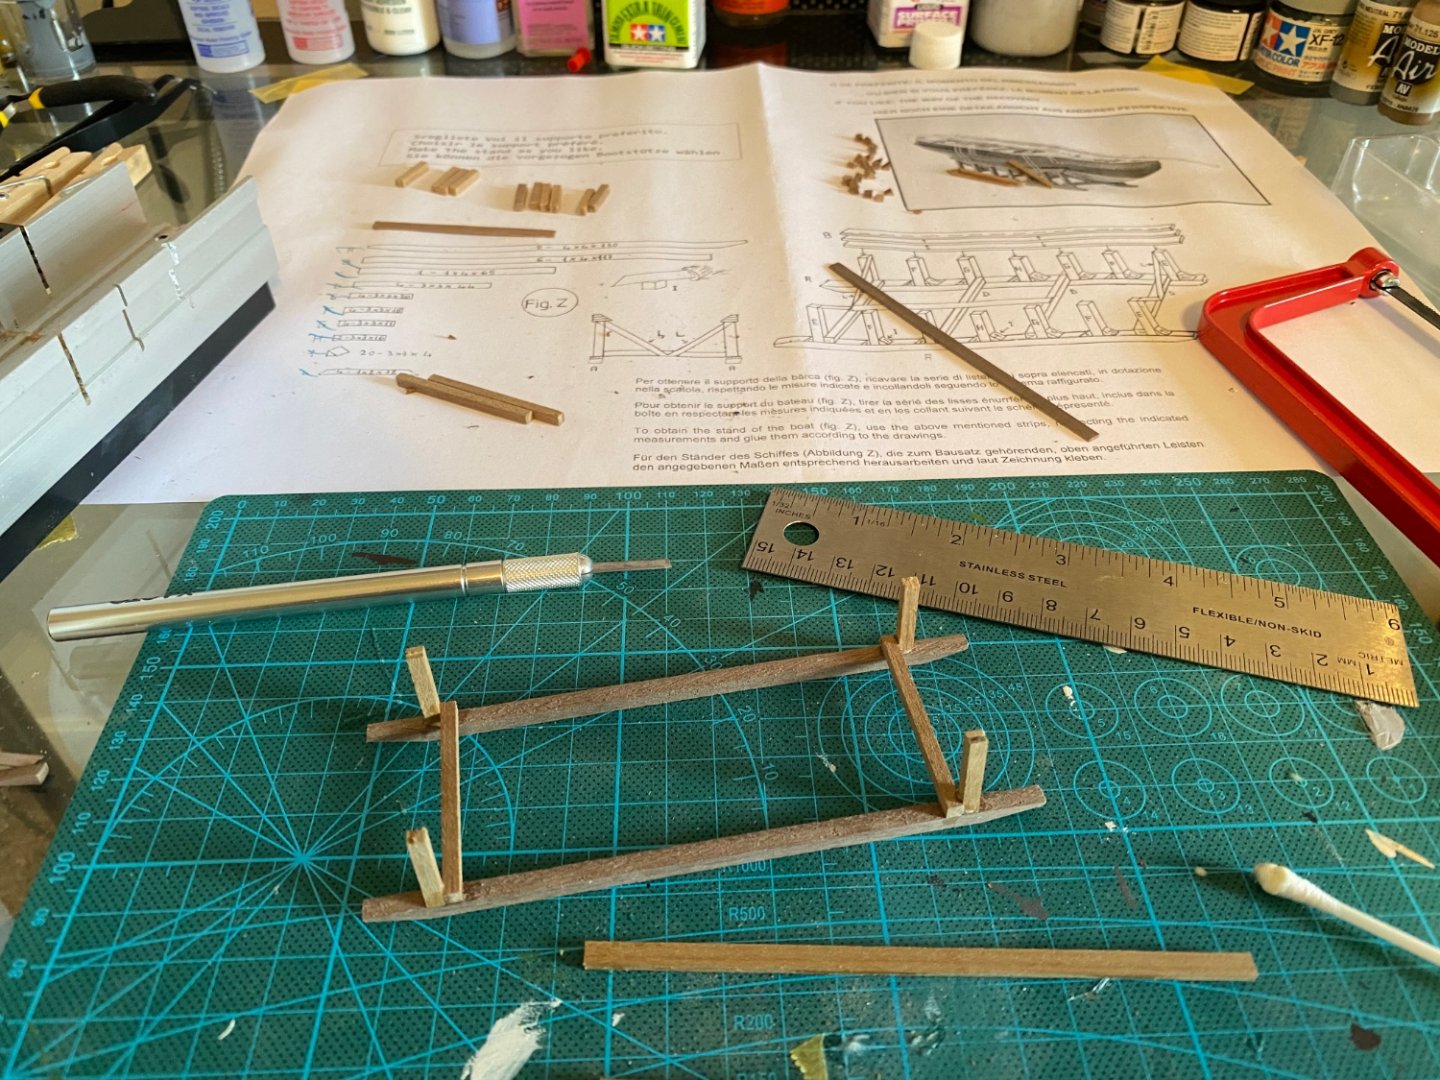
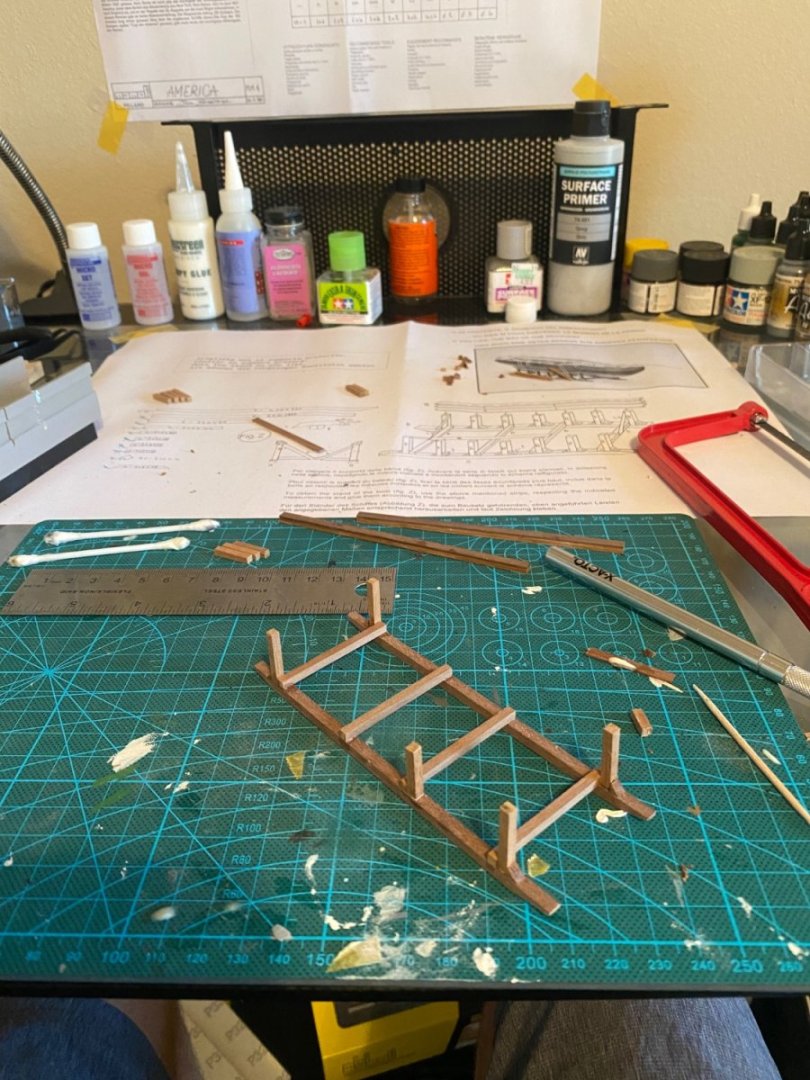
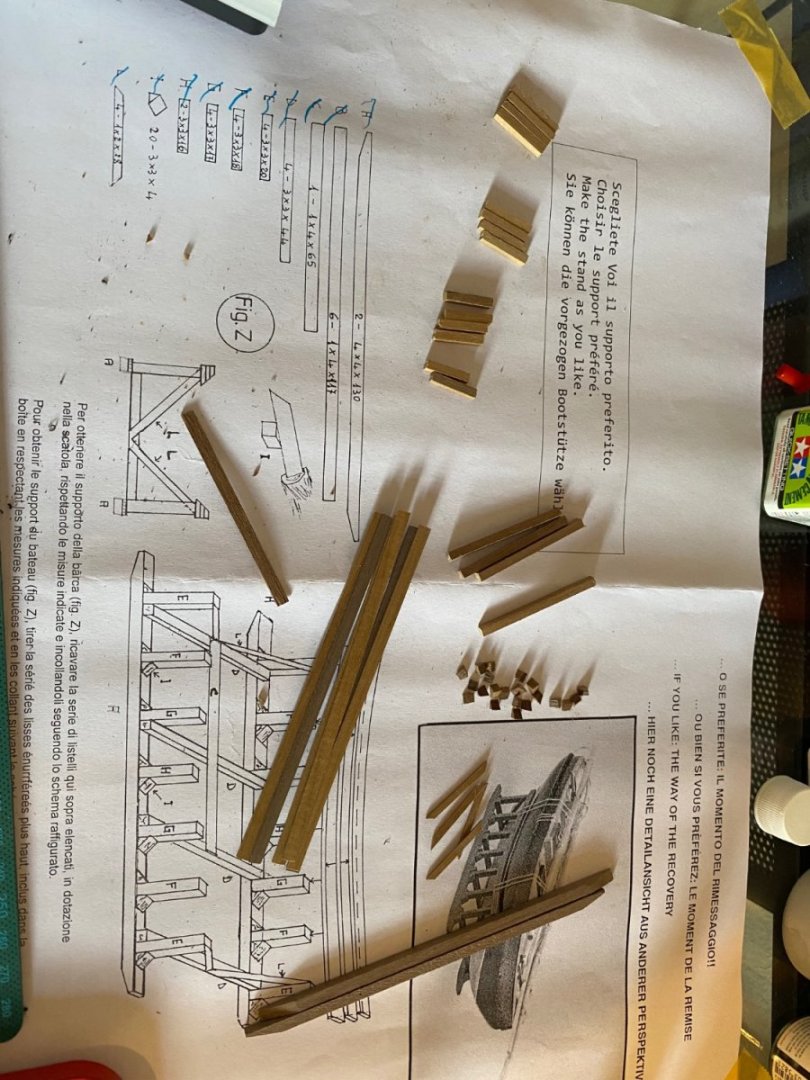
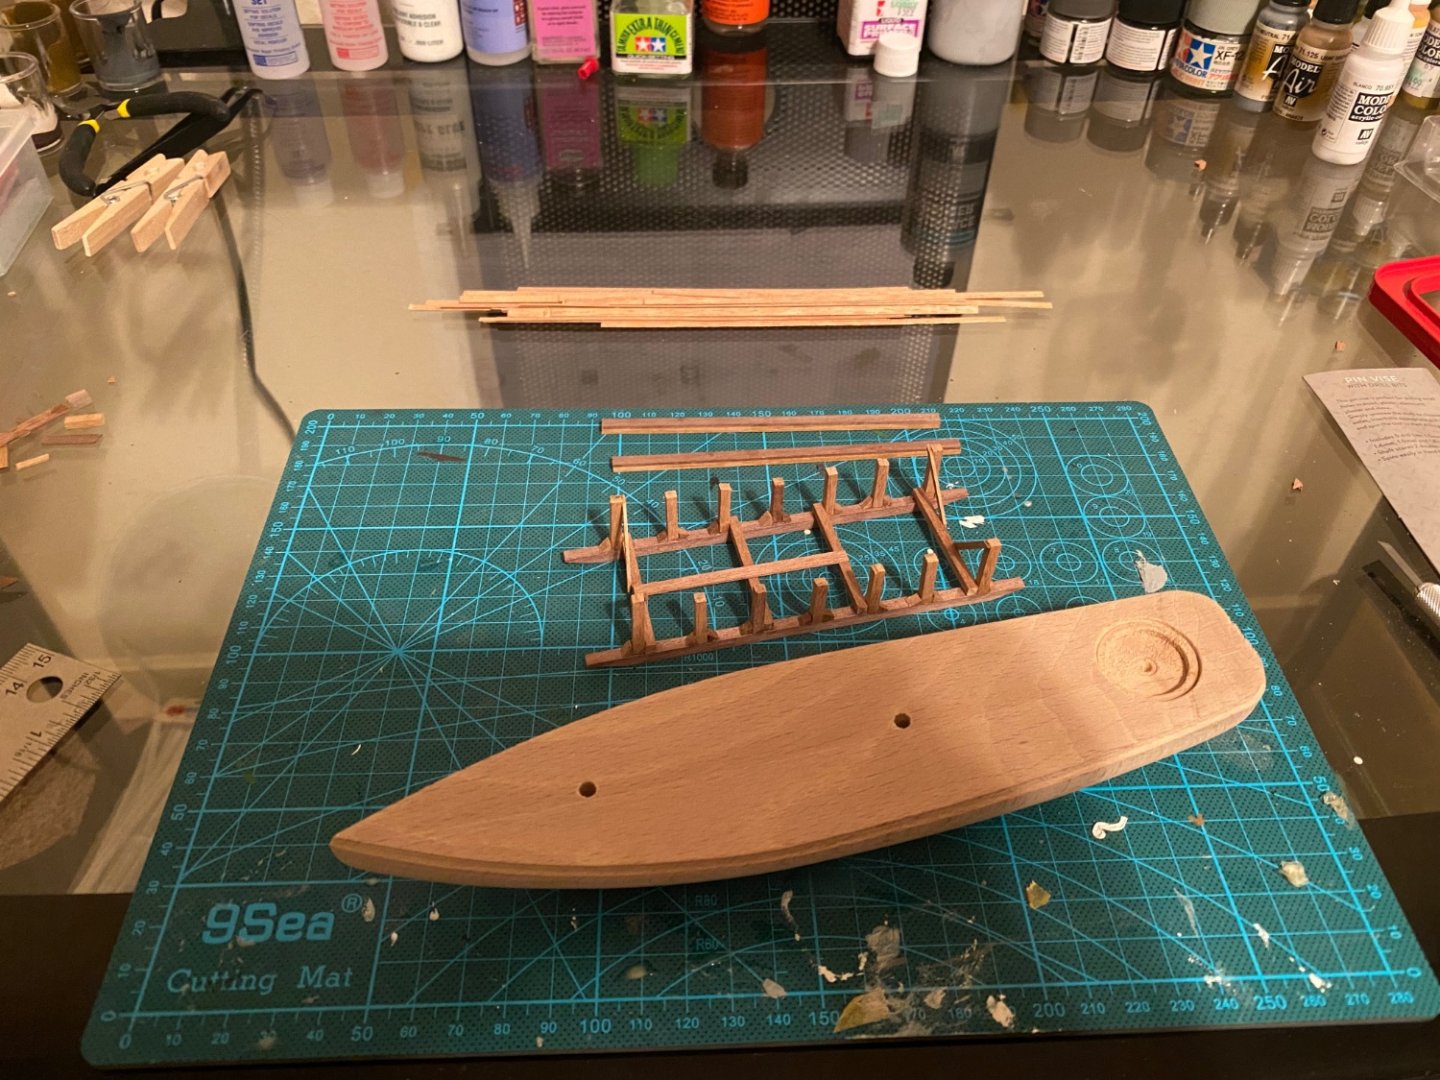
The stand has been completed and now moving on to the boat


-
Hi all, Recently I've become fascinated by floating things with tall poles and giant sheets of woven materials. I'd never cared much about ships but have always been interested in aircraft, and especially small plastic representations of them. I've built a few of them in the past and enjoy modelmaking, as it has taught me patience and the enjoyment of working with my hands to create a displayable piece. When I was young my father purchased a large plastic model ship, which ended up with us ditching the project after hand painting the deck and being unsatisfied with the results. While I hadn't much of an interest in ships, I had always admired the models of them. The seemingly endless amount of tied off strings and craftsmanship that went into creating wooden models seemed far out of my skill range and I figured I would leave it to the "experts". Specifically the rigging is what turned me away, thinking I barely had enough patience to do basic necessary tasks such as cleaning parts or waiting for paint to dry, so there was no way I would have the dedication to connect every tiny line that a sailing ship demanded. Recently however, I've caught some bug that has left me enamored with sailing ships, their history, and just how cool and interesting they look. I decided to test the waters of ship modelmaking by purchasing the Academy 1/350 Cutty Sark. I promised myself if I completed the model, I would purchase an entry level wooden model. After about a month's work I arrived at the below result: The rigging was painful and resulted in quite a bit of frustration, since I seemed to repeatedly have issues with the line sticking to the tweezers and not the boat, line not being as taut as I'd like, etc., but after a few days work I called it complete. While not perfect, part of my modelmaking journey has been learning to cope with imperfections and accept that the model is not destroyed just because there are paint chips and excess amounts of glue. Every screw-up on one model is an opportunity for a better next model. Enter the model that just arrived at my doorstep: I intend to hold this build log as an accountability partner and I welcome any and all suggestions/tips. I will be starting with the stand, as I have minimal woodworking skills/tools and lack a vice. I look forward to posting here! Chase