HOLIDAY DONATION DRIVE - SUPPORT MSW - DO YOUR PART TO KEEP THIS GREAT FORUM GOING! (Only 44 donations so far out of 49,000 members - C'mon guys!)
×


BMT
-
Posts
30 -
Joined
-
Last visited
-
 robert952 reacted to a post in a topic:
Norwegian Sailing Pram by SkiBee - FINISHED - Model Shipways - Scale 1:12
robert952 reacted to a post in a topic:
Norwegian Sailing Pram by SkiBee - FINISHED - Model Shipways - Scale 1:12
-
Jim M reacted to a post in a topic:
Disar Models
-
mtaylor reacted to a post in a topic:
Disar Models
-
Thanks, Jim! I always wanted to try two projects simultaneously, but I didn't have the focus... I've started the planking on the junk. I will keep you posted as I move forward. Best regards......
-
mtaylor reacted to a post in a topic:
Disar Models
-
I am starting the Junk. Have you gotten to the planking yet? Happy New Year
-
BMT reacted to a post in a topic:
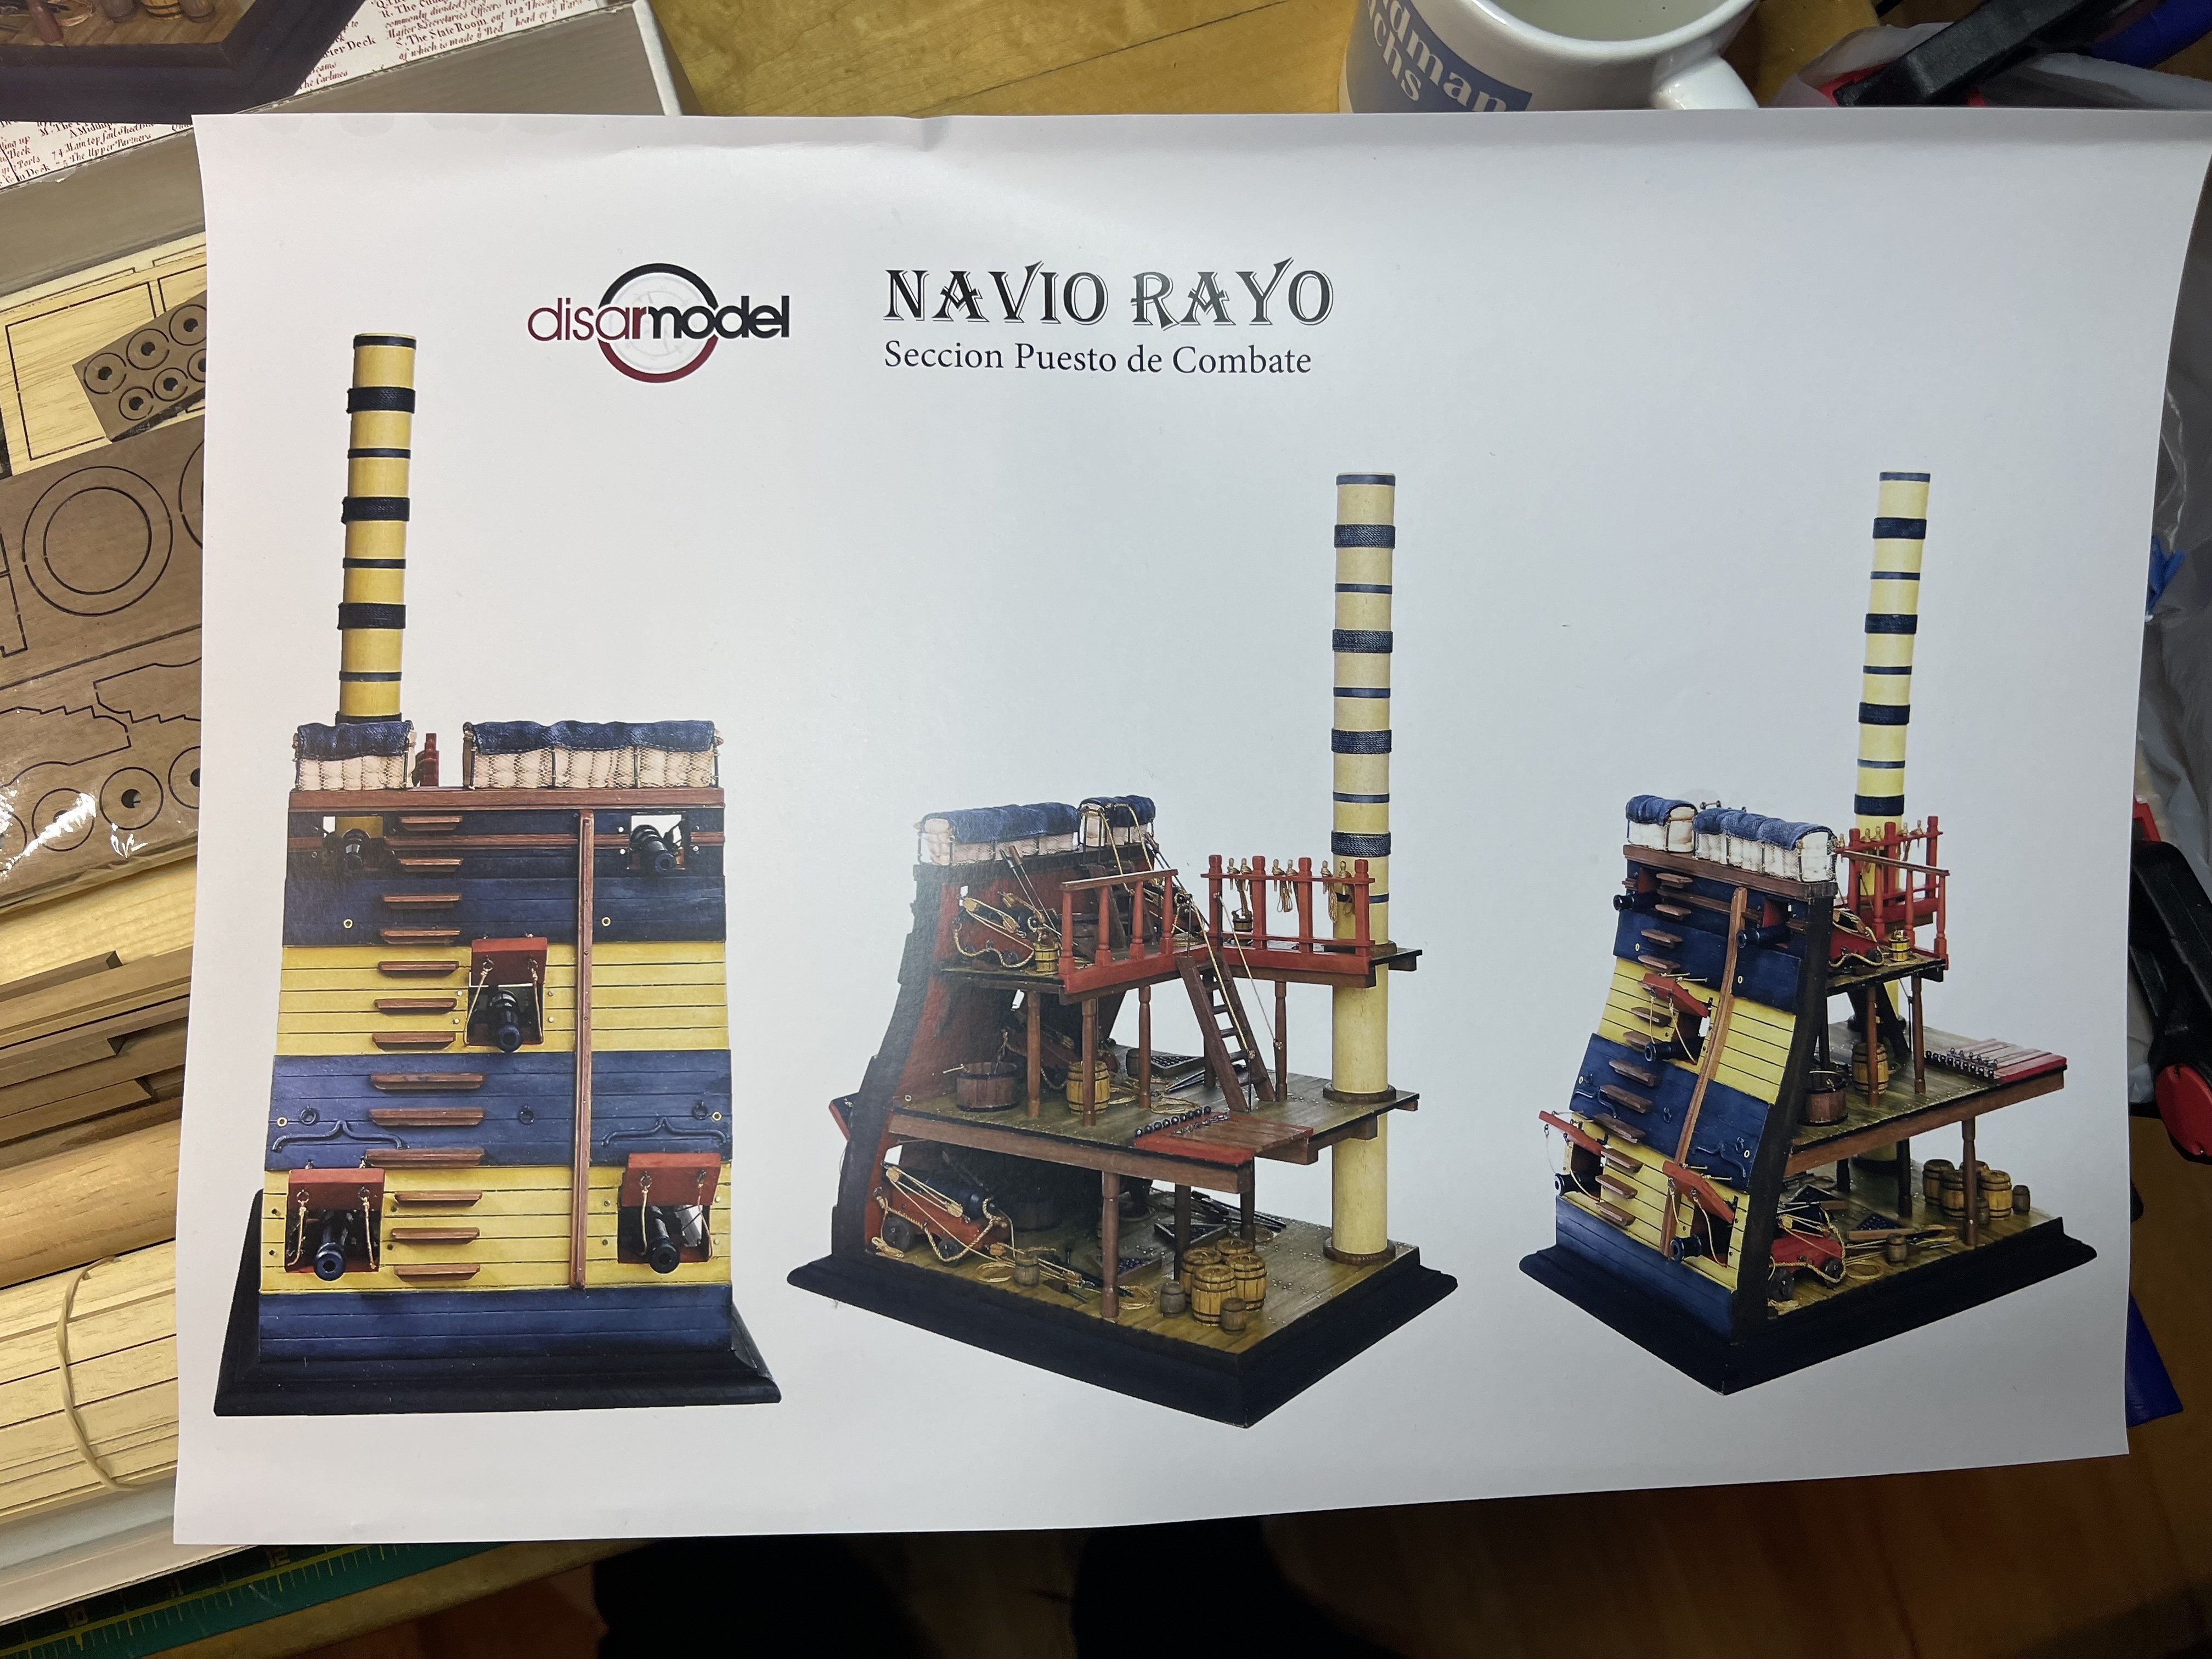
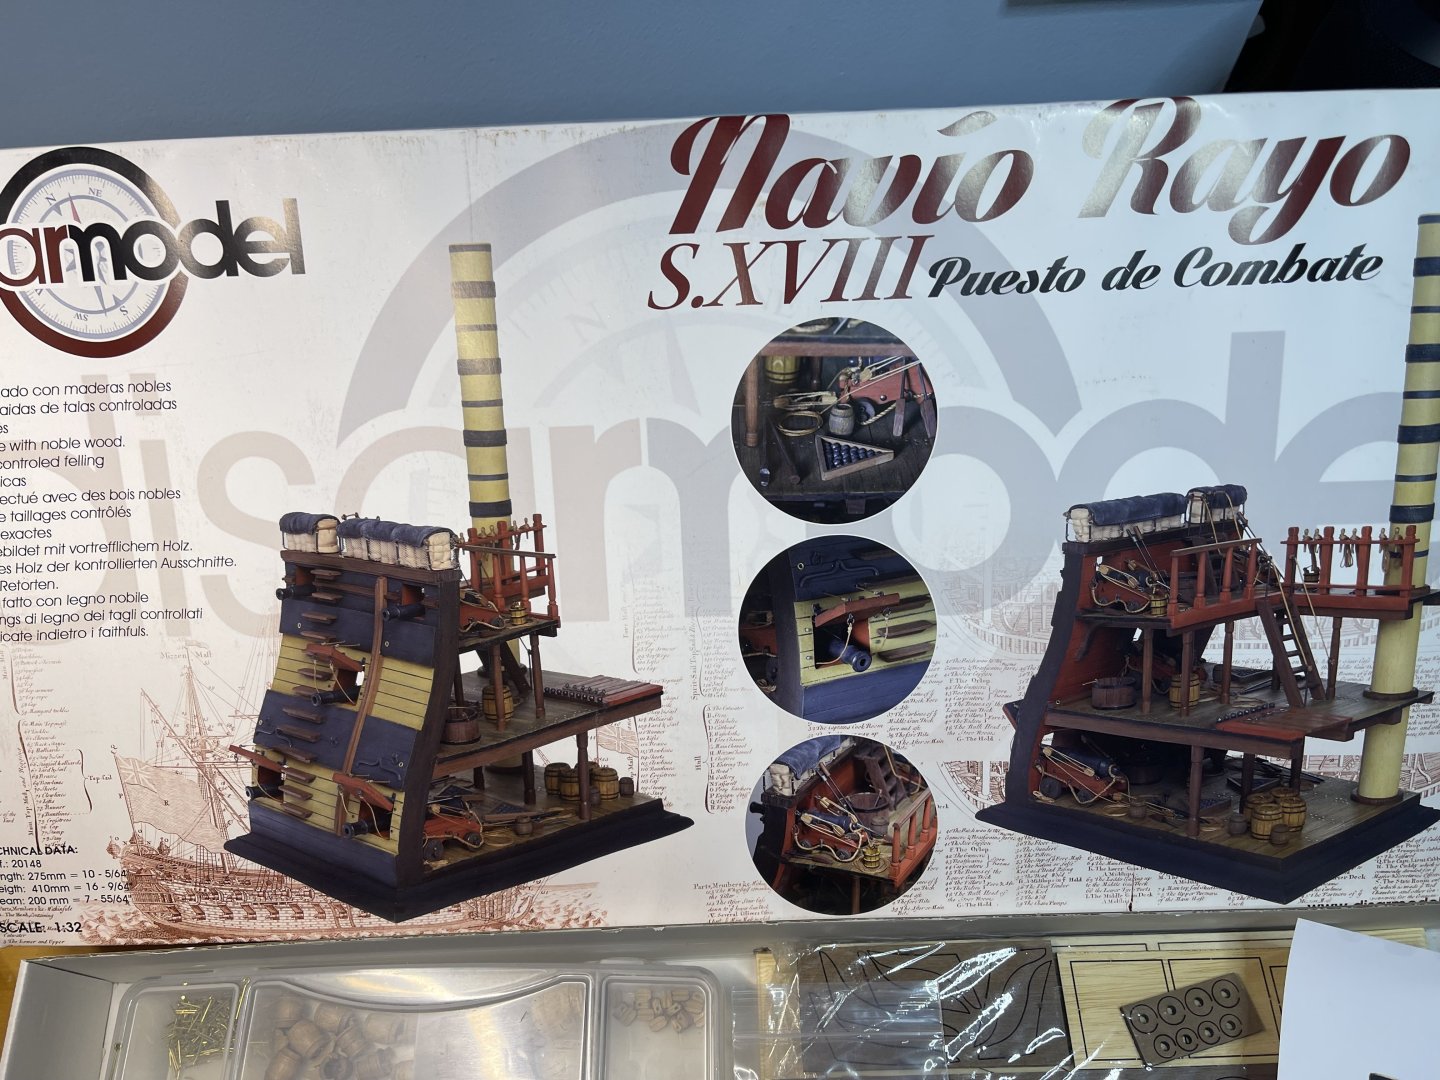
Navio Rayo Puesto de Combate by BMT - Disarmodel (Spain) - 1:32 - NCC (Navy-Curtis Craft)
-
SiriusVoyager reacted to a post in a topic:
Navio Rayo Puesto de Combate by BMT - Disarmodel (Spain) - 1:32 - NCC (Navy-Curtis Craft)
-
SiriusVoyager reacted to a post in a topic:
Navio Rayo Puesto de Combate by BMT - Disarmodel (Spain) - 1:32 - NCC (Navy-Curtis Craft)
-
JacquesCousteau reacted to a post in a topic:
Navio Rayo Puesto de Combate by BMT - Disarmodel (Spain) - 1:32 - NCC (Navy-Curtis Craft)
-
Totally agree and happy new year!
-
GrandpaPhil reacted to a post in a topic:
Navio Rayo Puesto de Combate by BMT - Disarmodel (Spain) - 1:32 - NCC (Navy-Curtis Craft)
-
vossiewulf reacted to a post in a topic:
Navio Rayo Puesto de Combate by BMT - Disarmodel (Spain) - 1:32 - NCC (Navy-Curtis Craft)
-
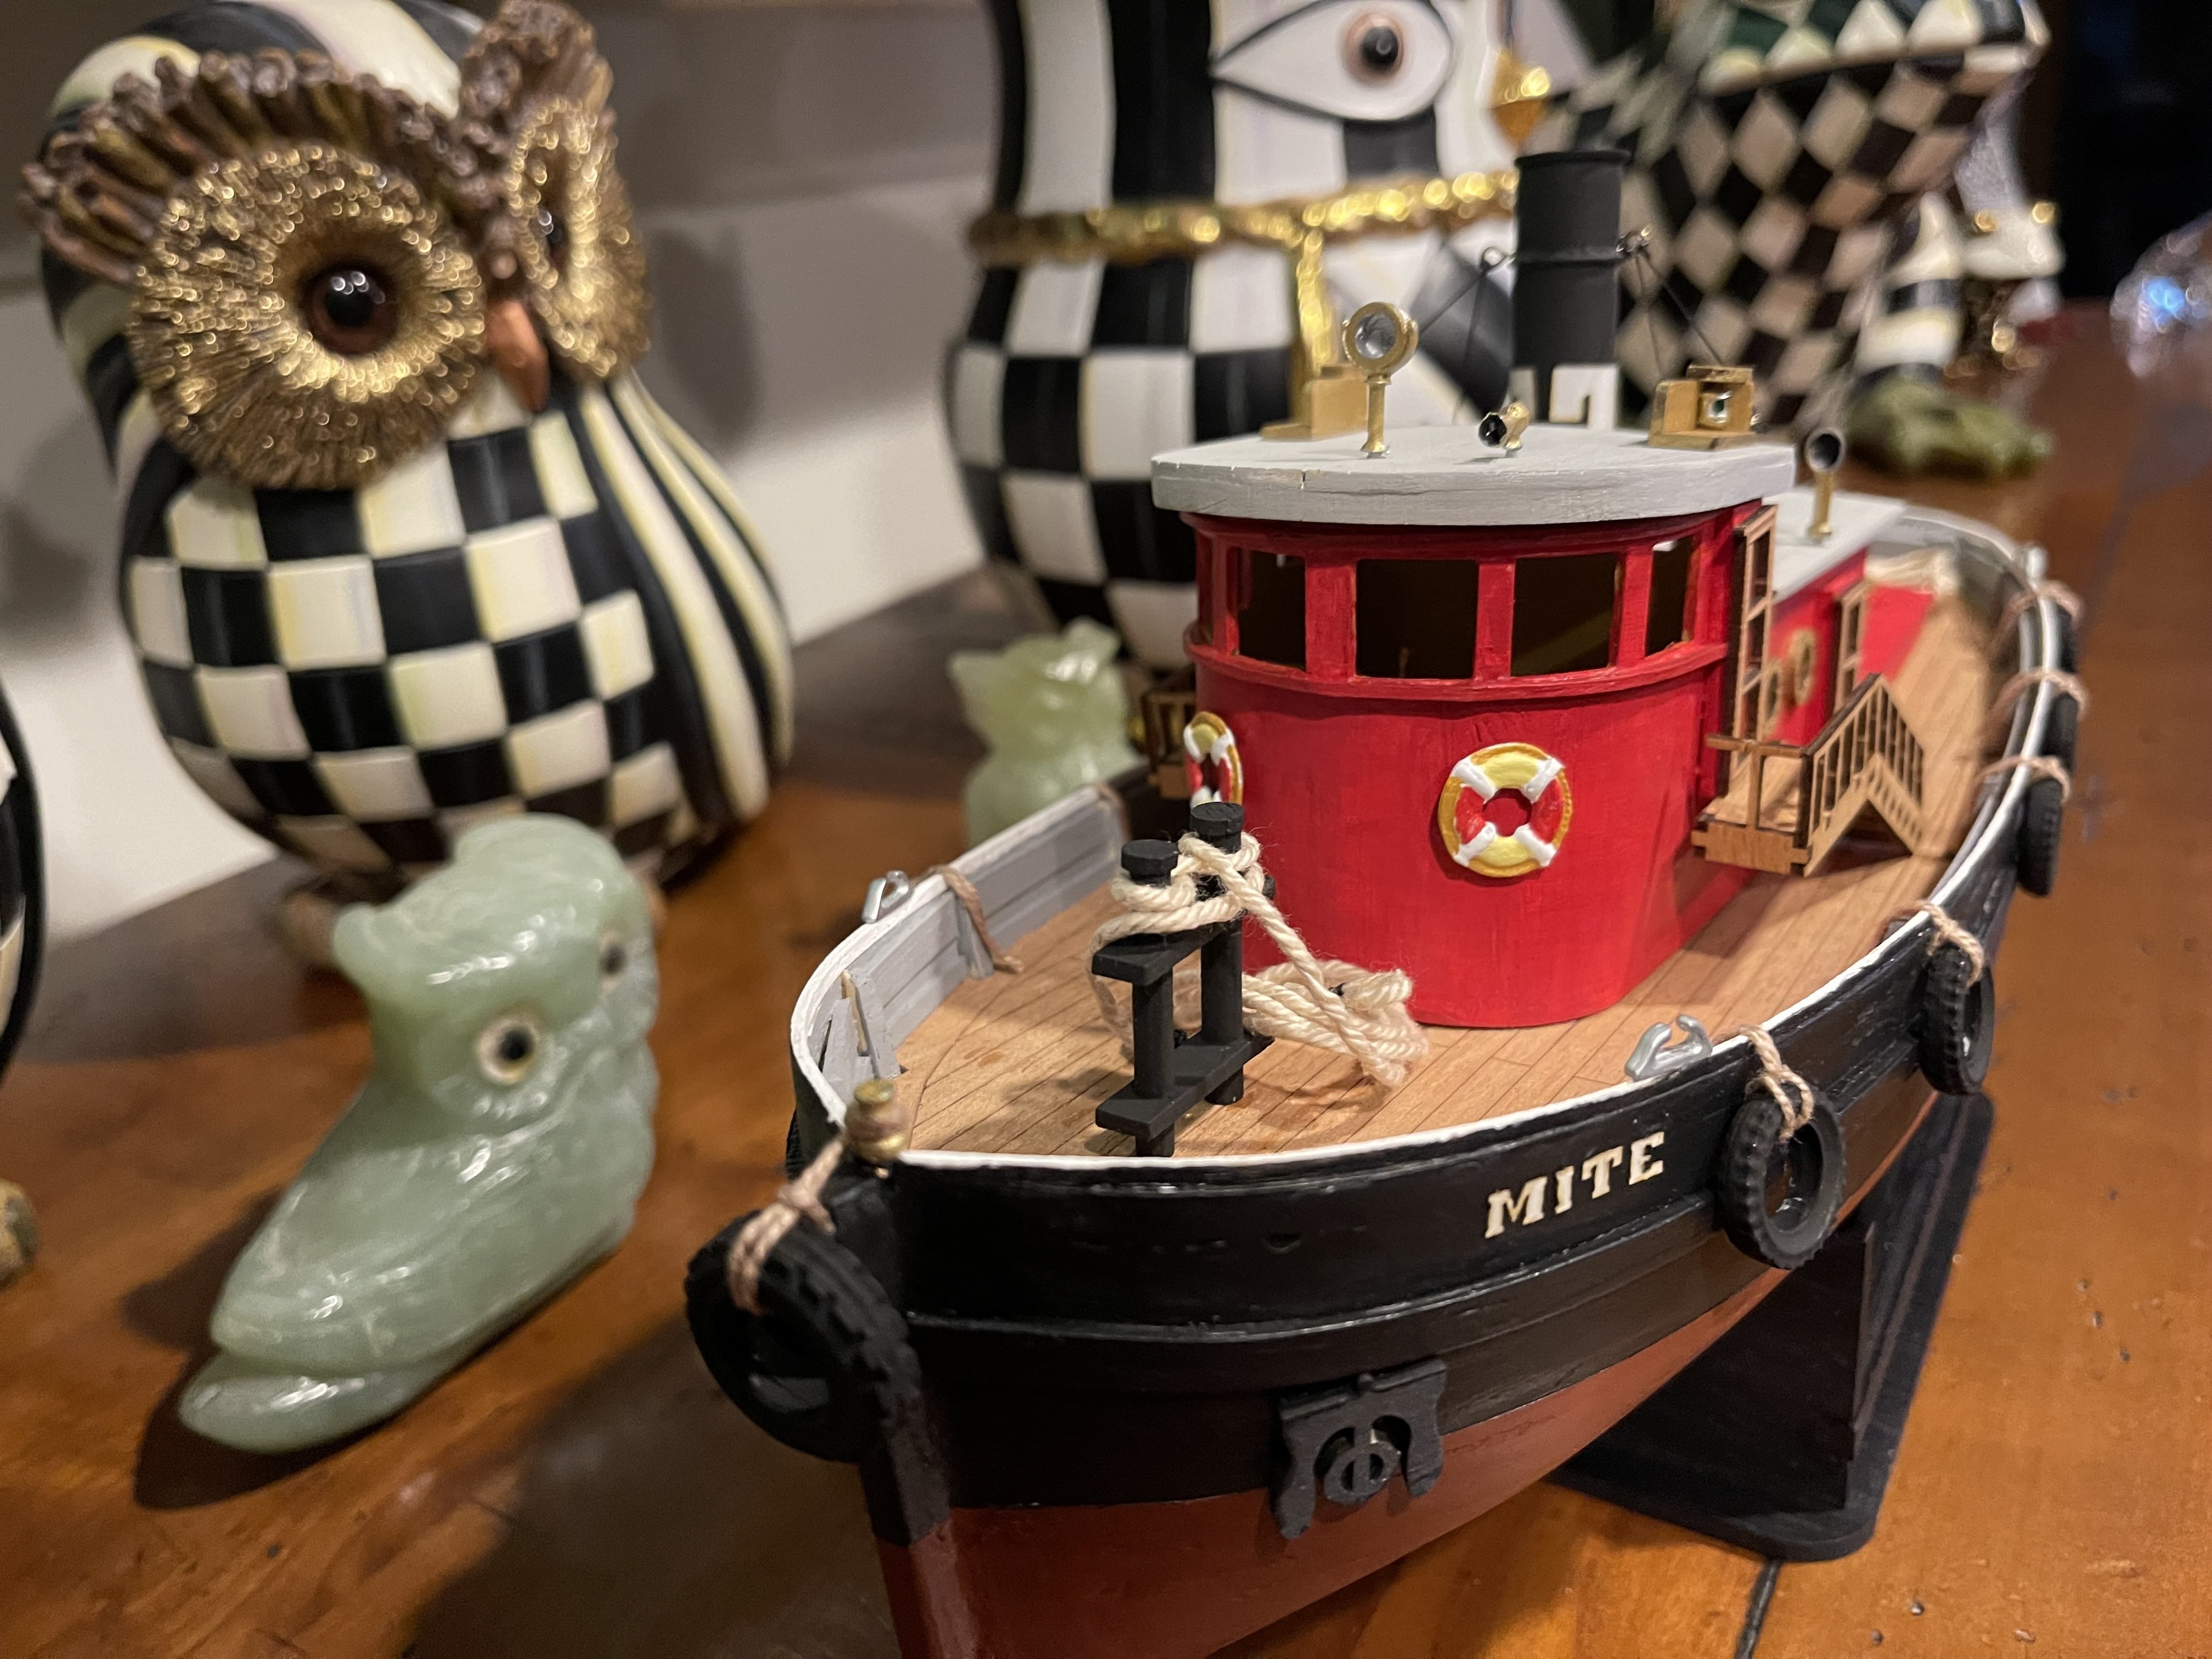
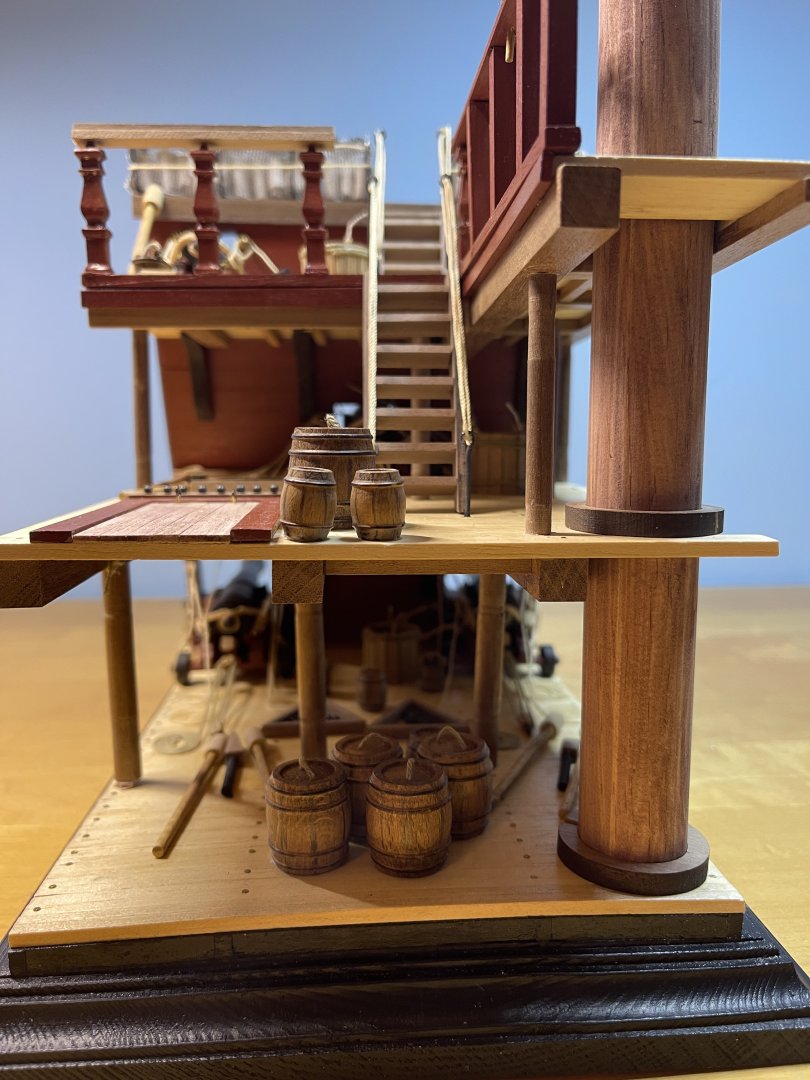
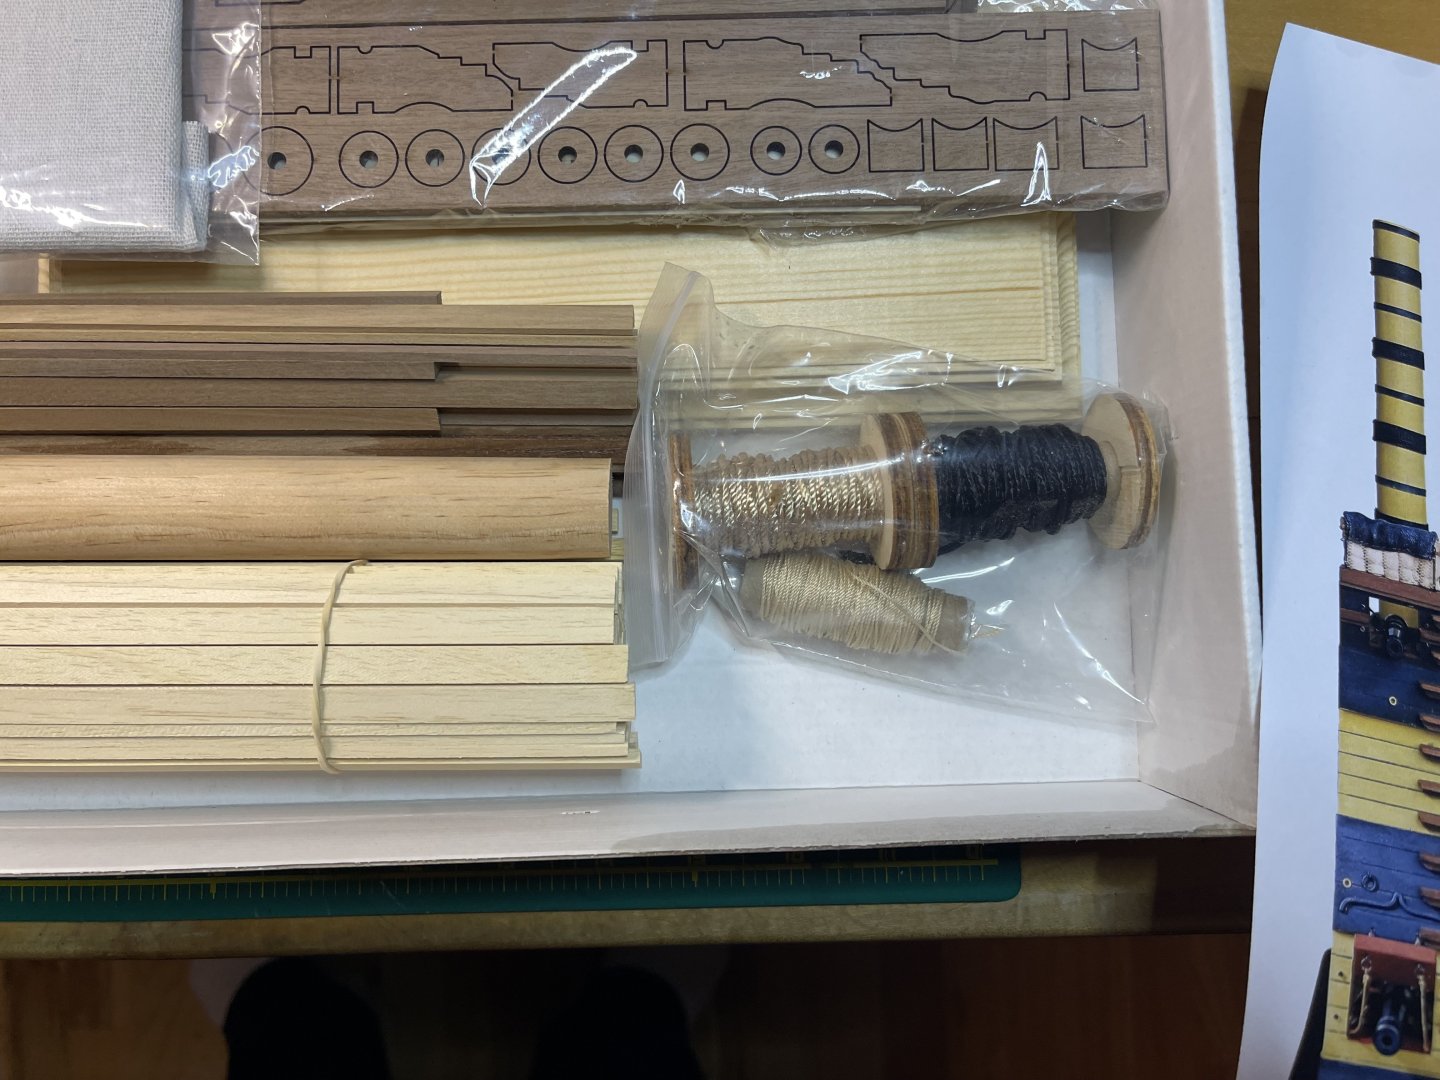
The build was completed as of today, 28 December! Besides being short on almost everything, this has been an interesting build…as it is not for a beginner like me. Besides the missing parts, many of the parts have to be fabricated, and that skill said I don't have or should I say didn't have, Well, this was frustrating. However, it was one of the most educational bills I have paid because it gave me a better understanding as I move forward on my next build. I have a few finished photos.


-
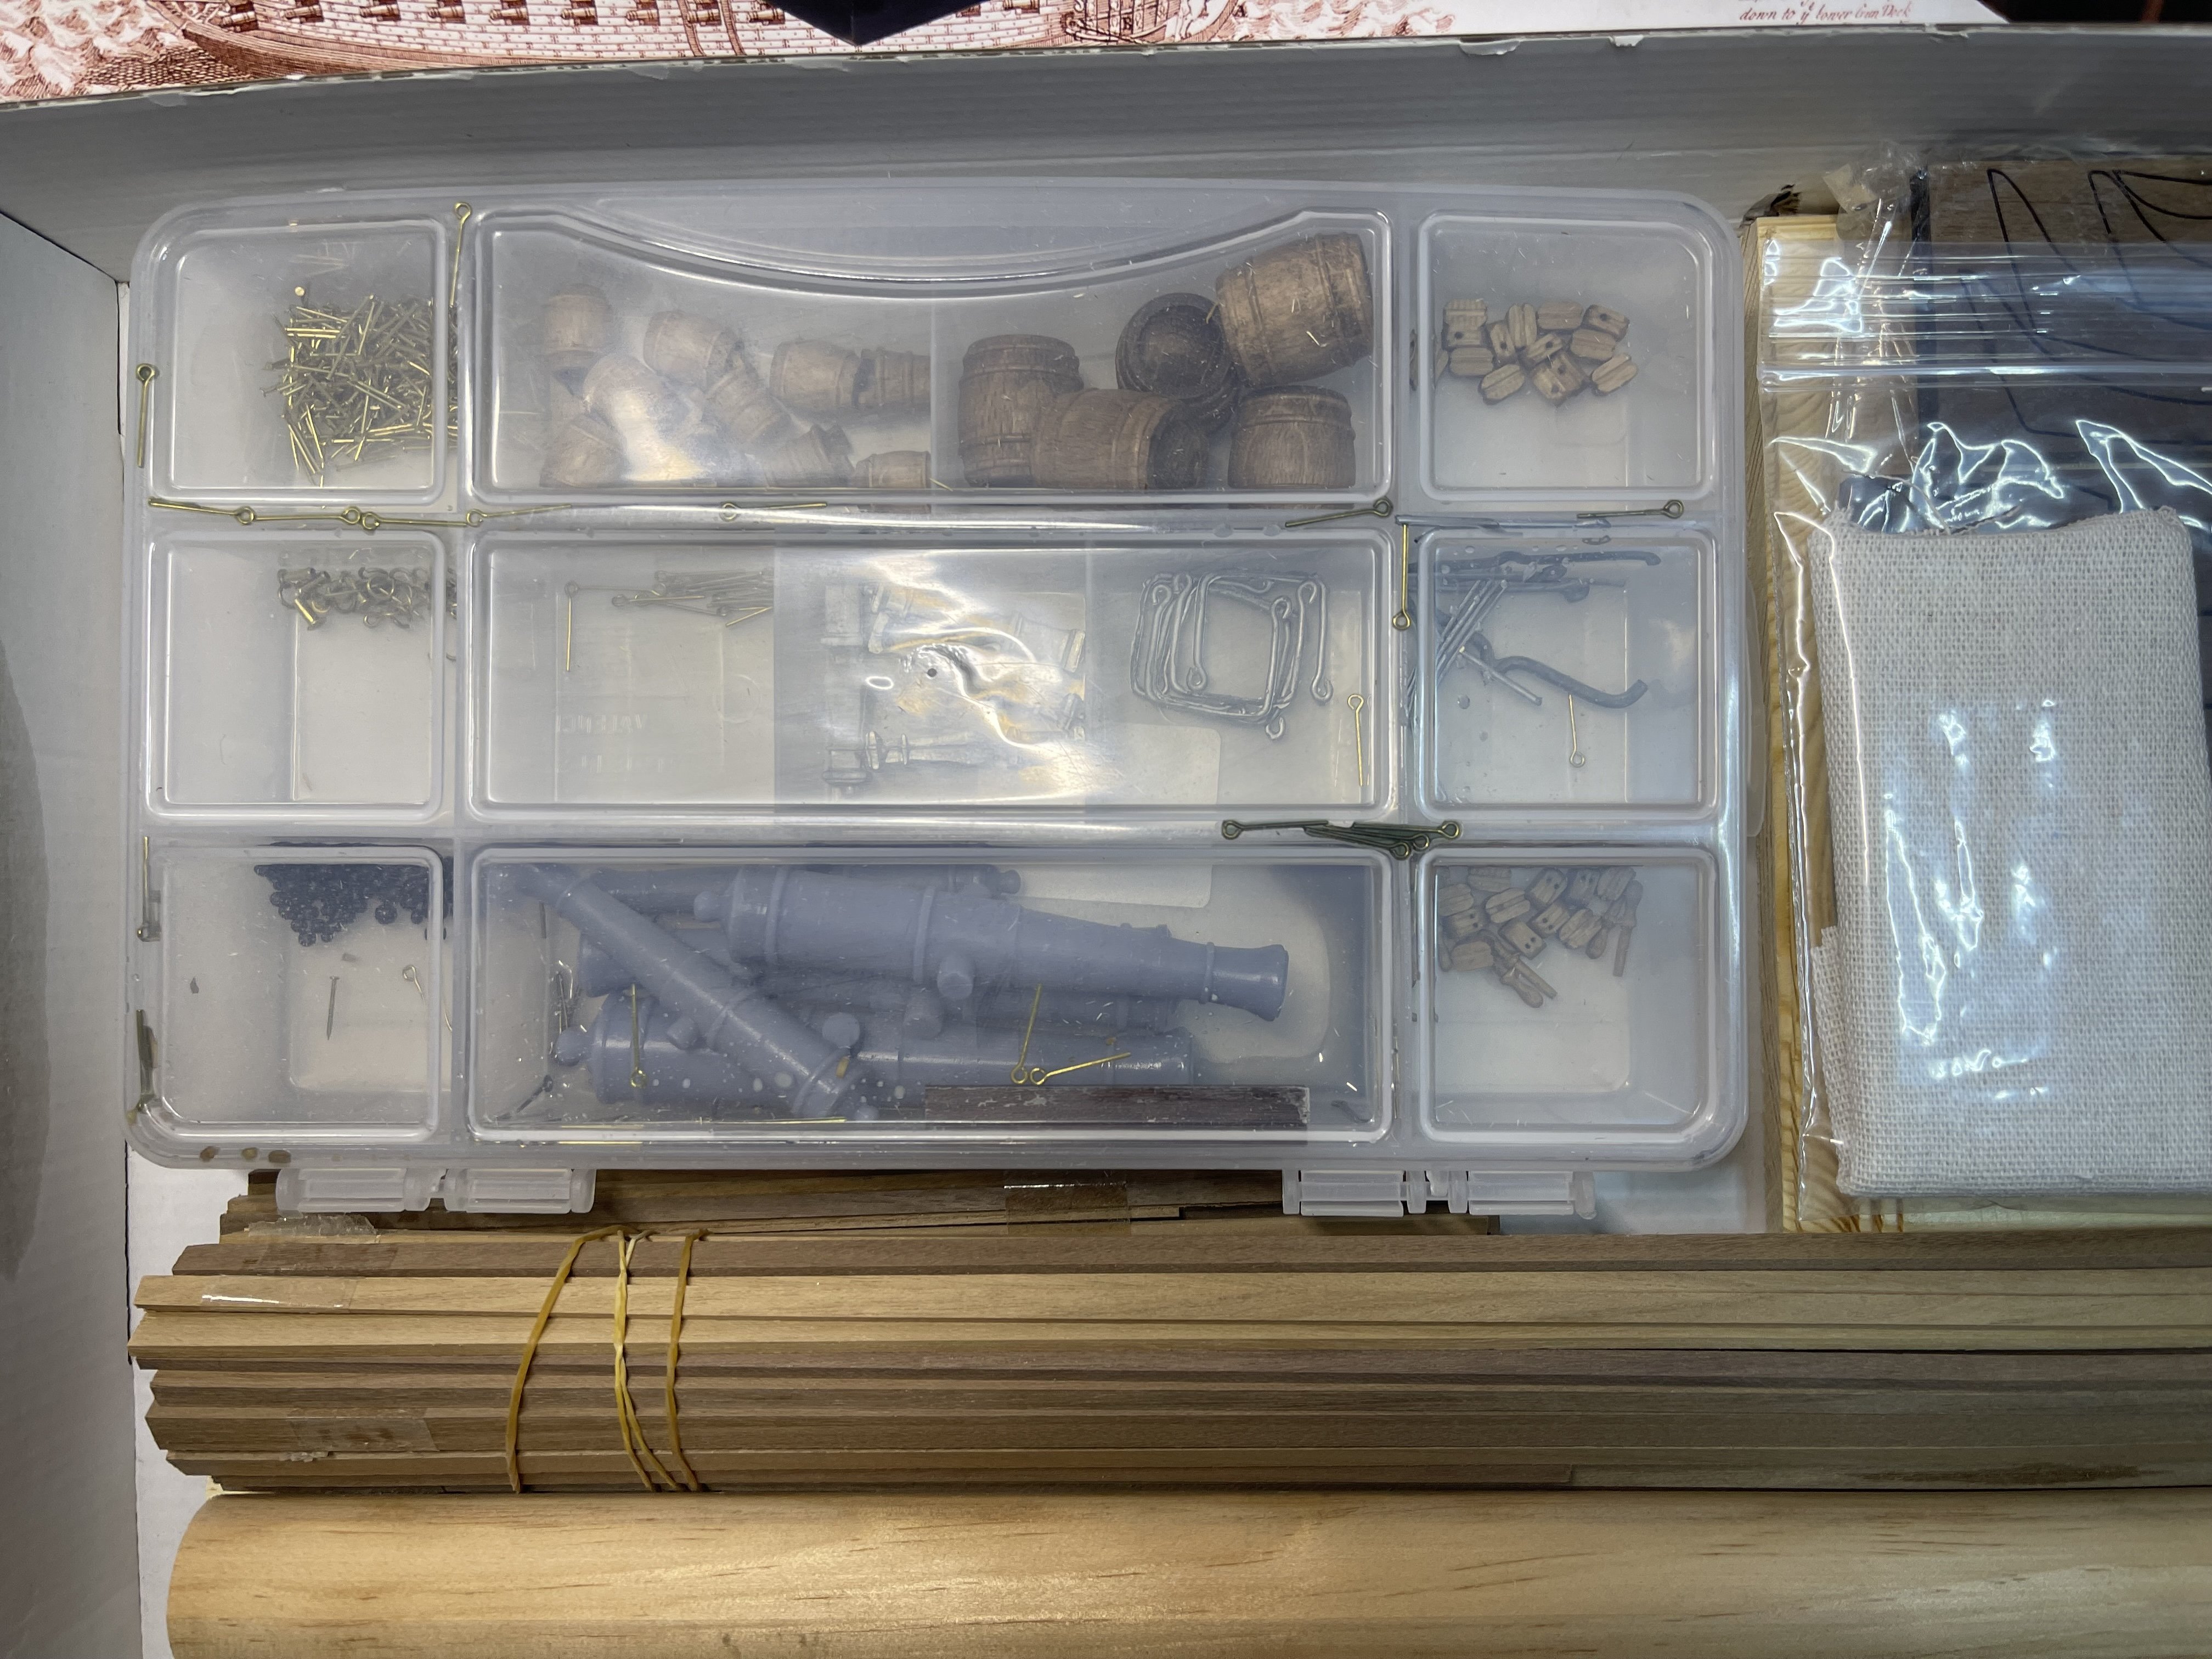
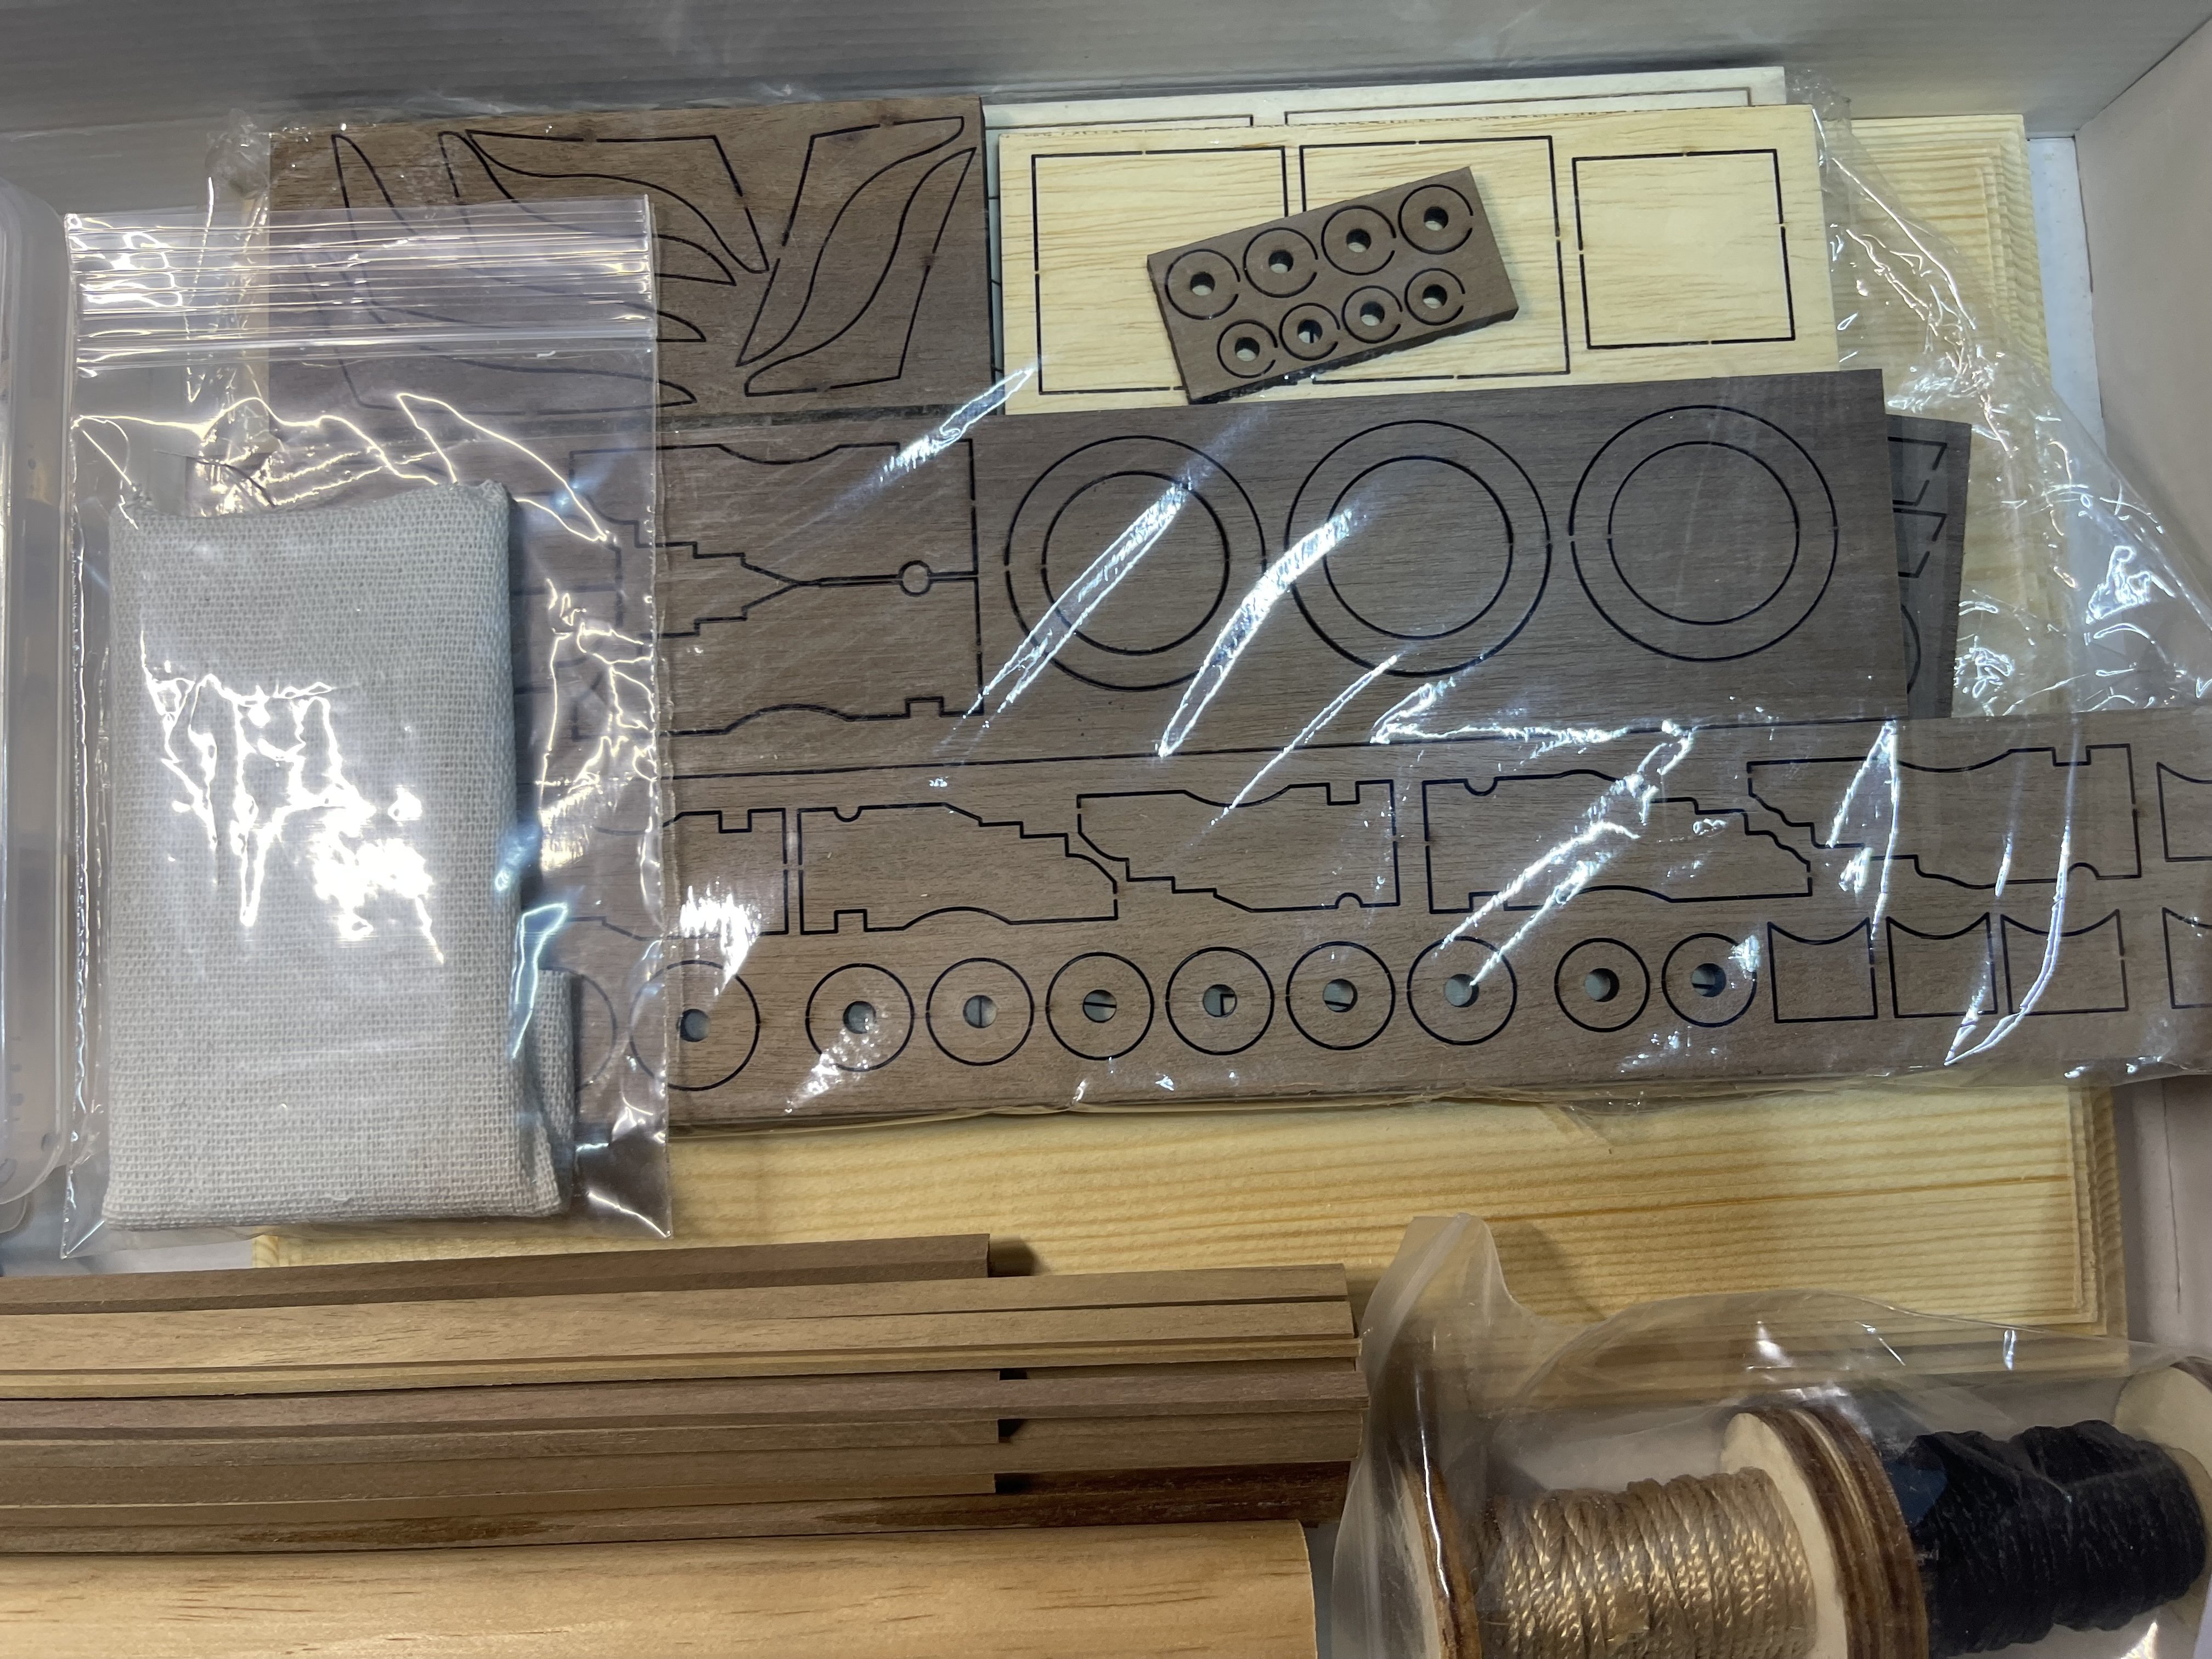
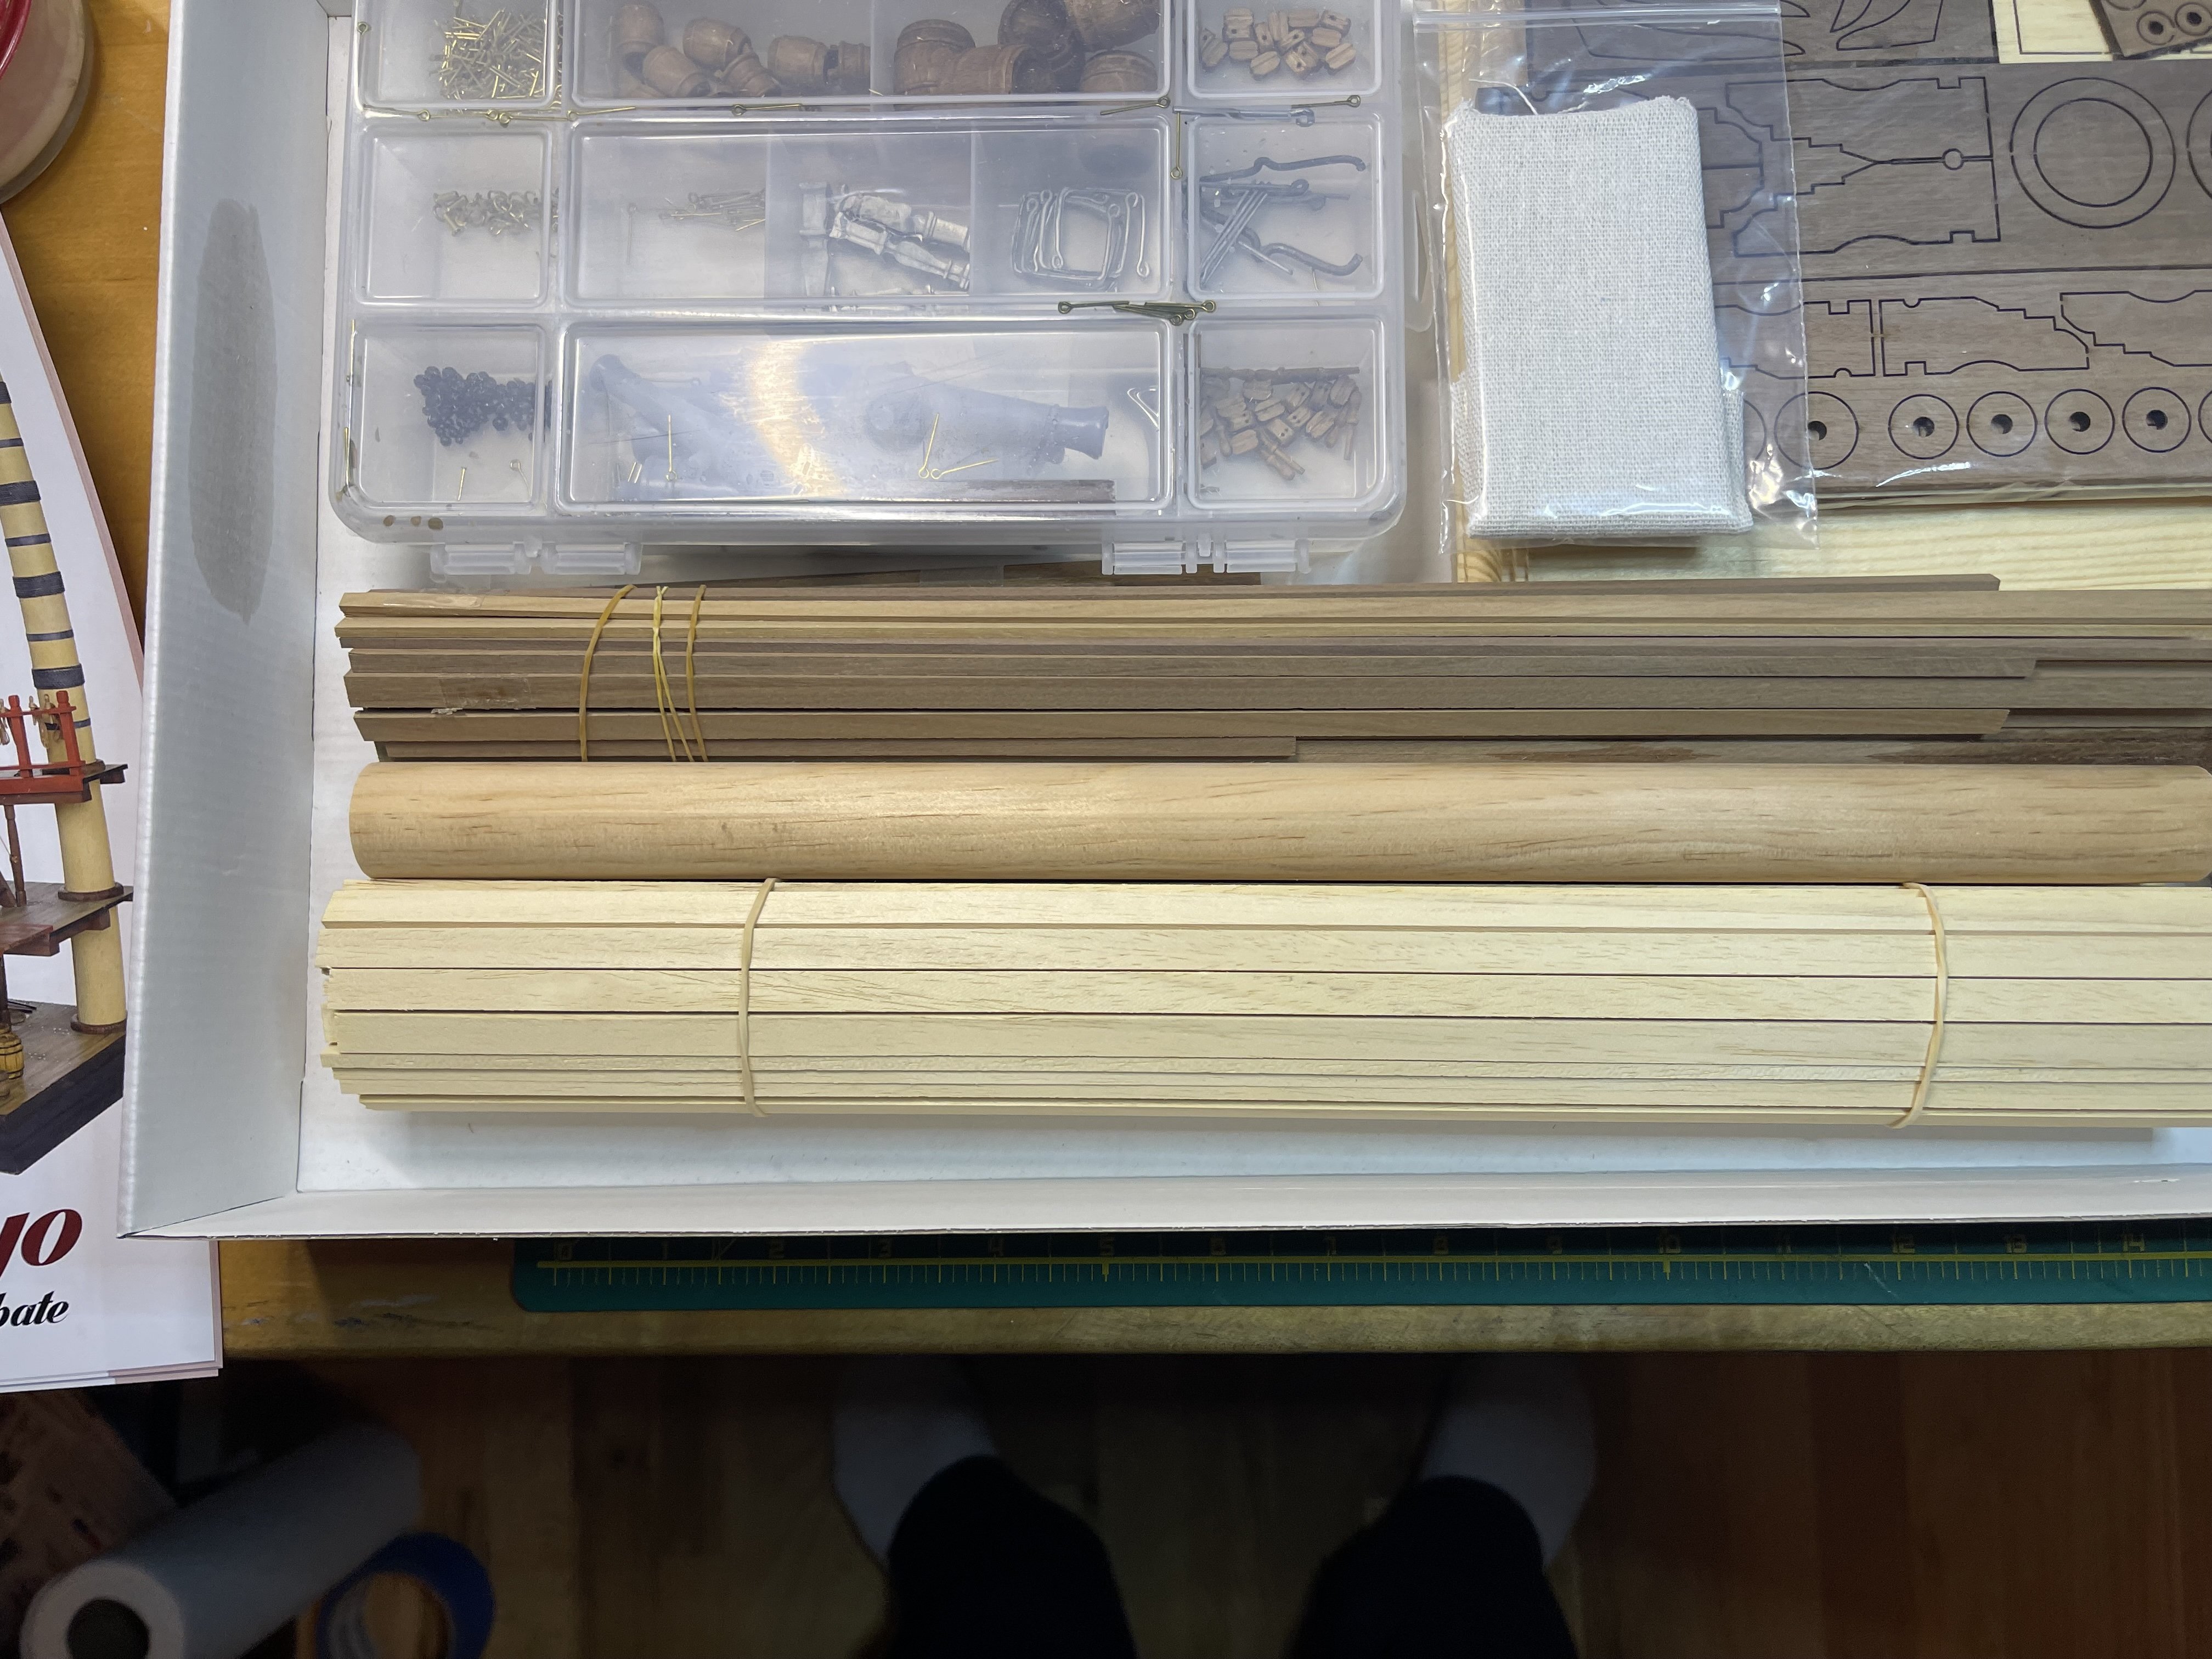
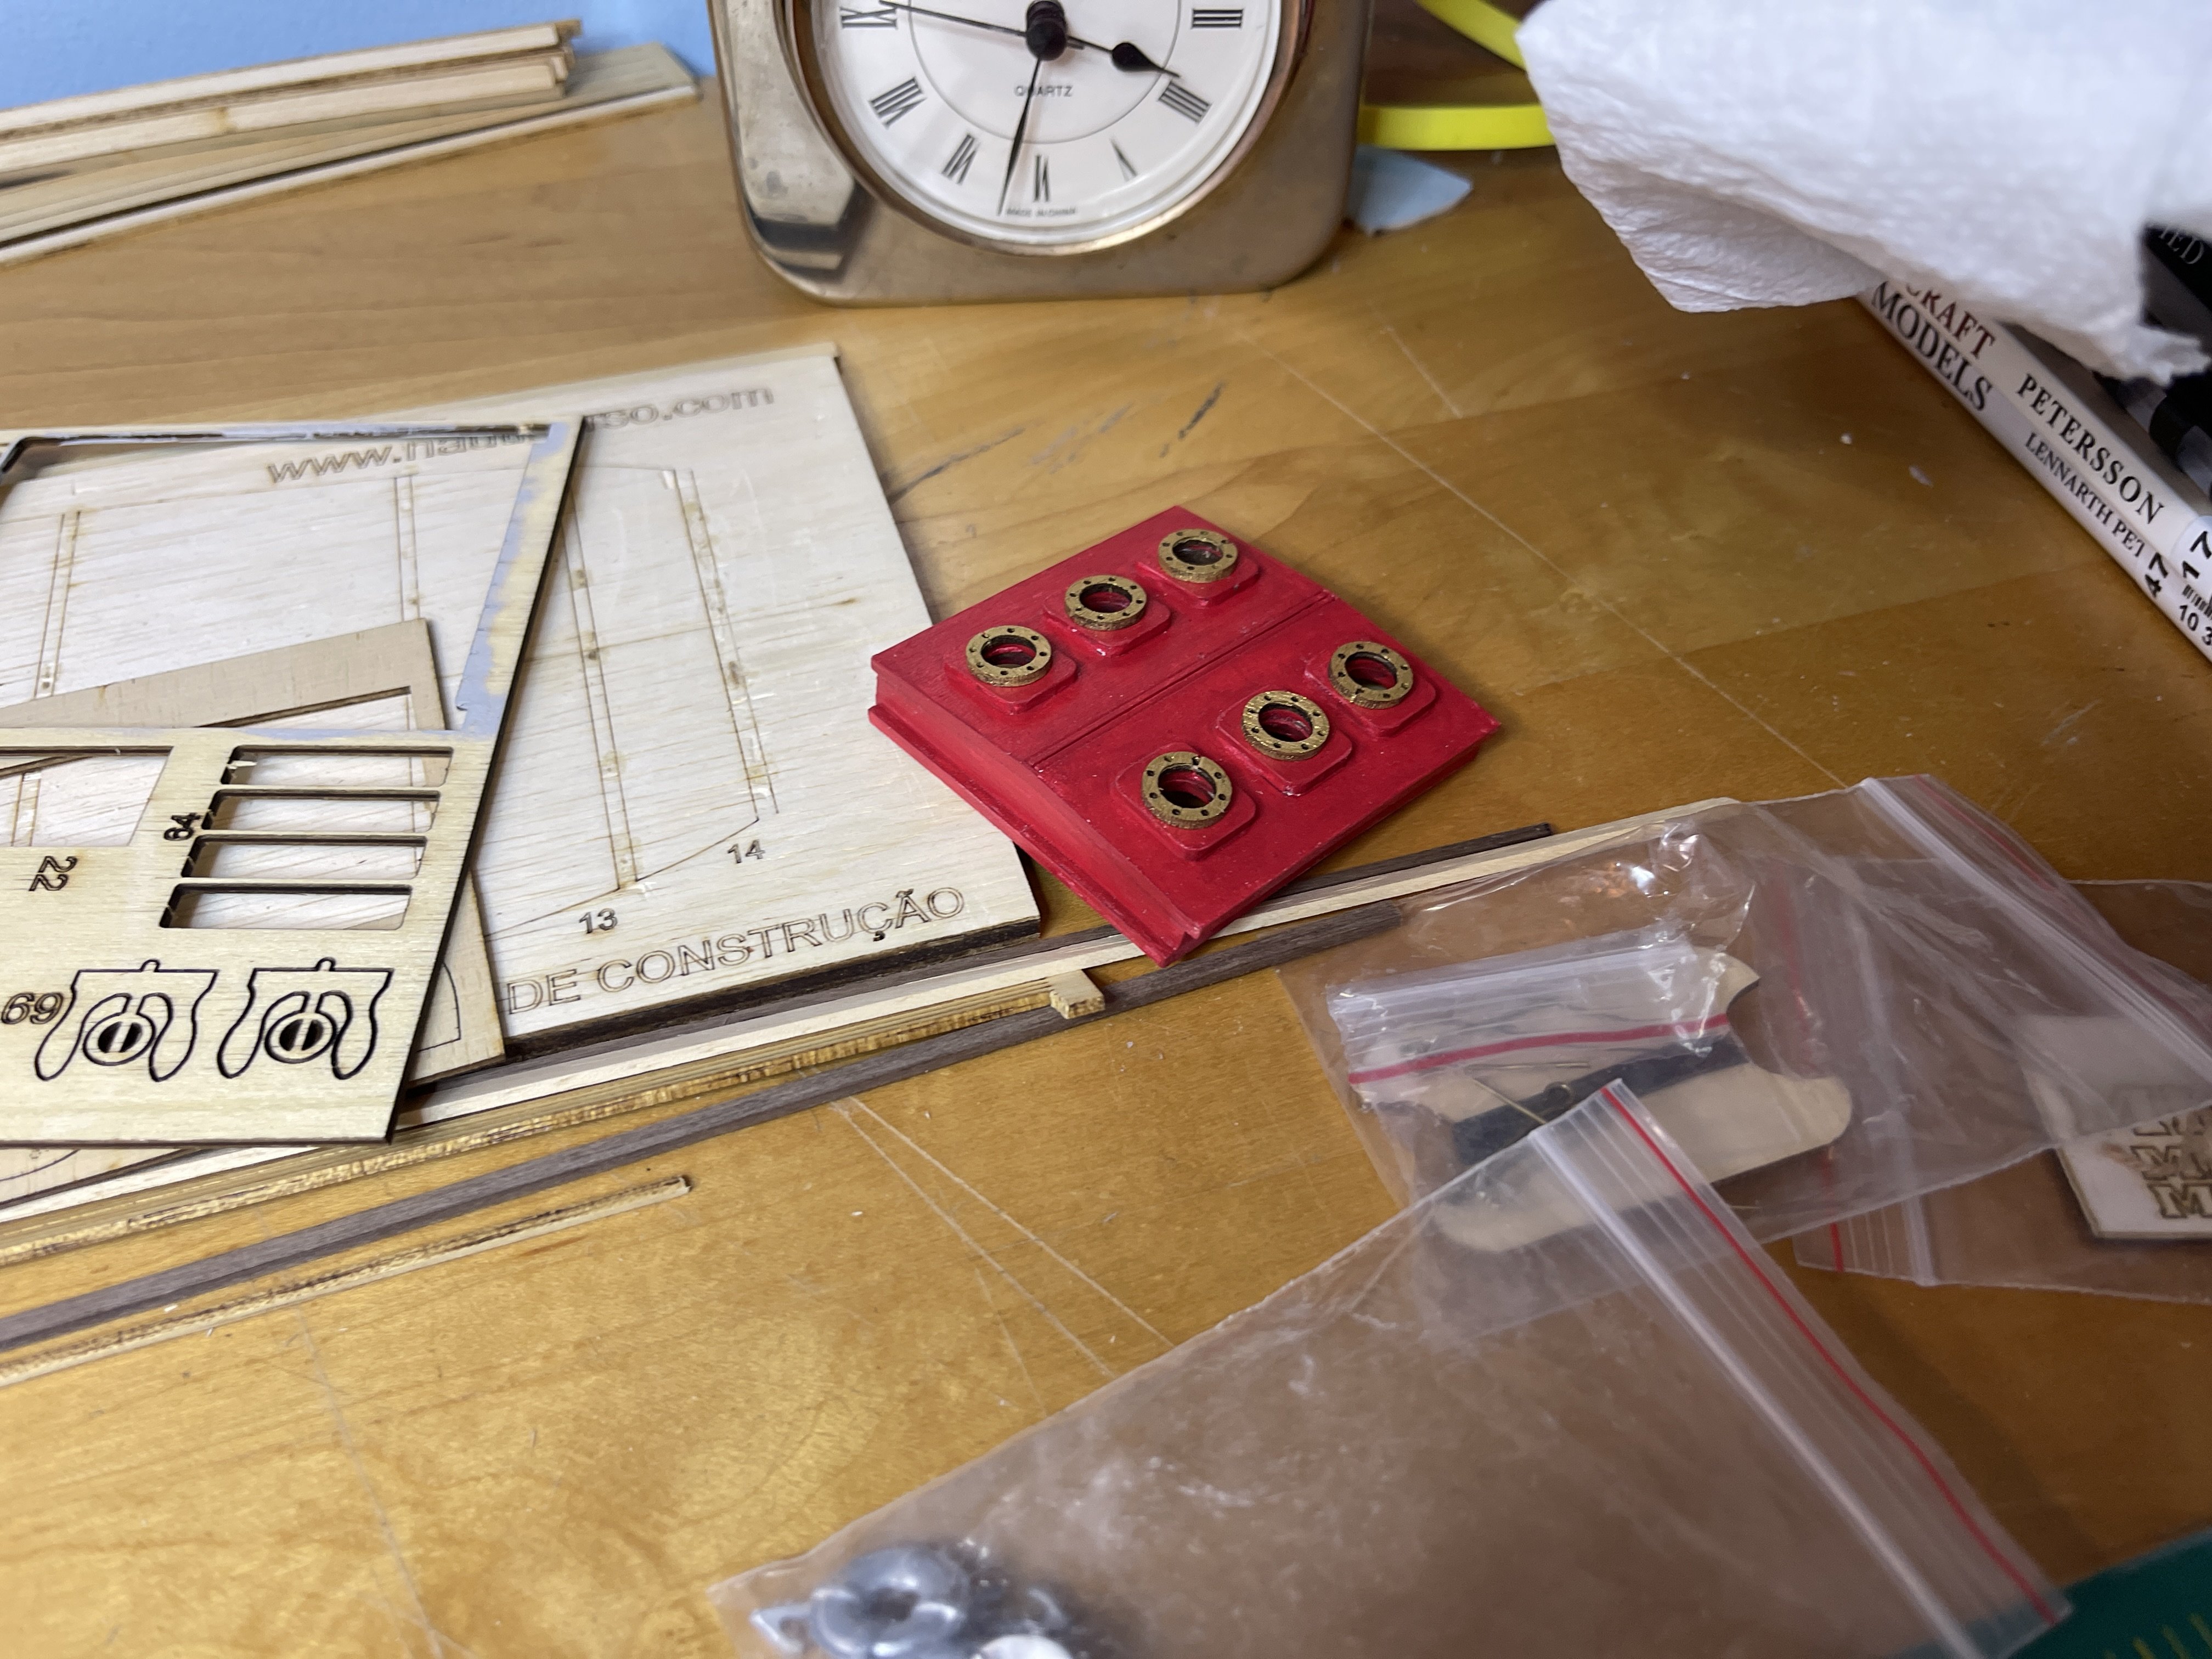
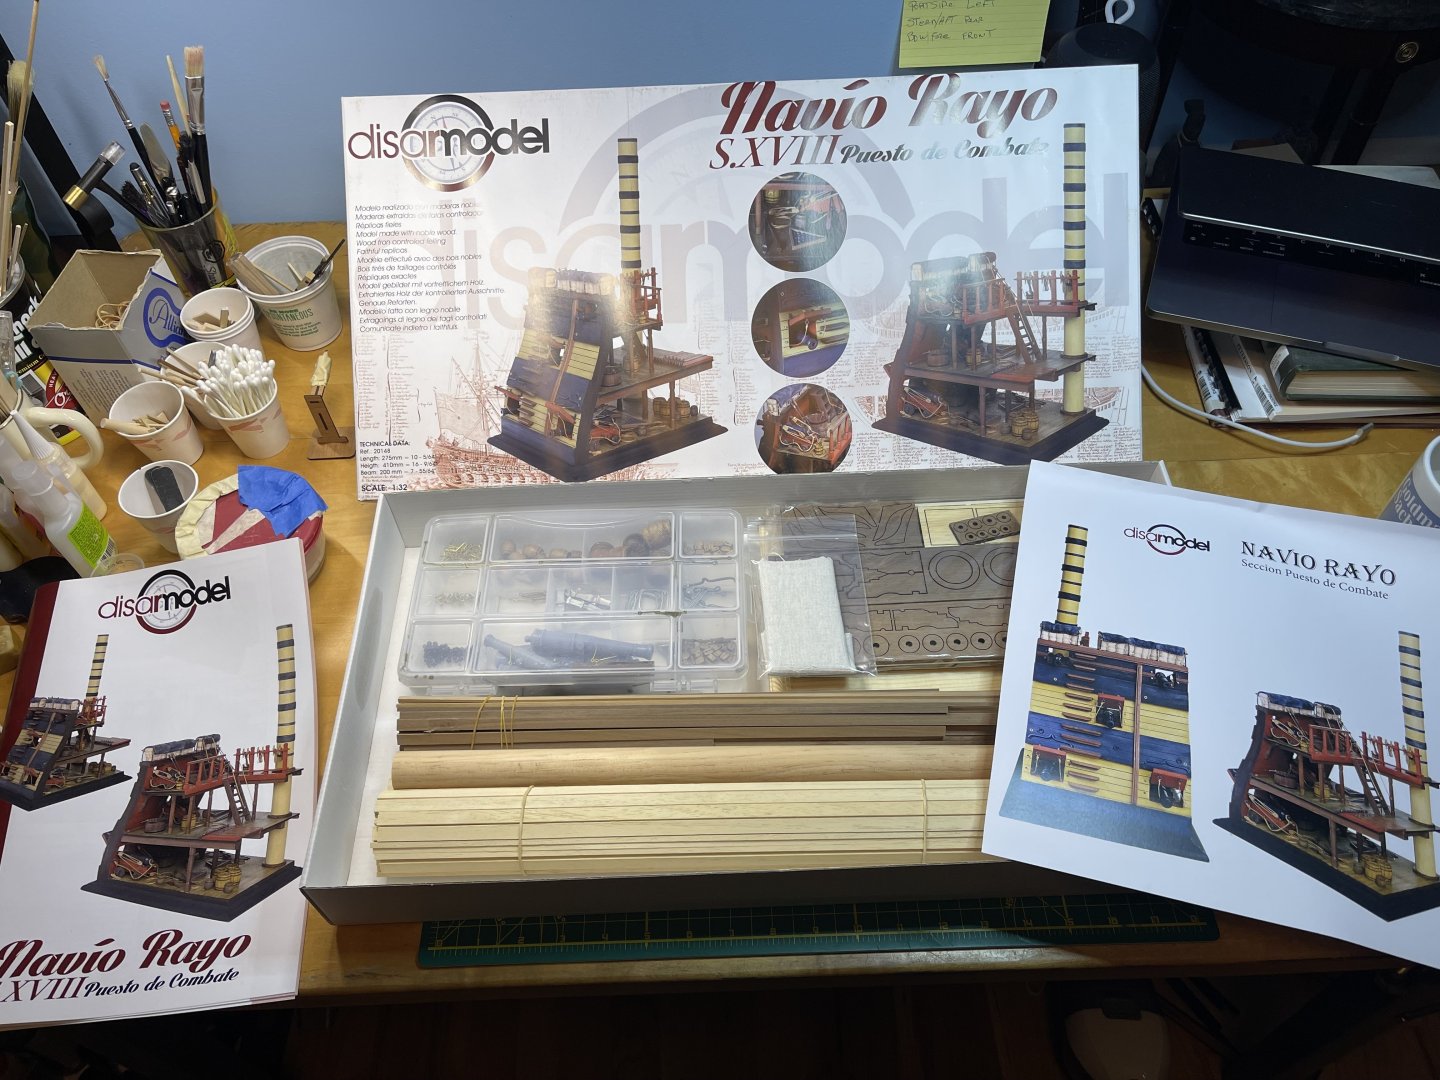
A quick update.. the learning experience for me is to ensure you inventory all your parts. This is why I am still a novice. I did not do that and discovered I was short of 1500 mm walnut wood. Thanks to customer service and the model expo policy, they shipped me the correct amount of wood. Of course, as I dig deeper now, I’m short 40 4 mm rings. Luckily, I see that Hobby Lobby carries a pack of 200 plus 4 mm rings for a dollar and change. Lesson learned: do an inventory of parts.
-
SiriusVoyager reacted to a post in a topic:
Navio Rayo Puesto de Combate by BMT - Disarmodel (Spain) - 1:32 - NCC (Navy-Curtis Craft)
-
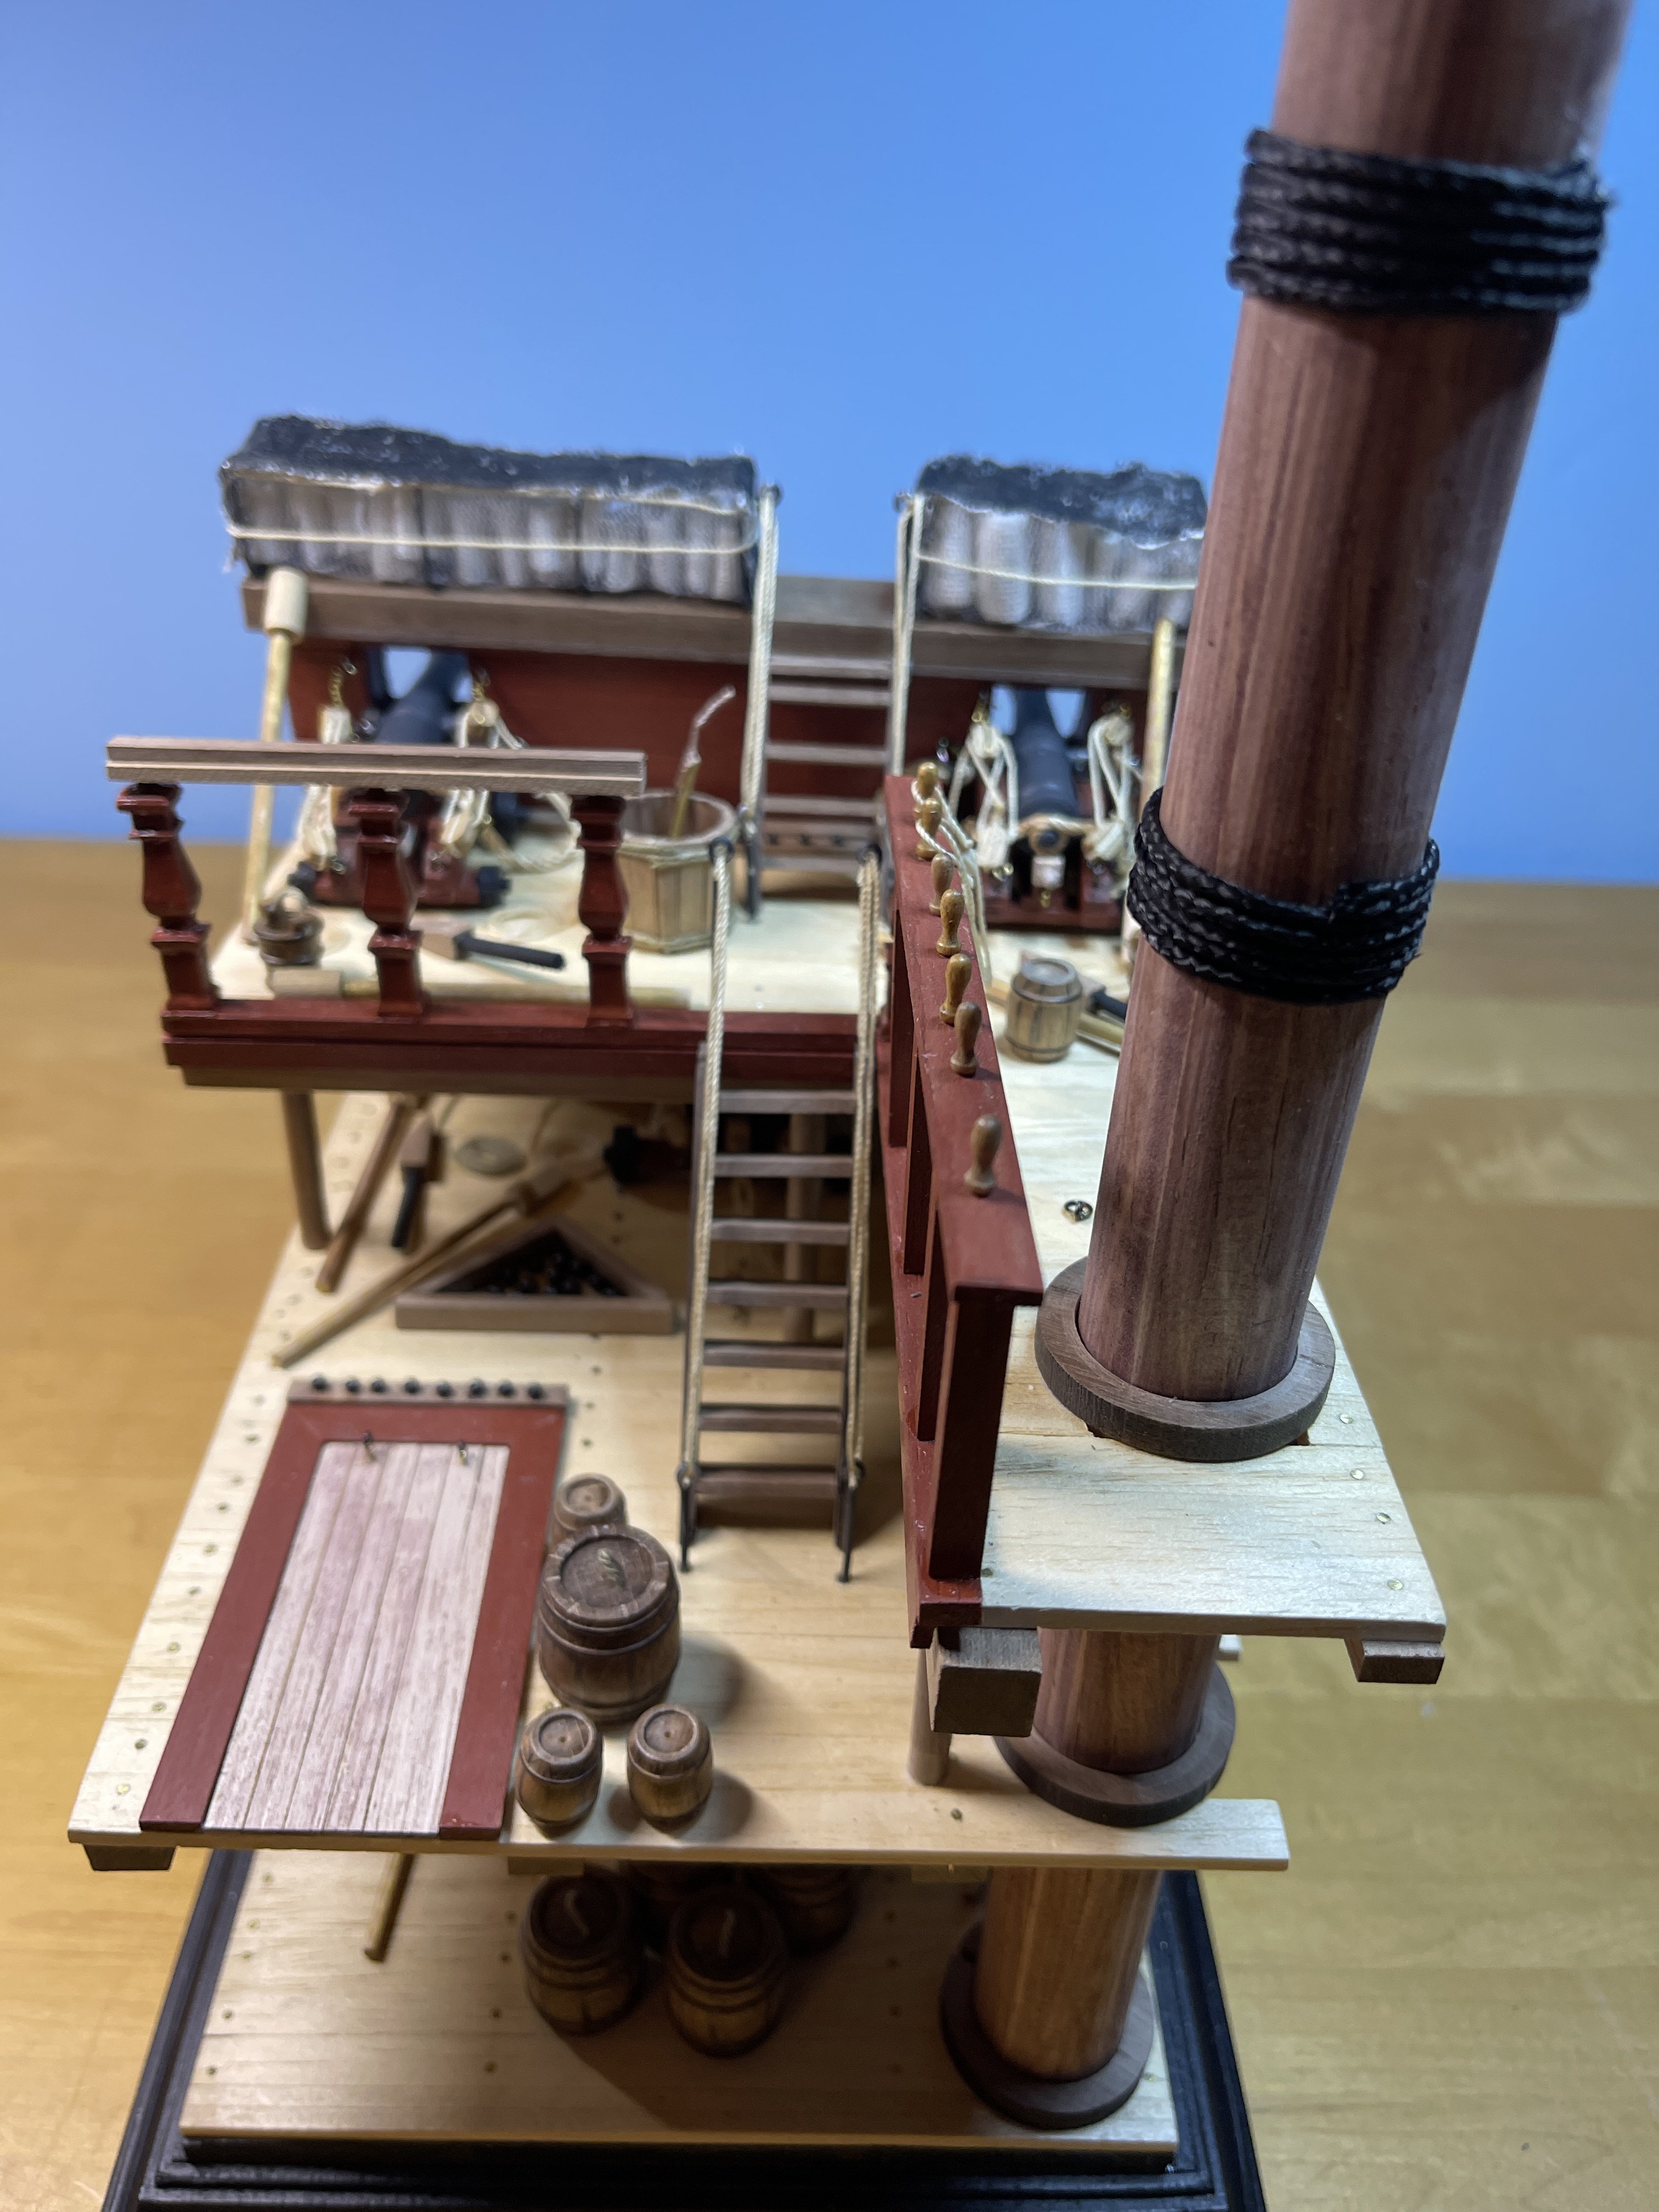
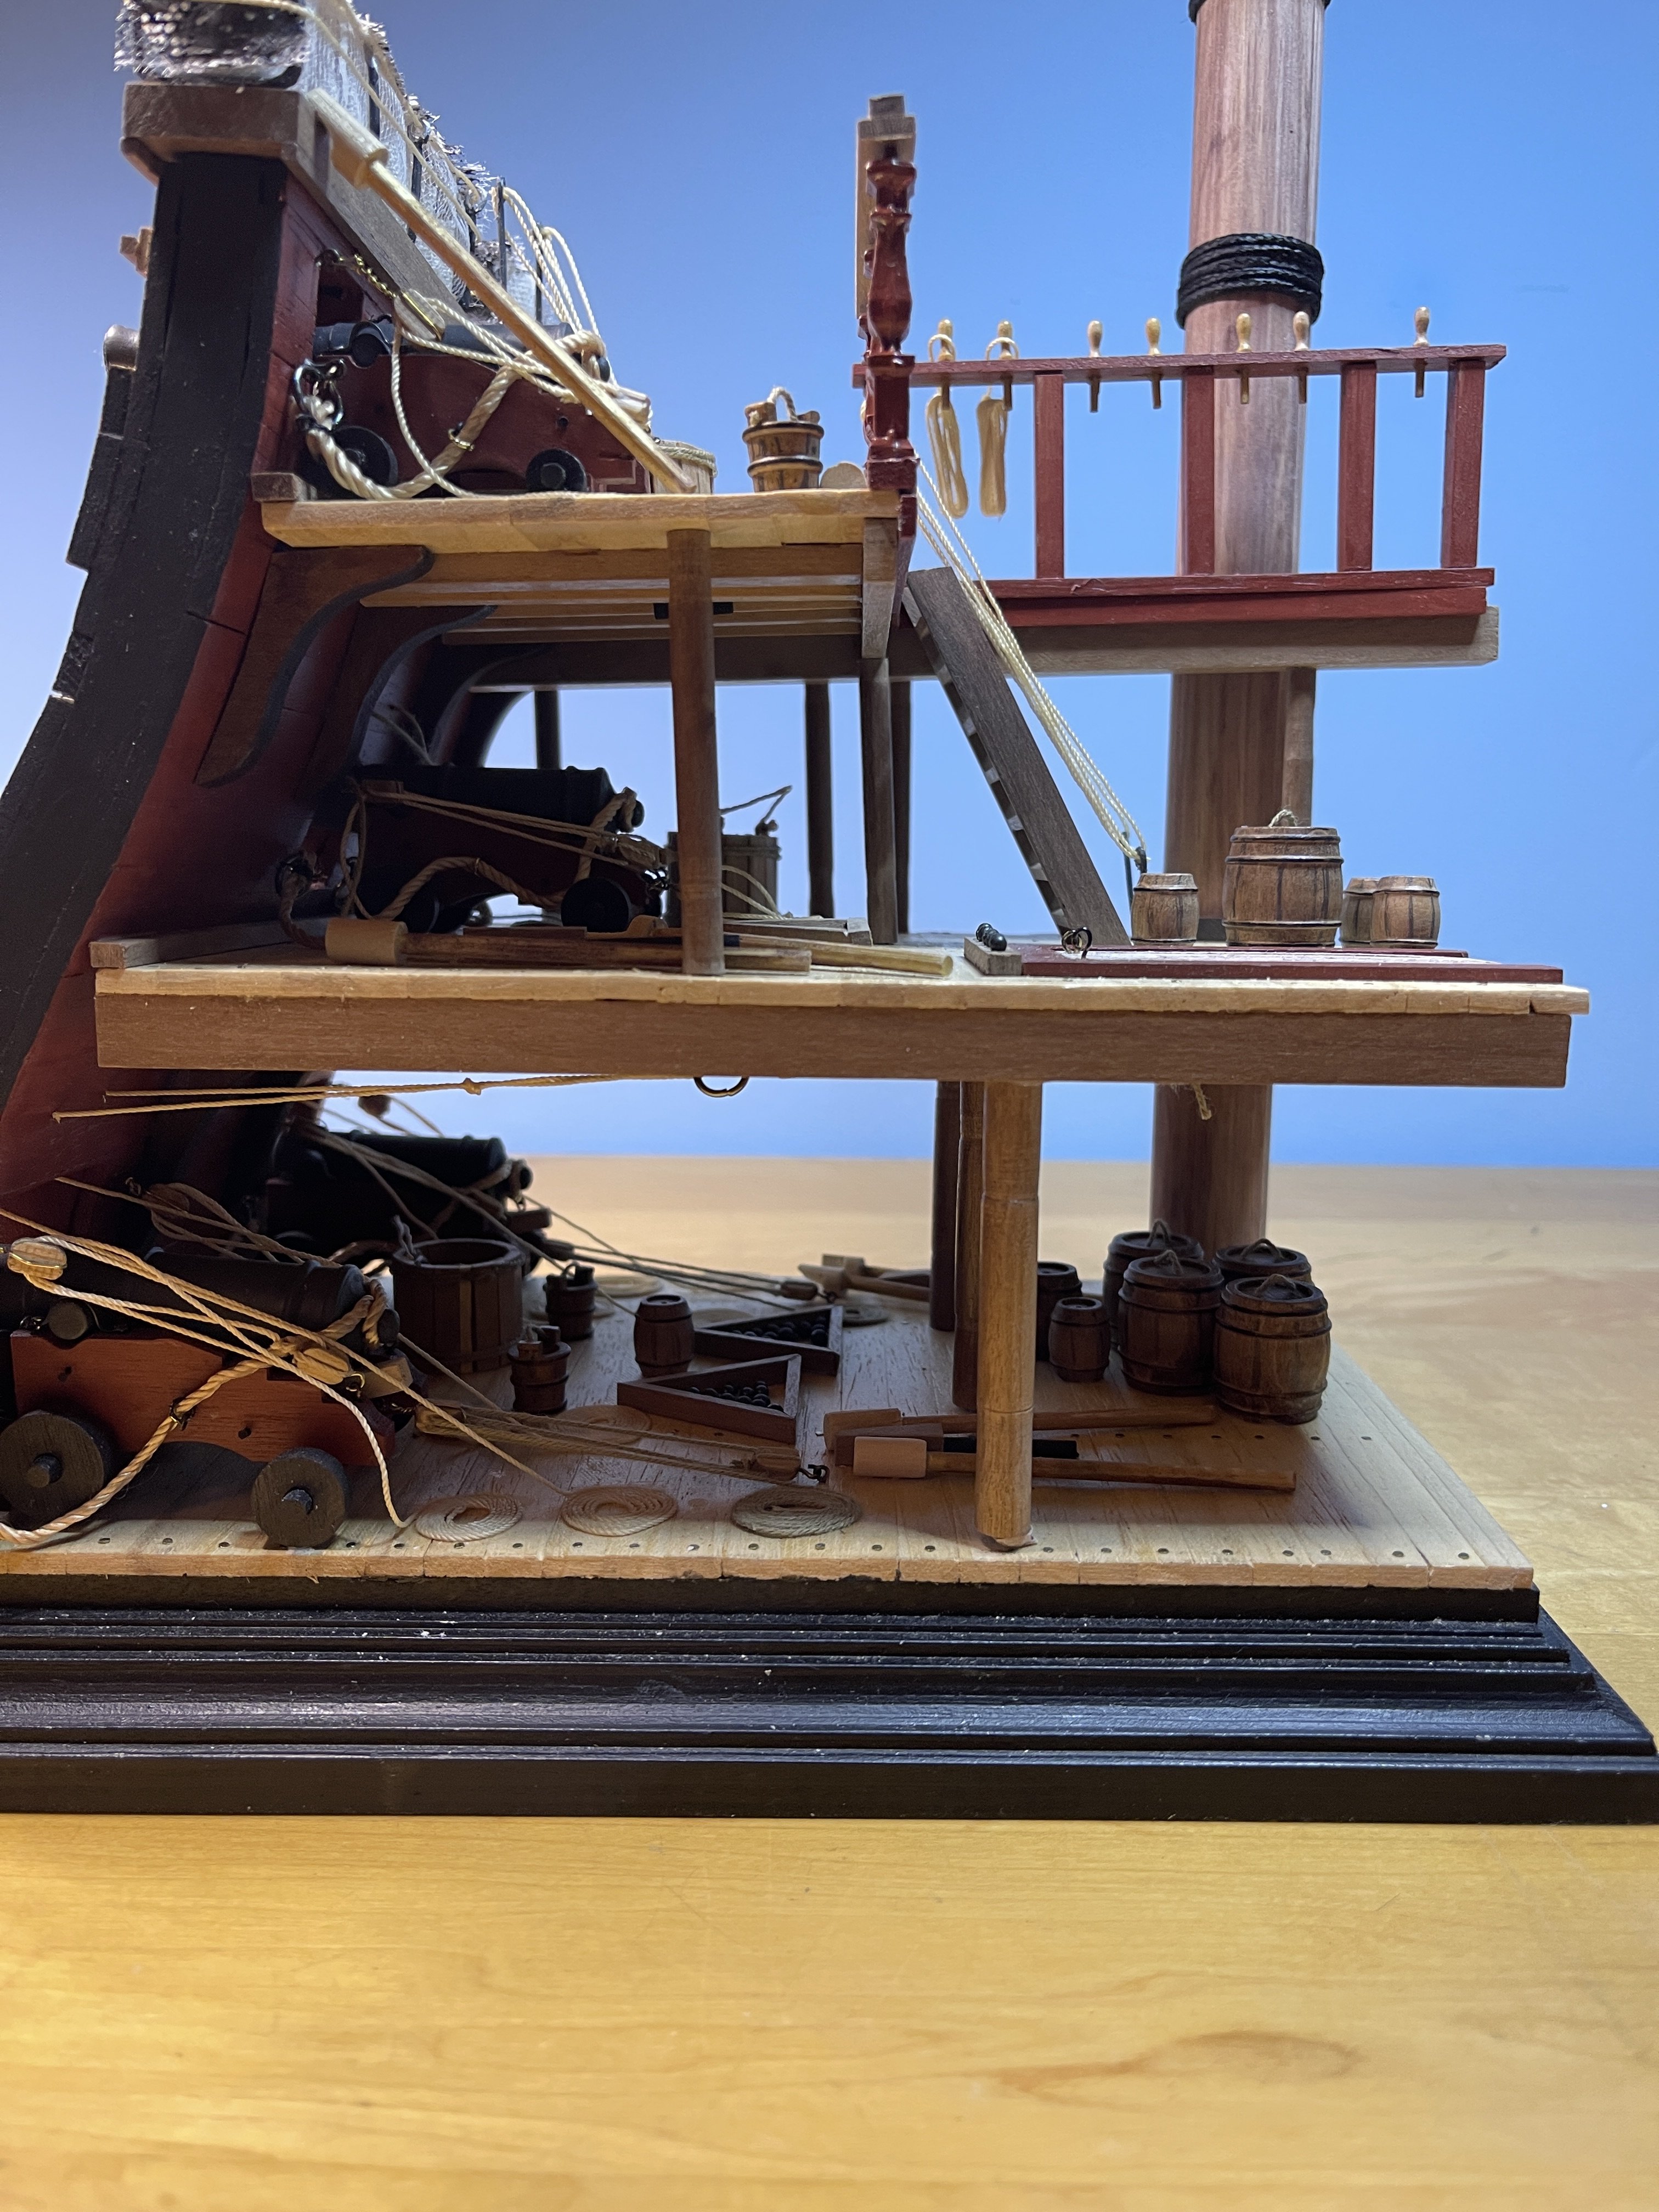
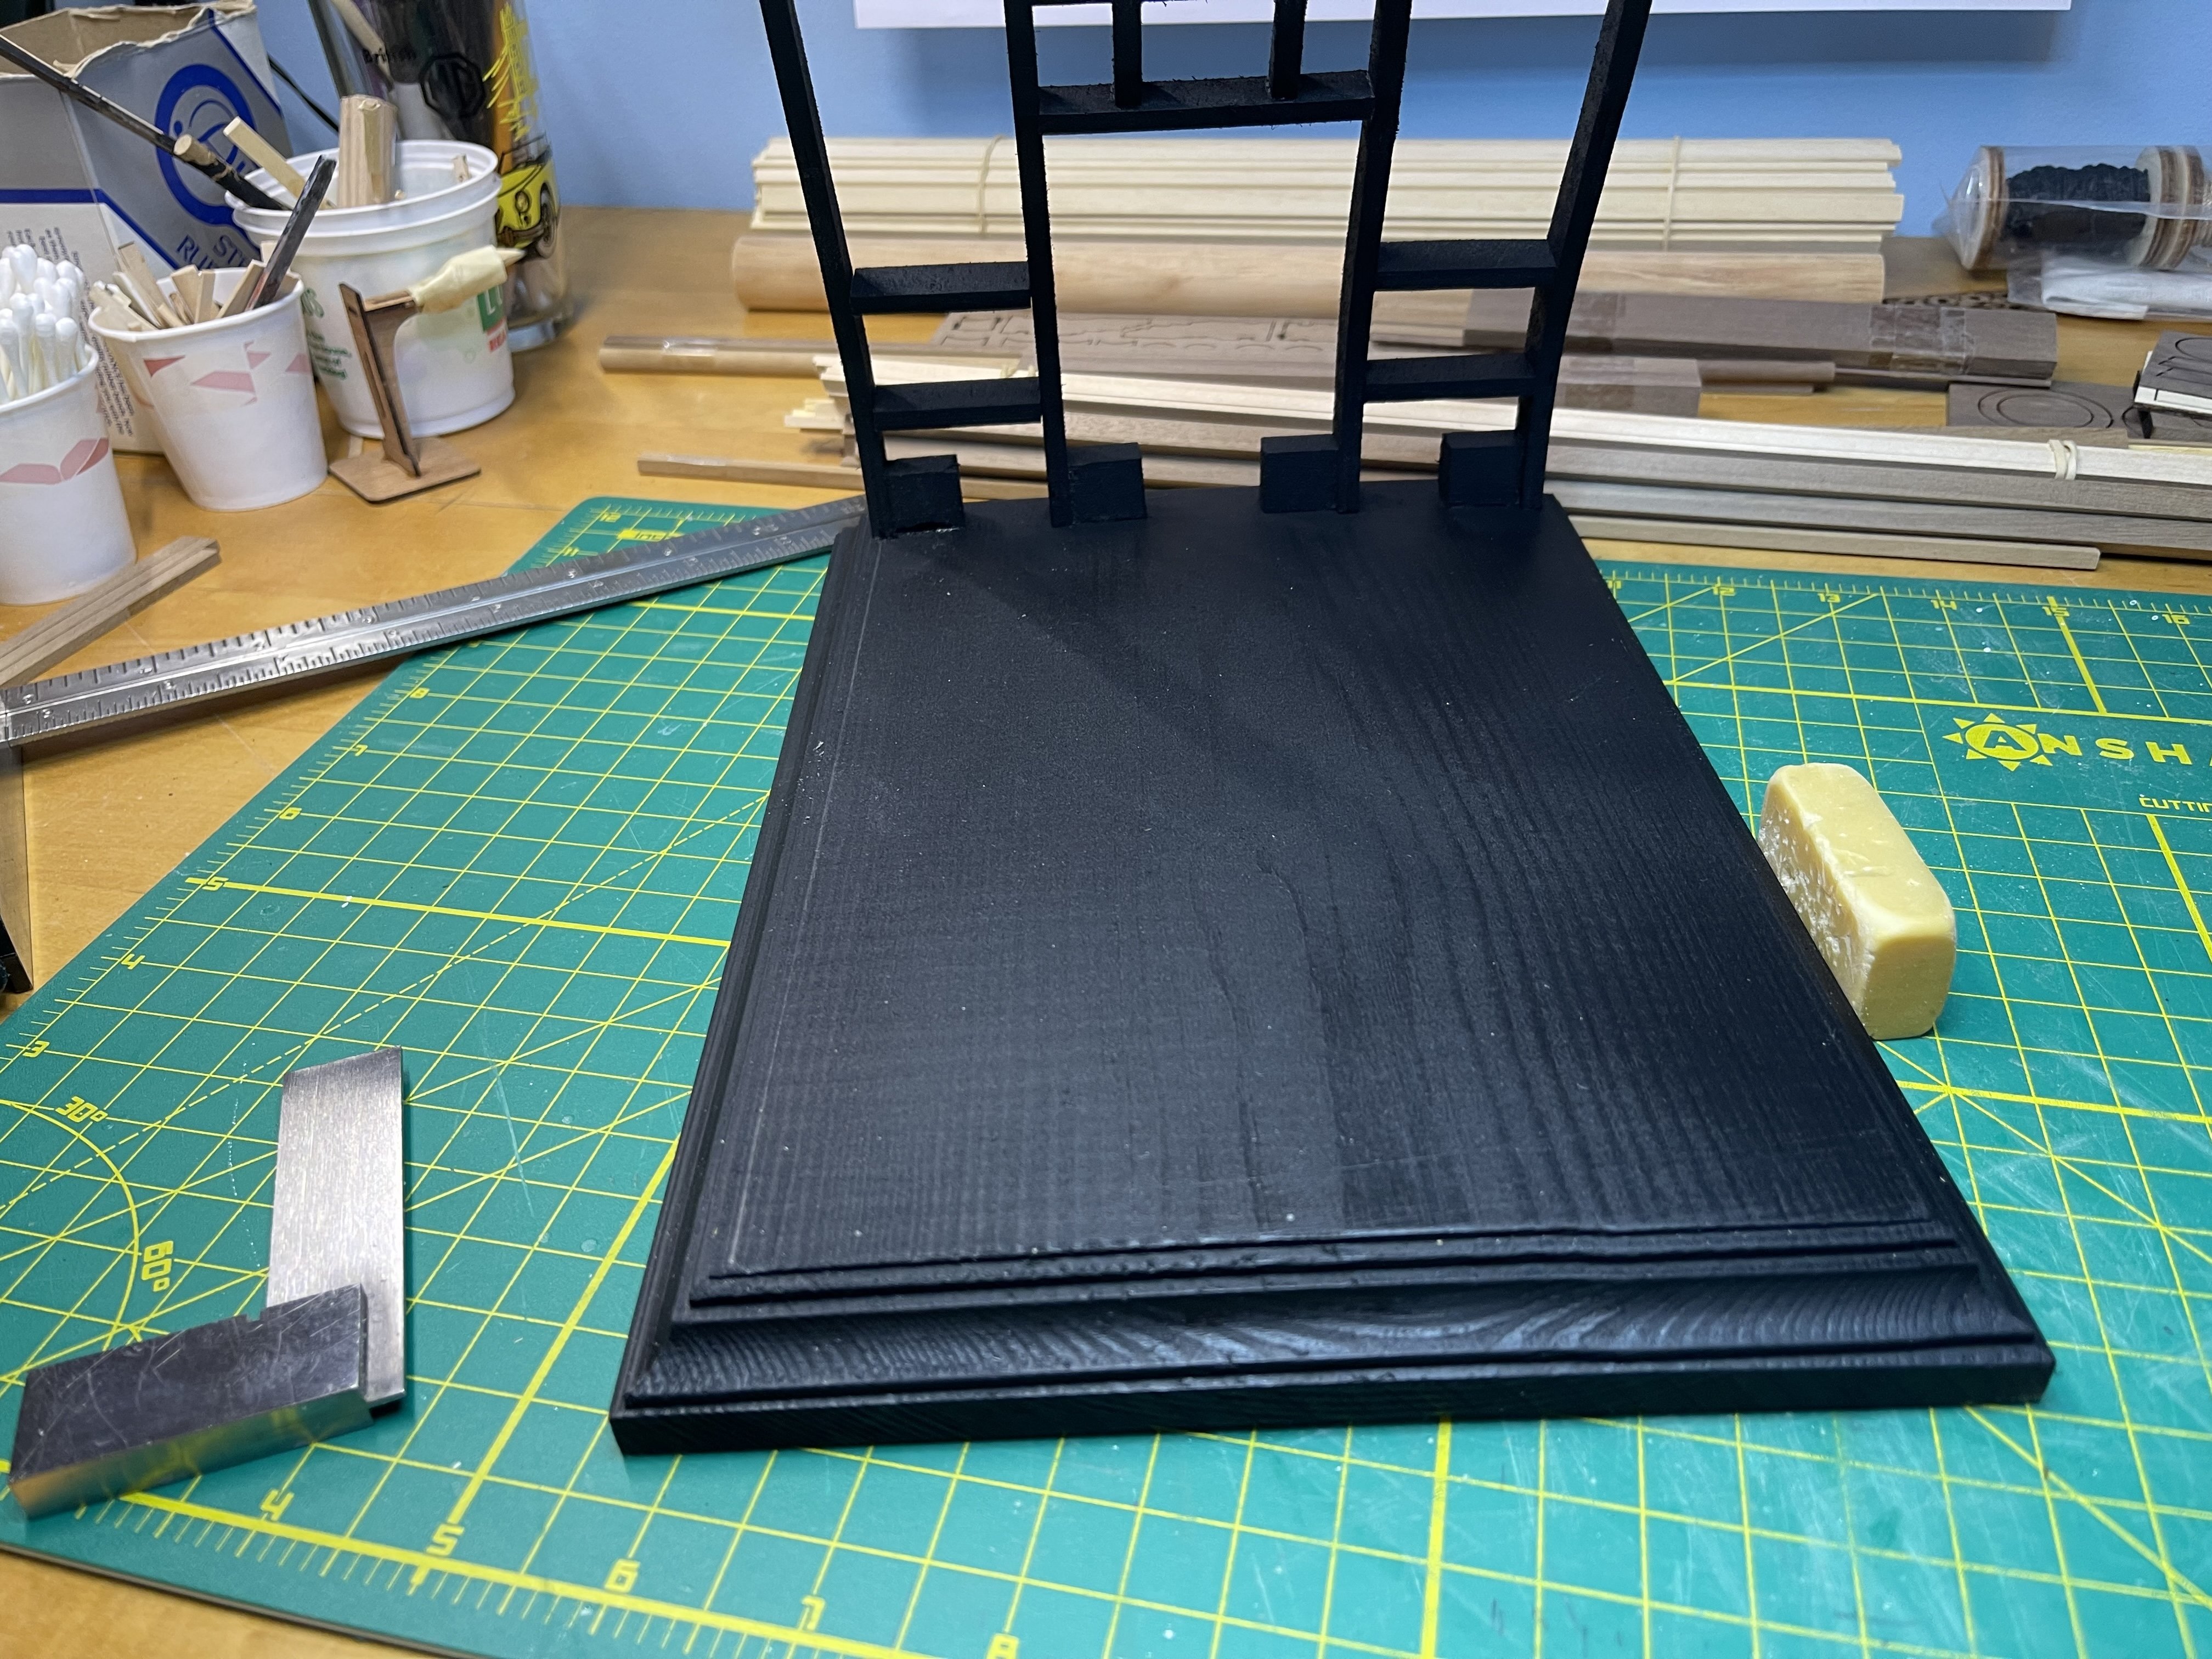
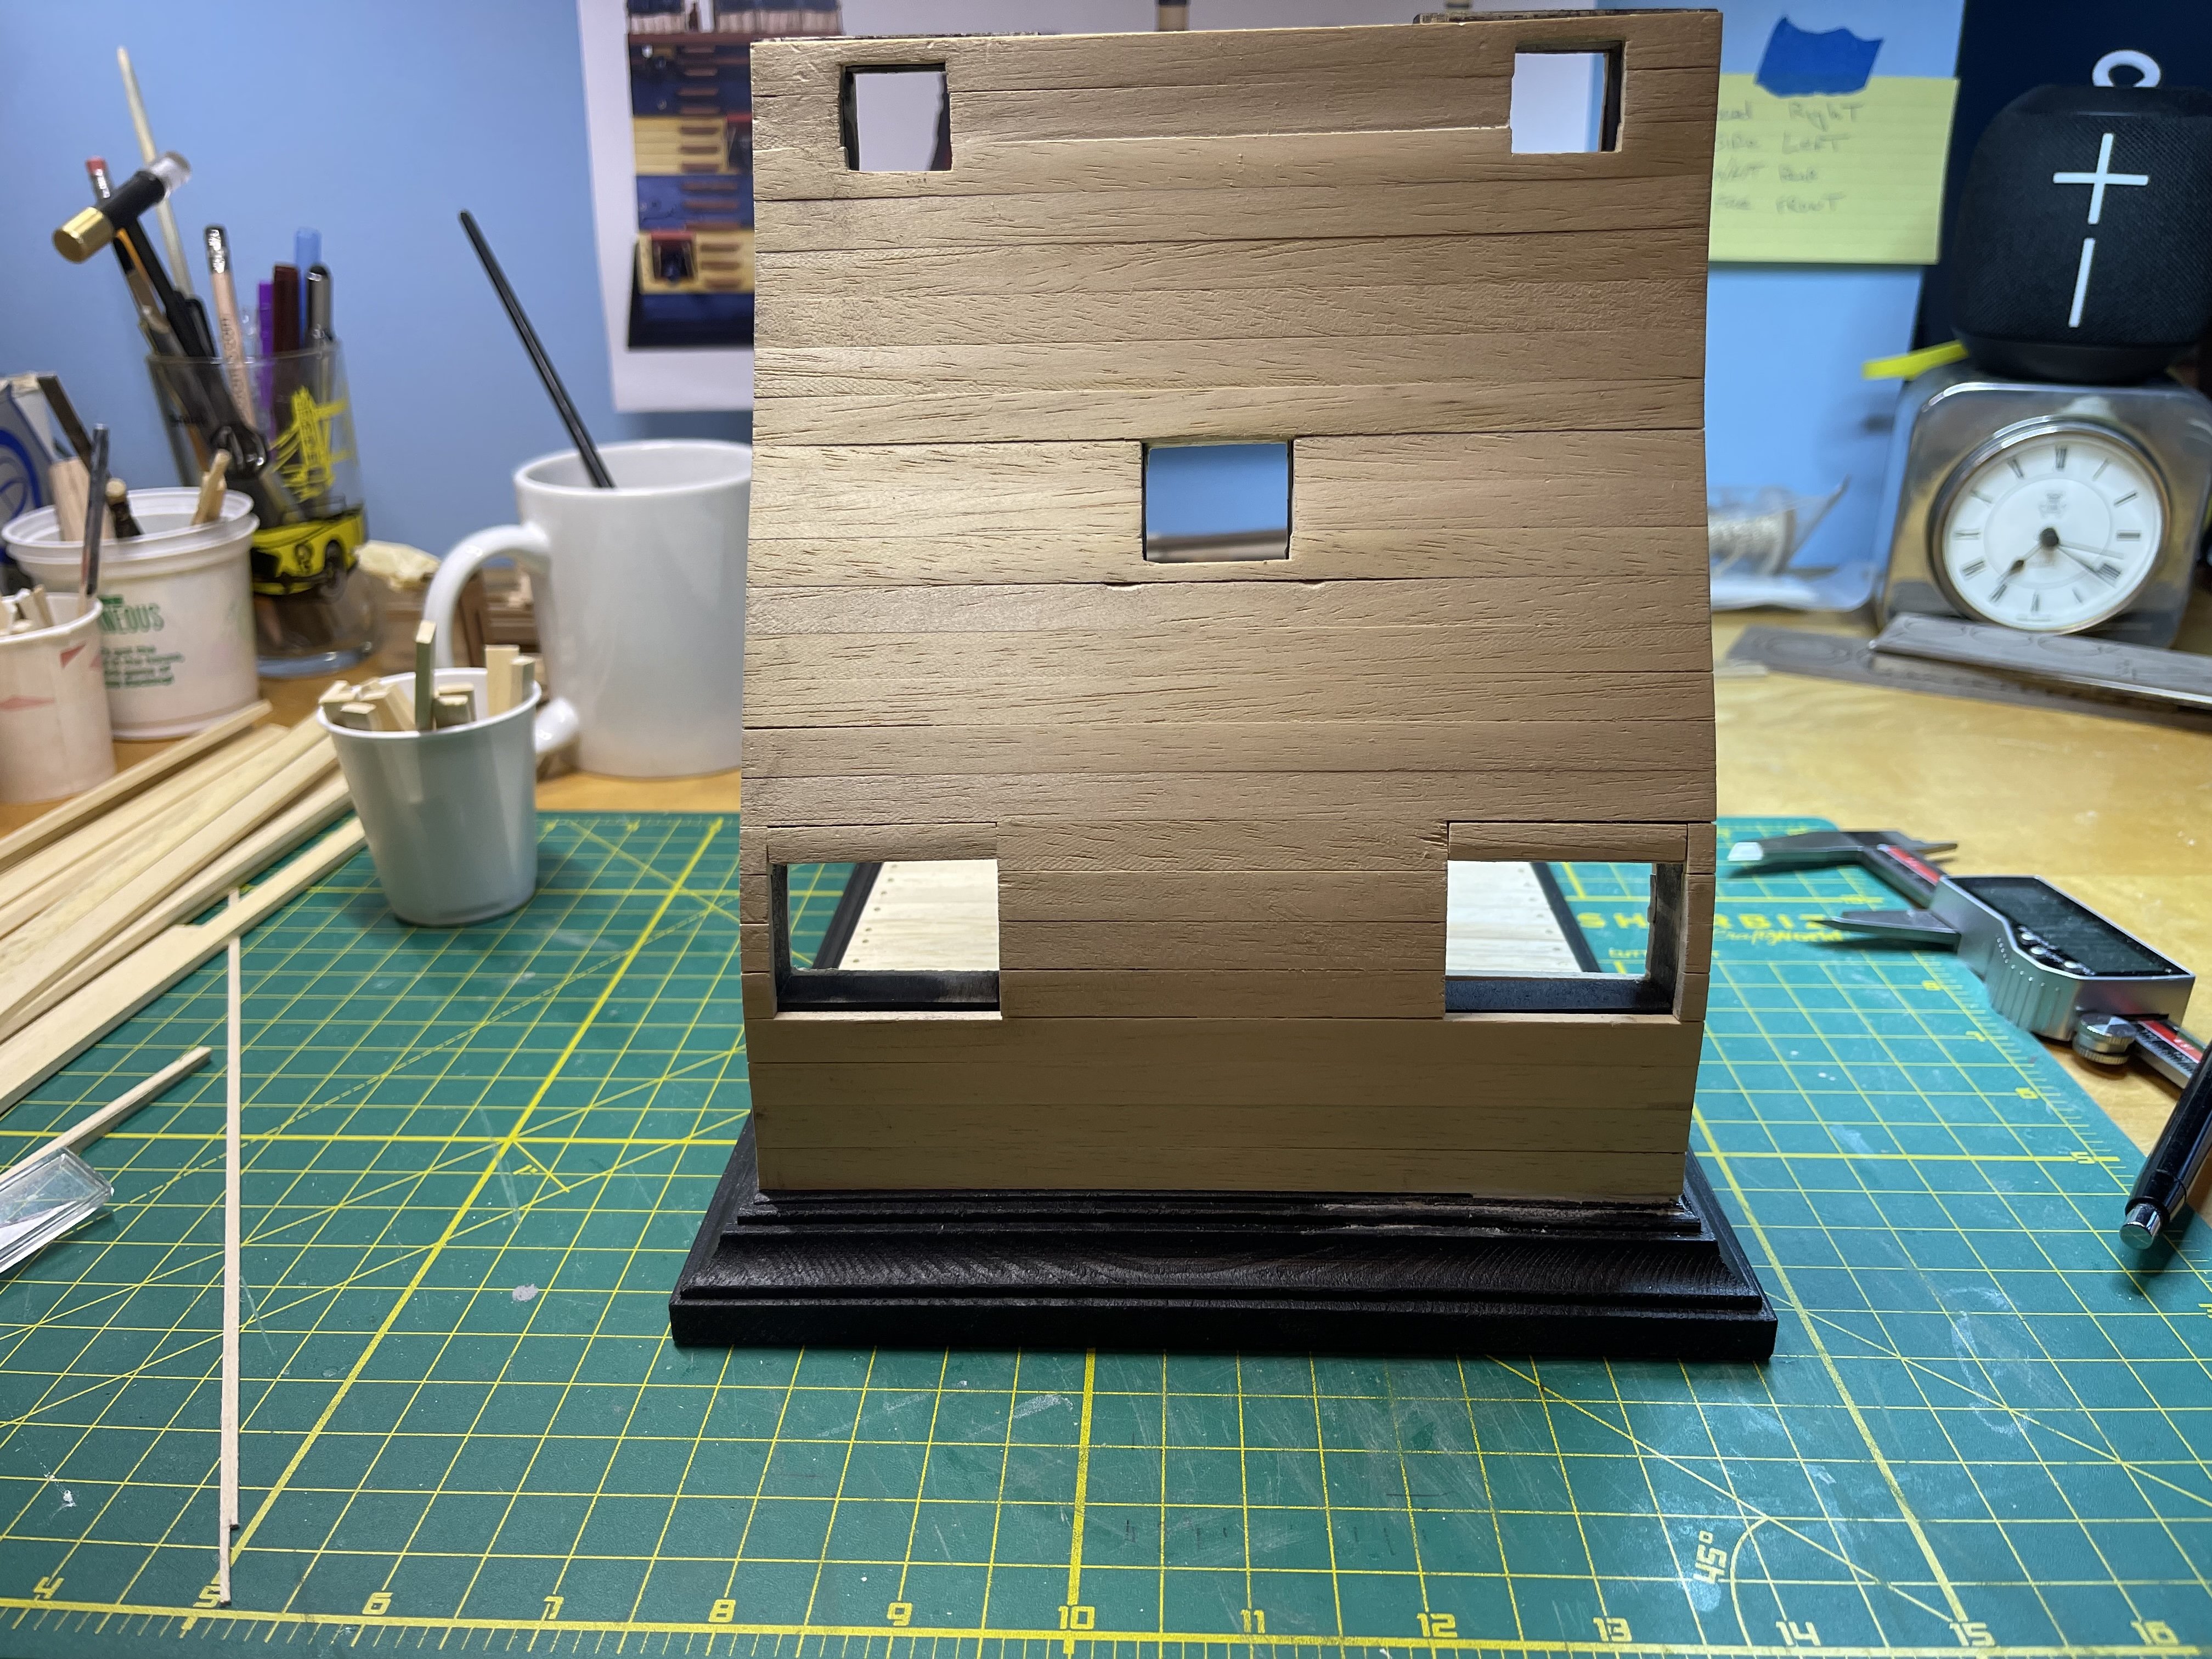
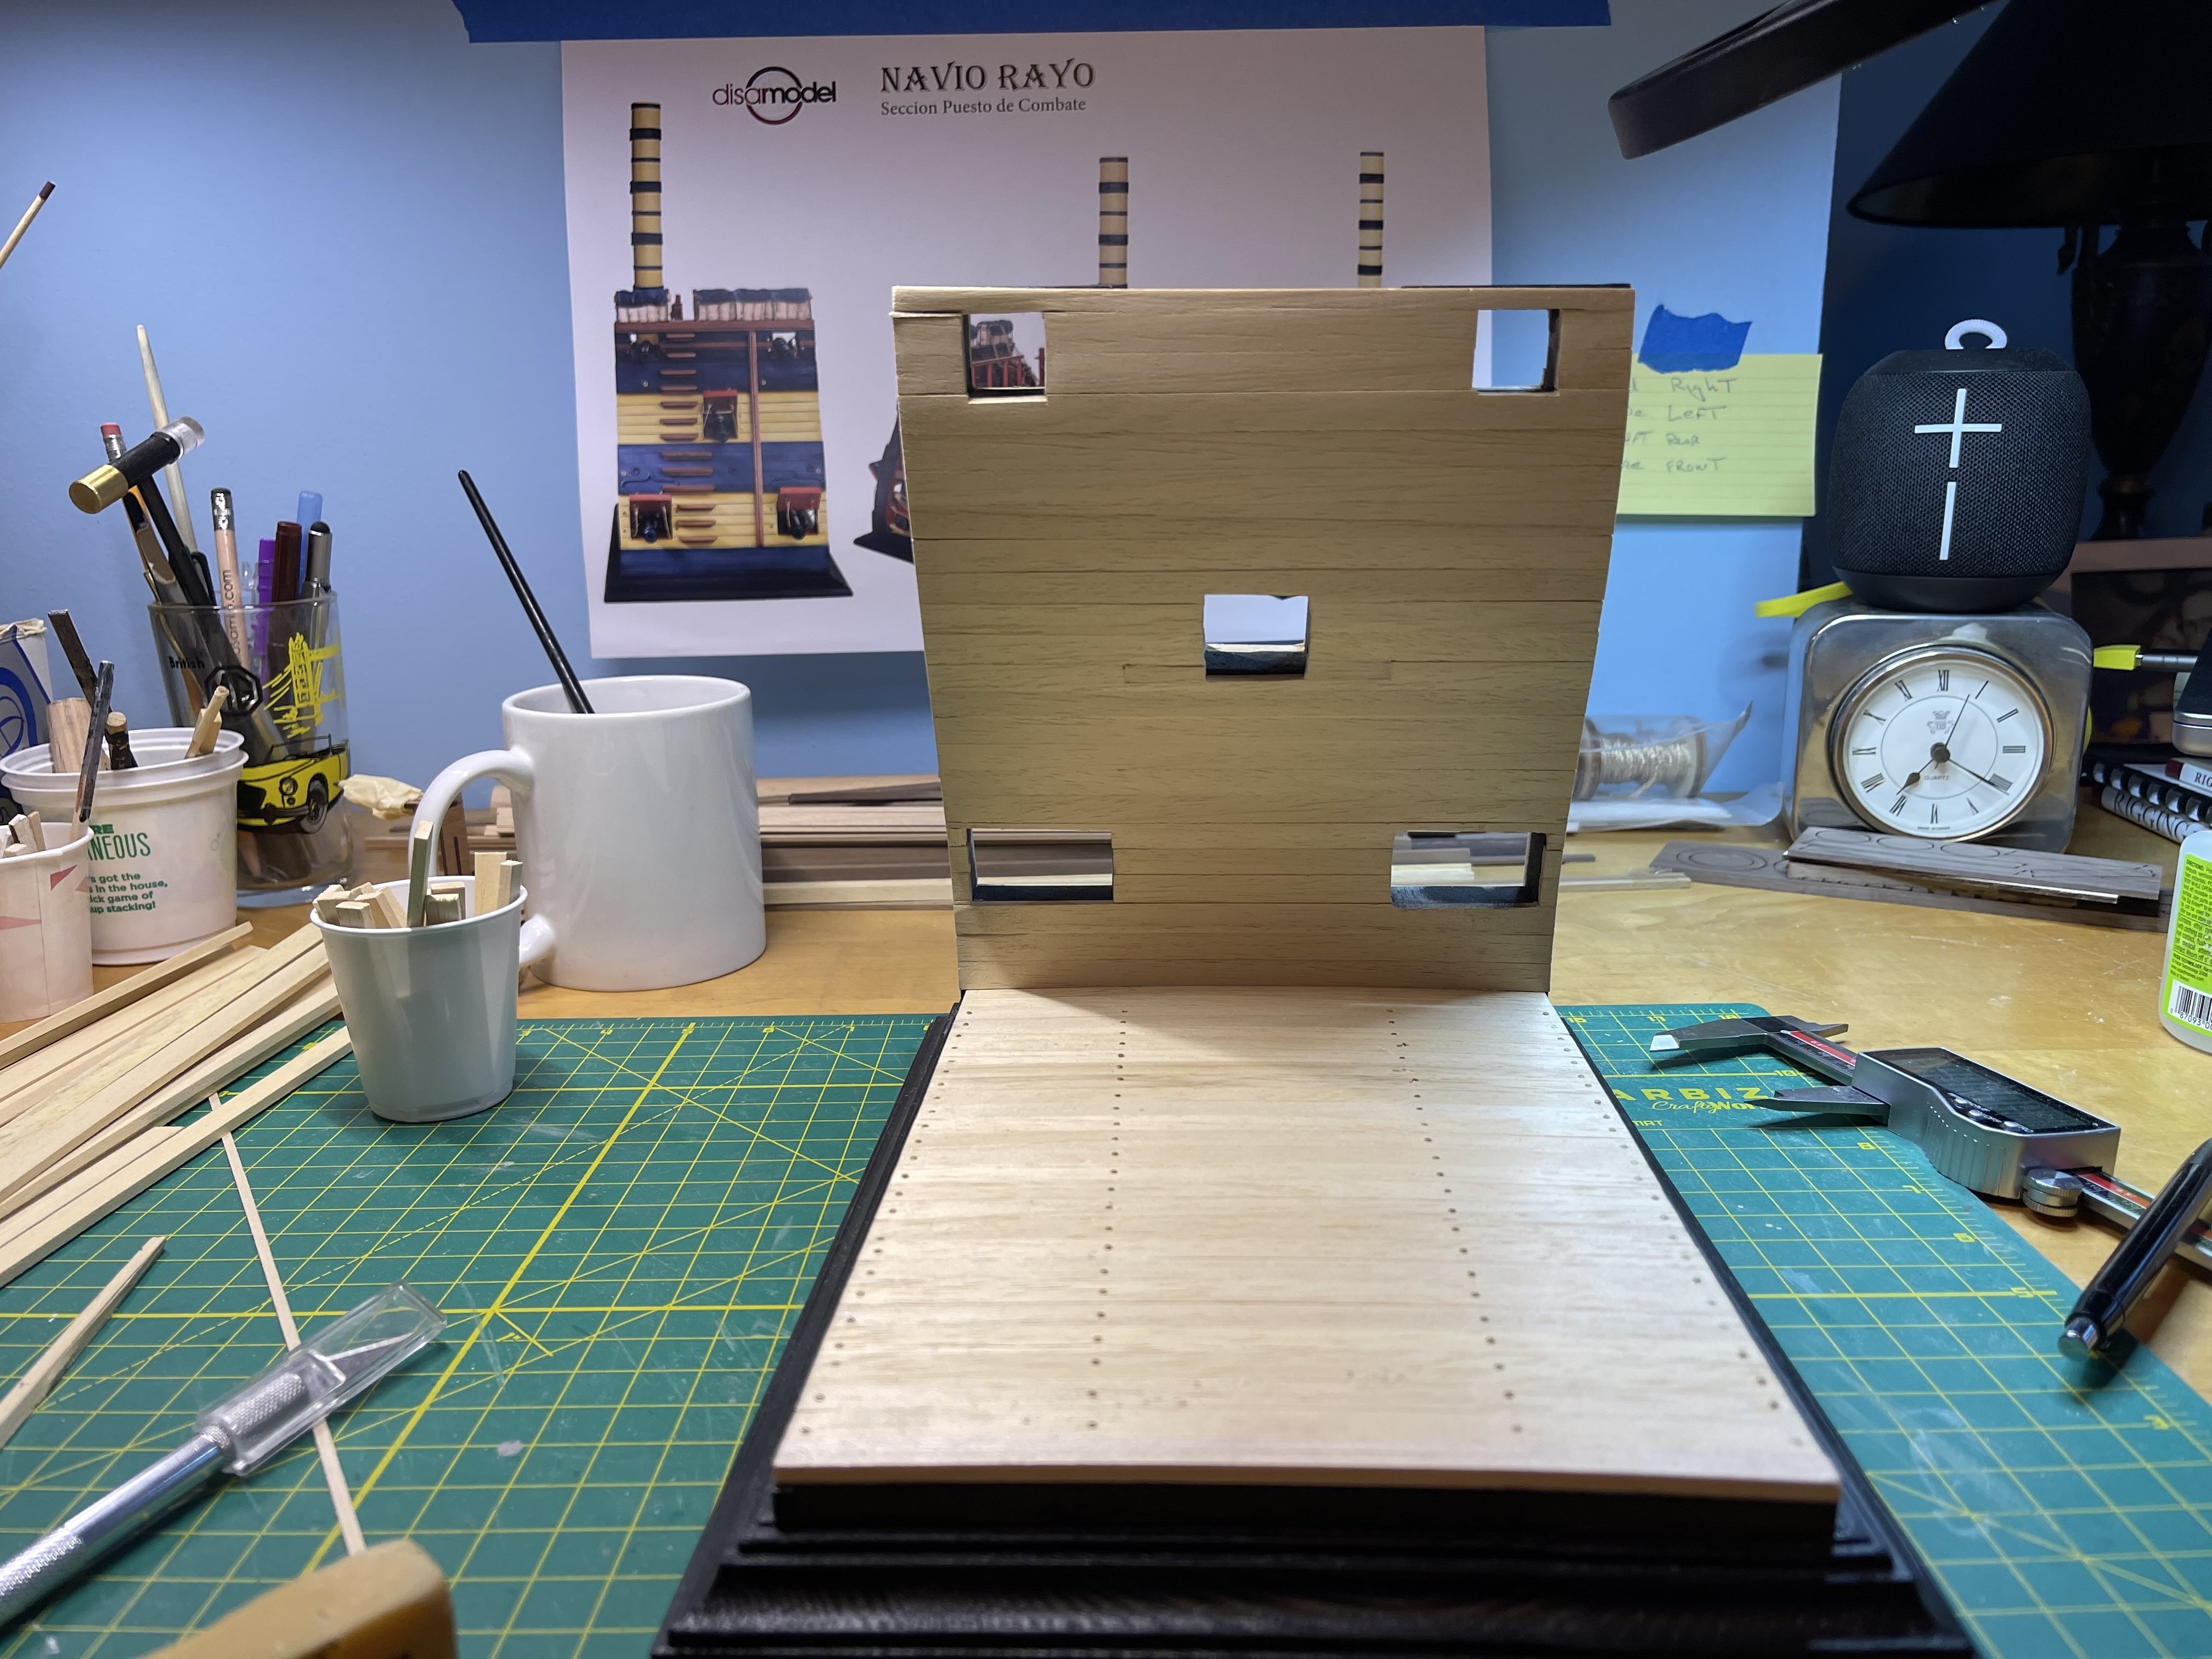
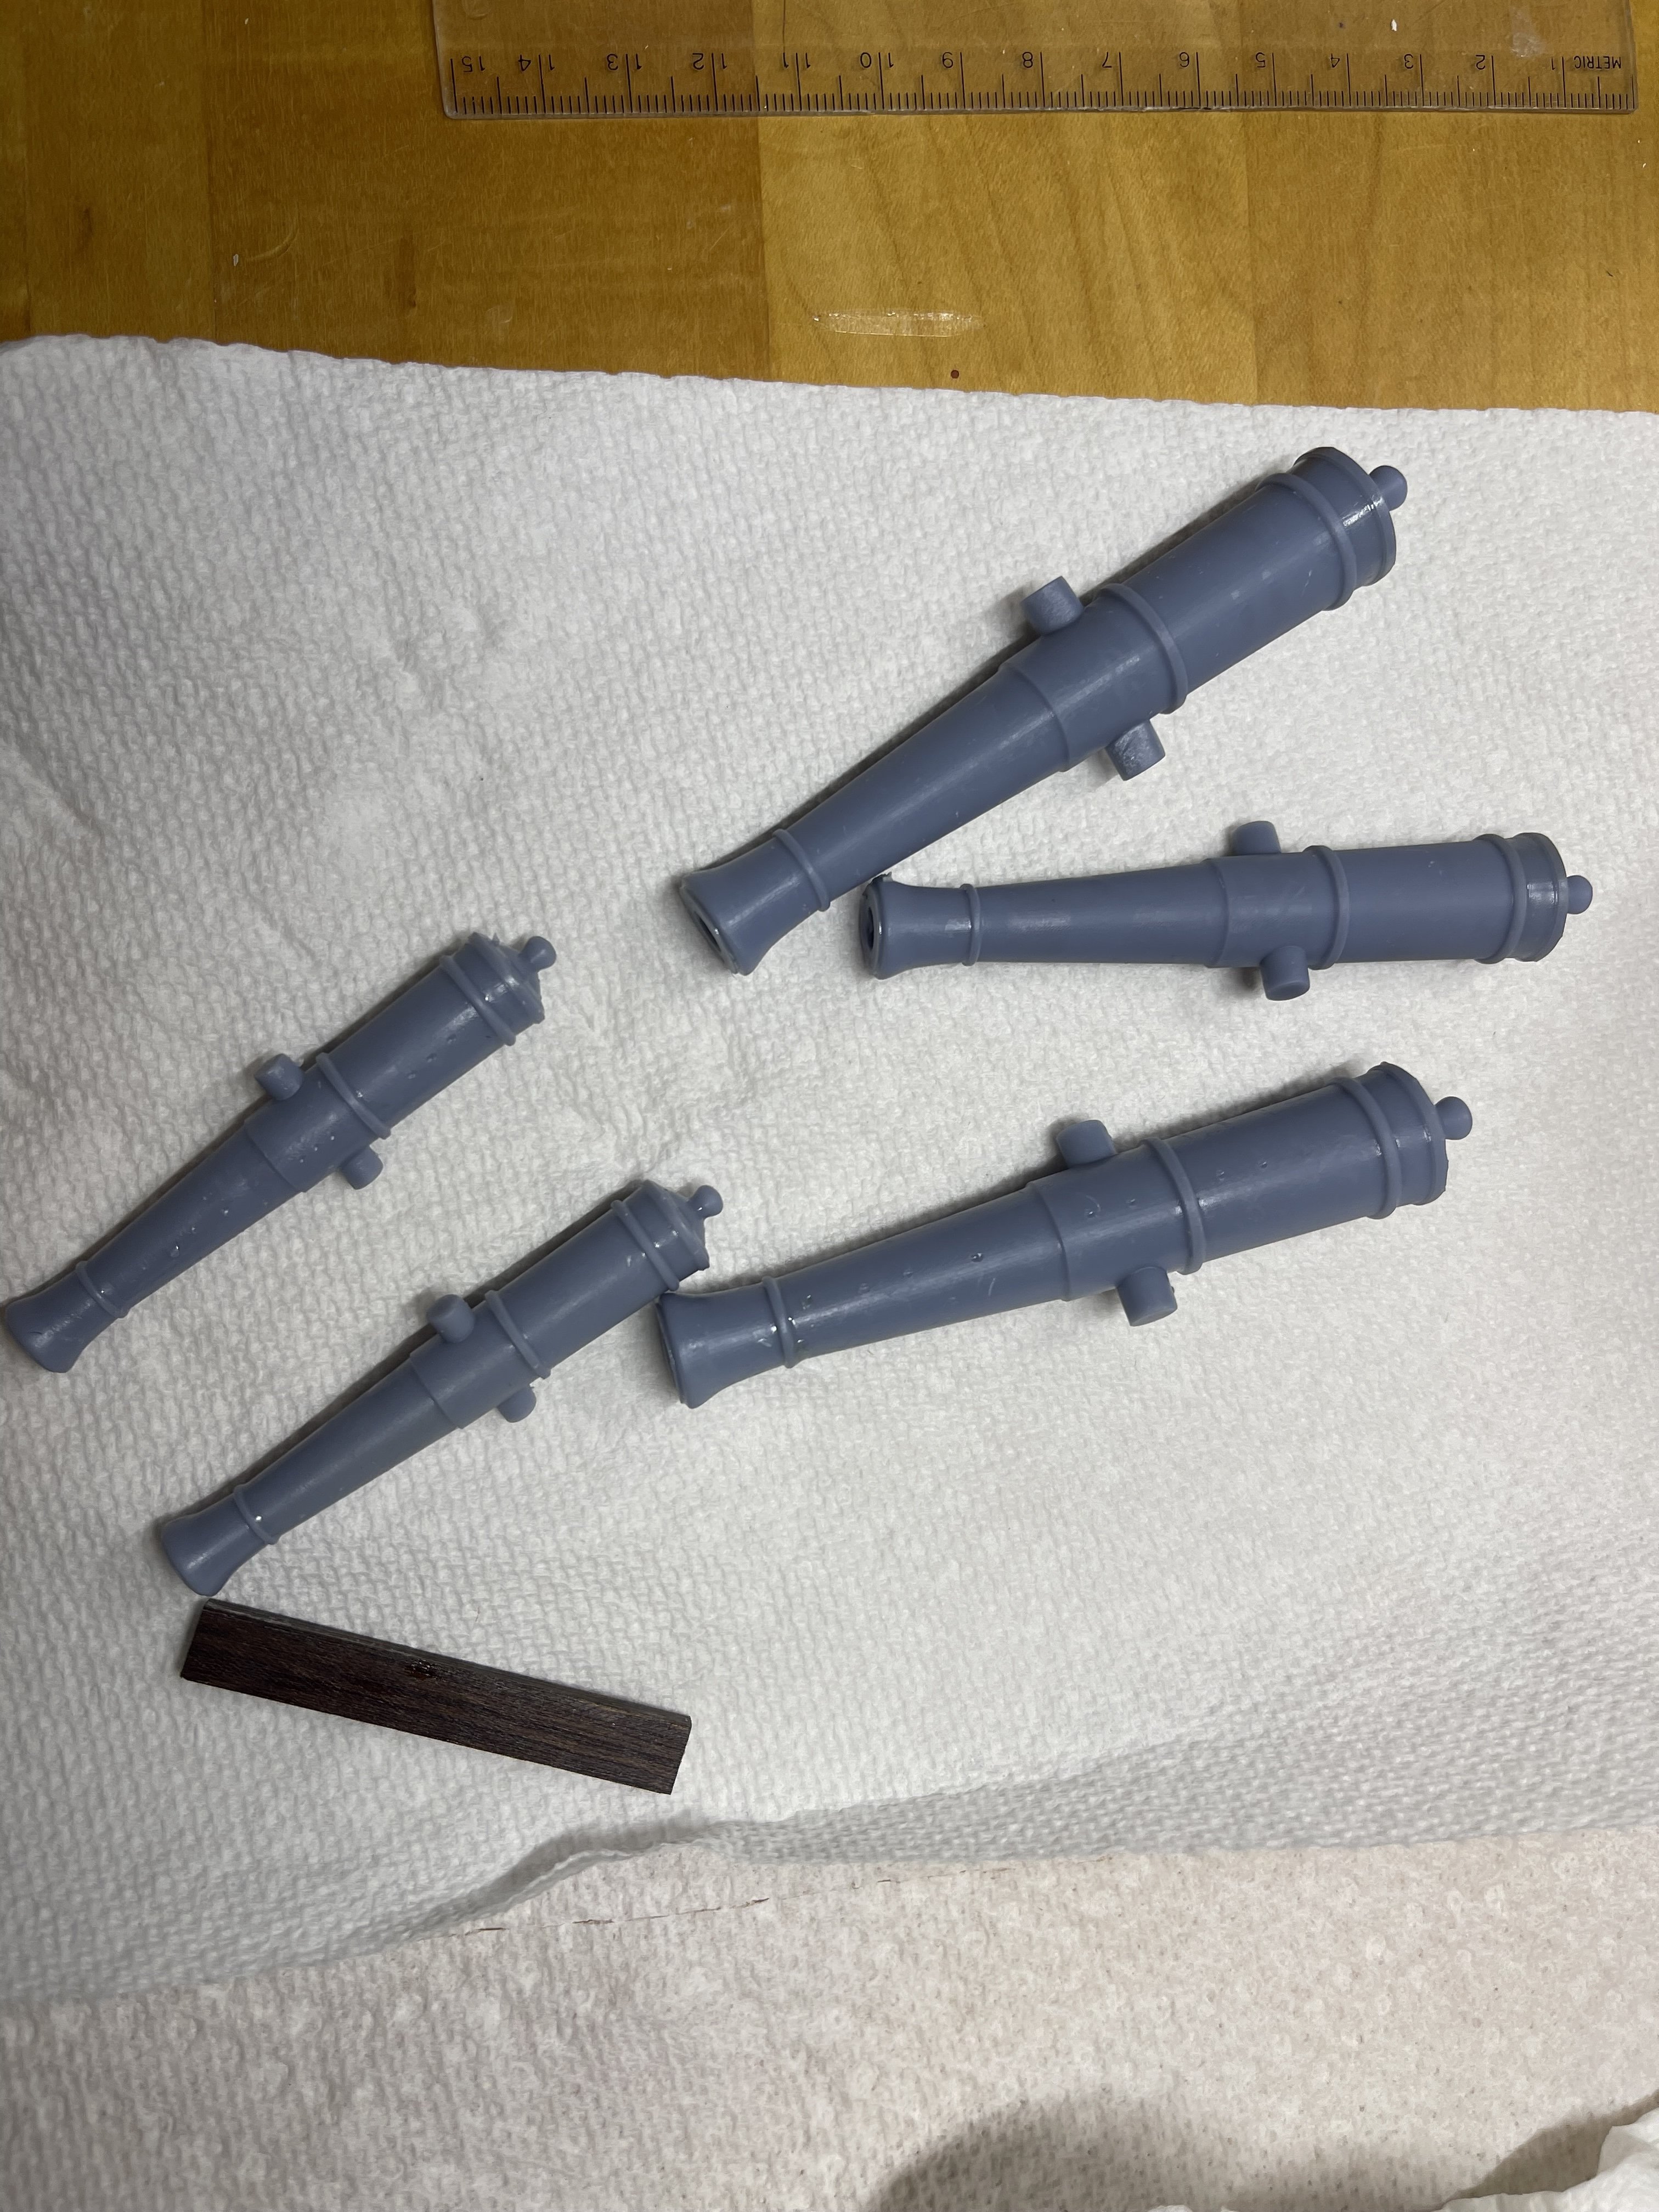
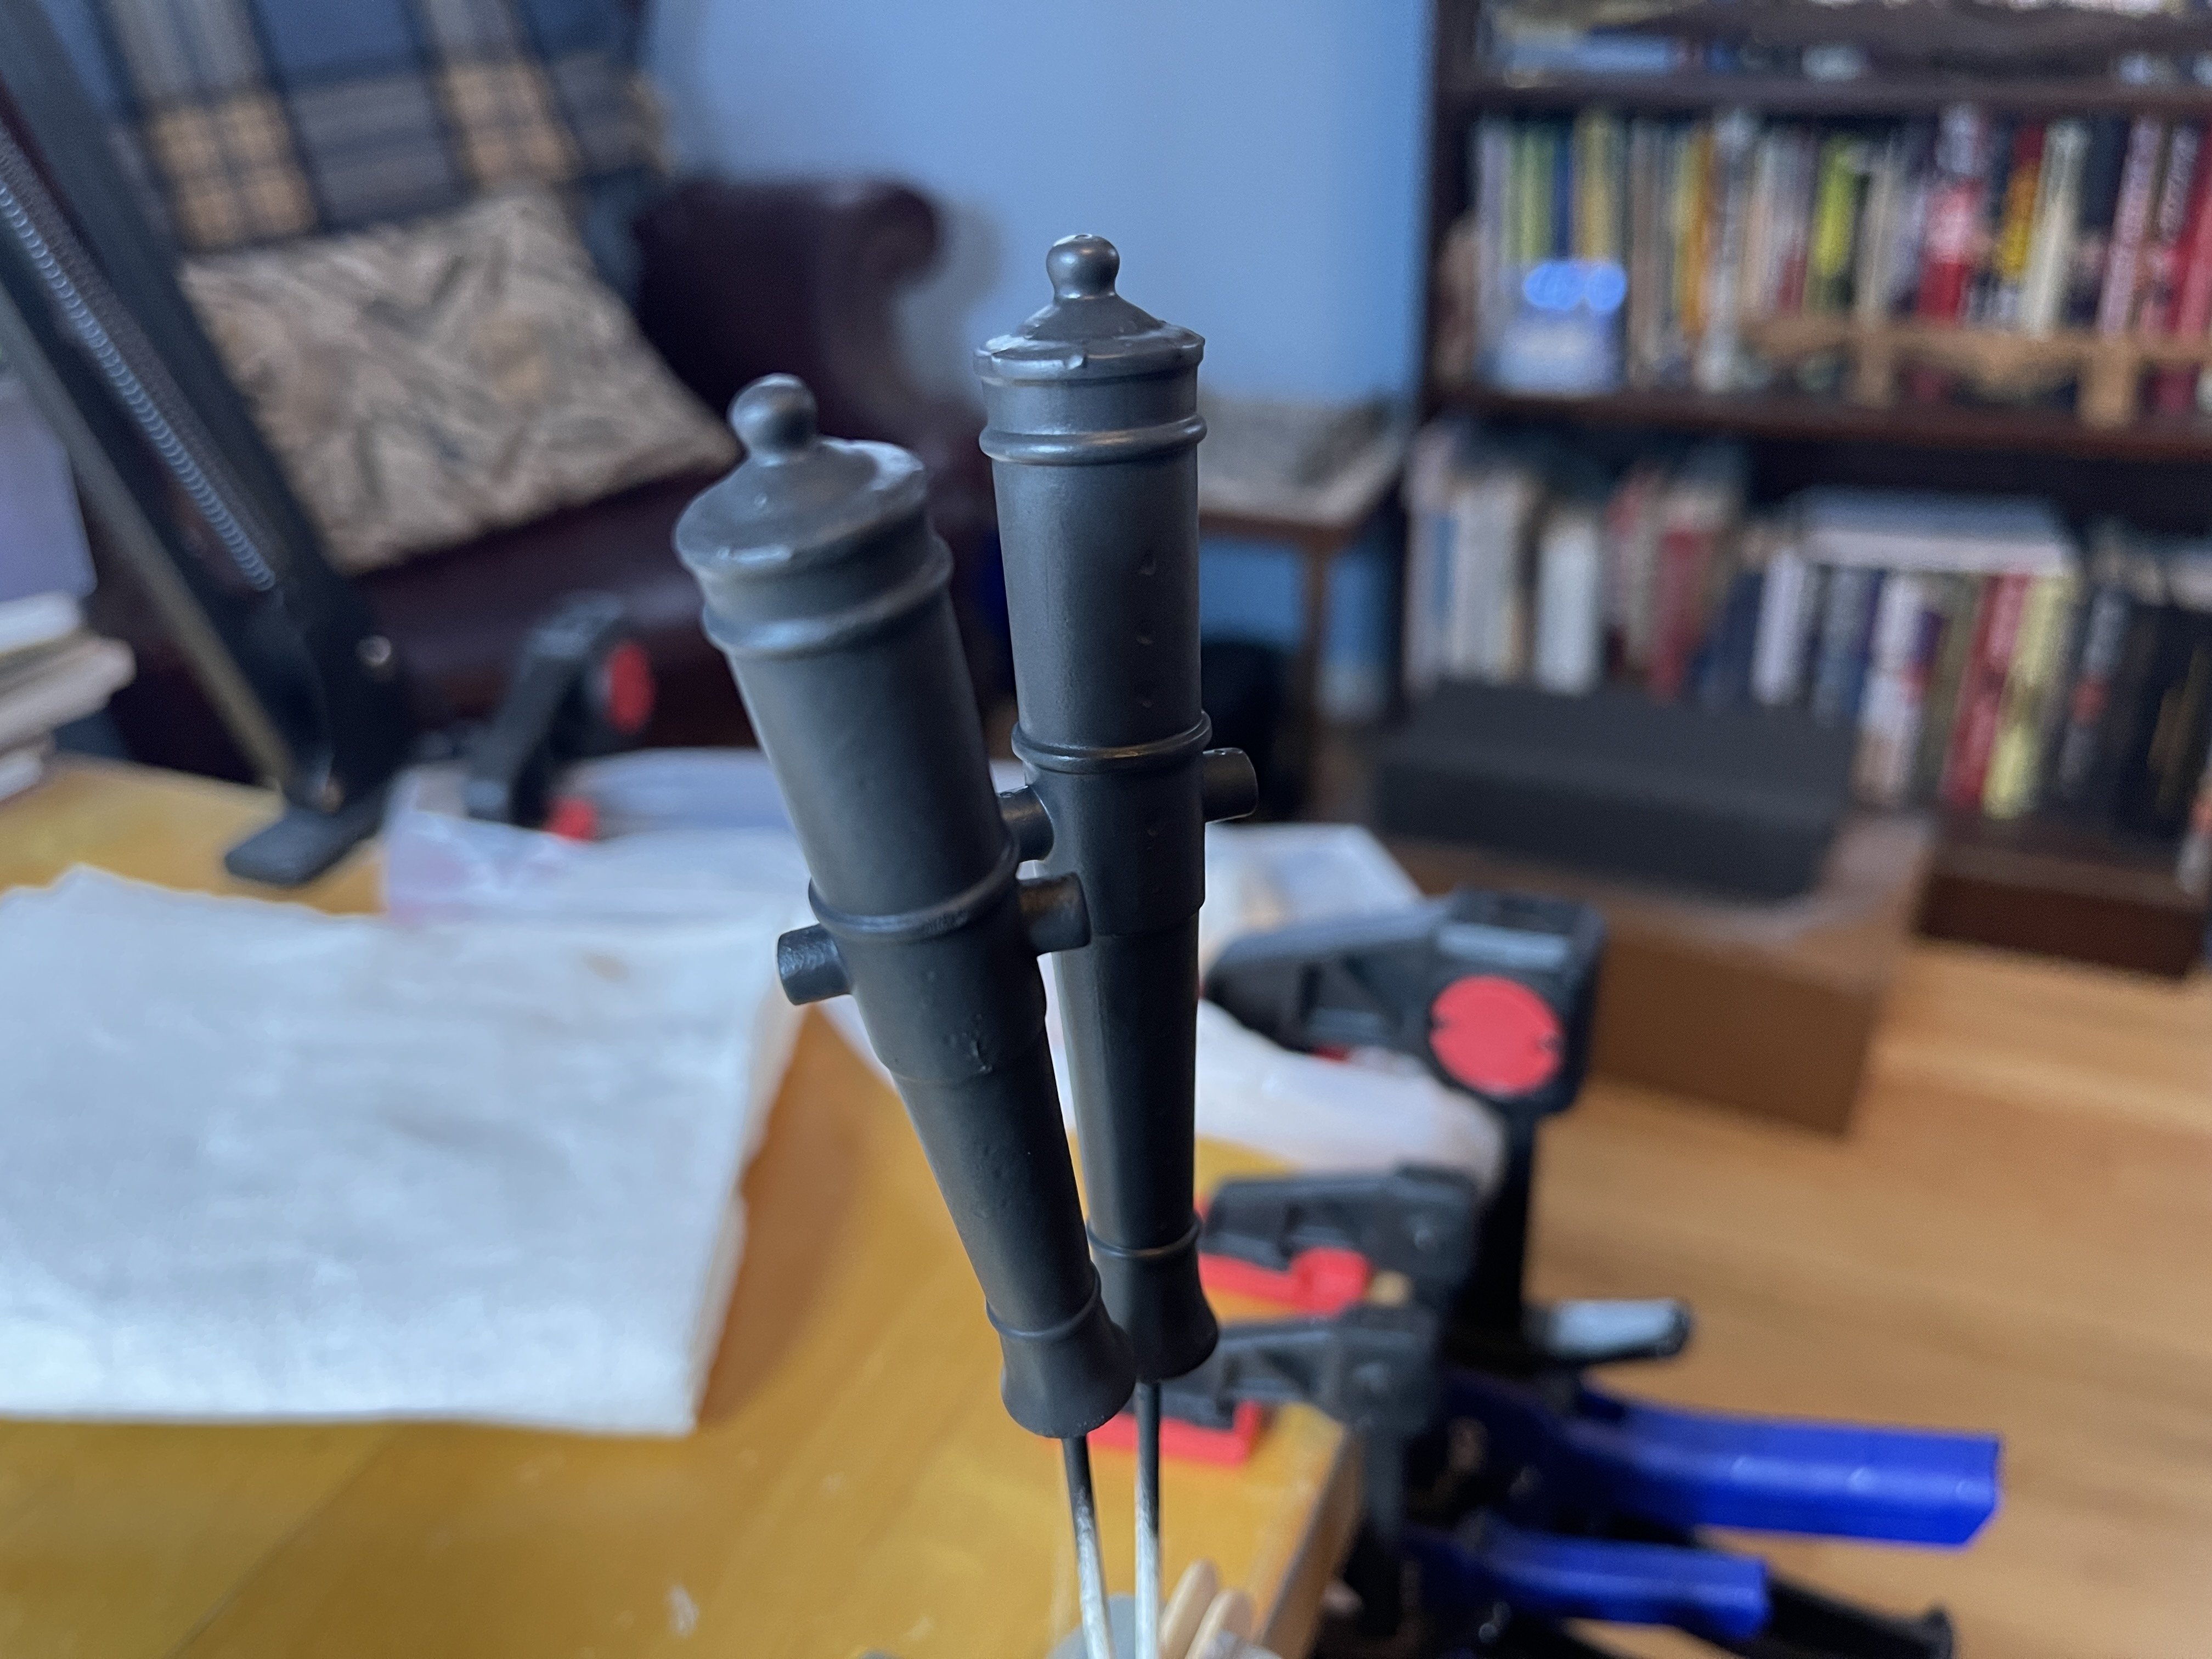
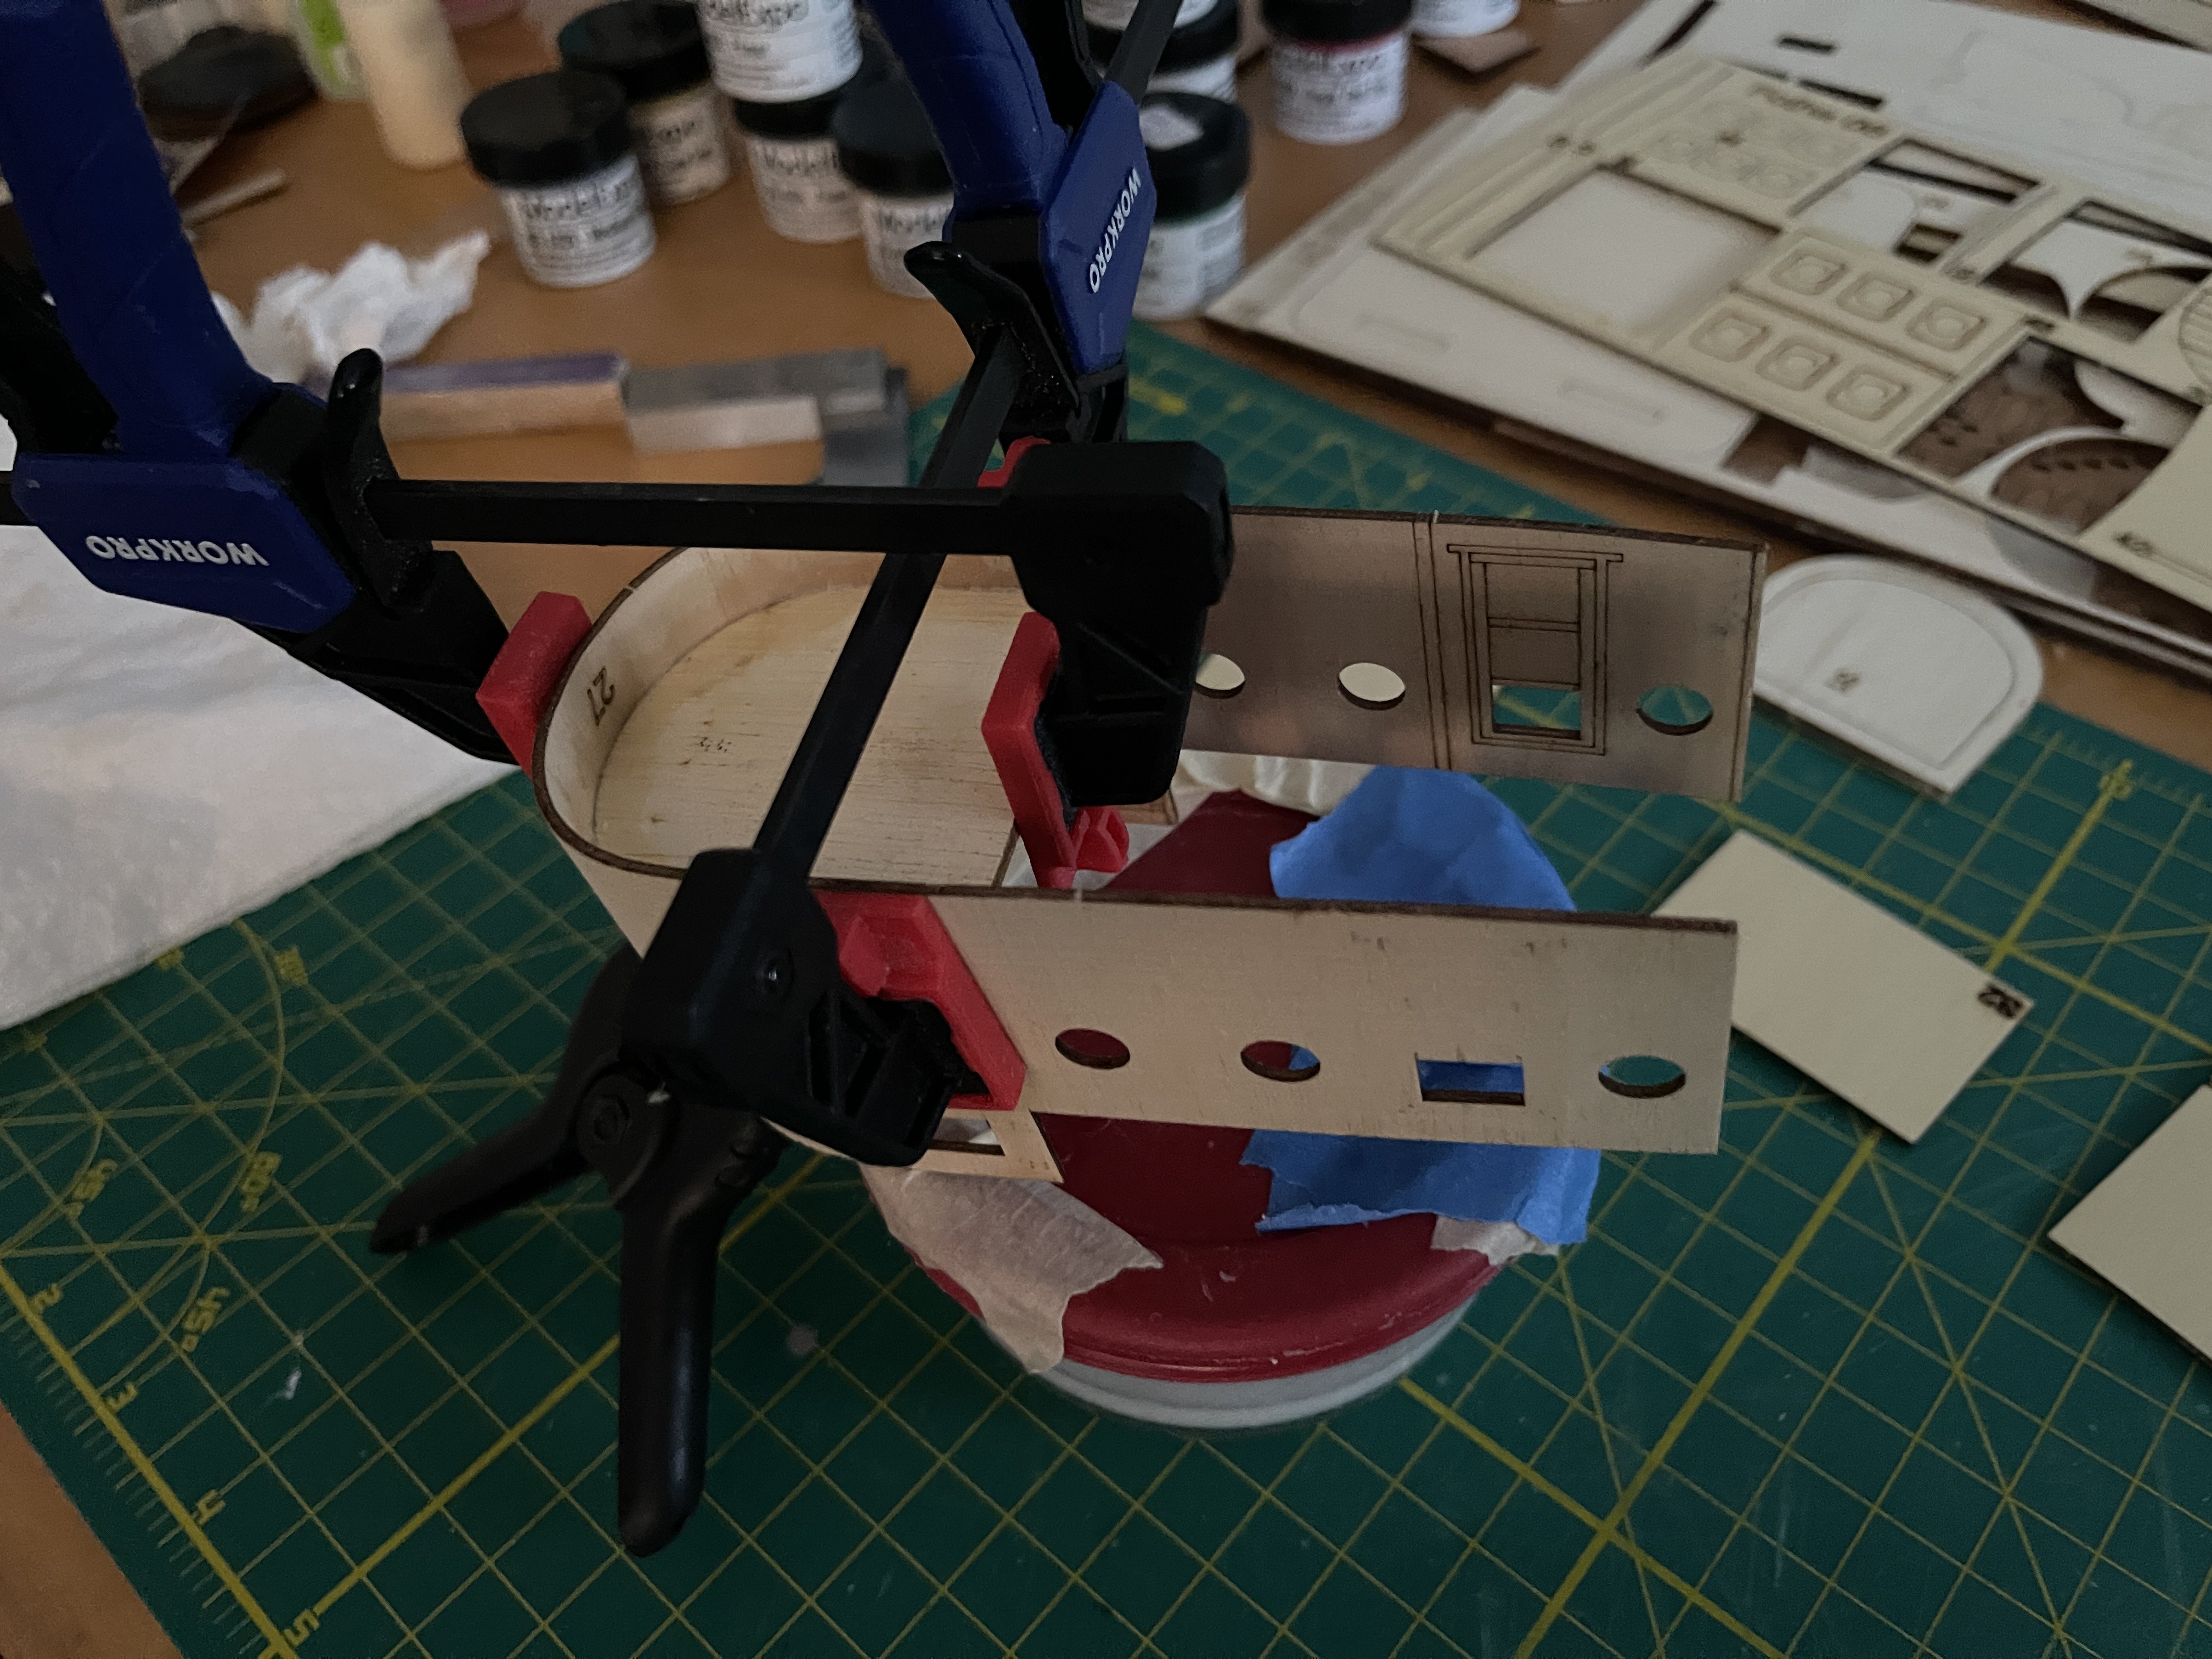
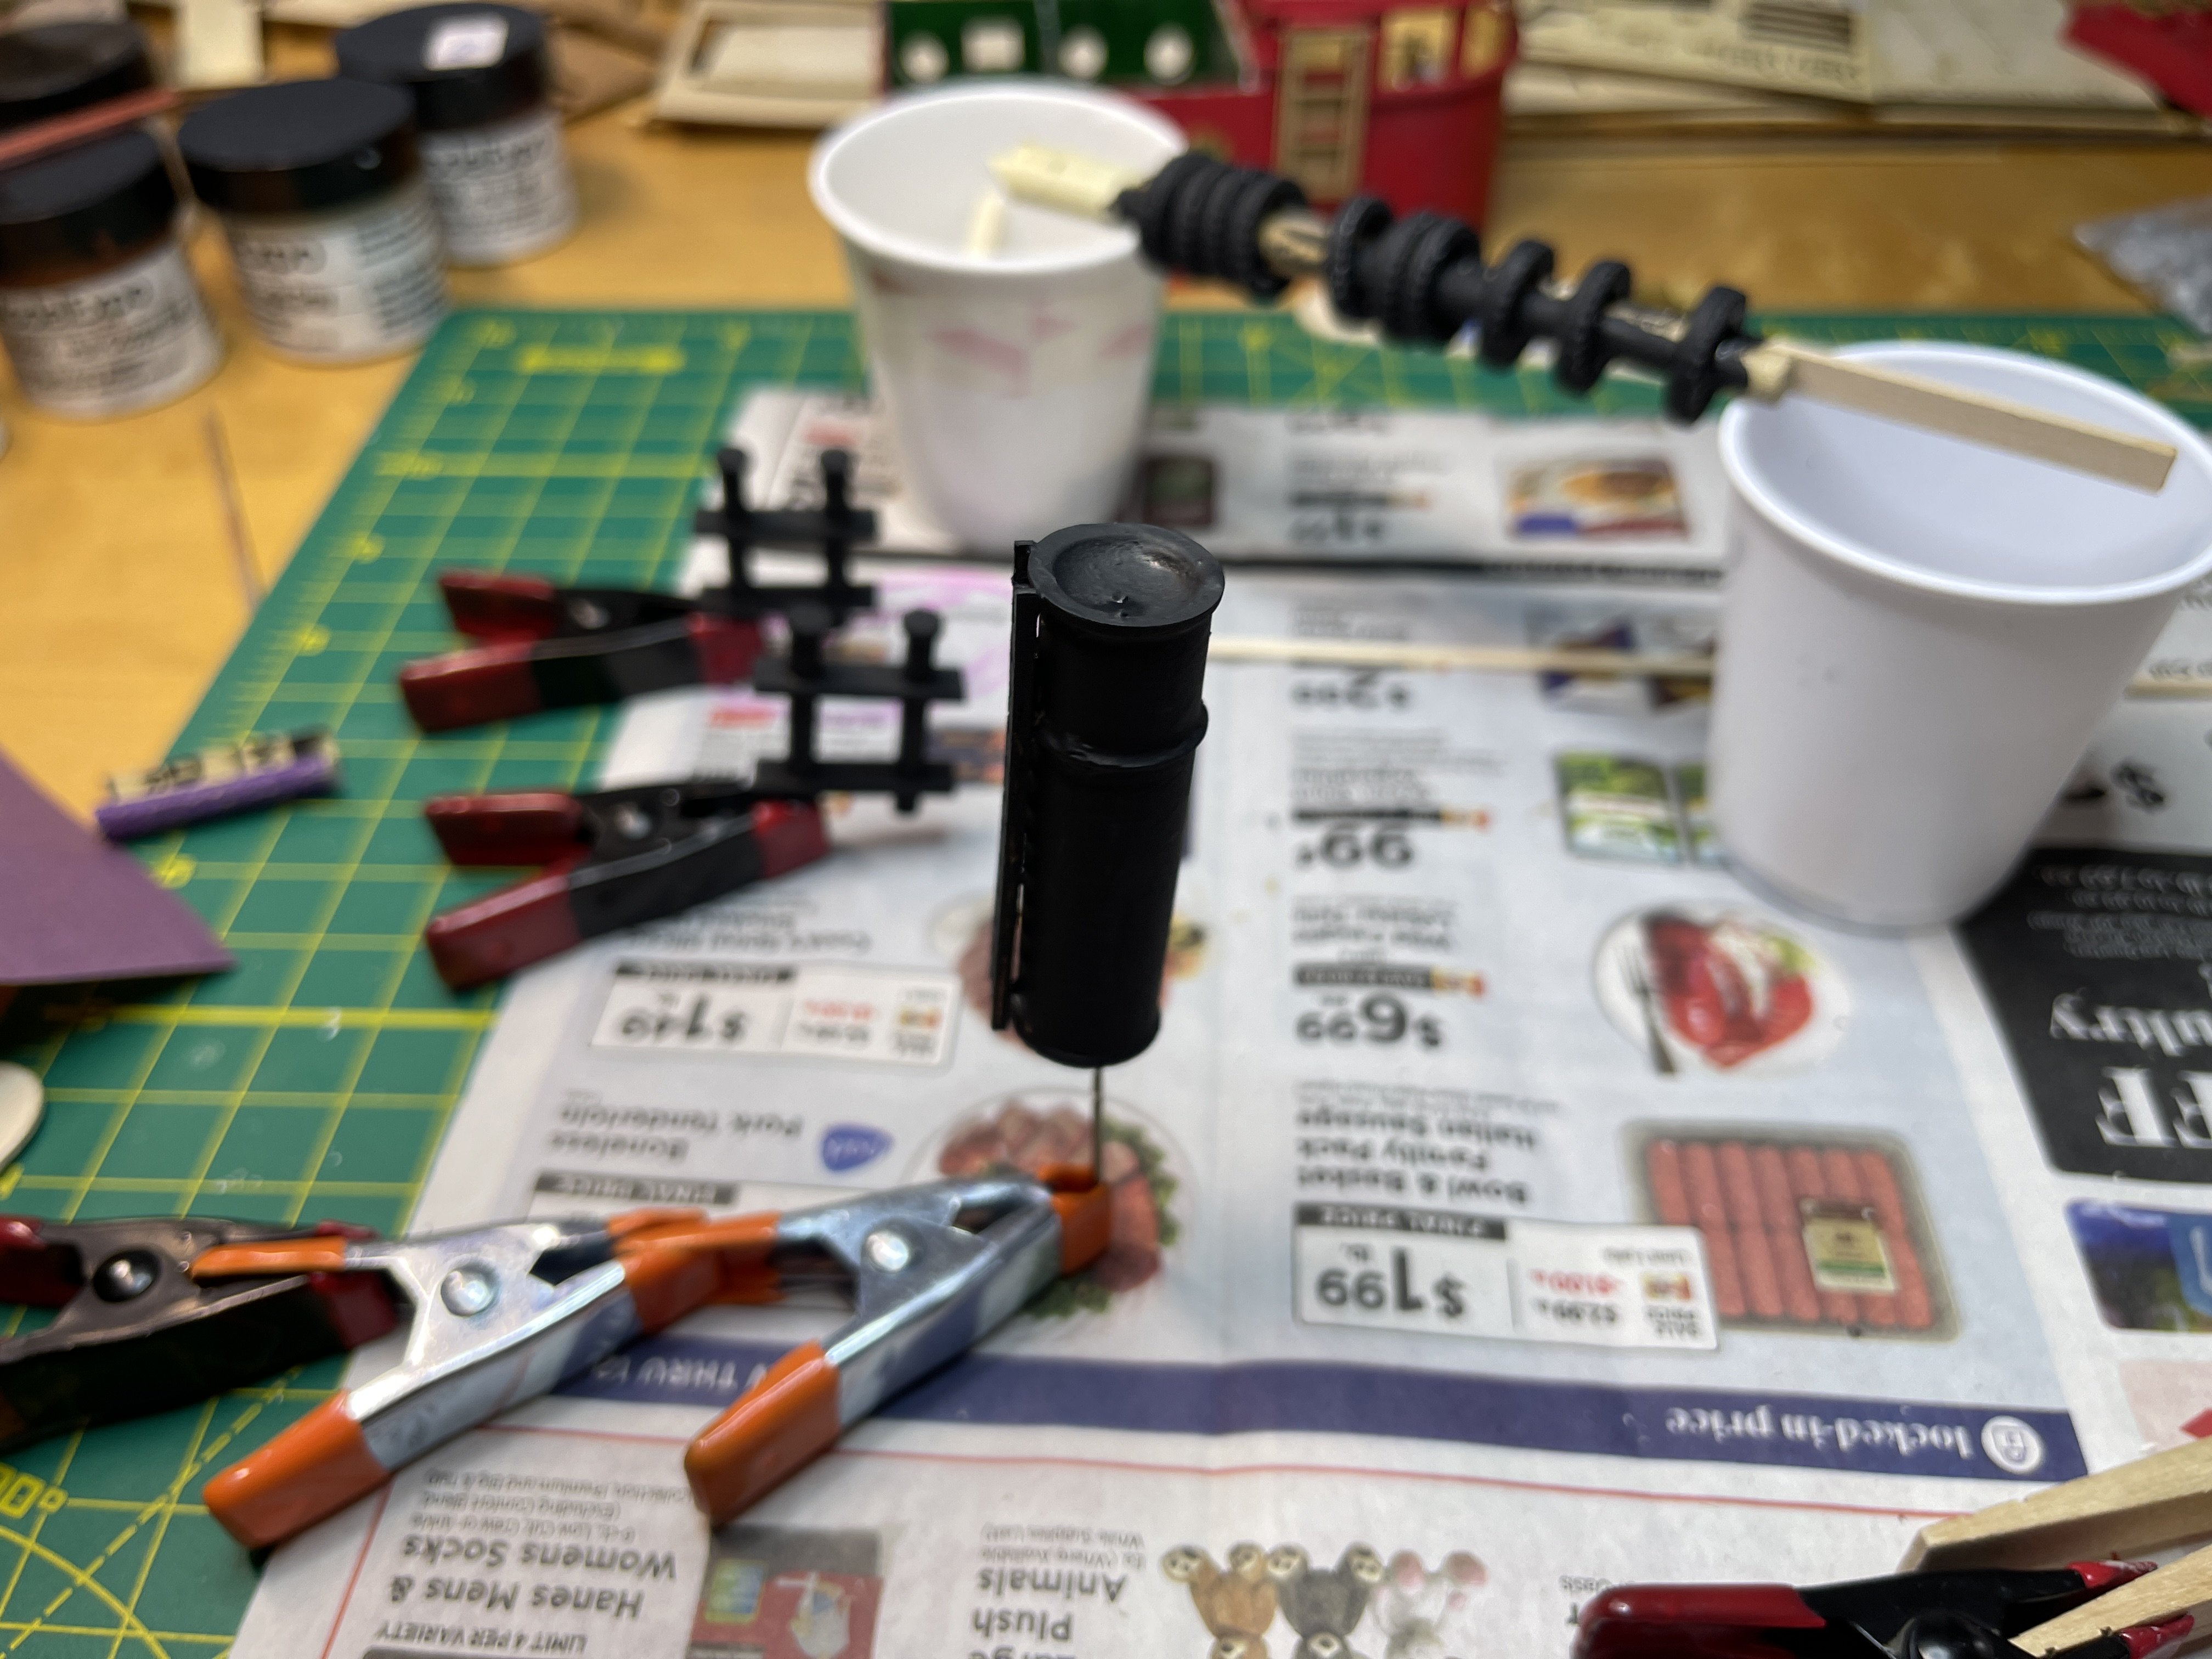
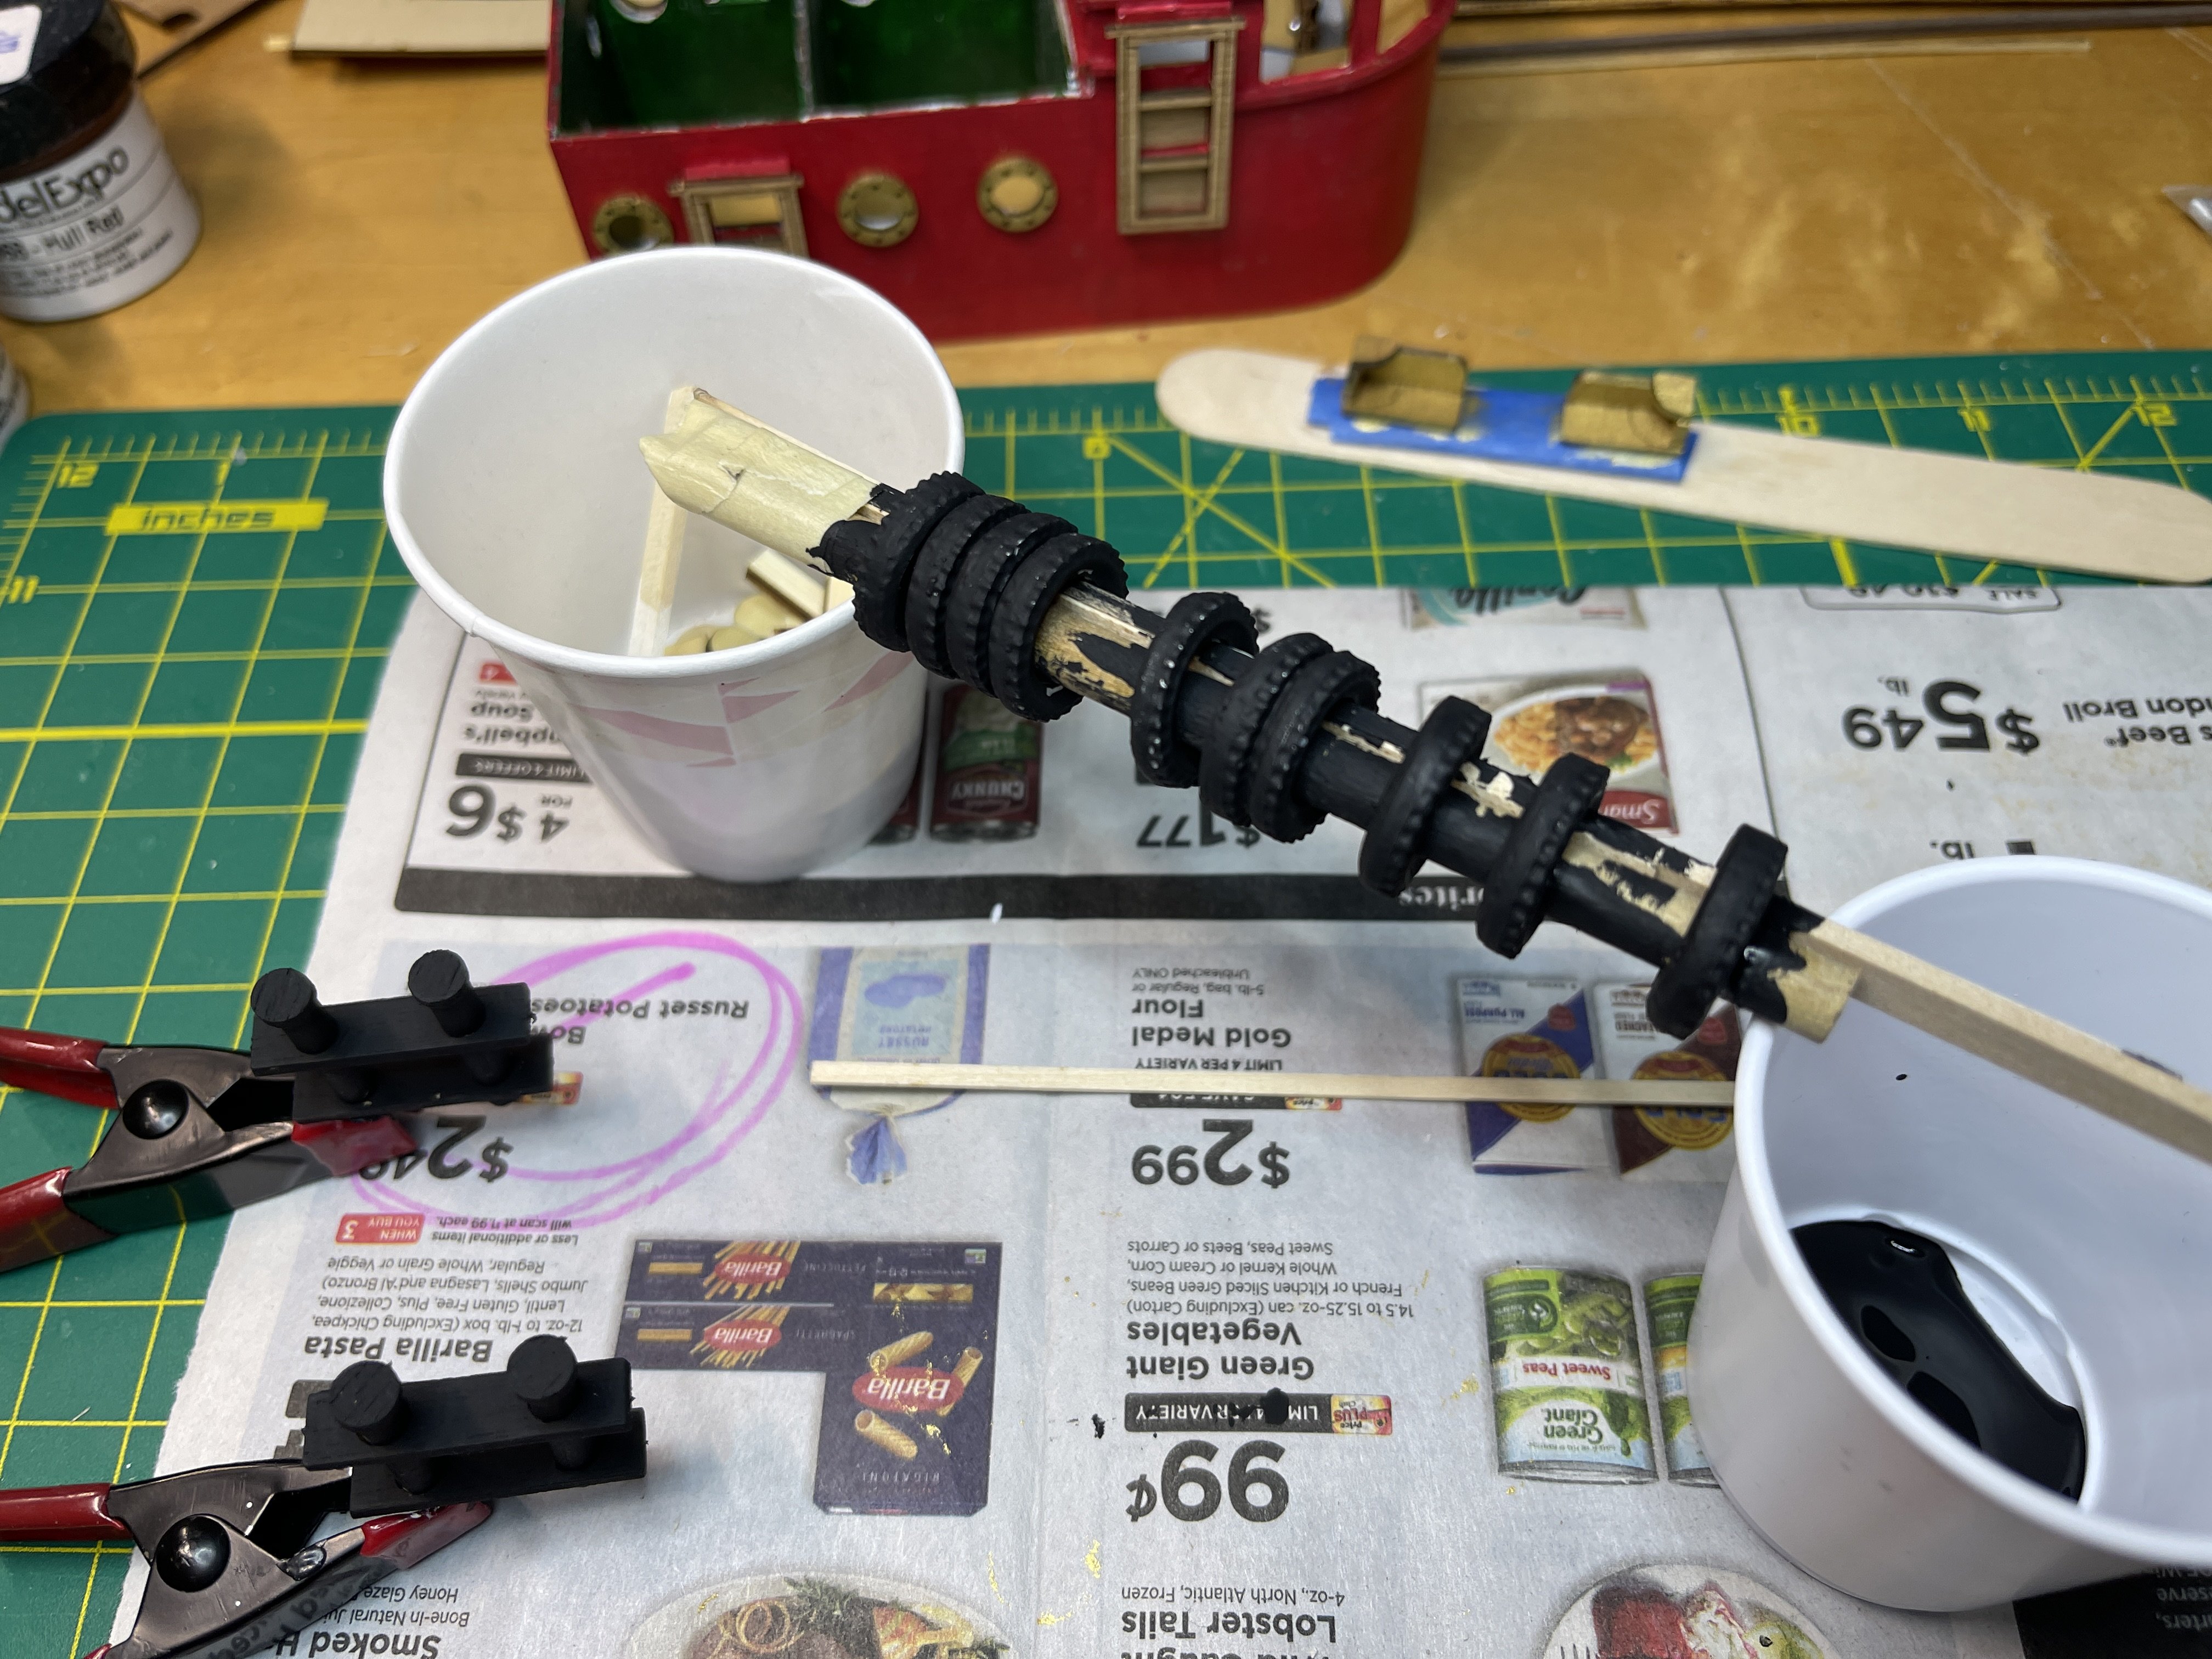
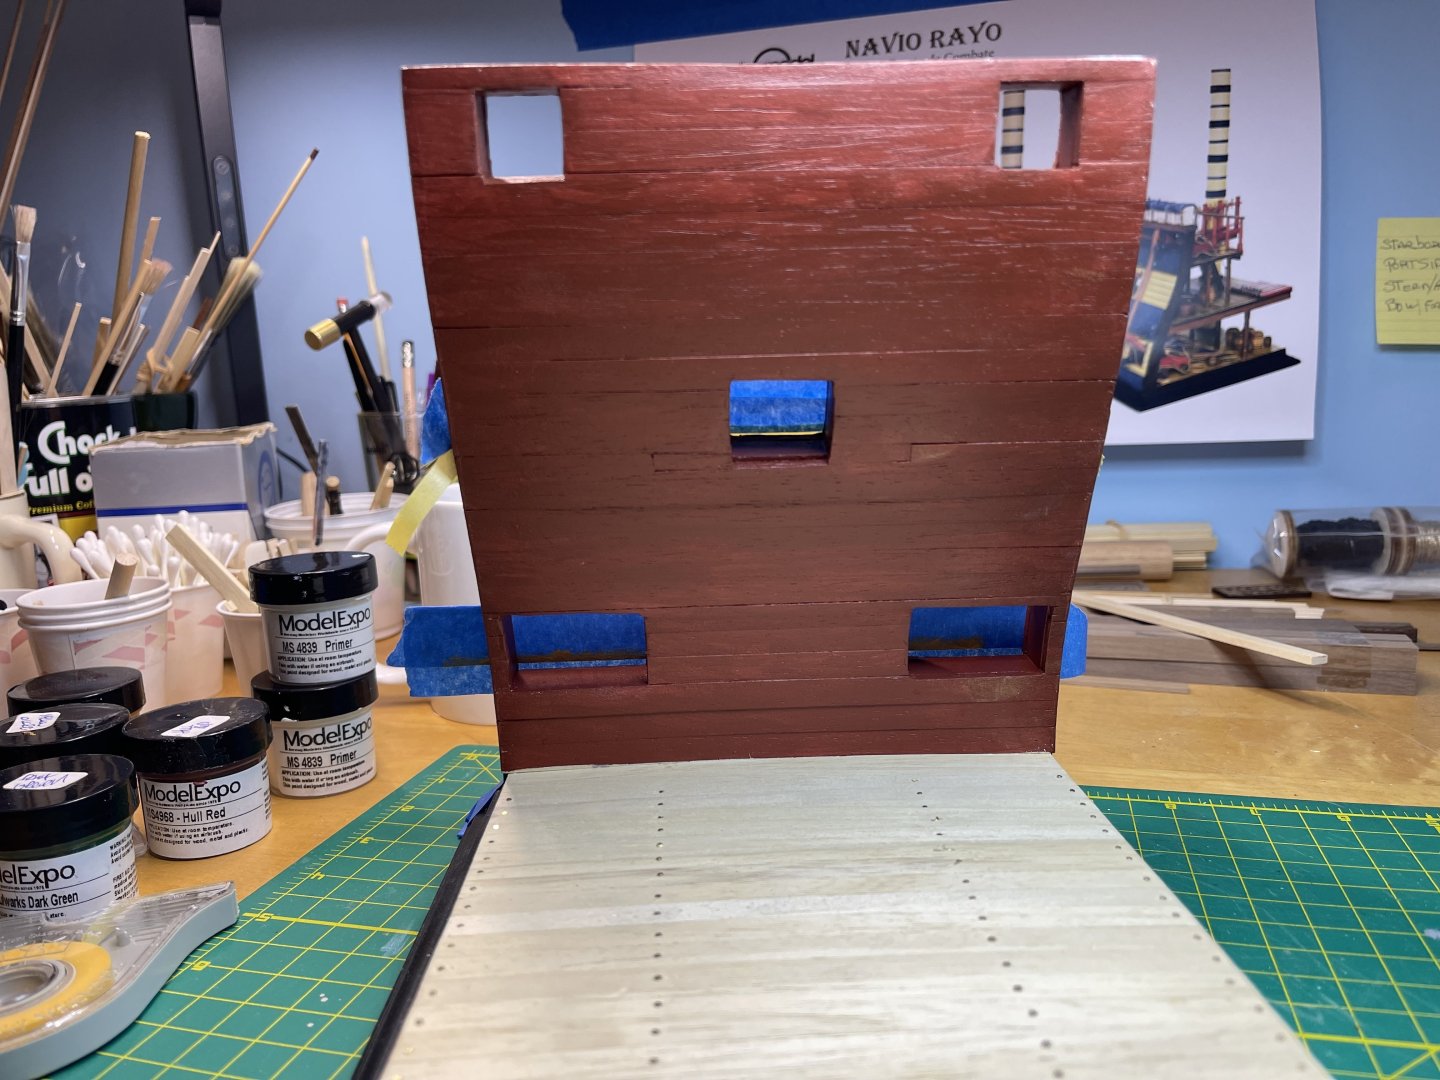
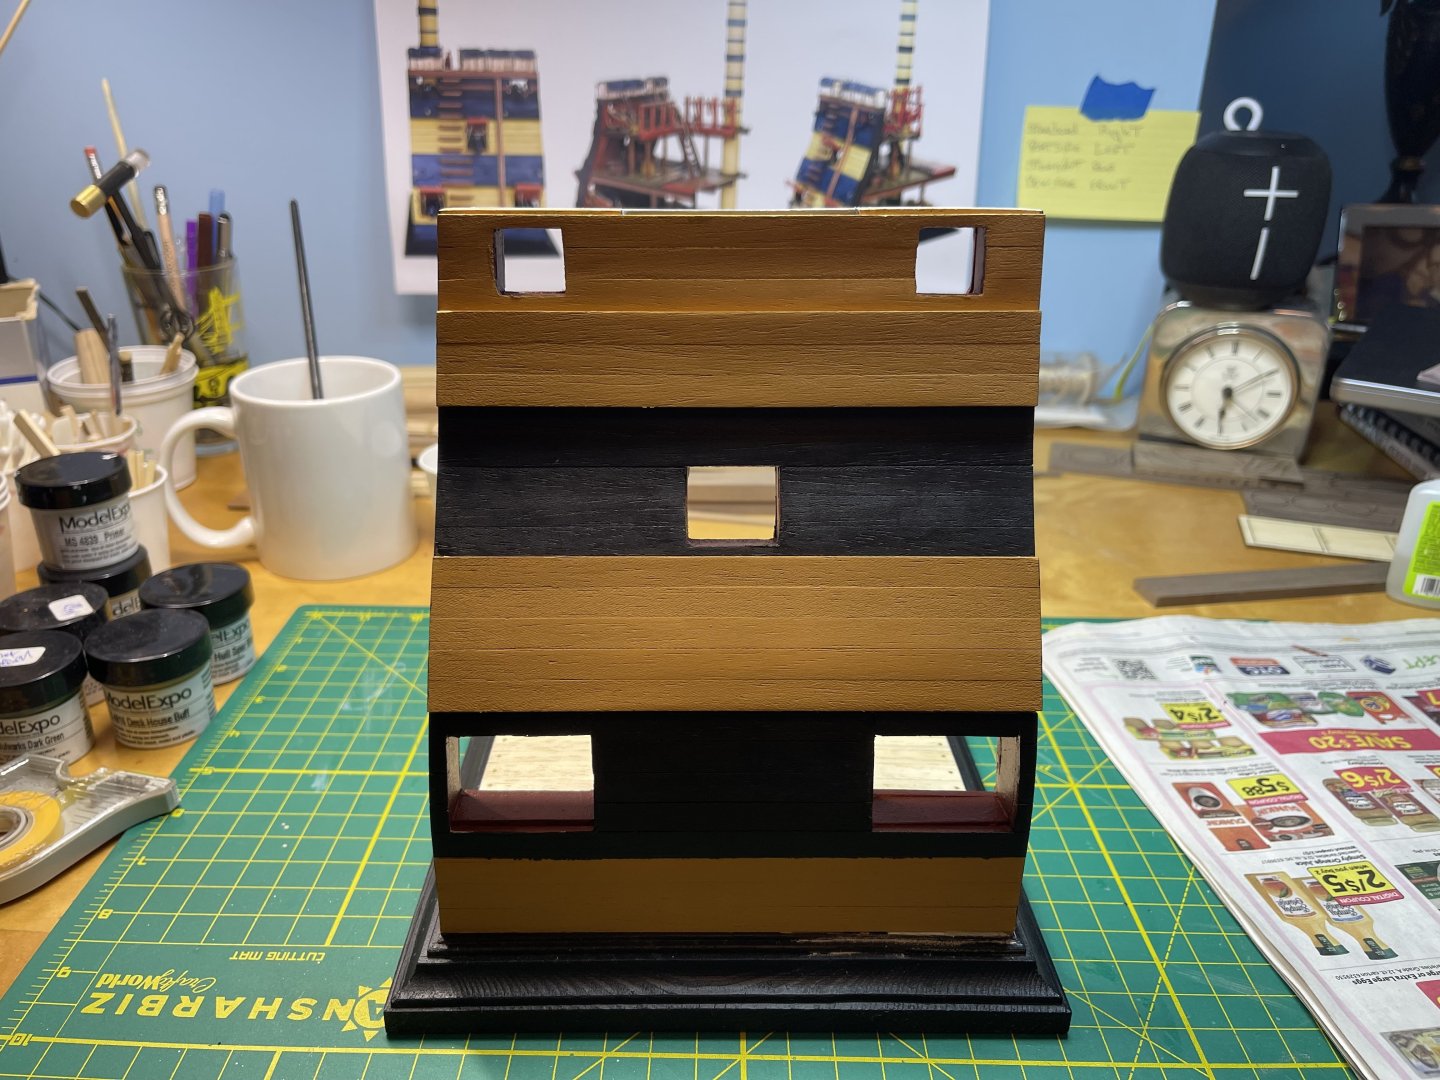
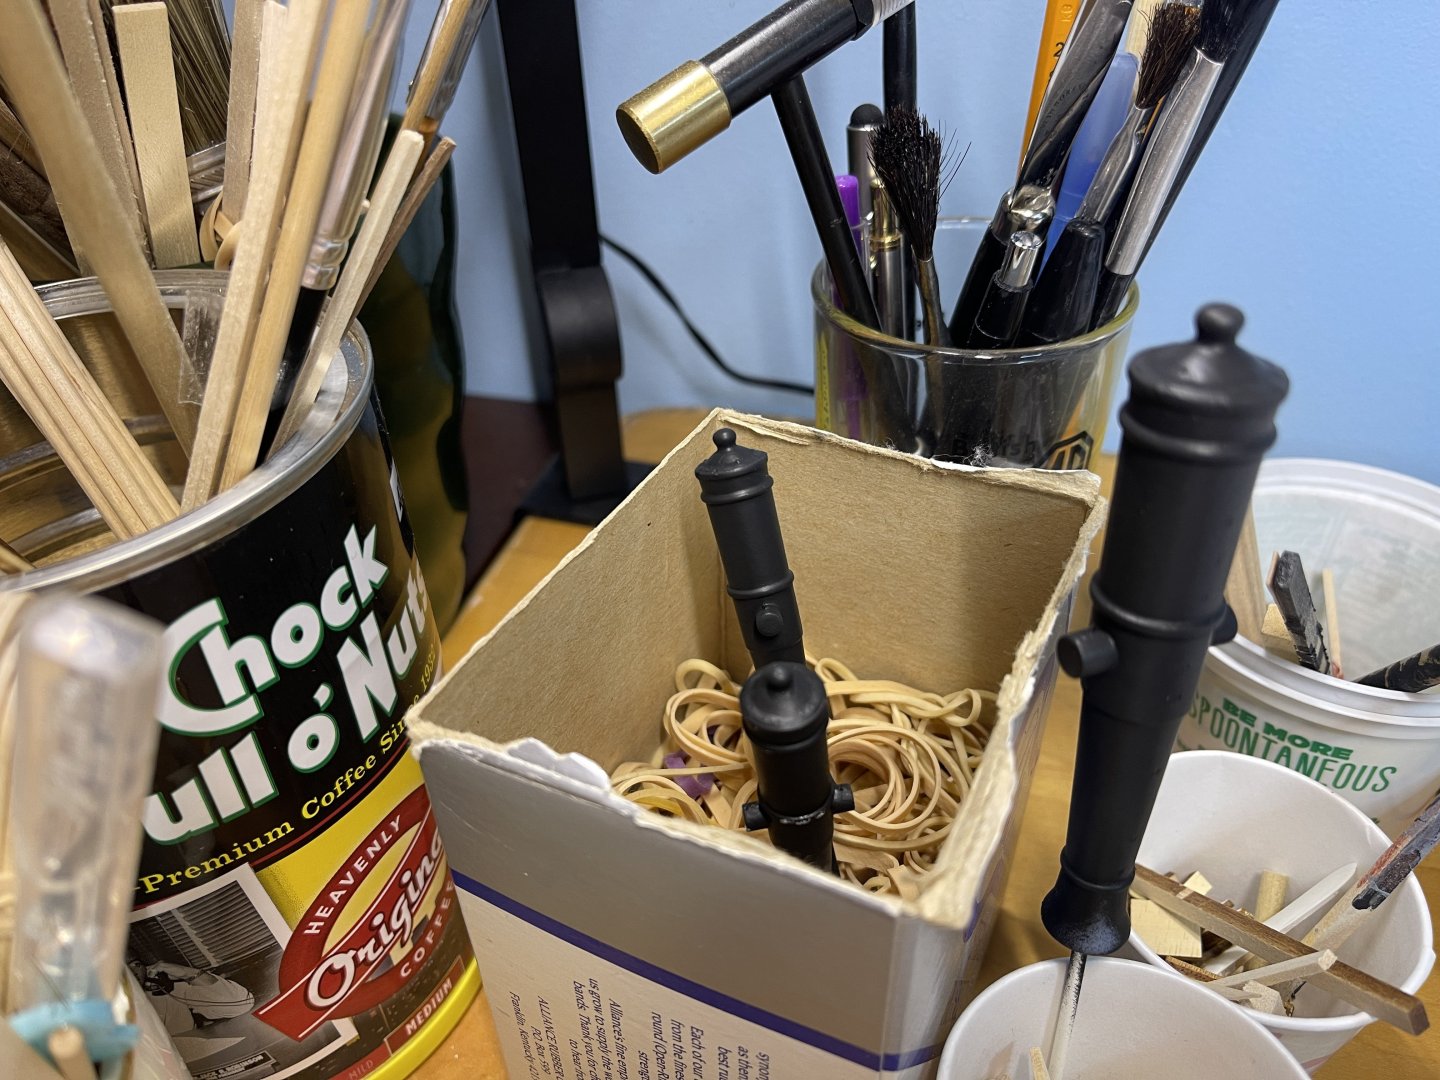
I sprayed black matte primer on the cannons and noticed that it no longer felt sticky to the touch. As I continued working on the model, I found that the base was poorly milled, and the dimensions in the instructions were incorrect for making the gun ports. I adjusted by measuring the gun covers, but it wasn't enough, so I'll make new ones using some scrap wood. Another interesting thing I found was that they use different part numbers for the same planking used for the deck, inside wall, and outside planking. This is my second disarmodel kit, so I'm comfortable following instructions with pictures. One major mistake I made was that one of the mount reinforcements lifted off the base, and I didn't notice it until after finishing the floor planking. The finished inside hull is red, and the outside is Hull Yellow Ochre and black. I reversed the color order because I noticed that on Spanish ships of the line, the top was yellow rather than the back. Now it's time to stain the deck. I also took a few photos..


-
I bought this kit from Model Expro in 2023 and have only opened the box a few times to inspect the items. Now that I'm reviewing each part, I noticed a milky substance in the section where the plastic cannons were stored. When I removed the cannons, they were sticky and wet. The question is, could the plastic be degrading? I don't see any damage to the cannons themselves; they're just wet and tacky. I plan to spray them with a black matte primer the next day. gun sprayed photos below. We’ll see if this stops them from being sticky.


-
Build completed! A couple of things that could've been cleaner, I still struggle with the correct putty to use or even whos paint to use. Bottom line for me was I enjoyed the build.


- 6 replies
-
- 4
-
-
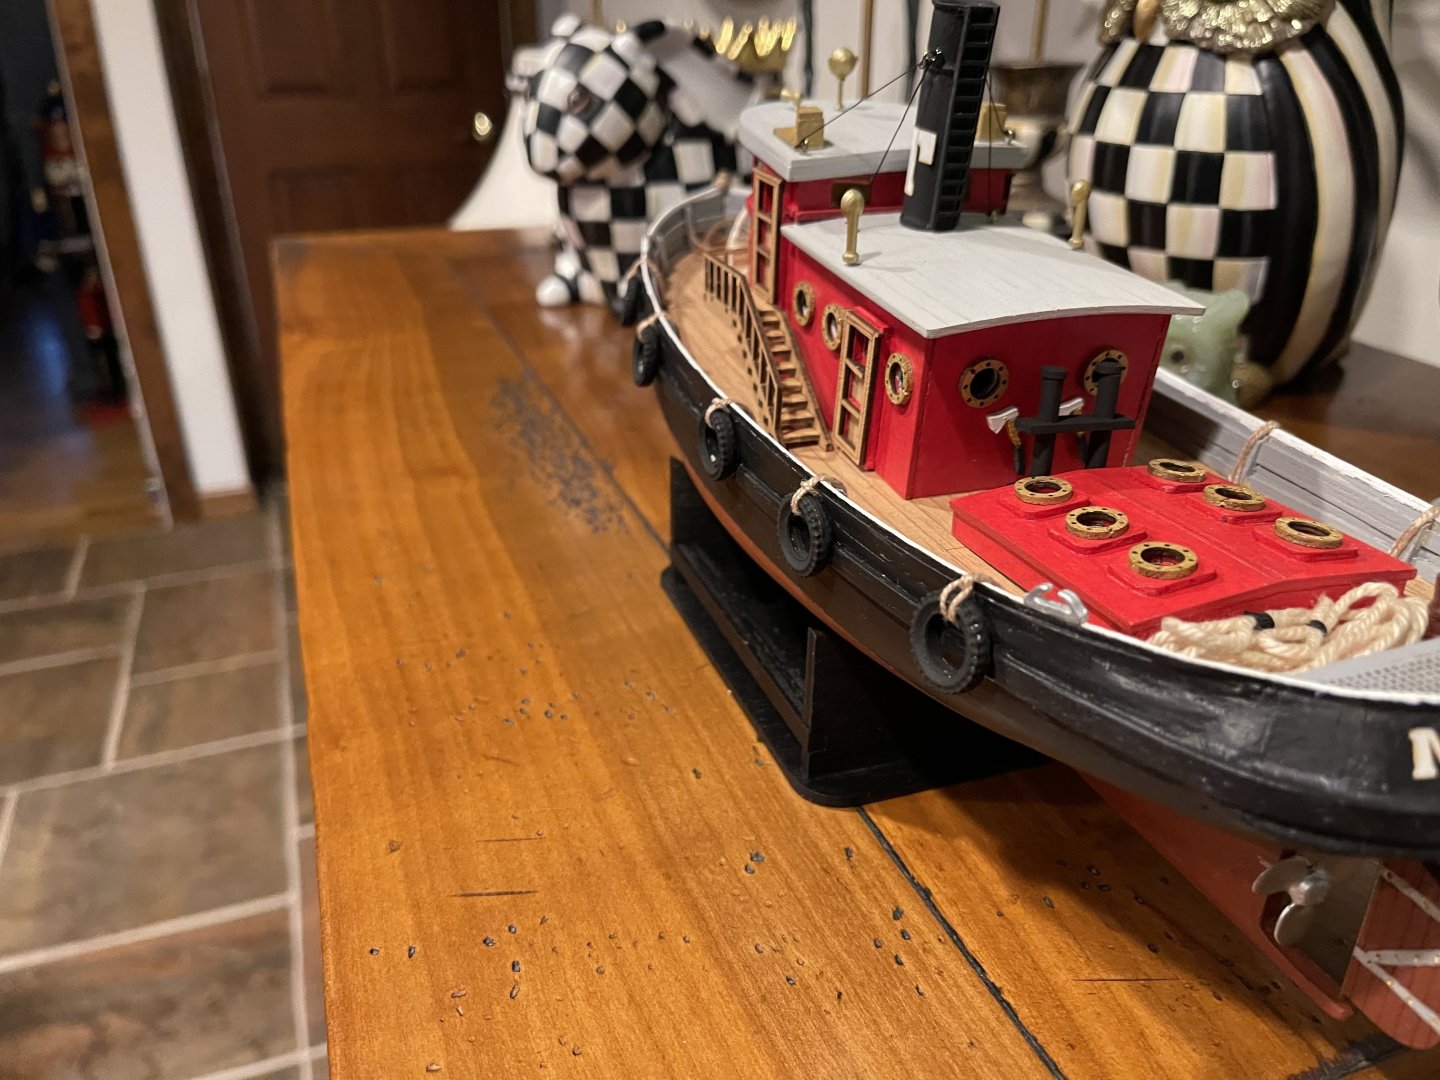
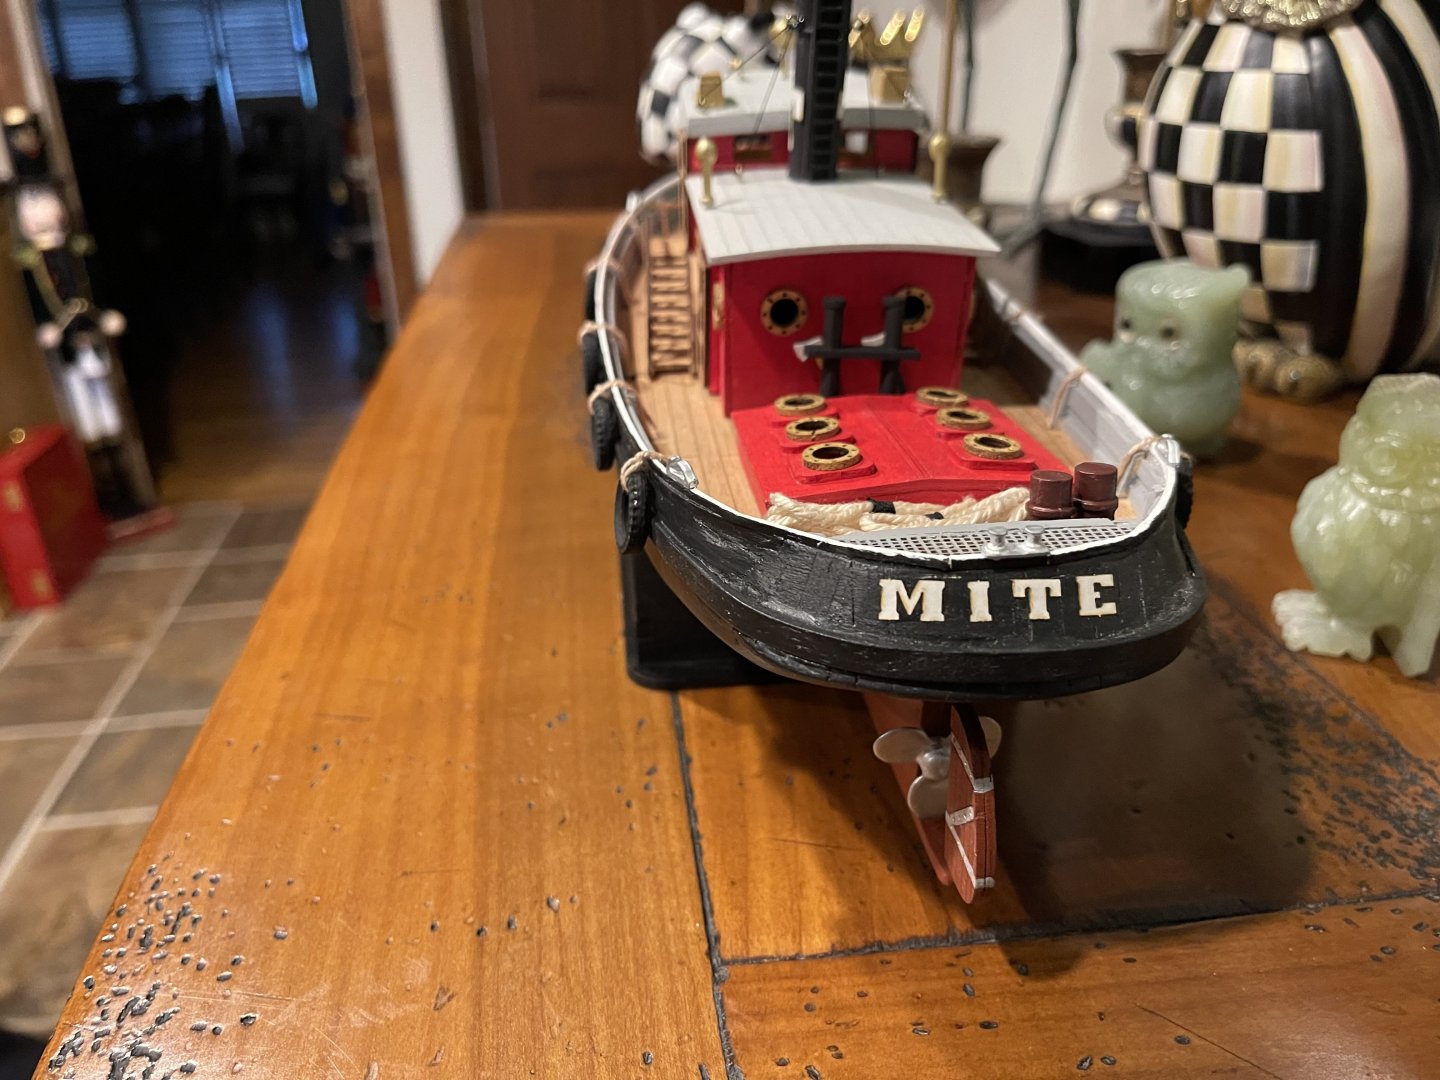
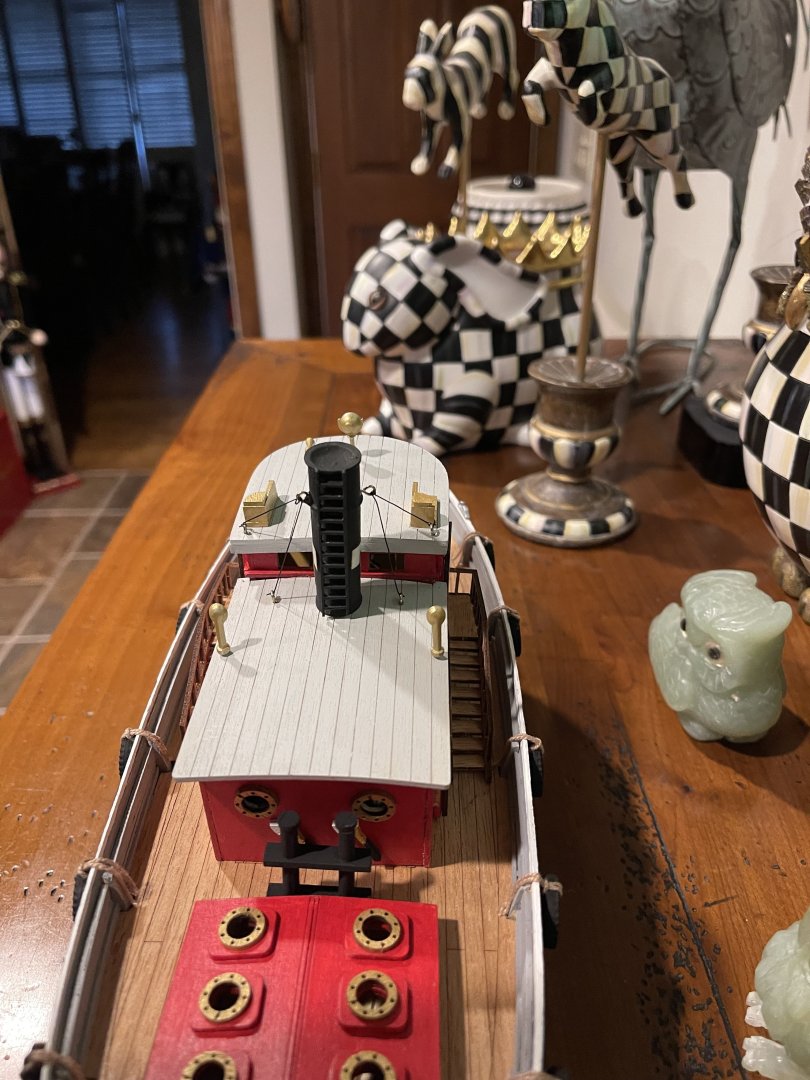
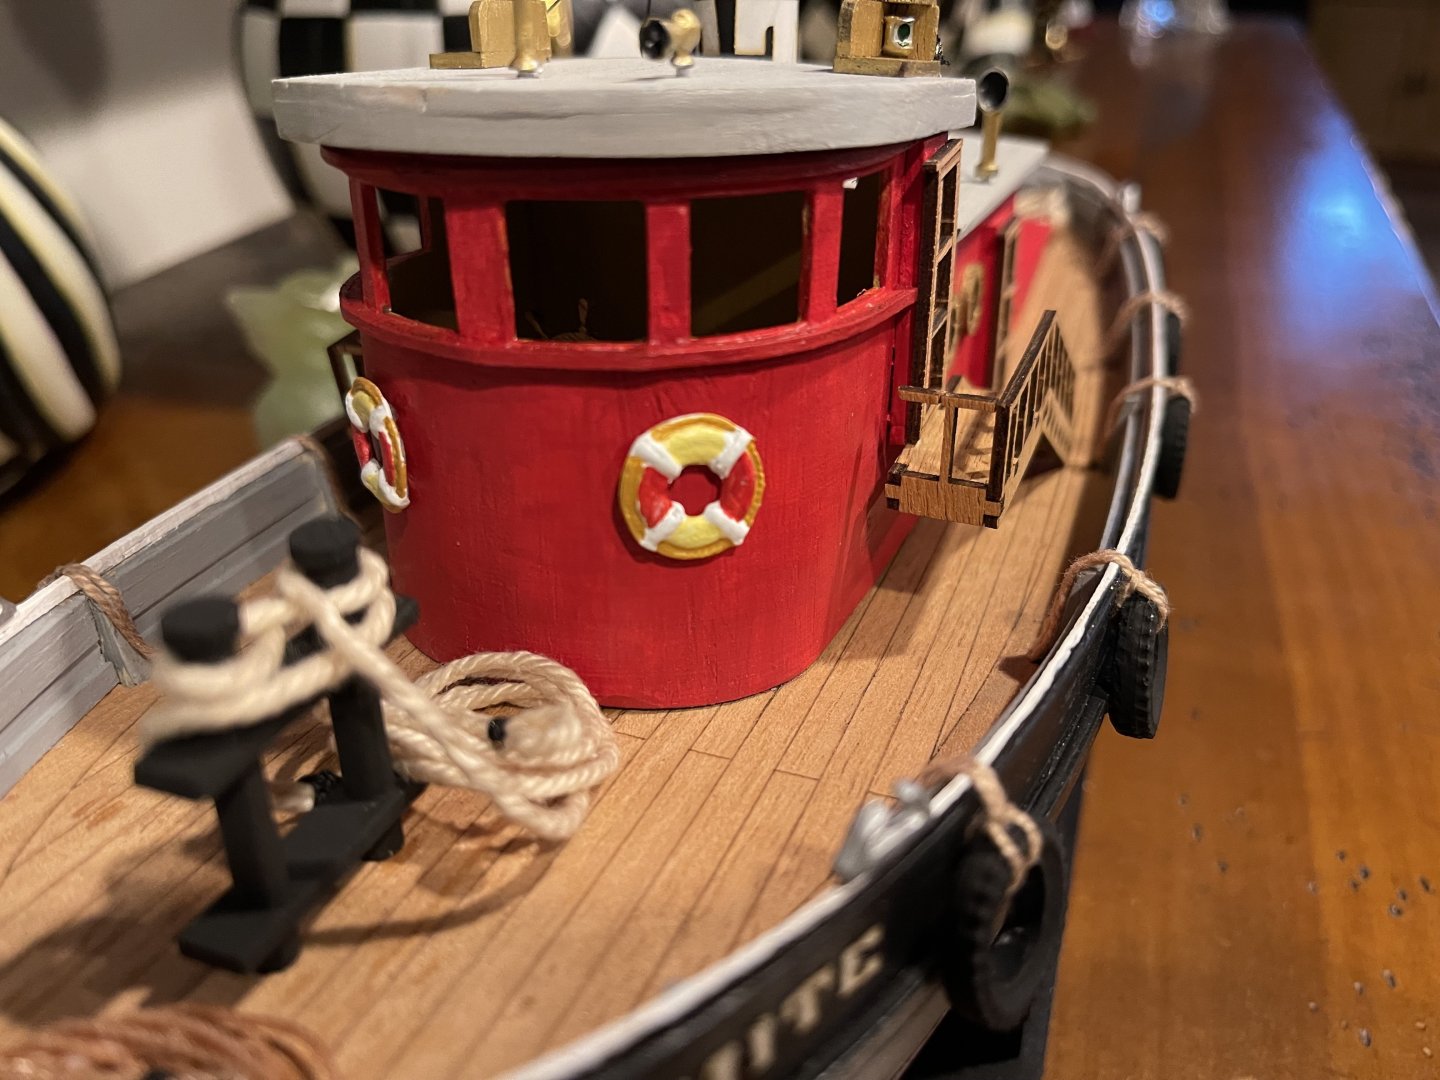
- Mighty Mite
- Nauticurso
- (and 2 more)
-
I am enjoying the build. This is the first time I’ve used CA medium for most of the gluing applications. As it sets faster, it allows me to move to another parts quicker. However, the white glue allows repositioning before it dries. I think the white glue is better for my use.
- 6 replies
-
- 3
-
-
- Mighty Mite
- Nauticurso
- (and 2 more)
-
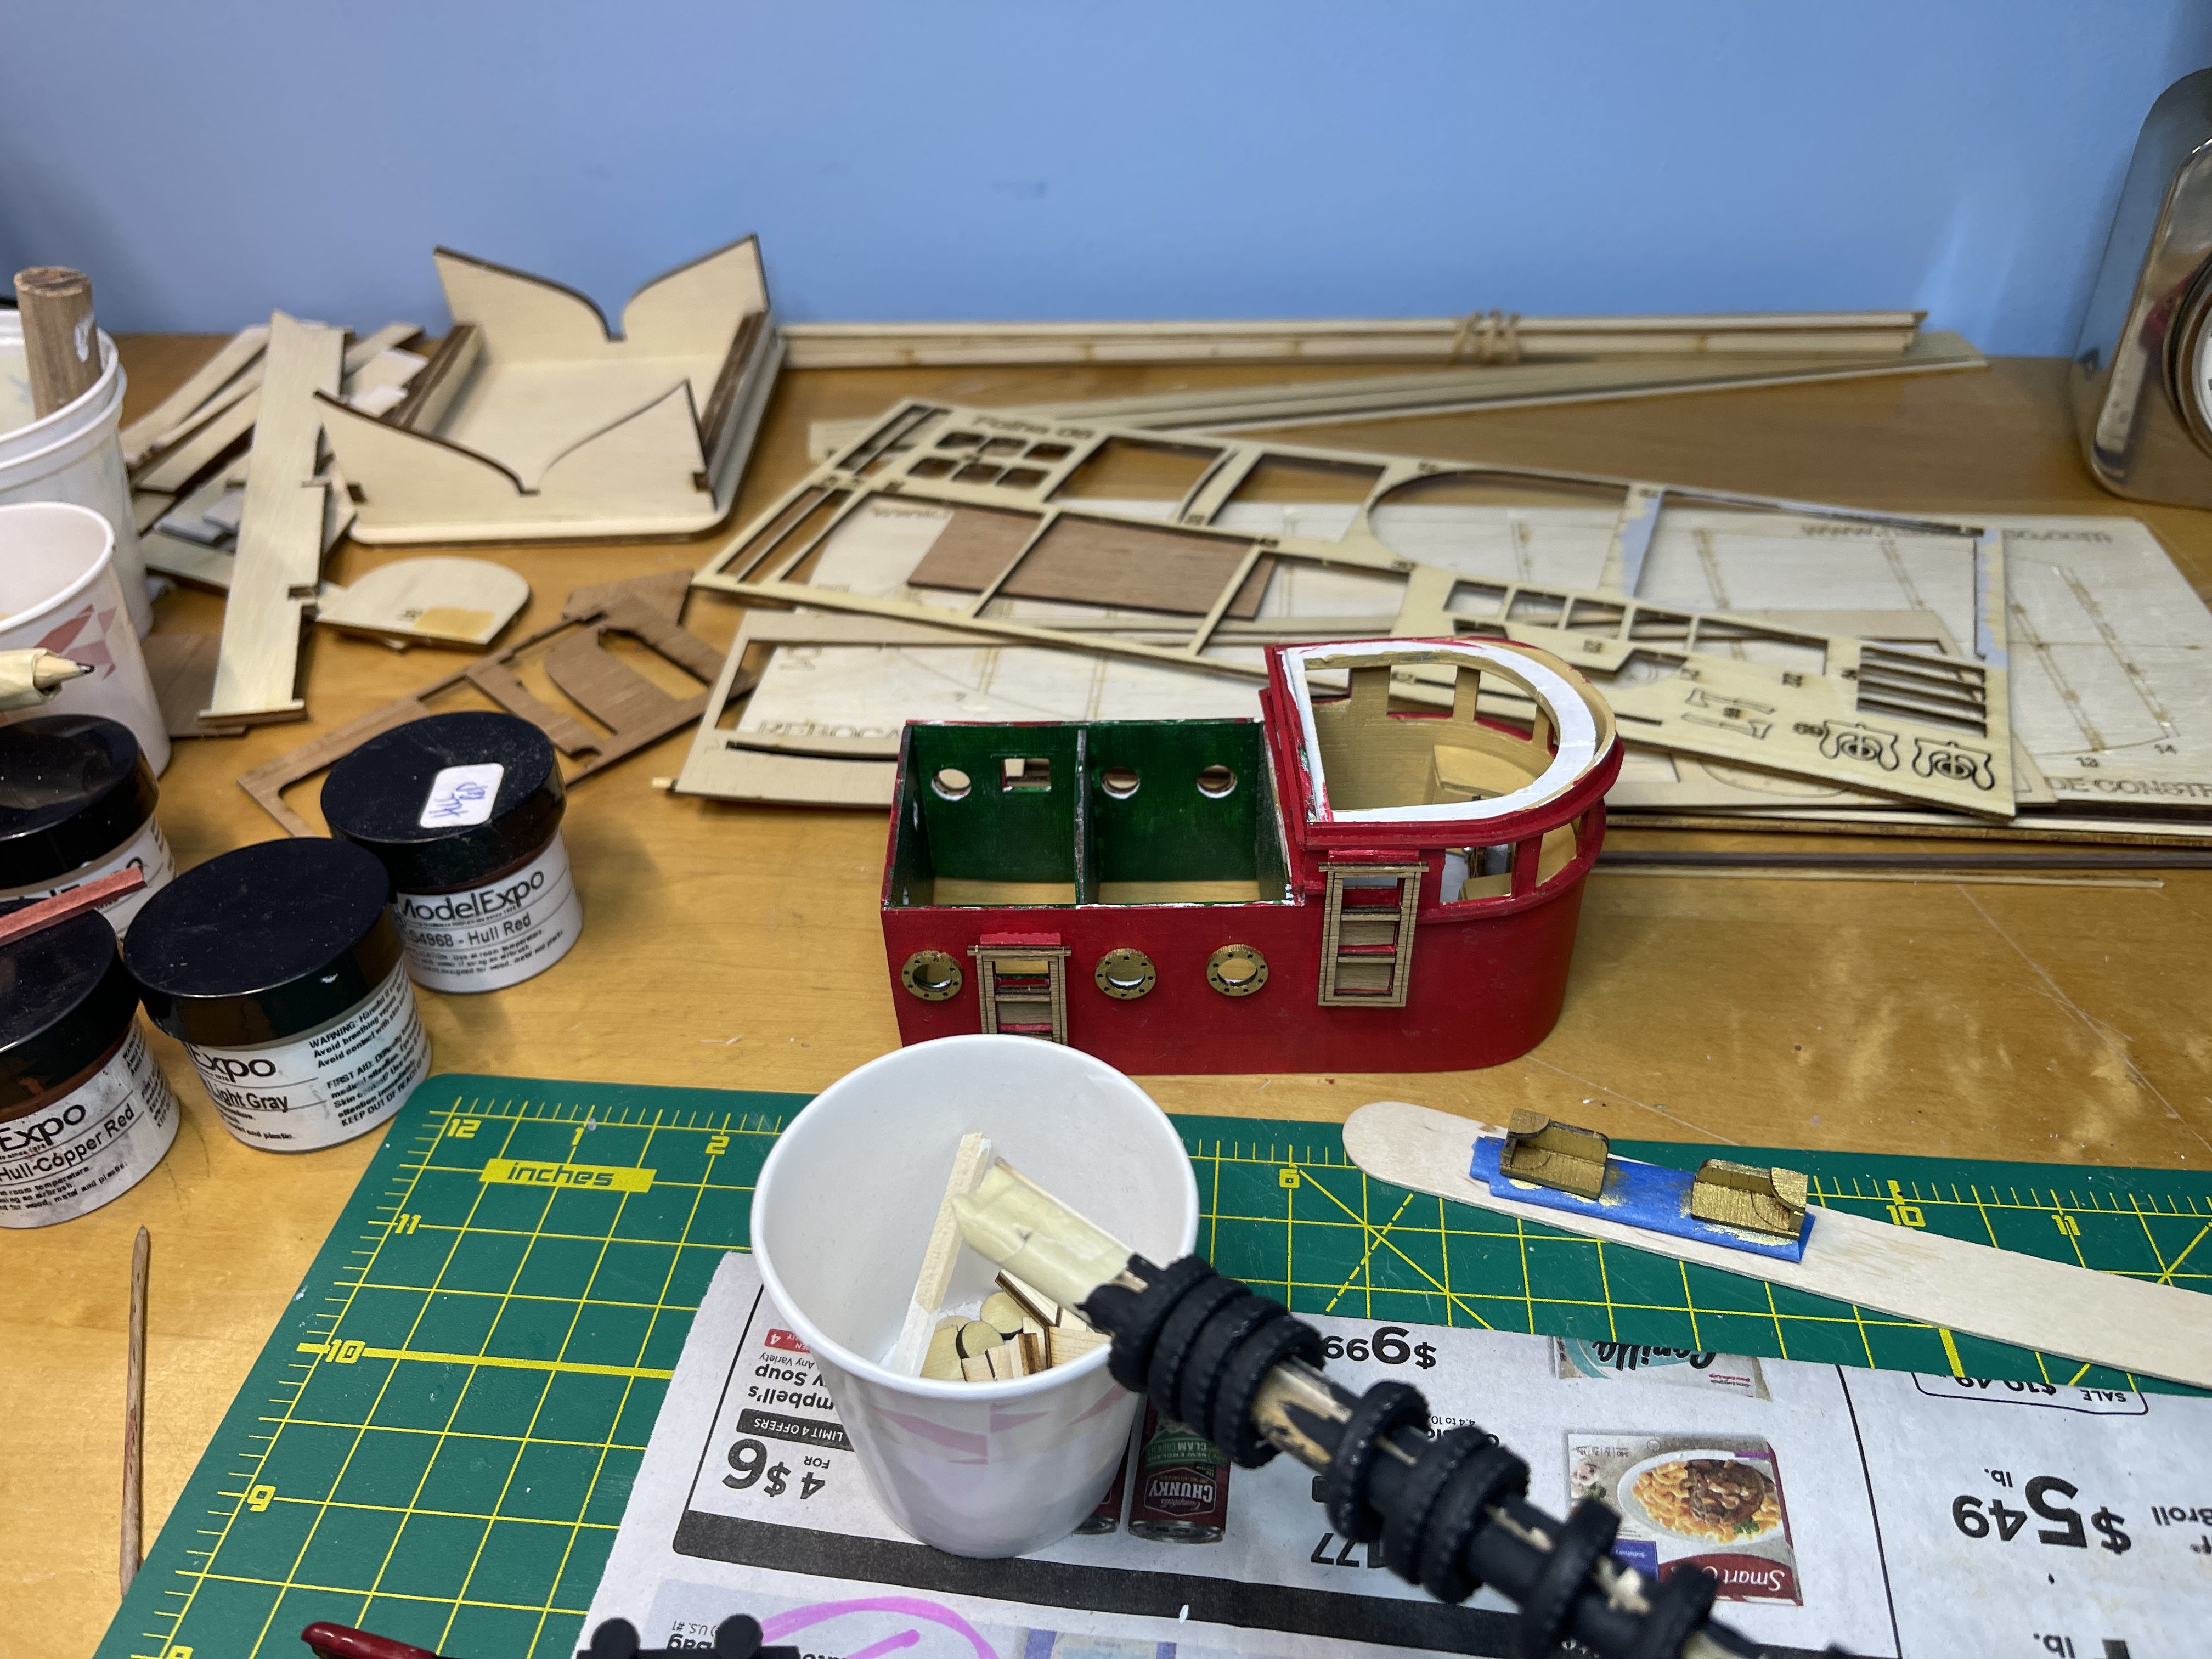
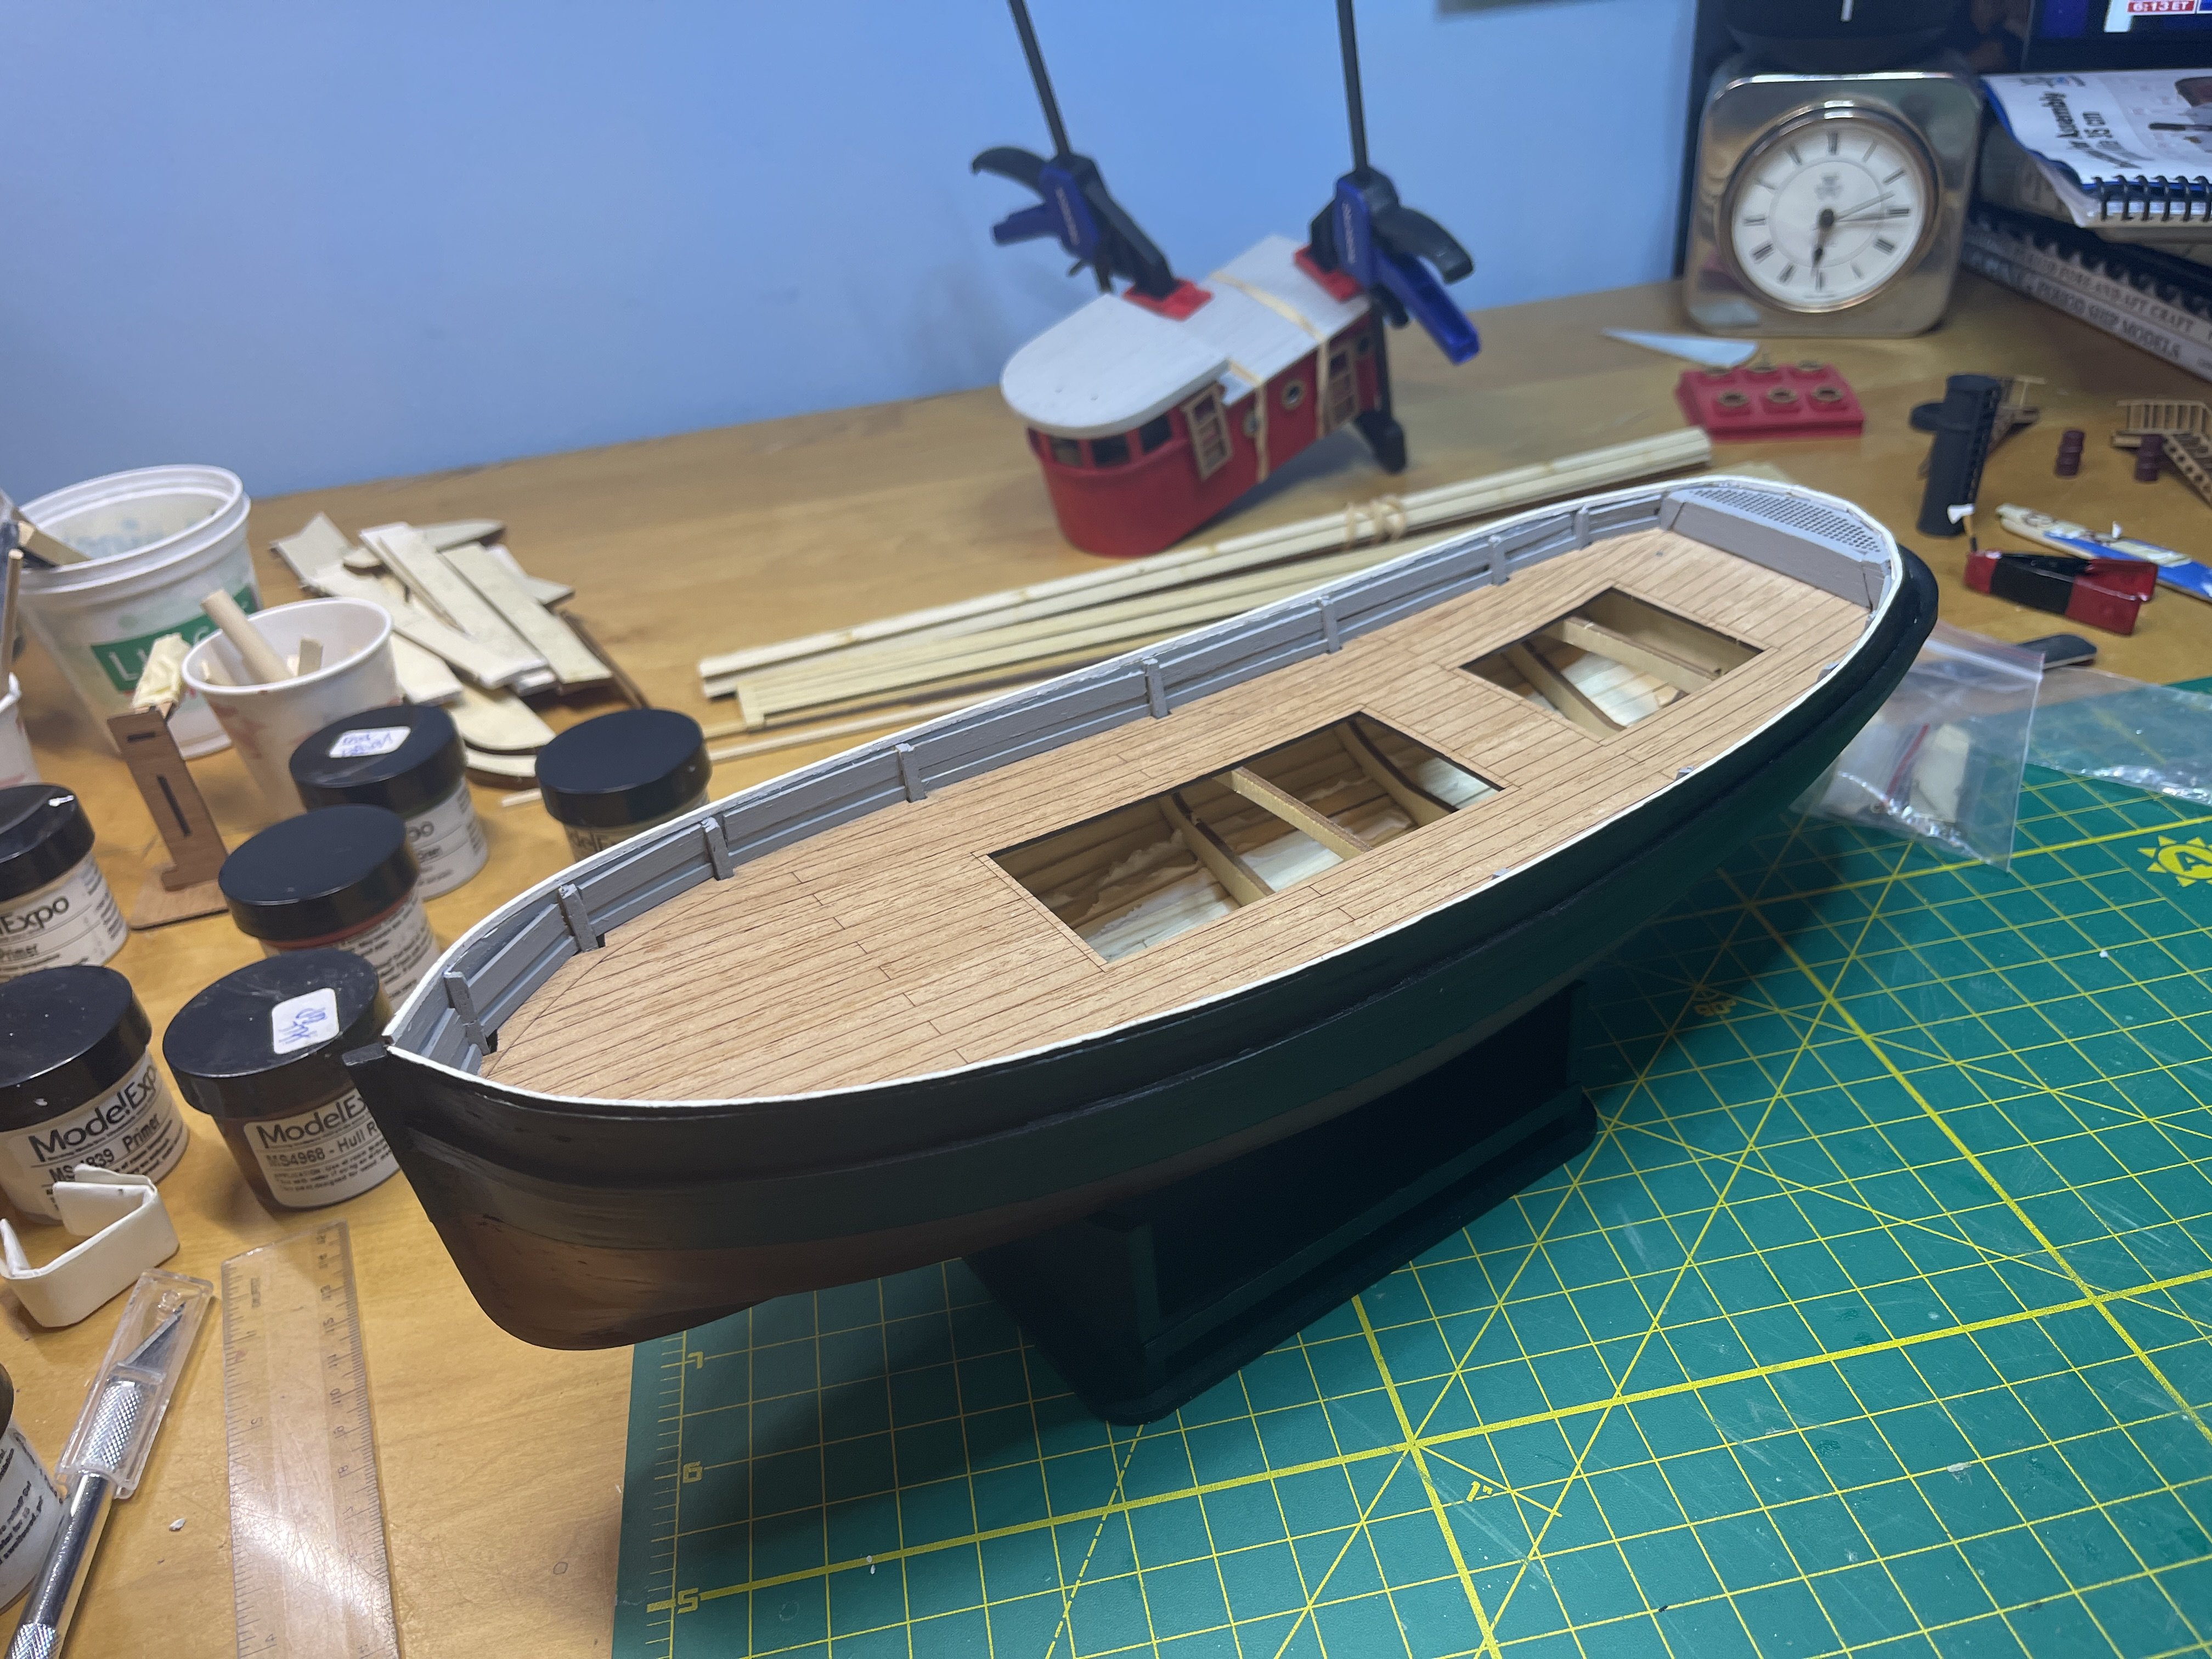
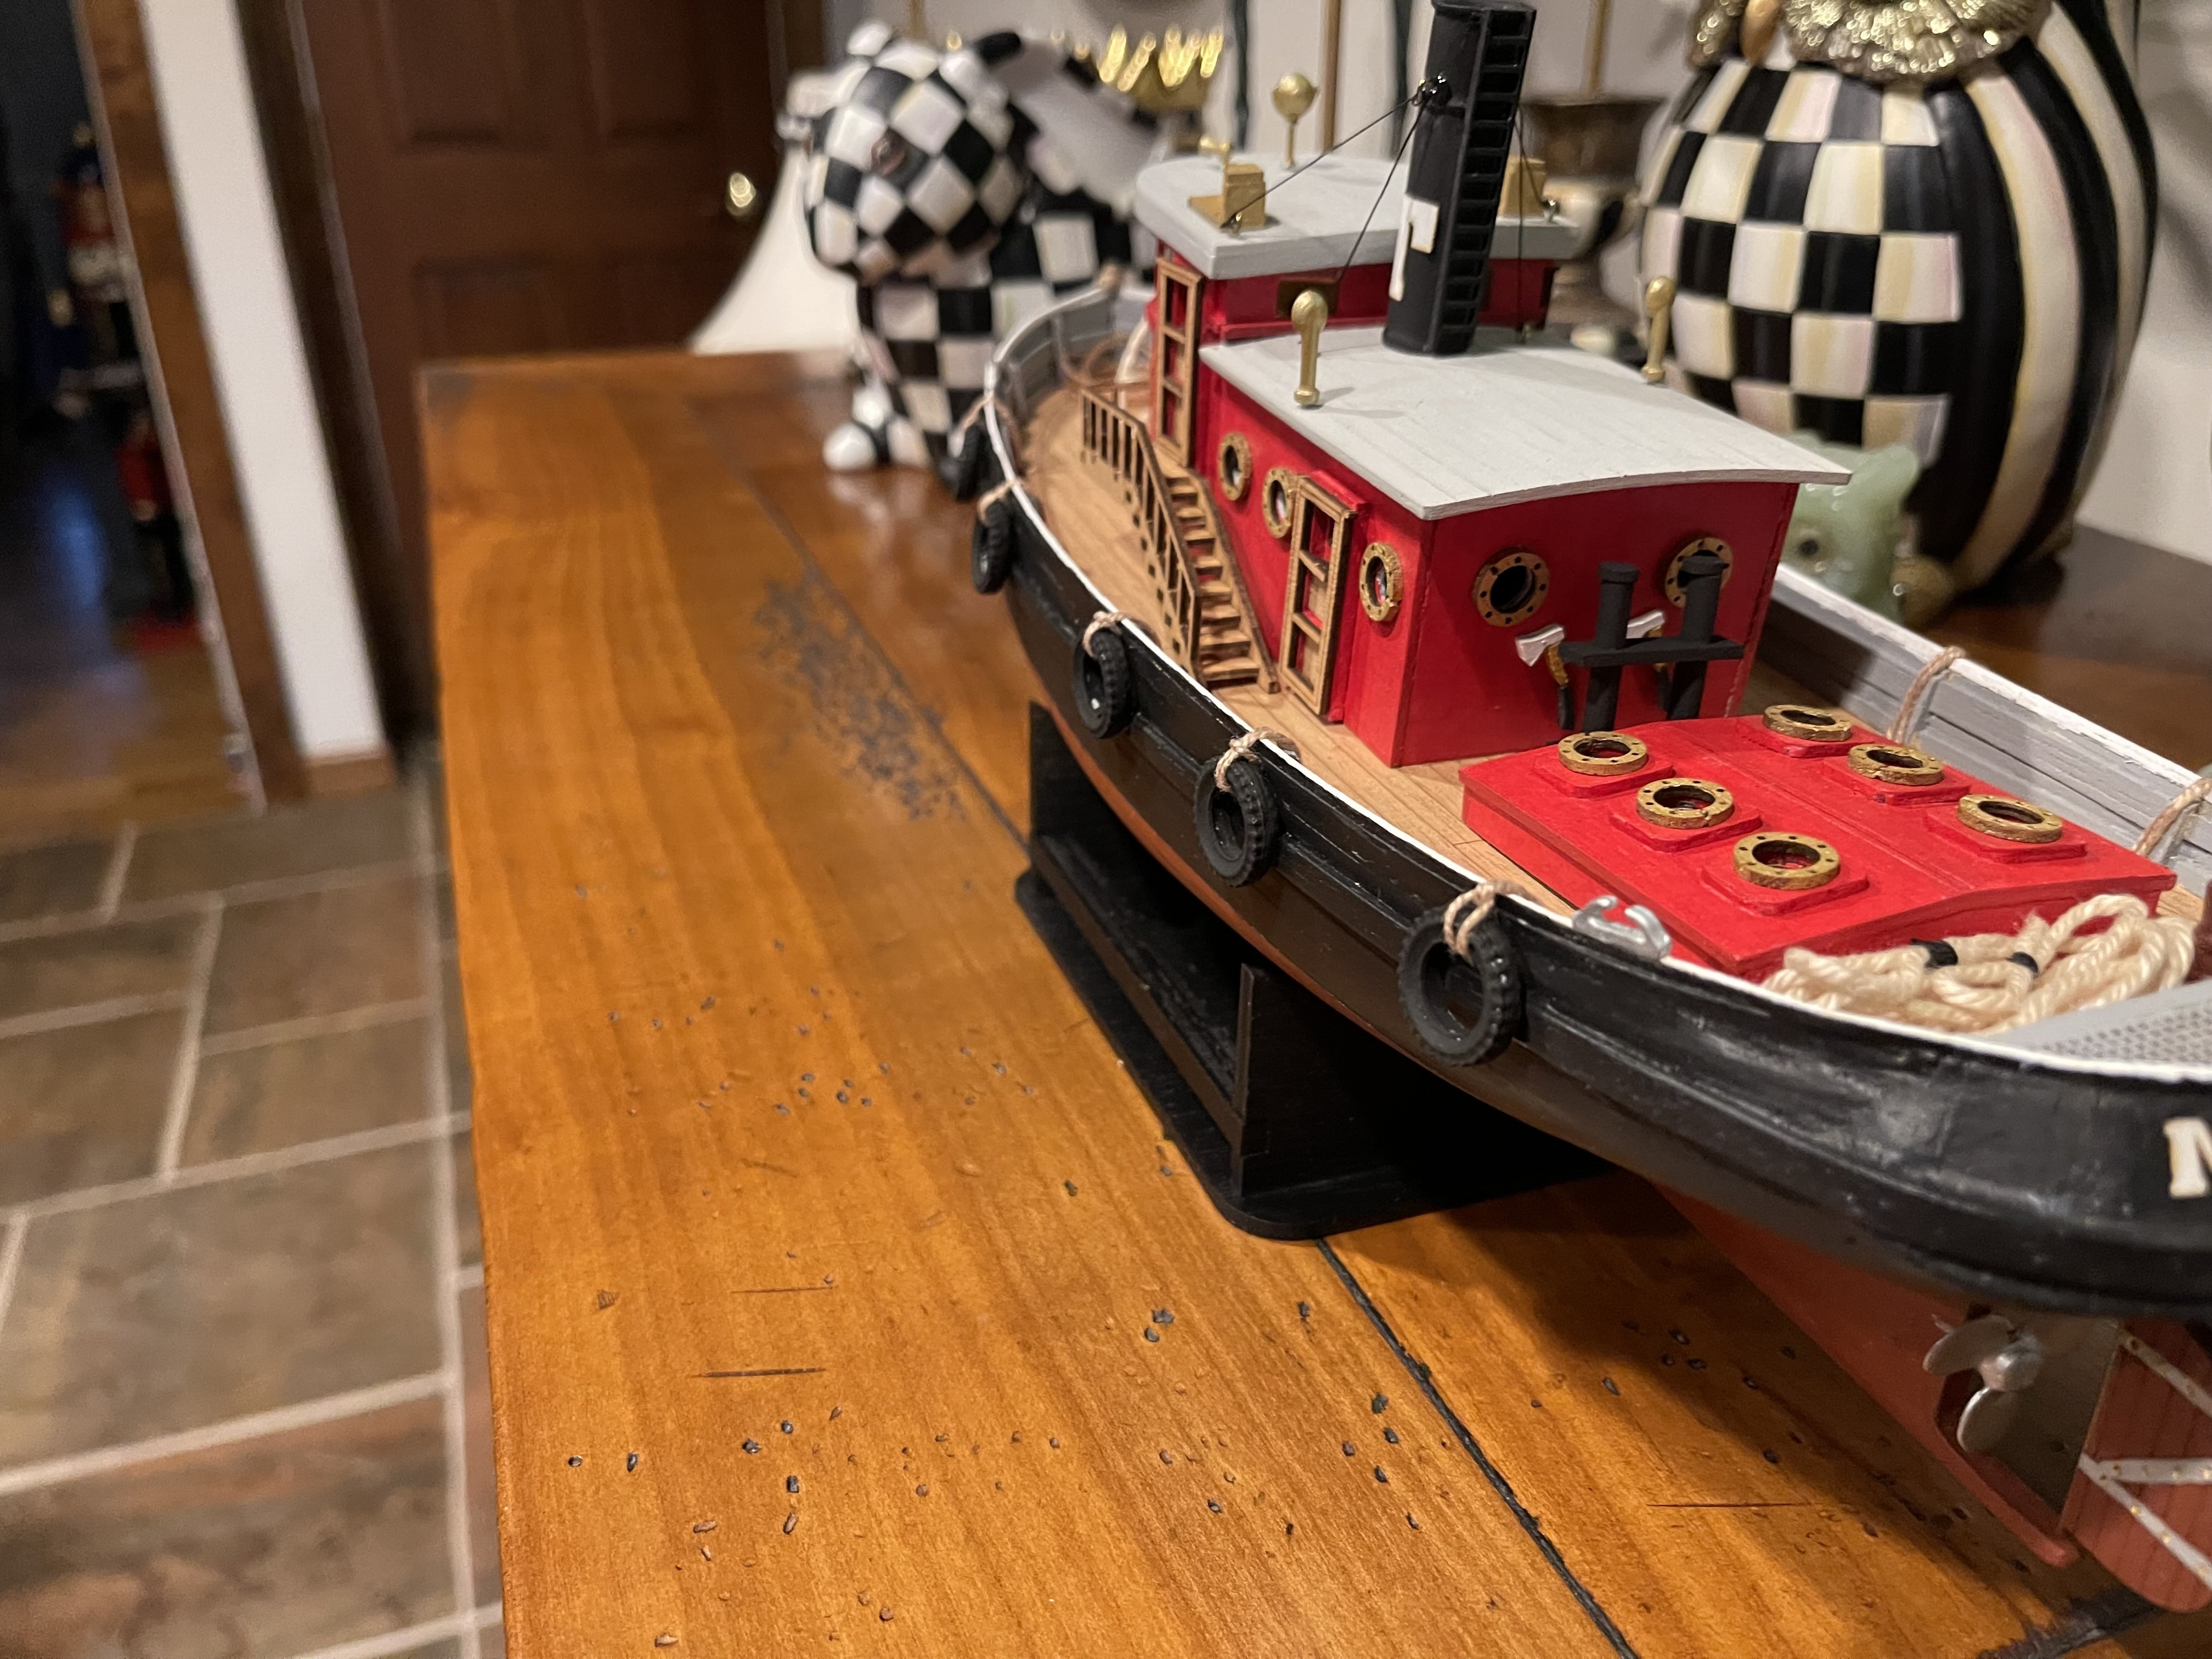
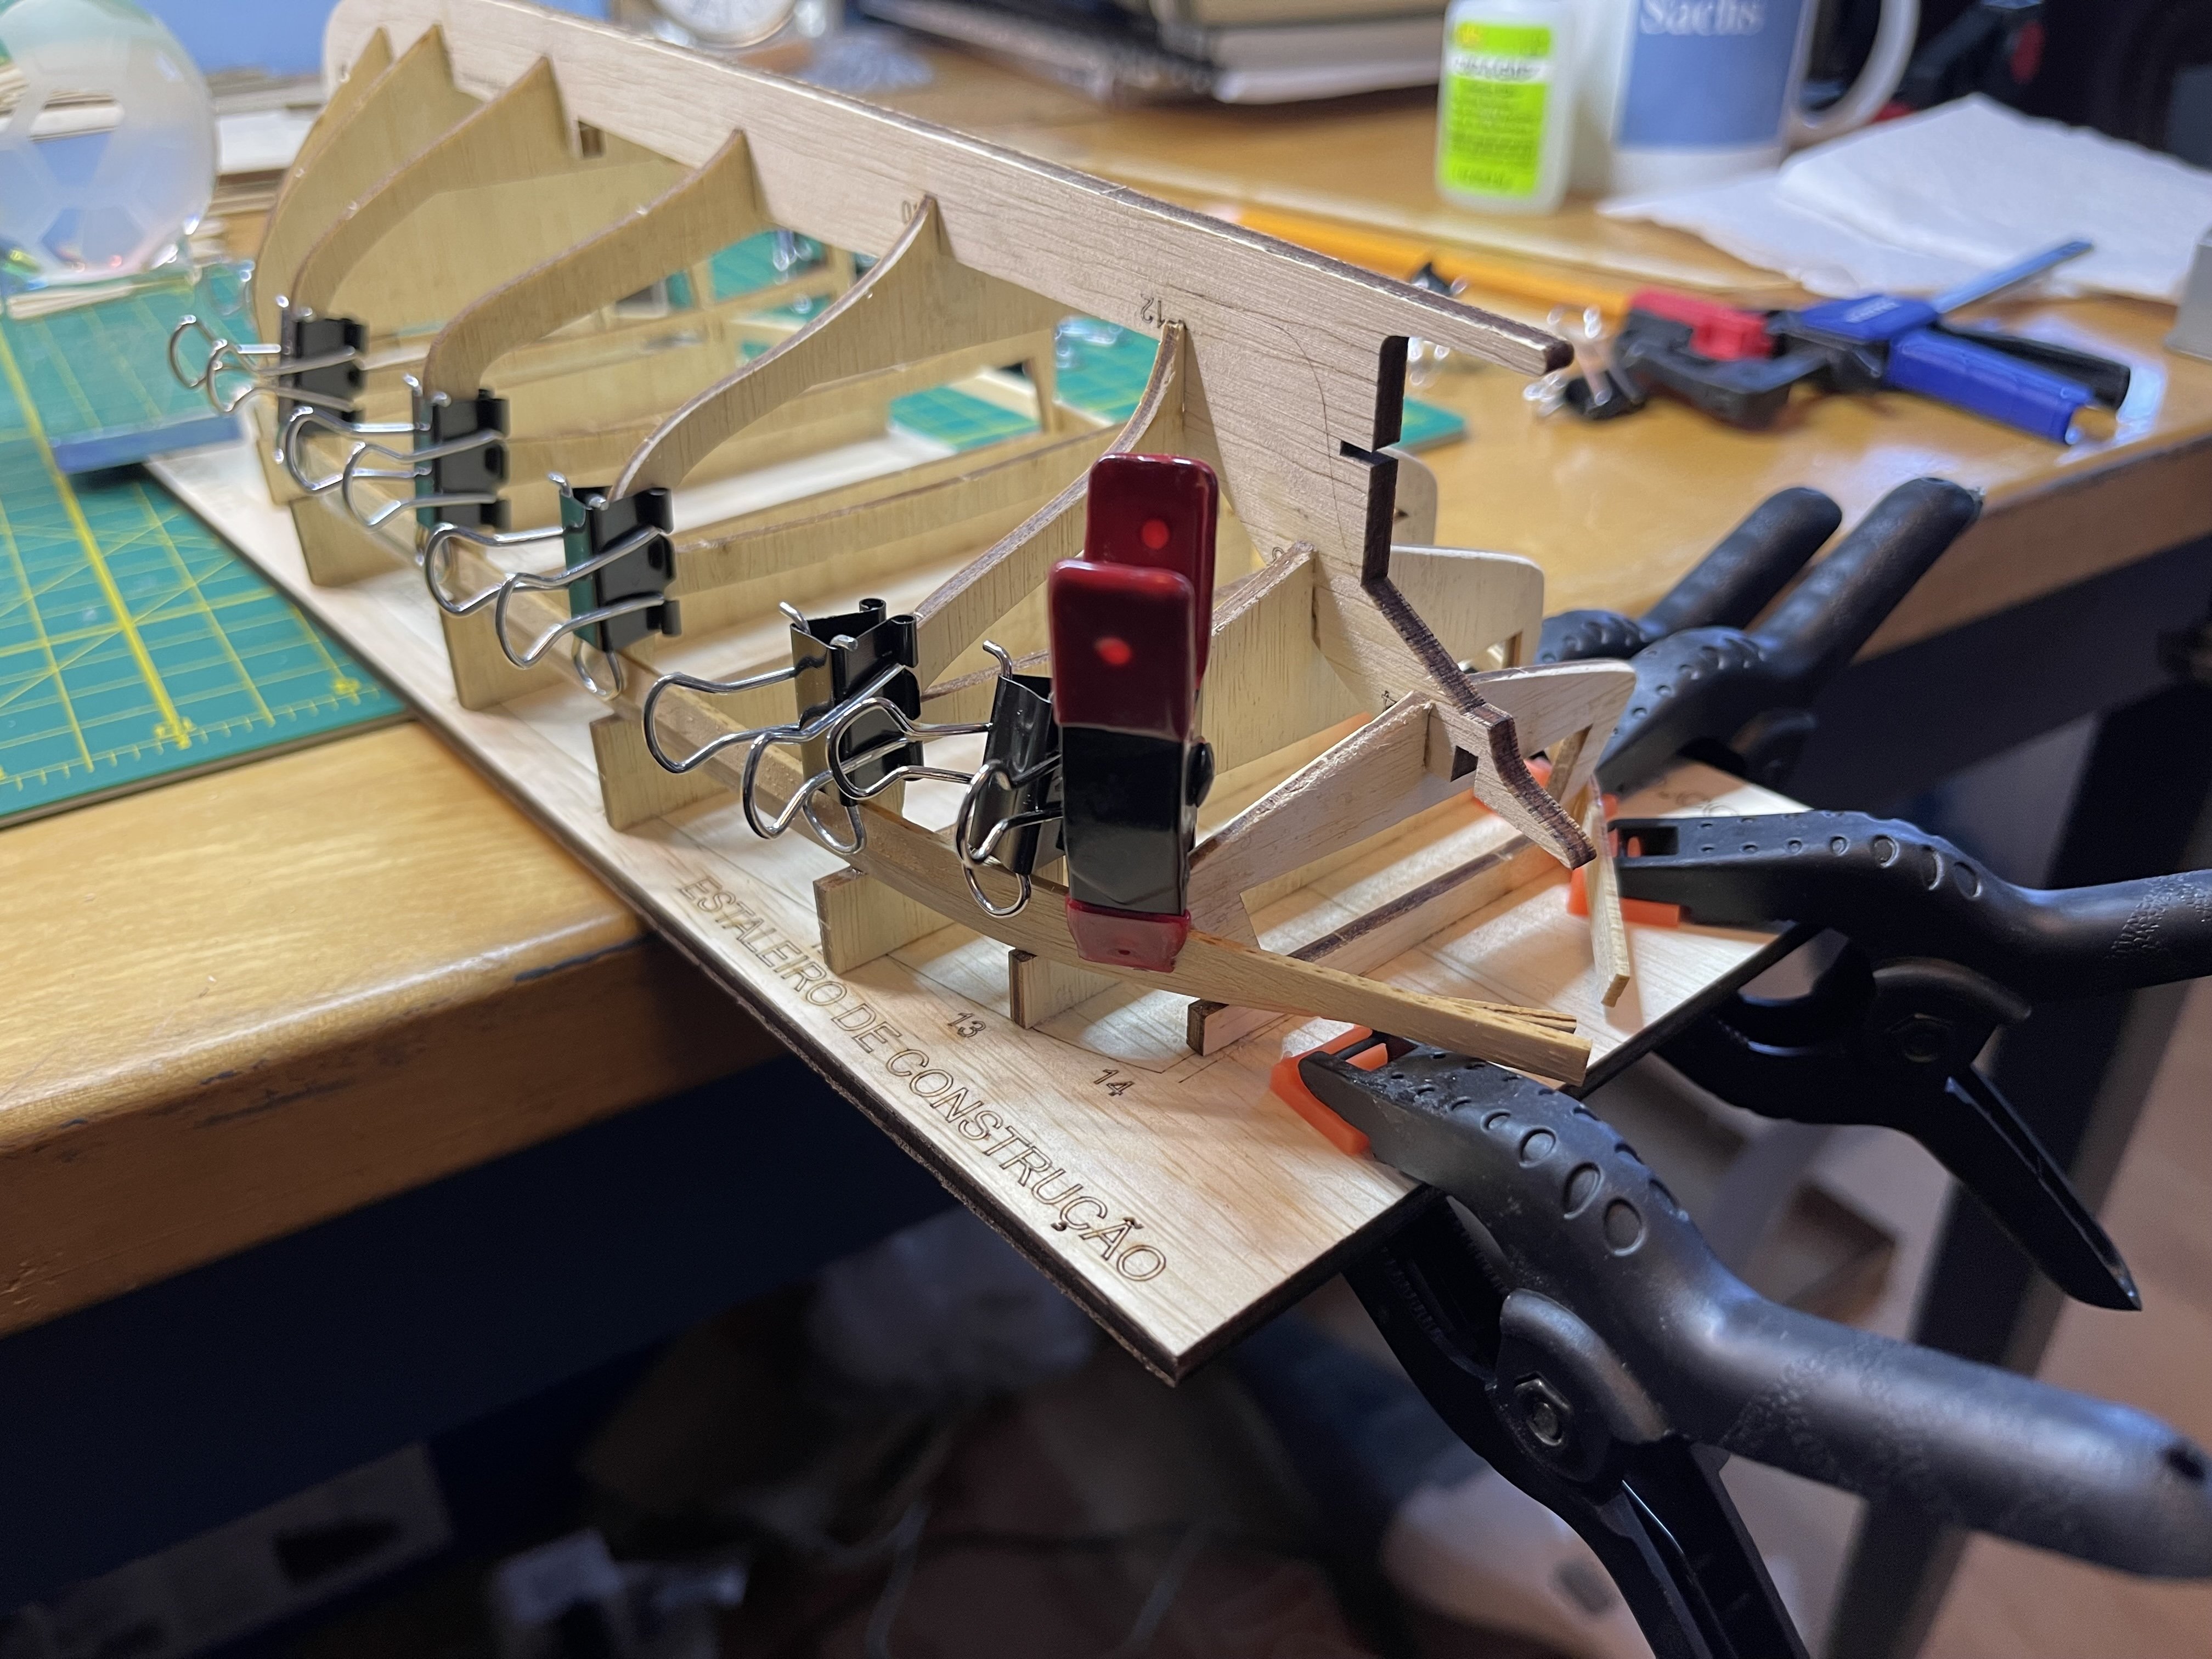
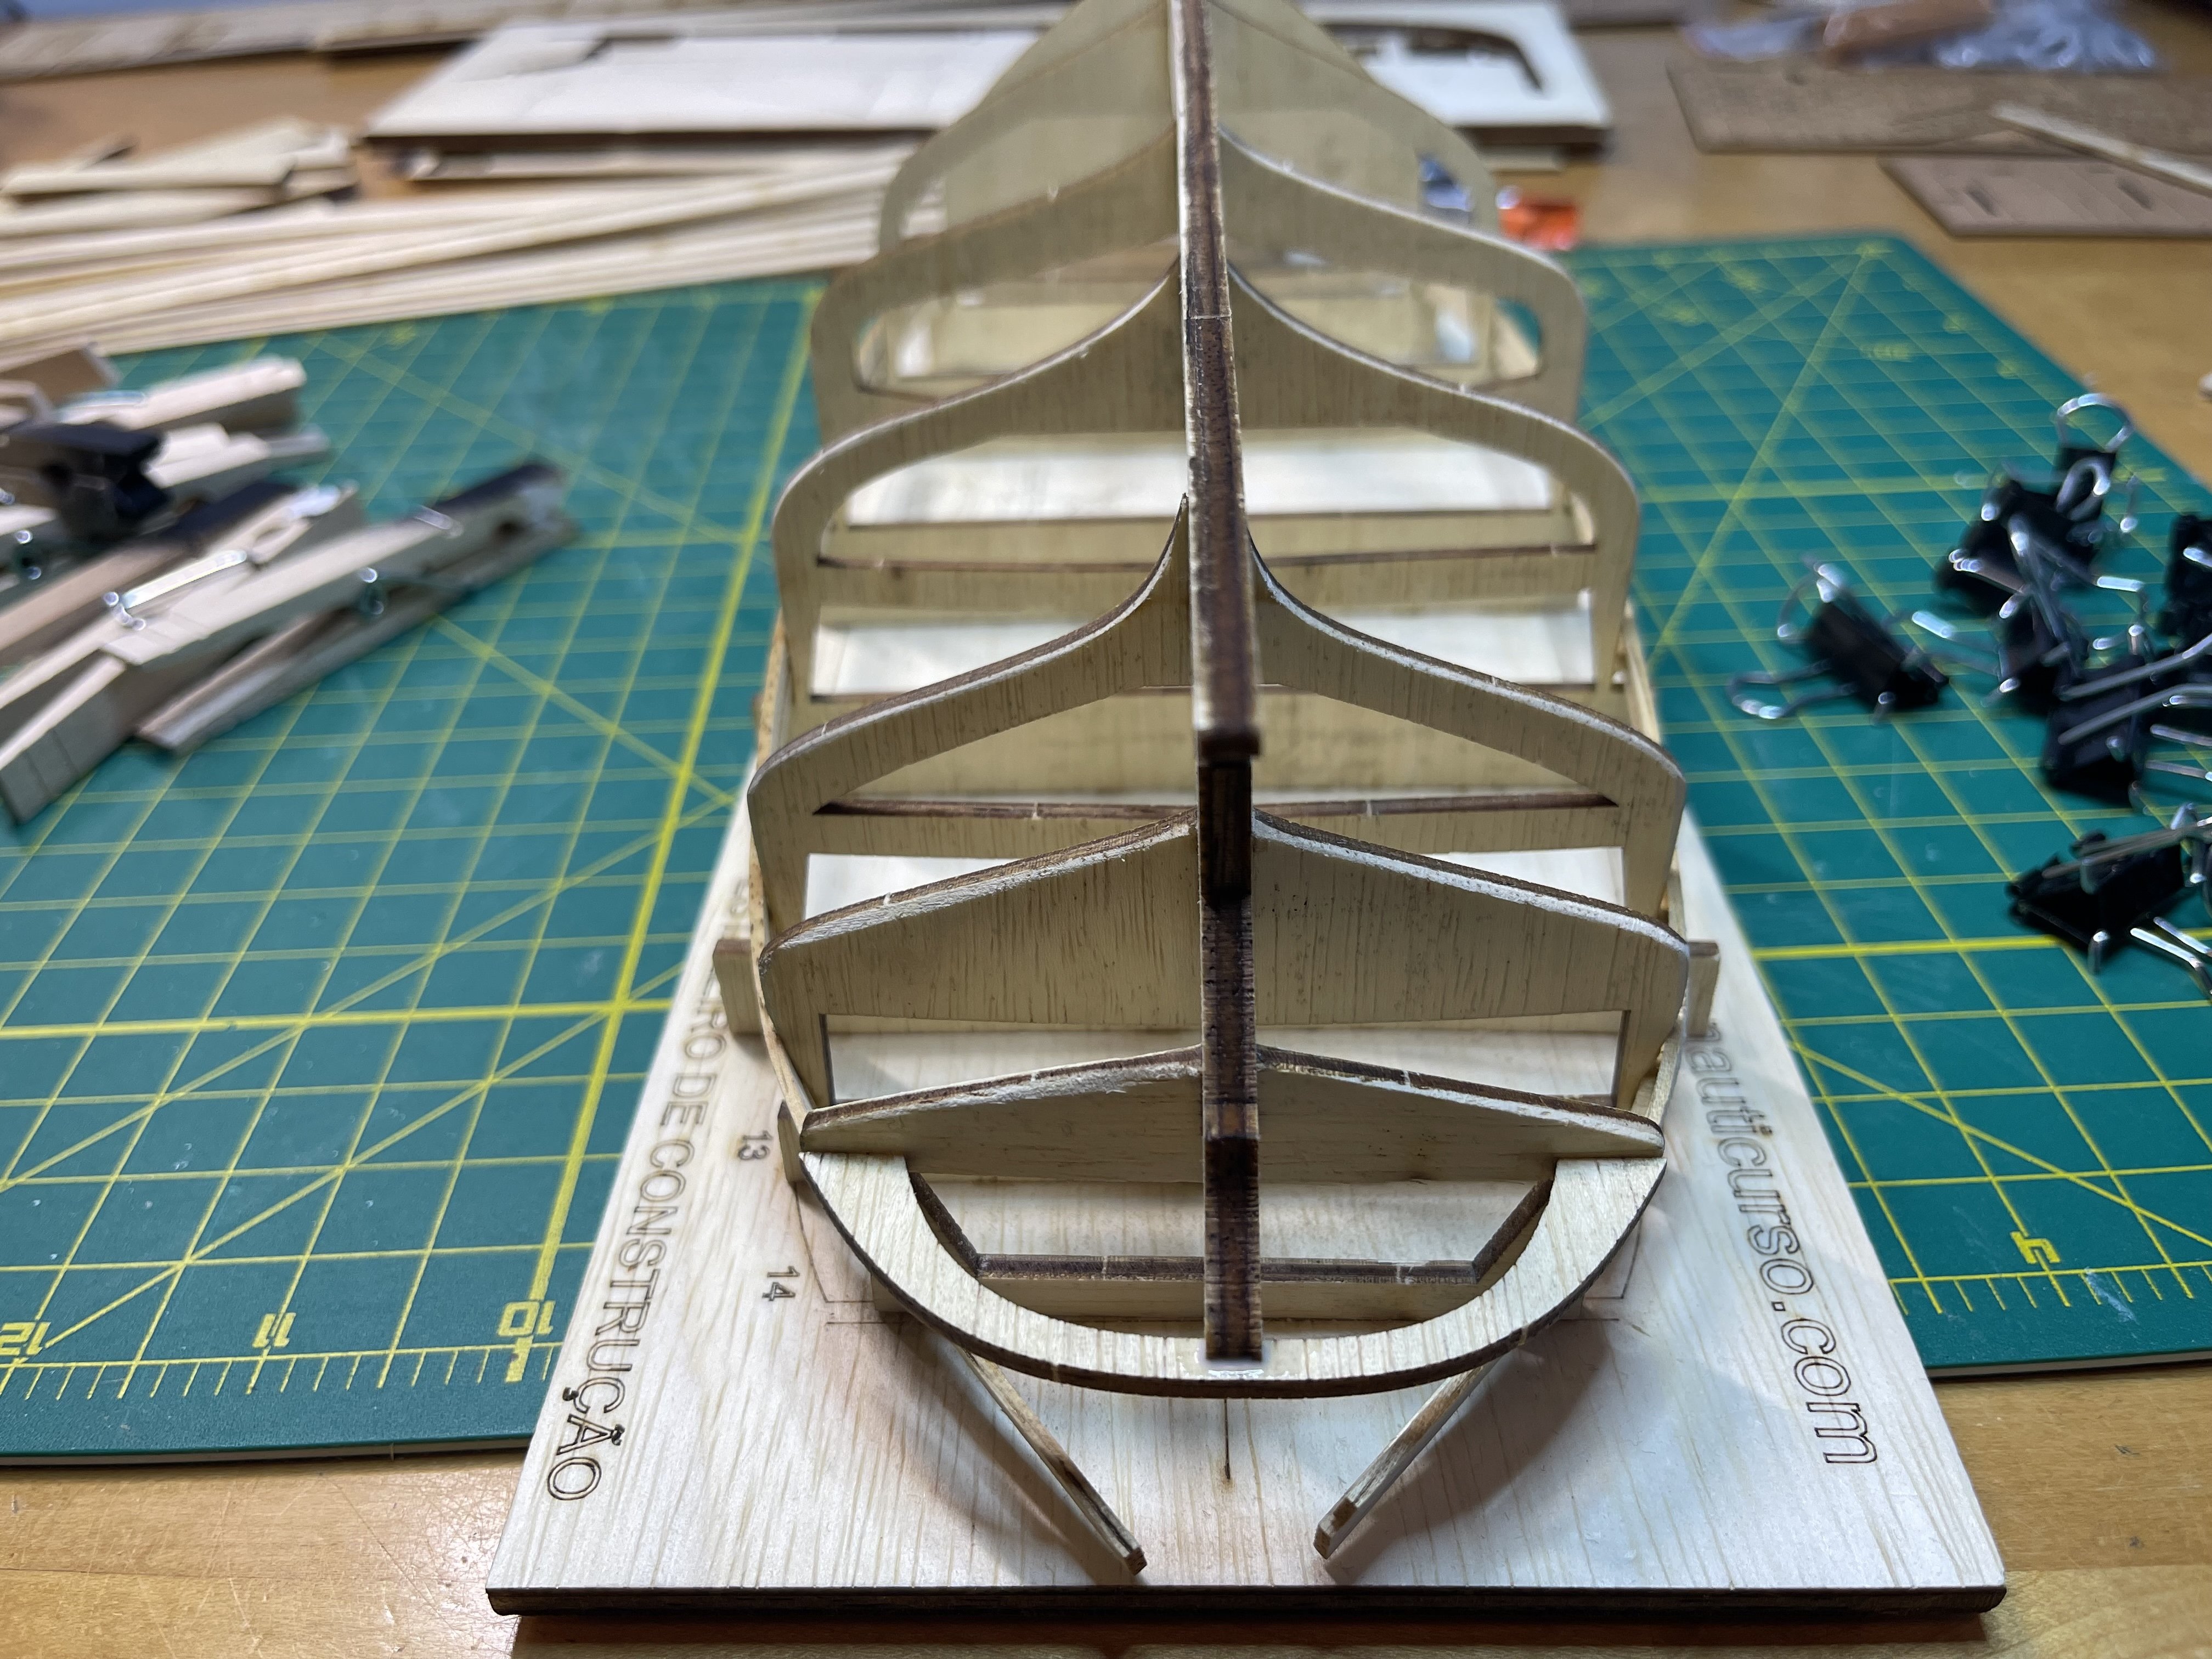
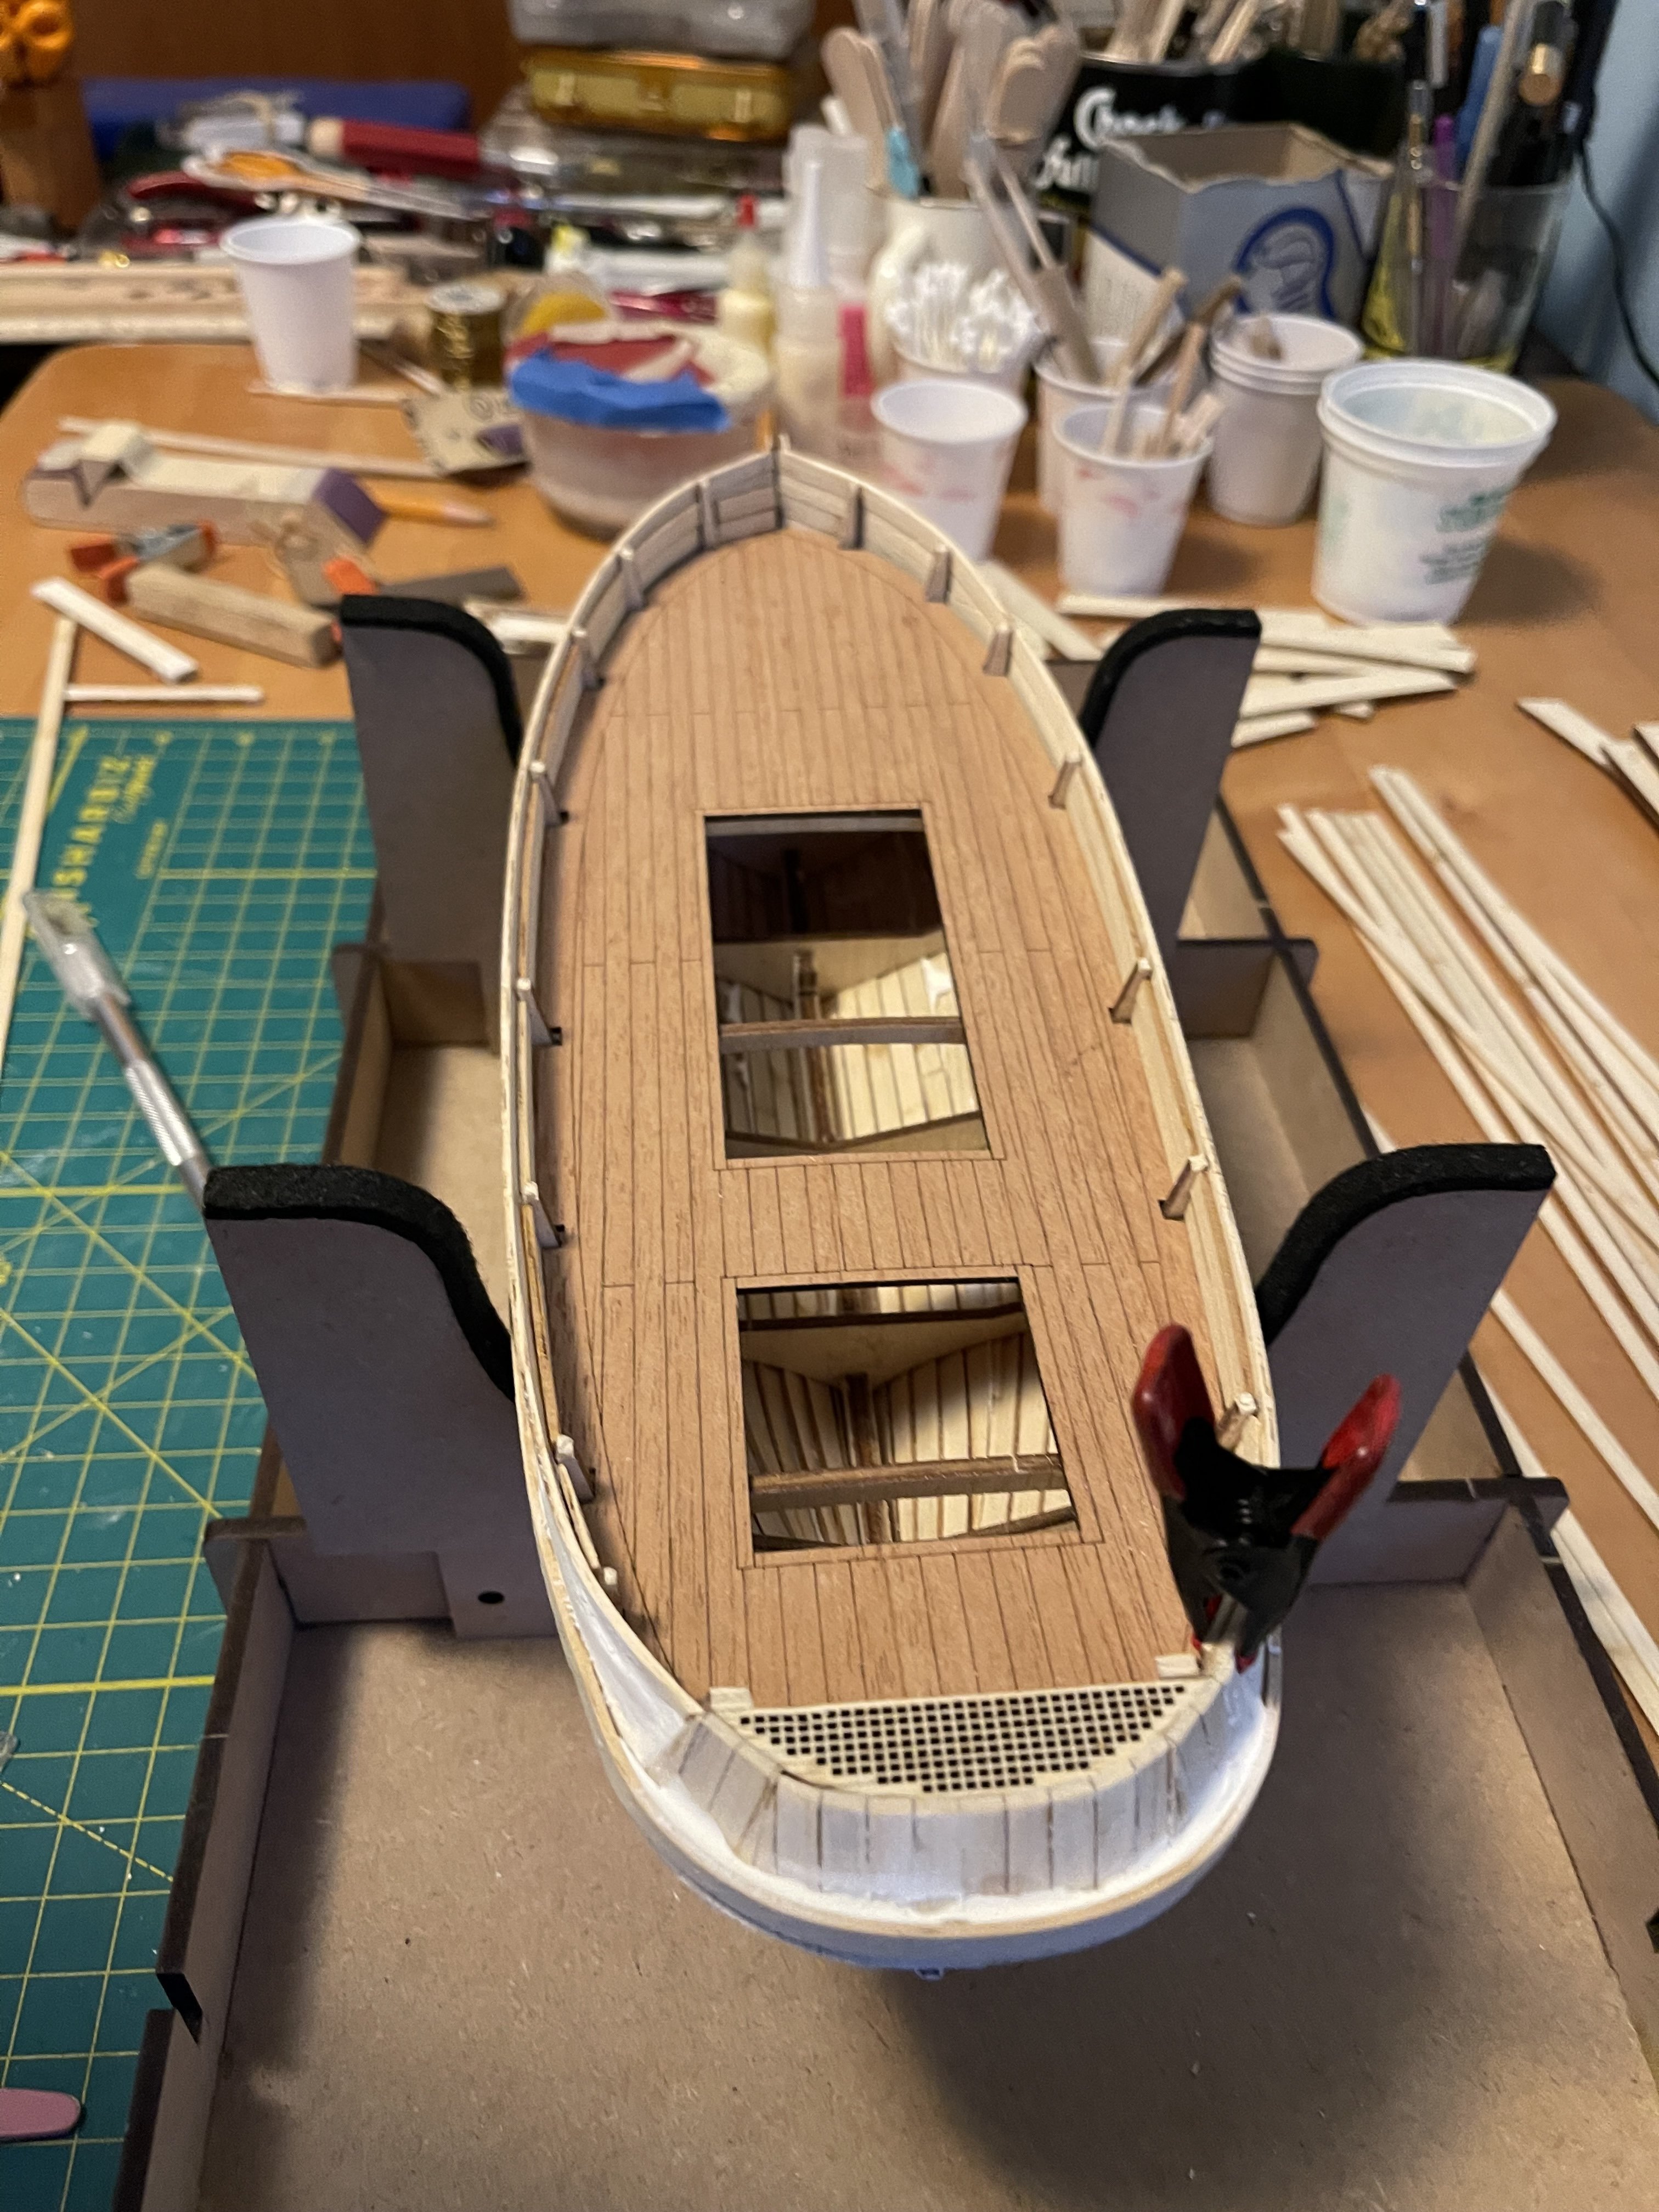
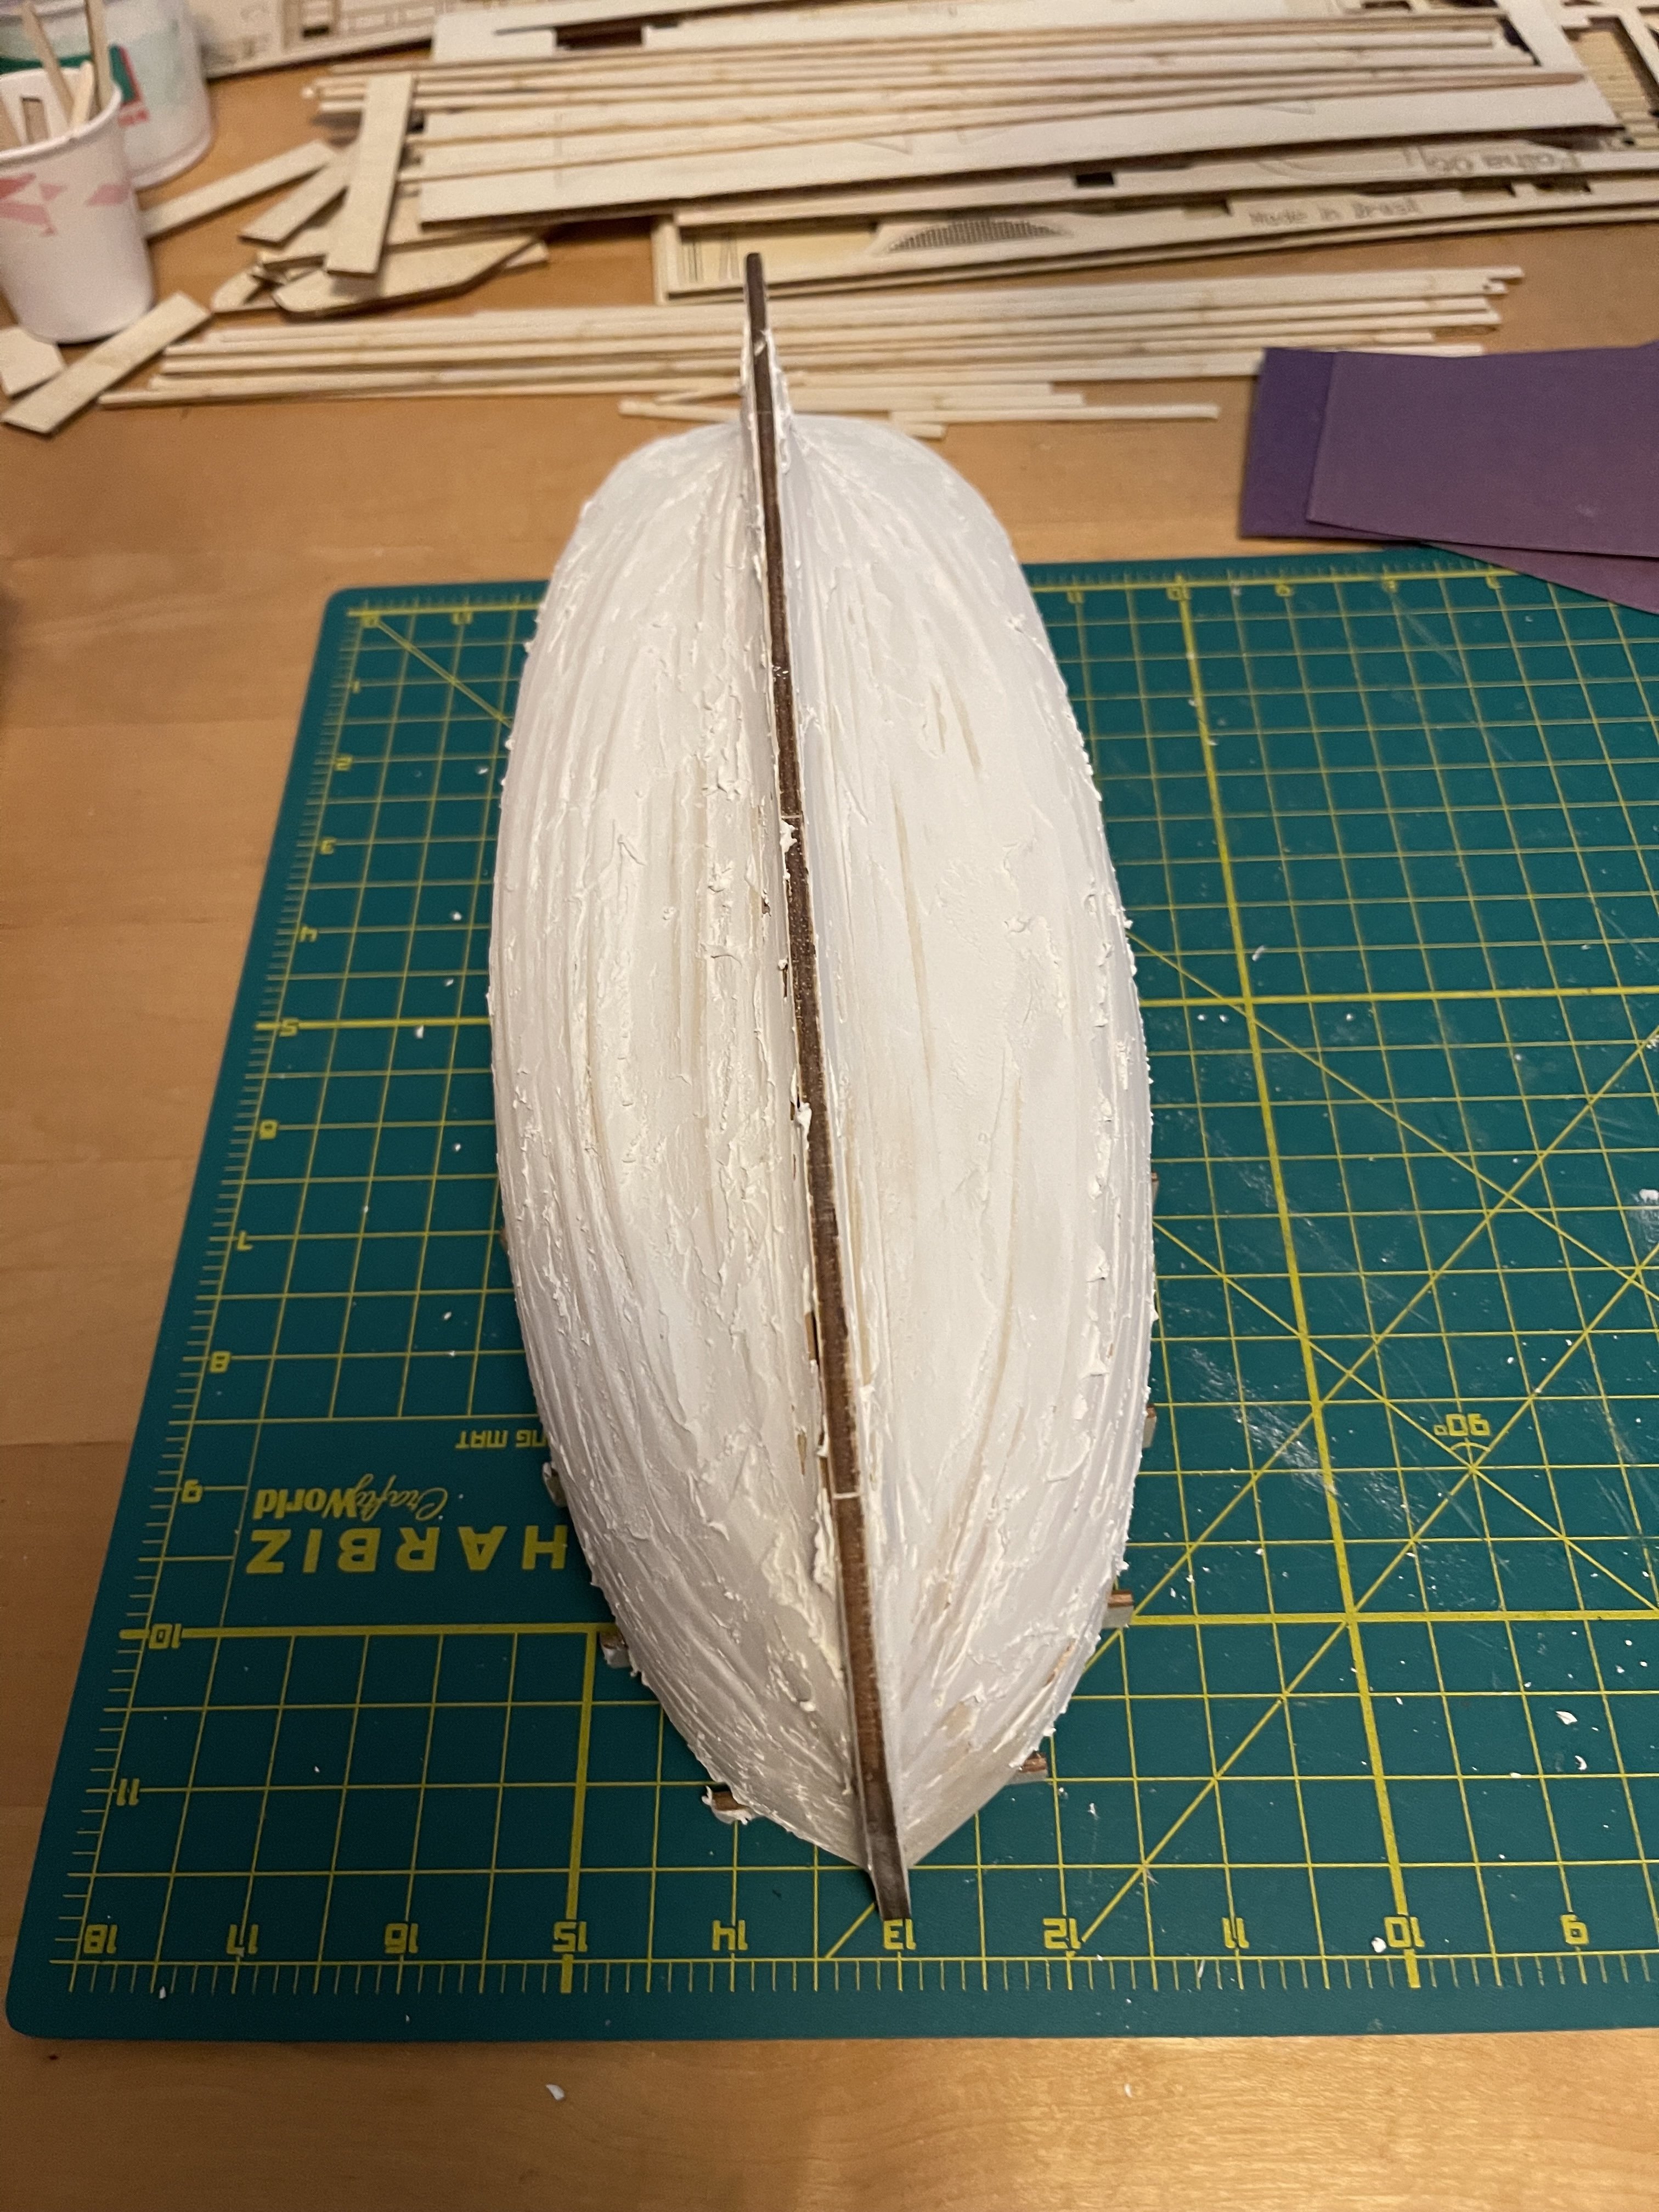
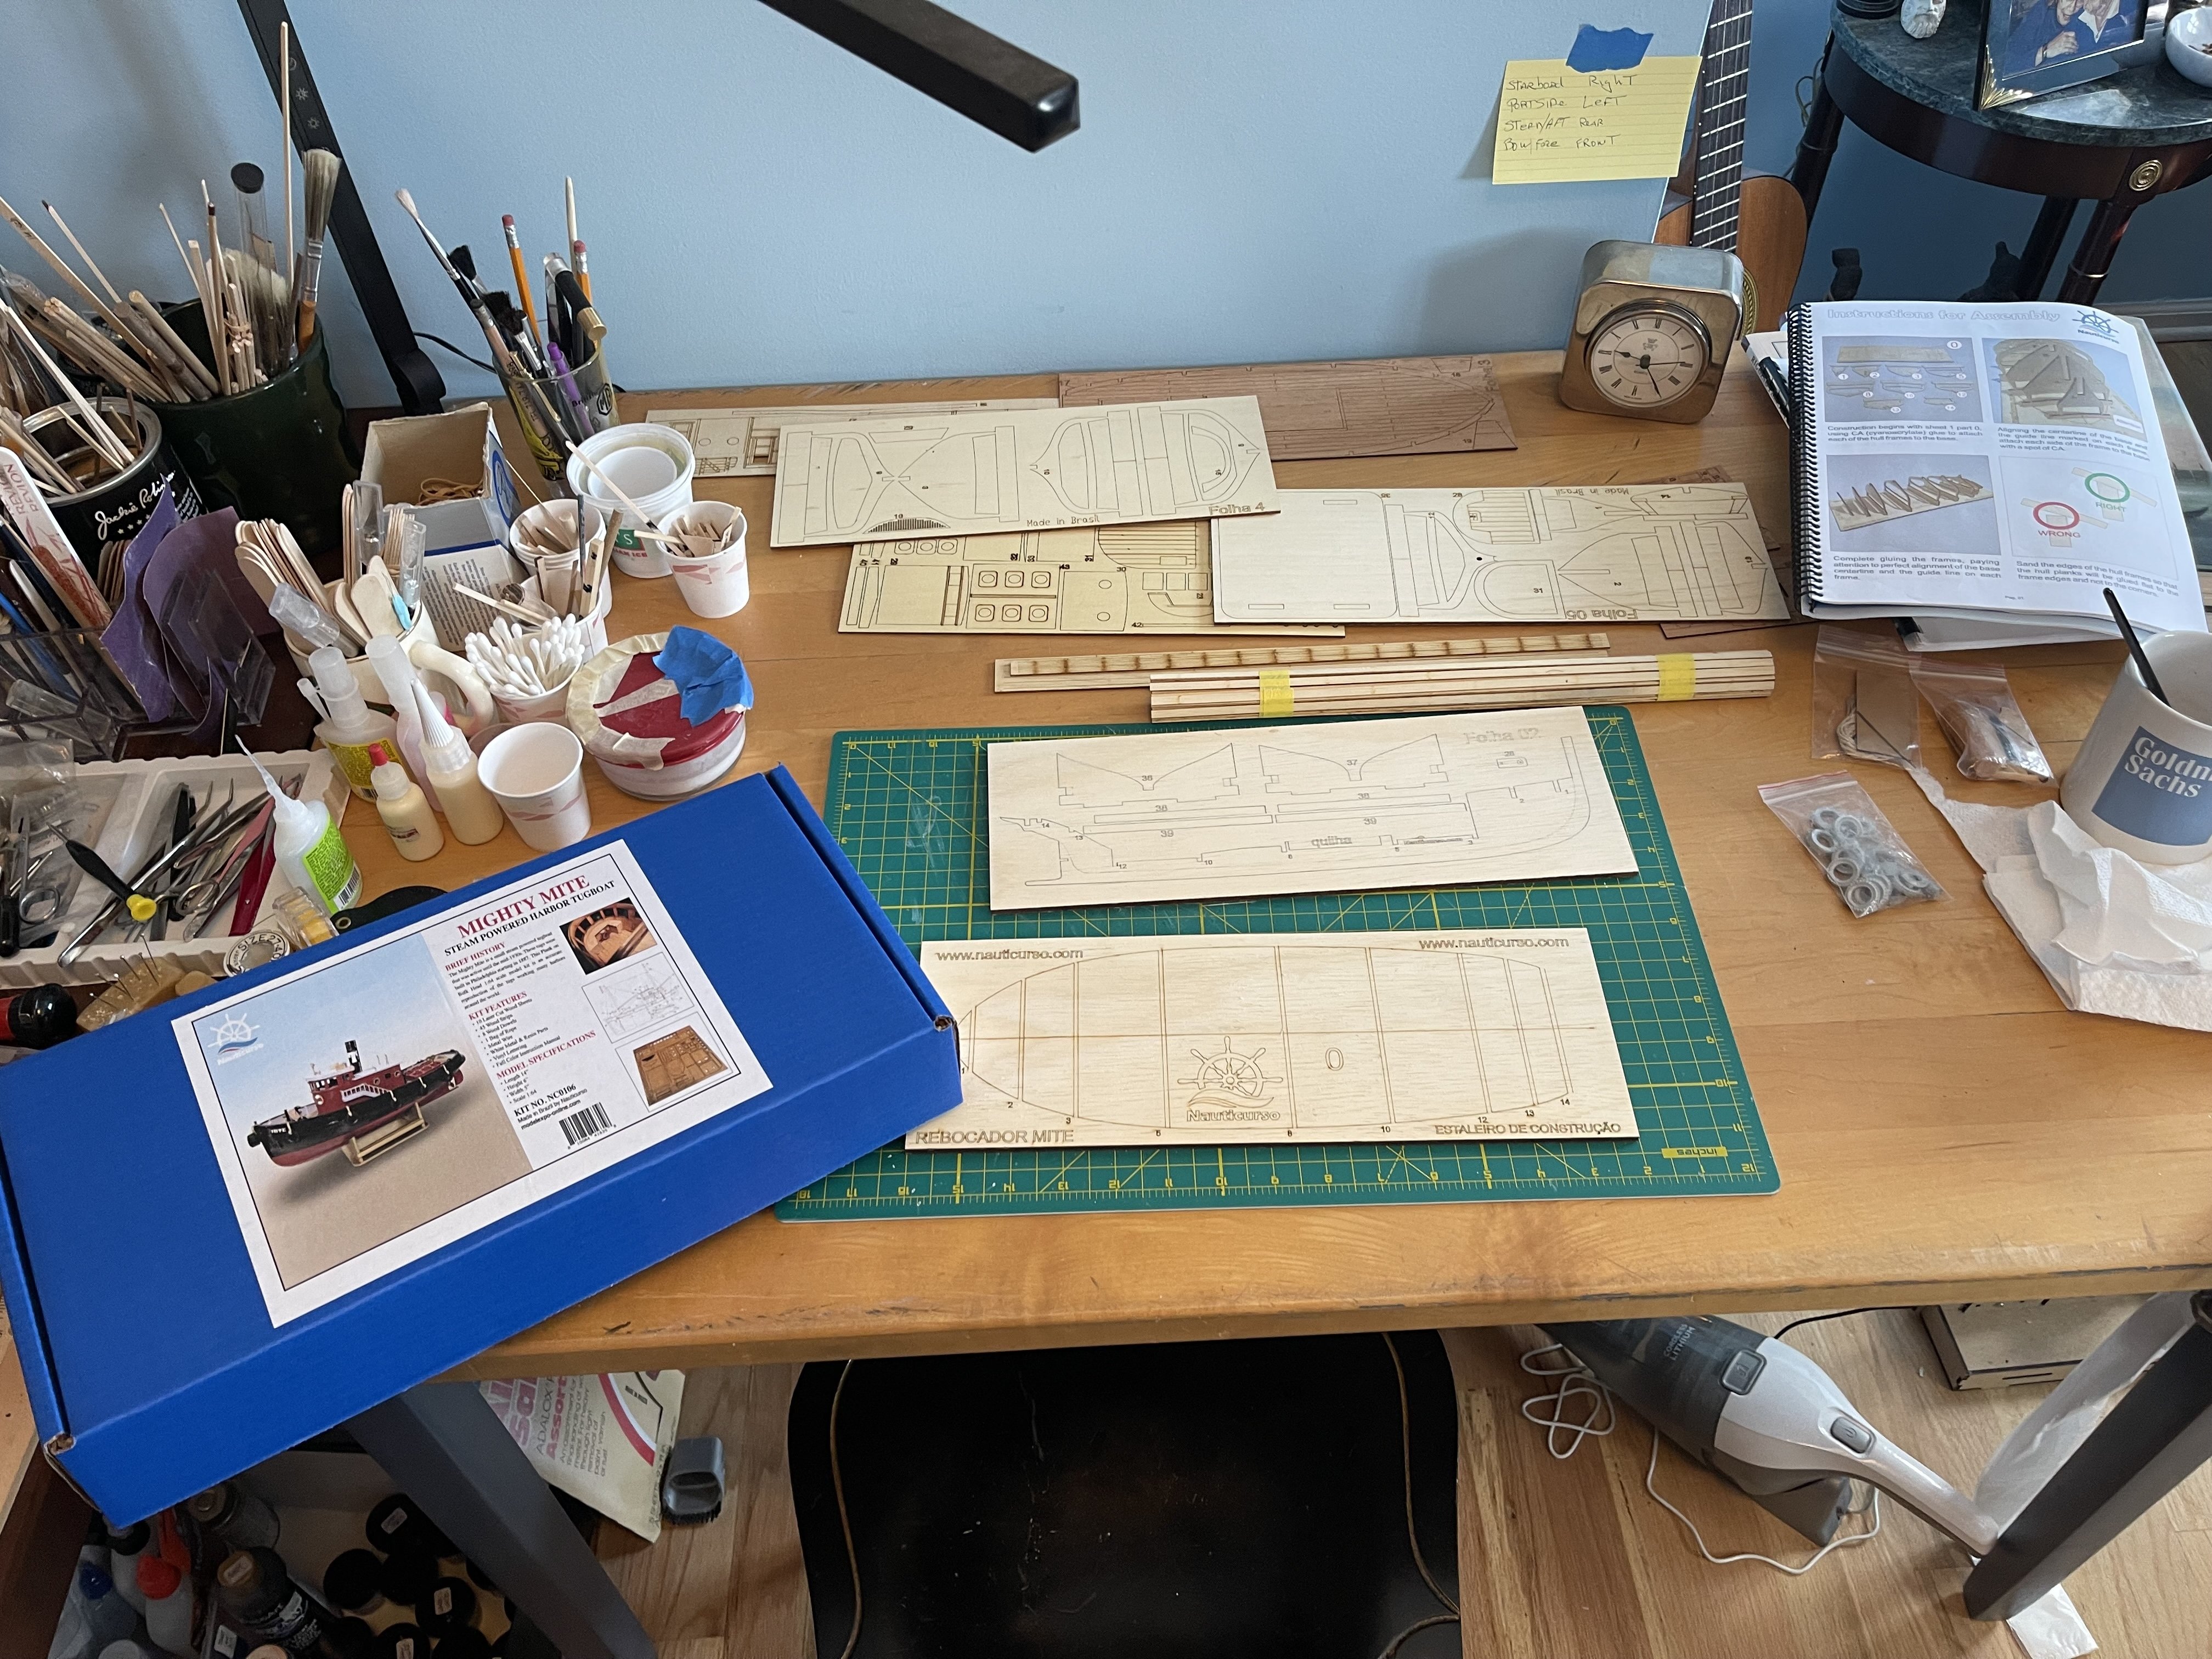
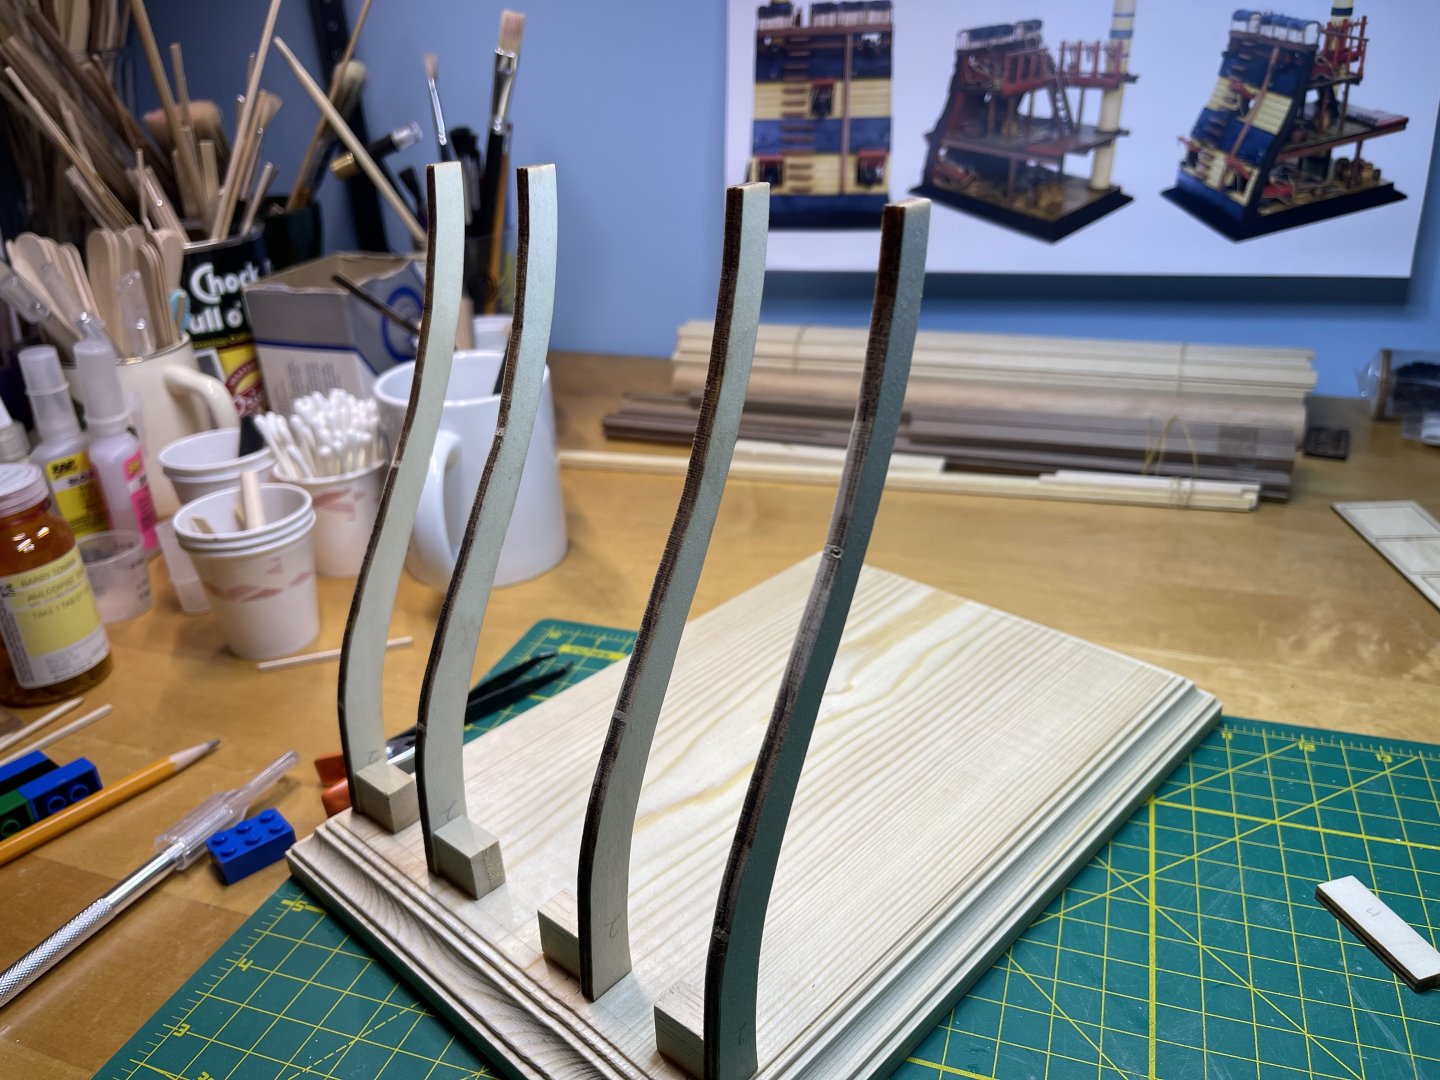
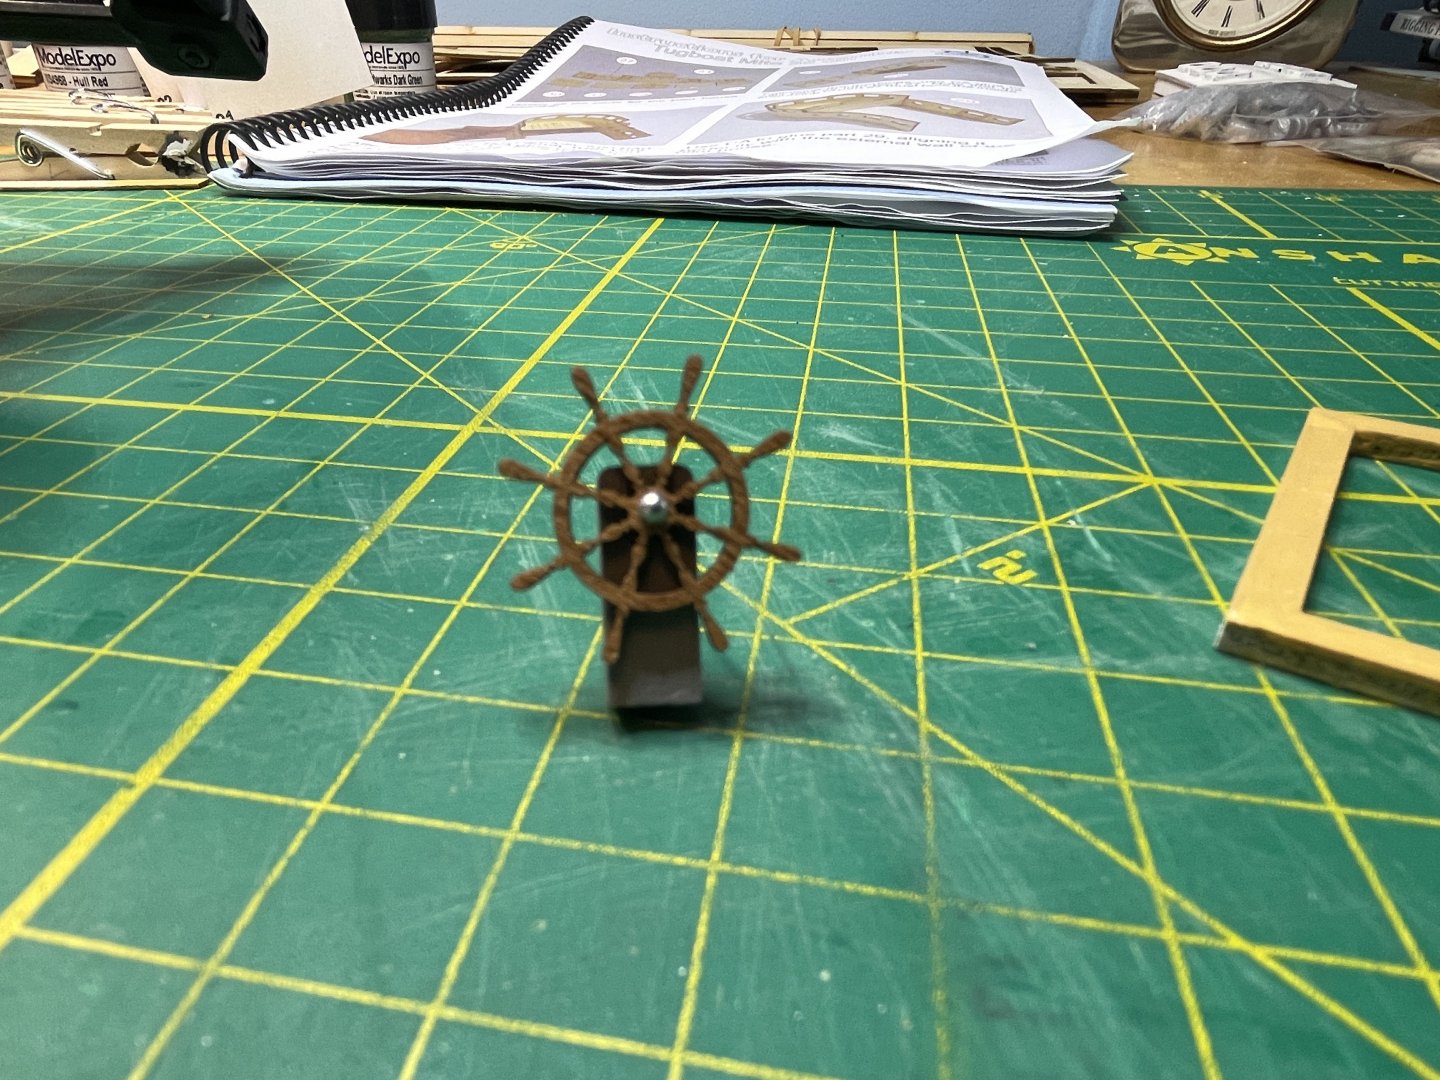
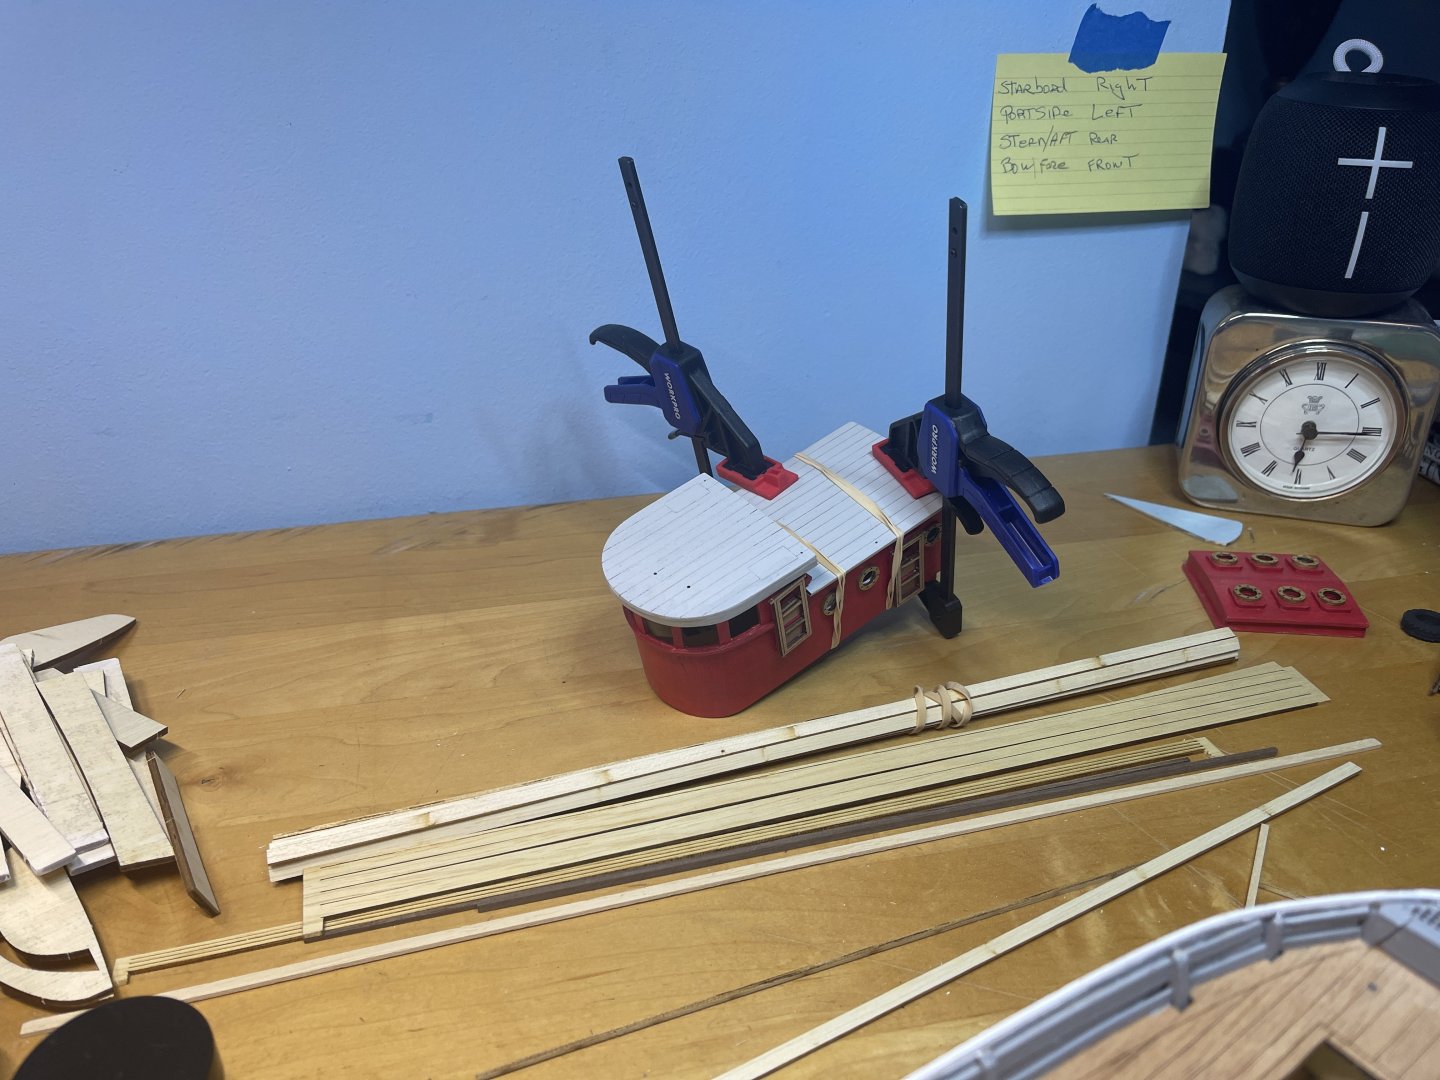
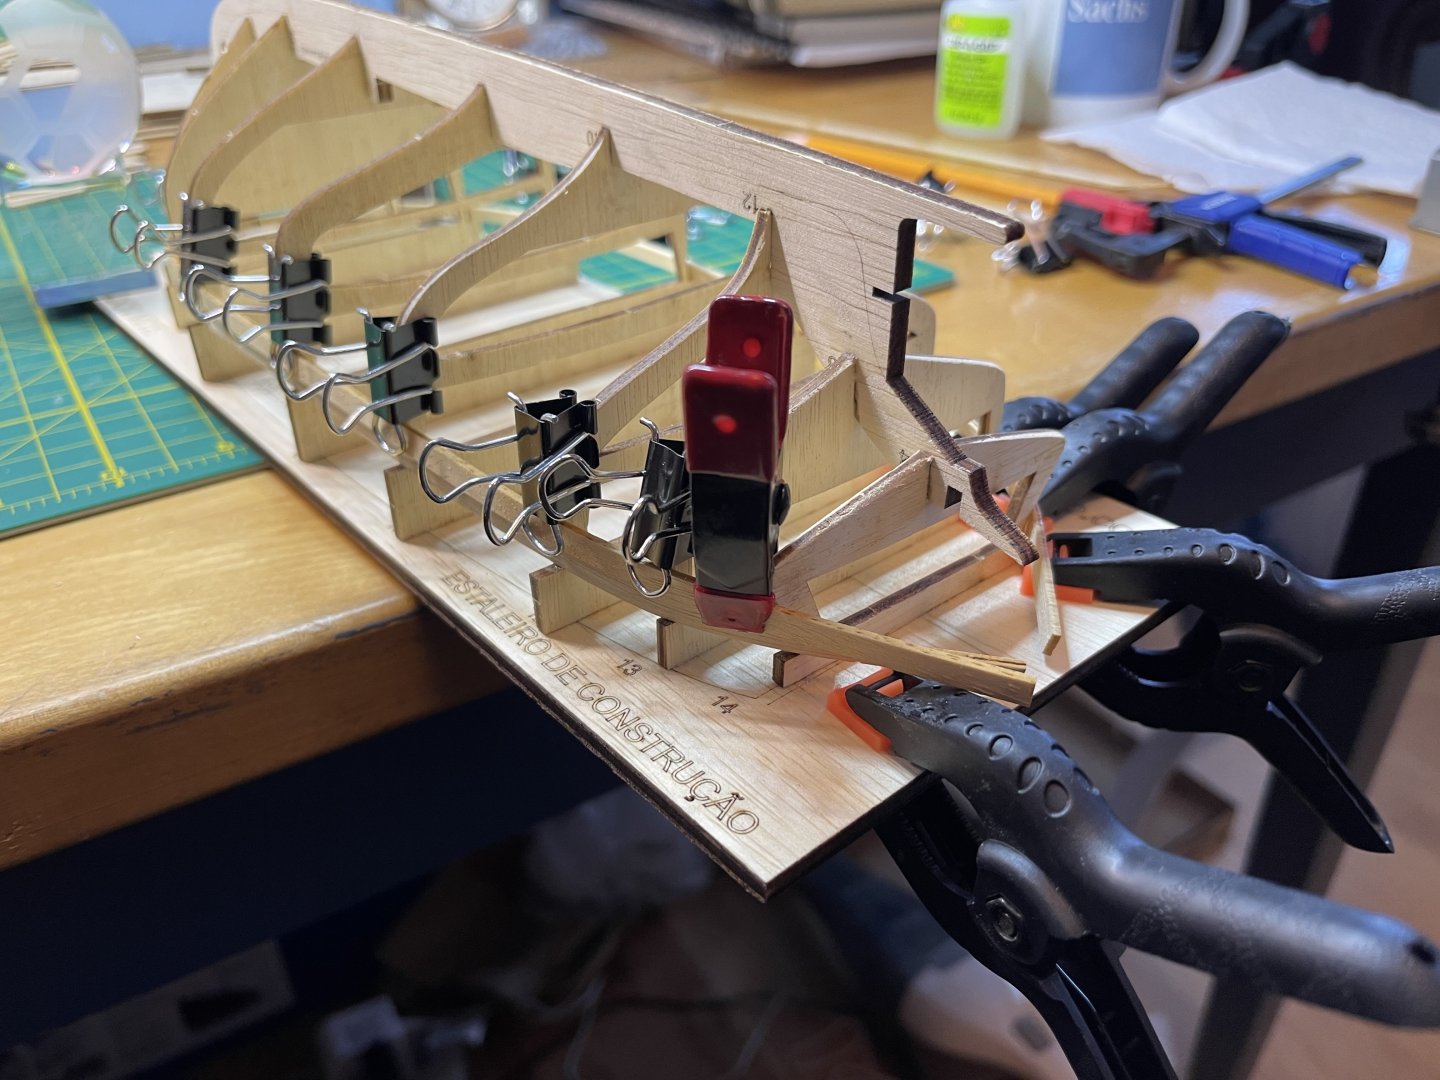
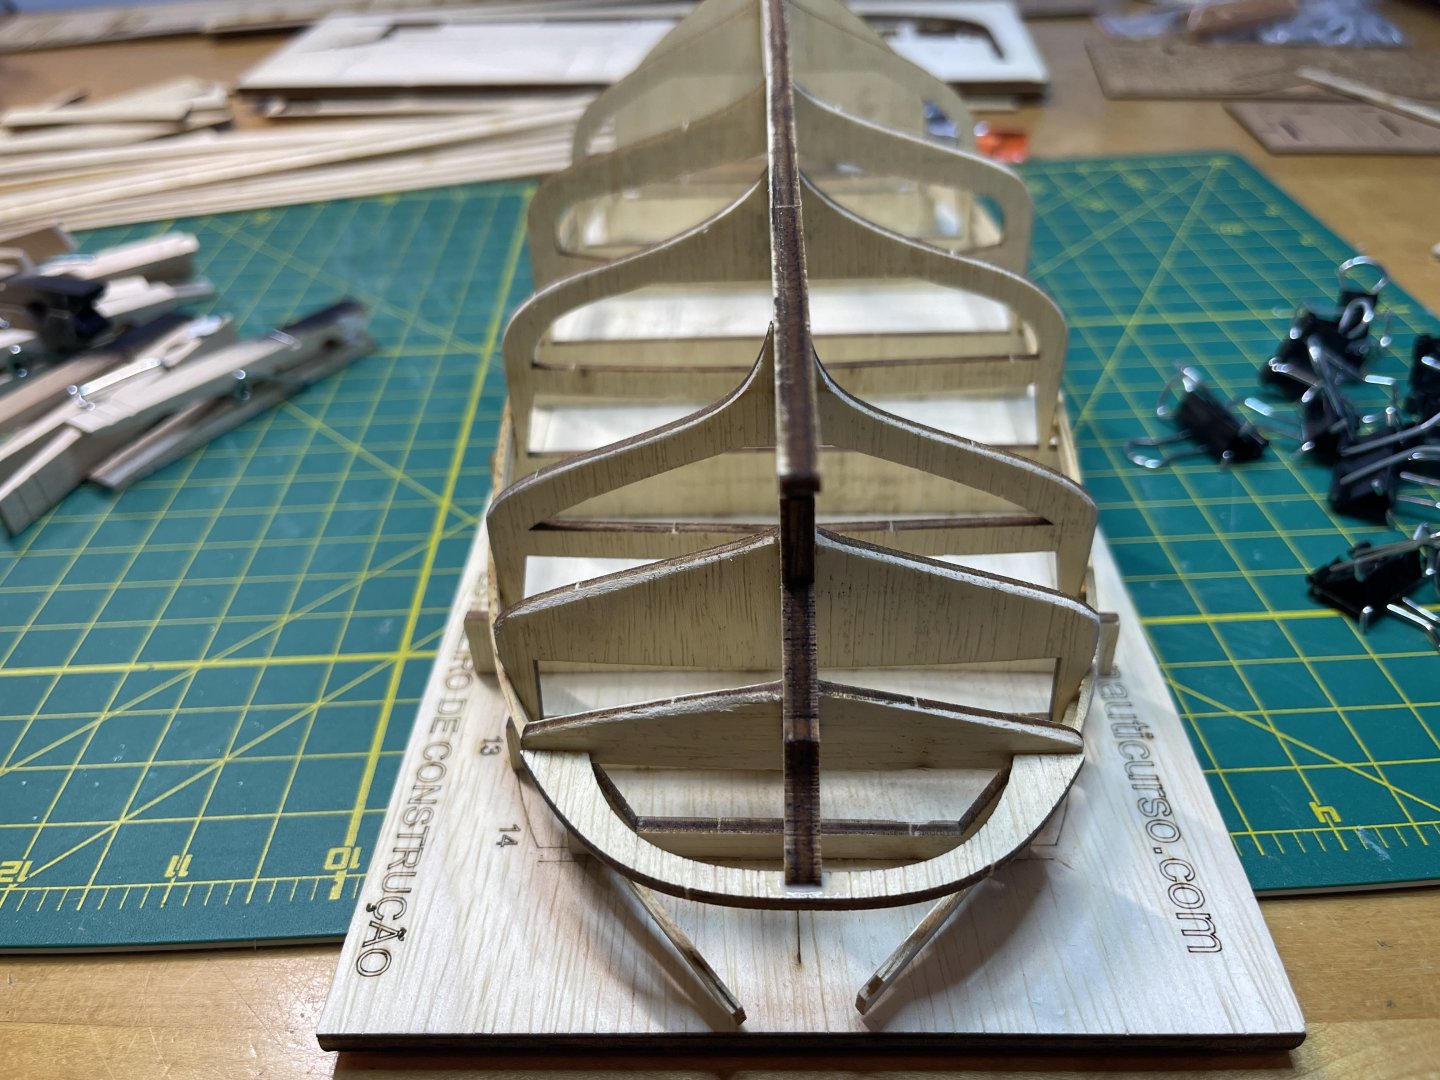
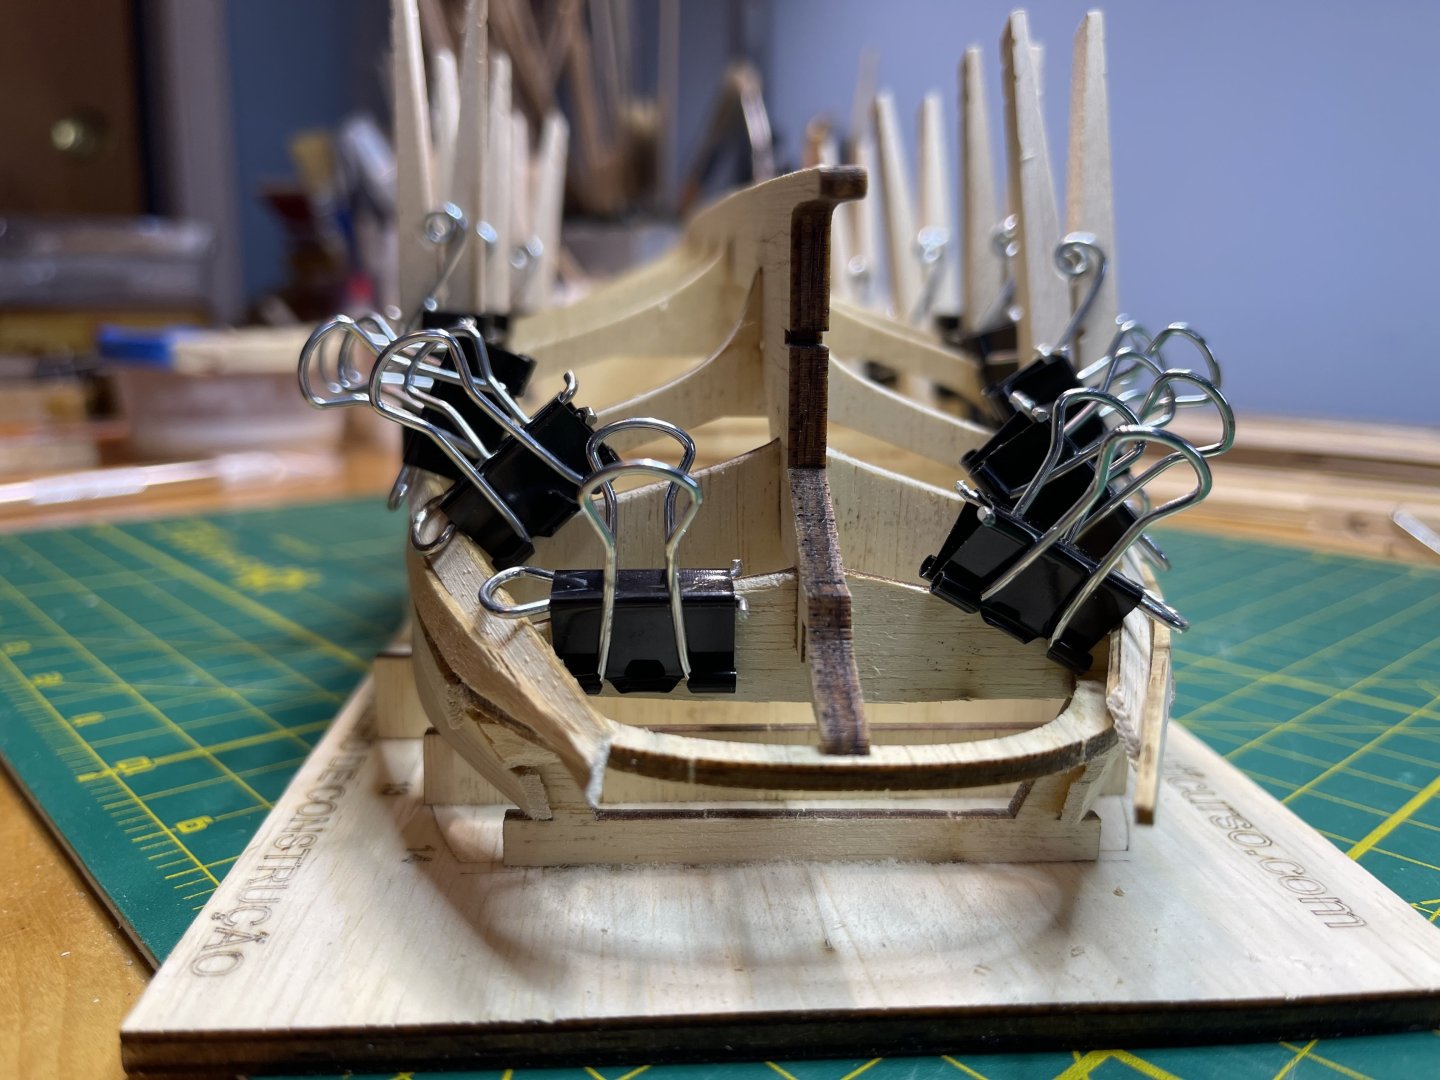
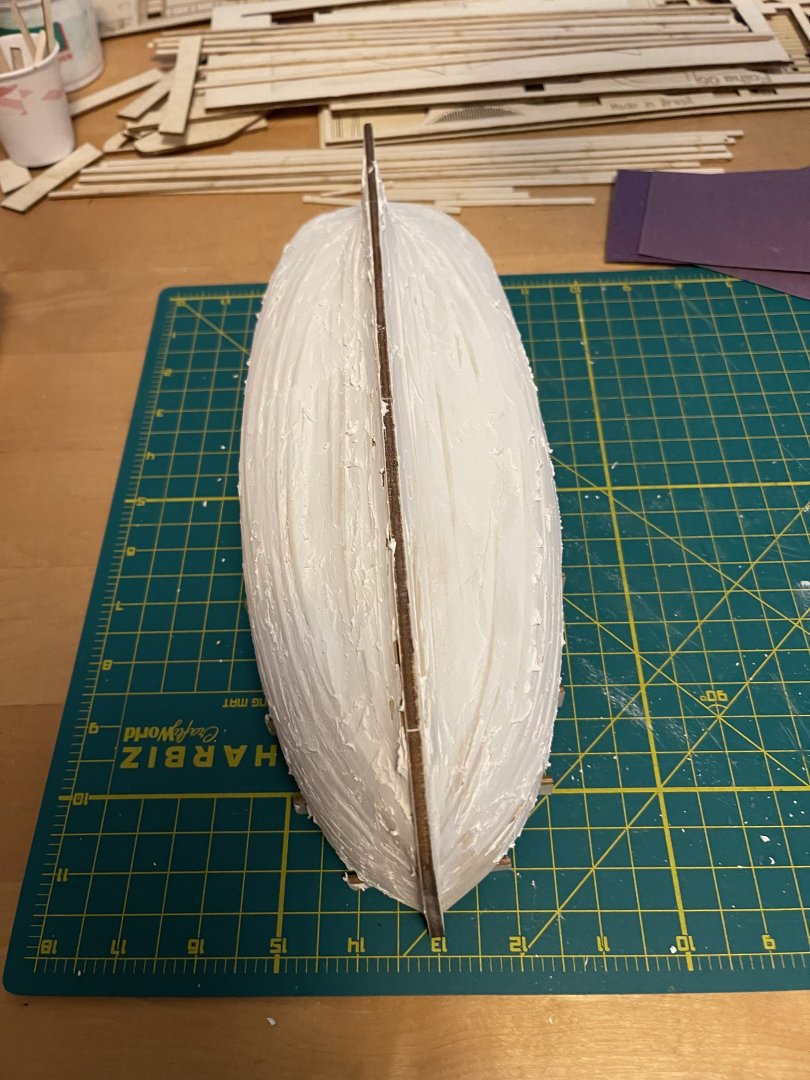
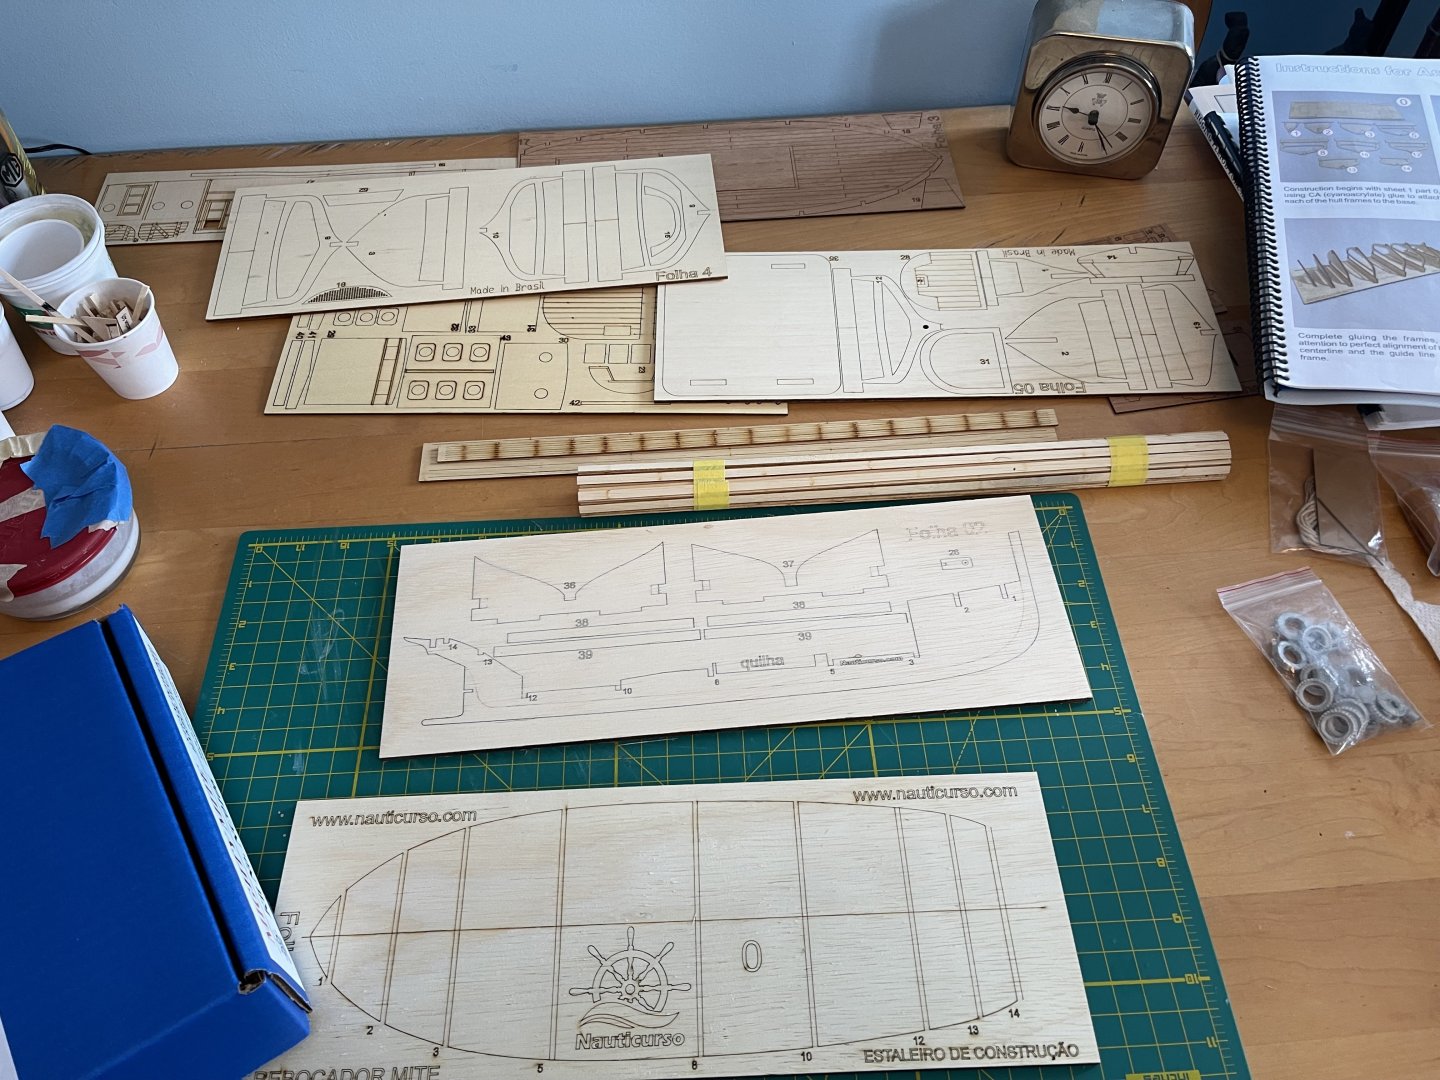
I changed the build process. Instead of gluing all the frames into the building board, I glued frames 1 and 2 into the keel and the rest into the building board. This method worked better for me. Planking was typical; however, soaking the planking was necessary, even though it was not mentioned in the assembly instructions. As this is my seventh build, I understand fairing the hull well. However, I still struggle to correct it so that all planks lie as they should. I have been reading and watching videos, but I am still finding it difficult to grasp the visual aspect of it. Anyway, the planking is all done and sanded, the deck is in place, and the gunwale is set. The hull needs resanding and painting, as I am unhappy with the color. I may use the same hull color as I did for my Harriet Lane. The wheelhouse is being repaired as I carefully fold the material around the wheelhouse floor following the assembly instructions. You know what happened: It cracked. I should have been more careful and soaked it first; now it's drying. We'll see what happens in the next day or two.


- 6 replies
-
- 3
-
-
- Mighty Mite
- Nauticurso
- (and 2 more)
-
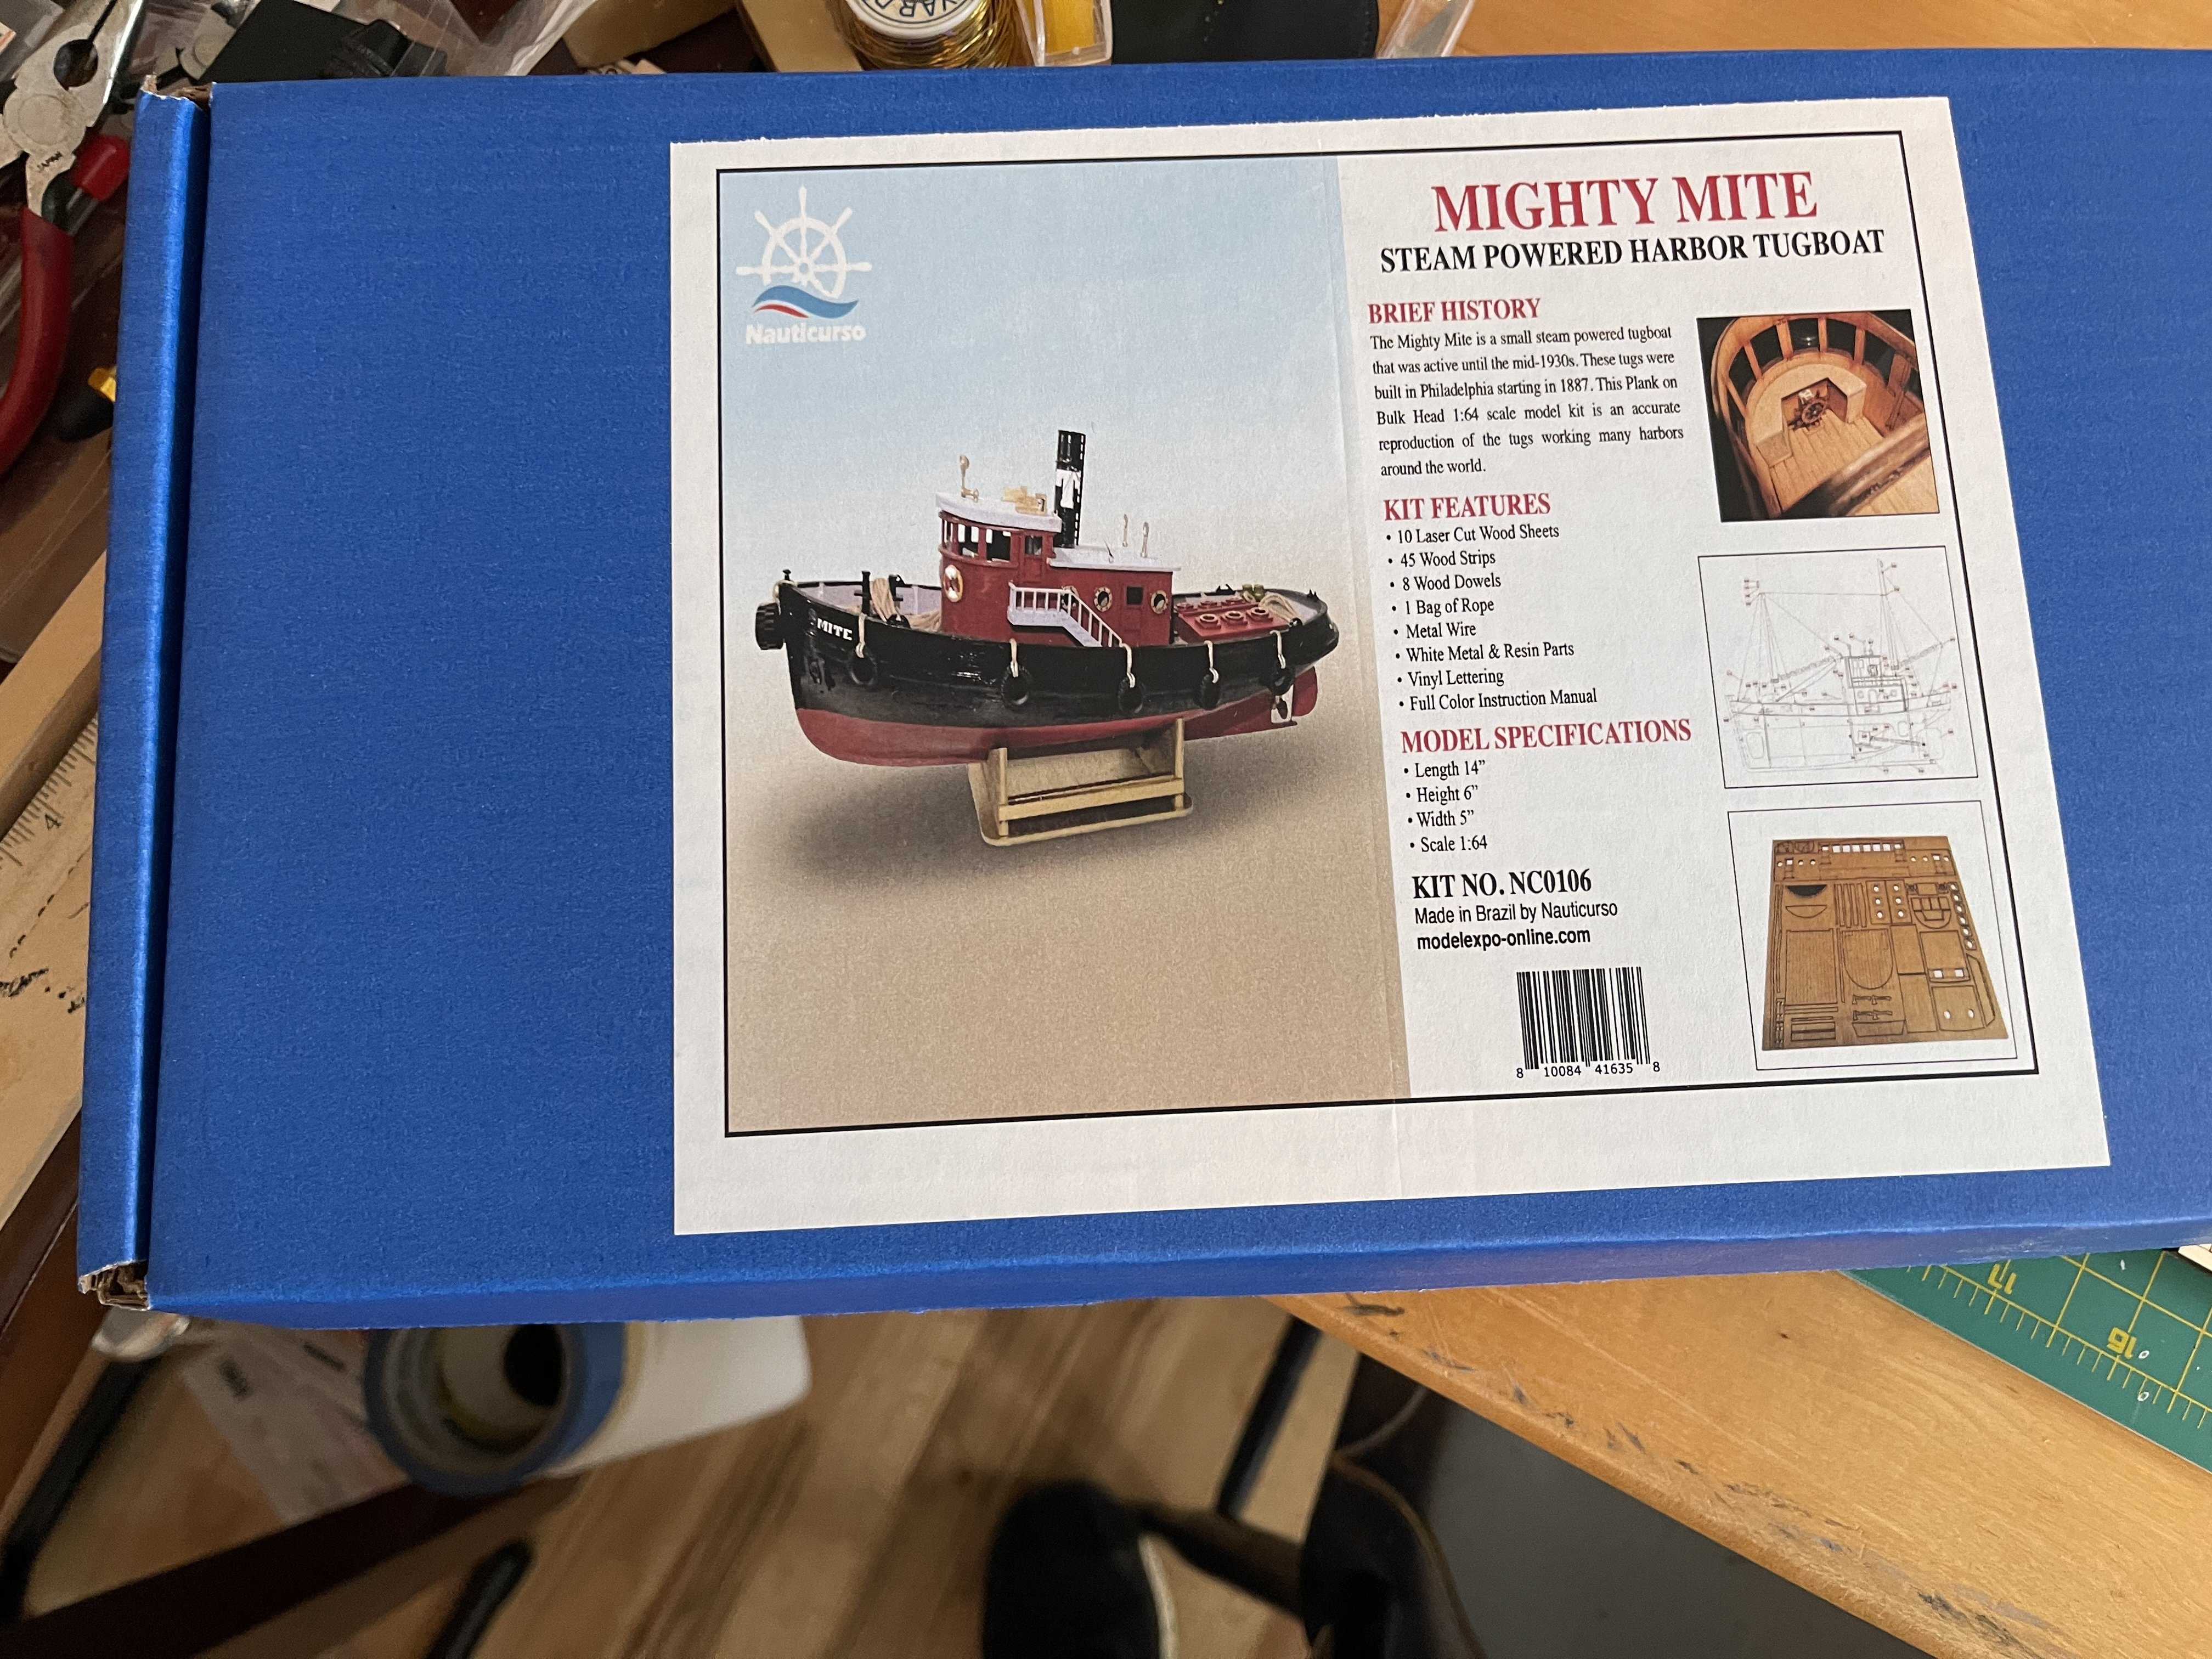
Short story on why a tug. Years ago, my wife befriended one of her coworkers living in the next state. Despite my initial hesitation, we ended up socializing with them and their husbands. To my surprise, I discovered that her friend's husband owned a towing company. I needed to understand the towing company's services. I thought they only towed vehicles. At the time, I was in the transportation and distribution business, and I saw the potential for collaboration between a towing company and a major transportation company. To my surprise, after he finished laughing at me, he mentioned that he was in the tugboat business, specializing in ship docking, general harbor towing, coastal towing, and bulk transportation. I had no idea what that involved. After 35+ years of friendship, I noticed he did not have a model tugboat in their house. It would be a nice surprise, but then there might be a reason why they do not have one. Anyway, here we go…


- 6 replies
-
- 5
-
-
- Mighty Mite
- Nauticurso
- (and 2 more)
-
I haven’t started one on this site. As I’ve been posting my builds on one of the other sites. I’ll start a build here in the next couple of days. BMT
-
Thanks, Paul. I appreciate you getting back to me. I look forward to your build and all the best. BMT
-
Paul, I'm sure you probably moved on to another build, but I was curious, as I just started my tug build, if you had any other photos of your planking. Any bow or stern photos? I appreciate the time. Best regards. BMT