HOLIDAY DONATION DRIVE - SUPPORT MSW - DO YOUR PART TO KEEP THIS GREAT FORUM GOING! (Only 75 donations so far out of 49,000 members - C'mon guys!)
×


Wookiewithacamera
-
Posts
59 -
Joined
-
Last visited
Content Type
Profiles
Forums
Gallery
Events
Everything posted by Wookiewithacamera
-
Log 6 These past 2 days I've been working on prepping and bending the sheer planks. I started gluing down the first of the two, and noticed the transom batten? Is above the sheer. It didn't look right so I slowly stripped off the sheer with a cotton swab and iso alcohol. I am now attempting to bend it a little more to-shape, before trying to mount it again. I have seen images of the top of the transom being lined up with the top of the sheer, and others it's lined up with the batten? Not the top of the transom itself. Is there some sort of common practice? Or is it subjective?
- 43 replies
-
- 1
-

-
- Lowell Grand Banks Dory
- Model Shipways
- (and 2 more)
-
The closest thing I have to a jig, is my desk vise from Artisenia Latina. I got it for Christmas, but obviously only works on keels. So I haven't been able to really use it. Instead I use the clamps that came with it to clamp my base to my cutting mat. Really helps for sanding so the whole model isn't sliding around.
-
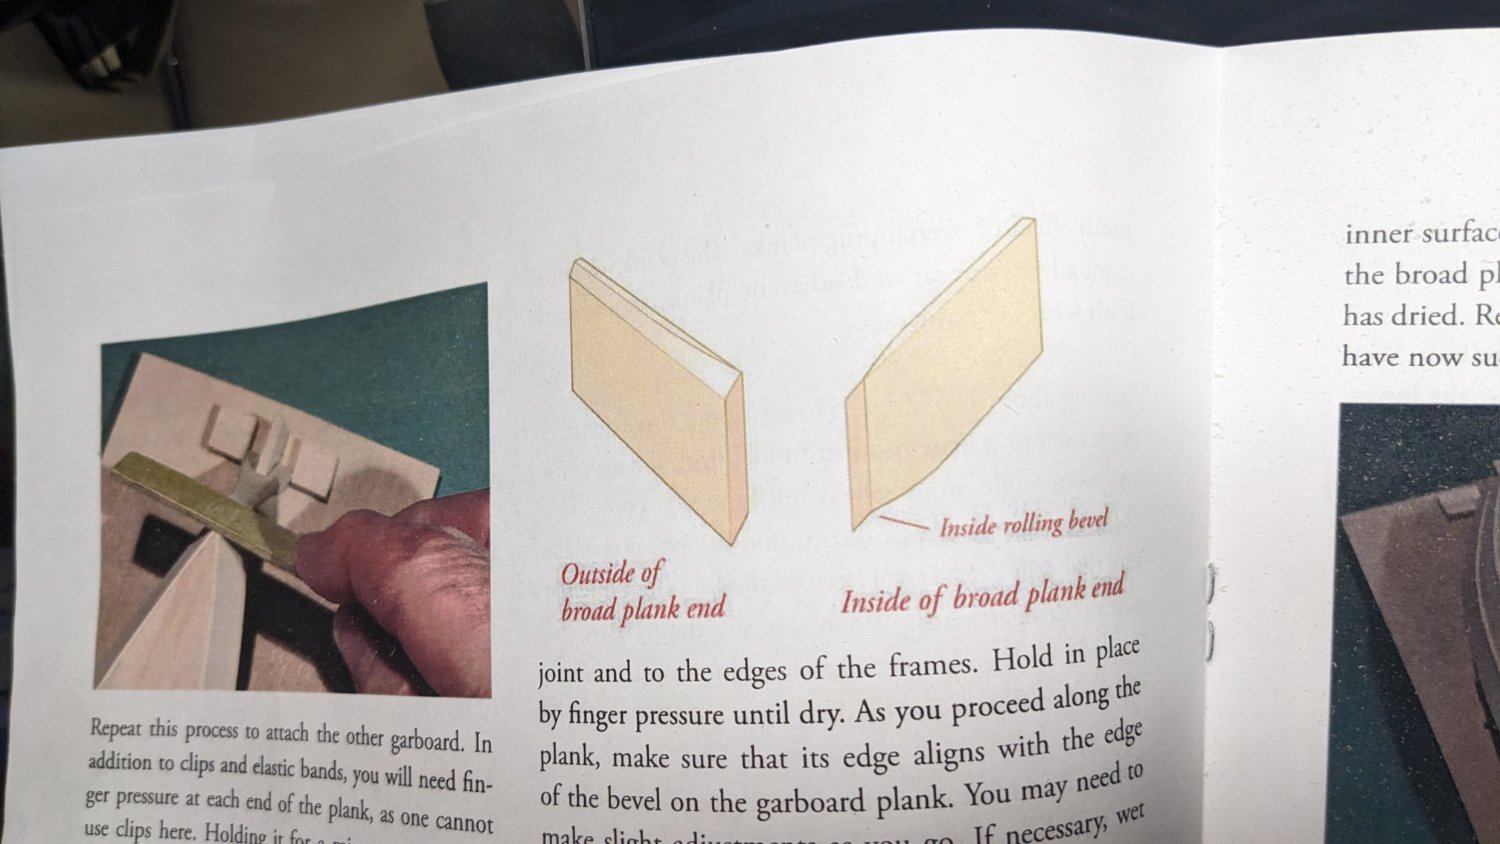
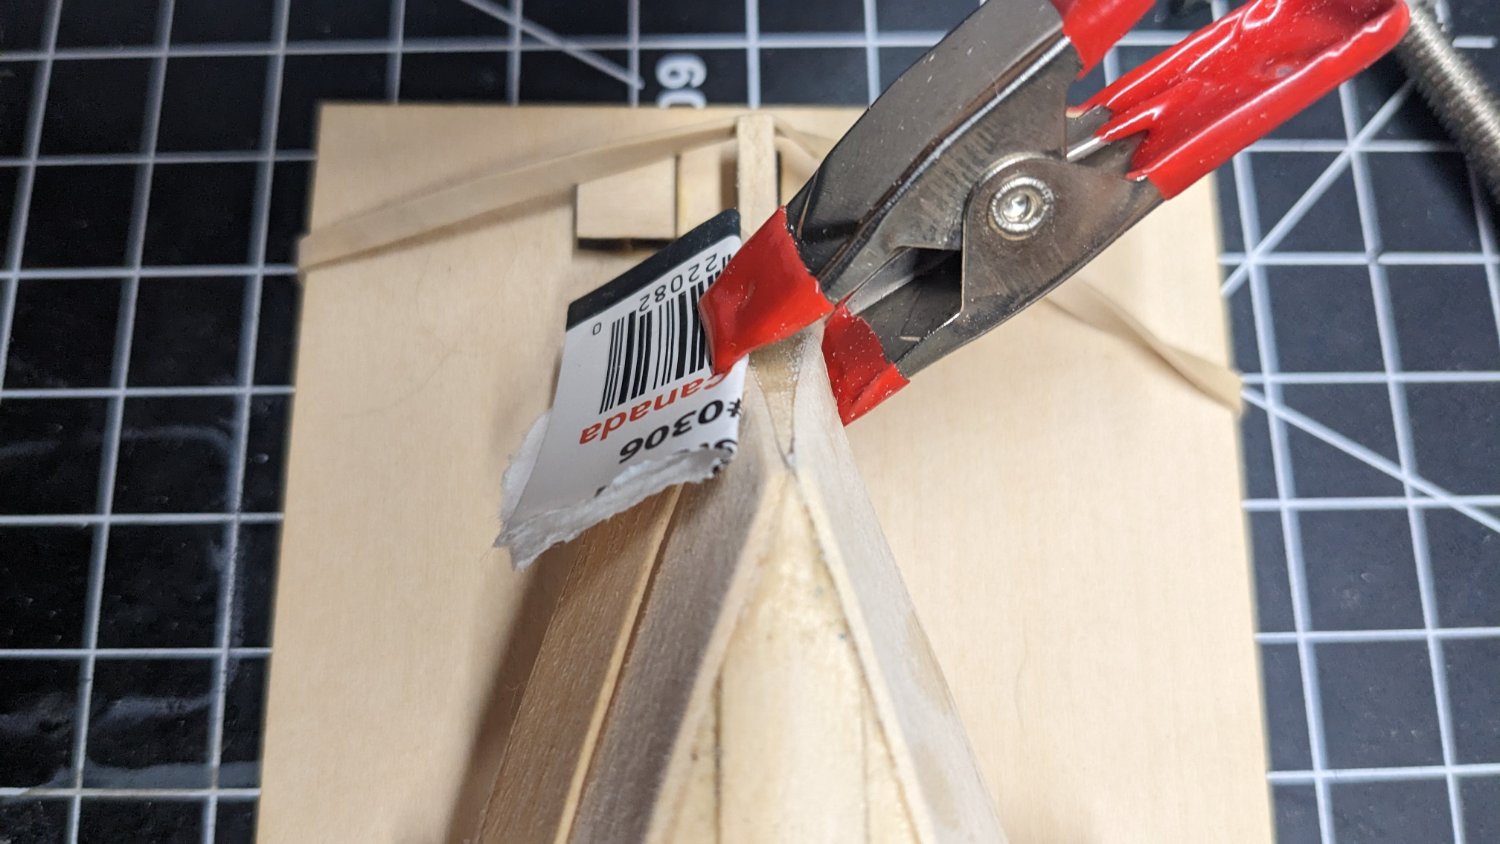
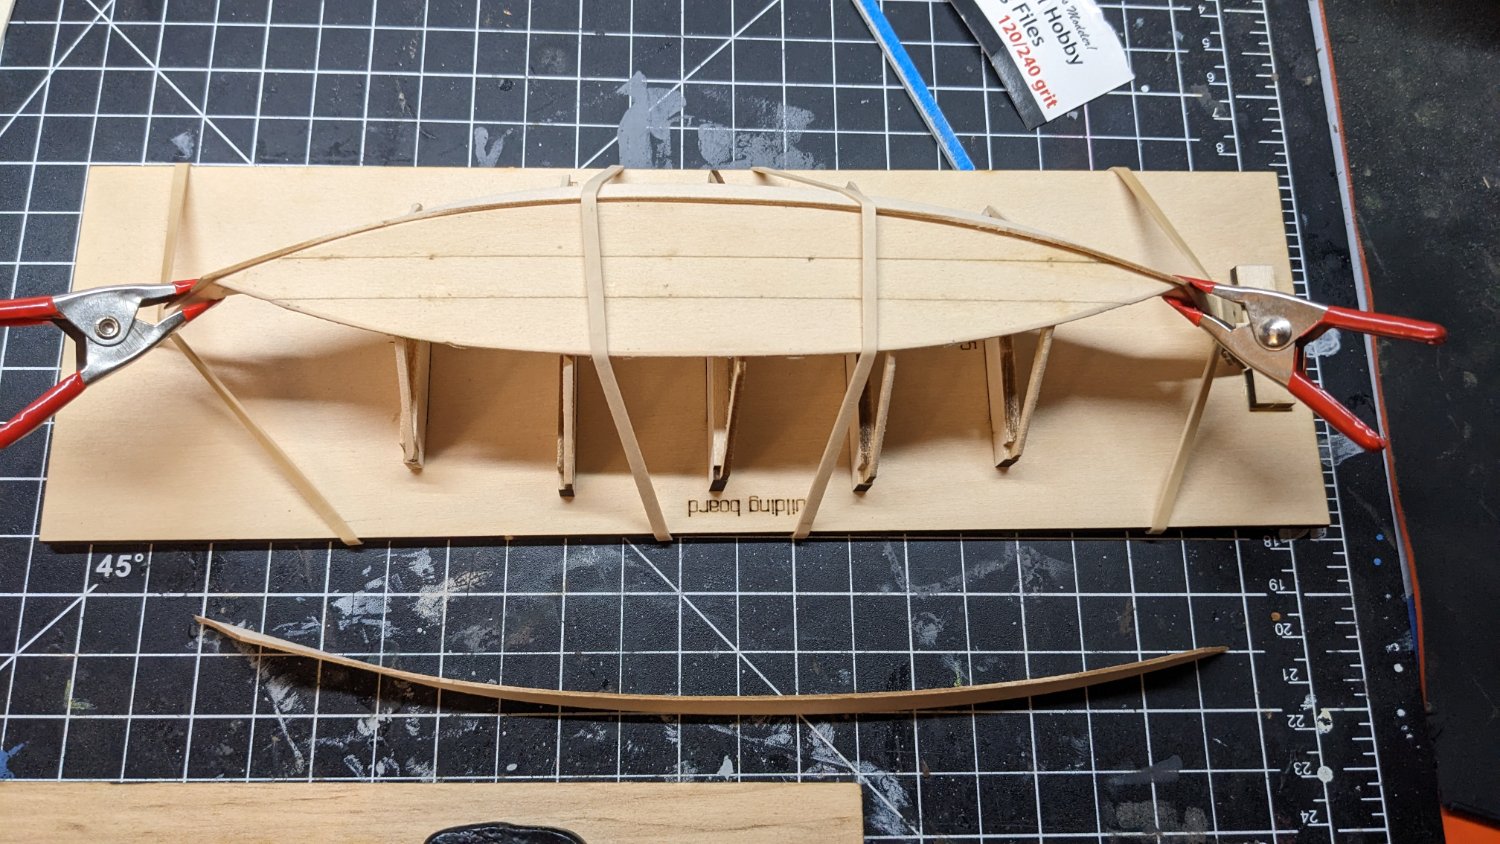
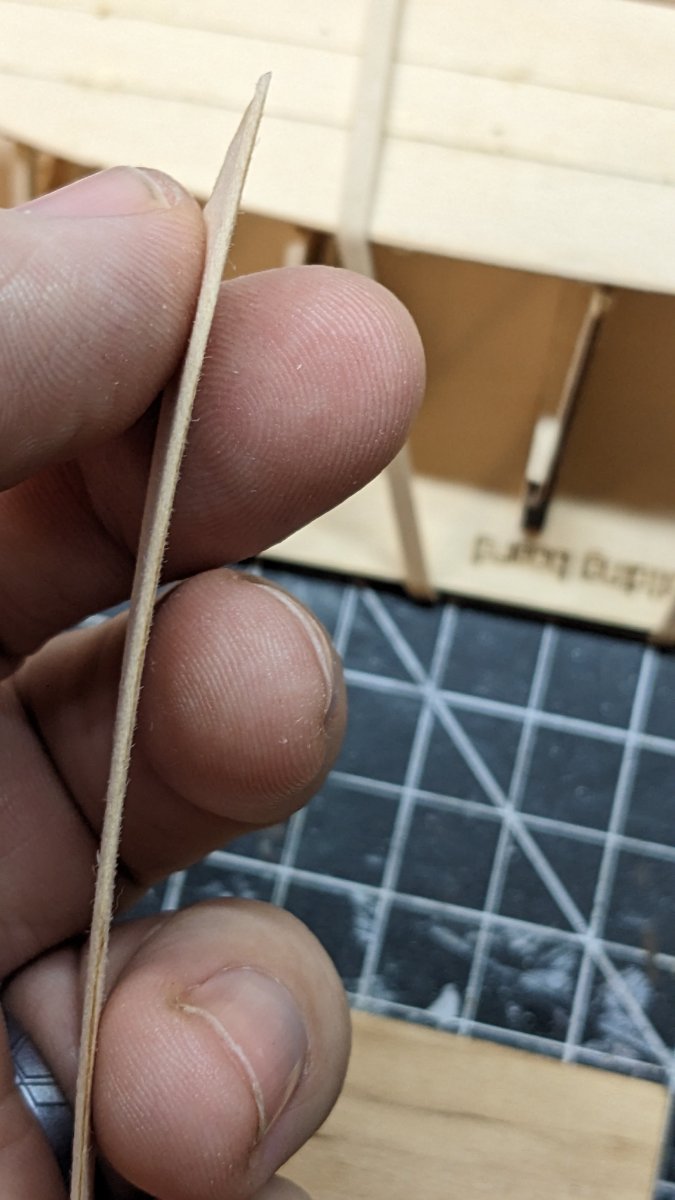
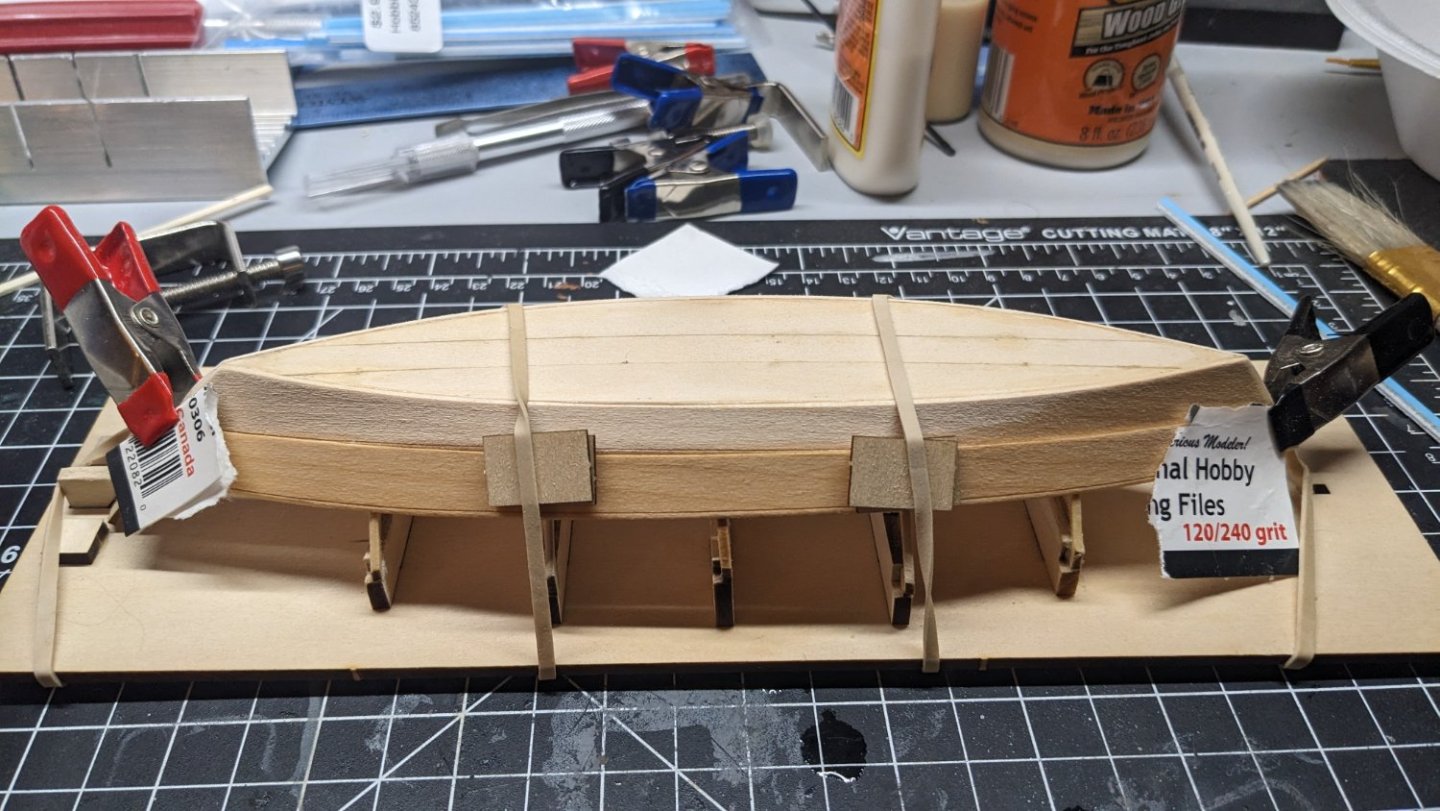
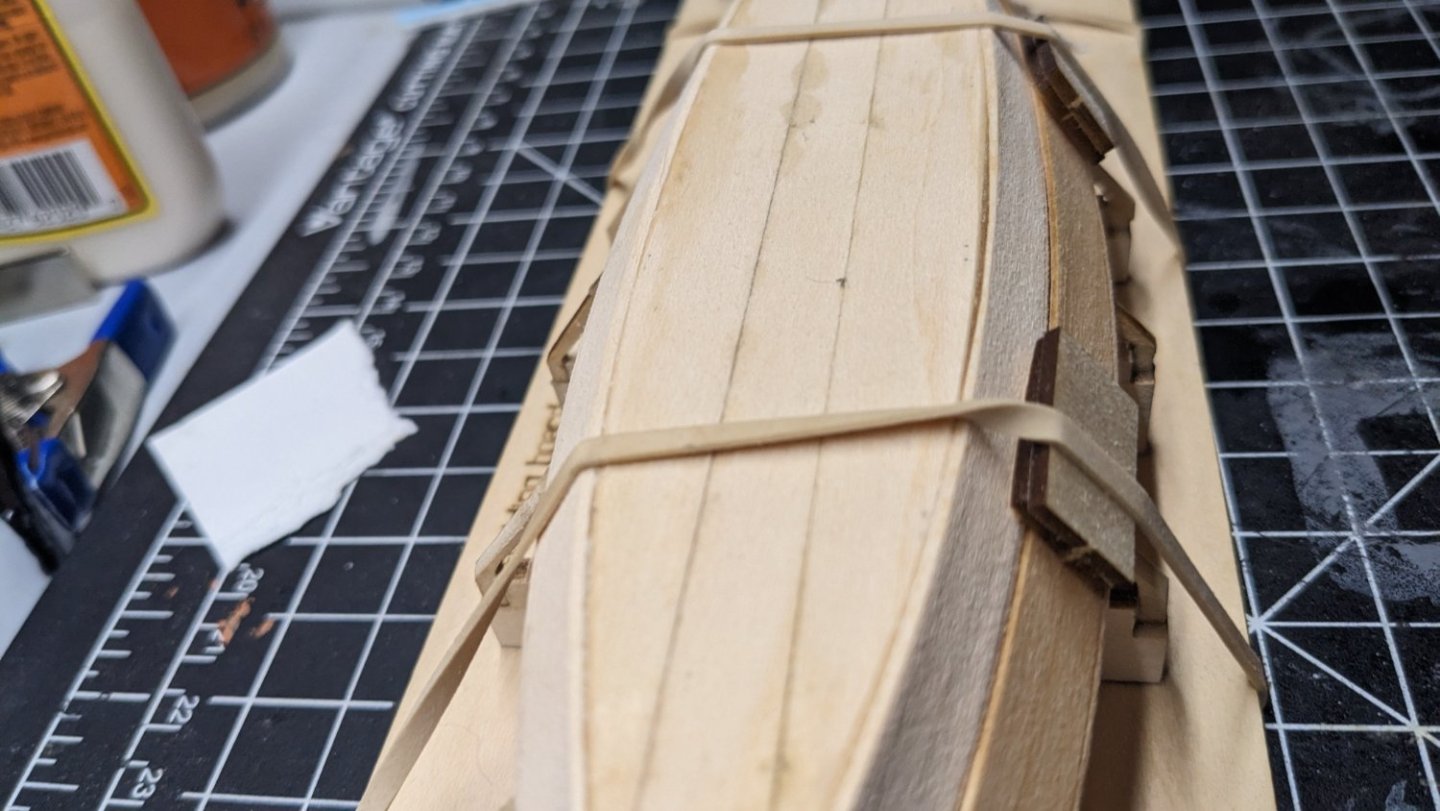
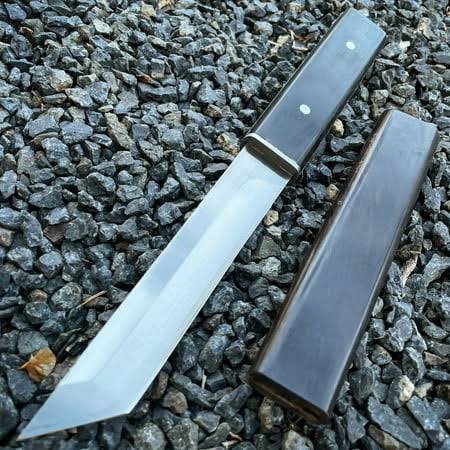
Log 5 - Strange Tides I've glued both garboard strakes in place, and allowed 24 hours between each, before handling. Transom and bottom edges have been sanded and are flush. I released the broad/middle strake, one at a time, for beveling. Due to the nature of the bevels, I opted to only release a strake at a time, to prevent mix ups. As I noticed the strakes were more narrow at one end, I chose to out the more narrow of the two ends, toward the bow stem. Leaving the fatter end to the transom as this end receives the majority of sanding. Again the instructions have been worded In a way where I am getting beginning to think is intentionally vague. I laid the broad for test fitting and proceeded to stare and calculate the secrets of the universe. The manual called for rolling bevels on top, bottom and both ends. At first I was a little confused as to how you accomplish this on the ends, once they're already beveled.. After test fitting and looking closer at the manuals image, I noticed that the image showed the top and bottom being angled in same direction. I beveled the bottom edges just like before, and the top I flipped and sanded in the same direction but on the "inside" as instructed. I came to the conclusion that this is for laying flat, thin beveled ends against each other, at the joint of the broad and garboard strakes. While the manual is frustrating, I am thankful for it forcing me to figure out the Why's, instead of the mindless part-by-number system of the plastic counterparts. Once the top and bottom was beveled, and started thinking about how to rolling bevel the ends, after the first two bevels have been made. I was concerned that winging this bevel step would result in accidentally removing the previous rolling bevels. I decided to continue after coming to the conclusion that maybe it would look like the edge of a tantos point. Realizing I watch far to many blacksmiths on YouTube and too many seasons of Forged in Fire, has paid off.. the wife is still in disbelief on the matter. I laid in this bevel as a rolling bevel, continuing the "edge" up from the corner to a third of the edge. I then flipped my work and proceeded in the same manner from that beveled corner up to a third. I then lightly sanded both sides of the middle, but leaving approximately half of the strake thickness and the char line behind. Once I mount this strake, I will release, bevel, and take a photo of the next broad strake. But for now, this is my best way of describing my work. I soaked my strake in hot water for awhile, and started the painful process of what the manual refers to as: Creative Clamping. Ive realized at this point, that flat bottoms suck. Building upside down, leaves little space for clamping, the further I down I work. 😑 I will be thankful when I start a keel structure, as I am not looking forward to the same frustration on the Sailing Pram. A little rewetting? Was required at this point, as it took me awhile to figure out how to clamp it. I am hoping it will not damage the strake, but I am also hoping I won't have to repeat the soaking/clamping again to take the bend.


- 43 replies
-
- 2
-
-
- Lowell Grand Banks Dory
- Model Shipways
- (and 2 more)
-
I need to consider finding some spare timber. I only have what was provided in the kit. There was one very small part, which I haven't gotten to yet, that broke when unpacking it. I think it was a small batten for a much later step. I figured I'd replace it with a corn dog stick, if need be. Haha
-
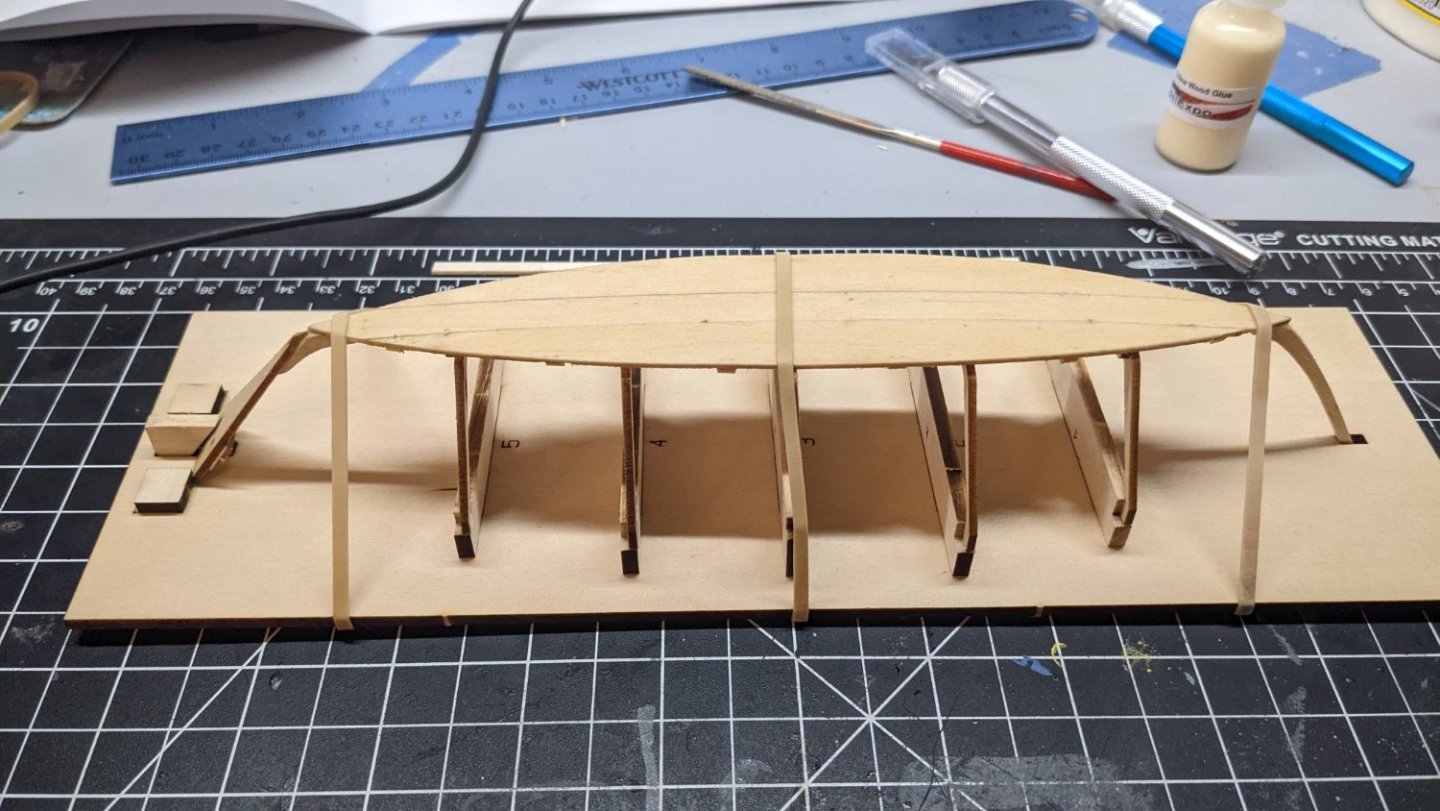
Log 4 - The waves are choppy After a little more research and studying it seems my terminology was a little off or lacking. I beveled my port garboard strake to a complete 45*, when I was supposed to rolling bevel, leaving a bit of flat on the char surface. The starboard garboard strake I did the rolling bevel. My gardboards are currently bending/drying. The port garboard is ready for glueing, and the starboard is clamped and drying. I decided to continue and just embrace my mistakes. I'm already noticing my 3 frame is leaning. I believe this is because that frame broke and during repair it had to be dismounted from the bottom planks and reglued. The pressure from the rubber bands and the fresh glue caused it to slide and lean towards the stern. We continue on. Thanks to everyone commenting. I will try to exercise more patience and problem solving in the future. As well as rereading steps to prevent wasting timber.


- 43 replies
-
- 4
-
-
- Lowell Grand Banks Dory
- Model Shipways
- (and 2 more)
-
I was beginning to wonder. I posted back ok December 11th. I guess I looked at it from the other side. Thinking people would be working on new projects after Xmas, so people would be "at their workbench". As far introduction, I put that in my first log post as I didn't notice there was a designated intro thread. I was just eager toy question out there.
- 43 replies
-
- 2
-
-
- Lowell Grand Banks Dory
- Model Shipways
- (and 2 more)
-
I've started beveling the frame ribs and the garboard plank. I posted on here to ask a question of clarification and haven't received any response. So I continued on as best as I could. I've already already made an error and am hoping to doesn't affect me too badly later. I beveled my garboard plank to a 45*, as I did not Read Ahead in the manual. I was attempting to slow down, and it screwed me up. This may be my last post/log, as it seems this website is no longer active or by extension, the members are no longer active. I will continue to look for guidance elsewhere, in hopes to learn these skills properly, and not just give up. The lack of folks to converse with makes it much more difficult.
- 43 replies
-
- 1
-
-
- Lowell Grand Banks Dory
- Model Shipways
- (and 2 more)
-
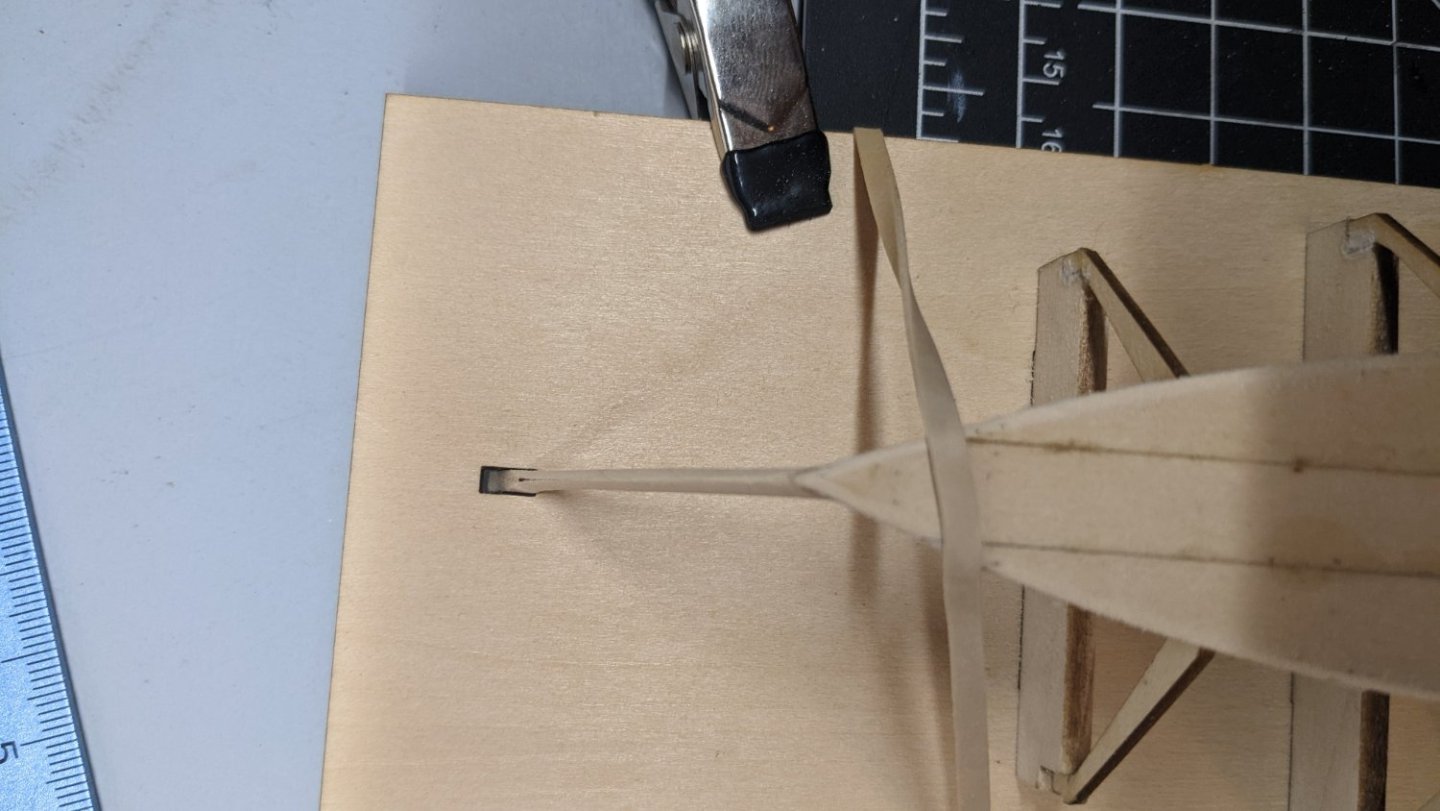
Hello, first time poster and I hope I'm posting in the appropriate area of the forums. I have a few years of off and on model building experience from easy to advanced plastic kits. My experience with ships in general has been very sour, due to poor quality kits and have never been finished. I currently have 1 completed plastic ship kit, and it was from a film/animation and not historically accurate. Like most, I knew people with big ship models on display in their home; however these were all bought prebuilt. Else I would have started my journey sooner. After much research I started searching for my first. I found an Amazon kit that had a comment that said the kit was labeled "beginner" but they explained it was more of an intermediate. They did however point the readers towards the Model Expo Series for beginners. That new to purchase a Lowell Grand Banks Dory rowboat kit from them, plank on frame. So here I am. Log 1-3 - A Wookies Dory Trials. I joined MSW late in my project, as I had questions. I have made it to the prep stage of planking, as seen below. I ran into a few problems and have tried to flex my problem solving, in order to make it this far. First I broke a small part, which I haven't used yet, so that's a future issue that will be addressed. Then I broke frame 5, but fixed it with Gorilla Extra Strong Wood glue. Later in the assembly I snapped frame 3 on both sides, in the same place as frame 5; the small tabs that slot into the... Upper bulkhead sort of section of the frame. I fixed this as well, hoping it doesn't bite me later as a weak part. My issue currently is on the clearness of the Bevel step? The manual explains that transom, stem, bottom and frames all need beveled. I have started to bevel the stem, as shown in the singular included image. I sanded both sides to a 45* till they meet and the char begins to vanish. I feel this is correct, but I am going by the image in the manual. I tried to look online for some clarity and found a forum somewhere that someone had mentioned that beveling the bottom isn't necessary and can cause issues later while planking. I need to know if that's true. I am doing my best to complete this, right, the first time. As not to learn any bad habits. Do I now bevel a 45 or appropriate angle into just the fine edge of the transom? It says to skip frame 3, when beveling these. I am holding a piece of the left over wood from the previous steps against the side to get a general idea of where bevels on frames may be, and how much angle may be needed. I've seen images of transoms being overlapped, when planking, a great deal. Then I've seen images of frames and transoms with no bevel, being planked upt to the flat edges. Everything so far has been eyeballed, as far as plumbness. As I am working only with included tools. I have no straight edge, vise, or saw. A saw is only my last to get asap, as I am shooting pieces around the room trying to cut timber with a chisel #17 as instructed. I also cannot clamp my ship to my desktop, as it was made from a door blank, it is thicker than any clamp I own. I am mostly just looking for some clarification to make sure I am not overlooking any crucial details, as I feel the manual is a bit lacking for a first model in the series.
- 43 replies
-
- 8
-
-
- Lowell Grand Banks Dory
- Model Shipways
- (and 2 more)