Mjohn
Members-
Posts
39 -
Joined
-
Last visited
Profile Information
-
Location
Seattle Area
Recent Profile Visitors
The recent visitors block is disabled and is not being shown to other users.
-
 Nirvana reacted to a post in a topic:
Schooner America by Mjohn - BlueJacket Shipcrafters - 1/96
-
 Nirvana reacted to a post in a topic:
Schooner America by Mjohn - BlueJacket Shipcrafters - 1/96
-
 Nirvana reacted to a post in a topic:
Schooner America by Mjohn - BlueJacket Shipcrafters - 1/96
-
 schooner reacted to a post in a topic:
Schooner America by Mjohn - BlueJacket Shipcrafters - 1/96
-
 schooner reacted to a post in a topic:
Schooner America by Mjohn - BlueJacket Shipcrafters - 1/96
-
 JacquesCousteau reacted to a post in a topic:
Schooner America by Mjohn - BlueJacket Shipcrafters - 1/96
-
 JacquesCousteau reacted to a post in a topic:
Schooner America by Mjohn - BlueJacket Shipcrafters - 1/96
-
 JacquesCousteau reacted to a post in a topic:
Schooner America by Mjohn - BlueJacket Shipcrafters - 1/96
-
 GrandpaPhil reacted to a post in a topic:
Schooner America by Mjohn - BlueJacket Shipcrafters - 1/96
-
 GrandpaPhil reacted to a post in a topic:
Schooner America by Mjohn - BlueJacket Shipcrafters - 1/96
-
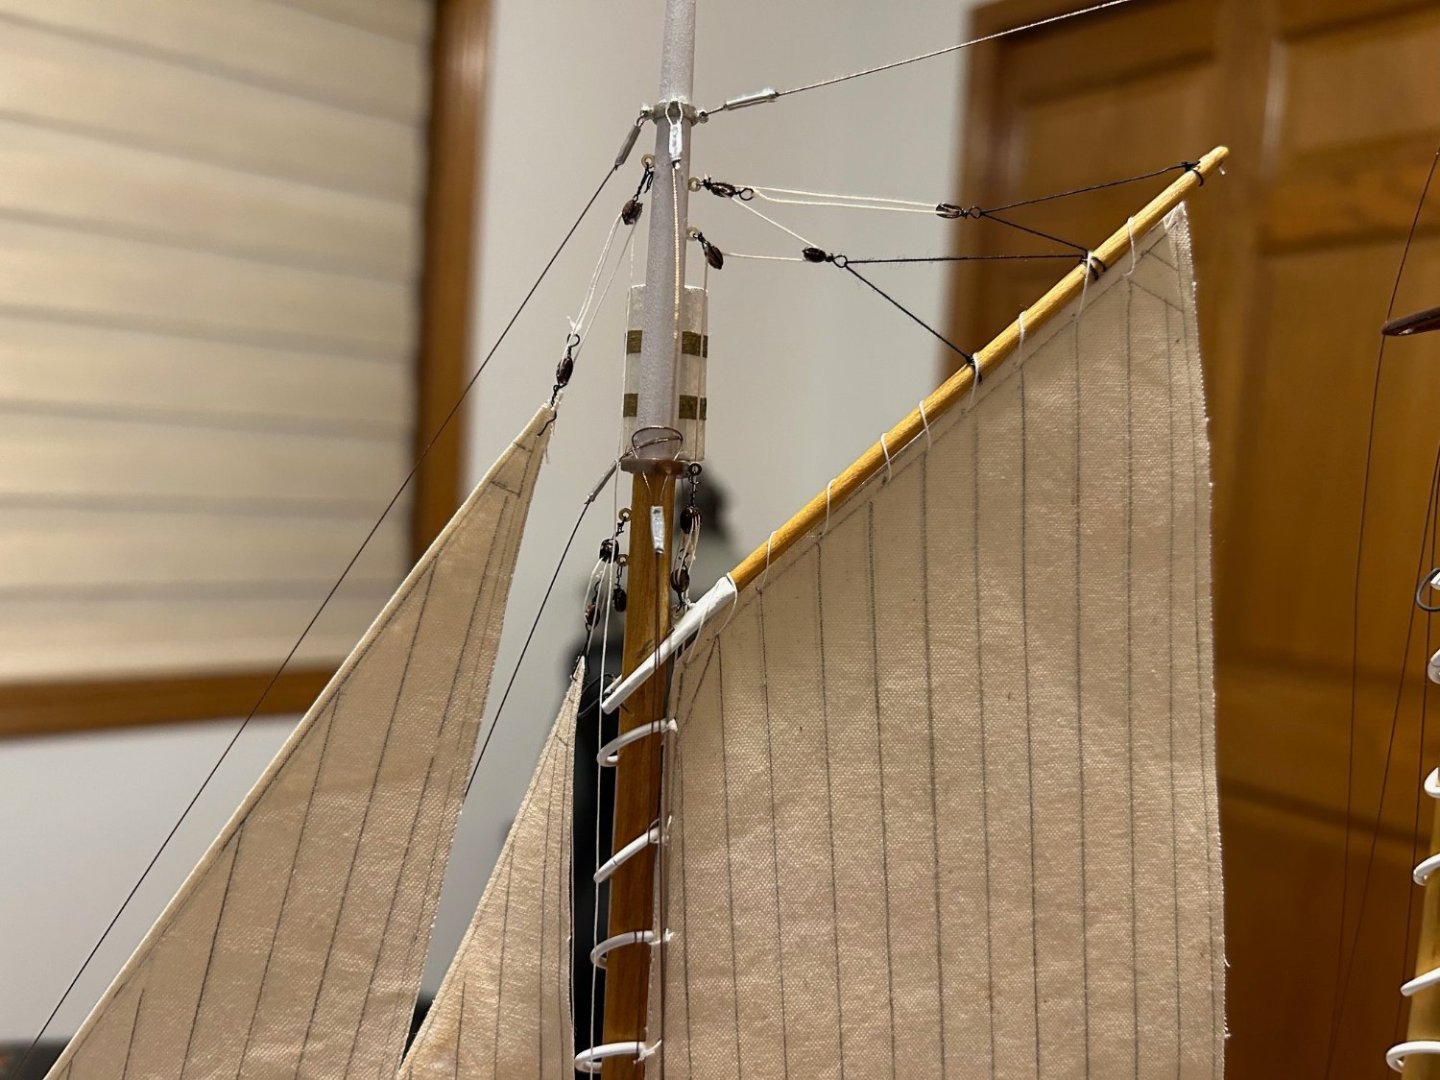
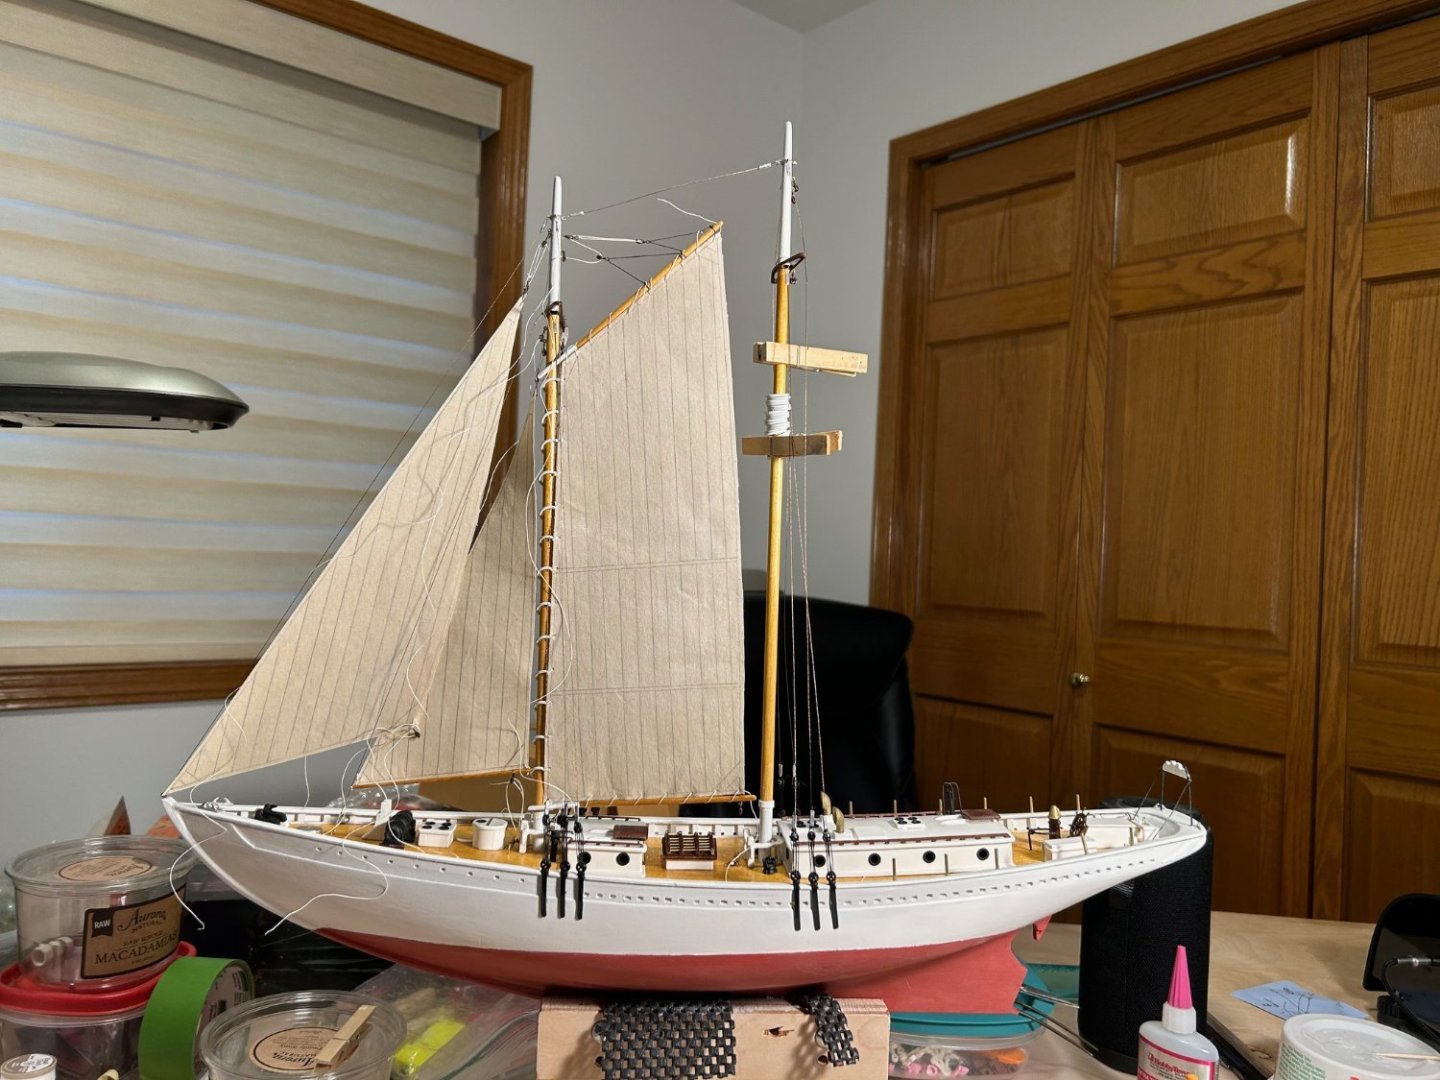
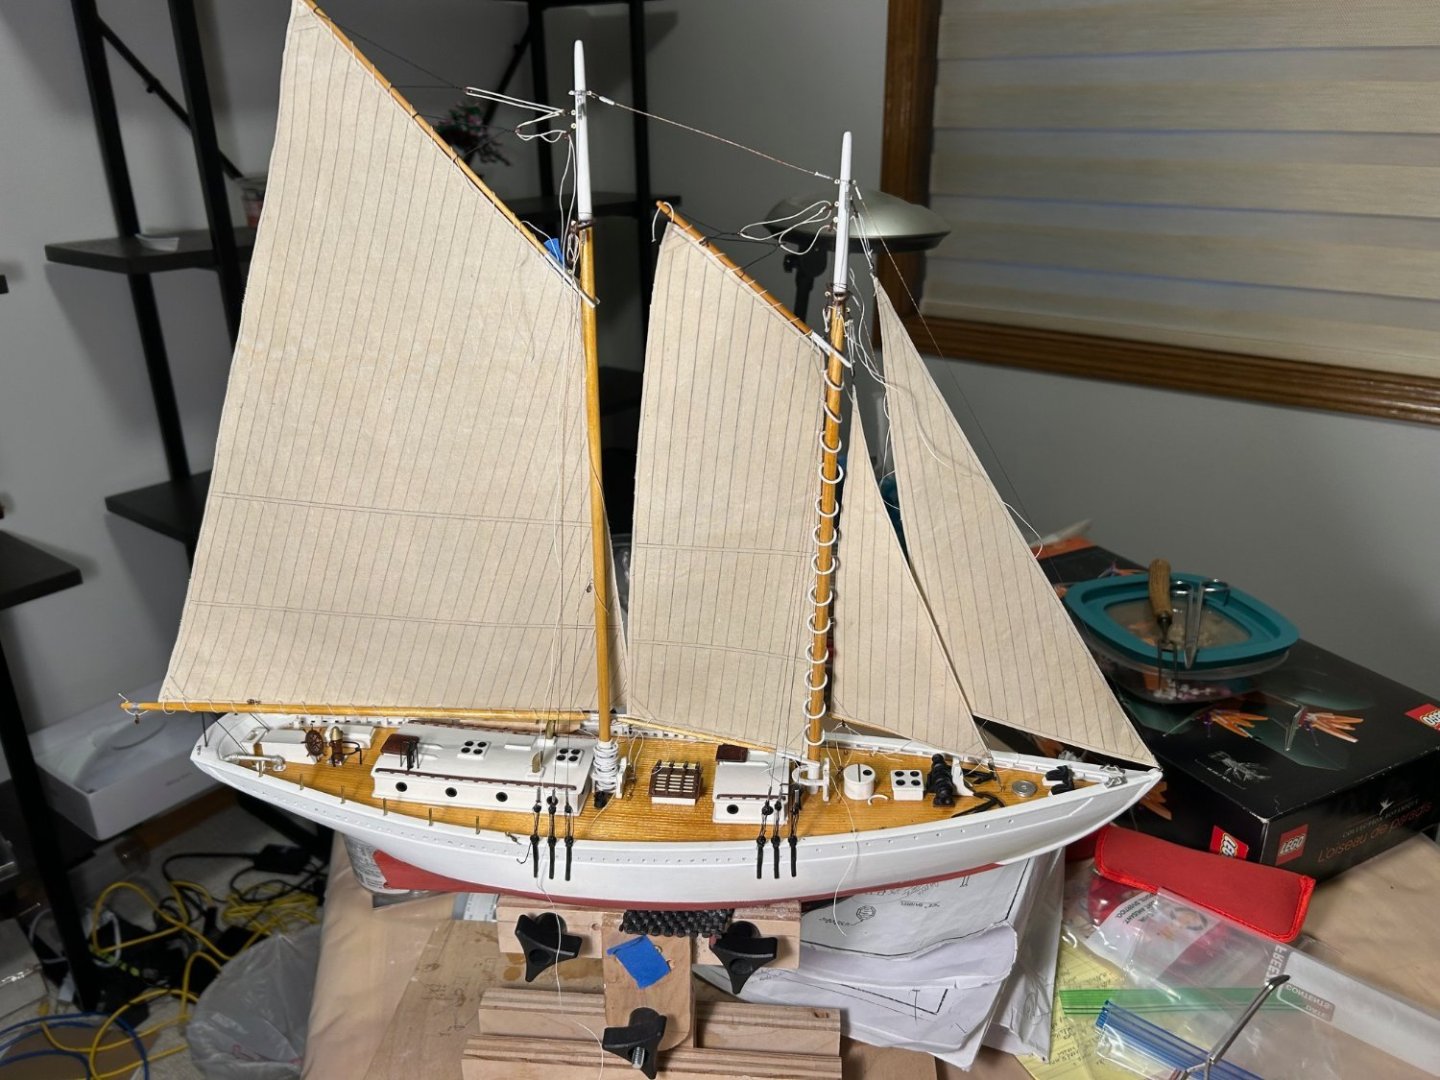
Other progress has been the sanding and shaping of the spars and beginning of building the deck furniture. I'm going to coat the spar with amber shellac and then paint them white where appropriate over the shellac. Next significant task is fairing the hull. There is one place on the boat I may want to fill with a little putty, but basically the plan is sand, fill with MH spackle paste, sand, repeat until fair. Eventually I'll put a coat of primer on the hull to look for unfair spots. Fairing is the place I am most concerned about working at this scale because the planks are only 1/32 thick, which won't leave much wood to sand off to fair the hull. Won't know til I try.
-
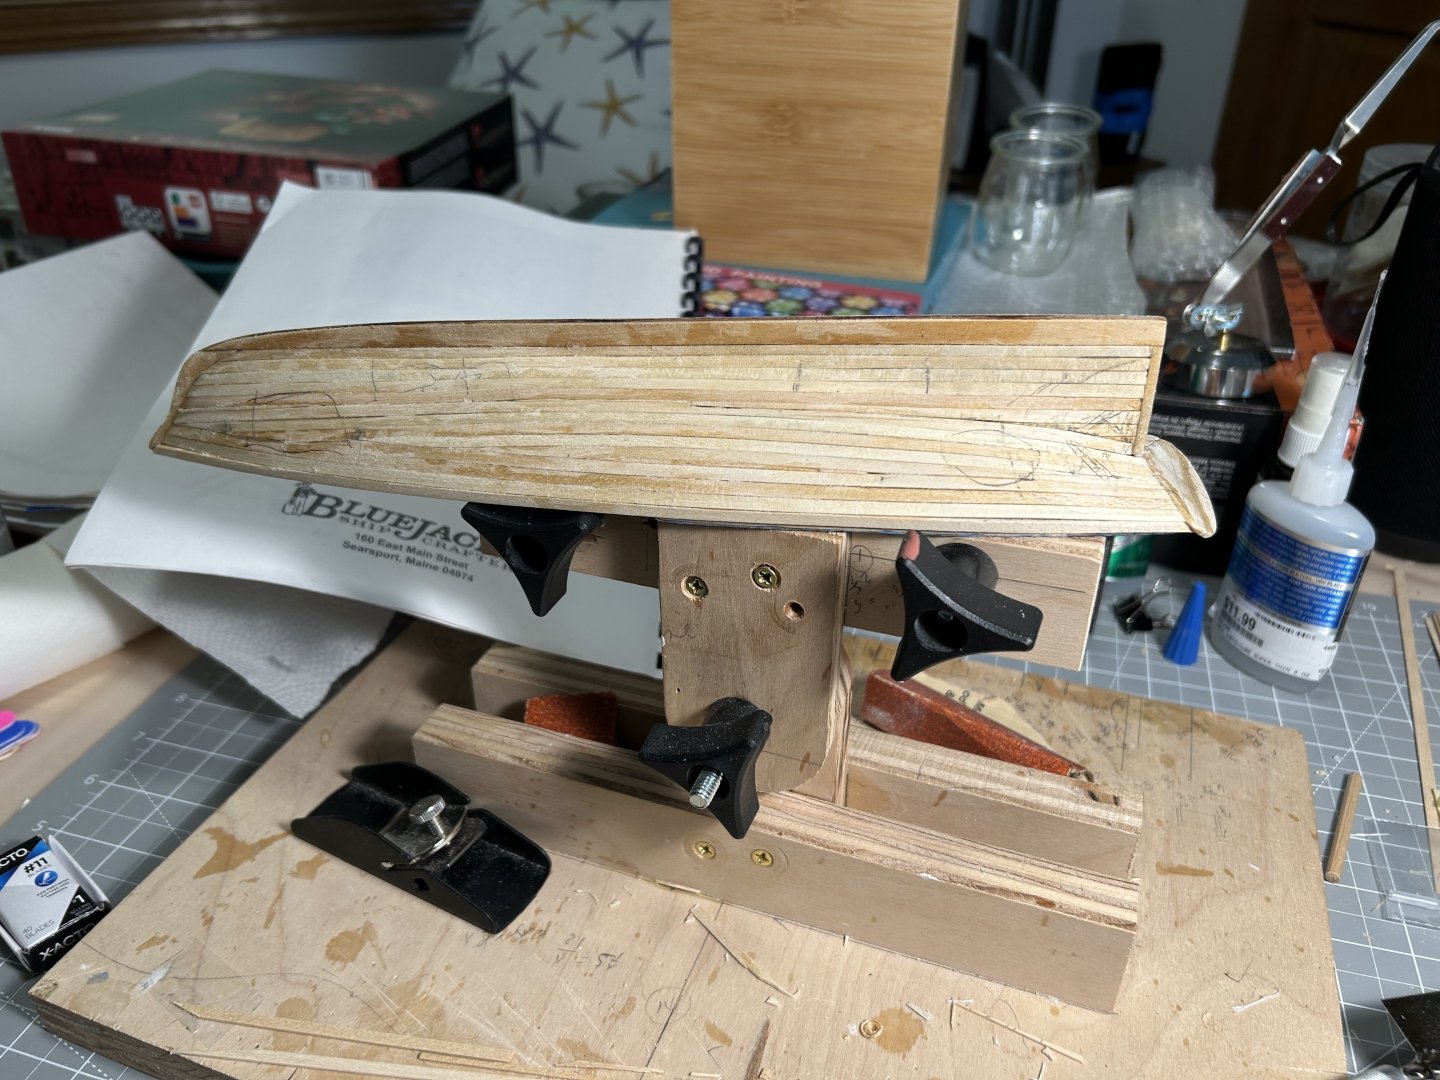
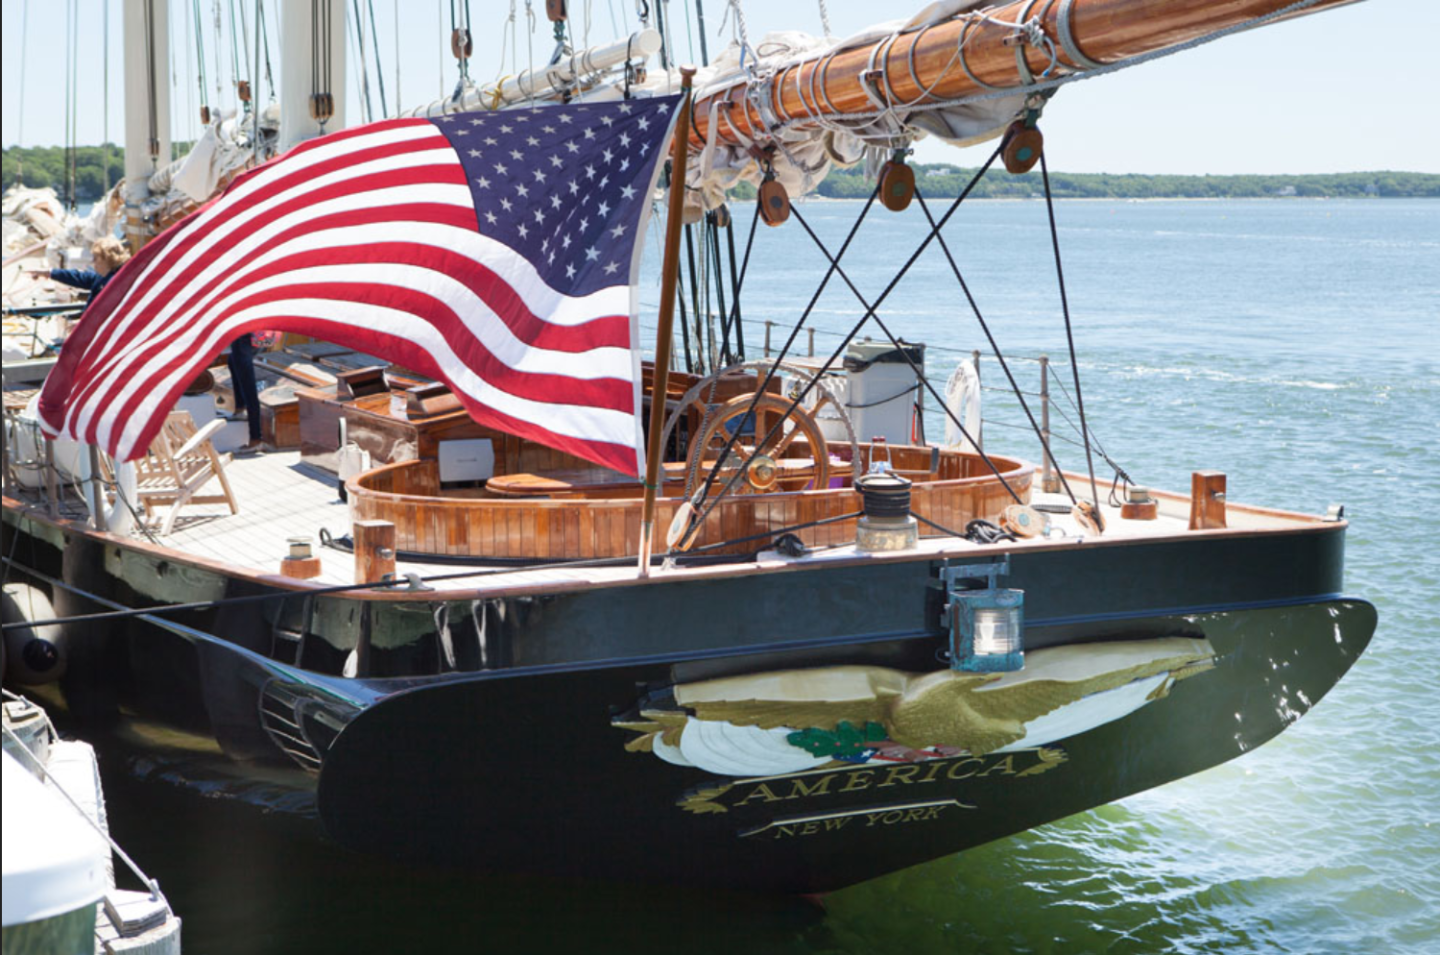
Planking is now complete. I used a "magic plank" method I once read about (but I can't find the reference) in which I tried to position a starter plank right at the point at the turn of the bilge which would allow me to maximize the number of mostly straight planks. I then fit planks down from the sheer, up from the keel, and up and down from the magic plank. I had some luck with this method in that most of the plank fitting I had to do turned into fitting one flat side of a new plank to a flat side of a prior plank above or below and only having to fit the other side of the new plank to one curved edge. Below is the aft end of the boat and transom I am trying to duplicate. I have tried and failed at this before, but maybe this time I have the process thought through
-
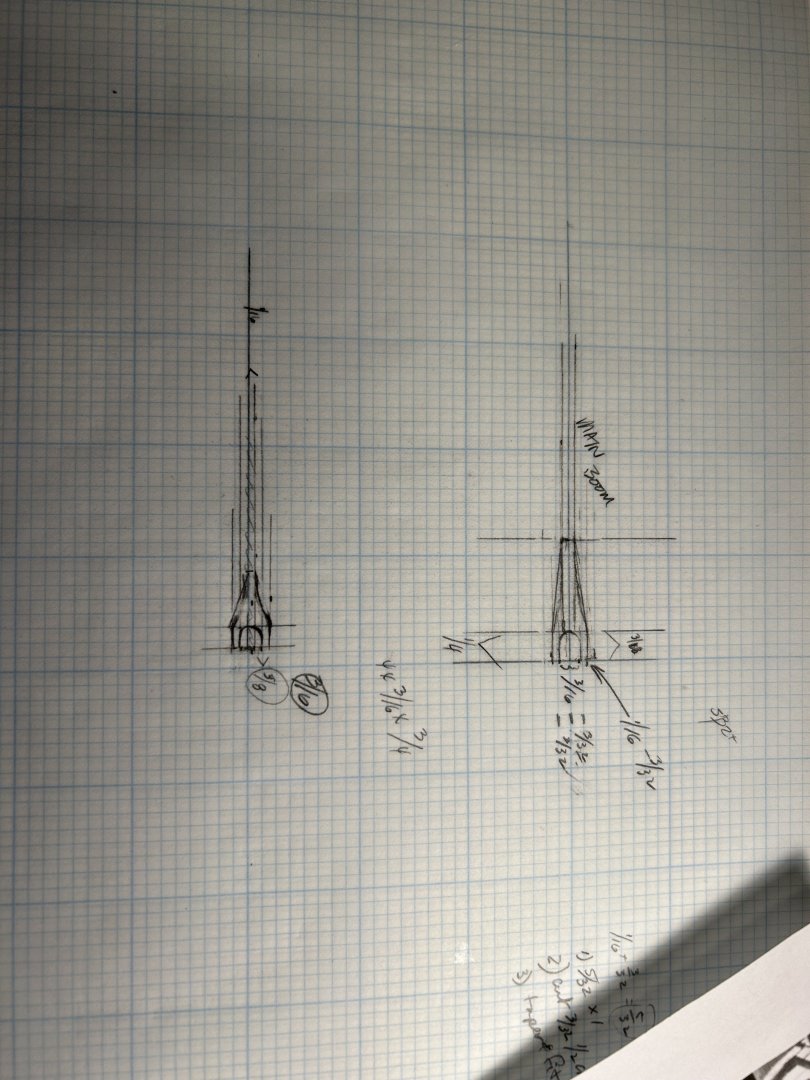
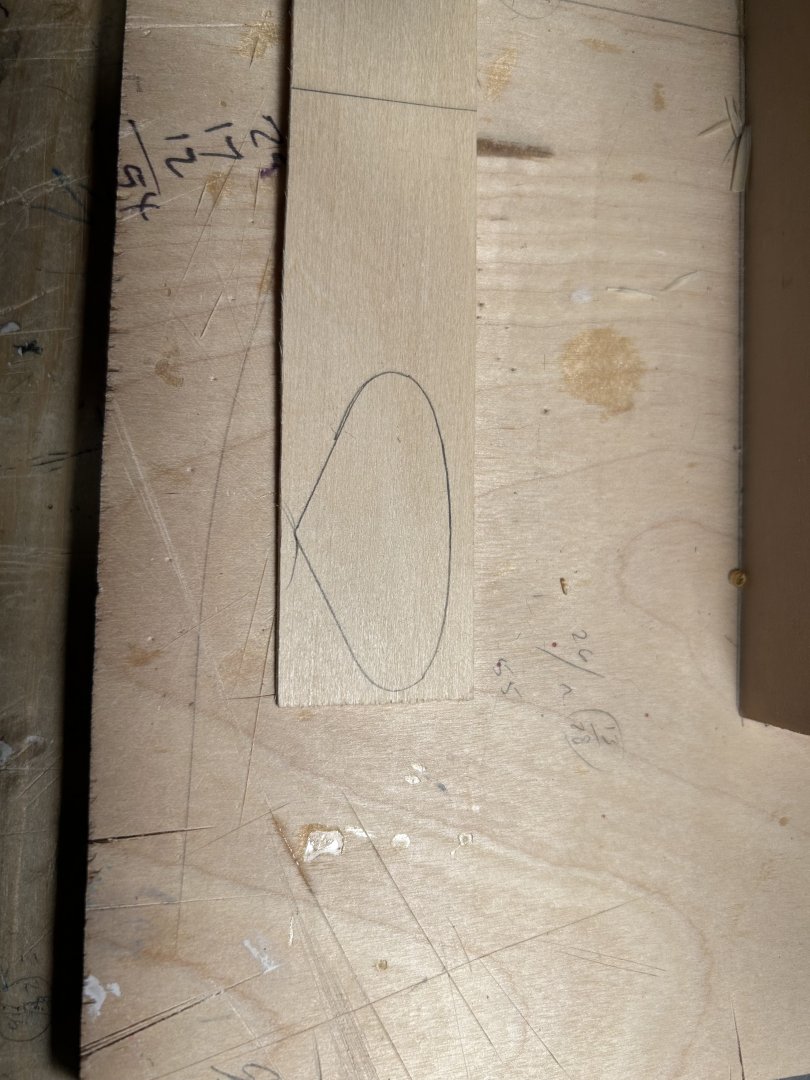
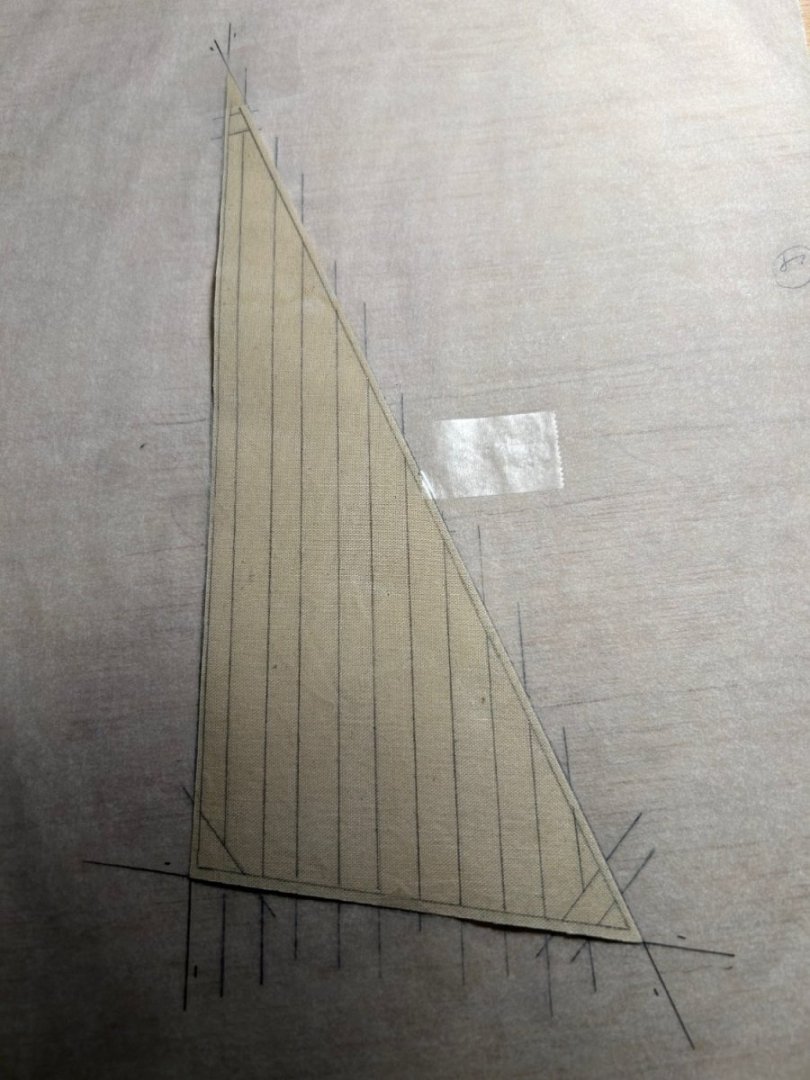
Rough templates for the boom saddles. I probably changed the values a bit after I took this picture, but this gives the basic idea. t I remade a transom because I want to try to duplicate the transom from a picture I have. Also, whether my error or a plans error, I could not get the transom in the kit to fit properly. I'll assume it was my error. I intend to trim this transom to shape once I finish planking and figure out where the after bullworks will land. I will probably paint the transom to match the boat color. I haven't decided on paint colors yet.
-
 Mjohn reacted to a post in a topic:
Bowdoin by Mjohn - FINISHED - BlueJacket Shipcrafters - 1:48
-
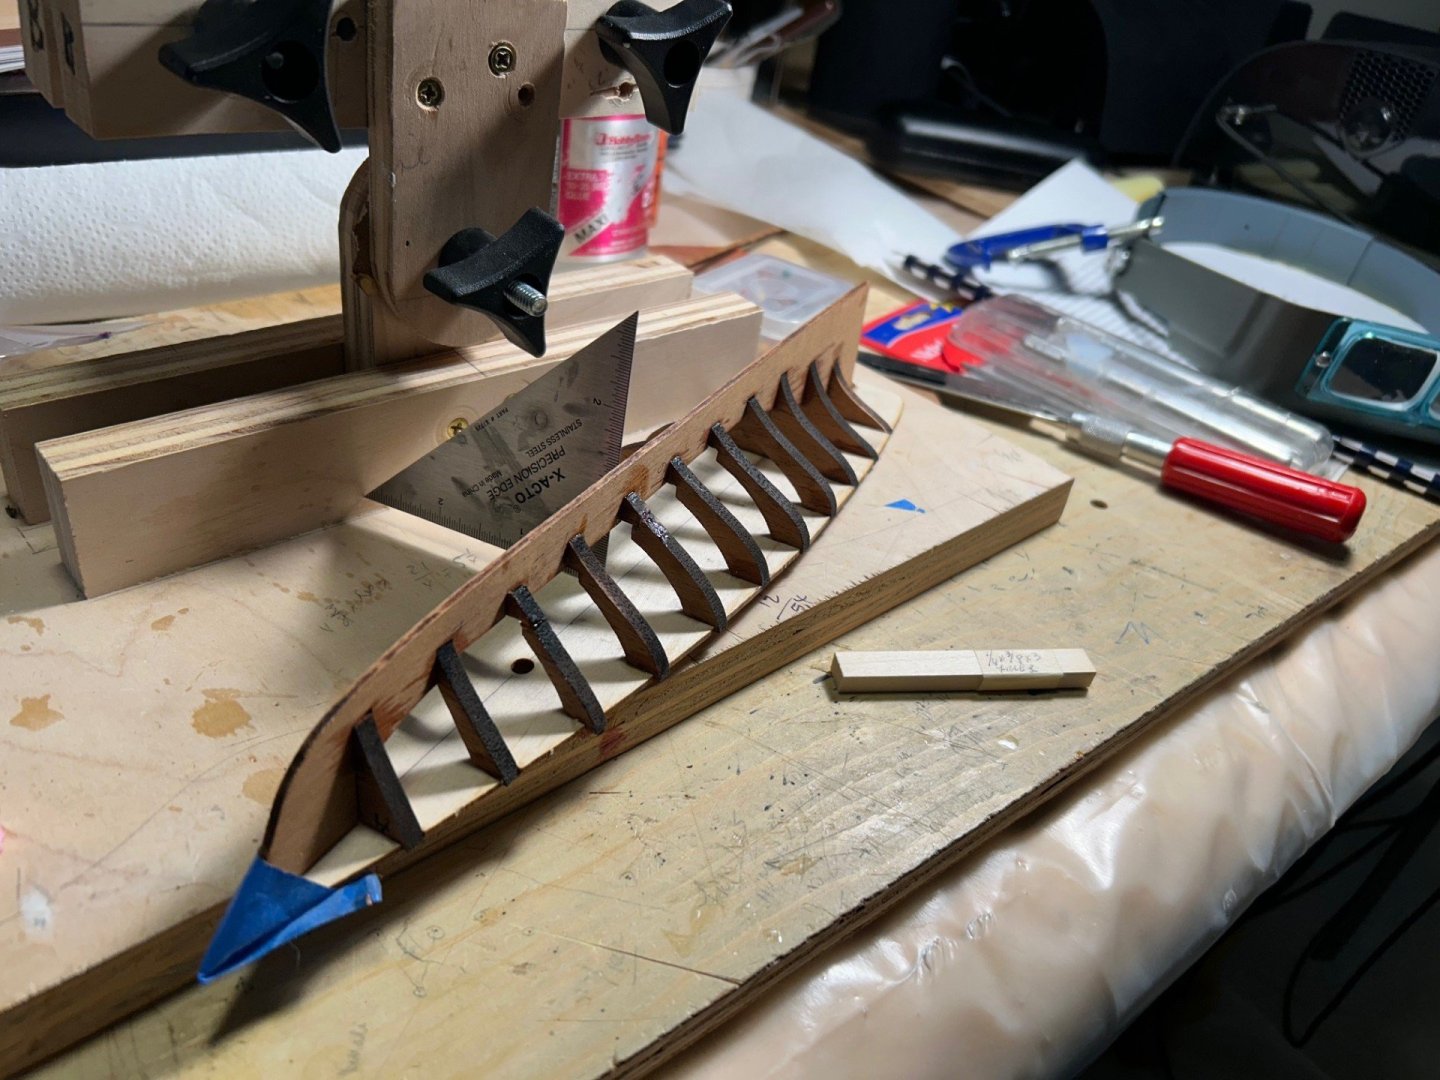
20 or so years ago my wife and I were in New England visiting (we had lived there before moving to the west coast) and we stopped in at Bluejacket. I think we stayed at a motel next door. I bought this kit but I never built it. The scale is pretty small and I'm not sure I can work at this scale any longer, but I'm going to give it a try. The plans look pretty straightforward. Instructions are clear. The kit seems well made and well stocked. Should be fun. I am planning to plank and paint the hull rather than build it in the dockyard style. In the first picture the frames are glued to the subdeck and keel. If you build this kit, and if the parts are still cut the same way on the mahogany sheet, be aware that frame 3 is pretty fragile. I broke the frame twice along the grain while I was fitting and before gluing. One other note is that I changed the mast step at frame 3 by cutting it square and eliminating the alignment hole. I did this so I would have more freedom to align the masts fore/aft and port/starboard when I install them.
-
 Mjohn reacted to a post in a topic:
Bowdoin by Mjohn - FINISHED - BlueJacket Shipcrafters - 1:48
-
 Mjohn reacted to a post in a topic:
Bowdoin by Mjohn - FINISHED - BlueJacket Shipcrafters - 1:48
-
 Mjohn reacted to a post in a topic:
Bowdoin by Mjohn - FINISHED - BlueJacket Shipcrafters - 1:48
-
 Mjohn reacted to a post in a topic:
Bowdoin by Mjohn - FINISHED - BlueJacket Shipcrafters - 1:48
-
 Mjohn reacted to a post in a topic:
Bowdoin by Mjohn - FINISHED - BlueJacket Shipcrafters - 1:48
-
 Mjohn reacted to a post in a topic:
Bowdoin by Mjohn - FINISHED - BlueJacket Shipcrafters - 1:48
-
 Mjohn reacted to a post in a topic:
Gjøa 1872 by Harvey Golden - Roald Amundsen's Cutter built at Rosedahl, Norway
-
 Mjohn reacted to a post in a topic:
Gjøa 1872 by Harvey Golden - Roald Amundsen's Cutter built at Rosedahl, Norway
-
 Mjohn reacted to a post in a topic:
Gjøa 1872 by Harvey Golden - Roald Amundsen's Cutter built at Rosedahl, Norway
-
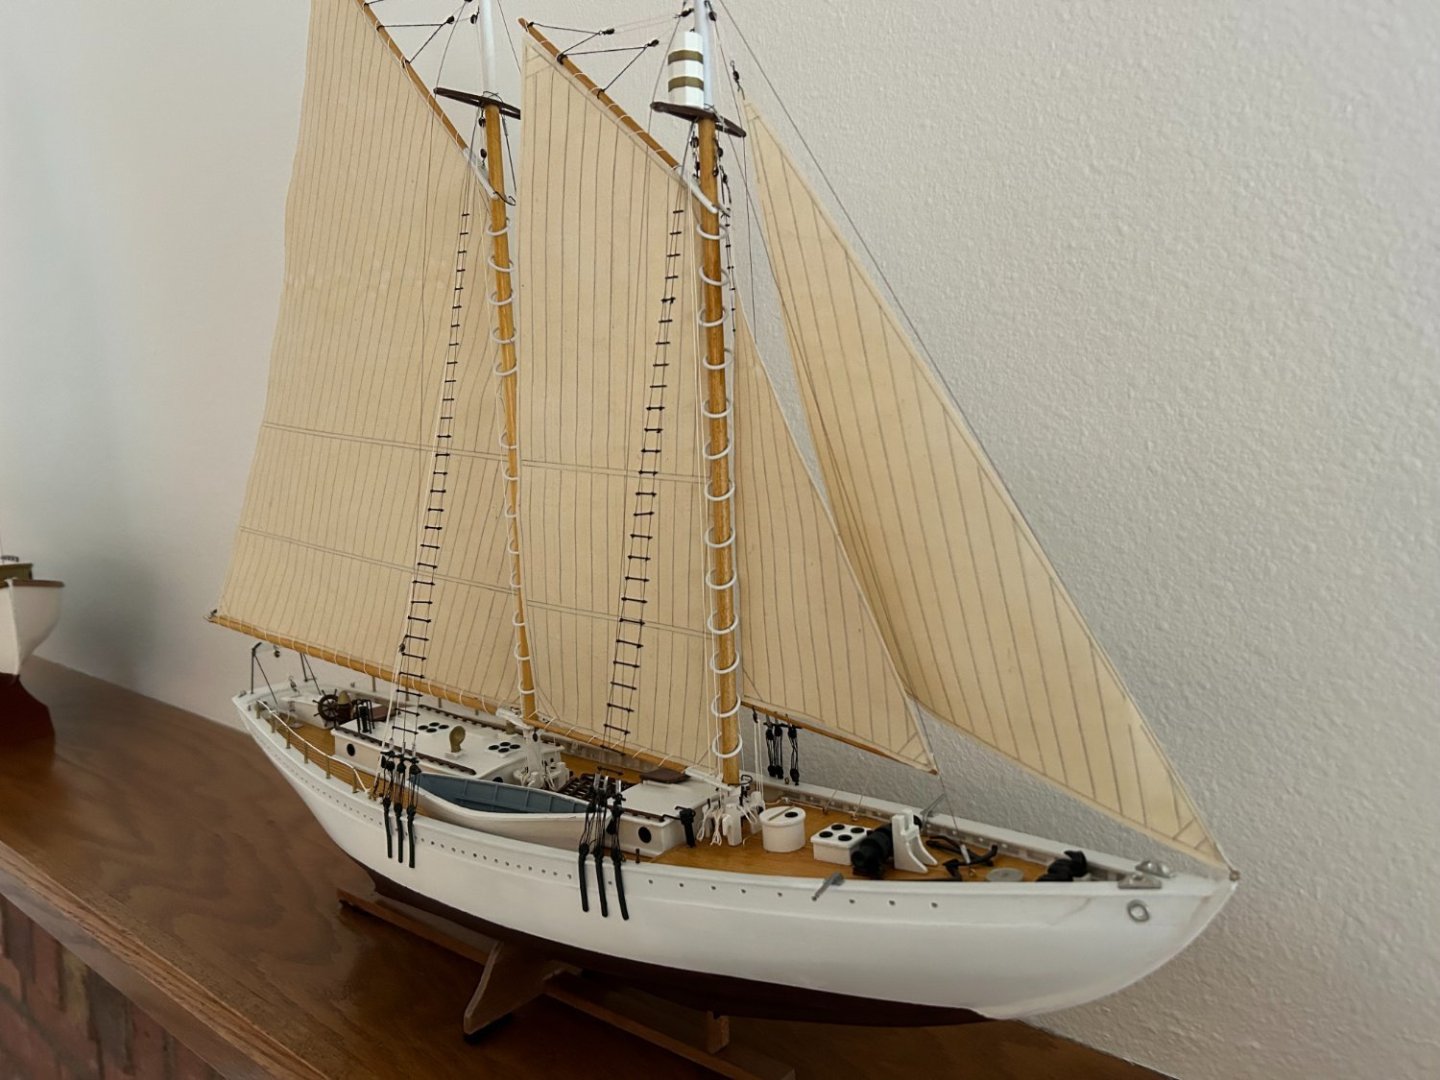
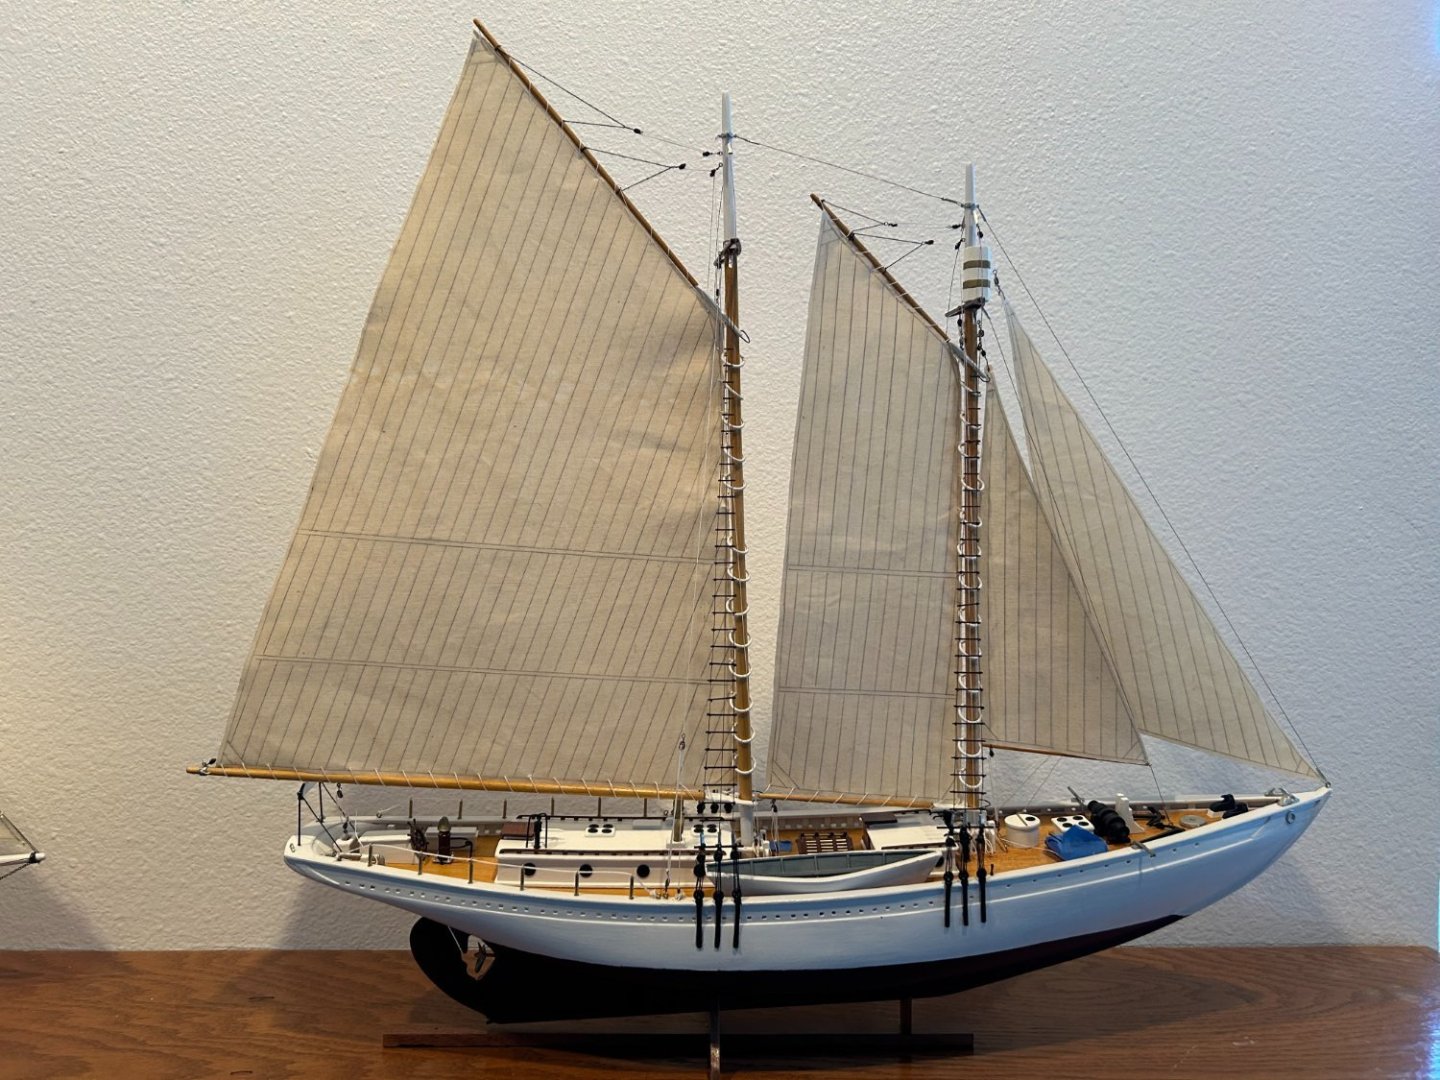
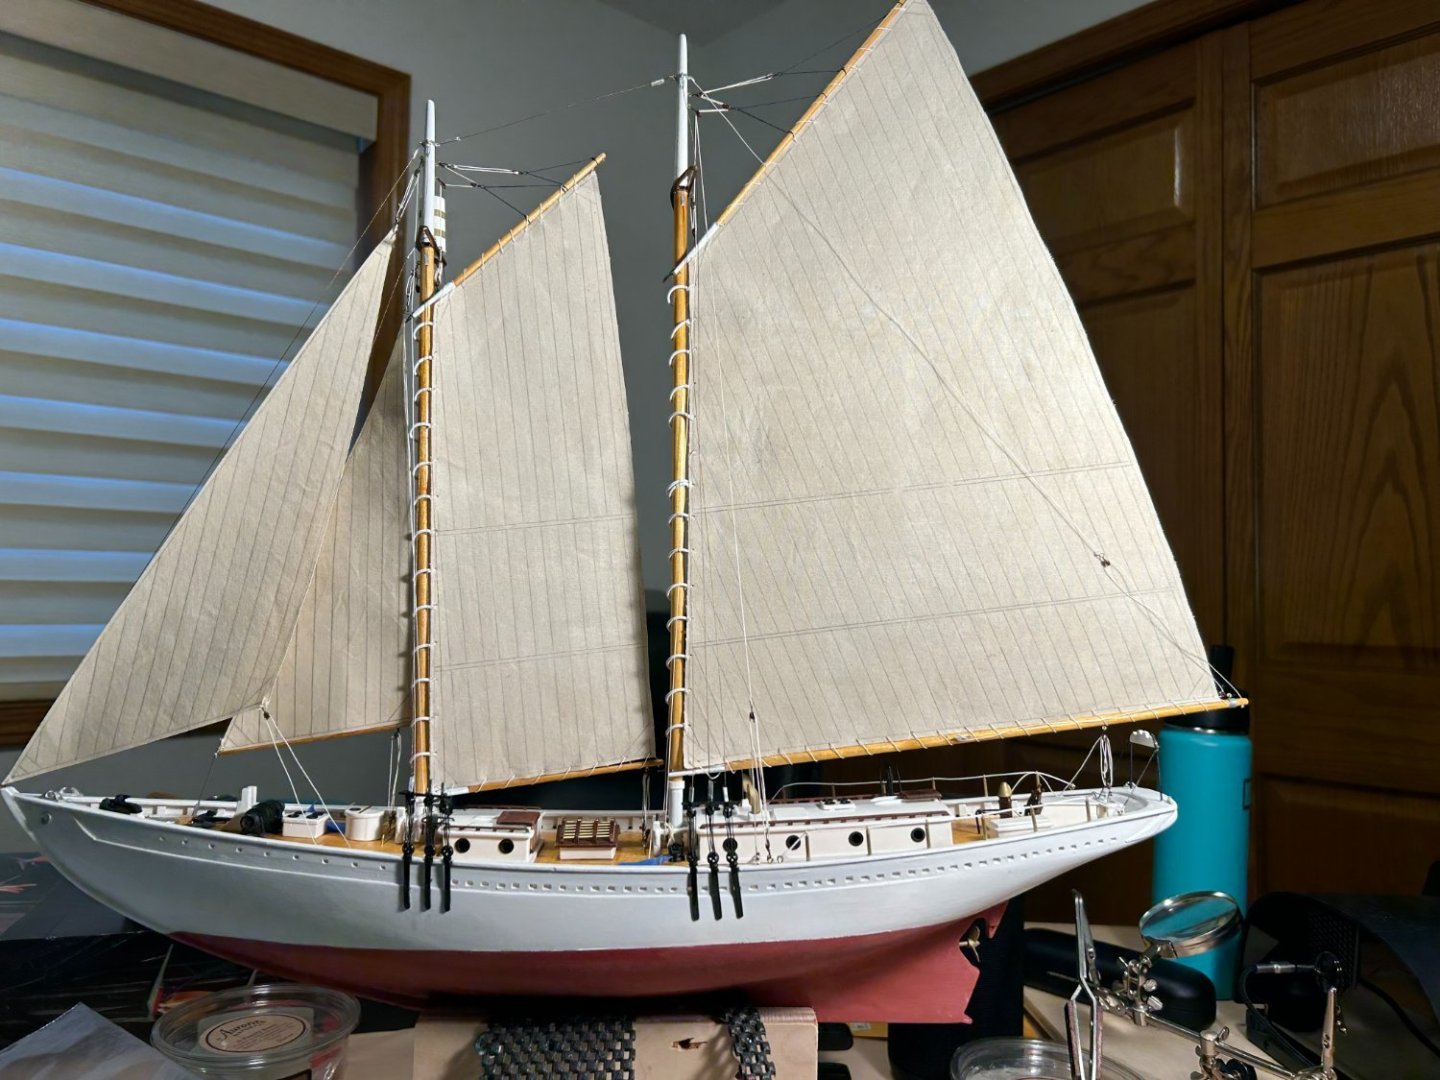
Finished - at least for now. I have a few changes I may make including a different stand, but for now I'm done. The battens for climbing the rigging were, as expected, a bunch of knots. I experimented with square knots and cow hitches, and neither worked out all that well. I eventually just put an overhand knot on each end of the batten and dabbed in a bit of thick cyano. Satisfactory if not perfect. Next time through I think I might try some fine waxed fly-tying thread and a small drop of think cyano to hold it. I think the waxed thread would hold the knot smaller and tighter. Here are a couple of final pictures. The Bluejacket kit was as advertised. The instructions were comprehensive. Precut parts were accurate and clean with a only reasonable amount of burning on thicker parts. Overall, I give the kit high marks. Thanks to everyone who answered my questions, commented, or just shared your build log and pictures. I learned a lot while building this kit and enjoyed it.
- 48 replies
-
- Bowdoin
- BlueJacket Shipcrafters
-
(and 1 more)
Tagged with:
-
Thanks. And thanks for the detail you included in your build log(s). Your notes were very helpful. Thanks to others as well. I learned a lot building this boat. I still feel like a beginner, but I also feel like I could take on another complicated build. The modelshipworld site is a real asset. I still have to figure out how to tie on the climbing batens. I counted something like 240 knots... I am half tempted to just leave them off....
- 48 replies
-
- Bowdoin
- BlueJacket Shipcrafters
-
(and 1 more)
Tagged with:
-
Want a laugh? I looked through these pictures this morning and nearly fainted. On one of the pictures the masts look like they are wildly out of parallel. I went to the hobby table, grabbed my small ruler, and did a quick check. Parallel to within 1/16 from top to bottom. I'm not much of a photographer, but I'm thinking the angle of the picture(s) results in parallax. Or something. Whew.
- 48 replies
-
- Bowdoin
- BlueJacket Shipcrafters
-
(and 1 more)
Tagged with:
-
- 48 replies
-
- Bowdoin
- BlueJacket Shipcrafters
-
(and 1 more)
Tagged with:
-
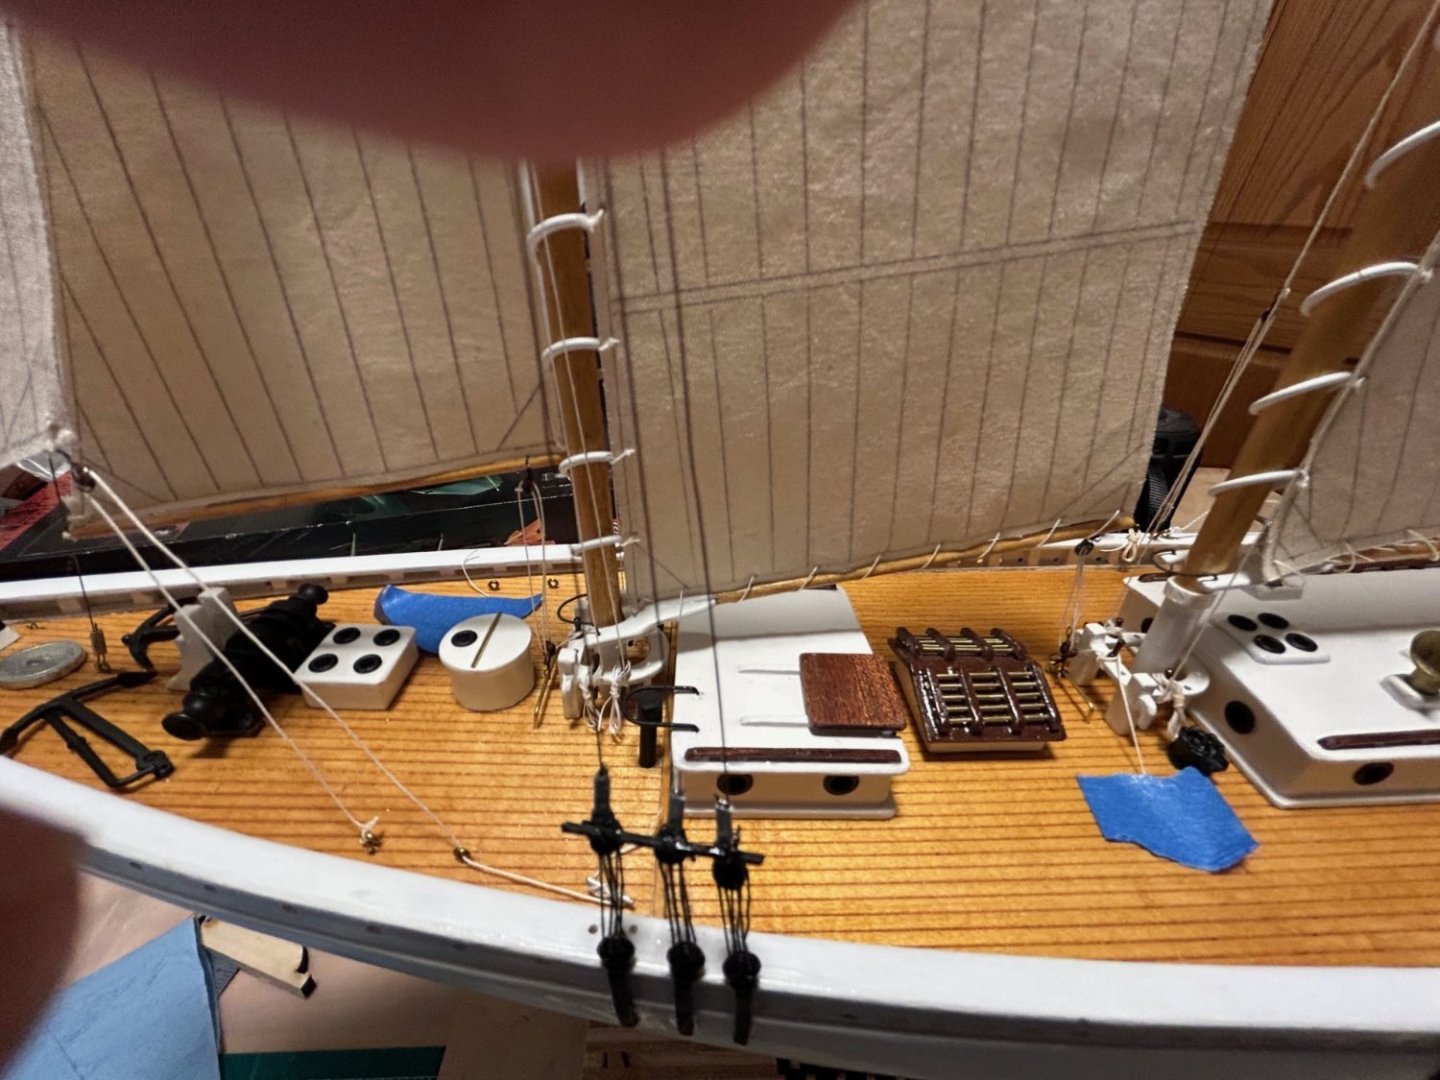
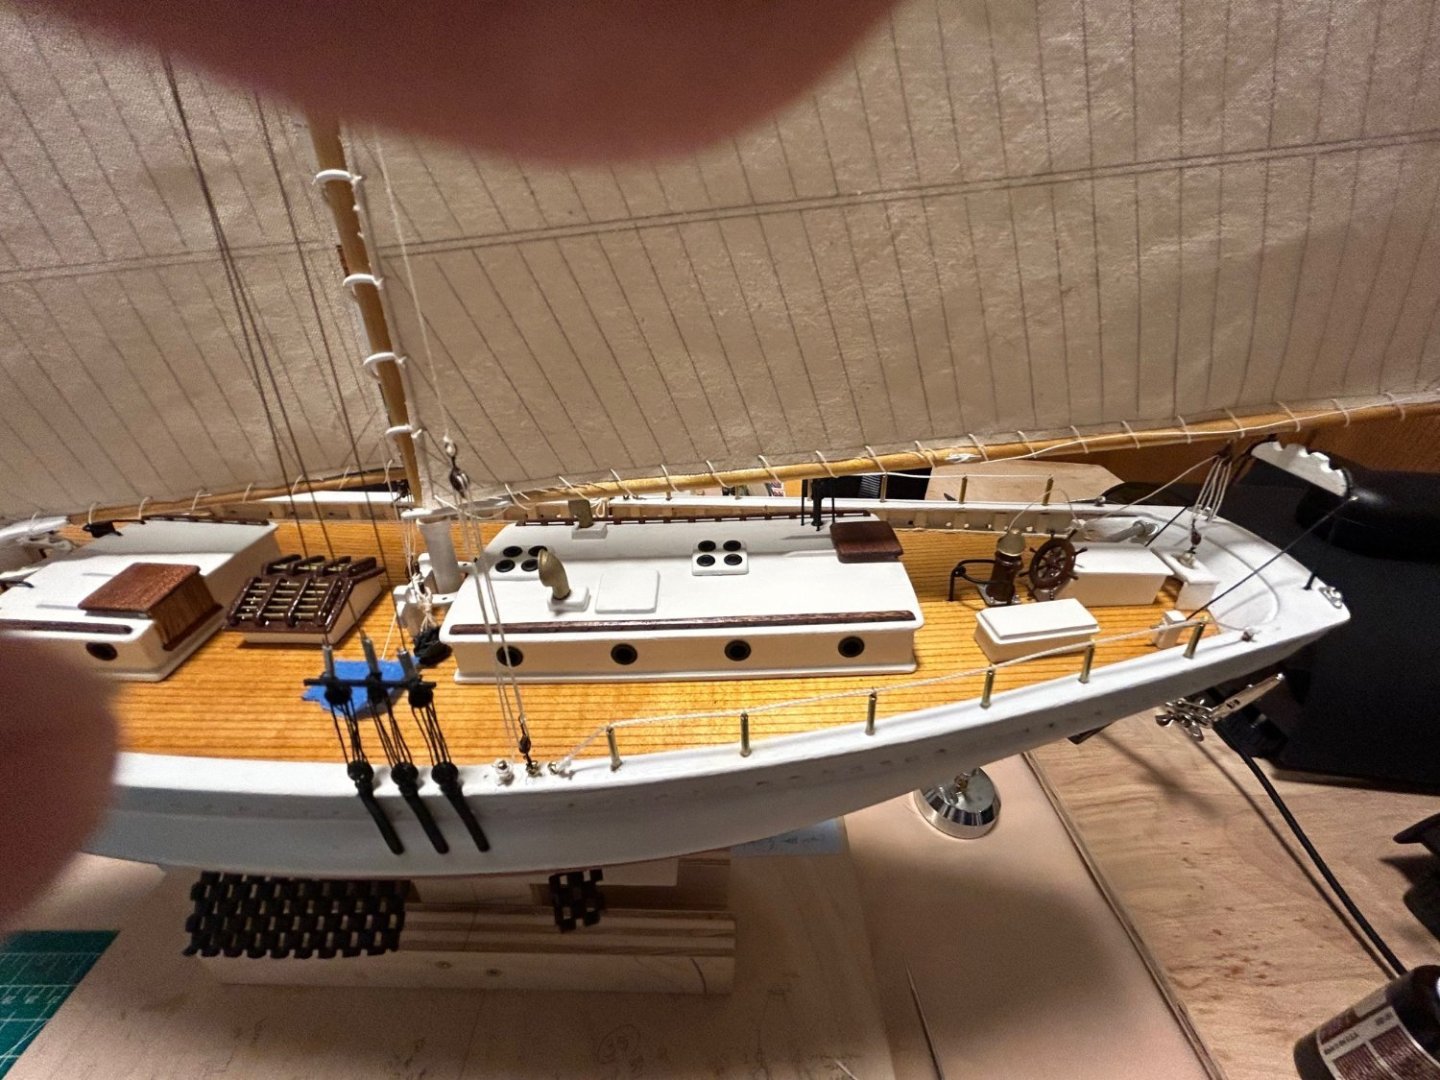
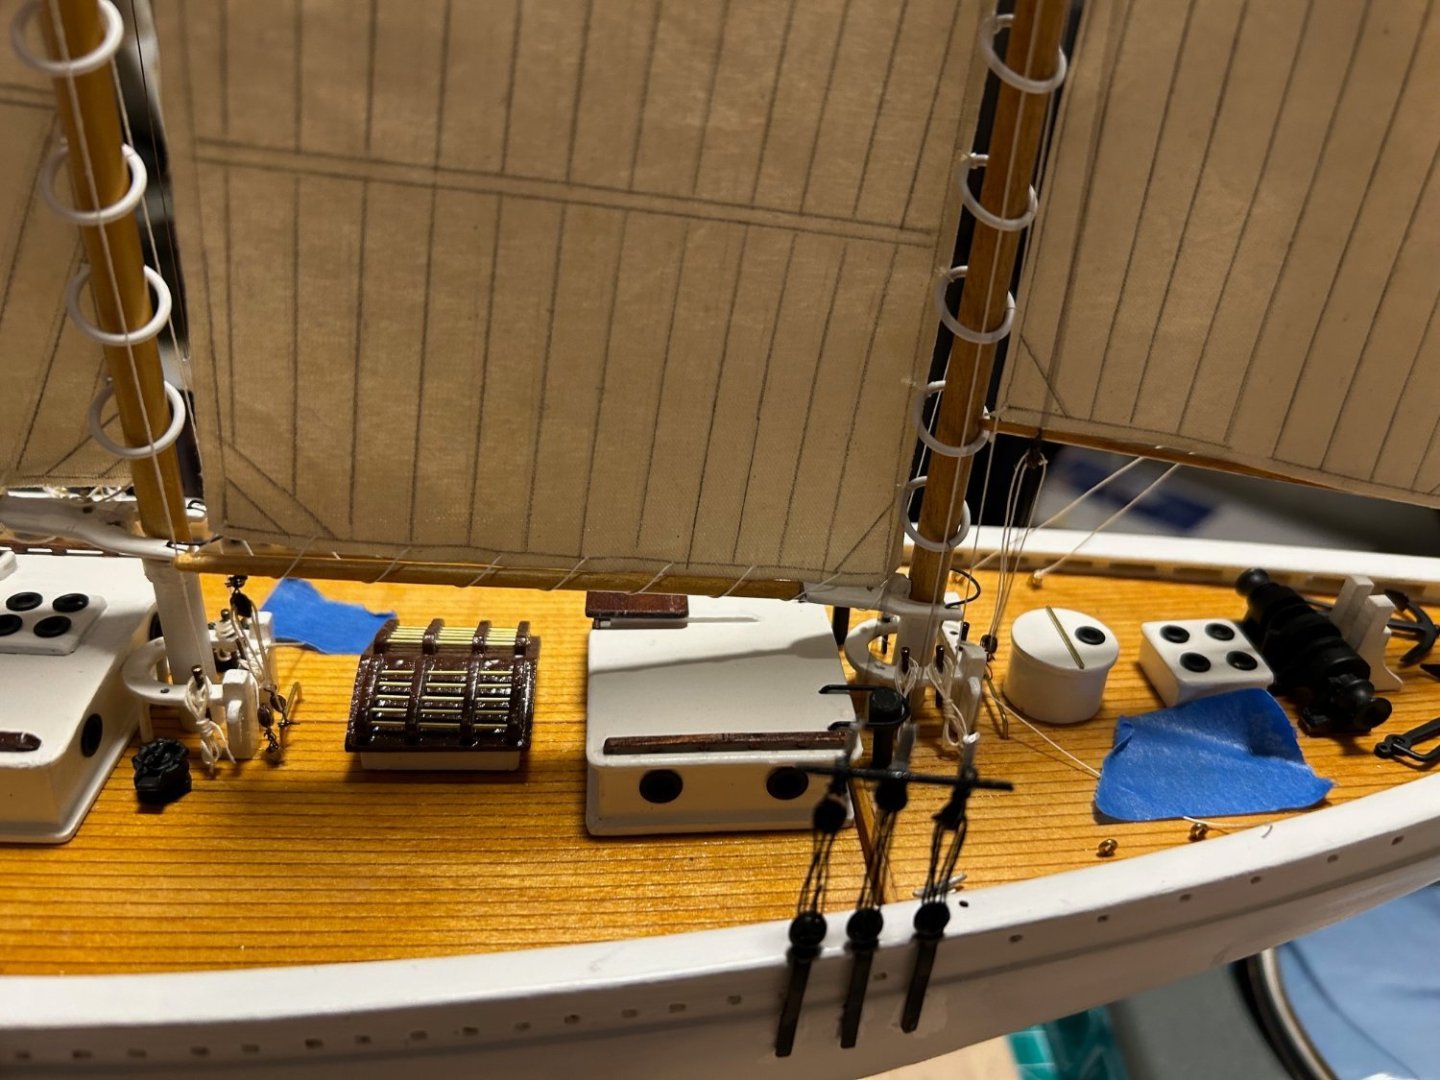
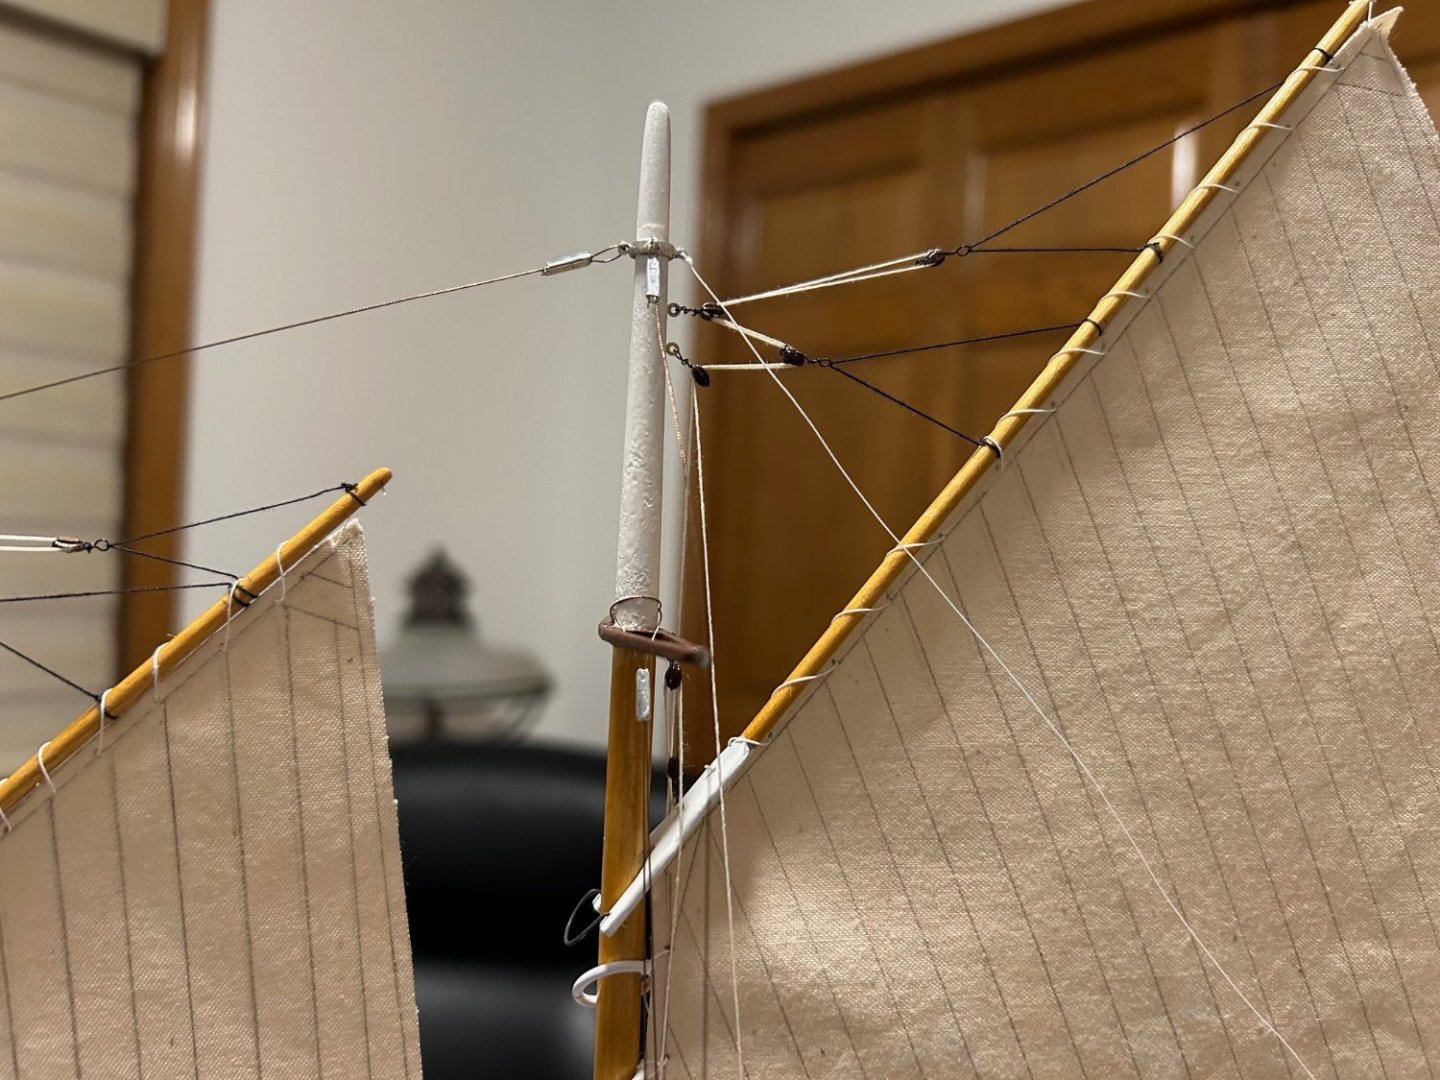
A few very near final pictures. I have to buy some thread to tie in the ratlines. Oh and the rudder needs to be mounted. About that... The other day I was reaching across my worktable while wearing my magnifiers and I smacked the mast. The model tumbled and the rudder as well as some of the standing rigging were damaged. A bit of a bummer, but in the end, after I remake and rehang the rudder, the only remaining issues are that the standing rigging isn't as tight as I originally installed it, and the deadeyes aren't as even. Stuff happens. In the pictures the sheets are not finally cleated and belayed. I may decide to push the sails to one side of the boat, and I want the option before I decide what tack to show her on. Deck level pictures Foredeck Mid Deck Afterdeck Foretop Maintop
- 48 replies
-
- Bowdoin
- BlueJacket Shipcrafters
-
(and 1 more)
Tagged with:
-
Running rigging largely followed the instruction guide. The foredeck photo shows the jib sheet run incorrectly. I will be fixing that. The main and foresail are laced to the masts. And I have no idea why the following is posting upside down. If I can't figure this out and edit the post, I will delete. Note that I have rotated the original every possible way before posting - and somehow this picture always ends up inverted.
- 48 replies
-
- Bowdoin
- BlueJacket Shipcrafters
-
(and 1 more)
Tagged with:
-
I was a little intimidated by the running rigging at first, but the instructions were generally very clear. I never could get the wire from the kit to attach to the small blocks without either munging up the block or ripping off all the paint, so I bought a roll of 0.3mm fine black wire from a flyfishing supply shop. I don't know what the coating on the wire was, but the wire didn't like to stay tightly twisted. Again it took me a good deal of practice, some new beading pliers, and an order of replacement blocks from Bluejacket before I got satisfactory, if not excellent results. I got better as I went along. I decided to install sails and see if I like the result. I bought some lightweight material at a local fabric store, dyed it in tea, and coated it with lacquer and a coat of clear poly. I wanted to make sure the stich lines were identical on both sides of the sails, so I traced from the plans and made templates for each side using the traced originals.
- 48 replies
-
- Bowdoin
- BlueJacket Shipcrafters
-
(and 1 more)
Tagged with:
-
I am going to dump several pictures that show building progress since last time I posted - which was... holy cow .... July. First, here is the deck mostly done and ready for rigging to start: Next, a picture of the standing rigging. The kit supplies braided wire for the standing rigging, and it took some practice to get the rigging tensioned properly. Clamping the rigging wire in place while crimping the ends and not losing tension was tricky - maybe there is a nifty special clamp. I ended up using document frogs that I borrowed from my wife's office supplies. To set the deadeyes even to one another, I created a little jig, based on some I have seen in this forum and comments from more experienced builders. I have misplaced the picture of the jig, but basically it was a piece of scrap bass 3/32 basswood cut and marked to the height I wanted the deadeyes to sit and then hollowed out to hold the deadeye. I then sandwiched the deadeye between this piece and another - and I could slip the shroud up between the sandwich halves.
- 48 replies
-
- Bowdoin
- BlueJacket Shipcrafters
-
(and 1 more)
Tagged with:
-
thanks. This is what I was looking for.
-
I am building a Bluejacket Dowdoin (1/4" : 1'). I'm just at the point of installing the standing rigging. I'd like the shroud deadeyes to be nearly parallel to each other when I attach the deadeyes to the chainplates. Can anyone suggest a jig to hold the deadeyes in place while rigging the shrouds? Thanks
-
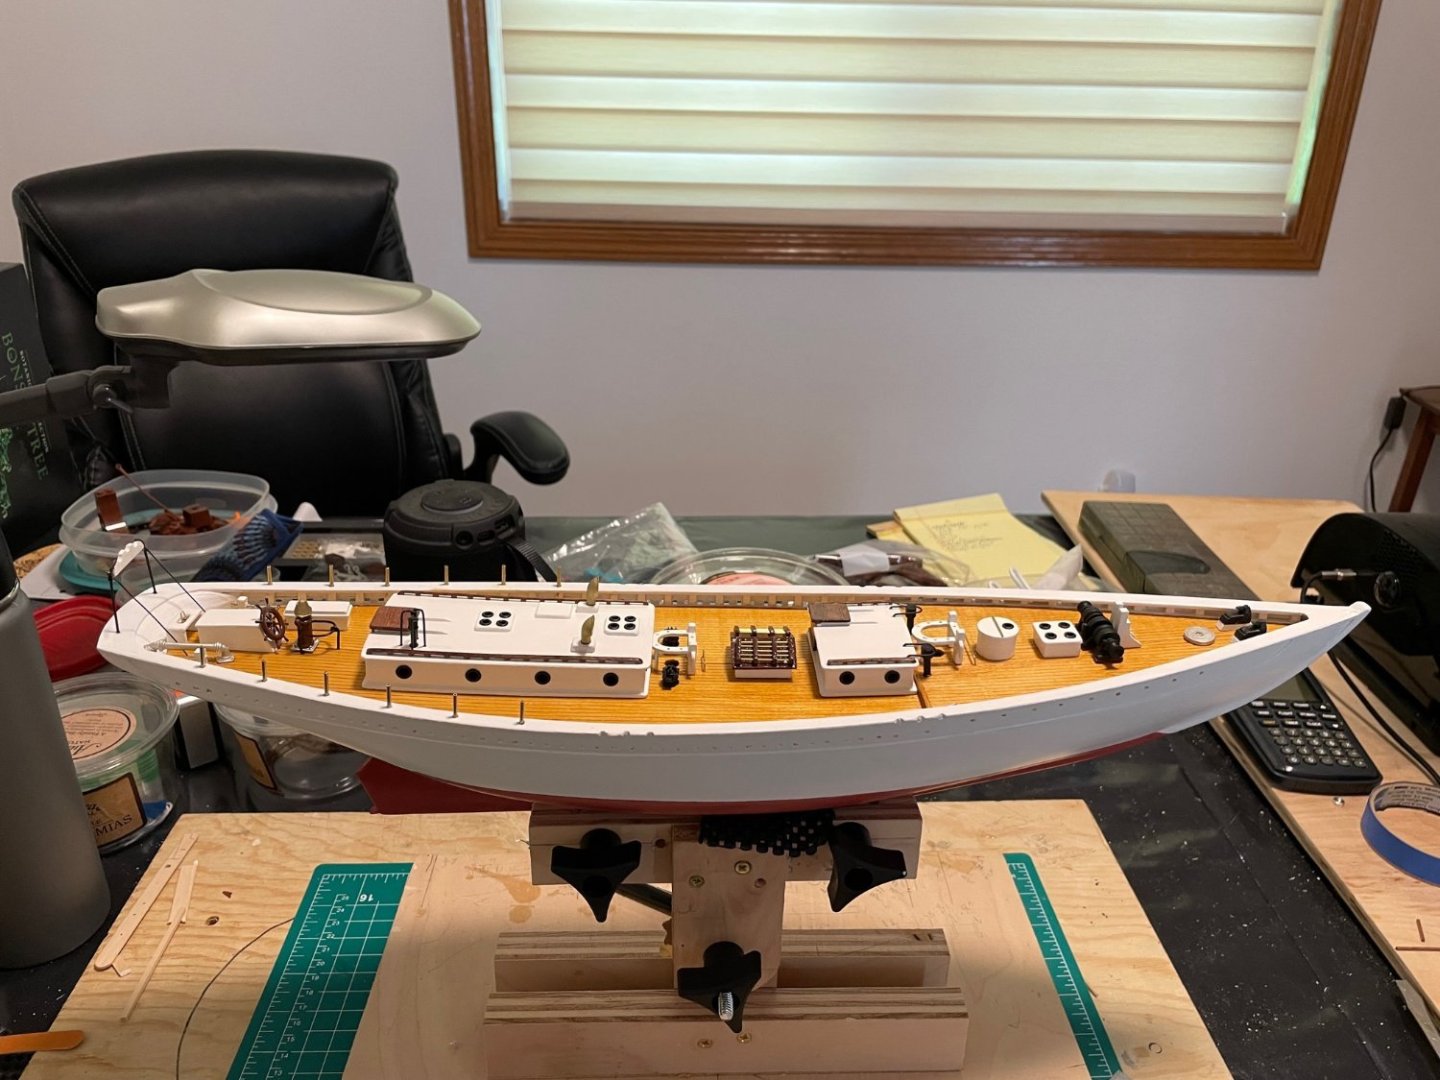
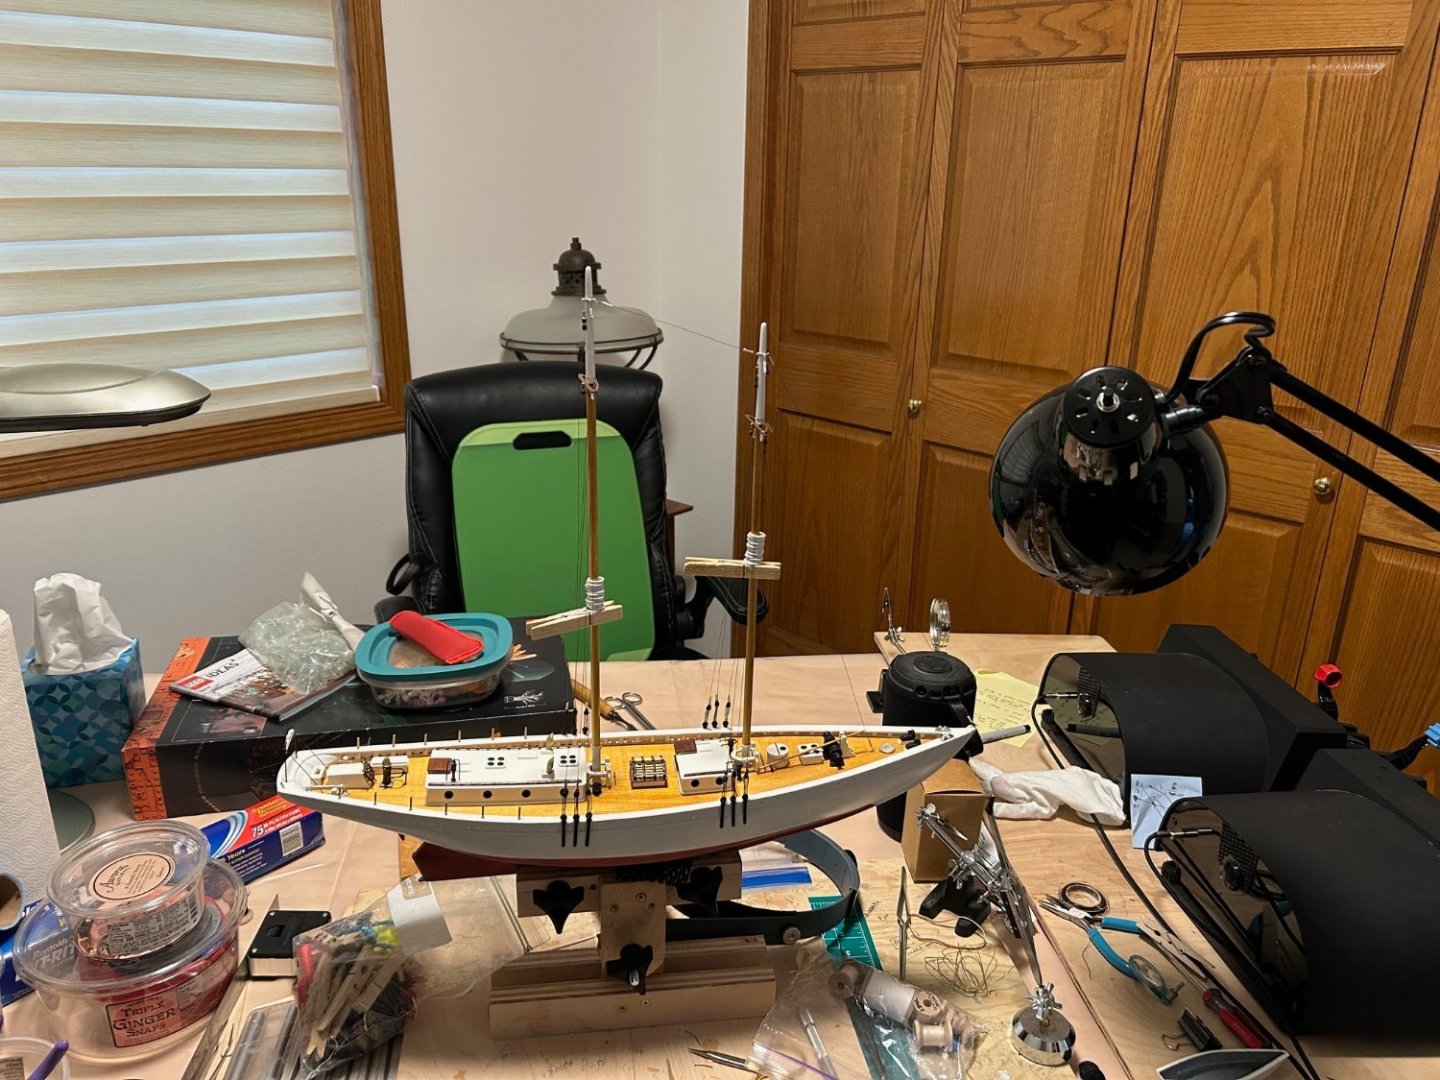
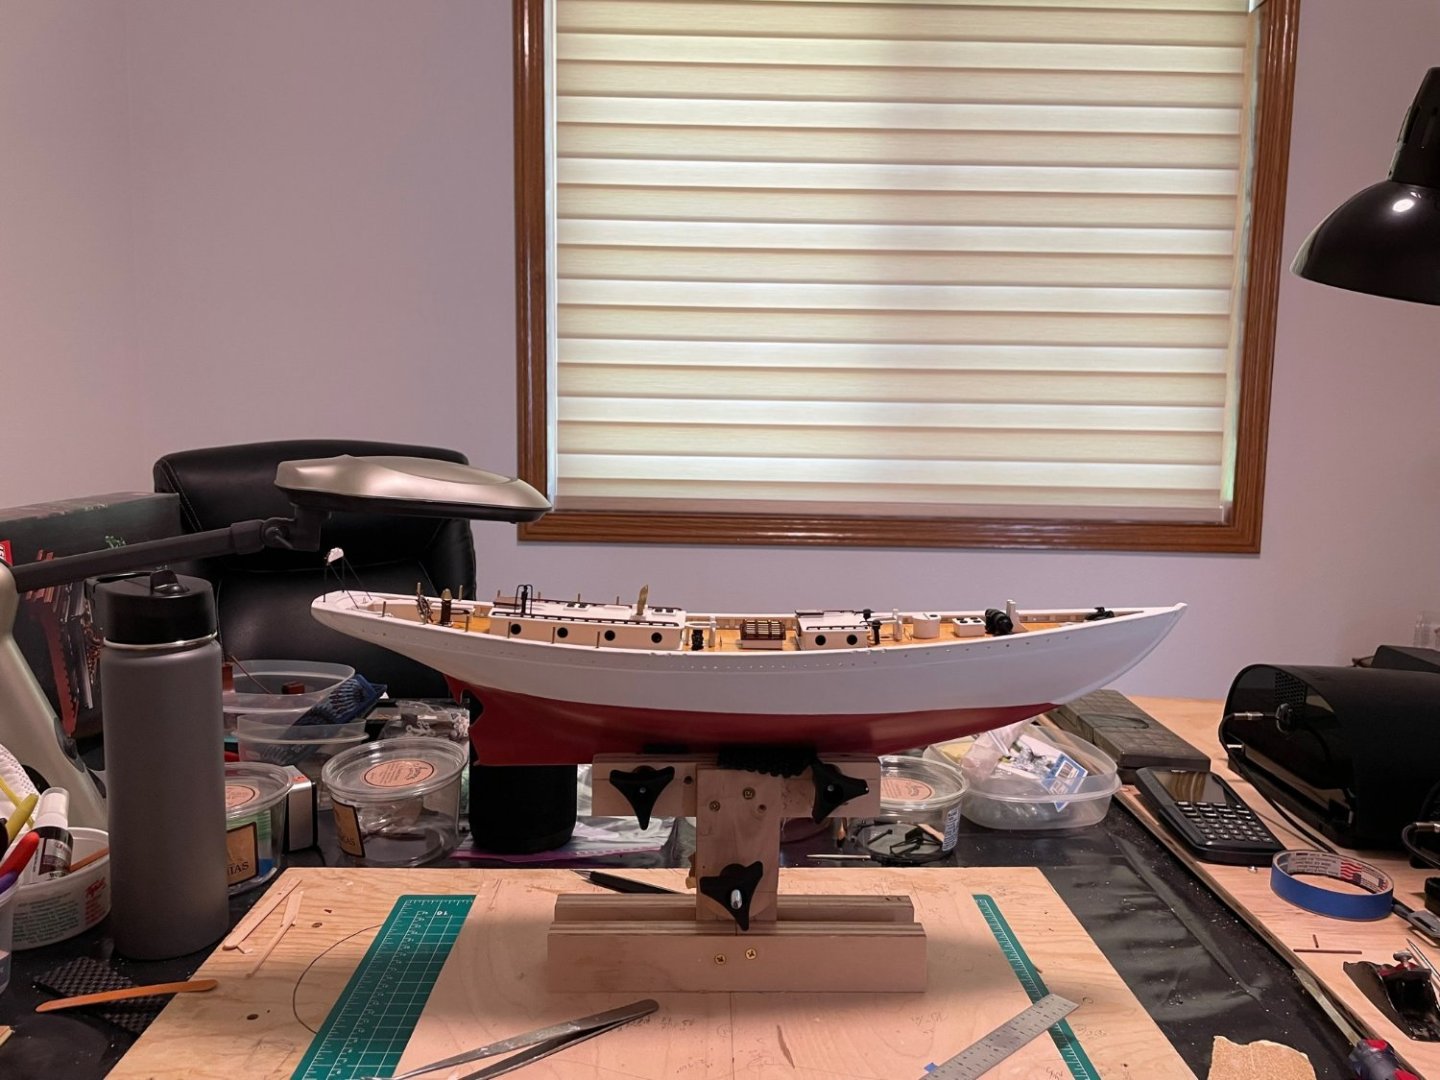
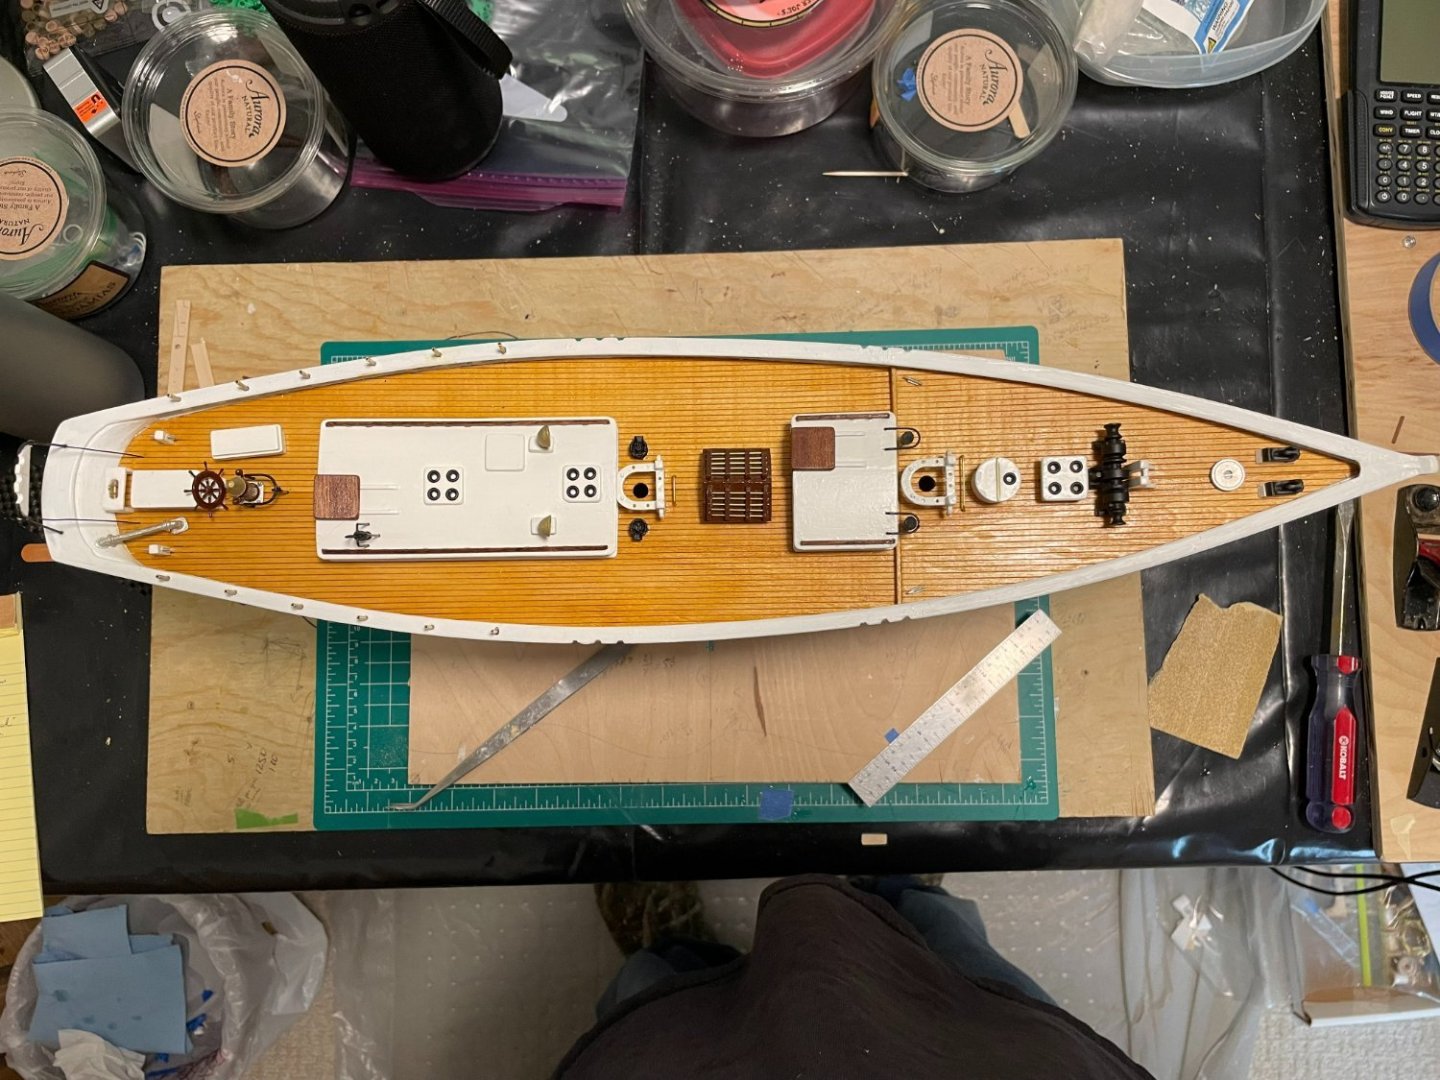
The deck is largely done. I have to cement on the chain brakes, and I want to touch up the paint in a couple of places, but then I'm going to start rigging. I am leaving the anchors off until I get well into the rigging because I want to see where all of the rigging comes to the deck. I don't want to accidentally glue the anchors where I need to run lines or line terminators. I haven't gone as far as some in adding additional detail. I can always circle back and add more detail later, and the rigging looks like fun. Here is one that is top down:
- 48 replies
-
- Bowdoin
- BlueJacket Shipcrafters
-
(and 1 more)
Tagged with:
About us
Modelshipworld - Advancing Ship Modeling through Research
SSL Secured
Your security is important for us so this Website is SSL-Secured
NRG Mailing Address
Nautical Research Guild
237 South Lincoln Street
Westmont IL, 60559-1917
Model Ship World ® and the MSW logo are Registered Trademarks, and belong to the Nautical Research Guild (United States Patent and Trademark Office: No. 6,929,264 & No. 6,929,274, registered Dec. 20, 2022)
Helpful Links
About the NRG
If you enjoy building ship models that are historically accurate as well as beautiful, then The Nautical Research Guild (NRG) is just right for you.
The Guild is a non-profit educational organization whose mission is to “Advance Ship Modeling Through Research”. We provide support to our members in their efforts to raise the quality of their model ships.
The Nautical Research Guild has published our world-renowned quarterly magazine, The Nautical Research Journal, since 1955. The pages of the Journal are full of articles by accomplished ship modelers who show you how they create those exquisite details on their models, and by maritime historians who show you the correct details to build. The Journal is available in both print and digital editions. Go to the NRG web site (www.thenrg.org) to download a complimentary digital copy of the Journal. The NRG also publishes plan sets, books and compilations of back issues of the Journal and the former Ships in Scale and Model Ship Builder magazines.

