Wxchsr
Members-
Posts
32 -
Joined
-
Last visited
-
 FrankWouts reacted to a post in a topic:
HMS Winchelsea 1764 by Wxchsr - 1:48
-
 FrankWouts reacted to a post in a topic:
HMS Winchelsea 1764 by Wxchsr - 1:48
-
 FrankWouts reacted to a post in a topic:
HMS Winchelsea 1764 by Wxchsr - 1:48
-
 Tony28 reacted to a post in a topic:
HMS Winchelsea 1764 by Wxchsr - 1:48
-
 Tony28 reacted to a post in a topic:
HMS Winchelsea 1764 by Wxchsr - 1:48
-
 Tony28 reacted to a post in a topic:
HMS Winchelsea 1764 by Wxchsr - 1:48
-
 James G reacted to a post in a topic:
HMS Winchelsea 1764 by Wxchsr - 1:48
-
 Rustyj reacted to a post in a topic:
HMS Winchelsea 1764 by Wxchsr - 1:48
-
 Greg M reacted to a post in a topic:
HMS Winchelsea 1764 by Wxchsr - 1:48
-
 scrubbyj427 reacted to a post in a topic:
HMS Winchelsea 1764 by Wxchsr - 1:48
-
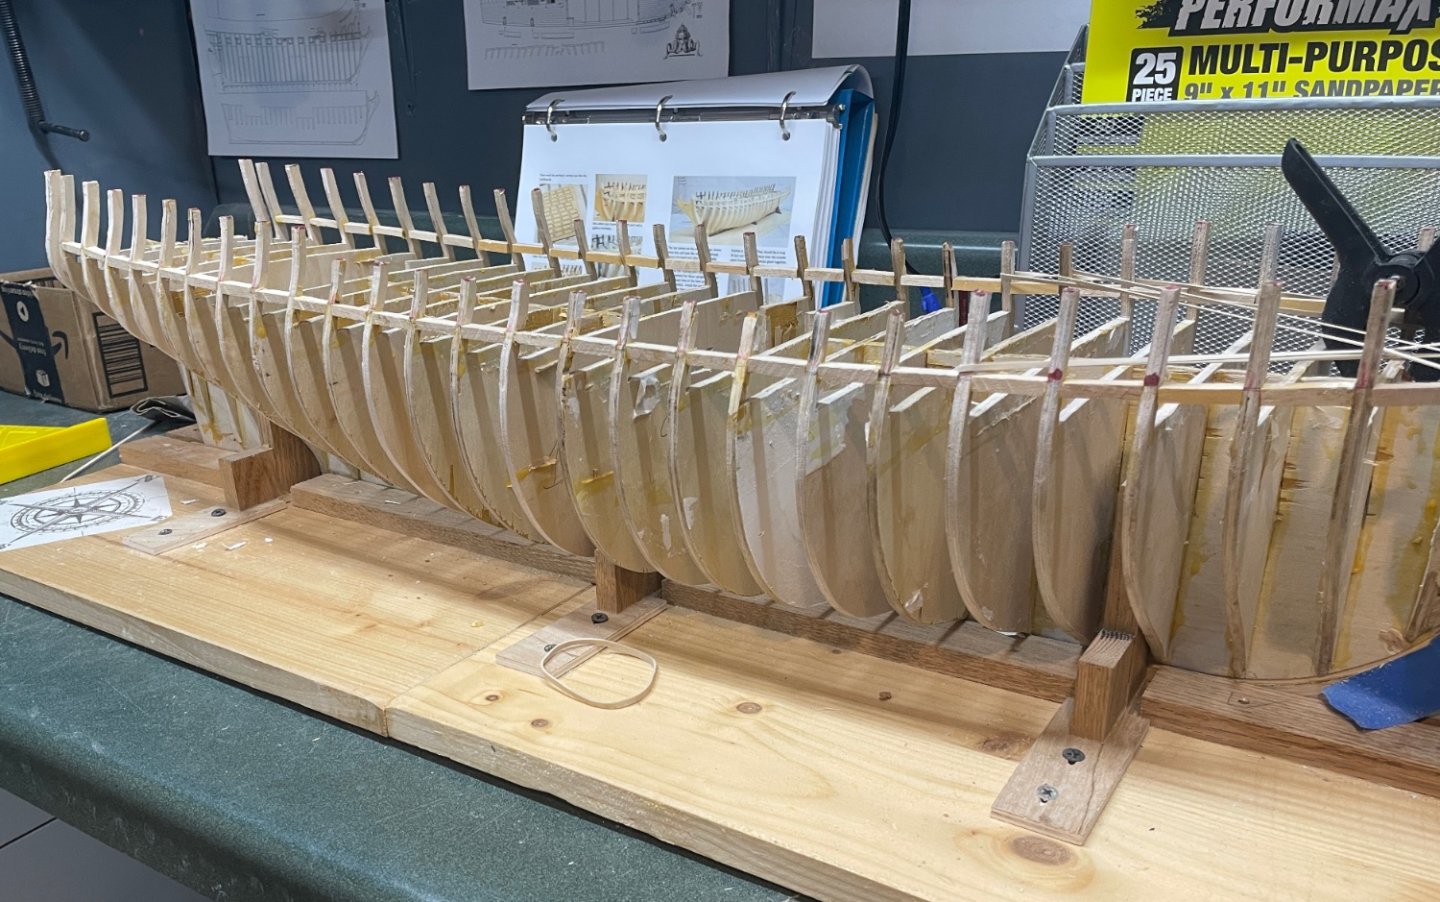
Still moving along. Had to take the summer off but now that it's turning colder, I'm back in my "office" and back to working on the model. Starboard is done for the time being. Port is planked above the wales. I need to sand that area, plank a row below it, then add and paint the second layer and black strake as I did on the port. I also need to do a little cleanup around the gunport openings where I see the cuts varied a little. Overall very happy with the progress!
-
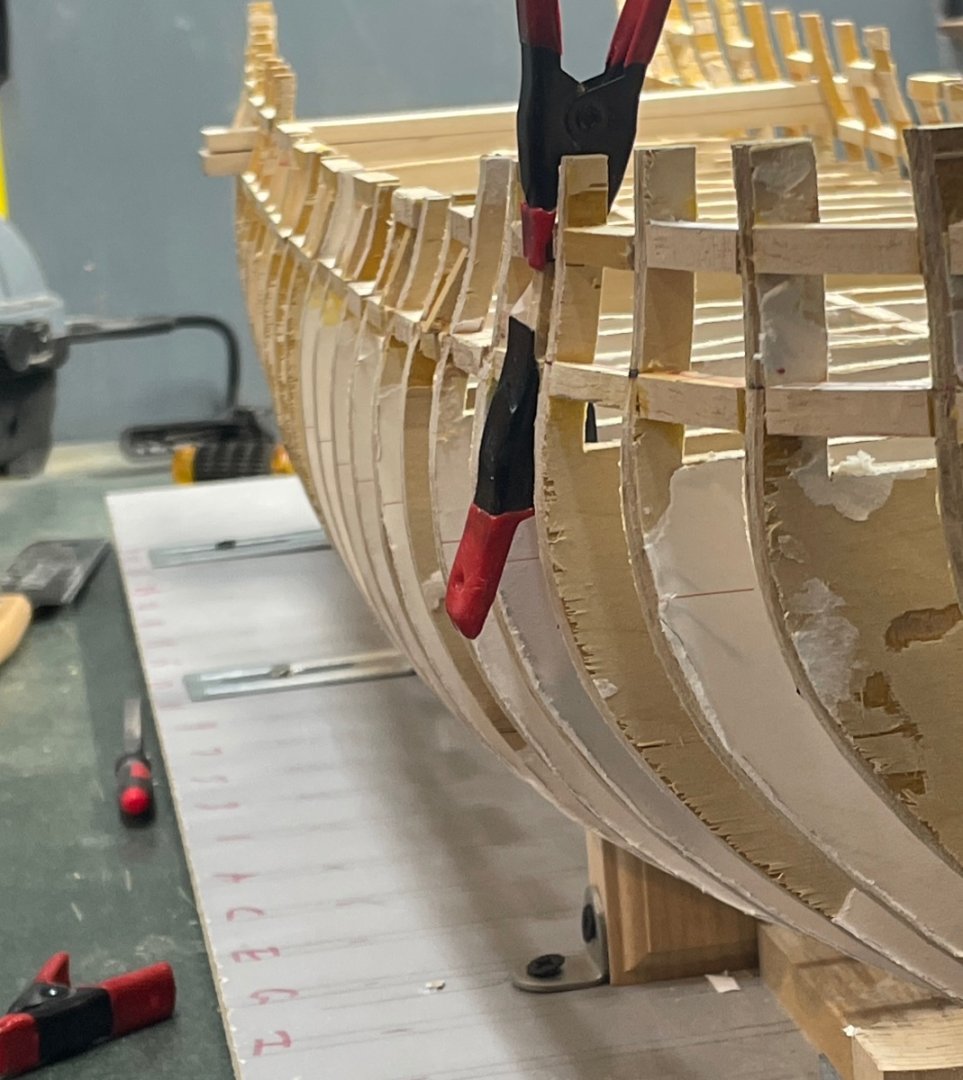
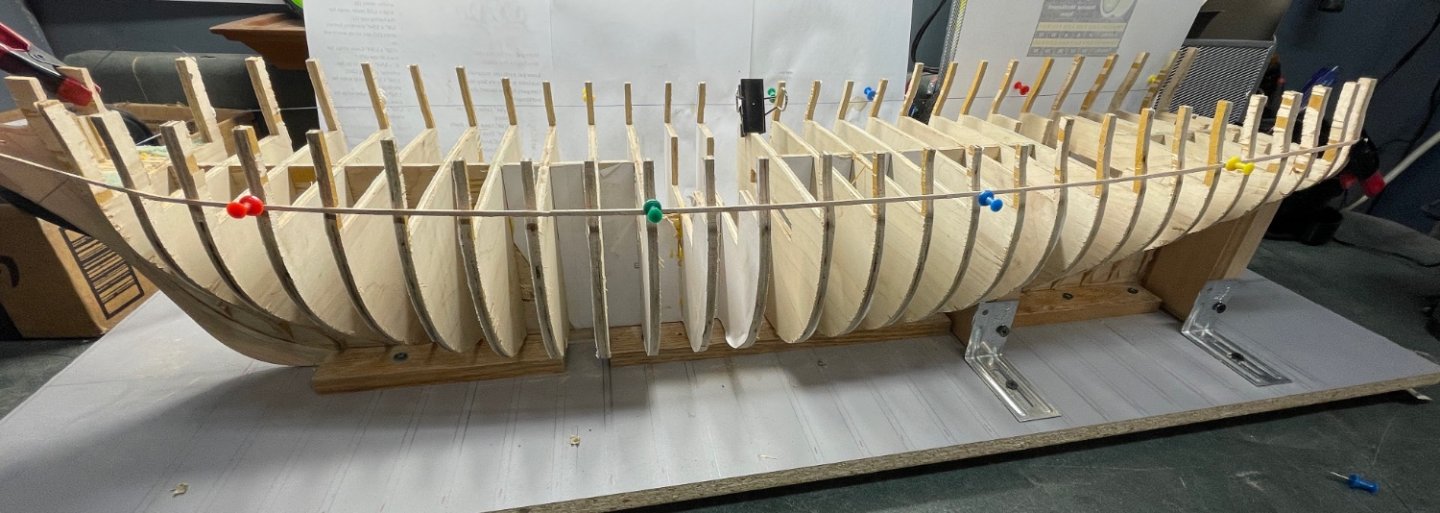
Hi frank! sorry I saw this a day late. I removed the batten yesterday after marking the top. I would say it lines up with most. About one out of every 3-4 would be up to a mm high or low, in which case the new mark is what makes it smooth. Then I did the other side and did my best to make sure it matched. This photo is ugly because I haven’t faired the framing yet (makes some look crooked), but the top, of the bottom row, is where the top of the batten was.
-
FrankWouts started following Wxchsr
-
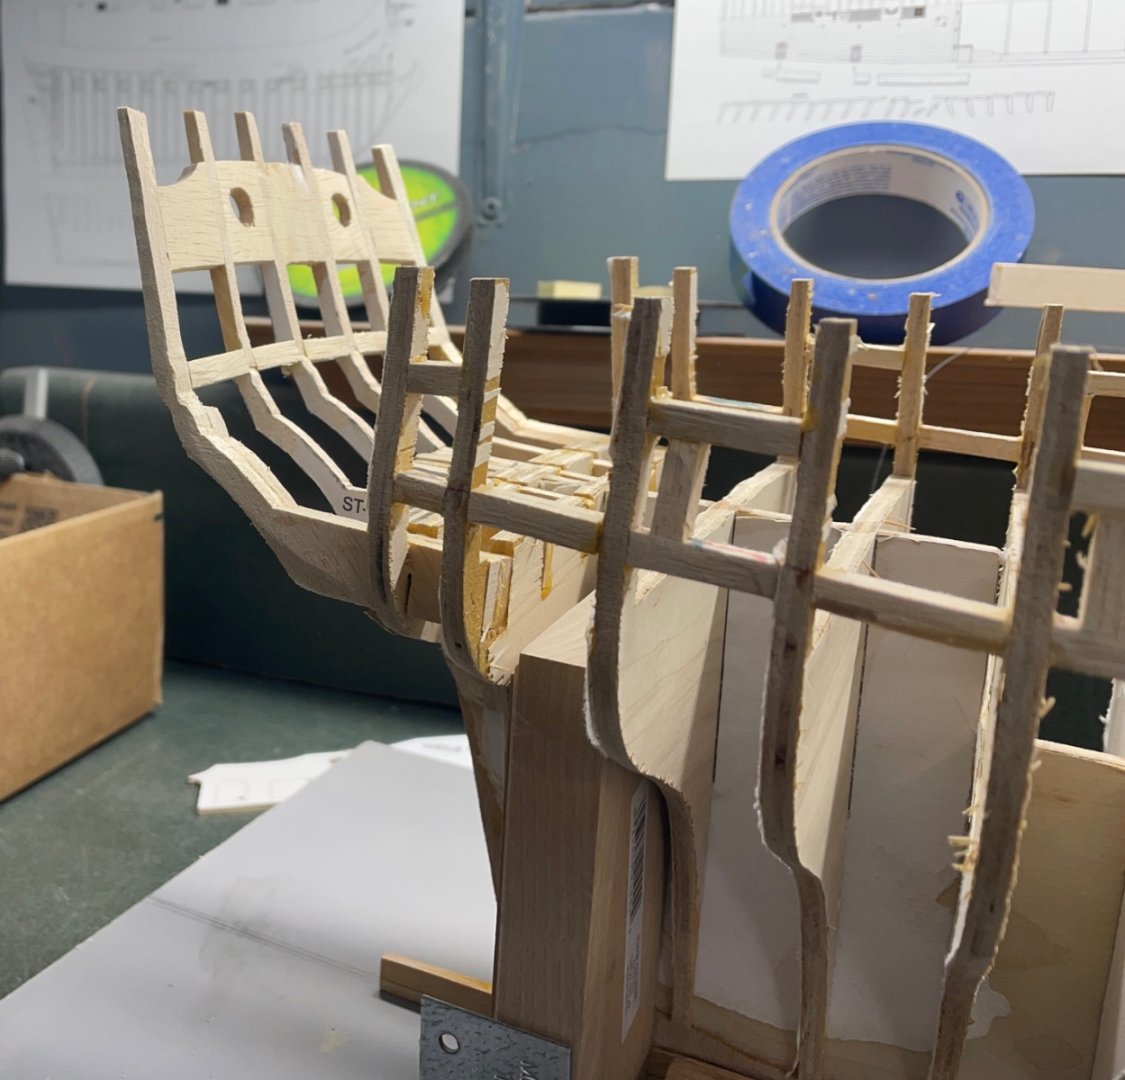
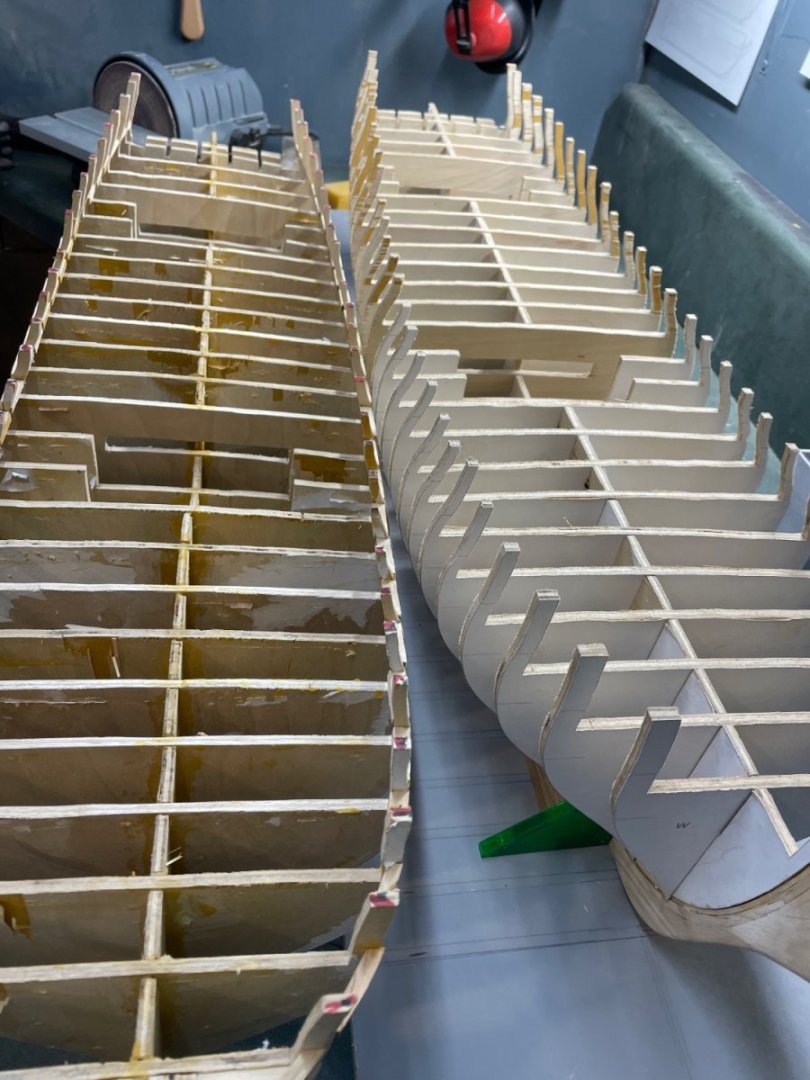
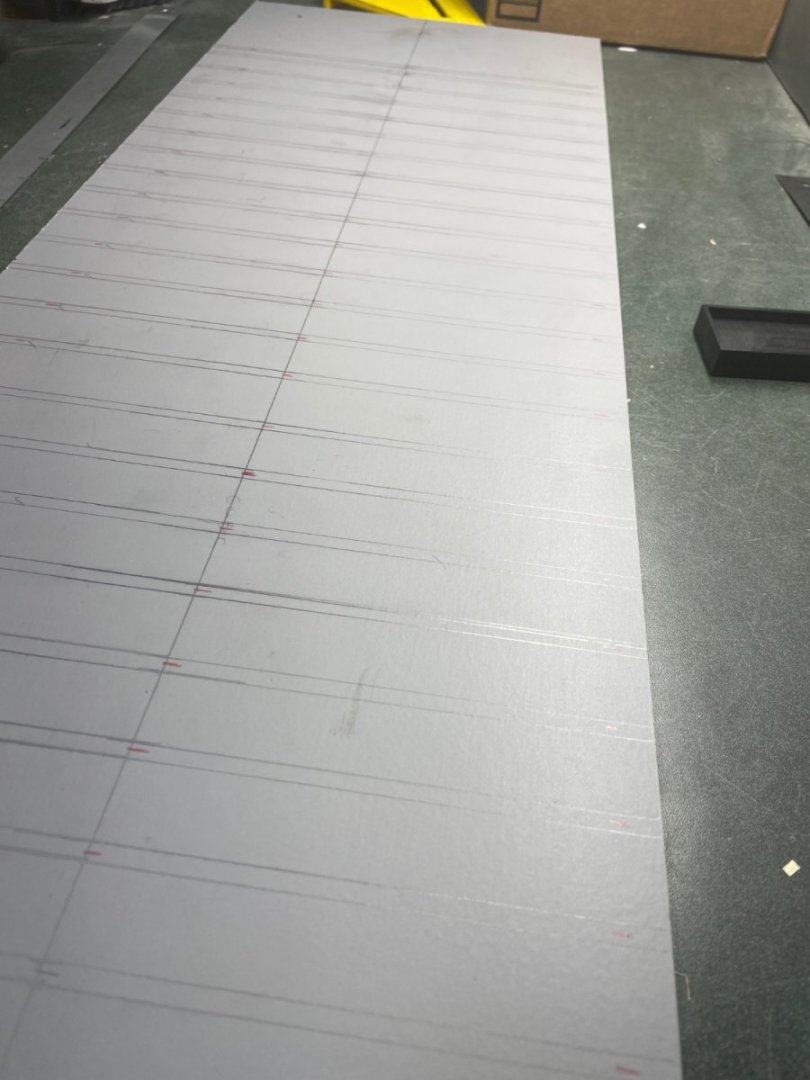
I’ve been really happy with the progress this far and have already learned a ton. I’ve decided to do a partial restart now that I have the equipment to make things better from the start. My former has a slight curve in it along the horizontal axis. much harder to deal with than the vertical axis which the framing would likely take care of. Even with that it has a slight twist, subtle, but now I know I can do better. The knee and keel are good and I should be able to reuse that, so this will only be a week or so delay, I just want it cleaner from the start. Certainly would have come out ahead $ wise just getting the laser cut parts! There always the part of me that wants to do as much as I technically can though, so I’m good with that
-
 Wxchsr reacted to a post in a topic:
HMS Winchelsea 1764 by Wxchsr - 1:48
-
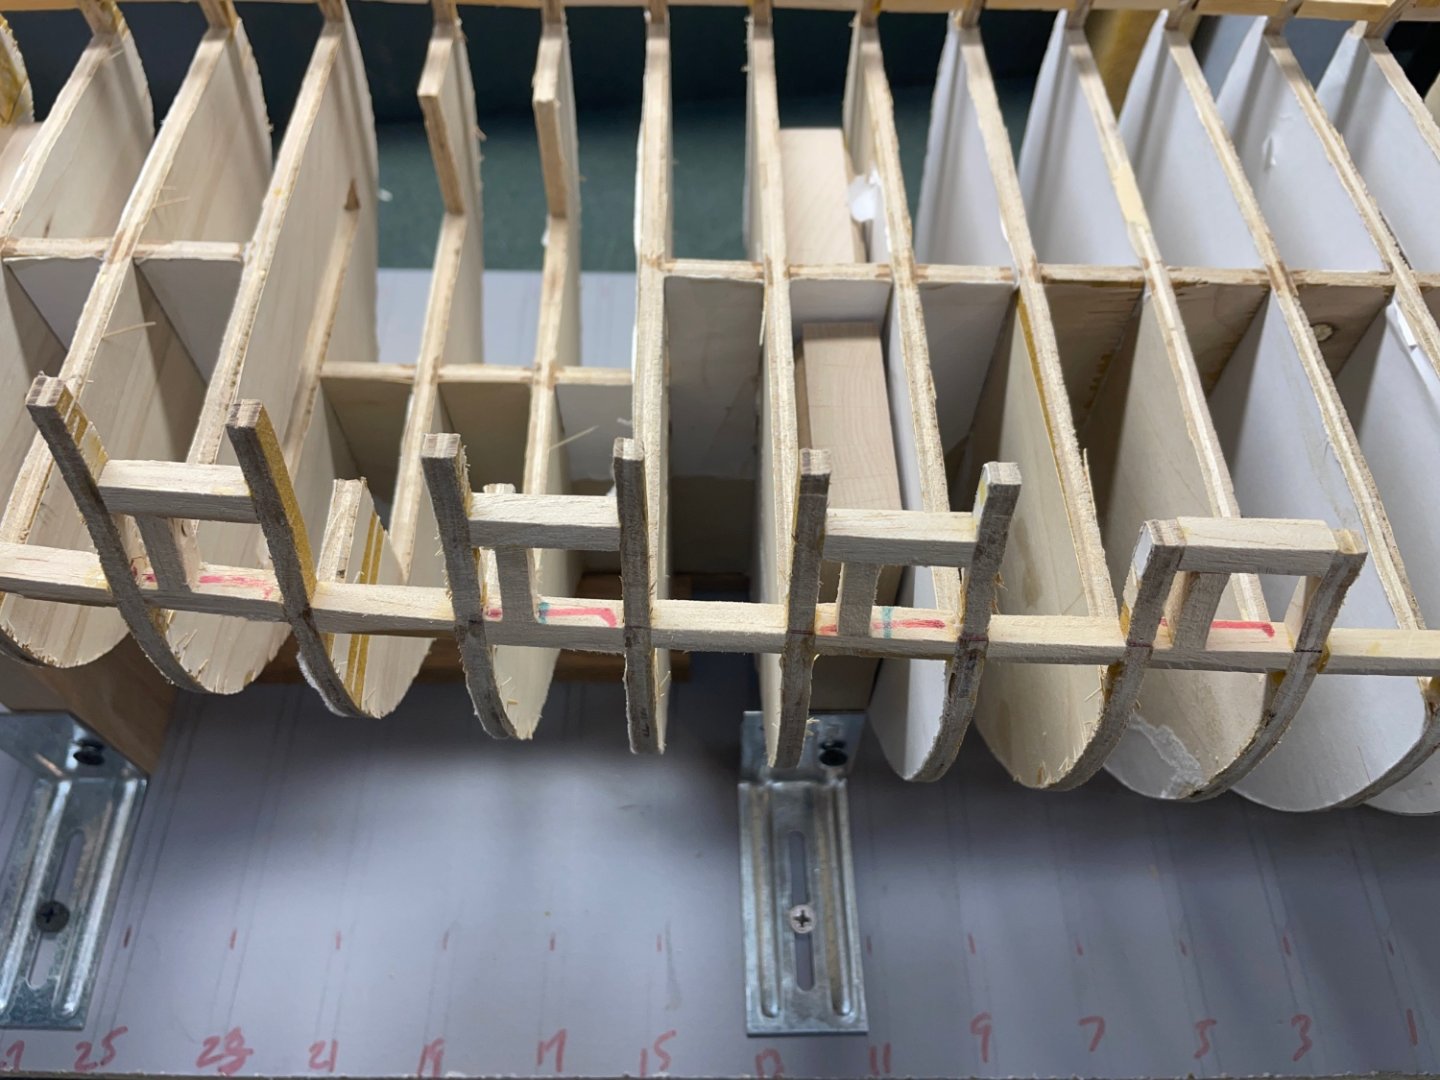
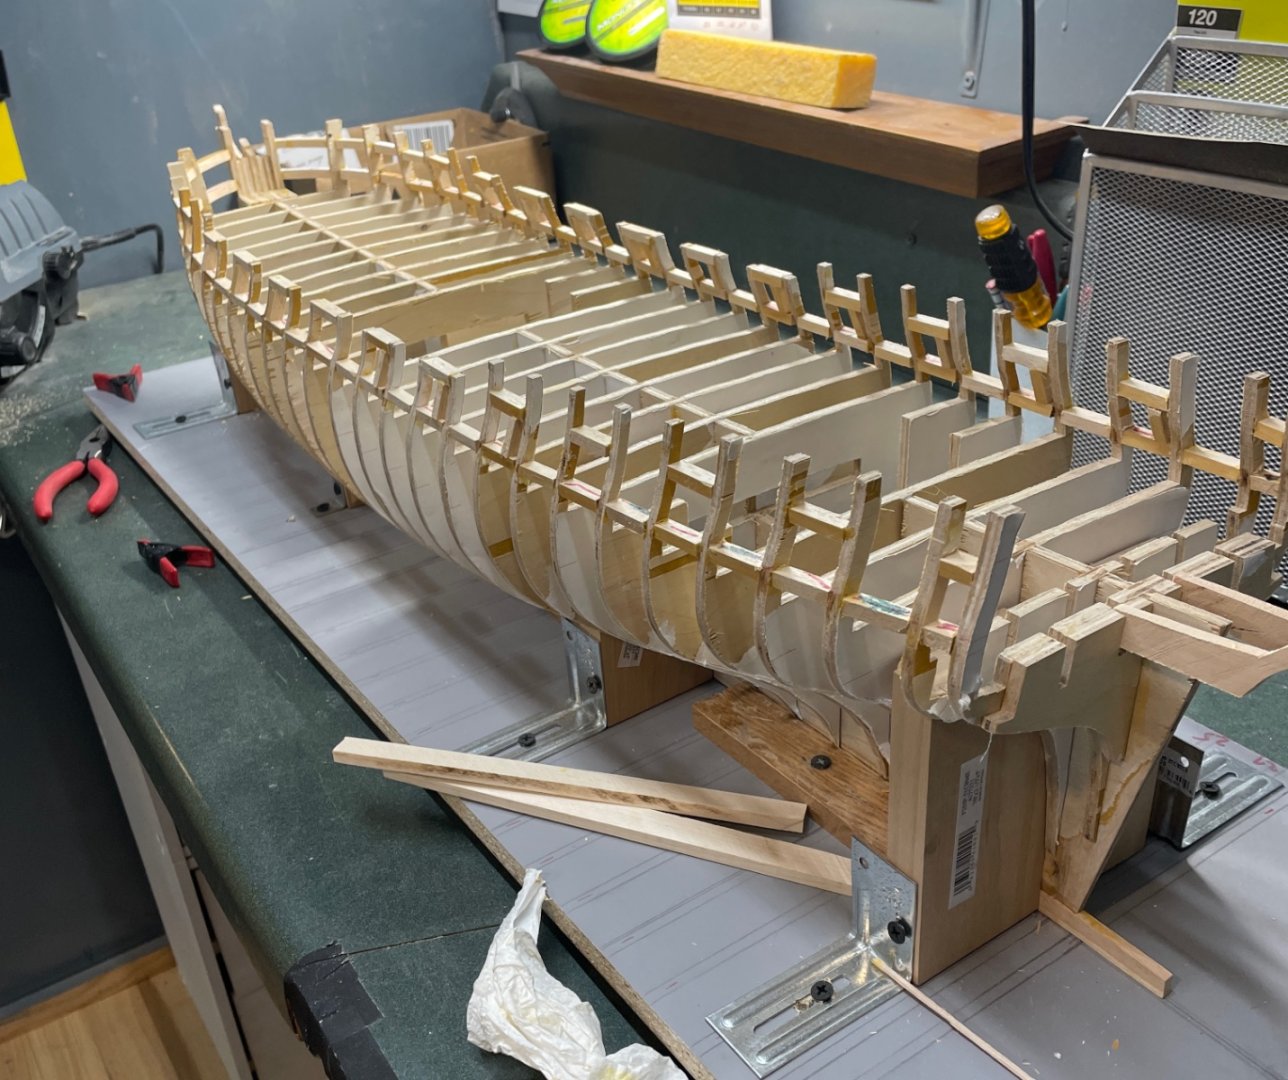
Bottom row of port framing is almost done. Had to remove the plywood supports as a couple we apparently slightly to big/small and was knocking it ever so slightly out of square. I spent a lot more time with these ensuring they were evenly spaced and squared. After putting in the last couple I’ll do the final touches on fairing.
-
I plan on using the monofilament method for the "nails" on the ship. Can anyone advise on the size they used for this specific ship? I see some forum posts here and there (I think Glenn, you used "20 weight for the capstan partners and 15 for the fore and main partners," do you recall what you used/are using on the deck planks and hull planks? I was thinking of using 12# for the deck and 20# for the hull. I'm probably splitting less than hairs here (literally), but am just curious what others used. TIA!
About us
Modelshipworld - Advancing Ship Modeling through Research
SSL Secured
Your security is important for us so this Website is SSL-Secured
NRG Mailing Address
Nautical Research Guild
237 South Lincoln Street
Westmont IL, 60559-1917
Model Ship World ® and the MSW logo are Registered Trademarks, and belong to the Nautical Research Guild (United States Patent and Trademark Office: No. 6,929,264 & No. 6,929,274, registered Dec. 20, 2022)
Helpful Links
About the NRG
If you enjoy building ship models that are historically accurate as well as beautiful, then The Nautical Research Guild (NRG) is just right for you.
The Guild is a non-profit educational organization whose mission is to “Advance Ship Modeling Through Research”. We provide support to our members in their efforts to raise the quality of their model ships.
The Nautical Research Guild has published our world-renowned quarterly magazine, The Nautical Research Journal, since 1955. The pages of the Journal are full of articles by accomplished ship modelers who show you how they create those exquisite details on their models, and by maritime historians who show you the correct details to build. The Journal is available in both print and digital editions. Go to the NRG web site (www.thenrg.org) to download a complimentary digital copy of the Journal. The NRG also publishes plan sets, books and compilations of back issues of the Journal and the former Ships in Scale and Model Ship Builder magazines.


