
FrankWouts
-
Posts
493 -
Joined
-
Last visited
Recent Profile Visitors
2,038 profile views

.thumb.jpg.0c4ba74a8c20632da6eafe3d432bde24.jpg)


-
 John Murray reacted to a post in a topic:
HMS Winchelsea 1764 by John Murray - 1:48
John Murray reacted to a post in a topic:
HMS Winchelsea 1764 by John Murray - 1:48
-
 Jack12477 reacted to a post in a topic:
HMS Winchelsea 1764 by shauer - 1:48
Jack12477 reacted to a post in a topic:
HMS Winchelsea 1764 by shauer - 1:48
-
FrankWouts reacted to a post in a topic:
HMS Winchelsea - FINISHED - 1764 - by Chuck (1/4" scale)
-
 Hi Steve, there should be several 3/16" lasercut fairing caps in the package you received from Chuck! If not send him a message. Look at Chuck's build on page 7, post #207, it's described there were to place the 3/16"wide fairing caps to help with the inboard fairing. Frank.
 -
FrankWouts reacted to a post in a topic:
HMS Winchelsea 1764 by shauer - 1:48
-
Yes, I think your build will be like that, for sure with such a clean lasercut you won't have to adjust and clean up so much. That laser and its settings seem to cut at an exact 90 degrees angle judging from your photographs. Or did you have to correct some joins that weren't exactly in a straight 90 degree angle? Cannot wait to see more of it! Frank.
-
FrankWouts reacted to a post in a topic:
HMS Winchelsea 1764 by John Murray - 1:48
-
John Murray reacted to a post in a topic:
HMS Winchelsea 1764 by John Murray - 1:48
-
 FrankWouts reacted to a post in a topic:
HMS Winchelsea - FINISHED - 1764 - by Chuck (1/4" scale)
FrankWouts reacted to a post in a topic:
HMS Winchelsea - FINISHED - 1764 - by Chuck (1/4" scale)
-
FrankWouts reacted to a post in a topic:
Flying Cloud 1851 by hof00 - Mamoli - 1/96 - American clipper
-
 FrankWouts reacted to a post in a topic:
HMS Winchelsea 1764 by Edwardkenway- 1:48
FrankWouts reacted to a post in a topic:
HMS Winchelsea 1764 by Edwardkenway- 1:48
-
FrankWouts reacted to a post in a topic:
HMS Winchelsea 1764 by Edwardkenway- 1:48
-
Wow! That's looking suberb with superclean cust and crisp fitting! Keep going, I'm curious how your build will progress if this is already so beautiful and clean! And very good pictures by the way! Frank.
-
FrankWouts reacted to a post in a topic:
HMS Winchelsea 1764 by John Murray - 1:48
-
Tossedman reacted to a post in a topic:
HMS Winchelsea 1764 by Frank Wouts 1/48
-
FrankWouts reacted to a post in a topic:
HMS Winchelsea 1764 by Frank Wouts 1/48
-
Desertanimal reacted to a post in a topic:
HMS Winchelsea 1764 by Frank Wouts 1/48
-
eatcrow2 reacted to a post in a topic:
HMS Winchelsea 1764 by Frank Wouts 1/48
-
Ronald-V reacted to a post in a topic:
HMS Winchelsea 1764 by Frank Wouts 1/48
-
glbarlow reacted to a post in a topic:
HMS Winchelsea 1764 by Frank Wouts 1/48
-
FrankWouts reacted to a post in a topic:
HMS Winchelsea 1764 by Frank Wouts 1/48
-
Chuck reacted to a post in a topic:
HMS Winchelsea 1764 by Frank Wouts 1/48
-
dvm27 reacted to a post in a topic:
HMS Winchelsea 1764 by Frank Wouts 1/48
-
Checking the flow of the bow of the middle section of the jigsaw part of the deck planking. Just gave it a little fine sanding thusfar. Next step is to measure the equal distances with the template at each section line and lining off with the rest of the planking at both sides with narrow tape. Frank.

-
Looking good Steve, well done! Maybe only thing is to replace the two lower planks at each side that should touch the edges of the counter planks seamlesly. Piece of cake to replace them I think. Bevel the end of the planks to match the angle of the sides of the counter planks. These tiny gaps you still have there might be visible underneath the nice print and fancy plank that covers the edge, my guess the tiny gap might still be visible. Frank.
-
Thanks you all, For all your tips and comments and the likes. Well, I'll first try to use some WOP and see how it looks, the overwhelming majority thinks I shouldn't paint the pear, which would be ashame I think too. @Ronald: I've not yet test fitted the whole stand, I'm still fine-tuning the two conformal placeholders with the hull... Once it all fits smoothly, I'll try the WOP and see how it combines. Thanks, Frank.
-
This is how I would continue with your counter / bottom planking and second lower wale plank: paint the edge black and glue and clamp it on. Only sand the aft edge of the lower wale plank flush with the counter planks. Maybe first sand the two lower planks that already touch the counter planks a little flatter in a parallel line with the hollow bended edge of the lower counter plank. The side of the lower longitudal plank that touches the lower wale plank could have been beveled more and more in a bigger angle when moving aft, so that the edge between these two planks would heve become sharper moving backwards to the counter.... But just glueing the second lower wale plank on top will be fine I think after just a little sanding the planks to simulate this 'sharper edge when moving more and more aft '... I hope I'm not writing jibberish to you here... Ofcourse there's a little twist in the lower wale plank you have to bring in with a drop of water and your little travel iron. Frank.
-
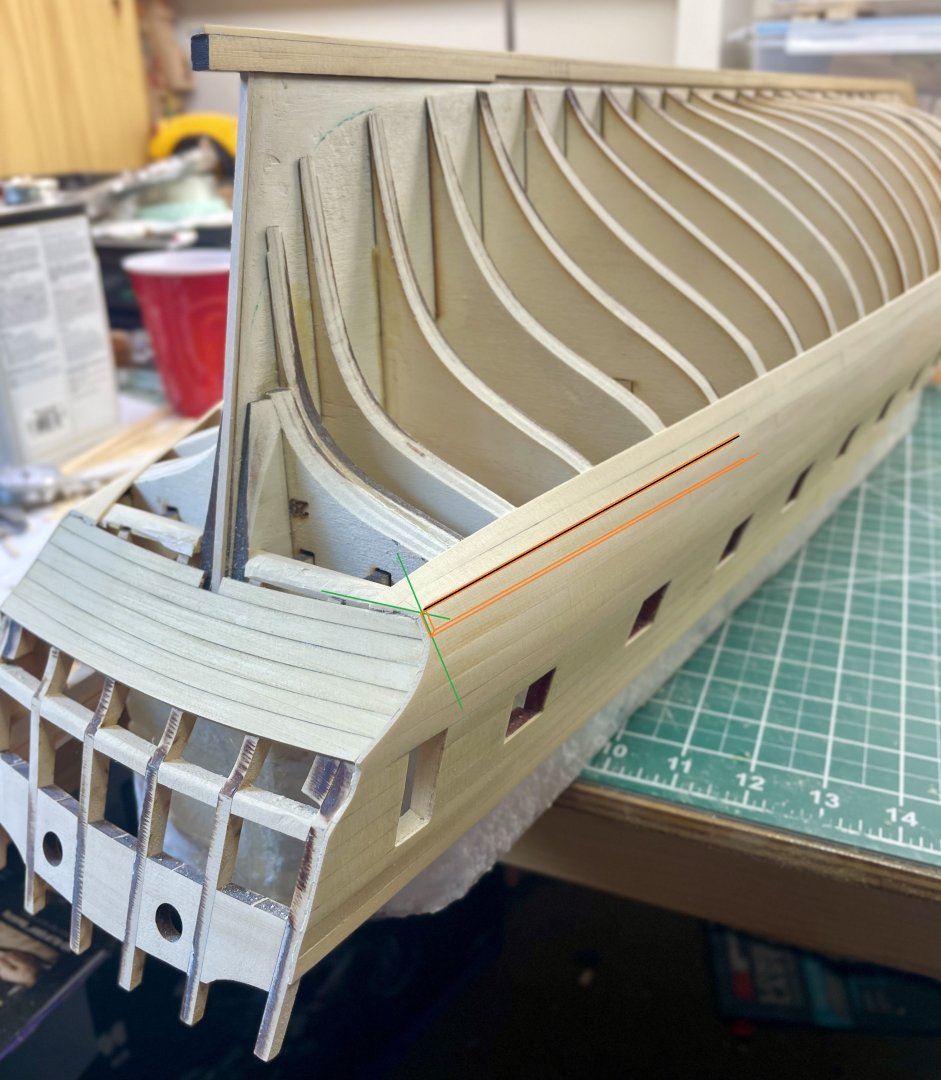
Hi Steve, Yes, that's what I did, and paint the sides black like the rest of the sides of the wale planks. What's the alternative? Sand it flush along the green line you've drawn? I think that would look awful sideways, there would be a step / bend in the bottom wale planking line! I guess that's not what they used to do in reality at the ship wharf in good old Engeland too. Everyone seems to have the tendancy to sand everything flush, but please suppress that tendancy here. Just make all planking edges of the counter, wales and bottom planking come together at that one edged point where the step / bend is in your green line: don't sand this point round or flush! That's exactly the reason everyone shouldn't sand that pointy edge at the first counter planking flush or rounded, but leave it 'pointy'! It looks in the photo as if the lowest counter plank's edge has been sanded straight, but it was in fact sanded round together with the other counter planks at the sides until the 'pointy' edge at the bend in your green line. But when gluing and clamping the wale planks like you see happening at the left side on the picture, it made it flat again. Just let all edge planks of counter, wale and bottom plannking come together in that one edge point, with the angles as on the drawings and the counter picture everyone uses to make it fit more or less nicely... The highest bottom plank and the lowest wale plank are tightly against each other from bow to stern / counter, but have an ever increasing angle with each other towards the counter/stern. Hope this helps!? Frank.
-
Yeah, nice milestone to put the figurehead on for a picture Steve! Well done and nice hard work! Frank.
-
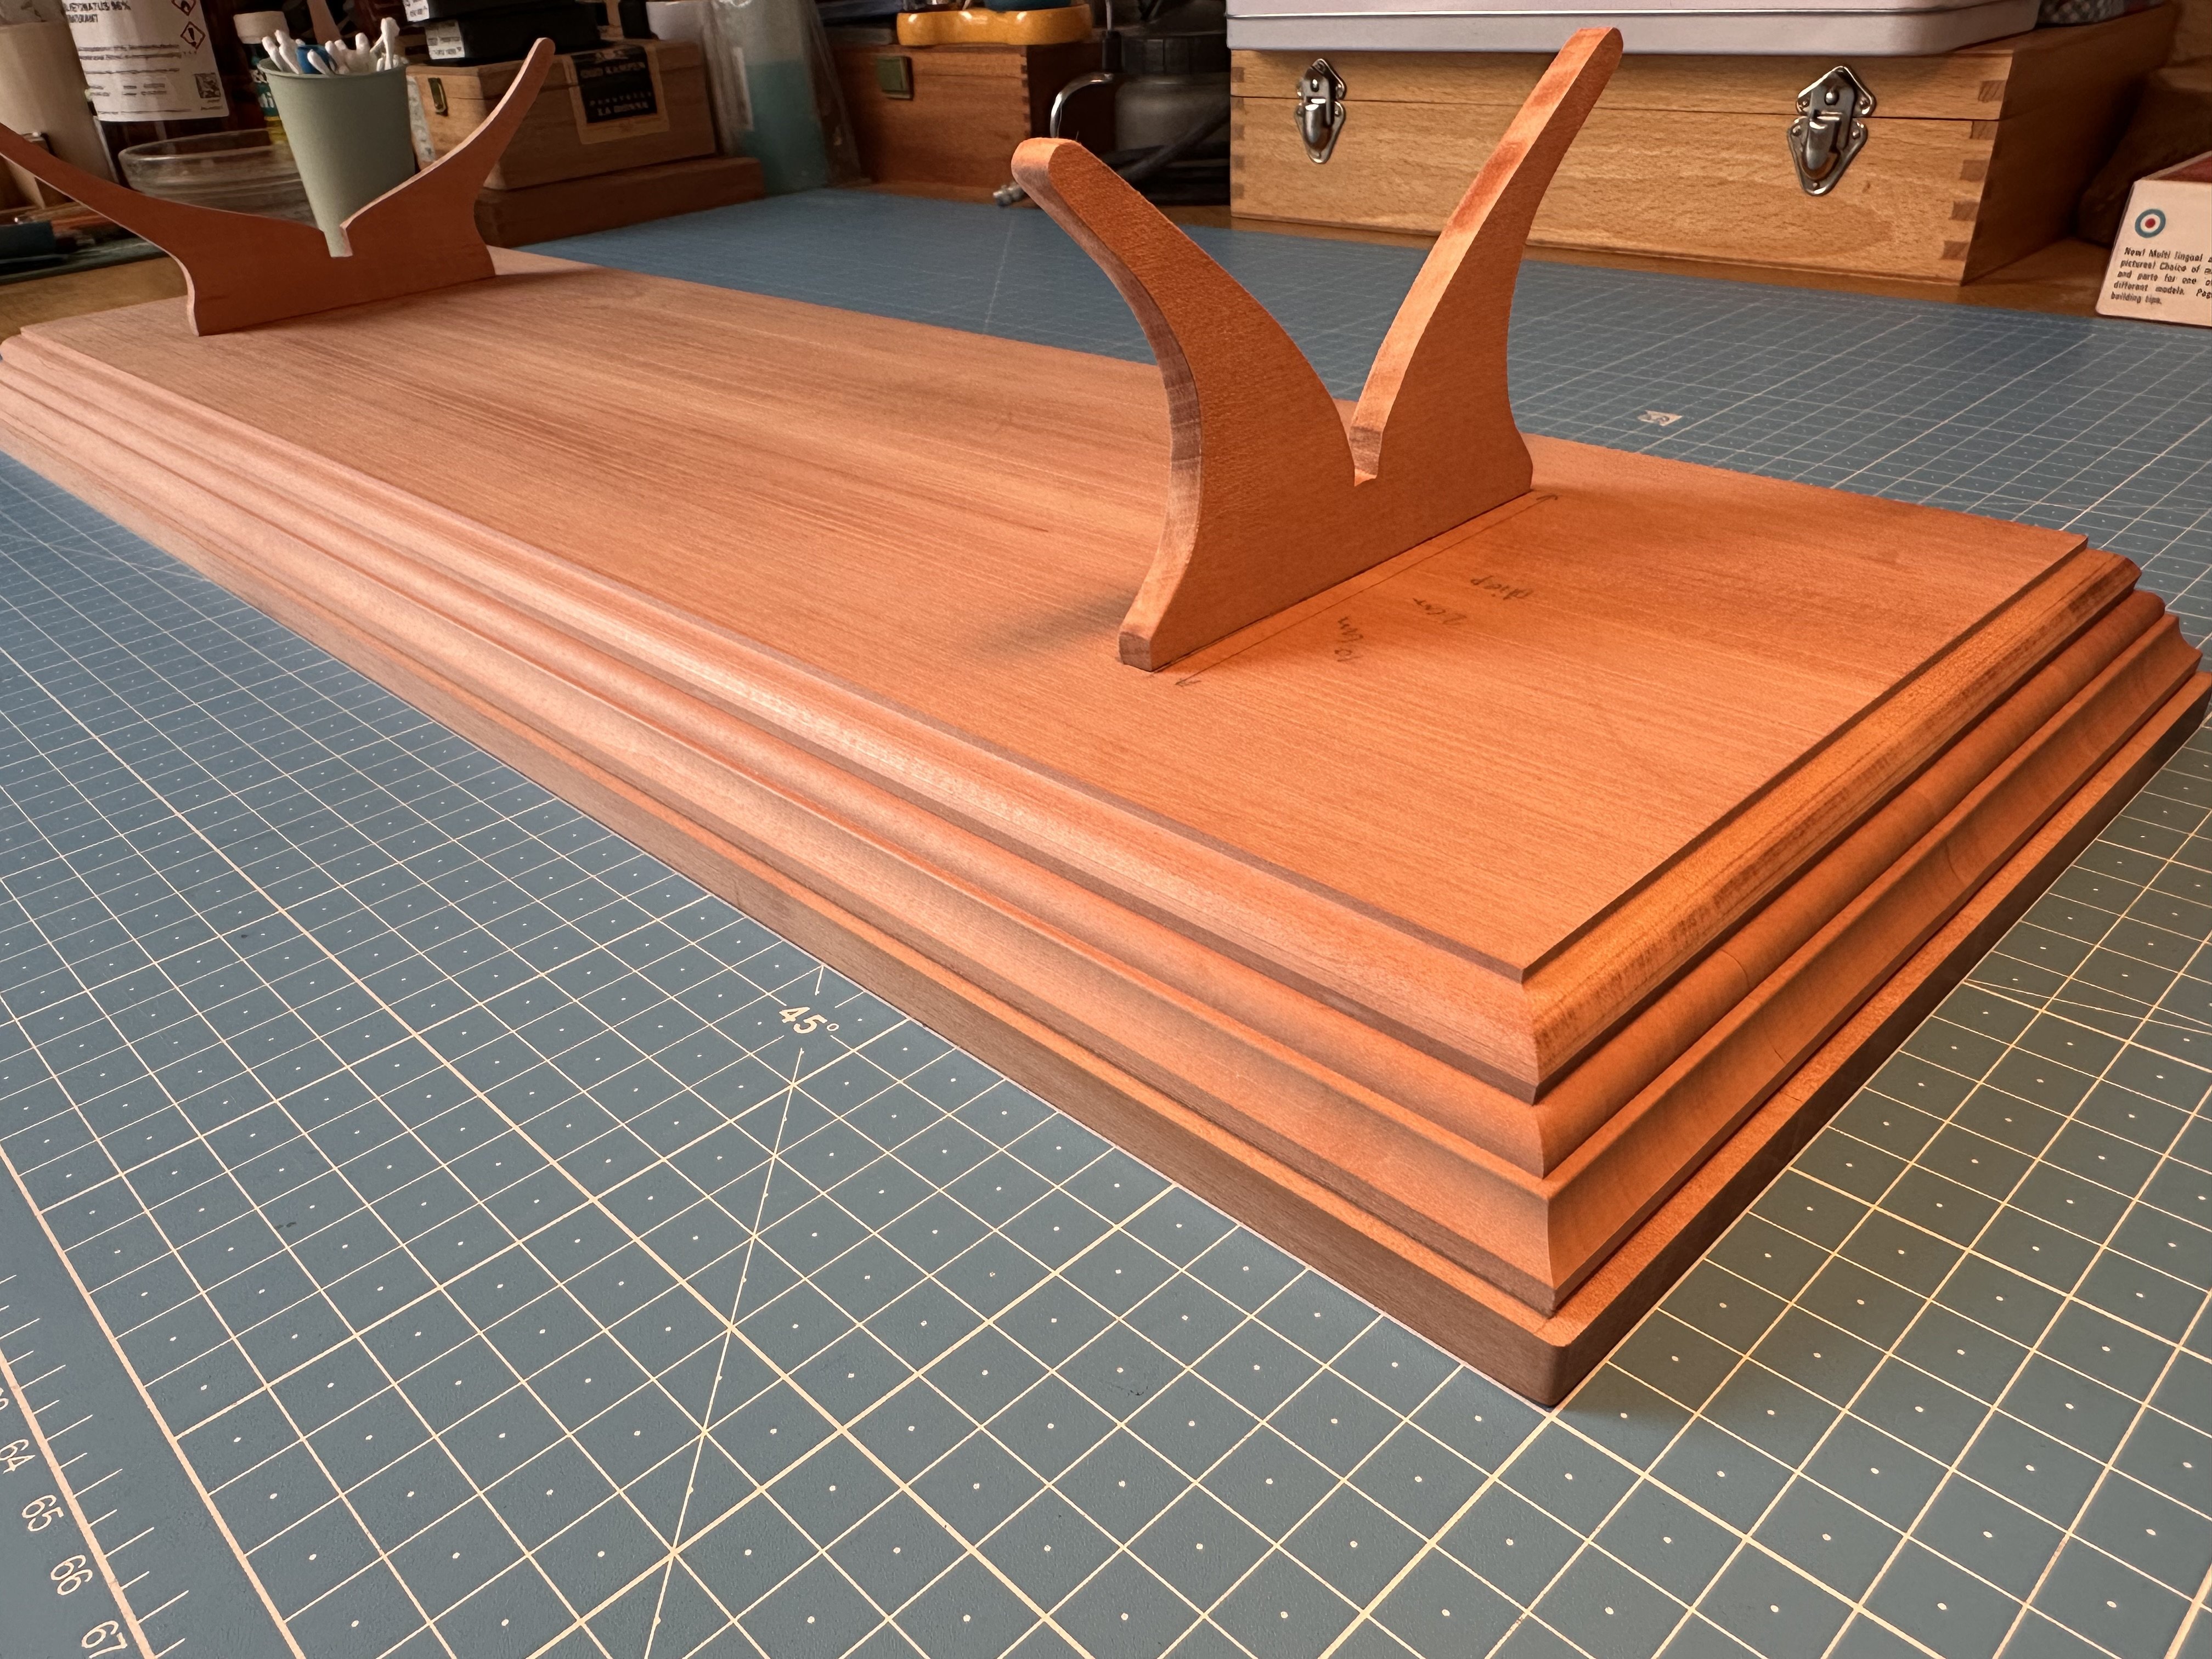
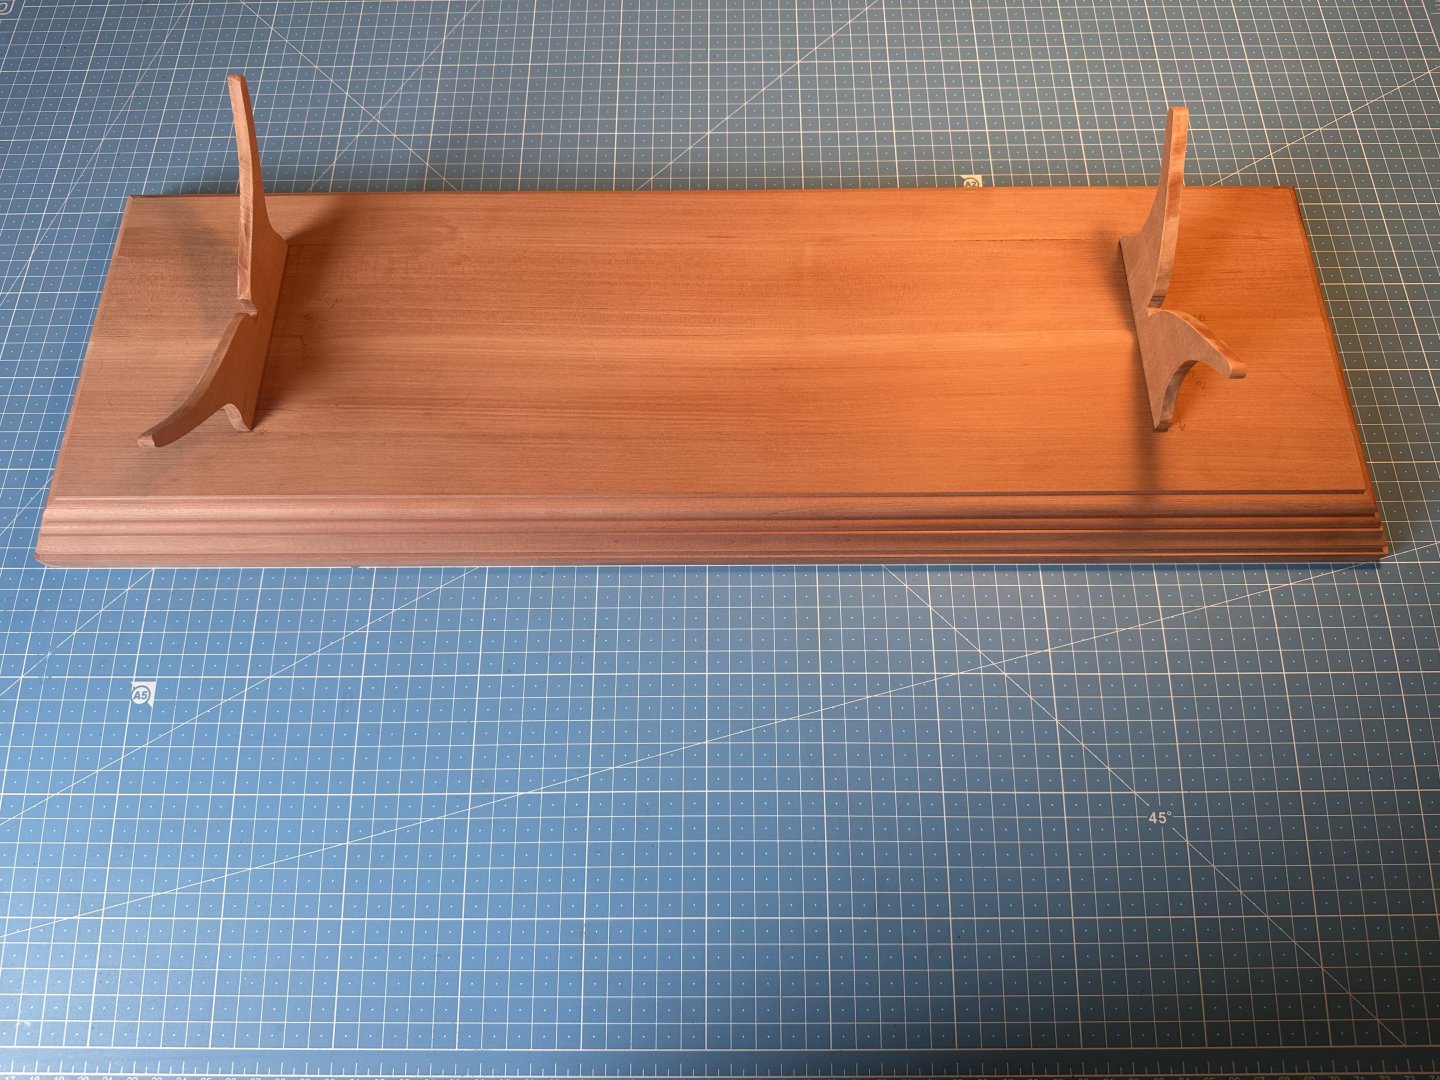
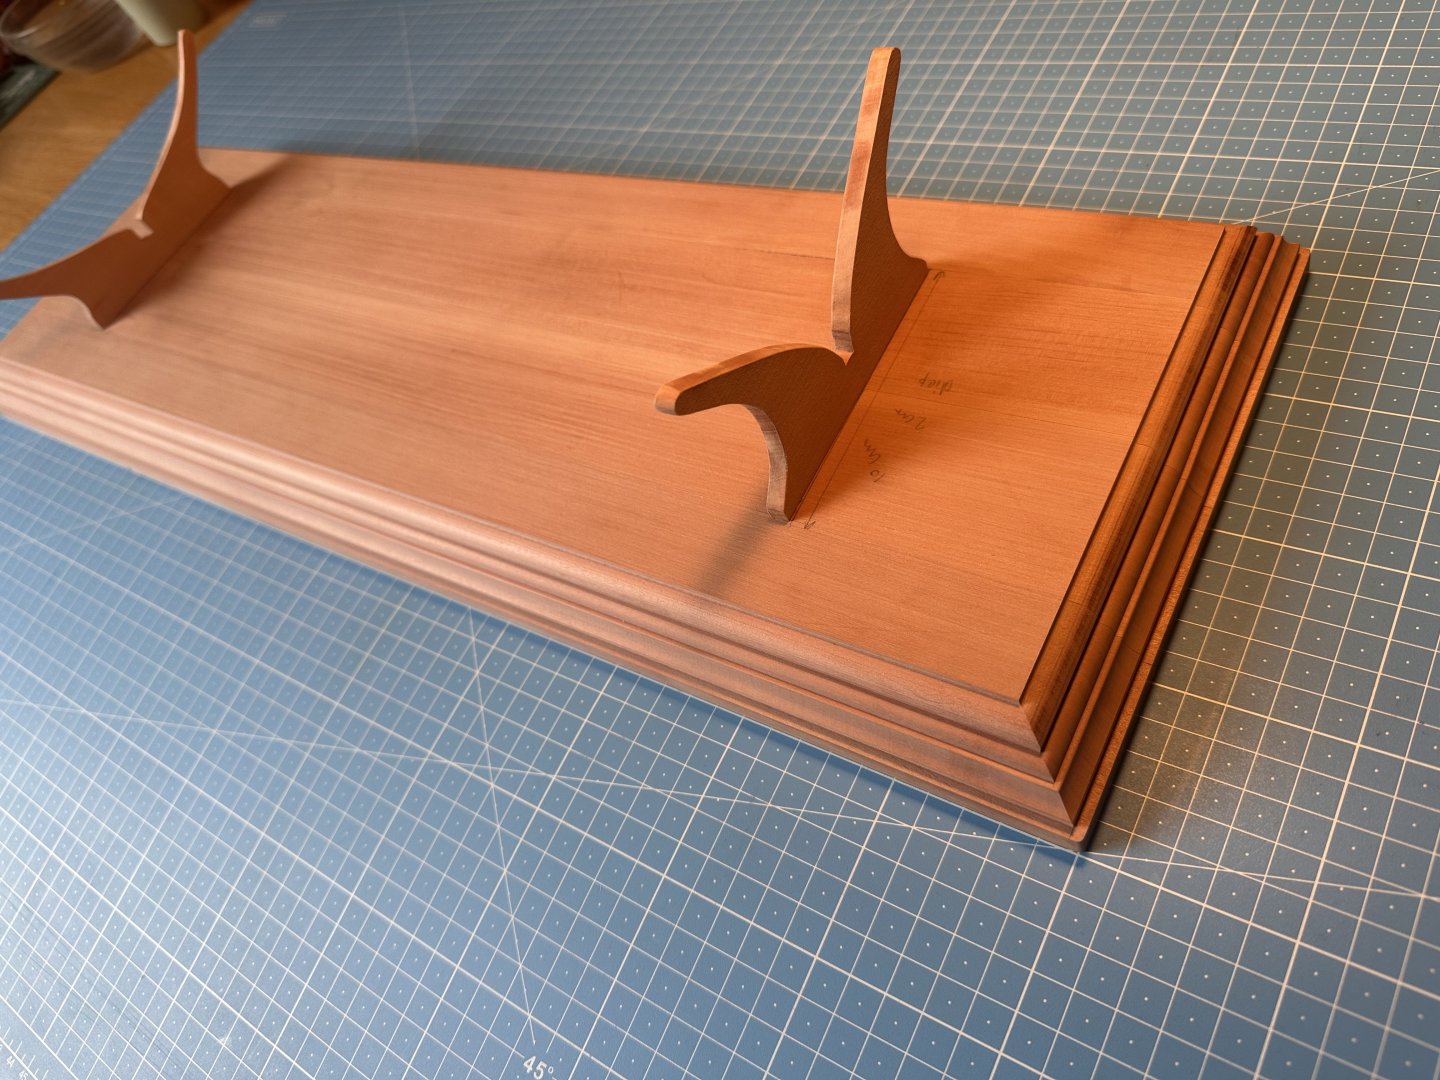
While my Winnie is going to stay upright forever soon, before I continue planking the deck, I first shifted my attention making a nice stand for it. It’s 200X600mm. A friend made and milled the lovely edge to the pear plank in four passes... The pear is beautiful wood, but I doubt if it will match the Alaskan Yellow Cedar when treated with whipe on poly… I’m also thinking of painting it black, as it shouldn’t be a distraction from the model. What do you think? Hope to post updates on the deck planking soon! Frank. E6E5691D-1888-43ED-AE26-DD7ED0C6863B.mov


-
Looking good! Great to see you pushing ahead! You inspire me to get my b*tt in my hobby attic as well this weekend! Frank.
-
Great job again Edward, you inspire me to free my agenda this weekend for some progress on Winchelsea! Frank.
-
First of all welcome to the Winchelsea build group John. Very nice to see another Winchelsea being started! Aren't you afraid that further down the line, things will not fit 100% when experimenting with letting your pieces cut by various laser cutting shops? How much off are the two different sets of pieces you already have now compared to each other? Apart from the few cut away corners you showed, are the pieces the same size and consistent in shape, etcetera? I wish you lots success and most of all much fun building your Winchelsea! Frank.
-
Nice progress and very good looking gun ports and planking Steve! Frank.
-
Beautiful work Edward, I'd love to see some updates again of your build. Cheers, Frank.