michael.brandt91
-
Posts
4 -
Joined
-
Last visited
-
 Thukydides reacted to a post in a topic:
Lady Nelson by michael.brandt91 - Amati/Victory Models - 1:64 - First Build
Thukydides reacted to a post in a topic:
Lady Nelson by michael.brandt91 - Amati/Victory Models - 1:64 - First Build
-
glbarlow reacted to a post in a topic:
Lady Nelson by michael.brandt91 - Amati/Victory Models - 1:64 - First Build
-
AJohnson reacted to a post in a topic:
Lady Nelson by michael.brandt91 - Amati/Victory Models - 1:64 - First Build
-
AJohnson reacted to a post in a topic:
Lady Nelson by michael.brandt91 - Amati/Victory Models - 1:64 - First Build
-
AJohnson reacted to a post in a topic:
Lady Nelson by michael.brandt91 - Amati/Victory Models - 1:64 - First Build
-
AJohnson reacted to a post in a topic:
Lady Nelson by michael.brandt91 - Amati/Victory Models - 1:64 - First Build
-
Mr Whippy reacted to a post in a topic:
Lady Nelson by michael.brandt91 - Amati/Victory Models - 1:64 - First Build
-
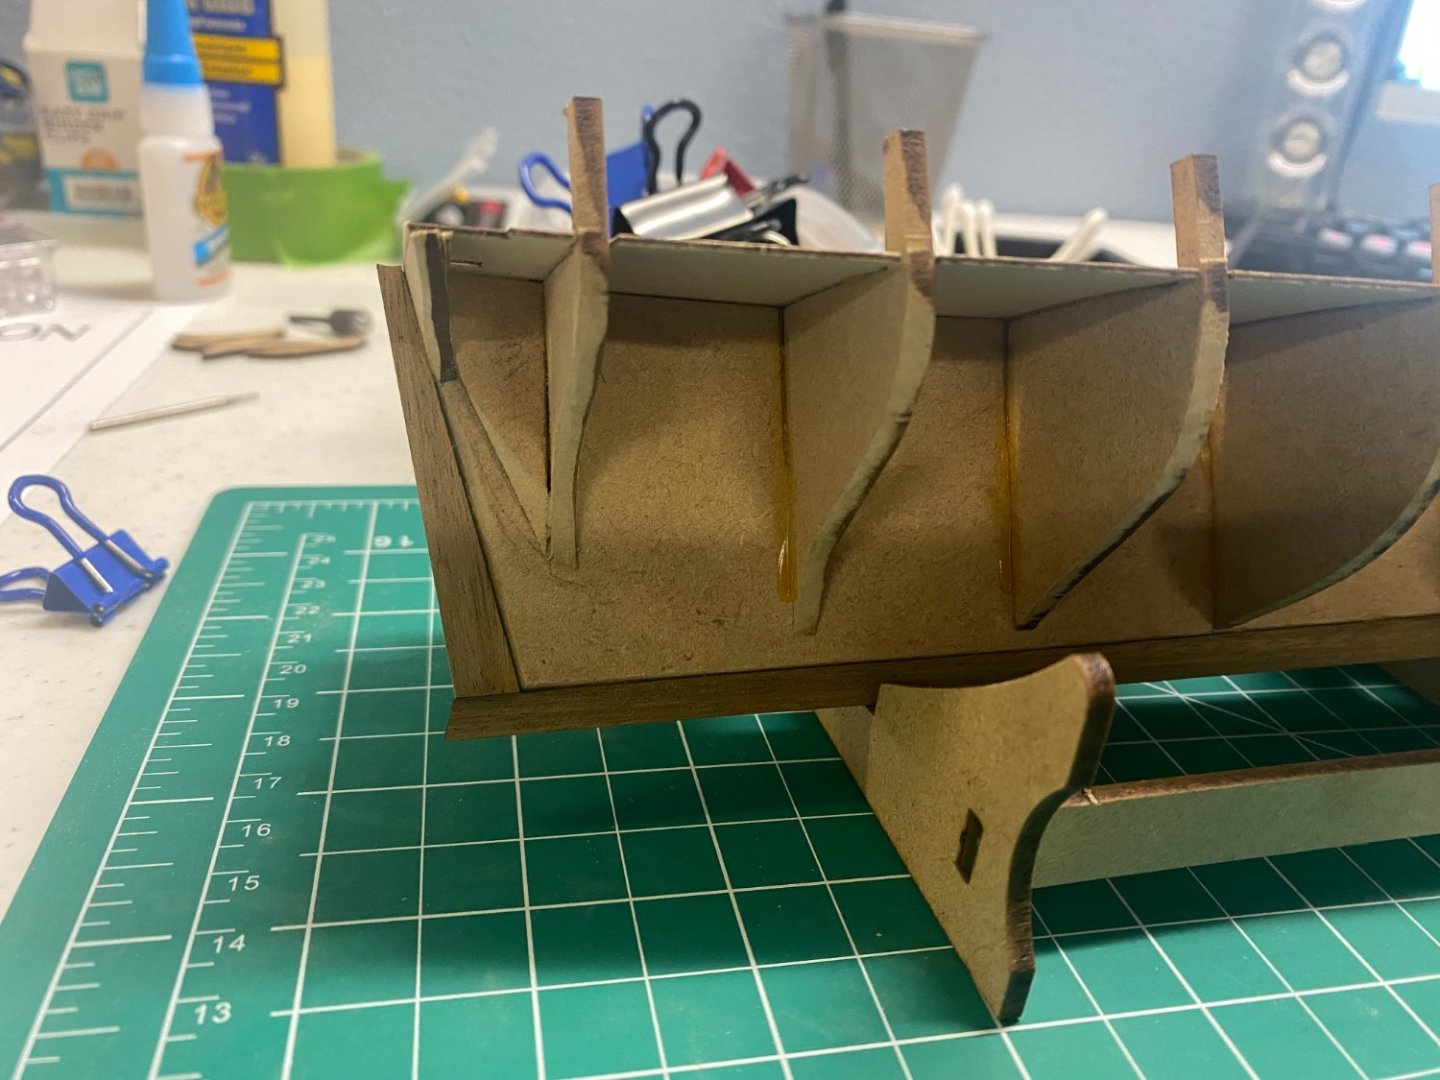
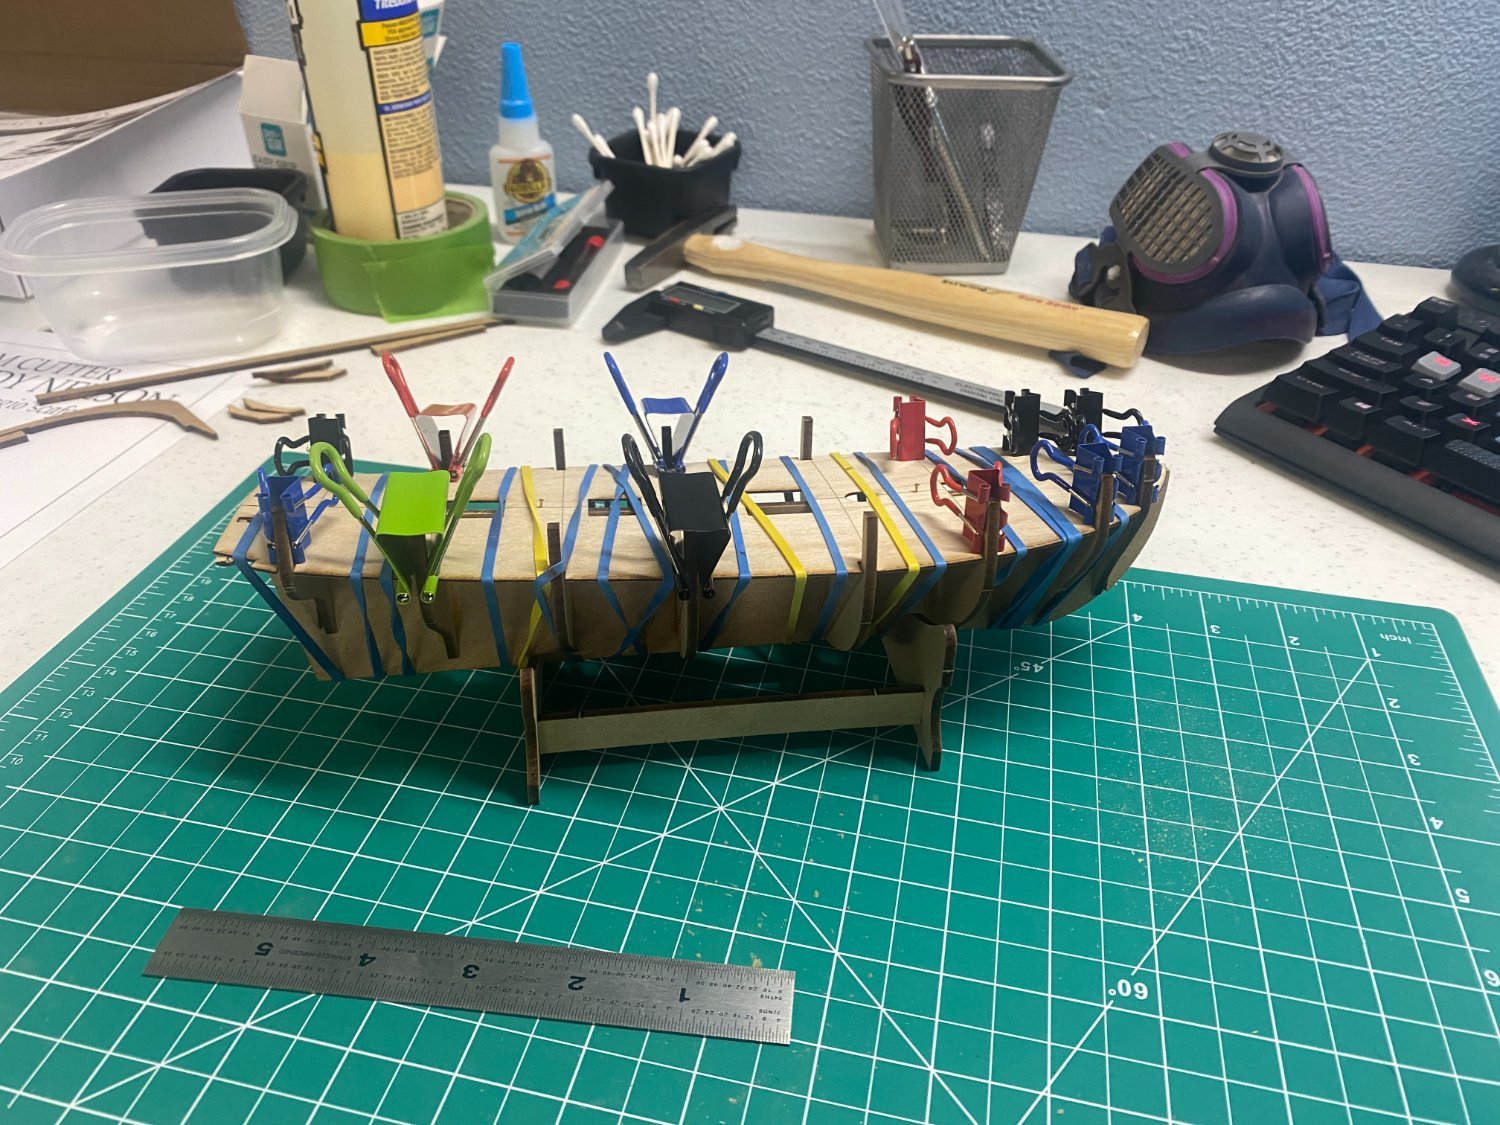
Thanks for the feedback! Didn't know it was called a batten, but I was laying a test strip along both sides to test my bevels. I probably need to make than test strip a little thinner with a plane and use that as my dedicated batten! The hardest part for me to gauge is how each plan terminates into the bow and stern. I think I'm going to learn a lot during this first planking. Trying to learn Chick Passaro's Planking method. Tried to lay everything out with string but going to get some tape today.
- 8 replies
-
- 4
-
-
- Lady Nelson
- Amati
- (and 2 more)
-
michael.brandt91 reacted to a post in a topic:
Lady Nelson by michael.brandt91 - Amati/Victory Models - 1:64 - First Build
-
Ryland Craze reacted to a post in a topic:
Lady Nelson by michael.brandt91 - Amati/Victory Models - 1:64 - First Build
-
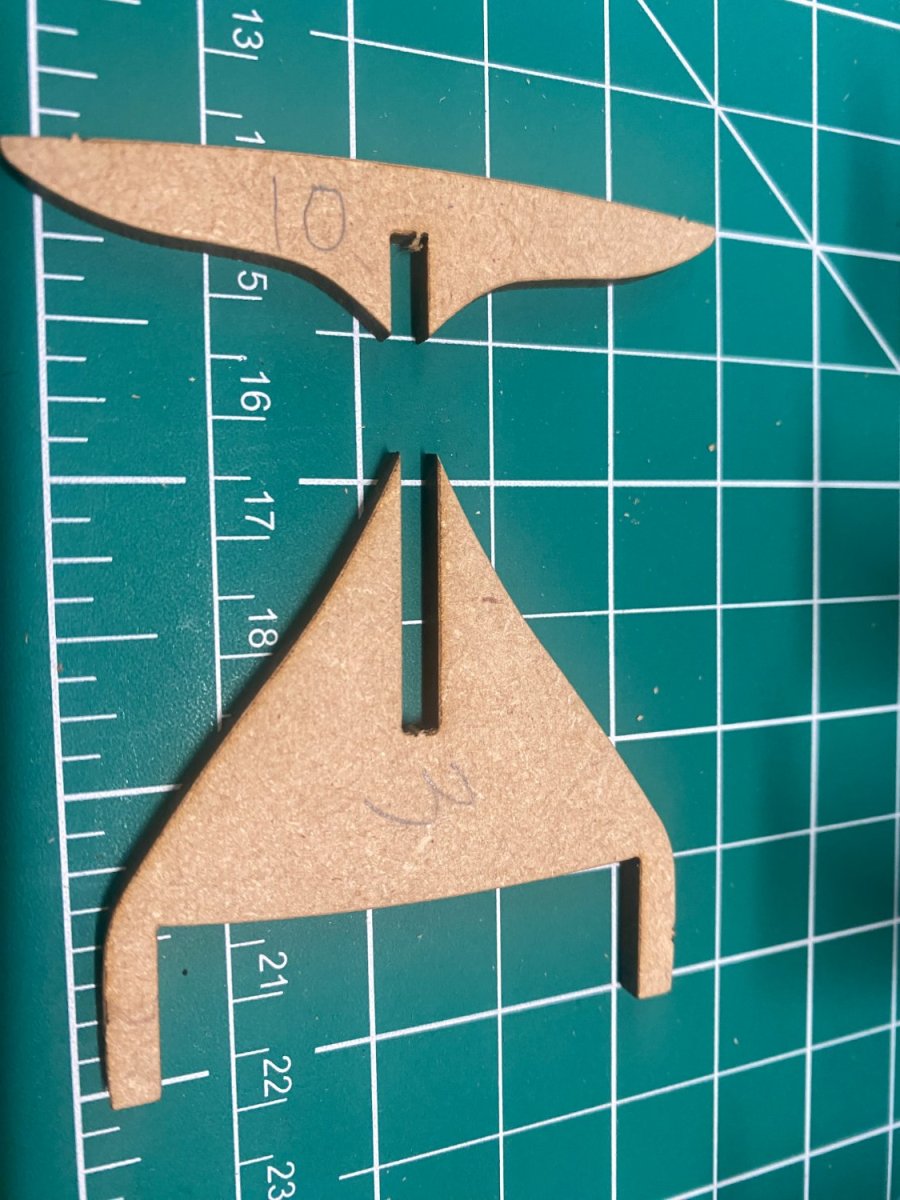
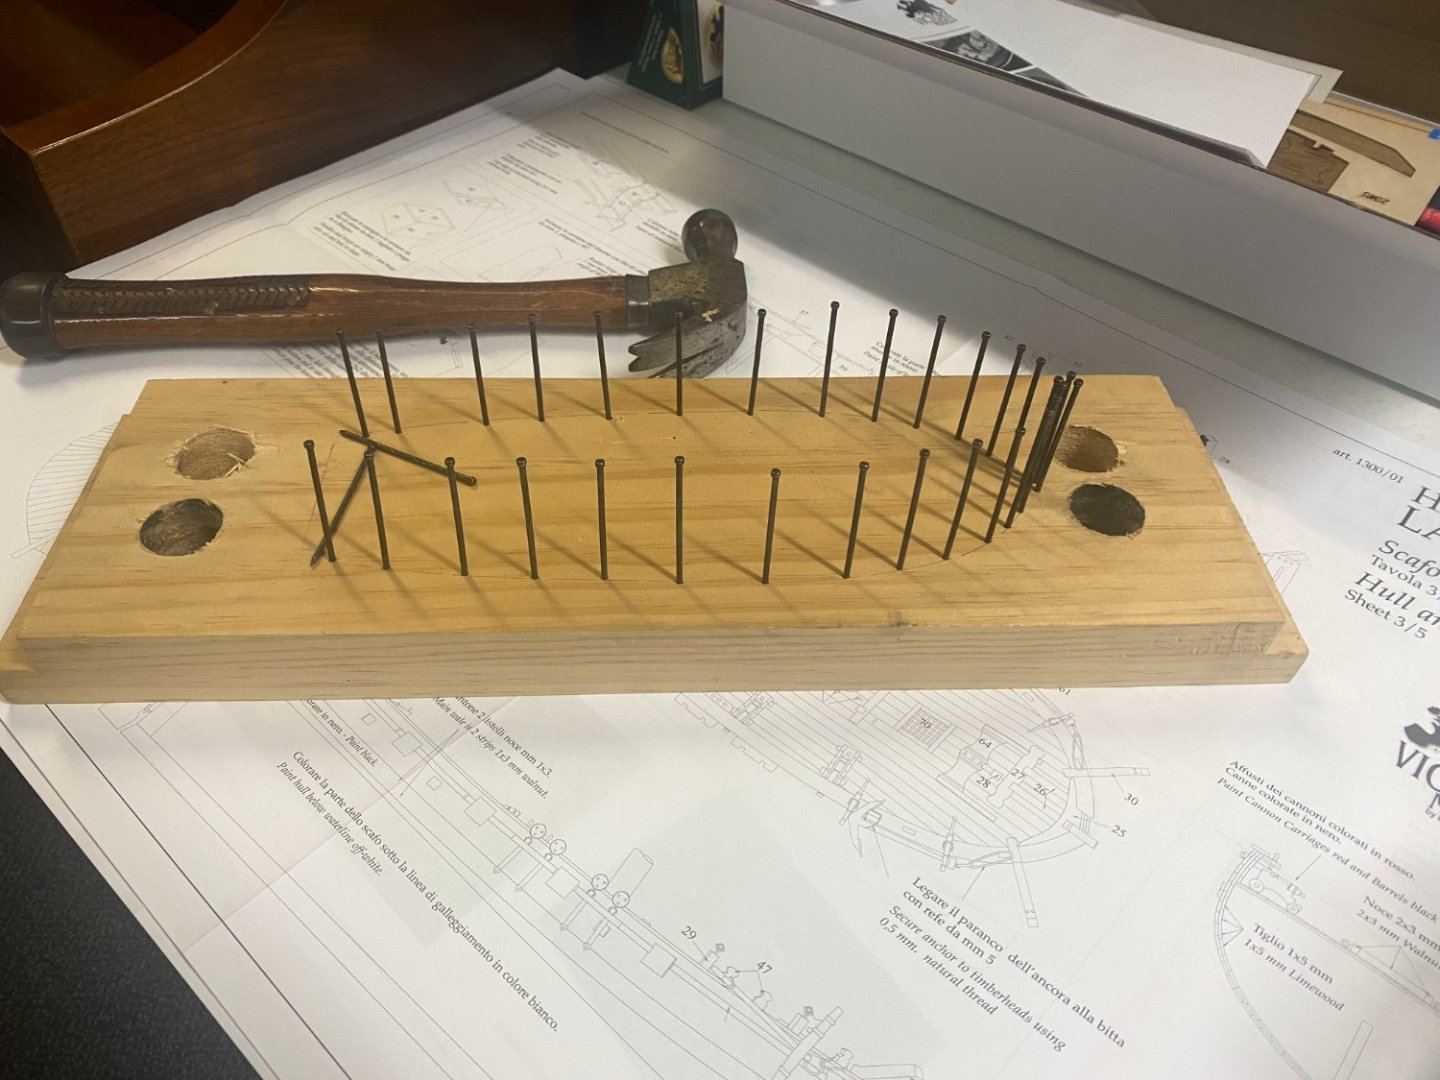
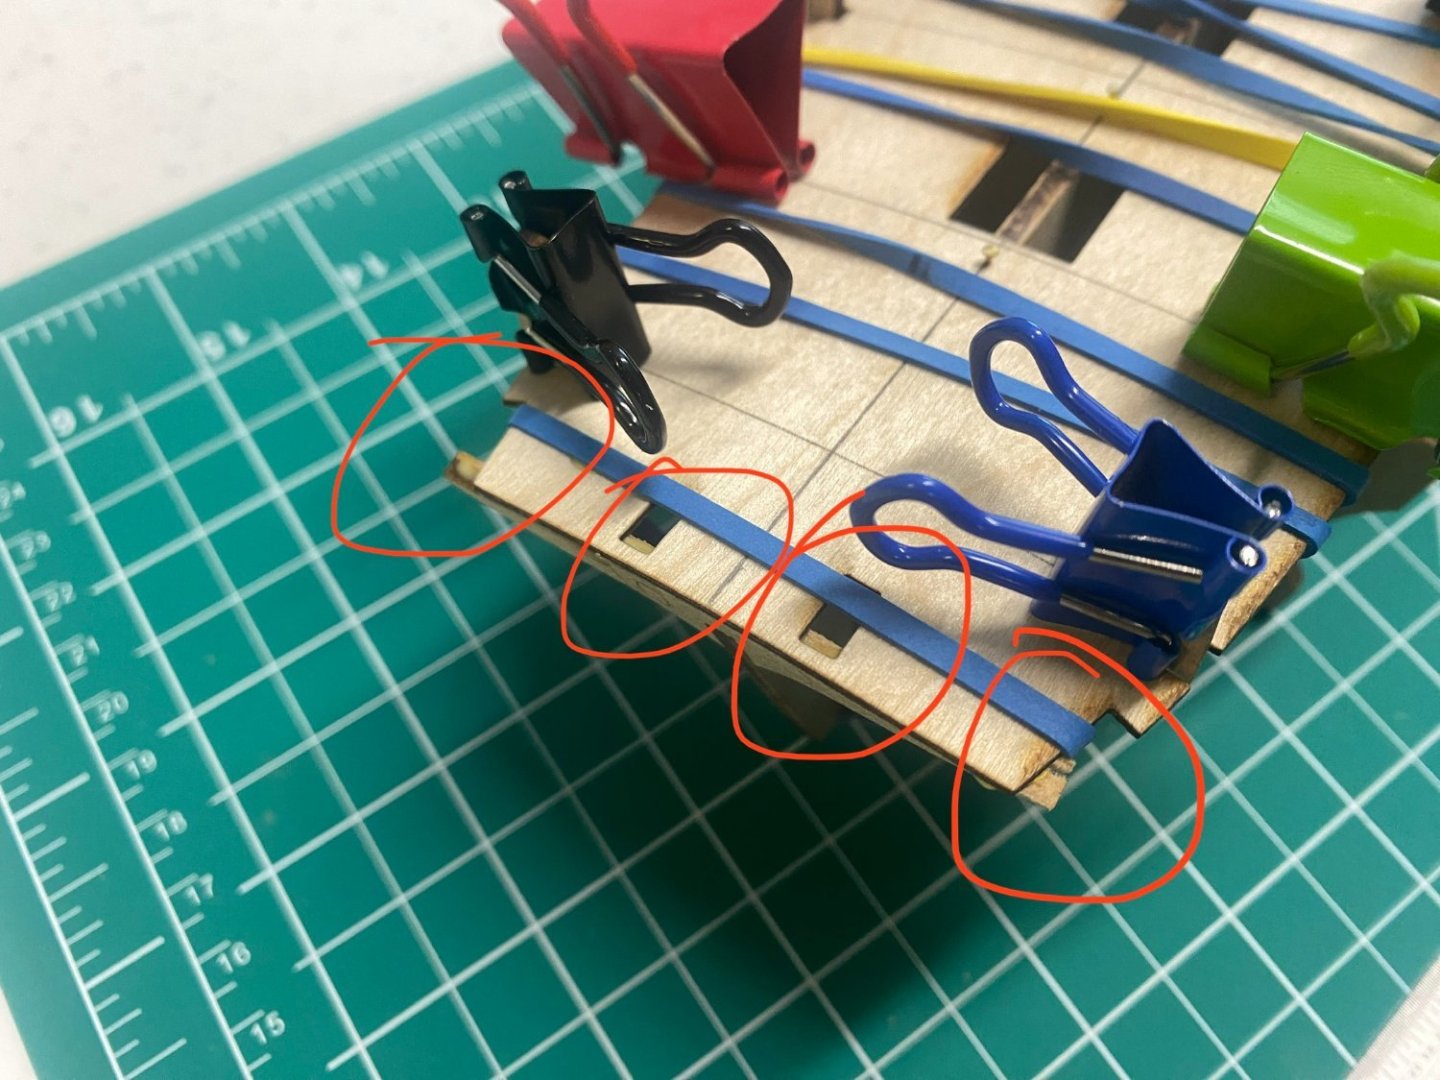
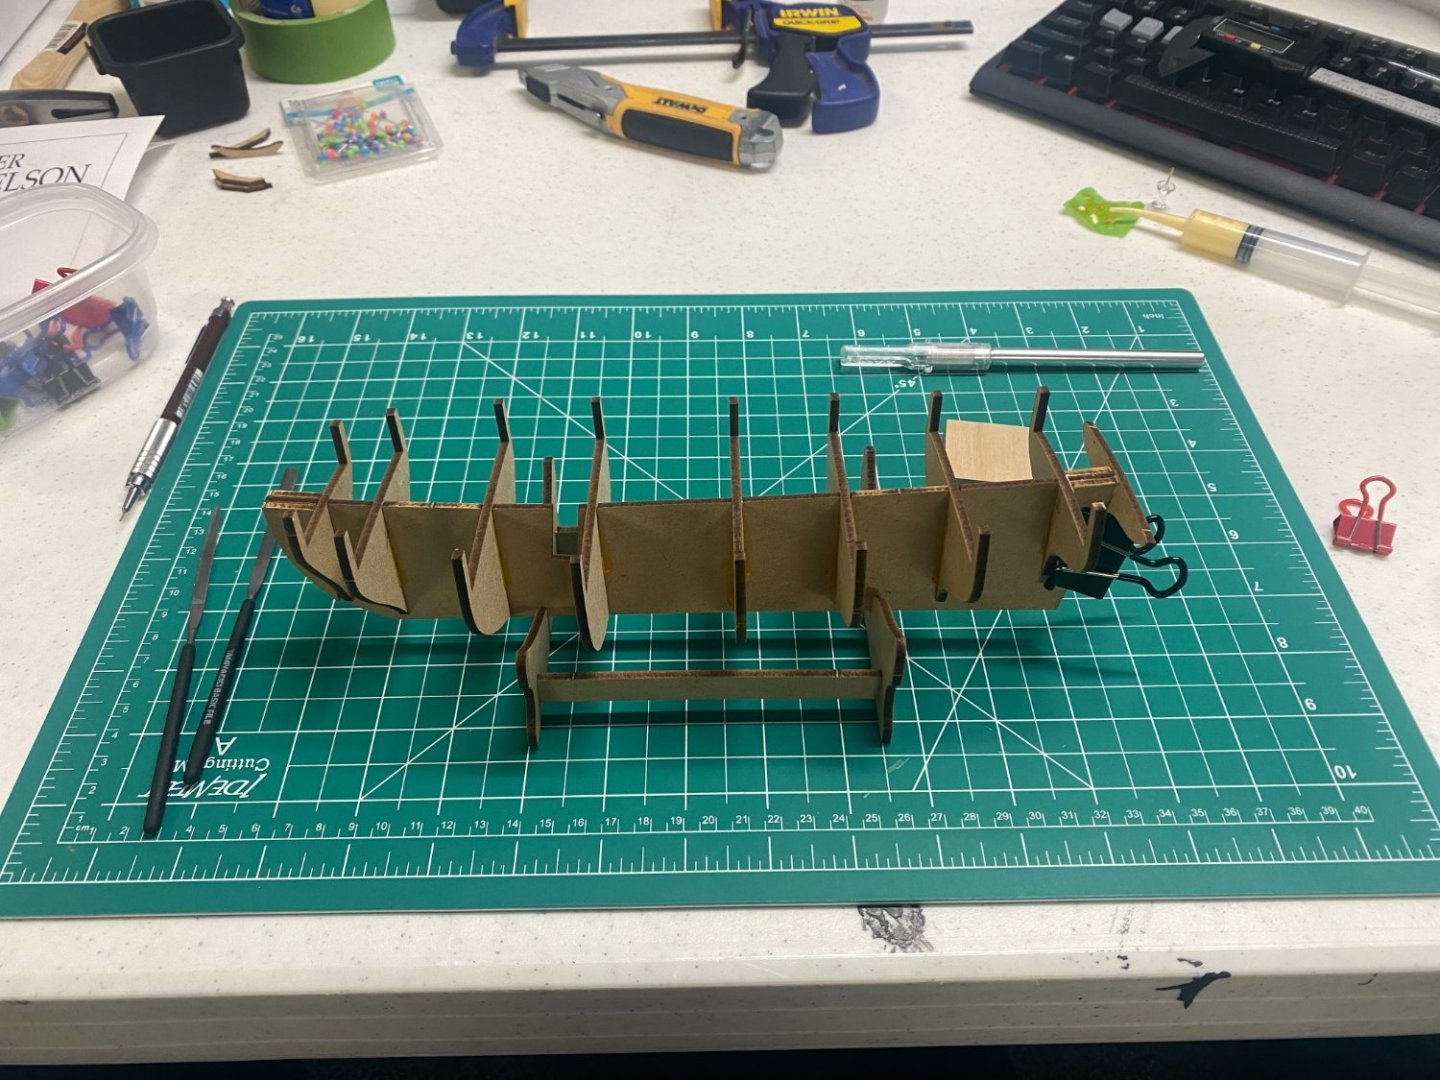
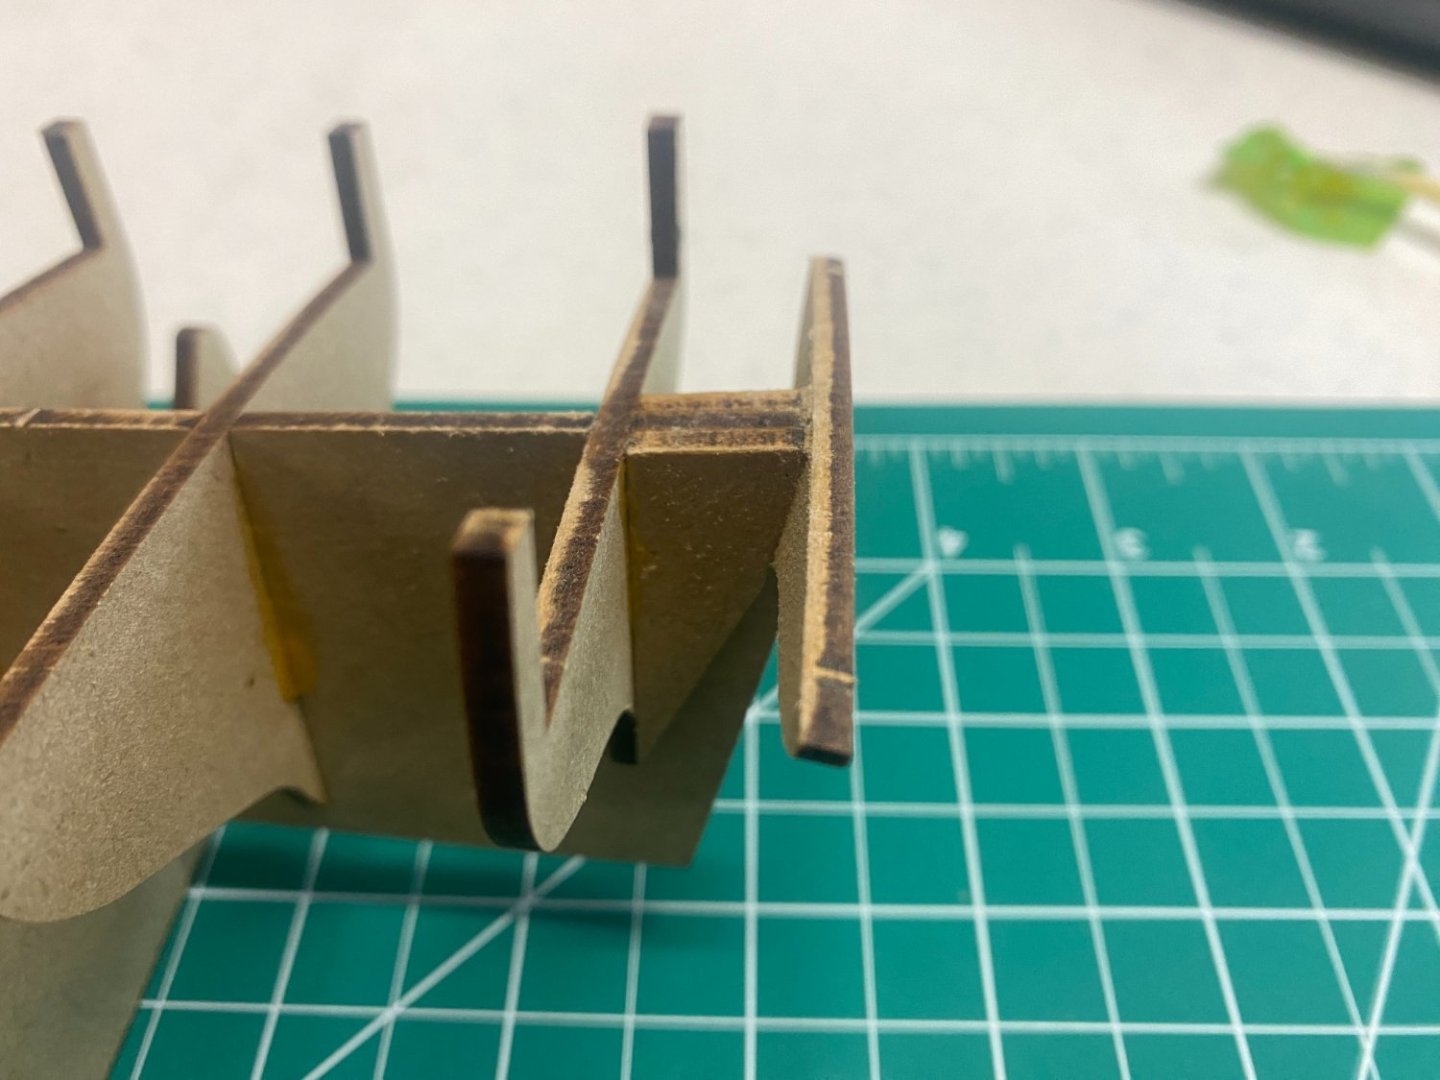
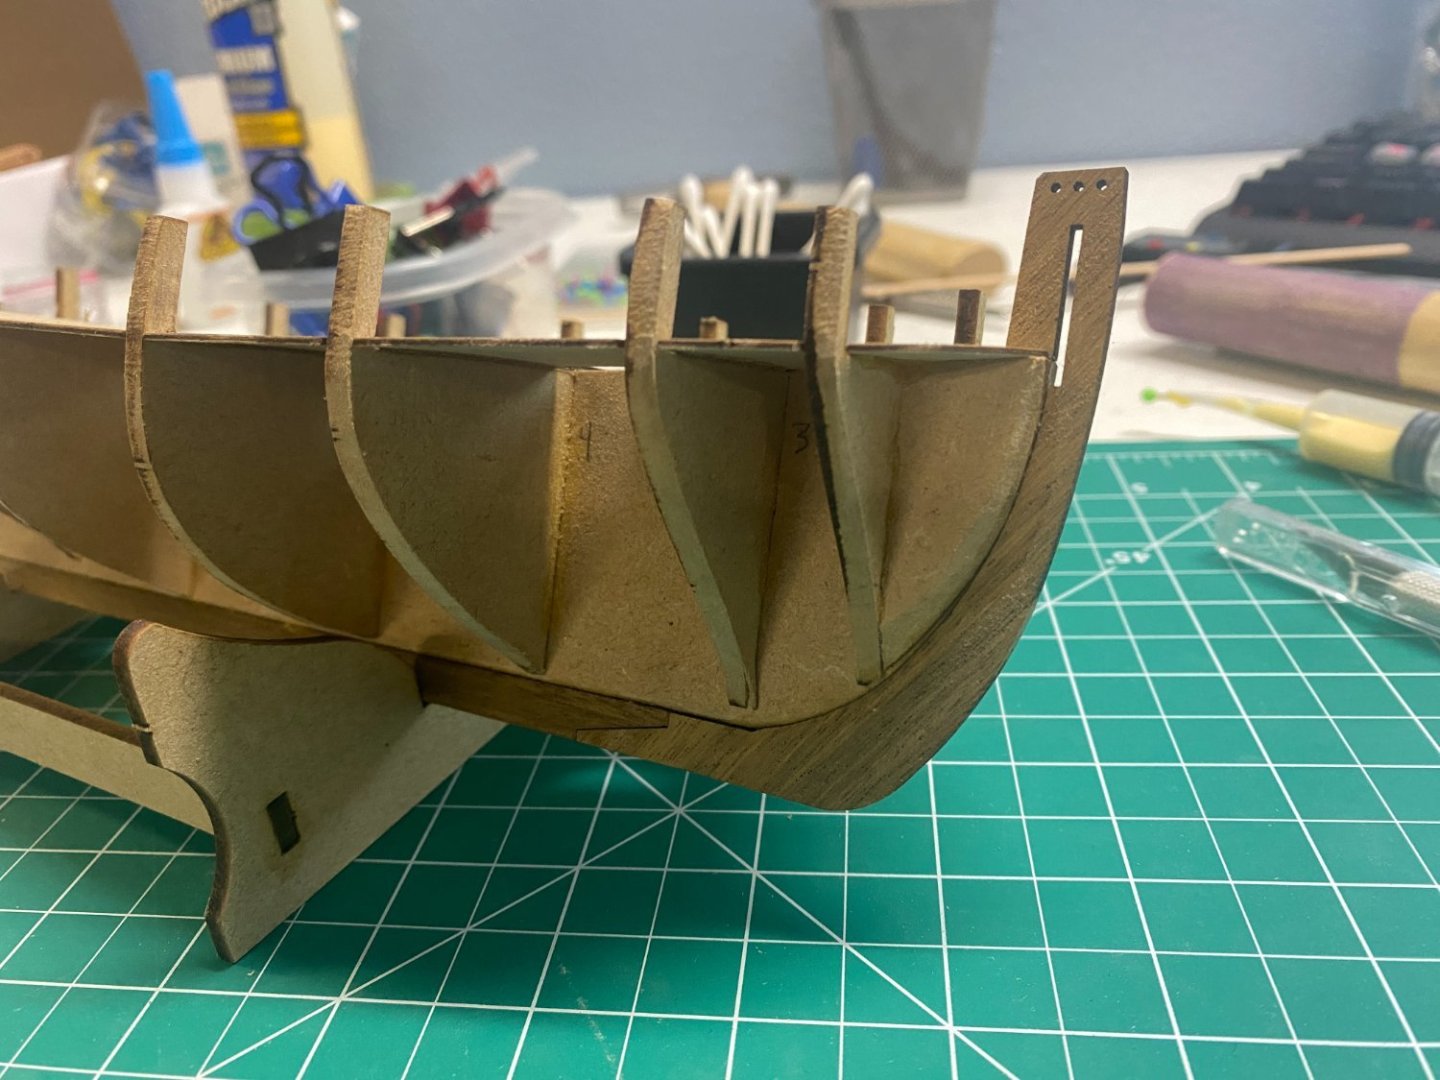
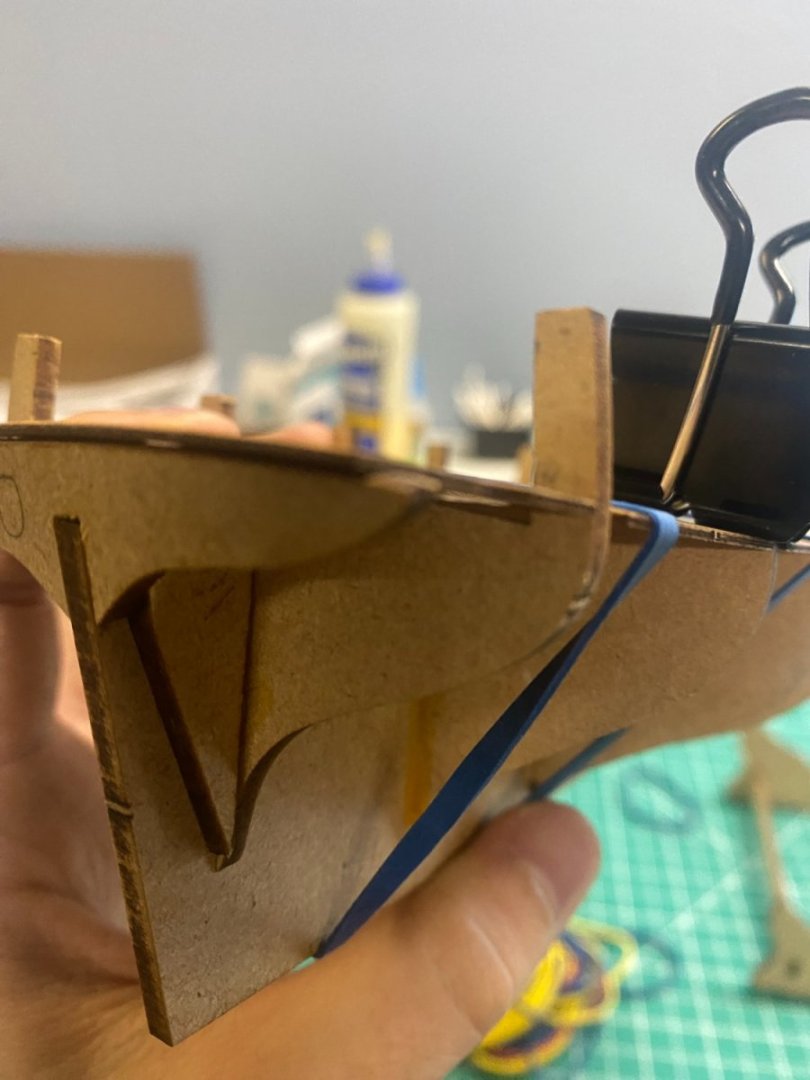
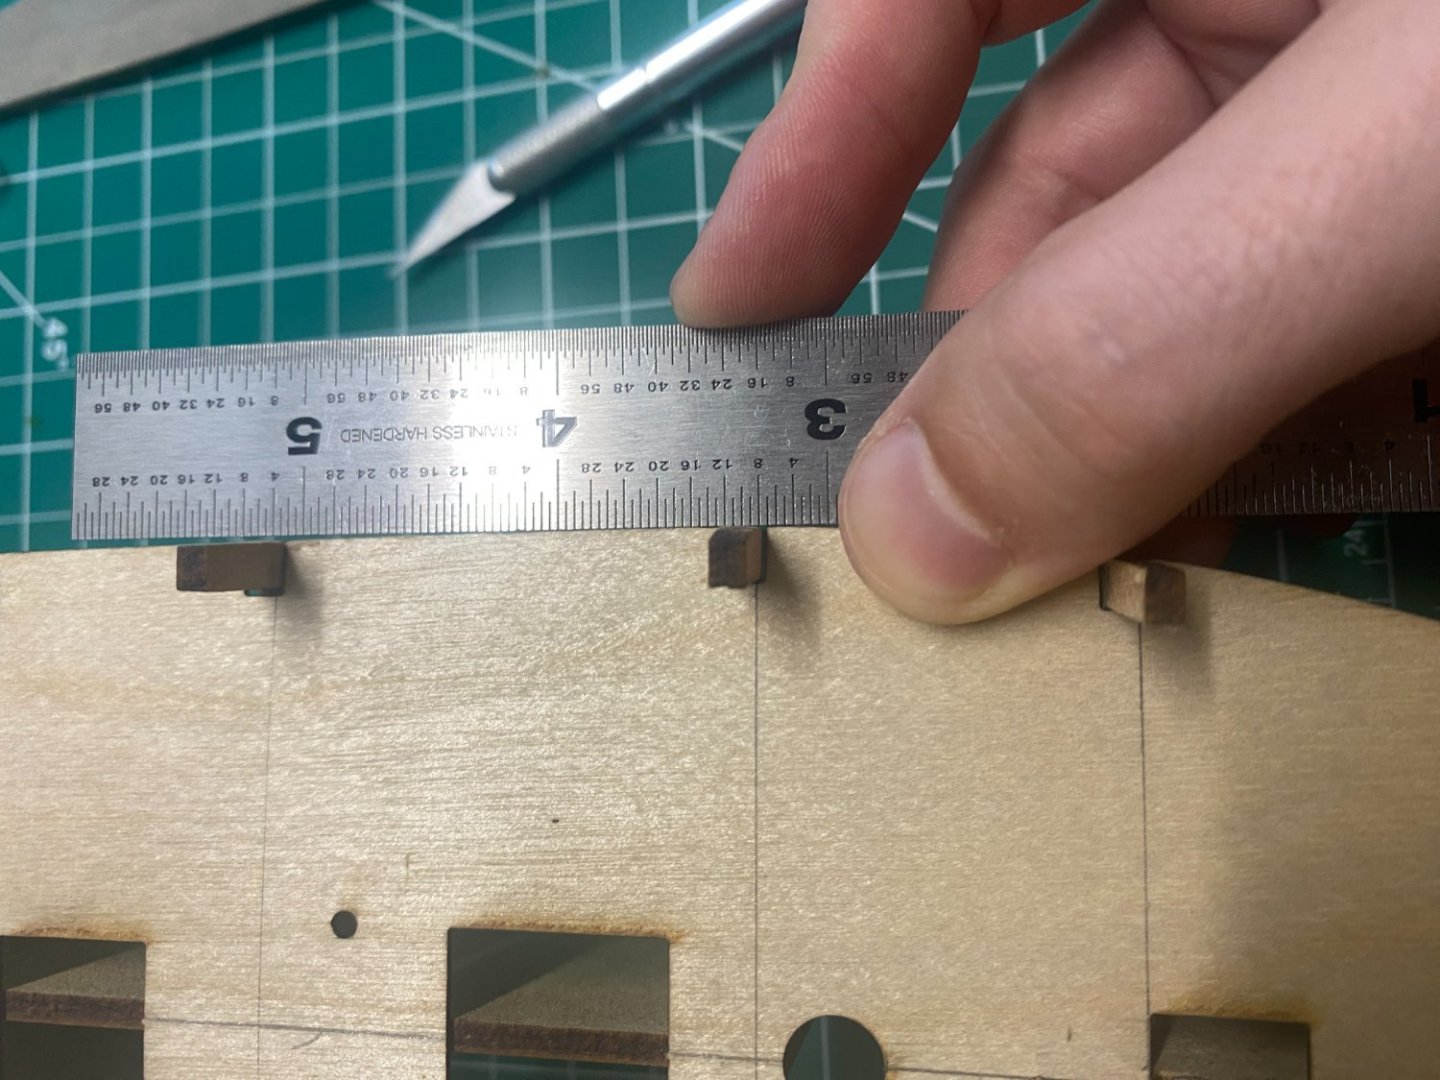
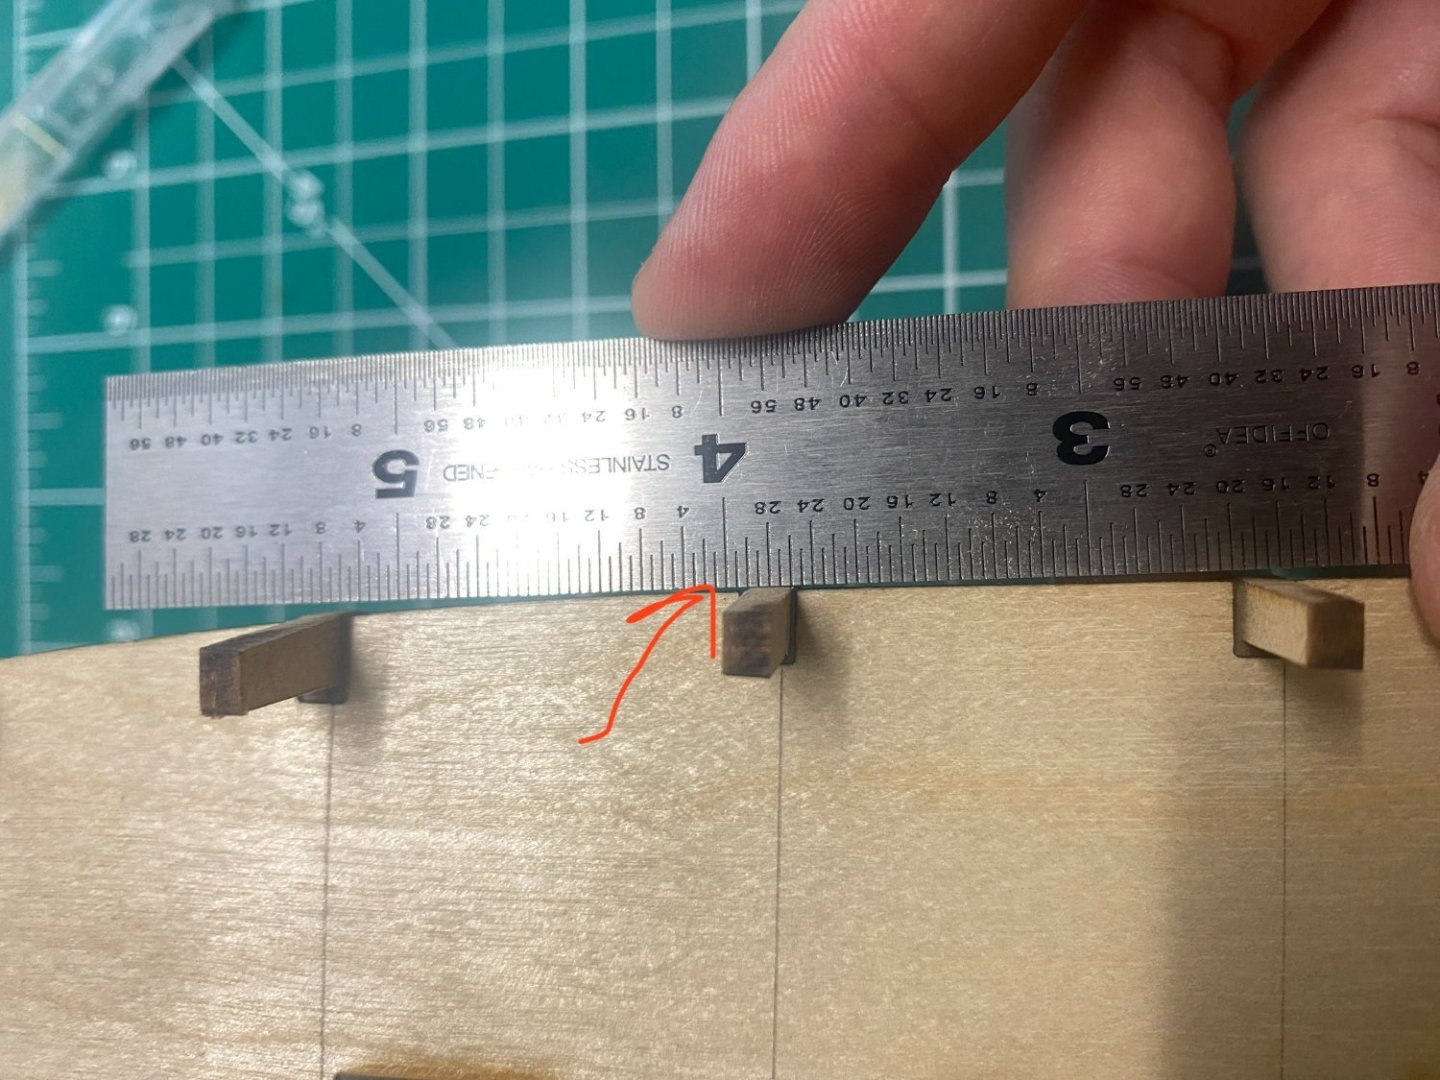
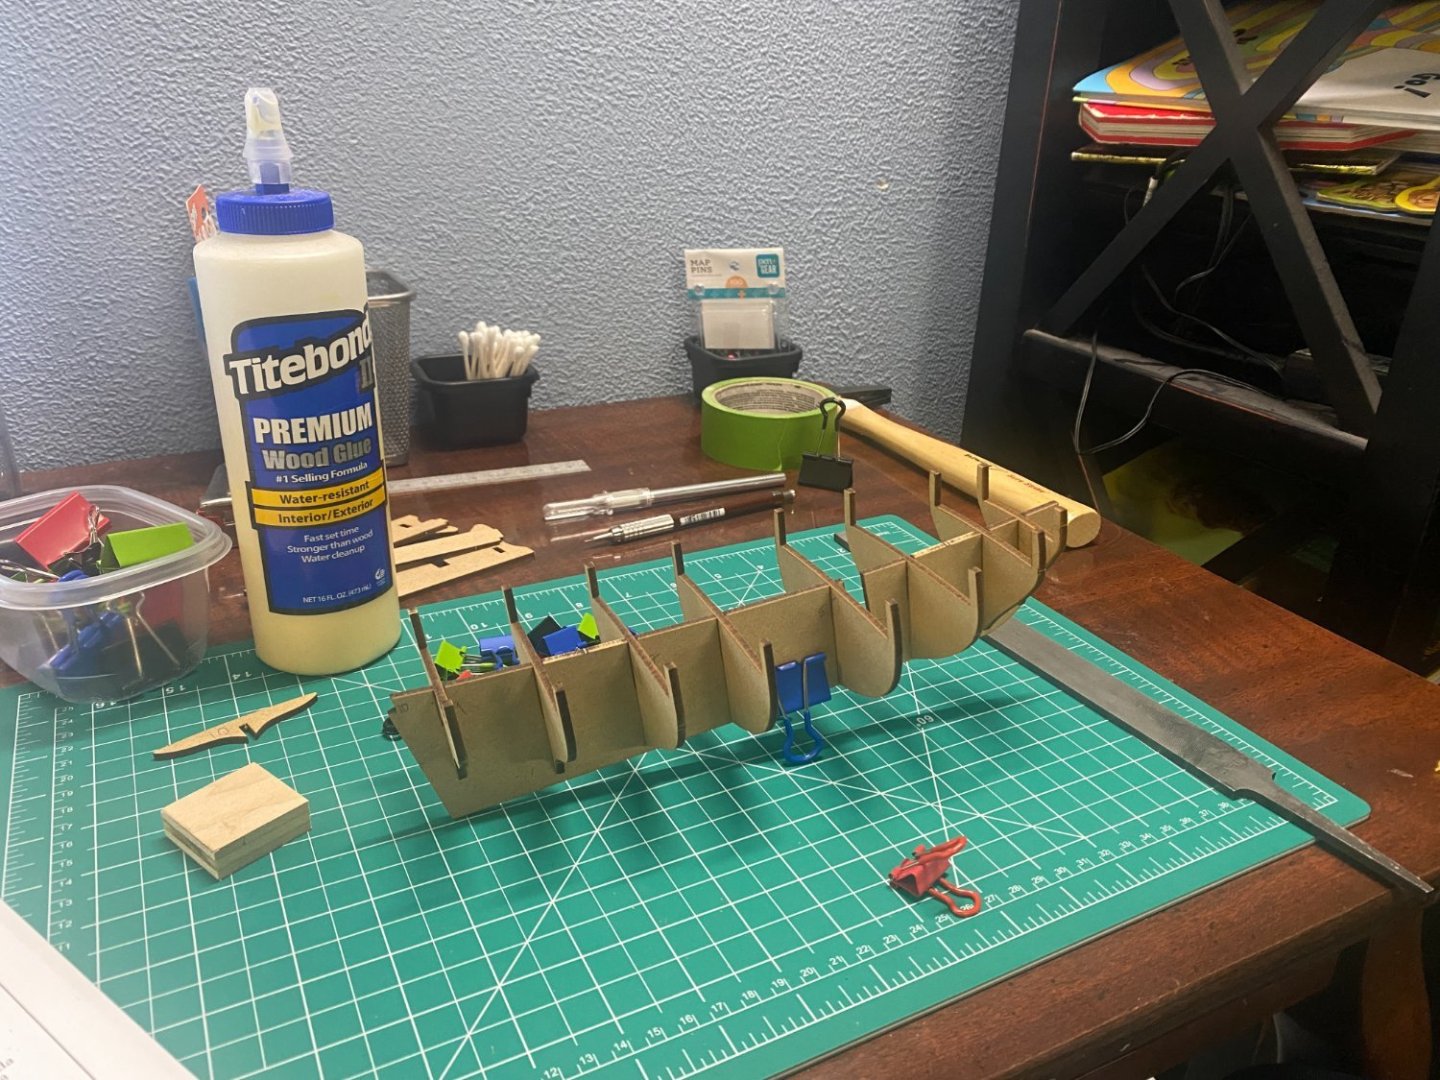
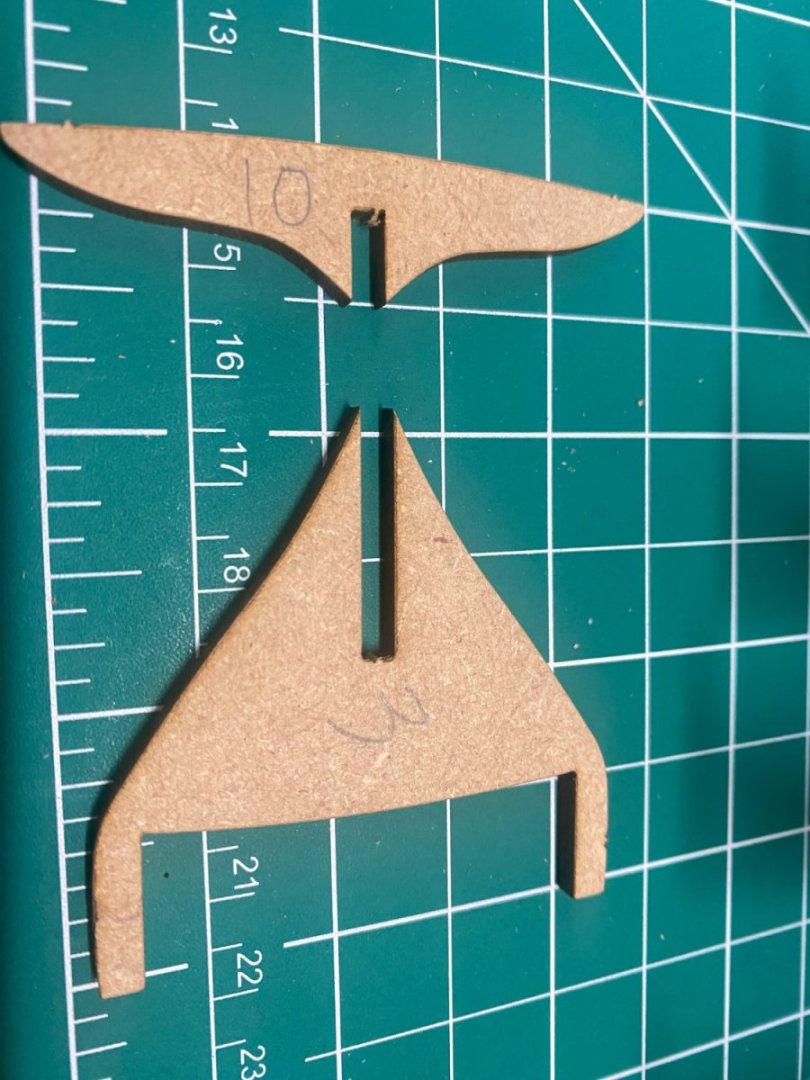
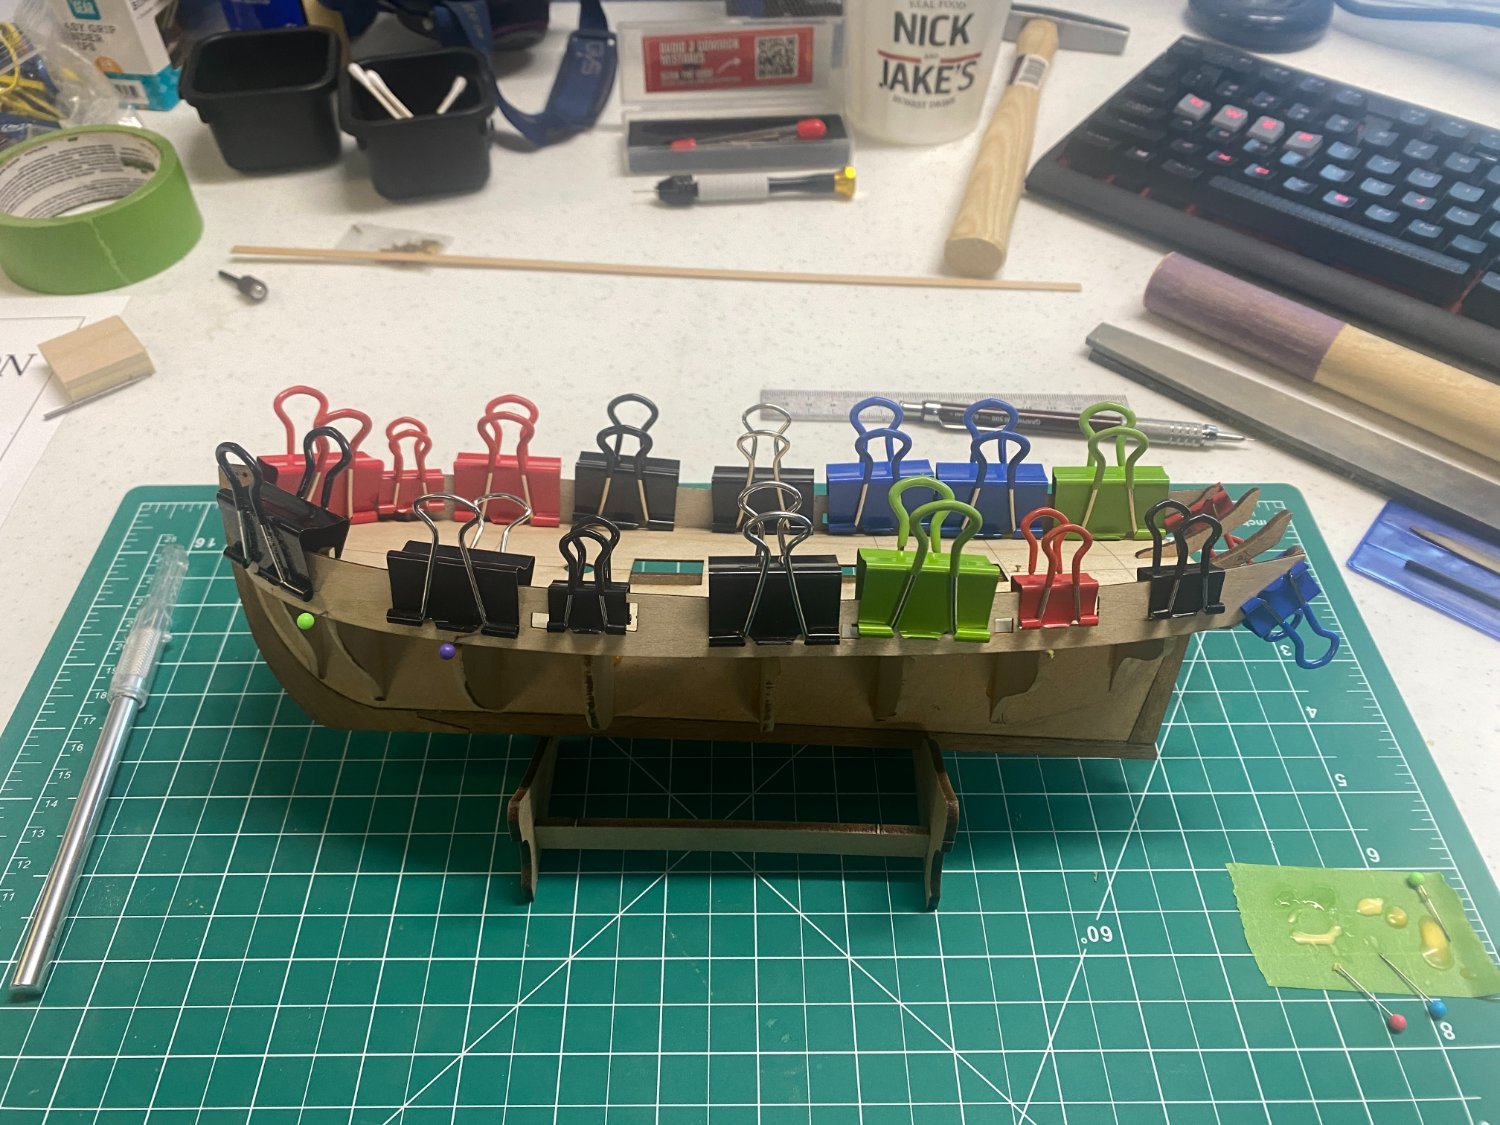
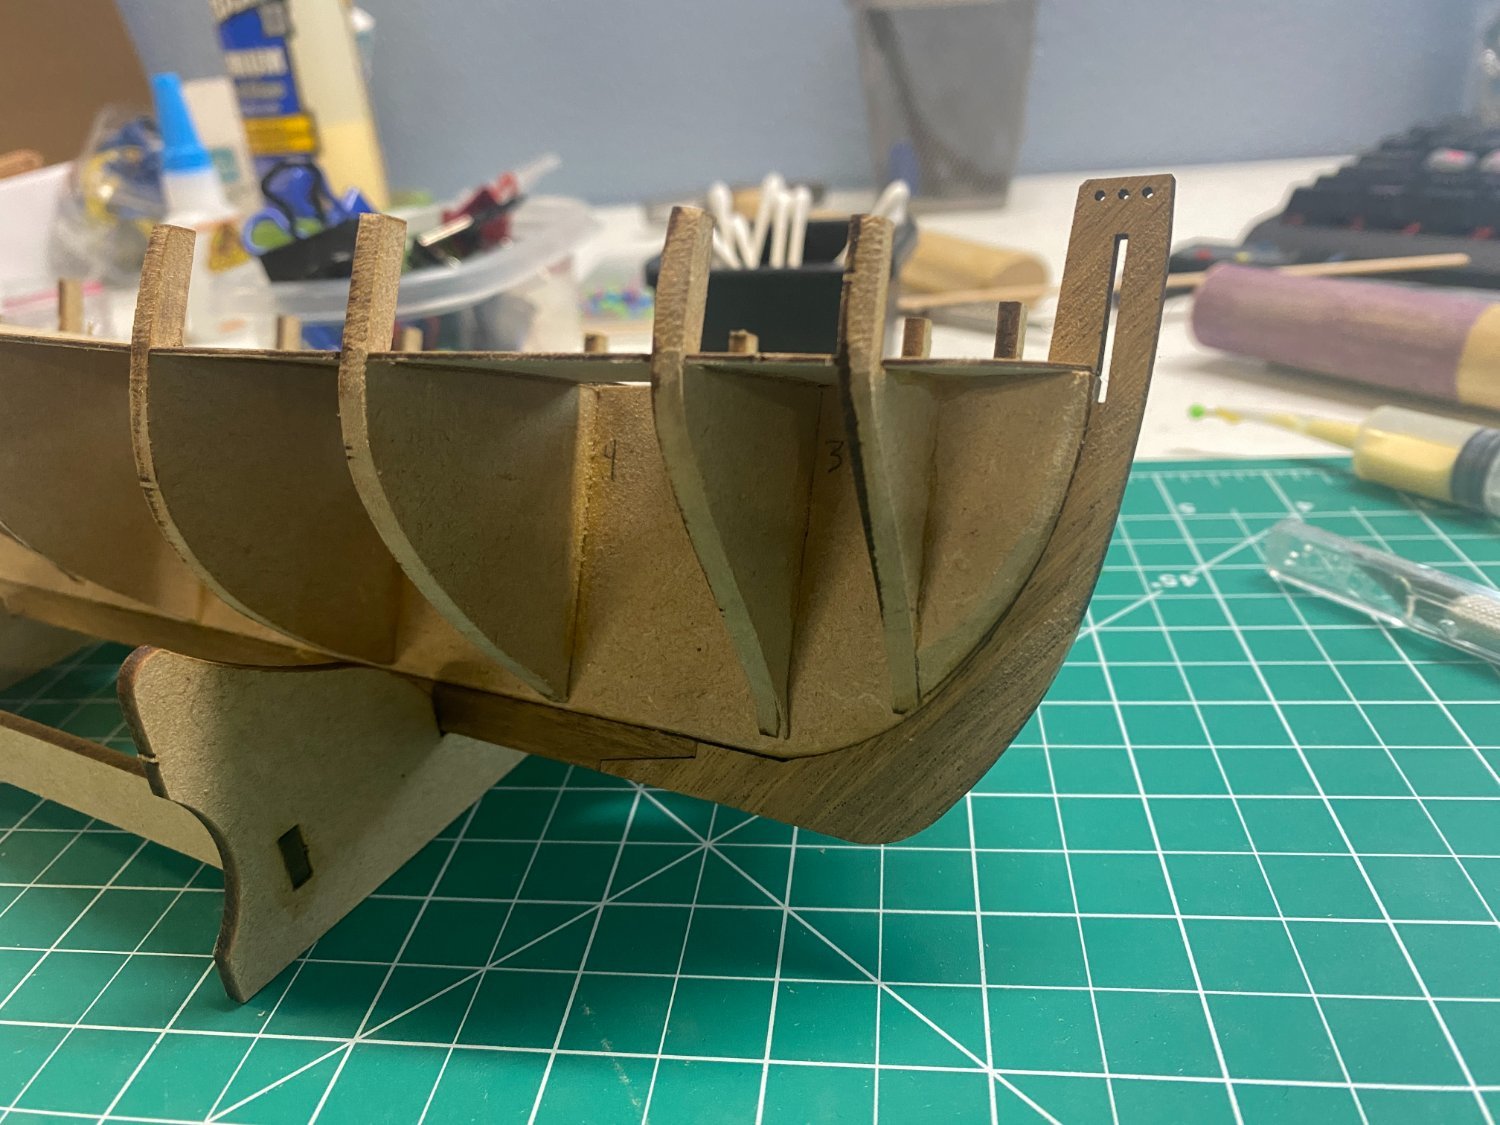
Thanks for the answers and encouragement! There's always those moments when you are doing something new and you ask yourself, "Is this enough?". Answer: No. Can't tell if you can see in the picture but bulkhead #9 has a huge gap. Lesson for all modelers/woodworkers. Always test joints/dry fit. I went back and sanded quite a bit more to get everything to lay flat. Rubber bands do work really well for this. This caught my eye. Didn't love how pieces of #10 stood out under the false deck. I thought I did something wrong. I don't think I did, but these did end up collecting glue that I had to then go back and clean out before 11 and 12. Shoulda seen that coming. Beveling all the bulkheads off really had me worried. I know what I'm trying to do here, just not sure by how much to do it. Never planked before so I don't know how all these angles should lay, especially at the stern and bow. I tried to create a bevel for planking in the MDF material, before gluing on the keel. It would have been easier had I seen what glbarlow did and do it at the very start (before gluing any bulkheads). Thinking through how I'm going glue on bulwark. Started to notice not all these posts are sitting inside the false deck outline. I'm not sure if I'm allowed to criticize my first kit, but I'm not seeing how I could have avoided this. I drew a center line down the false deck and lined it up strait down the keel. The false deck is flat and tight to every bulkhead. It just seems there's a little too much play and some of these seem too proud on both the starboard and port side. Would love thoughts if I'm missing something. Either way, went back and filled everything as needed. Bulwark should fit nicely. Seems like most used this method, but not everyone. I'm not sure I think it's best. My bulwark came out fine overall, but not as precise as I would have liked, especially towards the bow. Bending the last few mm's that go into the prow proved difficult with just closely set nails. I'd probably try one of the different methods out there next time. Nonetheless it's on. Binder clips works well. You can see I tried pins. Rather useless I think. I predrilled and tapped them home with a peen hammer, but I'm thinking this is too cumbersome for model work. I guess that's why they have pin pushers?! I'm noticing that these binder clips are damaging/denting some of the softer wood, something I think should be fine at this point but have to find a solution for when I start clamping other show wood. Overall I'm pleased with the learning and progression. The always present doubt of "Is this right?" sometimes get's in the way, and there's always that tension of 1) this is the first one and is a learning experience and 2) I want it to still be as good as I can get it.


- 8 replies
-
- 2
-
-
- Lady Nelson
- Amati
- (and 2 more)
-
michael.brandt91 reacted to a post in a topic:
Lady Nelson by vossiewulf - Amati/Victory Models - 1:64
-
michael.brandt91 reacted to a post in a topic:
Lady Nelson by glbarlow - FINISHED - Amati/Victory Models - 1:64
-
michael.brandt91 reacted to a post in a topic:
Lady Nelson by KirbysLunchBox - Amati/Victory Models - 1:64 - First Ship build
-
michael.brandt91 reacted to a post in a topic:
Lady Nelson by Dave_E - FINISHED - Amati/Victory Models - 1:64
-
michael.brandt91 reacted to a post in a topic:
Lady Nelson by michael.brandt91 - Amati/Victory Models - 1:64 - First Build
-
michael.brandt91 reacted to a post in a topic:
Lady Nelson by michael.brandt91 - Amati/Victory Models - 1:64 - First Build
-
Thukydides reacted to a post in a topic:
Lady Nelson by michael.brandt91 - Amati/Victory Models - 1:64 - First Build
-
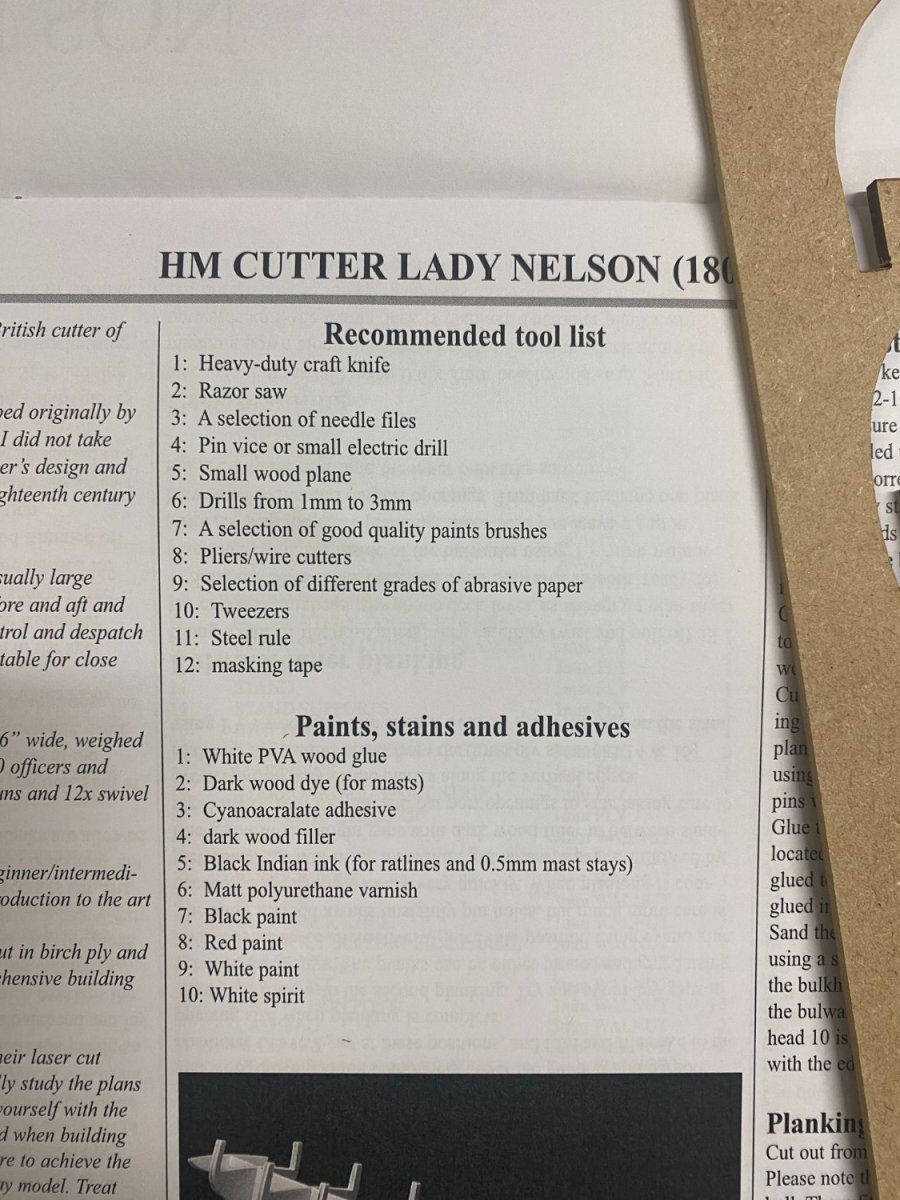
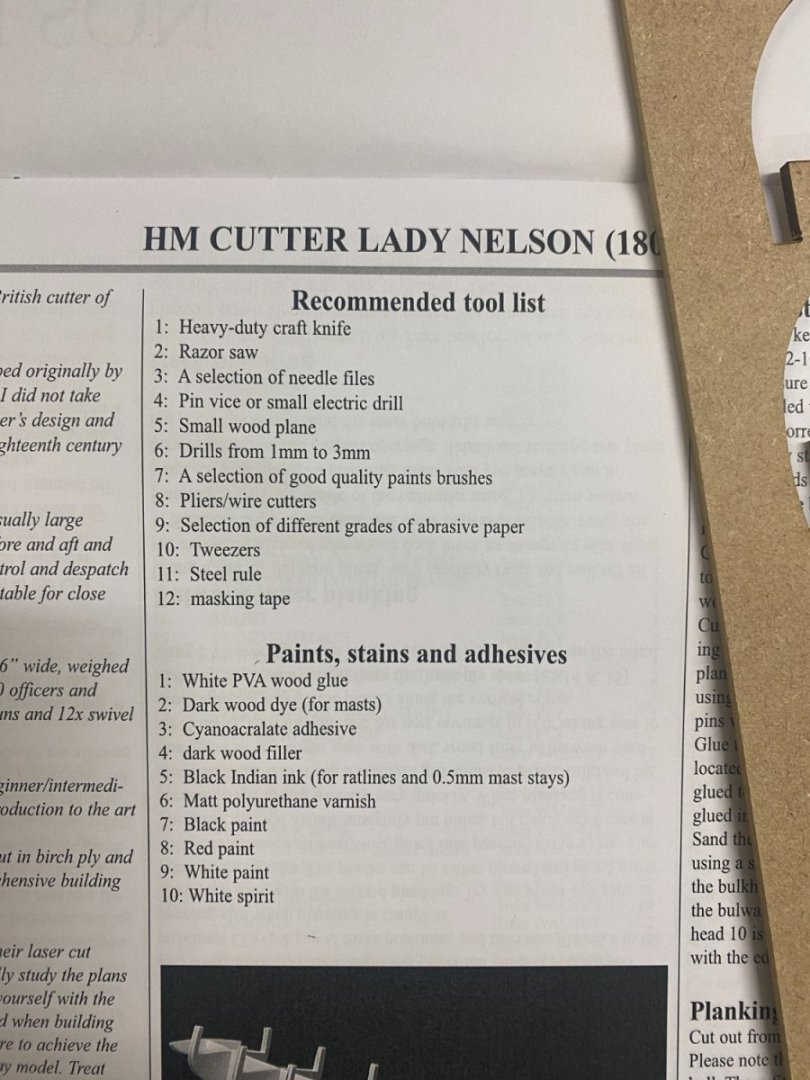
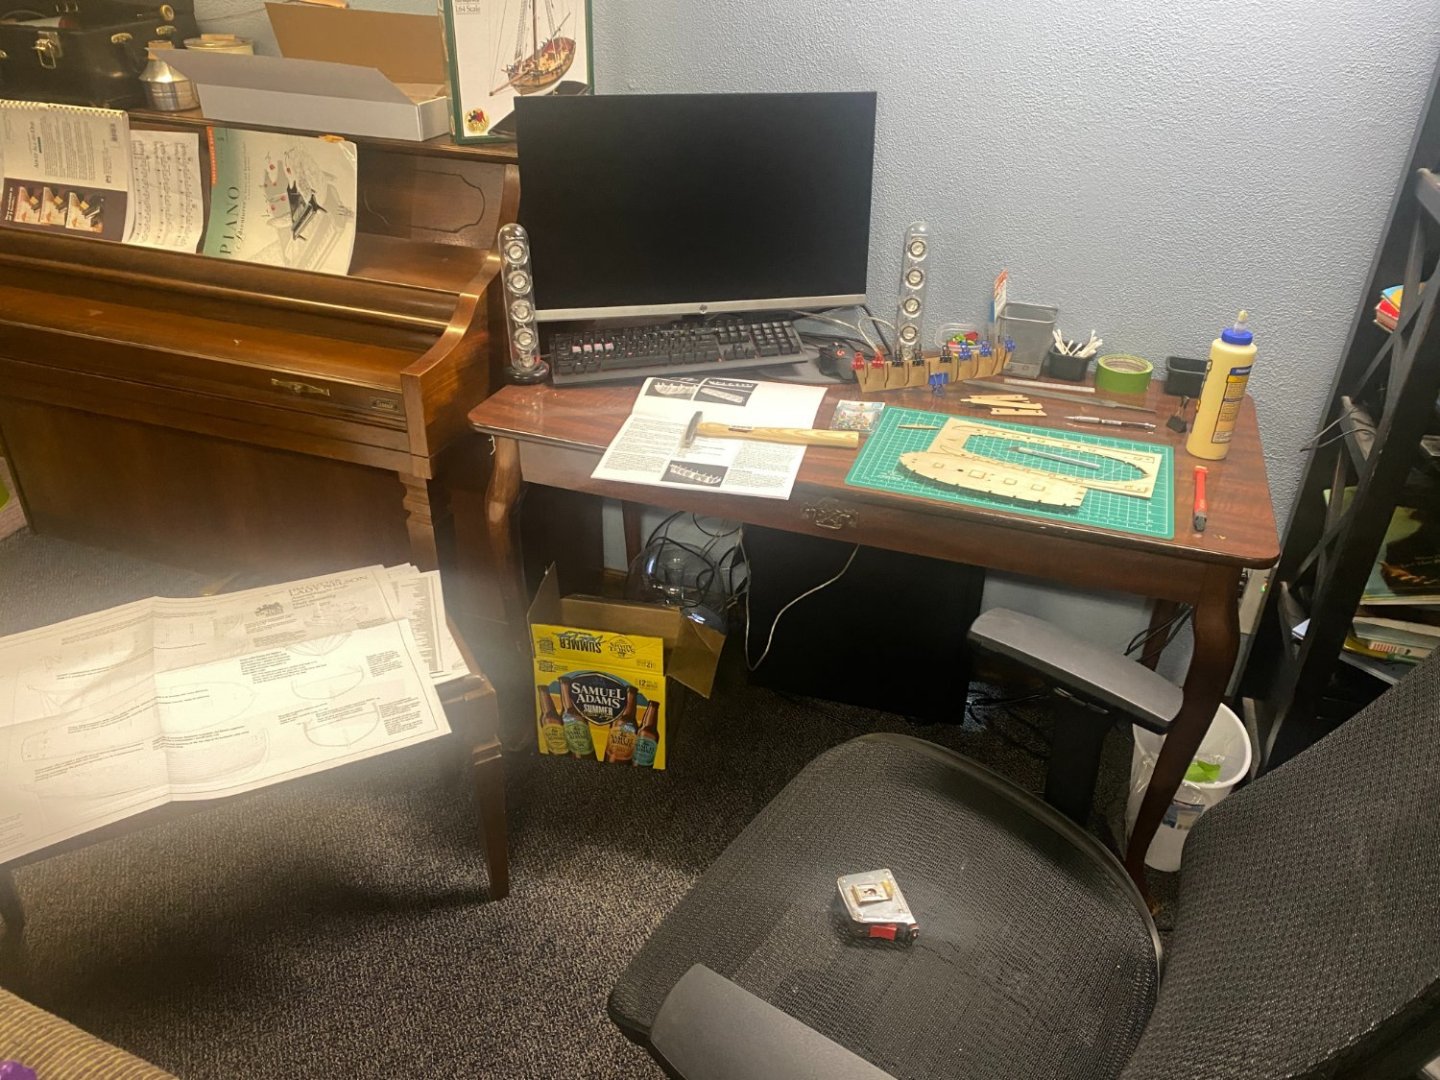
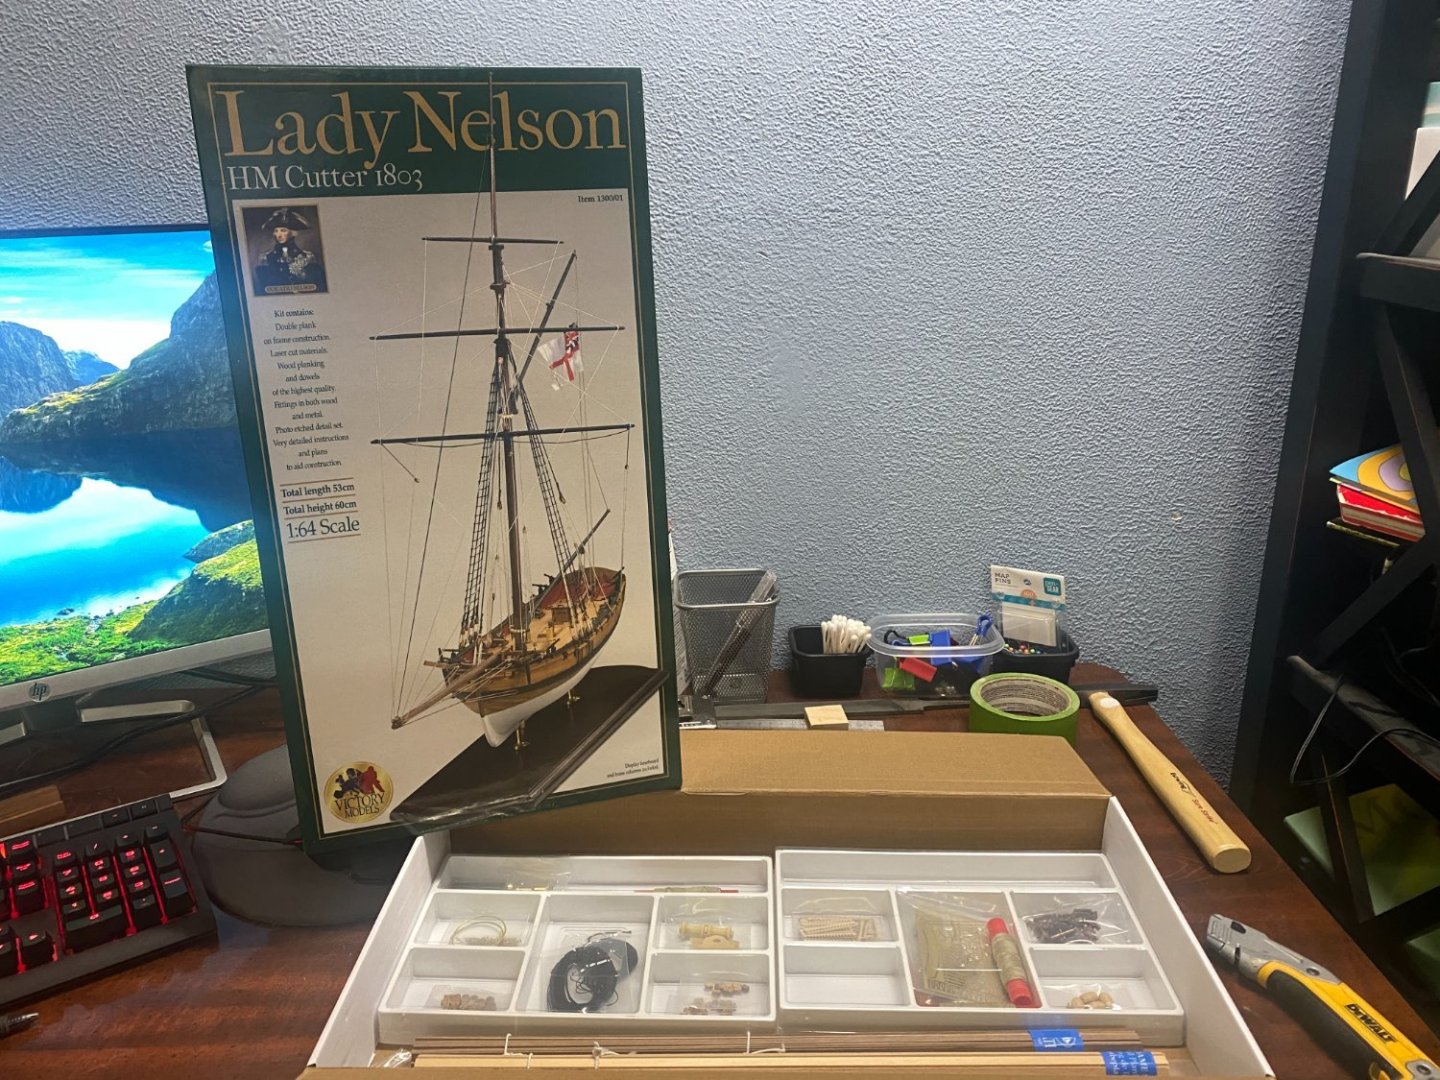
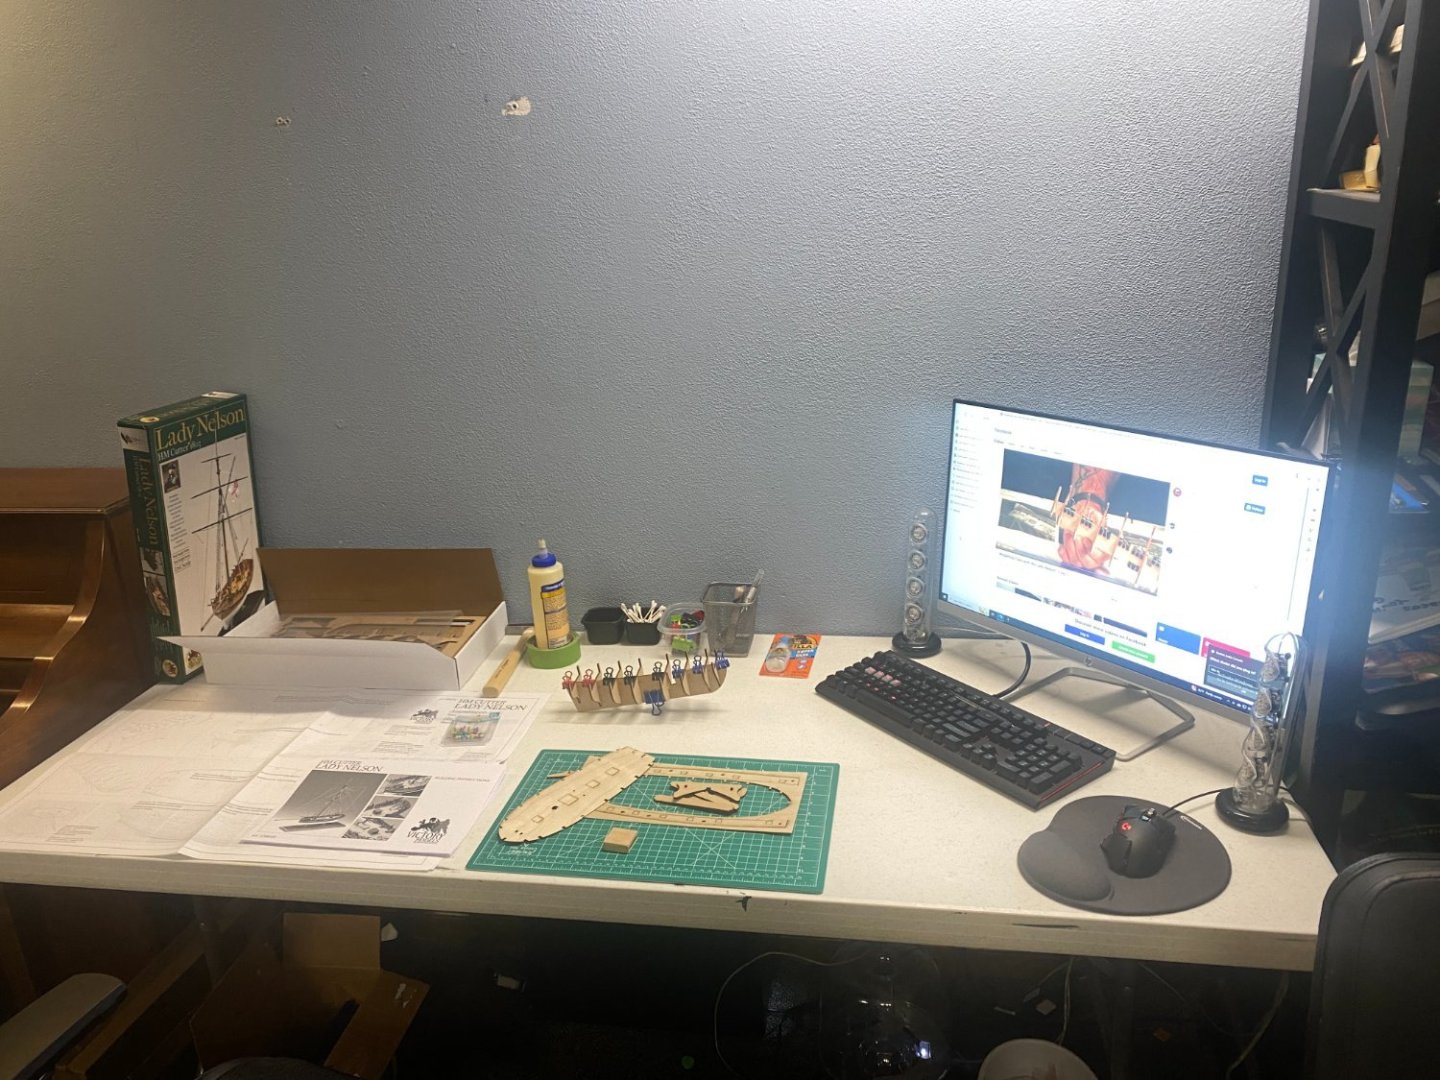
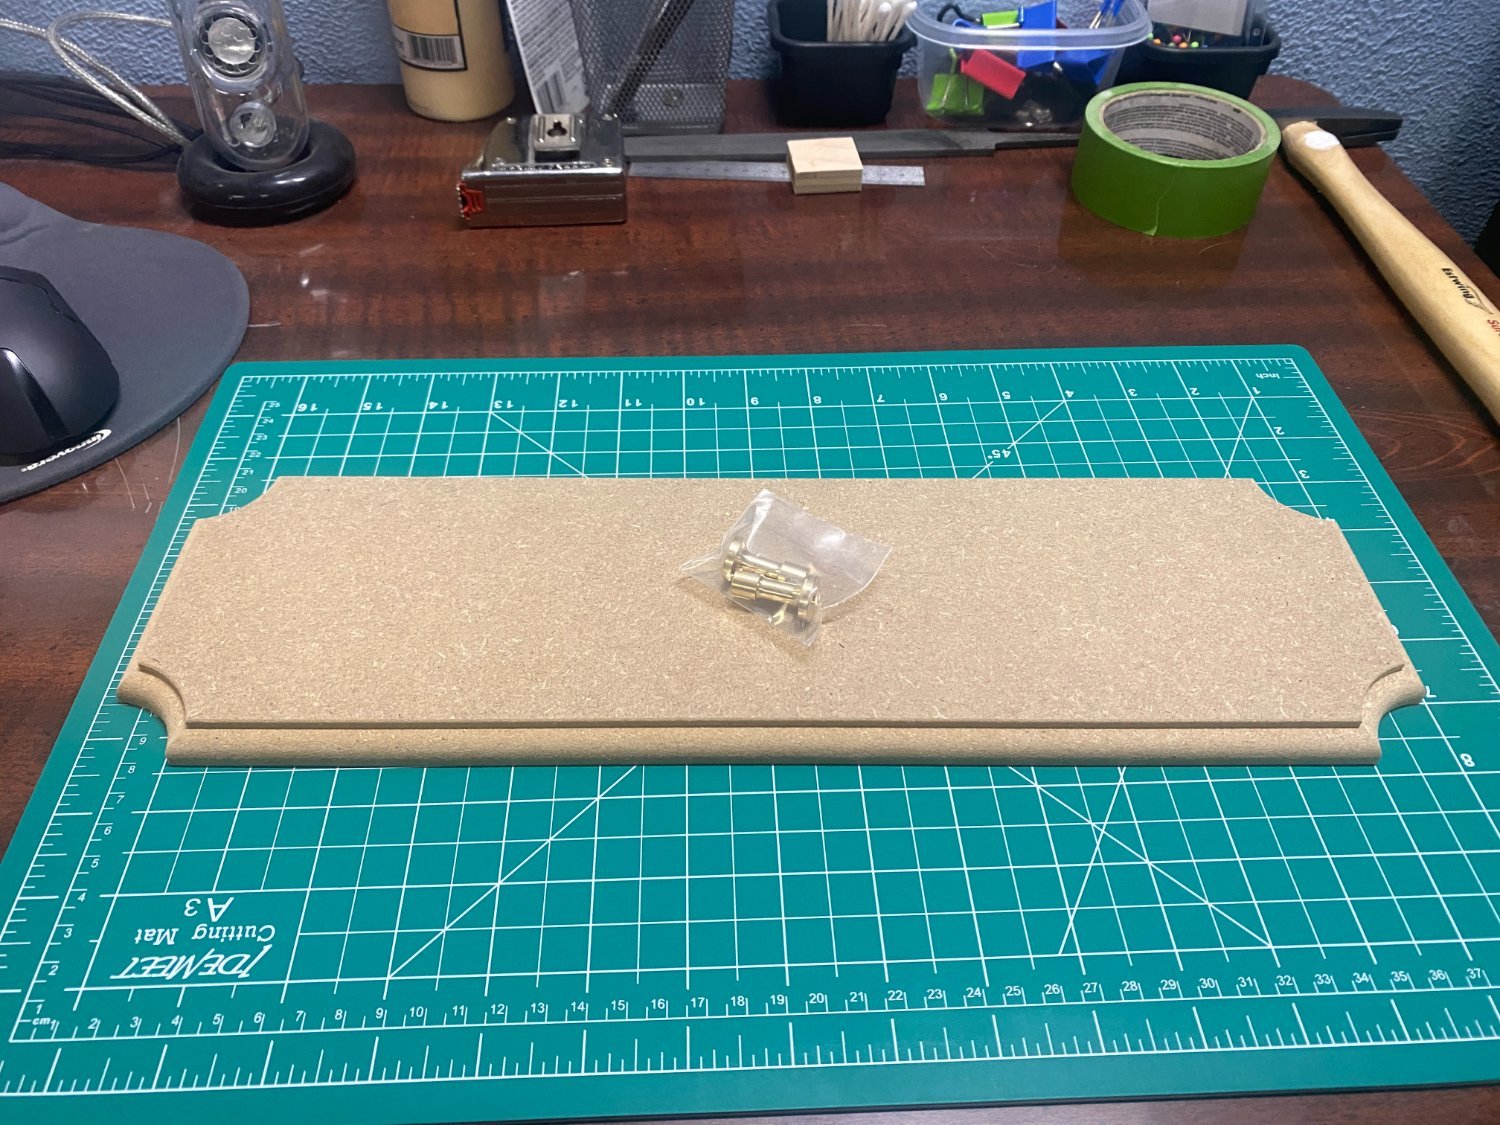
It arrived a day early! I've been studying several build logs and I want to thank Dave_E, KirbysLunchBox, glbarlow, and vossiewulf for sharing their work. I plan to use them, alongside the videos posted on Facebook/Amati website (I believe it was a DVD tutorial they sold years ago and then uploaded to Facebook). This first one can be found here. I'm overall really pleased with the kit. Lots of details I wasn't expecting and should be a great first go for me. I was really surprised to see it came with a pedestal and MDF base! Several quick lessons learned, as you'll see in the photos below. Any and all feedback advice is welcome! This was unexpected! Didn't appreciate these spruce nubs being located here. My file is too large. Ordered some Tamiya files to get into the smaller areas. This is when I realized I needed more space. Much better! Having some trouble with the Paints, Stains, and adhesives. Not sure what paint to go with, but not a pressing matter. Just curious, what's White spirit?

.thumb.JPG.65f5ab38156fb74e0fb5c2e2ca1db228.JPG)
- 8 replies
-
- 2
-
-
- Lady Nelson
- Amati
- (and 2 more)
-
Mumin reacted to a post in a topic:
Lady Nelson by michael.brandt91 - Amati/Victory Models - 1:64 - First Build
-
Hello! Just ordered my first build, the Lady Nelson by Amati. I spent quite a bit of time researching a good first build, and heavily debated going with the 3-ship kit from Model Shipways. I certainly see the value of scaffolding your skills with different levels of practice, but at the end of the day none of the builds excited me. I'm also a competent woodworker and figured I could handle a bit more on the first go. The history behind the Lady Nelson was the final tipping point for me, as I love the stories behind a ship just as much as I love looking at them. I've seen many build logs have already been completed, and I plan to start taking notes on these throughout the next few days as I wait for my order to arrive. As far as tools, I was wondering if there were any other woodworkers out there who then went into model building. My wood shop is adequately equipped, both power and hand tools, but are there model specific tools that I'd likely not have? Thanks for reading and thanks in advanced for your support! This forum was a big factor in taking the plunge!
- 8 replies
-
- 3
-
-
- Lady Nelson
- Amati
- (and 2 more)


.JPG.fe685dd8c6e5b1c1b565896b2543cdd4.JPG)