-
Posts
102 -
Joined
-
Last visited
Content Type
Profiles
Forums
Gallery
Events
Everything posted by Caferacer
-
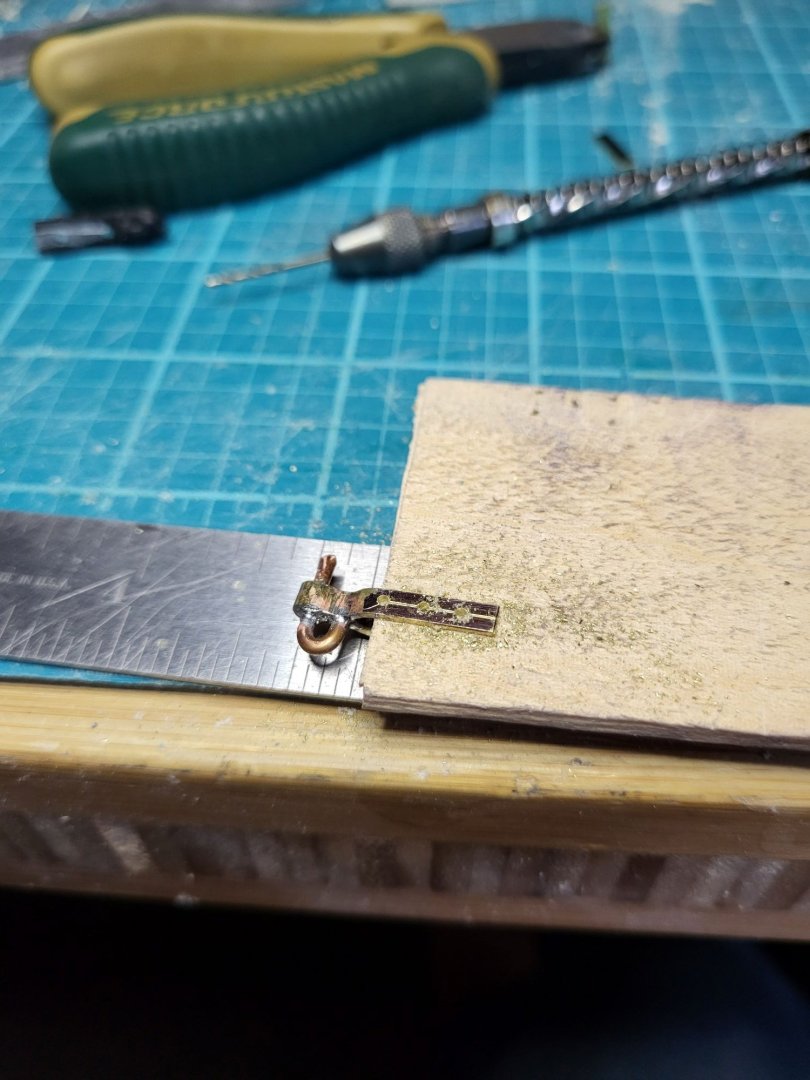
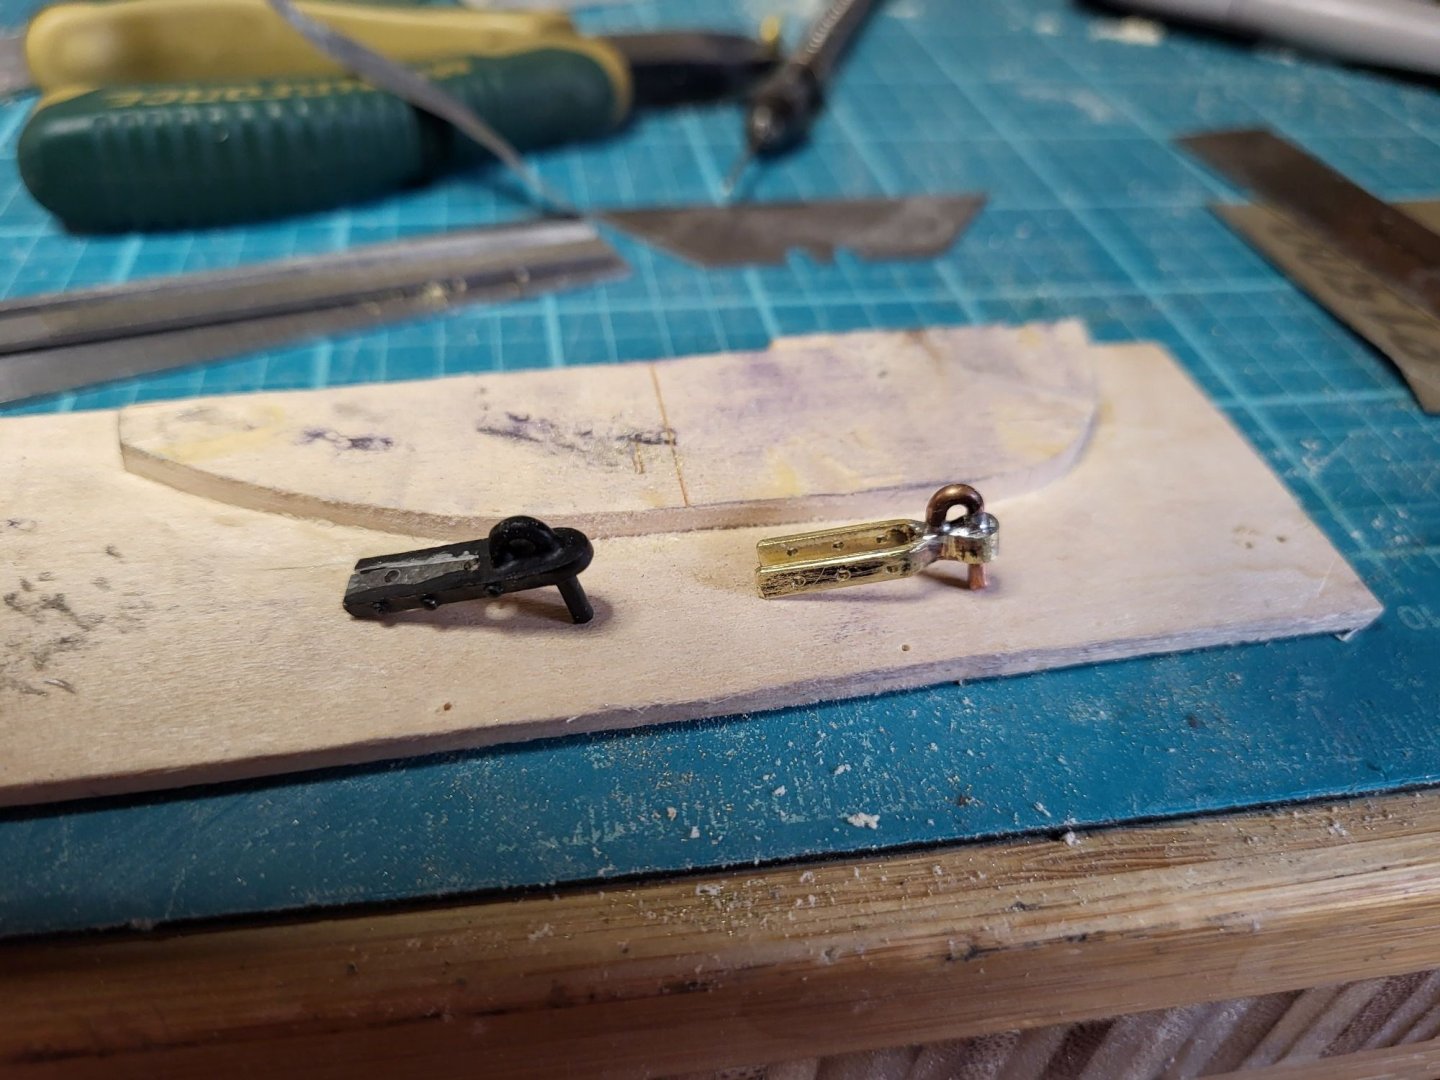
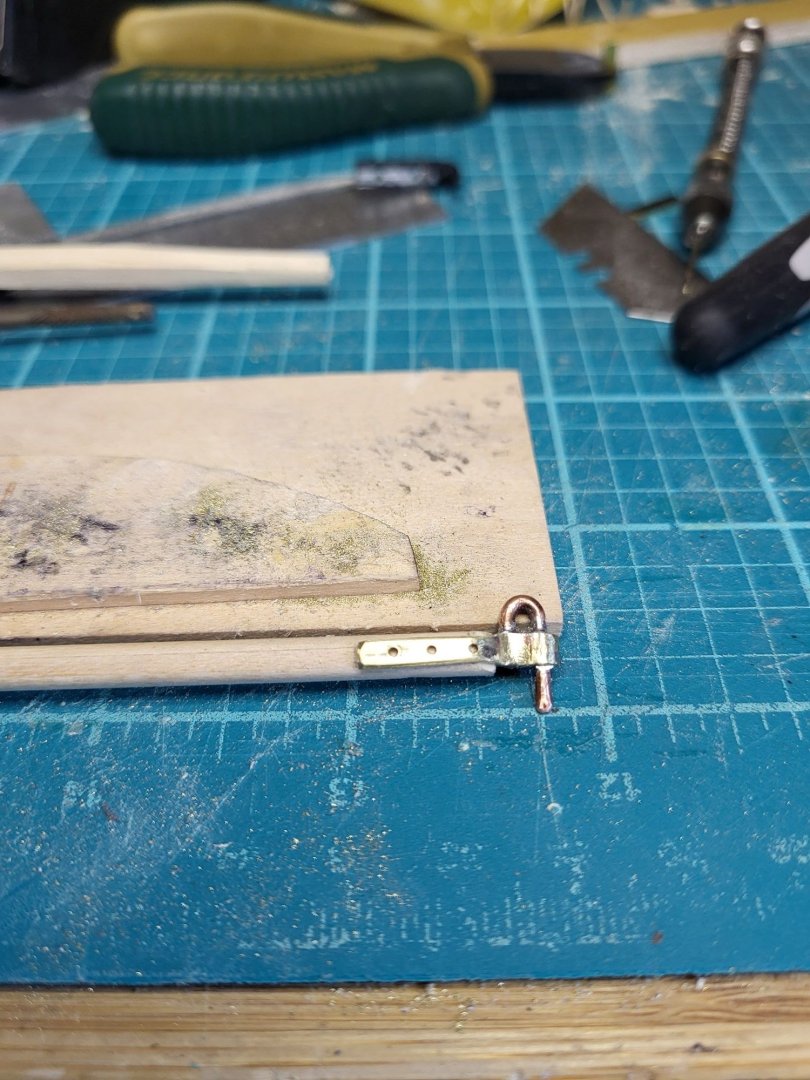
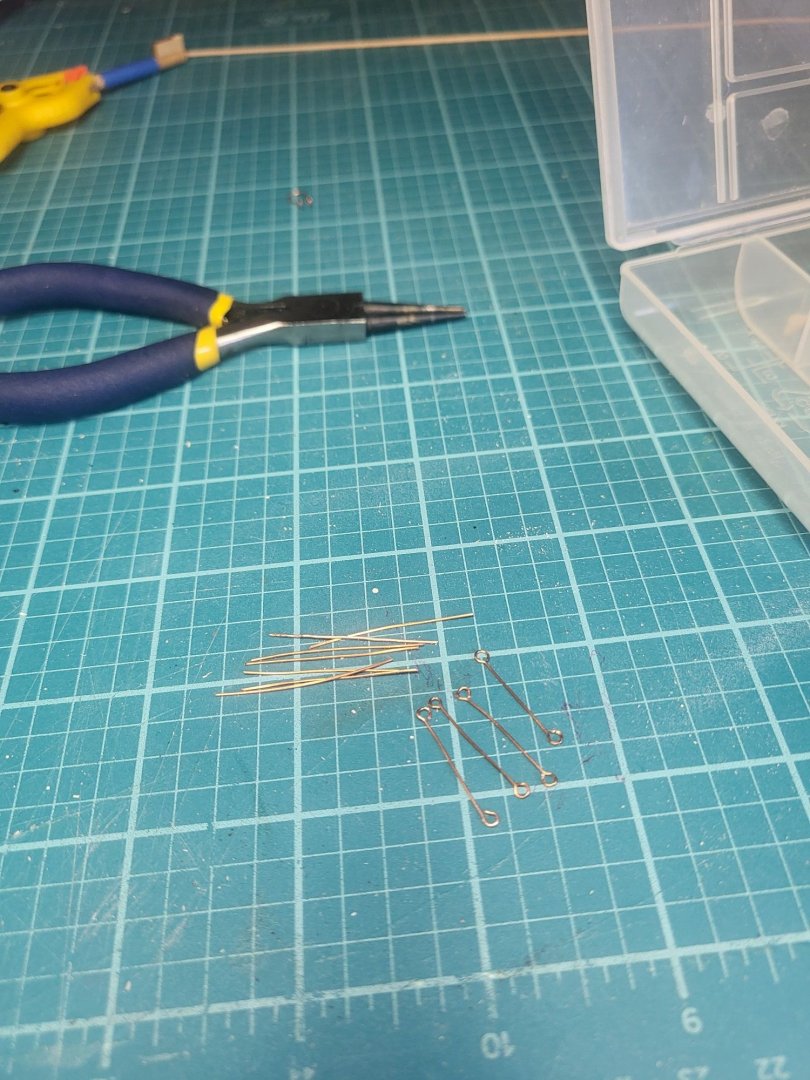
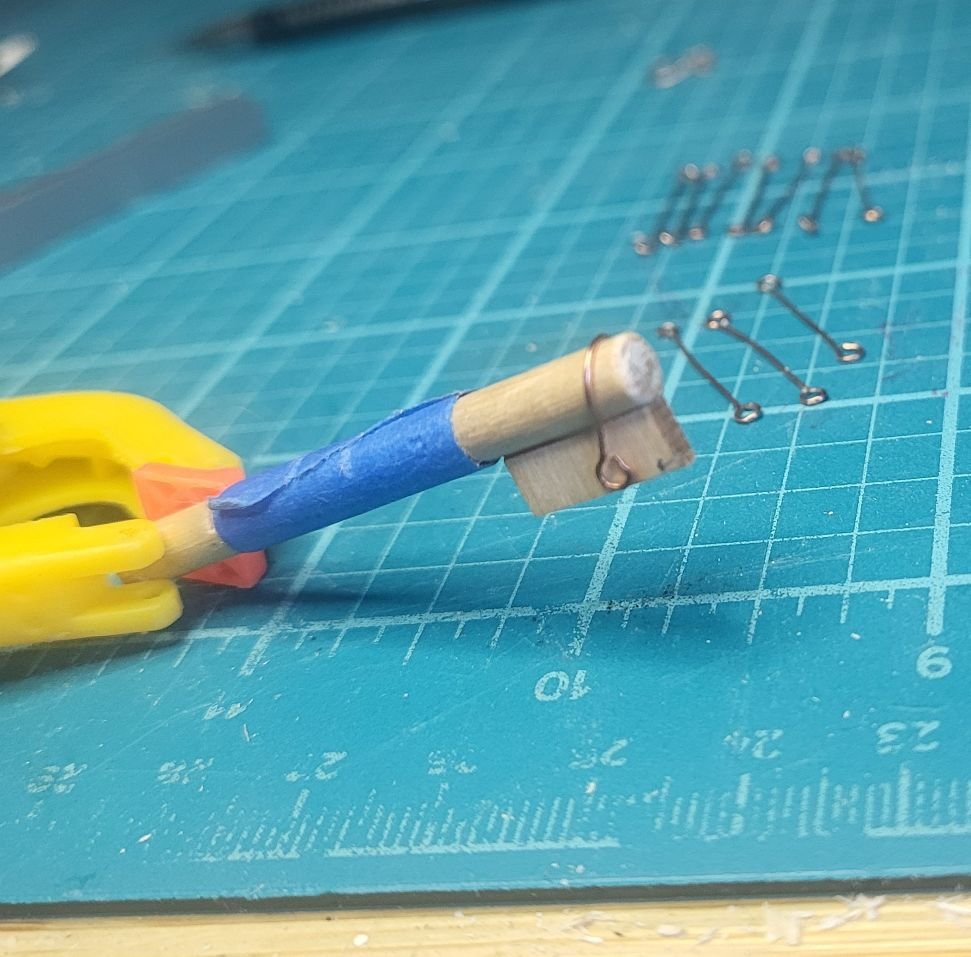
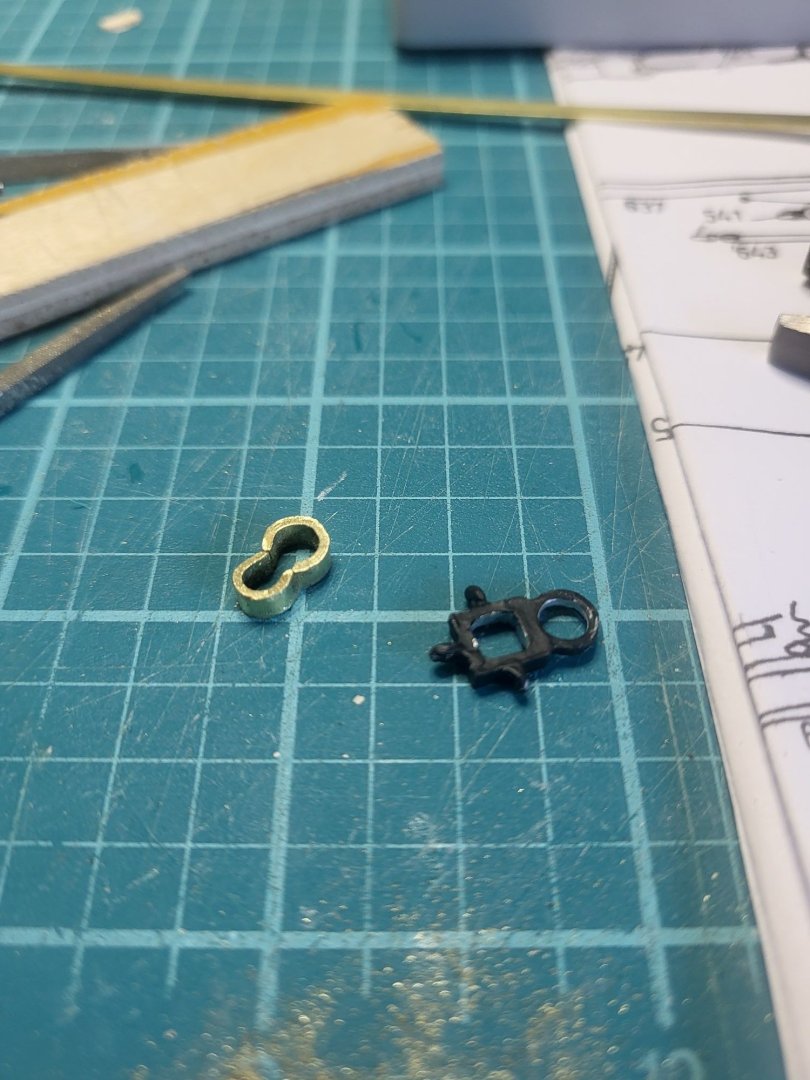
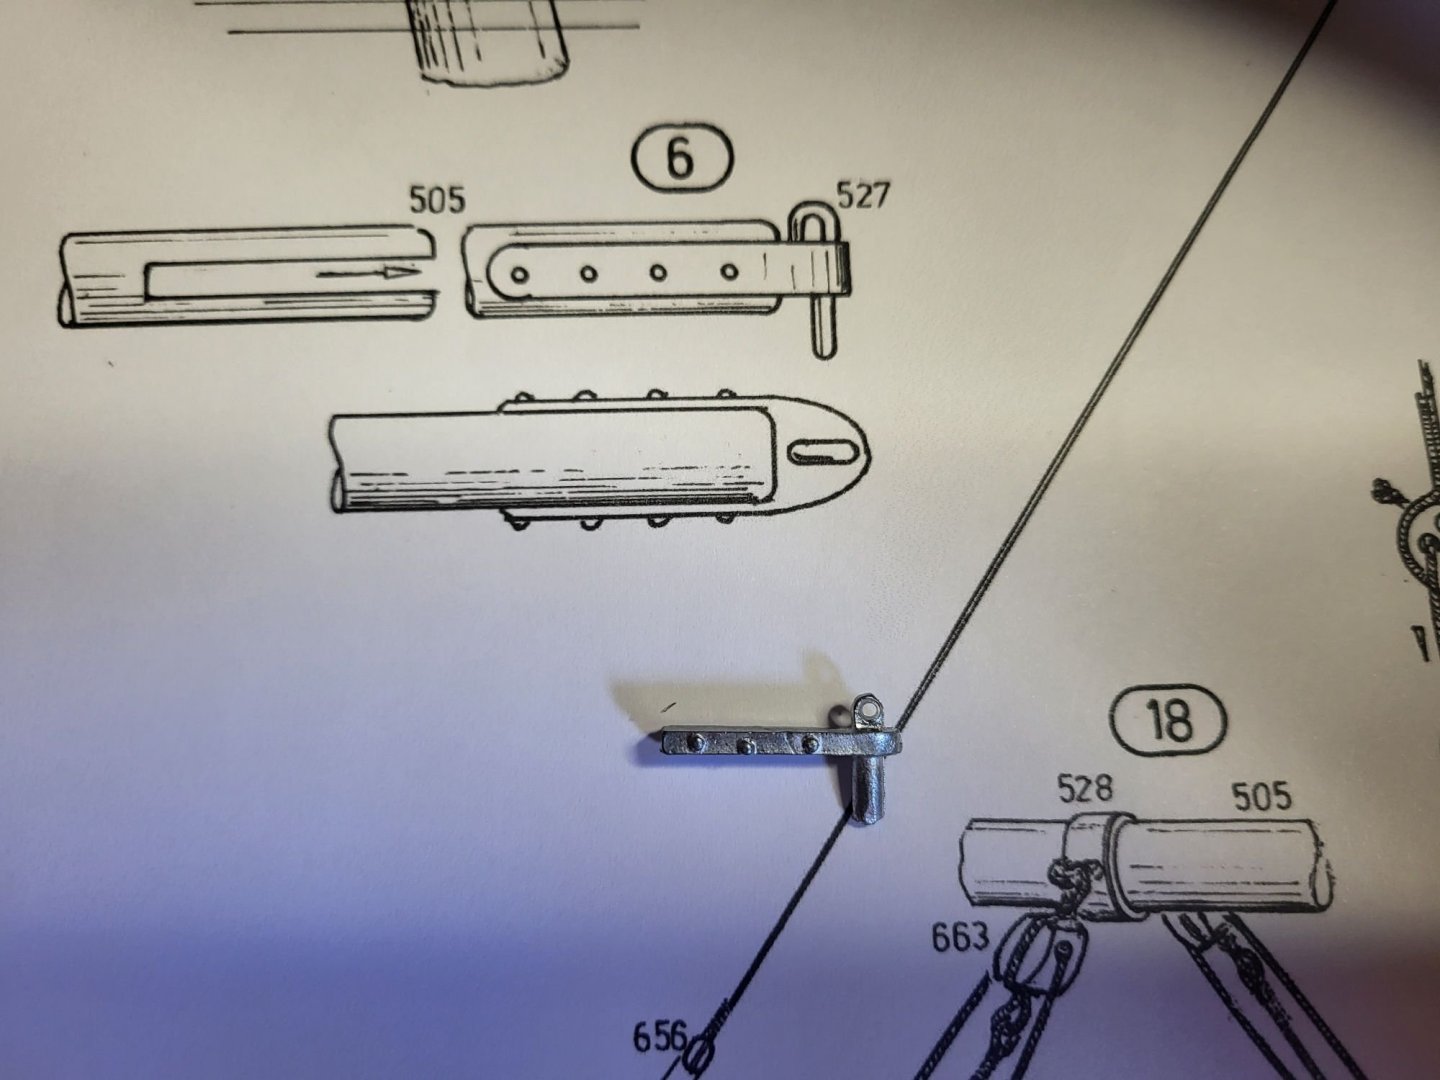
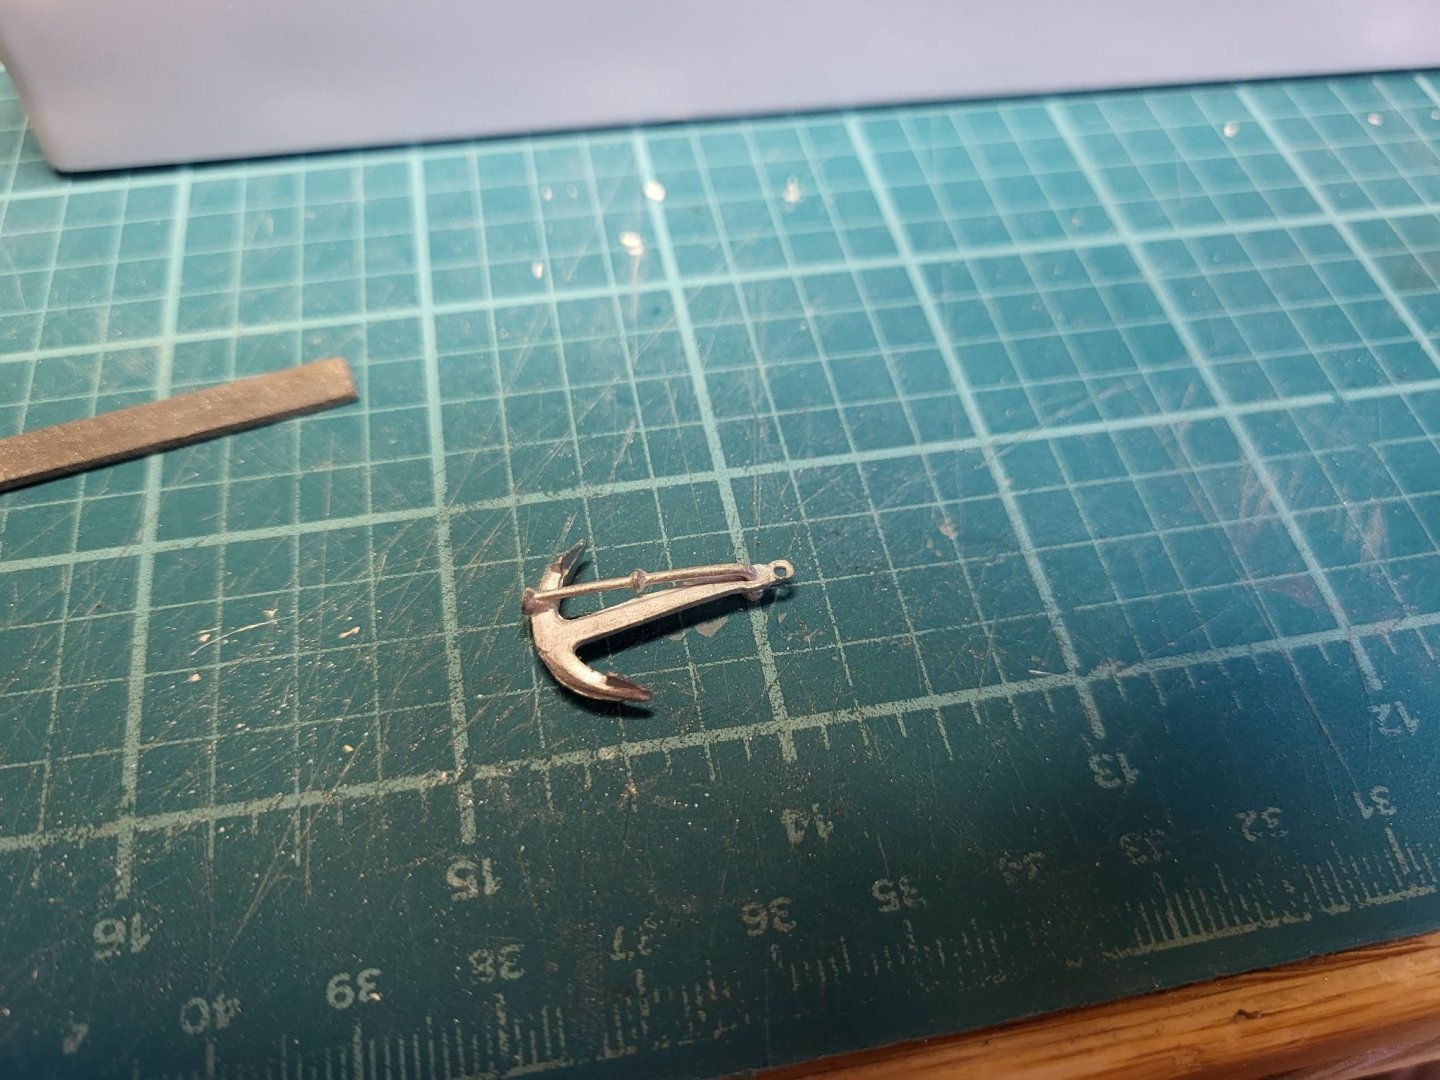
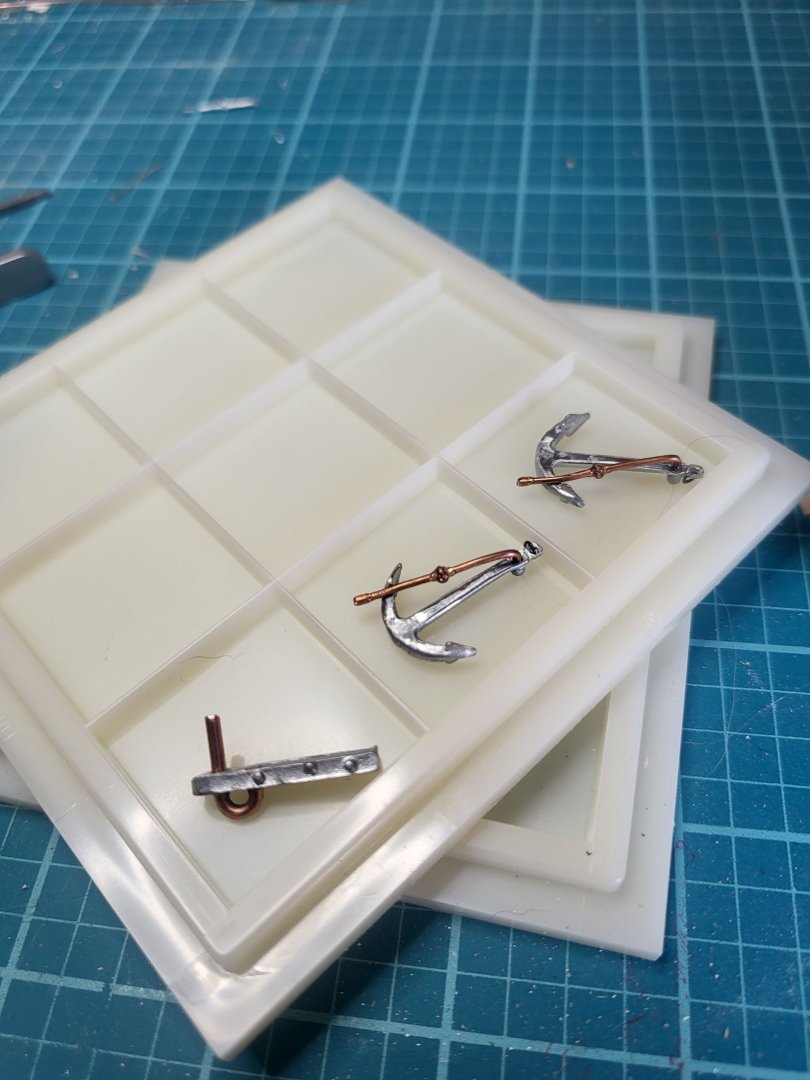
So, remember way back when I reworked the boom hook, because it was kind of sloppy? Well now that I have made the boom, it's never going to work. So I remade one out of brass.. I was skeptical of getting the cast piece, to fit into a slot basically cut into the boom, but looking at the actual size of it, it would never fit, or be the right scale.
-
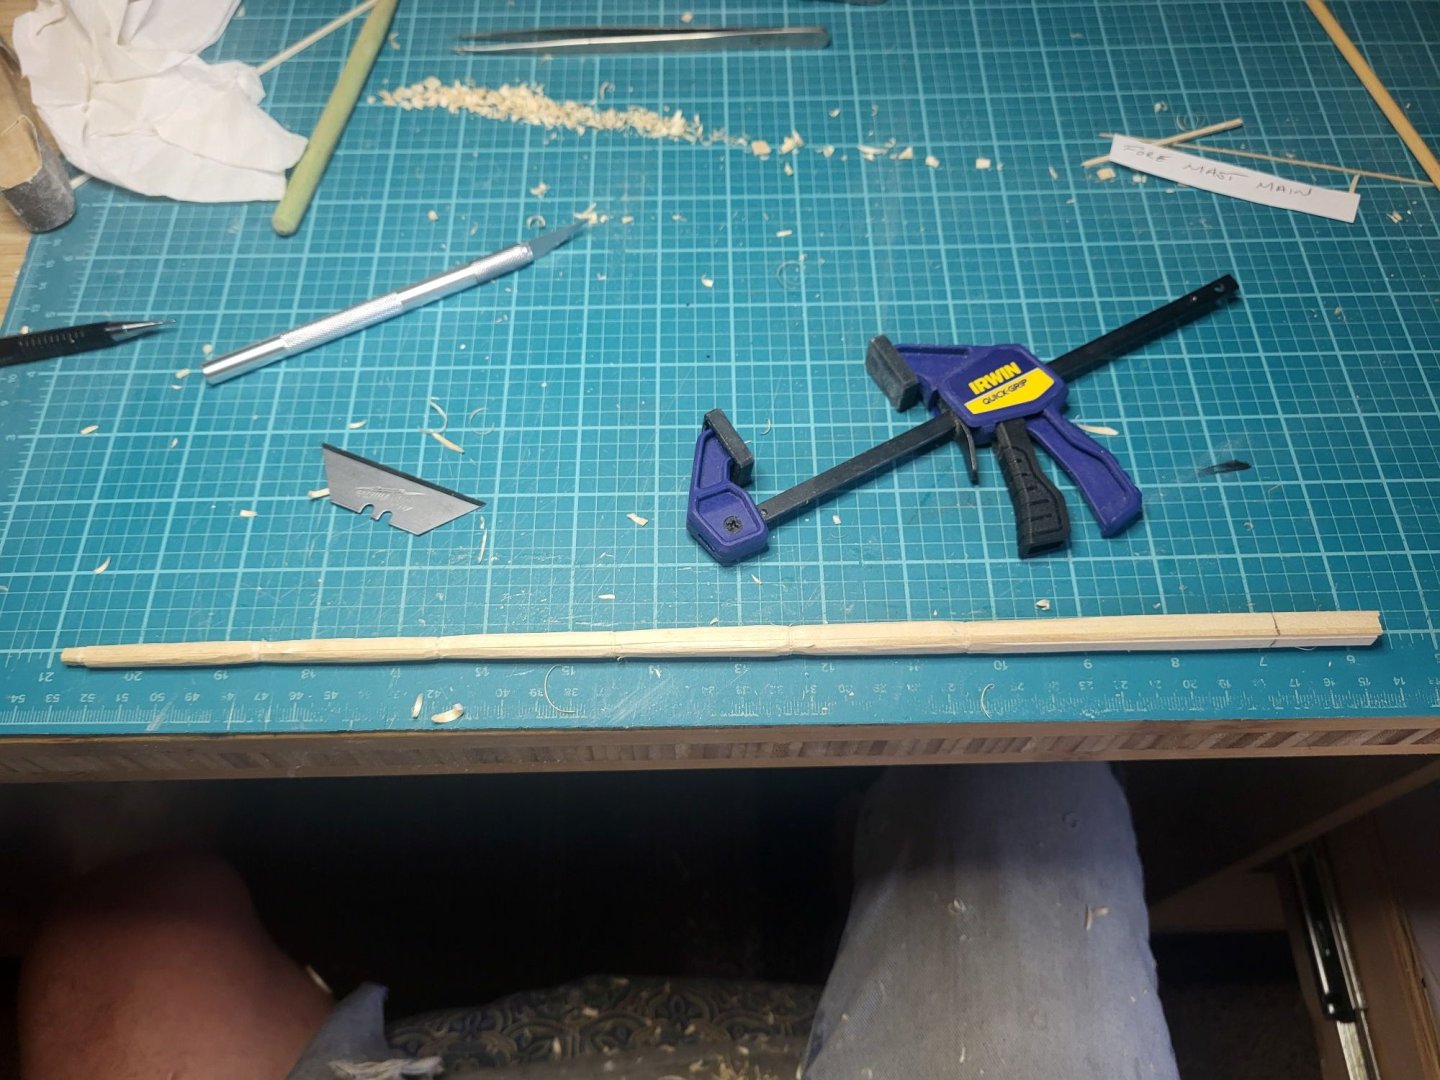
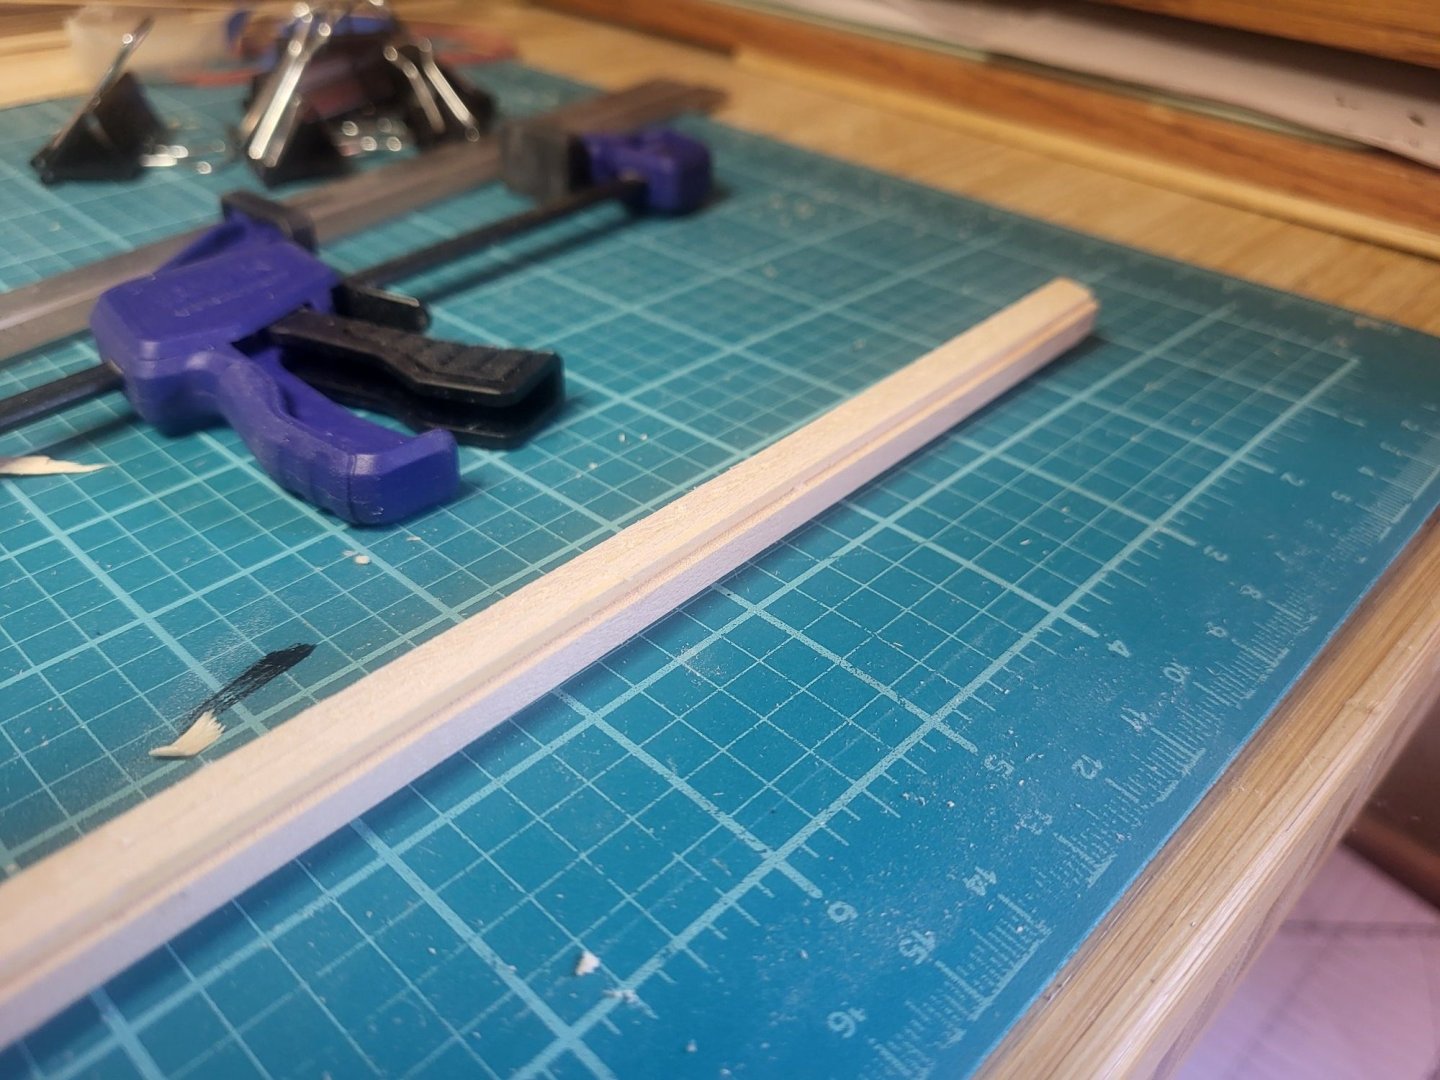
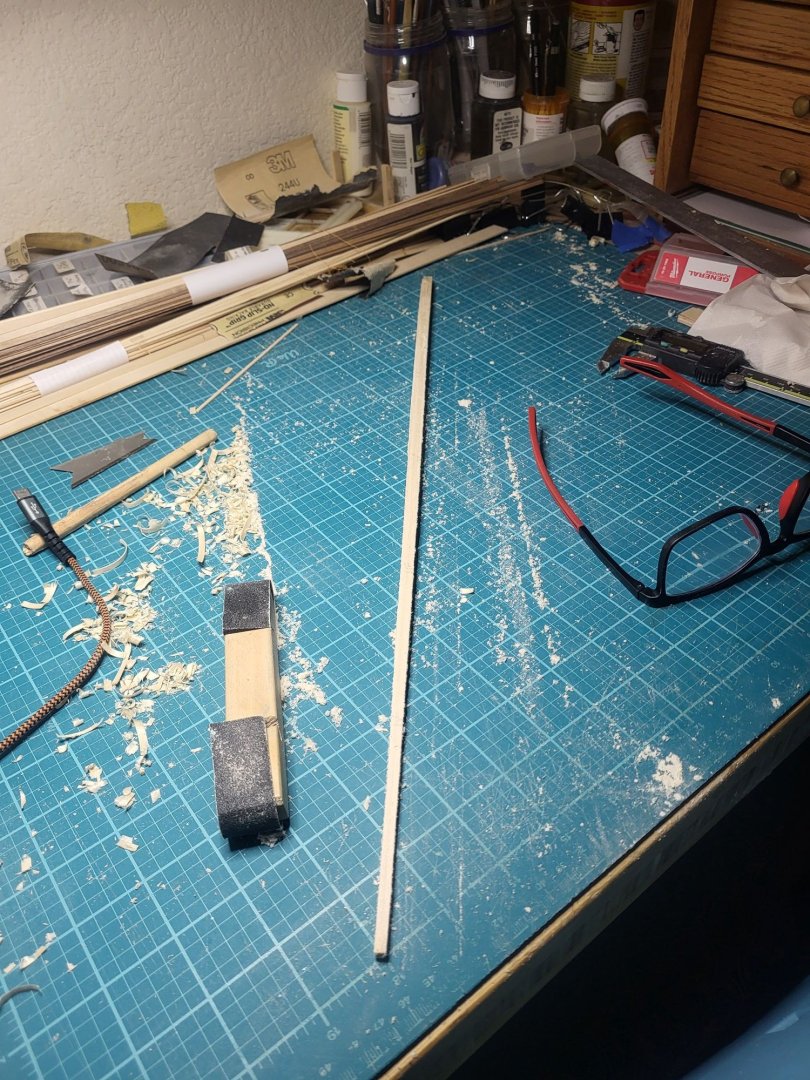
Fore mast almost completed, it started as about 6 pieces of basswood glued together. I measured every 2 inches and marked the diameters, whittled them down then trimmed the mast down to transition between the marks. I'll finish the sanding with a long sanding block, checking against a straight edge as I do. Remarkably I have not cut myself using the open utility blade! I really need to make a small block plane, sure I know they sell them, but where is the fun in that?
-
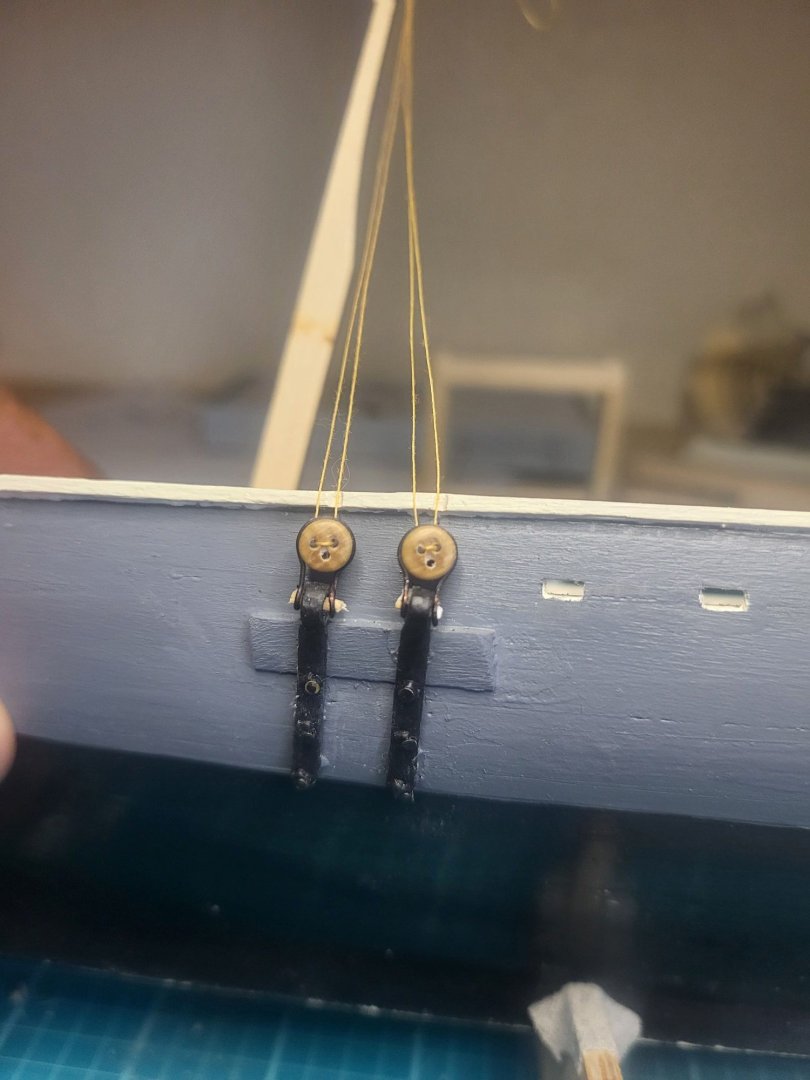
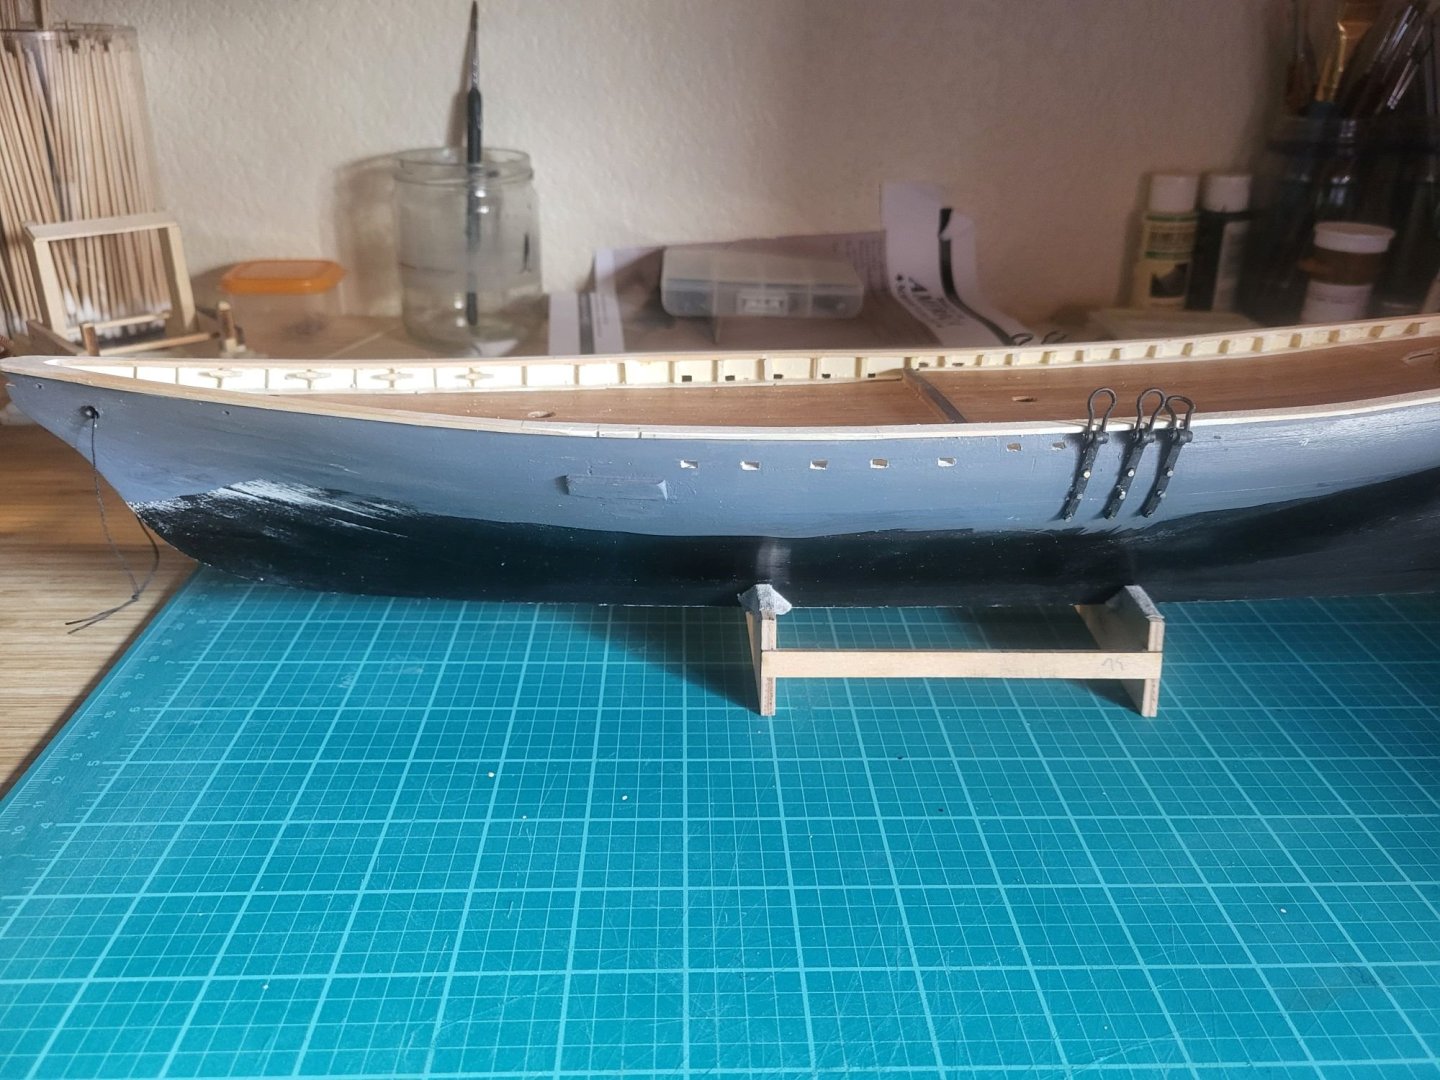
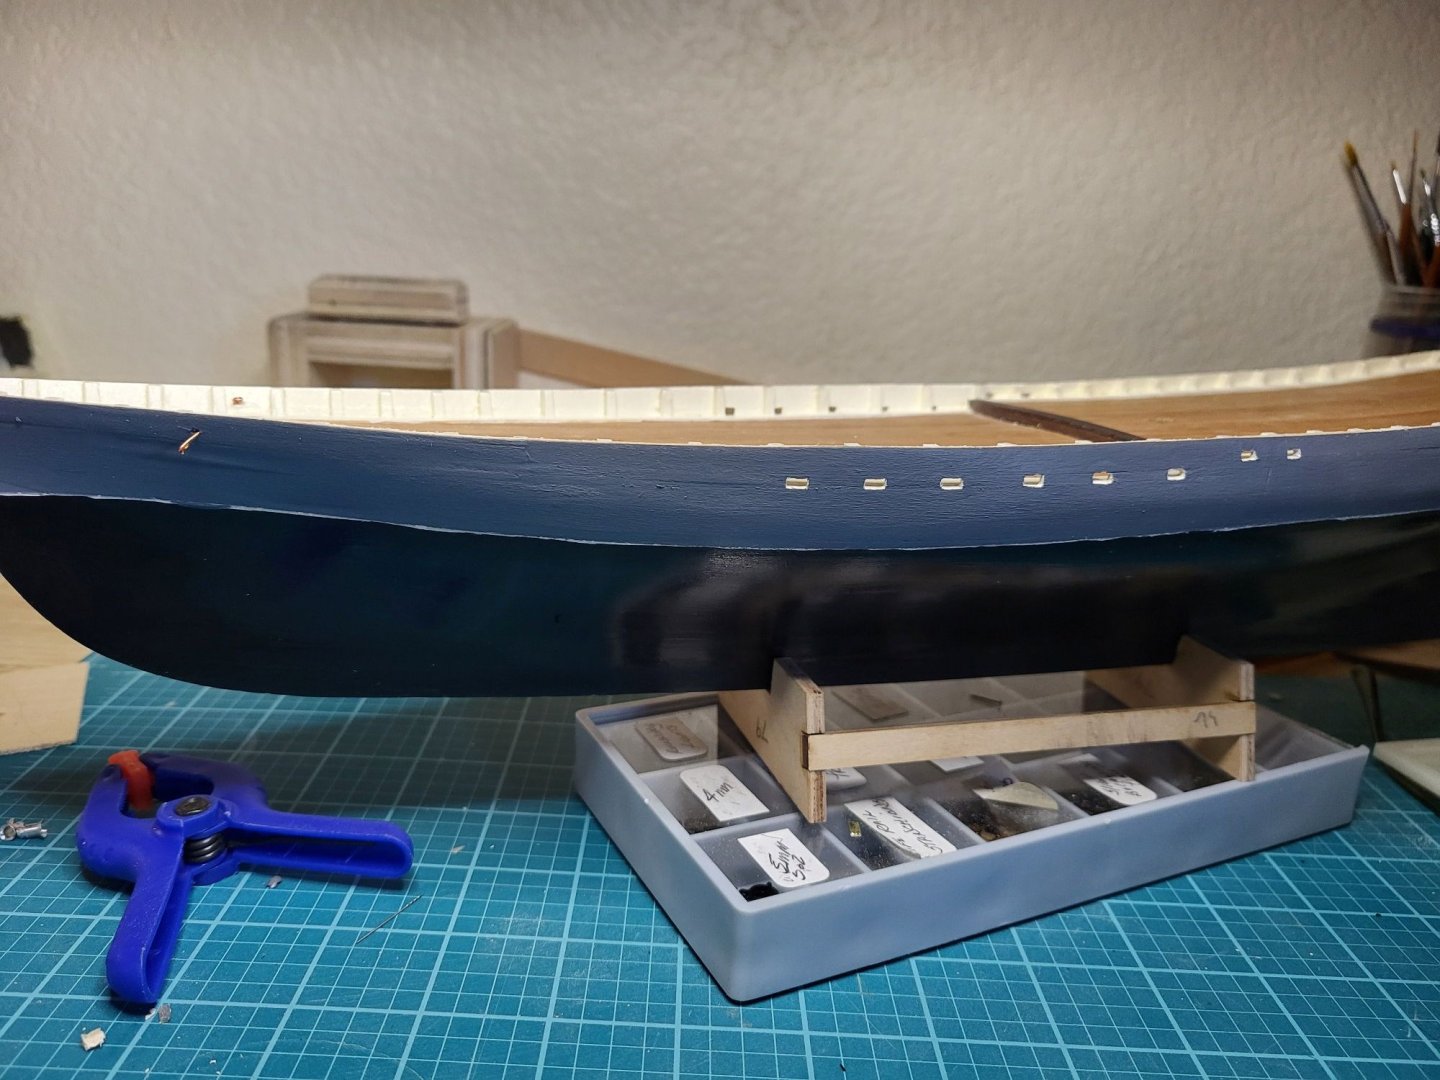
Adding the chainstays, I also wasn't happy with the waterline, so I'm going to repaint it. The chainstays aren't great, but, fine. I think the loops holding the dead eyes are too long. I have added the standoff for the fore chainstays, undecided at this time, if, like some kits, I'll shorten them, it's really hard to tell if this is interpretation by other kits or fact. Photos are too washed out to see and n something like this; paintings are not really to be trusted.
-
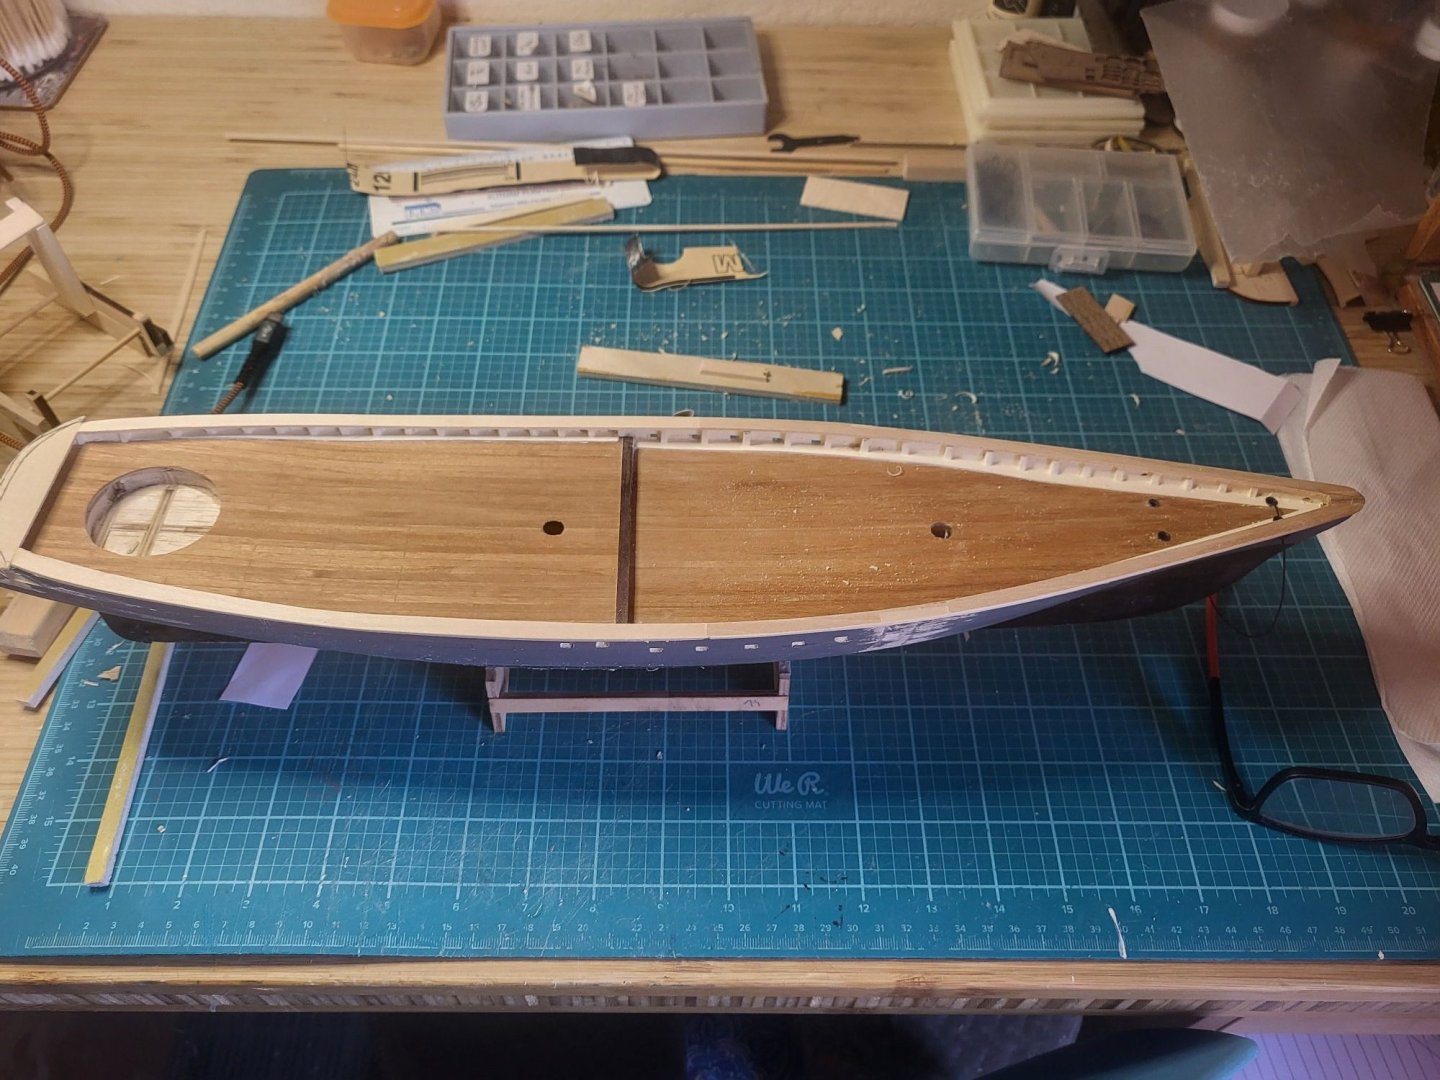
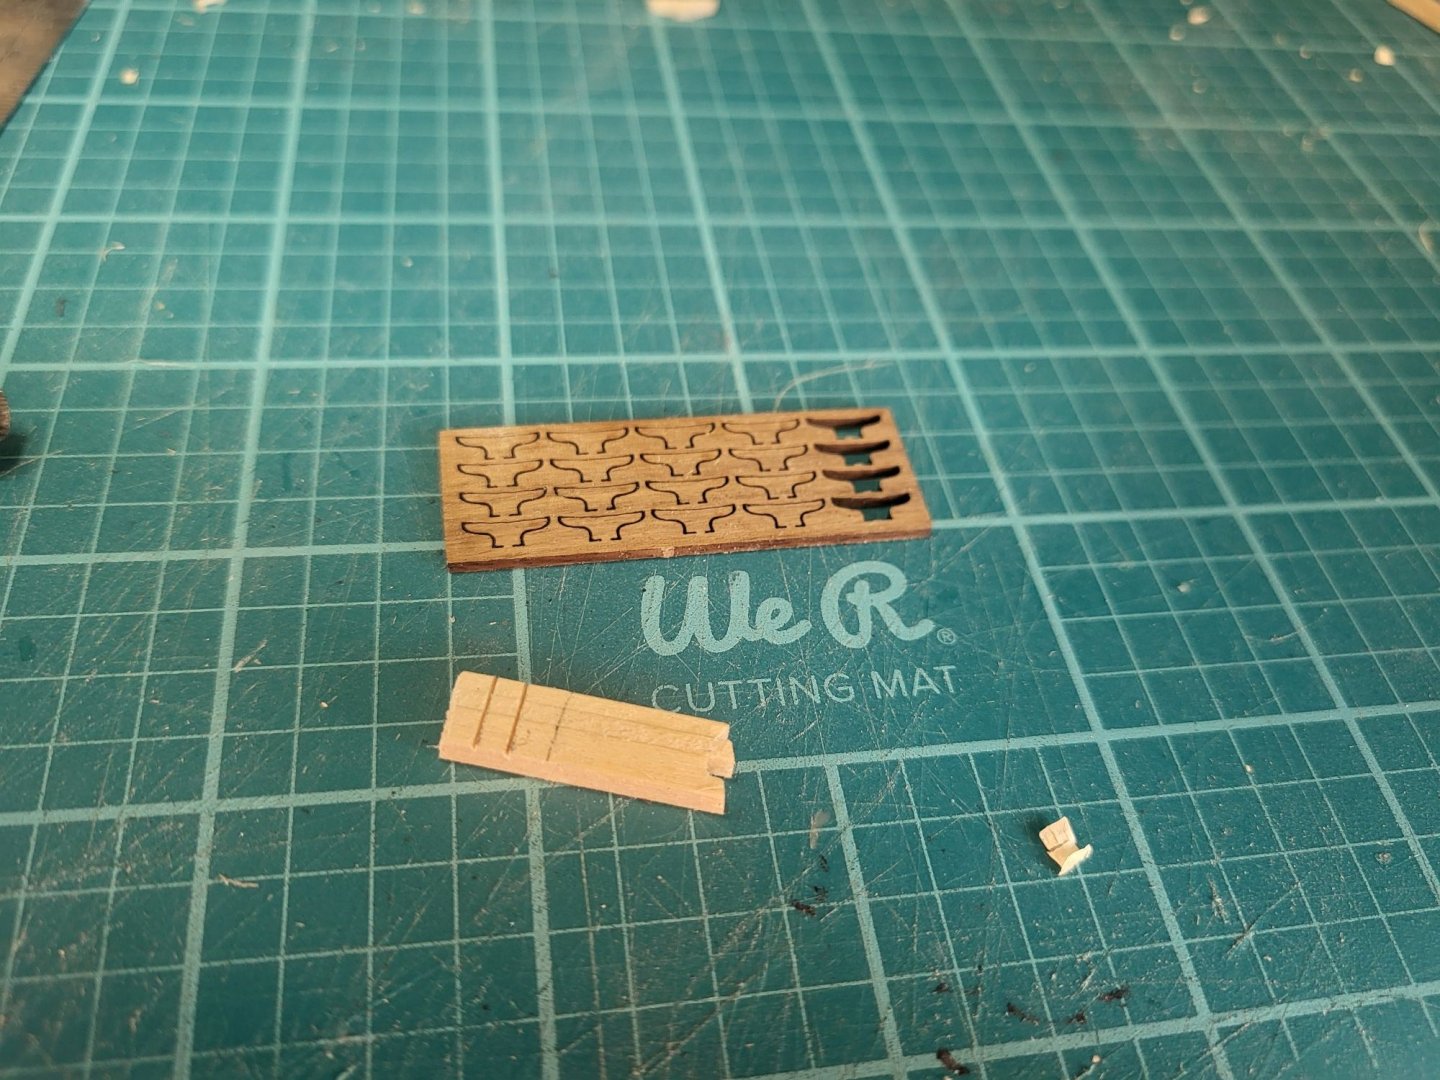
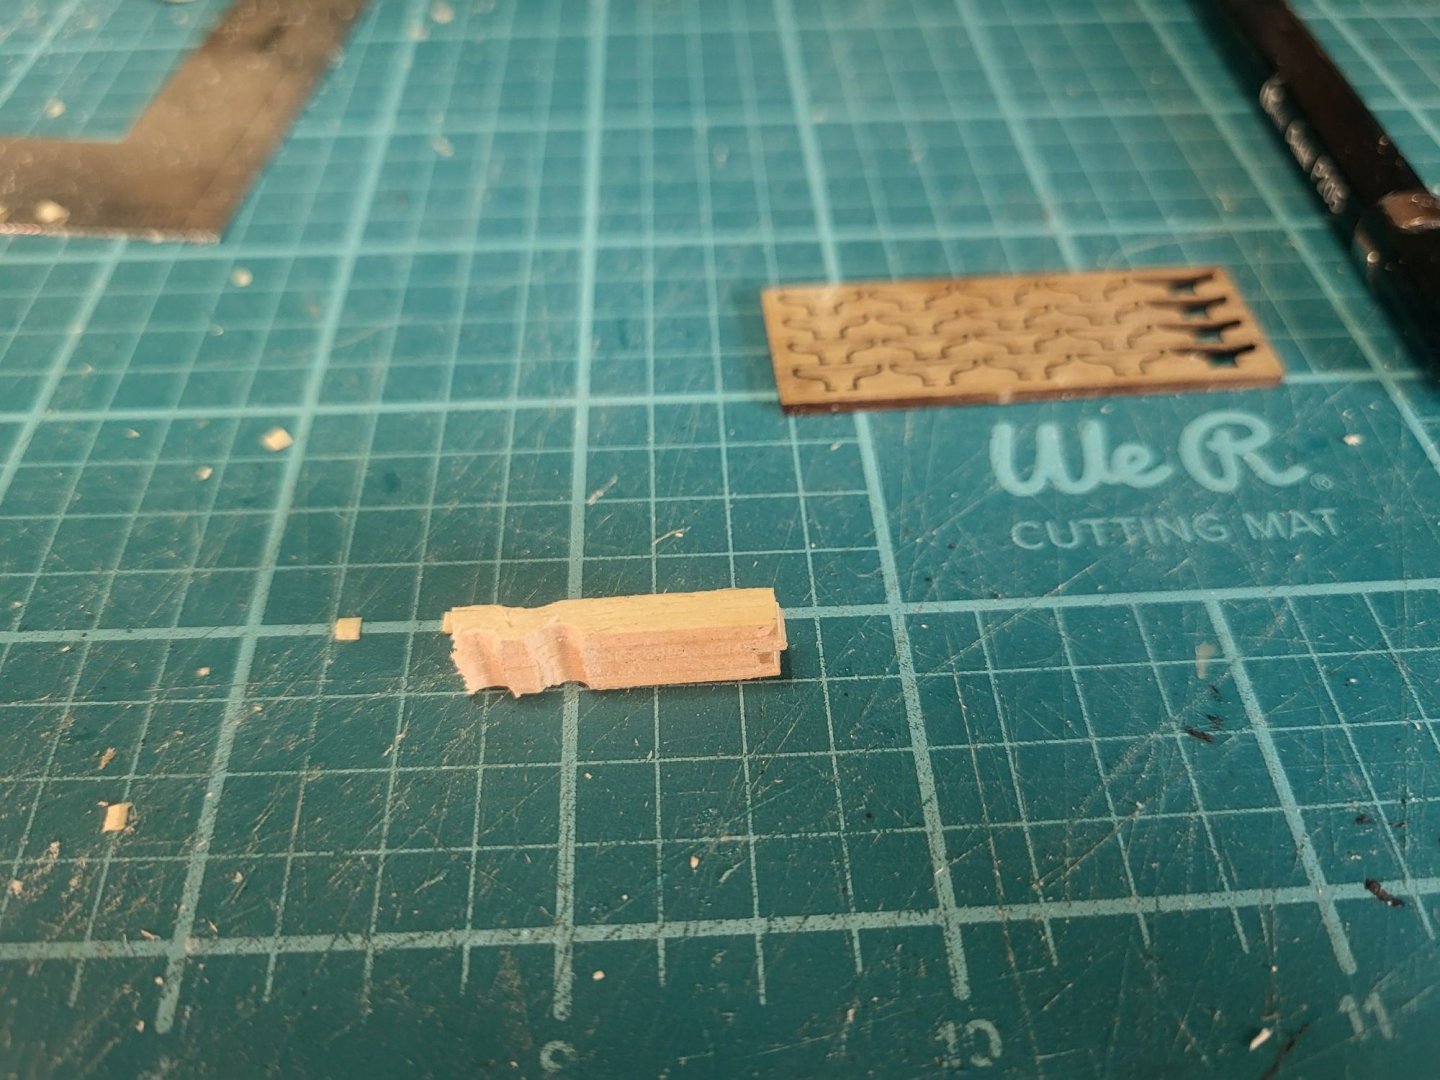
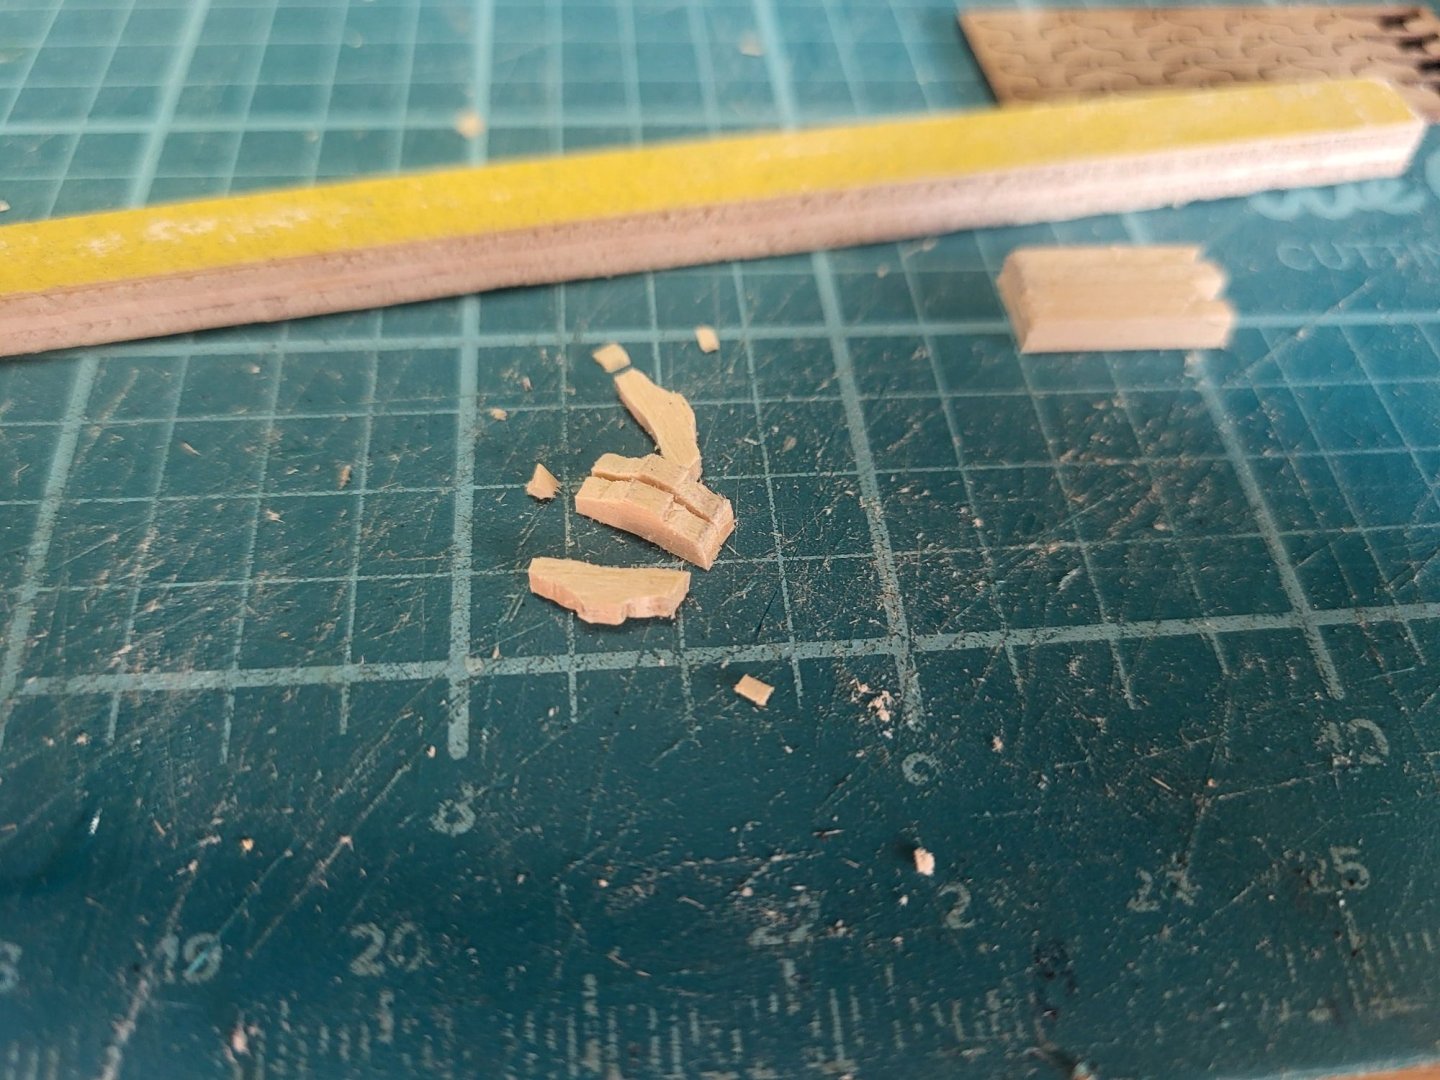
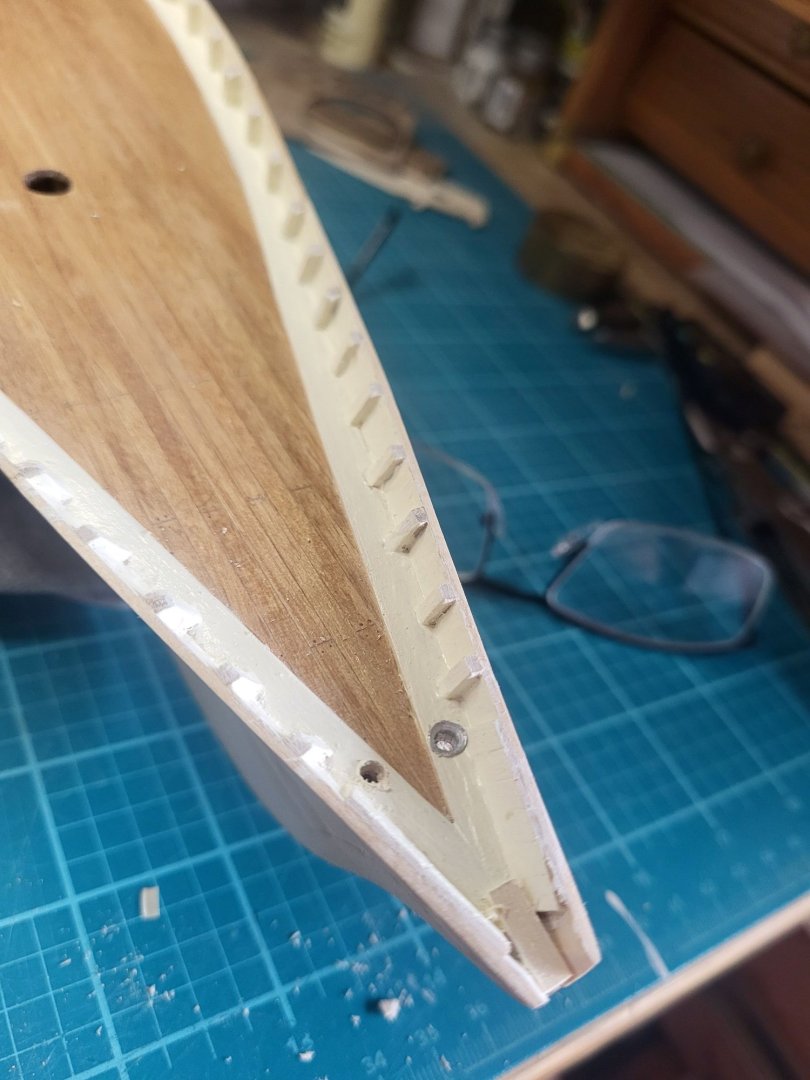
Finished the top rail, I do these now, by gluing a large plank to the timbers, then carving/sanding to get the overhang on the hull right, then using a compass, I create the parallel overhang over the deck. I need to make a few "adjustments to the timbers, they sure looked fine before, but I obviously want them to meet the top rail nicely. I'm also carving some cleats, I glued the tail end of 4 pieces of stock together, then I can carve the profile on all four, before cutting them loose and finishing. I'll used the supplied ones for the booms and bowsprit, I just don't believe every cleat would be the same size.
-
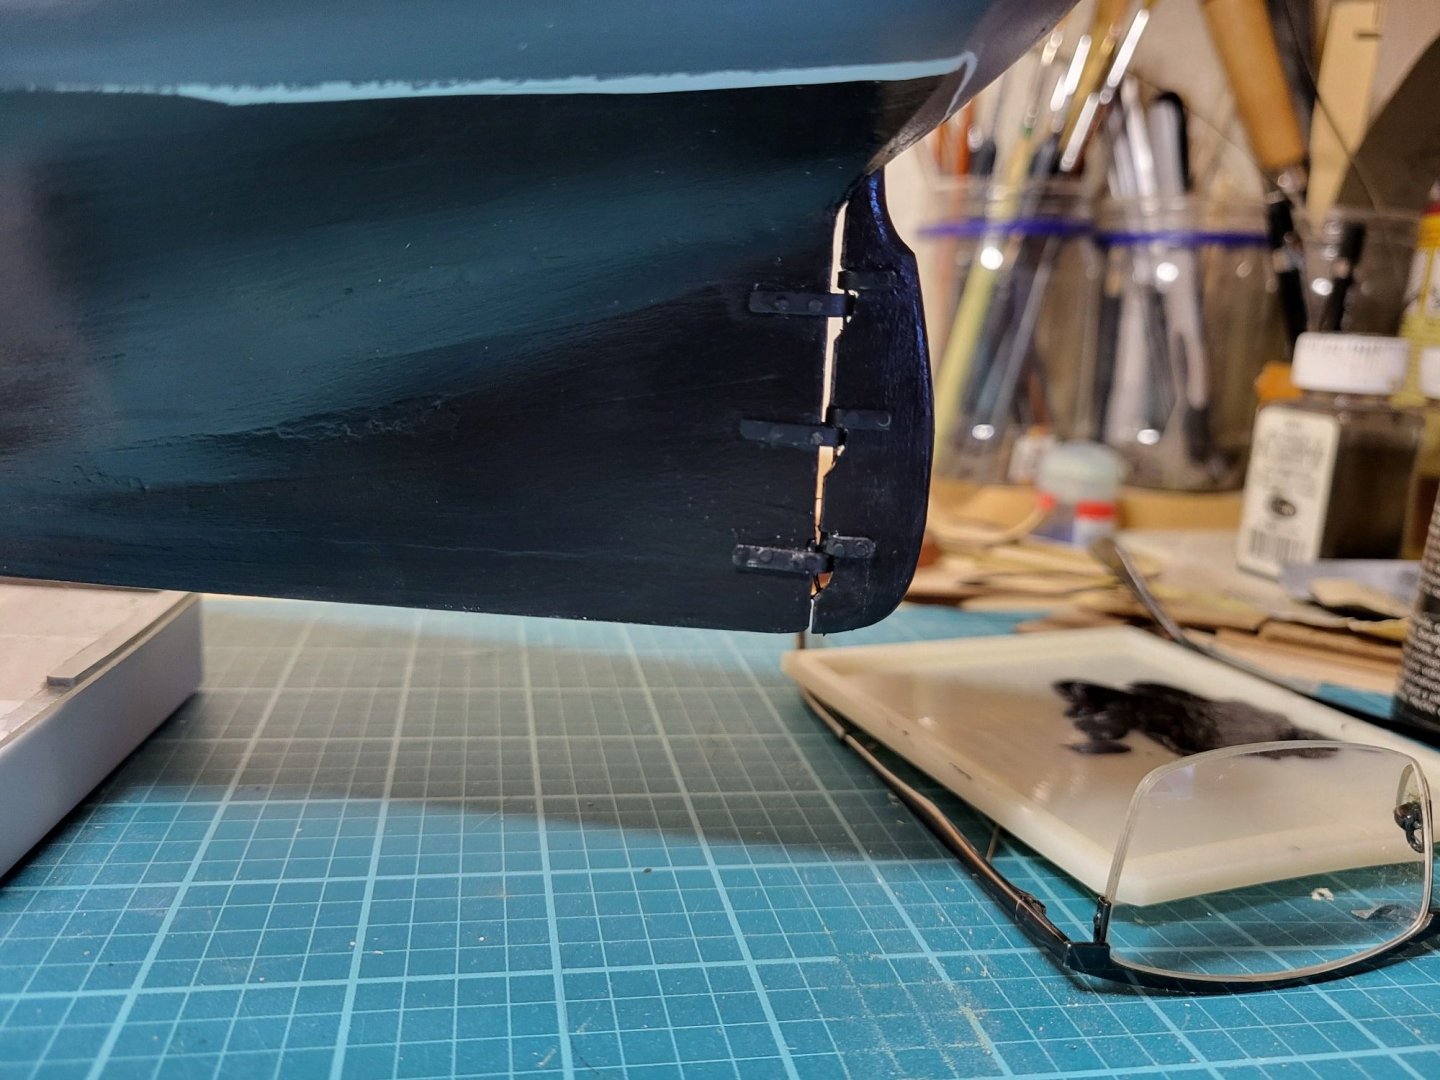
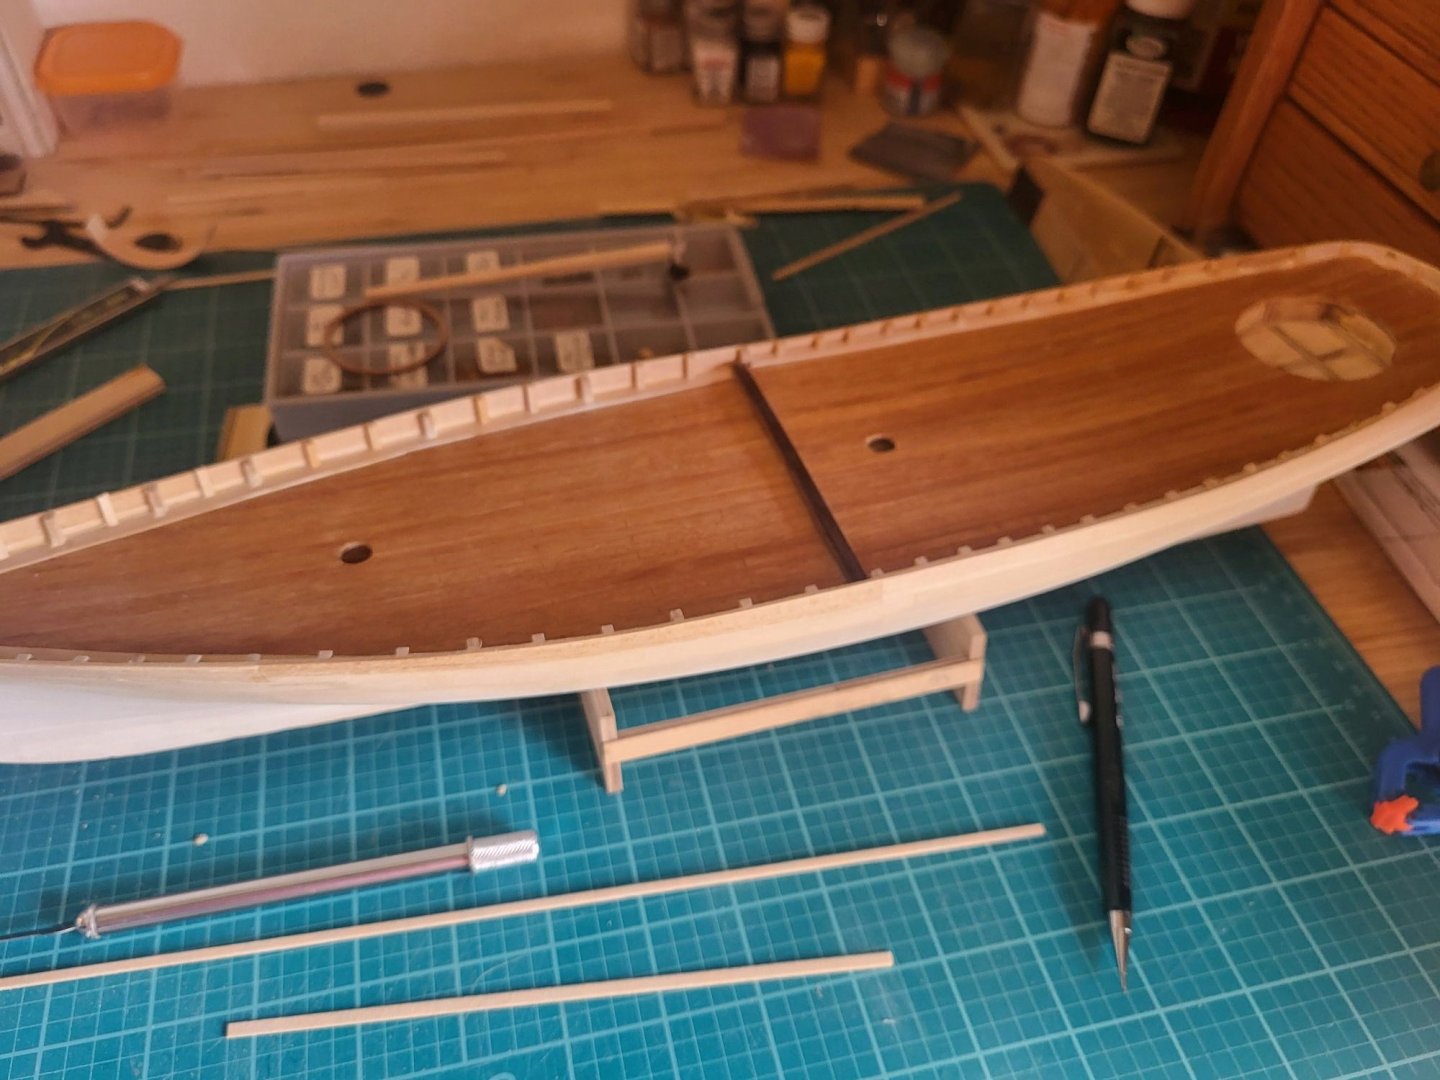
Hull is about done, some of the planks have come loose from sanding and cutting the scuppers. I also made the trunnions from brass, I did the pin for the trunnions differently, I have usually made pins, and struggled to hook the rudder on, or build it up, nailing the hull trunnions on after assembling the rudder, and that's a struggle too. This time I used a piece of brass wire to catch all the trunnions from the base of the rudder. It did bend a little , so I need to adjust the rudder so it's evenly spaced, but I think this will e the first model where the rudder isn't going to fall off when I move it. .
-
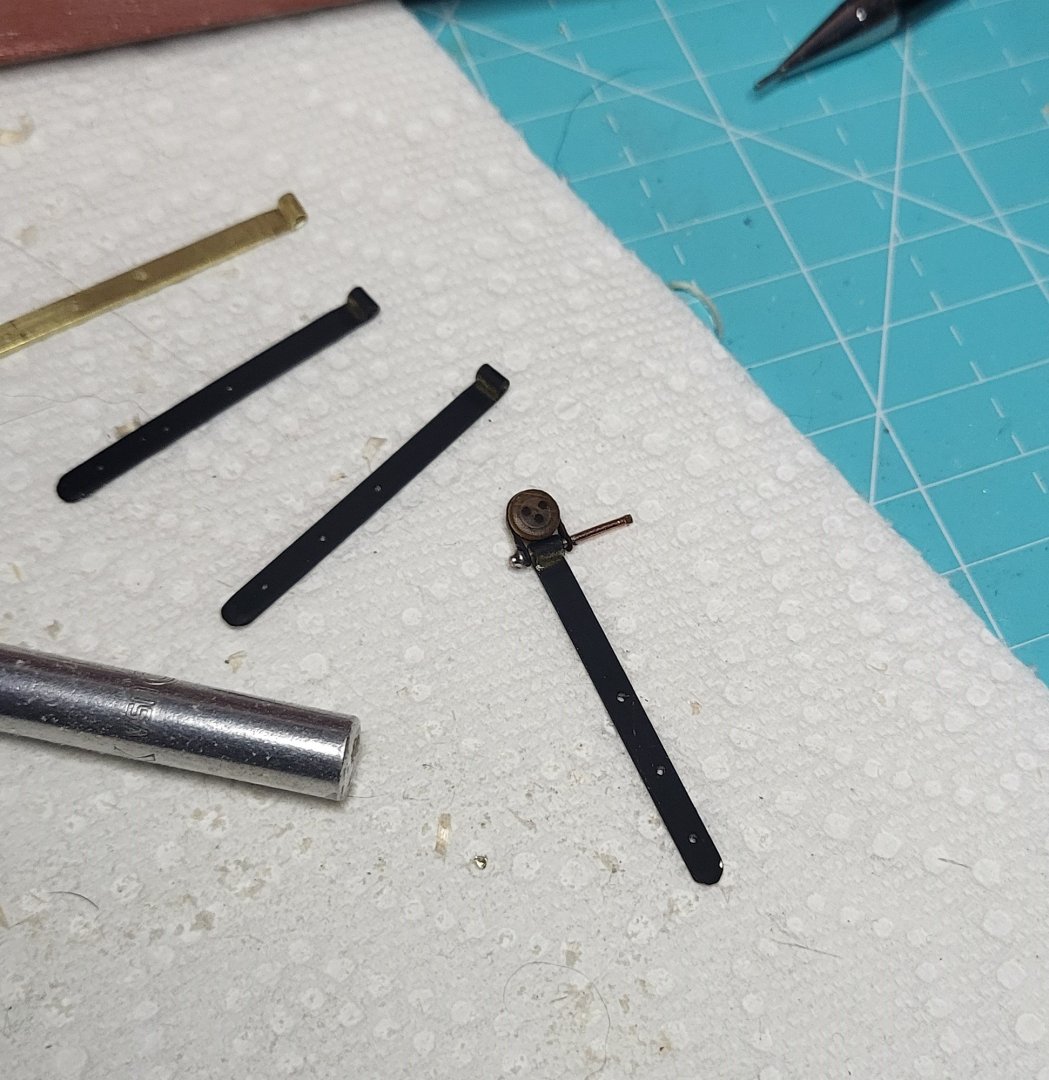
I realize I didn't get a photo after clean up. Obviously I cleaned up the extra solder with a file, however before painting these parts, I dip them in muriatic acid. This cleans off any solder resin, and provides a light etch. I didn't have the correct stock for the bowsprit, so this was laminated up, sized to fit the windlass, then tapered to shape. If my calculations are correct, once I size and taper the spar, even with what looks like a downward slope, the tip should be angled up in relation to the deck.
-
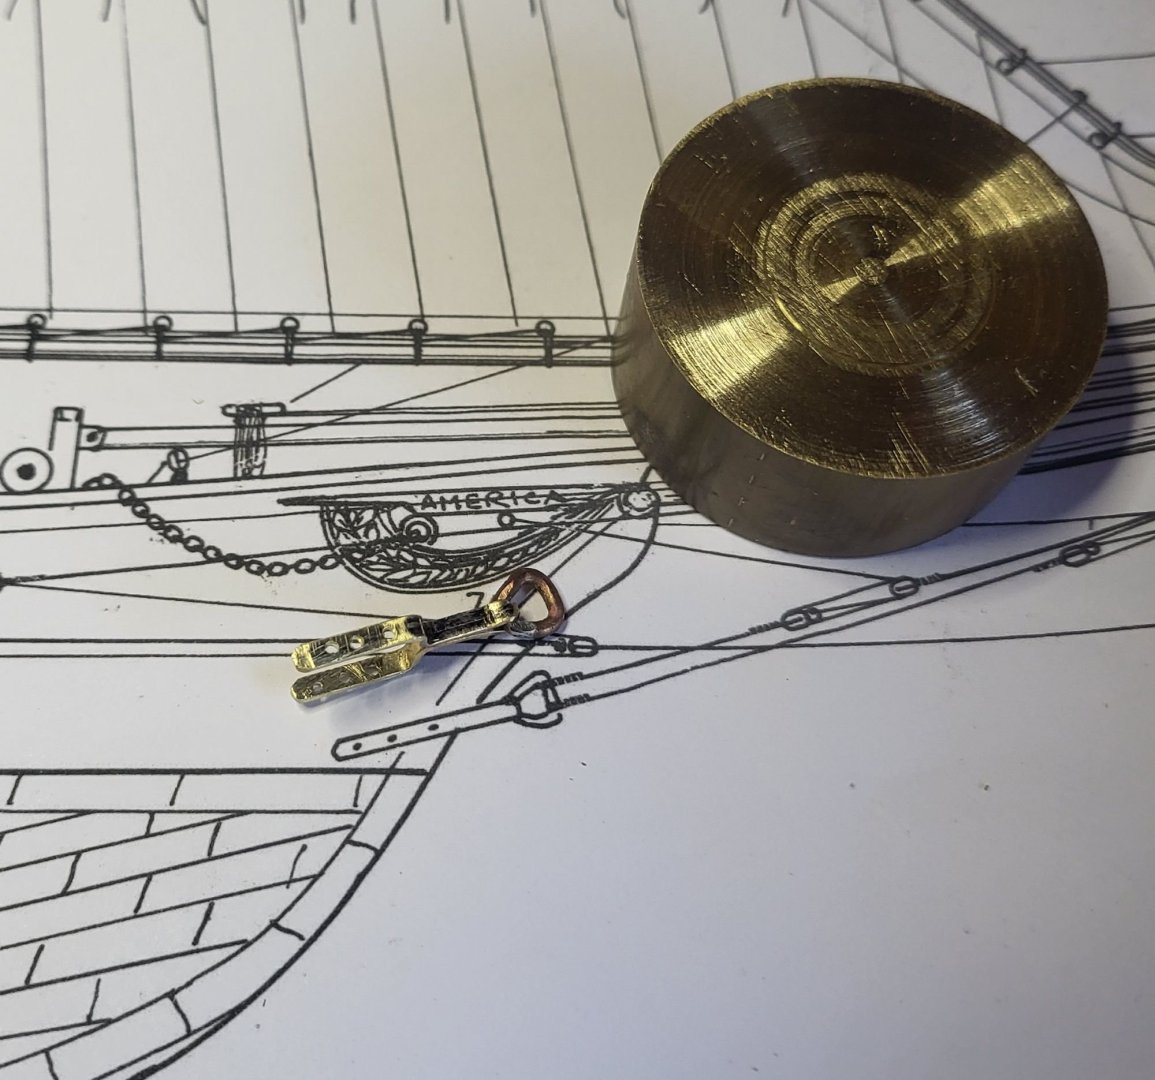
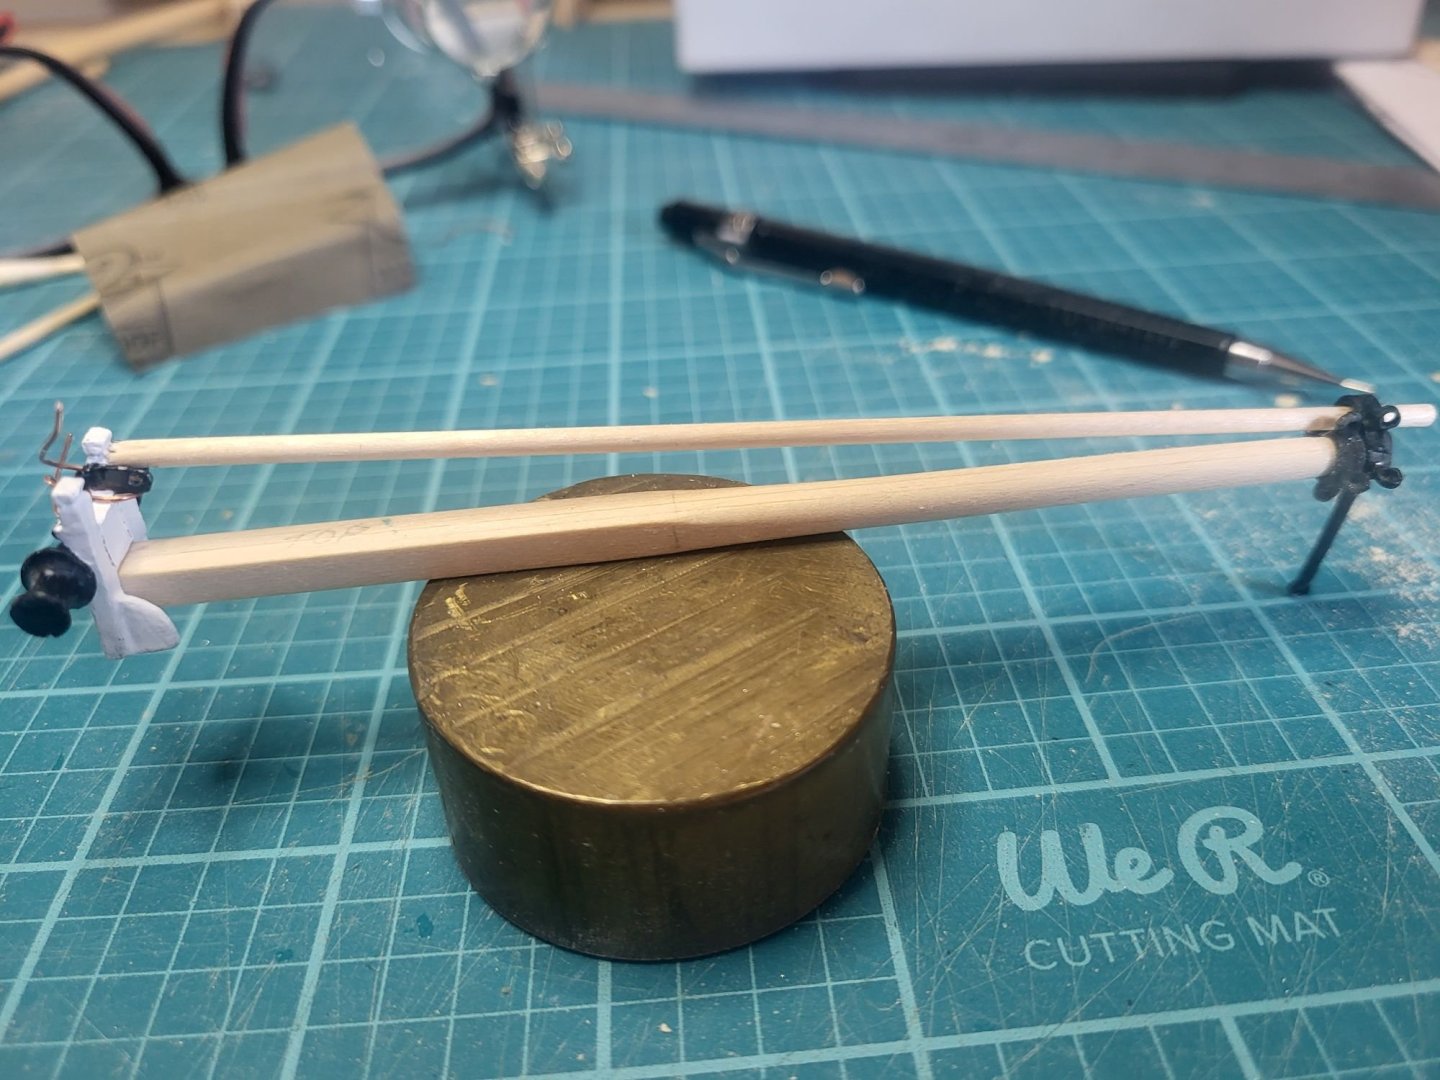
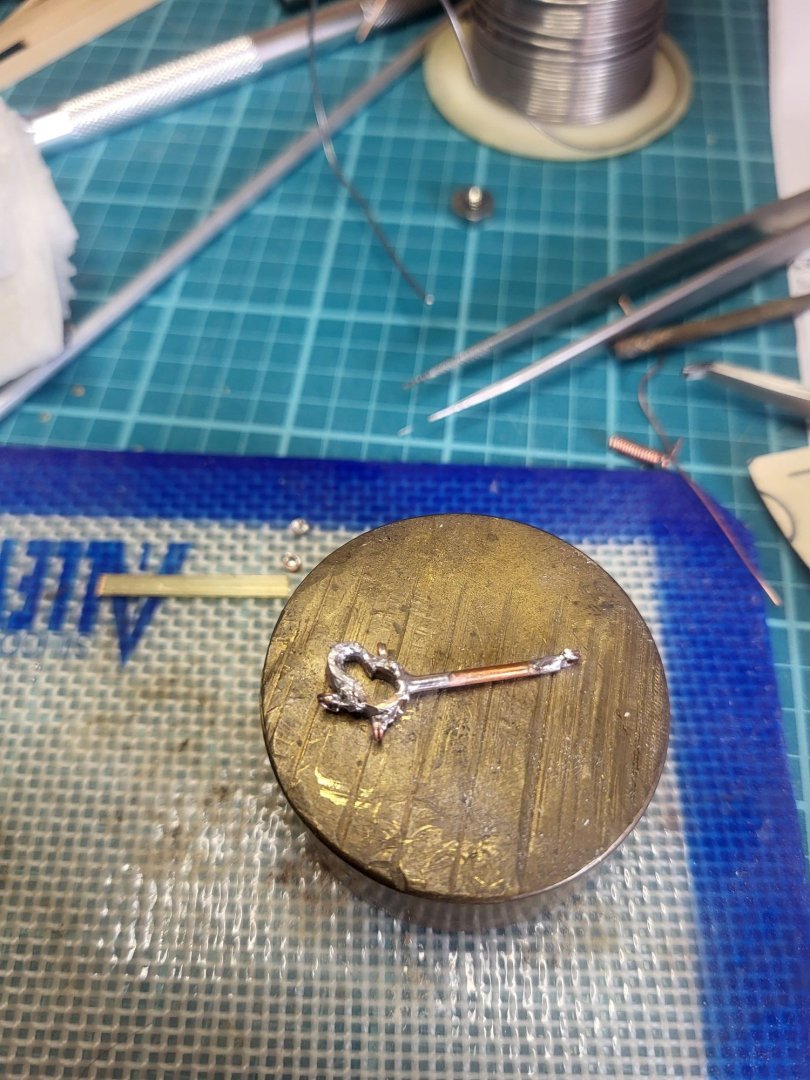
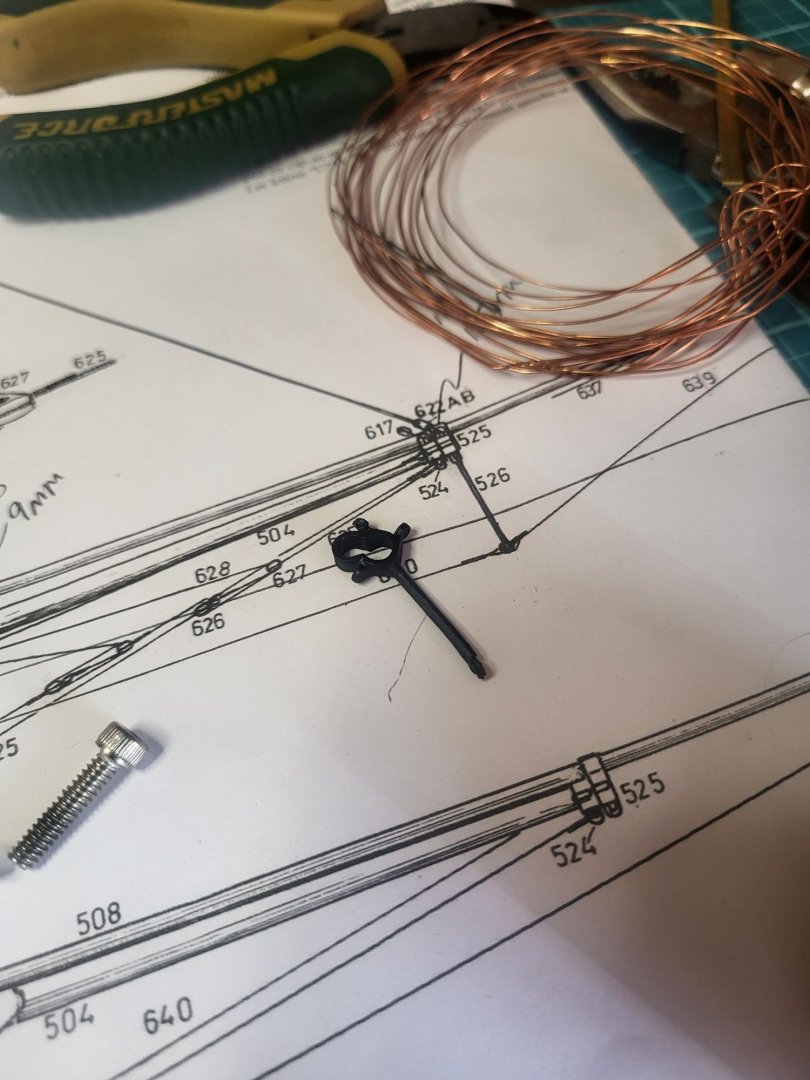
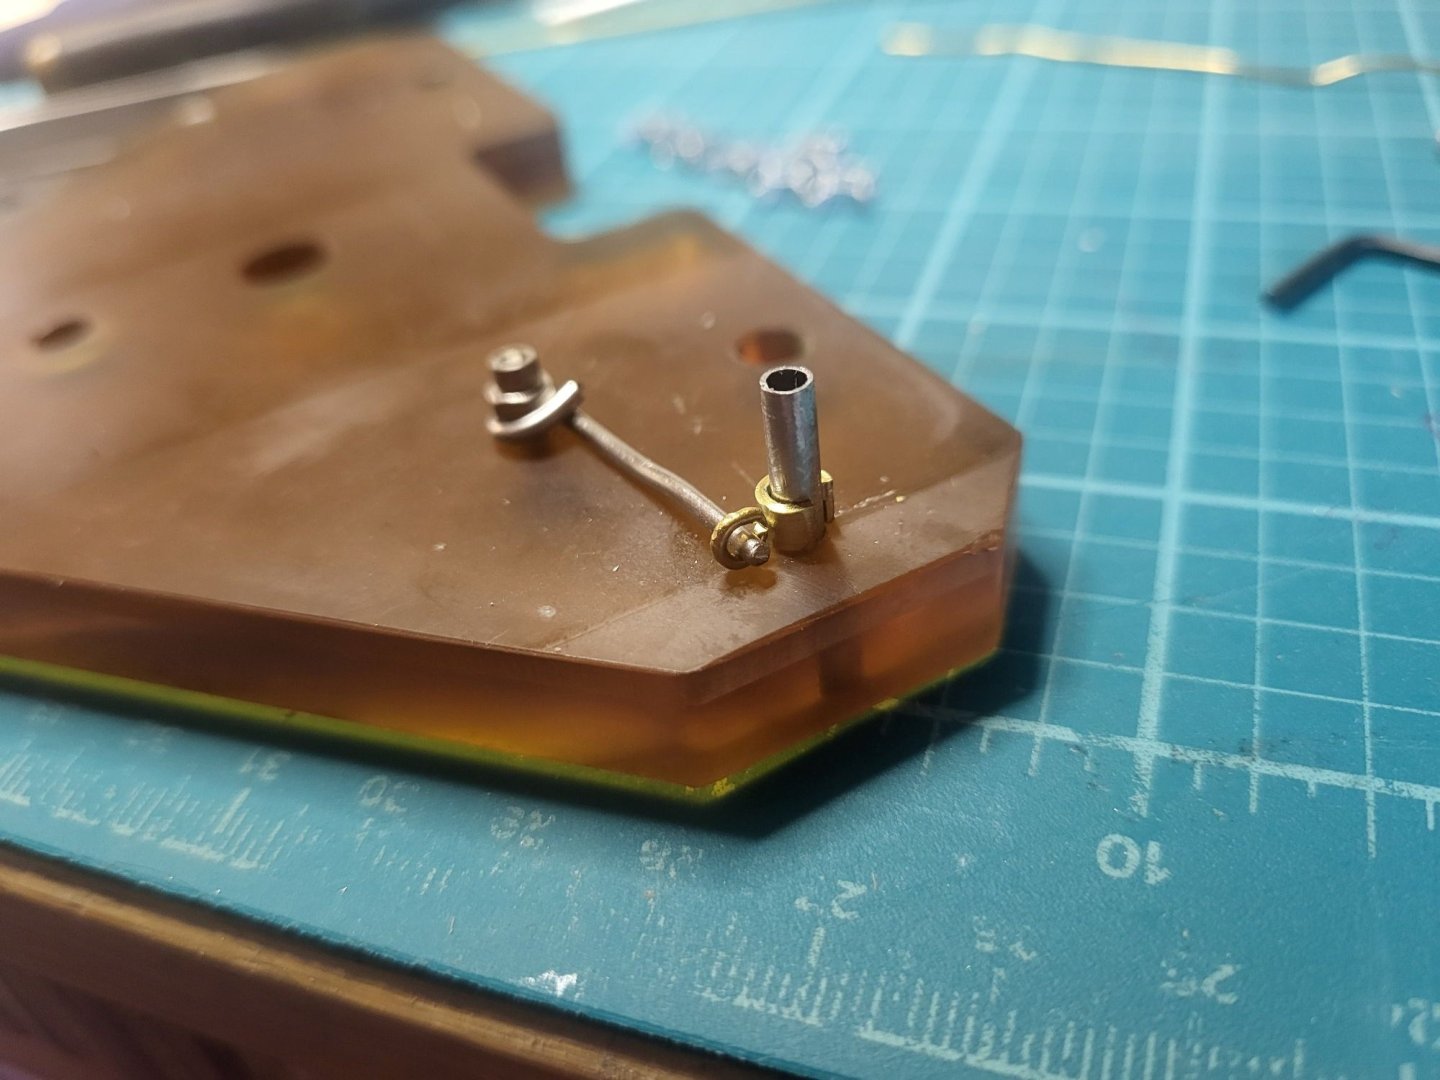
The Bowsprit is interesting on this boat, this is because even mid-race they can change the jib configuration, which is fascinating. Can you imagine climbing out there at speed, and changing the spar out? The configuration shown in these plans have an additional spar extended out along the bowsprit, which I like. However there are some issues. First the cast part supplied wasn't right, it didn't set the spar in the right position, the spar should be at about a 45 degree angle. If I set the cast part that way then the rings are not in the right orientation. Another issue is the strut below the spar, the tensioning rigging, I couldn't think of how I could keep that stable under line tension. So back to scratch, using some heat sinks I was able to build up the new part one piece at a time, including soldering a "bar" to replicate the strut. You can see the configuration in the last picture with the rigging plans.
-
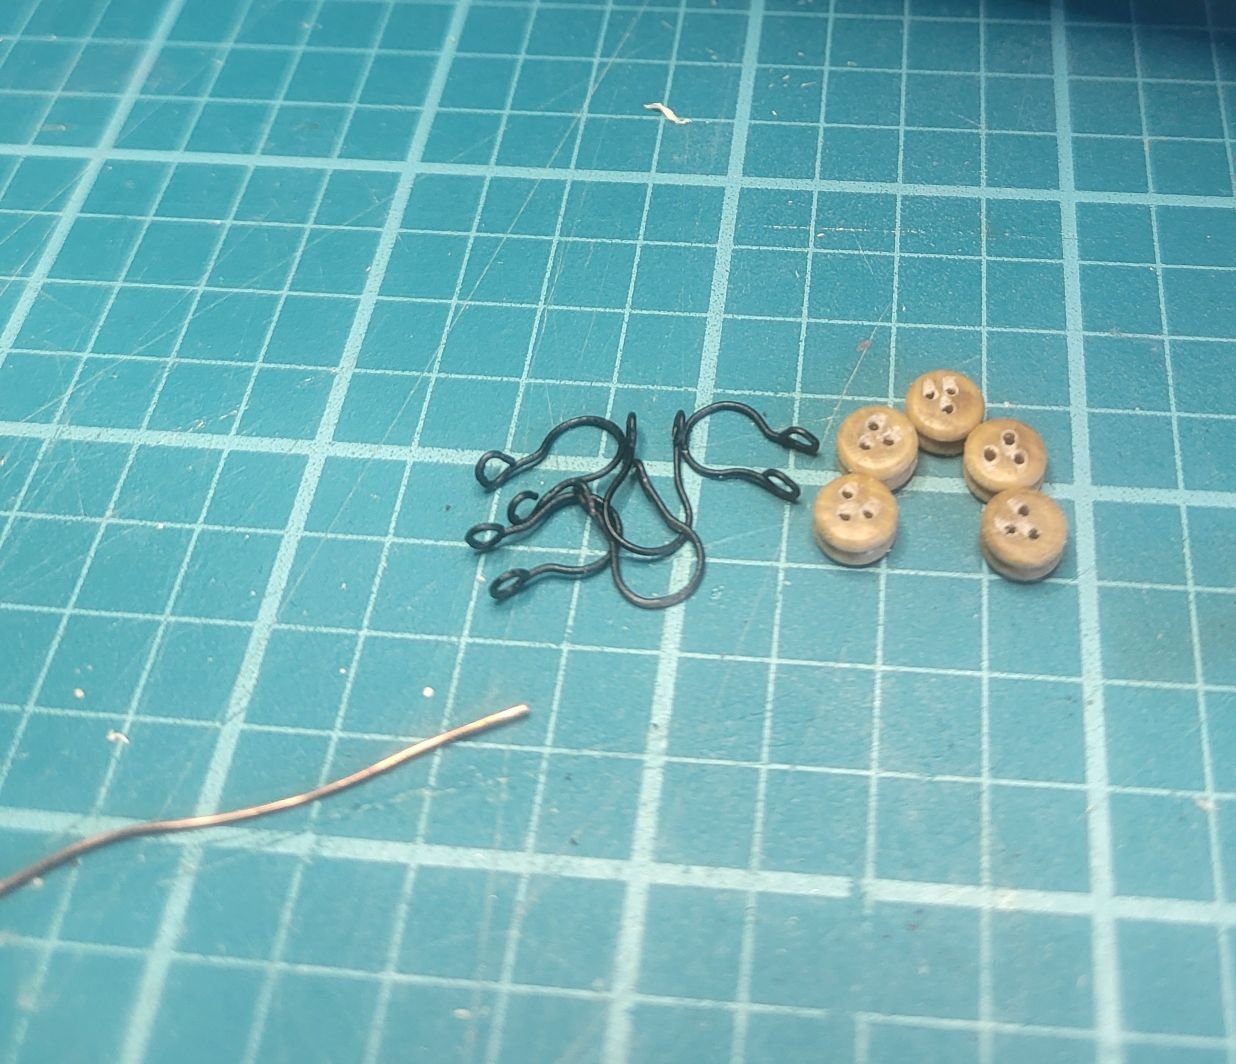
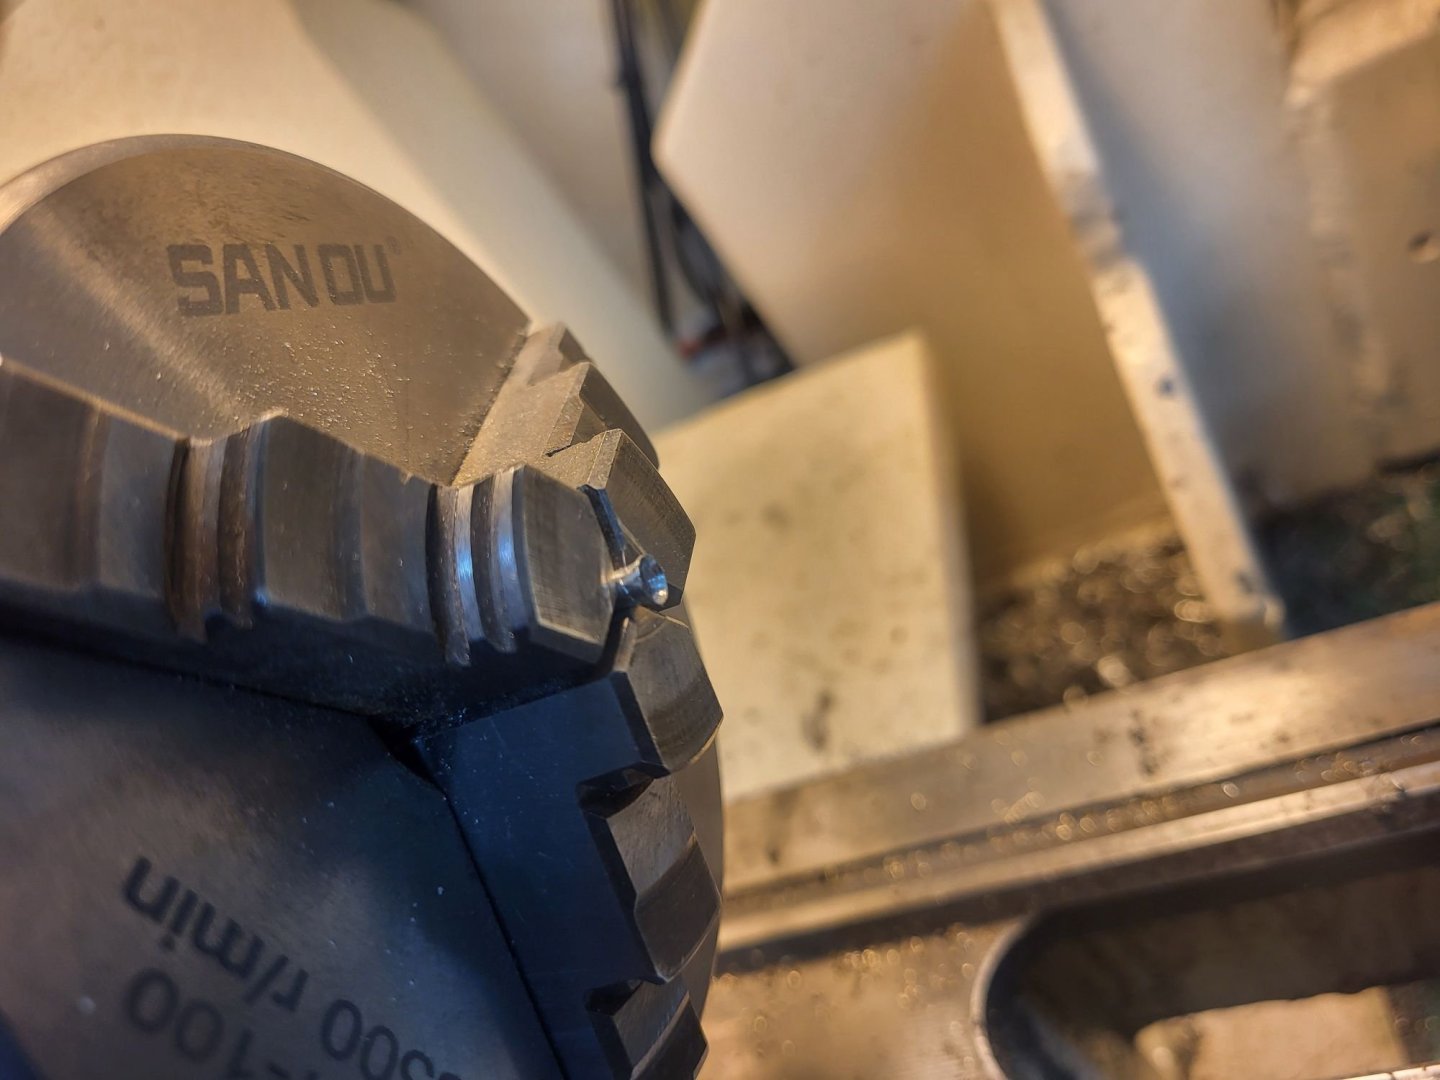
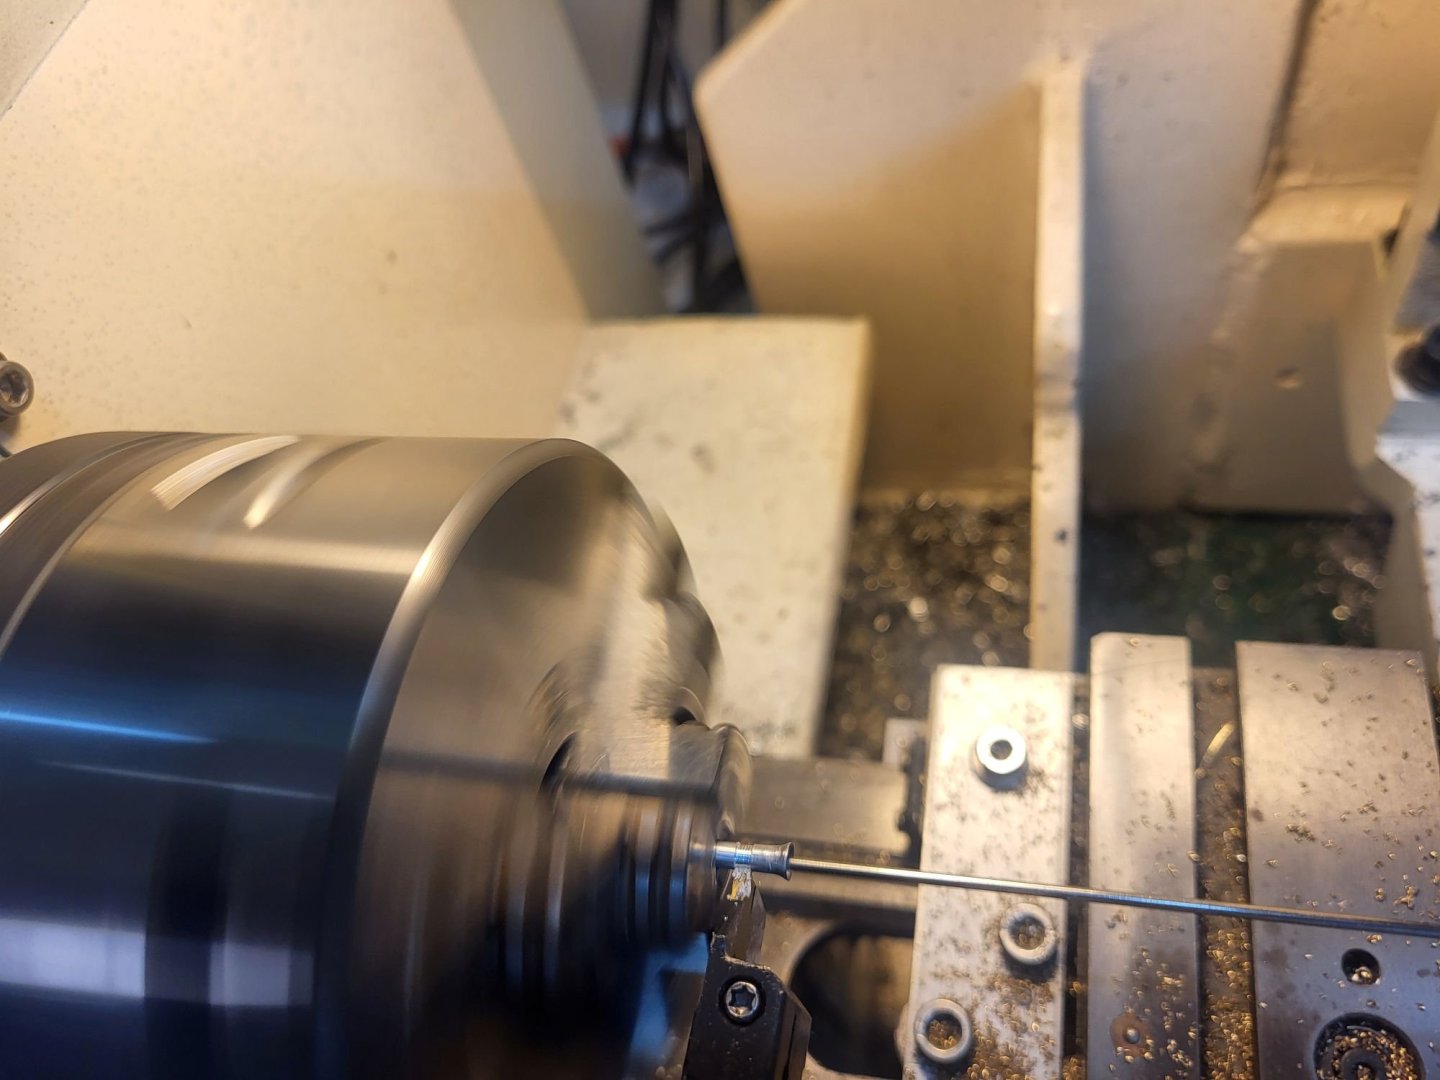
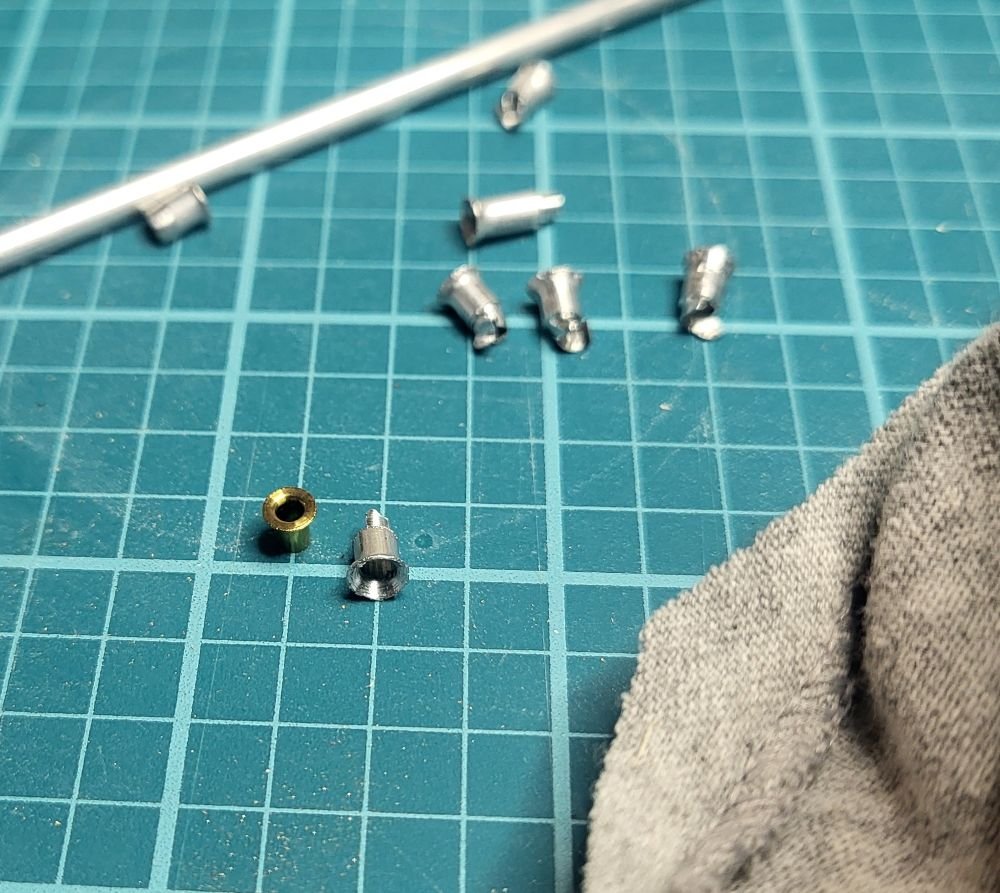
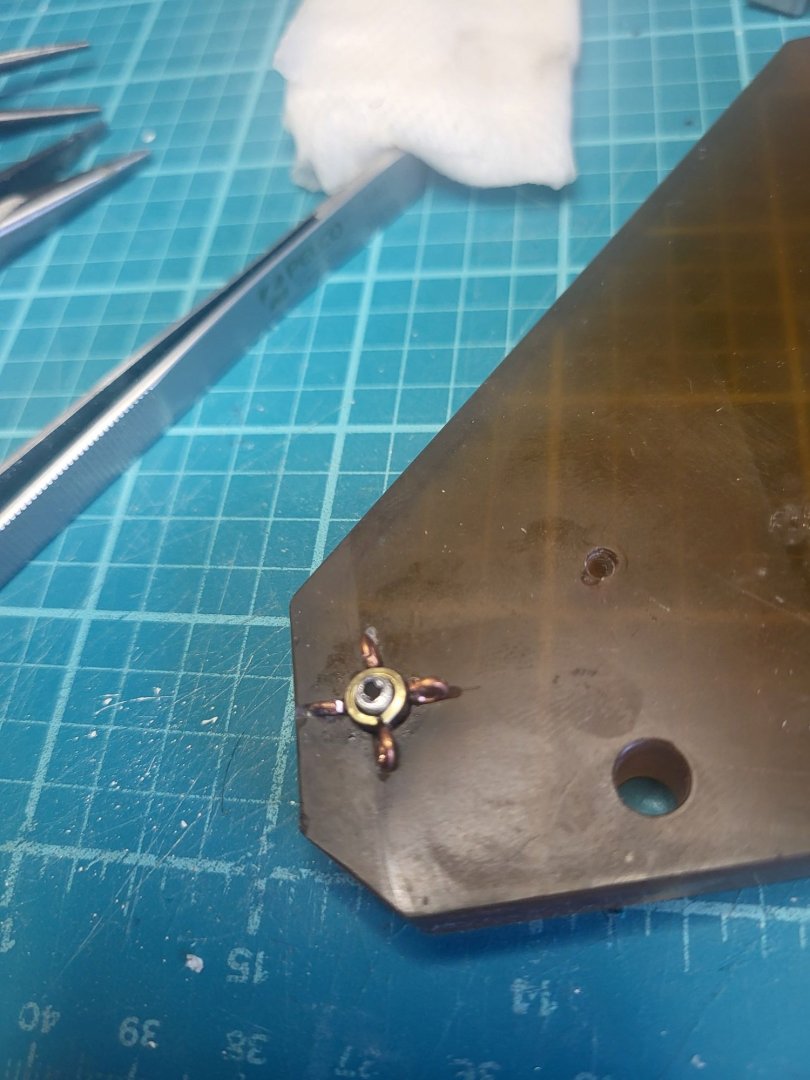
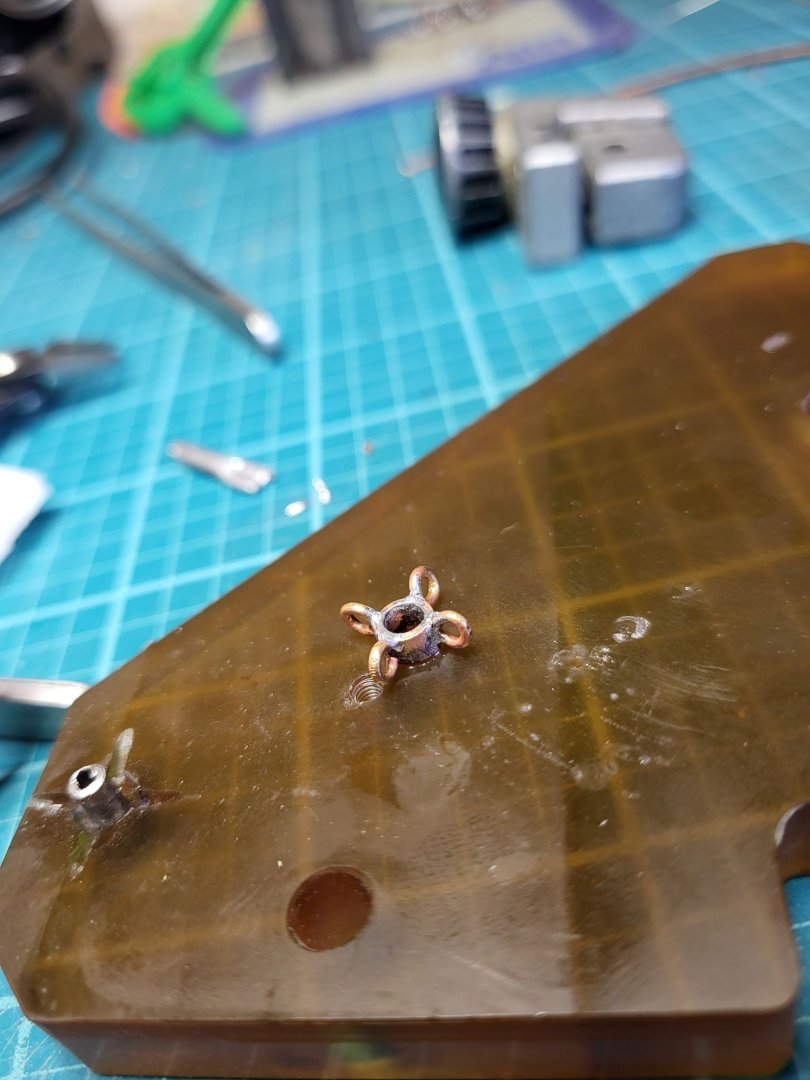
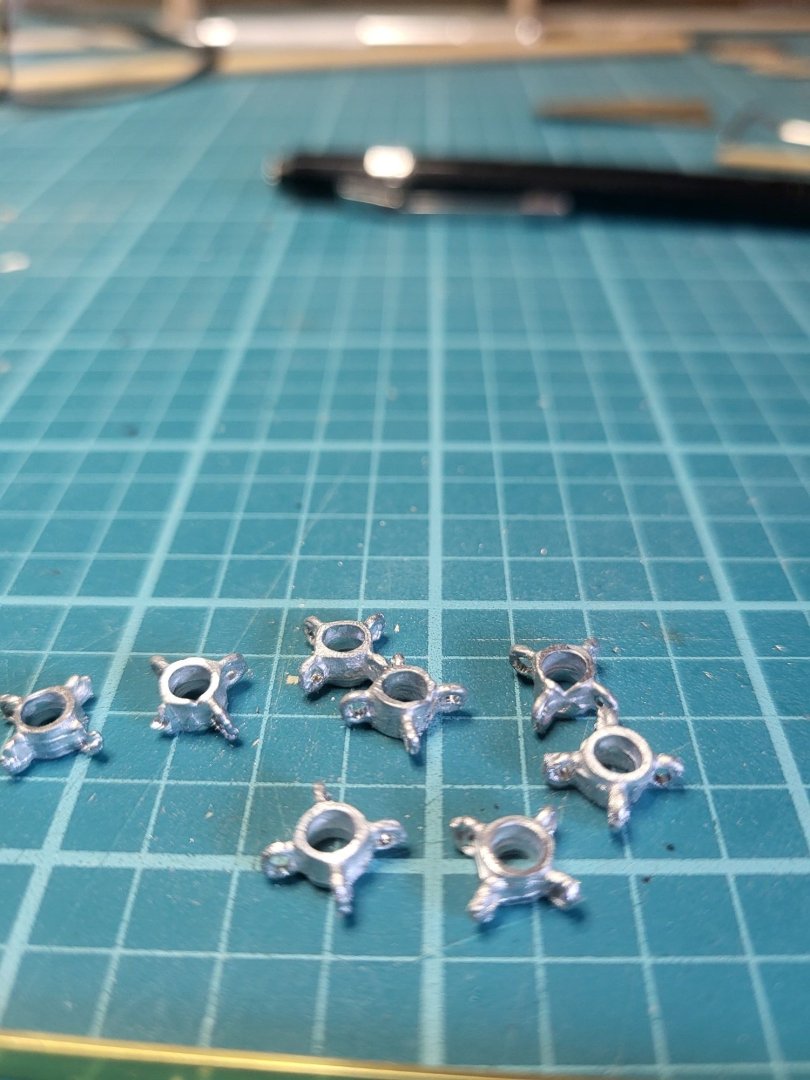
Yikes, these are problematic. On past builds I have made these from scratch, but from wire, maybe one or two from brass. This kit has several different sizes of bore, all about the same thickness, these 7 are 3mm ID. No way I'm getting these little ones to work, all the larger ones, 4mm and 5mm diameter I was able to clean up, and drill out the holes. So, back to scratch; I made a fixture to hold a brass sleeve and a piece of stainless wire to hold the rigging loop. So that's the next couple of week's work scheduled, soldering these up. The plastic is a high temp plastic, PEEK or something, the post is aluminum, so solder should stick to anything...
-
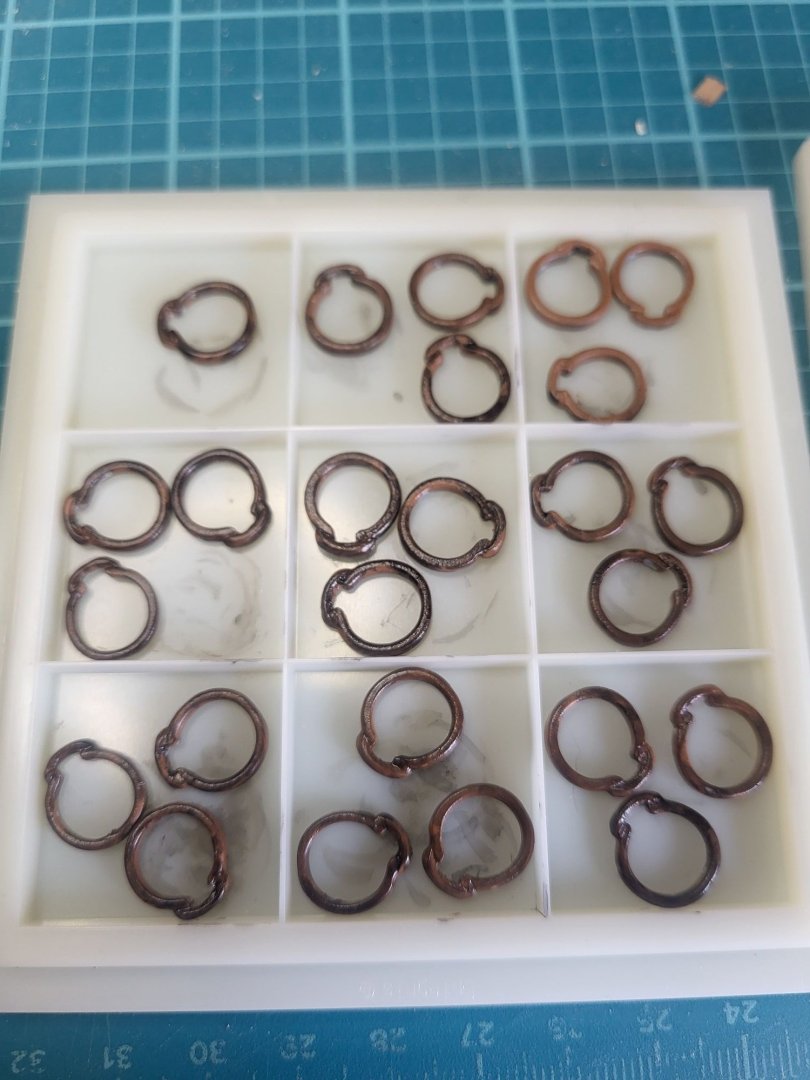
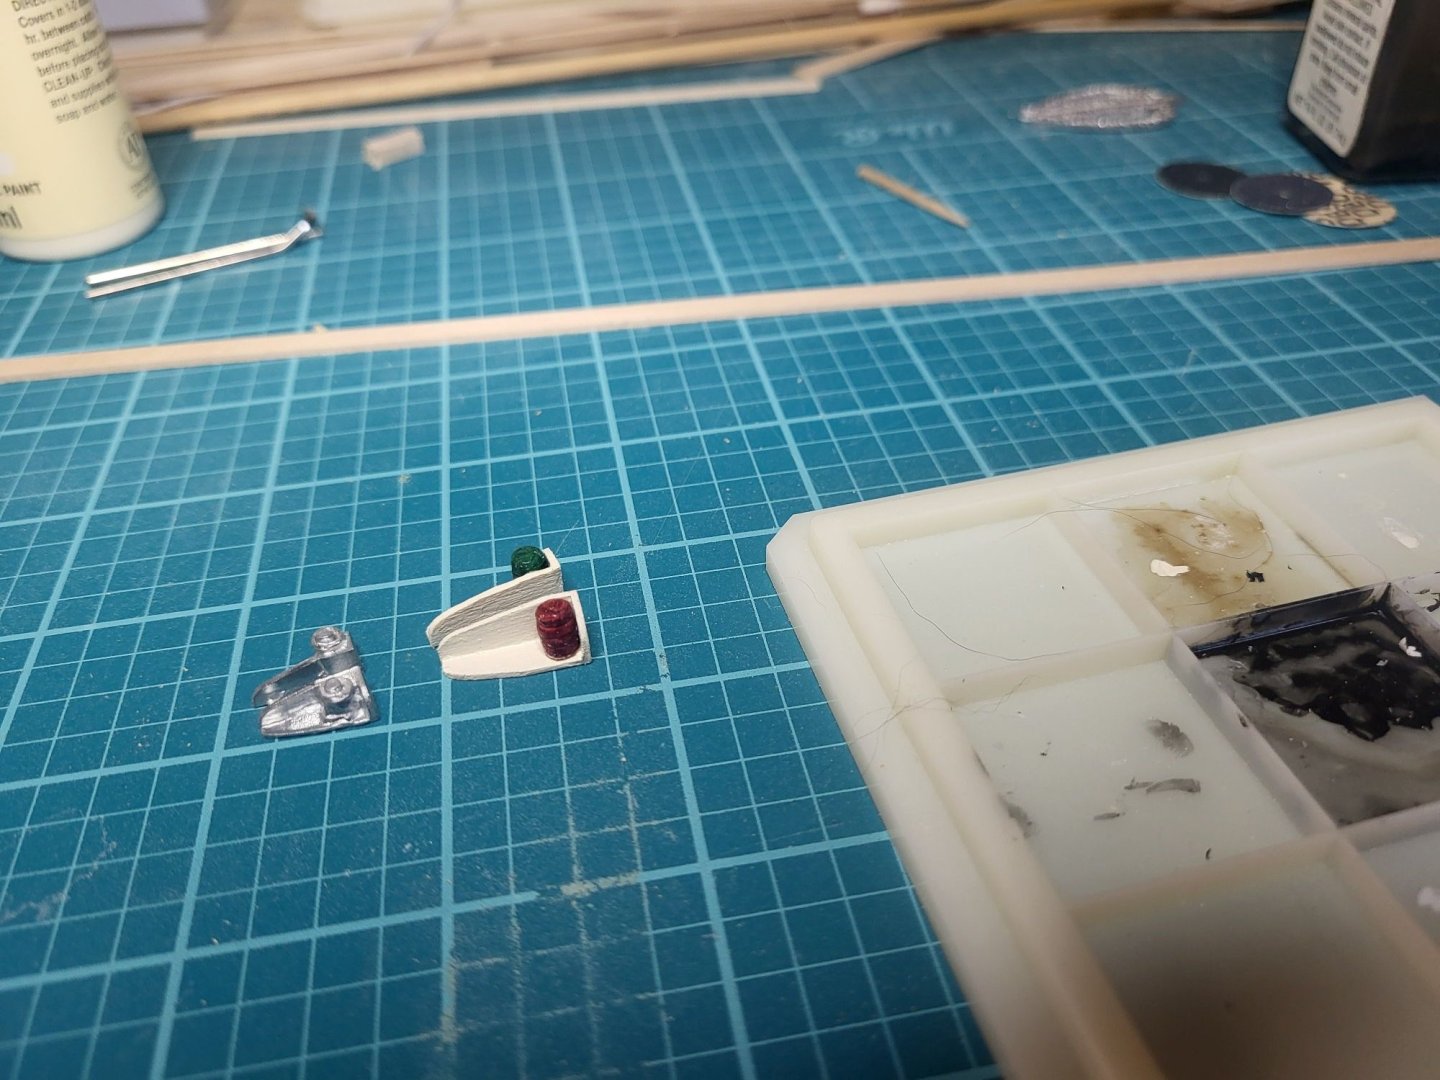
The hoops were good, they just needed some clean up, I did a base coat of "chestnut" then a few washes of thinned black. The navigation lights were fair, but in my opinion too small. Navigation lights were mandated in Britain in the early 1800s, so I'm going to include them. However I completely remade them..
-
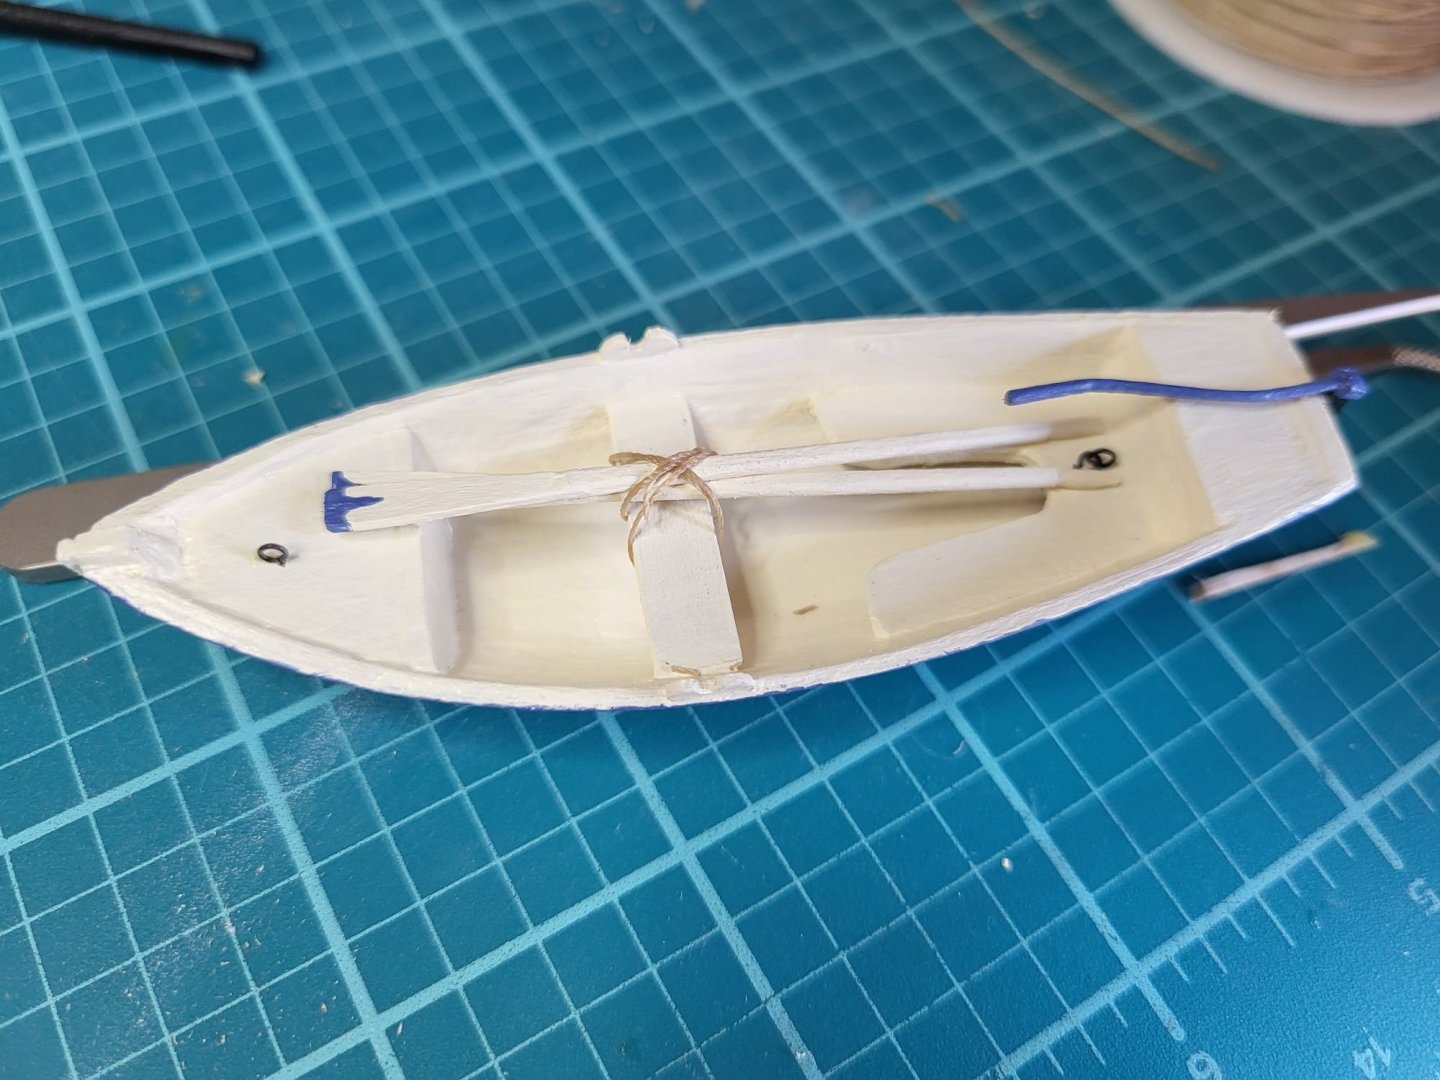
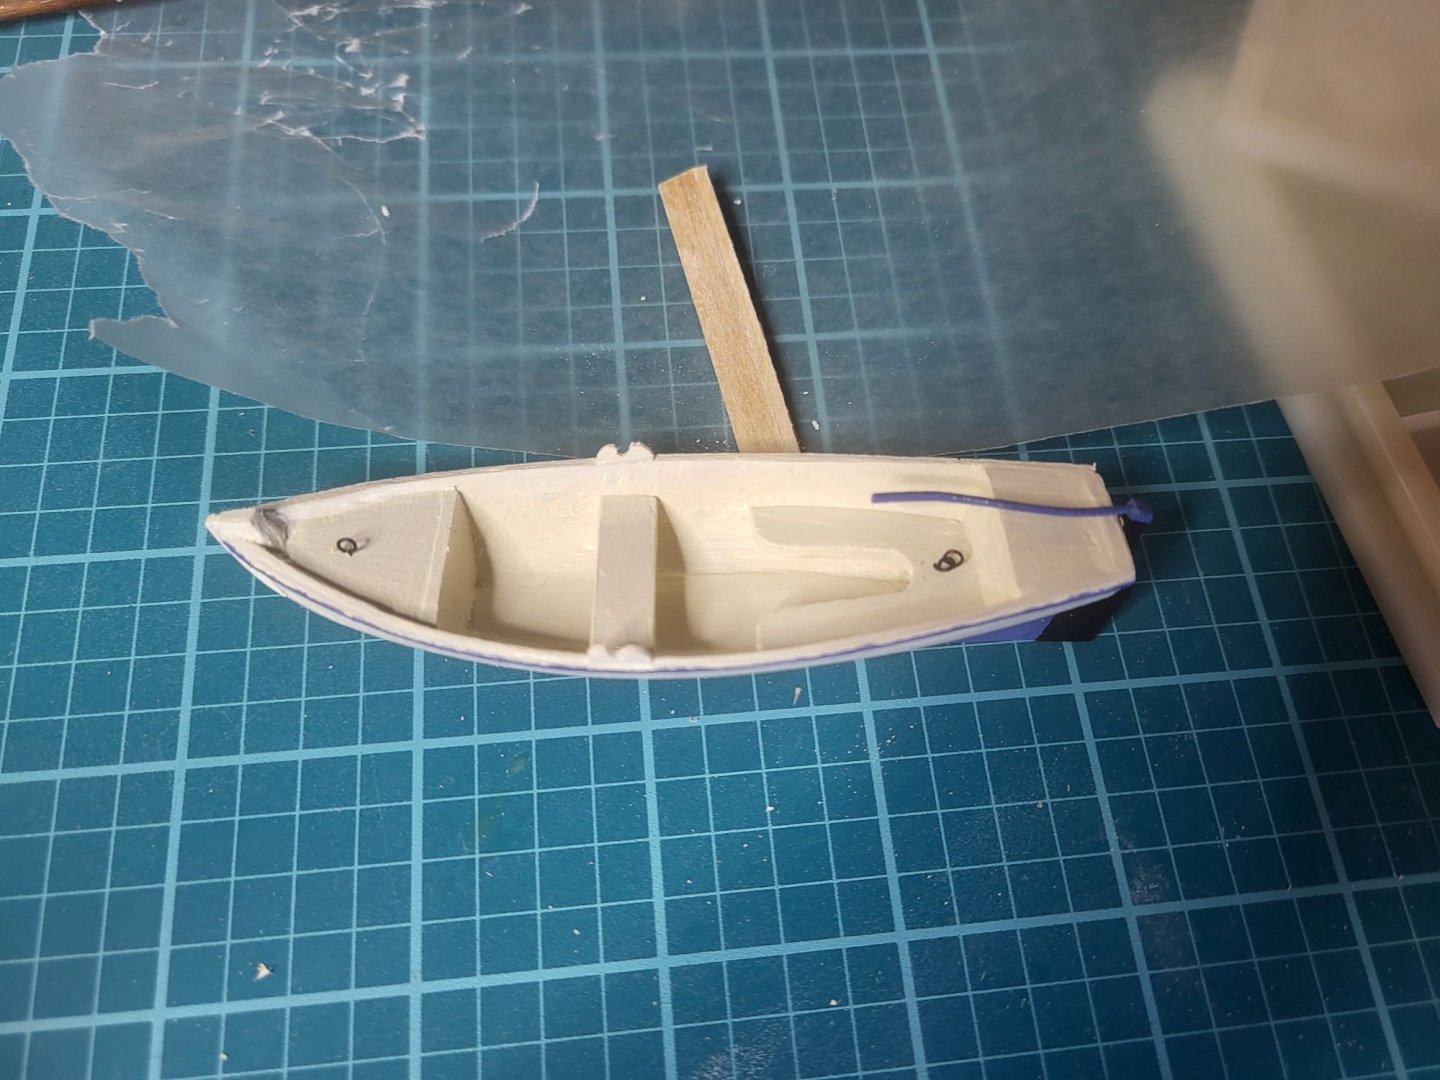
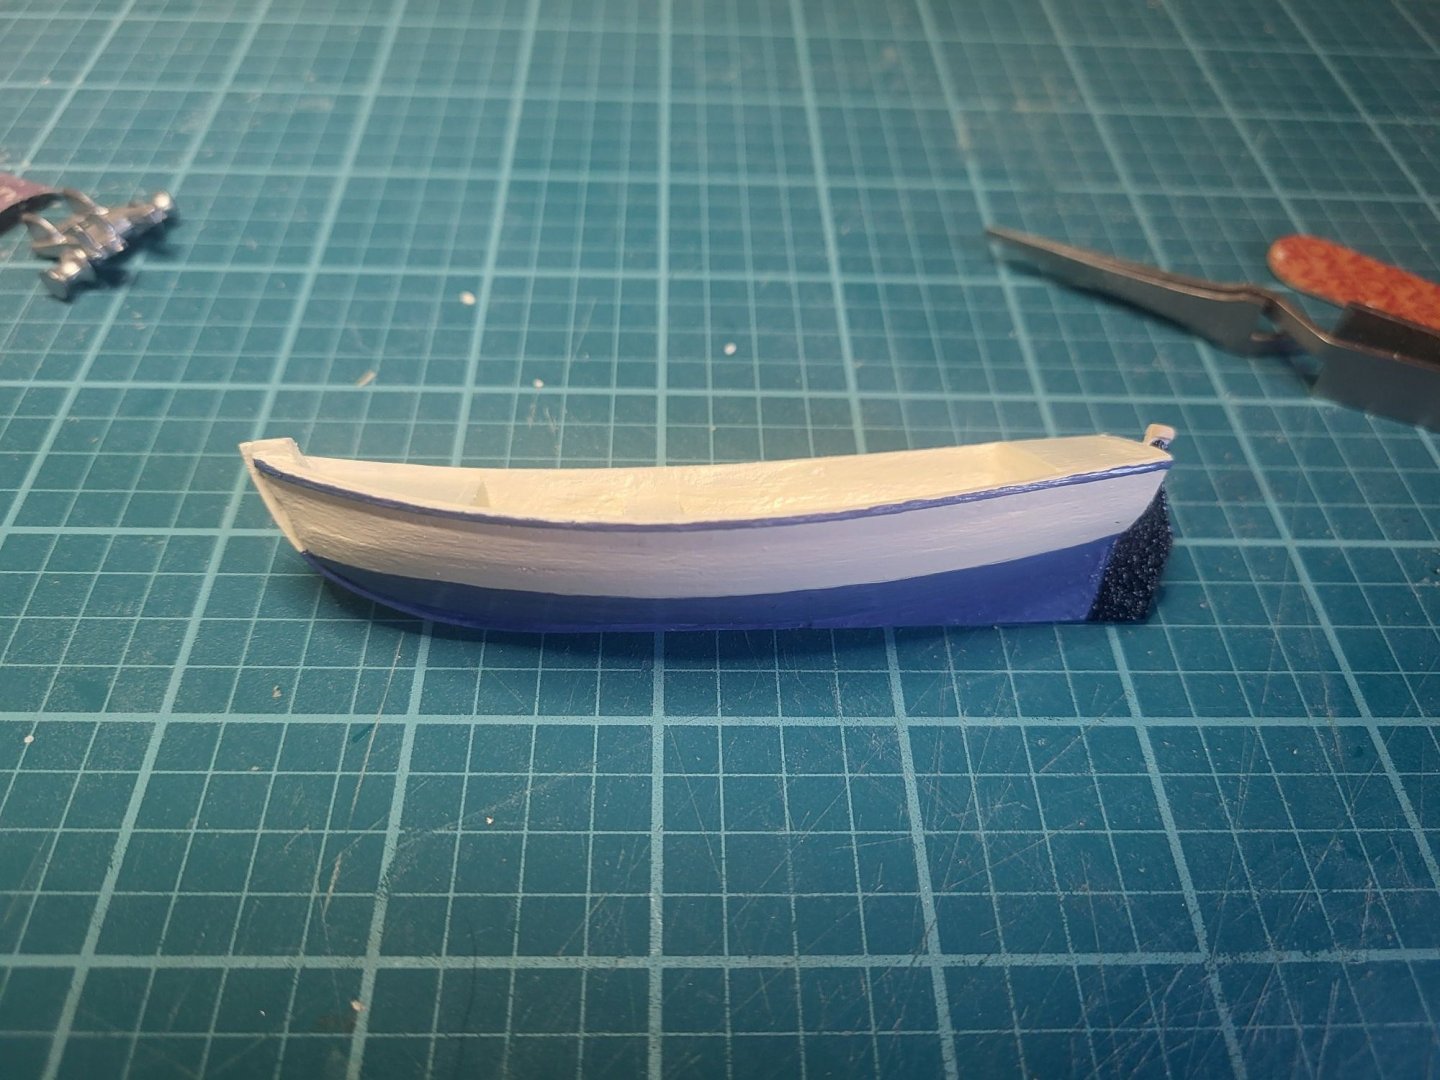
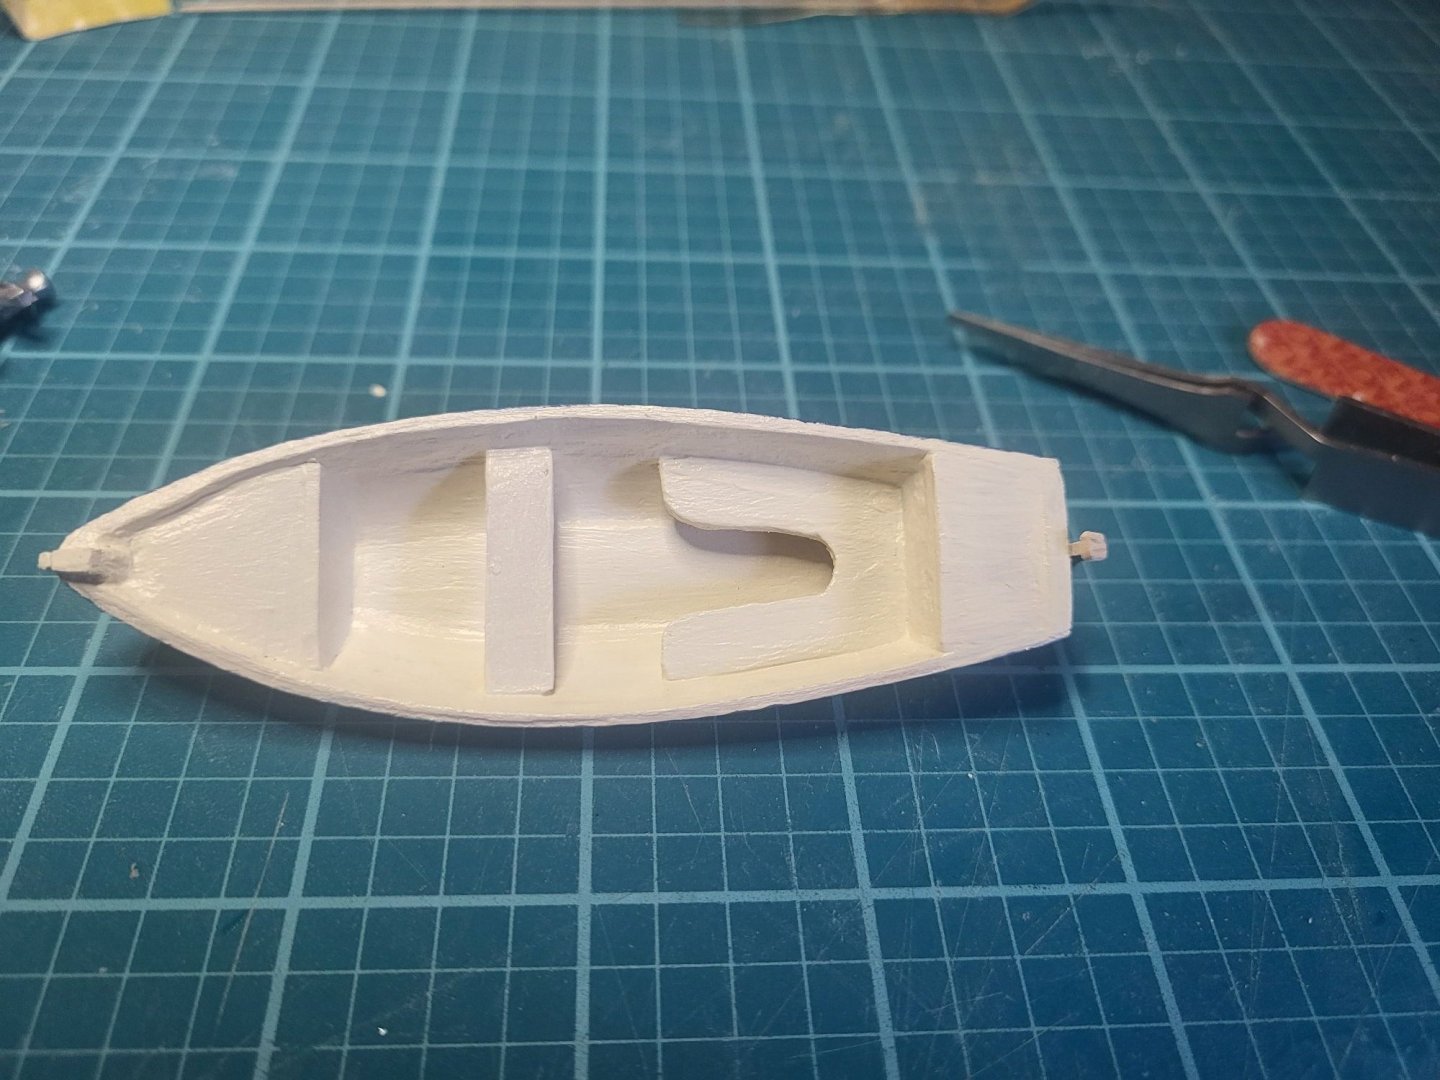
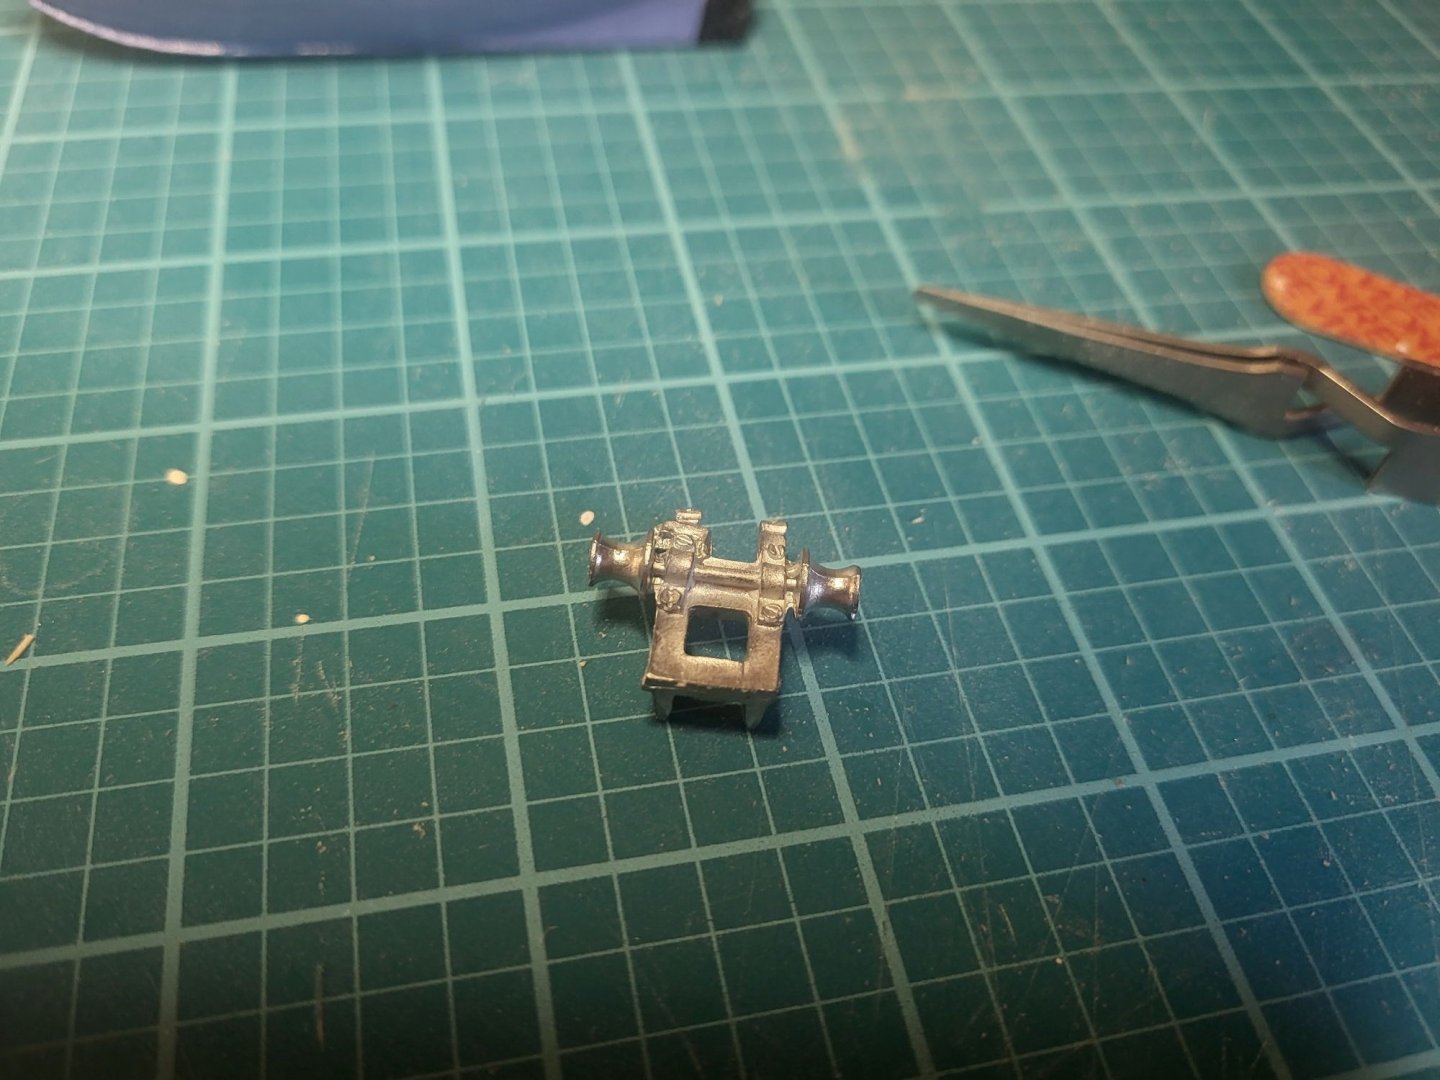
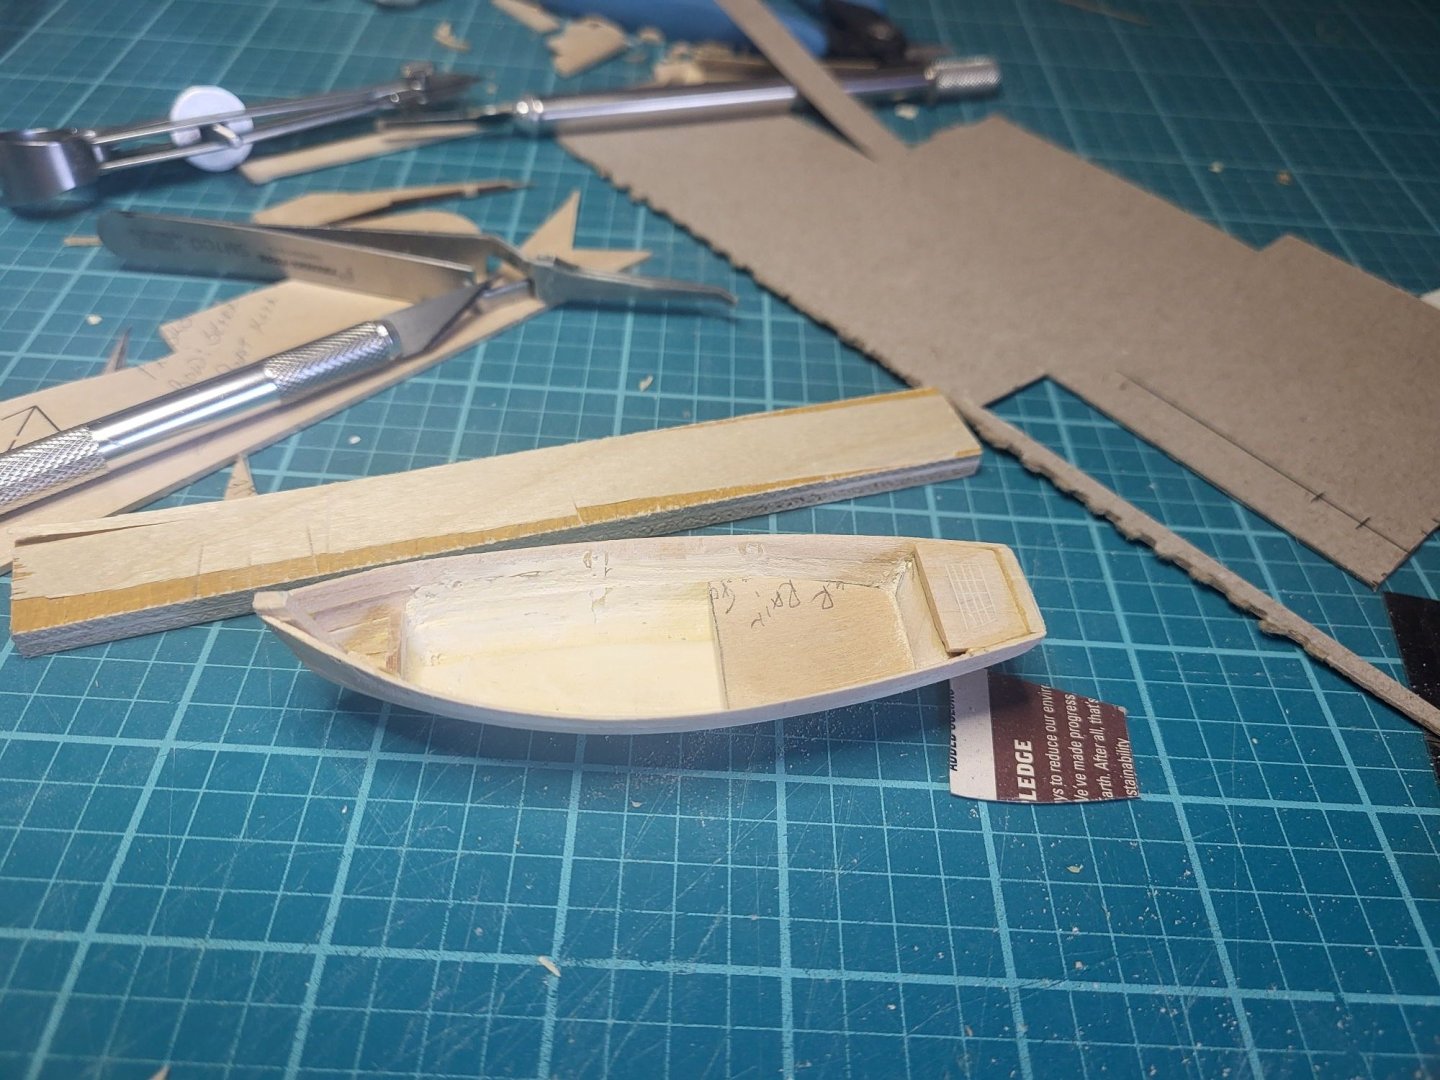
Thanks @Keith Black It's about done, I'm bending the handle for the rudder and then I need to add the hardware, I'm likely stowing it upright on the deck so I guess oars are in order.. While I hated making them, the oars for the Latham came out OK. Next decision is the windlass. Though it's not really a windlass, just dead pulleys, "power" would be from the capstan, so maybe the cast piece is fine?
About us
Modelshipworld - Advancing Ship Modeling through Research
SSL Secured
Your security is important for us so this Website is SSL-Secured
NRG Mailing Address
Nautical Research Guild
237 South Lincoln Street
Westmont IL, 60559-1917
Model Ship World ® and the MSW logo are Registered Trademarks, and belong to the Nautical Research Guild (United States Patent and Trademark Office: No. 6,929,264 & No. 6,929,274, registered Dec. 20, 2022)
Helpful Links
About the NRG
If you enjoy building ship models that are historically accurate as well as beautiful, then The Nautical Research Guild (NRG) is just right for you.
The Guild is a non-profit educational organization whose mission is to “Advance Ship Modeling Through Research”. We provide support to our members in their efforts to raise the quality of their model ships.
The Nautical Research Guild has published our world-renowned quarterly magazine, The Nautical Research Journal, since 1955. The pages of the Journal are full of articles by accomplished ship modelers who show you how they create those exquisite details on their models, and by maritime historians who show you the correct details to build. The Journal is available in both print and digital editions. Go to the NRG web site (www.thenrg.org) to download a complimentary digital copy of the Journal. The NRG also publishes plan sets, books and compilations of back issues of the Journal and the former Ships in Scale and Model Ship Builder magazines.


