HOLIDAY DONATION DRIVE - SUPPORT MSW - DO YOUR PART TO KEEP THIS GREAT FORUM GOING! (89 donations so far out of 49,000 members - C'mon guys!)
×


Caferacer
-
Posts
102 -
Joined
-
Last visited
Content Type
Profiles
Forums
Gallery
Events
Everything posted by Caferacer
-
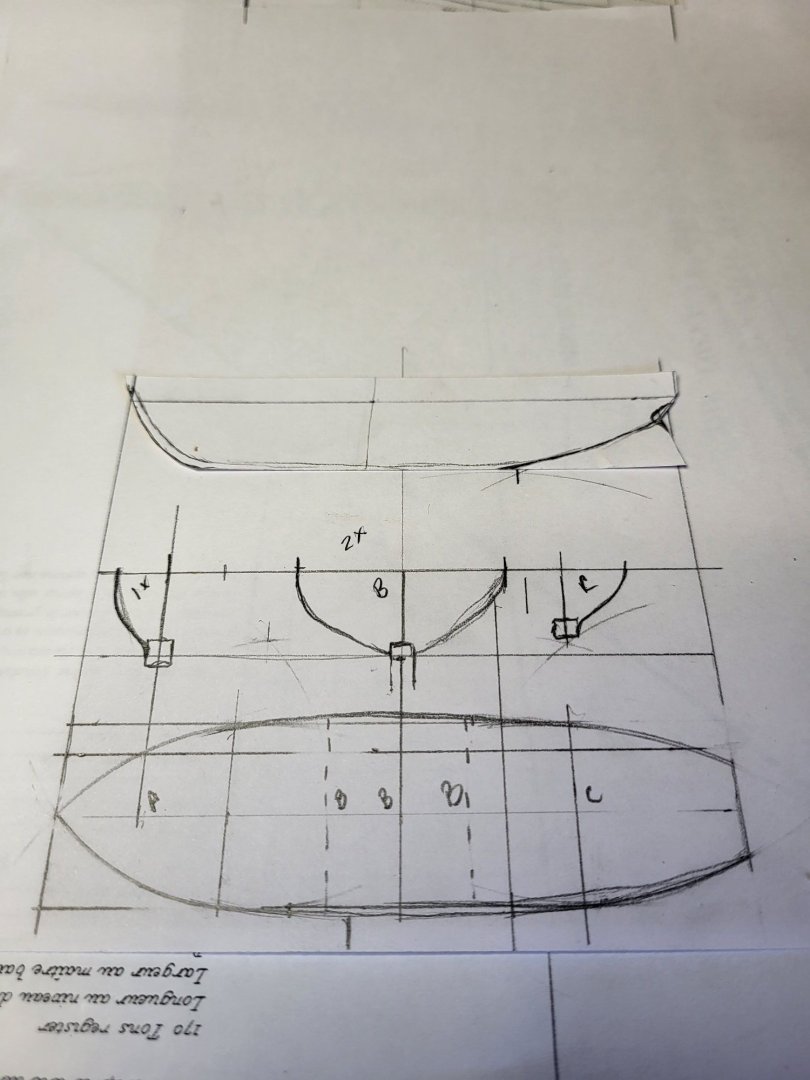
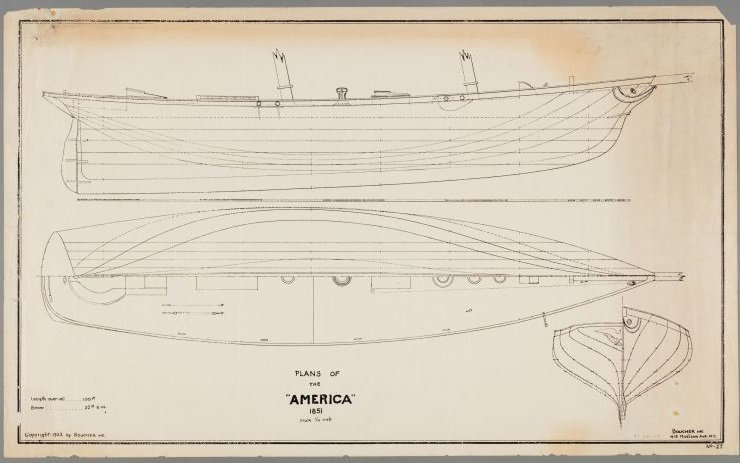
 Again we're at "what America are we building" and I think I have settled on the reported state, after spending time in France. Reports say the copper was removed, and above the waterline was a "dove grey". To that point the yacht would have a jolly boat or some dinghy. It's unlikely (thought period paintings show it this way) it was on deck while racing. I'm using a similar technique as I did for the Benjamin Latham dory, this keel seems large, and it is, but a lot of it will be cut away once it's planked. I used some period paintings for the profile, then guessed at the top view.
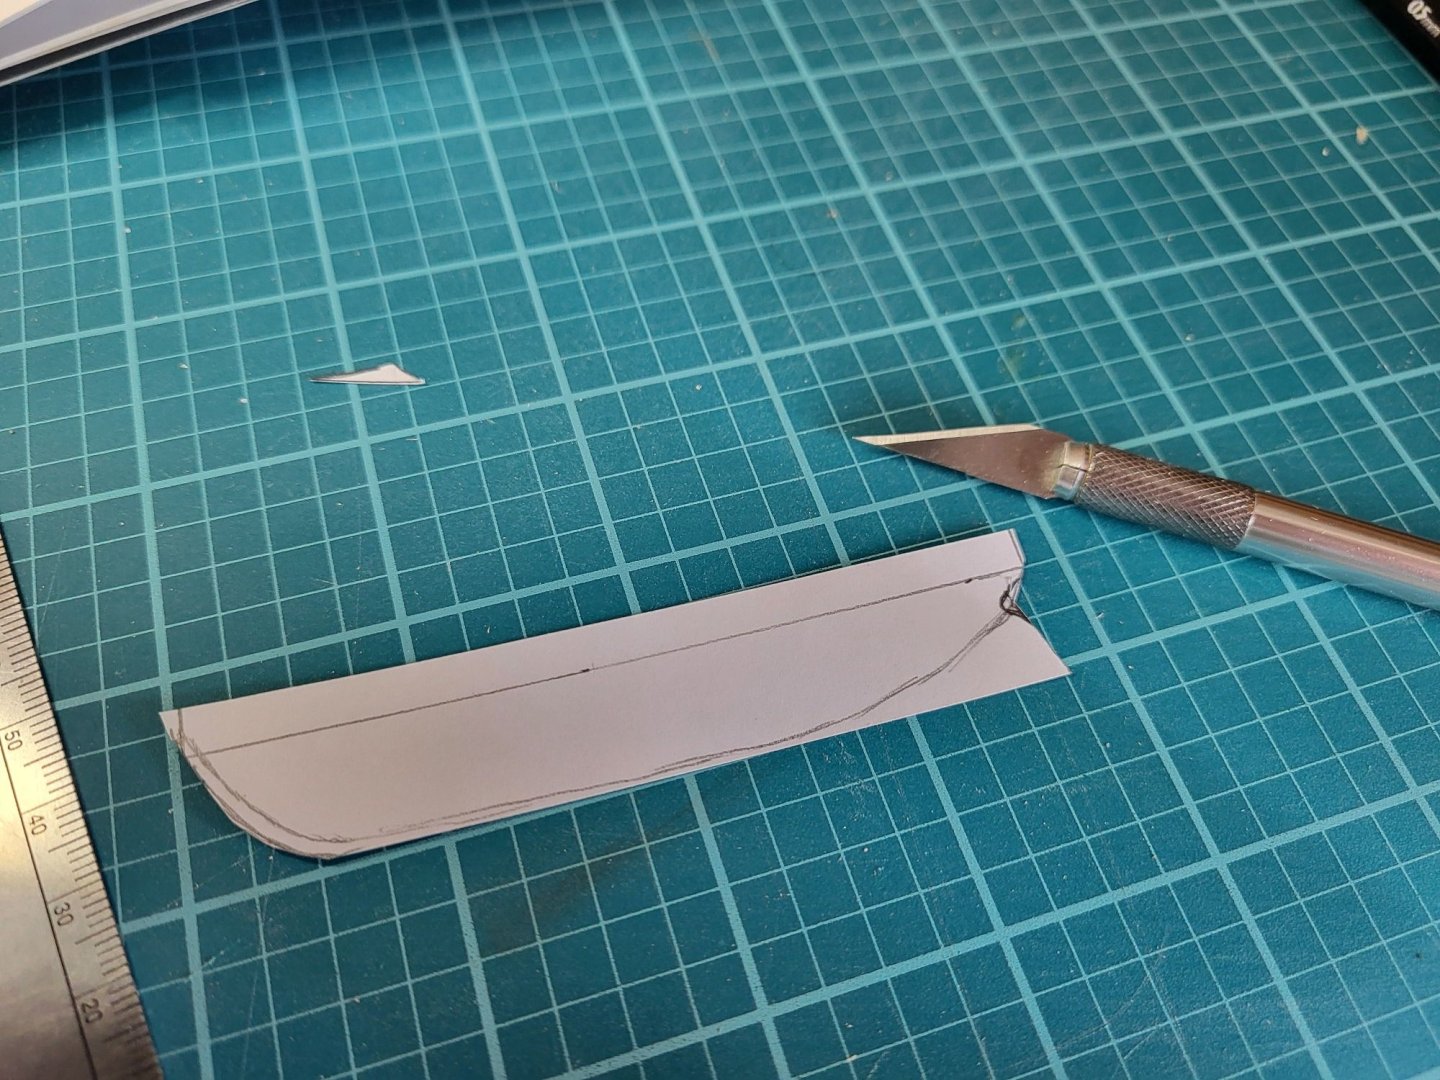
-
Scored the deck planks and nails, sanded down to 1500 grit.

-
Thanks for the compliment, remaking it was definitely the right choice.

-
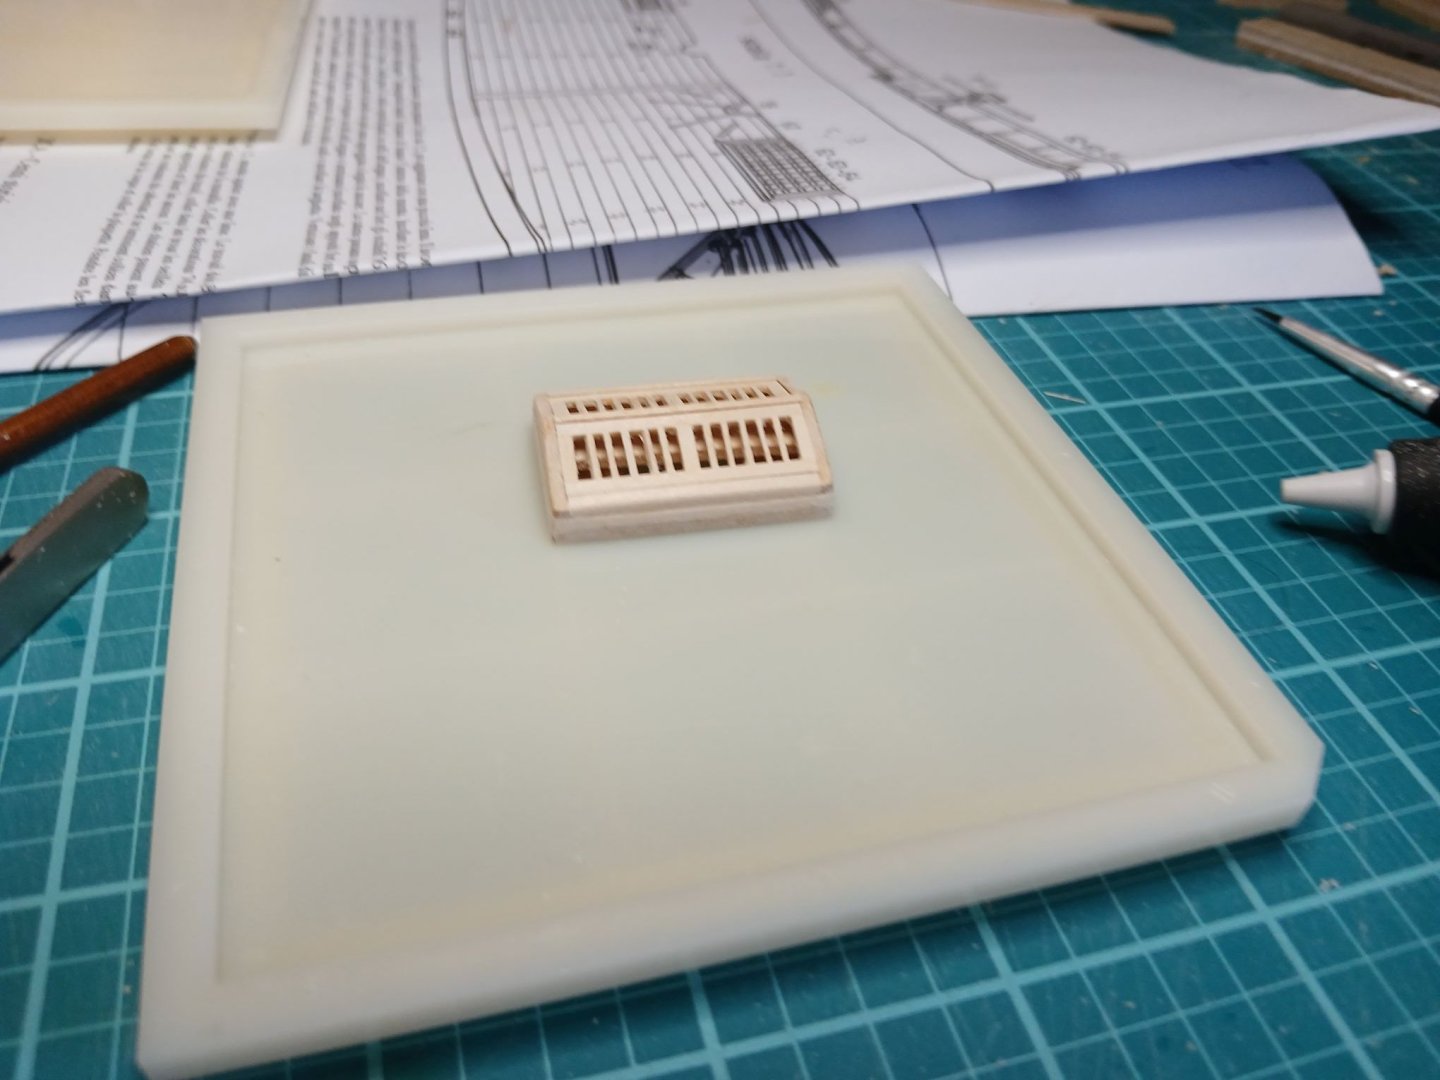
This is looking good.. So far I'm pleased. I'll let everything set up and shape the window rails.


-
Decking is finished, it still needs fine sanding. Meanwhile I'm redoing the fore skylight, I think it was probably stained or oiled teak. Fitment is going to be tricky, but the sides are more uniform than the original painted one.


-
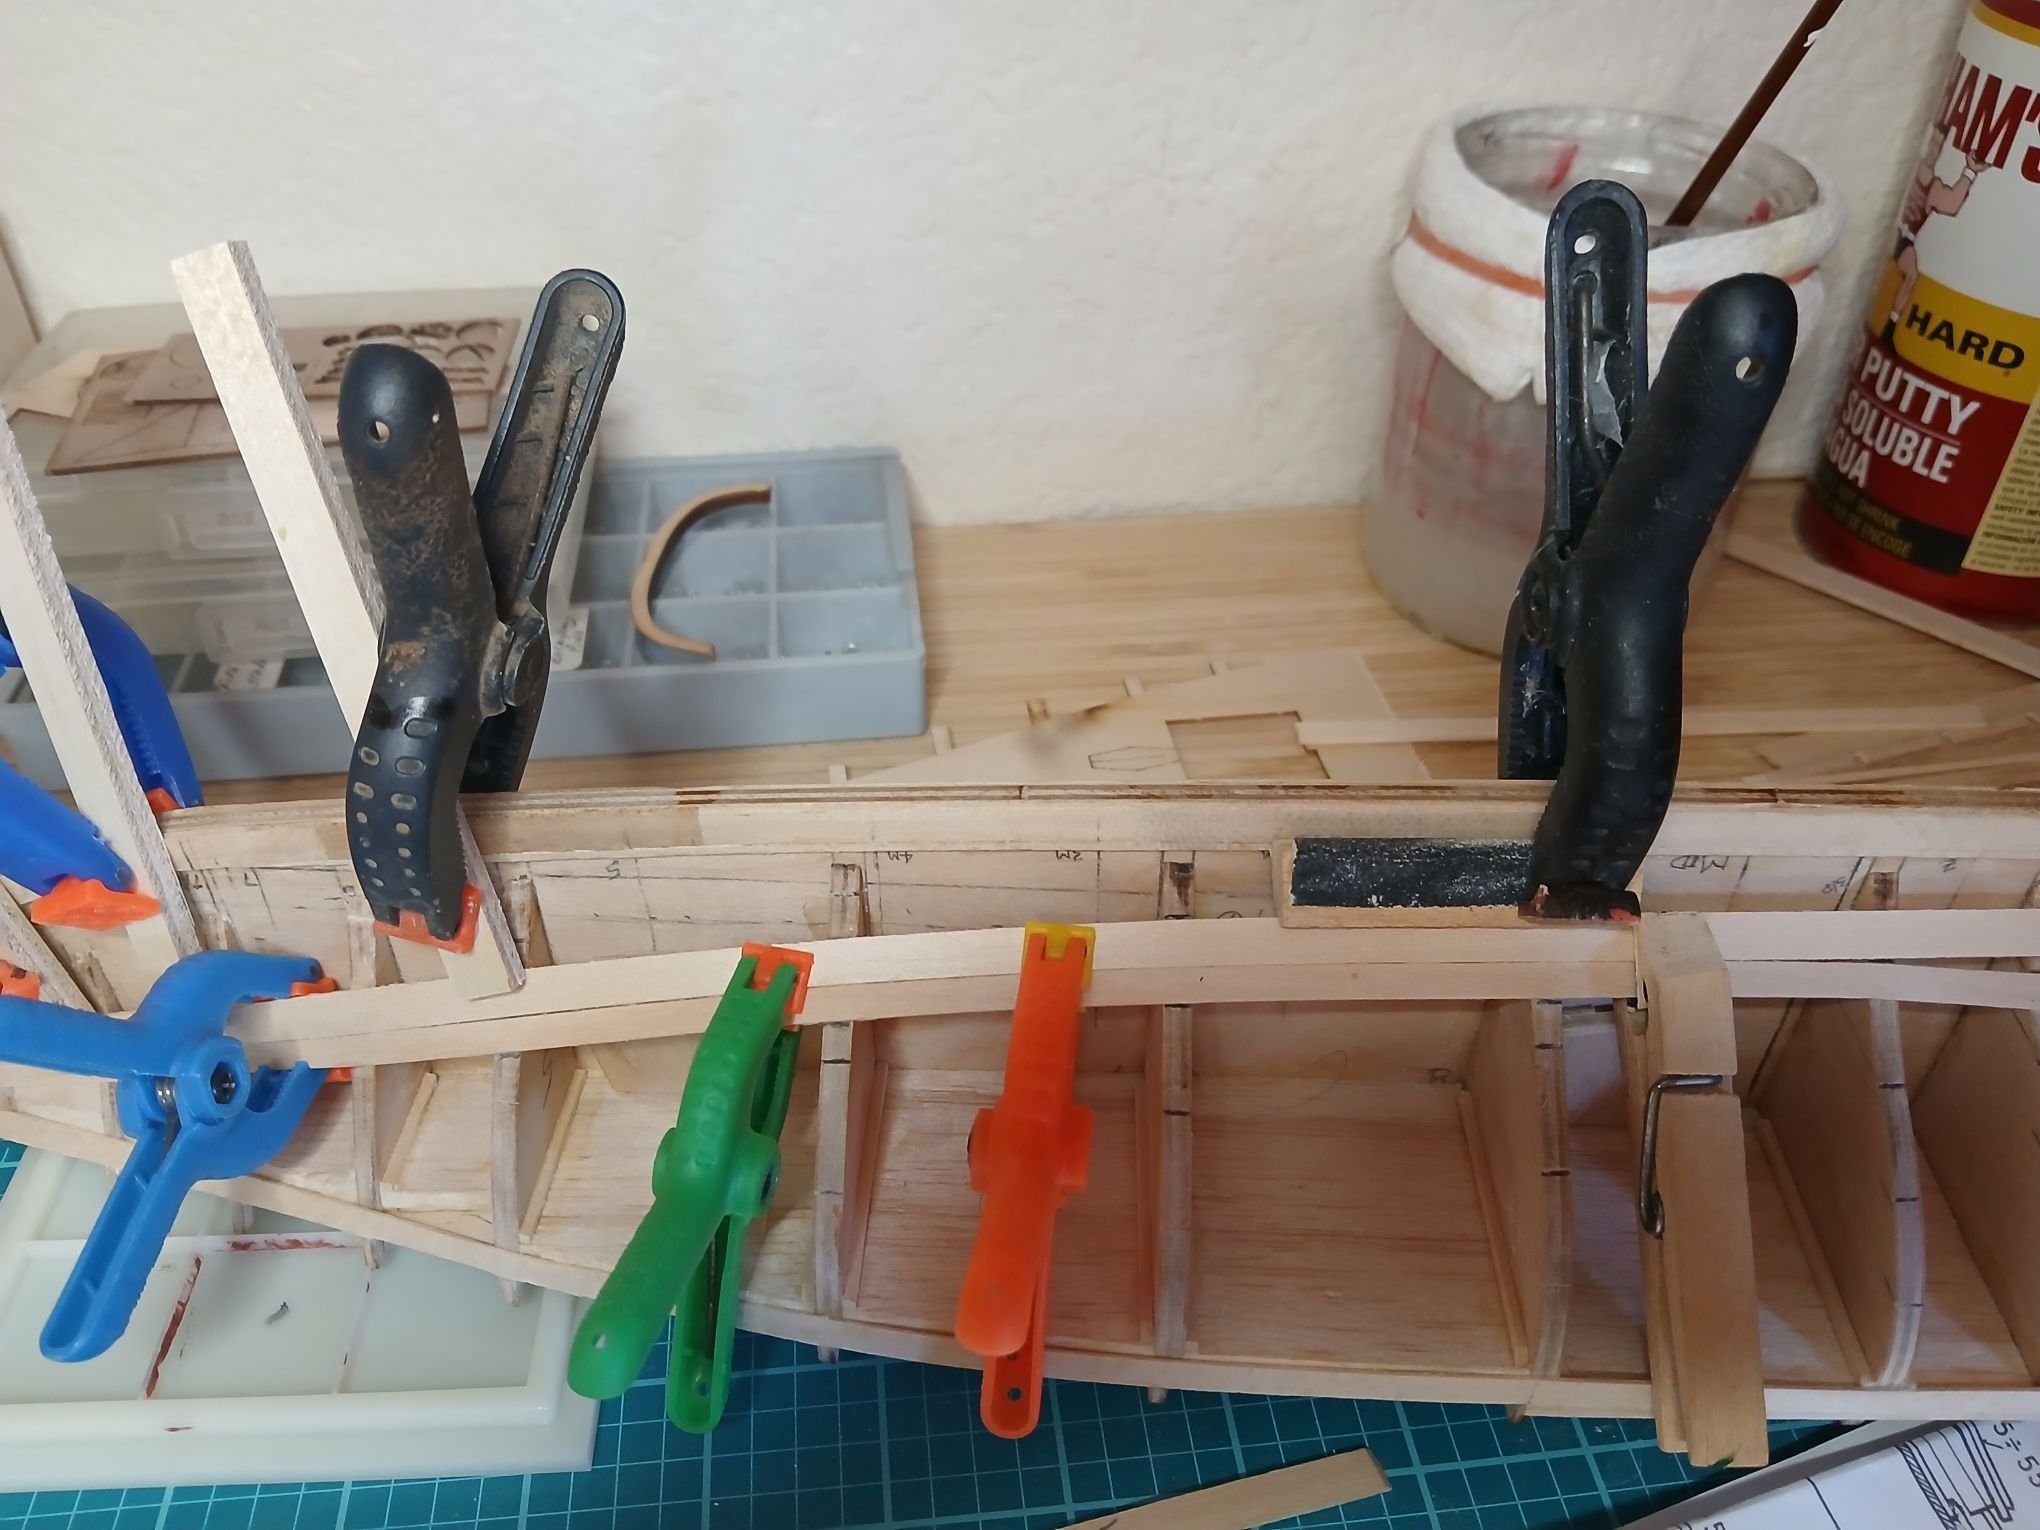
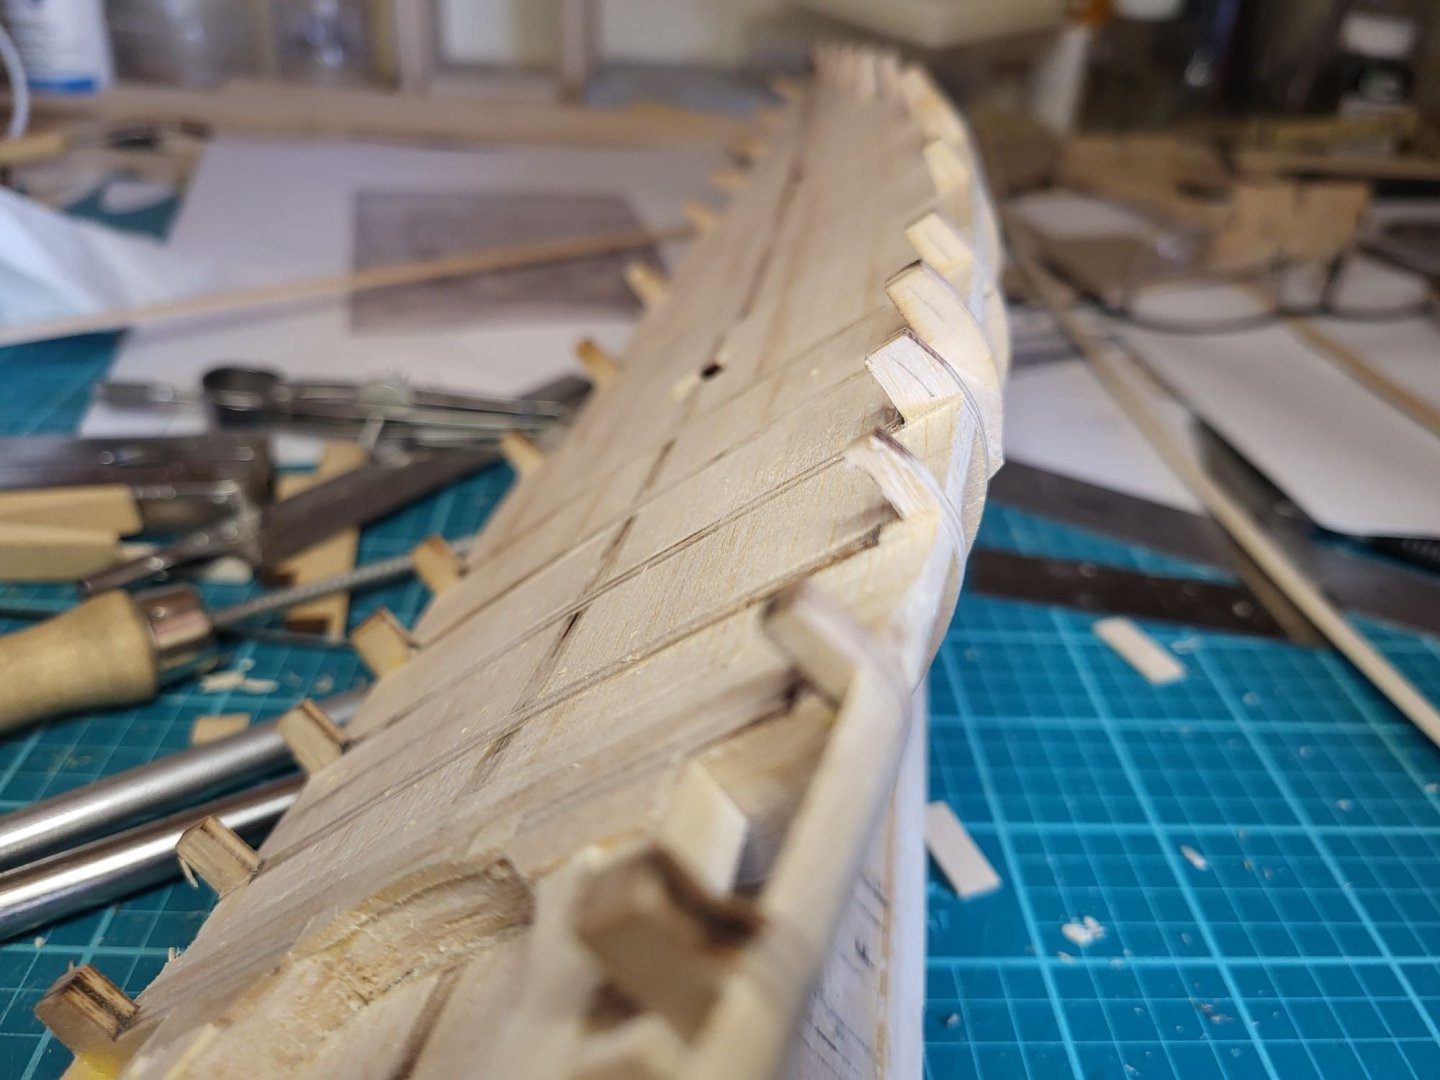
Bouncing around a little, while forming some of the top planks around the stern, I planked the fore deck. Old t-shirt material works well for clamping, much better than rubber bands in my opinion, especially since you can easily control the tension and get a lot of coverage. Seen in the back the material is not just holding the plank flush with its lower neighbor, but holding it to the curve.
-
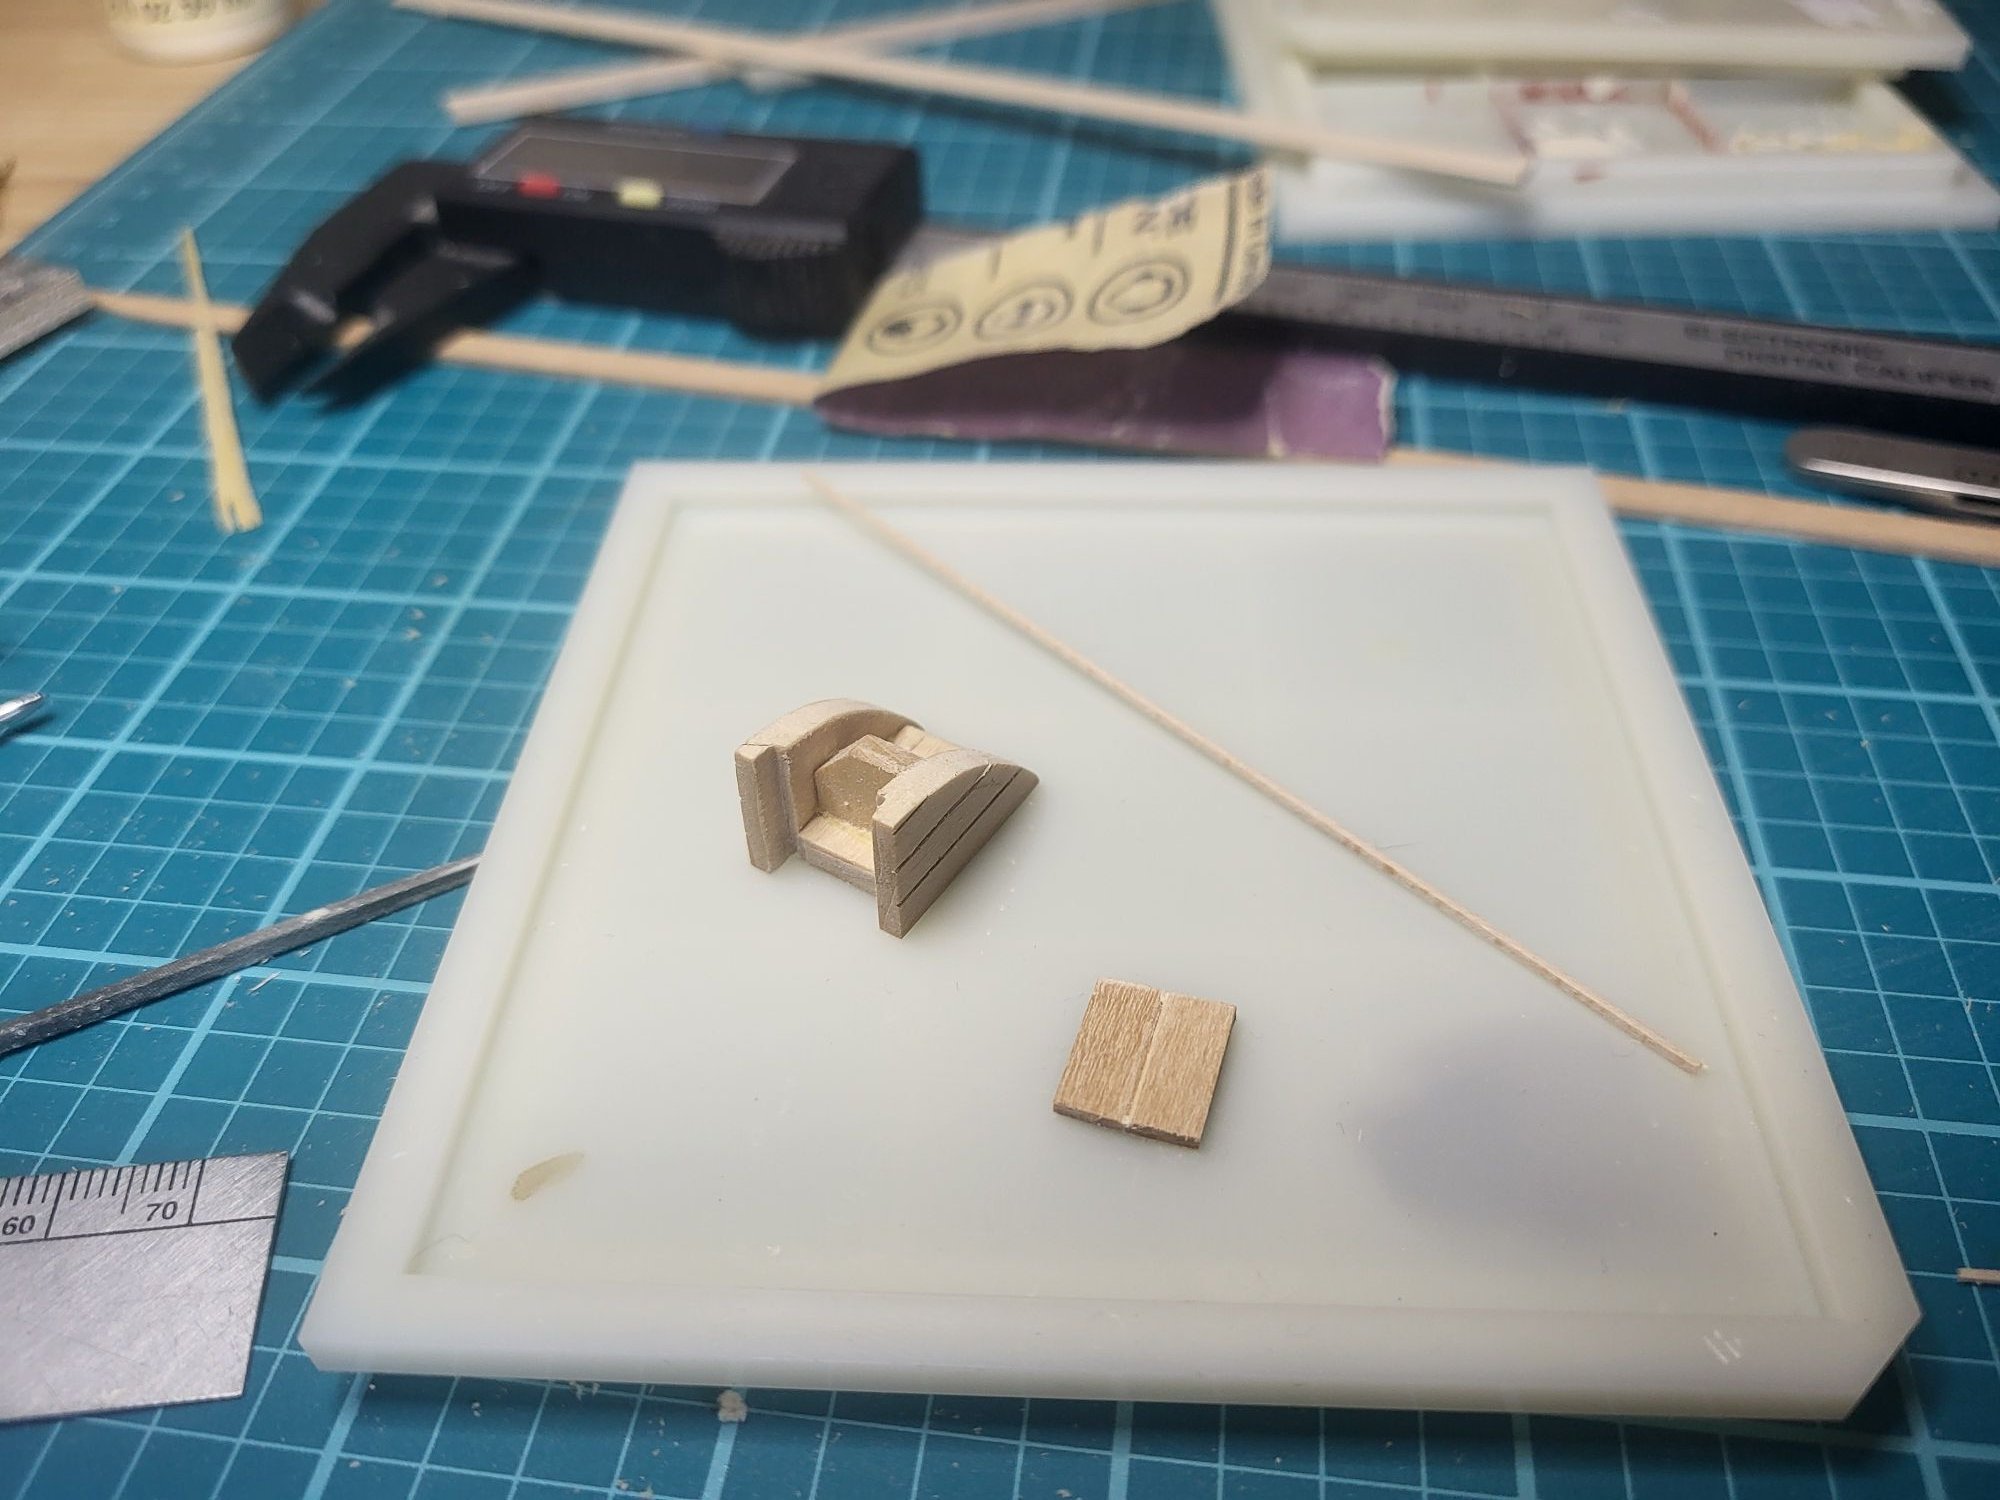
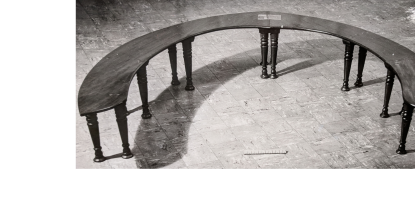
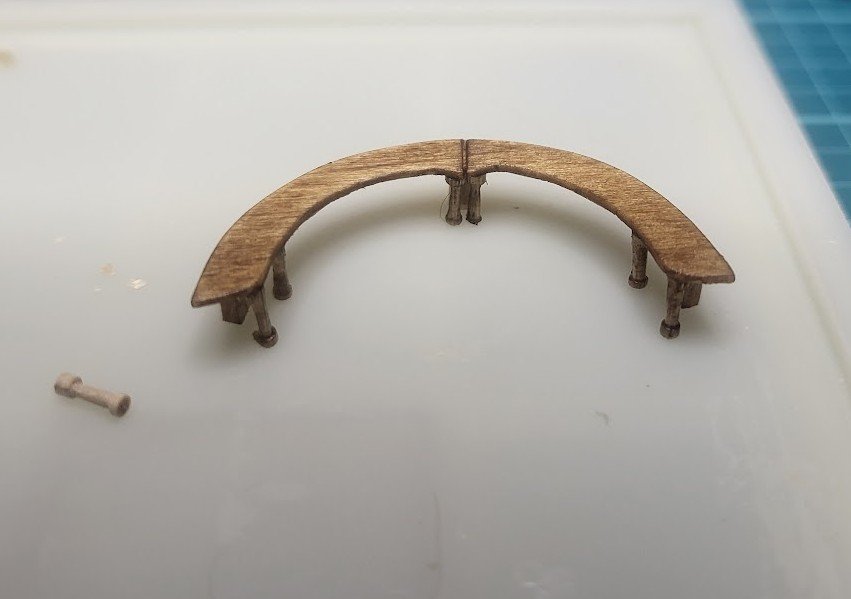
Yet again, it's great how much data is available on this boat. Here are the seats, I turned the legs in a small Dremel. Not the correct number, but I did lose quite a few. Where do the tiny parts go when they fly off? Are they with the odd socks you lose in the laundry?
-
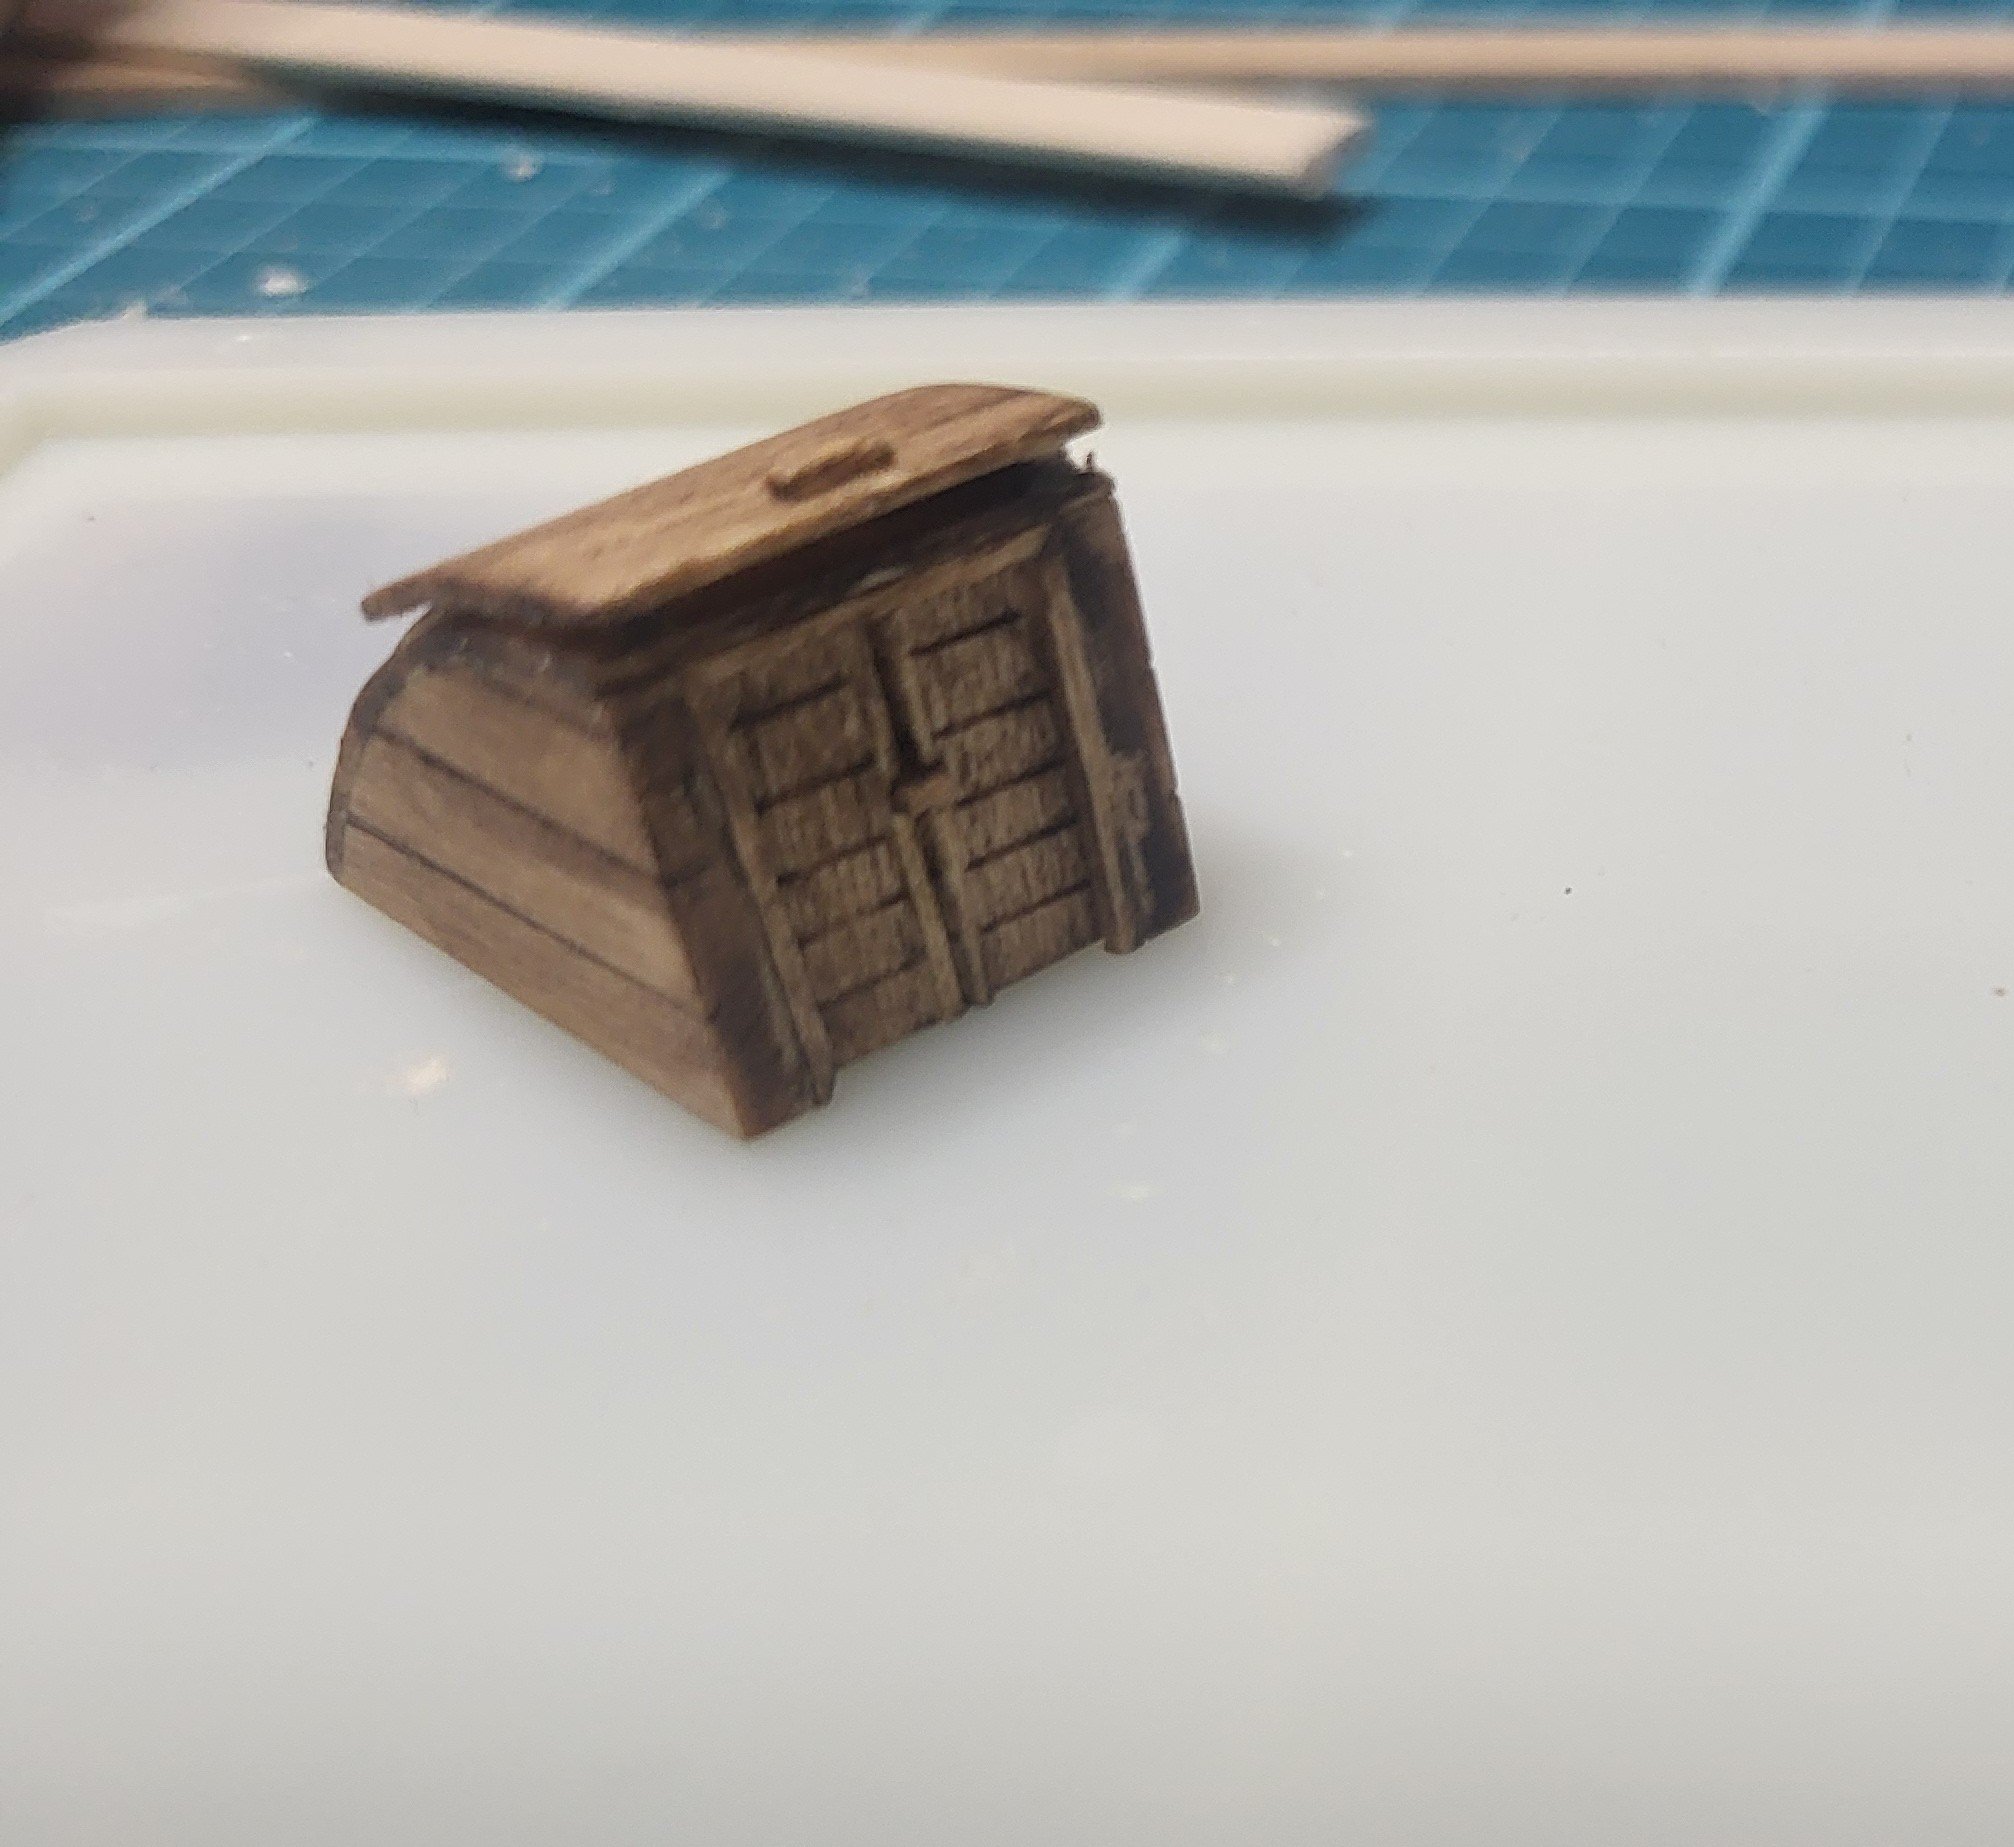
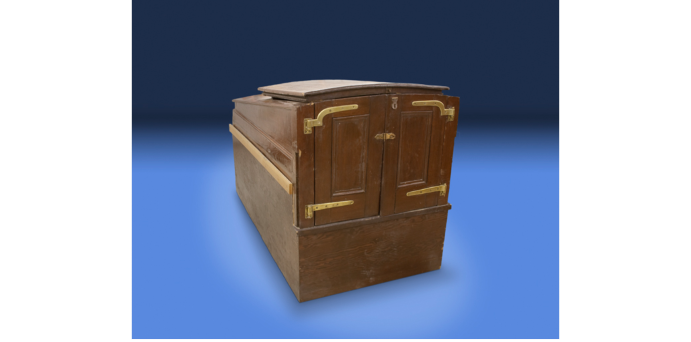
After doing some research, I have remade the companionway, this is a photo I believe is from the America.
-
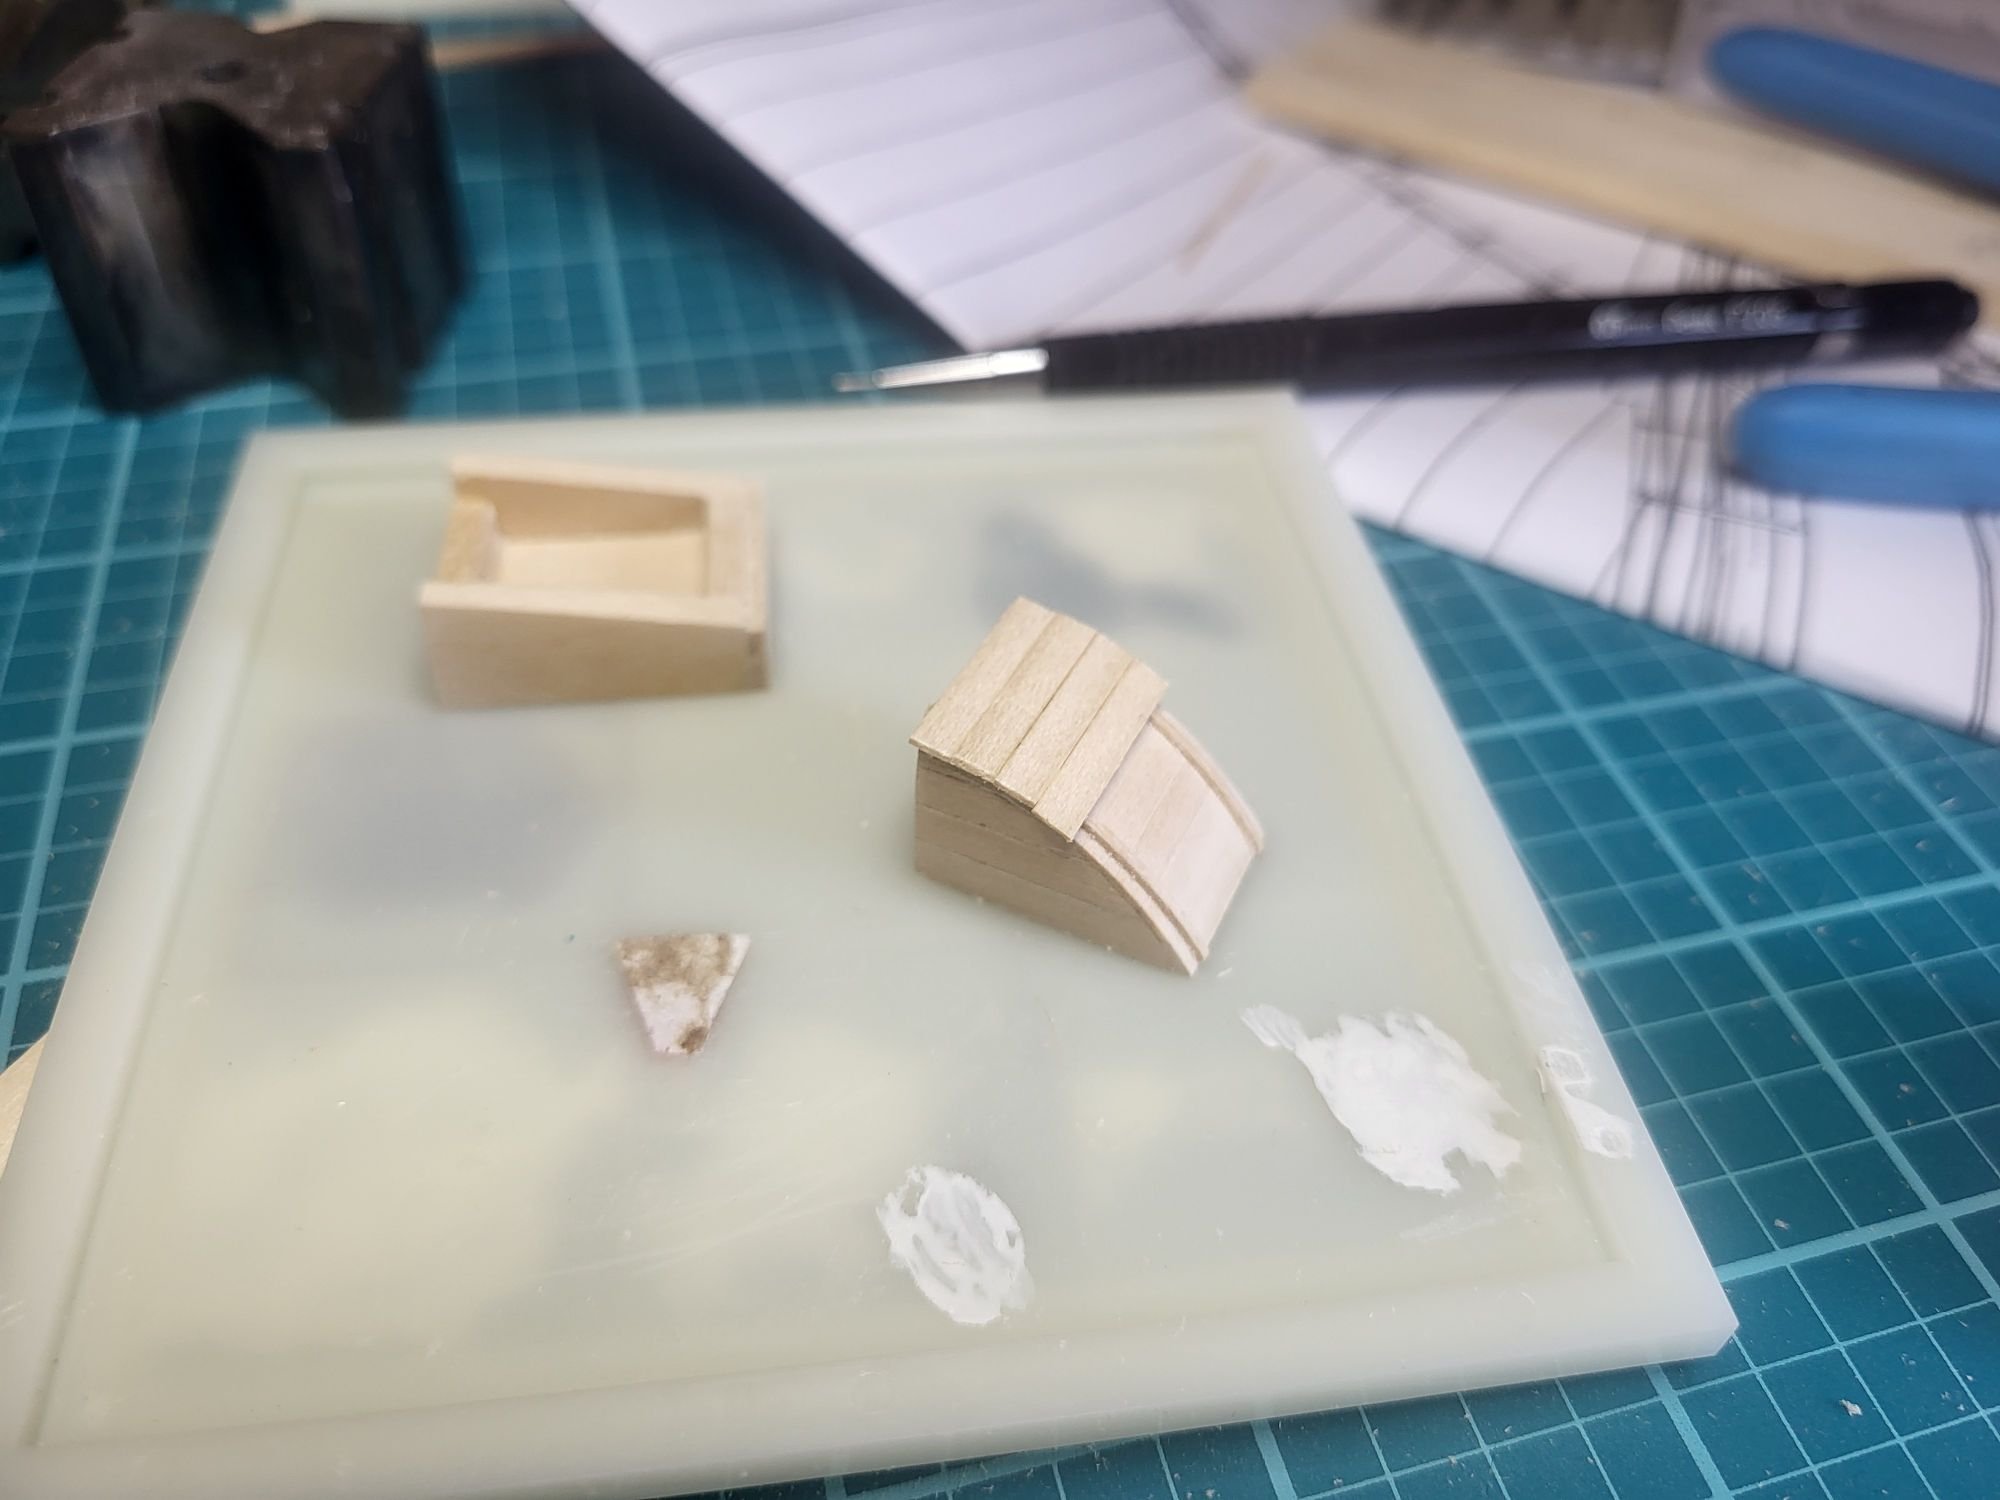
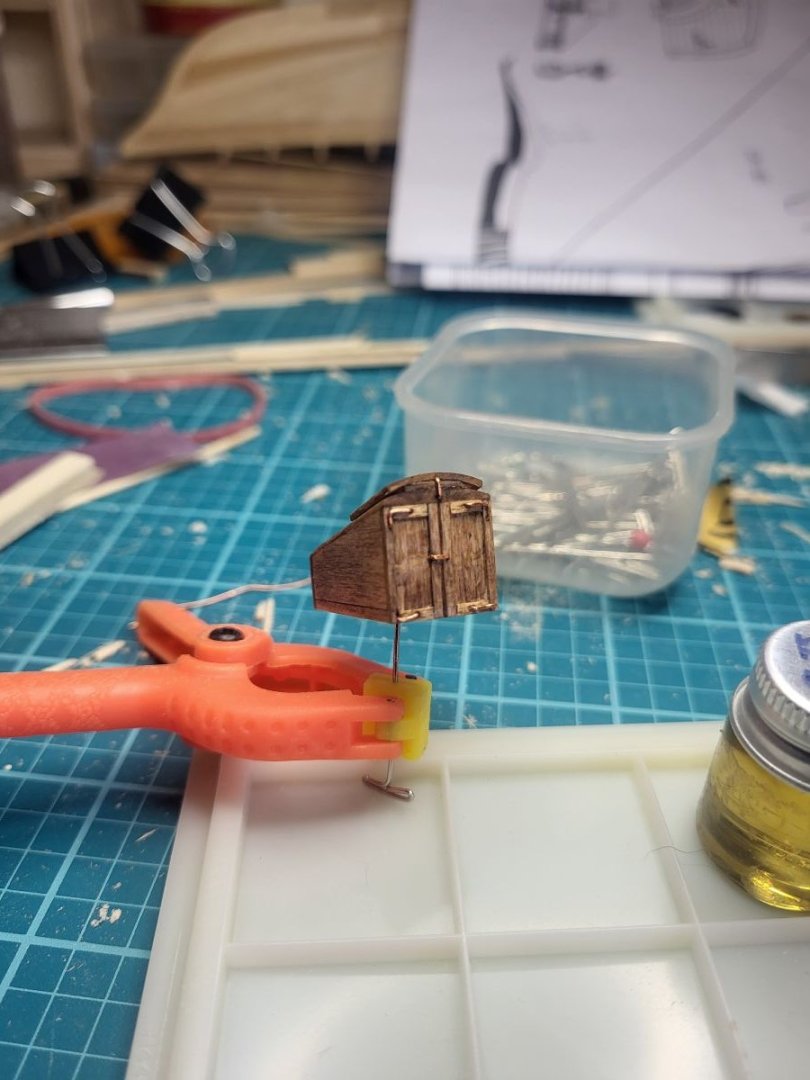
Today (on "vacation" from work) was companionway day! Forward companionway


-
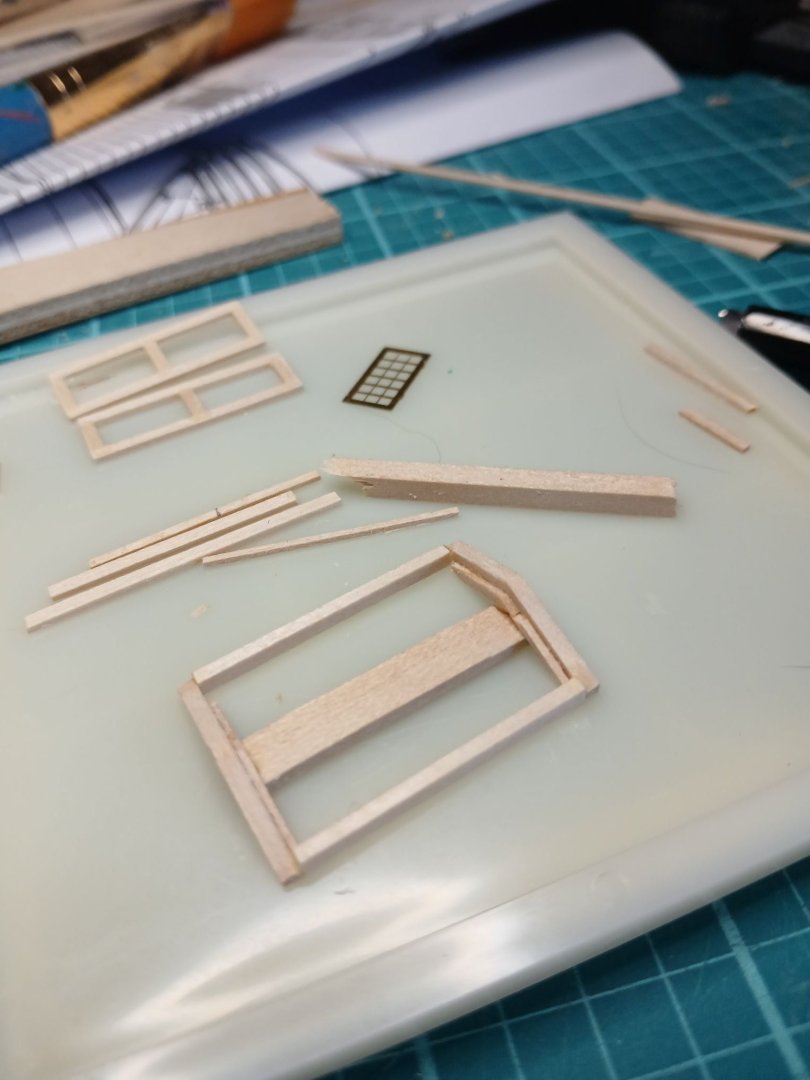
This one took a while to figure out, eventually I got a center post to support the frame rails and glued in place. Then I was able to sand them down and add the cap.


-
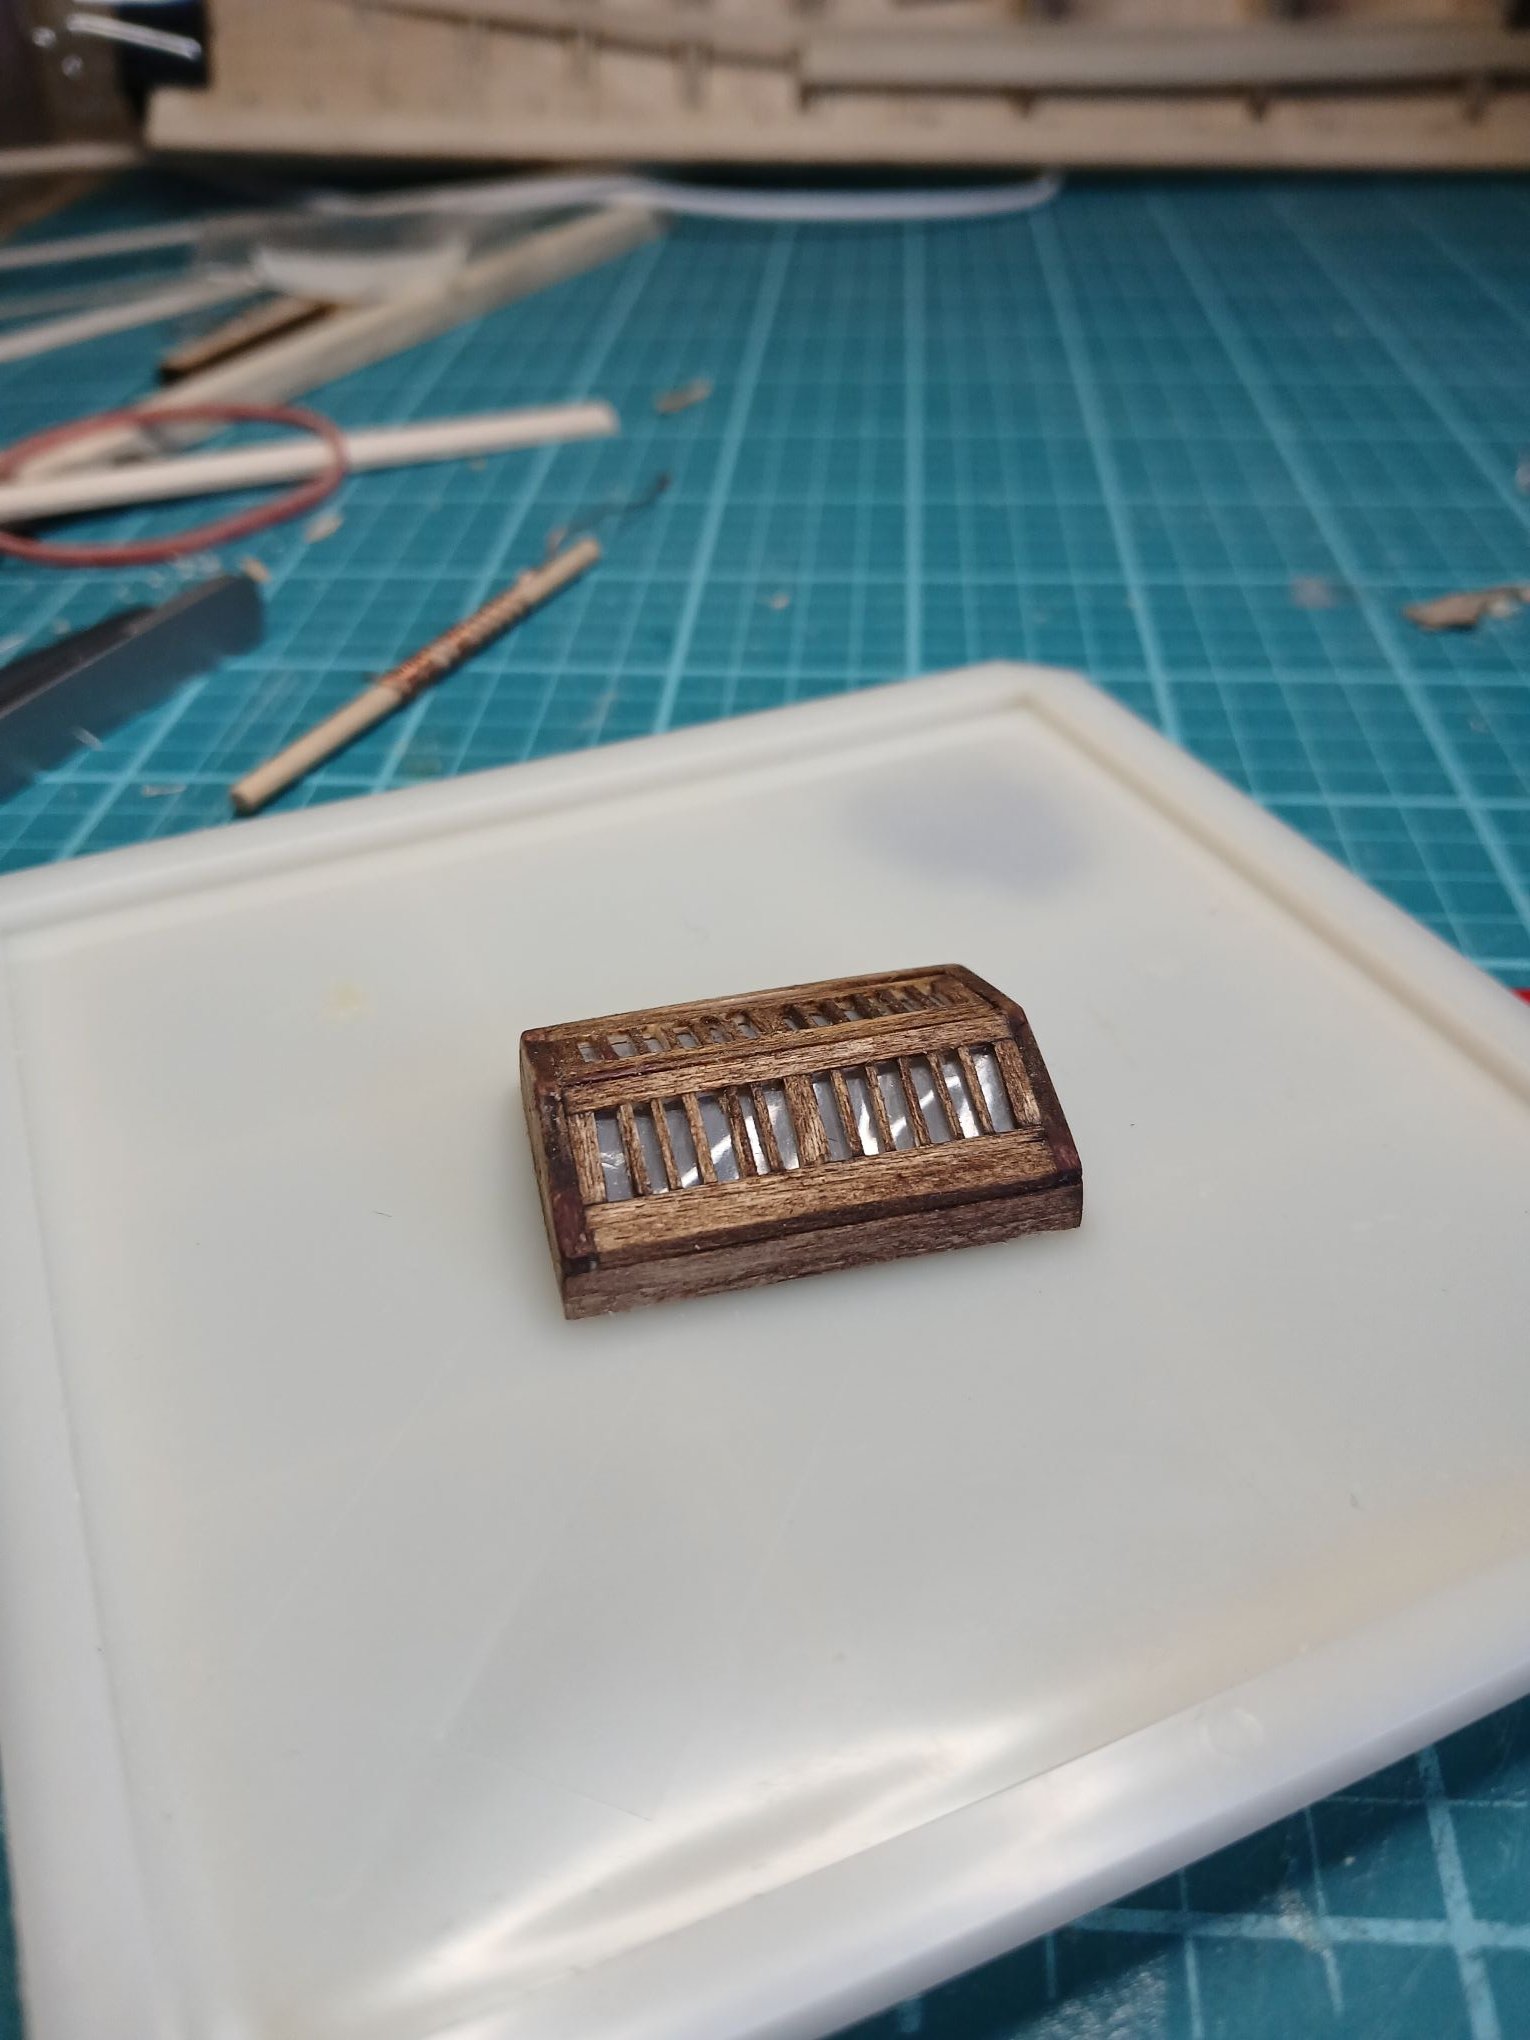
@Keith Black I tried some thin wrapper plastic, and streaked it with some grey paint. So not clear, but it has the shine of "glass".

-
Thanks for the tip, I'll try that.
-
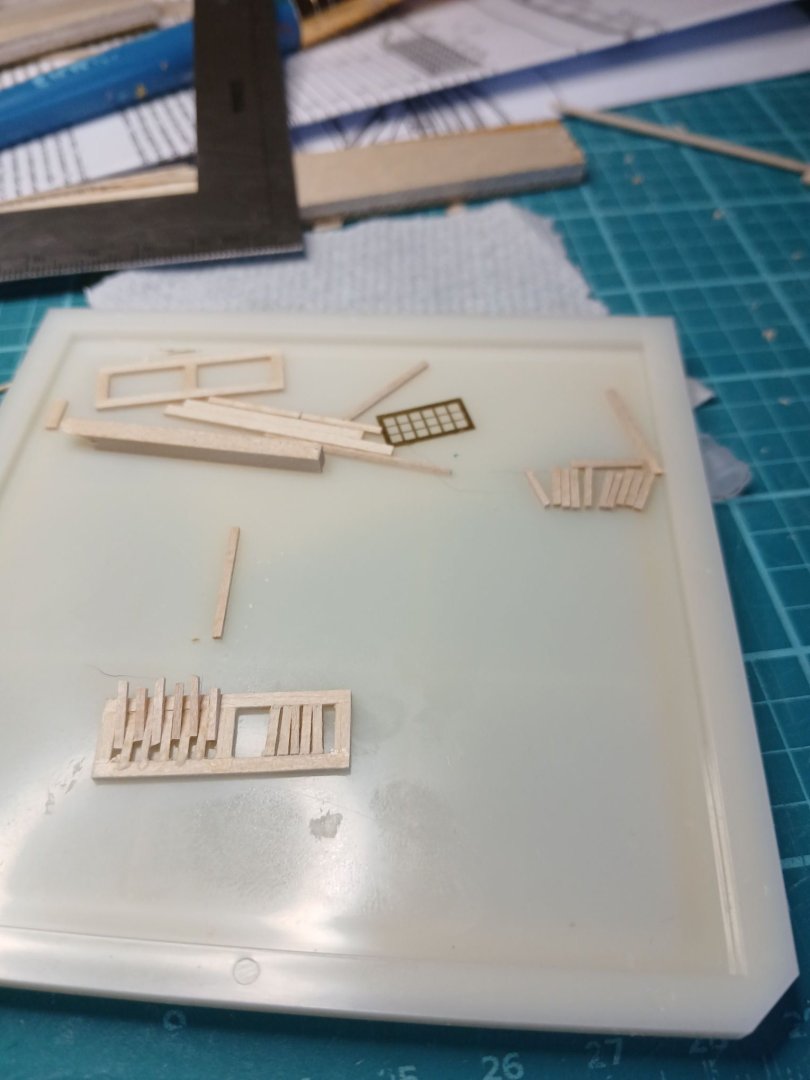
Well that worked out in the end. A little more cleanup and after finishing I'll back the windows with parchment paper or something similar.
-
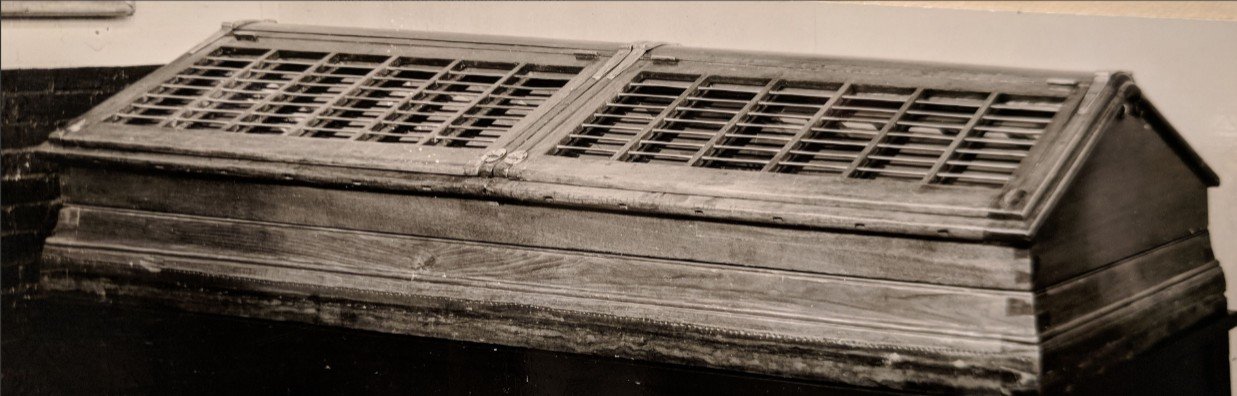
Pictures from the when the America was at the Naval Yard clearly show the large skylight was rectangular panes, not tiny windows as the etched parts have. In fact the skylight from the America is in the Mariner's Museum in Newport News. This is the great thing about this build, so much historical data available. So while the brass guards on the panes might be hard in this scale, I'm at least going to match the 5 pane design, just not sure how yet.
-
Thanks! The lines are "interesting" anyone else might say "ok it's an old boat" but the lines are really interesting and very different than other ships I've done. Foolishly trying to "dry" bend the first planks. On past builds I dislike the distortion that can occur with wet wood. I haven't tried steaming, speak up if it creates the flexibility to bend the planks without the dips or bulges I'm seeing between frame ribs. This actually went fine until making the next joint after this one, then the previous three popped, I was on the last three joints... ugg

-
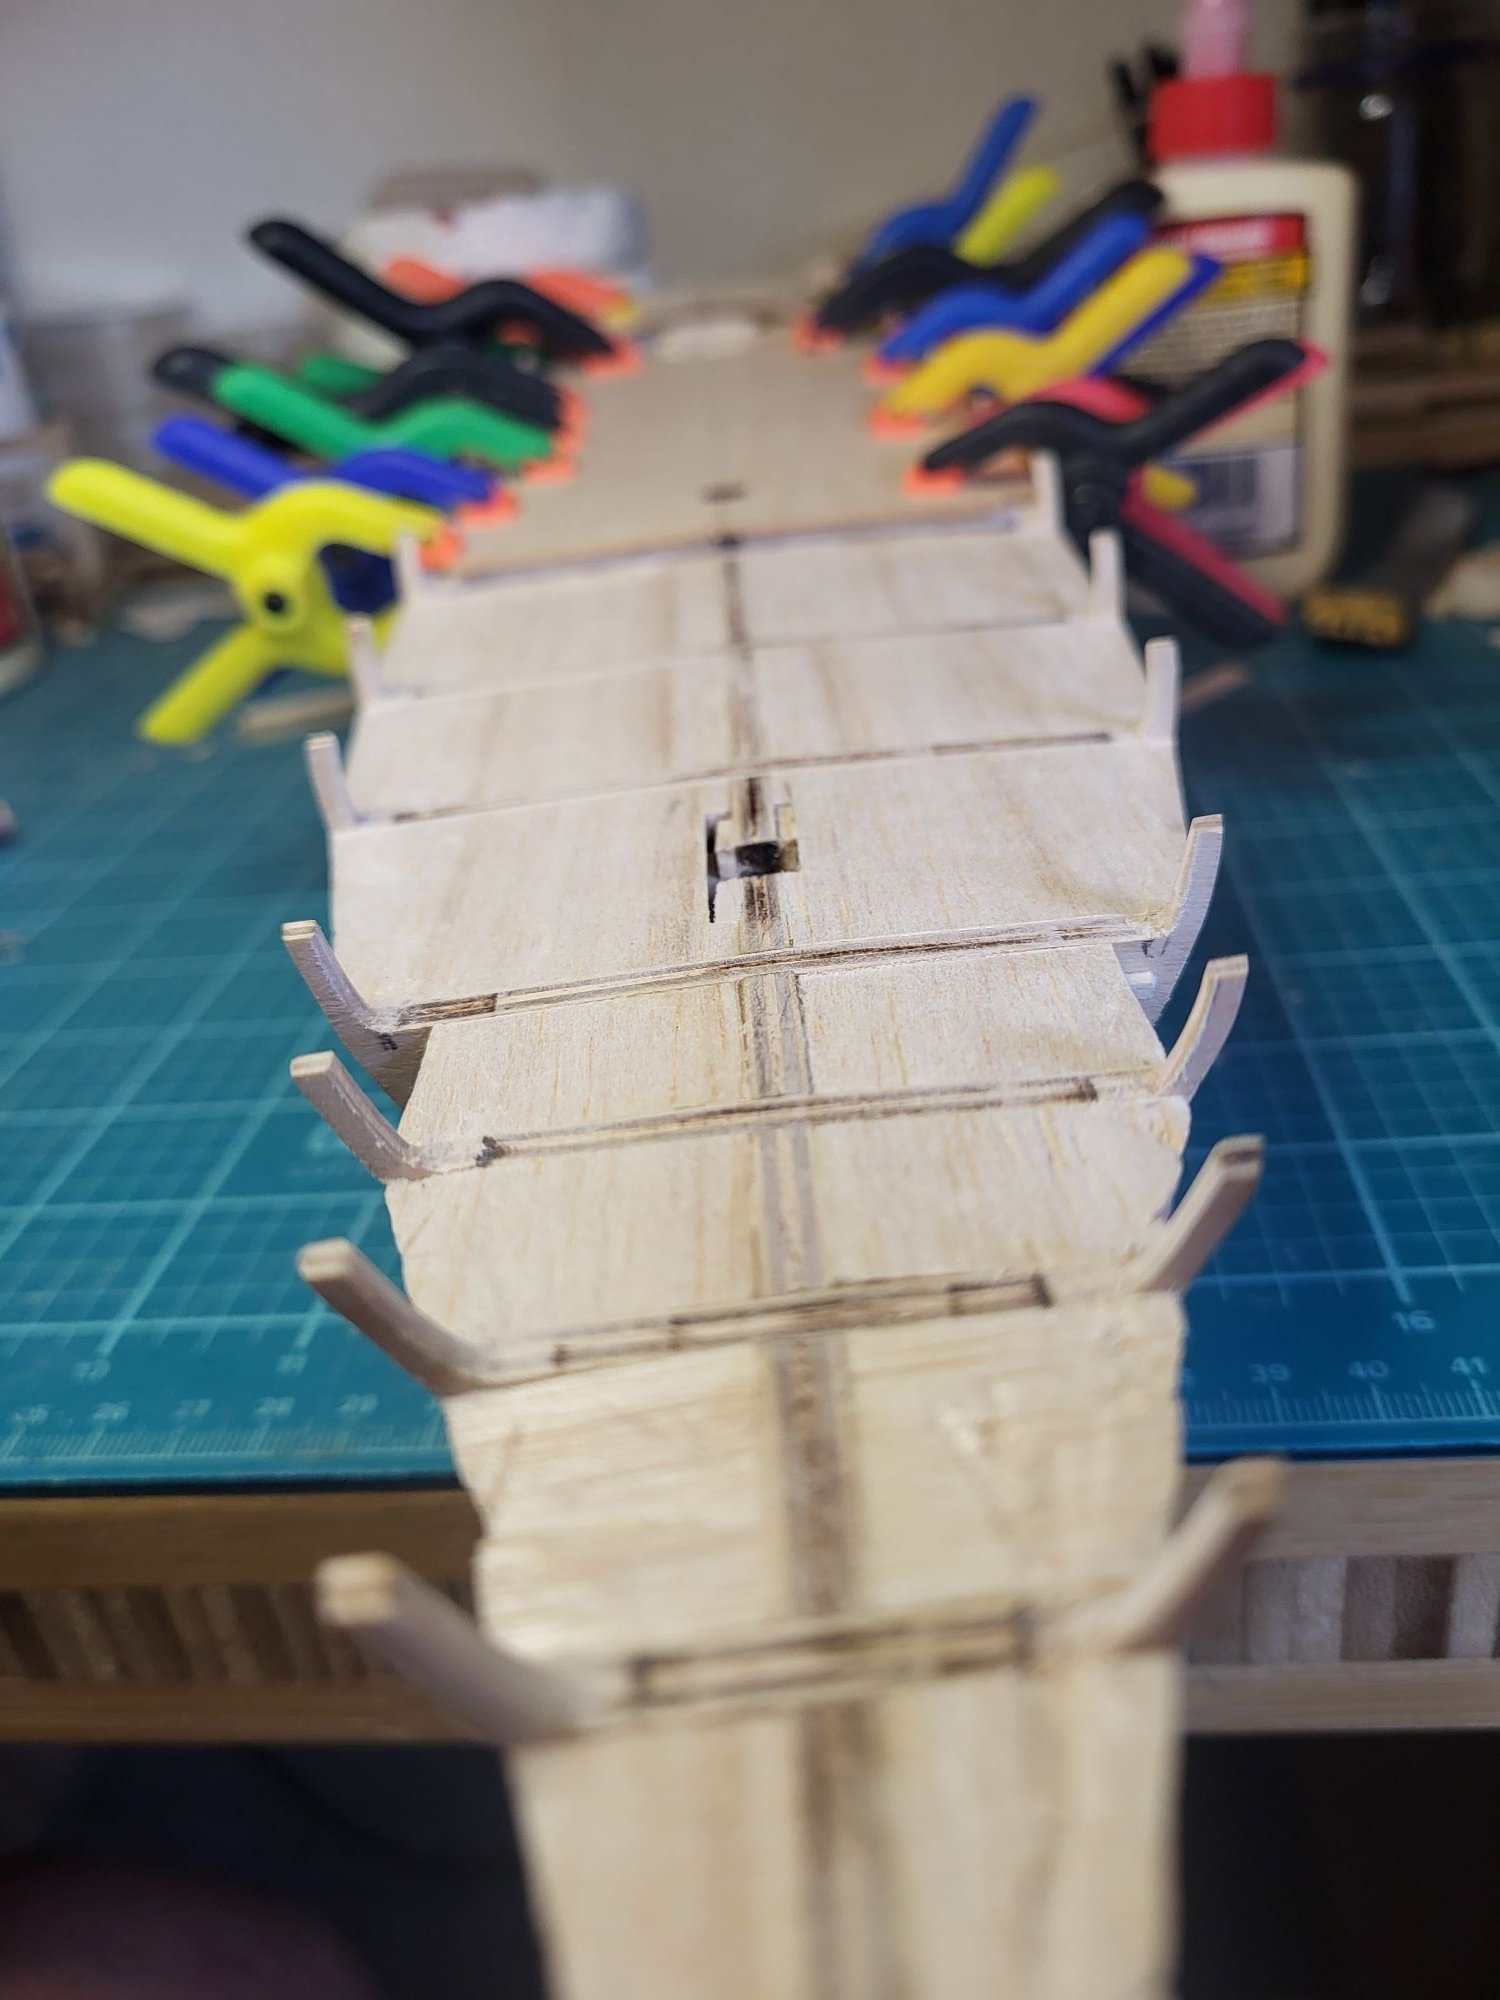
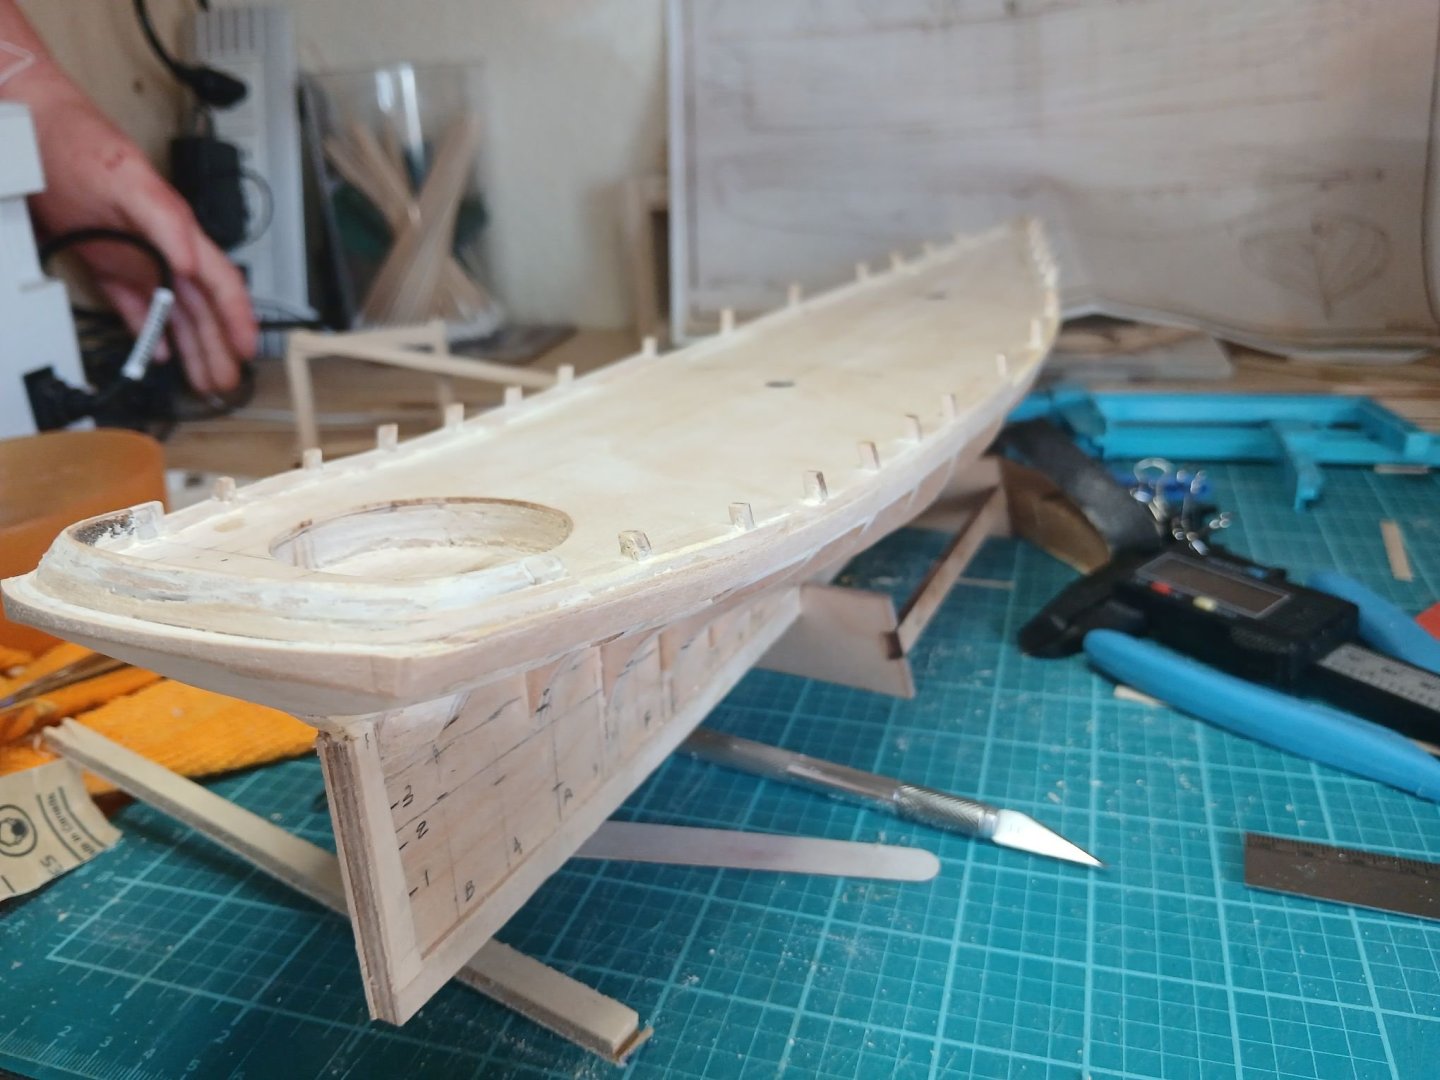
OK, I'm finally happy with the transom shape. Bulwark strakes on, and I'm pleased with that difficult transition where the bulwark curves, inward around the stern. I have one of the several temp planks in place following a set of 1923 plans.
-
Anyway, now that it's 101+ degrees outside, I'm back in the 1/66 workshop.. All transoms, all the time.

-
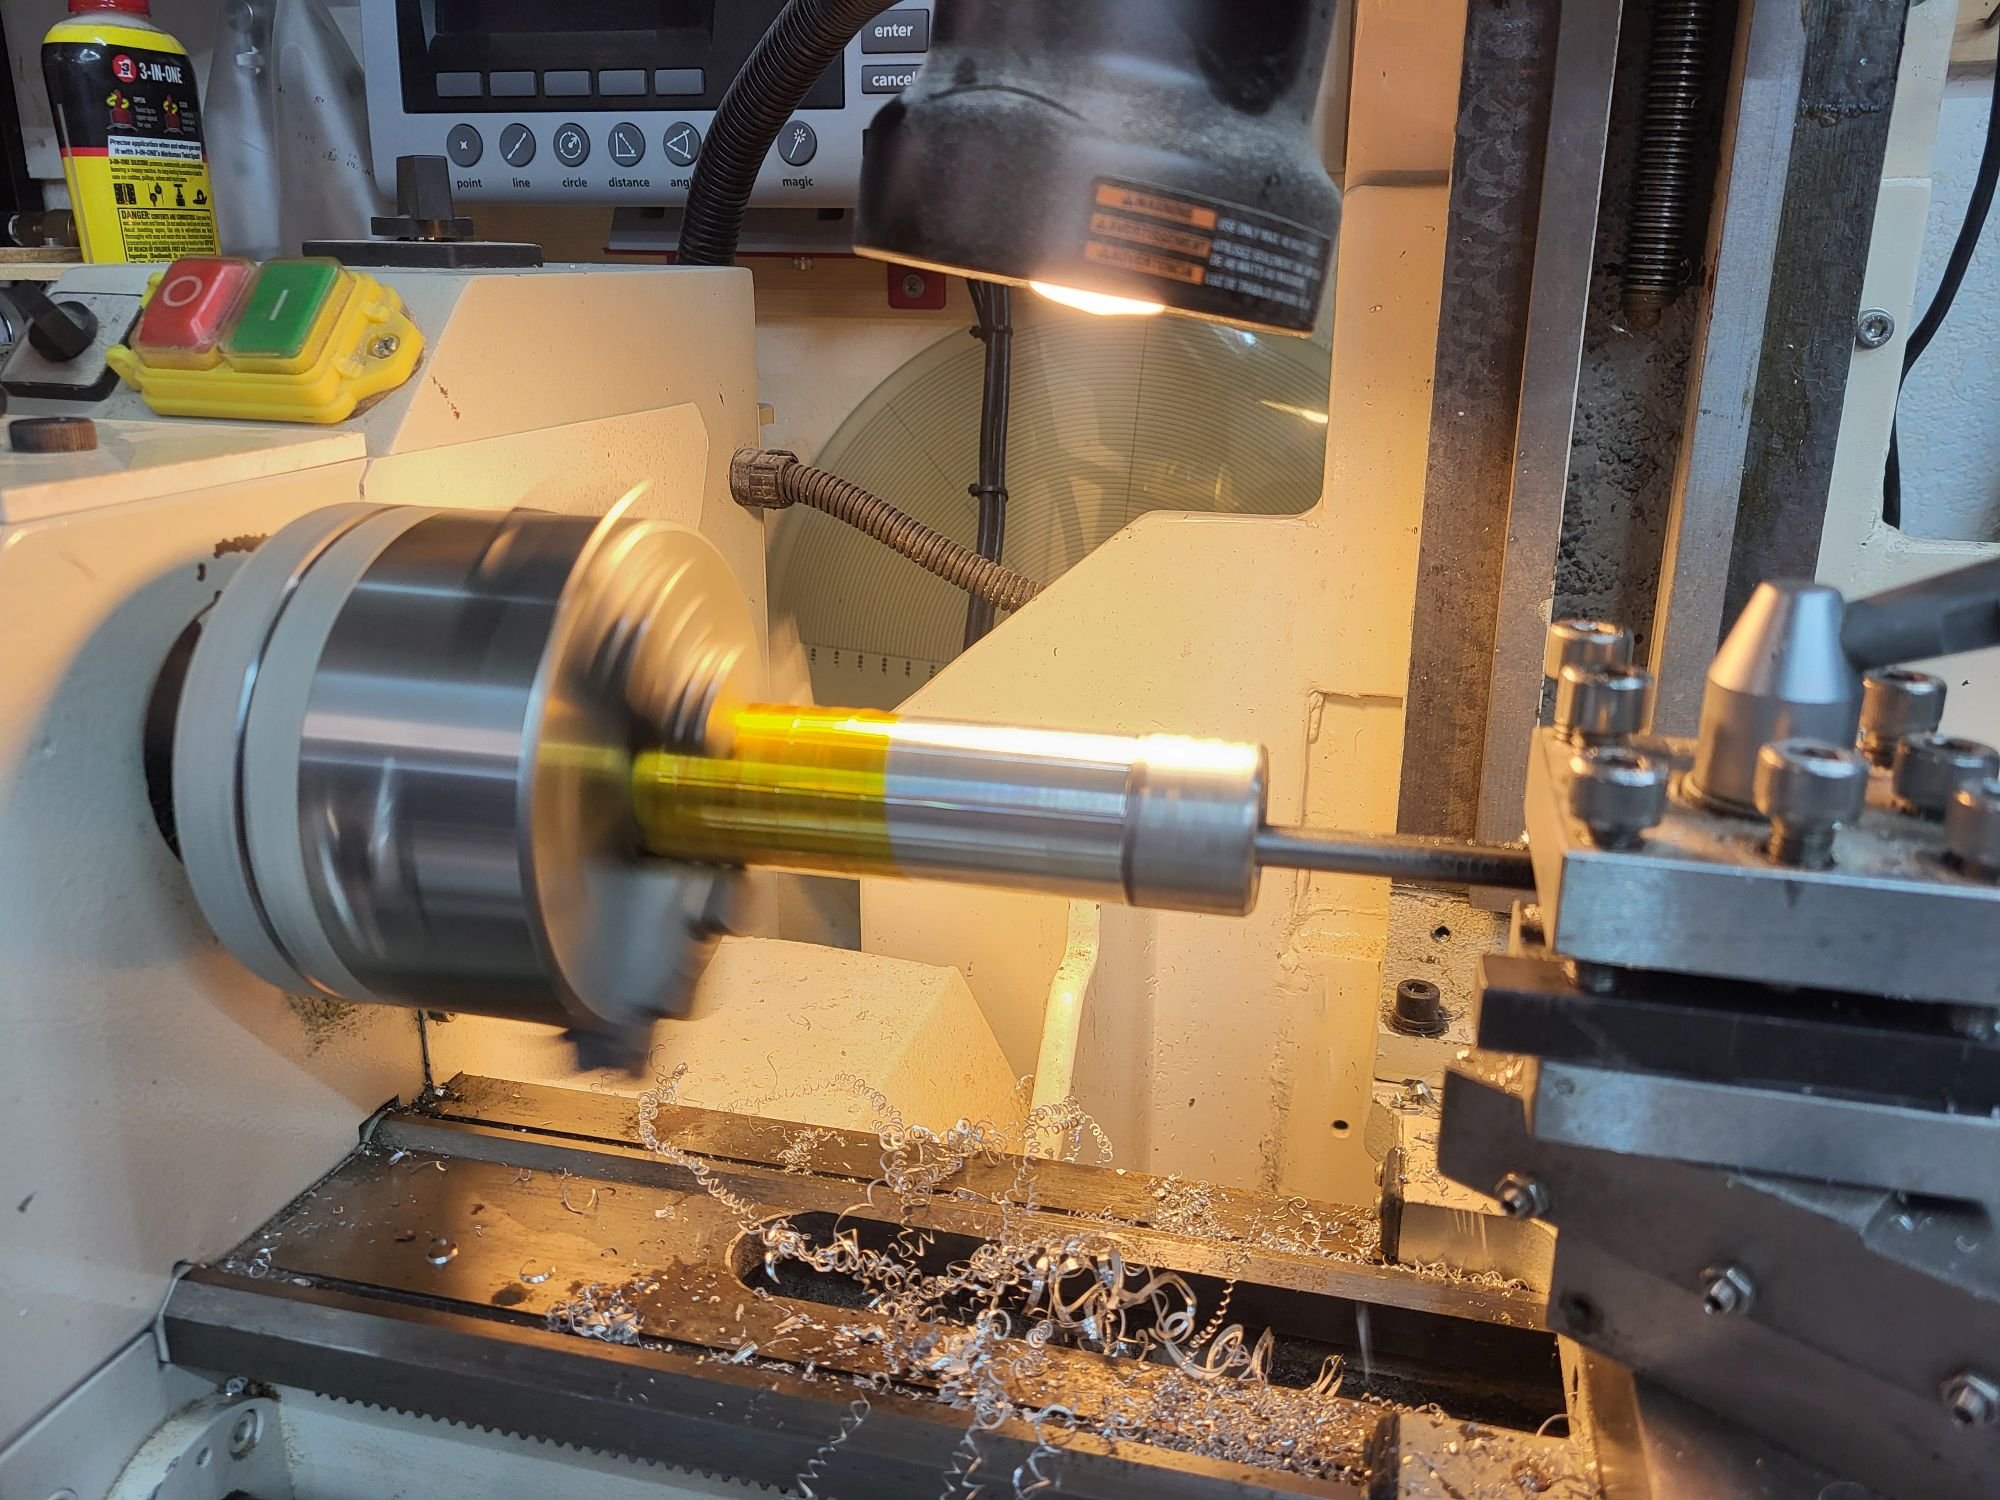
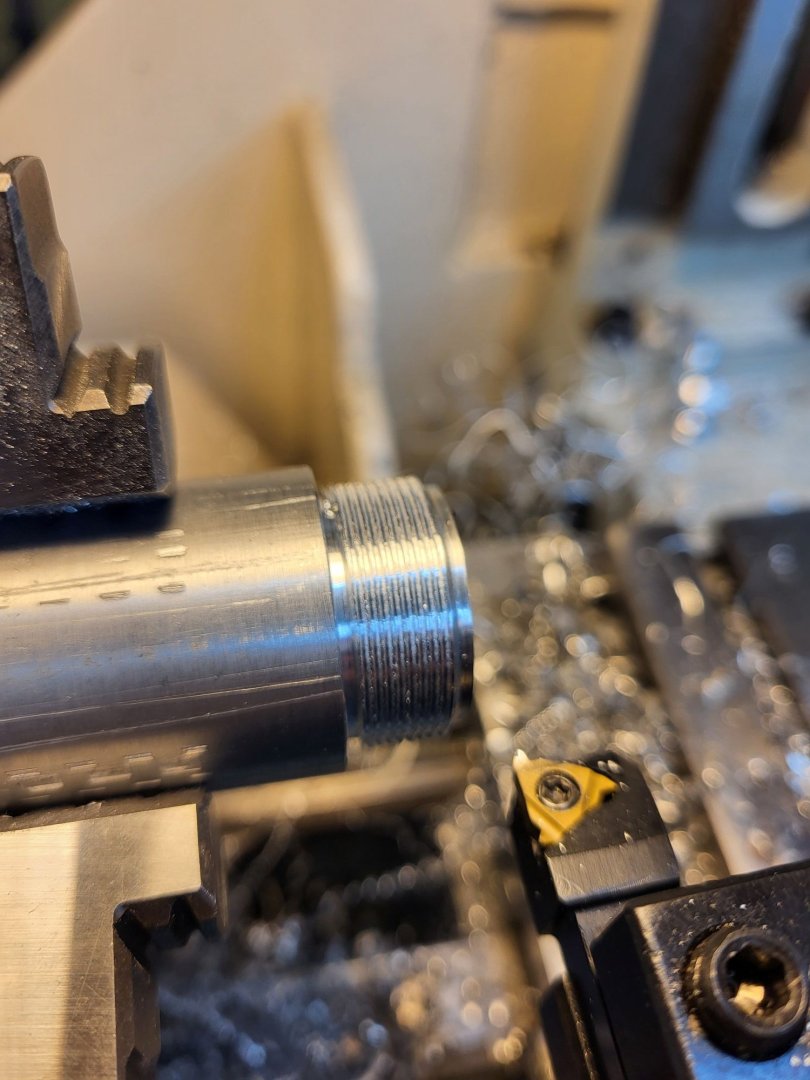
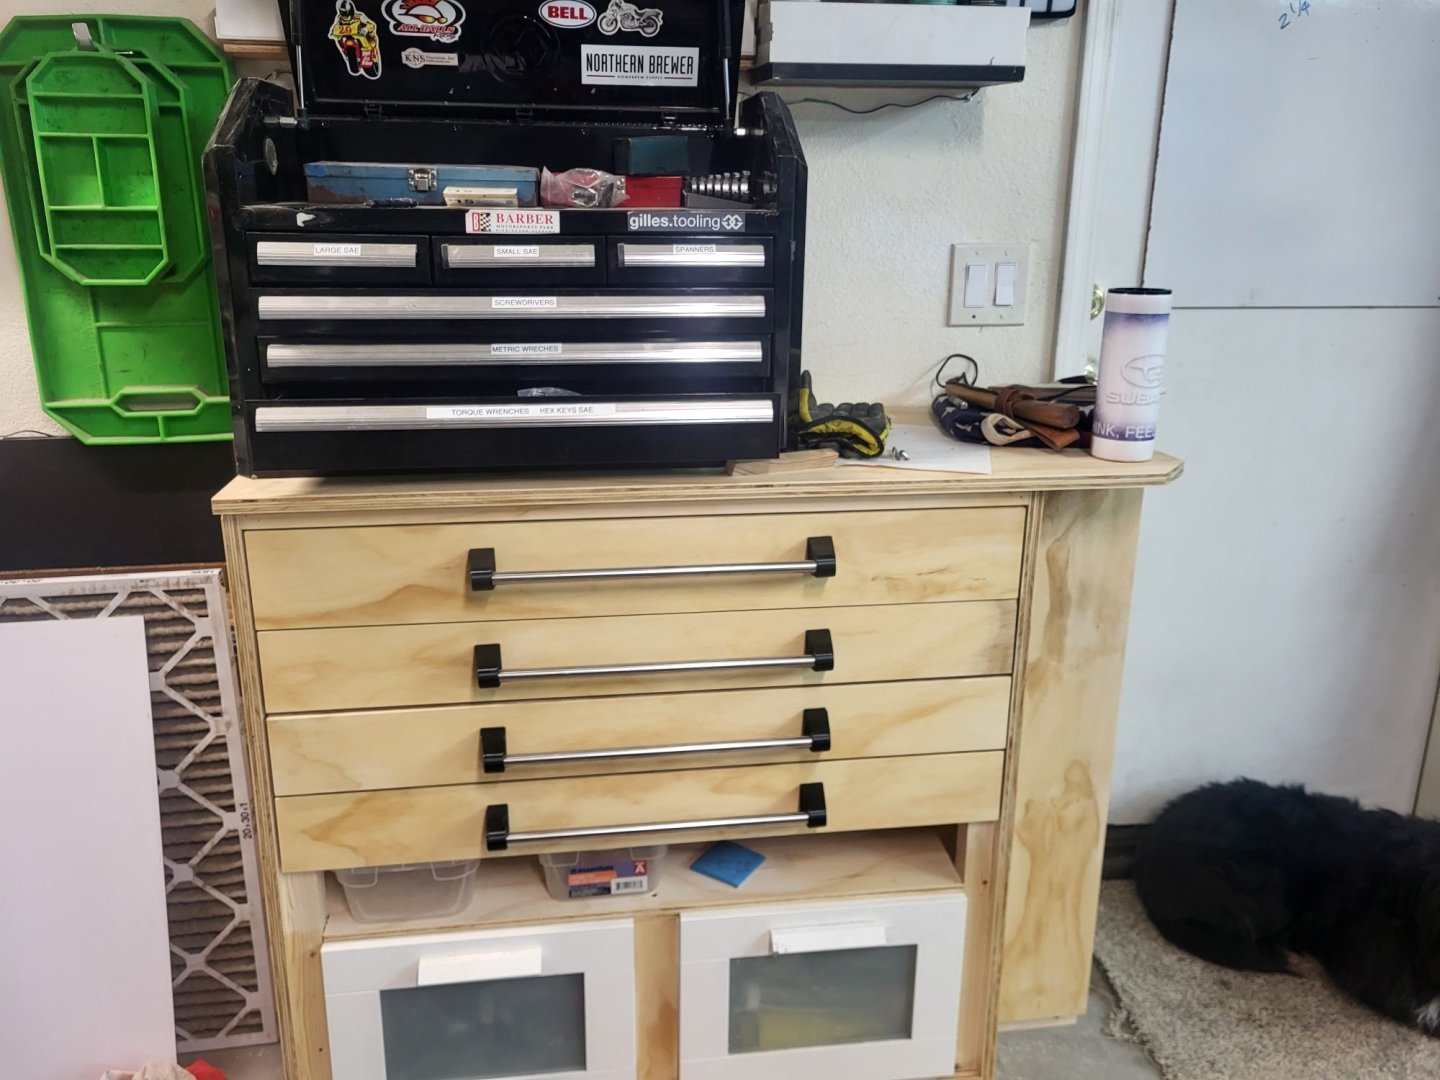
Hey! I'm back, all is well, I live in Mesa Arizona, so from about October to well, not usually now, it's been a fairly cool "spring", normally April or May, I spend time in the garage. I've done a fair bit of machining on the hobby lathe/mill, a few 1:1 scale wood projects. Oh and putting together a "housewarming" tool kit for my hopefully daughter-in-law. She's a very handy young woman, meanwhile my son is.. well, more brain active? lol Good tools aren't cheap and cheap tools are not always good, so leveraging some of the vendors I use in my day job, I've collected the best (based on my experience) tools someone would need starting out.


-
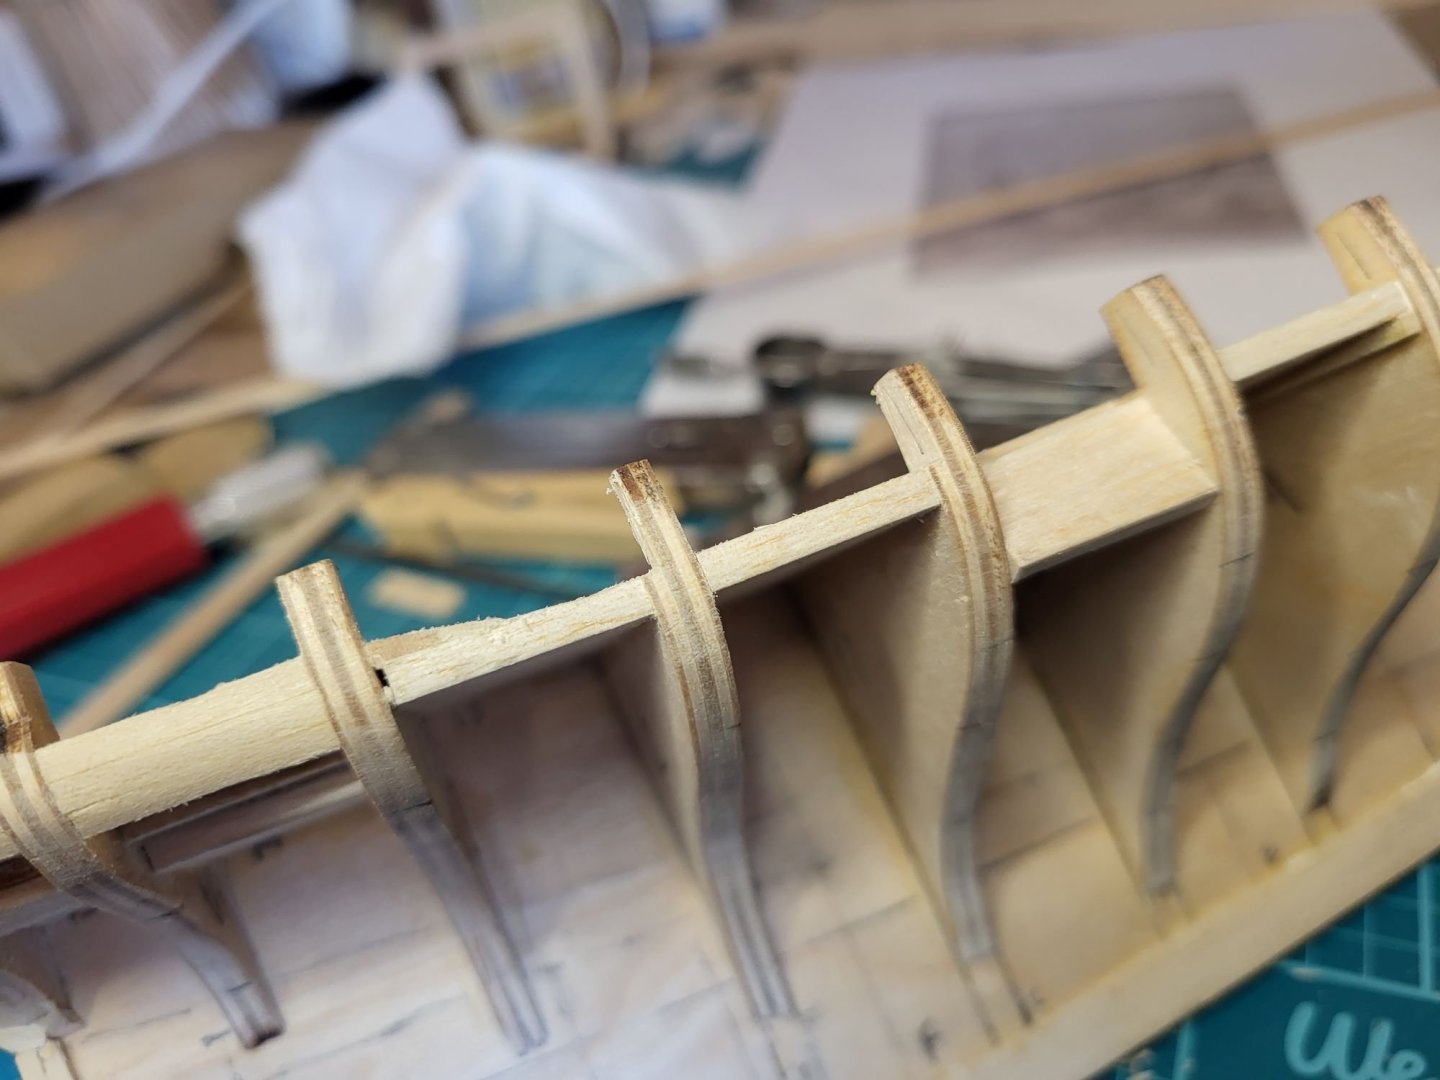
Figured out what to do with the timbers.. duh.. Thinning them out on two sides, brings them close to the size, rather than cutting them off. I'm not jazzed about pre-bending the bulwark then attaching them later, after all I want to plank the deck first, so the bent bulwark sits around for a few weeks? So once the deck is done, I'll shape them to the final size contour, and I can bend the bulwark and attach it to the timbers, and then add false timbers.
-
Nearly there.

-
That's super helpful! That is about the side profile I'm targeting, but that composite view is excellent! Thanks! Apparently every time it stopped architects took measurements, I'm assuming they used transits?
-
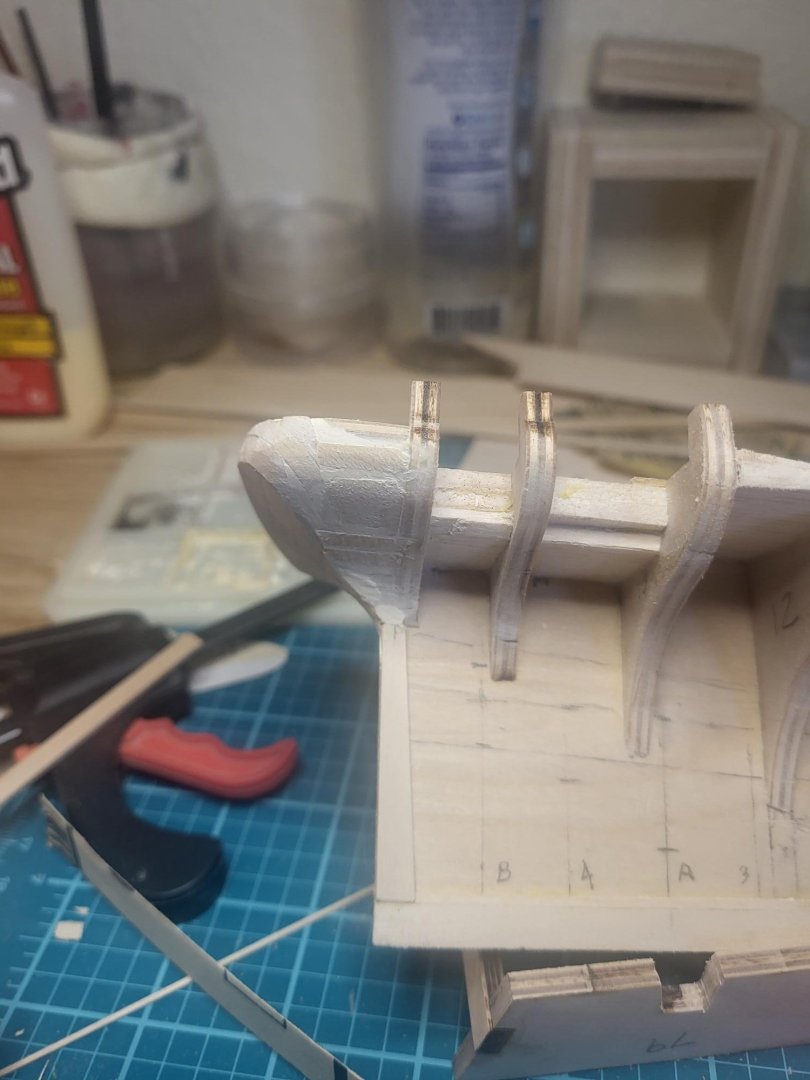
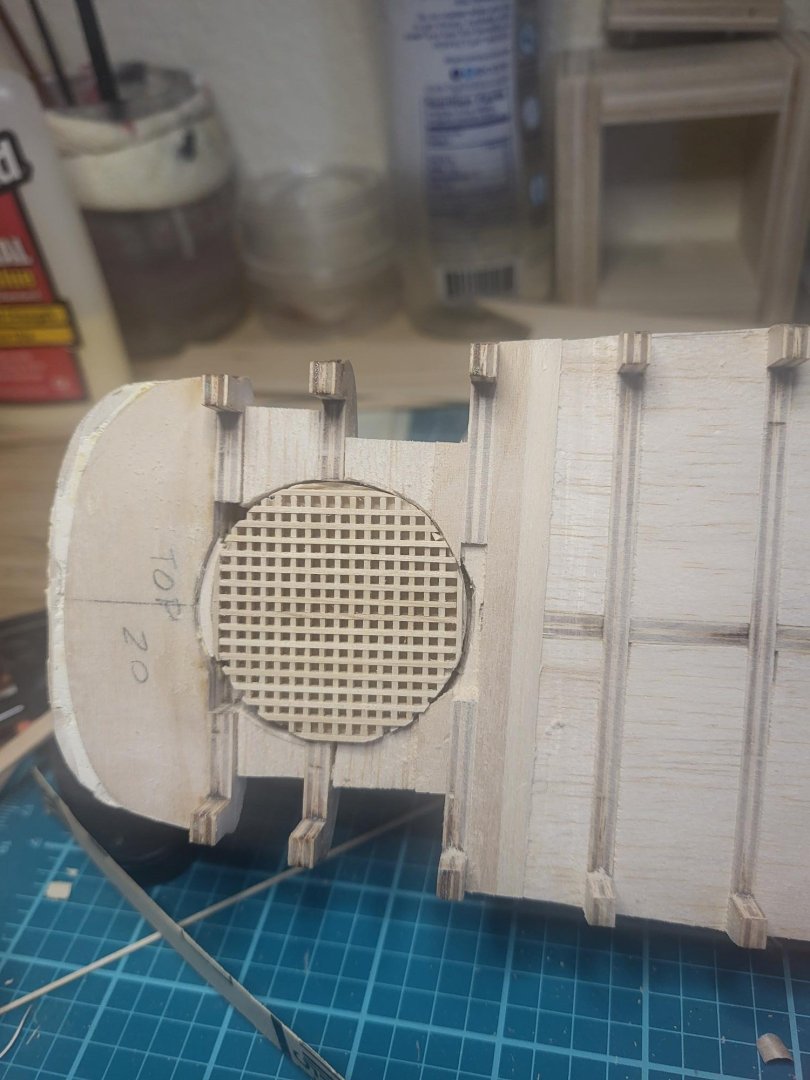
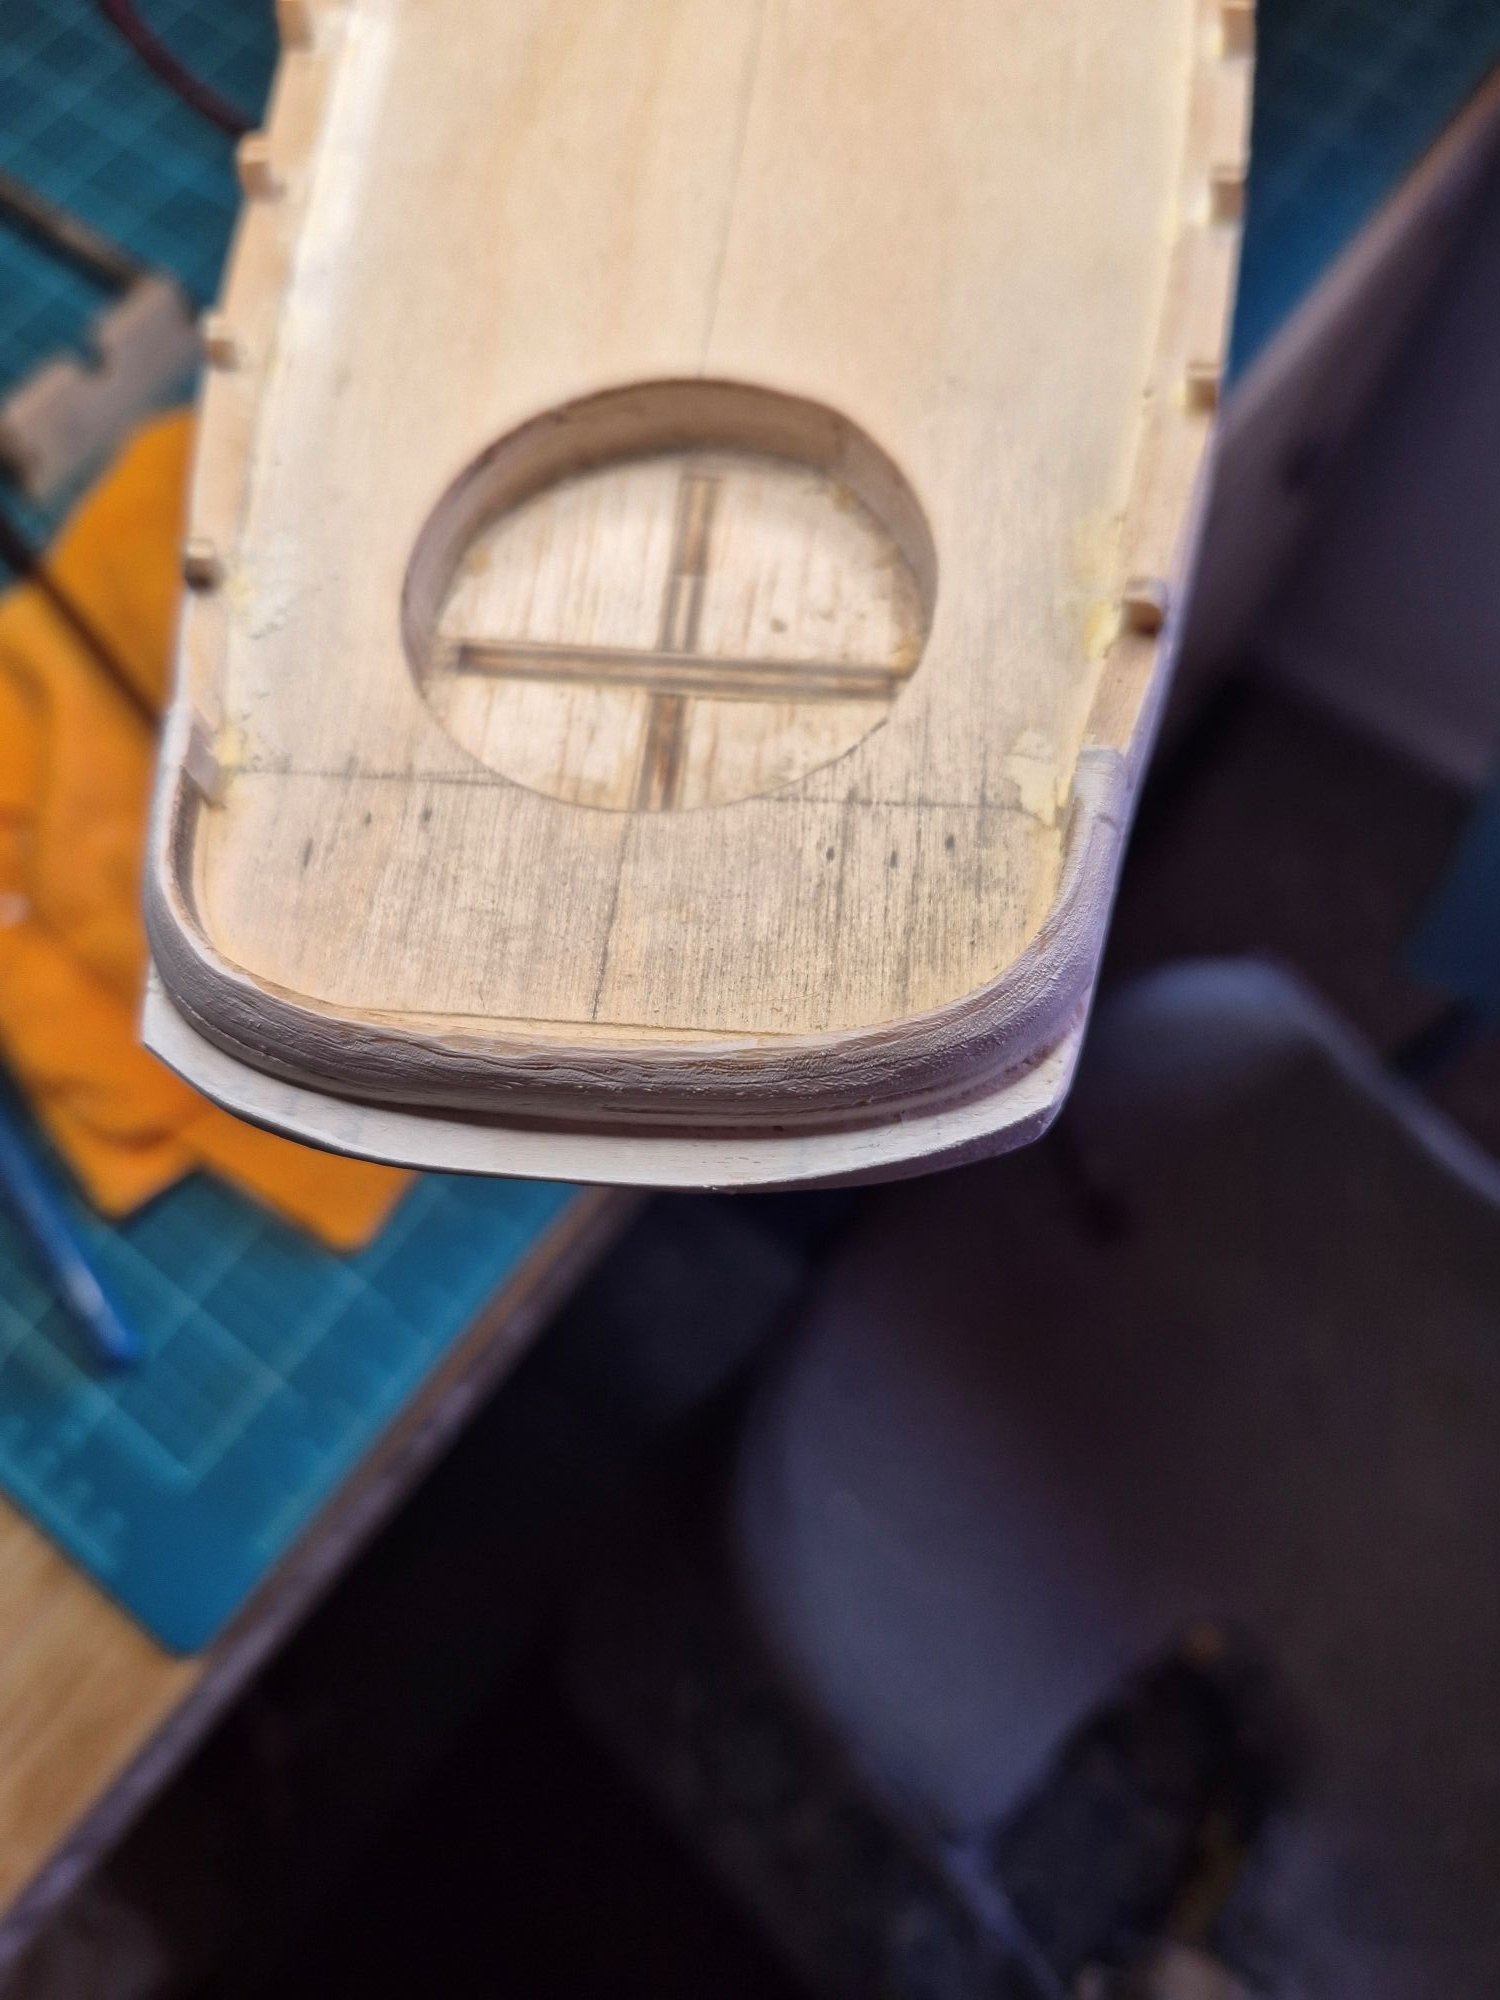
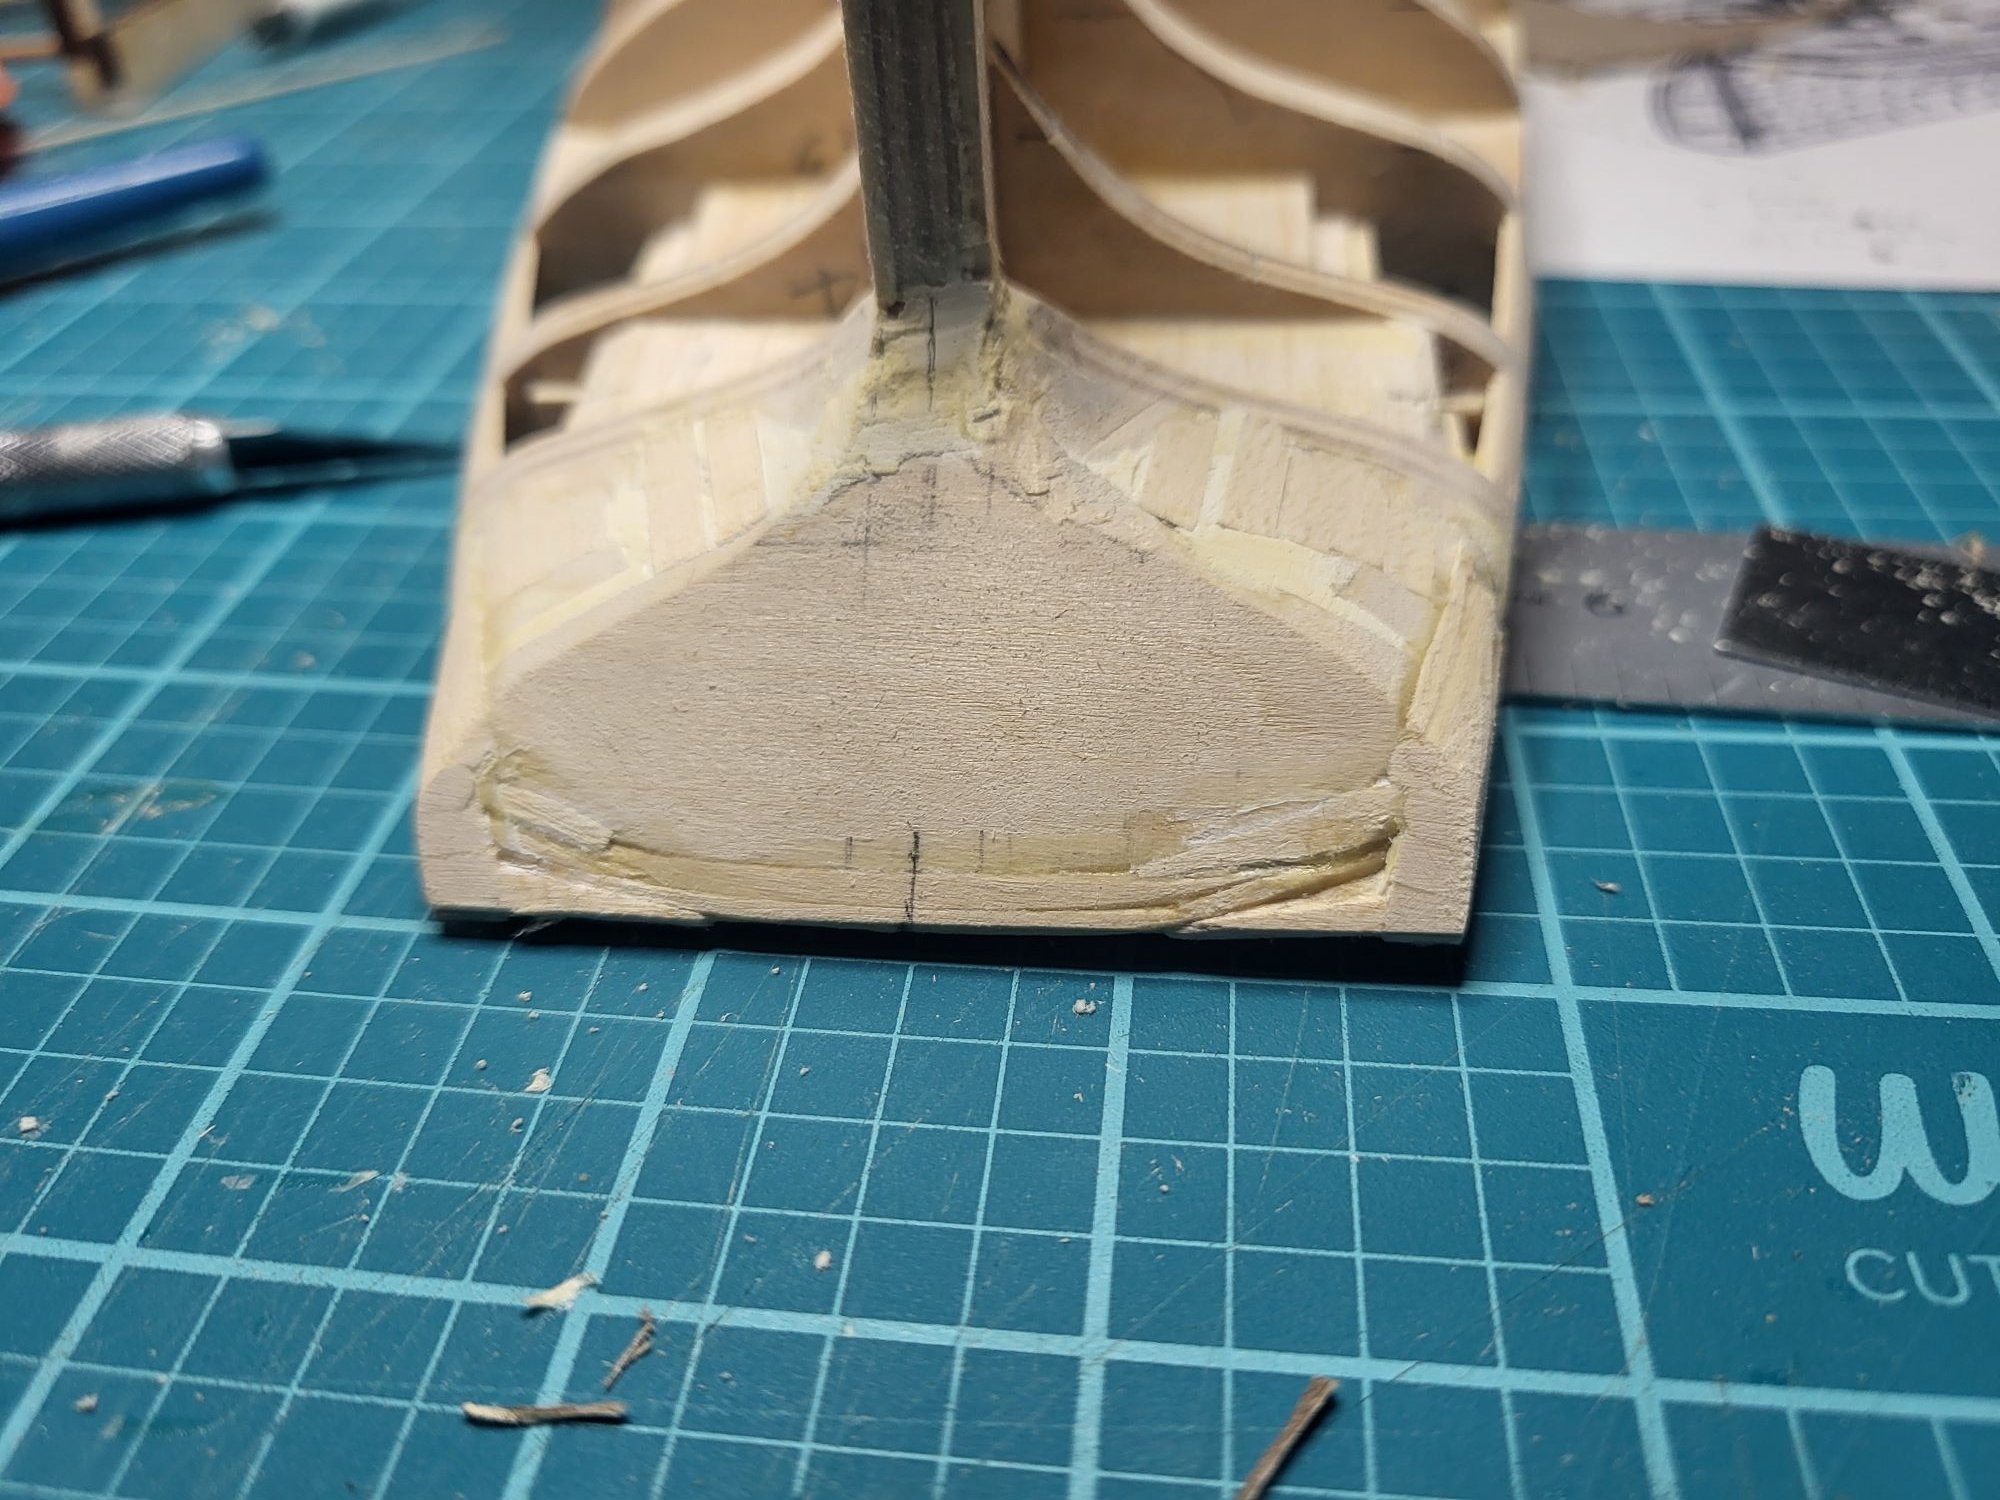
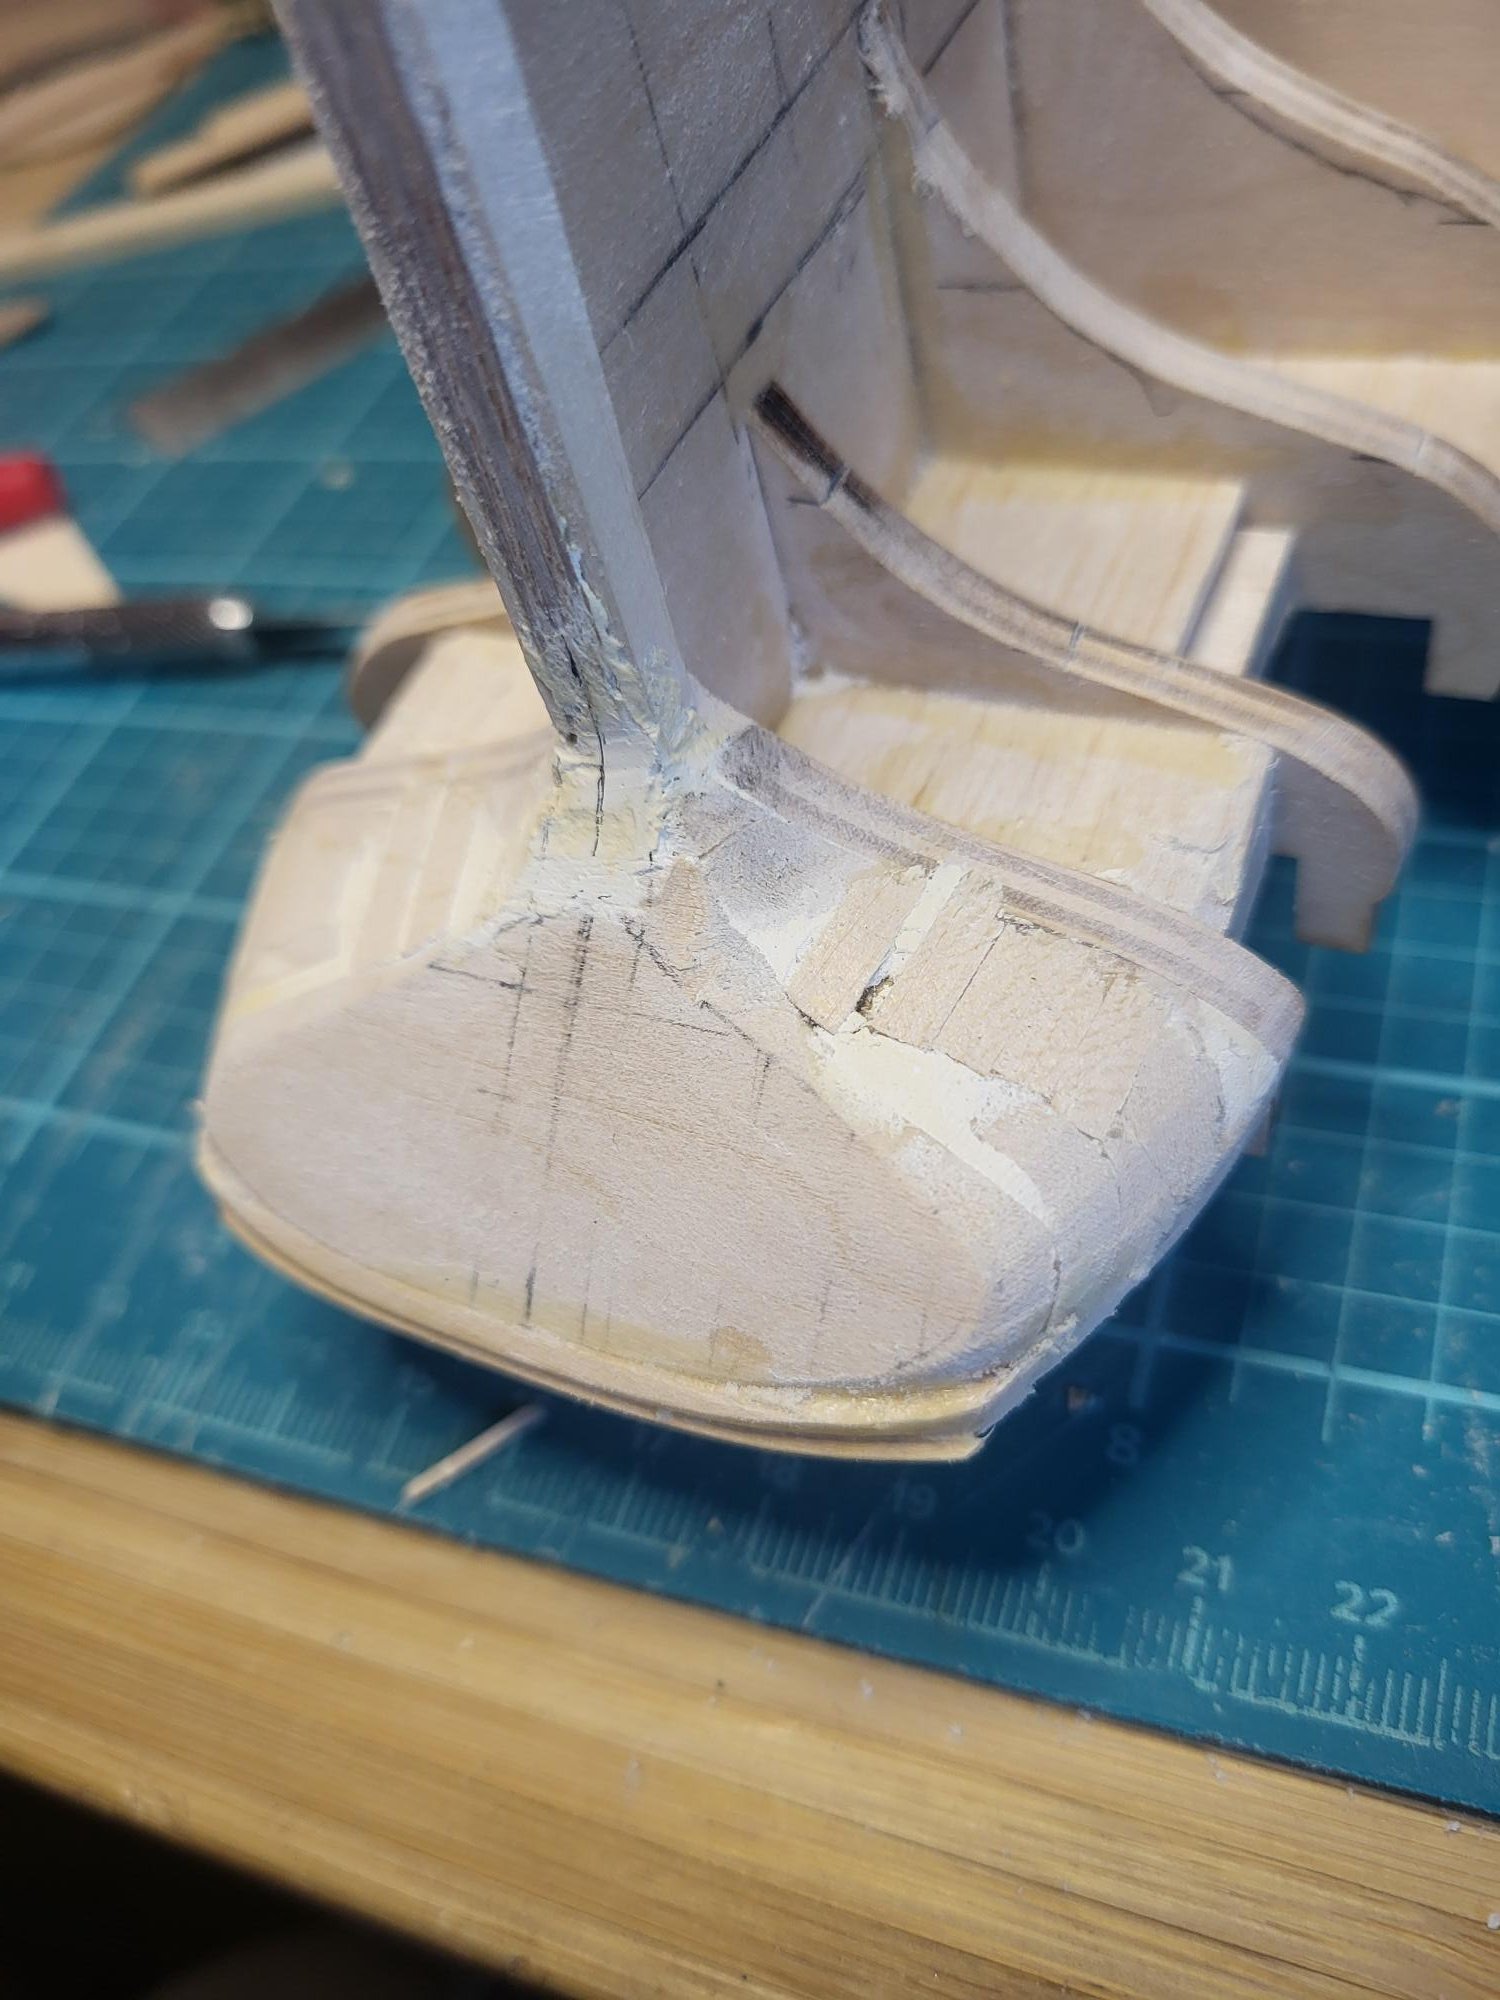
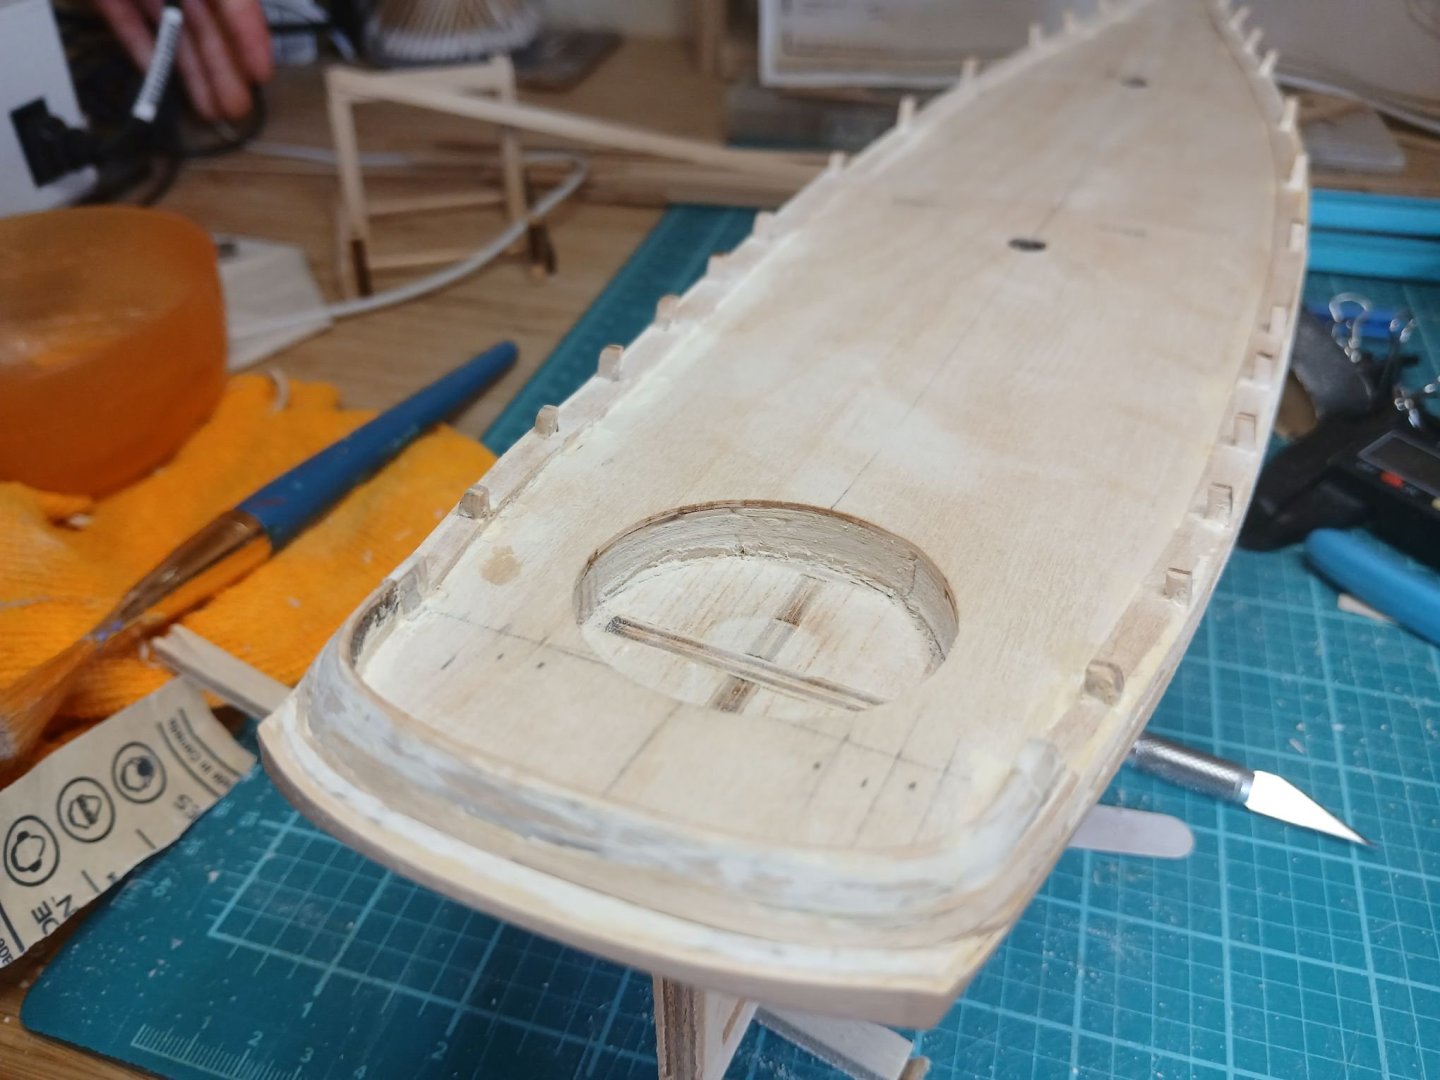
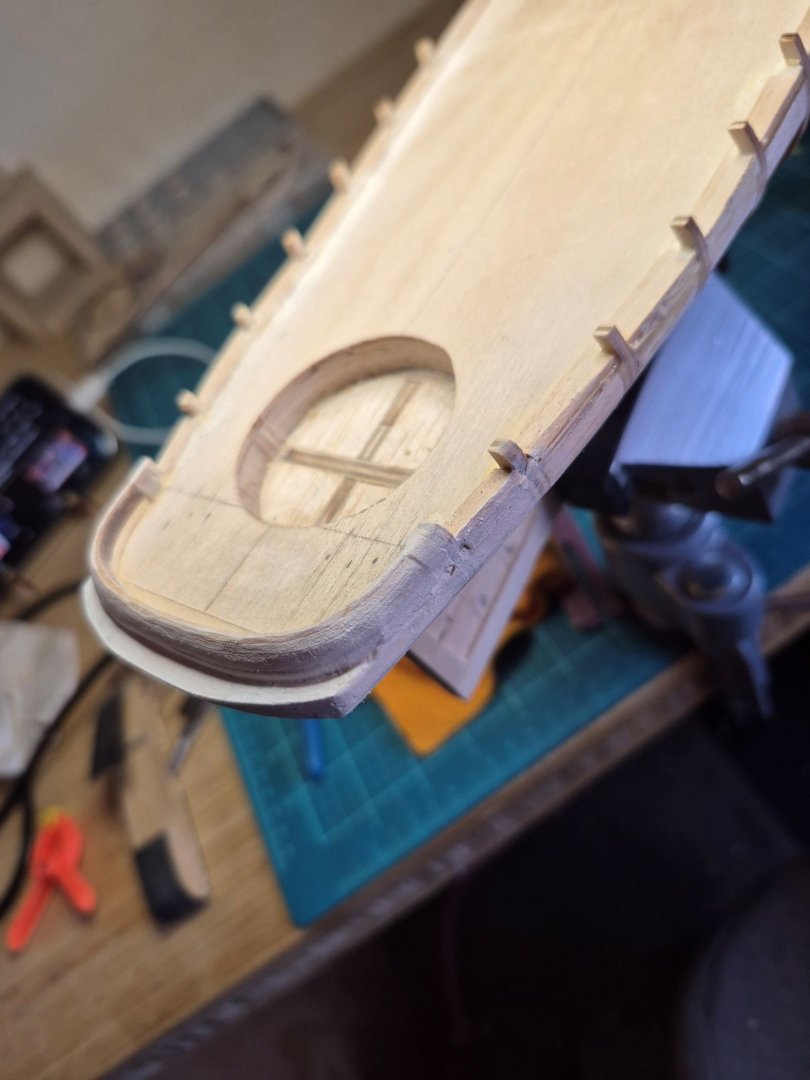
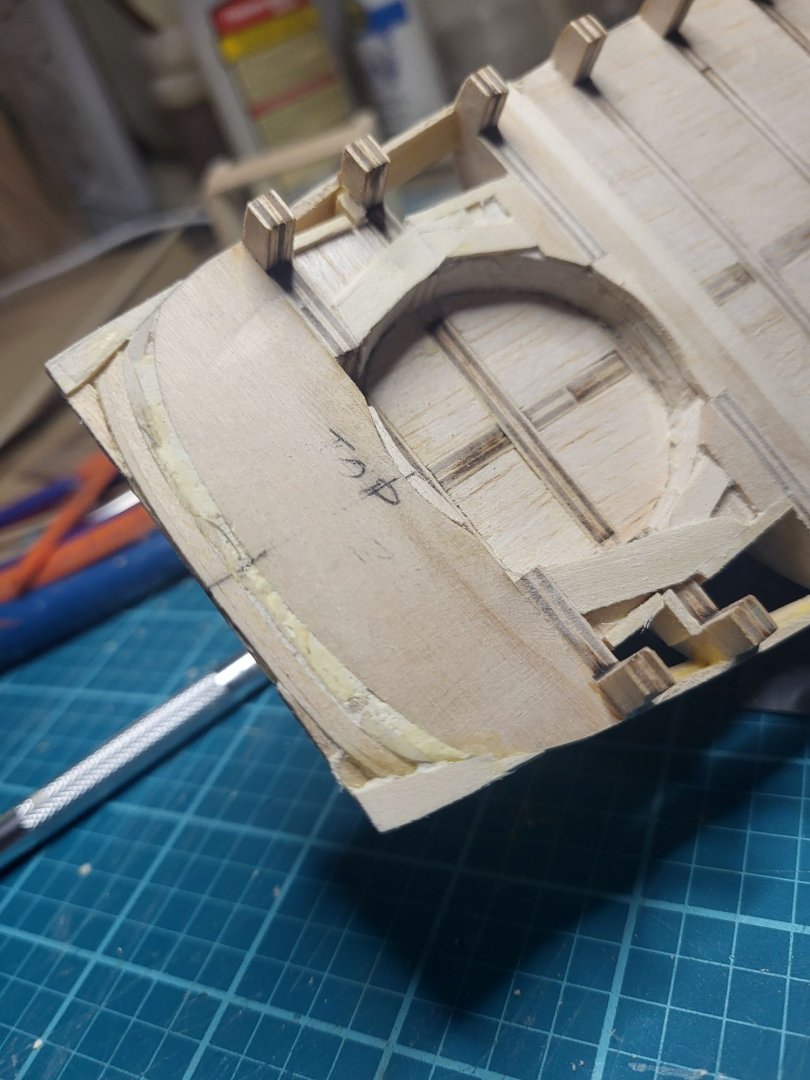
The tale of the transom. The shape and proportions of the kit are far away from the photos and period drawings, it's sharper and at more of an acute angle. I have been building up and shaping for a couple of weekends now. Pausing to create the cockpit grating, and to build up the transitions of the deck. I know the companionway is going in here somewhere, so now is the time to be sure the frame isn't going to foul good placement of it. In the back of my mind I'm also figuring out the plan for the bulkhead tabs. Obviously I won't cut them until the bulwarks are bent, but exactly how and when? This material, unlike basswood, can't be easily chiseled away after installing the bulwarks and false heads. I don't want to get painted into a corner.