mrmadalena
Members-
Posts
40 -
Joined
-
Last visited
Content Type
Profiles
Forums
Gallery
Events
Everything posted by mrmadalena
-
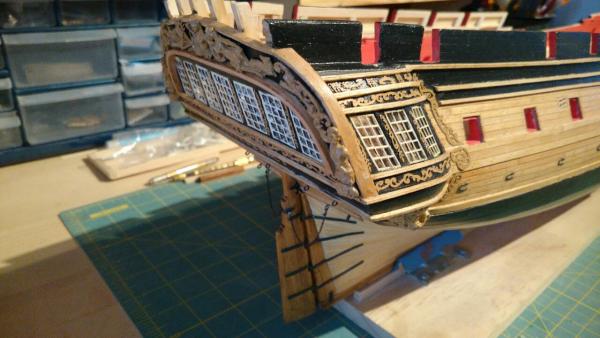
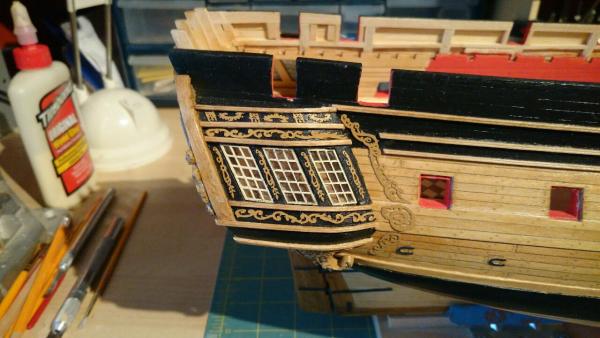
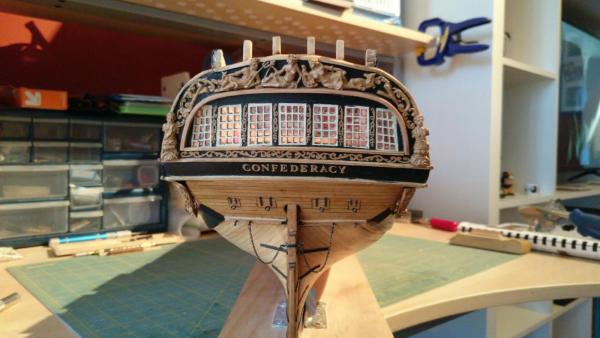
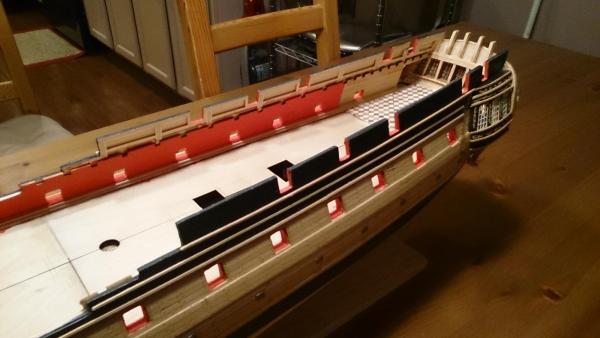
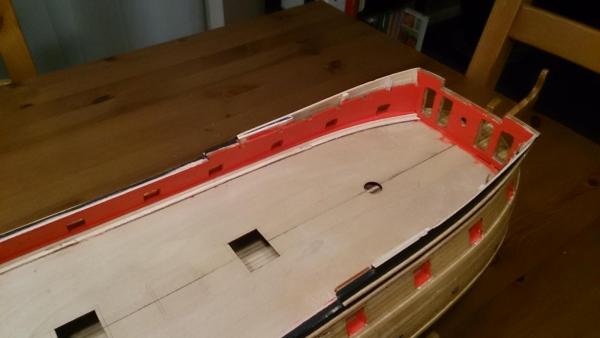
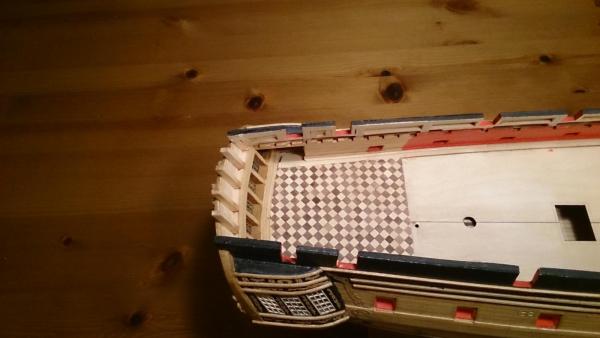
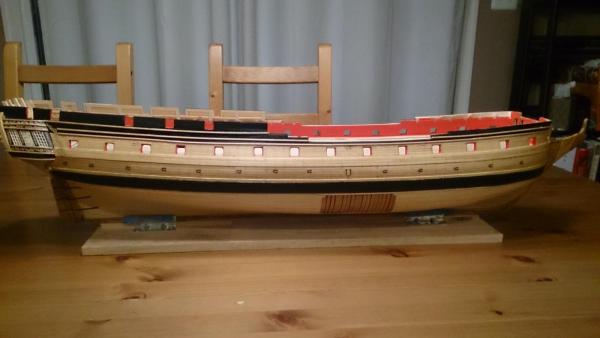
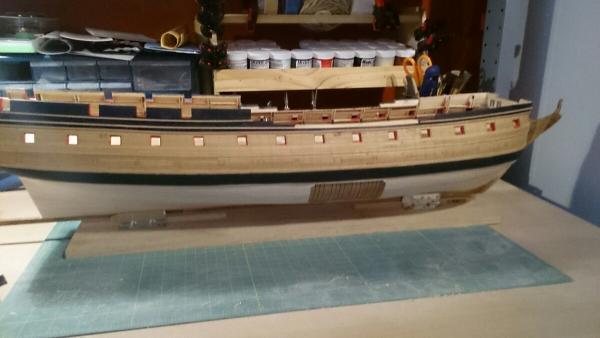
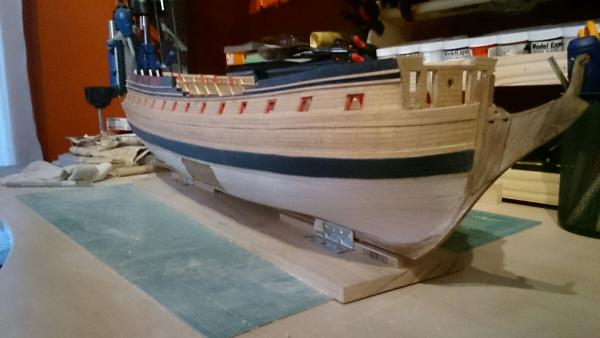
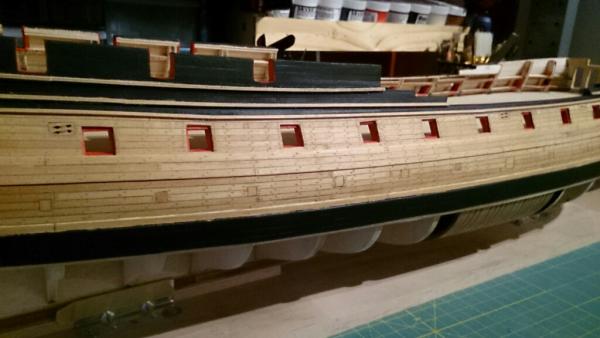
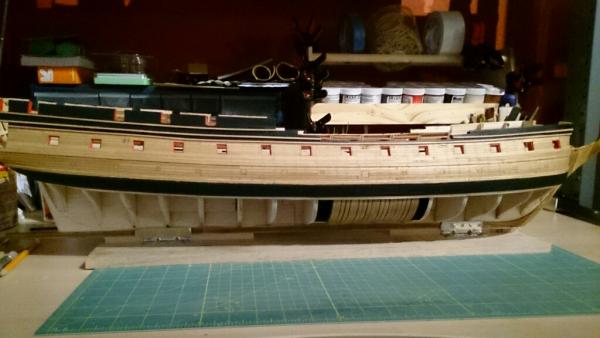
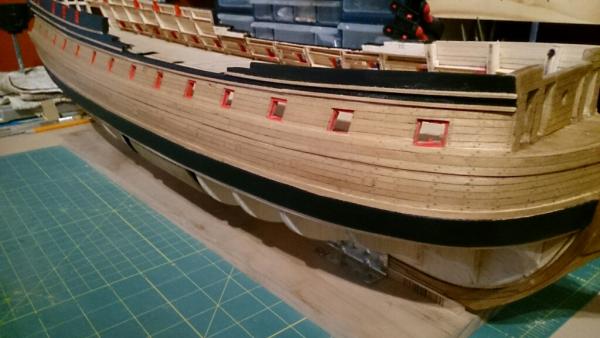
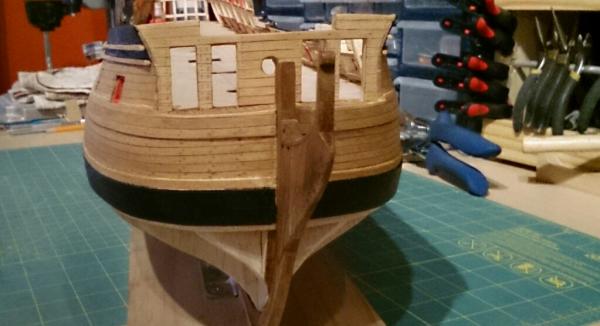
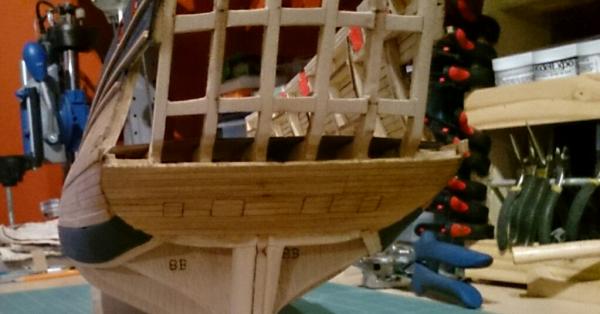
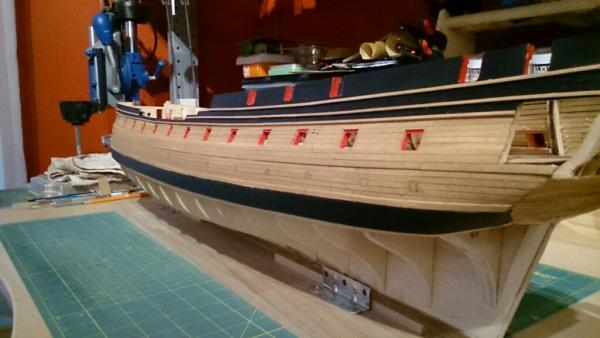
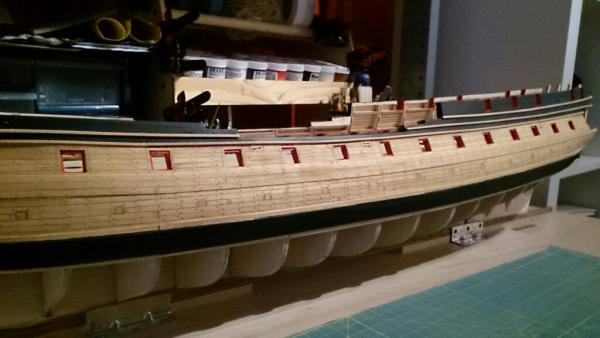
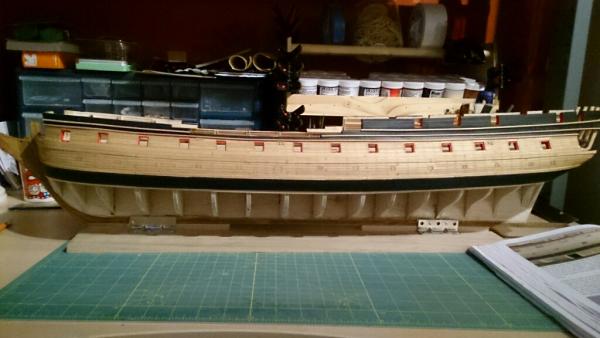
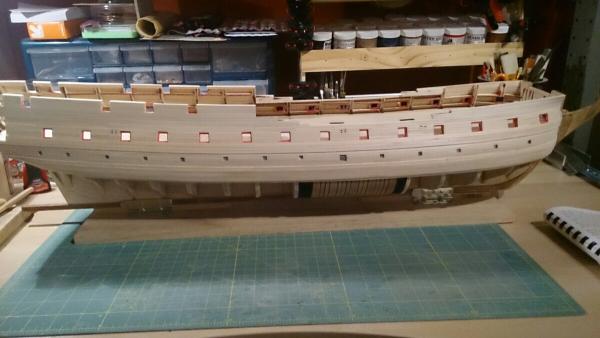
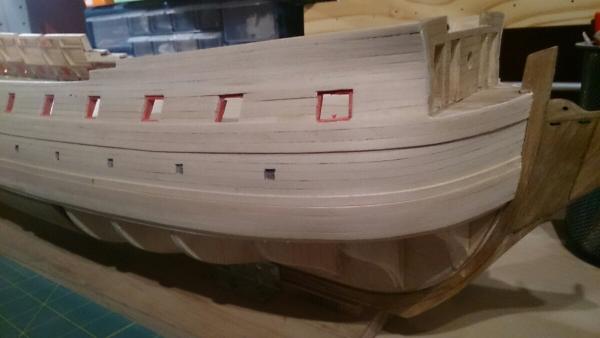
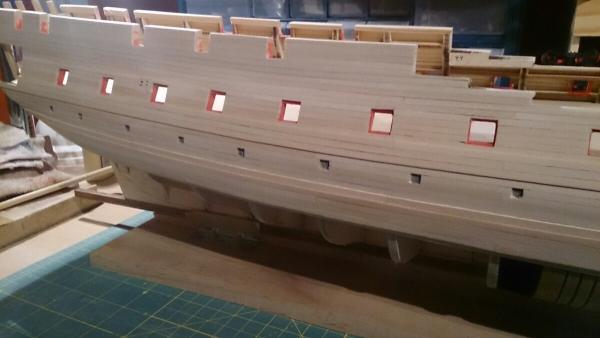
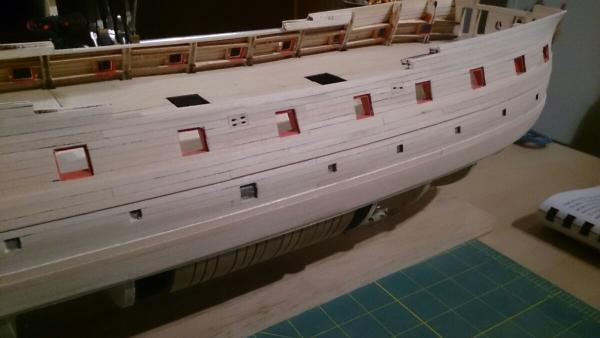
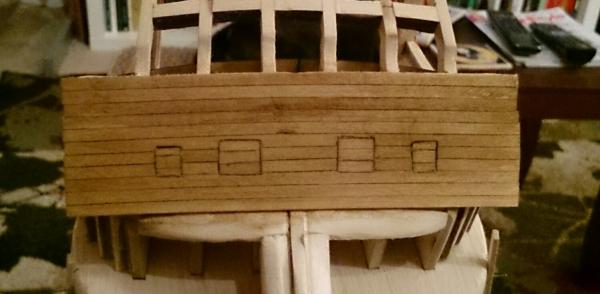
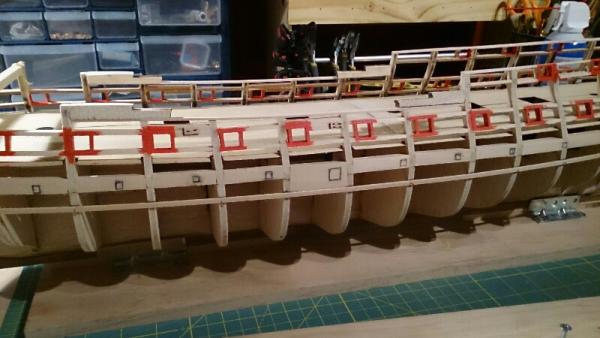
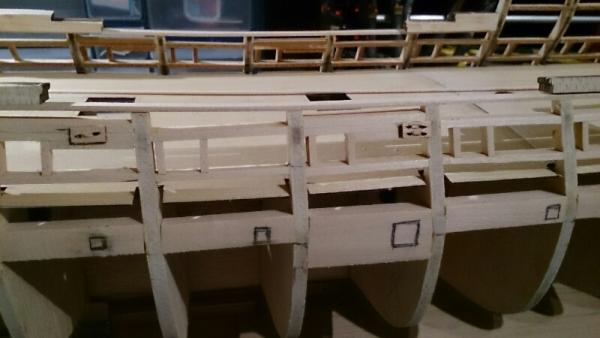
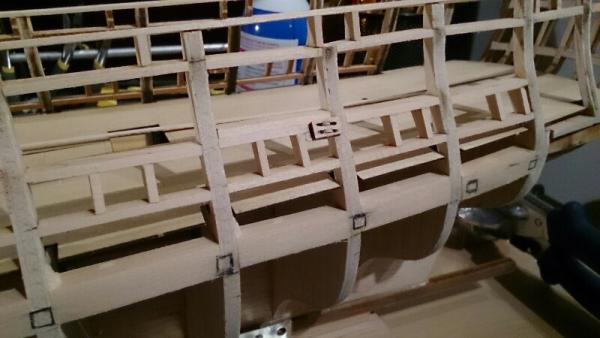
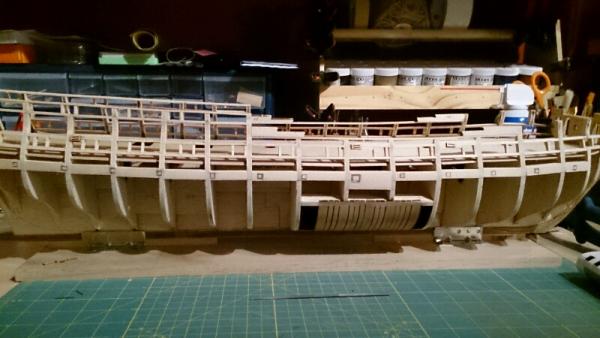
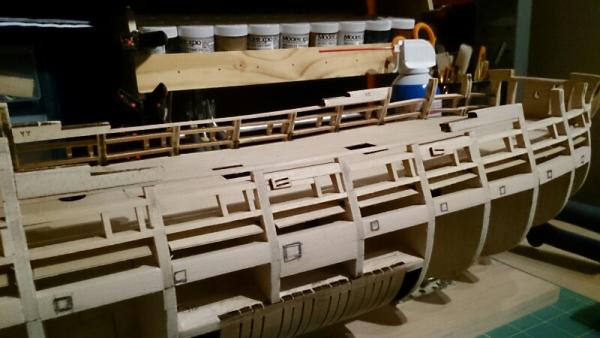
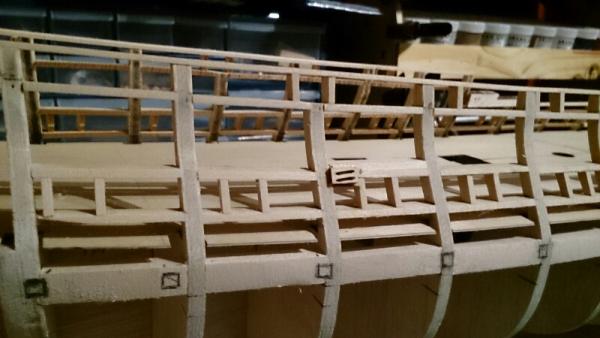
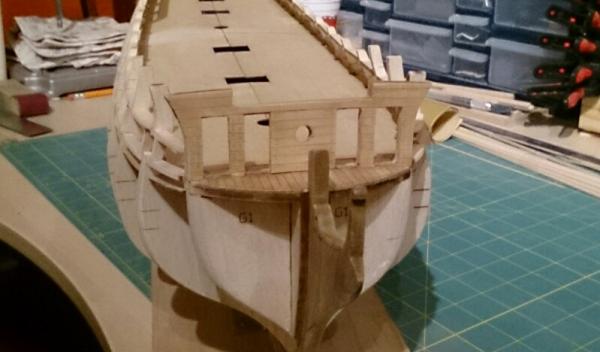
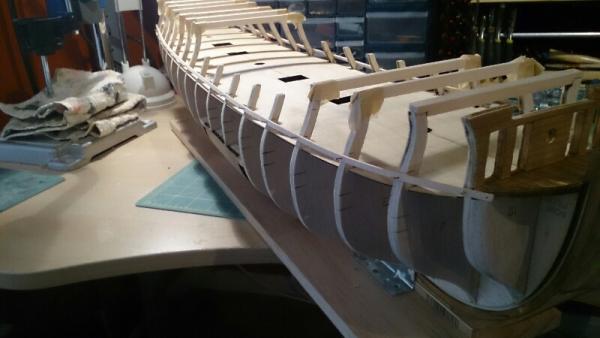
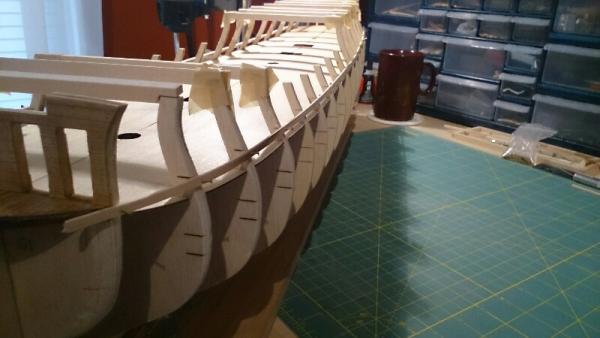
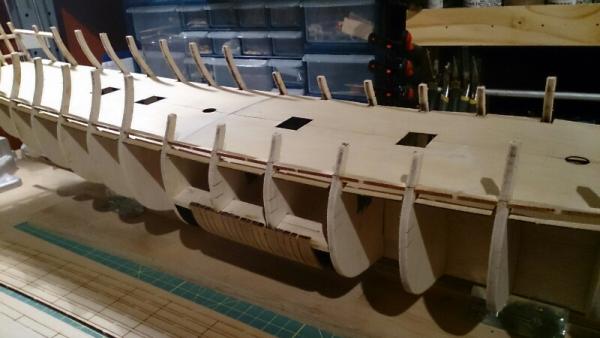
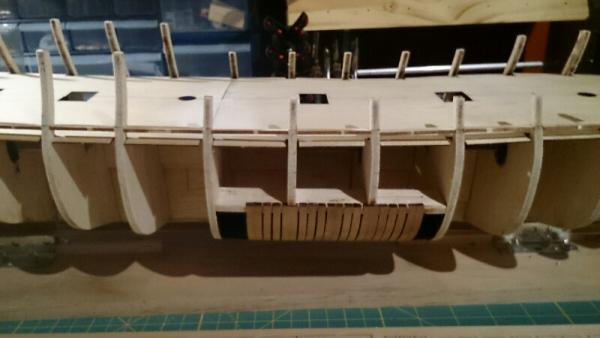
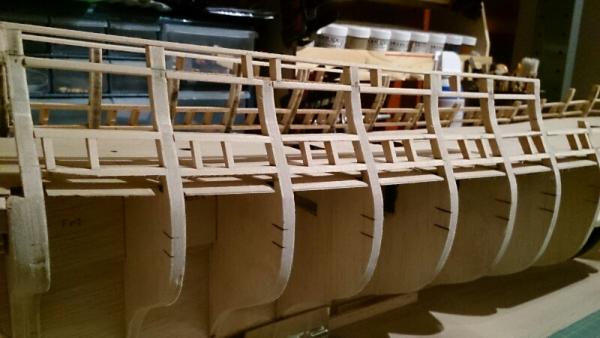
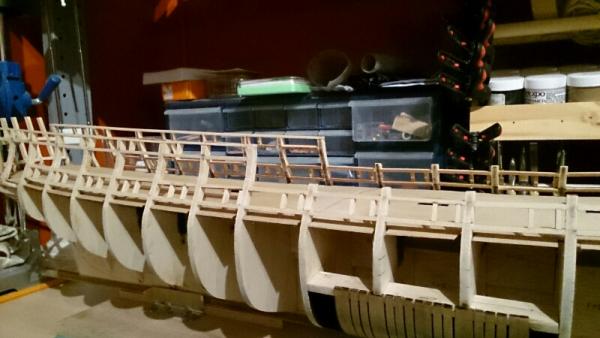
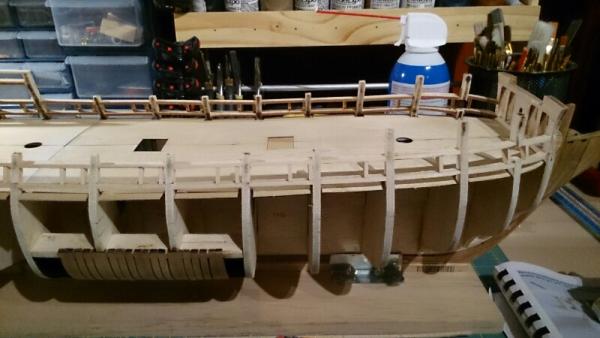
The break I wrote about was a bit longer than expected. LOL. I have been working on the Confederacy, just slowly. I did treenail the hull, which took some time. I then moved onto the stern and quarter galleries, which proceeded with several stops and starts. Of course I broke the cove over the stern lights. Also, for some reason, I just couldn't get the molding to look good on the quarter galleries. I had to redo the molding a couple times. The stern decorations took some time to get to line up correctly, but once done, things looked good. The rudder went quickly and looks good. I completed the rest of hull details before moving on to planking the bulwarks. I did sand the bulwarks down before working on the stern section. The planking was relatively easy, but things are tight in the captain's cabin and I think it would have been easier to plank before closing in the stern. The last thing I have done was install the margin planks and the checkerboard floor. Some pictures on how things look now on the build. Looking at the pics, I did notice some clean up needed on a piece of molding in the stern area that has some paint on it.
-
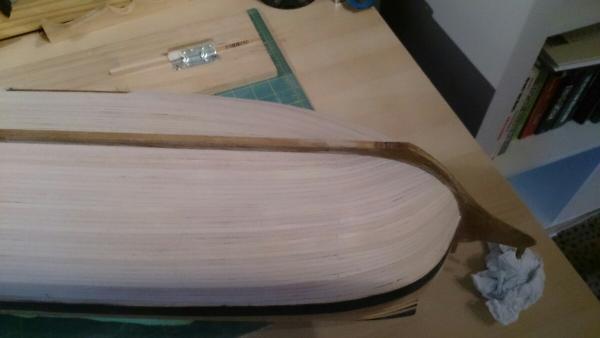
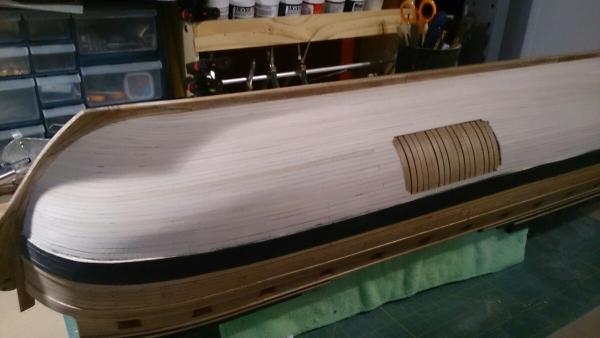
Hi all. I am mostly finished the lower hull. The hull turned out ok. Im going back and forth about treenailing the lower hull. Im not sure if it will be worth the effort. Im kind of burned out on plwnking and the hull. Any thoughts? Other than taht, I still have a bit of clean up to do and then I'm going to apply a natural stain. Pics below
-
Hi all. Time for an update to my Confederacy build. Since the the last post, I stained the hull using a 30% golden oak 70% natural mix like Augie did on his build. (thanks to Augie for the indirect suggestion!). I then did the drilling for the treenails. I did not use the same pattern as Chuck's prototype. I treenailed every other frame. Next, I filled the holes with wood filler after cleaning them out a bit. I resanded the hull to clean up excess filler and applied two more coats of stain. After drying, I taped off around the wales and below the quarterdeck and forecastle. I applied multiple coates of thined hull black paint. After drying, I installed the the fancy molding that was made using the provided scaper. (first time using scrapers and they work great!) The molding was stained the same color as the planks. Next up, a bit of clean up and applying satin polyurethane and get ready to plank below the wales. Pictures of the complete ship below.
-
Hi all! First off, thanks for all the likes and comments. I appreciate it. I have been working on the hull planking for the last month. This is mostly done with a bit more clean up to do. I have also installed the main wnd channel Wales. Next up, some more clean up, install the sweep ports. Then, staining and painting before tree nailing.
-
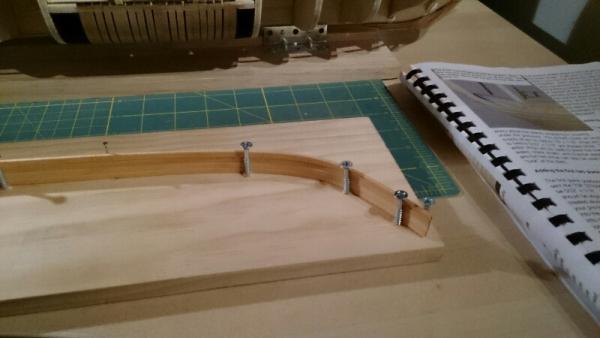
Thanks Augie. The sheaves are a nice detail on the model. Since the last post I painted the gun ports (bulwarks red) installed the lower counter, installed batten strips and made sure everything was straight. I made the jig to pre-bend the planks. The pic below shows the first strips (5/32" x 1/16") in the jig drying.
-
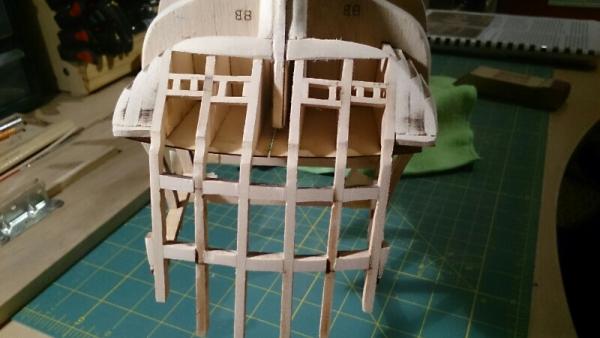
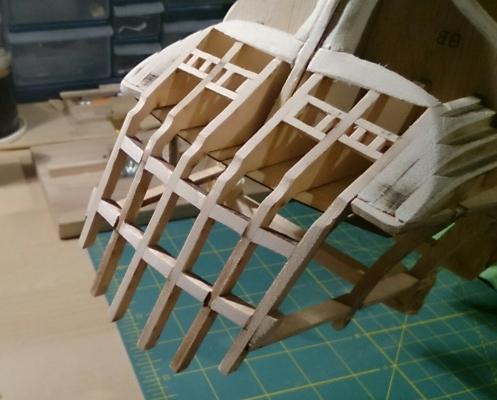
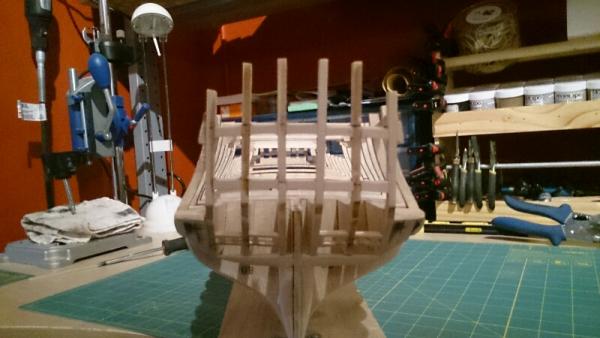
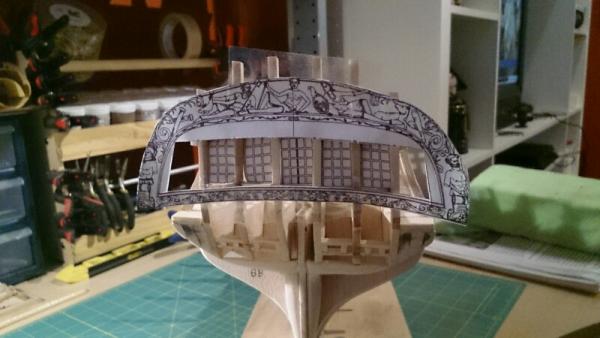
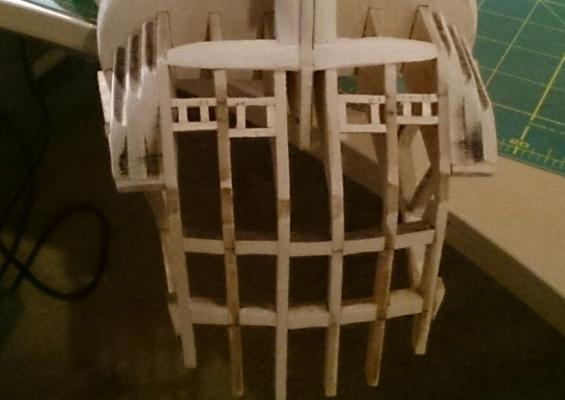
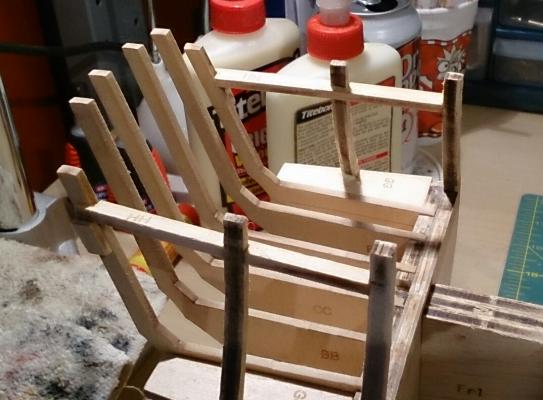
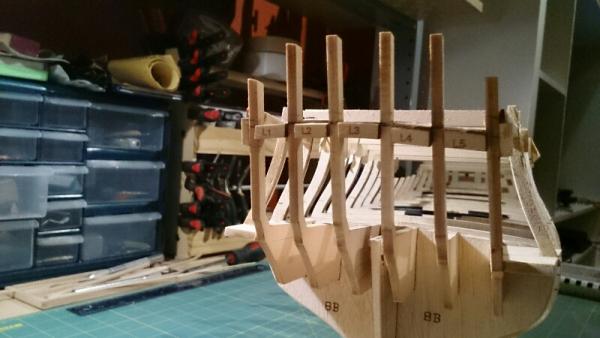
Time for an update. I have spent the last couple days working on the stern framing. The sills were positioned and glued in place. Sanded everthing down and used the templates to check size. The window widths look good. The height still needs some adjustments, but I think i will finish this up when I am actually installing the windows. Also, quarter fillers were installed and stern ports on the lower counter were installed. Again, using the template to check for position. Lastly, the filler stips were installed under the stern counter and faired. The look good, but im sure final adjustments will be needed once planking starts. Now on to the false deck.
-
Hi Ben and thanks! I did notice some issues with the stern in some of the build logs. I have been doing as you suggested and taking this part very slow. I already caught a mistake I made with the position of the HH frame position. I was able to fix before glue set. Also, the L4 lintel is a bit off, but I think this be corrected when I fair the sections. I do appreciate the advice and will certainly pm with any questions! Mark
-
Ben, Thanks. I sanded the frames down and cleand up the gap. Attached is the frames with stain applied. Still see a bit of a seam, but im happy with the look. A bit more sanding will be done to clean up a bit before applying poly finish. I also started framing the stern. Slow going.... Work getting in the way of building!
-
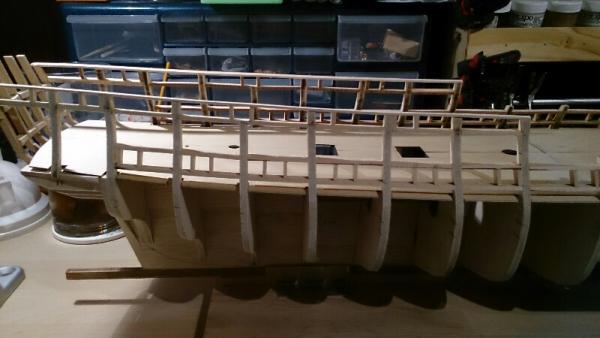
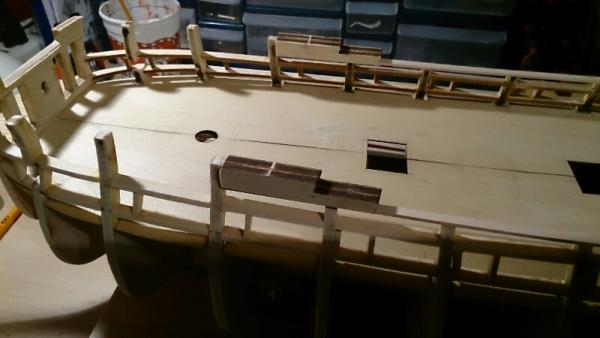
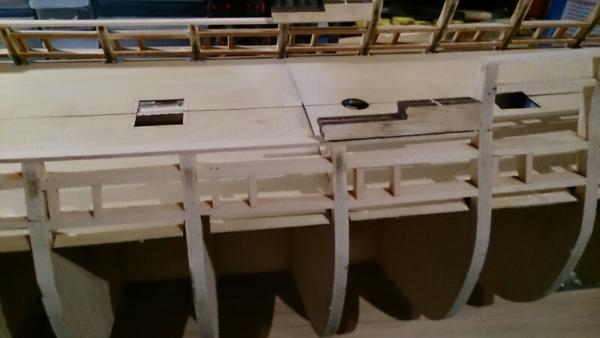
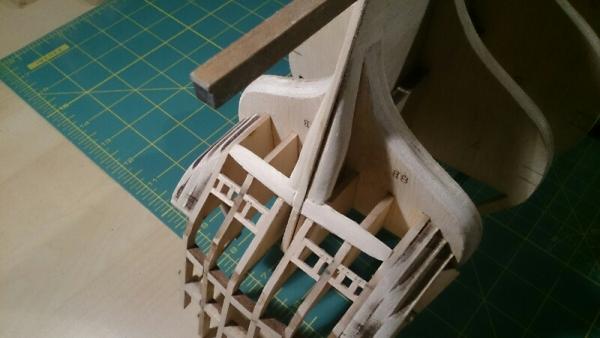
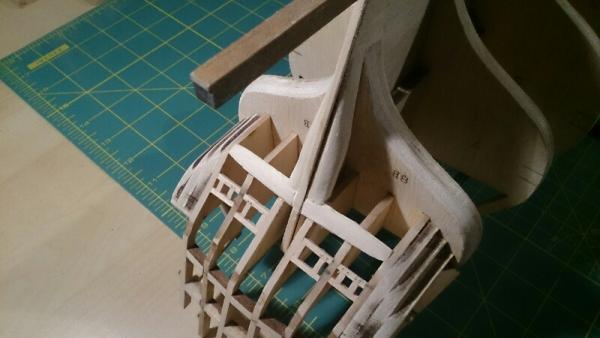
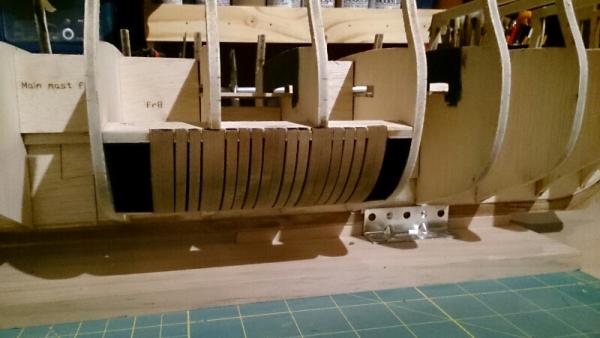
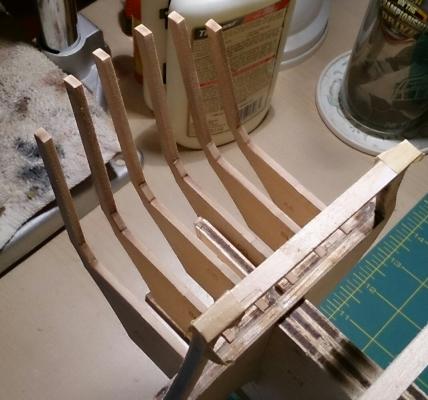
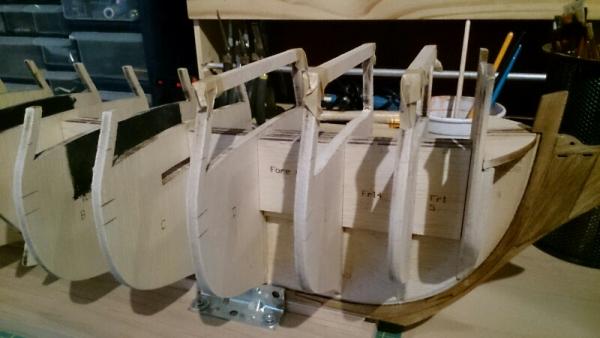
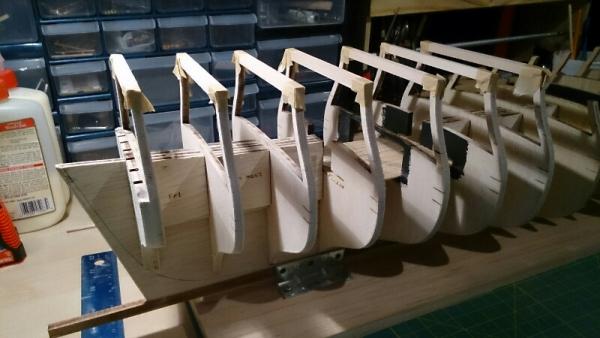
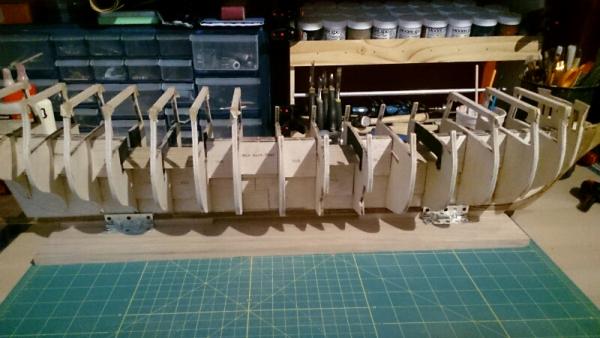
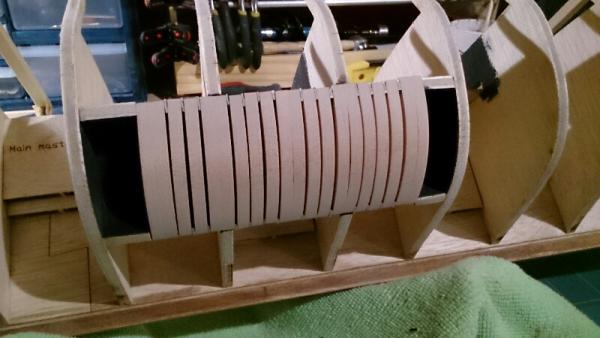
I have spent the last couple days fairing the hull on the Confederacy. As suggested, by the excellent instructions that come with the kit, I checked the process using a 1/16 x 1/8 strip and corrected any bumps. I then assembled the shadow box and installed the frame for the cut-away. I sanded the frames down and they follow the line of the hull. Next, I will stain the frames with golden oak. Framing the stern comes next.
About us
Modelshipworld - Advancing Ship Modeling through Research
SSL Secured
Your security is important for us so this Website is SSL-Secured
NRG Mailing Address
Nautical Research Guild
237 South Lincoln Street
Westmont IL, 60559-1917
Model Ship World ® and the MSW logo are Registered Trademarks, and belong to the Nautical Research Guild (United States Patent and Trademark Office: No. 6,929,264 & No. 6,929,274, registered Dec. 20, 2022)
Helpful Links
About the NRG
If you enjoy building ship models that are historically accurate as well as beautiful, then The Nautical Research Guild (NRG) is just right for you.
The Guild is a non-profit educational organization whose mission is to “Advance Ship Modeling Through Research”. We provide support to our members in their efforts to raise the quality of their model ships.
The Nautical Research Guild has published our world-renowned quarterly magazine, The Nautical Research Journal, since 1955. The pages of the Journal are full of articles by accomplished ship modelers who show you how they create those exquisite details on their models, and by maritime historians who show you the correct details to build. The Journal is available in both print and digital editions. Go to the NRG web site (www.thenrg.org) to download a complimentary digital copy of the Journal. The NRG also publishes plan sets, books and compilations of back issues of the Journal and the former Ships in Scale and Model Ship Builder magazines.


