Hello all, I got a start on my first wooden ship model over the weekend. I have had a great time so far, with a few frustrating moments created by myself, an injury at the dockyard and a realization I am terrible at small scale painting.
I do have some modelling experience, I built quite a few plastic model airplanes, cars, and military equipment in my youth so I do know some techniques but it has been 20 years since my last model, and as I have found out wood is a completely different animal.
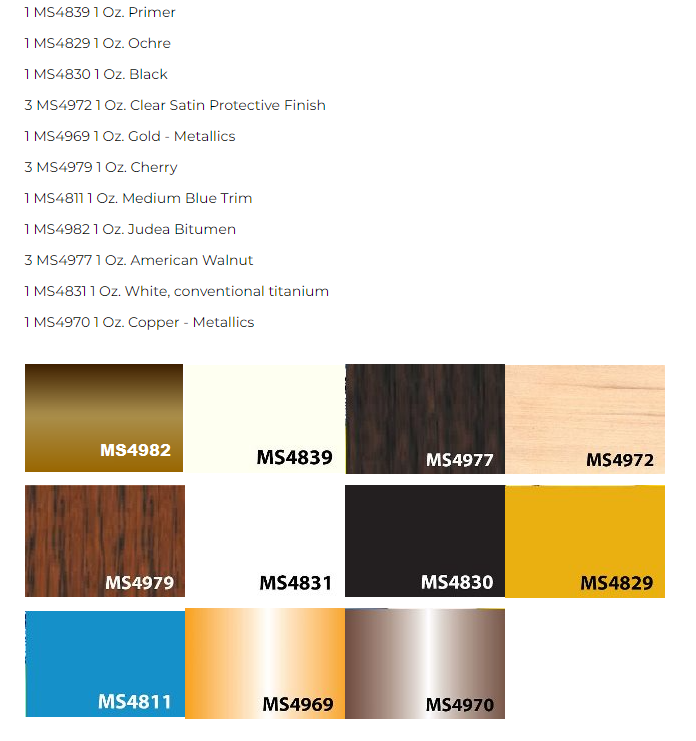
I do have some questions on the paint colors, other than the picture on the box it doesn't seem like there is any guide in the instructions on what color parts should be painted. I bought a paint kit for HMS beagle from Model Expo, but I'm just not sure what colors should be used for, I could definitely use a hand explaining some of these colors I have never heard of.
I'm still learning sailing/ship terminology so please be patient If I name something incorrect.
Anyways here is my start on the HMS Beagle log.
Here are the colors that came in my kit, any help on these would greatly be appreciated.
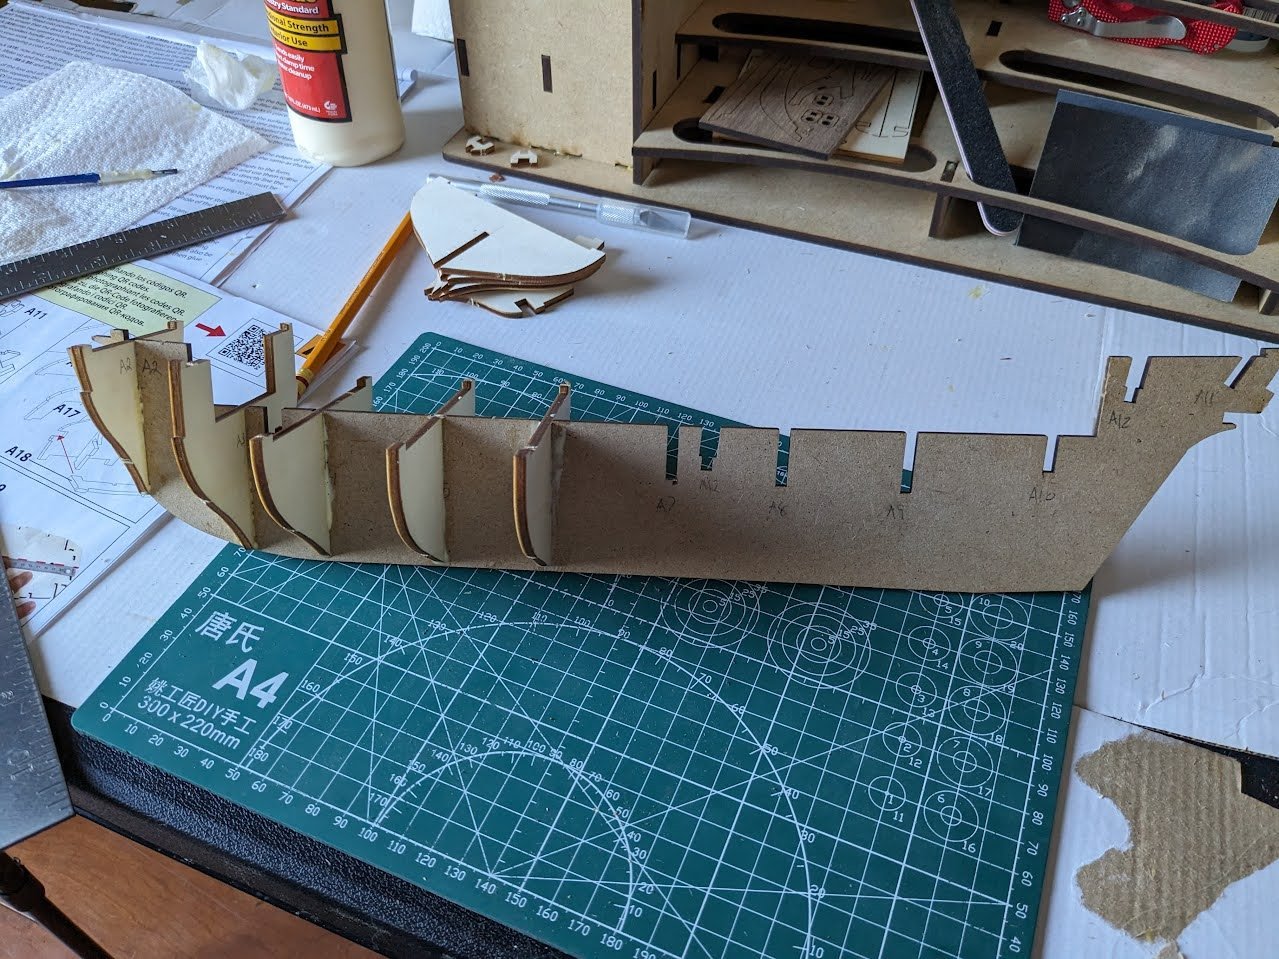
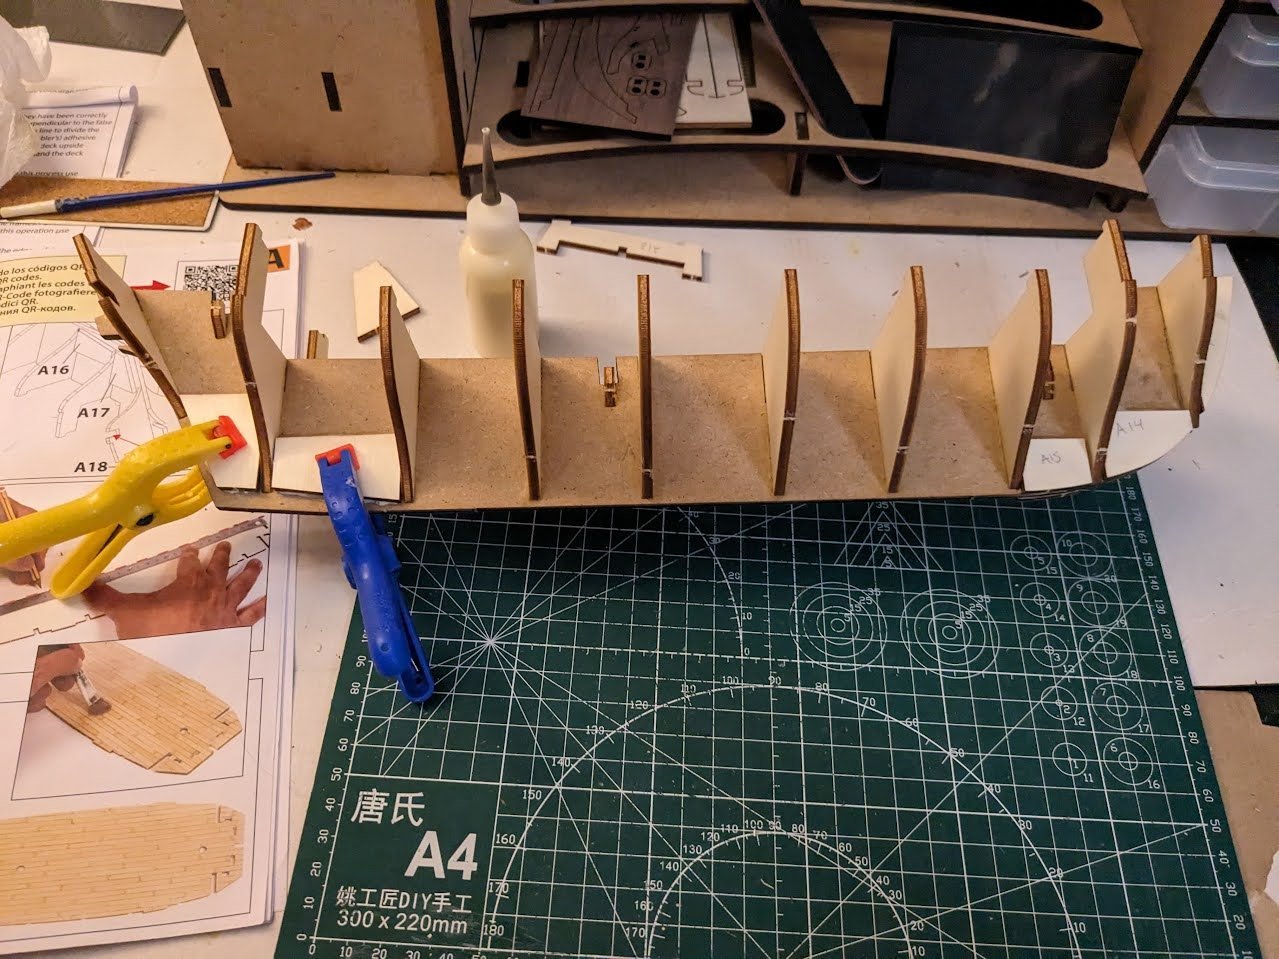
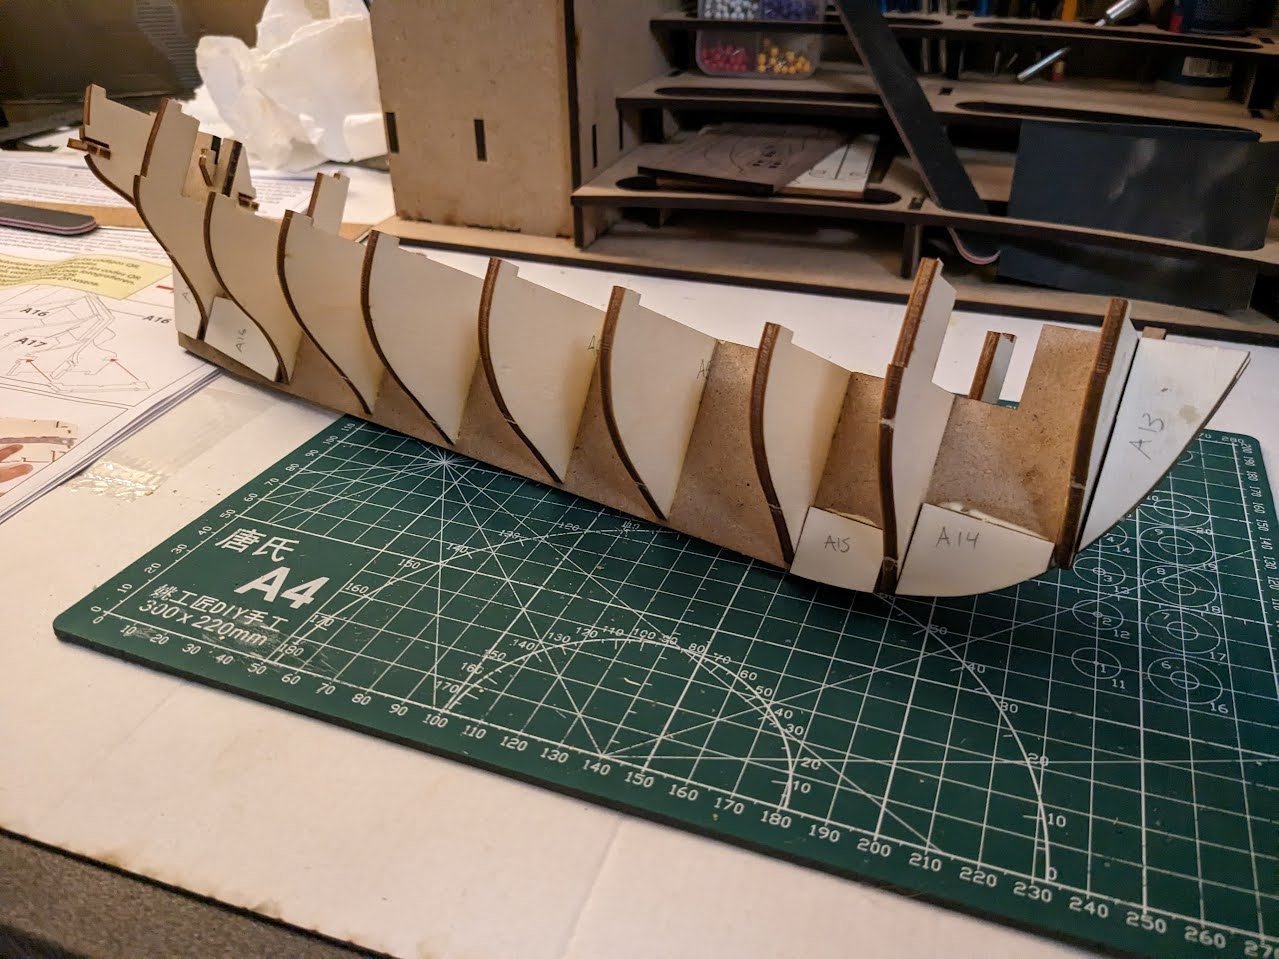
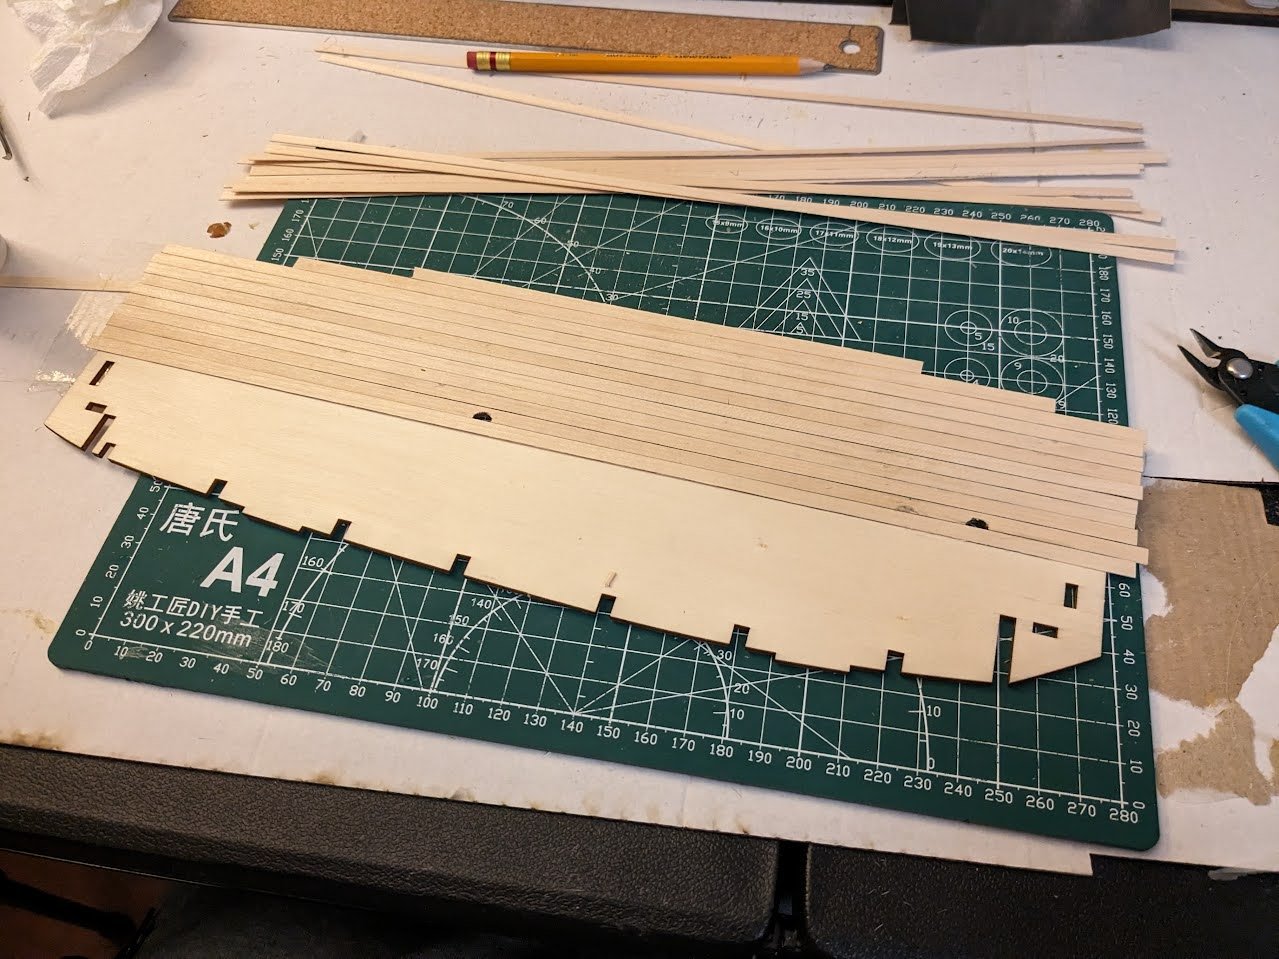
Here is the assembly of the skeleton of the ship, nothing much to look at yet just lots of glue and making sure pieces are squared away.
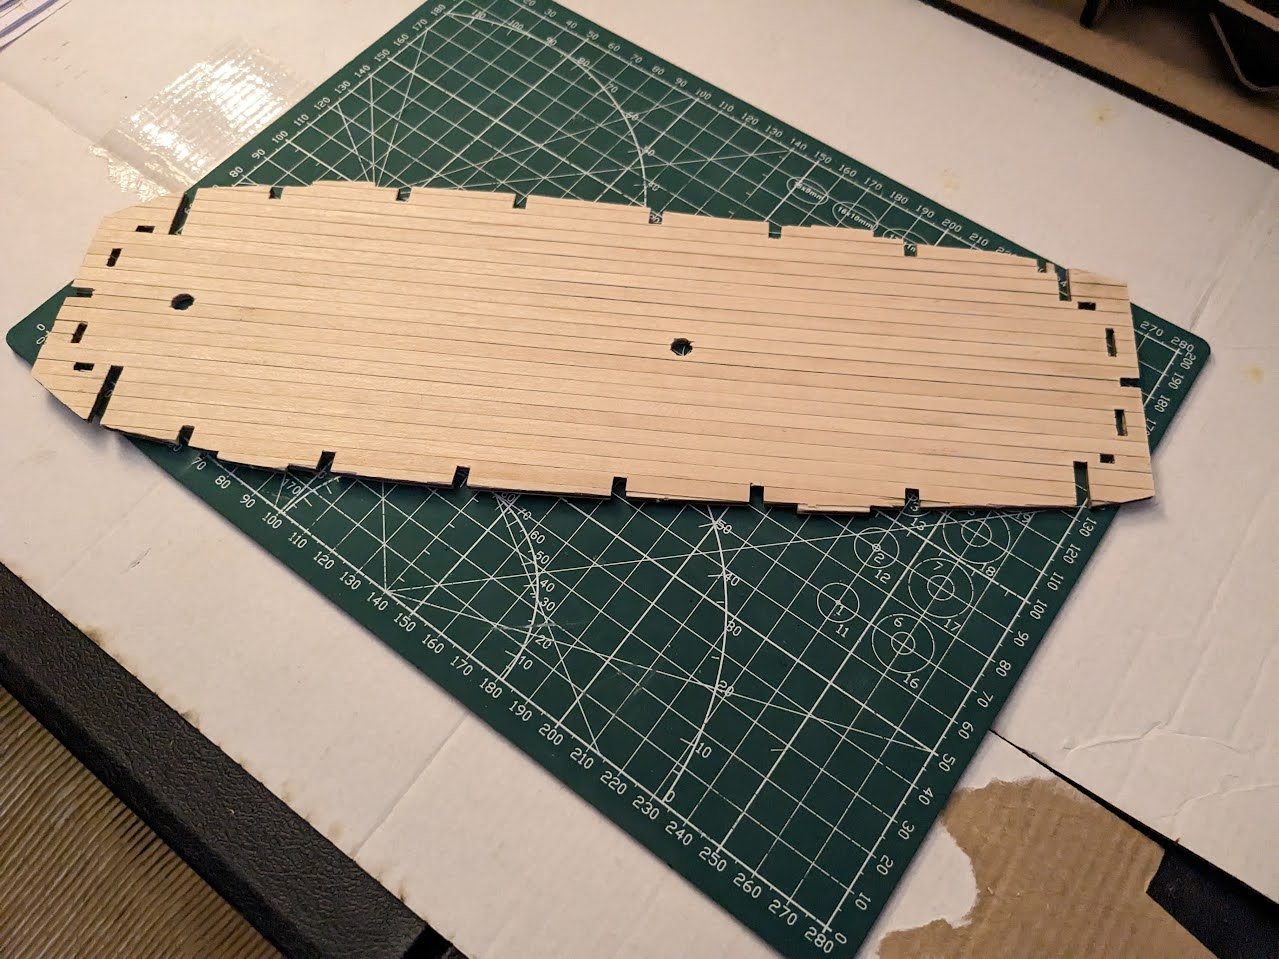
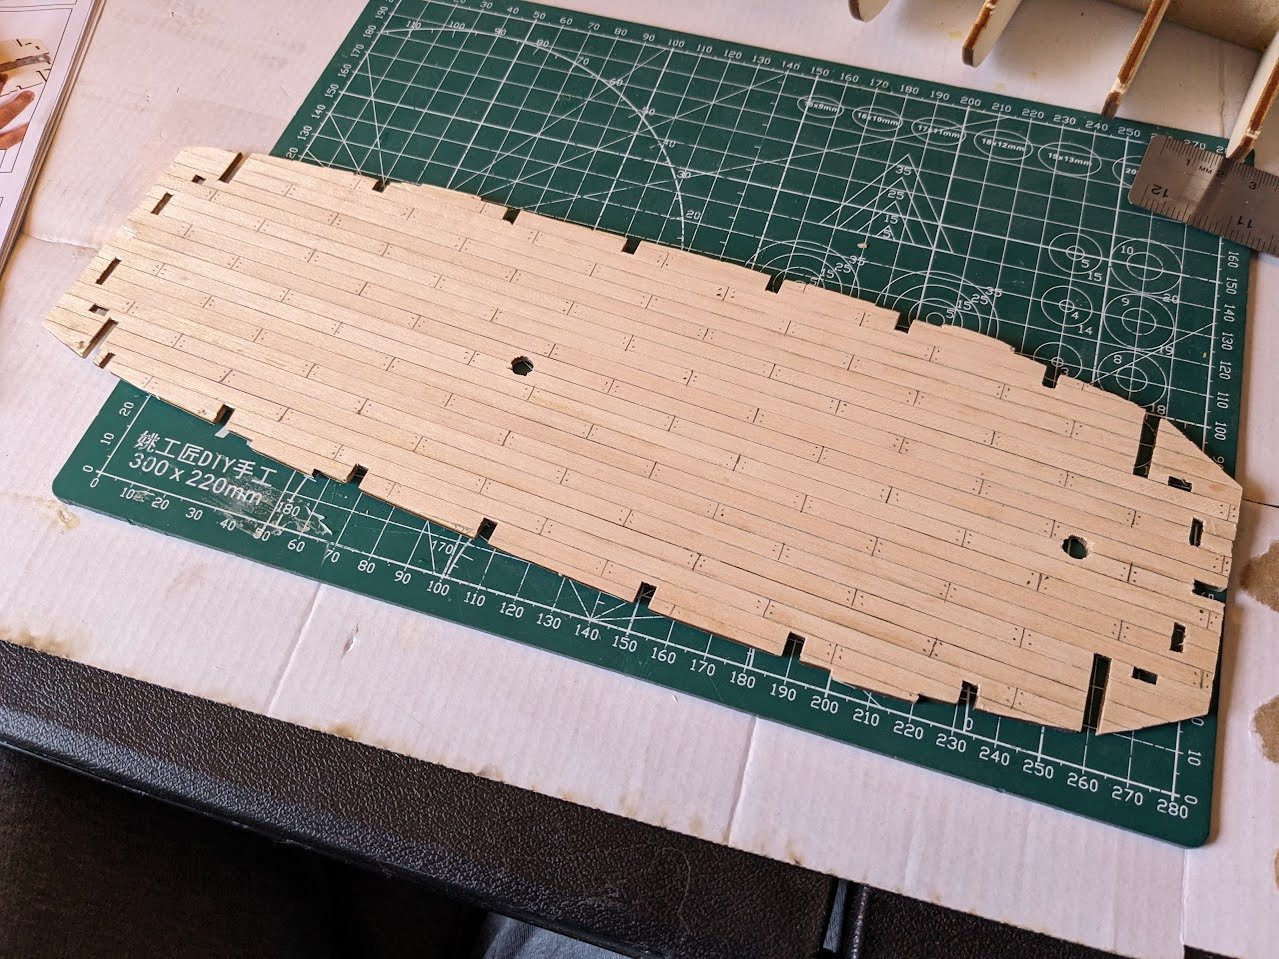
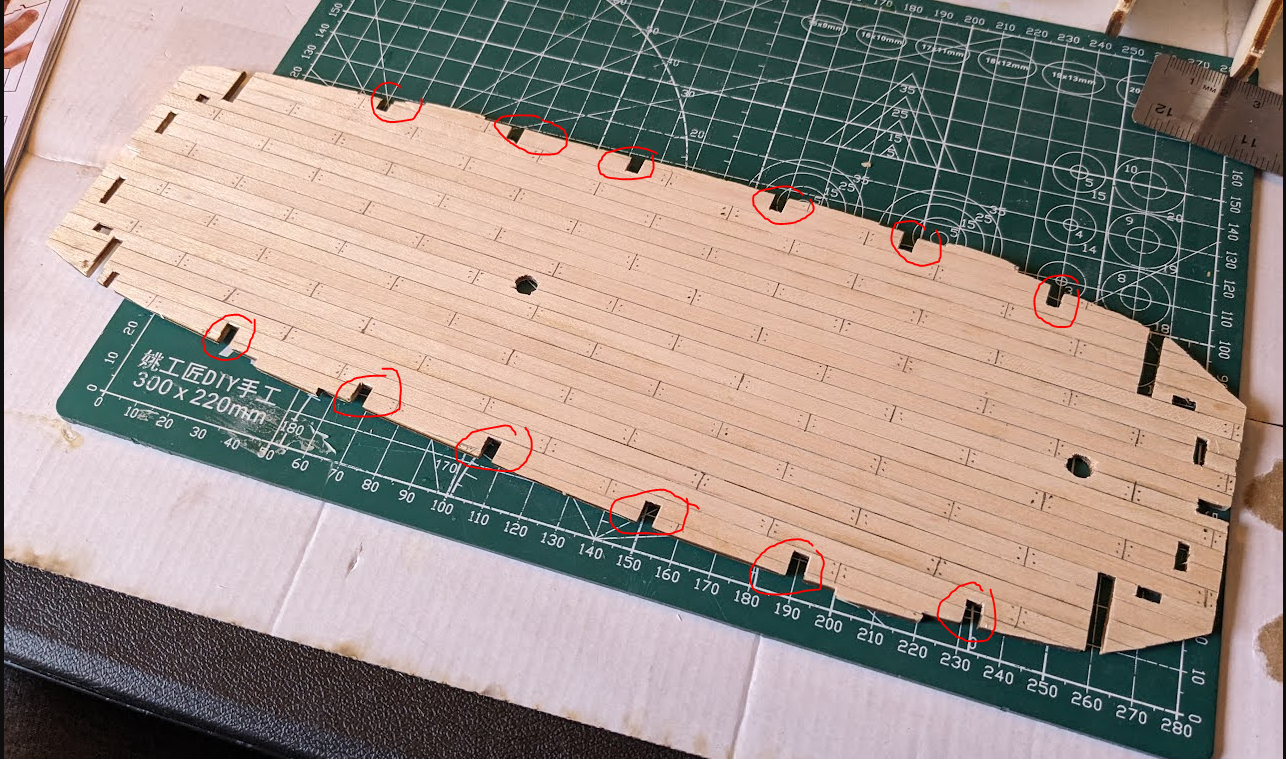
Once I had the frame glued together my next step was to start planking the deck. I used a pencil to line the boards, and then lined them at 60mm and added nails. I know the pencil caulking and nails are controversial, but I wanted to try the process out for myself and see how it looked. Veterans of this kit will notice a mistake I made at this point, I still wouldn't notice it for another night.
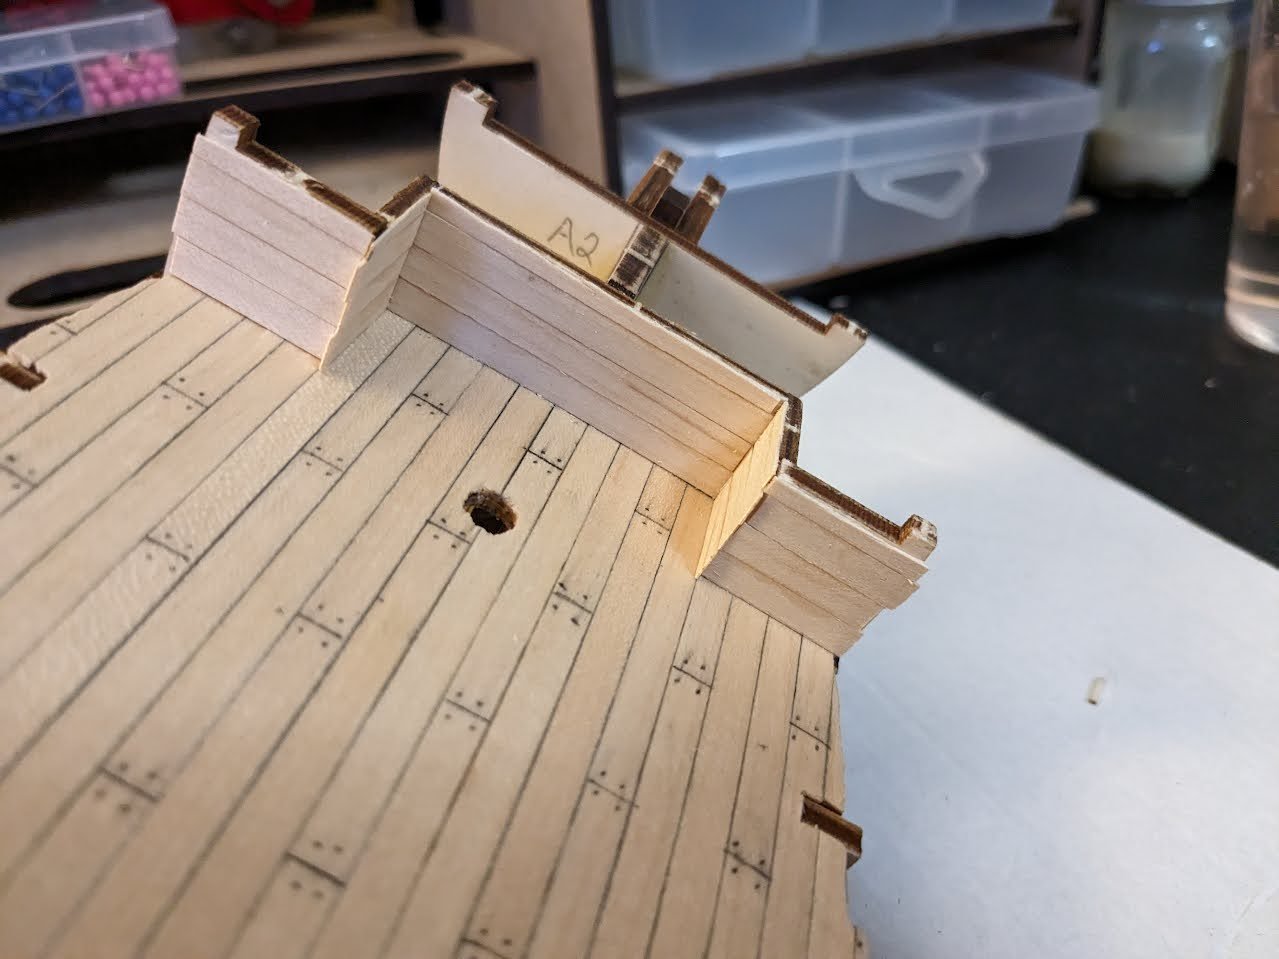
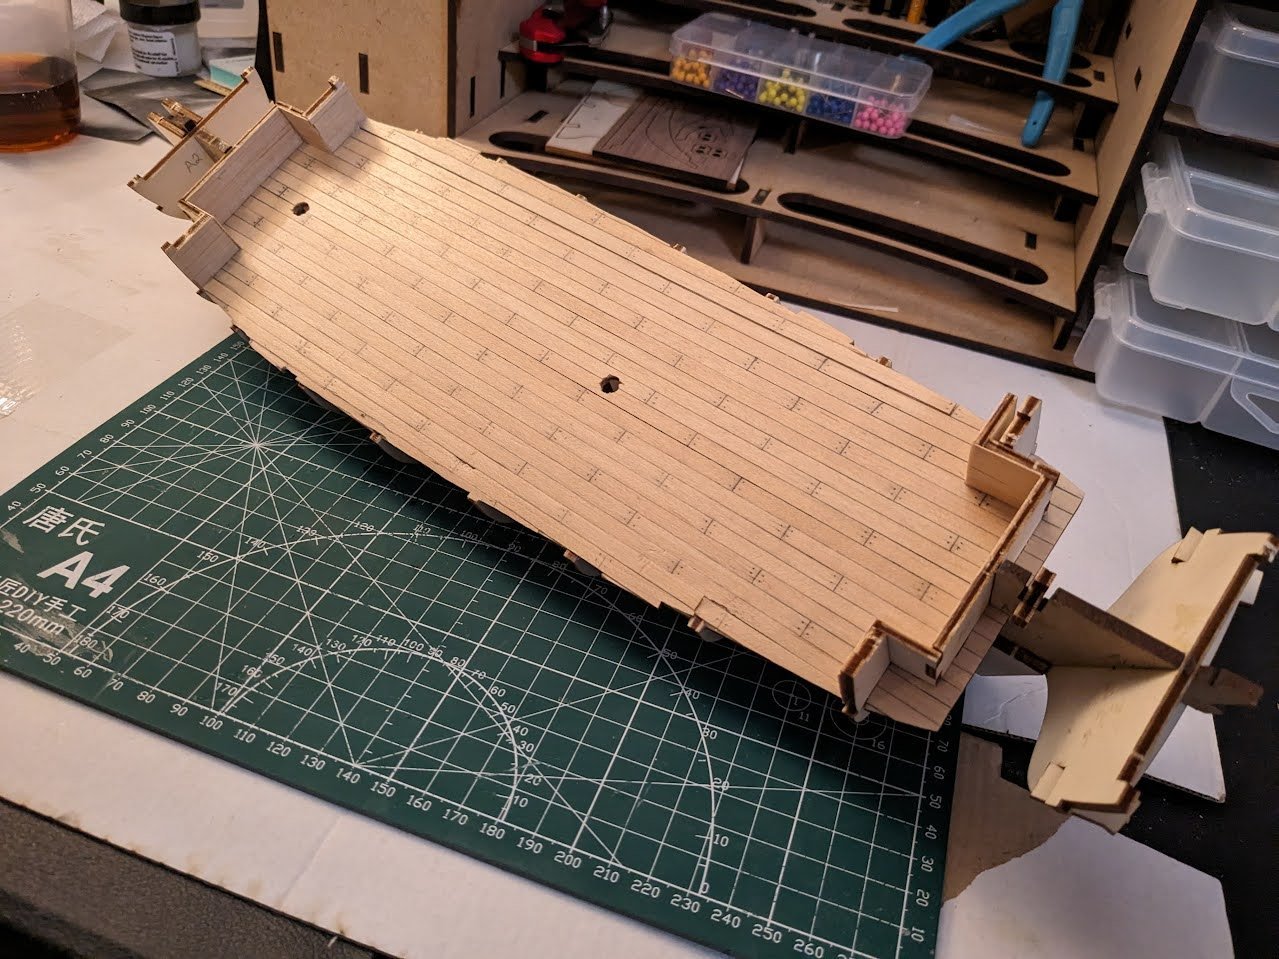
The next day I started to assemble to fore and aft interior ship walls and started to add planks to the walls.
After dinner I sat down and started to look over the instructions, I then noticed my deck looked "off" compared to the instructions, and it hit me that I got a little carried away trimming the deck cutouts. Maybe I shouldn't watch American Football Playoffs while I work on the model......
This is where the dock workers should have stopped for the night and started fresh the next morning. A little frustrated at my mistake I decided to try and see if I could pull up a few of the planks and replace them. The only tool I could find to fit the job of prying the piece up was a razor blade, I got one piece up without too much trouble and then started on the second piece. This is when the razor blade slipped out from the wood and straight into my right hand behind my thumb, it was a very deep cut. The dock medic quickly came over and we cleaned the wound and closed it up with some super glue, no workers comp granted for this dock worker.
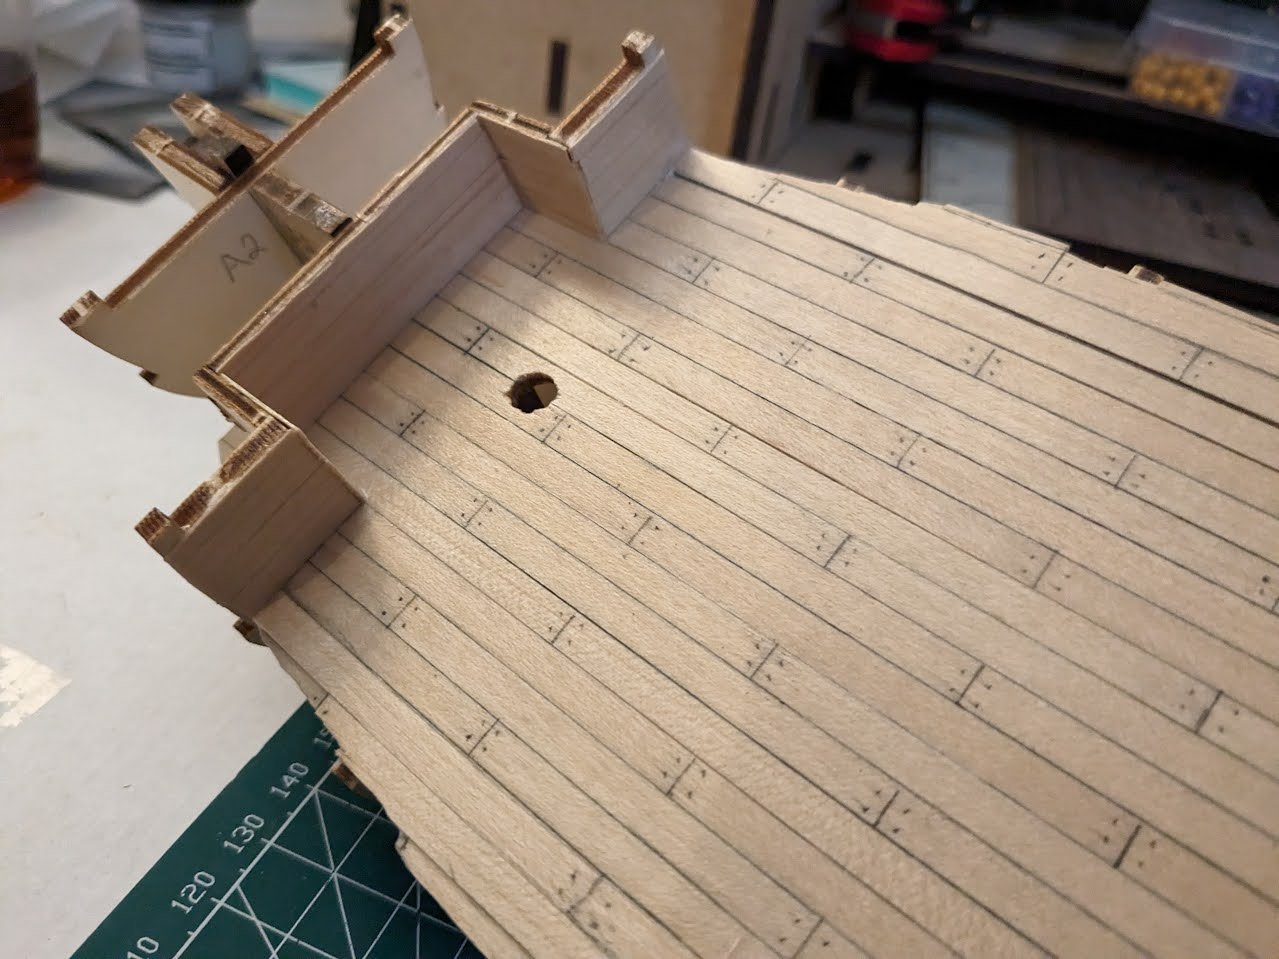
Getting back to the model I decided just adding planks on top of the old planks and sanding them down a bit was the safest solution. The spouse says you can hardly notice the mistake, but as most model builders know your own mistakes are the most obvious.
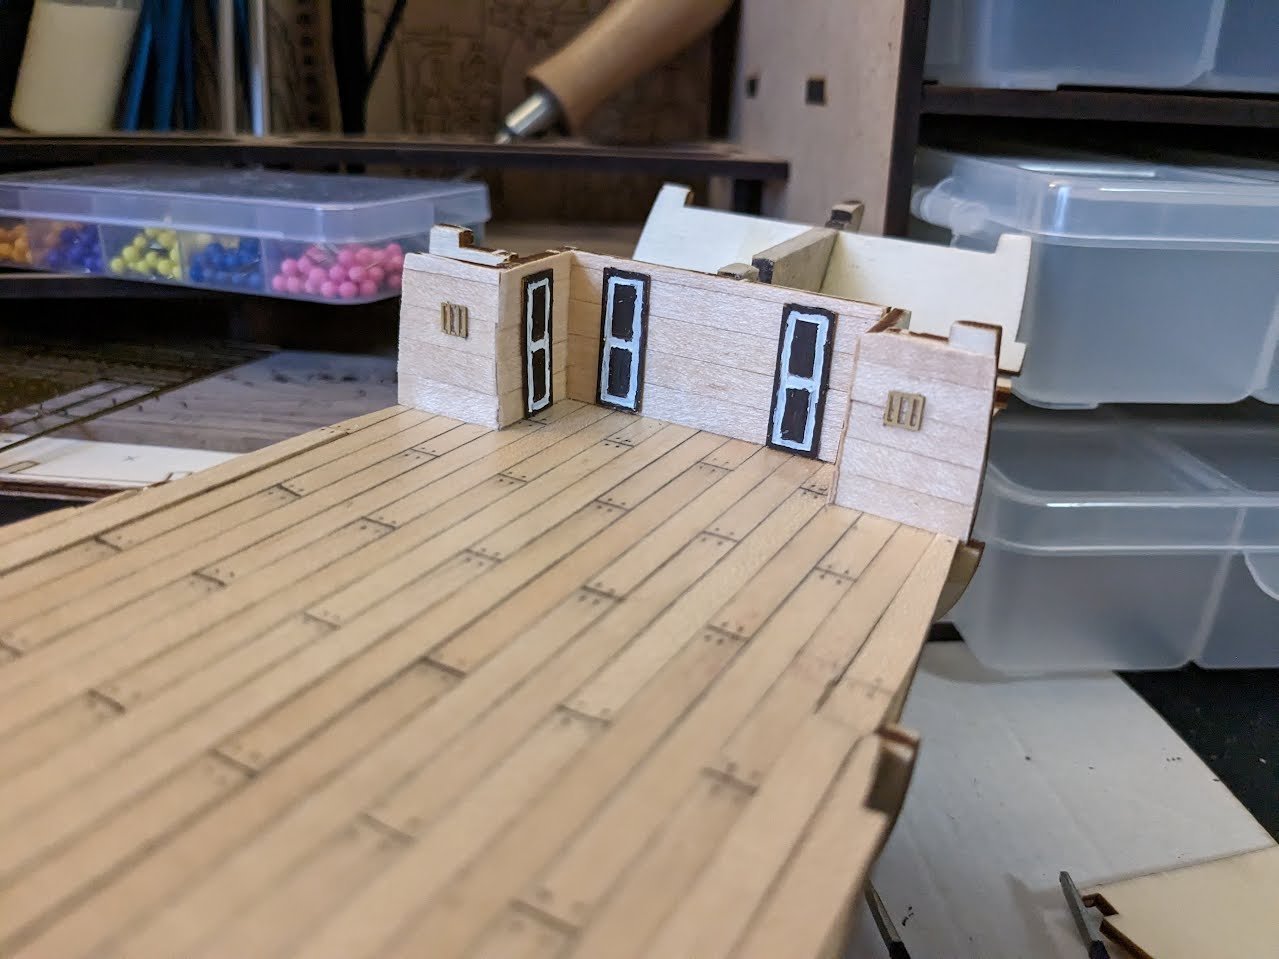
I also finished planking the fore and aft walls, you can also see a closer view of my correction, not super noticeable from afar, but if you inspect closely you can see the extra wood.
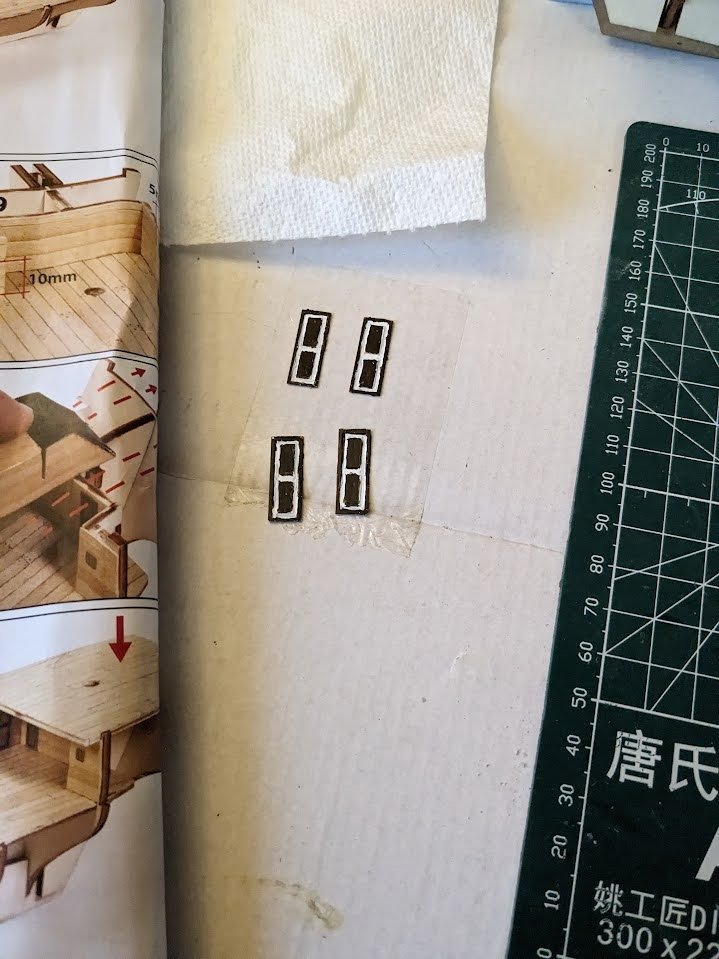
Next up was the doors. I wasn't a fan of the solid laser cut brass doors and couldn't find much info on what color the doors should be so I settled on using the American Walnut paint (not stain) that came with the kit and giving it a white outline to kind of match the ships color. I have not painted with material this small in a long time, and I understand why so many of you have magnifying glasses now. My doors look terrible, but I came to the conclusion that it was the best I personally could do with what I have, and to not spend too much time getting hung up on them. I'm still not satisfied and may come back to them, but I'm really not sure I will be able to do much better.
That's all I have for now. If you read through all of that, I appreciate your time. I am new to the hobby so any advice, tips, hints are greatly appreciated. Being a new student is one of the most fun parts of a new hobby. My main lesson I've learned so far is you really need to pay attention to the instructions on these kits, and I am starting to follow other Beagle build logs to help along the way.


 I have started watching this series as well, he seems to give lots of great tips for beginners.