Phez
-
Posts
8 -
Joined
-
Last visited
-
 ccoyle reacted to a post in a topic:
Skiff by Phez - Midwest Products/Model Shipways - 1:12
ccoyle reacted to a post in a topic:
Skiff by Phez - Midwest Products/Model Shipways - 1:12
-
JacquesCousteau reacted to a post in a topic:
Skiff by Phez - Midwest Products/Model Shipways - 1:12
-
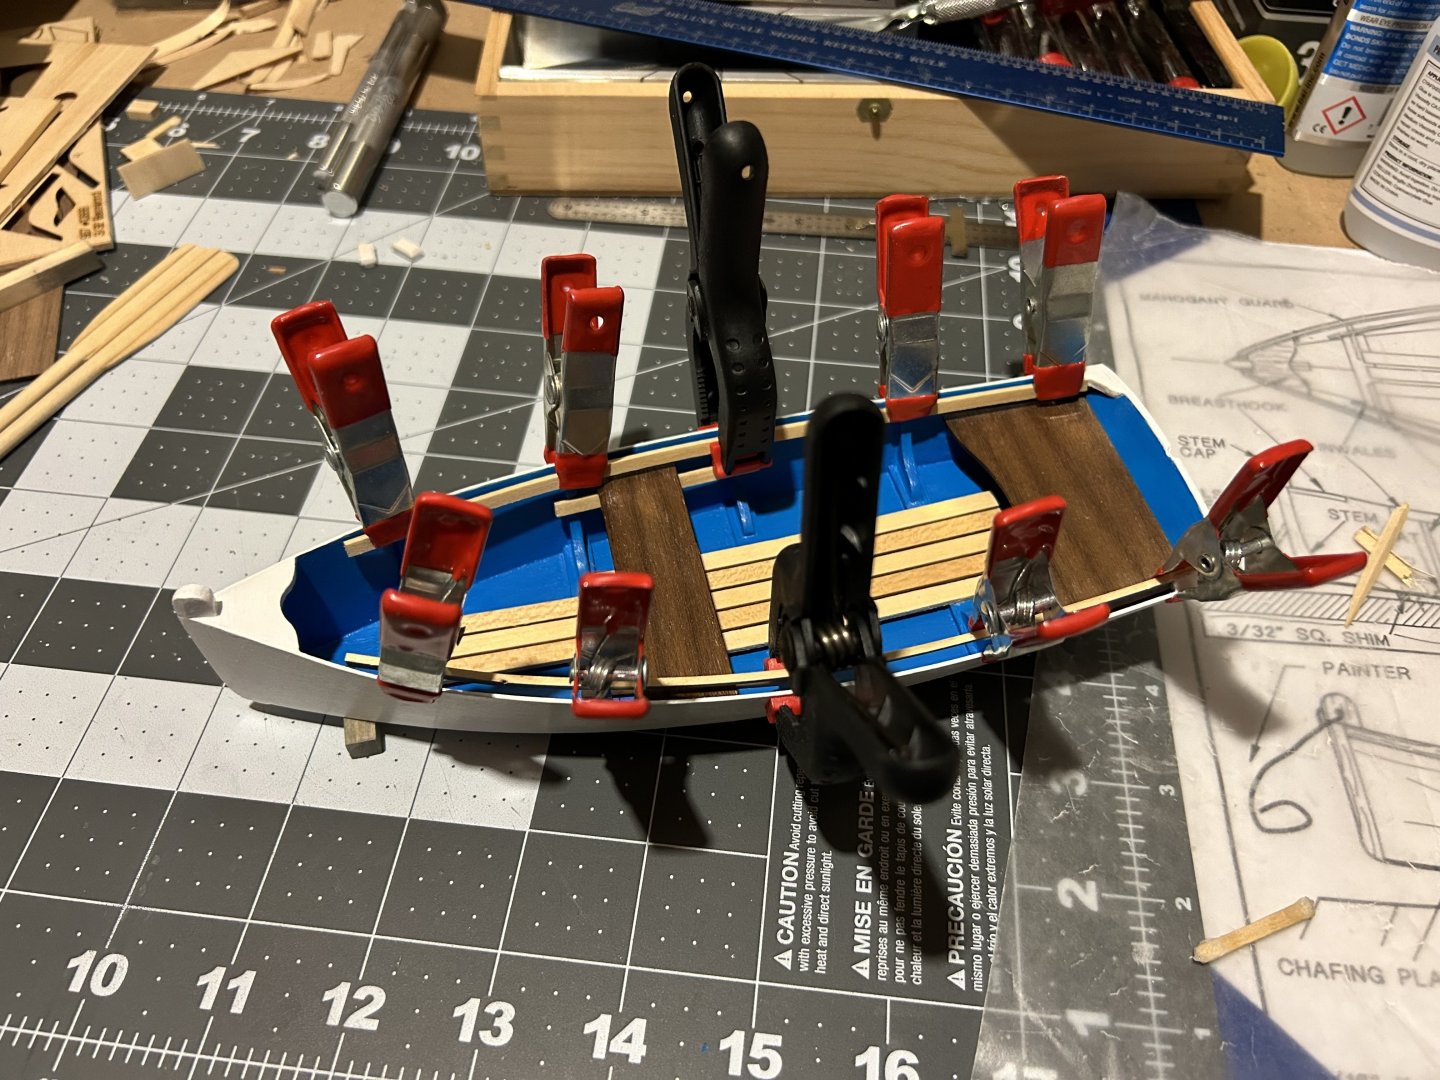
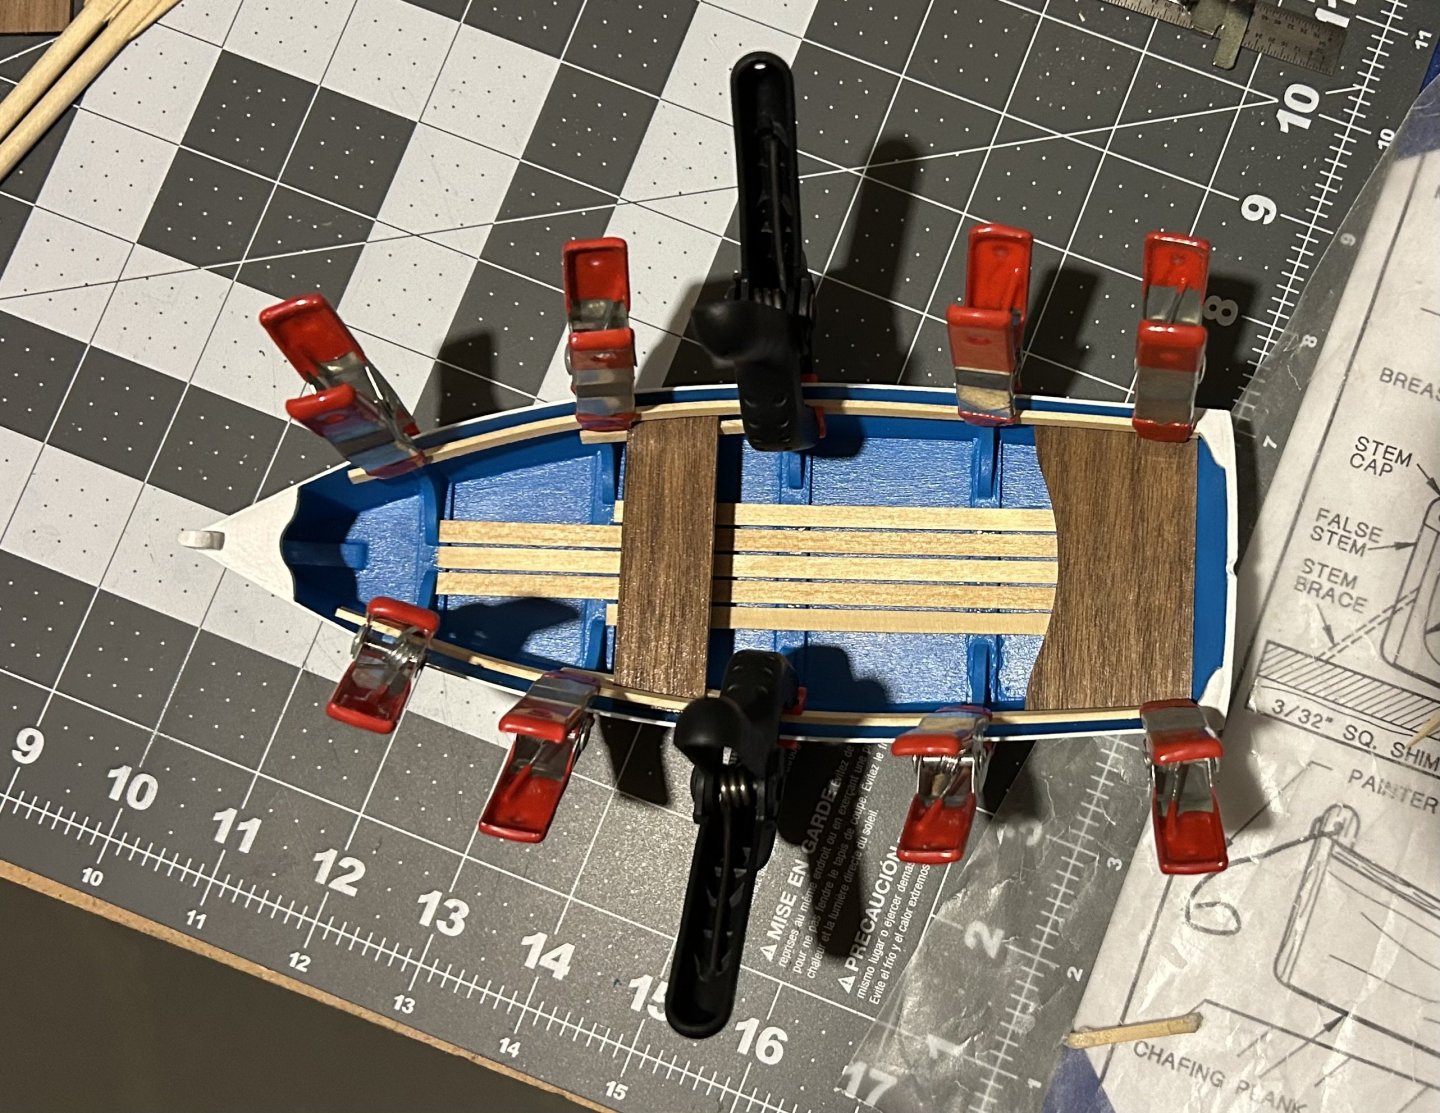
I’m continuing to chip away at this and the finish line is definitely in sight. The seats went in fairly easily but with the center seat I realized after the glue started to grab that I probably didn’t get as much in contact with the risers as I would have liked. I basically applied the glue right along the edge of the seat whereas the contact point is probably an 1/8” in from the edge. I didn’t want to try to pop it off and damage the seat or one of the risers so I left it and added a tiny drop of thin CA into the gaps between the seat and hull. If you look closely you can see where i applied it on one side but the other came out clean so i guess I’ll call it a win. I was expecting the inwales to take some finagling to get into place and aligned properly but it was actually pretty easy. I’ll be able to get a better look when I get the clamps off, but from what I can tell at the moment, they’re right where they should be and I shouldn’t have too much excess glue to scrape. A couple more nights and we should be home free.
- 8 replies
-
- 2
-
-
- Skiff
- Midwest Products
- (and 1 more)
-
Ryland Craze reacted to a post in a topic:
Skiff by Phez - Midwest Products/Model Shipways - 1:12
-
robert952 reacted to a post in a topic:
Skiff by Phez - Midwest Products/Model Shipways - 1:12
-
robert952 reacted to a post in a topic:
Skiff by Phez - Midwest Products/Model Shipways - 1:12
-
robert952 reacted to a post in a topic:
Skiff by Phez - Midwest Products/Model Shipways - 1:12
-
robert952 reacted to a post in a topic:
Skiff by Phez - Midwest Products/Model Shipways - 1:12
-
Phez reacted to a post in a topic:
Skiff by Phez - Midwest Products/Model Shipways - 1:12
-
Knocklouder reacted to a post in a topic:
Skiff by Phez - Midwest Products/Model Shipways - 1:12
-
JacquesCousteau reacted to a post in a topic:
Skiff by Phez - Midwest Products/Model Shipways - 1:12
-
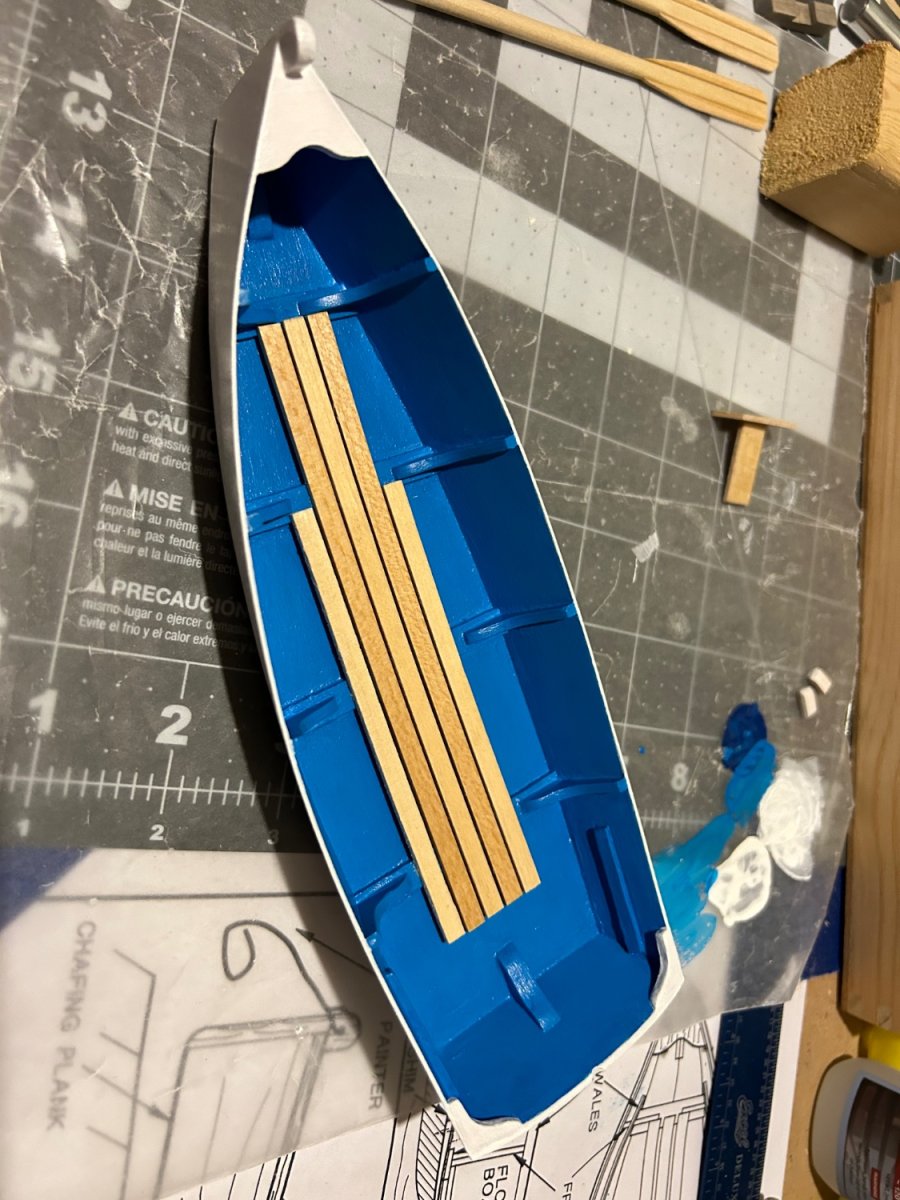
It’s certainly been a minute since my last update. Work and some sick kids kept me away for a few weeks. To make matters worse, I dropped the model 3+ feet to the floor and dented the stem slightly, which required more sanding and repainting. The interior is still much darker than I would like but it’s better than it was and I felt I just had to move on at this point. Tonight I managed to get the floor boards down and with those in place, I feel like the blue is a little less obnoxious. Hopefully as the seats and other details get added, it will continue to soften the look. I realized after the fact that I used the wrong scrap wood for spacers (1/32 instead of 1/8) so the boards are a little tight, though looking at the end product, I’m not sure they all would have fit at 1/8” spacing.


- 8 replies
-
- 3
-
-
- Skiff
- Midwest Products
- (and 1 more)
-
Harvey Golden reacted to a post in a topic:
Skiff by Phez - Midwest Products/Model Shipways - 1:12
-
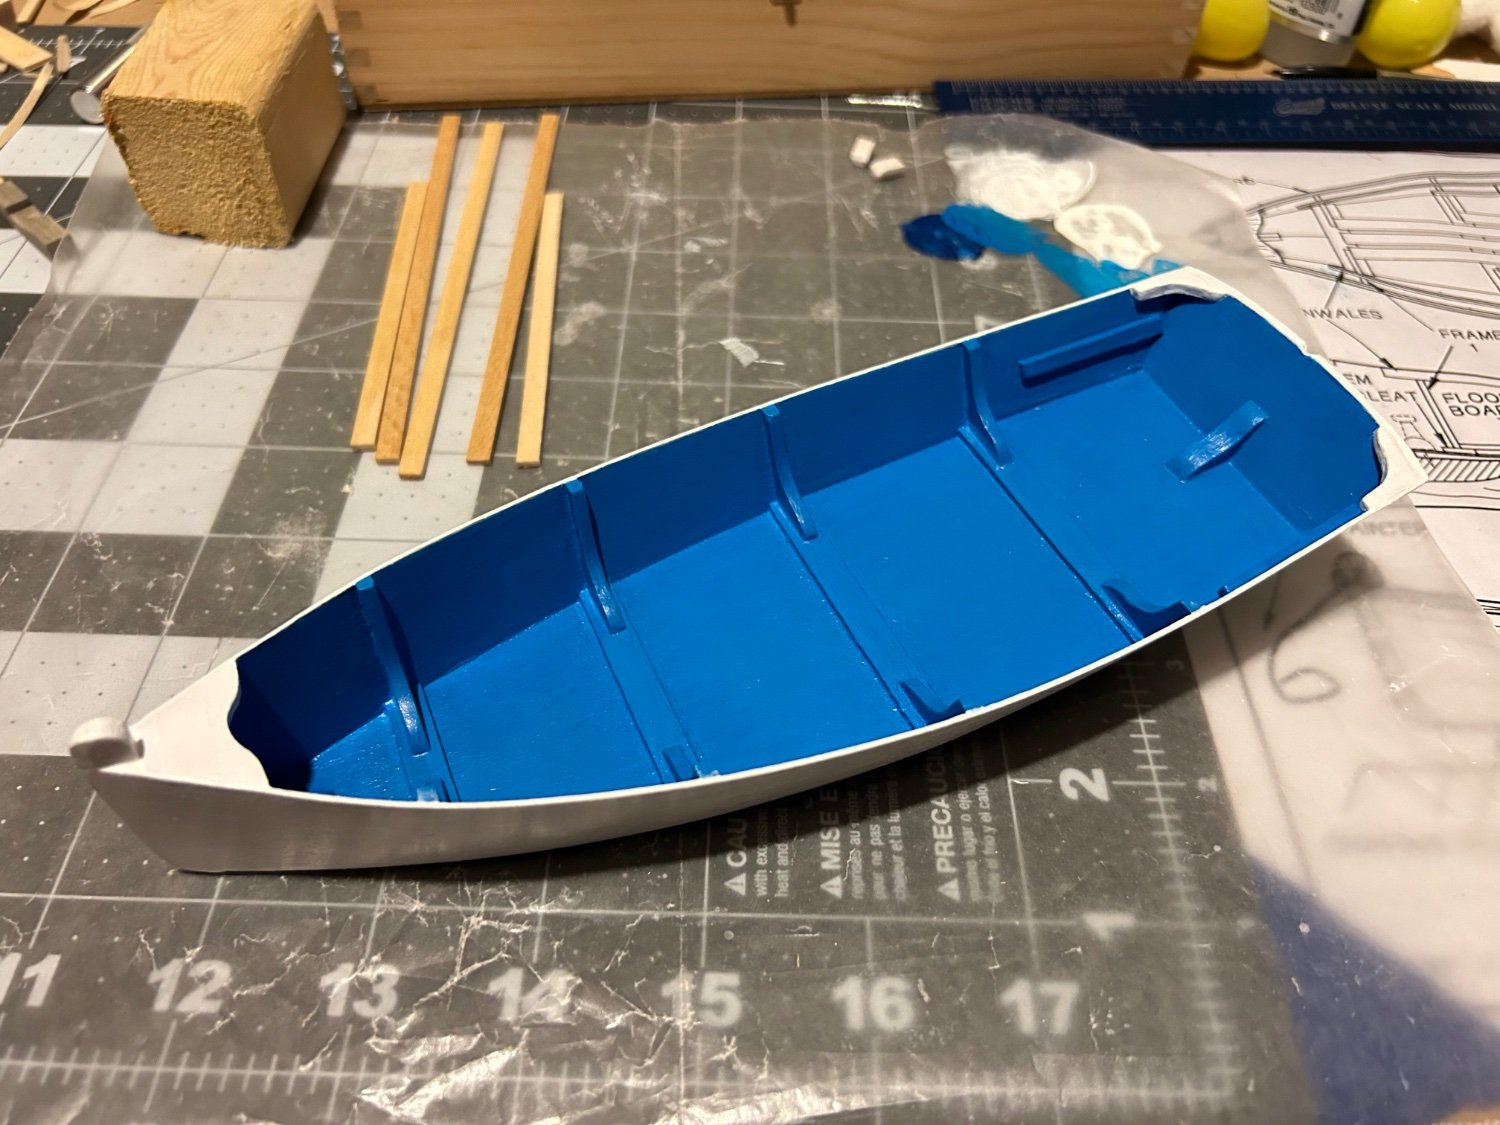
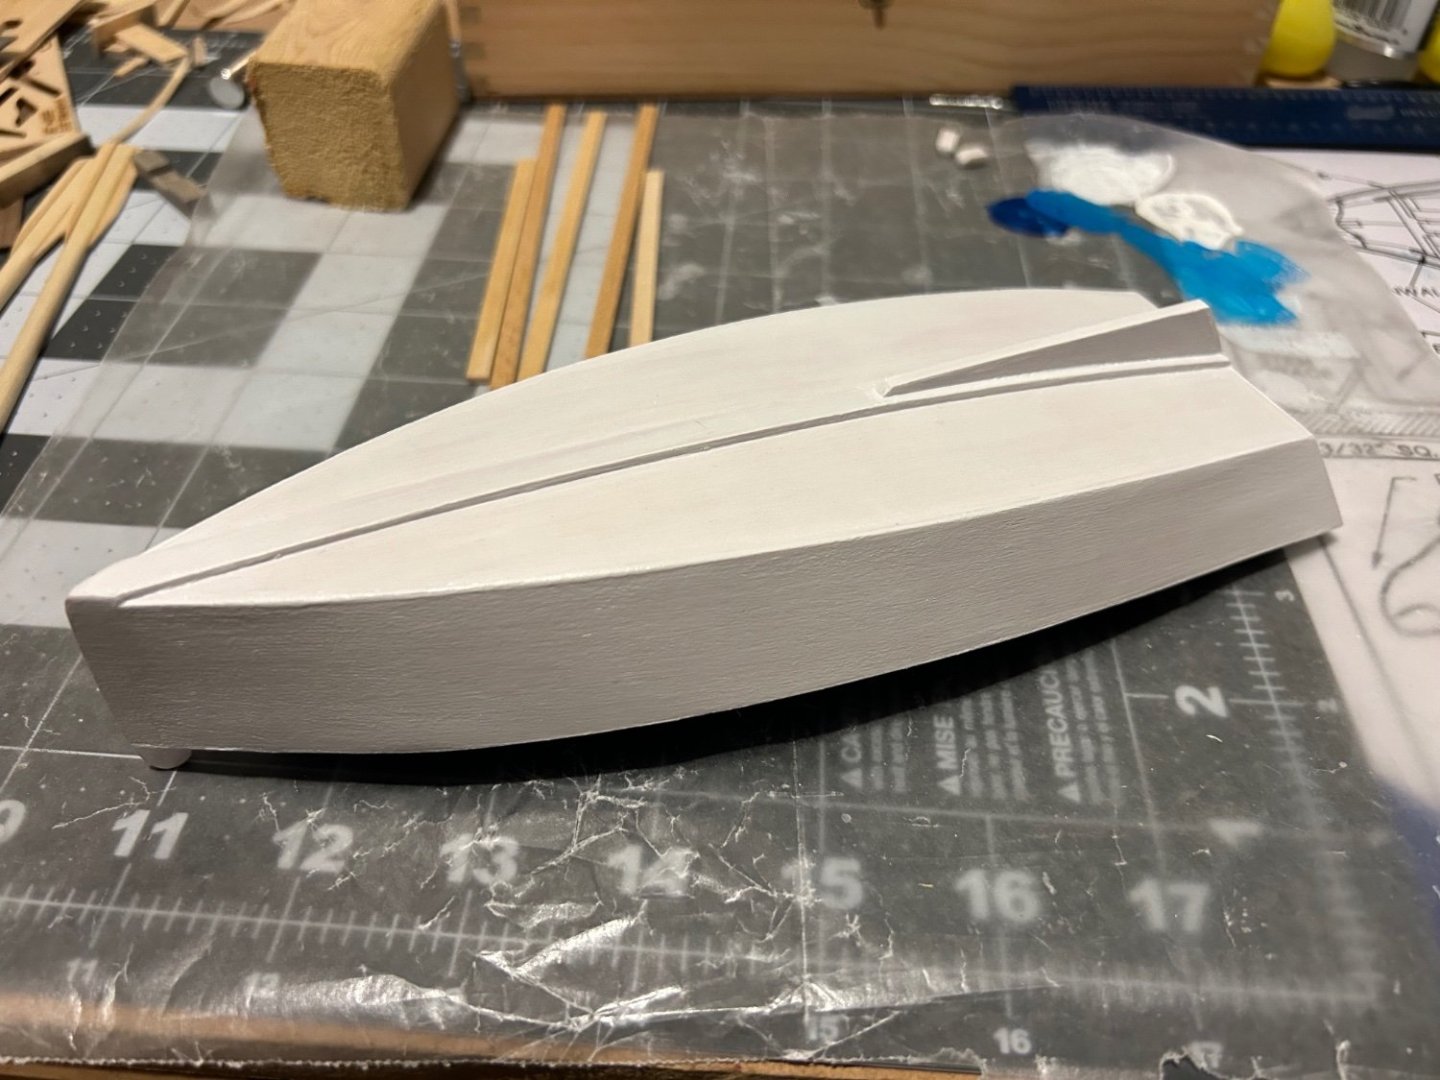
I’ve been on the road for work a bit so it’s been a little while since my last post. Painting has been going much slower than I expected for a such a small and simple model. I’m once again glad I decided to start with a beginner kit instead of trying to jump into something more complex. I opted for a white exterior and blue interior similar to the picture on the box. I’m not exactly sure why—maybe the way the shellac dried or the way I sanded it—but the white seems to be going on the exterior very thin while the blue went on much thicker. The attached picture is after one coat of white. It’s looking better after two coats and I think a couple more might do it but we’ll see. Based on my experience with the exterior, I thought the blue would go on just as thin and didn’t try to make it any lighter. It went on much thicker than the white and was very dark. I’ve been working to sand it down and cover it with several coats of white to give myself a new base and I think I’m making some progress. After the current coat dries I’m going to try to go back with a much lighter shade of blue to see how things look. I’ll post some more pictures once I get another coat or two on the interior.

- 8 replies
-
- 3
-
-
- Skiff
- Midwest Products
- (and 1 more)
-
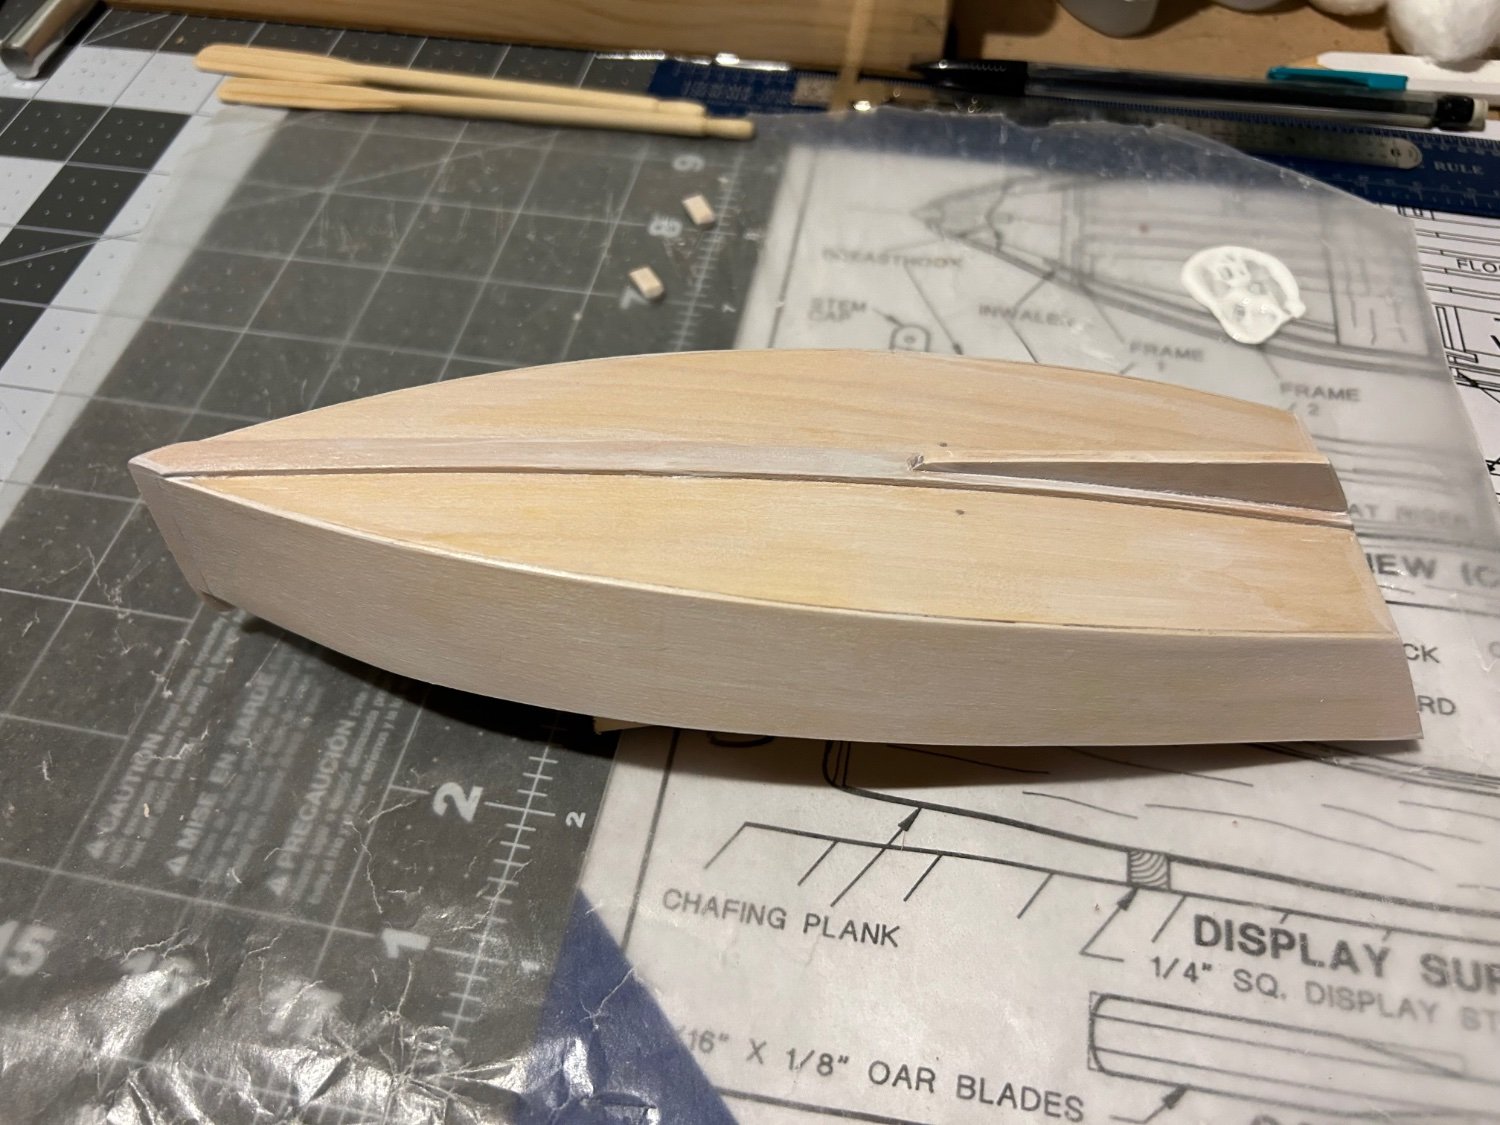
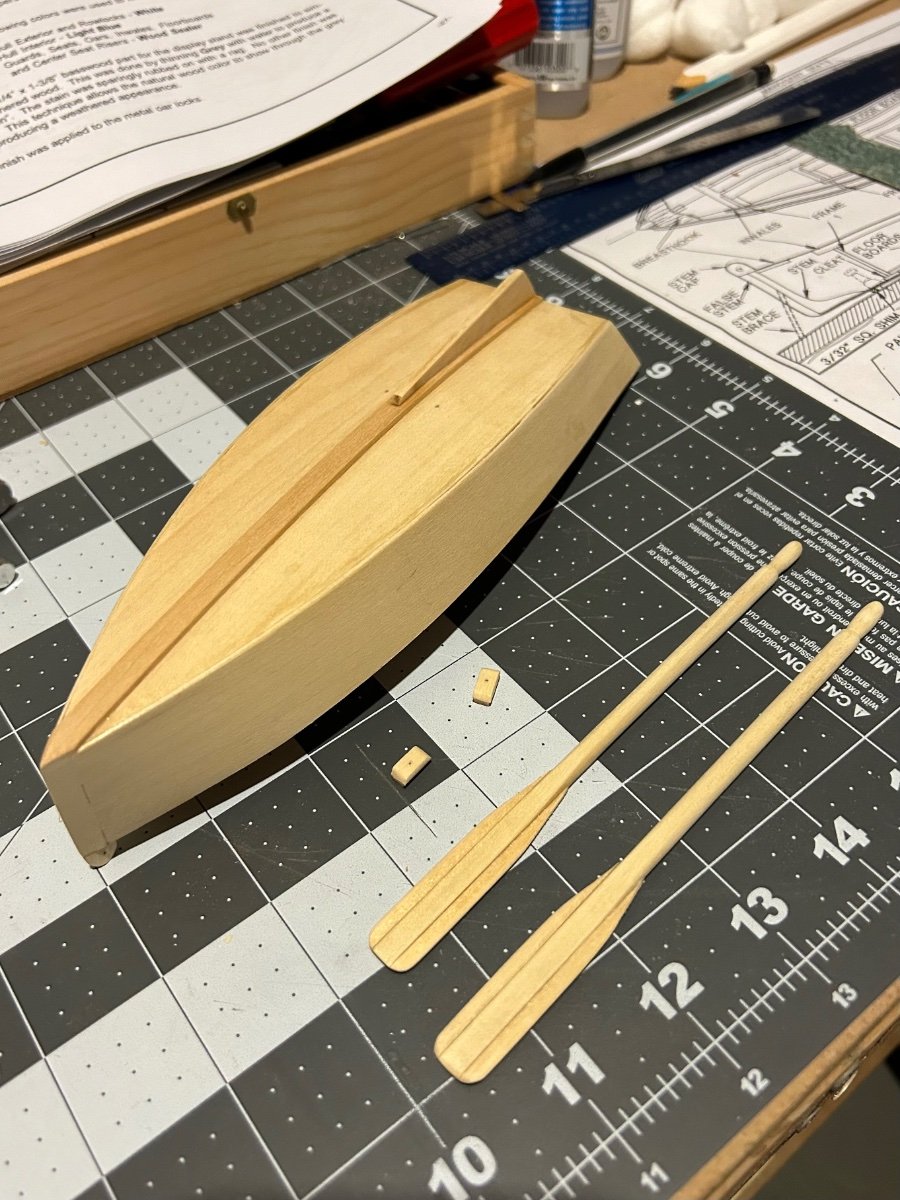
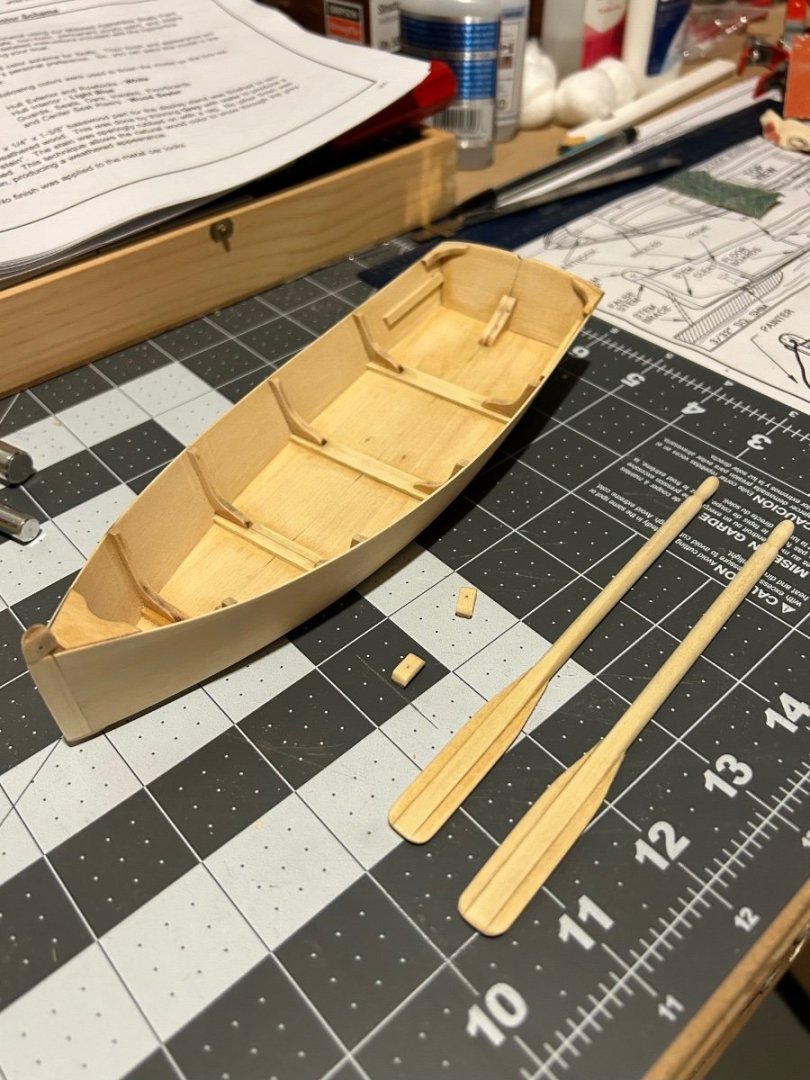
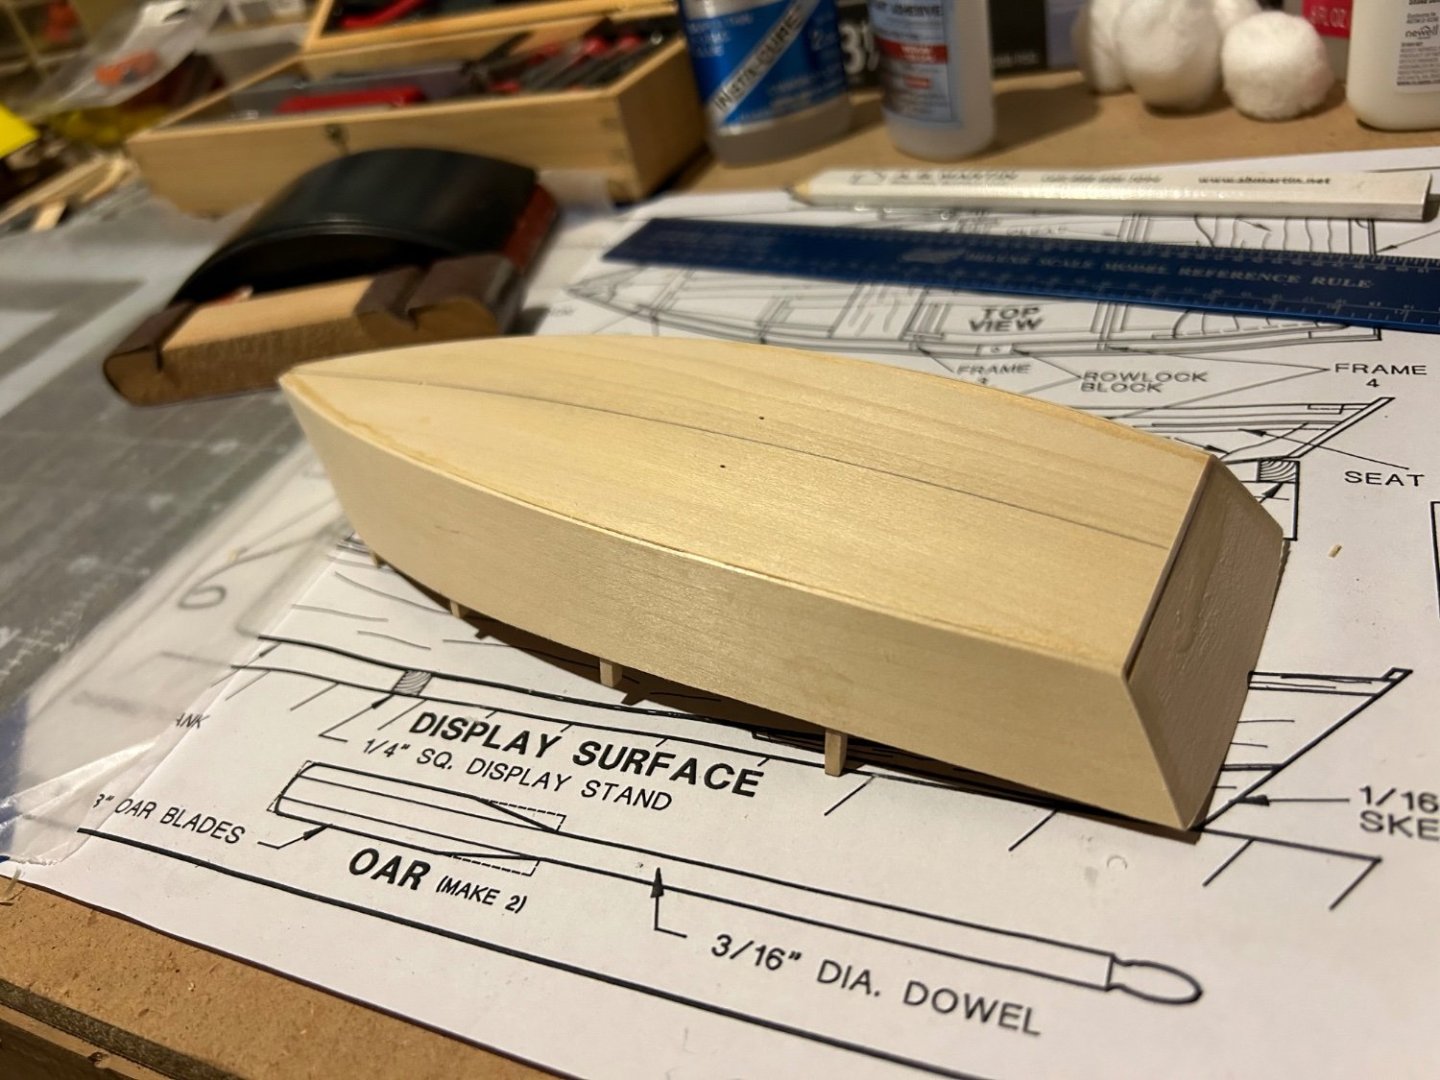
My last post covered my build through step 57 in the manual. I was a bit past that when I posted it, but I’m completely caught up now. I finished step 89 today and started preparing to paint the hull. I think it’s important to note a bit of a discrepancy in the order/continuity of the instructions from steps 63 to 66. If you don’t read ahead (or watch some YouTube builds—thanks boilerdan1) it looks like you should trim the chafing plank to fit from transom to stem; however, you really need it to be a bit longer to accommodate the false stem. After confirming that, I went ahead and attached the false stem first and then trimmed the chafing plank to size. Once that was done, I settled in to fair the false stem to be flush with the side planks. It was time consuming but I ended up being quite happy with the result. Building and attaching the stem cap was a bit of a challenge for me since it was my first time working with such small pieces. I managed to get it attached to the false stem with a decent alignment. The skeg went on without too much difficulty, though I realized it is leaning ever so slightly once the glue had already set up. Not too bad though. Building the rowlock blocks wasn’t too difficult—probably since it was a similar process to the stem cap. Slow and steady wins here. Building the oars took quite a while, mostly due to the amount of sanding I had to do. Not sure how else I could have attacked that part of the build, but I think they turned out pretty good. After trimming the frames and doing some final sanding, I started prepping to paint. I used spray-on shellac this afternoon and lightly sanded everything to a smooth surface this evening. I think I’m in a good spot to start painting the hull at this point. Unfortunately I’ll be out of town for work next week so I probably won’t get to it for a little while. In the mean time, I’m going to ponder what I want to do with the oars and some of the trim pieces that they suggest just sealing. Thanks again for reading!

- 8 replies
-
- 2
-
-
- Skiff
- Midwest Products
- (and 1 more)
-
Noted, thank you!
-
Phez reacted to a post in a topic:
Skiff by Phez - Midwest Products/Model Shipways - 1:12
-
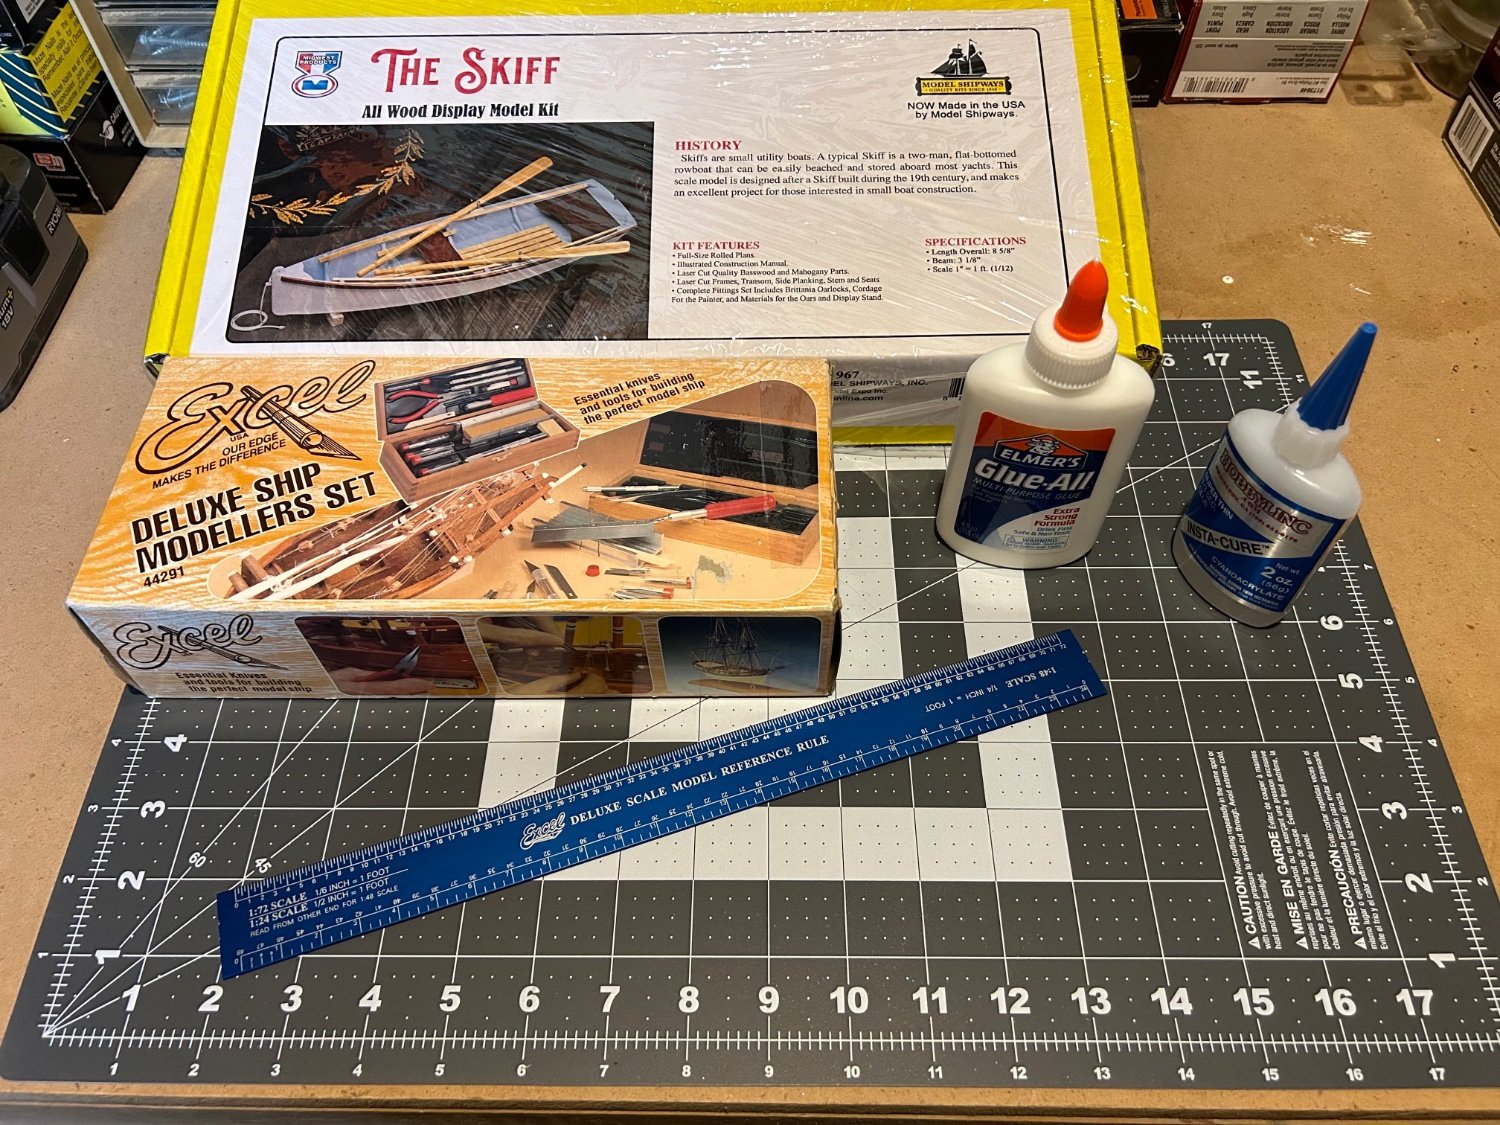
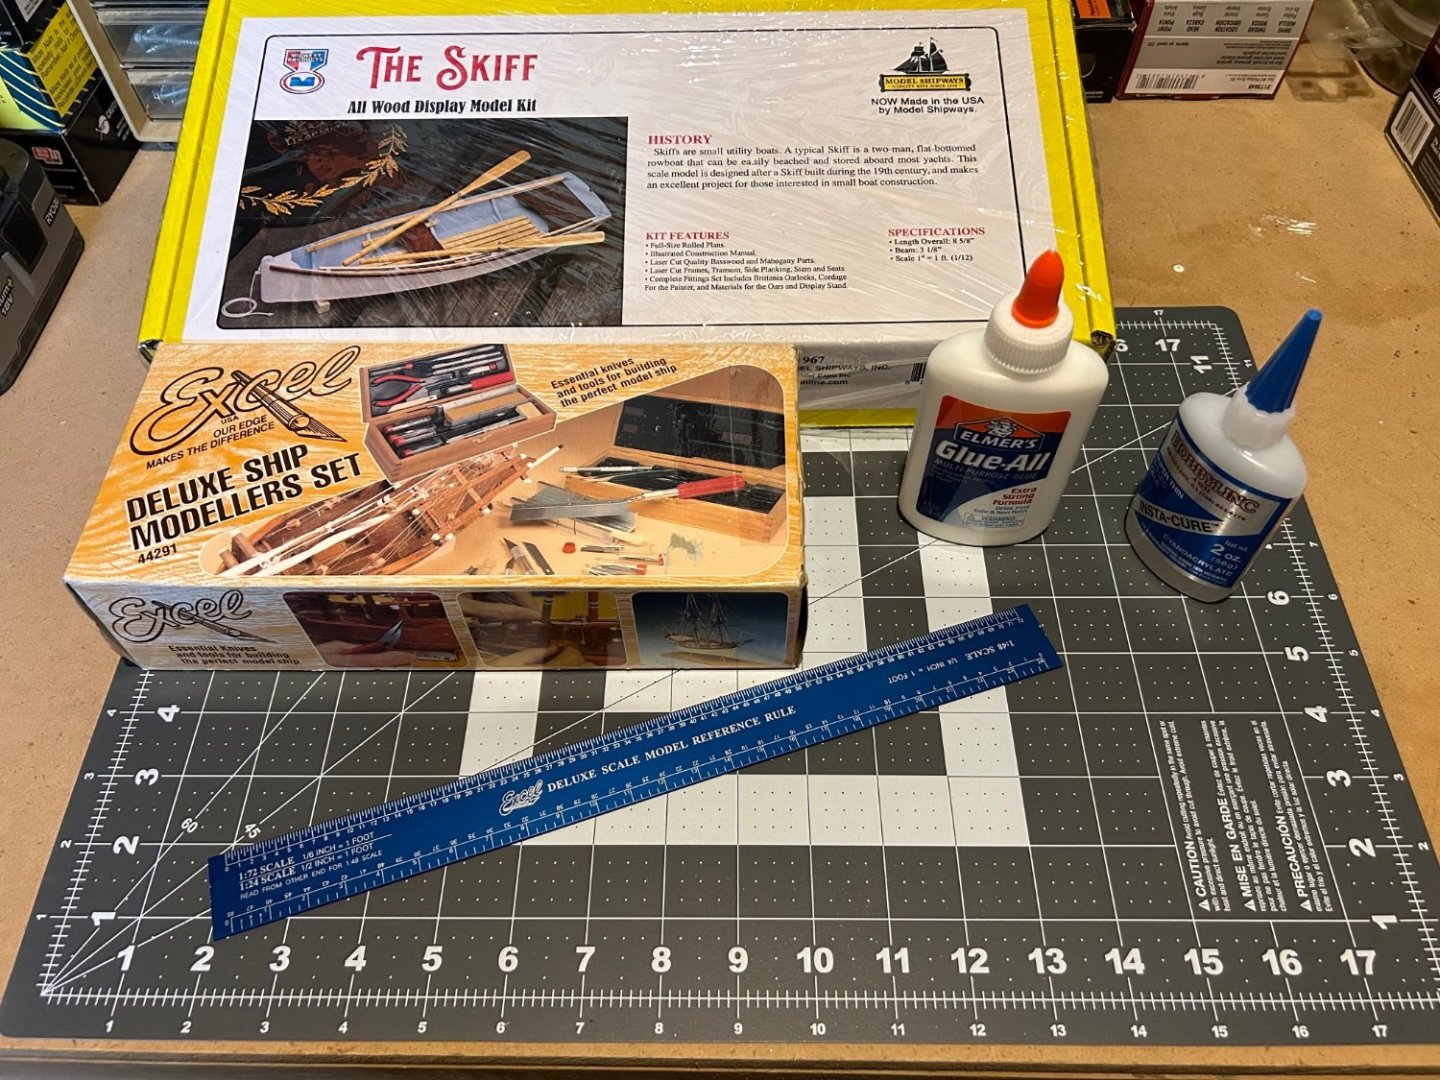
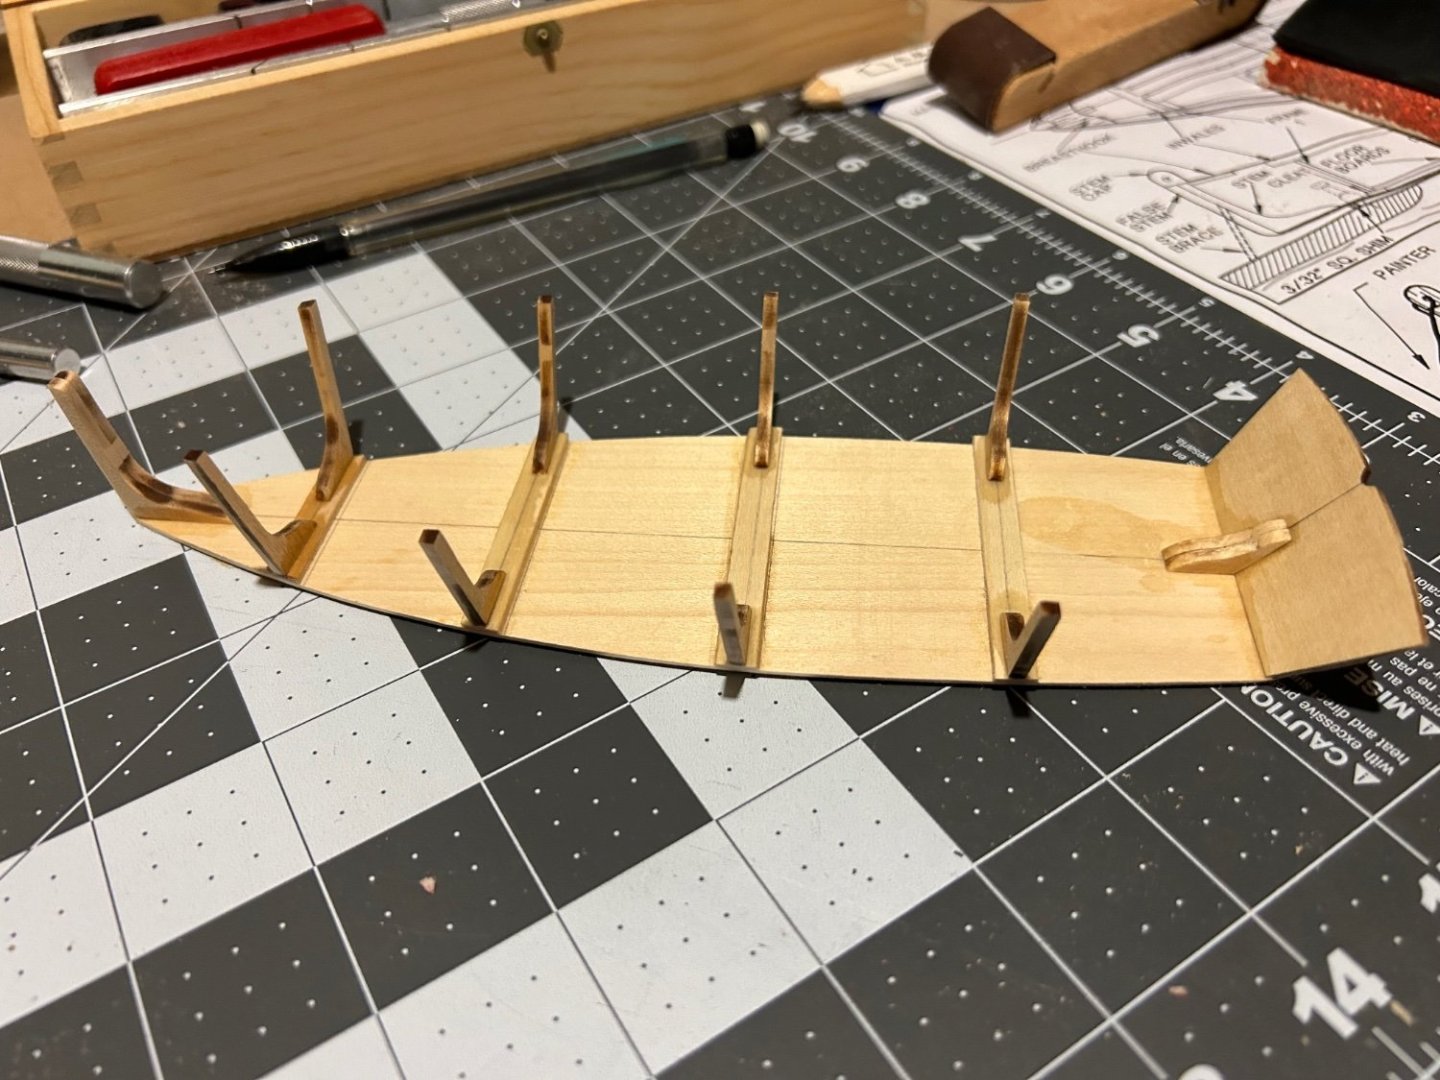
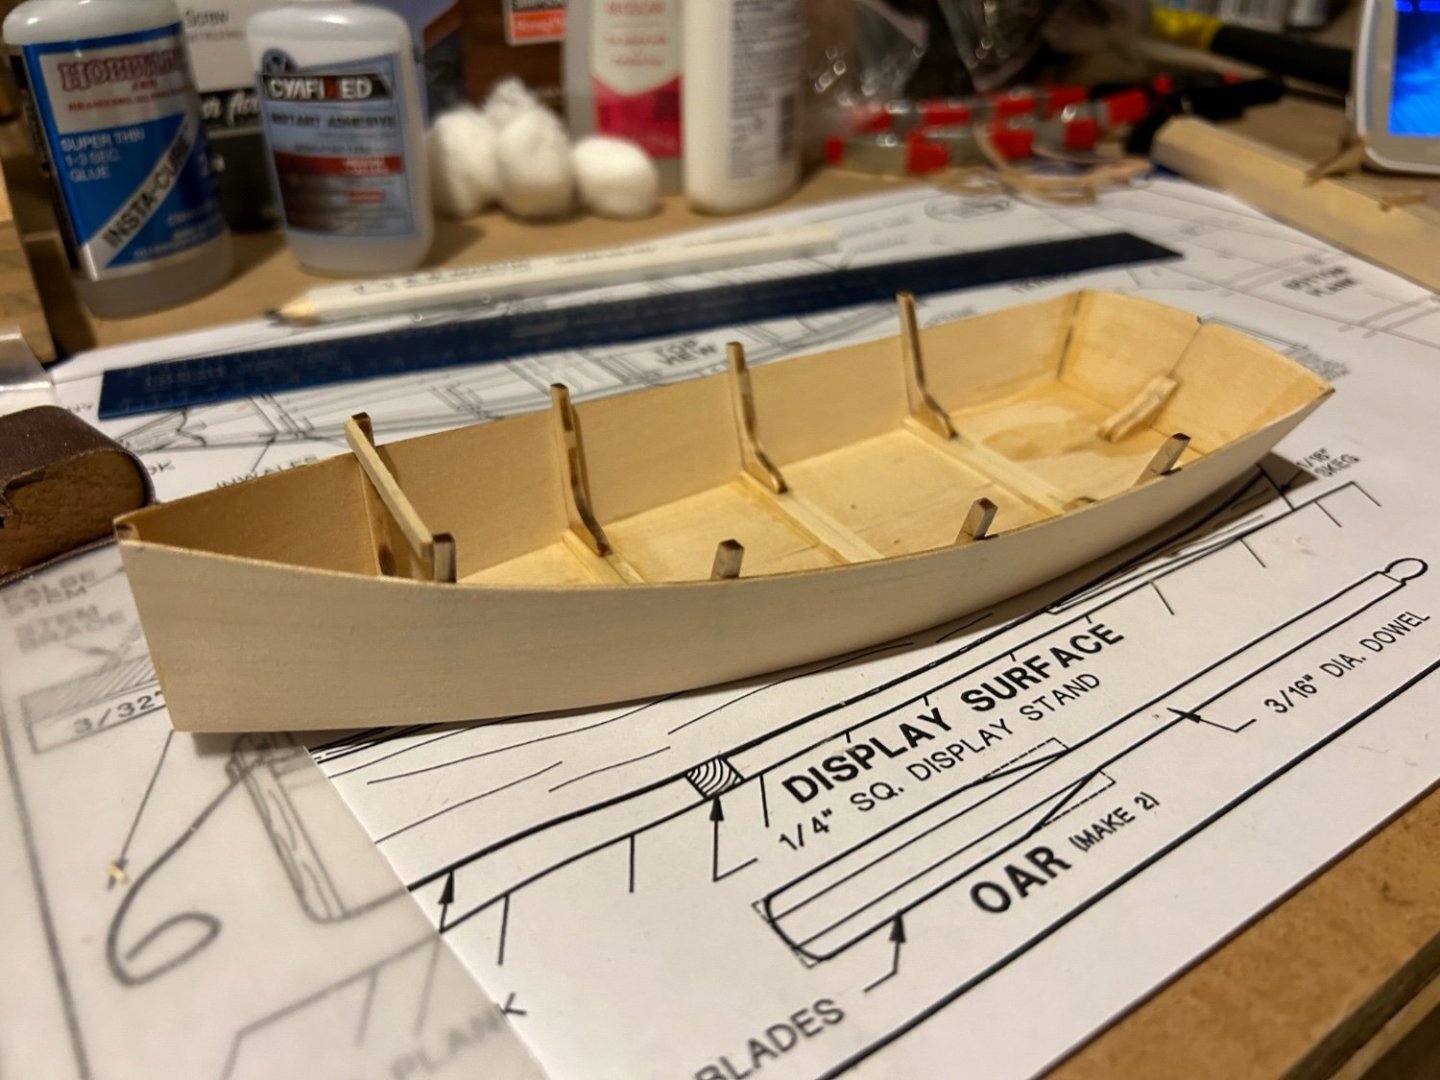
Let’s start with some background. I stumbled onto the Modelships Reddit a couple years ago while doom scrolling in the middle of the night trying to get my infant daughter to sleep. I became pretty fascinated by the intricacy of some of those builds but didn’t have the time to even think about getting started back then. A few months back I started toying with the idea of giving this a shot and ultimately couldn’t shake it. I don’t have any prior experience building models, but for someone with a desk job, I’m moderately handy and have done a fair amount of work on my house over the last 8 years. After some research and deal hunting, I ended up selecting this kit, along with some tools and supplies to get started. I was already pretty well into this build when I found my way to this site, so the rest of this post will primarily be a reflection on the first half of my first build, and I’ll try to transition to more of a true build log once I’m caught up. So far, my impression of the kit is that it is exactly as advertised. It’s very approachable for a beginner. The instructions are pretty clear and easy to follow, minus a step or two where the text got scrambled somehow. There are even some tips and contextual narratives mixed in for good measure. The first dozen or so steps were straight forward and probably don’t need to be rehashed here. The first real lesson for me came when I had to attach the knee to the transom. Despite the instructions calling for slow CA, I used quick CA as that was all I had on hand at the time. I proceeded to nearly glue my fingers together and ended up with quite a bit of excess, which you can see in the second photo. I now have slow CA as well. The other problem was that the transom ended up slightly off center, which led to a lot of sanding later on, though I managed to adjust for it. I was also slightly off center with 1 of the 8 frames, though now that I’ve gotten the side planks on, I don’t think it hurt me too much. Attaching the side planks to the frames ended up being not as bad as I thought it might be. At first I had some difficulty at the stem since it’s not easily clamped, but I managed to find a way to grip it and drip enough fast CA to get it secured while the slow CA set up. The rest of the side planks were affixed with white glue and clamped. Several rounds of sanding later brings me to the last two photos for this post. I’ve already made a bit of progress from when these were taken, so I should be ready for another post in a few days. Thanks for reading!
- 8 replies
-
- 5
-
-
- Skiff
- Midwest Products
- (and 1 more)
-
Appreciate the tip Allan. I actually found out about that series—and the promo they were running for site credit—right after I bought the skiff. I may move to that next.
-
Hi everyone. I found my way here upon after it was recommended by several people on the ModelShips subreddit. I started the Skiff kit from Midwest a few weeks ago and I’m happy with my progress so far. I just finished fairing the frame and bottom plank. I’ve had some glue incidents but nothing that can’t be fixed (or covered up). Glad to be here.