HOLIDAY DONATION DRIVE - SUPPORT MSW - DO YOUR PART TO KEEP THIS GREAT FORUM GOING! (Only 75 donations so far out of 49,000 members - C'mon guys!)
×


David Chapman
-
Posts
62 -
Joined
-
Last visited
Content Type
Profiles
Forums
Gallery
Events
Everything posted by David Chapman
-
It's a massive library cabinet. 11'x9'. I was a carpenter but not a cabinet maker. The CS is all of 36" but the space is closer to 35". Do you think anyone would notice if I wacked off the bow sprit?
- 114 replies
-
- 2
-

-

-
- Cutty Sark
- plastic
- (and 4 more)
-
Now this Amsterdam event looks like a blast! https://na01.safelinks.protection.outlook.com/?url=https%3A%2F%2Fwww.facebook.com%2Fgroups%2Fdernederlands%2Fpermalink%2F2138529289845865%2F%3Fmibextid%3DrS40aB7S9Ucbxw6v&data=05|02||050ecf7087274bad28c208dc5fb44d65|84df9e7fe9f640afb435aaaaaaaaaaaa|1|0|638490475201052143|Unknown|TWFpbGZsb3d8eyJWIjoiMC4wLjAwMDAiLCJQIjoiV2luMzIiLCJBTiI6Ik1haWwiLCJXVCI6Mn0%3D|0|||&sdata=DfX2N8z2BiDgMyhYs3%2F7MgjaQXozuZPGOhGDumHF7yo%3D&reserved=0
- 114 replies
-
- 1
-
-
- Cutty Sark
- plastic
- (and 4 more)
-
Viking does offer 187 day round the world cruises for a small fortune. Some claim its cheaper to "live" on board but I'm not buying it.
- 114 replies
-
- 2
-
-
- Cutty Sark
- plastic
- (and 4 more)
-
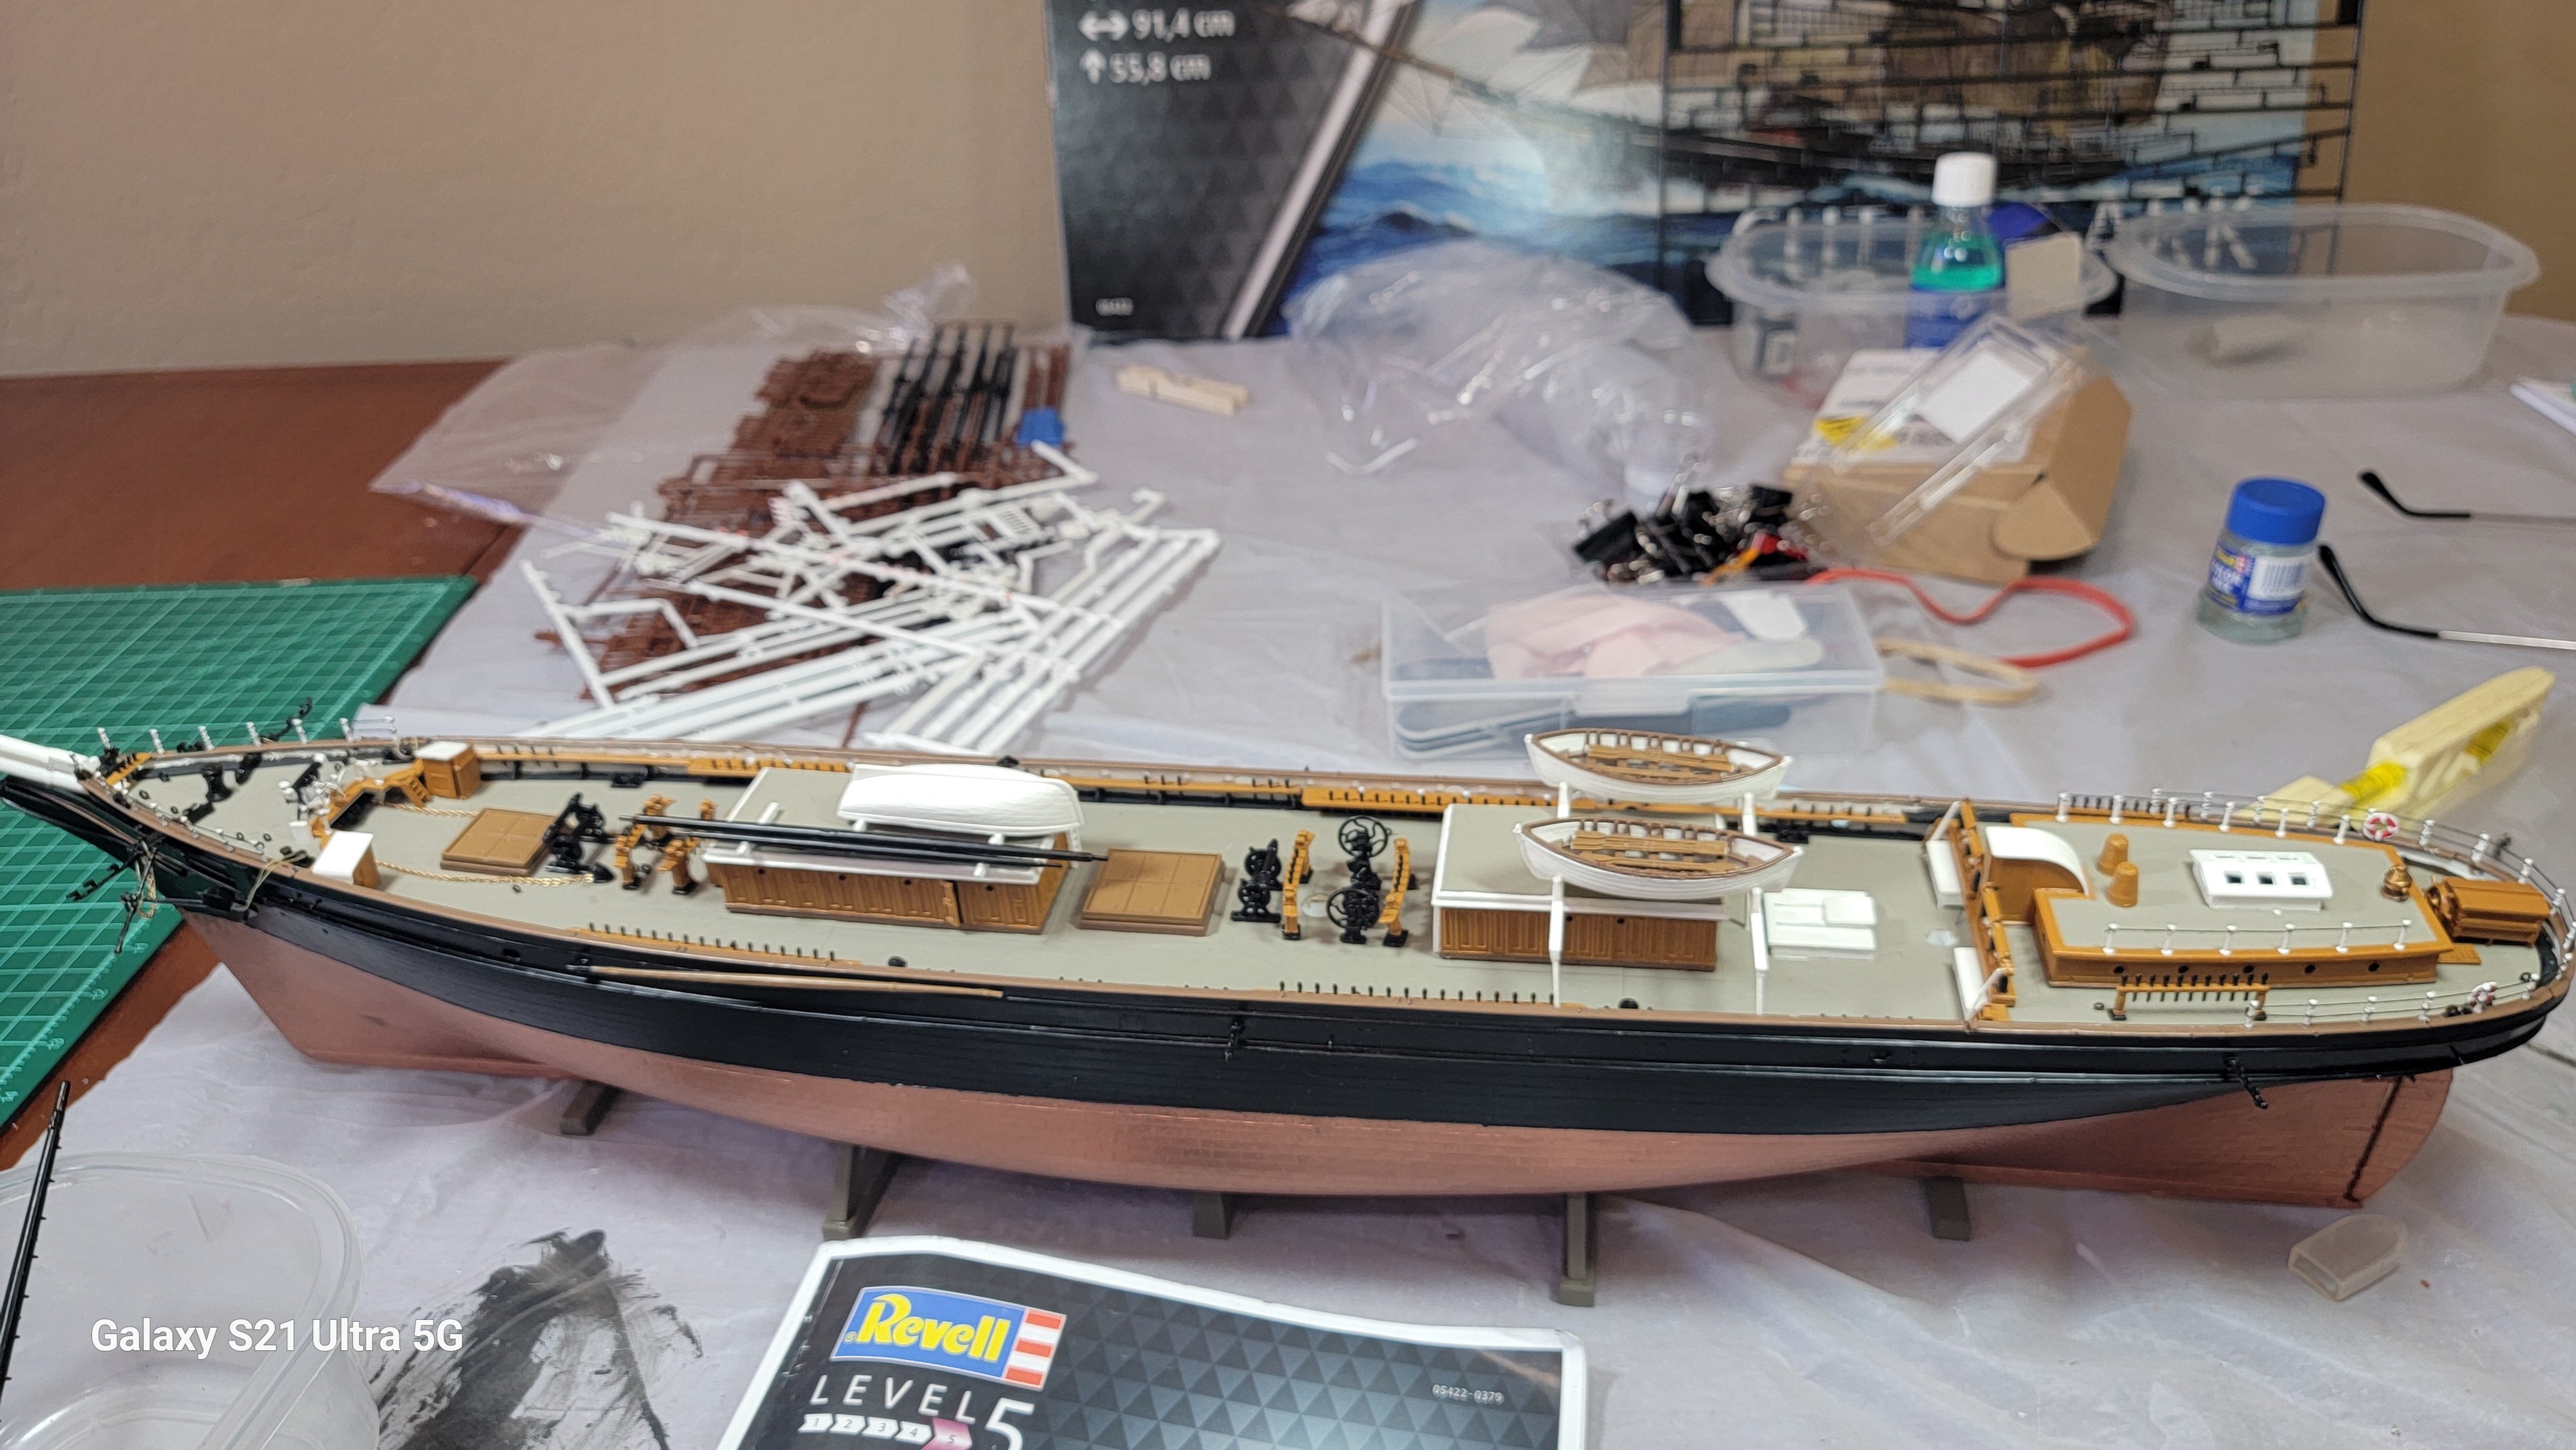
I'm coming up quickly on the rigging phase. Quite daunting for sure. I would like to finish it in full sail but not sold on the plastic sails. Also considering it with the sails down. But it's the rigging that intimidates me.
- 114 replies
-
- 2
-
-
- Cutty Sark
- plastic
- (and 4 more)
-
Noted. I finally measured the space I want to put this and it's literally one inch to long... Will have to figure out what to do.
- 114 replies
-
- 2
-
-

-
- Cutty Sark
- plastic
- (and 4 more)
-
Totally understand. With health issues piling up (4th shoulder replacement next Wednesday) I've become somewhat obsessed with traveling while I still can. Always been water people so we've signed up for 2 more Viking cruises by next February. Something to look forward to, for sure.
- 114 replies
-
- 2
-
-
- Cutty Sark
- plastic
- (and 4 more)
-
Kevin, Thanks so much. I kinda needed that. It's seriously challenging enough to try and do the stock, plastic version justice. Especially as a rookie. But I do appreciate all the amazing ideas and logs there are on this site. Pics to follow.
- 114 replies
-
- 2
-
-
- Cutty Sark
- plastic
- (and 4 more)
-
I agree. Just last weekend, I gave my 13 year old grandson his first model. Hopefully he enjoys it. 😀
- 114 replies
-
- 2
-
-
- Cutty Sark
- plastic
- (and 4 more)
-
You got that right, and it's fun! But OMG, there are way too many terms to remember for this old geezer. Doing my Best! David
- 114 replies
-
- 2
-
-
- Cutty Sark
- plastic
- (and 4 more)
-
Yeah, I'm going to check out the Campbell plans. Thanks for the lead!
- 114 replies
-
- 2
-
-
- Cutty Sark
- plastic
- (and 4 more)
-
Yes, Keith I have started reading your log as well as Bruma's as well as Longridges book, The Cuddy Sark. Wow, a ton to digest.
- 114 replies
-
- 2
-
-
- Cutty Sark
- plastic
- (and 4 more)
-
Can't seem to find anything about Bruma in search mode.
- 114 replies
-
- 2
-
-
- Cutty Sark
- plastic
- (and 4 more)
-
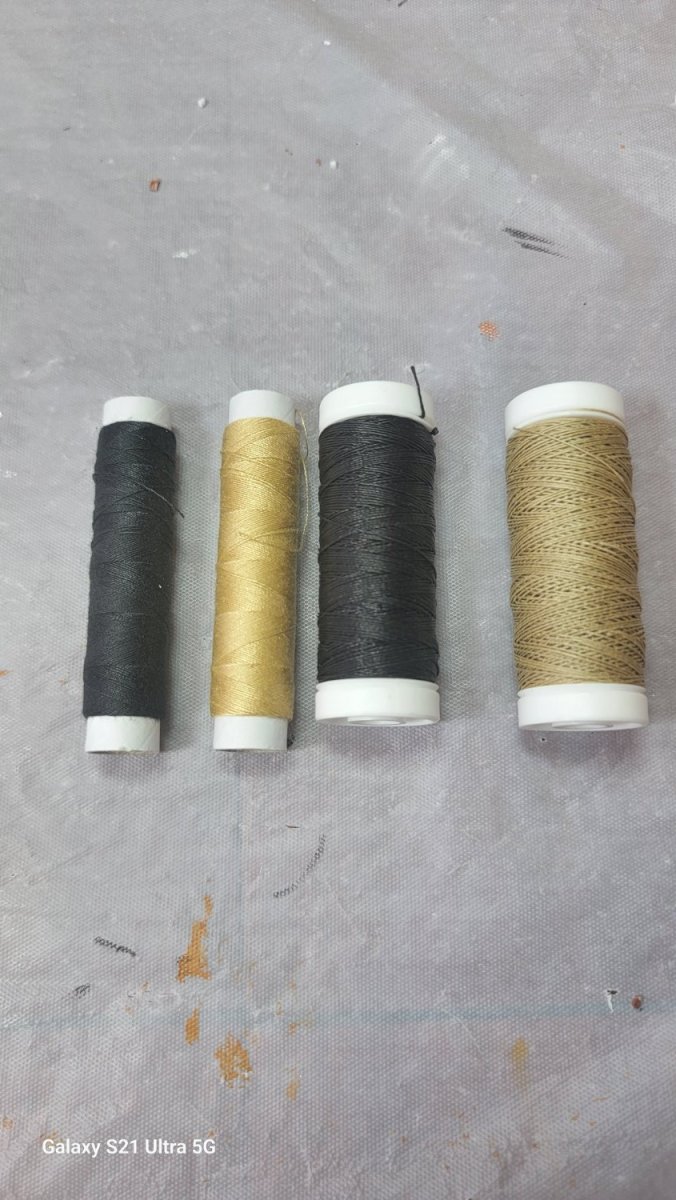
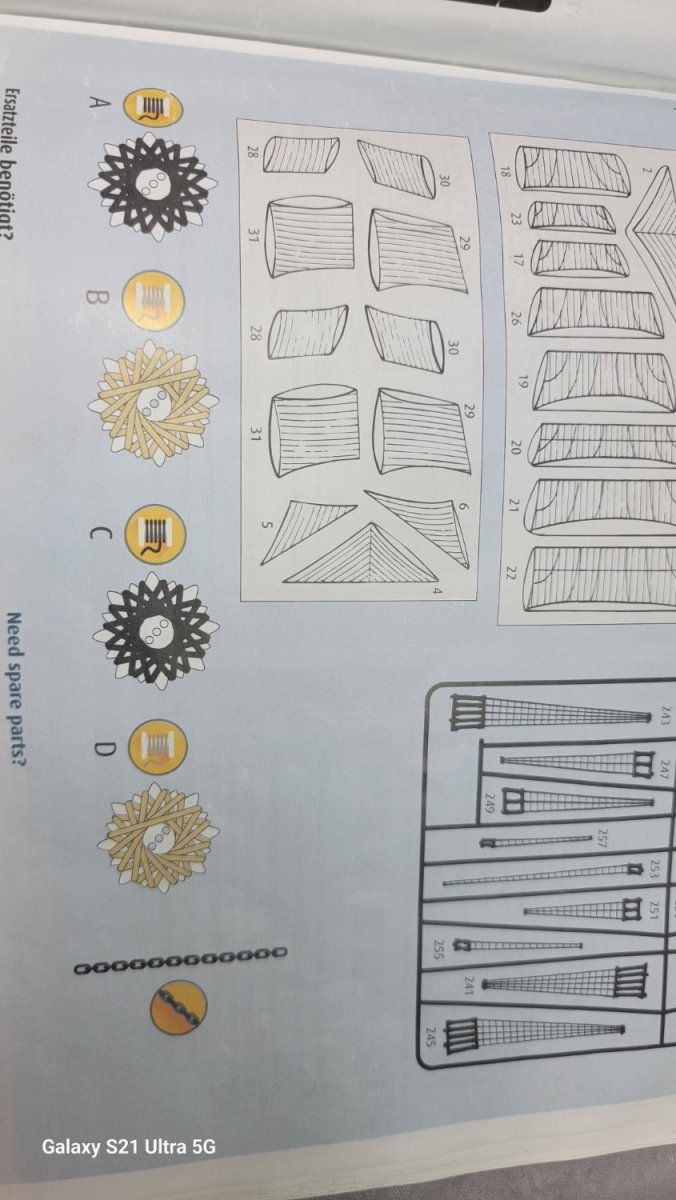
All. Still have the chain question from above. Also, I'm about to start with the rigging. Confused which threads correspond to which letter from the instructions. If A, B, C, and D are as shown in the photo then why do I have such a big D spool when almost none of the directions show to use it. Would really appreciate some help here as I'd hate to get off on the wrong foot.
- 114 replies
-
- 2
-
-
- Cutty Sark
- plastic
- (and 4 more)
-
Cutty Sark(Revell 1:96) rigging confusion
David Chapman replied to Terry Foster's topic in Masting, rigging and sails
Should I glue the entire length of the rigging "rope" to keep it in place and stiff or do I just glue the attachment points? David -
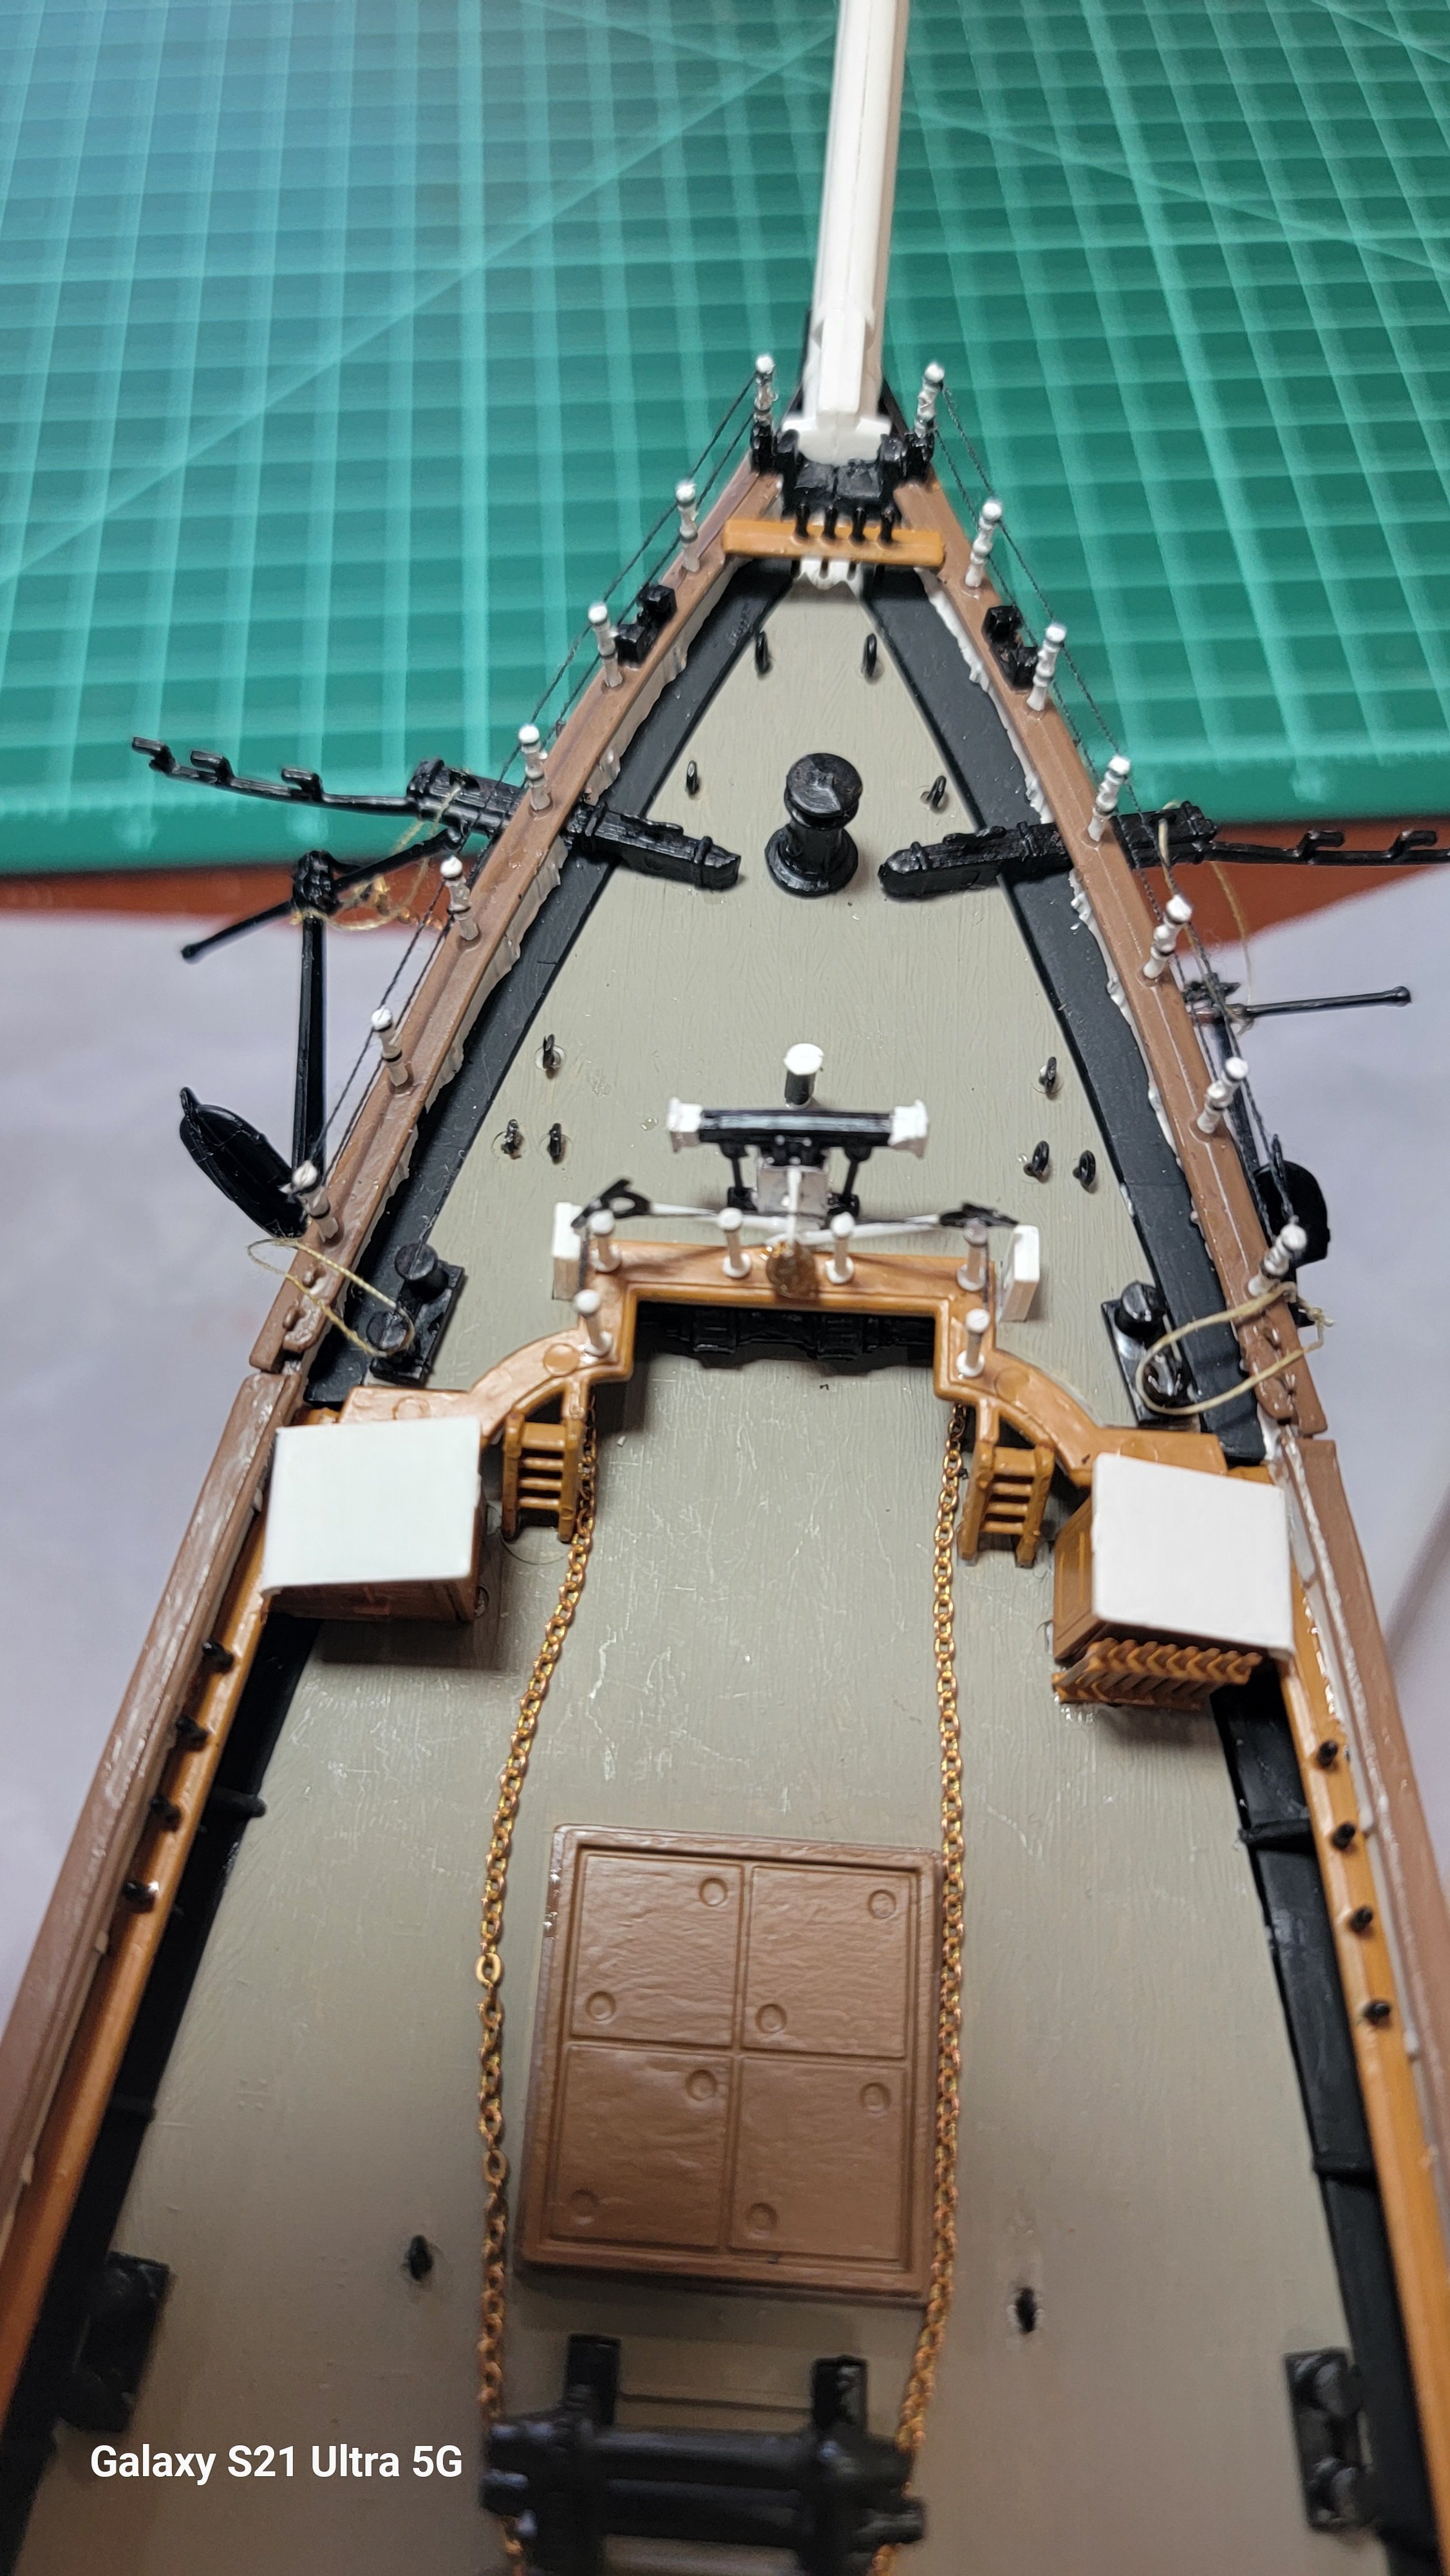
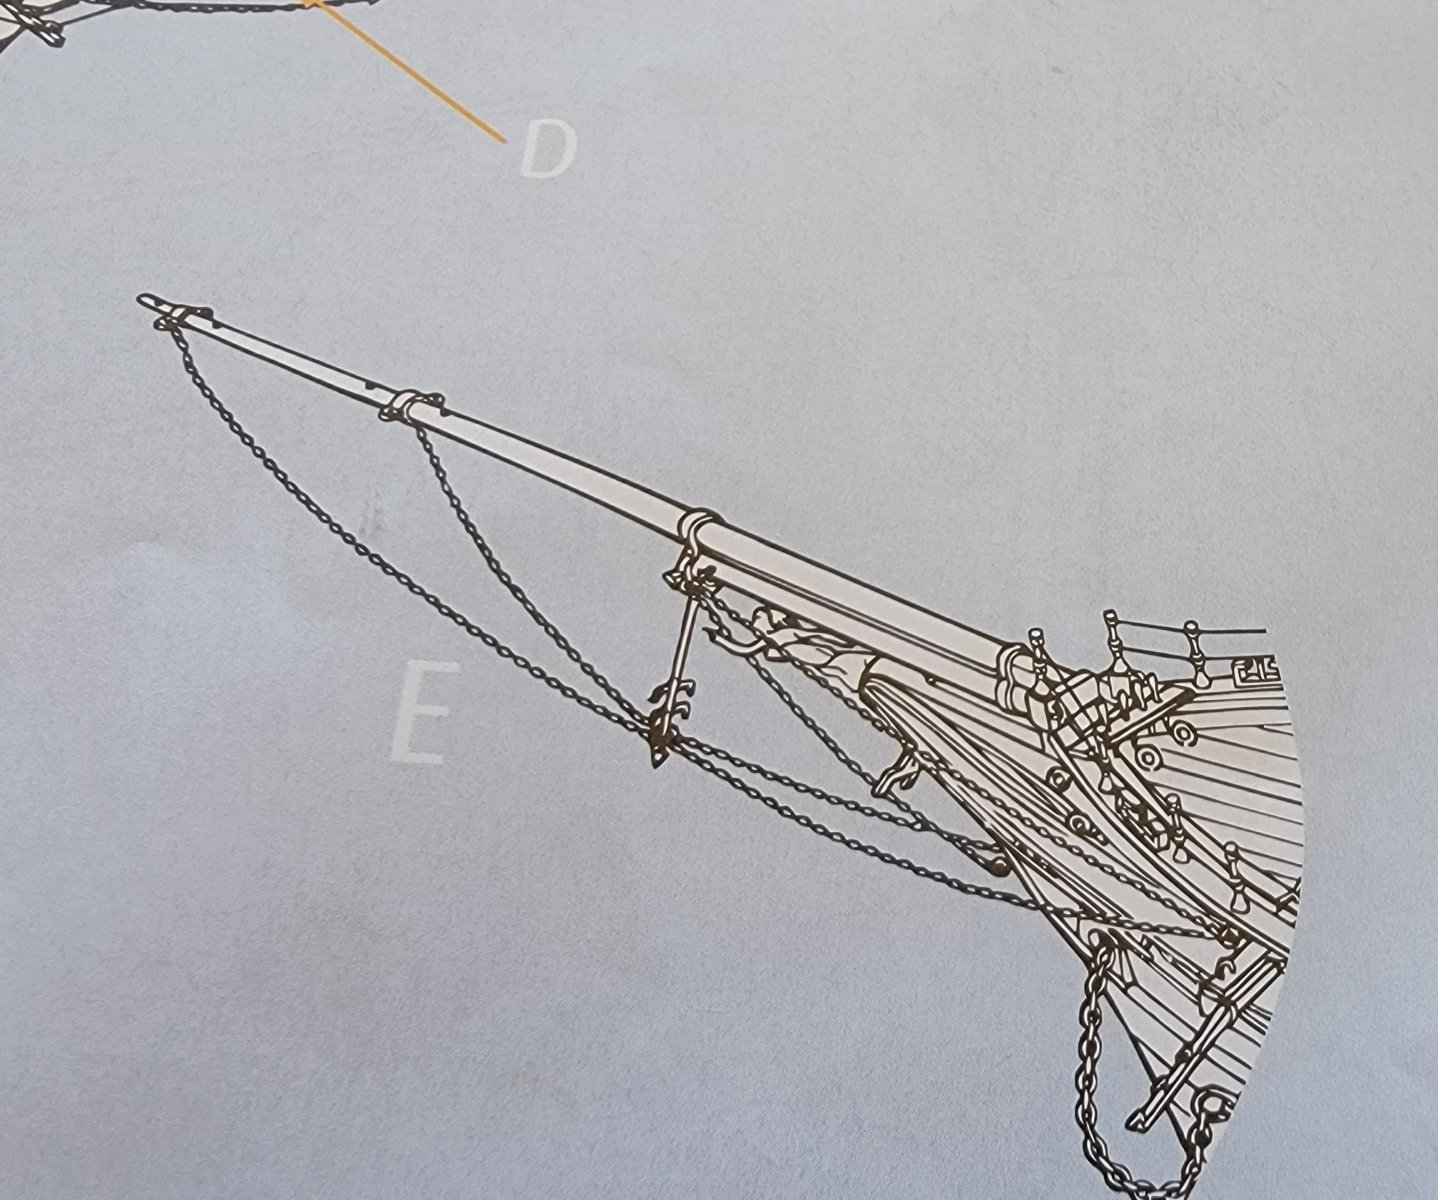
Chain(s). So I used 4 parts of the long, skinny chain for on the deck and coming out the sides of the bow. Had a fair amount left so I looked ahead studying the instructions. On step 92, pg. 31 lower right hand image it clearly shows multiple lengths of small chain going to the bow sprit with the anchor chain much larger. I have only the finer chain and not the larger chain for the anchor. What gives!?


- 114 replies
-
- 2
-
-
- Cutty Sark
- plastic
- (and 4 more)
-
Clare, I'm too far beyond drilling holes. It's the first model I have built in 60? years so going to go straight stock on the first one back.
- 114 replies
-
- 3
-
-
- Cutty Sark
- plastic
- (and 4 more)
-
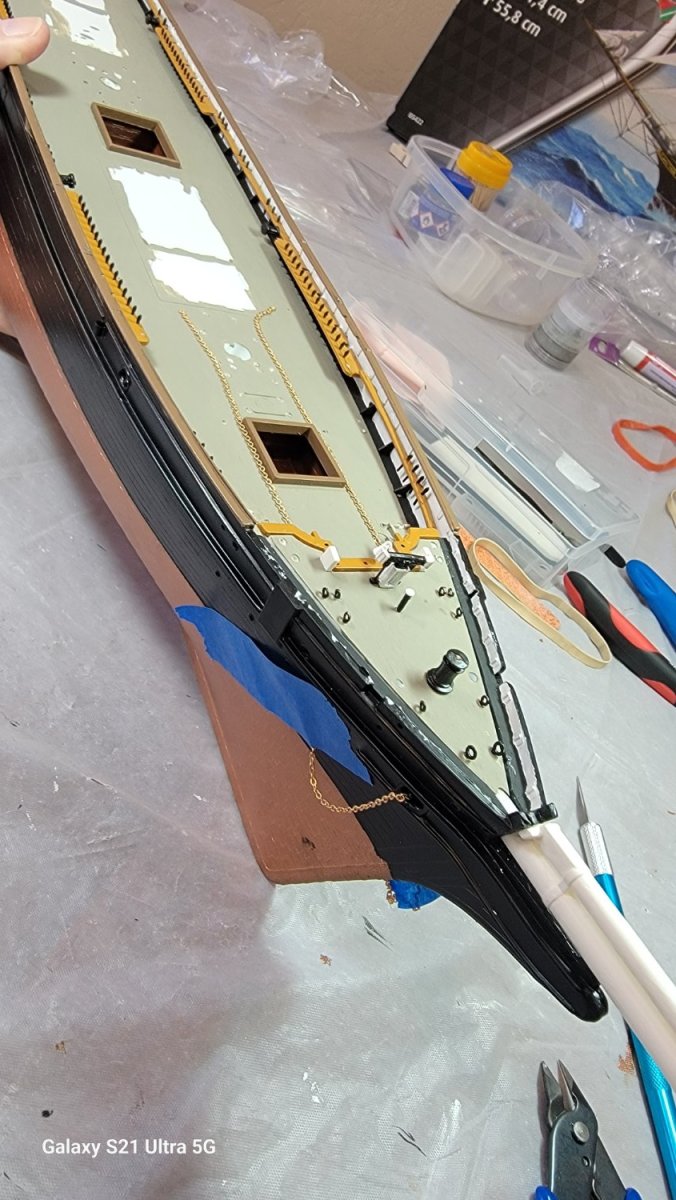
Figured it out. Cutting the chain under the forward deck and inside the hull.
- 114 replies
-
- 3
-
-
- Cutty Sark
- plastic
- (and 4 more)
-
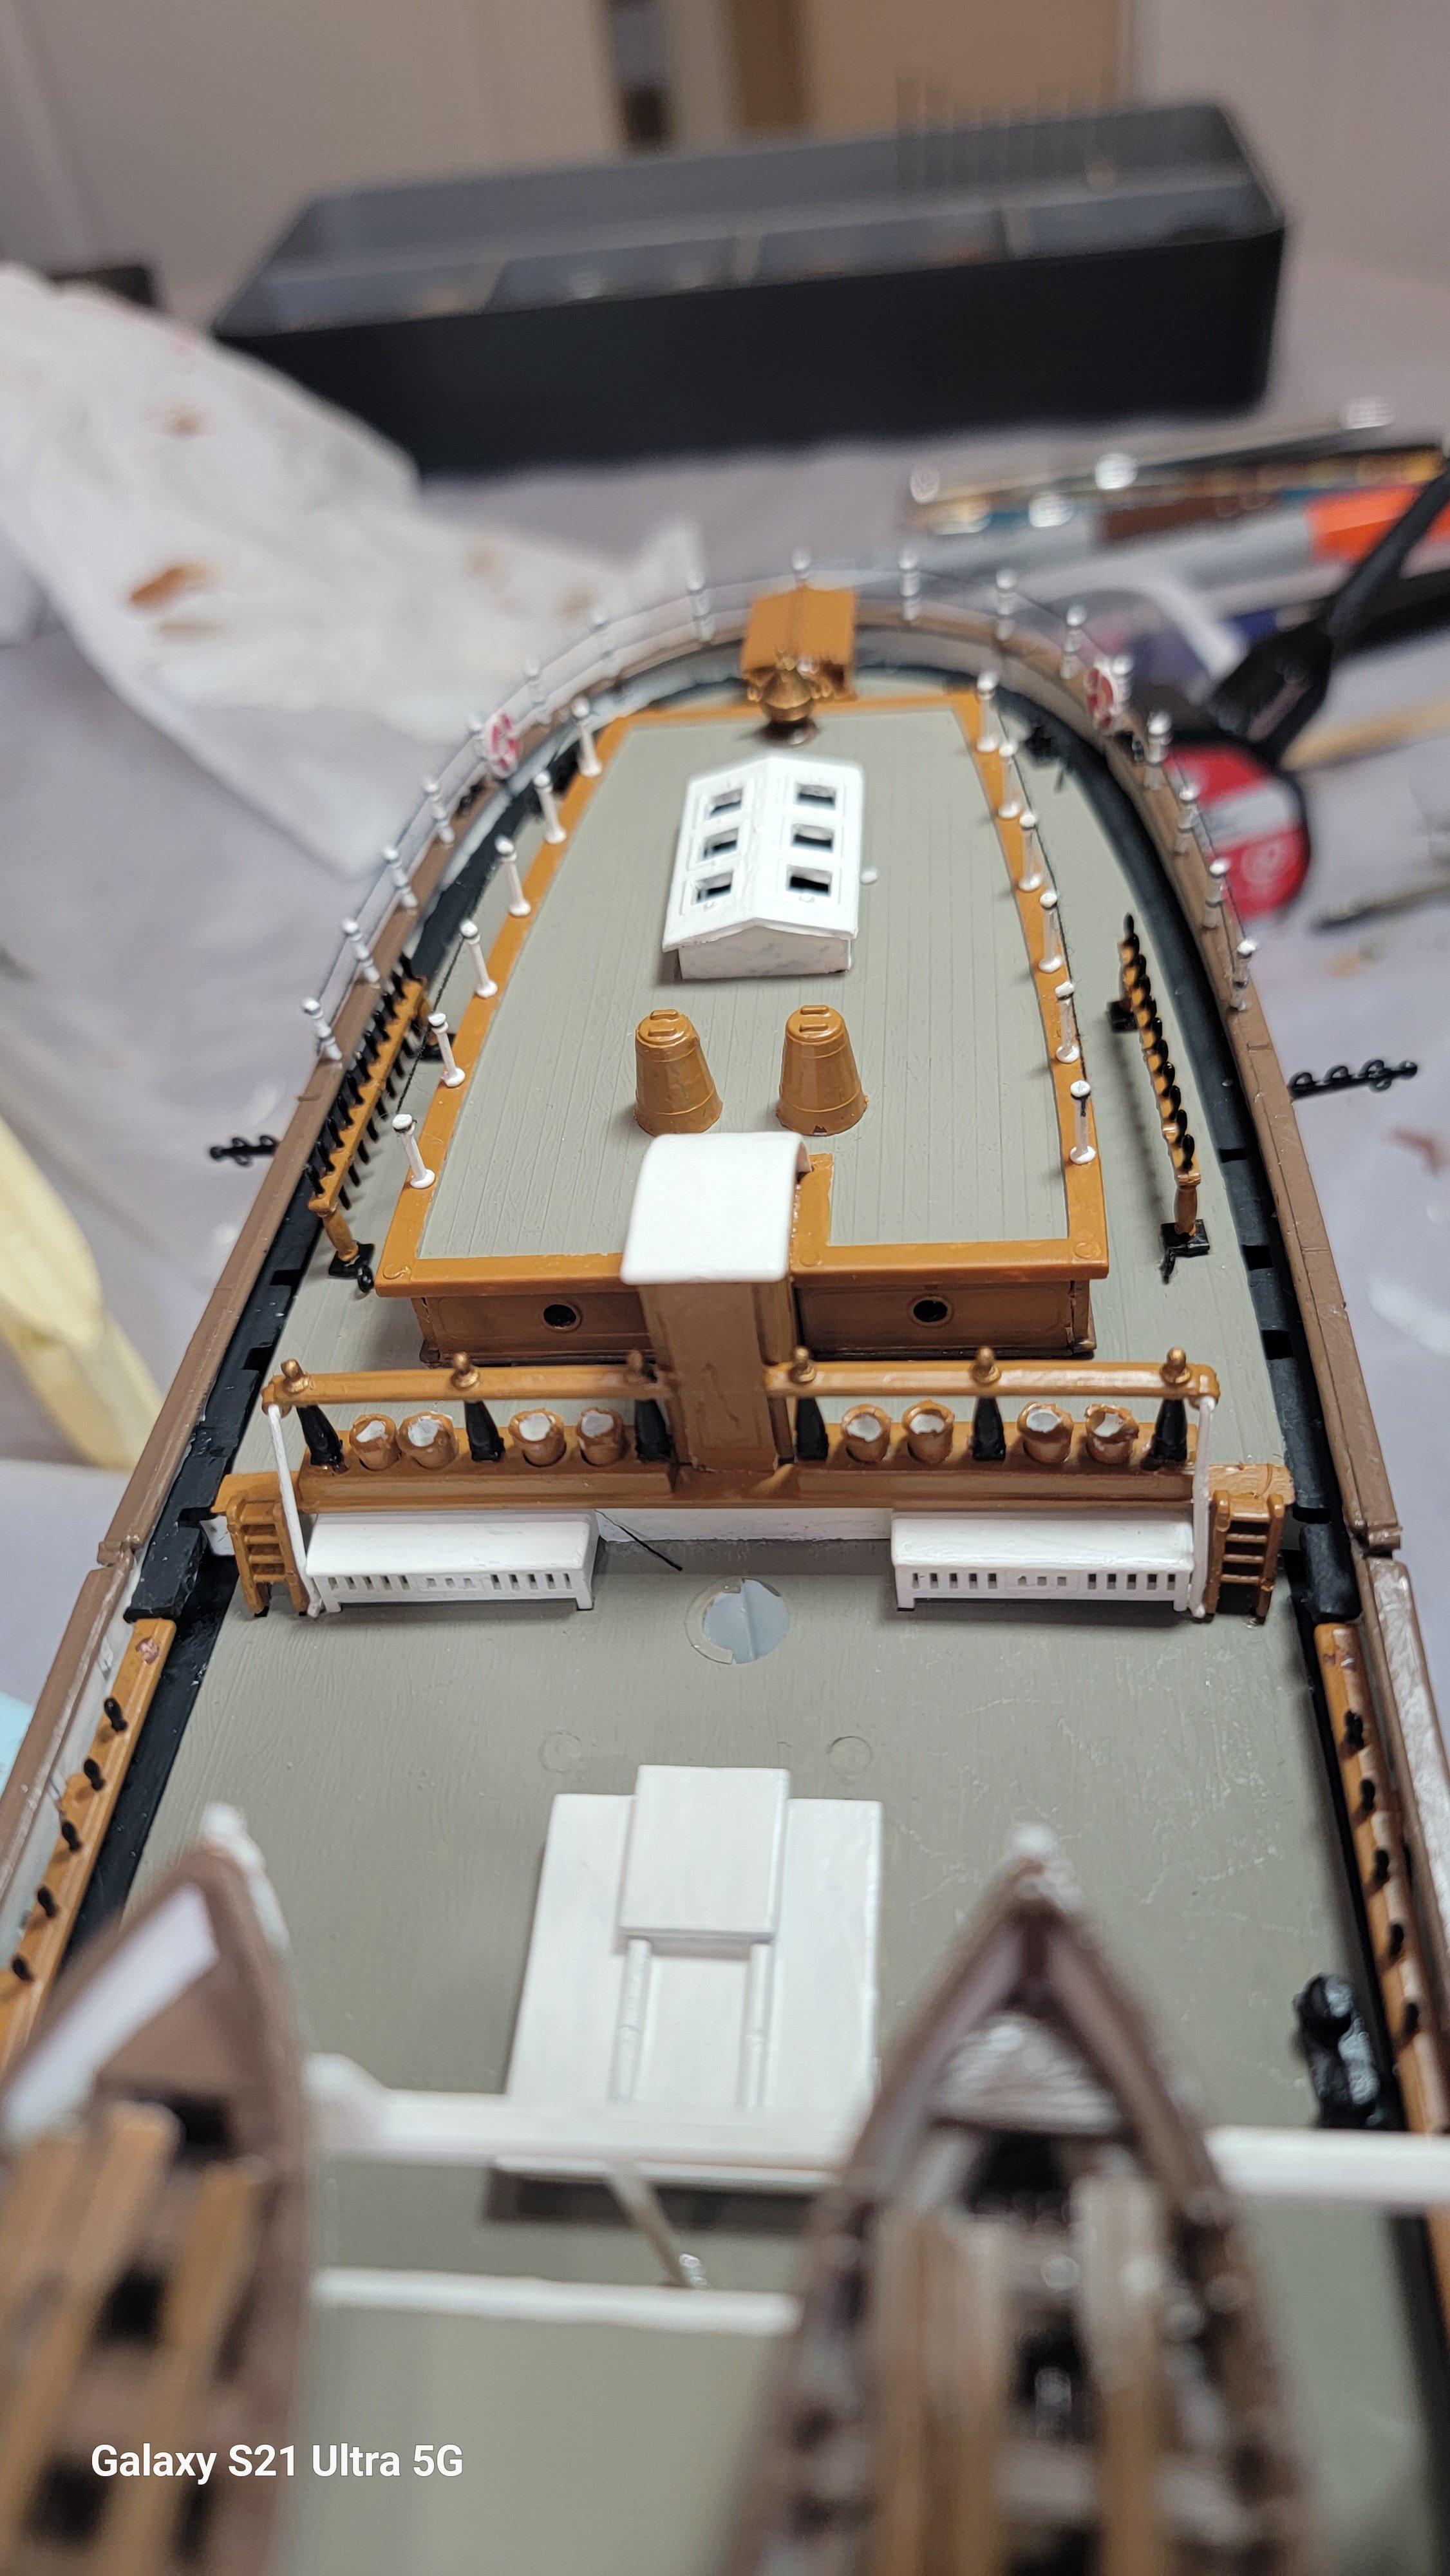
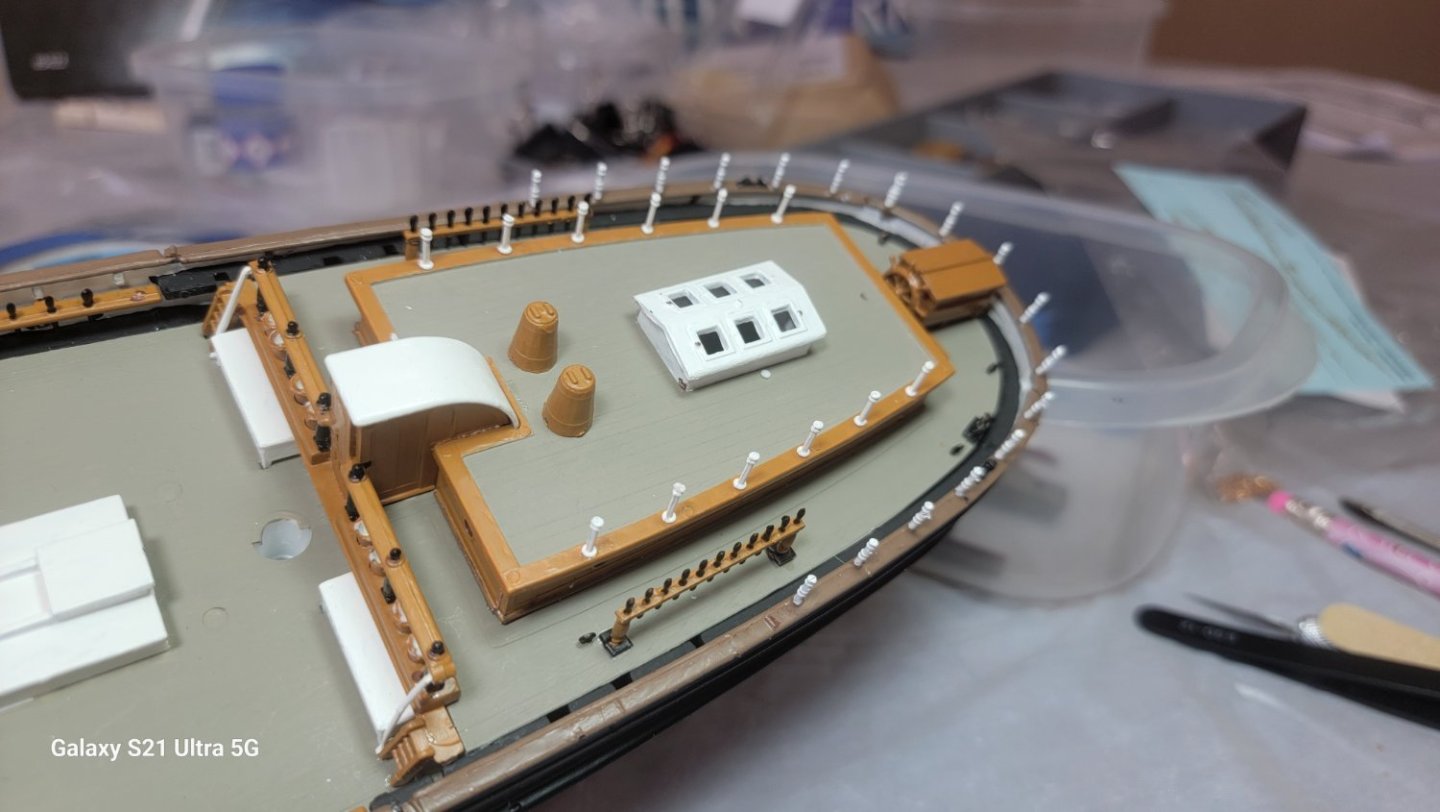
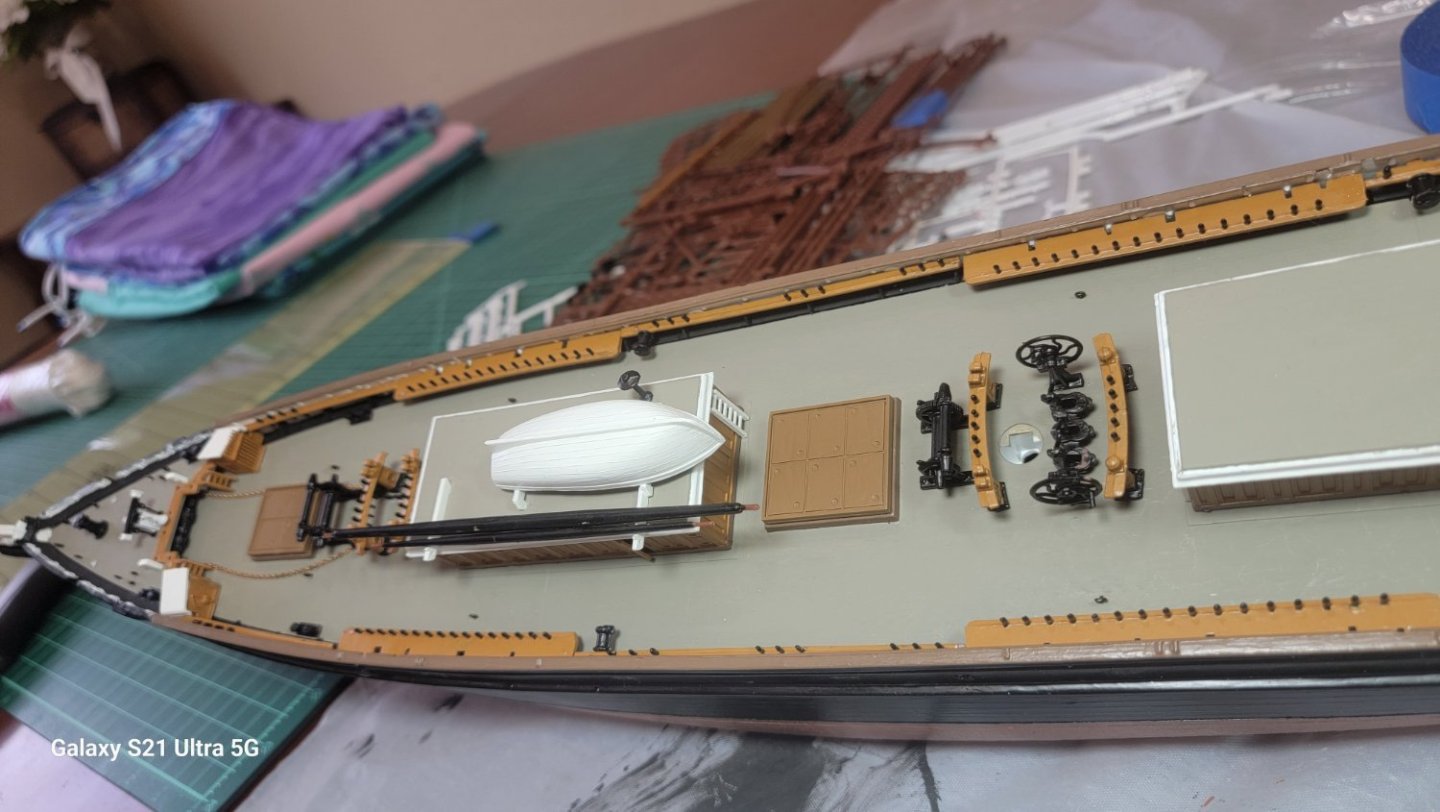
Stuck... I'm starting to put parts on the deck. Before gluing the forward raised deck in place it indicates to feed the anchor chain under that forward raised deck and then out the hole on the side of the bow. But there is no opening to allow for that. What am I missing? David
- 114 replies
-
- 3
-
-
- Cutty Sark
- plastic
- (and 4 more)
-
Another question. As amazingly precise as the model parts generally are... what's up with the circles with raised edges on most all of the pieces? I'm already (happily) spending considerable time clipping, triming, and filing including the circles. But they seem nearly impossible to eliminate. I guess I should live with that? David
- 114 replies
-
- 3
-
-
- Cutty Sark
- plastic
- (and 4 more)