J Snyder
-
Posts
87 -
Joined
-
Last visited
-
 KeithAug reacted to a post in a topic:
Gary Thomas by J Snyder - 1:16 - William Atkin 25 foot Sloop
KeithAug reacted to a post in a topic:
Gary Thomas by J Snyder - 1:16 - William Atkin 25 foot Sloop
-
J Snyder reacted to a post in a topic:
Gjoa 1872 by Jond - 1:48 scale - Amundson's Cutter
-
KeithAug reacted to a post in a topic:
Gary Thomas by J Snyder - 1:16 - William Atkin 25 foot Sloop
-
yvesvidal reacted to a post in a topic:
Gary Thomas by J Snyder - 1:16 - William Atkin 25 foot Sloop
-
yvesvidal reacted to a post in a topic:
Gary Thomas by J Snyder - 1:16 - William Atkin 25 foot Sloop
-
yvesvidal reacted to a post in a topic:
Gary Thomas by J Snyder - 1:16 - William Atkin 25 foot Sloop
-
yvesvidal reacted to a post in a topic:
Gary Thomas by J Snyder - 1:16 - William Atkin 25 foot Sloop
-
yvesvidal reacted to a post in a topic:
Gary Thomas by J Snyder - 1:16 - William Atkin 25 foot Sloop
-
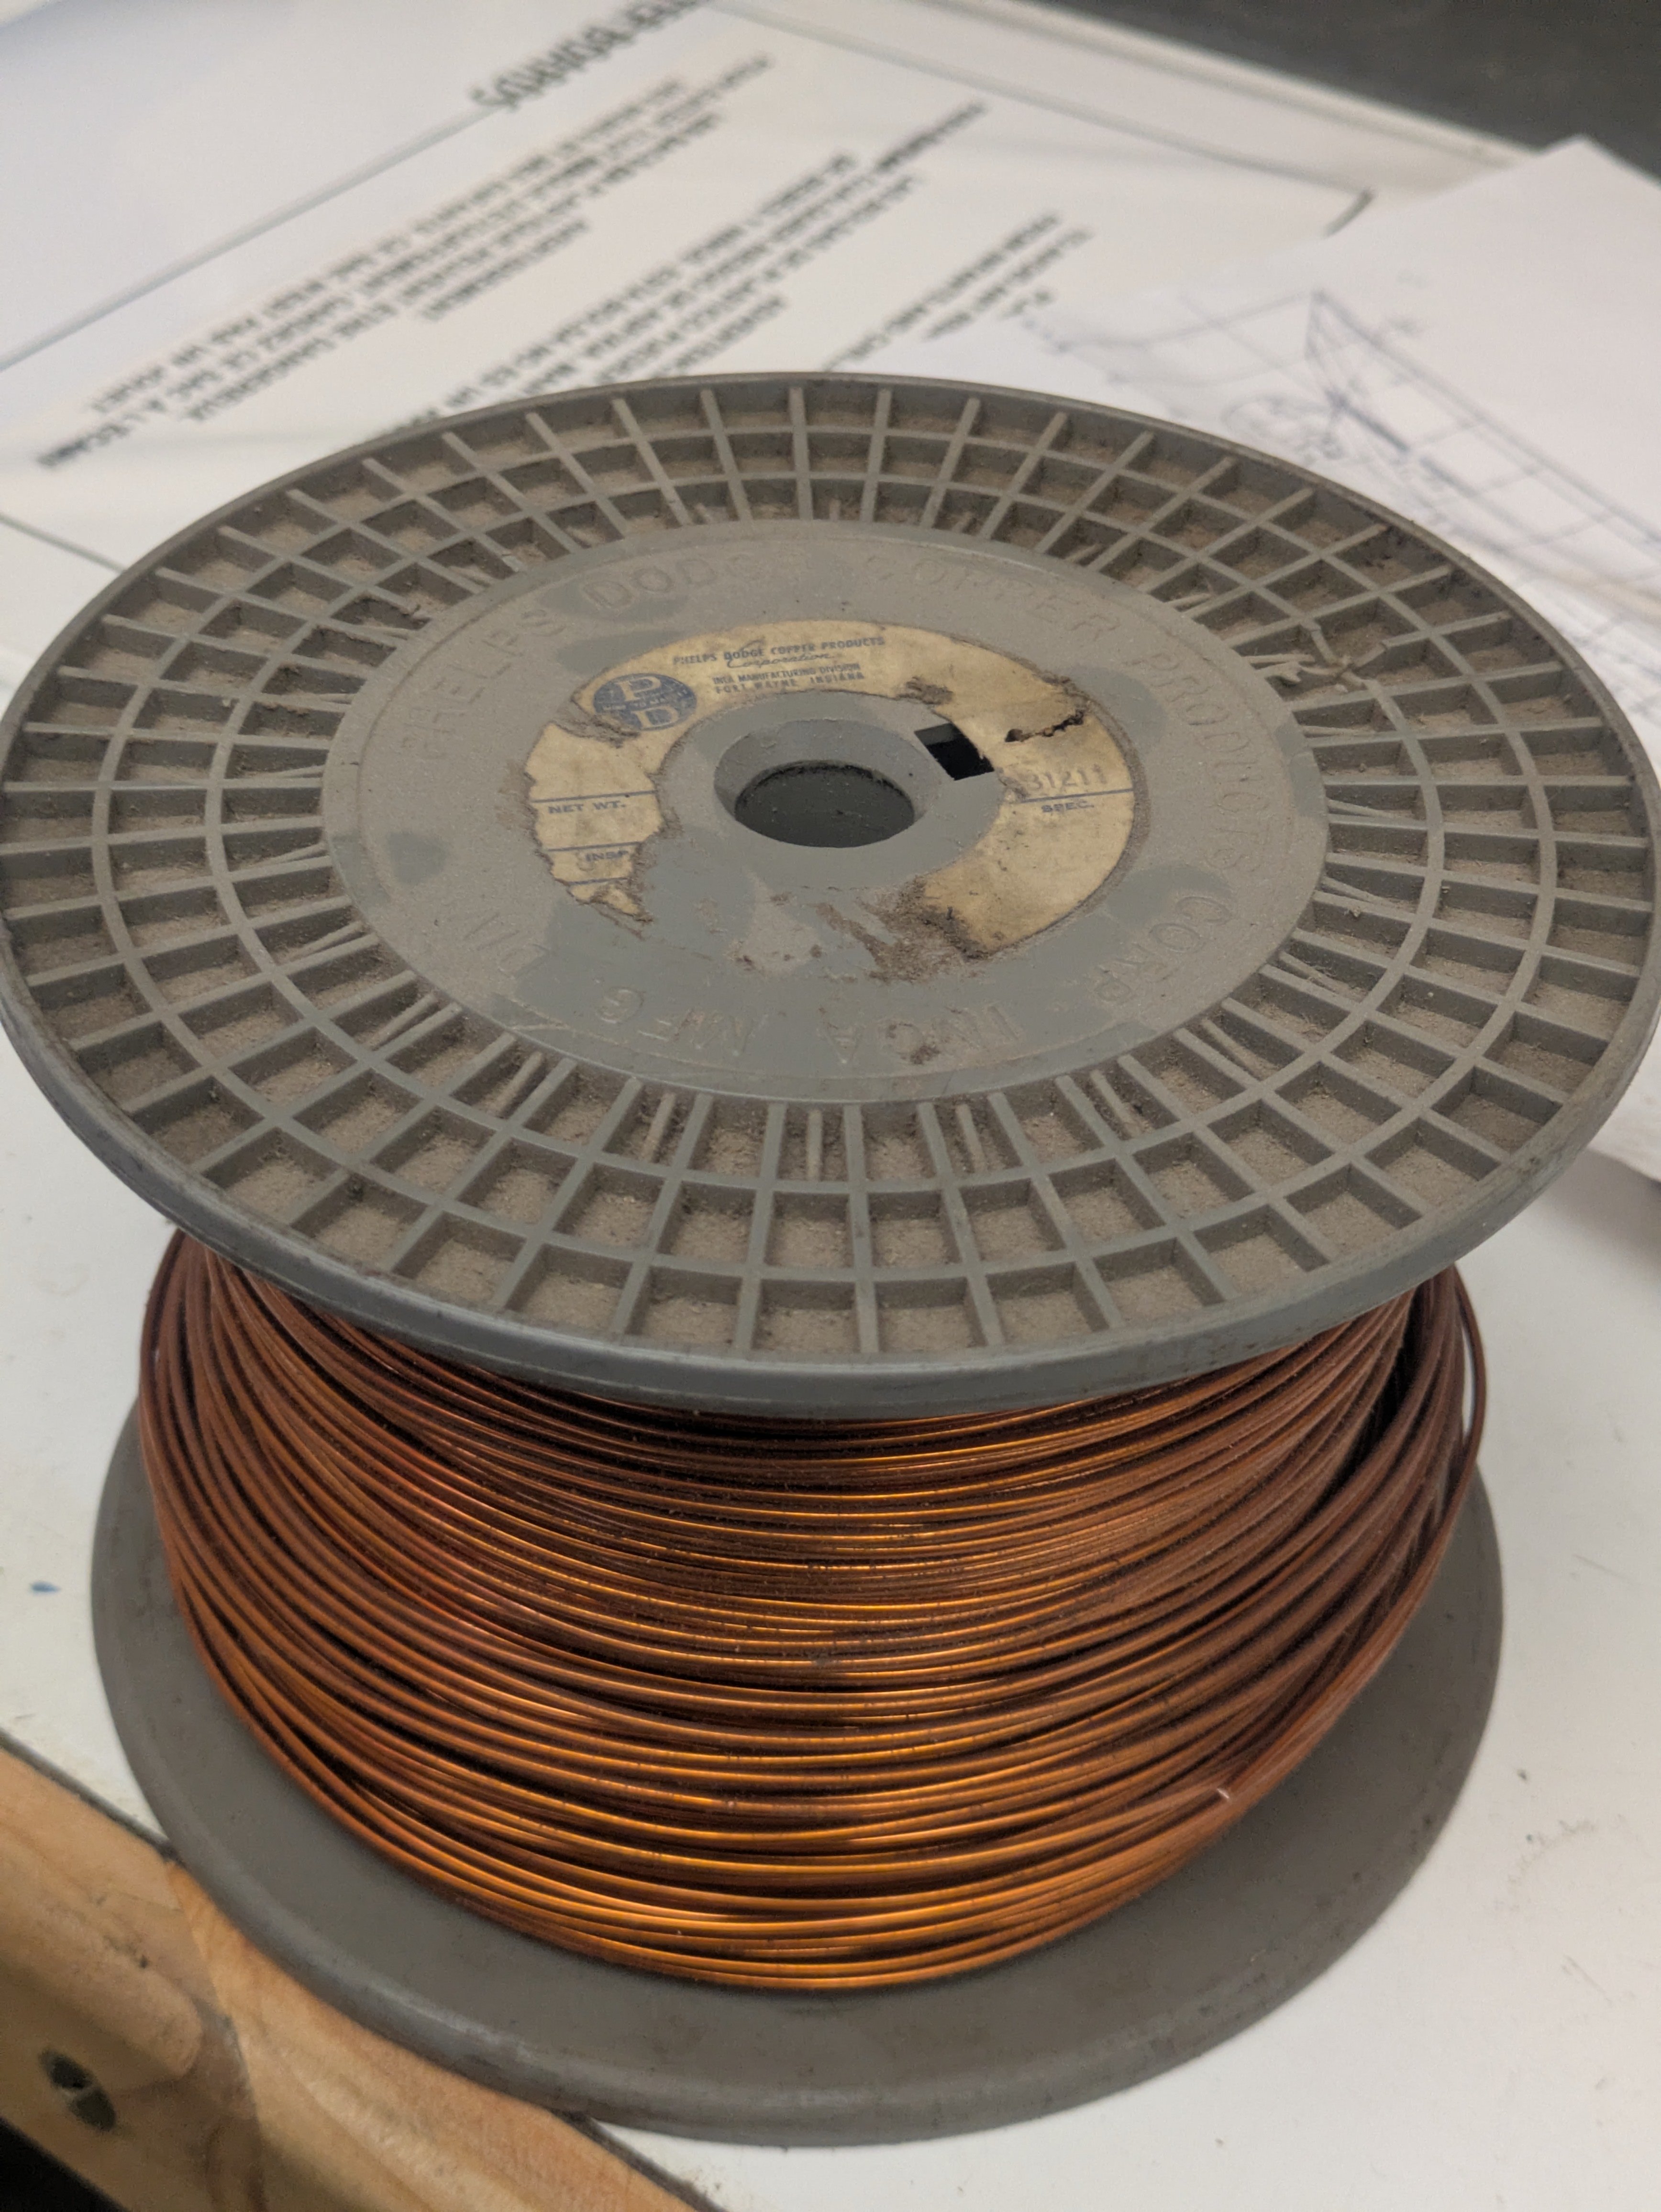
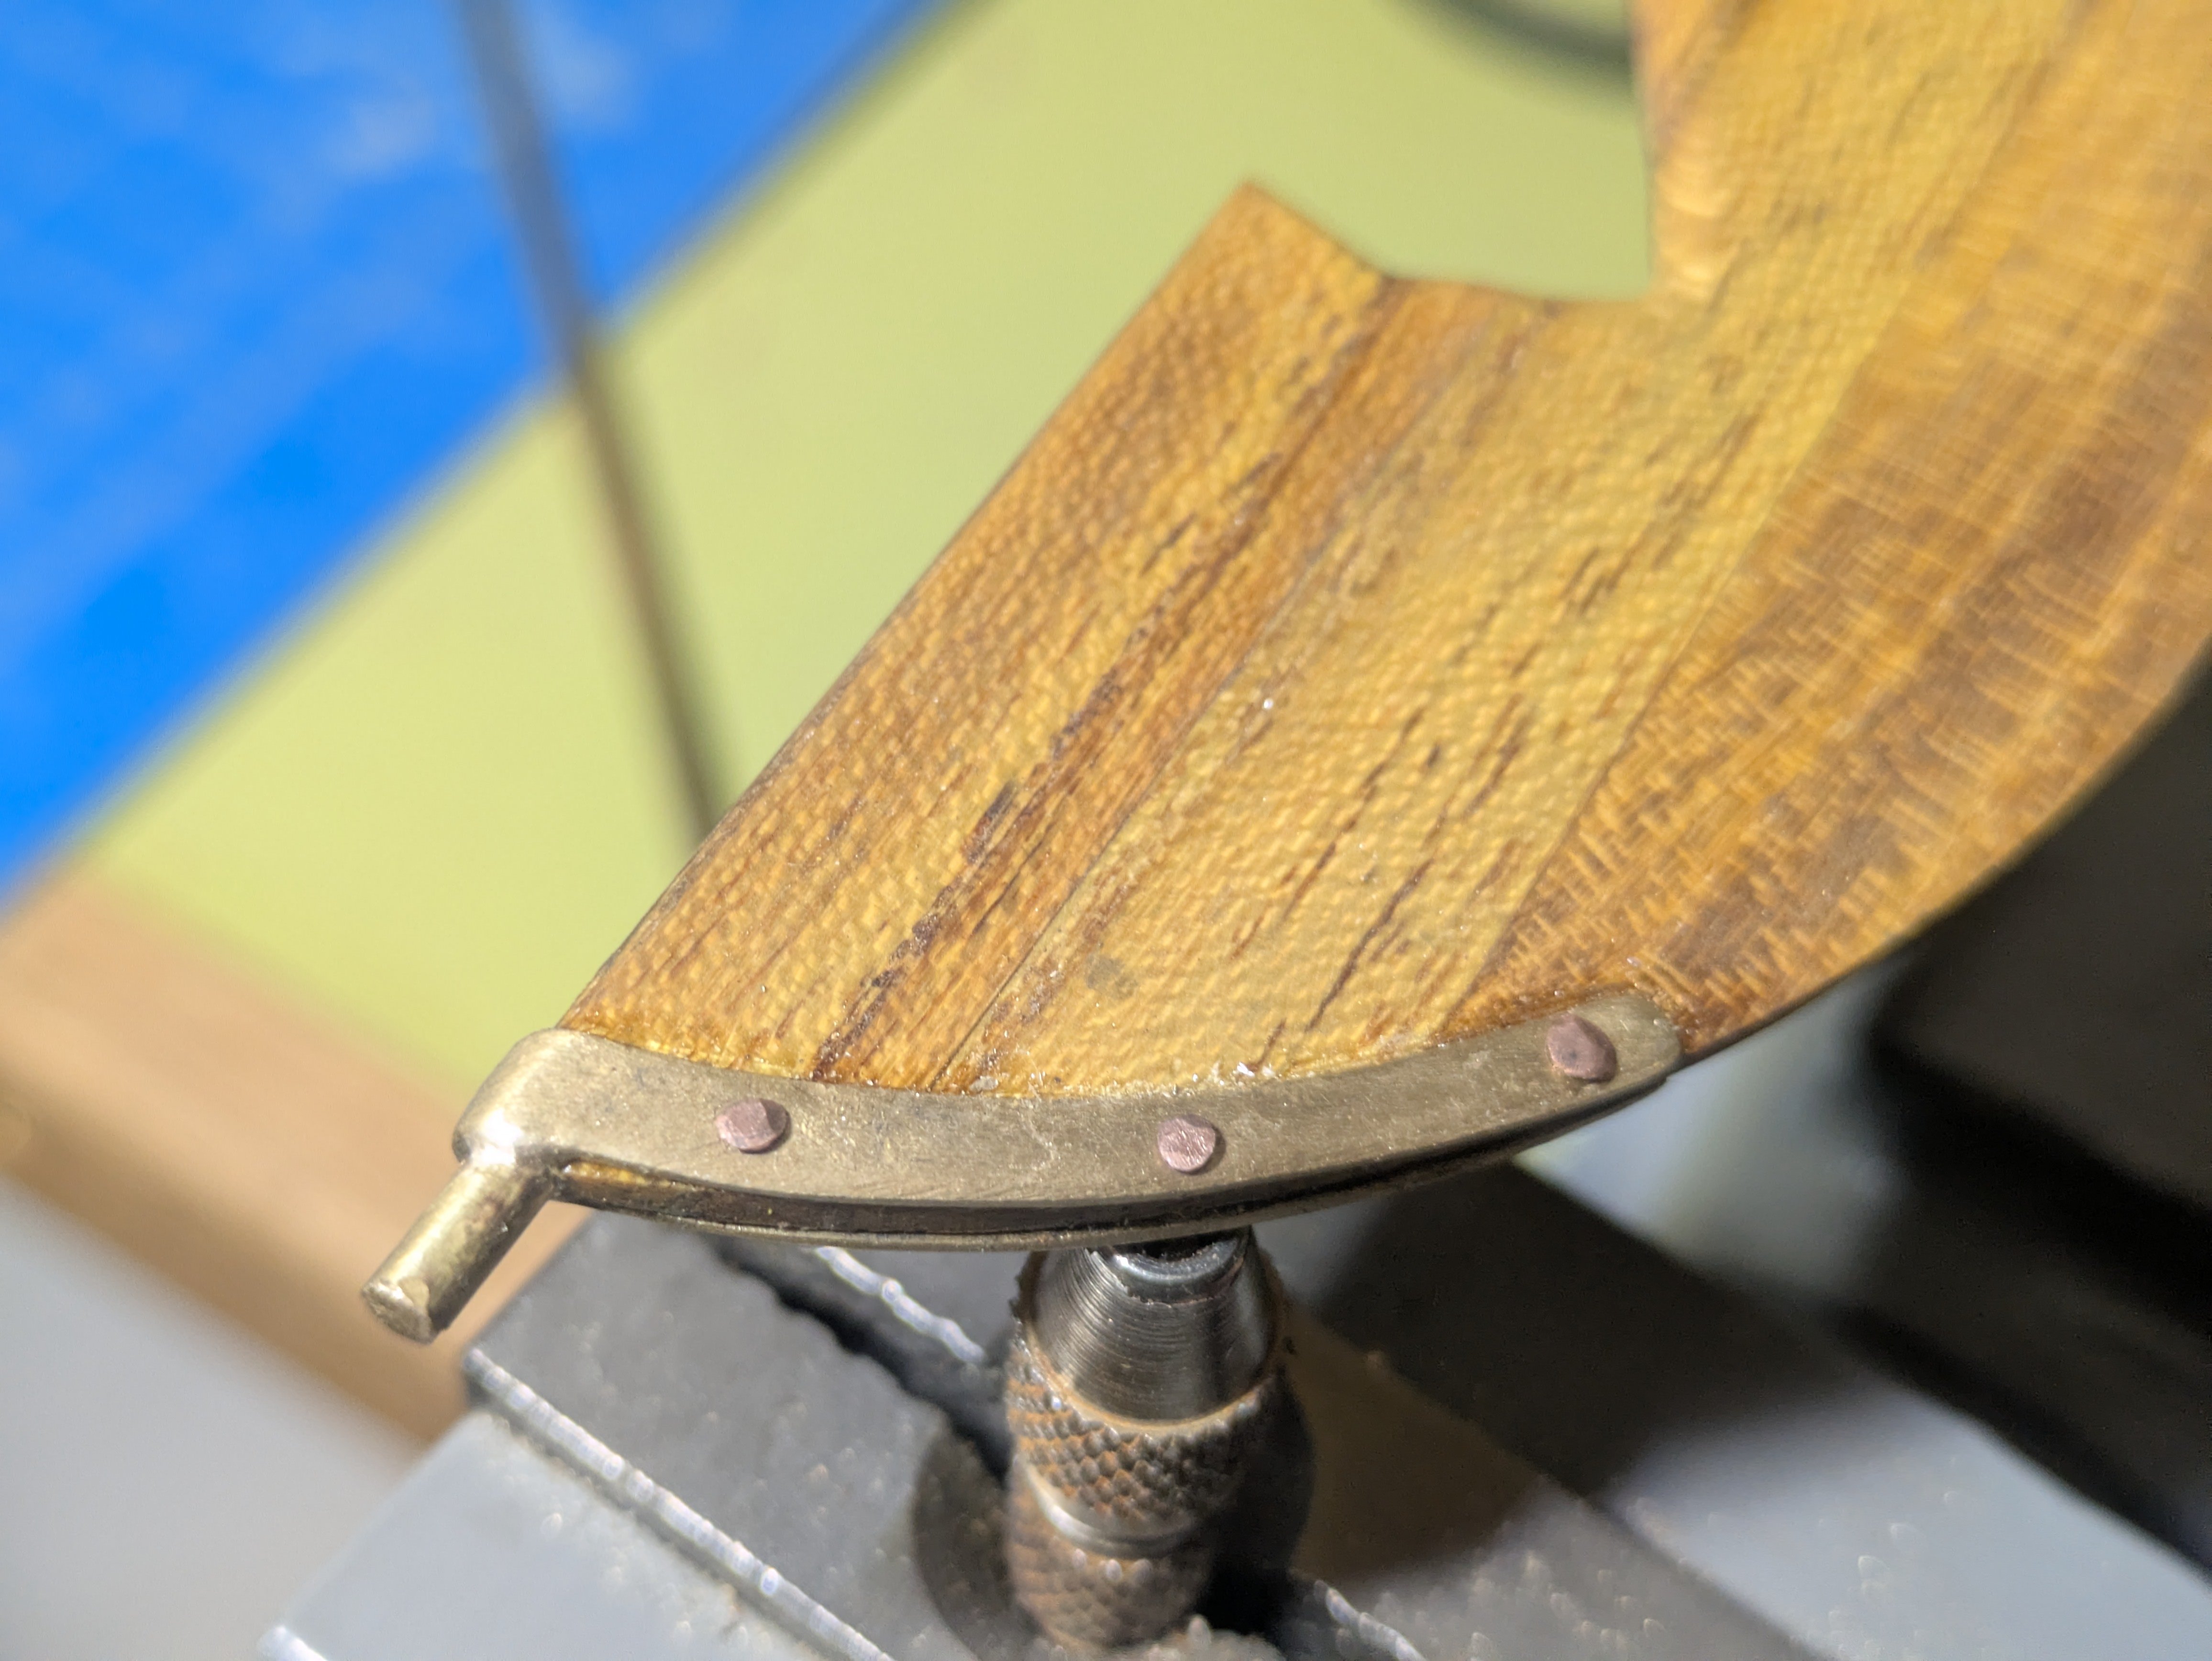
 I have a partial roll of 16 ga. coated copper wire pasted down from my HAM operator grandfather that I pulled through a draw plate to get it down to 18 ga. annealing as I went. Using the wire to fasten the straps to the rudder. I used a pin vise to hold the wire while I peened one end then cut and peened the other side. I'm going to wait to attach the strap on the keel till I am ready to finish the bottom.

- 38 replies
-
- 4
-
-
- William Atkin
- Sloop
- (and 1 more)
-
Help to assemble AMATI chain plate 4090/05
J Snyder replied to Johnny Mike's topic in Masting, rigging and sails
You could try annealing the brass? -
Help to assemble AMATI chain plate 4090/05
J Snyder replied to Johnny Mike's topic in Masting, rigging and sails
Just a thought from some one who has never done it. You may have to spread the chain plate ears a bit to get the deadeye bar though then squeeze the chain plate back together. -
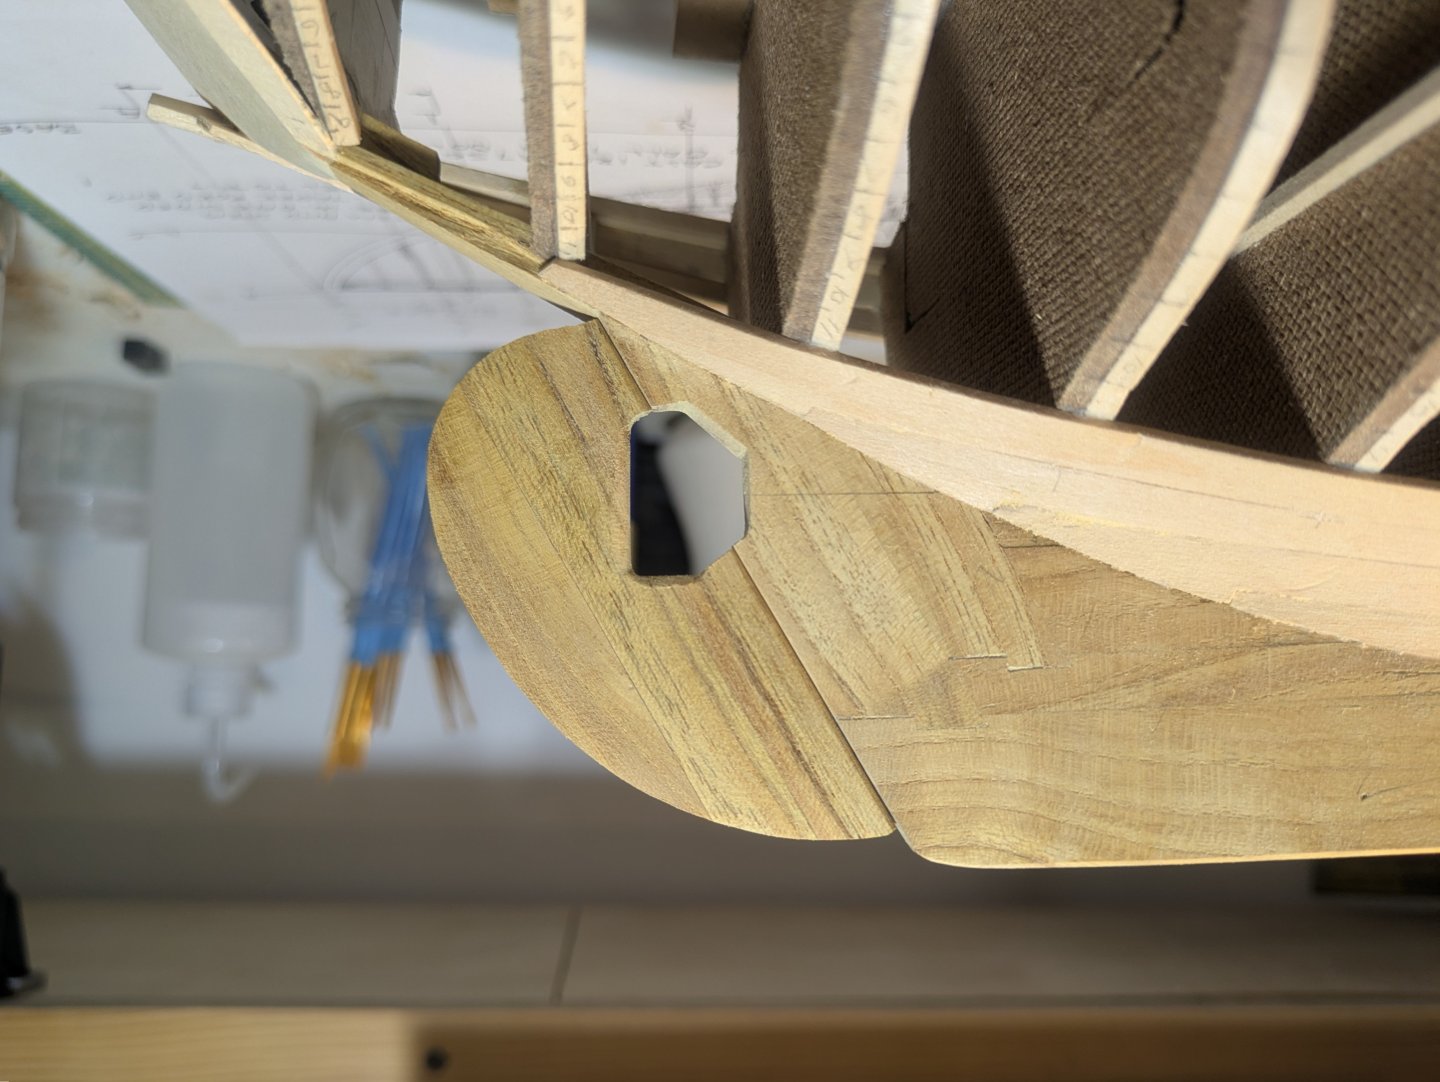
I got the straps finished. I didn't have a long drill of the correct size so I made one from the bronze welding rod it was hard enough to drill through the horn timber.
- 38 replies
-
- 3
-
-

-
- William Atkin
- Sloop
- (and 1 more)
-
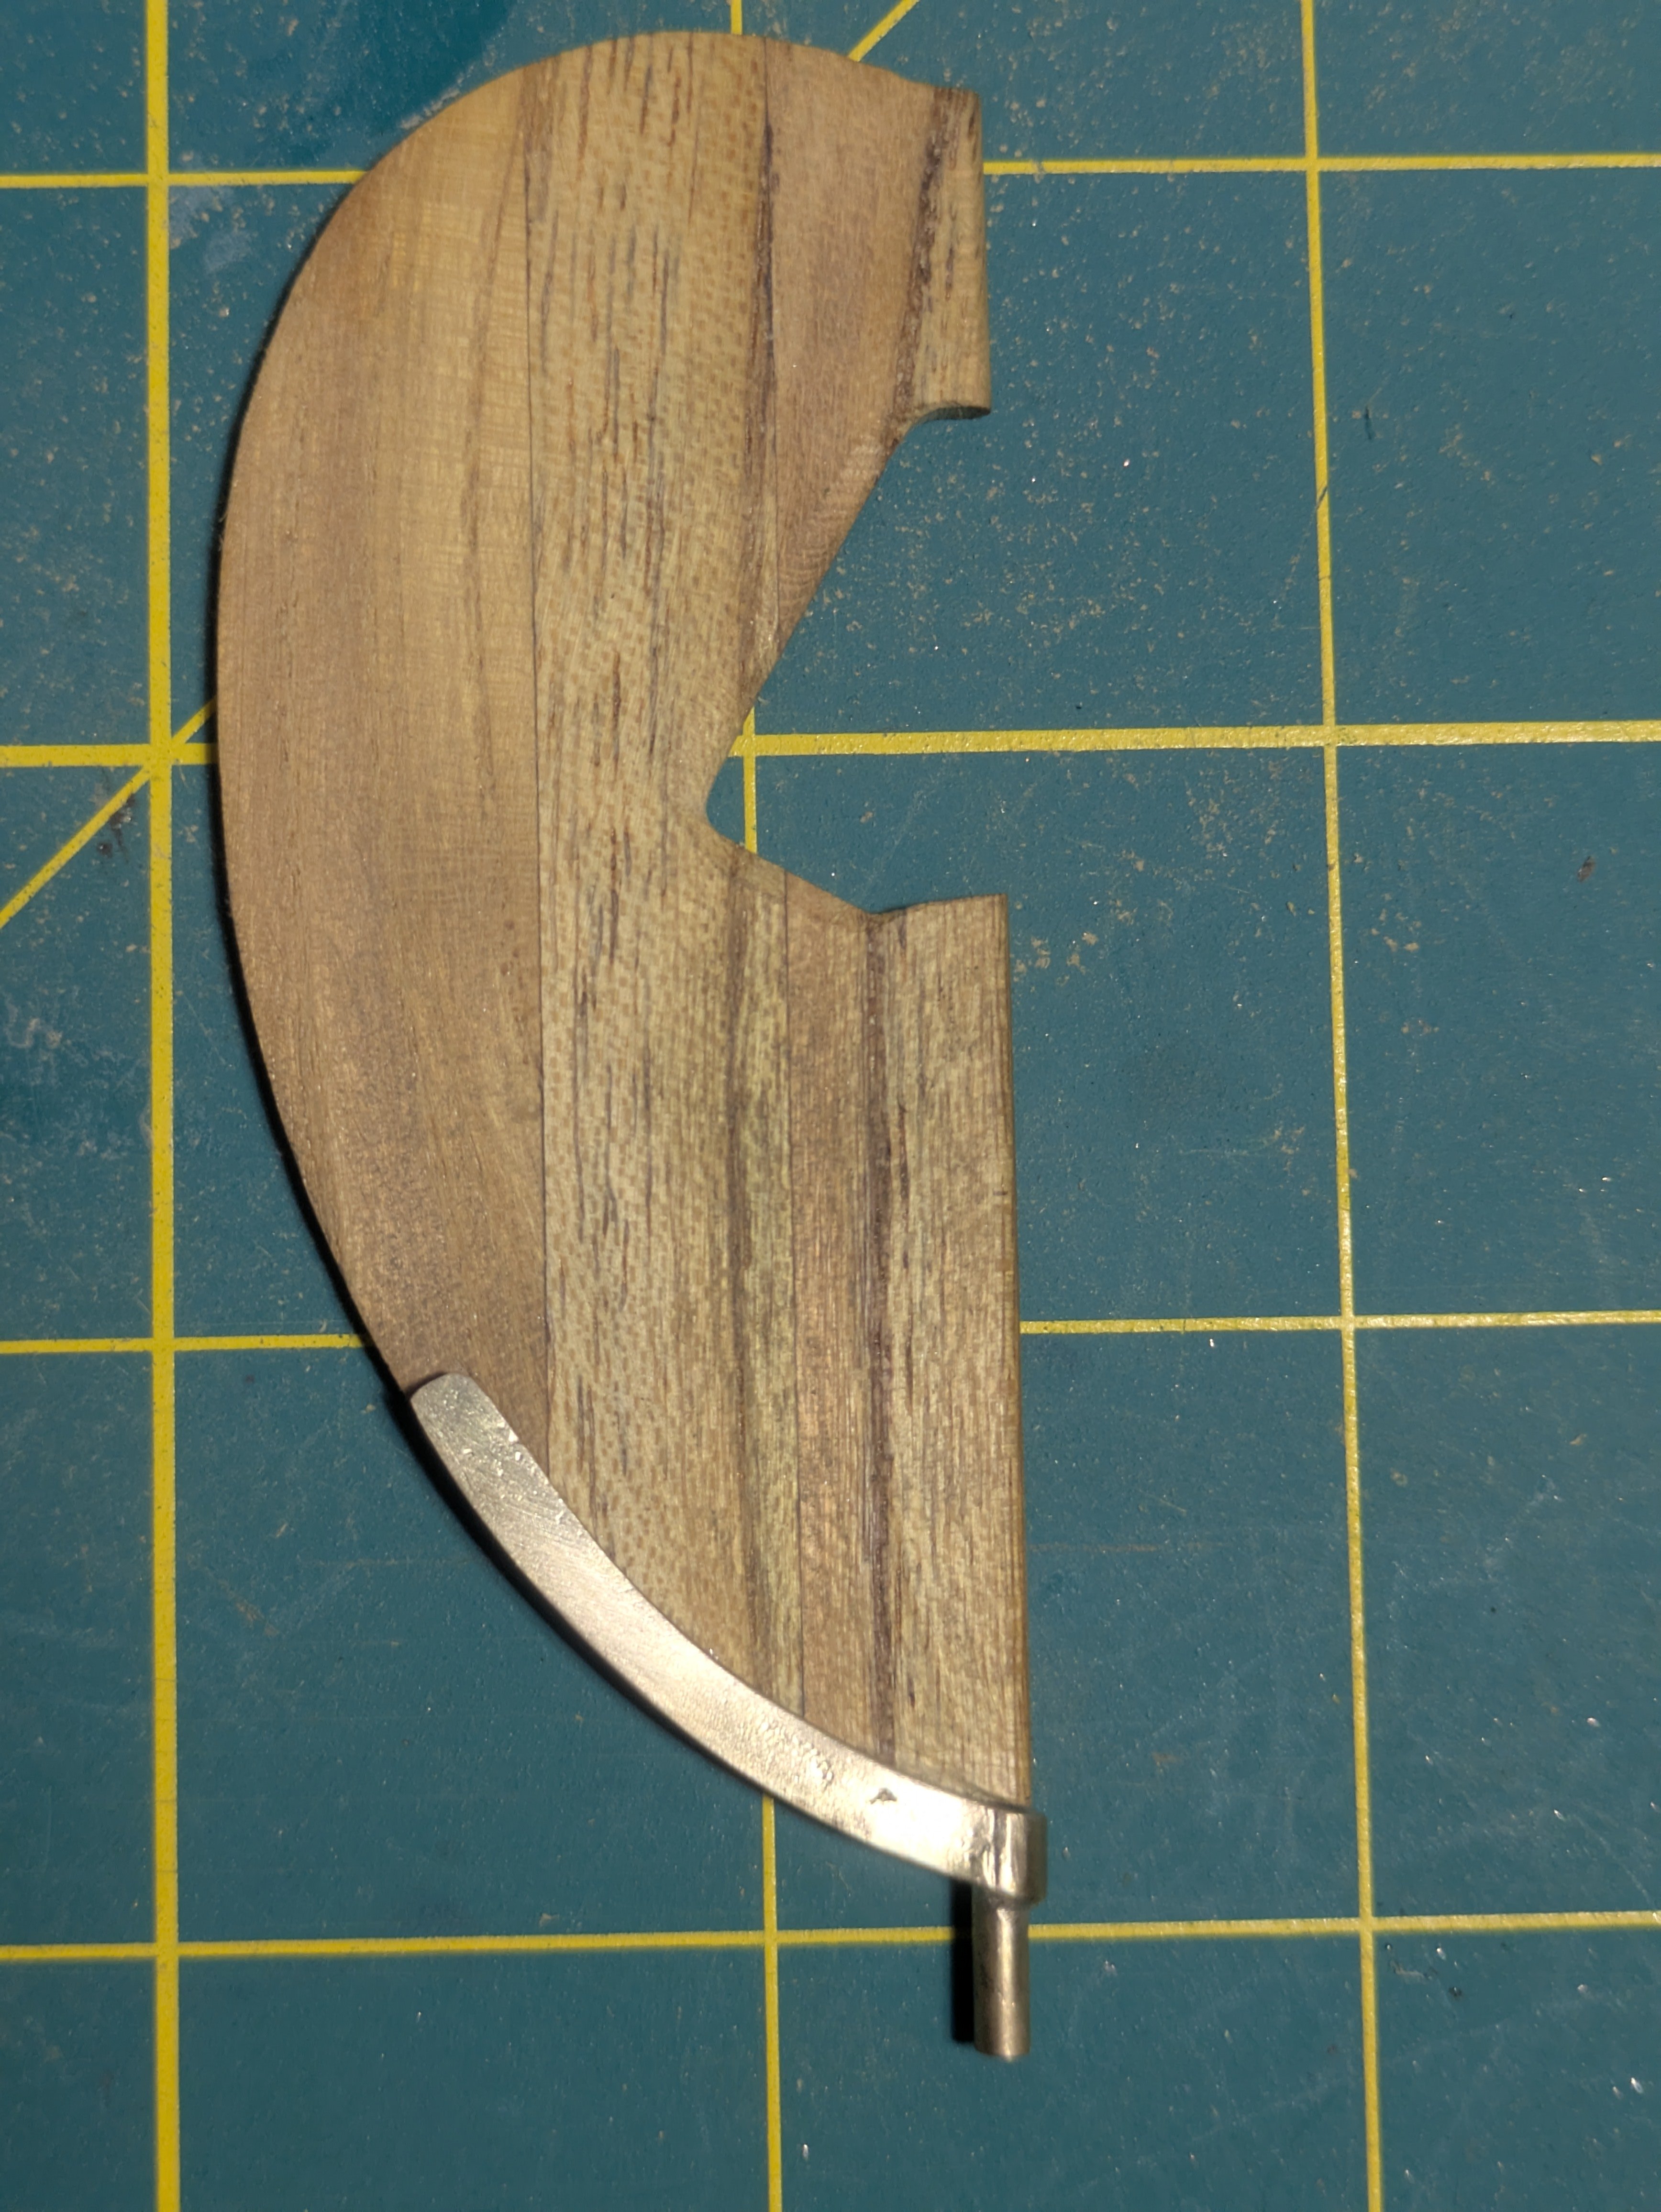
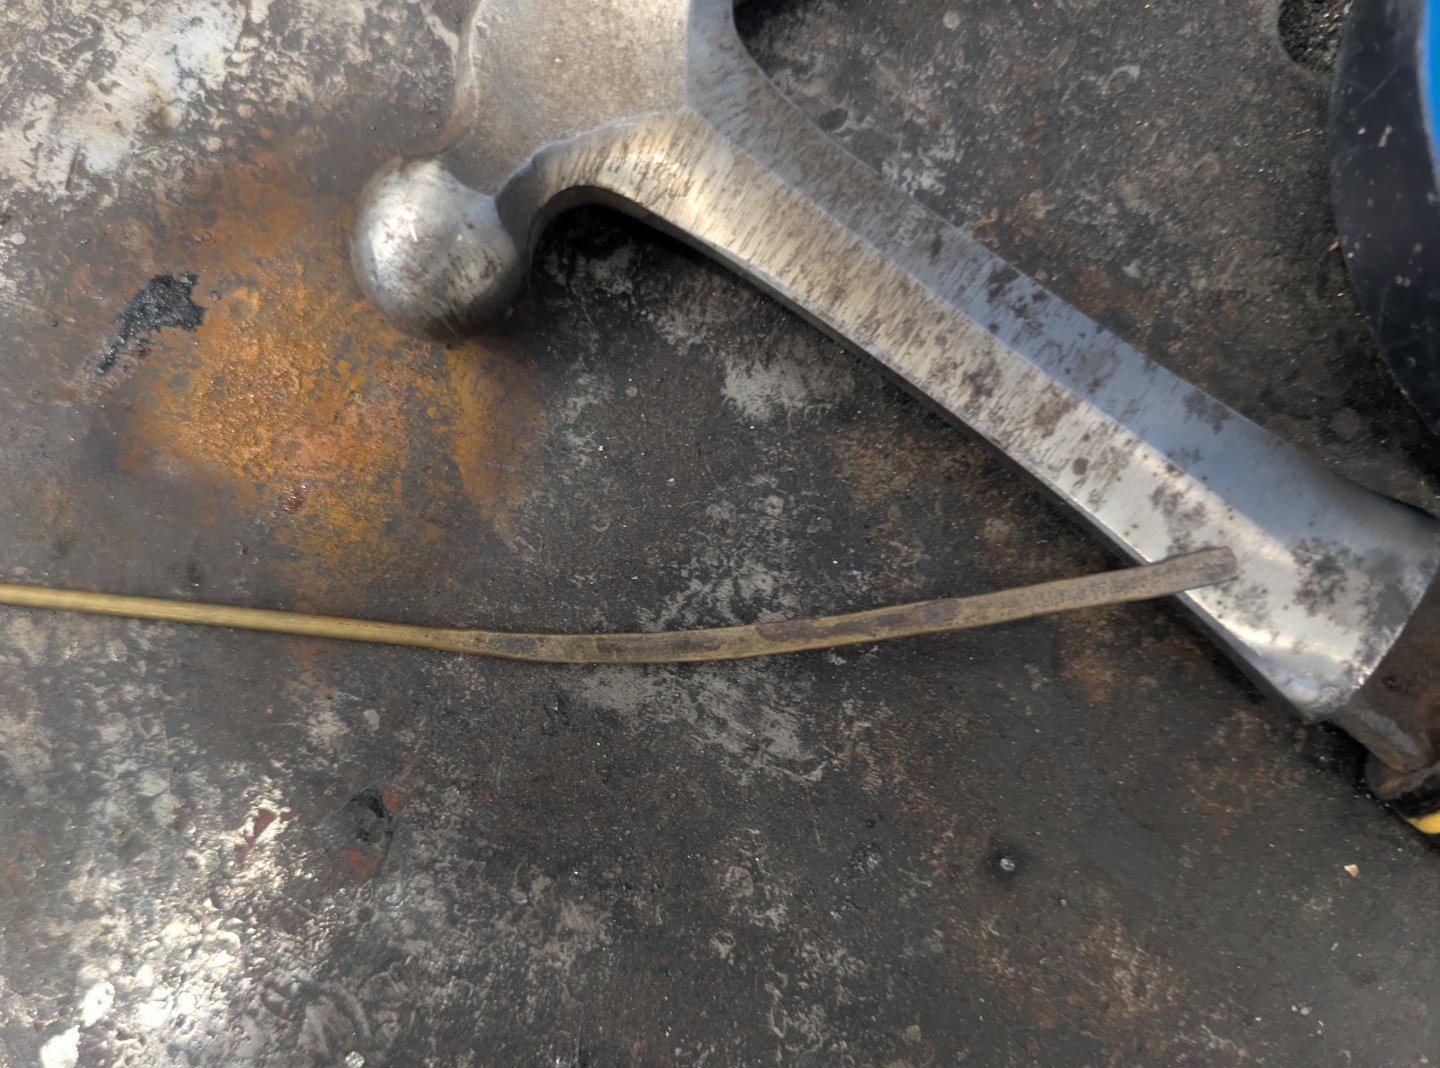
Thanks, I got the bottom strap made. I'm not sure how I should fasten it. I'm thinking of drilling though and copper riveting with some epoxy. Any ideas?

- 38 replies
-
- 6
-
-
- William Atkin
- Sloop
- (and 1 more)
-
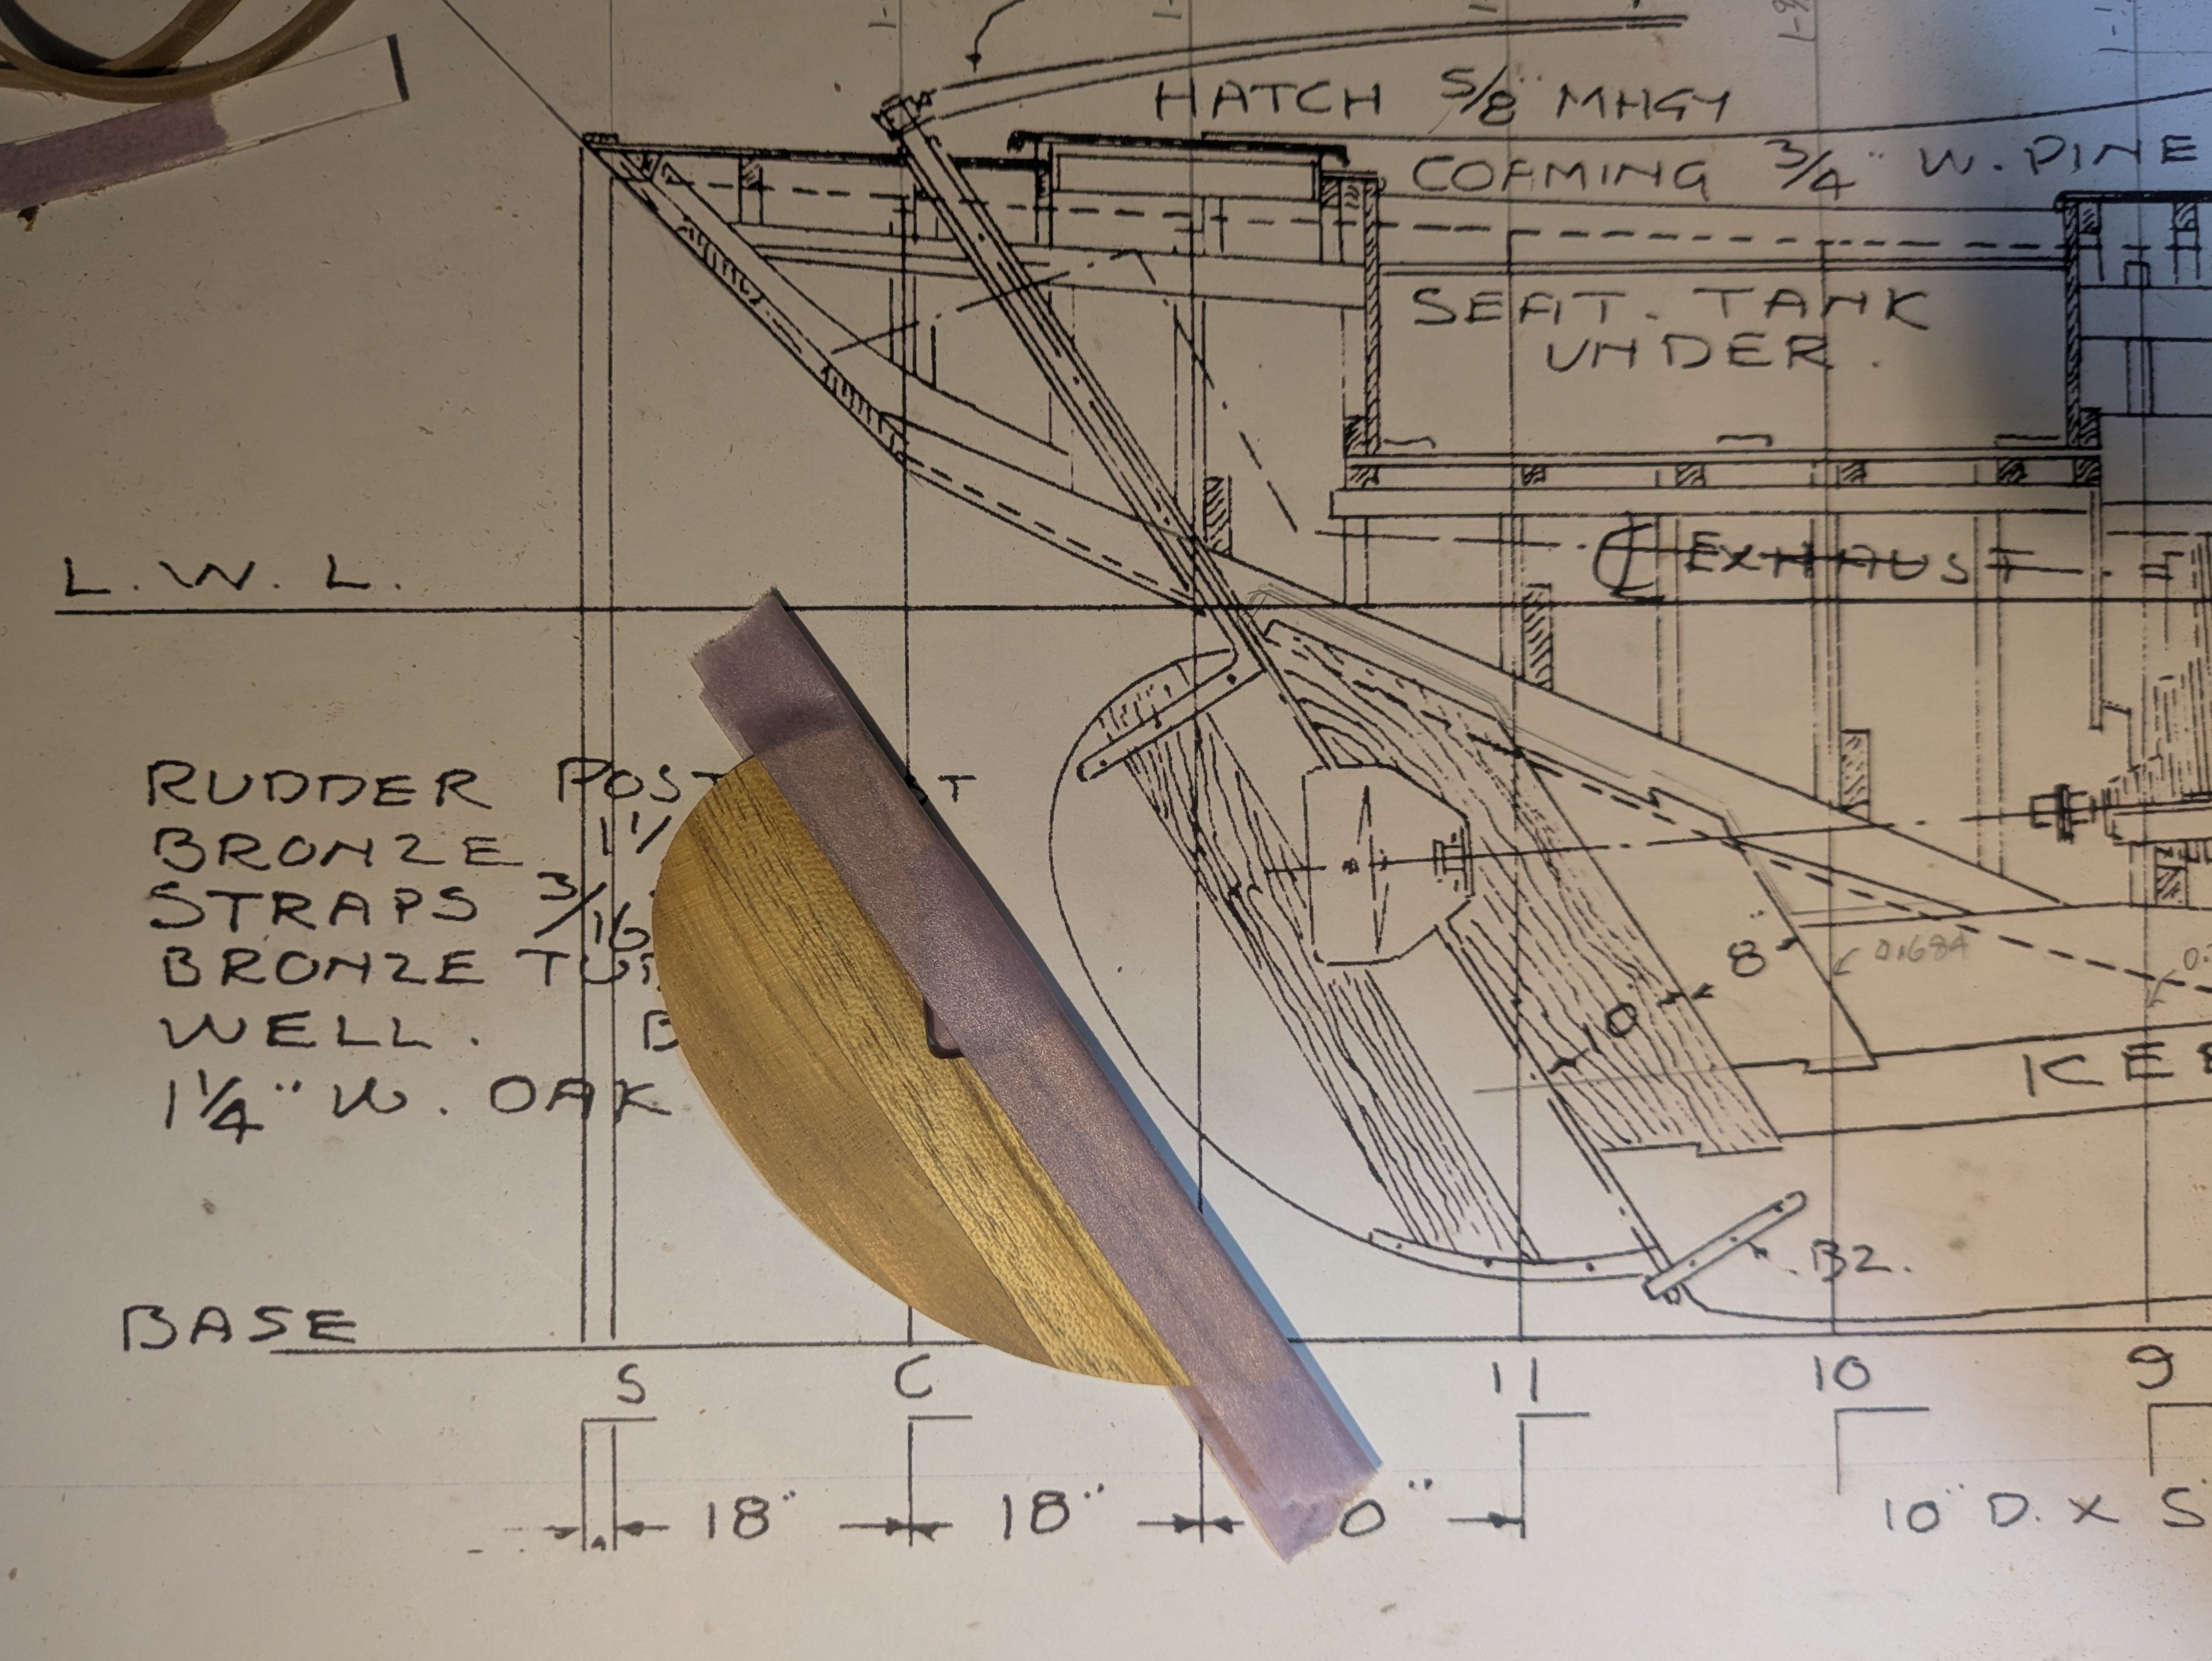
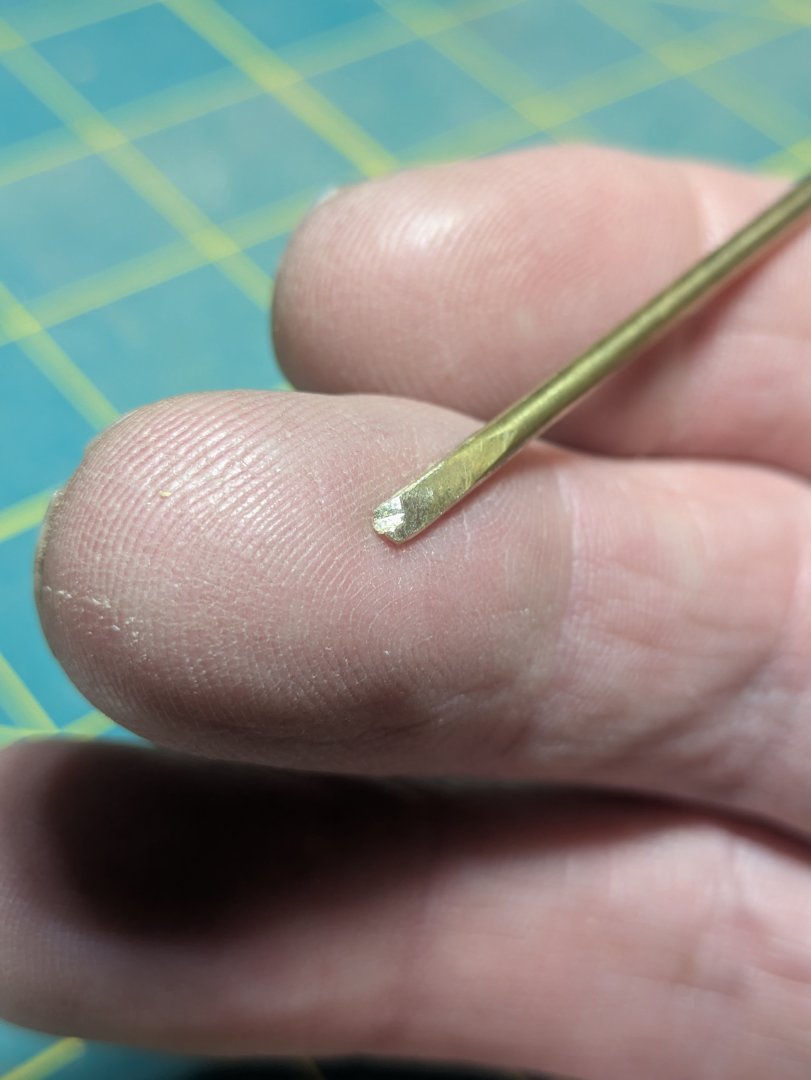
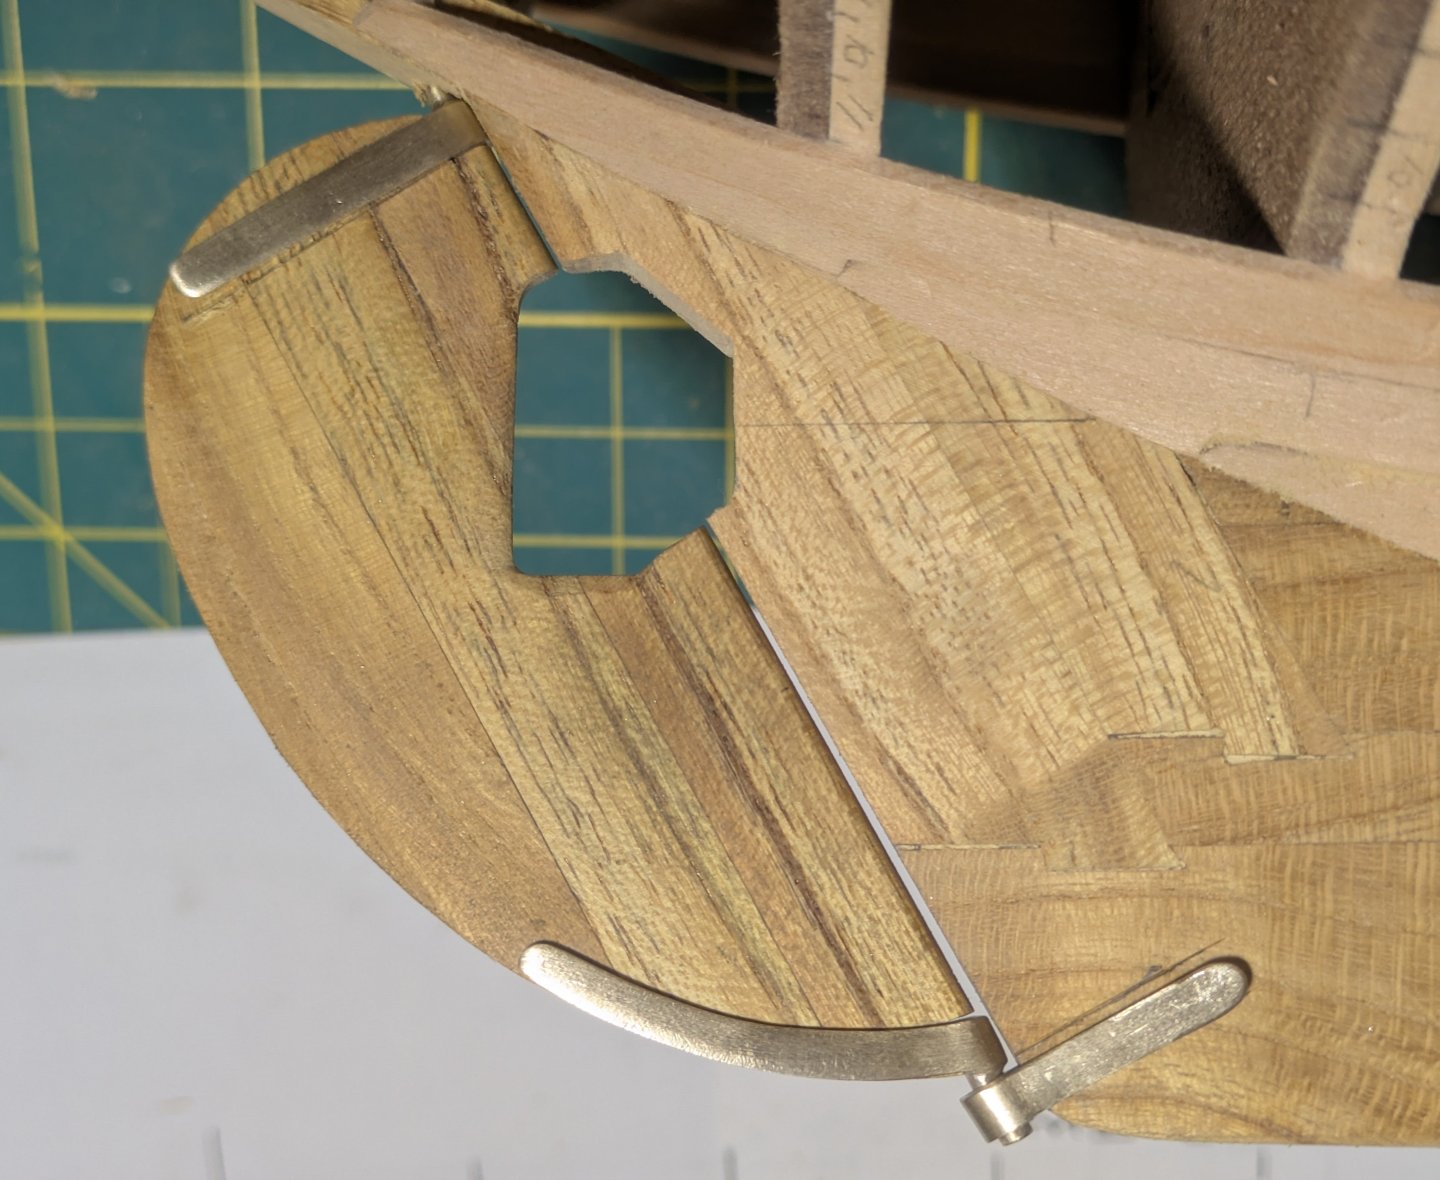
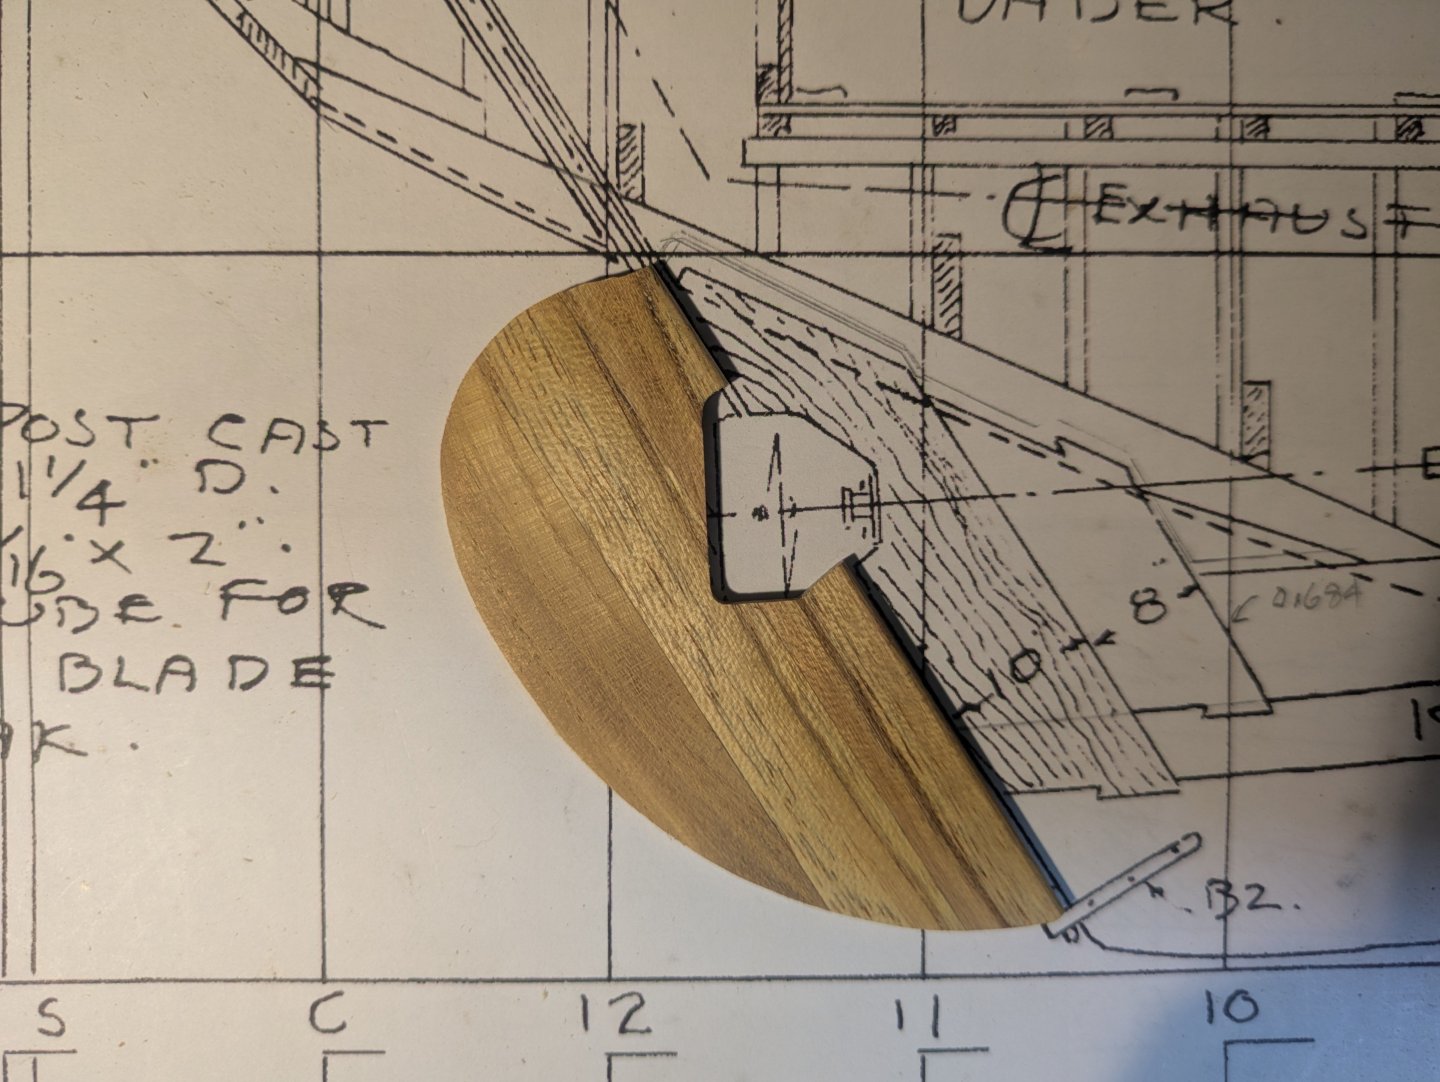
Until I get more 1/16" basswood the planking is on hold. I am working on the rudder. I cut three pieces of mulberry wood and staggered them in the hope that any warpage will be small. After gluing with epoxy and cutting to shape I taped the front to make sure not to sand that part. Then I sanded a taper to thin down the aft end and the prop opening. I don't have any thin brass so I flattened a 0.090 brazing rod for the rudder straps. To get it thin enough I had to anneal the rod 4 or 5 times.

- 38 replies
-
- 4
-
-
- William Atkin
- Sloop
- (and 1 more)
-
Yes Keith, online ordering is a gamble. During the lockdown at the start of the Covid pandemic the grocery stores started online ordering with pickup or delivery so we tried it. We gave it up after a while. The produce they picked out was terrible. I ordered some wood from Ocooch Hardwoods I'll see what I get. I would rather not be in town for the next few days. I did get a few more things done. You can really see the different color temp of the two lights I have.


- 38 replies
-
- 2
-
-
- William Atkin
- Sloop
- (and 1 more)
-
Well I just opened a box of wood from Amazon and instead of some 1/16" basswood they sent 1/16" plywood. So the planking is on hold for a few days till I get some plank material.
-
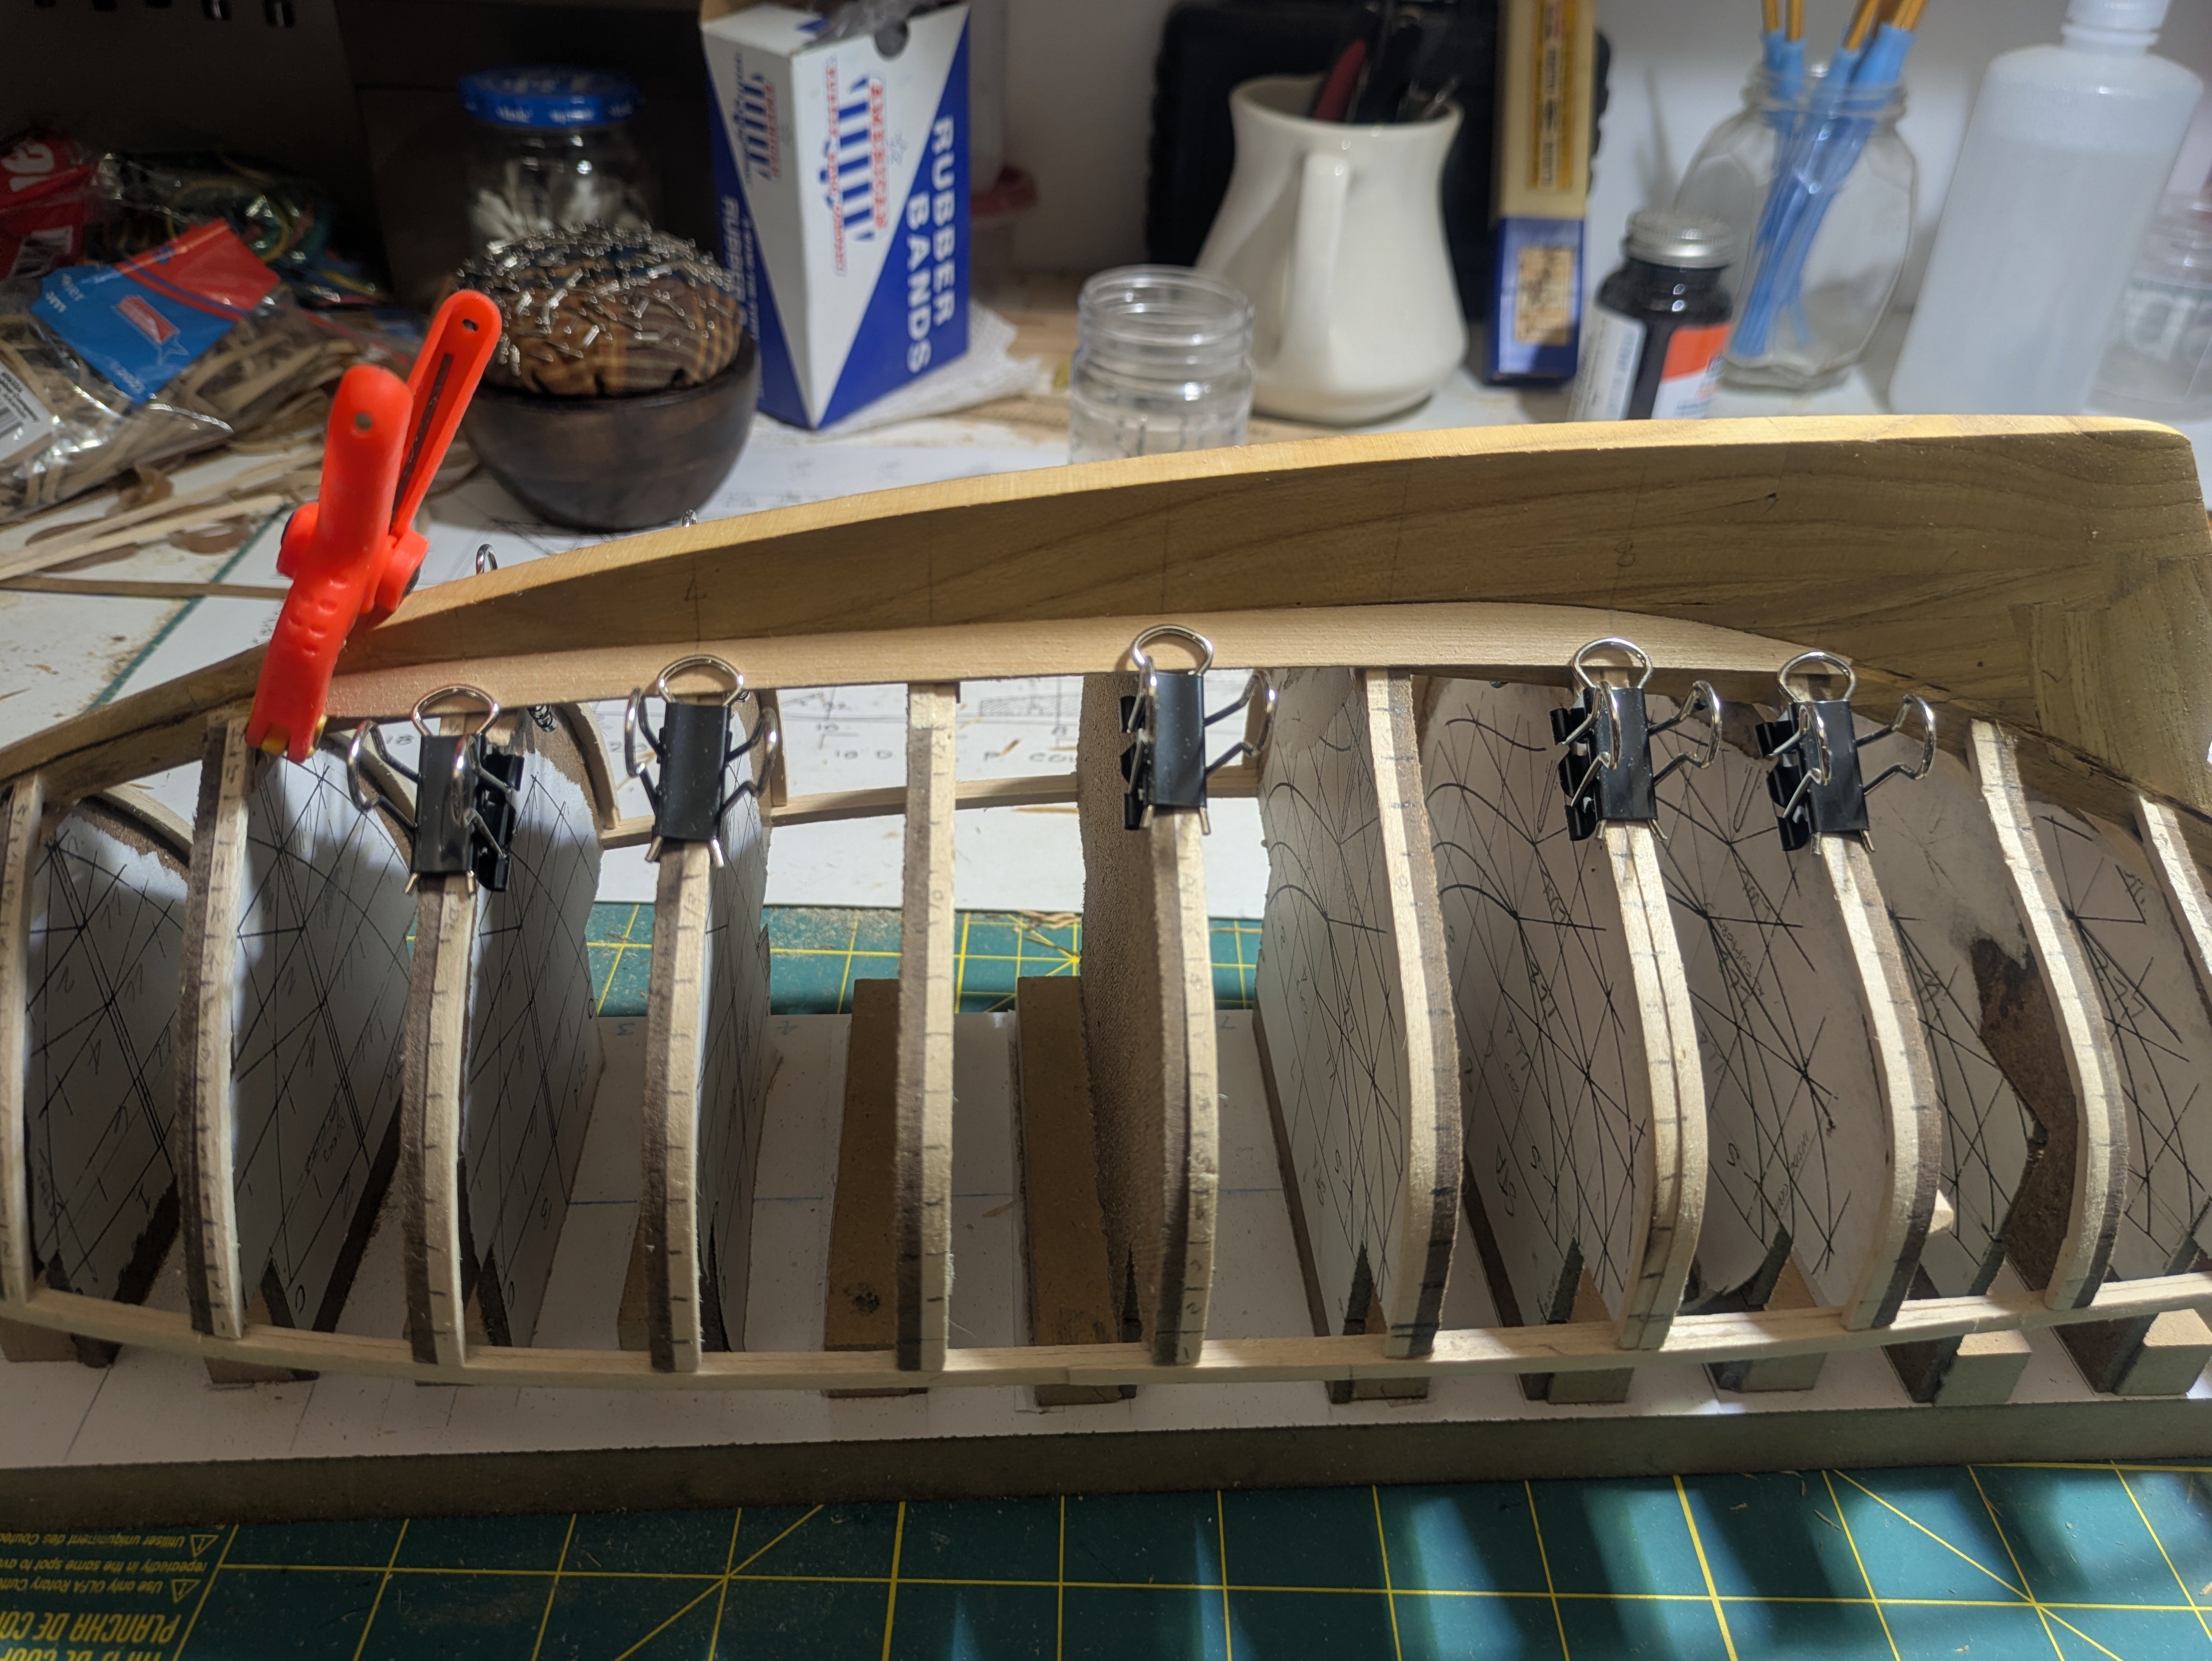
Thanks Jim, I can already see areas for improvement like dust extraction like Keith has. I got the shear strakes on so I should be able to install four planks at a time.
- 38 replies
-
- 1
-
-
- William Atkin
- Sloop
- (and 1 more)
-
I'm quite late to the party but I just wanted to tell you that I have liked that Launch design for 45 years when I first saw it in Chapelles book. Your model is an exceptional example beautifully made. Thank you.
-
Sorry, no it's not a lotus 7 but a semi replica from a book, not a kit. It is a Haynes Roadster. I just finished building it this year. The seating area is 4" wider then a real 7.
- 38 replies
-
- 1
-
-
- William Atkin
- Sloop
- (and 1 more)
-
They look like sleaves for plastic tubing for use with compression fittings.
-
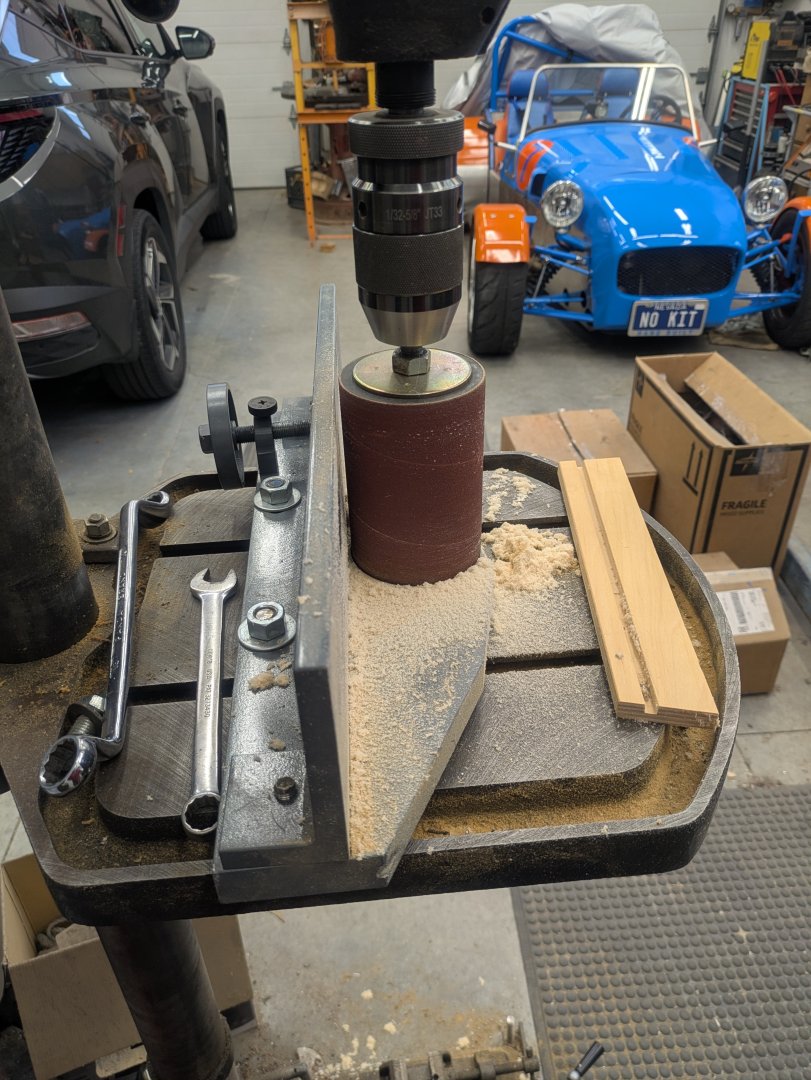
I thought I would show a picture of the DIY thickness sander I made. I got the sanding sleaves and drum from Amazon and I made the spindle on my lathe. To keep the drum running relatively smoothly I have the spindle mounted in the base on two small ball bearings. The base is a cut off section of a manhole cover I got from work. and the "table" is a piece of 1/2" (13mm) steel plate. both the base and table are milled flat and square.
-
J Snyder reacted to a post in a topic:
Hercules by vaddoc - 1:64 - Steam Tugboat
-
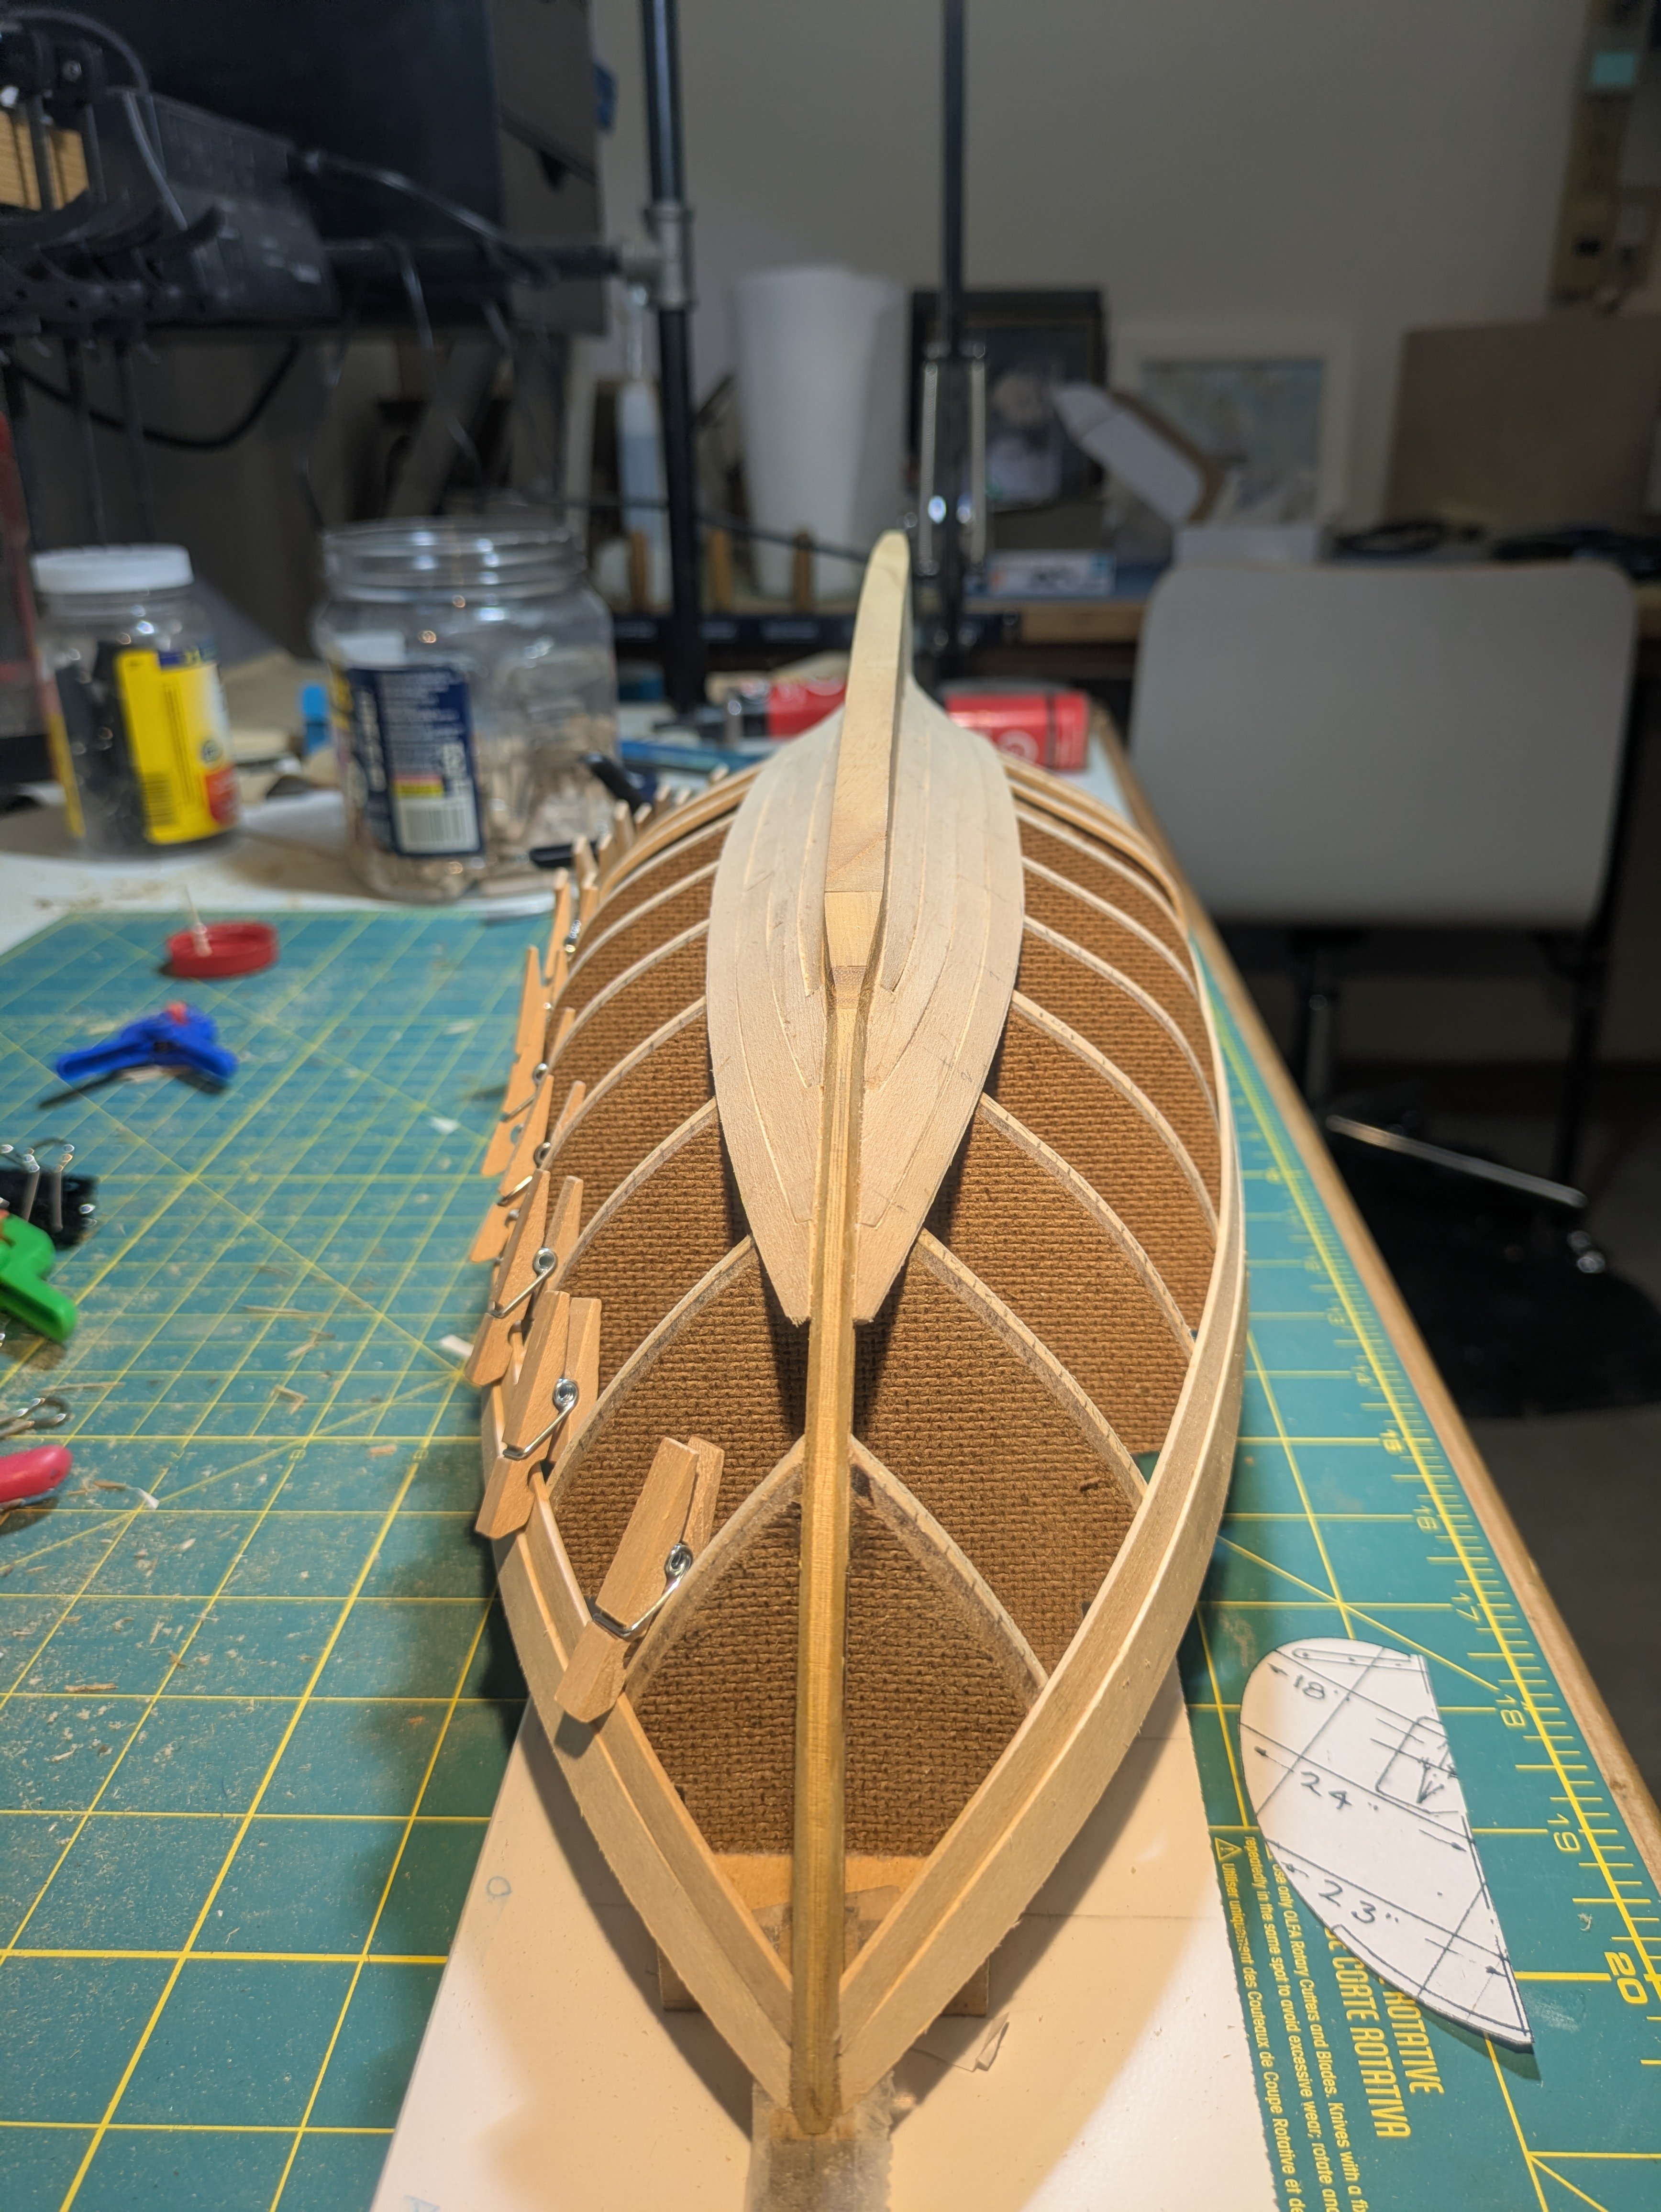
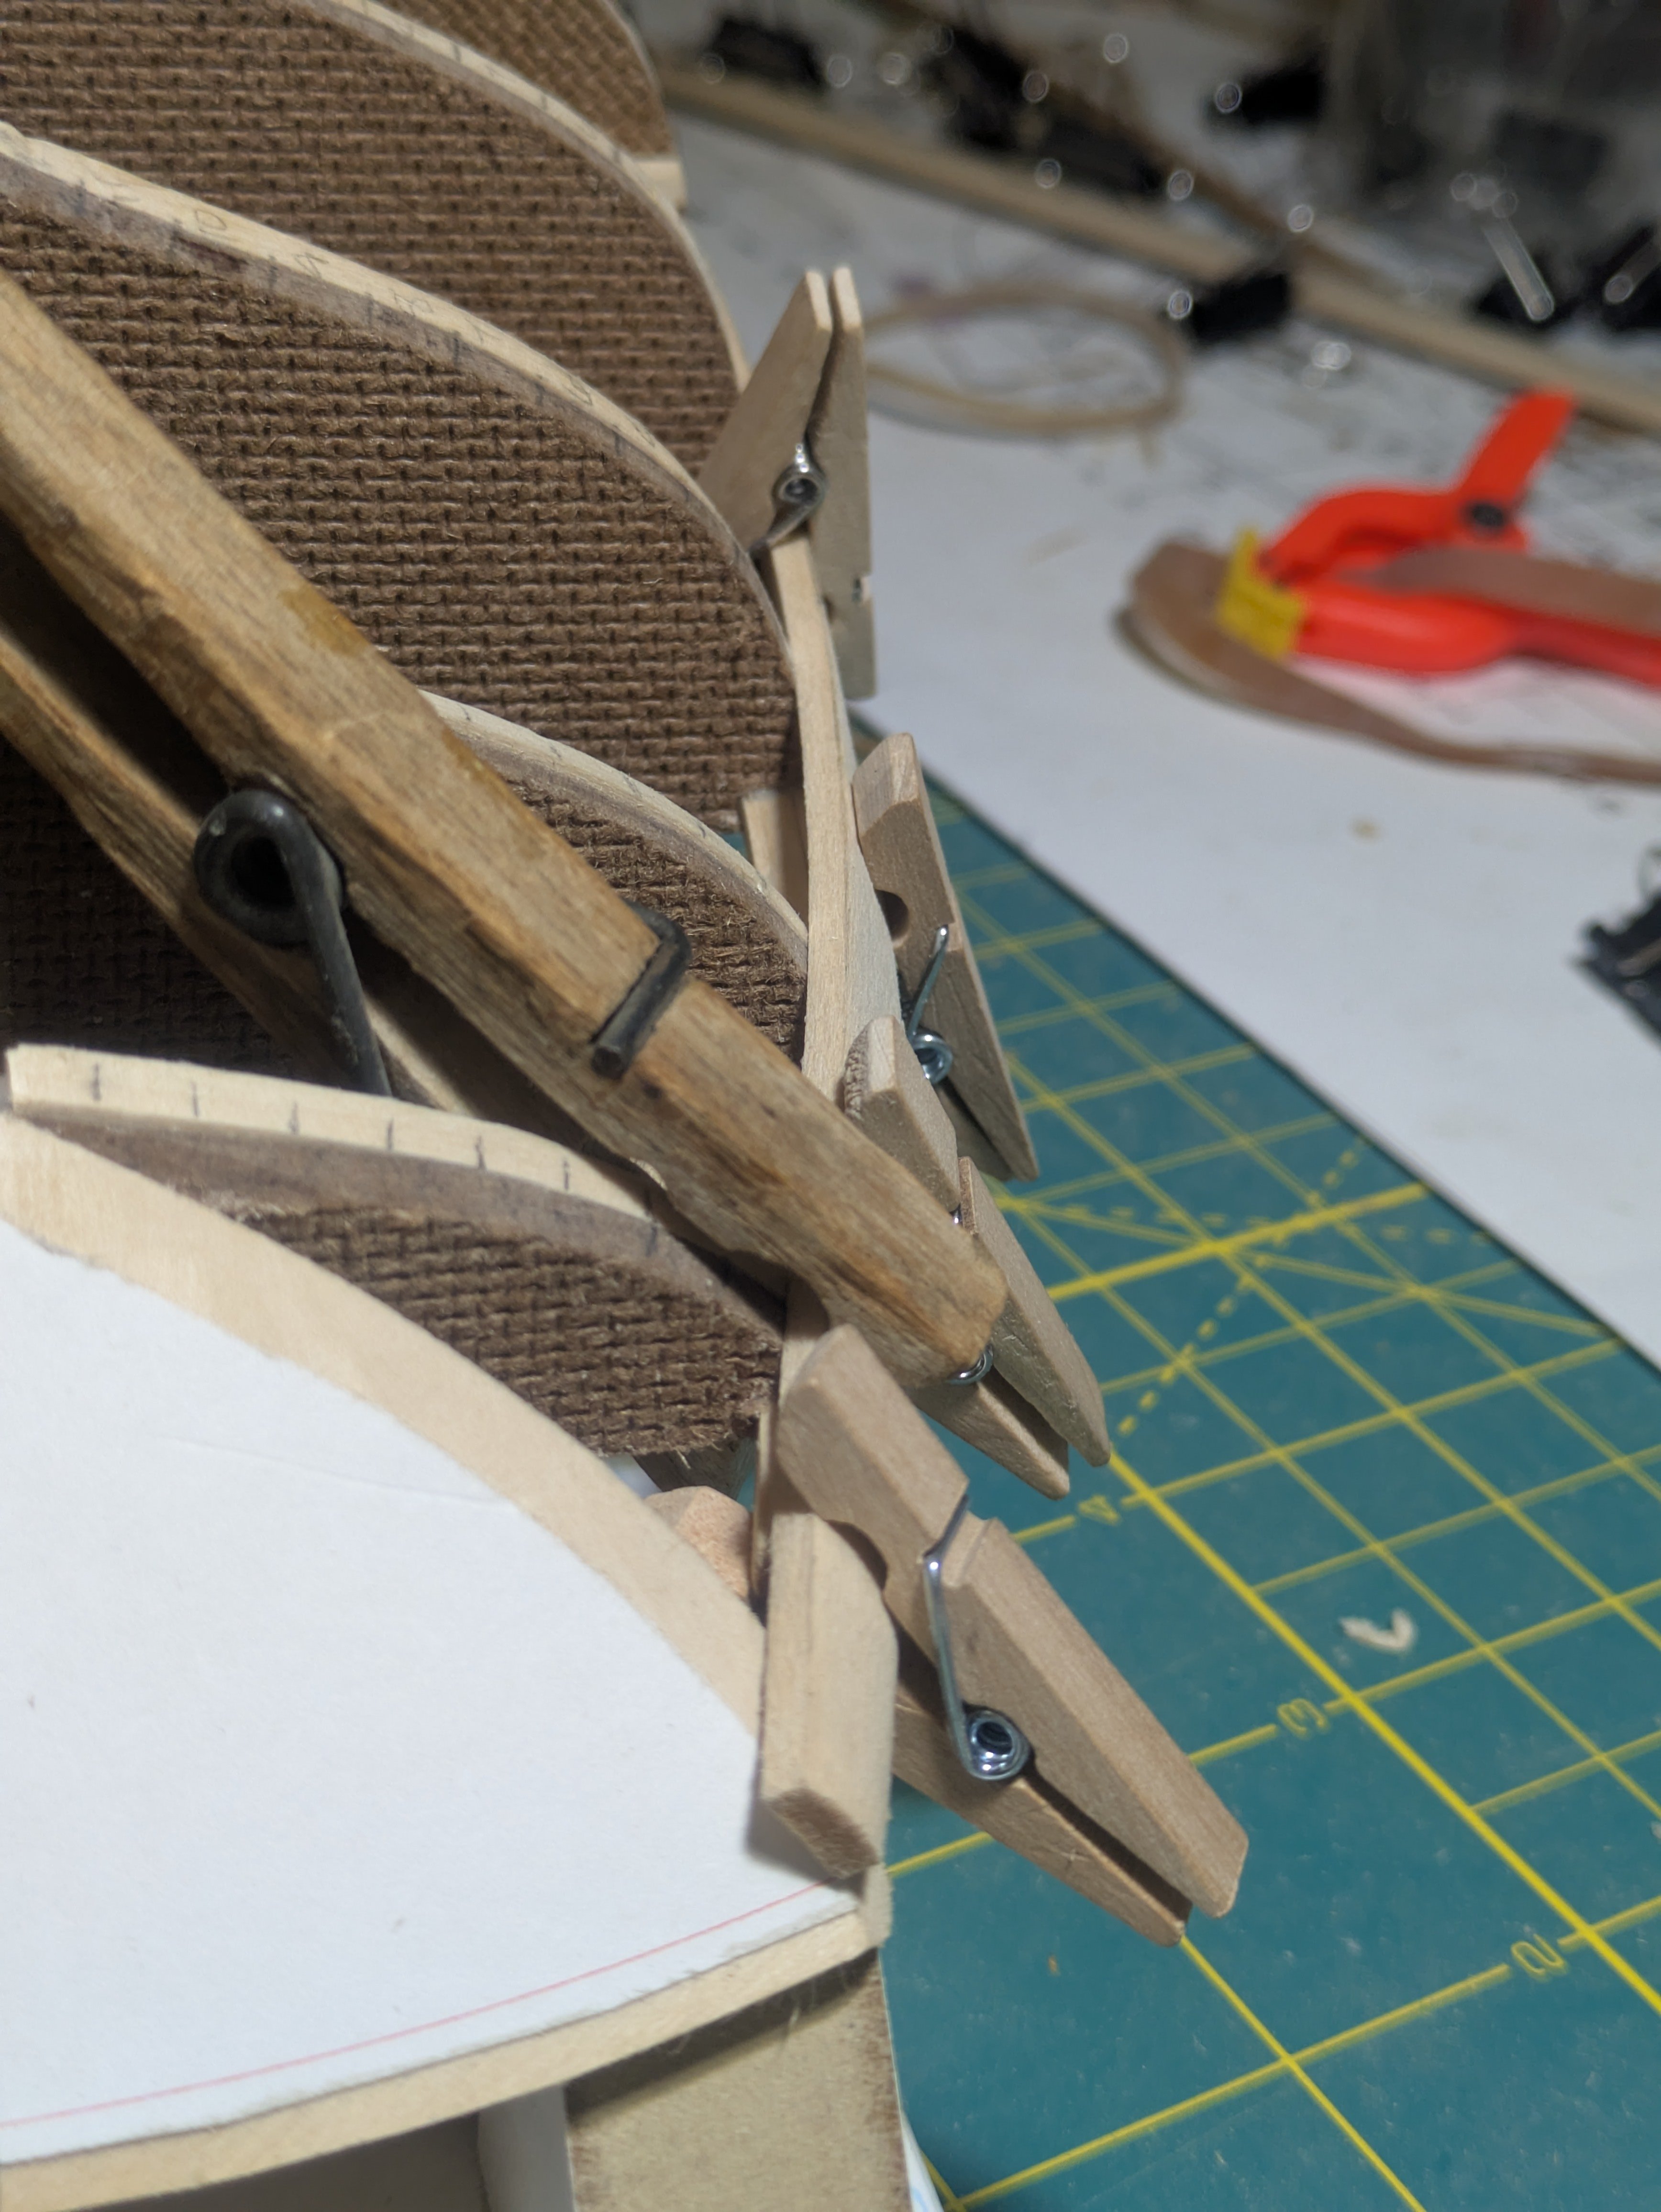
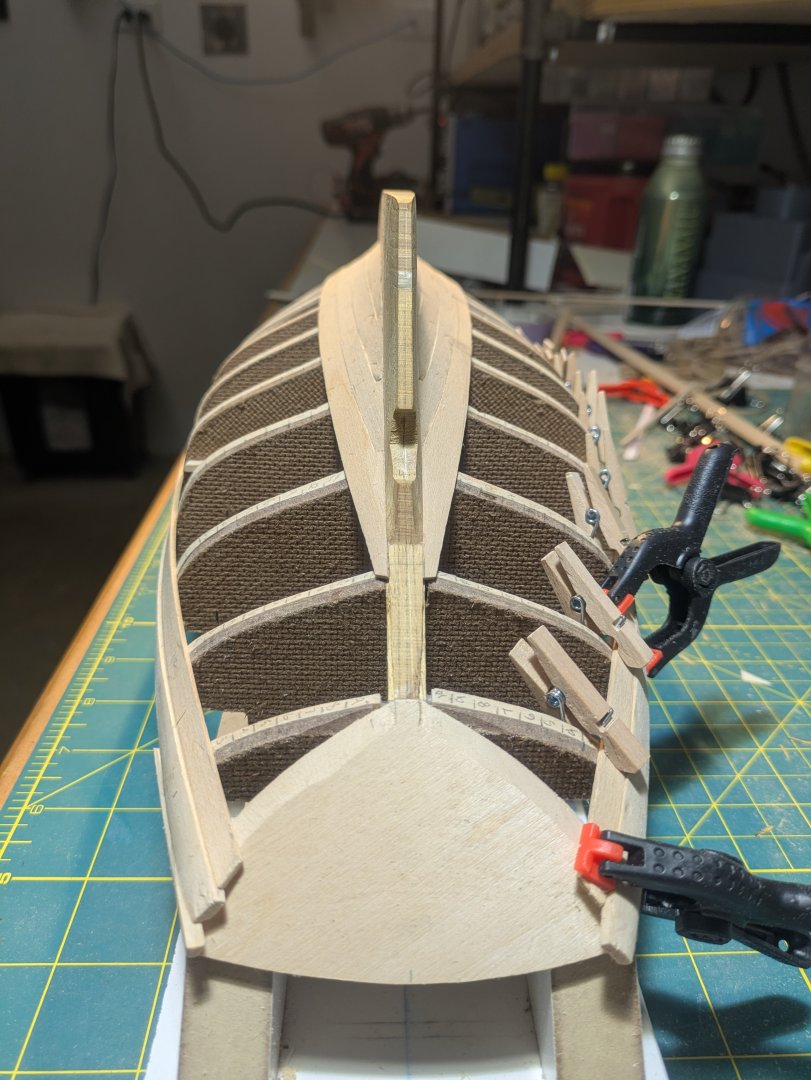
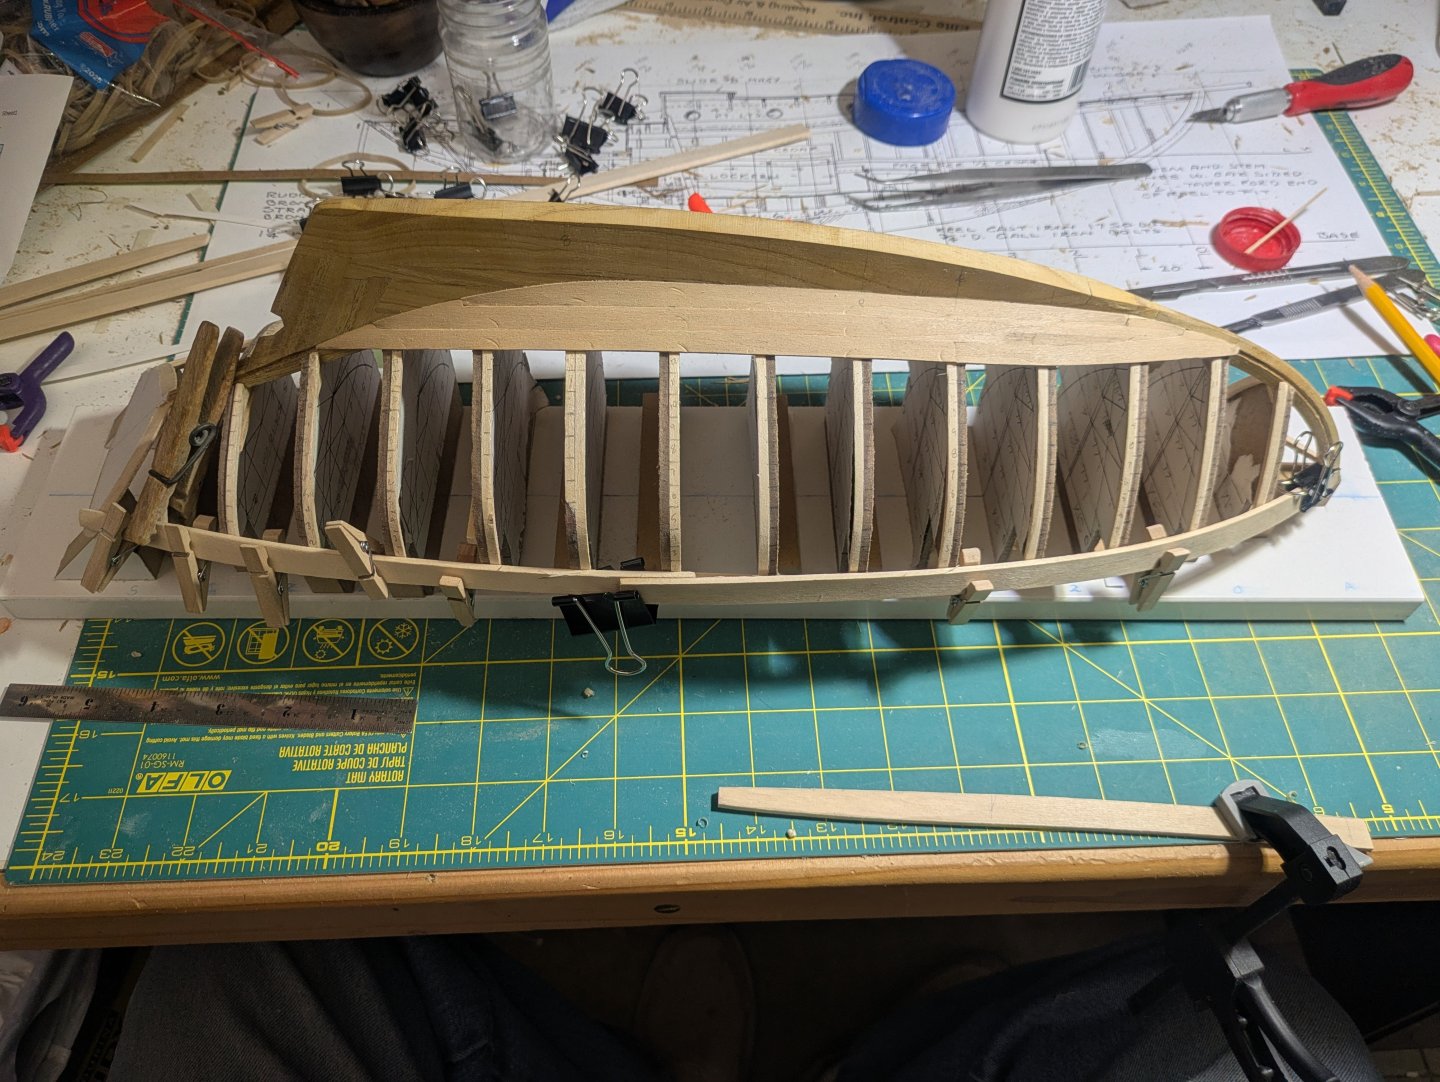
Jim, I think it will start to look like a boat soon. Keith, Yes but with only 15 planks per side I will need a few more boats and different shapes before I get good at it. I got two more from the garboard on and I am working on the sheer strake. I'm using 1/8" (3.2mm) stock for the sheer strake because there is a lot of curve at the stern for a nice width plank. The last two molds have a lot of curve at the top so I used a small gouge to cup the end of the planks and sanded the out side down to 3/32" (2.4mm) so the sheer will be a little thicker then the rest of the planking. I have been "steaming" or boiling the planks using a microwave. Then I dry them with a MonoKote heat sealing tool.

- 38 replies
-
- 3
-
-
- William Atkin
- Sloop
- (and 1 more)
-
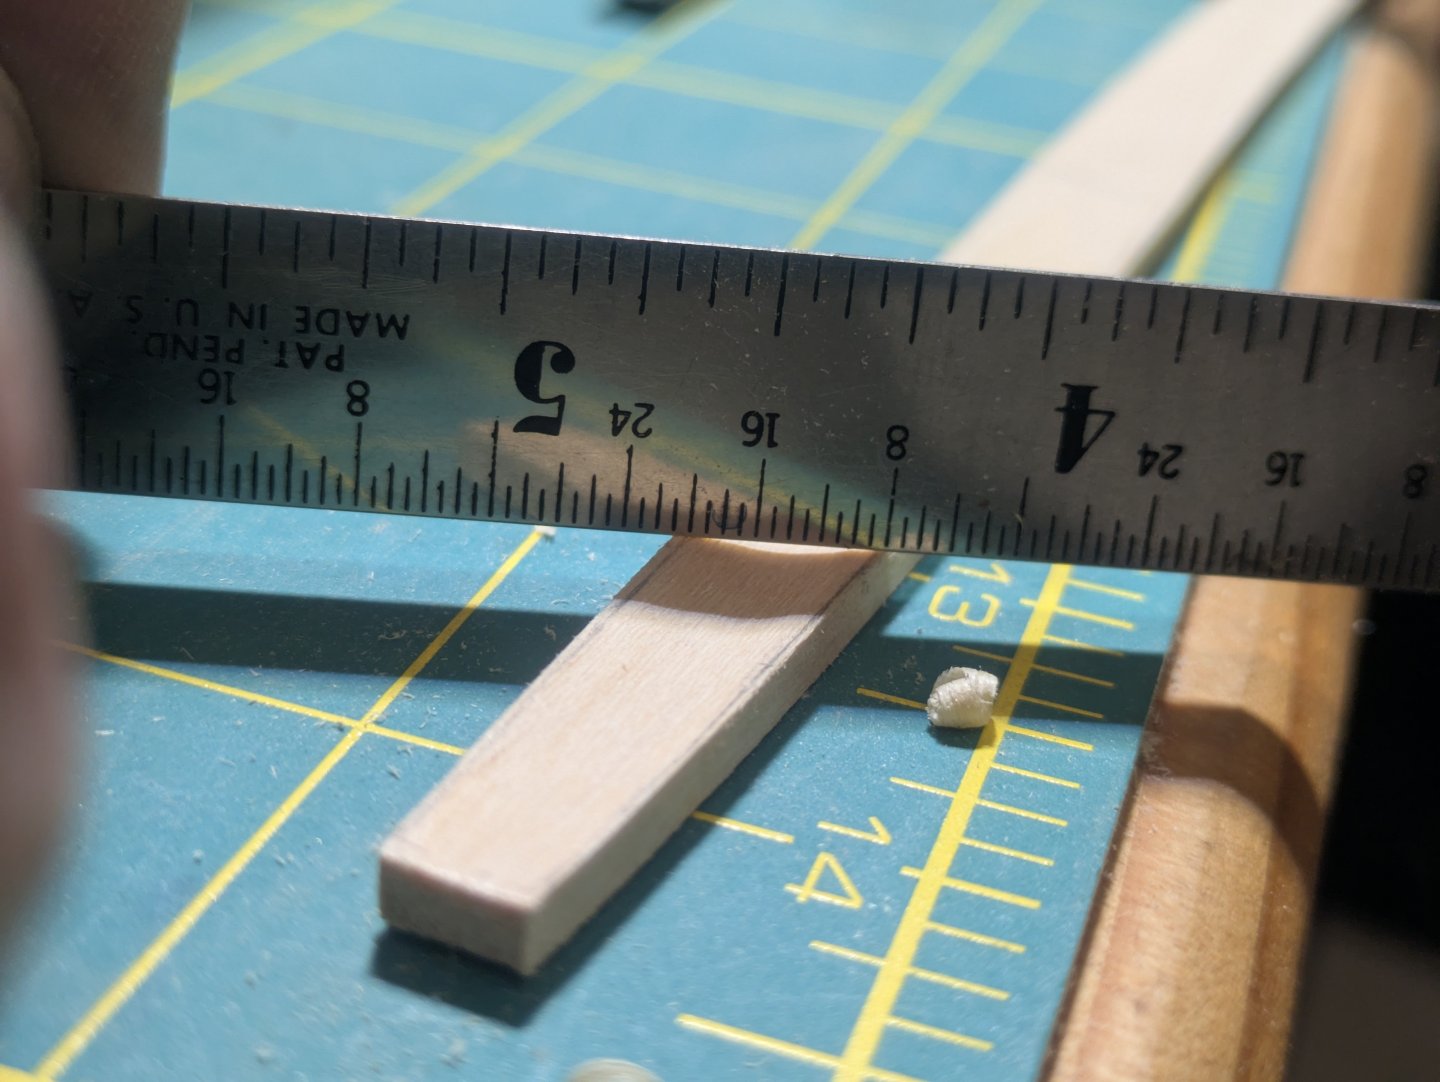
Slow start on the planking. I made a pattern for the garboard plank and to my surprise both sides are the same! Tomorrow put some twist and bend where needed and glue them down. The widest point on the garboard turned out to be 5-1/2 inch a far cry from the nearly 12 inch we used In the full size boat.

- 38 replies
-
- 3
-
-
- William Atkin
- Sloop
- (and 1 more)