HOLIDAY DONATION DRIVE - SUPPORT MSW - DO YOUR PART TO KEEP THIS GREAT FORUM GOING! (Only 75 donations so far out of 49,000 members - C'mon guys!)
×


Jim M
-
Posts
165 -
Joined
-
Last visited
Content Type
Profiles
Forums
Gallery
Events
Everything posted by Jim M
-
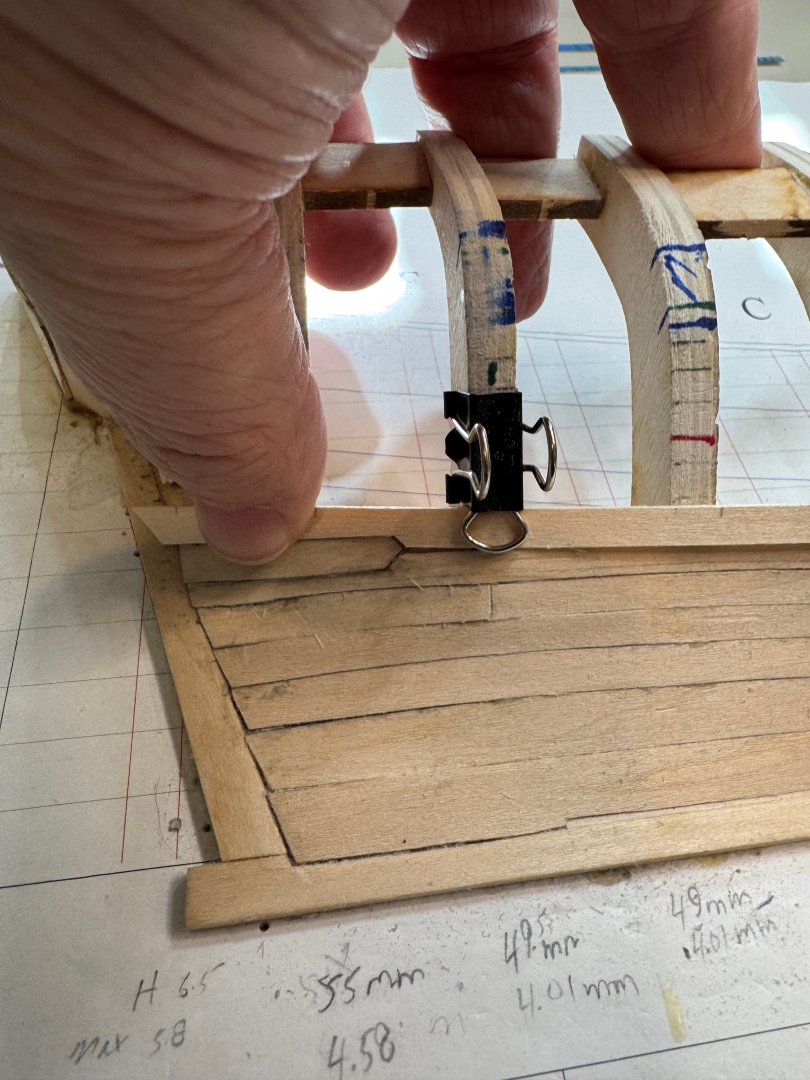
 Ohh I think I am going to do a quarter check stealer that will end at bulkhead F.
 -
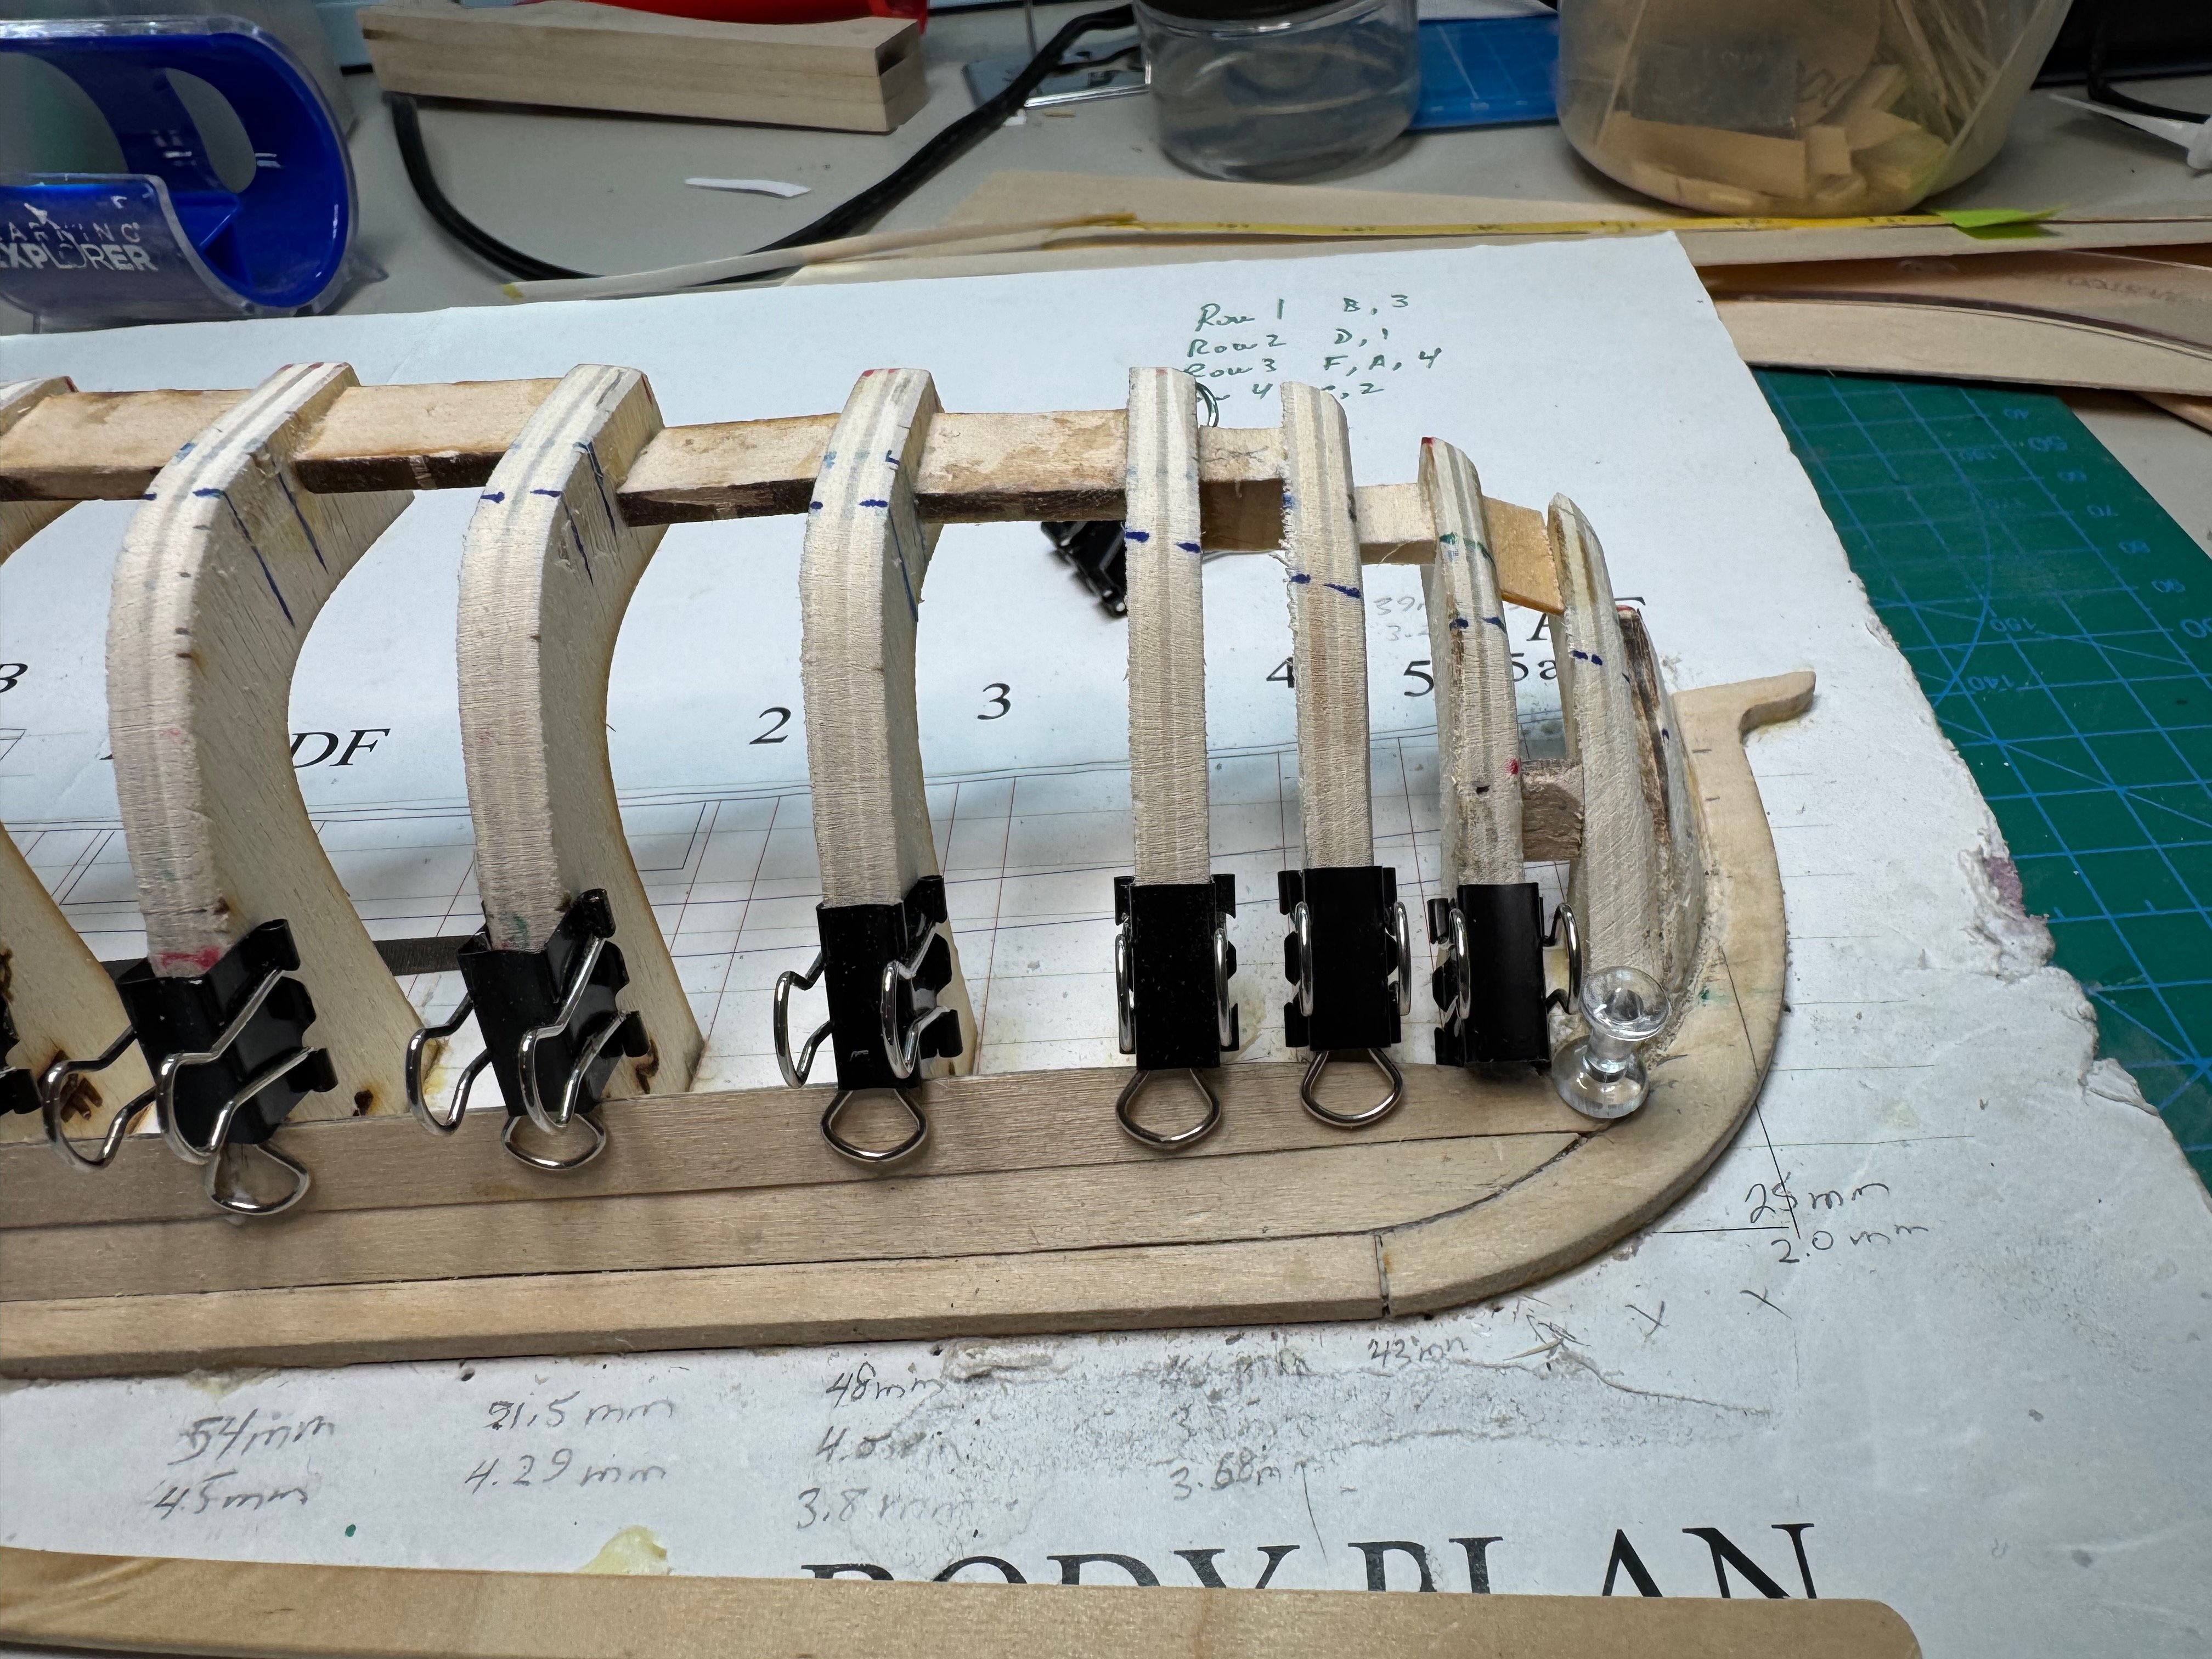
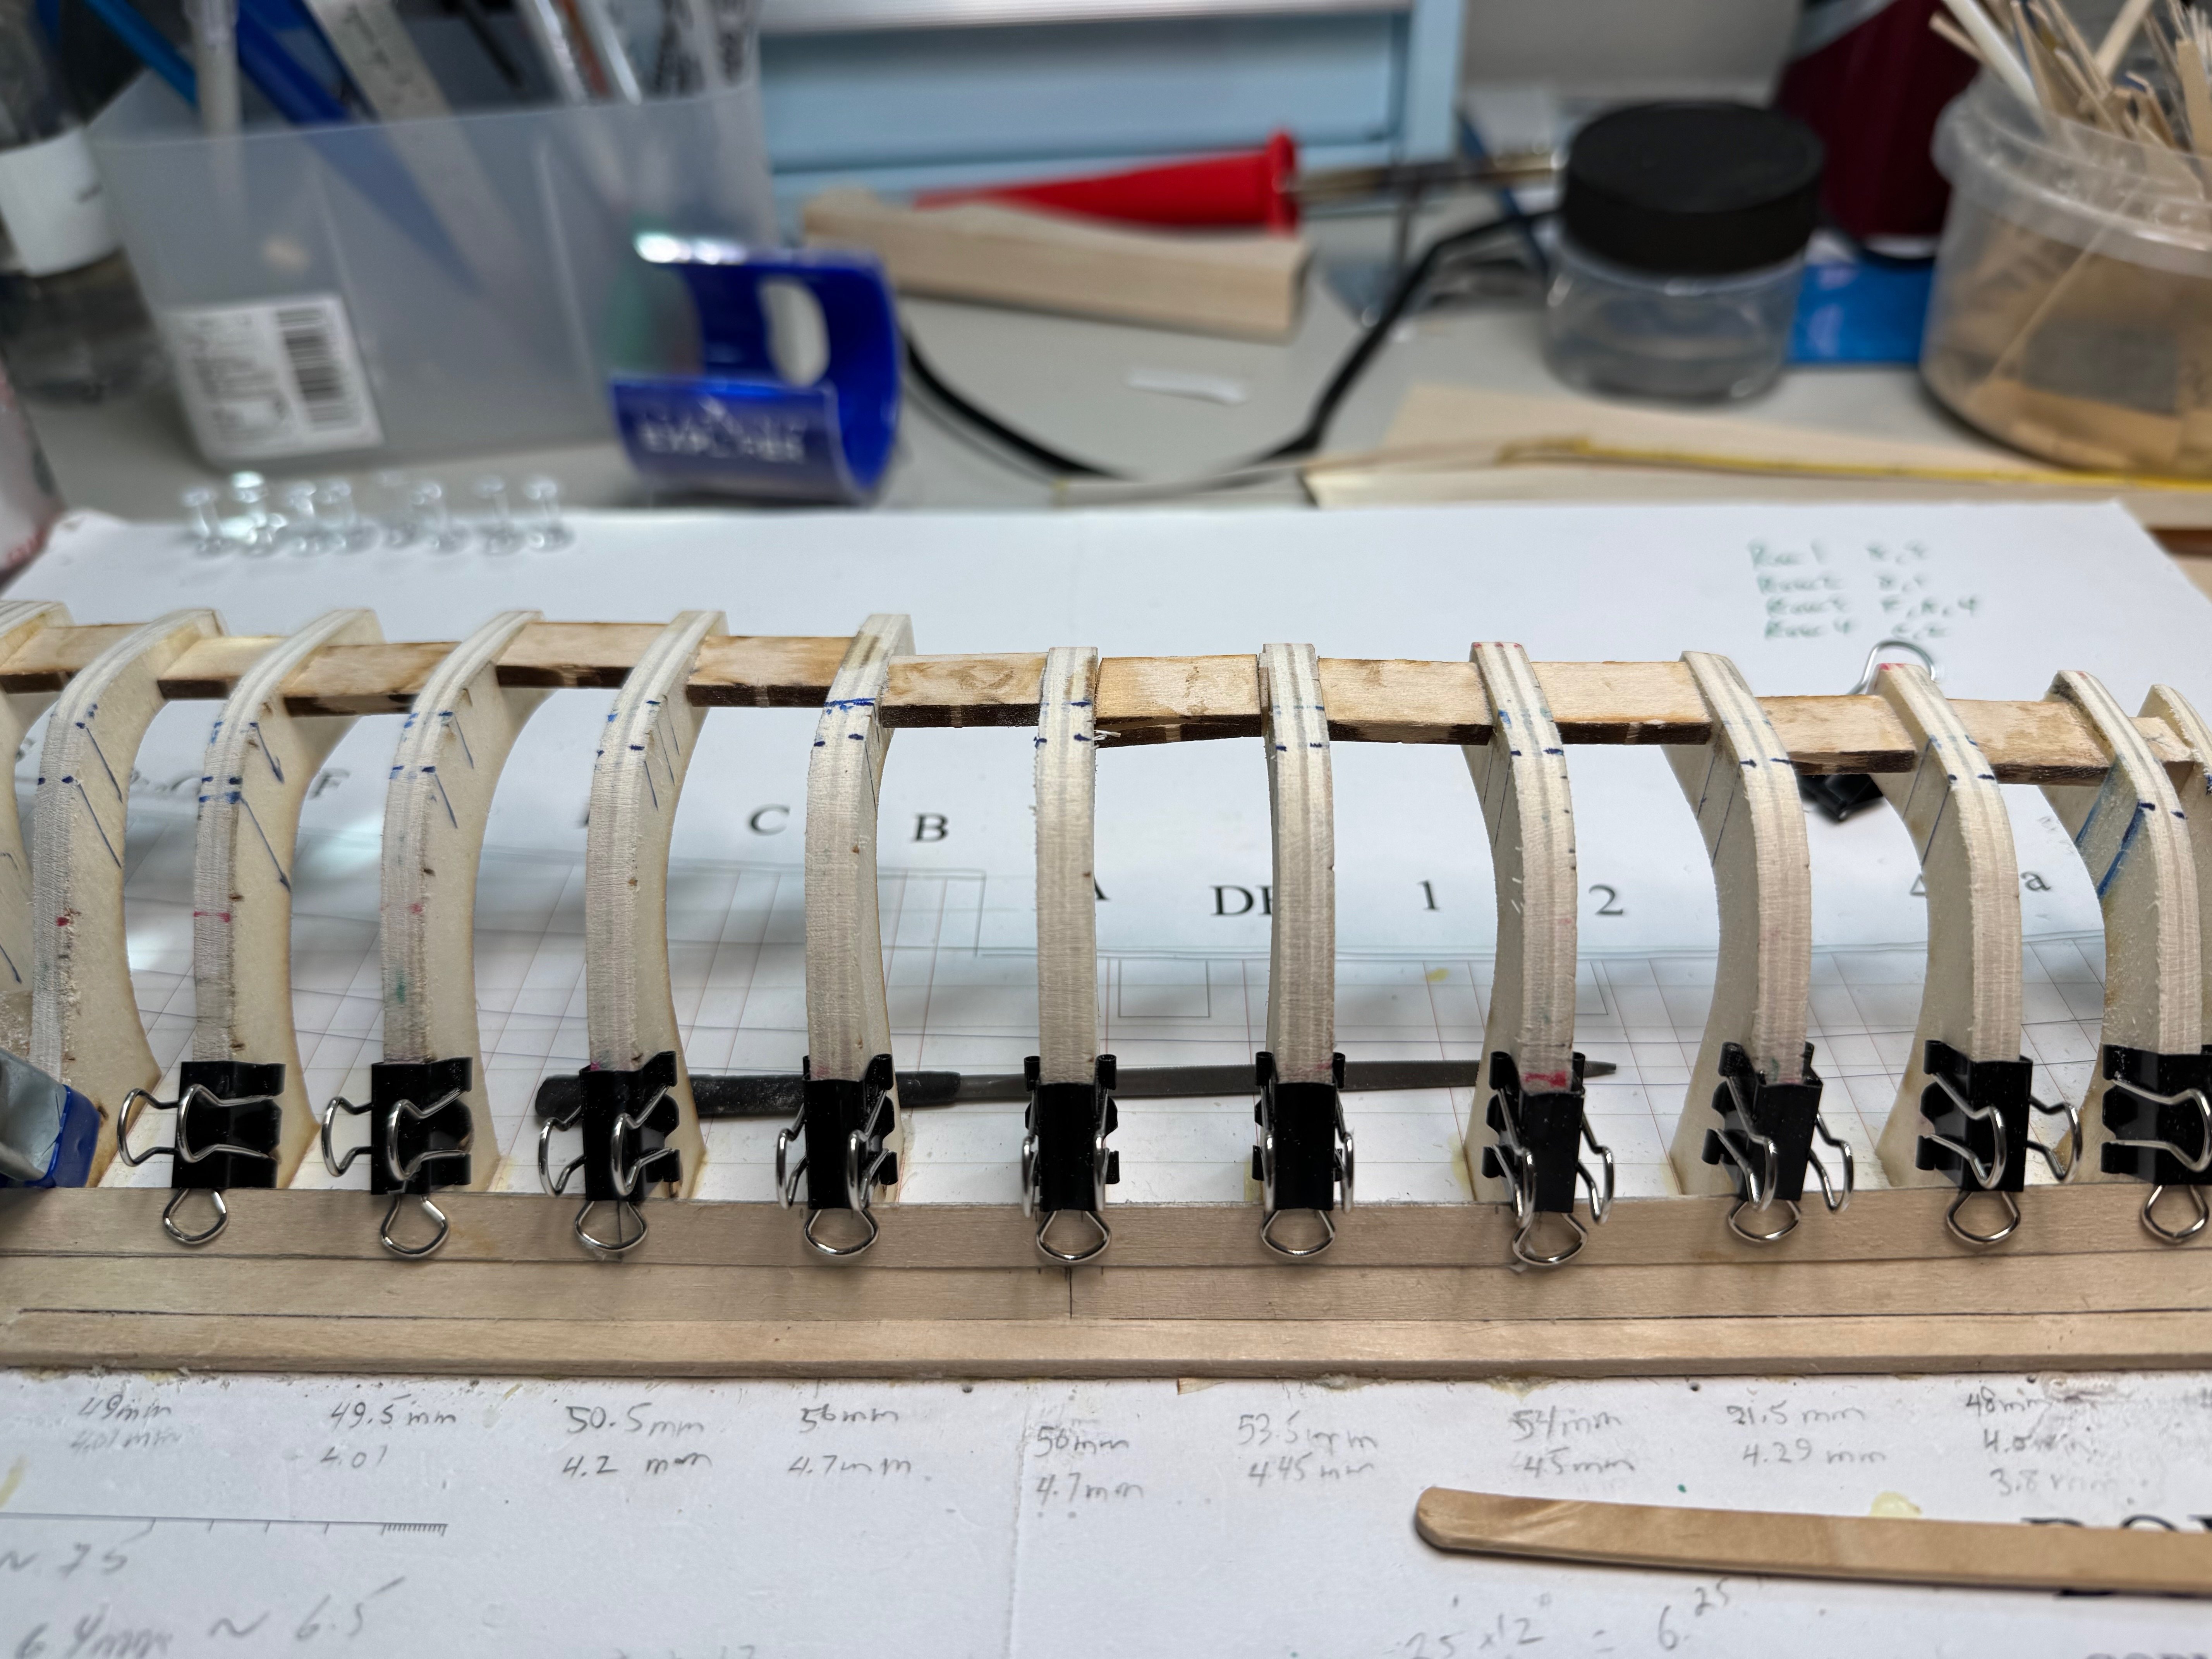
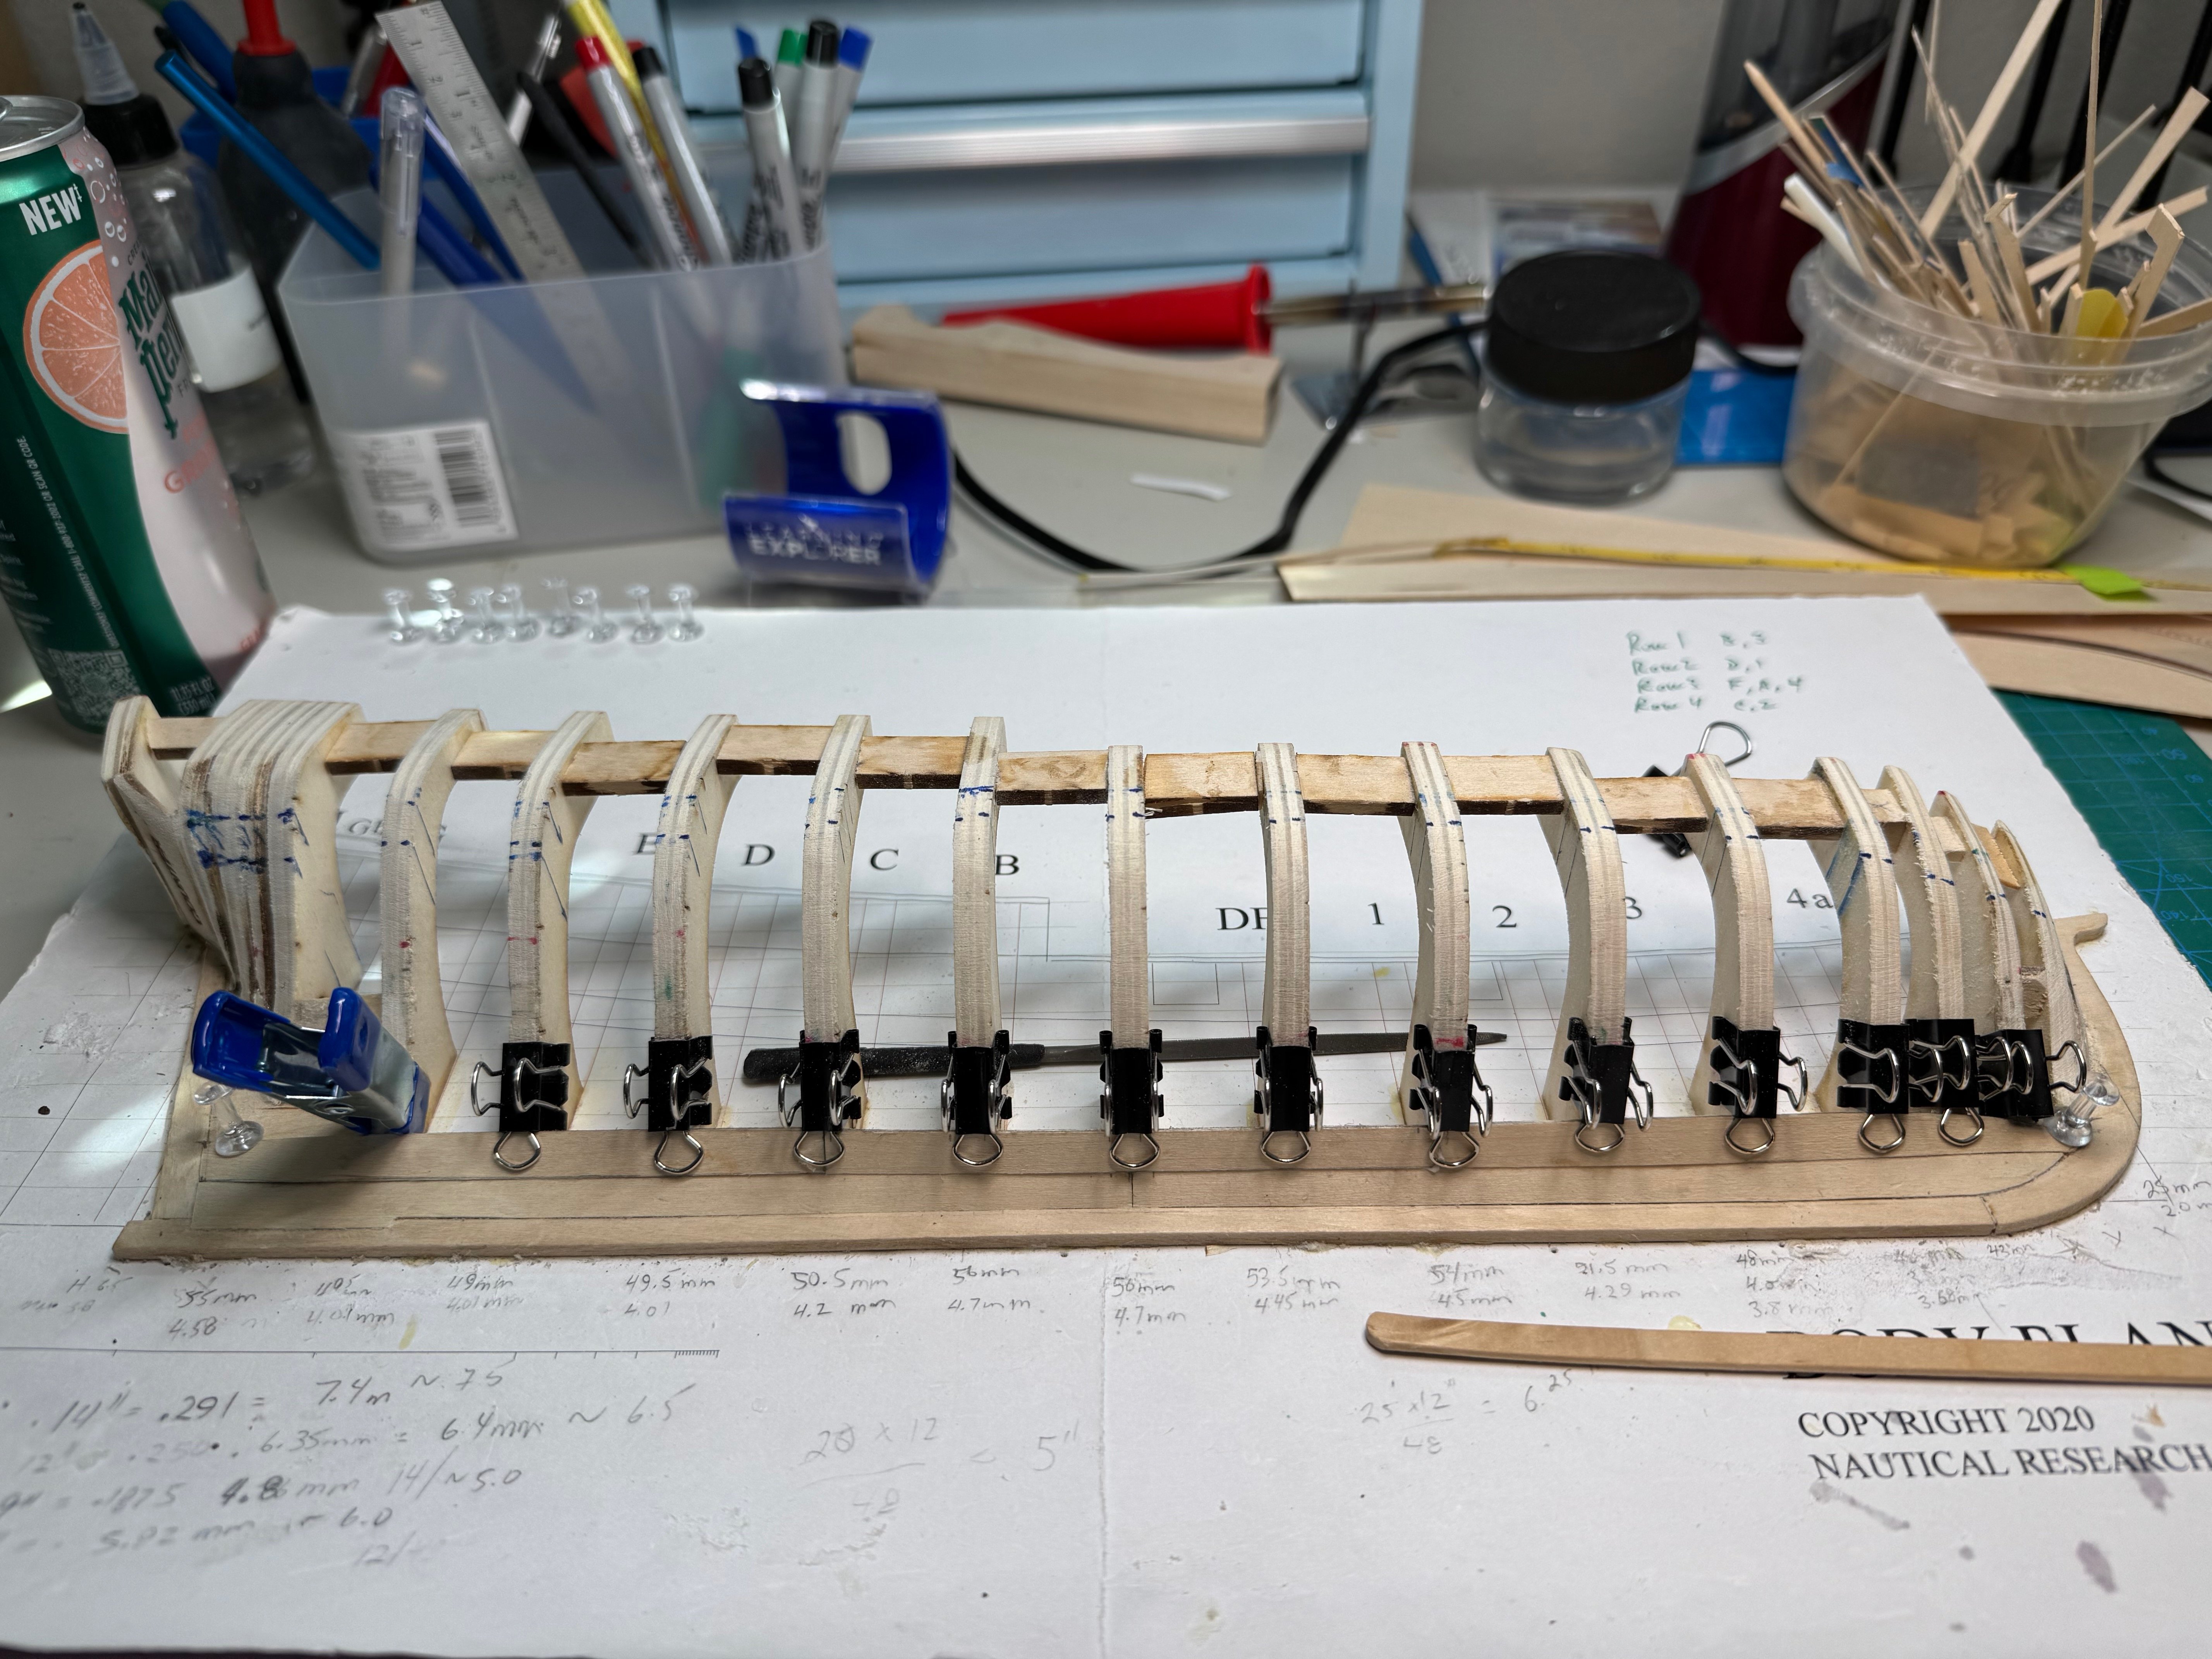
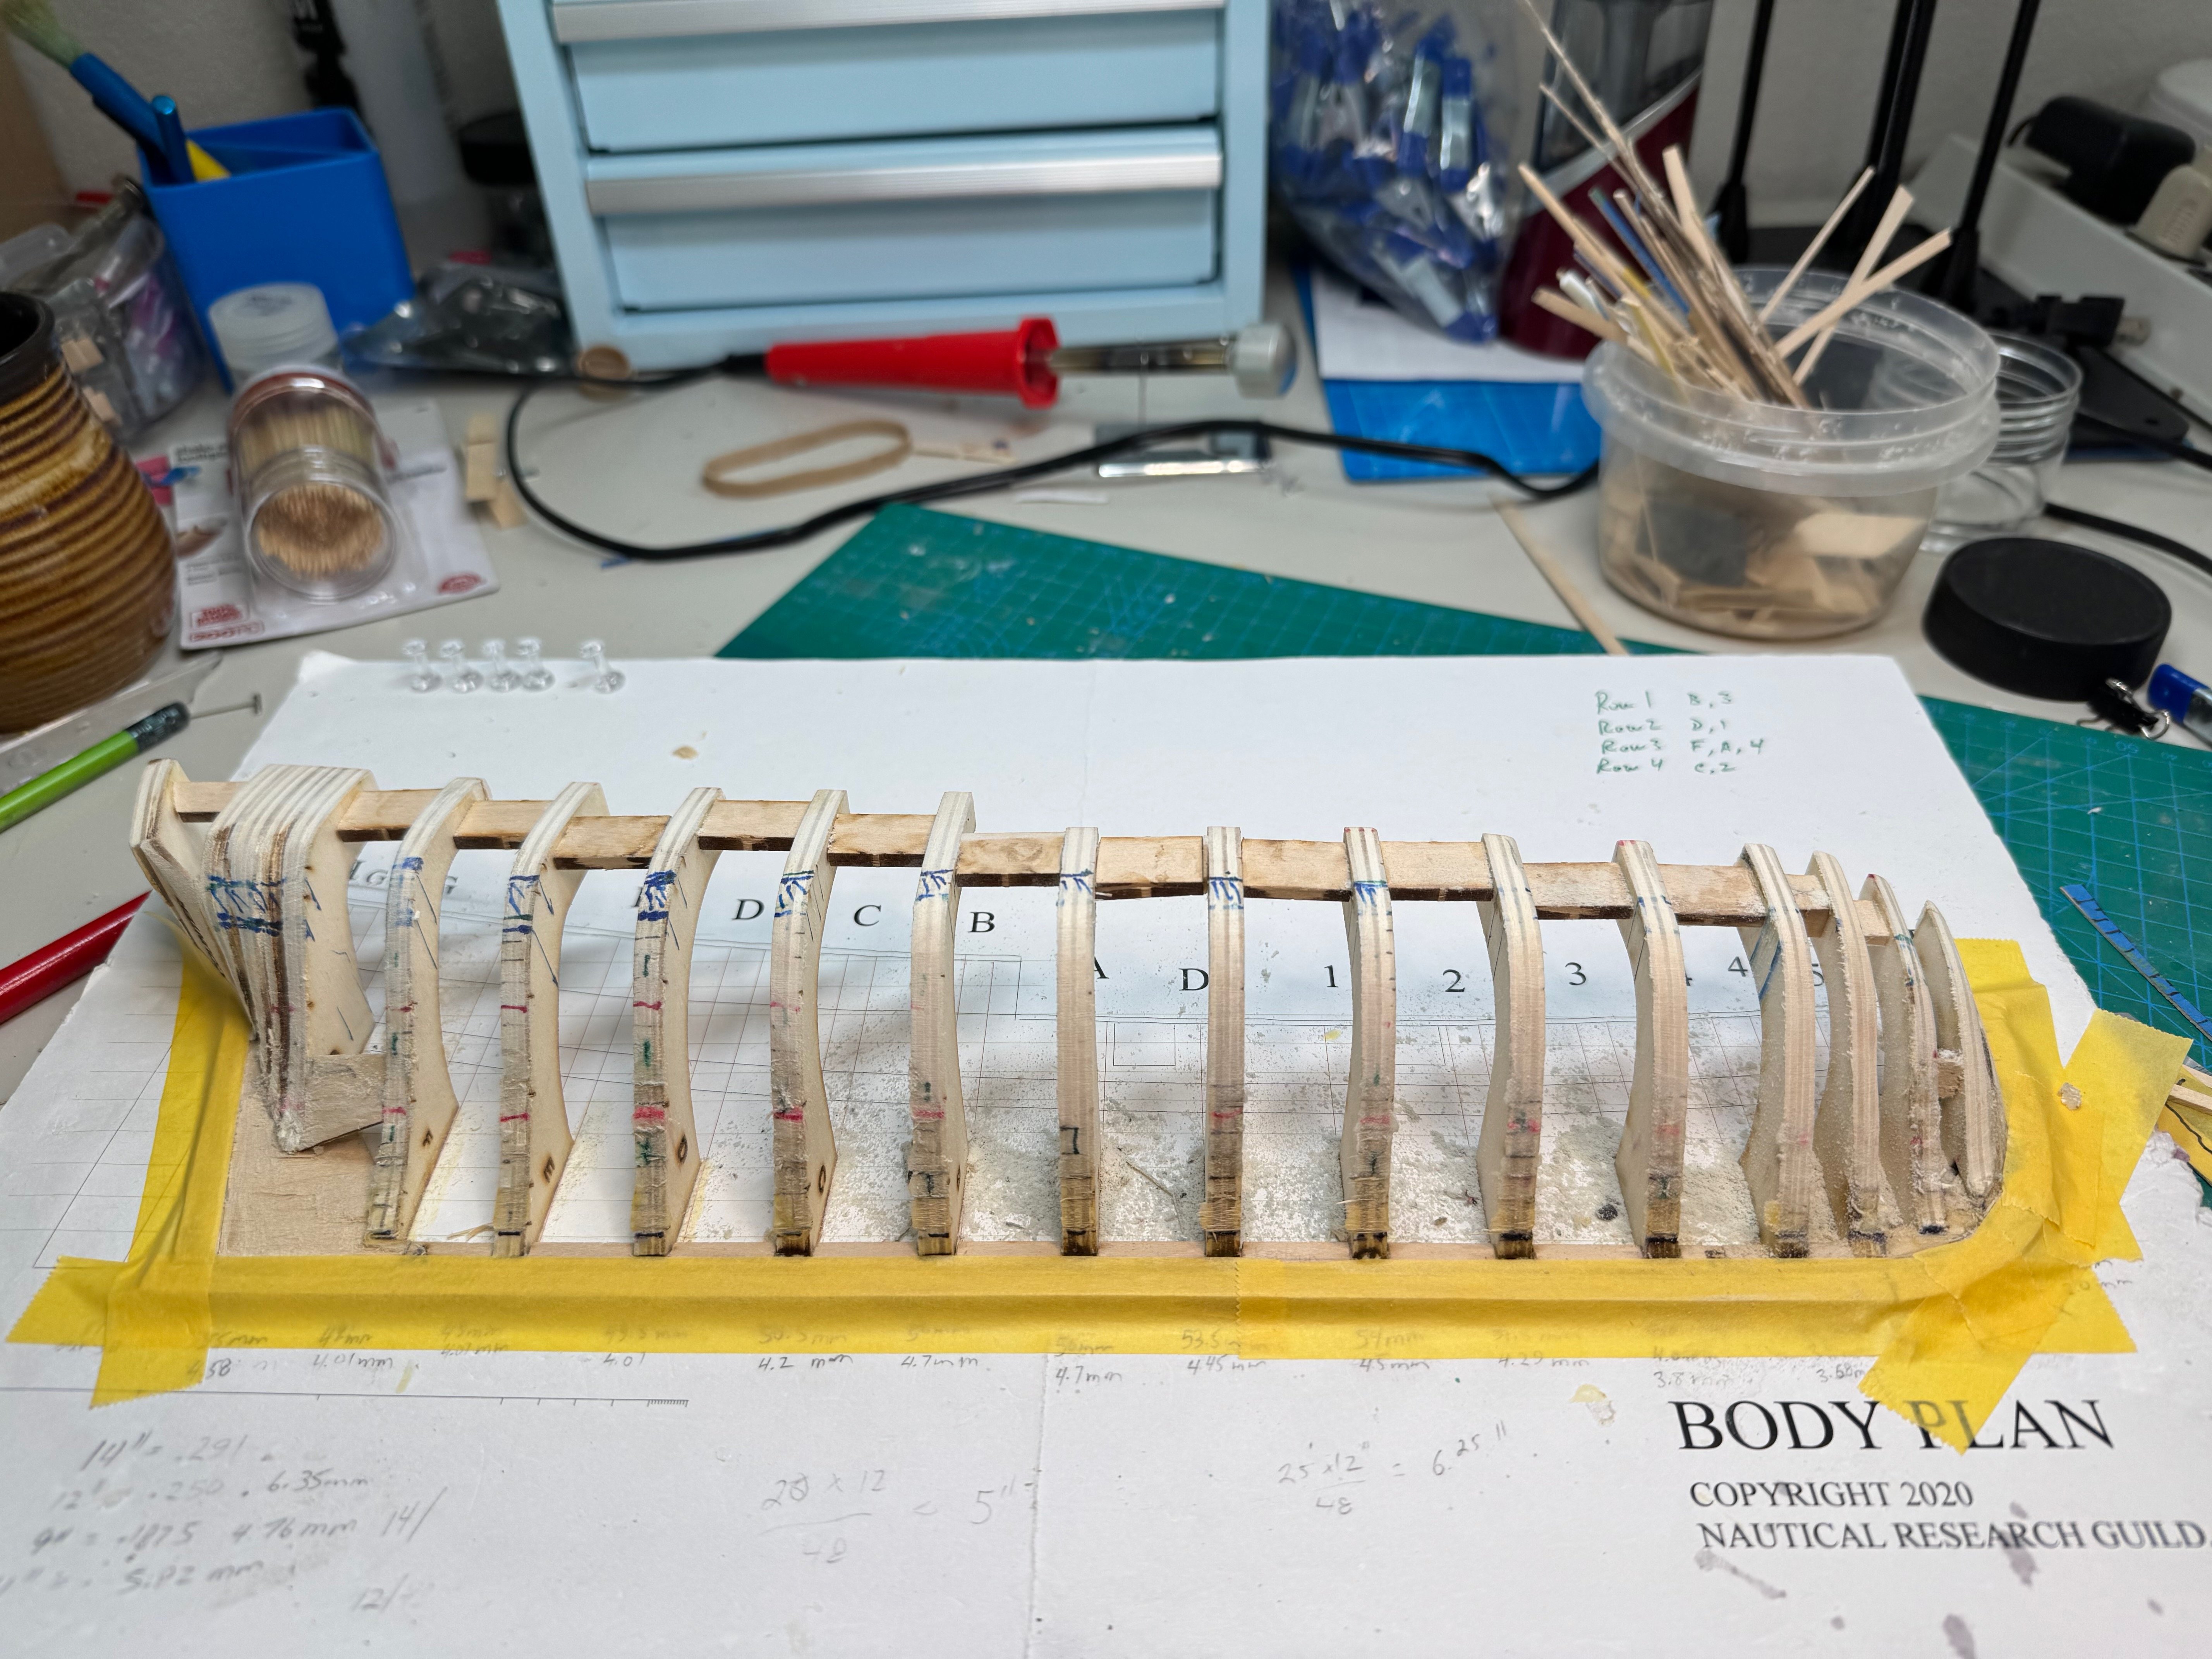
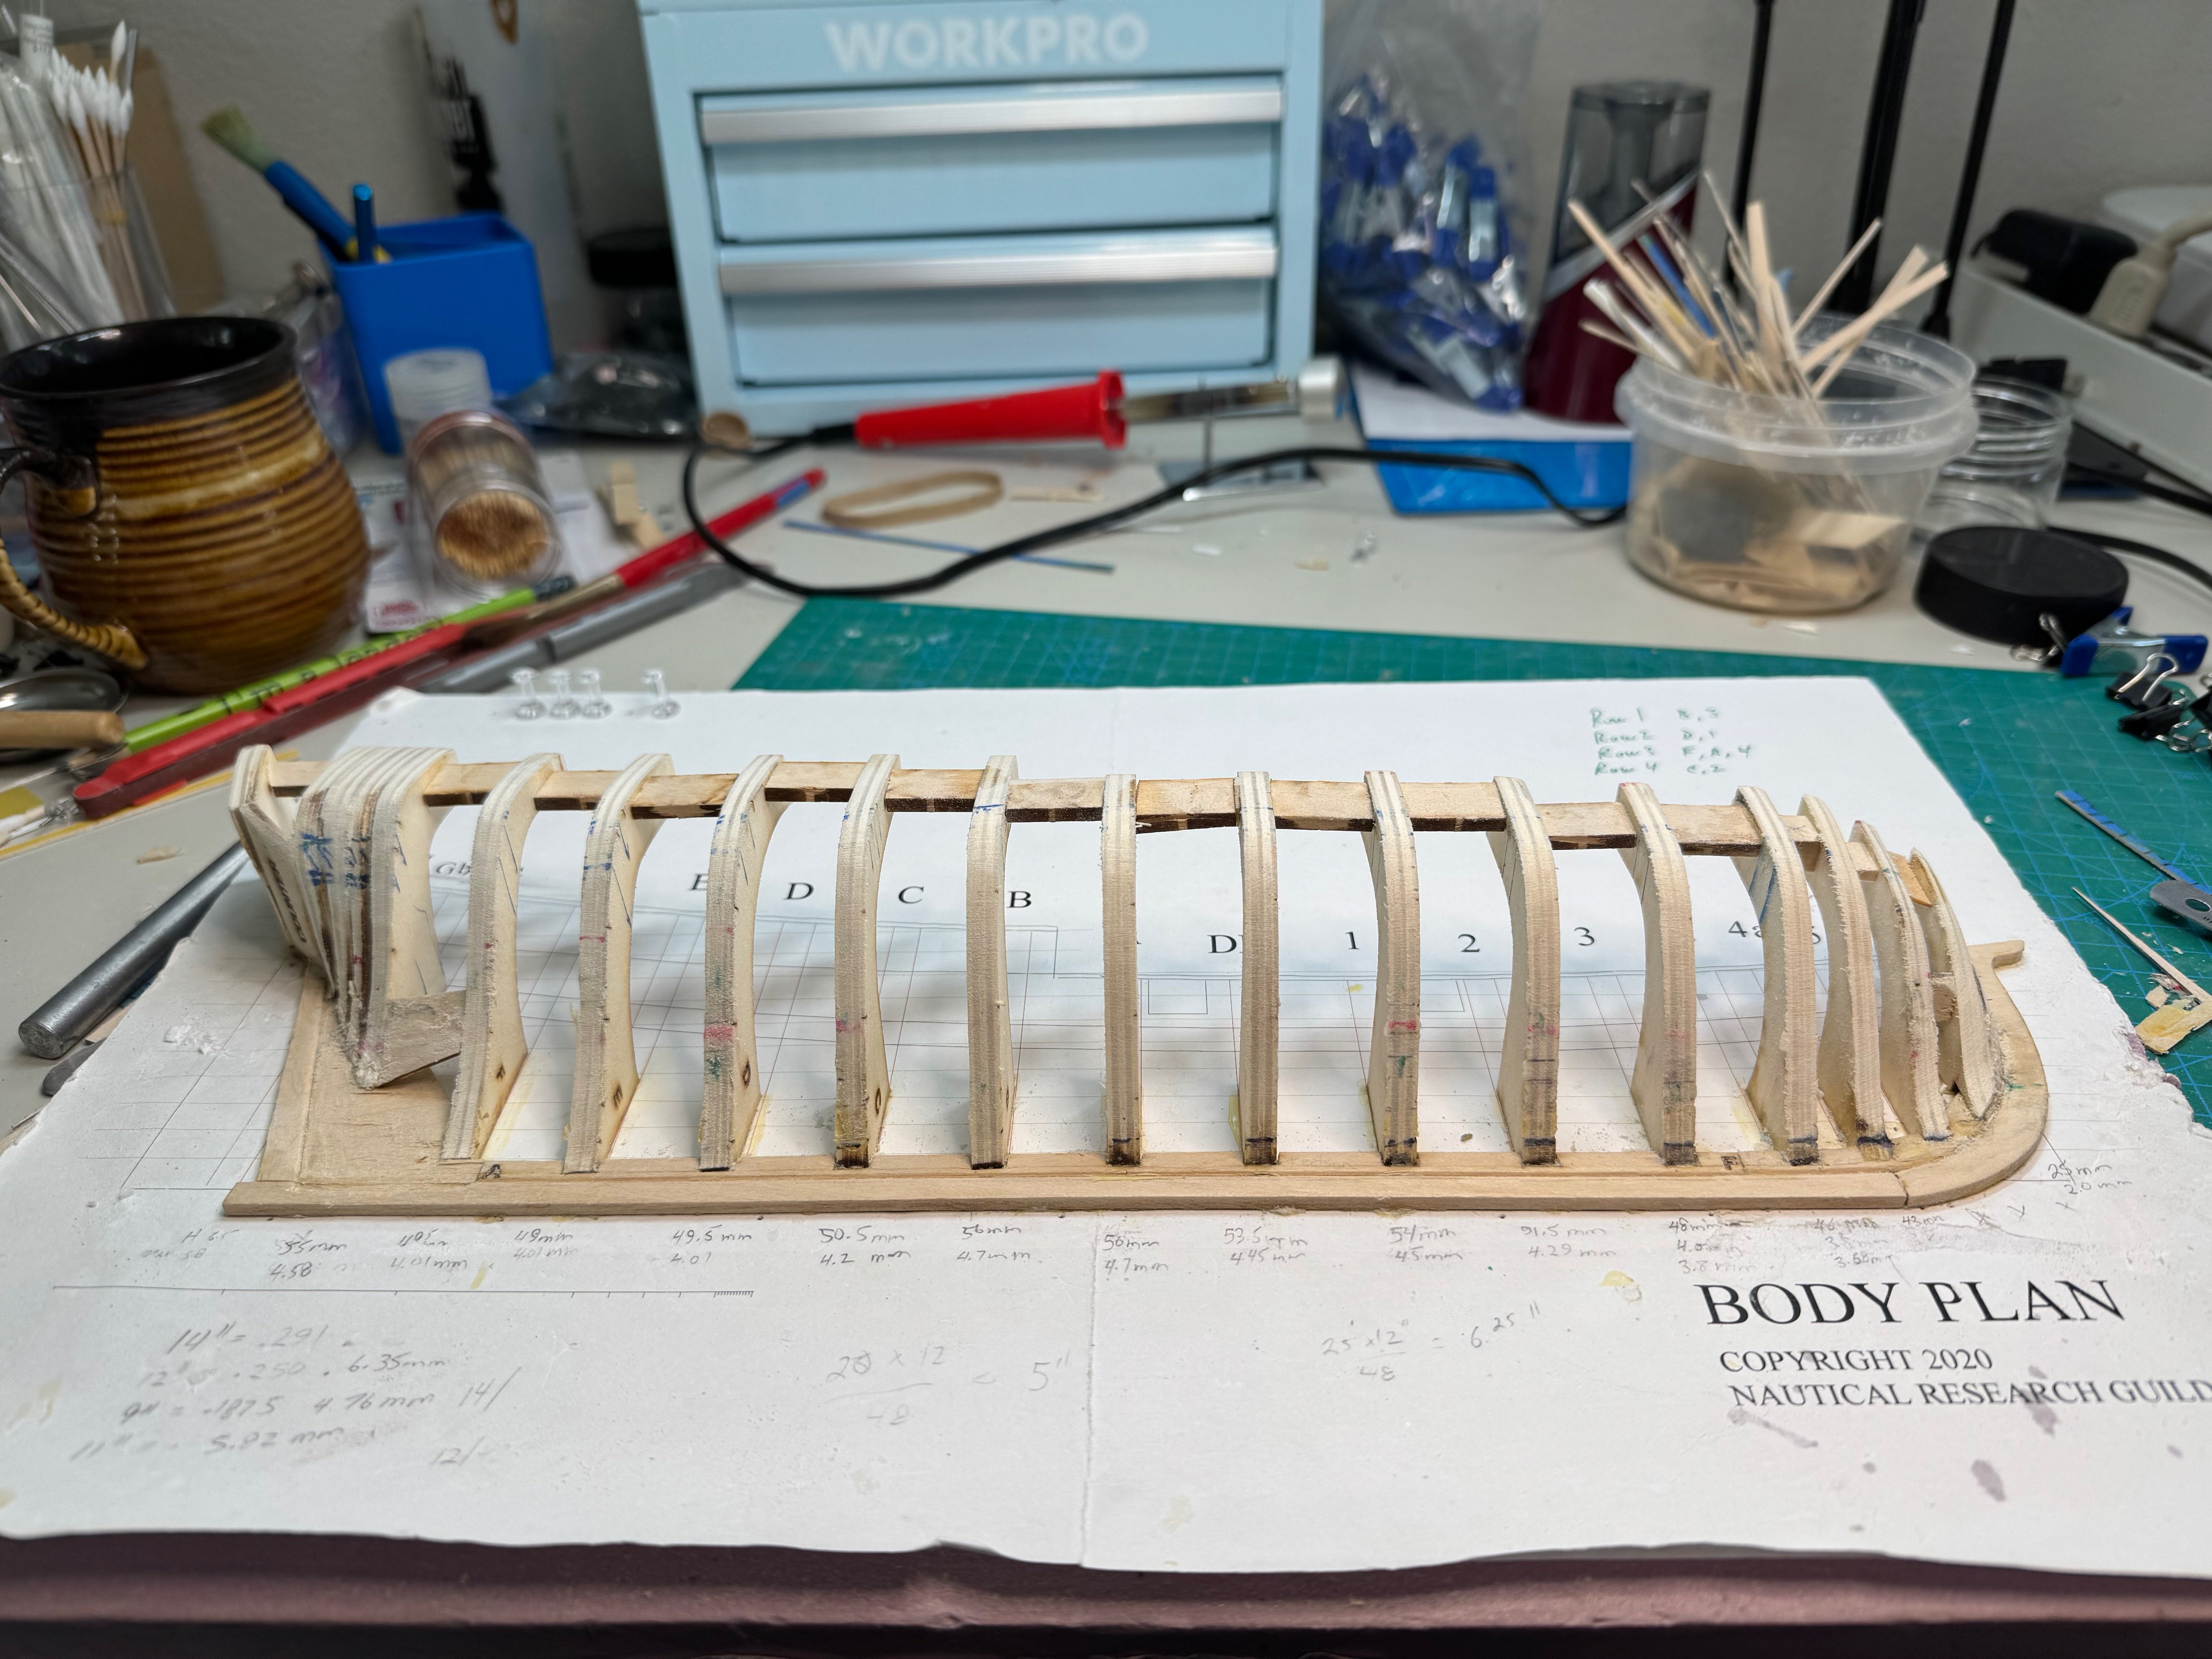
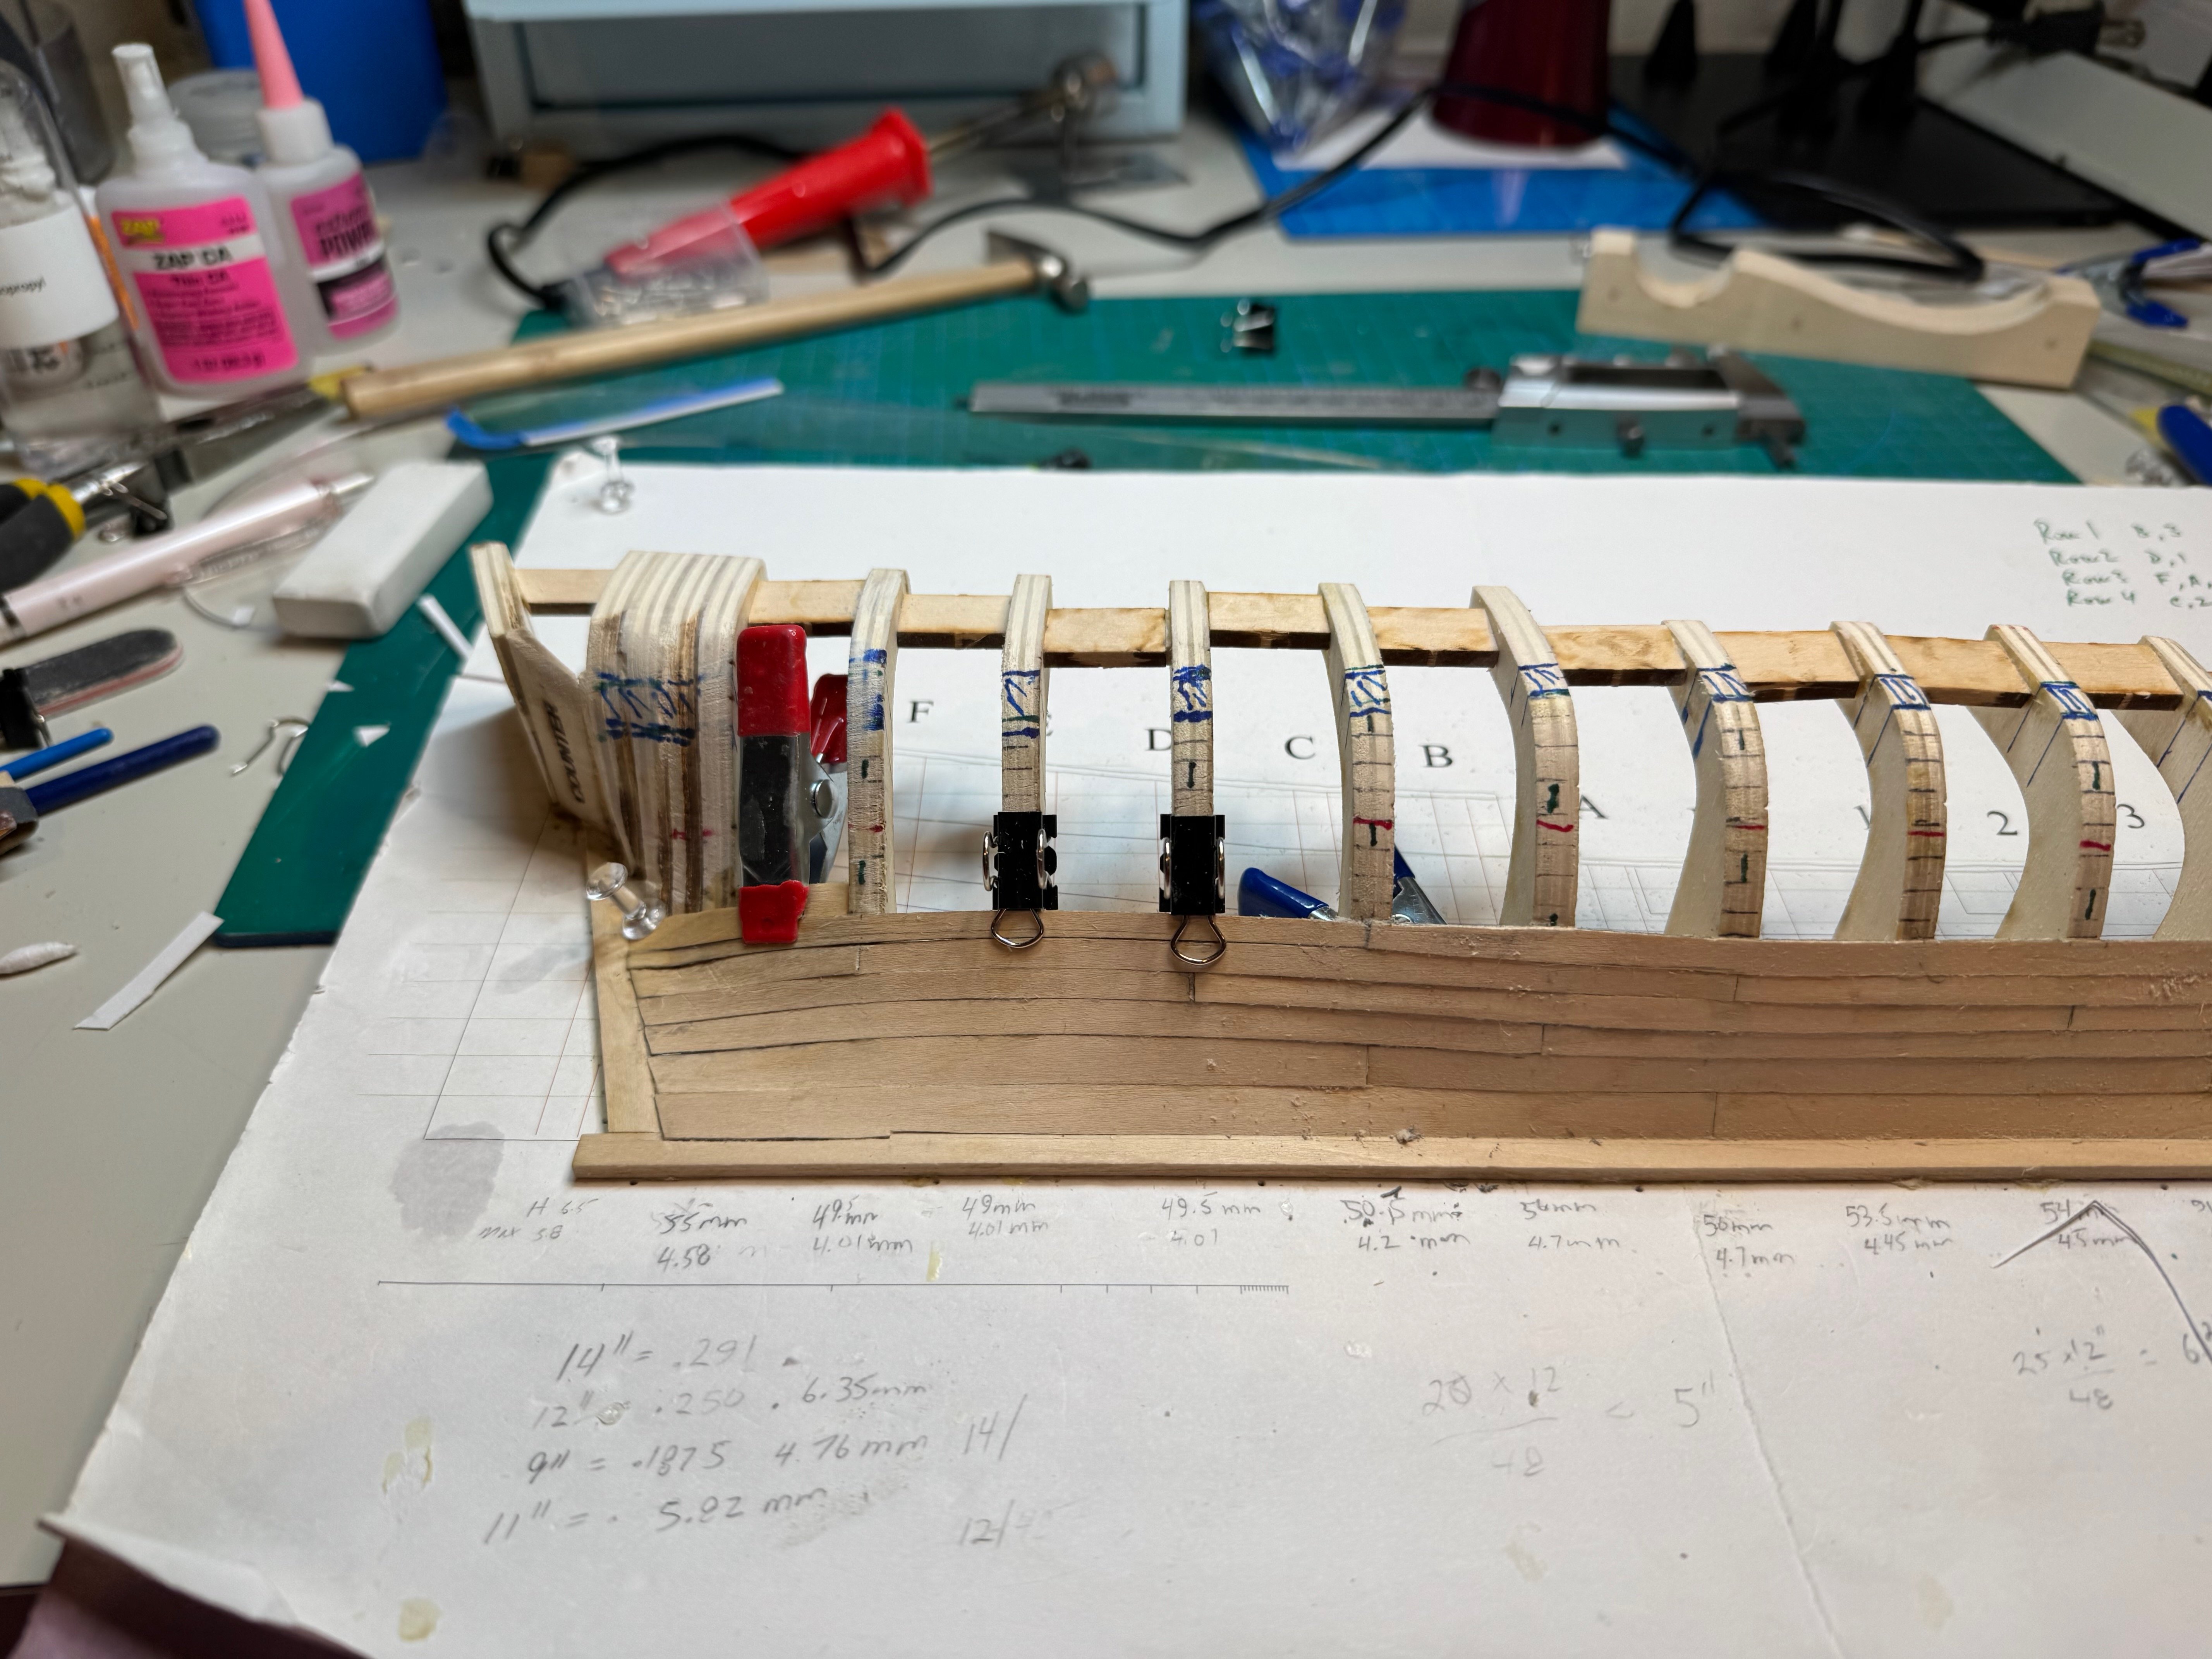
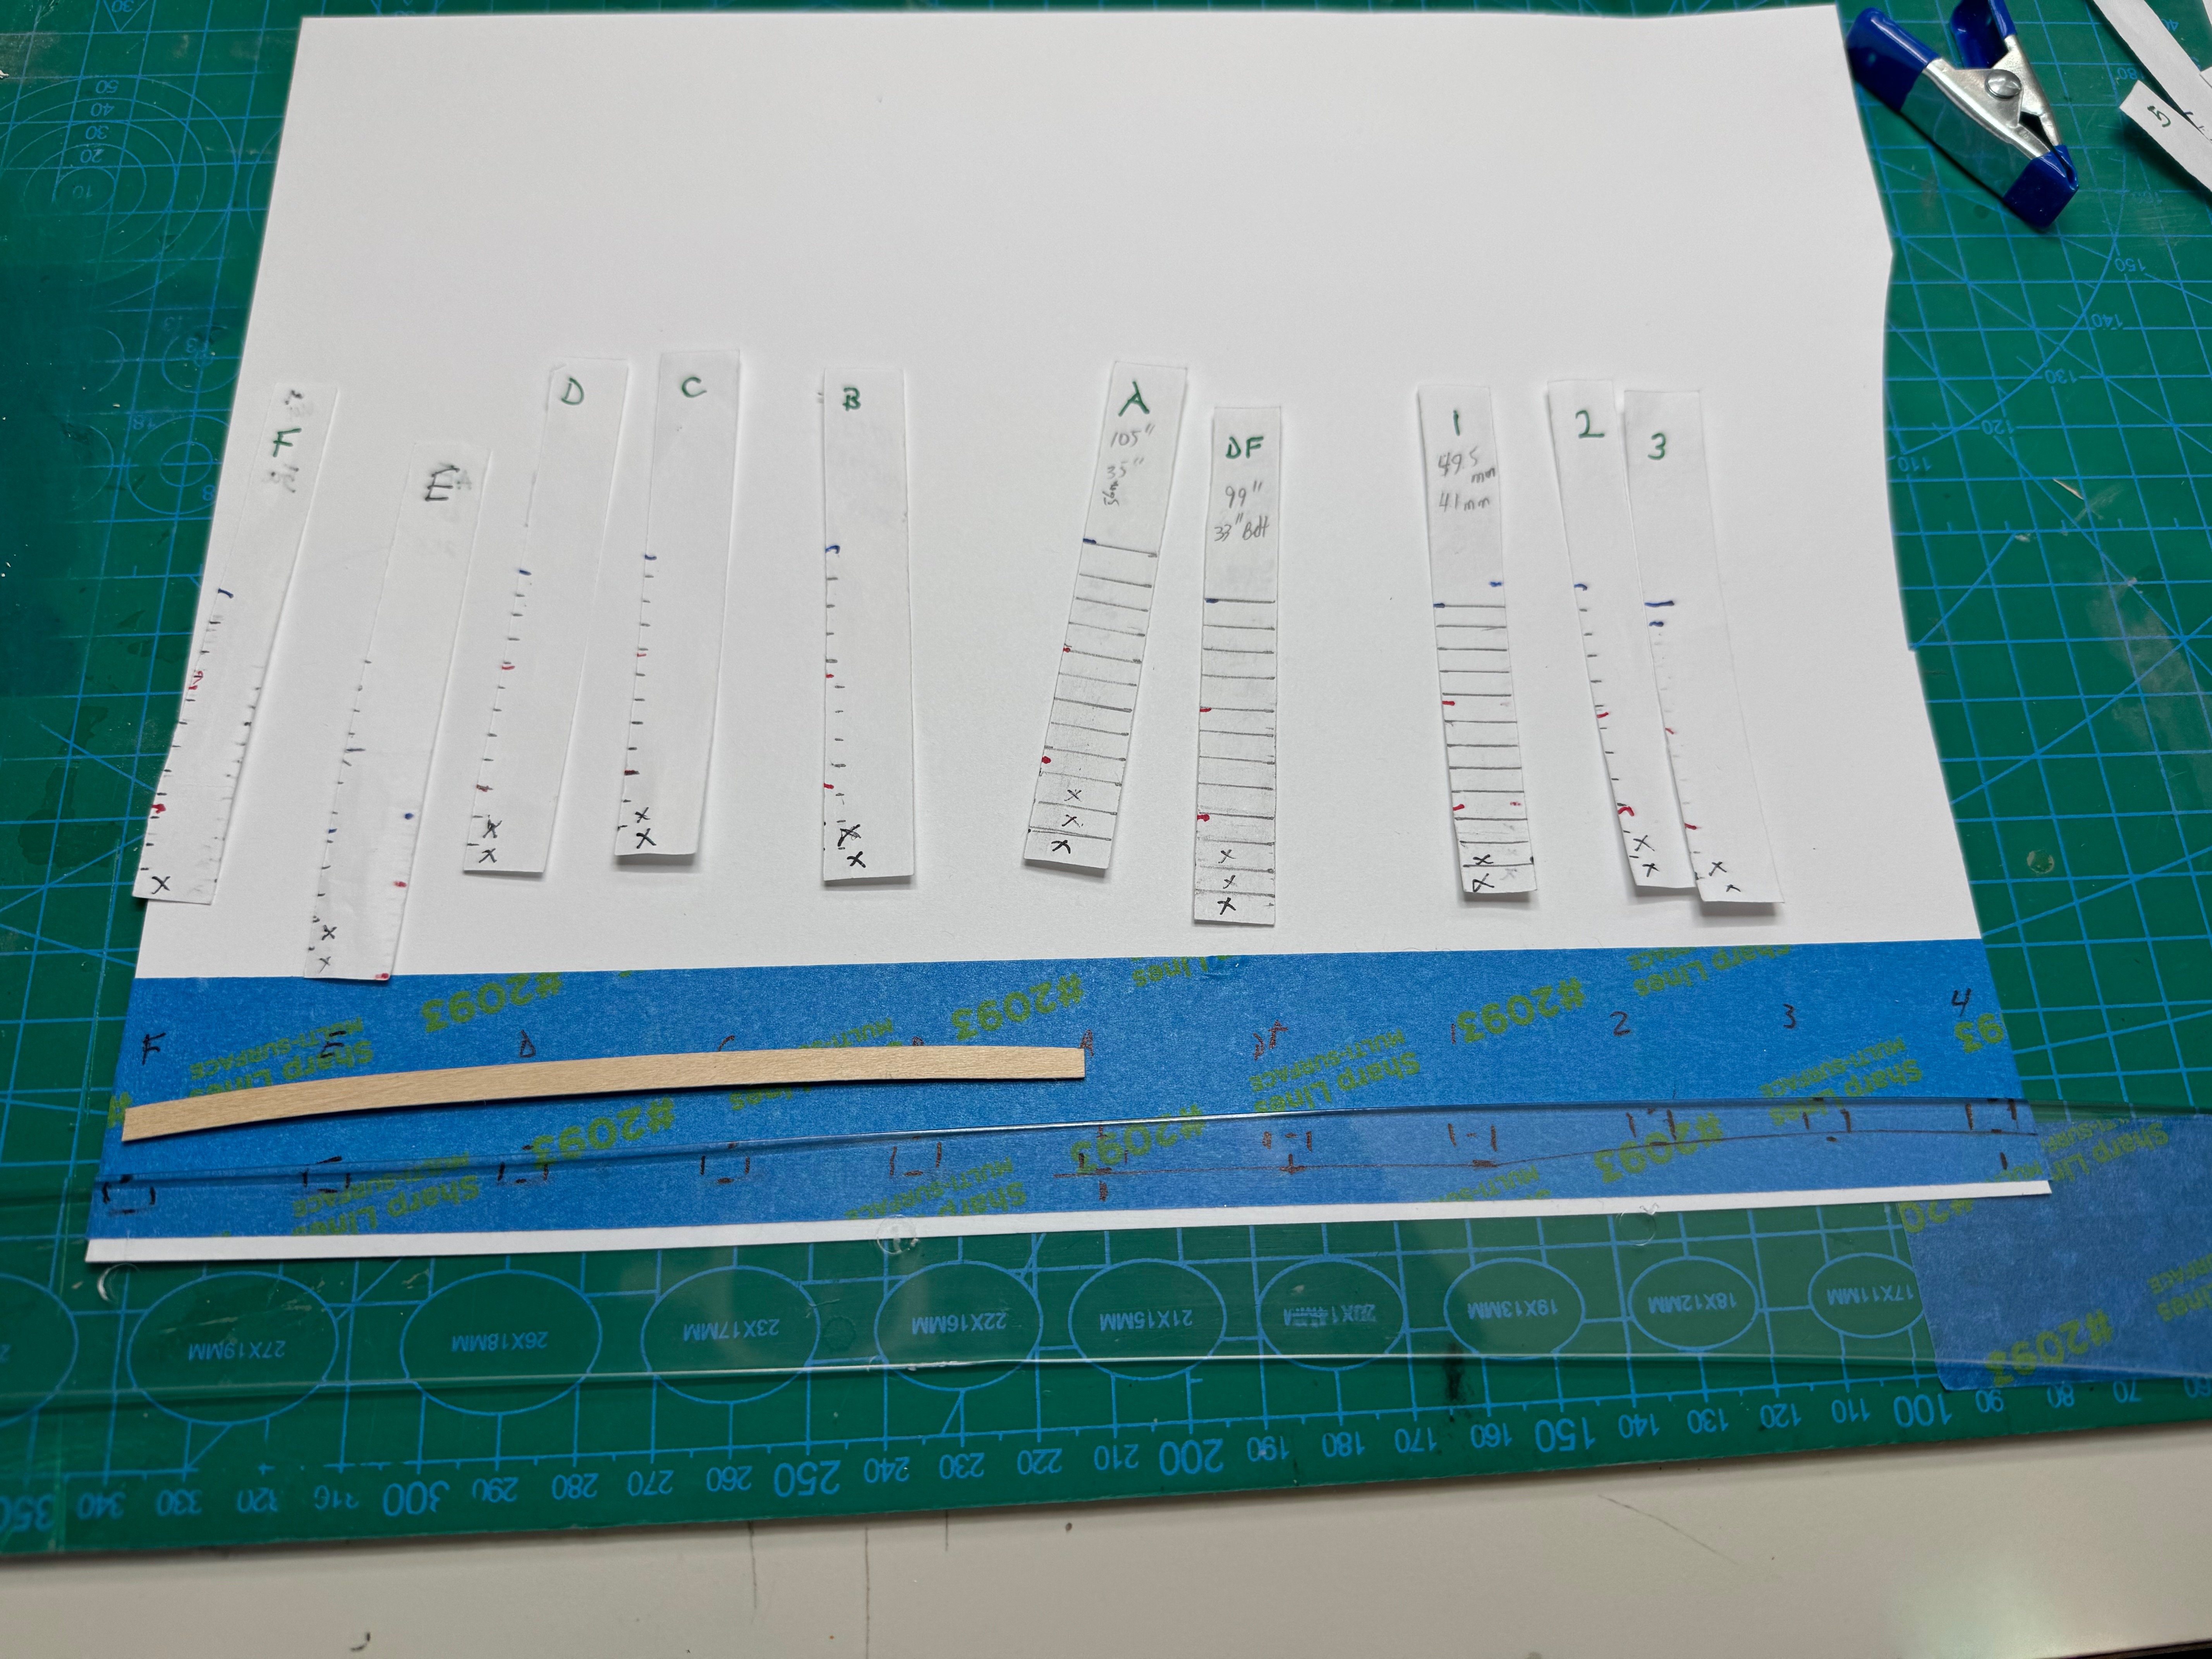
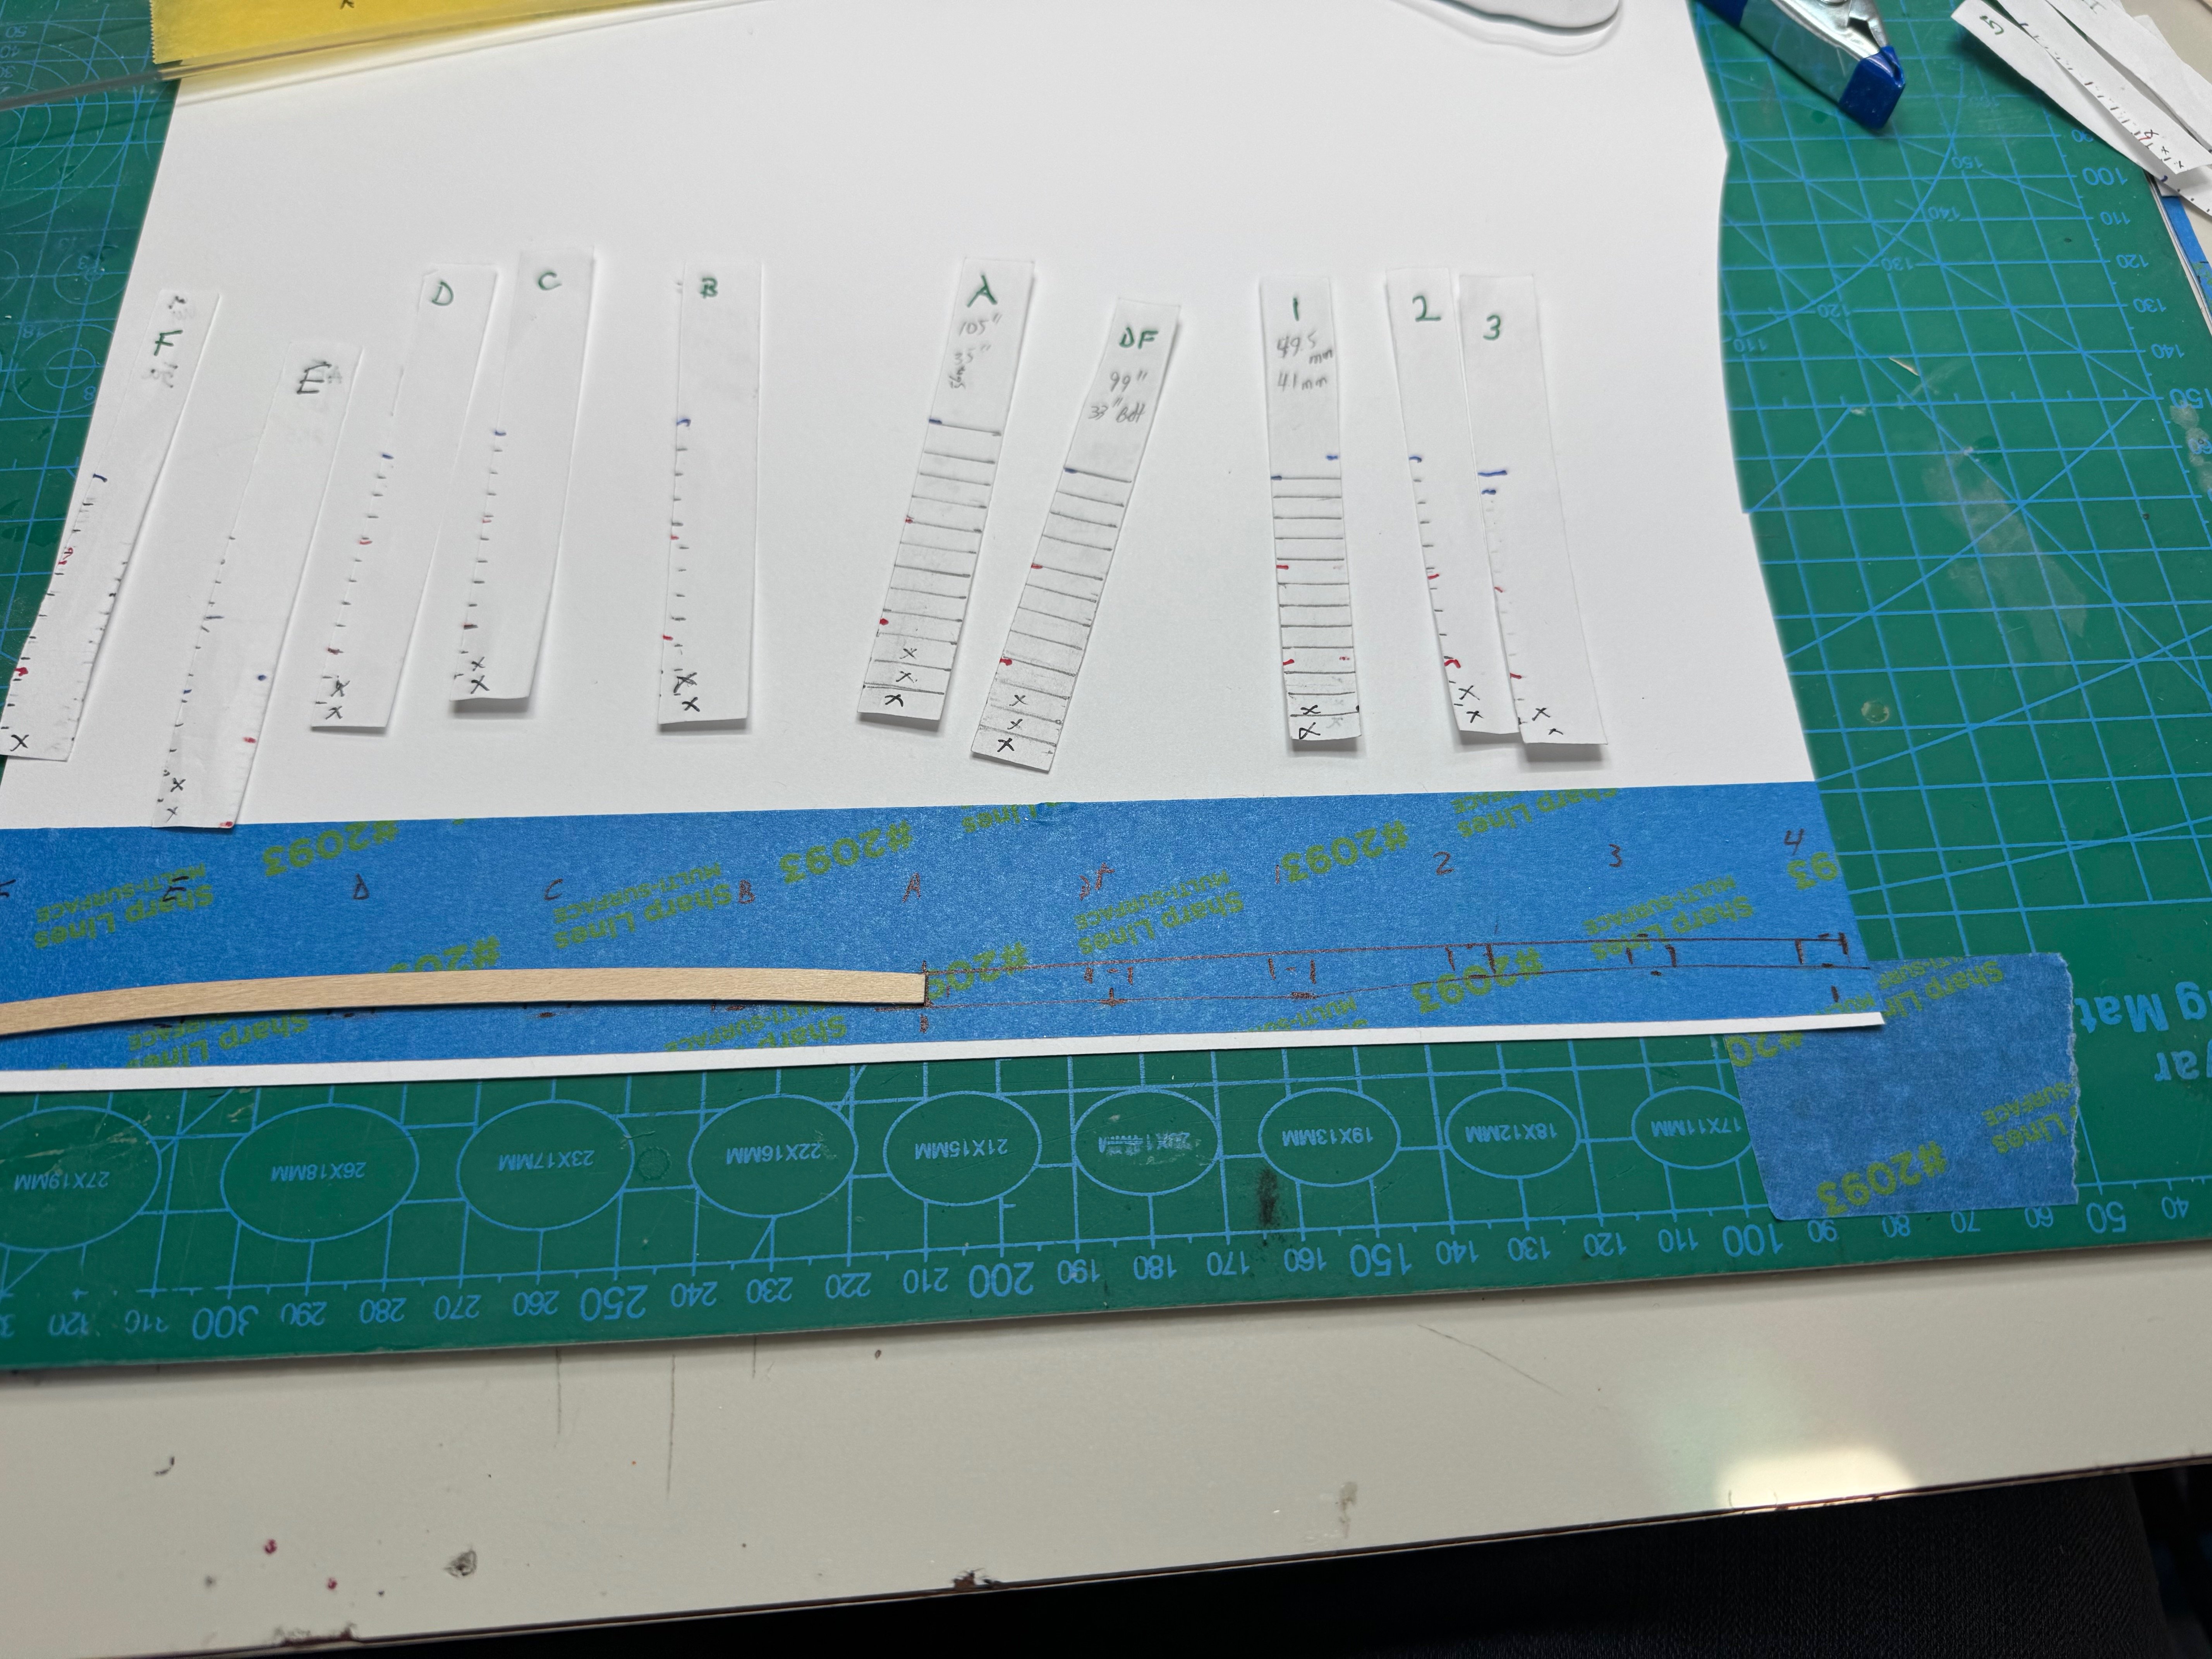
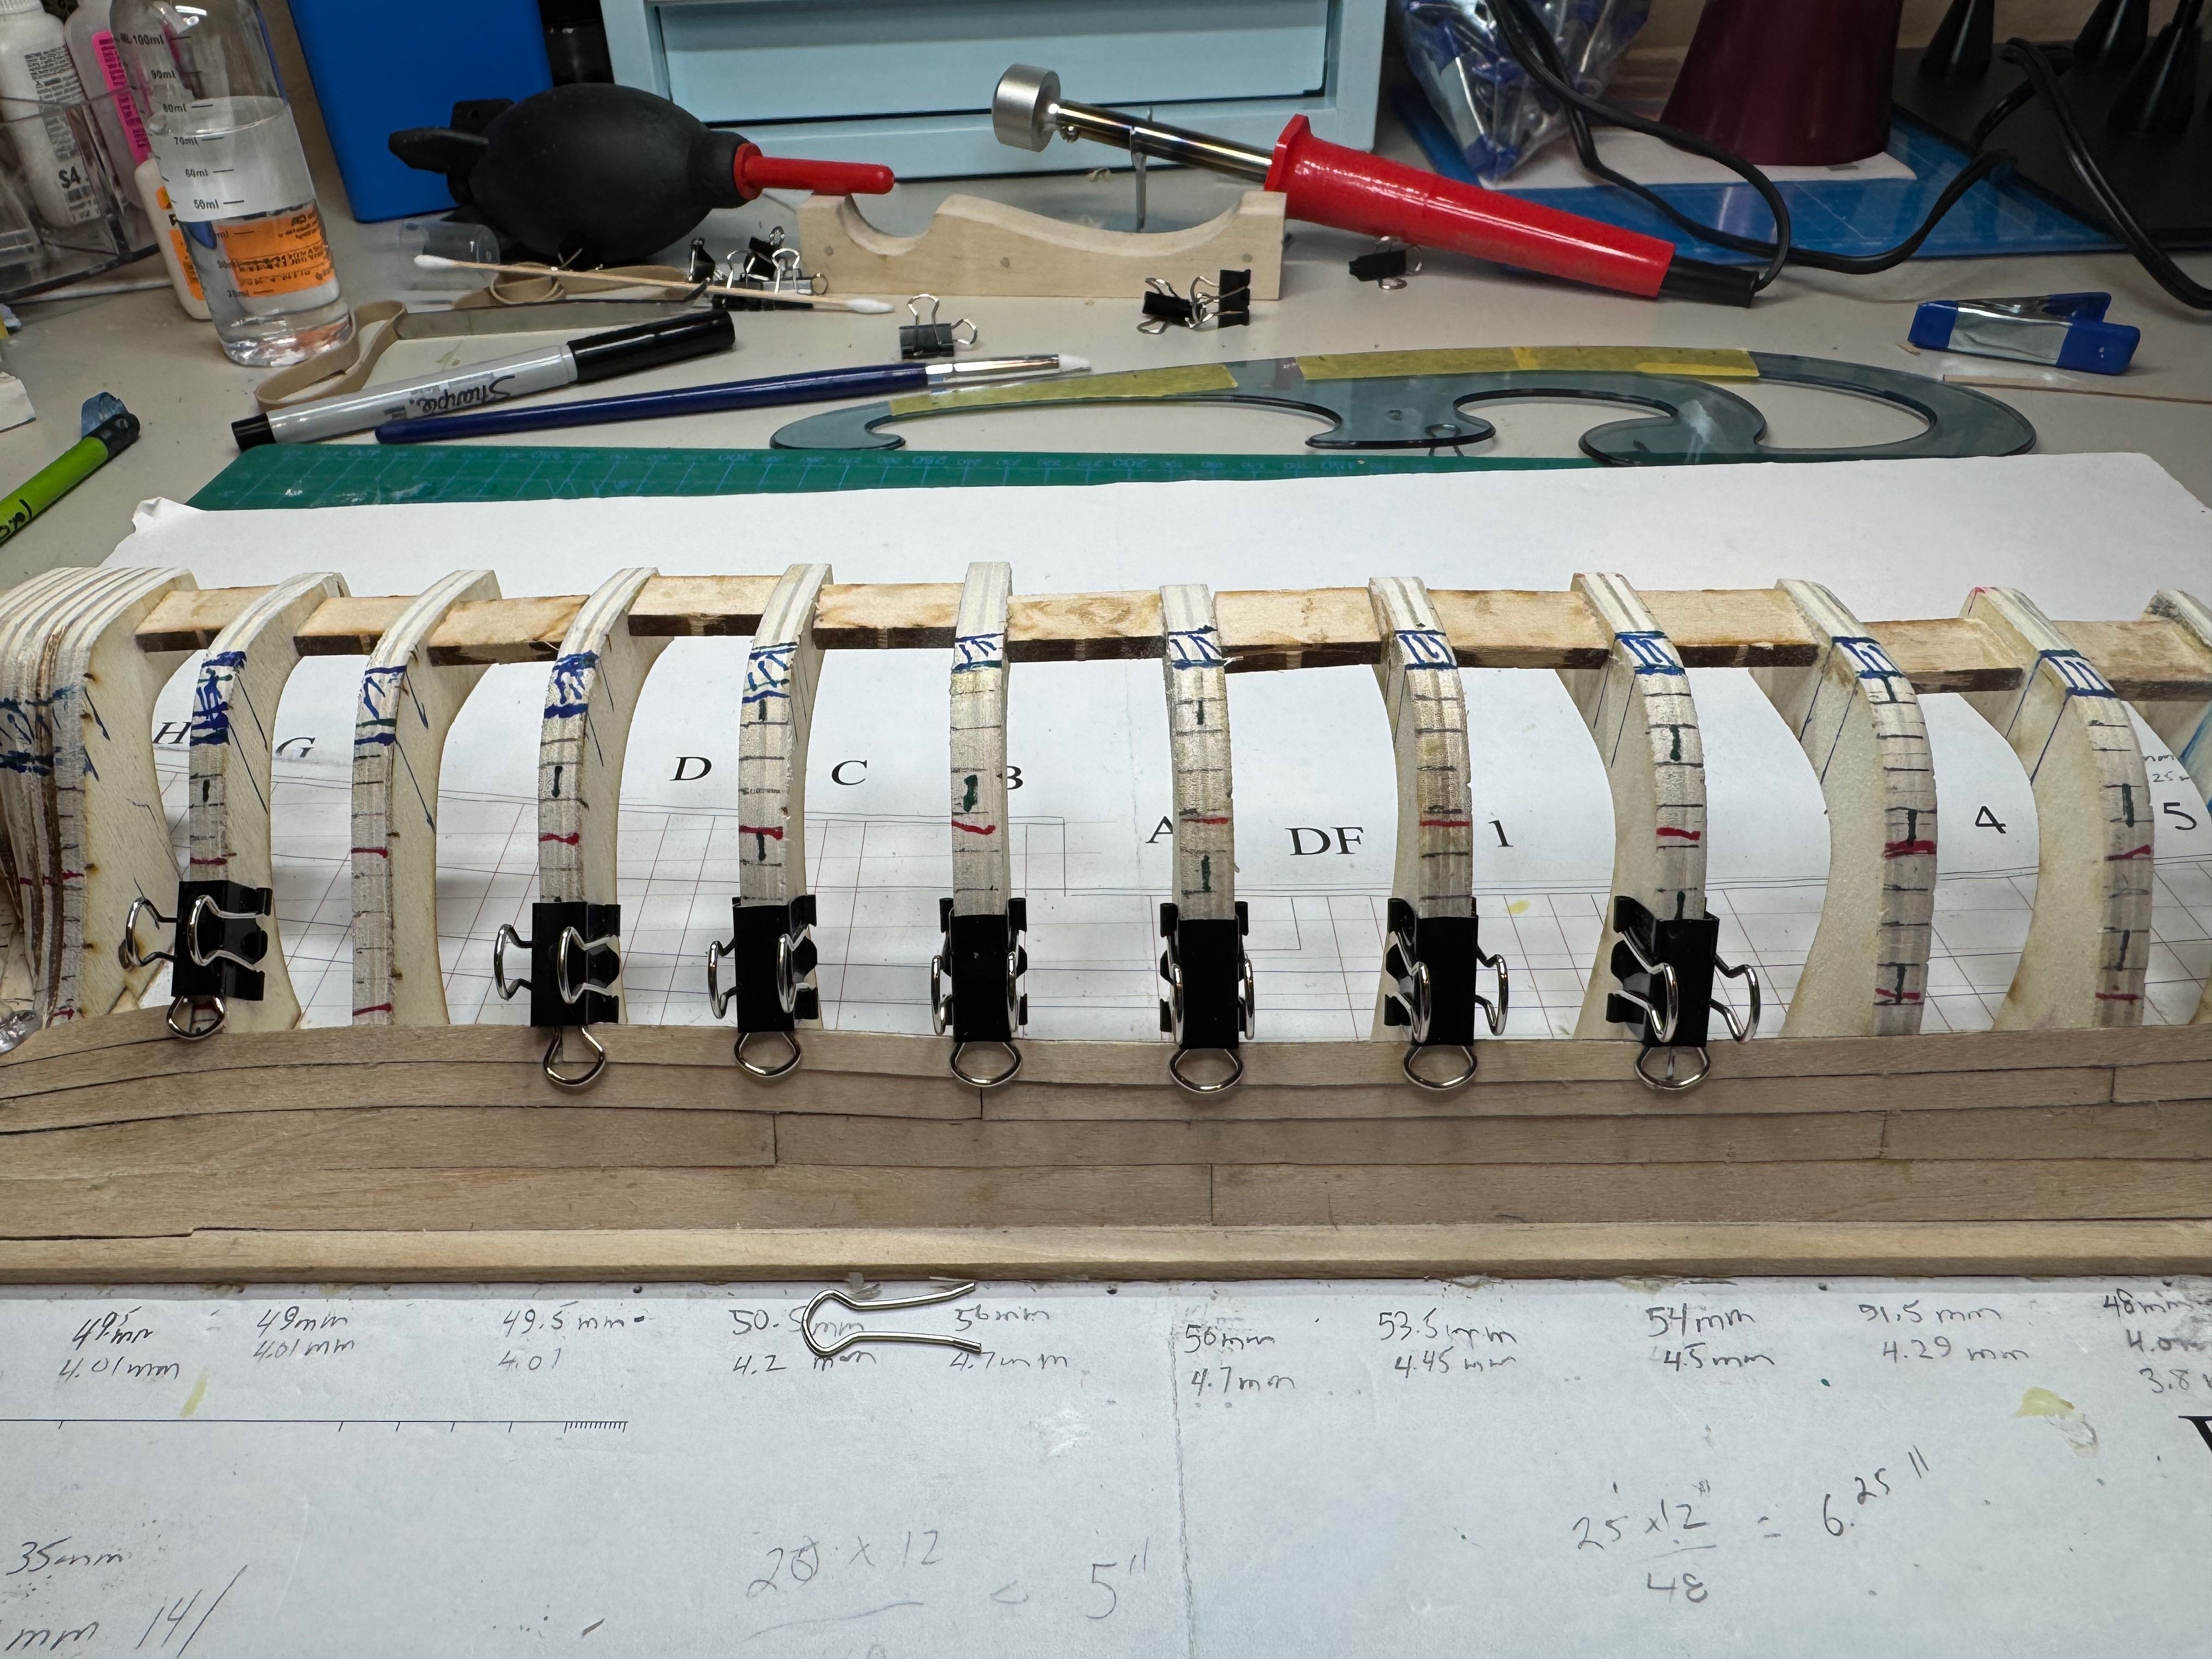
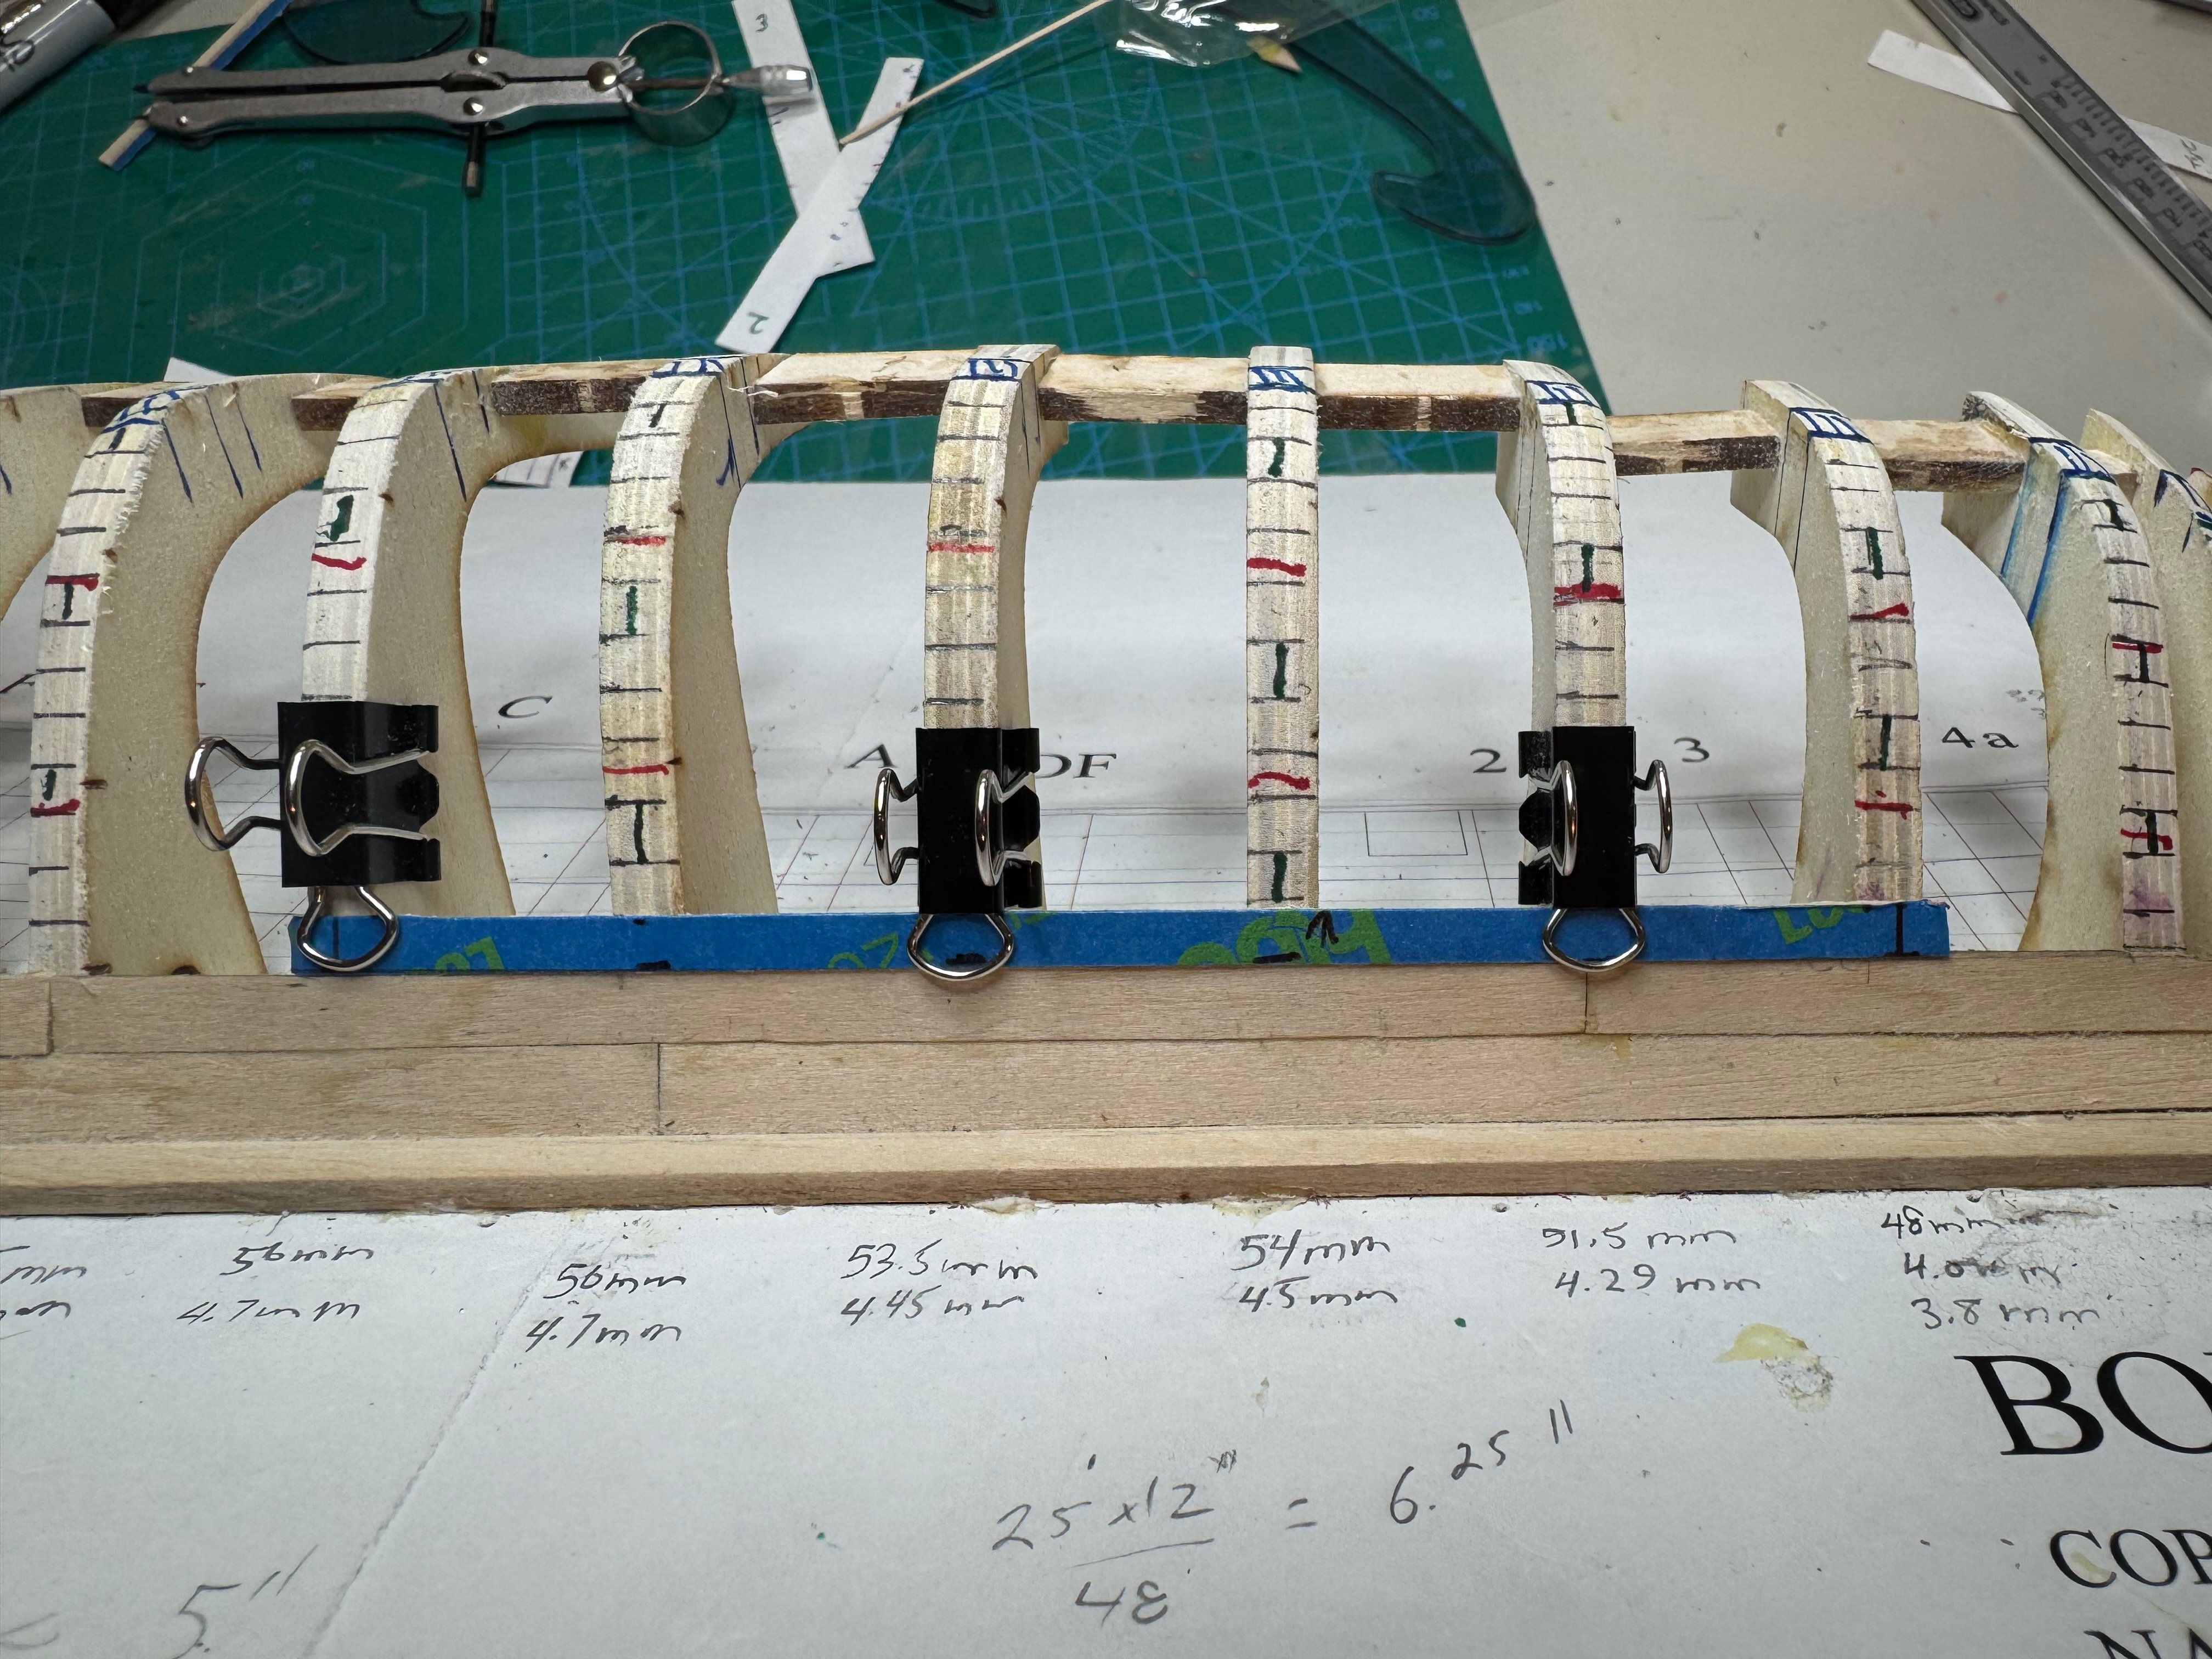
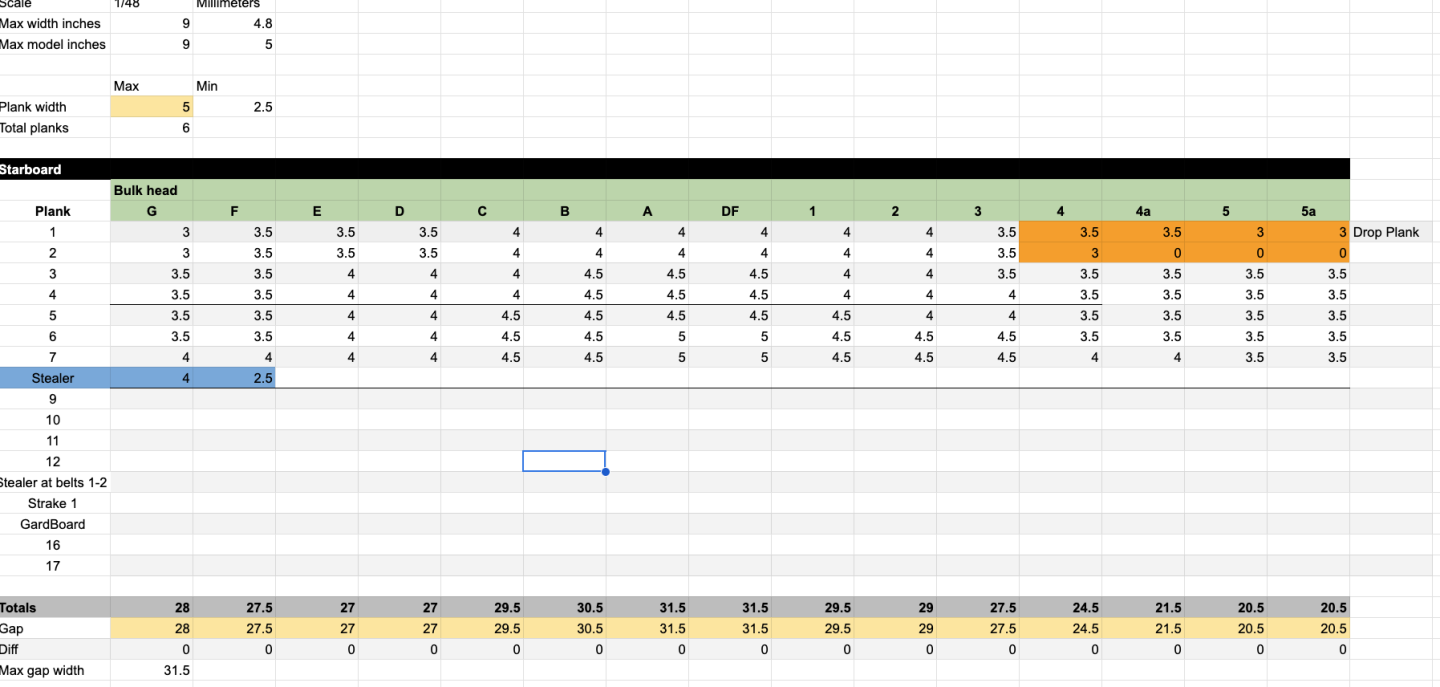
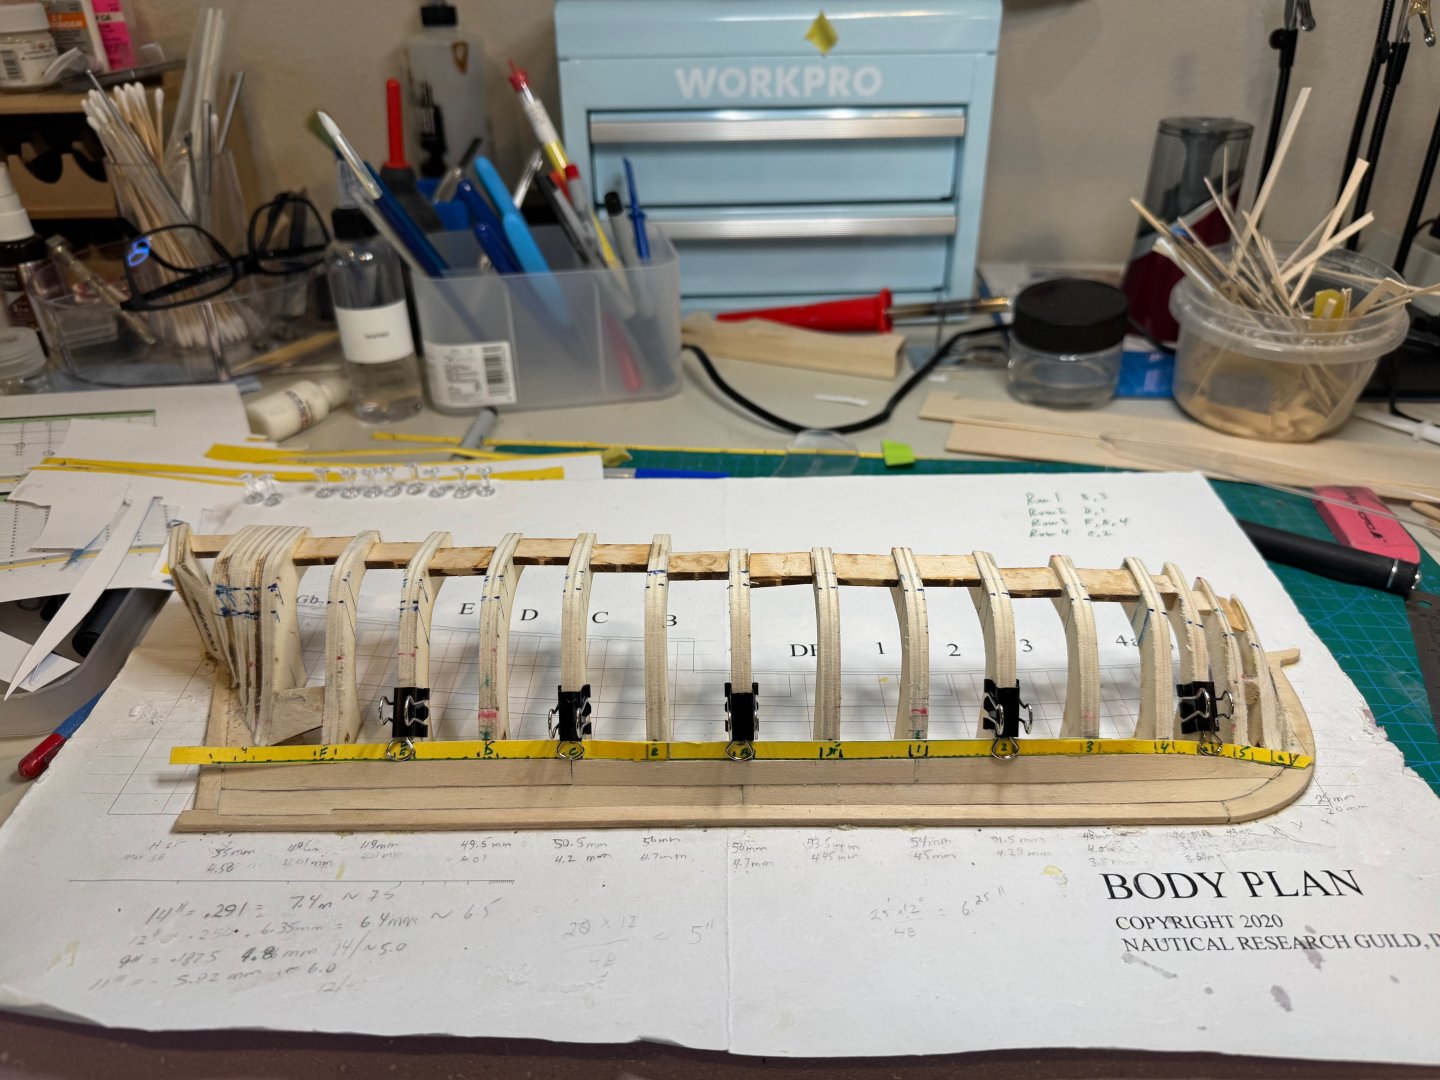
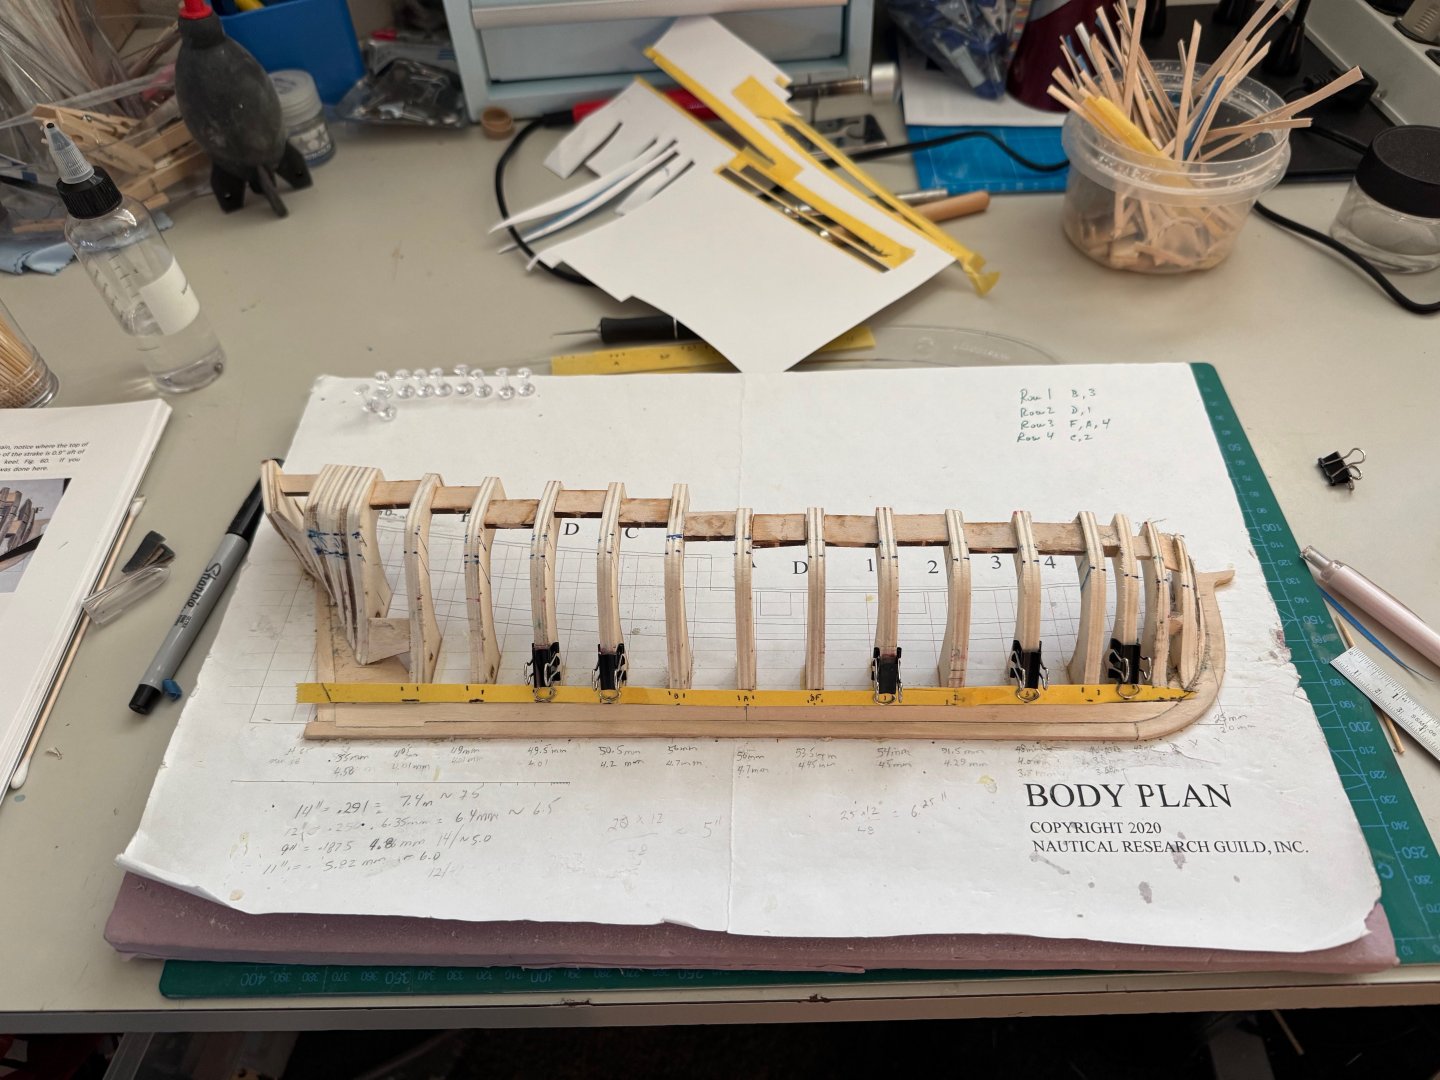
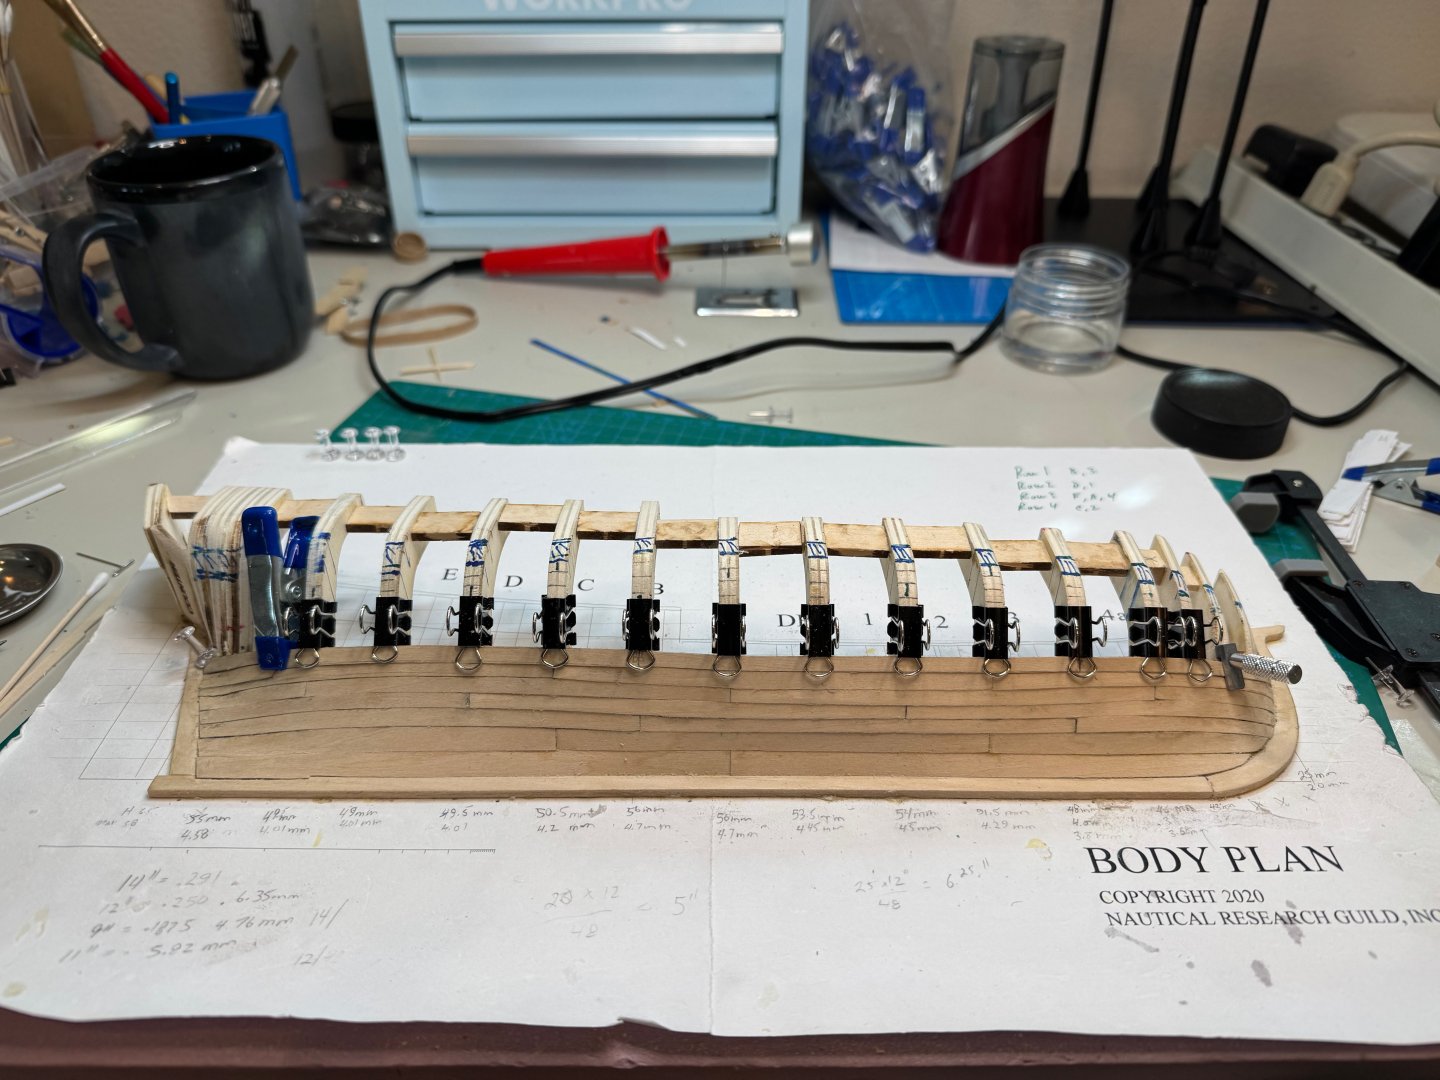
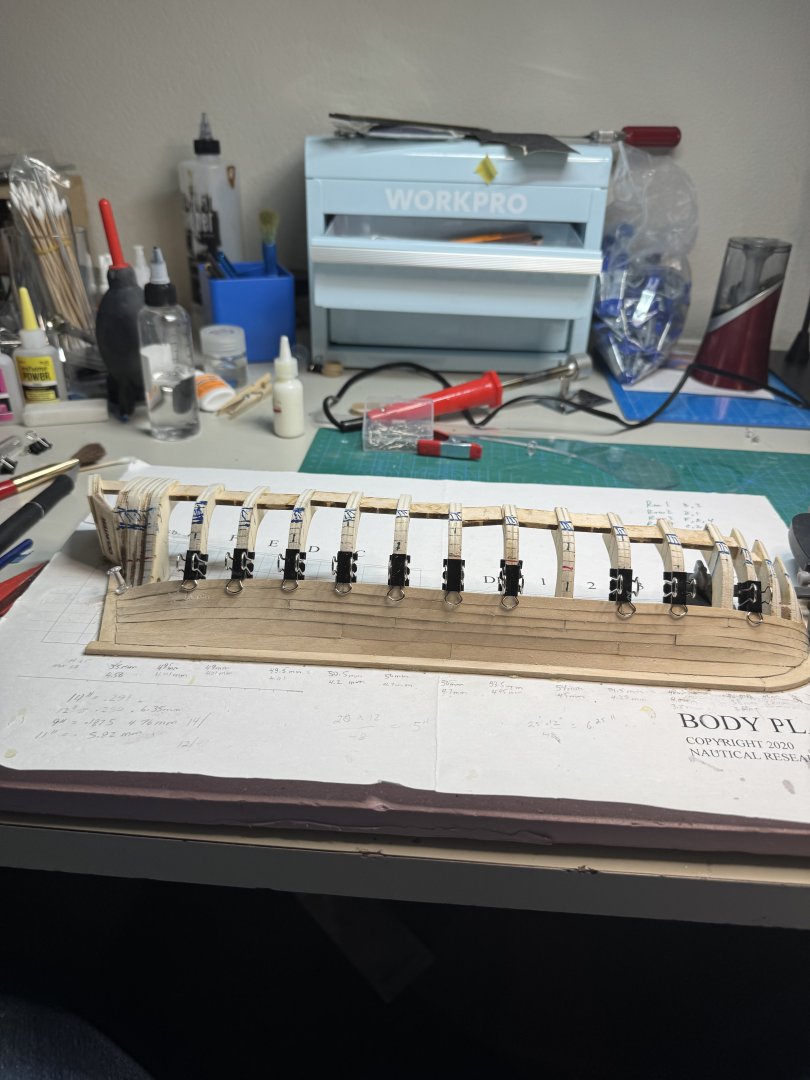
Good morning, I was able to complete the first belt. I also decided to recalculate my belts, as I do not think that 12 rows are going to work with my 9" plank max width. I am really pleased though how it is starting to take shape. Here is my revised planking plan. Looks like I will need to drop a planking row to keep a consistent look and feel. The measurements are in millimeters. On average I am doing about 8.5" to 9" plank. Back to planking. Cheers
-
I agree, I am finding there is a natural curve, and I am needing to adjust the width.
-
Thank you.
-
Good morning, Yesterday I was able to create the first plank in the first band. Creating the template: Fitting the stern Fitting the bow Finally gluing in the plank I am finding the template method is working well. My transition between planks are much tighter. I also am noticing my curve is much smoother than doing each plank independently.


-
Good morning, Yesterday I was able to complete my plank plan. Attached is a spreadsheet I created to determine my plank widths at the bulkheads. I will recalculate after I complete the second planking band. Planking Fan.xlsx
-
Good morning, Yesterday, I was able to get back to the project again, and I completed the first strake. I started with tracing my template on to the plank starting with the stern. I then dry fitted it with a little water to help with the curve. Next I moved to the bow, and followed the same procedure. I then marked my join points on C, and 1 for these planks and cut them to length and I fitted the middle plank. I then beveled bottom of the planks, and then glued in bow and stern first, followed by the middle plank. And I am much happier with the final result. The plan today is to cut new strips and then create a spreadsheet so I can get the planks even and determine the planking belts.


-
I agree @Capt. Kelso this is a fantastic learning experience.
-
Thanks for the encouragement @JacquesCousteau
-
Thank you @damaartenman. I am just a newb at this and this is a complete learning process.
-
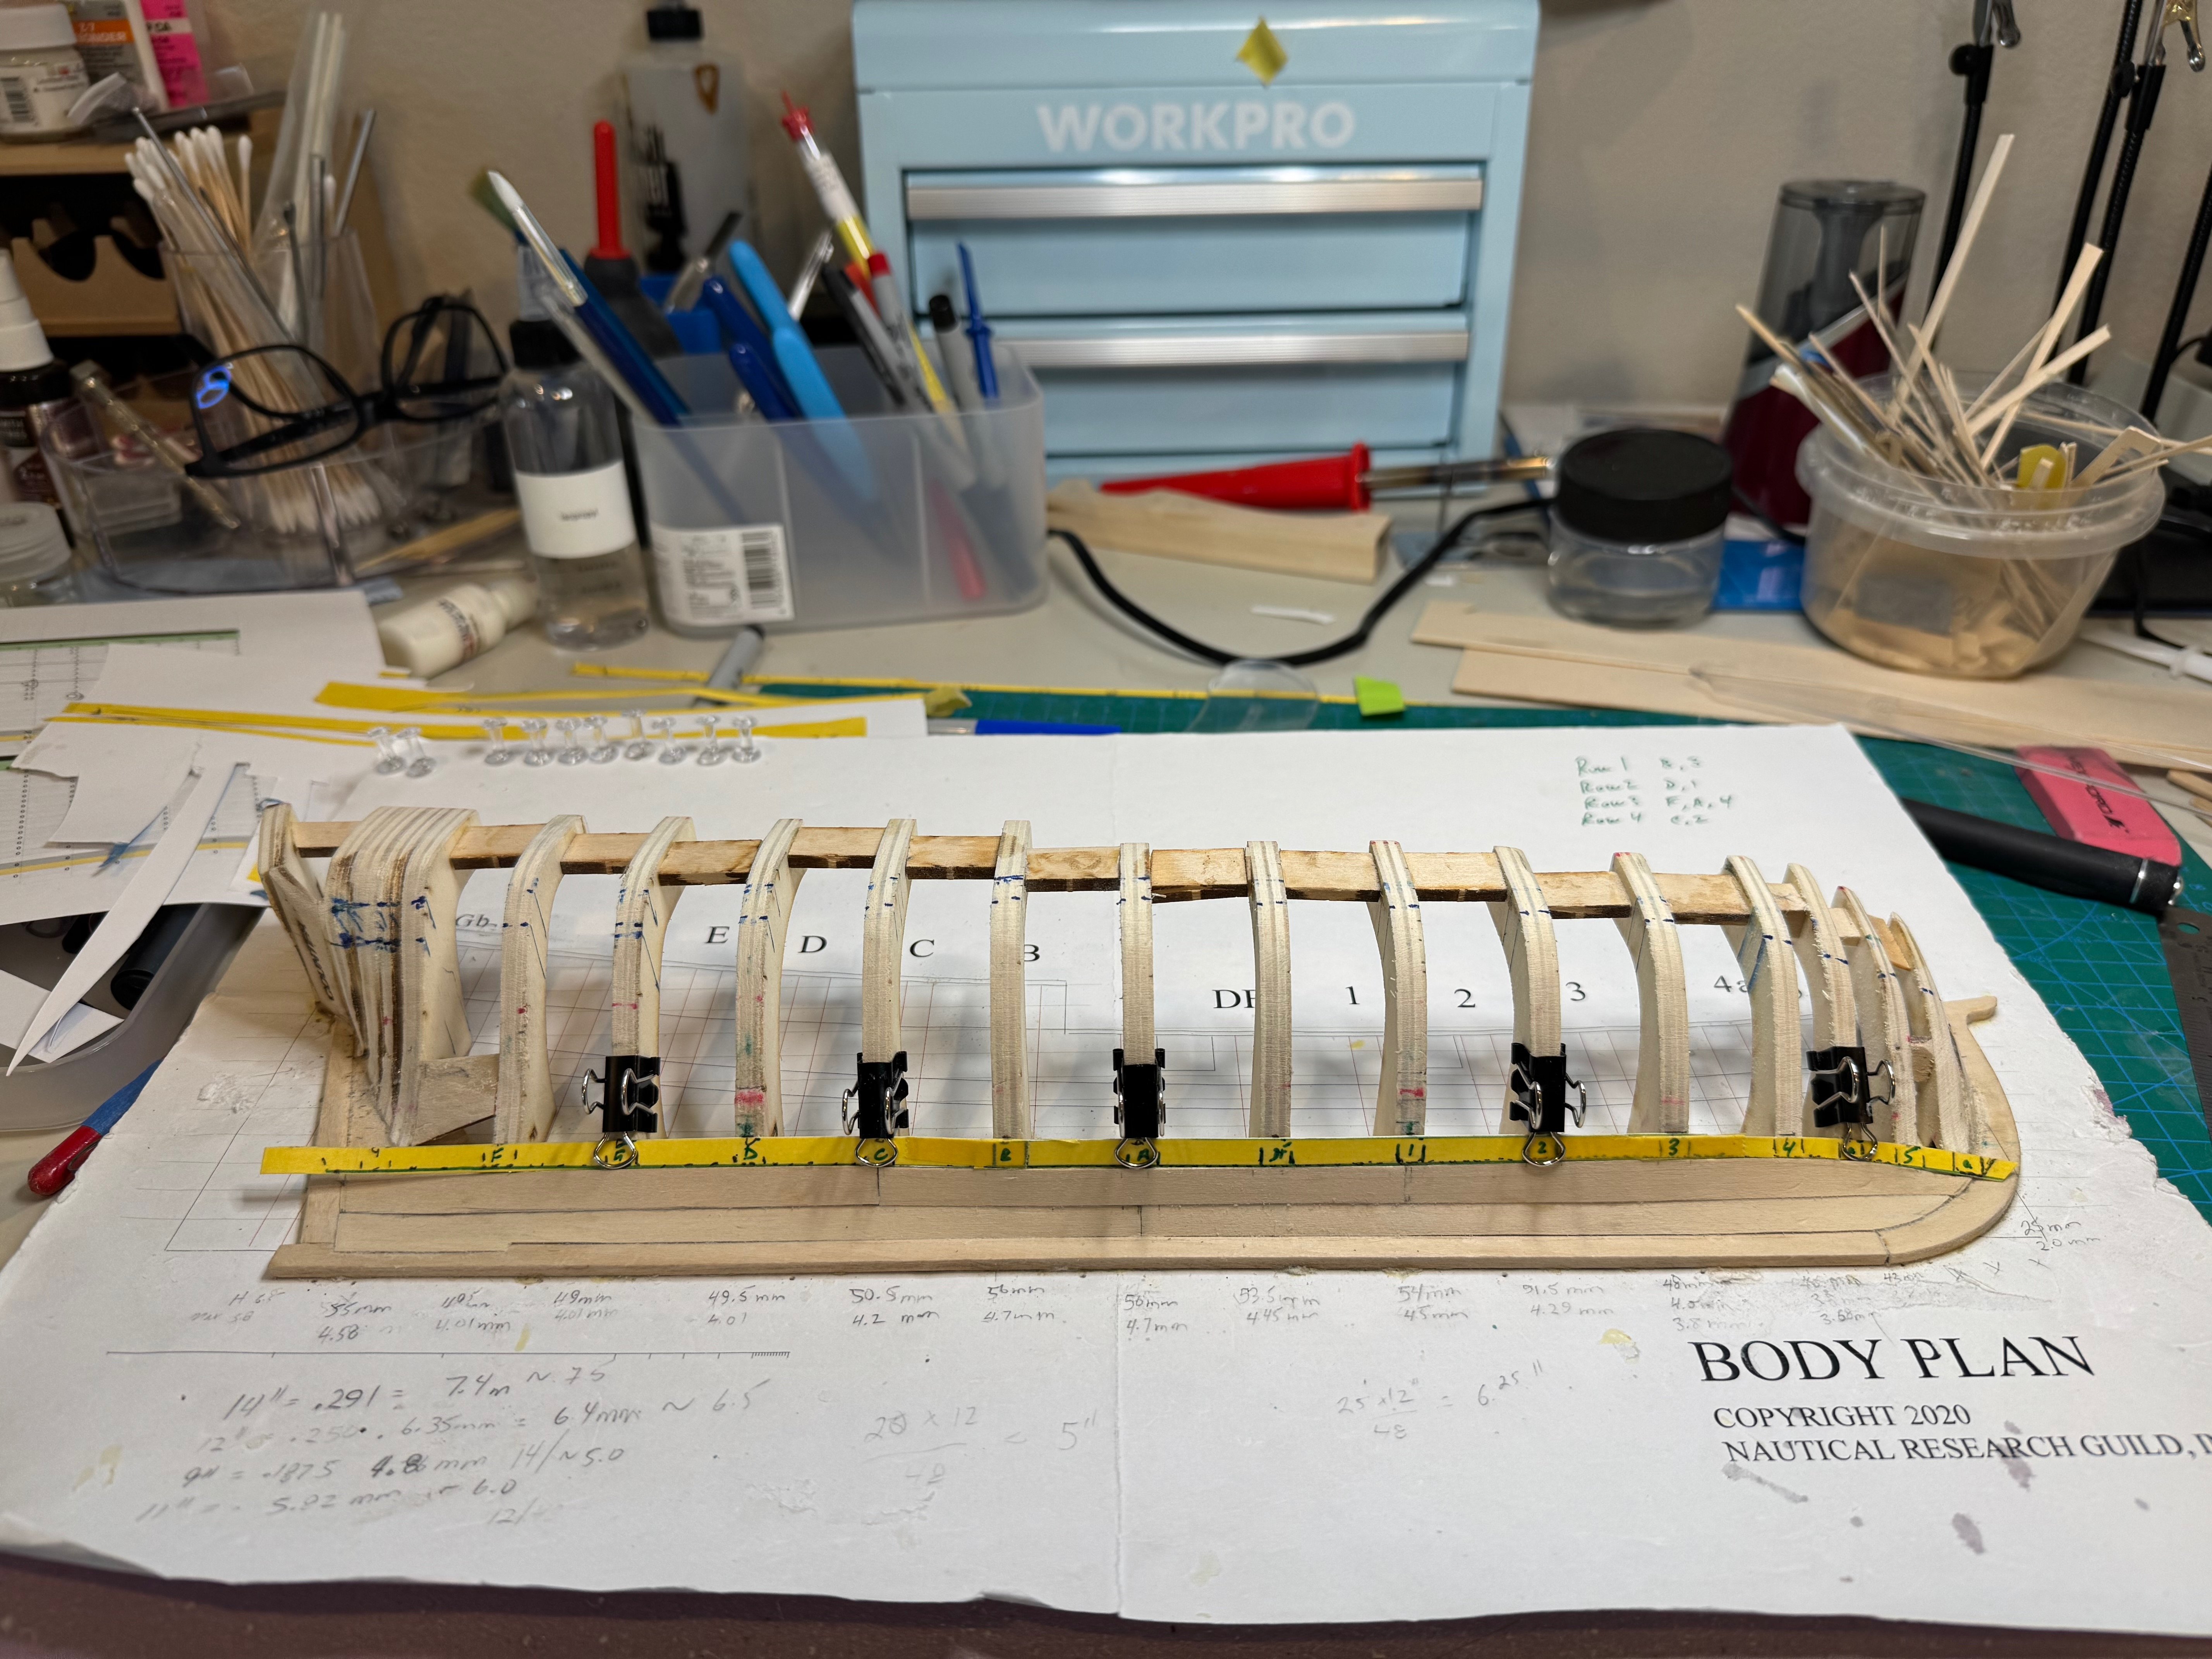
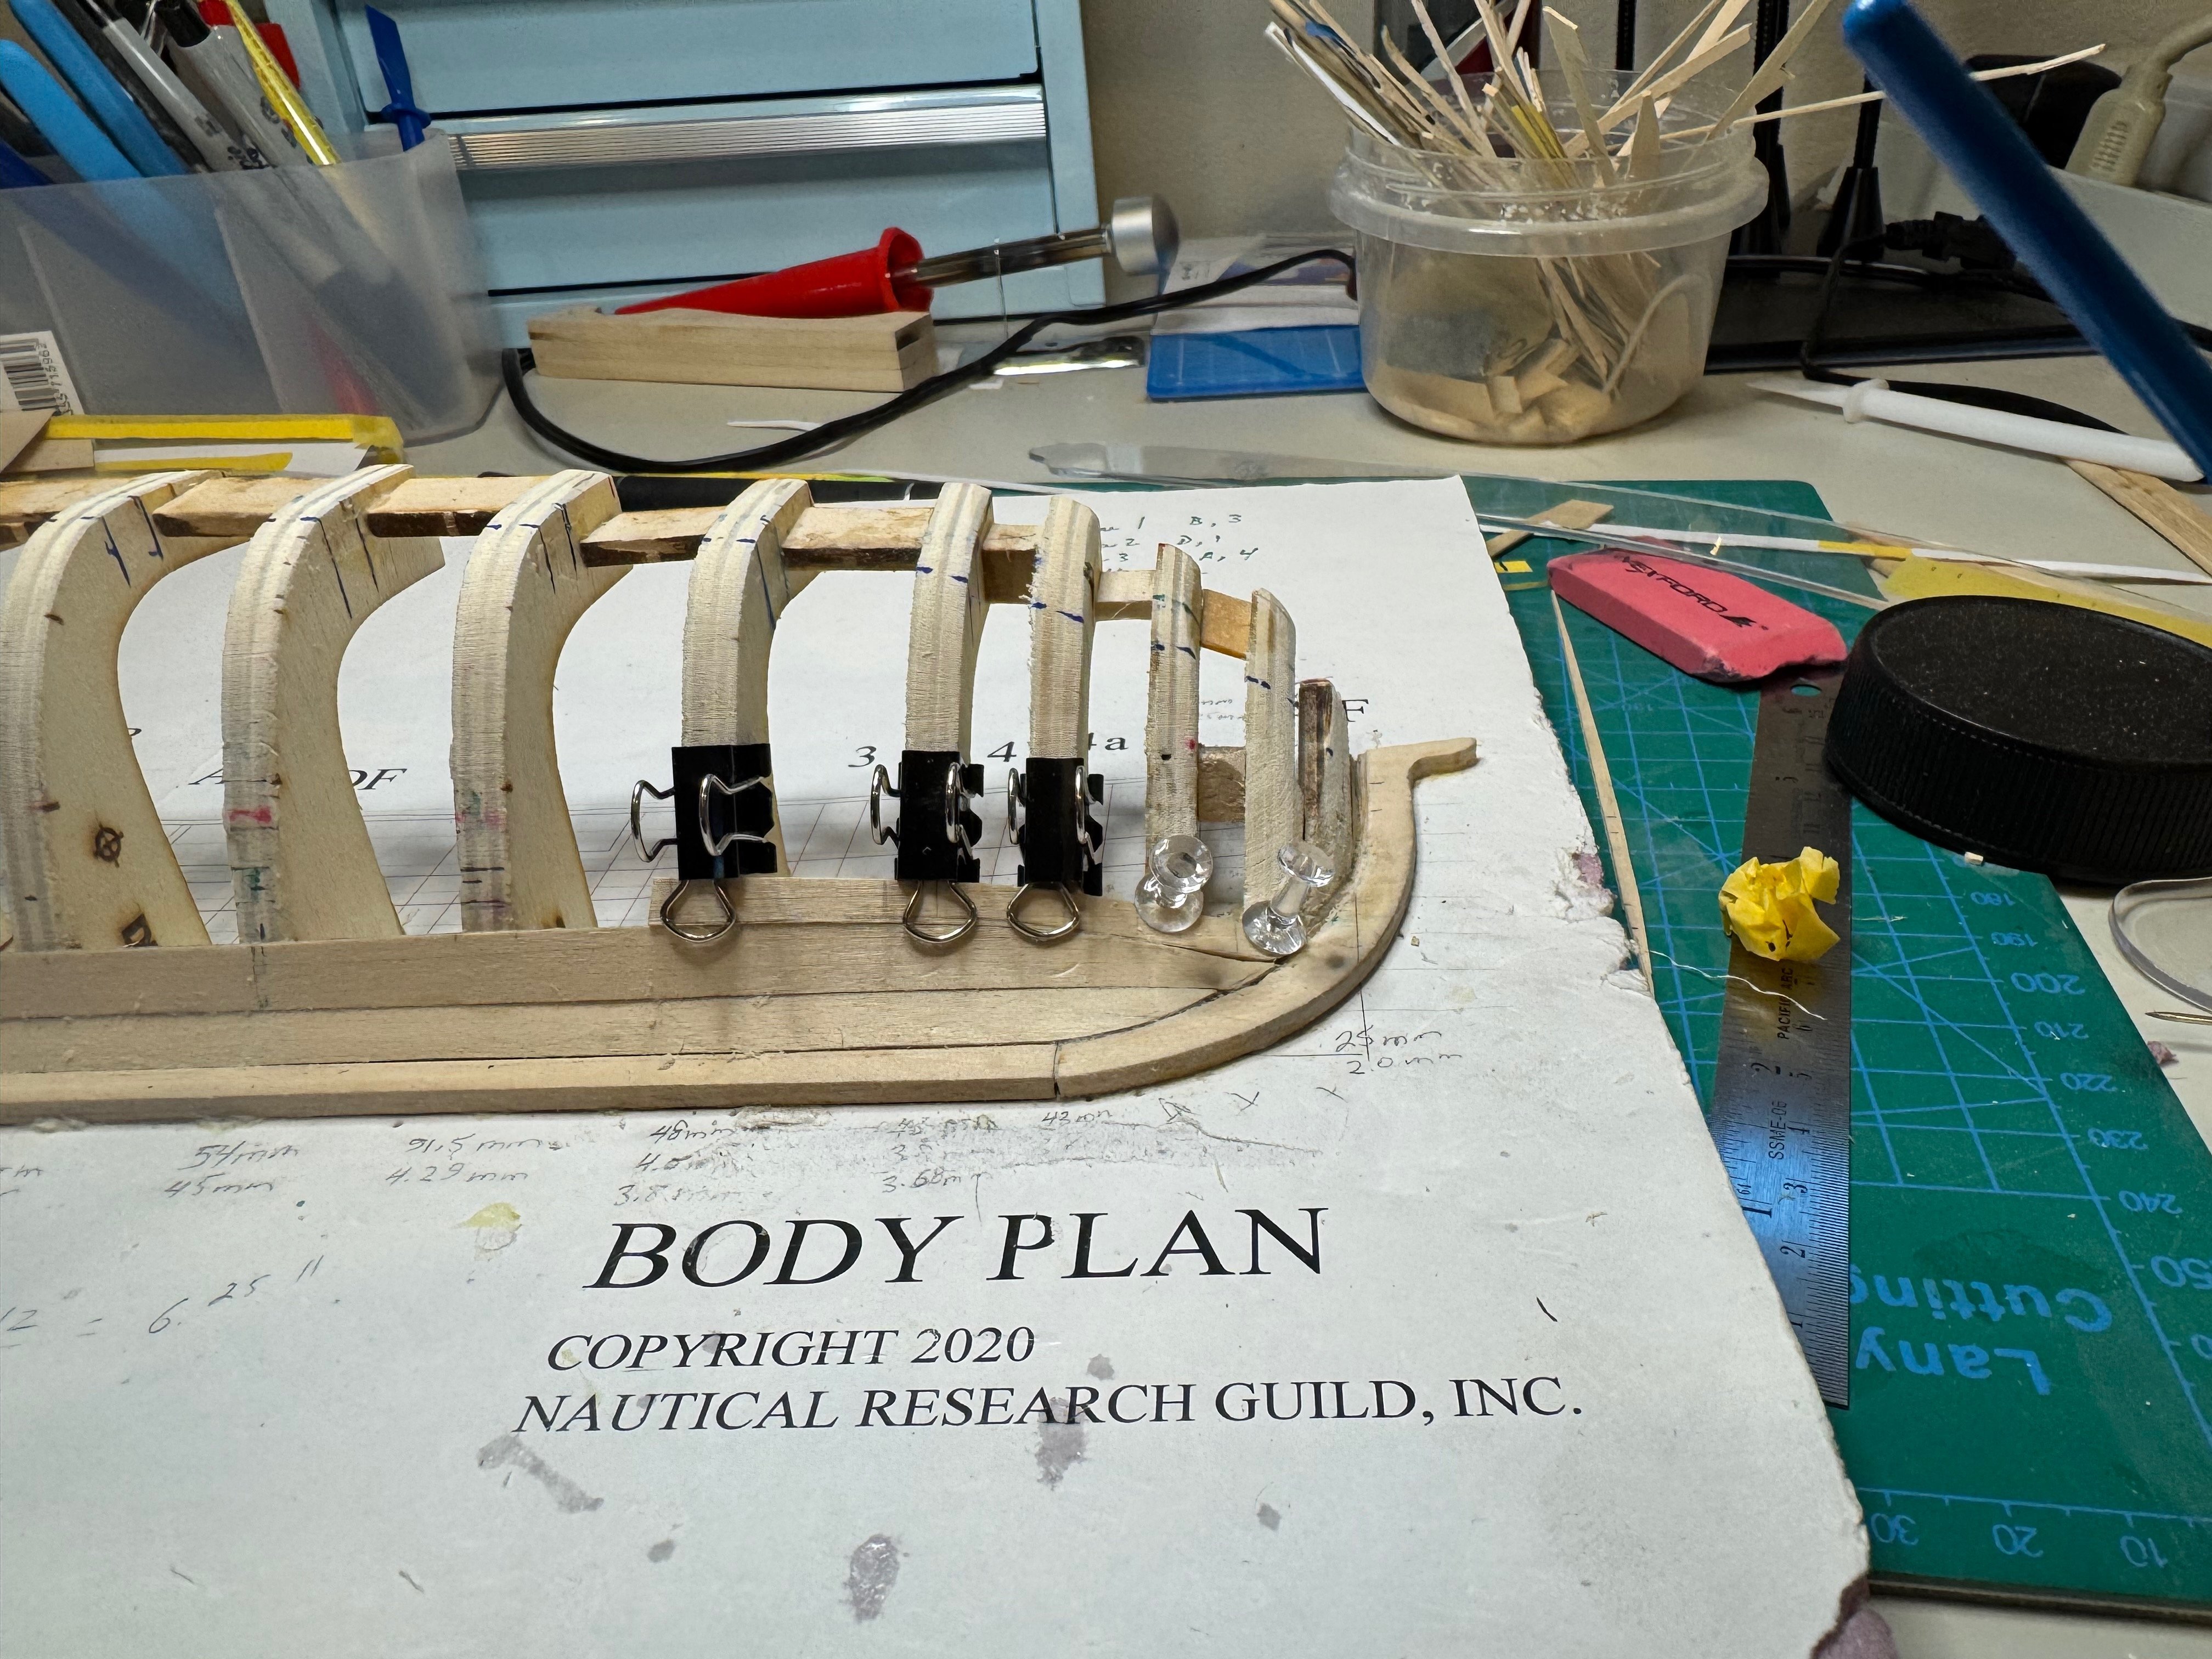
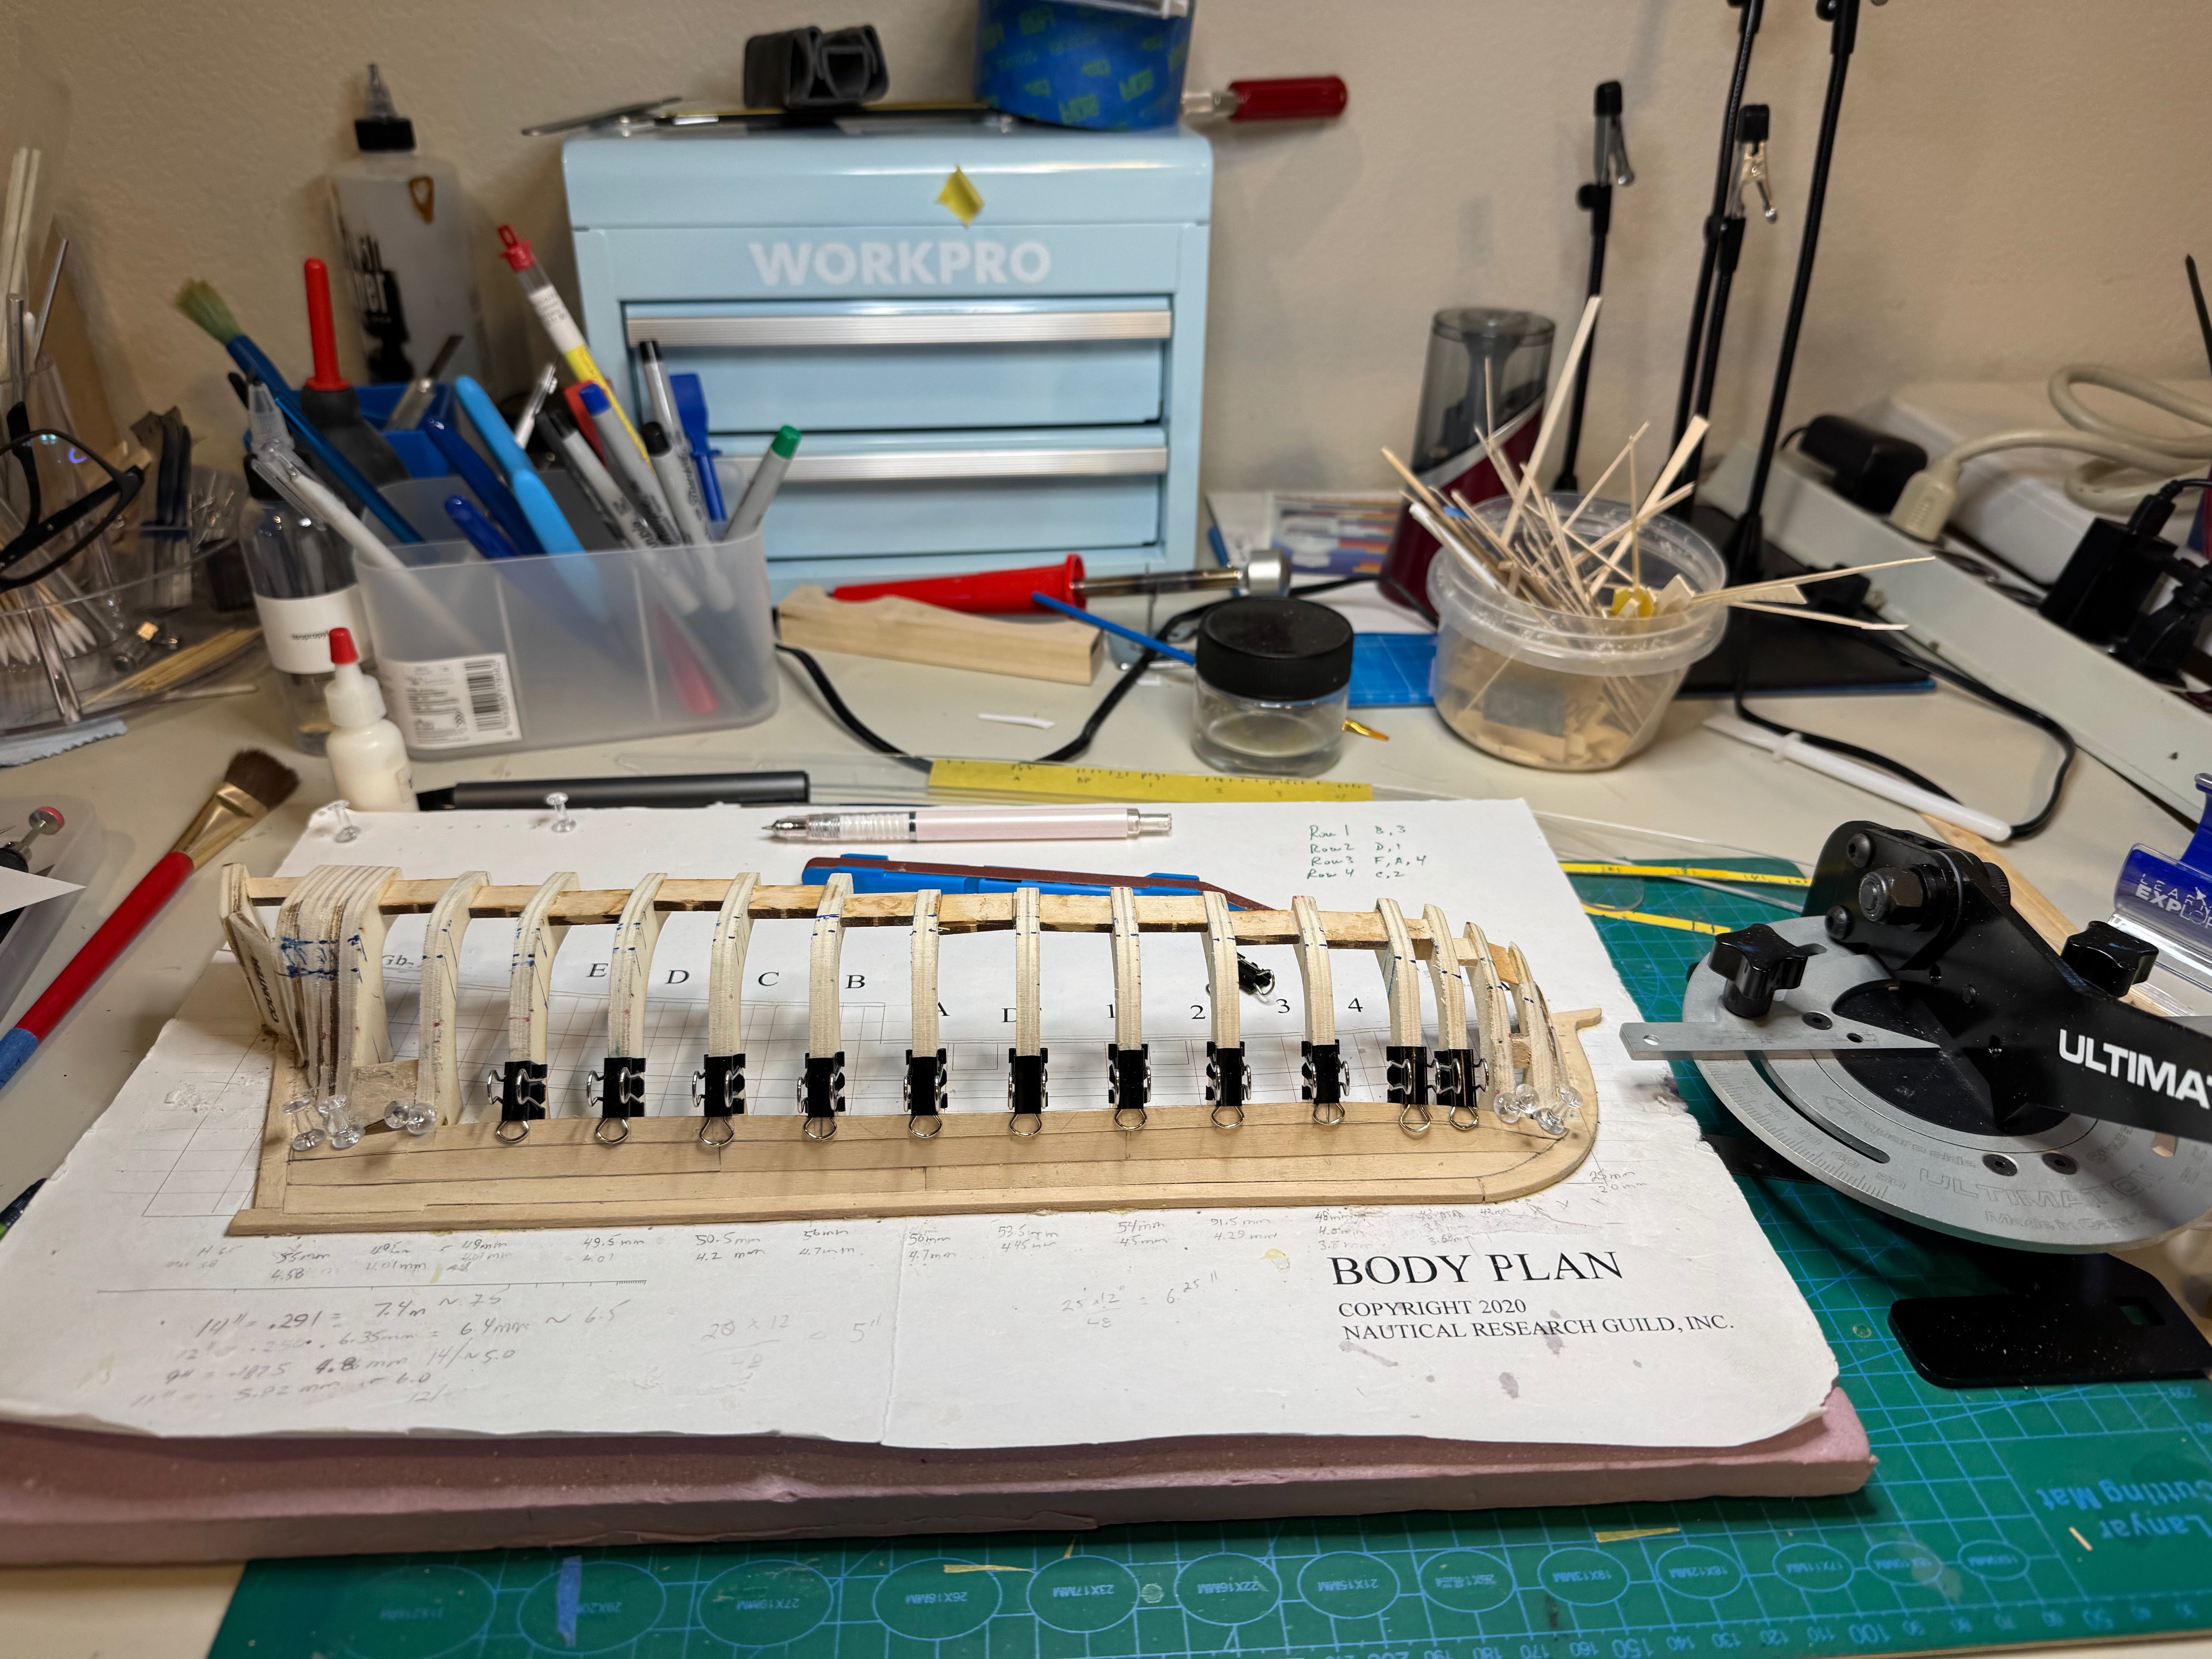
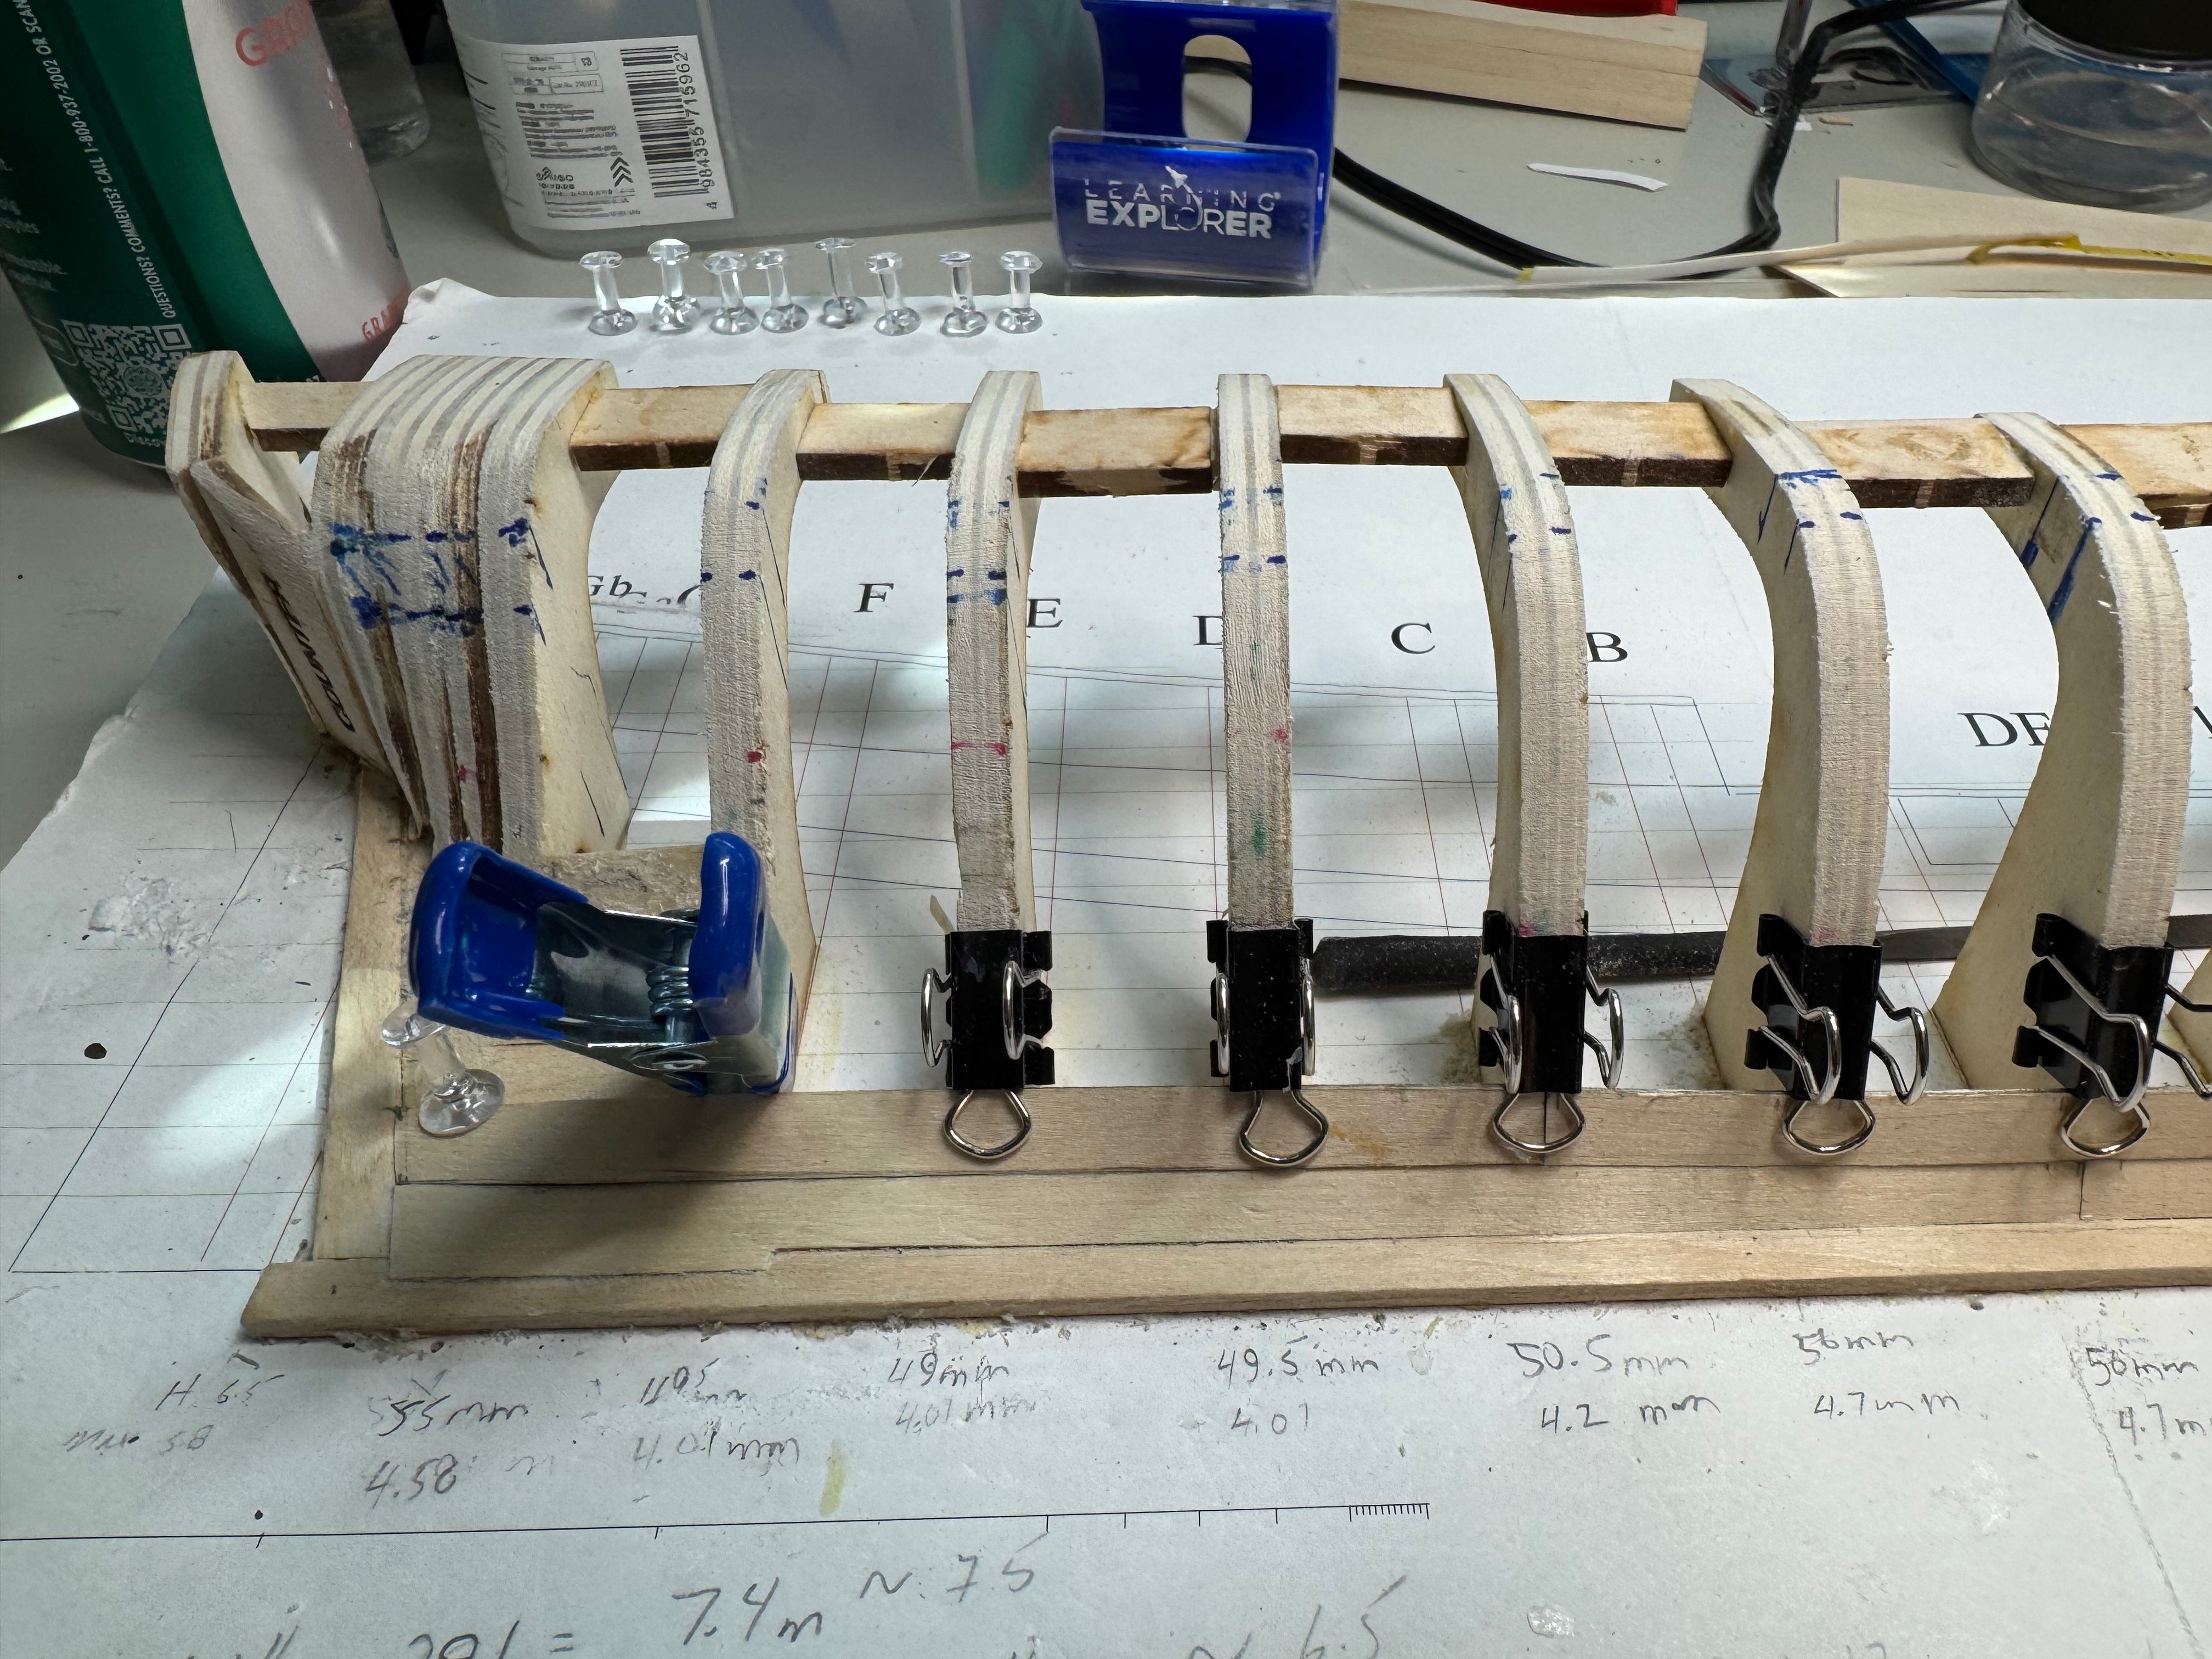
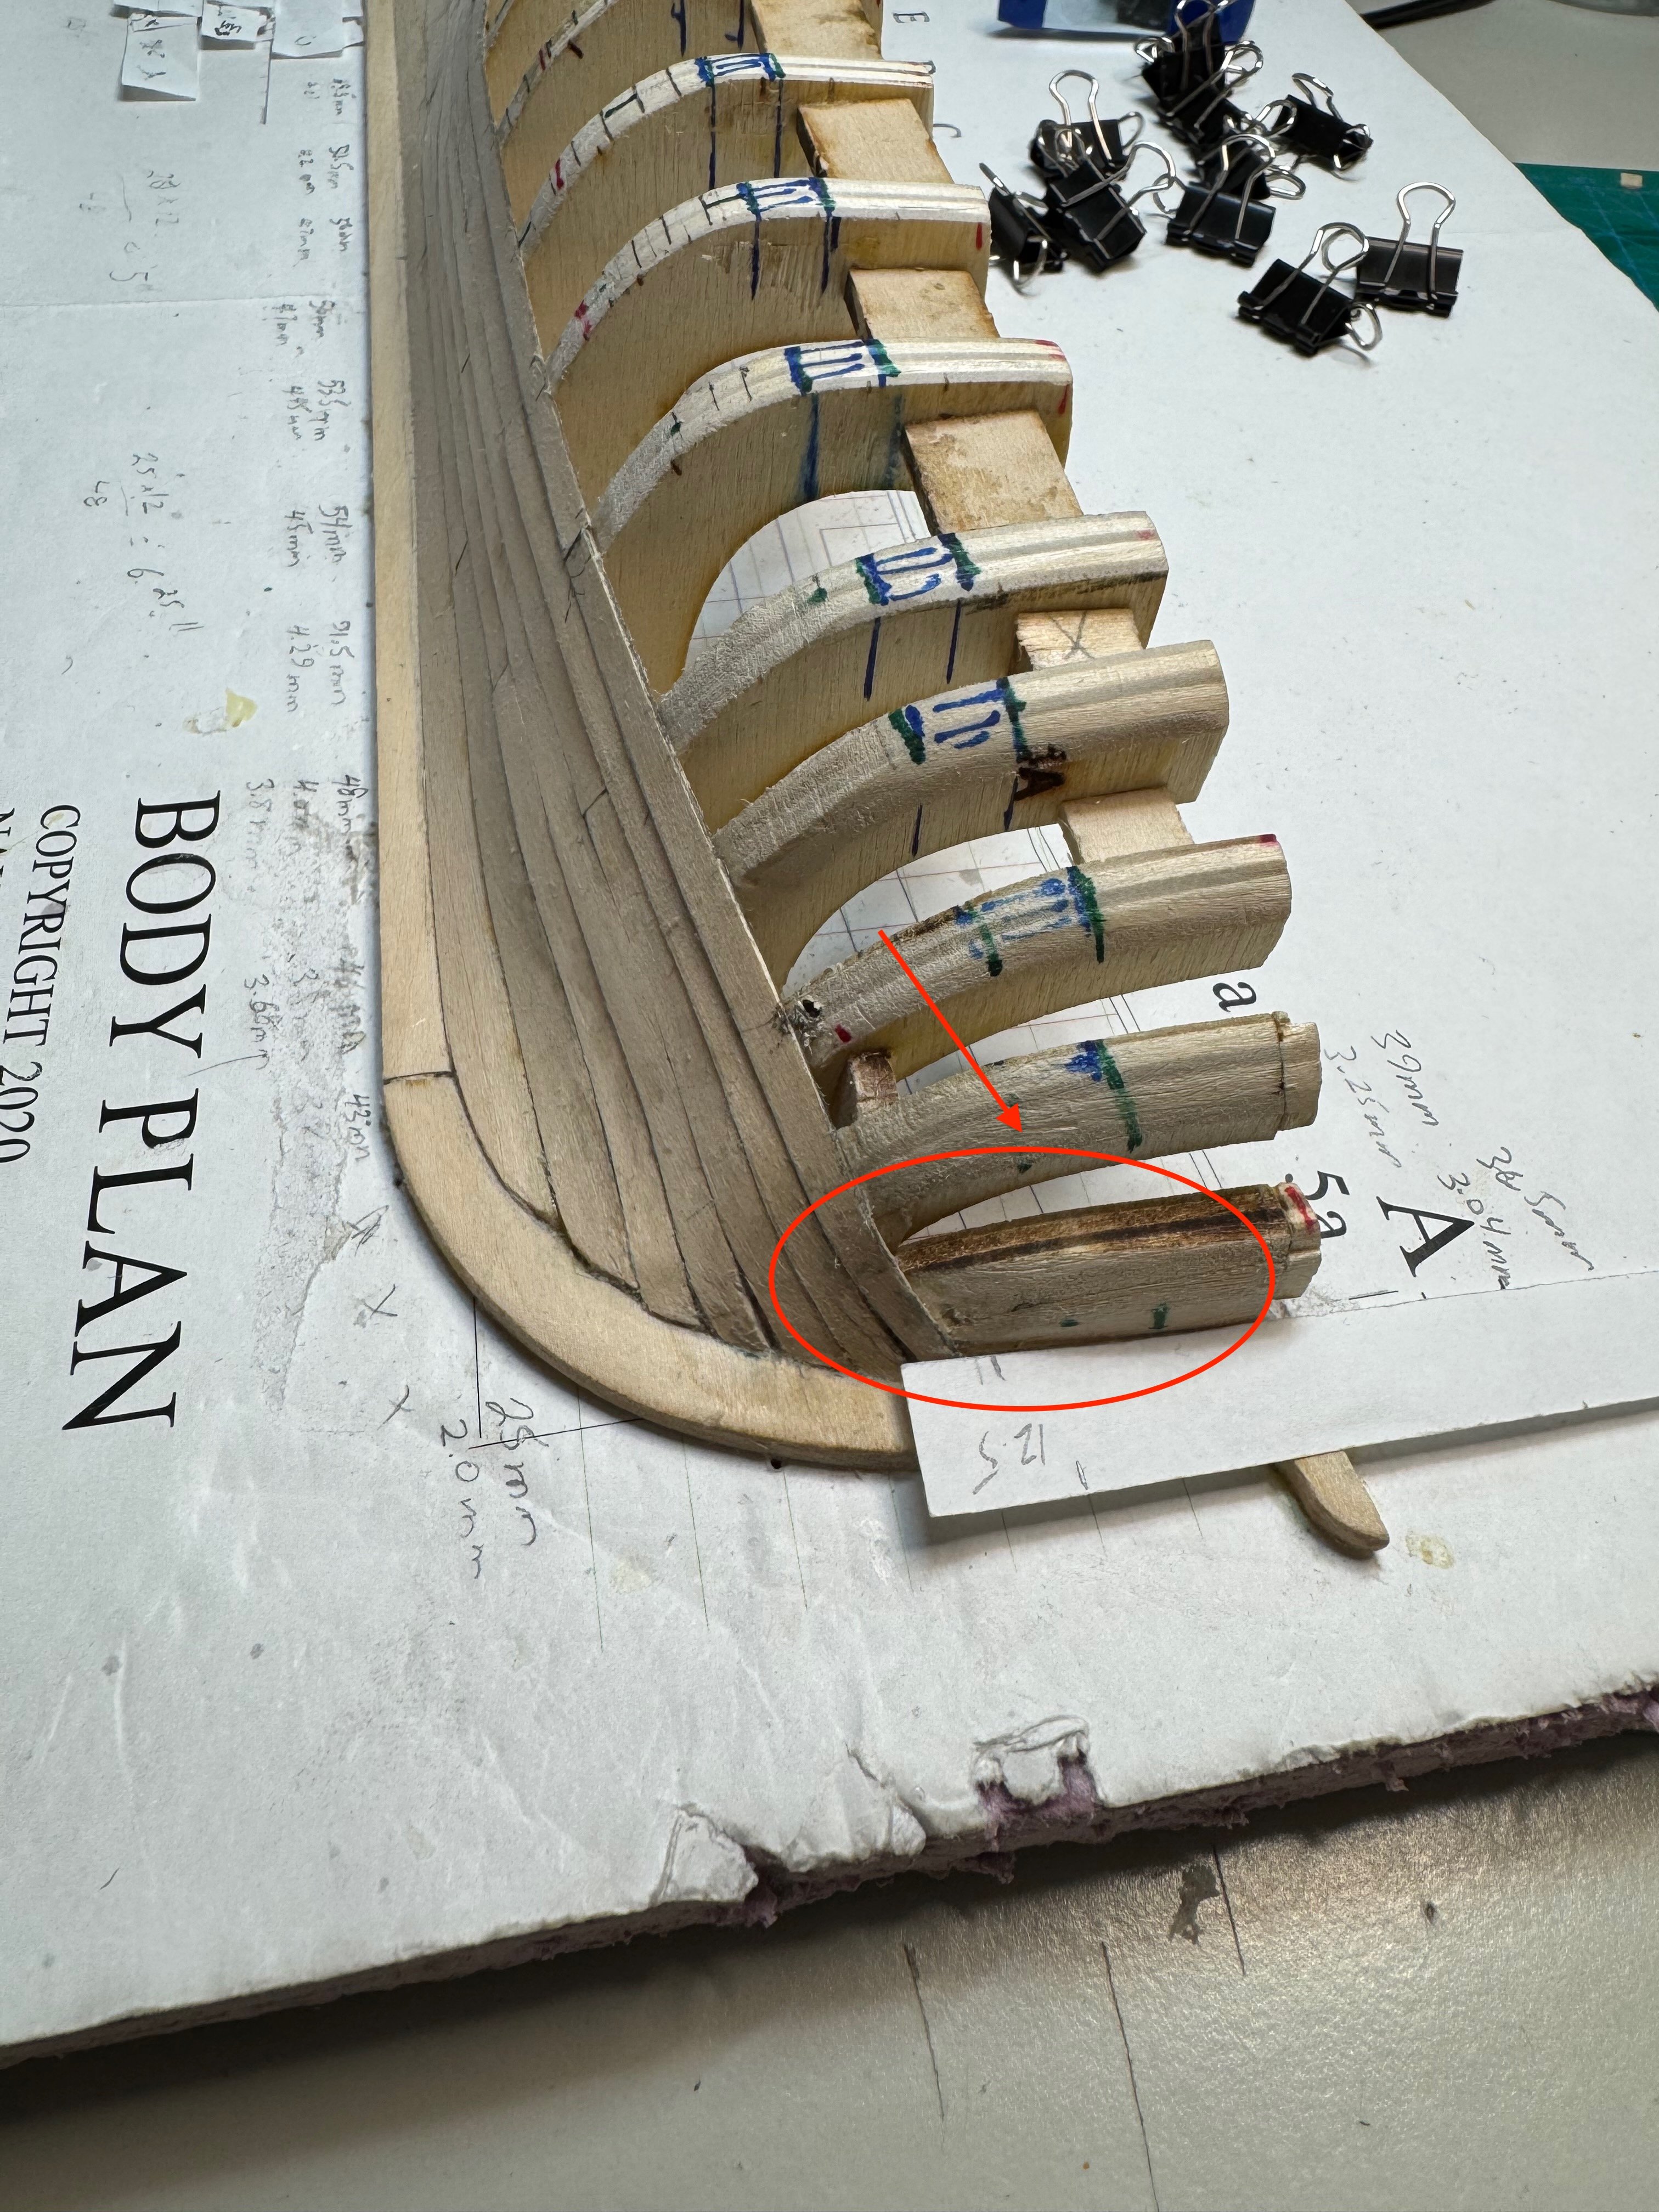
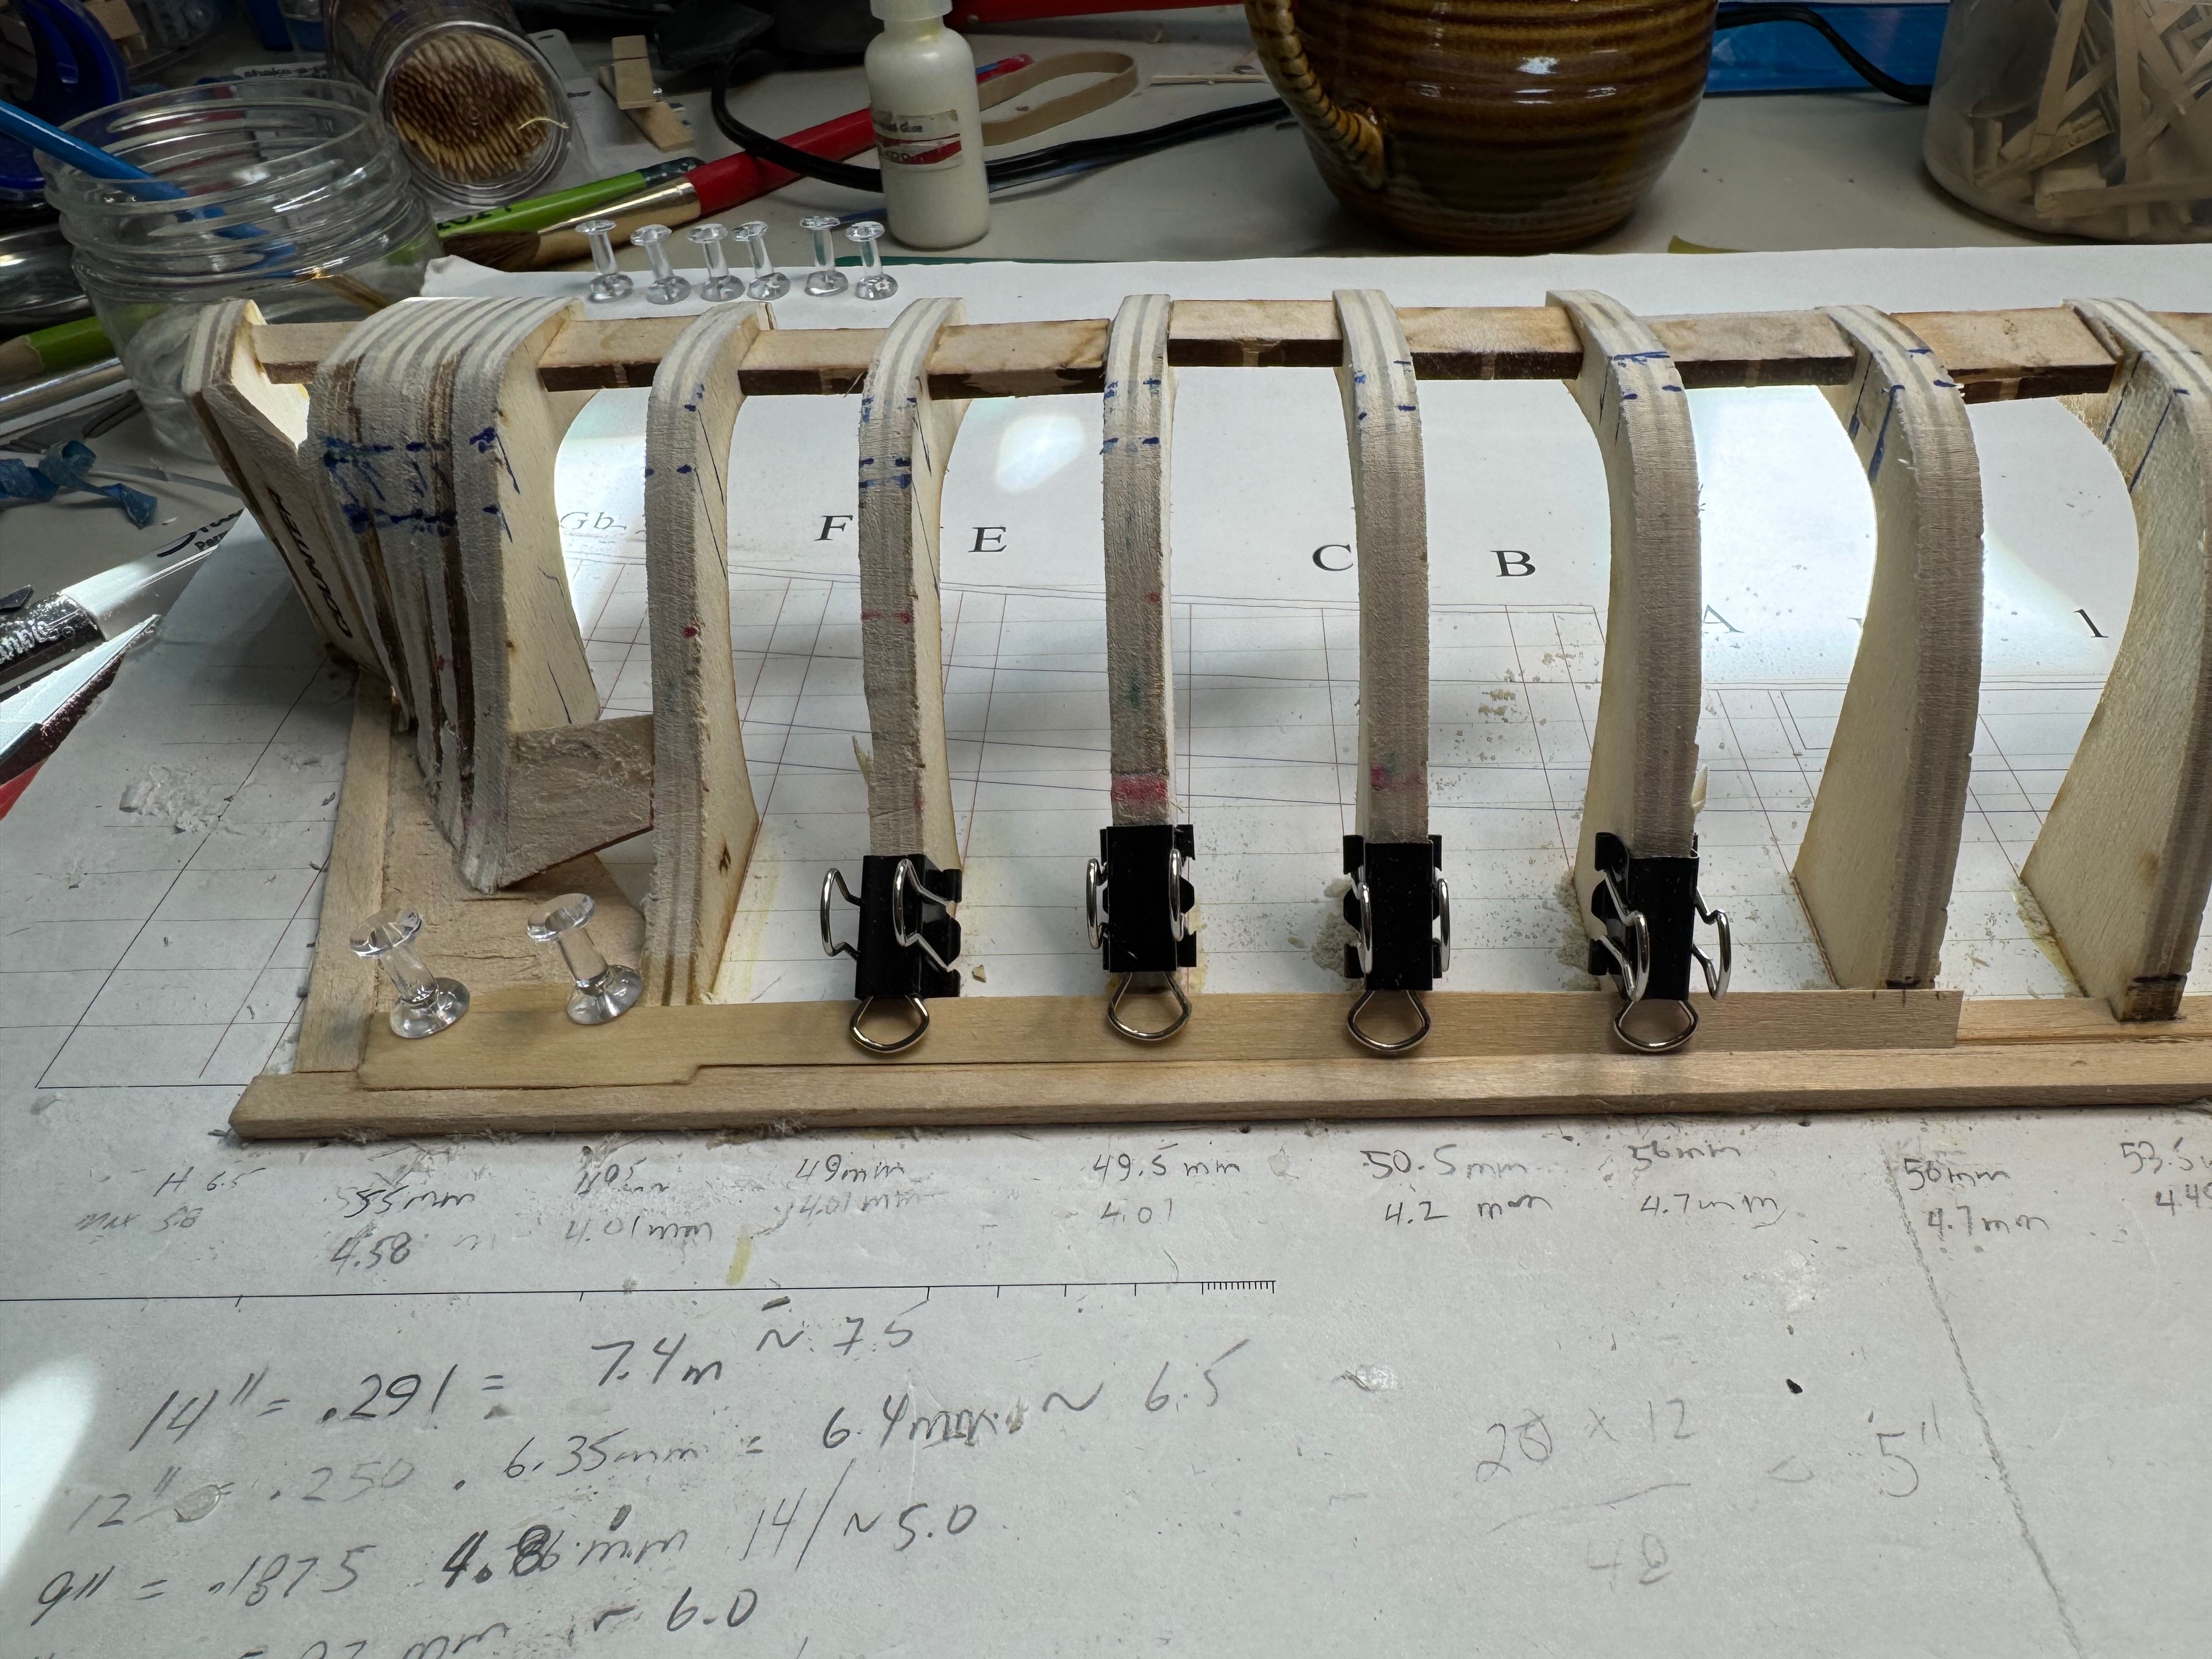
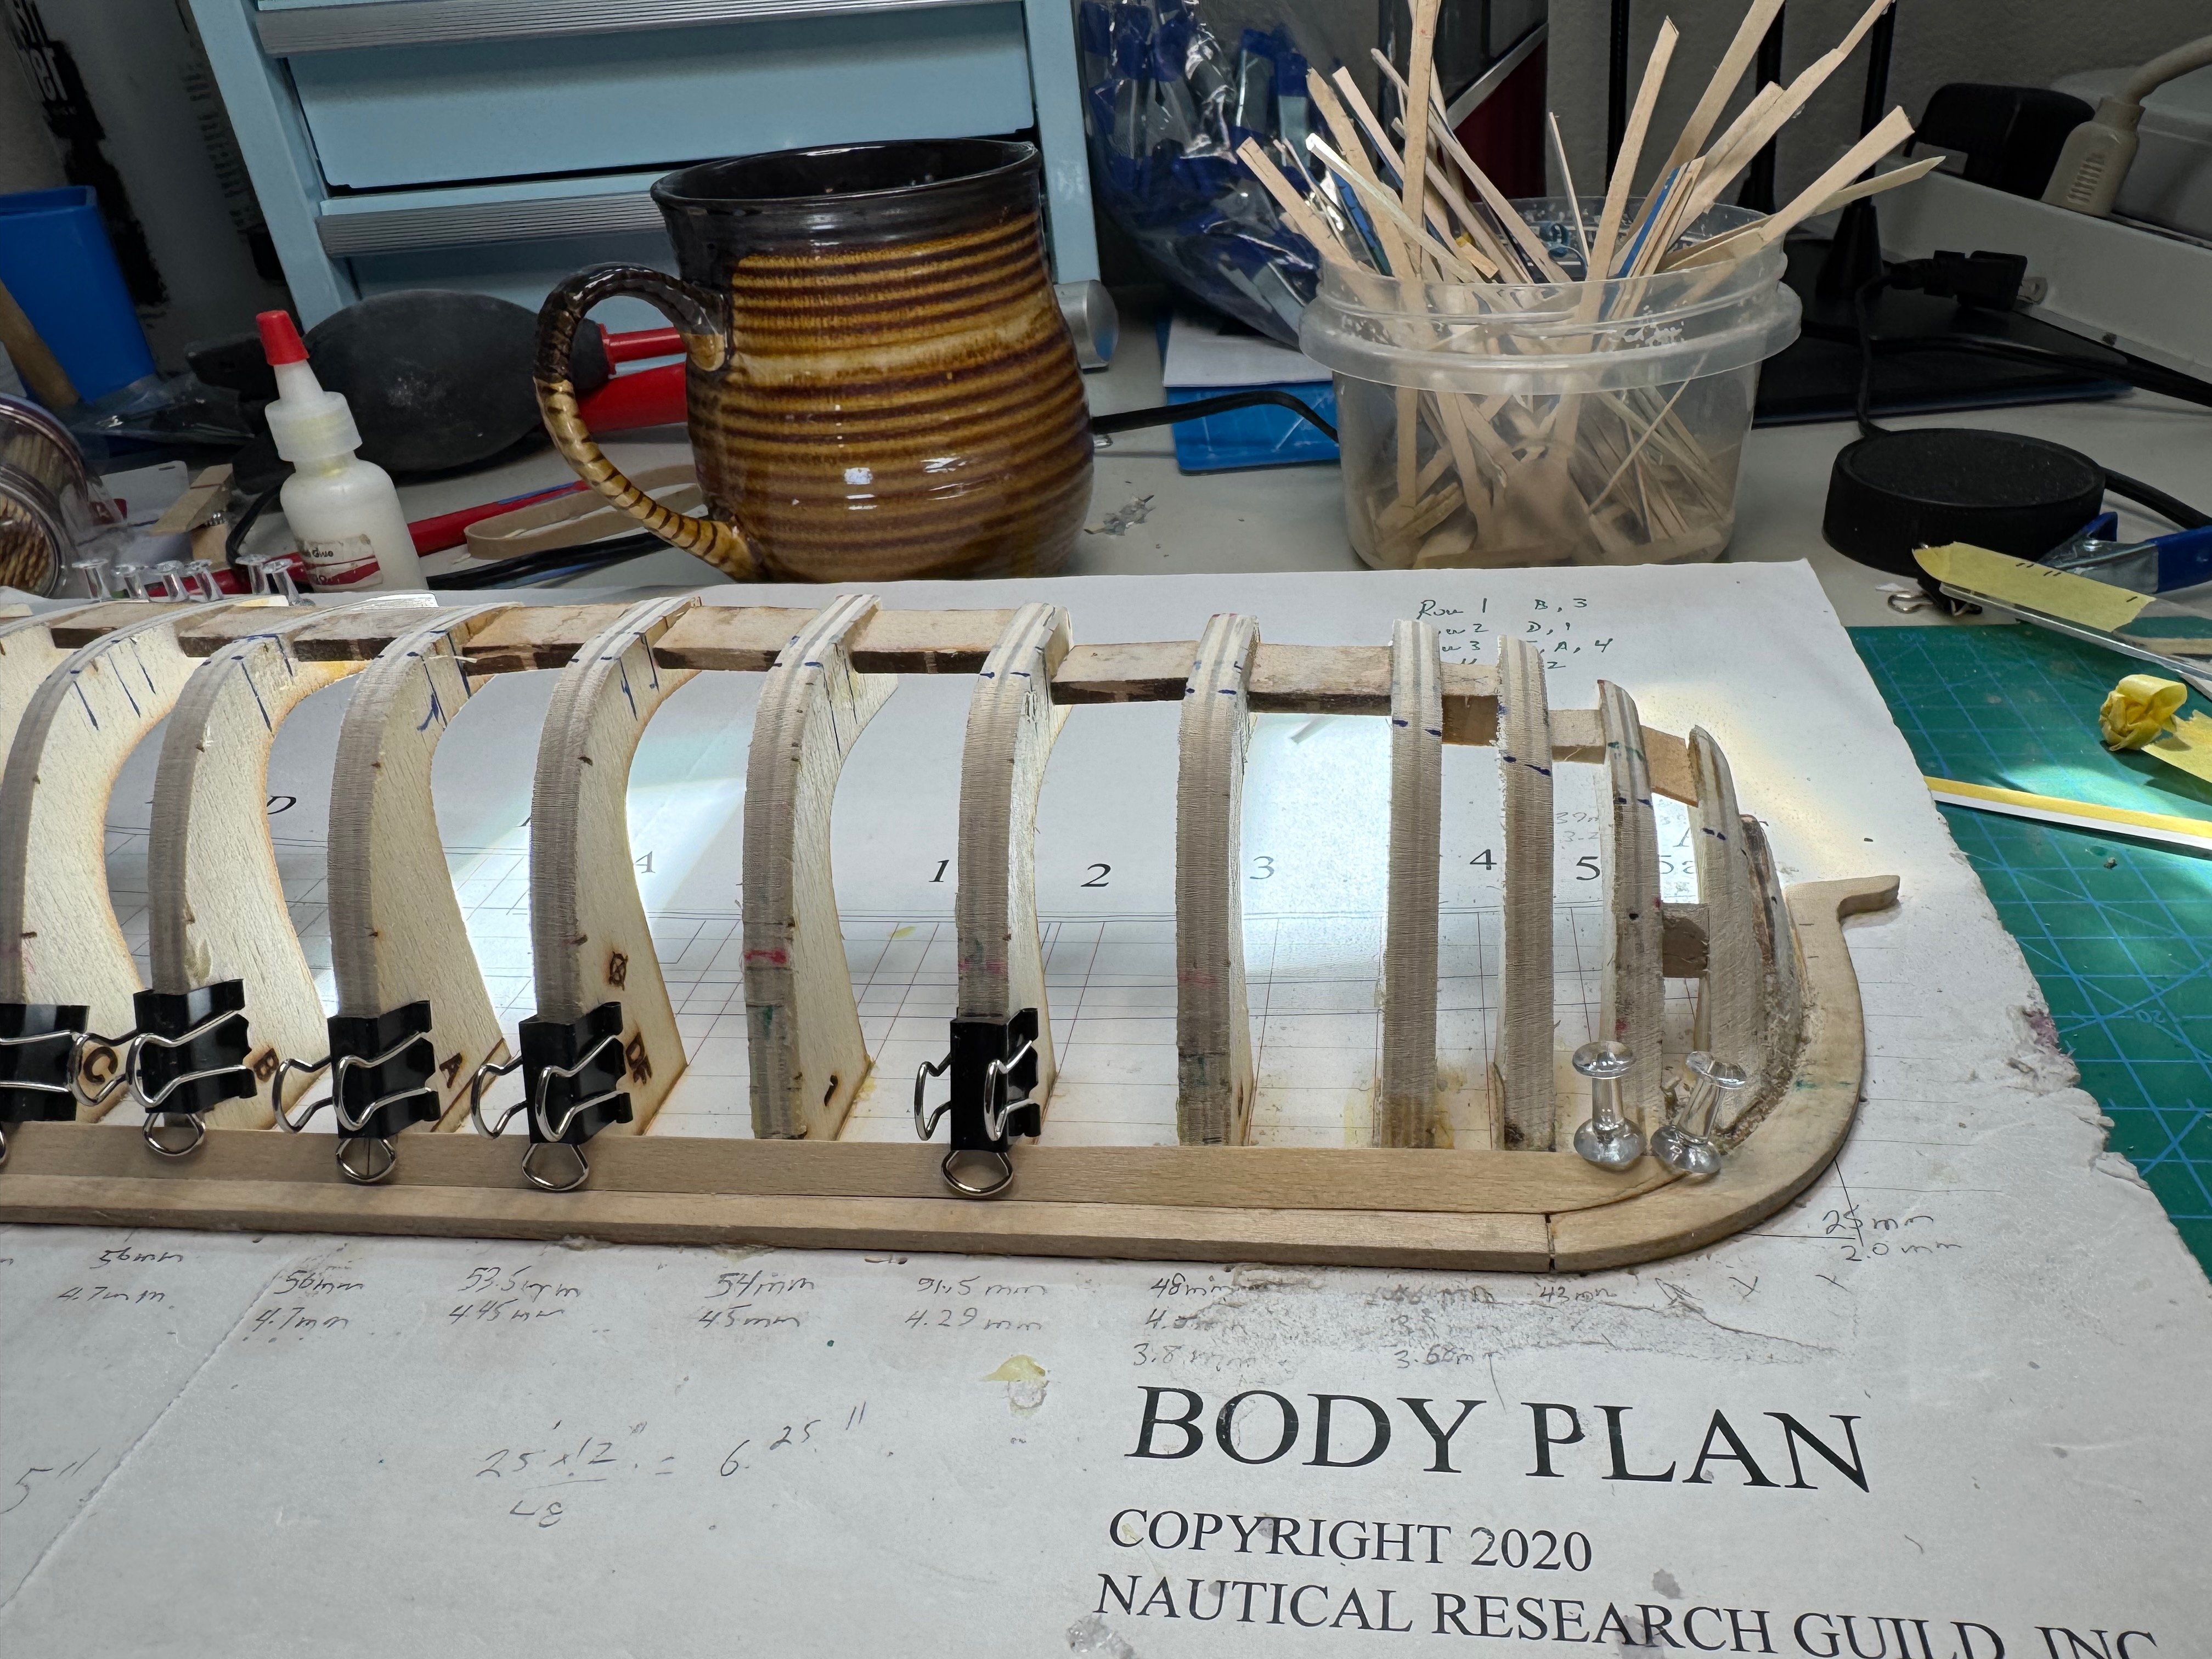
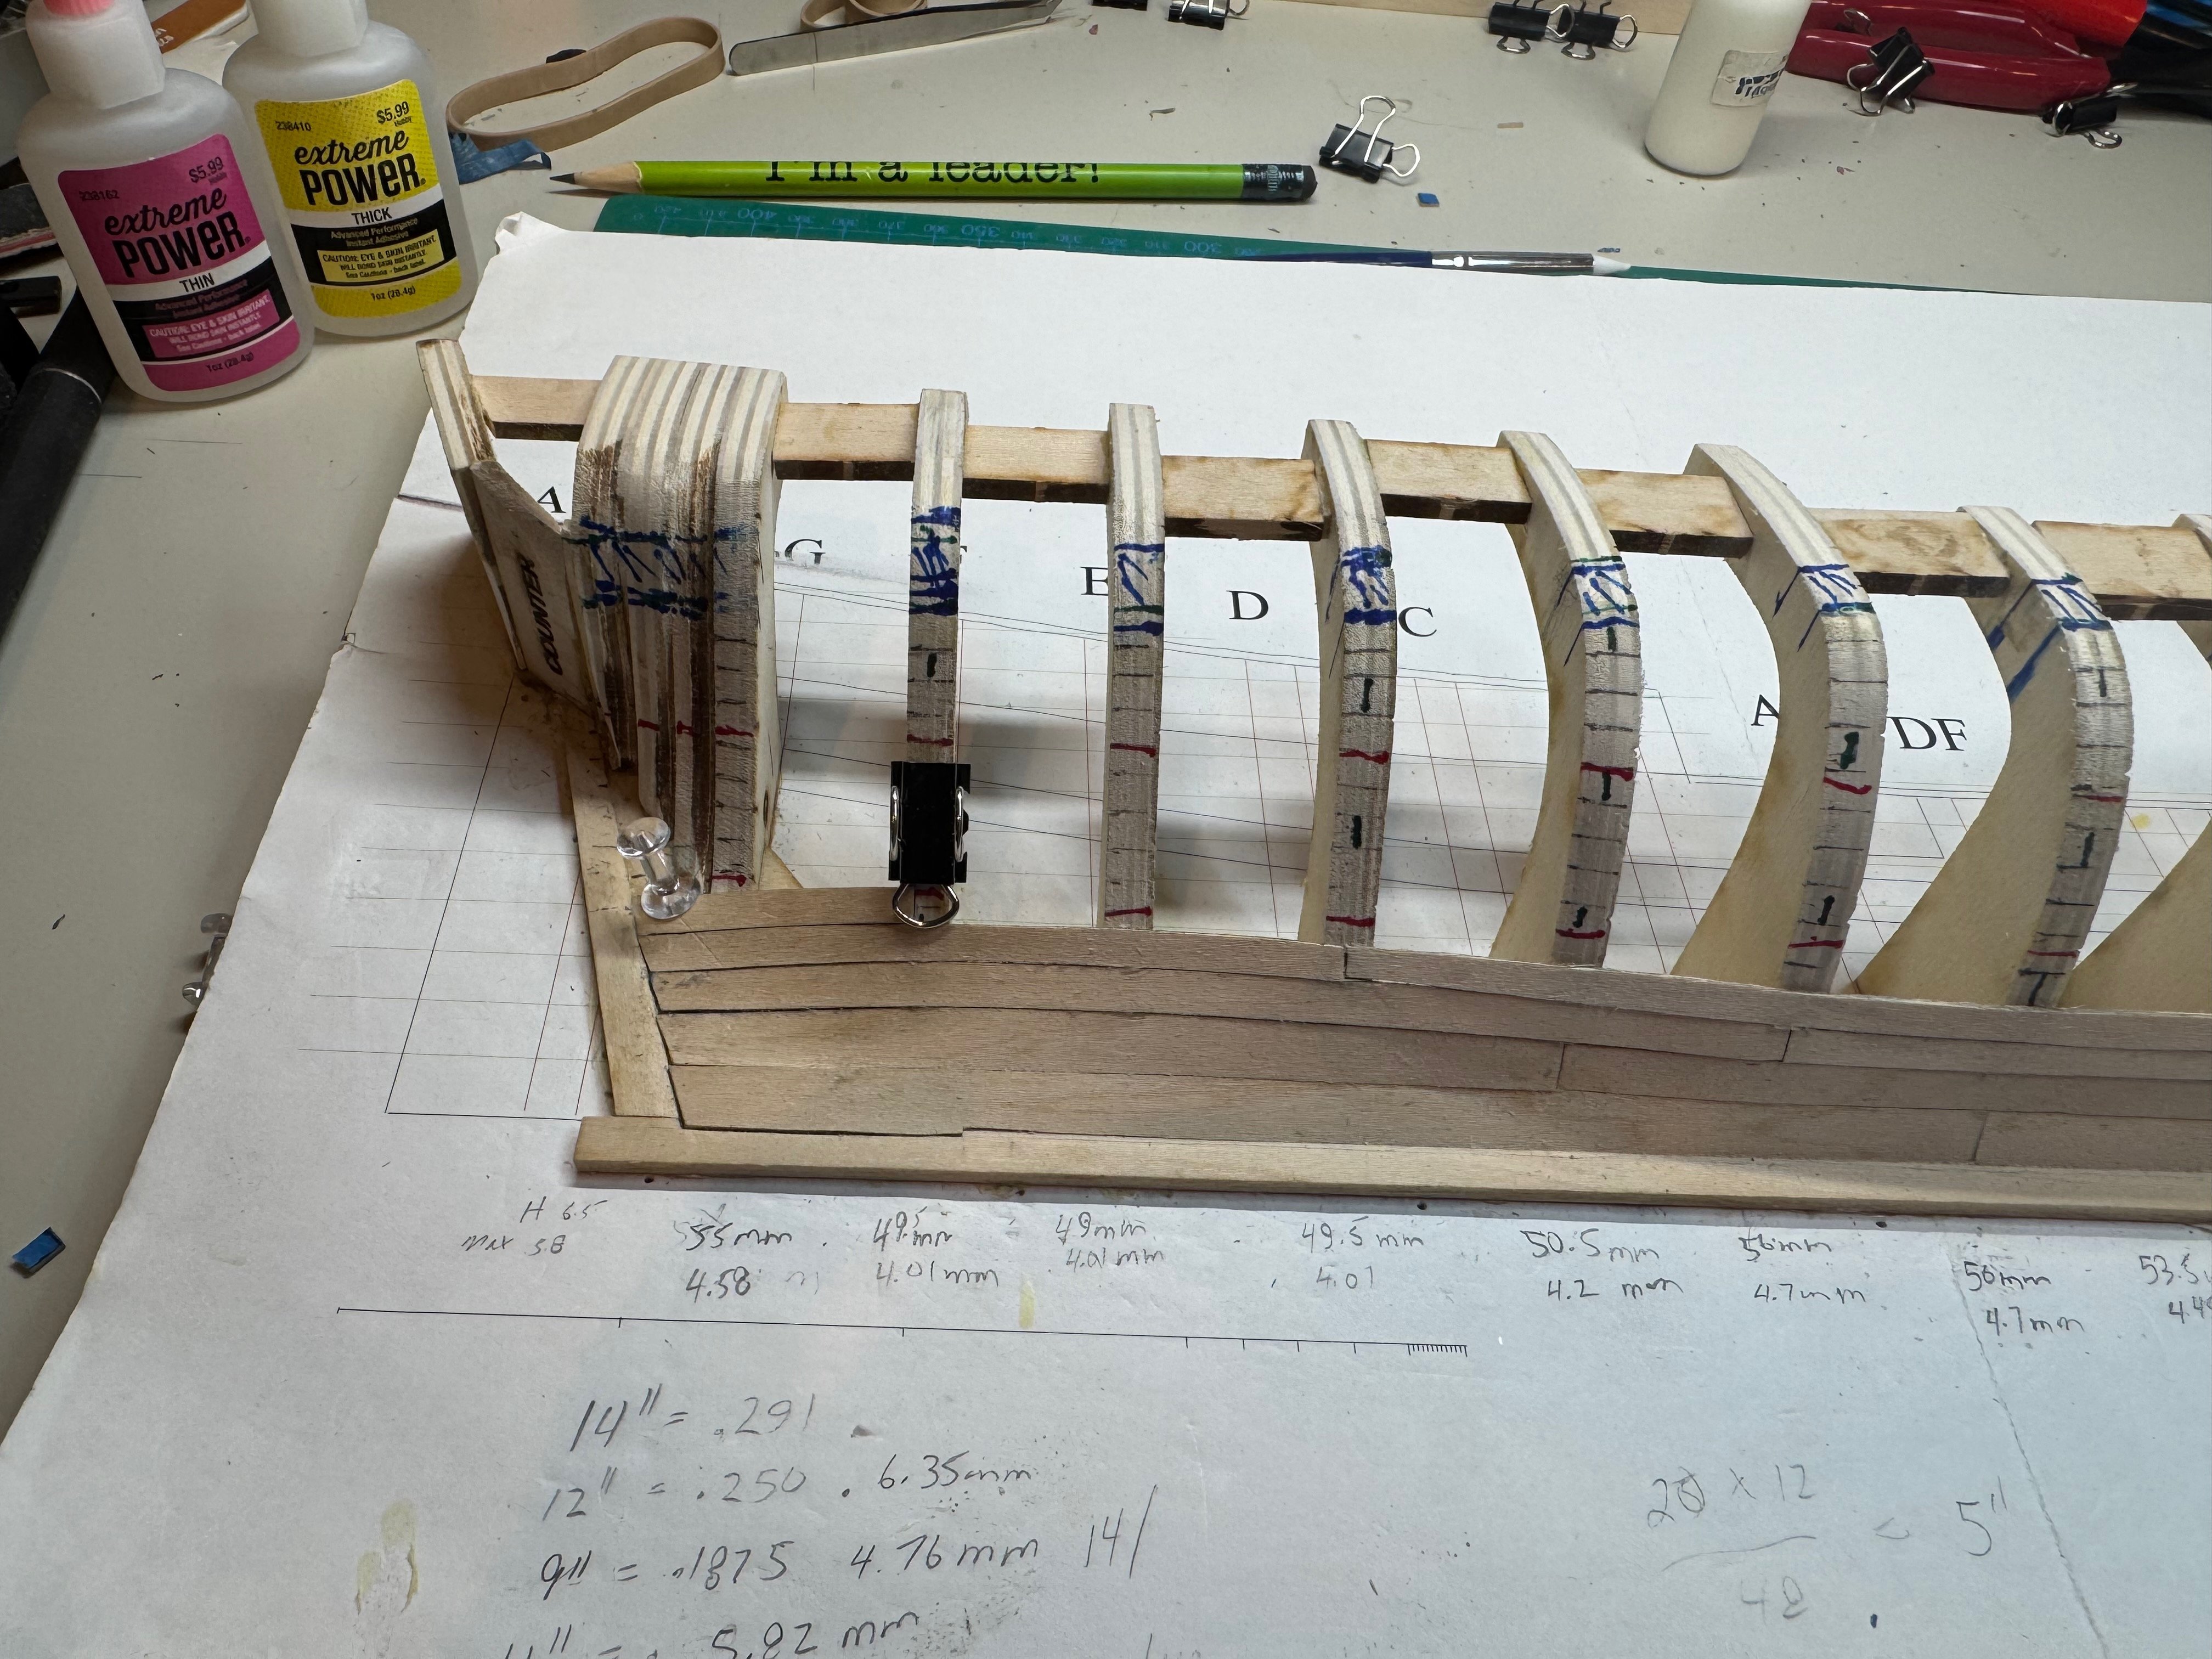
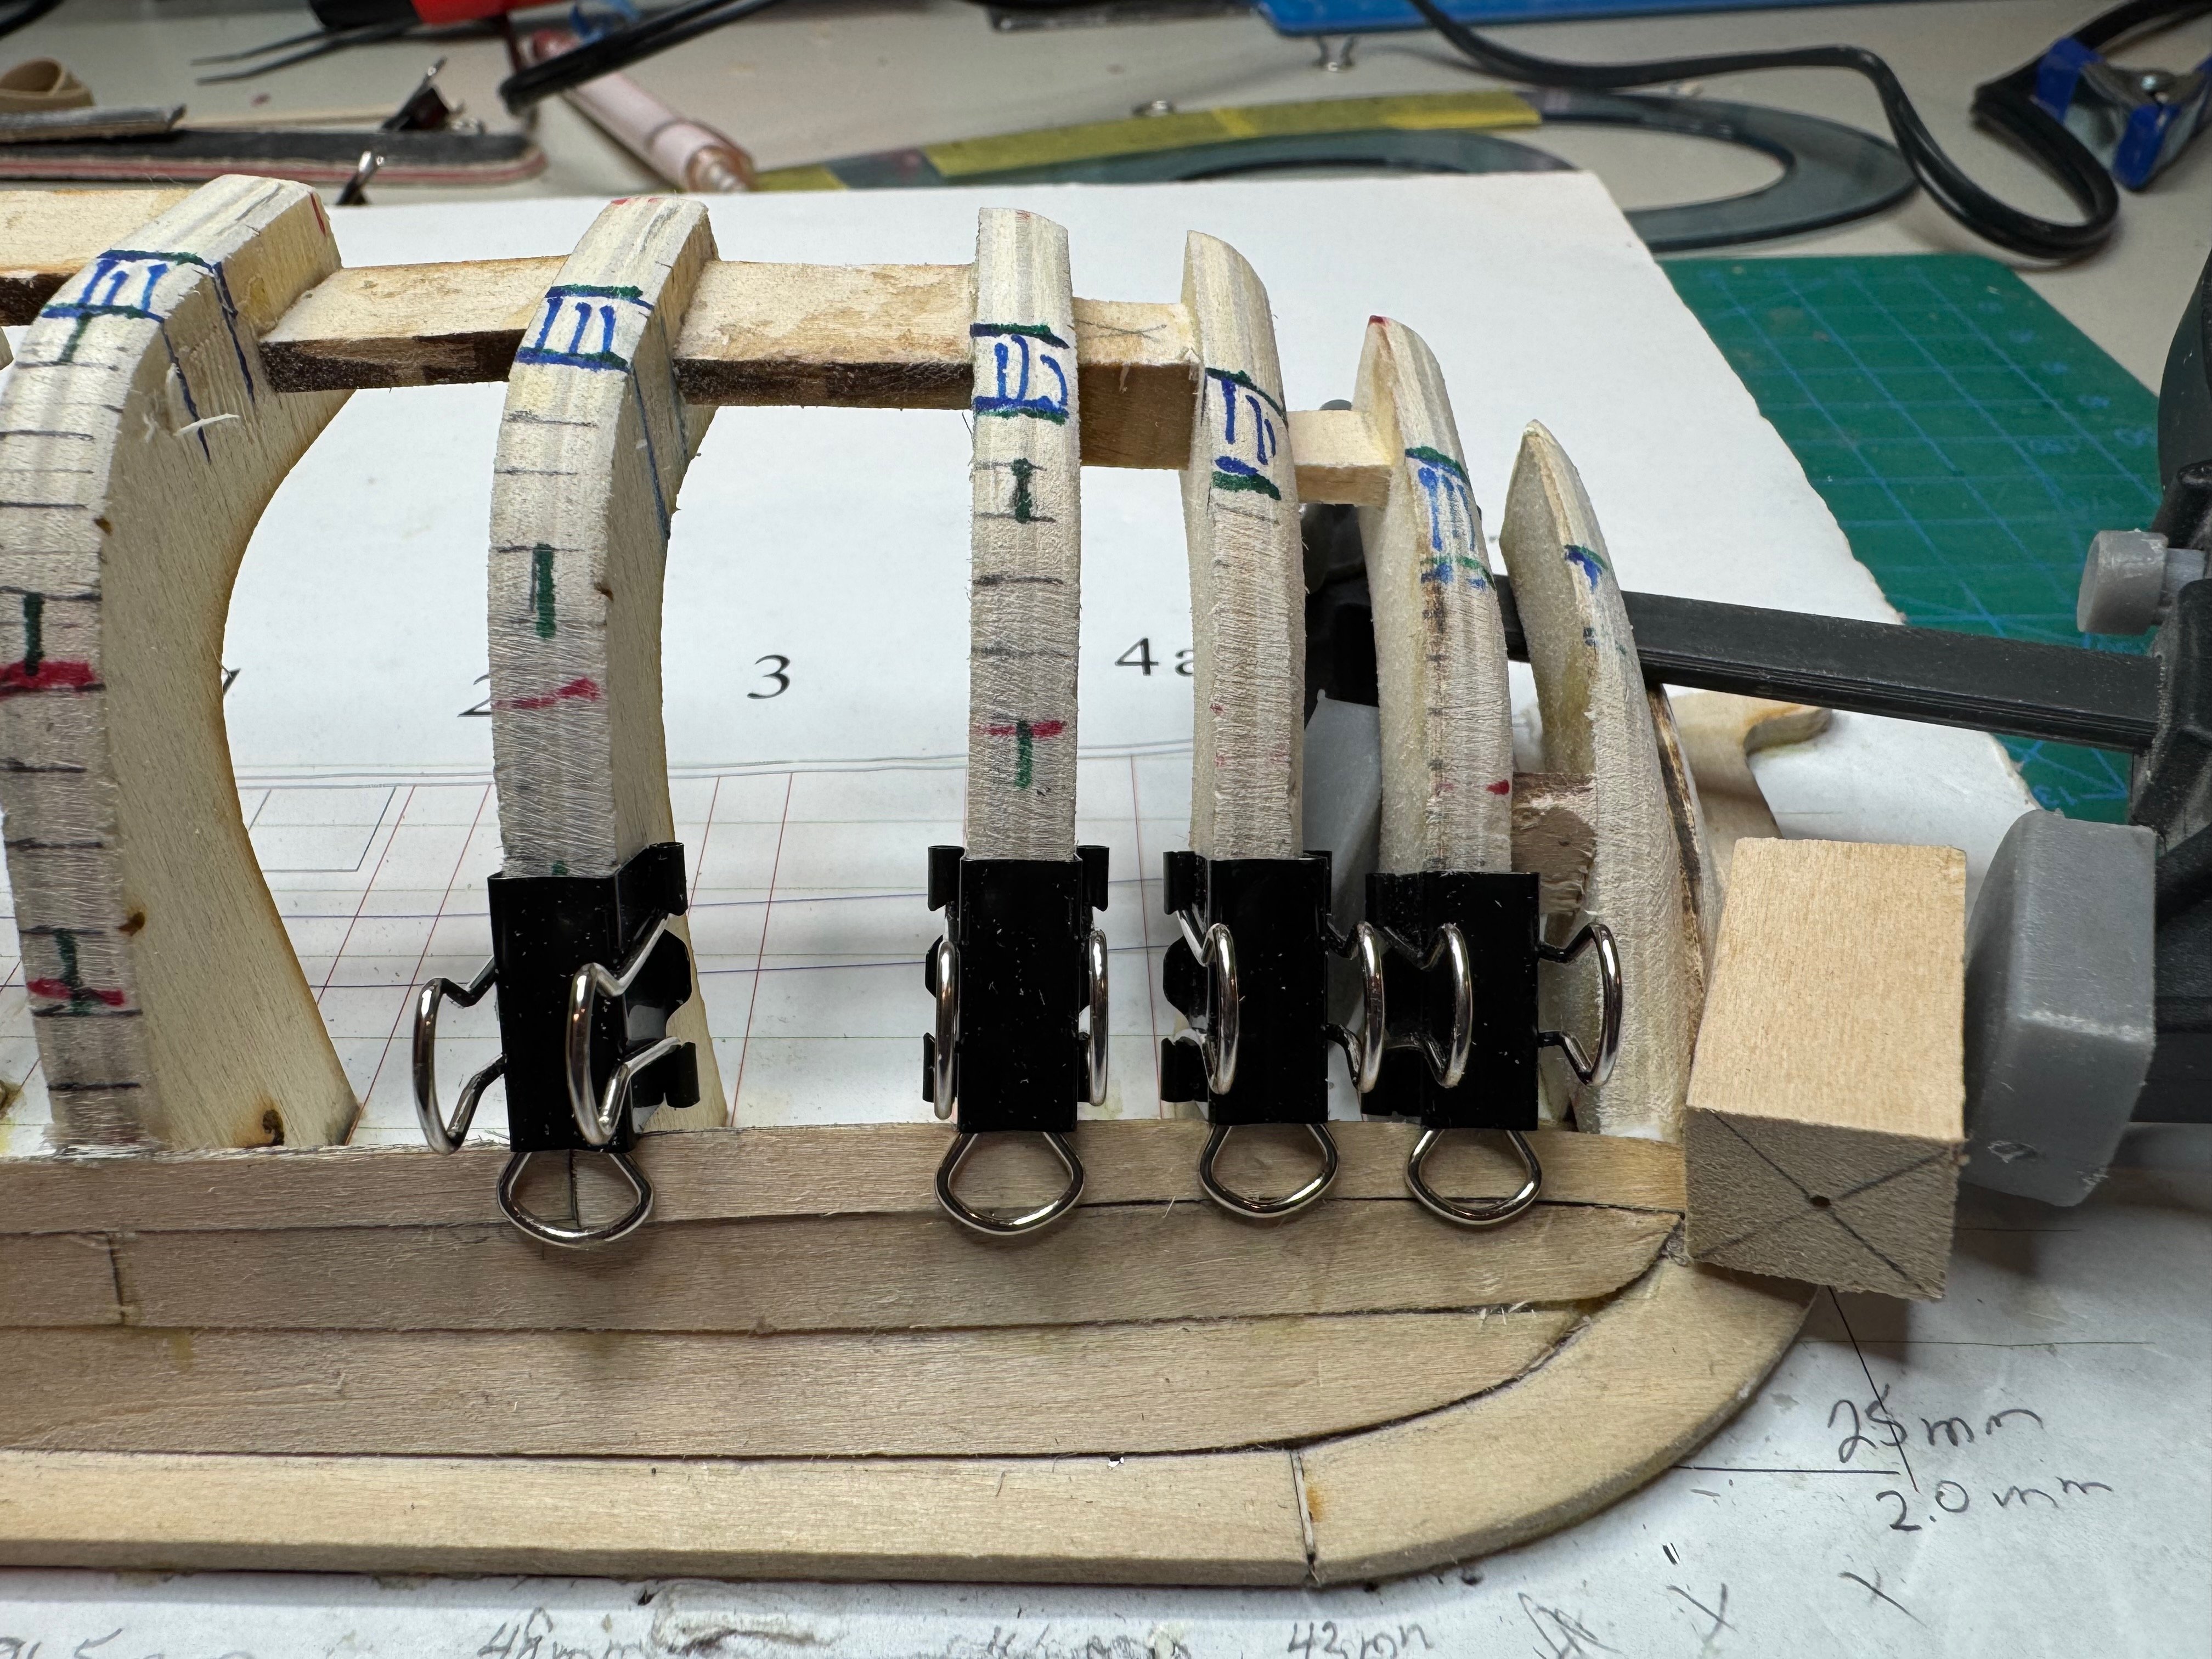
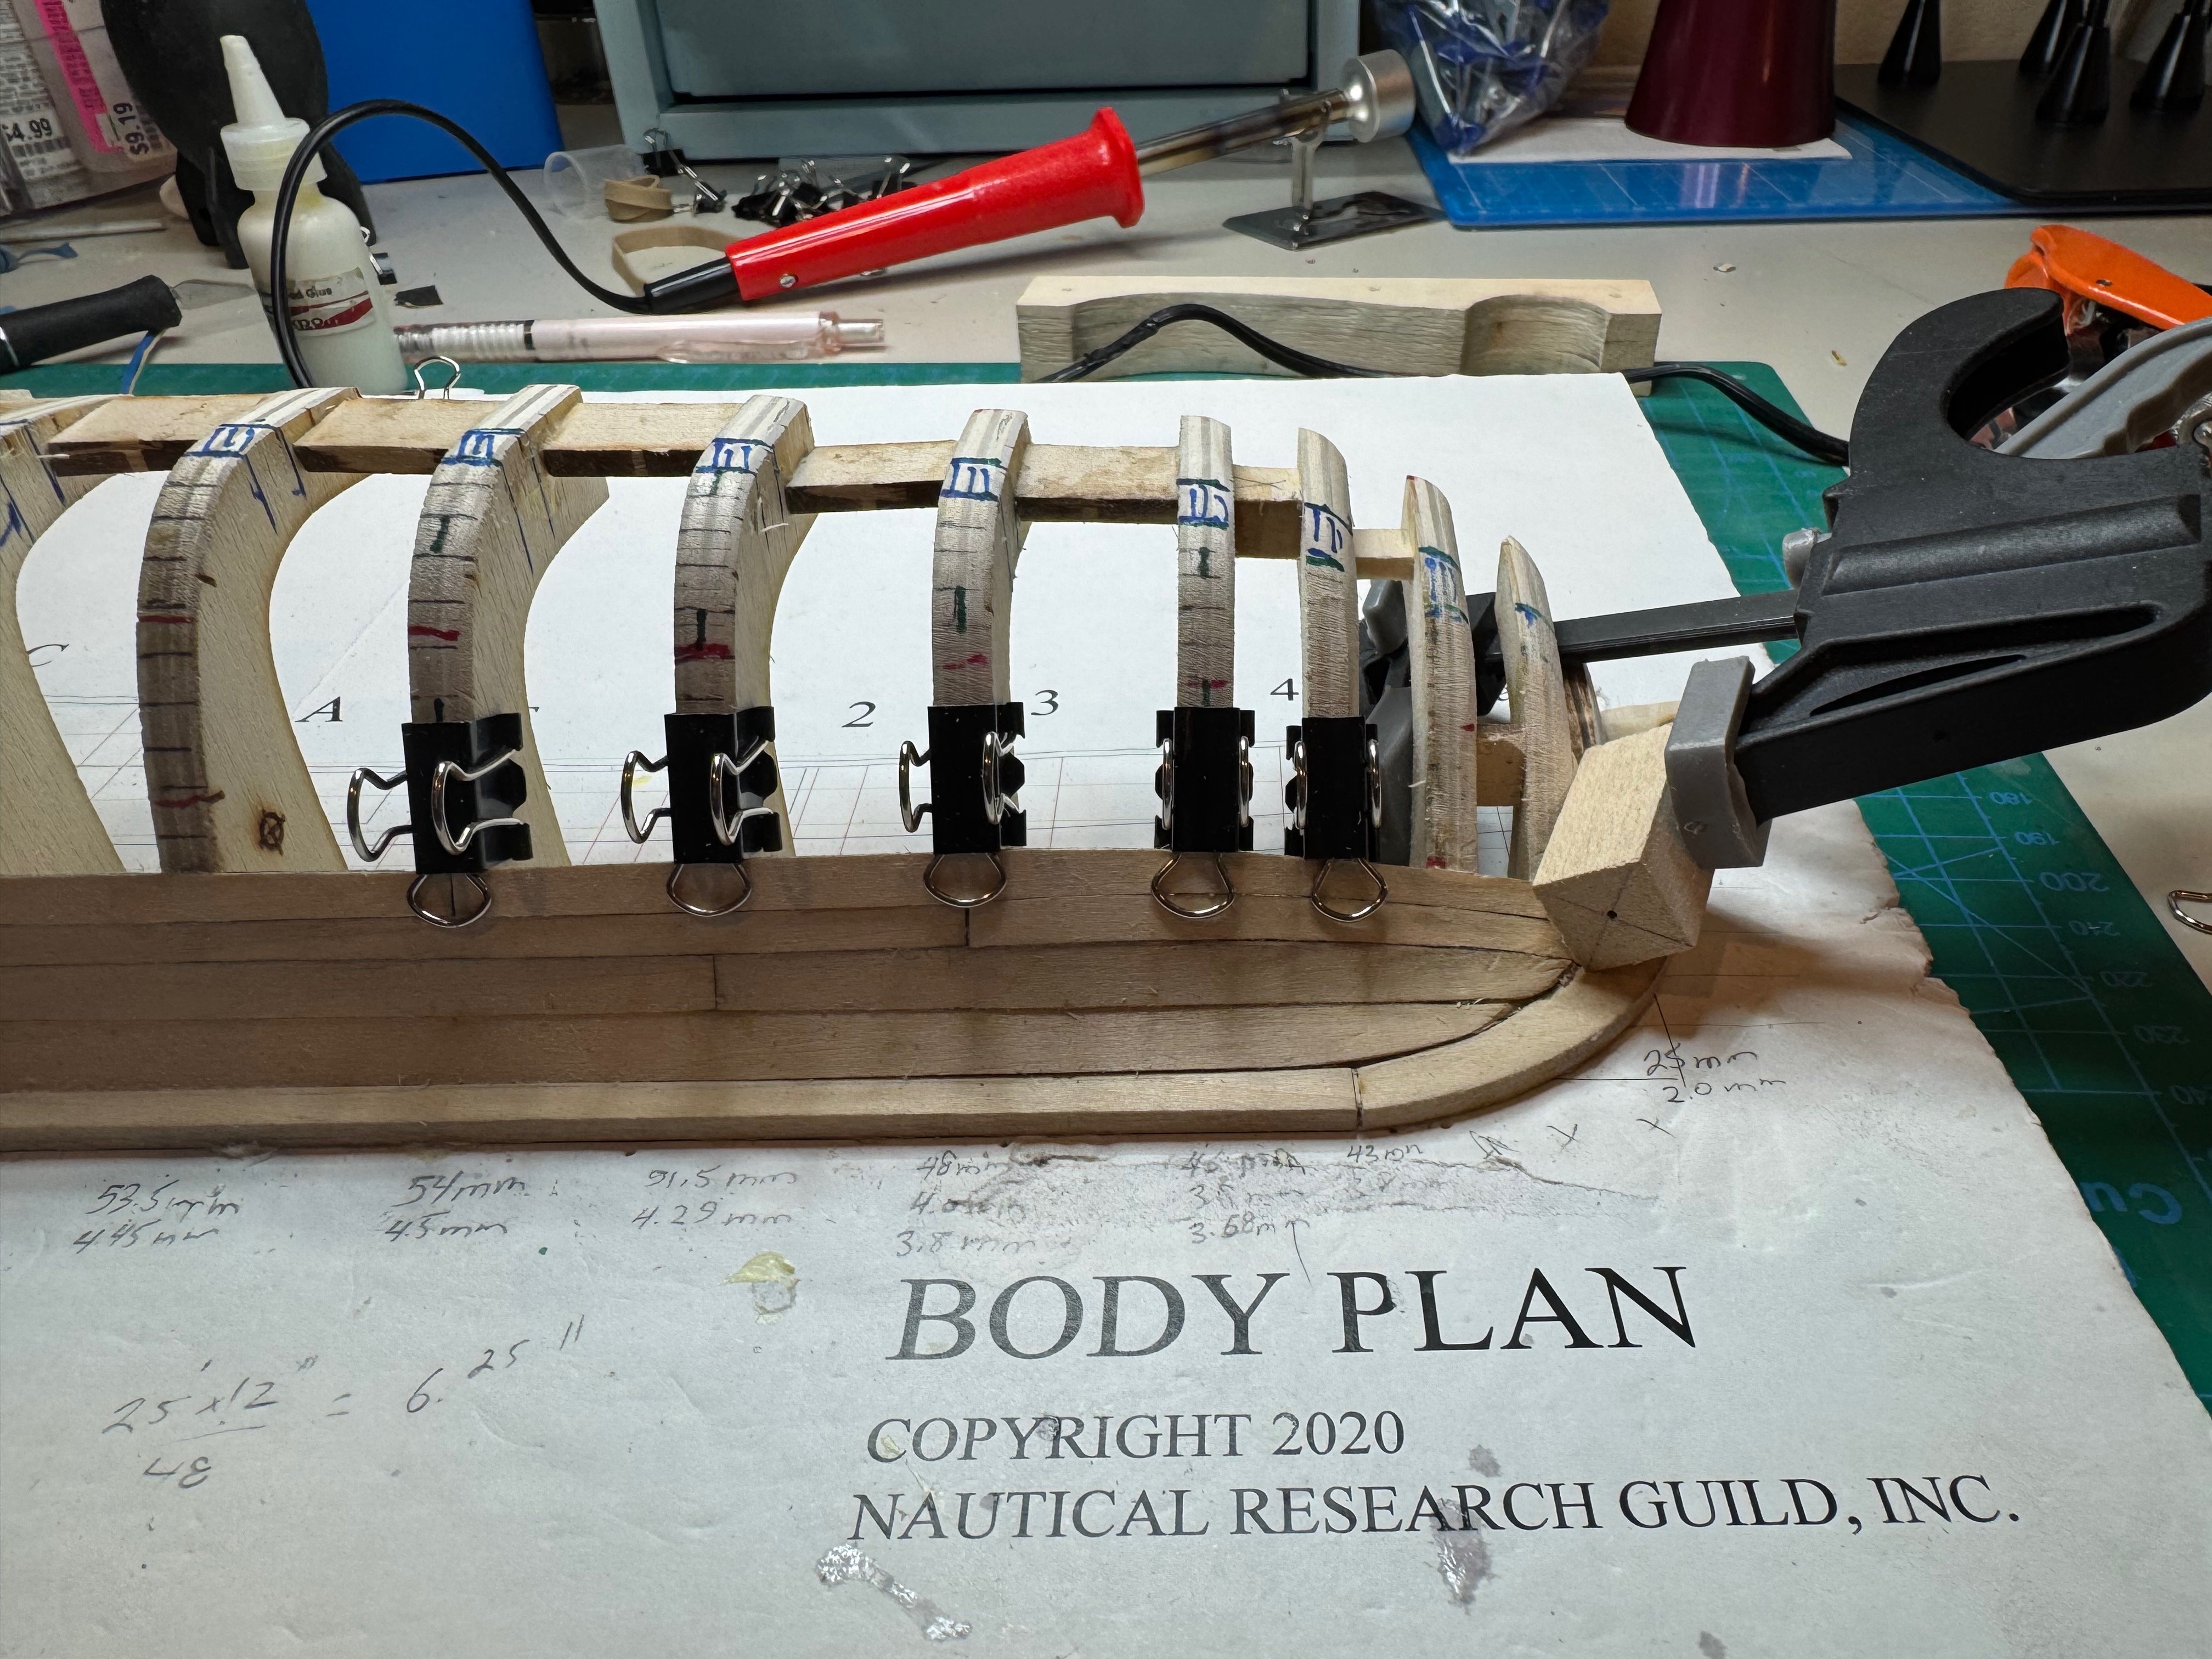
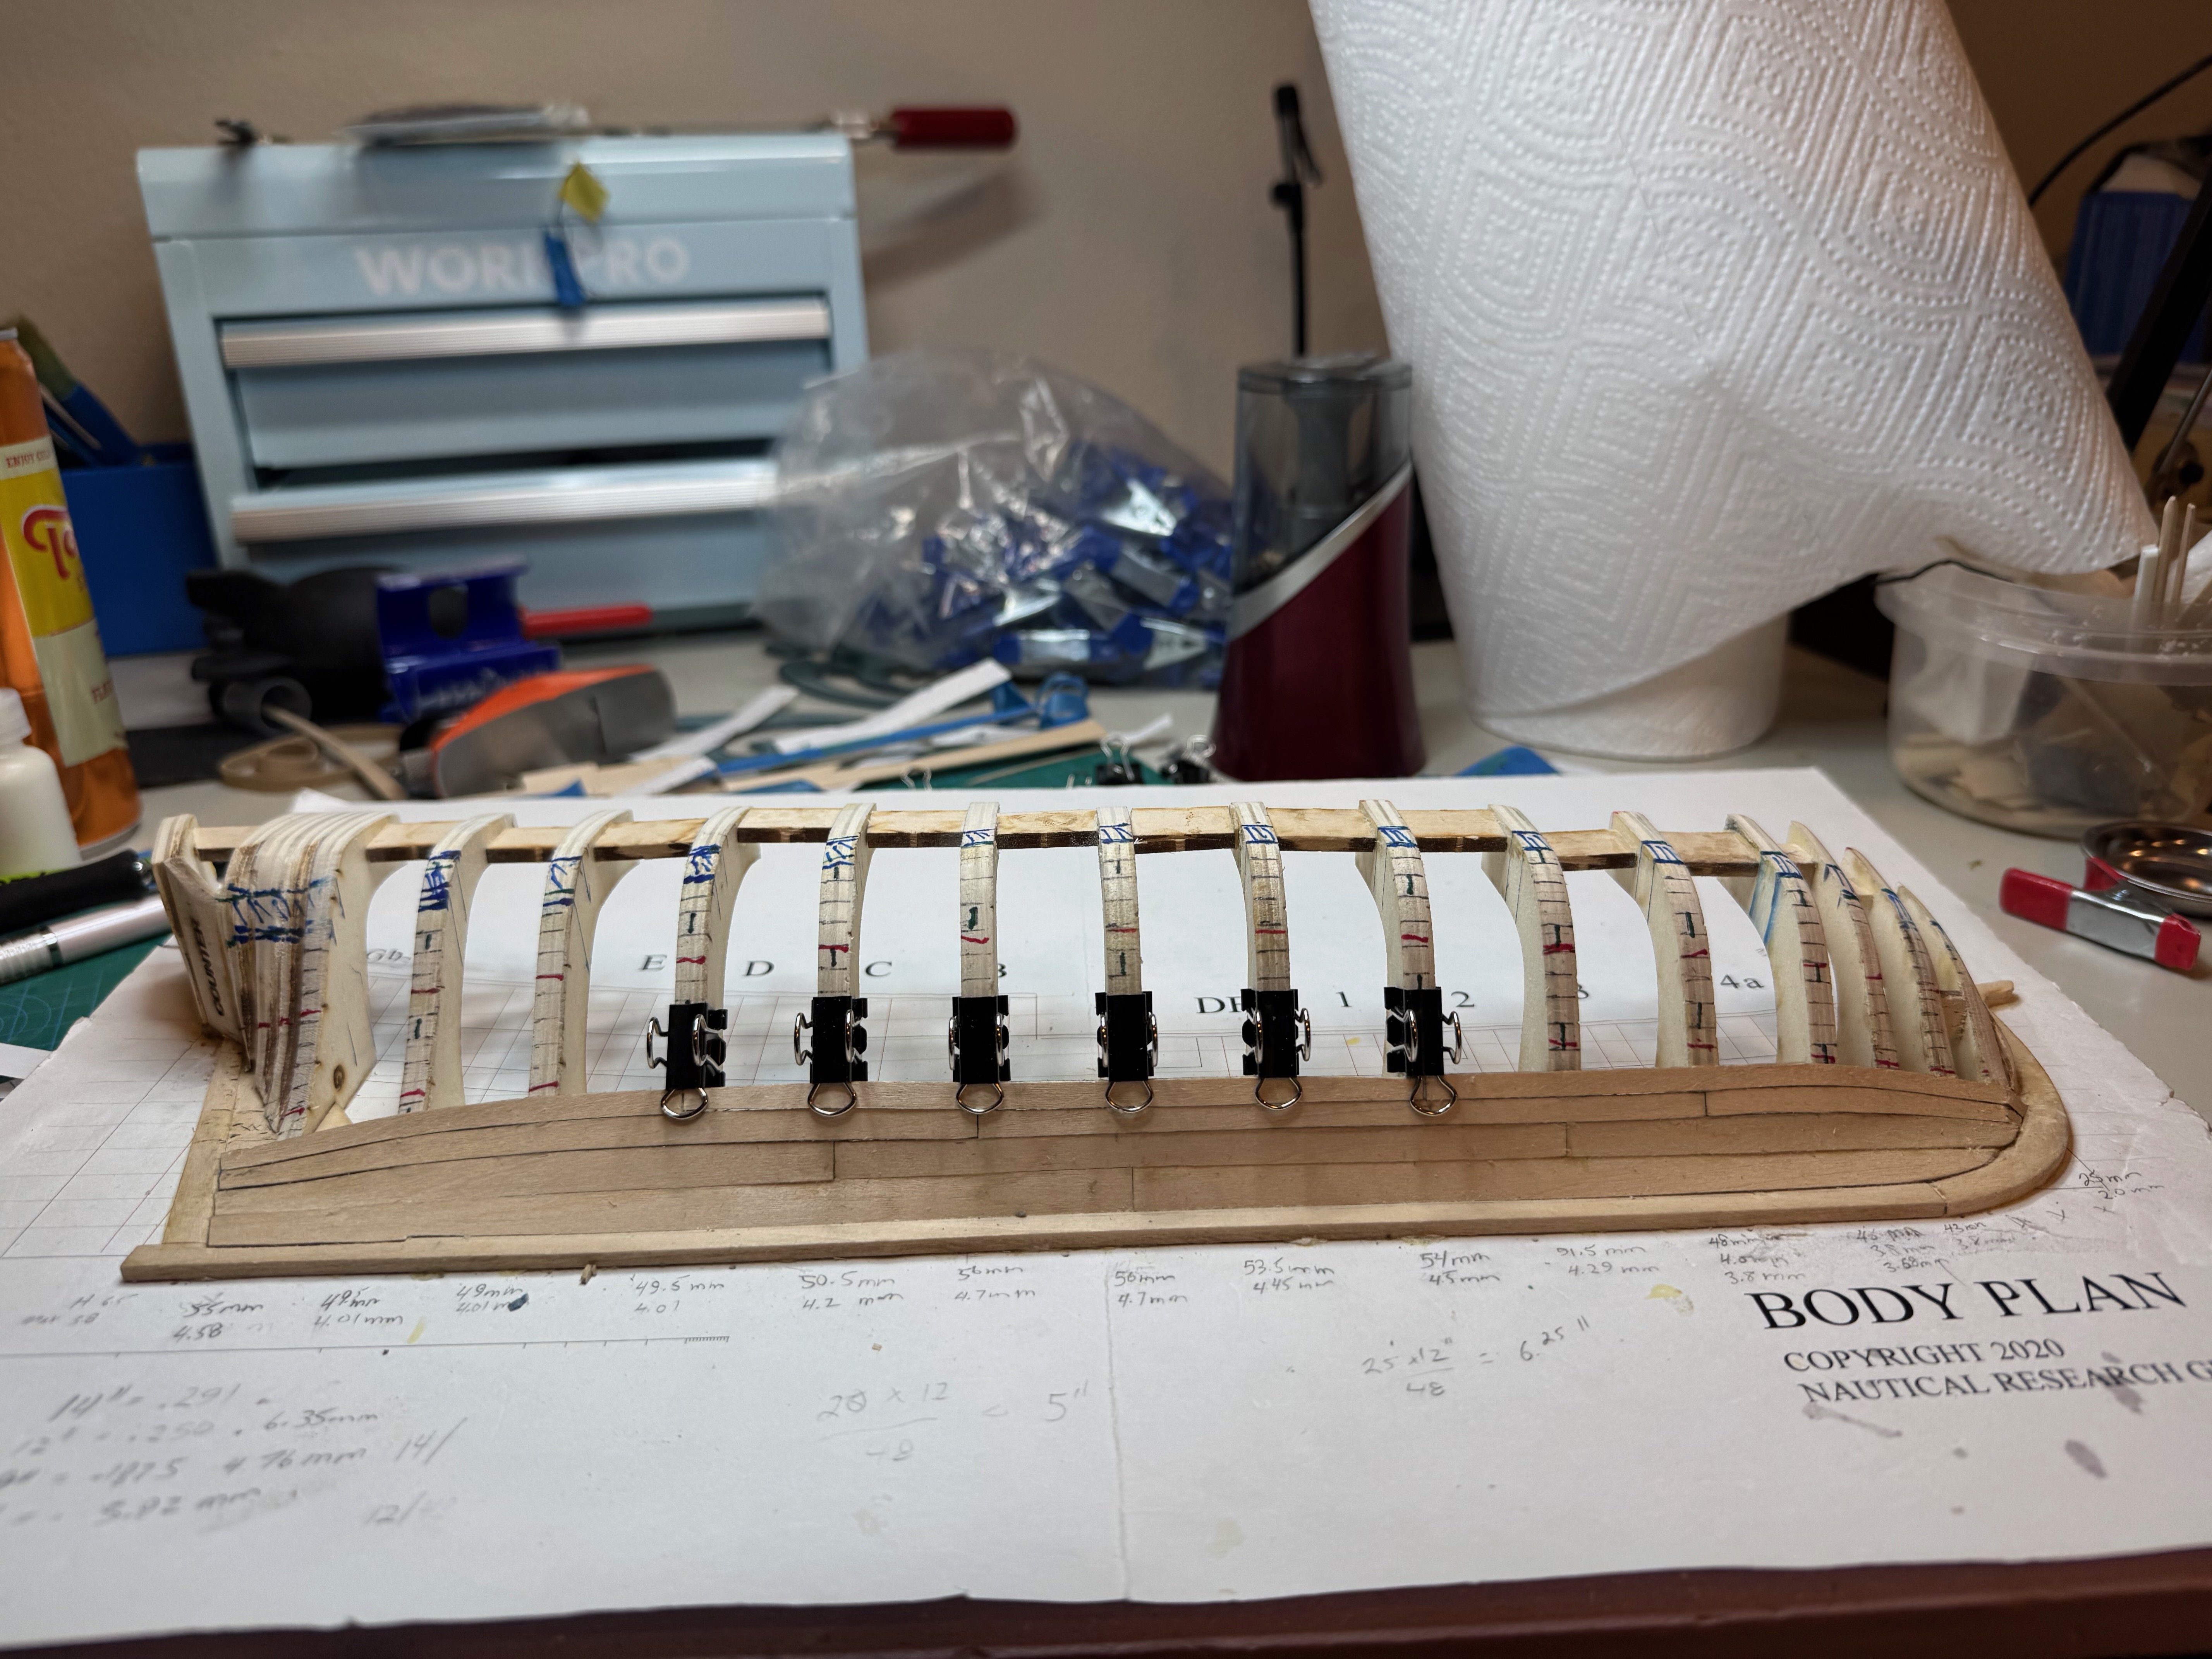
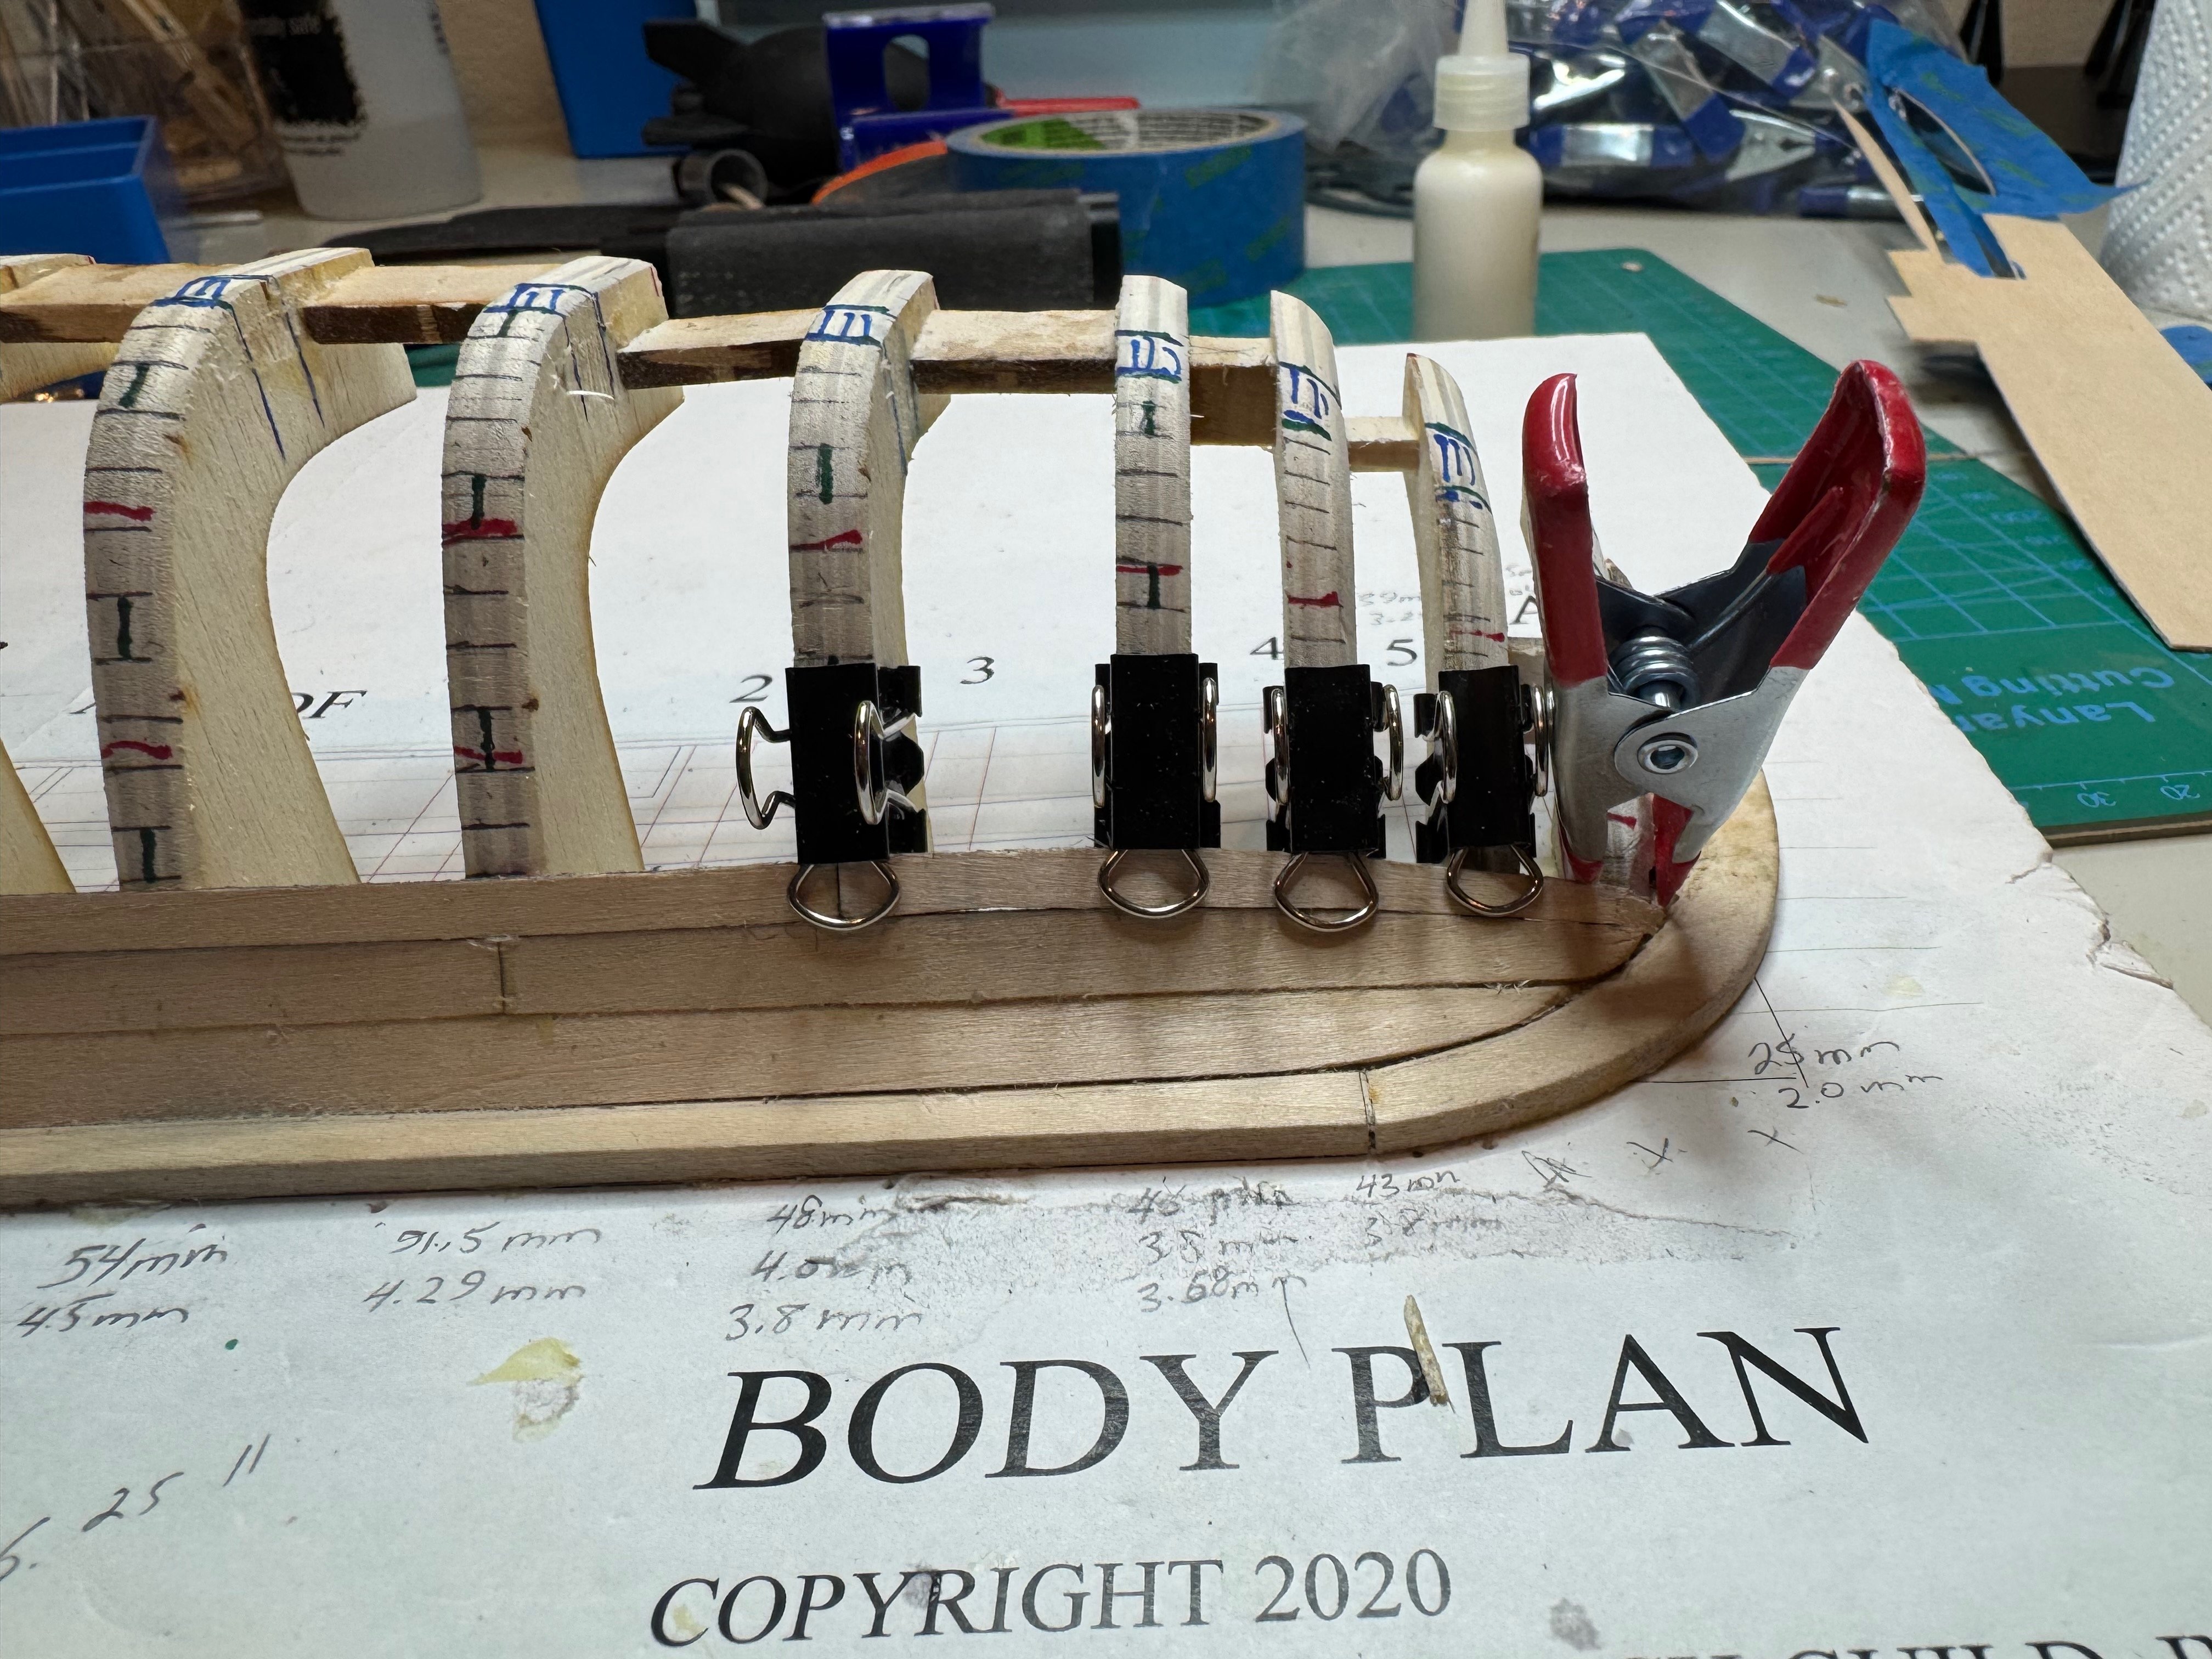
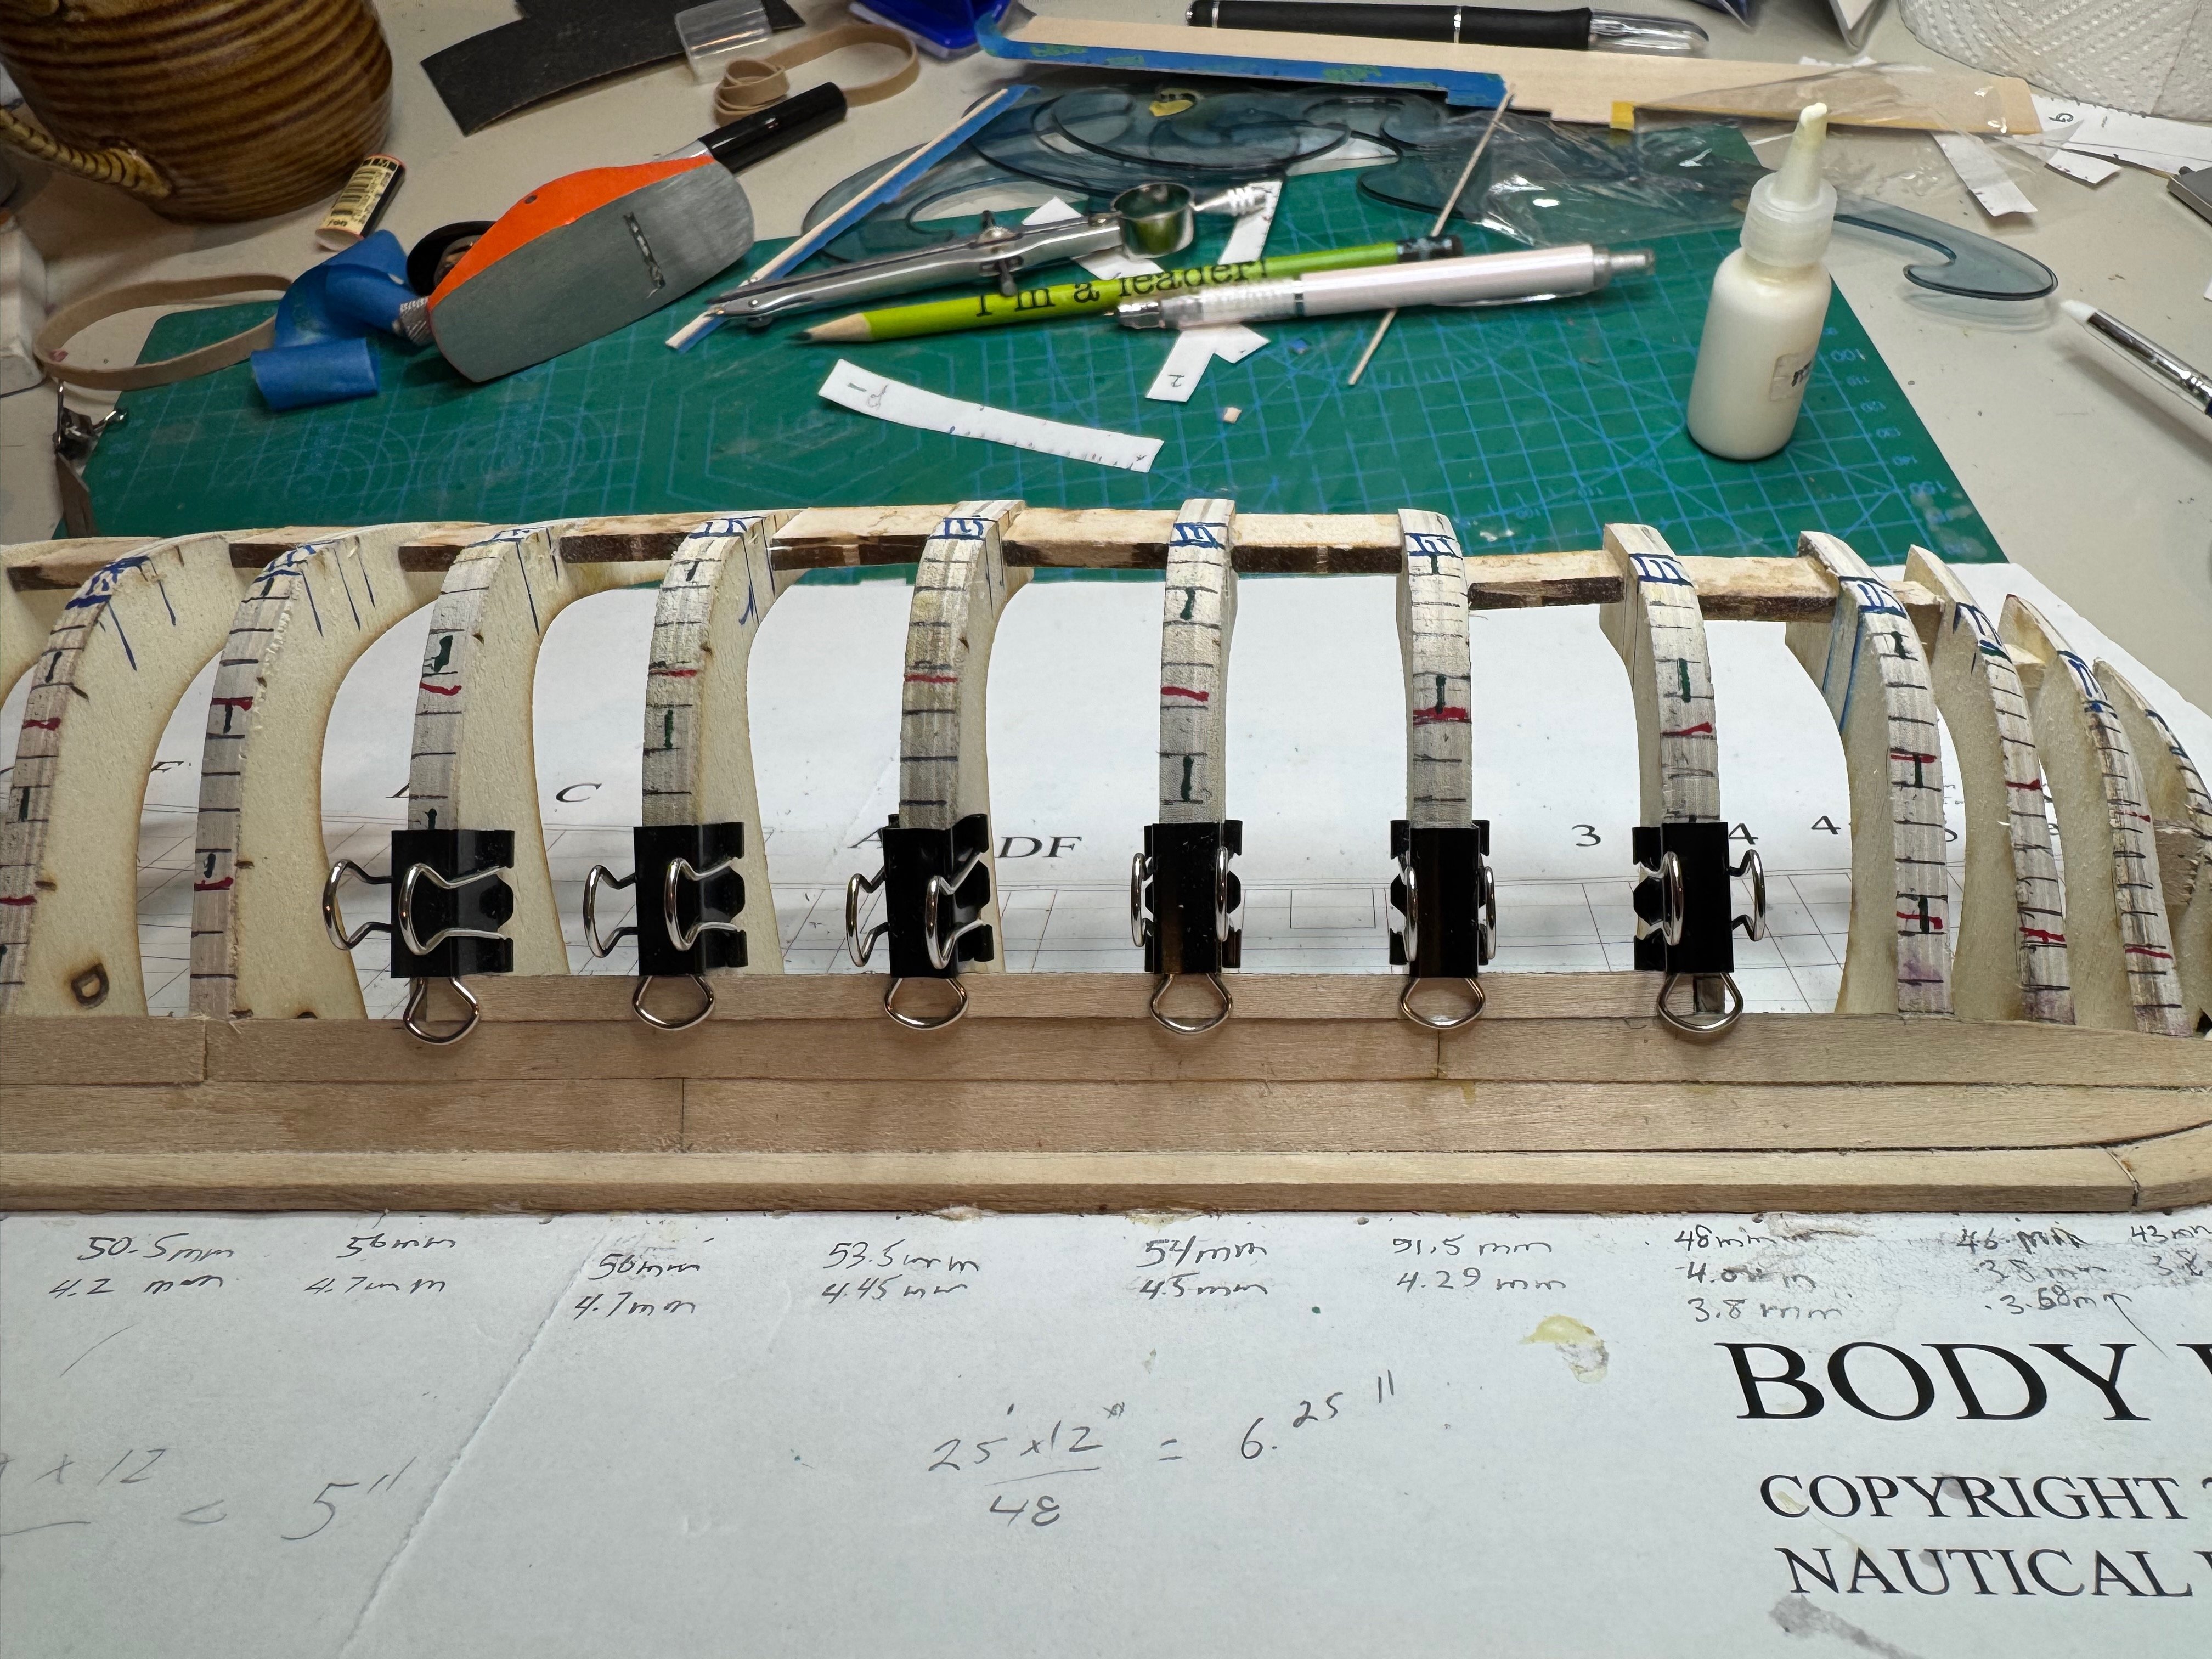
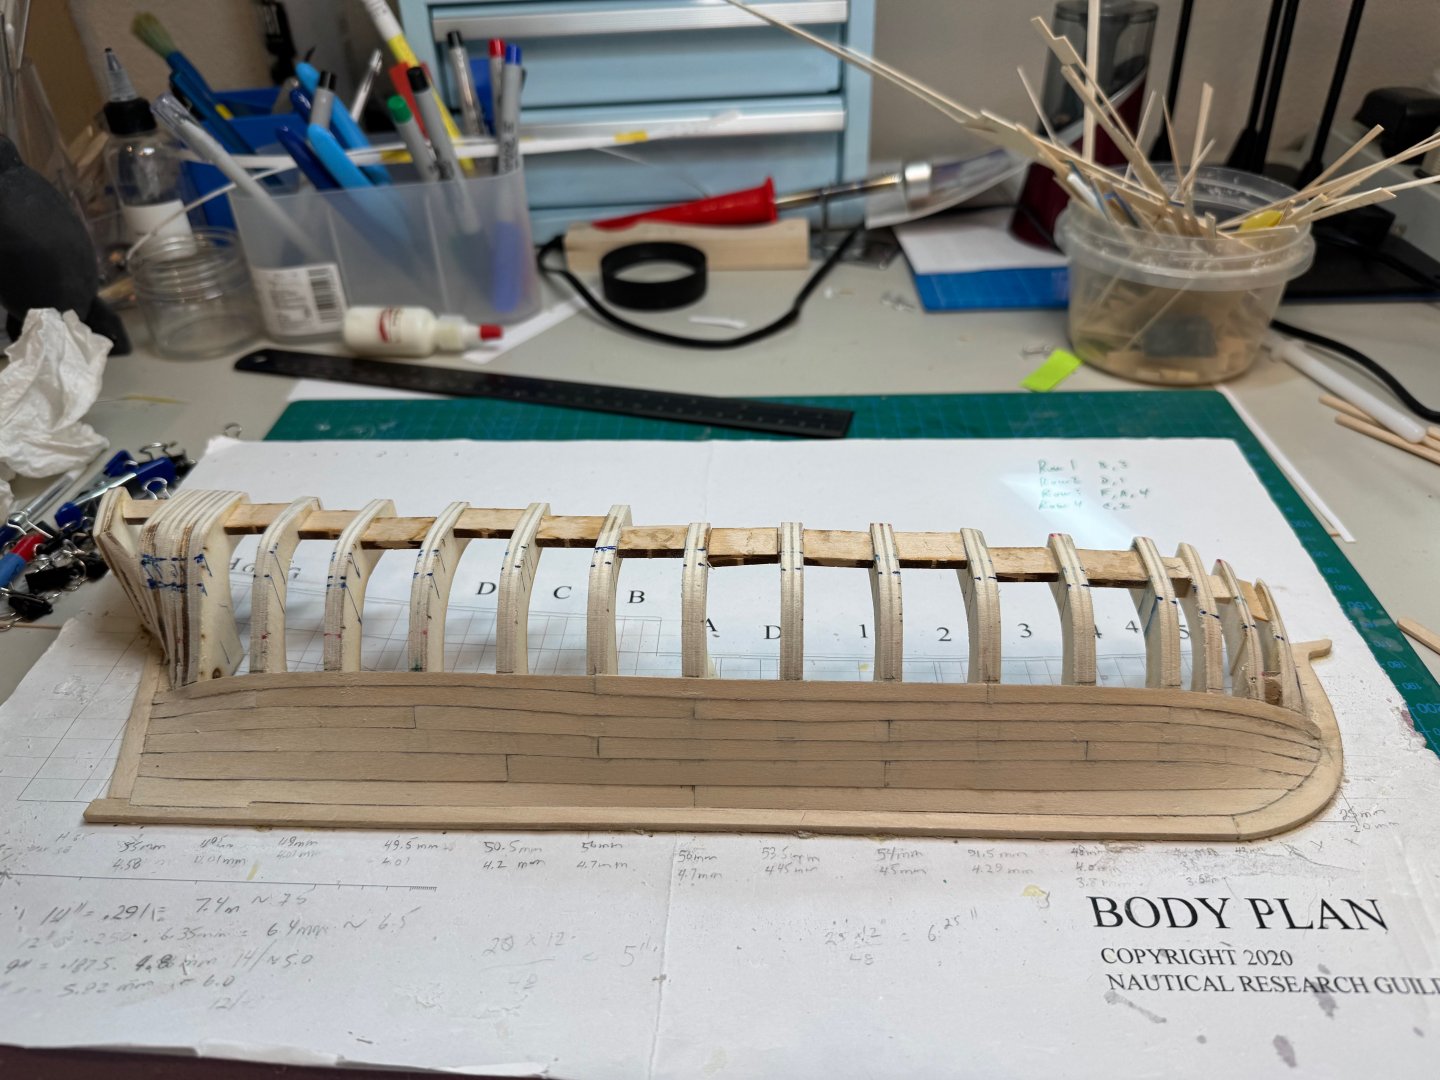
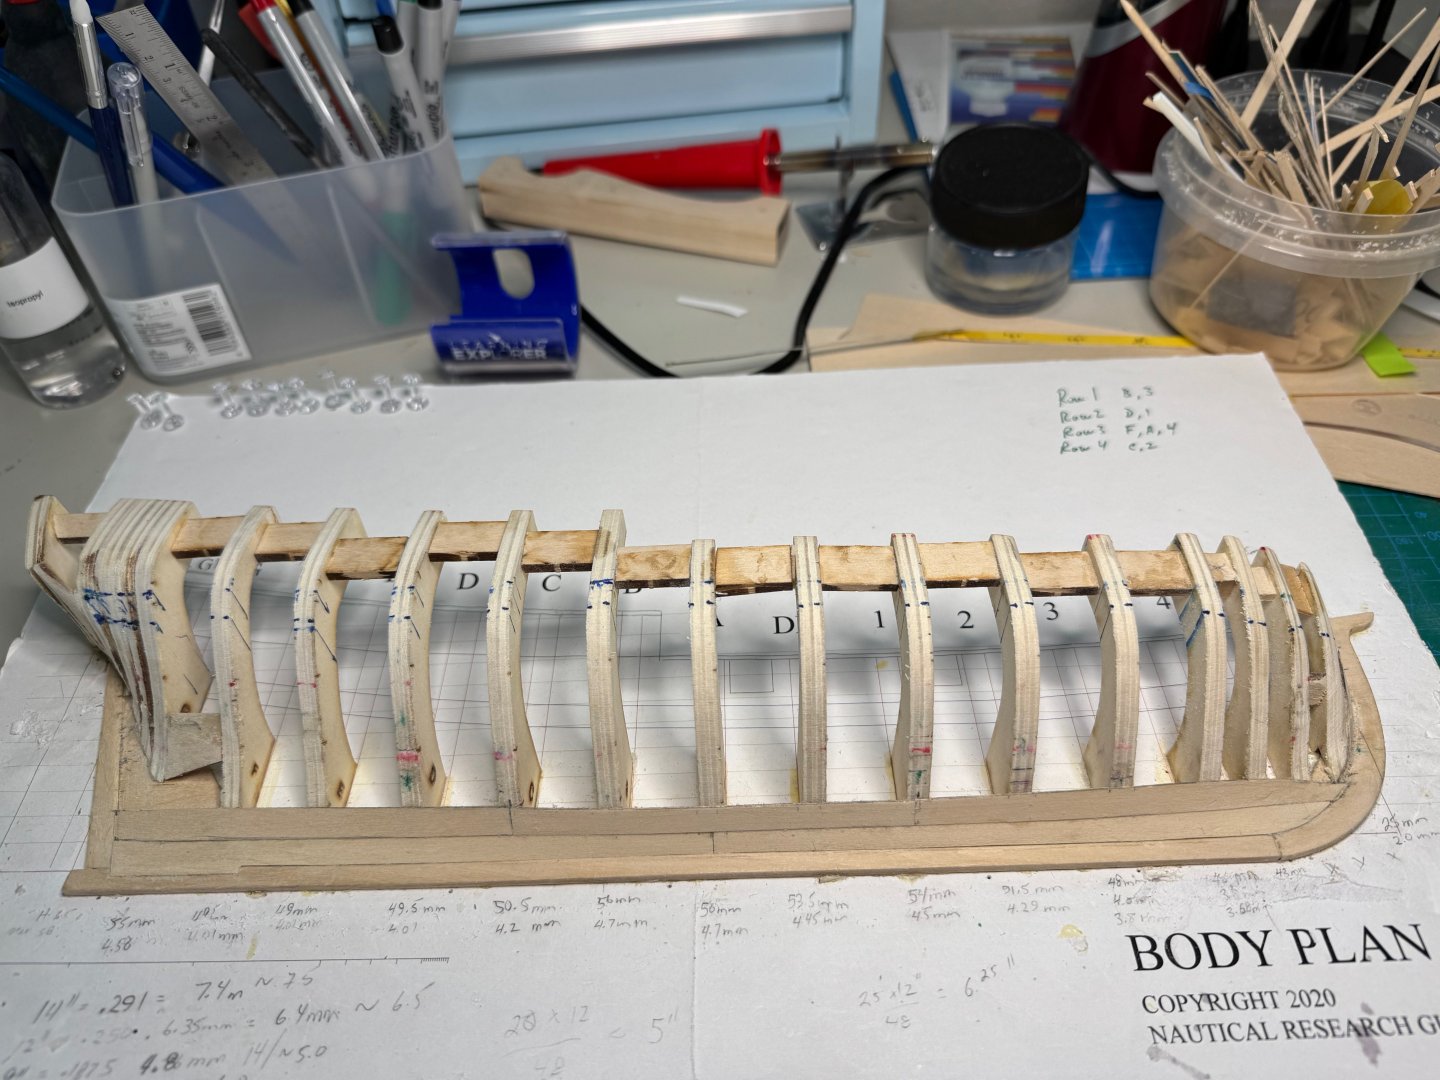
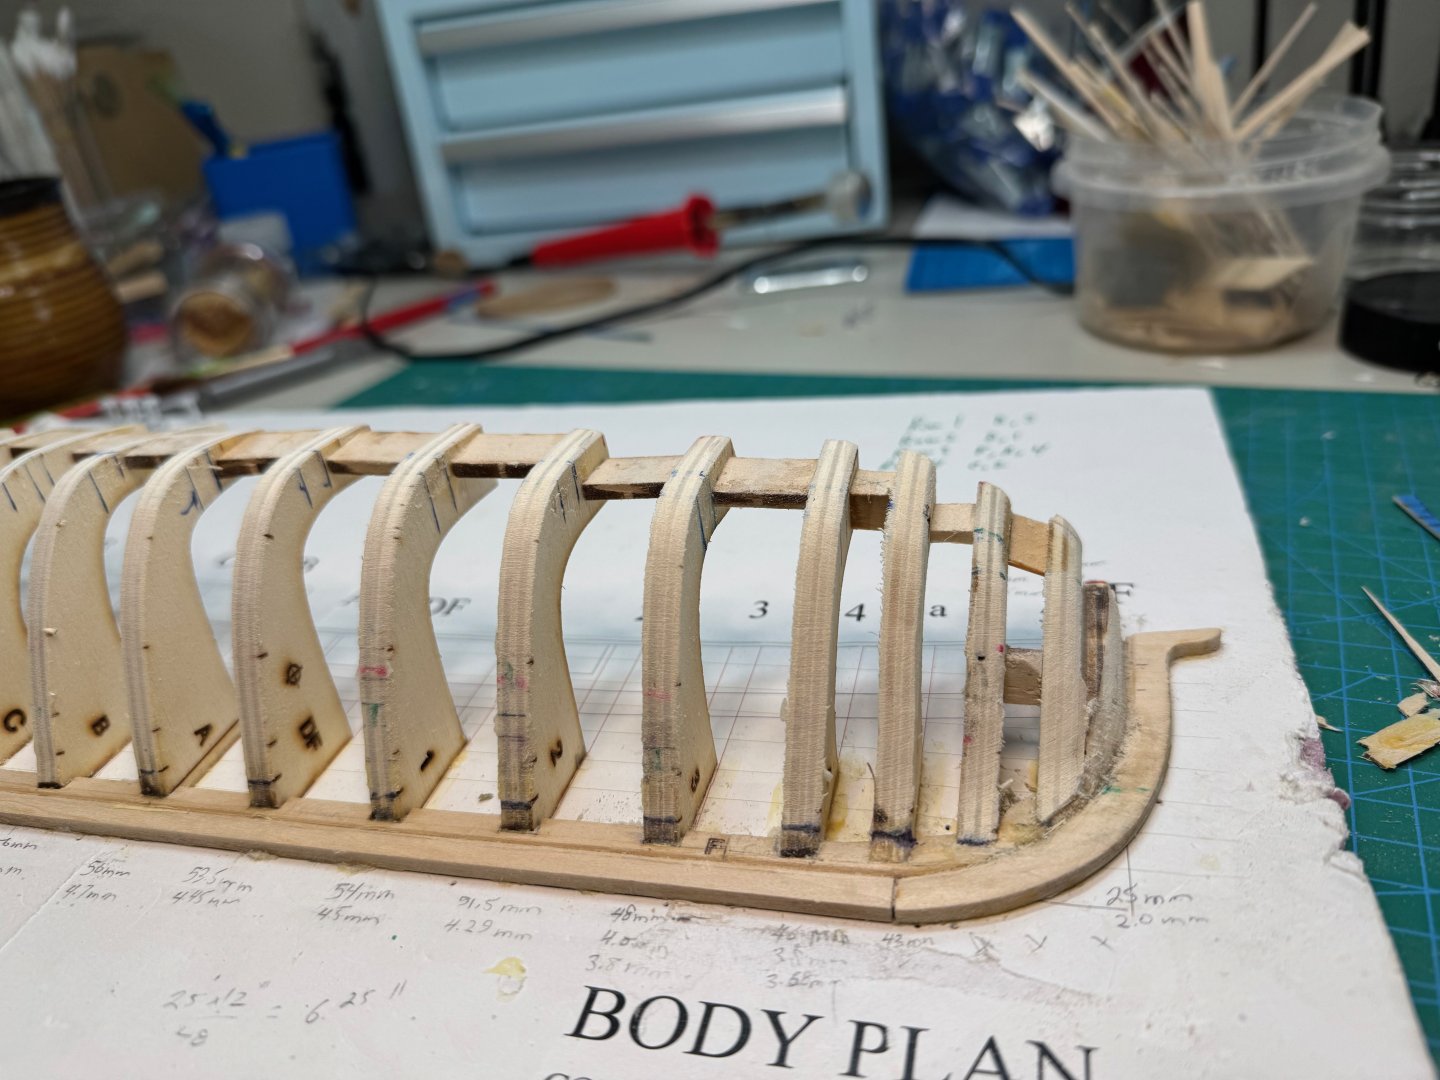
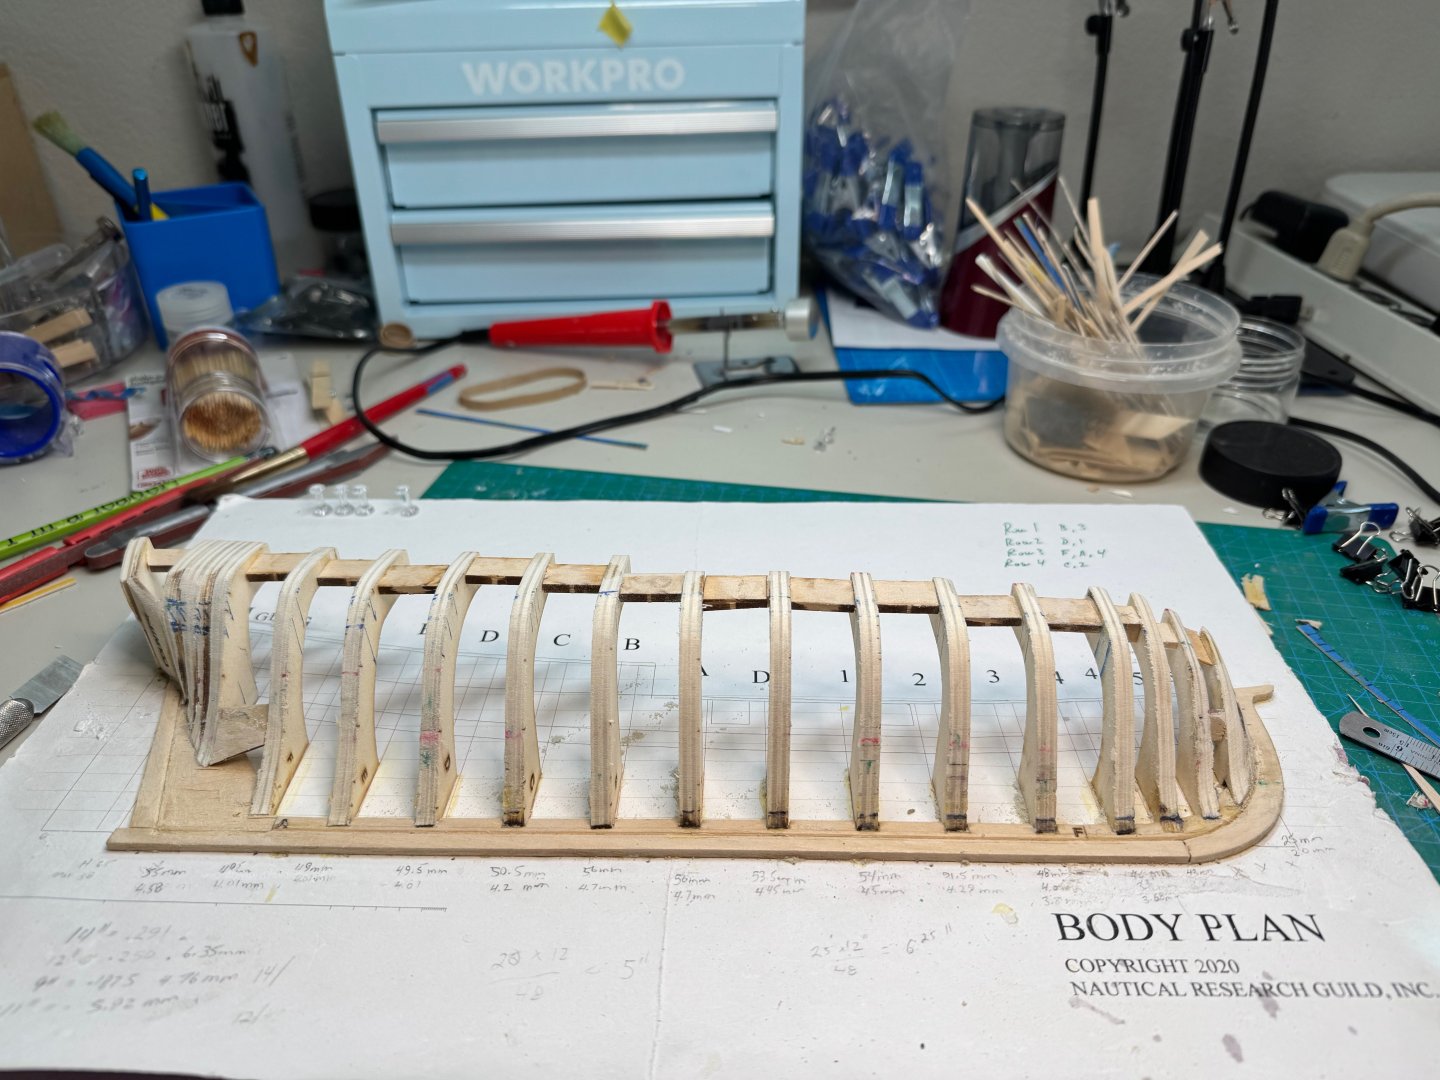
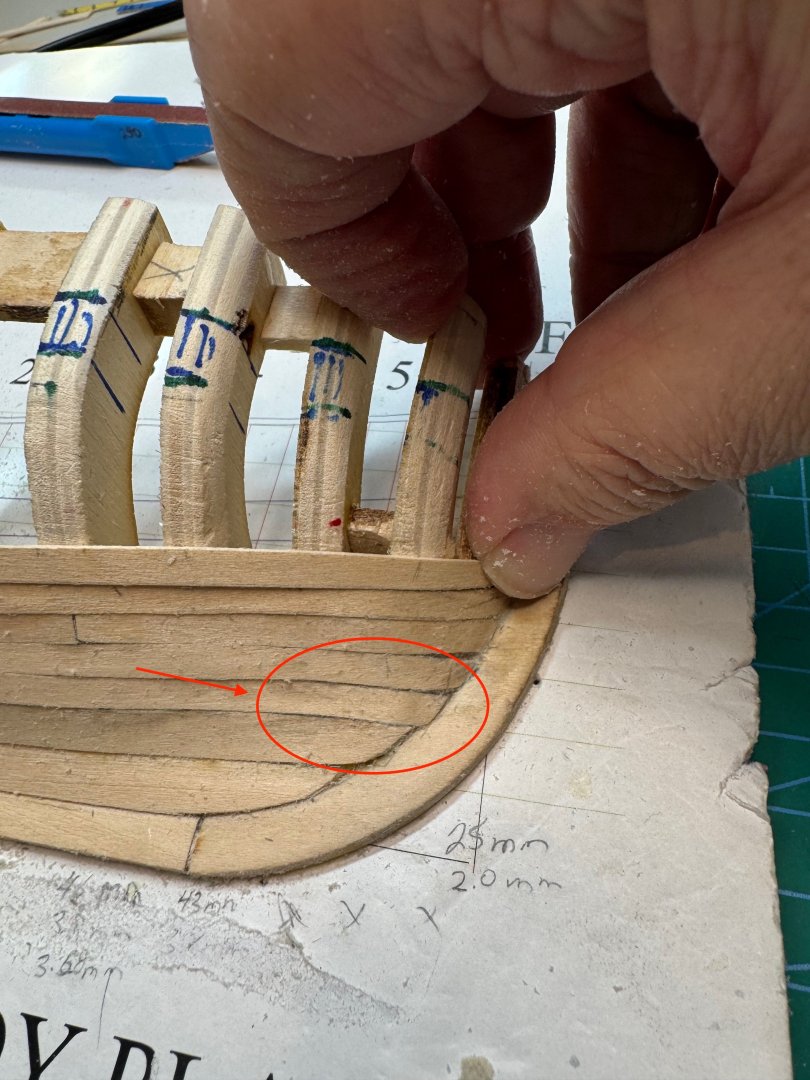
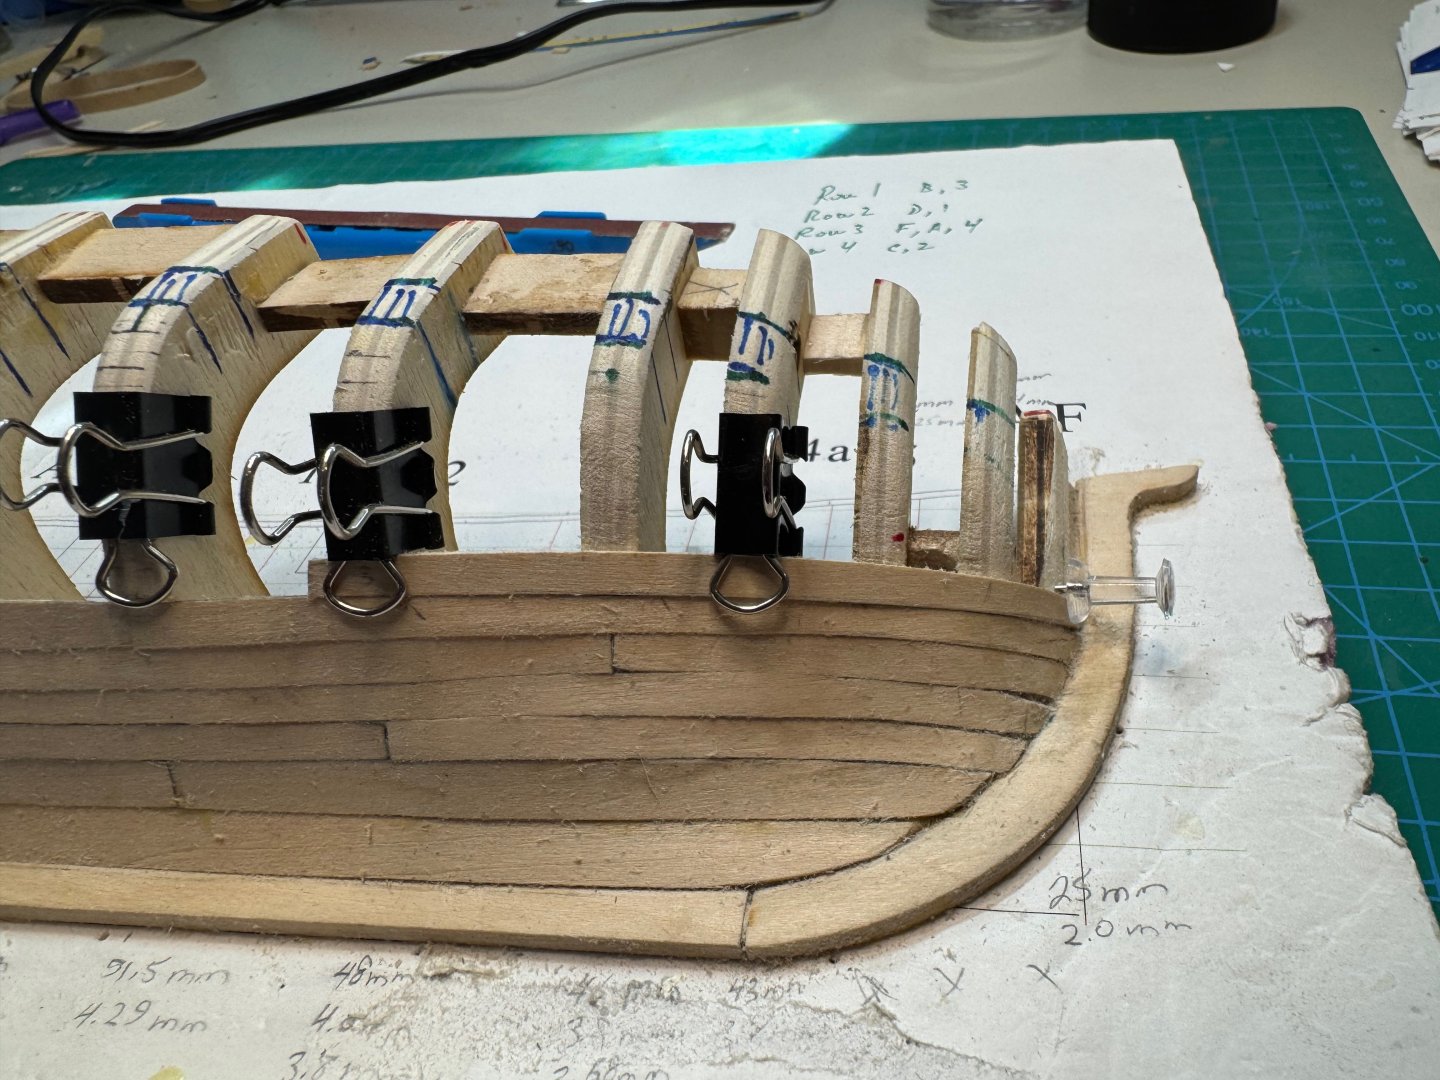
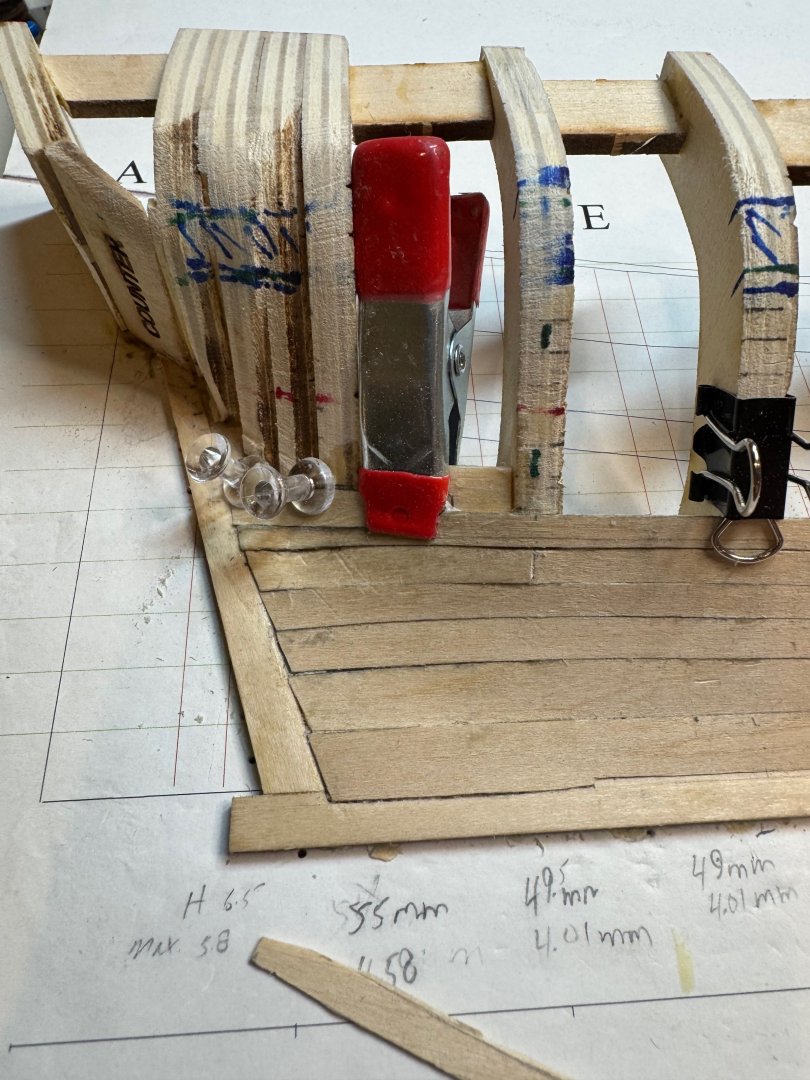
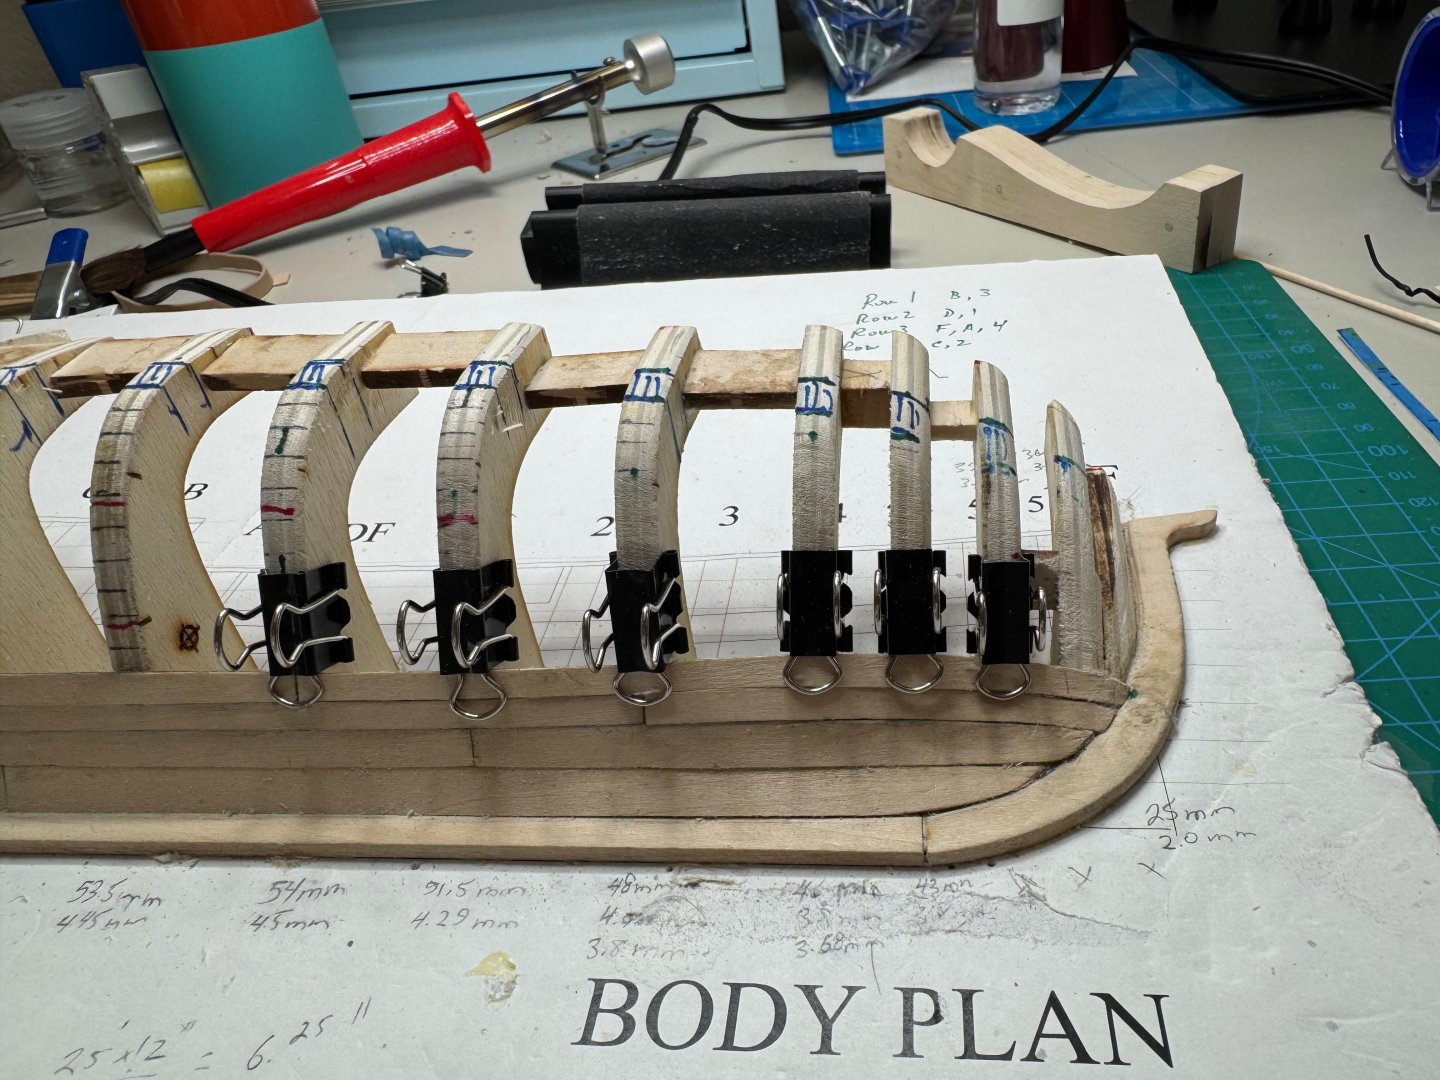
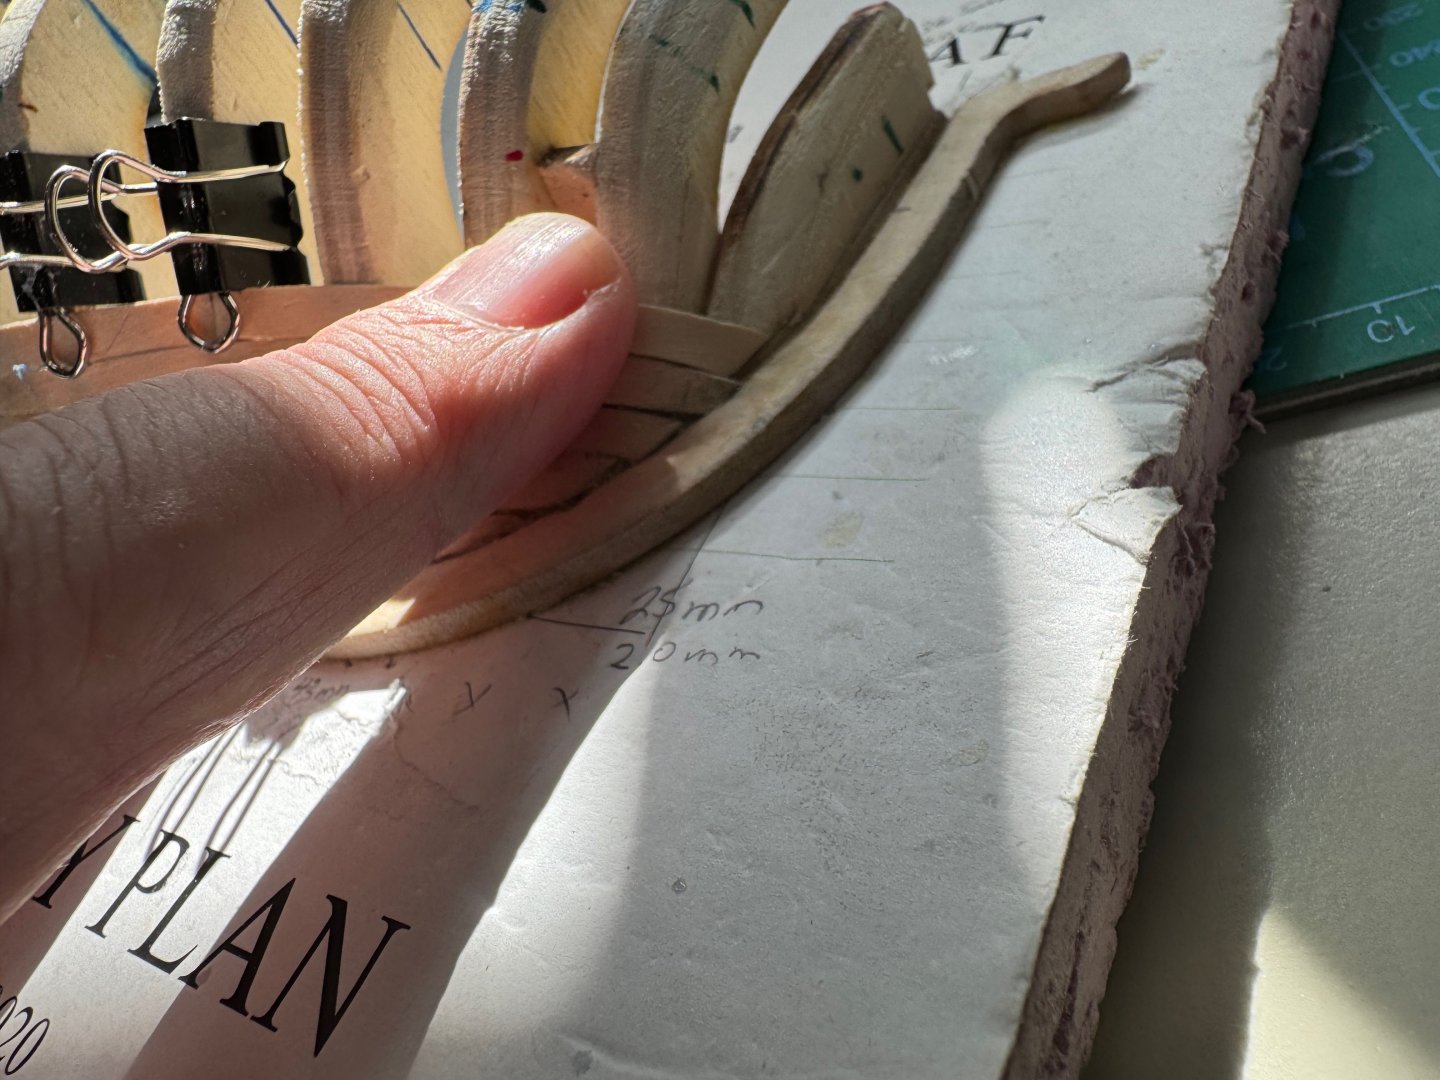
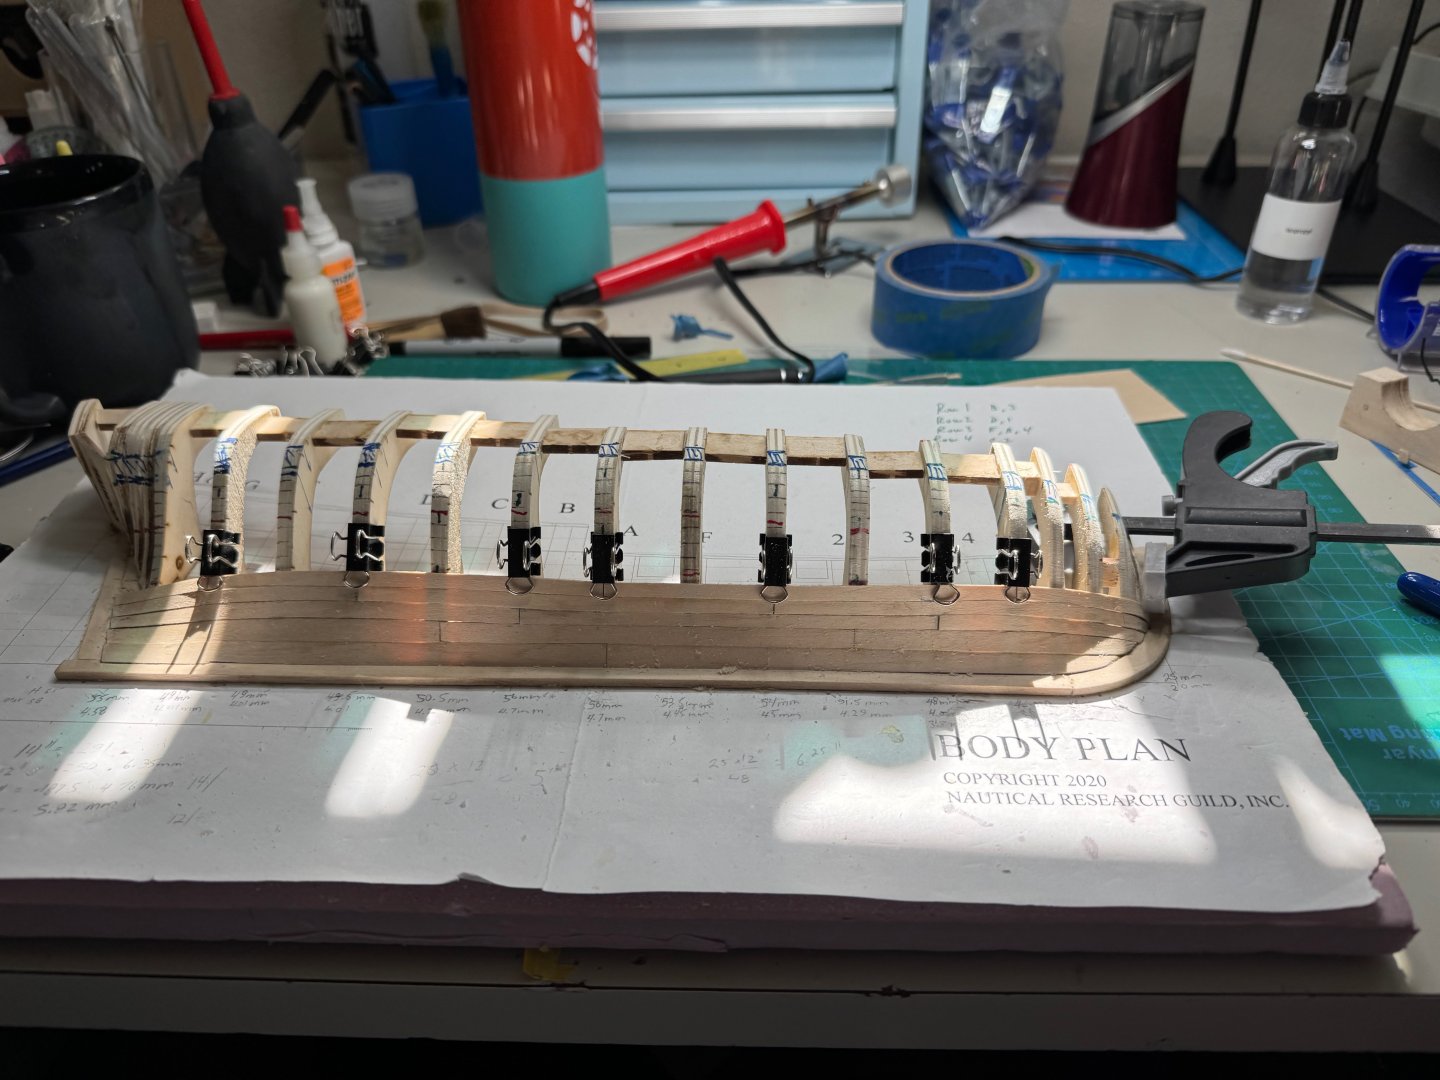
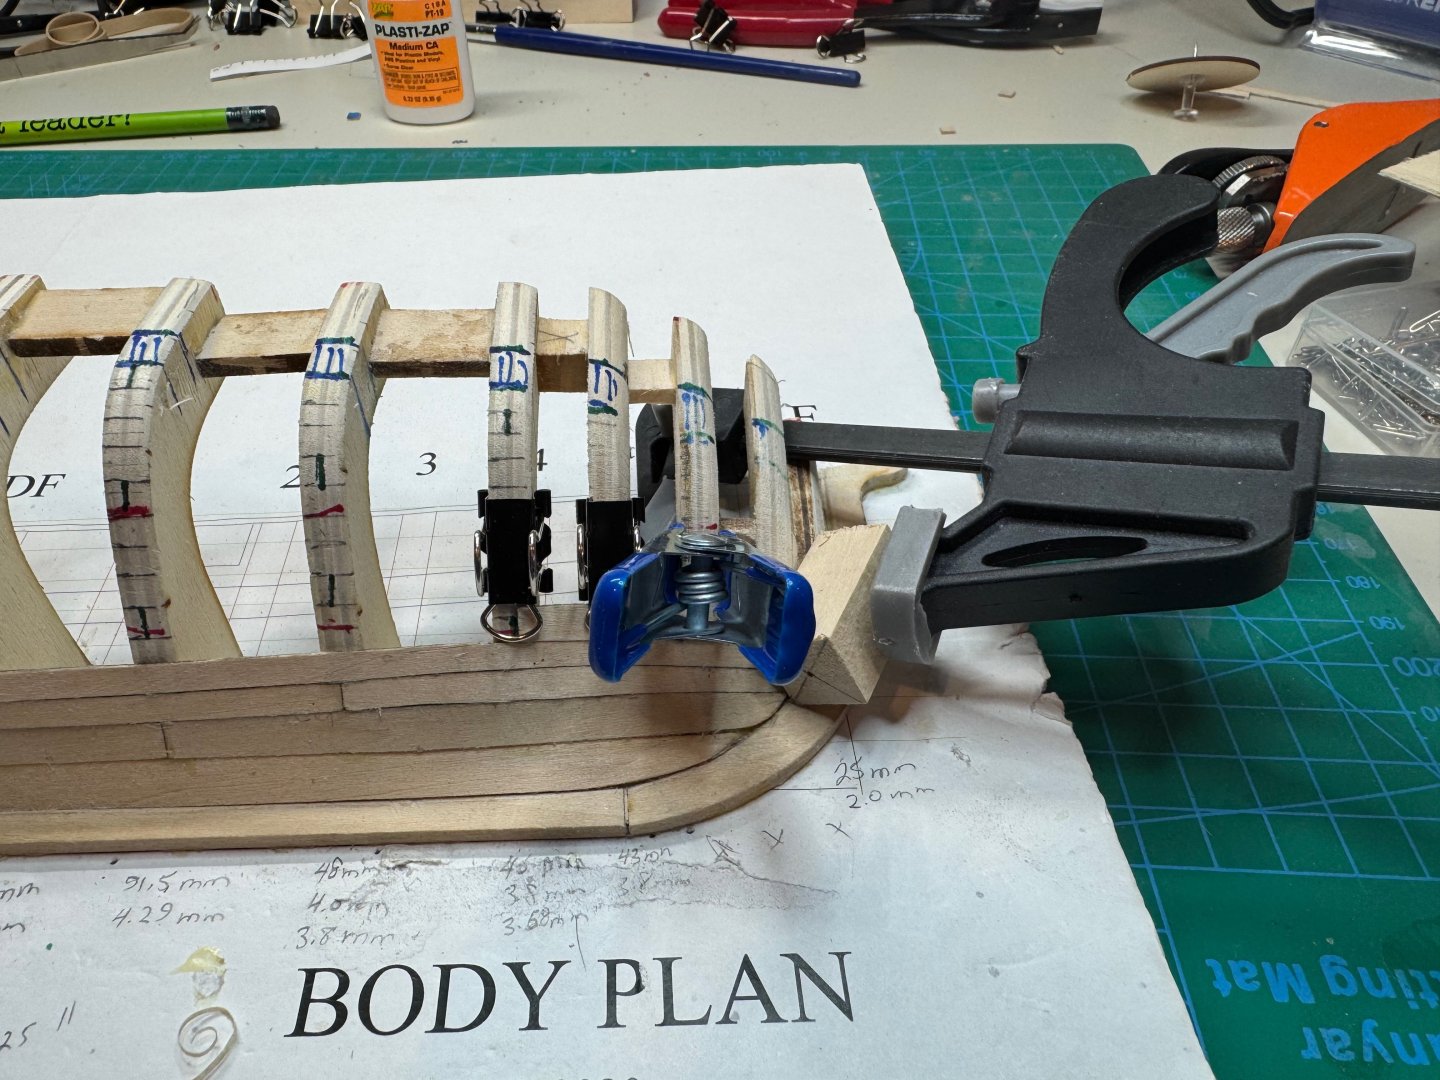
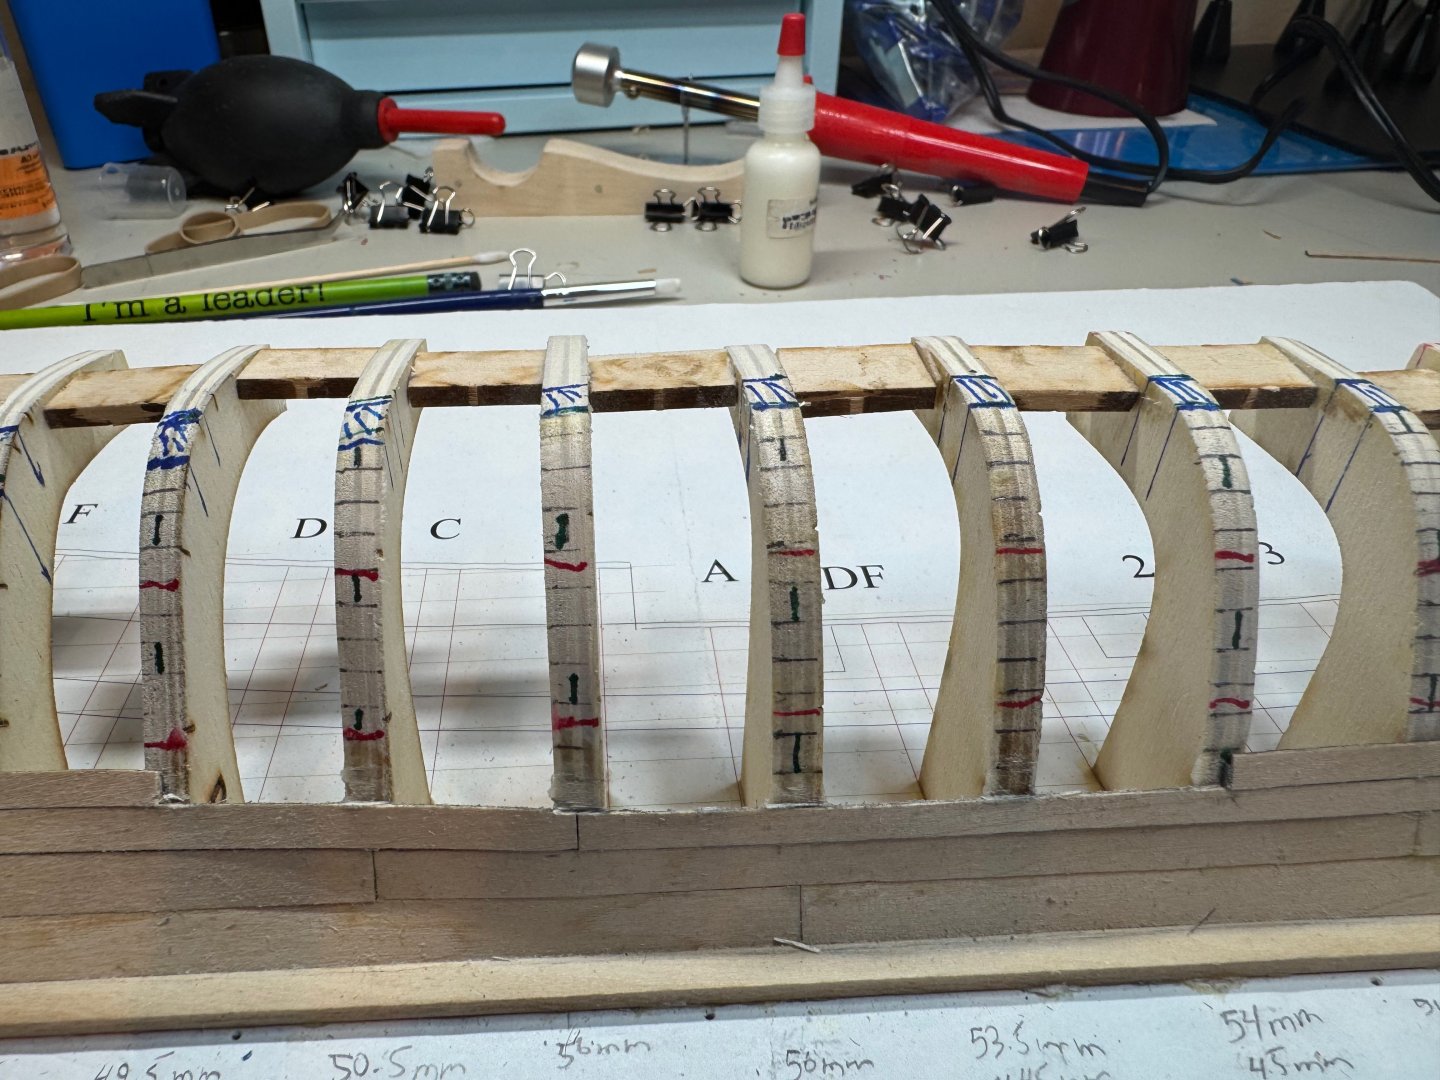
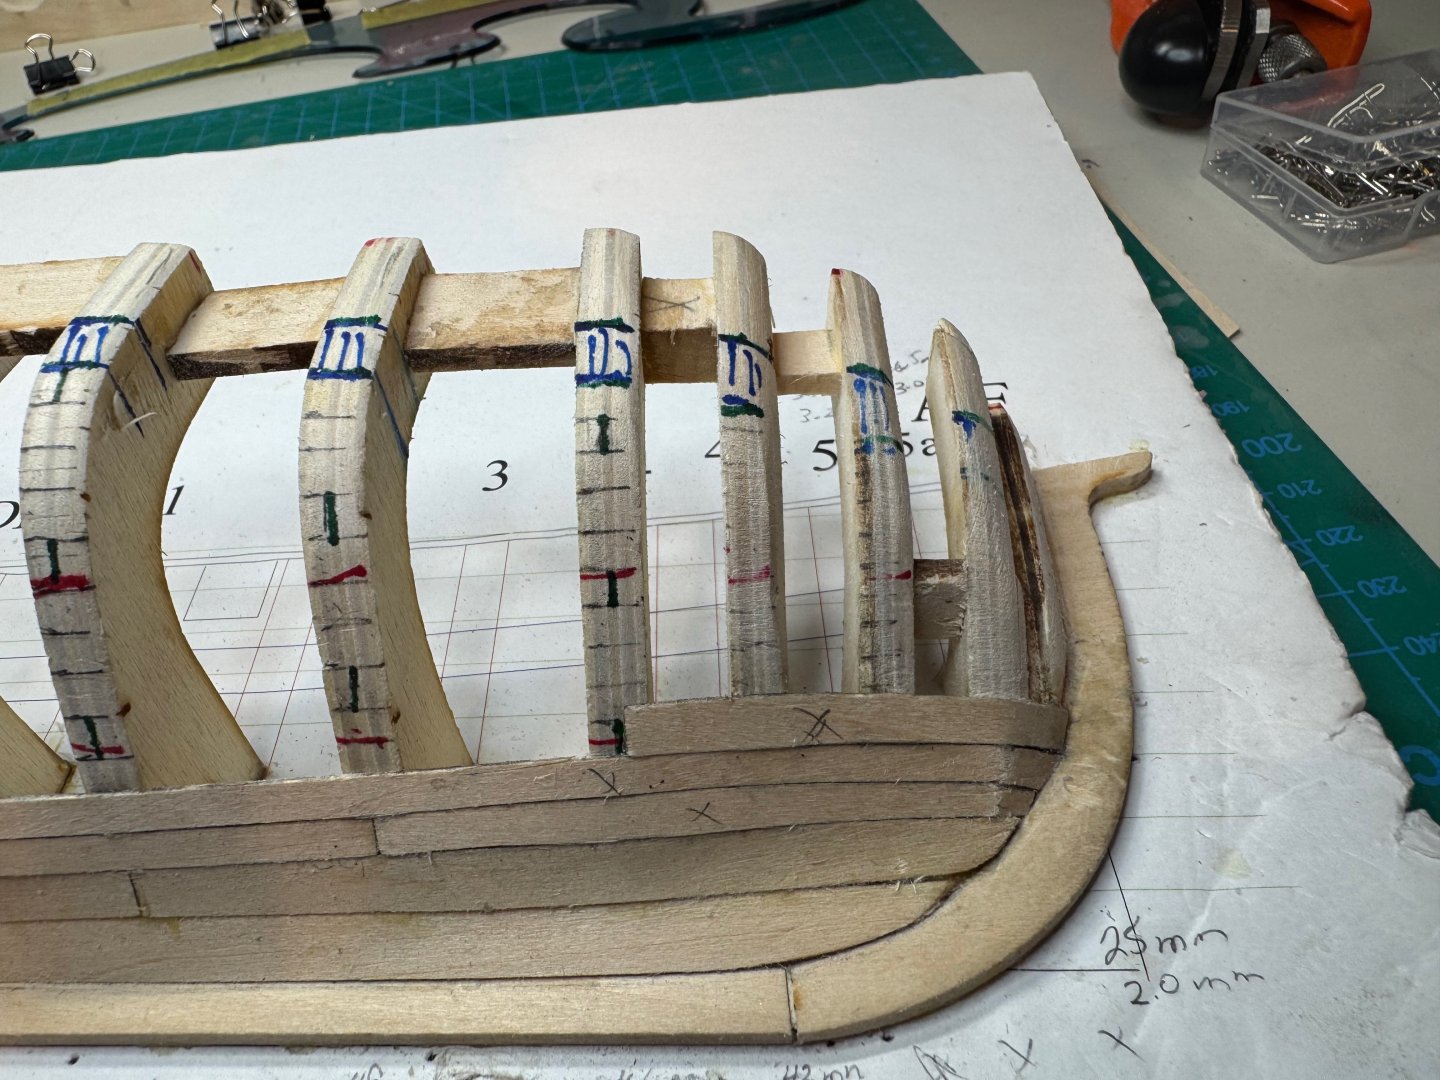
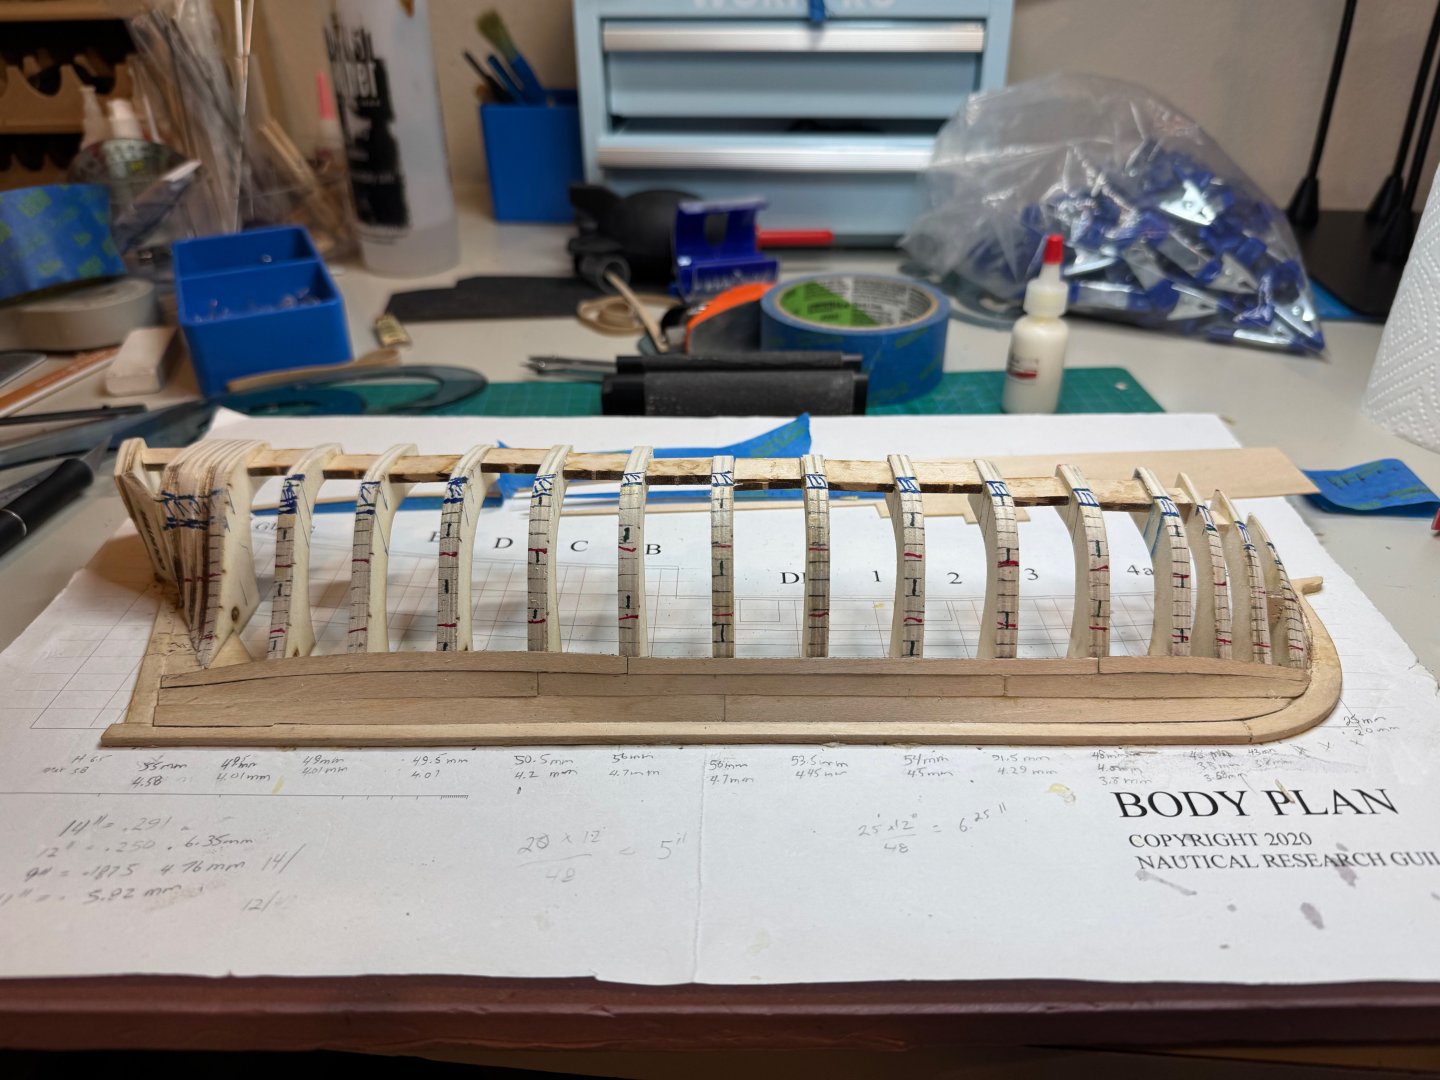
Good morning, and major update. Yesterday (Sunday) I removed the clamps from Saturday's work and I noticed that the I made a some major calculation errors at the bow. The plank ends are to large for the belts. My bow was well into the third planking belt, after finishing the first row of the second belt. You can see there is about 3 planks before I hit the whale. So I decided to remove the three bow planks as indicated with an X How ever I really was unhappy with shape of the bow, the curve should be more smoother. This led to me removing all my planks, and then re-faring the model. After removing the planks you can see some dips in the bow that need to be sorted. After an hour or so of hand sanding I was able to smooth out the hull, and also remove any on the bulkheads. I am much happier with the outcome this time around. One lesson I learned, is that be diligent with faring of the hull. Also, step away and then double check everything and only when happy with the job, proceed. The bow after faring. You can see all bulkheads are even. And the stern. If you notice the notch is bigger, this is because when I removed the garboard, the isopropanol did not release the join correctly and chipped caused a small error. I will fix this with the garboard, and extend that notch. However, my calculations will remain to the original placing of the notch. I had to clean up the notch with a chisel to make it smoot. Another view of the fully fared hull. Here I am dry fitting the stern garboard. I did use a little water to help with the curve int the stern. Next I am dry fitting the bow garboard, again I used some water to help with the curve into the bow. Both boards now being glued into place. Finally yesterday, I was able to create the template for the first strake. Although this was a setback, I am really happy I made this decision. The foundational planks fit much better which should make a better model. Cheers...


-
Saturday I was able to make some progress with the planking tutorial. My template process is as follows: First I created the templates for all three planks. Then I fitted stern plank. Then I transcribe the templates to the board. Finally I fit the planks after cutting them out. Here is the stern plank. Next the bow plank Notice the odd dips and odd shape on the planks below. Finally I glue in the planks The bow plank And finally all planks in the gluing stage.

-
@Knocklouder thank you. I could not work in the imperial system very well, so I ended up converting to metric (I grew up in Canada) that is more familiar. In the future though I think I will create a spreadsheet to keep track of the rows etc.
-
@JacquesCousteau thank you. I spent 3 days thinking how I was going to add the stealer, and having the template, that I made i will make the fitting of row 5 easier.
-
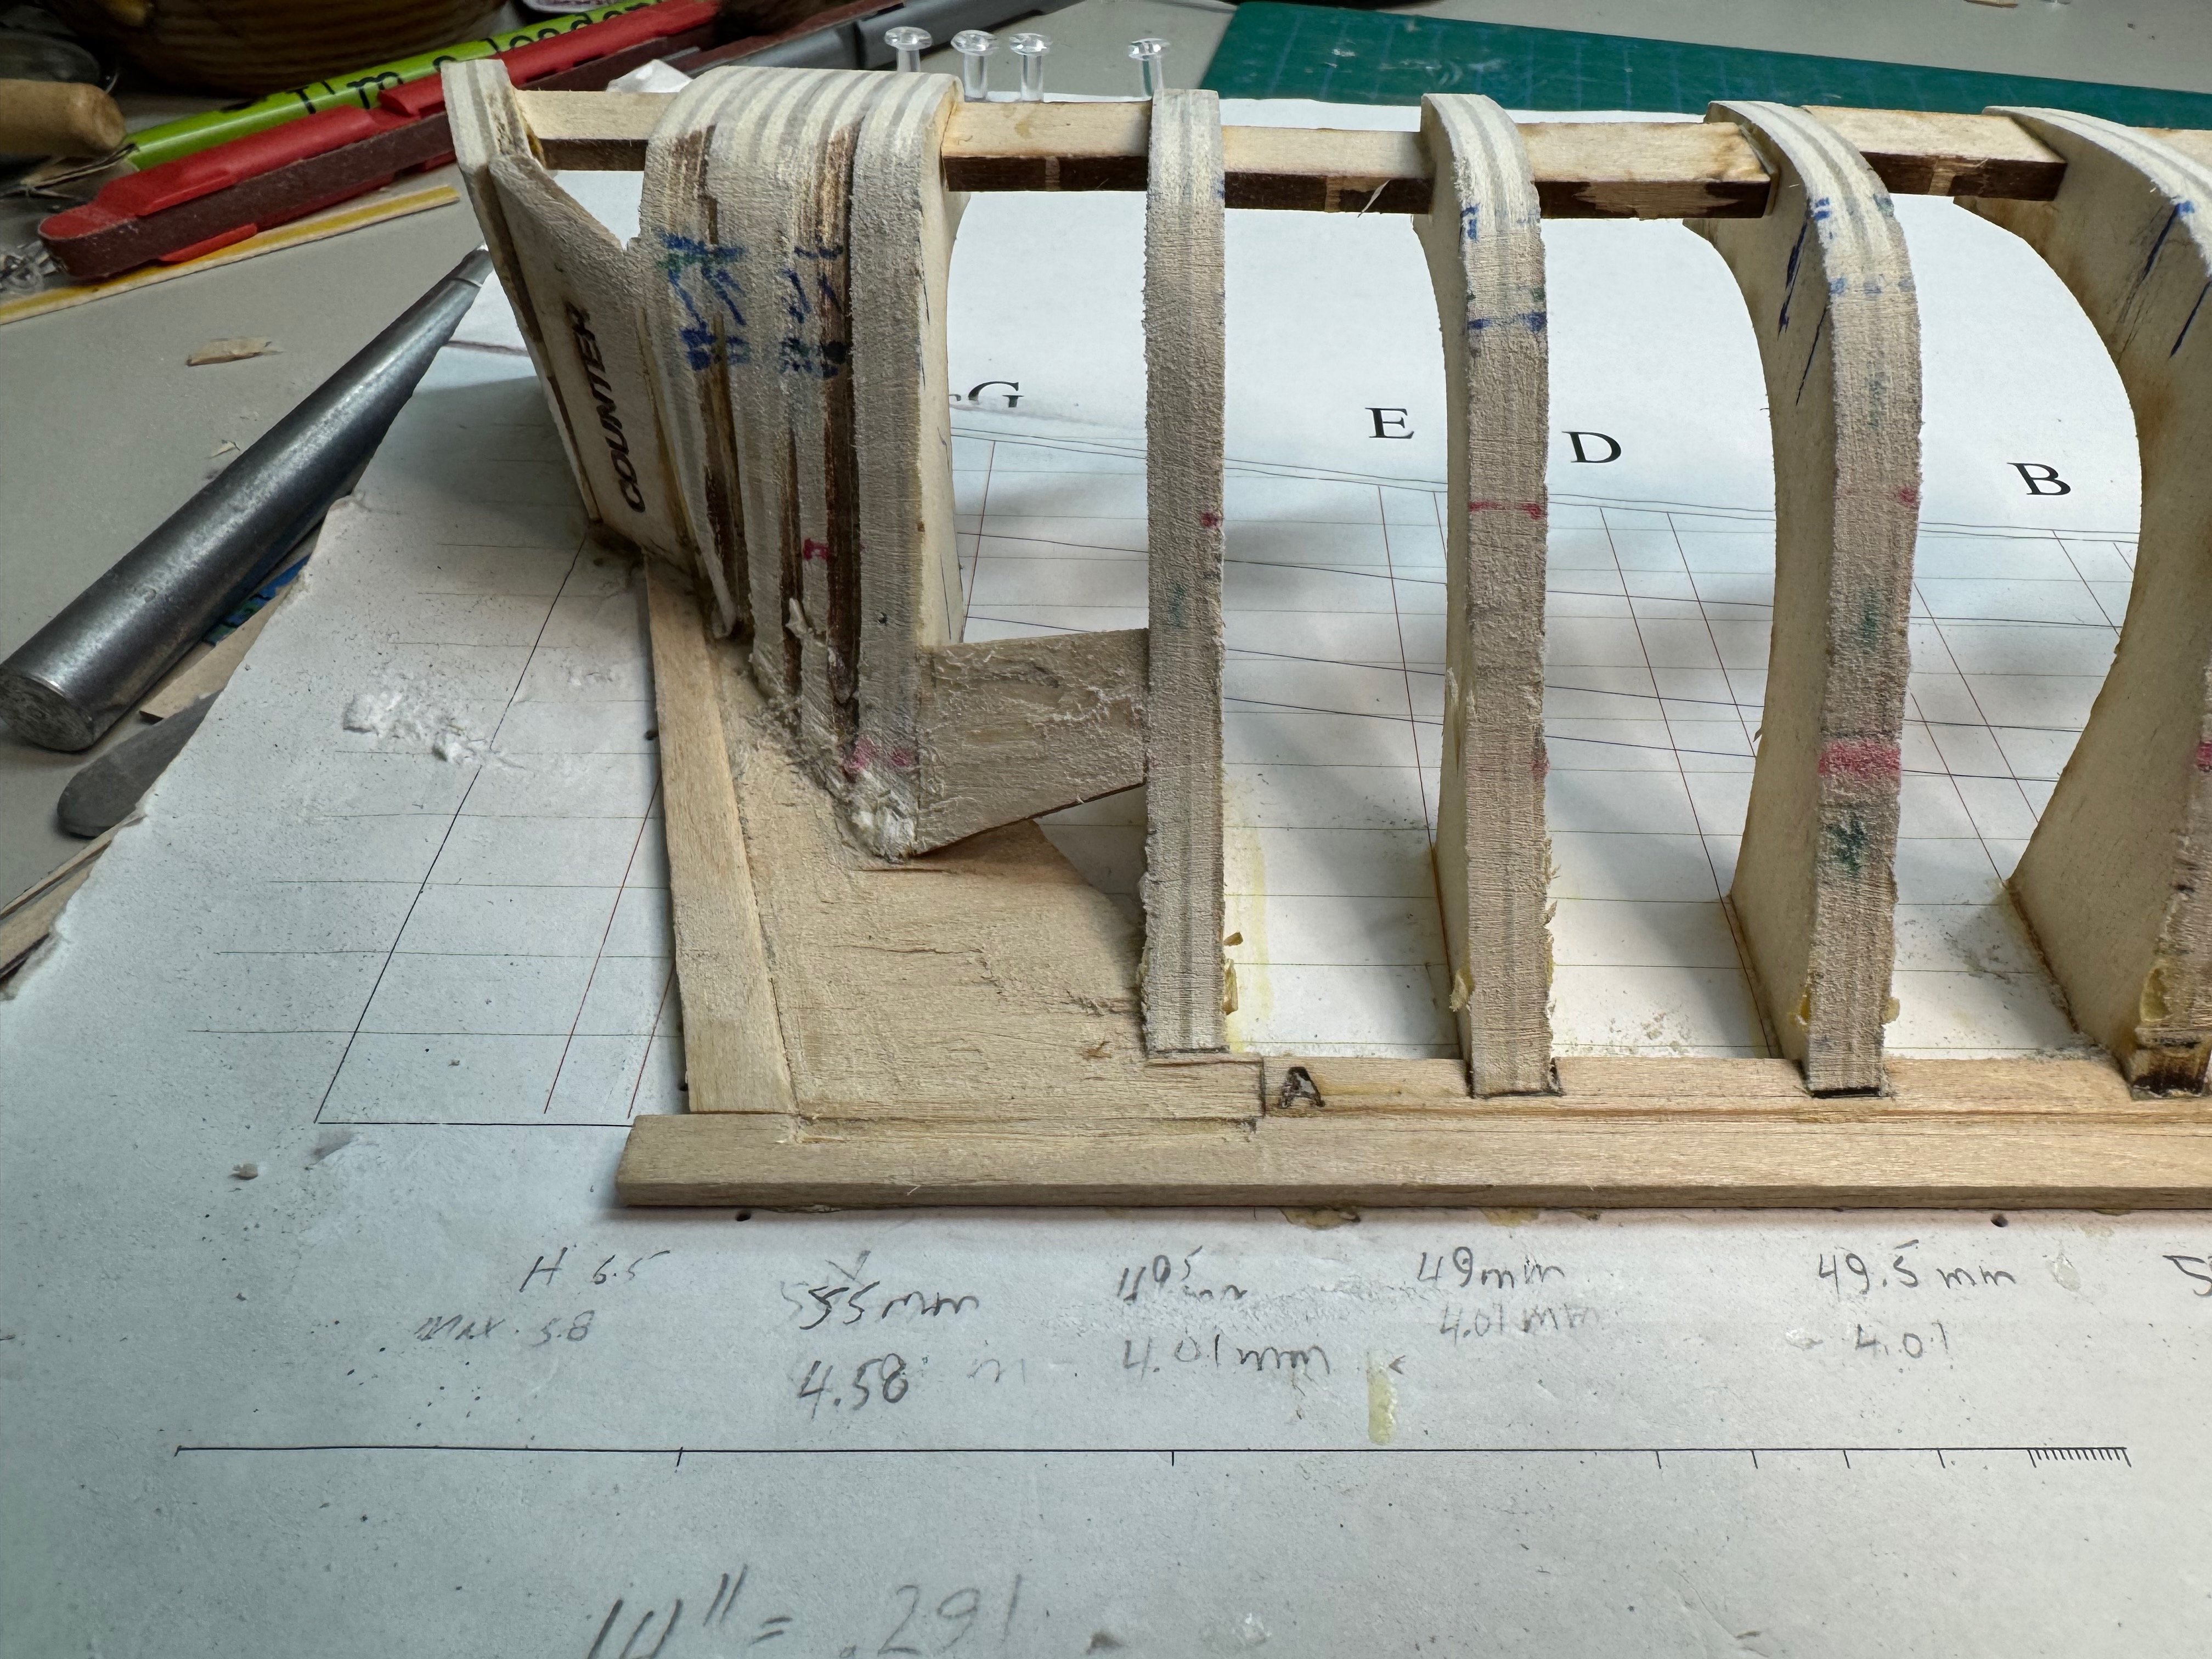
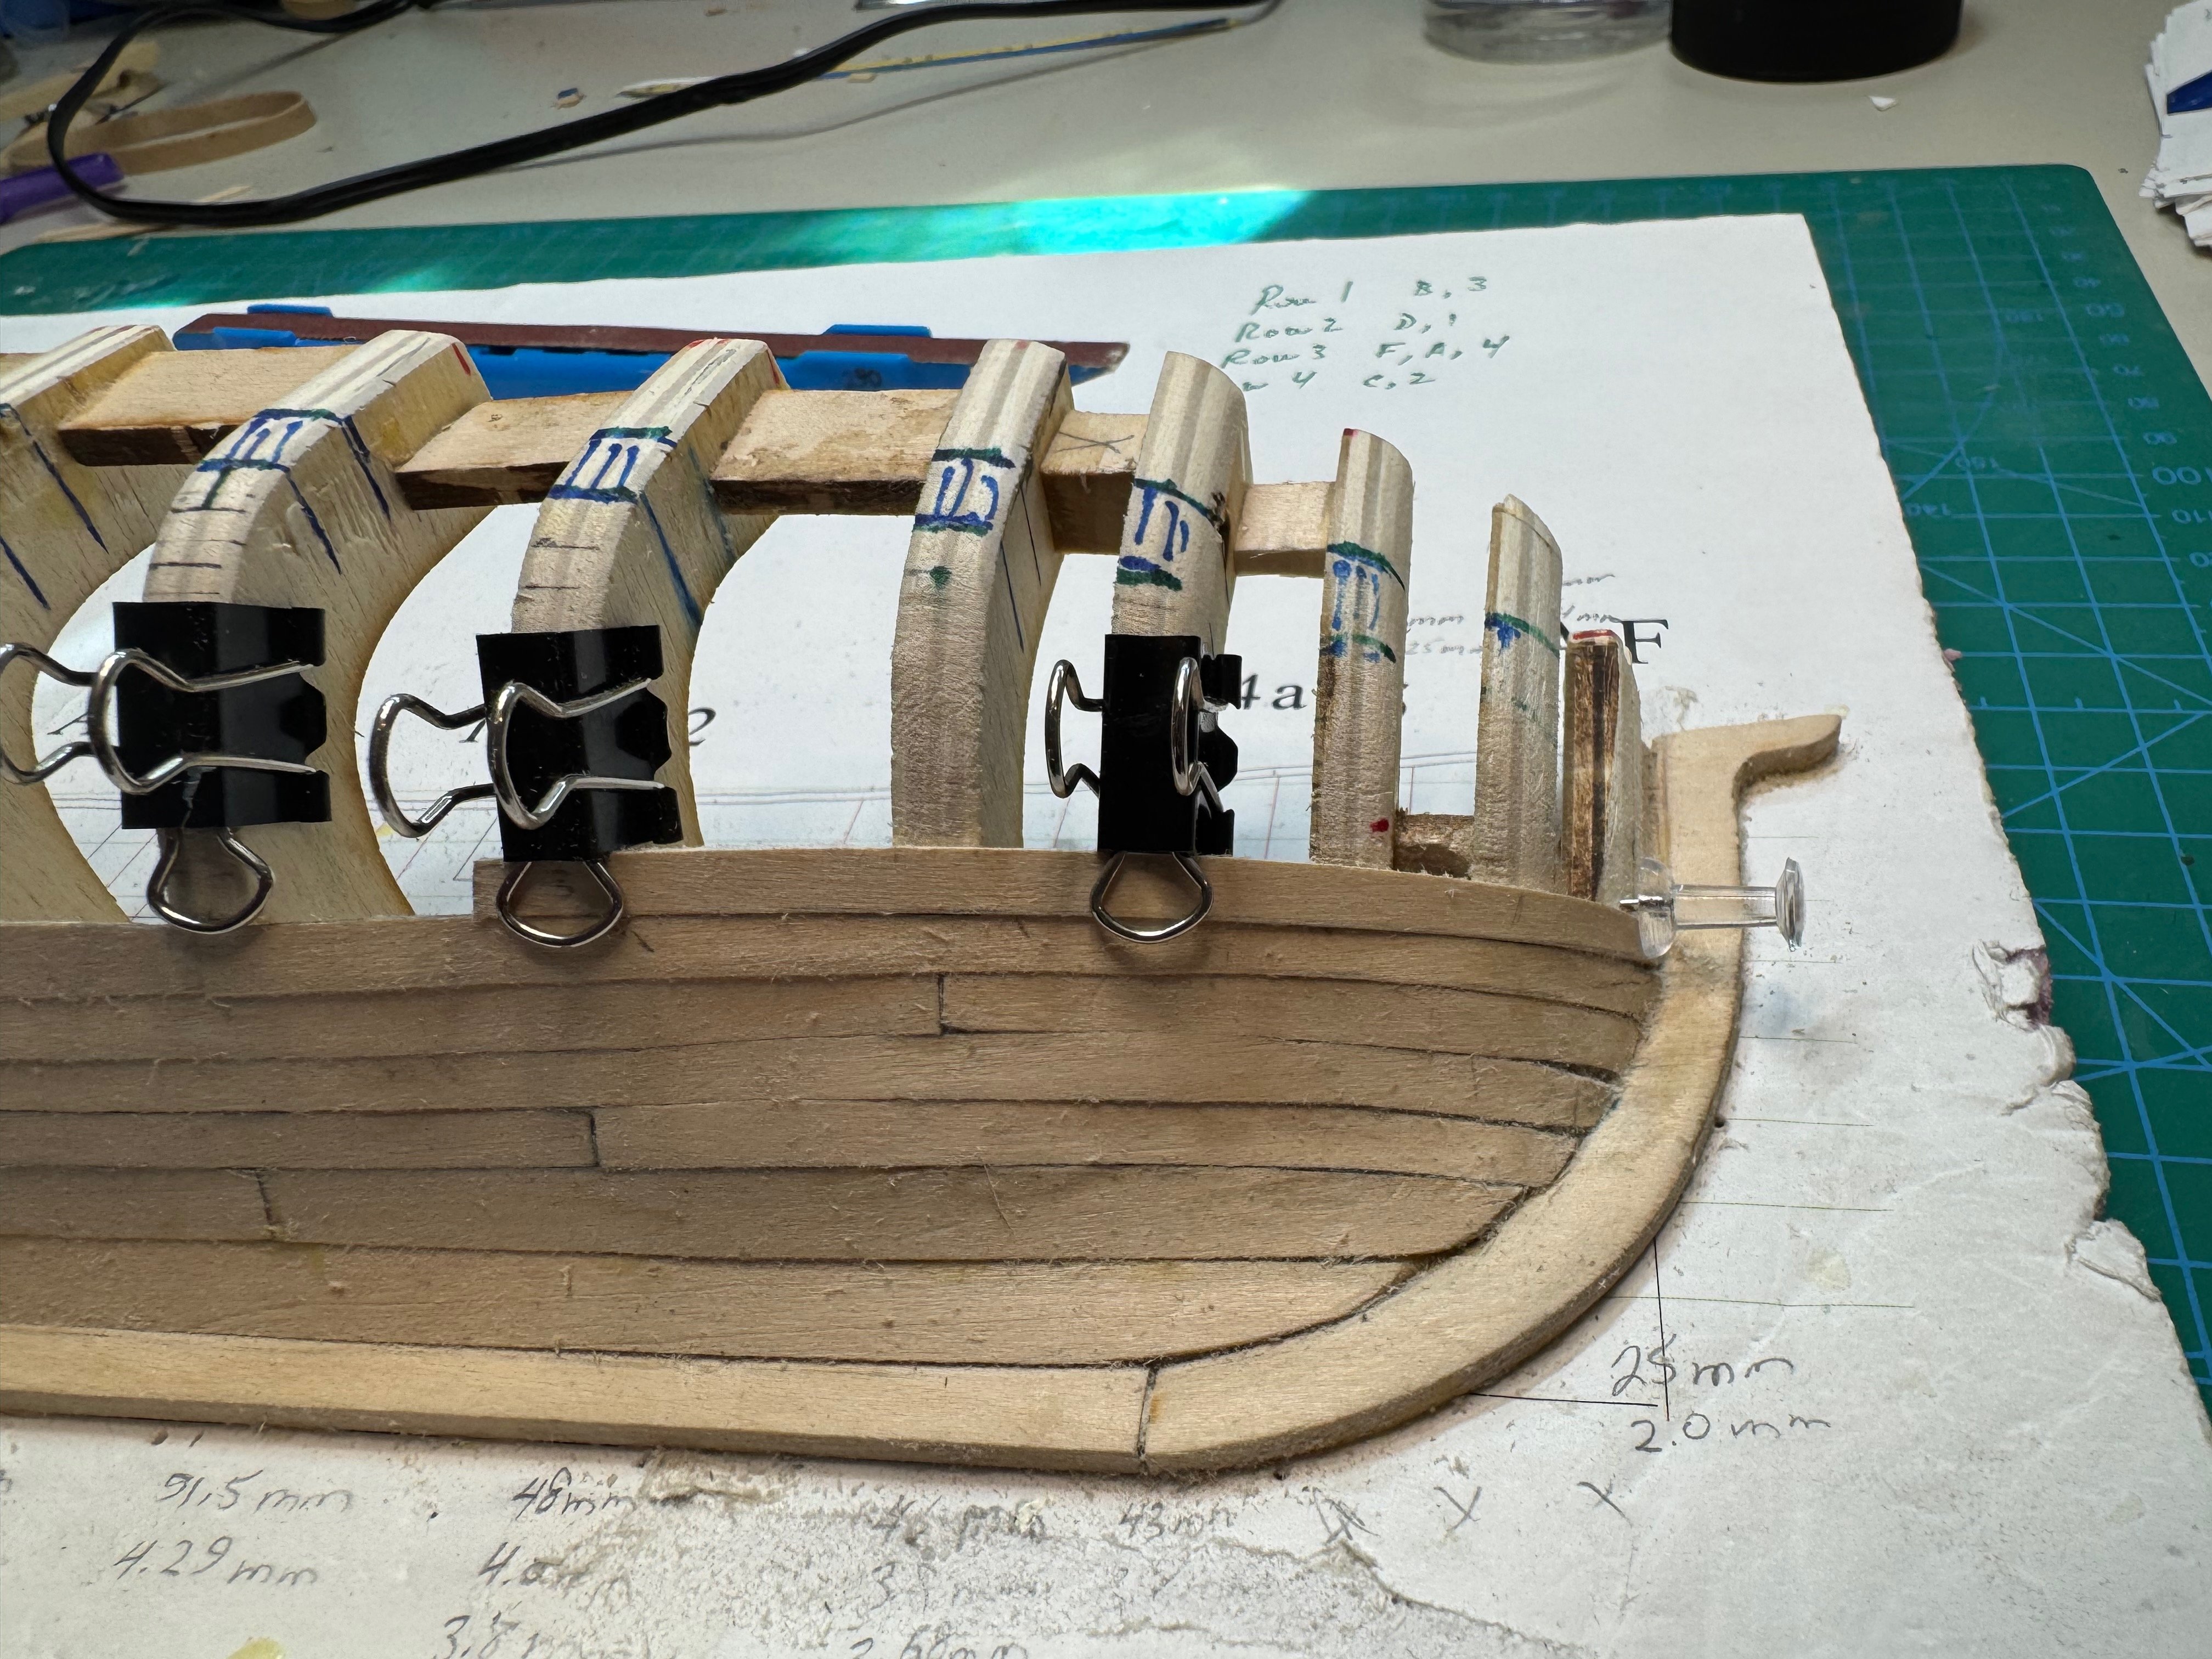
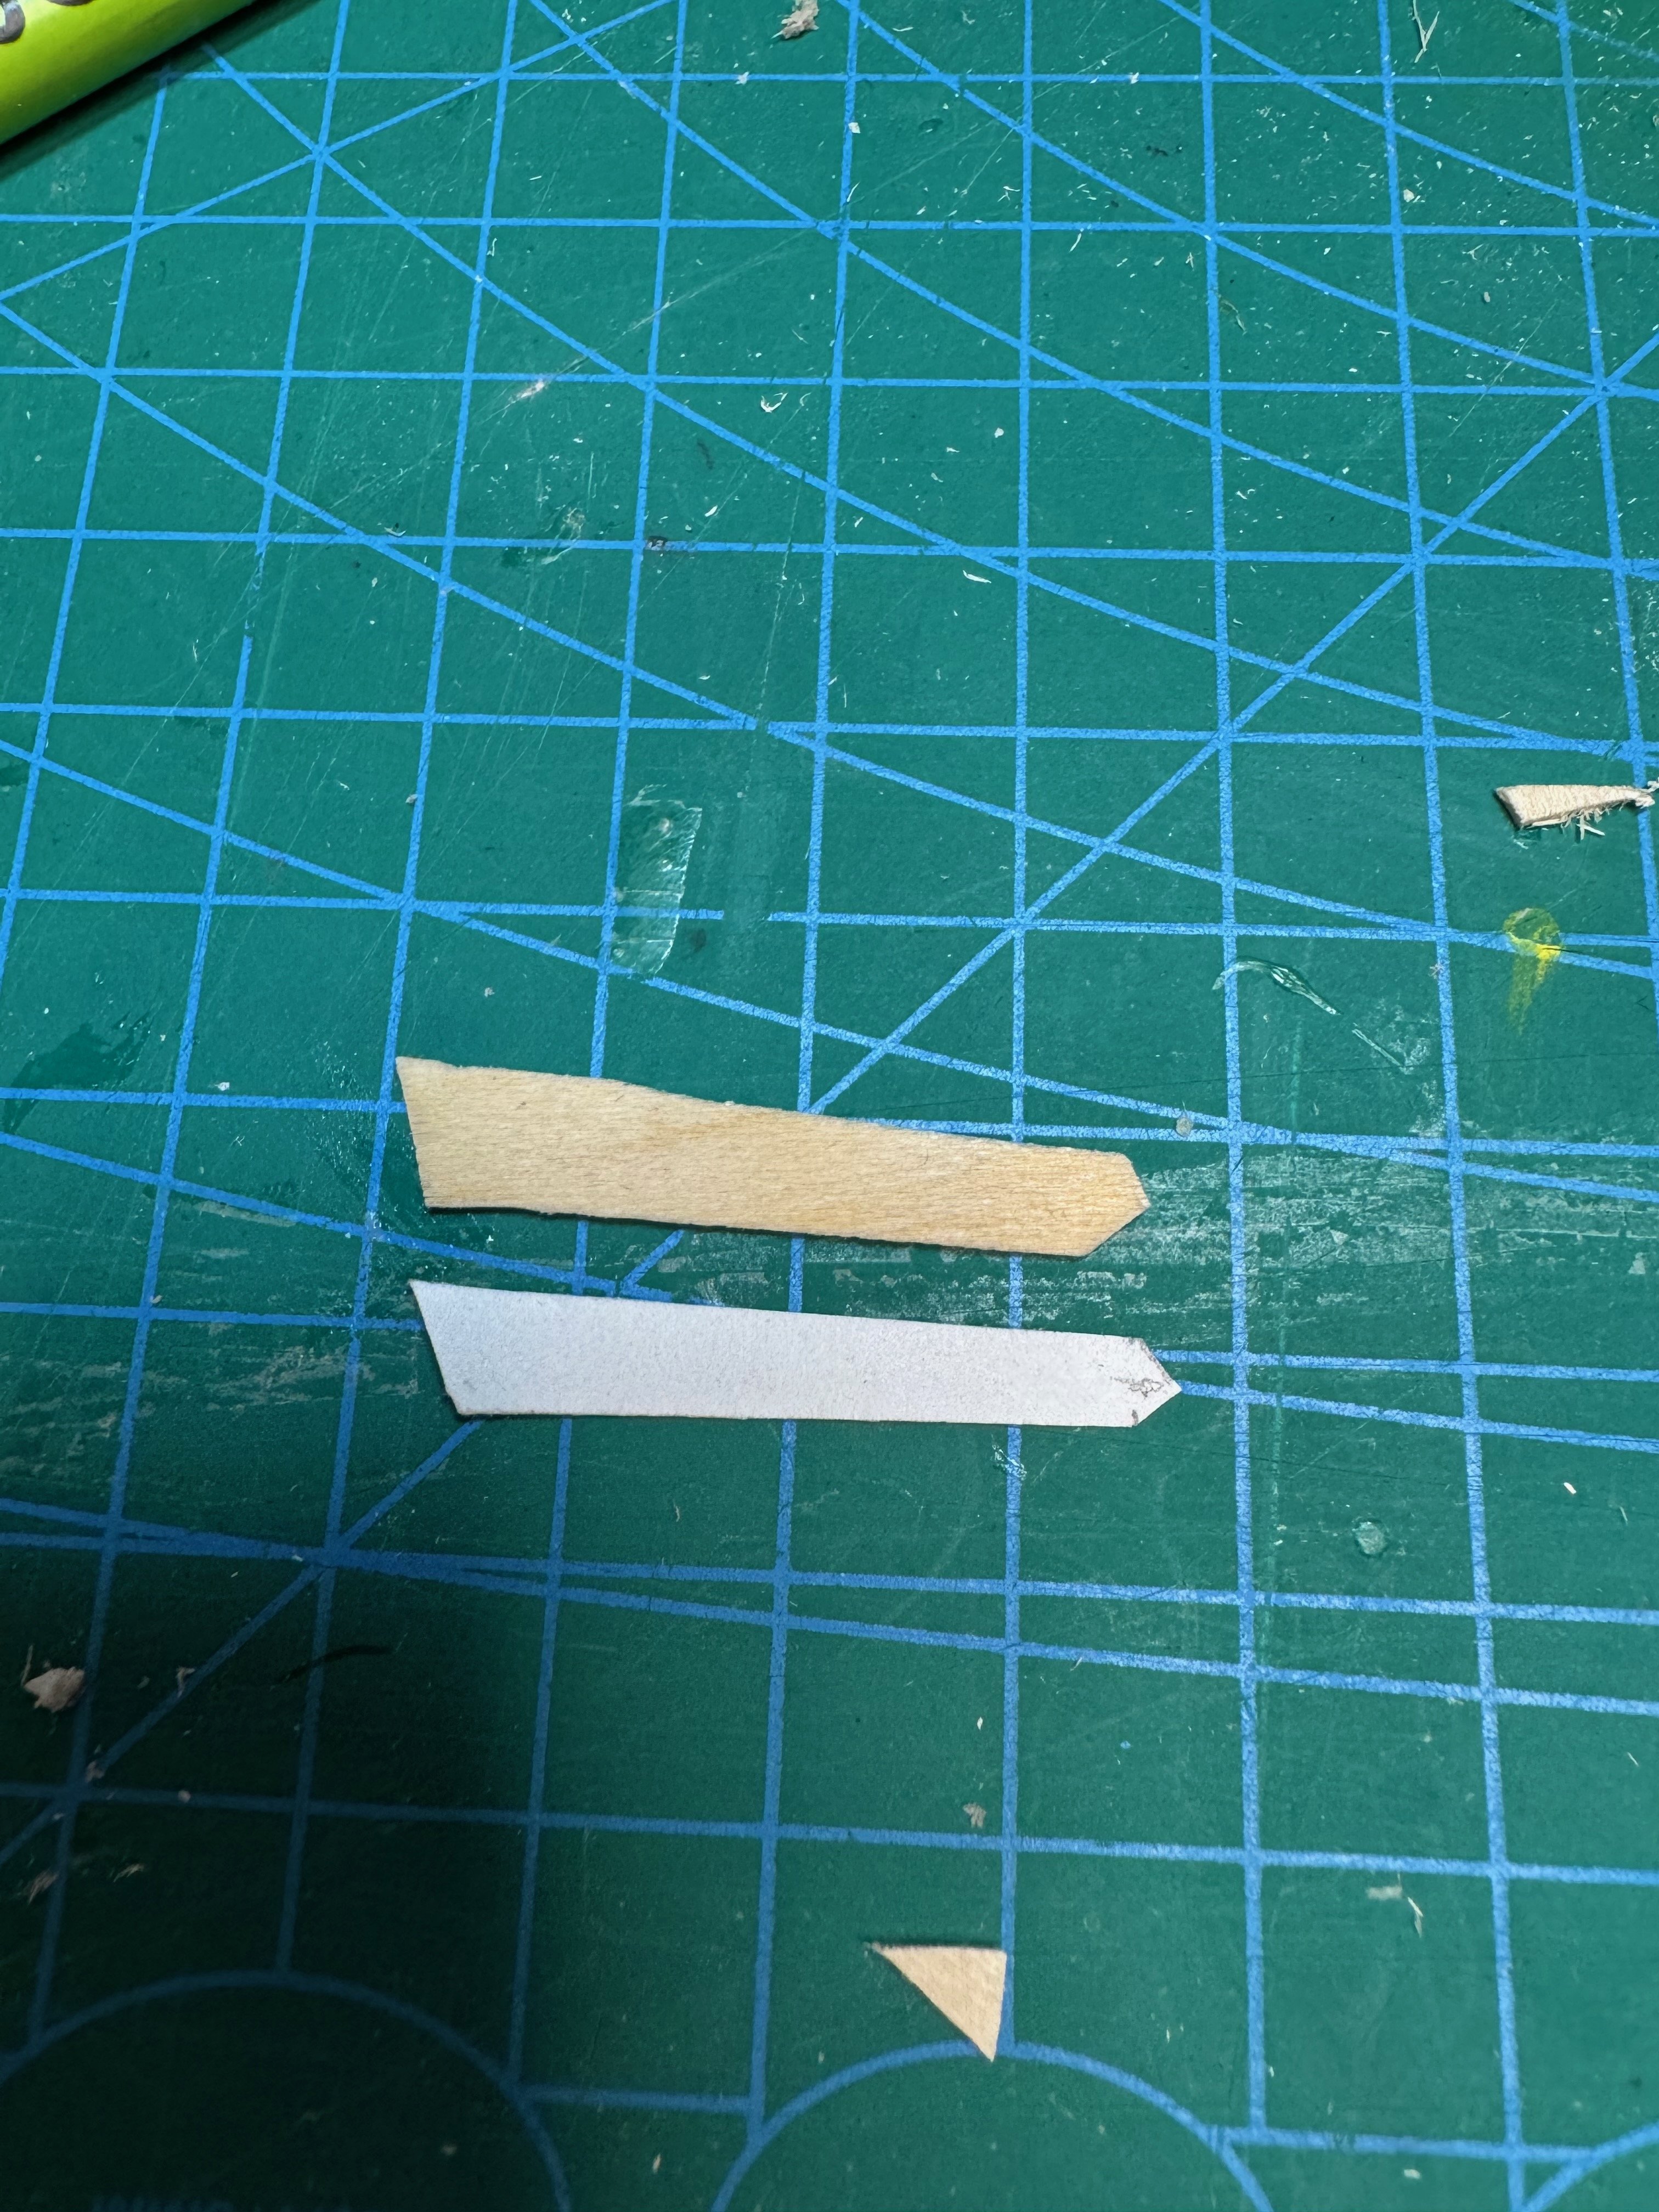
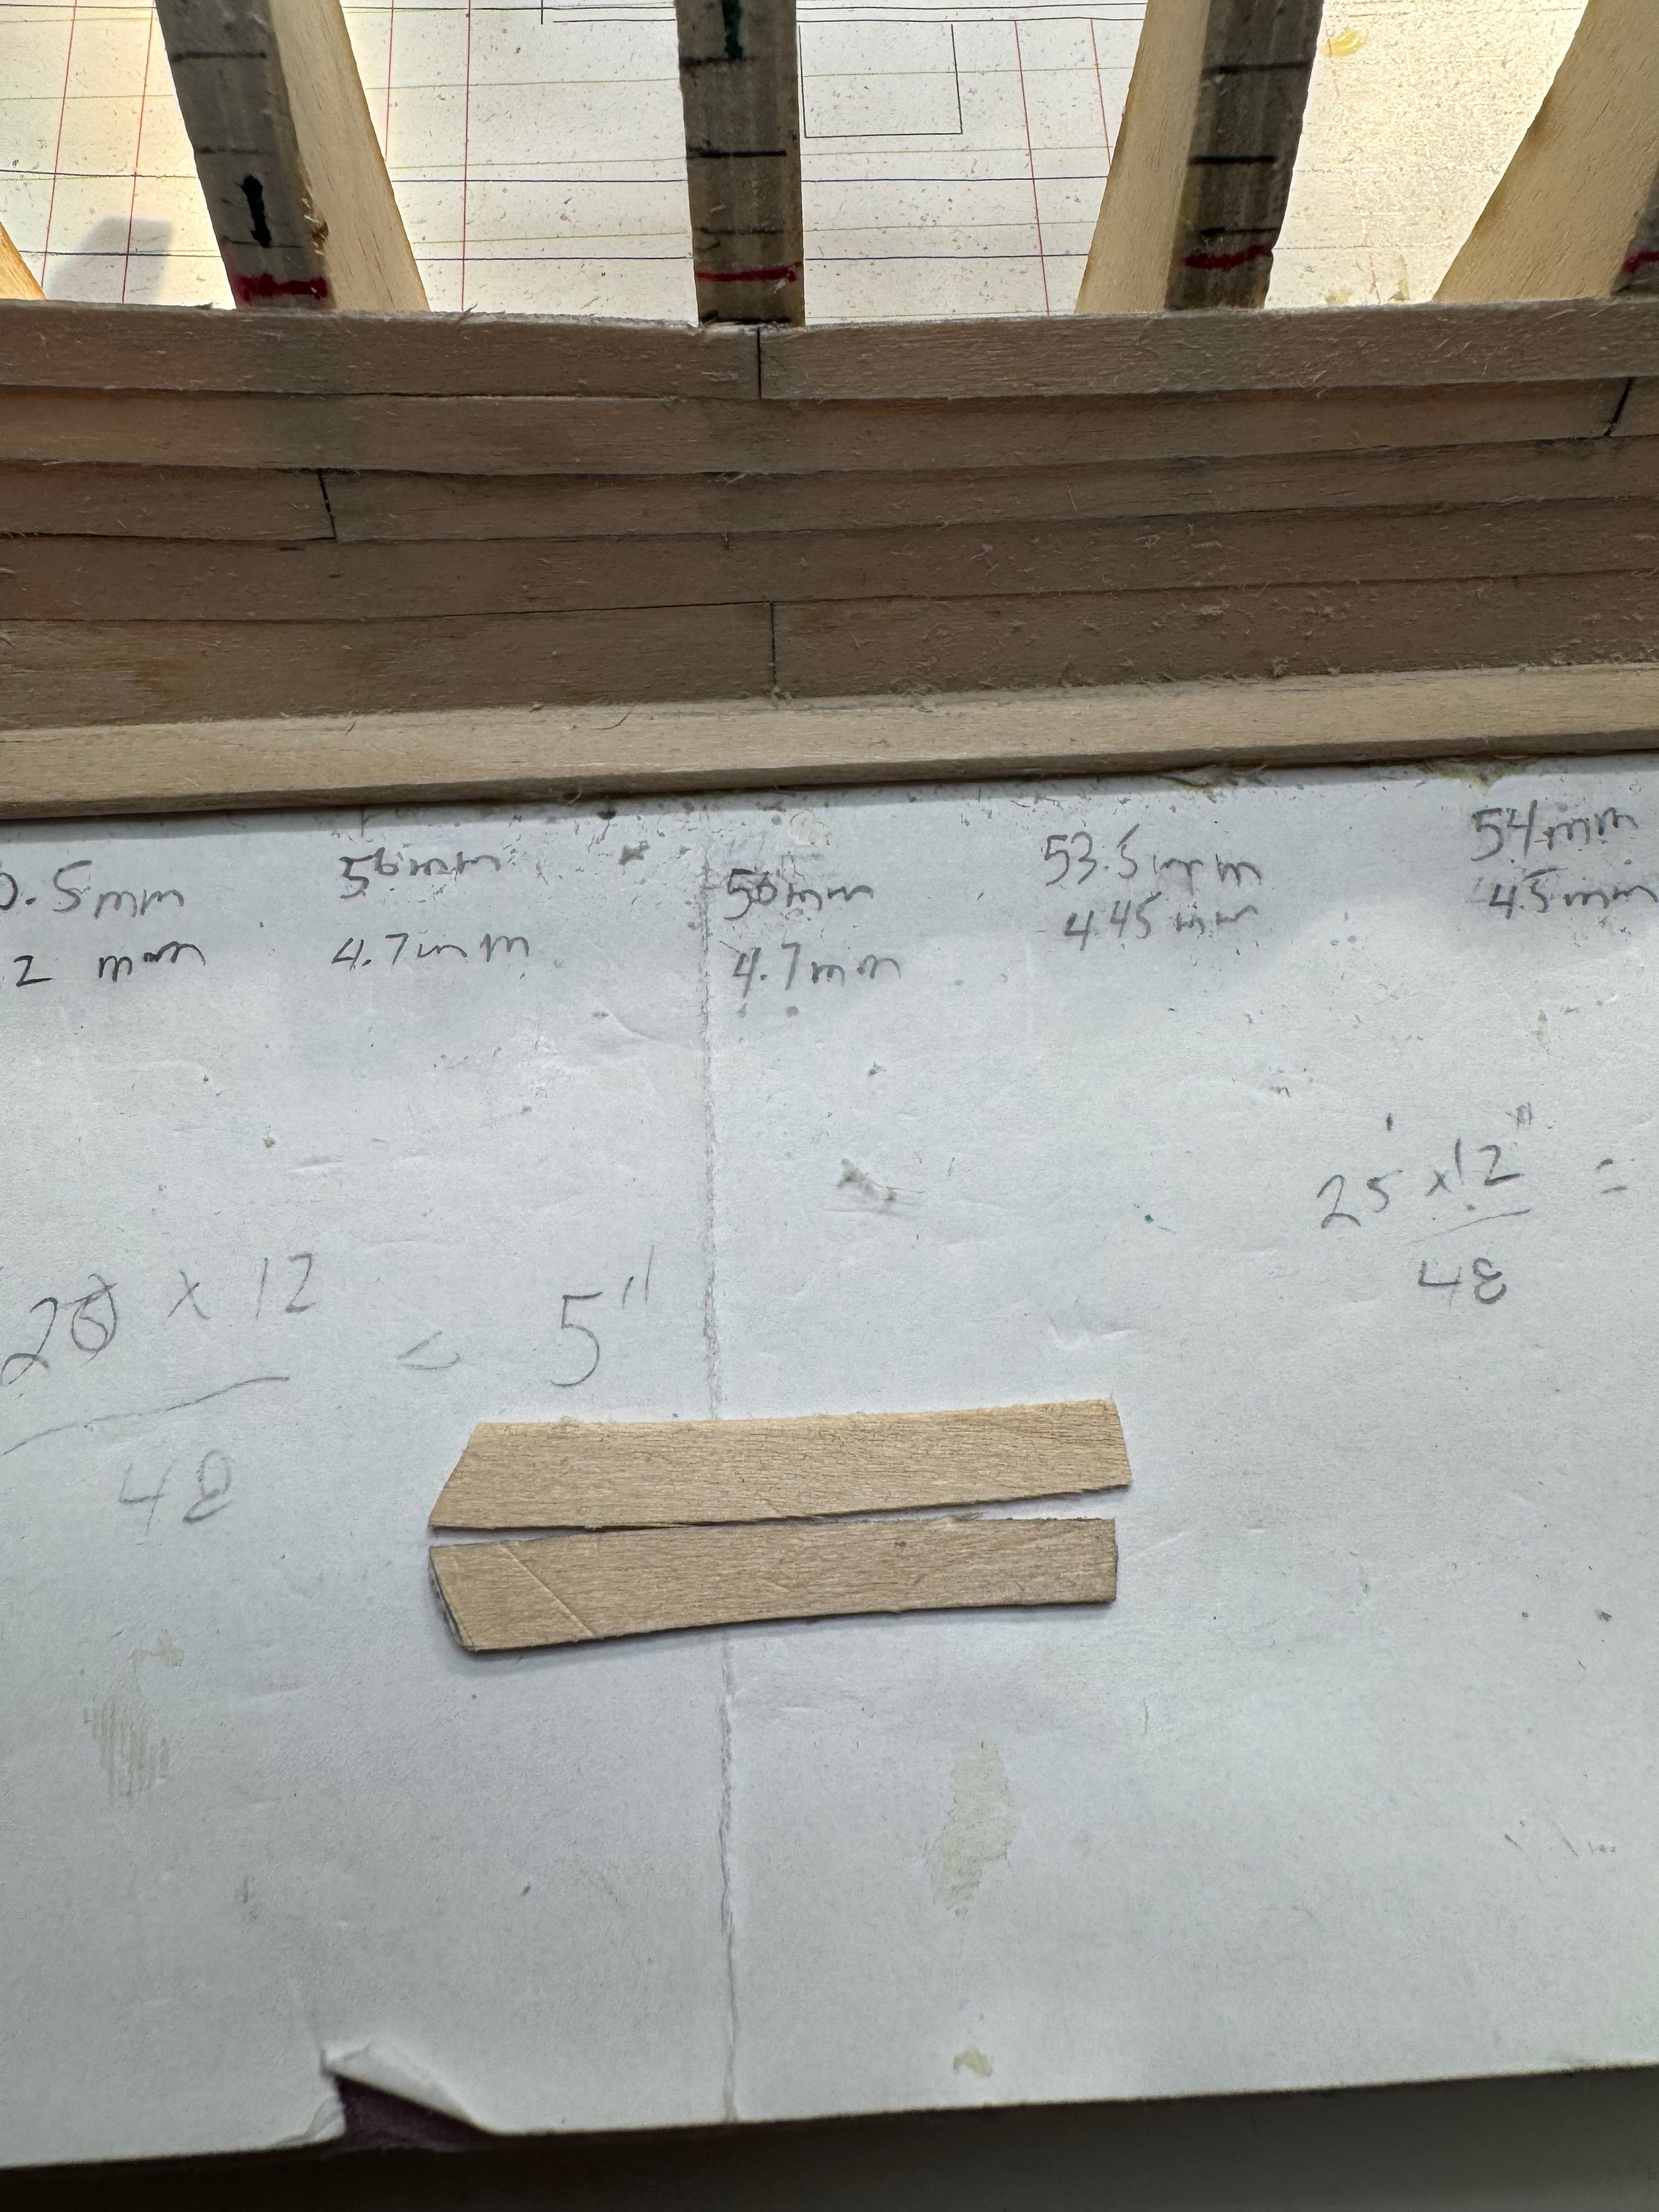
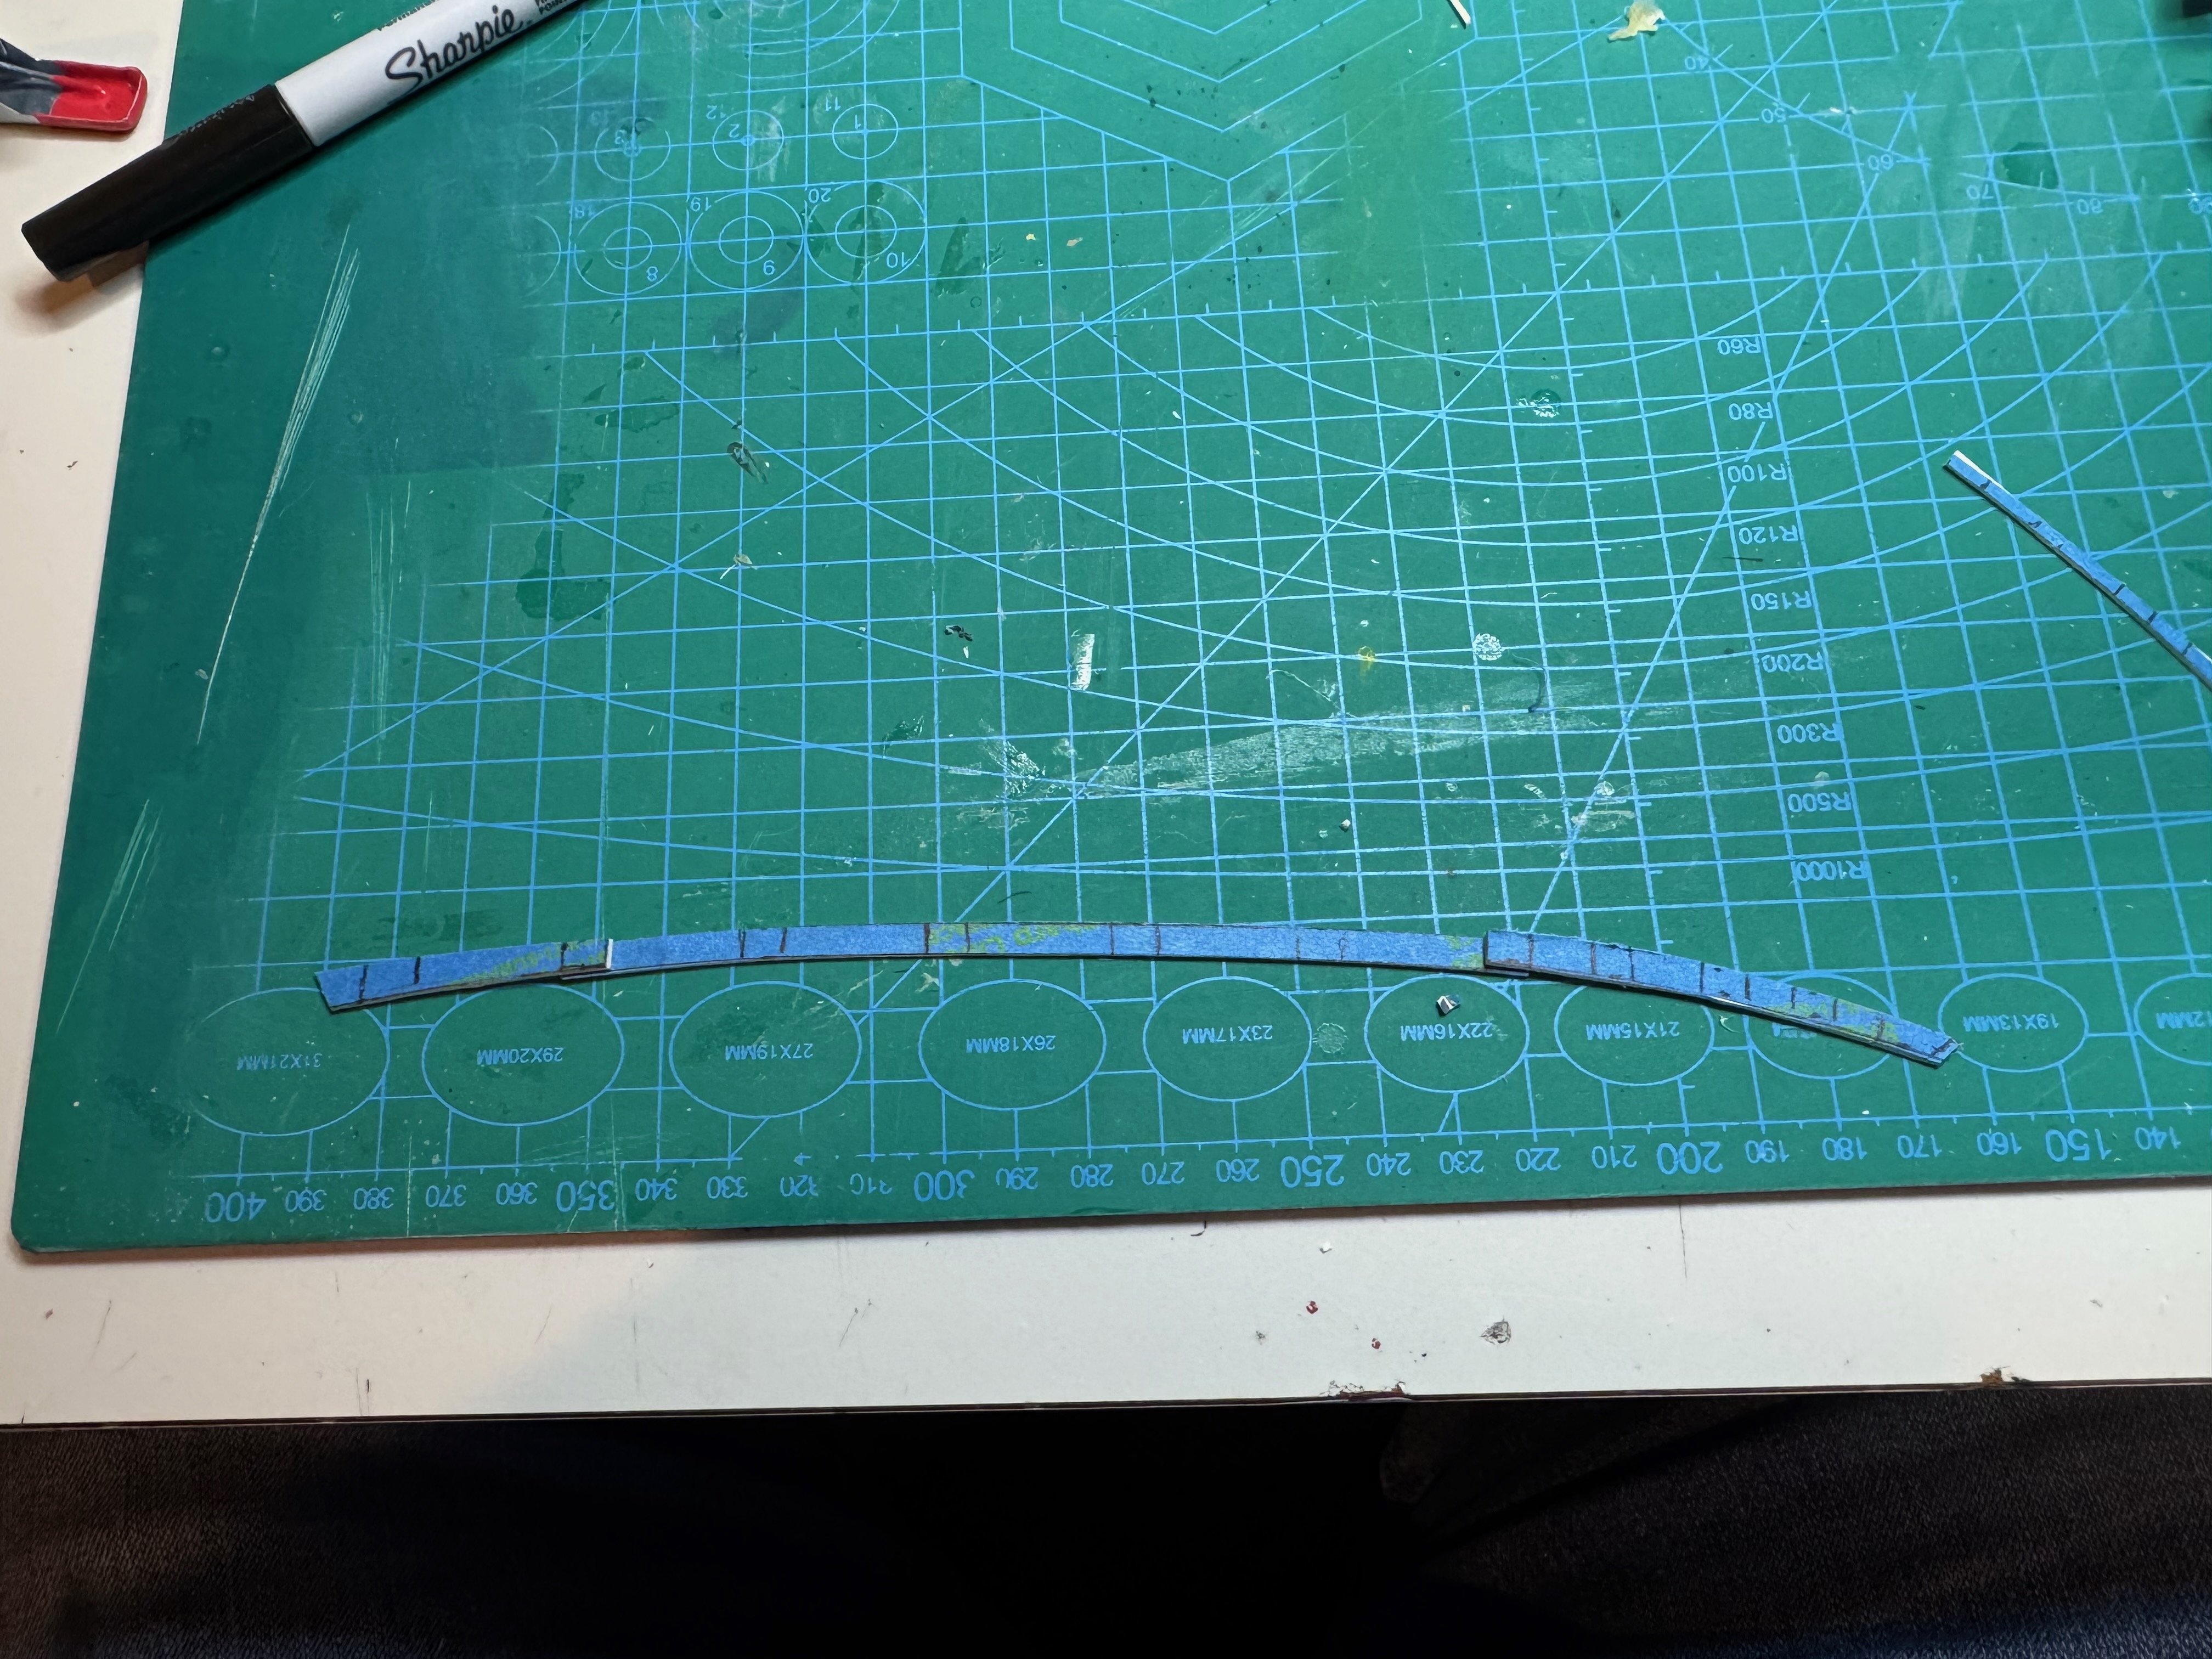
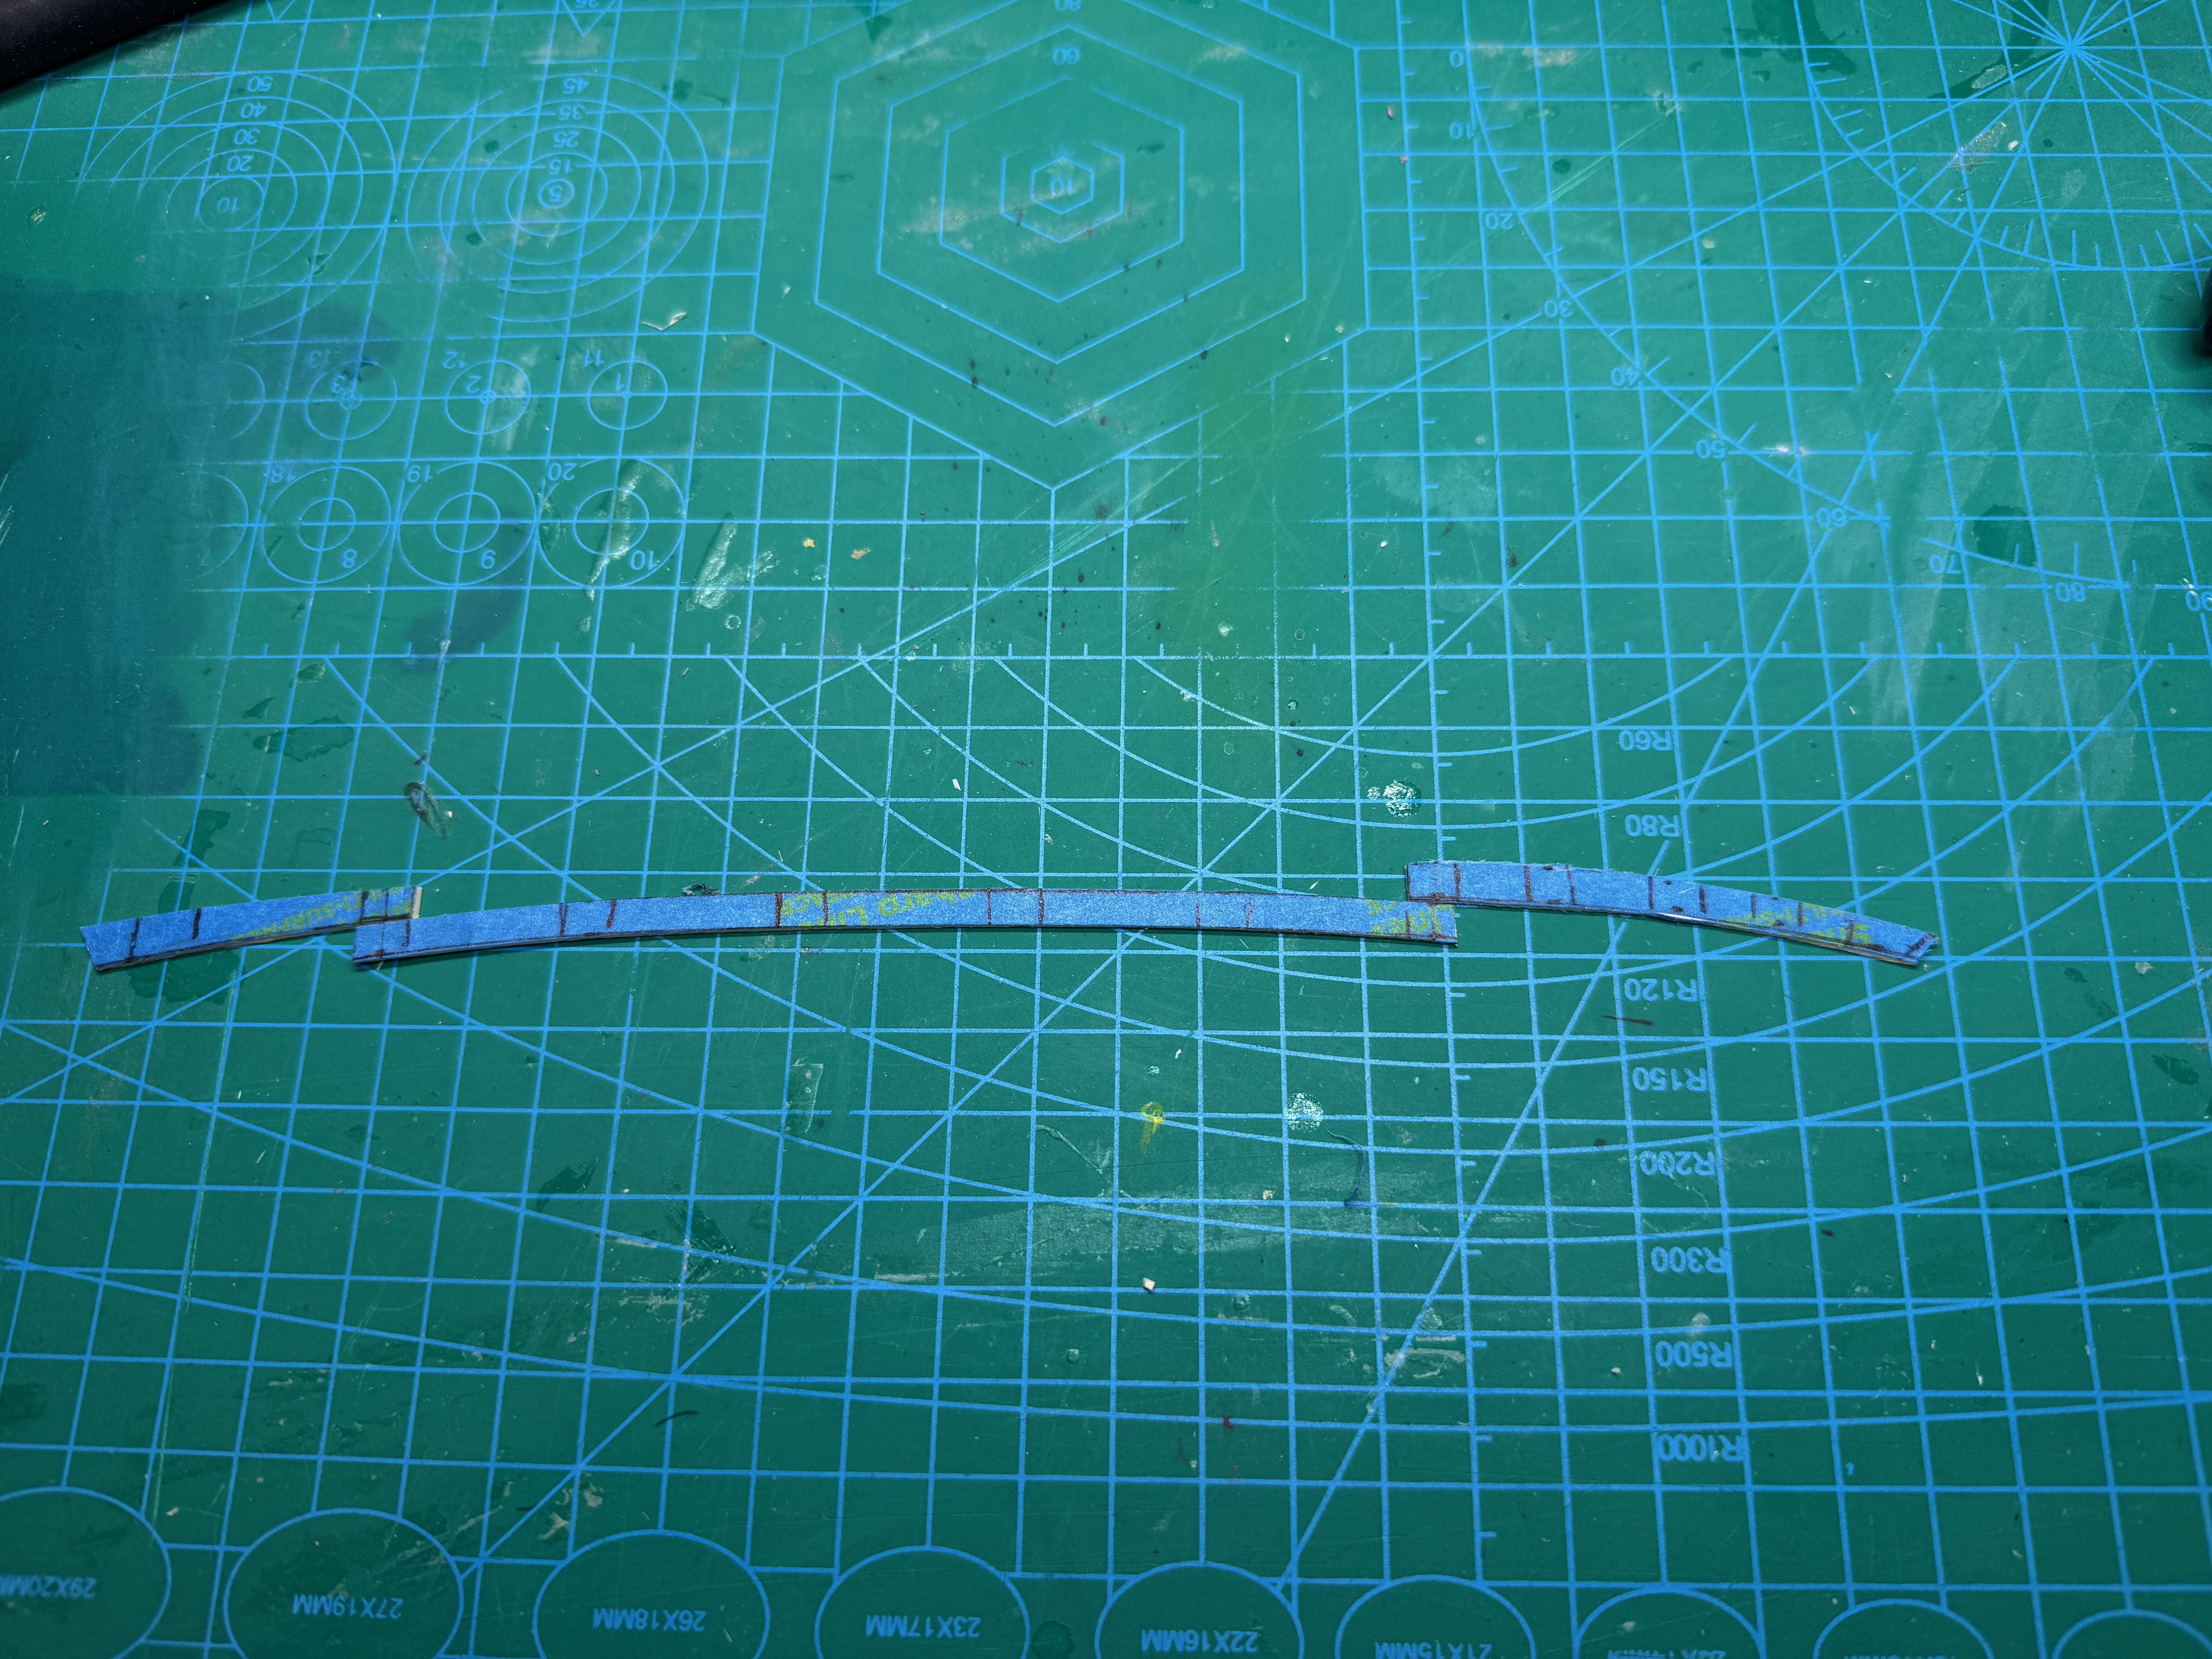
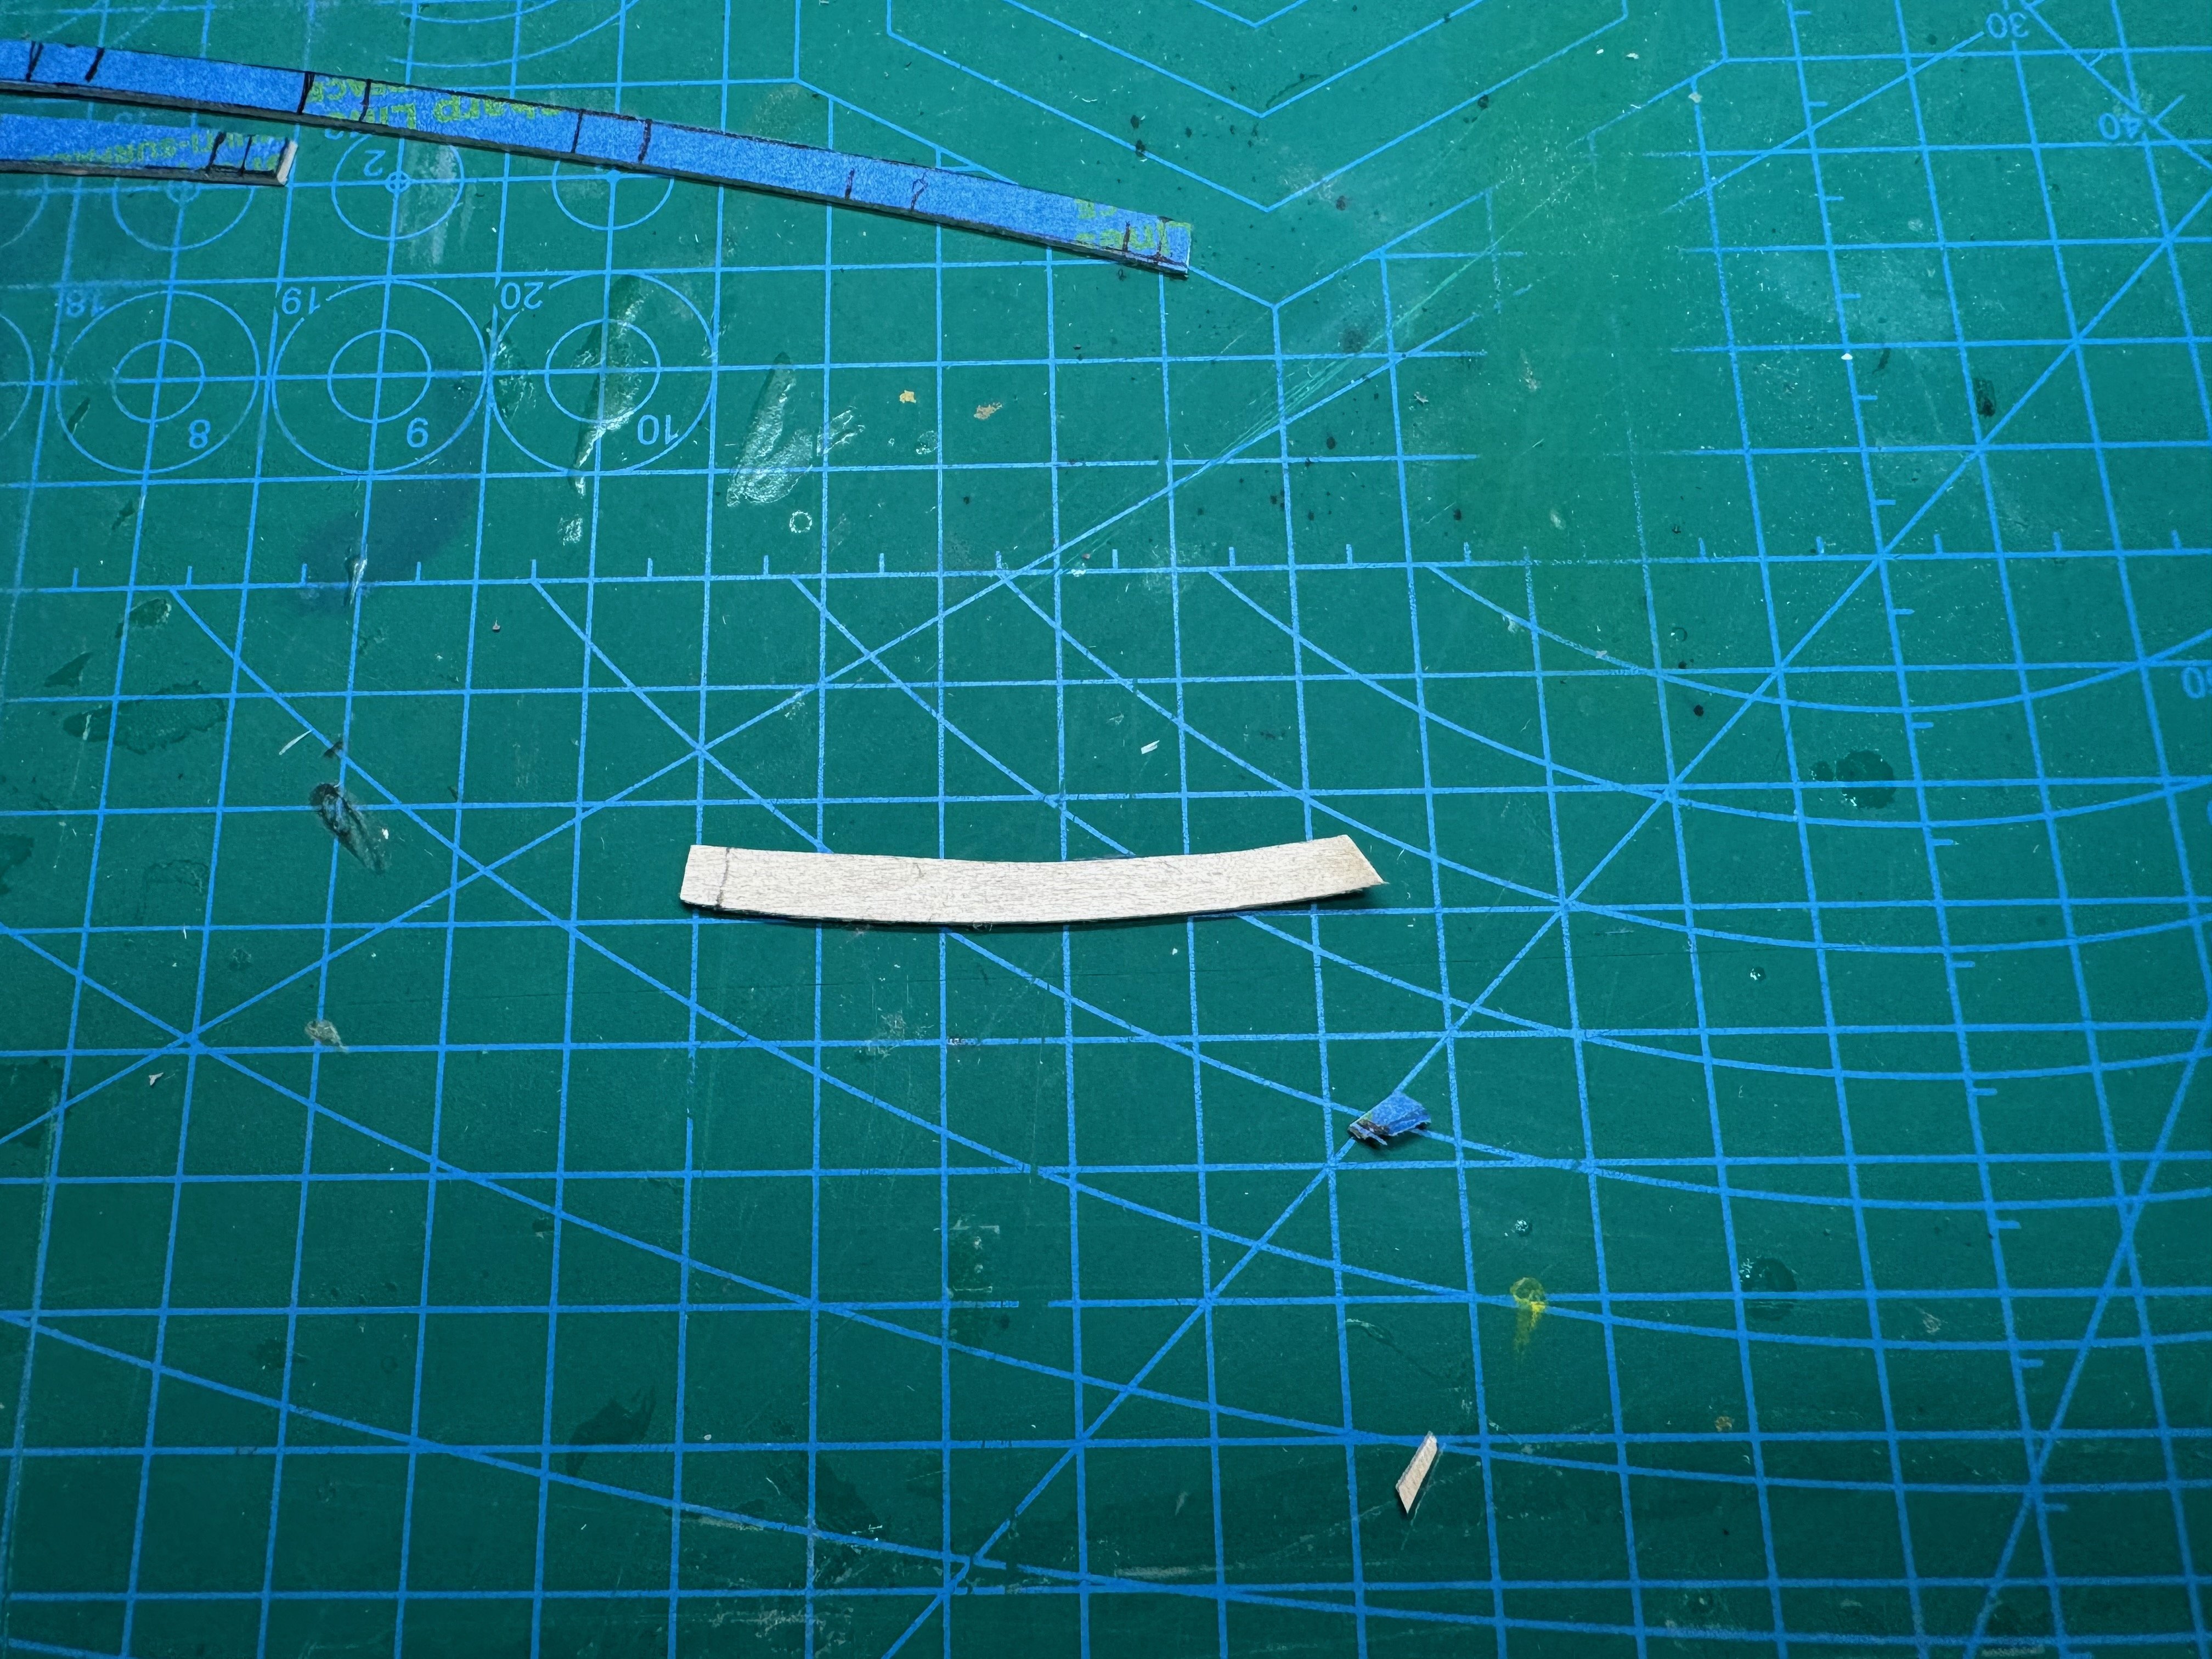
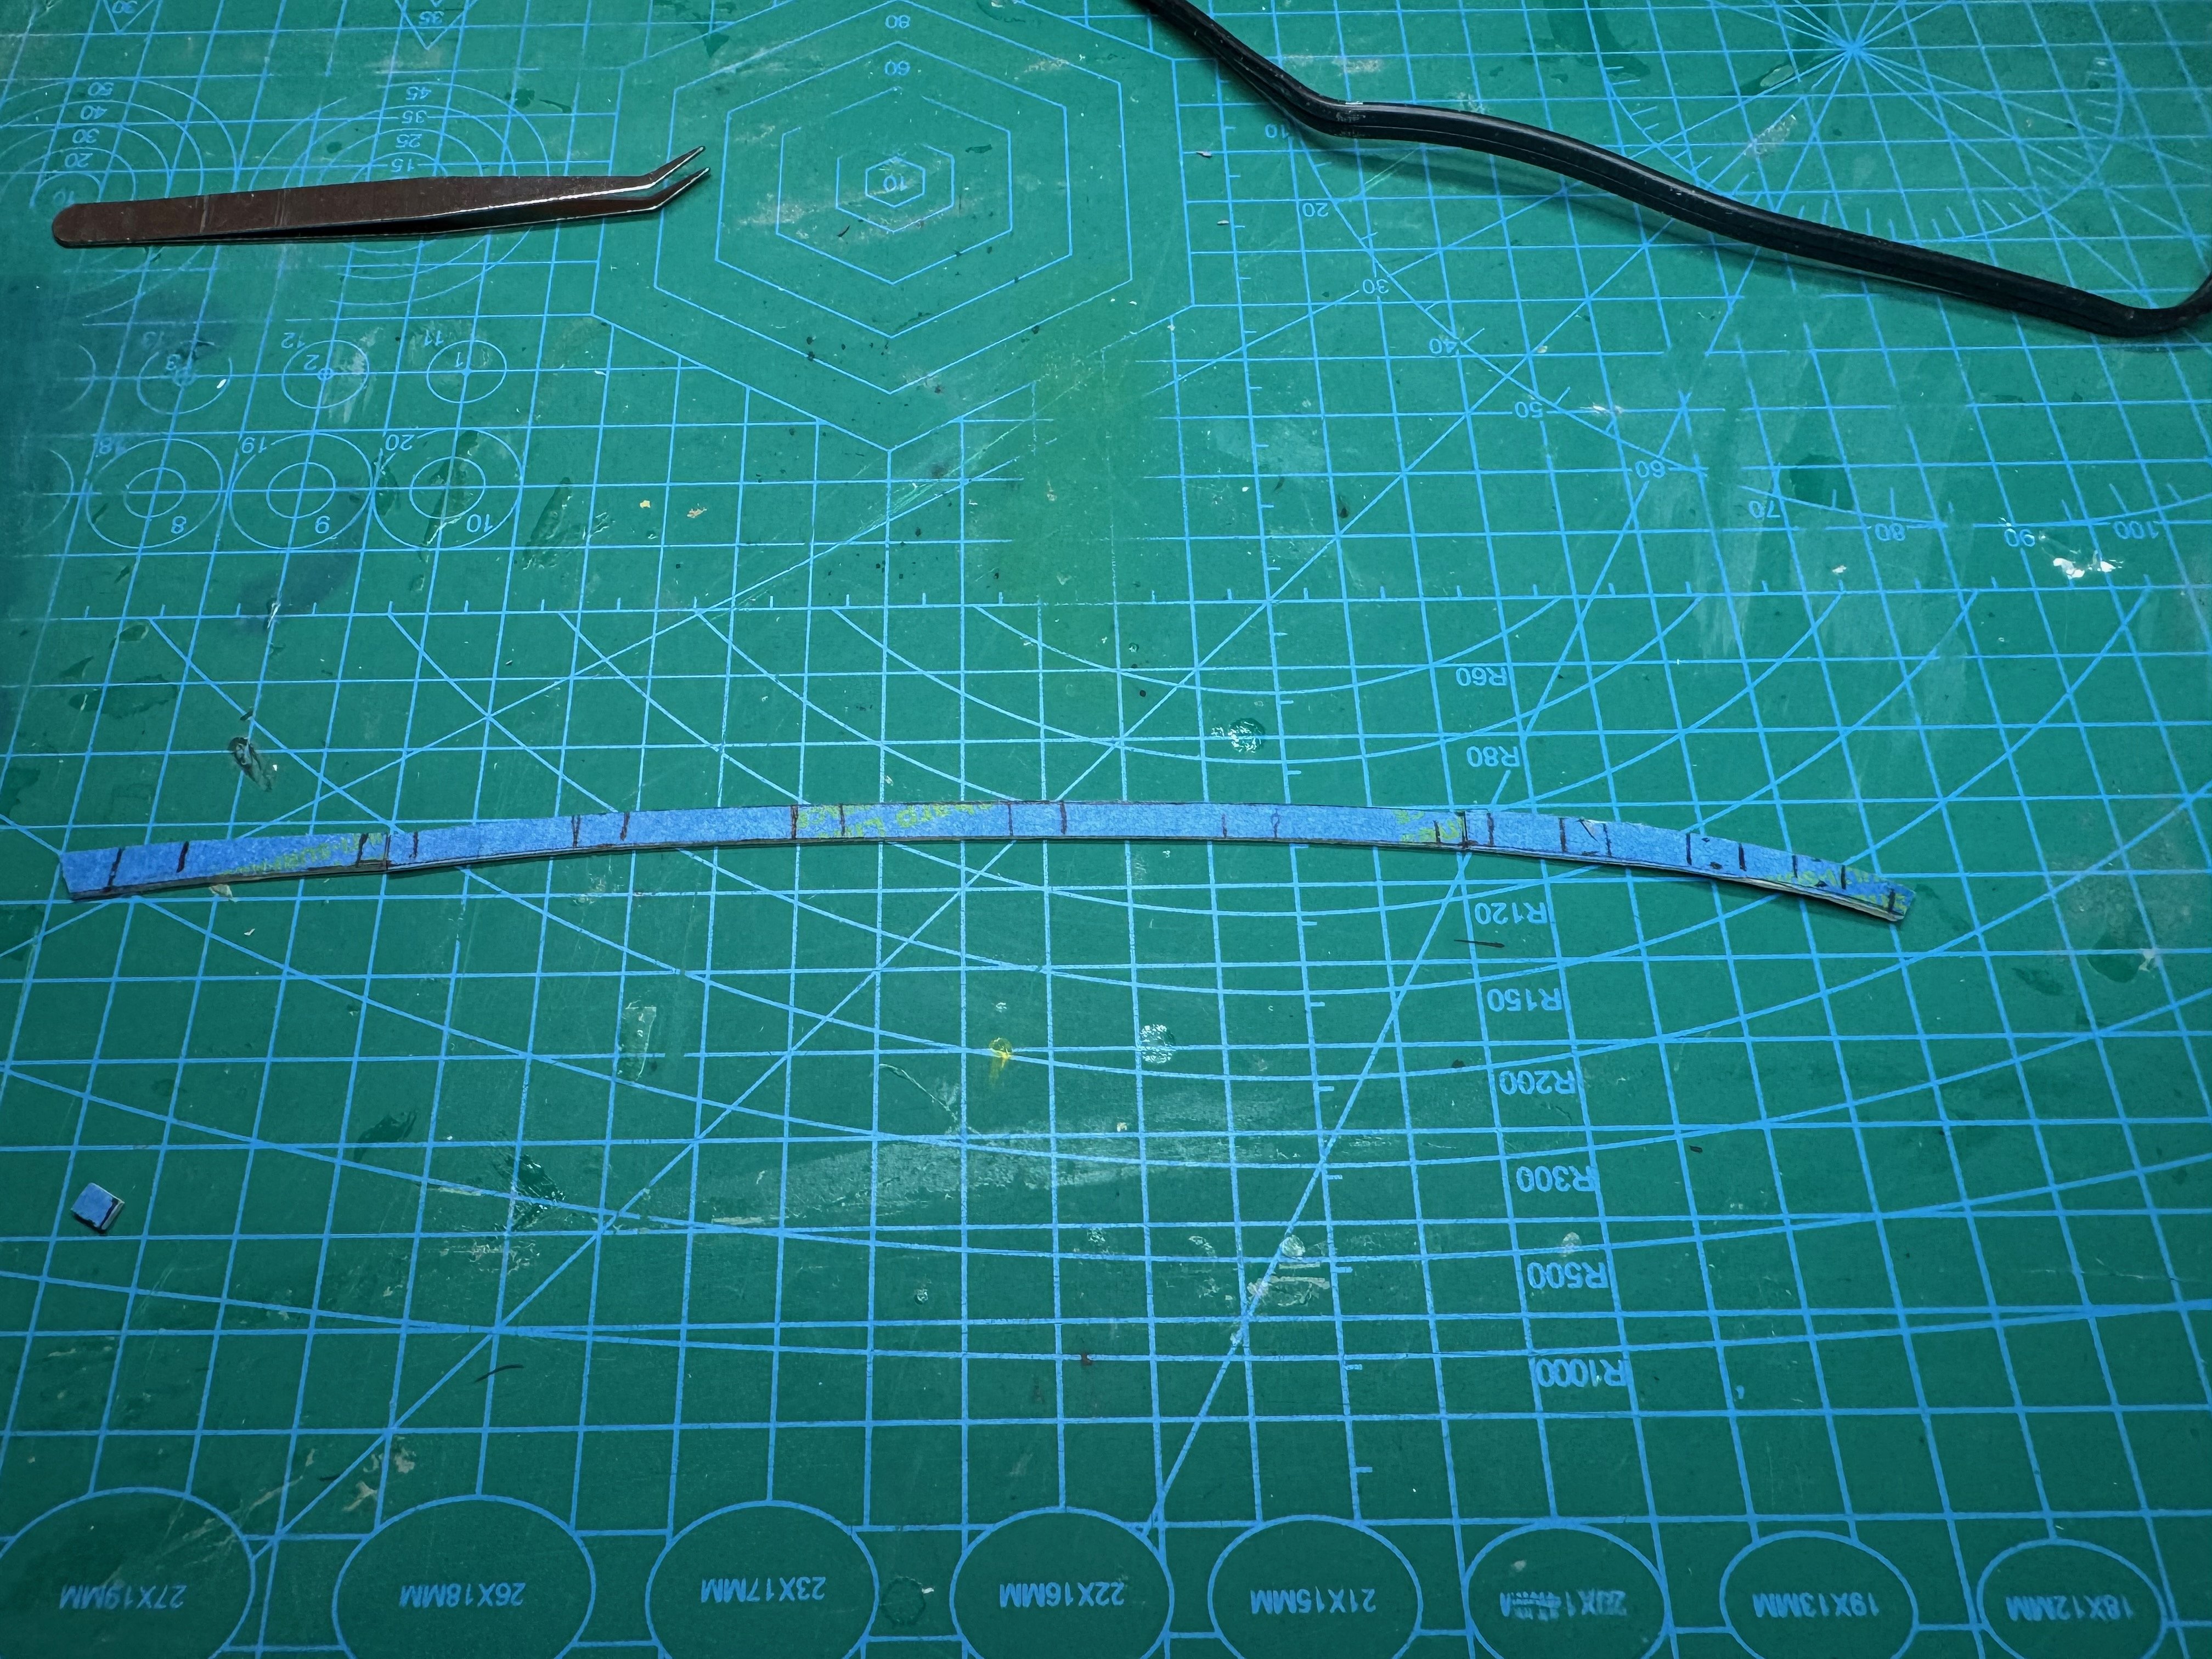
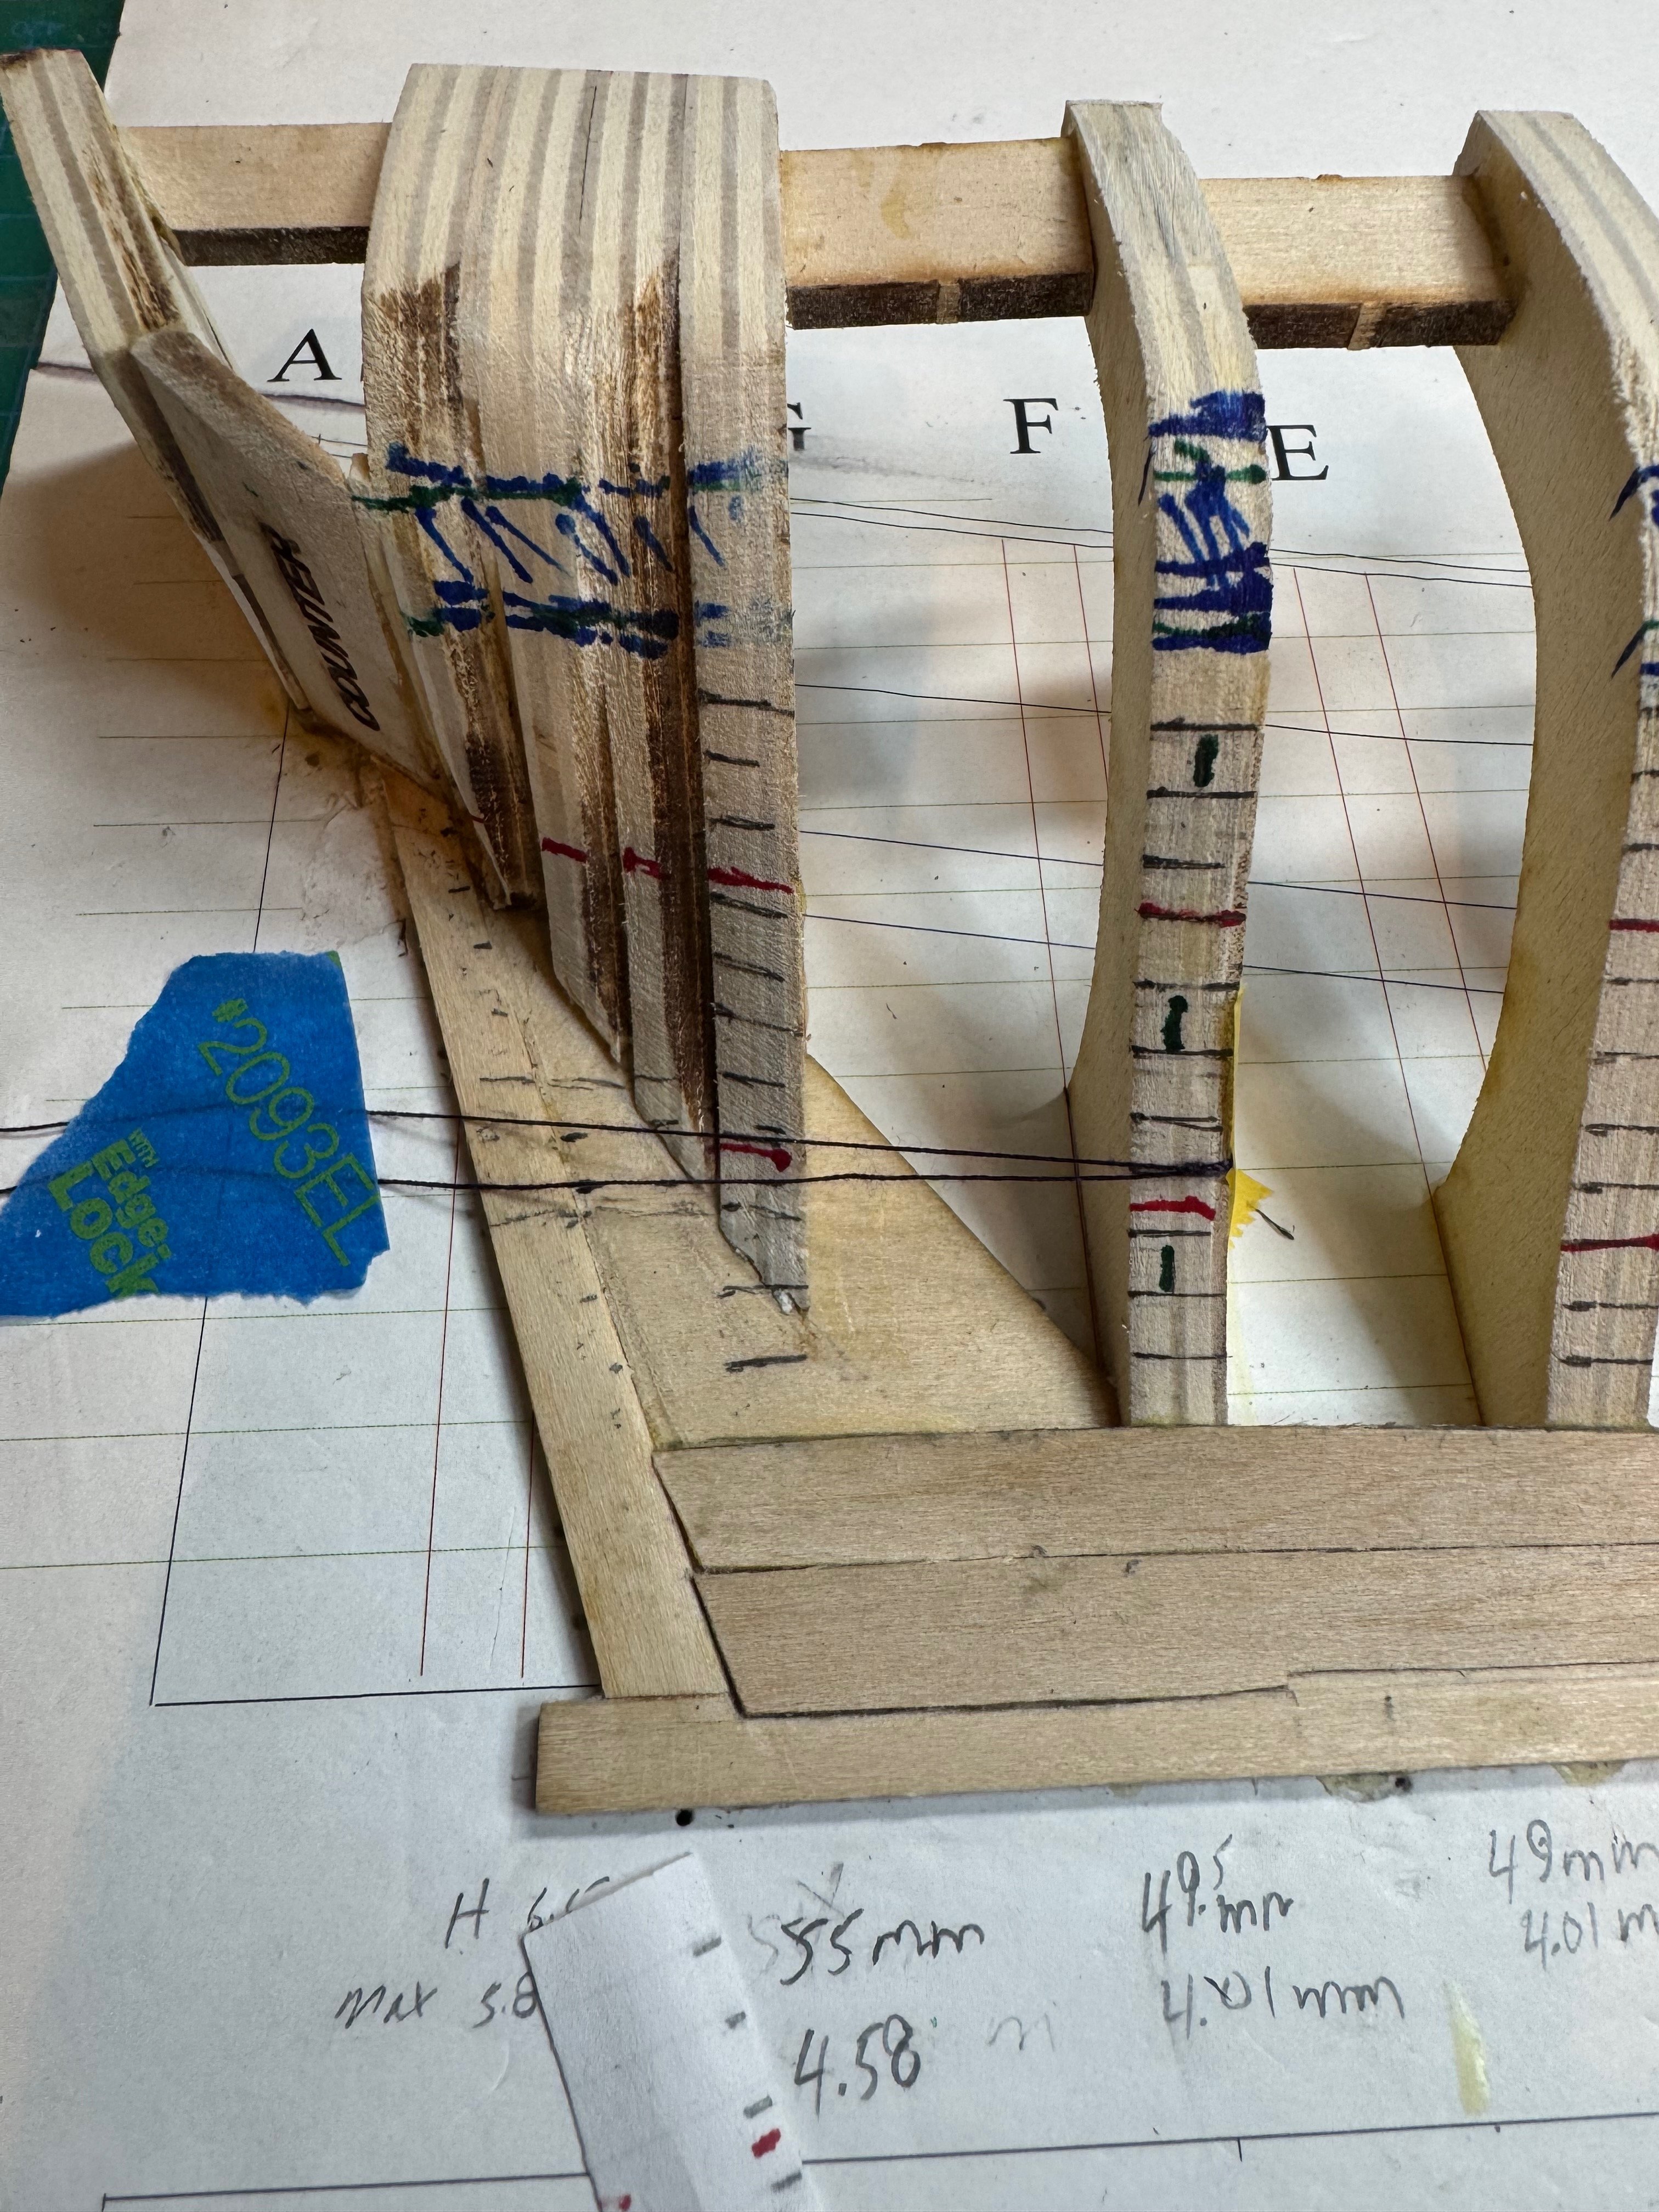
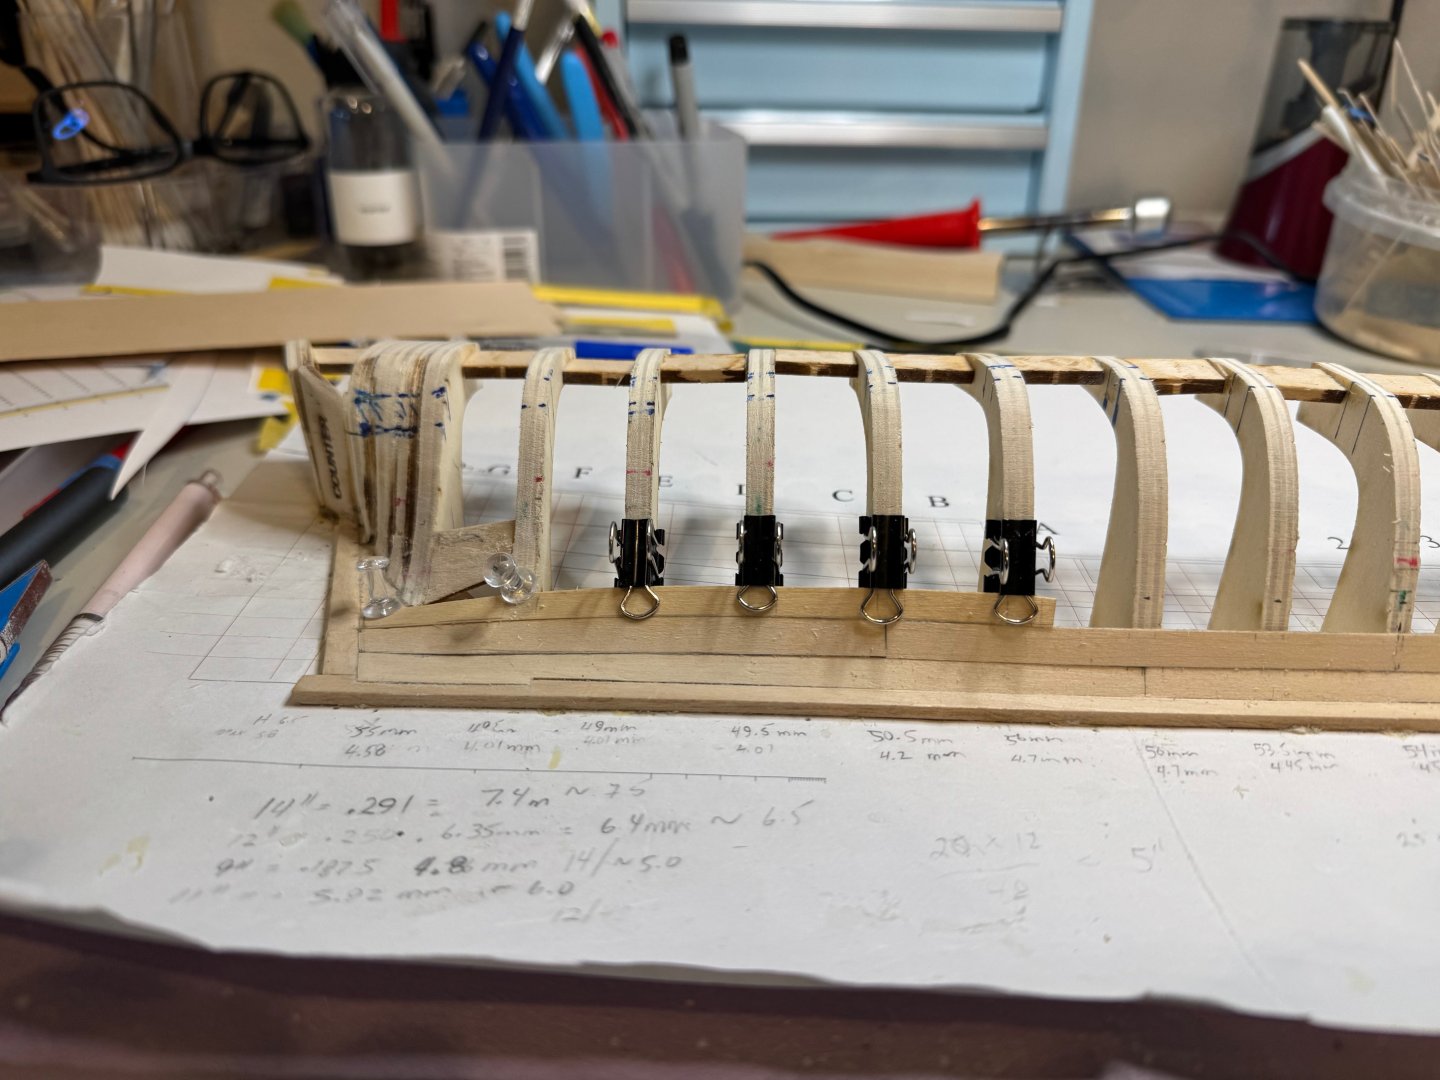
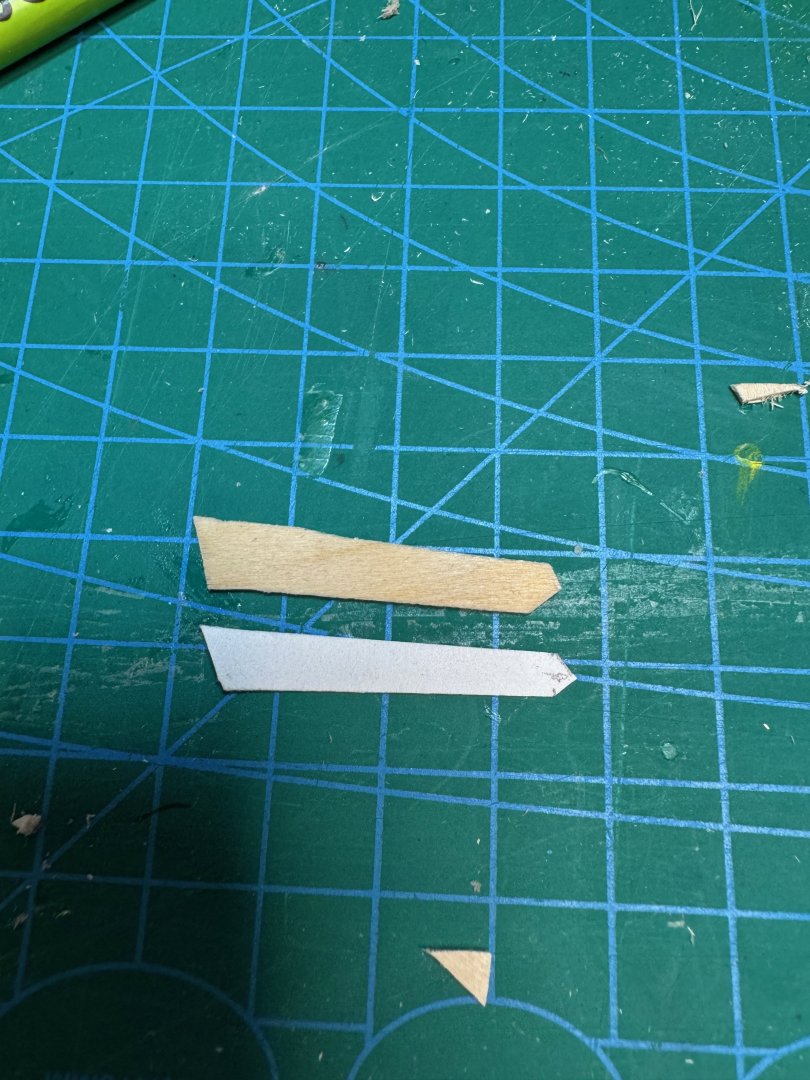
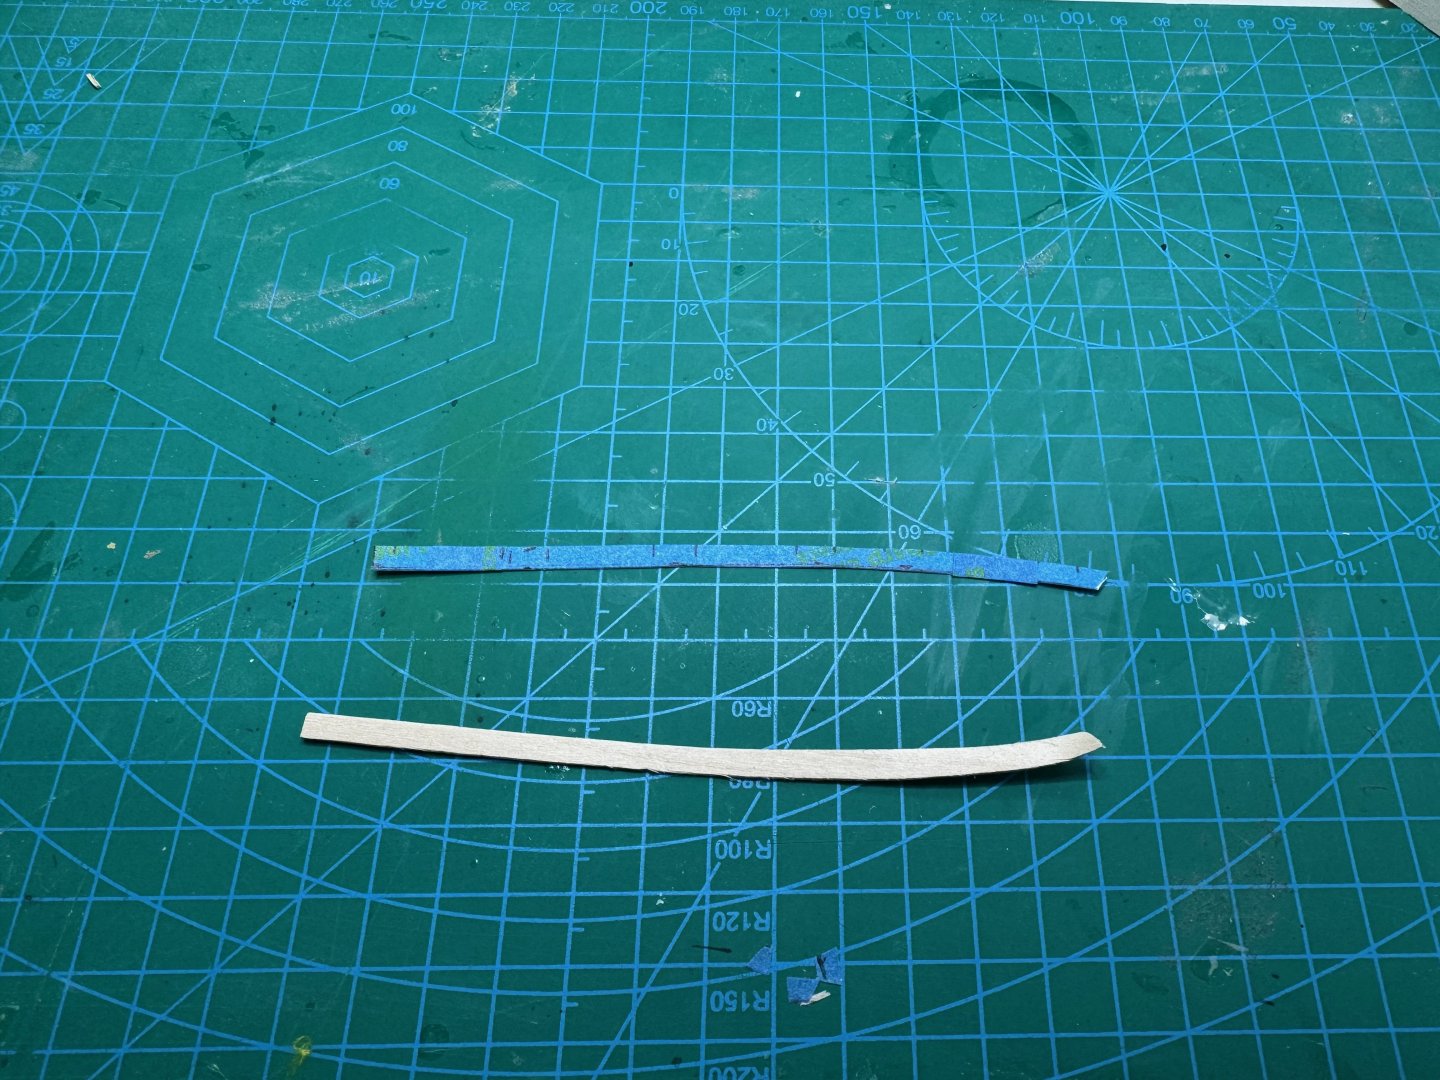
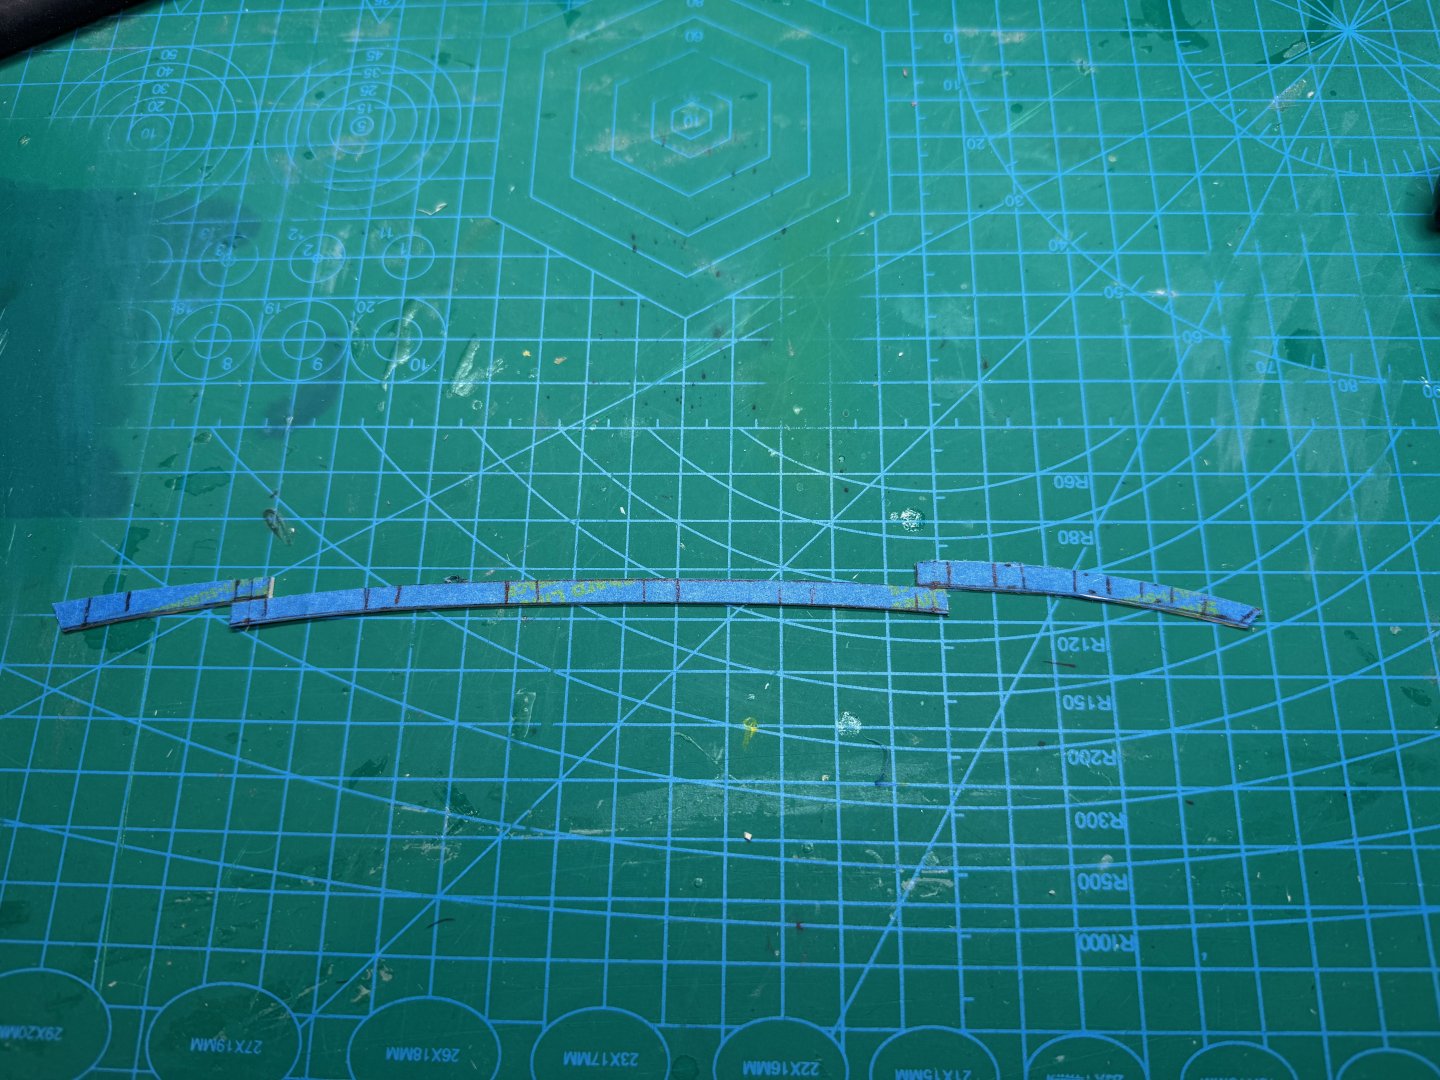
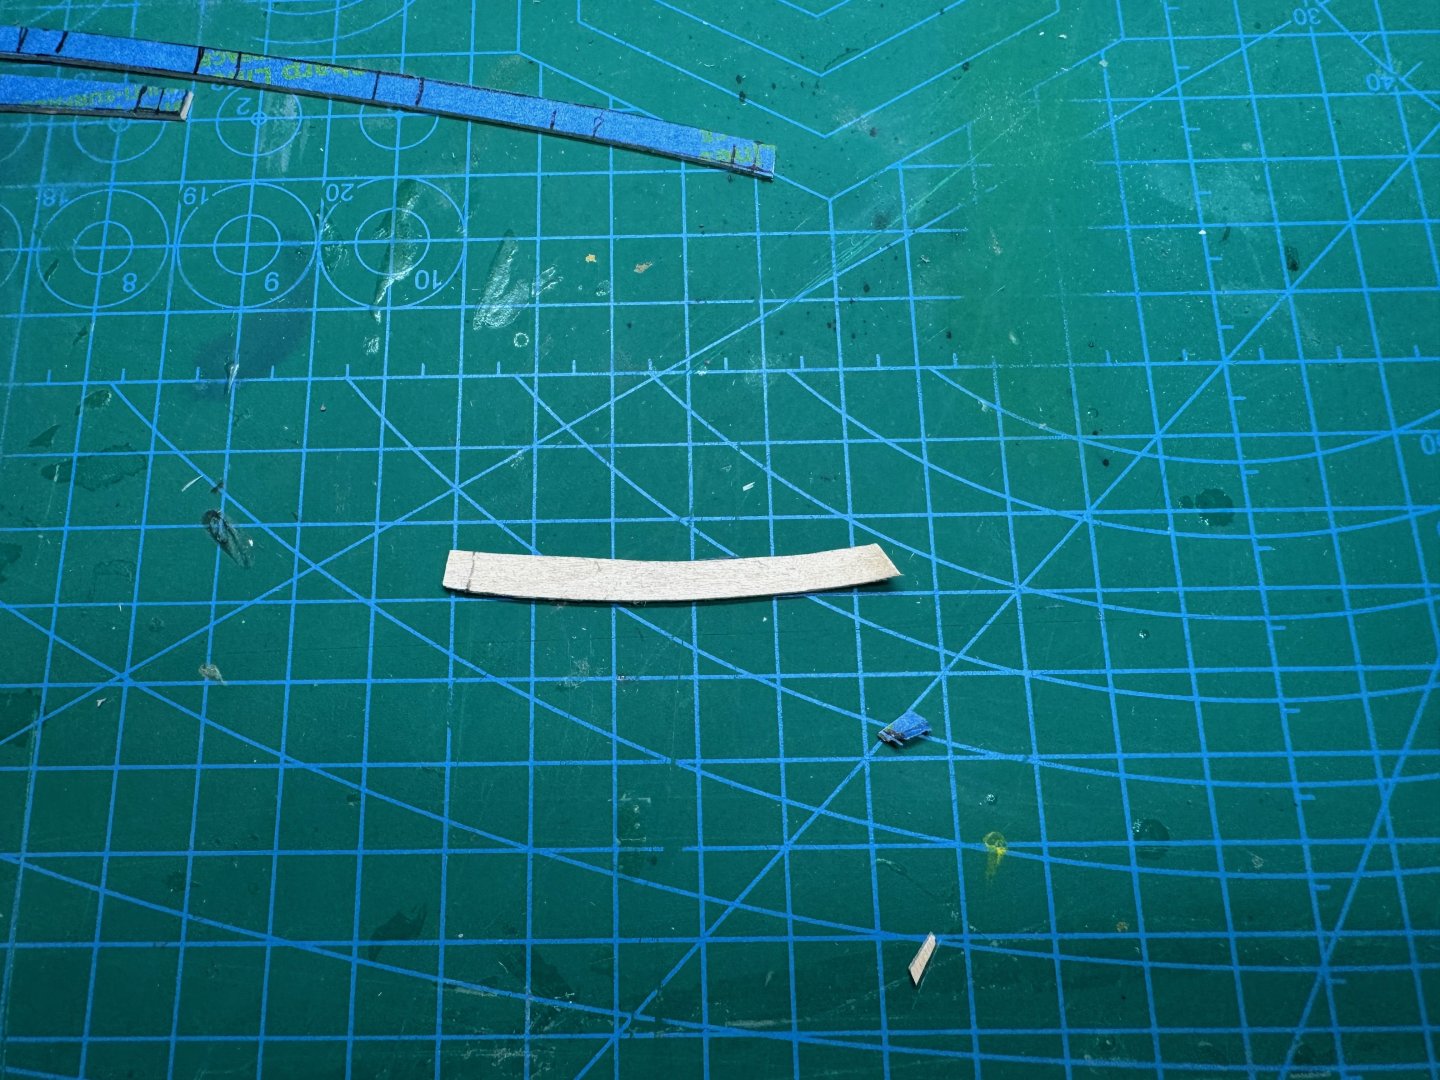
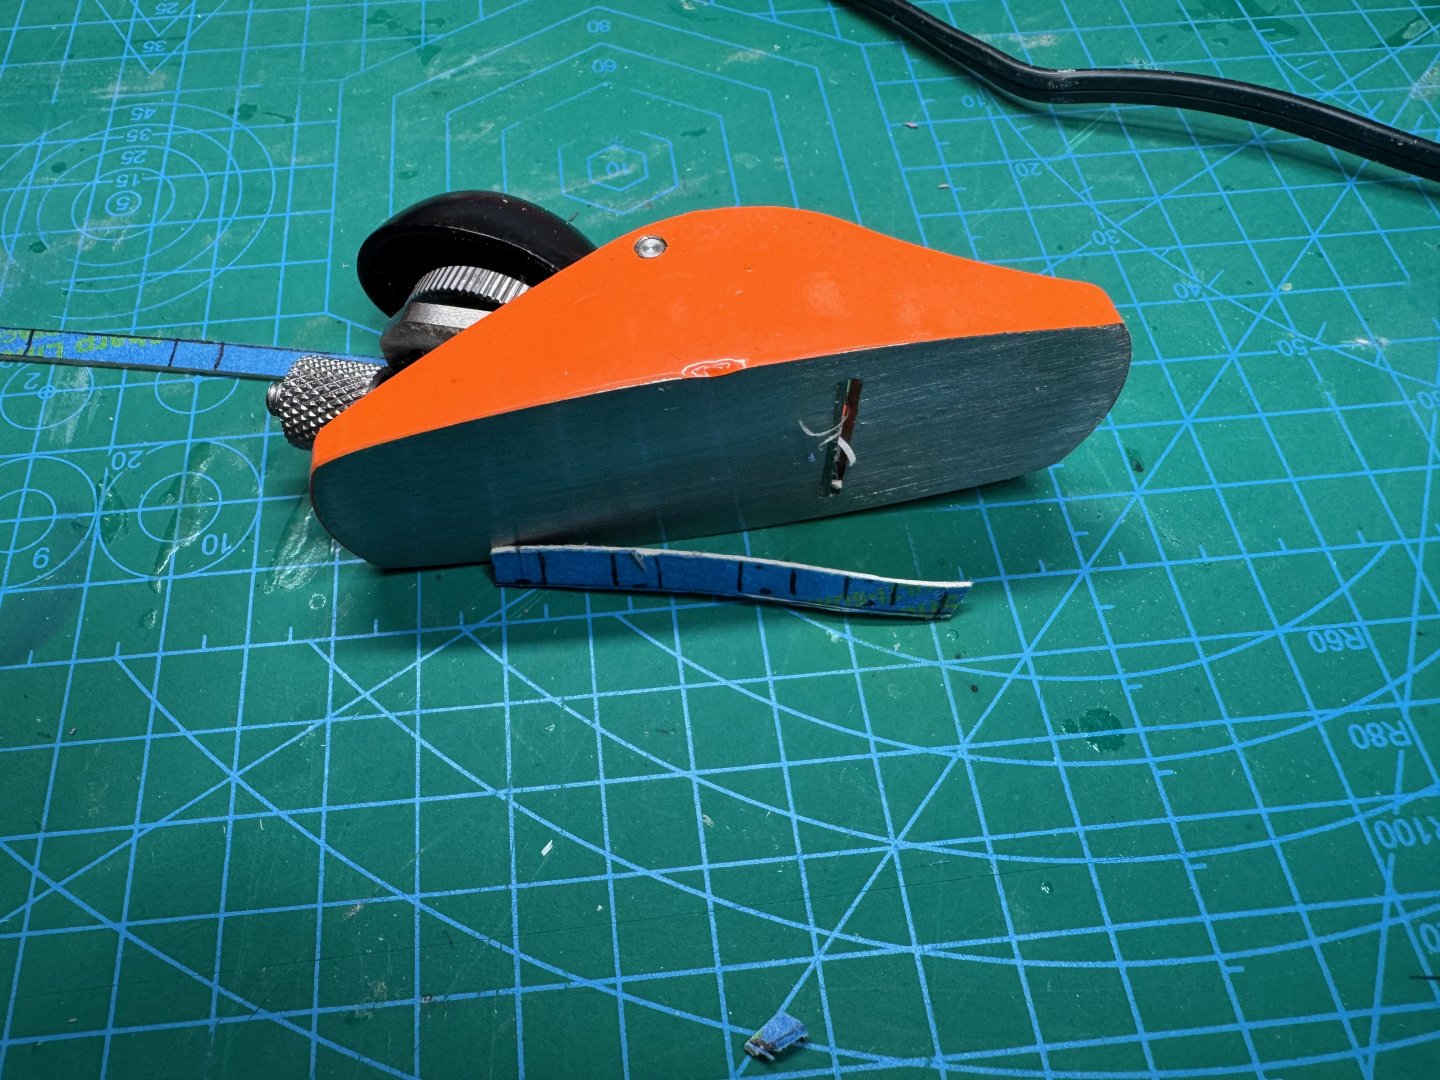
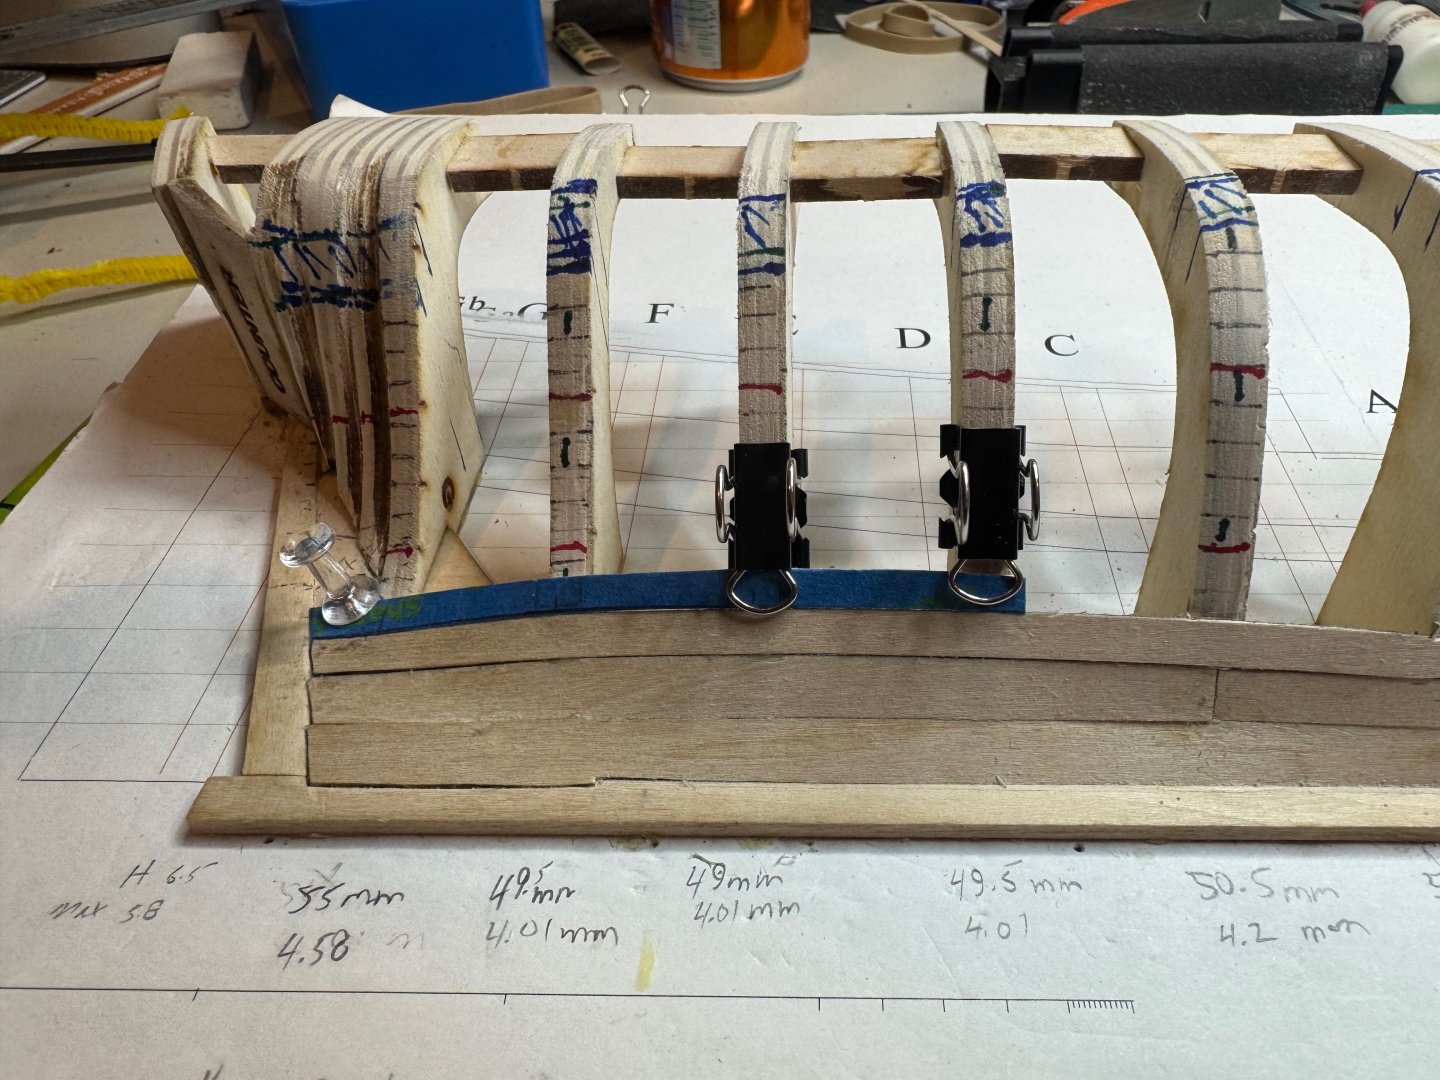
Good afternoon, Yesterday I was able to get back to the project, and I focused on getting a stealer in. I decided to place the stealer between the first two belts, so I had to remove the stern plank on row 4 from the first belt. Then I recut the plank and glued in a filler between G and F bulkheads. Next I created my stealer using my card stalk. I ended up dry fitting the stealer where I wanted it got get an approximate size, but I still left a little at the stern to be trimmed. Next I took the stealer mapped out the cut for the plank, and I cut the plank followed then glueing the plank in. After fitting, I cut the stealer out of the wood. Here I am dry fitting the stealer. I did soak the plank and stealer to dry in place to get a pre-bend. Next I glued in the stealer. Final result.

-
@palmerit I agree, I plan on doing both on my project. I think I have removed more planks than I have put on. I have a lot of planks that i cut and did not like either....
-
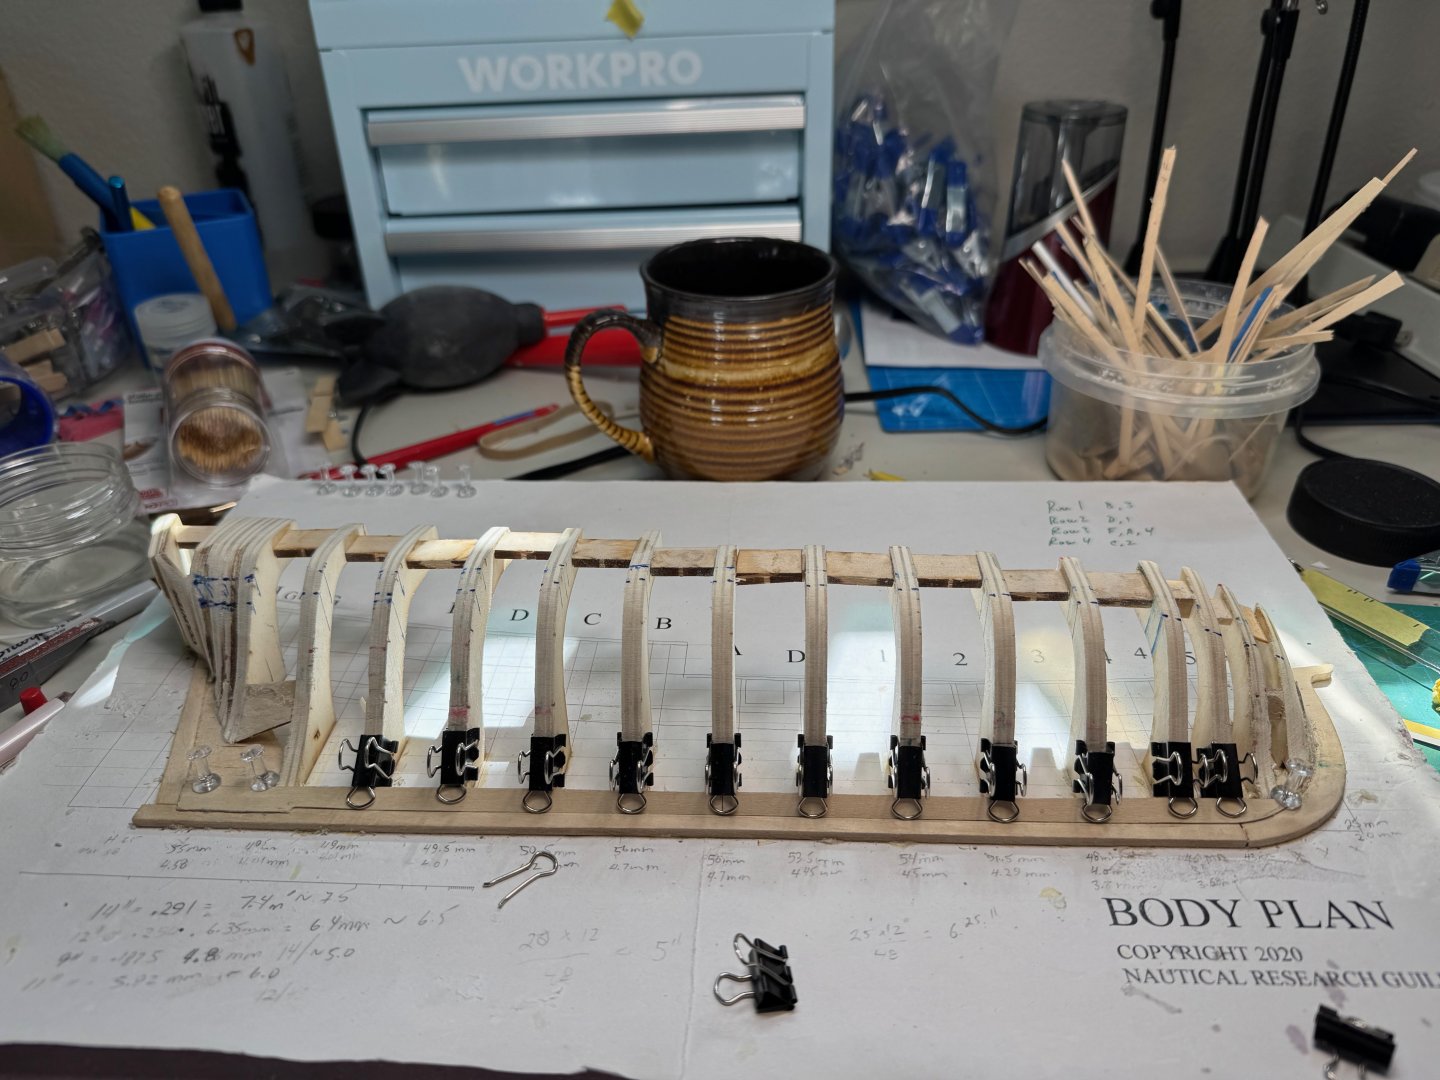
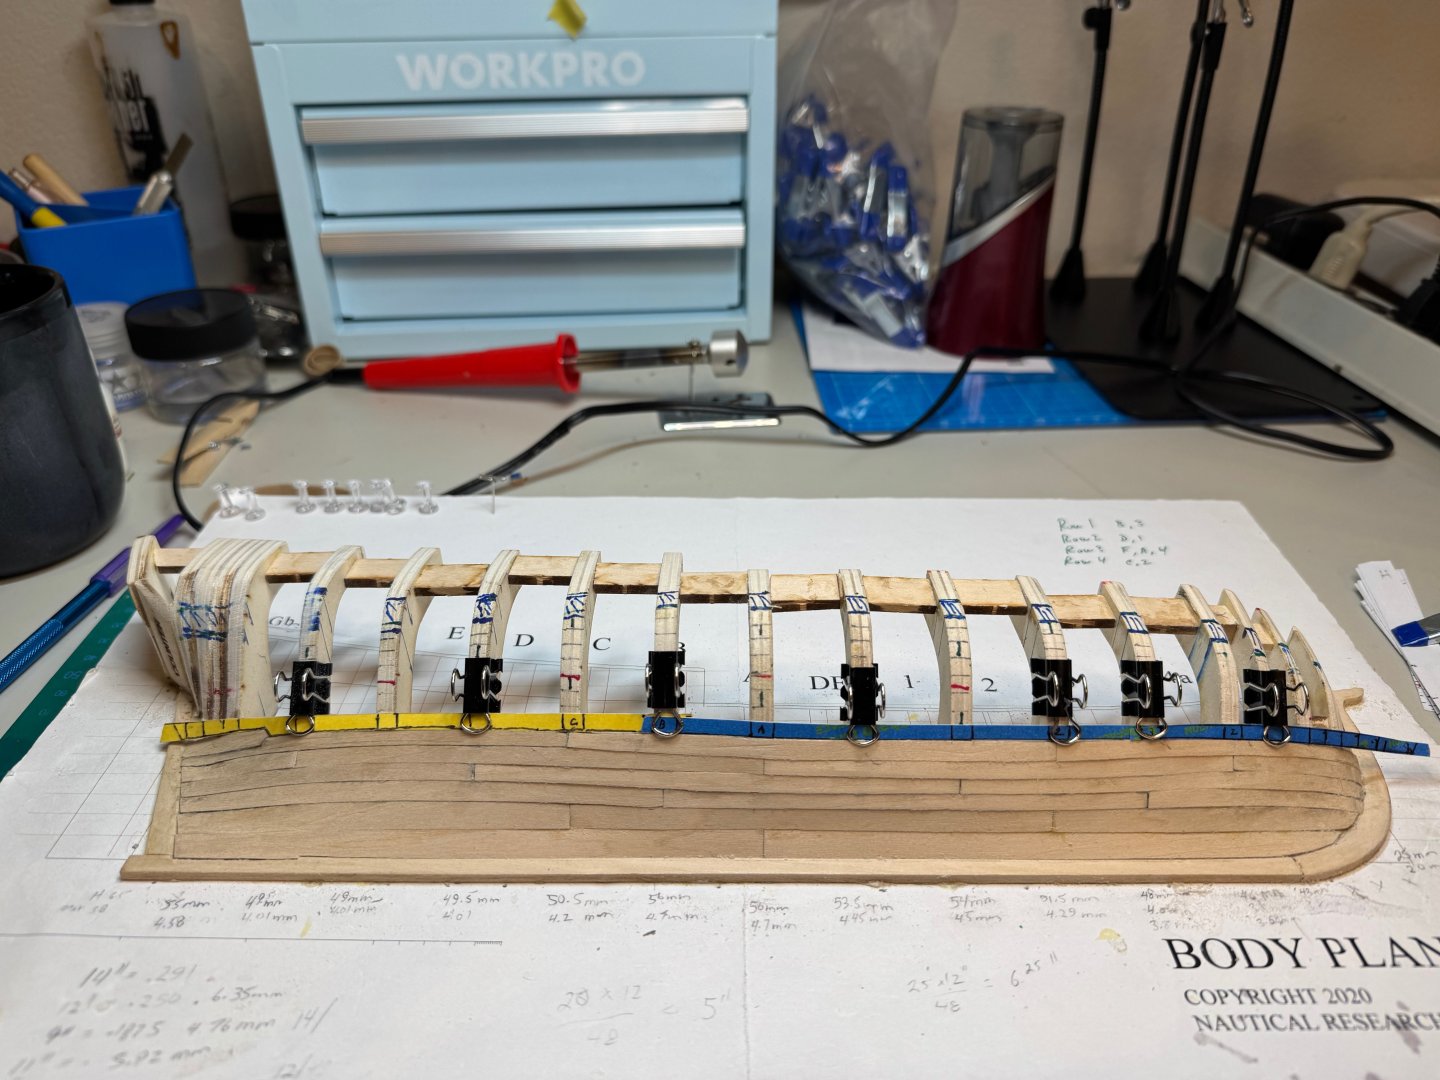
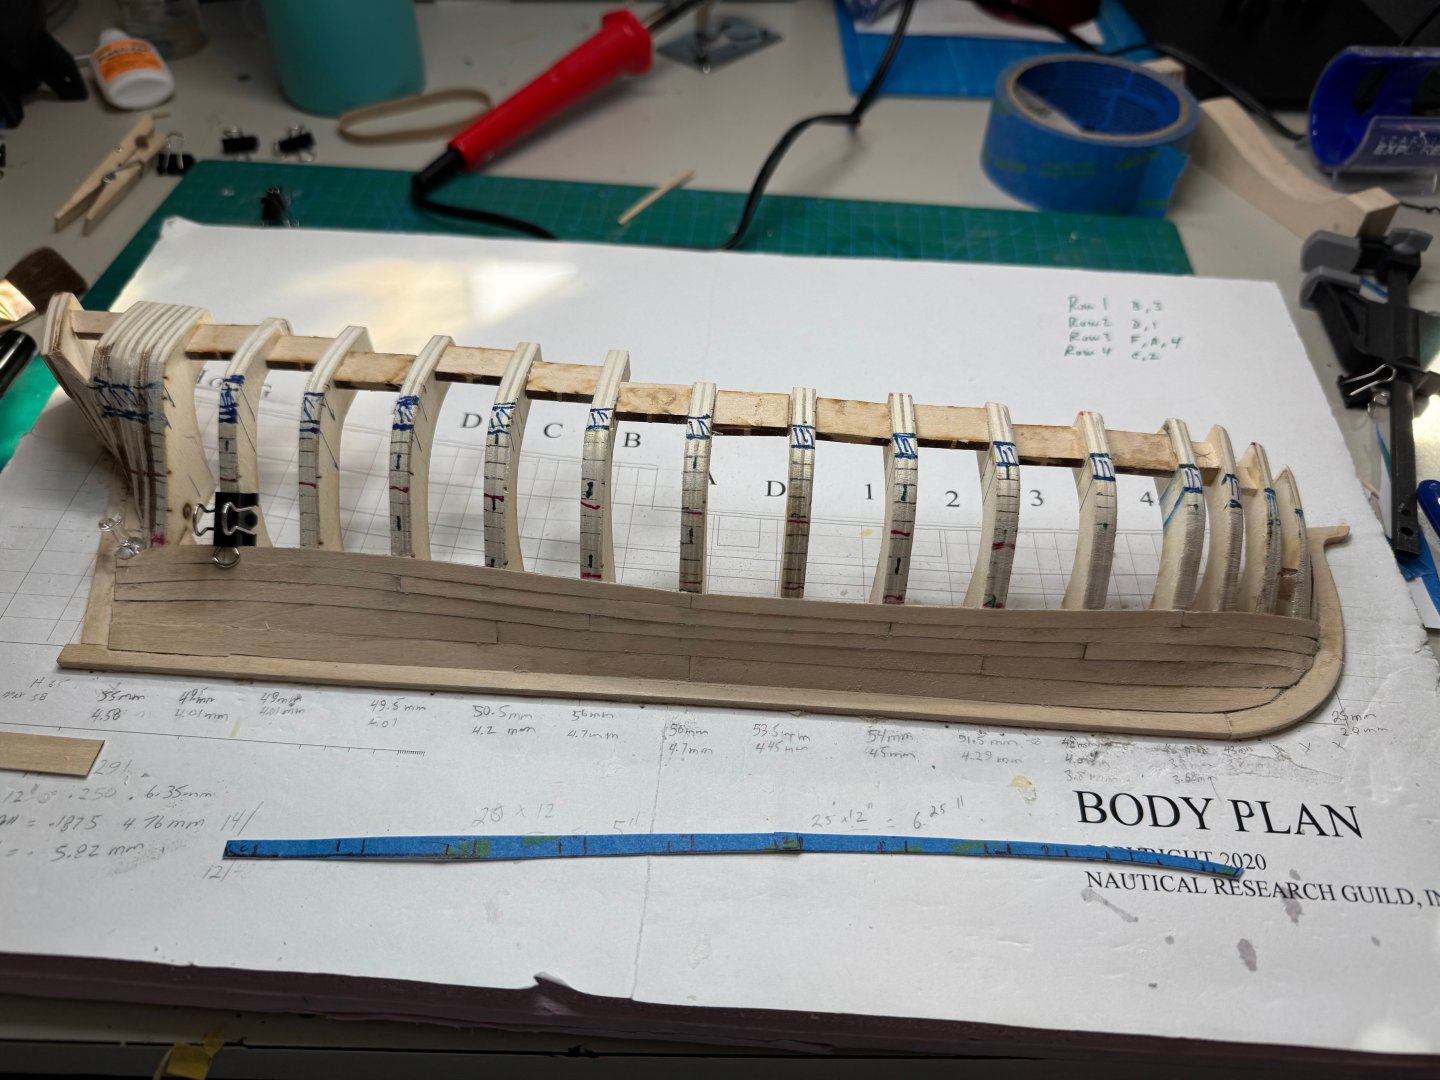
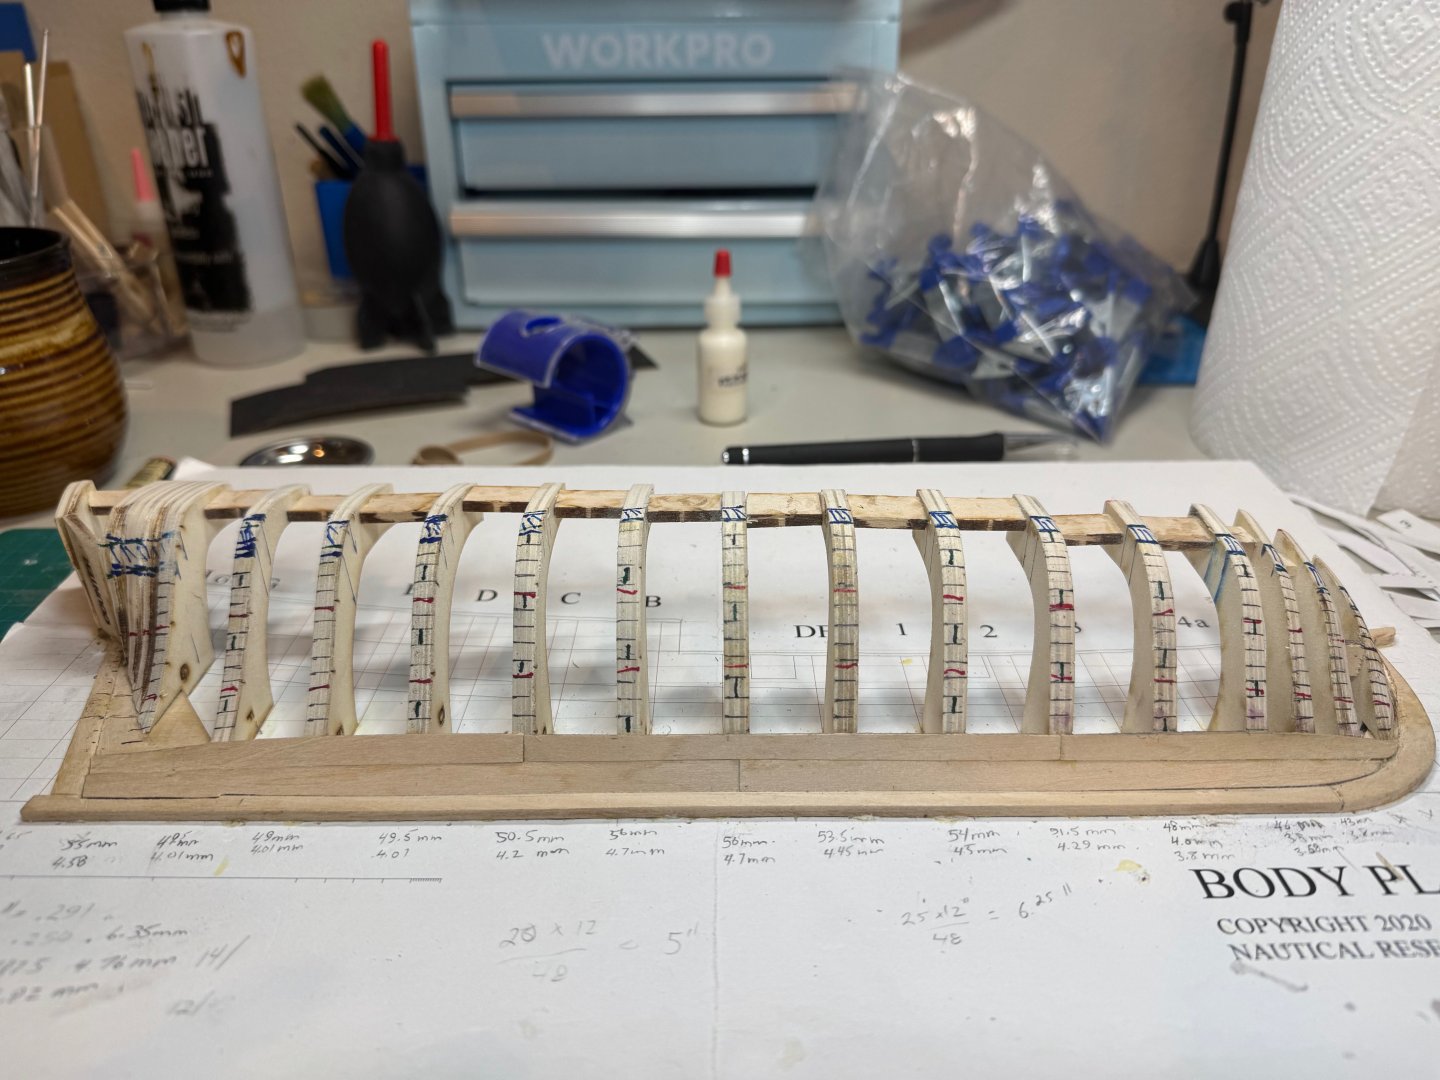
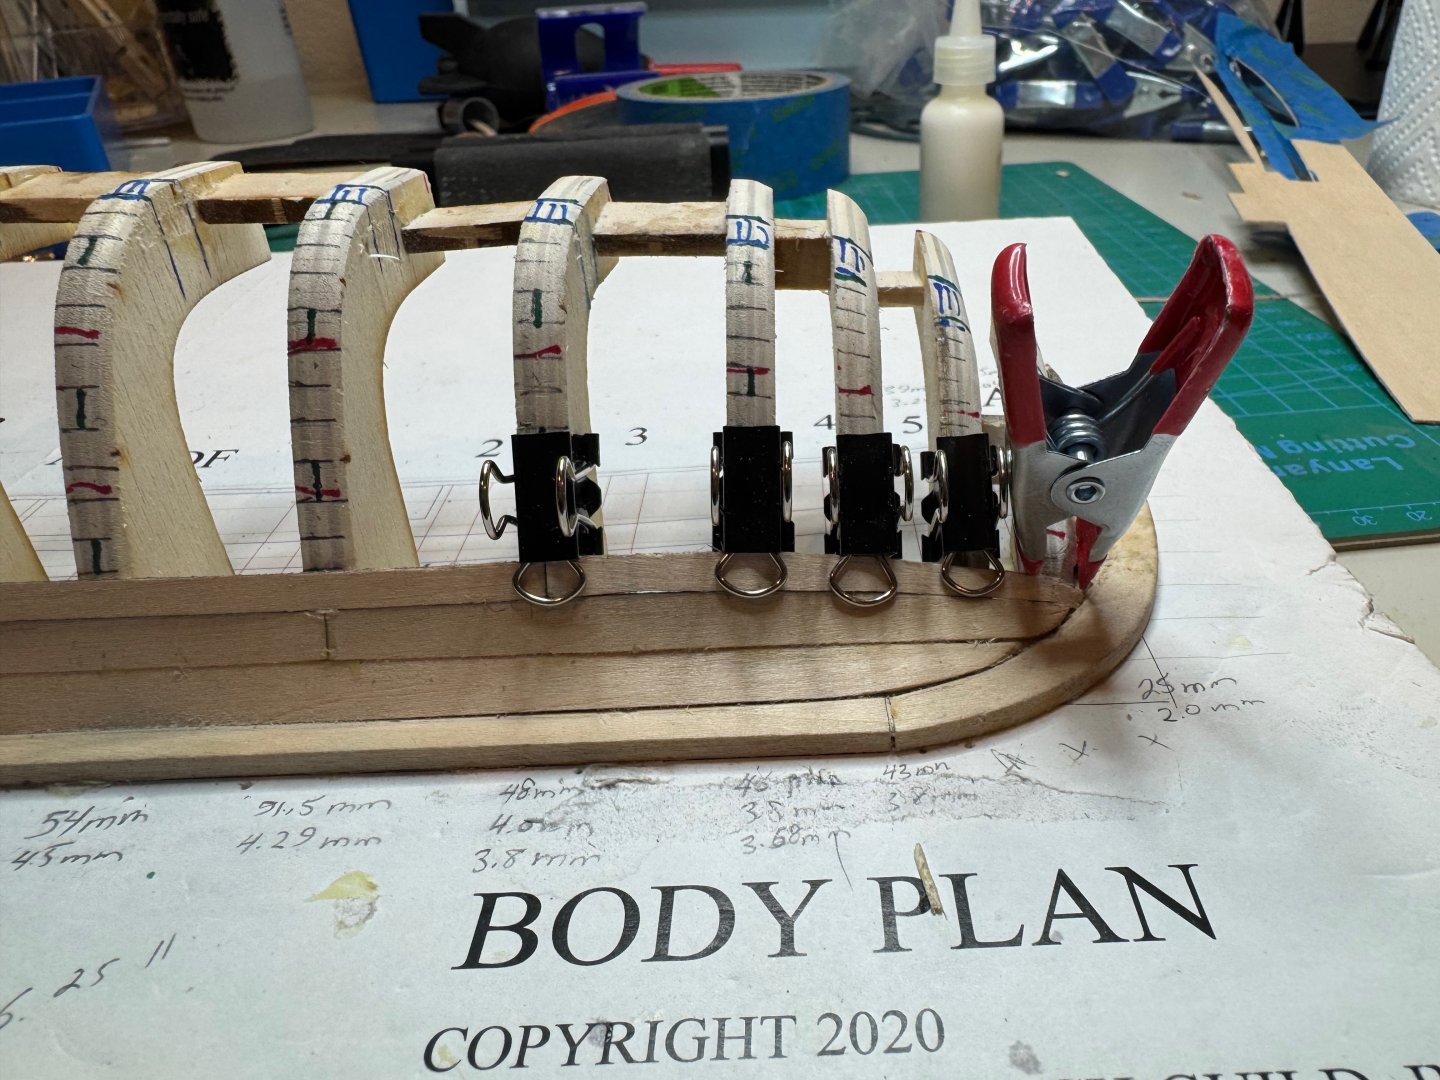
Good evening A little update from today. I was finally able to get the first belt done. I am debating adding the steeler between rows 5 and six so that i can get a nicer mount point on a bulkhead. I will make that decision tomorrow. Cheers
-
thanks. you need to prebend the planks as the material is thin.
-
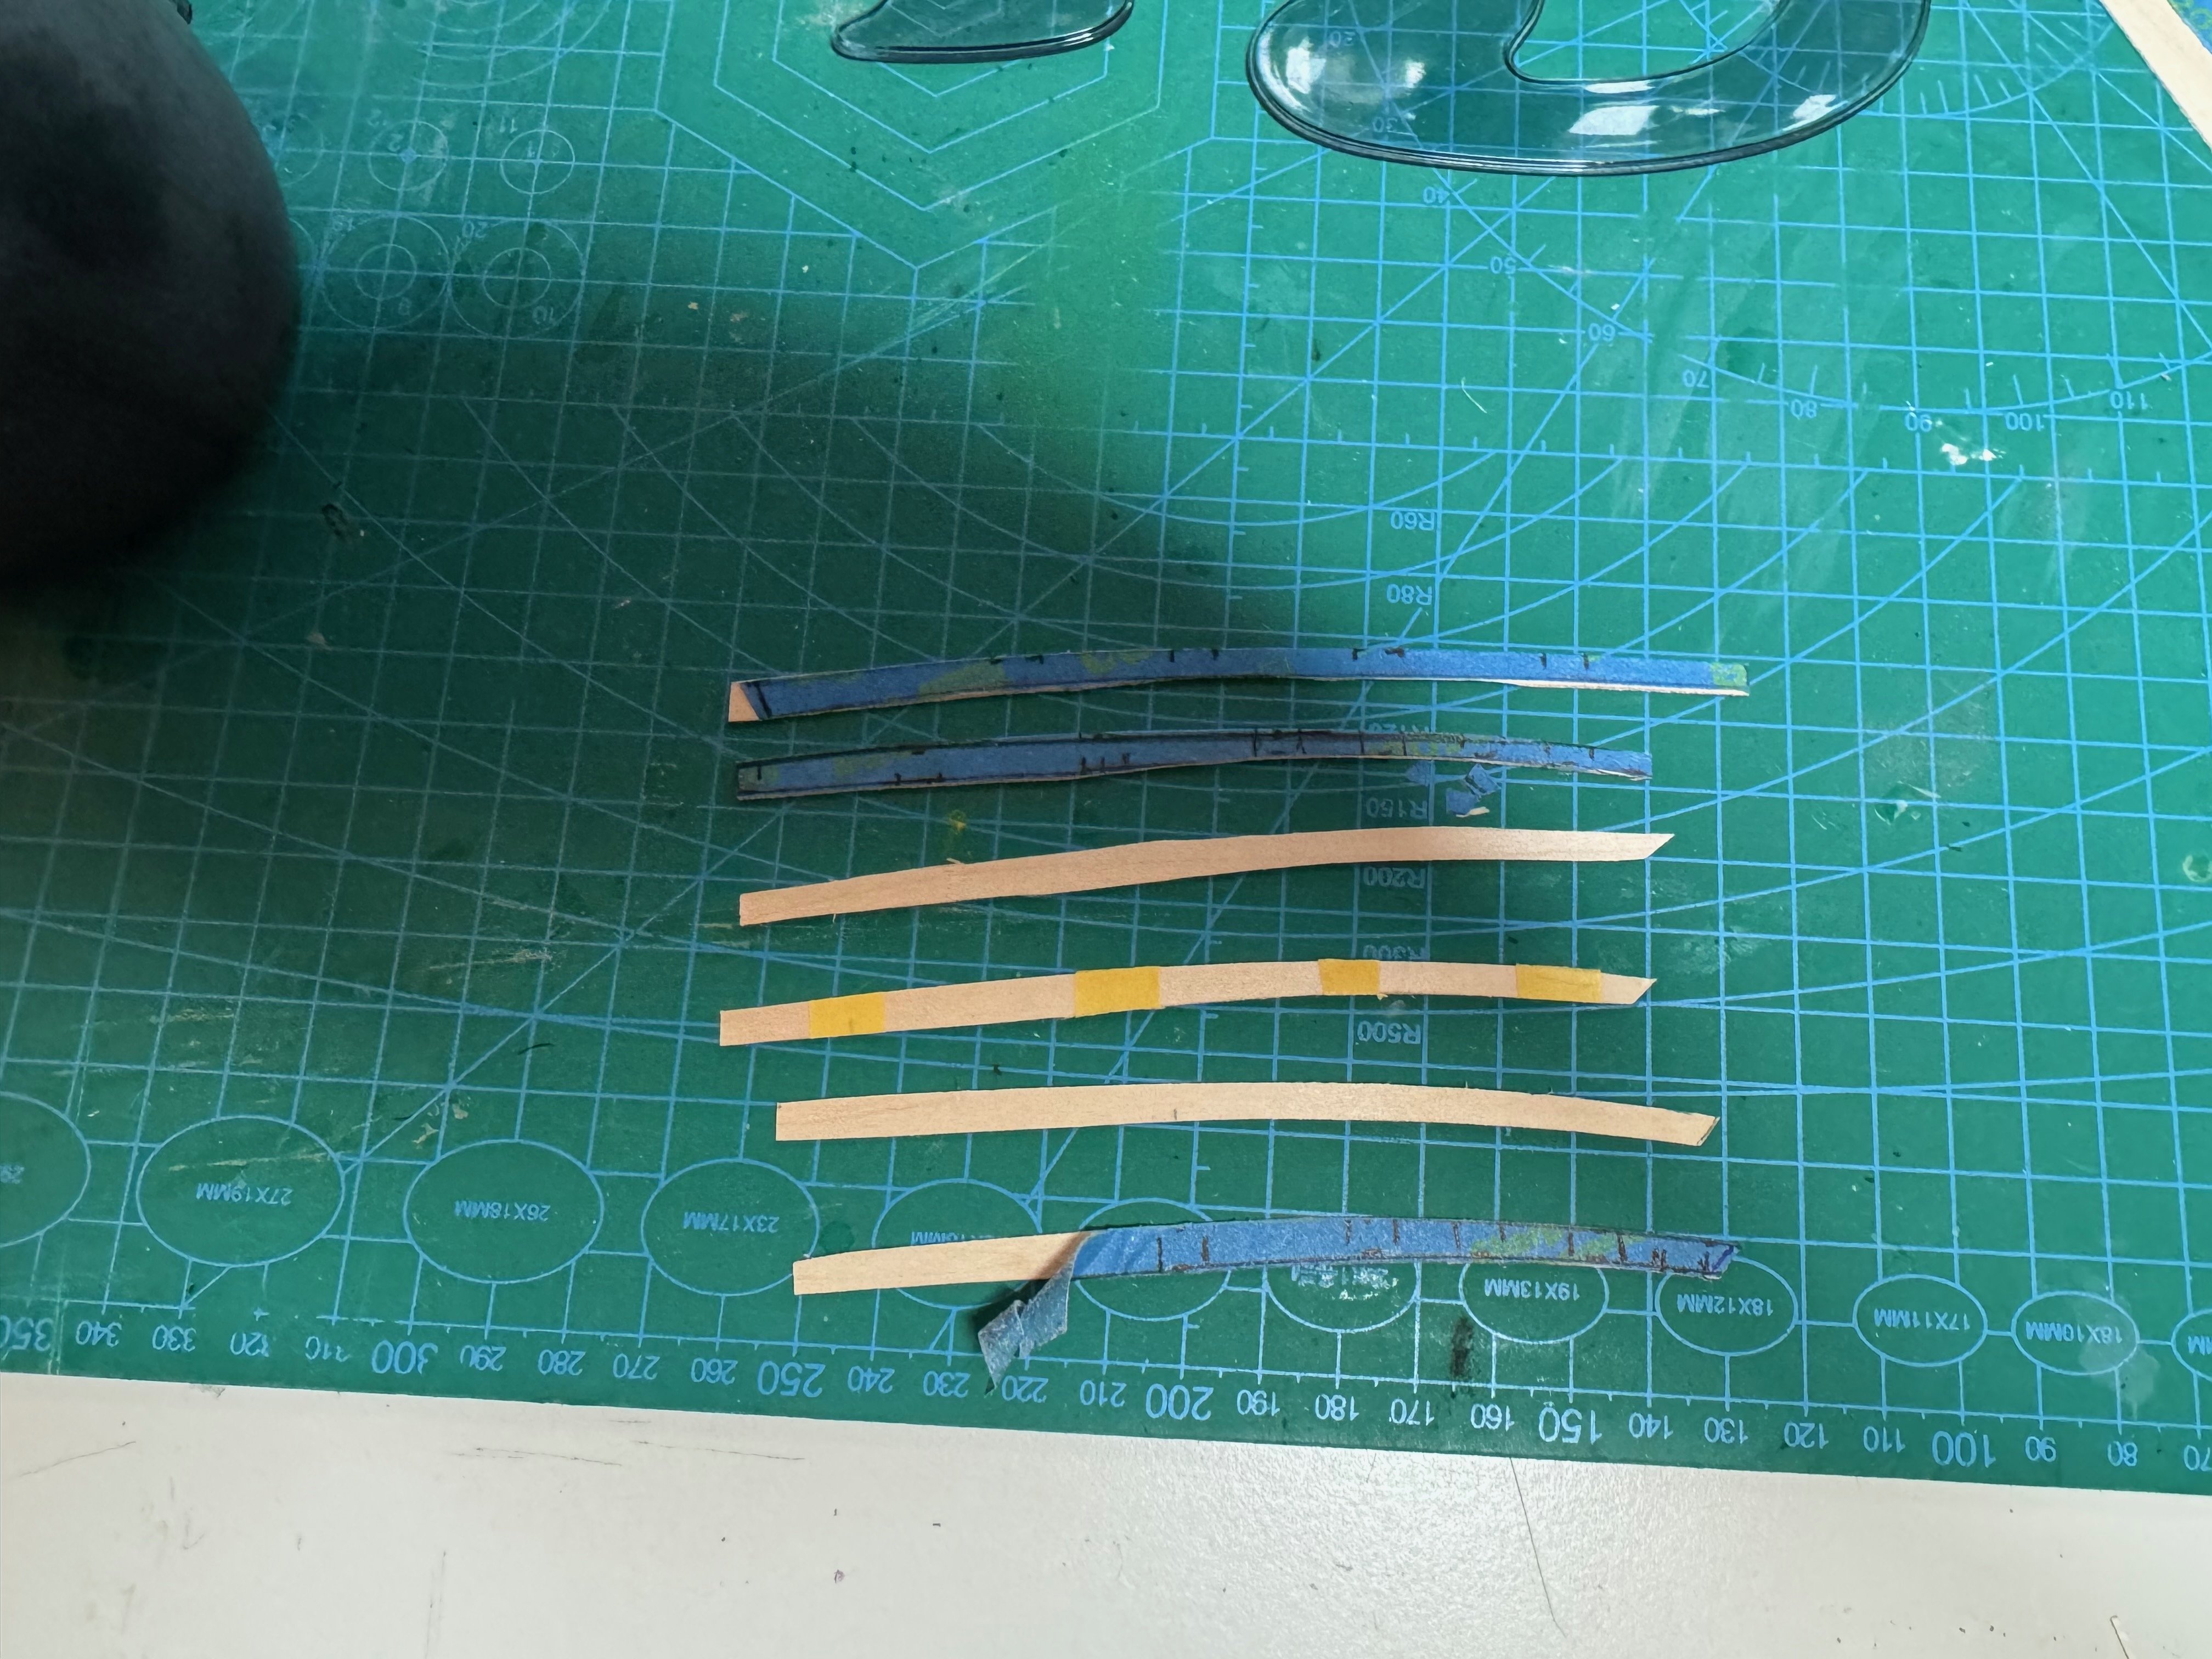
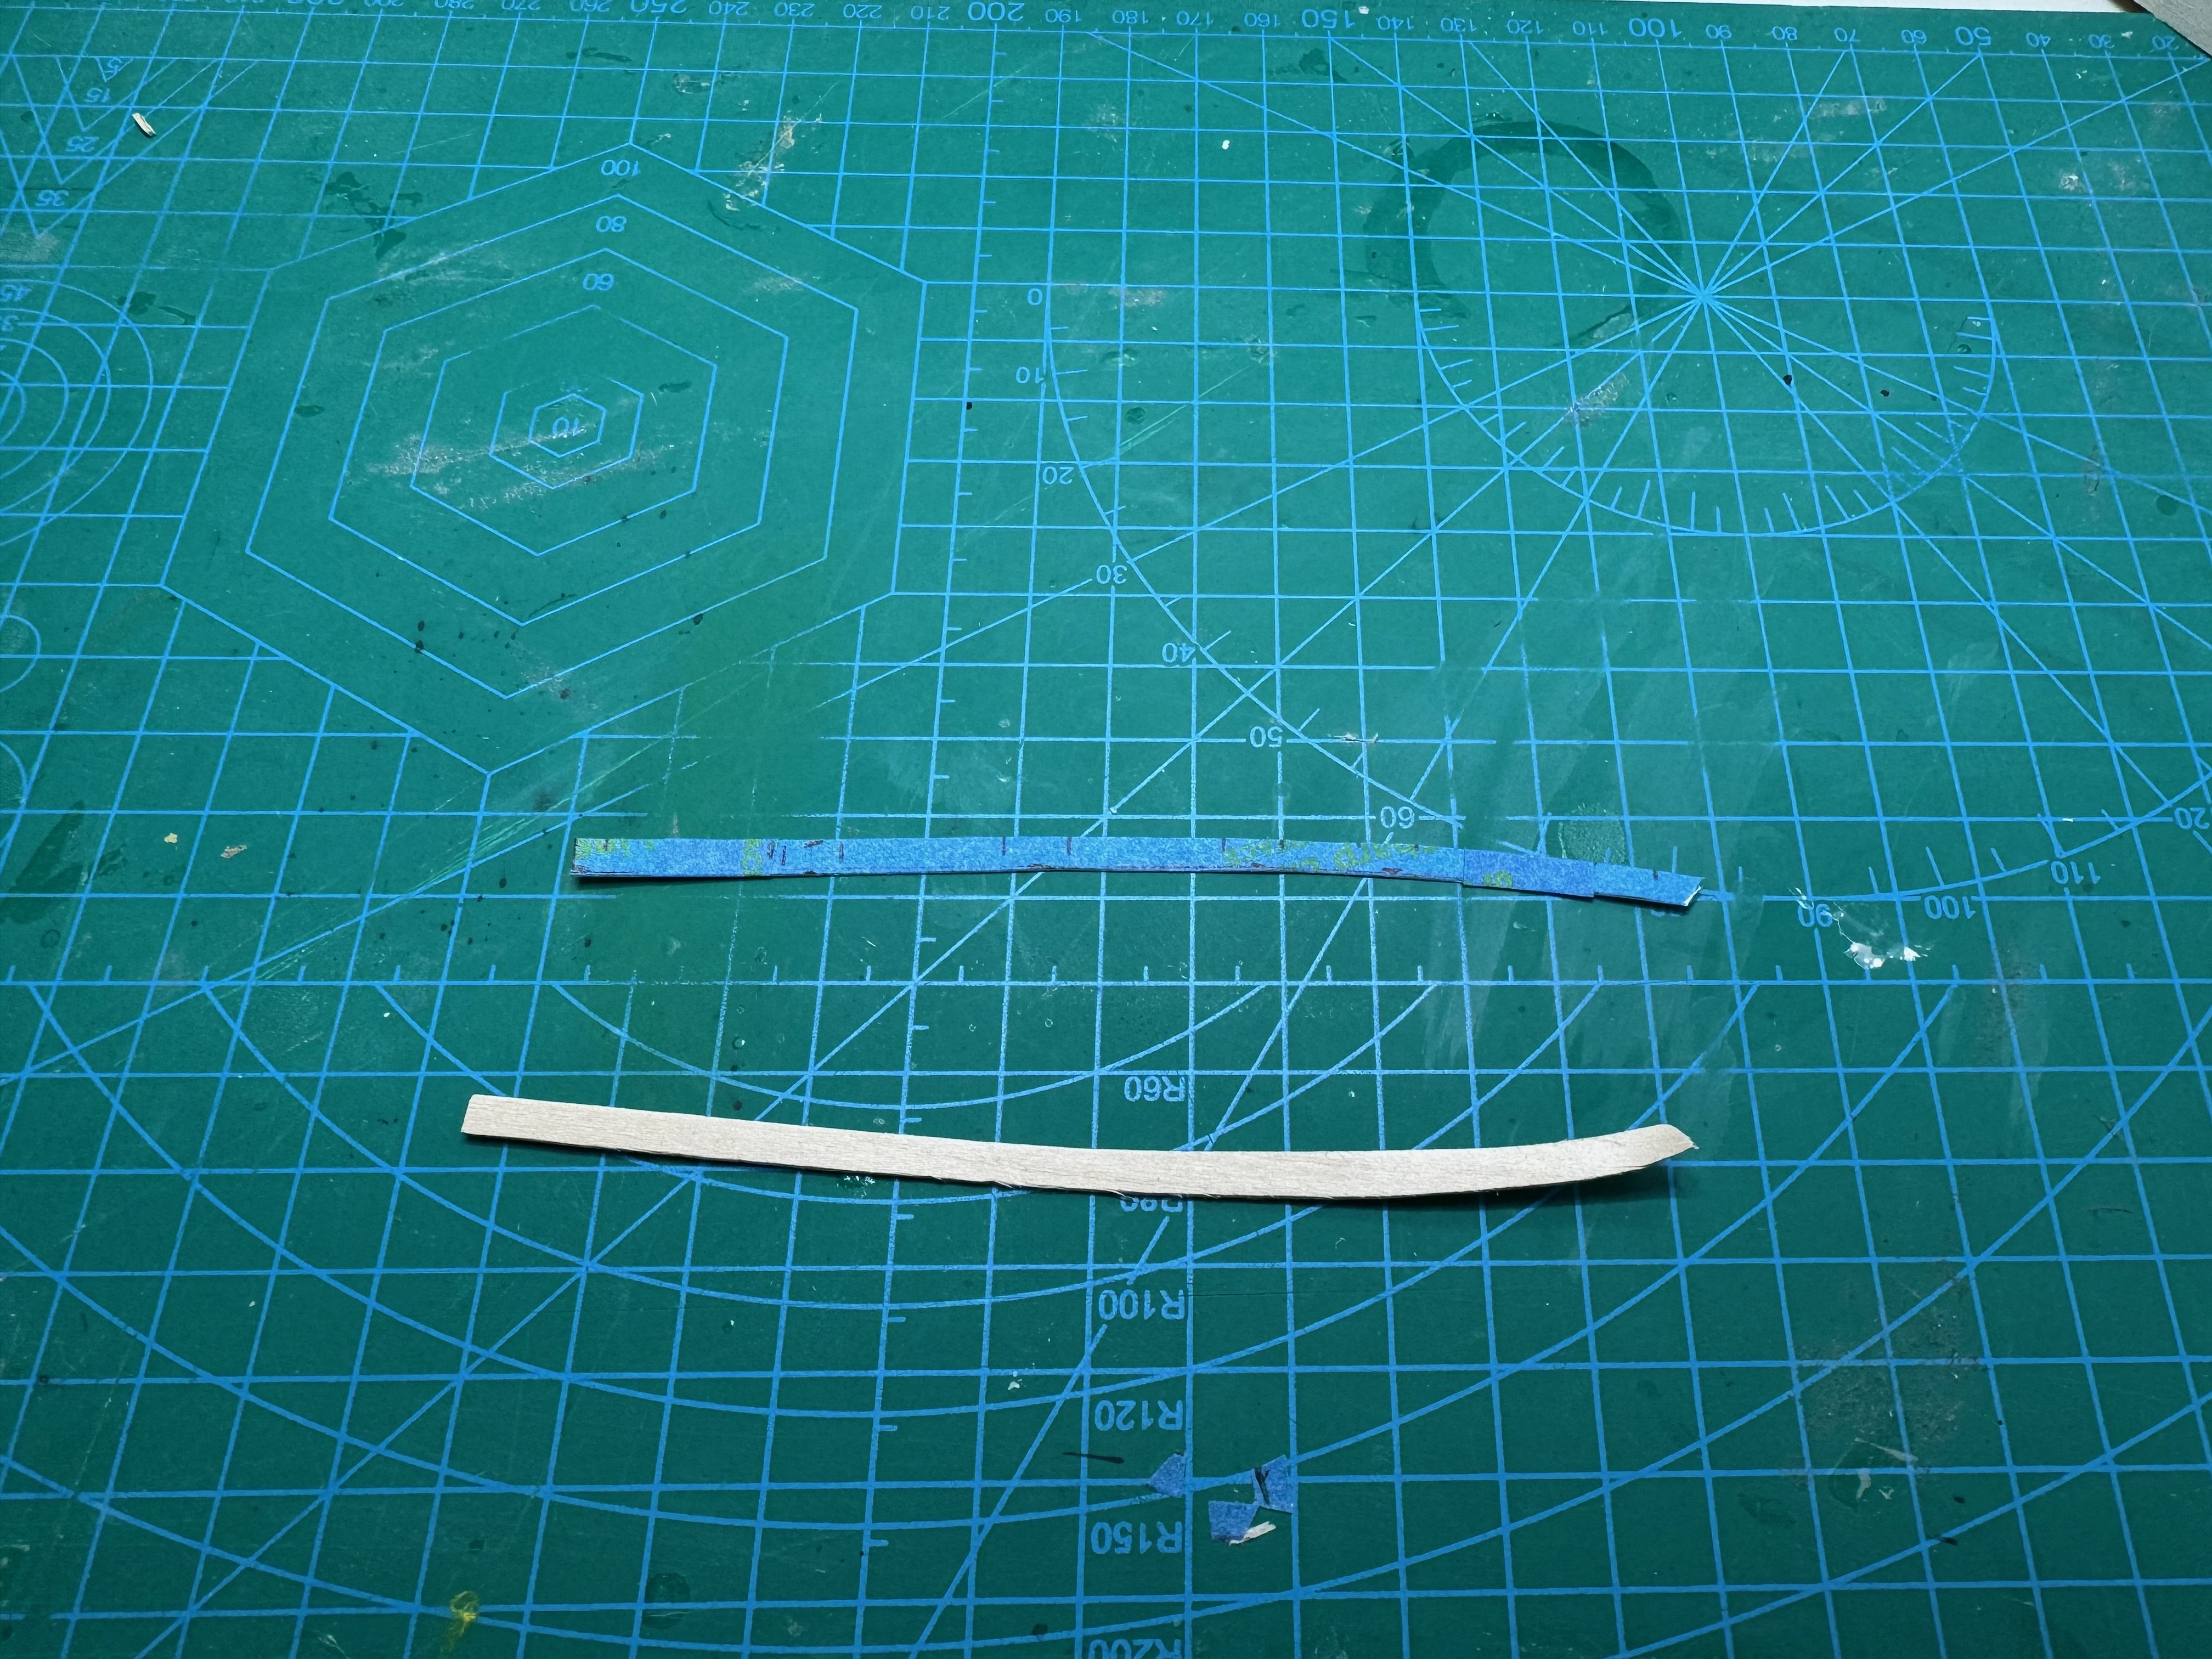
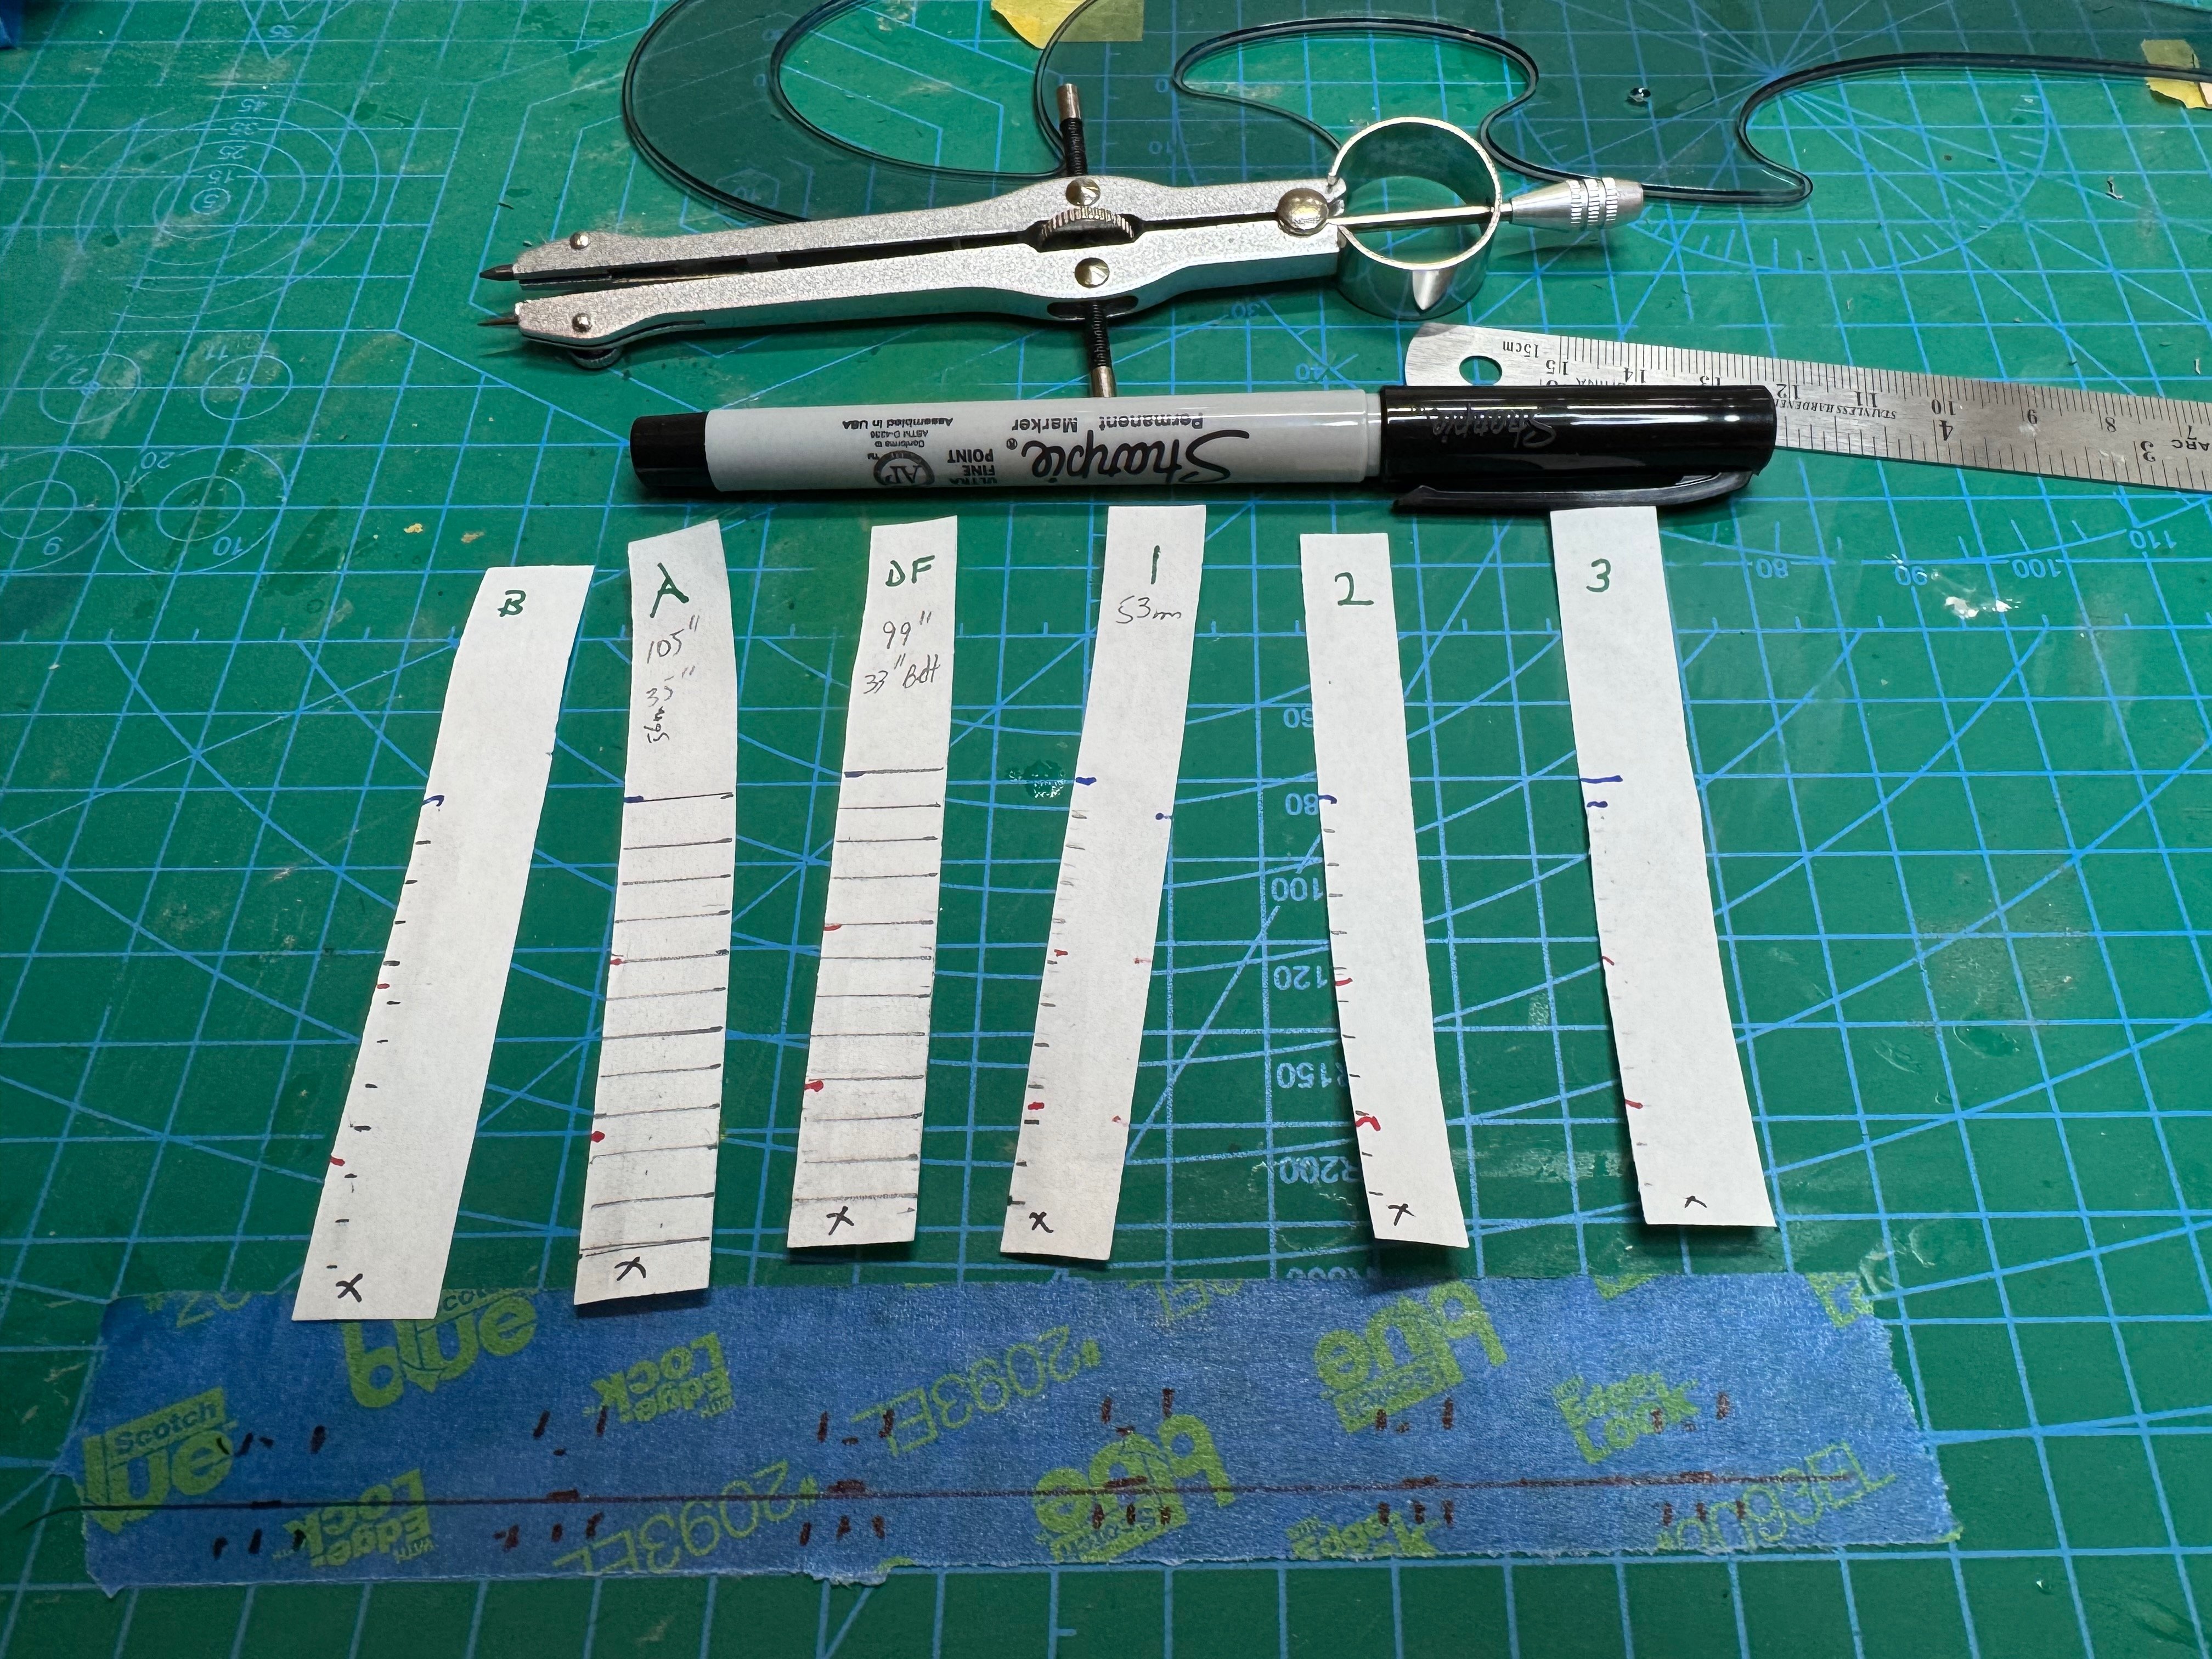
Good evening, a quick update on this project. Monday I tried creating the second bow plank, and it was an absolute failure. After three hours, and at least five attempts I put up this project. I was using a french curve, and i think it is just to aggressive. So I decided to whip out my amazon account and order some ship curves. At the same time I ordered some card stock. I decided to switch tactics, and use the scribing method, but then transferring to the card stock. This allows me to create the plank and pre fit it better than trying to do it after cutting the plank. Once I felt it was ready then I cut the plank and did some final fitting. Not I also pre bent the curve using my plank bender and water. The benefit of using the card stock I found I can get the plank the correct length. This was one of the challenges I was facing on Monday along with the plank breaking. Next I tackled the third row, and I scribed the two long planks. I had previously cut the plank so you can see that is matching the scribe. Also I used my new ships curve to flatten the curve into a smoother curve. Below I am trying to make the next curve much more uniform than the previous plank. After drawing the curve it is definitely better, but the join at A will need to be addressed on the forth plank. Next I cut the plank and did a dry fit. I followed the same procedure as before, but I was to aggressive with sanding the tip of the plank, so I recut it using my template as a guide. Below all planks are now gluing in place. I had to much a gap at the F between the stern plank and its adjacent plank, so I recut it so I can fit it better, and then re glued it in place. Finally created the templates for the bow and middle plank on row 4 before being called to make lemon bars, and beef stroganoff for the family dinner. Will continue tomorrow with the stern plank and then start figuring out the steeler. It looks like I will need at least one or two drop planks too, as I am starting to get the smily face. Cheers


-
Good morning, Yesterday, I made some progress with the planking of the third row yet, at the same time I also took two steps backwards. First I scribed and cut the planks for the row. Notice I made them a little long, so that I can make the join match nicely. Next I bent the bow so that I would not break the plank. Next I cut the joins using my cutter The fit came out nice. I then glued on the bow plank Next the stern plank. Next I dry fitted the plank that joins to the stern plank and I realized that I missed a plank (facepalm). I also notice the second plank on row two did not fit just right so I removed it and placed in a new plank. Further inspection I noticed that the first and second bow plans broke at the bow, so I decided to redo these planks, marked with the x. Before placing the planks down I did some more faring to smooth out the joins better. After that I glued in a new row one plank. Next the bow plank for row 2. Yet another step back this morning, I removed the clamps for row 2 and I the bow plank broke again. I will need to remove it and redo that plank.


-
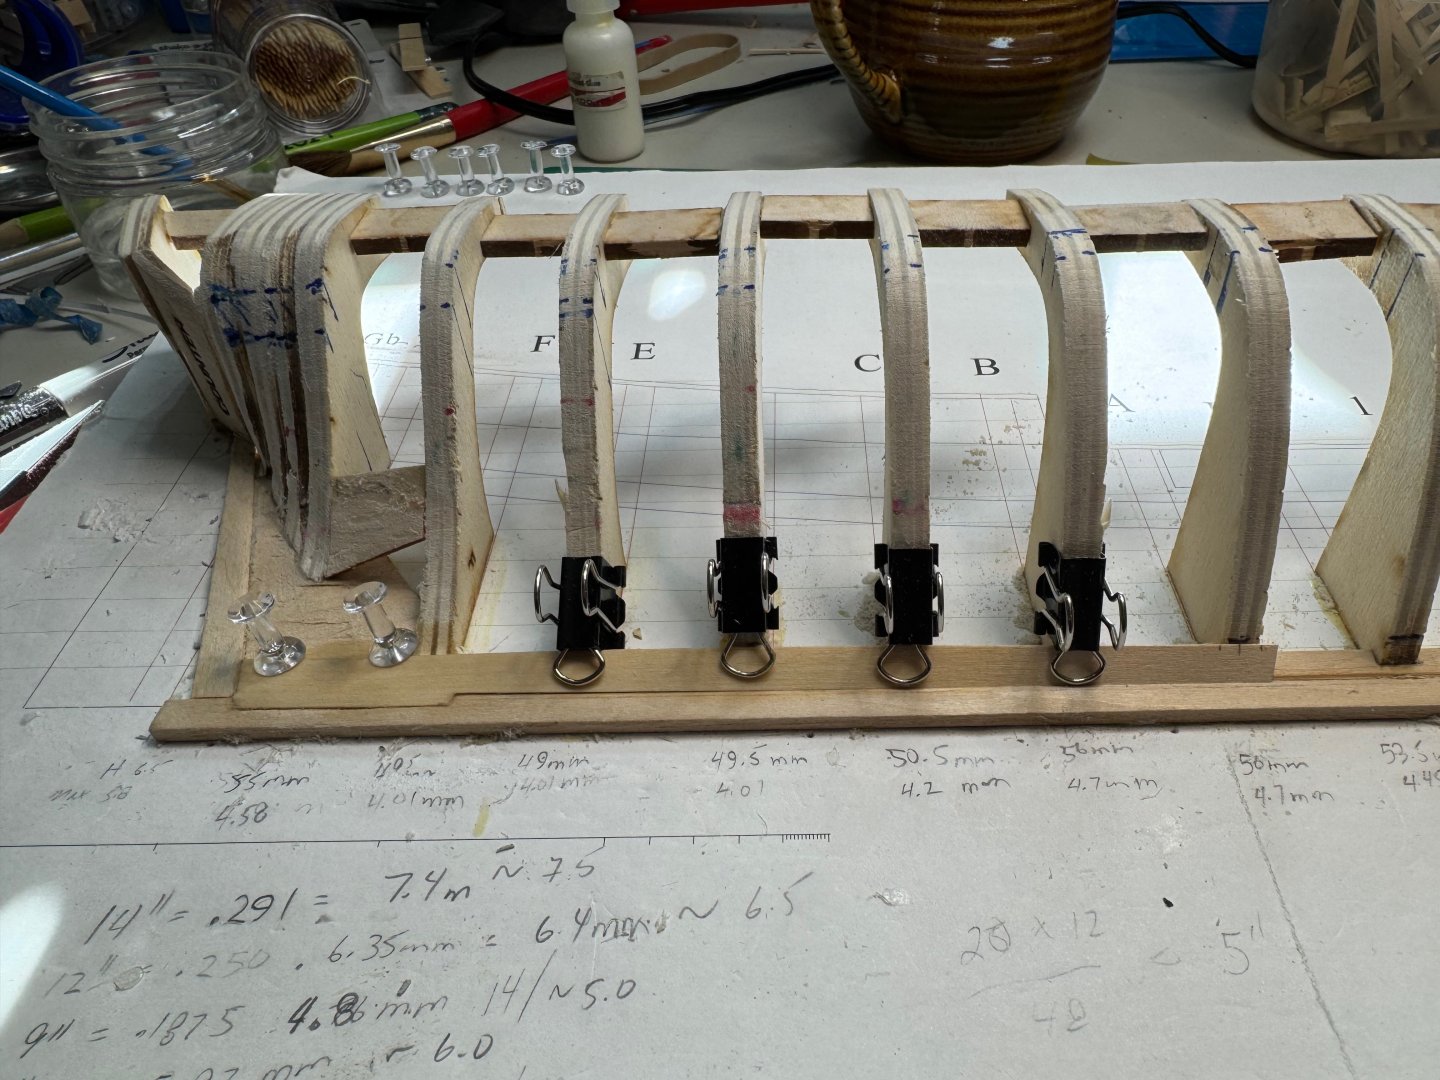
Good morning, on the 22nd I was able to complete the second row of belt 1. This time I worked on each plank and fitted them before gluing. Here I am dry fitting the plank closest to the stern. Next I fitted and glued in the bow plank. At the same time I glued in the stern plank. Finally the middle plank.

-
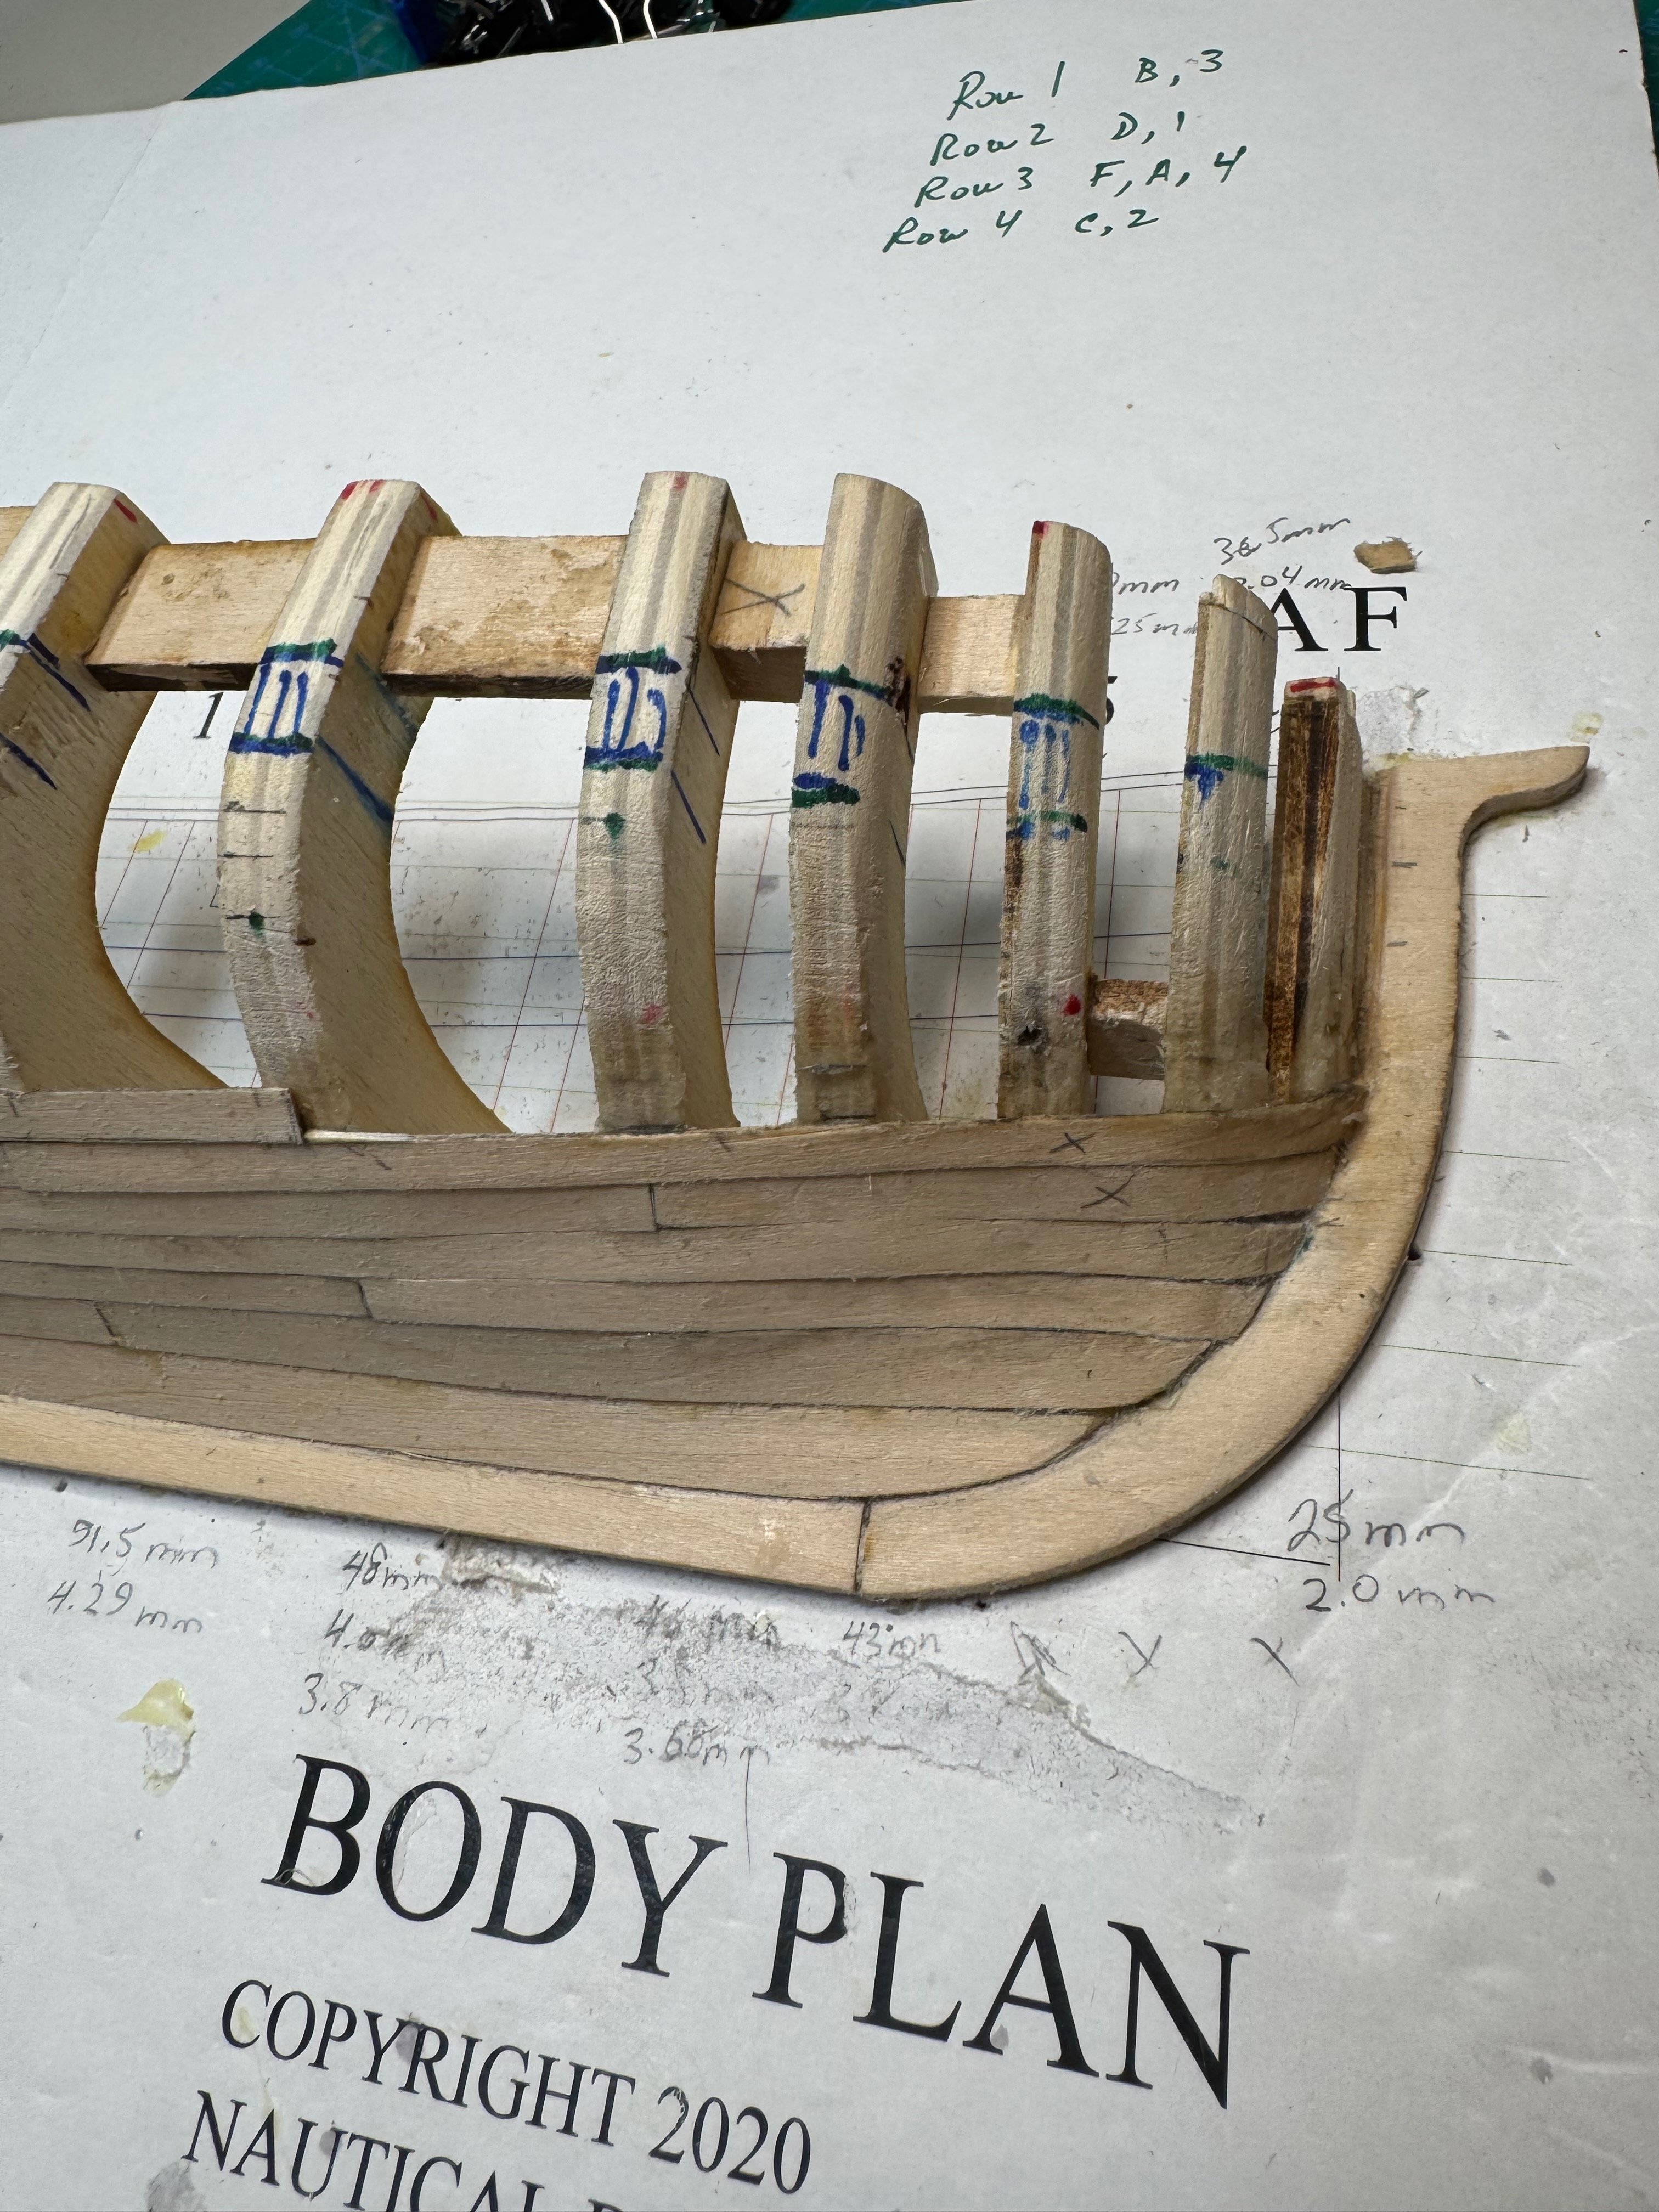
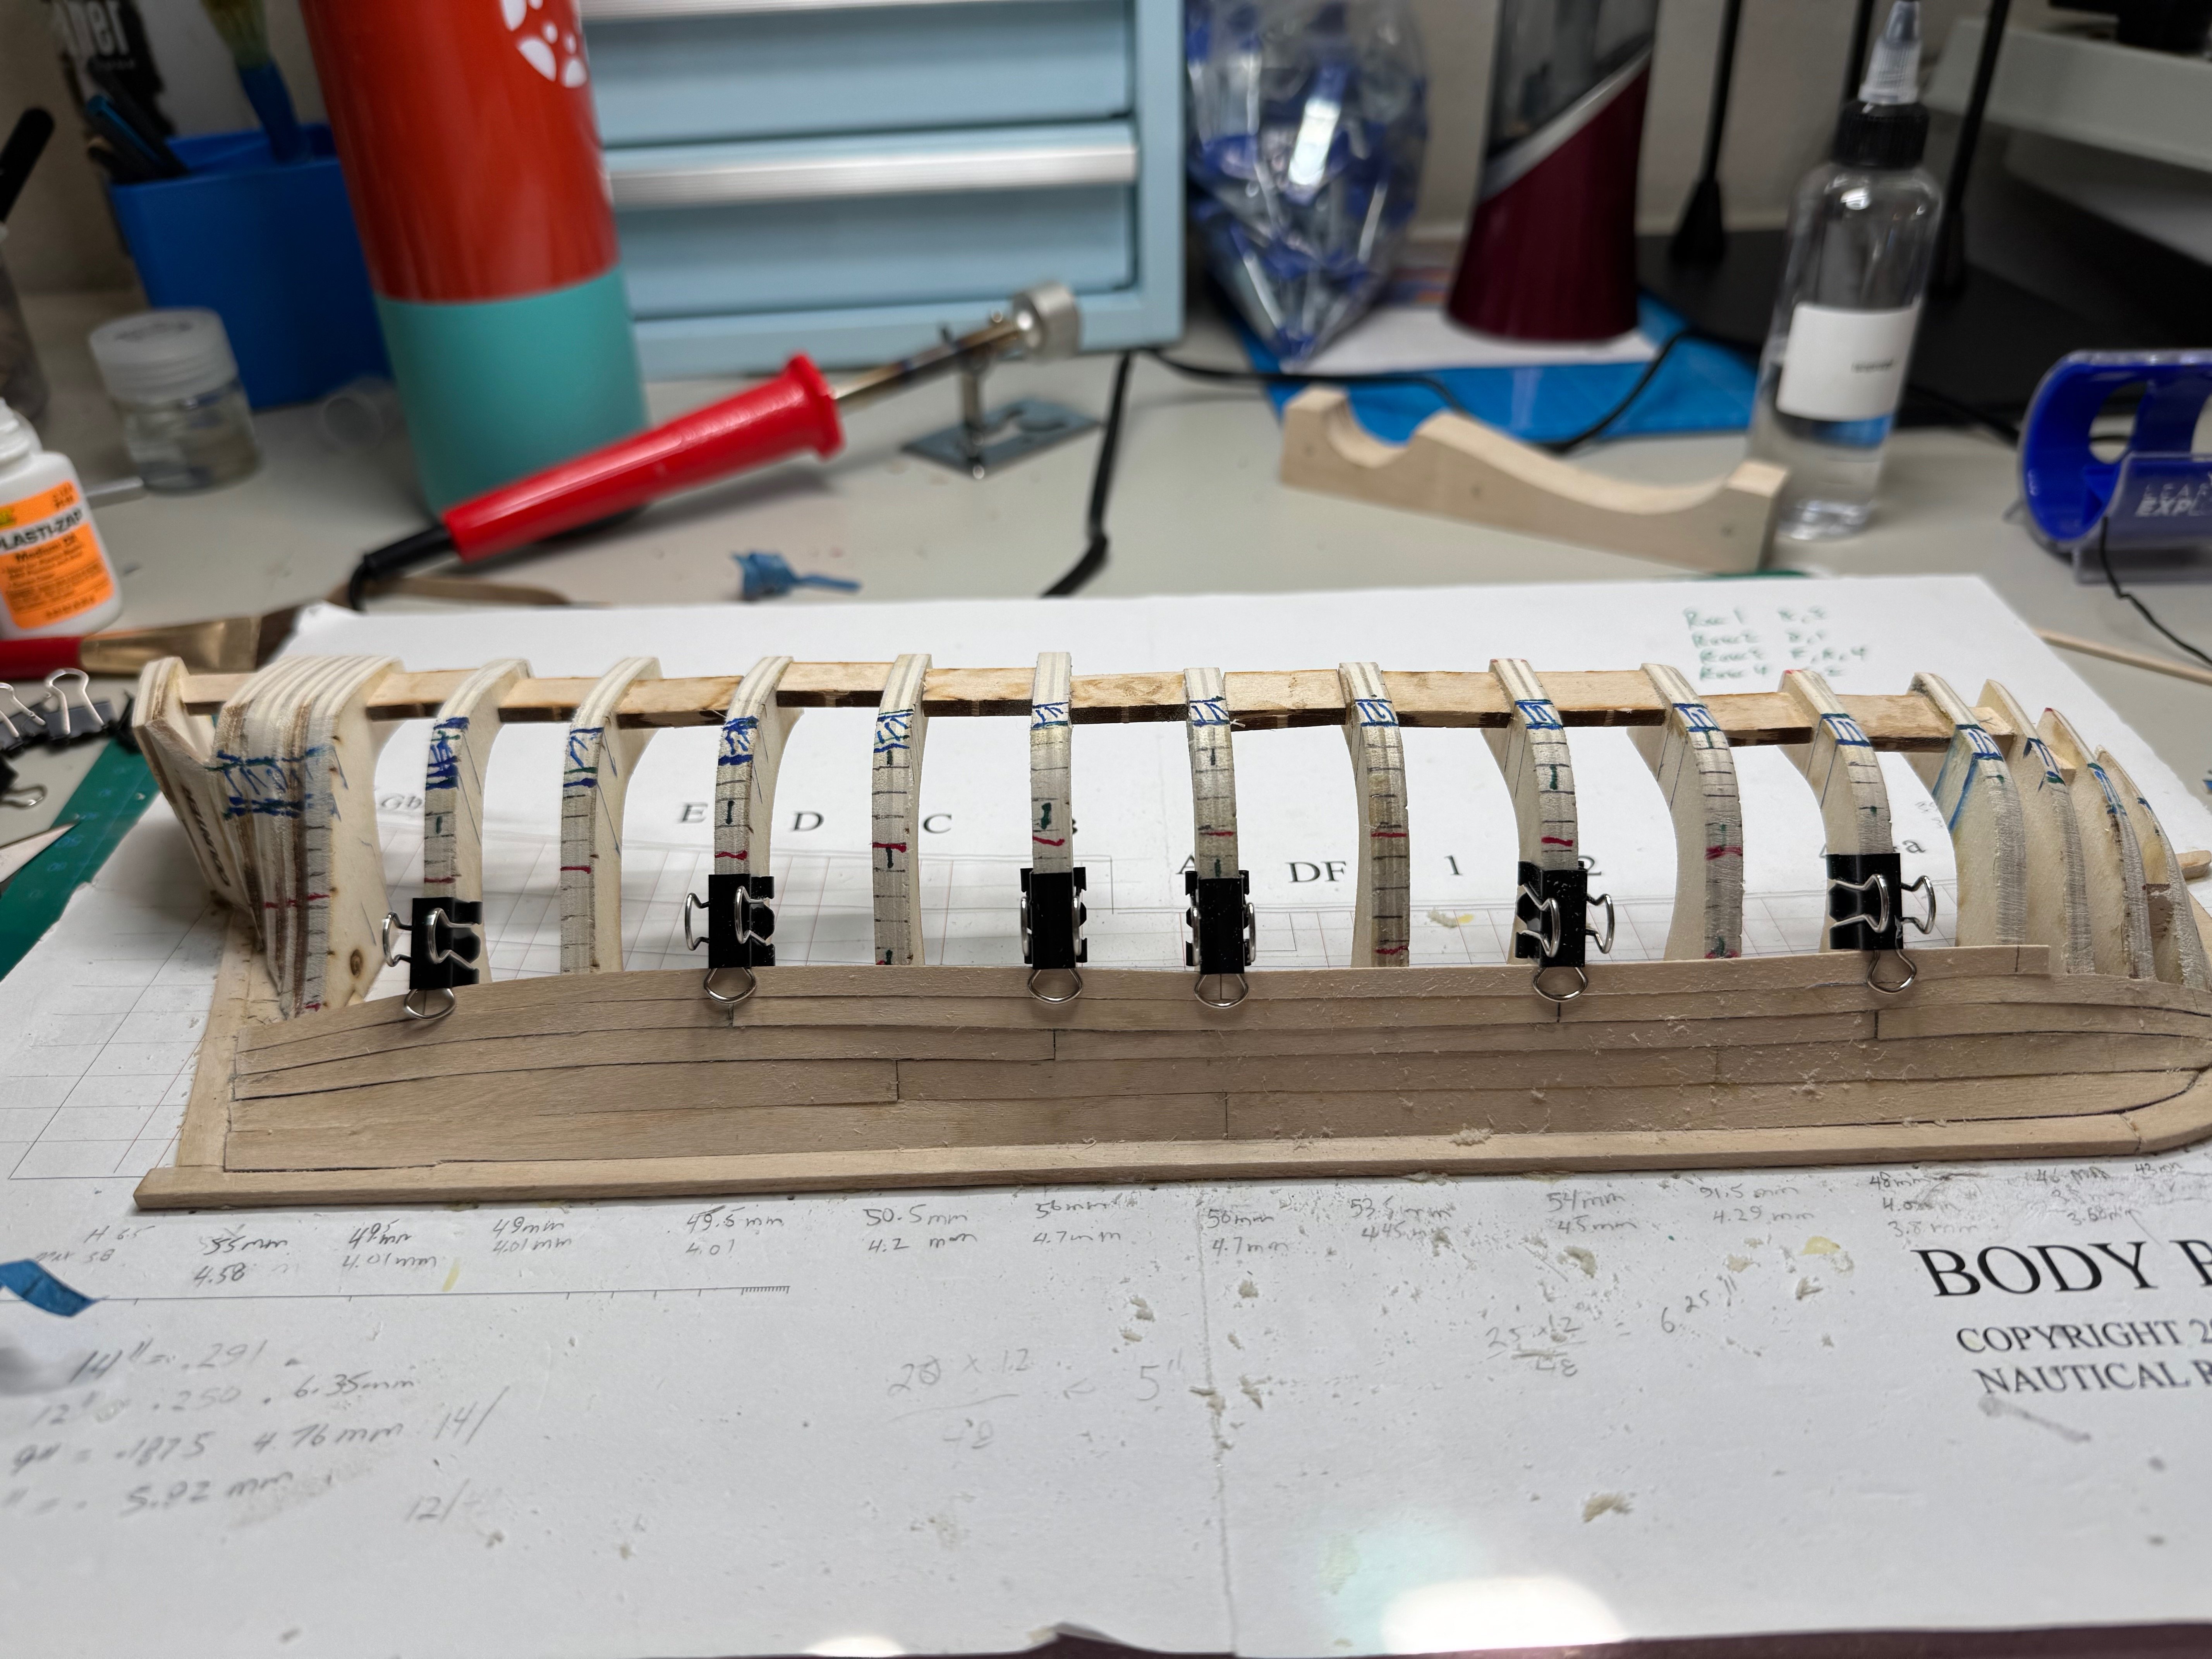
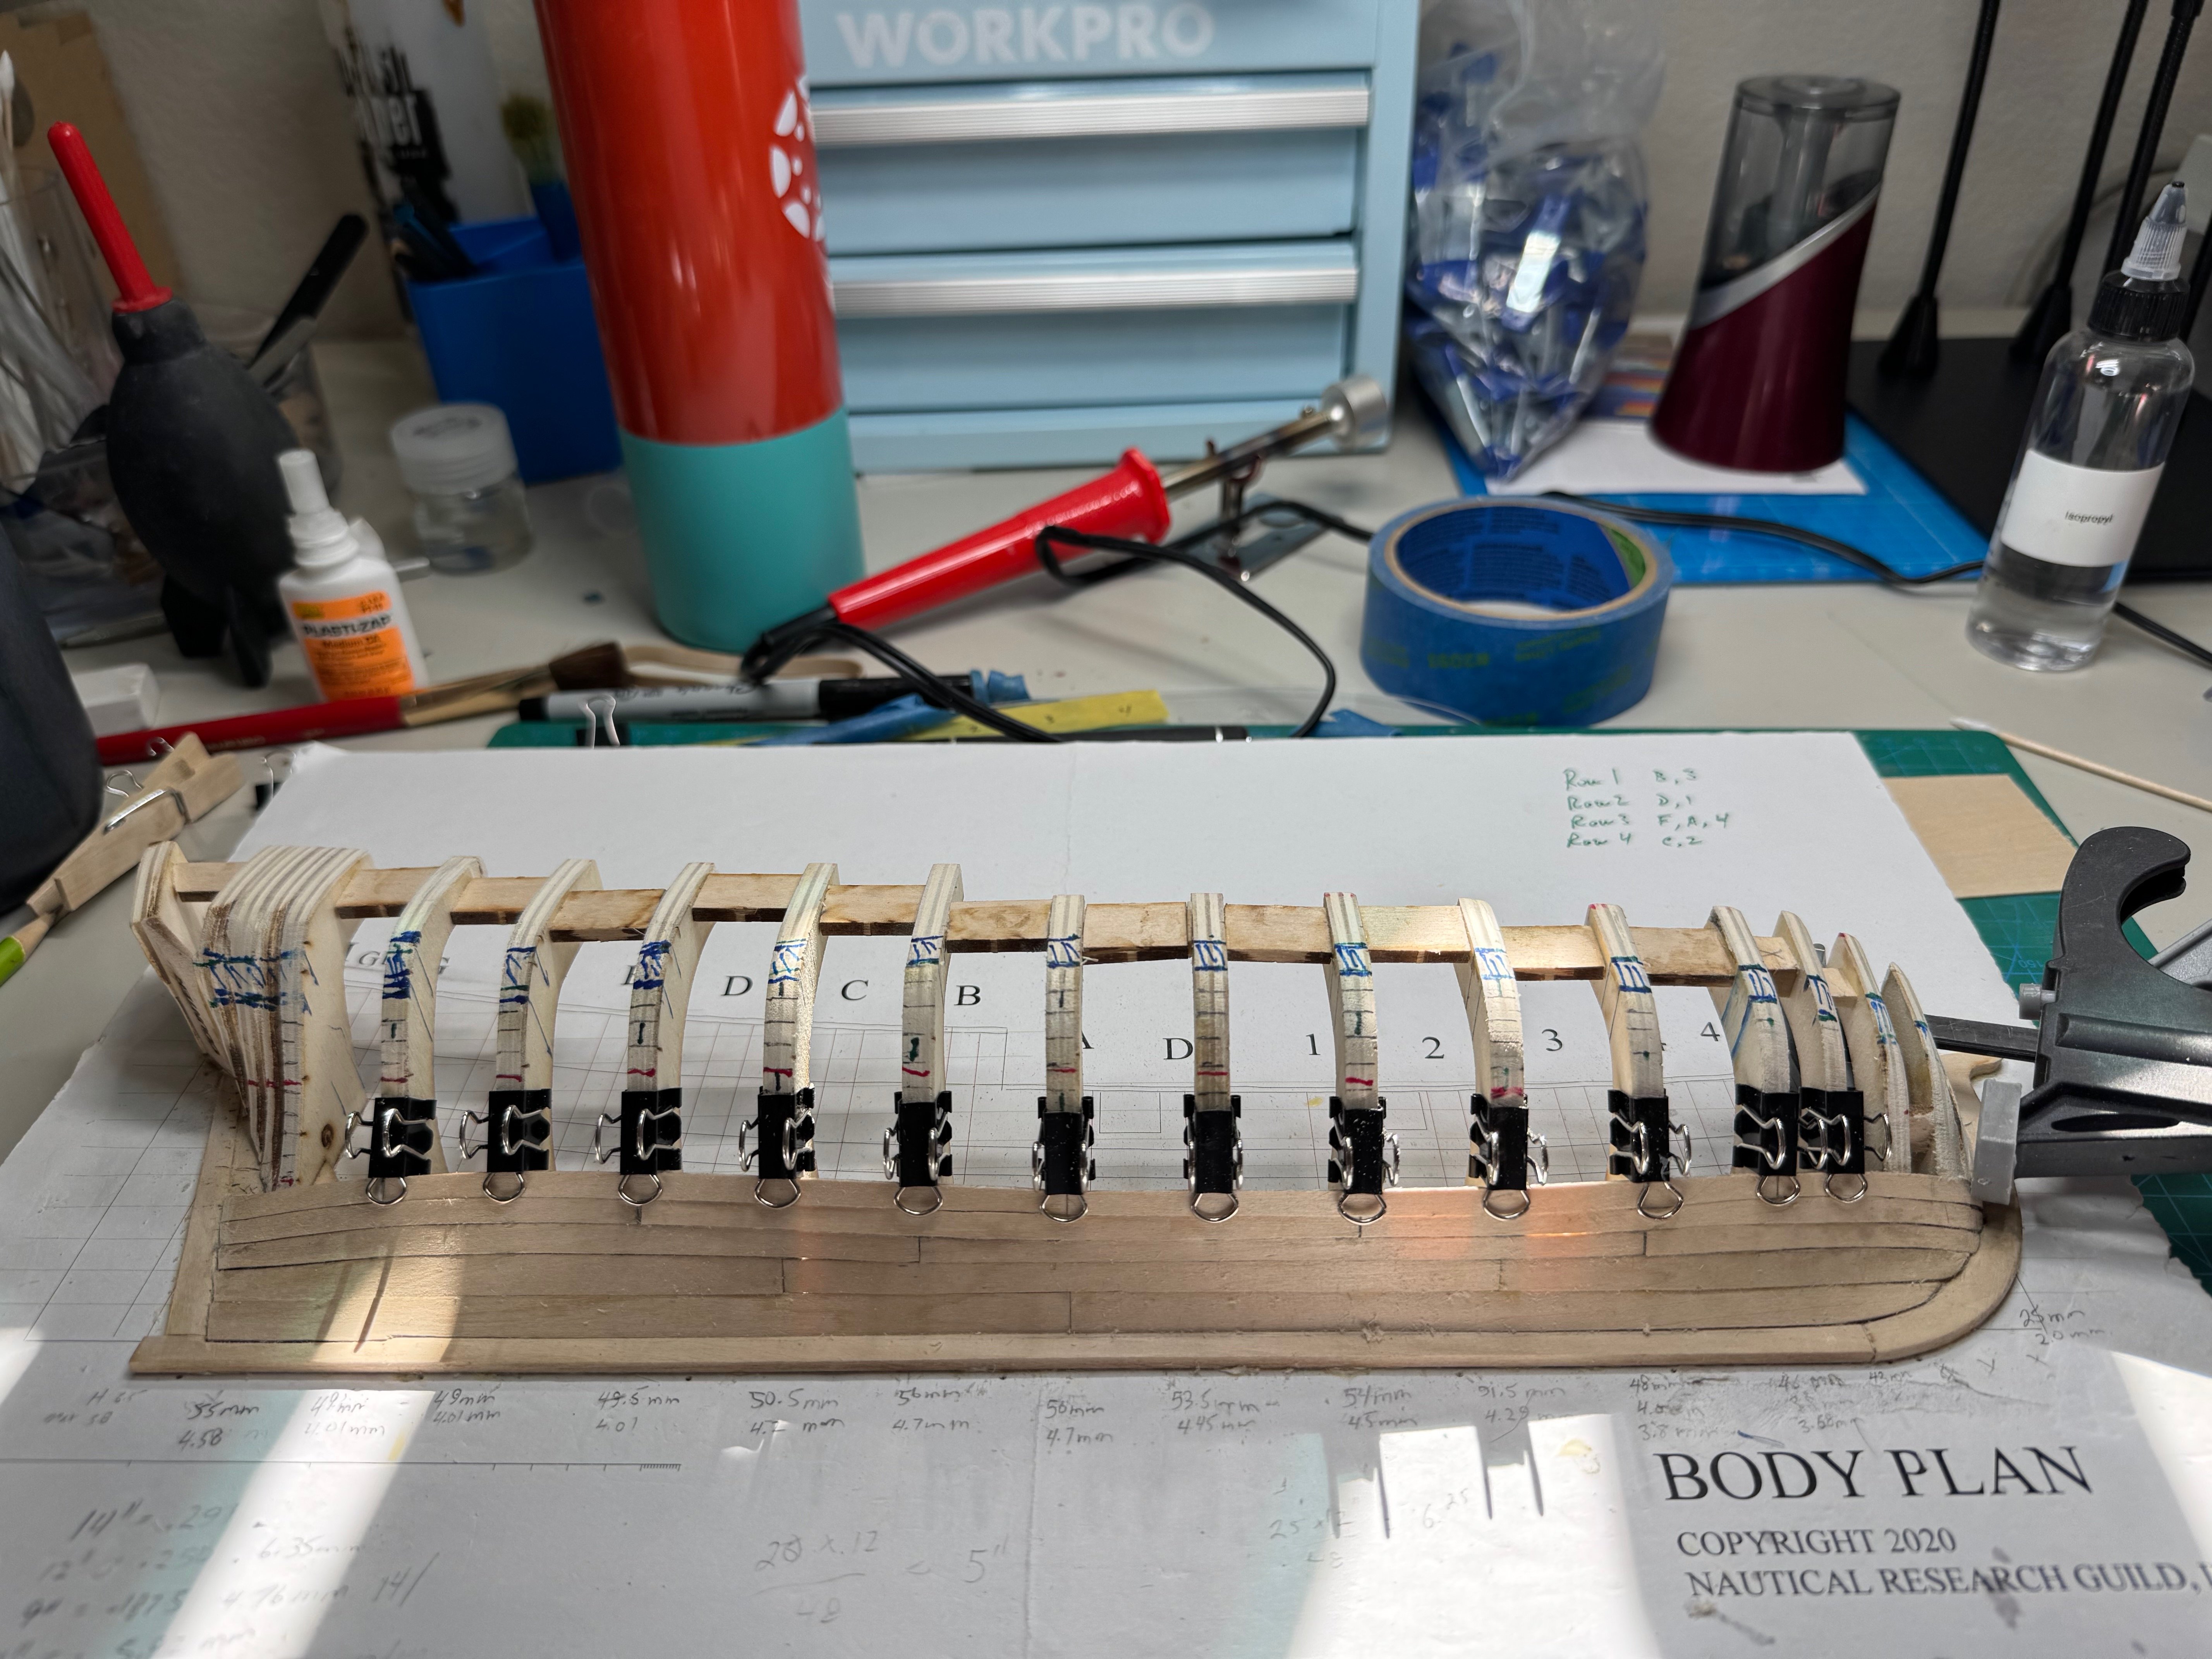
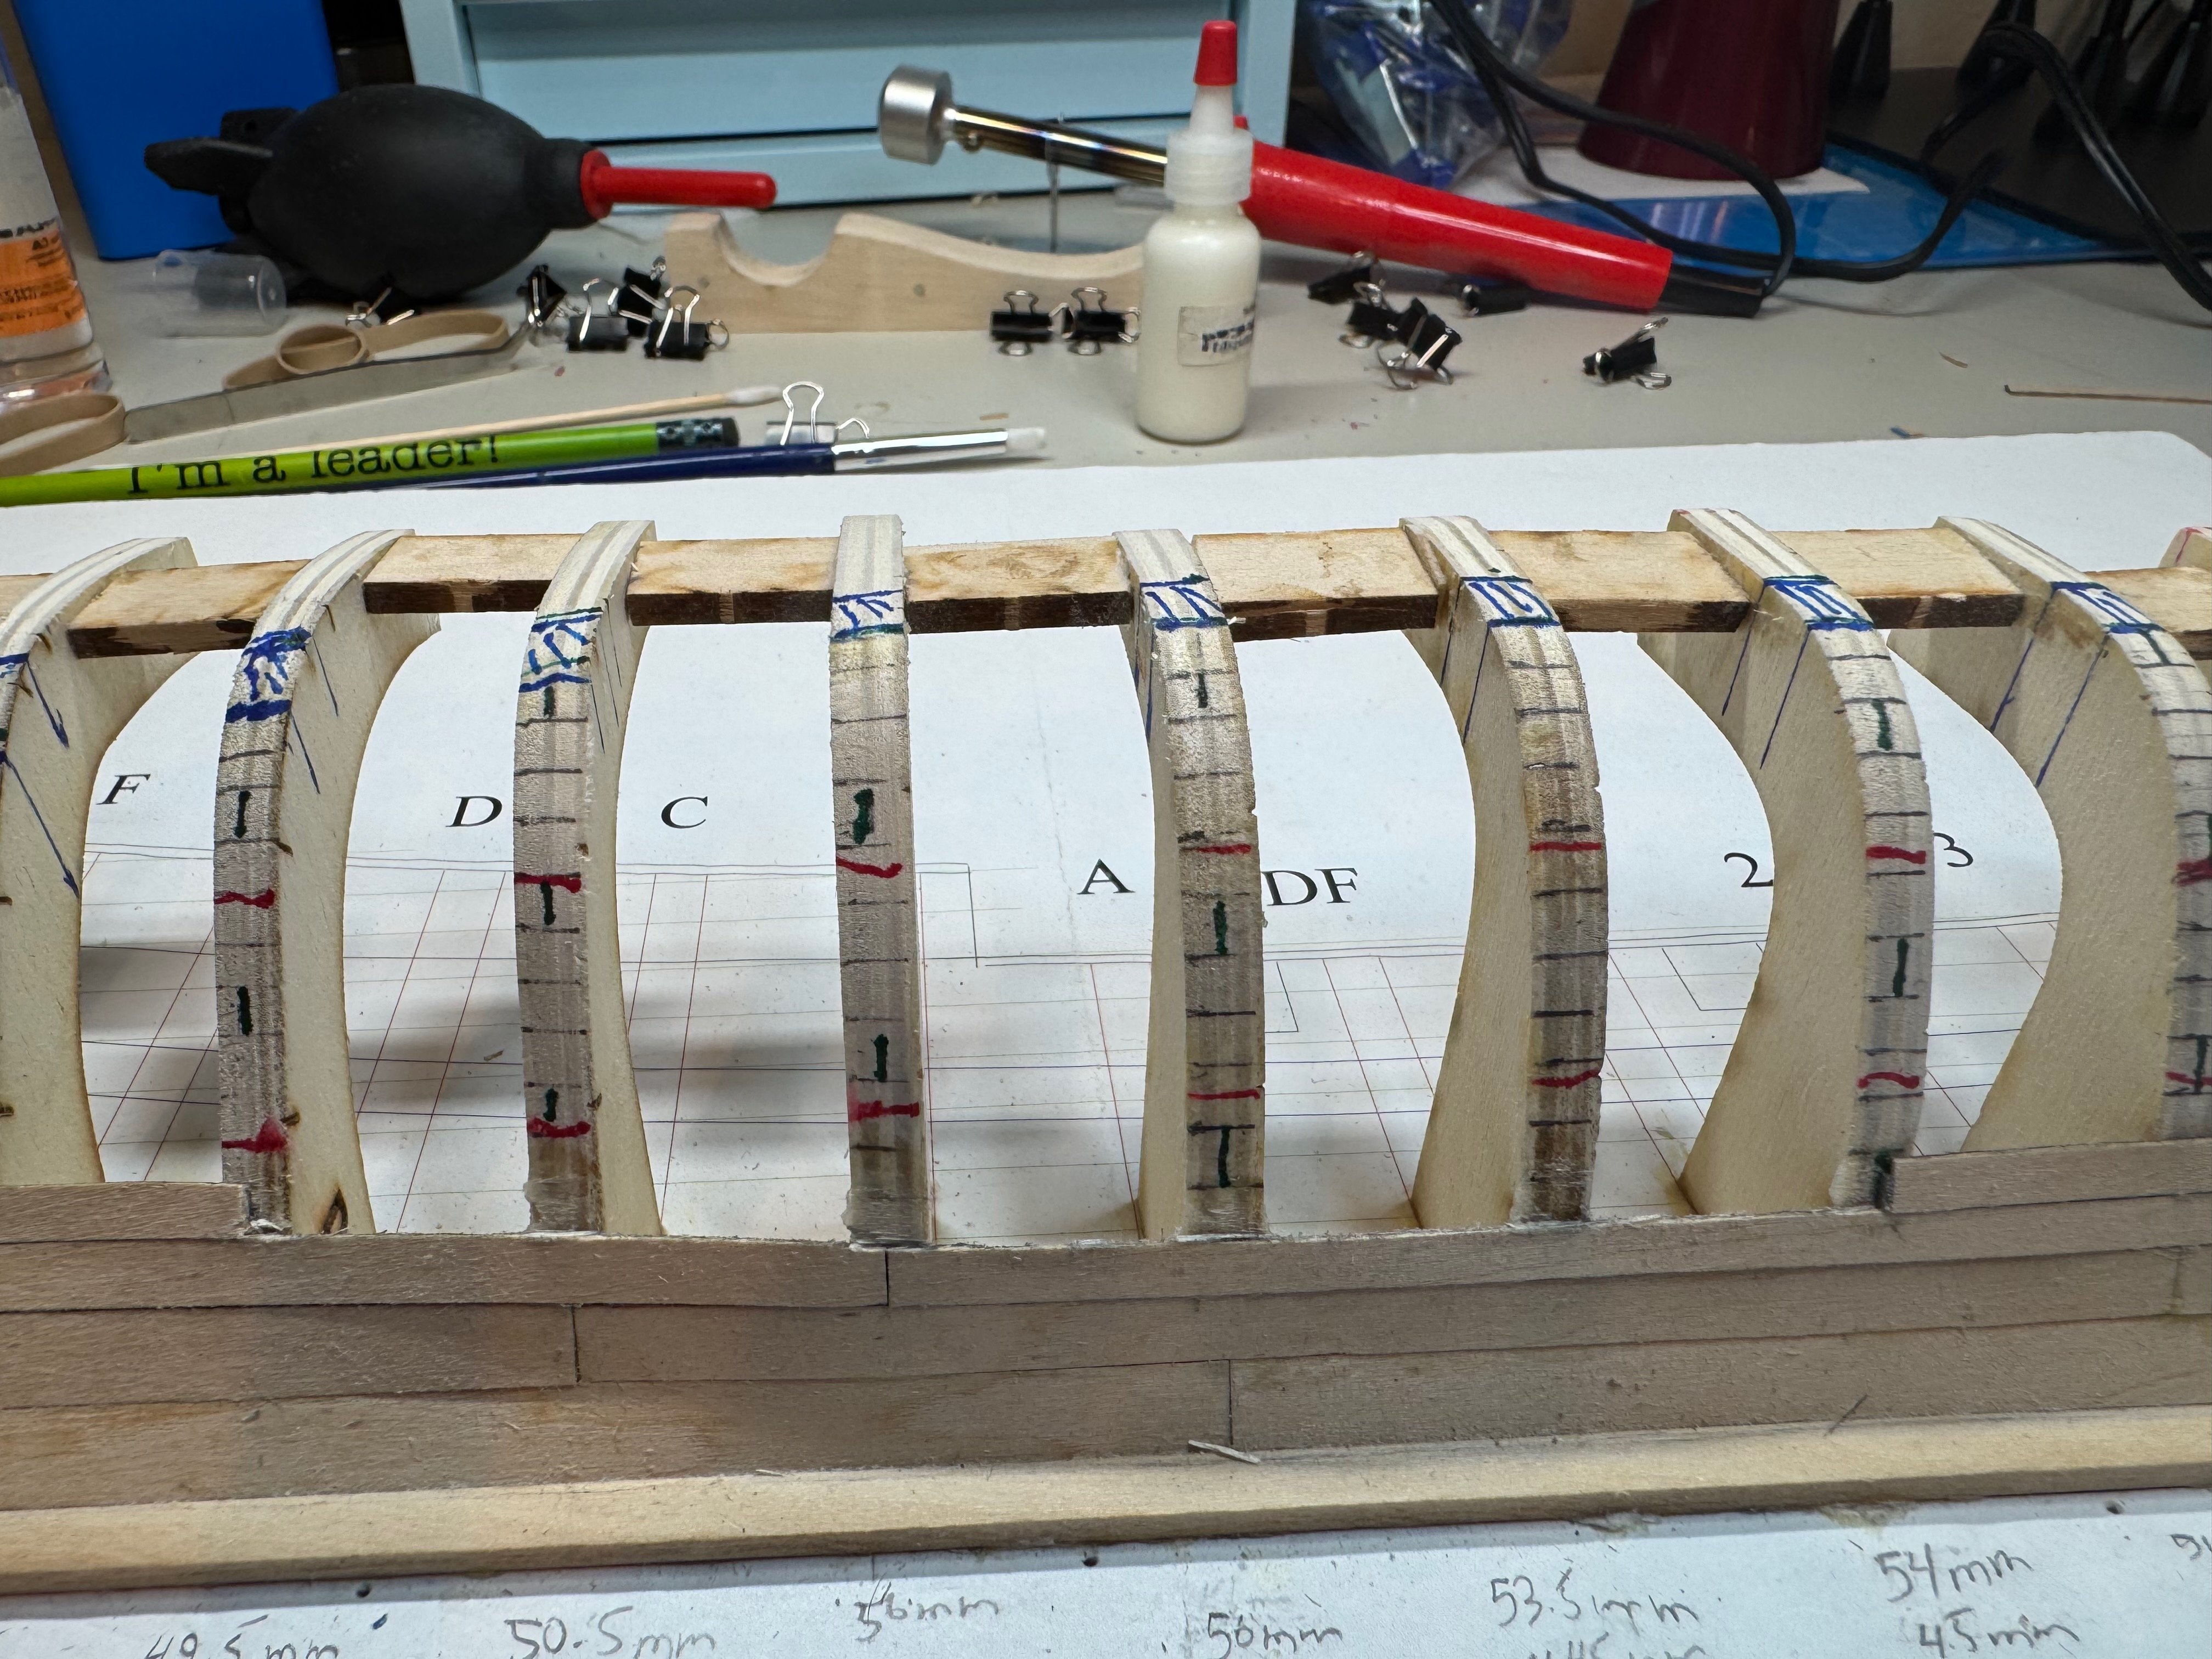
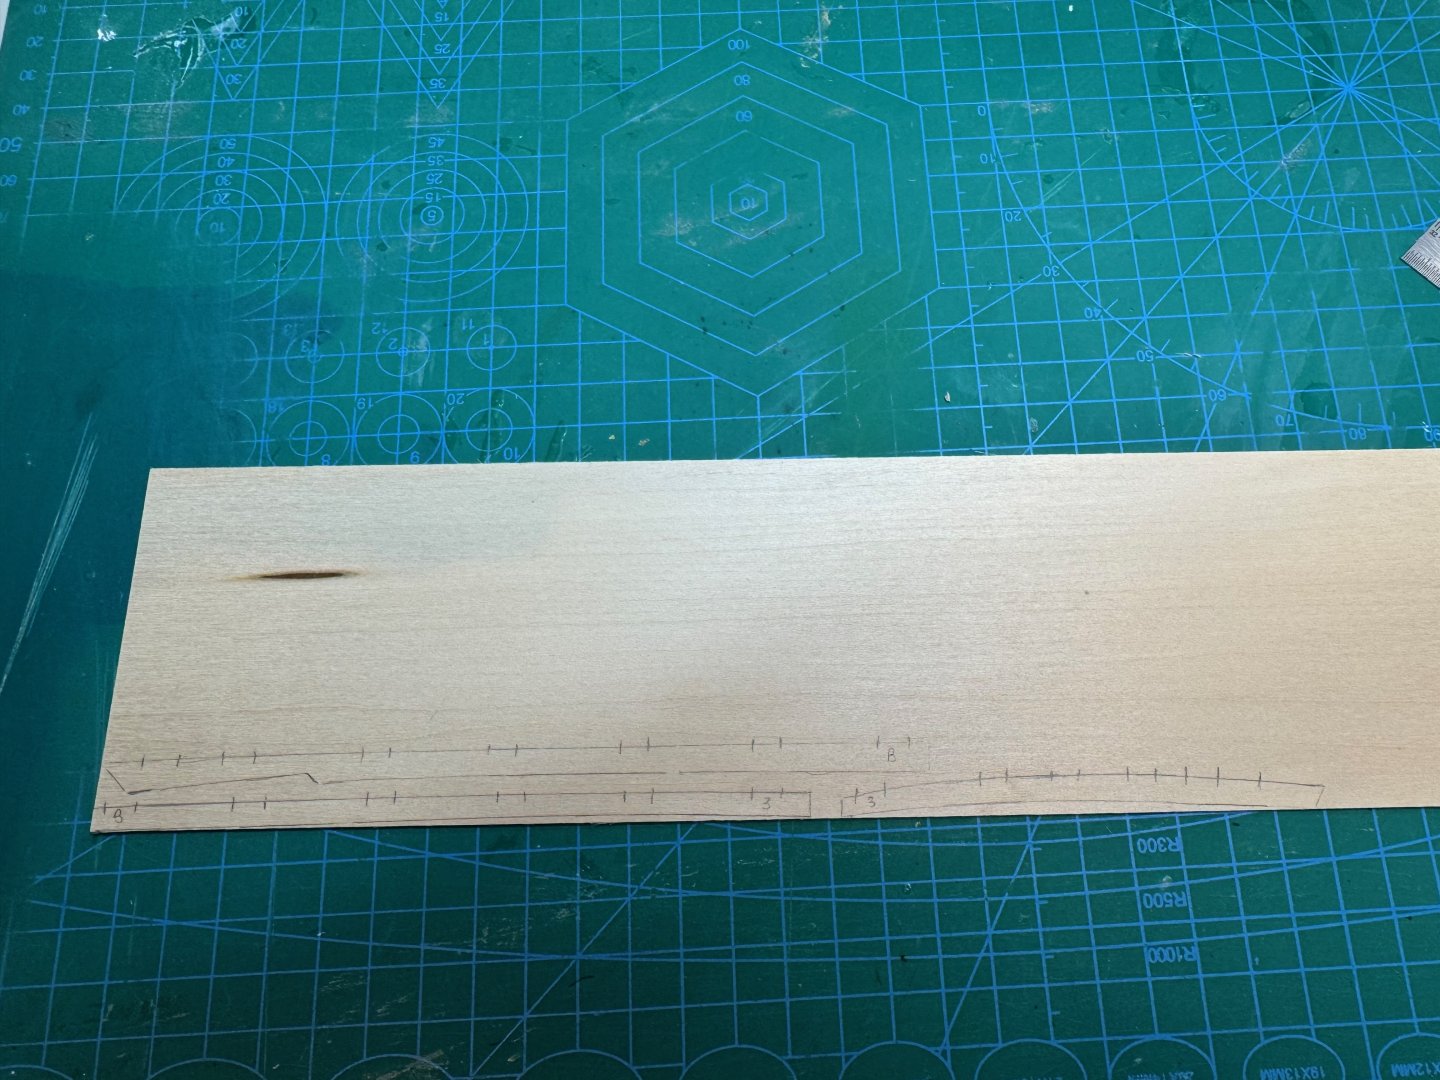
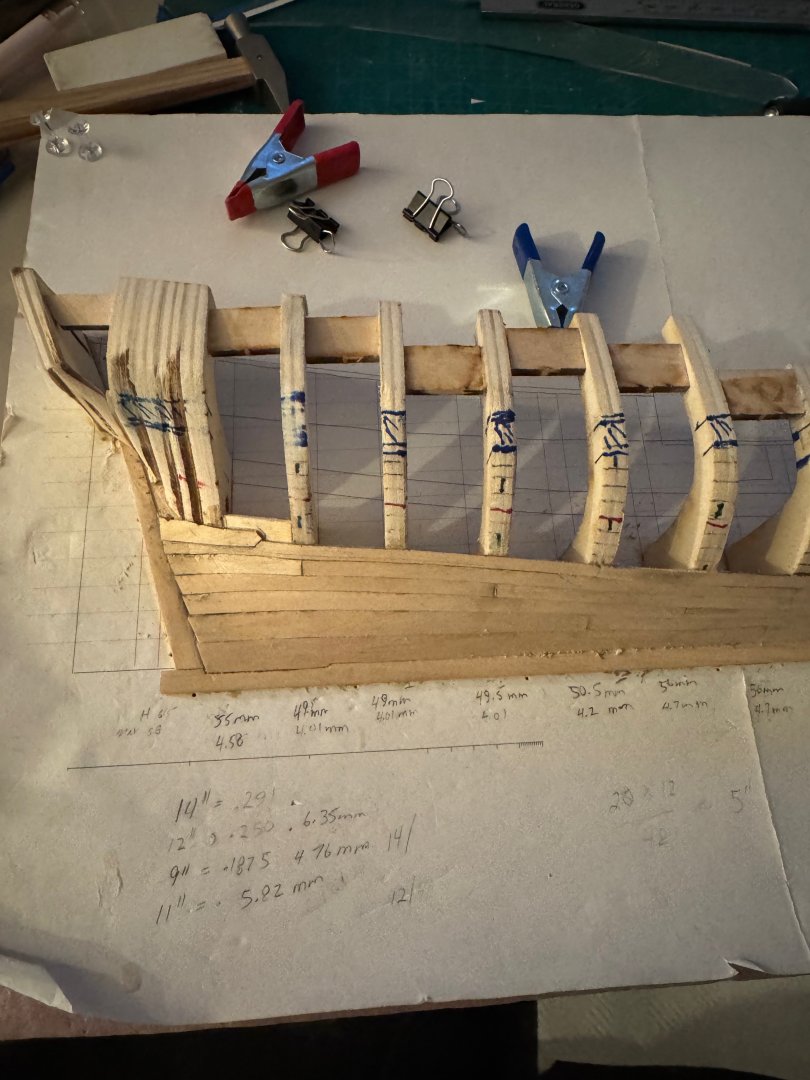
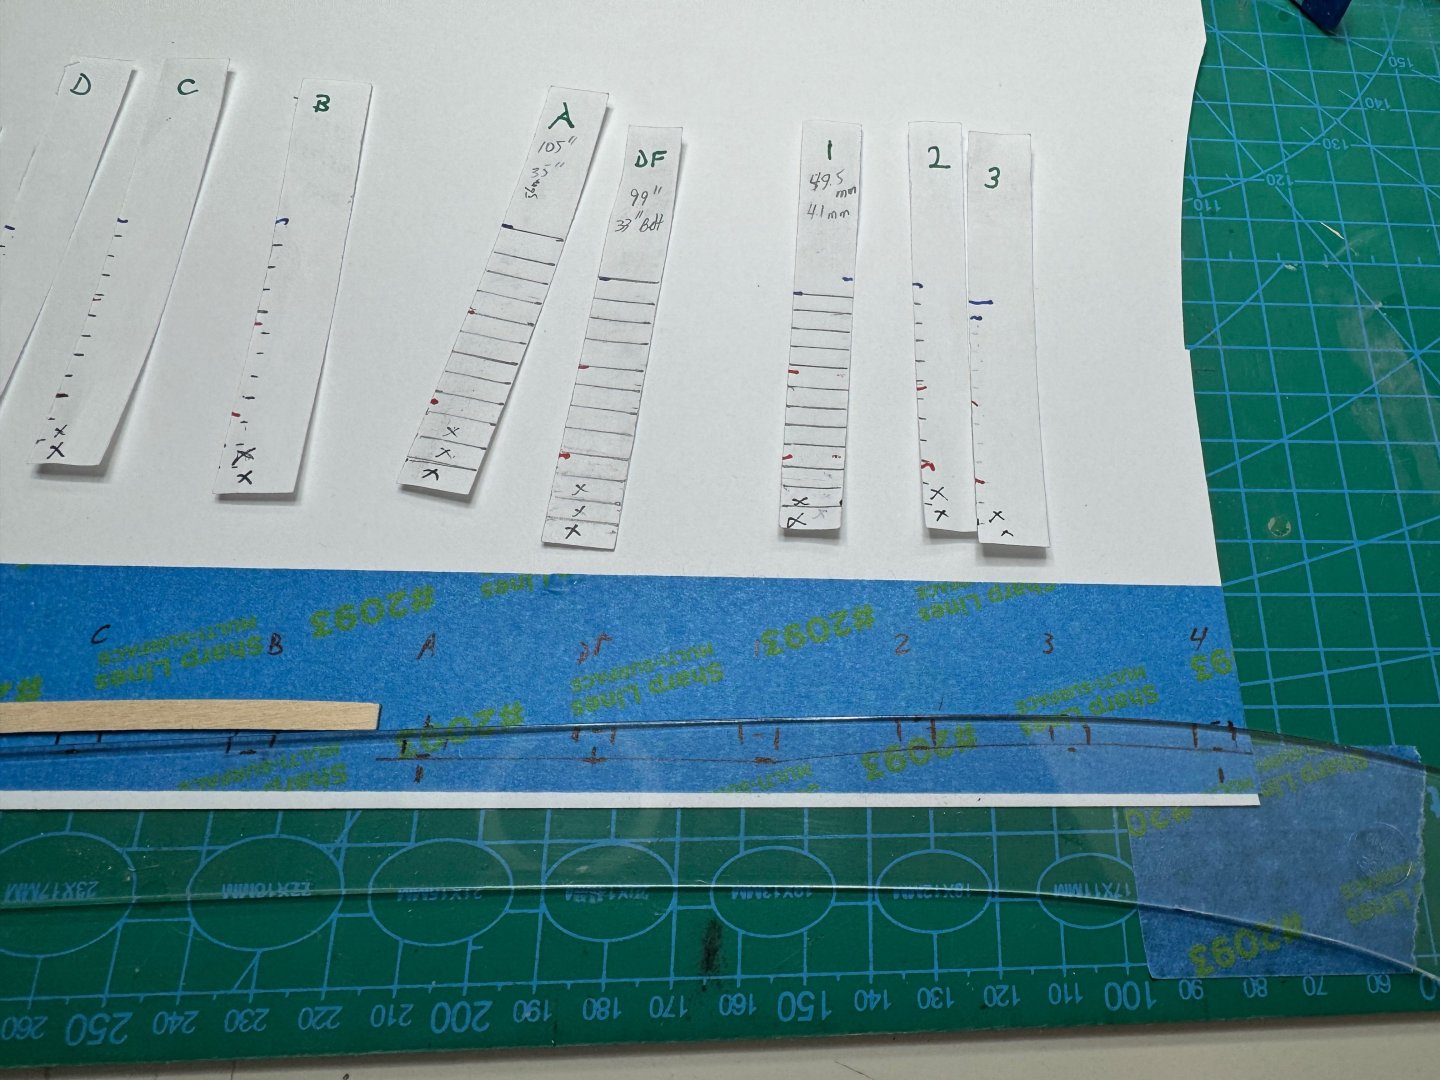
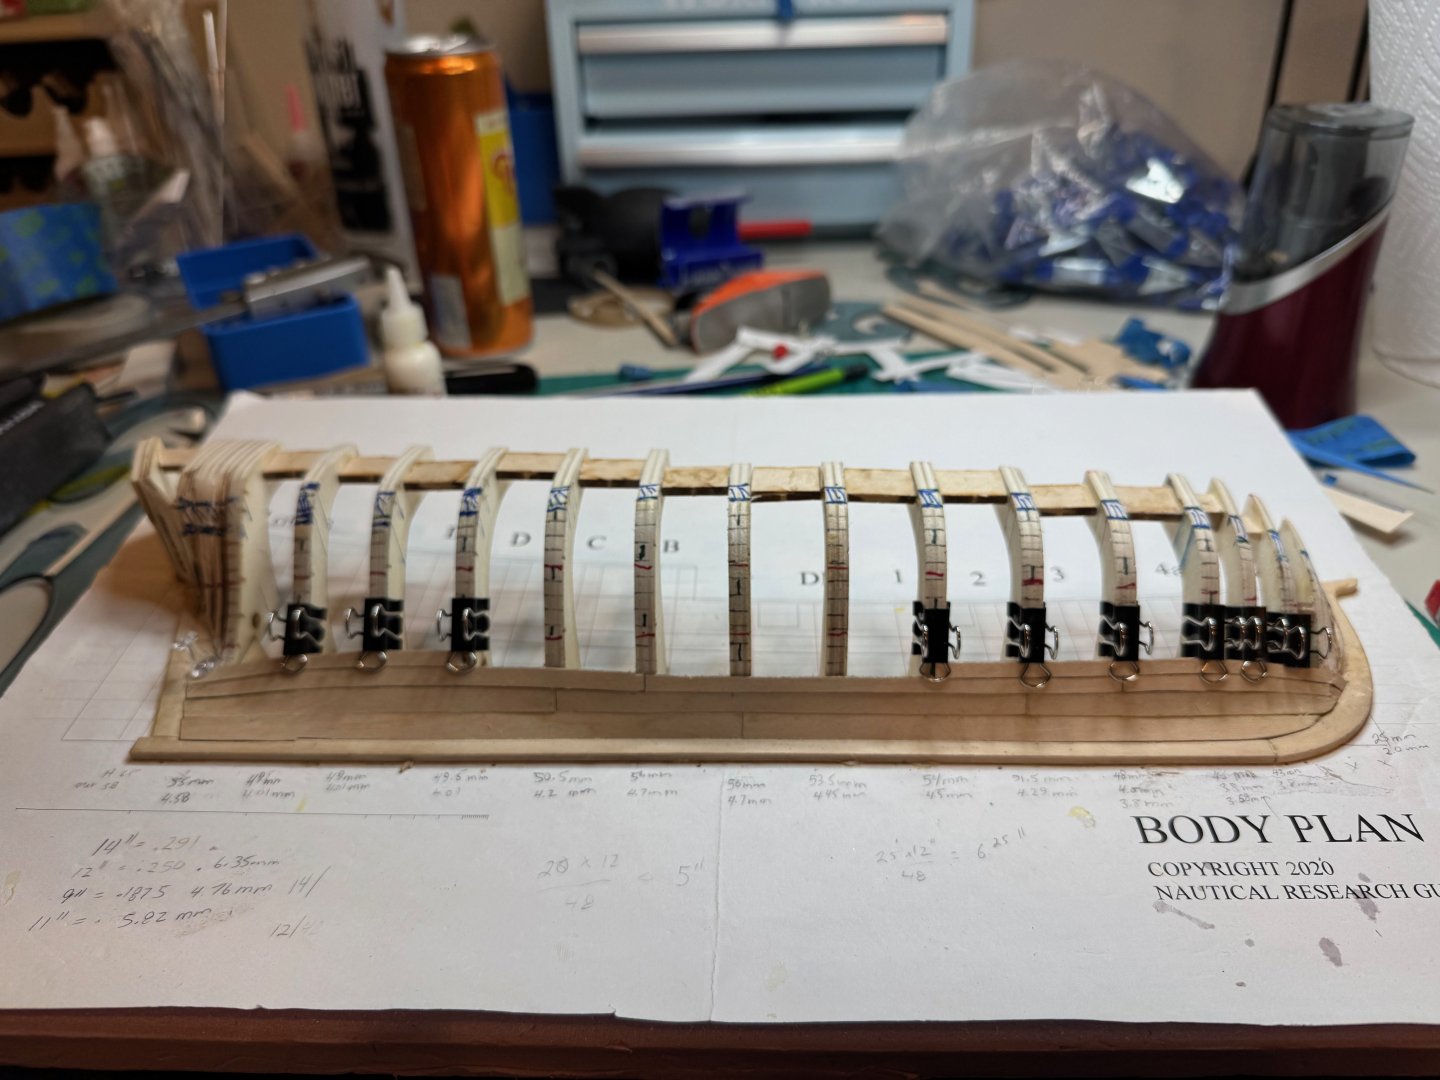
Good morning, Yesterday I was able to make some more progress. First I started with marking the joins for the planks using the 4 shift pattern. They are marked in green. Next I marked out the steeler, to get some visualization, of approximation. From what I gather there 8 planks that will hit the stern post, as the last belt meets up with the counter. I decided to try the compass method for scribing the hull line. I must admit I really like this process that the tracing method as presented for the garboard and first strake. After cutting the plank, the dry fit looks good. After trimming the joins, I then glued the plank. Note, I changed glues from Tightbond, to Gorrilla glue. I am liking the Gorrilla glue better, and it dries clear, and is a little more tacky. I continued with the other two planks. The final three planks looks as follows: One thing I did notice with the other two planks it was a little cumbersome doing the scribing after mounting the first plank. So in the future I am going to template the planks and cut them out first, then dry fit before glueing them in place.


-
@palmerit ohh those quad hands look good. By the way have you found any more quality issues?
- 63 replies
-
- 2
-

-
- Norwegian Sailing Pram
- Model Shipways
- (and 2 more)