Mike905603
-
Posts
6 -
Joined
-
Last visited
-
 Mike905603 reacted to a post in a topic:
Hello from Blighty
Mike905603 reacted to a post in a topic:
Hello from Blighty
-
mtaylor reacted to a post in a topic:
Hello from Blighty
-
mtaylor reacted to a post in a topic:
Hello from Blighty
-
SiriusVoyager reacted to a post in a topic:
Henriette Marie by Mike905603 - Billing Boats - 1:50 - first build
-
Keith Black reacted to a post in a topic:
Hello from Blighty
-
Everydays a schoolday 😁
-
Mike905603 reacted to a post in a topic:
Hello from Blighty
-
Still no luck with the link I'm afraid. I've attached a PDF screenshot of the error page I get. However a quick search turned up "A Primer On Planking" by David Antscherl at another guilds website. I'm assuming this is the same document your link was for? broken link.pdf
-
Ryland Craze reacted to a post in a topic:
Henriette Marie by Mike905603 - Billing Boats - 1:50 - first build
-
JacquesCousteau reacted to a post in a topic:
Hello from Blighty
-
JacquesCousteau reacted to a post in a topic:
Henriette Marie by Mike905603 - Billing Boats - 1:50 - first build
-
Shamaal reacted to a post in a topic:
Hello from Blighty
-
vossiewulf reacted to a post in a topic:
Henriette Marie by Mike905603 - Billing Boats - 1:50 - first build
-
Mike905603 reacted to a post in a topic:
Henriette Marie by Mike905603 - Billing Boats - 1:50 - first build
-
Mike905603 reacted to a post in a topic:
Henriette Marie by Mike905603 - Billing Boats - 1:50 - first build
-
As you say, it will be a case of trying to keep it as neat as possible, even if it makes the later stages of fillering and sanding to achieve a smooth finish easier. I'm a engineering fitter by trade and I'm afraid that even if I can't see it at the end, if it's been bodged I'll know about it and it will annoy me 😁. It just seems a pity to hide it all behind filler and paint. Thanks for the advice about the planking tutorials, I'll be spending some evenings having a read.
- 7 replies
-
- 1
-
-
- Henriette Marie
- Billing Boats
- (and 1 more)
-
Thank you for the help. Unfortunately the link didn't work but I've dug around in the forums and YouTube to get a better idea. I ended up going down a rabbit hole and watching a shipwright explain and demonstrate the method of using stealers on the full size prototype. Still, 15 minutes well spent 😁
-
vossiewulf reacted to a post in a topic:
Hello from Blighty
-
Mike905603 reacted to a post in a topic:
Hello from Blighty
-
Mike905603 reacted to a post in a topic:
Hello from Blighty
-
Mike905603 reacted to a post in a topic:
Hello from Blighty
-
Mike905603 reacted to a post in a topic:
Hello from Blighty
-
Mike905603 reacted to a post in a topic:
Hello from Blighty
-
Mike905603 reacted to a post in a topic:
Hello from Blighty
-
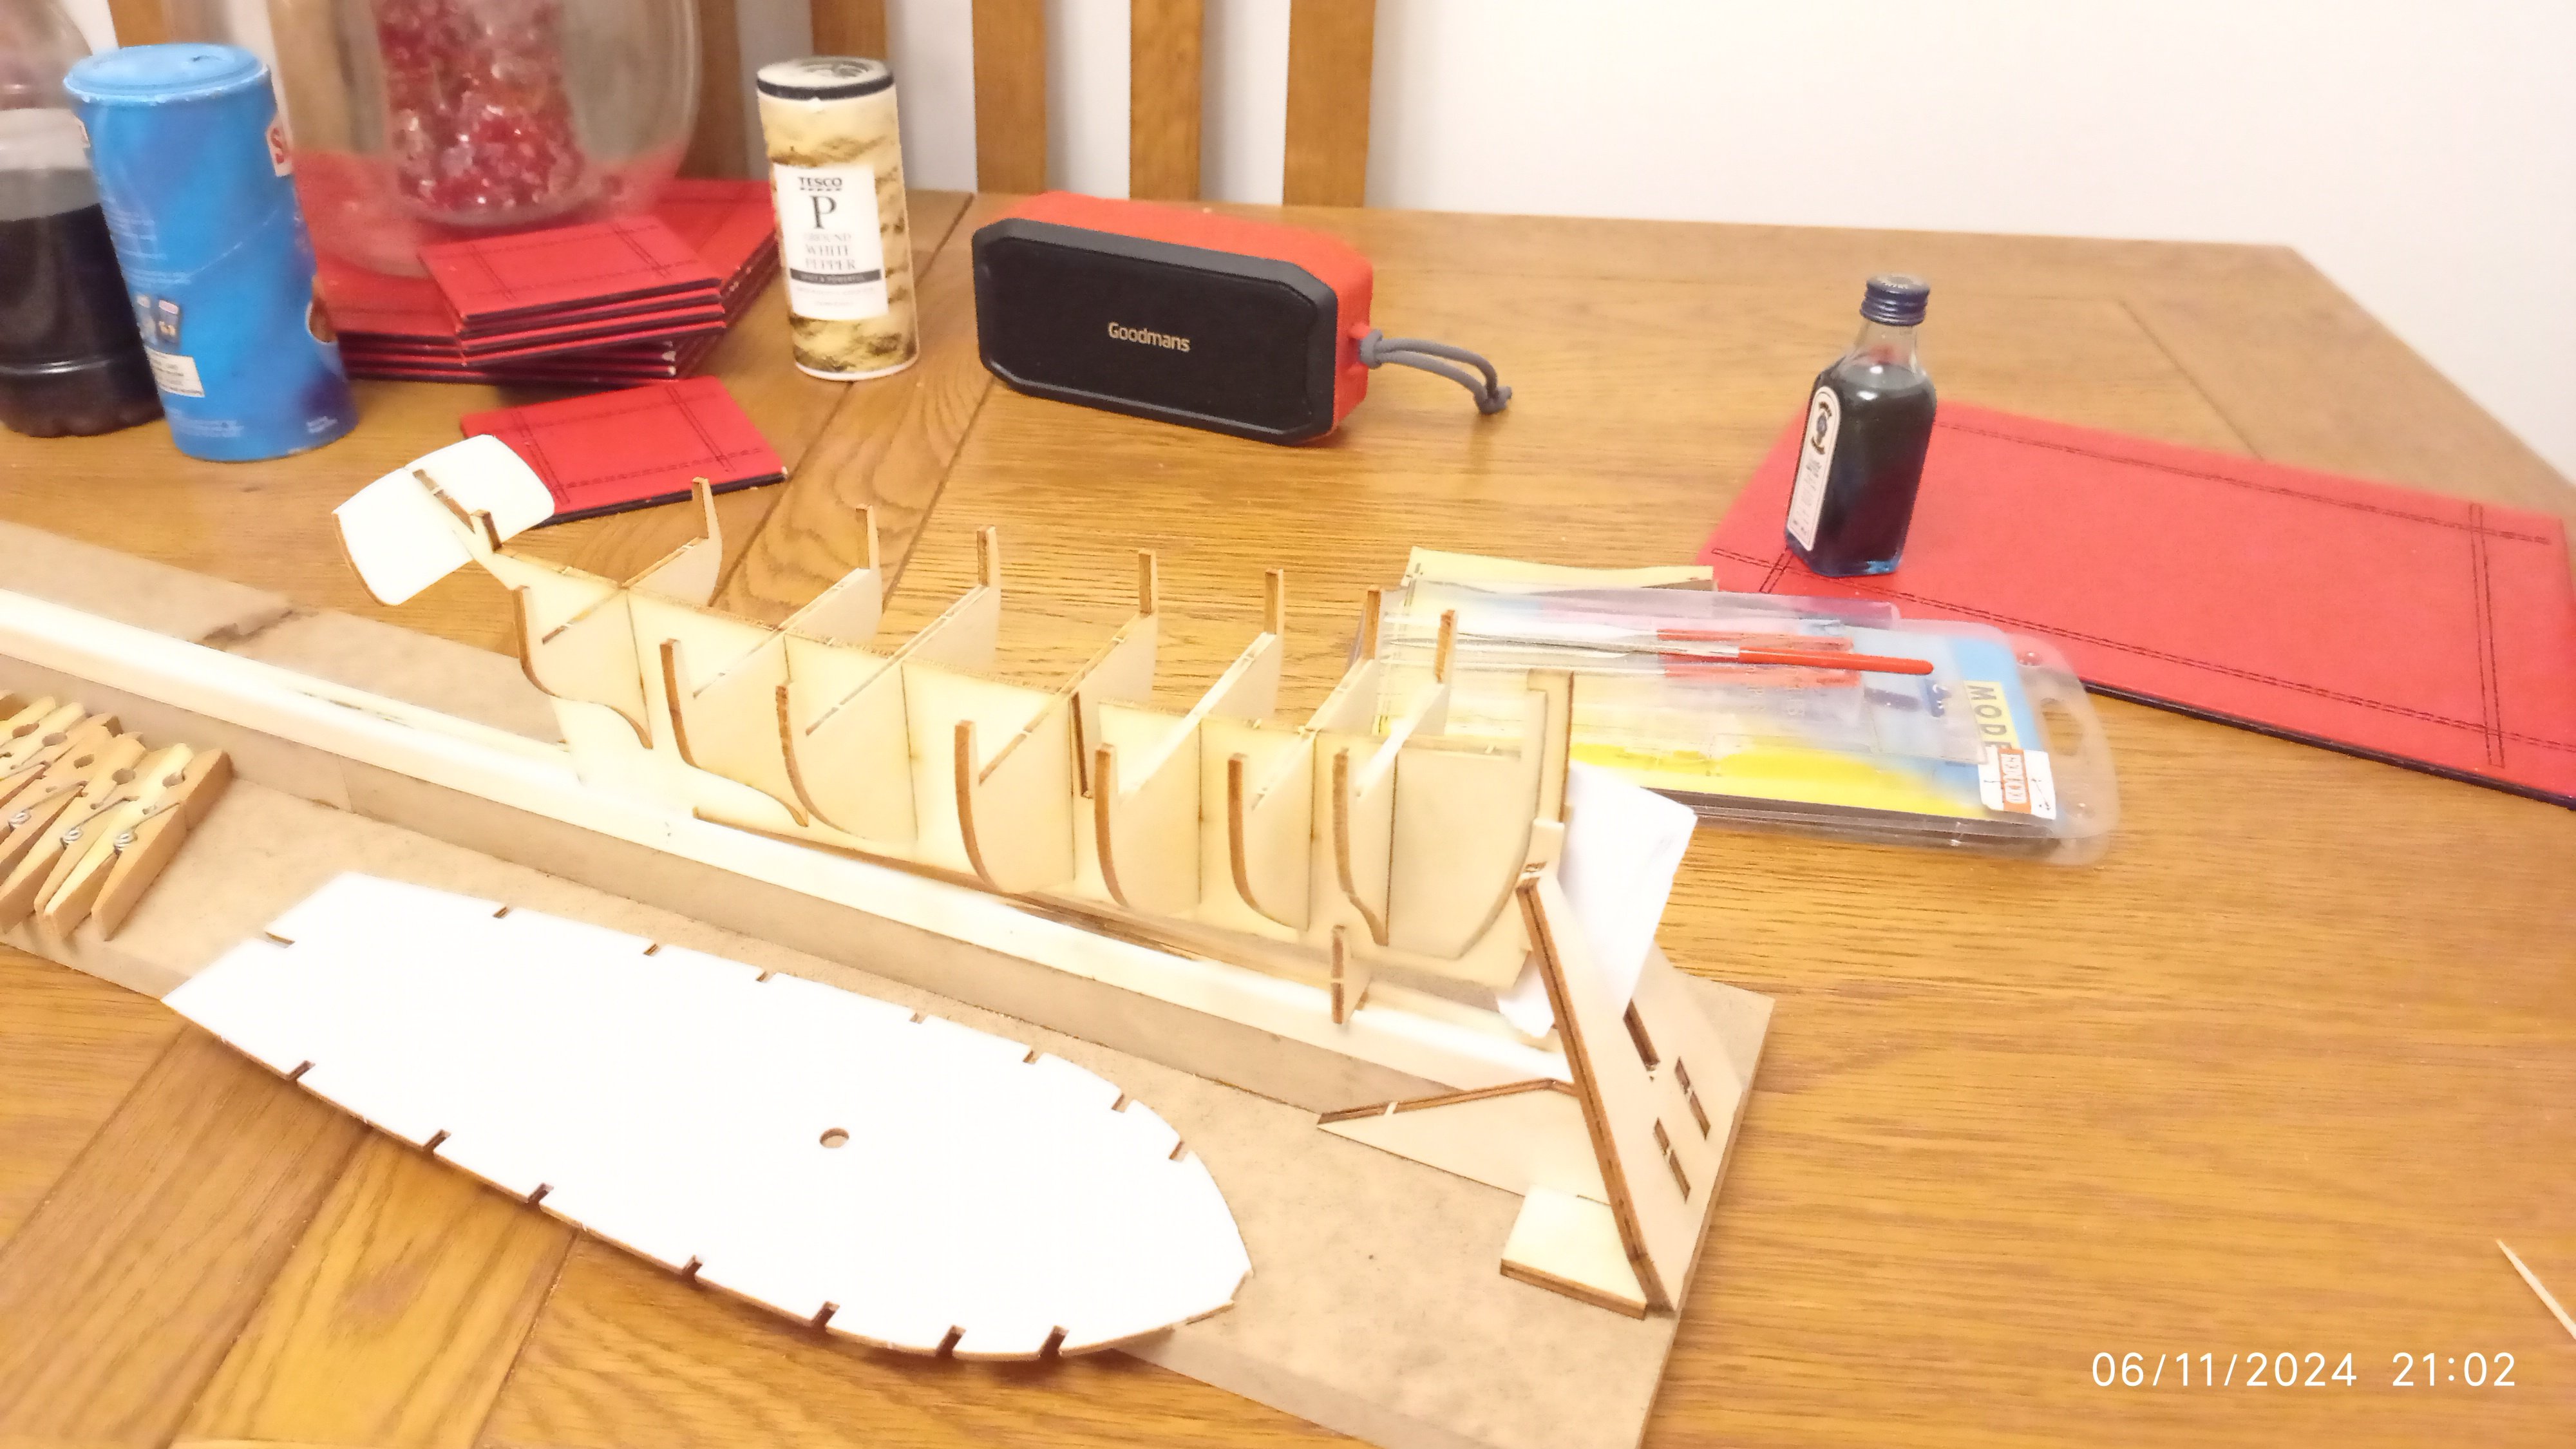
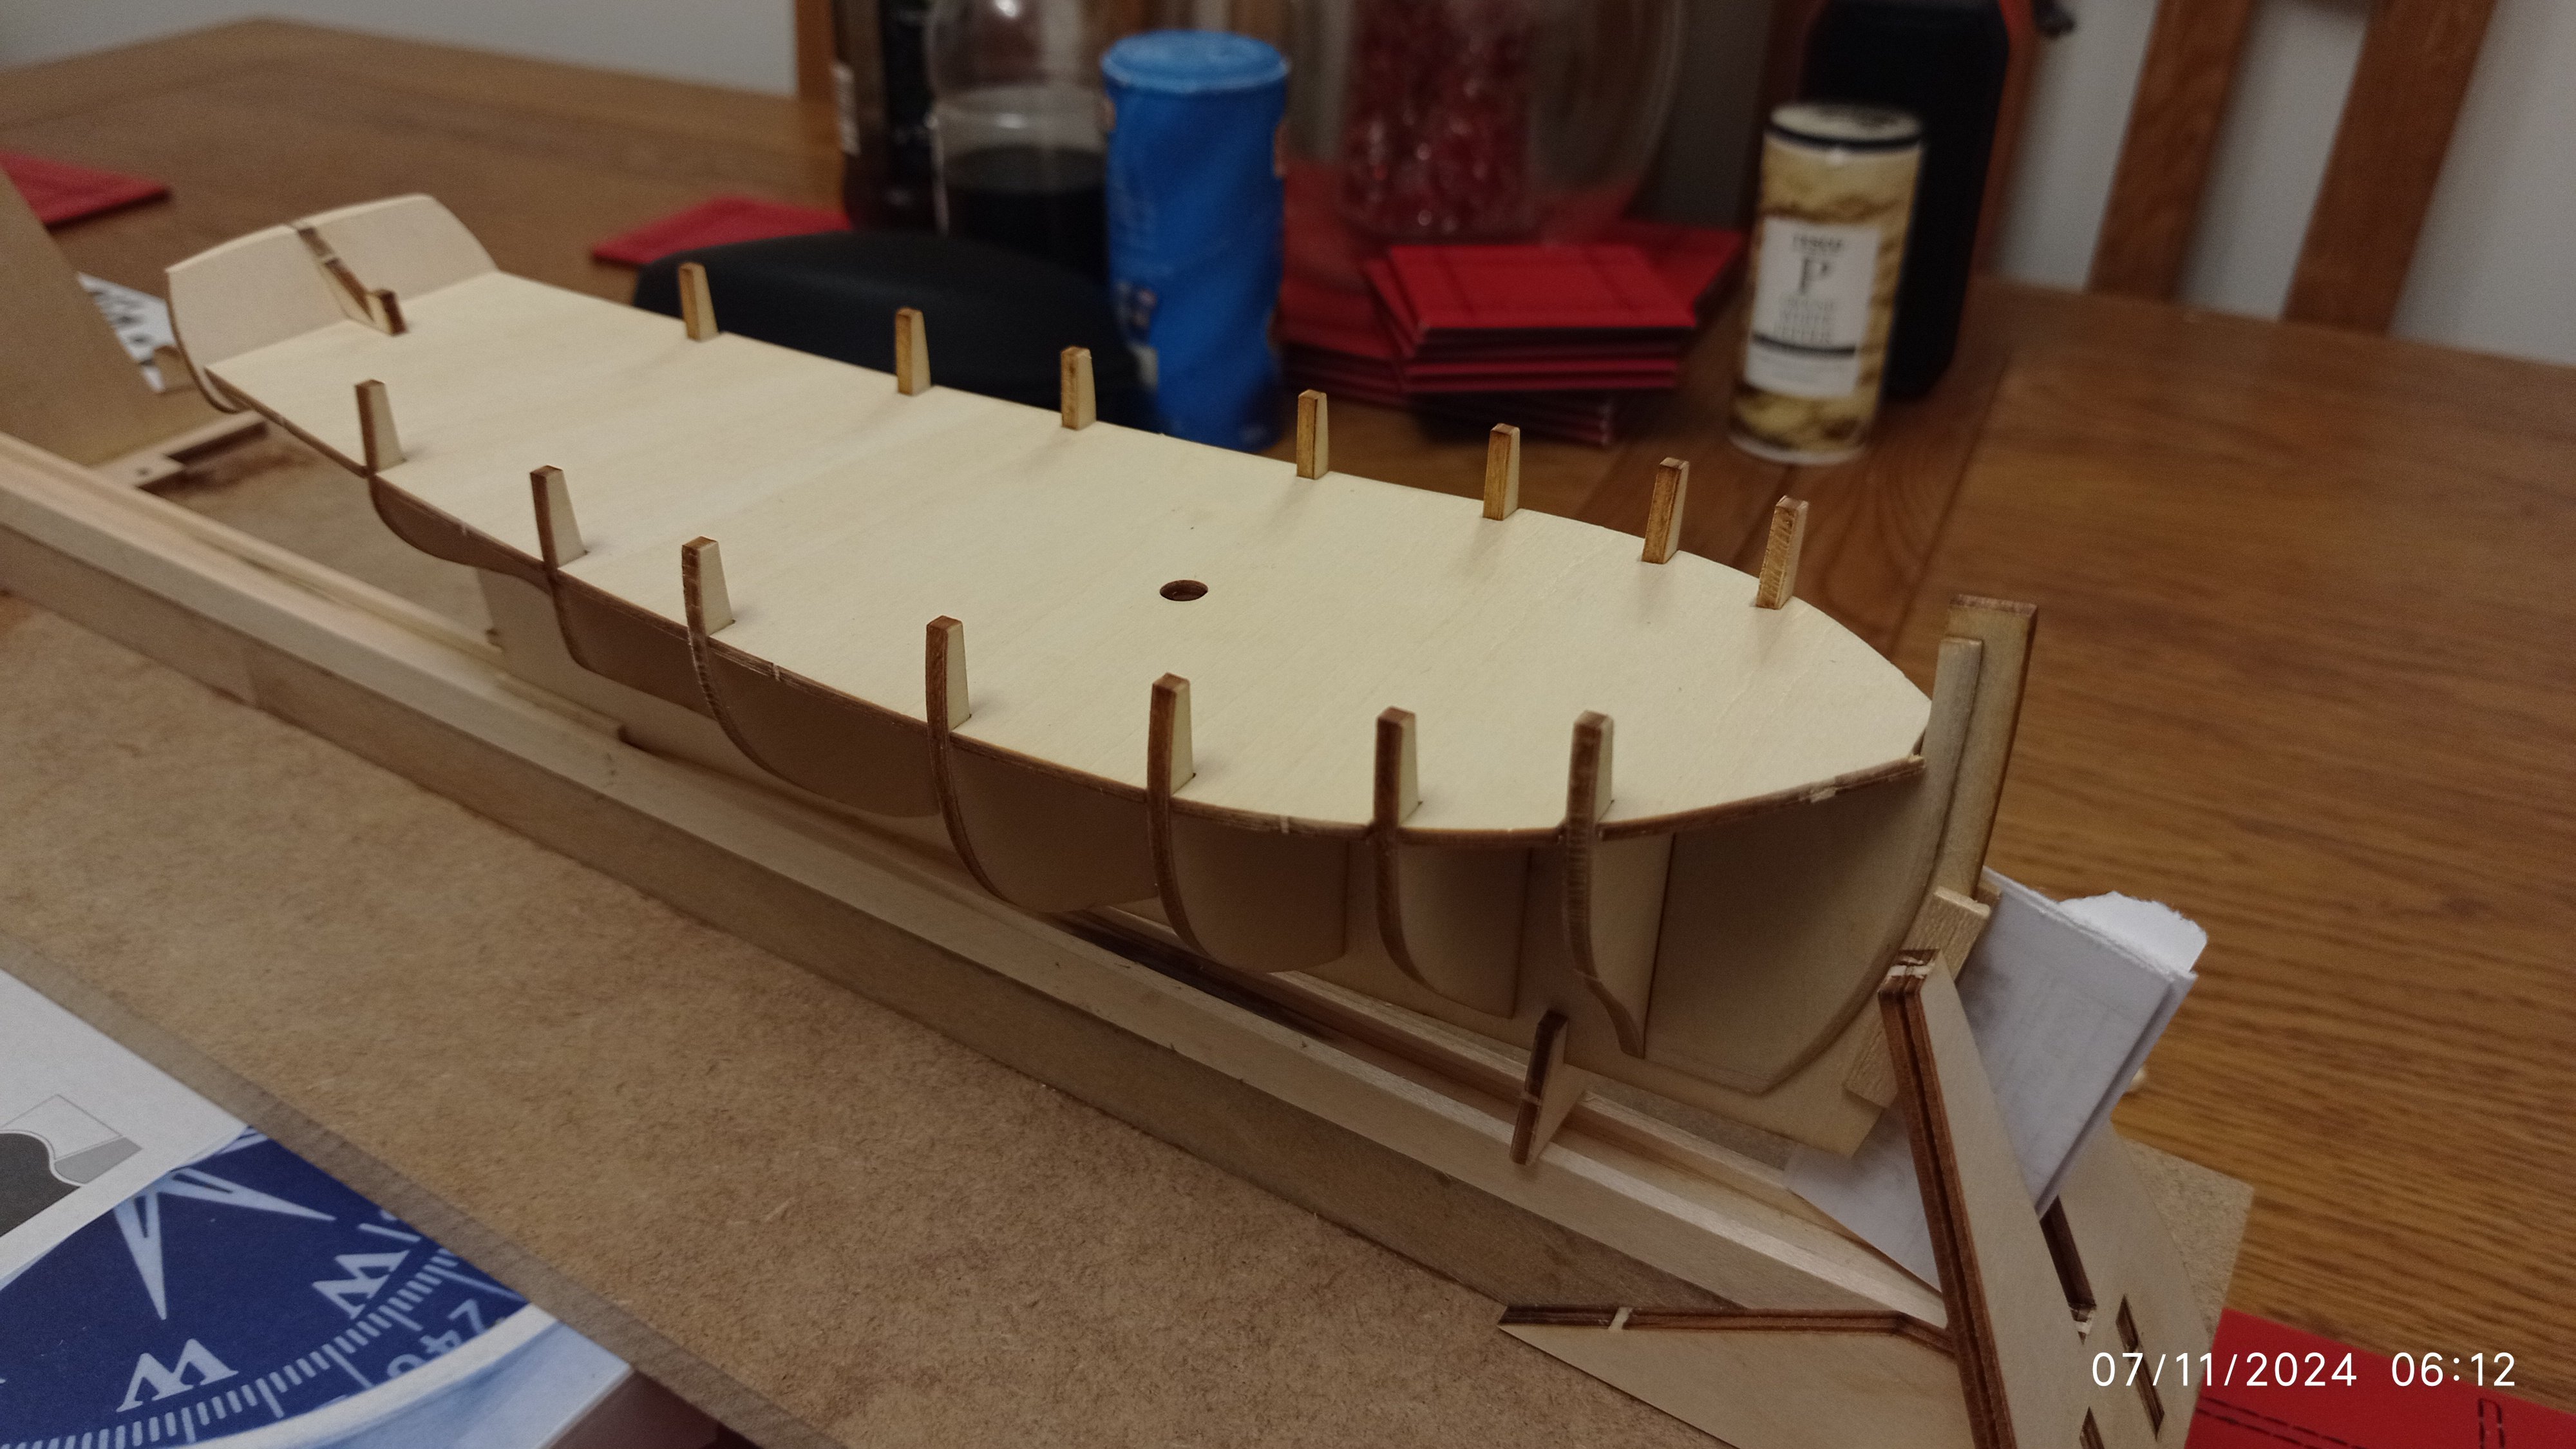
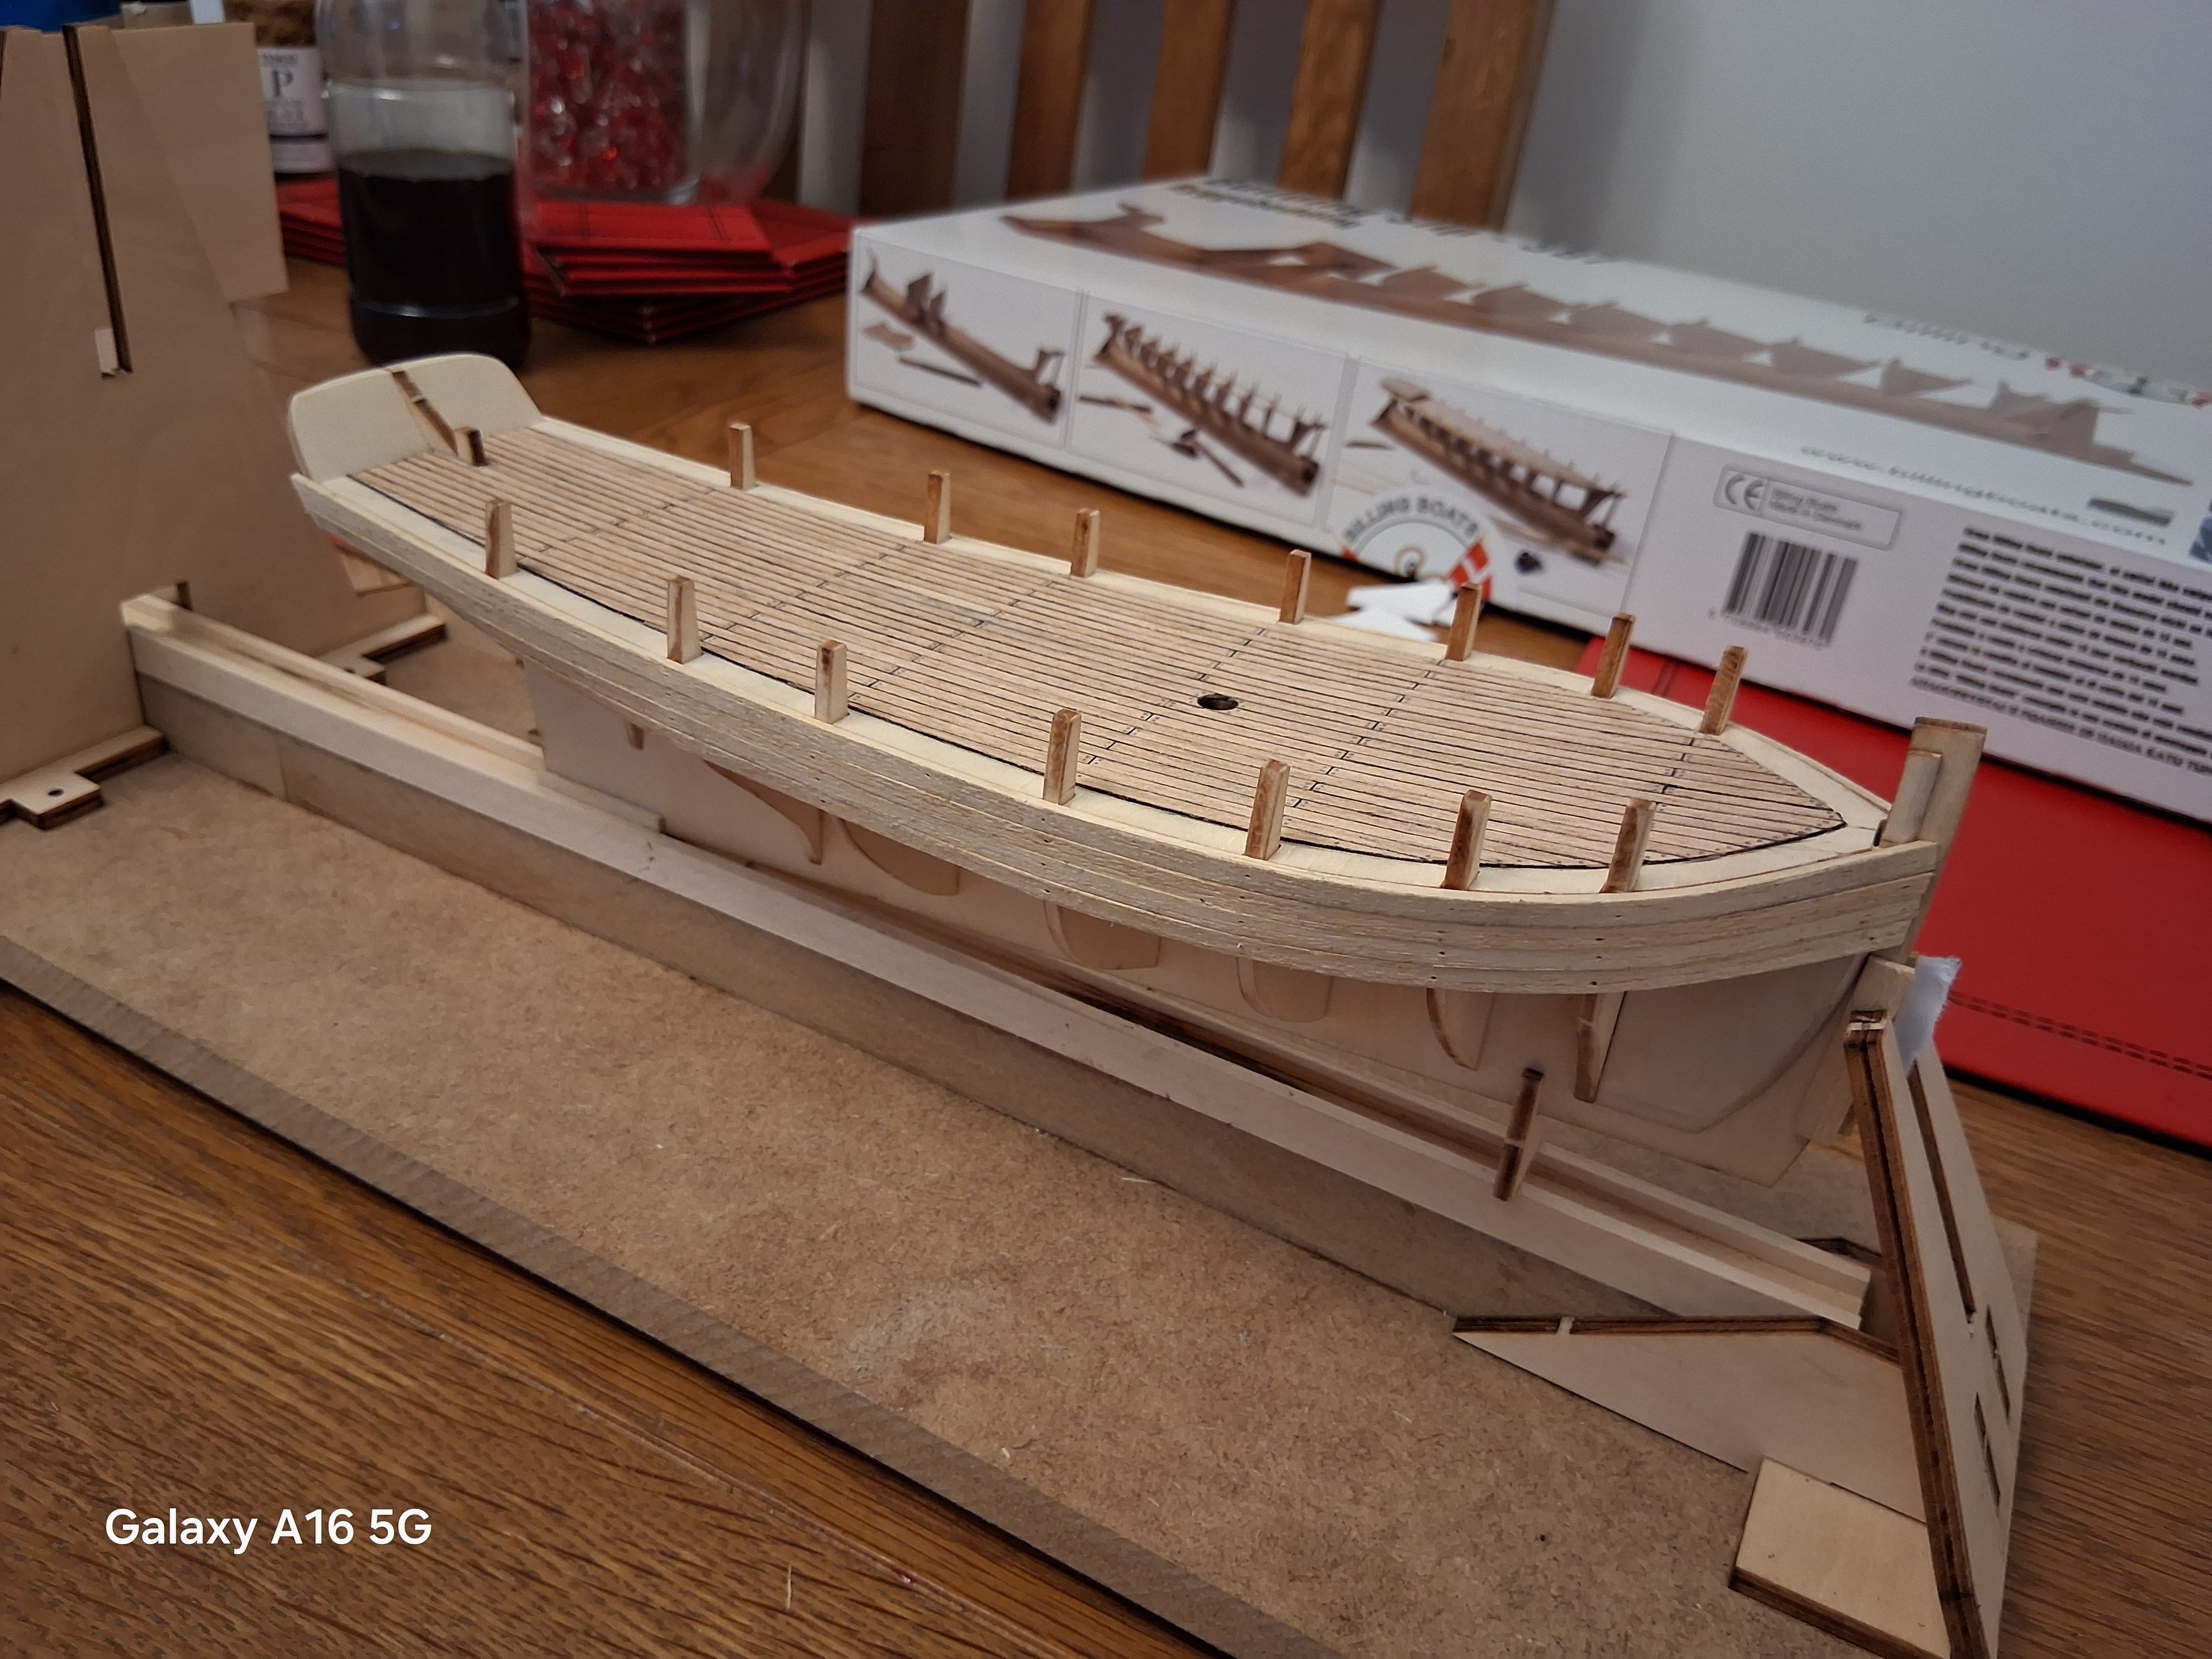
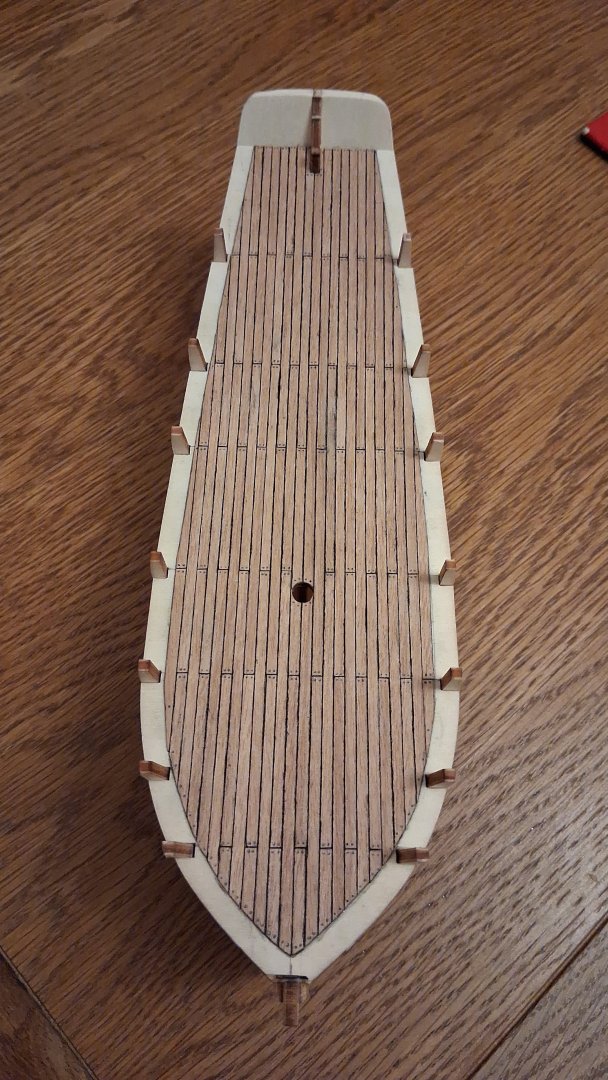
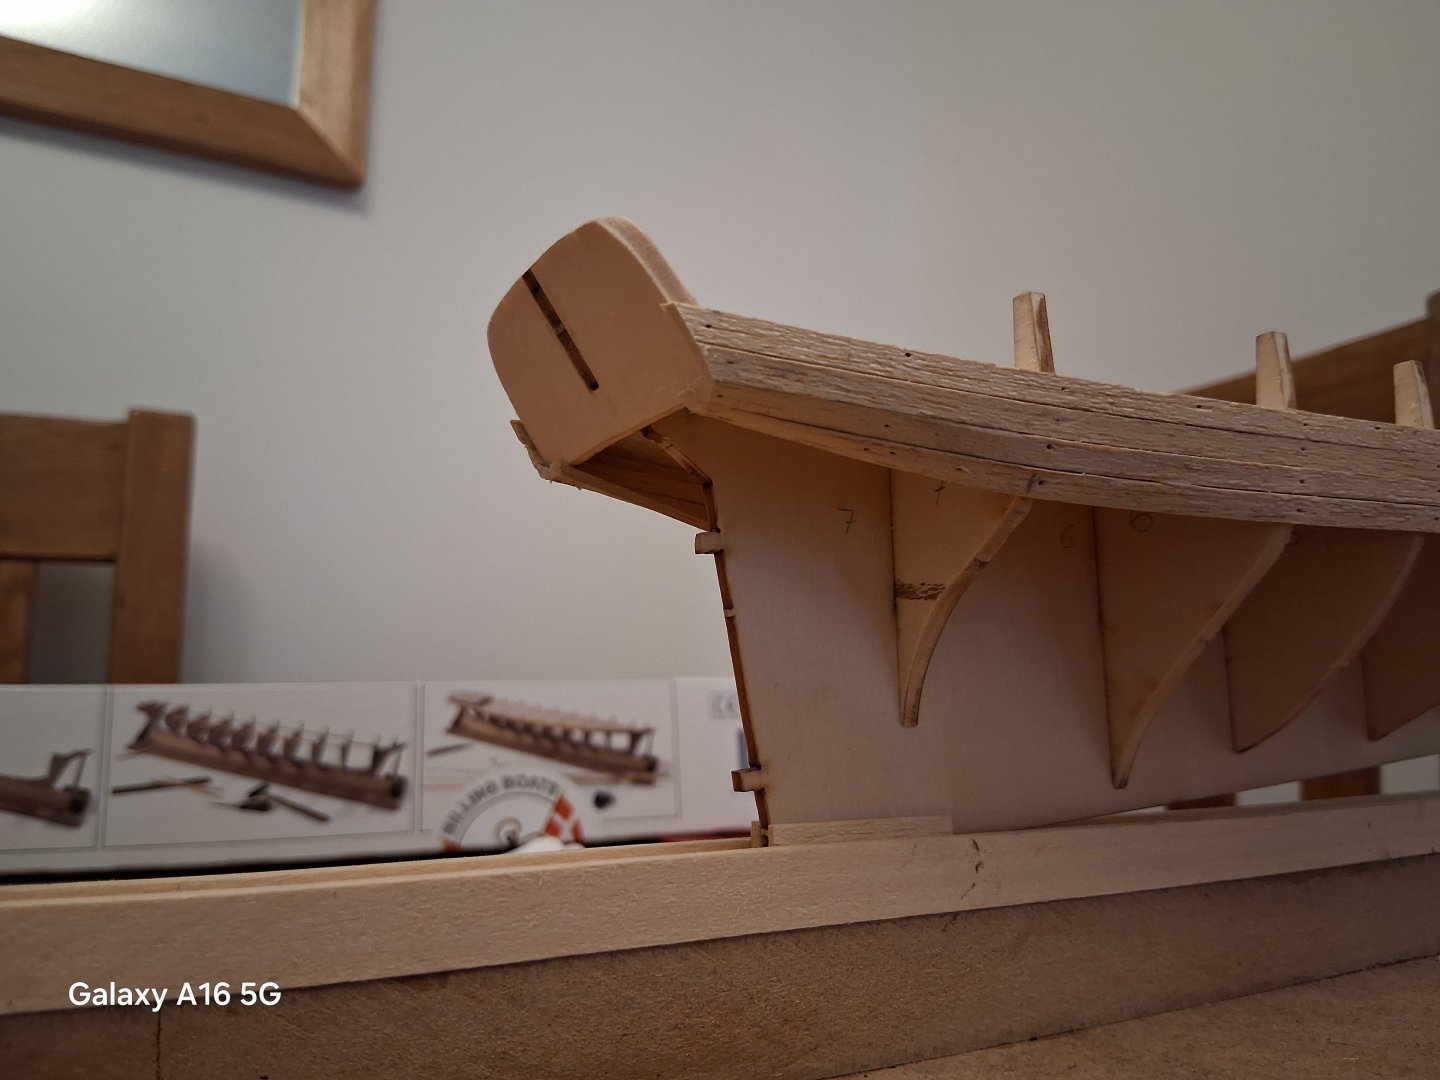
Hello all, So as my maiden model I've gone with the Henriette Maria by Billings Boats. No particular reason for choosing this kit other than wanting a plank on bulkhead model to cut my teeth on as opposed to a plastic preformed hull. Decking, albeit an arduous process, was completed by cutting individual strips to the requisite length, adding false nail heads with a pencil and blacking the edges with an artists charcoal pencil. Planking the hull, I'm just going with the method of soaking the balsa strips in warm water, bending by hand over a candle before clamping and pinning into place. Once dried out, the strip is removed, checked for a good fit and then glued in place. So far the planking is going on okay and at a steady pace. I'm in no rush so spend one evening shaping and then leaving it a day to dry out before glueing into place, always doing one strip on port and starboard sides each time. I'm not sure how I'm going to form the shape of hull as it starts to join the keel. There is no indication in the kit instructions, but researching other pilot cutters, like the Bristol Channel cutters, shows the planking not seeming to come right up to the stern post. This appears to be the case when looking at models of cutters on the internet. If the planking is kept neat I'd like to try and avoid fillering and painting the hull and losing the detail of the planking. It would seem a shame, after the time spent, to hide all the detail and make the hull look like one solid preformed piece. Is this is a realistic hope I wonder? Would it be easier to second plank the hull to achieve this? Hope you enjoy seeing the progress thus far and constructive criticism is, as ever, always welcome. Mike


- 7 replies
-
- 4
-
-
- Henriette Marie
- Billing Boats
- (and 1 more)
-
Hello all and thank you for accepting me into the MSW community. I've recently started in the world of wooden model ships after conversations with a work colleague who has been in the hobby for some time. Not wanting to overstretch myself I've started with Billings Boats Henriette Marie. Billings aren't the most detailed when it comes to instructions, but this has led me to dig deeper into how the real life counterpart is designed and It's been an enjoyable challenge so far learning about pilot cutters as well as methods of planking and decking. I'll get round to adding my work so far in a build log and welcome any feedback offered. I've not seen many other build logs of this particular model so hopefully it will be of interest to some. Thanks again all Mike