Steve Ka
-
Posts
8 -
Joined
-
Last visited
-
 gsdpic reacted to a post in a topic:
Cape Cod Catboat by Steve Ka - BlueJacket Shipcrafters - 3/4” to 1’
gsdpic reacted to a post in a topic:
Cape Cod Catboat by Steve Ka - BlueJacket Shipcrafters - 3/4” to 1’
-
ccoyle reacted to a post in a topic:
Cape Cod Catboat by Steve Ka - BlueJacket Shipcrafters - 3/4” to 1’
-
JacquesCousteau reacted to a post in a topic:
Cape Cod Catboat by Steve Ka - BlueJacket Shipcrafters - 3/4” to 1’
-
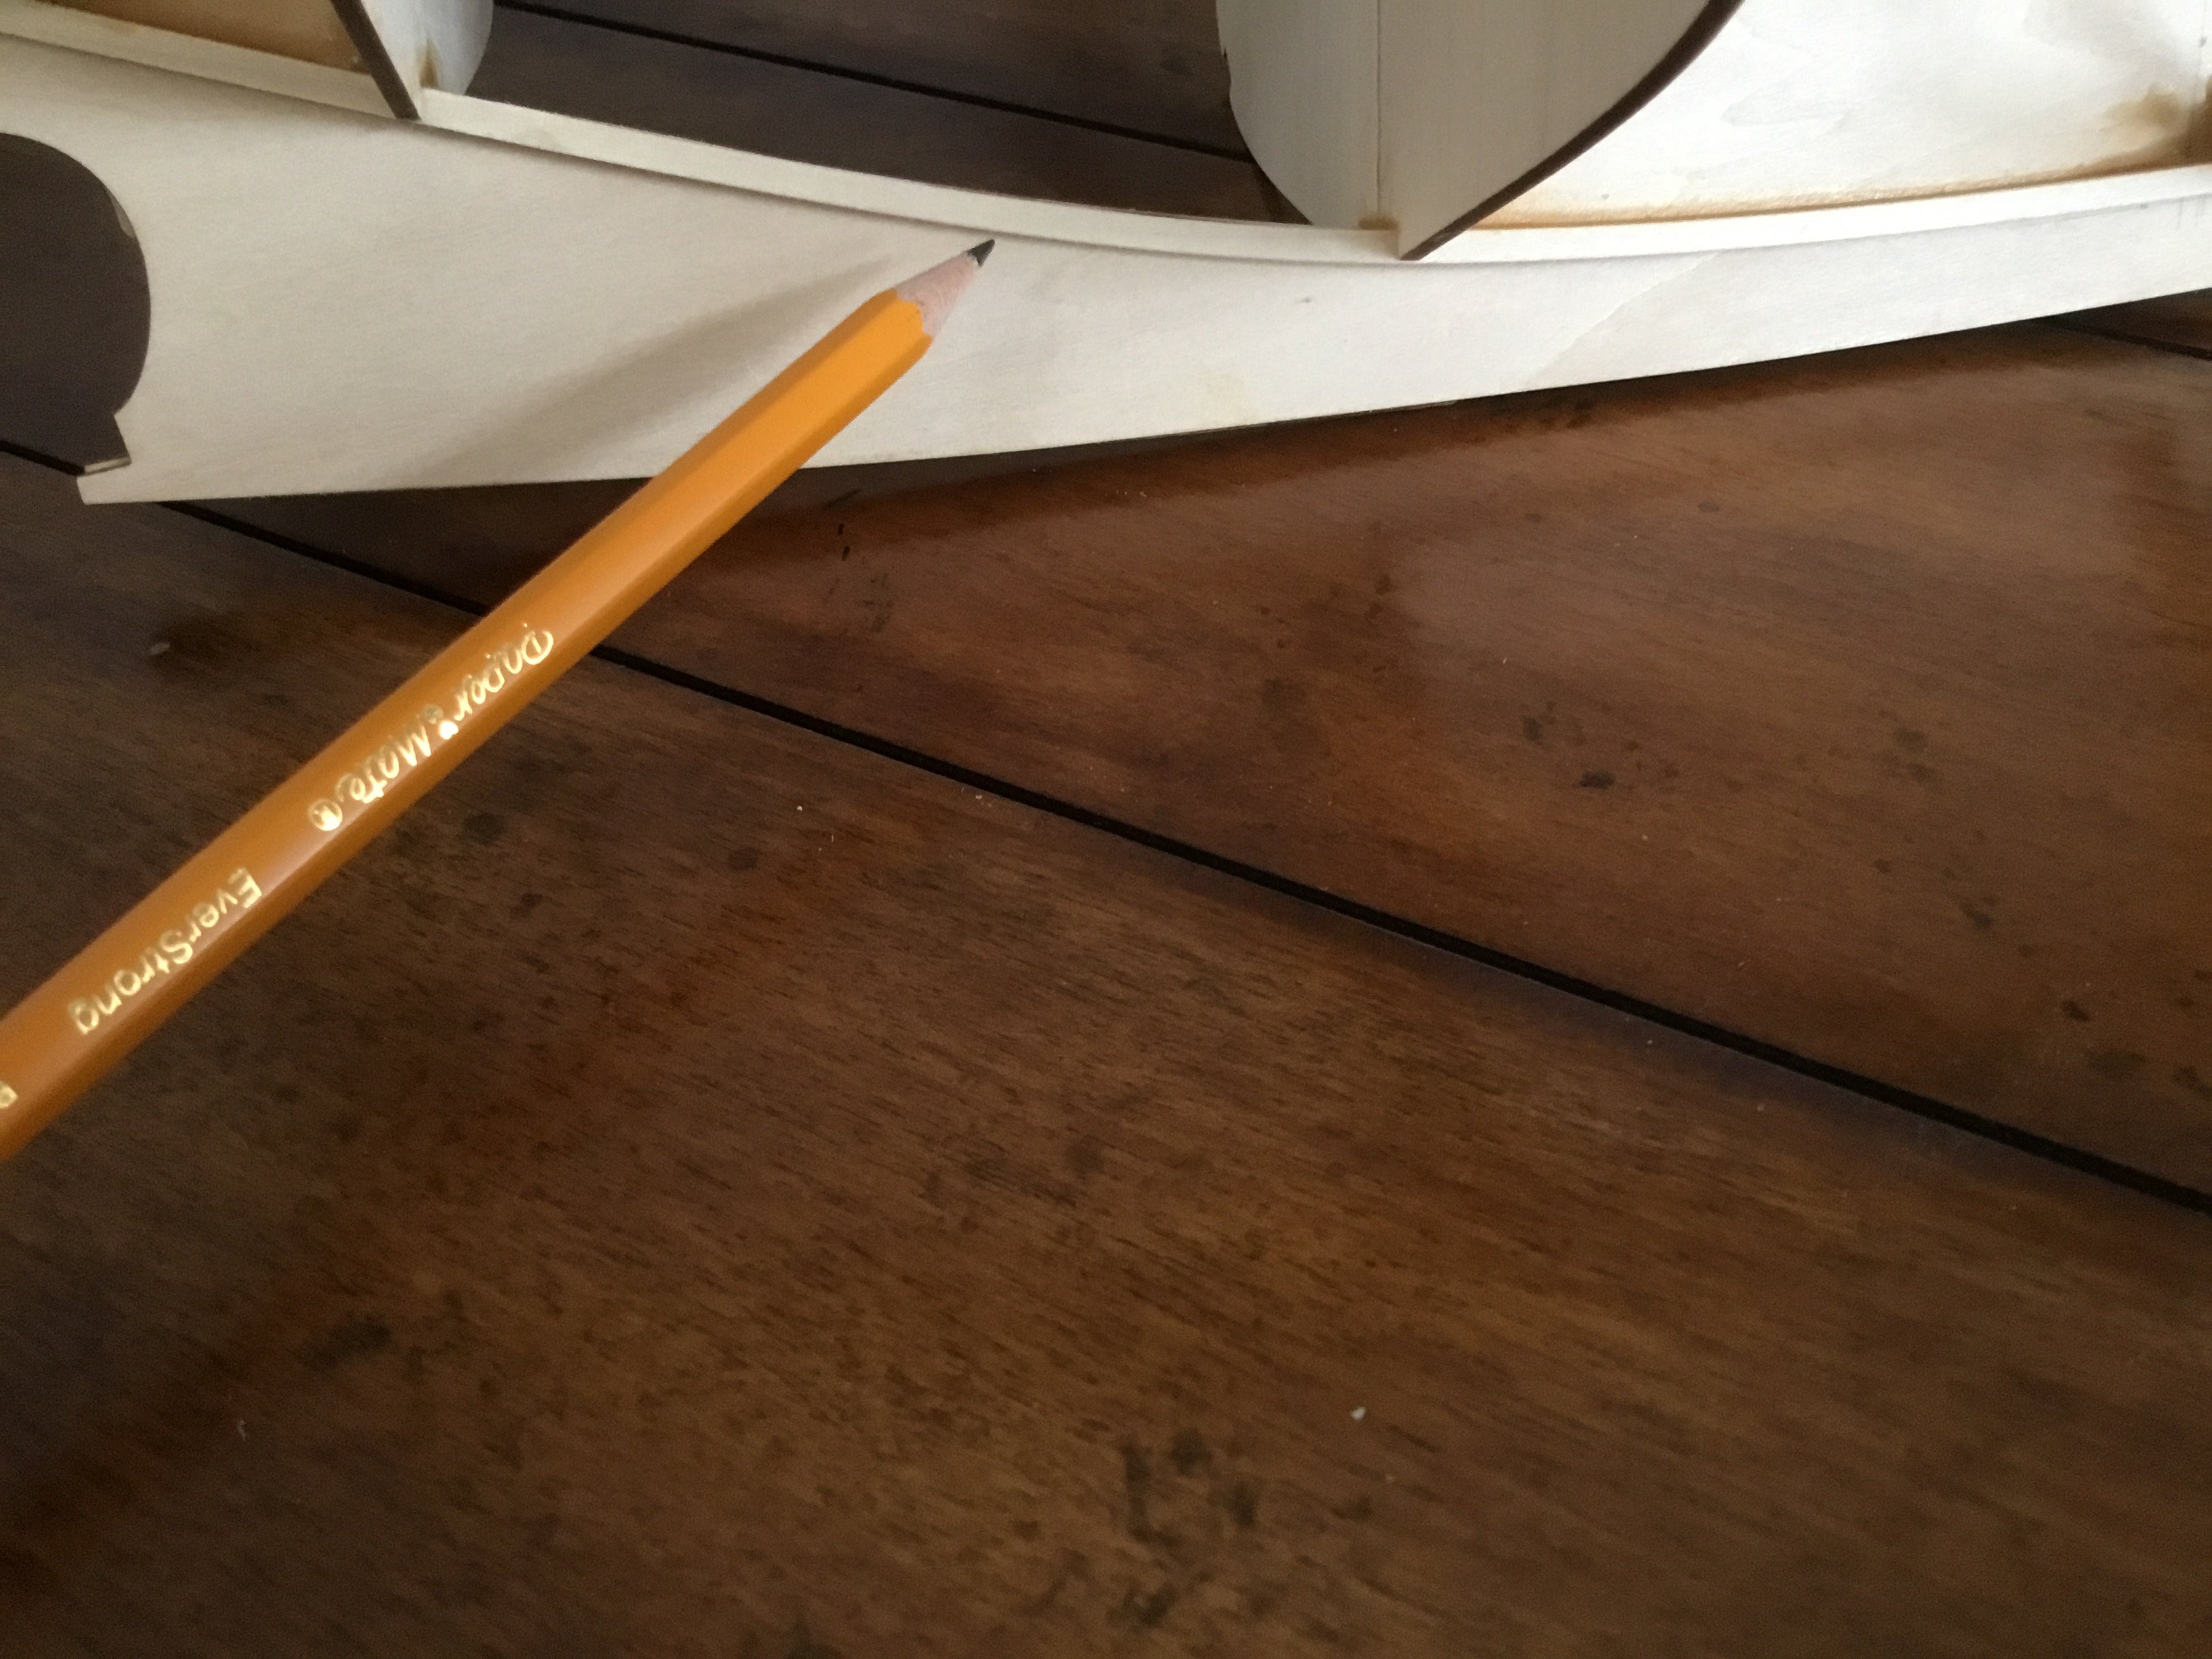
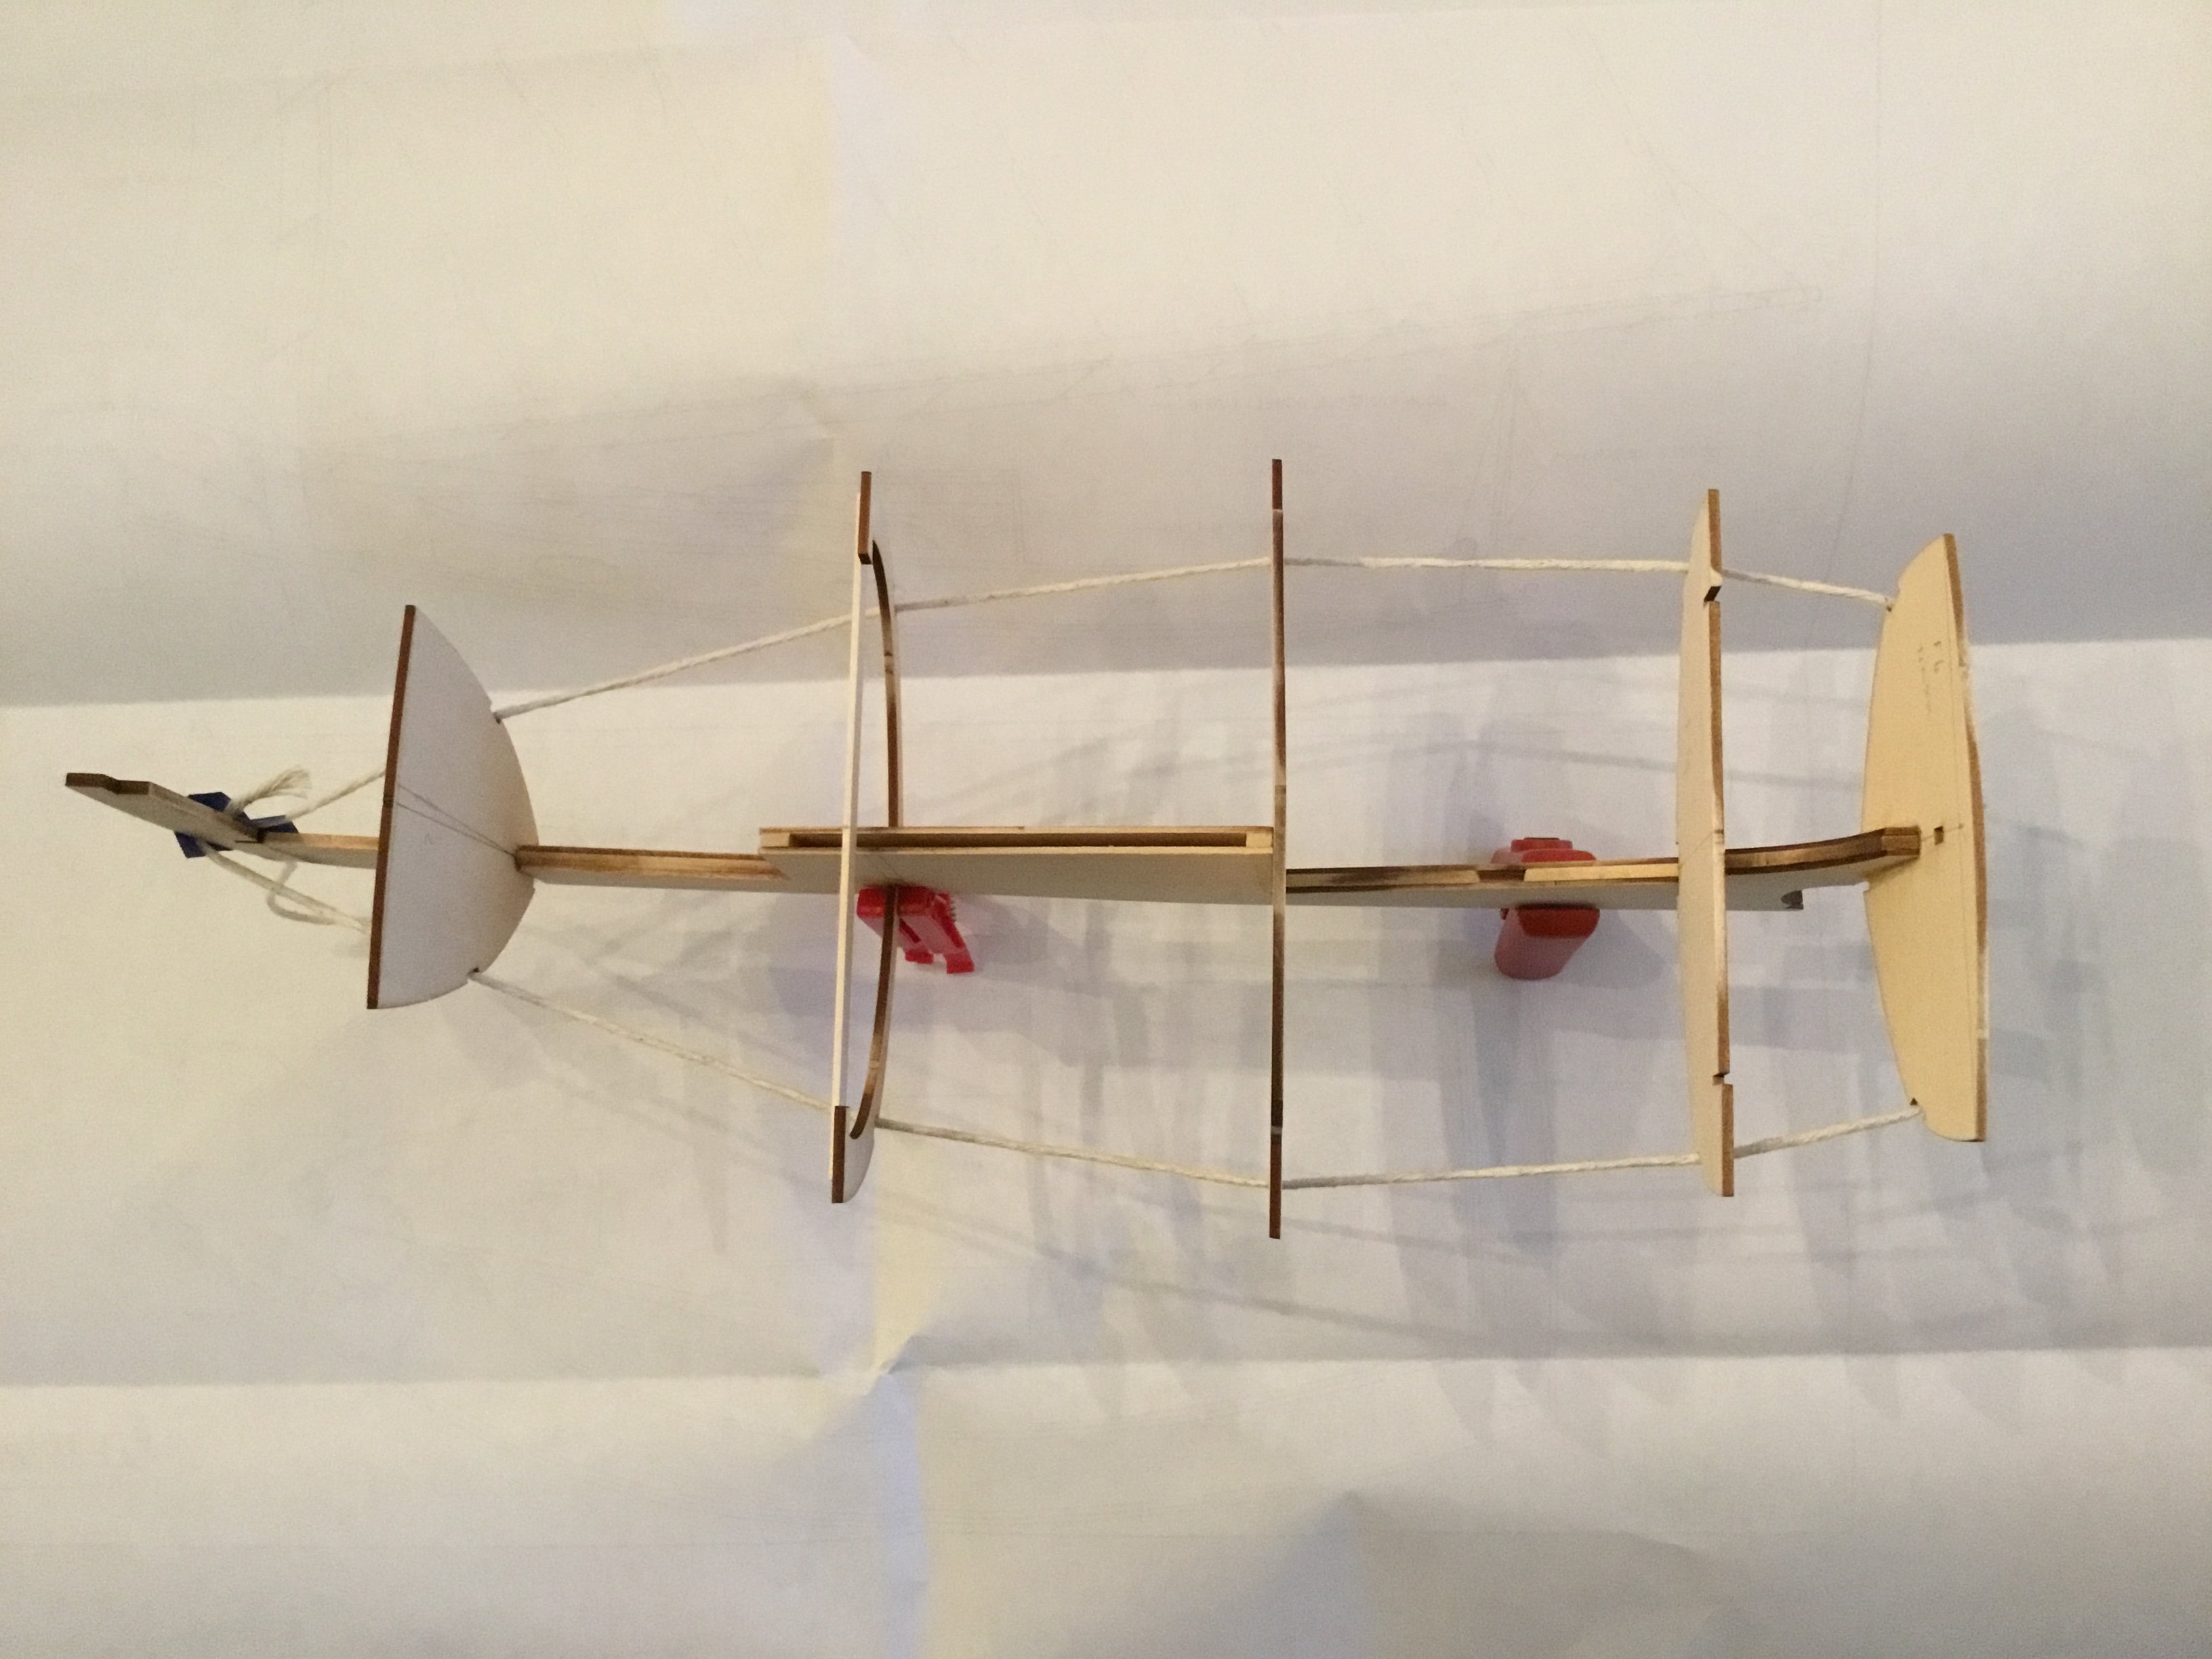
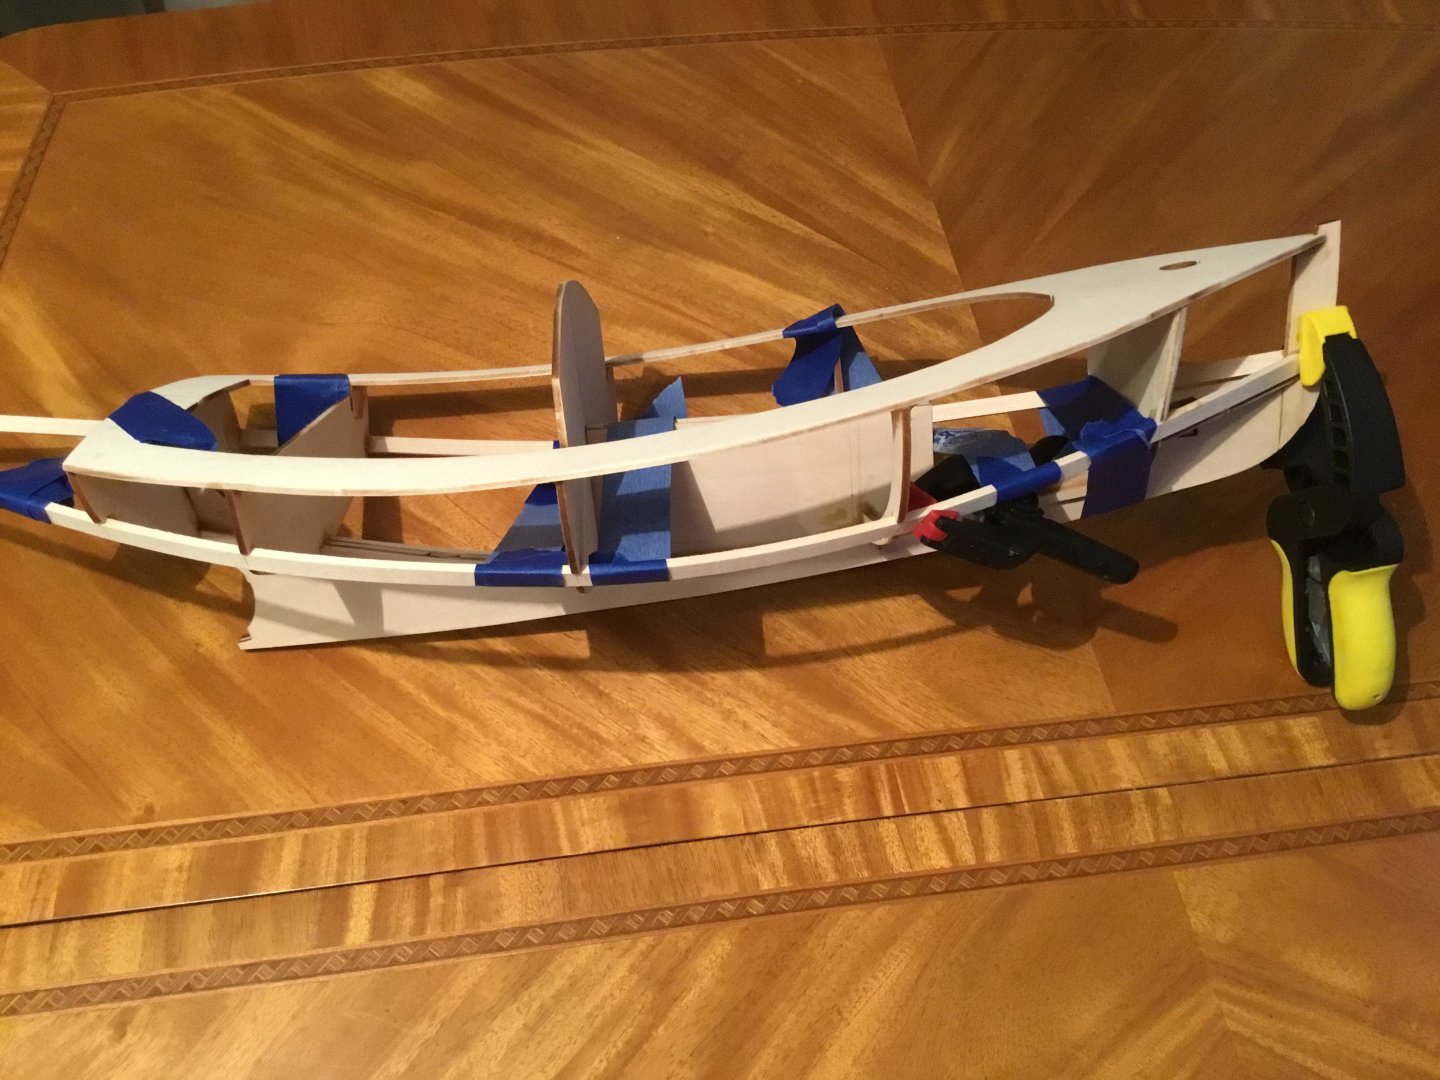
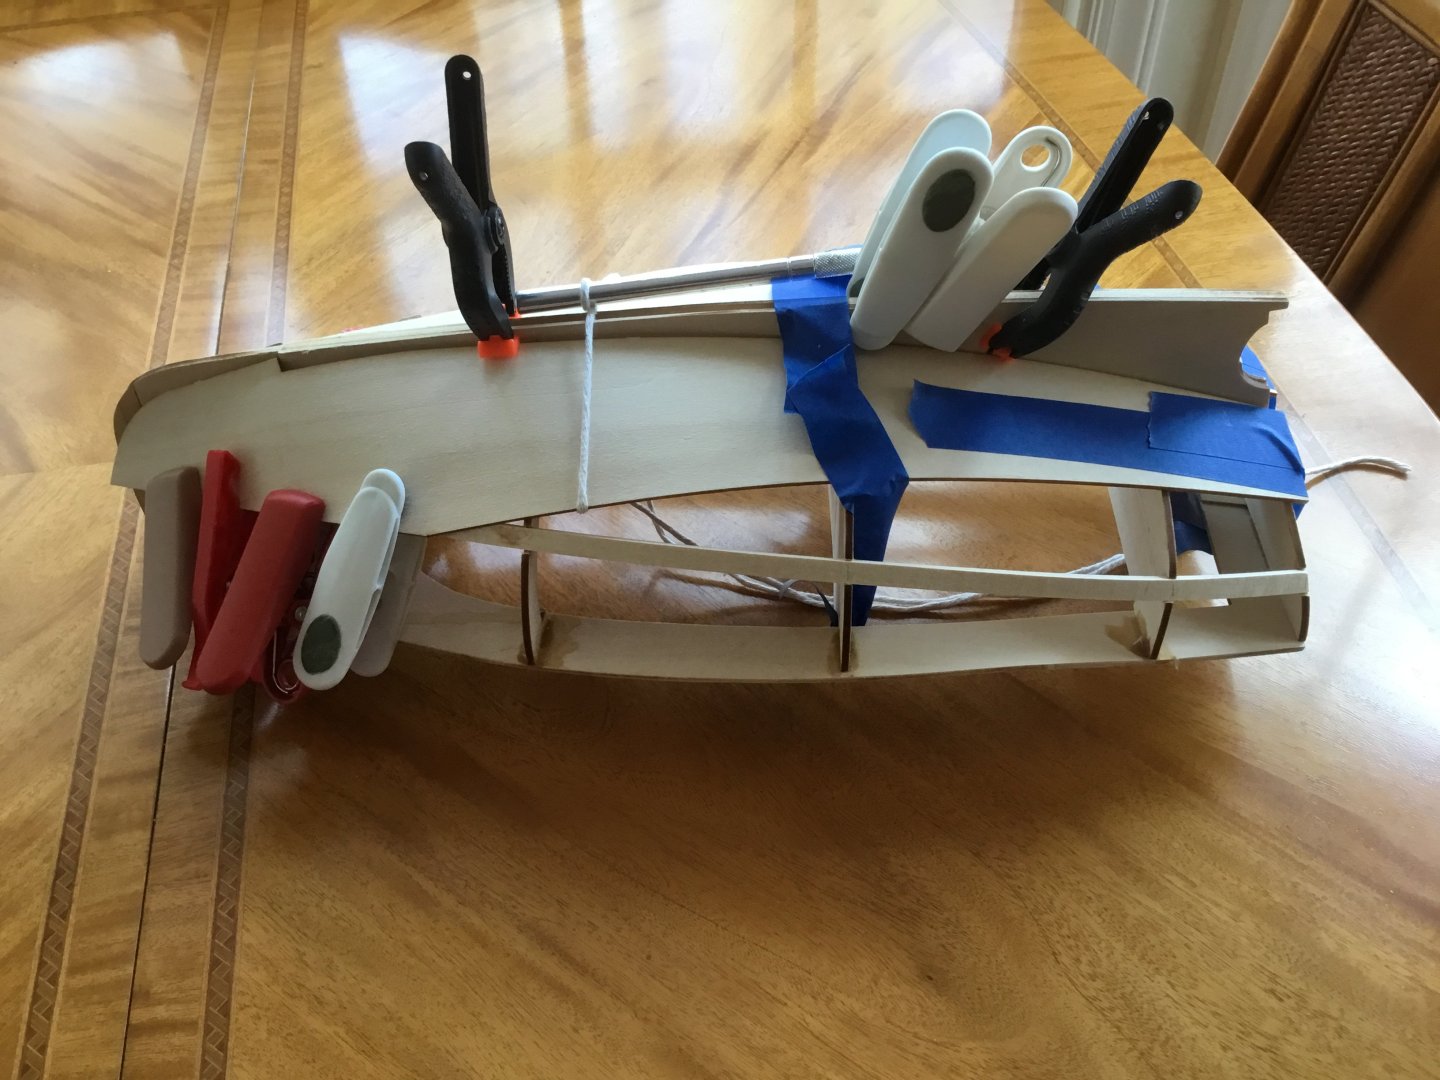
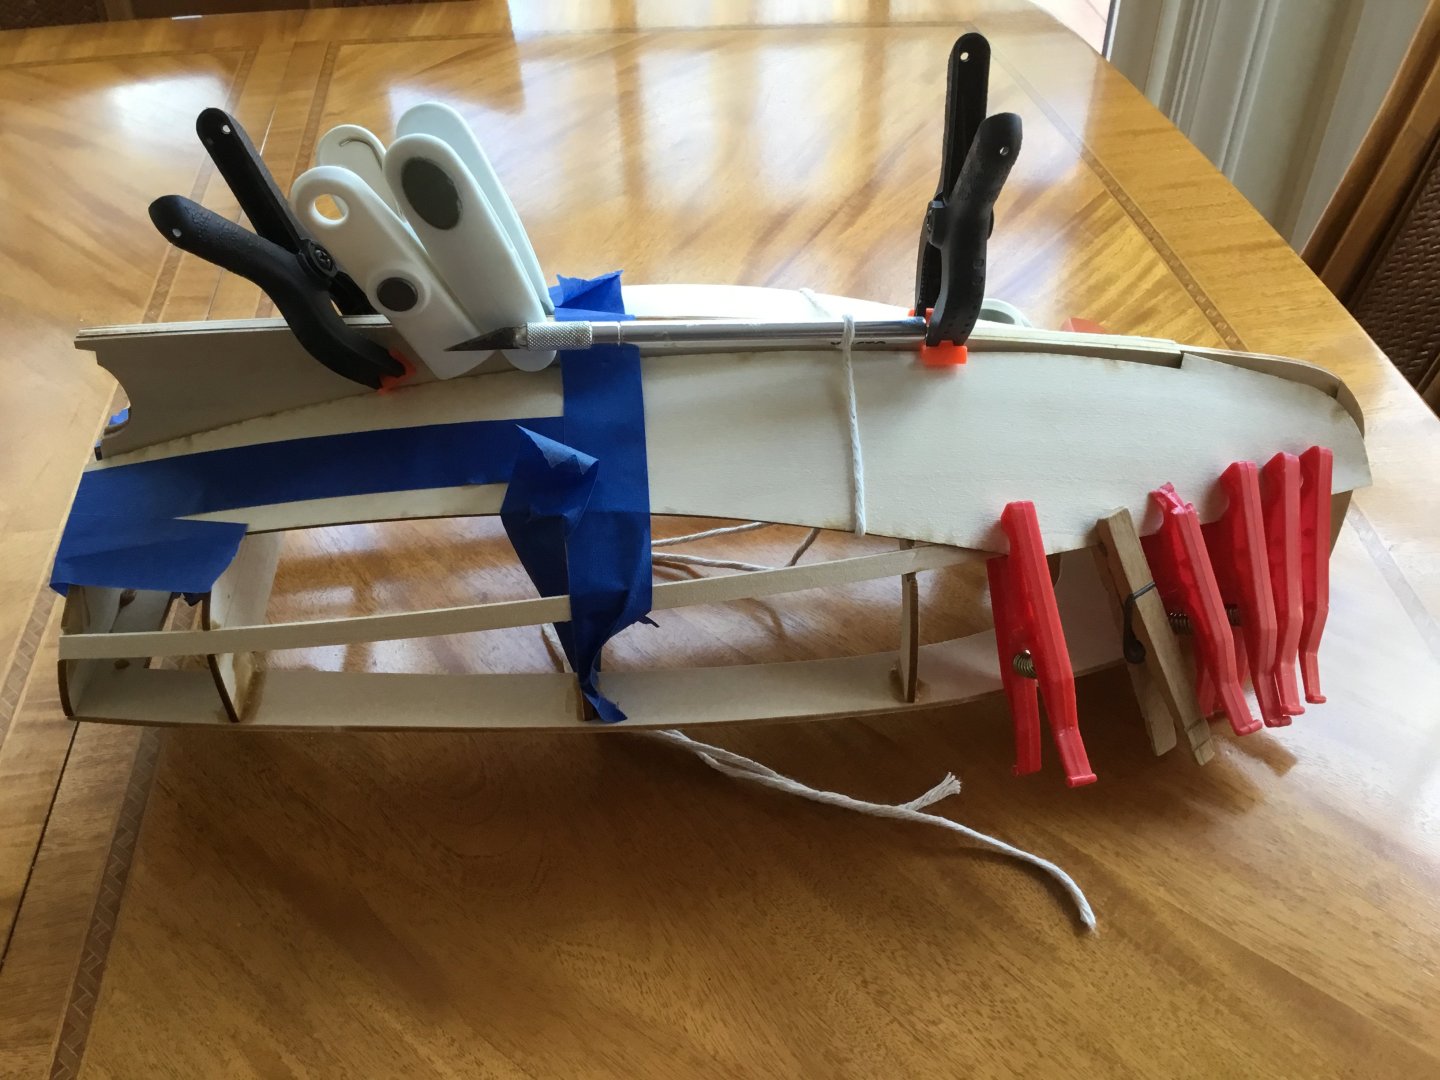
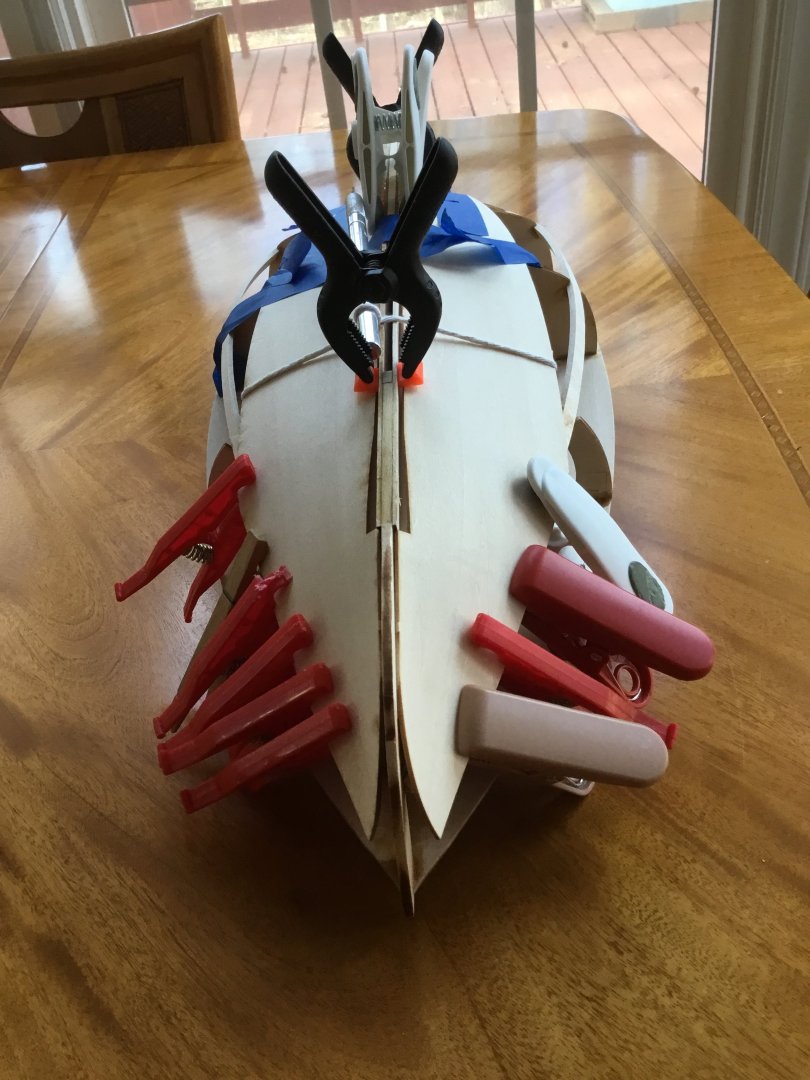
Cat boat update. Have continued to work on the cat boat in between all the normal spring time projects. Progress is slower than I expected, partly do to my own schedule and the amount of time it has taken me to wet, bend, repeat, the finally glue some of the bits. Pictures will do more to show progress than my words. First bilge stringer going in. Second bilge stringer going in. In both cases, there were a number of wet, bend, dry, rewet, bend and finally glue cycles. The bilge stringers took the bend and twists much slower than expected, but the time spent on this step really paid off by not damaging any of the existing hull framework. Bilge planks are going in, again it is a slow process, many repetitions of the wet, bend, pull, dry cycle. In this picture, the planks are mostly on place. Both planks need to go on together so the hull frame does not get warped. It does take more bending than I expected. The planks will need to be bent as well as twist added added from the midpoint of the hull forward. I am not sure but it may have been quicker and easier to plank the entire bottom with the narrow planks that will be used above the bilge planks. You can see the Spanish windless being used to pull the bilge planks into the keel. Tape was used to pull the planks tight to the bulkheads. The clamps are holding the forward section of the planks to the bilge stringers. The bilge planks are now glued to the transom and the two most rearward bulkheads. Will continue to wet, bend, pull, and dry the forward sections of the bilge plank in place once the aft glue joints are dry and can take the pull. At this time the bilge plank has not yet been pulled and twisted to the shape of the hull, but it is slowly giving in to my persistence little by little. I think there will be some final shaping, sanding, and filling to get a nice flowing form. I have built the cockpit floor and some of the cockpit sides that will support the seats. They have been painted and will be installed after all the pulling of the bilge board is complete. This build has been truly enjoyable. Will post more when there is more progress.
-
yvesvidal reacted to a post in a topic:
Cape Cod Catboat by Steve Ka - BlueJacket Shipcrafters - 3/4” to 1’
-
yvesvidal reacted to a post in a topic:
Cape Cod Catboat by Steve Ka - BlueJacket Shipcrafters - 3/4” to 1’
-
yvesvidal reacted to a post in a topic:
Cape Cod Catboat by Steve Ka - BlueJacket Shipcrafters - 3/4” to 1’
-
yvesvidal reacted to a post in a topic:
Cape Cod Catboat by Steve Ka - BlueJacket Shipcrafters - 3/4” to 1’
-
yvesvidal reacted to a post in a topic:
Cape Cod Catboat by Steve Ka - BlueJacket Shipcrafters - 3/4” to 1’
-
JacquesCousteau reacted to a post in a topic:
Cape Cod Catboat by Steve Ka - BlueJacket Shipcrafters - 3/4” to 1’
-
I did a little research and found catboat kits sold by Laughing Whale on eBay. The photos of the parts and plans certainly look like my kit. Still it is going to build into a very nice model, just as I am sure the Friendship Sloop will.
-
JacquesCousteau reacted to a post in a topic:
Cape Cod Catboat by Steve Ka - BlueJacket Shipcrafters - 3/4” to 1’
-
Hi Jacques, Bulkheads are about 3.75 inches apart.
-
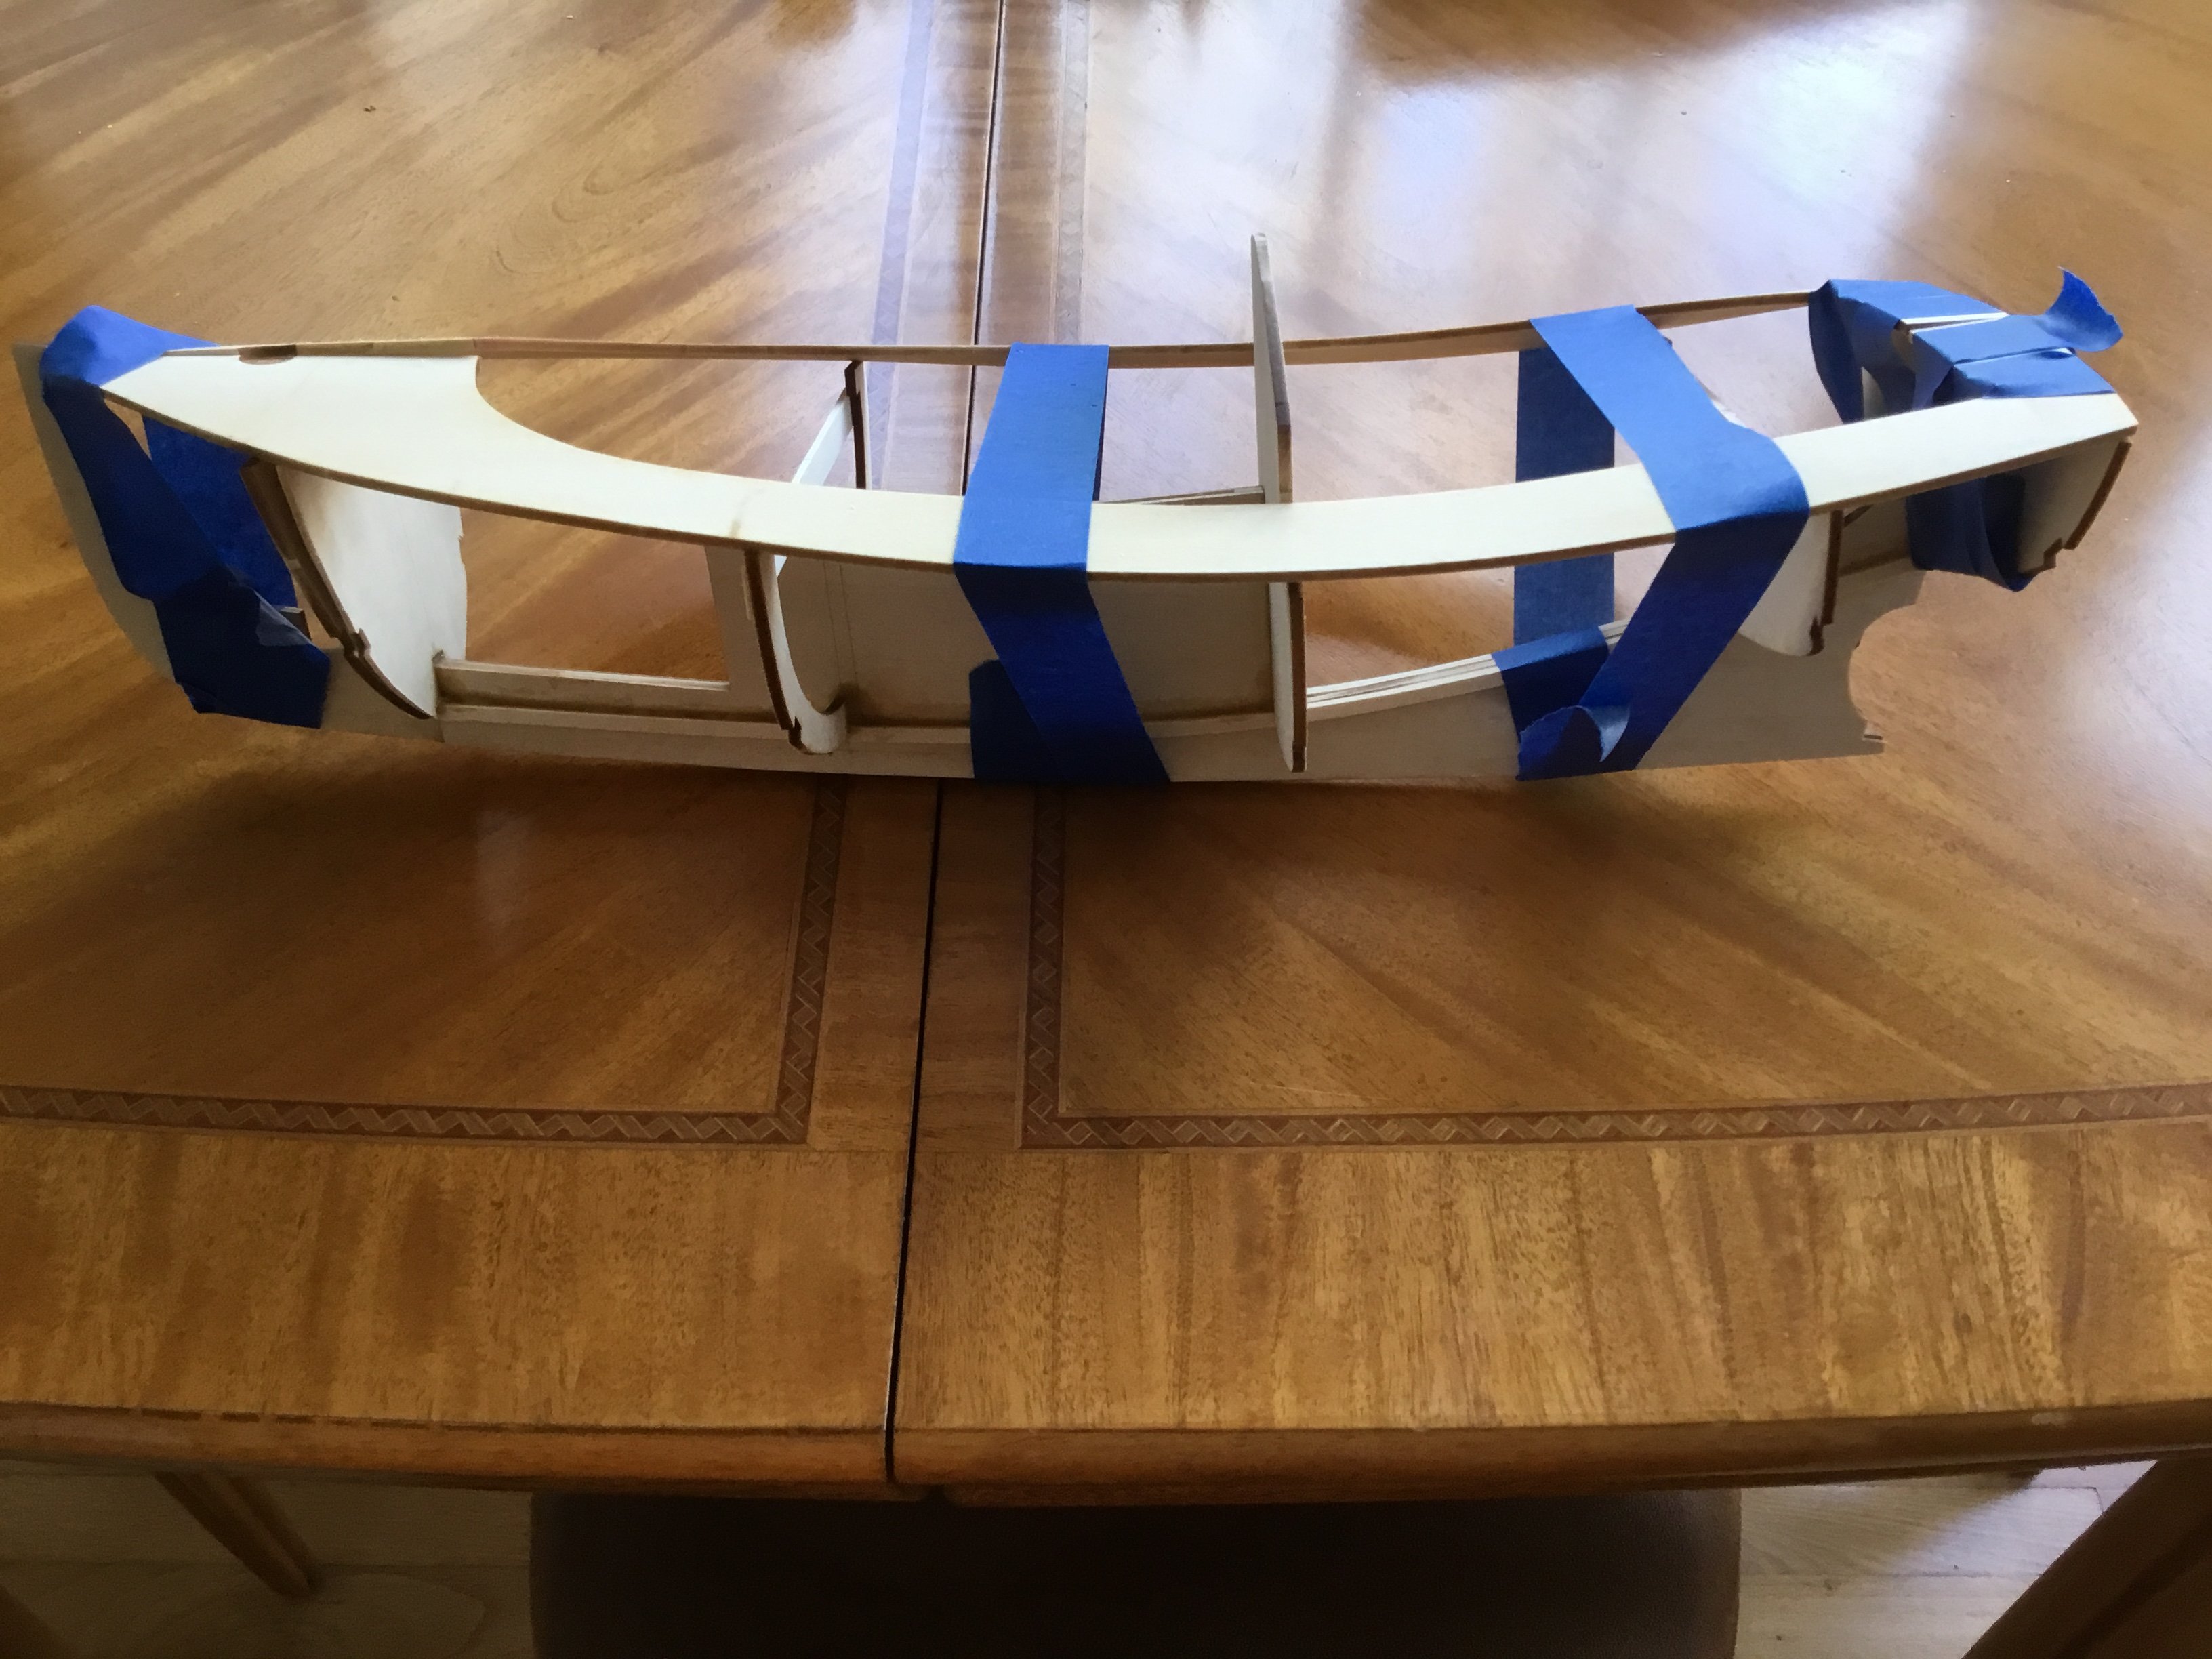
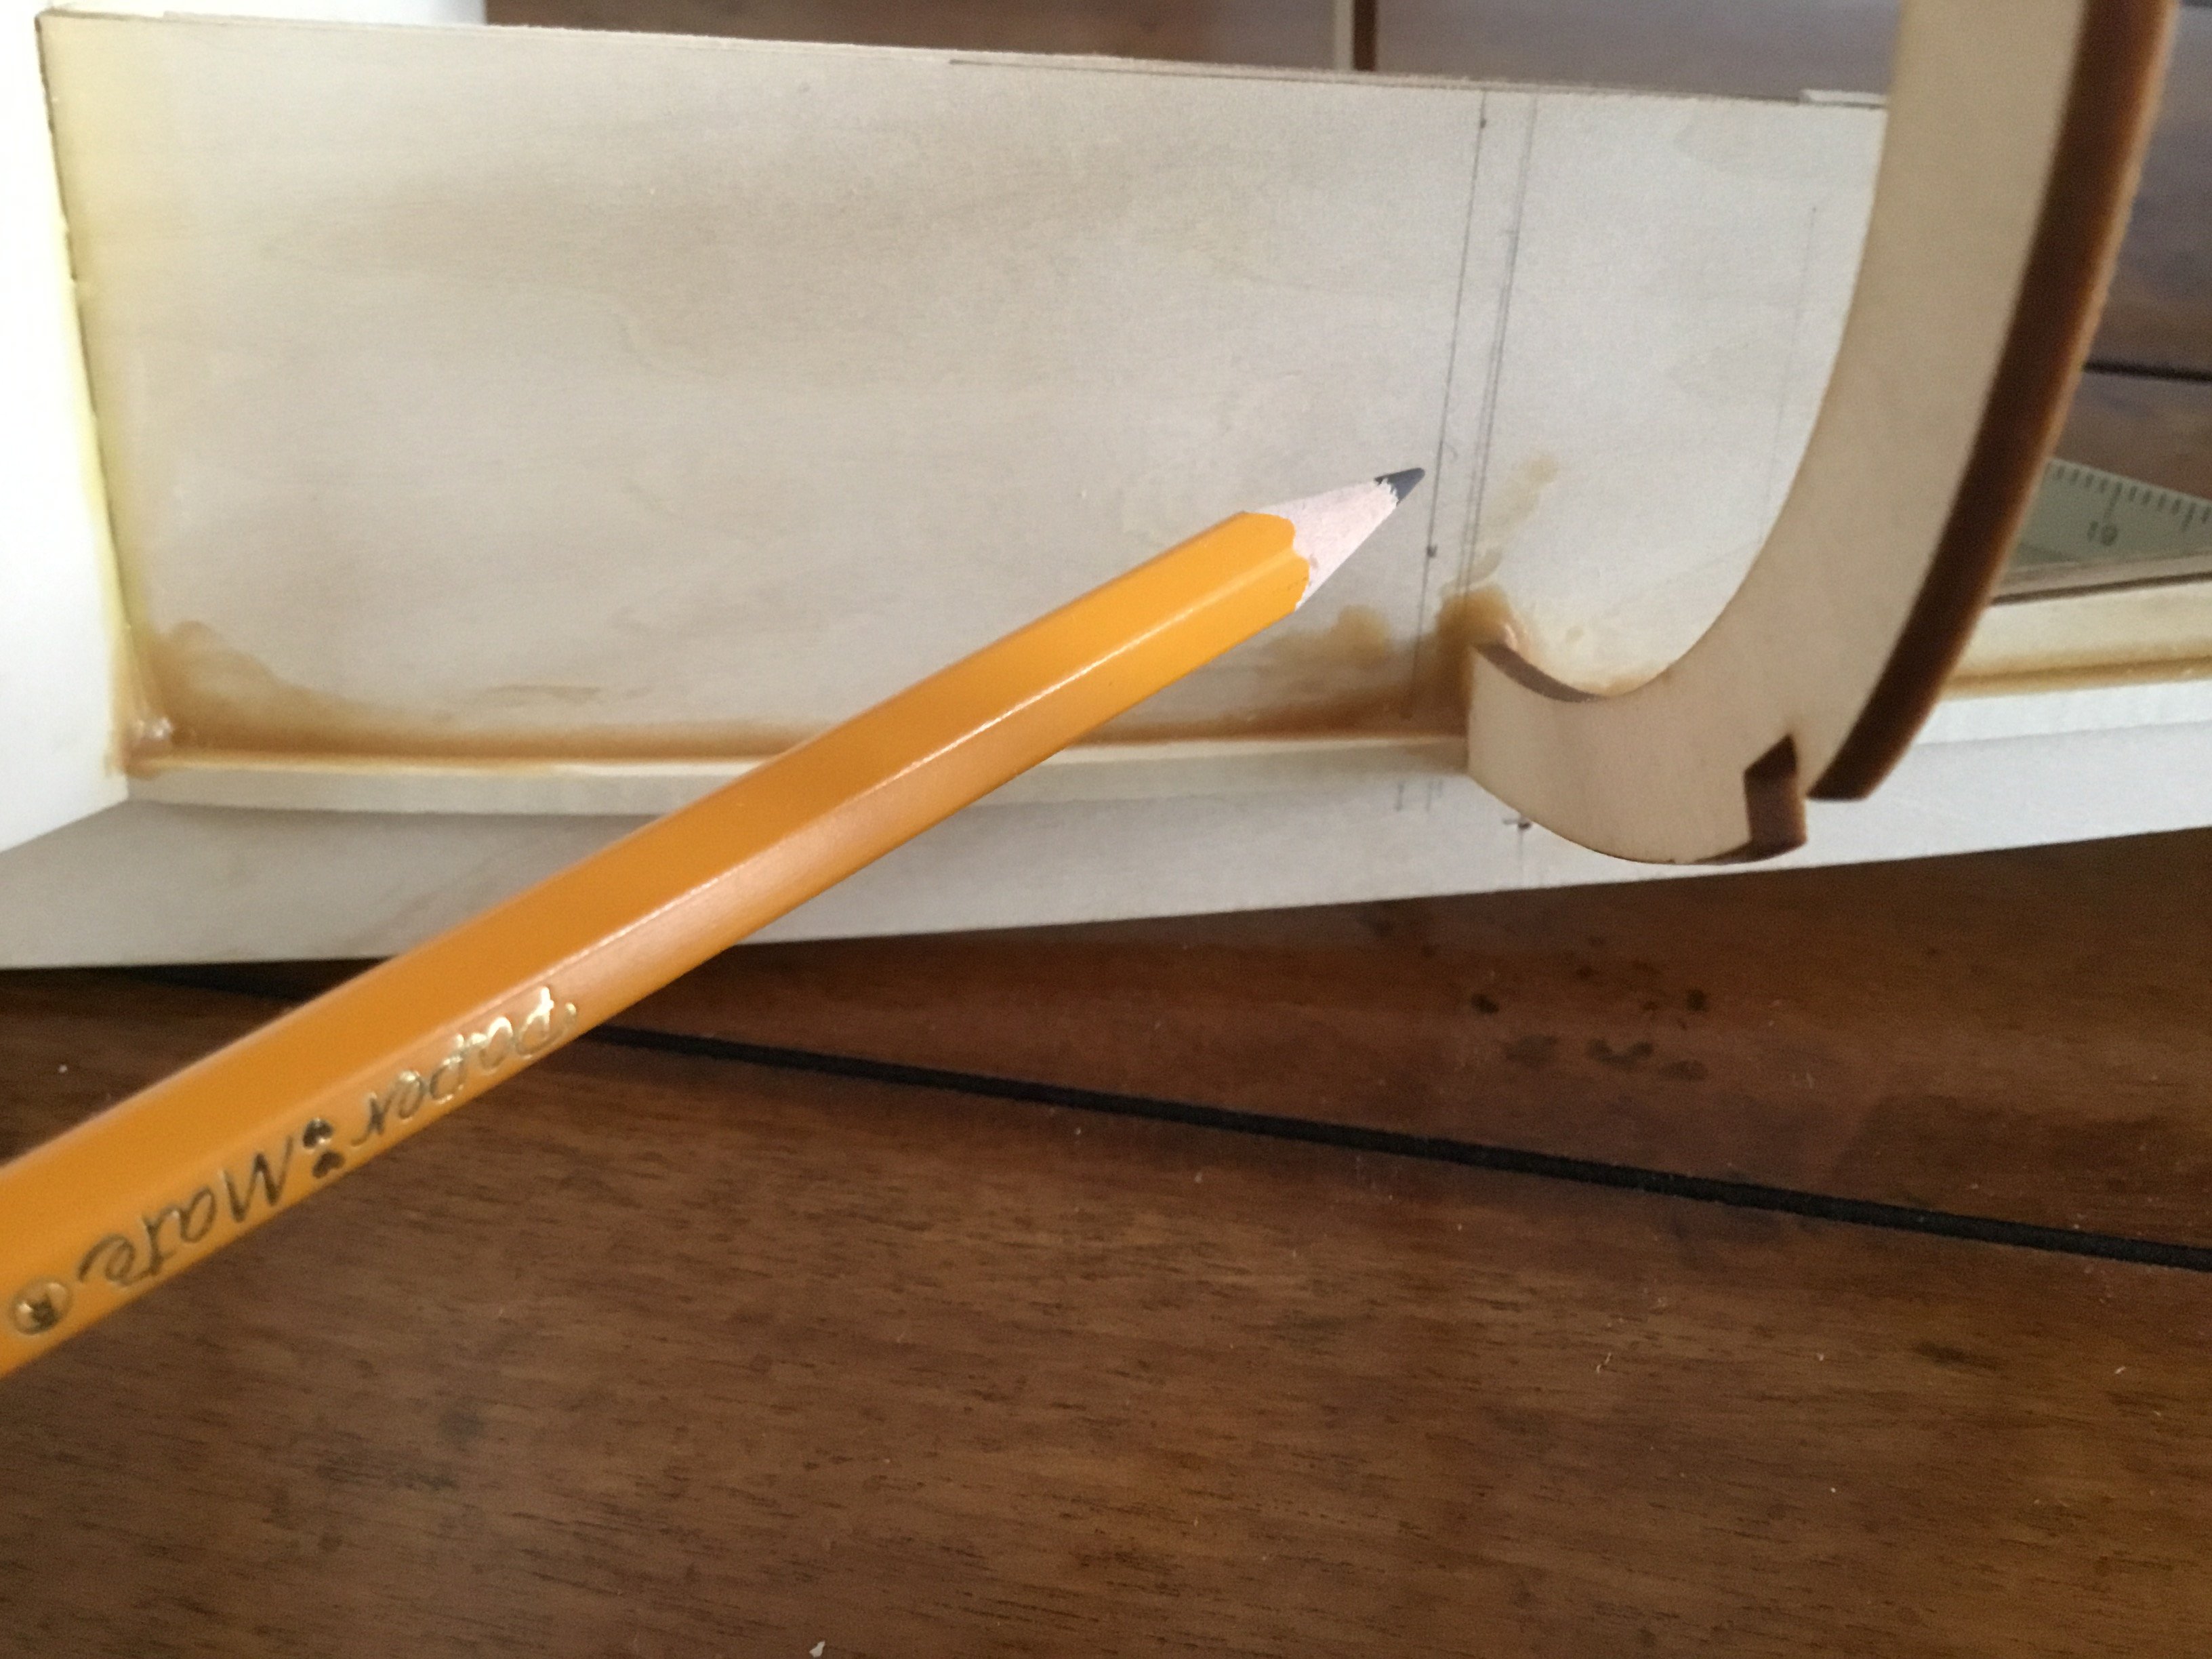
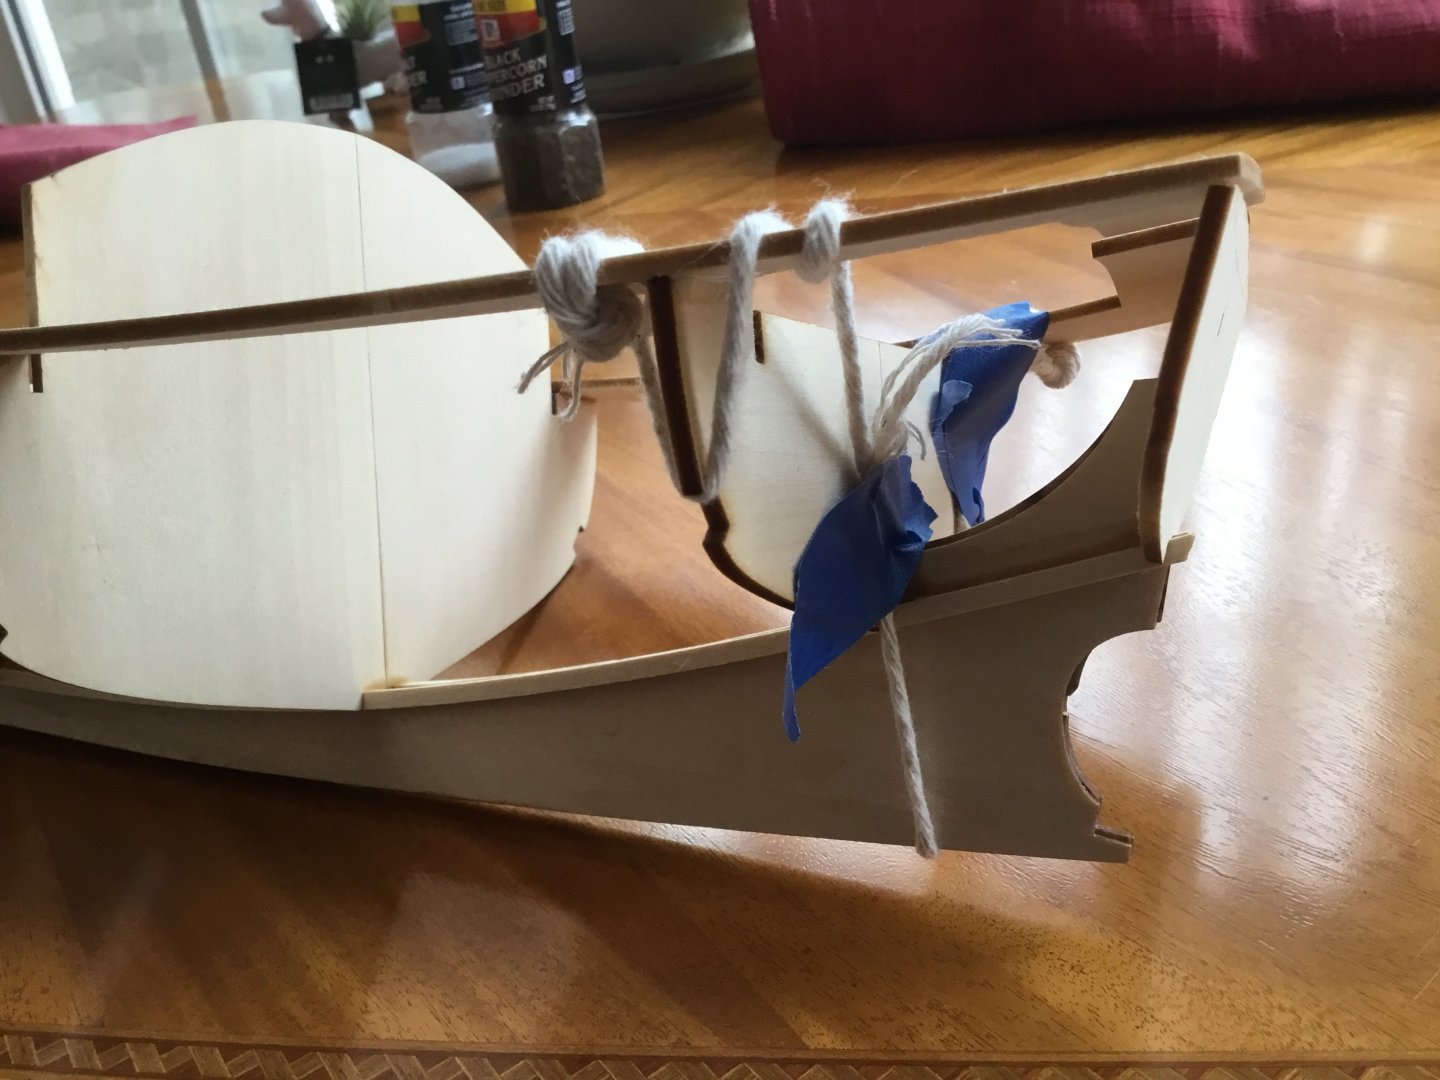
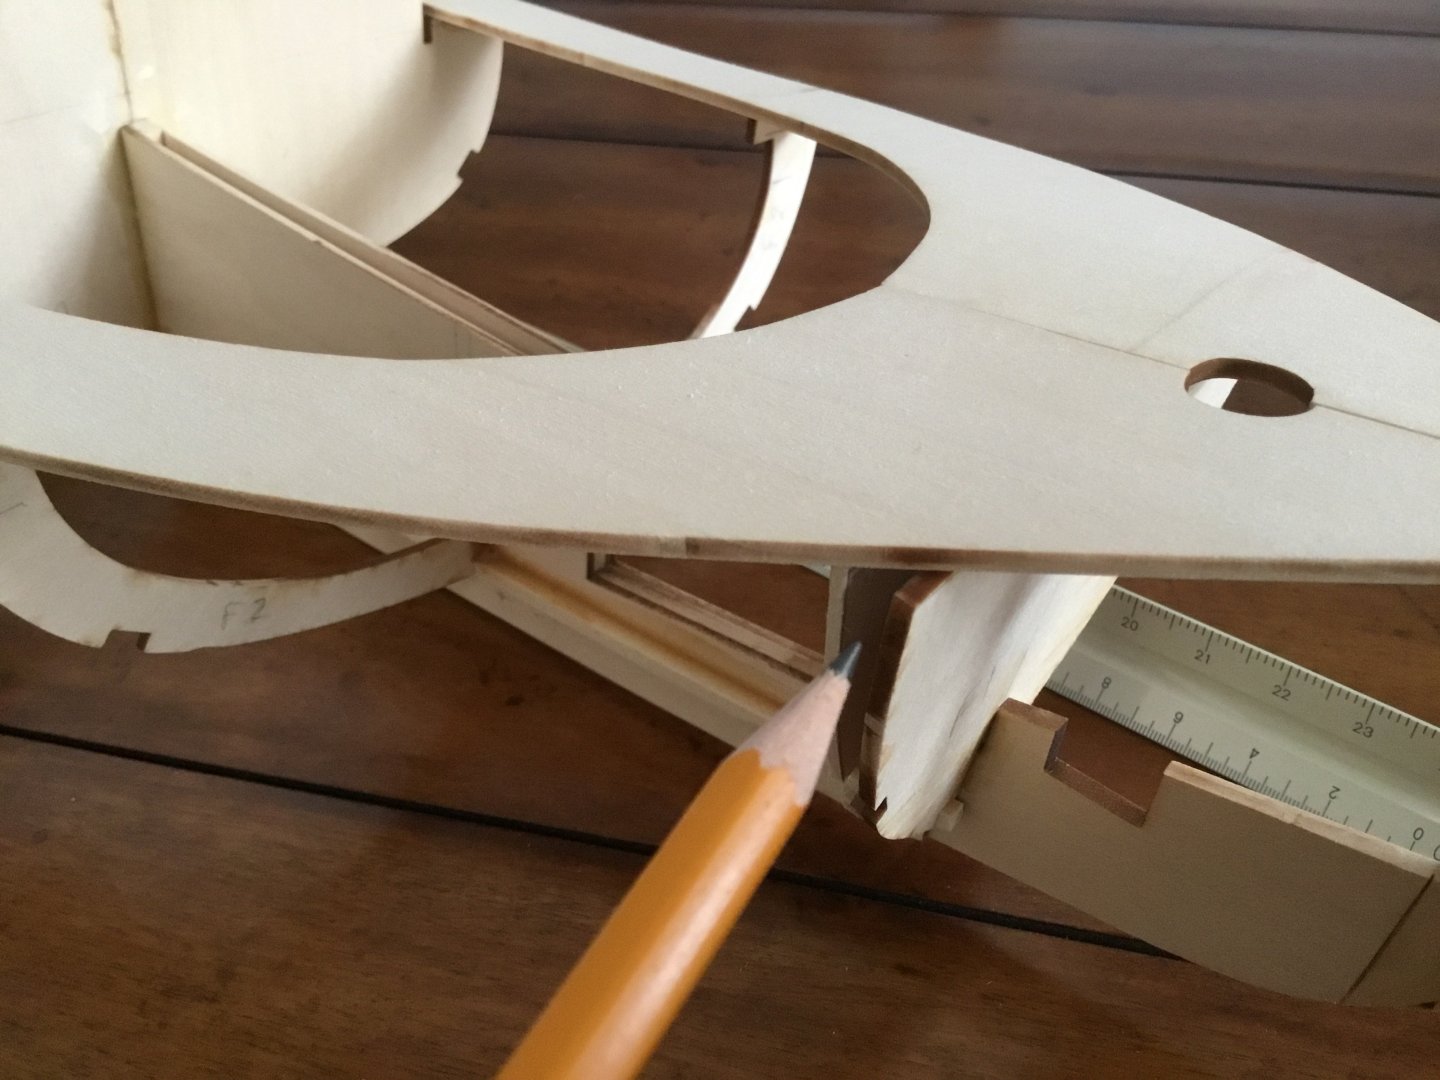
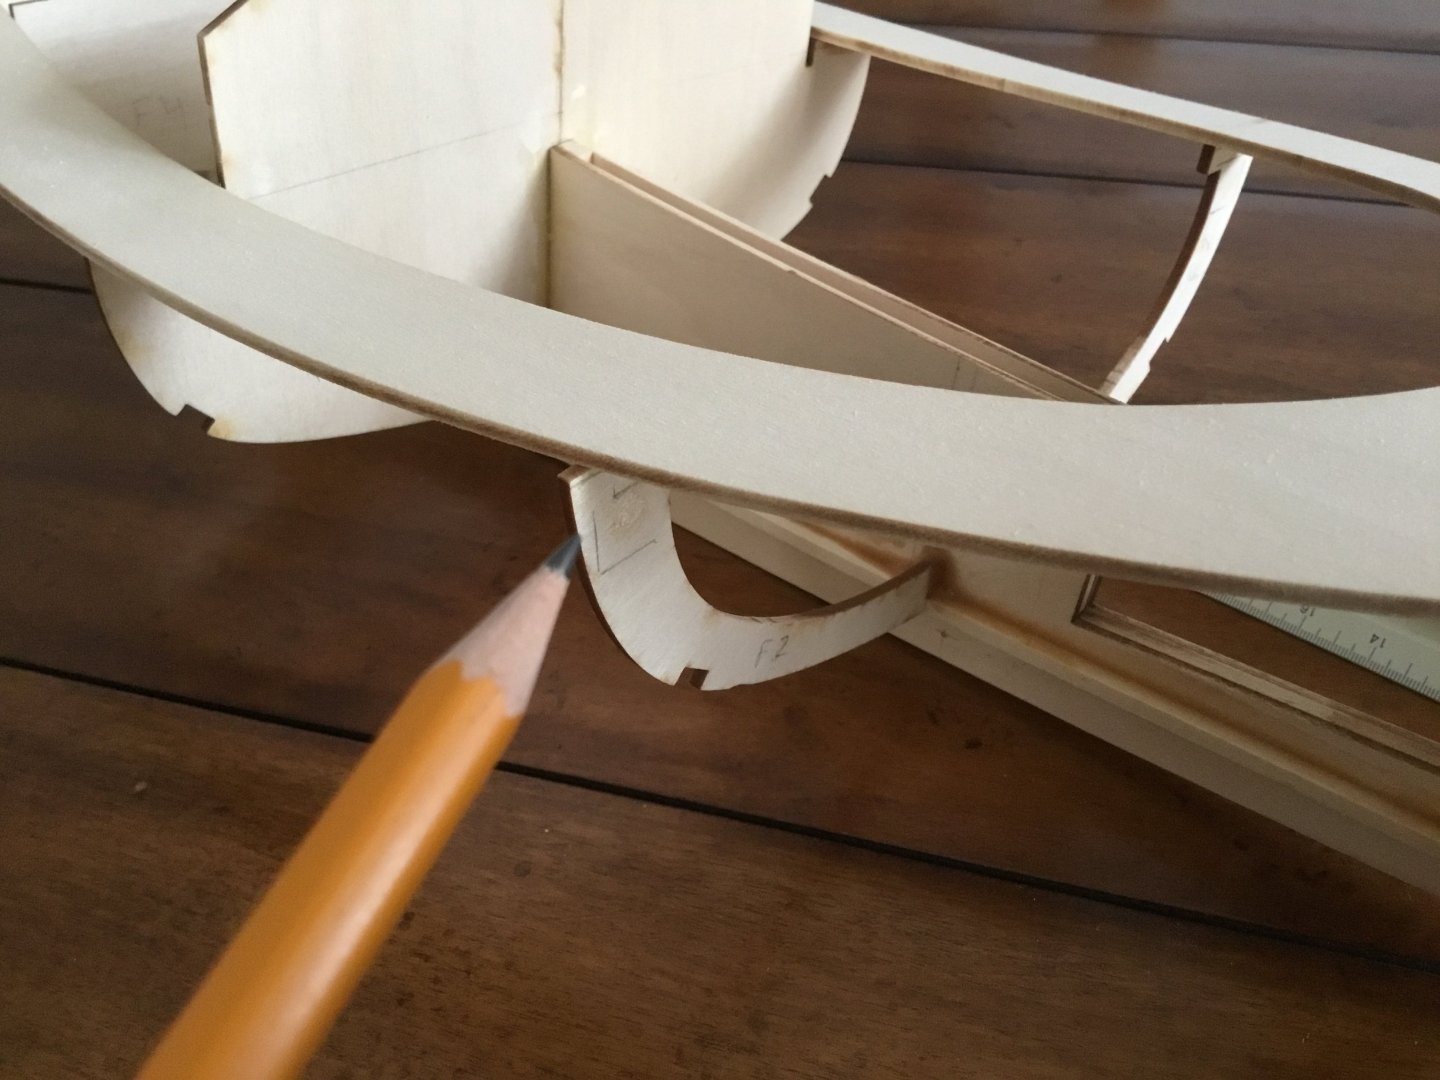
Made a bit more headway on the catboat. On previous posts you can see the keel and bulkheads were joined. Because the bulkheads have such a small area to glue them to the keel, the project is a bit flimsy. The plans call for adding a keel stringer, then the sub-deck, followed by the bilge stringer. Simply adding the keel stringer firmed up the entire keel bulkhead structure. You can see the keel stringer in the first photo below. Next up was adding the sub-deck. Adding the sub-deck is a bit tricky, unless you have four or five hands. The sub-deck is basswood. In its dry state I could not have pulled the shape of the sub-deck to the bulkheads. I used water to make the sub-deck a bit more pliable. Even though I kept the basswood damp, it was a chore to pull it into shape. This is where four or five hands would be nice. Instead, I had to use a good bit of tape to pull the deck into position. I would wet the wood, pull it into what might be called close position. Then after the wood dried, it held most of the shape, but sprung back somewhat. Next, I’d re-wet the sub-deck, pull it closer to proper shape and re-tape. This took a few wetting and drying cycles to get the decks to nearly fit. Still the sub-deck was not in close enough contact with the bulkheads to glue them in place. It was at this point in construction that I discovered none of my clamps would hold the deck in place the last few degrees because they could not hang on to the rounded bulkheads. To get the sub-deck pulled tight enough to the bulkheads to accept glue I used a variation of a tool described in boat building books such as those written by Harold Payson, Howard Chapelle, and Jim Michalak. All suggest using a Spanish windless to pull boards in place. You can see in the photo below that I pulled the sub-deck the last few degrees to contact the bulkheads with the modified windless. Essentially, I used string to wrap around the sub-deck, pull in place then tape the string to prevent it from unwinding before the glue dried. This worked well in lieu of the extra hands I don’t have. Still the process was slow because I could only attach the deck to one bulkhead at a time to prevent twisting the structure. Each deck to bulkhead glue joint was then followed by gluing the other side of the deck to the other side of the bulkhead. A bit slow and tedious. Even though I was very careful to align the bulkheads correctly, it was at this point that I discovered a couple building errors. In the photo below you can see what appears to be two bulkheads very close to one another. The most forward bulkhead is the one that came with the kit. It appears that during my alignment step, I tipped the bulkhead forward a few degrees. This caused the bulkhead to extend beyond the edge of the deck. I could have reshaped the bulkhead, but I cannot draw a round circle, so I think trimming both sides of the bulkhead symmetrical is beyond my clumsy skills. Instead, I built a new bulkhead and placed it at the correct angle. Eventually I’ll need to remove the forward bulkhead. If you look carefully at the last two photos you will see the other builder error. The bulkhead you see in those photos is called former 2 in the plans. Former two is quite flimsy and needs a temporary cross brace to be added for strength while building. You saw in my one of my earlier updates that I faired the bulkheads with string to help determine proper location. The string-eyeball method of fairing is actually pretty accurate most of the time. This time though I let myself down. You can see that the bulkhead sticks out beyond the sub-deck. That is because I moved the bulkhead forward about an eight of an inch from where the plans and my building marks show it should be located. If I had built to the plans and my building marks, the bulkhead would have fit fine. Instead, I will be making a replacement bulkhead and glueing it in the proper location. Of course I’ll need to remove the original bulkhead. Lesson learned (again for about the hundredth time for me) is that to deviate from the plans, whether intentional or not, generally (always?) causes the builder extra work. To help with my research (at least this is what I told myself) I bought a set of plans for catboats designed by Fenwick Williams and Charles Wittholtz. Both are available from Woodenboat. Great food for thought and may actually be helpful during the rest of the build.


-
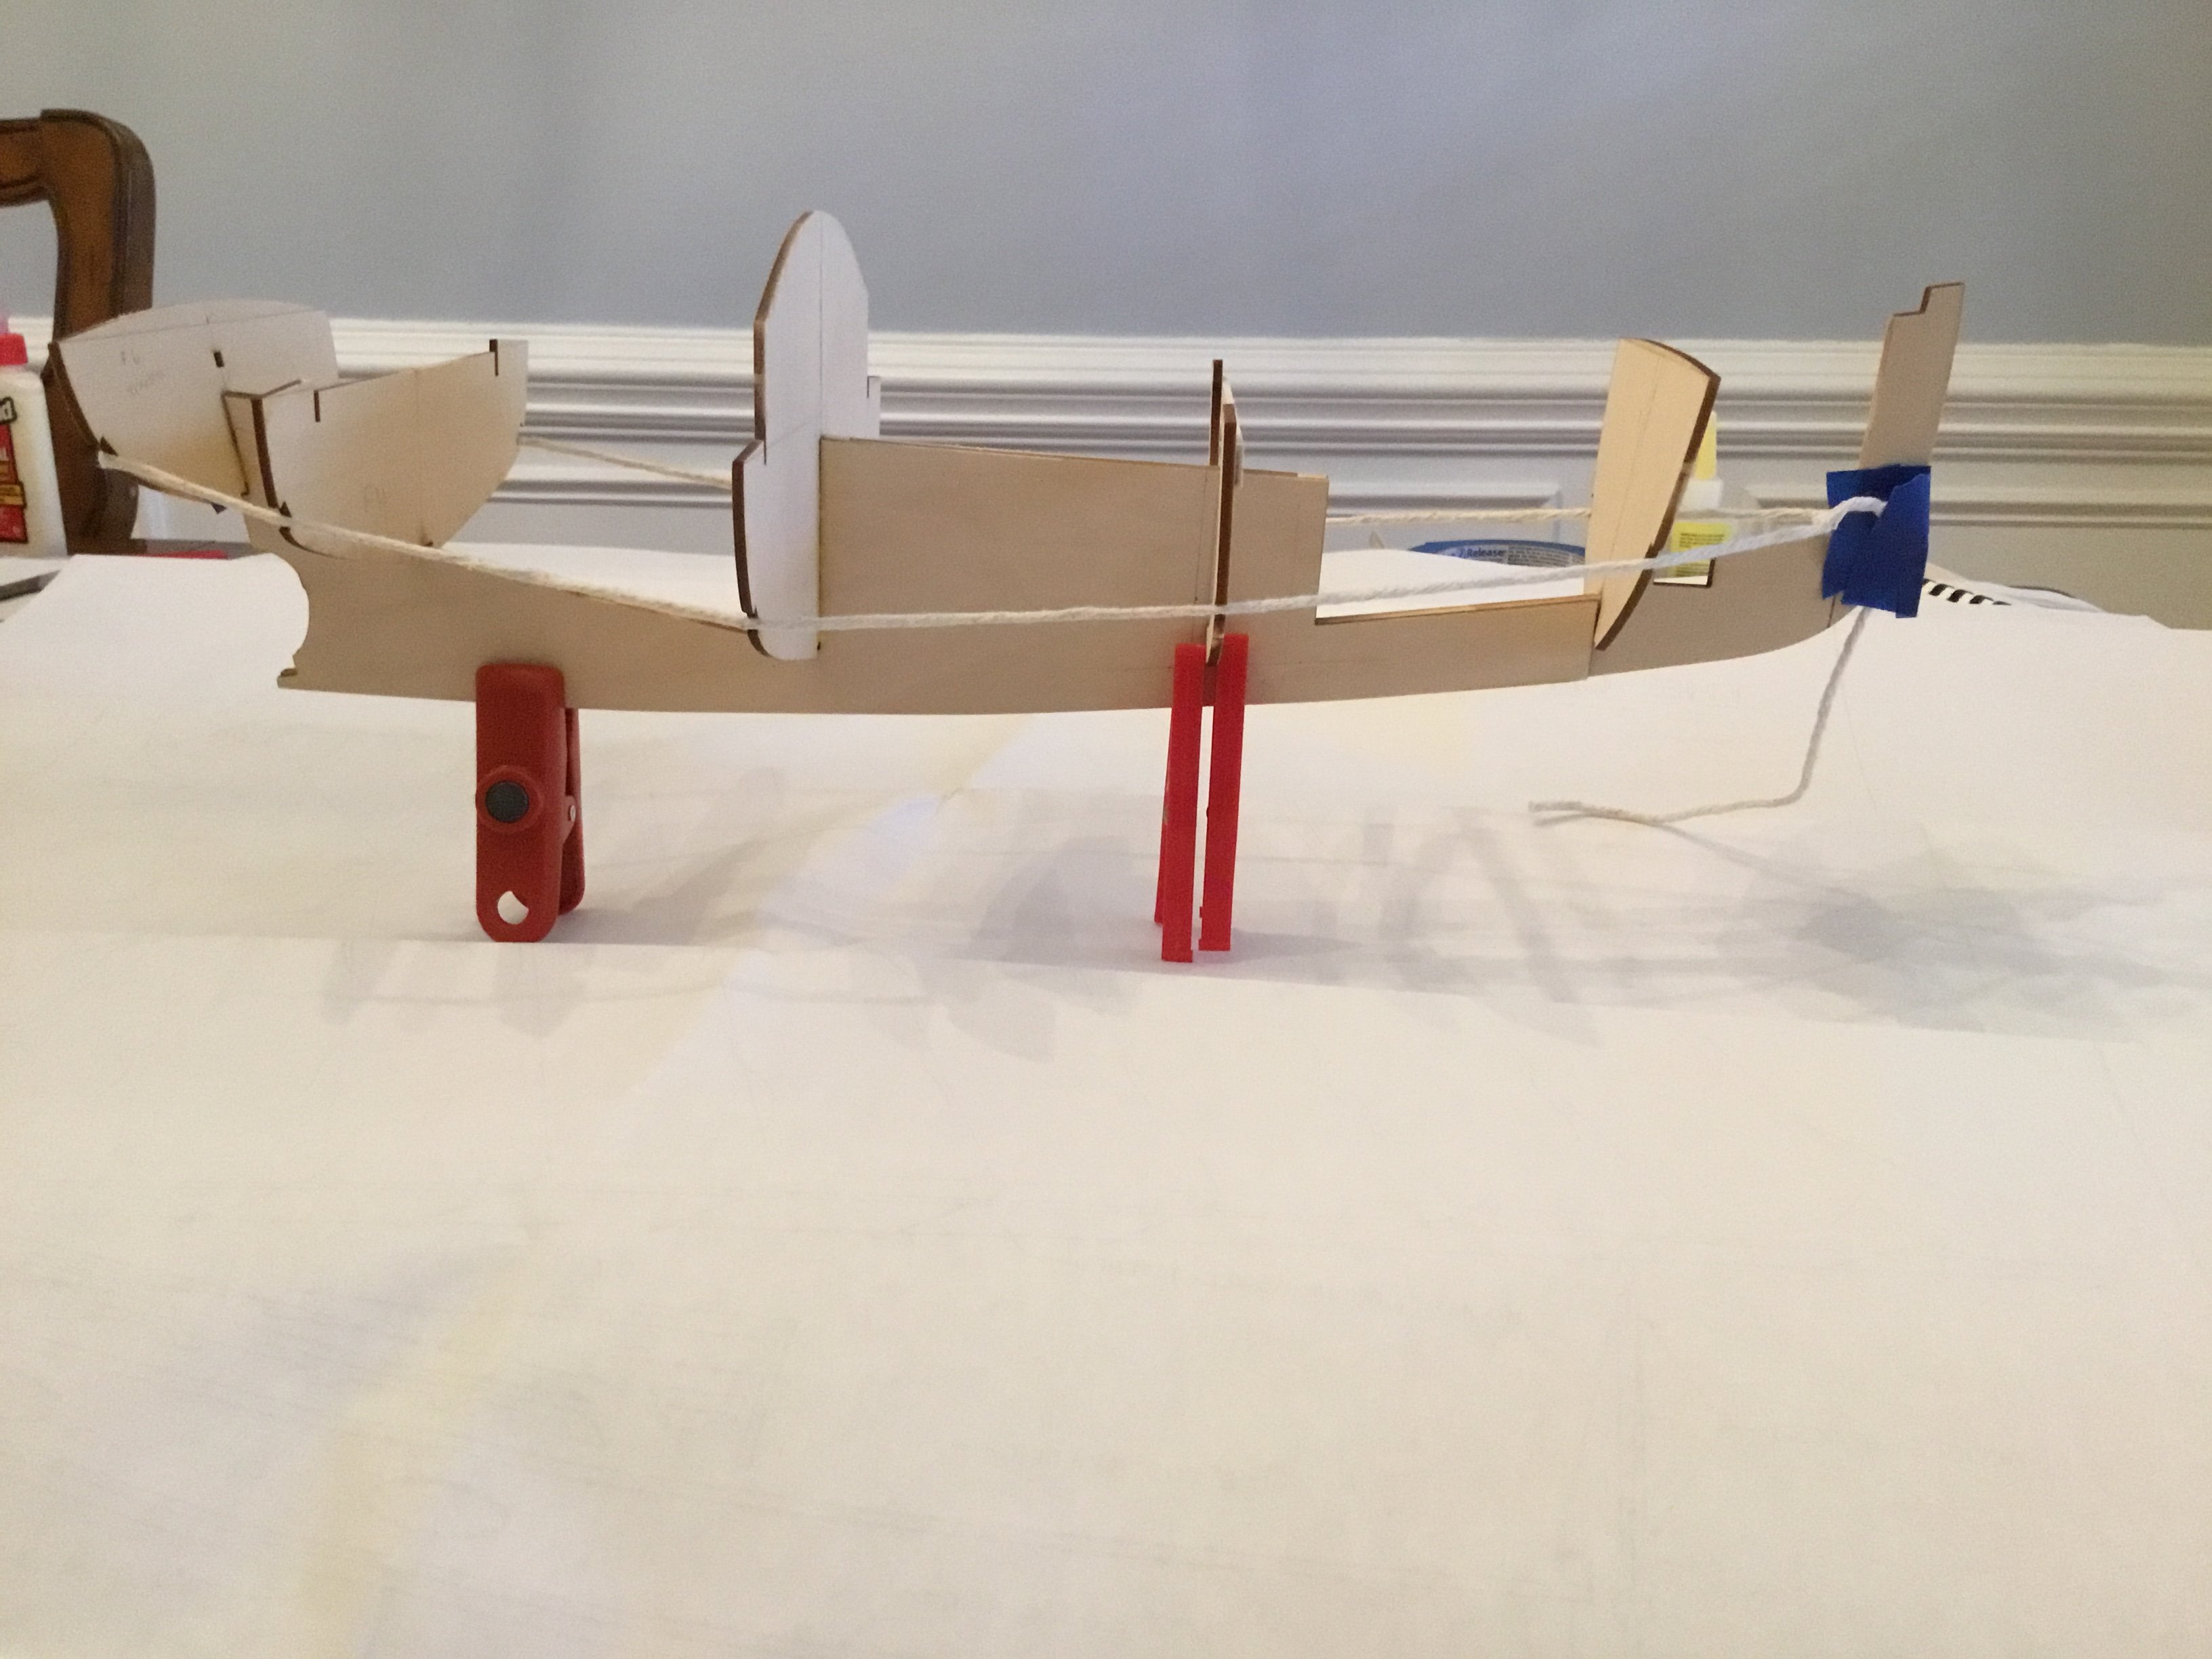
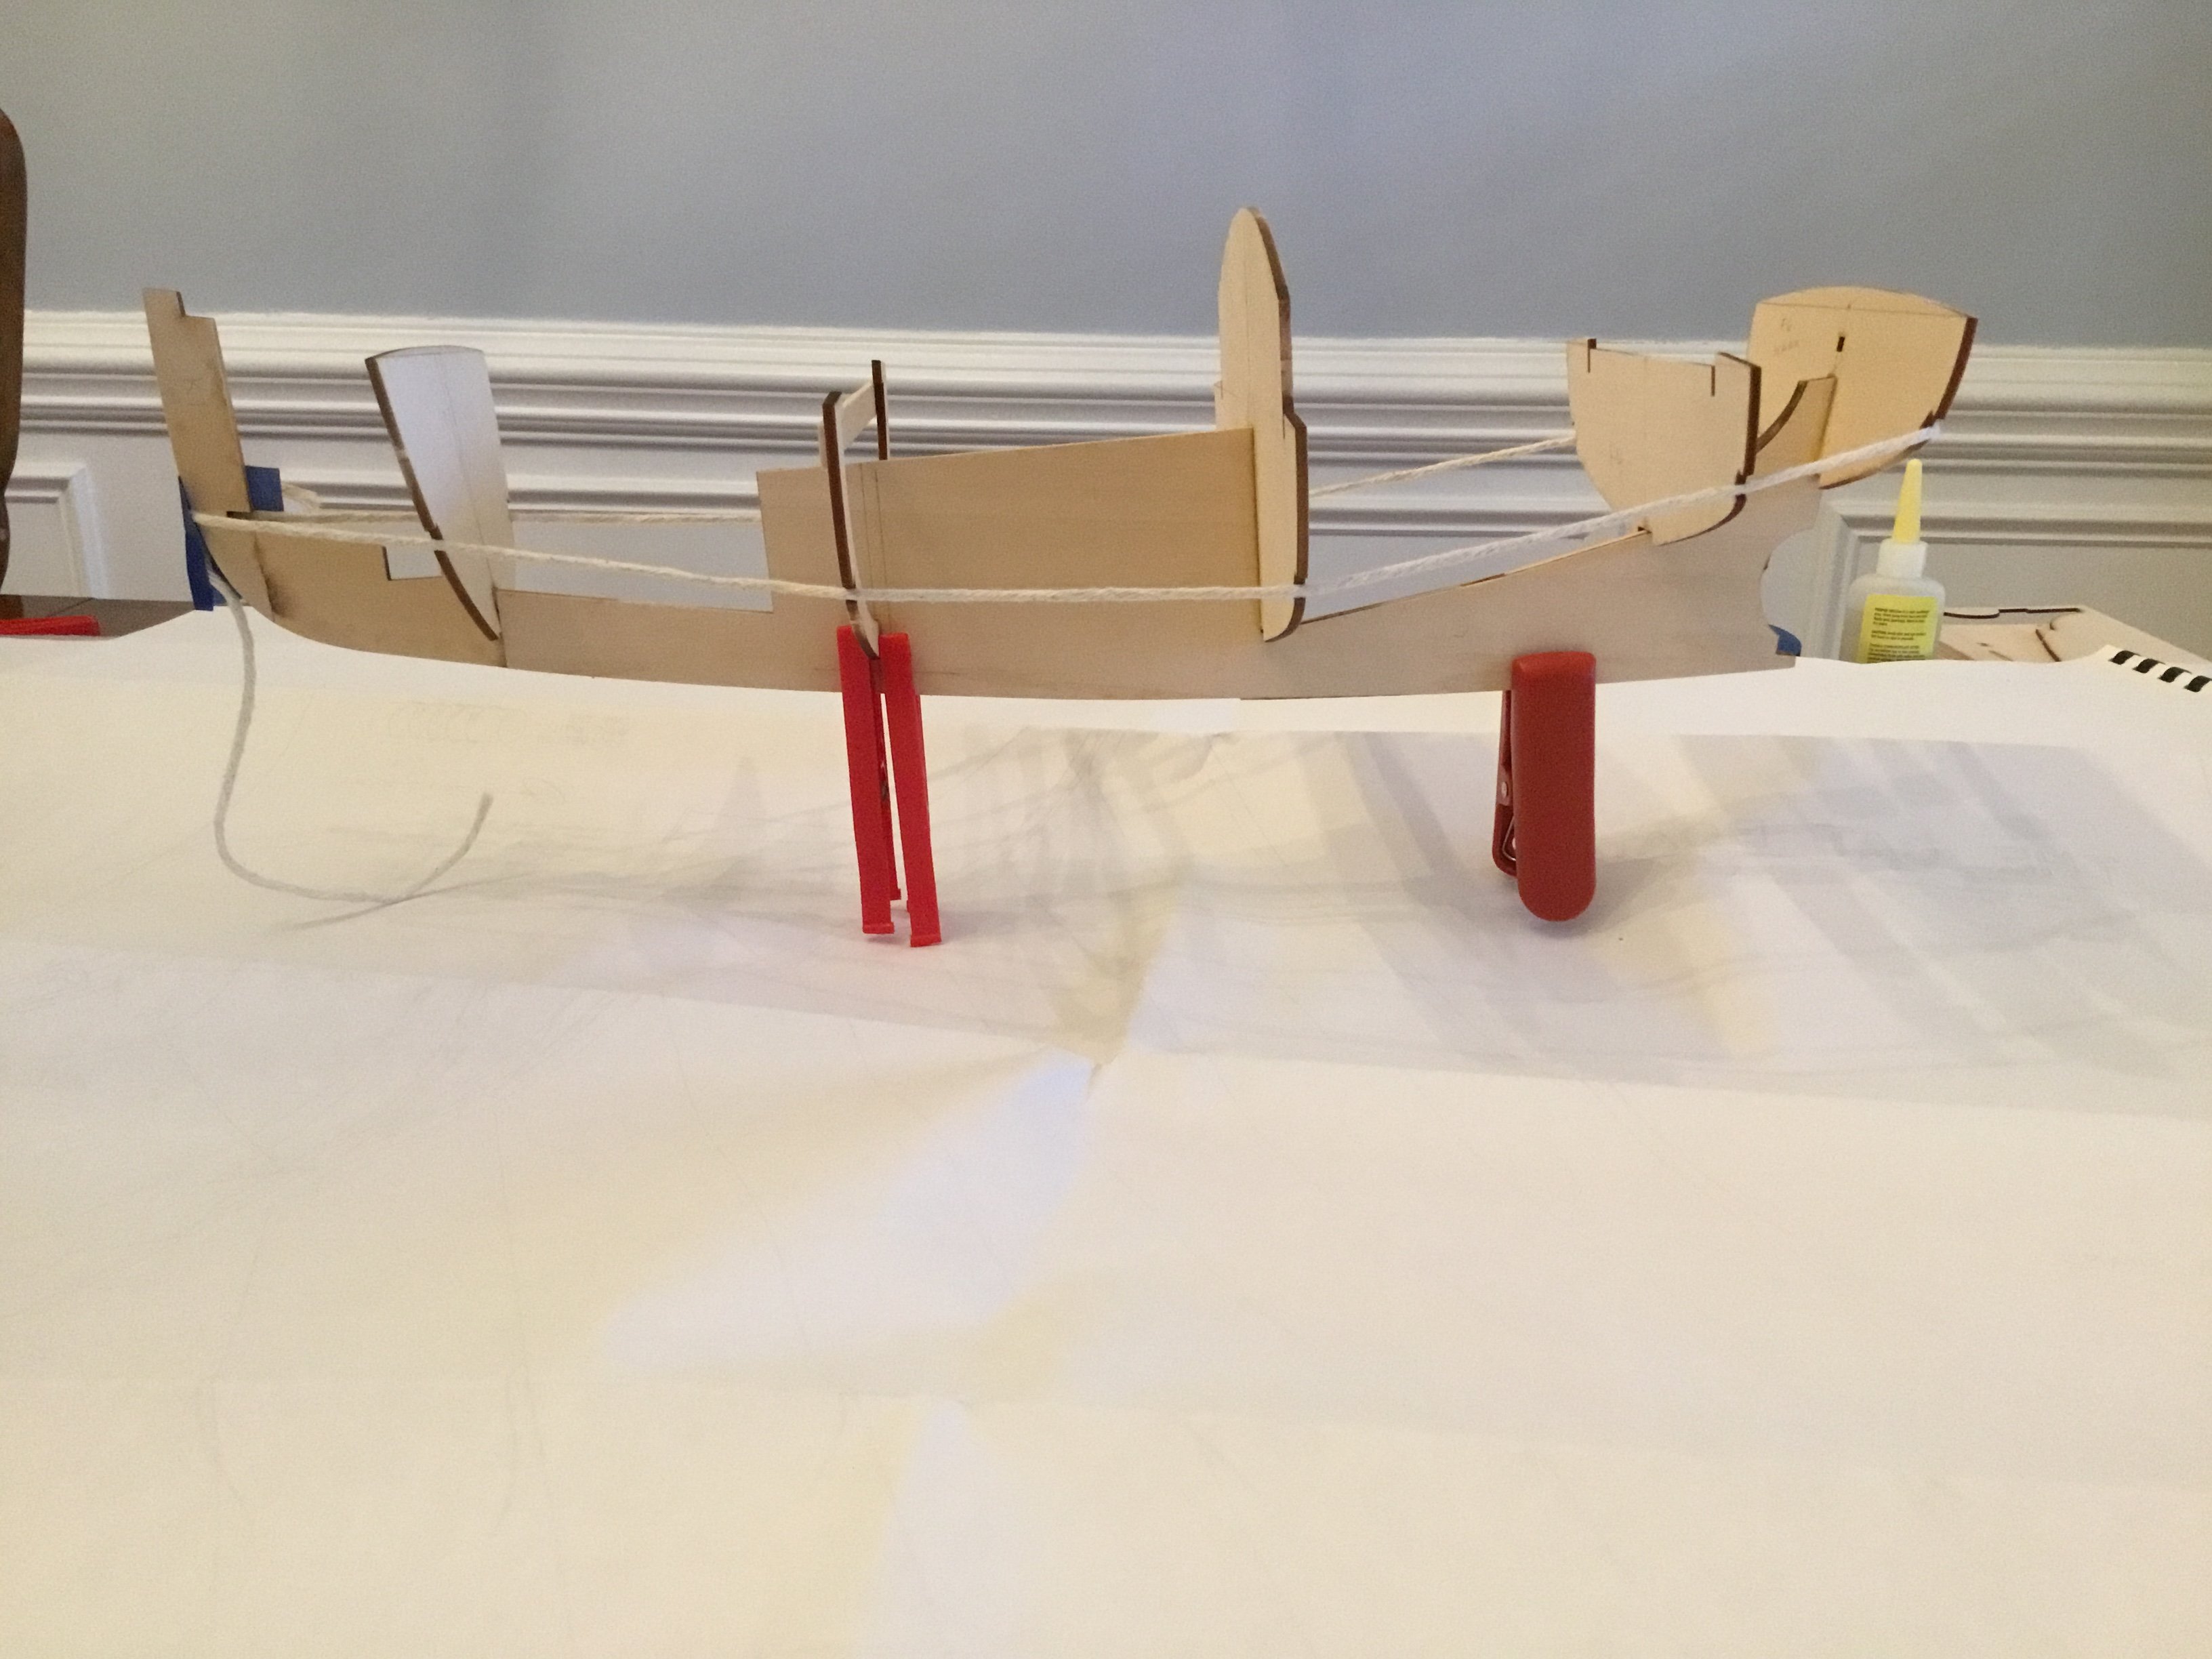
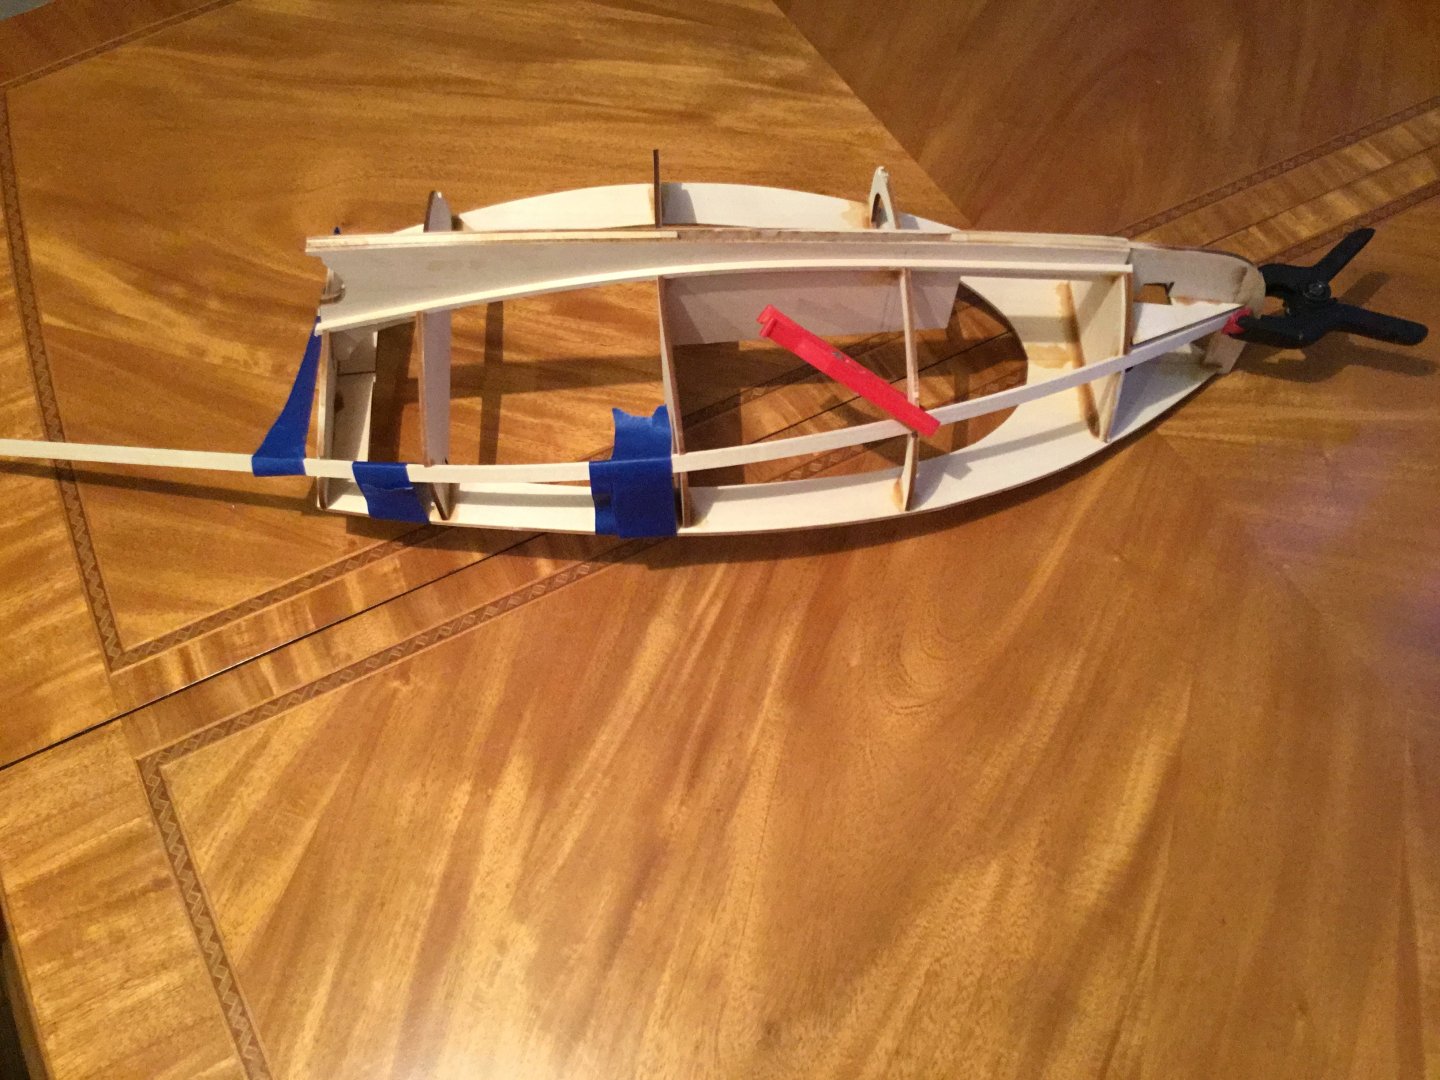
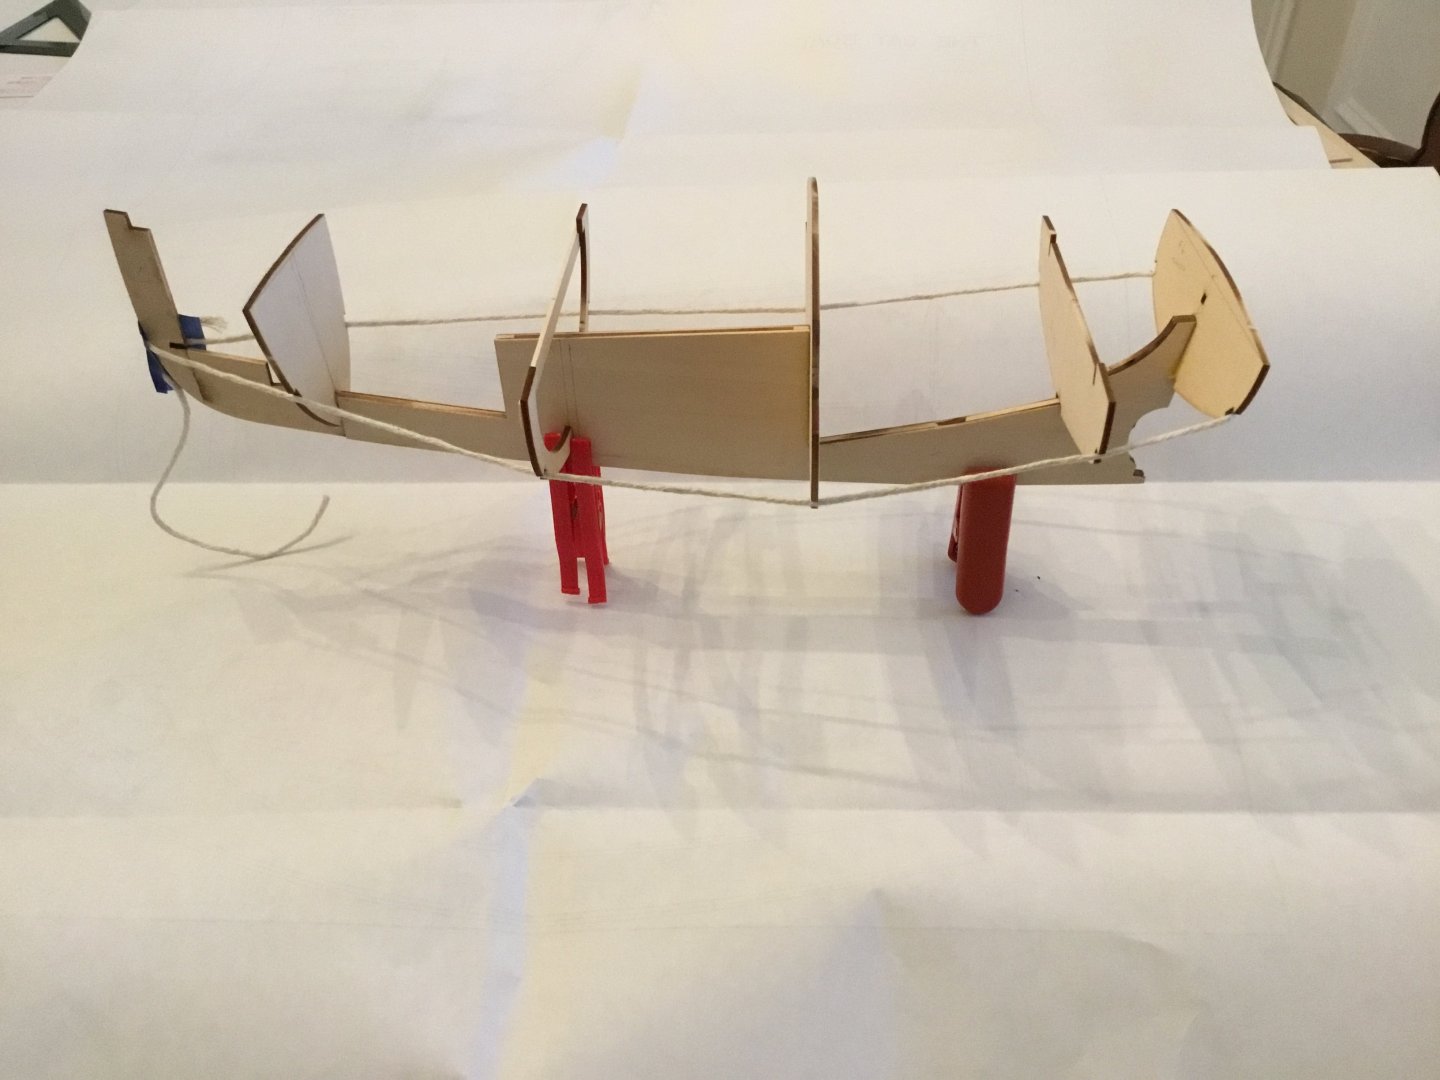
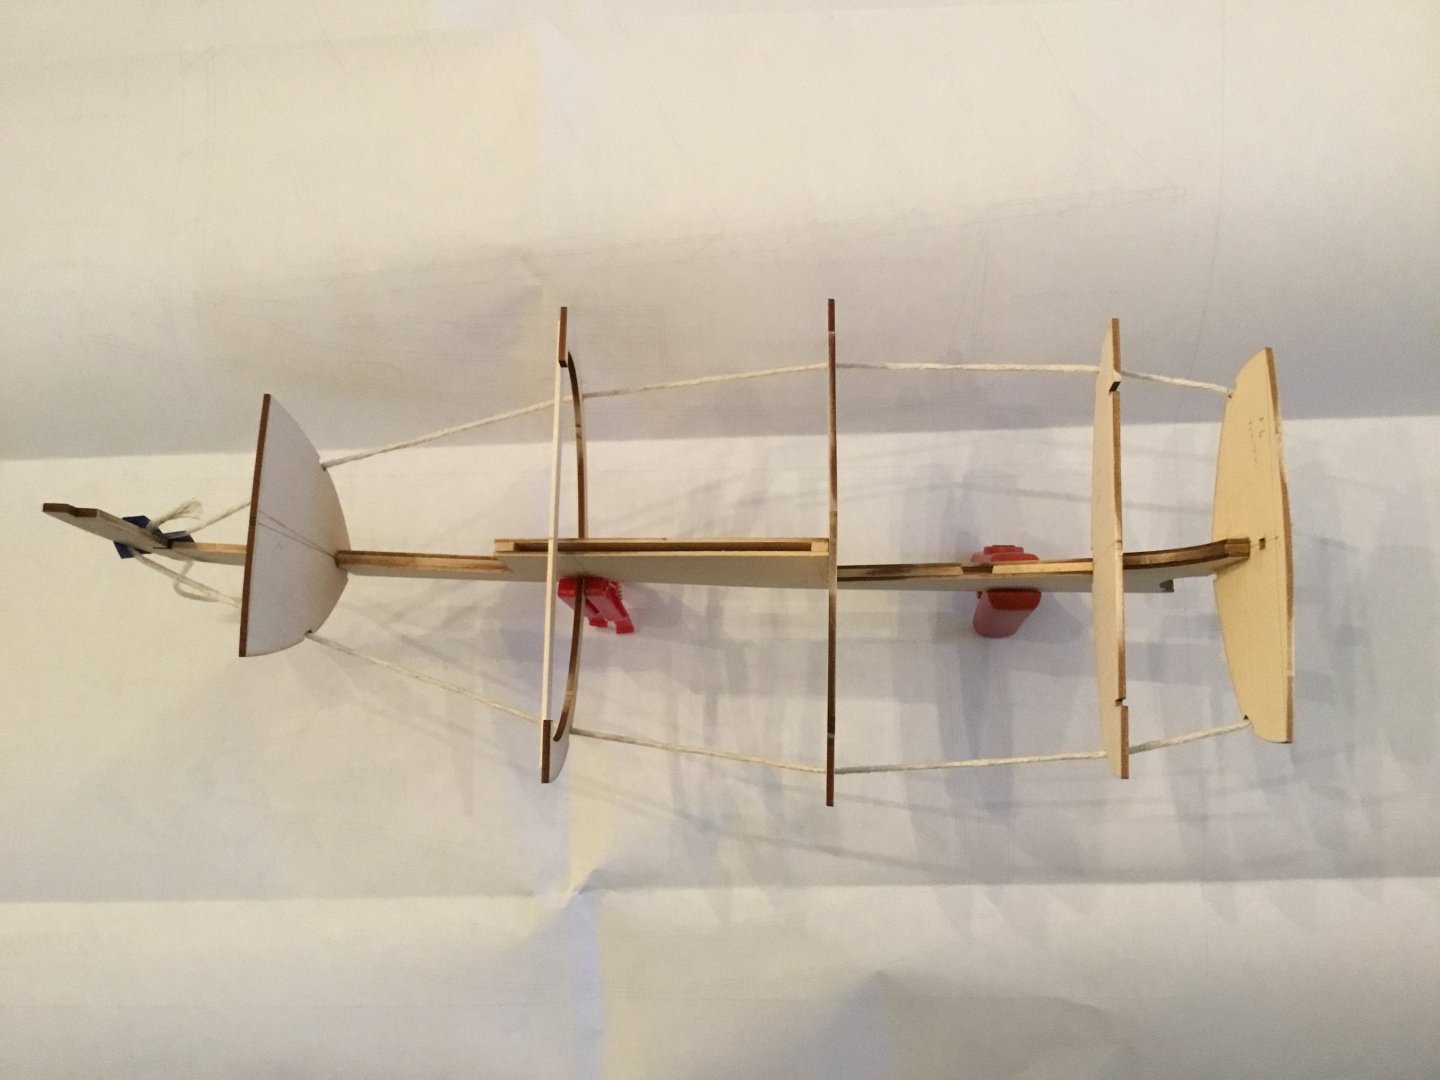
Tacked bulkhead number 2 in today. BH number two is the second bulkhead back from the stem. The bulkhead is made up of two “c” shaped pieces. I took a suggestion from the directions and laid a temporary piece of wood between the upper tips of the bulkhead. Still, there was a fair amount of fiddling to get the pieces in and square. You can see in the photos a method I used to help place the bulkheads correctly and properly square. The bulkheads have notches where a bilge stringer will eventually be placed. I strung a couple pieces of string through the notches to help me visually ensure everything looked straight. This after carefully placing and tacking the bulkhead in place.


-
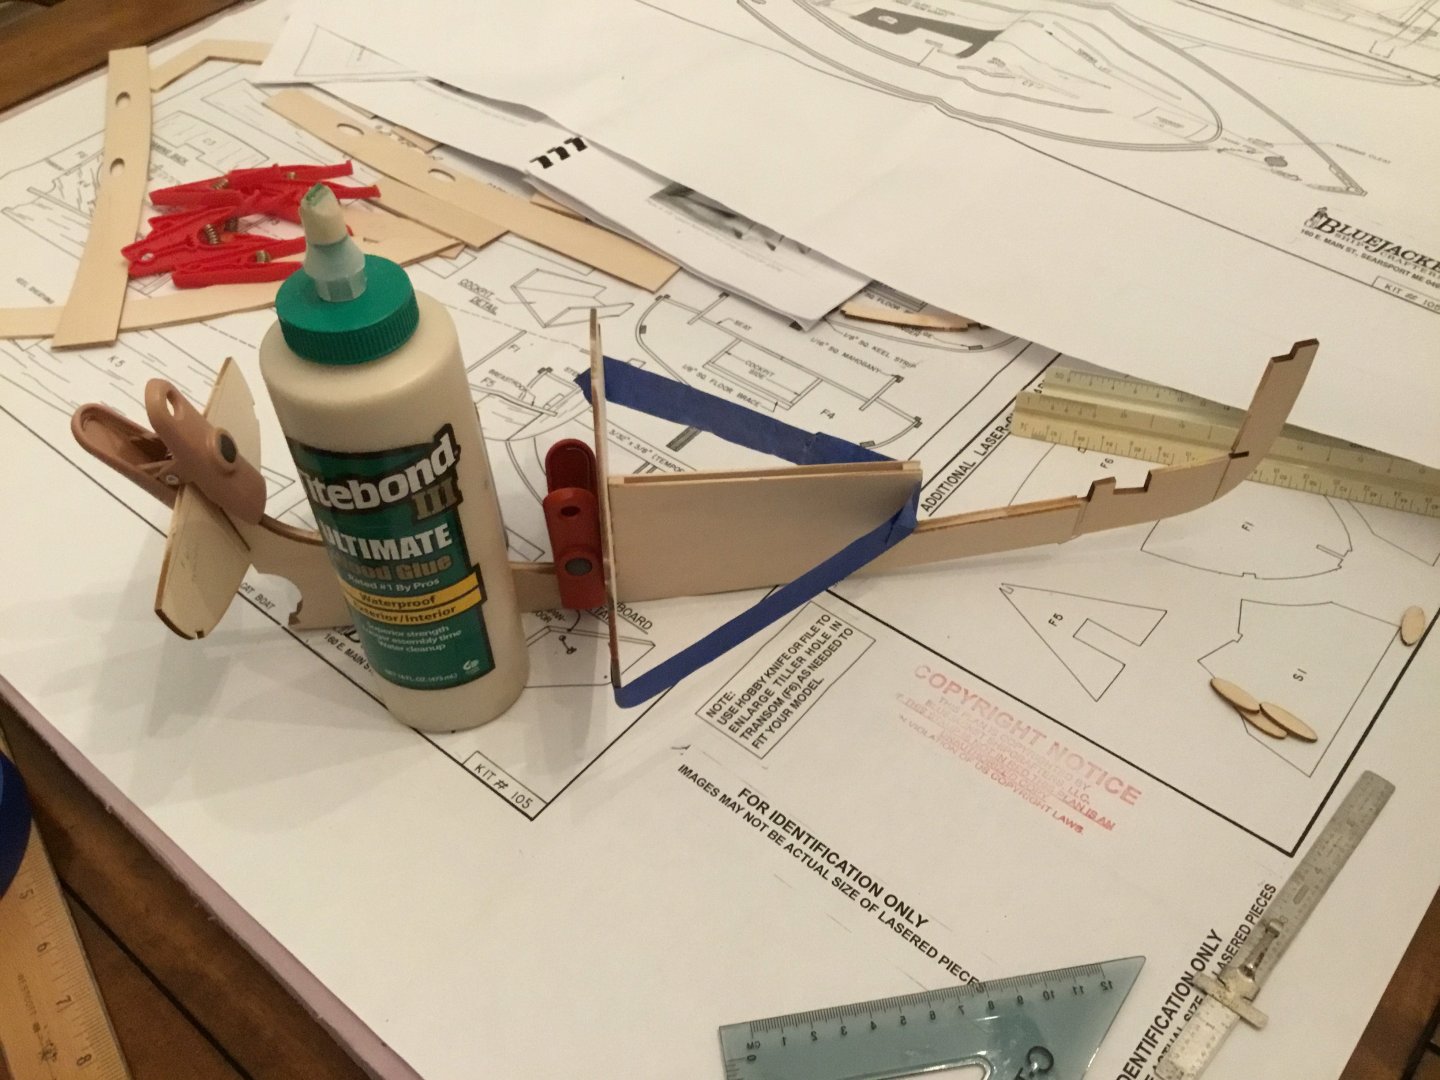
A little more progress on the cat boat. I had been having difficulty fully understanding the instructions. I had blamed that on my own abilities and some less that perfect photographs in the instructions. I did contact Bluejacket about the photos. Truly great customer service from Bluejacket. I dropped an email to them on a Sunday evening and had a full compliment of digital photos in my email on Monday at 0930. You just cannot get better customer service than that. I spent a good bit of time glueing the bulkheads to the keel spine. It did take a lot of time to square it all. I started by carefully setting the keel up square, then attaching individual bulkheads to the keel. Each bulkhead was squared vertically and horizontally with the keel. I also squared the bulkheads front to rear relative to the keel. I used Titebond to glue the bulkheads because I knew I needed time to square each bulkhead. I glued just one bulkhead to the keel and let it dry before moving on to the next bulkhead. Still, I often used quite a lot of time to get each bulkhead square. Then I waited for the glue to set before beginning work on the next bulkhead. Hoping to get the last bulkhead glued to the frame and then moving forward from there during the next build session.
-
A bit of progress today. The keel has been built up along with the centerboard box. Keel and CB box have been shaped and sanded. More shaping and sanding to come. I built most of the keel with CA and some wood glue. Wanted to prevent warping of the keel so glued most of it with the CA. My preferred glues are wood glues. I have used many from various manufacturers and find them similar in performance. For this project, that will be Titebond. For some reason I have had less than ideal experience using the CAs, but this is very likely user error. Centerboard has been shaped and sanded. I wanted to be able to raise and lower the centerboard. It took some time to get the final shape of the centerboard so it will swing easily inside the box. The formers/bulkheads have been fitted, sanded, and centerlines marked. Next work session, I hope to have the deck, cockpit coaming, cabin roof, and some other wooden bits sanded and stained. I am planning to use water based oak stain for the deck, coaming, and cabin roof. I may use a water based walnut for the cockpit and or seats. Unless I find another native wood stain that catches my fancy when I make a trip to the hardware store. The kit came with mahogany trim so that will stay natural. I am a slow builder so hope to accomplish these tasks during the next build session, but who knows. I’ll get where I get. After those steps, I can get back to gluing the formers to the keel.

-
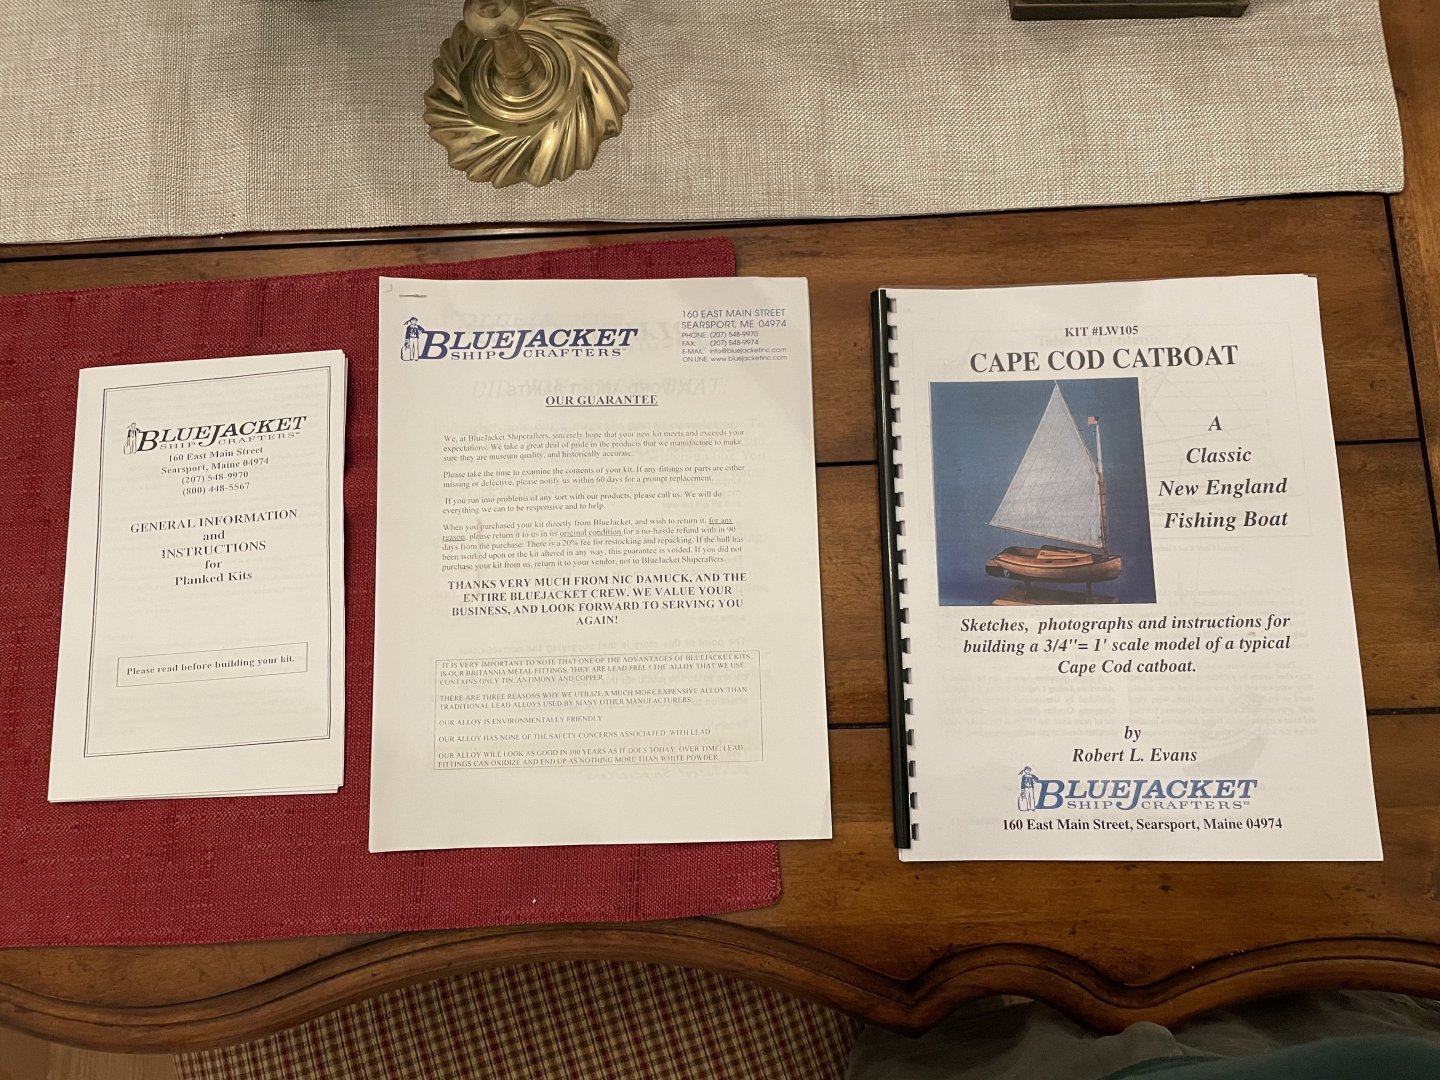
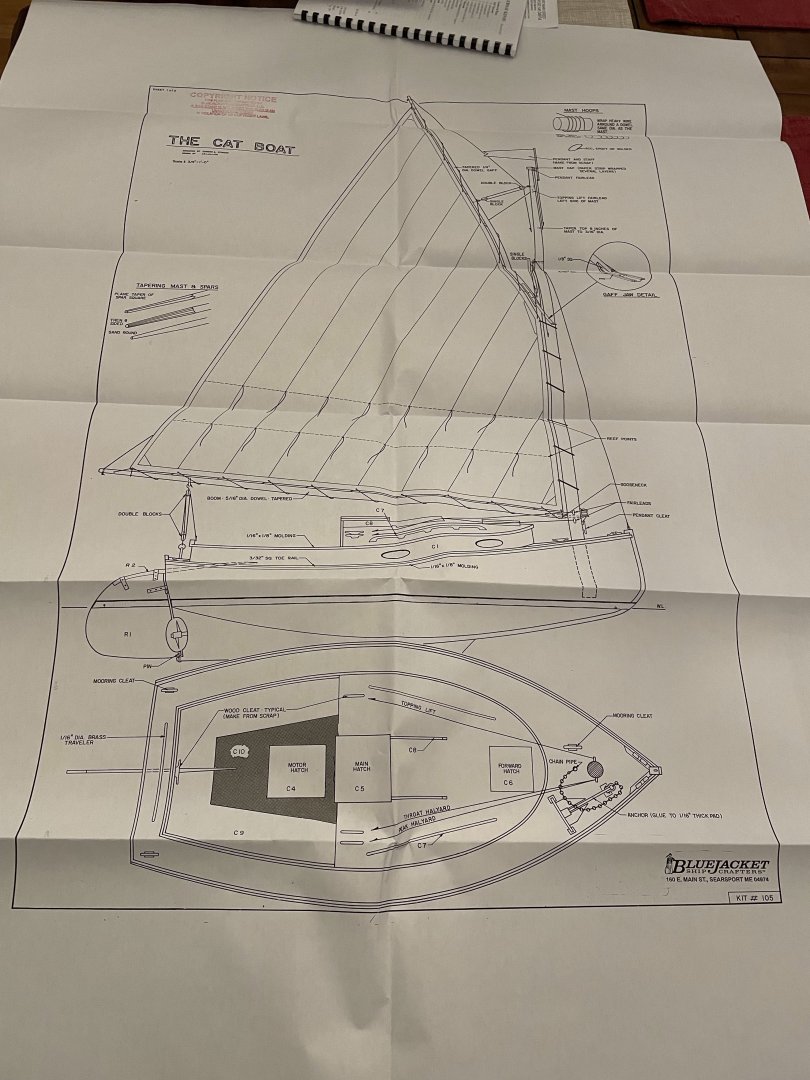
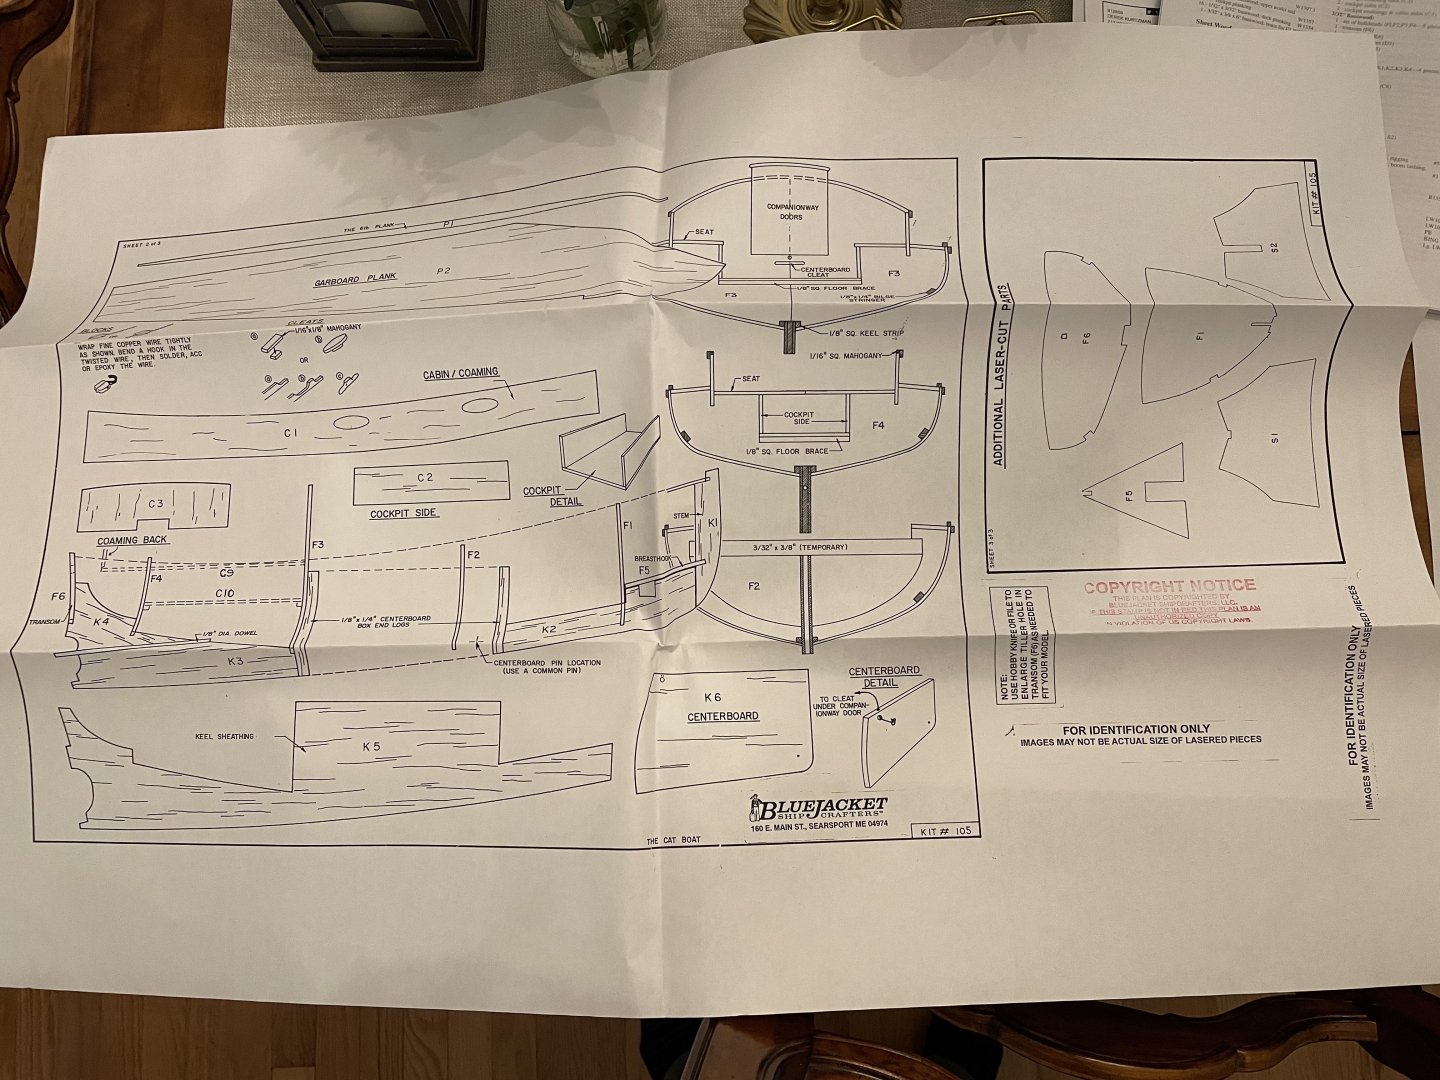
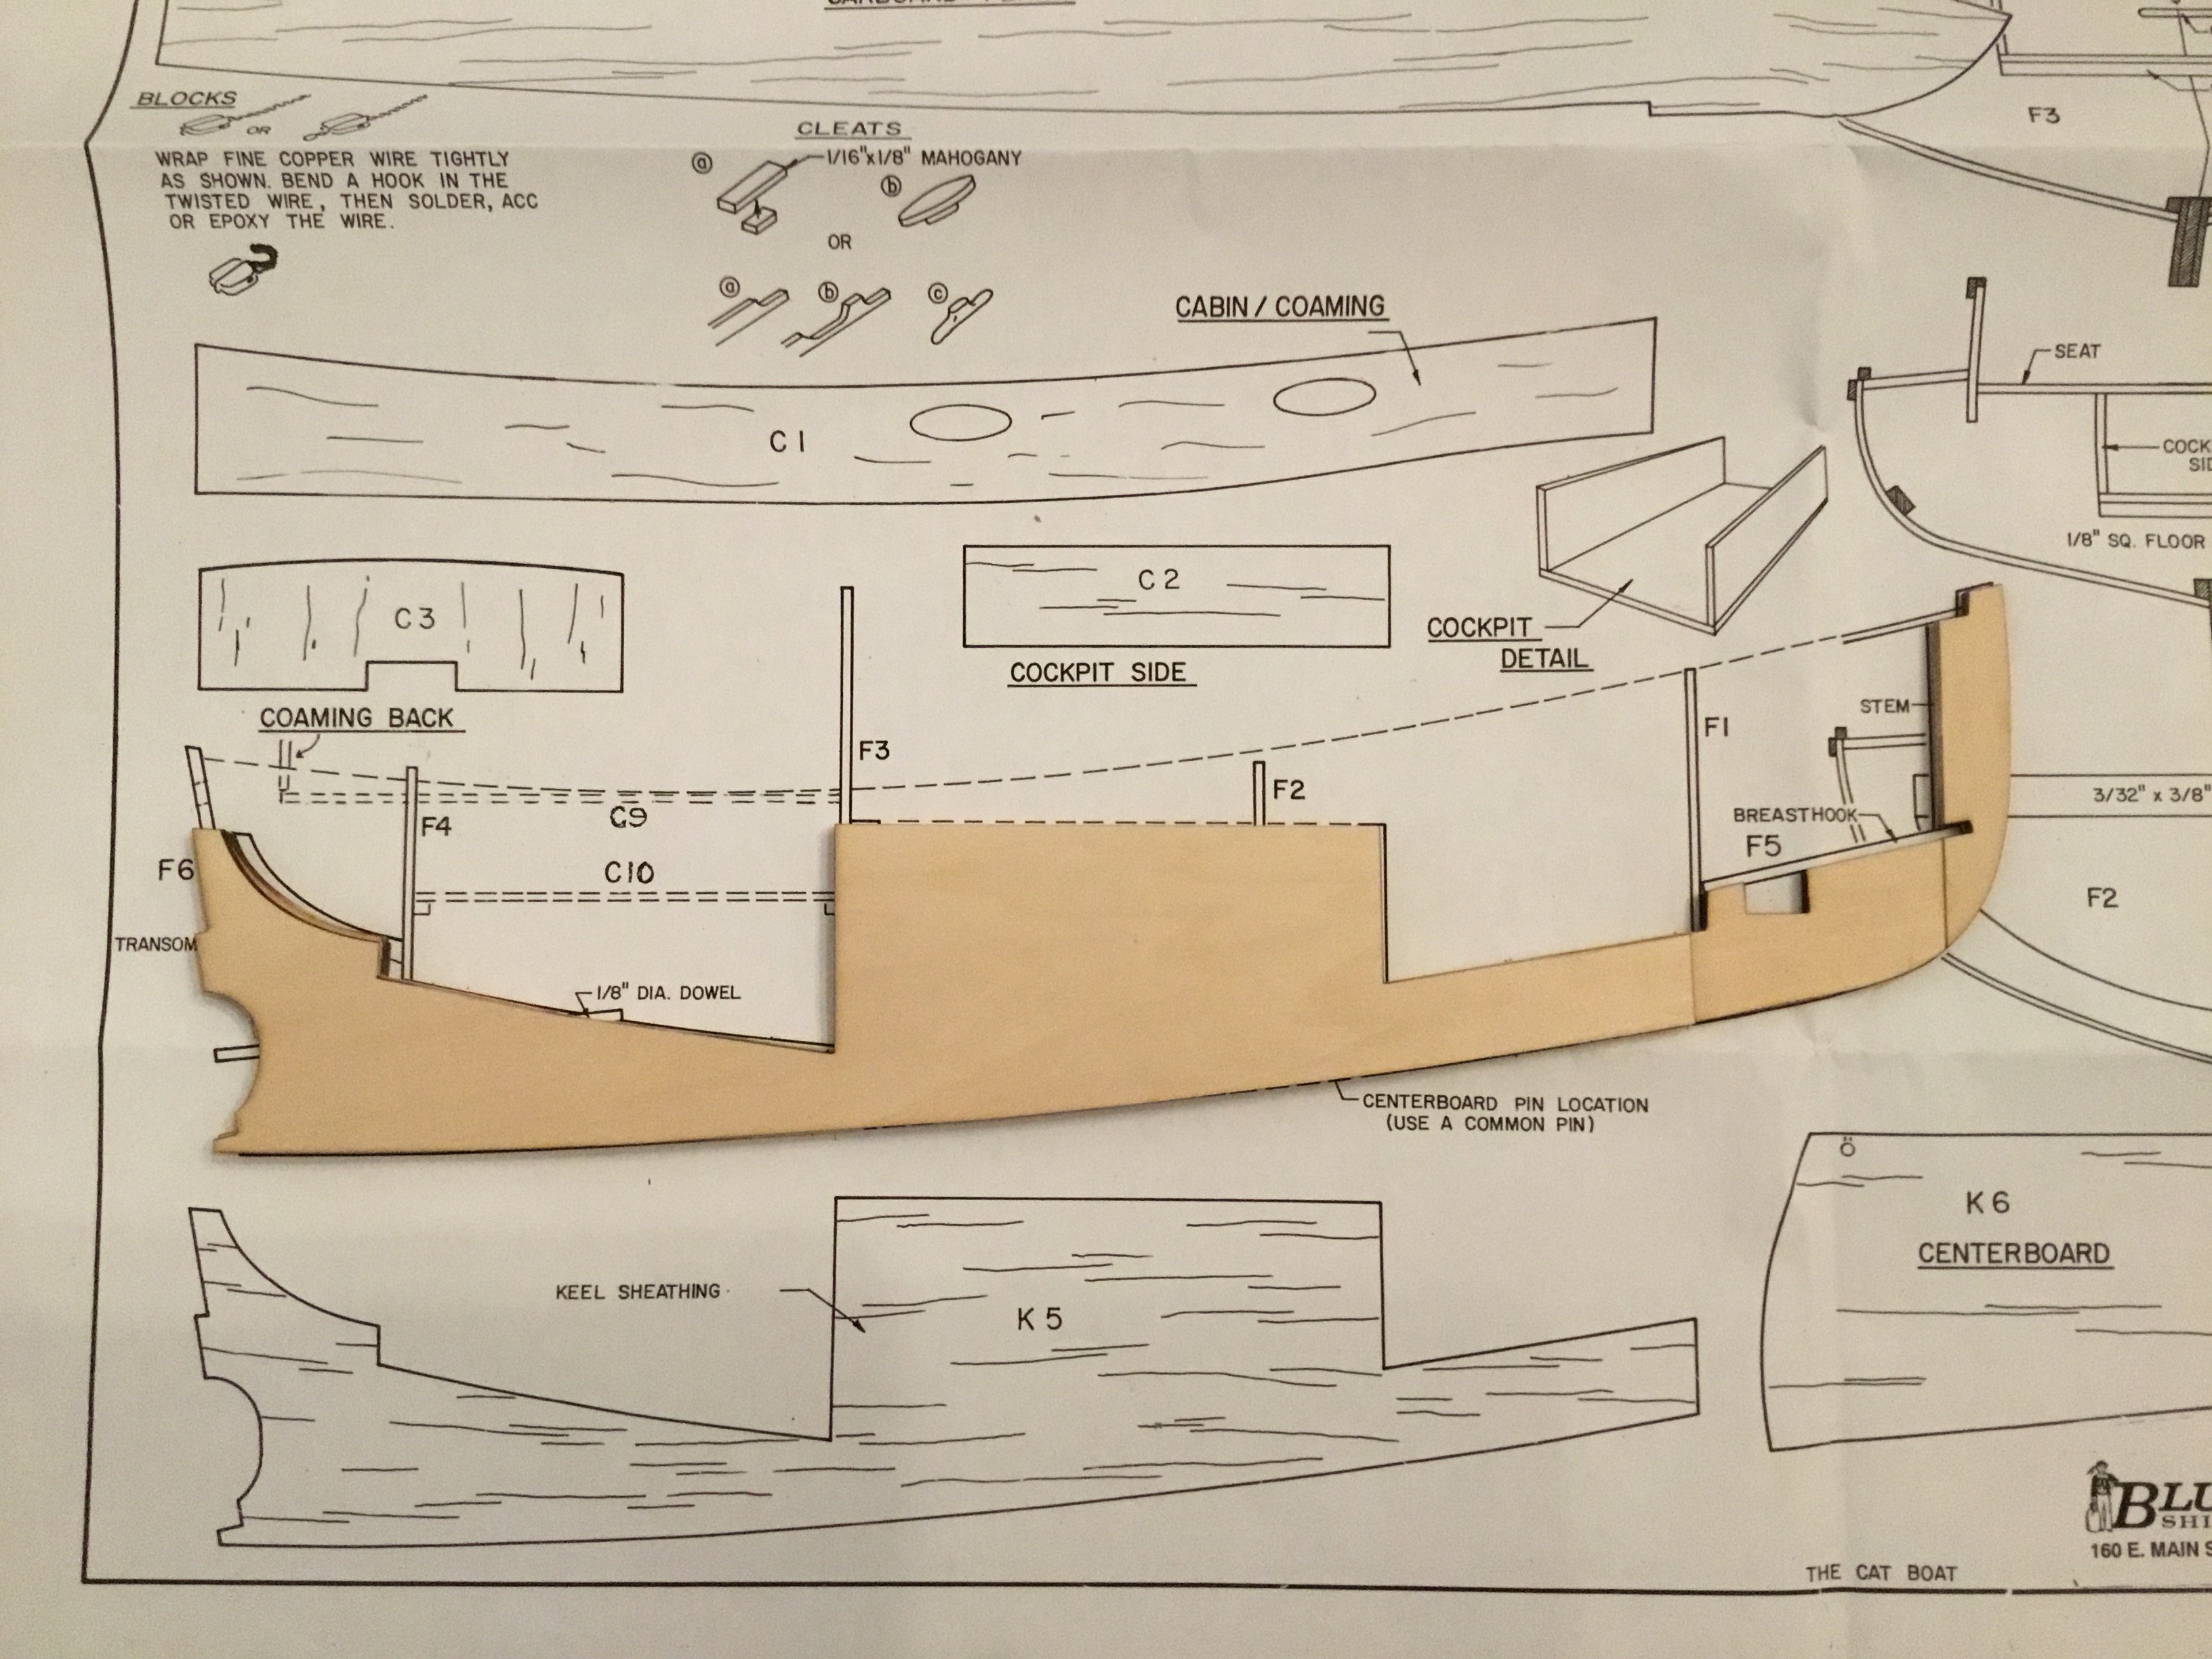
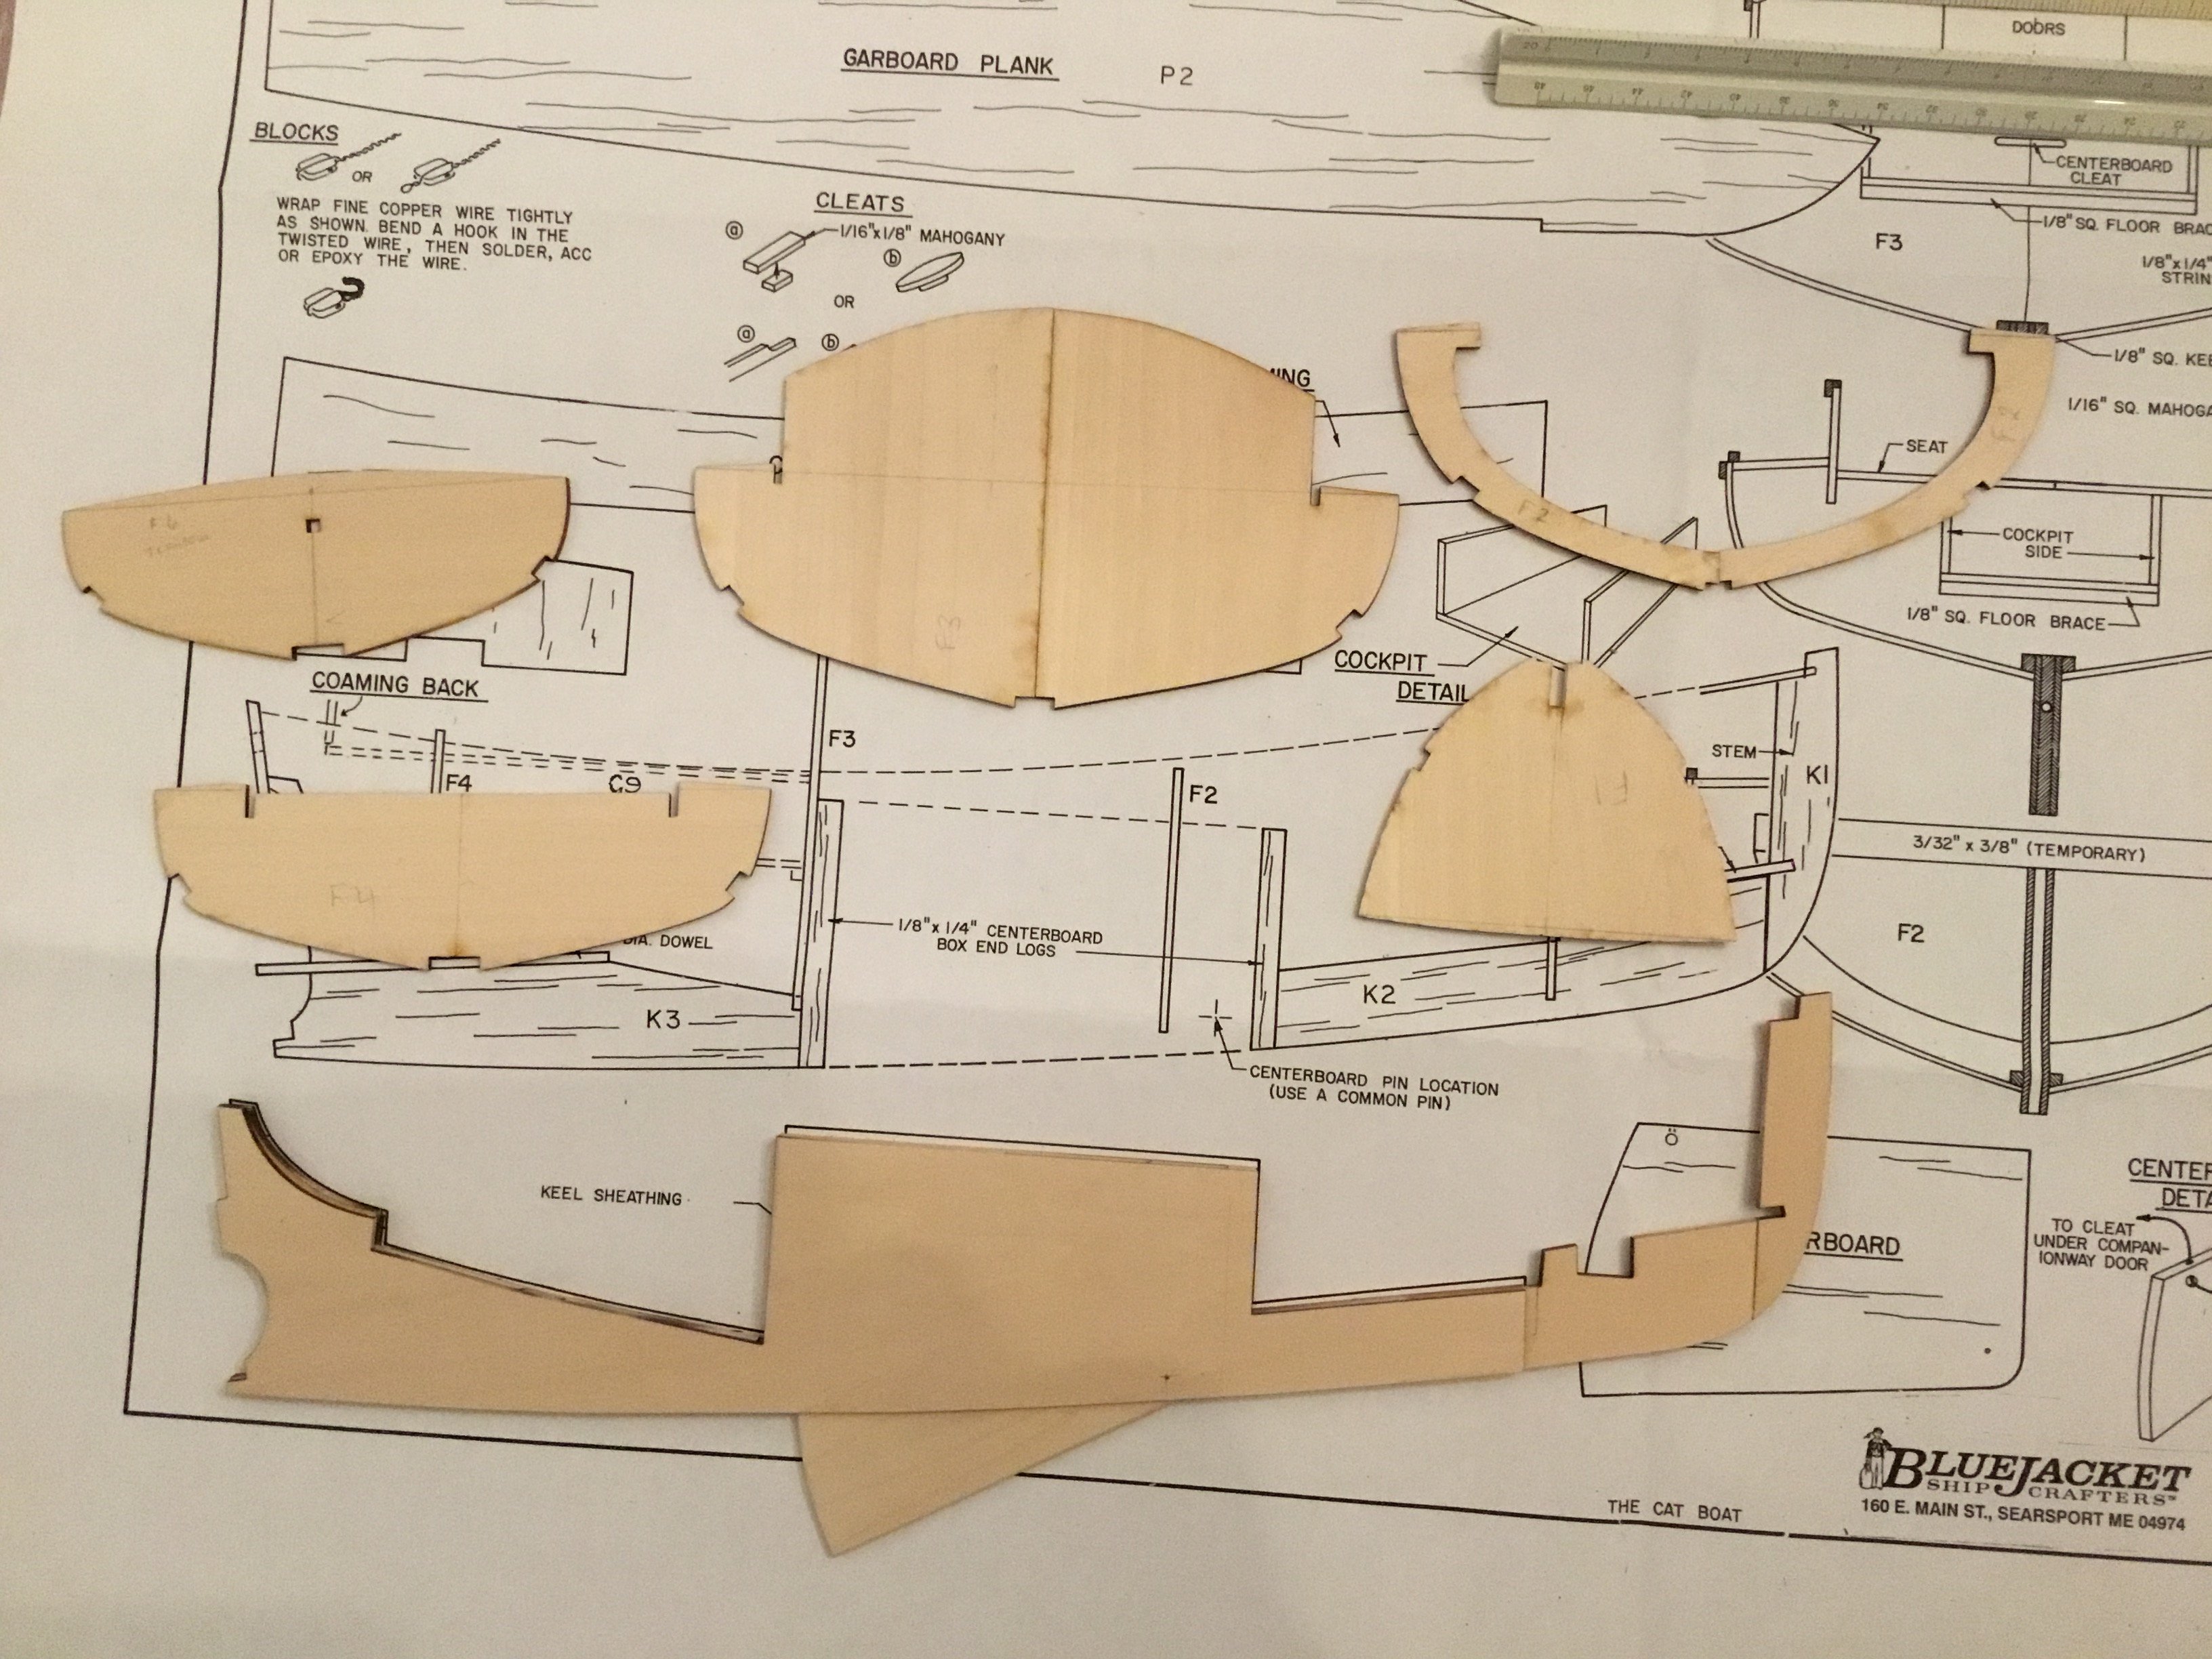
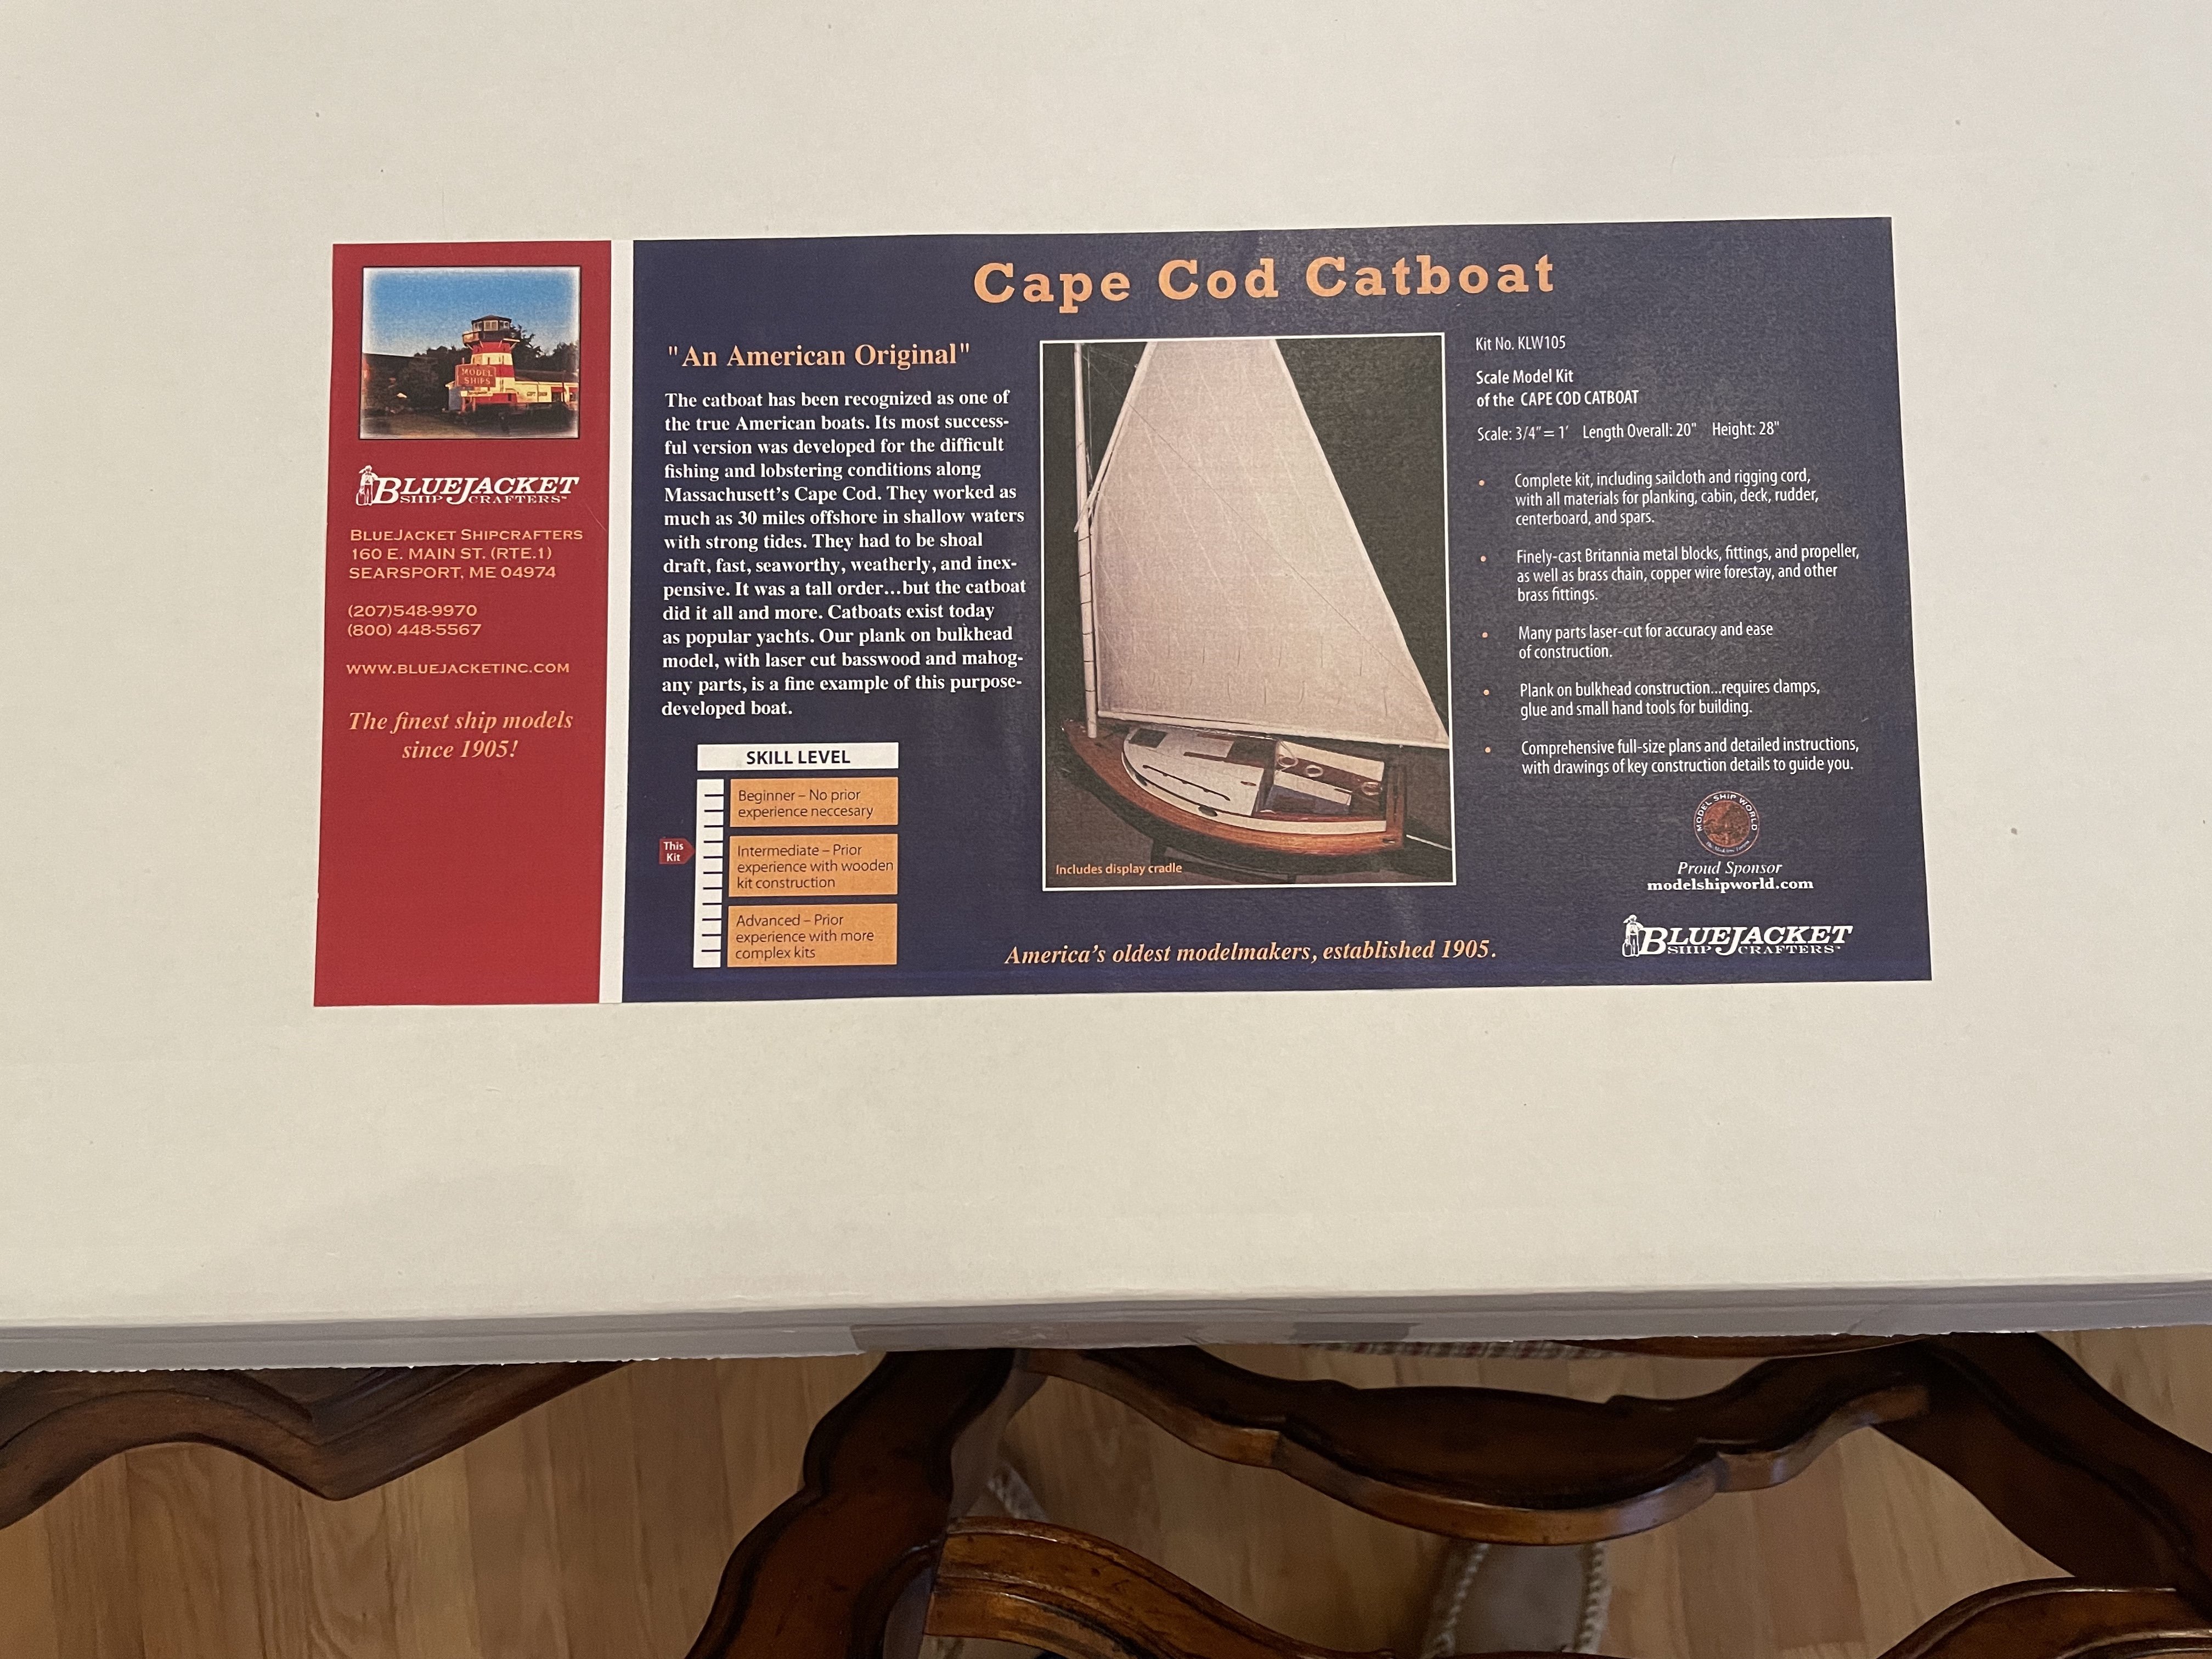
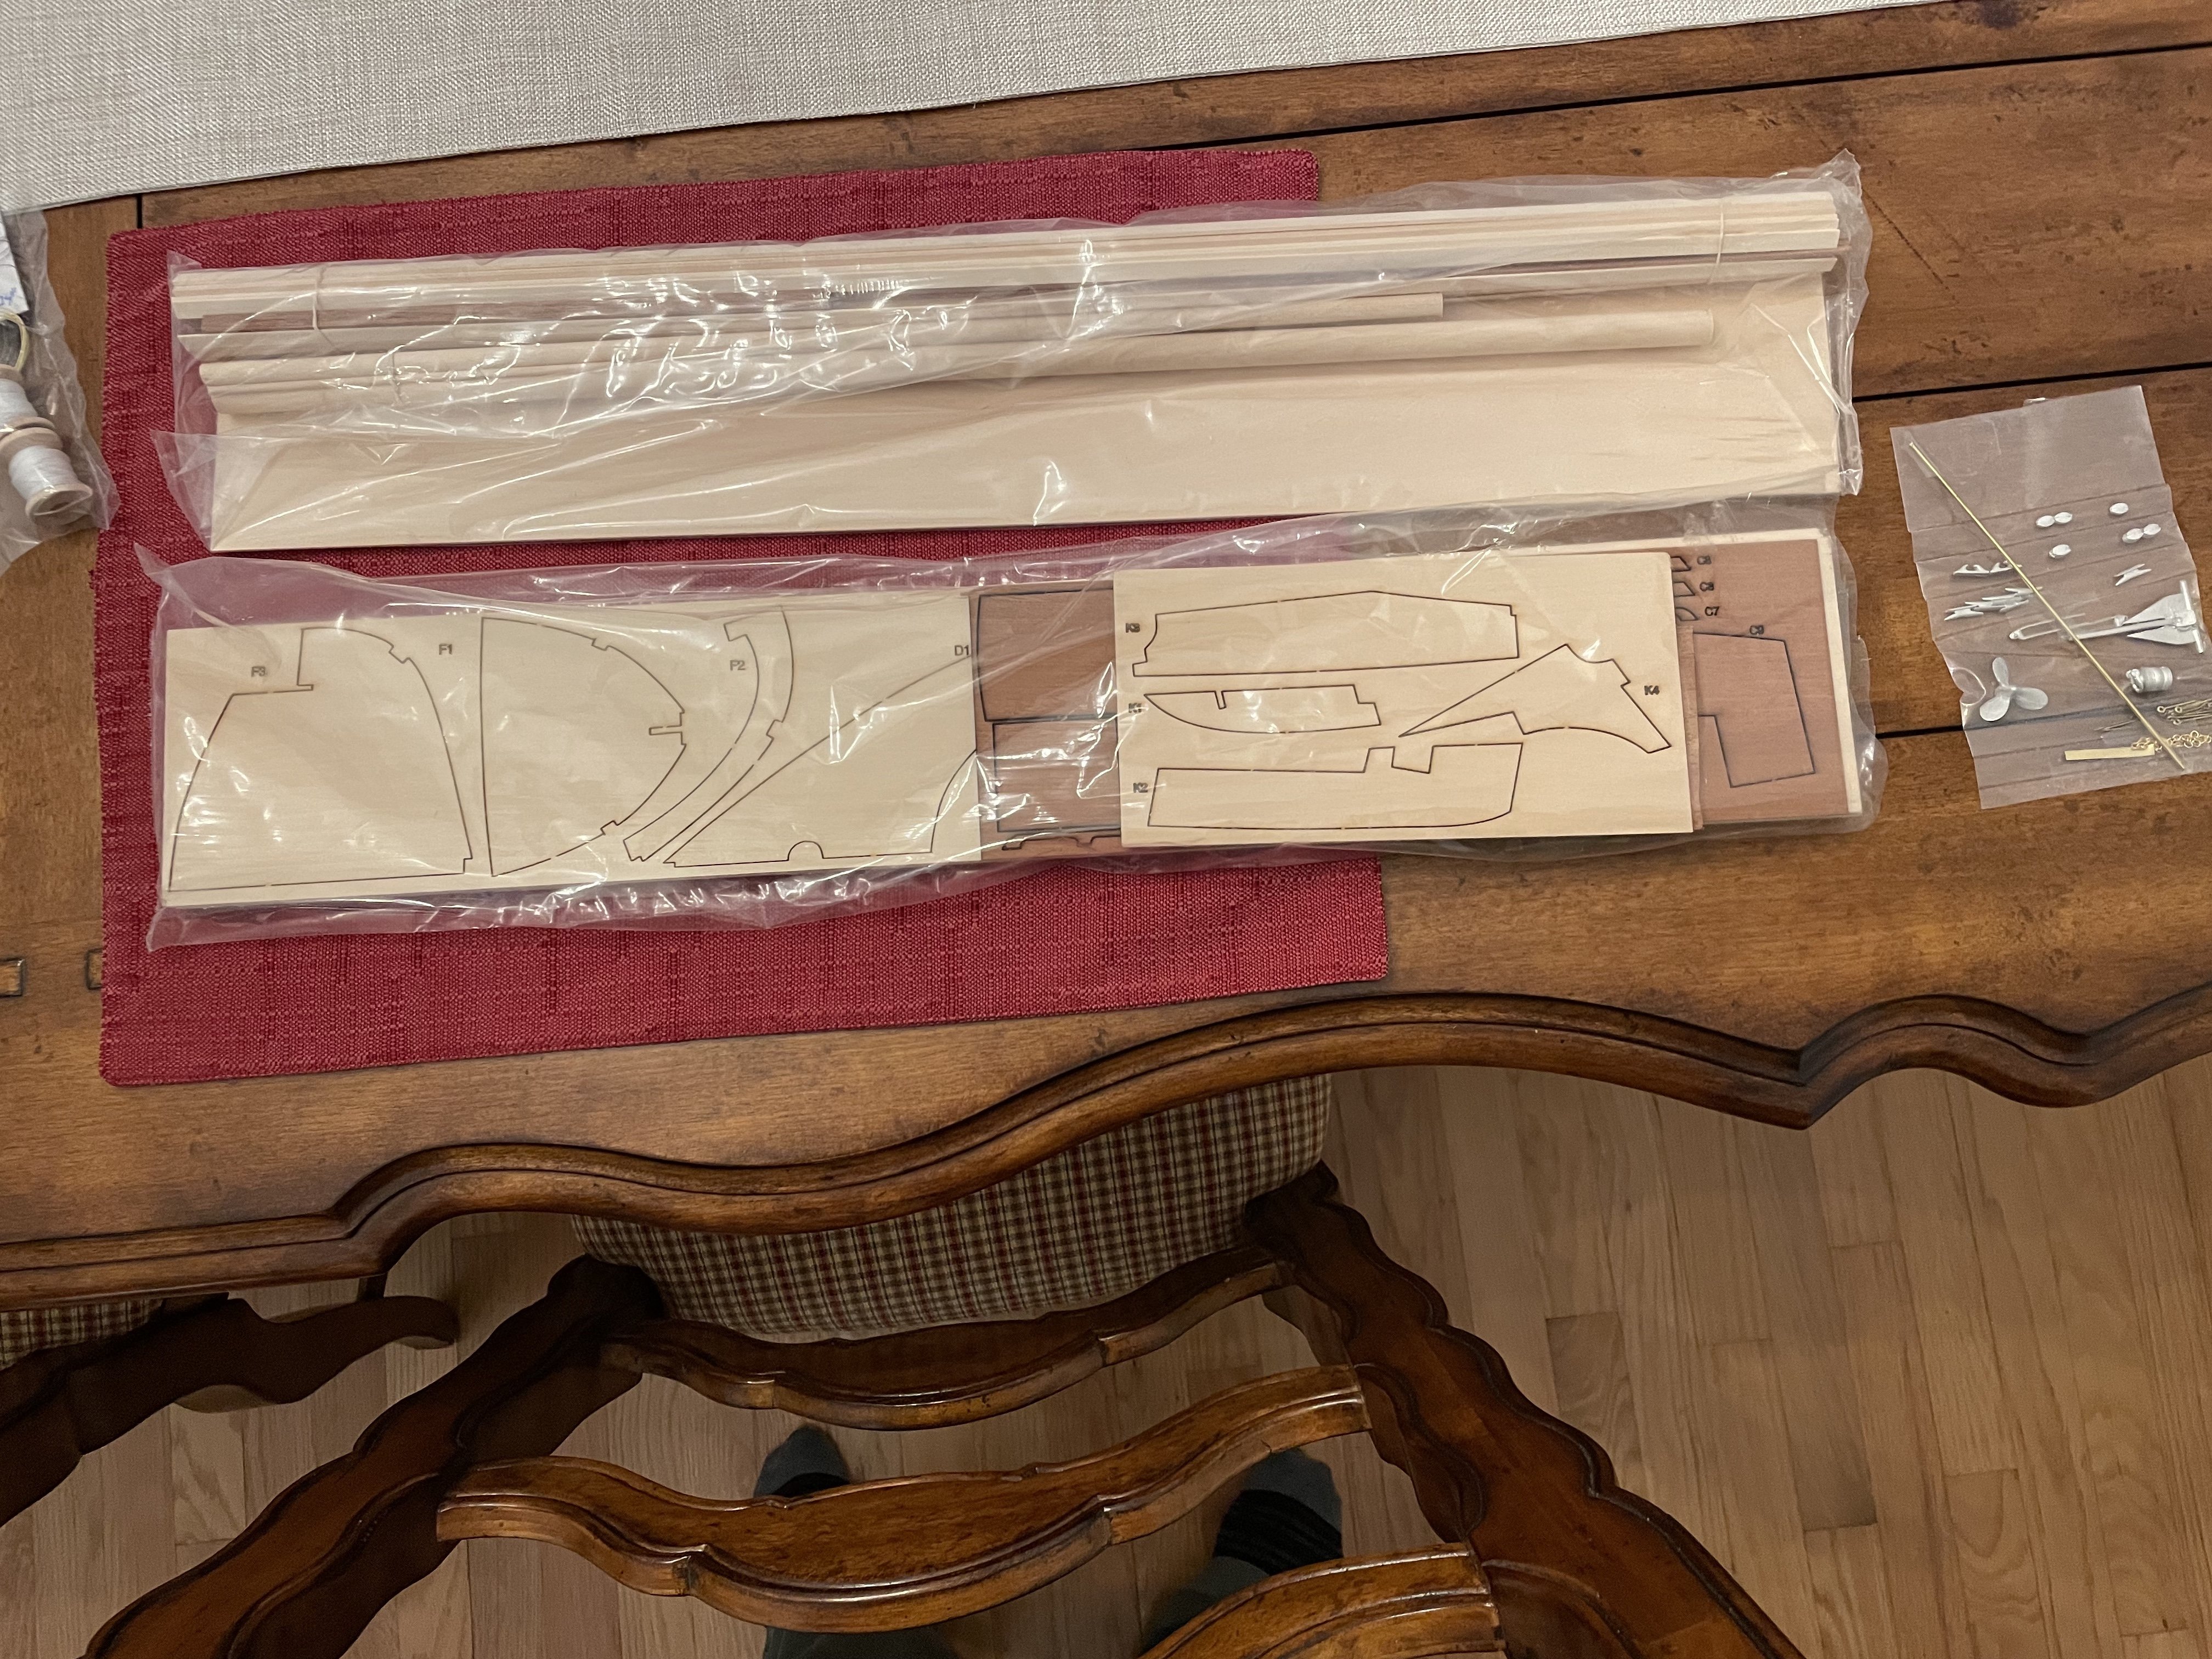
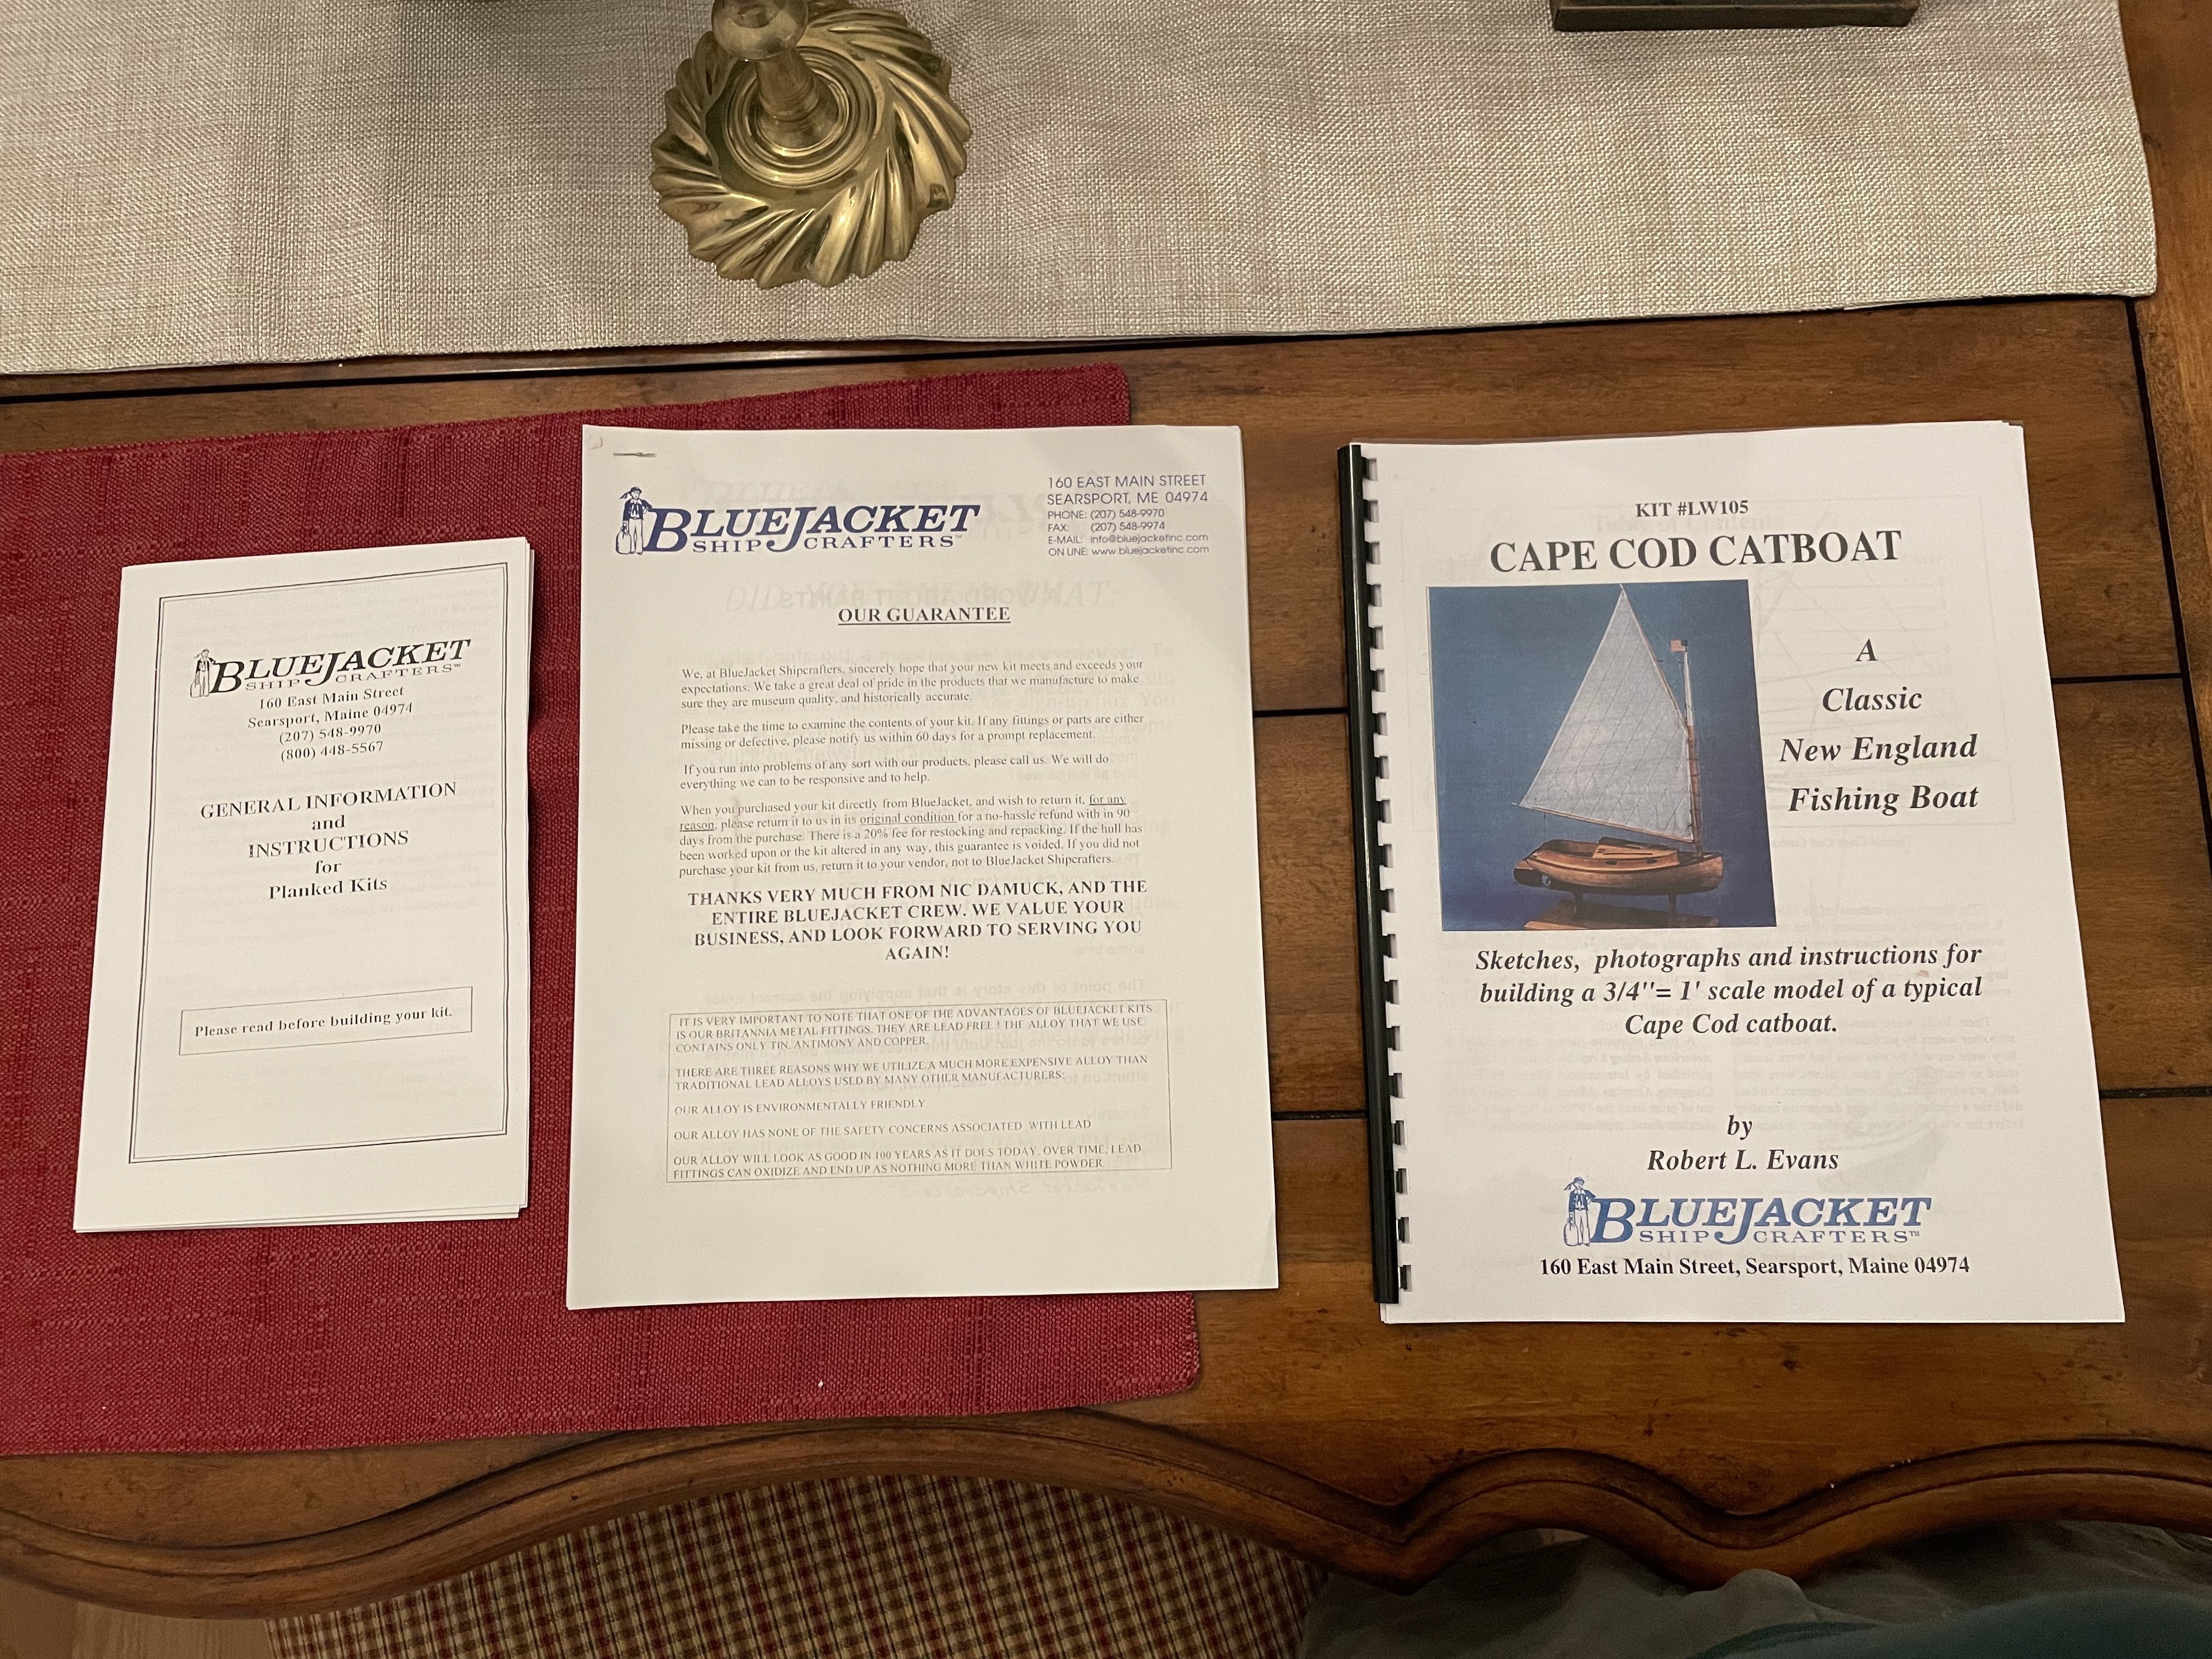
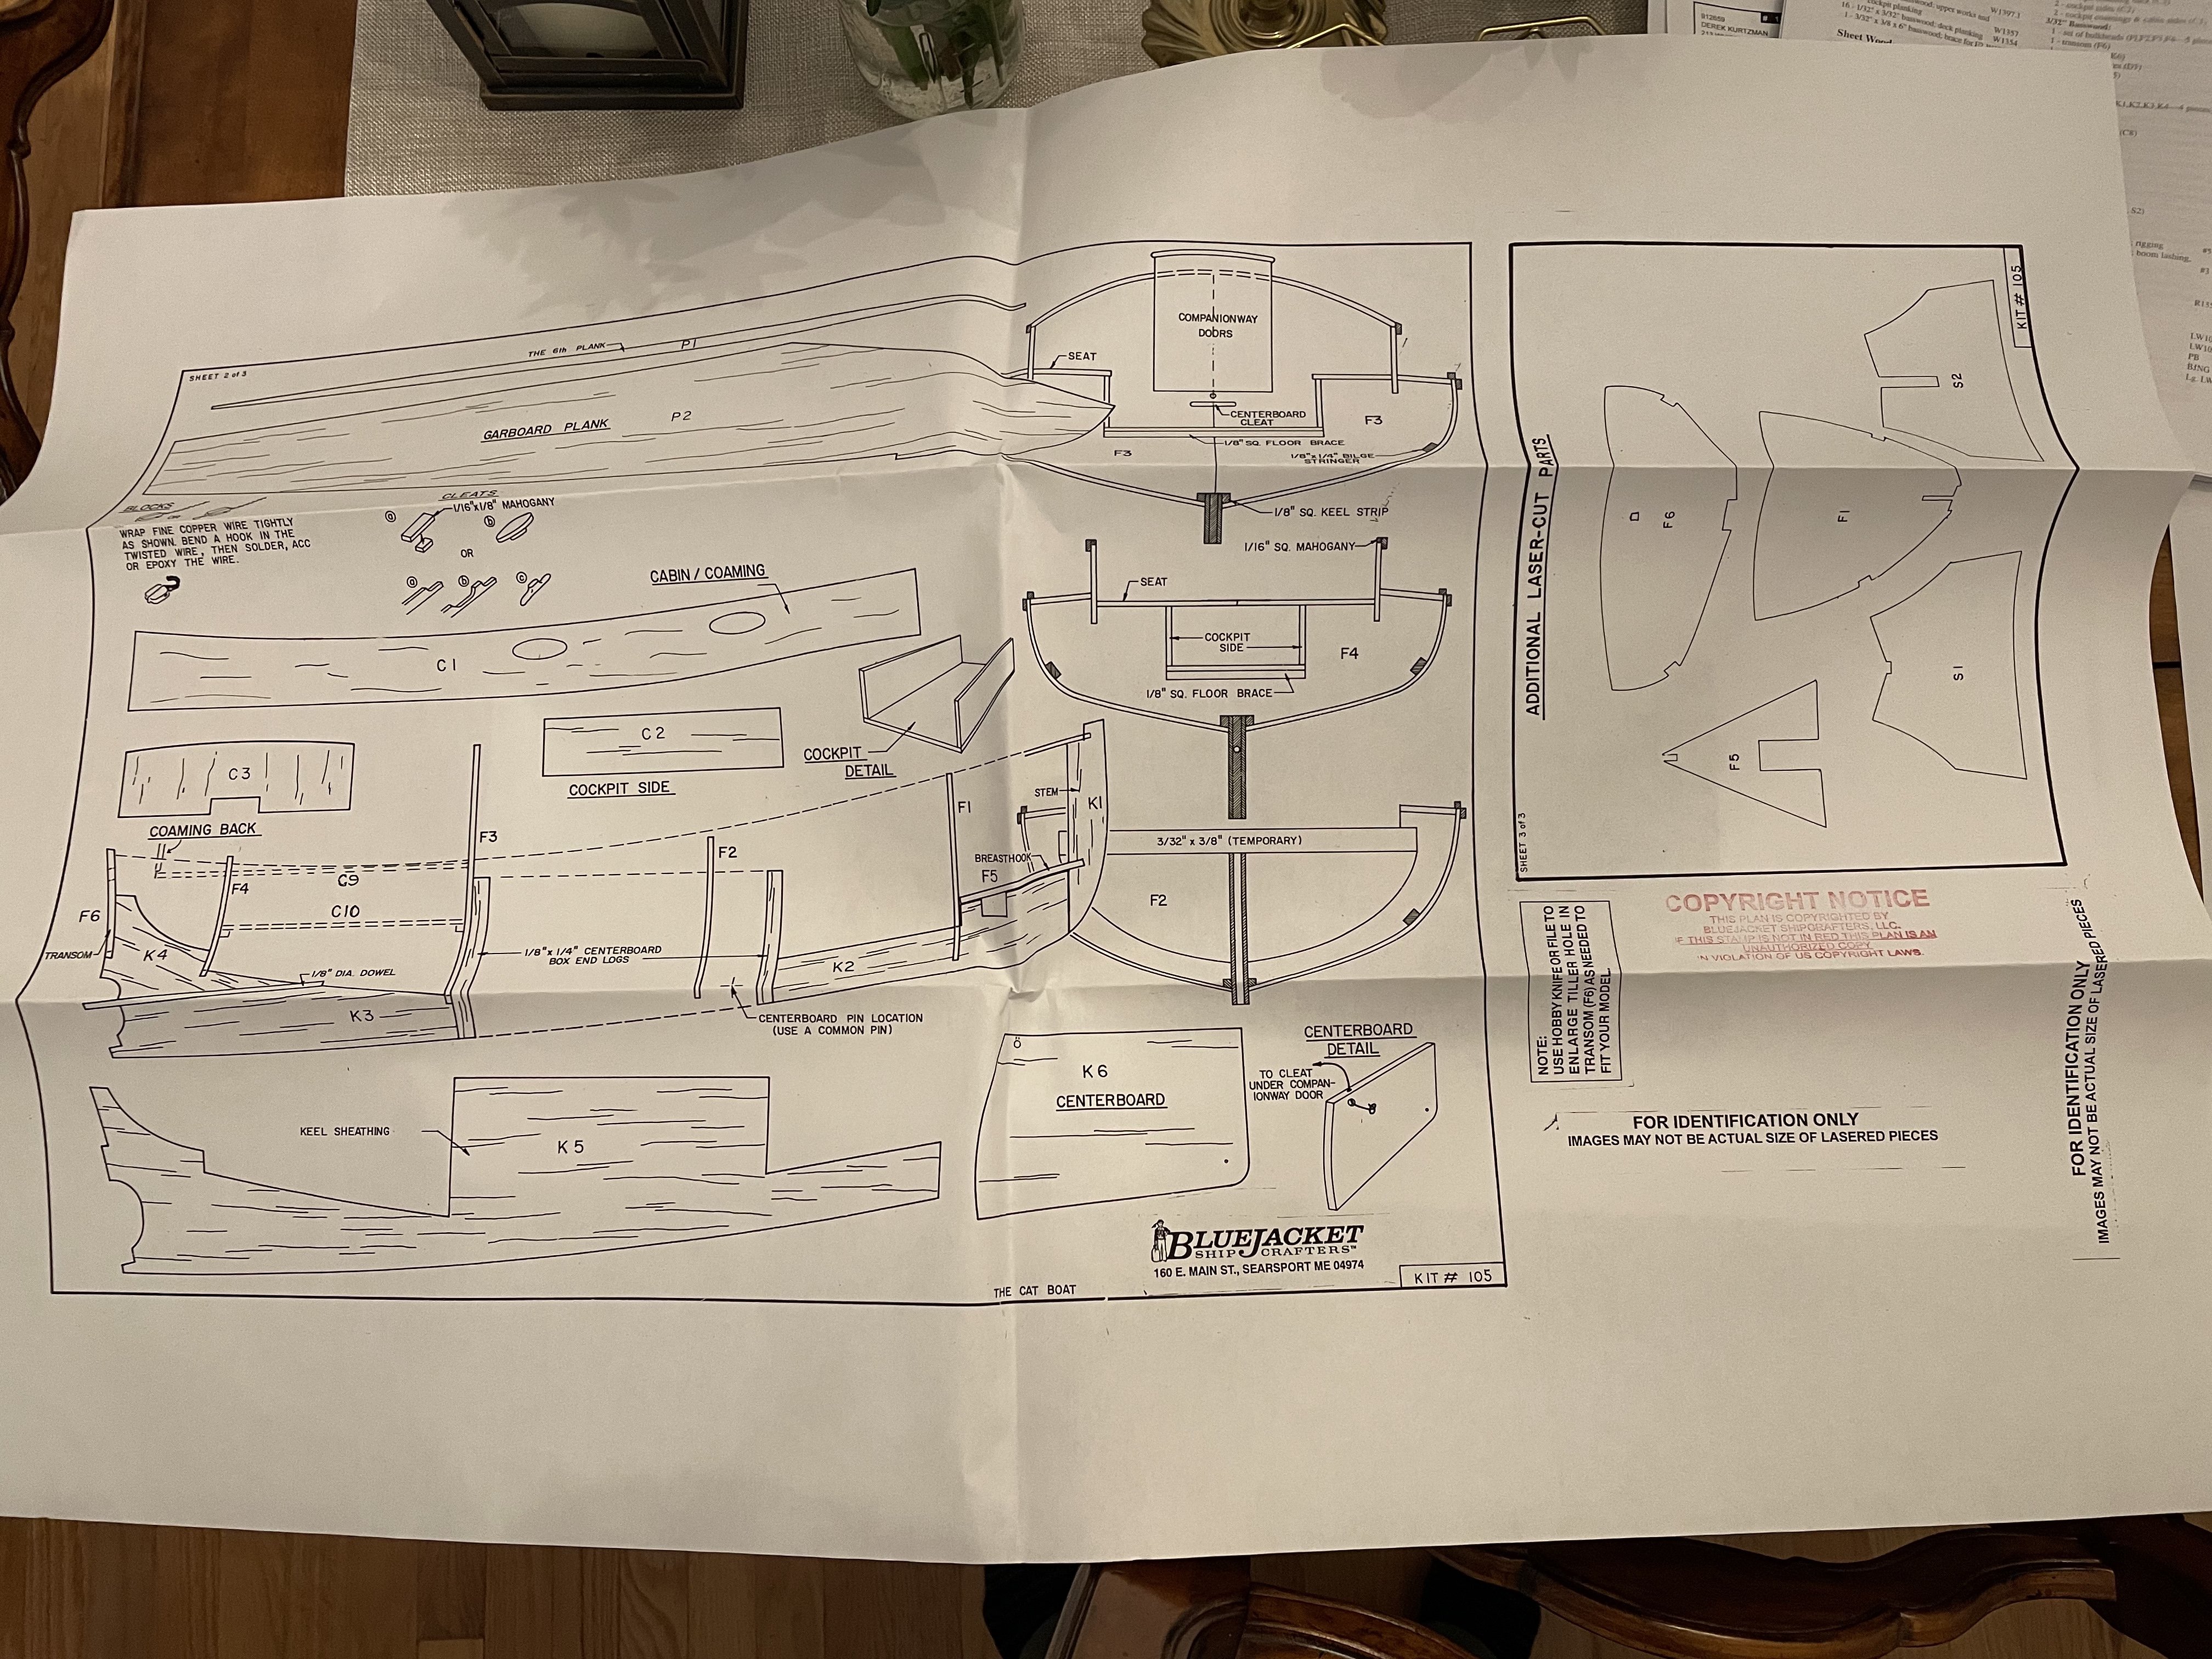
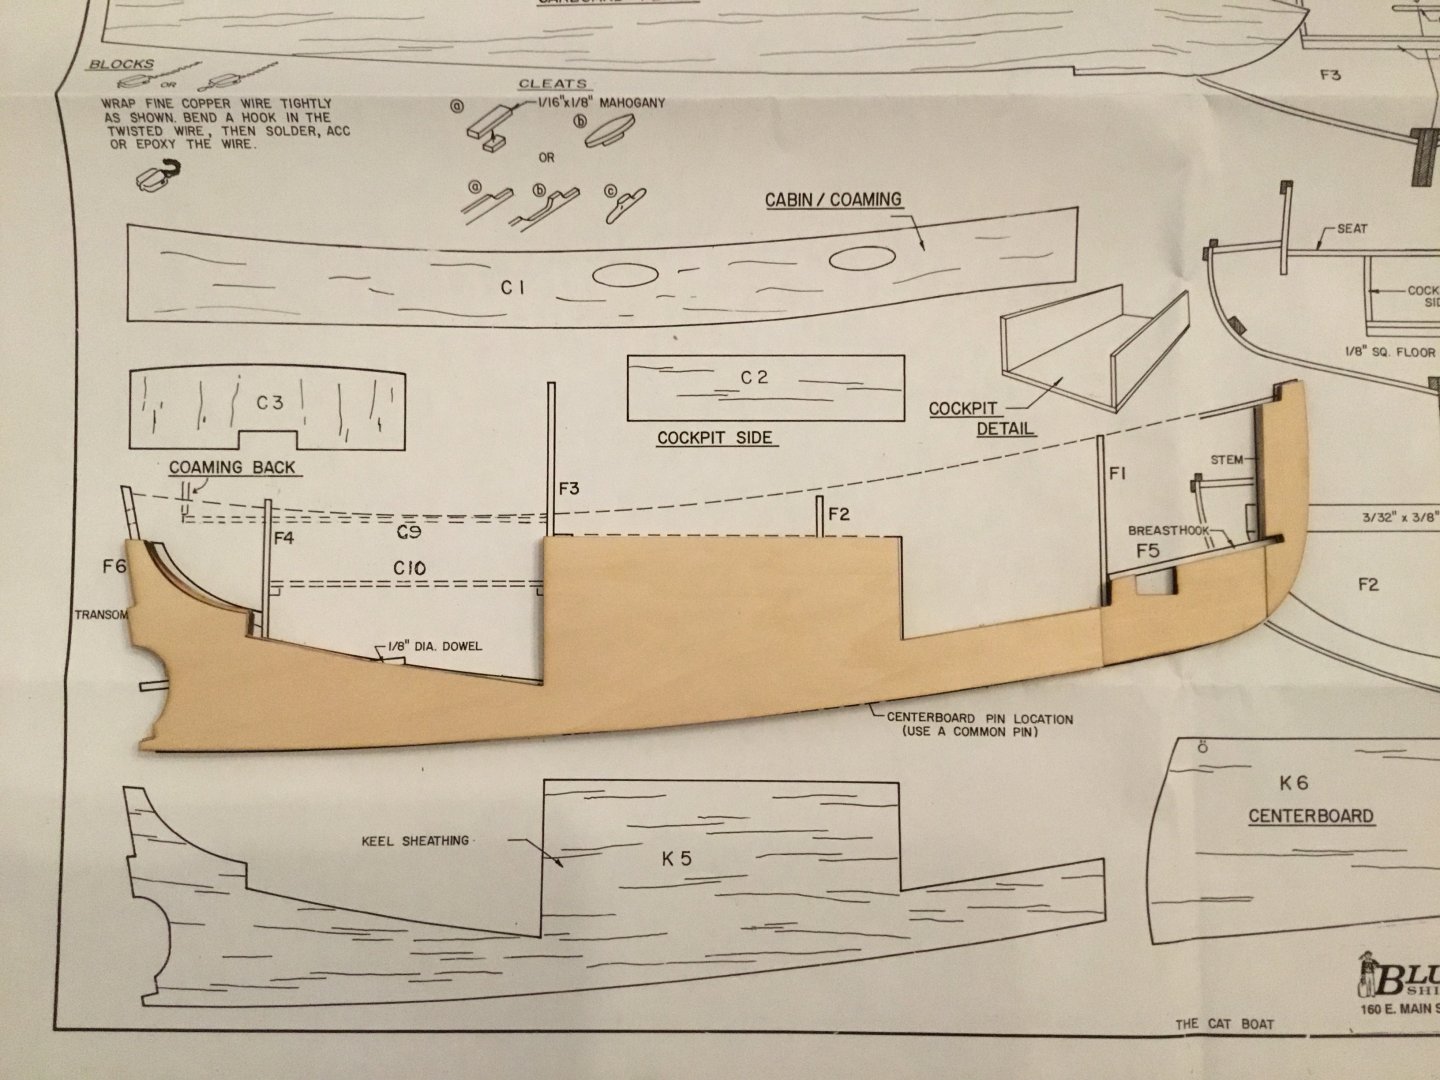
Just beginning to build the Cape Cod Catboat by Bluejacket. My kit was delivered in great shape and well packaged. My first task was to look at all the bits and pieces. Much of the kit is laser cut. The wood is high quality. There are a number of metal bits such as copper, brass, cast, etc. All metal parts look to be high quality as well. Once happy all parts were accounted for, it was time to read the supplied documents. There is a nice history of the catboat series penned by Howard Chapelle. As you can see in the photos, the plans are well drawn and very clear. The instructions are clear but the builder will be using a couple pamphlets at the same to ensure an understanding of the steps. My own research in American Sailing Craft by Howard Chapelle says the catboat’s history is murky at best prior to 1850. Nevertheless, the catboat was developed and evolved from 1850 through the end of the century. The Bluejacket catboat has very similar lines as the 1895 boats built by Manley H. Crosby. Bluejacket did supply a propeller and anchor that would go well with a more modern boat build after auxiliary power came into vogue.