bruceh
-
Posts
39 -
Joined
-
Last visited
-
I know. That was really a test for myself. Thanks.
-
 wtimlen reacted to a post in a topic:
Mary Taylor by bruceh - BlueJacket Shipcrafters - in honor of RW Allen
wtimlen reacted to a post in a topic:
Mary Taylor by bruceh - BlueJacket Shipcrafters - in honor of RW Allen
-
Coyote_6 reacted to a post in a topic:
Mary Taylor by bruceh - BlueJacket Shipcrafters - in honor of RW Allen
-
Scott Crouse reacted to a post in a topic:
Mary Taylor by bruceh - BlueJacket Shipcrafters - in honor of RW Allen
-
ccoyle reacted to a post in a topic:
Mary Taylor by bruceh - BlueJacket Shipcrafters - in honor of RW Allen
-
JacquesCousteau reacted to a post in a topic:
Mary Taylor by bruceh - BlueJacket Shipcrafters - in honor of RW Allen
-
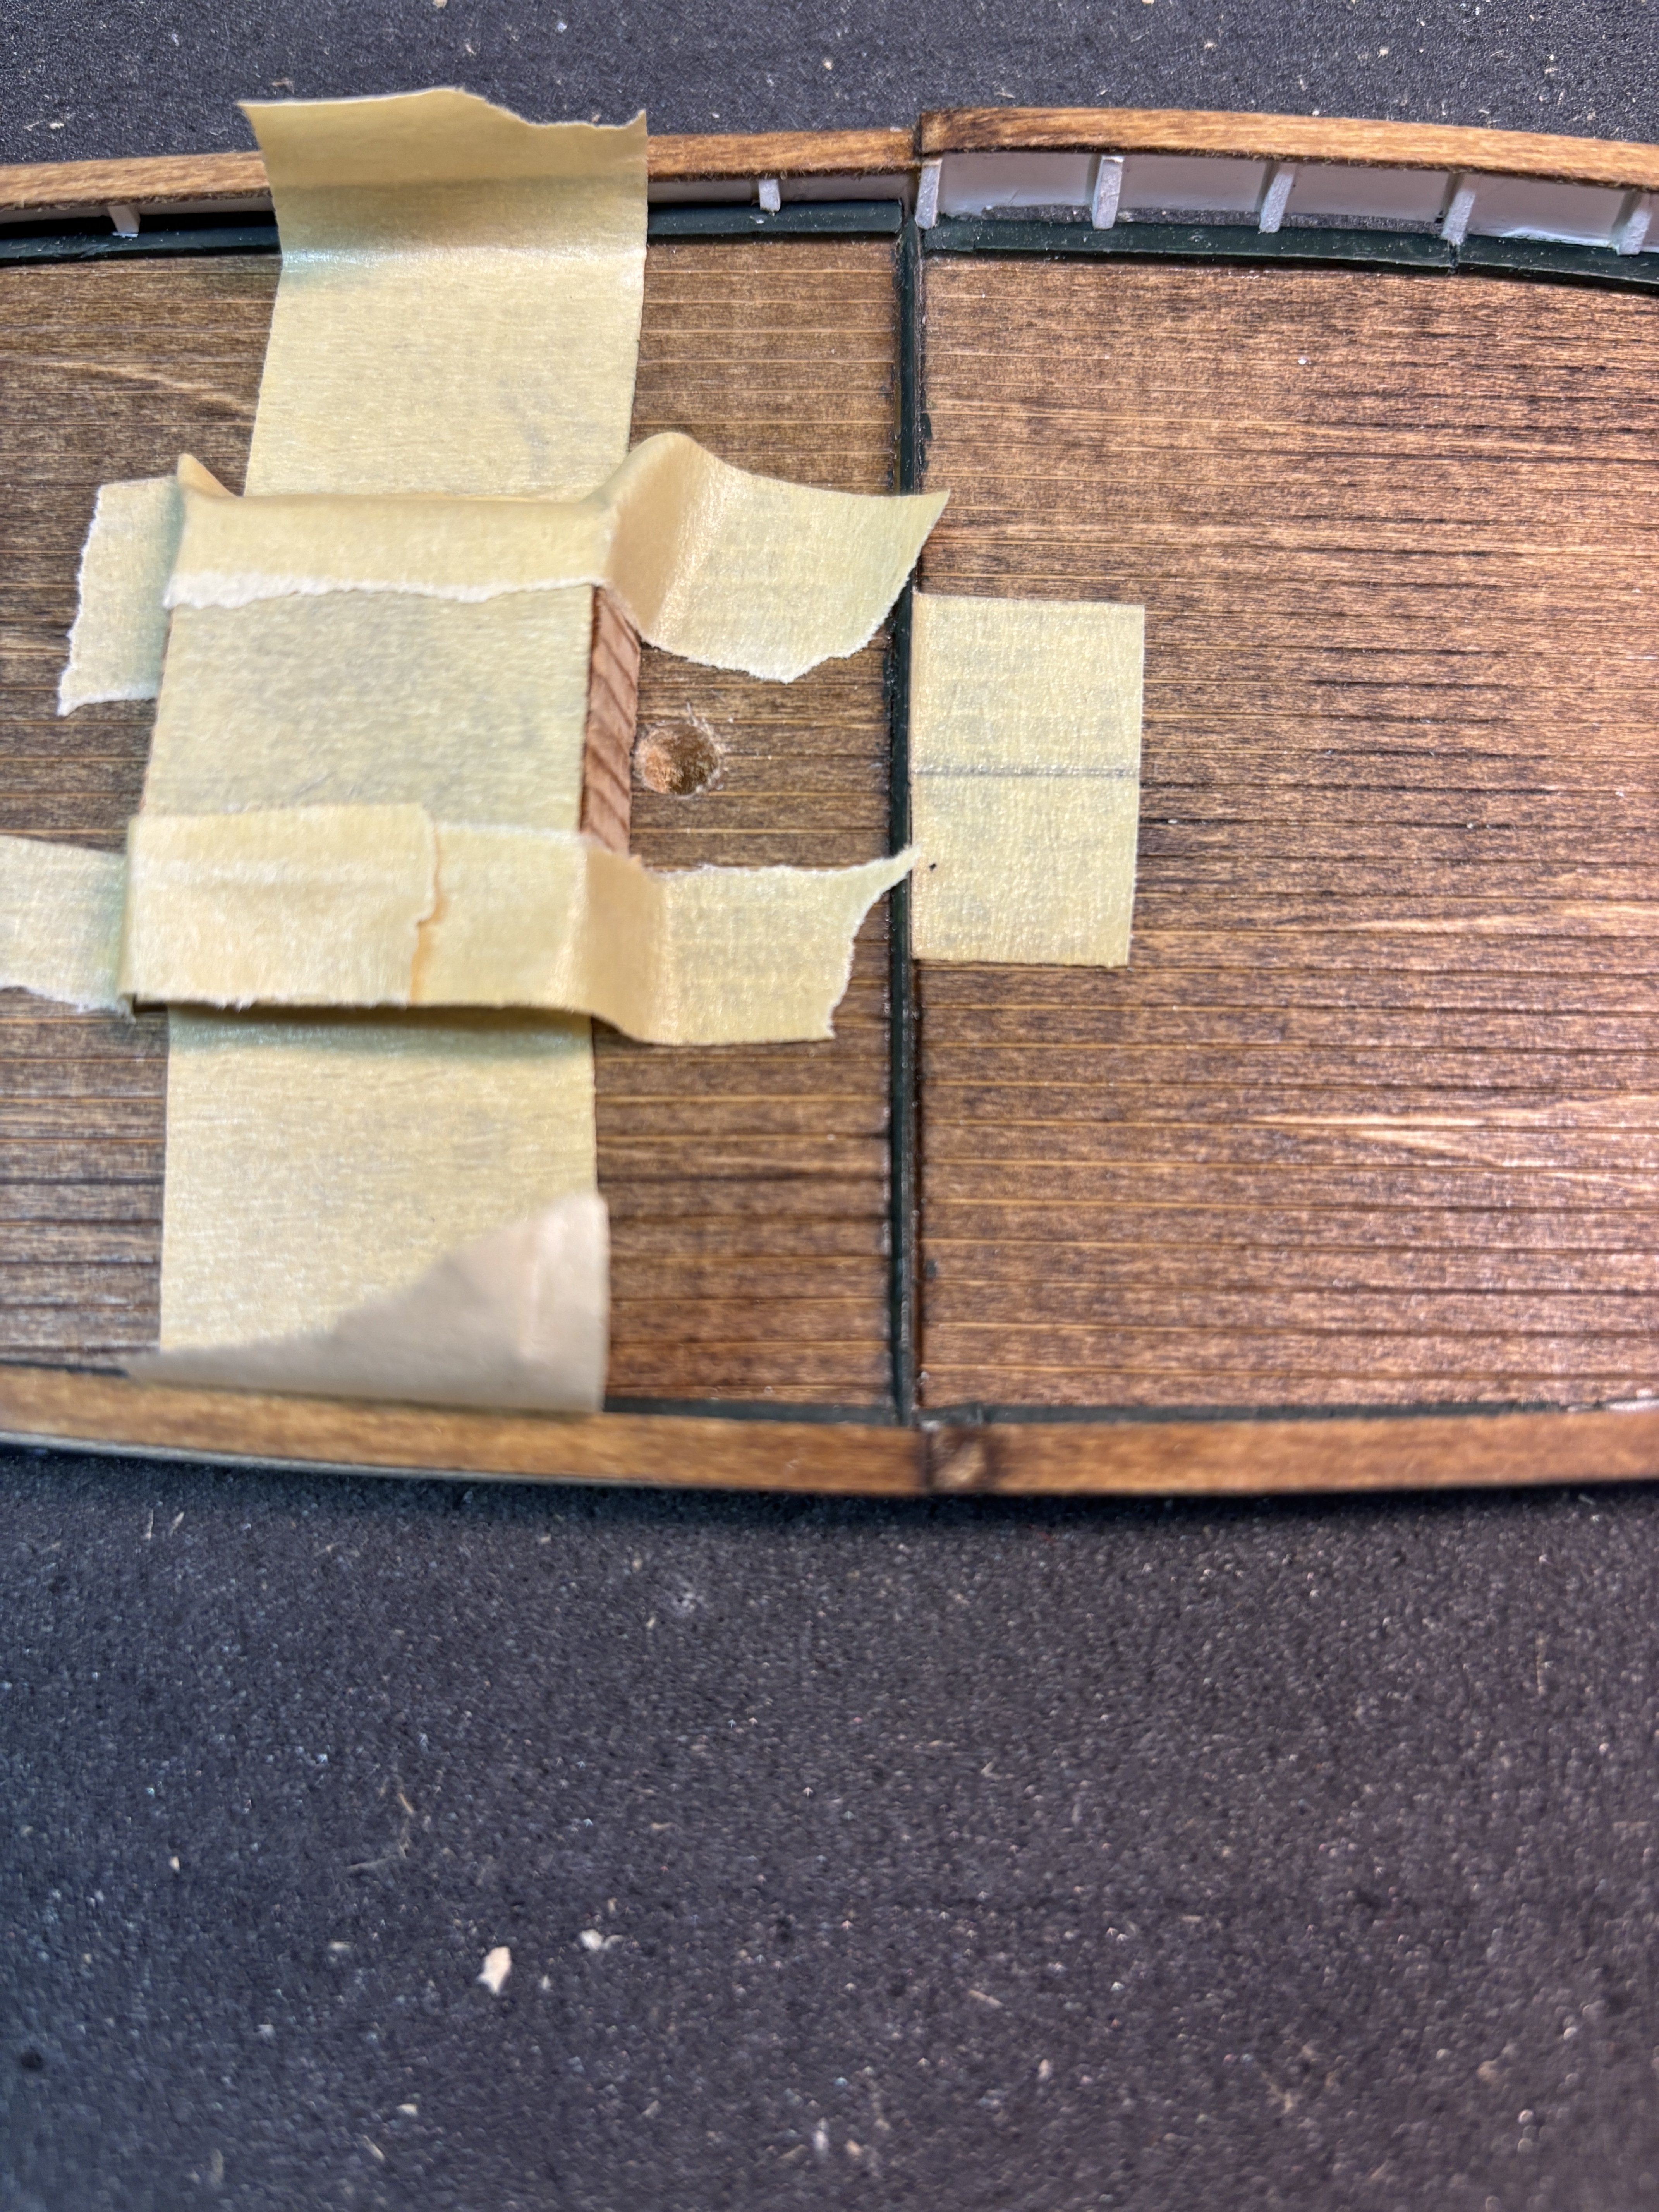
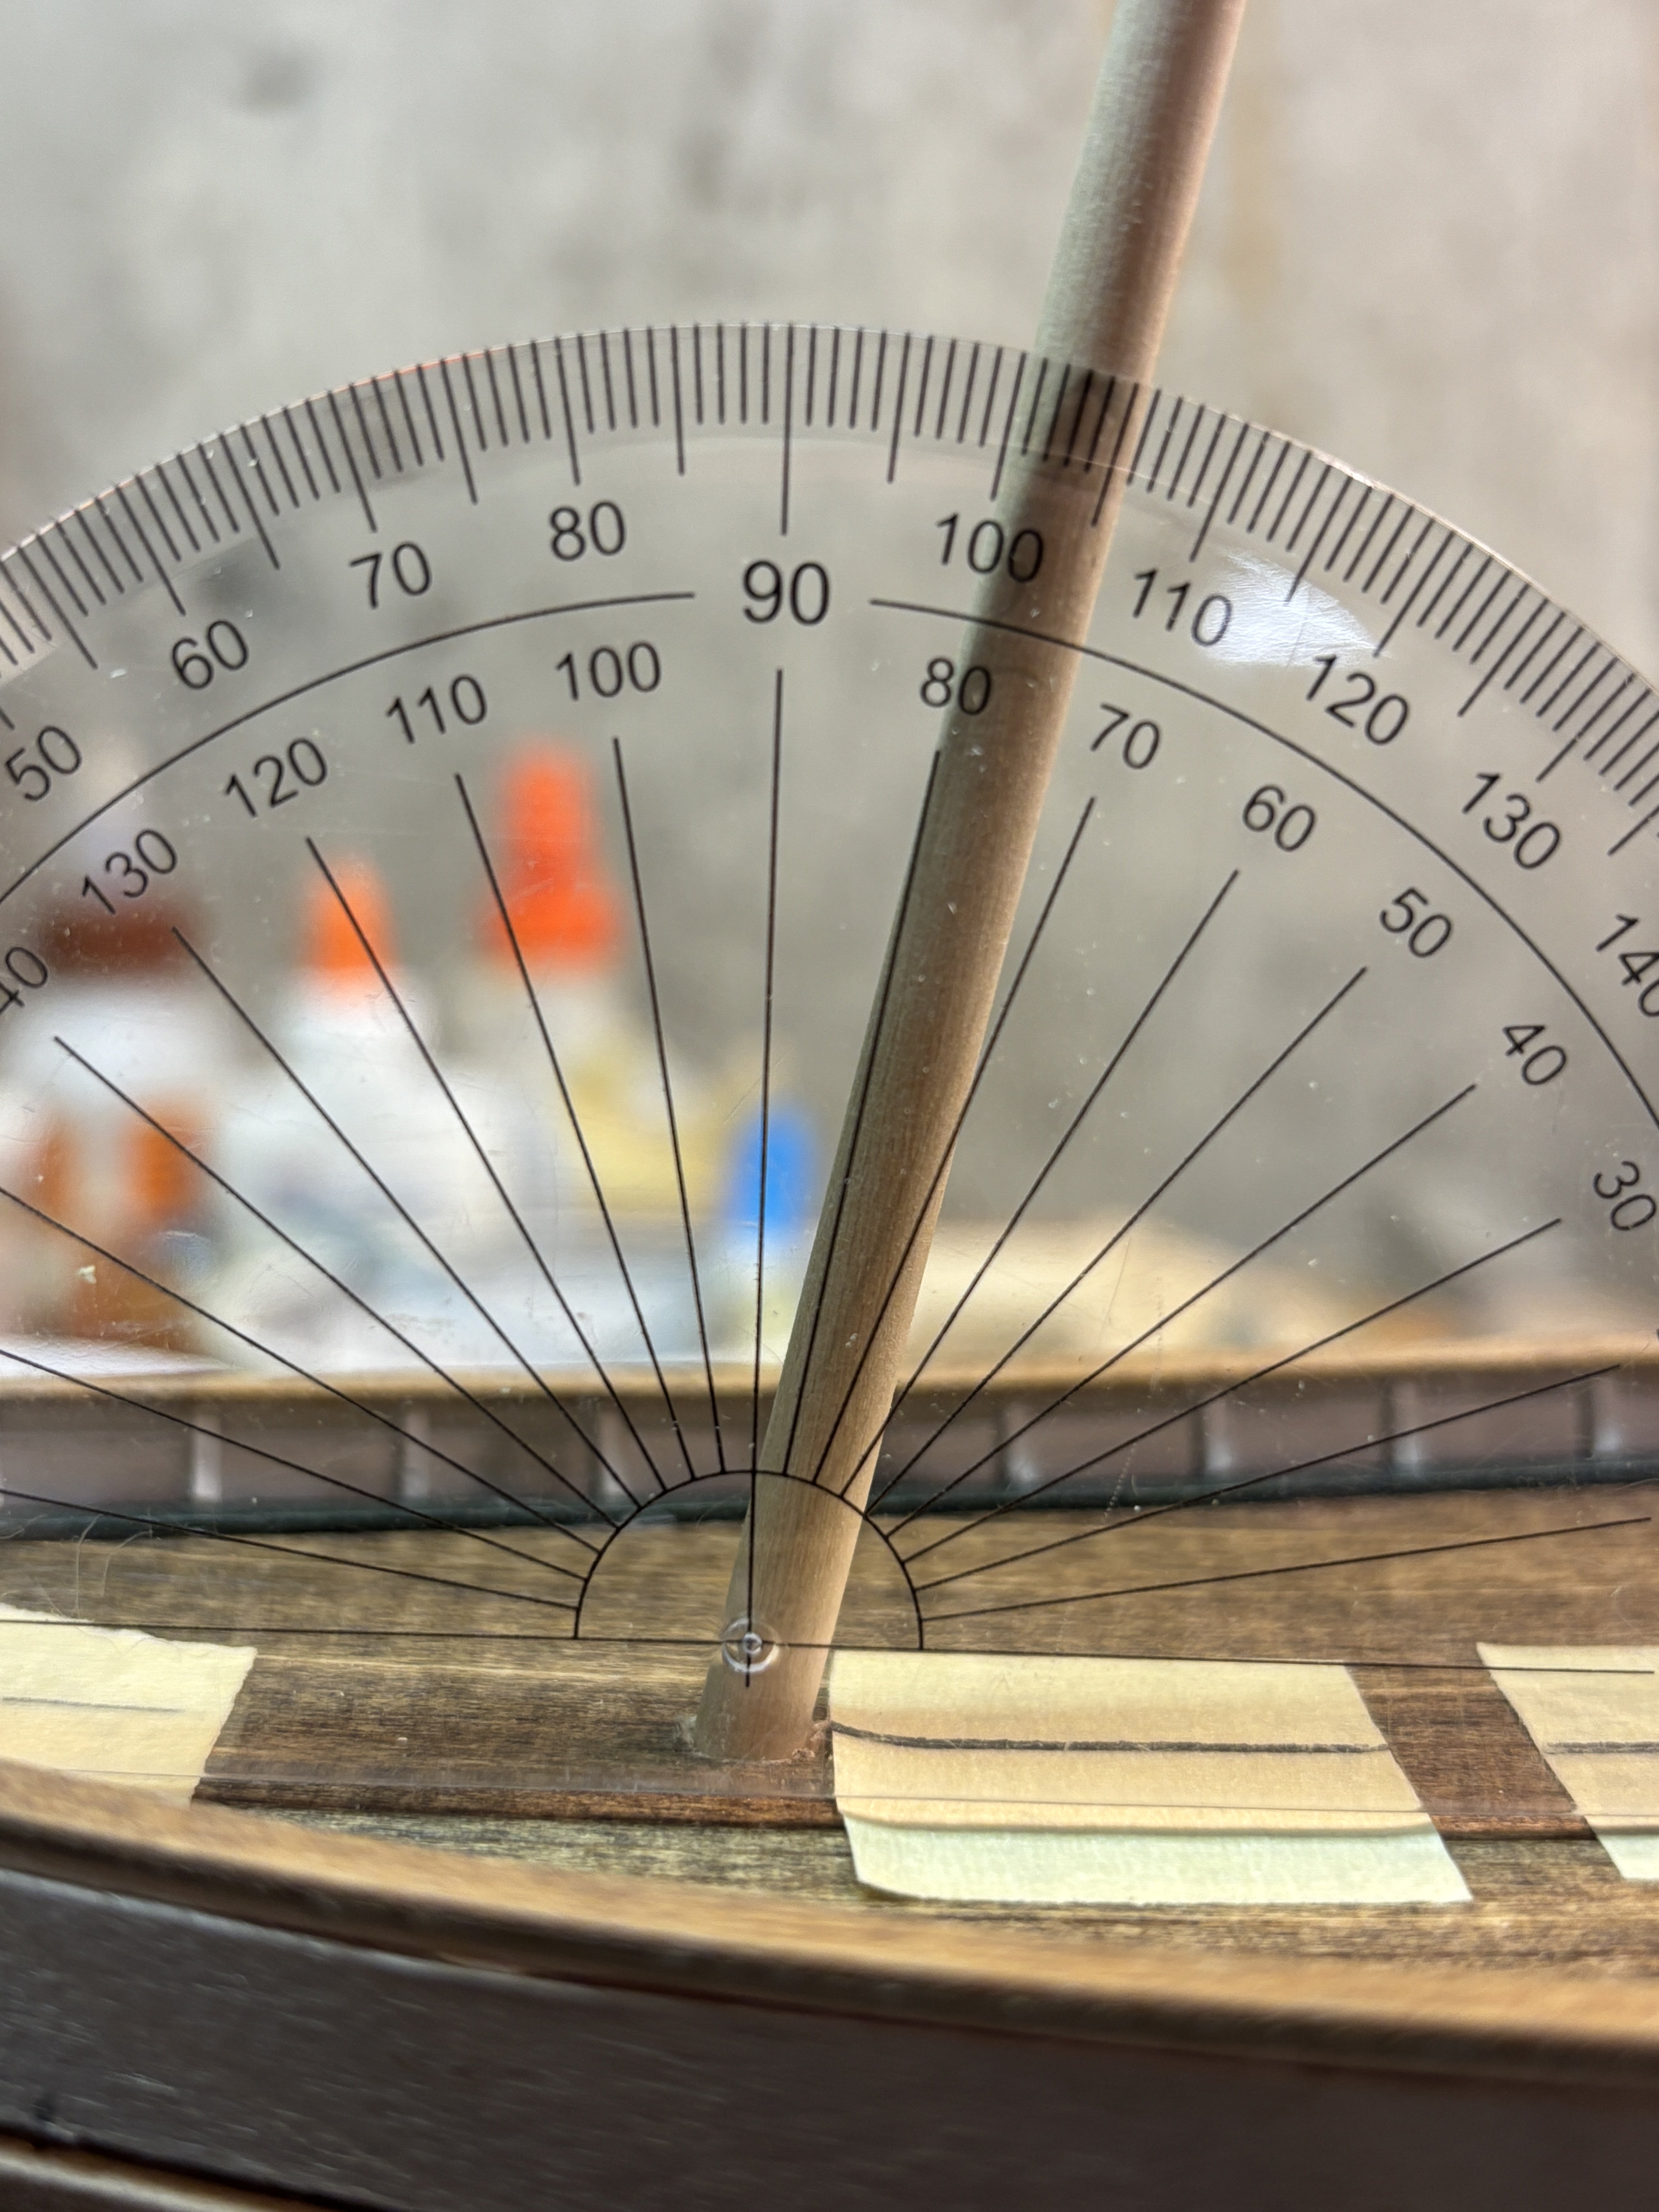
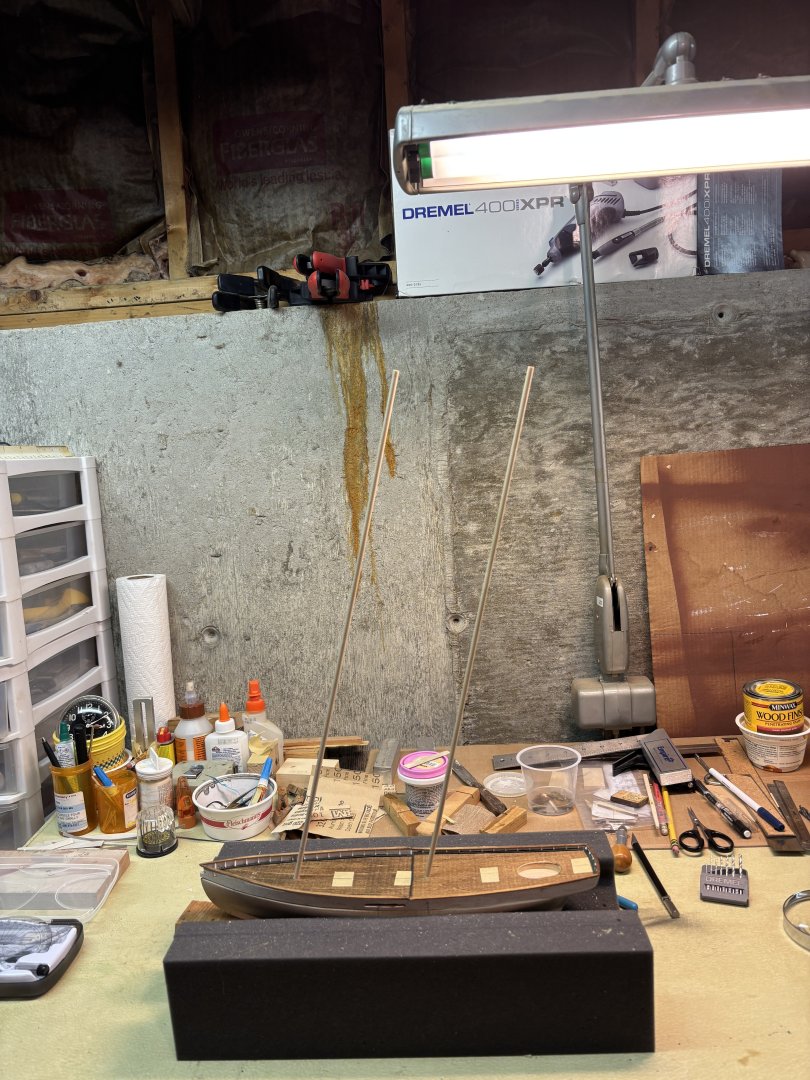
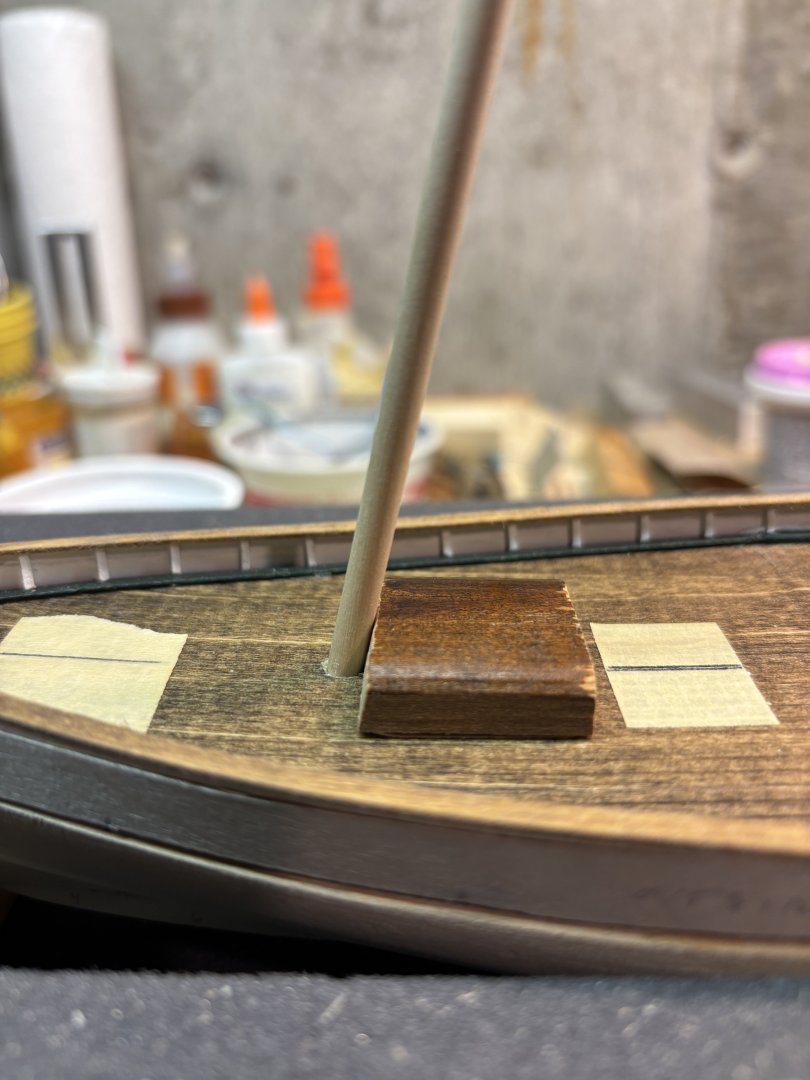
Recent progress has been focused on installing holes into the deck. Everything is finished through the fife rails. The mast angle holes were made by taking a small bit of scrap and cutting with my cut off saw to the required angle. Calls for 11 degrees, I am probably closer to ten. Thanks.


-
wtimlen reacted to a post in a topic:
Mary Taylor by bruceh - BlueJacket Shipcrafters - in honor of RW Allen
-
Jolly Jo reacted to a post in a topic:
Mary Taylor by bruceh - BlueJacket Shipcrafters - in honor of RW Allen
-
JacquesCousteau reacted to a post in a topic:
Mary Taylor by bruceh - BlueJacket Shipcrafters - in honor of RW Allen
-
ccoyle reacted to a post in a topic:
Mary Taylor by bruceh - BlueJacket Shipcrafters - in honor of RW Allen
-
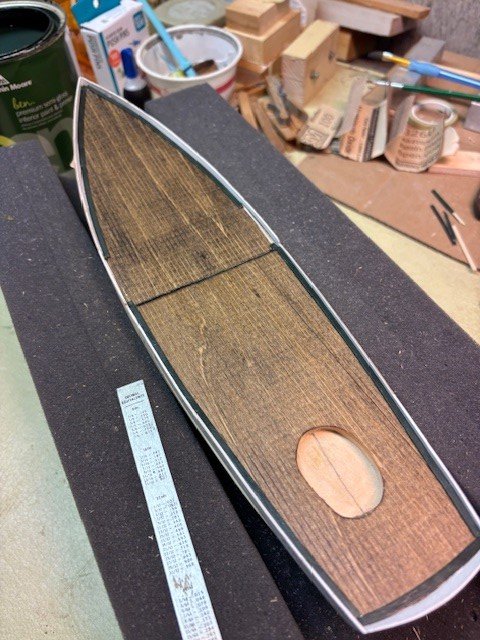
Timberheads and cap rails in place. As you can see, I decided to continue with stain along the rails. It struck me as more authentic than painted black. It may be difficult to see but the stain on the rails is lighter than the deck. In some places, I blended both stains. All stained areas were lightly wiped with a cotton cloth after application. Thanks.


-
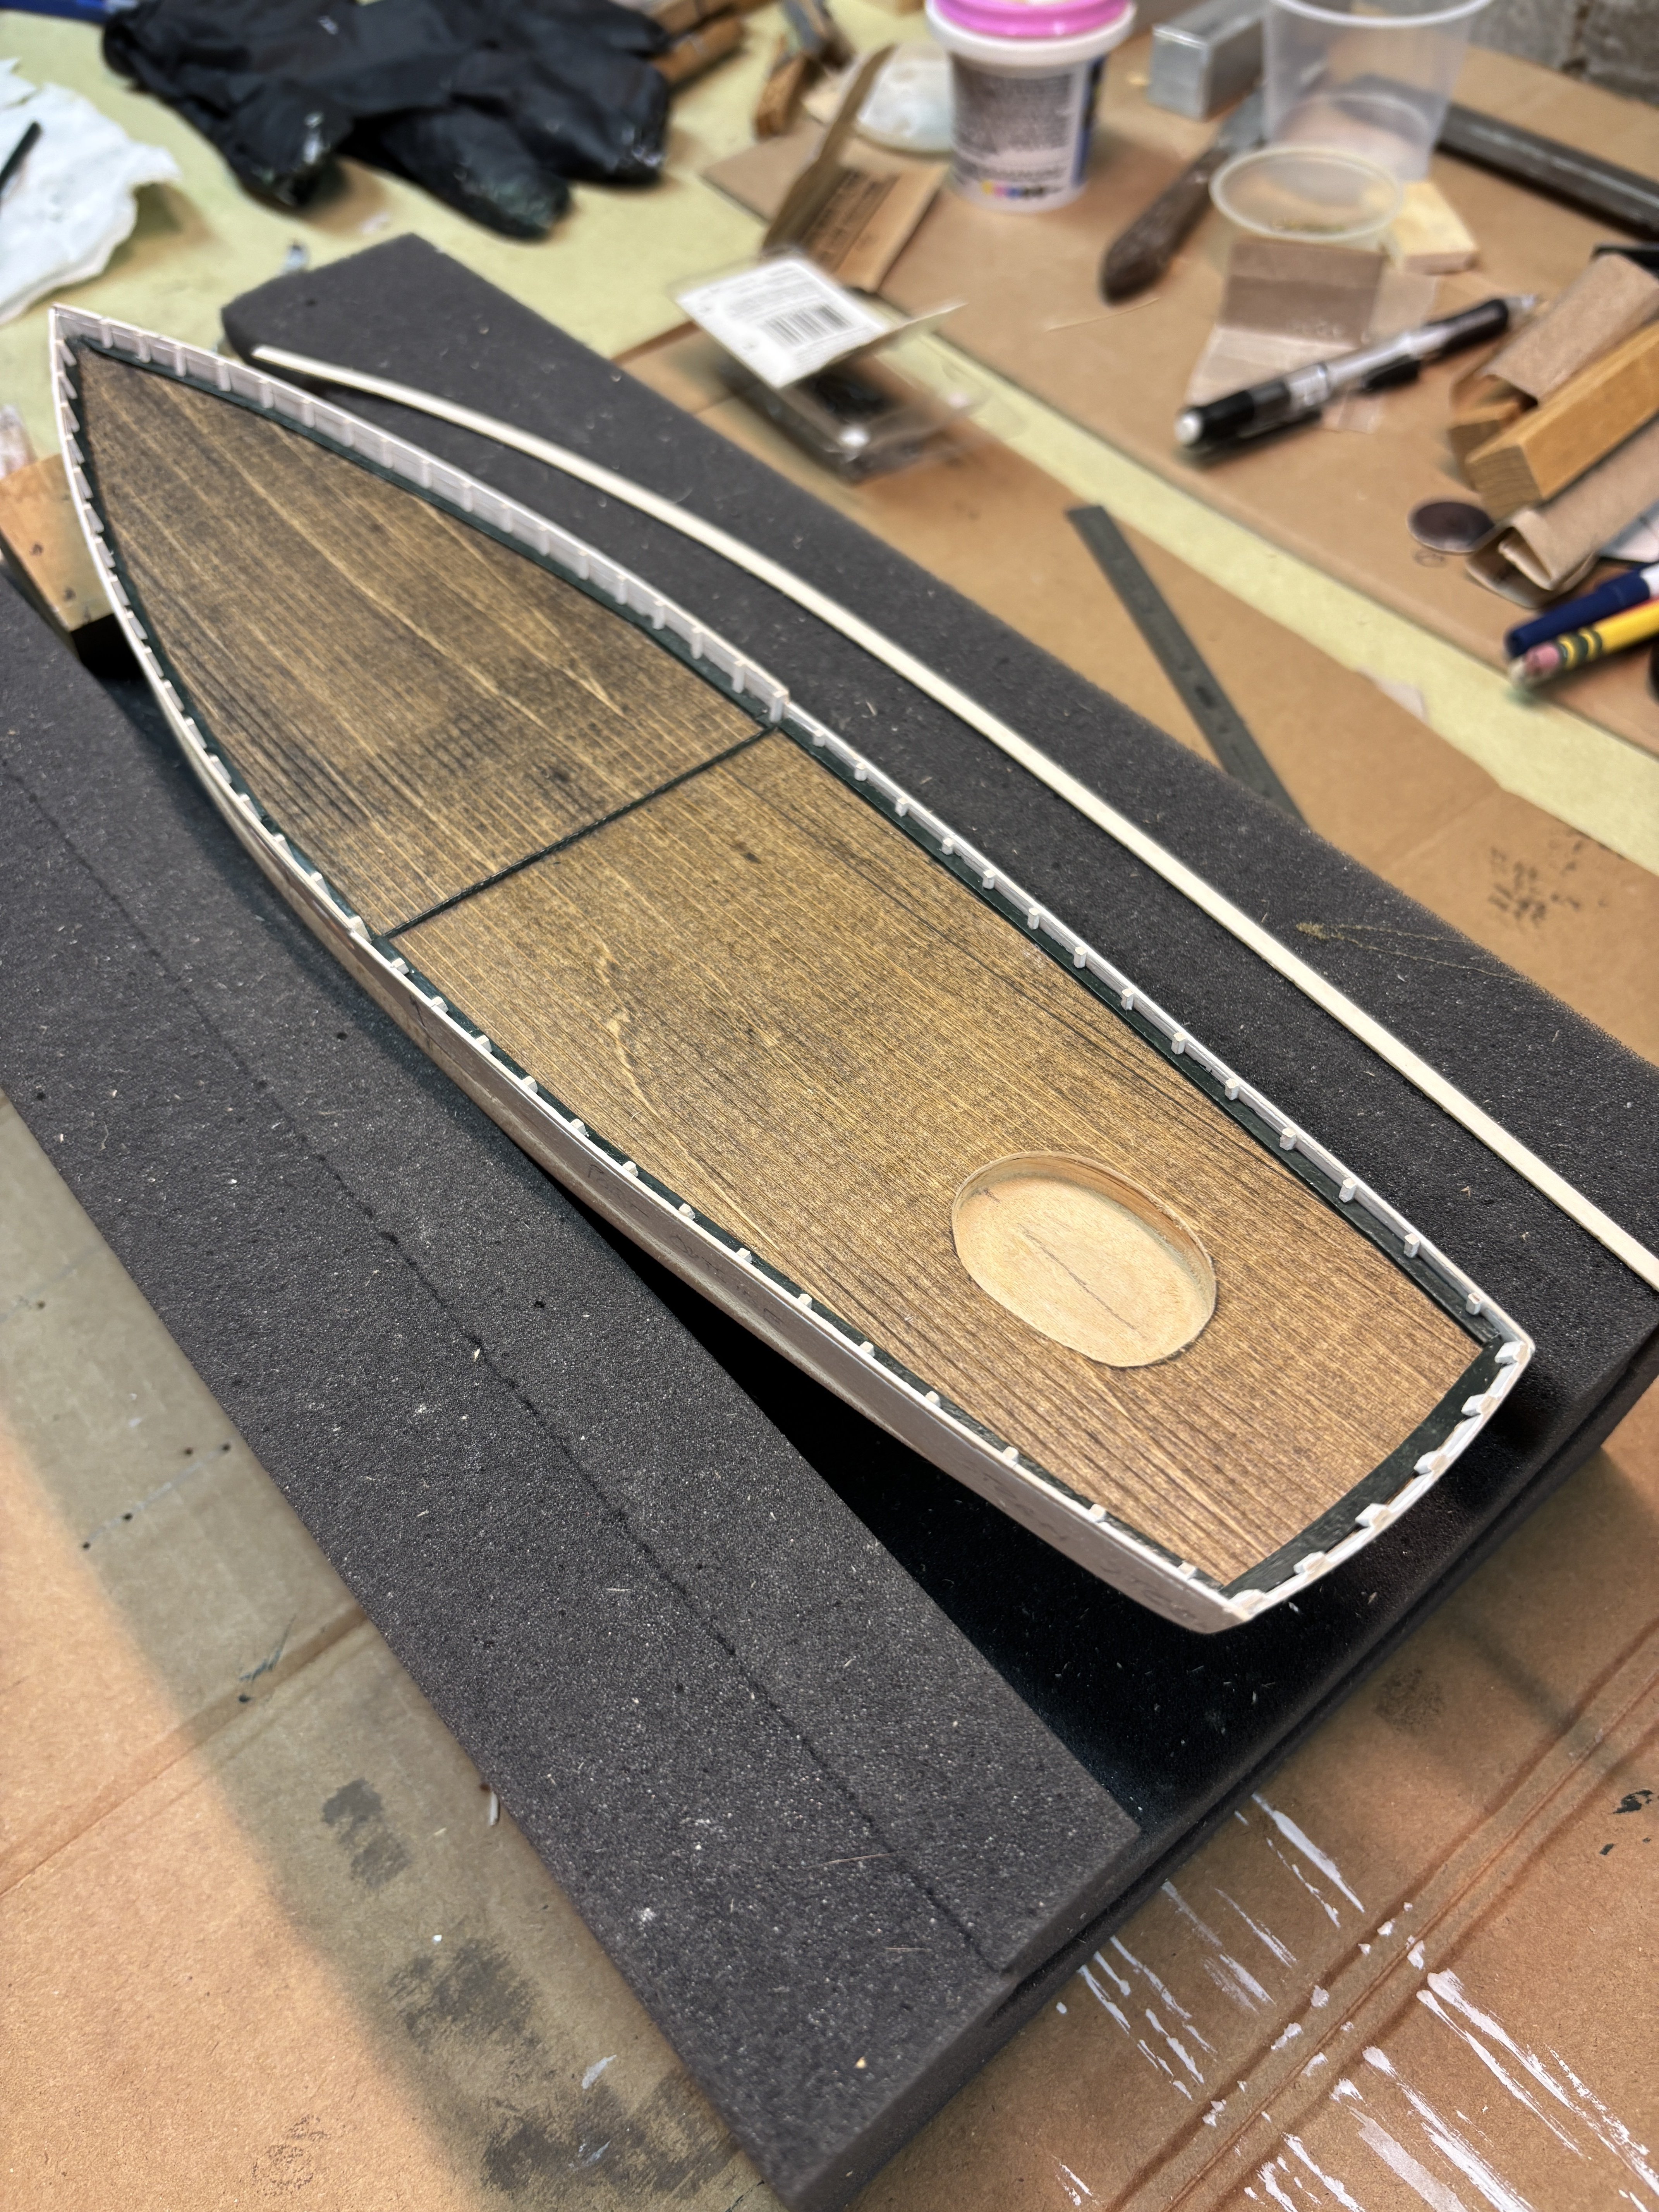
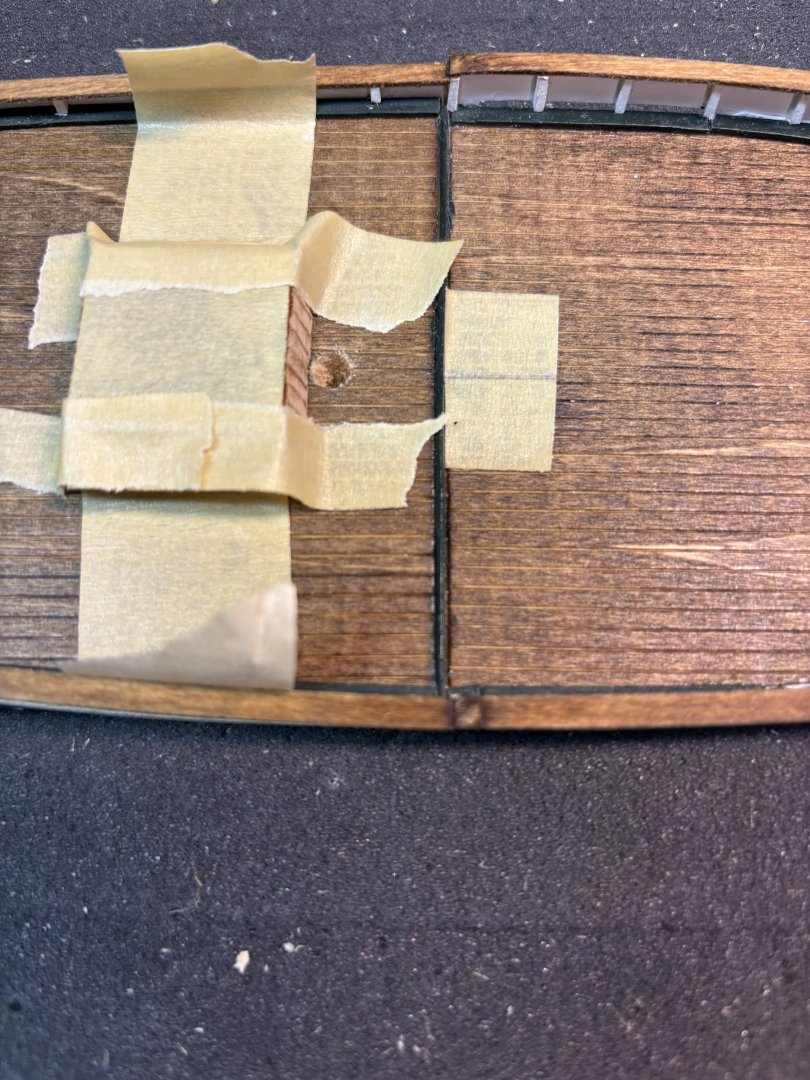
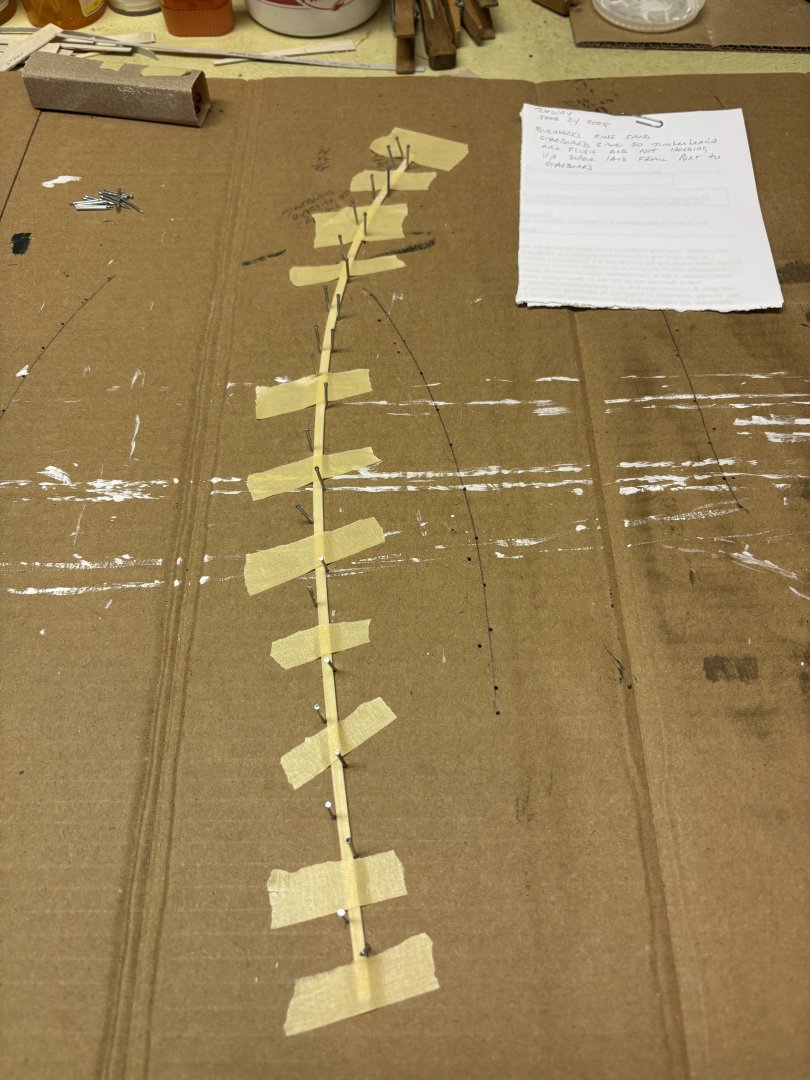
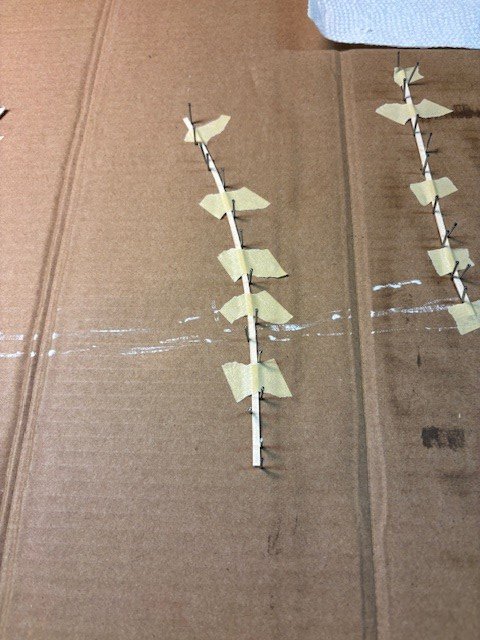
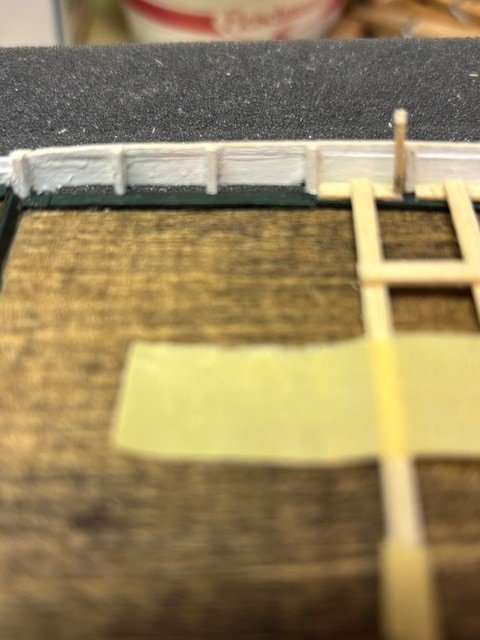
Hello, Recent progress. Had to add some height to the bulwarks. Took a while to get that under control. Pictures show installation of timberheads. Made a simple fixture which provides the 3/8 spacing plus, generally, good vertical location as well. Also picture showing the shaping of the waterways. Used the deck template and drew a line on heavy cardboard. Then just push in brads, soak the waterway stock, tape in place and wait overnight.
-
Some updates. Deck, and bulwarks installed. Moving ahead slowly.


-
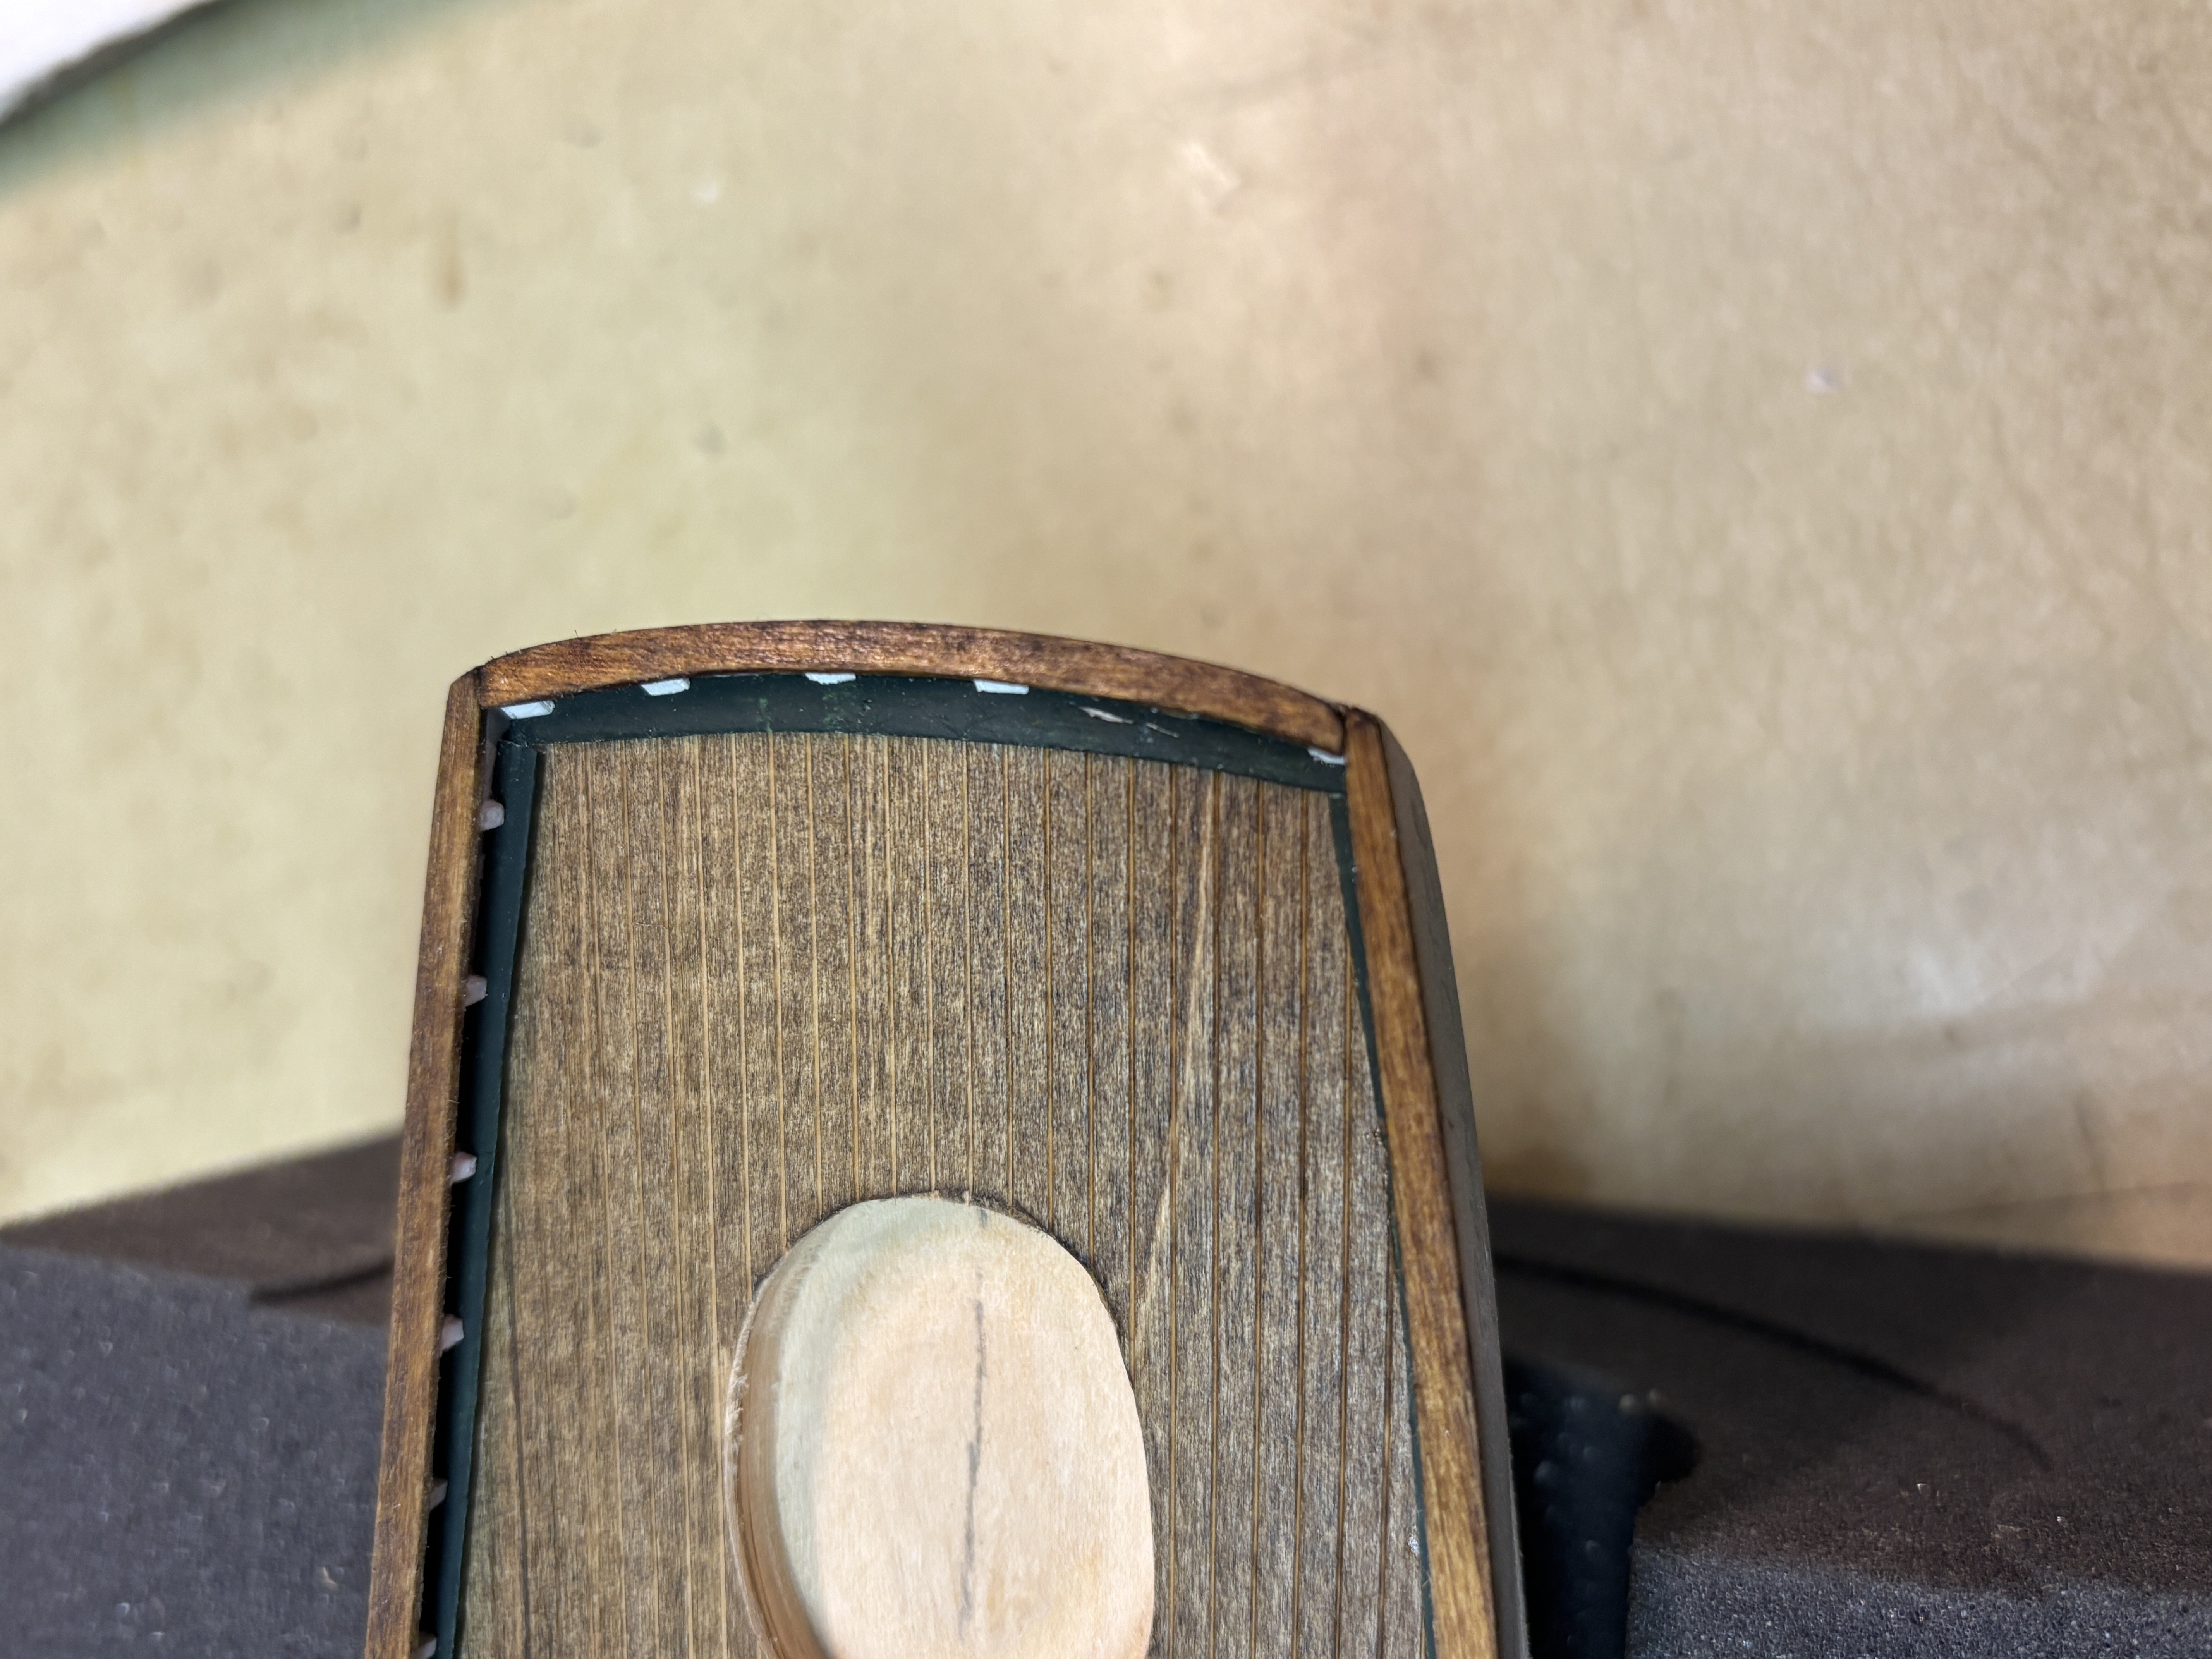
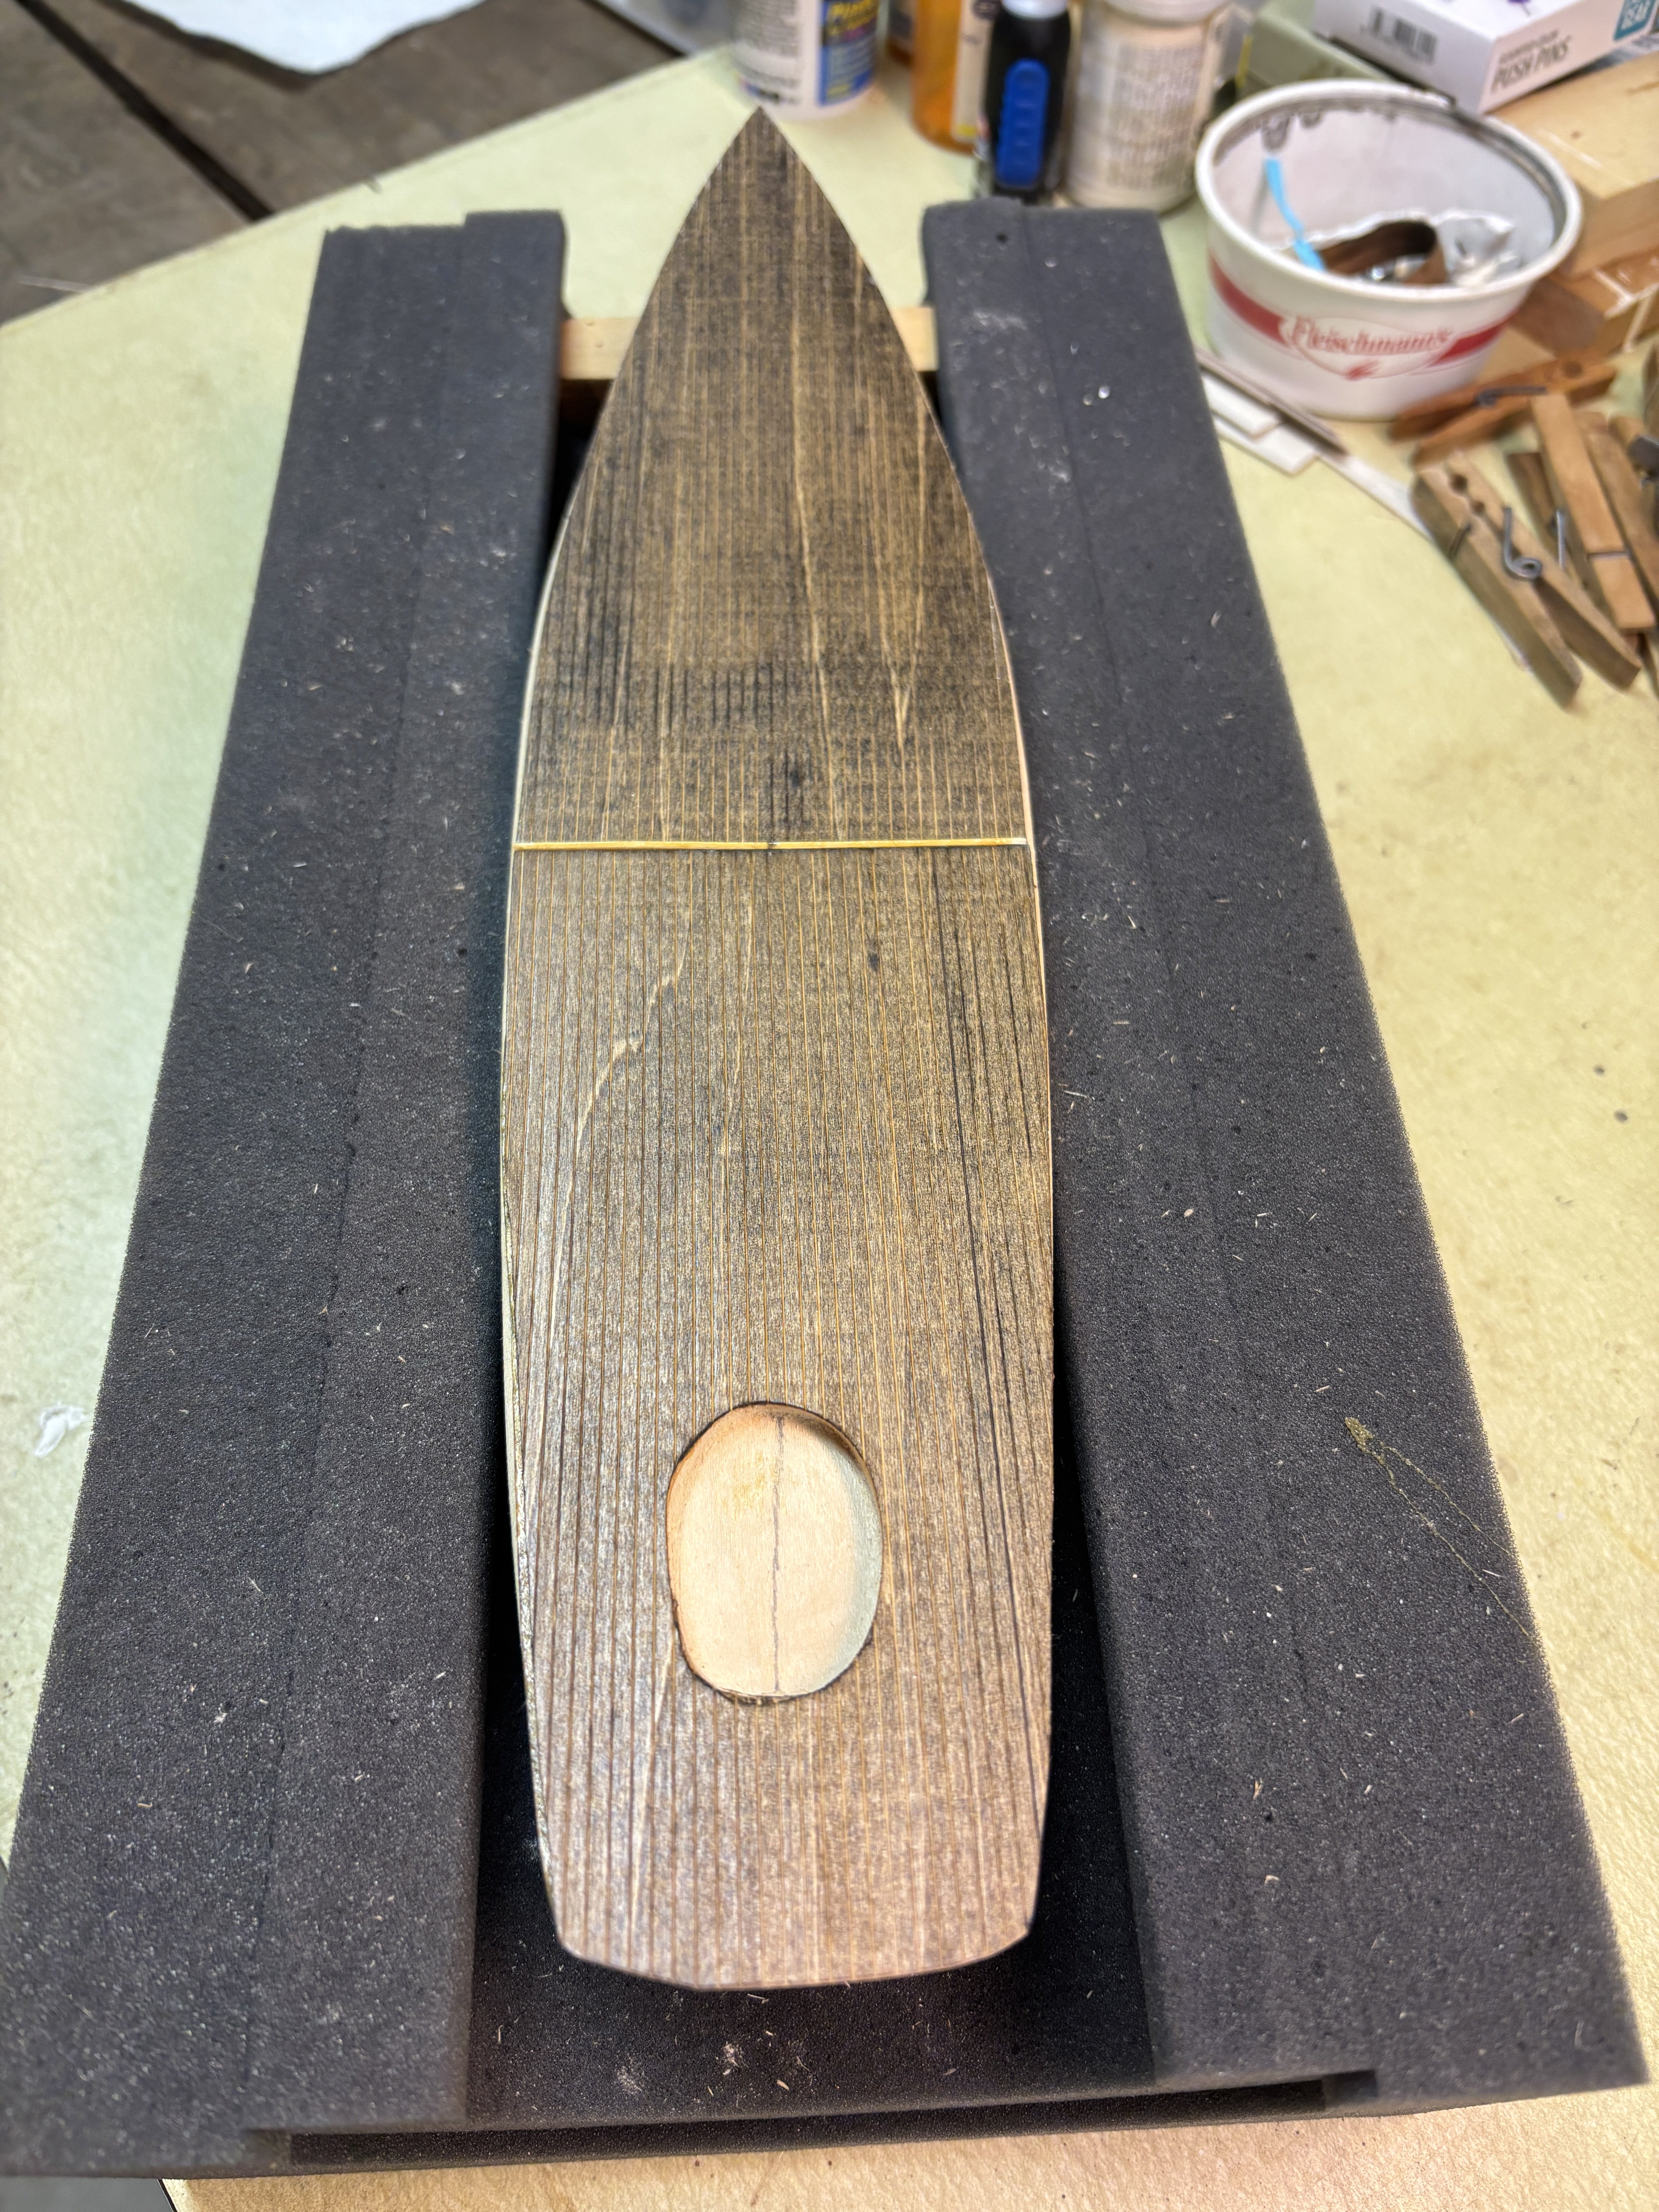
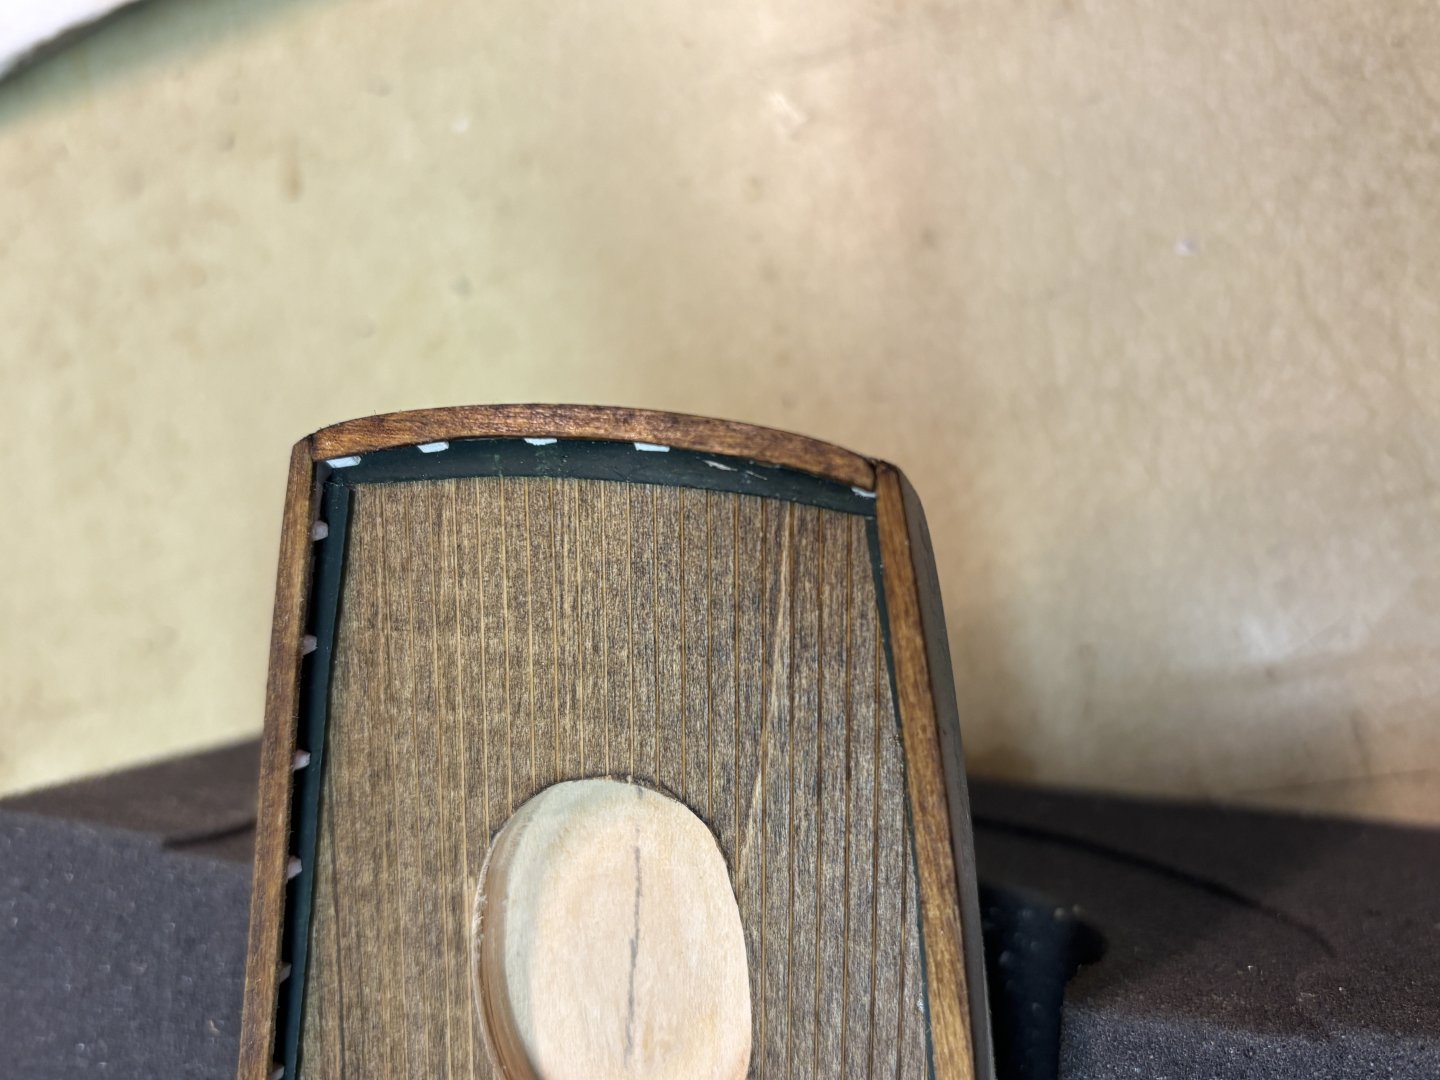
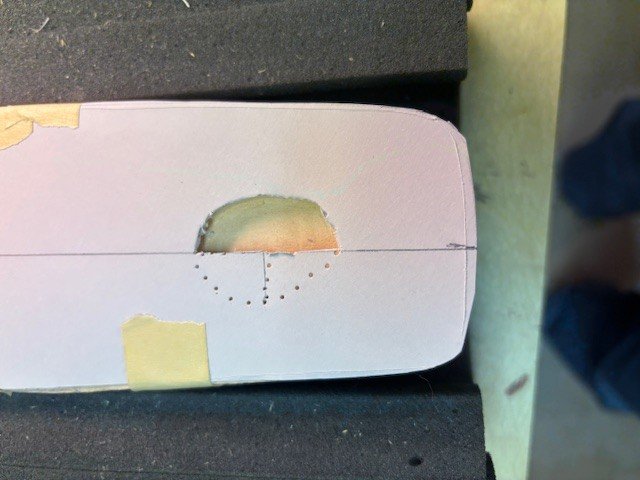
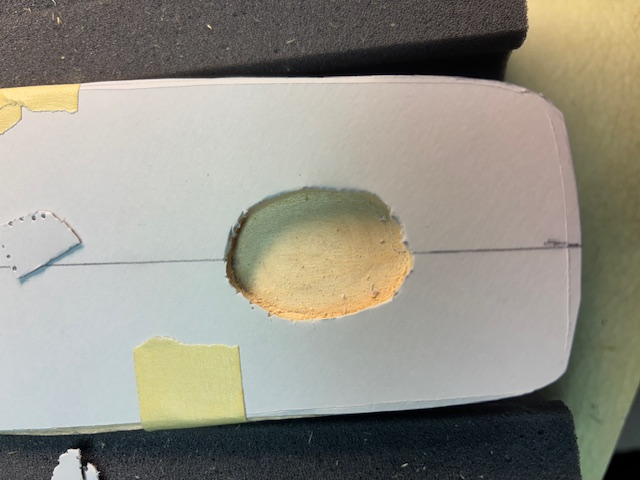
To locate the cockpit, I simply used a pushpin and starting from the center of the depression worked my way out to the perimeter of the cockpit and worked my way around. Then just trimmed with scissors to neaten up.
-
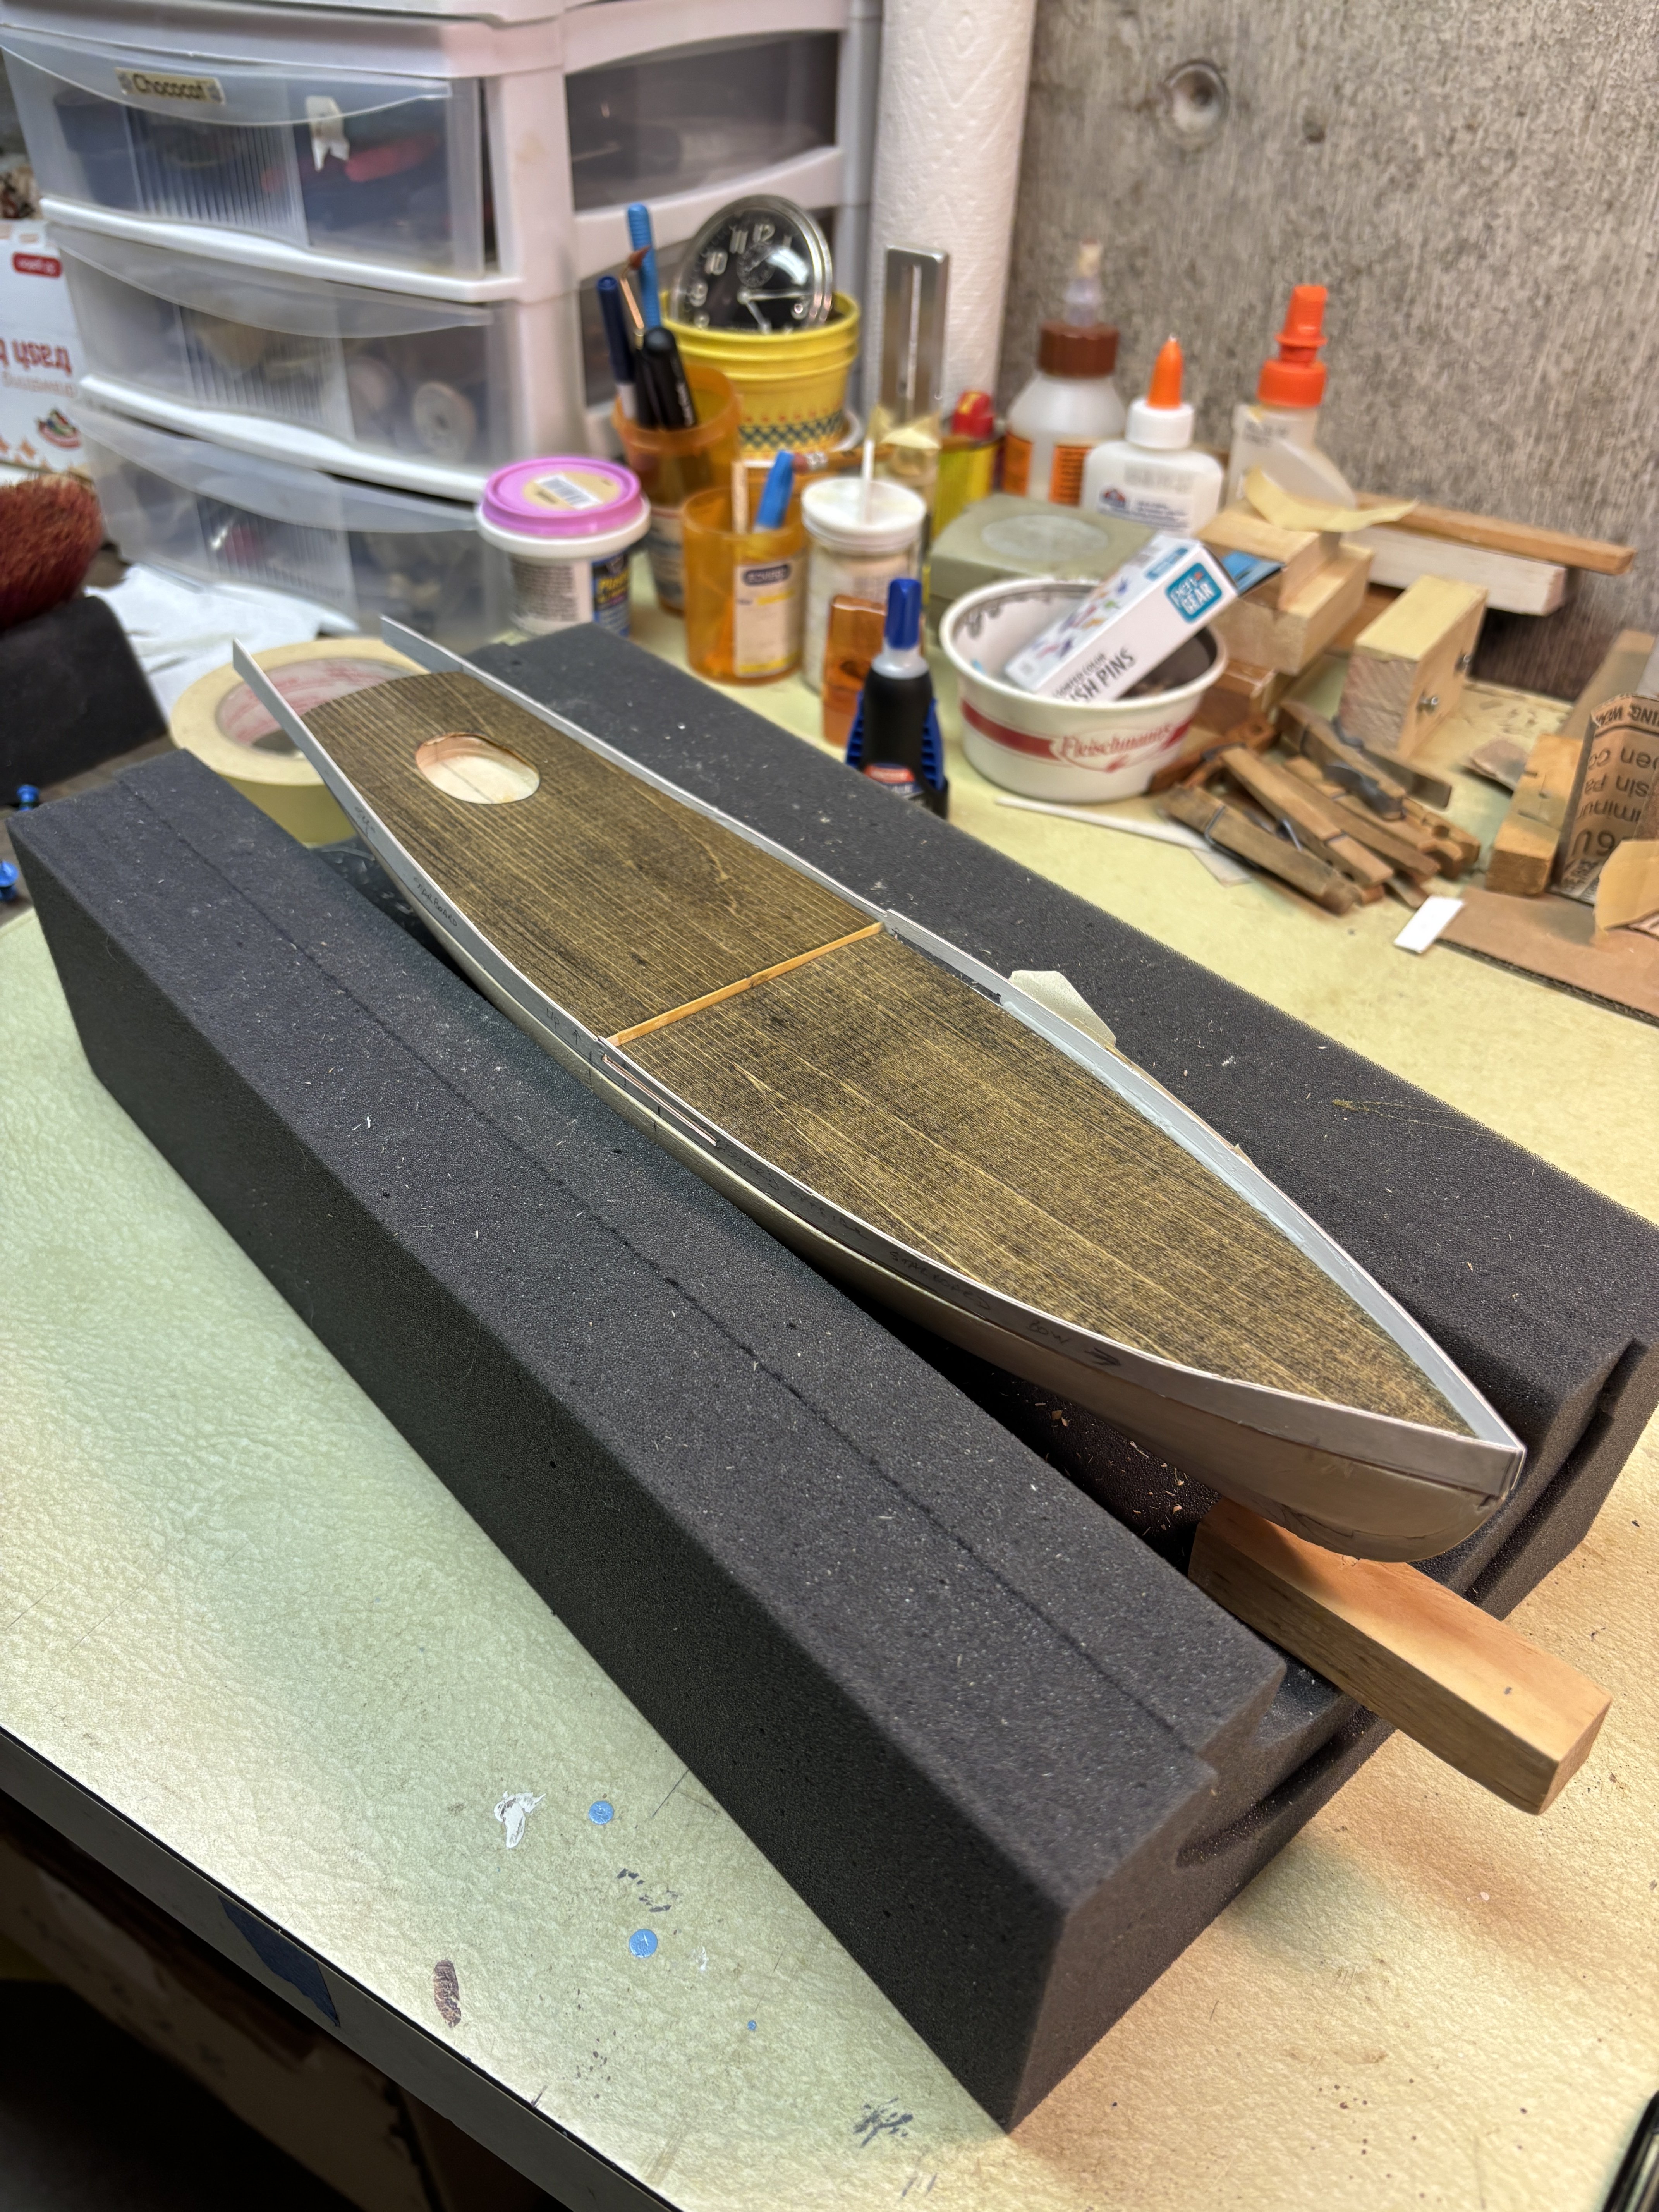
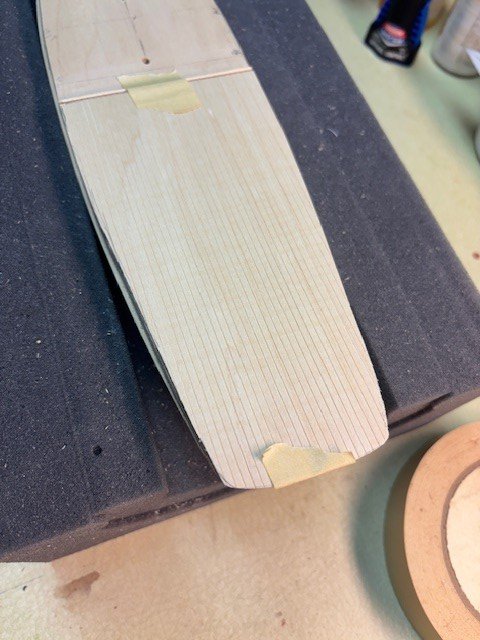
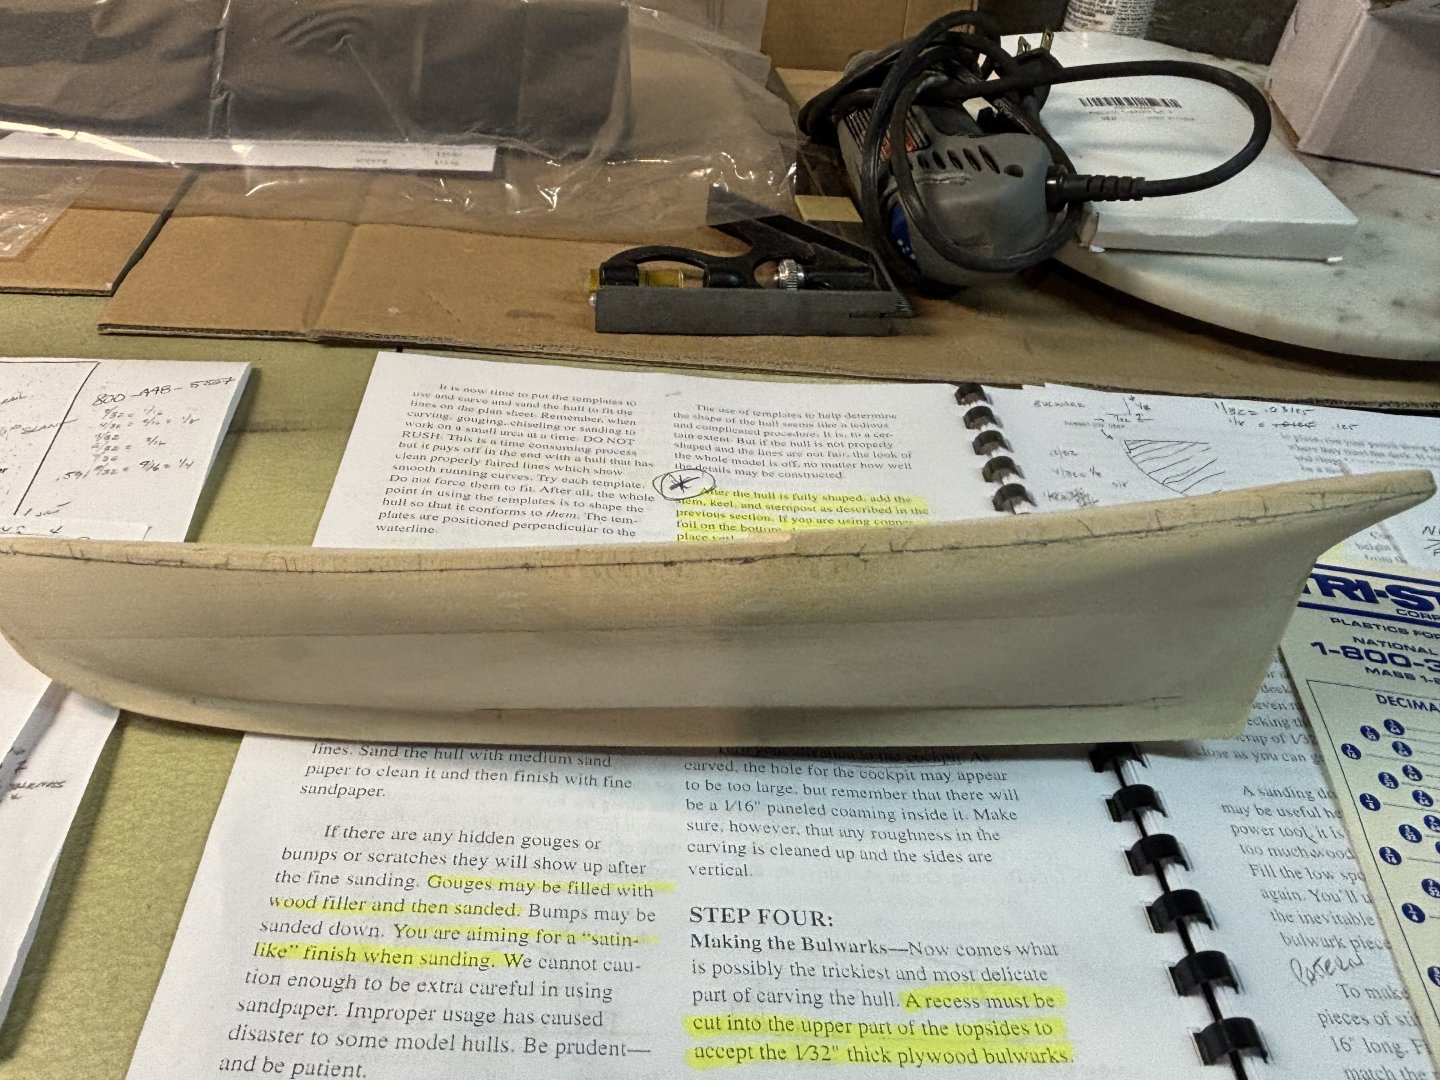
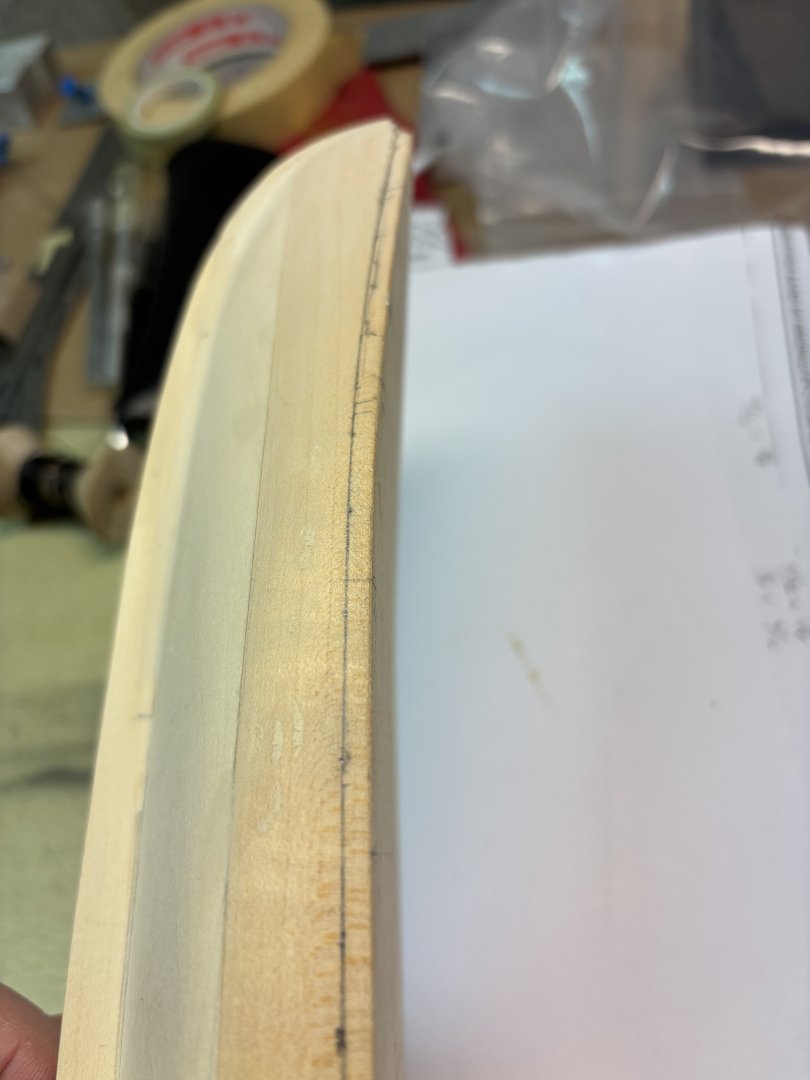
Hello, Update on progress, just about ready to install bulwarks; quarterdeck was fitted but not installed this afternoon. I have gotten an angle into the stern. I kept it very shallow to allow increasing the angle if I wanted. Instructions don't really tell you much but nonetheless, moving ahead.
-
Thank you.
-
Hello, Could anyone advise an effective method to clamp the bulwarks to the hull? I plan on using Elmer's wood glue and can pin the bulwark to the hull. That would not provide any real clamping though. Secondly, I am confused on the shape of the stern. It looks like it has a very sloping or angled stern, but the templates are a distinct oval oblong shape. Thanks for your assistance.
-
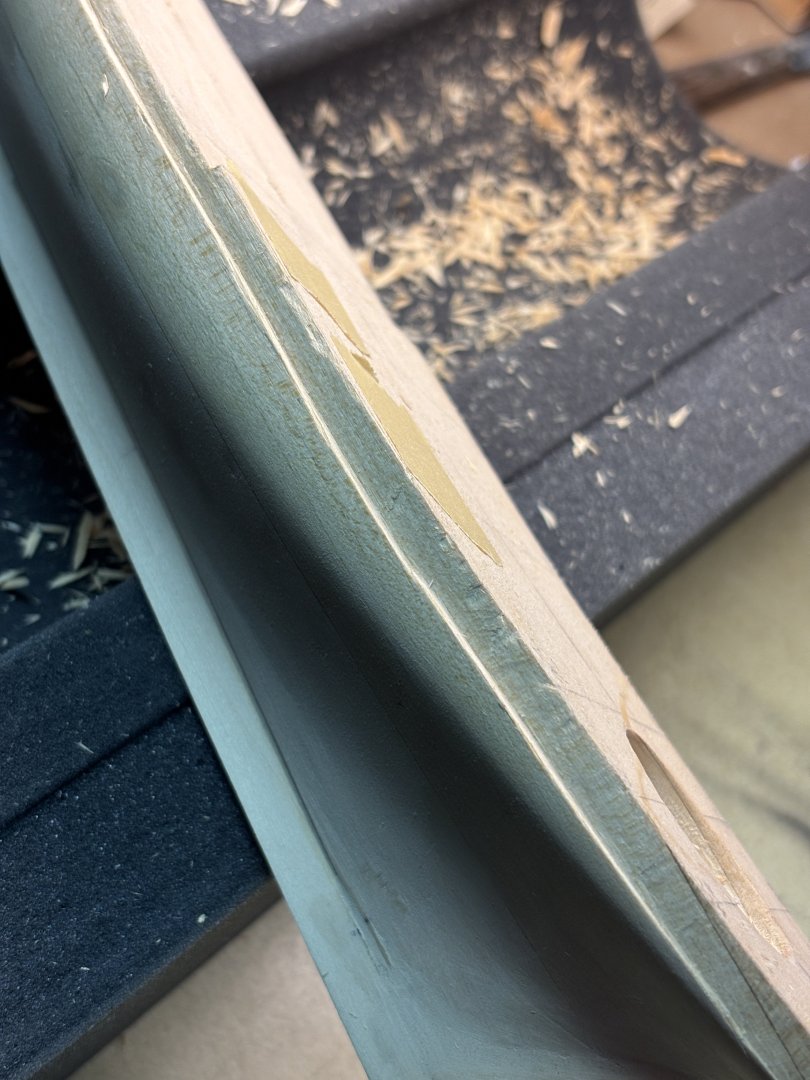
Meant to include these yesterday. Showing rabbets actually cut in.

-
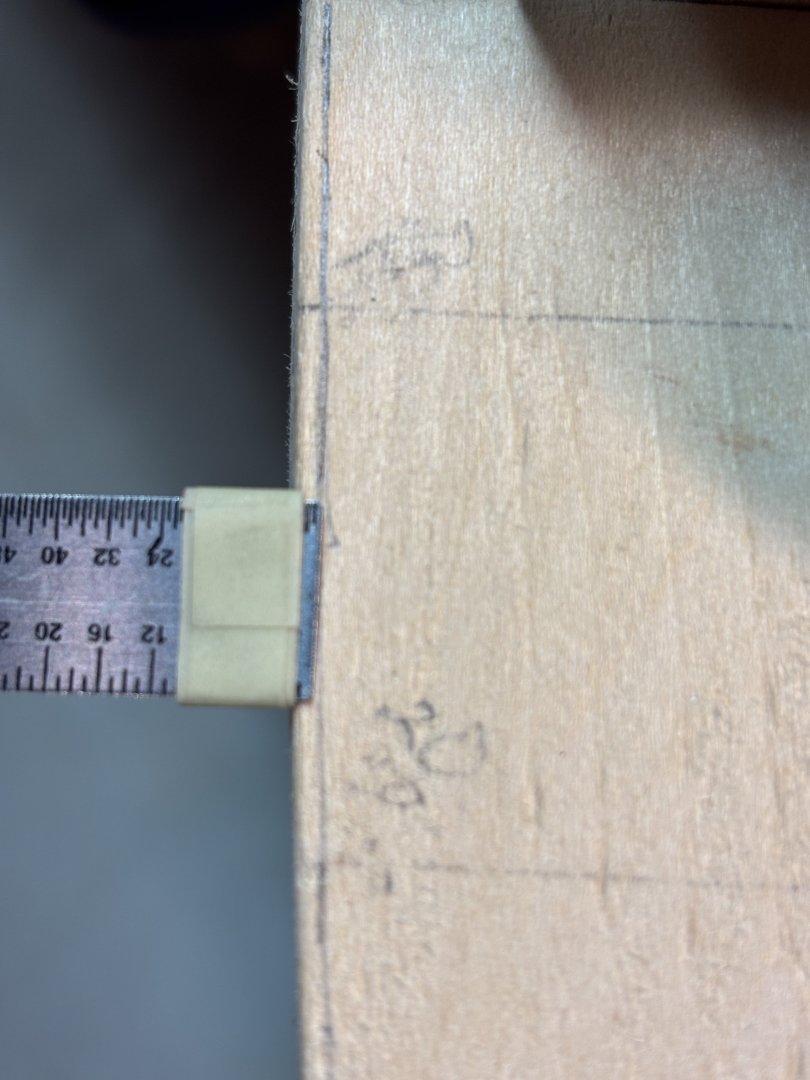
Hello, Have been working away and have completed the rabbets on both sides. Made a couple of depth gauges using a six inch rule and tapped off at the 1/32 and 1/8" marks. The continued to build up the tape until I had a sufficient stop to rest against the deck or to check depth of rabbet.
-
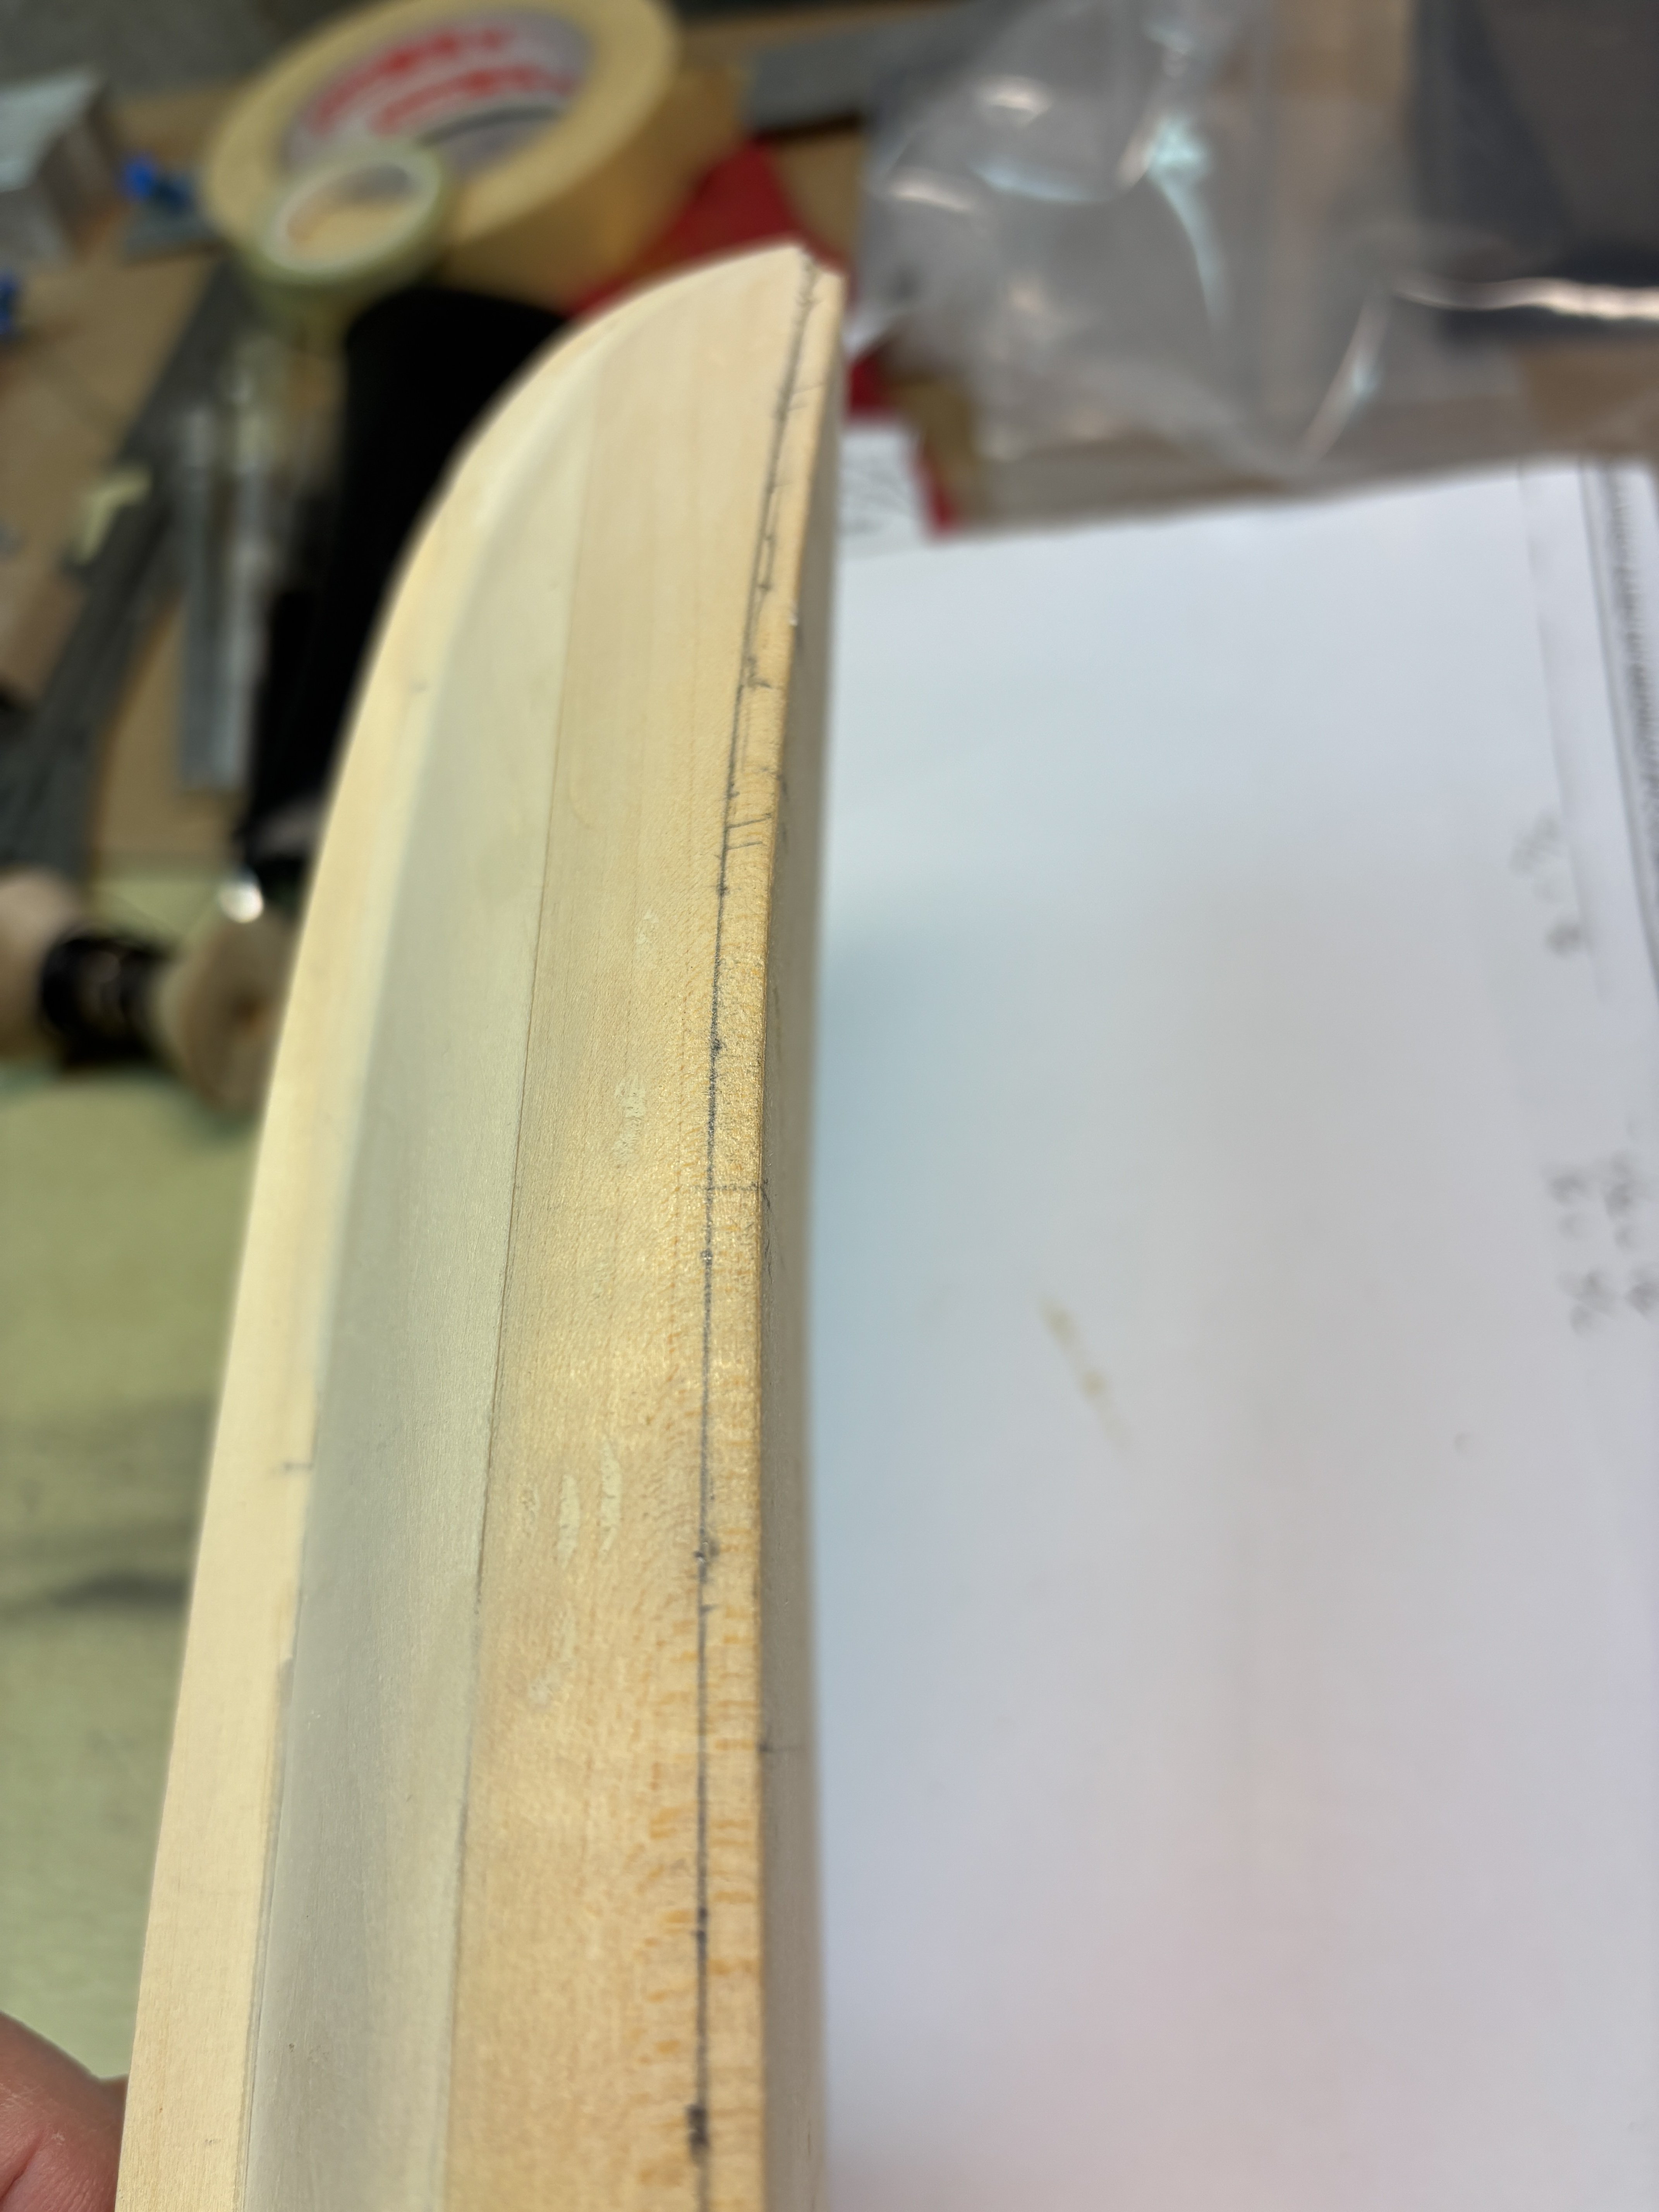
Picture of keel and stem gap. A lot of bodywork and wood filler to close the gap. Sorry that this is out of sequence with previous pictures.
-
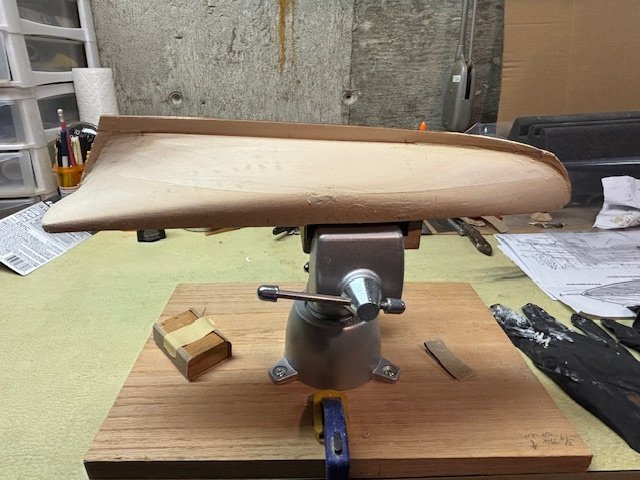
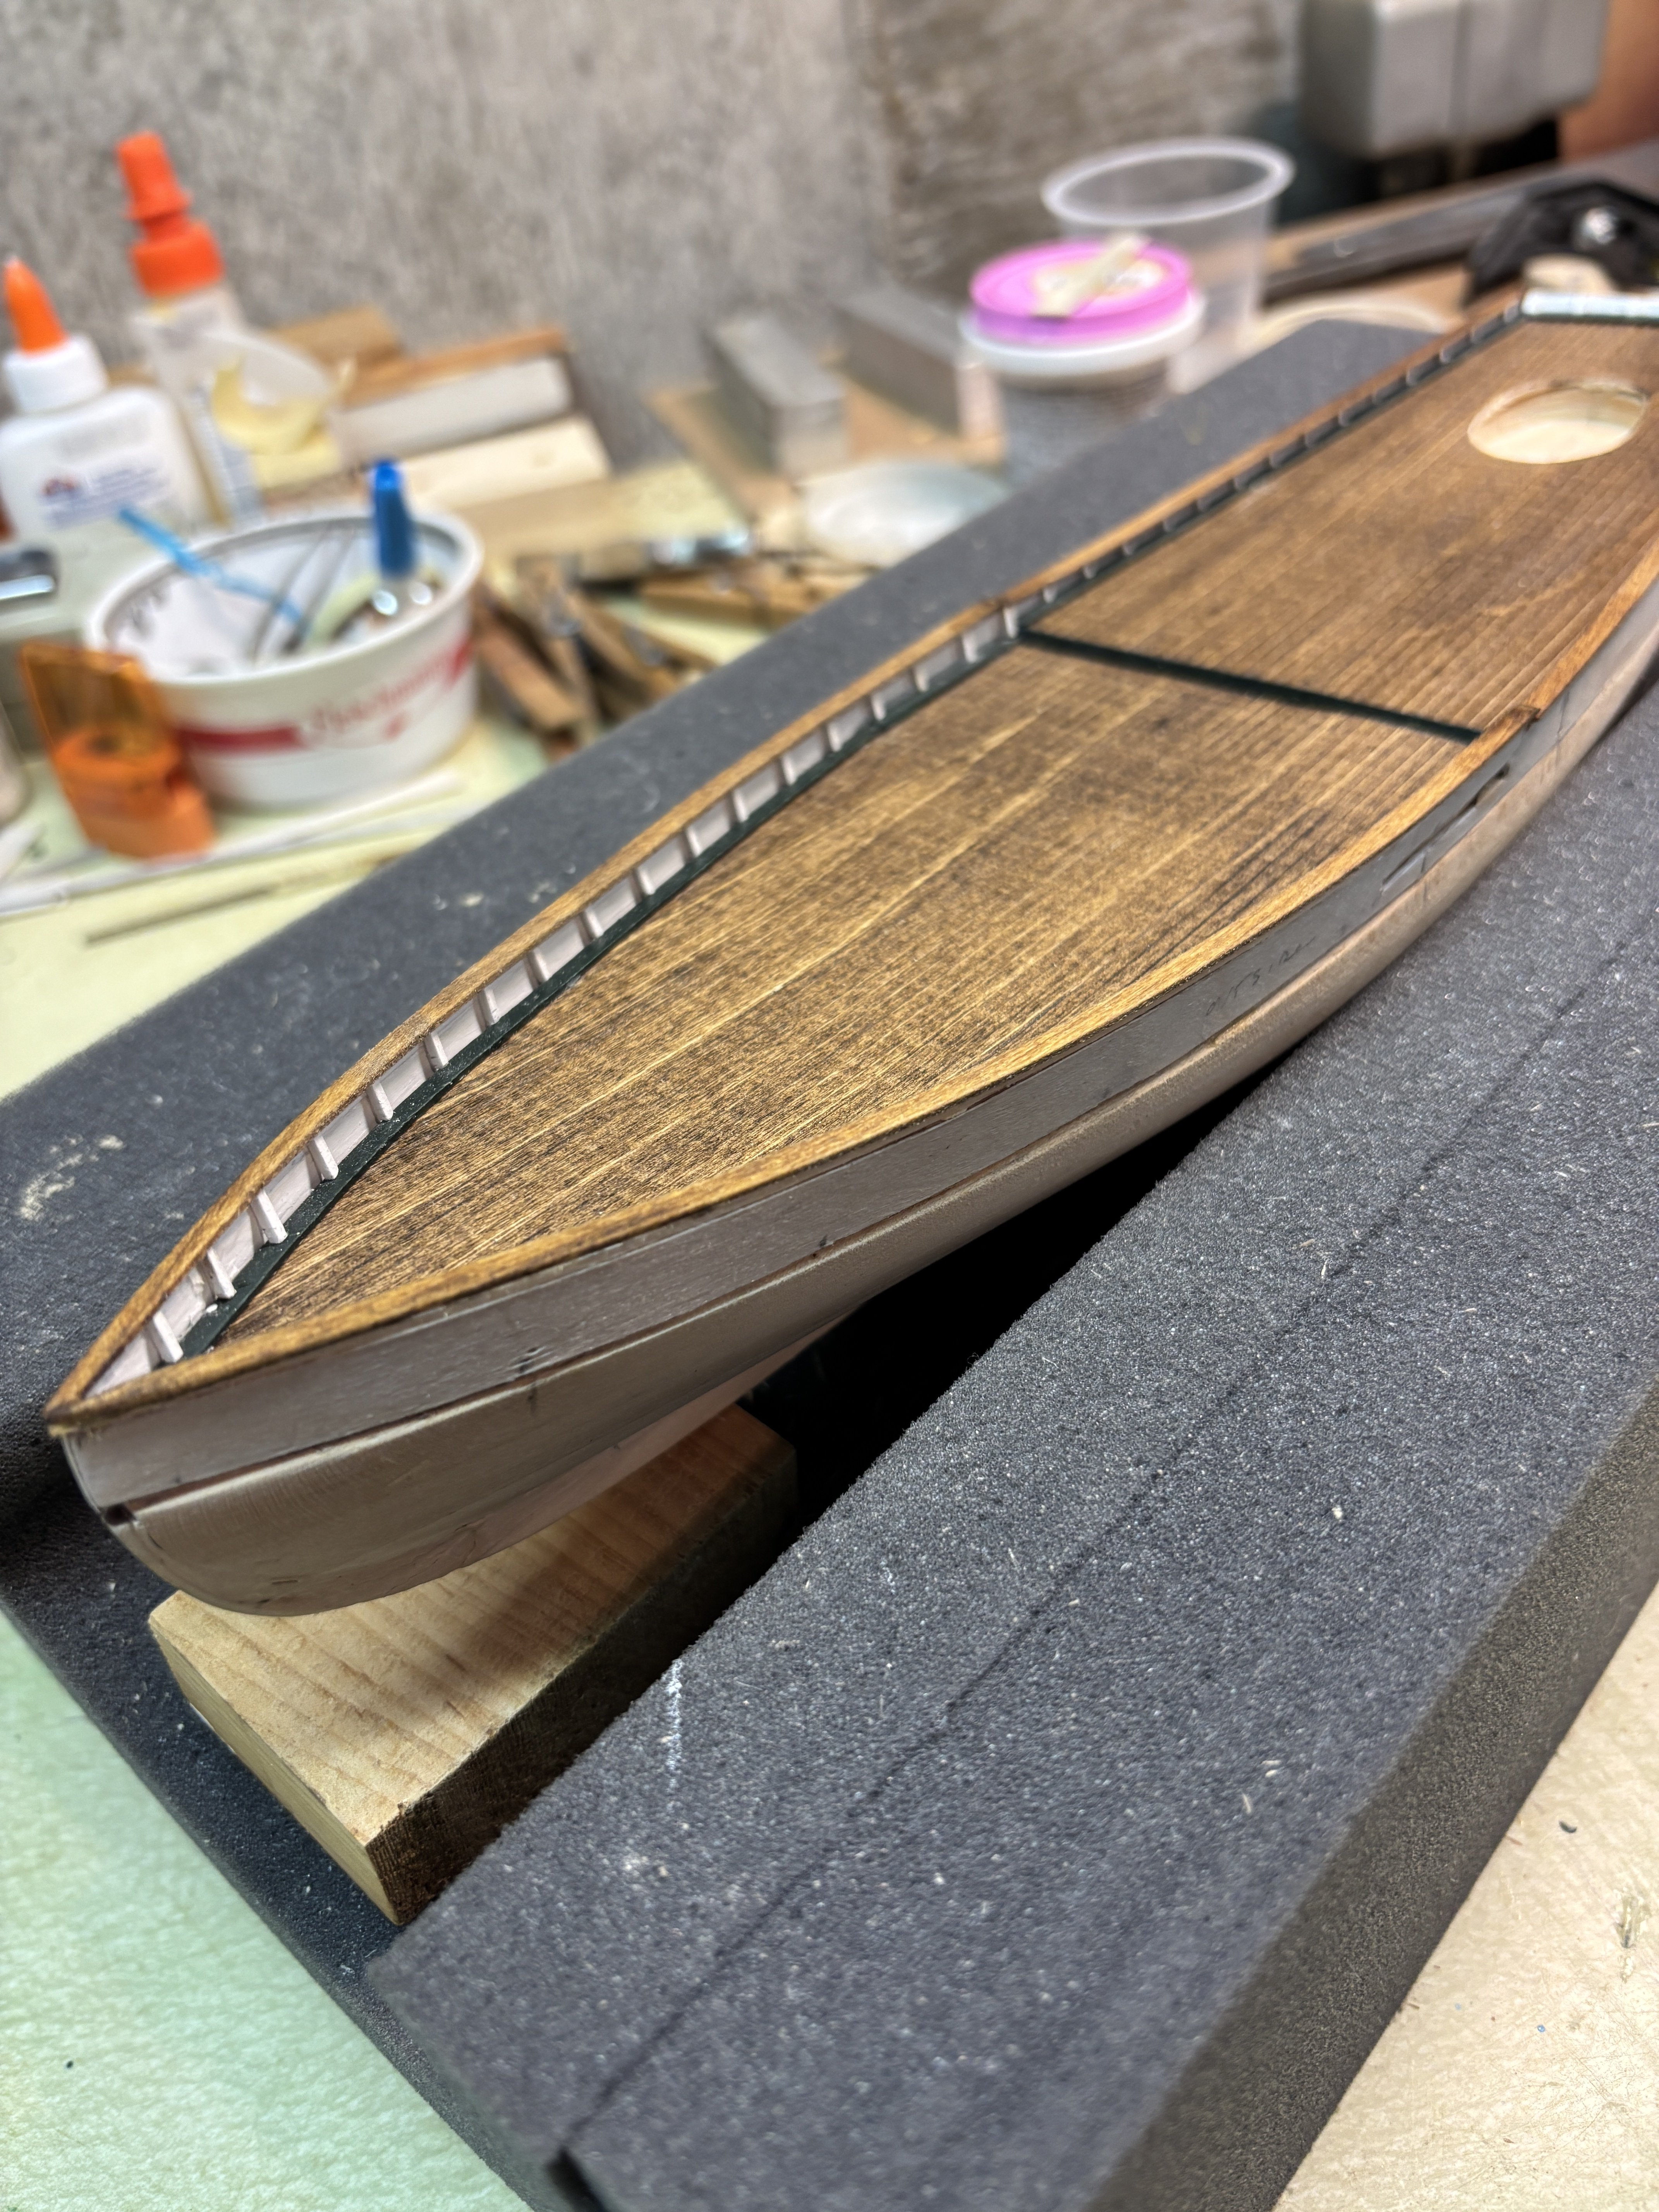
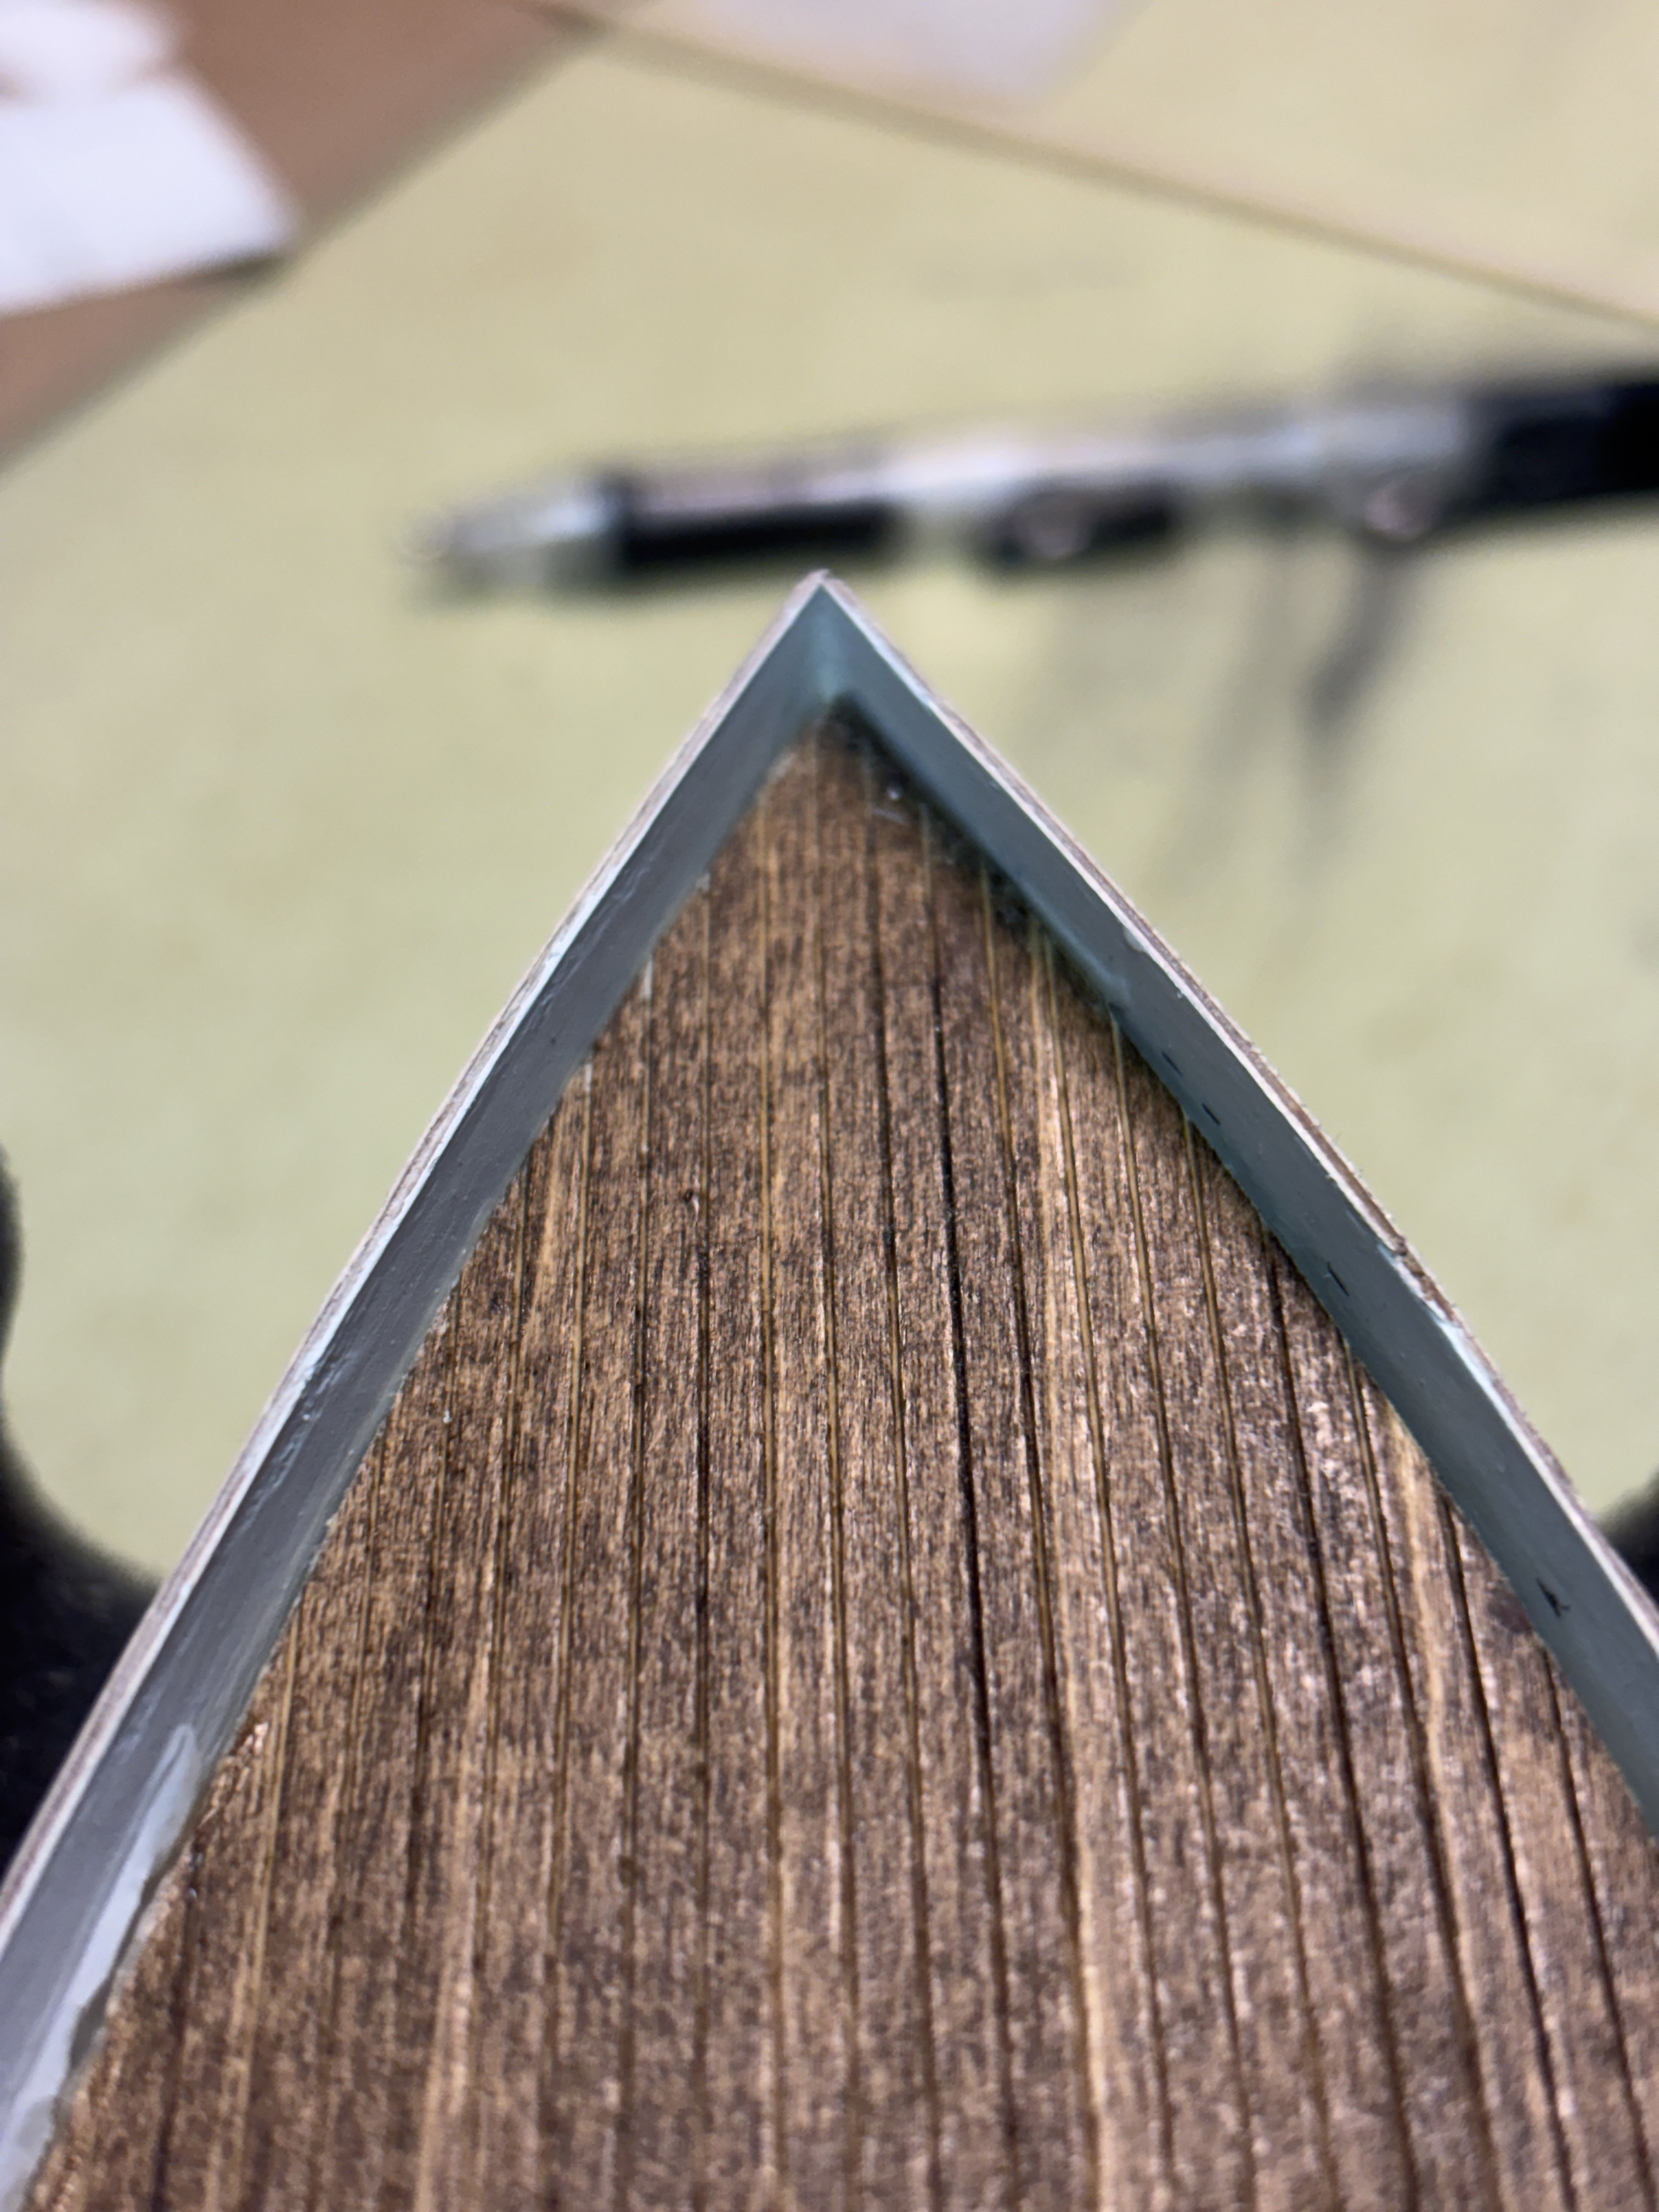
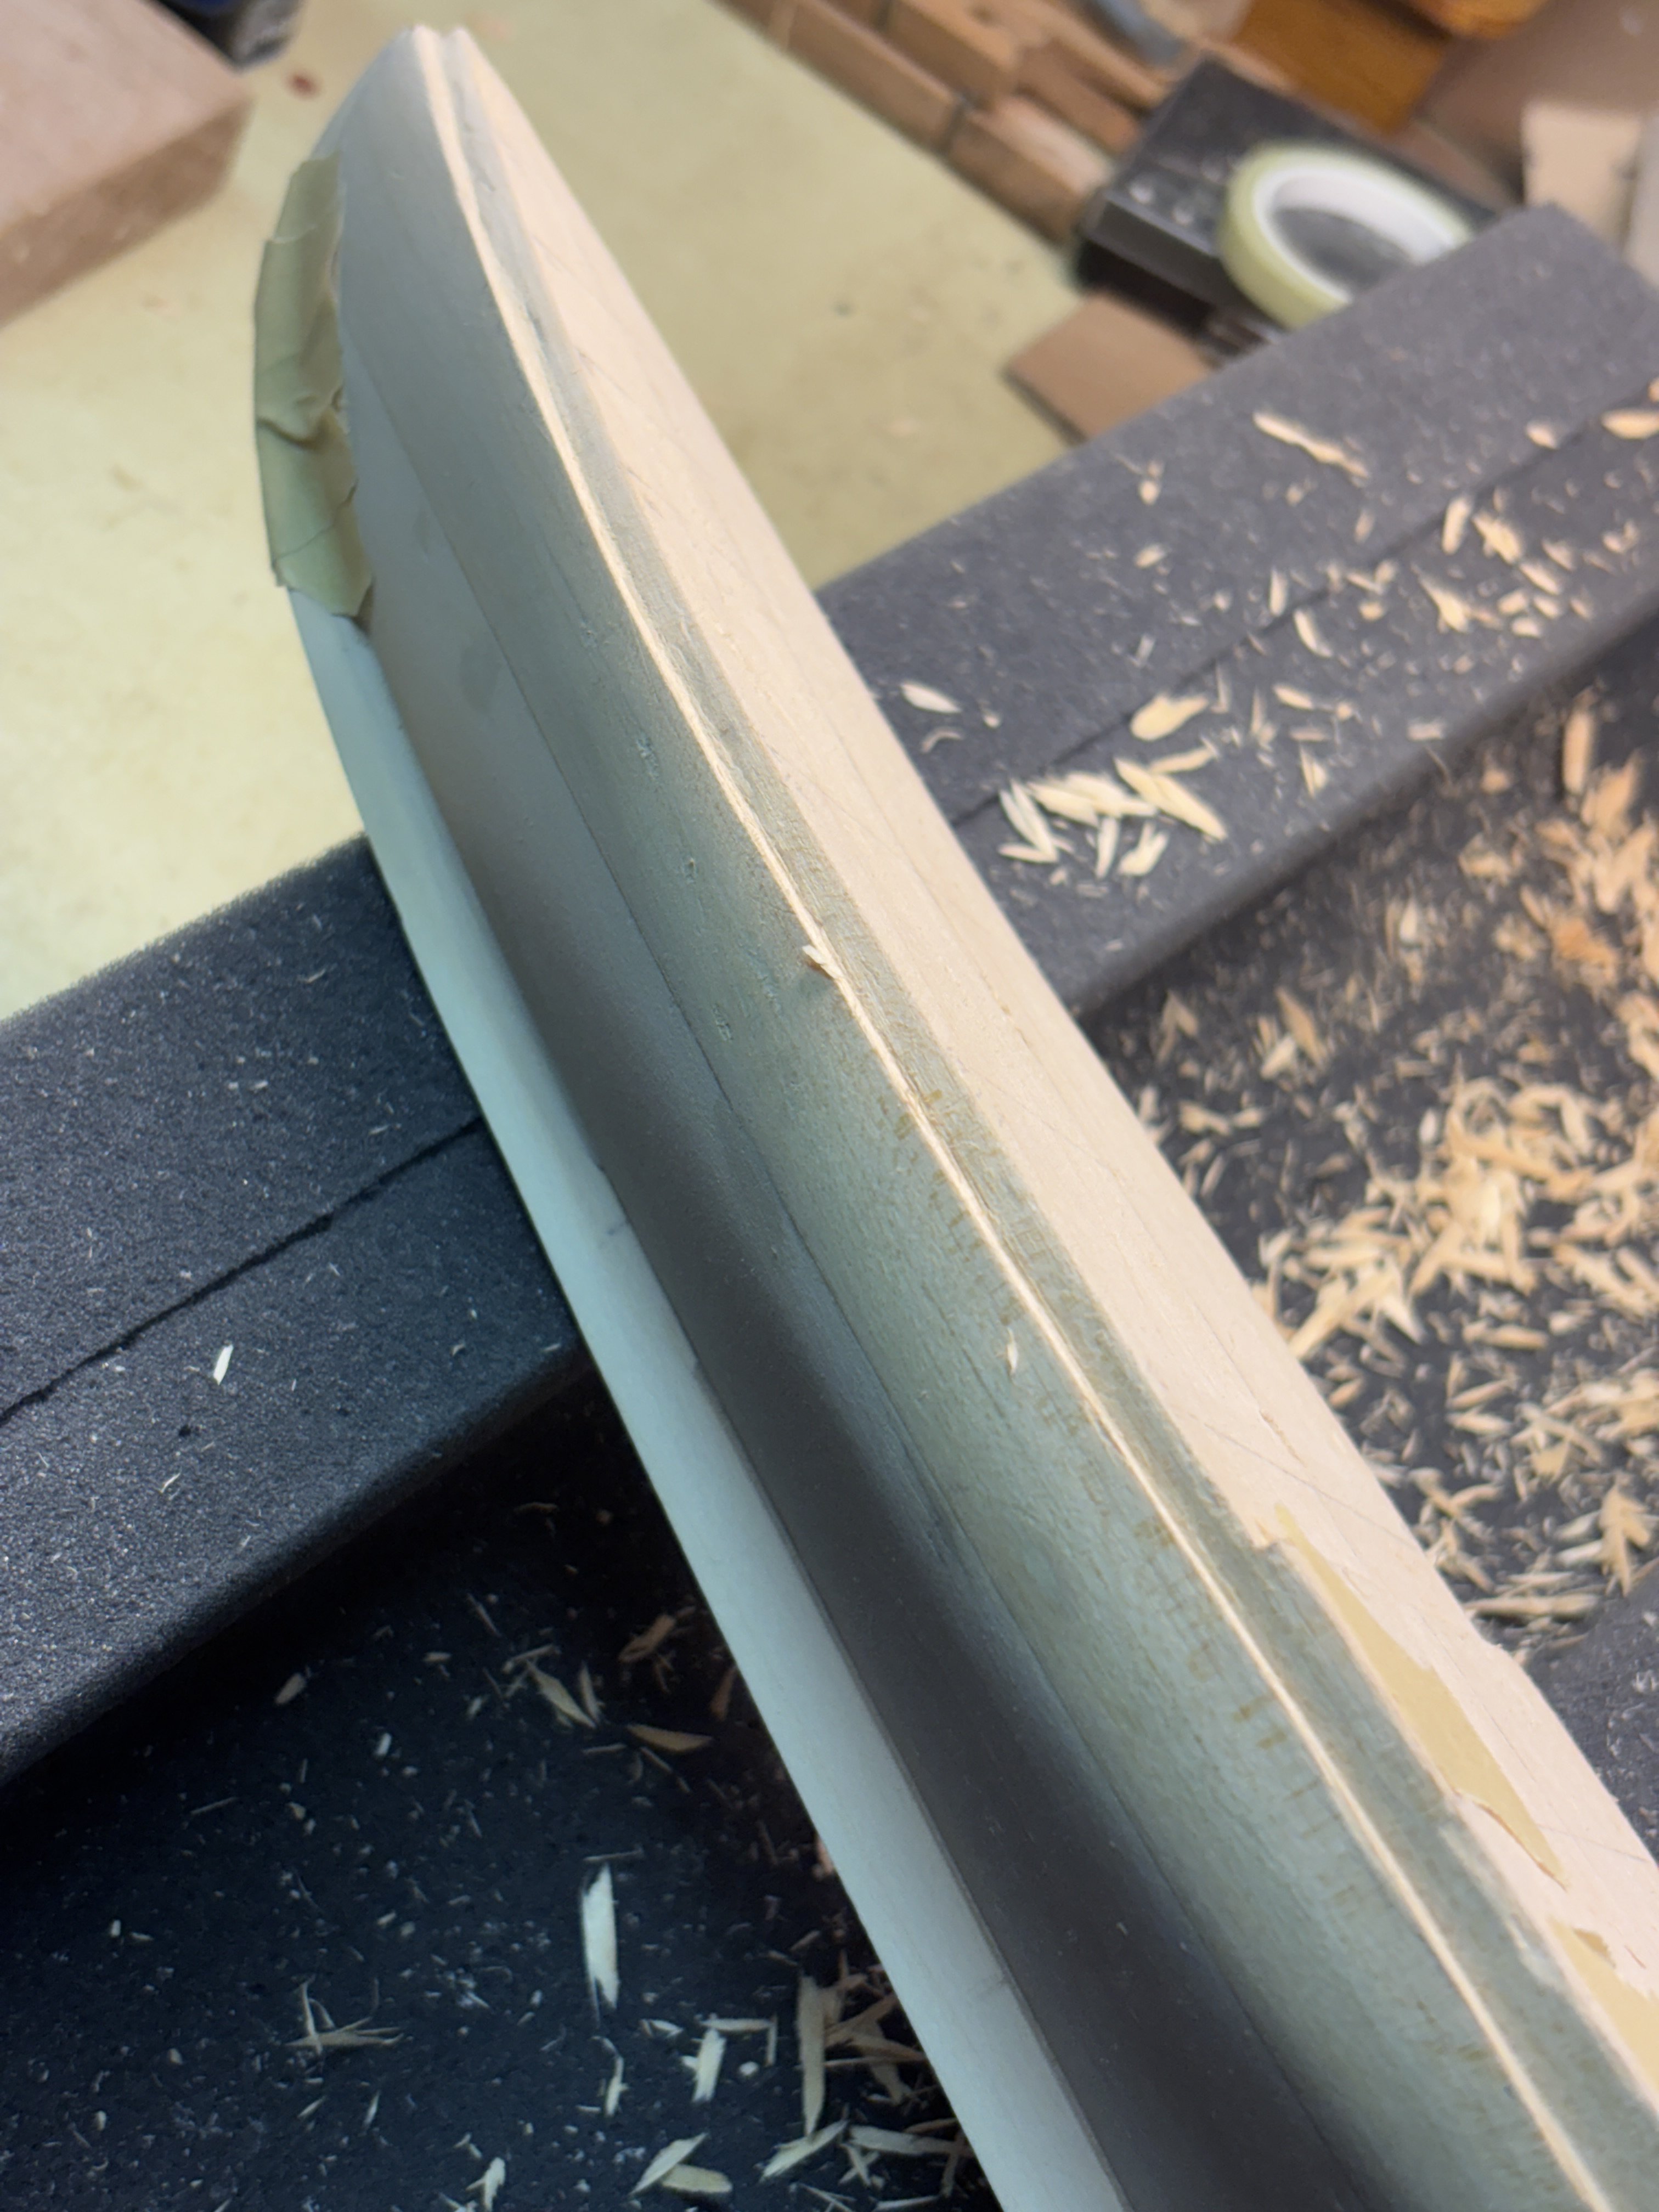
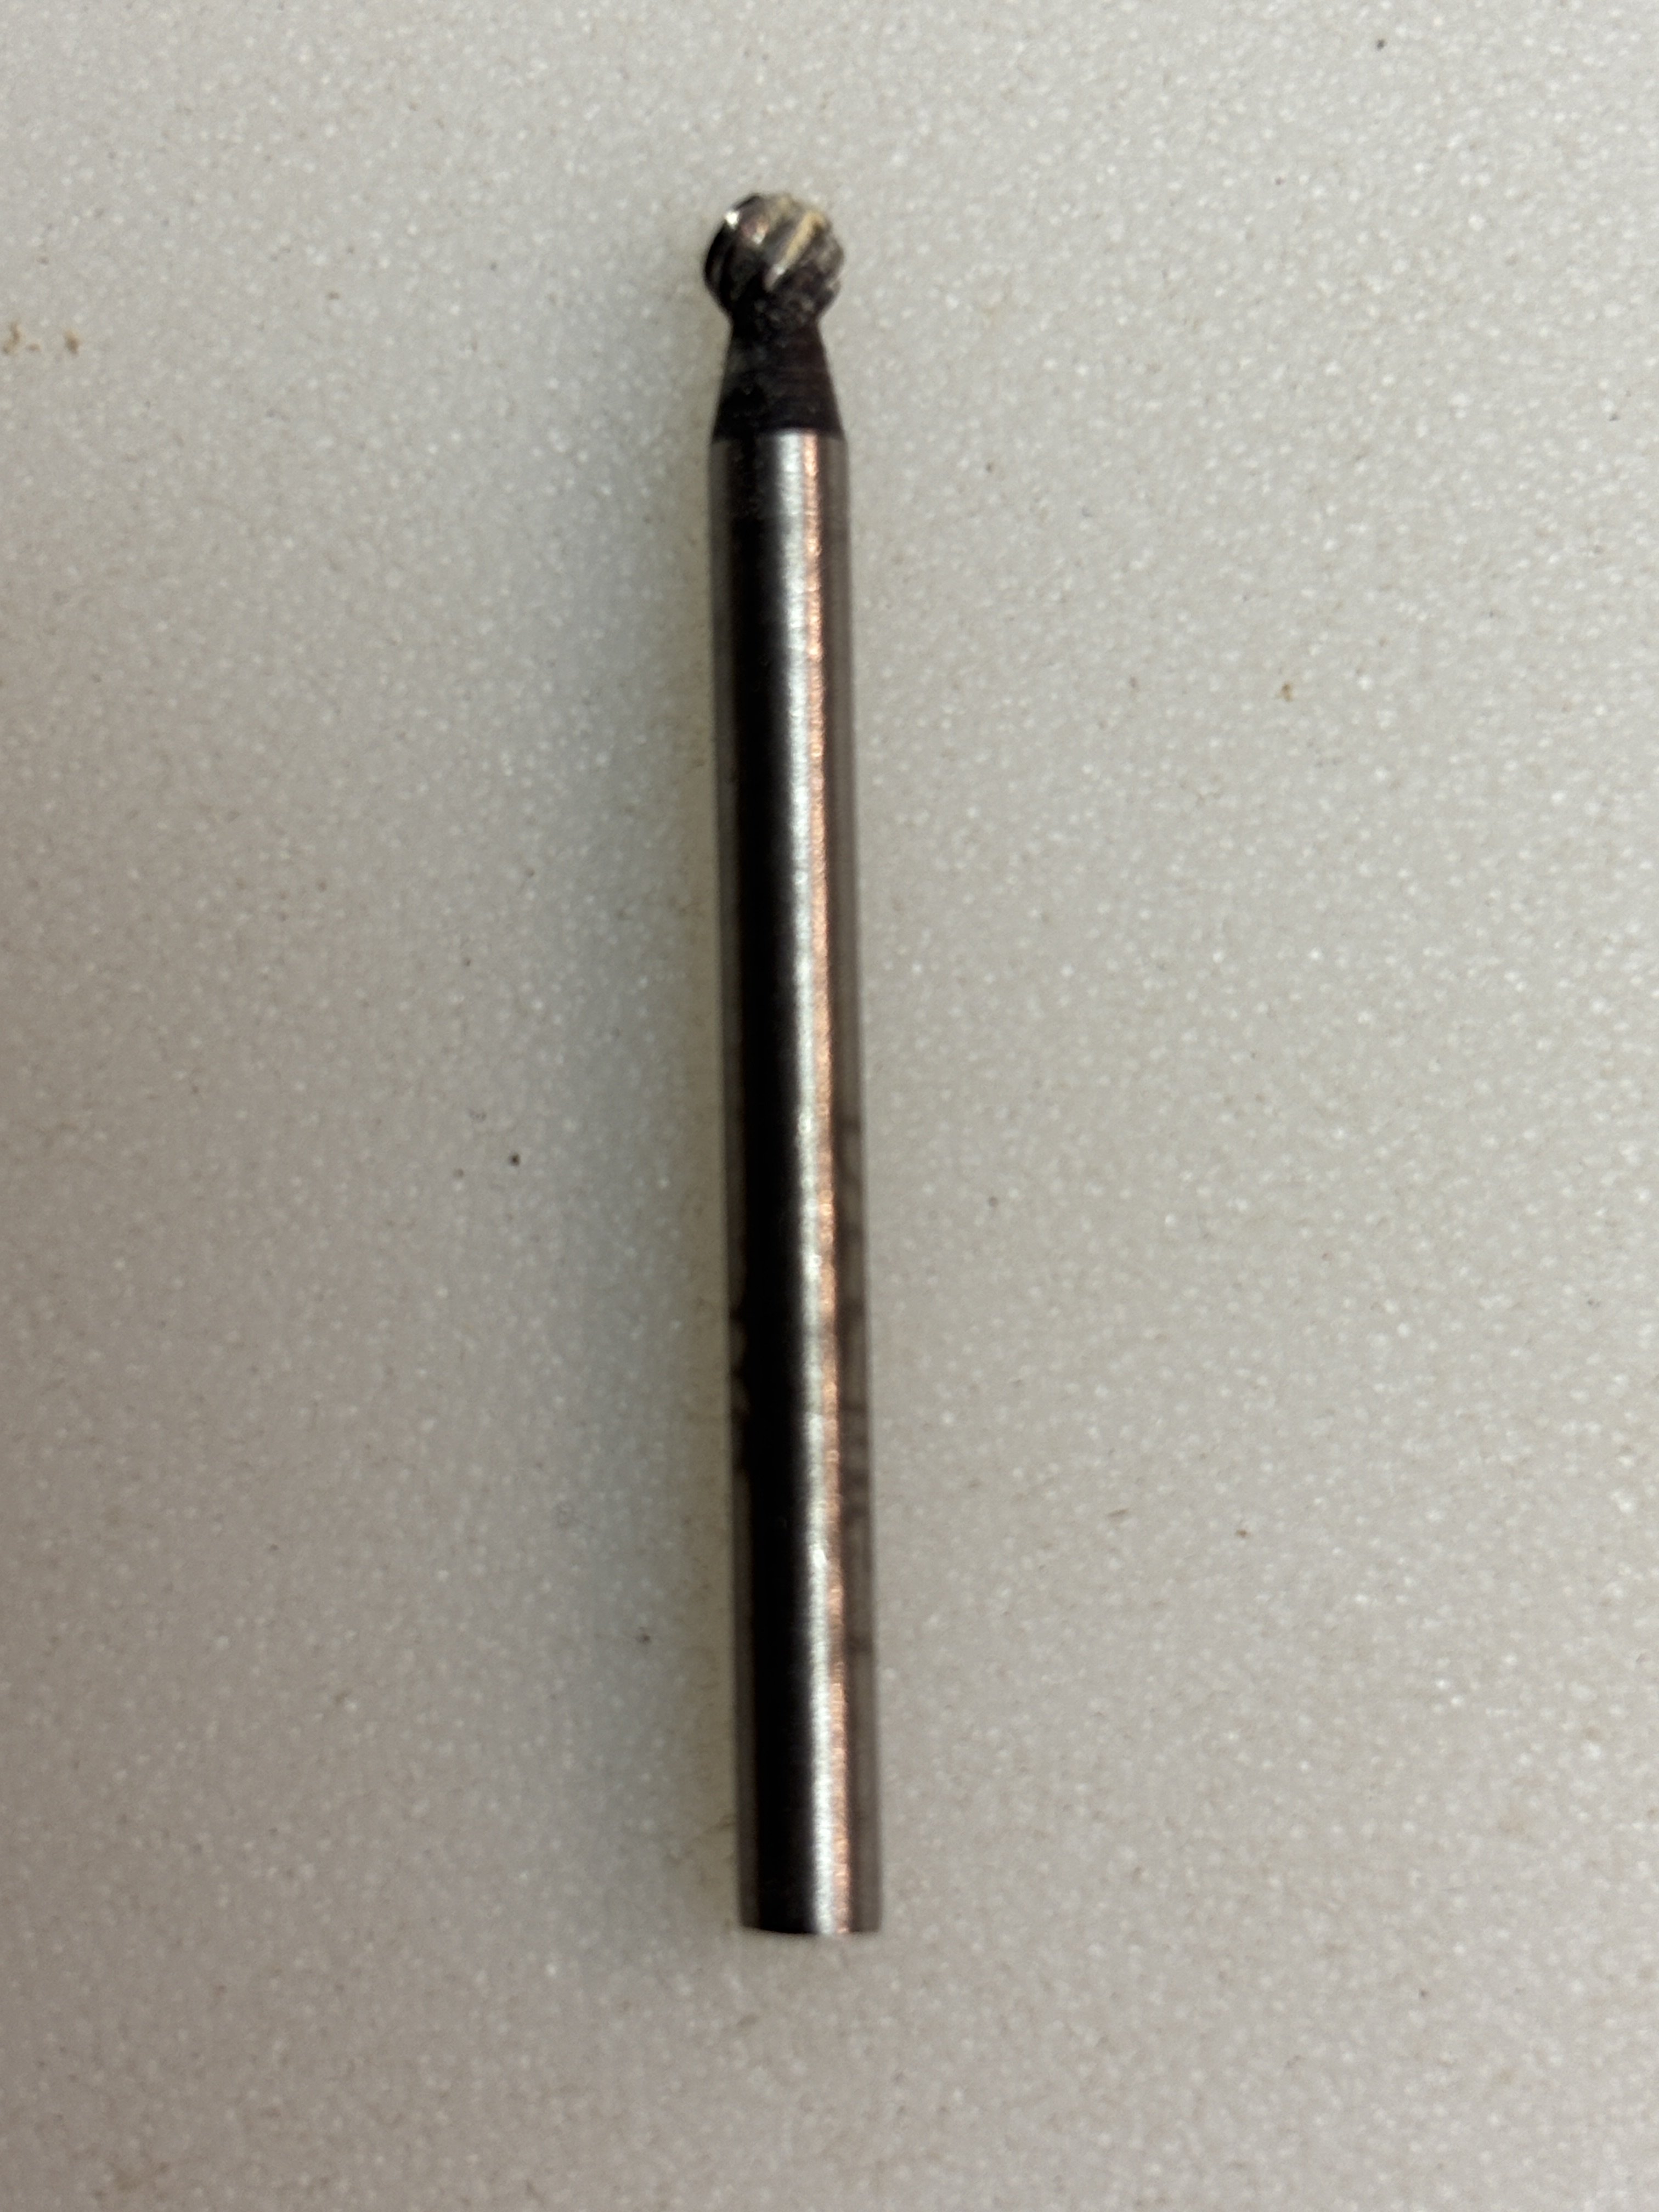
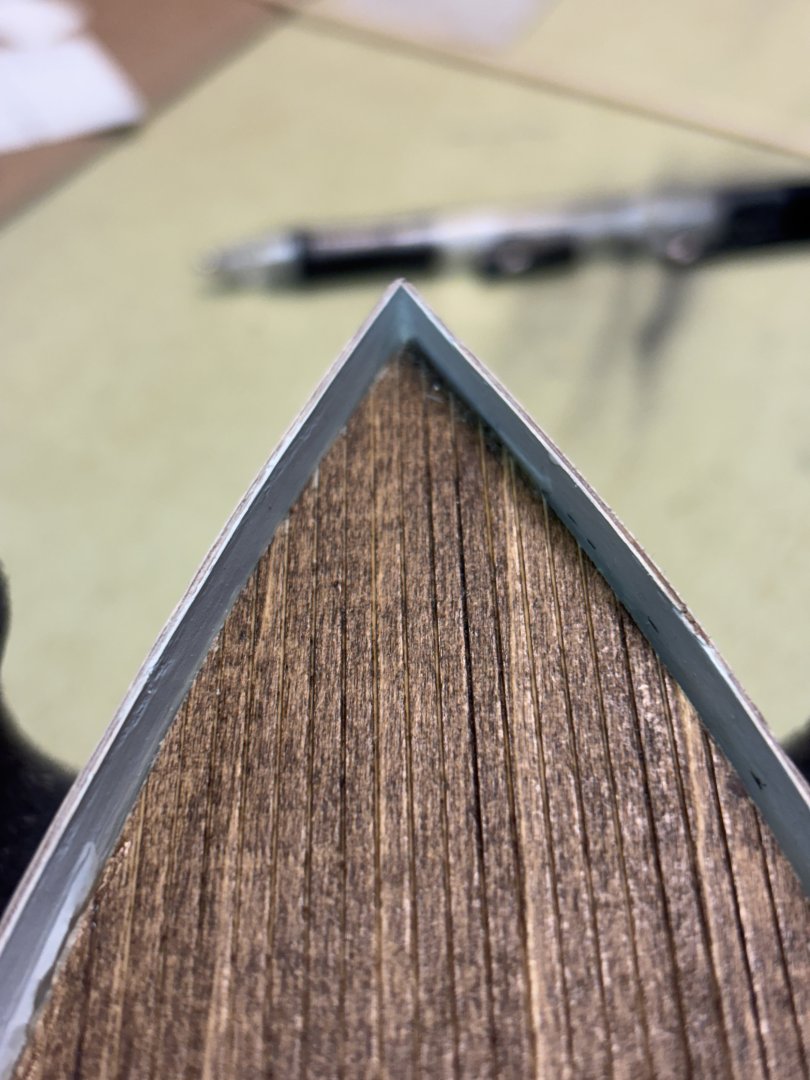
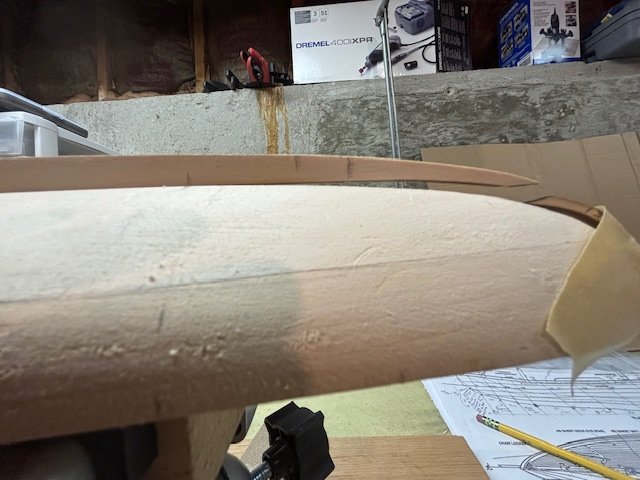
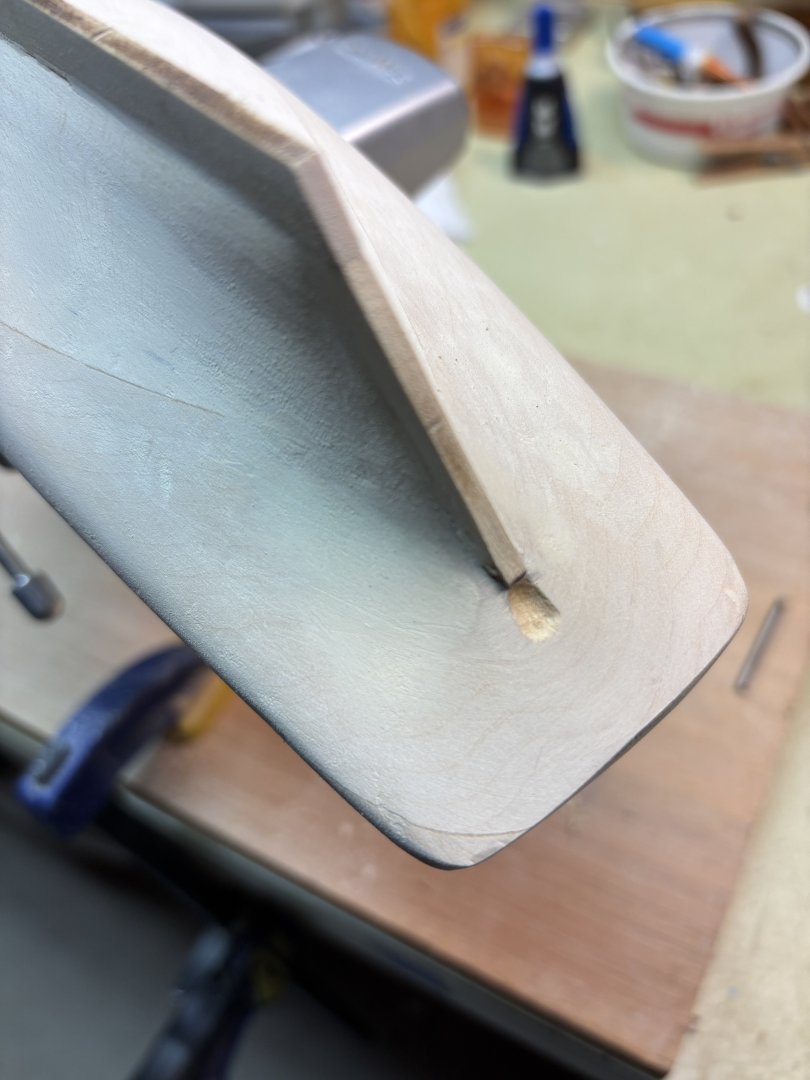
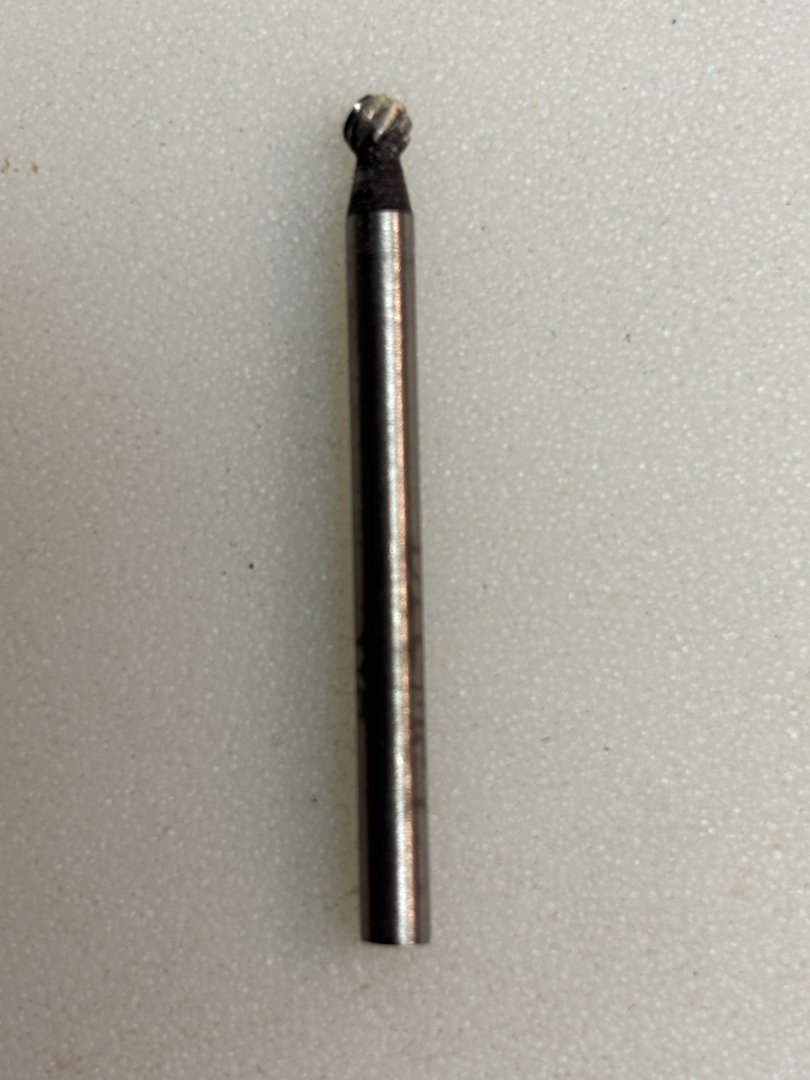
Hello, Here are hopefully current pictures of the build. Most of the bodywork is completed, the sternpost is in place, the rudder has been fitted and shows a reasonably parallel line with the sternpost. One of the problems I encountered was the supplied keel, while laser cut, had quite a warp to the forward 2 inches. That caused misalignment with the stem. Wood filler and a lot of cautious sanding has got the area looking much better. The tool shown is a Dremel round cutter. I used that to create the small cutout to accept the flat at the top of the rudder. I also worked on the cockpit area. The problem I ran into there was the supplied cutout was oblong and to the right of center.


-
Thank you very much Bill. Another person commented that with basswood you could just brush water on the dings and the fibers would rejuvenate. I haven't tried it. As you can see from the pictures there was a significant gap between the keel and the stem. I am actually still working on that although I have just about finished the bodywork so that there is a reasonable curve rounding up to the stem and continuing.
-
Thank you. I will try that. However, I disagree somewhat with your Apple observation. The first pictures I posted on the build thread were from my previous iPhone and there was no issue loading and posting. Below are two images which would not load from my other PC. This PC has Google loaded as the browser, I think the other has MS Edge. However, I previously had no problems uploading my first pictures.