Stormaple
-
Posts
14 -
Joined
-
Last visited
-
 Coyote_6 reacted to a post in a topic:
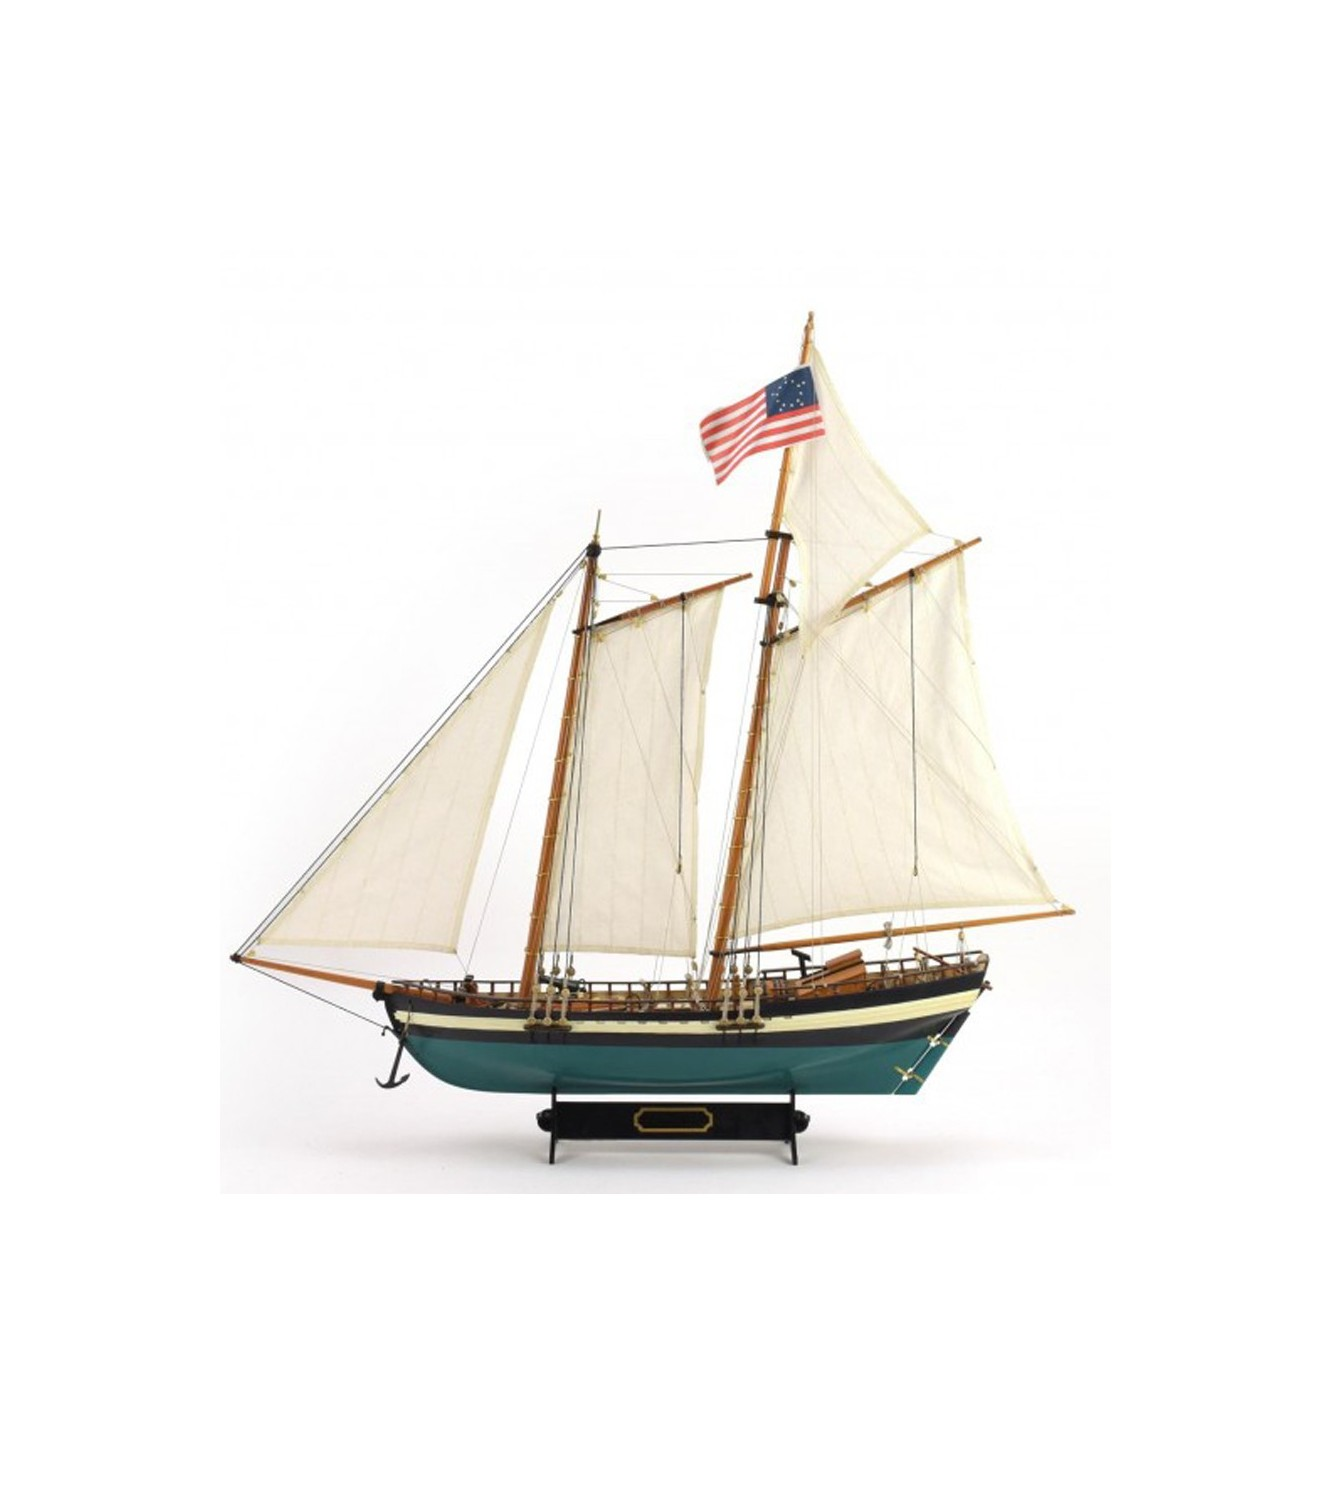
Virginia by Stormaple - Artesania Latina - 1:40
Coyote_6 reacted to a post in a topic:
Virginia by Stormaple - Artesania Latina - 1:40
-
 Today saw exactly 0 progress on the model itself as my Christmas present had to be built. There is now a shipyard (which was much larger than I had expected) to help out with future projects:
- 6 replies
-
- 1
-
-
- Artesania Latina
- Virginia
- (and 1 more)
-
Good point! This is the kit:

-
Thanks! I definitely will let you know if I have any issues and I had noticed that hull cut out being weird
-
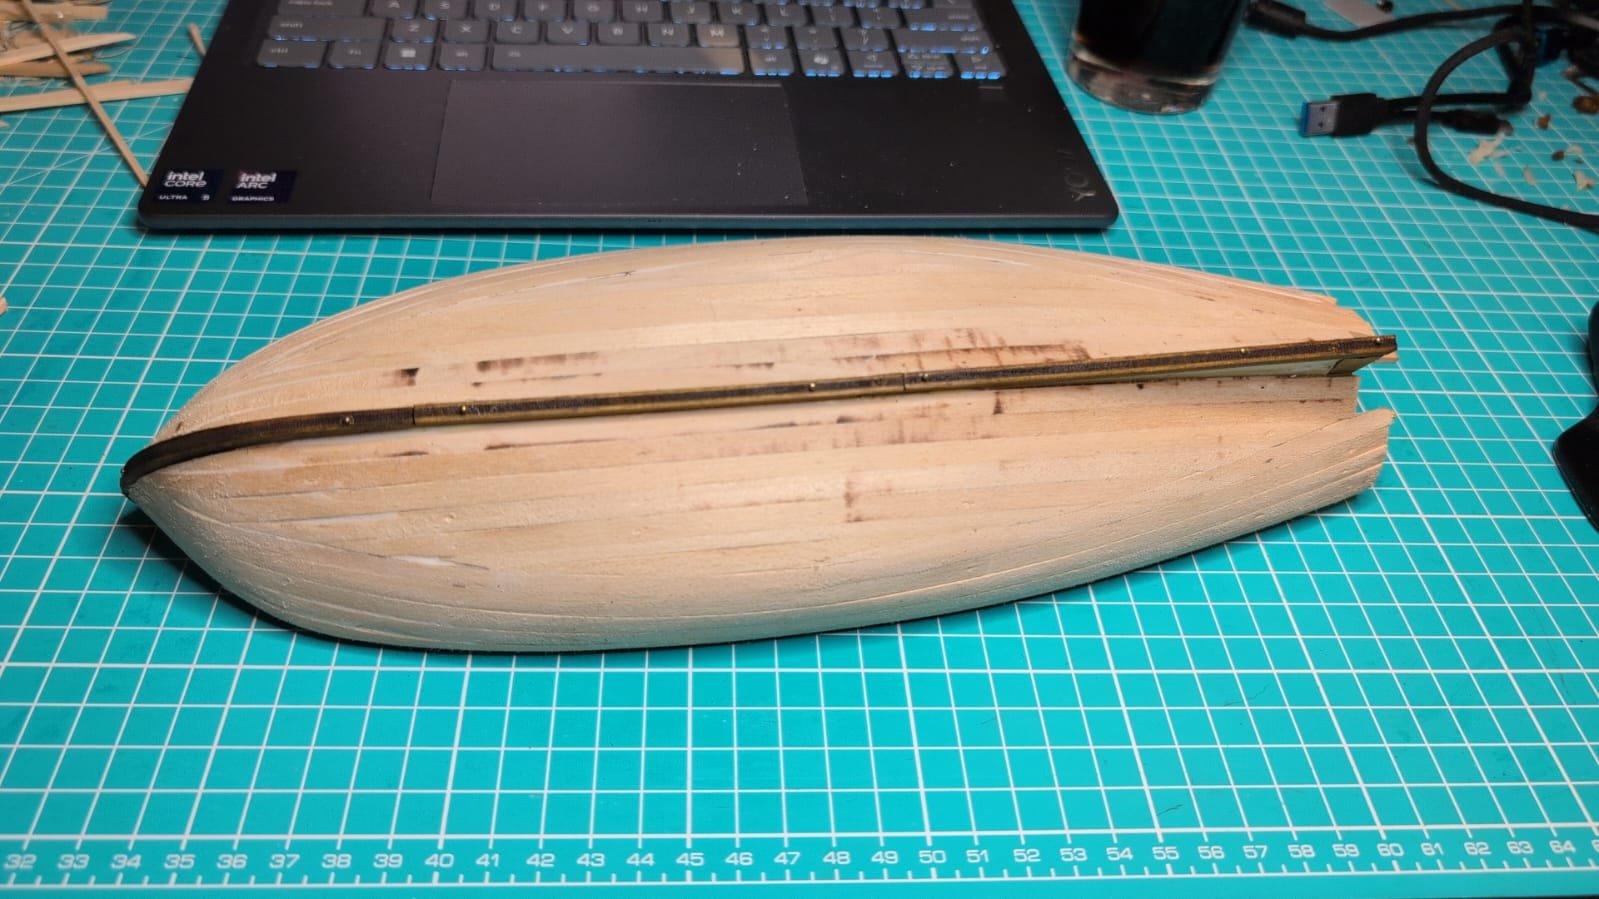
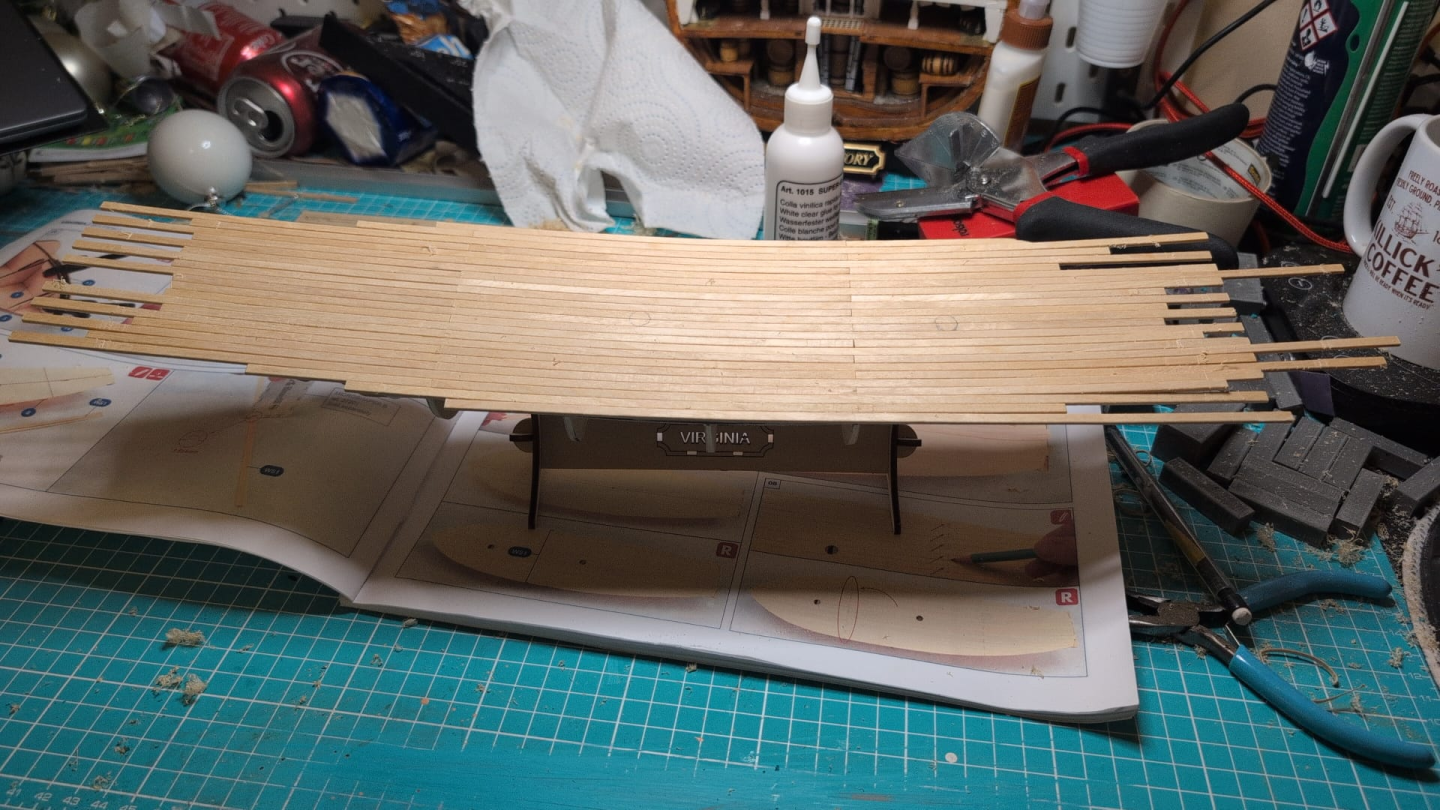
Day 2: I managed to shape and glue down the deck planking. No time to cut it to shape though, so for now it looks... interesting. I made sure to mark where the holes for the masts were on the subdeck sheet as I had a lot of difficulties with that on my HMS Victory cross-section when I lost the paper template for cutting out those holes.
-
ccoyle reacted to a post in a topic:
Virginia by Stormaple - Artesania Latina - 1:40
-
BLACK VIKING reacted to a post in a topic:
Virginia by Stormaple - Artesania Latina - 1:40
-
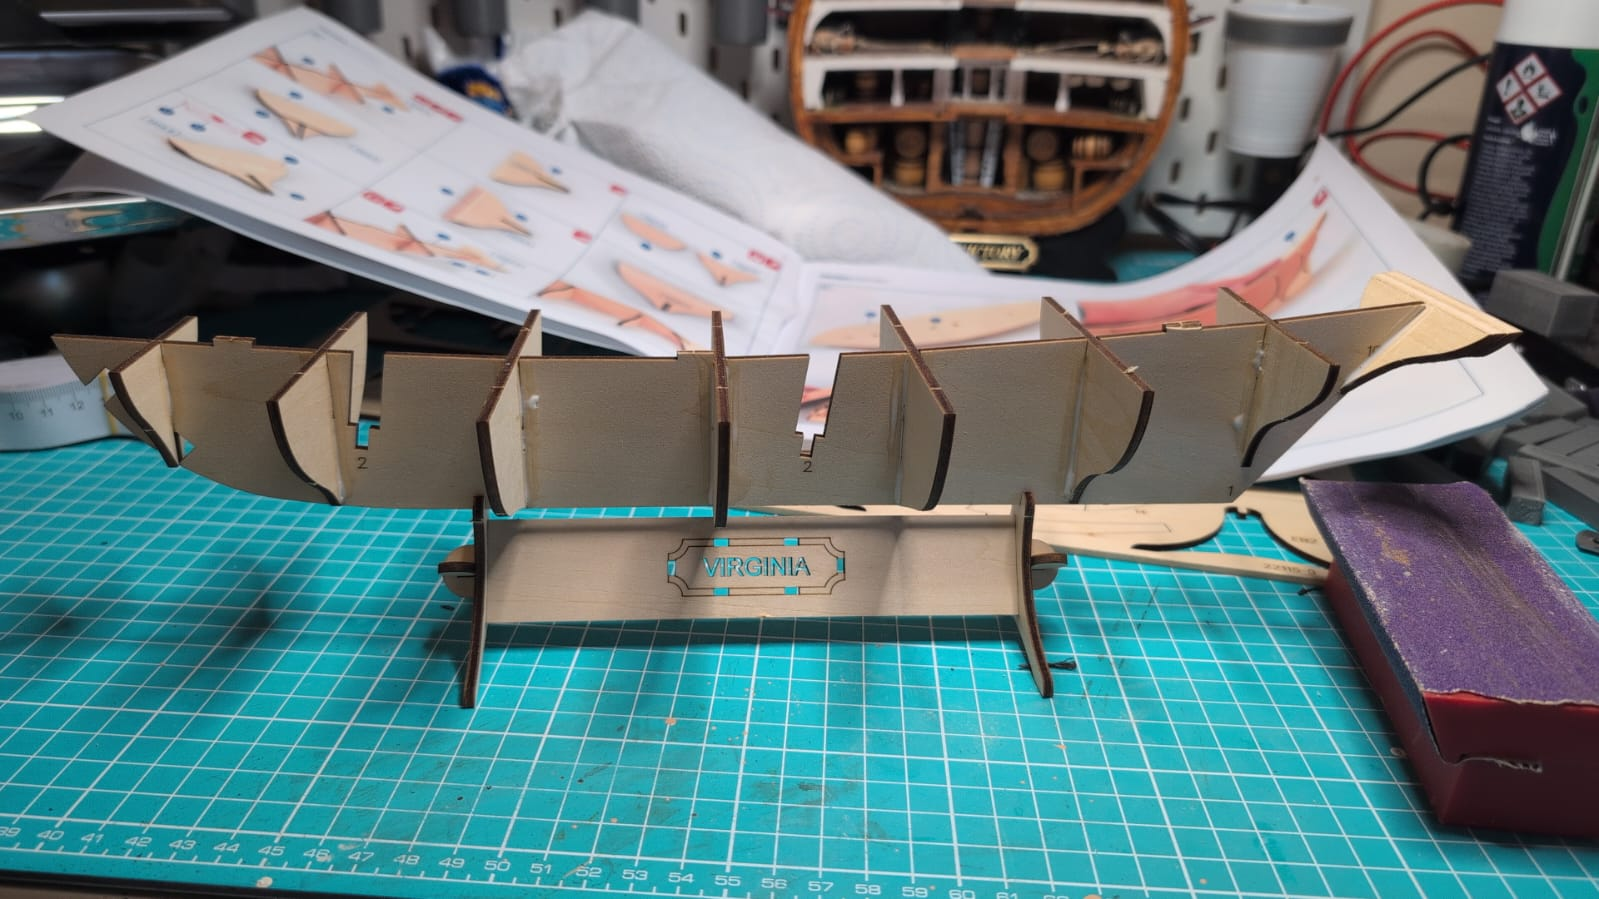
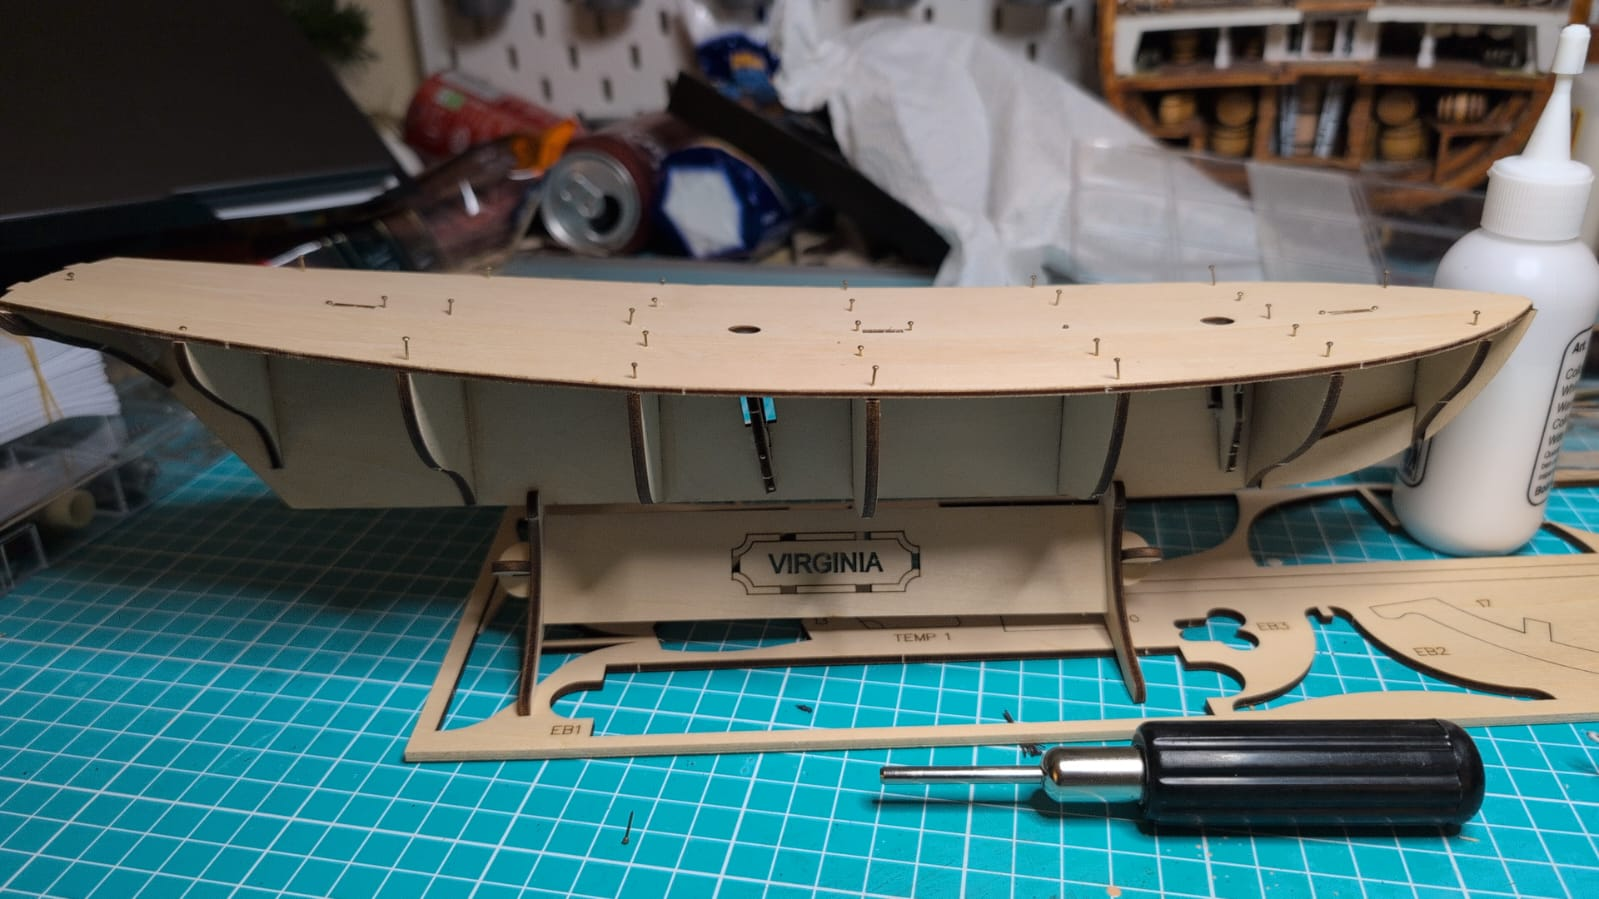
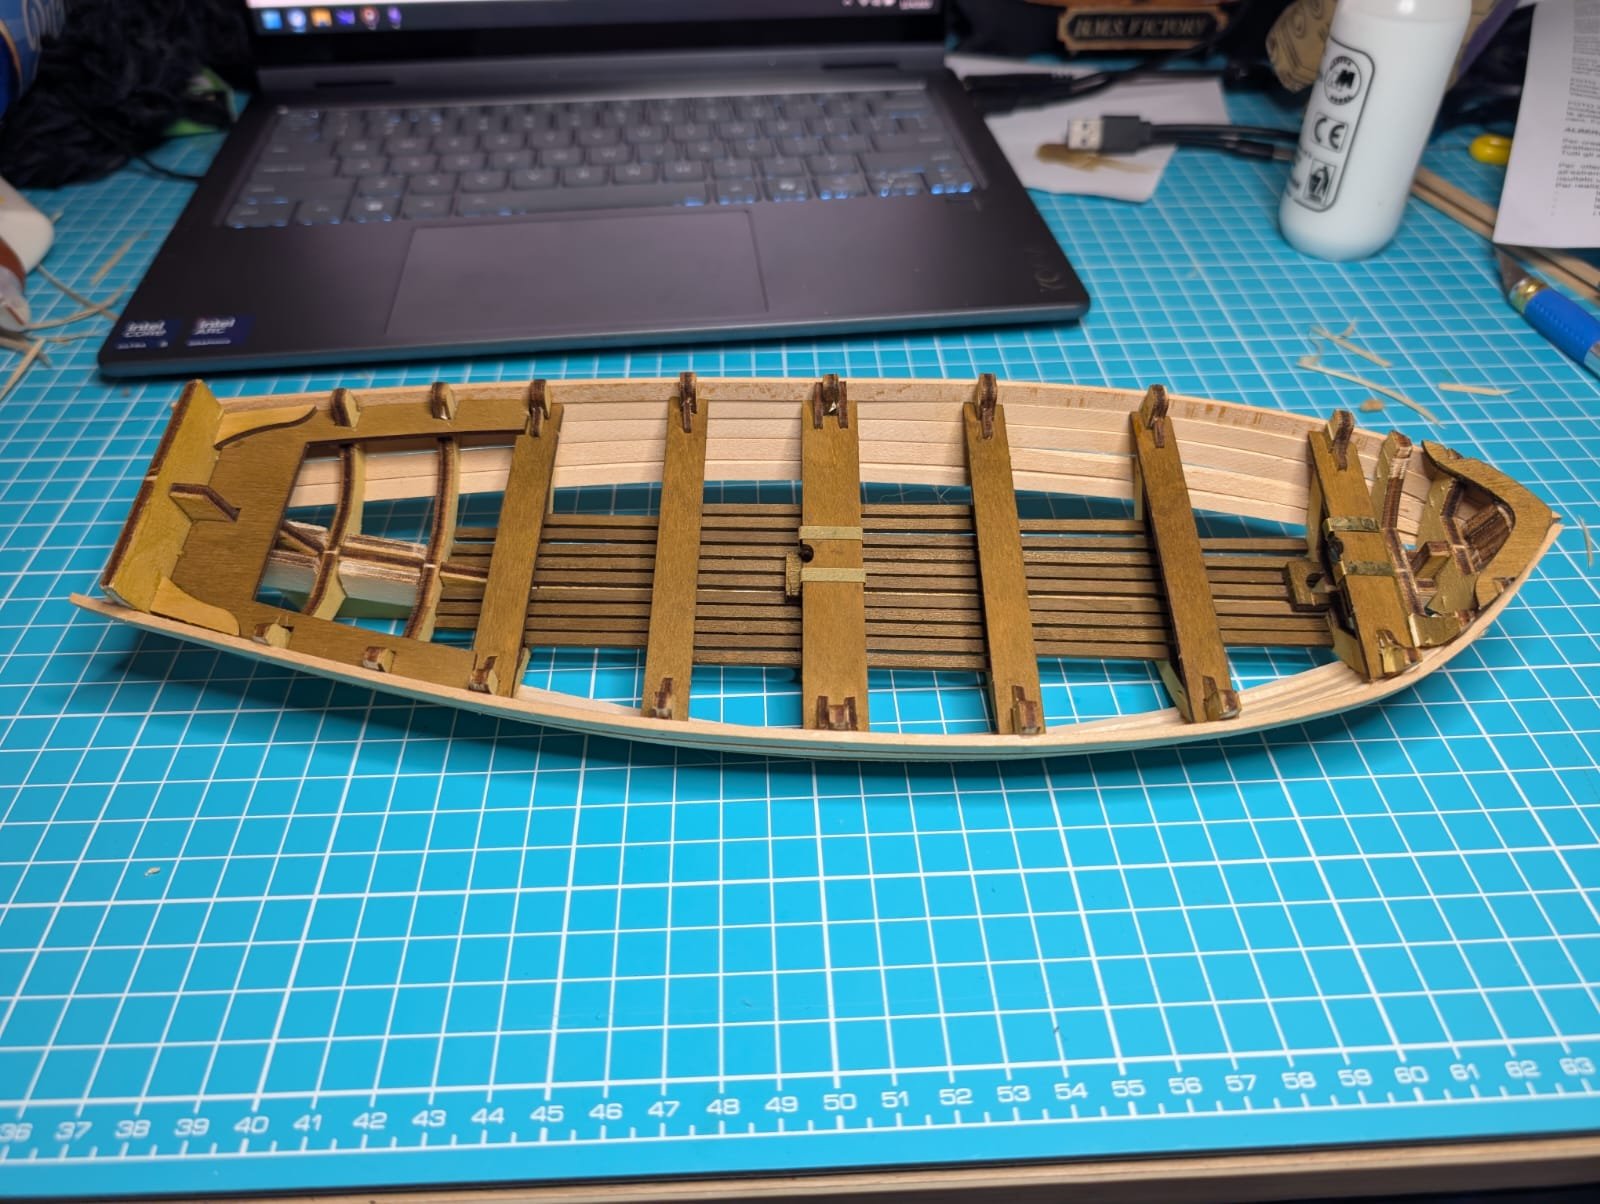
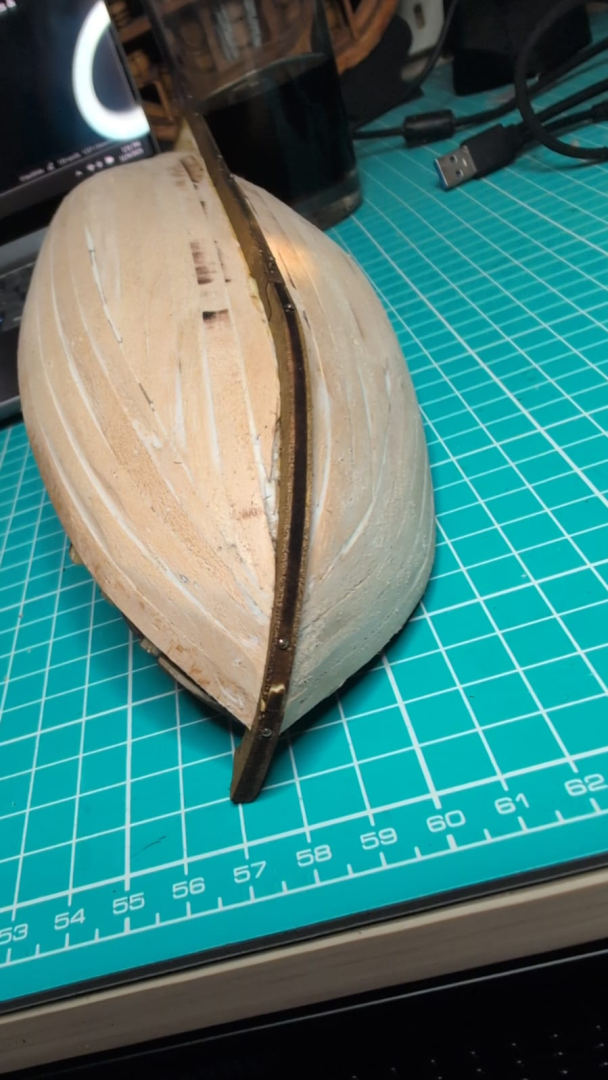
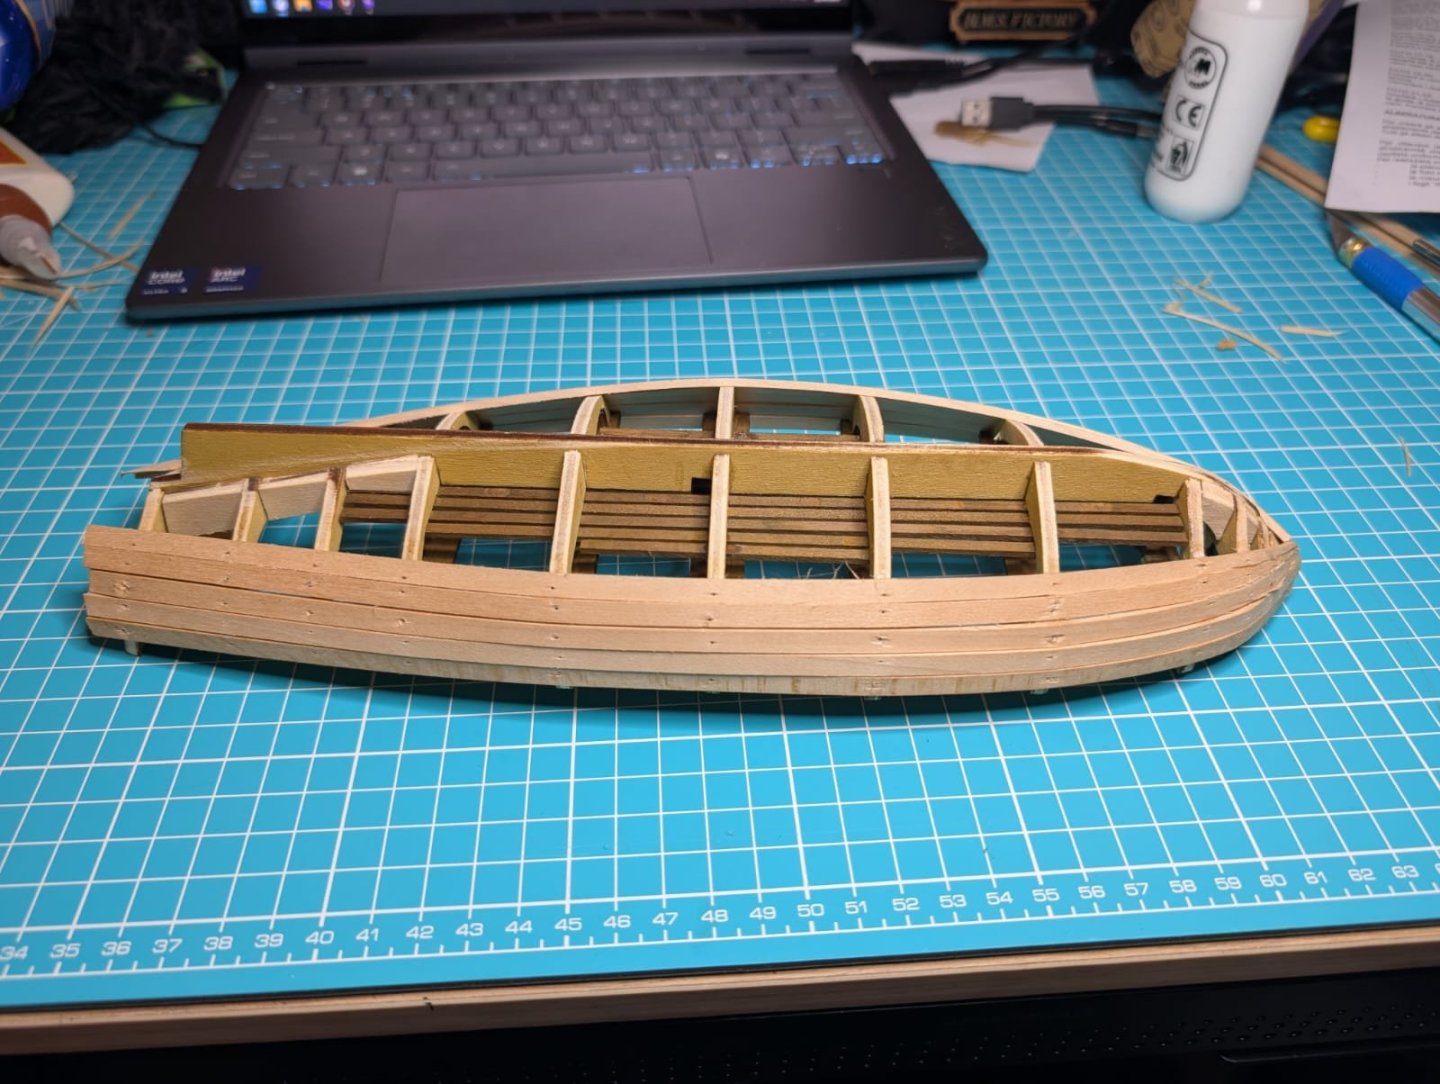
So while my Bounty boat's fittings arrive, I'm getting started on my next build - the Artesania Latina Virginia Schooner. My main goal with this (my second build) is to do the planking well - ideally the 'correct' way rather than the instructions' method. Fortunately, this model will also be painted so I can hide mistakes if when they occur. (I'll likely refer to this vessel as a ship throughout the log despite it obviously being a schooner) First step was the framing. I am fairly proud of my idea to 3D print some blocks that I could clamp to each bulkhead to make them be almost perfectly square. (You can see some in the background on the right of this picture. ... and the deck (subdeck) is attached I expect tomorrow we'll start planning out the planking.


- 6 replies
-
- 2
-
-
- Artesania Latina
- Virginia
- (and 1 more)
-
Geowolf reacted to a post in a topic:
Bounty Boat by Stormaple - OcCre - 1:24
-
Geowolf reacted to a post in a topic:
Bounty Boat by Stormaple - OcCre - 1:24
-
JacquesCousteau reacted to a post in a topic:
Bounty Boat by Stormaple - OcCre - 1:24
-
vvvjames reacted to a post in a topic:
Bounty Boat by Stormaple - OcCre - 1:24
-
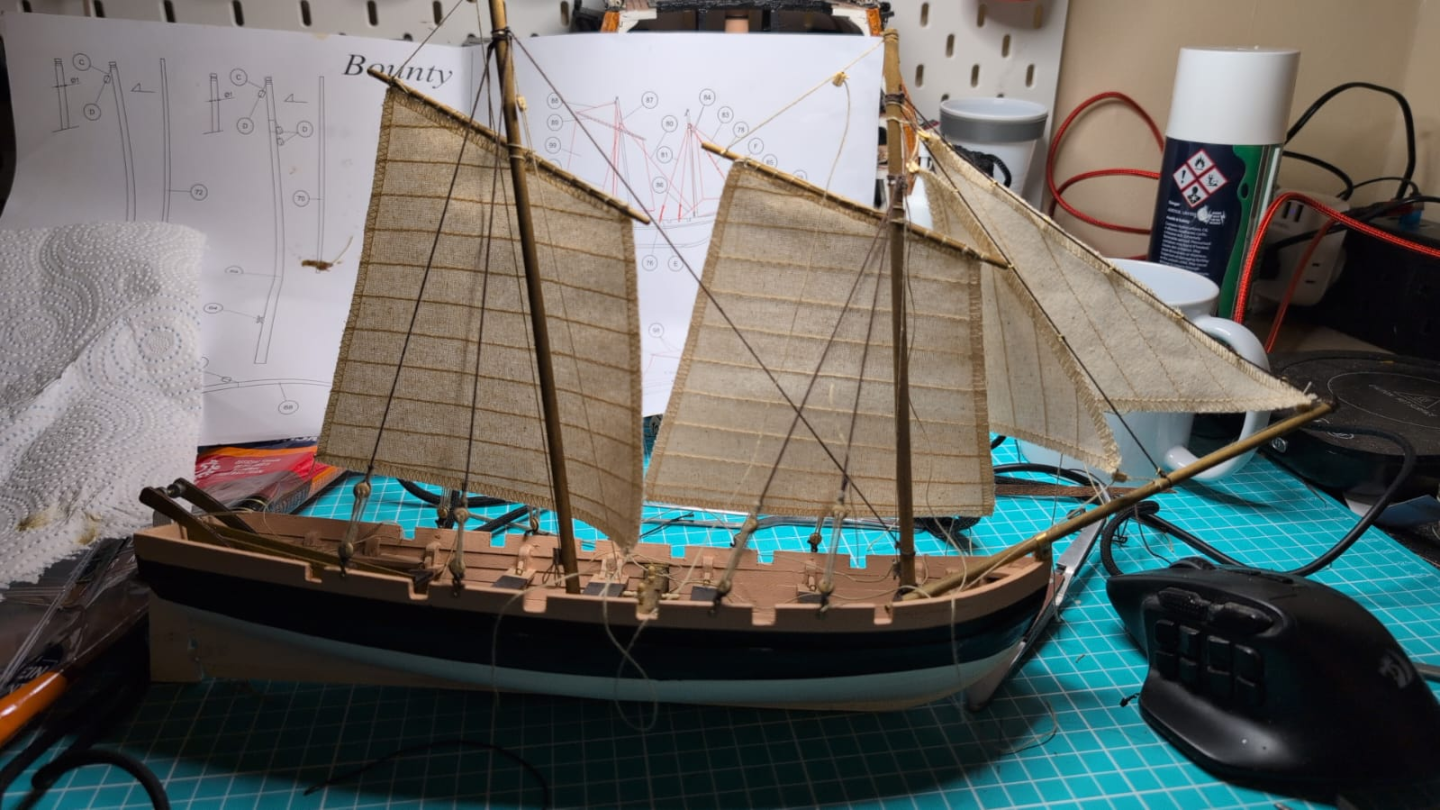
Ok so we're pretty much done for now. I need to order some more pulley blocks and cleats to finish up the rigging so this boat is being put aside while those arrive. Next up is Artesania Latina's Virginia Schooner. So the sails went on fairly well. The jibs seem to be a bit larger than the instructions think and I had to move both forestays' attachment up the foremast in order to get the sails to even fit. Here is a highlight of the halyard I added to the mainmast and I did the same on the fore. Overall, I think this boat turned out pretty well for my first full vessel model (pending some little touch-ups). Definitely learned some techniques that'll come in handy in the future. The schooner I'm building next is only single layer planking so the pressure is on to do it right based on what I learned here.

- 12 replies
-
- 2
-
-
- OcCre
- Bounty Boat
- (and 1 more)
-
AlfredoCampos reacted to a post in a topic:
Bounty Boat by Stormaple - OcCre - 1:24
-
vvvjames reacted to a post in a topic:
Bounty Boat by Stormaple - OcCre - 1:24
-
vvvjames reacted to a post in a topic:
Bounty Boat by Stormaple - OcCre - 1:24
-
I didn't see this in time, but thanks for the link! I ended up using a square lashing like that anyways and added a fictional halyard using a spare block from the kit. I may look into getting some more cleats to secure it to but for now it's tied off to some of the belaying pins. I'll post some pictures once I'm done with this mast.
- 12 replies
-
- 1
-
-
- OcCre
- Bounty Boat
- (and 1 more)
-
Oh well, its planked on mine now but painted anyways so likely not noticable
- 12 replies
-
- 2
-
-
- OcCre
- Bounty Boat
- (and 1 more)
-
Ah well, actually I did plank it but it must have been after I took the pictures.
- 12 replies
-
- 1
-
-
- OcCre
- Bounty Boat
- (and 1 more)
-
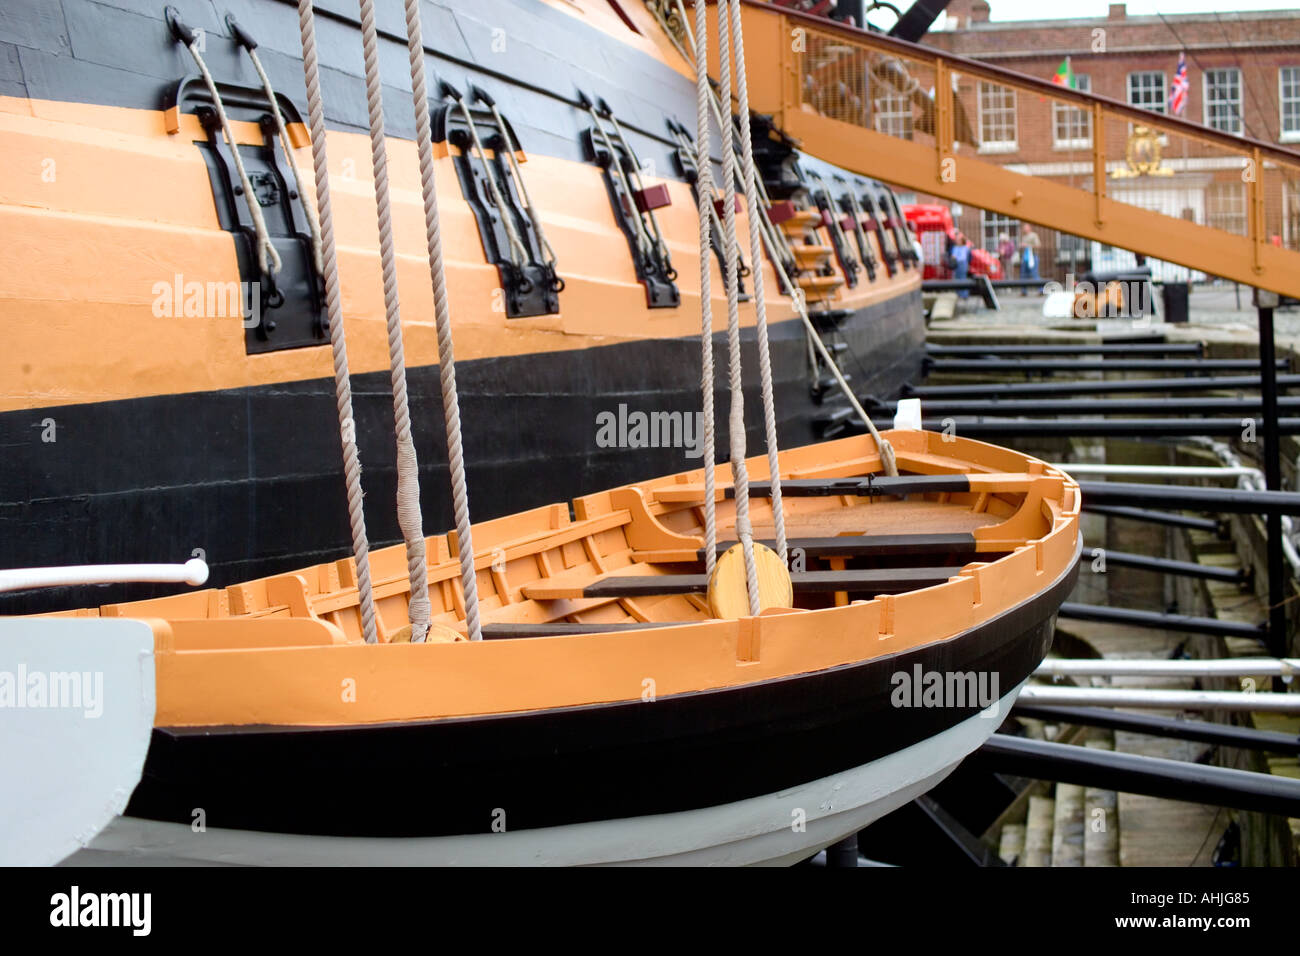
Ok so a large delay followed by a lot of progress. After banging my head around how to do the planking 'properly' for a long time, I decided to just do it well even if it's not the 'right' way and then once my Half Hull Planking Kit arrives, I'll practice with that. Before sanding the planking didn't look too bad: After sanding it looked much better. However, I had started with the intention of painting the boat historically. There's no records of the Bounty's boat colors so I went off of the HMS Victory's launch (though I used the 'new' corrected paint tone): I took some liberties as the wale was lower on mine than the Victory's but I think the paint turned out well. The tiller and masts went in ok as well (forgot to take pictures) but the issues began after this as the instructions were supremely unhelpful when it came to the masts and rigging; not dissimilar to this classic internet joke: My biggest grievance is that there is no indication of how the yards are actually attached to the masts - I assume they can't be nailed as then they then couldn't rotate to catch the wind or be raised/lowered but the rigging diagram shows no rope-based attachments and nowhere to attach the nonexistent halyard anyways. I am still working through that process but I am definitely going to have to step away from the instructions and do the best I can figure.

- 12 replies
-
- 3
-
-
- OcCre
- Bounty Boat
- (and 1 more)
-
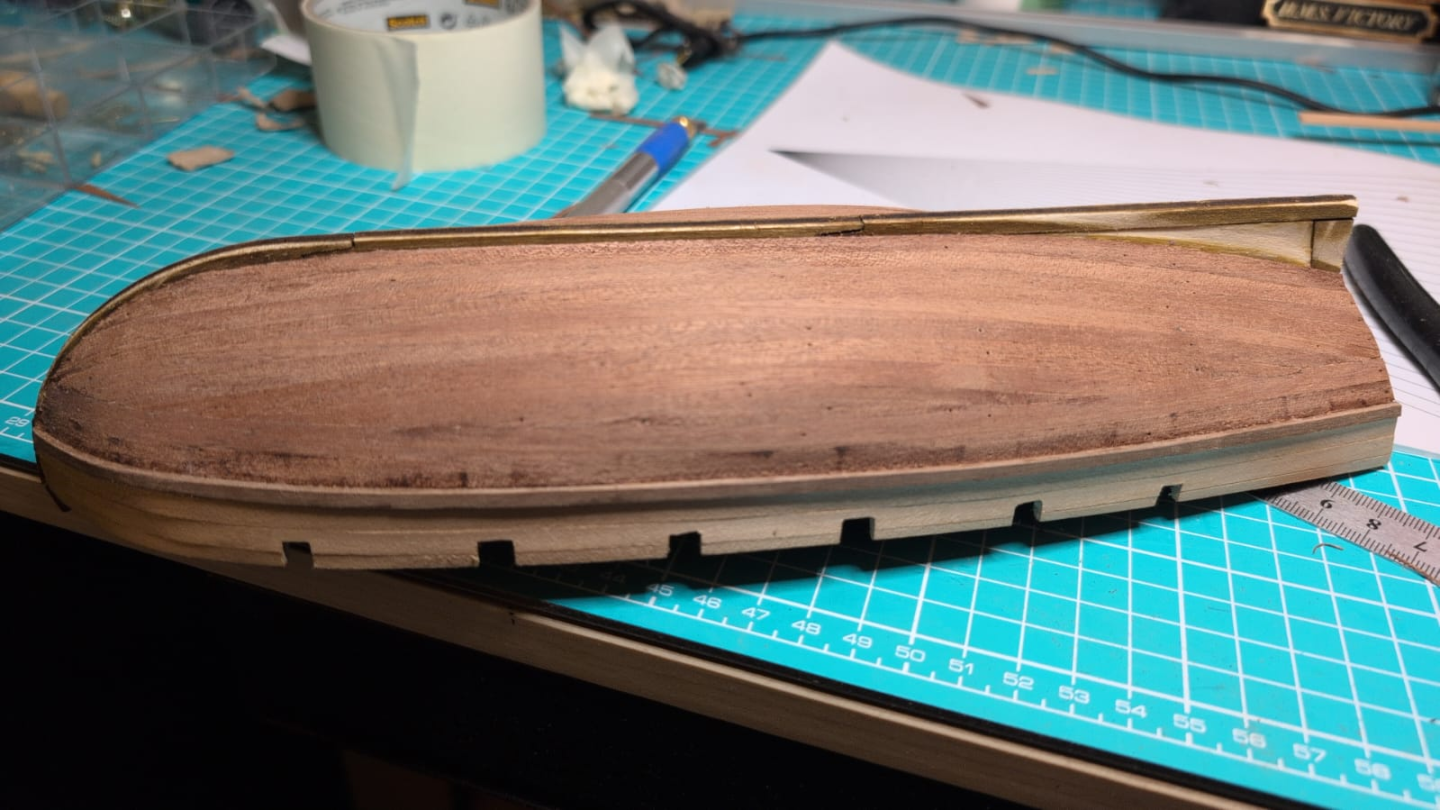
"Tomorrow" took a while to happen, but day 3 of the build saw me finish the planking, filling, and sanding. Despite not being as nice as it could be, it no longer causes internal pain by just looking at it. I've also watched and read enough guides on planking to know that the instructions that came with the kit are not ordered in the most optimal manner, so I've jumped ahead and installed the keel. Next step is to install the final upper plank (and cut in the oarlocks), then trim the excess from the planks at the stern and get started with the outer planking. I will be attempting to do that layer properly and fortunately I seem to have found a video build guide for this exact boat kit. P.S. I realize now that I have so much extra wood that starting over would have been viable. I'm shocked at how much extra wood comes with these kits - I almost have enough to start over even now after finishing the planking! However, I would rather have extra planks for a future project than mess up during the redo and not have enough to finish this model.

- 12 replies
-
- 2
-
-
- OcCre
- Bounty Boat
- (and 1 more)
-
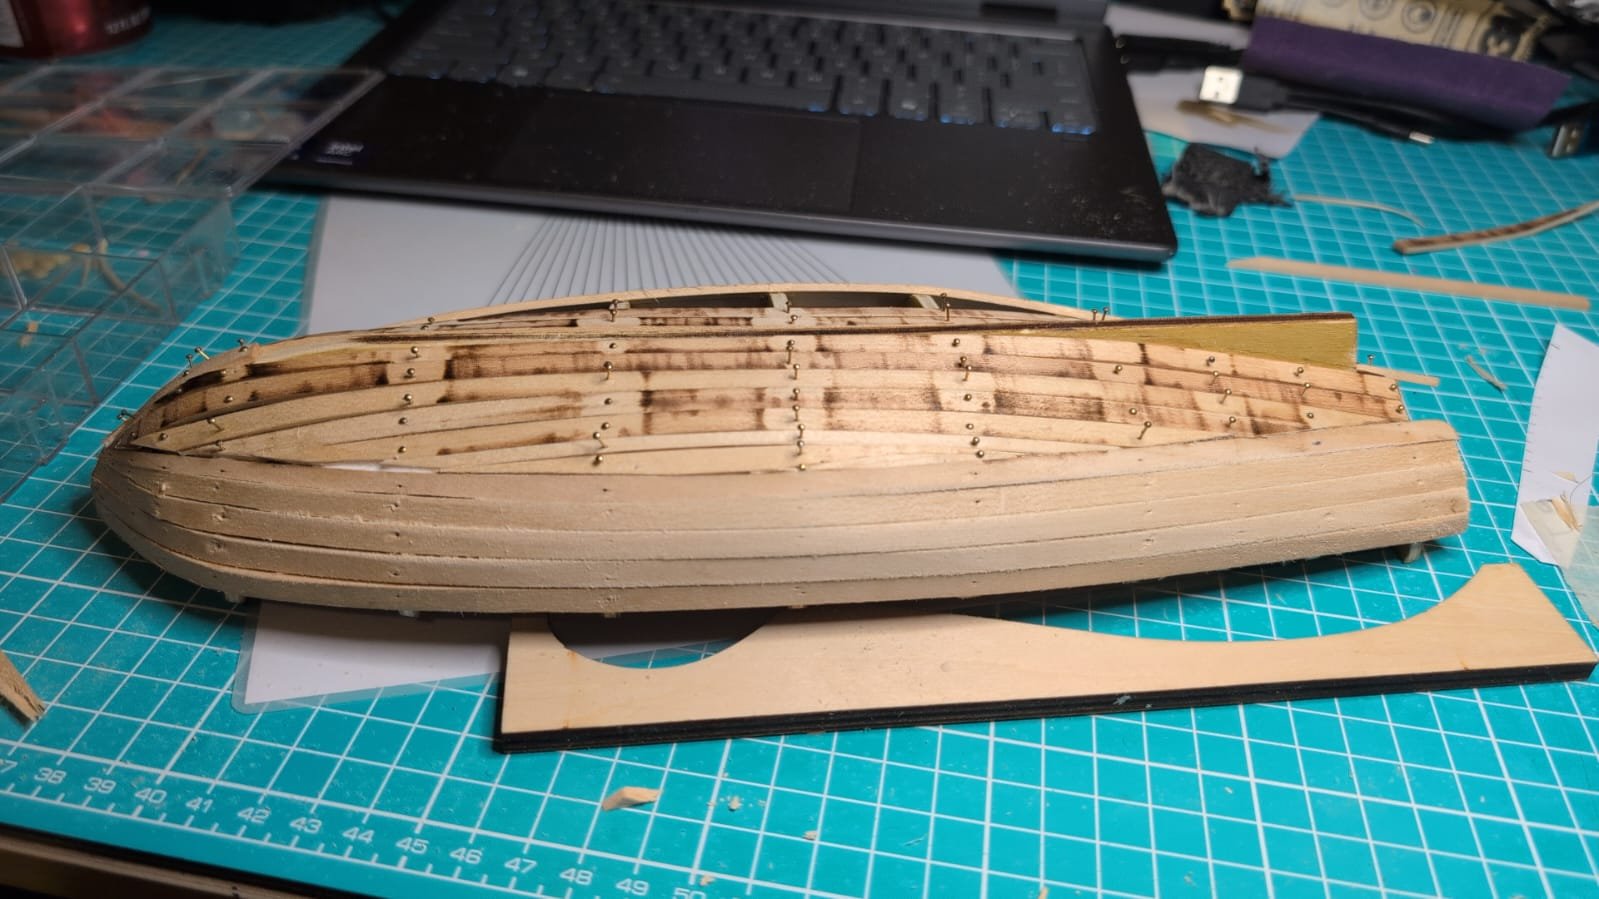
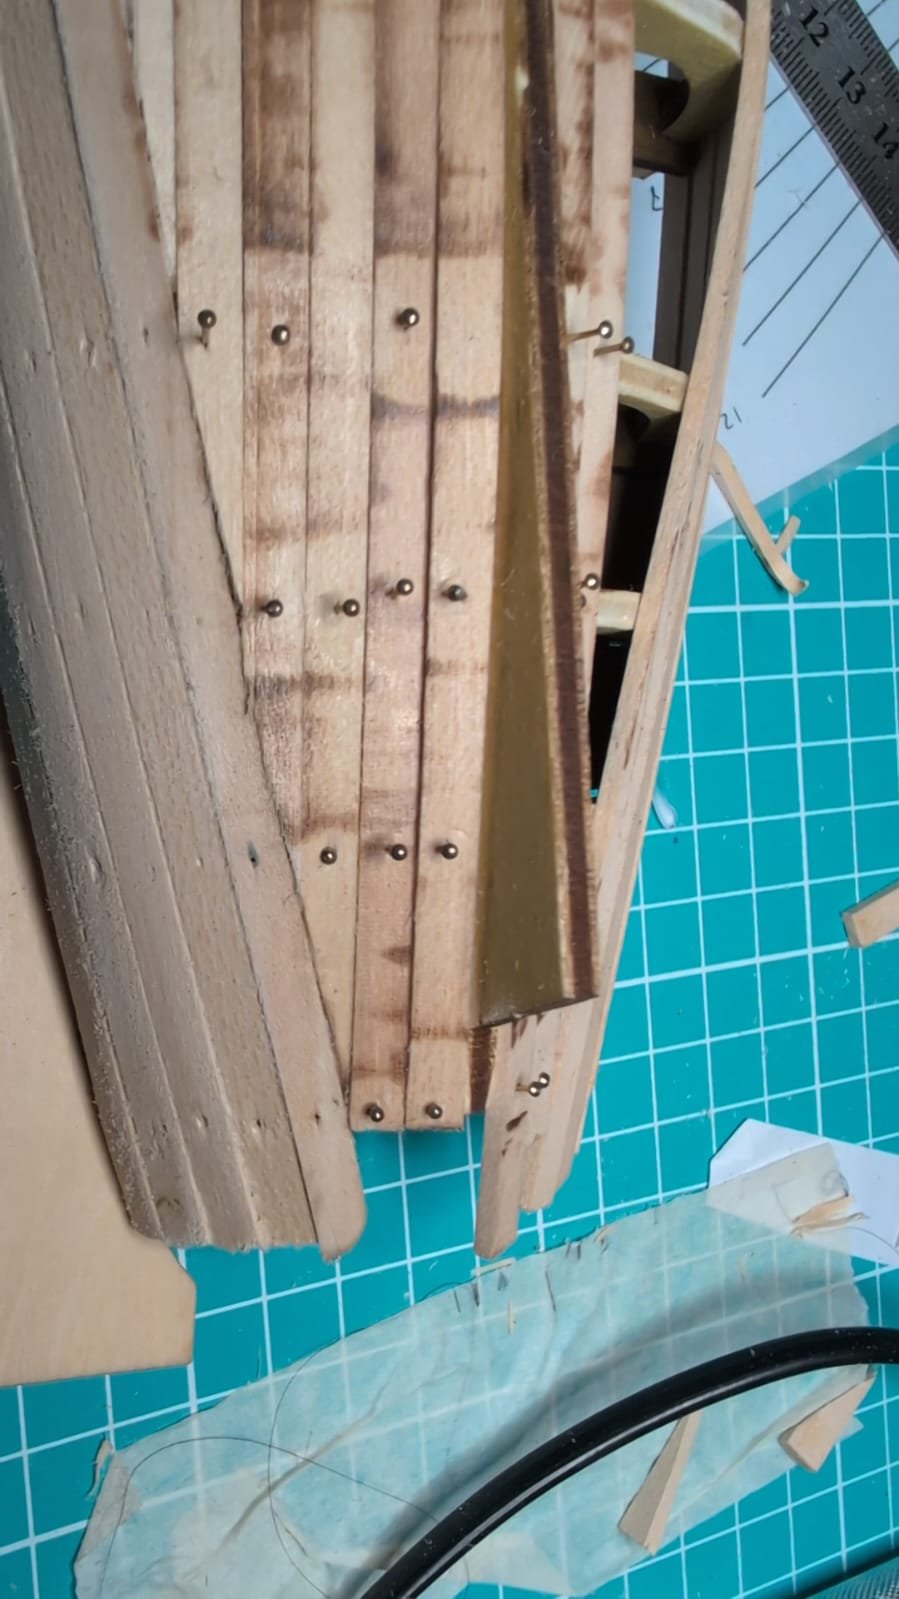
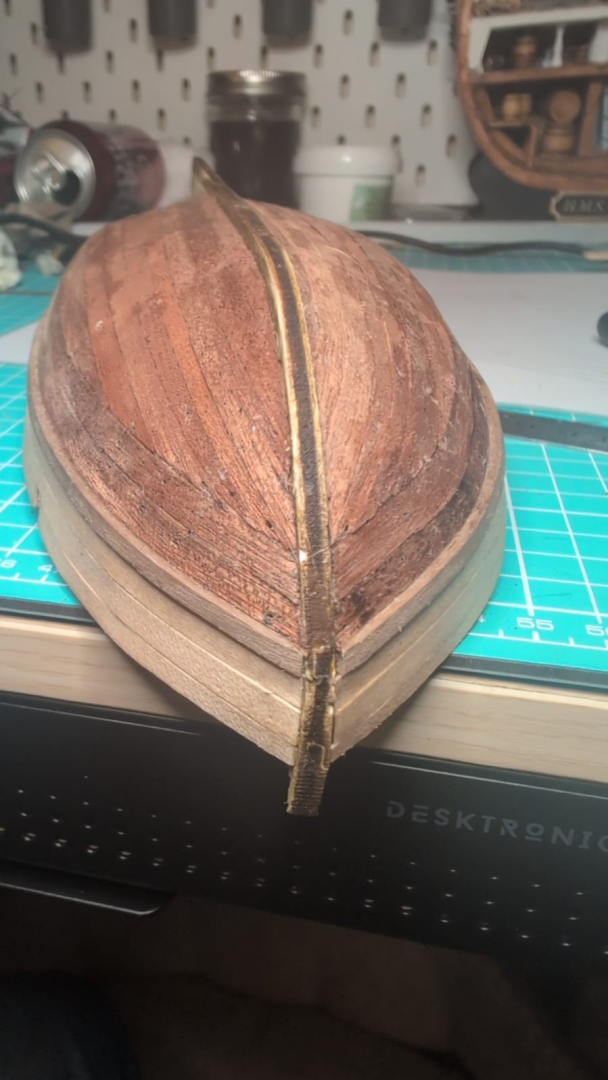
End of day 2: I've decided not to start over as I'm not confident I'll have enough wood. The hull will be covered by the nice planking after filling and sanding so the only evidence will be some imperfectly aligned planks on the inside. Today I finished putting in the inner planking for the starboard side of the hull. The stern is coming together fairly well but the bow makes me want to gouge my eyes out every time I see it. Tomorrow, I plan to have the inner planking done and maybe even filled and sanded.


- 12 replies
-
- 3
-
-
- OcCre
- Bounty Boat
- (and 1 more)
-
Starting a build log of my first real boat model - I have completed the Artesania Latina HMS Victory cross section, but that doesn't require planking or rigging like model ships tend to. I started building this new model by just going off the instructions and after the first day, I had built the framing and the first 5 planks on either side. However, today I realized that I needed to look into proper techniques in order to do it well - I had glued and tacked the planks on wet from shaping and they shrank overnight, leaving unsightly gaps. Fortunately, this model is double layered so the gaps will not be visible. Today, I've been reading guides and will be trying to determine if I have enough planks to start over properly or if I just need to make the best of what I have already.

- 12 replies
-
- 4
-
-
- OcCre
- Bounty Boat
- (and 1 more)
-
Stormaple changed their profile photo
-
Hey y'all, decided to join after reading a bunch of useful posts as I bungled through my first model. Don't have a lot of experience with modeling, having only built a few plastic models in the past. However, wood models feel much better to build so far and I'm excited to continue developing skills.
- 12 replies
-
- 14
-