HOLIDAY DONATION DRIVE - SUPPORT MSW - DO YOUR PART TO KEEP THIS GREAT FORUM GOING! (89 donations so far out of 49,000 members - C'mon guys!)
×


whitesoup12
-
Posts
9 -
Joined
-
Last visited
-
 Stan Stocker reacted to a post in a topic:
Norwegian Sailing Pram by whitesoup12 - Model Shipways - 1:12
Stan Stocker reacted to a post in a topic:
Norwegian Sailing Pram by whitesoup12 - Model Shipways - 1:12
-
whitesoup12 reacted to a post in a topic:
Norwegian Sailing Pram by whitesoup12 - Model Shipways - 1:12
-
whitesoup12 reacted to a post in a topic:
Norwegian Sailing Pram by whitesoup12 - Model Shipways - 1:12
-
ccoyle reacted to a post in a topic:
Norwegian Sailing Pram by whitesoup12 - Model Shipways - 1:12
-
MBerg reacted to a post in a topic:
Norwegian Sailing Pram by whitesoup12 - Model Shipways - 1:12
-
king derelict reacted to a post in a topic:
Norwegian Sailing Pram by whitesoup12 - Model Shipways - 1:12
-
druxey reacted to a post in a topic:
Norwegian Sailing Pram by whitesoup12 - Model Shipways - 1:12
-
JacquesCousteau reacted to a post in a topic:
Norwegian Sailing Pram by whitesoup12 - Model Shipways - 1:12
-
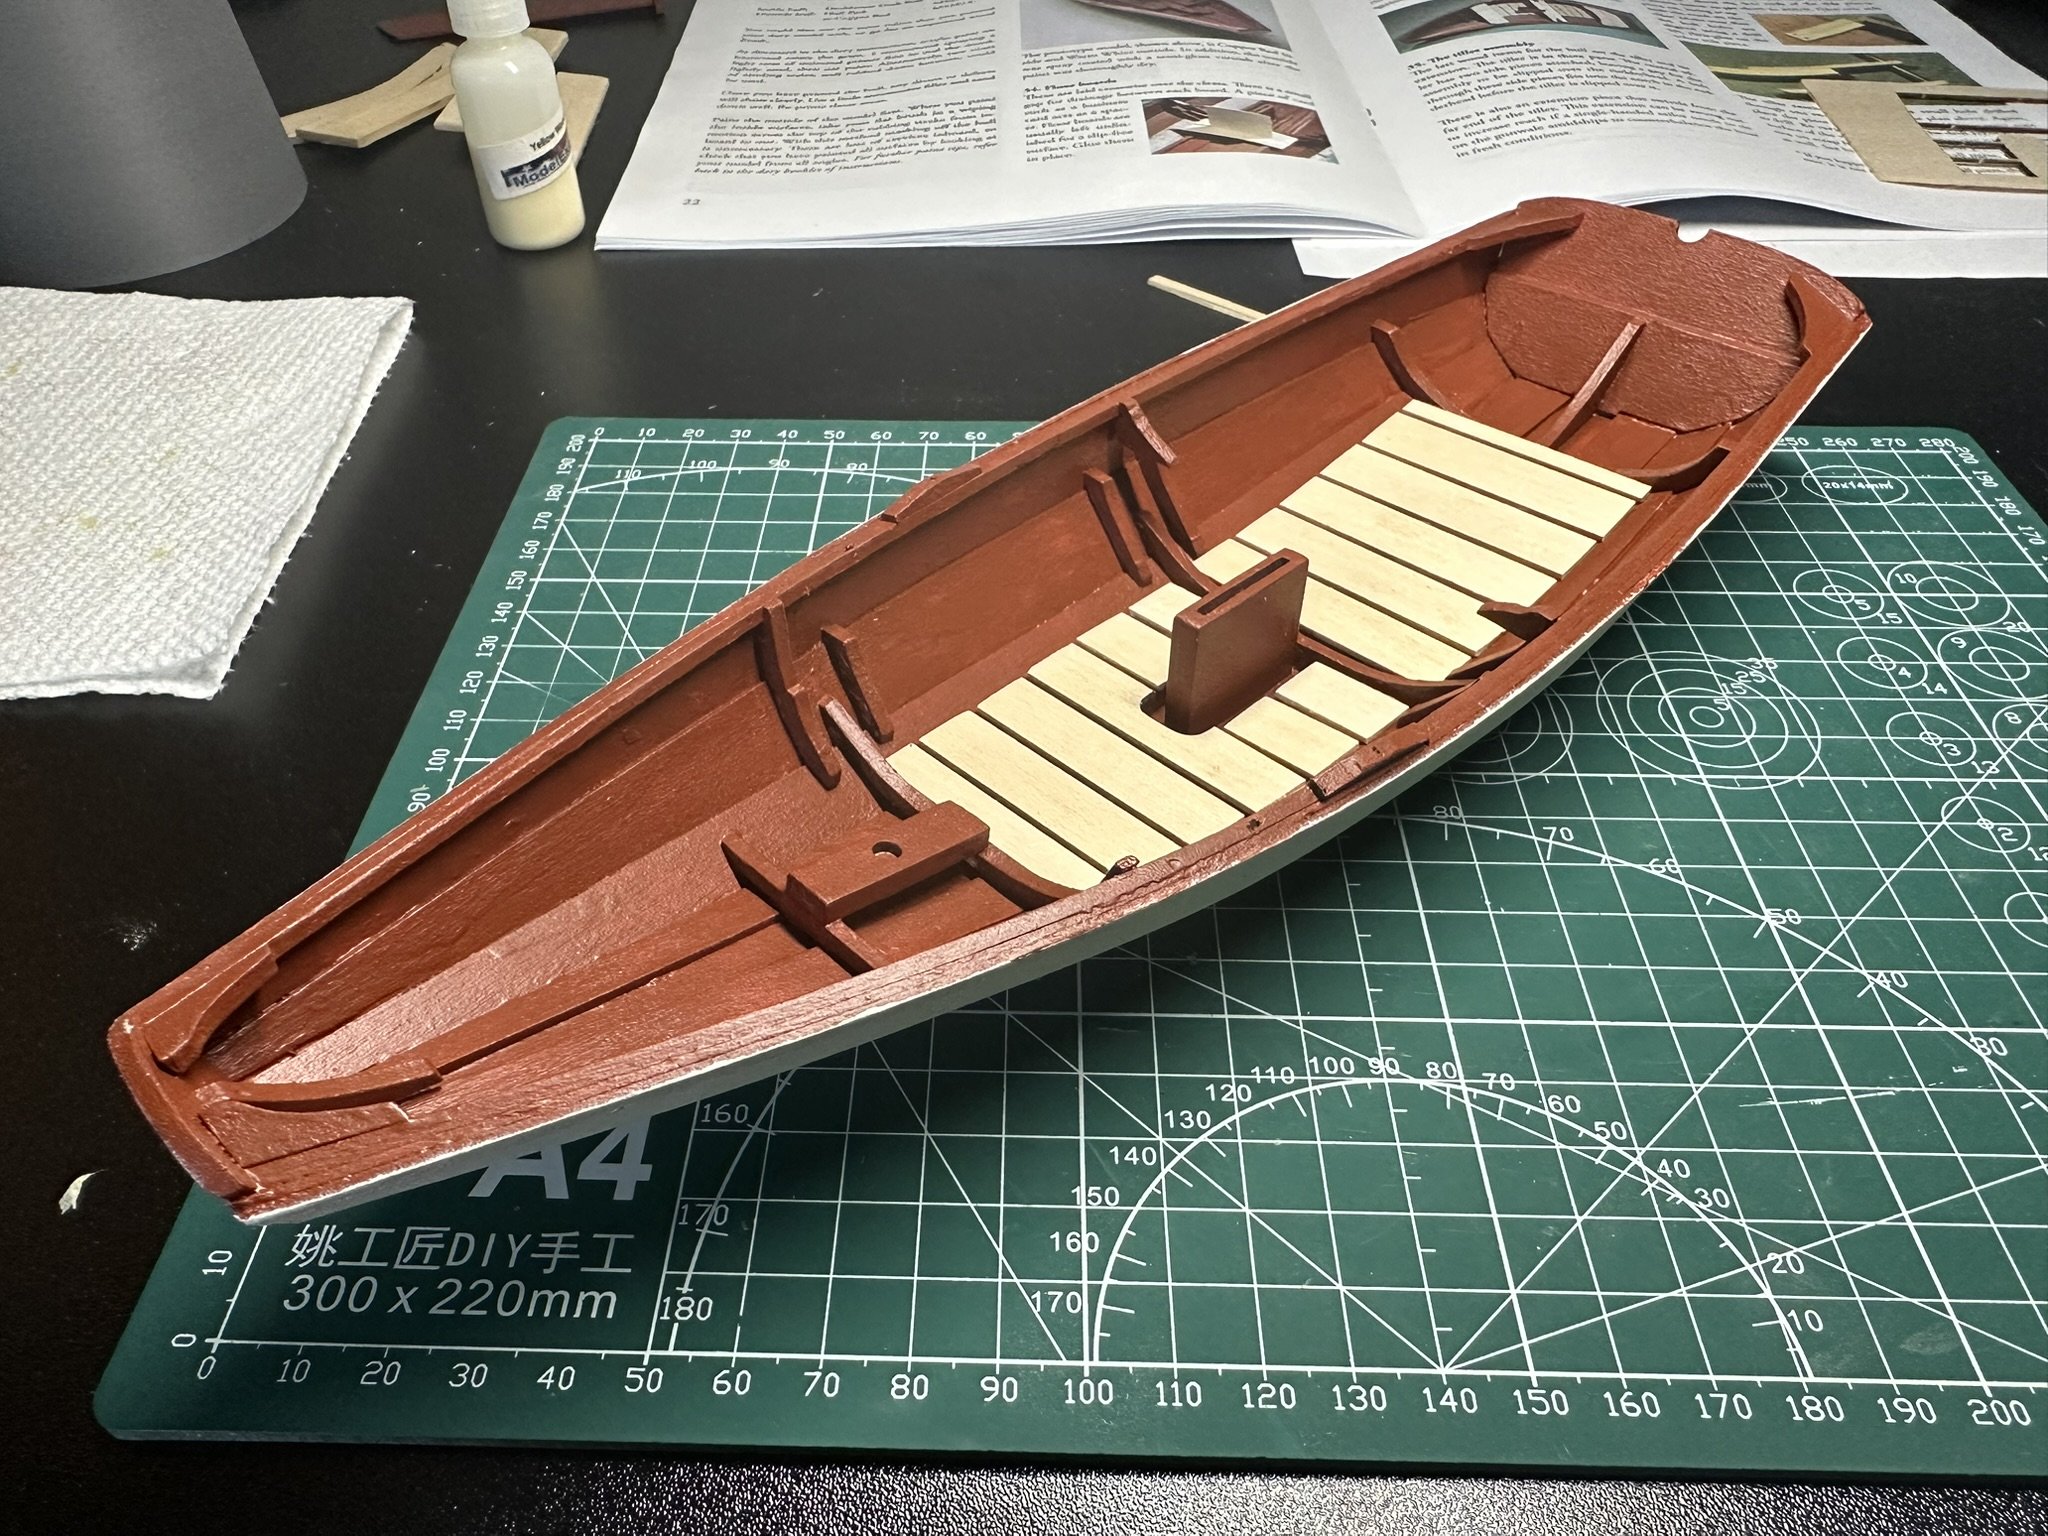
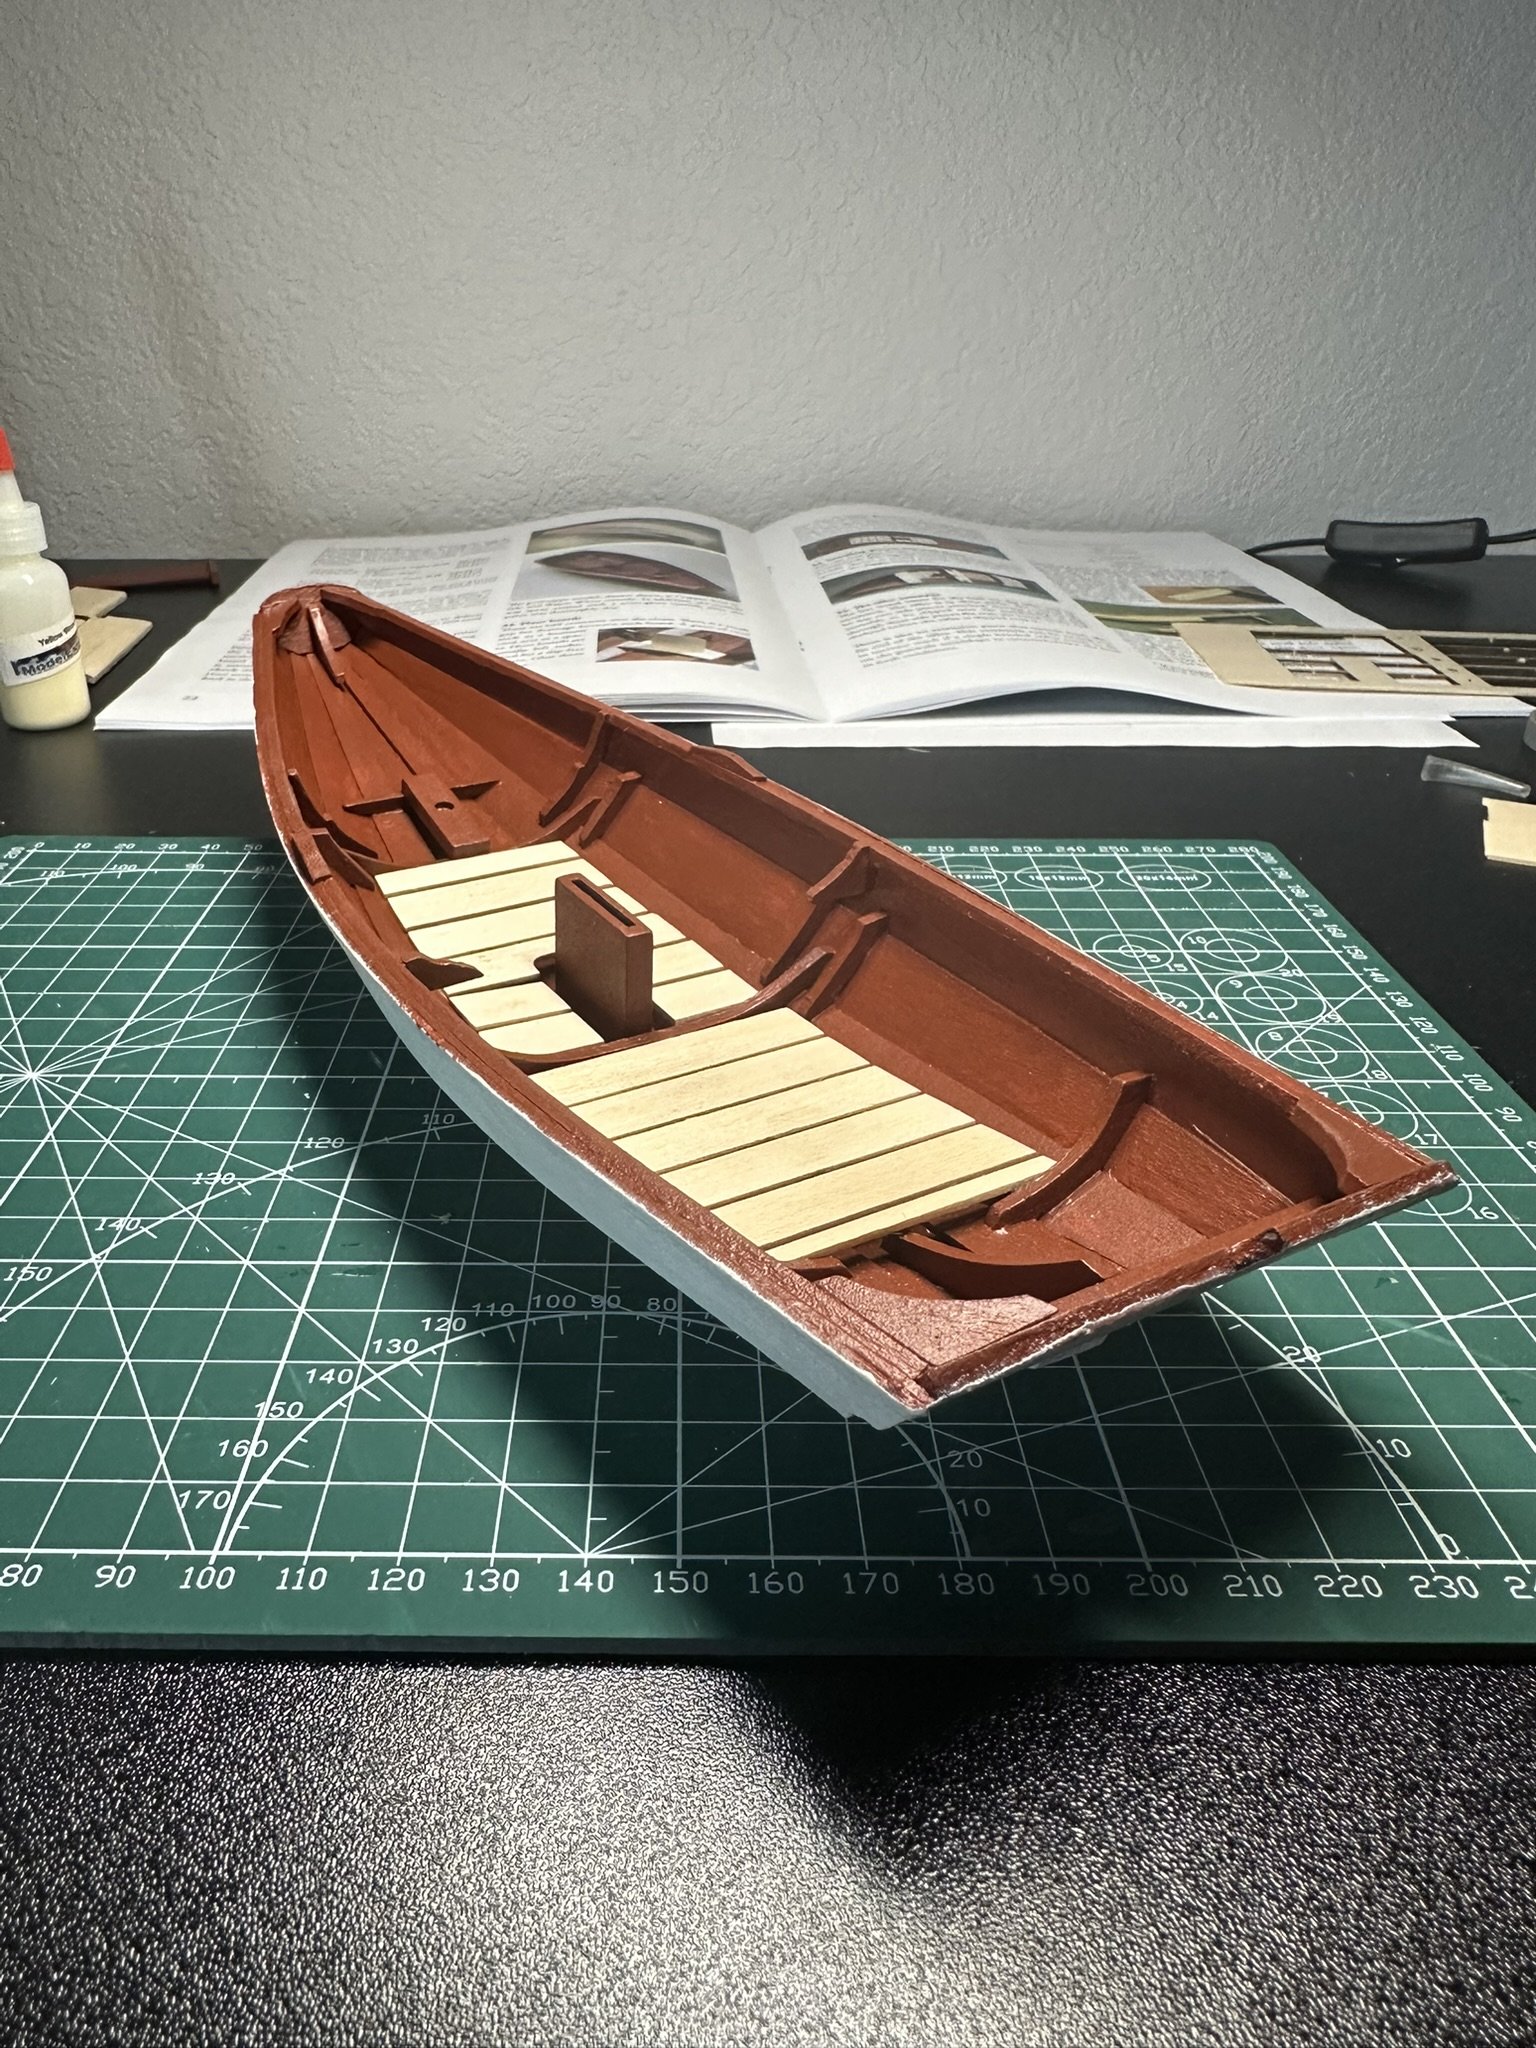
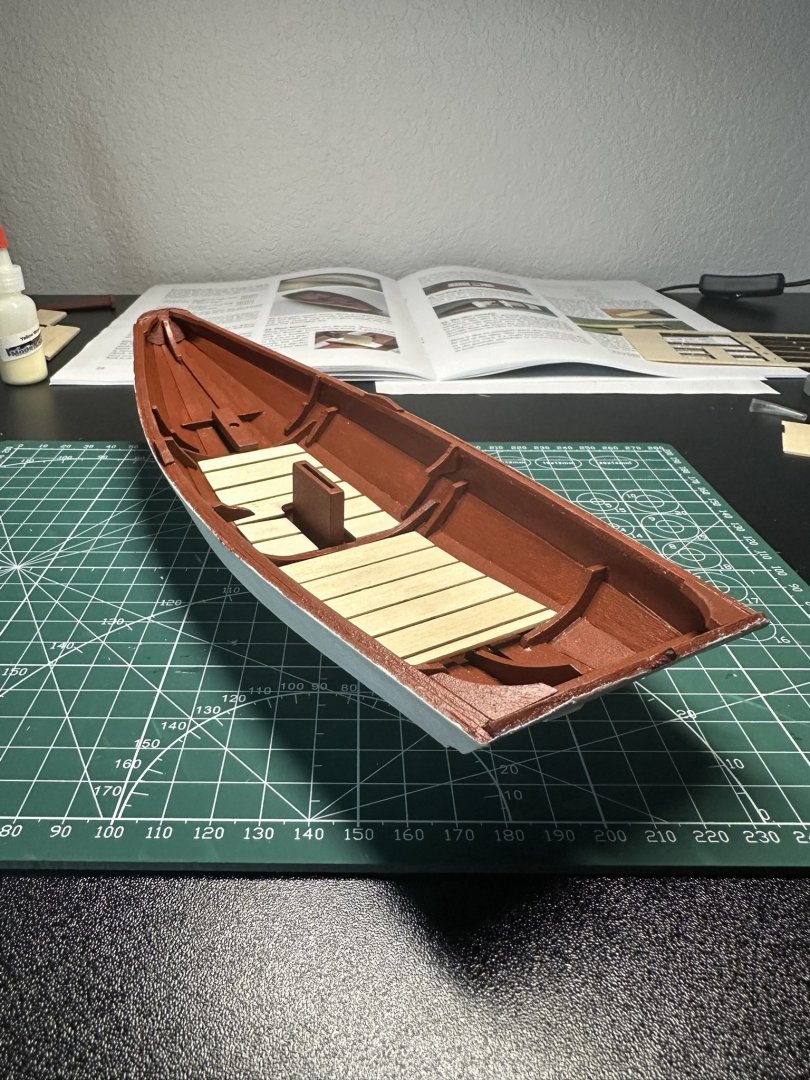
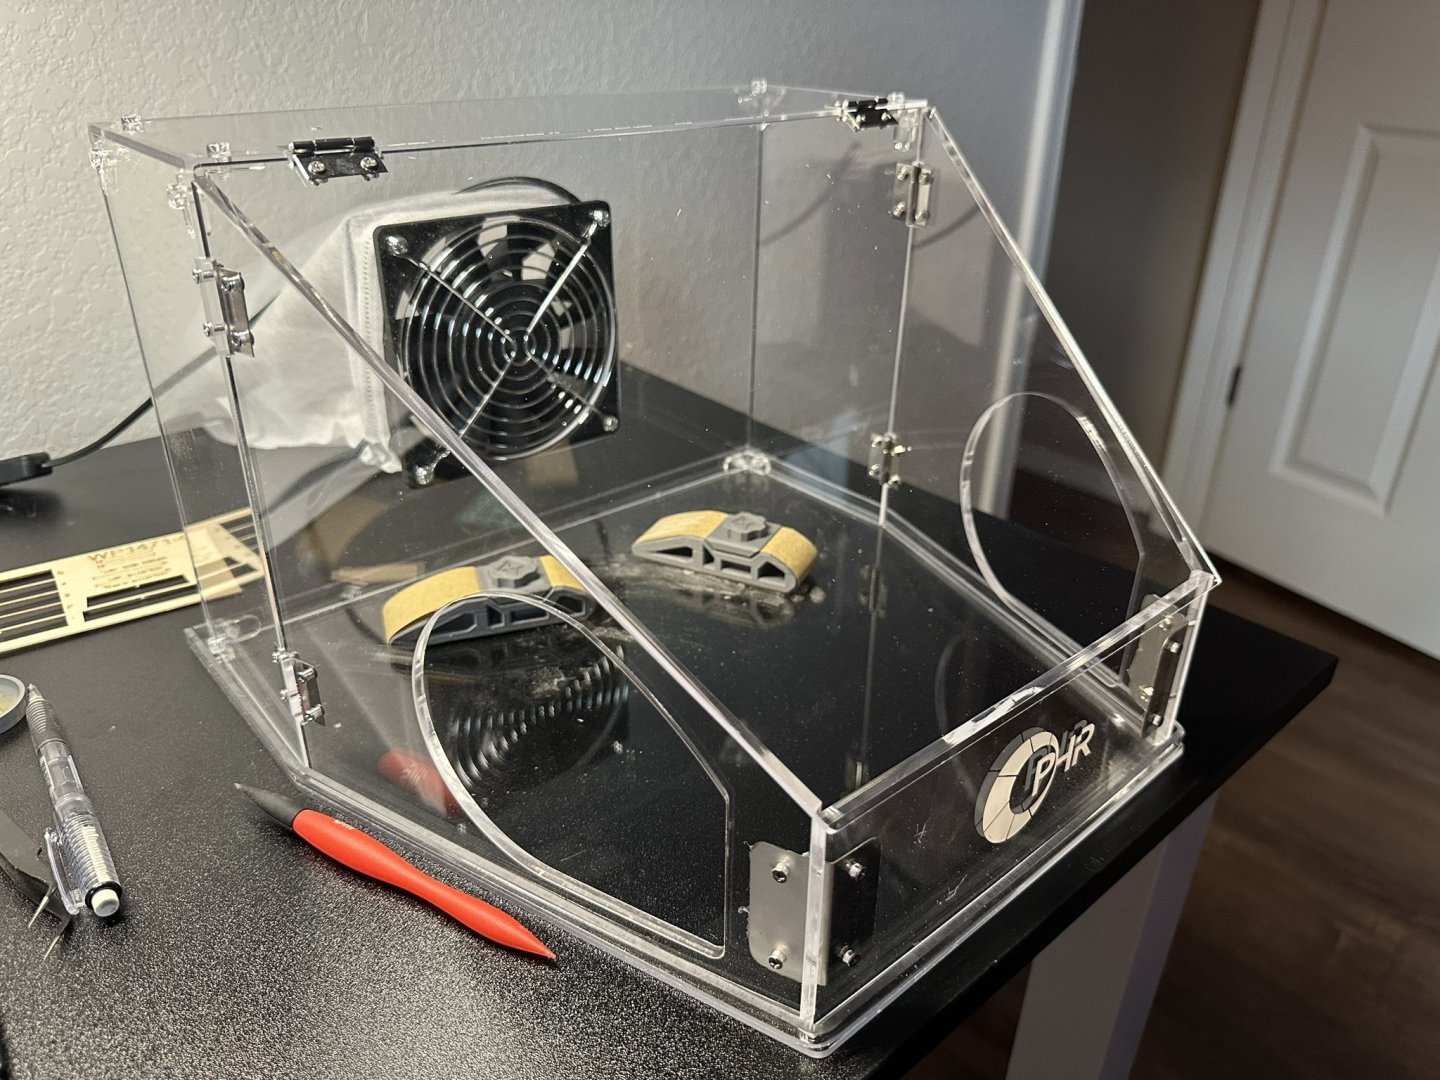
It's been a while, but I'm back at it! Ended up repainting and remodeling my office, so I wasn't able to work on the pram much until recently. But I just finished painting the hull and getting the floor boards in place. Also, one thing I didn't want to deal with when moving back into my fresh office space, was saw dust. It gets everywhere! So I decided to try out this box thing that has a fan ($60 on Amazon), and I'm surprised to say it works really well! So if you're looking to cut down on dust in your work area, you might consider something like this.

-
MBerg reacted to a post in a topic:
Norwegian Sailing Pram by whitesoup12 - Model Shipways - 1:12
-
Scott Crouse reacted to a post in a topic:
Norwegian Sailing Pram by whitesoup12 - Model Shipways - 1:12
-
king derelict reacted to a post in a topic:
Norwegian Sailing Pram by whitesoup12 - Model Shipways - 1:12
-
yvesvidal reacted to a post in a topic:
Norwegian Sailing Pram by whitesoup12 - Model Shipways - 1:12
-
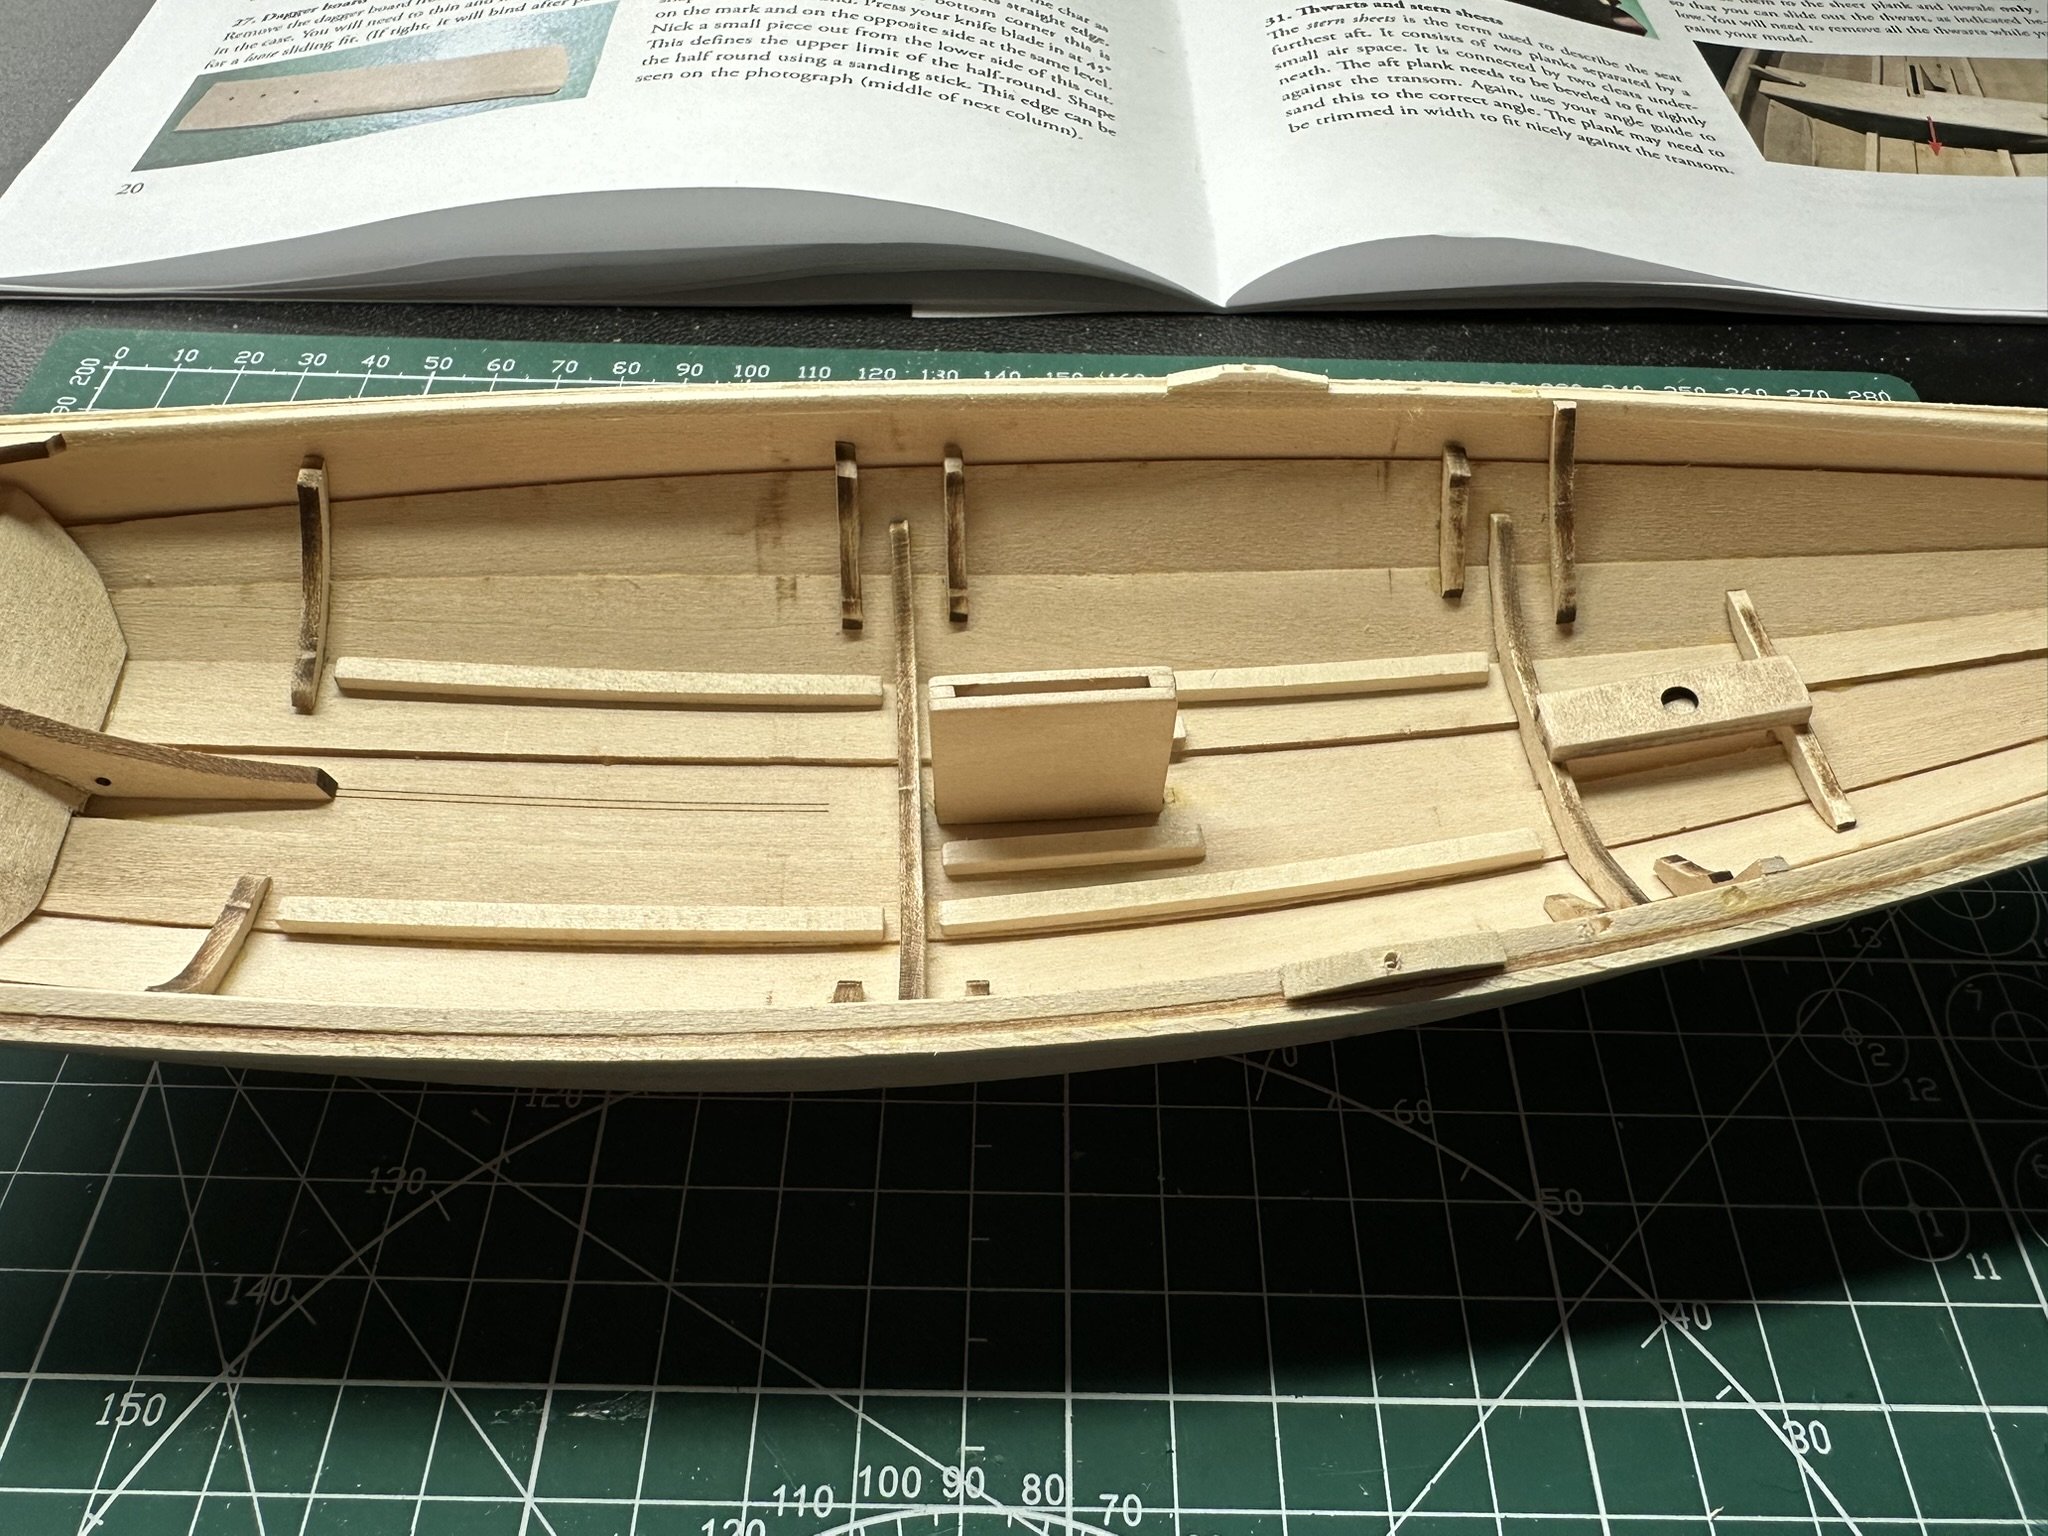
More progress! Added the floorboard cleats, mast step, rudder gudgeon pad, rowlock pads, and rub rails. So far everything is still looking good, aside from the chain plate slots I put in the wrong place. Lesson learned, always make sure you're using the imperial side of the ruler when measuring in inches. The metric side will not work! lol But a little glue in the holes fixed it right up and shouldn't be noticeable after painting. Also, I know the cleats alongside the dagger board case are a little short, but it's because I thought I only had one 3/16" X 1/8" wood strip. After discovering there was more than one, I considered redoing it, but then decided it would probably be fine.

-
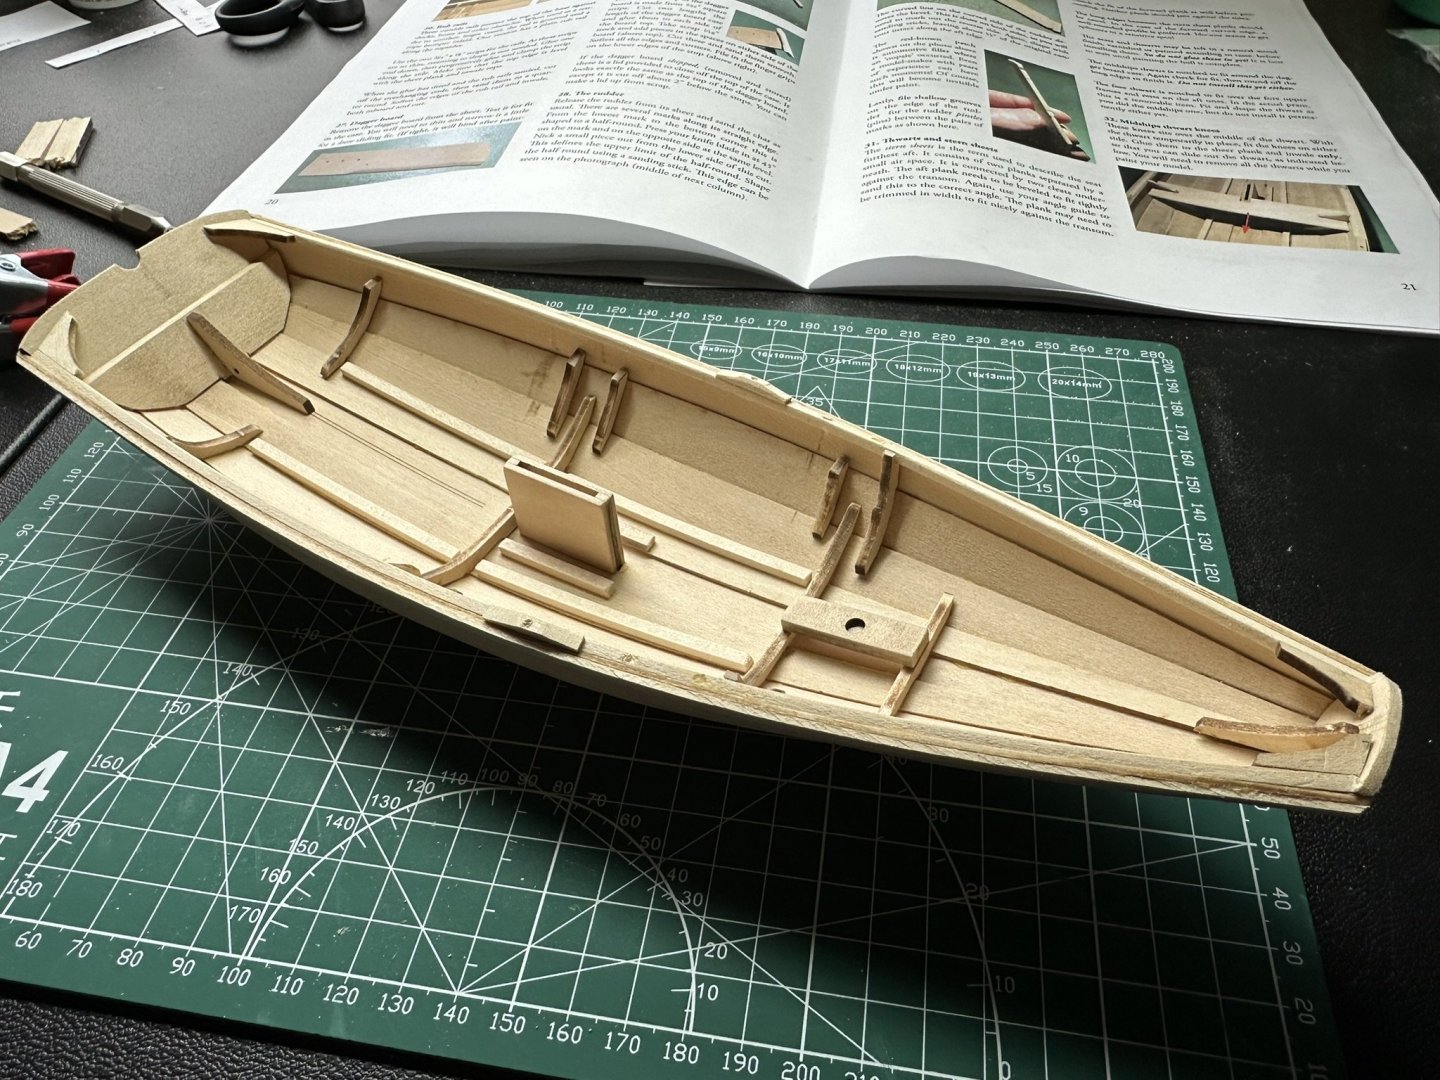
Made some more progress. Got the inwales, bow and stern quarter knees, frames, and thwart frames in and the bow and stern transoms sanded down to their profile. I did notice when sanding down the transoms that seemingly small imperfections and misalignments started to become not so seemingly small 😆. Some things might not be perfectly even, but I feel like it's still going well overall. As much as I strive for perfection, I just have to remind myself it's all about having fun and learning how to be a better builder!
-
whitesoup12 reacted to a post in a topic:
Norwegian Sailing Pram by whitesoup12 - Model Shipways - 1:12
-
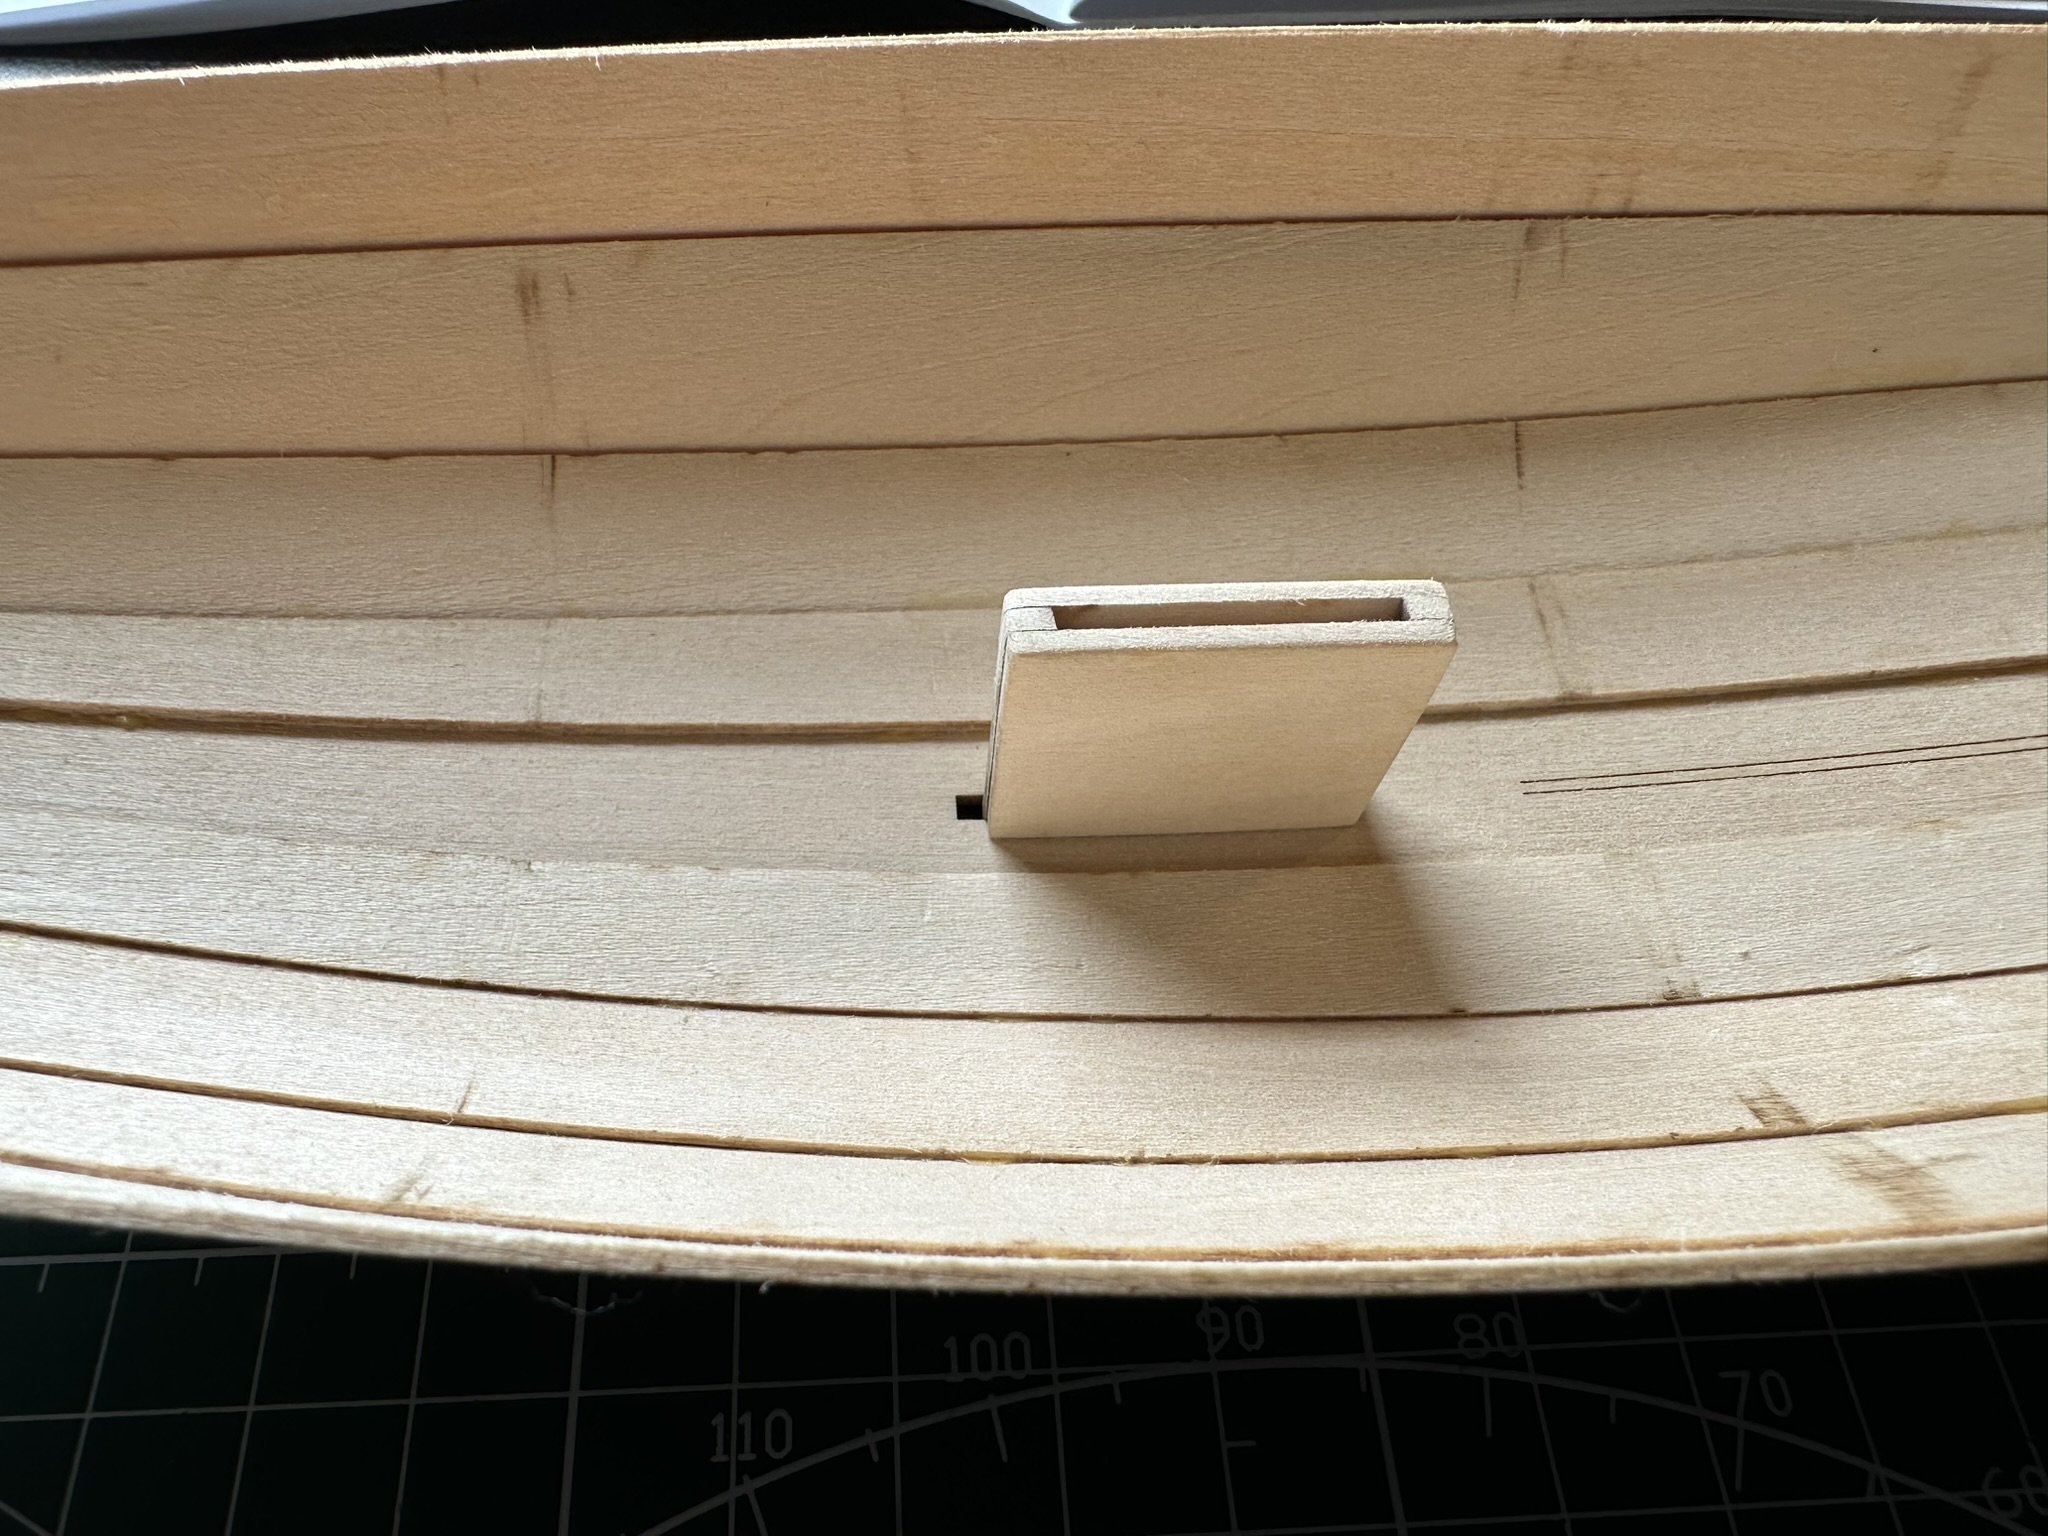
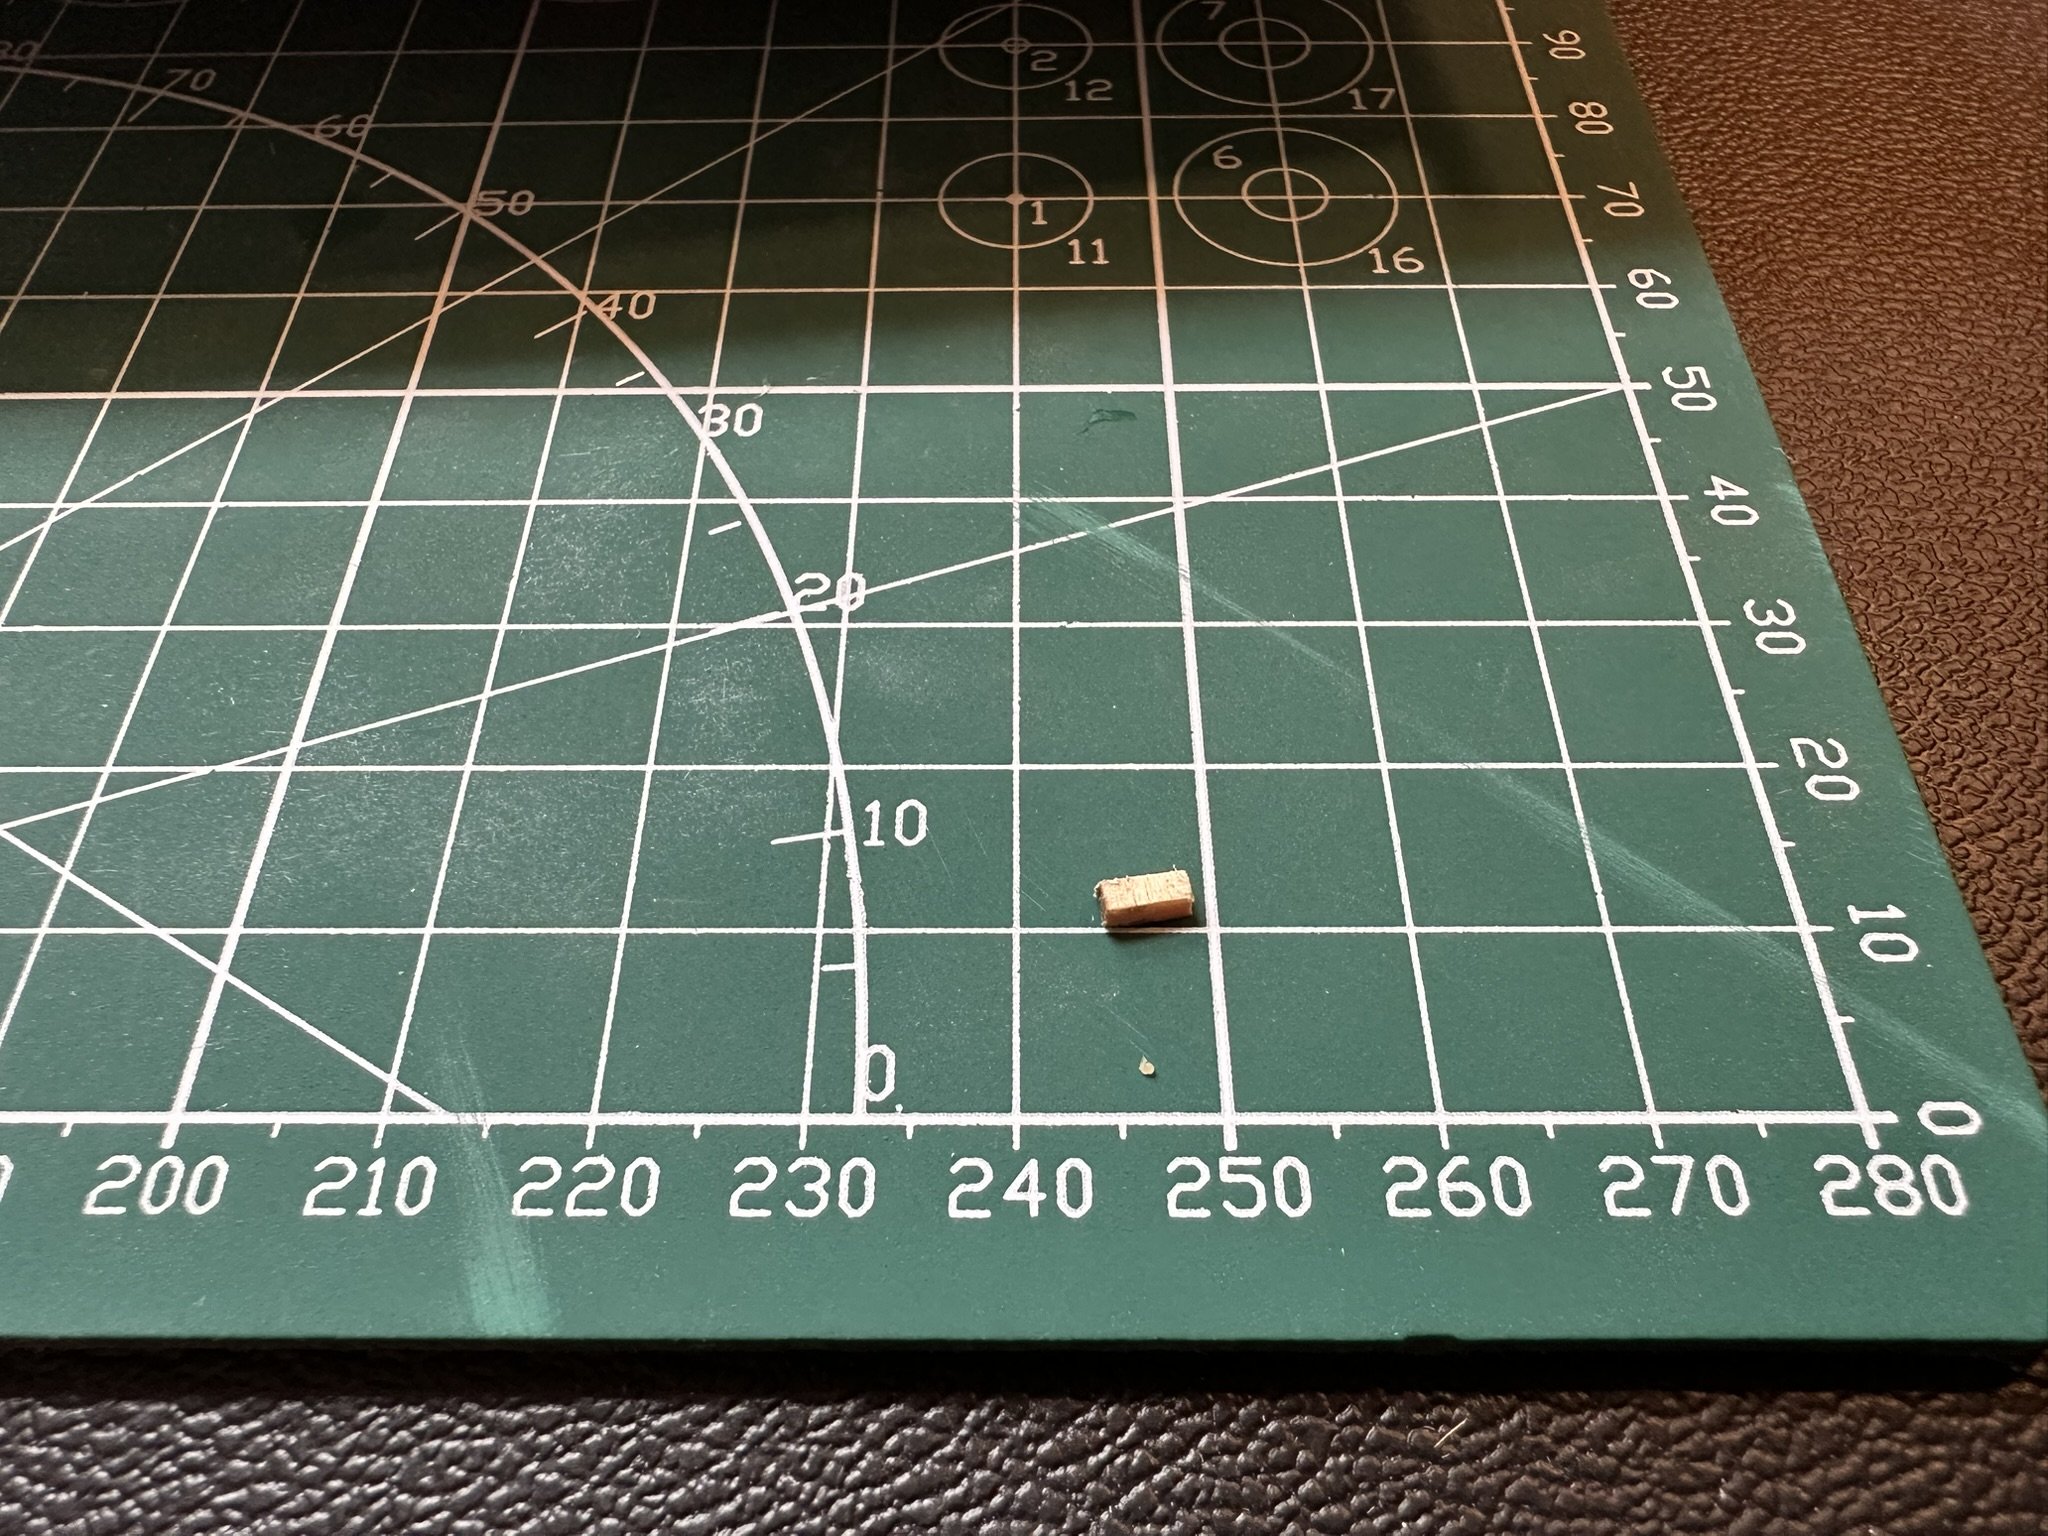
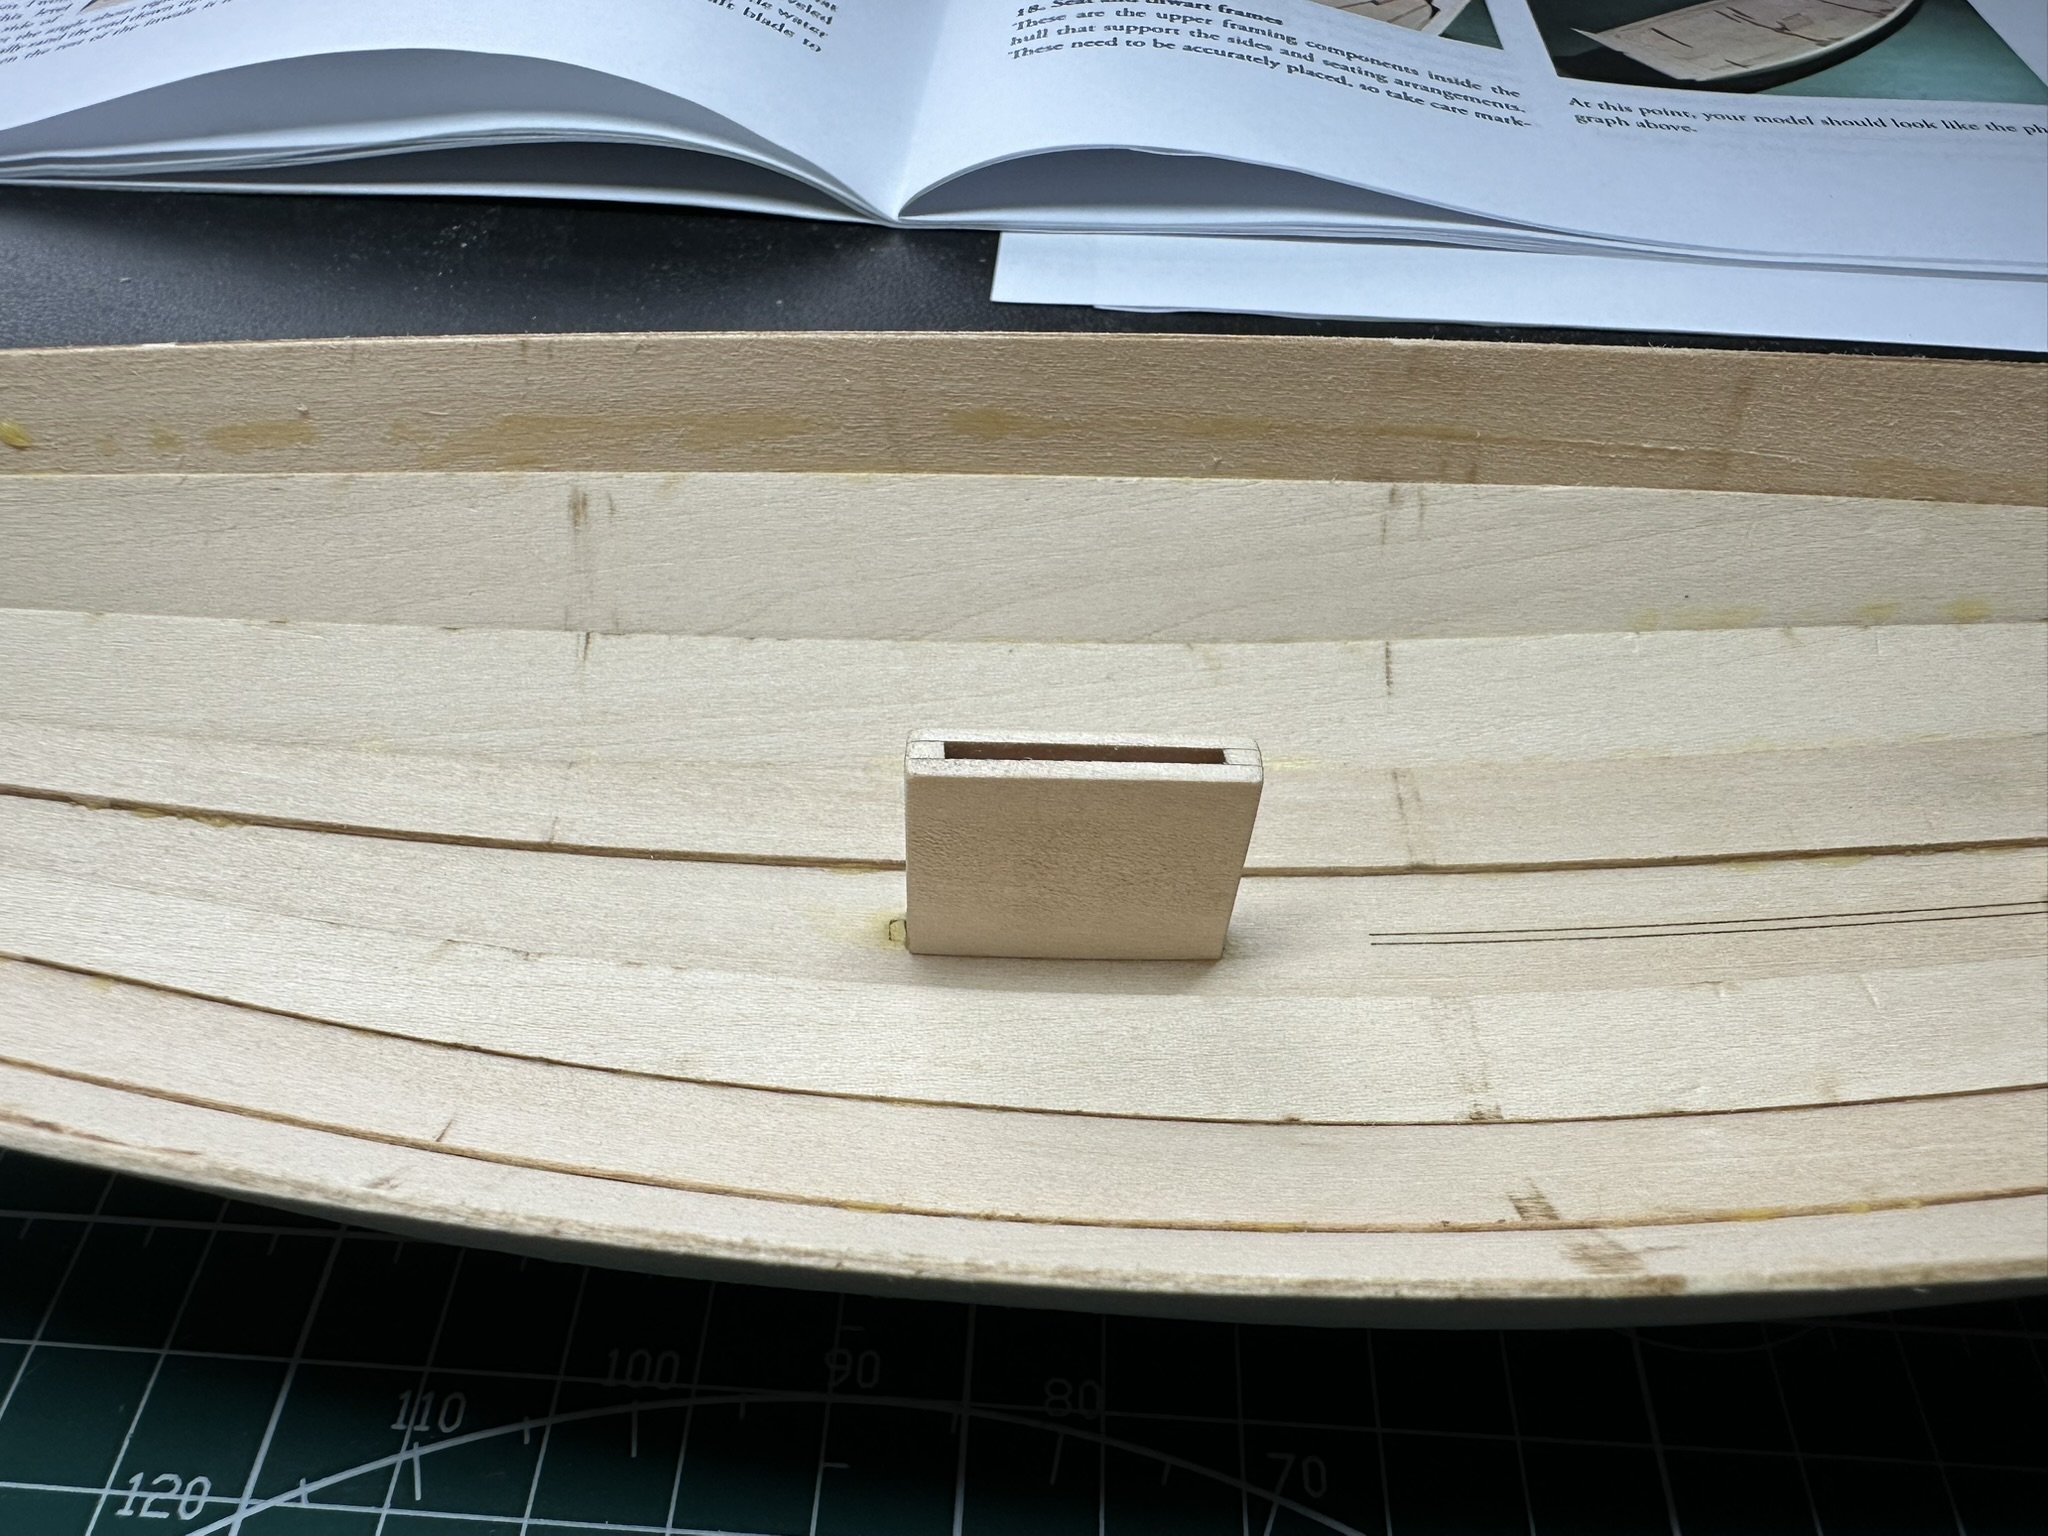
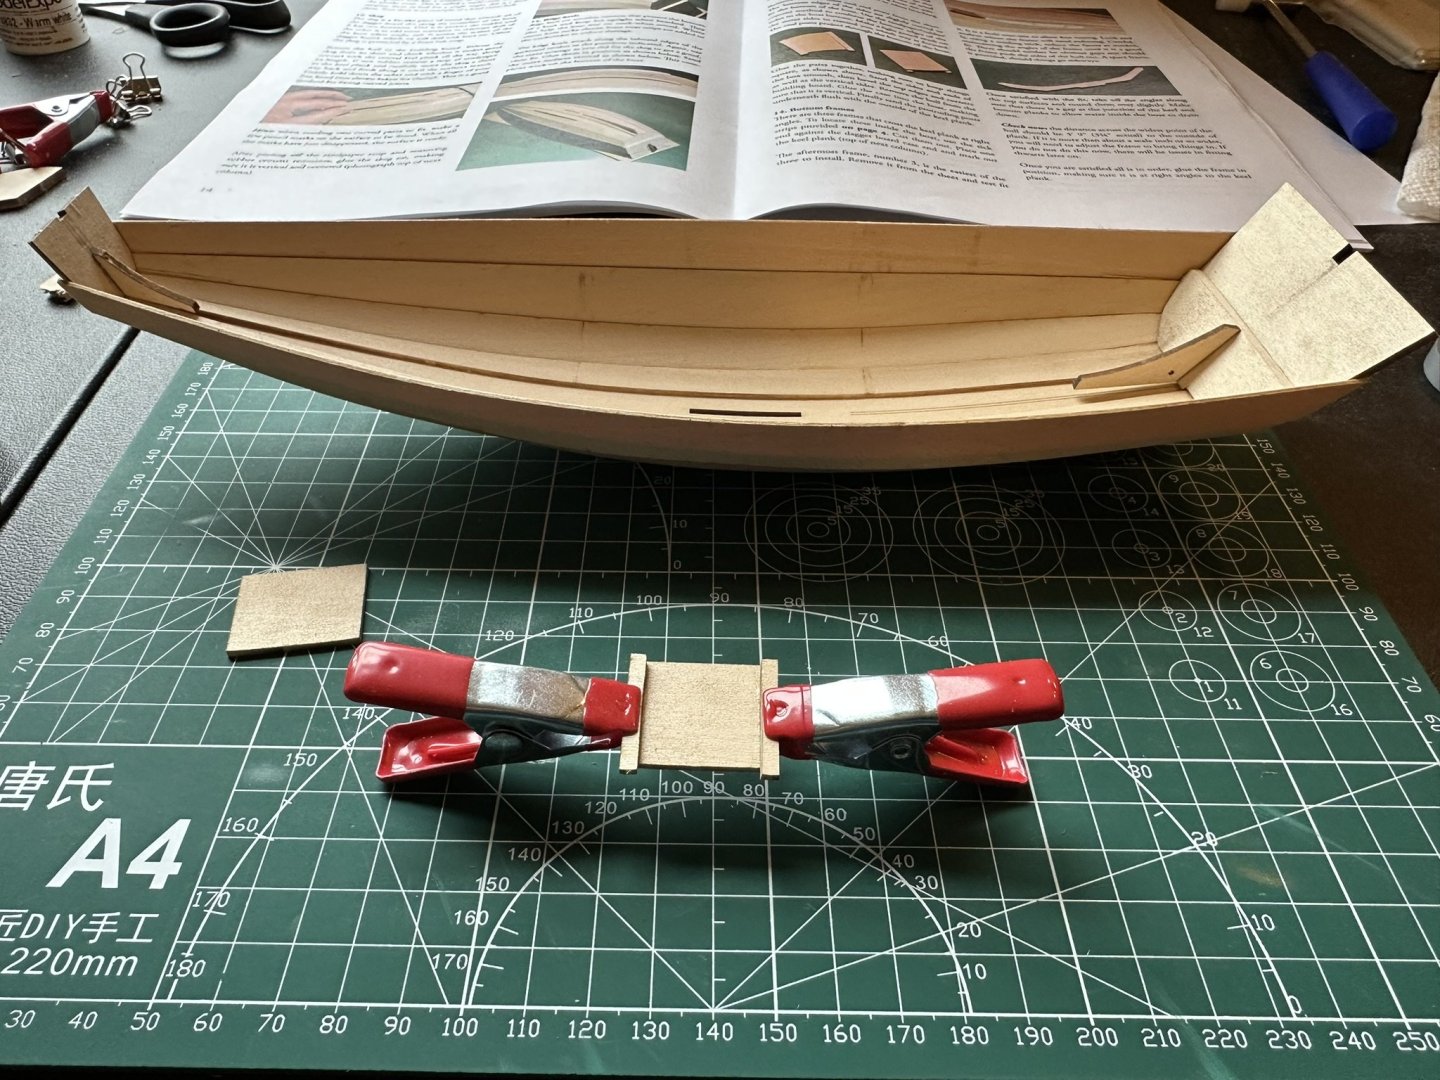
I was going to wait to make a bit more progress before posting another update, but felt this one was worth a recap. In the process of attaching the dagger board case, I noticed the slot in the keel was too long for the case. Had to cut a small piece and glue it in to fill the gap. It worked (and shouldn't be noticeable after painting), but hopefully the bow-to-stern alignment of the case doesn't affect the frames that get attached in the next step. I wasn't sure if I should put it towards the bow or stern.


-
whitesoup12 reacted to a post in a topic:
Norwegian Sailing Pram by whitesoup12 - Model Shipways - 1:12
-
whitesoup12 reacted to a post in a topic:
Norwegian Sailing Pram by whitesoup12 - Model Shipways - 1:12
-
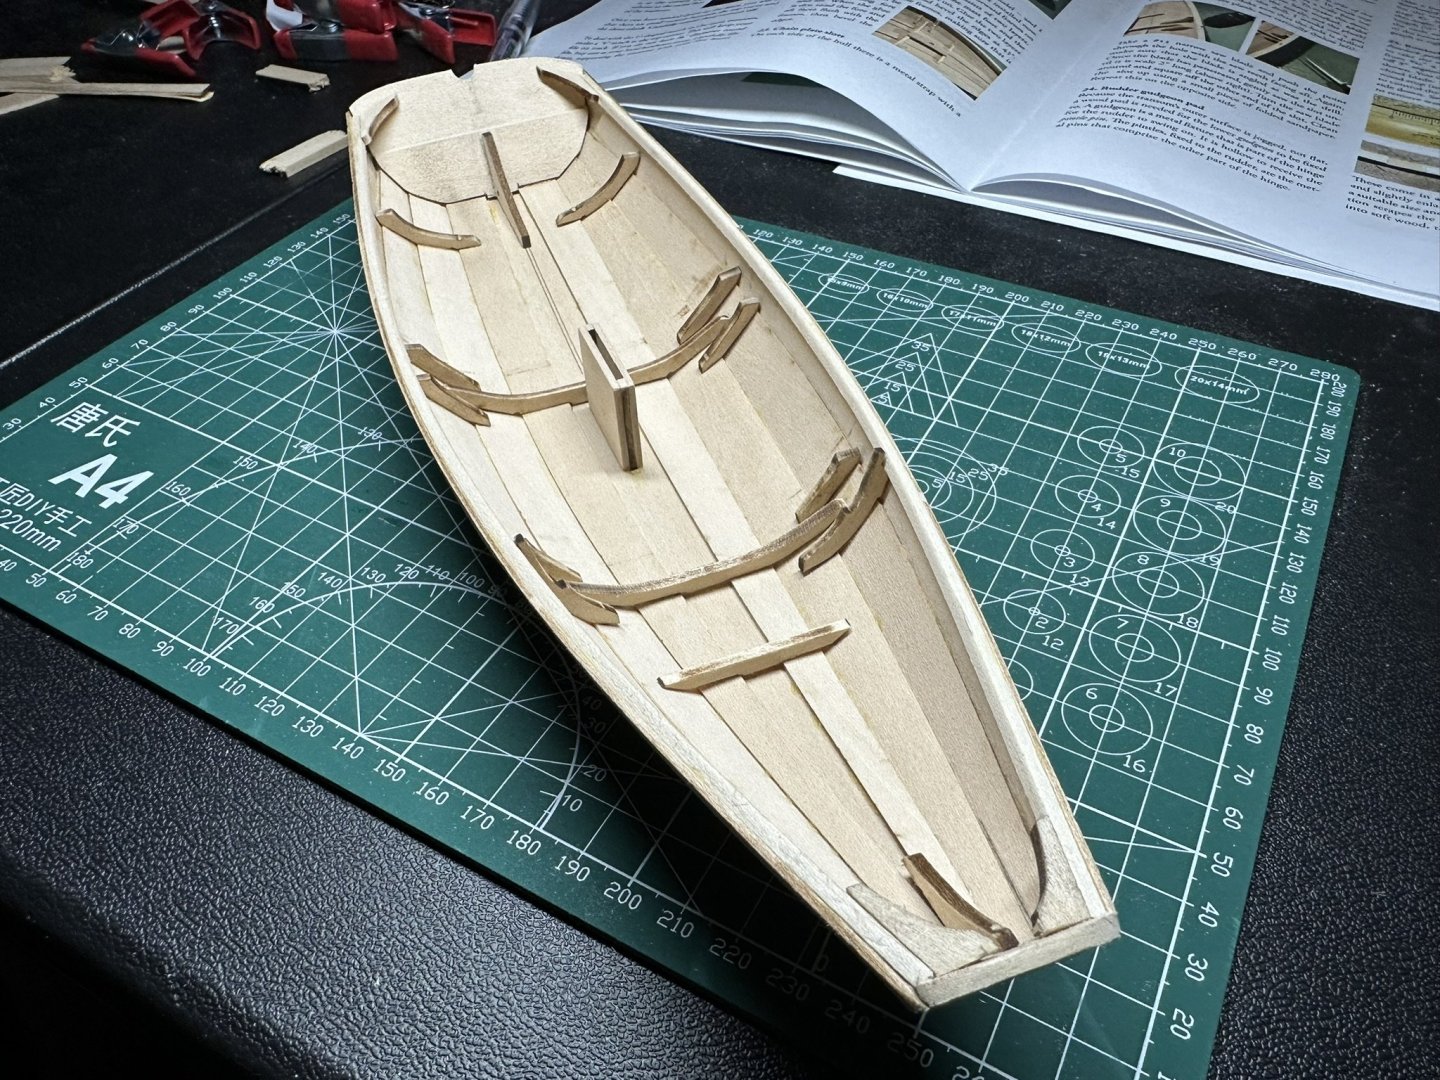
Planking is complete! Got all the ends sanded down flush with the bow and stern transom. Took it off the build plate to get a picture of the inside, then put it back on to attach the skeg.


-
Okay, so it occurred to me that the stern end of the sheer plank should have a gain and not a recess. The bow end however still has a recess. I added some additional thickness to a small portion of the side of the plank and sanded it at an angle to make a smooth transition from the edge of the transom to the where the sheer plank meets the garboard plank. After test fitting and gluing, it looks like the sheer plank sits nicely against the stern transom with no (at least very little) gap between it and the garboard plank.


-
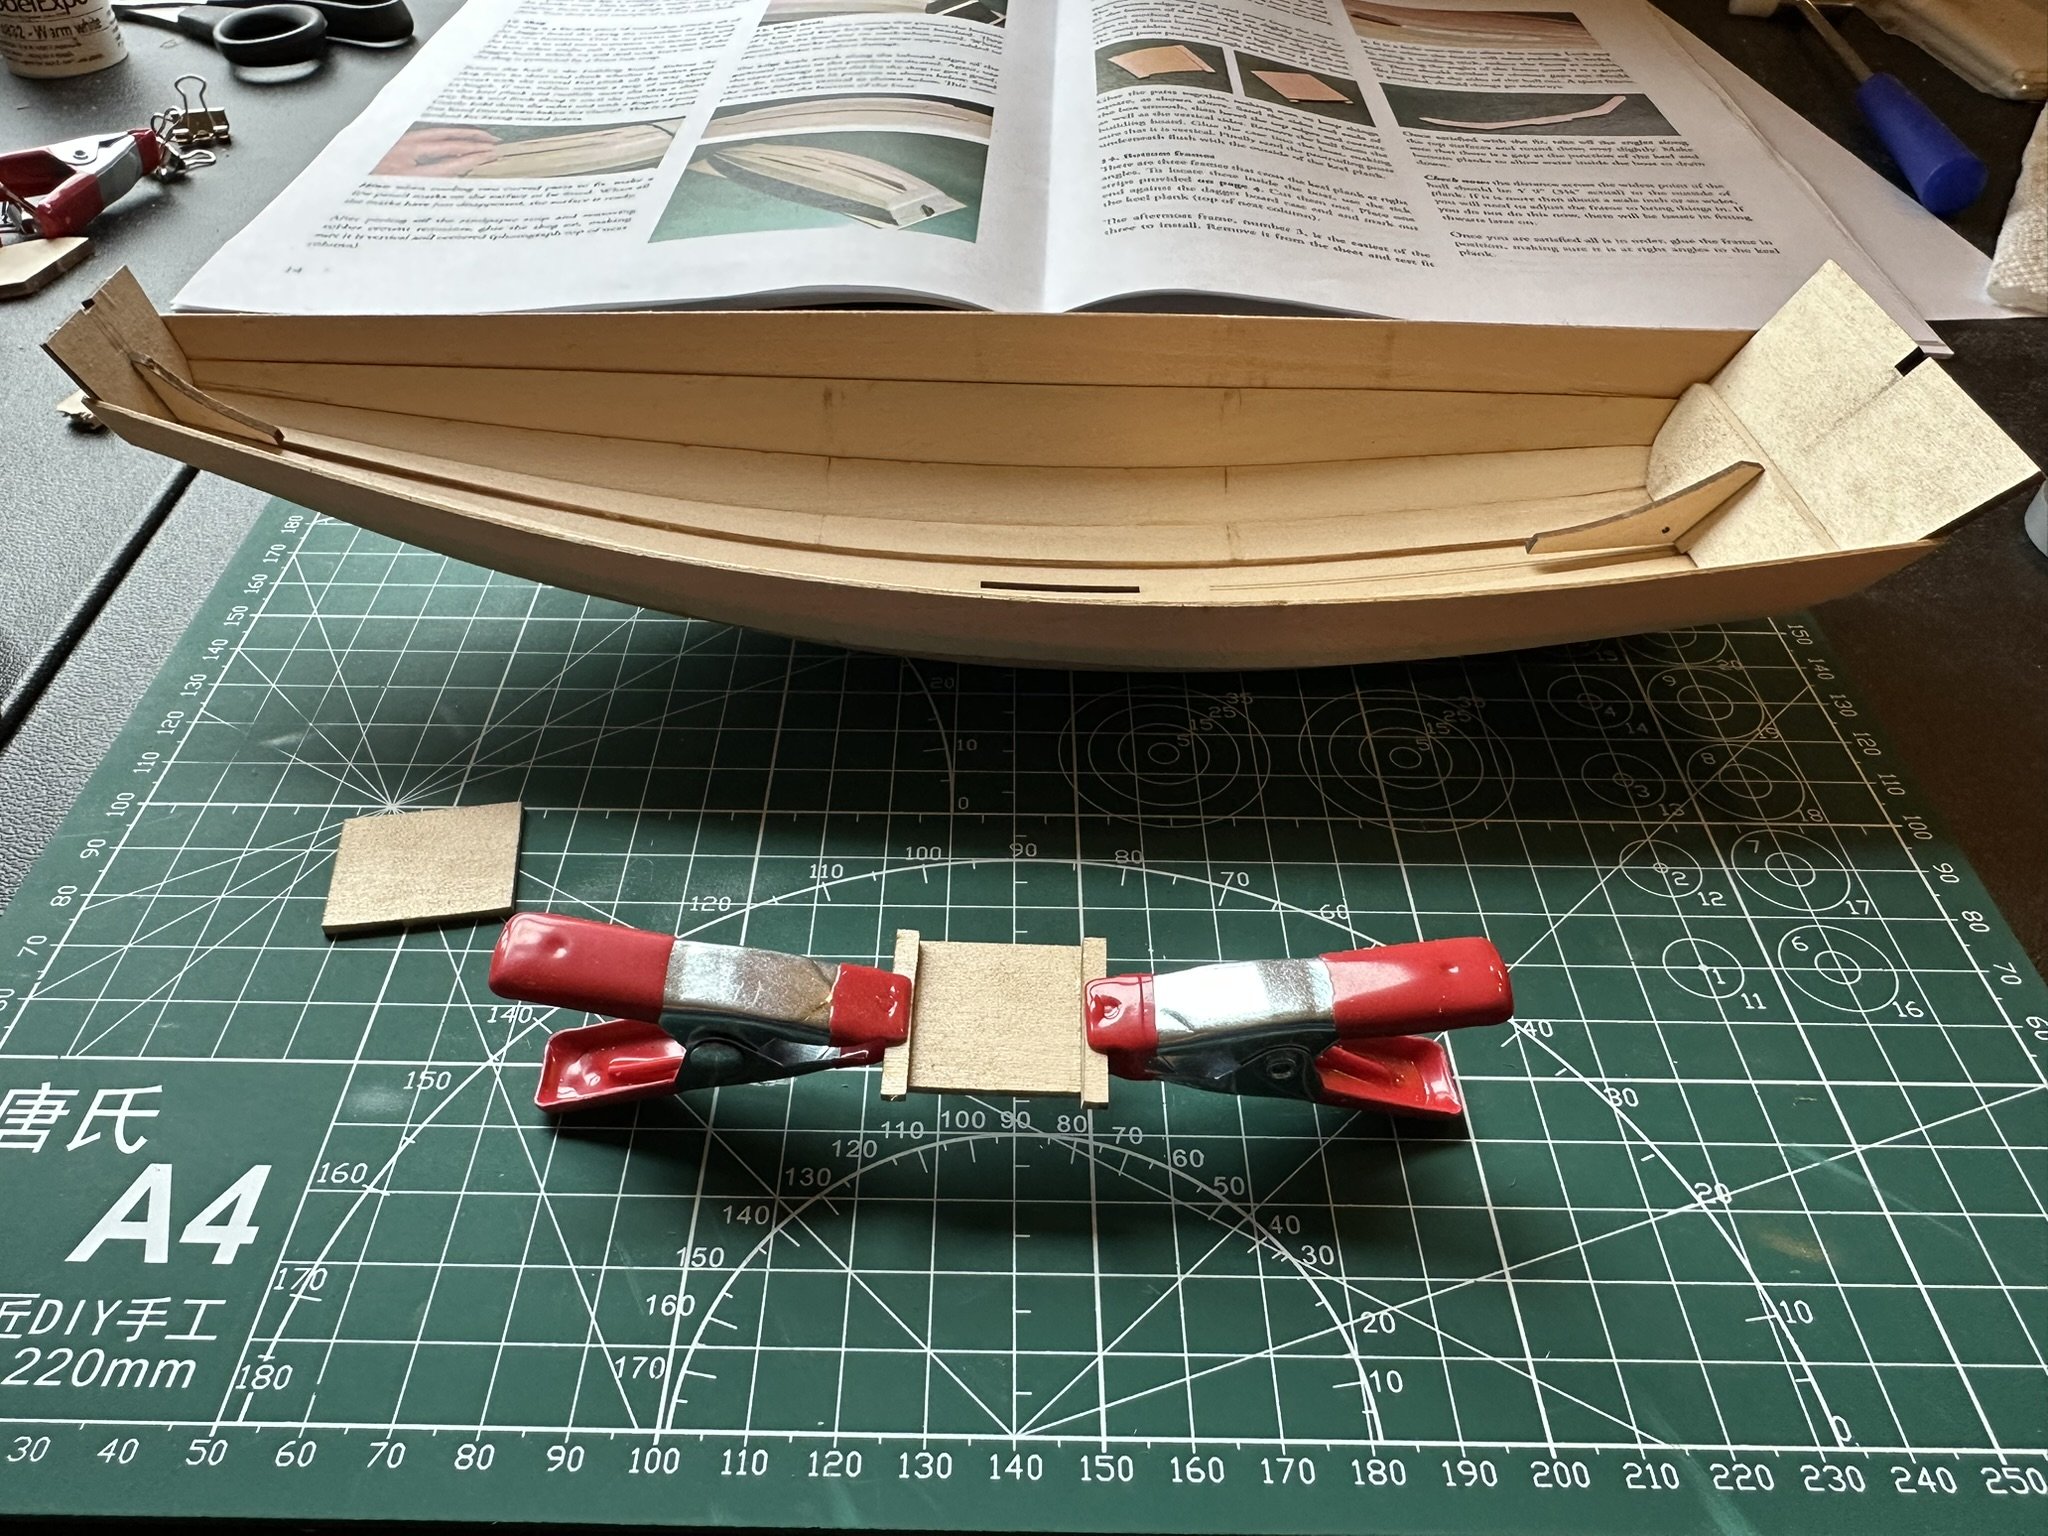
Got both the second planks attached and the ends sanded (mostly) down to the transom (pictures below). I currently have the first sheer plank forming after soaking. With the placement of the second plank (that awkward spot over the over the stern transom that was mentioned in a previous post), the gains I made on the sheer plank seem kind of weird. But I think I'll be able to make it work.


-
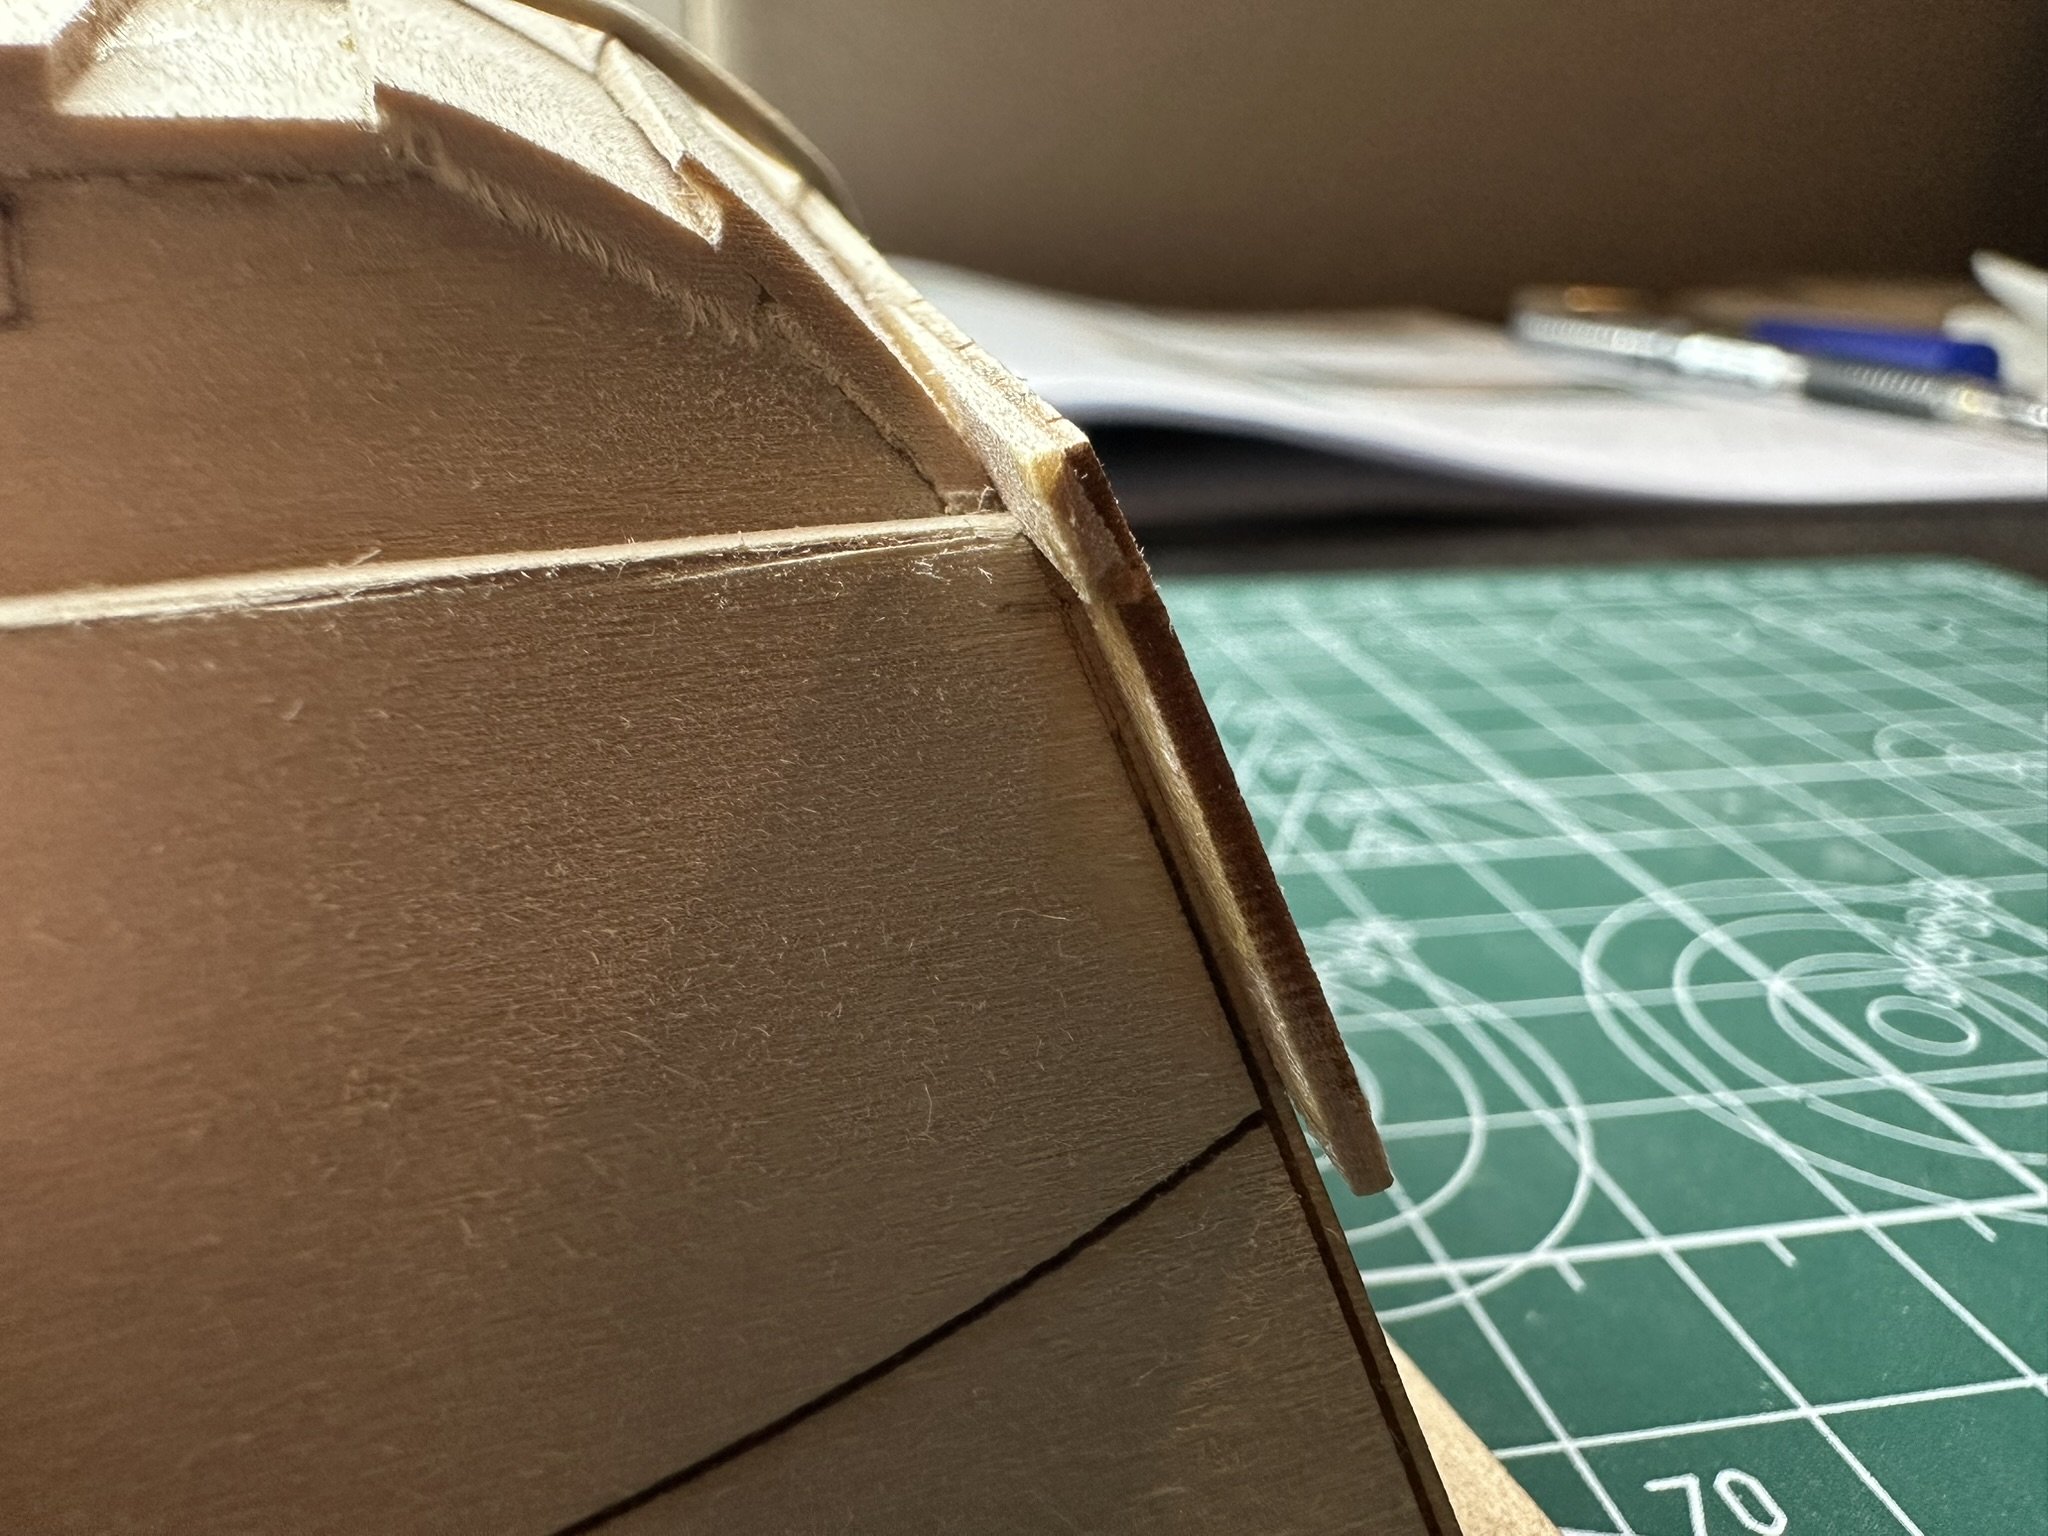
Got the first of the second planks glued on. Realized when checking the alignment at the stern that the edge of the plank butts up against the corner of the transom. It looks kind of awkward, but it is indeed lined up with the garboard plank above it. I'm curious to see how the final sheer plank will line up. The instructions never mentioned to shape that part of the transom.

-
whitesoup12 reacted to a post in a topic:
Norwegian Sailing Pram by whitesoup12 - Model Shipways - 1:12
-
Started this build a week or so ago , so I'm a little behind on the build log. But I still have pictures of my progress up to this point. It all started off fairly smooth, getting the bow transom knee on and assembling the stern transom and knee. Got everything placed in the build jig and the first 2 bottom planks sanded, curved, and glued on. Keel plank went on after the bottom planks were dried. Next up were the garboard planks. I was a bit nervous about the rabbets that had to be cut, but practicing on some scrap wood helped. Soaked, formed, and glued the garboards. Then it was on the the first of the second planks, where I am currently. I got some better pictures of the rabbet on this plank, prior to soaking and forming.