jarero
-
Posts
200 -
Joined
-
Last visited
Content Type
Profiles
Forums
Gallery
Events
Everything posted by jarero
-
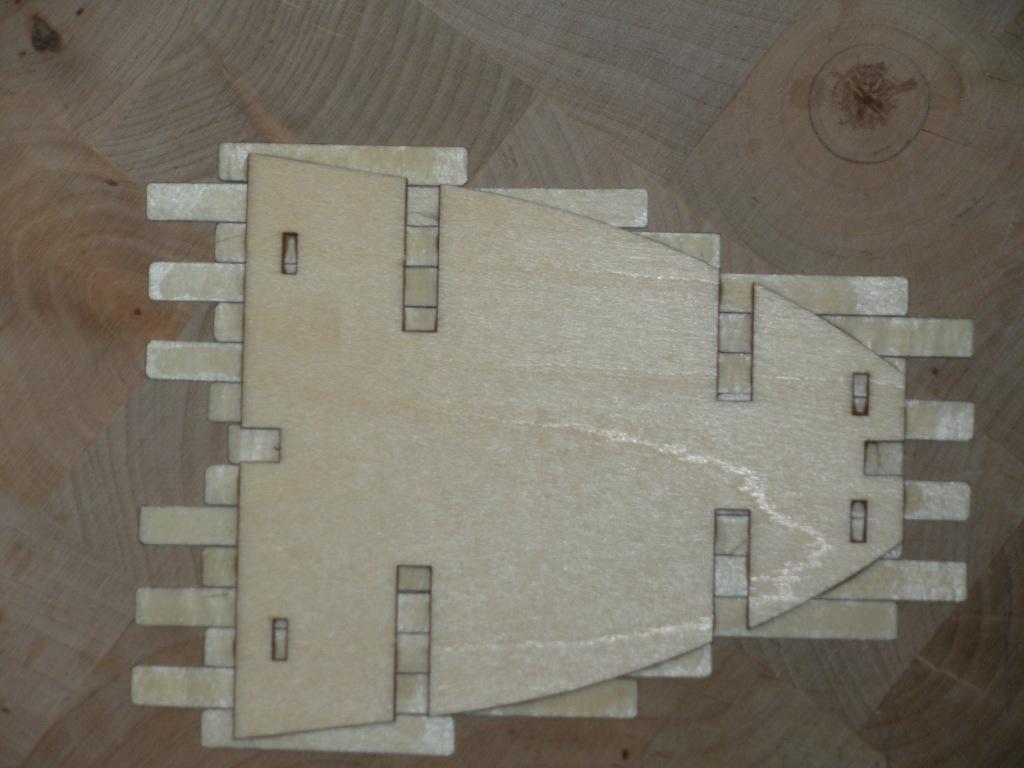
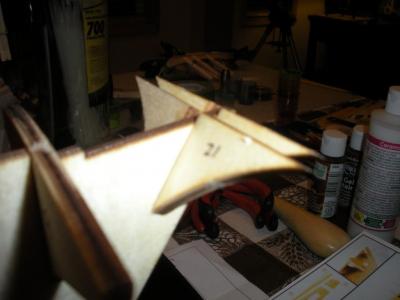
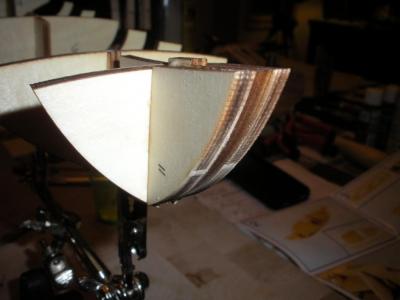
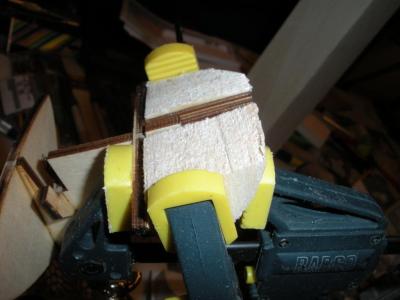
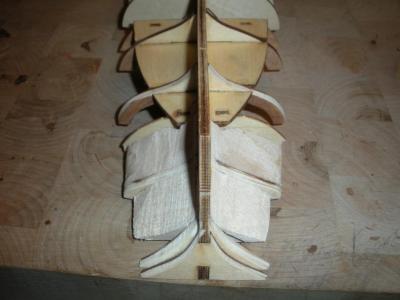
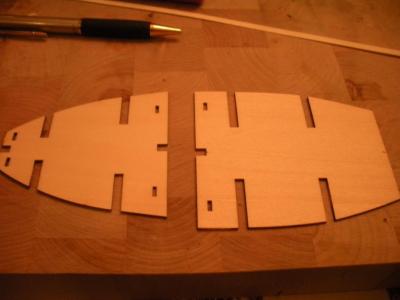
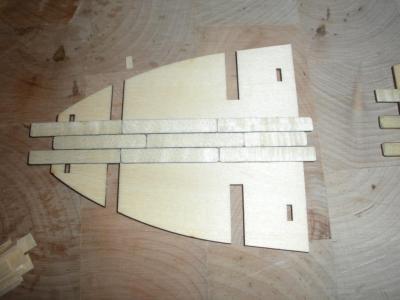
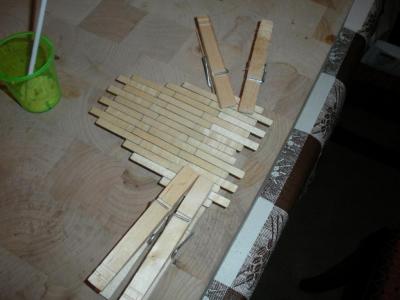
 I spent a bunch of time holding up planks against the ribs trying to make sure that everything was going to go together smoothly. I ended up shaving off some wood here and there for fine tuning. Until I got to the dreaded #7 rib. I couldn't figure out what the heck to do with this thing since it sat so much lower than all the other ribs. Once again model ship world to the rescue. I found a number of others had corrected this issue by simply adding some material to the rib..... So it seems that my forks are really close to the right shape for #7. Just don't tell my wife. Forming the pieces for #7 Installed.....
 -
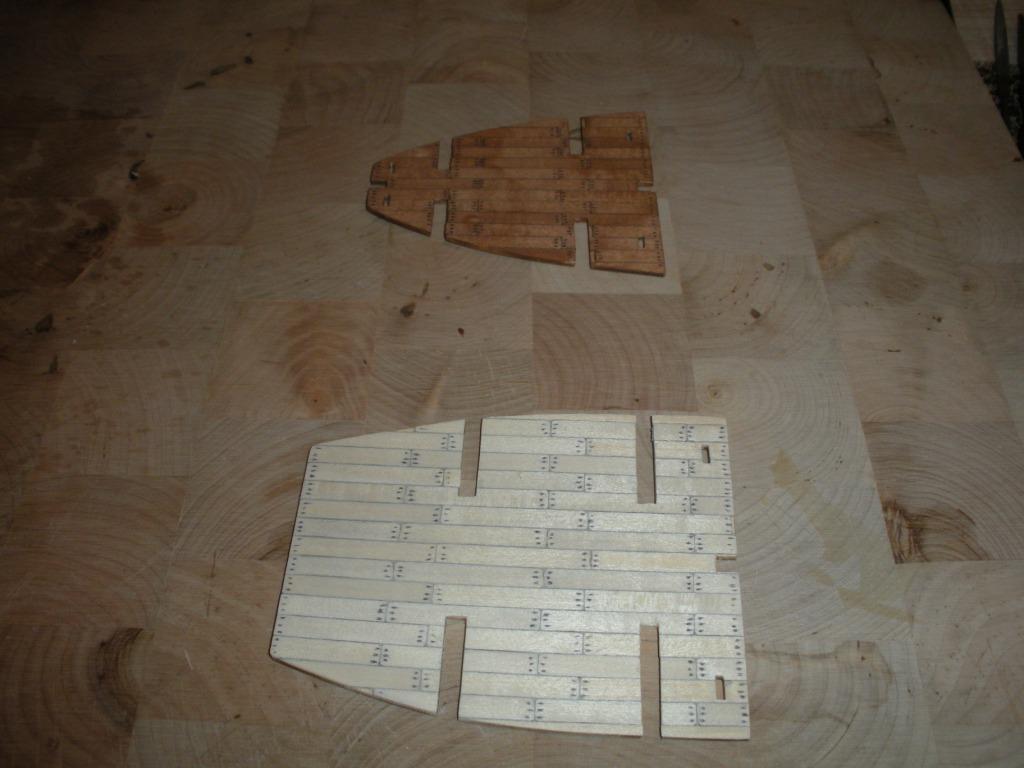
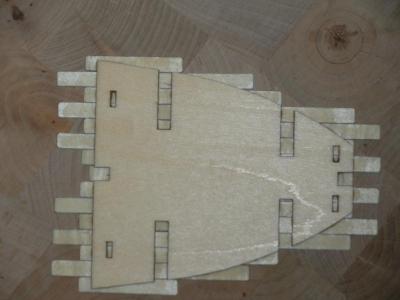
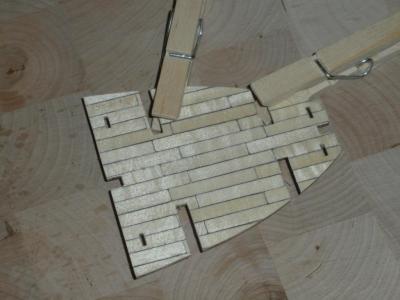
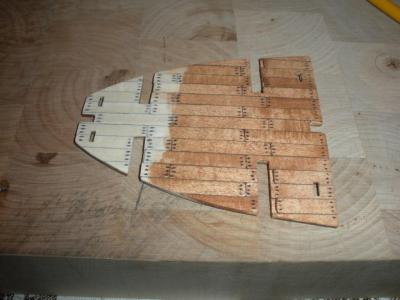
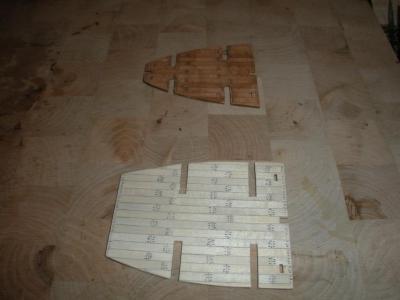
Now it is time to start work on the deck. I don't seem to have any good pictures showing how I formed it, whoops. I soaked it in hot water and then used about 8 billion rubber bands to attach it to the ribs so that it would take on the necessary compound shape. You can probably tell that there are curves on two axis: Now I made a crude jig to cut the planks to the desired size: Oh look, a big stack of them (but not even close to enough yet): I had read on the forum at some point about someone using a pencil to color the sides of the planks to give it a more realistic look. When I tried this I used too soft of a lead and it created a lot of dust that covered far more than the edges. When it came time to install the planks I realized I made something of a mess. I was secretly holding out hope that once I sanded the deck that it would look ok. Wow! This looks terrible in the picture not to mention the sample area that I tried stain on. How will this ever look good? Not half bad I supposed. Yep, I made my nails with an awl and a fine tip sharpie. Geez, newbies! Sanded, stained and installed. Has a really cool weathered look that doesn't show very well in the pictures. I might event try this "technique", and I use that word loosely, again in the future.
-
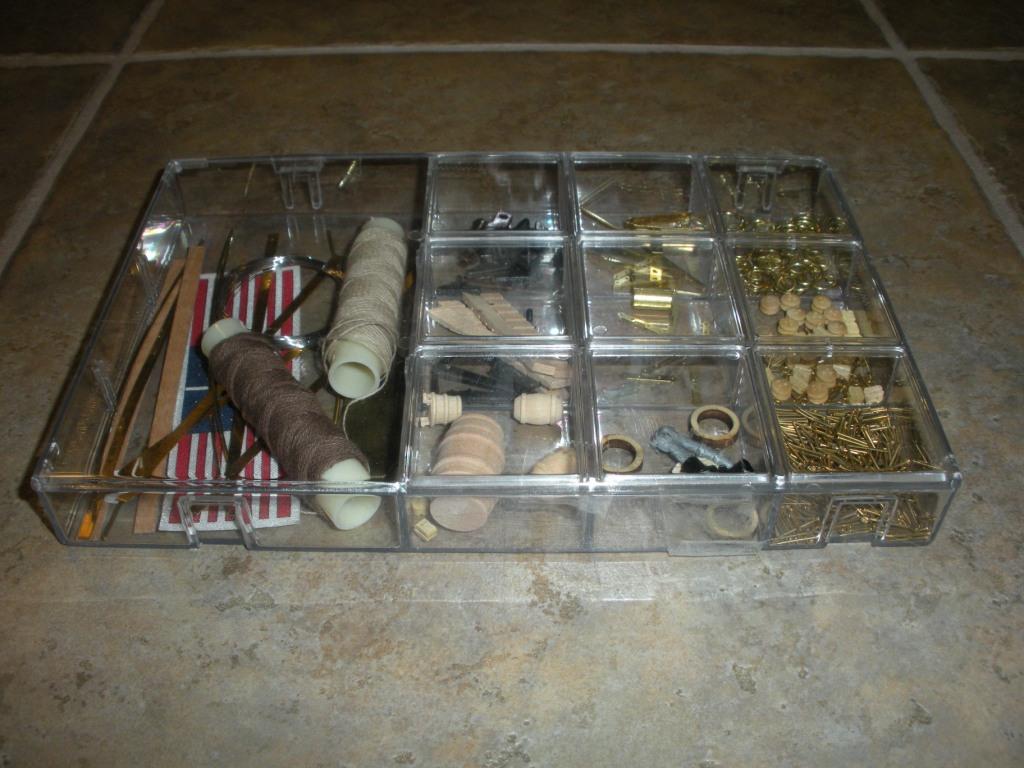
Here are a few more random pictures showing some of the progress:
-
Looking good! I will be happy to watch this build and of course I will help in any way I can with my Swift build.
-
If there is a good hobby shop near home you could pick up some ply in the right thickness and trace out the pieces and make new ones. That is a real bummer, sounds like you put a ton of work into making them nice. To answer your question about posting pictures in "replies" there is a button that says "More Reply Options" in the lower right hand corner when you are replying to a message. When you click that it brings back the option to attach files. Jared
-
John, It is good to meet a fellow Swift-er. I did not not plank either the inside or outside of my gunwales until after they were installed. I am pretty sure that I understand what you are fighting here. Did you pre-shape the gunwales before you planked the inside? If not you may never get them to the shape you need without removing the planking. I could be completely wrong though as I am a novice. There may very well be another method of beating them into submission that one of the pro's will chime in on. Best of luck!!
-
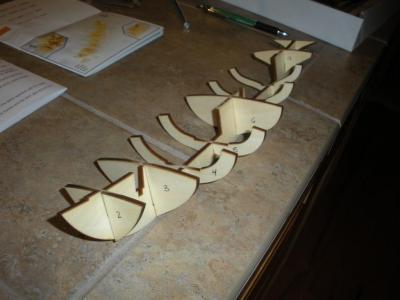
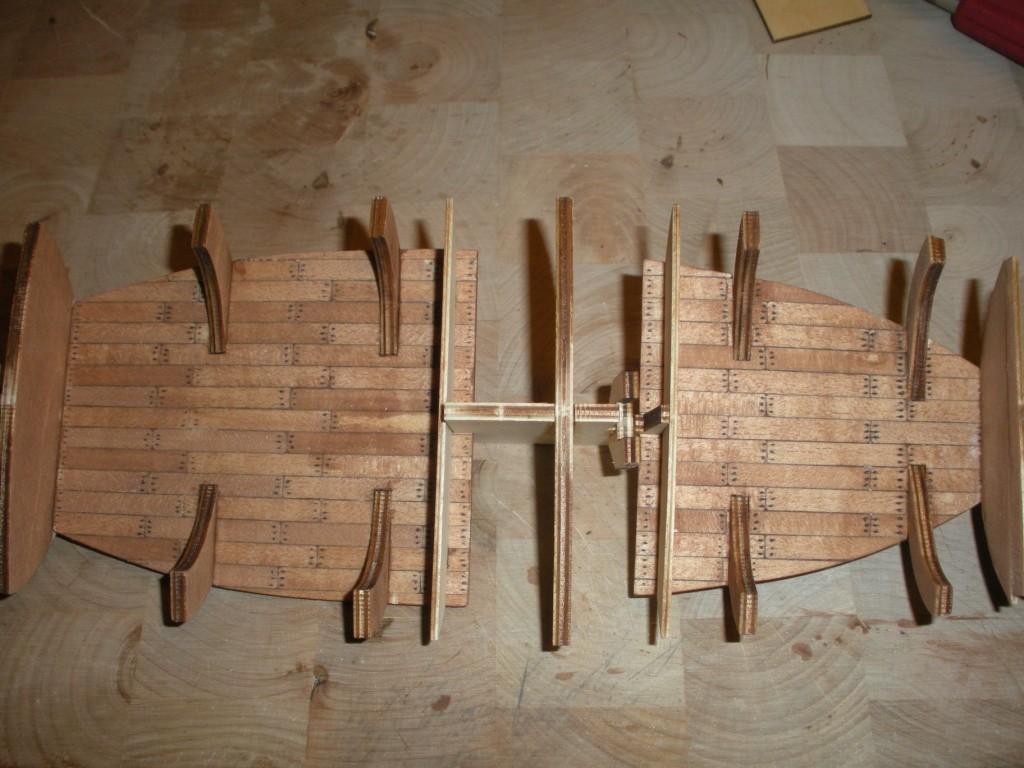
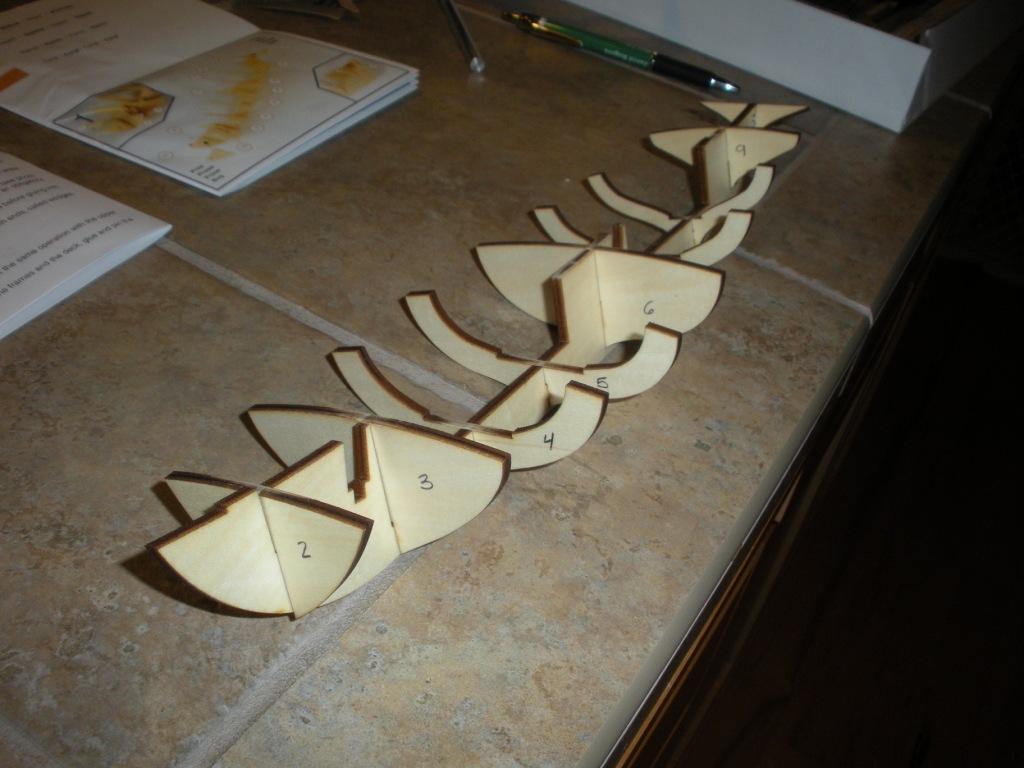
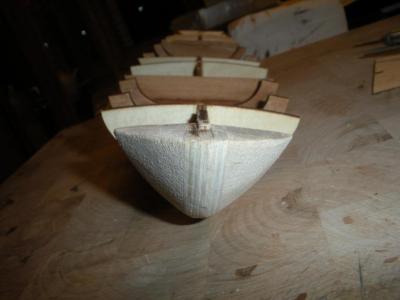
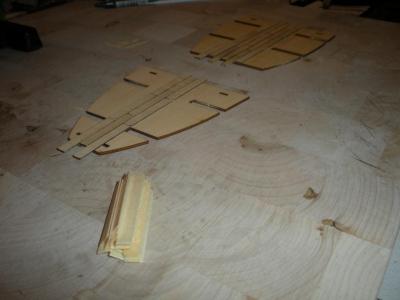
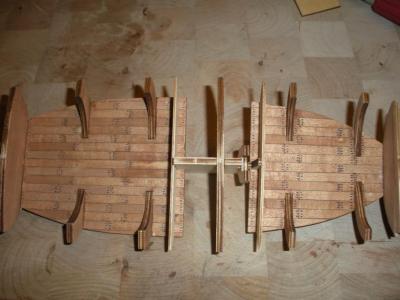
A few more pictures of her skeleton and progress on the lower decks. This is the first area where this forum saved my bacon with the tip of adding balsa to give more surface are to attach my planking.
-
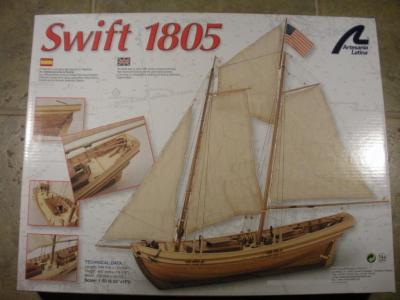
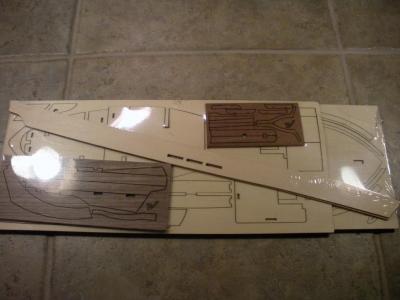
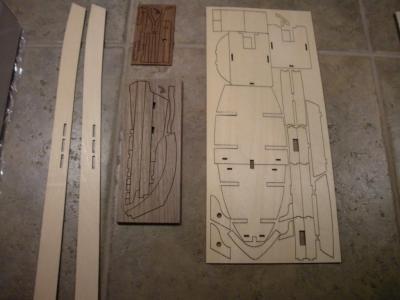
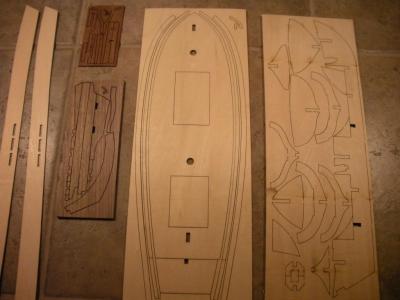
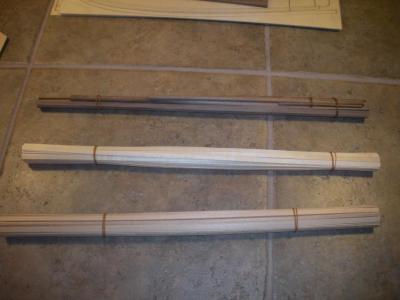
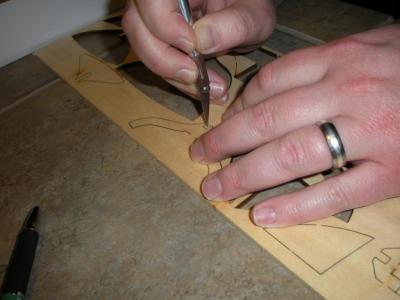
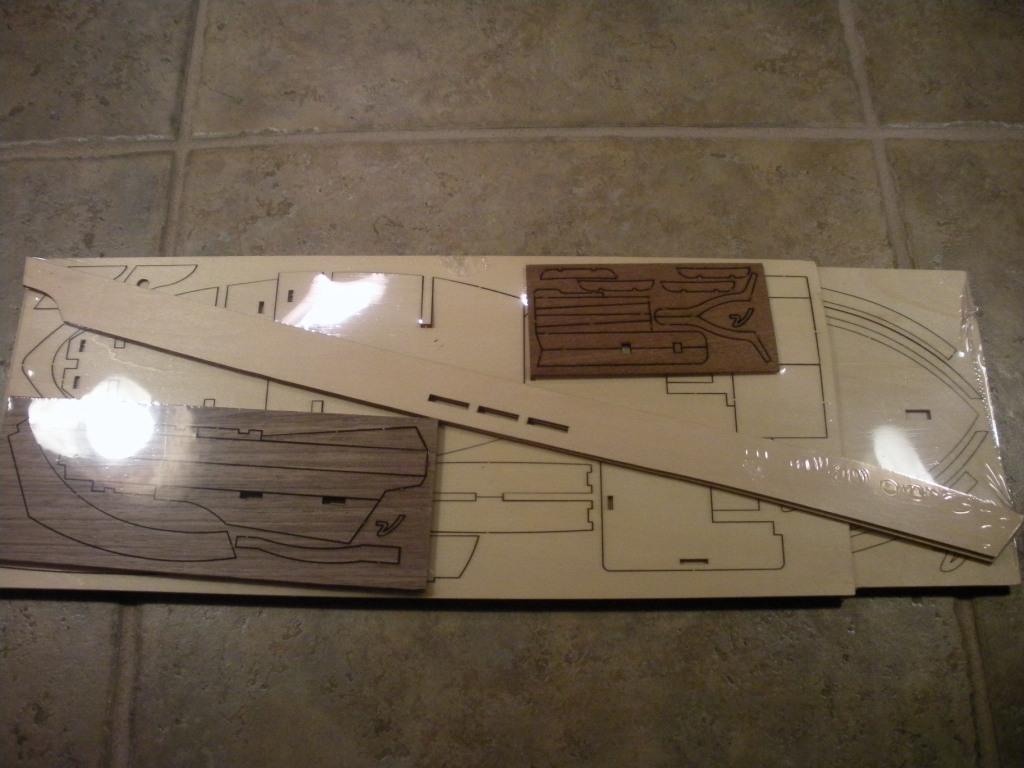
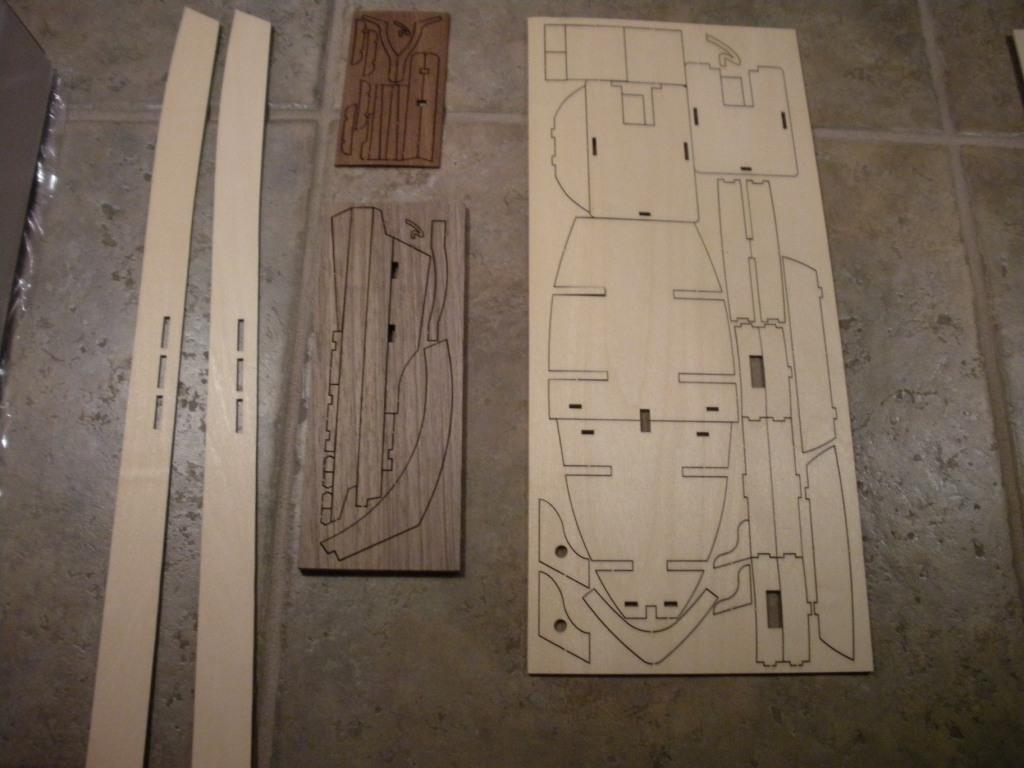
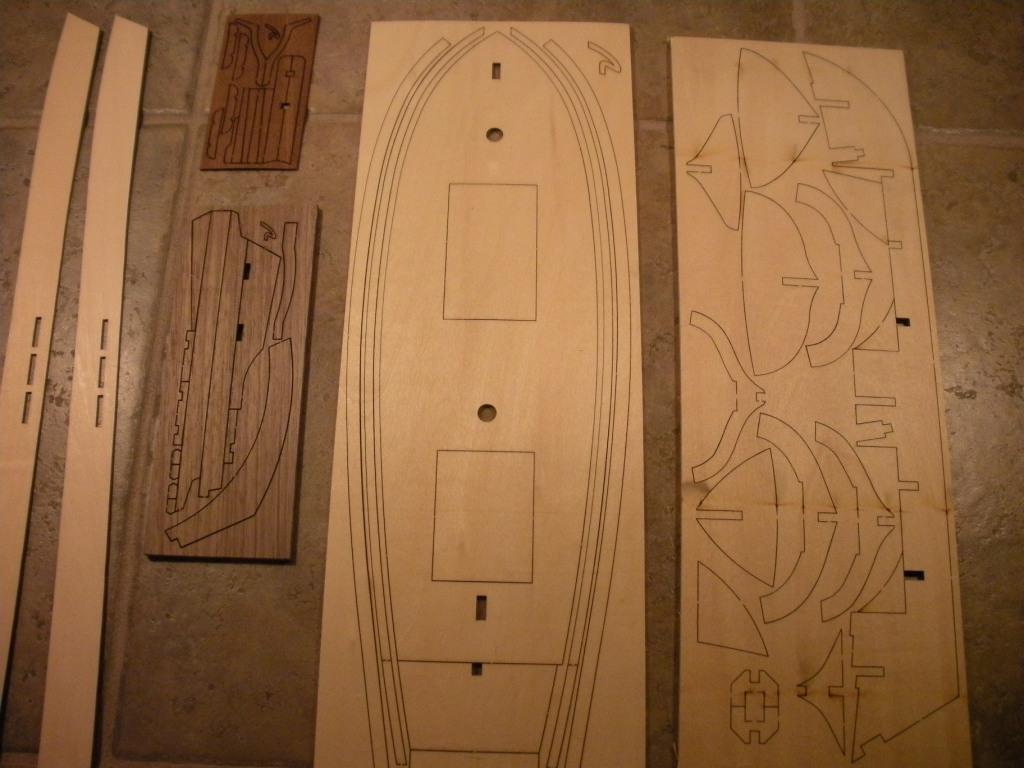
This is my first build and I am nearing completion. I will post as many pictures as I can and add comments from what I can remember along the way. I relied heavily on the build logs of the Swift that were here prior to the catastrophic loss of data and now I will try to do my part by posting what I can of my build. Any and all feedback is welcomed as I still have much to learn! More about me here on the introduction page. I want to give special thanks to a couple of people that had previous Swift build logs that I relied on: Jeff-E Kinetikx Moonbug Even though Dan V. didn’t have a Swift build log I still kept running into his posts and they were a huge help! Enough talk, now some pictures…..