.jpg.9661a2c9e16913814c19c3c5f3400b8e.jpg)
ronkamin
-
Posts
100 -
Joined
-
Last visited
Content Type
Profiles
Forums
Gallery
Events
Everything posted by ronkamin
-
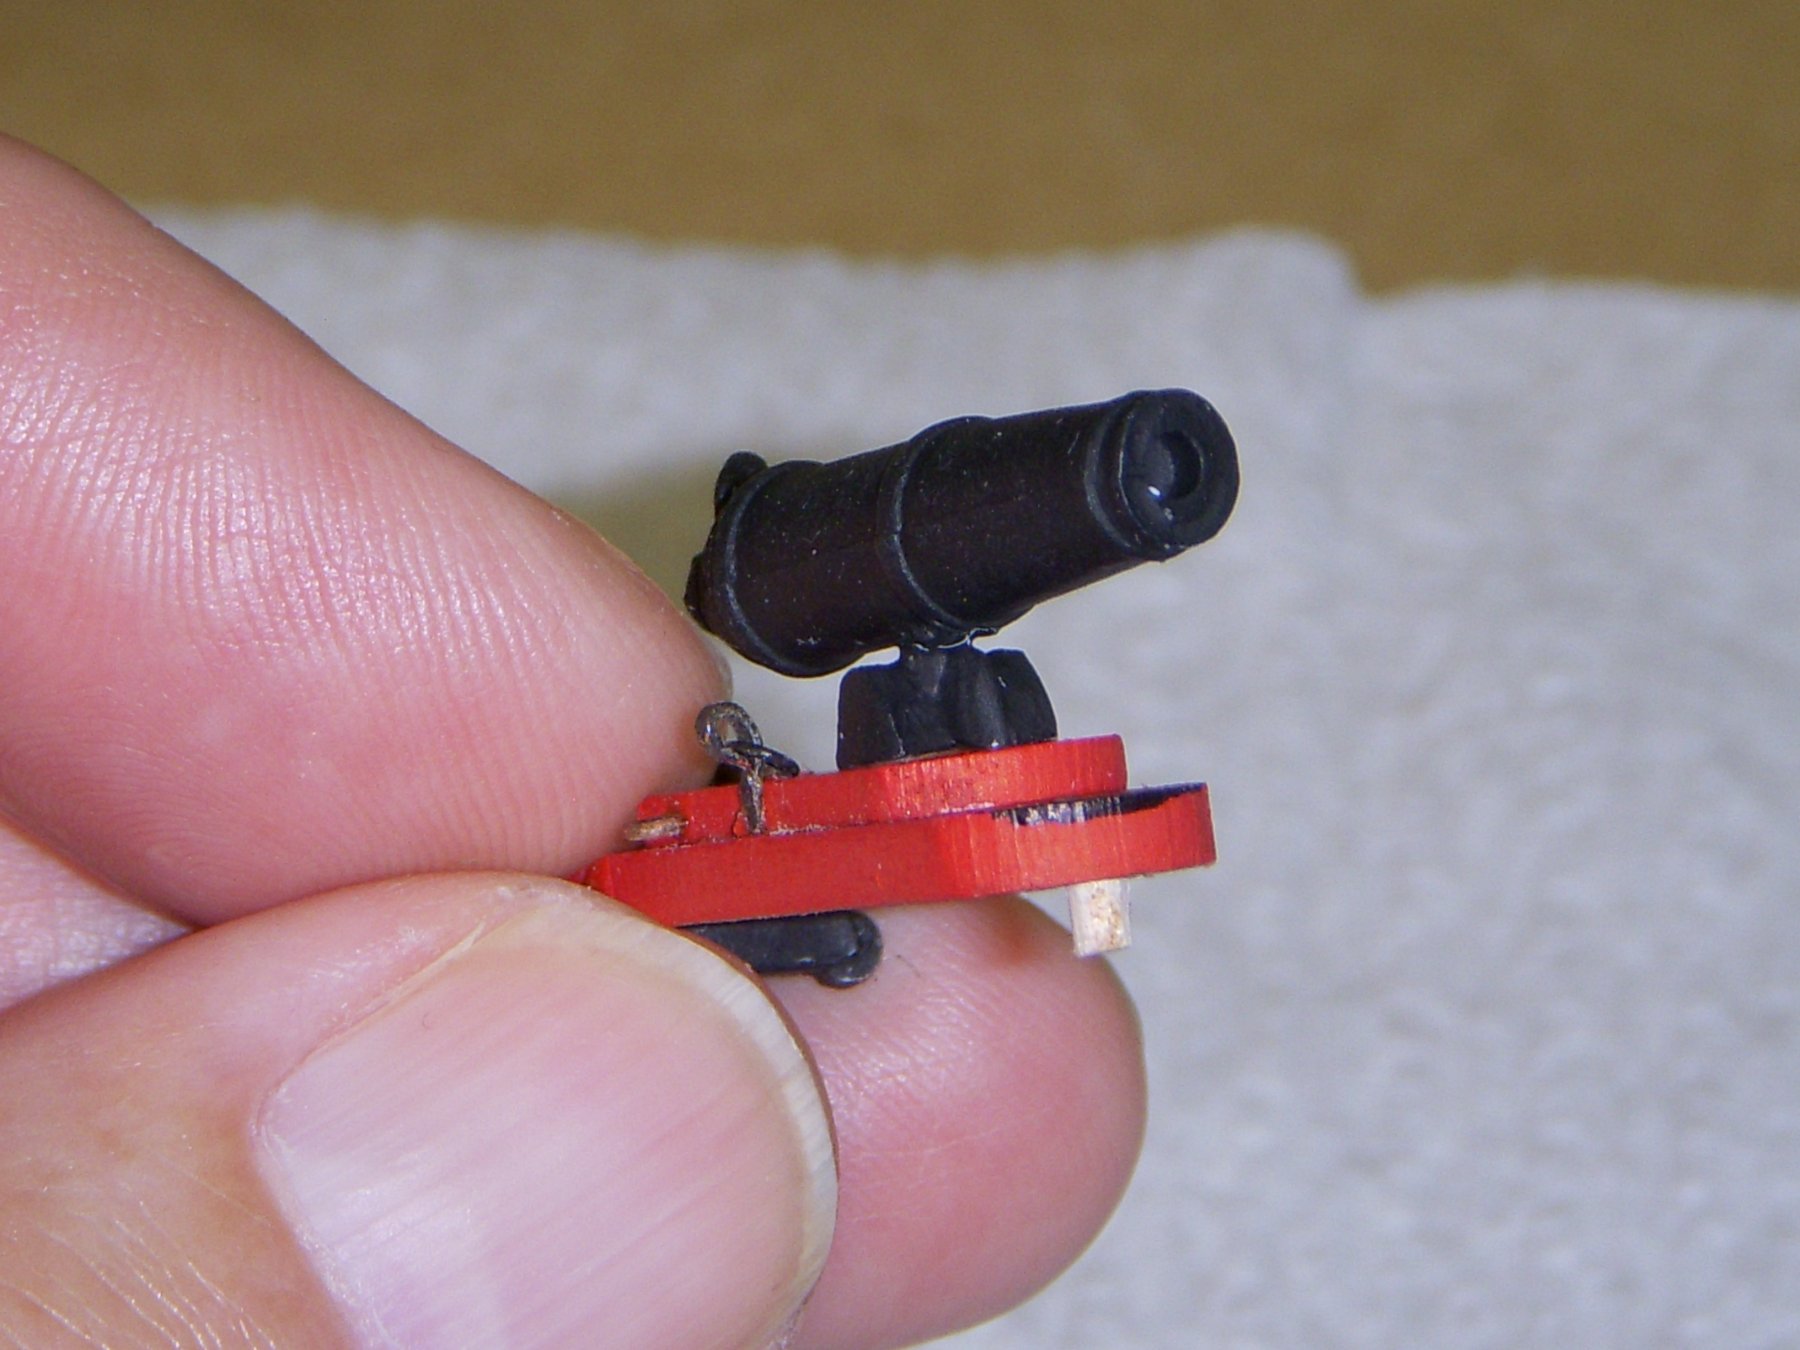
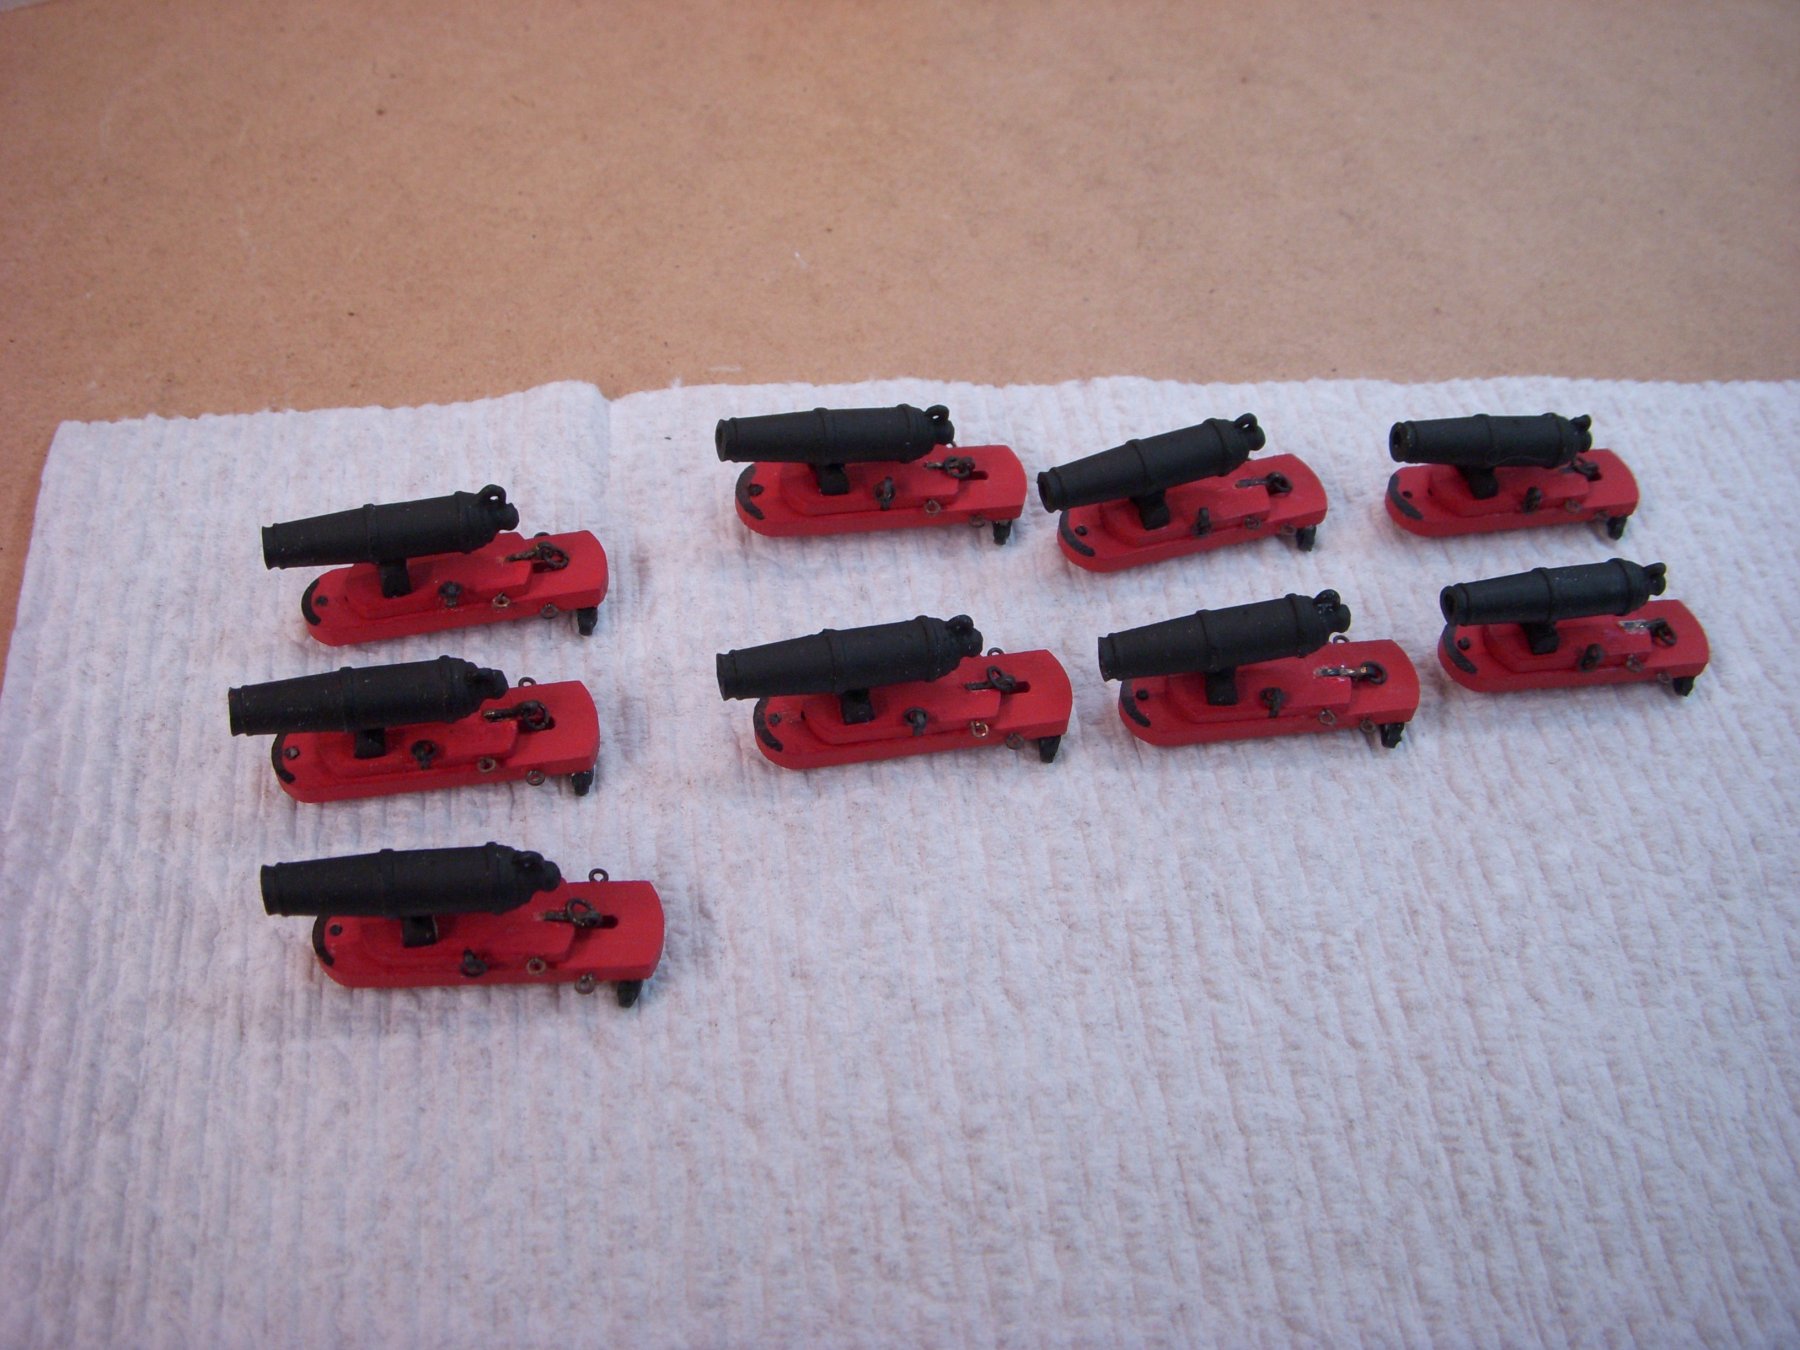
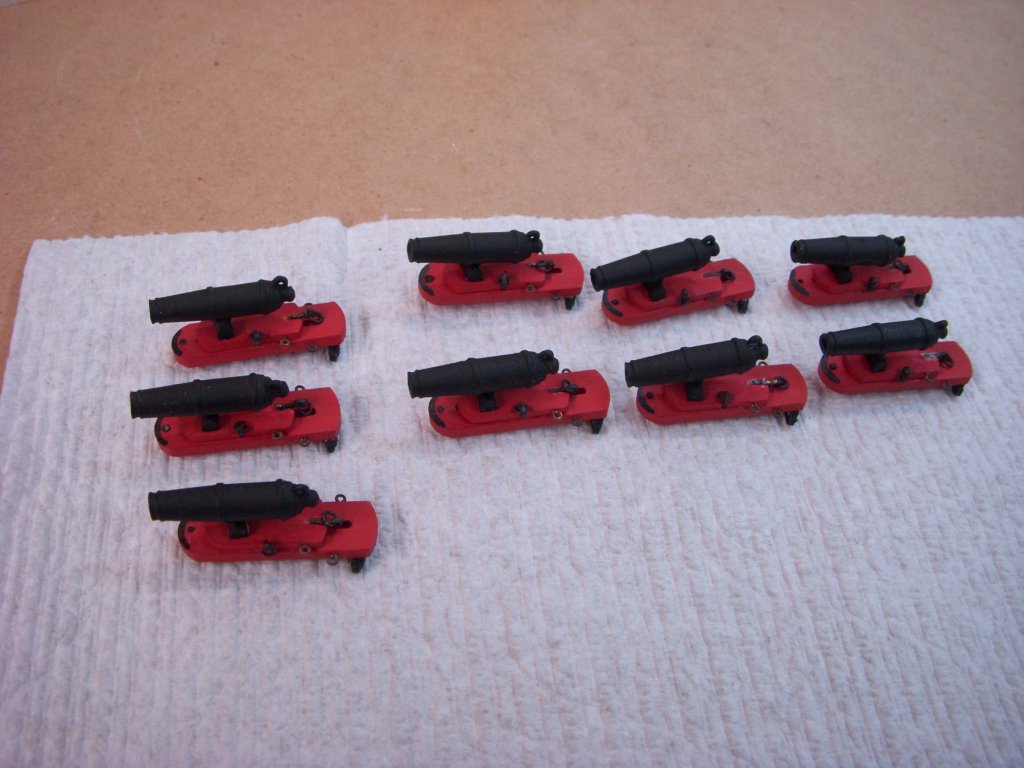
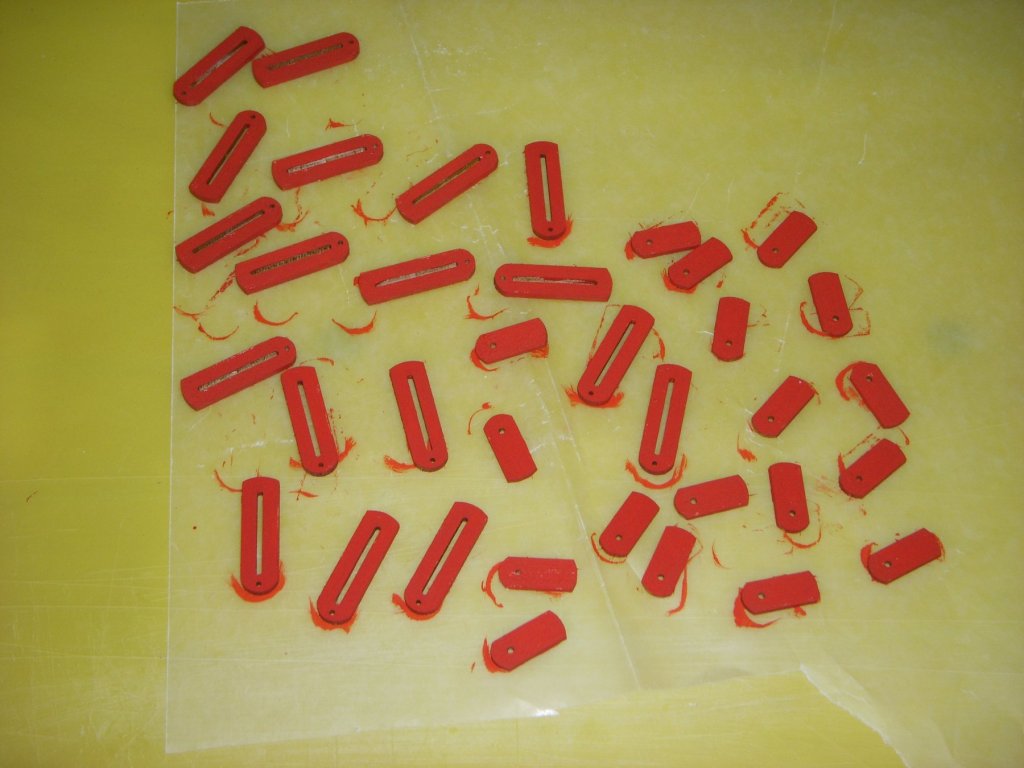
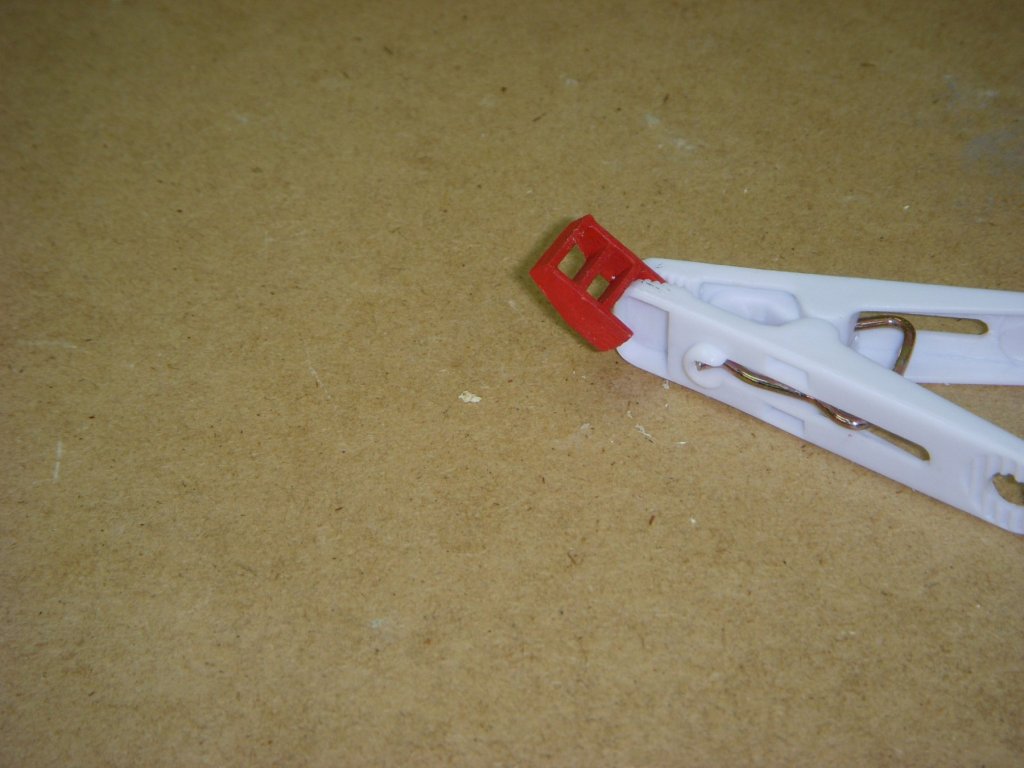
.thumb.jpg.1da981e493a7fe8bed83bce0fbcfa3c4.jpg) Things have been going pretty slow between making all the tackles and assembling the carronades. It doesn’t help that the weather here has been pretty good, so I was spending more time outside instead of the workshop. Spent some time priming and painting the guns. I am using a flat black for the guns, I noticed that some build logs have the guns painted a gunmetal blue. I felt black was more appropriate. One issues I found was, nowhere could I find how the carronade were mounted. The description said they pivoted in the front, Hole in the carriage and in the planksheer, and stated it should have been mounted with a pin. I did not have a brass rod the proper diameter, and it would have been a pain cutting it to the proper length if I did, so I decided to use a modified tooth pick. Reduced the diameter slightly and cut it to the proper length. Here is a shot of how it turned out. The quoins are cut and are ready for painting and mounting. I will send pics when they are complete. I am building the port side guns first and see how they look before moving on the starboard side. I am now building the carriages for the 12 pounders. Ron
Things have been going pretty slow between making all the tackles and assembling the carronades. It doesn’t help that the weather here has been pretty good, so I was spending more time outside instead of the workshop. Spent some time priming and painting the guns. I am using a flat black for the guns, I noticed that some build logs have the guns painted a gunmetal blue. I felt black was more appropriate. One issues I found was, nowhere could I find how the carronade were mounted. The description said they pivoted in the front, Hole in the carriage and in the planksheer, and stated it should have been mounted with a pin. I did not have a brass rod the proper diameter, and it would have been a pain cutting it to the proper length if I did, so I decided to use a modified tooth pick. Reduced the diameter slightly and cut it to the proper length. Here is a shot of how it turned out. The quoins are cut and are ready for painting and mounting. I will send pics when they are complete. I am building the port side guns first and see how they look before moving on the starboard side. I am now building the carriages for the 12 pounders. Ron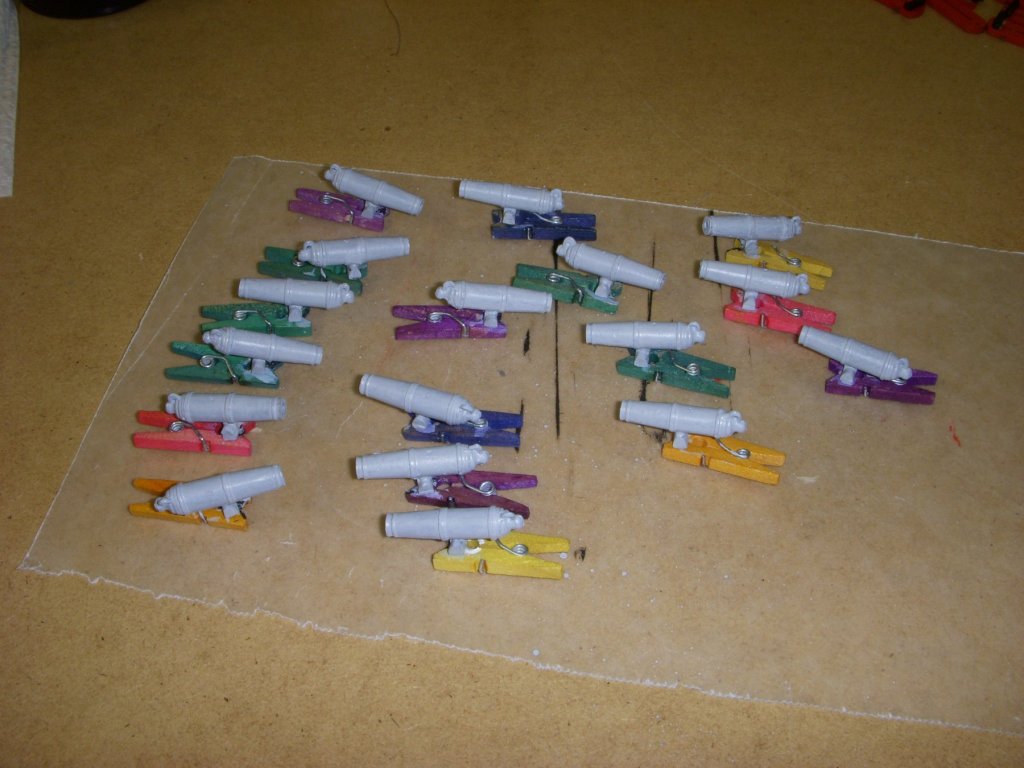

-
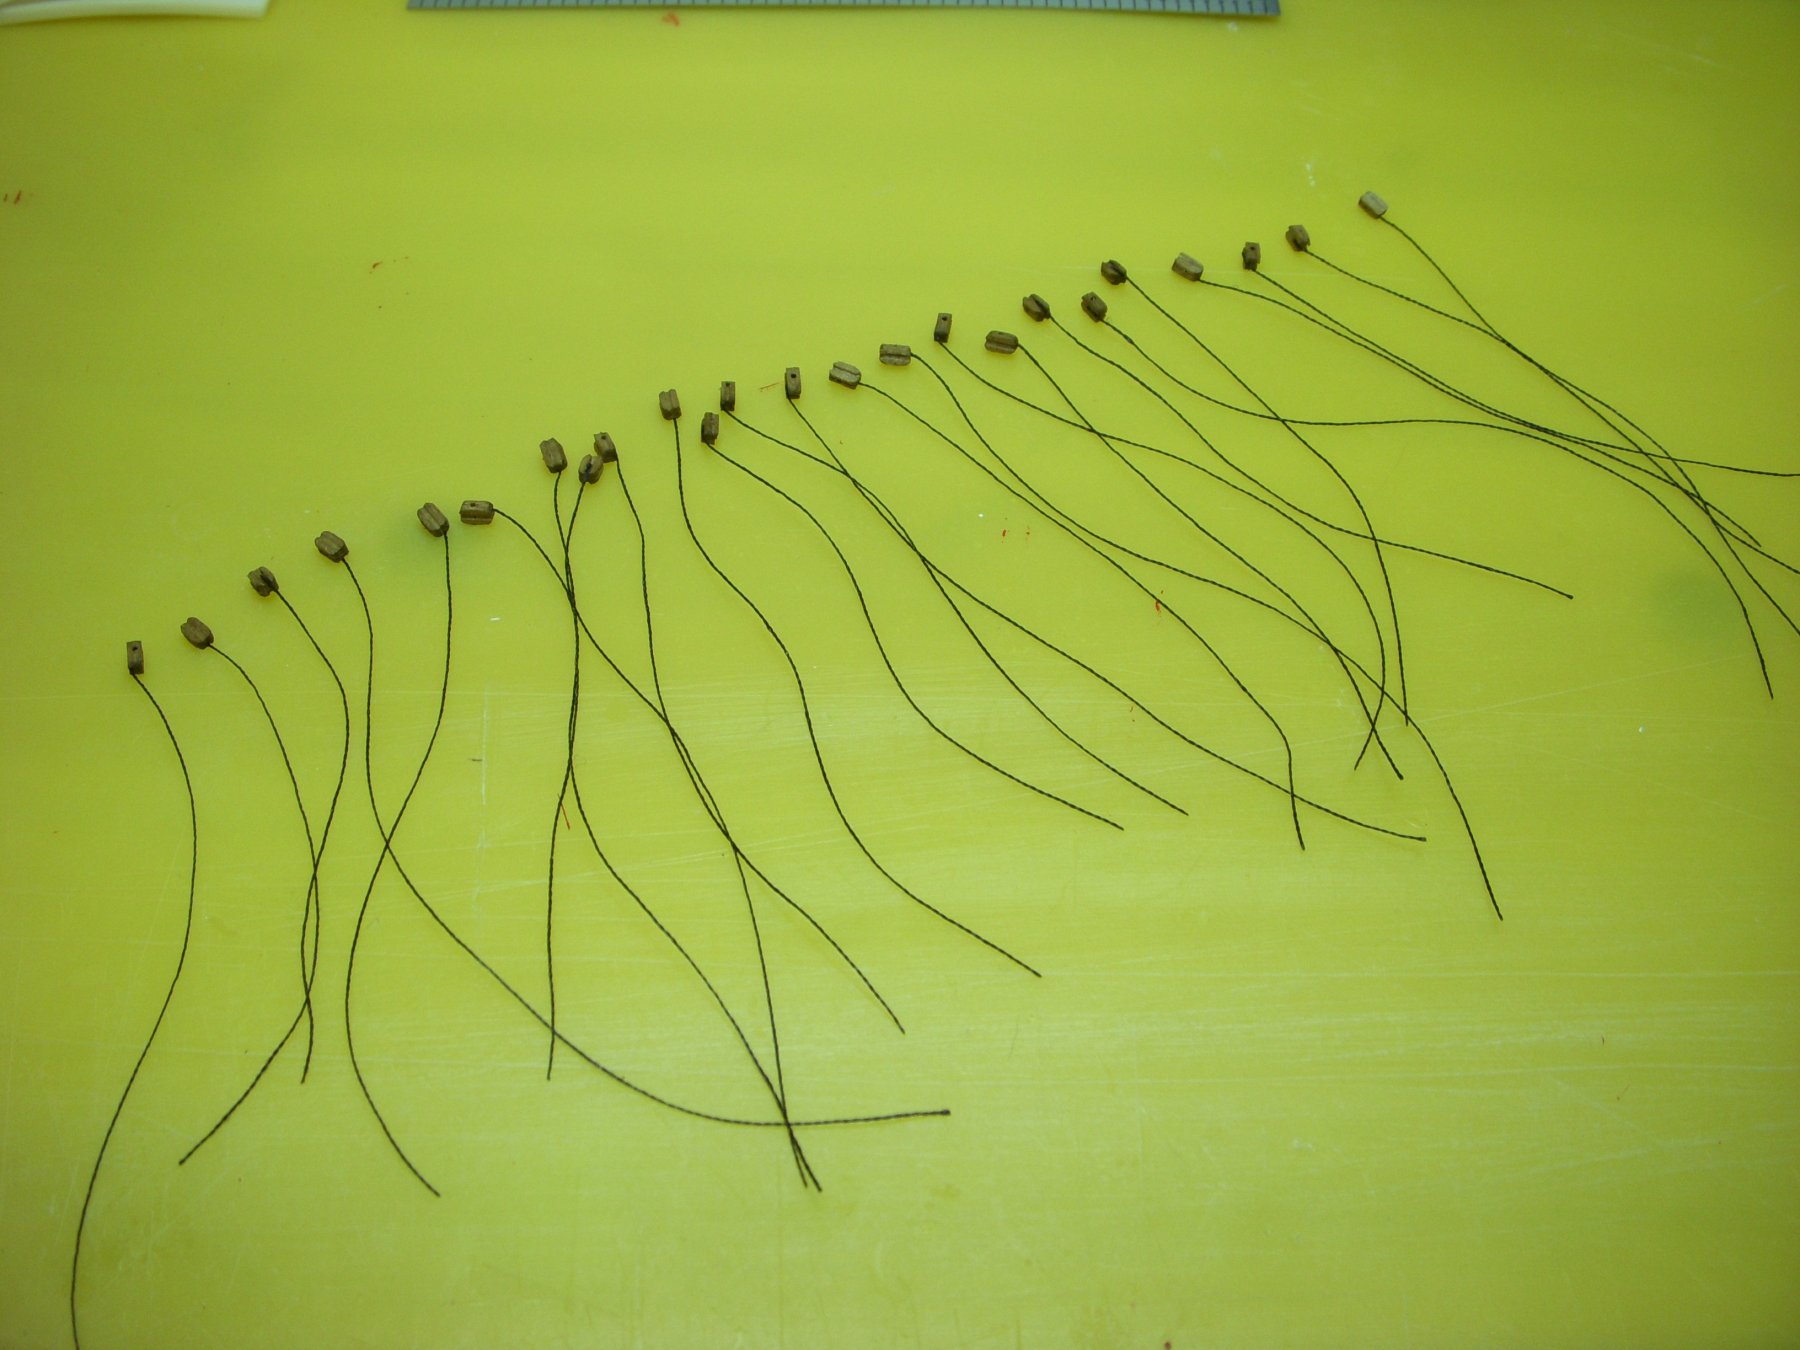
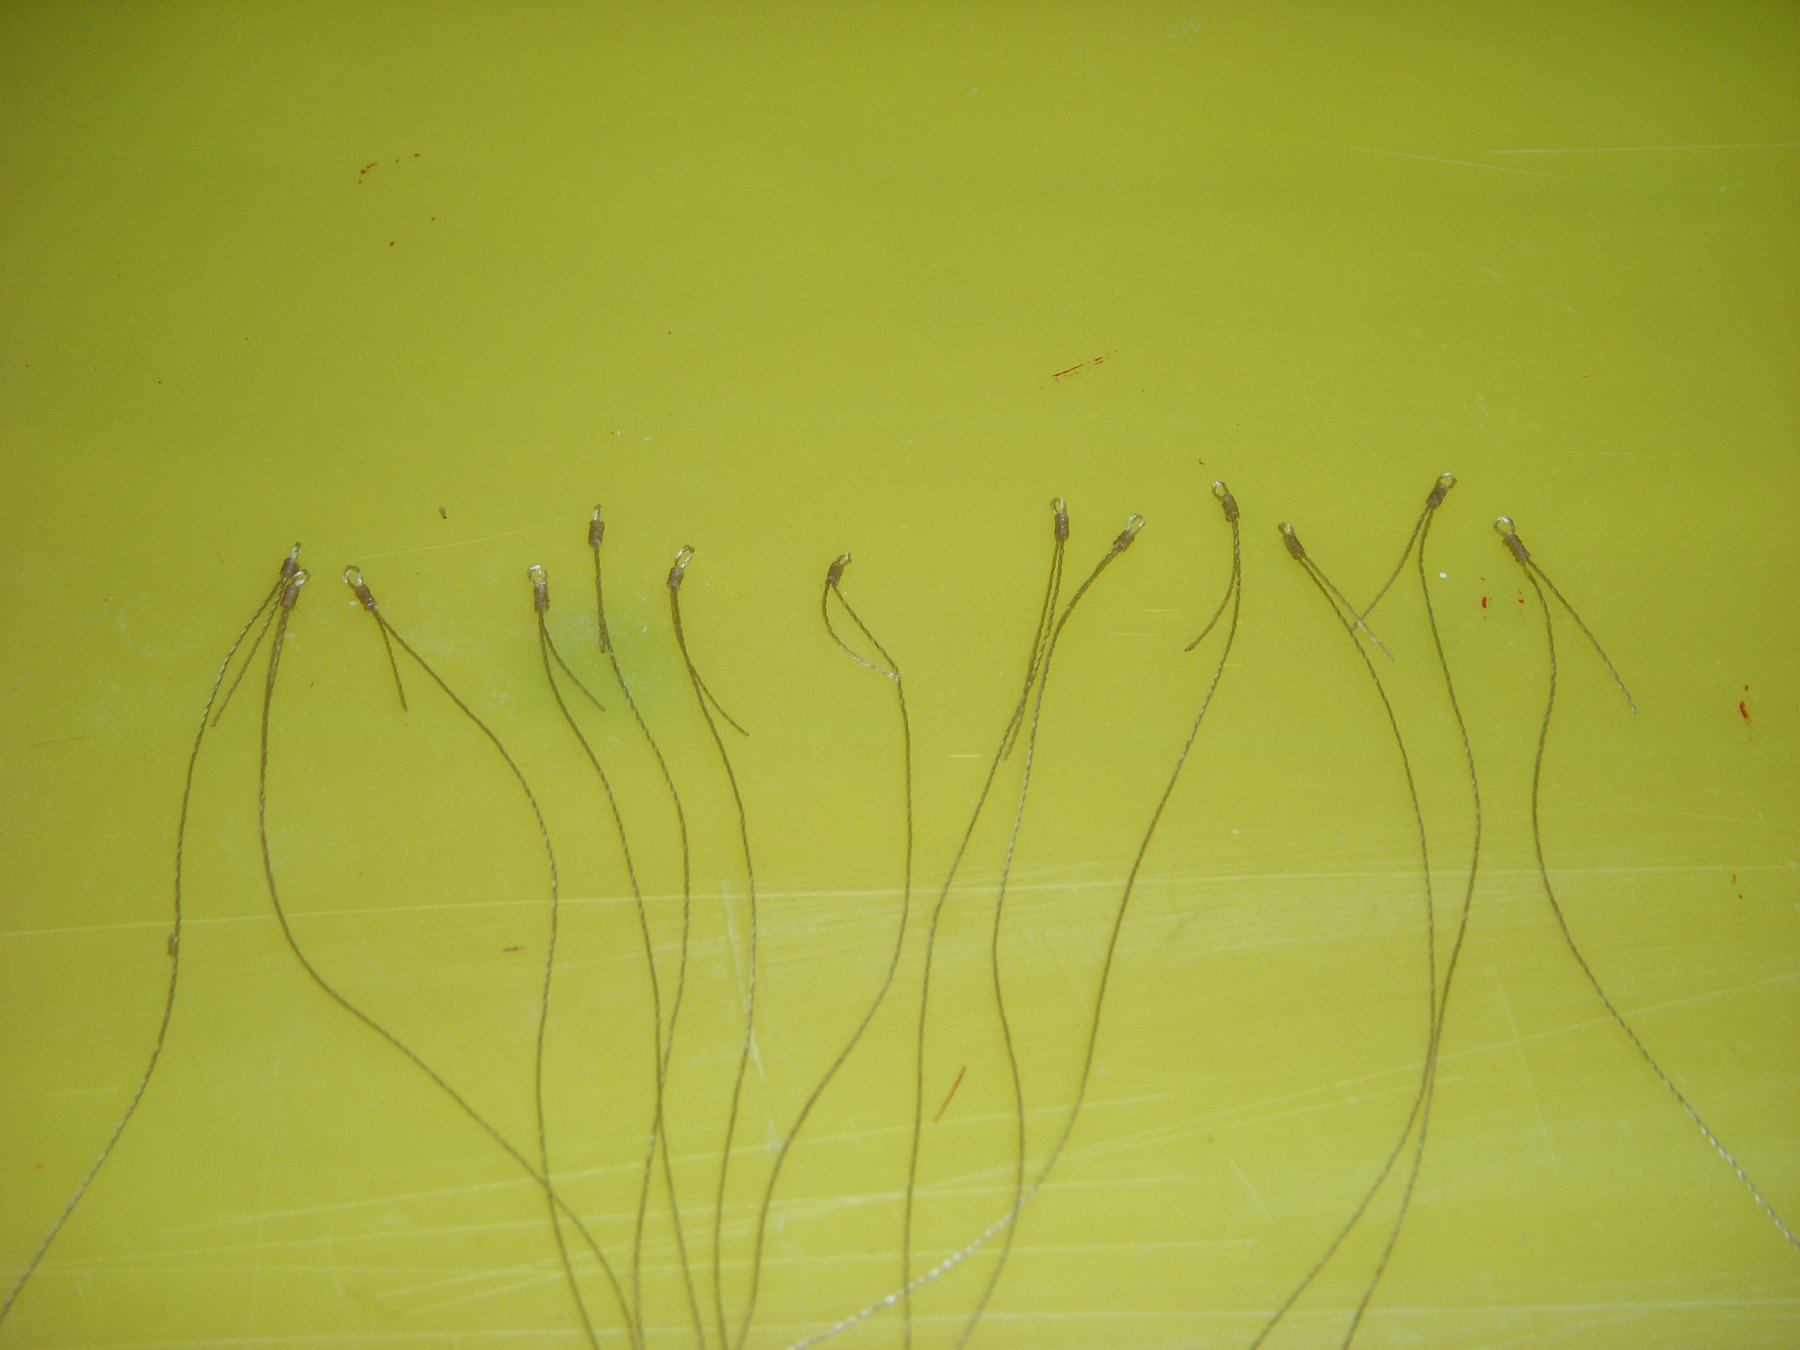
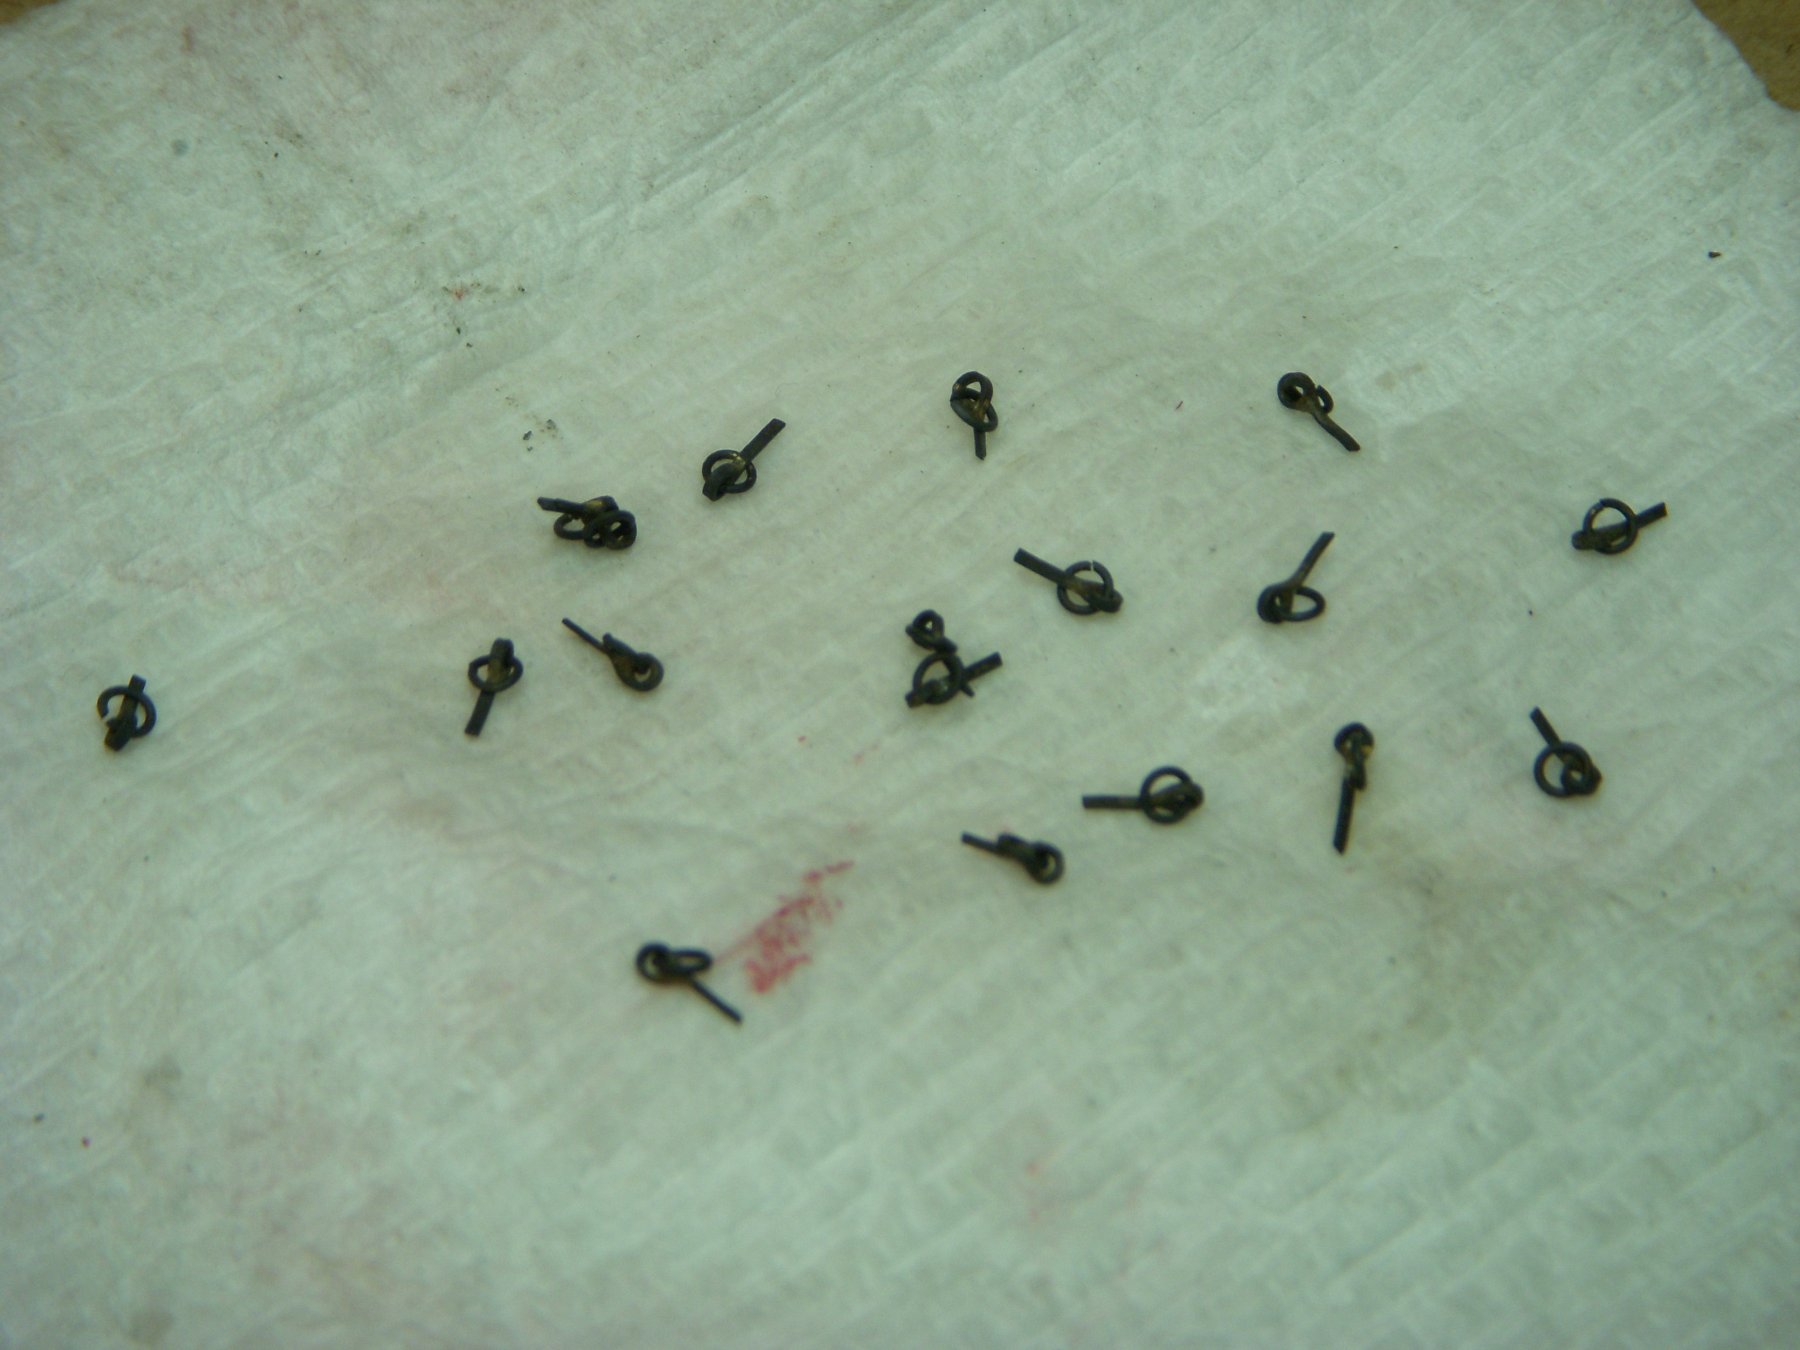
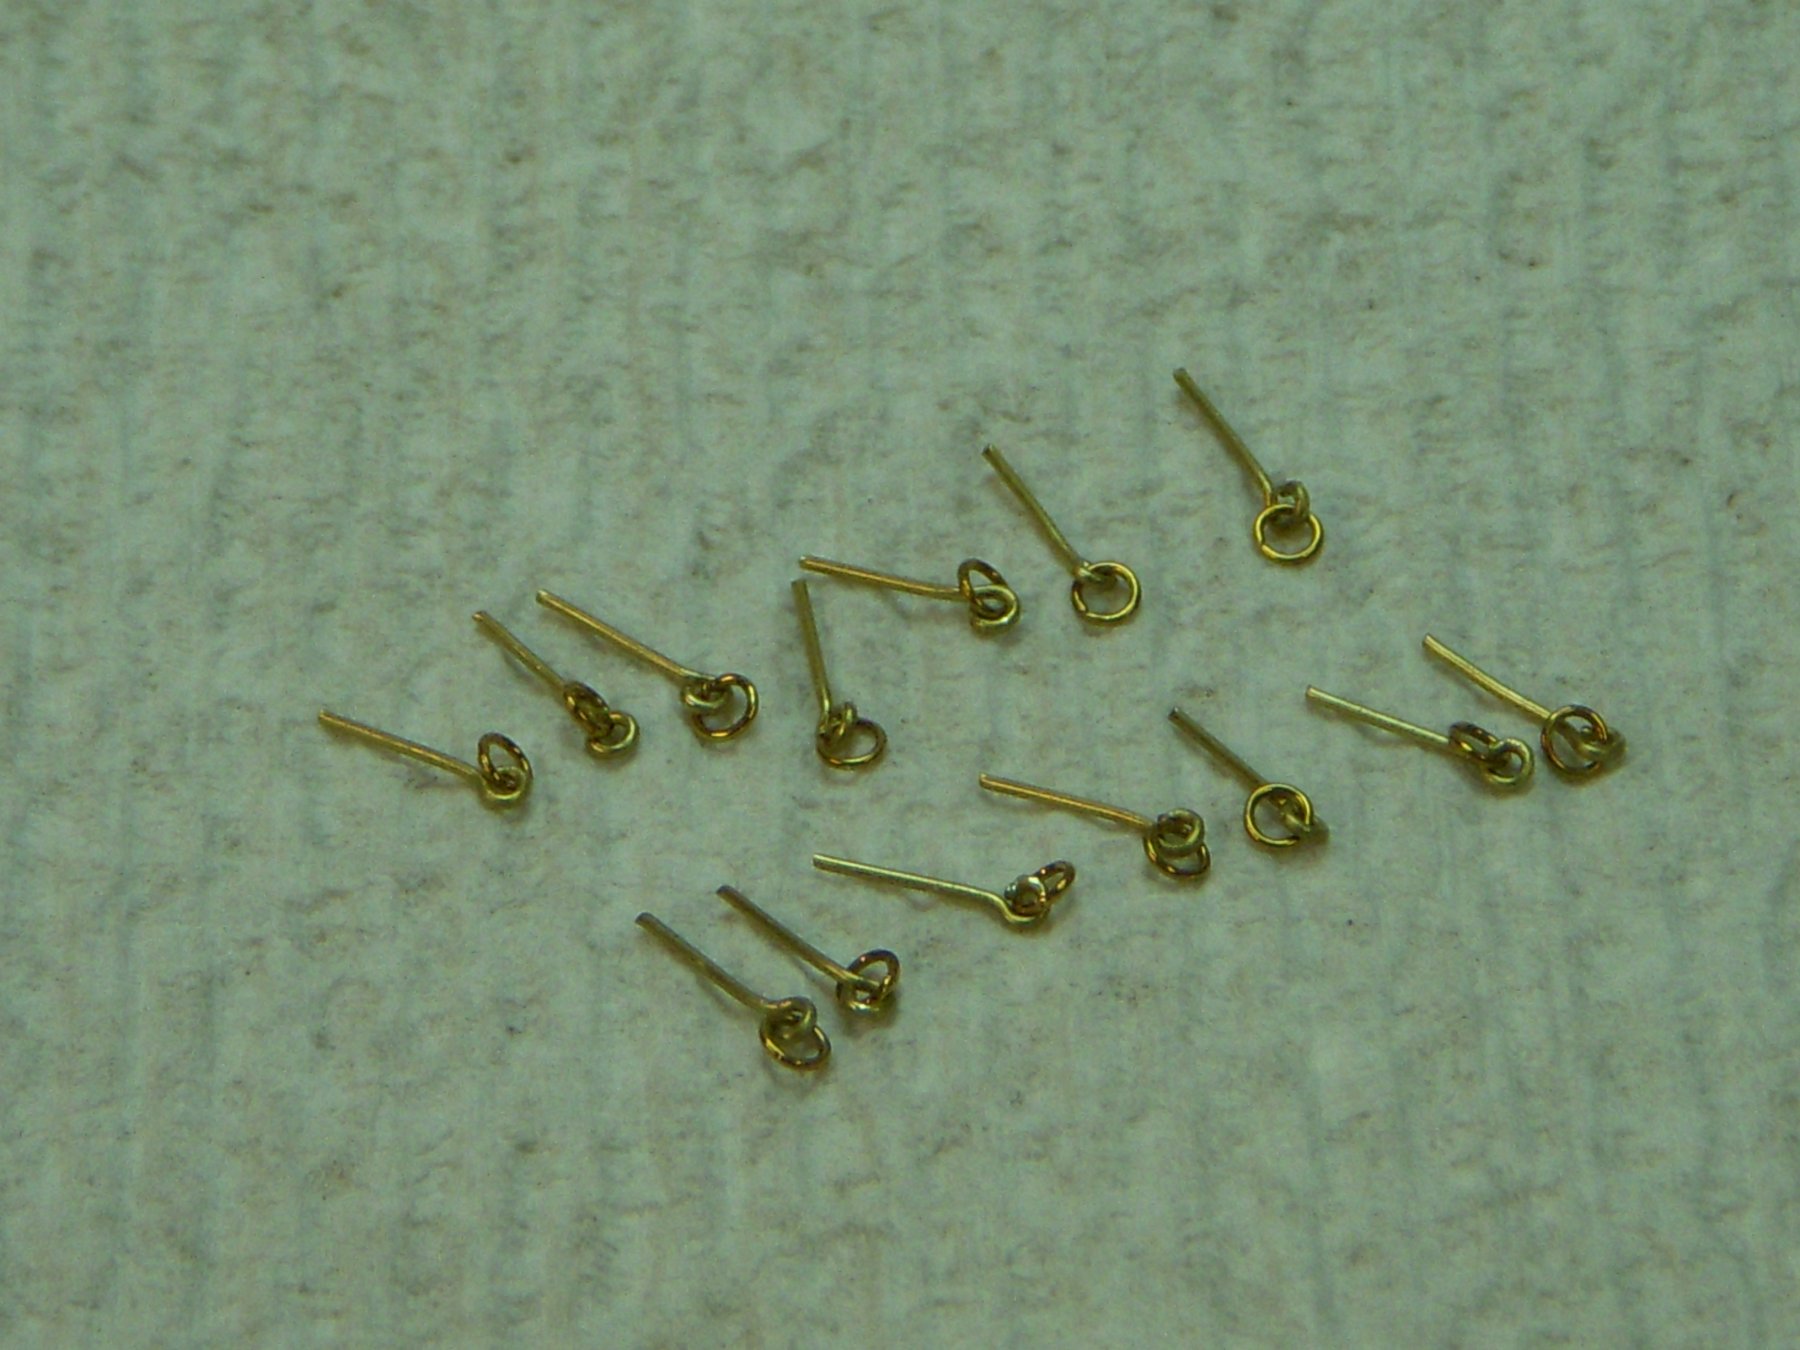
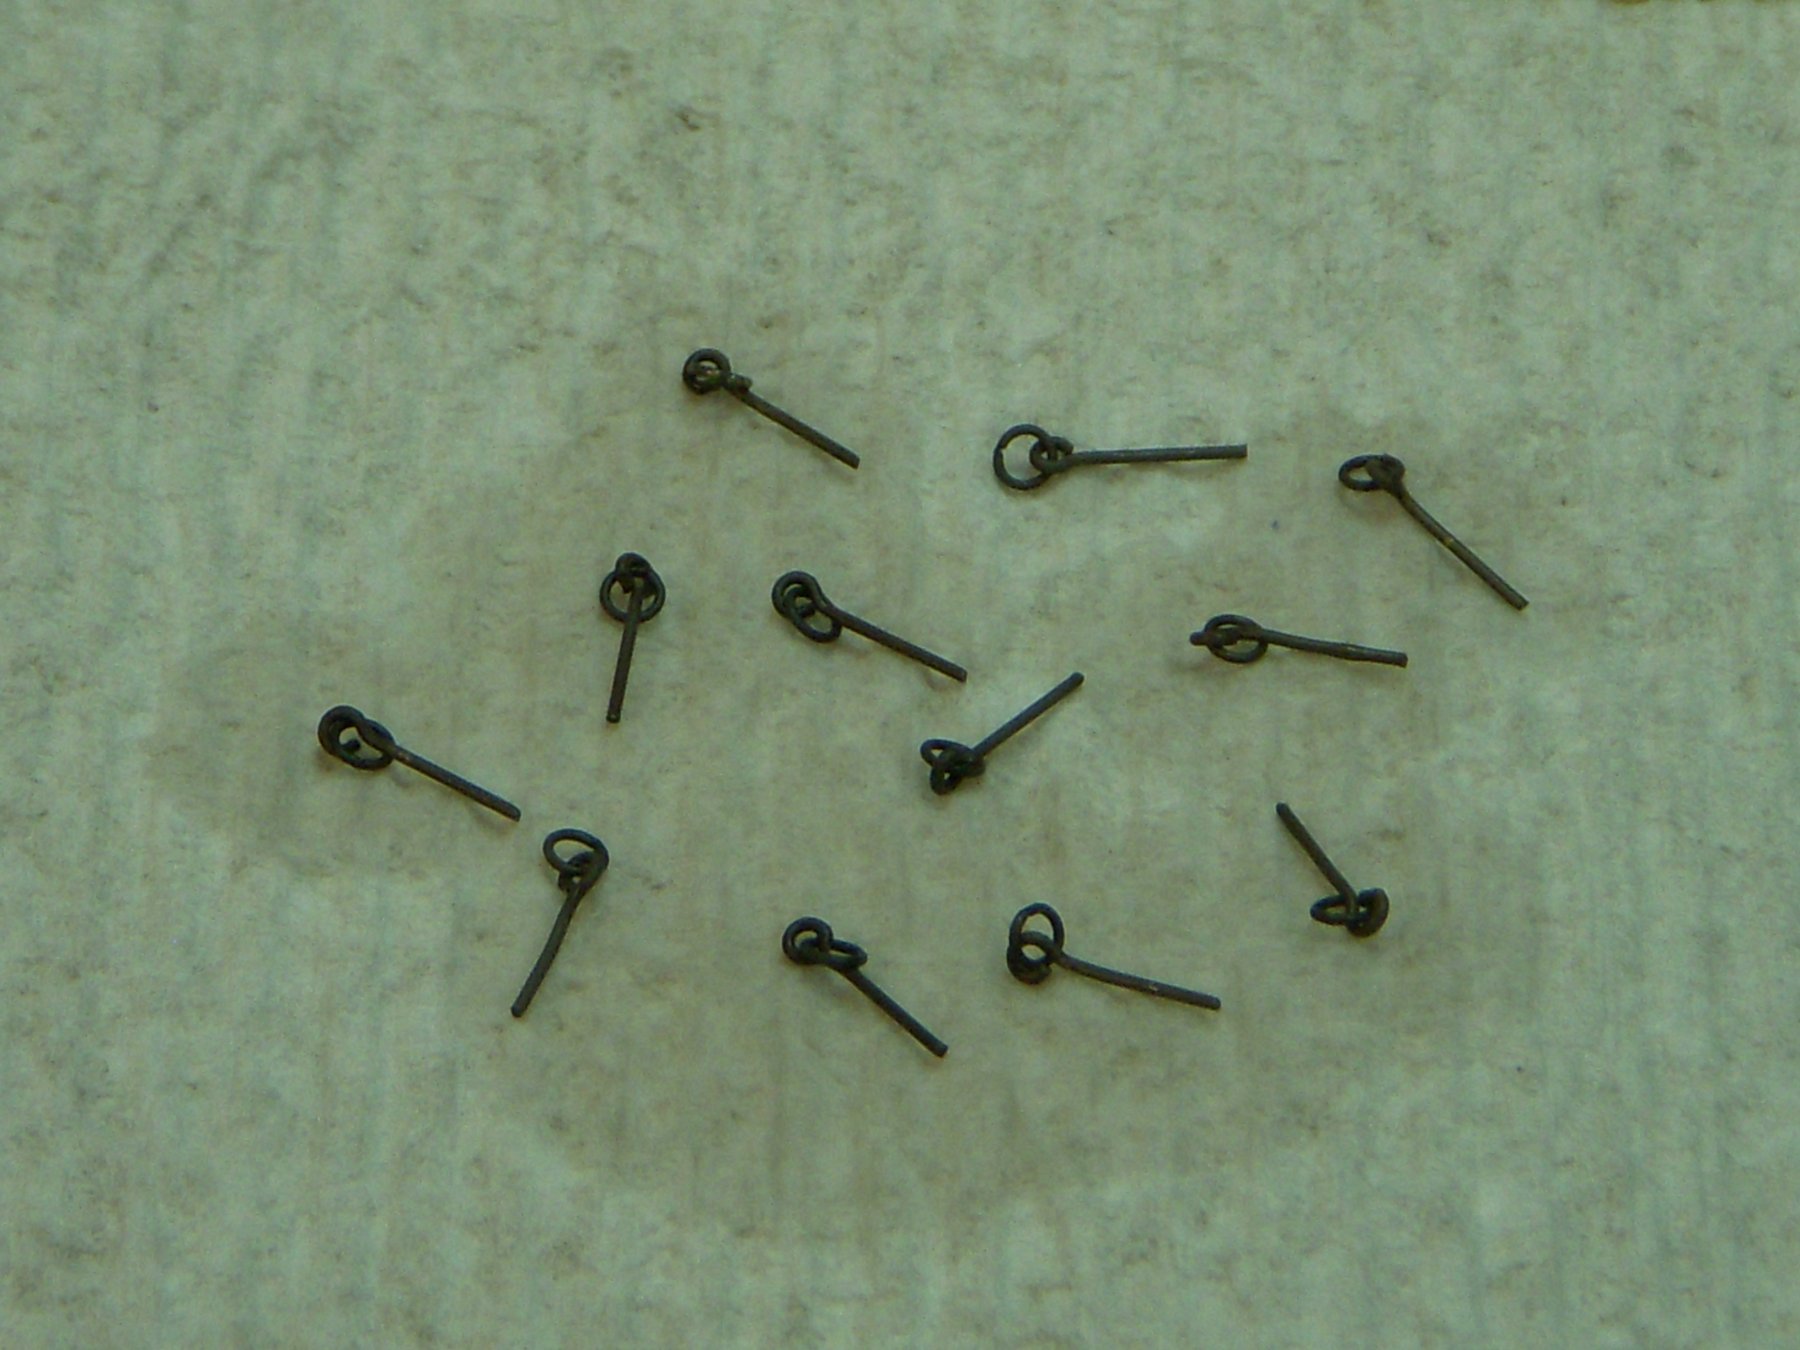
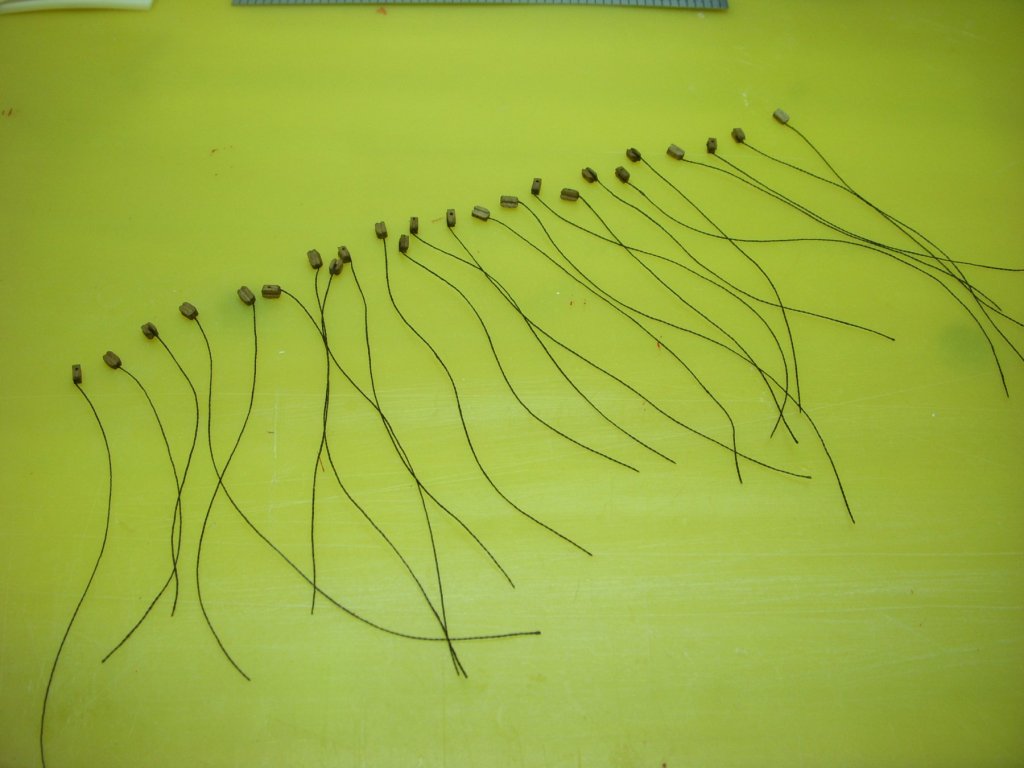
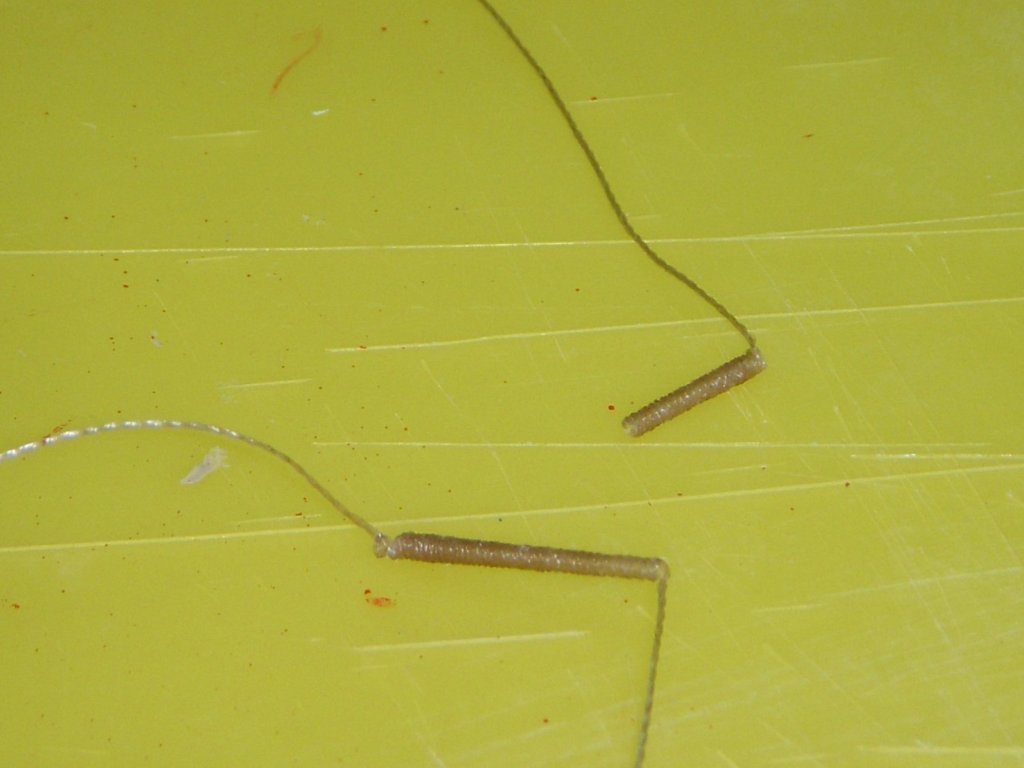
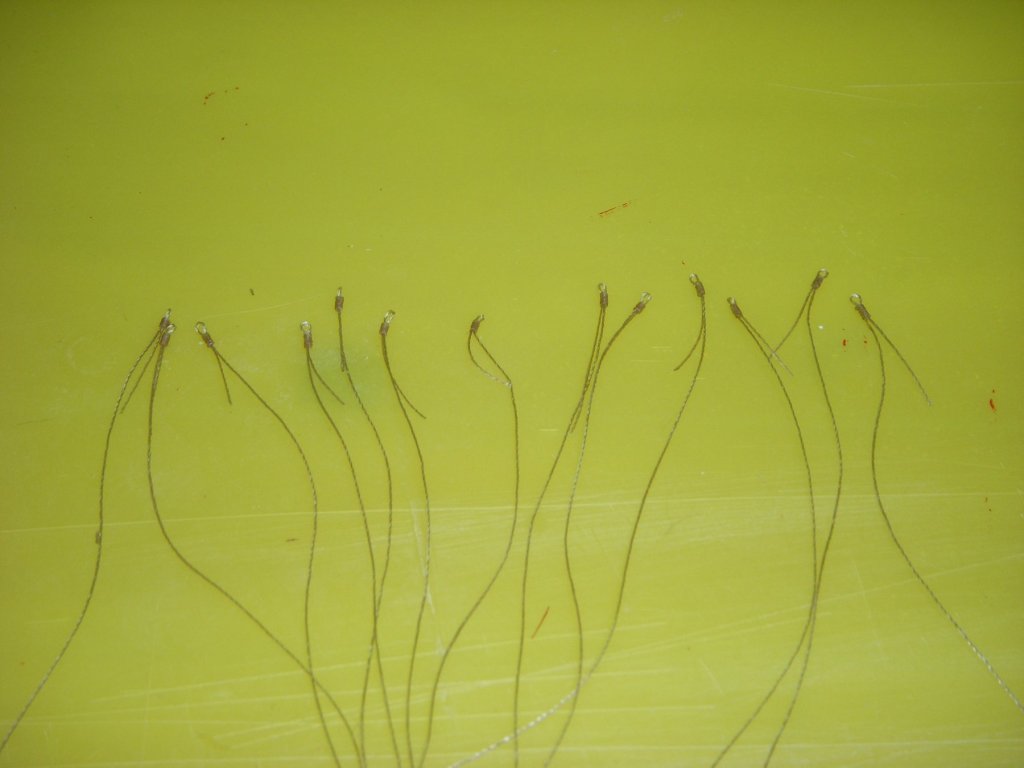
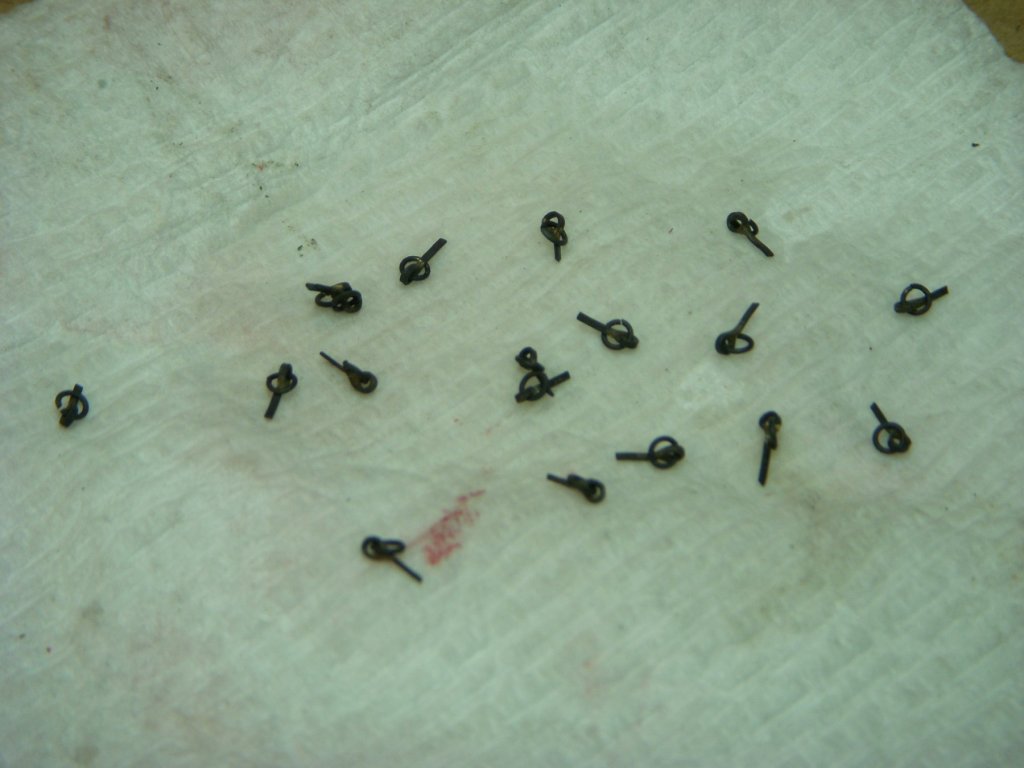
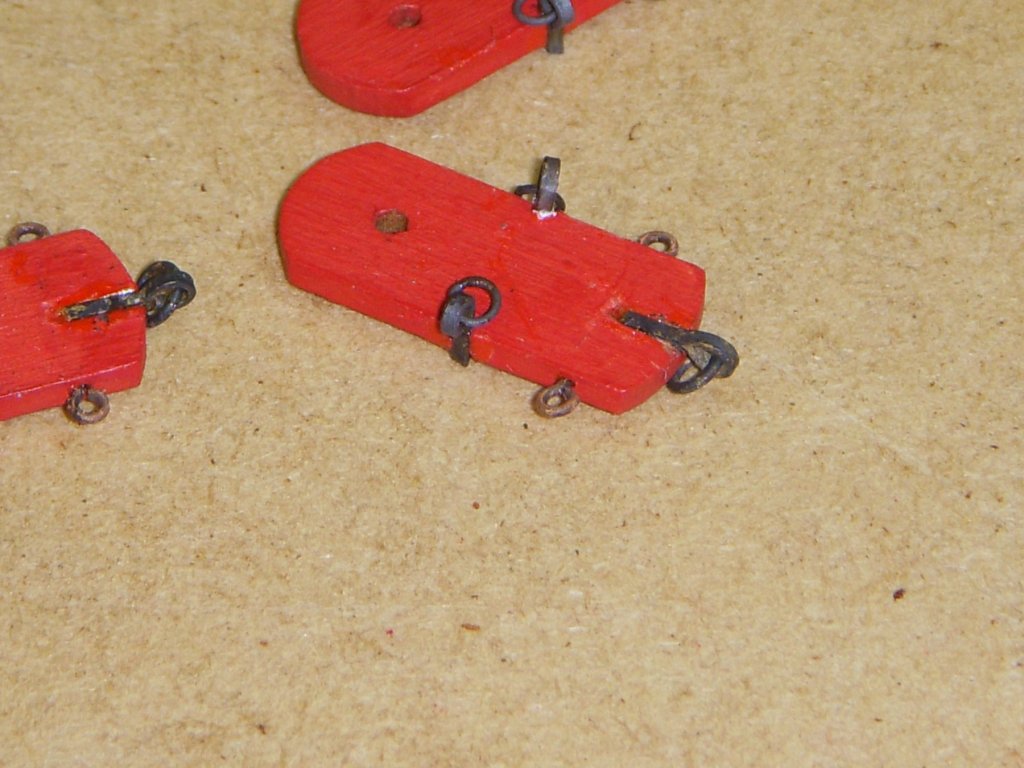
Started assembling the Carronades, this is a tedious task. I did make some changes and did not follow the drawings. I had difficulty making the breech line plates and the inhaul line plates. I was having difficulty drilling the holes for the rings. I was using my Dremel drill press and kept having the drill slip and end up drilling off the side of the plate. So I decided to make a loop at the end of the plate and inserted the spilt ring through that. Here is a pic of what I did. I was having trouble zooming in and still have it in focus I decided to make a jig to drill the holes and slots for the upper part of the sliding base. I wanted to be sure they were all the same. I used the sheet the parts were punched out of, and added a backing piece. Here is what they look like mounted. This shot shows the rollers attached to the base. I then started assembling the gun tackles. This will also take some patience and time. I am making the seizing by wrapping some line around a needle and putting some thin CA on it. Once removed I cut it to proper length and slip it on to the lines. Ron

-
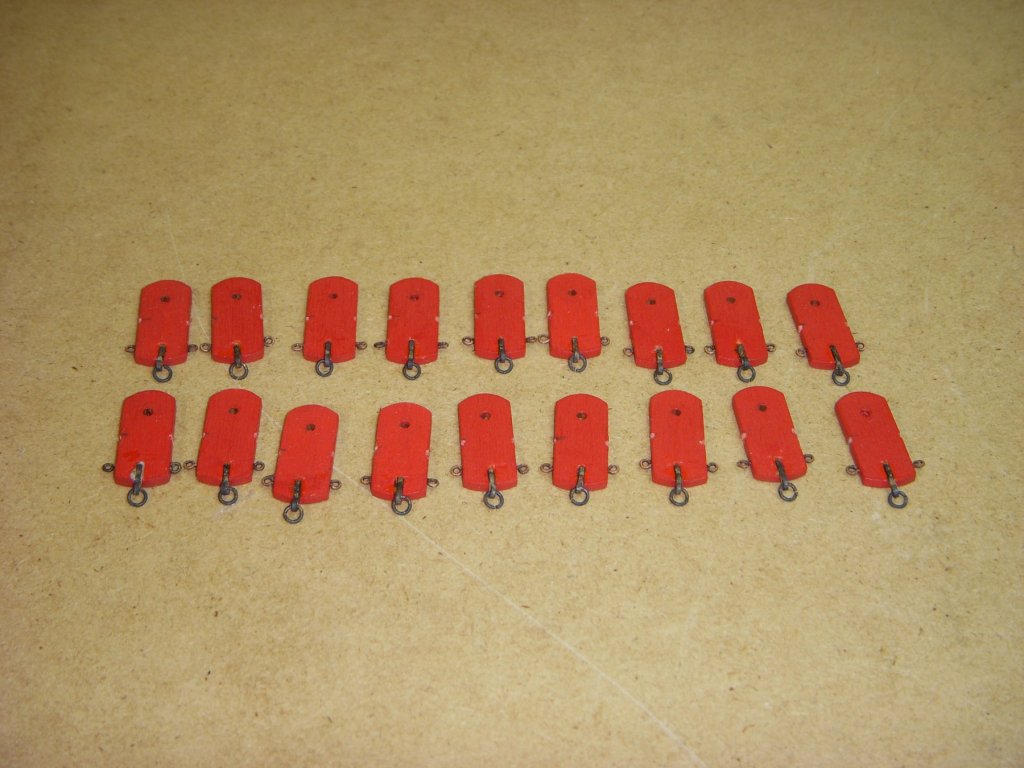
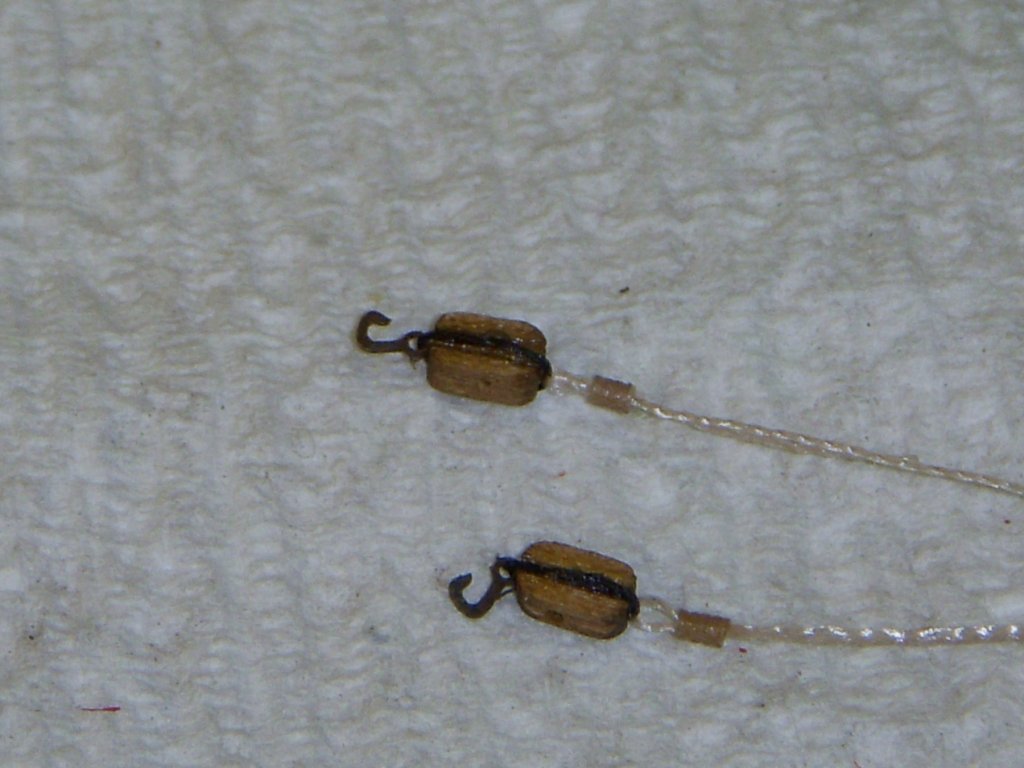
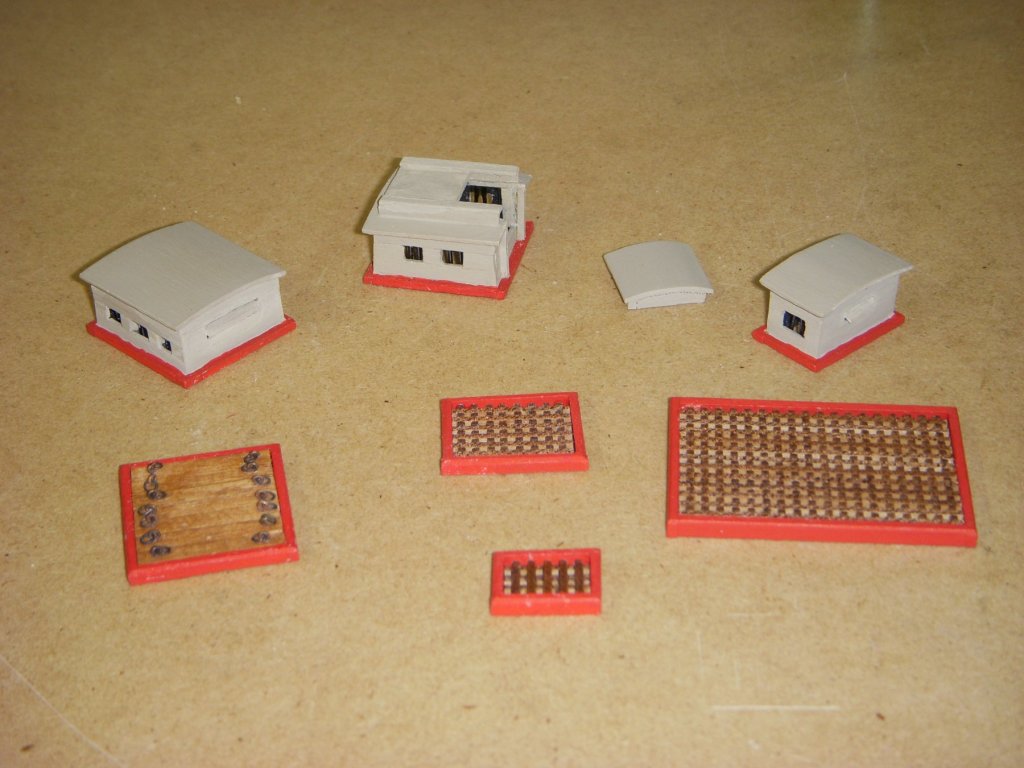
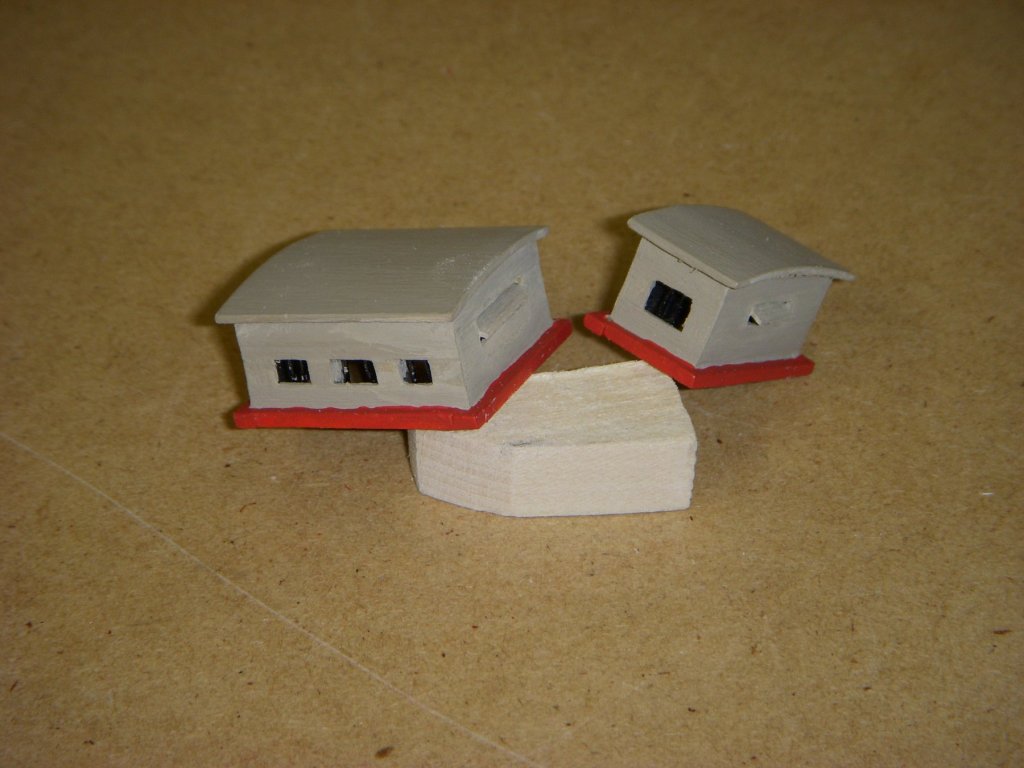
Well I completed the making the deck furniture. All sanded and painted, here are a few shots of the completed pieces. I also assembled the capstan. I used the kit supplied split rings and eyebolts for the grate cover. I decided to only cover one grate. I started assembling the 32 pound Caronnades. Cleaned them up and put two coats of red paint. Now onto putting together the rigging for the Caronnades. This looks like it will take some time. I plan on using the method detailed by 6ohiocav in his Niagara build to attach the hooks to the blocks. I also bought some 3mm hooks from Syren, I don’t think I have the skill to make my own at that size. Once they came in, it really surprised me in their size (really small, now I am sure I could not make them). I will post an update once I get farther alone in assembling the rigging. Ron

-
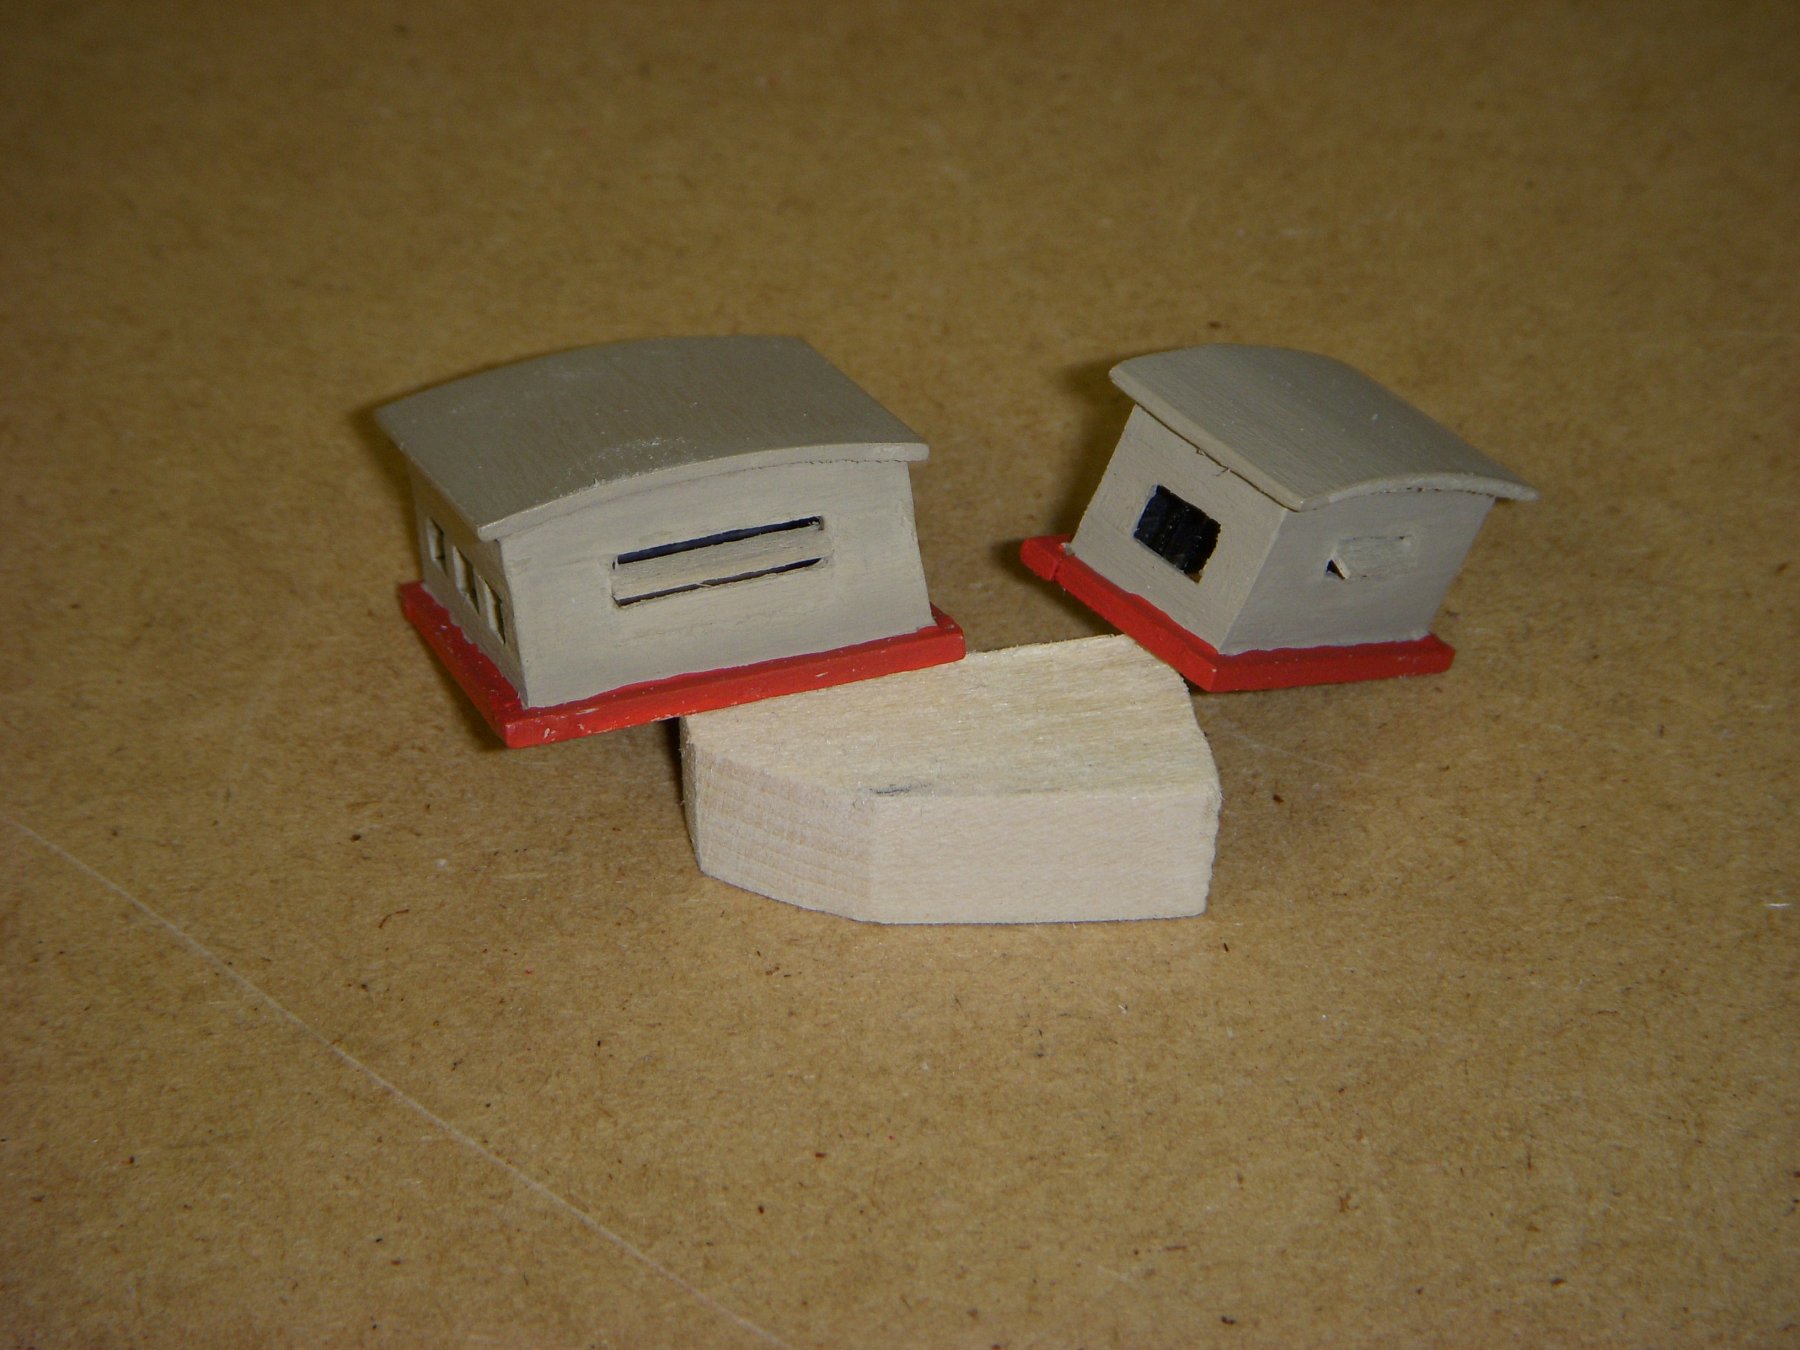
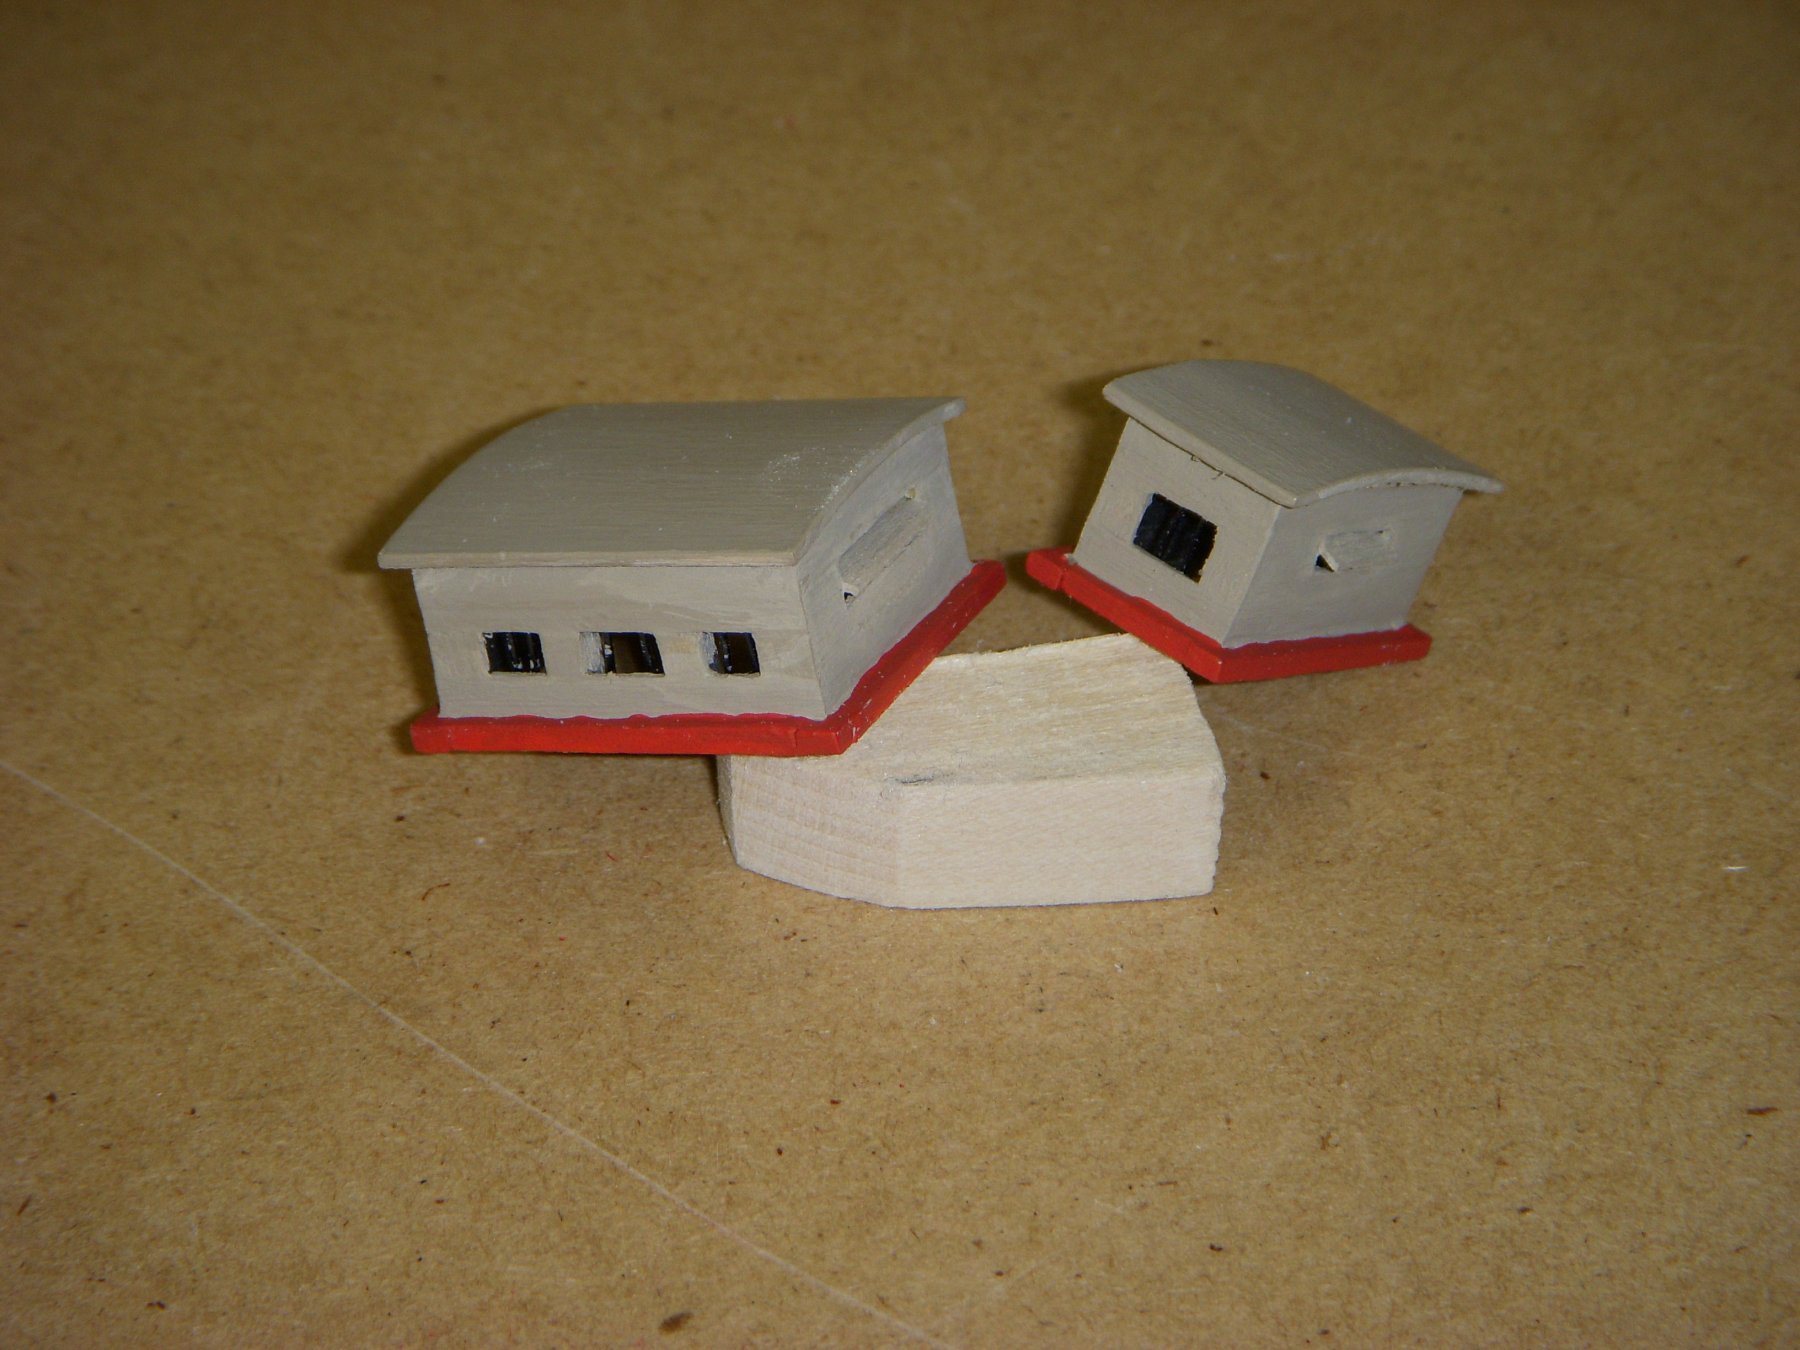
Started building some of the deck furniture. I plan on building each piece and then later in the build install them. In my last build I put the furniture on early and then had problems installing some of the other equipment on the deck. Here is the companionway partially assembled. And here it is completed. The camera brings out every little flaw, it looks pretty good in real life. Here are shots as I build more of the furniture. Ron


-
These are some great shots, they will be really helpful. Thanks. I am hoping to drive down and see the ship docked in Erie Pa., its only about an hour and half away, easy drive. Hopefully I can take some more pics to help the build. Ron
-
Mike, Yours really looks good, a little more than I planned on doing. I think I will go back and review a few more build logs to get more ideas.
-
I got the idea of the open companionway while I was going over the build log of John Fleming. https://www.niagaramodel.com/ Ron
-
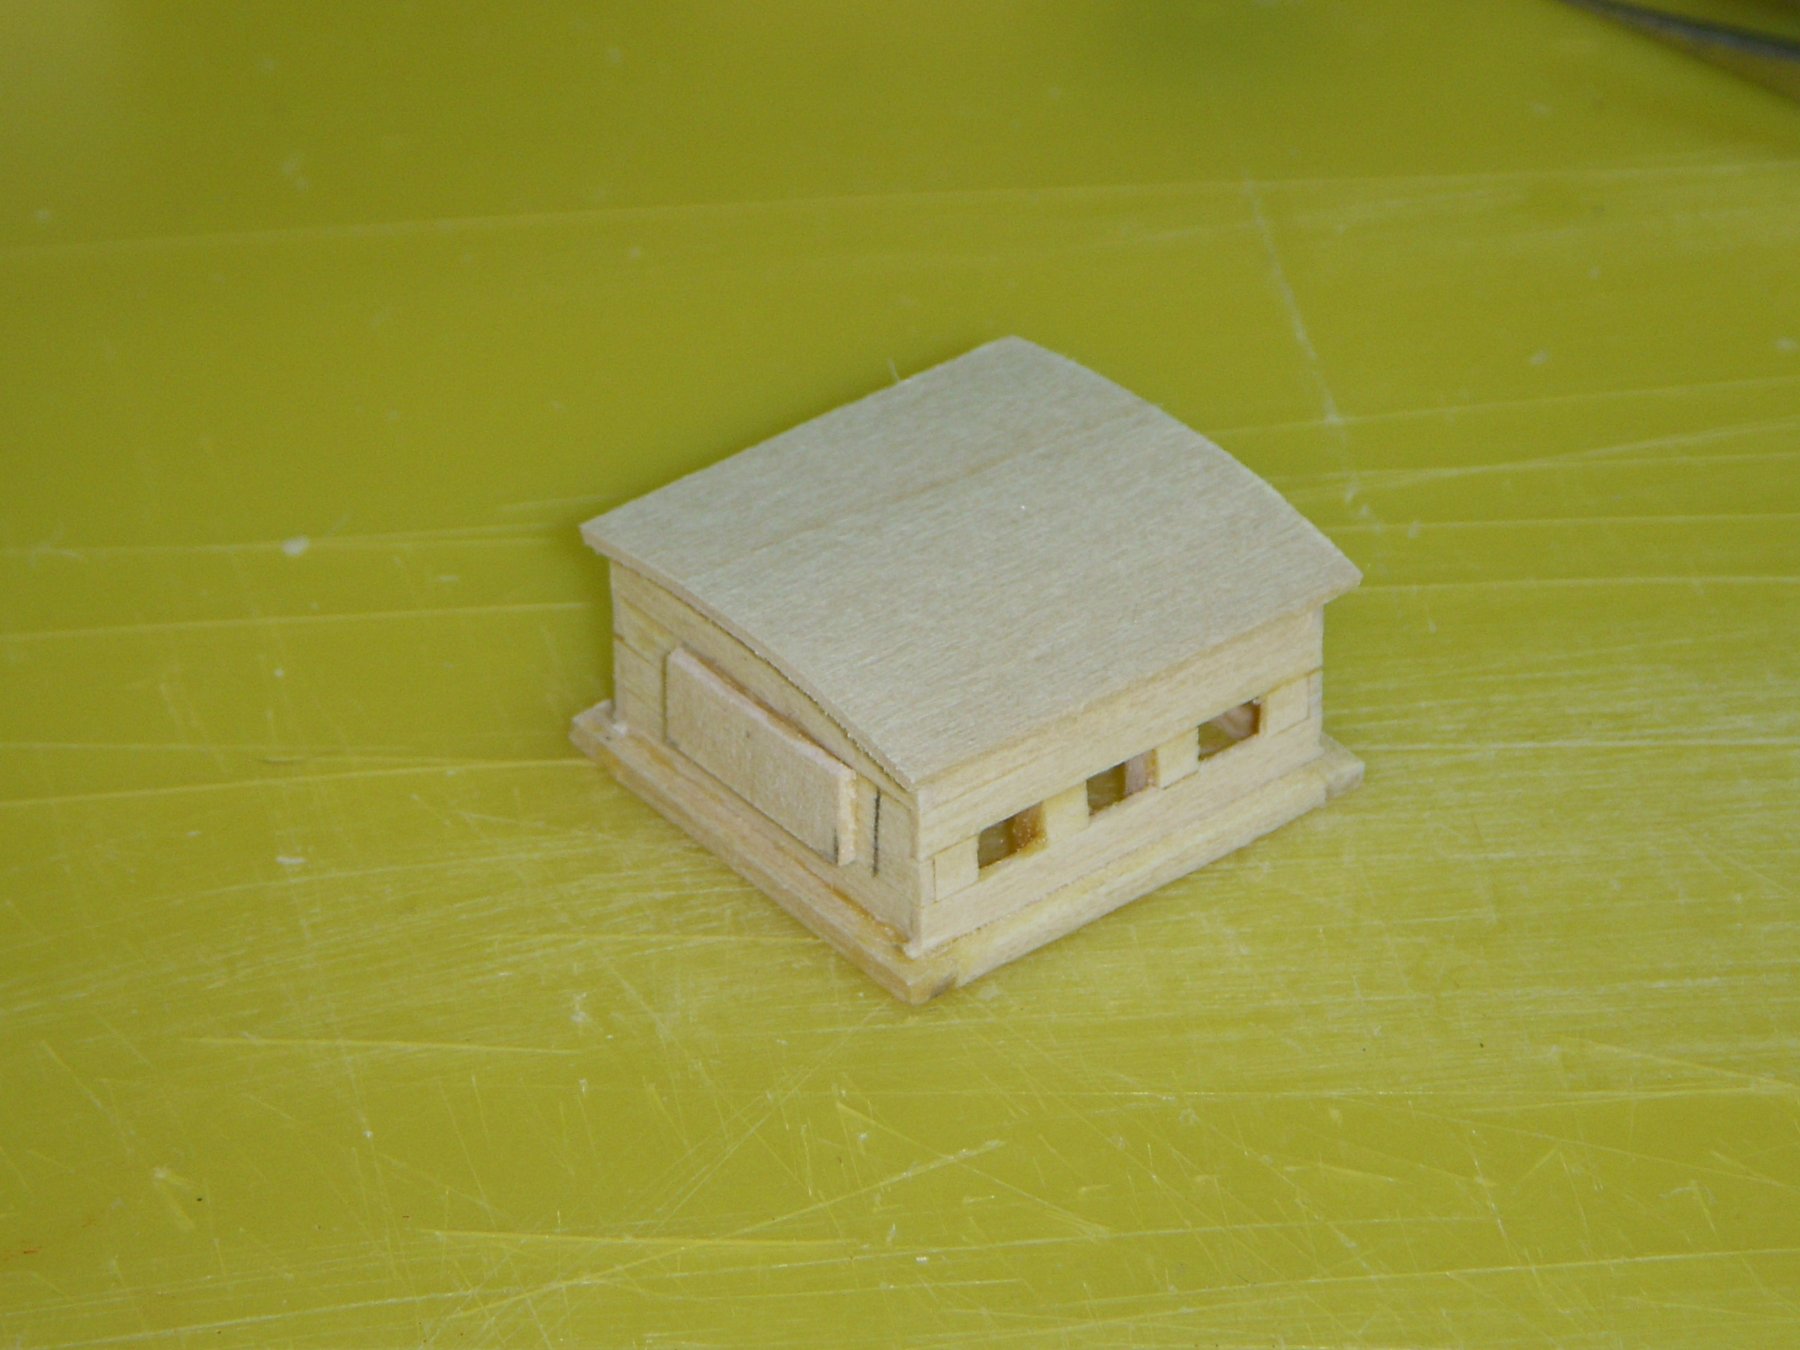
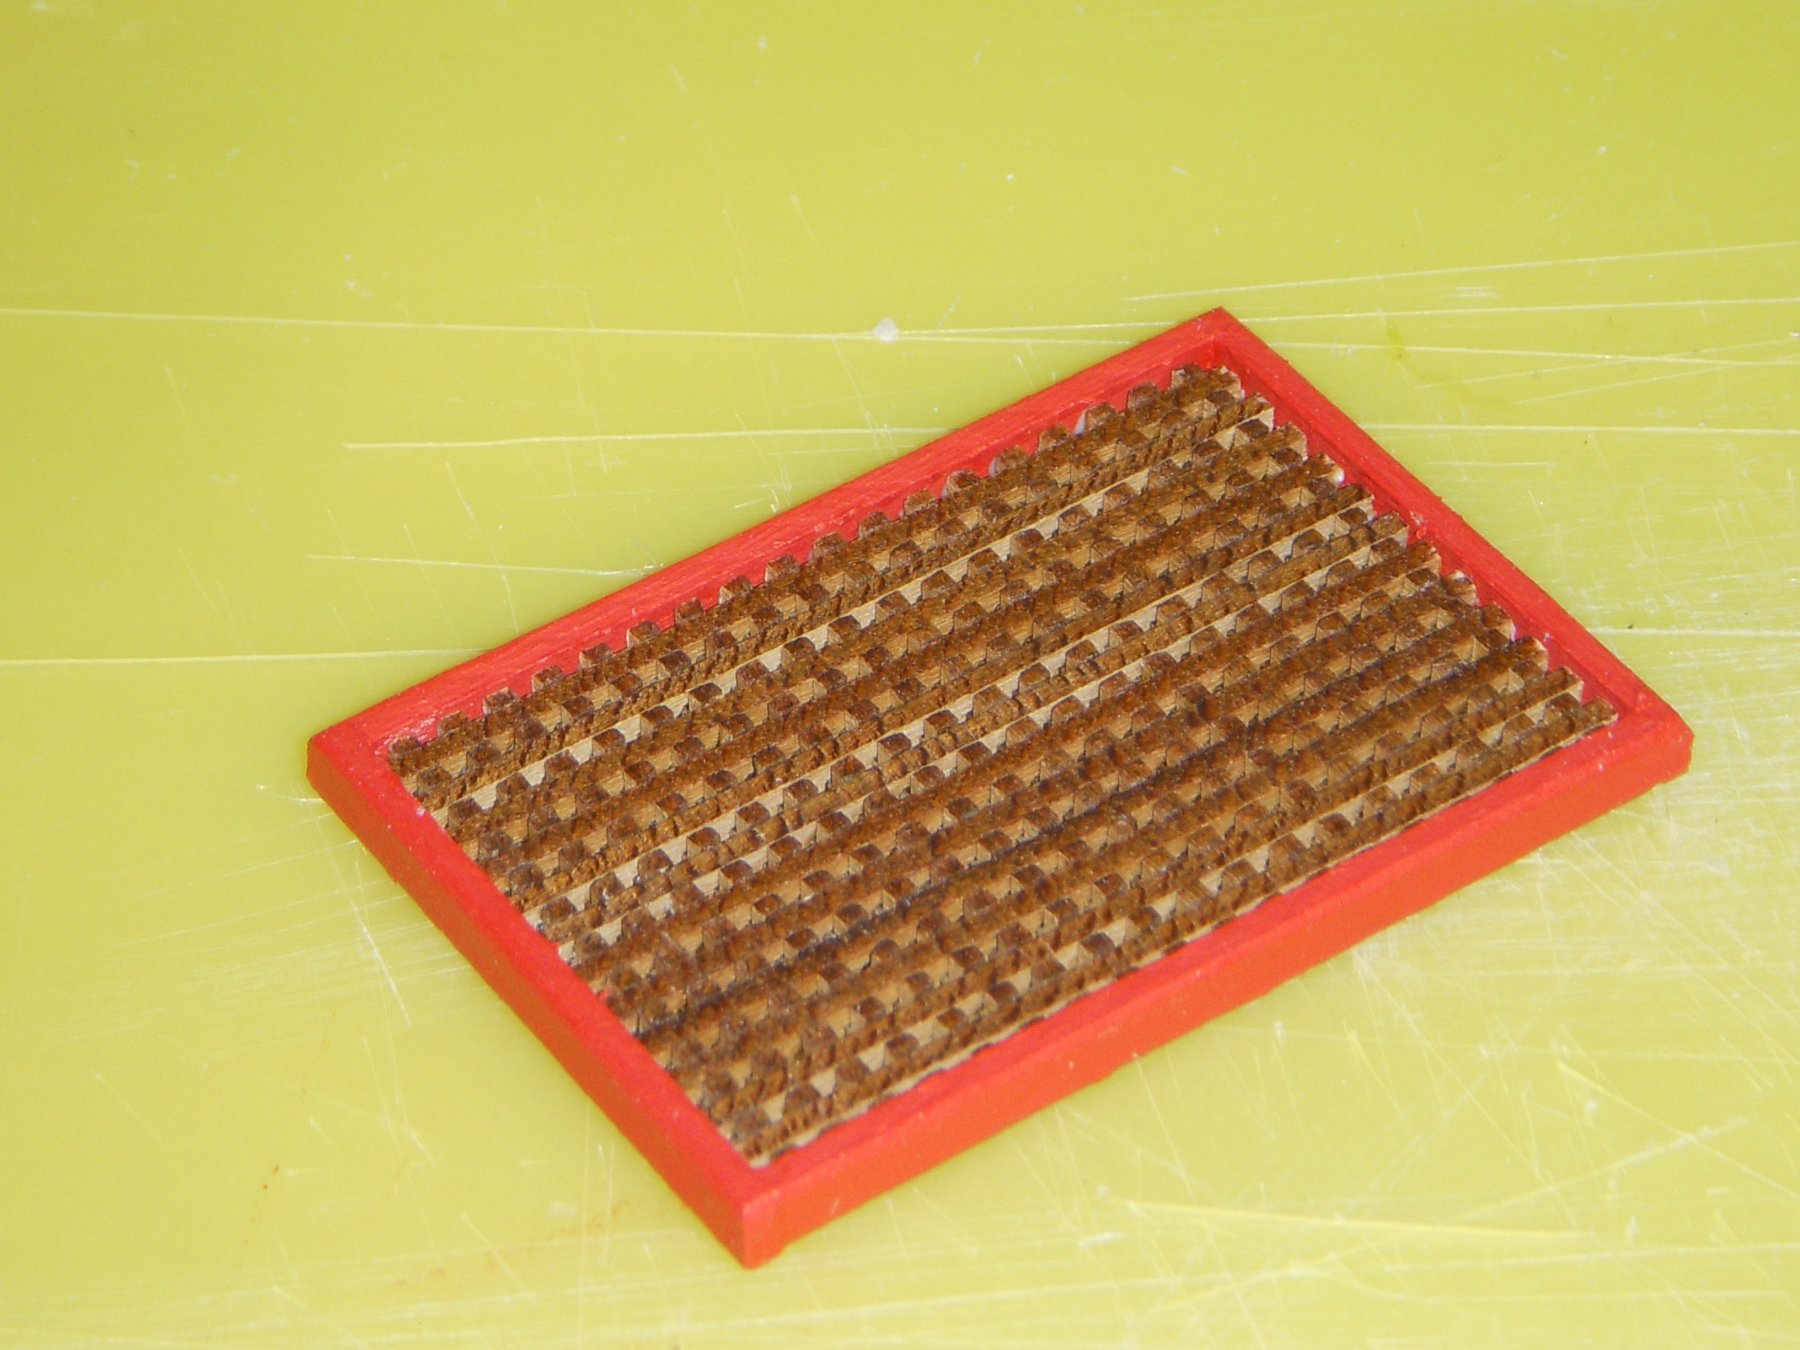
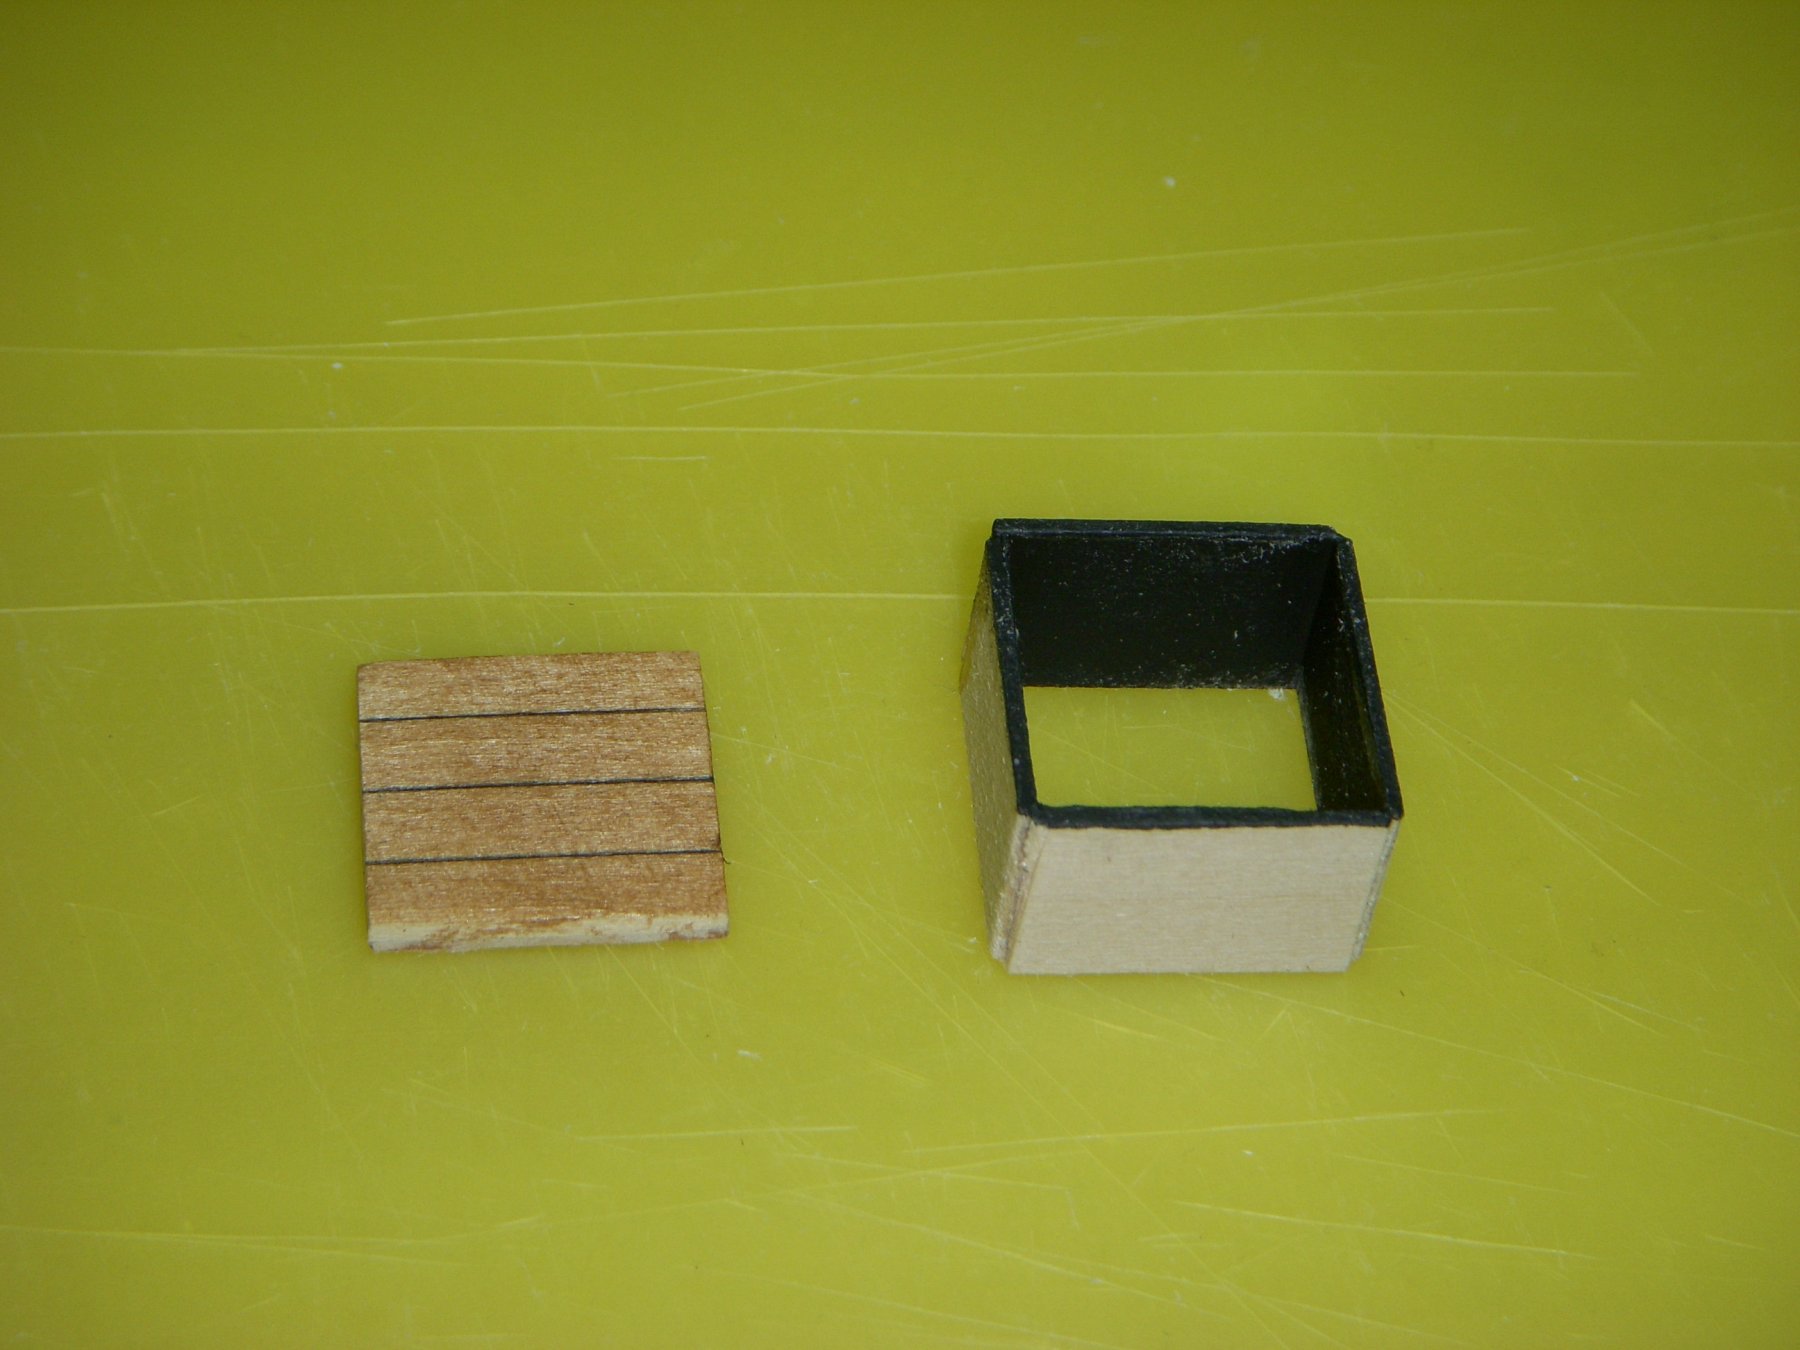
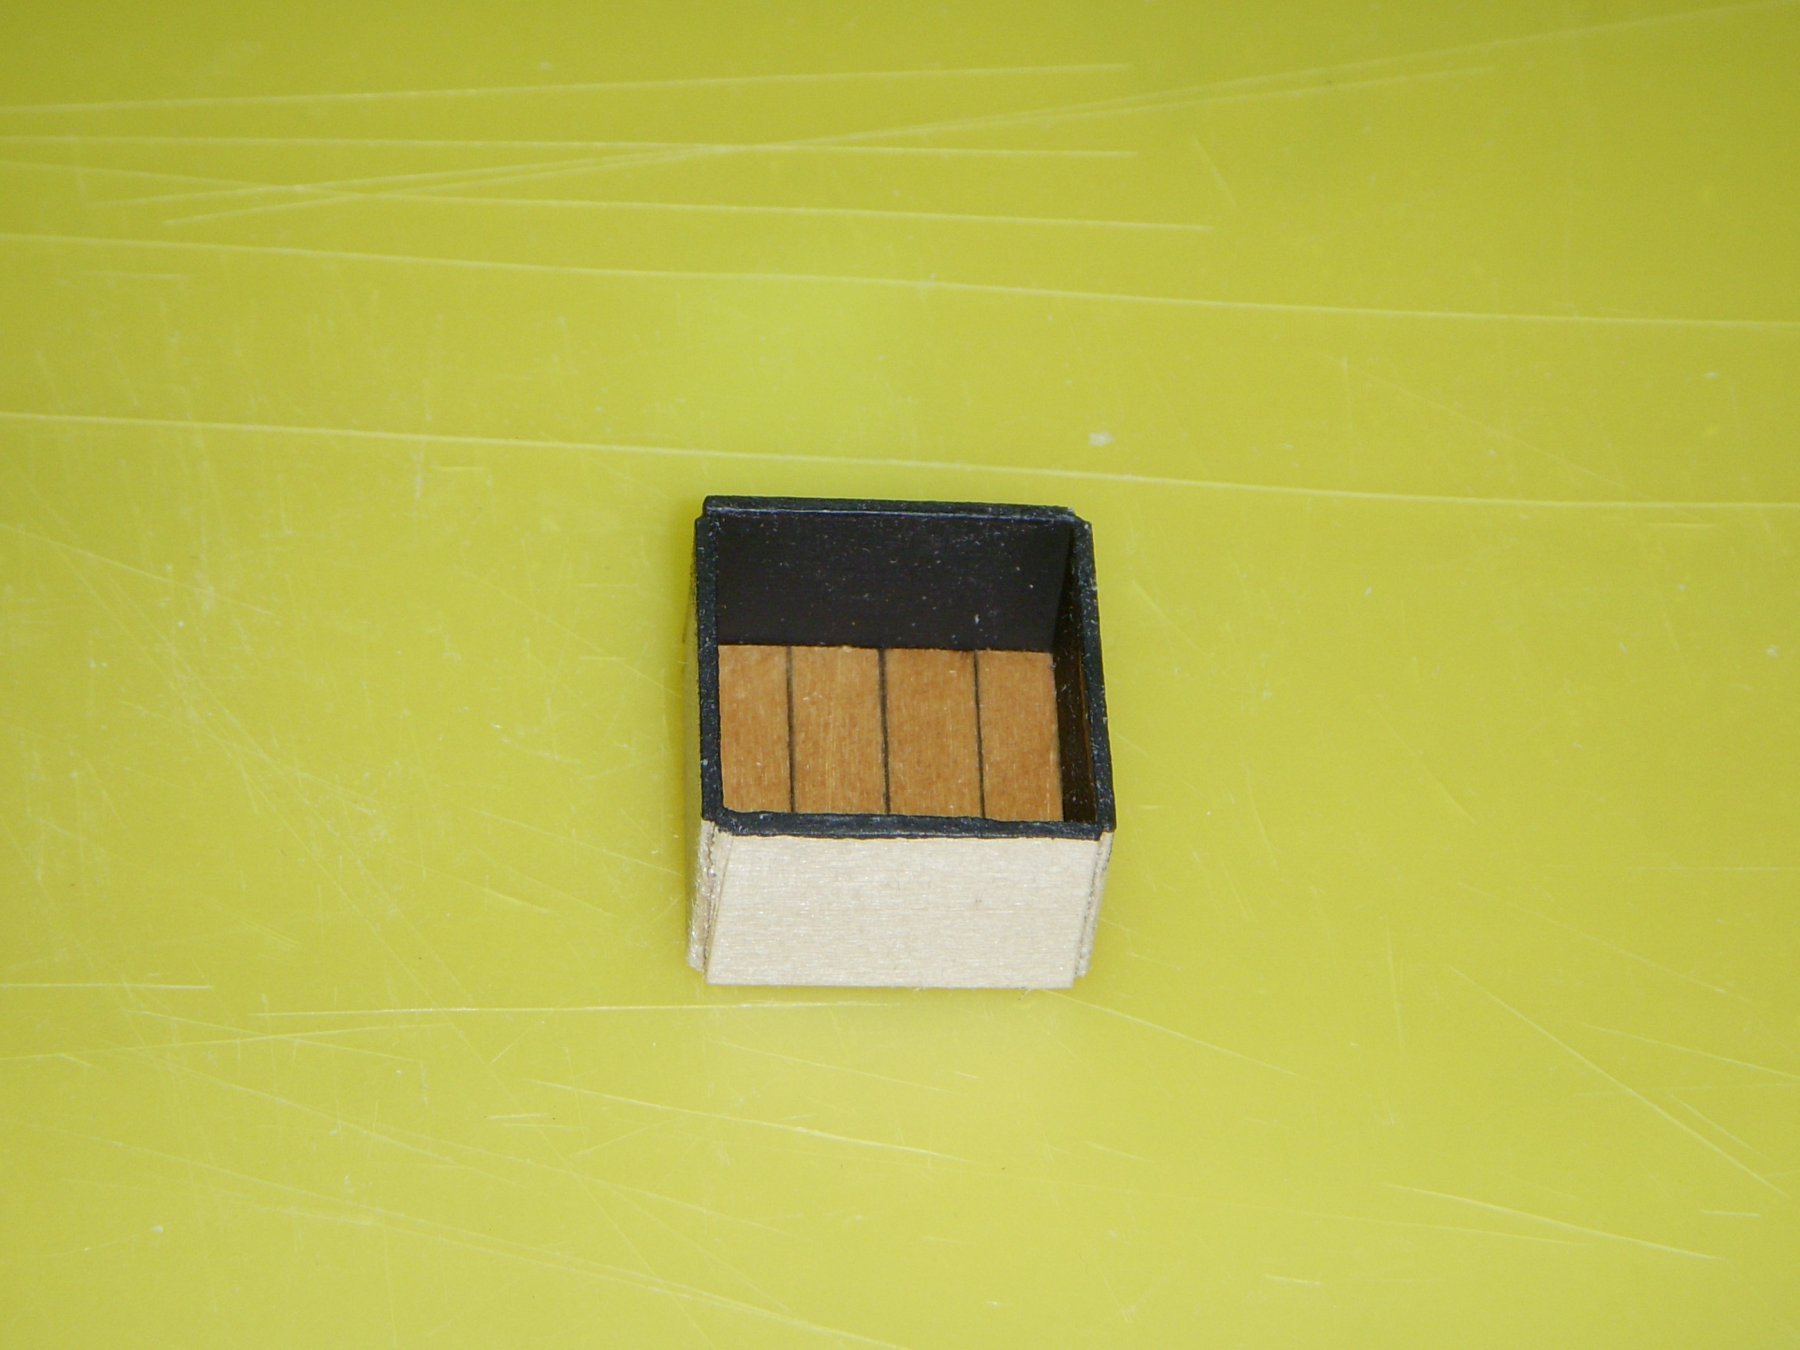
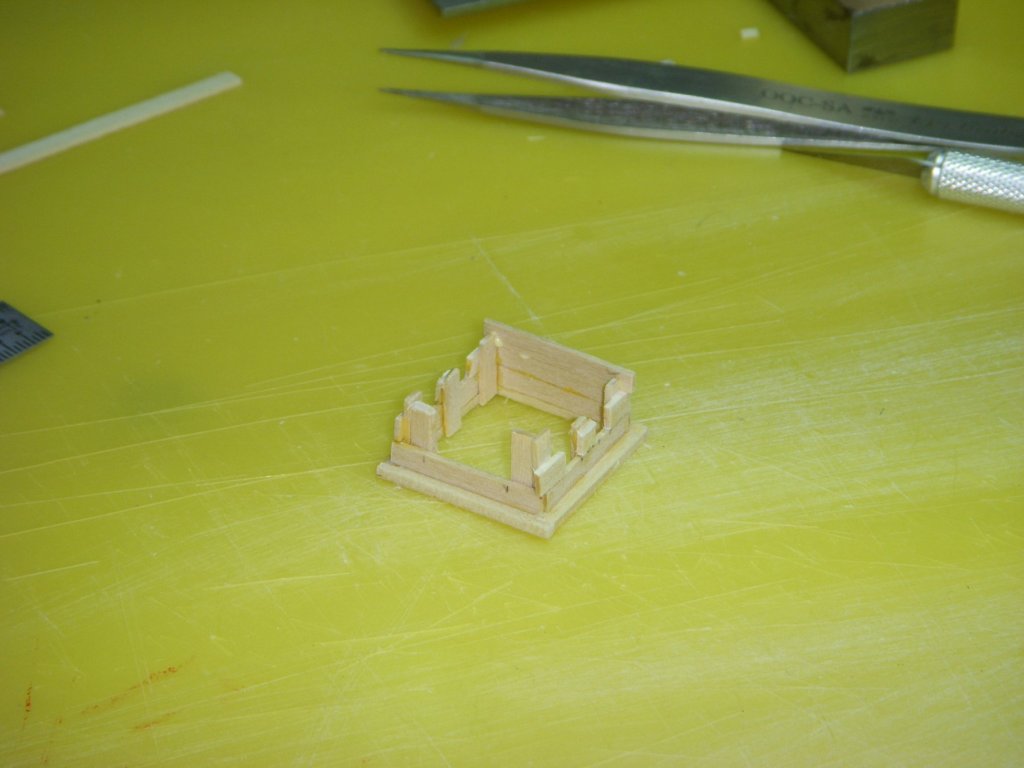
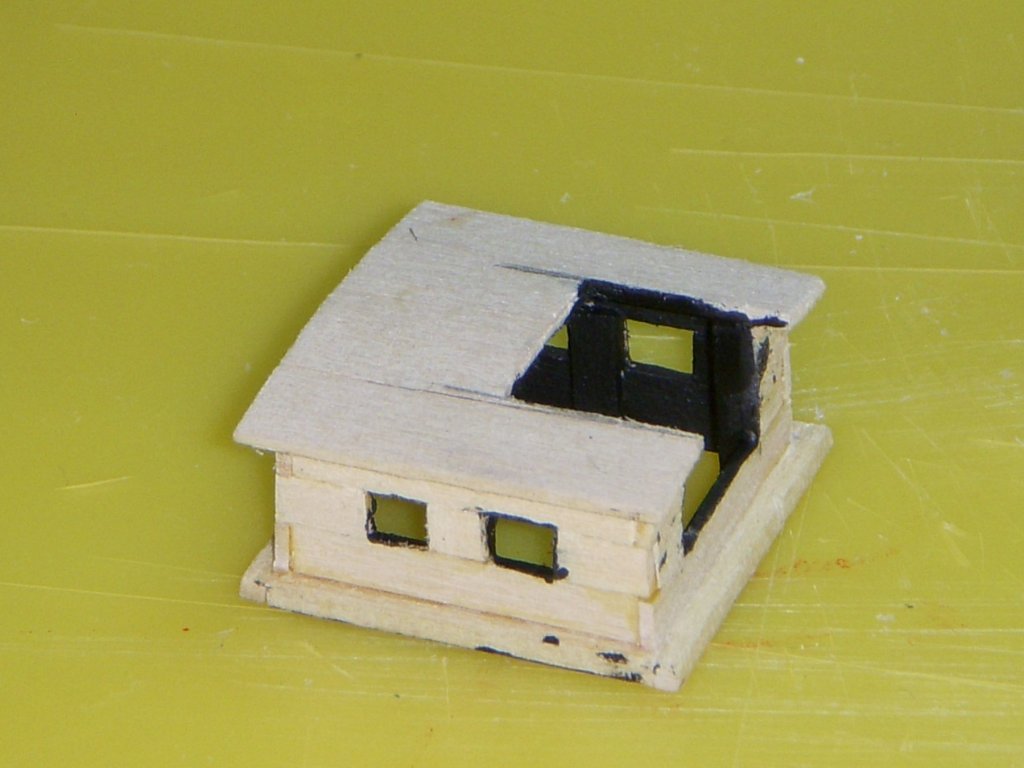
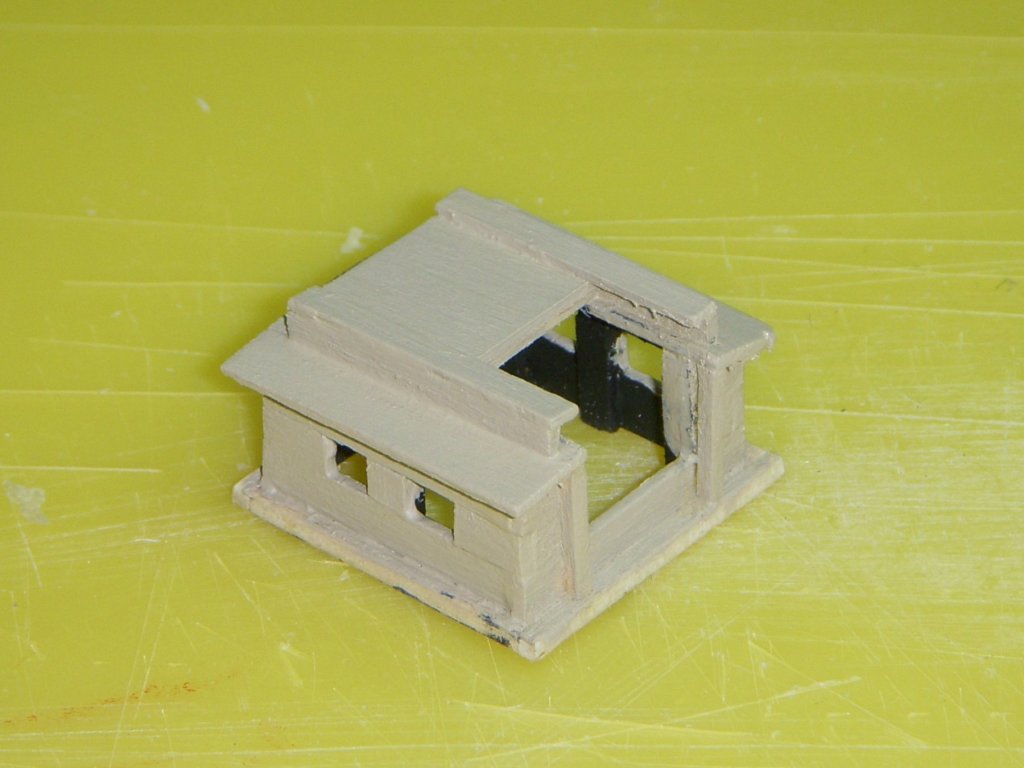
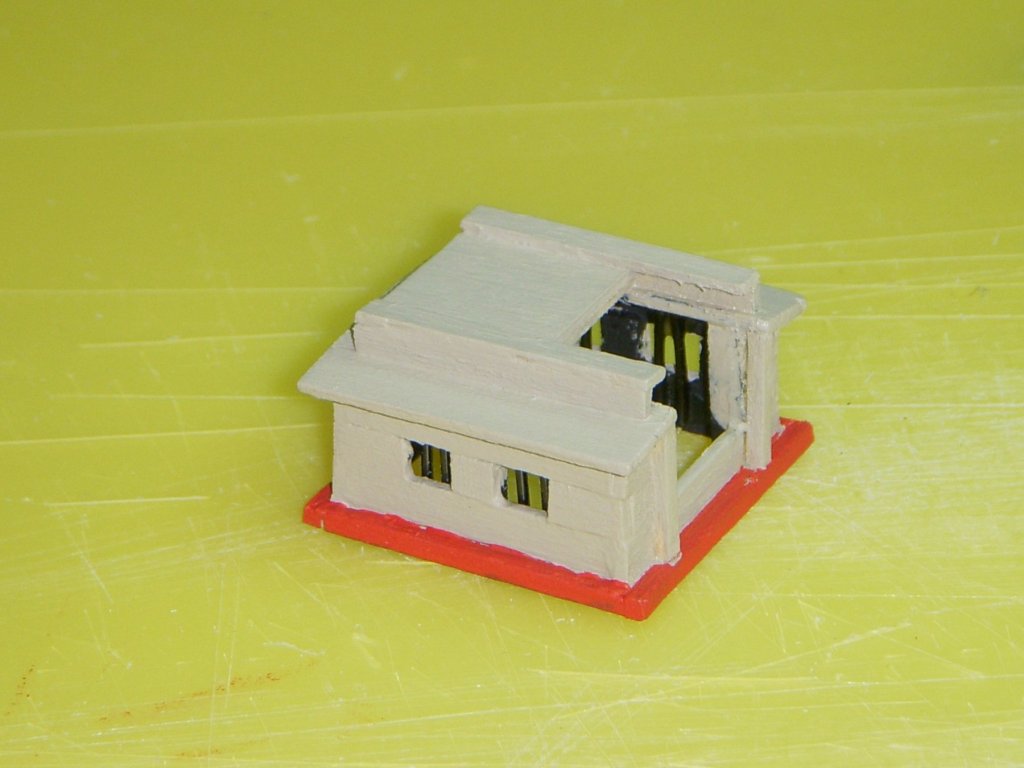
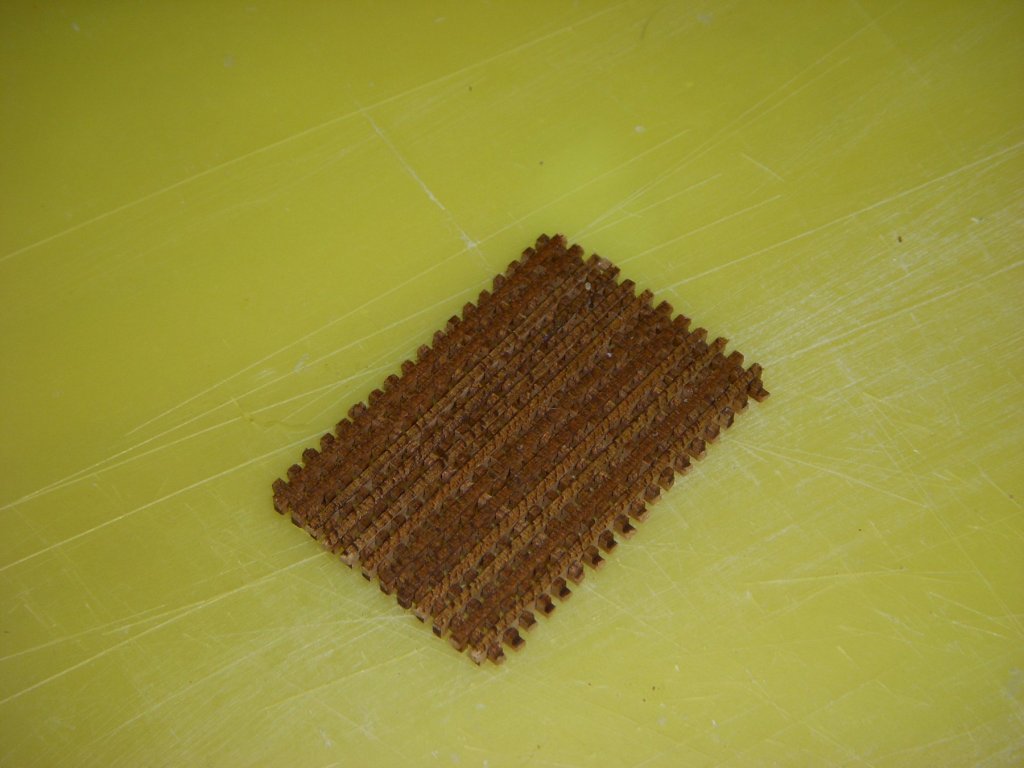
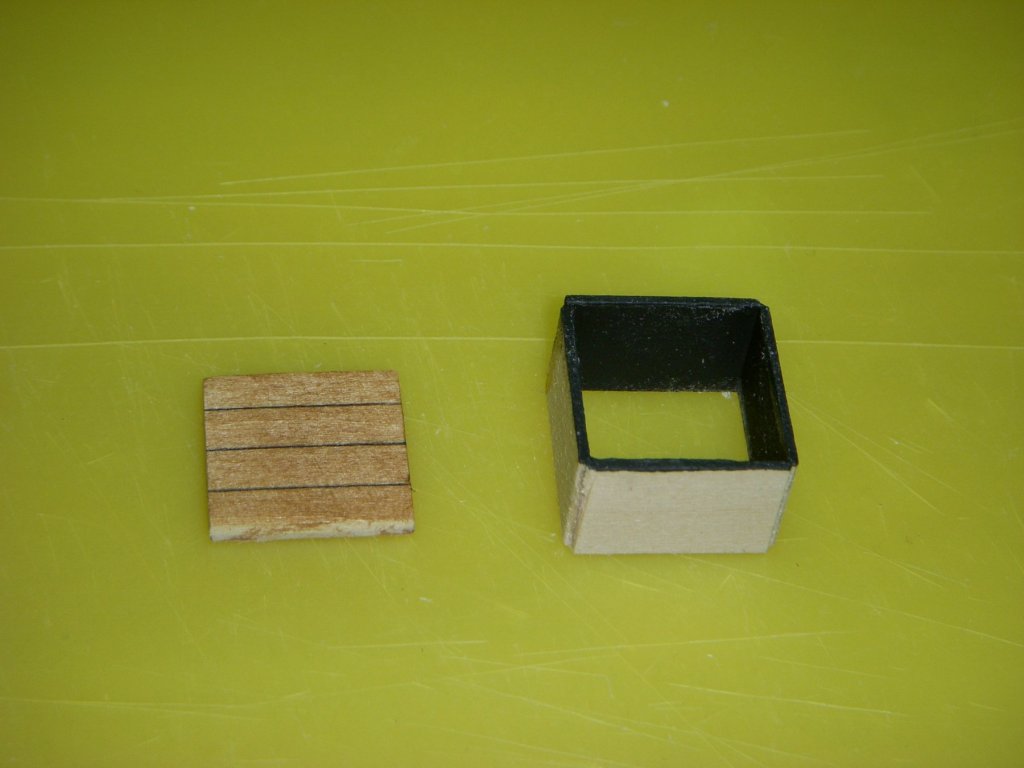
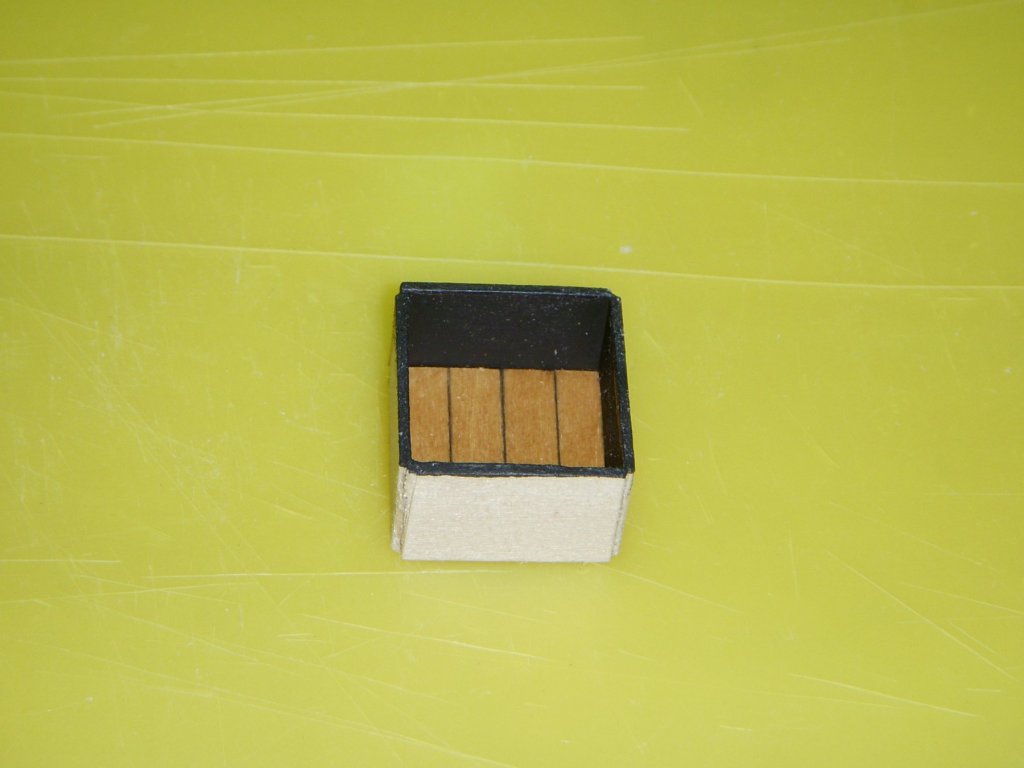
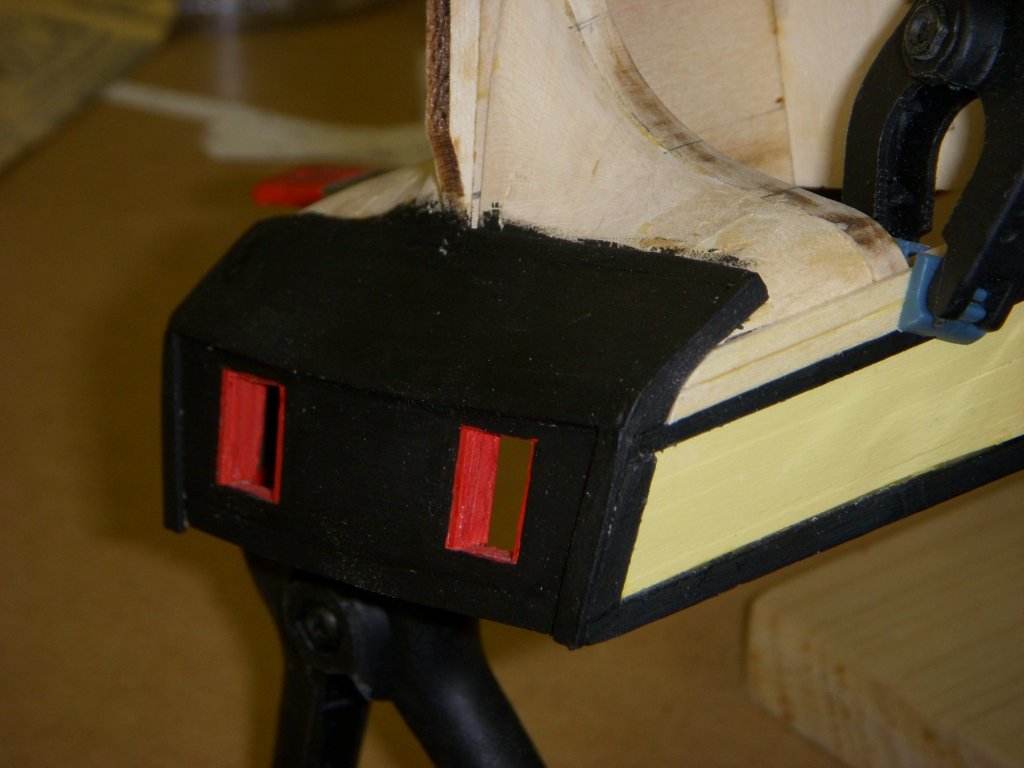
I decided to have the companionway open, so that required me to build a dummy interior, so that when you looked down into the companionway you would not just see the framing. So built a small box with a false floor and stairs. This also required me to cut the bulkhead to fit the false interior. Below are several pictures of my progress. Here is the box and floor. Floor installed in the box. Bulkhead cut to accept the companionway false interior. Deck cut and box installed. I plan on making a set of stairs to be installed. I modified the floor in the companionway, the slats looked too wide. I also made a set of stairs to go in the companionway. Here is a shot after I installed the deck, waiting for the glue to dry. Needed to form the deck to the bulkheads so there ended up being a slight crown in the deck. Ron


-
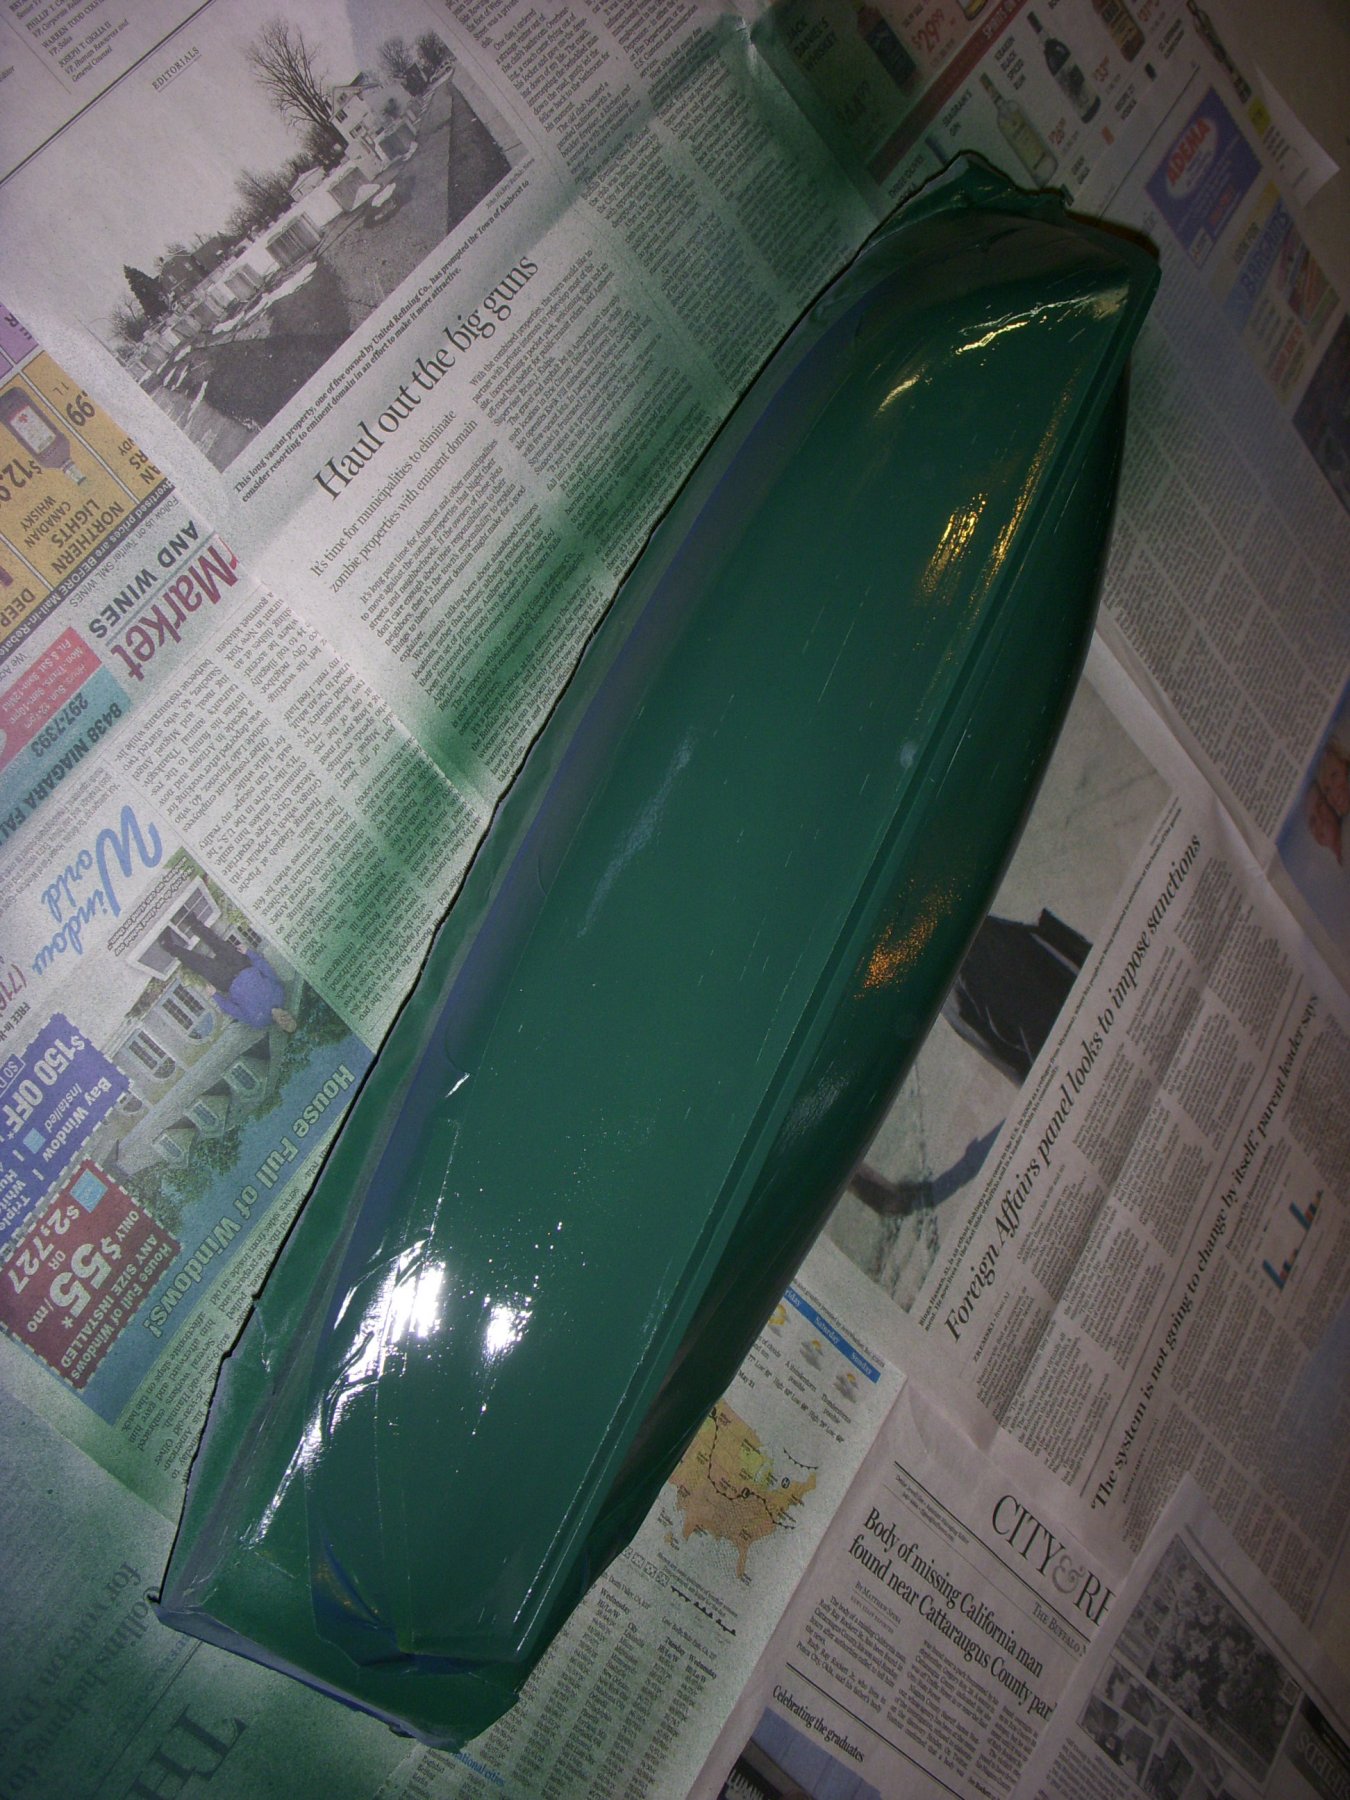
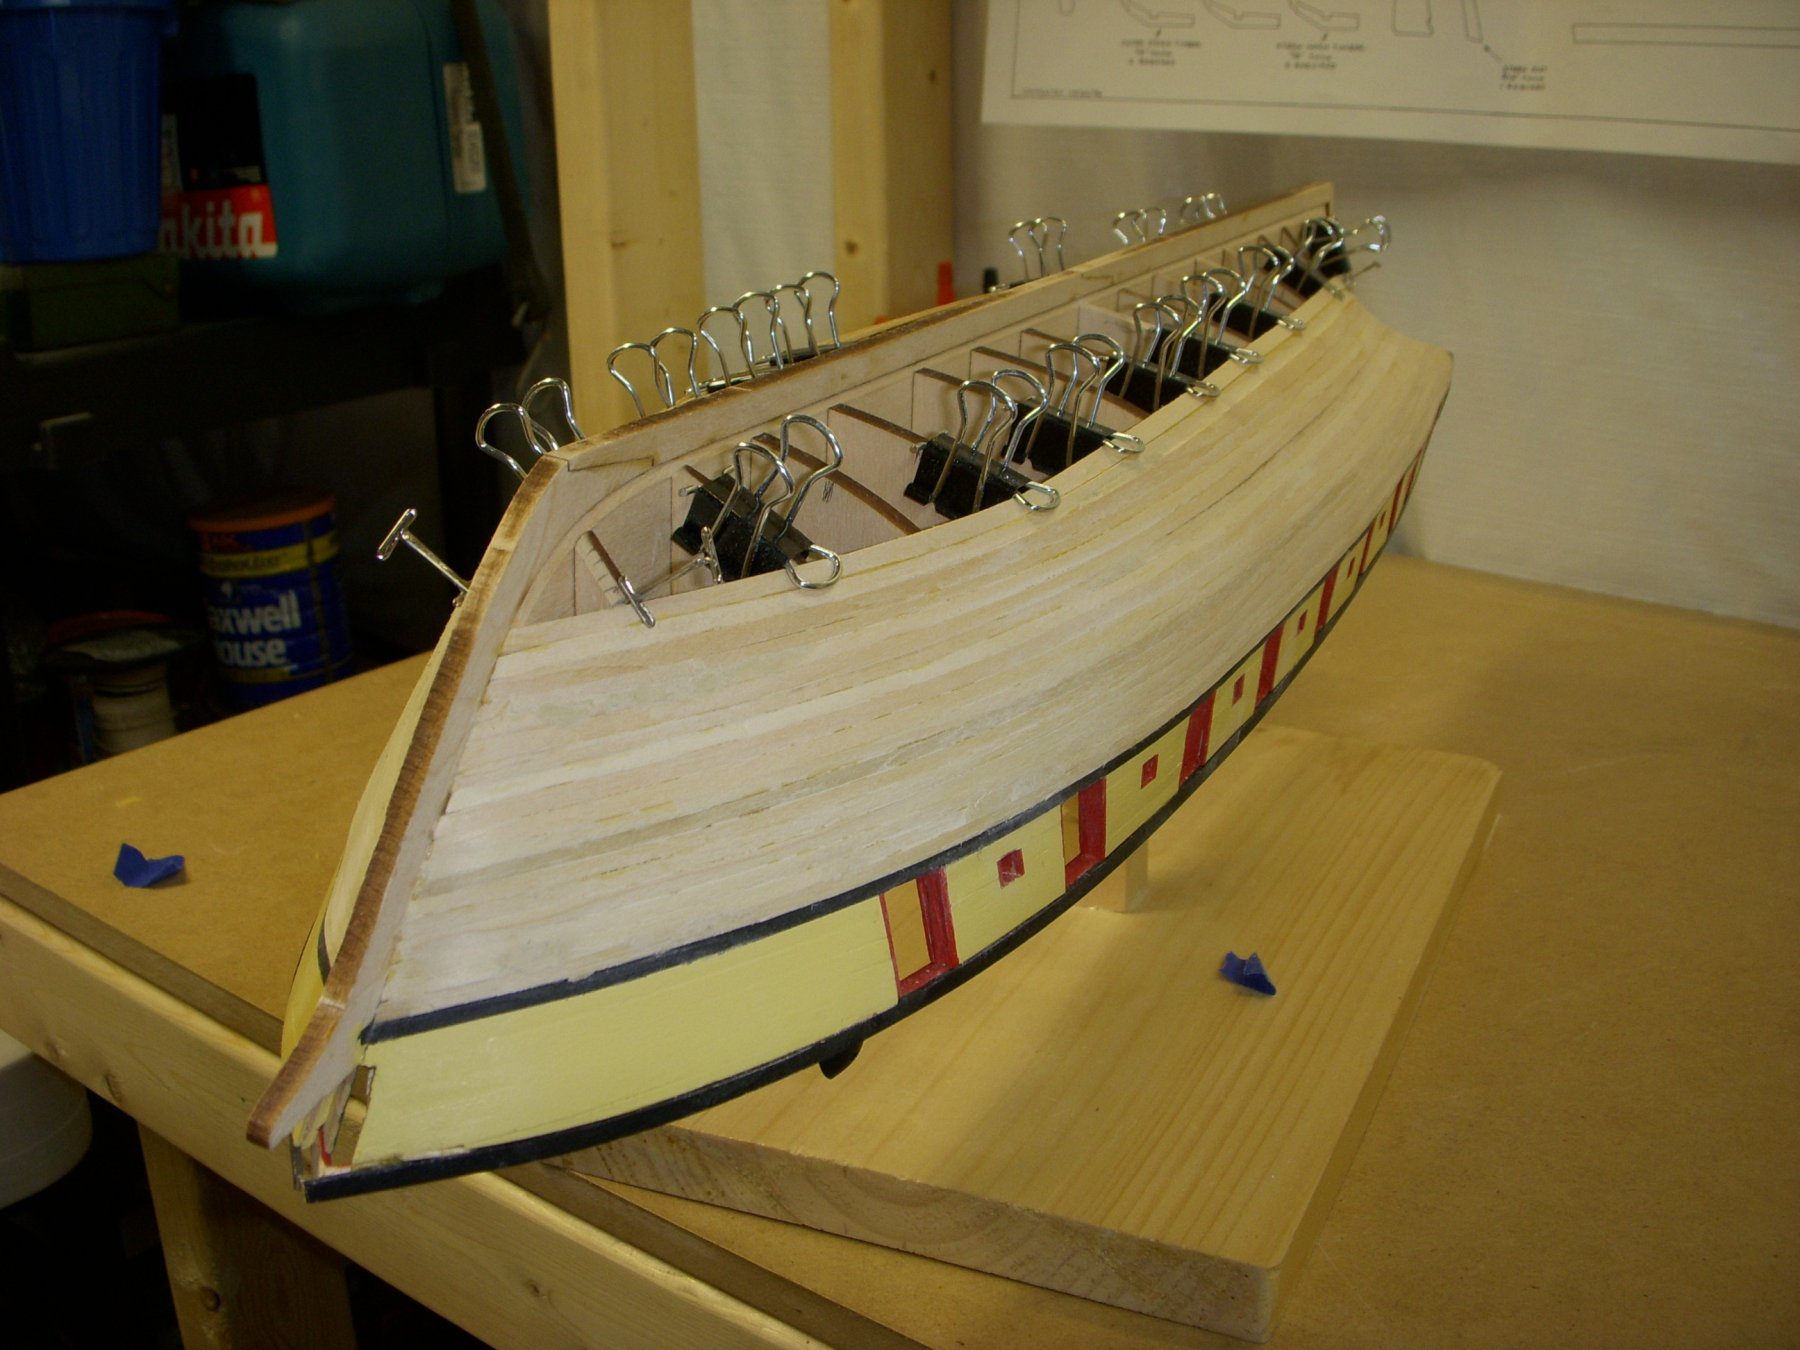
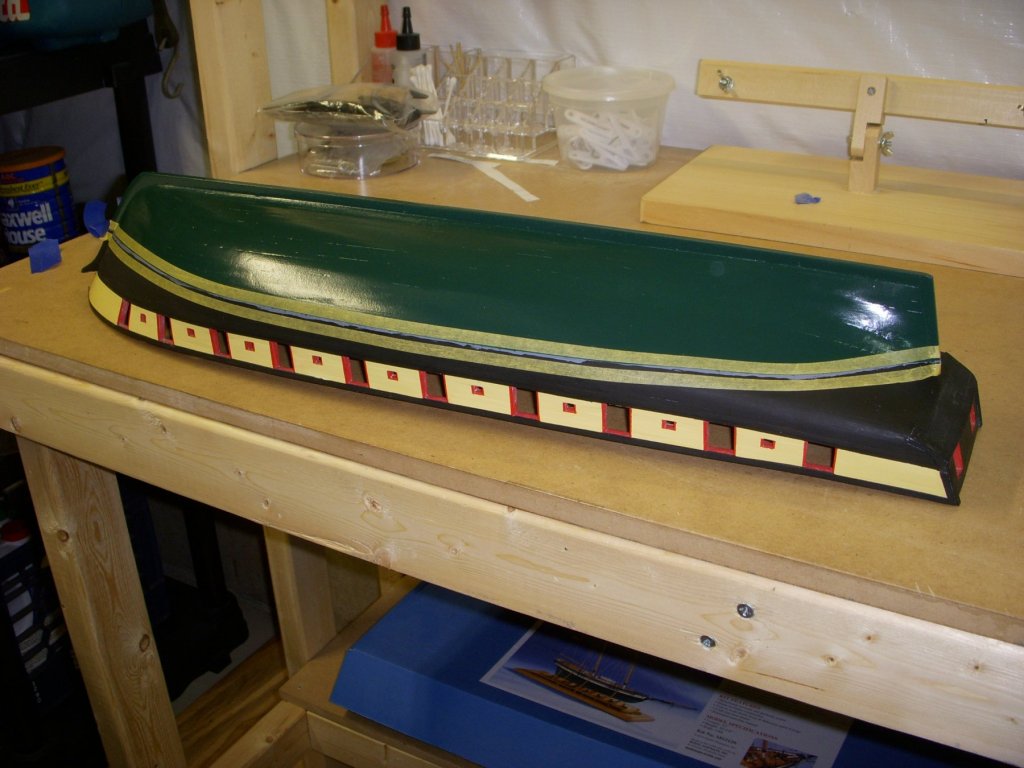
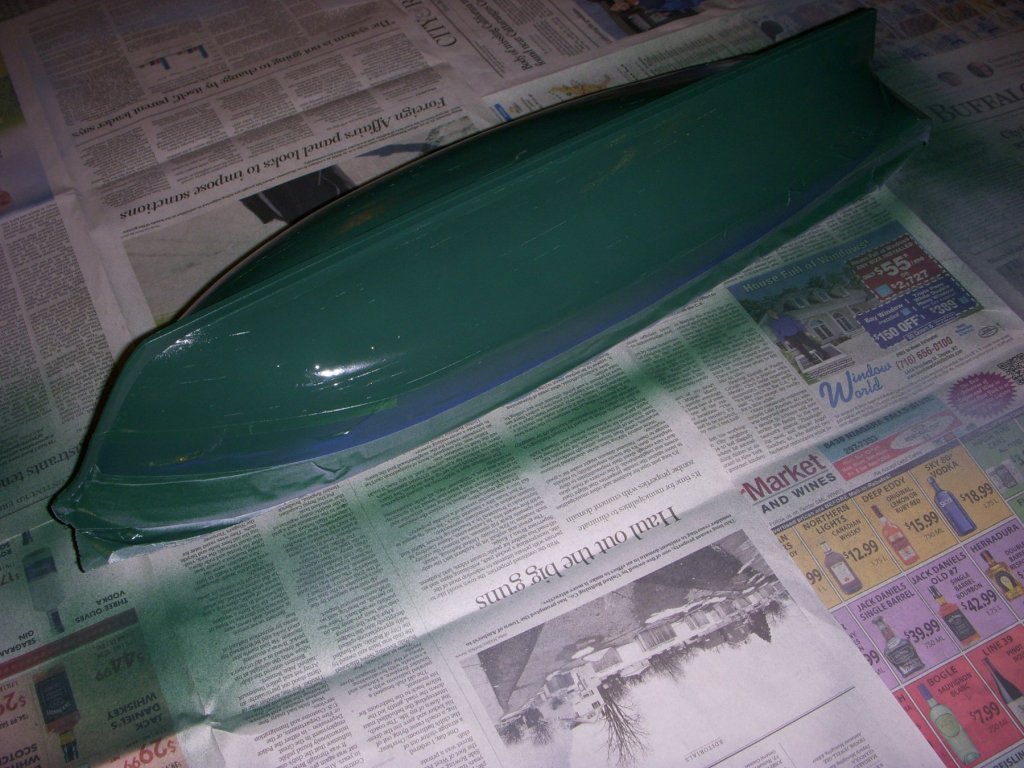
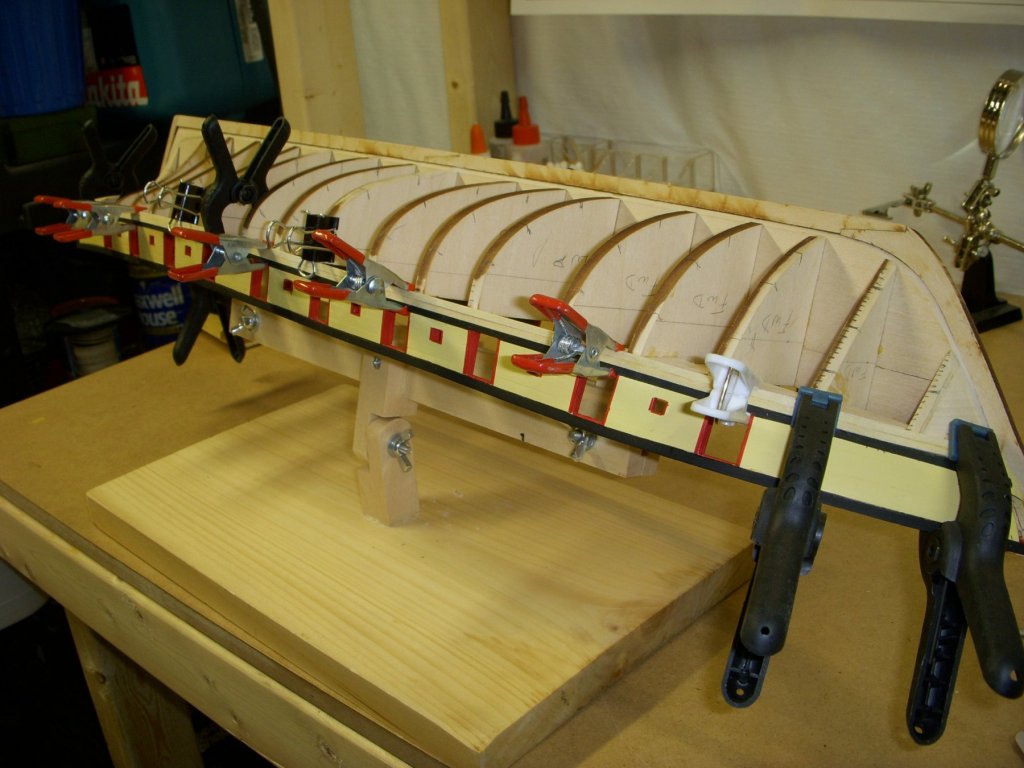
Well I put on a couple of coats of the lower hull paint, I am using a Hunter Green spray paint. I was looking for a flat paint but could not find one locally. So I tried a satin finish. Not really happy with the outcome, it came out way too shiny, almost a gloss finish. I think I will apply a matte over coat to reduce the glossy look. I am going to wait with that process for a while to be sure I do not have to repaint because of accidents. I painted the upper part of the hull and taped off for the Boot Topping. Here is the completed hull minus overpainting to a matte finish of the lower hull. Now onto mounting the deck and start working on the deck furniture. Ron


-
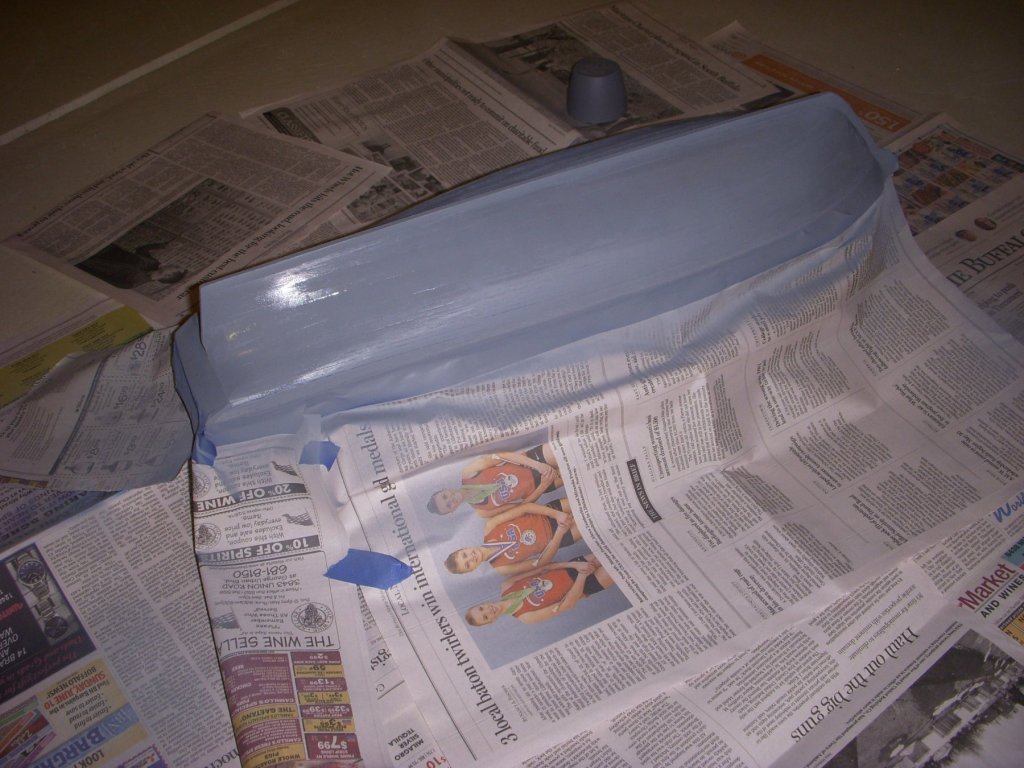
Three coats of varnish on the deck. Started laying out the furniture before installing. I plan on putting a coat of flat black paint under the main hatch and skylight. Here is a shot of the hull after the first coat of primer. Give a few hours to dry, probably over night the do a light sand and put another coat of primer, before I mark the waterline and put on the final color. Ron
-
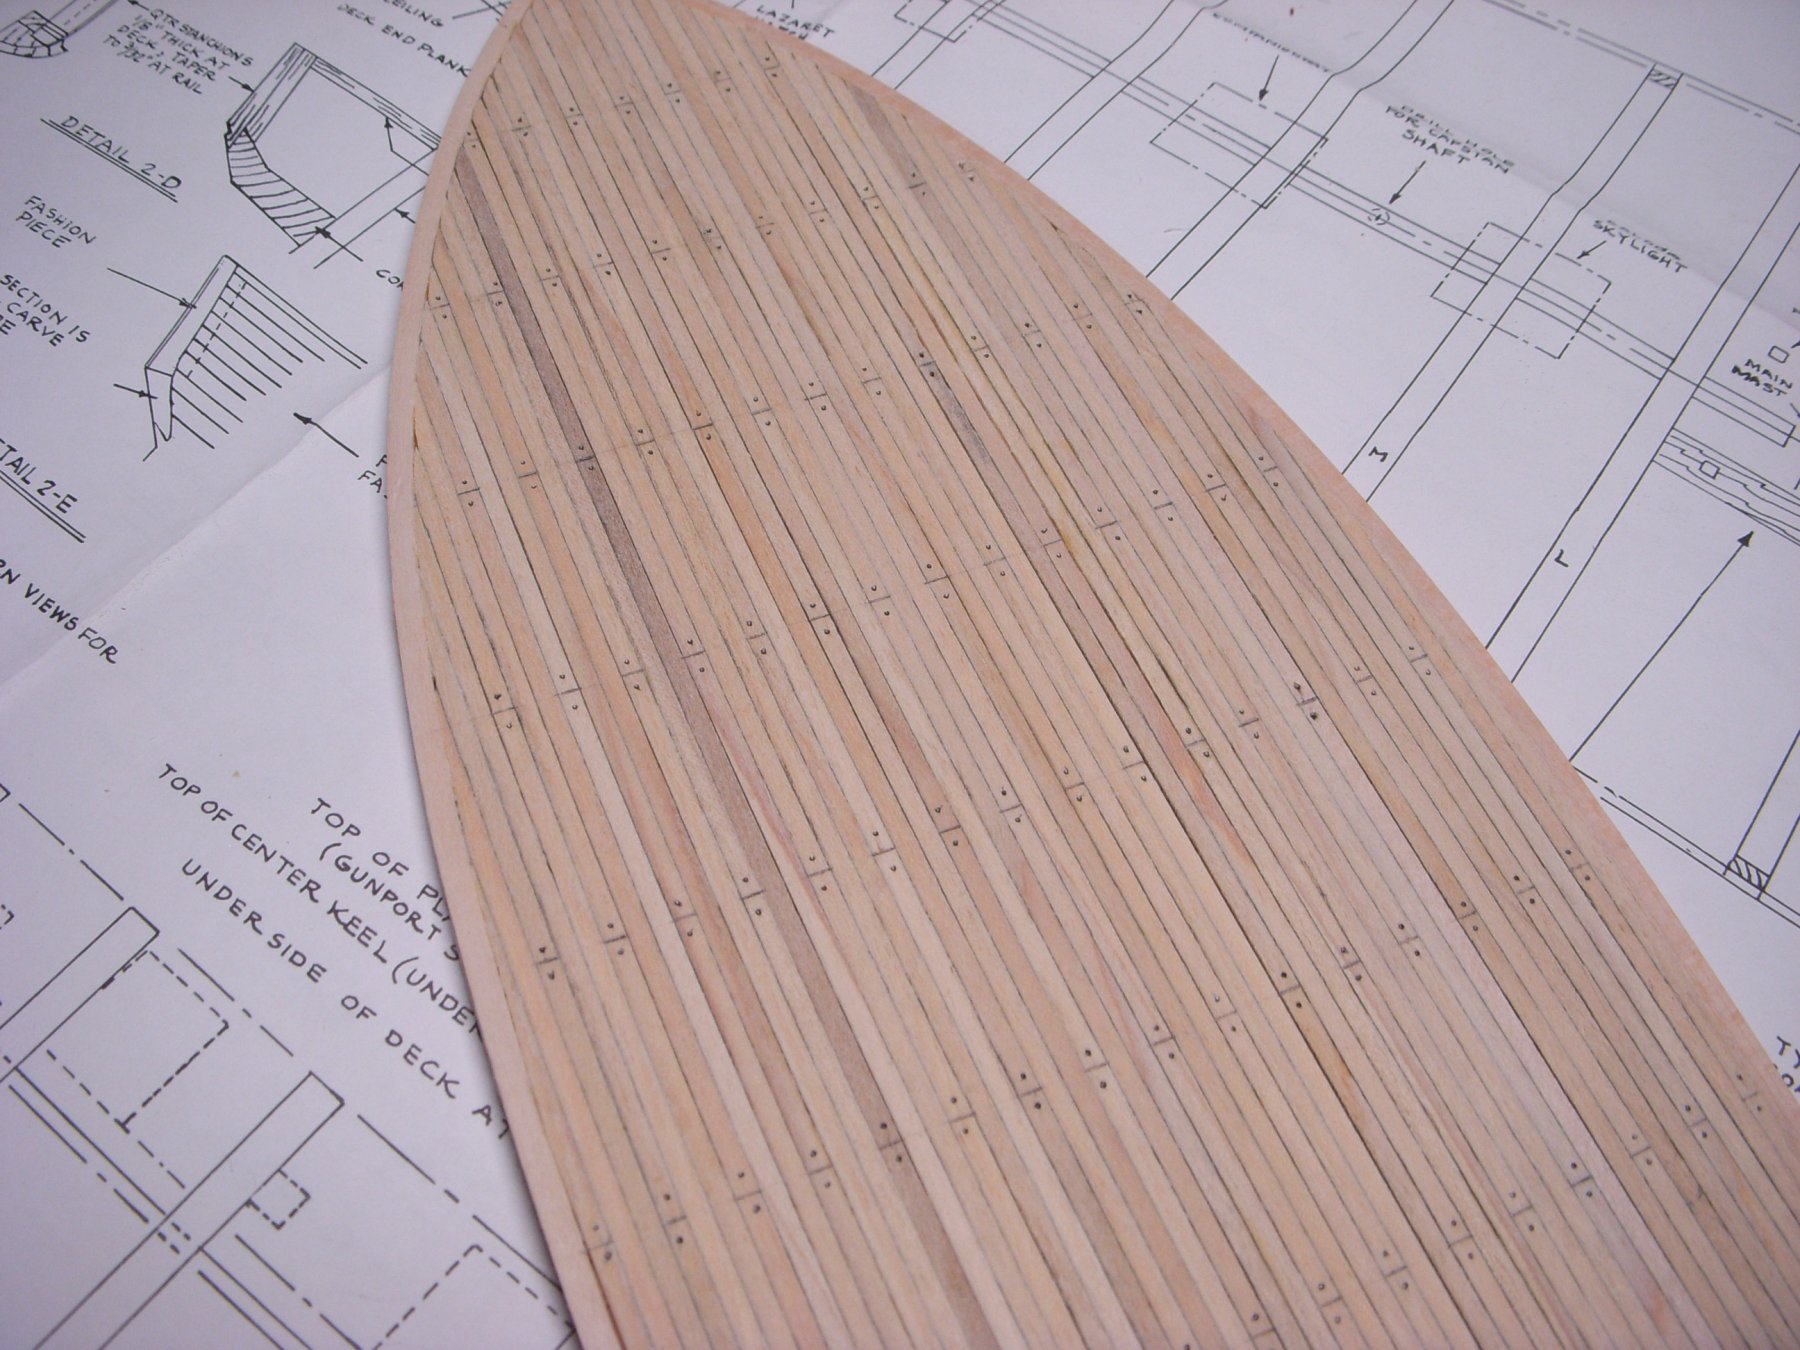
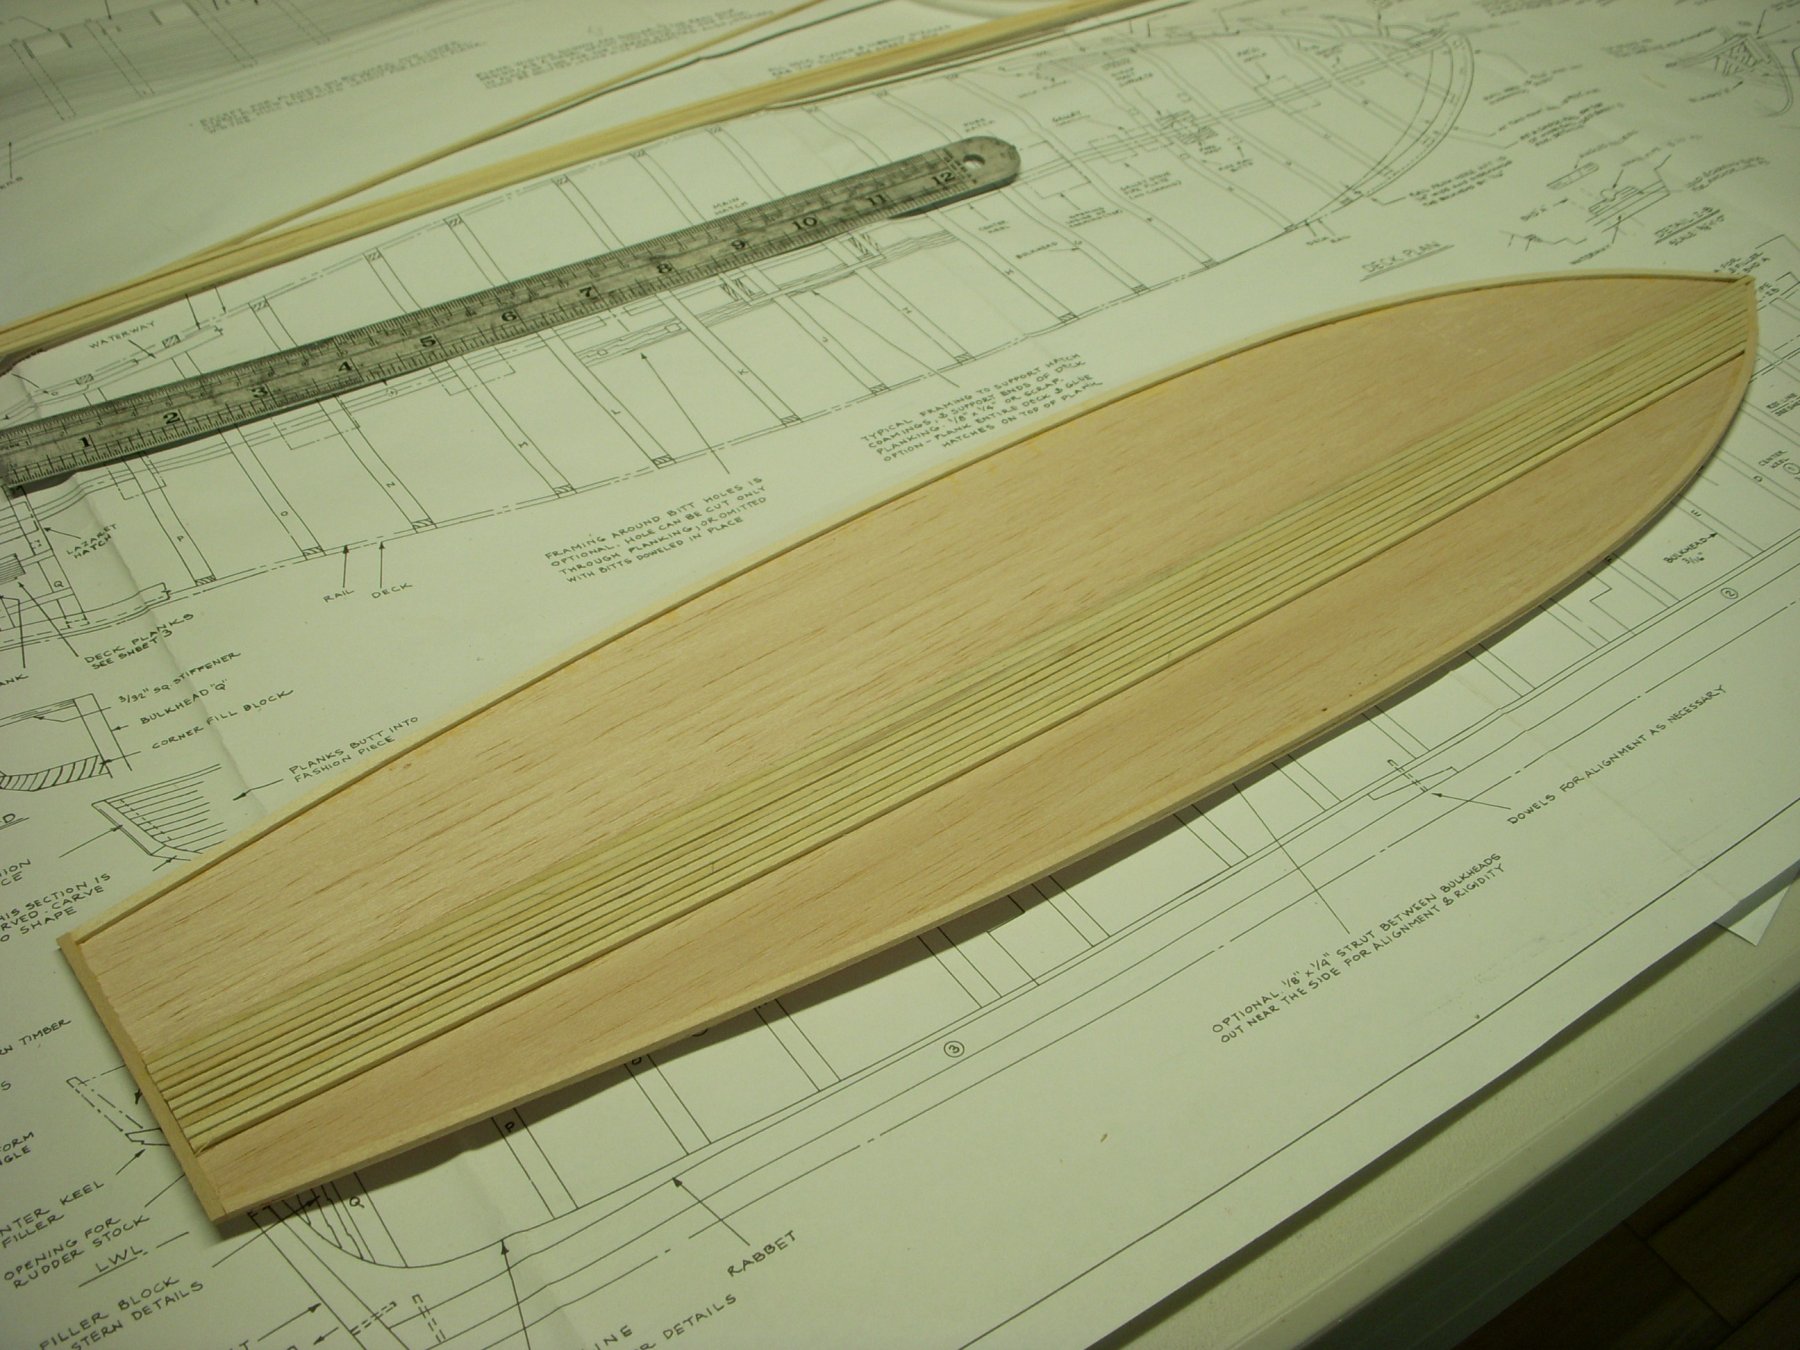
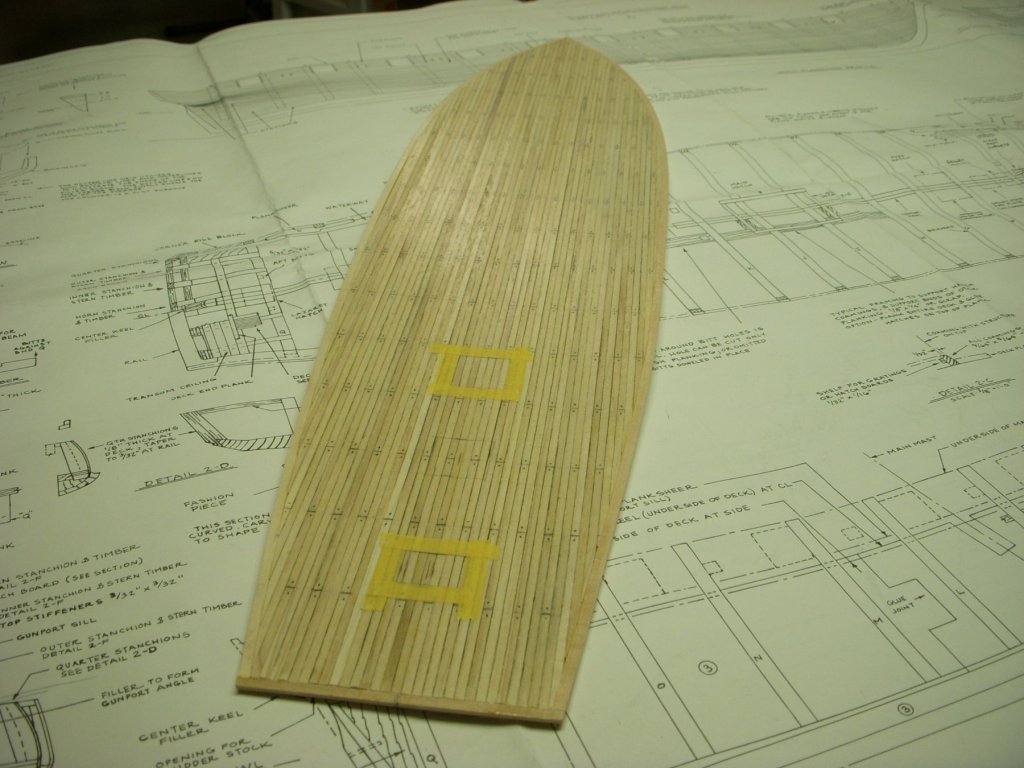
Completed the planking and in the process of sanding it smooth and getting rid of any imperfections. I plan on putting on a primer in the couple of days. I know I that will show up more imperfections that will need to corrected before I put on the hull paint. In the mean time I have been completing the decking. It’s been sanded and is ready for a finish. I plan on using a satin varnish. The final thickness ended up just under a 1/8” so it will end up just below the waterway. Ron


-
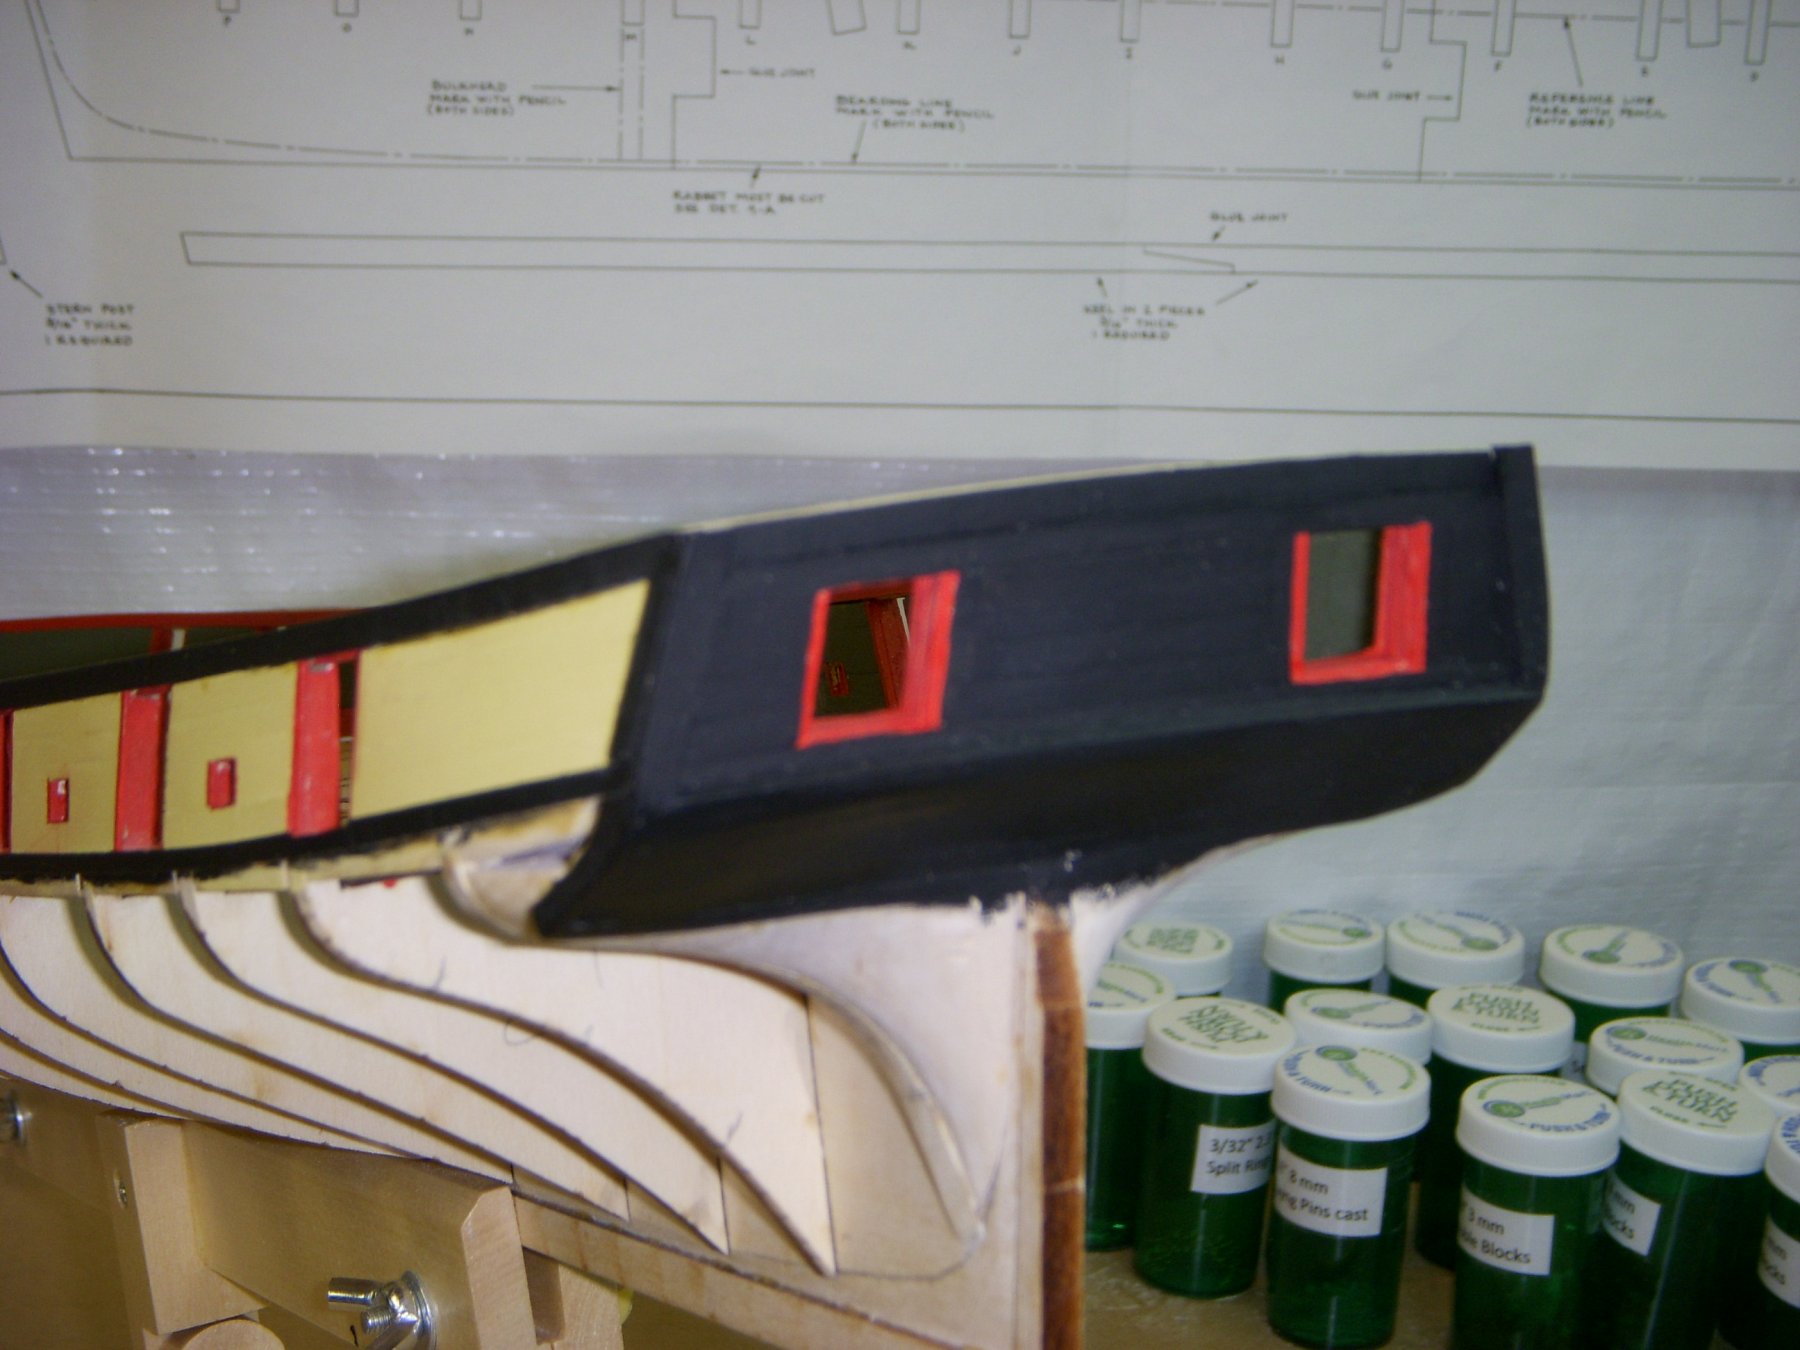
For the name on the stern I plan in printing it on my inkjet printer, yellow lettering on black backbround, then glueing on the ship. I plan on putting a matte finish over it to blend in. I am hoping this works. just a suggestion. Ron
- 648 replies
-
- 2
-

-
- niagara
- model shipways
- (and 1 more)
-
Mike I double checked, the waterway is 3/16" above the bulkheads and my planking currently 1/8' thick leaving me 1/16" to the top of the waterway. I will need to sand down the planking to make it smooth, maybe taking off another 1/64 to 1/32" that should ensure enough clearance. As for the mast holes I believe making them slightly larger should solve the problem, just a thought for now. I will rethink that problem when I am ready to install the masts. Frankie I checked my build and I have a slight crown on my build. I have about 1/16" drop on either side from the center line around bulkhead H-I. I may shave that down a bit to get the proper clearance to the waterway. That may be an easy fix since i only need about 1/32" to match the plans.
-
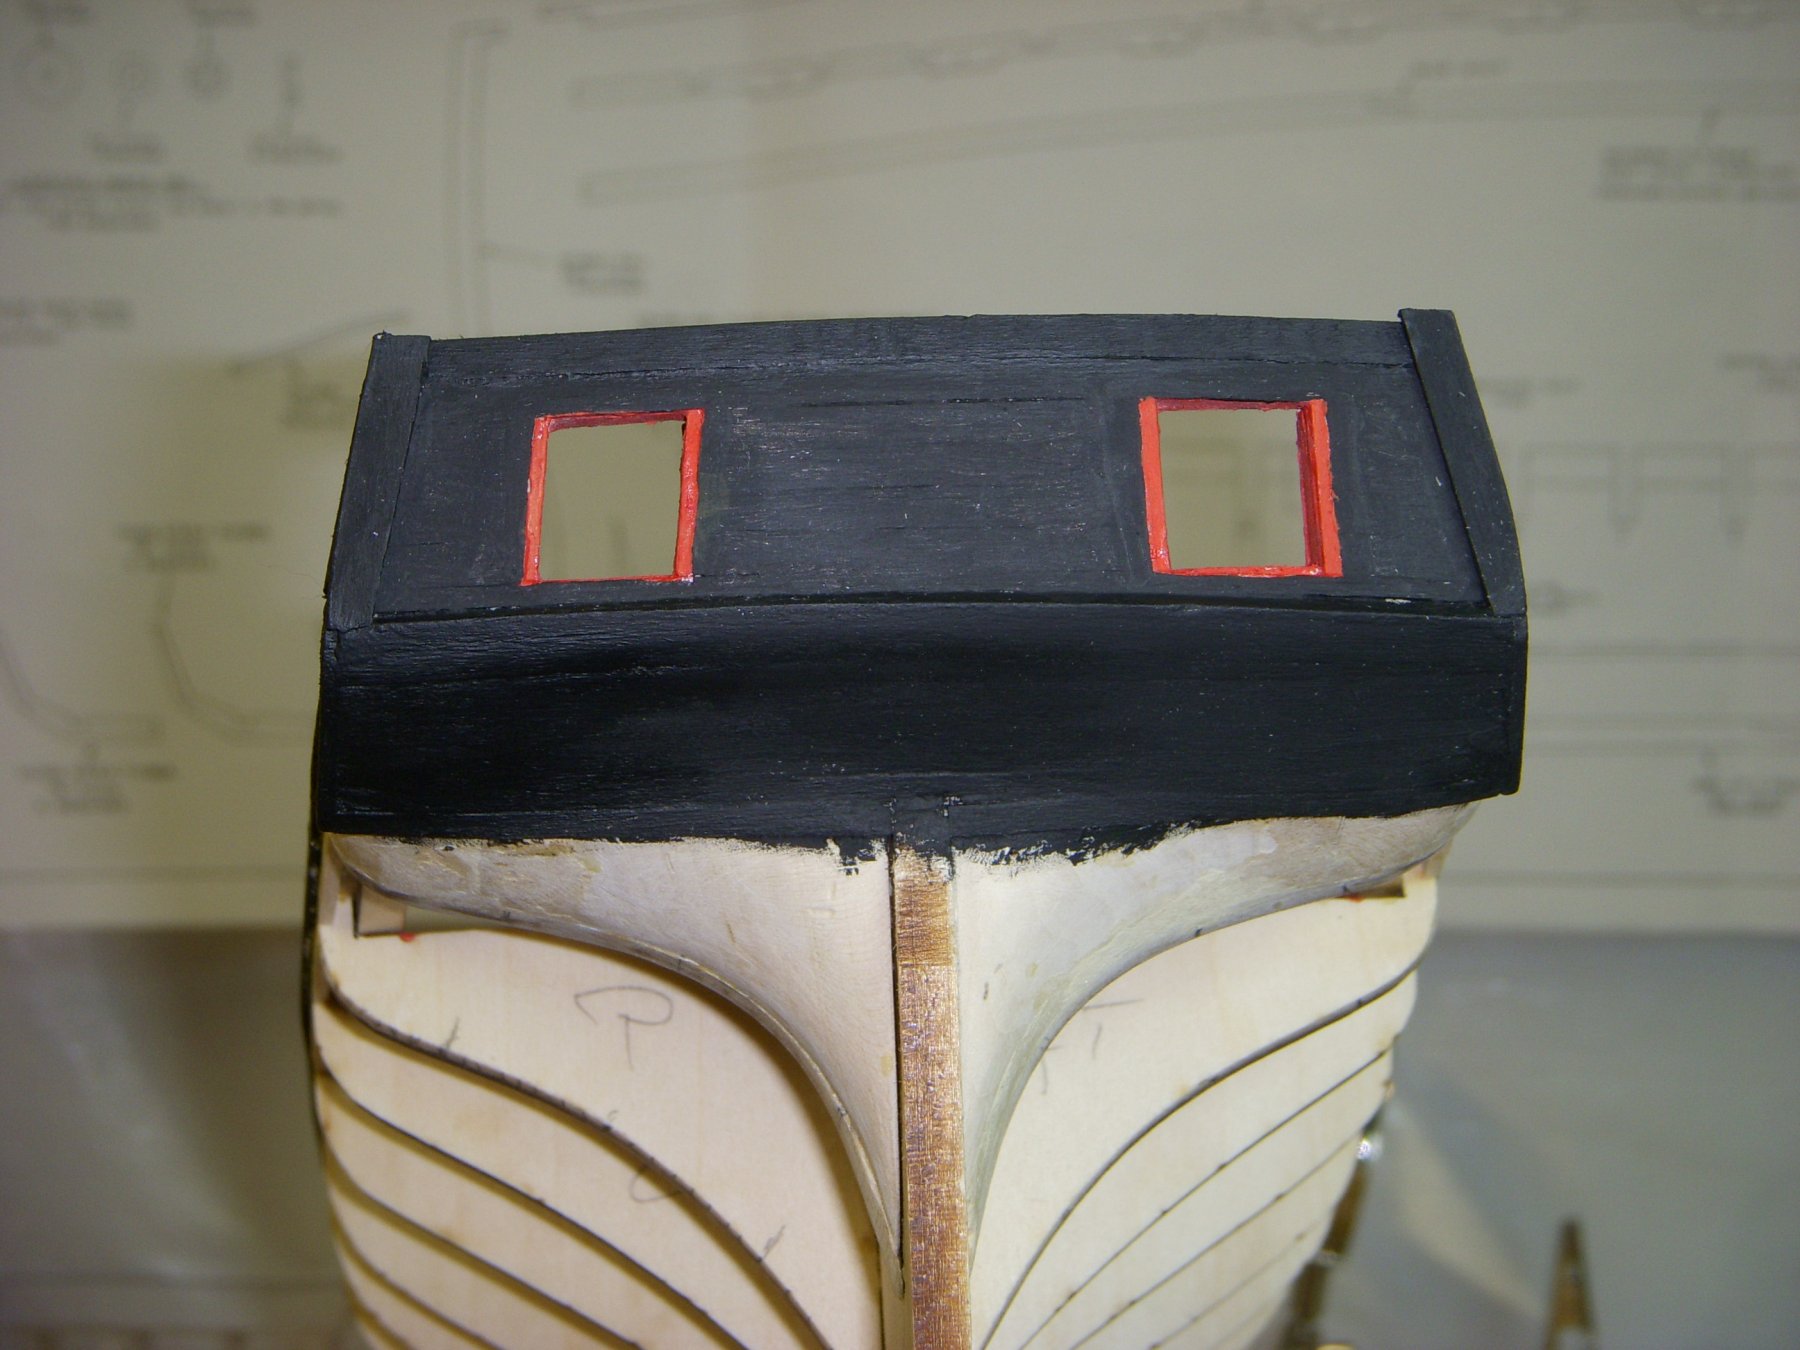
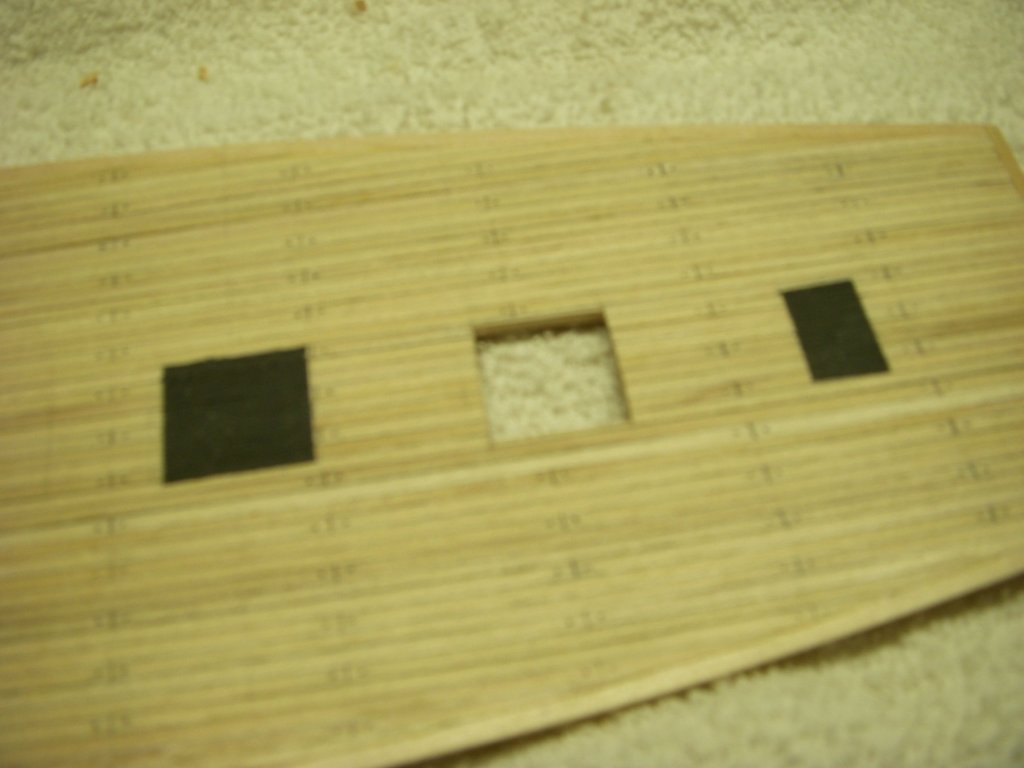
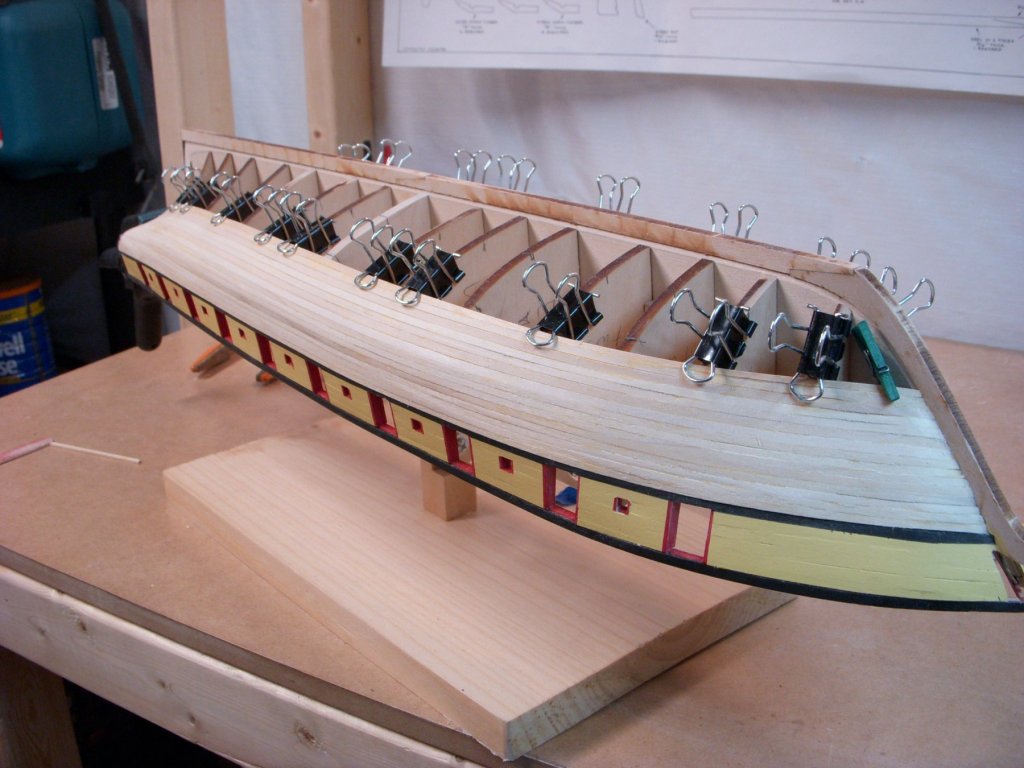
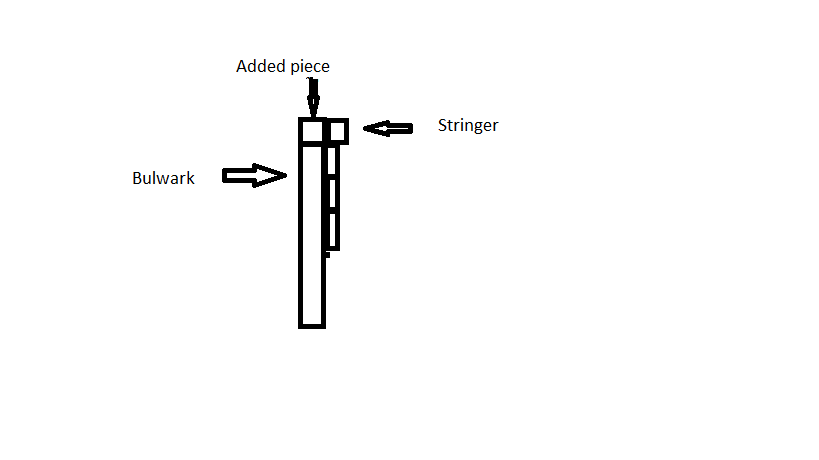
Mike I am putting the planking on a sheet of 1/16" balsa. My concern was by doing this it would raise the planking by the 1/16" and cause problems when installing the cannons. Reading a couple of other build logs this was a problem. I believe I solved that problem by adding an extra 1/8" rail on top of the bulwarks. When I start the assembly following the plans I found the gun ports were too small, height. By adding the extra strip eliminated that problem. look at my post of March 28th to see what I did. I will check my other measurements to see if this extra sheet will cause any other problems. What other problems do you forsee. Thanks for the heads up, better to find the problem now then later when it would be really difficult to fix. Ron
-
Mike I will need to talk to the Admiral and see if she will let me borrow her hair dryer. Need to do some negotiating Great idea, never thought of it. Regarding the deck, my plan was building the deck minus the furniture, just marking the layout. I will then install the furniture once the deck is mounted. I tested installing the deck, and it goes in fairly easily. My concern with installing the furniture before installation, is the furniture would be installed on a flat surface, when installing the deck, it should have a slight crown. Not sure how well this would work out? Ron
-
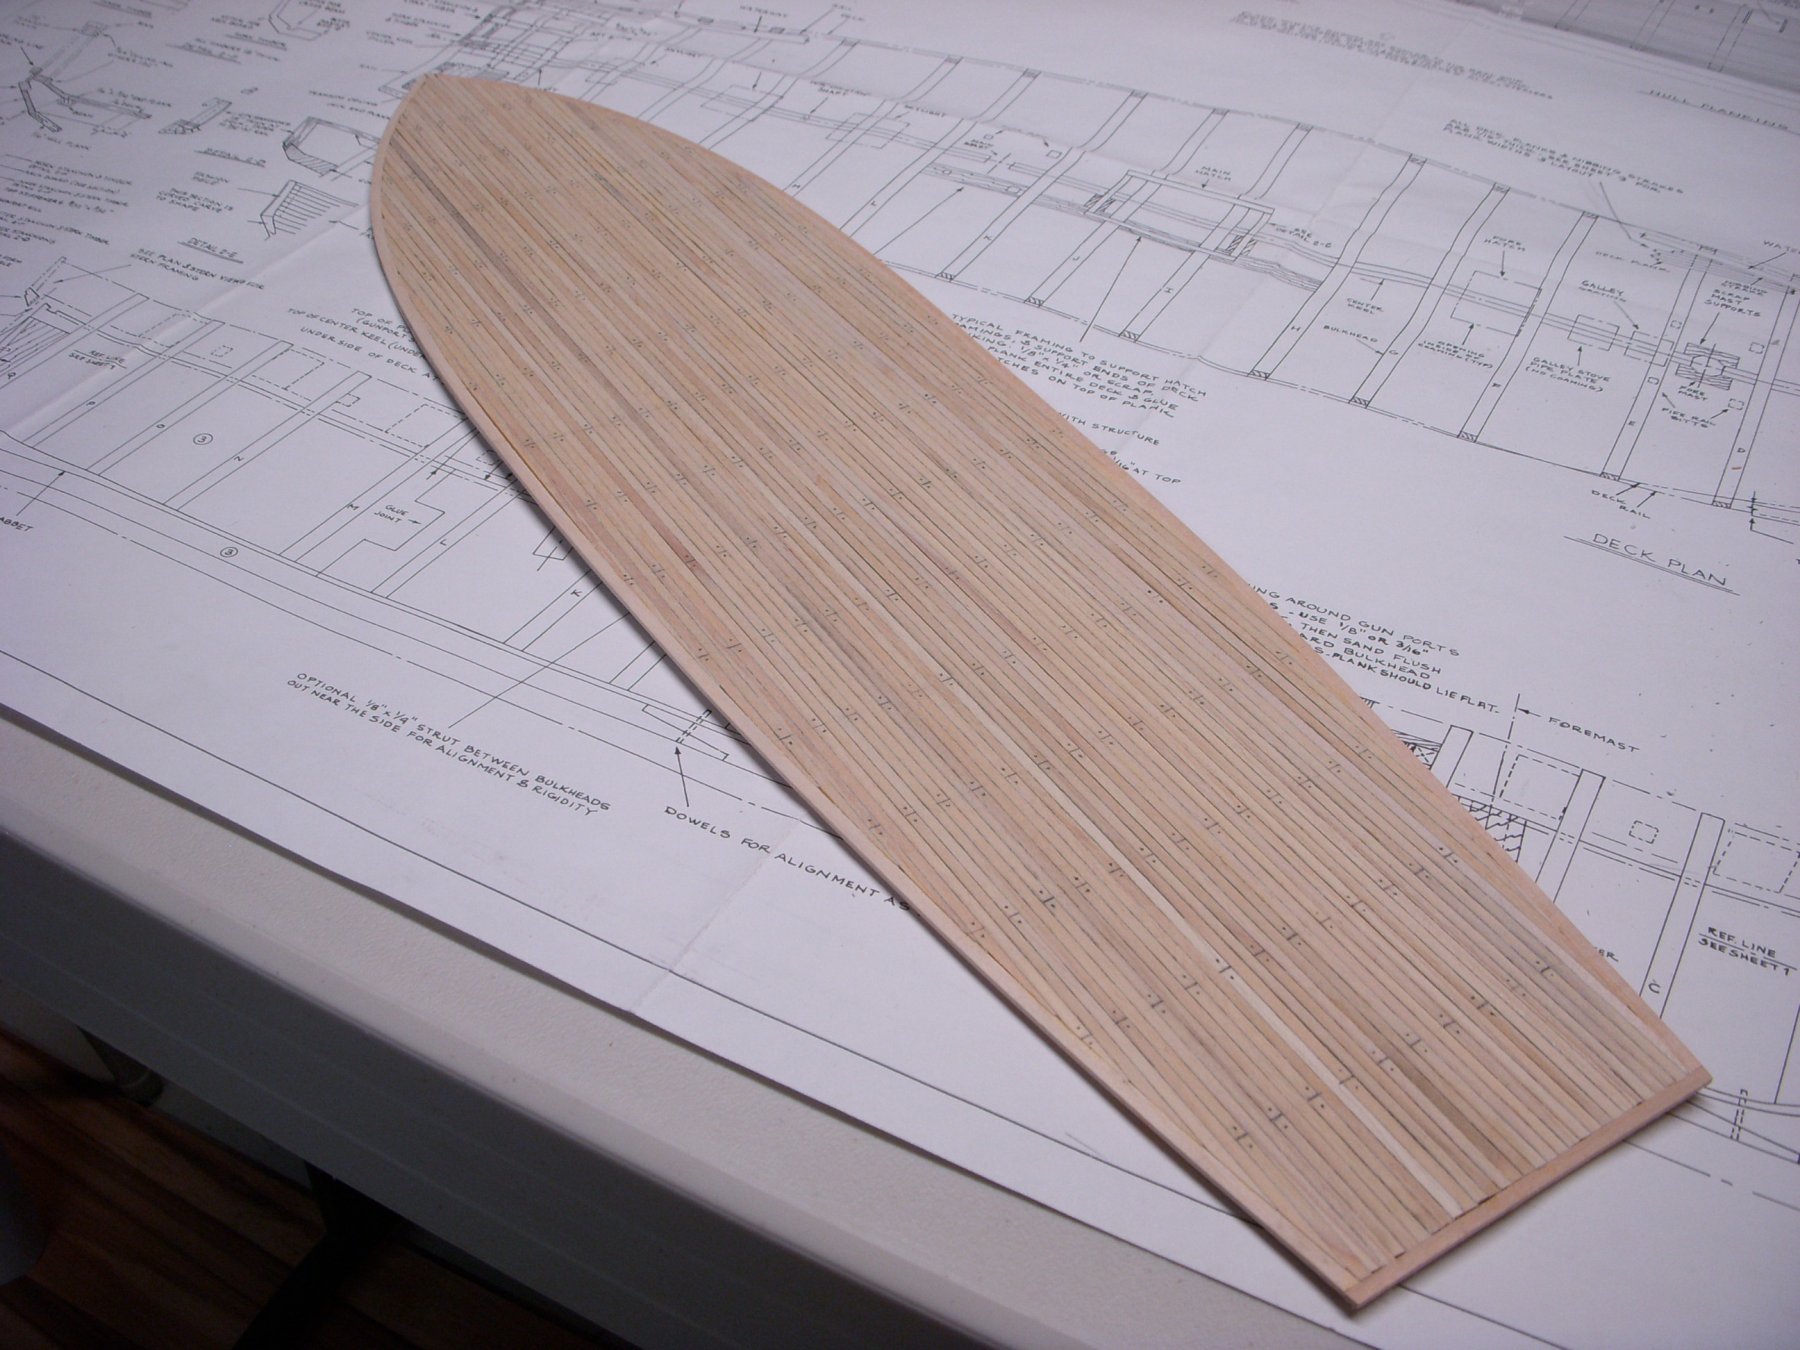
I decided I will stay with the flat finish on the complete ship as suggested by Mikiek. Planking is moving along slowly. It seems to take a long time to get some of the compound bends. I have been using a hot water bath, then when the wood is pliable enough I form it on the ship and wait for the wood to dry. Slow process. I have tried in the past to wrap the wood in a damp cloth and microwave it, did not work well for me. It seemed the wood never really got pliable, thus many a cracked planks. In my off time I started the deck planking. I am trying to build it off ship then mount the whole assembly as one piece. Once I get the it all assembled I will detail it with a three board pattern.


-
Darrell, She is really coming together, looking great. Ron
- 648 replies
-
- 1
-
-
- niagara
- model shipways
- (and 1 more)
-
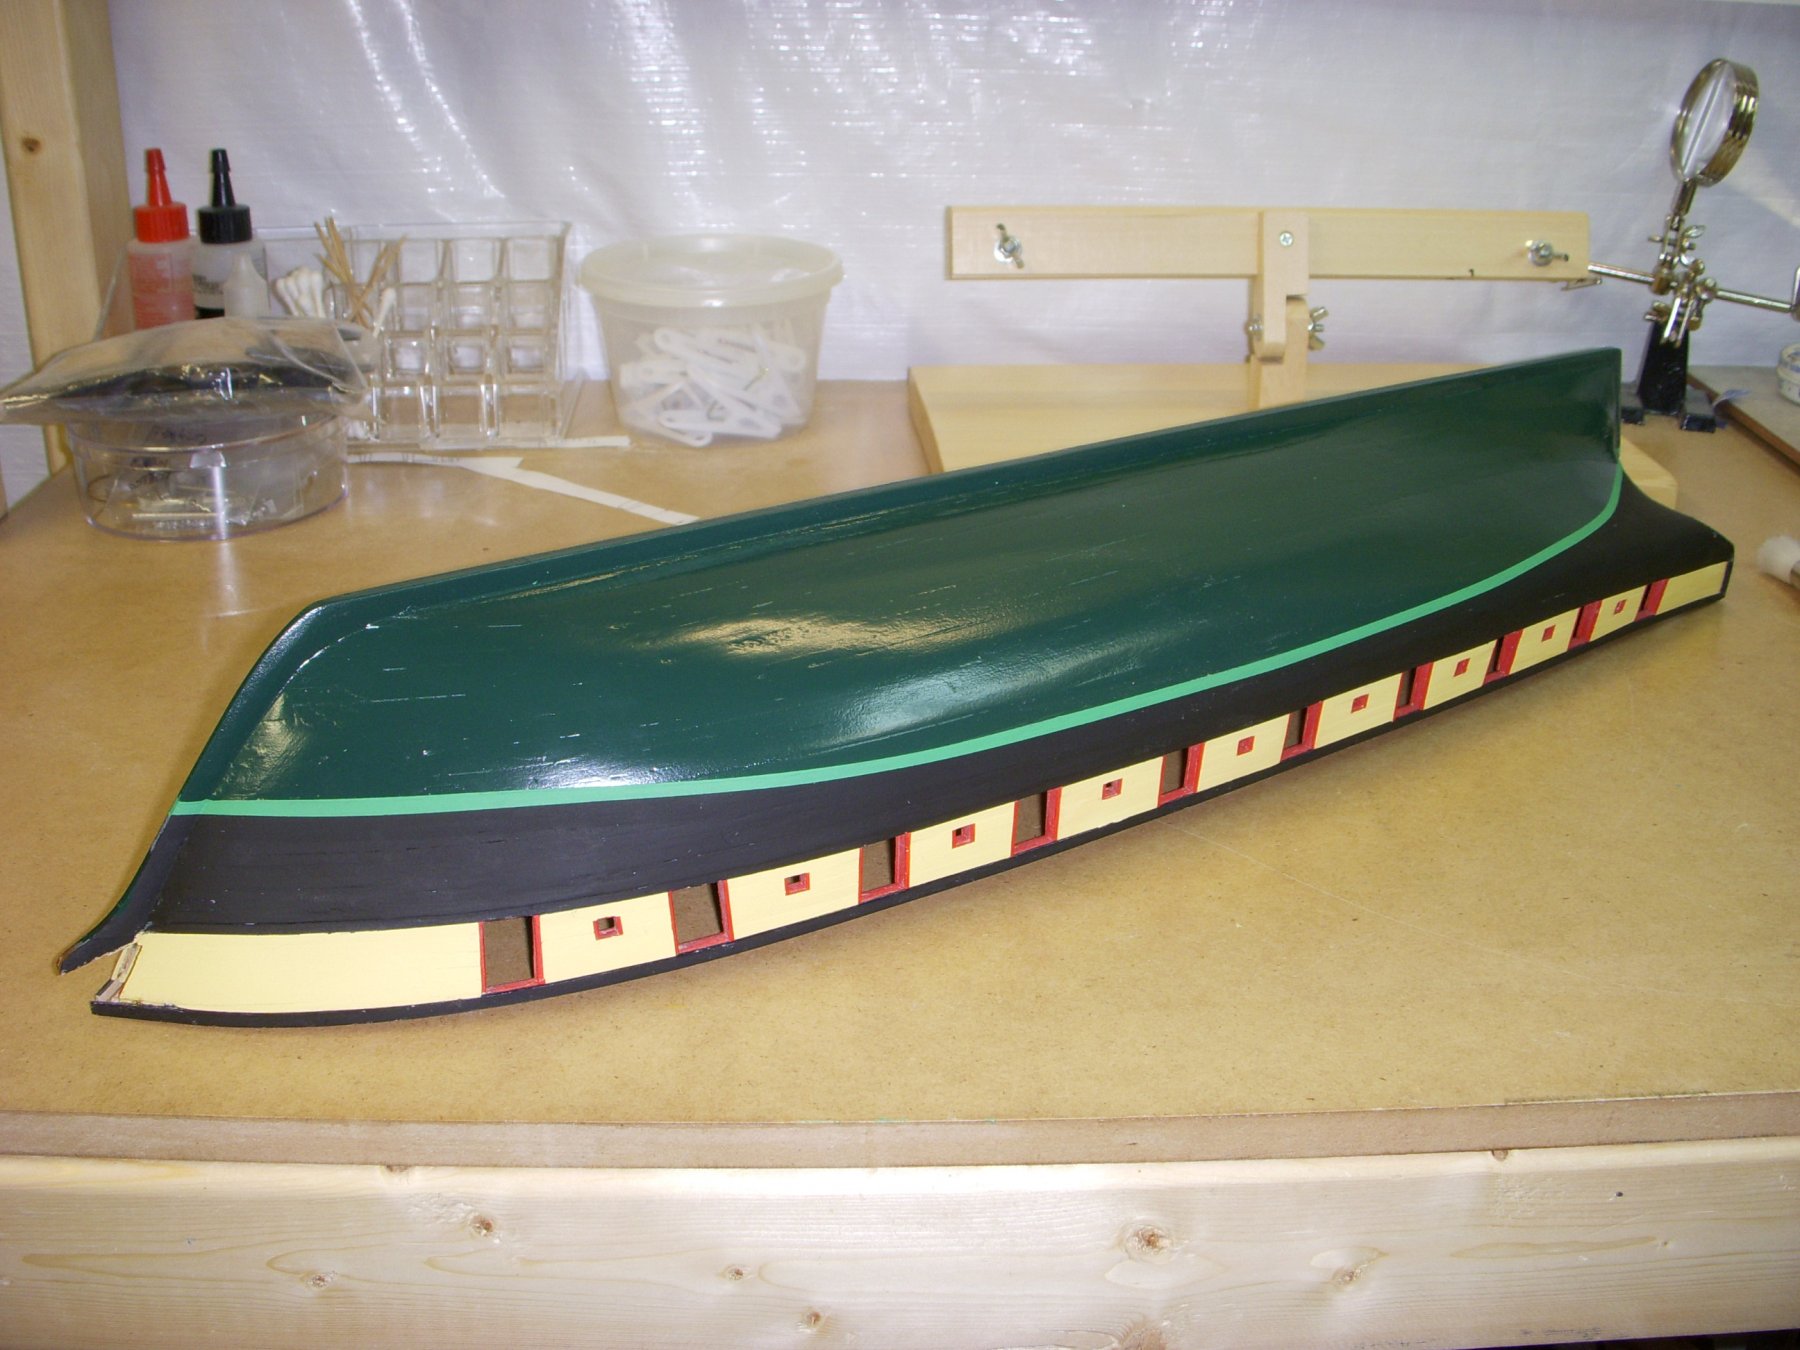
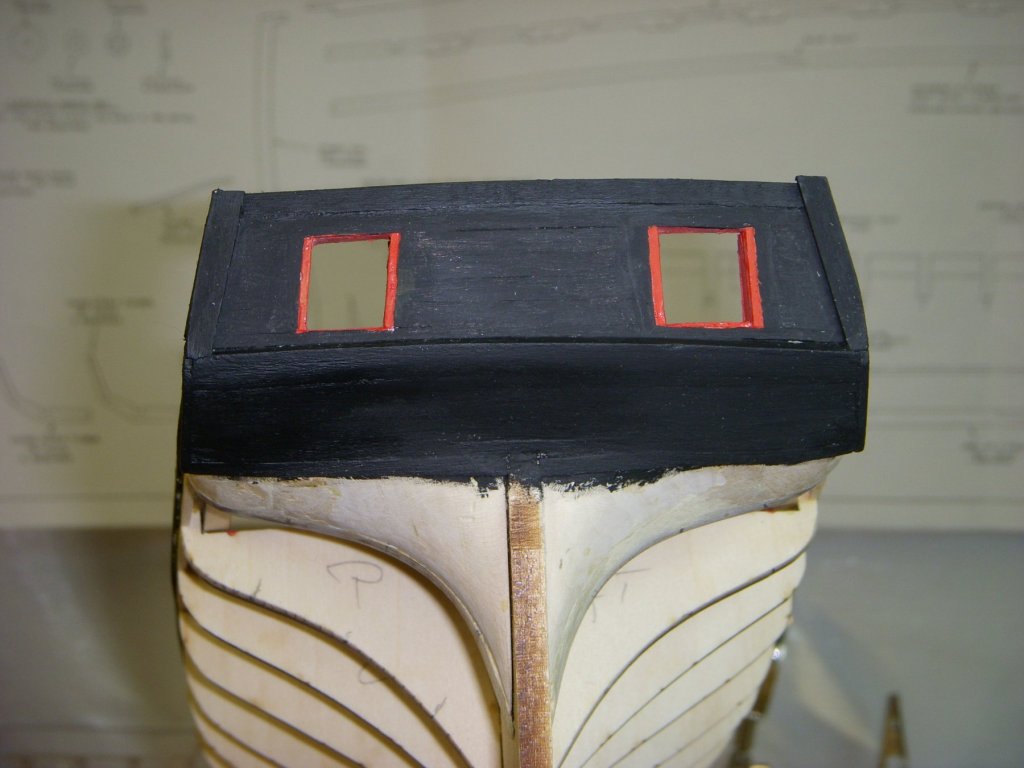
Counter planking has been completed and the fashion piece has been installed. I deviated from the plans slightly for the fashion pieces. Painted the counter and transom. Here is where I could appreciate some comments. The transom and counter are painted a flat black and it looks pretty dull. I have been considering overpainting the area with a satin varnish over coat. Actually I have considered also coating the bulwarks, inner and outer. I have looked at some pictures of the ship in Erie Pa. and the ship looks like the paint is a satin or semi-gloss. Comments please. I completed the fairing of the hull and began planking. Here is a better shot of how I modified the fashion piece. Ron

-
Boy she really looks great. How long have you been working on her? I am only a couple of months into my build and hope mine turns out anywhere close to yours. Ron
- 648 replies
-
- 2
-
-
- niagara
- model shipways
- (and 1 more)
-
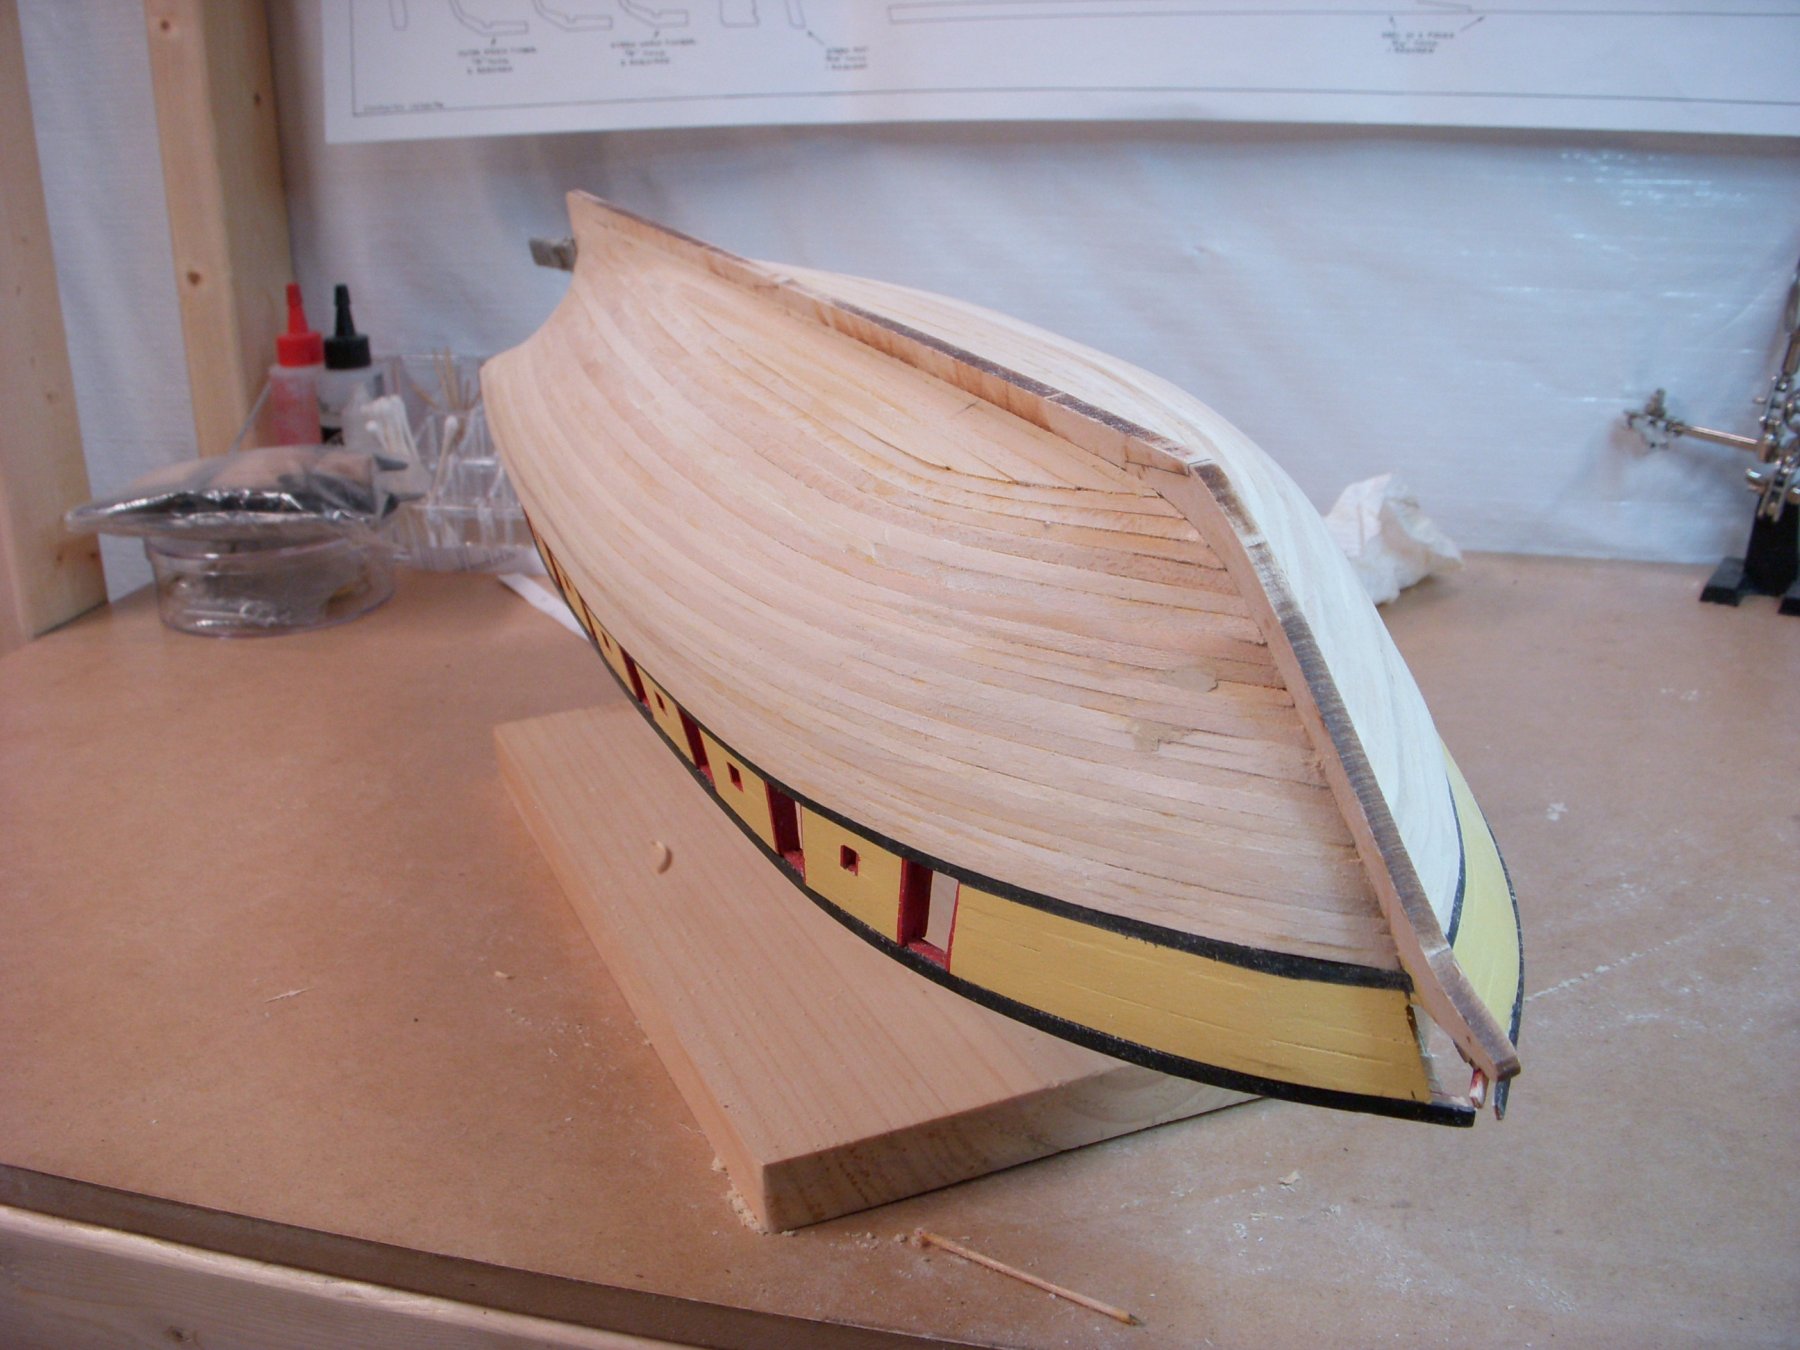
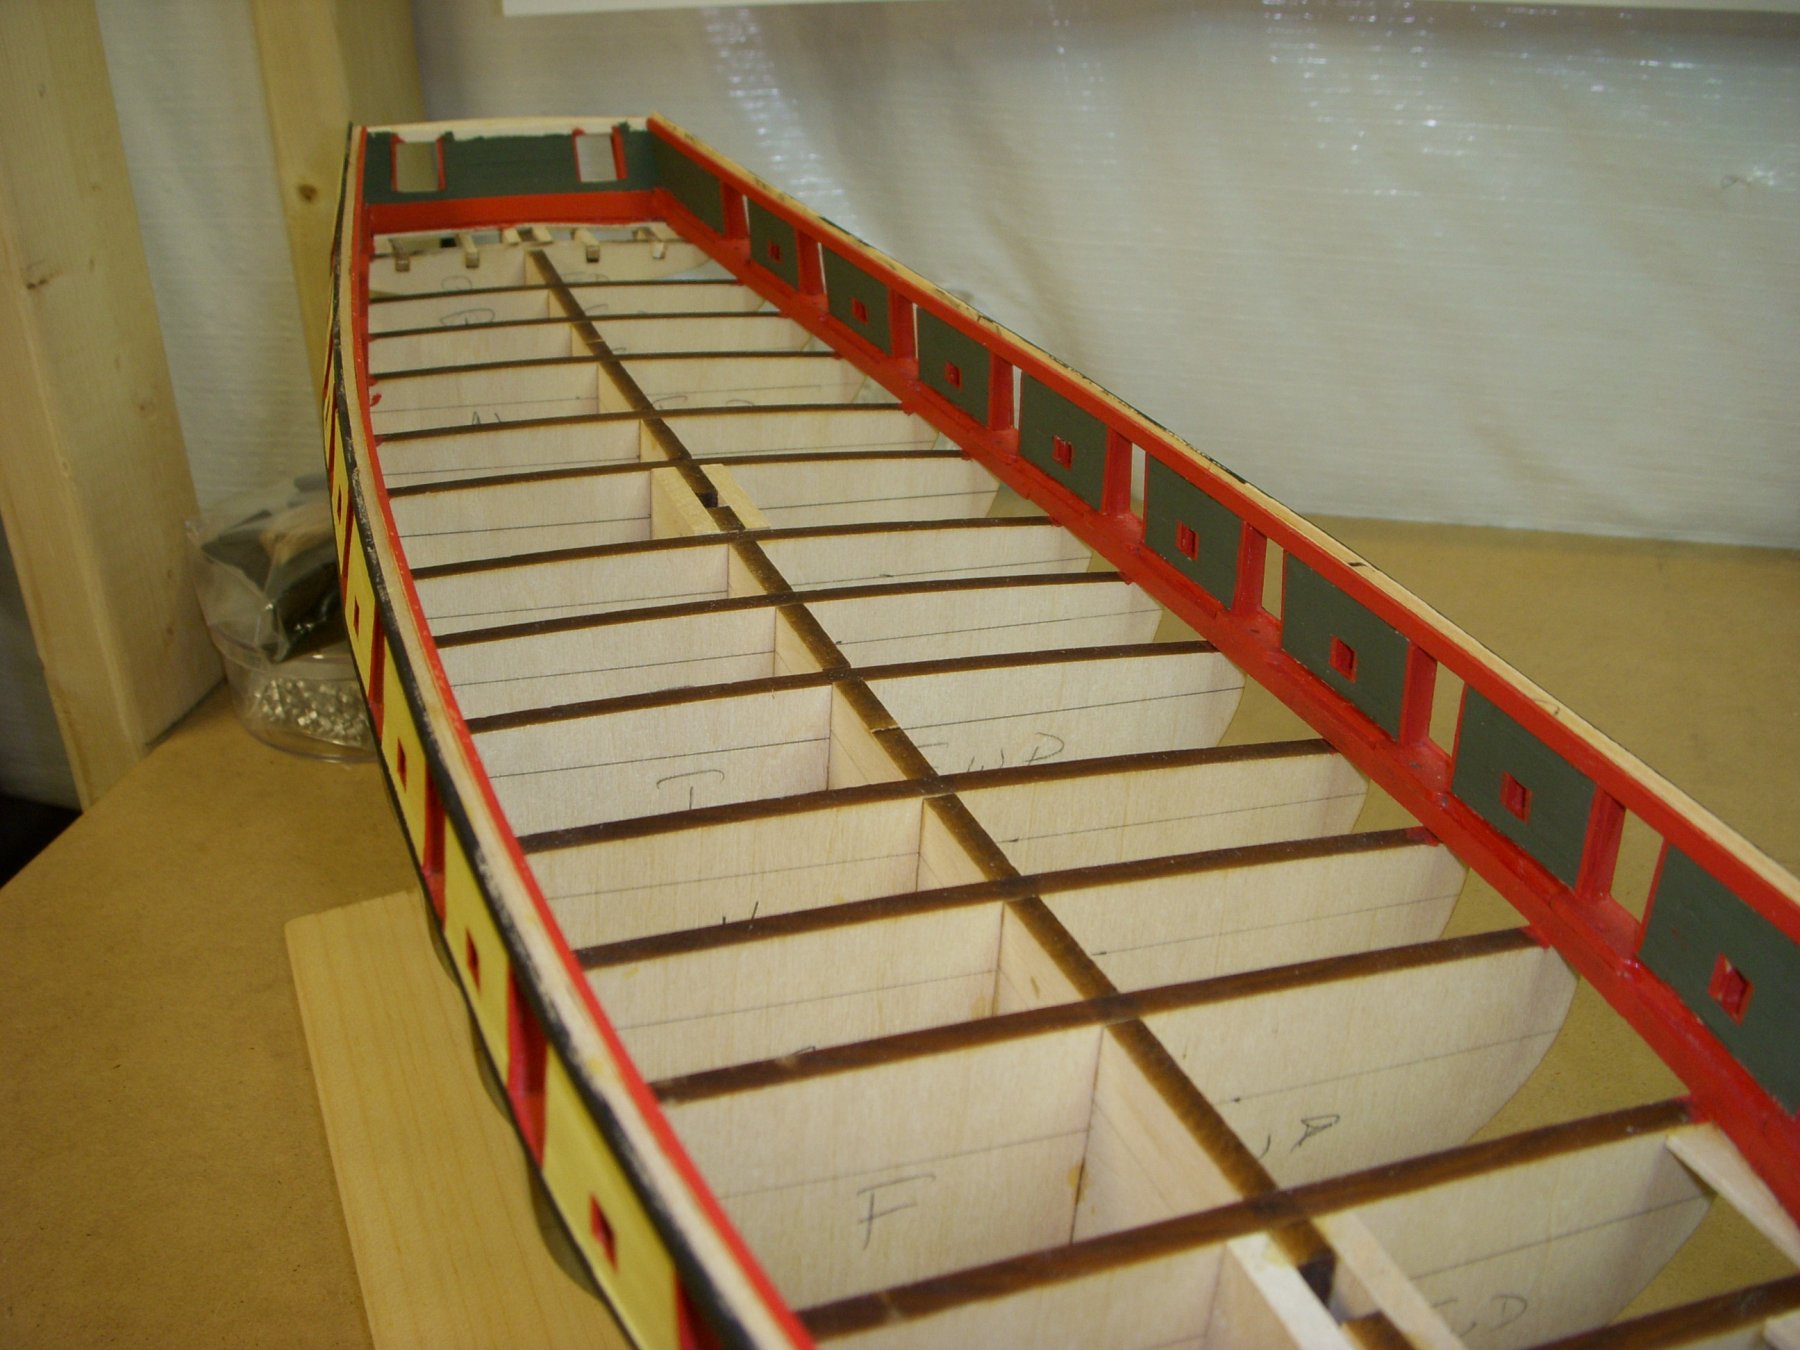
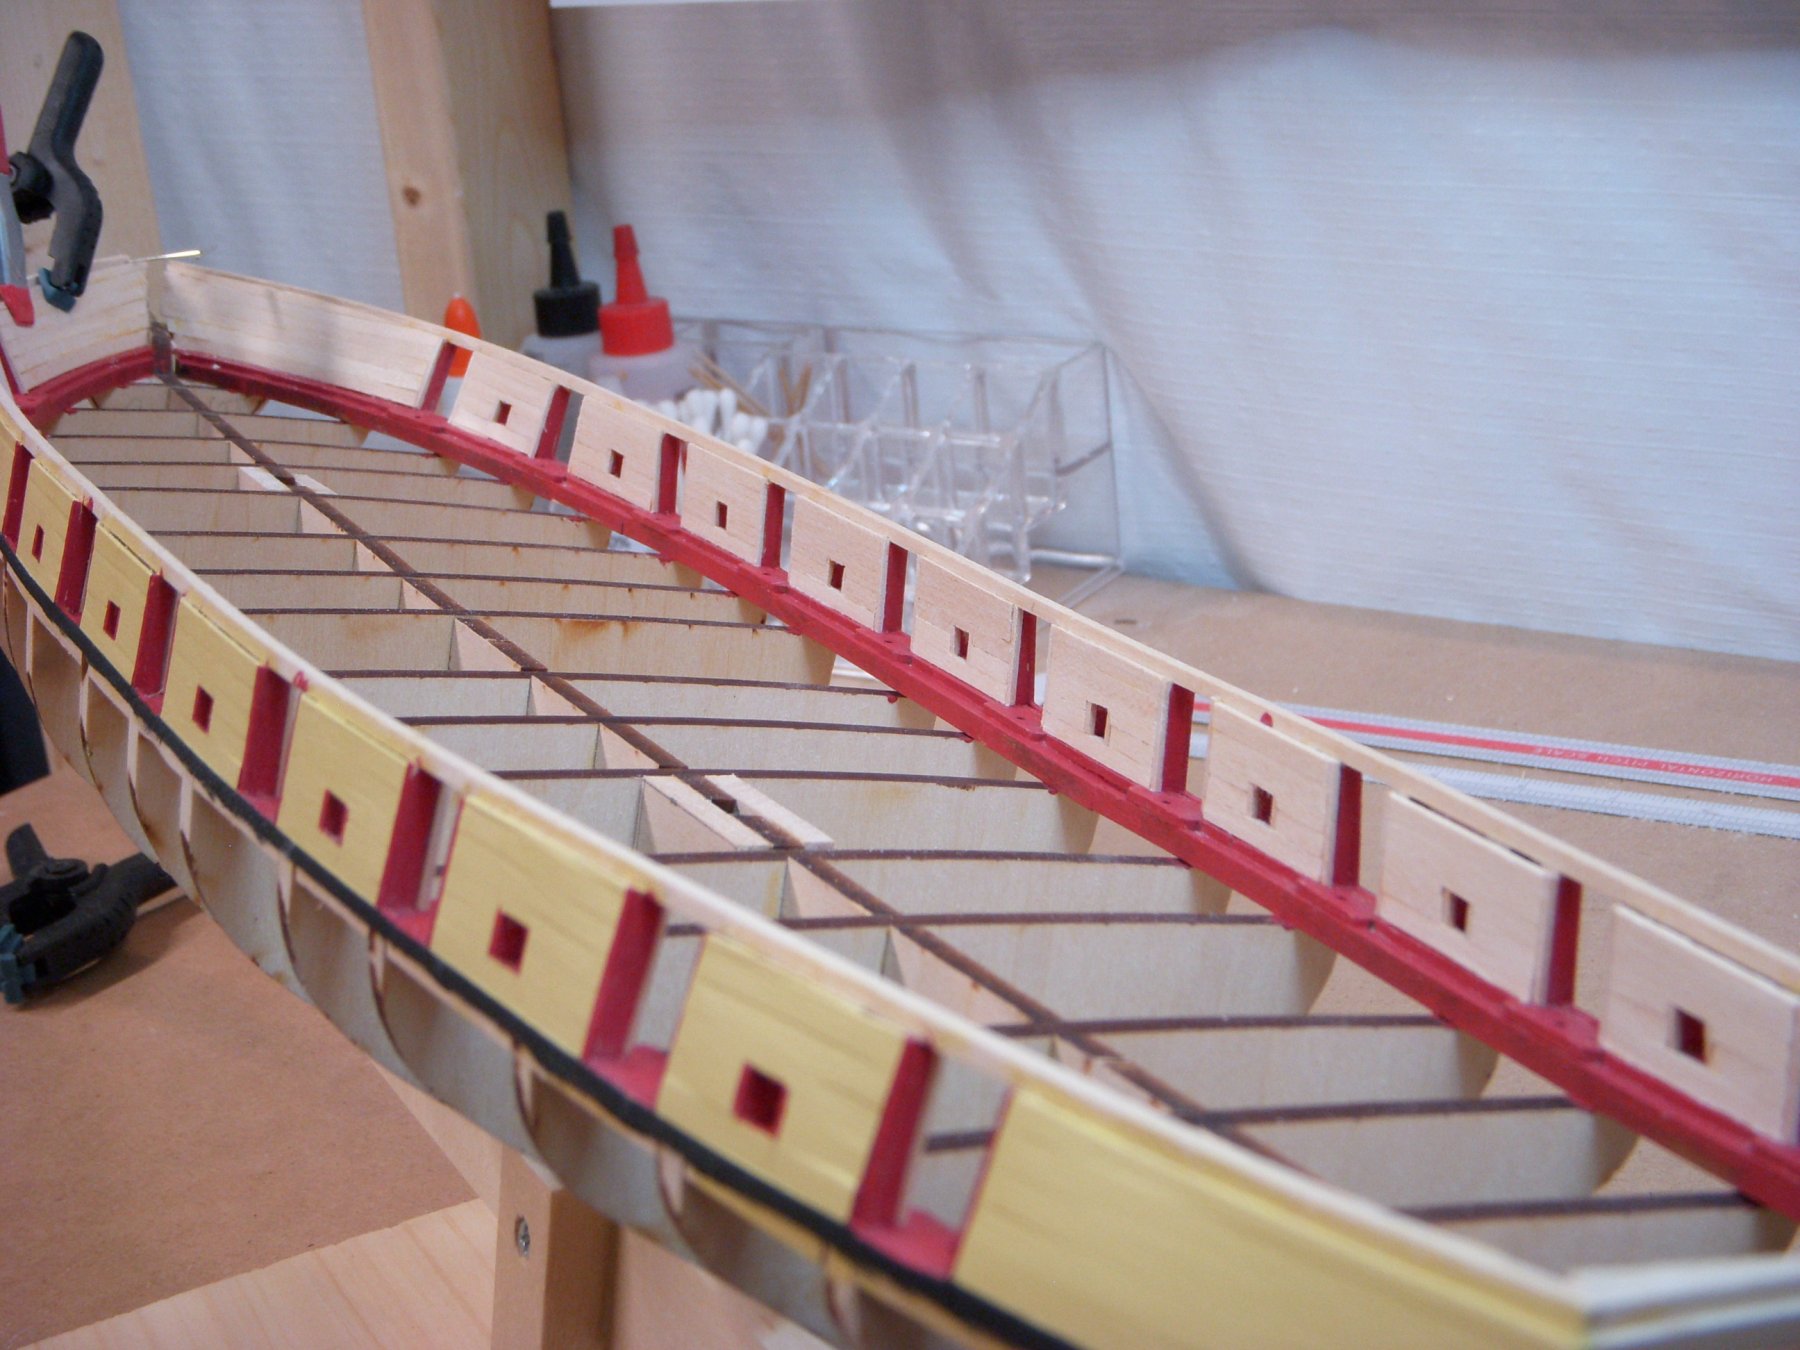
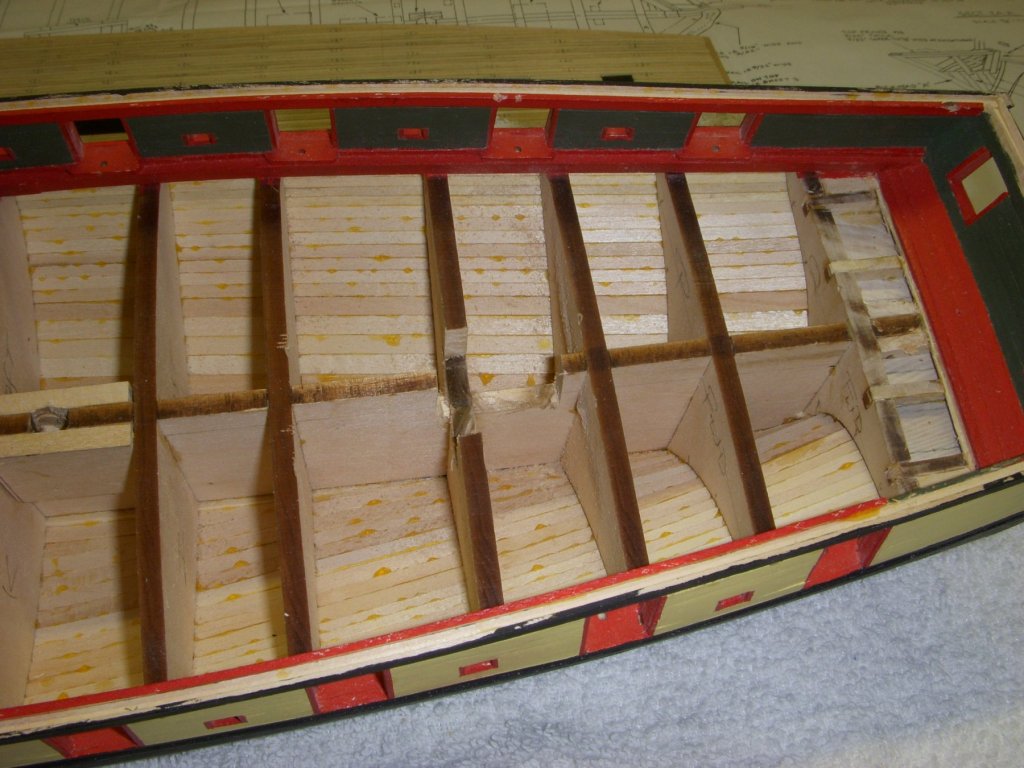
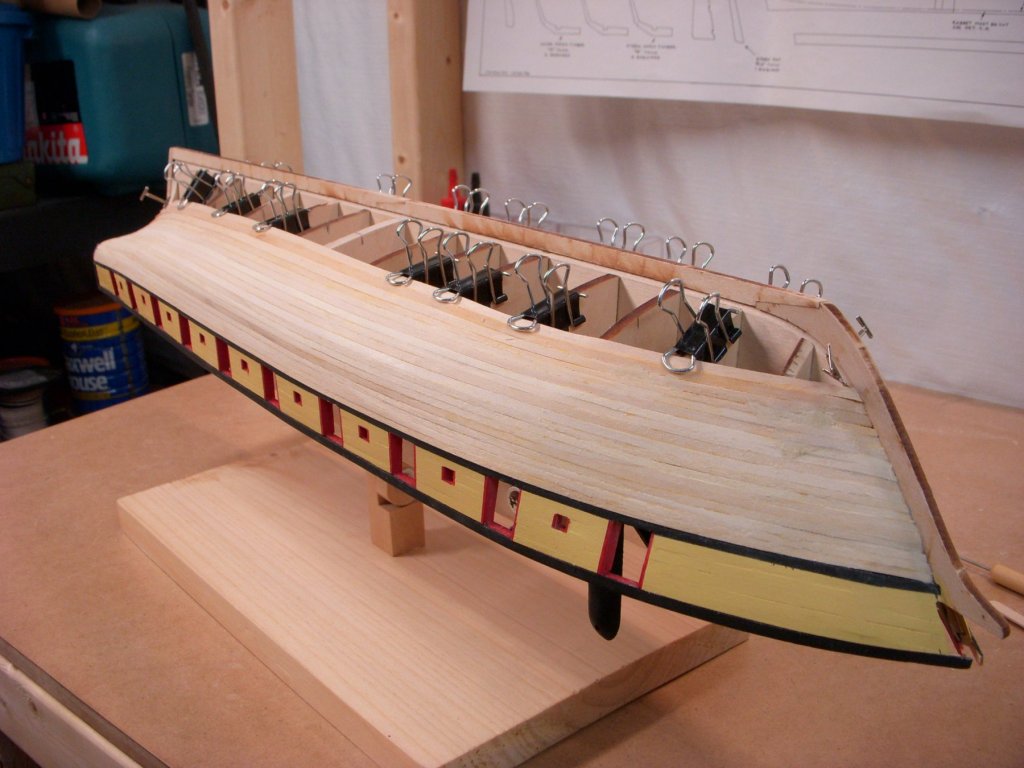
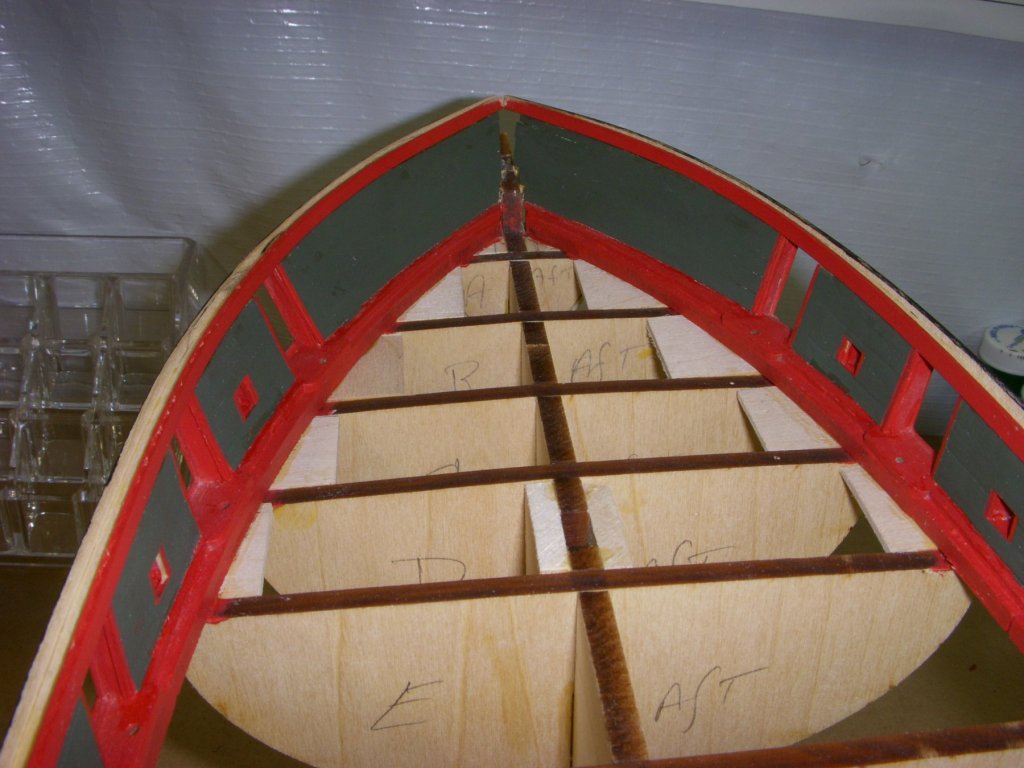
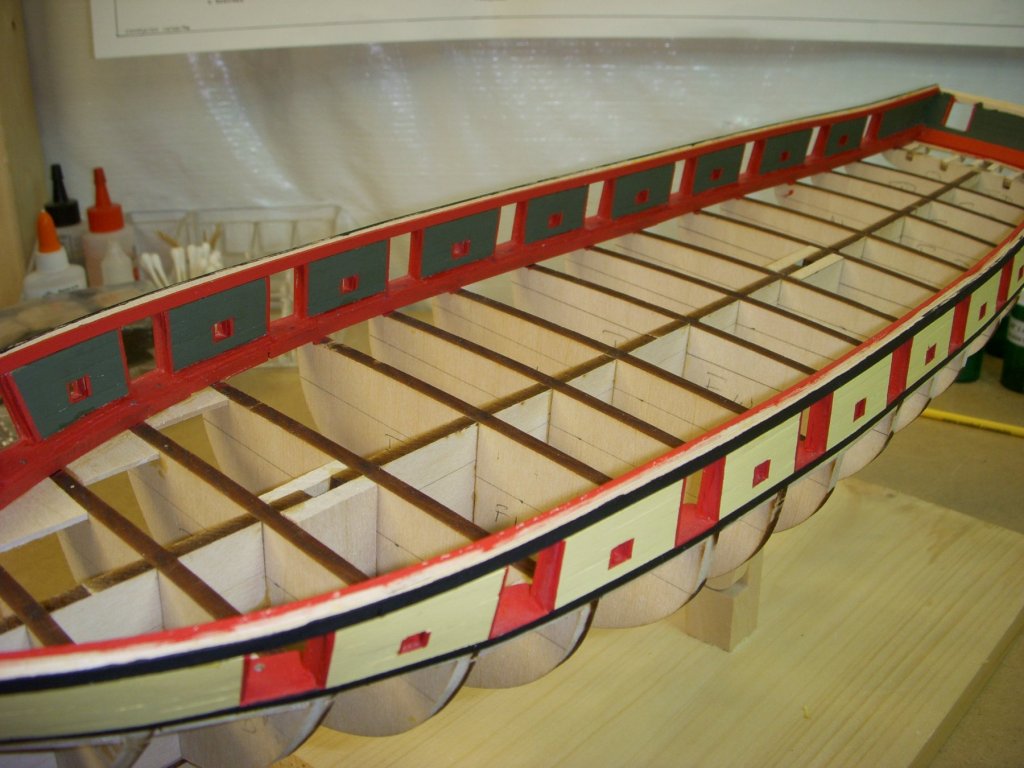
My daughter and granddaughter visited for Easter so it put a hold on my work for a few days. Well I finally finished painting the ceilings, took a while masking of the gun and sweep ports. Pretty happy with the way it turned out. When that was complete I prepainted the stringers and installed them. Before I start planking the hull I decided to install backers for the deck boards. In my last build I did not do this and found that I did not have a glueing surface near the bow. I figured it would be easy to do now with everything exposed. Well onto the counter planking.

-
Darrell The anchors really came out great, I am envious. I am now planning to upgrade the anchors on my version of the Niagara when I get to that point. I have a high bar to reach. Ron
- 648 replies
-
- 2
-
-
- niagara
- model shipways
- (and 1 more)
-
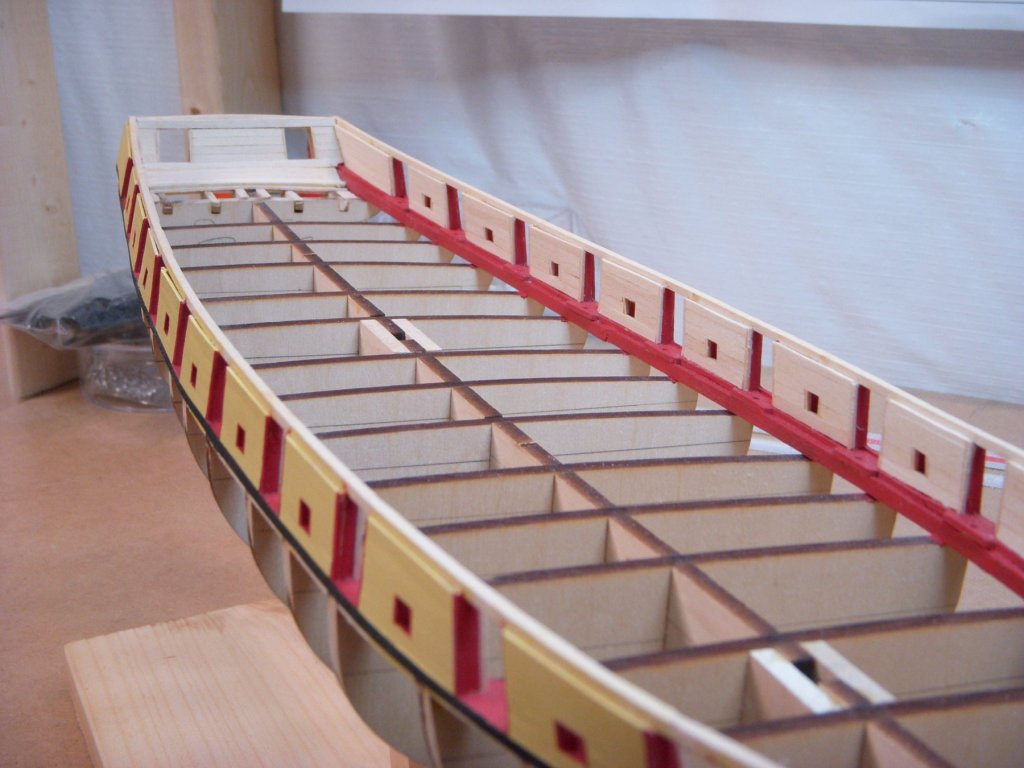
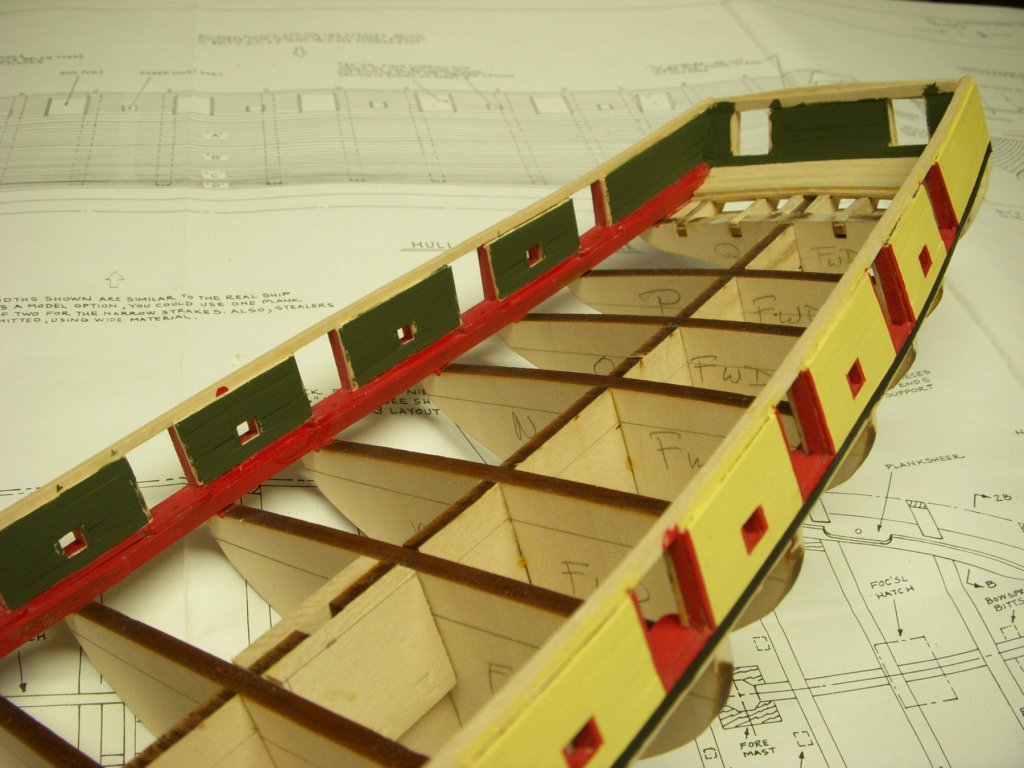
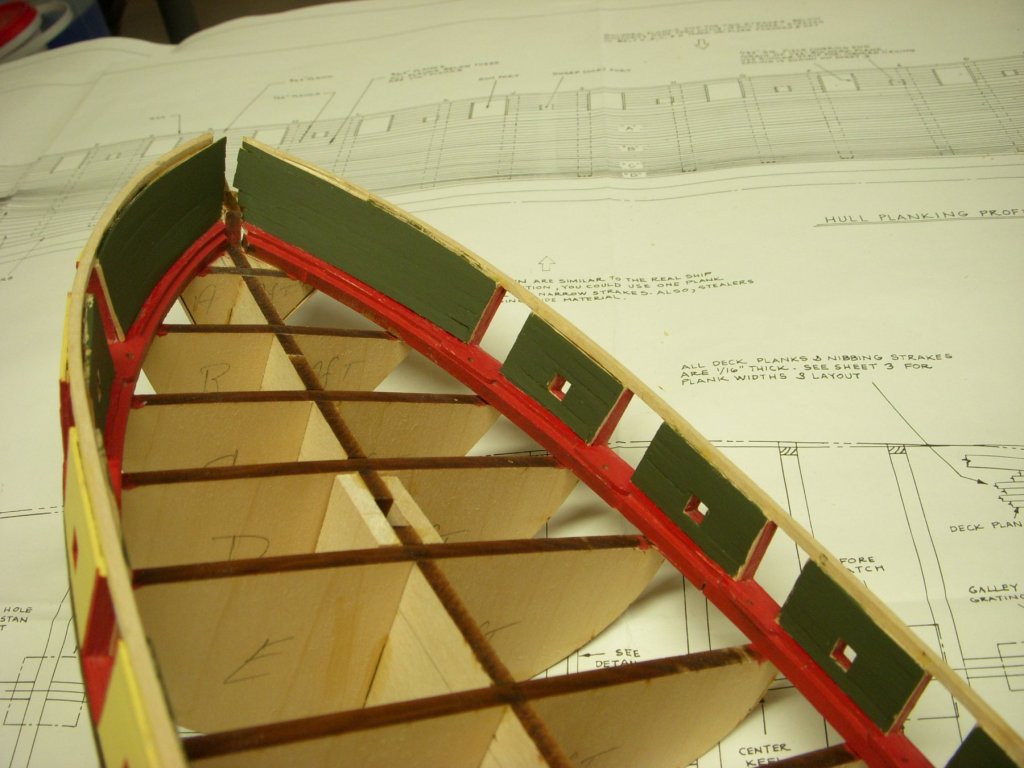
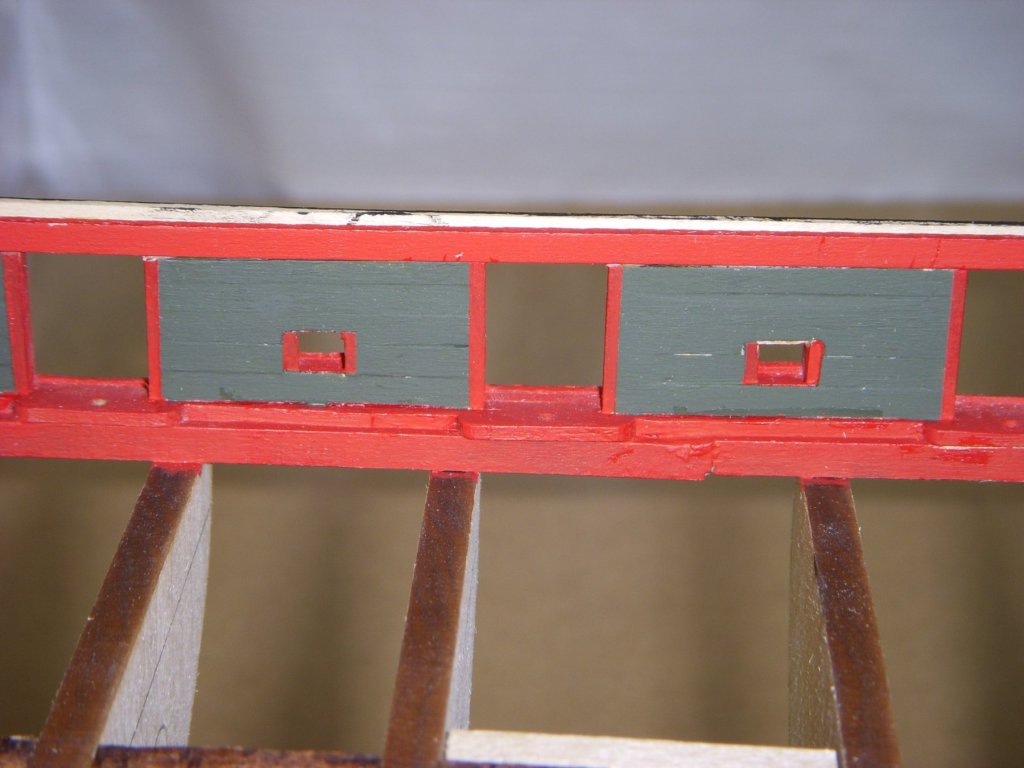
Mike I did not install the stringers yet, I believe what you see is a strip I installed above the gun ports. The plans showed the planks went up to just below the top of the bulwarks, the stringers installed on top so that they would be flush with the top of the bulwarks. If I did this the gun ports would end up to small. Something did not add up on the drawings. I decided to add strip to the top of the bulwarks and plank up to the top I will be installing the stringers against this strip. Once the stringers are installed they should be proud of the planking. What you see is the strip I added to the top of the bulwarks. I hope this makes sense. Thanks for the tip on the hand rail. I will check the fit before I go any further. I will also force myself to not install it yet. When I built the Pride of Baltimore I installed the gun carriages early and this caused all sorts of problems. I had to remove them and reinstall them later in the build.
-
I agree, I plan on burnishing with my stylus and then coat with a clearcoat prior to putting on the color coat. I am using a water based varnish as the clearcoat. As for the stringers on the bulwarks, I was going try painting them first then installing them. In this way hopefully I can eliminate another masking step. I am running a little behind, I took my workshop down over the weekend to install a new floor. Hopefully will have that complete today. i am wanting to get back to working on the Niagara.
-
Finished putting in the ceilings. It took a little longer than expected, but am happy with the results. Sanded smooth and put on a sealer, and am ready to start painting. Put on two coats of the dark green and am ready to mask so that I can put on the red around the gun and sweep ports. I am going to follow mikiek’s suggestion and bought some Tamiya masking tape, and see how that works out.