


Jadesworld
-
Posts
6 -
Joined
-
Last visited
Content Type
Profiles
Forums
Gallery
Events
Posts posted by Jadesworld
-
-
Hi.
its been a while since I last posted a update.. Sorry.
WOW thanks for ALL the likes

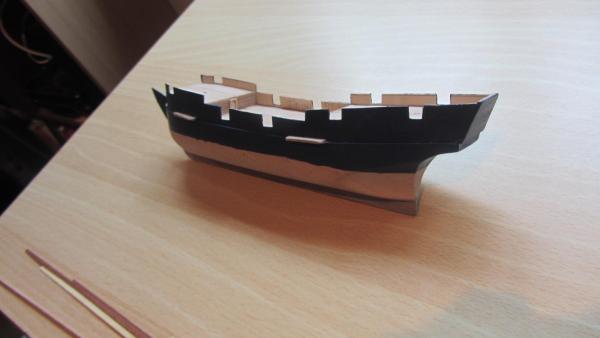
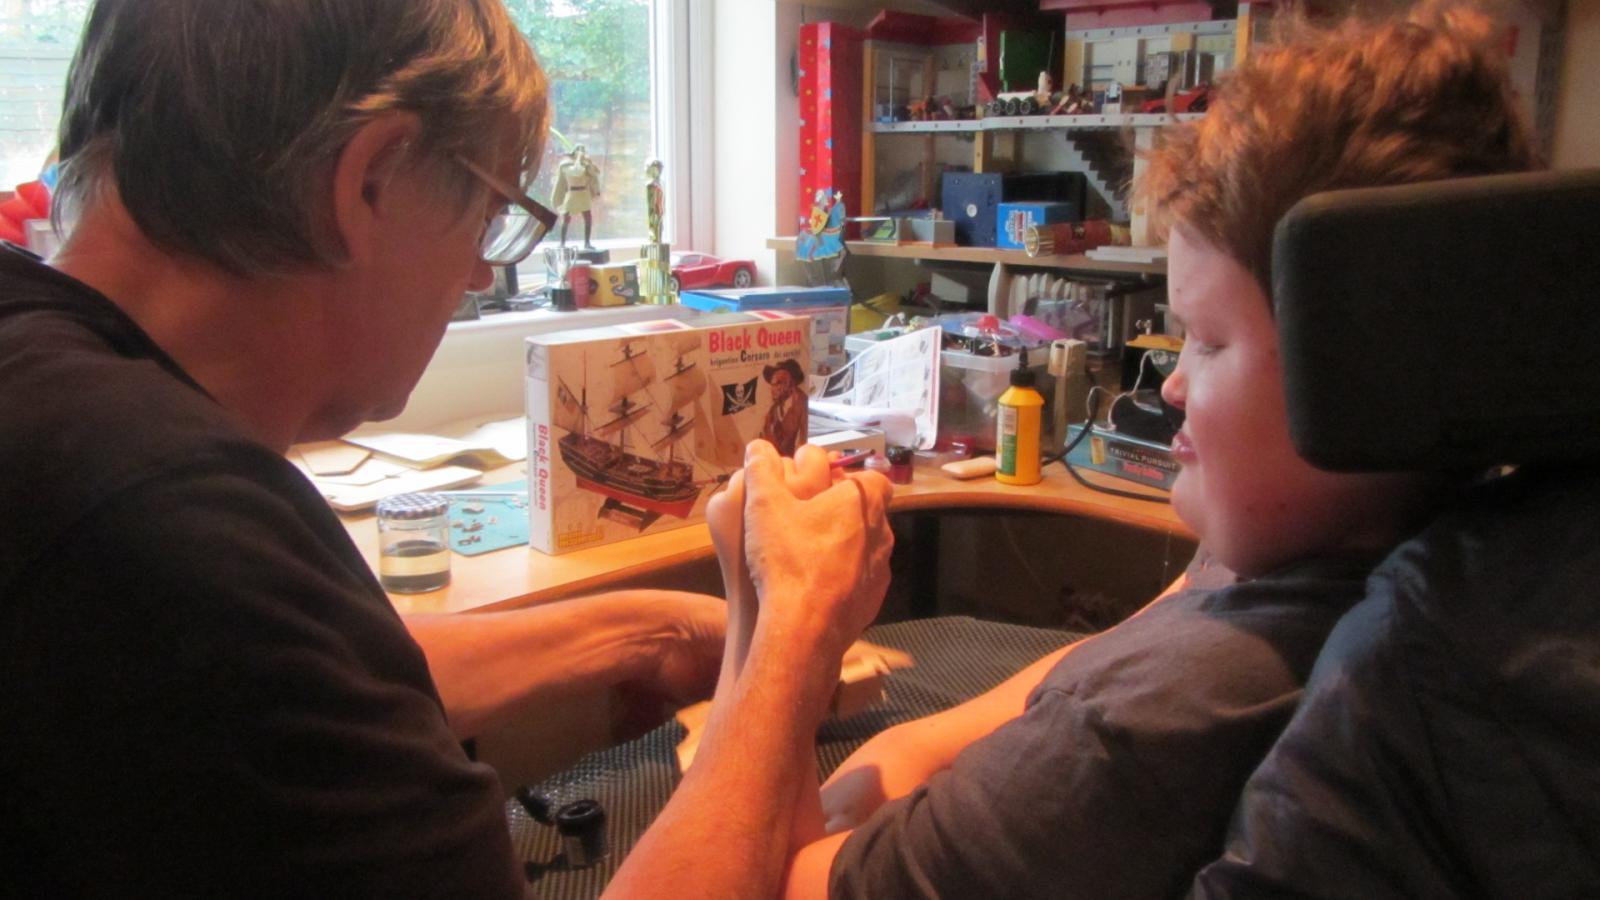
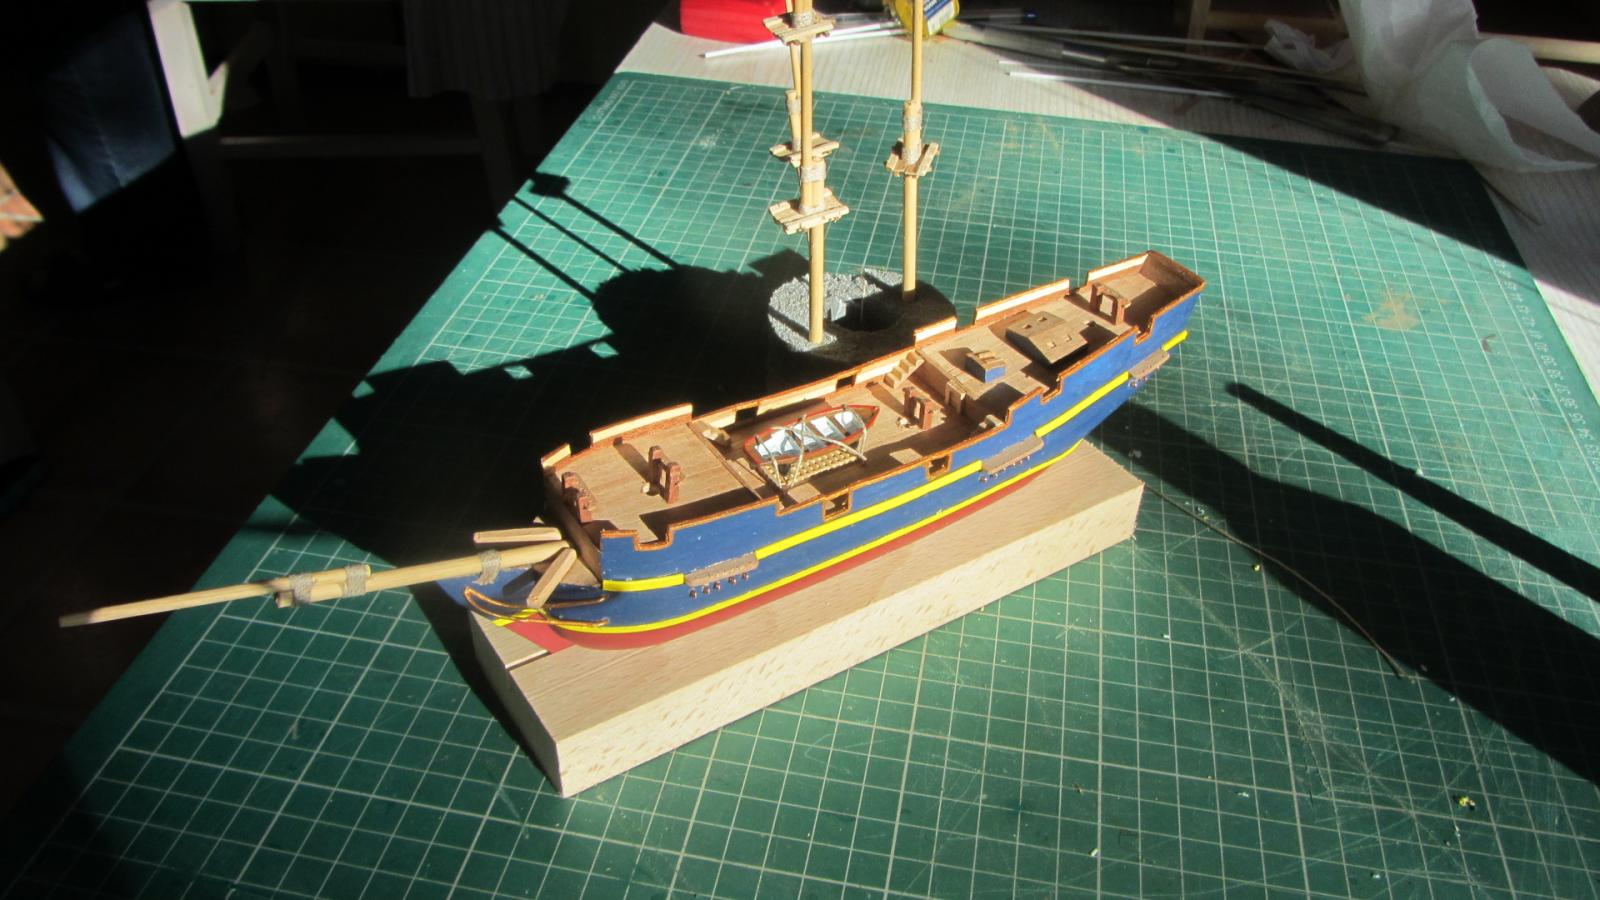
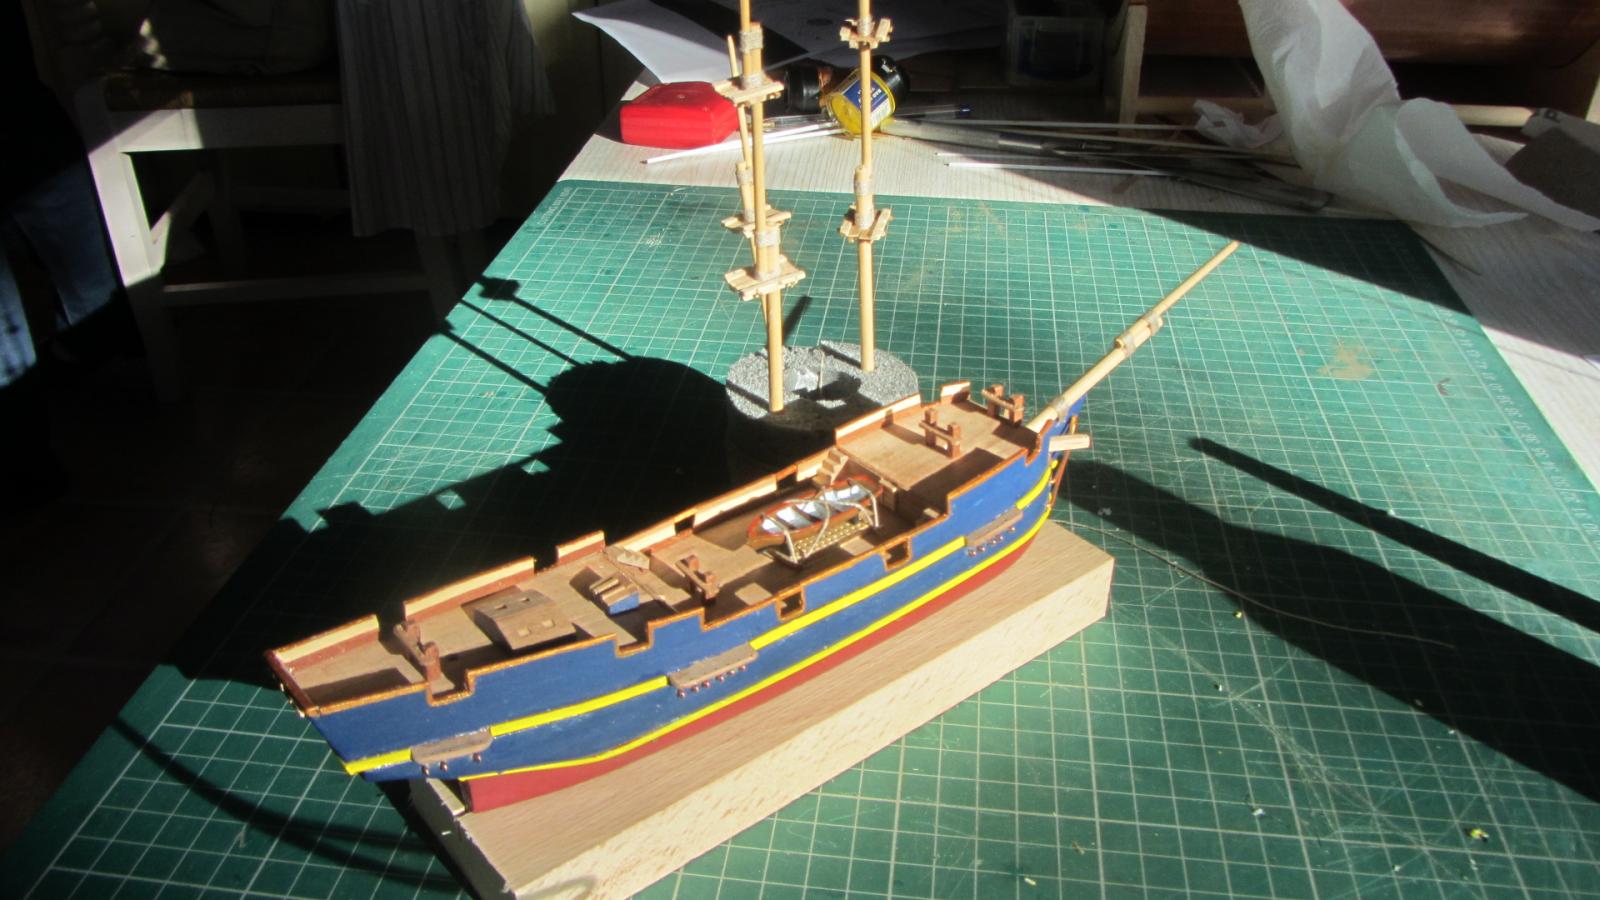
Here we are starting the painting of the hull.
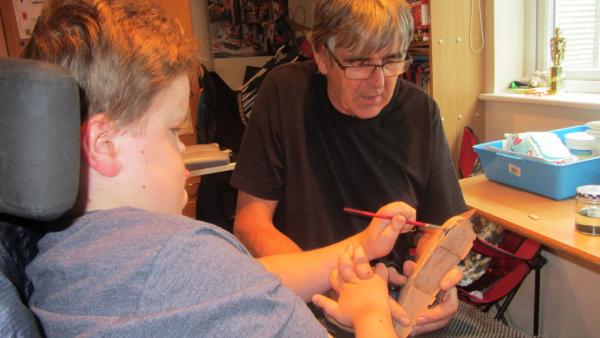
much easer with Antony holding my hand

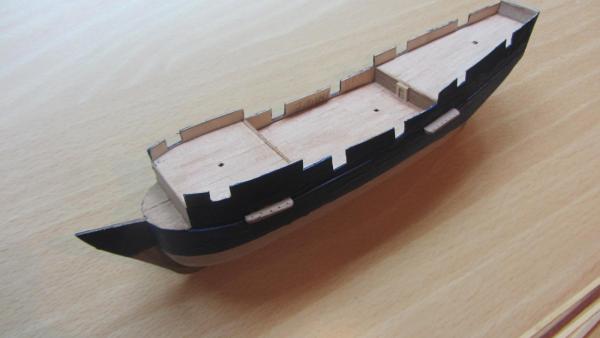
Painting first blue done
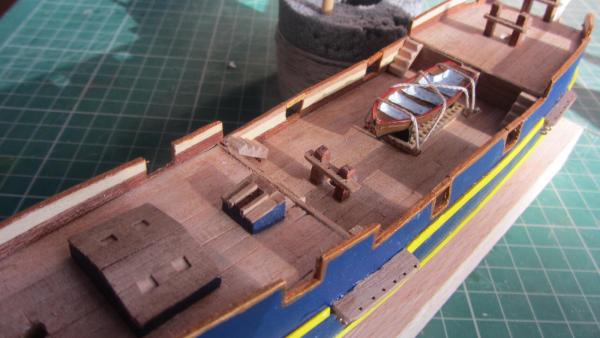
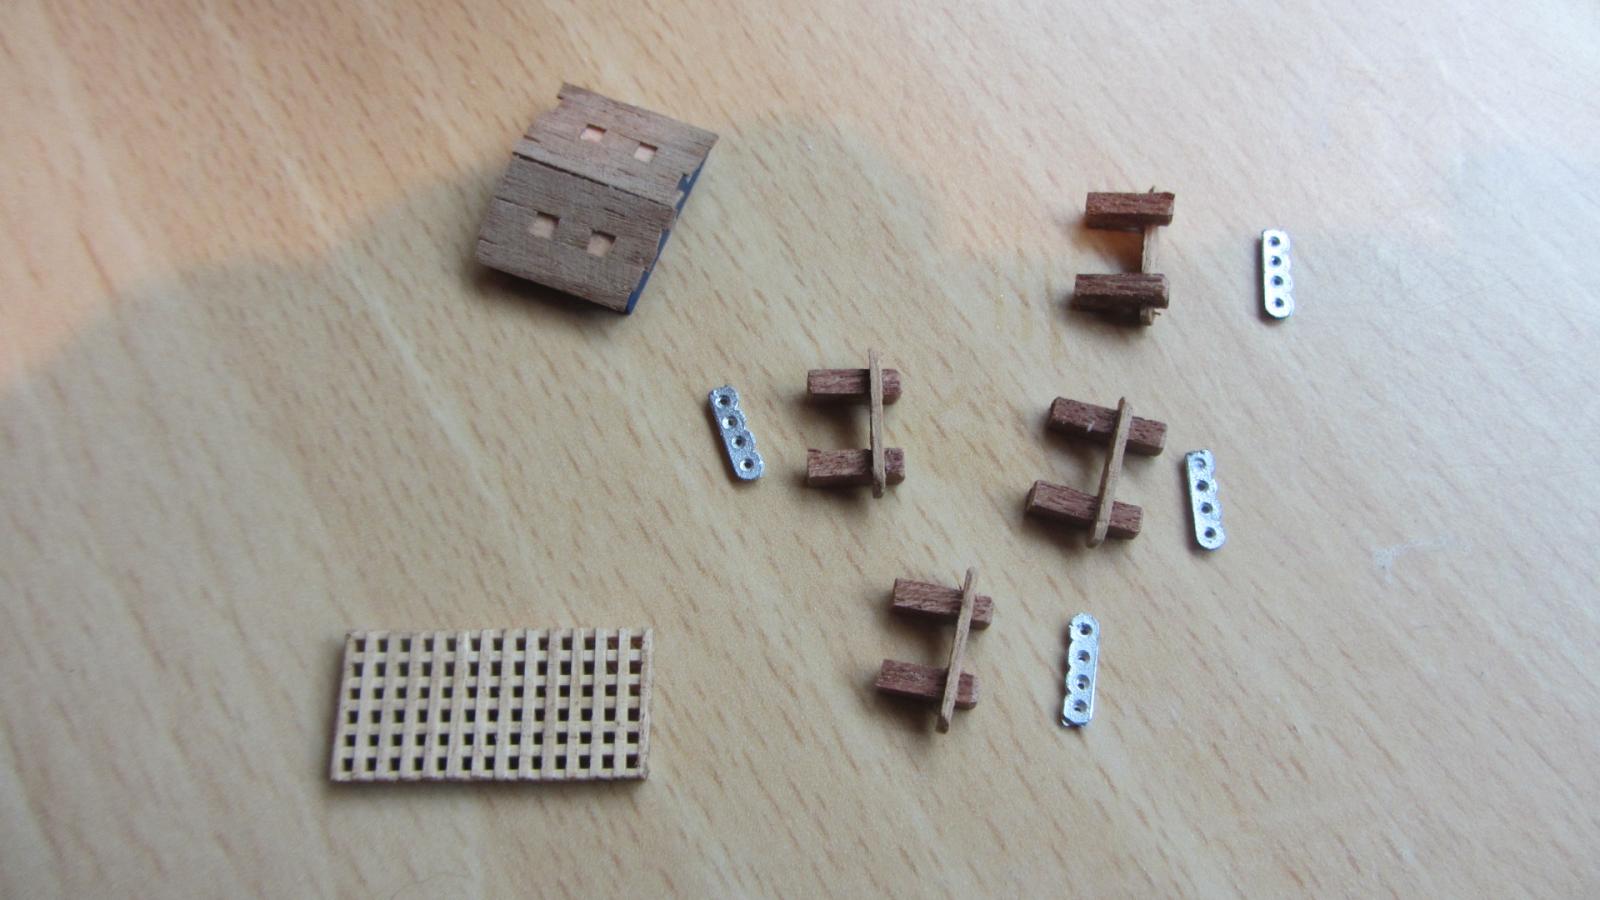
Some of the deck fittings. Discarded the metal ones and made wood parts.

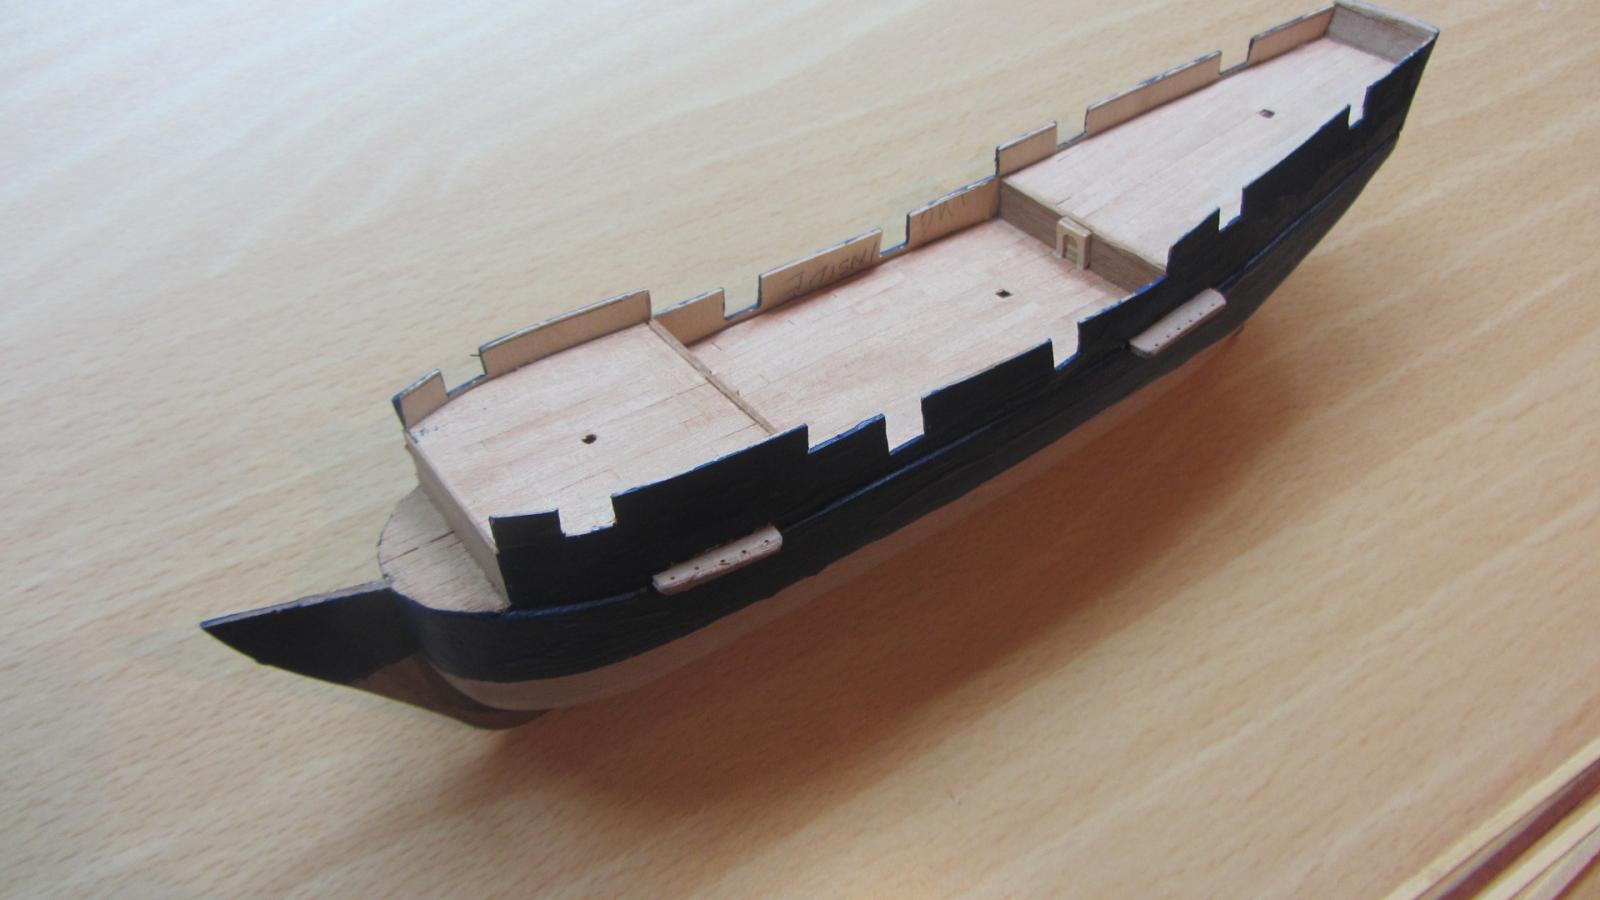
Side strips were painted then guled into place on the hull. much easer for me.

Masts are made and will be fitted next week.

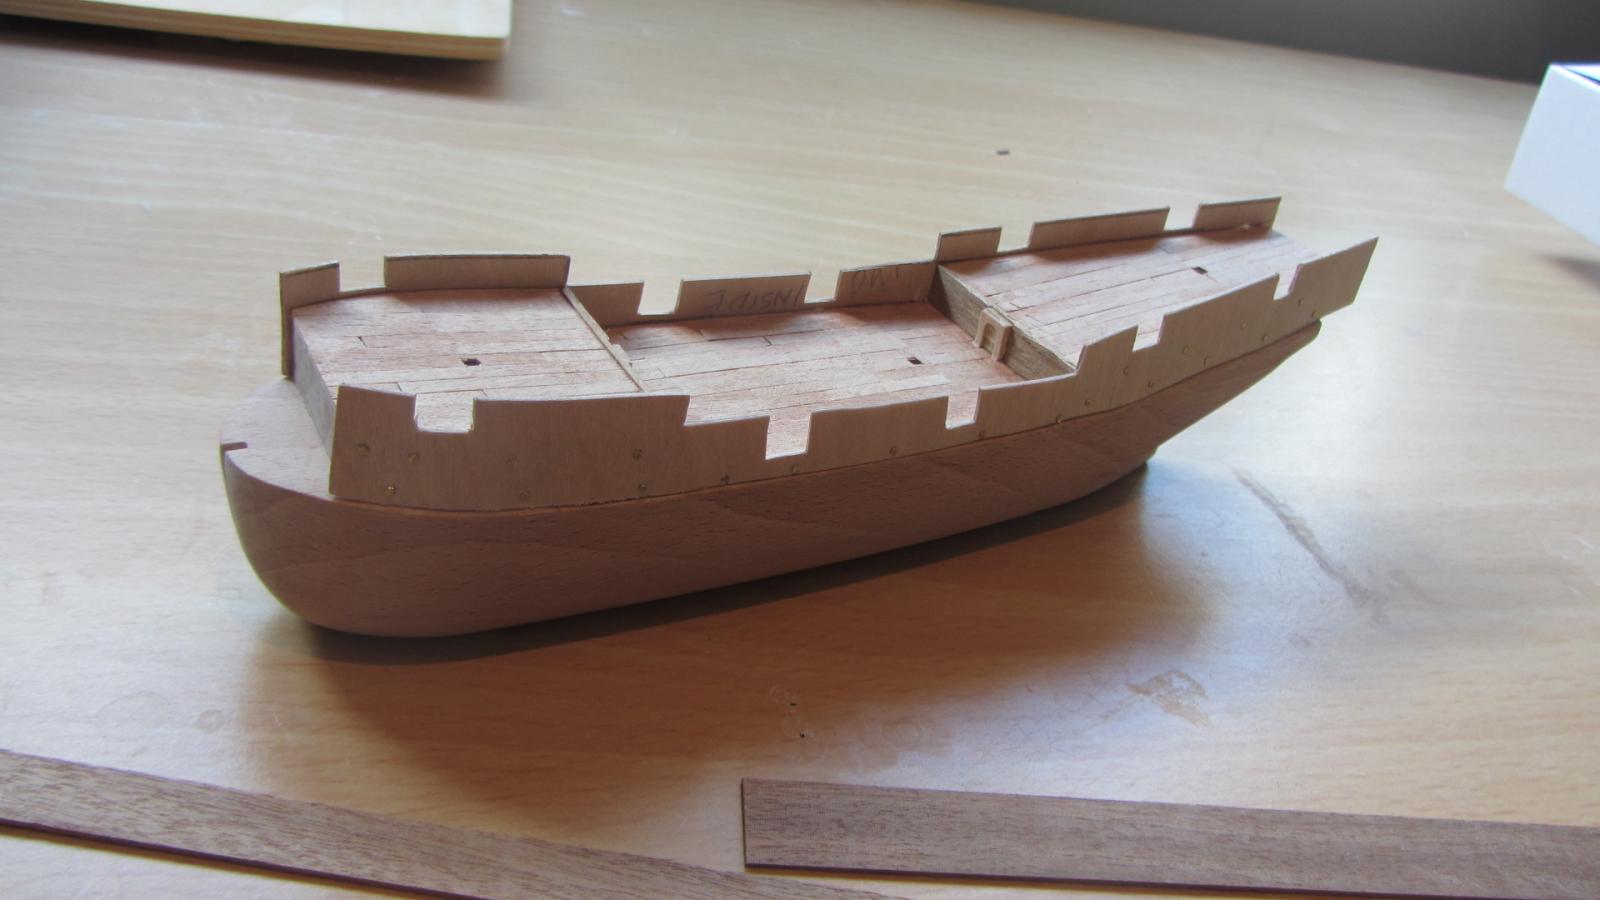
Close up of the deck. I planked inside the Bulwarks as there was nothing in the instructions.
Thanks for looking in.
Regards Alex.
-
Hi.
Many thanks four likes and help.
I have glued the decks into place.
Not forgetting the holes for the Masts.
Then trimmed the excess decking off.
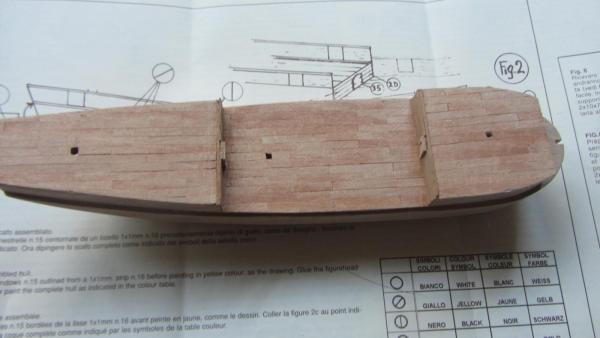
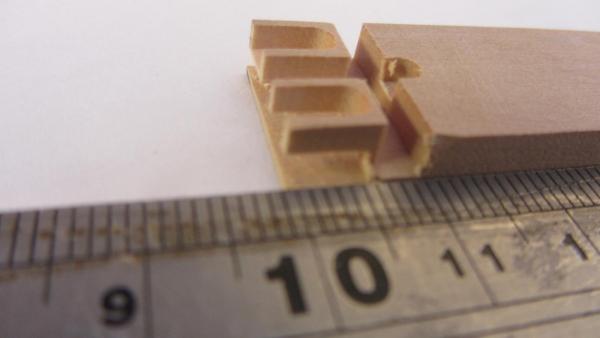
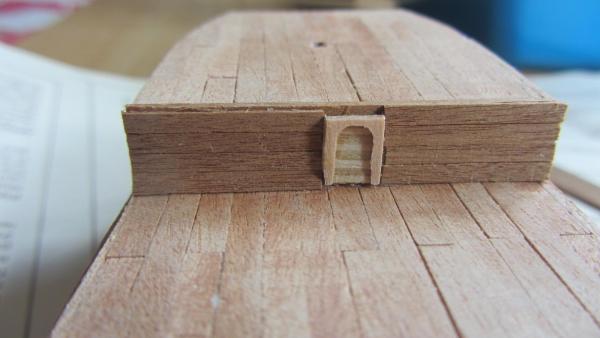
Antony made up some small doors to add onto this.
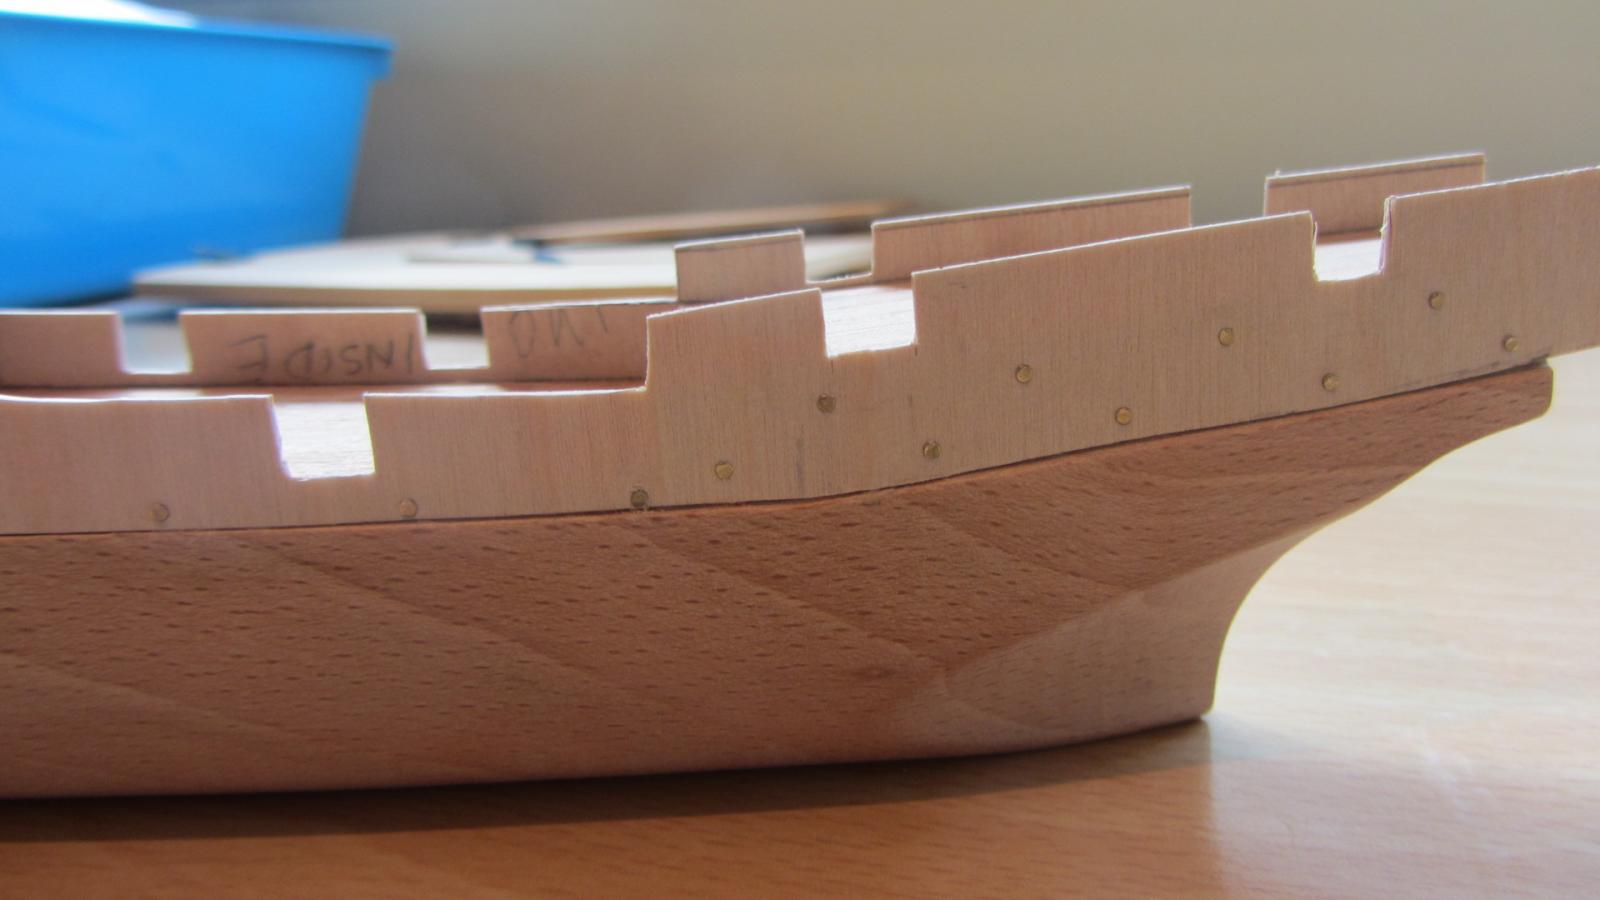
Next I added the bulkheads between the deck levels.
Antony was not happy to use the timber suppled with the kit so he made up the bulwarks with plywood.

We used brass nails to hold the bulwarks in place while the glue dries.

Antony says we can file the heads away later.
Thanks Alex S.
-
Hi.
I am 14 and I am a electric wheelchair user and I am not very strong.
My carer will be doing all the physical work like lifting the glue and cutting the timbers.
I wanted to build a wooden model ship like my carer Antony UK.
We started the black pearl but the magazines arrived for the first few weeks then nothing so I cancelled the subscription.
I have just bought this from Cornwall Model Boats.
The Black Queen. http://www.cornwallmodelboats.co.uk/acatalog/mamoli_MM60.html
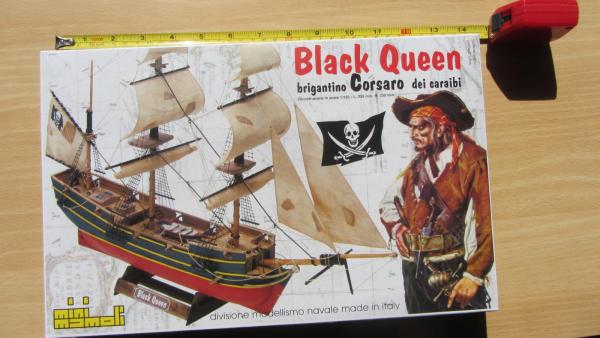
It's the Mini Mamoli series and it's a beginners model.
Solid hull is a nice way for me to start.
My carer said that I should do a build log so it might help other people to build this model.
That's enough about me
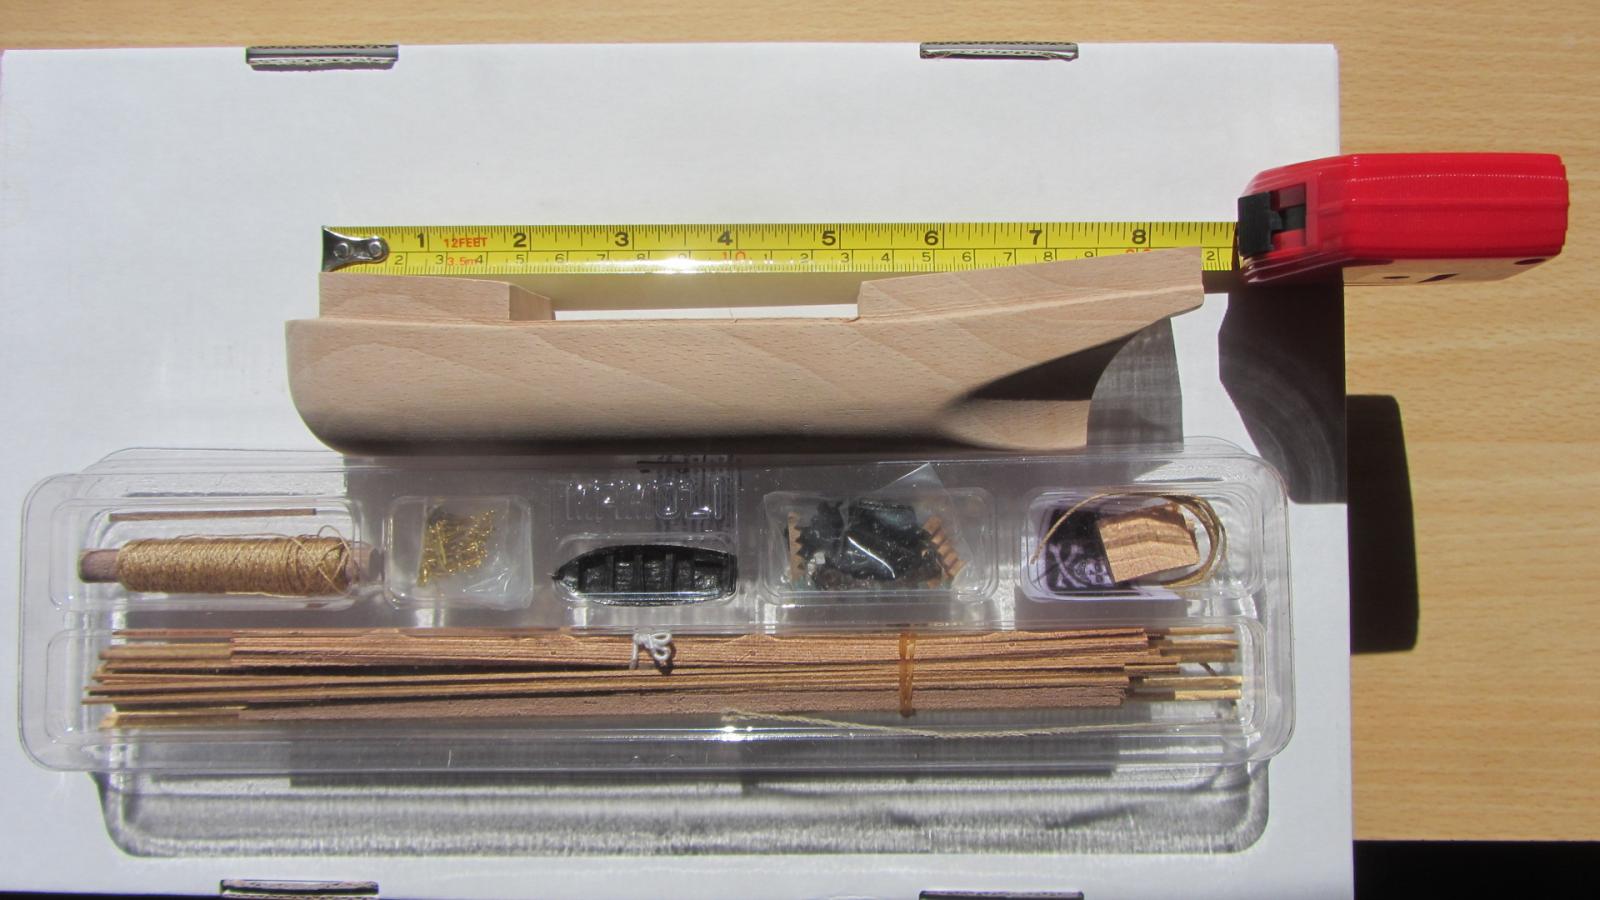
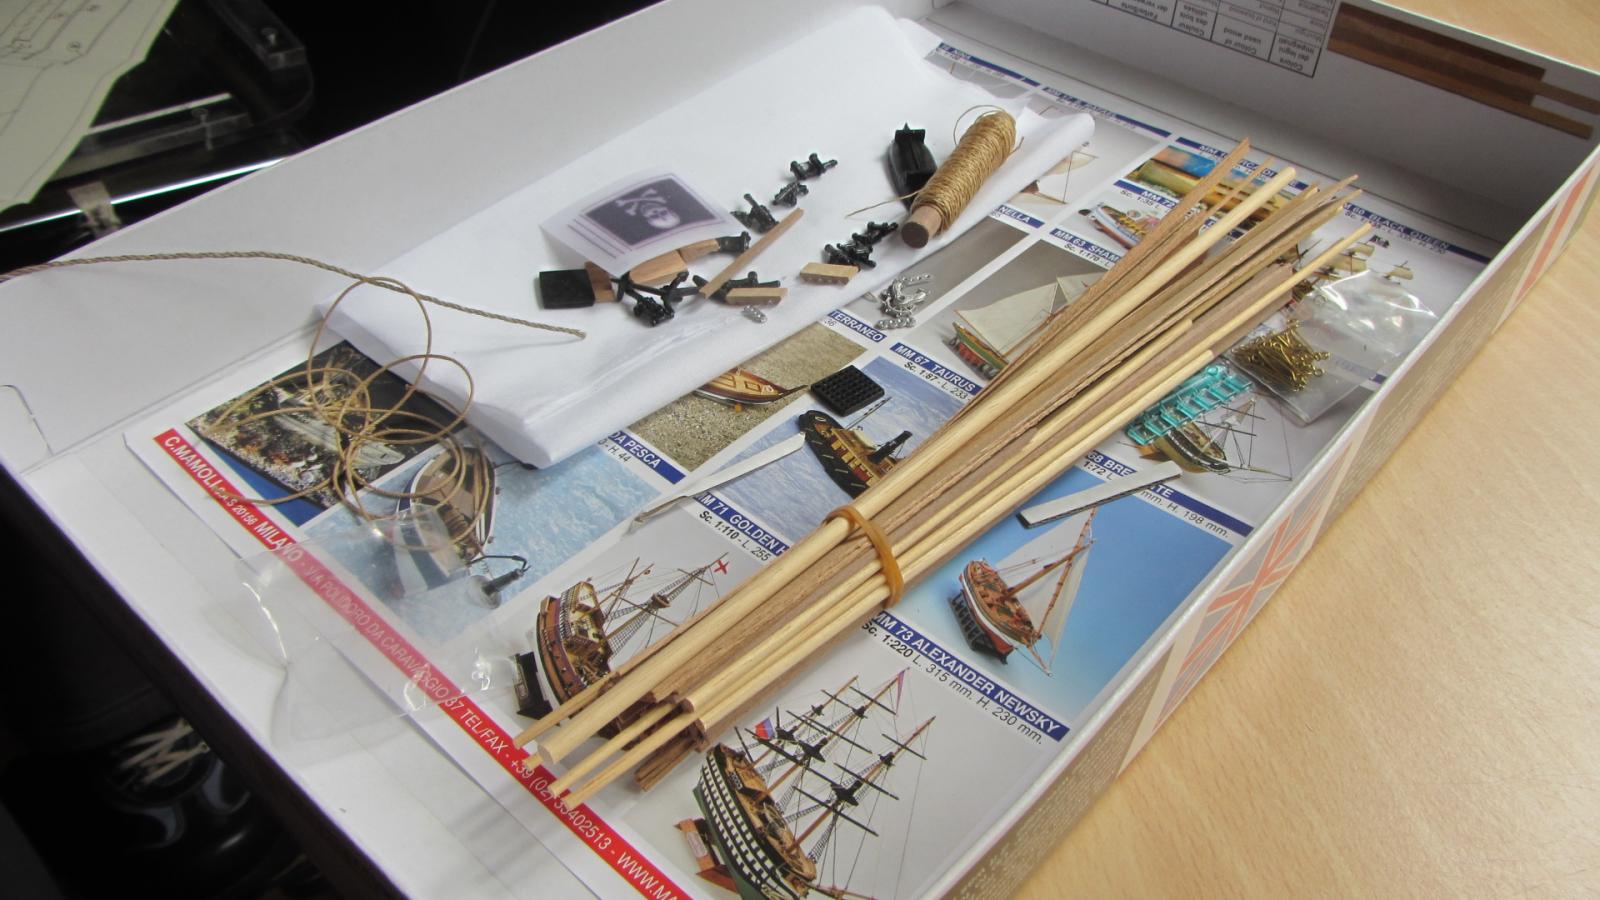
Opening the box

The contents.
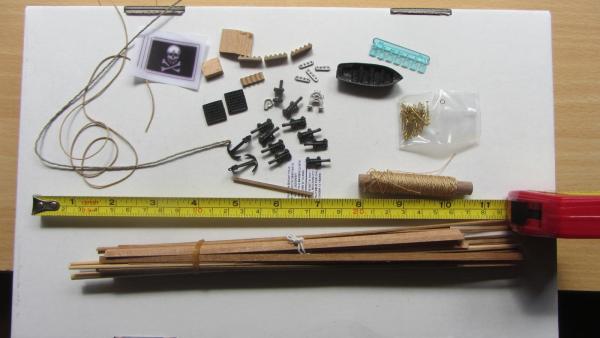
The small bits.
And the timber.

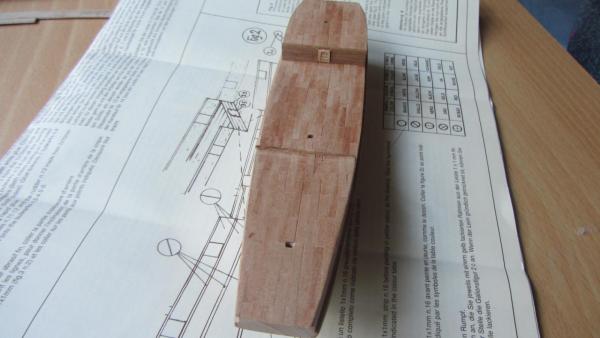
The Hull.
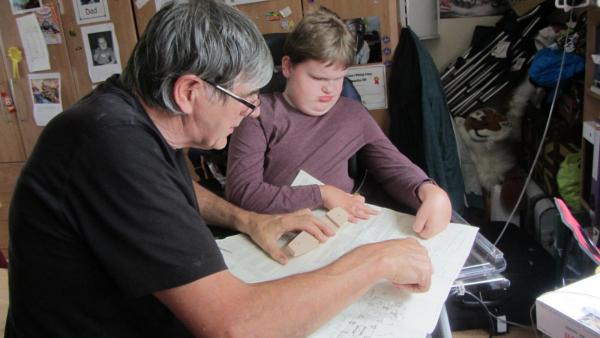
The instructions are quite poor considering that they need to be interpreted by beginners model..
Trying to read through the instructions.
Starting the build.
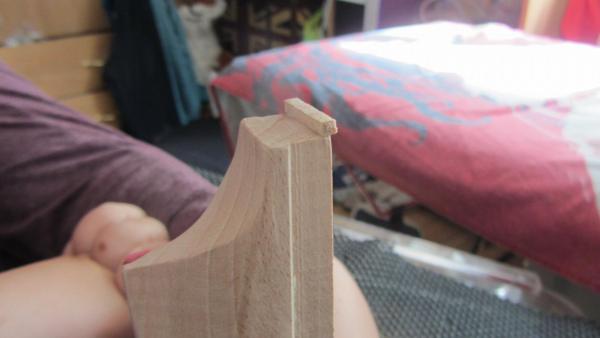
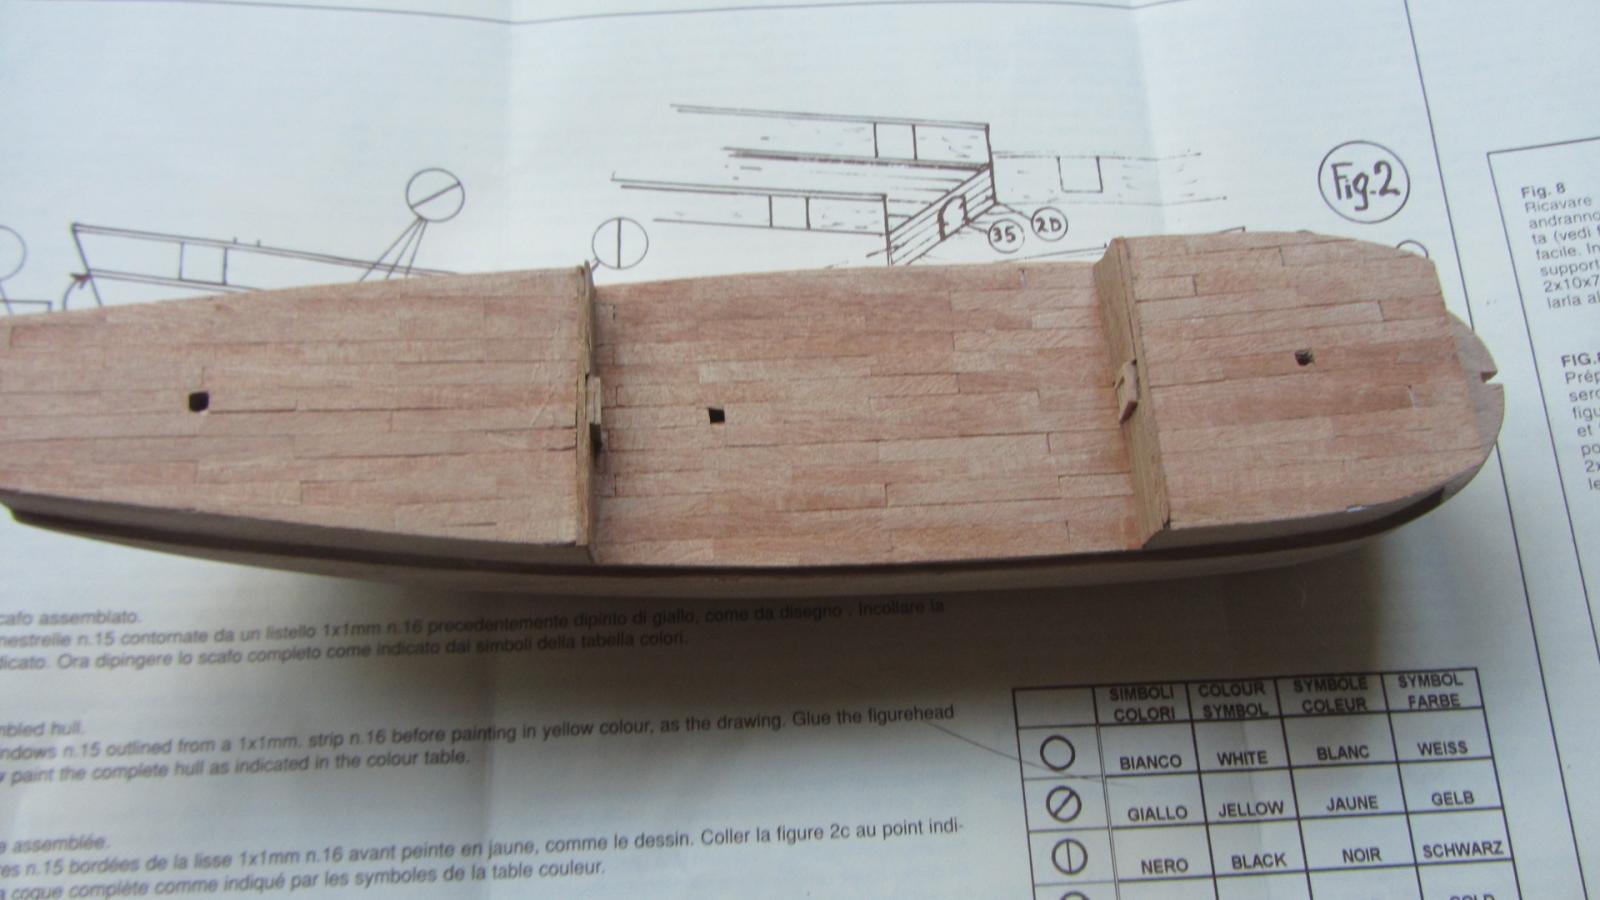
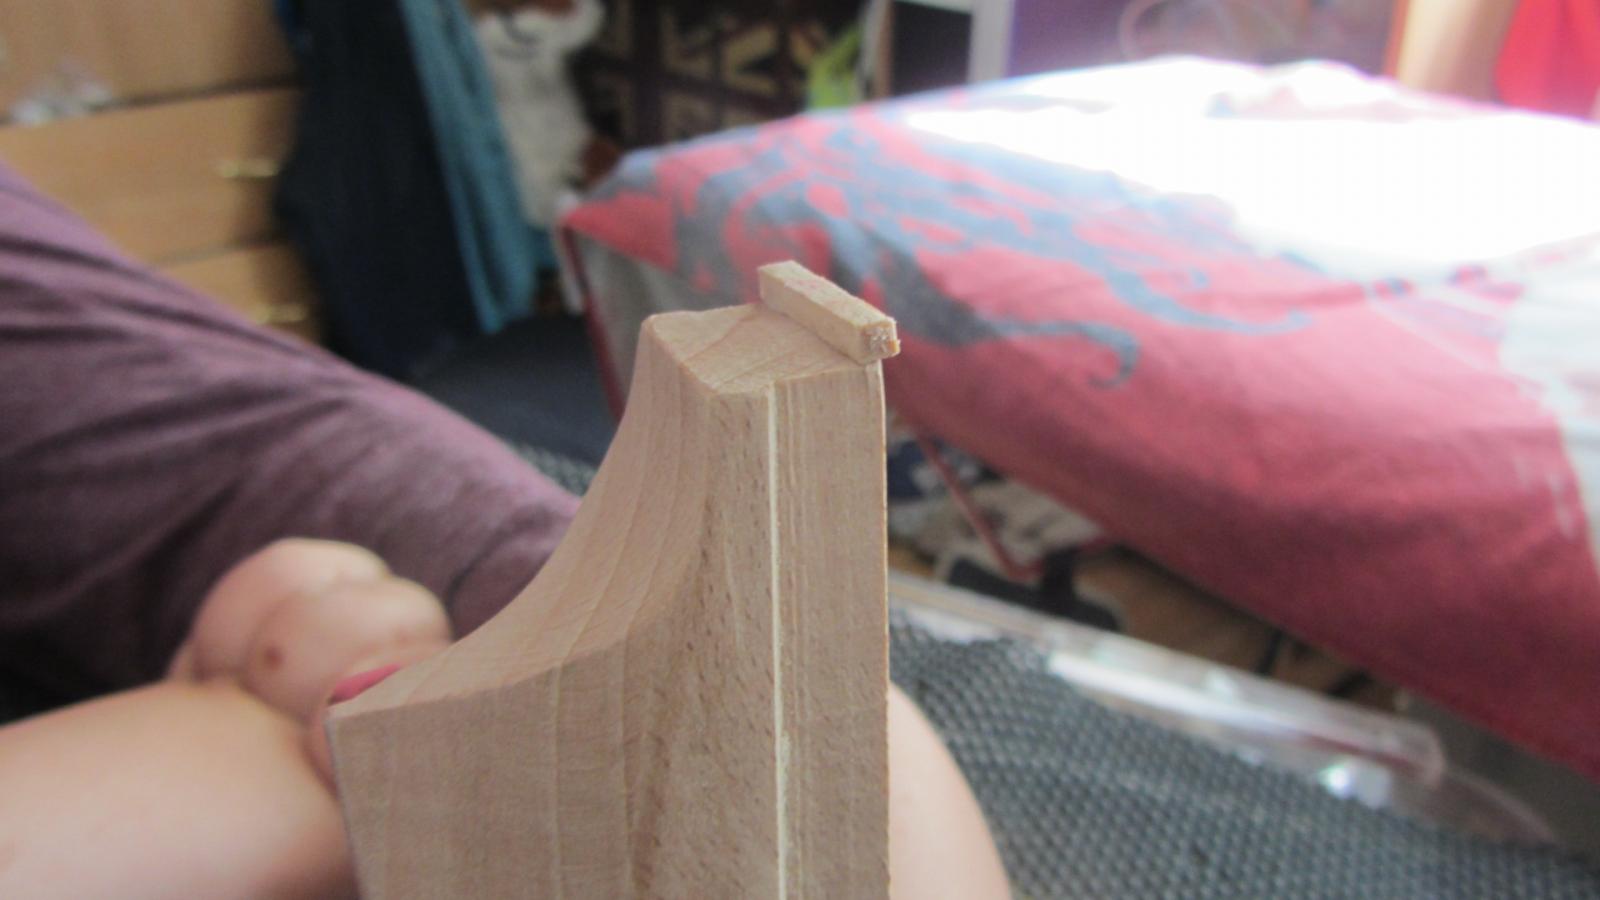
I sanded the hull being careful not to sand the edges that are deck level as I wanted these square.

I then added a strip of 3X3 on the stern to give the correct angle. No 3X 3 supplied.
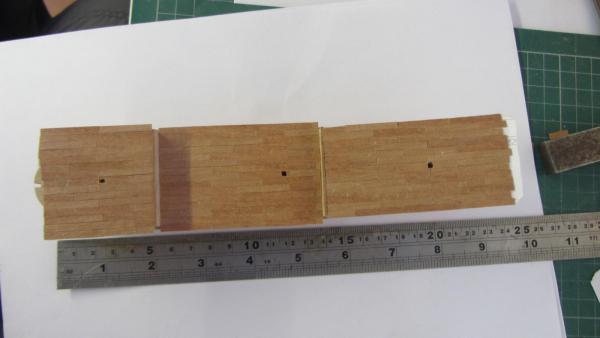
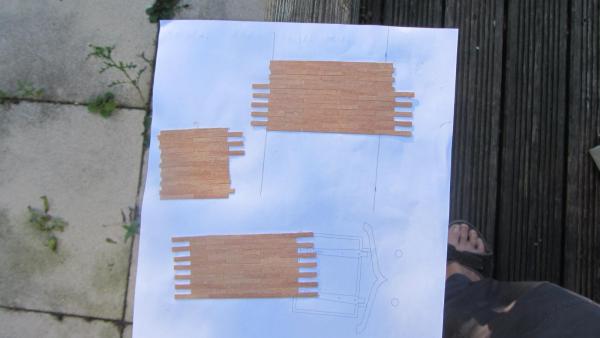
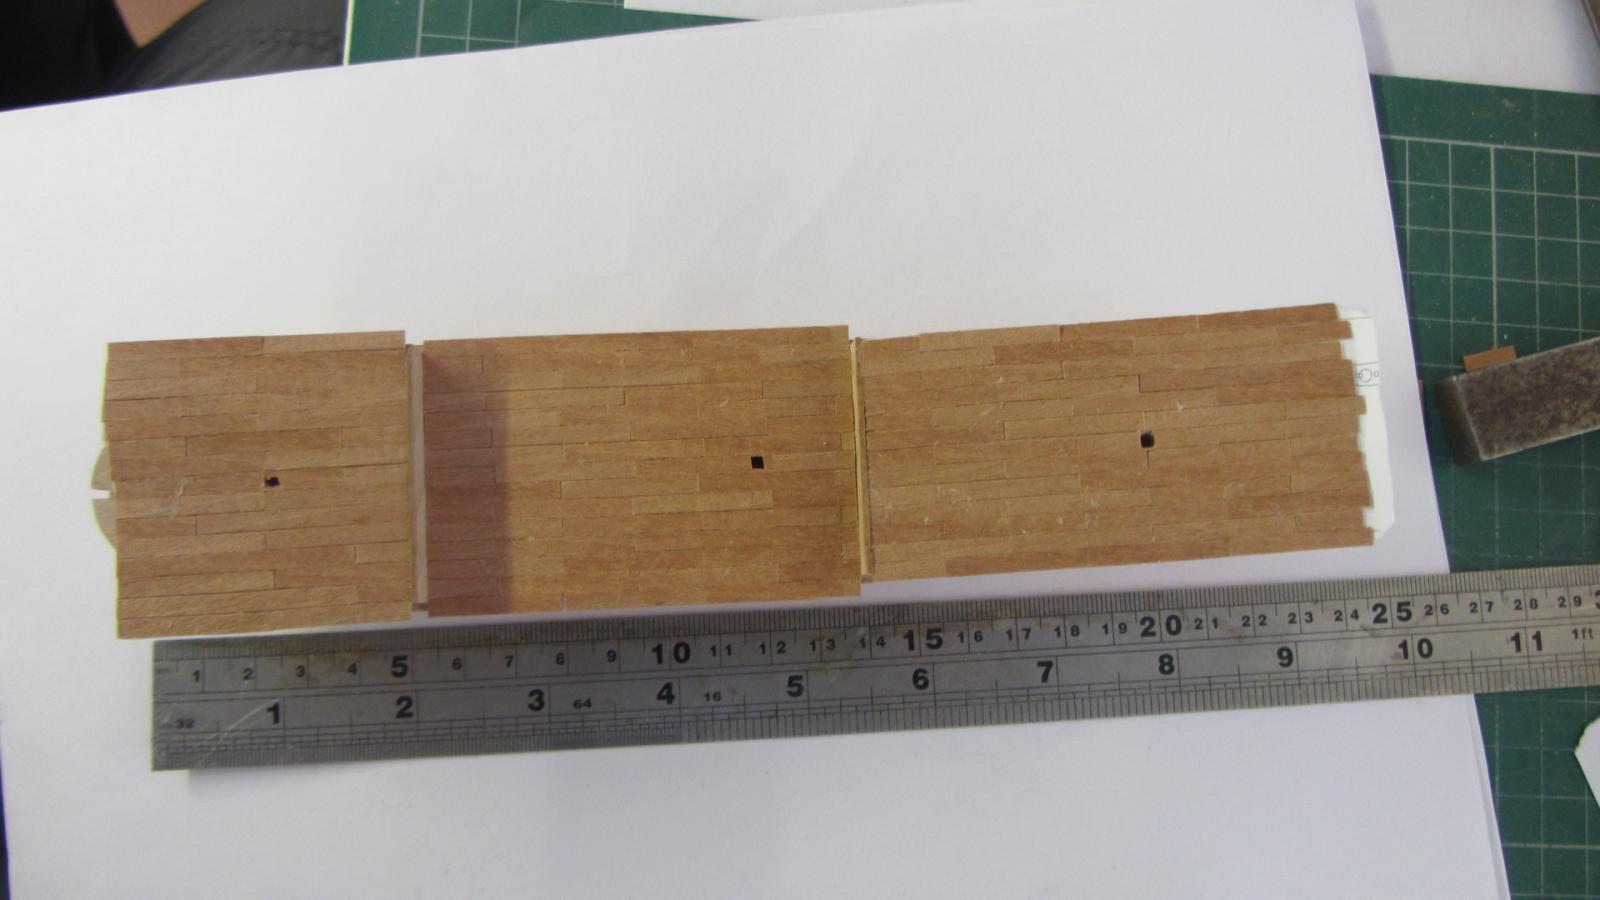
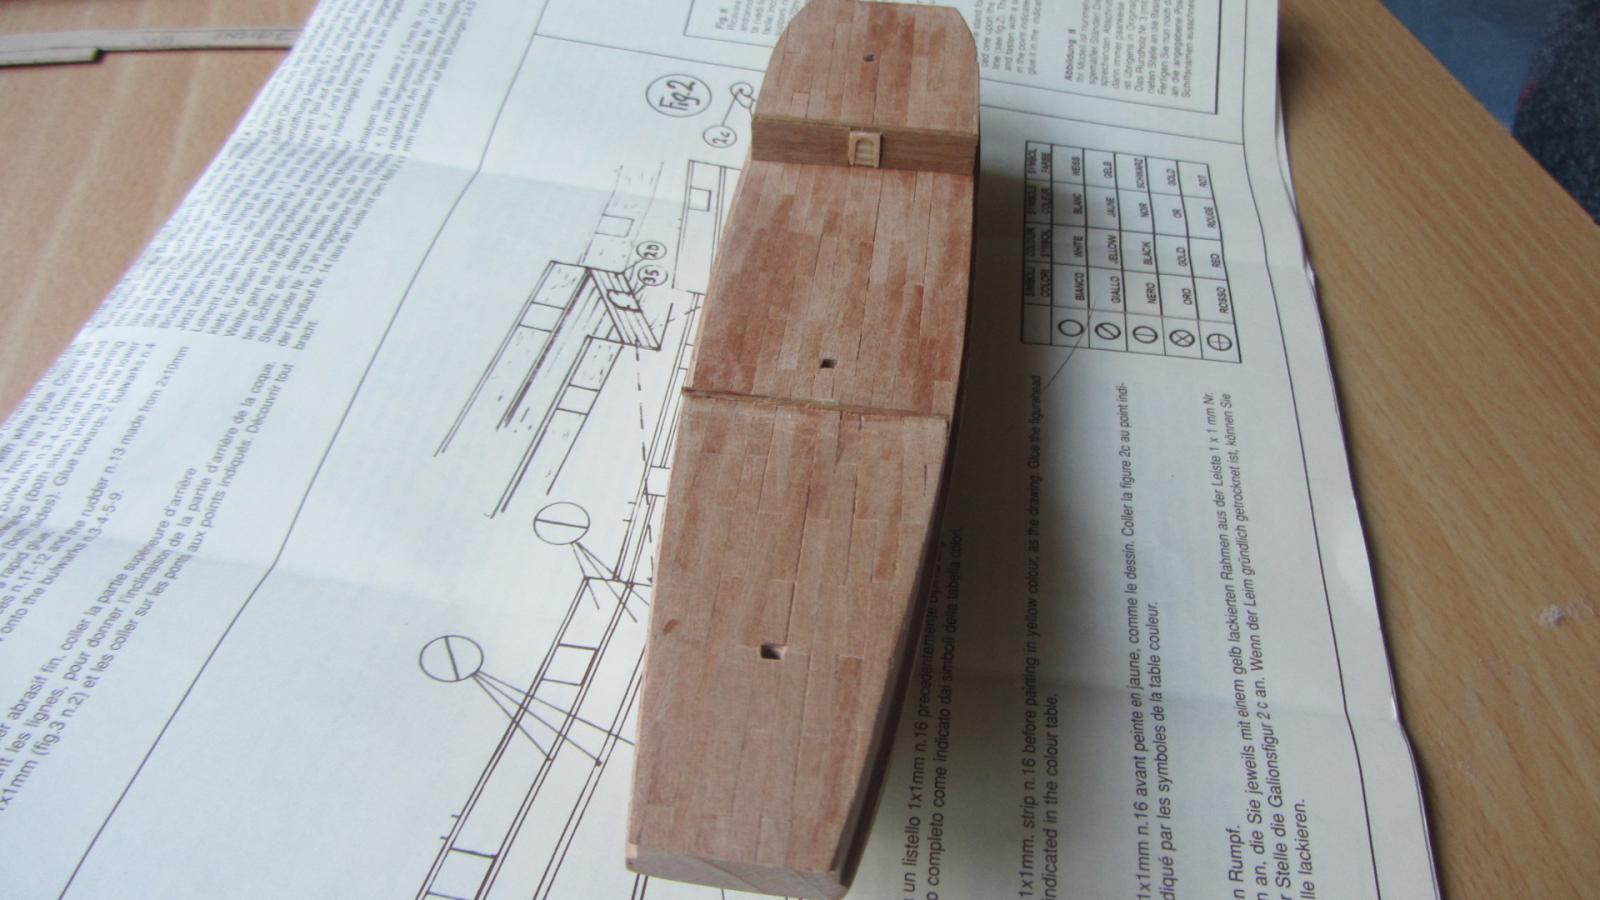
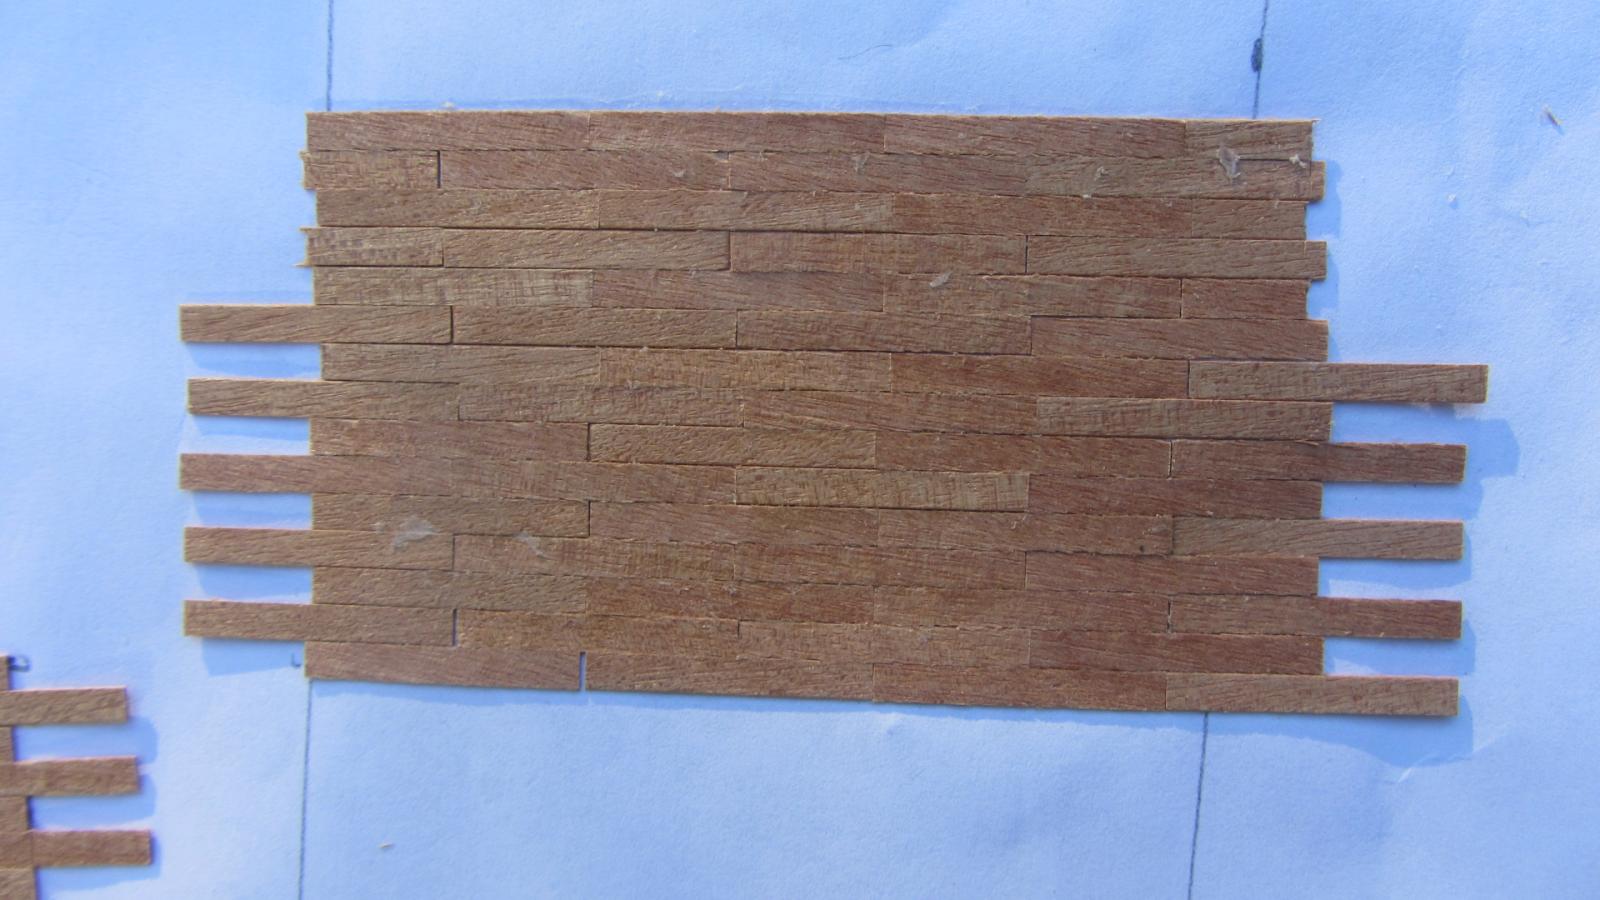
Next I have cut the planks to length. The instructions ask for 15 mm long planks for the decks. I made them 25mm long.
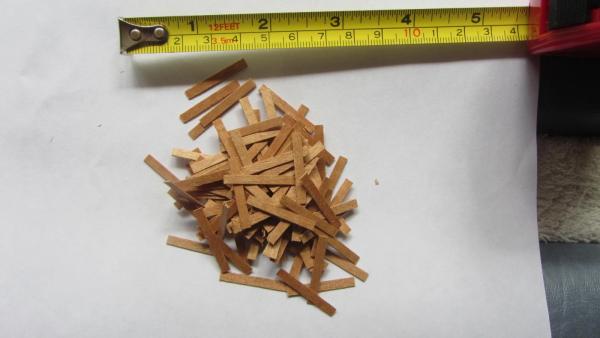
Planks that are 15mm long and 3mm wide don't look right.
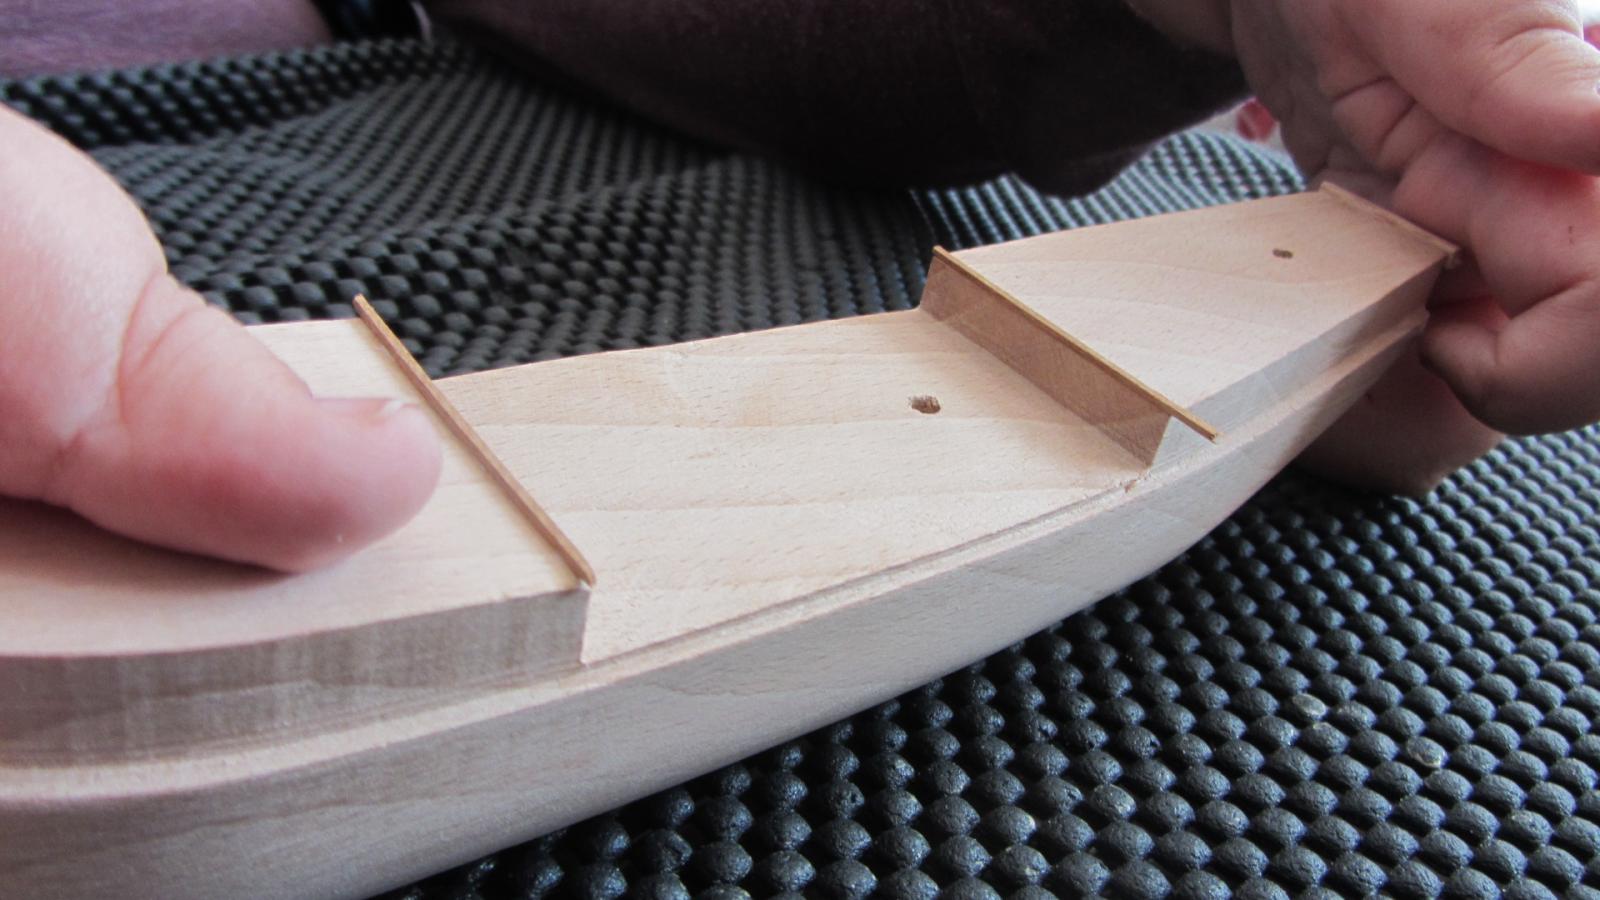
Next I added the deck edges. Only 2 as seen on the photo.
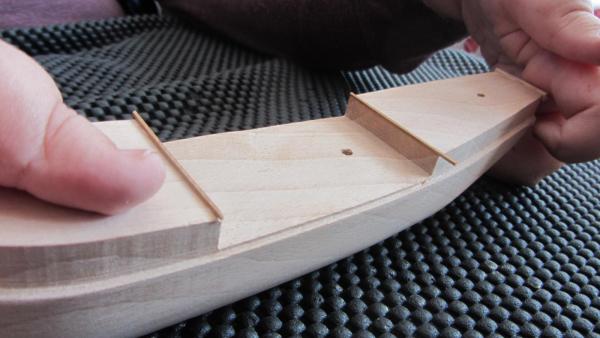
This allows me to overlap the edge of the deck with the planks.
I will trim this later after the planking is complete.
Then add the other edge strip.
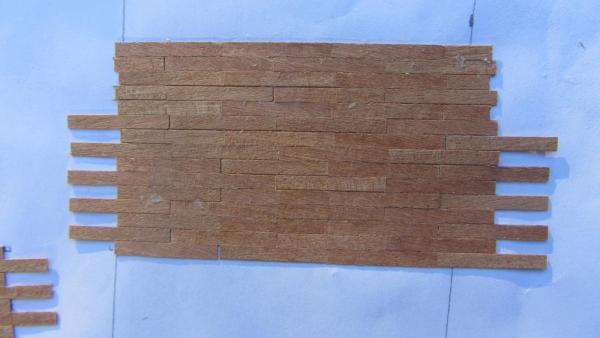
The Planks were glued to paper in the correct pattern with PVA glue.
I will be doing a little bit each day during the holiday.
Alex S
-
Looking good dad!! More pics! I'm showing the guys at work.
xx -


Black Queen by Alex S - FINISHED - Mini Mamoli - Scale 1:135 - First build
in - Kit build logs for subjects built from 1501 - 1750
Posted
Hi.
A update.. and the finish.
A few photos of the finished Ship.
The hardest part for me was the rigging as my hands are not very nimble.
The painting was OK and we did this without struggling.
I enjoyed building the Black Queen.
Well thanks for all the very supportive messages and the likes
The base board is cherry with a huge knot in. Not usable by Antony my carer.
But I like the pattern.
Alex.