


Glenn-UK
-
Posts
2,638 -
Joined
-
Last visited
Content Type
Profiles
Forums
Gallery
Events
Posts posted by Glenn-UK
-
-
Managed to get 90 minutes in the shipwrights office today.
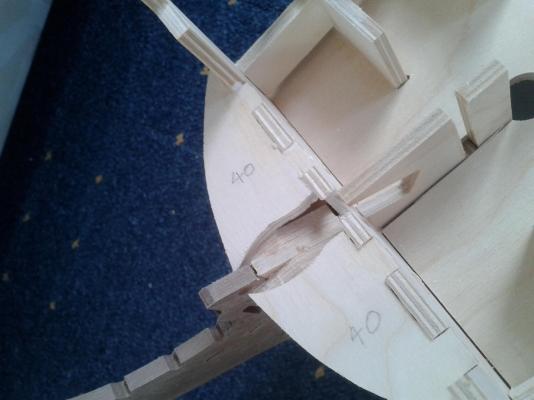
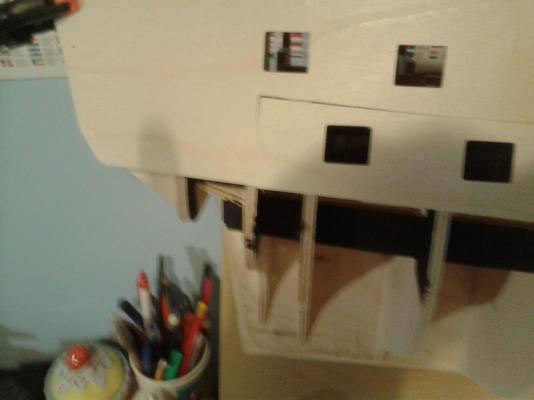
Started off fitting the stern extensions, checking they were square to bulkhead 18.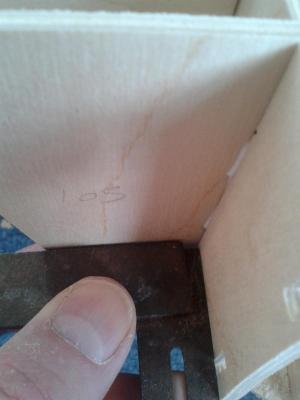
Then fitted the bow supports, but had to reshape the top bow supports (40) to ensure the bow spirit would fit correctly.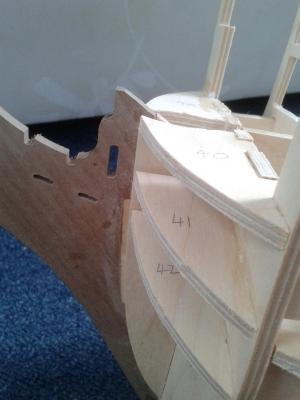
Also removed the excess from the dummy barrel strips and painted them black and bulkhead sides.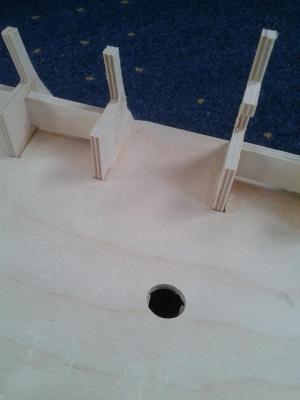
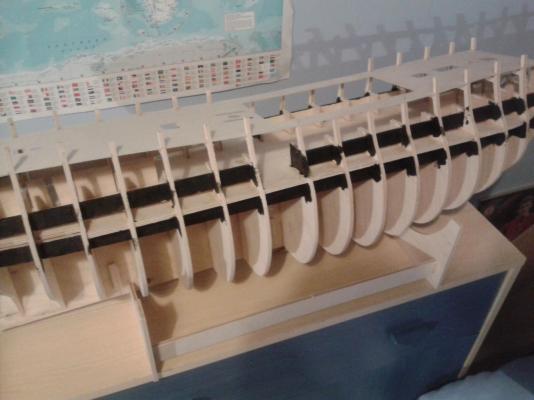
Finally located quarterdeck (temporary) so that position of the top gun port strip could be determined (1mm above quarterdeck between bulkhead 6 to 9. Once the fist gun port strip was positioned I checked the positioning of the middle and lower gun port strip, to ensure the openings were clear of the bulkheads. Will work on this in earnest in my next session in the shipwrights workshop, where I will probably fit battens to the strips to provide a better contact area when the gun port linings takes place.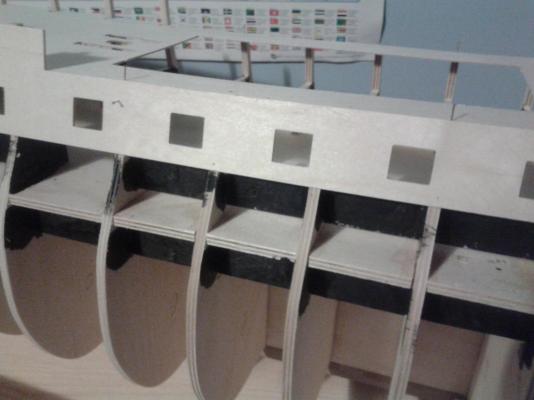


-
Hi David
Thanks for that. Not going to get much time tomorrow as we have family coming for a visit but I hope to trim dummy barrel strips and fit the stern extensions and bow supports in morning before they arrive. Later on in day I hope to find some time to get gun port strips lined up so I can start fitting batterns and strips to hull during the week.
-
Thinking further ahead in the build I have noted some things in some build logs which are not in the manual.
The first thing is the painting the dummy barrel strips and surrounding bulkheads black. This seems a good idea to me, are there any reasons not to do this prior to fitting the gun port strips?
The second thing is related to the lining of gun port linings of the lower and middle gun decks. It strikes me there will not be much contact area for the linings especially the lined one's which are set back 1mm front edge after 2nd planking. I think it will be good idea to fix some small support batterns to the back of the gun port strips, around each gun port, prior to fixing the strips to the hull assembly. This means there will be better contact area for the linings which will be fitted much later in the build, as per the instruction manual. Does this makes sense as I can't see there being a problem, noting I will not be able to fit batterns to sides of gun ports which are close to bulkheads.?
-
I did find this bit difficult to understand when I built this model last year, I remember I had trouble sorting out the position of the gunwale, and over trimmed the pre-cut pieces and then had to add some filler pieces. I'm not sure mine was 100% correct when fitted but looks OK.
Have a look at my pictures
http://modelshipworld.com/index.php?/topic/4646-scottish-maid-by-glennard2523-al-kit/page-1
-
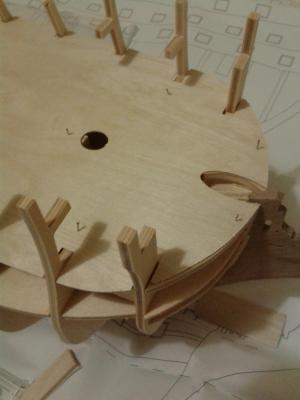
Was able to get a bit more done this afternoon.
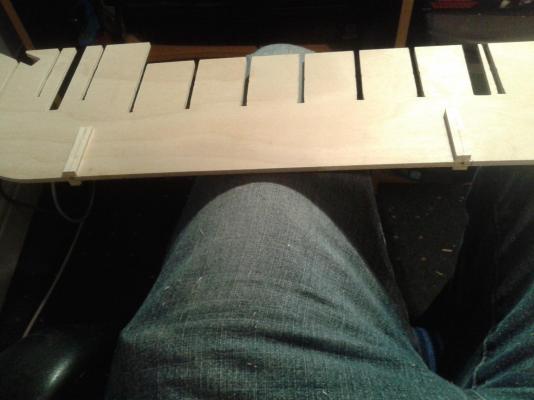
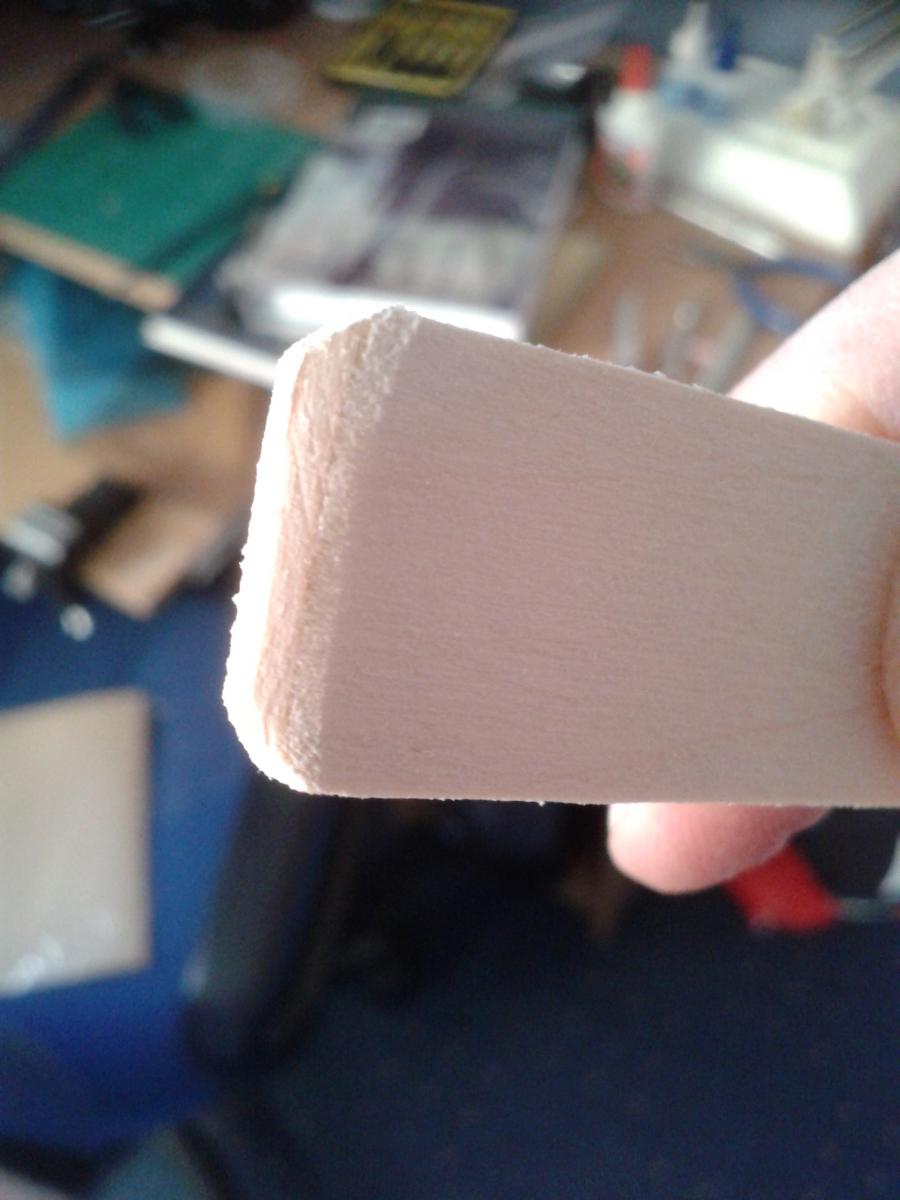
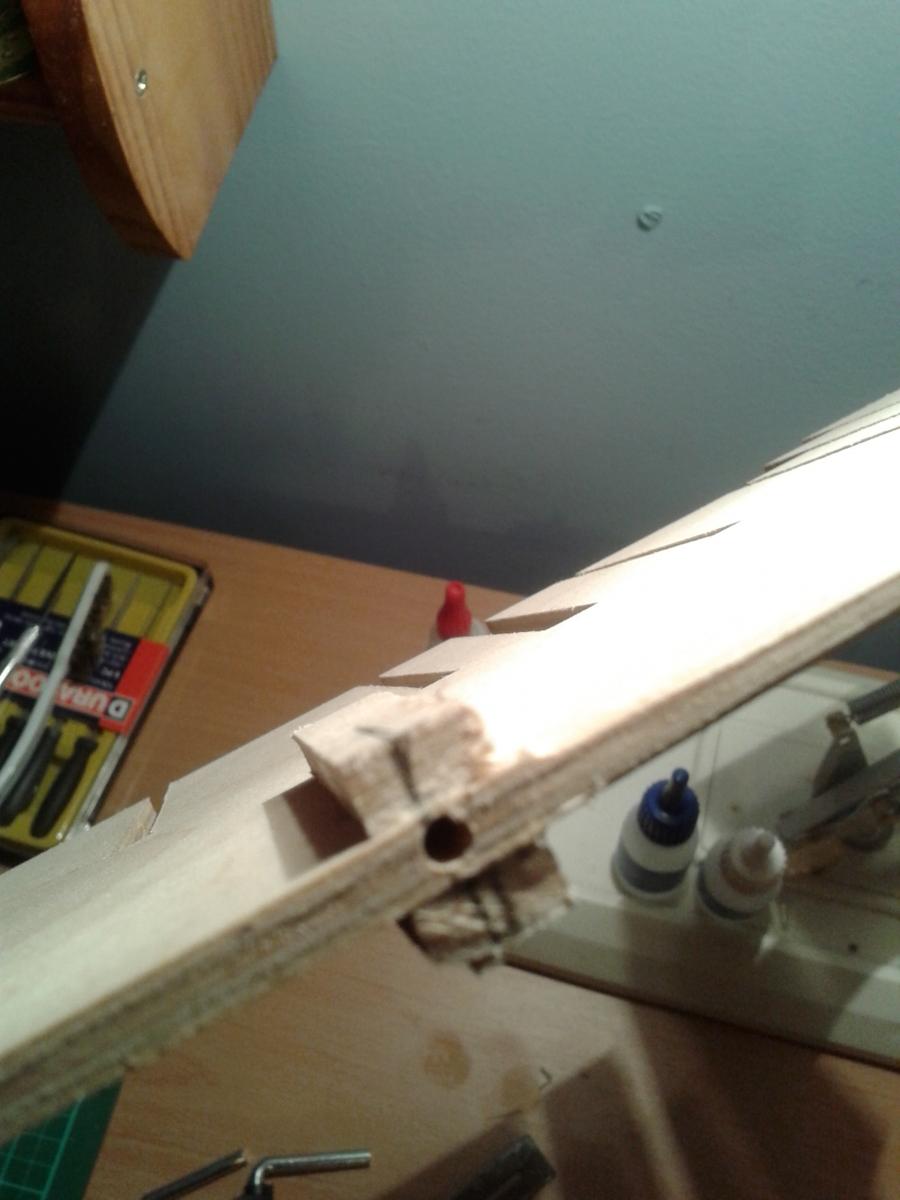
A great tip in Keith Julier's book The New Model Ship Handbook was to bevel the end of the dummy barrel strip to aid fitting, without the need to soak in water for the small bend. It worked very well indeed.
Bevelled end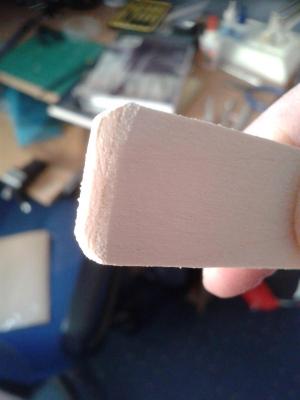
Fitting dummy barrel strips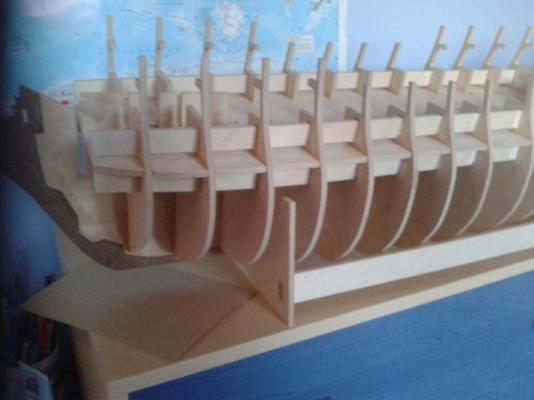

Spent a bit more time adjusting the bow spirit opening on bulkhead 1, now happy with the fitting.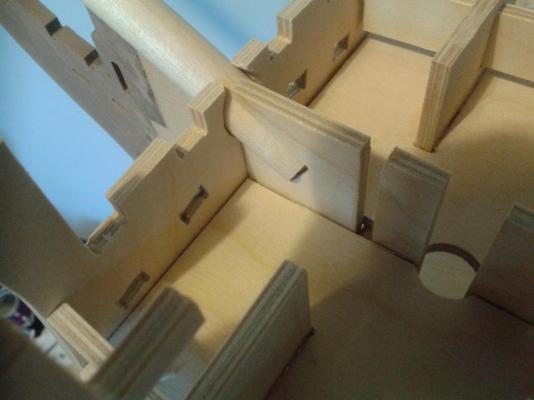
Glued bulkhead 1 to main assembly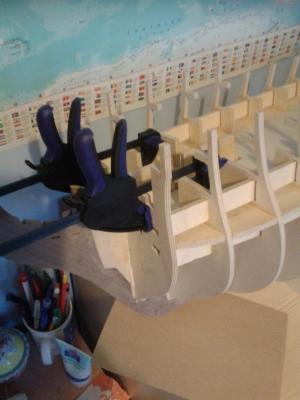
Can't do much more at the moment until the glue sets. -
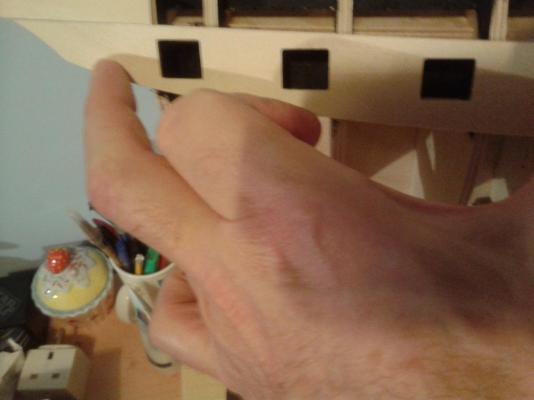
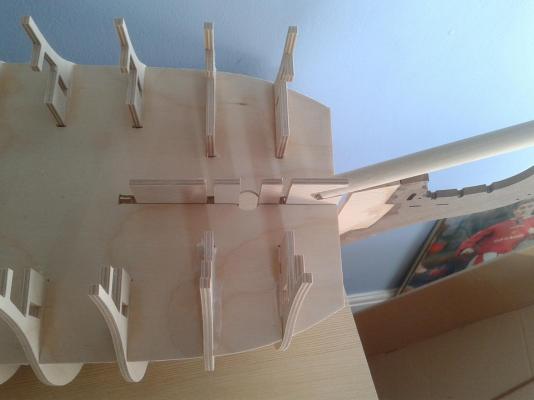
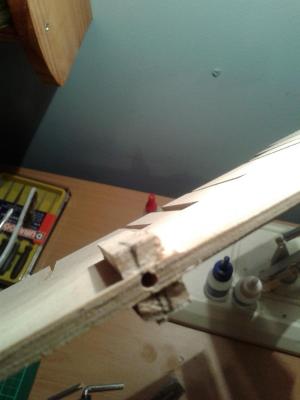
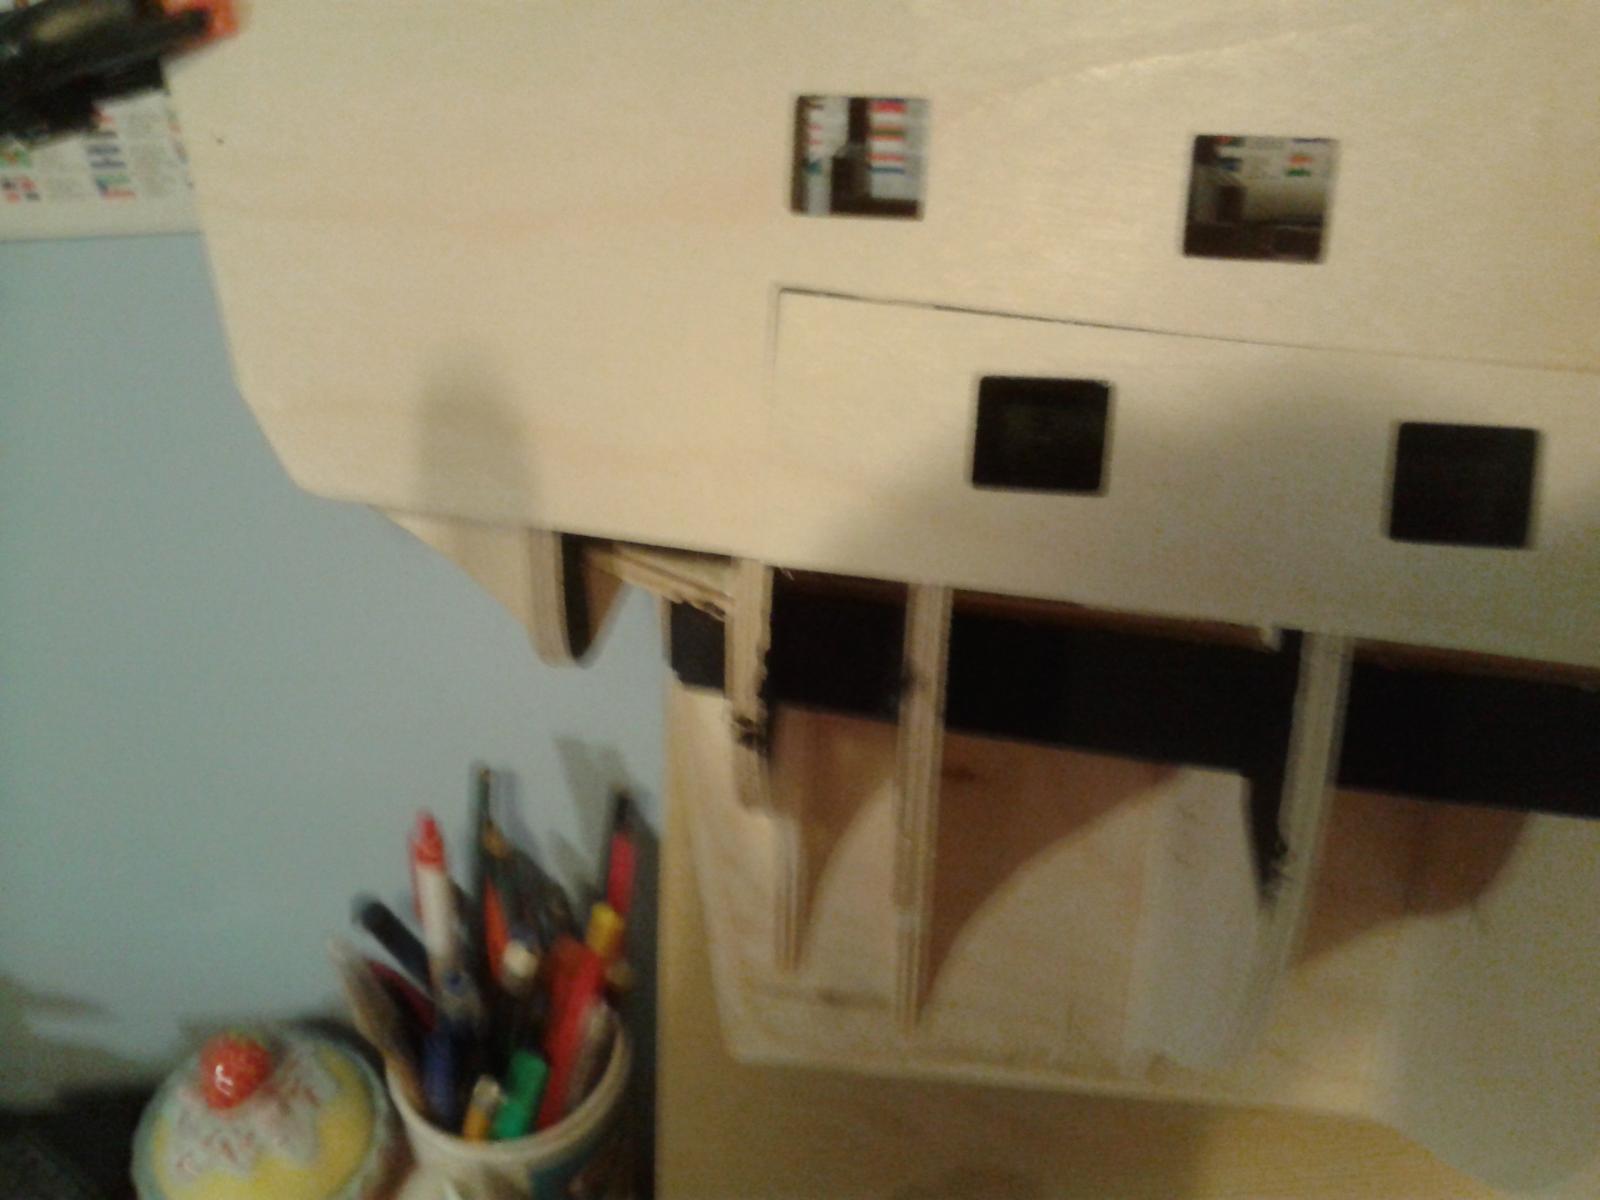
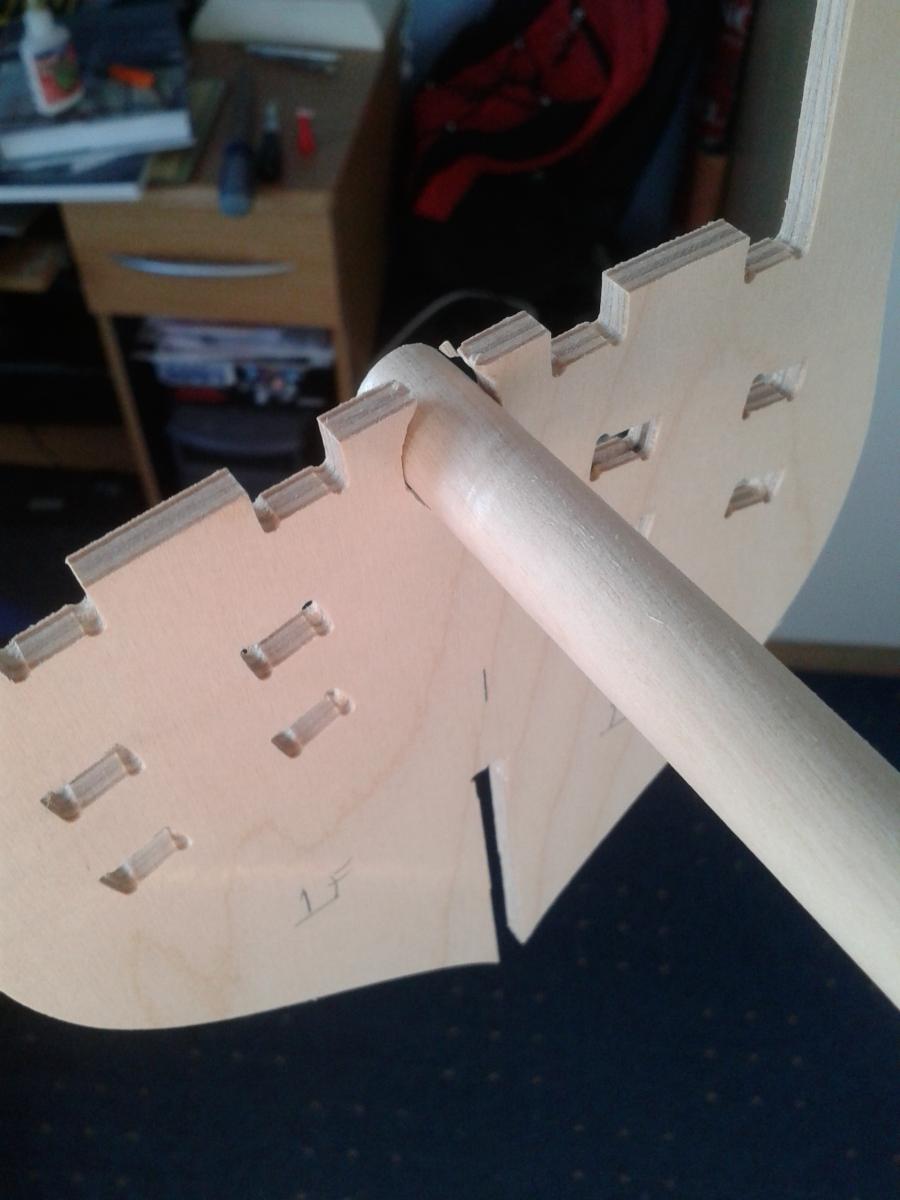
When checking the fitting for the masts and bow spirit whilst in dry fit mode, I noted the access hole in bulkhead 1 for the bow spirit was quite small. Checking the plans the bow spirit is a 12.7mm dowel without any reduction, therefore I think bulkhead 1 will need some work. I have done a bit this morning. See picture below.

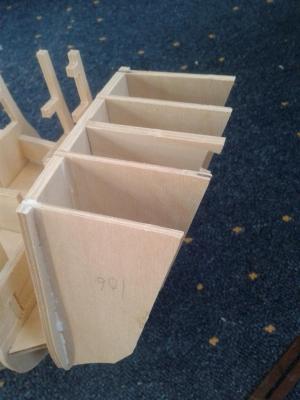
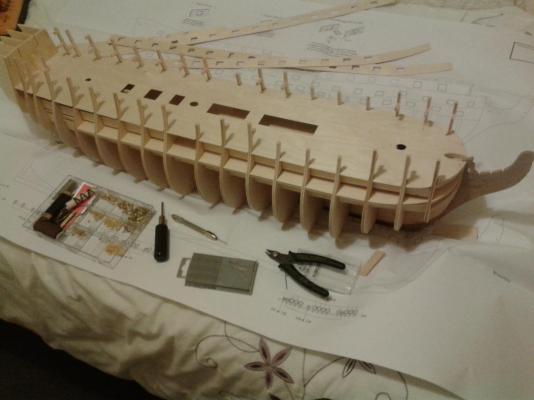
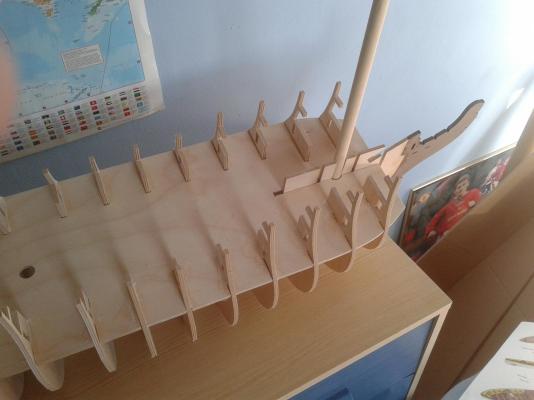
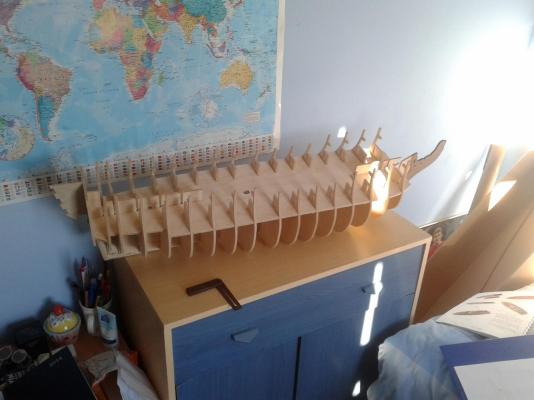
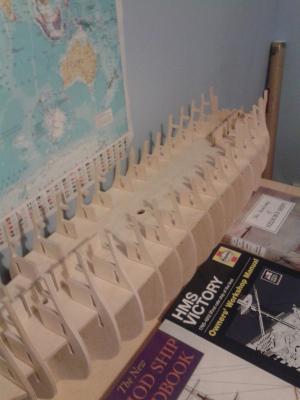
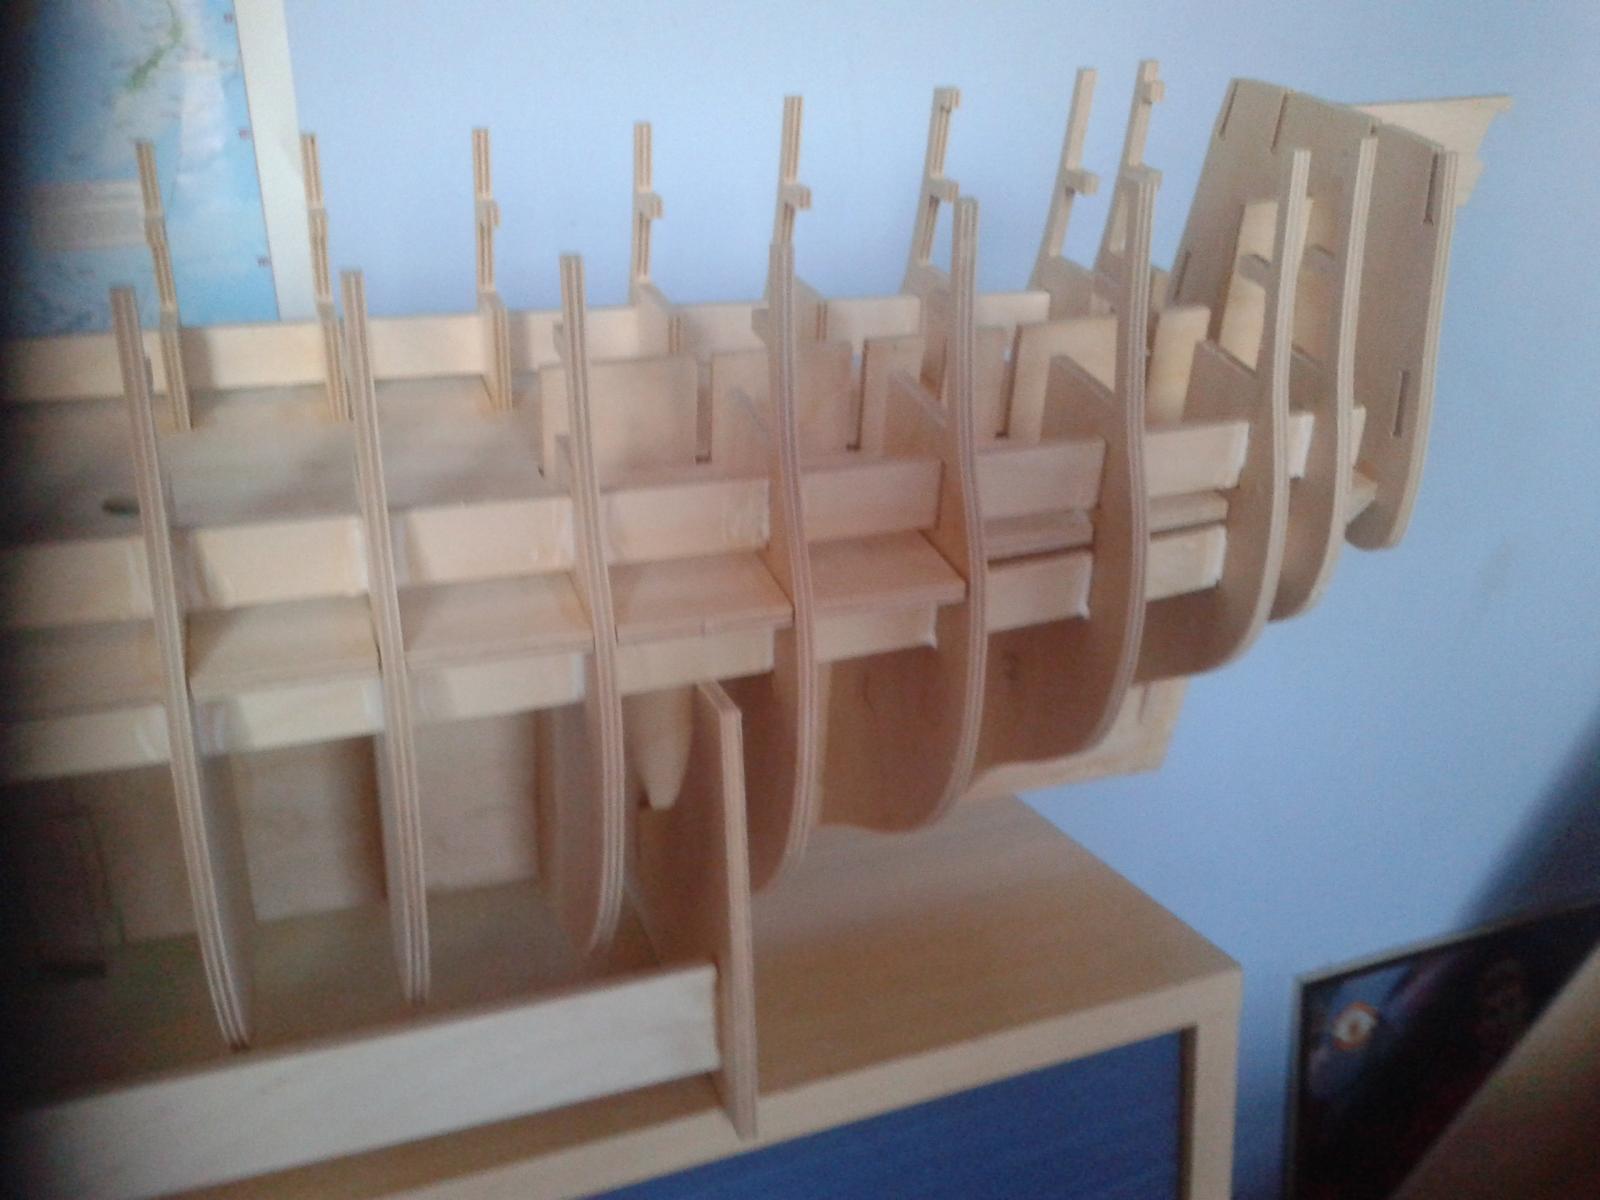
Bulkheads 2-18 have now been glued in position along with gun deck. I have double checked everything is ok!
Checking Main Mast fits OK
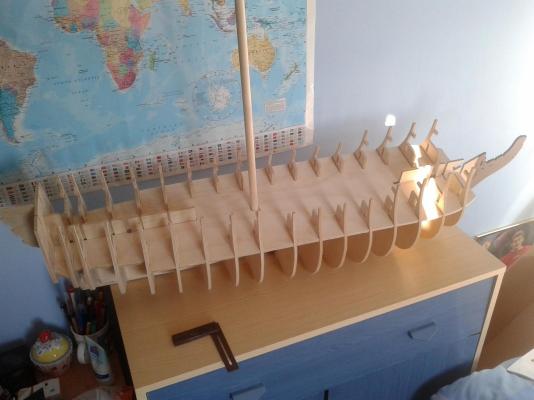
Checking Fore Mast fits OK
Checking Bow Spirit fits OK, without bulkhead 1
Bulkheads glued
-
Hi David.
Thanks for that. I had realised that but I'm really glad you've got my back as I'm sure there will be many more problems to overcome.I put them there for the drilling for added security. I have now trimmed ends which I had only used a touch of glue and checked all clear with bulkheads and planking runs.
-
Thanks for the comments and fingers crossed all goes well this time.
Another 2 1/2 hours work,
Drilled 3mm support holes, noting I added some scrap 5mm ply for added support.
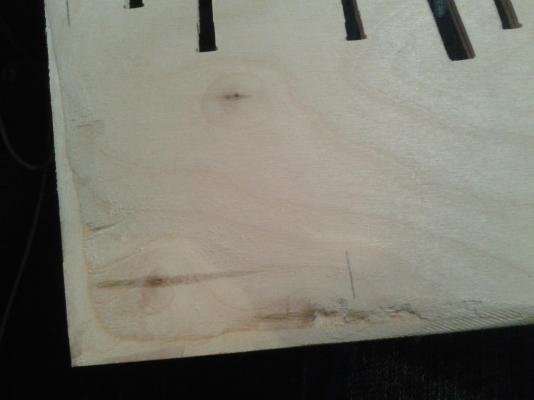
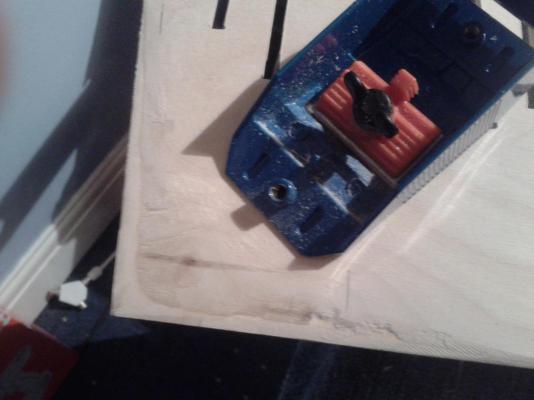
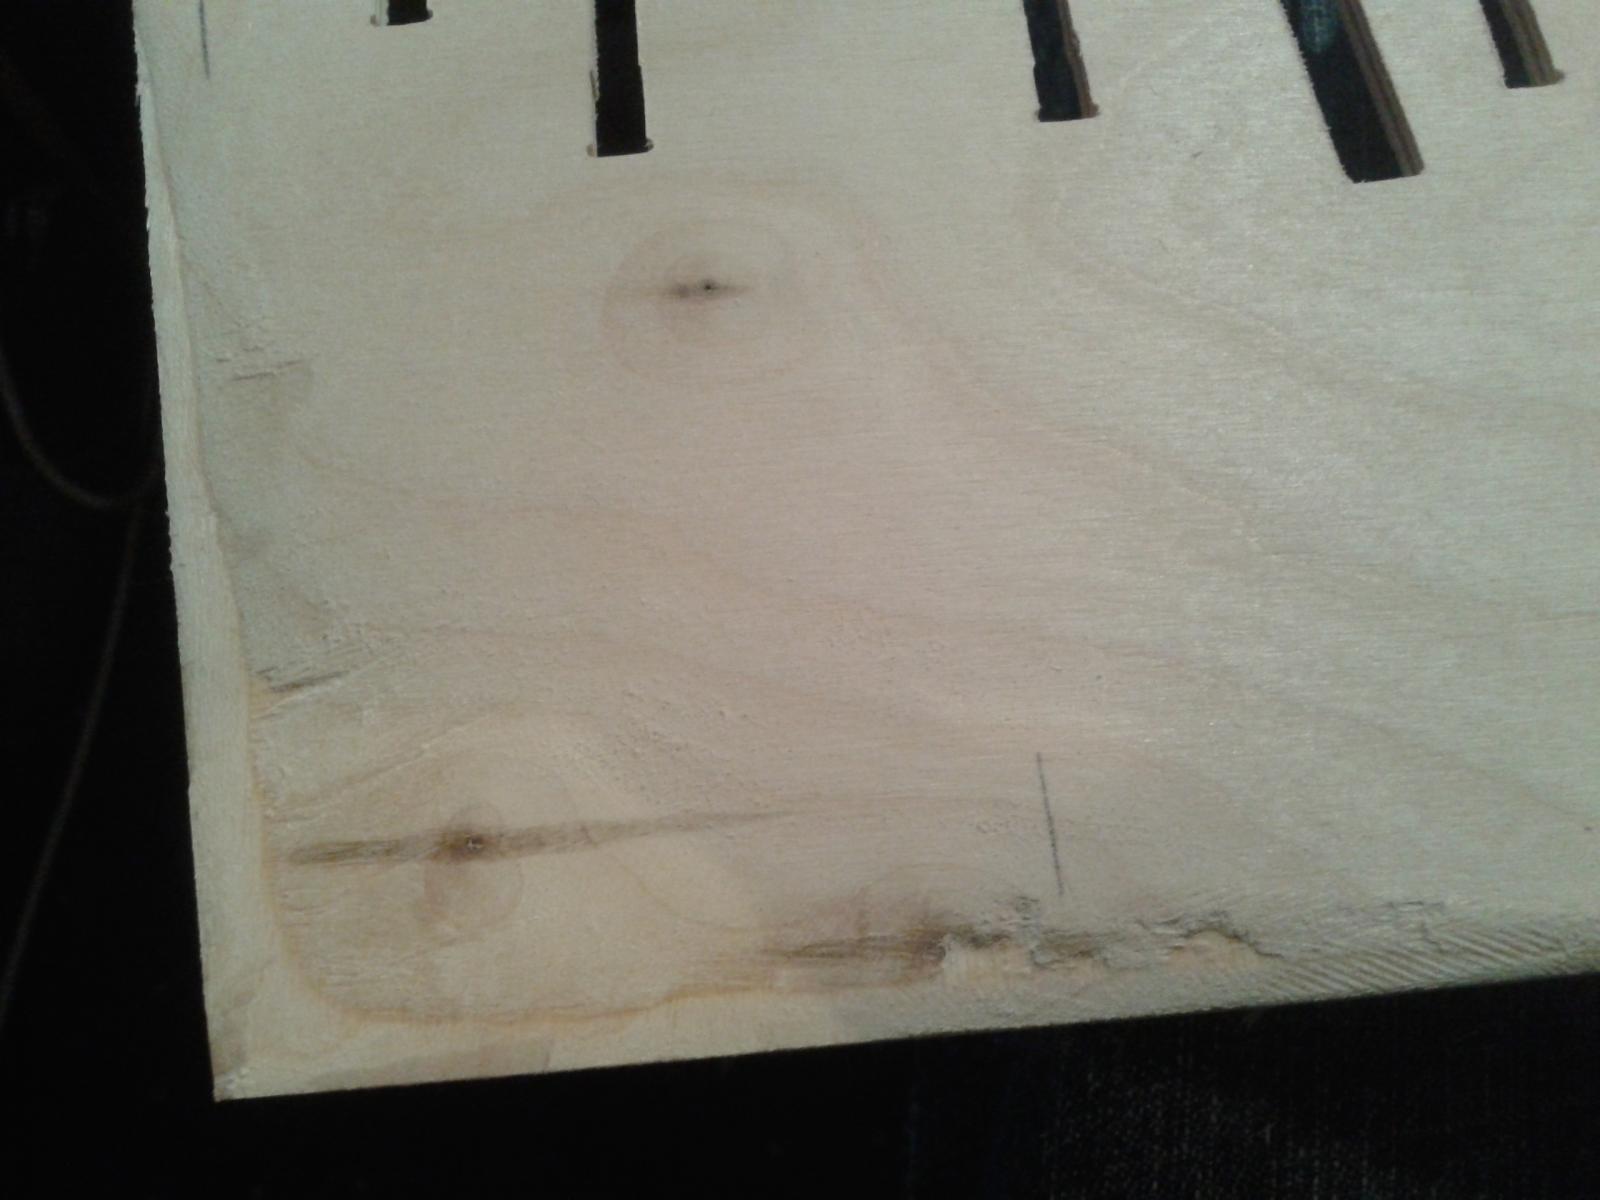
I marked the beading line and removed excess (down to 2mm at edge) with David Plane, File and sandpaper.
Took the plunge and glued stem and front keelson, now left to dry overnight.
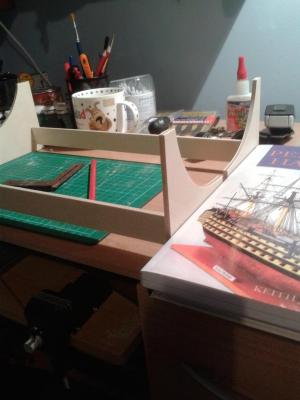
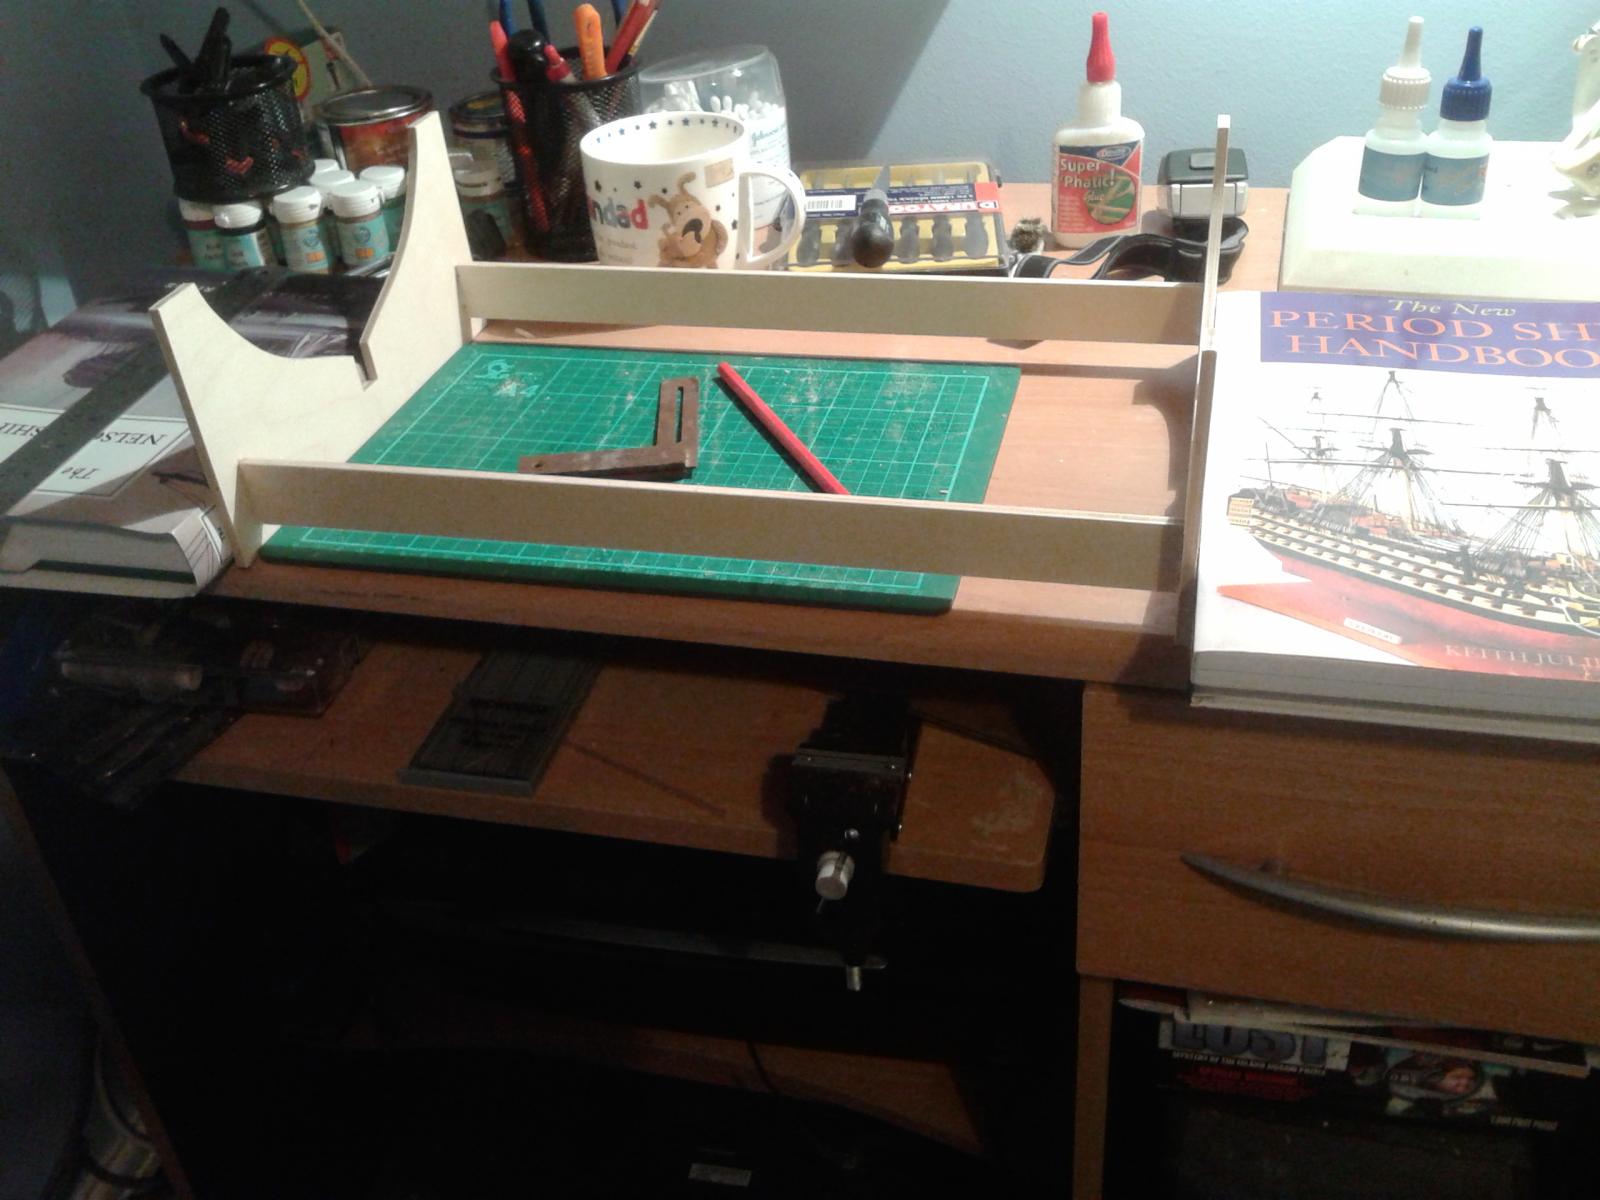
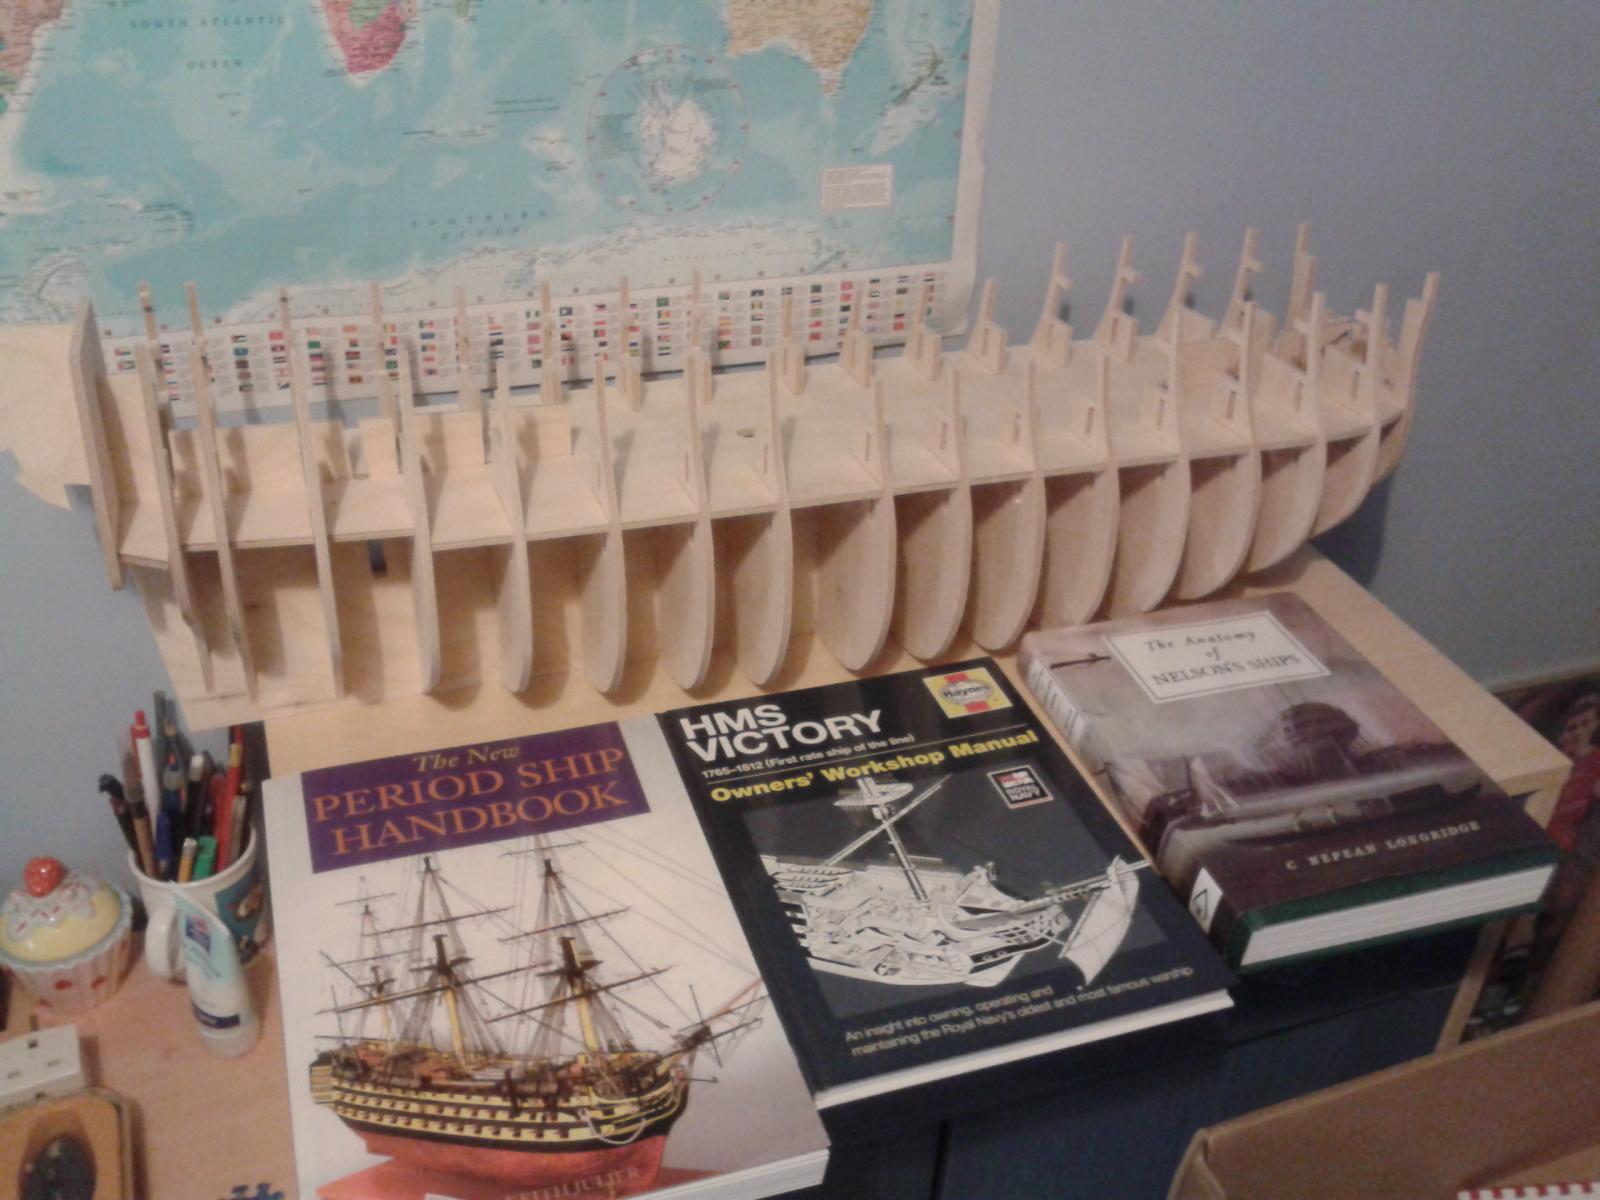
In meantime I removed all the other items from the 5mm ply sheets 1 to 6 and then decided to assembly the stand.
Beading line work
My David Plane
3mm fixing hole

3mm fixing hole supports
Glued Stem and front keelson
Stand assembly, I knew the reference books would be useful.

4 hours into the build. Should be able to spend some more time in shipwrights office tomorrow, but I do have other chores to do.
-
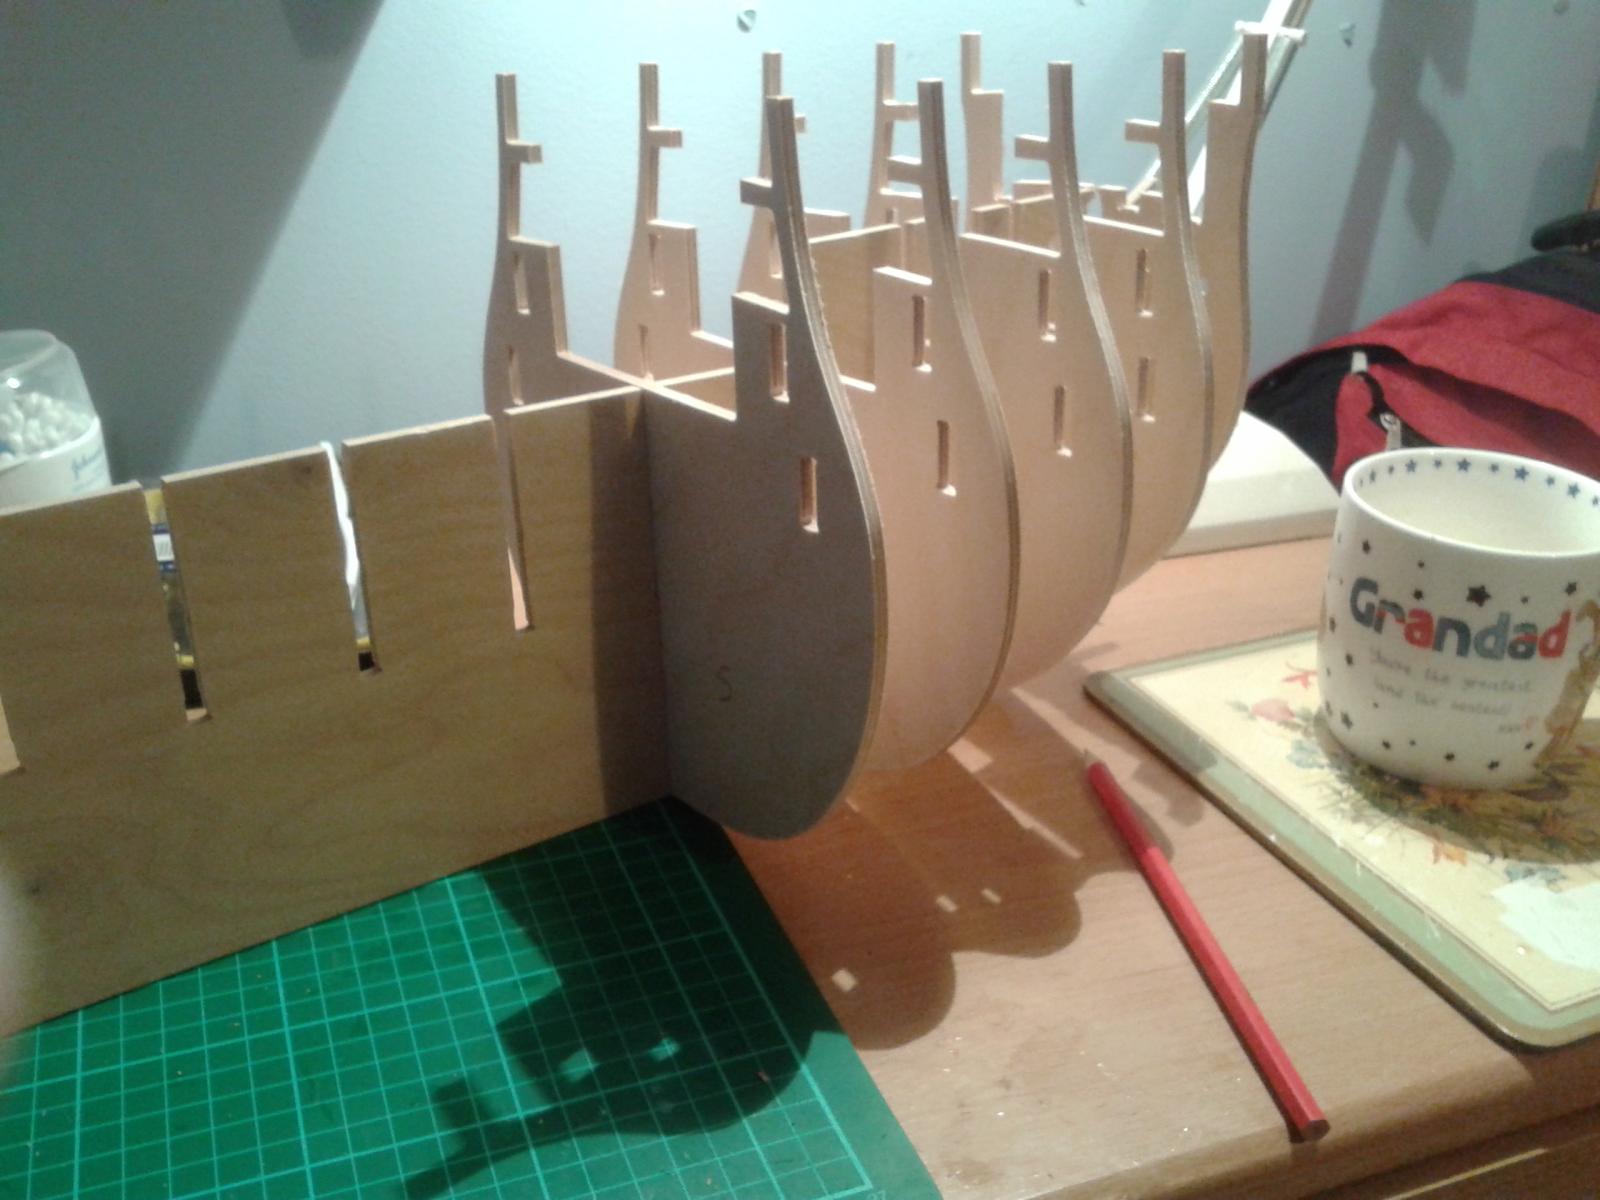
Got home from work and told the Admiral I was retiring to the Shipwrights office for the weekend.
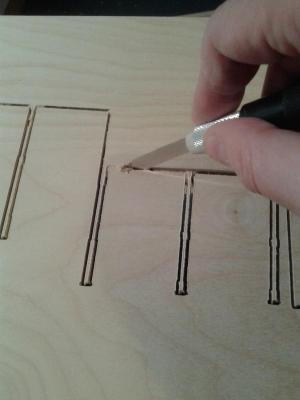
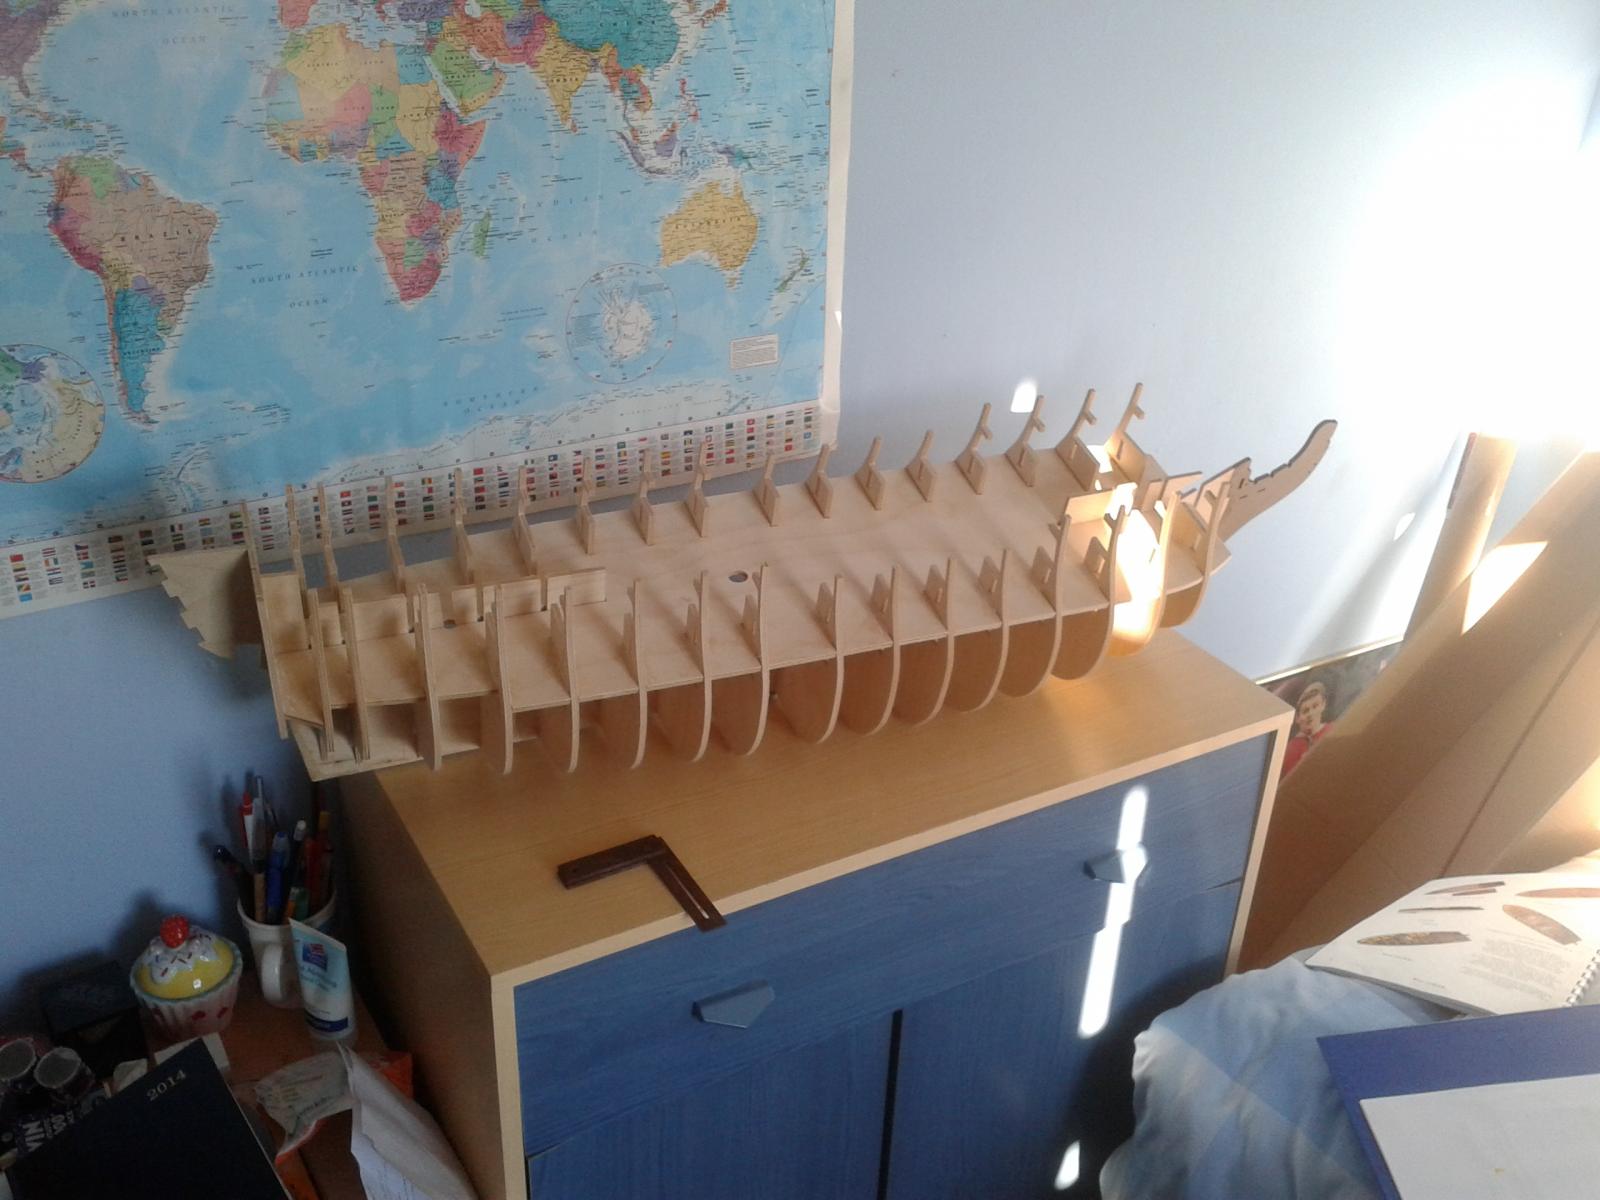
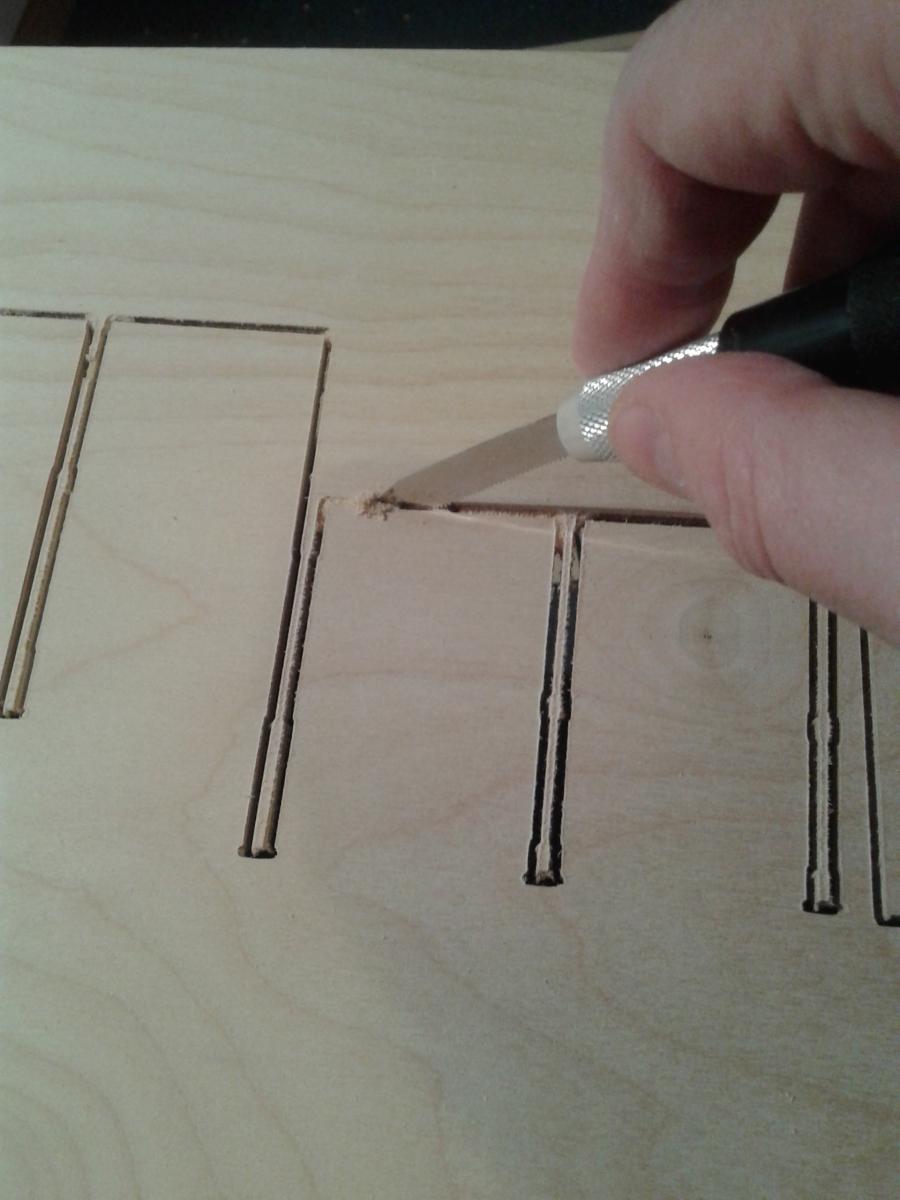
In the first 90 minutes I was able to remove the bulkheads, gun deck and keel from the sheets file as necessary and dry fit.
The first cut
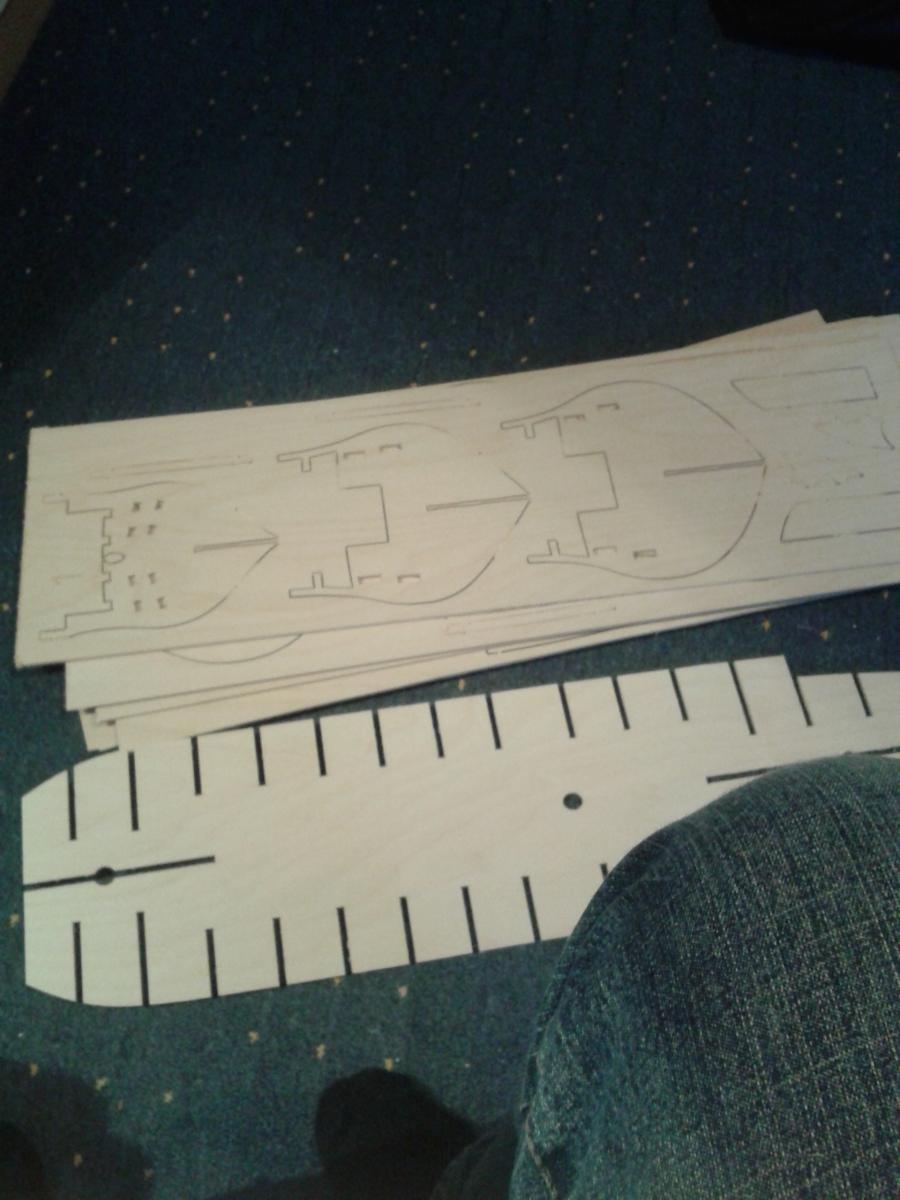
The replacement parts

Checking number of bulkheads!
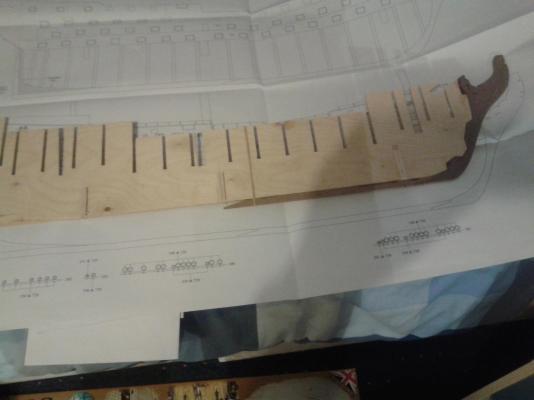
Start of the dry fit
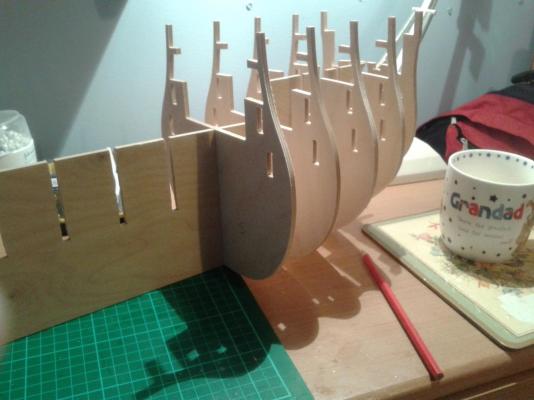
First dry fit and reference books

I think this looks OK to me!
-
Replacement arrived - I'm one very happy bunny!
I have deleted a lot of my old posts as there were simply not relevant to this build.
Task 1
I'm going to check, and the double check the bulkheads prior to the numbering them 1 to 18.
Task 2
I'm going to check, and the double check the bulkhead positions when dry fitted.
Task 3
I'm going to check, and the double check the bulkhead 1-18 positions prior to gluing.
-
Good news, I have had confirmation of shipping from JoTika for the replacement parts, and according to the tracking service the goods are now out for delivery, it's going to be a busy weekend, trying to fit the boat build in.
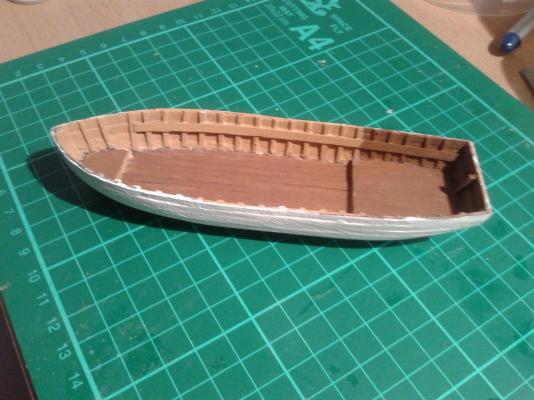
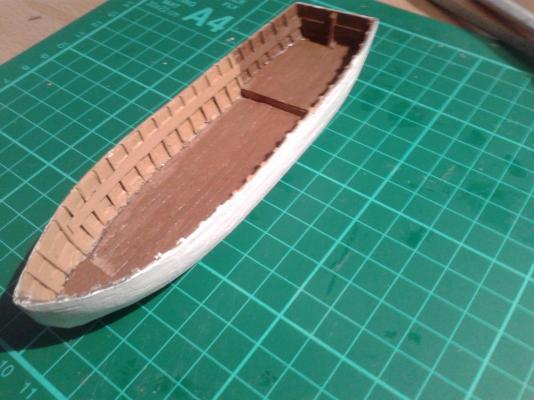
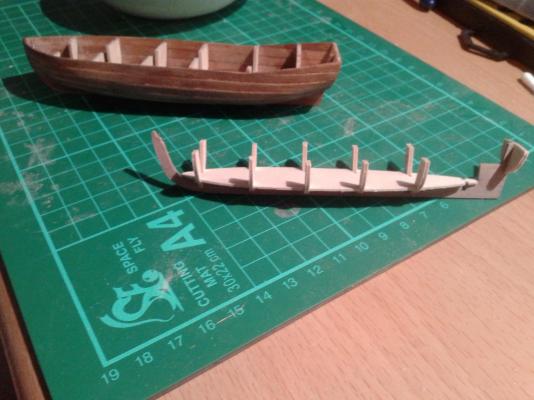
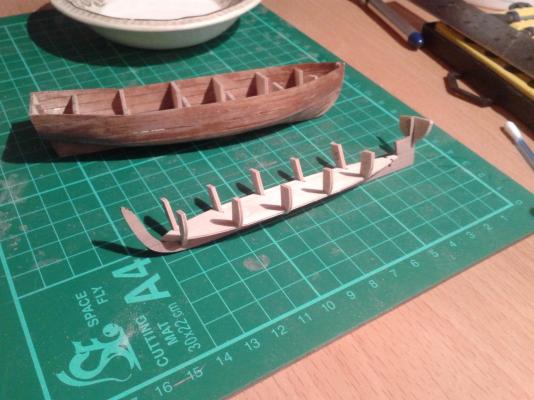
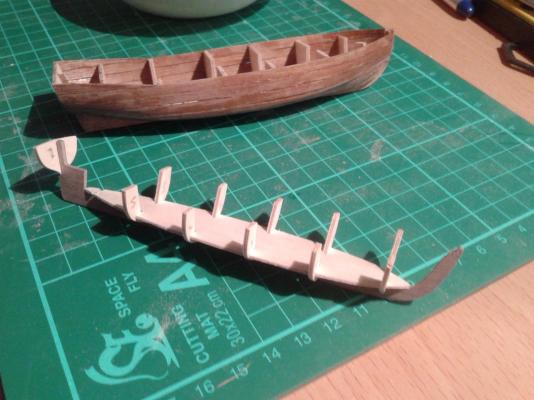
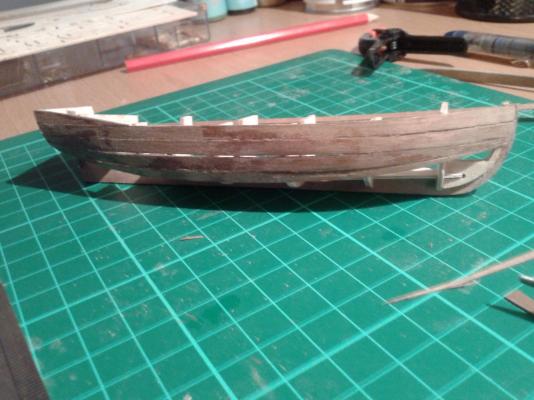
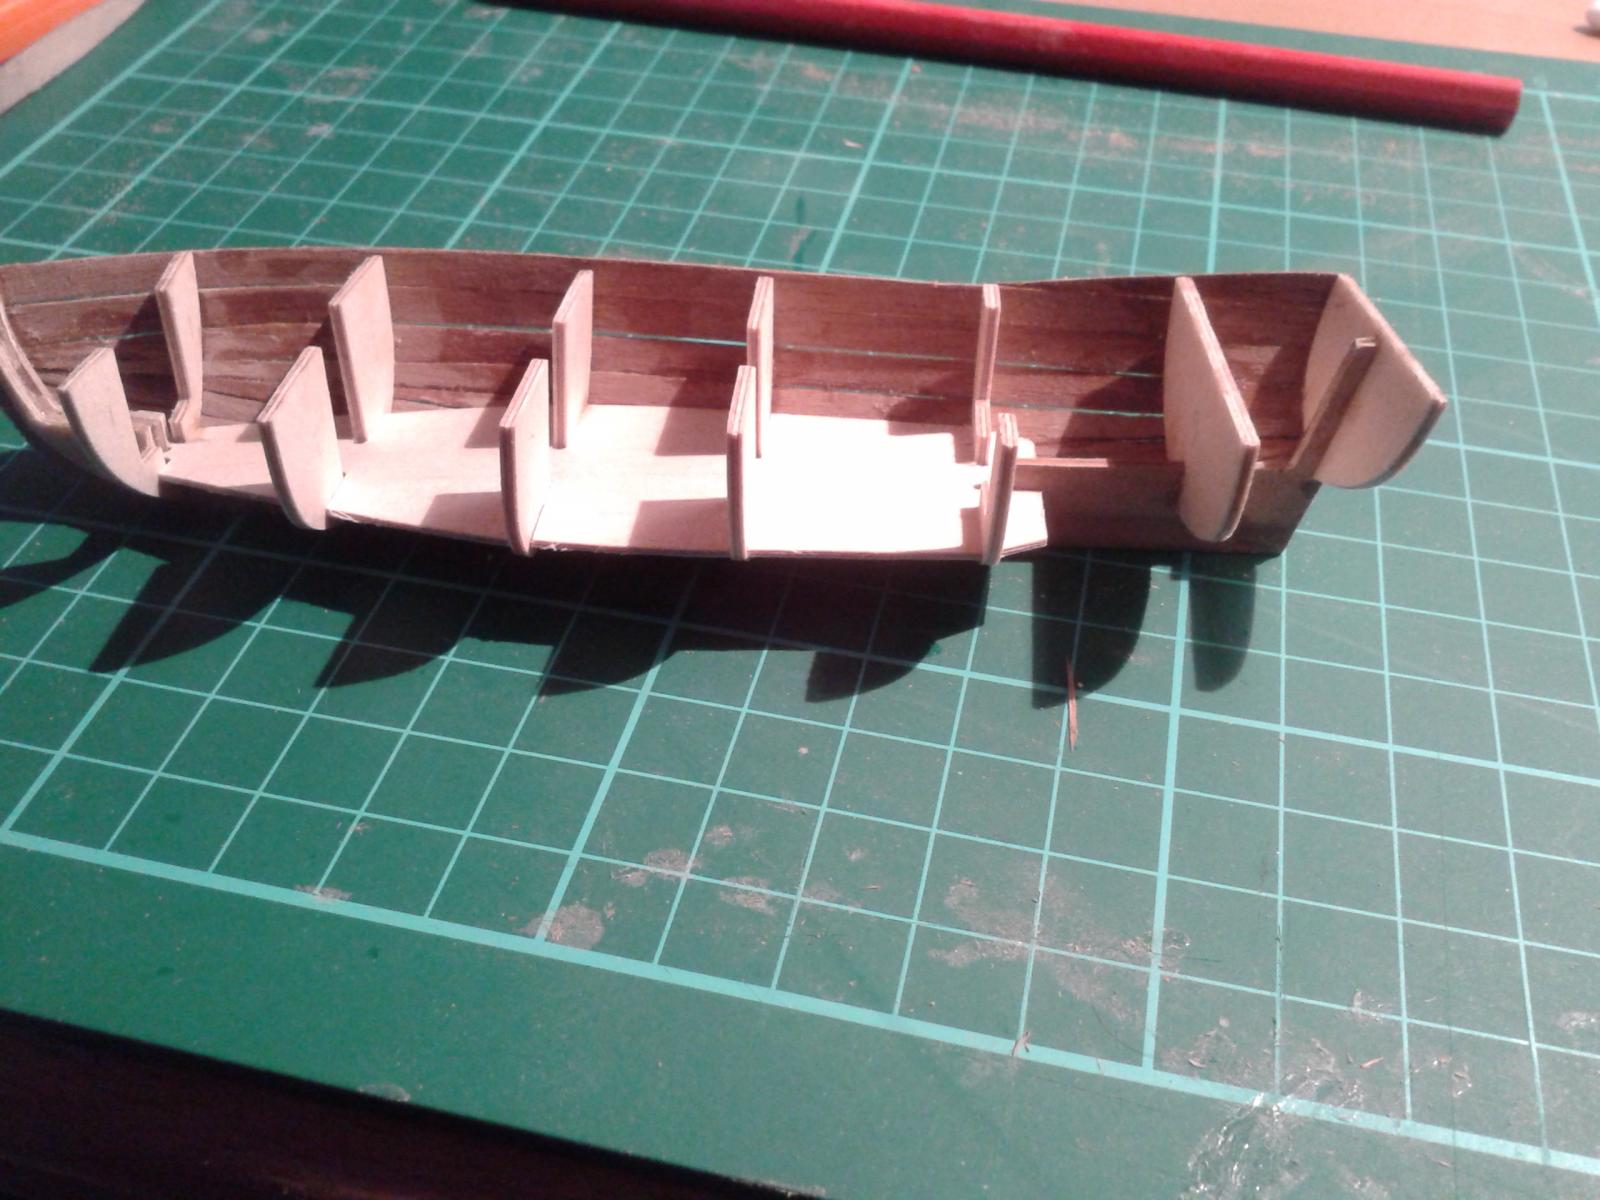
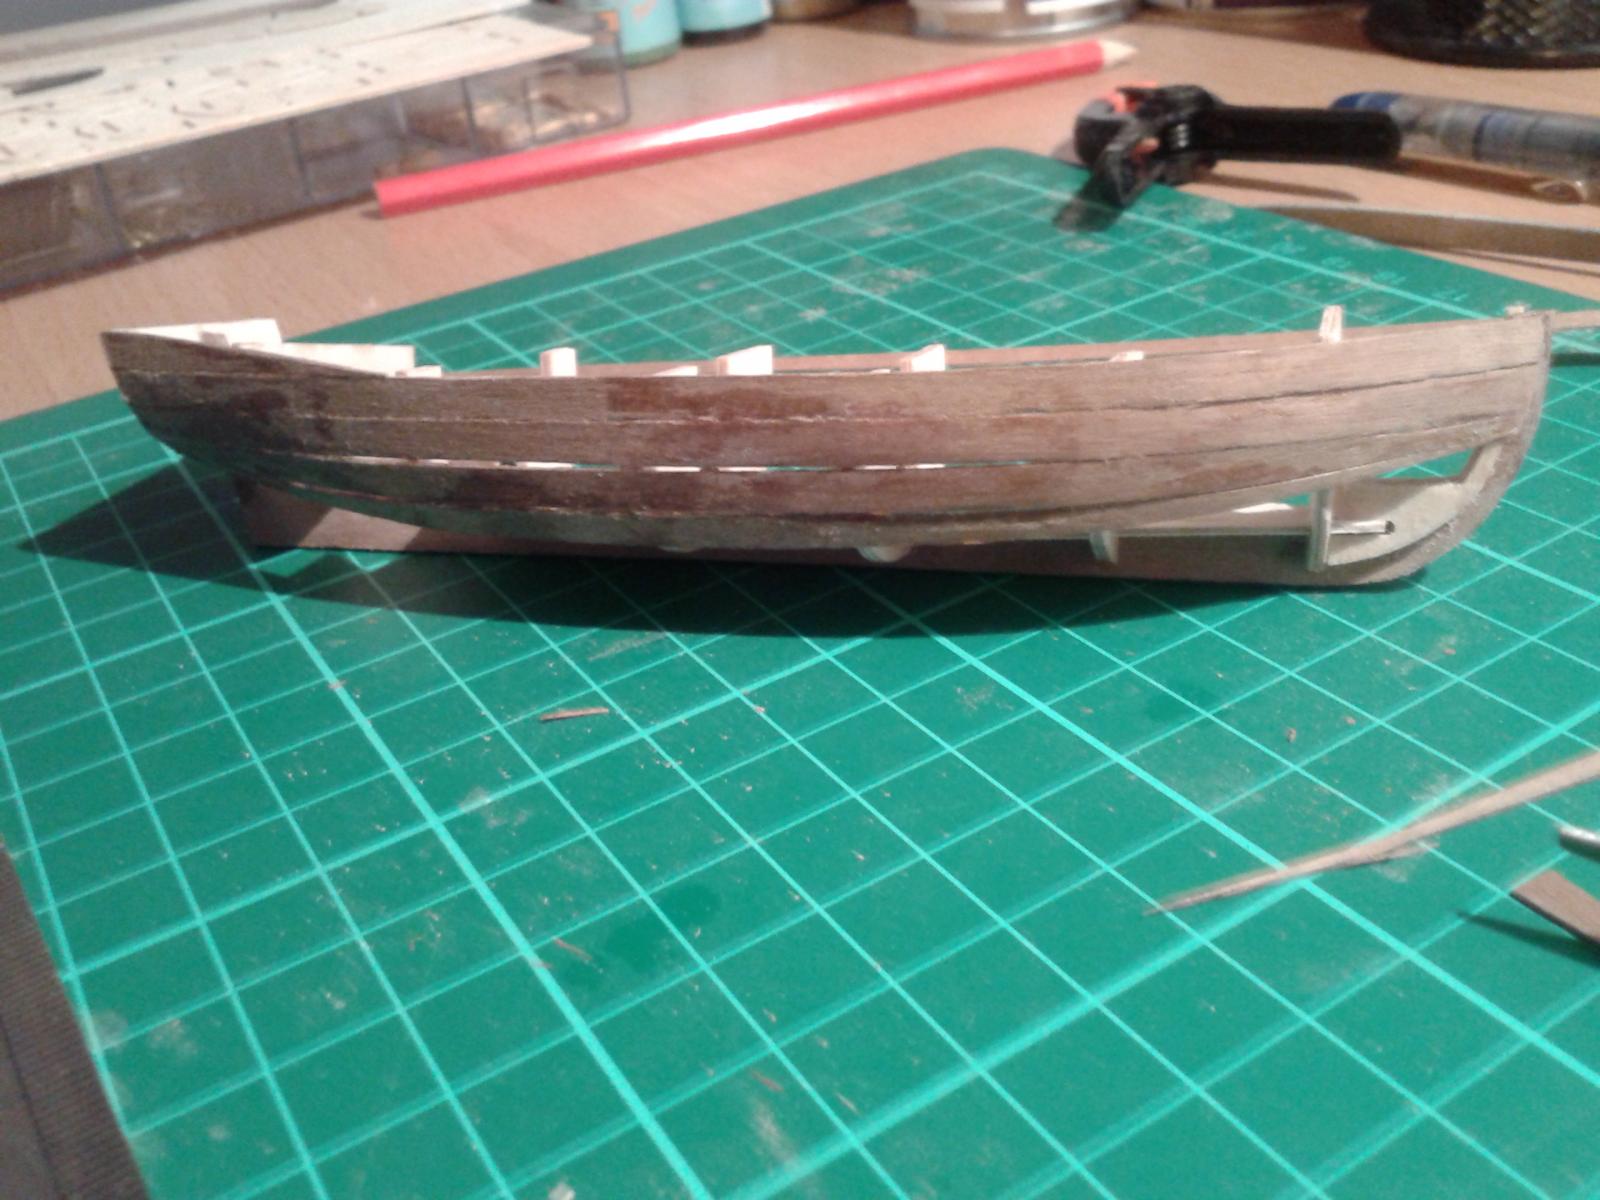
In the meantime here is a couple of picture of the small launch, it is nearing completion, only the Davit, twarks, stern seats, windass and gunwale left to fit, which should only take a couple of hours. The hull ribs has been the hardest task; having to careful split 3mm walnut strips into 1.5mm strips and then fit with a 4mm spacing ensuring the twarks will sit square to hull when installed. A small 4mm jig was used.
I was glad to use the super phatic glue, takes a bit longer to set the CA glue but it's much easier to remove from the finger ends. Super phatic is a composite CA and wood glue which was recommended by my local model shop.
I have painted the boat as per the manual.
-
I was reading The Anatomy of Nelson's Ships by Longridge last night. In particular I was interested in a drawing showing how a singe and dual block were rigged to help secure a cannon.
The single block seemed to be held in place by a continuous rope wrapped in a figure of 8 with two beckets, one at end end of the block. Please see the attached pdf file.
I would be interested to know how this type of rigging would be done for the model, boat builder as I suspect the normal thread may be to small to splice into a continuous loop.
Any thoughts / ideas would be greatly appreciated.
-
Did you apply a beading line and sand the keel from beading line to the edge before the start of the planking?
This is important otherwise the walnut keel and rudder parts will not sit correctly, it's the biggest mistake I made with the Scottish Maid build as I was not aware it needed to be done.
Glenn
-
A great start to the build I will continue to watch your progress with great interest.
Don't make the same mistake as me and put the pins in too deep as the are then difficult to remove before sanding and installing the 2nd layer of planking.
Glenn
-
Hi David
What a great set of pictures, your are making an outstanding job of the rigging. A real pleasure to see what you have done so far
Glenn
-
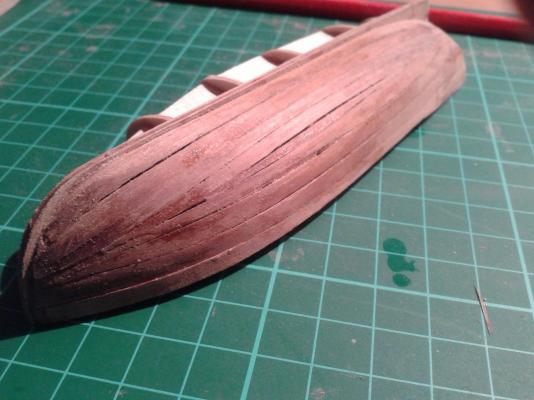
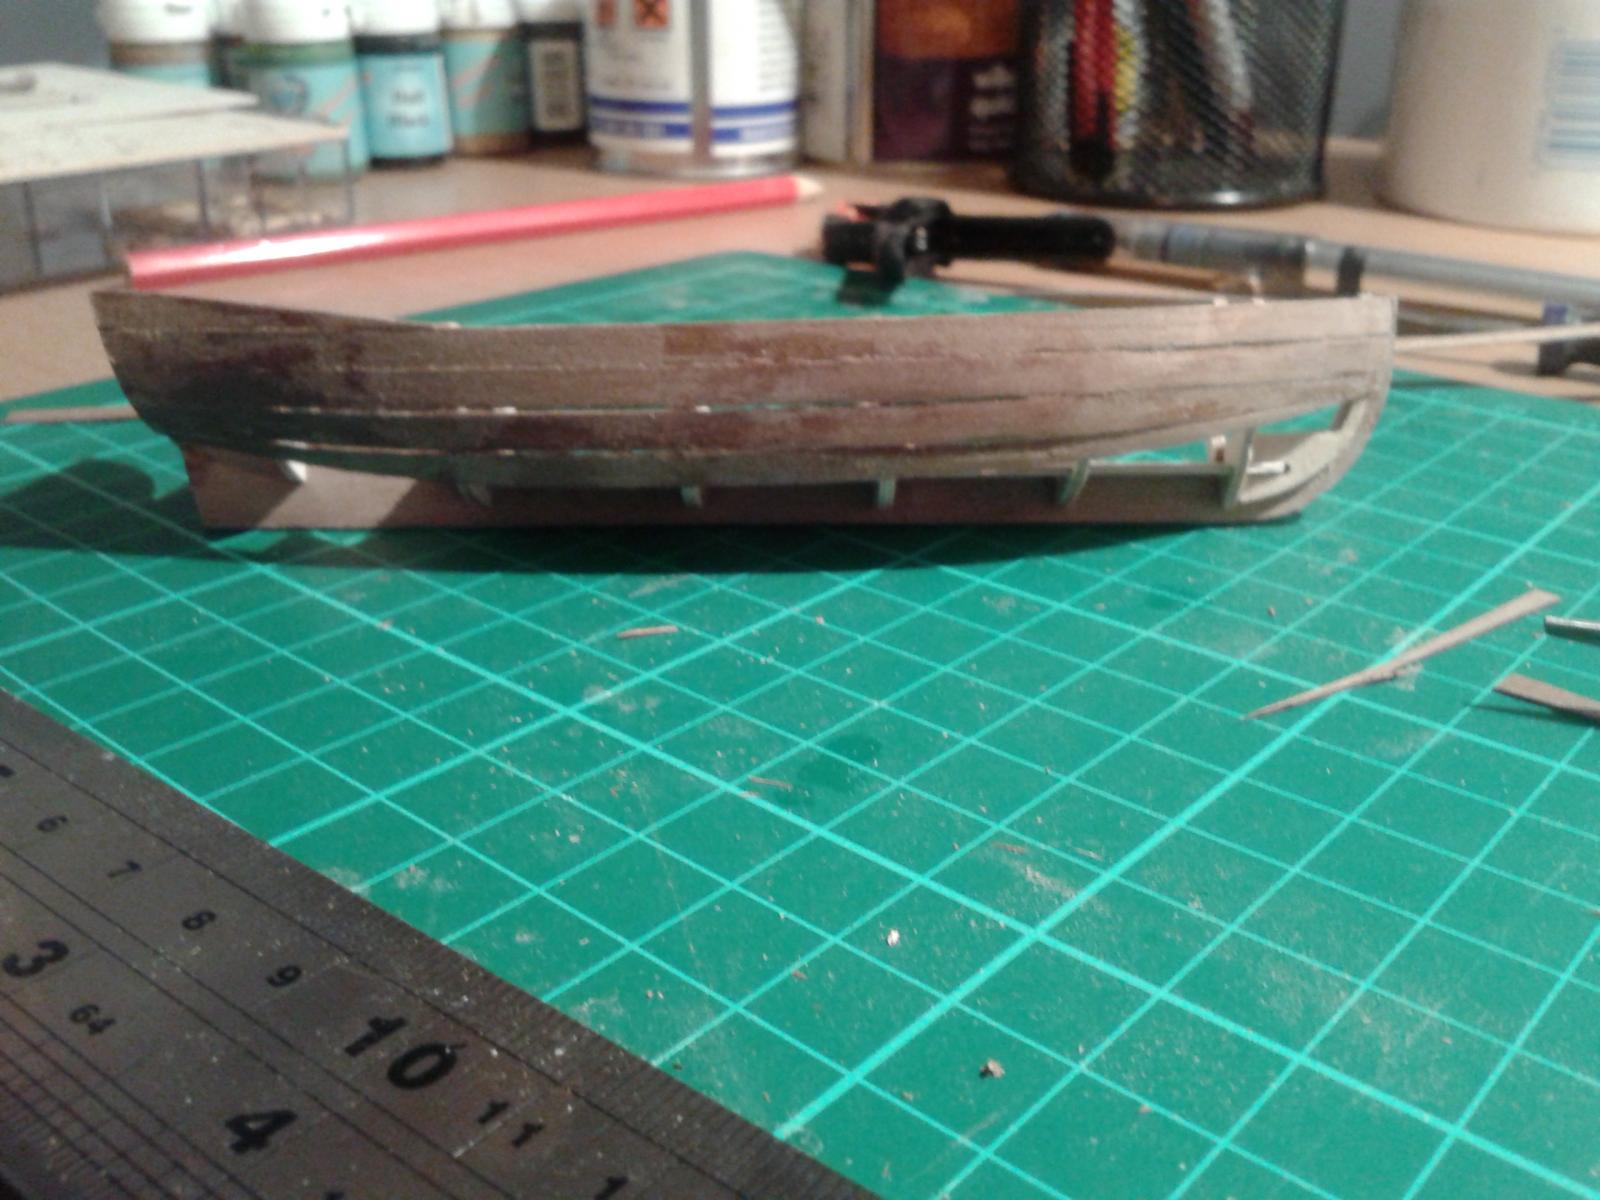
Completed the first planking on the small launch, this has now been sanded and coated with a watered down glue mixture and will be left overnight to dry. I have also dry fitted the bulkheads (except 6 which is walnut) to keel and deck for the small barge ship.
Fingers crossed the replacement parts arrive tomorrow, I have our goods in at work on red alert.
-
Nice start to your build and I look forward to seeing your progress over the next few months.
Glenn
-
Hi Patrick.
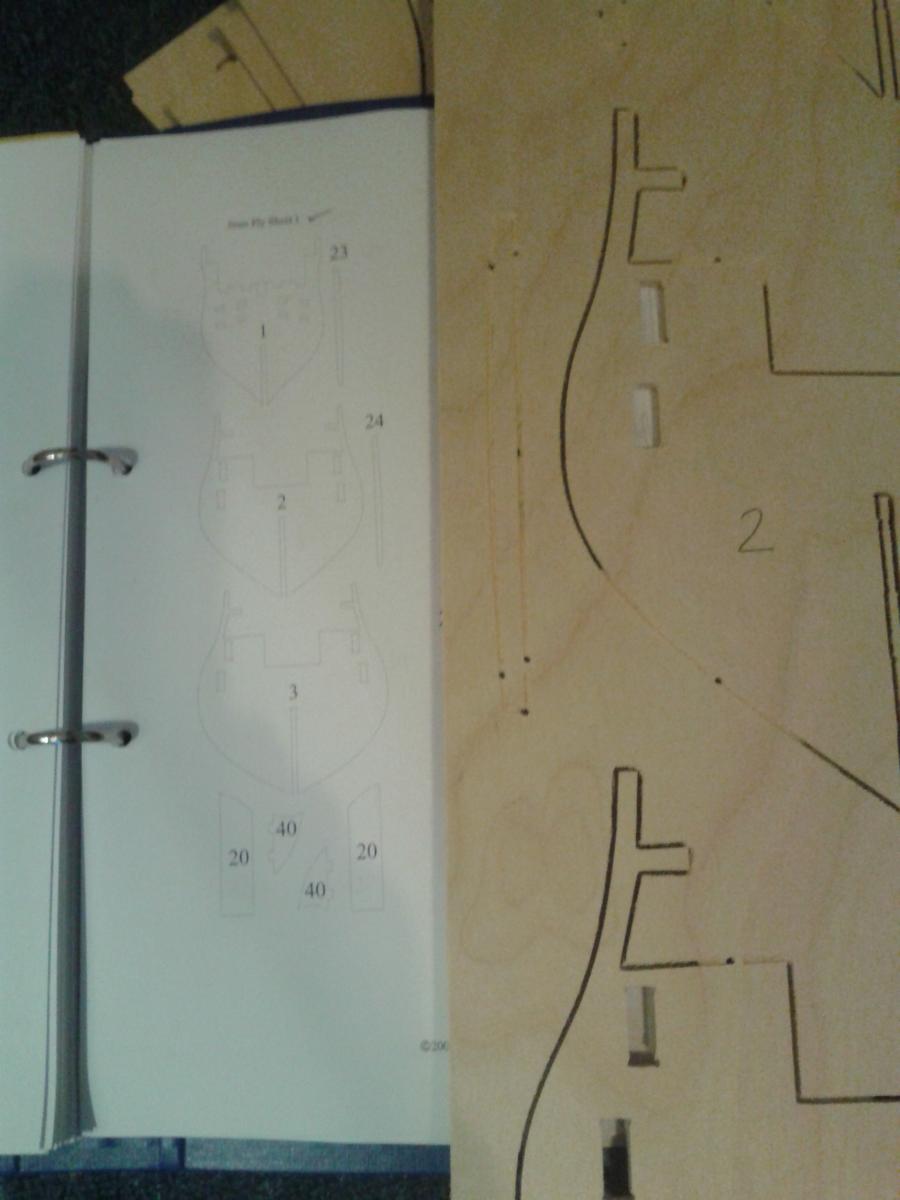
I agree to does stick out like a sore thumb now I look at it in isolation. I was so intent on numbering the bulkheads as per the sheet numbers it simply did not occur to me the etched sheet numbers would be different to the manual sheet numbers. JoTika were very helpful and apologetic, it seems they have only recently started to etch numbers on all the 5mm plywood sheets to aid kitting up the boxes.
Glenn
-
Hi David
I may be ahead of you with the small boat build but I'm at least 2 years behind you with the main build.
The Manual indicates the small boats can be built within 2 weeks with evening work. I think it will take a bit more time than that.
Fingers crossed parts arrive on Monday. I can then continue to work on the small boats as a low priority background task. I have decided to purchase the Amati plank bender as I think that will be essential for the main boat build.
-
Completed first planking on starboard side of the launch. Pleased with out come; just need to sand and coat with water down wood glue in readiness for second planking. Will first plank port side before I start the second planking.

This is proving to be a more interesting side project than I first expected.
-
Hello Mort
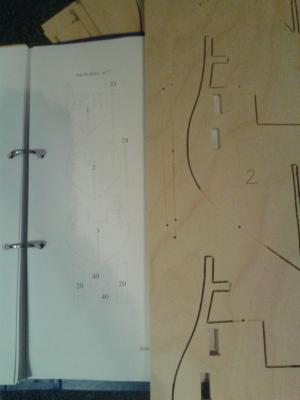
I noticed as I was dry fitting the quarter and upper gun decks; the slots did not align with bulkheads 4 to 9. I checked my pencil markings and it seemed I had fitted the bulkheads correctly then I realised that the shapes on the 5mm plysheets which where etched with the numbers 2 and 3 by JoTika were transposed when comparing with the layouts shown in manual.
-
Hi David
Once again you have done an outstanding job. It's a real pleasure to watch your progress and learn from your work.
thanks
Glenn
-
I'm still waiting for the replacement parts from JoTika so I continued on with the Launch build. Its quite fiddly work putting on the first layer of planking, without putting to much glue on the bulkheads which have to be removed once the plainnking has been completed. Managed to fit 4 planks in 2 hours, as it took some time to soak, shape, bend and glue the planks.

-
Has anyone got any photos of the launch construction, as part of the Caldercraft HMS Victory. I'm ready to start the first planking and would interested to see what anyone else has done.


HMS Victory by Glenn-UK - Caldercraft - 1/72
in - Kit build logs for subjects built from 1751 - 1800
Posted
Hi Patrick
Many thanks for the advise, I will revisit the black painting as I continue to test fitted the gun ports strips to check what bits I have missed, as you say probably the floor areas.
I also need to pay a visit to the local model shop to get some balsa strips for the gun port battens, trouble is the shop shuts at 4 and I finish work at 5 and its too far away to get there in my lunch 30 minutes.
So I will also check the local late opening DIY store to see if they have suitable strips of wood.
Also looking for some 1mm shims to confirm final position of top gun port strips at bulkheads 6 to 9. I have filed down a strip of wood to approx 1mm but need to borrow a micrometer from our engineering dept. to confirm dims.