


scott larkins
-
Posts
489 -
Joined
-
Last visited
Content Type
Profiles
Forums
Gallery
Events
Posts posted by scott larkins
-
-
Up on that mast piece, can I ask why you didn't just put an eye bolt in the wood instead. Not that I'm not impressed with our work, I truly am. I'm just asking for the time I get to that point in my build. The bow sprit came out really nice. I bow at your work.
-
-
I used the standard sail cloth from Model Shipways. Of course I'm only using about 1/2 to a 1/3 of the actual sail cloth. Otherwise it would just be too bulky. I washed it and then ironed it and had to cut off some of the outside fraying but it all came out good because as you saw, I'm using a cloth glue to fold over the ends. I couldn't get the wife to sew the sails proper because she is busy working on her PhD and teaching two college classes and working. I don't use the sewing machine so well. LOL Adding the sails is definitely adding more time and more pins and cleats to the over all build time. But I wanted the furled sails so I can't complain for my choice.
-
JS,
Yeah, those came out well, especially once you cut those extra outside lines off. LOL
-
And the clew and tack lines on a furled sail. Watch when you run the lines. Sometimes they unexpectedly get wrapped around other lines as you weave them through. Just double check the line before you wrap it around a pin or cleat. Do not clue the rope around either of those until you are sure you want to. And don't forget, sometimes you need to think, like 4 - 5 steps ahead to make sure you don't tie a rope that may bind something else up later. Next I'm on the top sails. If you put on the sails or furl the sails, don't get to dazzled by all of the lines on the plan. Simply take the one line you are working on and follow the plans. Otherwise your eyes will start swimming in all of the verbiage and lines. Believe me, it's easy to do. Now on to the top sails and I wonder where I'm going to put all of those lines. LOL
.

-
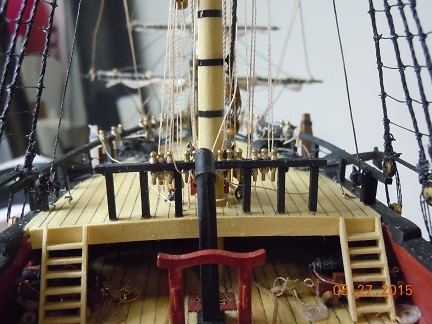
And more lines. I may have warned you once before, but take you time when running the lines. A few times, as I was pulling the long lines of string, the lower portion of the hanging loop got caught on something near the deck like cannons, anchors, and tied rat lines. Be careful or you may end up ripping something off of your ship.
-
-
-
-
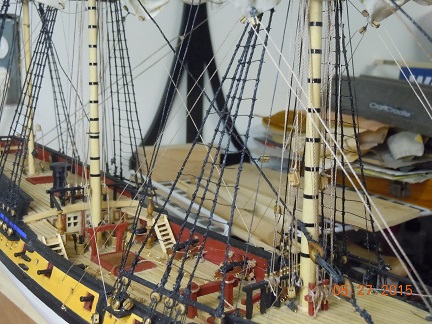
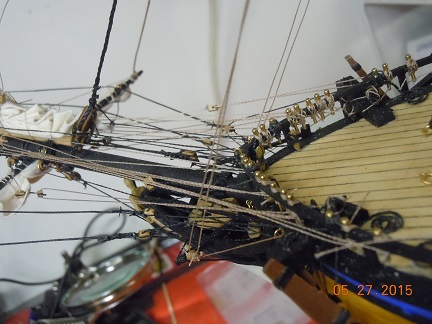
Then I simply continued the same process for the lower yard arms that I did for the spirit sails. Here you can see all of lines like the bunt and leech lines that make up the sail lines. As you can see, it gets quite messy up there.
-
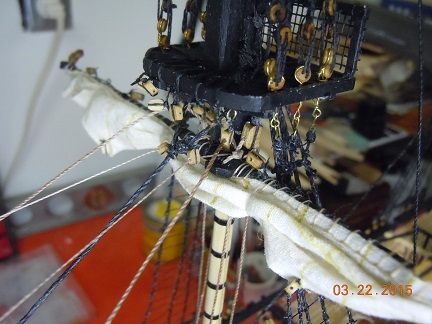
Next I bent some brass wire to make the stay sail saddles which went over the stay lines. I first tied rope to one side of the saddle, left plenty of string and then used a needle to put the line through the sail. I put the saddle over the stay line and then tied the free end of the line to the other side of the saddle. You can also see that I used thimbles to run the lines up the sail, to the top platforms and then down to the belaying pins at the base of the foresail.
-
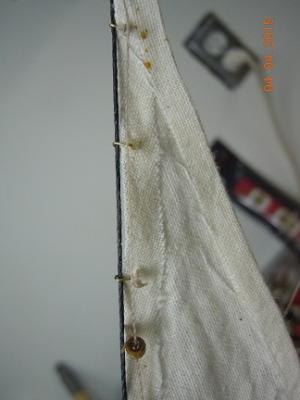
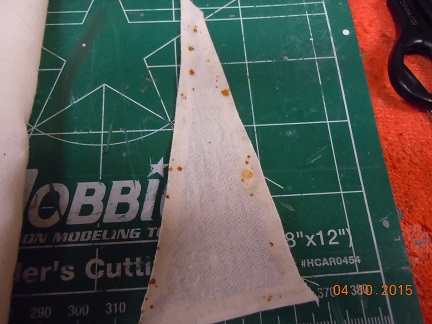
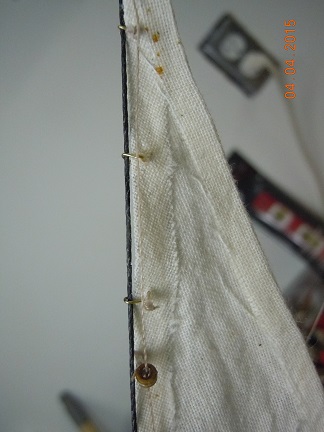
Finally finished the bow sails. I am using sewing glue to glue down the ends of the sails. Been using metal to sandwich the sails but I guess this time the glue was too wet and rusted. Man. So now I sandwich between two sheets of wood and then weights. So be careful what you use of you glue instead of sew the edges.
-
Okay, it's been a while since I've posted but I've been busy putting up the lower yard arms and sails. Quite the task I must say. The next series of posts will cover my work and an oops or two. Enjoy.
-
I found that that exact piece of wood worked well for my gun port framing.
-
-
-
-
Ken,
Thanks, I did do that. And ironed it so the wrinkles weren't so prevalent. The toughness comes with folding it up appropriately in the according fashion, but I'm getting better at it.
-
-
-
-
-
-


US Brig Niagara by xken - FINISHED - Model Shipways - Scale 1/64
in - Kit build logs for subjects built from 1801 - 1850
Posted
Ken,
Nice work there. I understand your desire to detail. Detail on my man, detail on. LOL