


ThorBob
-
Posts
9 -
Joined
-
Last visited
Content Type
Profiles
Forums
Gallery
Events
Posts posted by ThorBob
-
-
Onwards & upwards!
Prior to installing the cap rail I need to paint the deck waterways (light grey) and bulwarks (white).
Then came the installation of the cap rails. I managed to break several of the laser cut pieces and ended up making most of the parts from scratch.
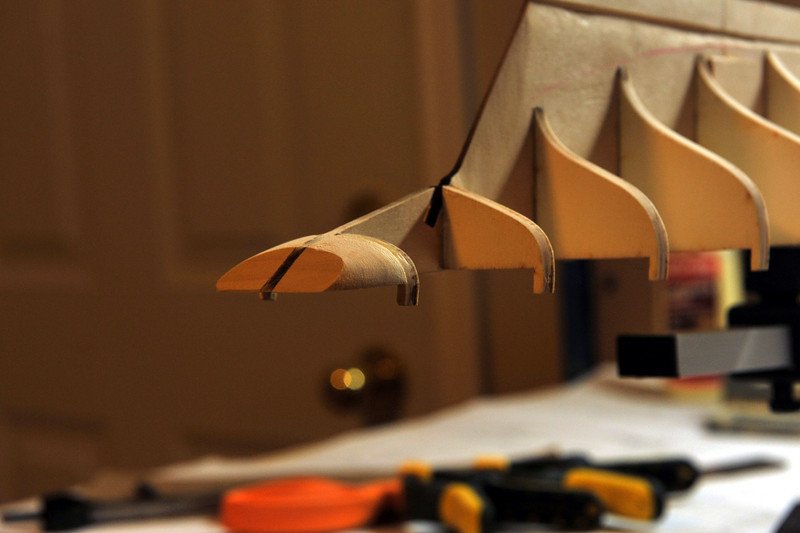
Stern cap rail:
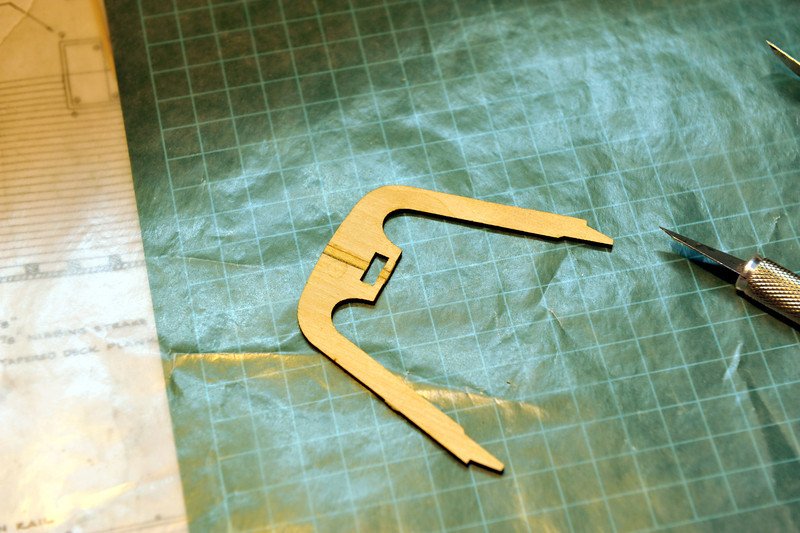
Shaping the cap rails:
Bow cap rail:
Halfway done:
Cap rails installed:
More to come!
Thor
-
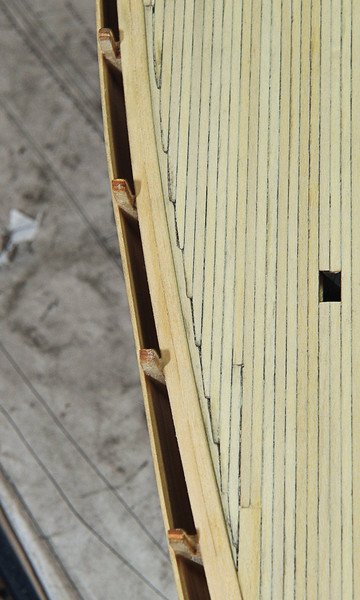
On to the scuppers:
I replaced the called out 3/16 bulwark plank with a lower 1/8 and an upper 1/16 plank. The 1/8 plank lined up nicely with the fore- and quarterdeck in such a way that small cut-outs on the top would work as quarterdeck scuppers and cut-outs on the bottom would work for the foredeck. By pinning the plank down on the drawing I first marked out the scupper locations, then using a flat machine vice as a "depth guage" I filed out the scuppers with a small needle file. This gave the scuppers a nice, rectangular shape.

"Scuppered" plank dry-fitted:
Scupper plank installed and filler applied:
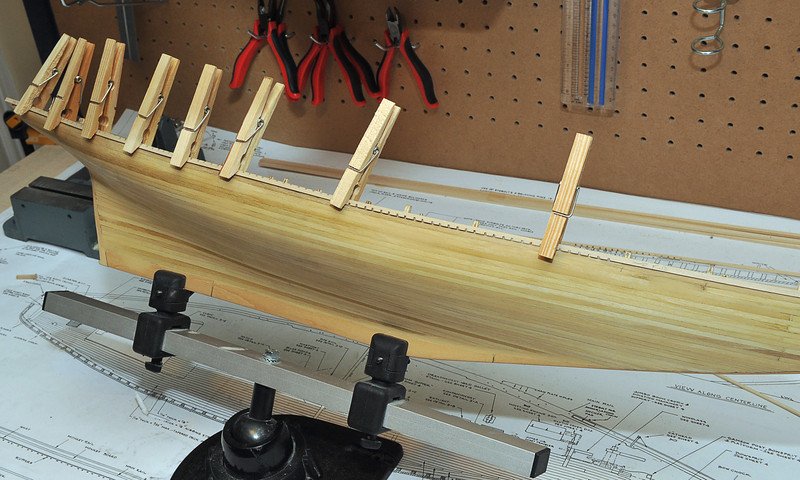
After the scupper planks where installed it was time to install the false timbers to the bulwarks. Unfortunately I have no shots of the actual install of these.
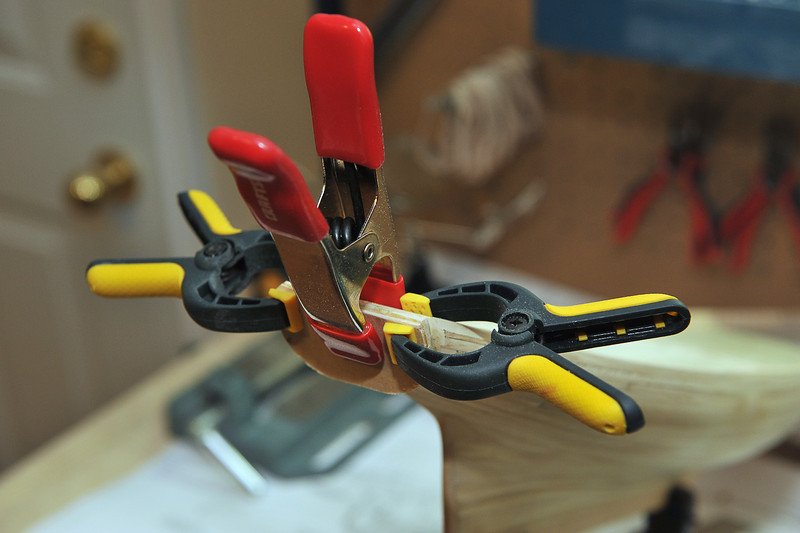
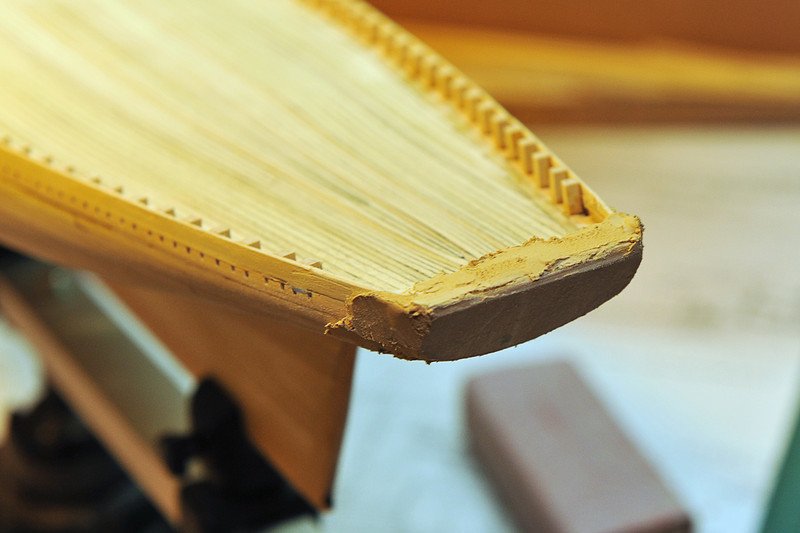
It was around this time that I suddenly discovered that my ship was about 5mm too short! So I made an add-on piece for the stern block, and later hogged out the stern interior to get the correct interior deck length. Took some doing, but came out OK.
"Add-on" block glued and clamped to the stern:
Filler applied to the stern:

More to come!
Thor
-
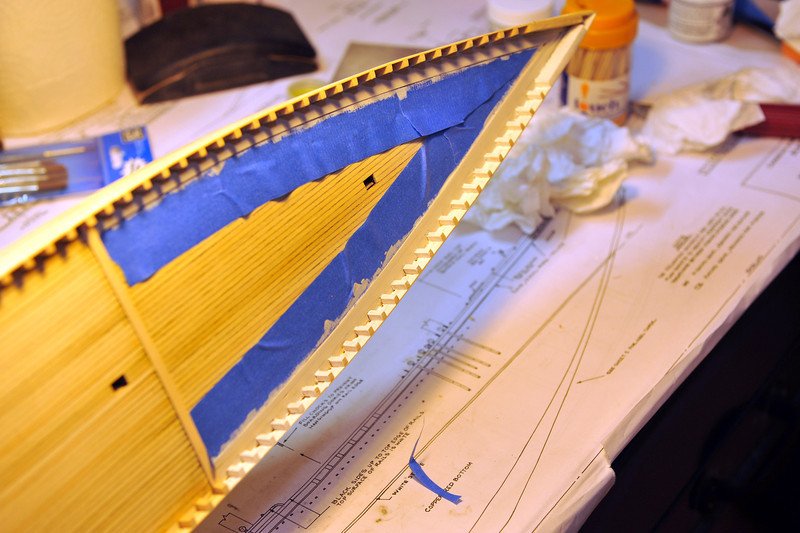
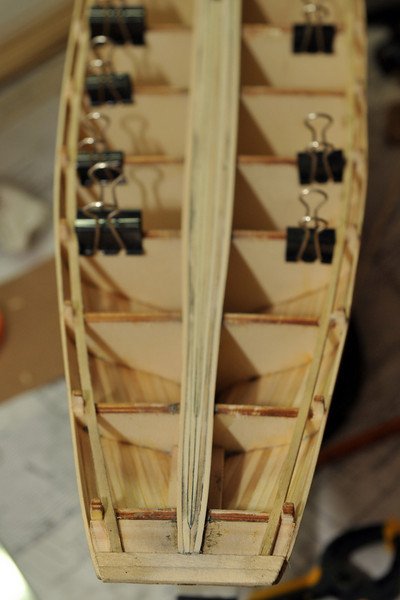
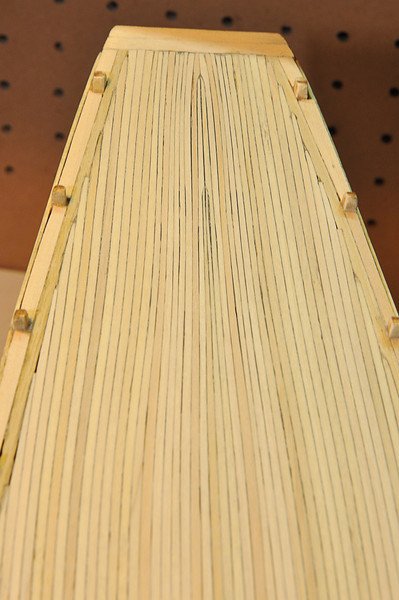
Time to start planking those decks!
The center foredeck planks being installed. In hindsight I should have installed a thin false deck; this would have made the installation of the deck planking easier in some areas. To simulate caulking I rubbed the edges of the deck planks with charcoal. Messy, but ultimately came out OK!
The foredeck planks are "nibbed" into a thin nibbing strake that runs parallel to the waterway boards. This was a bit of a challenge since its a very thin (and breakable) plank to be working with. But I finally completed all the cuts without breaking it!
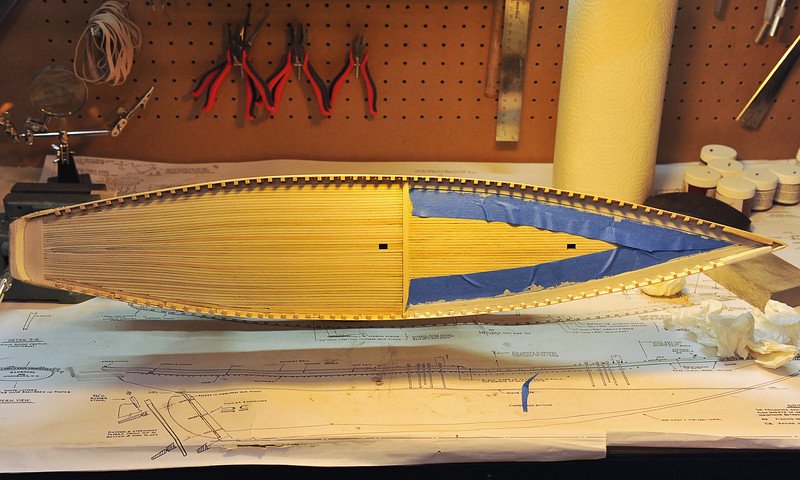
Fore deck planking complete, first planks of the quarterdeck being installed.
Quarterdeck planking being installed. These are a bit trickier than the foredeck because they are all tapered.
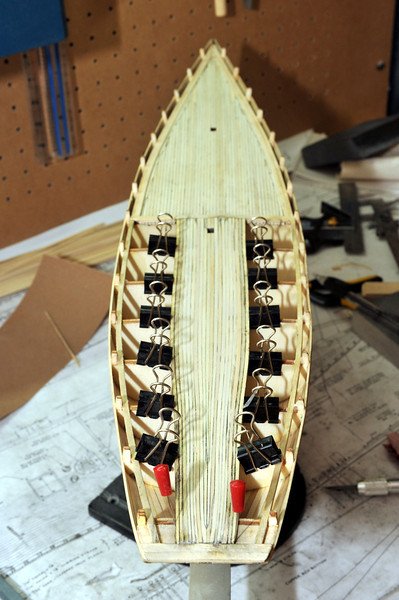
The quarterdeck planks are also nibbed.
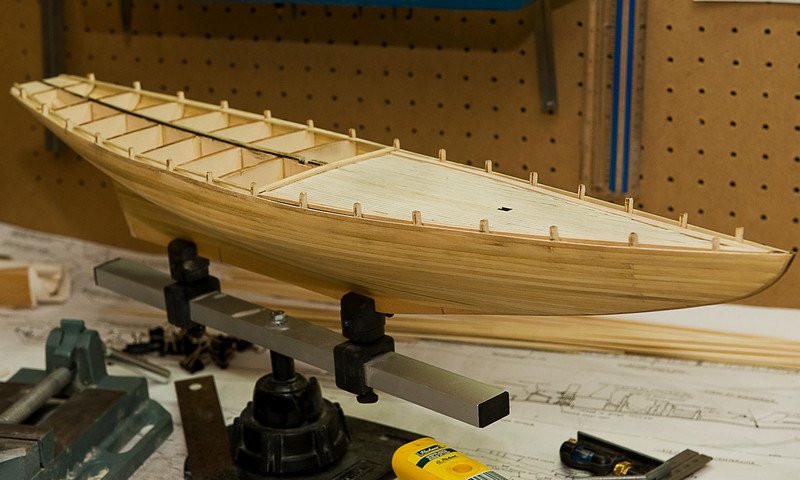
All done with the deck planking, planks given a light sanding and a thin coat of wipe-on poly.
More to come!
Thor
-
Hi Daniel! Nice to see "locals" around here! Back when I bought the kit (around 2009) I actually ordered it, can't remember from where I got it. But I have later bought quite a few odds and ends from Maritime Hobby (I'm guessing that's the store your are referring to). They have some nice stuff in from time to time.
Thor
-
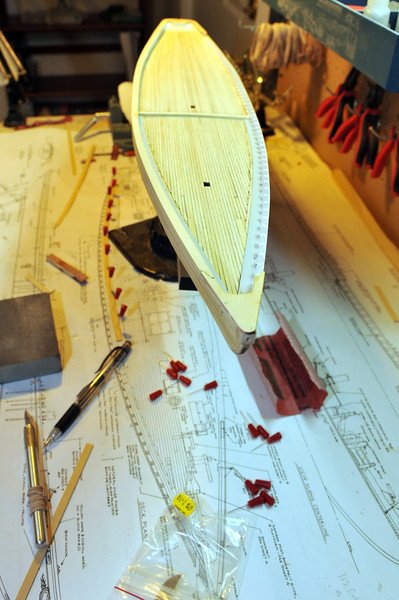
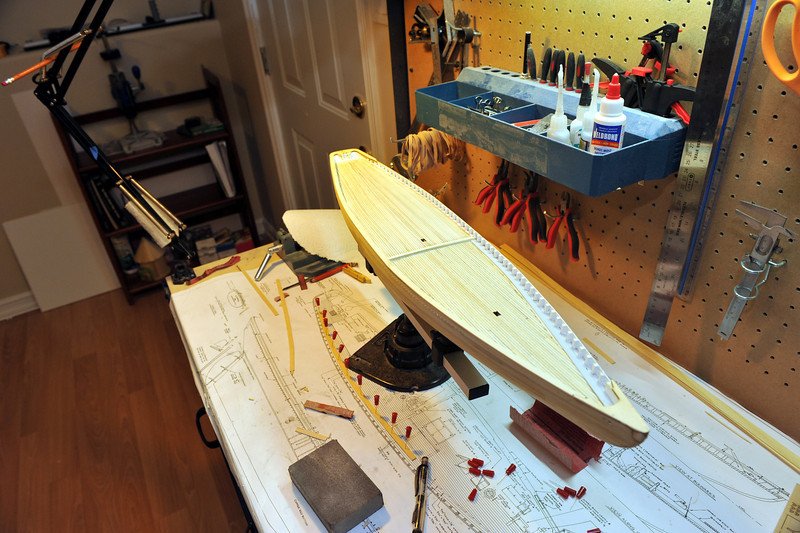
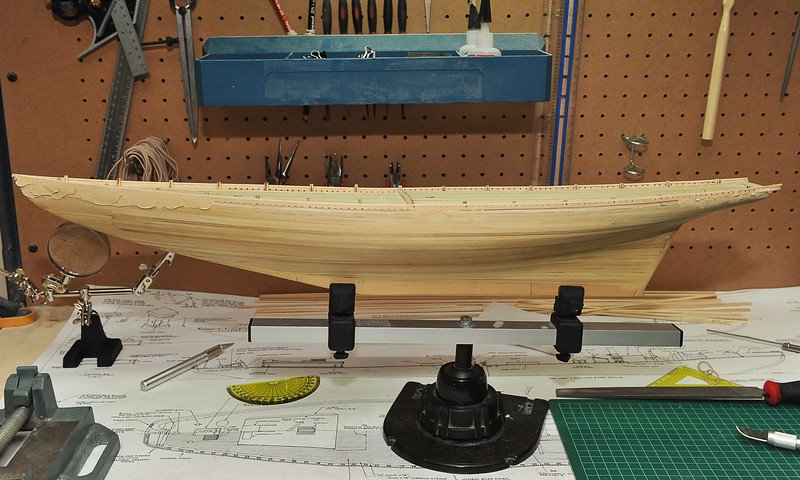
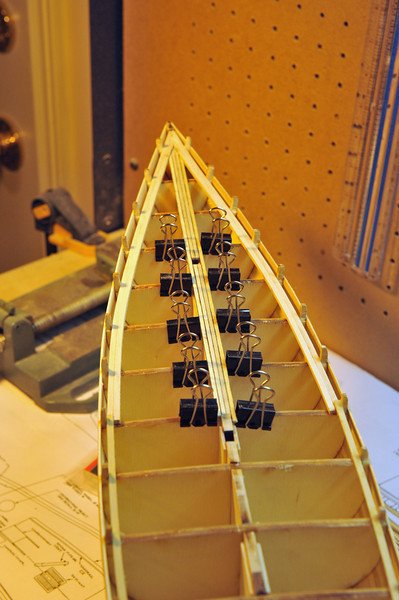
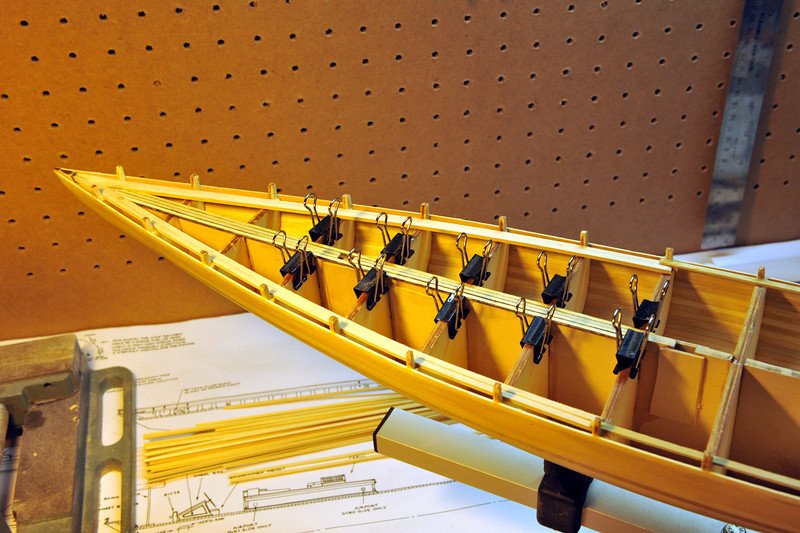
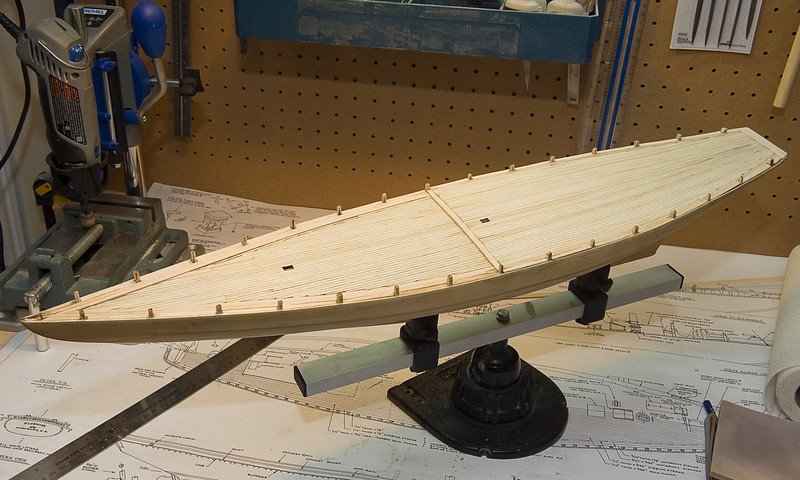
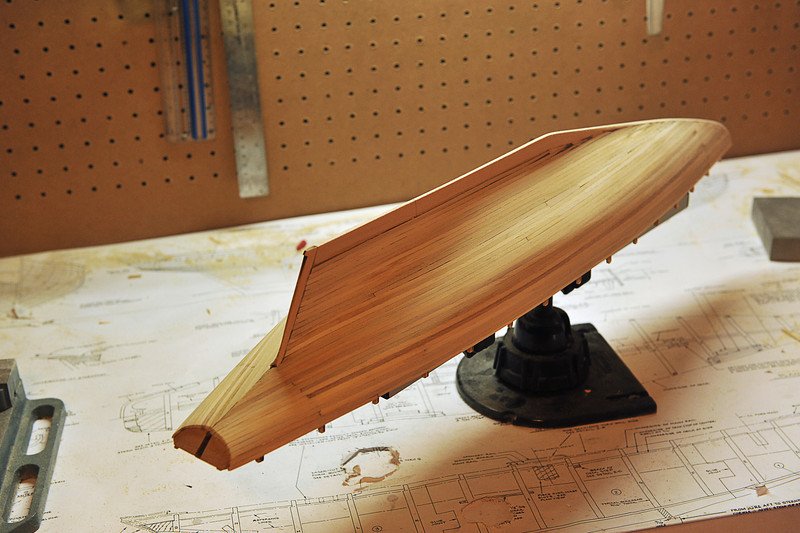
On to the hull planking. Thanks to the sleek lines I recall the planking to be quite straight-forward; with the bulkheads faired the planks joined up nicely.
First the waterway planks installed:
Then on to the hull planking. Its a single layer of planks, so even though the hull was to be painted I wanted it to be as smooth as I could get it.
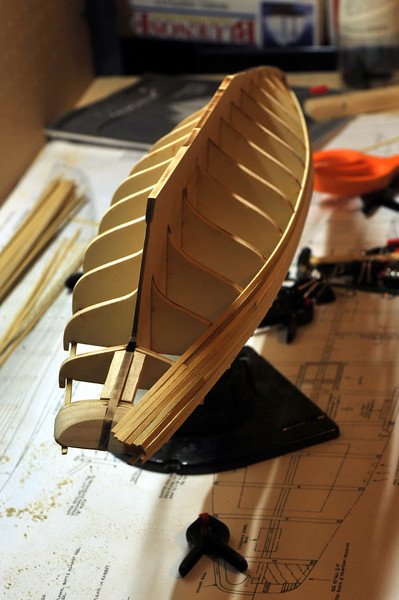
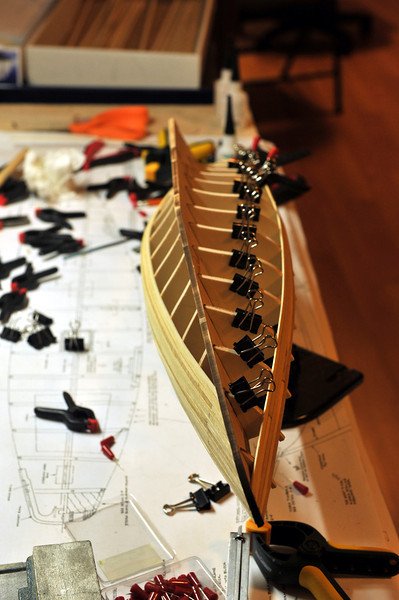
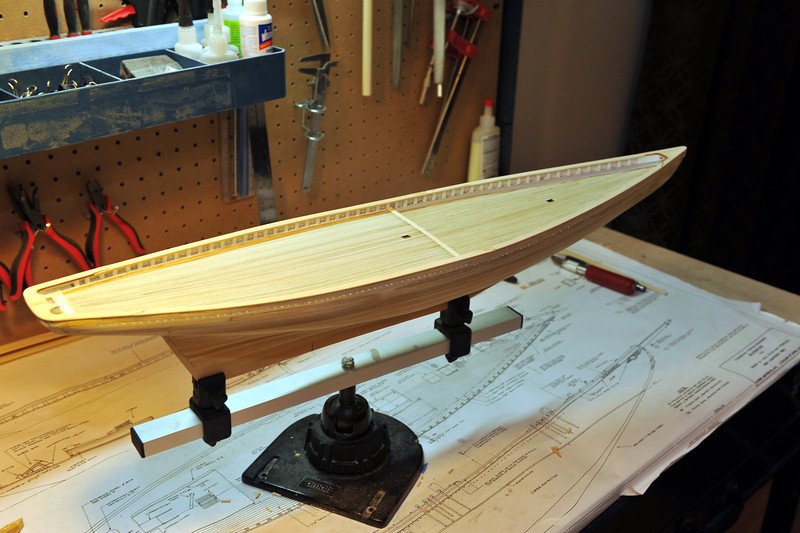
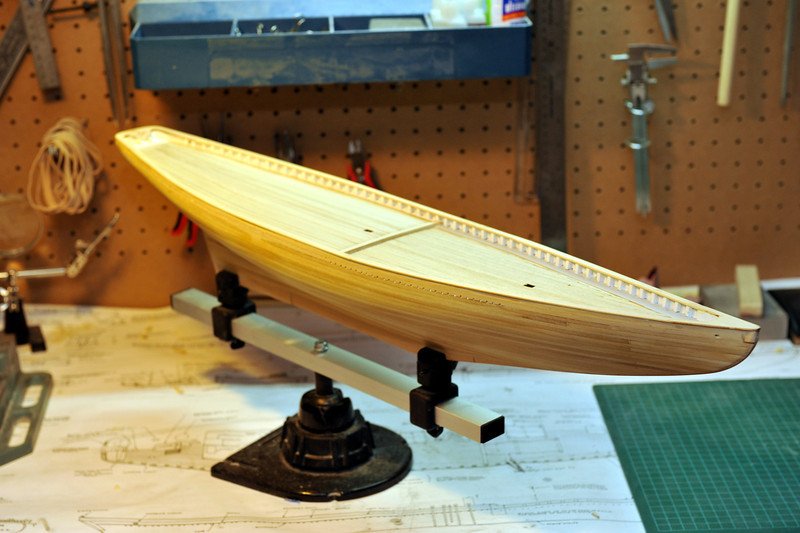
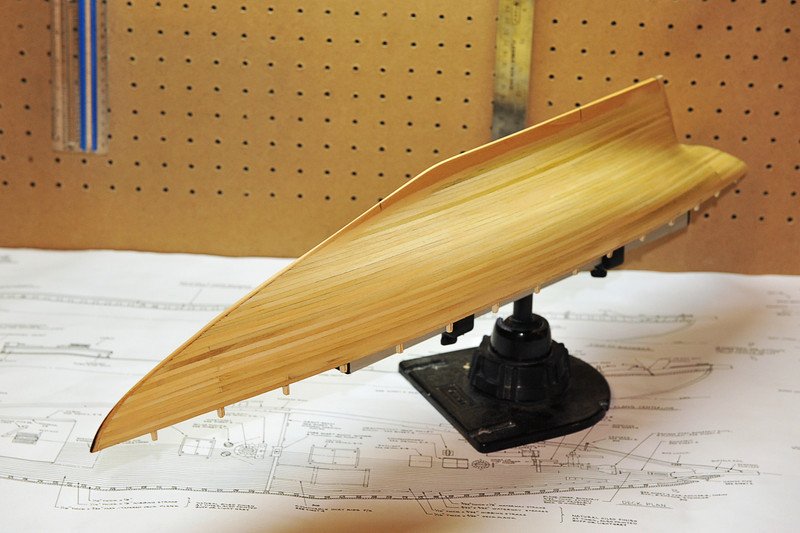
Planking complete, first sanding done. Those beautiful schooner lines are starting to show!
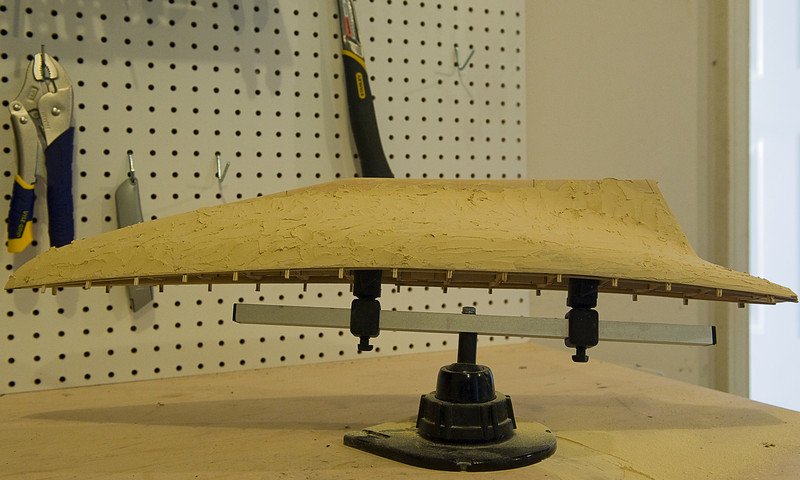
Then a layer of filler was applied (yeah - LOTS of it..):
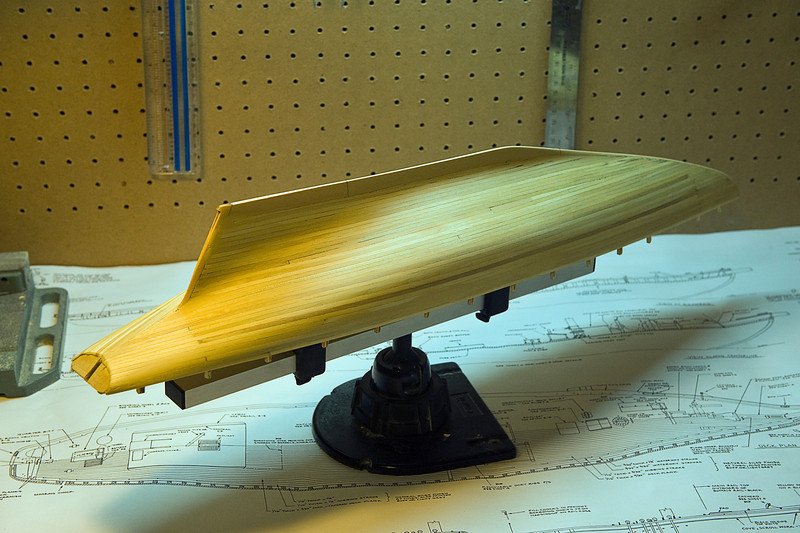
Then a final sanding (creating much dust...) and a thin layer of wipe-on poly:
More to come..
Thor
-
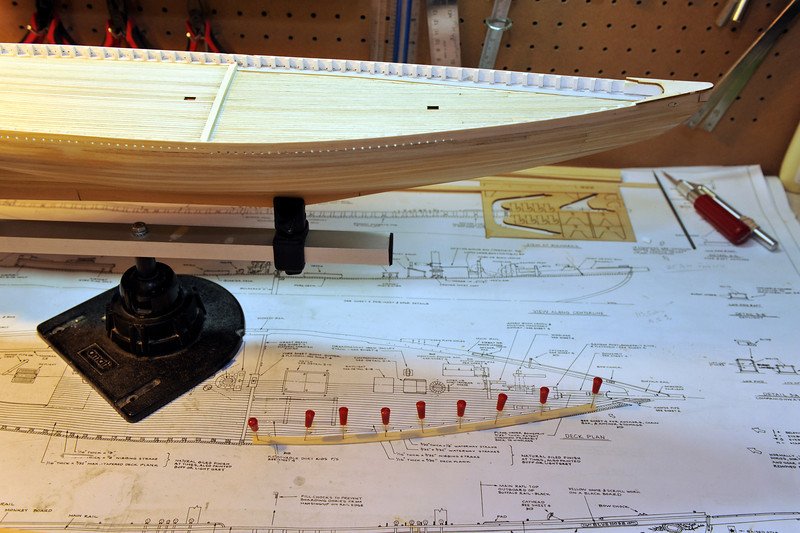
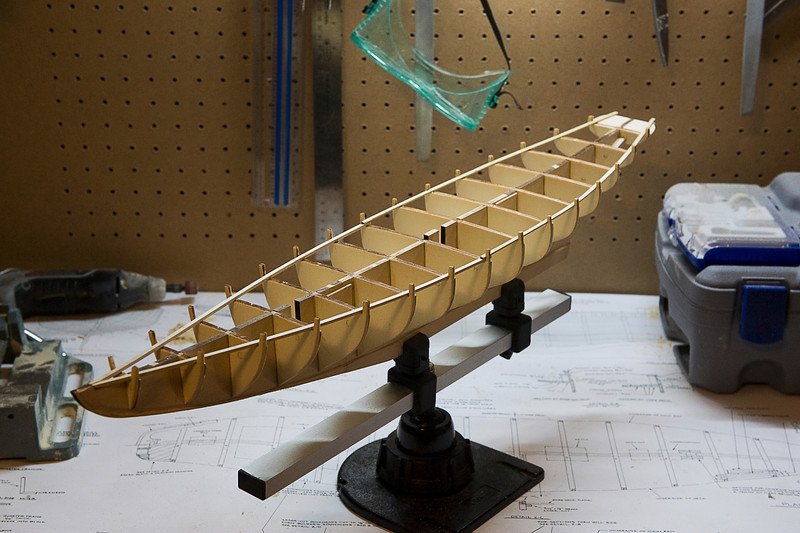
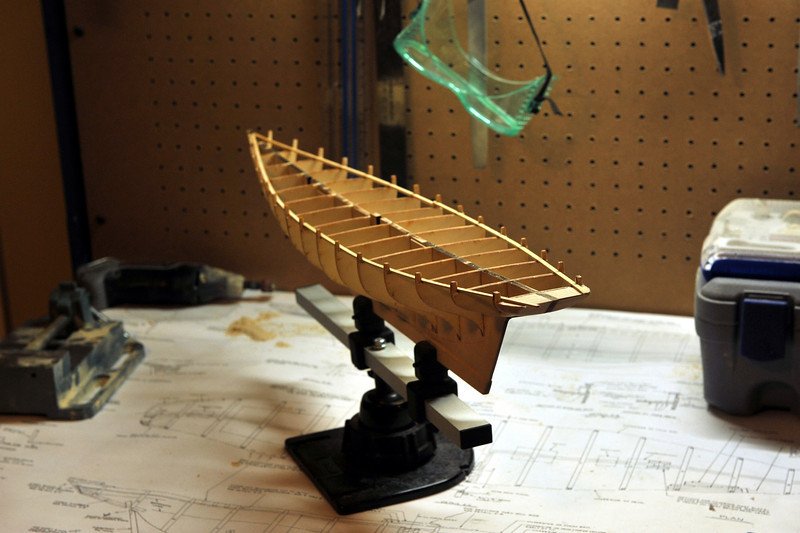
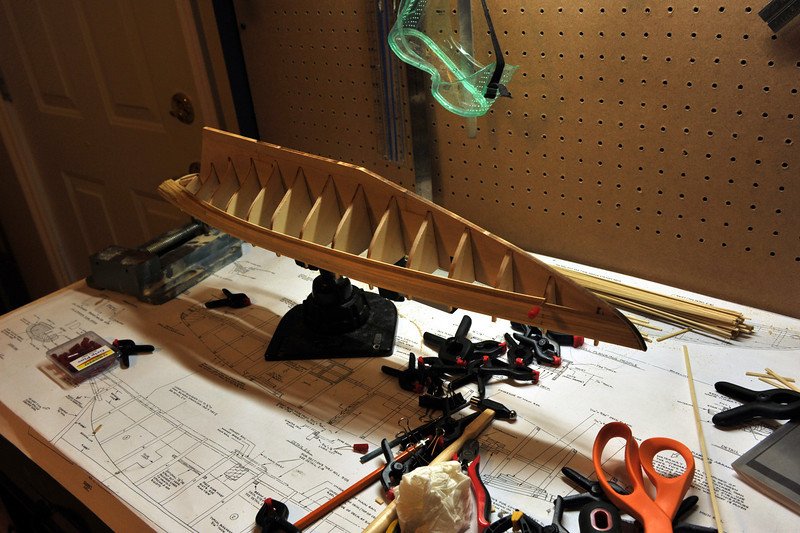
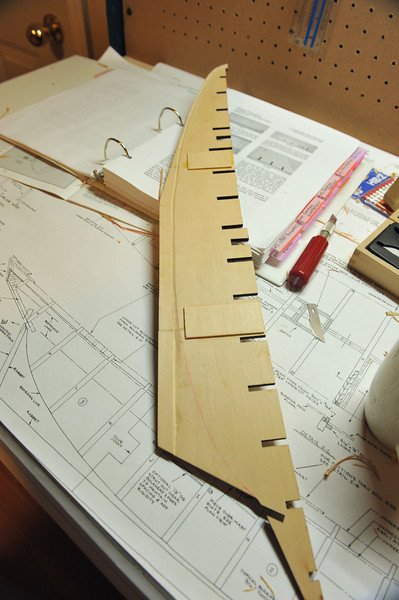
So, lets see if we can remember how this all went together...
Starting off with the center keel assembled and the rabbet cut below the bearding line:

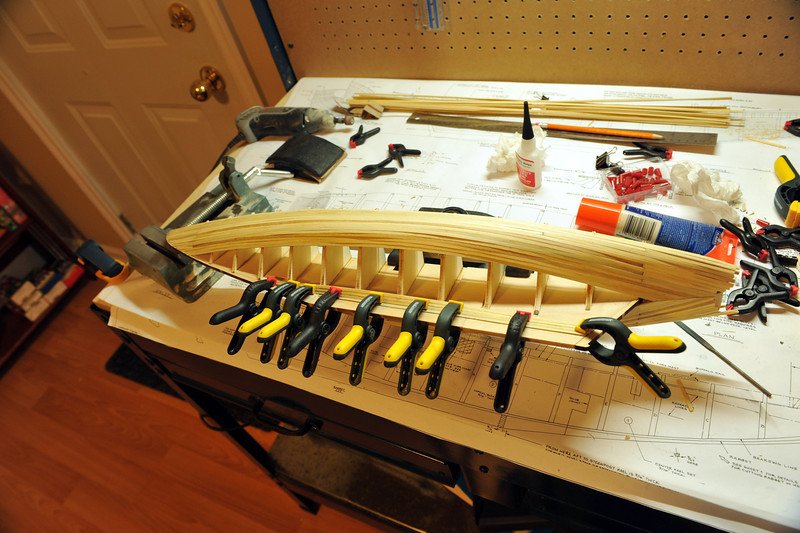
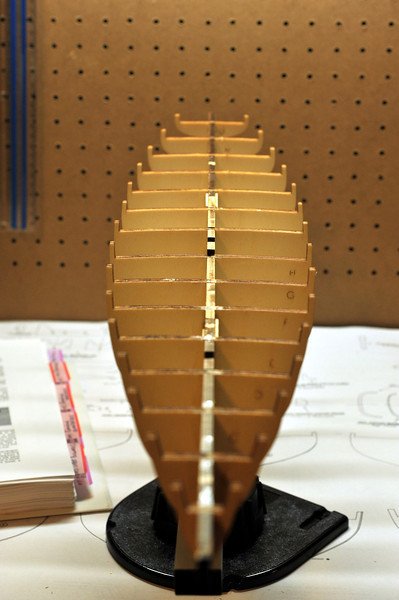
Dry fitting of the bulkheads:
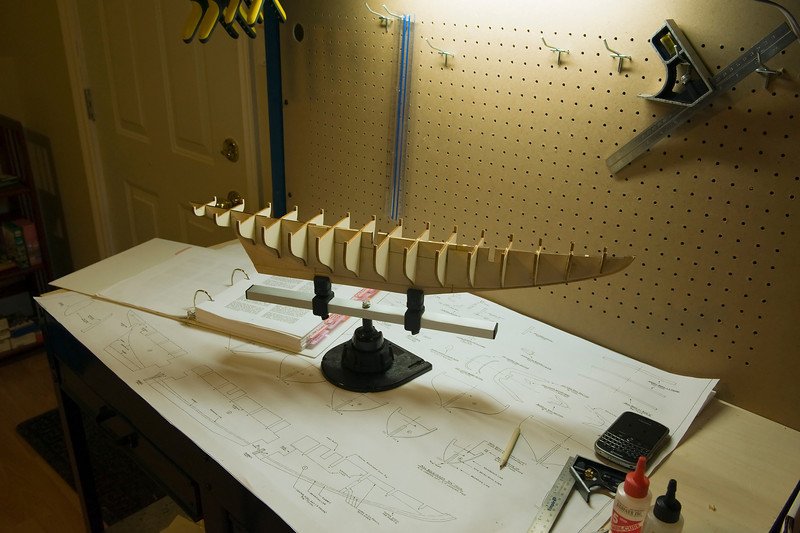
And the bulkheads glued in place:
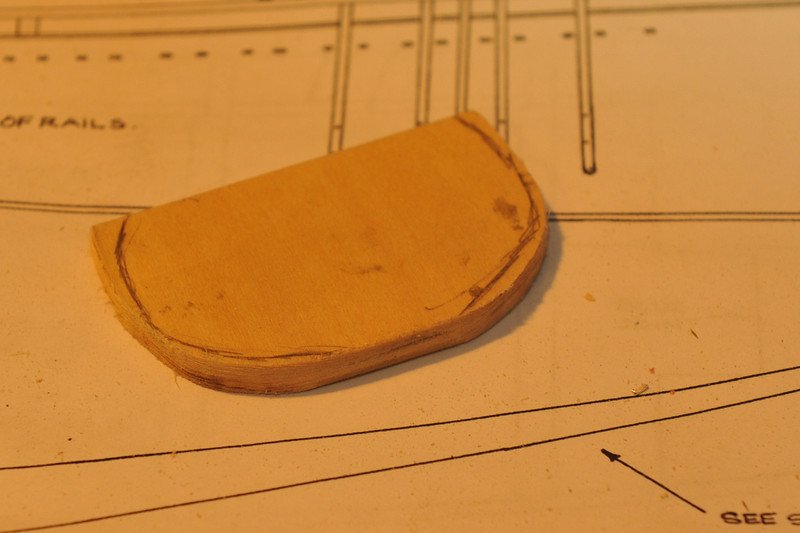
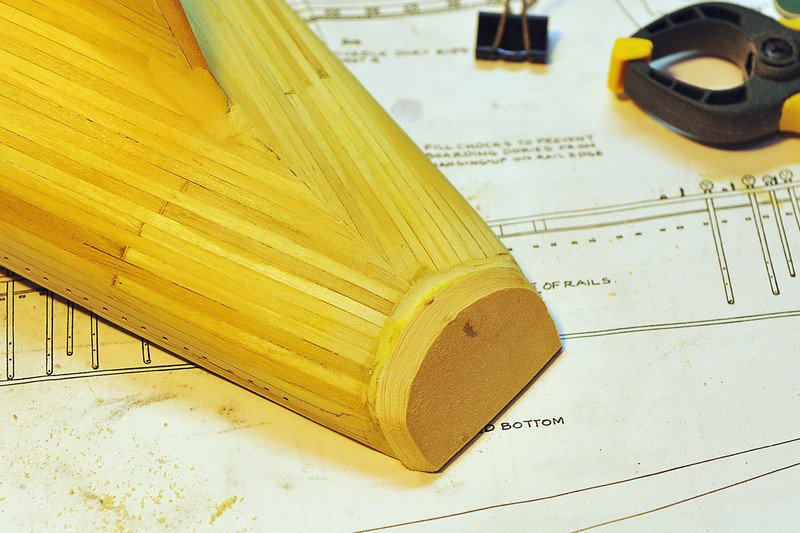
Stern block installed and shaped (used a dremel for that):
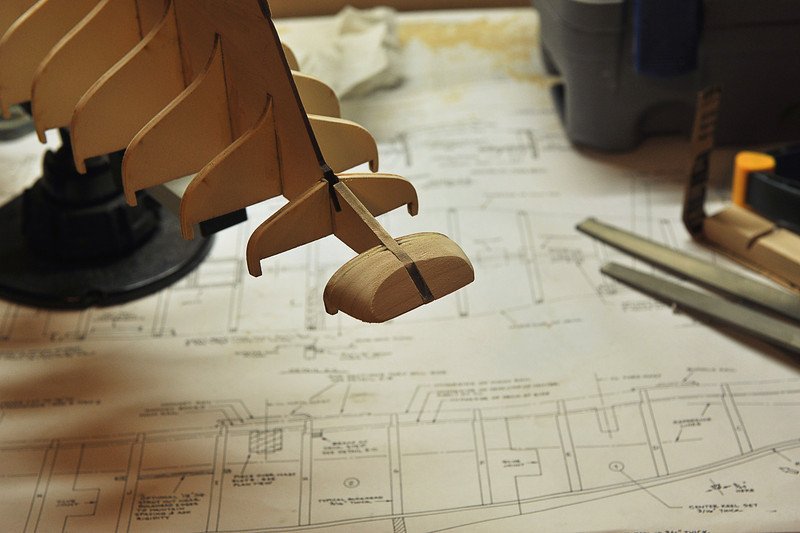
More to follow...
Thor
-
Bob, Elia - thanks for the welcome! Great to see you guys here - just like old times! It must be mentioned that Bob's great Bluenose build-log was a huge help to me throughout my build. It would have been a very different ship had it not been for all the inspiration from this forum!
Thor
-
Hello all!
Way back in 2010 I started a build log (on MSW 1.0) for my Bluenose from Model Expo. This was my very first wooden ship model, and I found tons of help from the forum members. The ship was completed back in 2012, but alas, the build log vanished together with MSW 1.0. So now I am attempting to re-create this log through the tons of pictures I have left. At this point I have forgotten a lot of the build, but I can hopefully remember enough to make this useful for somebody. So, apologies in advance for all inaccuracies!
Starting off with the actual kit from Model Expo:
And some of the source material used during the build:

Thor

Bluenose by ThorBob - Model Shipways - 1:64 Scale
in - Kit build logs for subjects built from 1901 - Present Day
Posted
Time to lay down some paint. I used water-based acrylics which I sprayed on.
Starting off with a thin layer of white as a primer, the first coat will raise the grain of the wood, so a quick light sand is in order to knock down the "fuzz".
I then sprayed another coat of white, then masked off and layed down the red, then finally masked off for the black (while retaining the white stripe). Then at then end I masked off and painted the thin yellow stripe.
First coat of white:
Then all done (no in process shots, unfortunately)
More to come!
Thor