-
Posts
2,403 -
Joined
-
Last visited
Content Type
Profiles
Forums
Gallery
Events
Everything posted by usedtosail
-
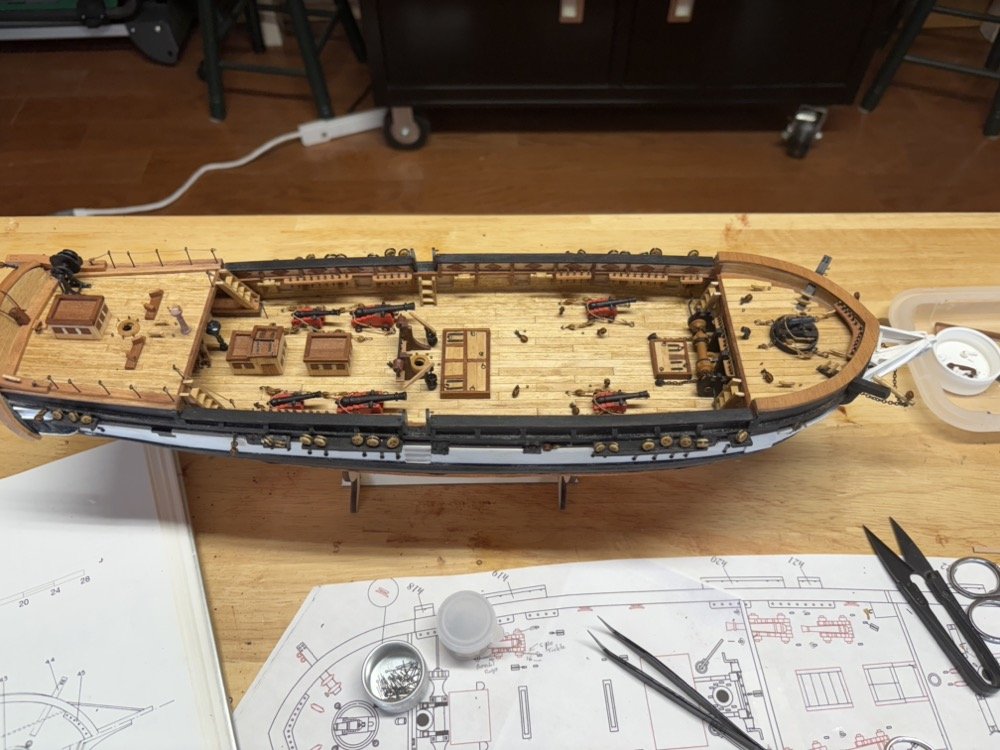
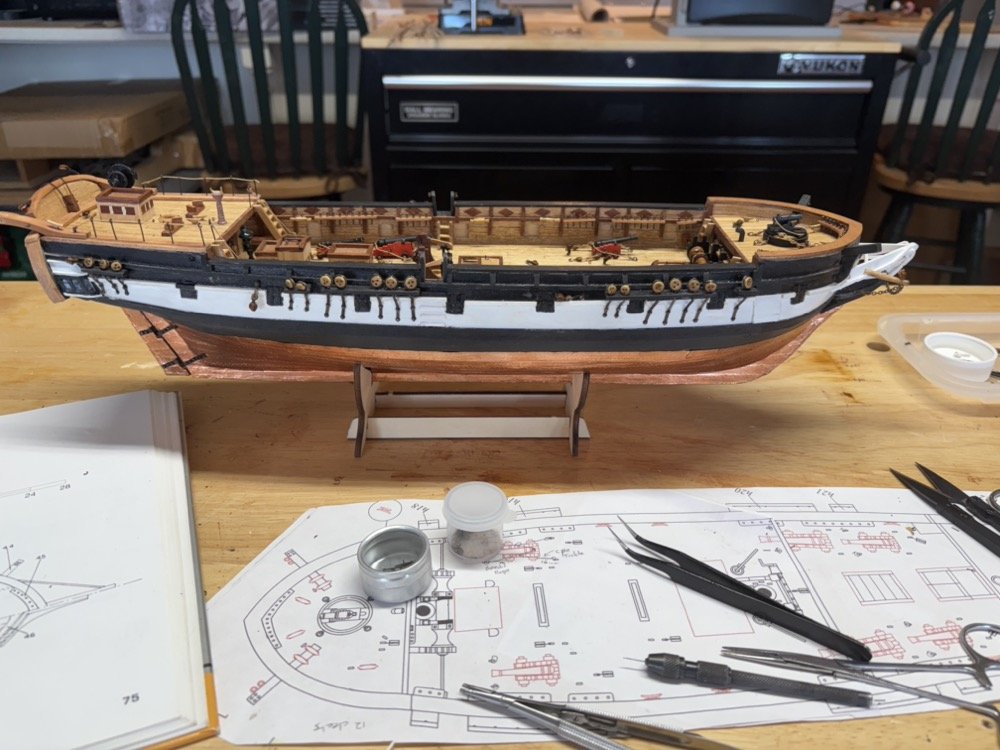
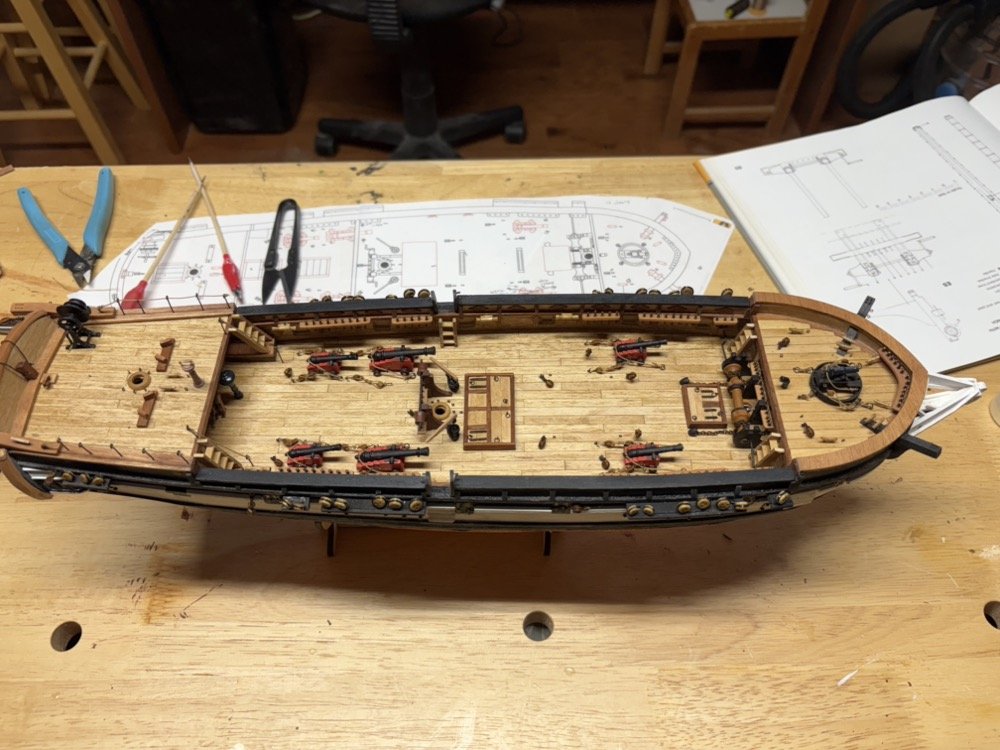
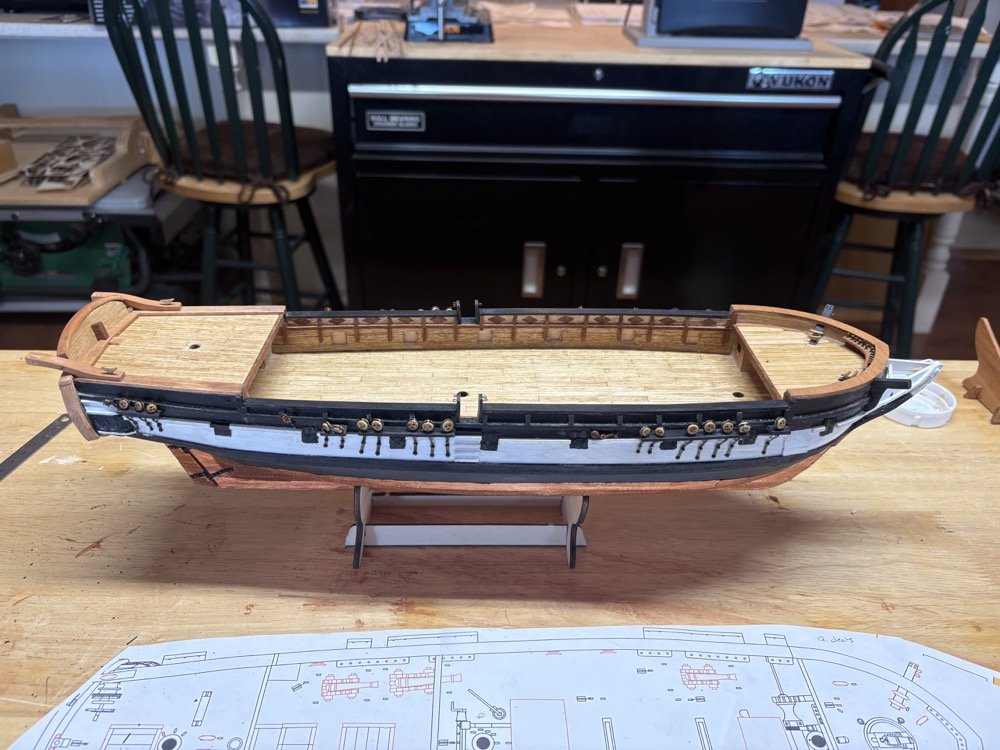
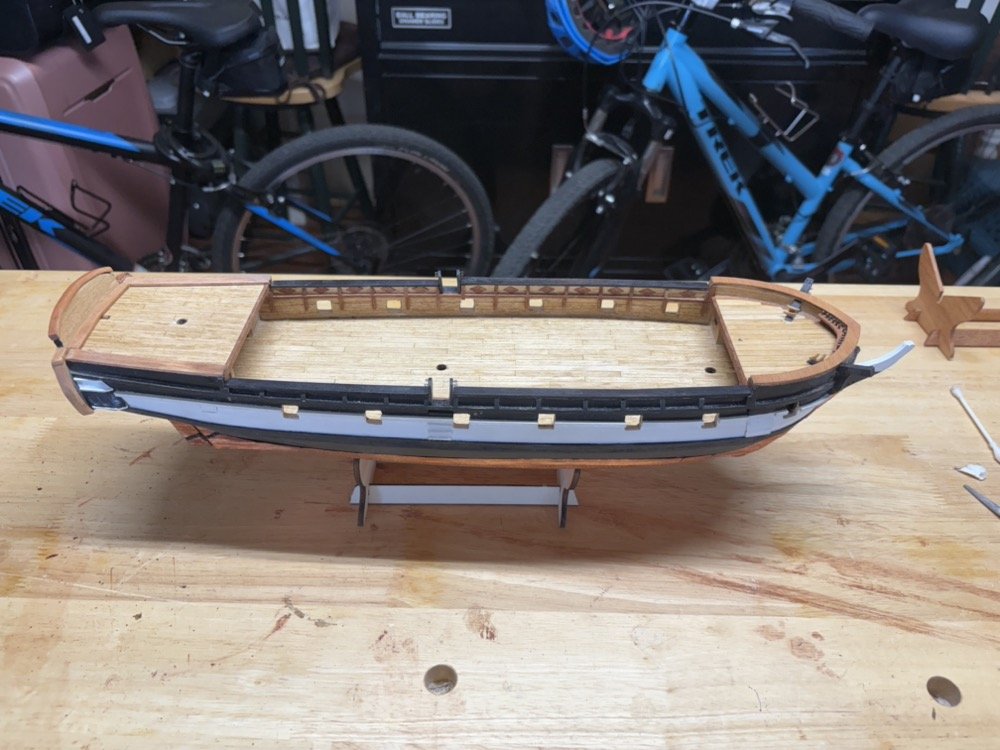
I agree with you Andrew. It looks too crowded. I think that some of these deck components from the kit are over scale. Even more stuff on the deck now. Sky lights and boomkins added. I have the supports for the ships boat and the beam that other boats rest on, but I am waiting to add them until I put the boats on. I am currently planking the ships boat and have put the frame together for the gig. The two other boats will be started soon.
-
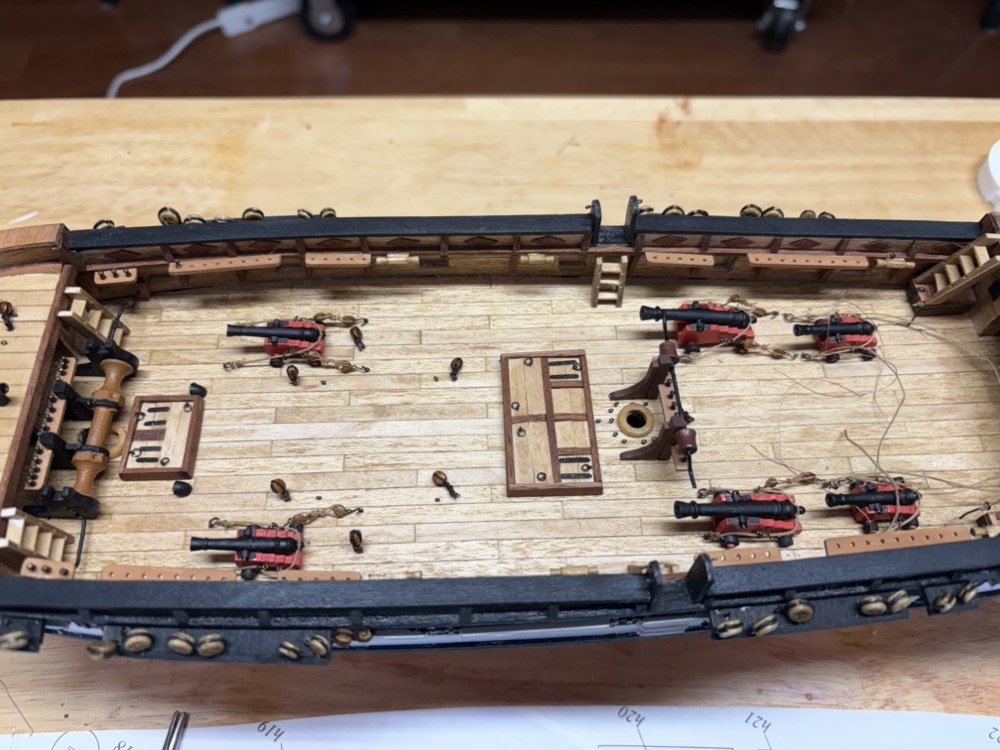
I finished page J of the instructions which included finishing the depth winch and pumps and gluing them to the deck, along with the compass by the ships wheel. I also finished rigging the cannons, added some chain to the windlass, and added all the belaying pins. I have already started on page K of the instructions by gluing the deck house pieces together and starting the planking of them. I have blackened the supplied chain and added the two chains to the rudder.
-
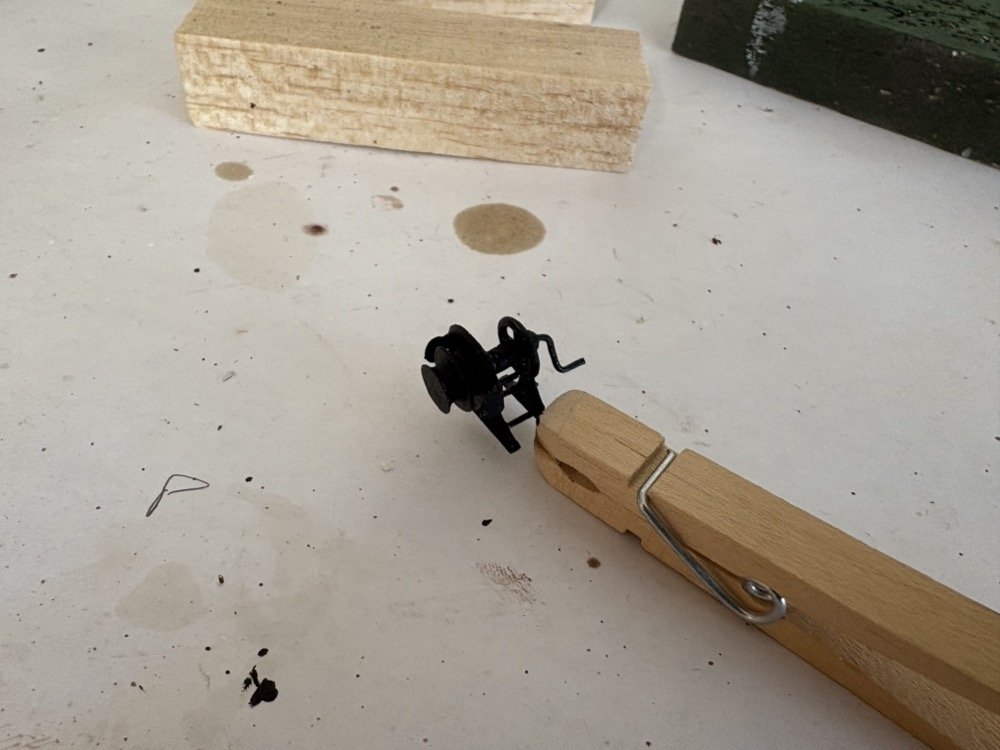
Thank guys for the kind words. I will have to see how the boat turns out and how much it covers, but since it is such an integral part of the mission of this ship I would be reluctant to leave it off. I may even add some whaleboats too but that is some time off yet. Tom, I would not sell my copy of the AOS Beagle, but I would be willing to lend it to you when I am finished with this model and you are ready to start yours. I was away all last week but made some good progress before then and since I've been back. I assembled and rigged all the cannons. I am using the breaching rope and side tackle to hold the guns to the deck. I still have to finish the rigging on the back two smaller cannons. These are very close to the steps leading to the upper deck so I am in the process of making smaller side tackle for them. I also finished the main bitts and the hatches and glued them to the deck, and added all the blocks and eyebolts to the deck. I am finishing up the painting on the depth winch. I had trouble gluing those side brass pieces to the drum until I bent the bottoms of them to a 90 degree angle and glued those bends to the back of the drum. Now they are attached more securely. In the process I ended up loosing one but was able to duplicate it using some thin brass sheet. Next up are the pumps to finish up page J of the instructions.
-
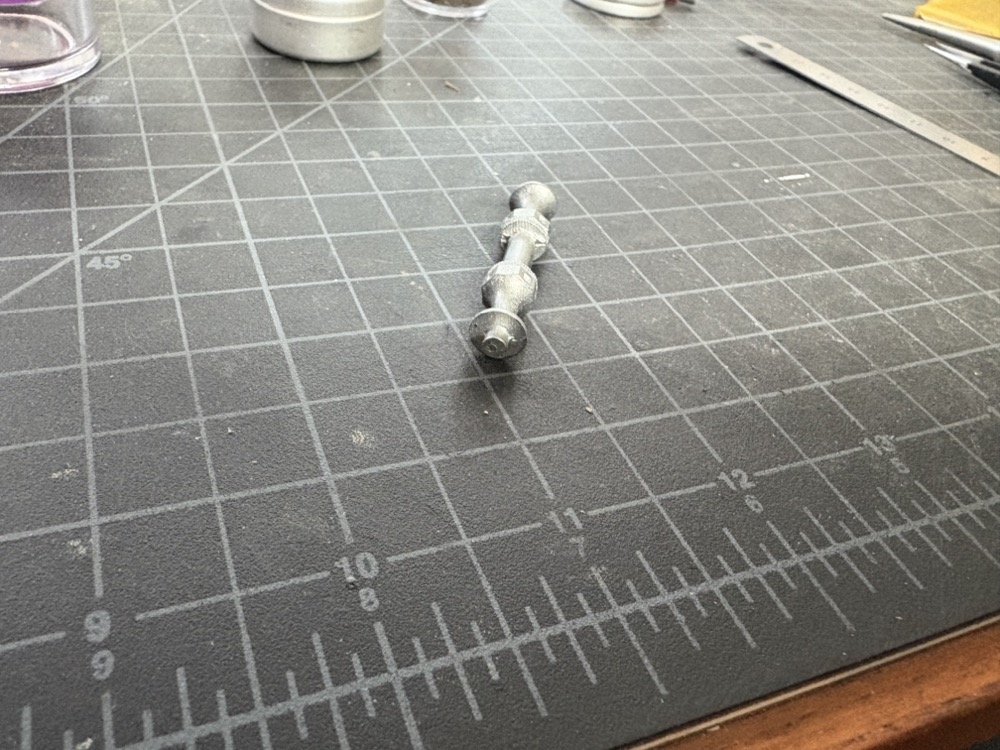
I wanted to add the gun tackles to the fore gun but couldn't figure out where the other end attached to until I saw @brunnels great build log for his Beagle, so I made up two tackles with 1/8" blocks with hooks and hooked them to the ring bolts. I am using Syren blocks (and cleats) for this model instead of the one size blocks and metal cleats supplied. I also glued the pin rail and pawls to the deck using two pins under the uprights. I finally finished the windlass and got that installed. The plans for the two handles are way off so I basically had to remake them. In the process the blackening was coming off so I painted them flat black. I first glued the handles into the ends of the barrel and slid the end blocks onto the other end of the handles, then glued the windlass supports to the deck and the end blocks to the bulwarks. I put a dowel in the fore mast hole to make sure the mast wasn't hitting anything on the deck, since everything is very close around the mast. This completes page I of the instructions so it is on to page J. I first cleaned the flash off all the white metal parts for this stage, cleaned them in acetone, primed them with Binn primer, and painted them with flat black enamel. I also cleaned the char off the wooden gun carriage parts. Instead of using brass rod for the axels, I made some wooden axels from 1/16" basswood strip. After cutting them to length I files the ends round and pushed the wheels on to finish the shaping. I had to file 1/16" notches into the bottoms of the carriage sides, and once the carriage sides and bottom are glued together, I will need to continue the 1/16" groove across the carriage bottoms to fit the axels. I plan to paint the carriages with bulwarks red paint when they are all glued together.
-
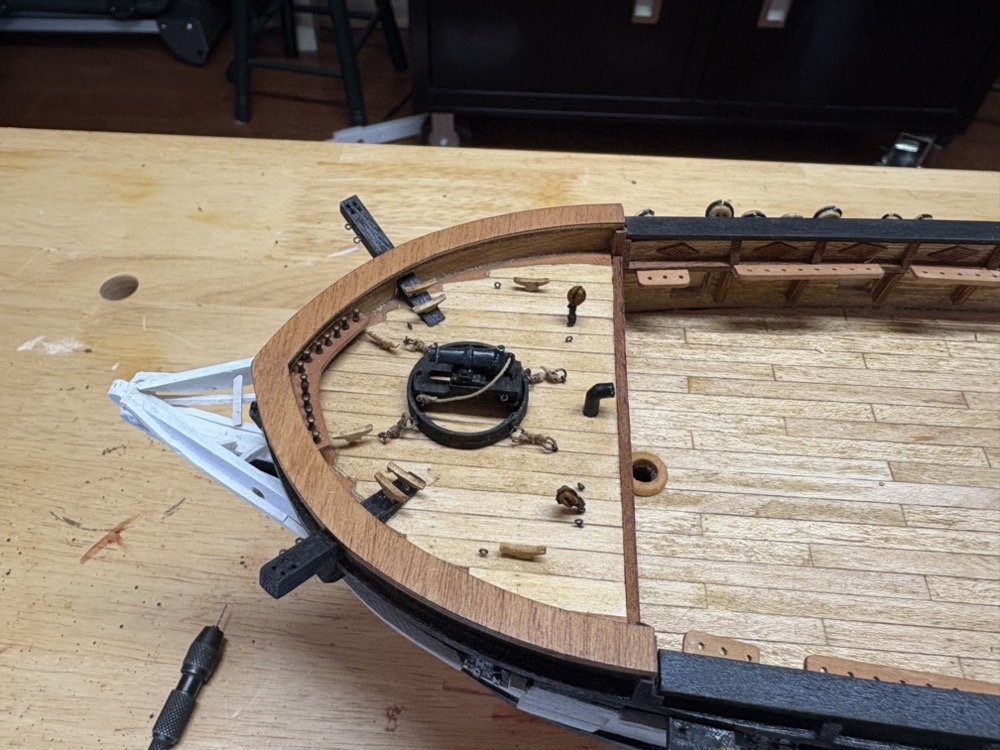
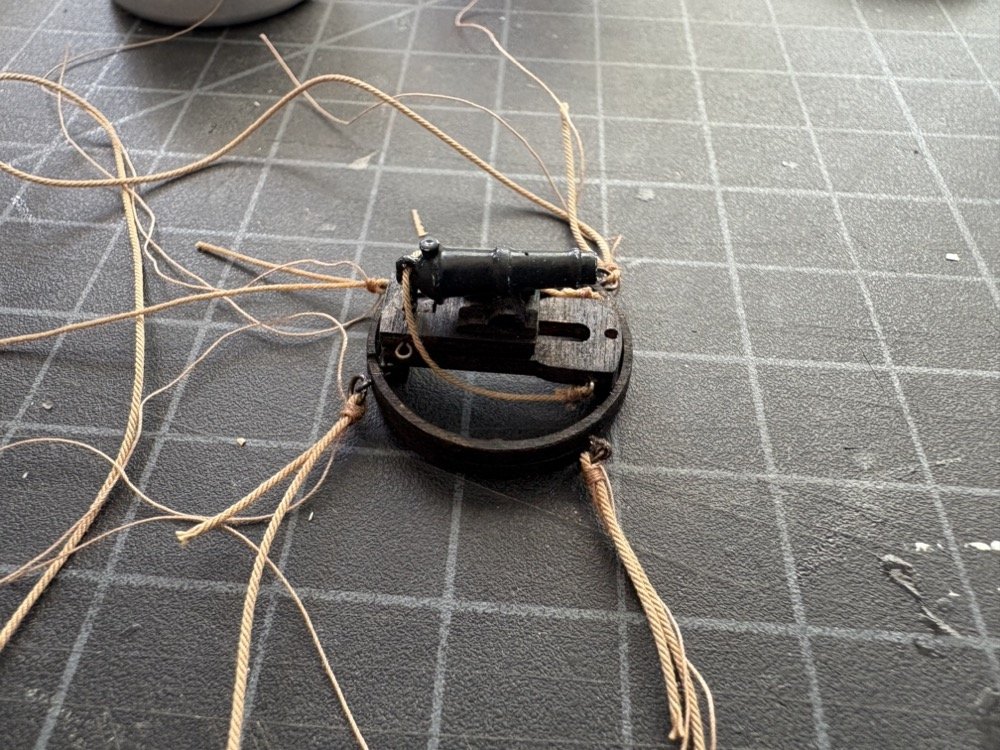
I have been working on the gun for the fore deck using mostly the kit supplied pieces. I am using smaller eyebolts with the kit supplied rings to make the ringbolts that hold the gun down. I added a short length of a brass screw under the back of the gun for the elevation screw instead of the eyebolt the instructions called for. Here is the gun with four lengths of line seized to the ringbolts. These will be tied to four ringbolts in the deck when the gun is installed. I have also started building the windlass, again using mostly the kit supplied pieces. One change I made is that the instructions show a loop at the barrel ends of the handles that go around a nub that sticks out of the ends of the barrel. I instead filed off the nubs and drilled holes in the ends of the barrel so I can leave the ends of the handles straight and glue them into the holes. I am now priming and painting the barrel and assembling the upright support pieces for the windlass.
-
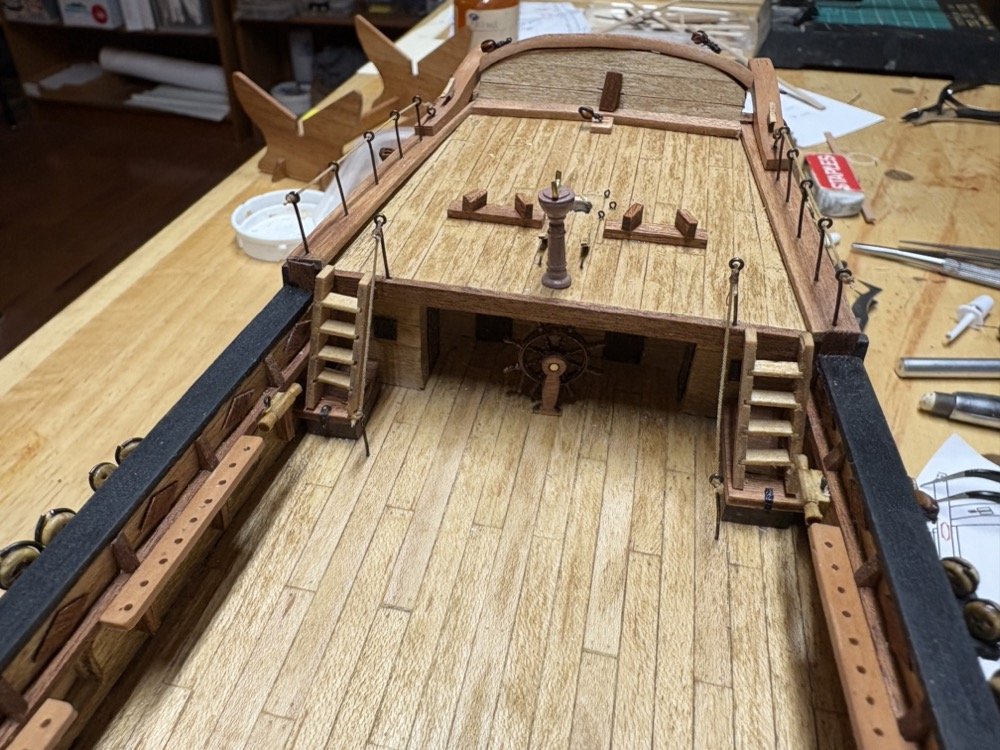
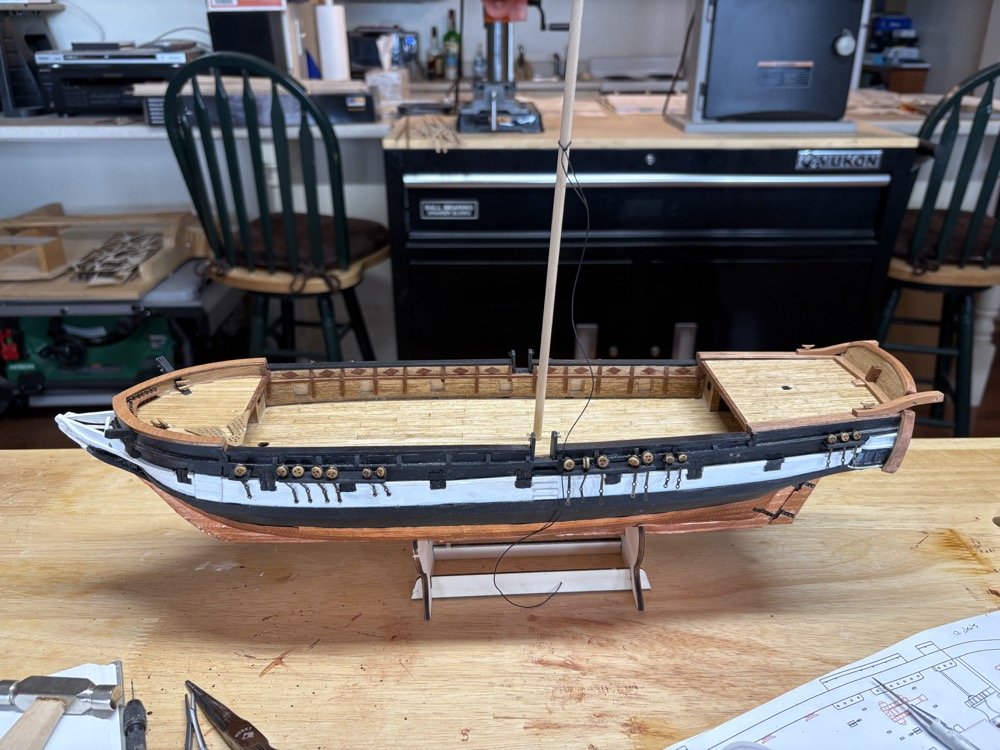
Thank you Gregg. I am glad you are finding my Connie log useful. Your model is looking great. Here are some shots of my current progress. All six ladders are installed as well as all the pin rails on the bulwarks. A lot or work as been done on the poop deck, including the azimuth compass, some blocks, whale boat supports, cleats, eye bolts, and the rope railings. For supports I used larger eyebolts that I had which are still not as big as the supplied eyebolts, which look way out of scale to me. If you look closely you can just see the ships wheel under the poop deck. Thanks for looking in.
-

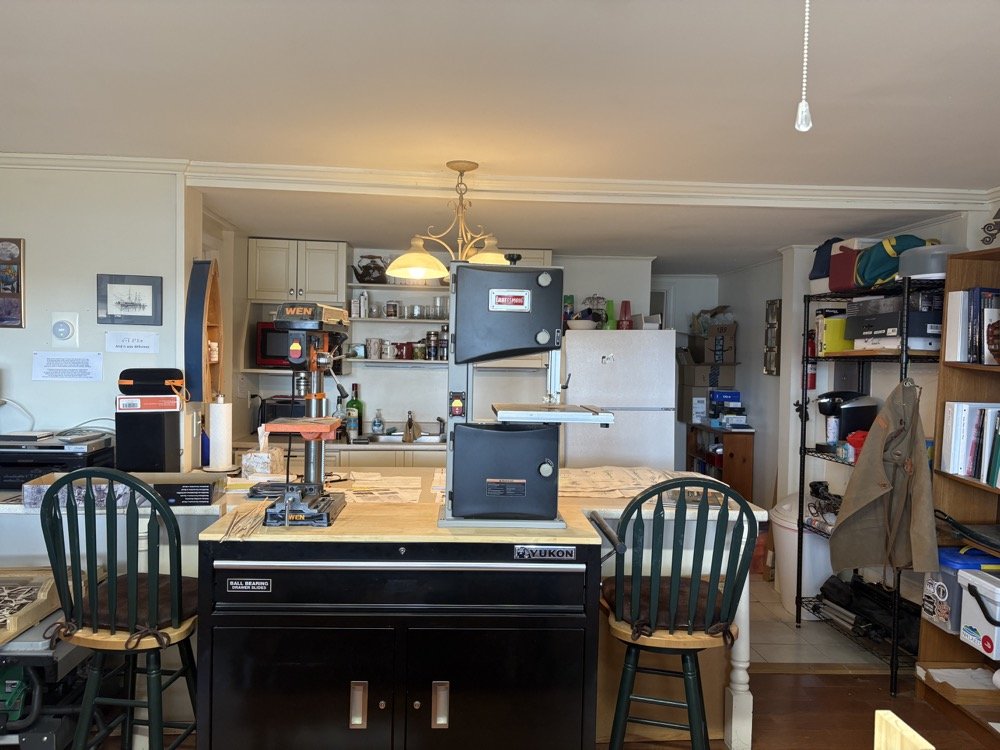
Work area pictures only
usedtosail replied to Johnny Mike's topic in Modeling tools and Workshop Equipment
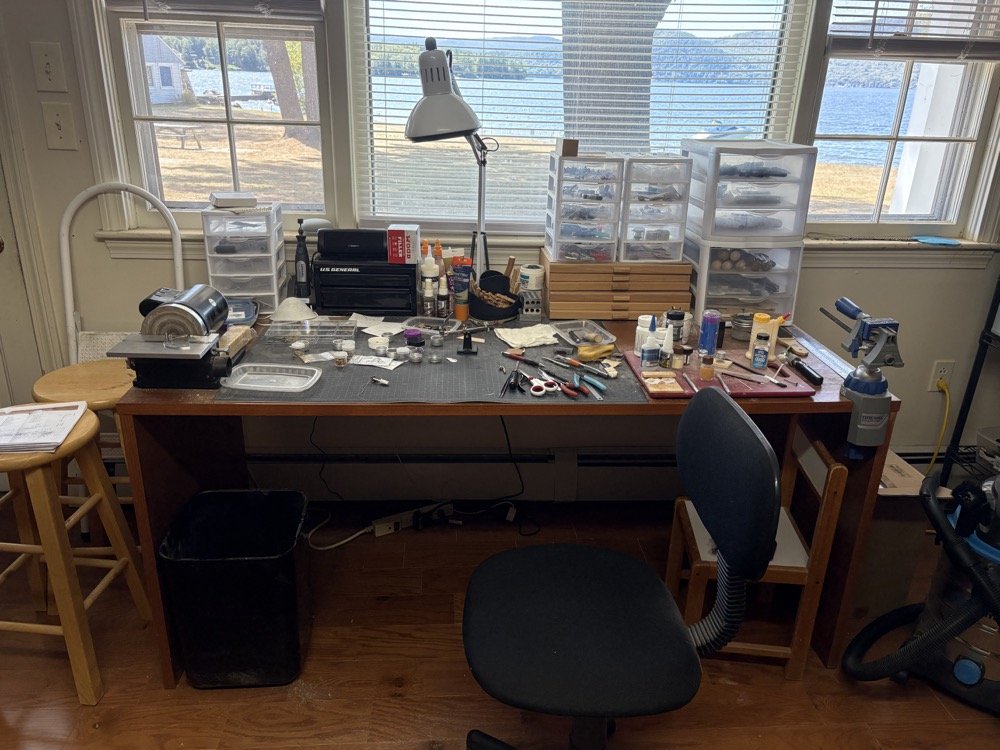
I was lucky when we moved up to New Hampshire that the condo unit we bought had a rental unit that we are not renting out anymore. My wife said I should use the kitchen and living room for my shop which I jumped at the suggestion. My main work bench (with a lovely view) The rest... -
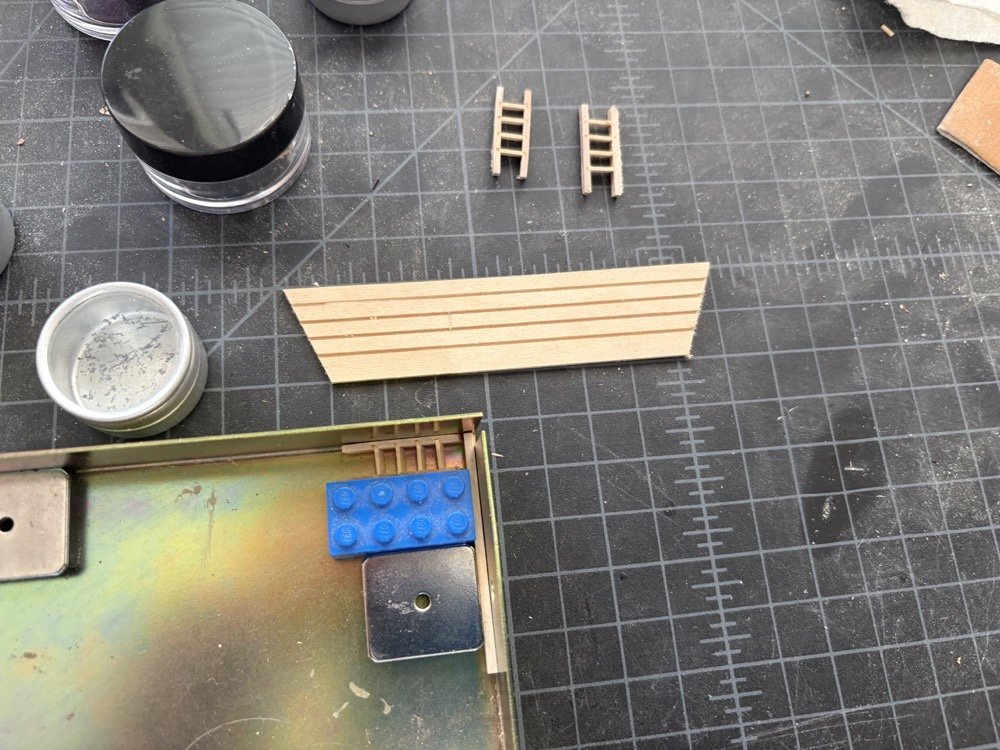
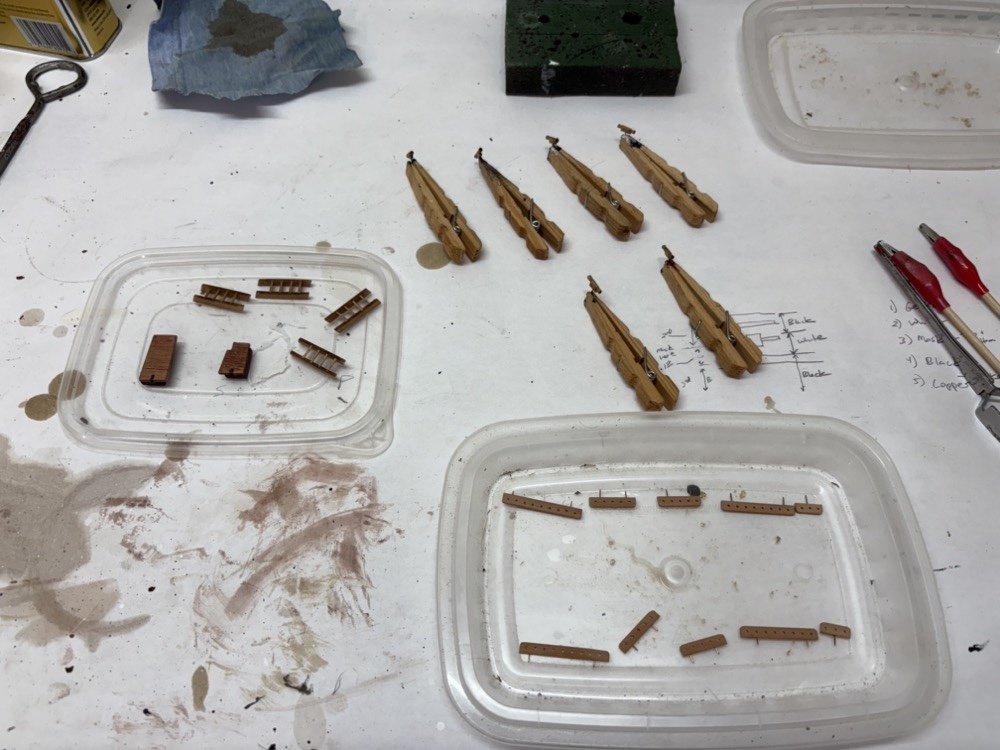
I made the flag lockers from the supplied pieces and added the hardware. The next step was to make the four ladders that are used to get to the upper fore and aft decks. The kit supplies pieces of photo etched brass for these ladders but I wanted to make them from wood instead. I cut four equally spaced slots in a piece of sheet wood on the Byrnes saw, then sliced off angled pieces from each side to make matching sets of ladder sides. The slots were just thick enough for a 1/32" piece of basswood strip to fit in, so I cut four rungs for each ladder, then used a magnetic jig to hold the sides while I slipped the rungs, with glue on the ends, into the slots. When the glue dried I sanded and stained the ladders. I also made all the pin rails that go along the inside bulwarks, using a strip of pear wood. I drilled the equally spaced holes using the sensitive drilling attachment on a Sherline lathe with the milling attachment. I also made kevels from boxwood using the lathe with a bit of wood so they stand away from the sides. Here are all those pieces waiting for a coat of wipe on poly.
-
Thanks DAR. Yes it is a good task you can do away from the workbench. I used the laser cut channels that came with the kit, but I did have to file out the notches for the deadeye strops. I also added wire pins to the back of them to provide additional gluing strength. I thought I needed to add the deadeyes before gluing the covering boards over them but this proved too difficult to hold everything together while getting the covering boards straight. I found that I could slip the deadeyes into the channels after the covering boards were glued on by elongating the small loops slightly. After adding the deadeyes I drilled holes for the pins in the hull and glued the channels on. I then added the chain plates to the deadeyes by hooking the upper ends through the small loops on the strops. I bent the chain plates to sit flat on the hull and used a dowel and some string at the heights of the various shrouds to set the angles of them The lower nails were below the deck level so I could cut them long enough to handle easily, but the upper nails were above deck level so I had to cut them very short which made them hard to handle. I ended up drilling a good size hole so I could slip them in more easily but I had to glue them into the holes. I also added the three small chain plates on each side with the double blocks for the topgallant and mizzen topmast backstays. I ended up remaking the aft davits again as the ones supplied with the kit that I used as a template were too short, so I made the new ones that are a little longer. That completes page H of the instructions, with the aft davits and cleats added, the head area completed, and the channels and deadeyes. The next page I adds much of the deck furniture.
-
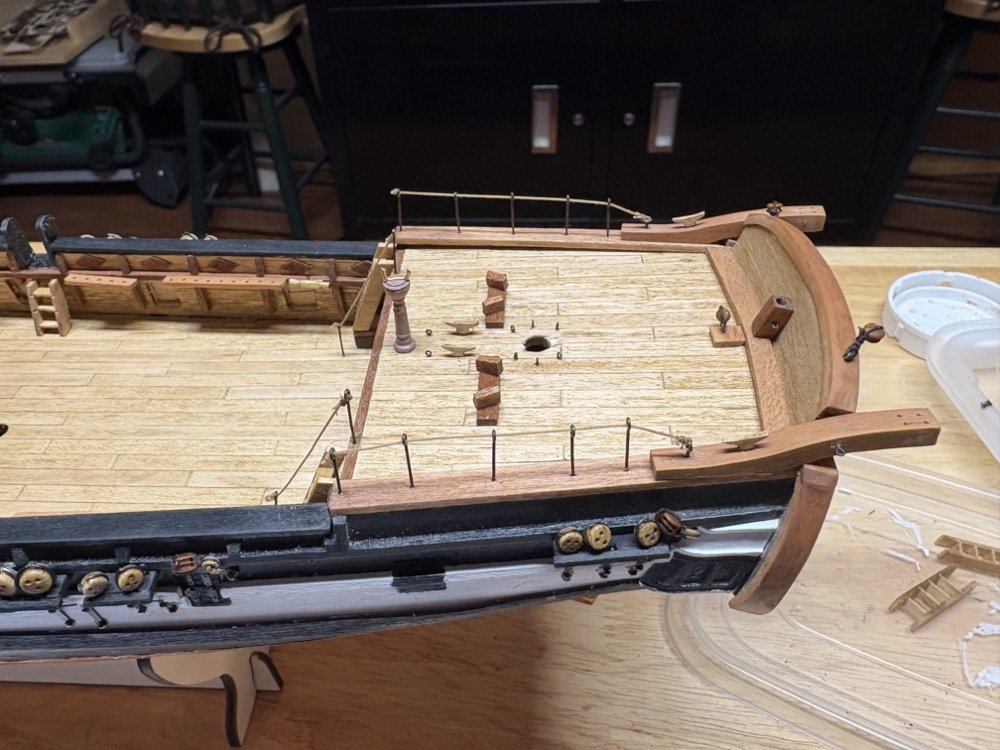
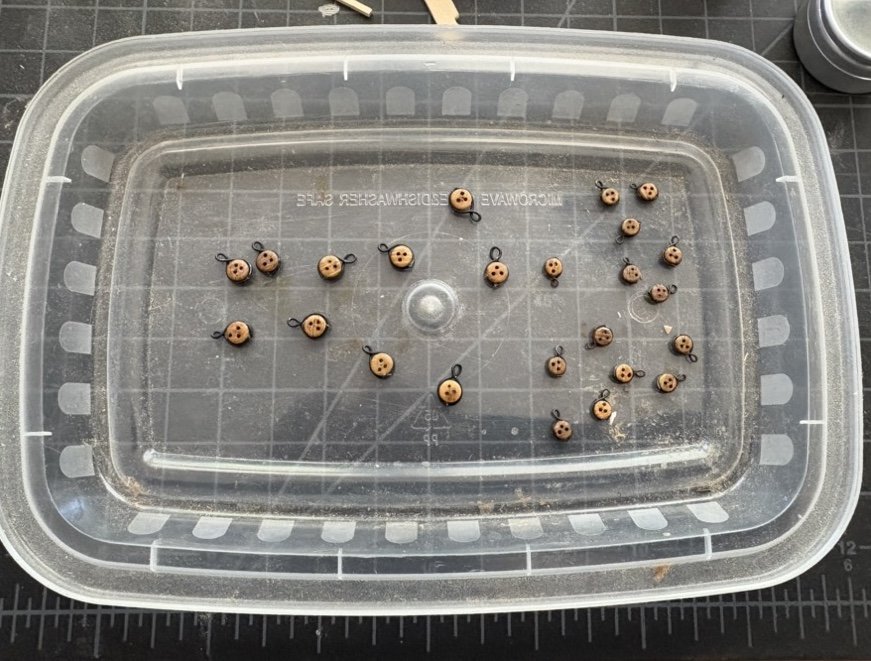
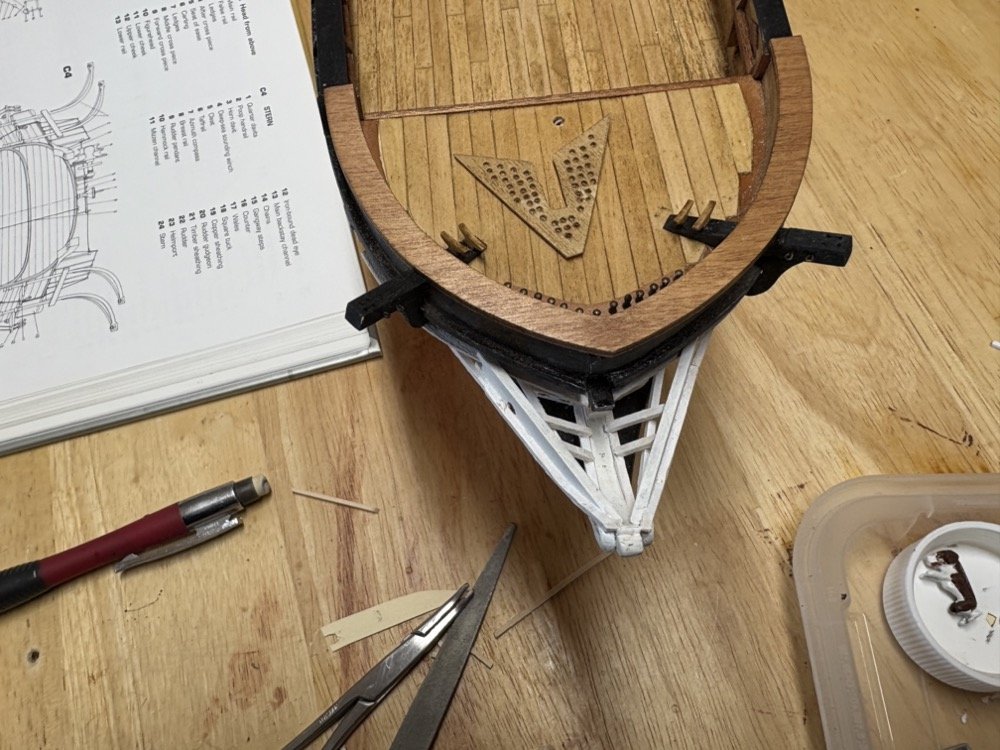
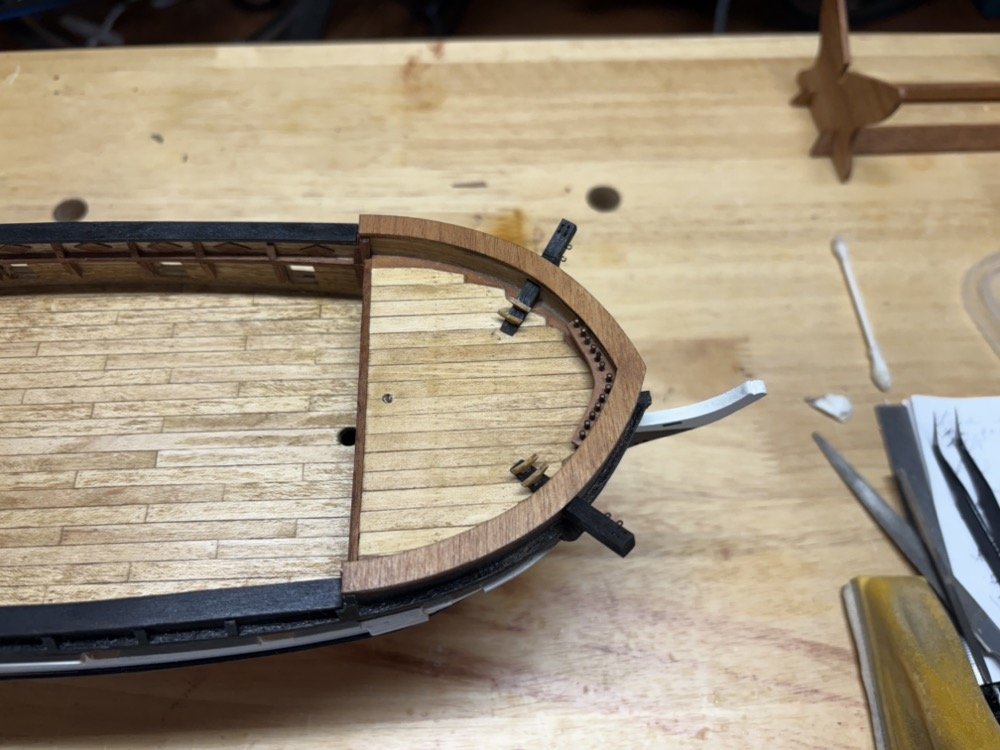
I added the rest of the rails to the head area and made a grating to fit over them. I will wait until I add the bowsprit gammoning to glue the grate in place. You can see it sitting on the fore deck in the first photo. I first made a template from manila folder material, then cut out the shape from some 1/16" birch plywood. Once that fit nicely I drilled holes and squared them off using reamers. I still need to do some clean up of the white paint on the rails. I have also cut out and painted the channels and the covering strips for them. I added pins to the backs of the channels provide more hold to the hull. I stropped all the large and small deadeyes to go into the channels. I made the strops with 22 gauge black steel wire for the large deadeyes and 24 gauge copper wire, that I was able to blacken with Birchwood-Casey, for the smaller deadeyes. I glued the deadeyes into the strops with thin CA. I am using the large deadeyes for the shrouds and the smaller ones for the backstays, again as shown in the AOS Beagle book. Next up is the add the deadeyes to the channels, add the covering strips, then glue the channels to the hull. I am stropping four double blocks with thimbles that are hooked to the hull for the topgallant backstays, which I will also add with the channels.
-
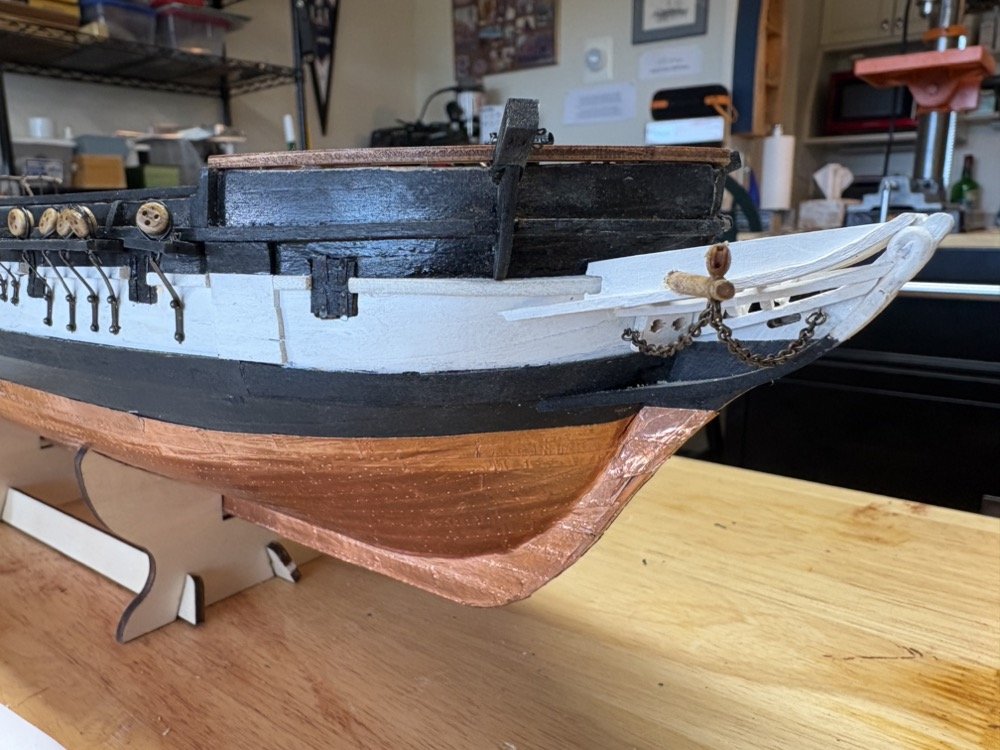
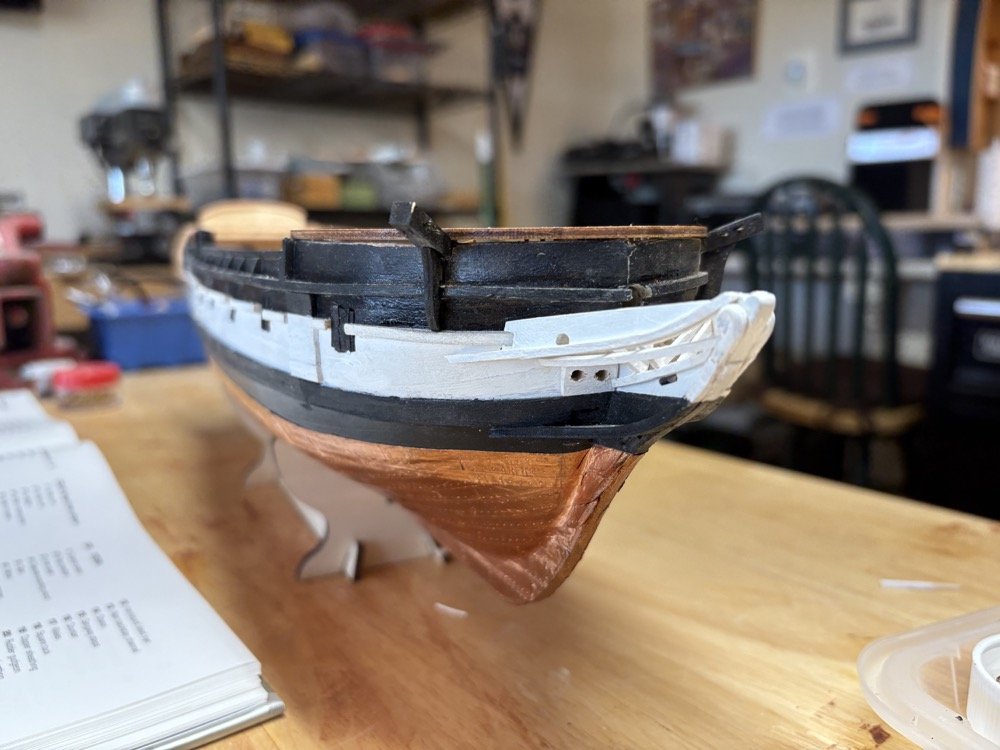
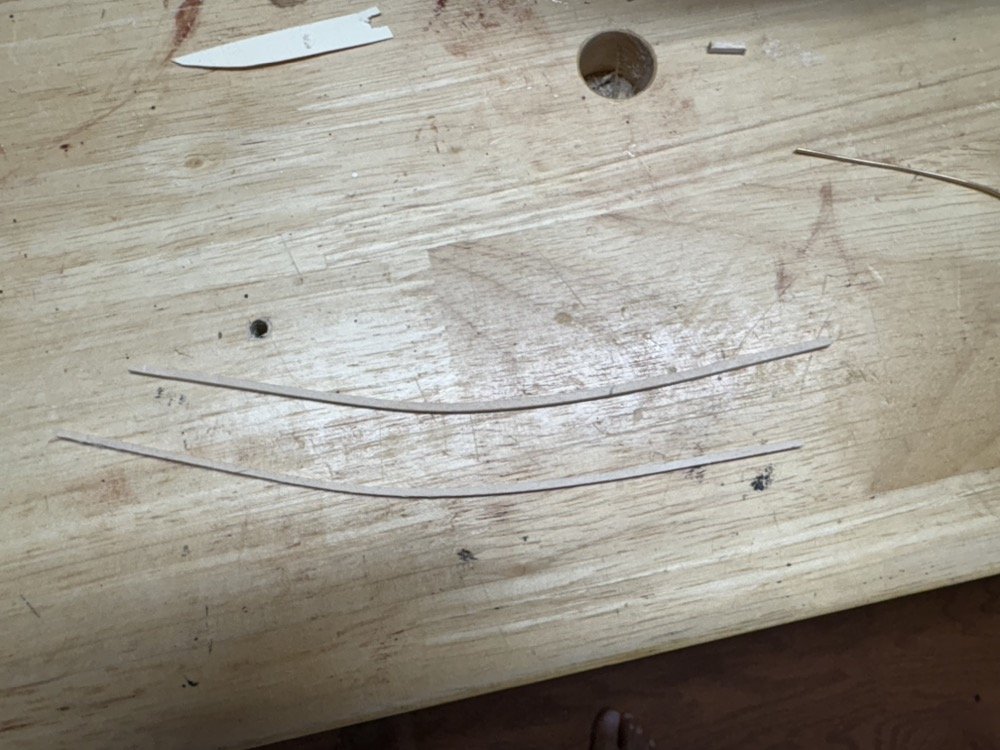
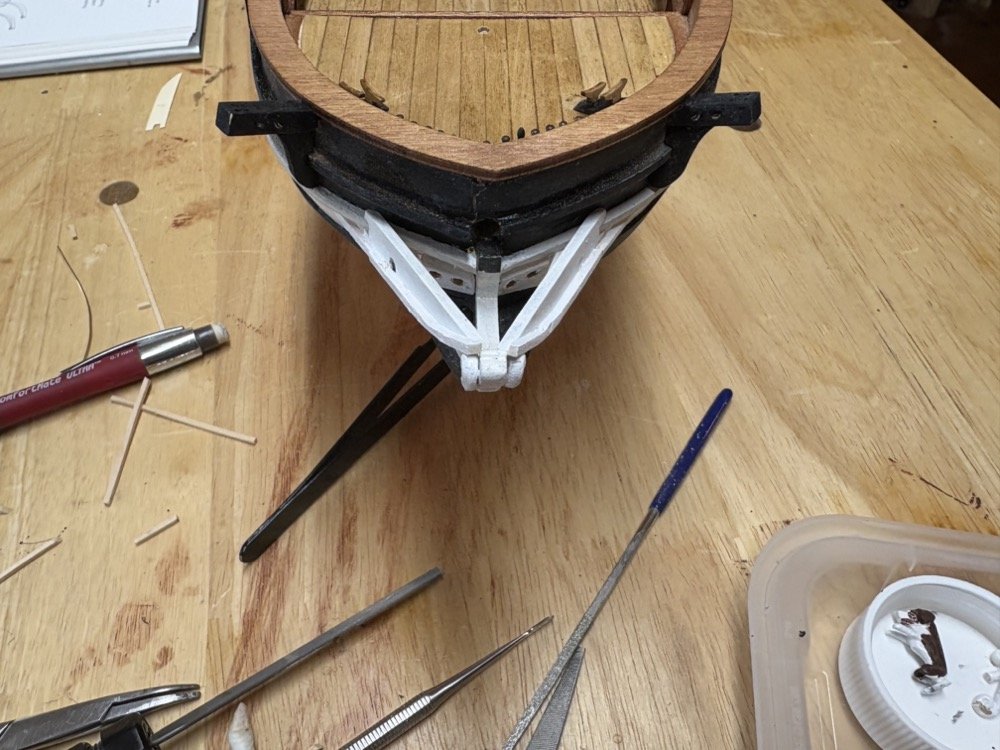
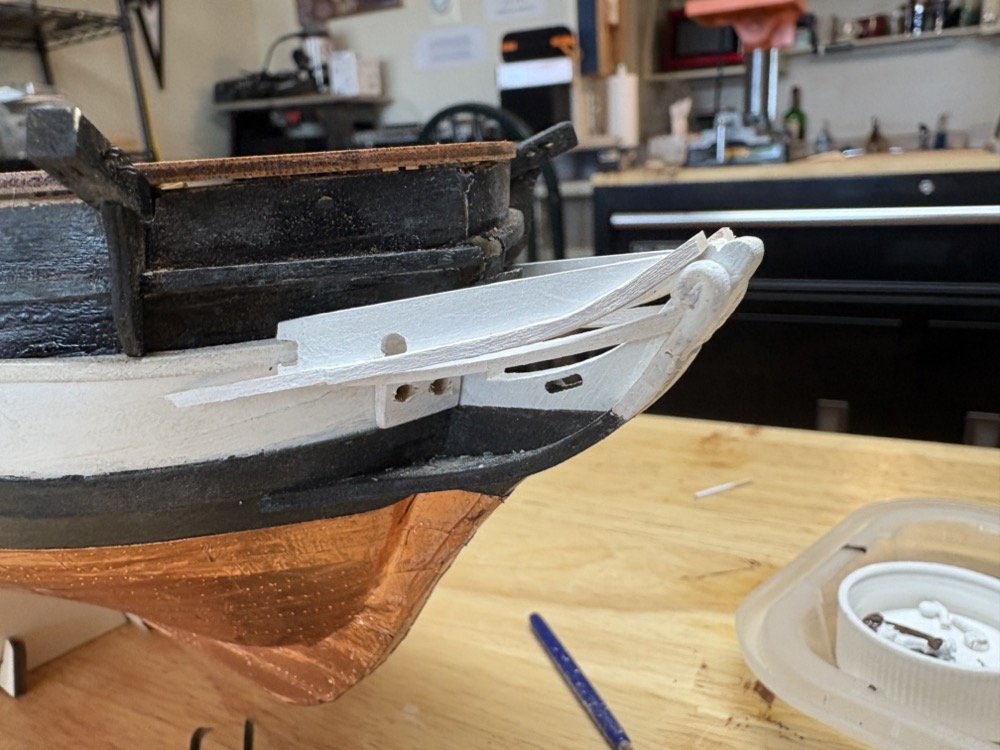
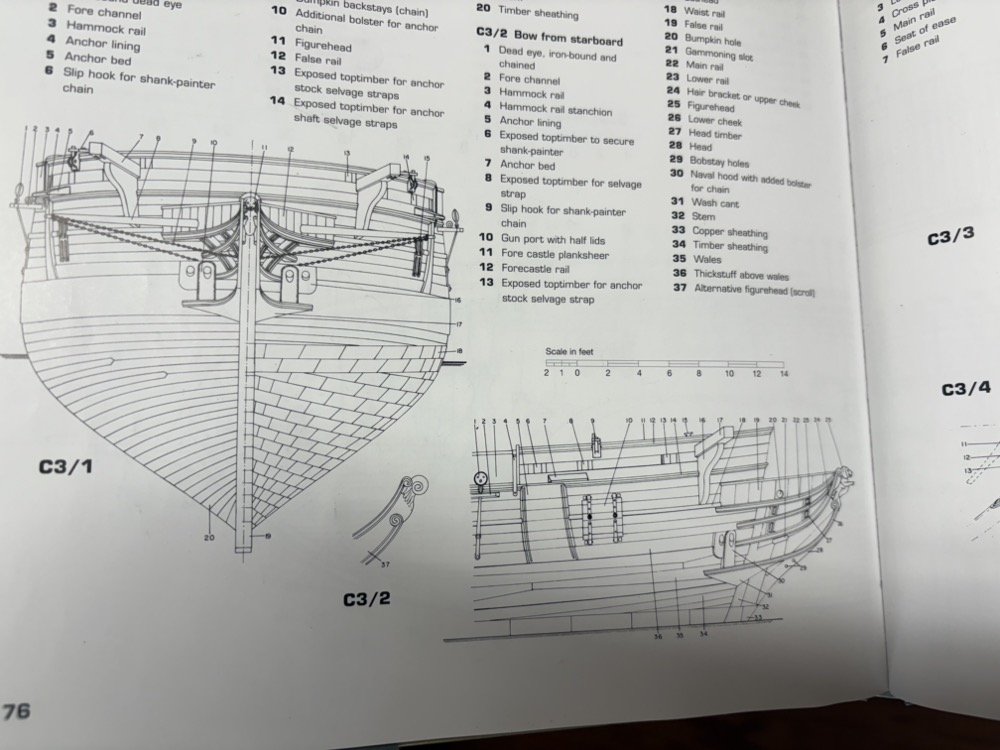
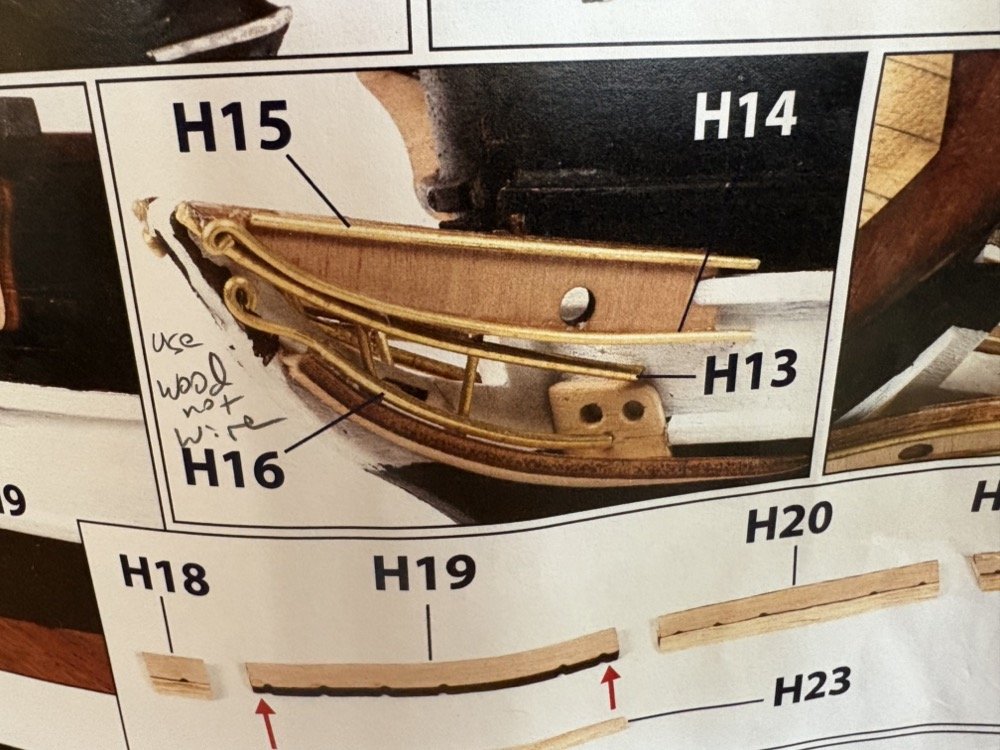
Thanks Tony and for the likes too. As I did on the transom, I am using wood strips instead of brass rod for the head rails and trim. For the head rails I am using 1/16" square basswood strips which I have bent using the same jig I used to bend the hull planks. Here is how OcCre shows to make the head rails in the instructions. In my case I am trying to emulate the head rail setup shown in the AOS Beagle book. I was able to use the upper and lower rails supplied with the kit, but I added wood trim to the upper rails. I also have a thin strip of wood painted black to add to the tops of them. For the lower rails I made two scrolls from Sculpey and extended the lower rails to meet them on each side. The middle rails will connect to these extensions. Here I have attached the upper middle rail. I am still working on the lower middle rail pieces. The trim on the upper rail extends a bit higher so it will be flush with the wood strips that I haven't added yet. I am waiting to add those until I fit a grate that I am making for the head area. I will probably wait to add that until I add the gammoning on the bow sprit to make that job a little easier.
-
I made the aft davits but am waiting to install them so I don't snag them on anything. Then I added the gun port lids. I first made them according to the instructions, using supplied plugs that I planked on both sides. I started installing them but did not like the way they fit and looked on the outside or inside. So I then made them from two planks of basswood each and glued them into the openings horizontally. I then added the hinges and painted them black. The final step was to touch up the white paint around them. You may notice that I repainted the fake gun port so it was all black, to match the real gun ports. This is the paint scheme shown in the AOS Beagle book. I am now focusing on adding the details to the bow and stem. I started with the hawse holes which I made from two pieces of basswood each and painted white. I used a large sanding drum by hand to sand in the curve of the hull on the back. I will drill out these holes in the hull when the glue dries. I am now working on the head rails and will have photos after I make more progress.
-
I have completed Section G of the instructions. This included the cat heads, rails, taffrail, transom decorations, and rudder. I had made a taffrail by bending a piece of basswood but I didn't like the fit so I cut one out of a block of pear which fit much better. The next section includes the aft davits, closed gun port lids, channels, and chain plates.
-
Well I was so happy with the cat heads but they are not correct. I used the laser cut pieces for the aft davits which looked like cat heads to me. I was able to take them off without damaging the deck or the bulwarks. I made the correct cat heads from the supplied square stock. They fit better than the davit pieces but I still needed to notch the bottoms to get them to sit flat to the deck, just not as much. I drilled holes for the sieves but this time I drill them at an angle so when the cat head is installed the holes will be vertical. They are pained black on the left in the photo below. I made the new aft davits using the cut out in the laser sheet from the old ones. There was enough excess wood on the sheet to make both of them. I again cut them out to a rough outline then sanded them with a sanding drum and disc sander. These will be left natural so I gave them a coat of wipe on poly after drilling the holes for the sieves. They are on the right in the photo. You can also see some of the rail and trim pieces after I stained them and gave them 2 coats of wipe on poly.
-
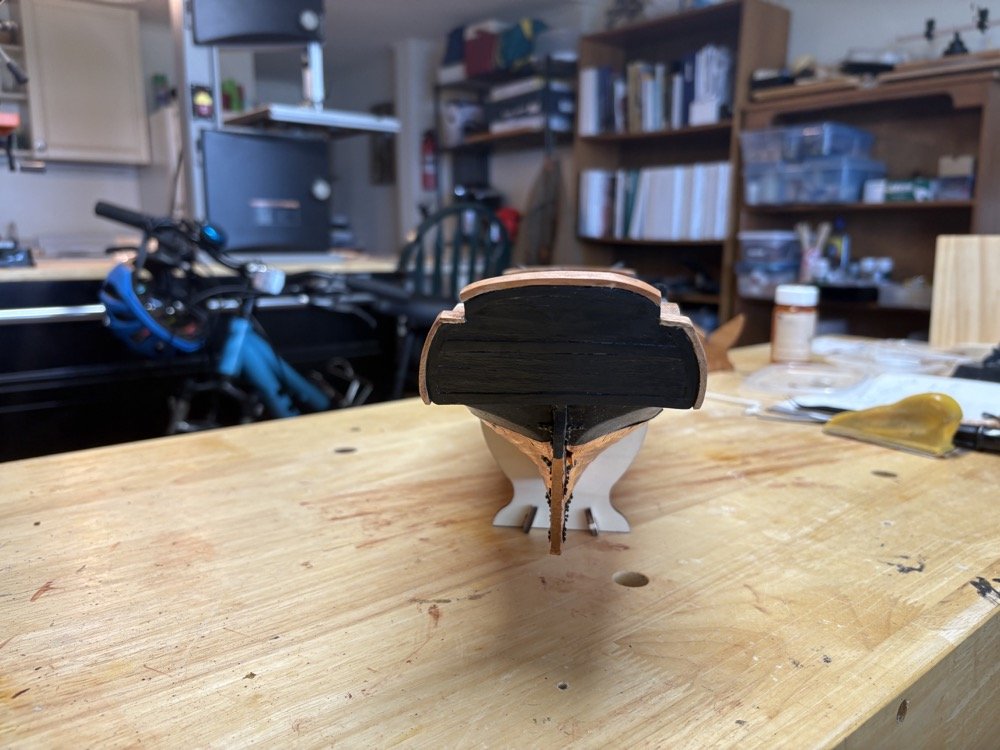
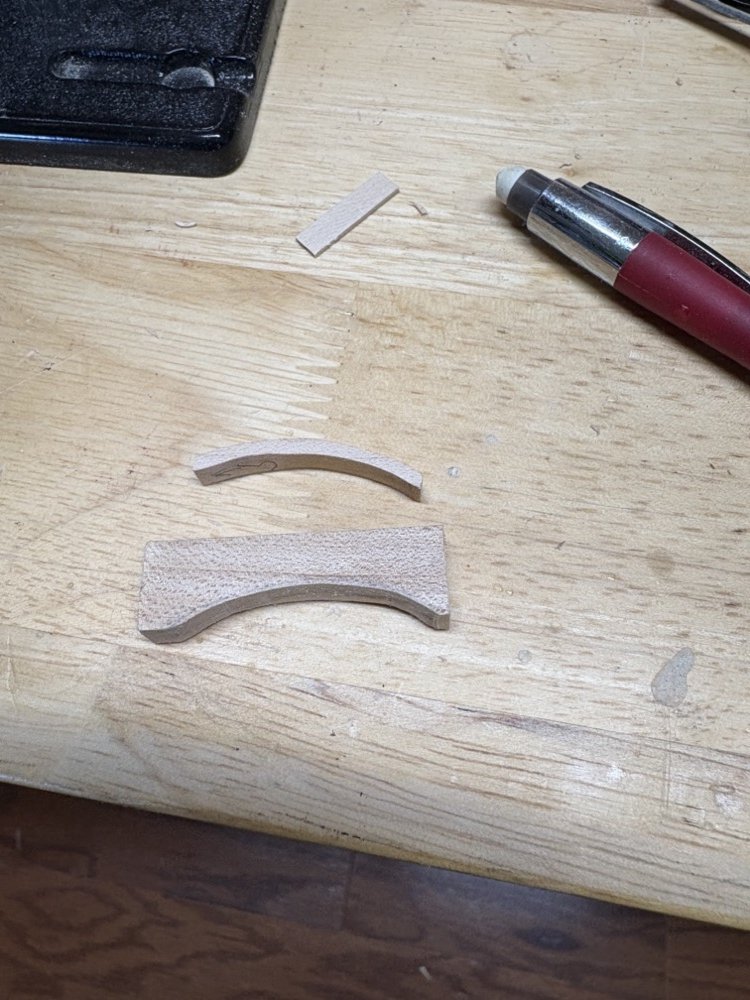
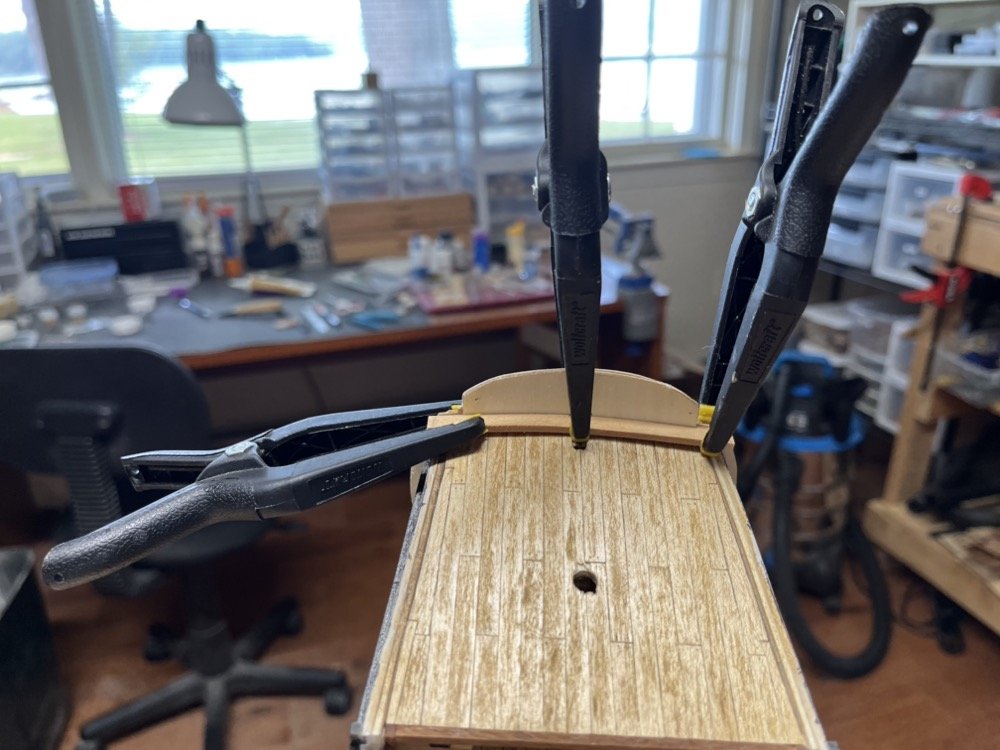
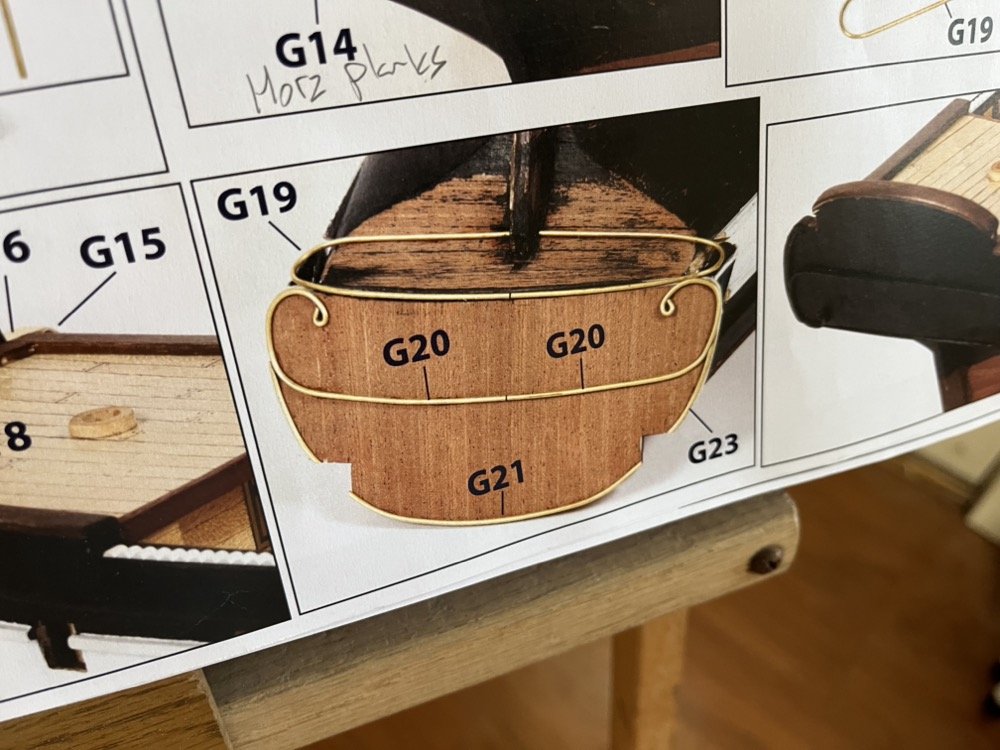
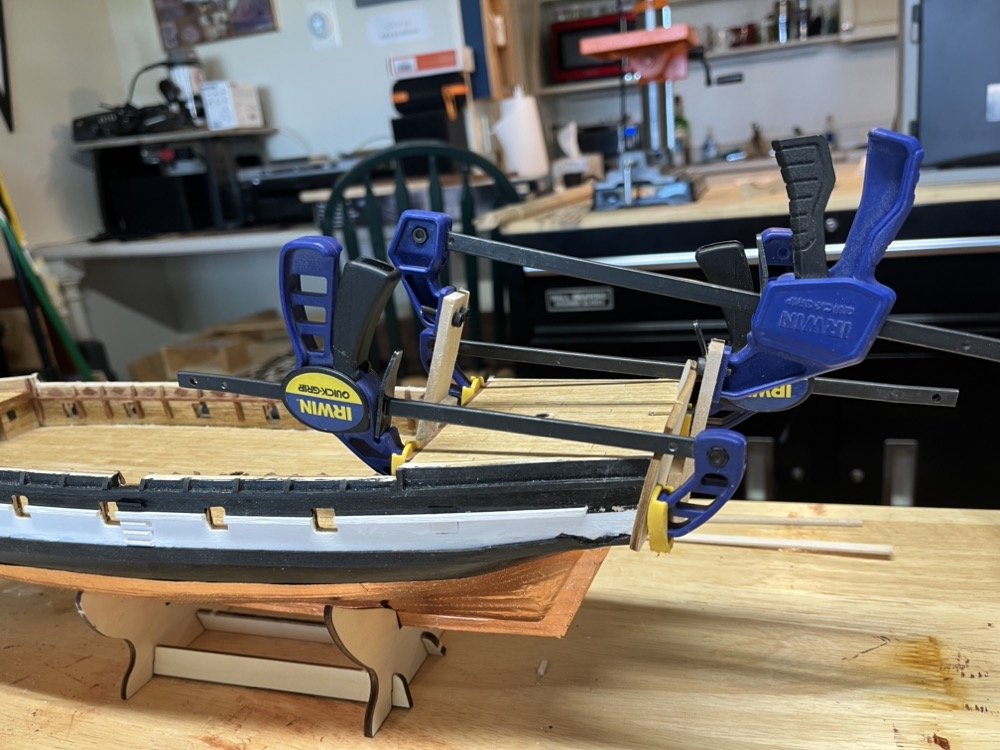
Time for an update. Even with the record heat we had been having I managed to get some time in the shop this week and last. First, as promised here is a photo of the cat heads. I haven't touched up the black paint on them yet, but you can see how much I had to notch them so the bow rail lays flat on them. The instructions show using brass rod to make the decorations for the transom and planking it vertically. I did not like the look of that, so I made wood trim pieces for the transom and planked it horizontally as it shows in the AOS Beagle. I did leave off the curly Q's though and the trim on the counter. My trim pieces may be a little too wide but I can live with that. This will all be painted black. I then sanded the planks down and glued the fake quarter galleries to the hull. On the other side of the transom piece instead of just painting the plywood black as the instructions show, I planked it as well. I will stain these planks to match the inner bulwark planks. I slightly edge bent planks for the rails at the top of the bulwarks and the aft deck. These will also be stained. The kit supplies a laser cut piece that goes on the inside of the transom piece at the deck and the fit was OK but not curved enough. I soaked and bent a piece of basswood and clamped it to the inside of the transom piece at the deck to use instead. This gave me a much better fit. Finally I have been working on the taffrail and outer trim pieces for the transom. For these I used the cut out from the laser sheet that held the transom piece and made two pieces of hardwood with the top curve and the side curve. I used the top curve piece to bend the taffrail (on the right), which came out very well. I tried doing that for the side pieces (left) but I could not get them to bend enough without kinking. So I decided to cut the side pieces from a block of boxwood. I first rough cut the inside curve with a band saw then sanded it using a sanding drum in my drill press, until I had a good fit on the transom piece. I then rough cut the outside curve with the band saw and used a disk sander to get it to the same thickness as the taffrail. Once I had one side piece made I used it as a template for the other side piece. These came out much better than the bent pieces. These and the taffrail will also be stained before I glue them on.
-
Thank you Jo, Keith, and g8rfan, and for the likes. I will definitely follow along with your Connie build g8rfan. Keith - looking in the AOS Beagle book, the ship did not always have that carronade in the front so I think you would be good either way. To me it is a big feature for the version of the ship that carried Charles Darwin so I will be including it.
-
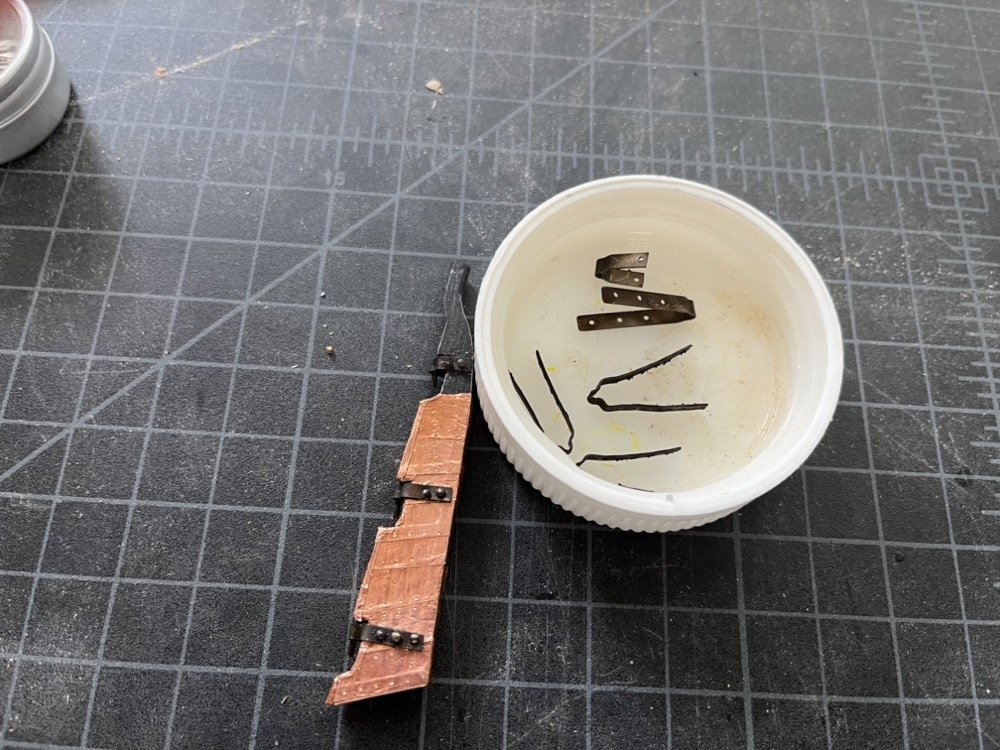
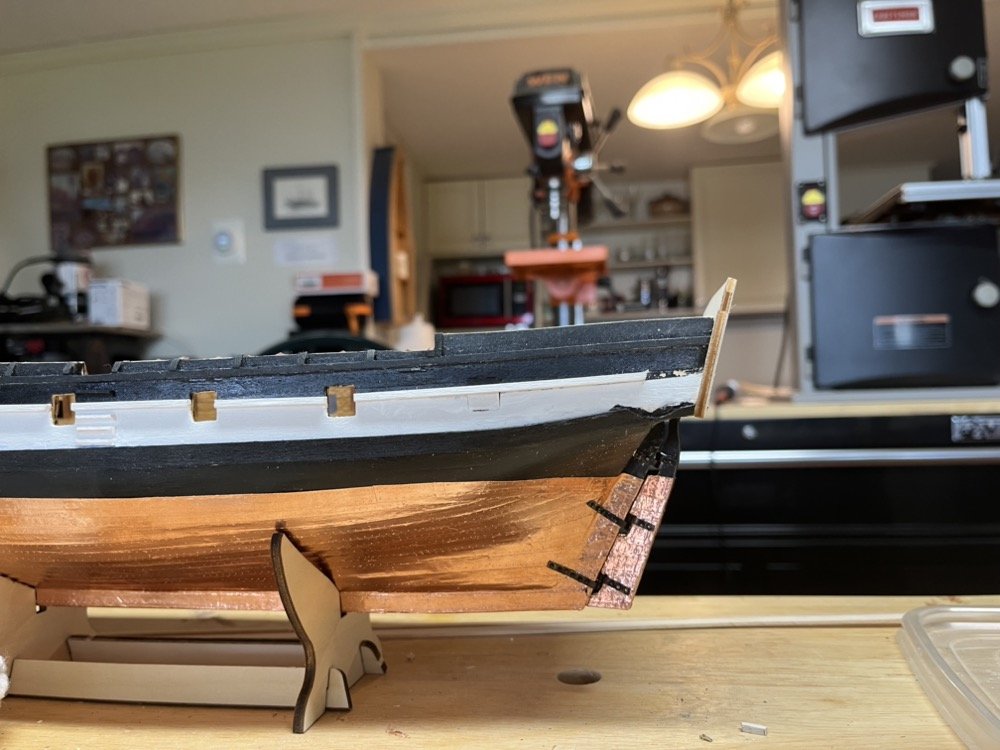
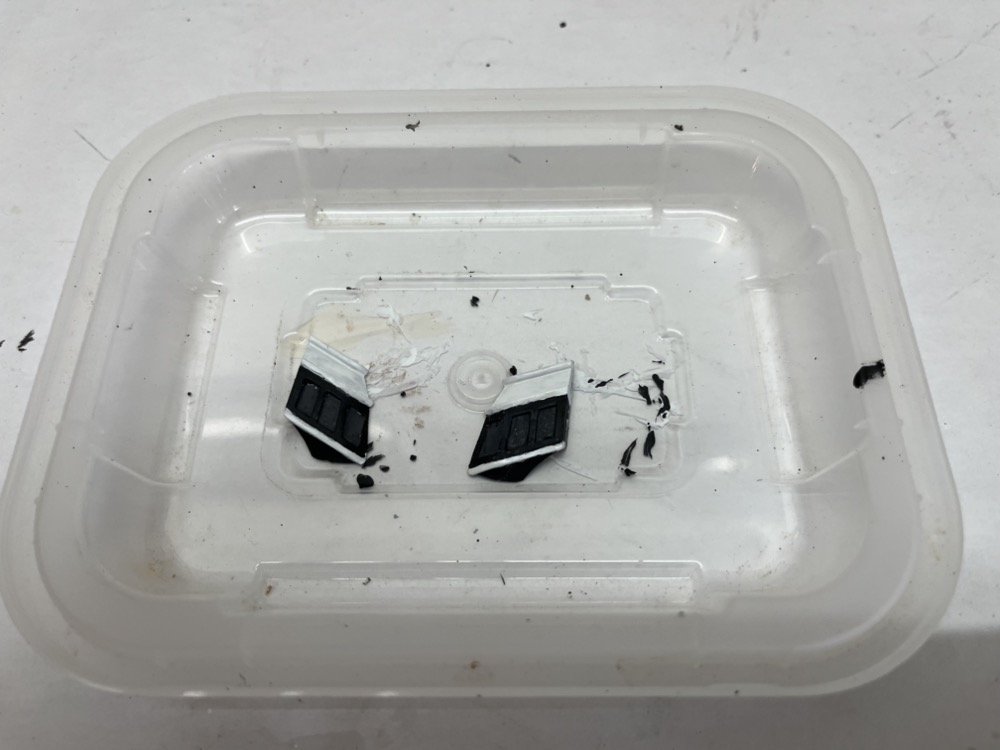
I removed the clamps from the transom piece and it was nicely glued to the hull, with no gaps on the edges. I finally finished painting the fake quarter galleries. For the final touch I used clear paint on the window panes. I test fit them and will glue them in place soon. I have also been working on the rudder and its hardware. The kit came with premade pintles and gudgeons which I was going to use, but after I blackened them I thought they looked too wide. So I used some thinner brass flat stock to make new ones. It took me a few tries to get the bends right but after I made a useable one I was able to reproduce it pretty well. I soldered a pin into the pintles then pickled and blackened all six pieces. Here are the new pintles mounted to the rudder with brass nails that I also blackened. In the cup are the new gudgeons on the bottom and the kit supplied ones in the top. Today I mounted the rudder to the hull. I did not glue the gudgeons to the hull, but used the blackened nails to nail them to the hull. I have also been working on the cat heads. I drilled holes in the ends for the sieves and painted them black. I then glued them in place after widening out the slots in the bow for them and notching them to fit flush against the fore deck. This took a bit of fiddling to get them to fit right. I'll get a picture of them for a later post.
About us
Modelshipworld - Advancing Ship Modeling through Research
SSL Secured
Your security is important for us so this Website is SSL-Secured
NRG Mailing Address
Nautical Research Guild
237 South Lincoln Street
Westmont IL, 60559-1917
Model Ship World ® and the MSW logo are Registered Trademarks, and belong to the Nautical Research Guild (United States Patent and Trademark Office: No. 6,929,264 & No. 6,929,274, registered Dec. 20, 2022)
Helpful Links
About the NRG
If you enjoy building ship models that are historically accurate as well as beautiful, then The Nautical Research Guild (NRG) is just right for you.
The Guild is a non-profit educational organization whose mission is to “Advance Ship Modeling Through Research”. We provide support to our members in their efforts to raise the quality of their model ships.
The Nautical Research Guild has published our world-renowned quarterly magazine, The Nautical Research Journal, since 1955. The pages of the Journal are full of articles by accomplished ship modelers who show you how they create those exquisite details on their models, and by maritime historians who show you the correct details to build. The Journal is available in both print and digital editions. Go to the NRG web site (www.thenrg.org) to download a complimentary digital copy of the Journal. The NRG also publishes plan sets, books and compilations of back issues of the Journal and the former Ships in Scale and Model Ship Builder magazines.


