


usedtosail
-
Posts
2,421 -
Joined
-
Last visited
Content Type
Profiles
Forums
Gallery
Events
Everything posted by usedtosail
-
 I always use Pre-stain on basswood before staining. You put it on, wait 10 minutes, wipe off the excess, then apply the stain. I think the color comes out more evenly this way. I only use the pre-stain before the first coat if I apply multiple coats of stain.
 -
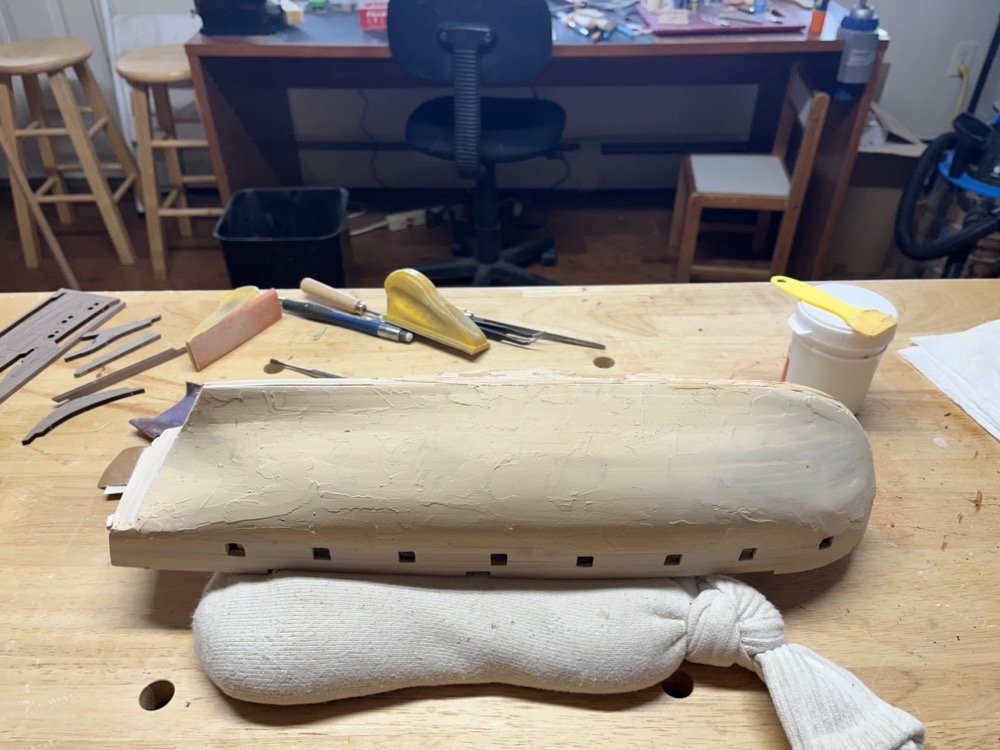
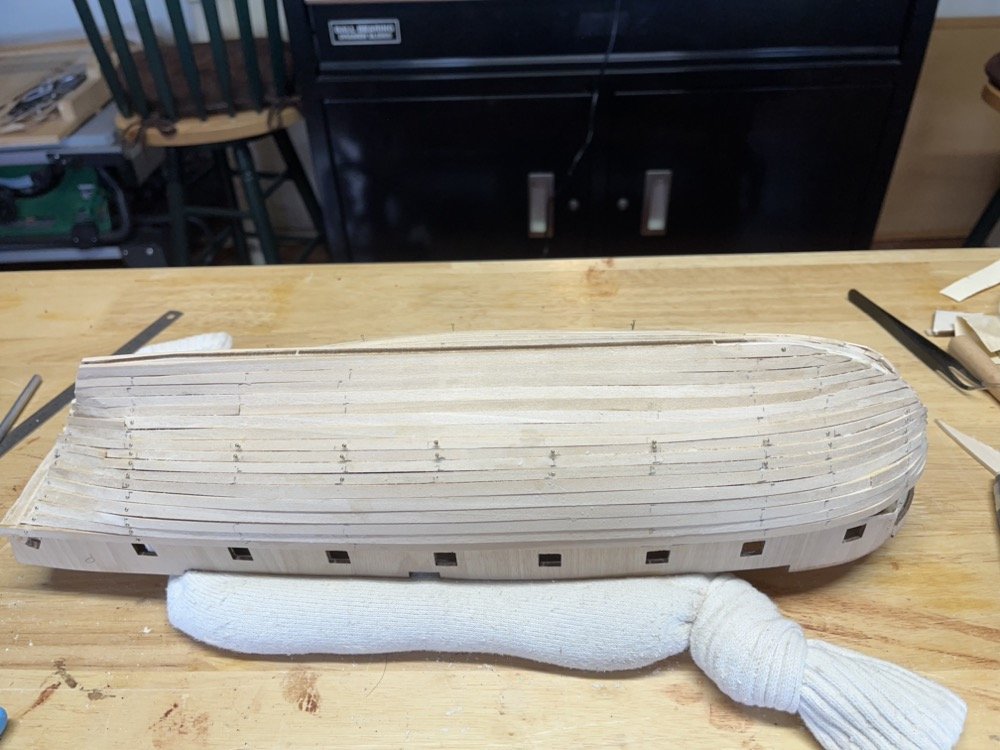
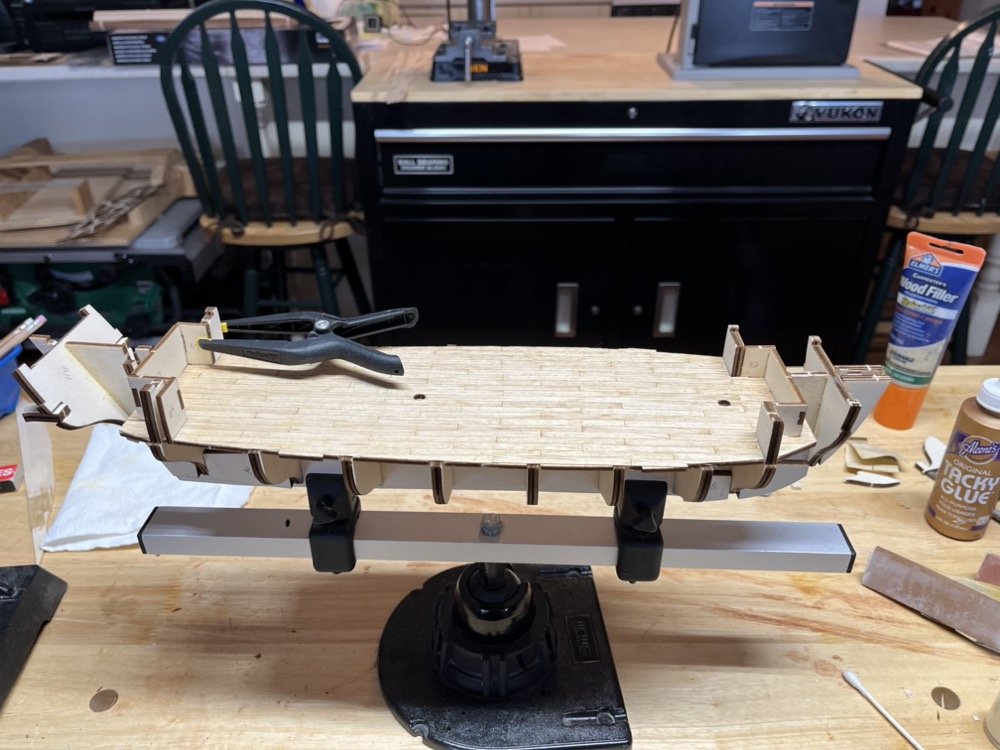
I fit the stem, keel and stern post and did some more sanding of the hull to get them to fit well. I then bought some thin wood filler, which is very creamy. It goes on orange but becomes natural after drying. I coated the hull below the bulwarks on both sides. I sanded most of it off and it left a very smooth surface while still showing the individual planks. I then repeated the process on the bulwarks. At this point I think the hull is ready to move on, after I clean up all the dust.

-
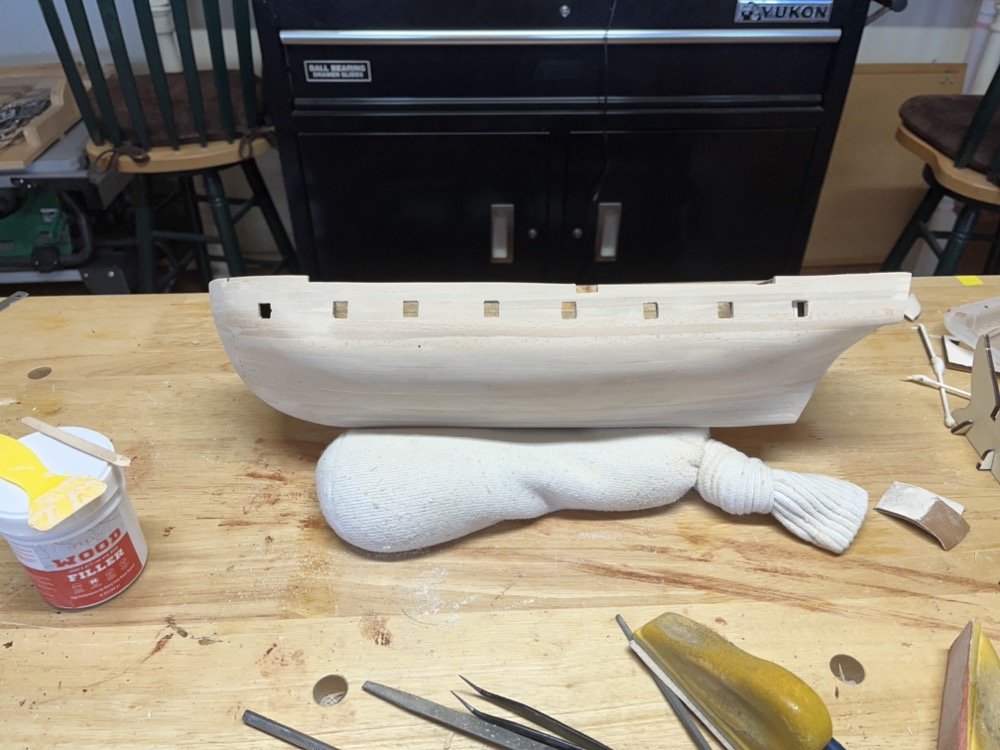
I agree with you @brunnels. Way too easy to sand right through it. Basswood isn't the best wood to use as the top layer but the planks supplied are nice and thick but sand easily. If I was going to leave the hull with a natural finish I would have used pear or yellow cedar for the planking. I have finished planking the rest of the hull and opened up the gun ports again. I gave the whole hull another rough sanding and shaped the planks at the stem and the transom. No wood filler applied yet but there are some areas I will be adding it. I put together the supplied cradle which I will use as a working cradle. I did trace the pieces onto a sheet of mahogany, as you can see above, which I will cut out as use as the display cradle. I spent some time cleaning up the transom so that the transom piece will fit without leaving gaps around it. I have cut out the stem, keel and stern post pieces and will be dry fitting them soon.
-
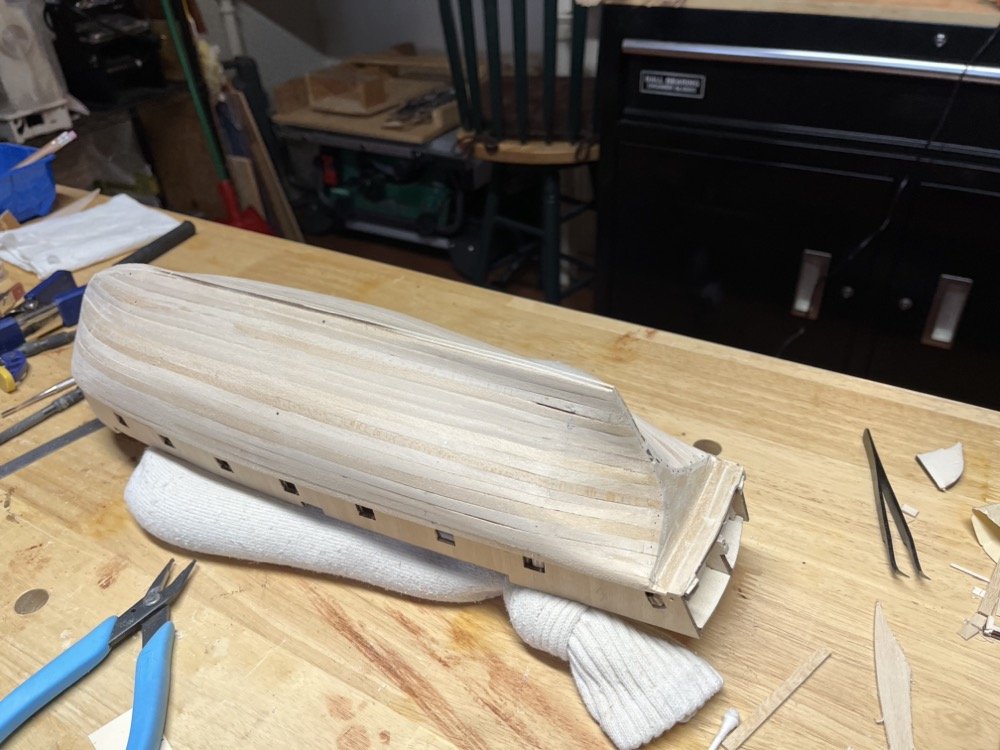
I did some filing and sanding, and shaping of the planks at the bow and the stern. I am going to add the rest of the planks on the bulwarks and then finish the outer planks and get them ready for painting and copper plating. I am very satisfied with this one layer of planking, since it will be painted and plated. The wood supplied for the second planking is very rough and grainy so I am not going to use it. I will be adding some wood filler and more sanding to get the planks even smoother than they are now, after all the planks are on.
-
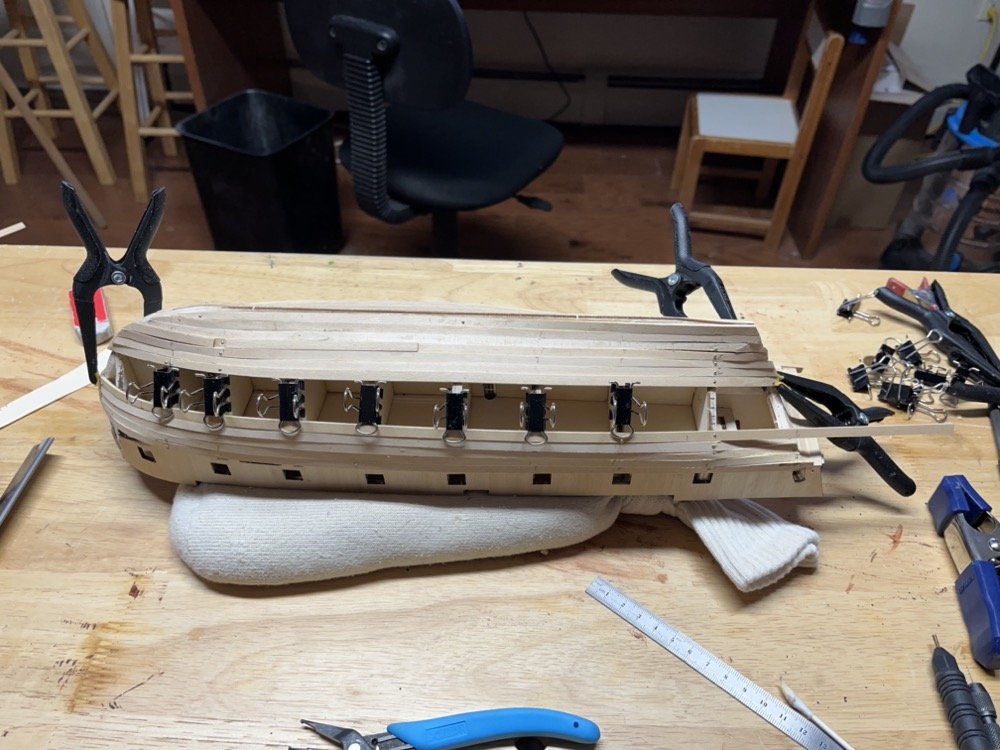
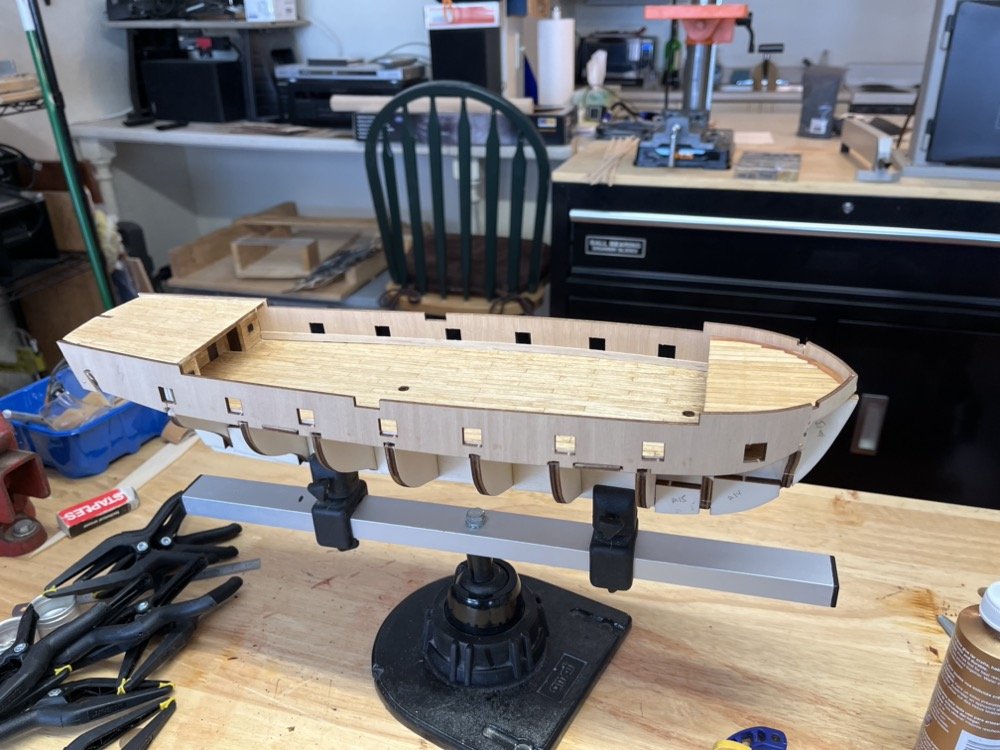
The last planks between the bulwarks and the keel have been installed. I am going to clean up these planks before planking the plywood bulwarks.
-
That's exactly what I say every time you release a new kit. Congratulations on the new machine.
-
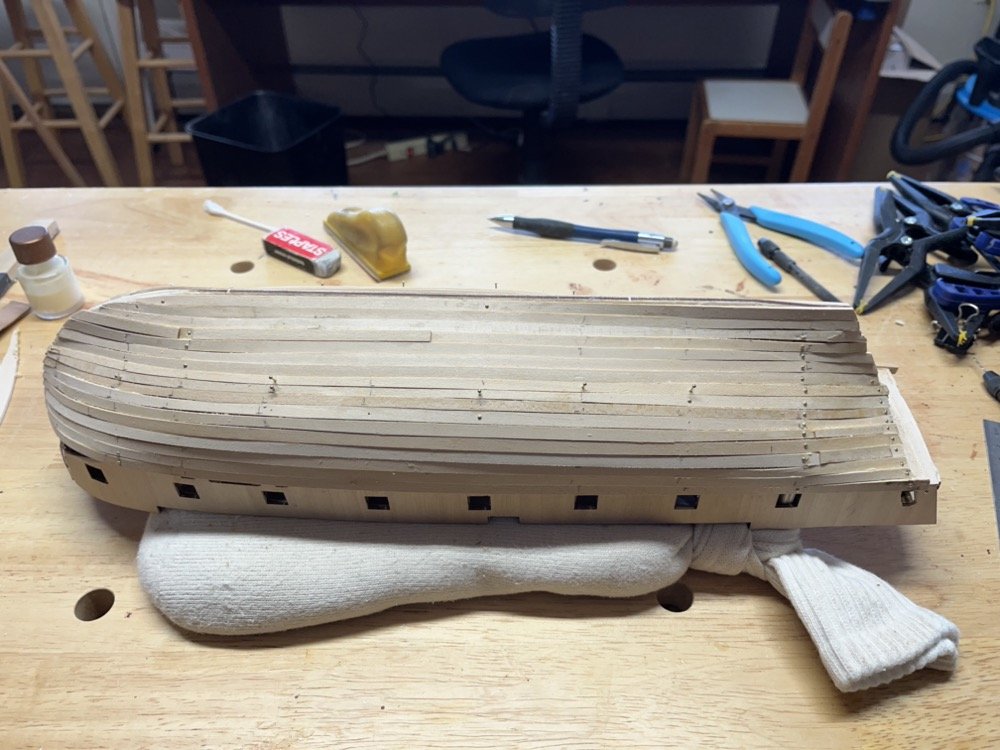
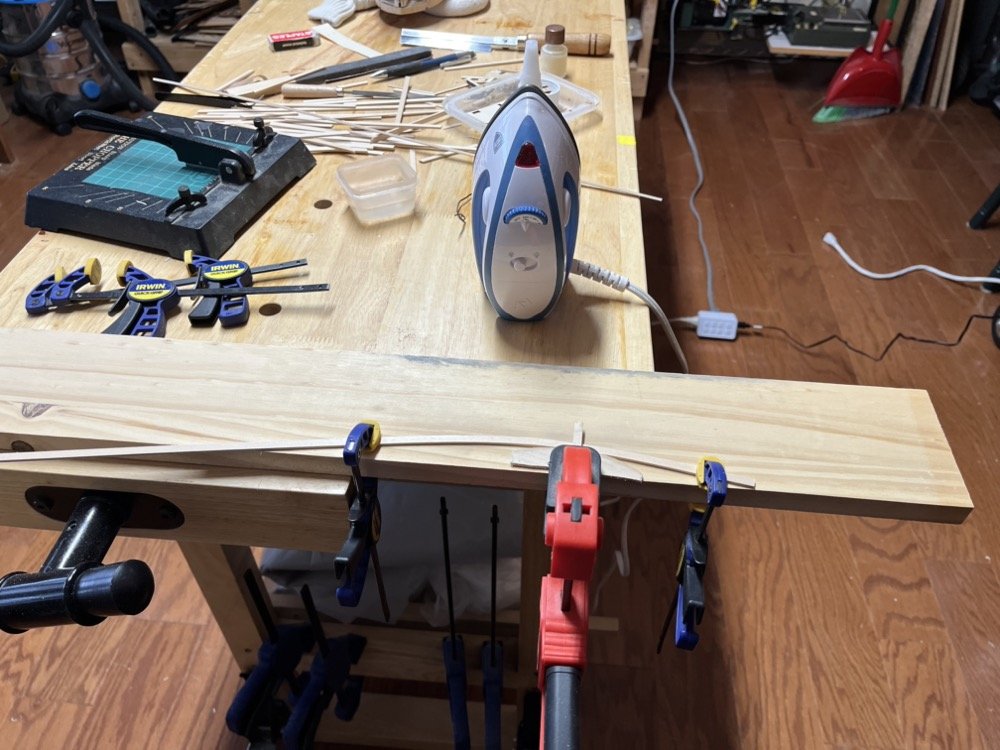
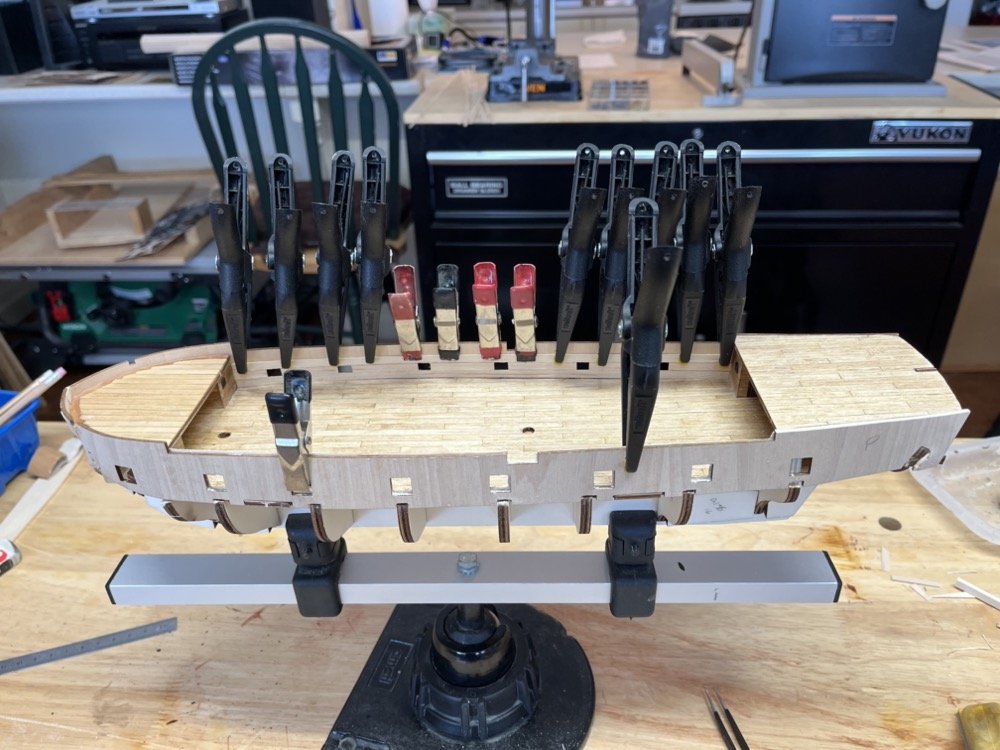
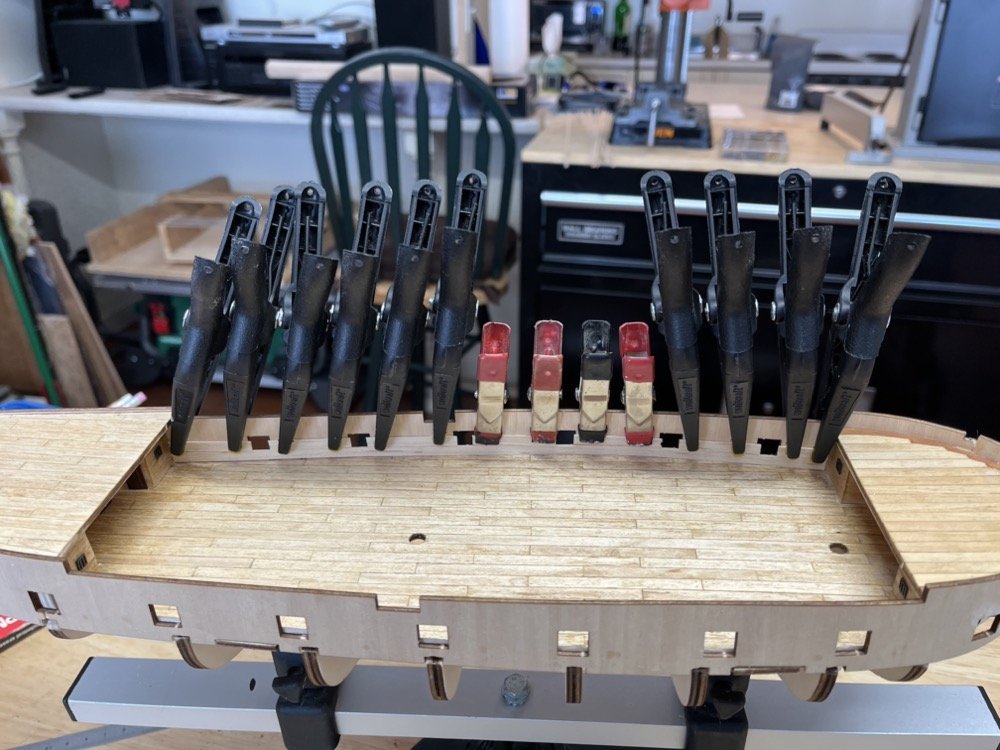
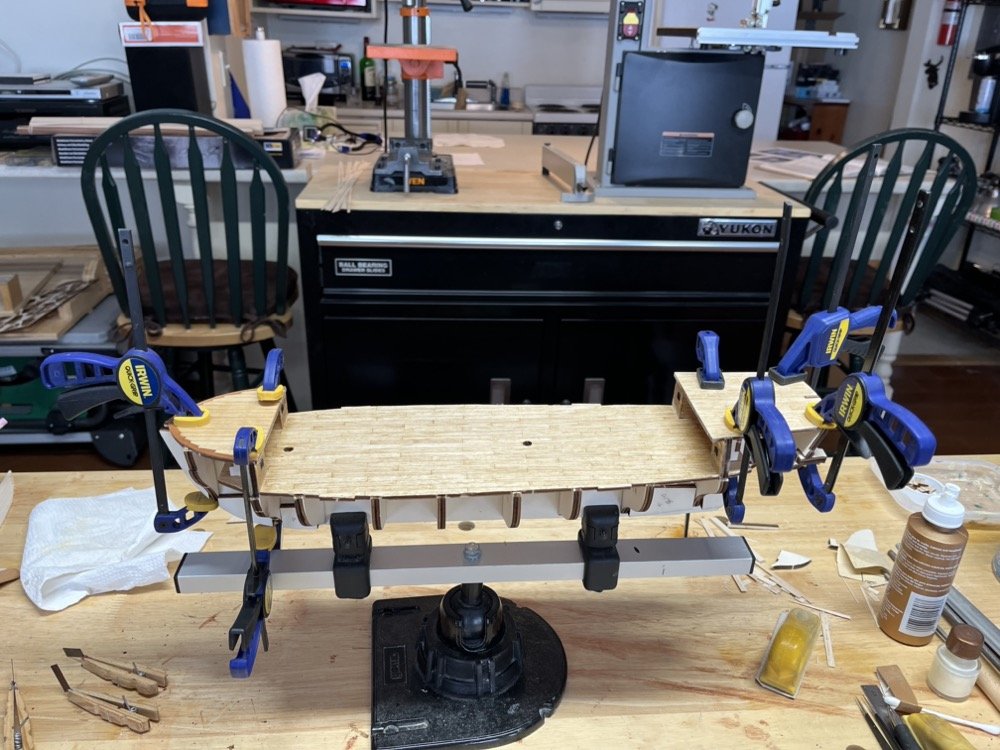
My wife and I were away last week on an 8 day river cruise on the Rhine but I am now back in the shop working on the hull planking. I have 5 planks left on each side to fill in the gap between the bulwarks and the garboard strakes. As you can see, I haven't gotten the planks to fully bend without having to use clamps, but they are close. I also start at the bow and glue the planks on until the last bulkhead before the transom. I let that dry overnight then heat the aft end of the plank with a travel iron and bend it into place, glue and clamp it to dry. I have some sanding to do to get the planks flush but they are pretty thick so I should have enough wood to work with. There were a couple of spots that would be very thin after sanding, so I glued some 1/32" thick pieces in those areas to give me some more wood to work with. Here is my plank bending set up which works very well. I also have a soldering iron type plank bender that I use to curve the planks to wrap around the bow after this lateral bending. After the gaps are filled I will plank over the plywood bulwarks and cut out the gun ports.
-
Oh I didn't realize that's how they come out from the printing process. I thought they were painted or stained after printing. Of course that should be proprietary information.
-
Can you give us a few clues on how you got that color and finish on the blocks? I am intrigued.
-
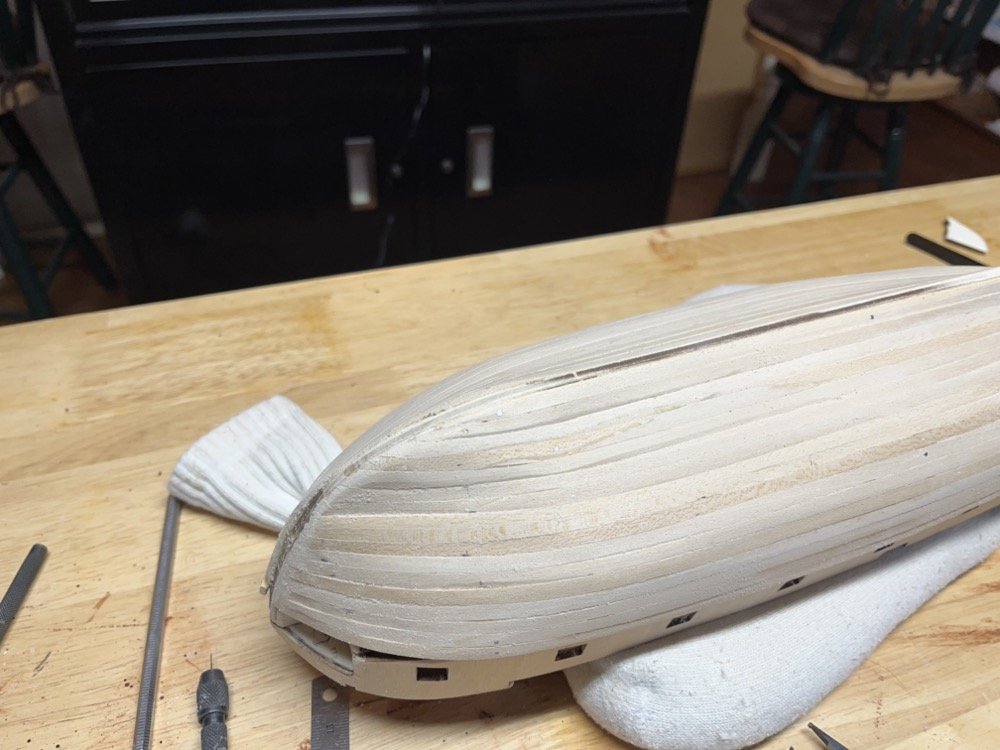
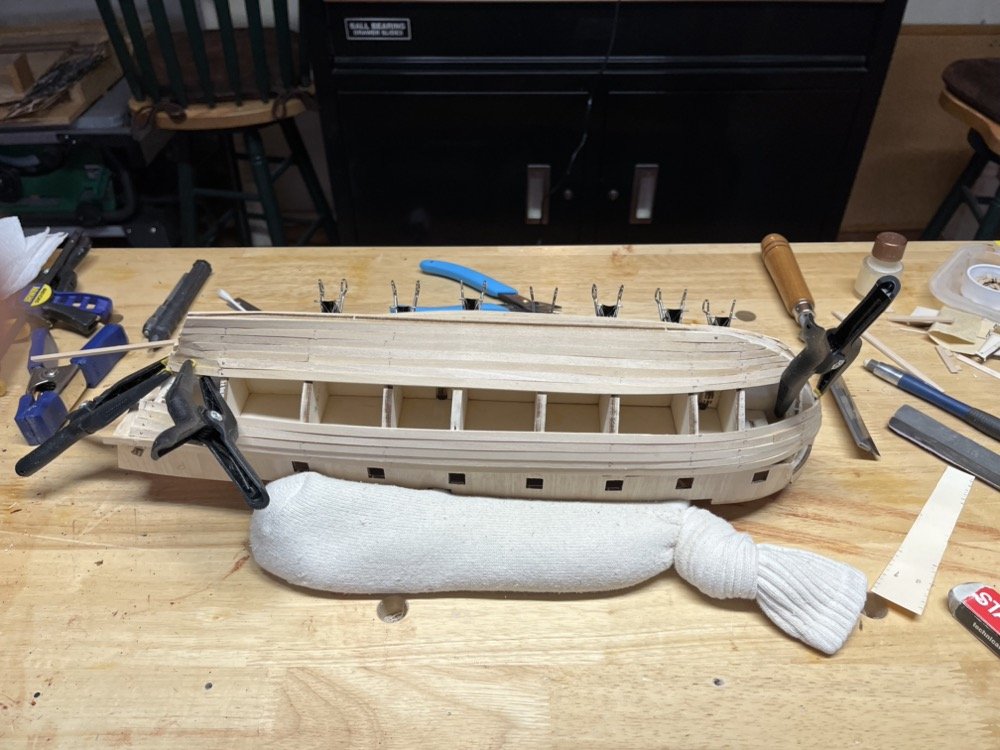
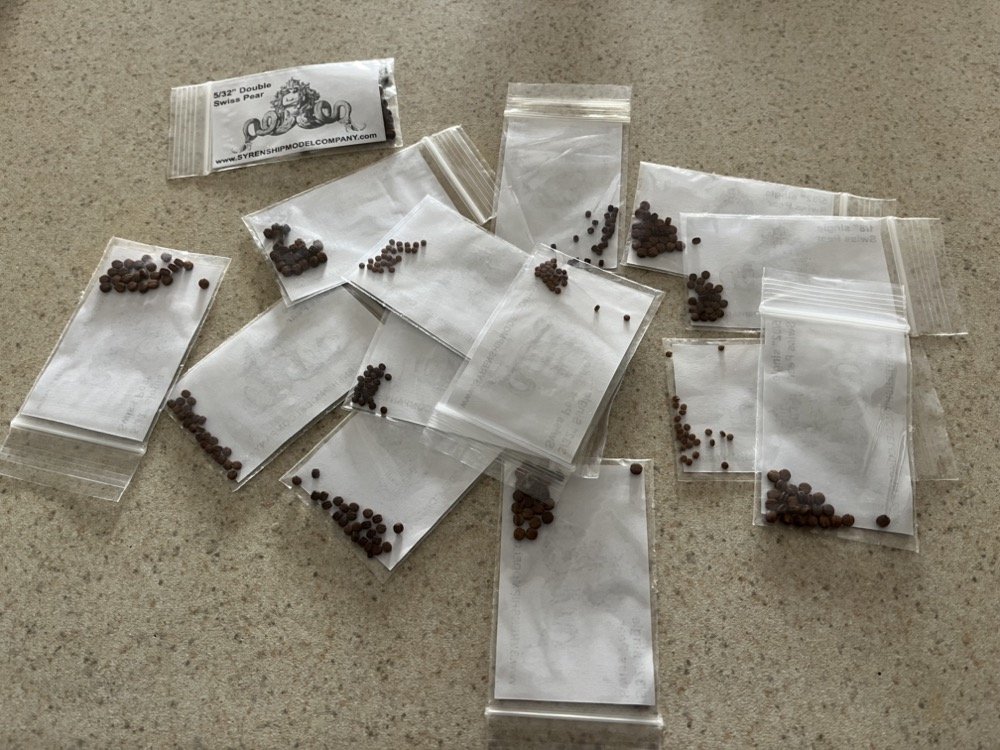
The outer hull planking has started, working up from the keel and down from the bulwarks. The planking material is pretty thick but bends well with some water and heat. I am planking as if the first layer is the final layer and not using the instructions that show all kinds of gaps filled with pointy planks. Since the upper part of the hull will be painted and I am going to cover the lower part with copper. I may stop with one planking layer, depending on how it turns out. I also received blocks from Syren that I am going to use to replace the kit supplied blocks. They are much nicer.

-
I completed planking the inner bulwarks and gave the planks a coat of oak stain and wipe on poly, like the decks. I can now start fairing the hull to get it ready for outer planking.

-
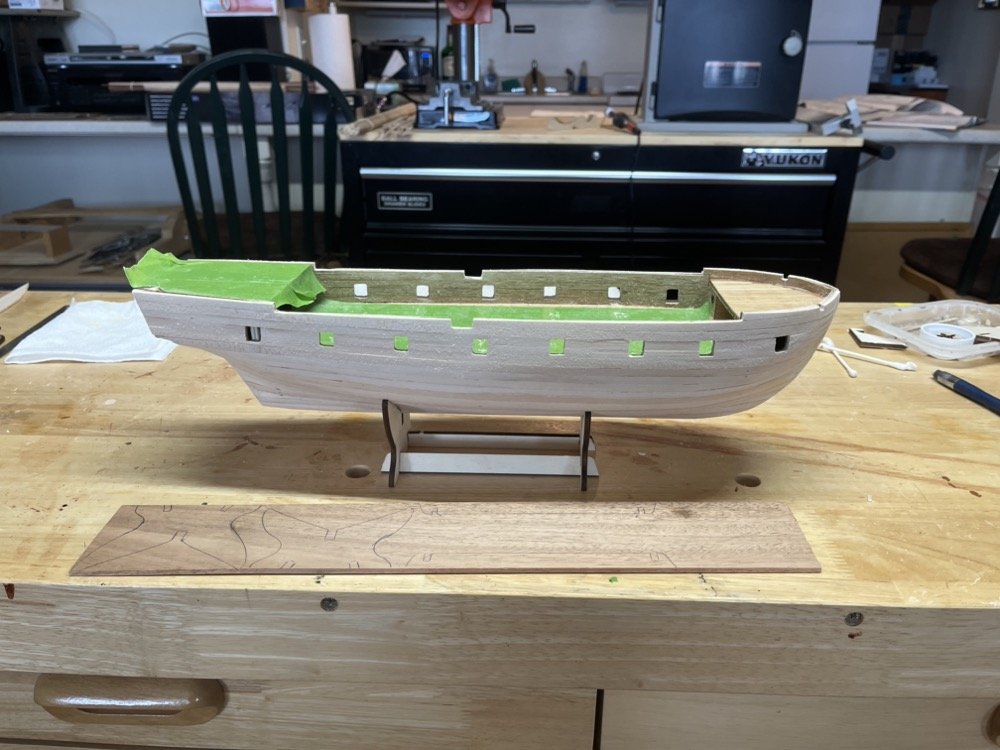
Sorry I forgot to post the picture of the completed bulwarks on the hull. Since then I have been adding the inner planks to the bulwarks, using the same wood strips that were used for the deck planking. I started with a full length plank, then used individual strips between the gun ports. I then used more full length strips to the tops of the bulwarks. The top strip is about half a plank width, but I glued on a full width strip then trimmed it down with an X-Acto knife and sanded it flush with the bulwark. I am in the process of opening up the gun ports and sanding the inner planks for finishing. I will use the same stain and poly treatment I did for the decks.
-
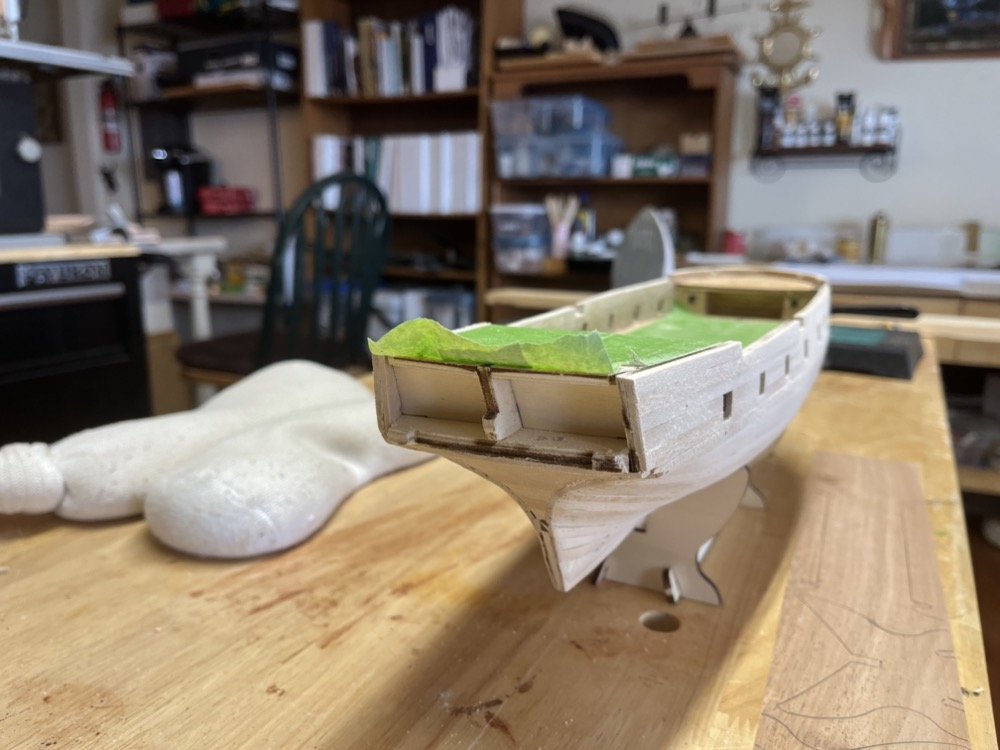
I painted hinges and knobs onto the doors. While that was drying I glued the upper decks in place, not thinking that this would make adding the doors more difficult. I found that I could use a small loop of masking tape as a handle to glue the doors in place, so it wasn't too difficult. I then bent the bulwarks to their shape. First I fit each side, adjusting the slots so they both fit nicely. I then soaked one side and clamped it to the frames to dry. The next day I did same for the other side. They held their shape nicely. I did manage to break the small bow section off the port side piece but I was still able to bend it to shape separately. When these pieces were well dried I trimmed the bow sections so they met well at the stem. I glued them on one at a time again starting with the port side. I started gluing from the aft and glued just about a third on each day. I just finished glueing the bow section on the starboard side, so I will take some pictures tomorrow of the bulwarks attached to the hull.


-
David you are doing such a great job on this build. This is very true. If you go by the rigging plans there are over 30 lines that attach to the bitts, which is what I did. I then in a separate thread asked how to show the tails for all these lines, and was basically told that no lines would be tied to bitts in the first place and I should have added more belaying pins somehow... So I think you are right about thinking of tying them off at the rail somehow.
- 114 replies
-
- 1
-

-
- Vanguard Models
- Speedy
- (and 1 more)
-
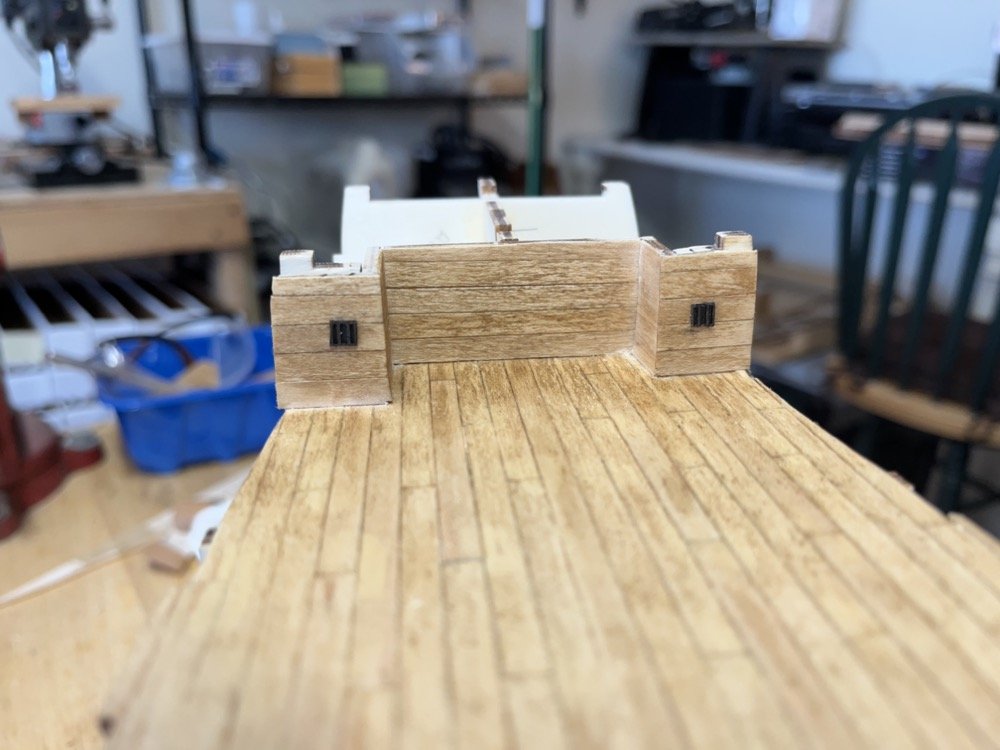
I added treenails to each upper deck the same way I did on the main deck. Since there were no plank joints in the bow deck, I just made three lines of treenails alll the way across the deck. I then stained the two upper decks and gave them two coats of Wipe On Poly. When they dried I glued them in place. I tried using some Brass Brown on the doors and window grates but they came out more black than brown. I left the window grates as they came out but painted the doors with flat brown paint. Since I did not want the planking to show through the window grates, I glued them to a piece of black paper then cut them out and glued them to the bulkheads. Next step is the add some knobs and hinges to the doors then glue them in place.
-
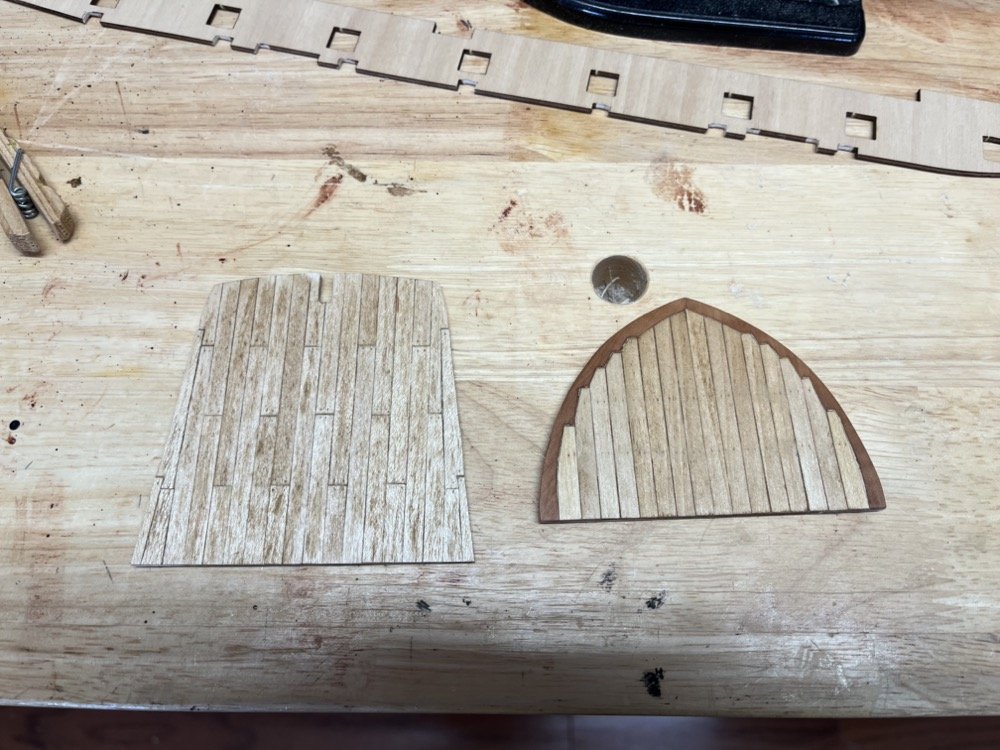
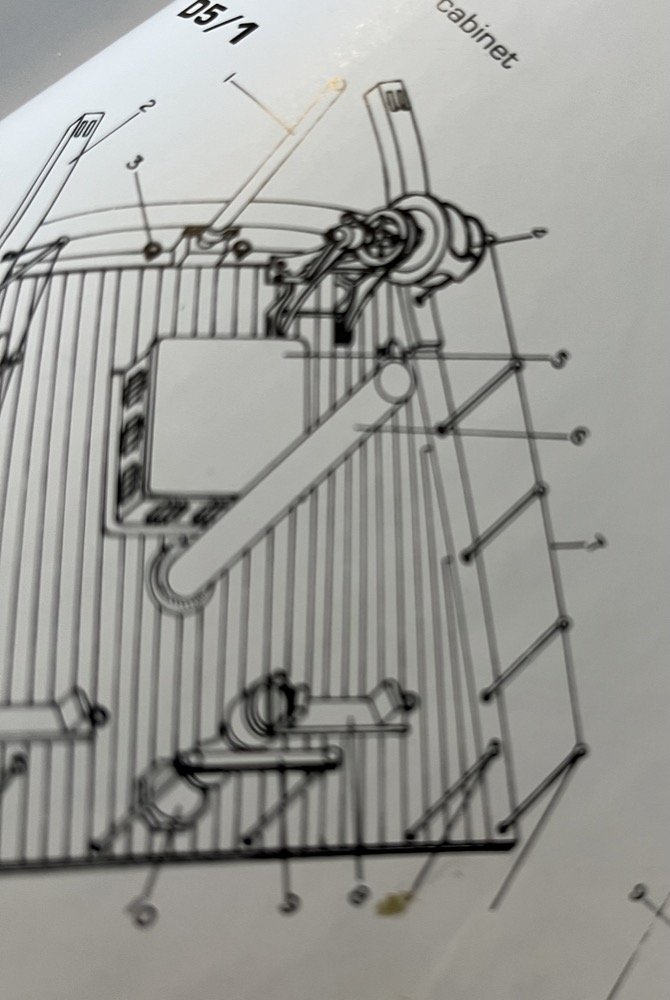
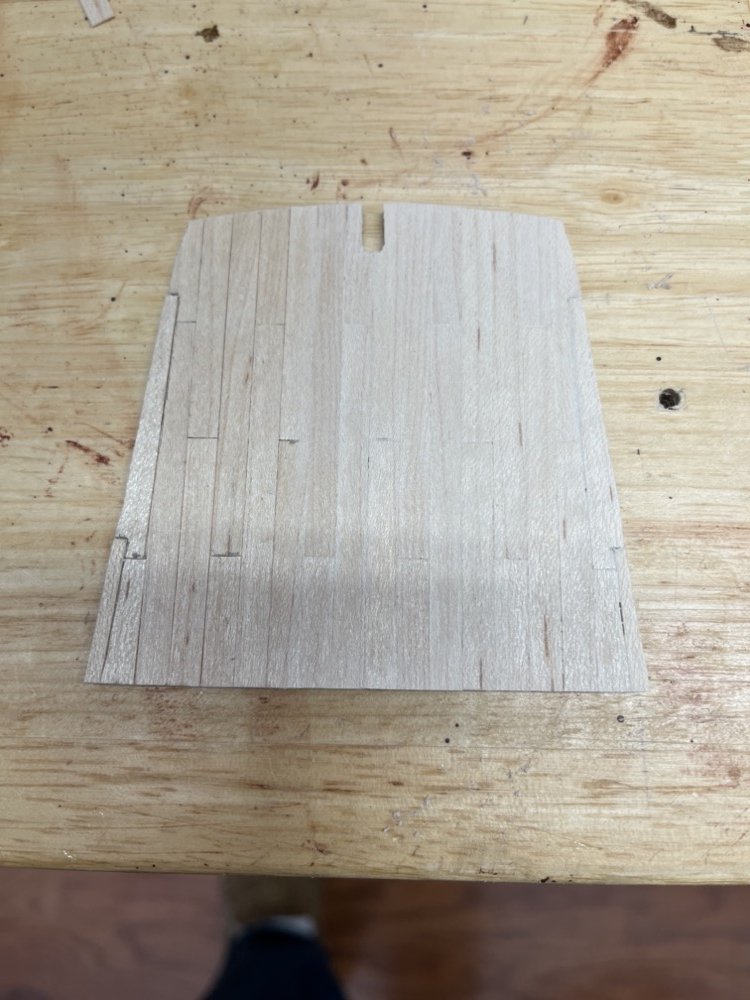
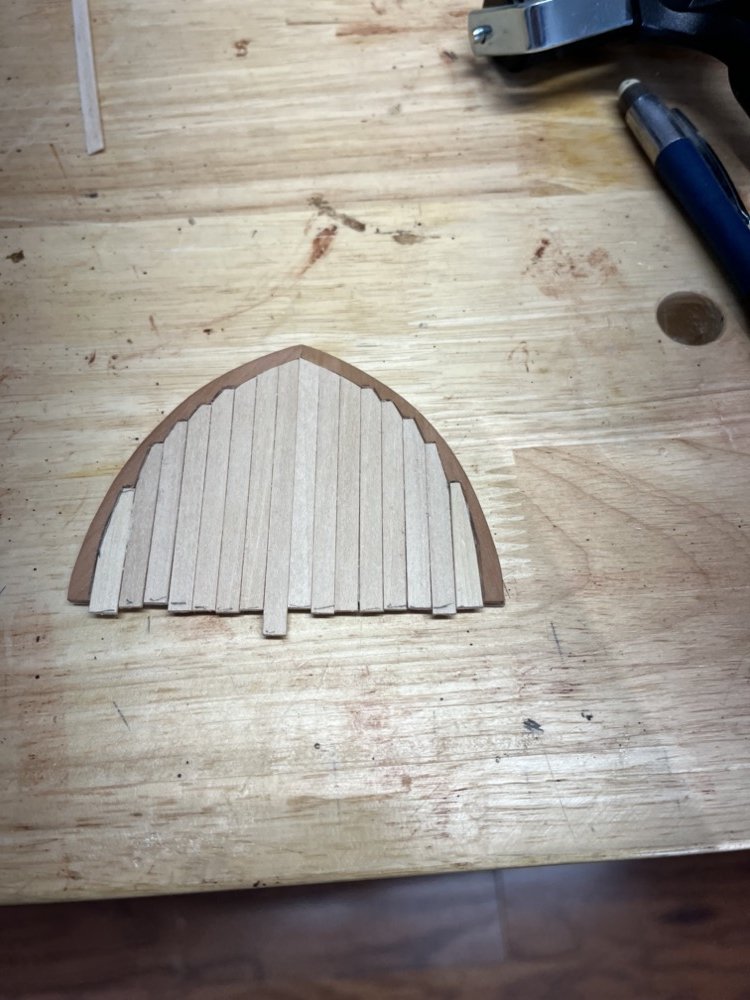
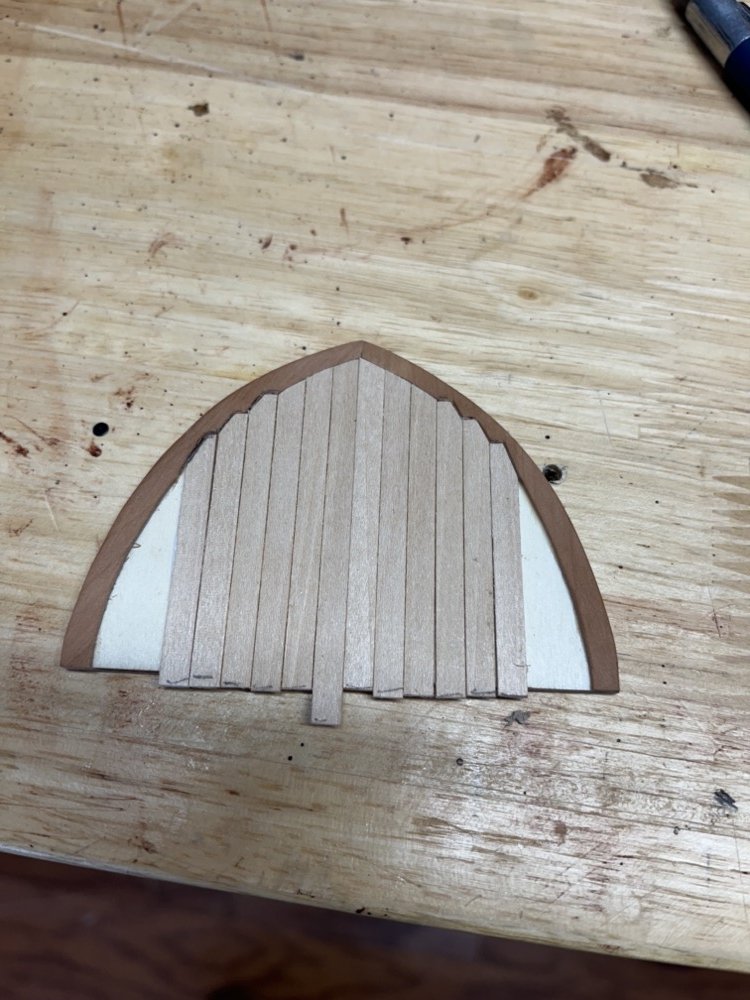
The aft deck shown in the AOS Beagle book does not show a margin plank, but instead the planks near the edges are cut into the previous planks, as shown here in this out of focus image. And here is my version of this. The left side is not yet sanded so you can see the plank edges easier. These planks are longer than 60mm so I added them in 60mm lengths. I will be adding treenails to both the fore and aft deck planks, then staining them.
-
No problem Ross. I'll bet it came out great. I finished planking the bulkheads and gave them a coat of oak stain. I then test fit the fore deck to the bulkheads and frames, and had to widen a couple of the slots to get it to fit. I want to joggle the planks on the fore deck as shown in the AOS Beagle book. I first made a margin plank in two pieces to fit around the front of the fore deck. I tried using basswood sheet for this but it kept breaking while shaping it, so I found some per wood from the edges of a laser cut sheet from a previous kit that provided just enough for the two pieces. These stayed together nicely so I glued them to the deck and sanded the outside edges to be flush with the deck. The pear was thicker than the planking strips supplied with the kit so for these planks I used some 1/32" basswood strips that I had. I fit and glued three planks on each side of the center of the fore deck. These were just cut straight and fit to the inside edge of the margin plank. I then started joggling the planks by lining them up to the back corner of the previous plank, then made a mark about half way across the plank and another mark where the plank came off of the margin plank. I cut that piece off the side of the plank then marked the shape on the margin plank and cut that out with an X-Acto knife. I then fit the plank to the cut out and glued it in place. For the last plank on each side I used 1/4” basswood strip that I trimmed down to fit the gap, since it was slightly wider than the 3/32” strips I was using and I did not want to have a sliver plank along the side. Since all these planks are less than 60mm long I used full length strips for them, but I will add treenails after sanding these down. I will probably do something similar to this for the aft deck planking.
-
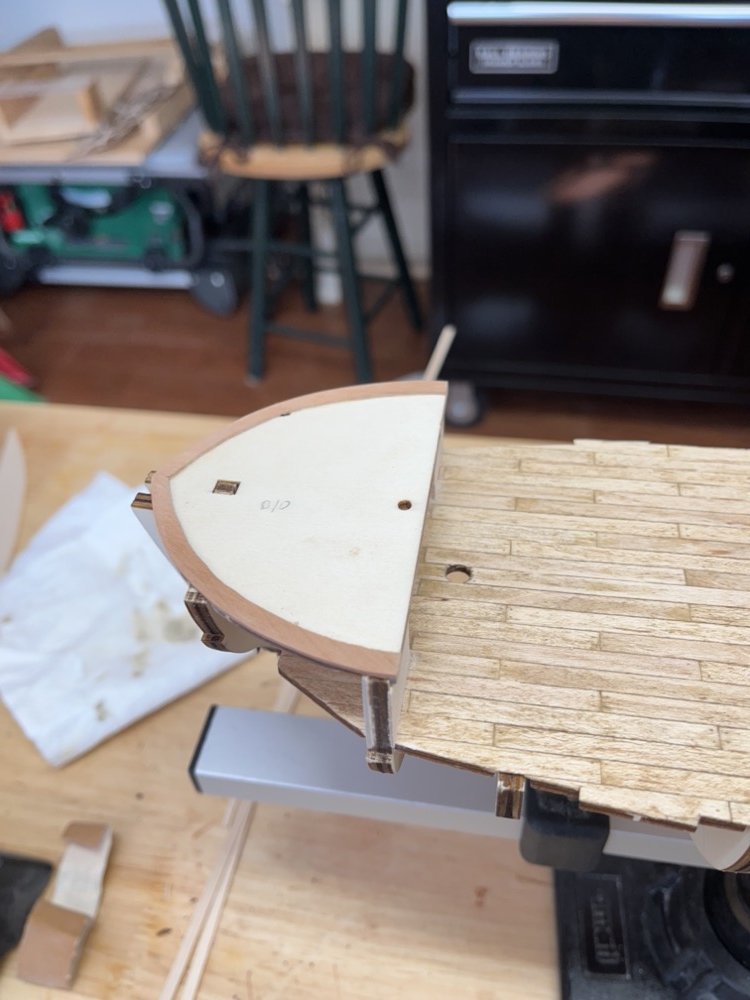
Thanks Ross. Do you have a build log for your Beagle build? I tested the fit of the upper deck bulkheads, then glued the deck to the frames. Instead of trying to glue it to all the frames at once, I started with the middle frames, let that dry, then the front frames, then the back frames. I then glued the bulkheads to the deck. Next will be planking the outside of the bulkheads with the same material supplied to plank the deck.
-
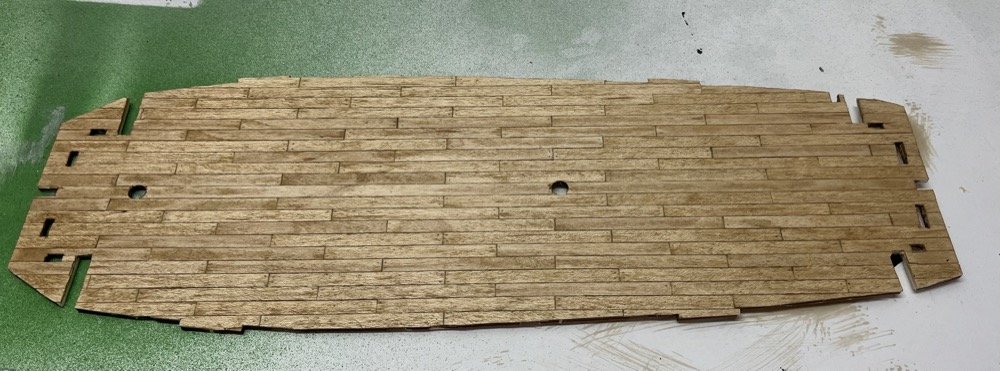
I finished preparing the deck and it is now ready to install. I trimmed the excess planks, sanded it down, then used an awl to make indents for the treenails. I filled these with wood putty, then sanded the deck again. I then finished the deck with pre-stain, Golden Oak stain, and wipe on poly. I also checked the fit of the upper deck bulkhead pieces in the slots in the deck before finishing it. I was happy that I used individual planks instead of using full length planks and drawing in the plank ends. I was also a little worried about the thickness of the supplied planking wood, but it did sand up nicely.
-
I finished adding the planks to the deck, so I now need to trim them to the edges, sand the planks down and cut the slots back out. Then I will add the treenails around the plank joints.

-
I agree with Eric - adding the sails on the bench works best for me.
-
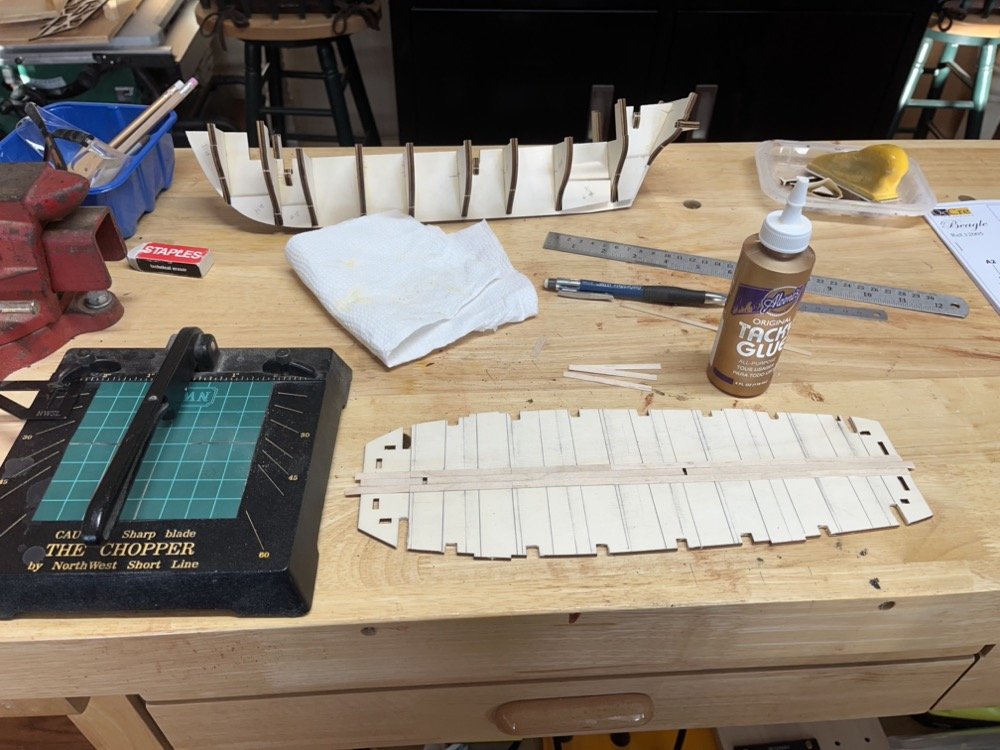
All the bulkheads are glued in so the next step is to fit the deck. The slots in the deck were narrower than the thickness of the bulkheads so I used a burr in the drill press to widen the slots until the deck fit. I then removed it and marked it for planking ( a few times). The instructions have you use full size strips then mark them to 60mm but I am cutting the strips to 60 mm and gluing them in end to end with a 3 butt shift. I did use longer strips for the center plank. I am using Tacky glue to glue these down with.
-
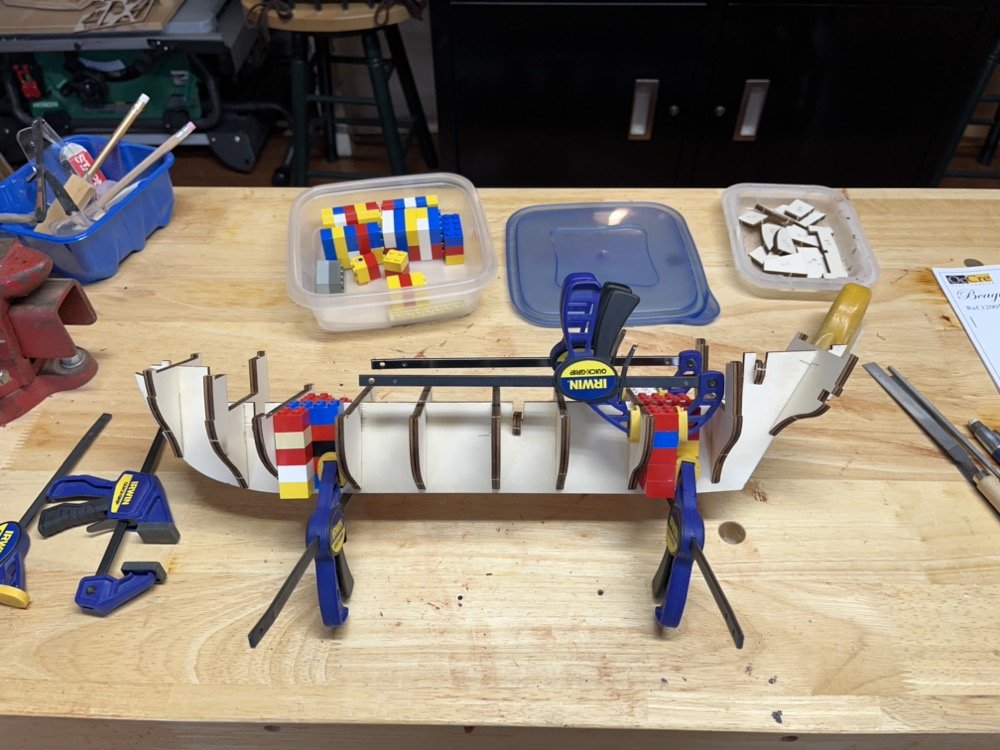
I started gluing the bulkheads to the keel, using Legos to align them while the glue dries.
-
Thanks Eric. I downloaded those pictures a while ago when I bought the kit. Thanks for posting them.
-
Thank you Chris and Dan. Dan, I think your Speedy will be great.
- 144 replies
-
- 1
-

-
- HMS Speedy
- Vanguard Models
- (and 1 more)
