HOLIDAY DONATION DRIVE - SUPPORT MSW - DO YOUR PART TO KEEP THIS GREAT FORUM GOING! (Only 13 donations so far - C'mon guys!)
×


philipjames
-
Posts
6 -
Joined
-
Last visited
Content Type
Profiles
Forums
Gallery
Events
Everything posted by philipjames
-
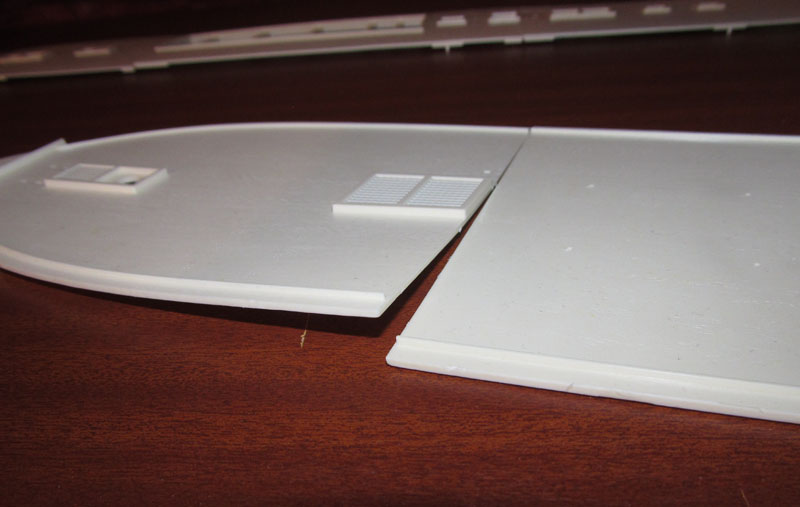
I think I will need to put the decks in as one piece as both the front and rear sections of the gun deck are warped quite considerably and will need strengthening from underneath to keep them in line. I am not so much worried about deck camber as getting it reasonably flat !

-
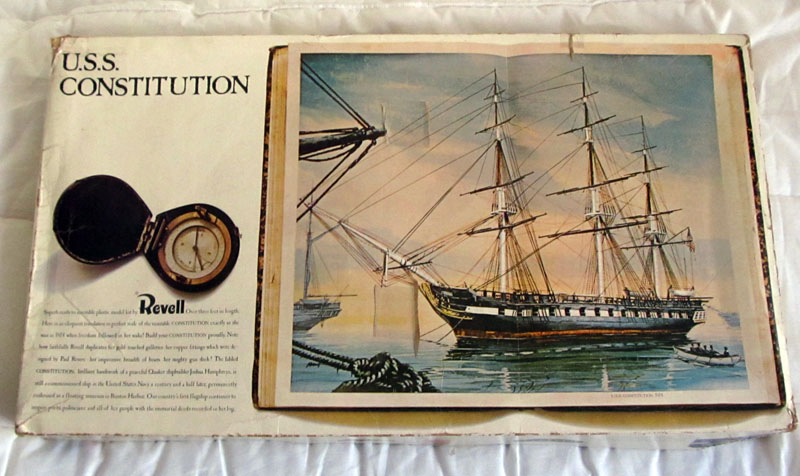
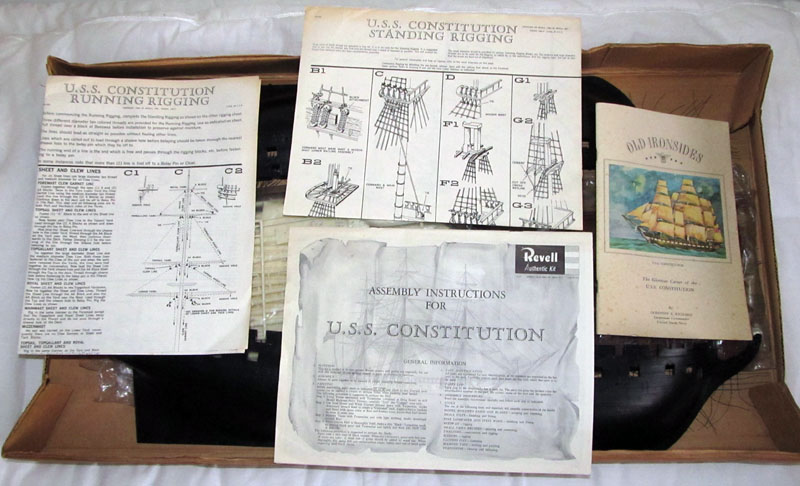
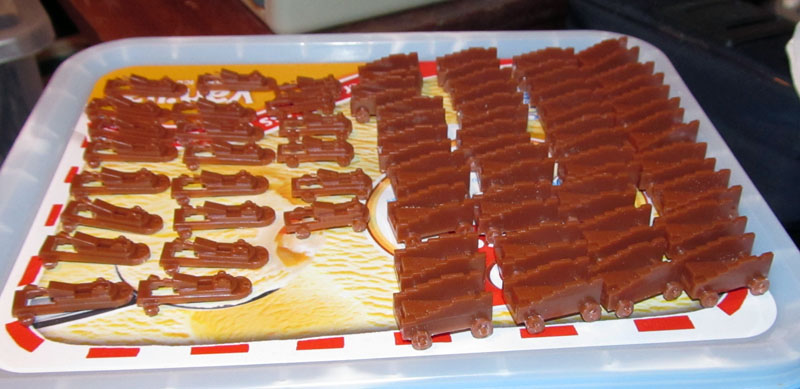
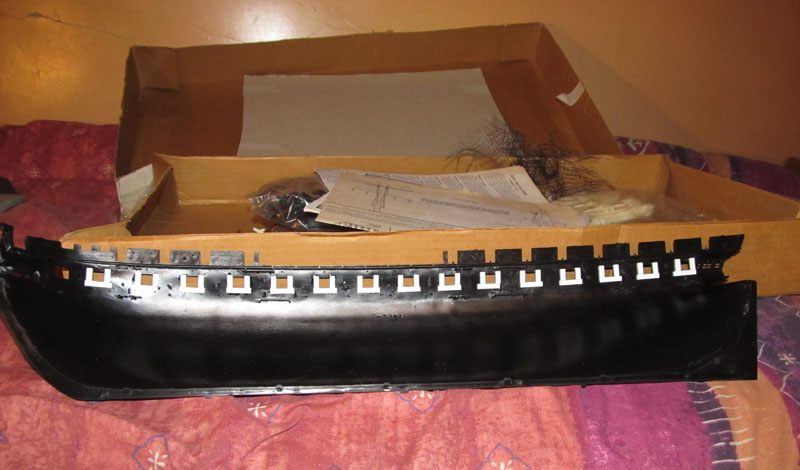
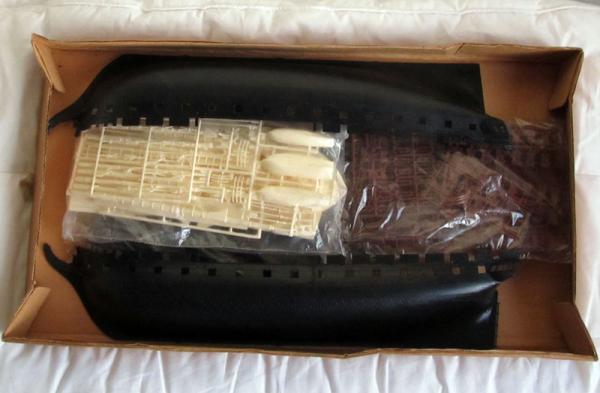
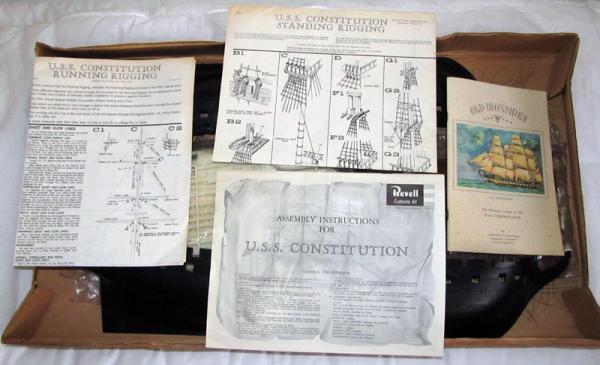
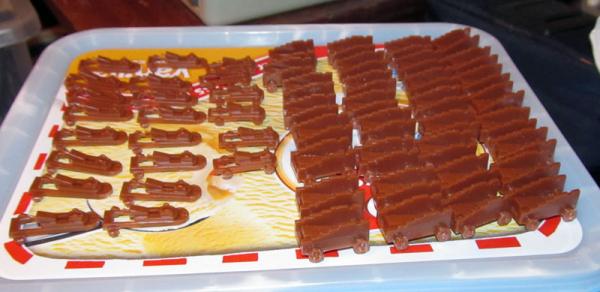
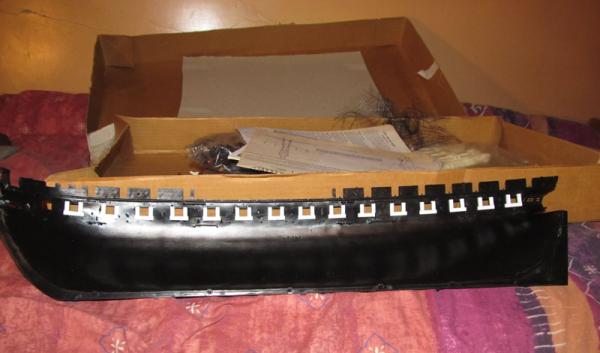
This is my first large ship build and indeed my first model of any kind I have built for 30 years or so, as a teenager I spent most of my money on plastic military vehicle kits and model railways, but that's a long time ago now ! I've been lurking on this forum for several months, entranced by the marvellous modelling skills displayed and eventually decided I would have a go myself and so as a Christmas present to myself I bought the Revell Constitution kit. I went for an old issue of the kit as the current ones are supposedly not as crisply moulded and some reports have it that the plastic used is not as good. The kit I got is the version without sails and from a flyer in the instruction books dates from 1971. As this kit has been God know where for over 40 years it was nice to find it in good condition, the only deficiencies I have found are that there are 3 halfs of carronades missing and the supplied Ratlines have seen better days - not that that is much of an issue as I was planning on making my own anyway. As it's my first attempt at a ship I intend to do it pretty much out of the box, I will be thickening the gun ports (not sure about thickening the upper bulwarks yet) and I may have a go at making a new capstan. I also see no need to do much modelling of things that you won't see in the finished model so I'll not be fitting out the gun deck with oven, capstan, fully rigged guns etc, as you are not going to see them once the upper deck and ships boats are in place then I can happily leave them out. The lack of two carronades as mentioned above doesn't seem too much of an issue, I can just use 30 guns on the gun deck and leave the bridle ports shut - I appreciate many American modellers will be removing the bridle ports anyway as they were apparently not present in 1812, but I'll just leave them shut - even the Revell box art shows them shut ! This will leave me with two spare cannons that I can then have fully rigged on the upper deck replacing the front two carronades, Revell already have a bow chaser cannon that seems to just be sitting there awkwardly on the deck, so adding another couple of cannon next to it will not look too out of place. The main issue I have at the start is what to do about the 3-piece decks ? I don't fancy sanding them down and rescribing the planking, but I do want to hide the joints as much as possible, so I think assembling the decks into single pieces before installing them is a must. Anyway, to work... First thing I did was order 2mm x 4mm Evergreen strip for the gun port thickening. While this was in transit I tidied up all the carriages for cannons and carronades, hours of filing and scraping to remove flash and mould lines. Then it was onto thickening the gunports, as I'm fitting gun port lids there was no need to thicken the top of gunports as you won't be able to see them, and I have left the bridle ports as I am going to show those shut. I still need to remove the fixings for the breech ropes and put in some Evergeen in their place so I can add ringbolts to hold the ropes, not sure yet whether I will be ordering some of the Jotika ring bolts or twisting my own from wire, but whichever I use the Styrene strip will be drilled to glue them into - the breech ropes of the middle guns apparently can be seen in the finished model. Now I have to decide about thickening the upper bulwarks - I don't fancy trying to model 80 or so rivets in between each carronade port, but putting plain styrene in might look a bit 'flat' compared to the rest of the kit moulding even though the thicker bulwarks would look better. I have time to decide about it while I put all those cannon halves together and clean them up before painting !
- 7 replies
-
- 4
-

-
- constitution
- revell
- (and 1 more)
-
The information I have is based on the UK Revell catalogues, and the dates may not exactly match the availability in the US - the early 70's catalogue have all the big ship kits down as 'imports' in the UK, presumably from the US. (Revell UK did have a production facility in the UK until about 1980) Incidentally the 1965 UK catalogue has the 1/96 Cutty Sark available with or without sails, so why the Constitution wasn't originally available with sails who knows ?
- 42 replies
-
- 1
-
-
- Constitution
- Revell
- (and 1 more)
-
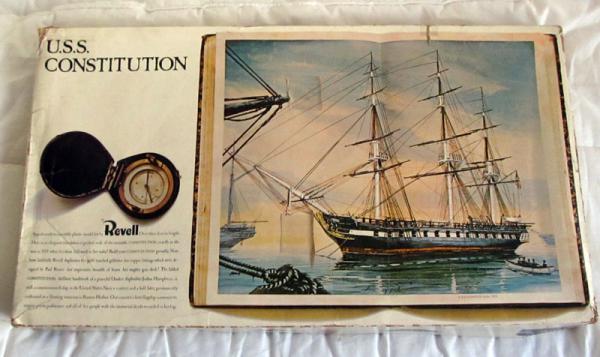
Been looking into the history of this kit, the original 1965 release was Catalogue number H-386 and came without sails. In 1968 Revell added Cat No. H-398 which is the version with sails. Up until 1972 both versions were in the Revell Catalogue (the version with sails was more expensive). The box art was changed to the one GLakie shows in his post in 1976 There was a third version produced - the 'Museum Classic' version from 1979 which had a prepainted copper hull, a wooden base with a brass plated nameplate and brass plated pedestals for the ship to stand on together with flock coated vac formed sails which were advertised as 'Realistic Cloth Like Sails"
- 42 replies
-
- 3
-
-
- Constitution
- Revell
- (and 1 more)
-
Hi Tom My Christmas Present to myself was the same H-386 version of the USS Constitution, same front box art anyway though mine has a copyright date of 1969 printed on the box side. I bought it for the same reason as you, older production run has supposedly crisper moulding. It will be my first ship build. Being British I have no patriotic connection with the 1812 Constitution so I am going to leave in the bridle ports ! The main alterations I am thinking of doing so far is just to thicken up the gun ports and bulwarks I will likely be starting a build log myself in a day or two - as soon as the Evergreen strips arrive for the thickening work Philip
- 42 replies
-
- 1
-
-
- Constitution
- Revell
- (and 1 more)
-
Cutty Sark by NenadM
philipjames replied to NenadM's topic in - Build logs for subjects built 1851 - 1900
Nenad, I just want to tell you that when I first looked at the top picture on post 841 and thought I was looking at one of your pictures of the actual Cutty Sark. Your lighting and photography combined with your modelling skills got together to make the stanchions and the rivet heads behind them look 'real' just remember to walk without rhythm so you don't attract the worm... Philip- 4,152 replies
-
- 5
-
-
- cutty sark
- tehnodidakta
- (and 1 more)