Usgecko
-
Posts
90 -
Joined
-
Last visited
Content Type
Profiles
Forums
Gallery
Events
Everything posted by Usgecko
-
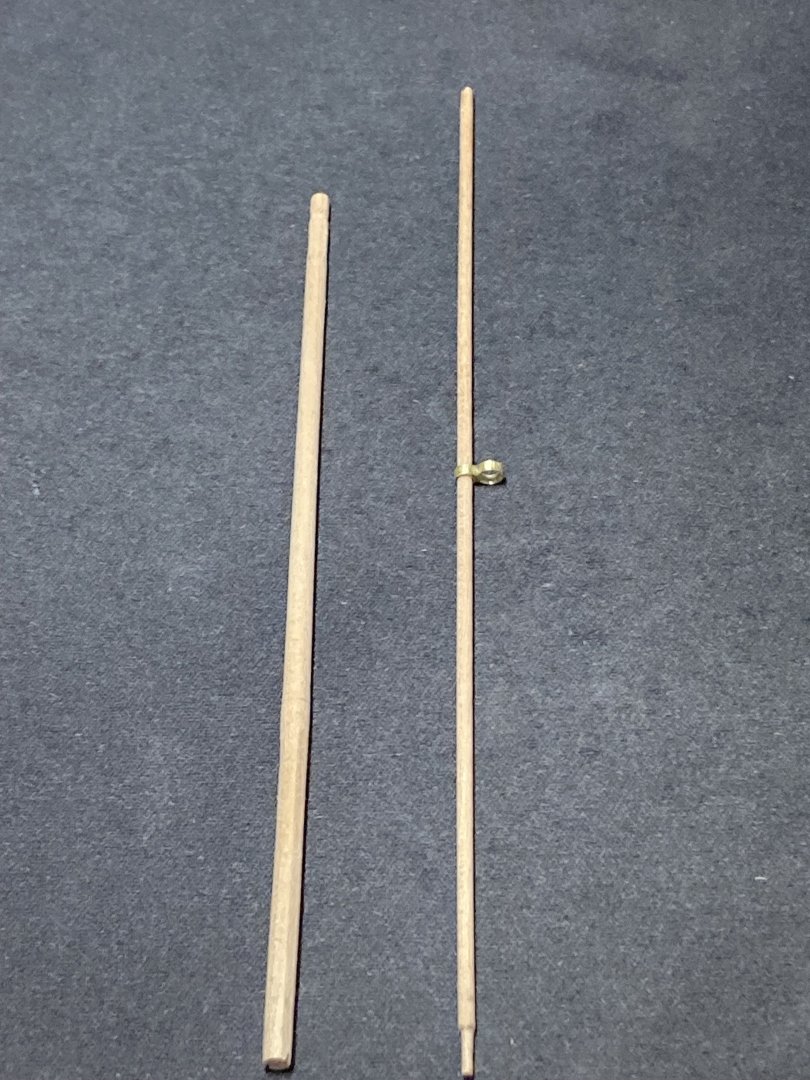
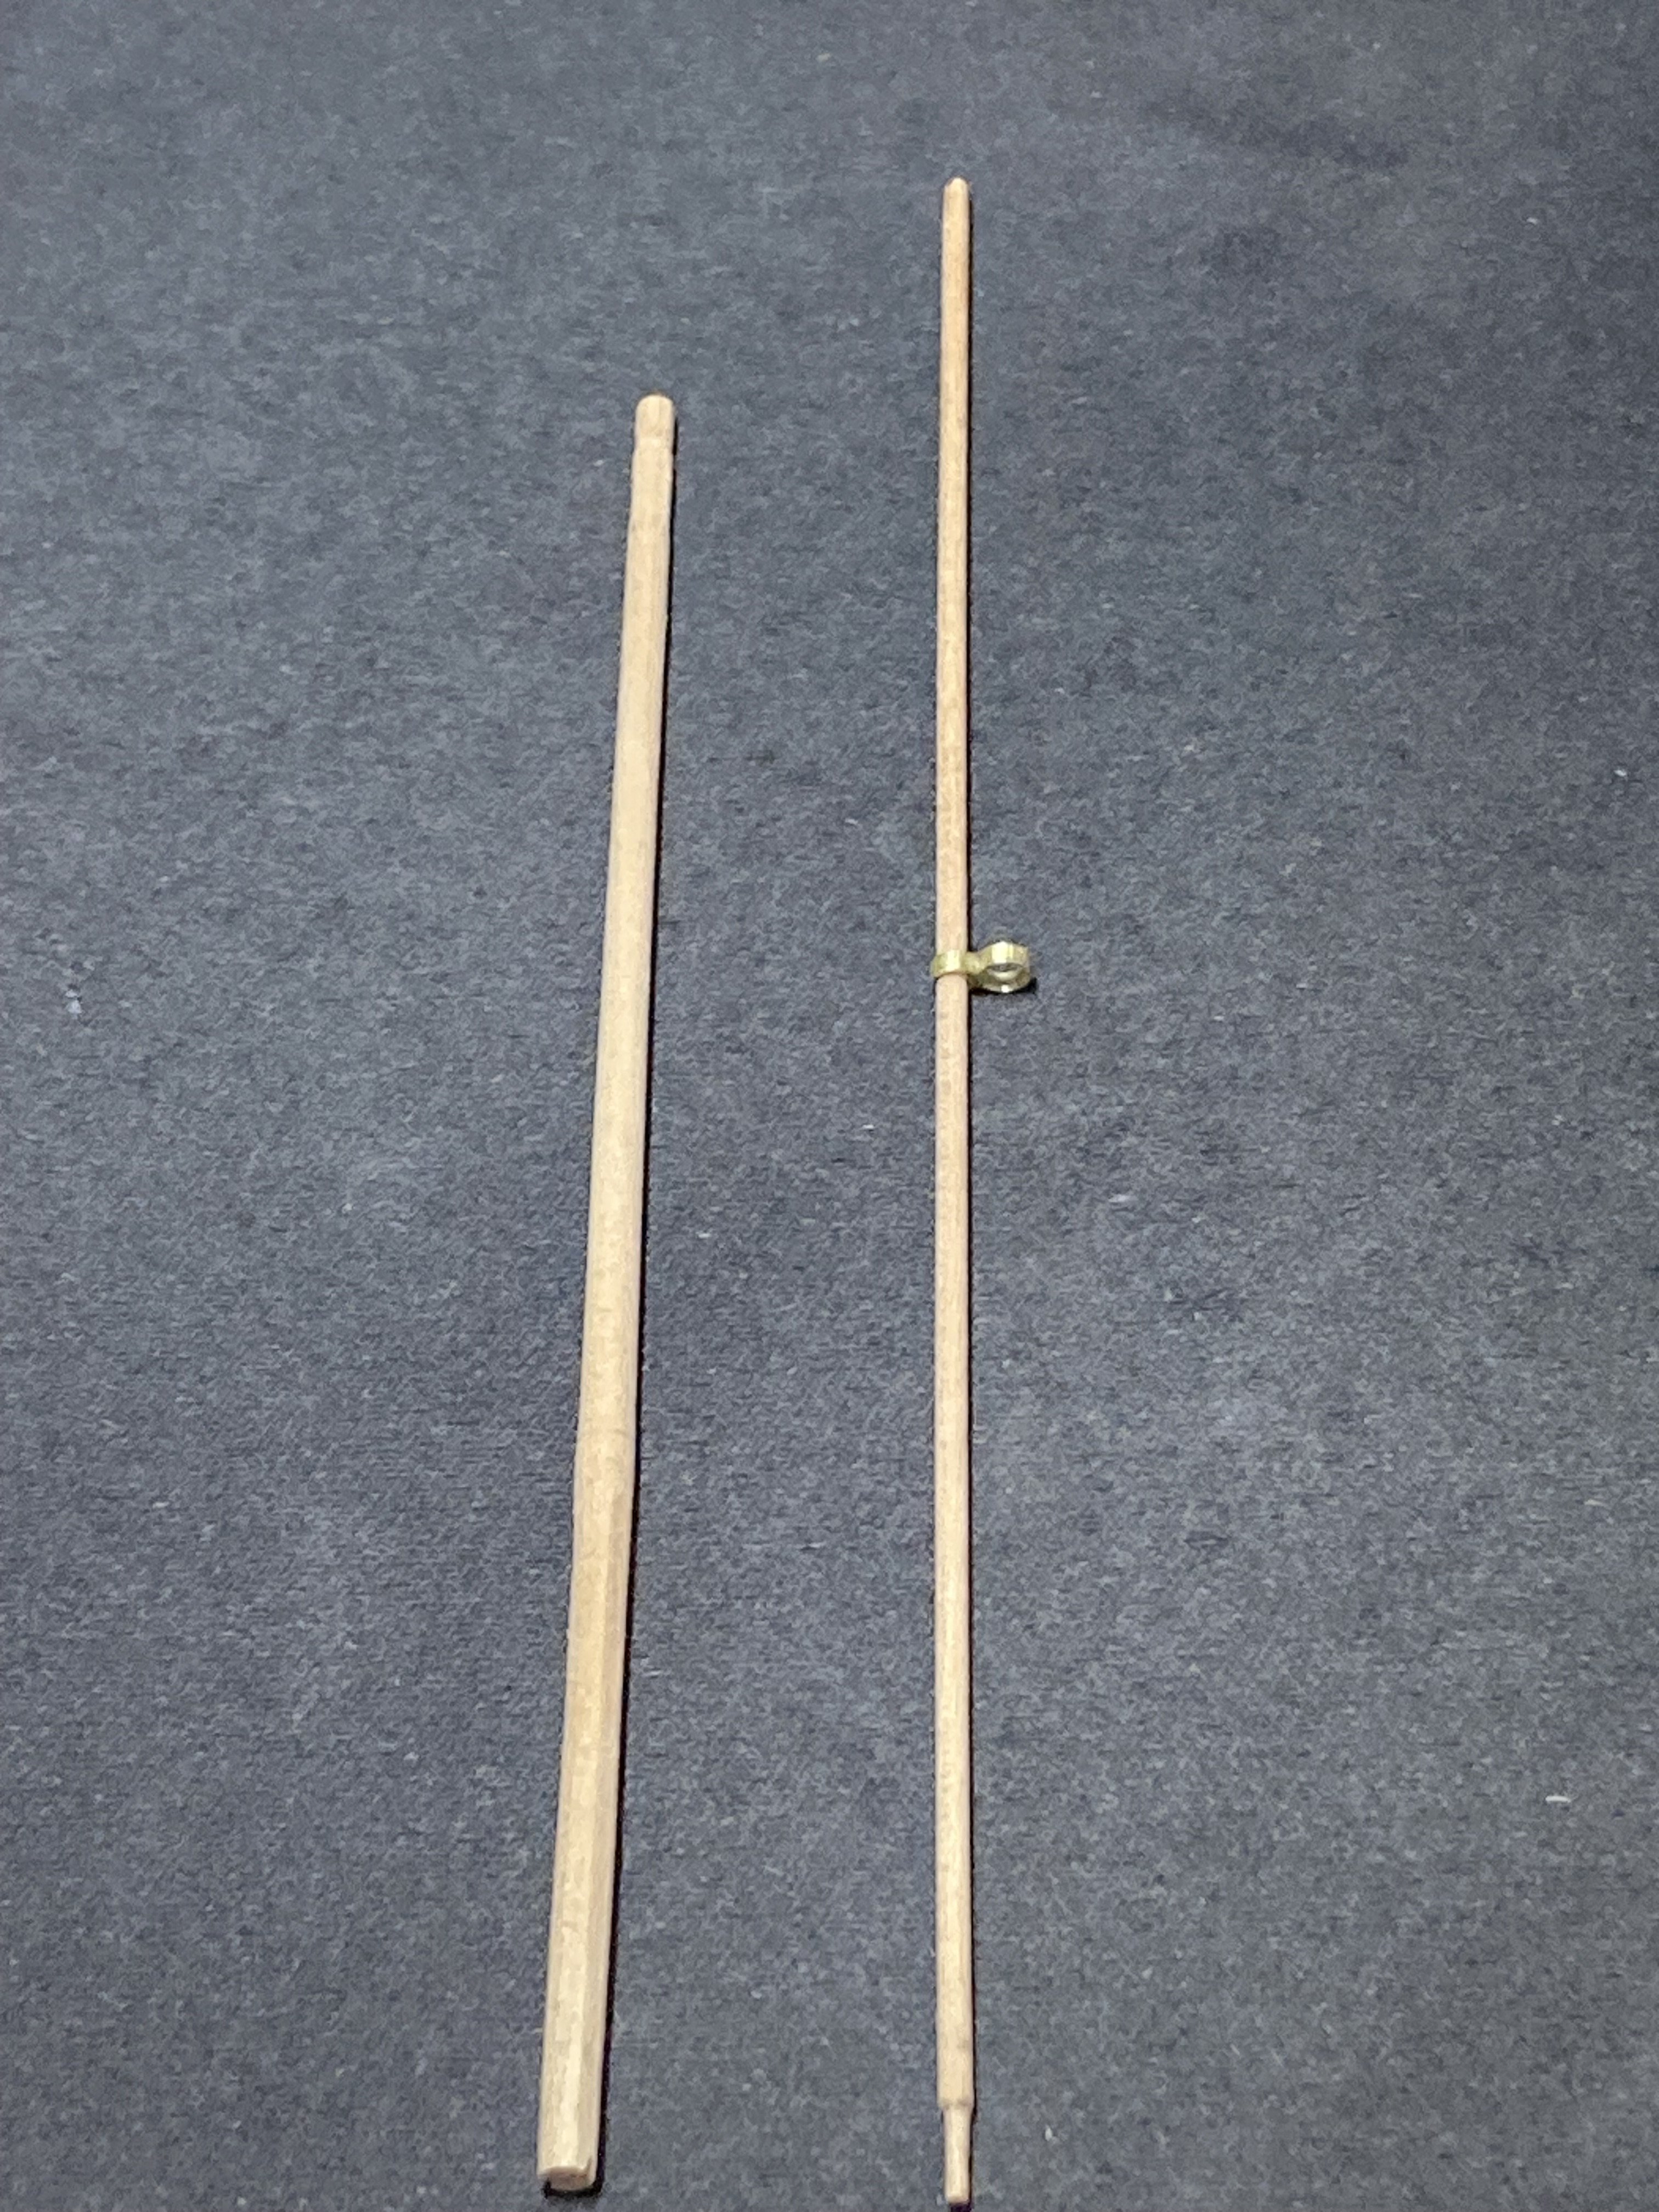
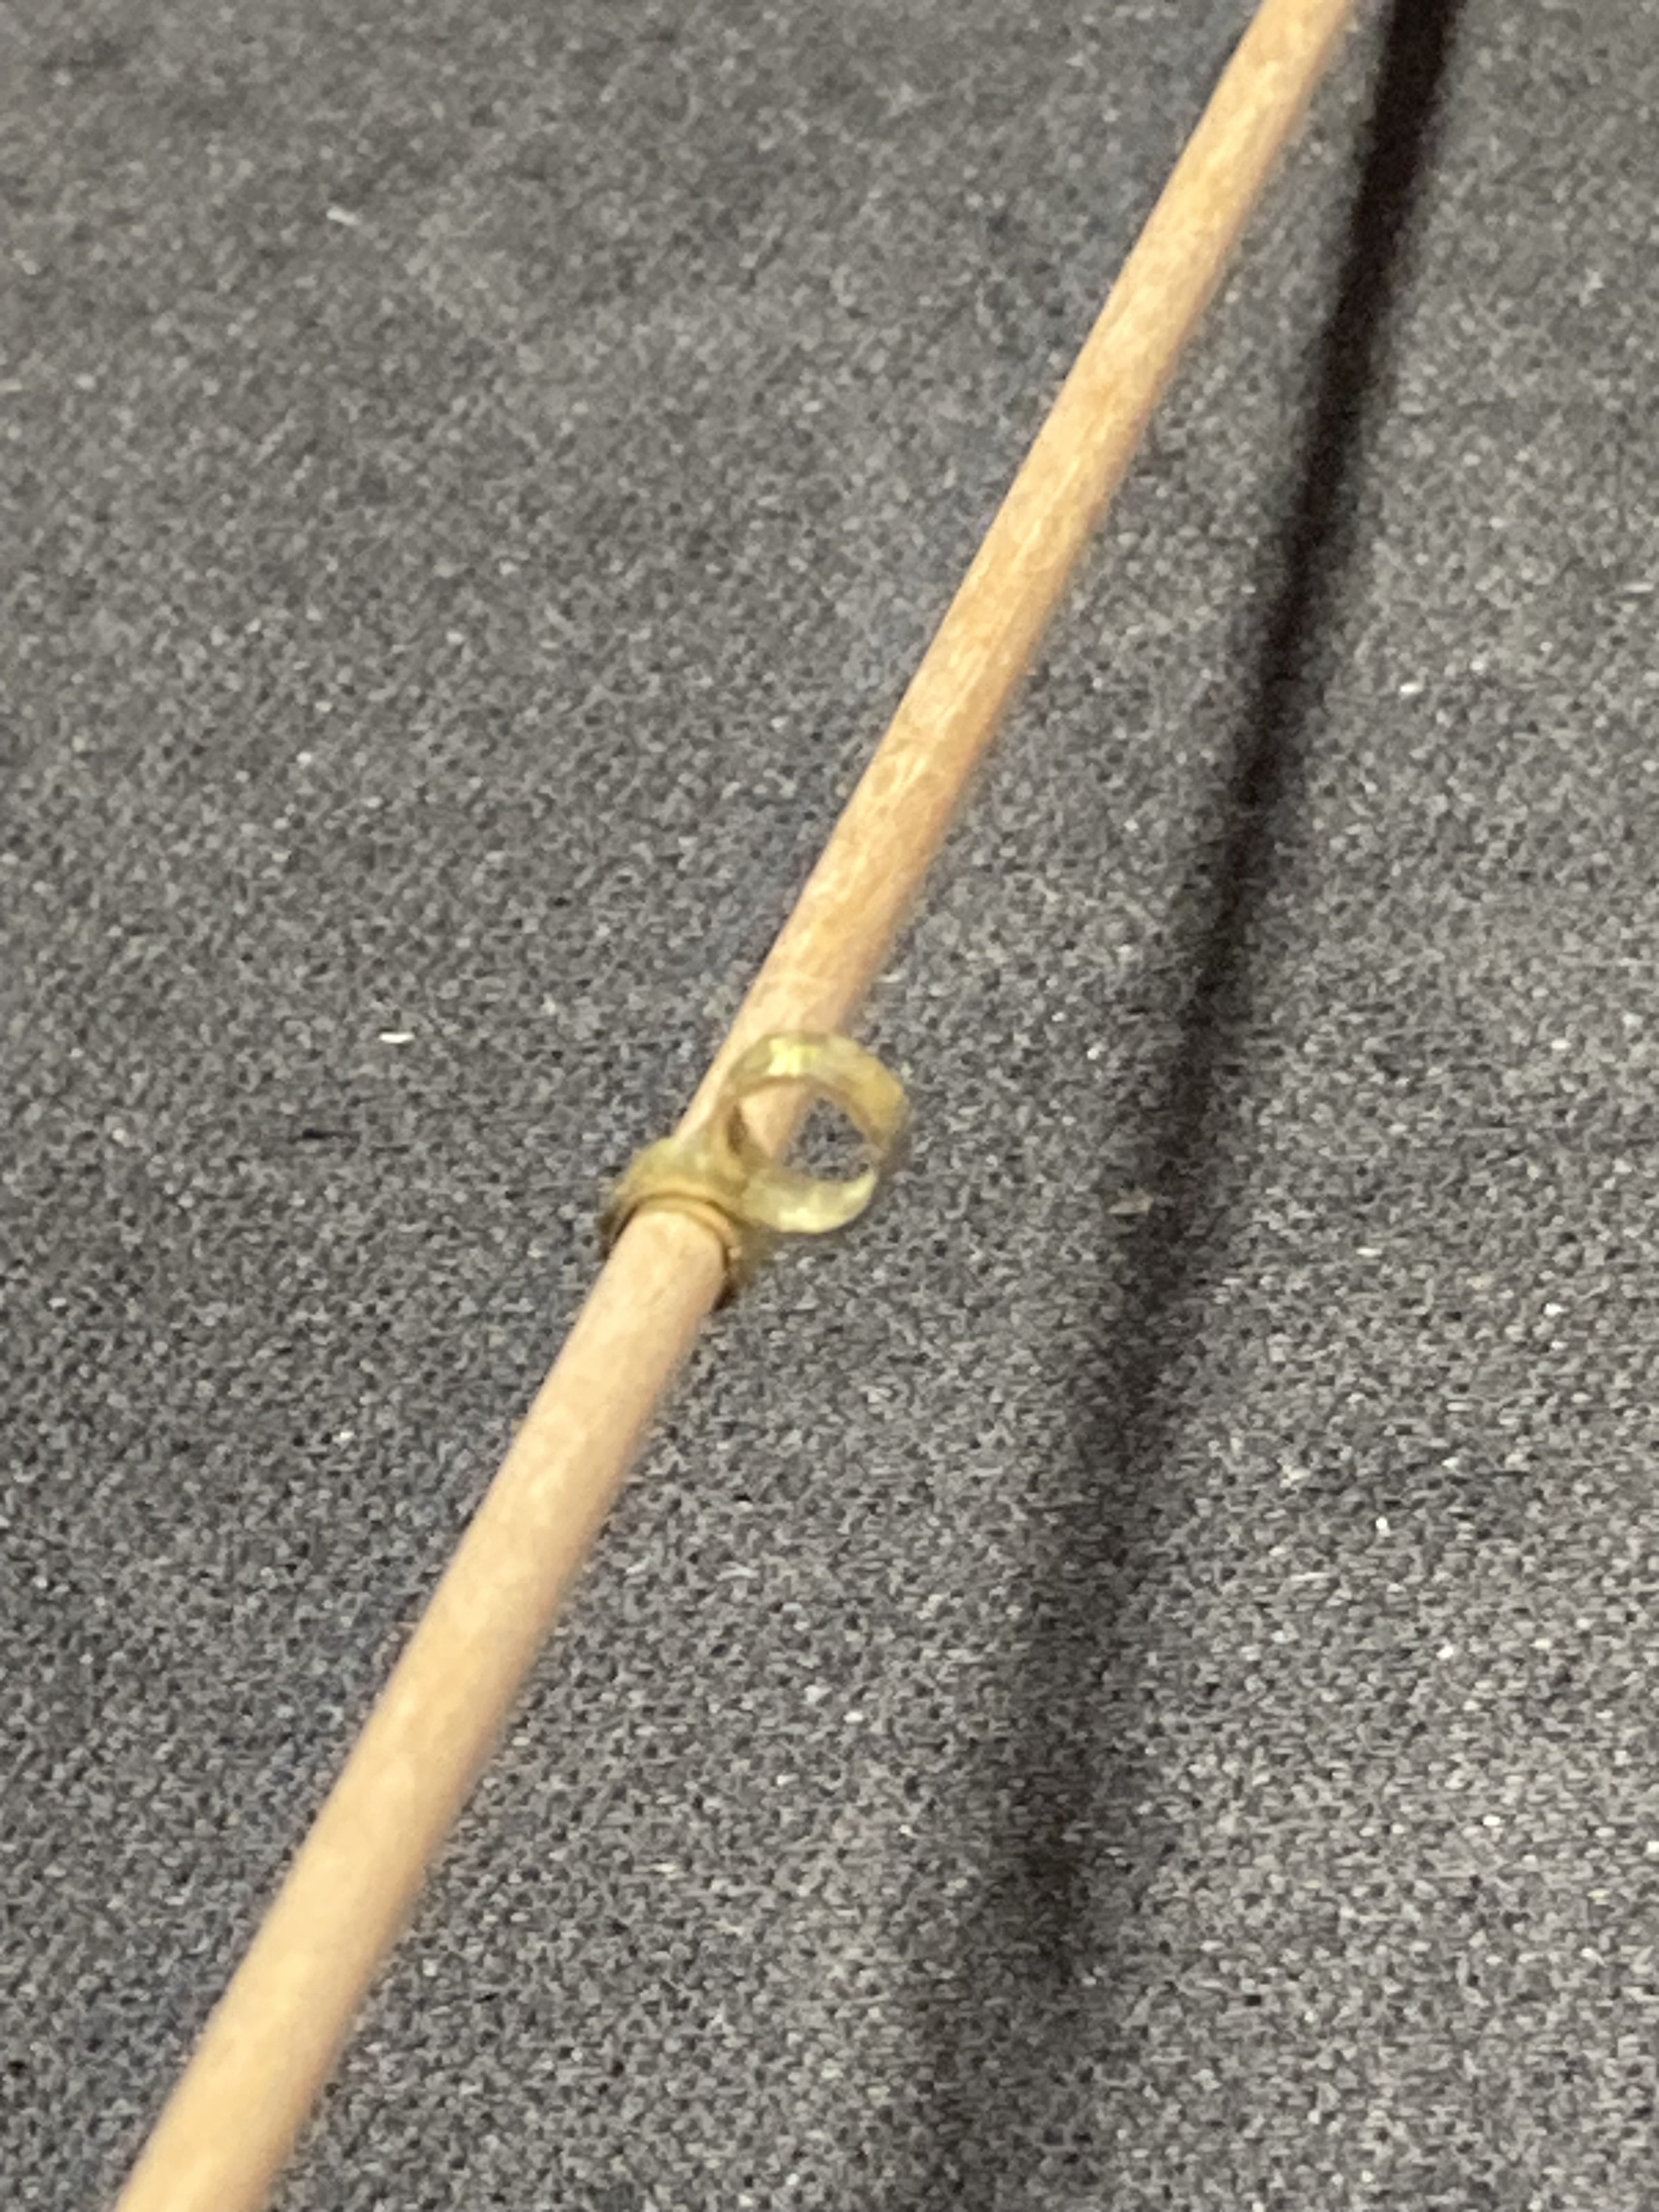
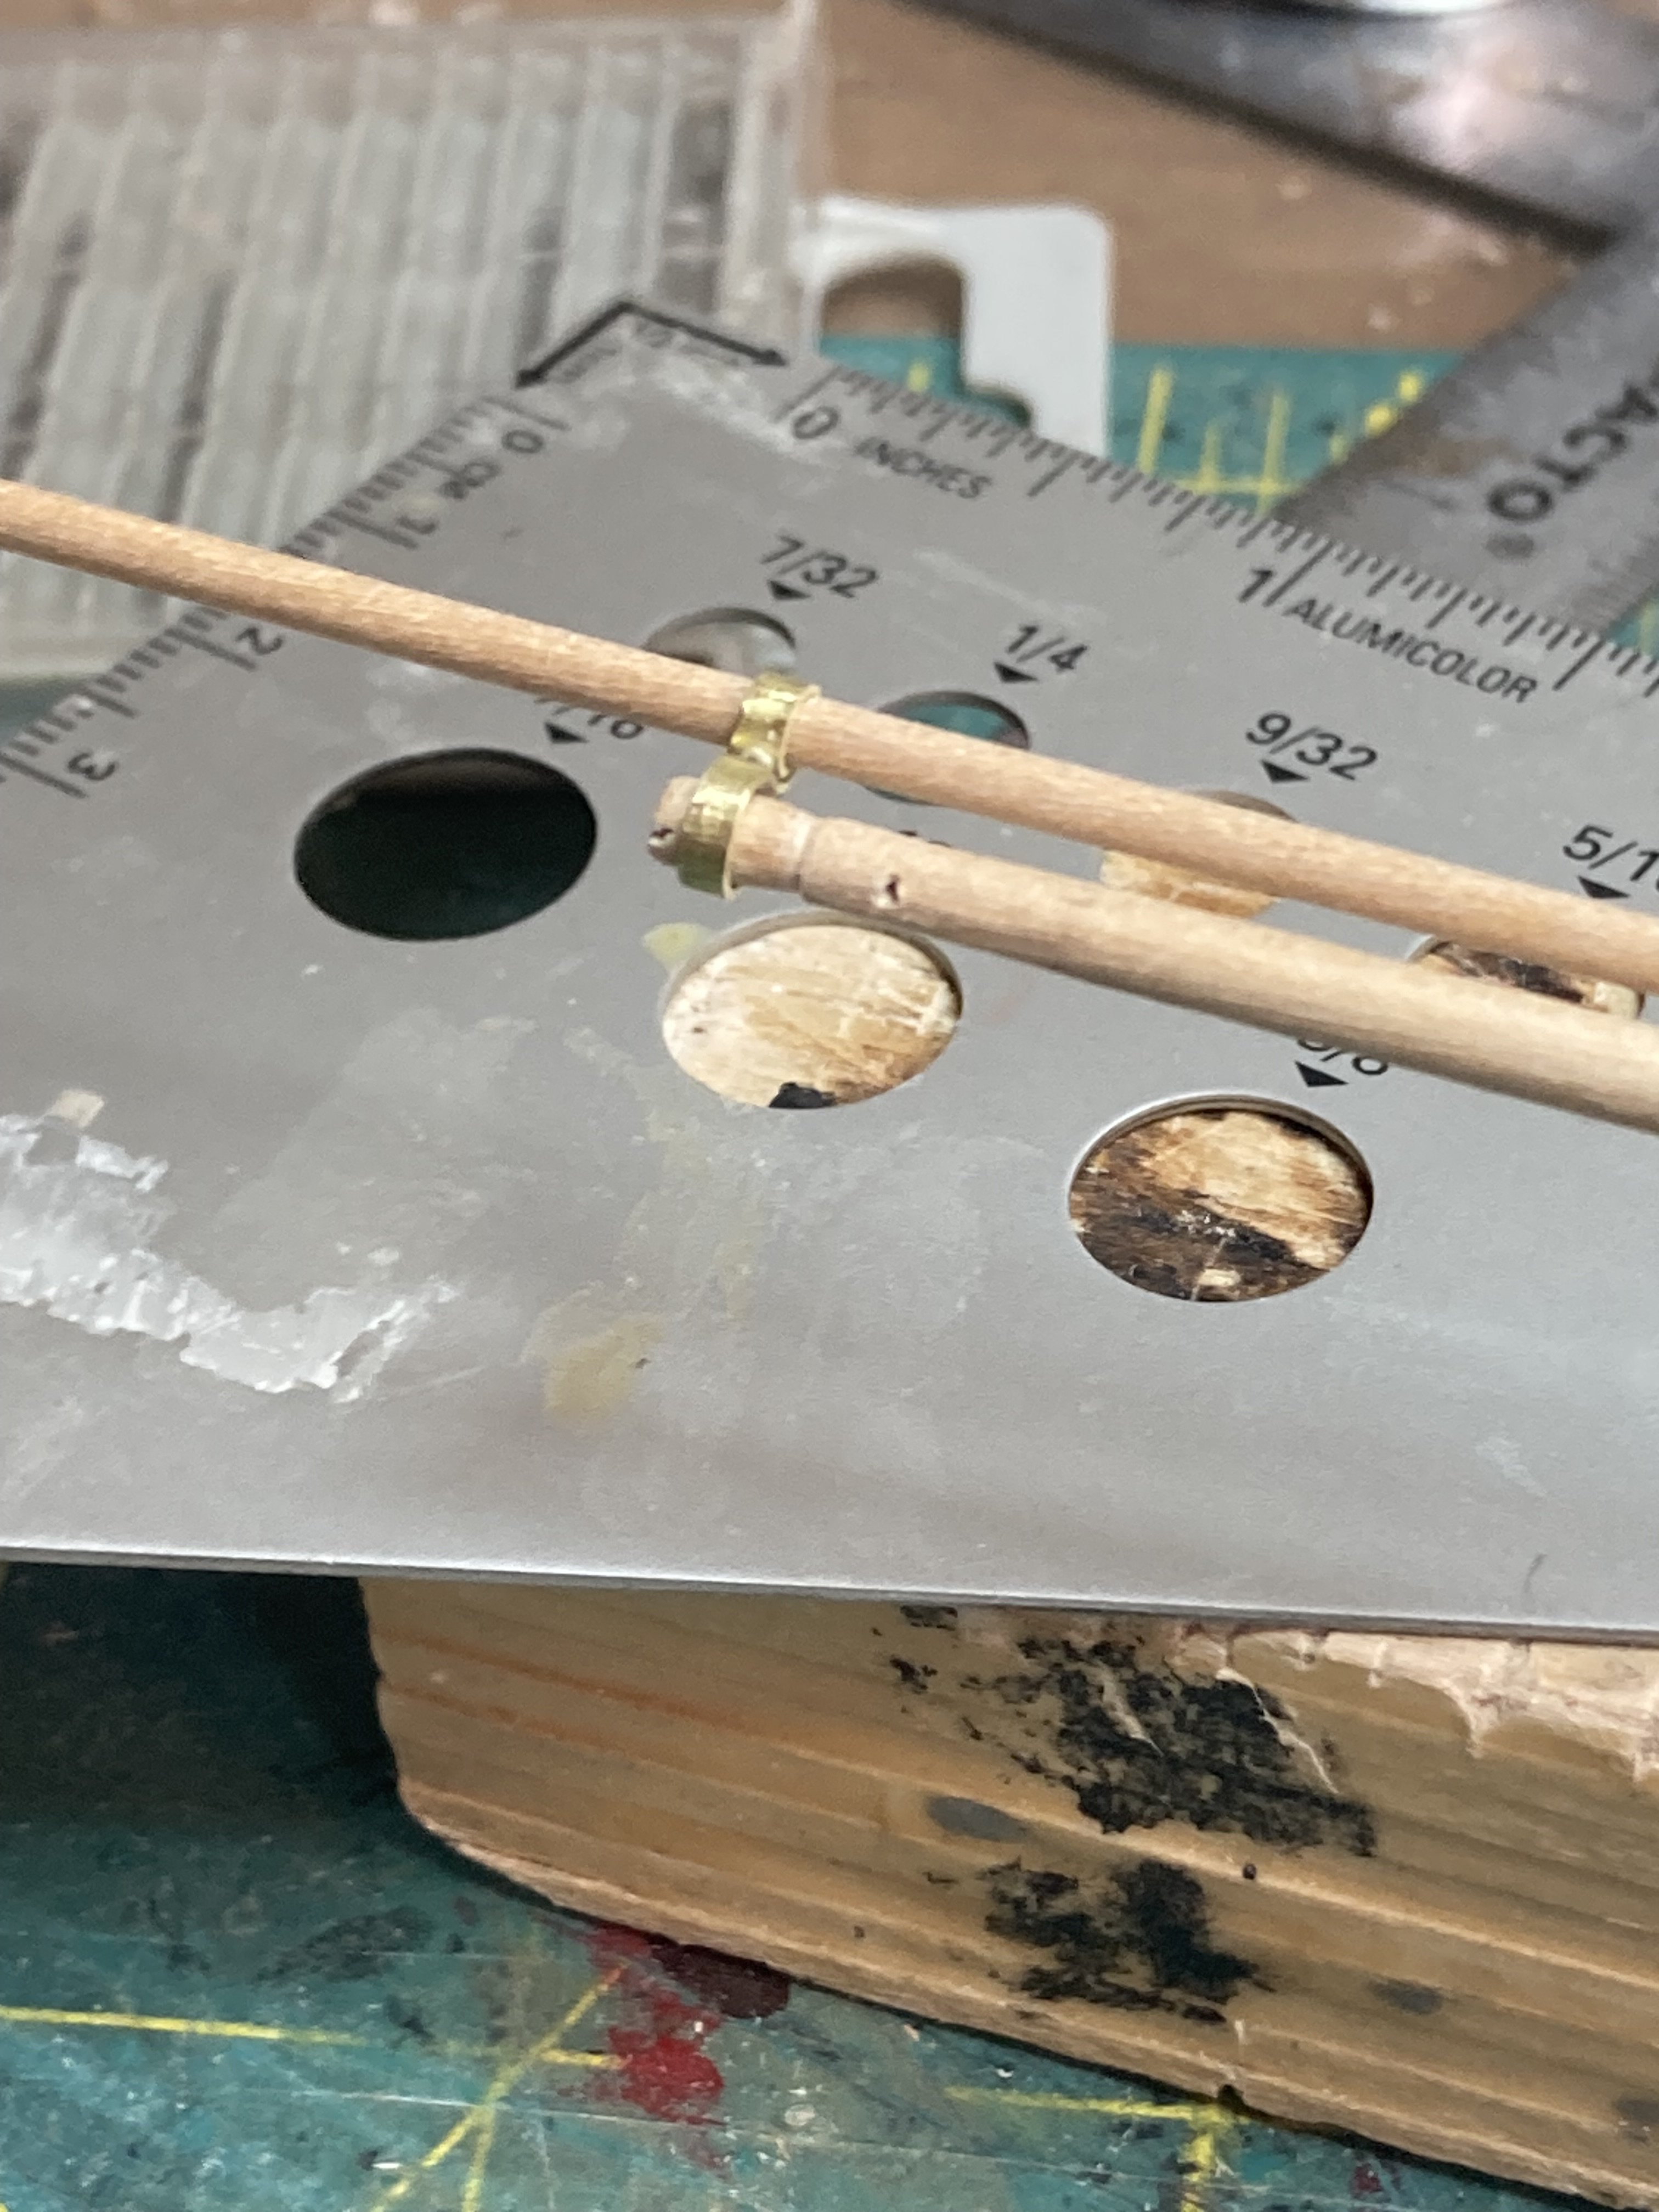
 Permanently added the deck I built earlier and added some color the hull. Working on masts and yards now - slow because I am doing everything by hand - couldn't justify getting a lathe at the moment.


-
Good call Steve - is the bass wire going all through the rail, or just reinforcing the joint?
-
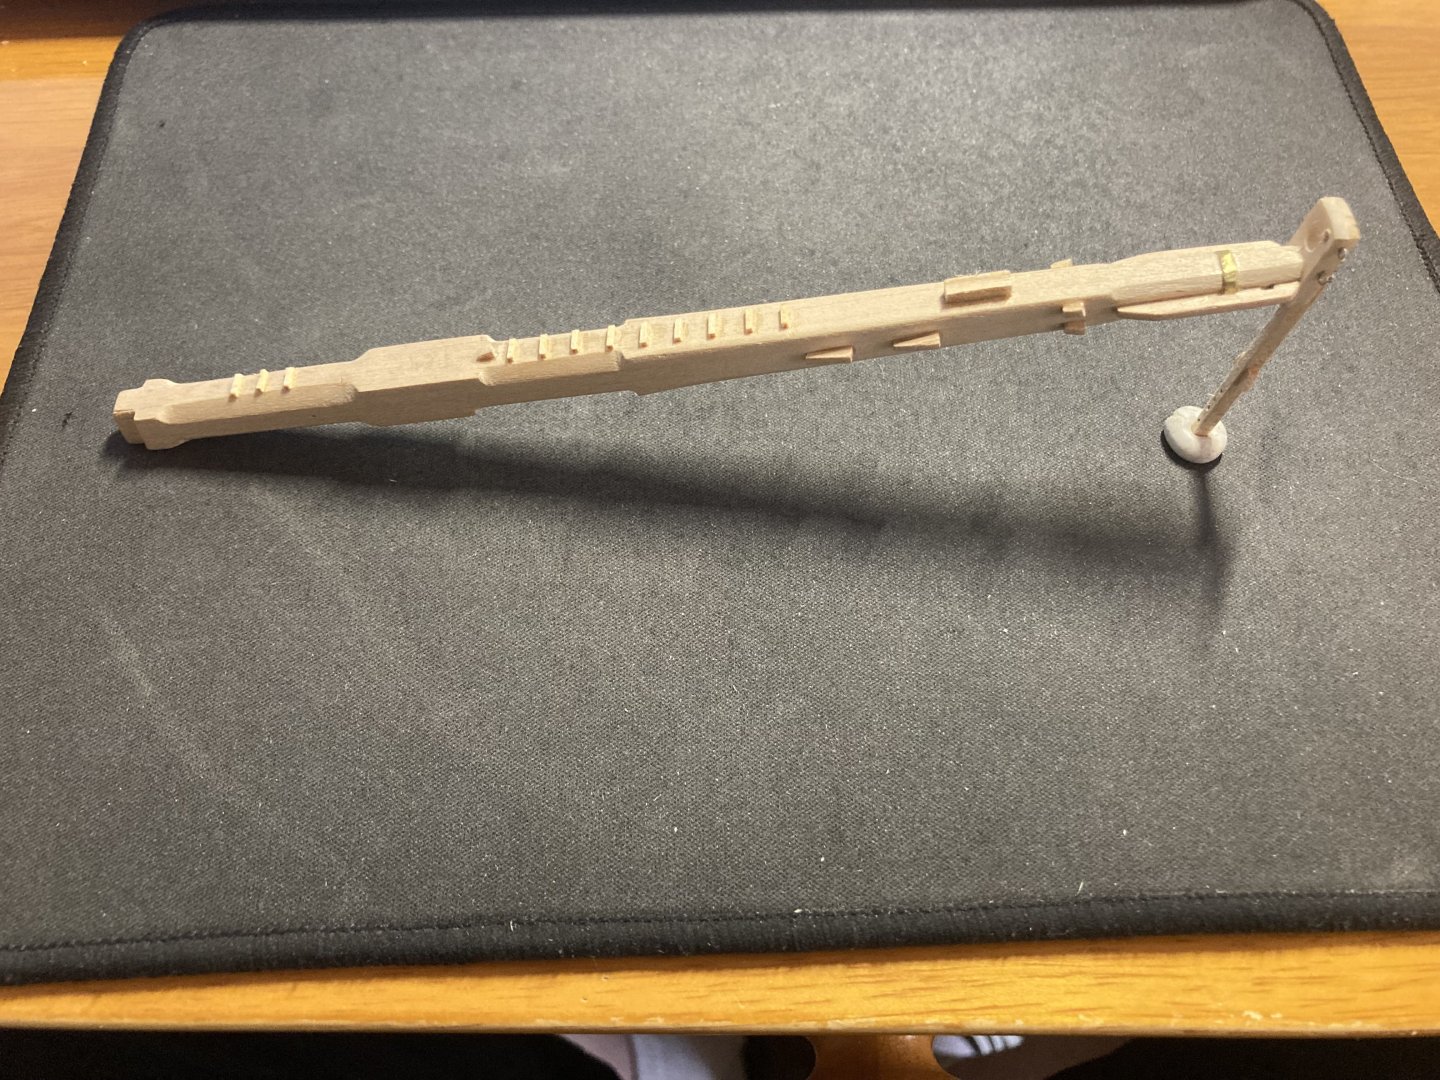
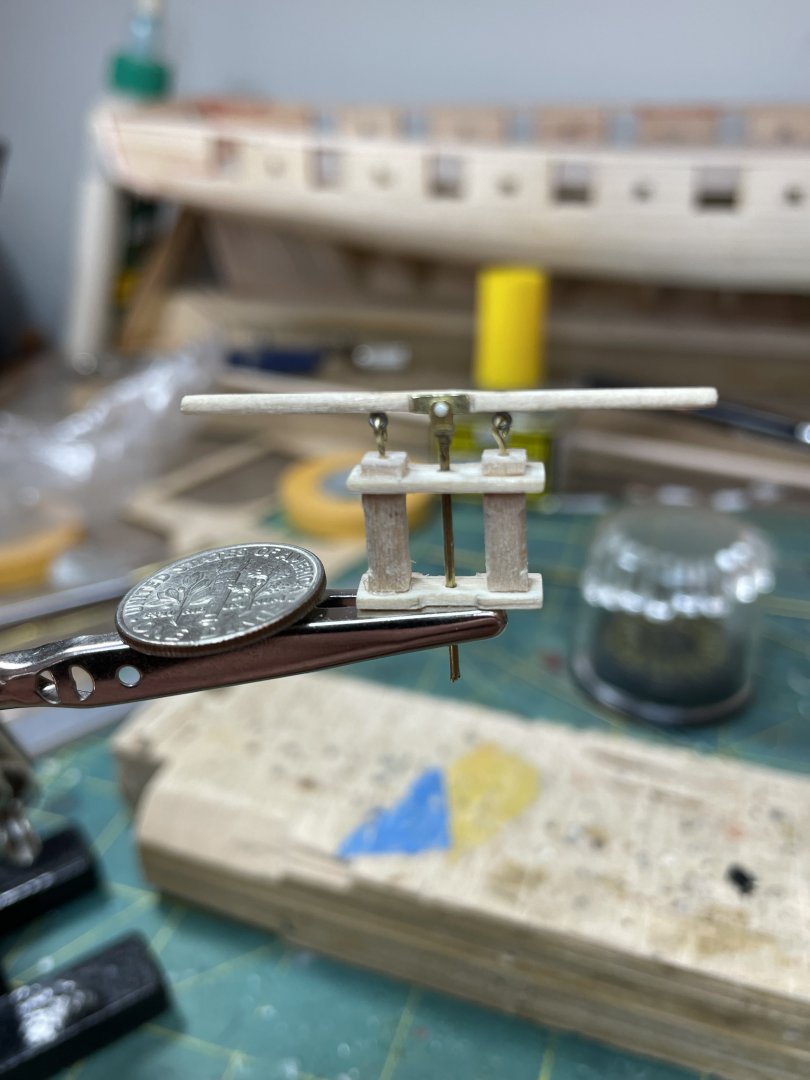
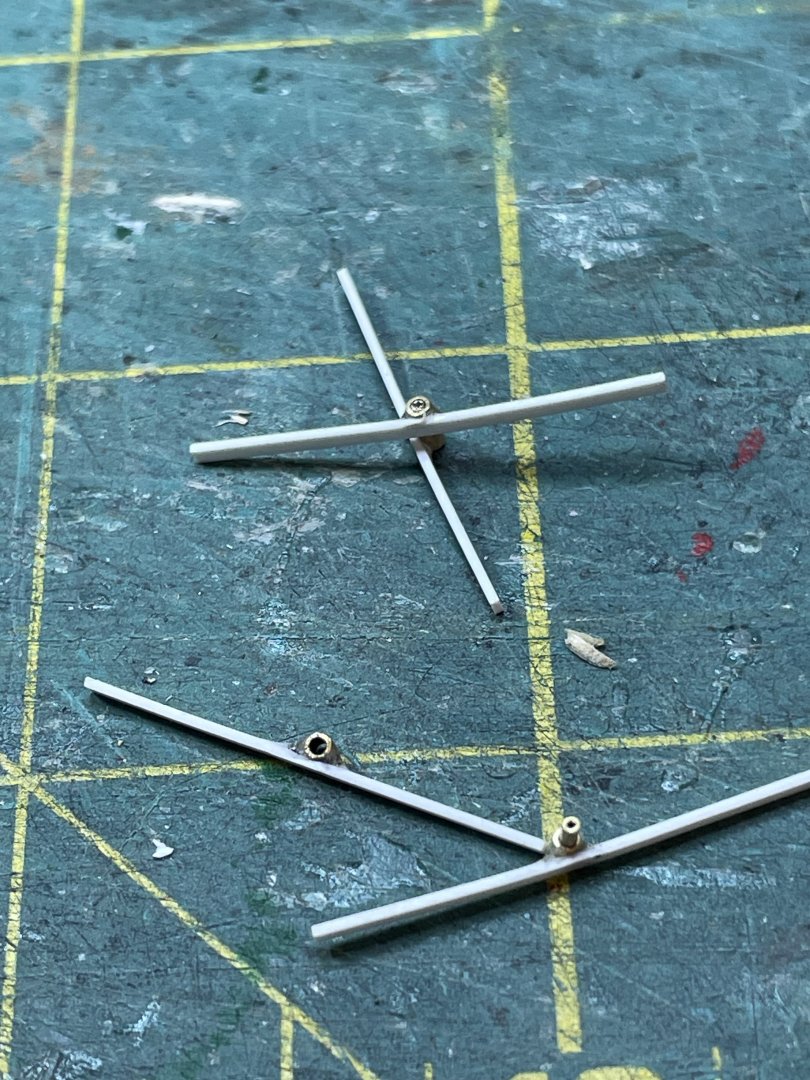
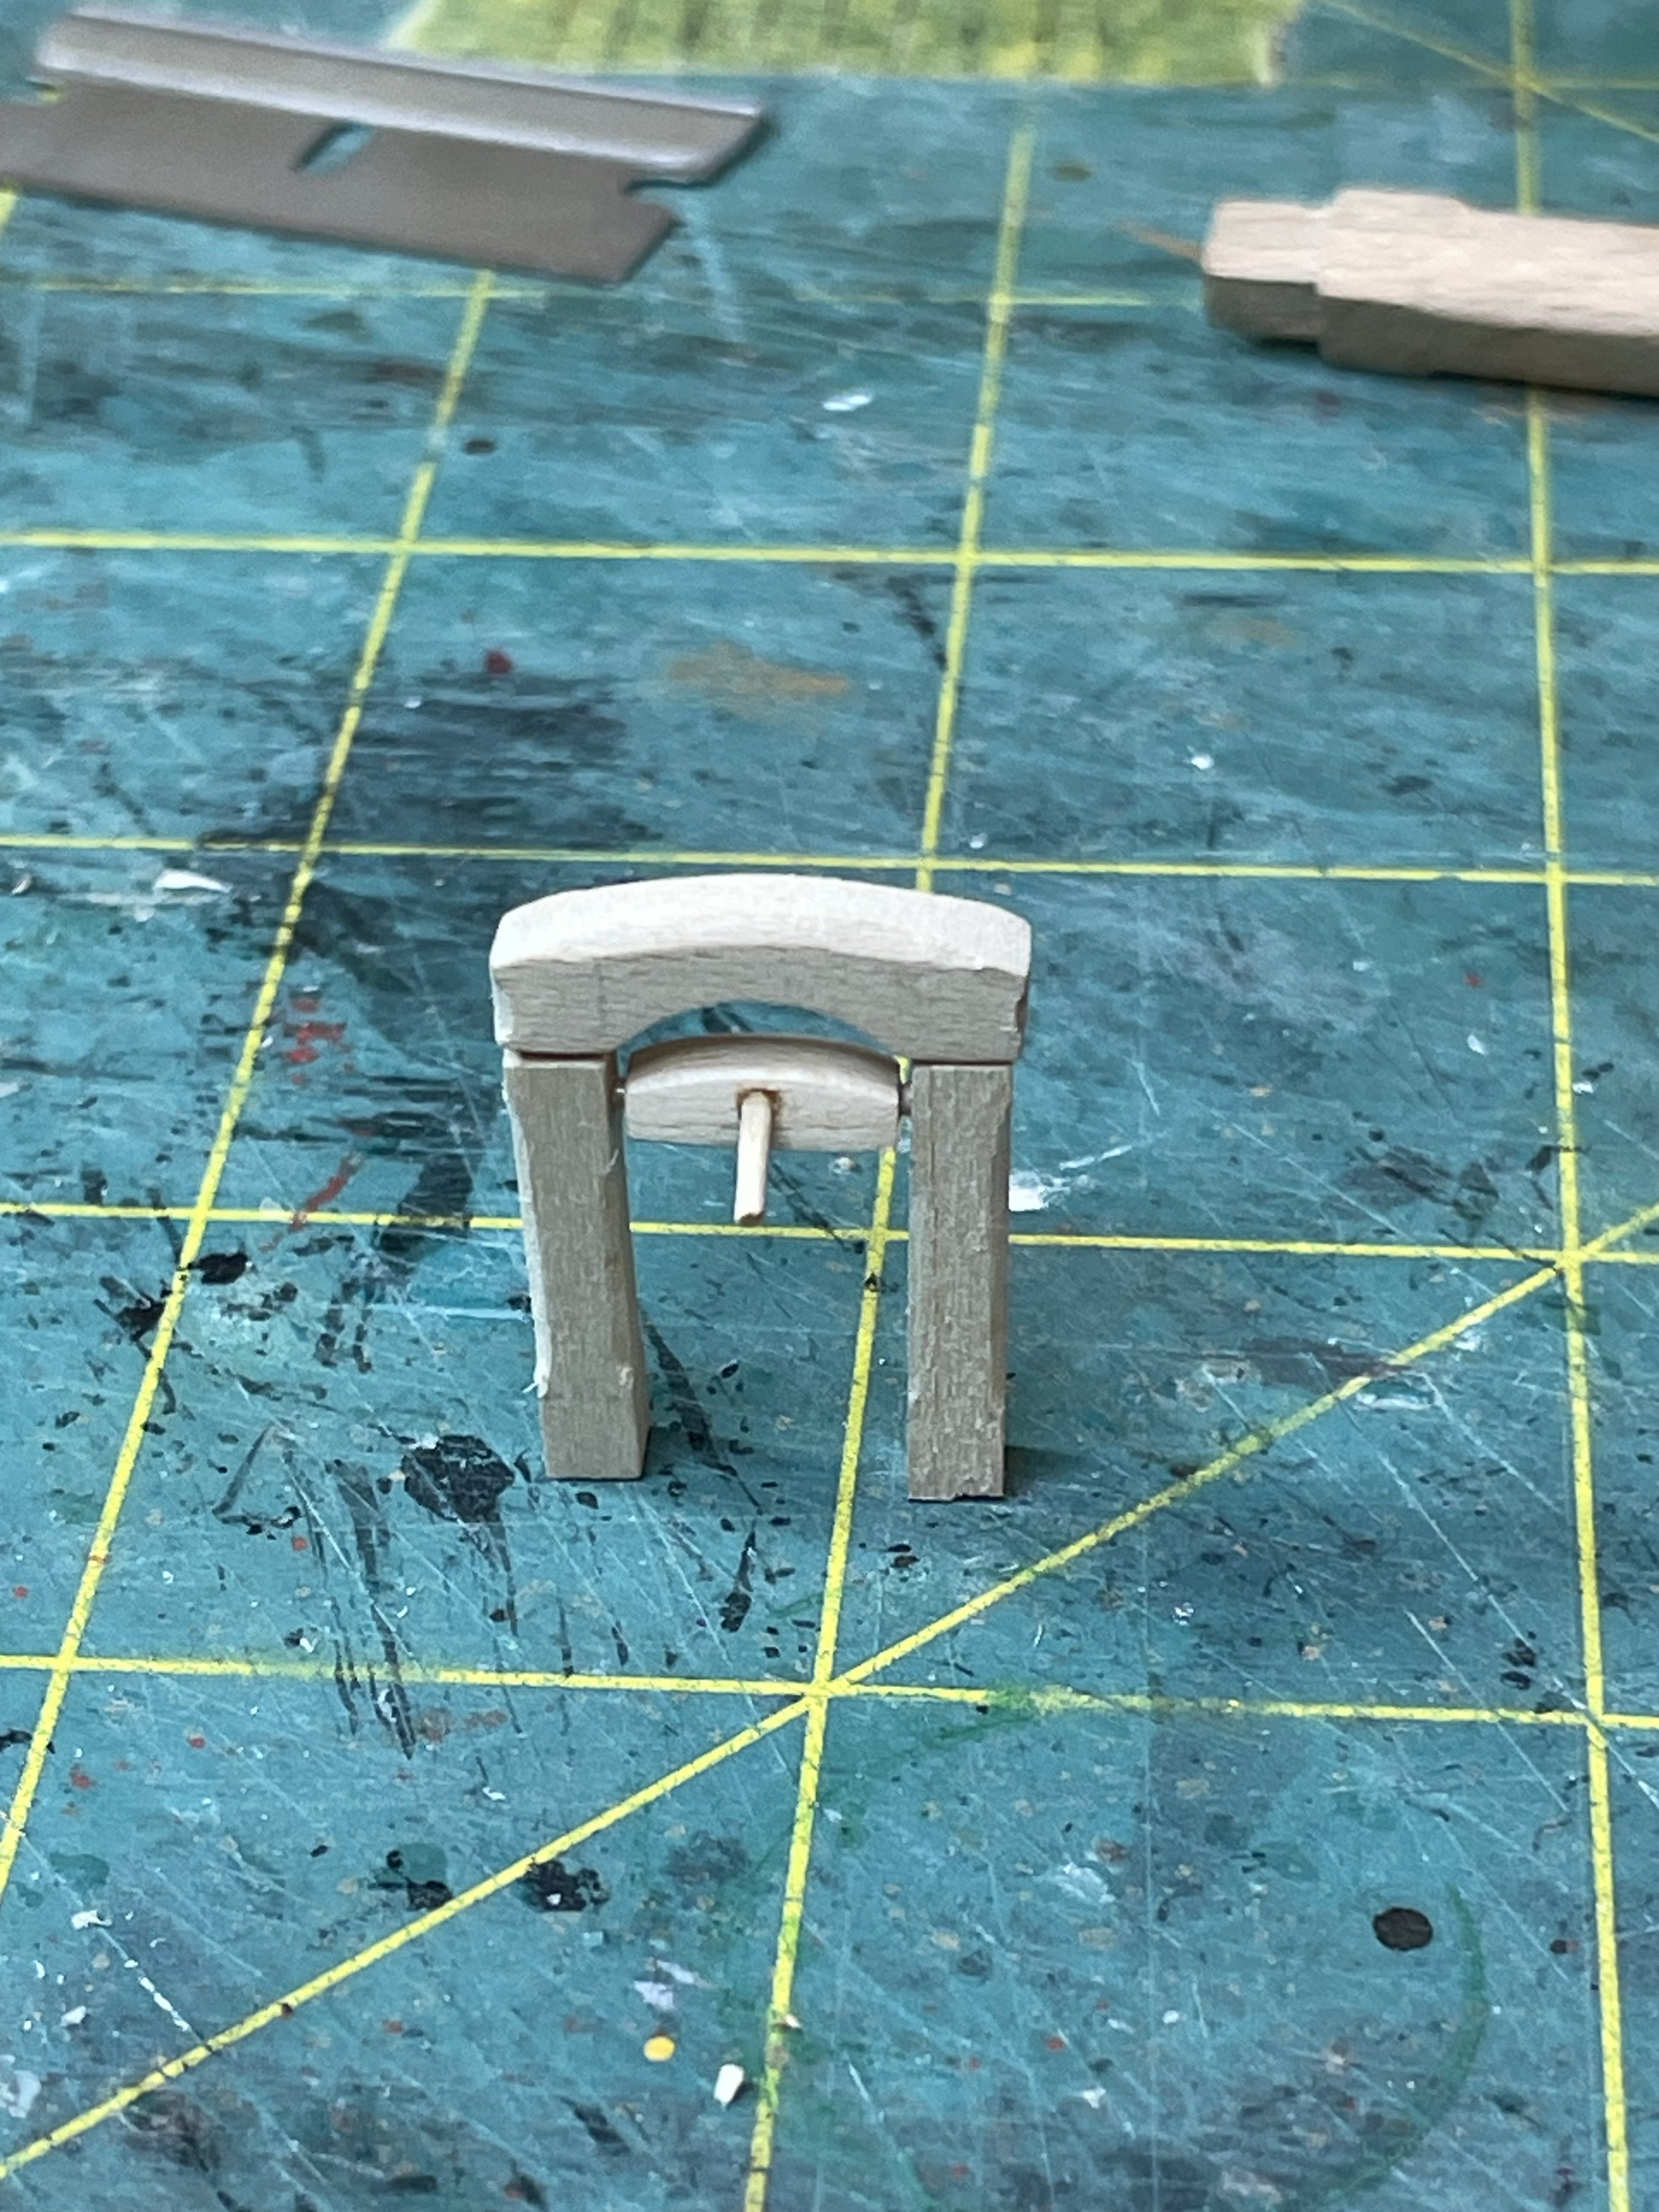
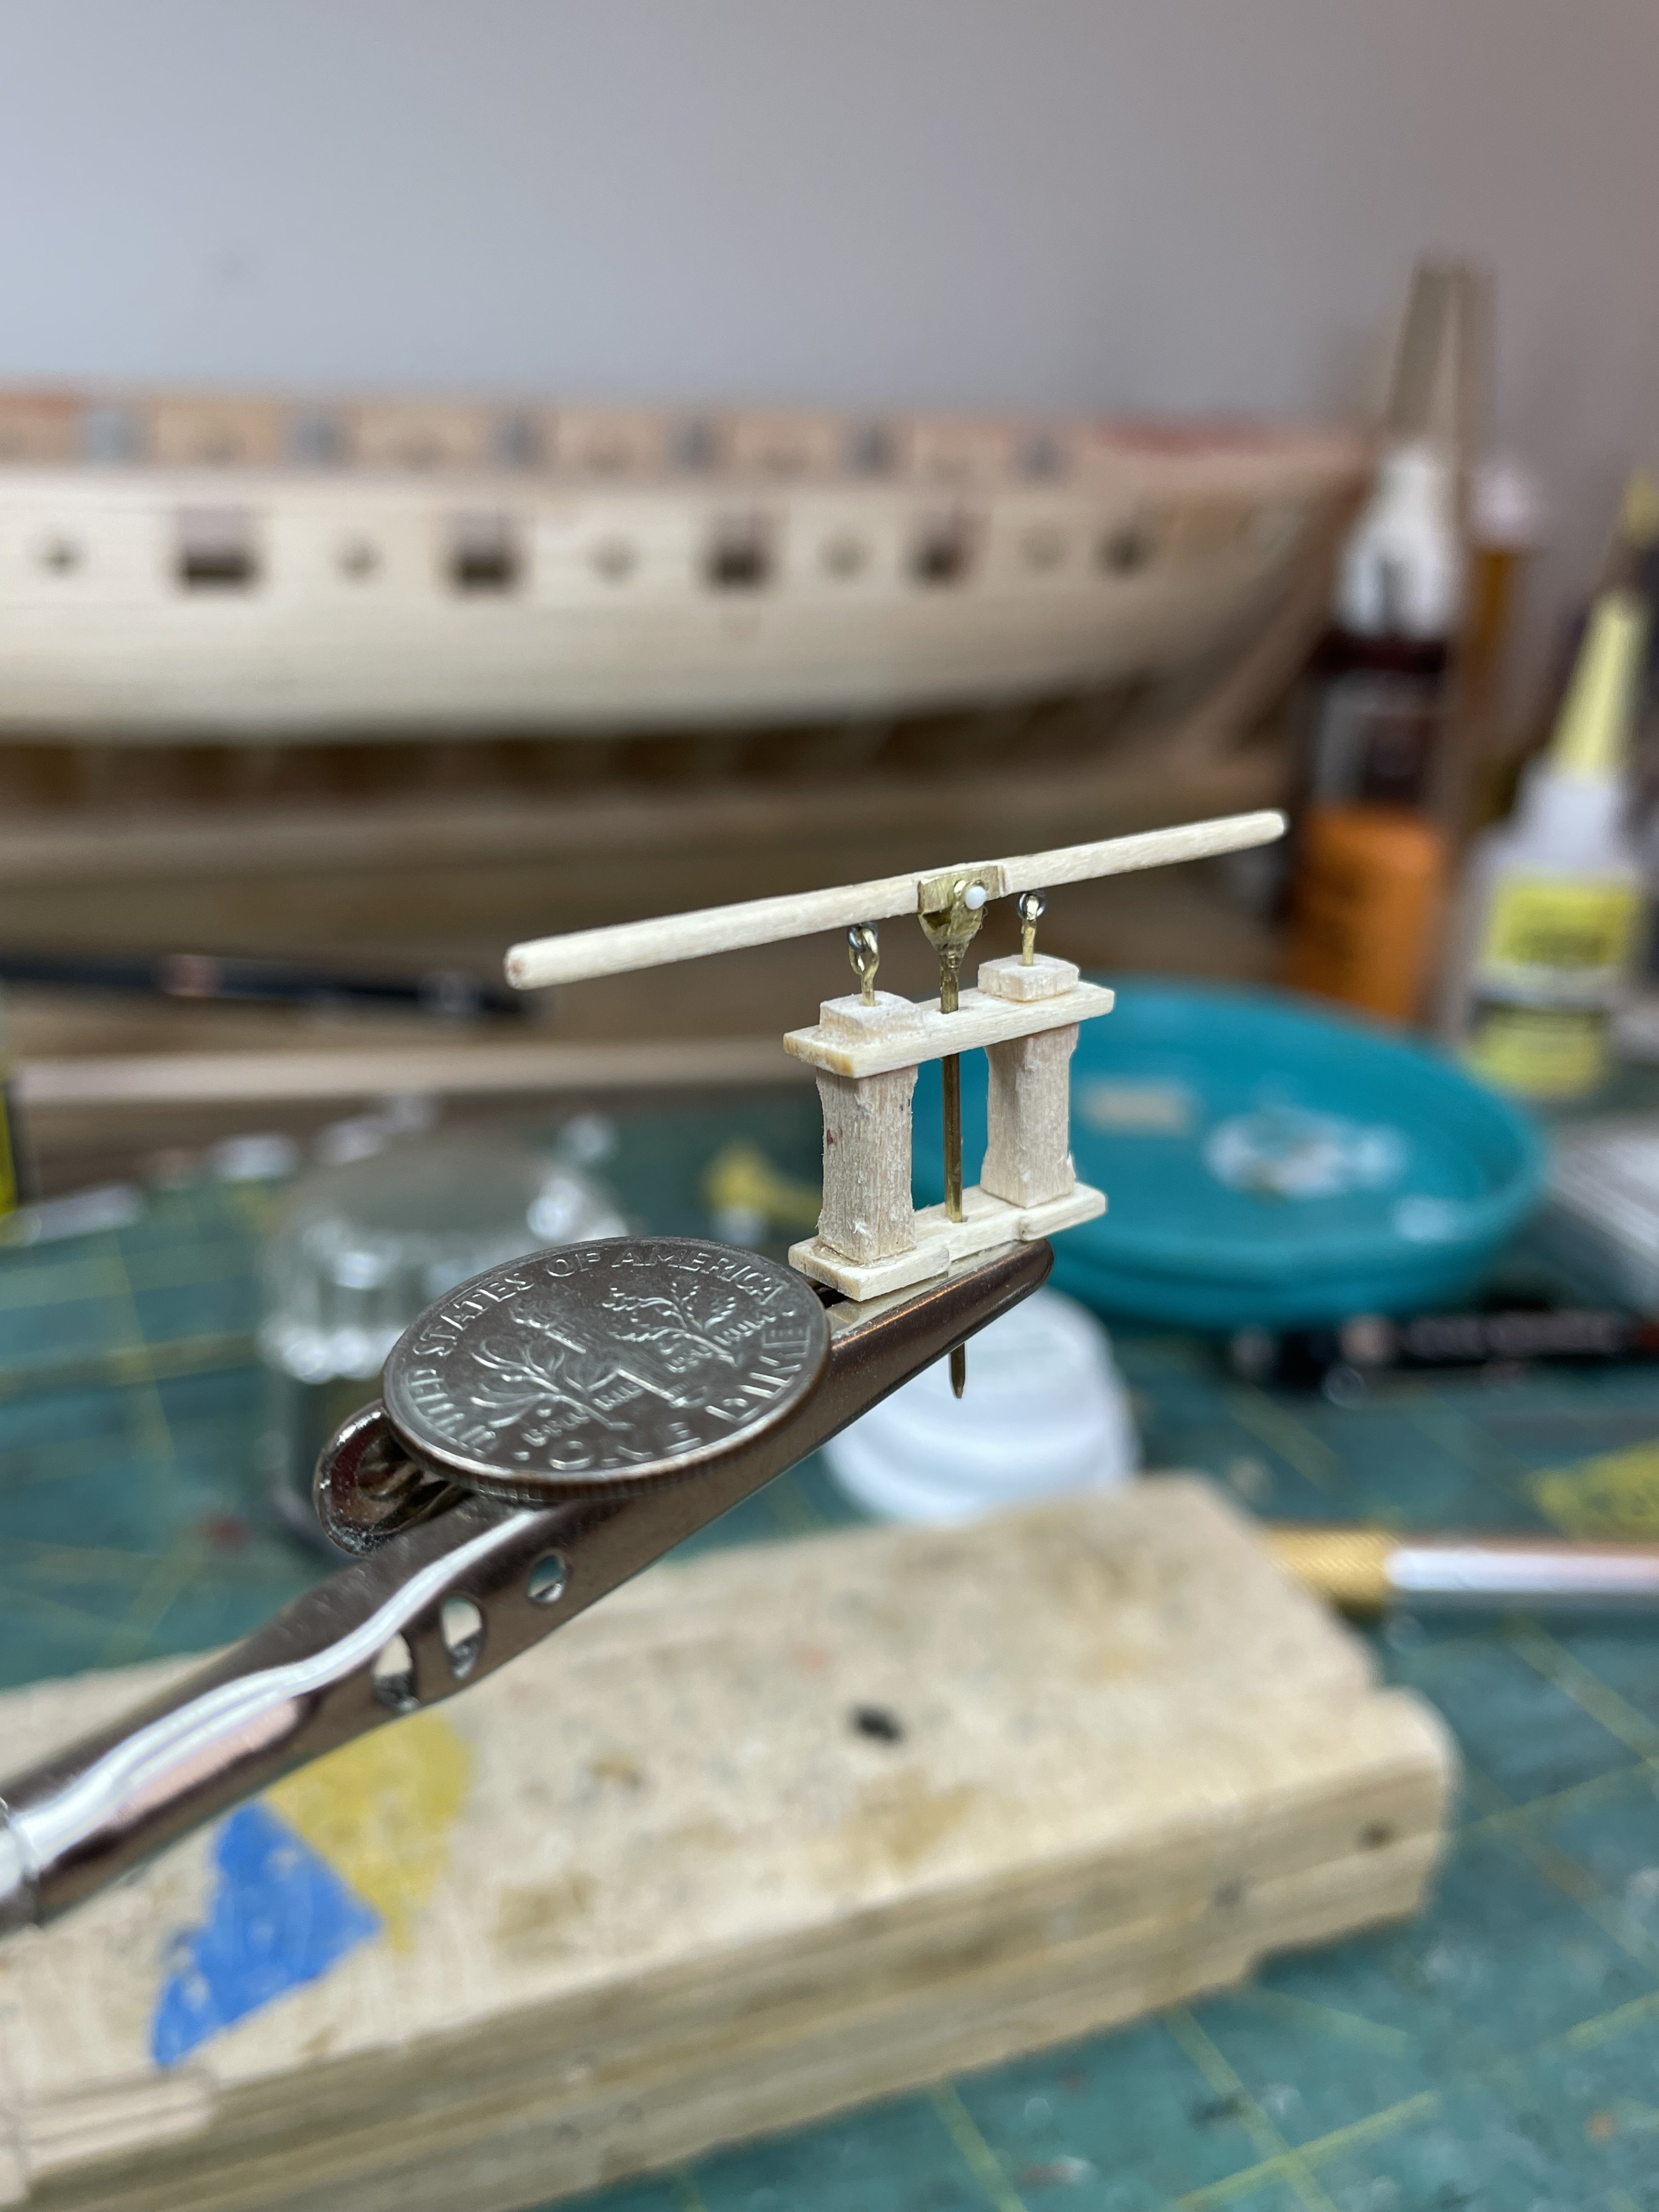
Small update as work continues - the fife rails and where the ships bell will be attached

-
In a change of pace I primed the hull for adding color later


-
Looks fantastic.
-
Thanks Steve!
-
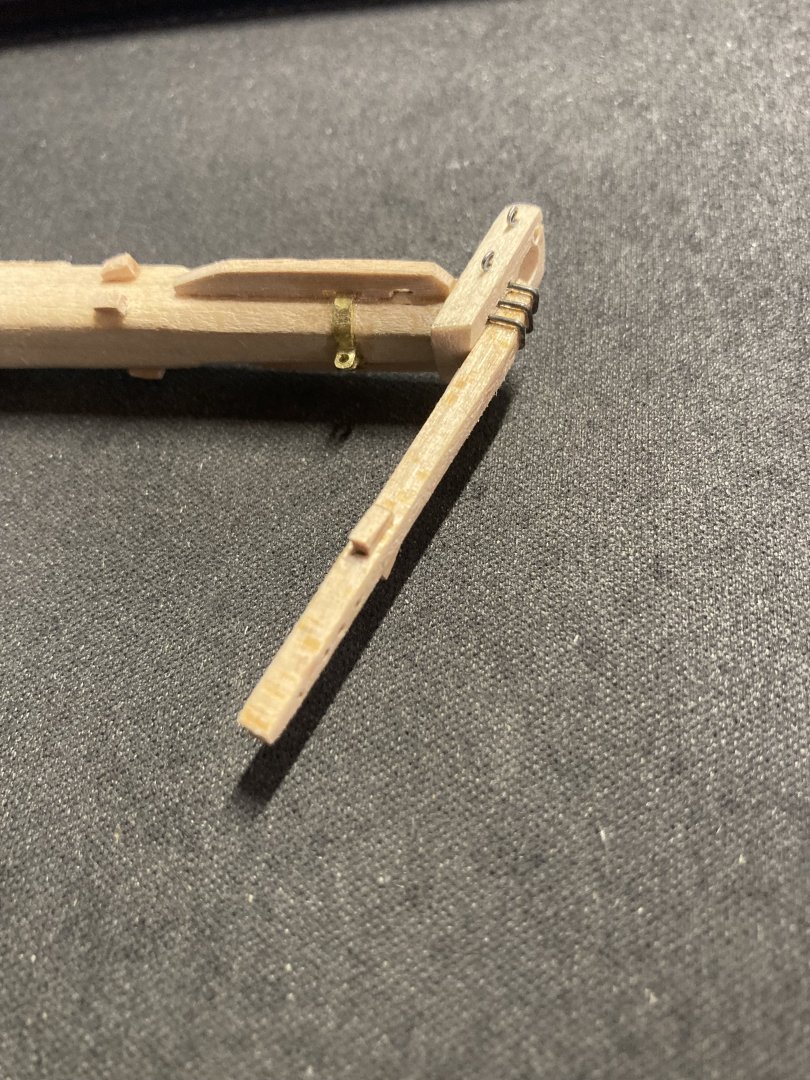
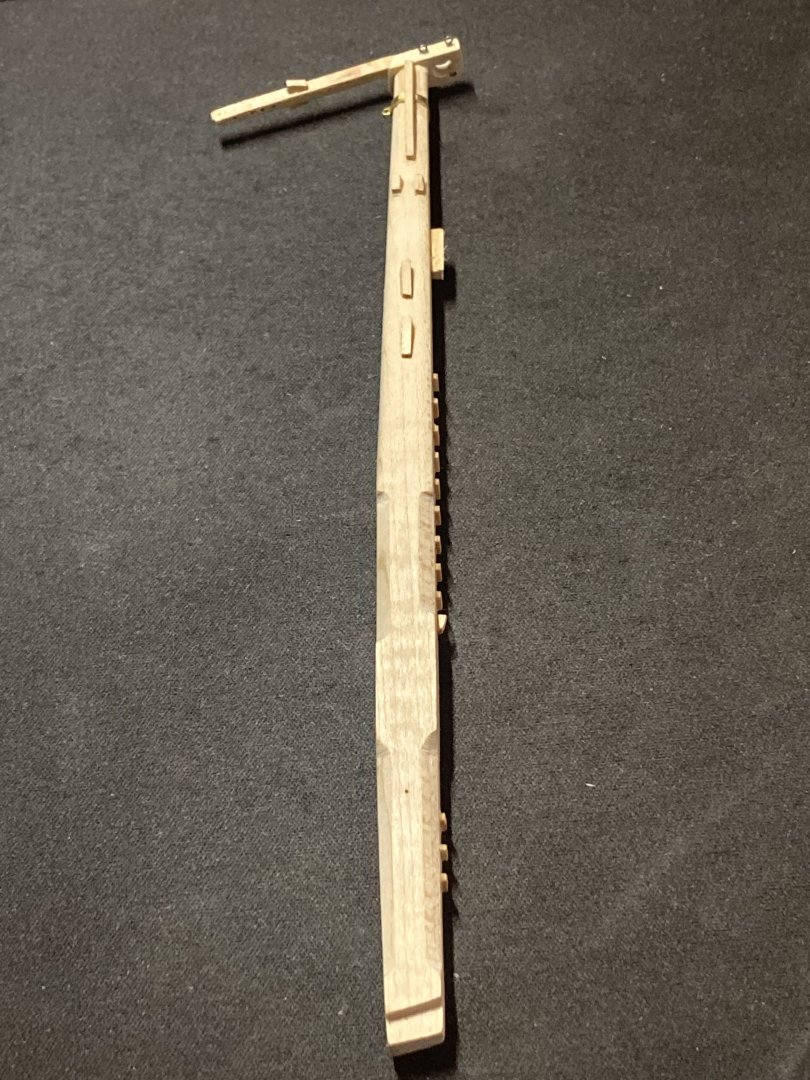
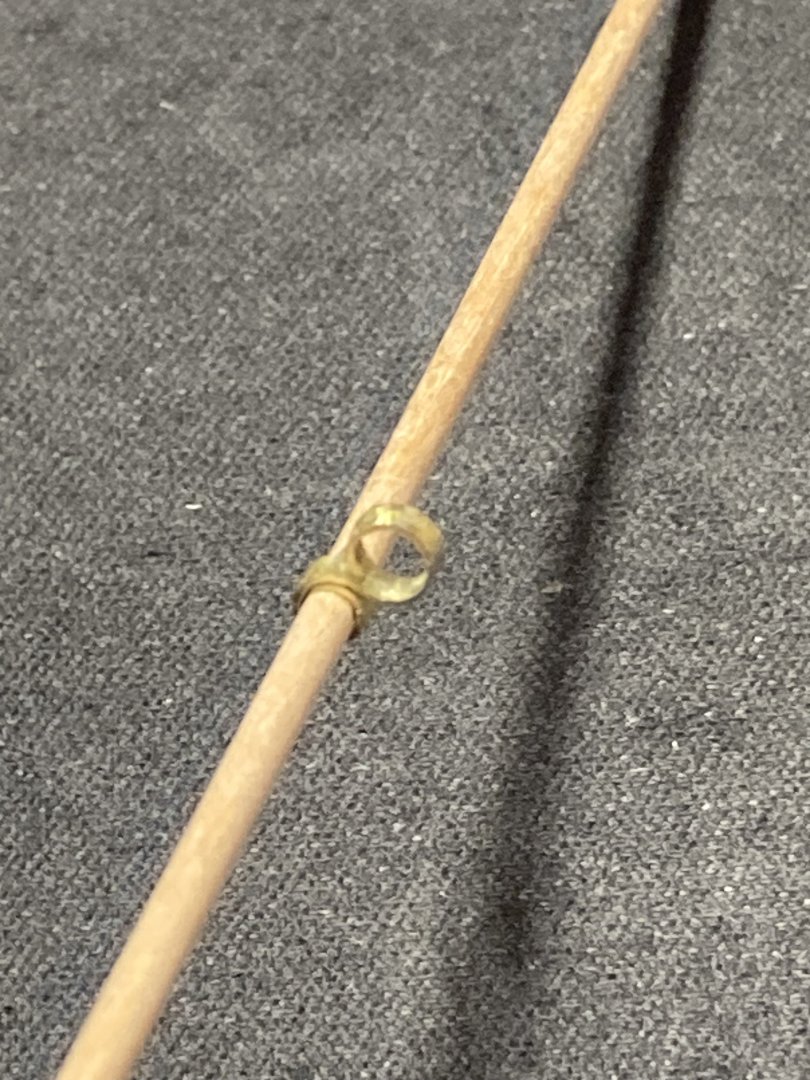
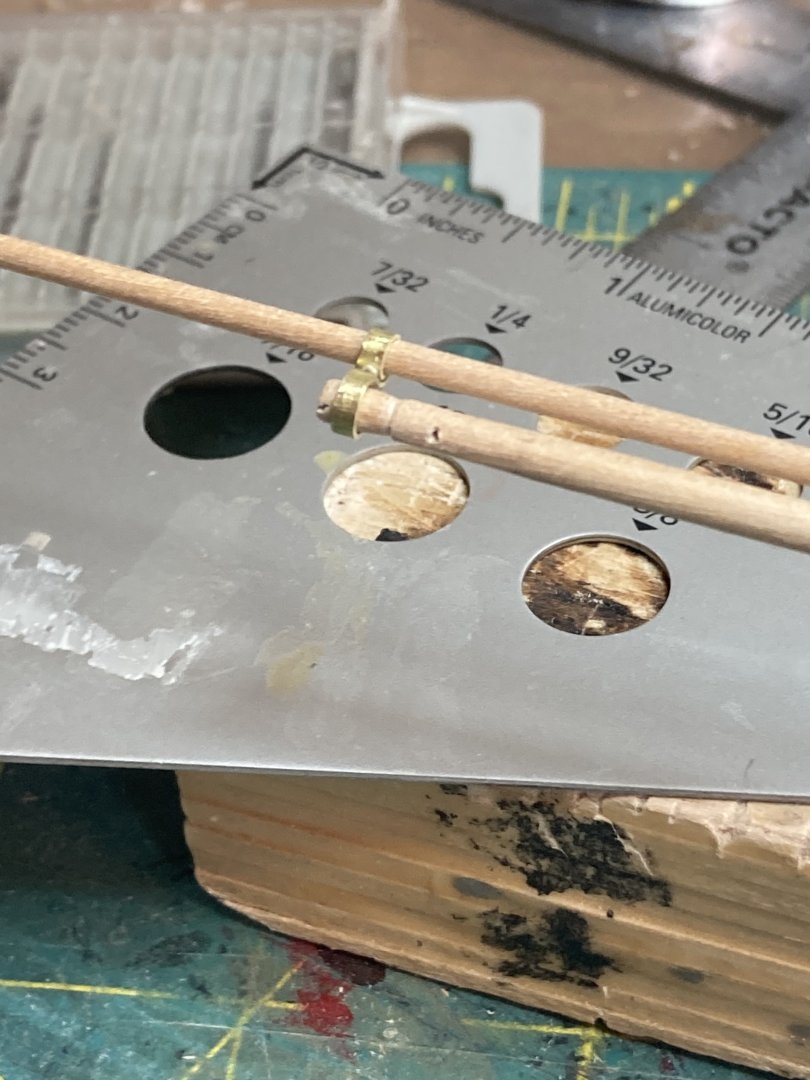
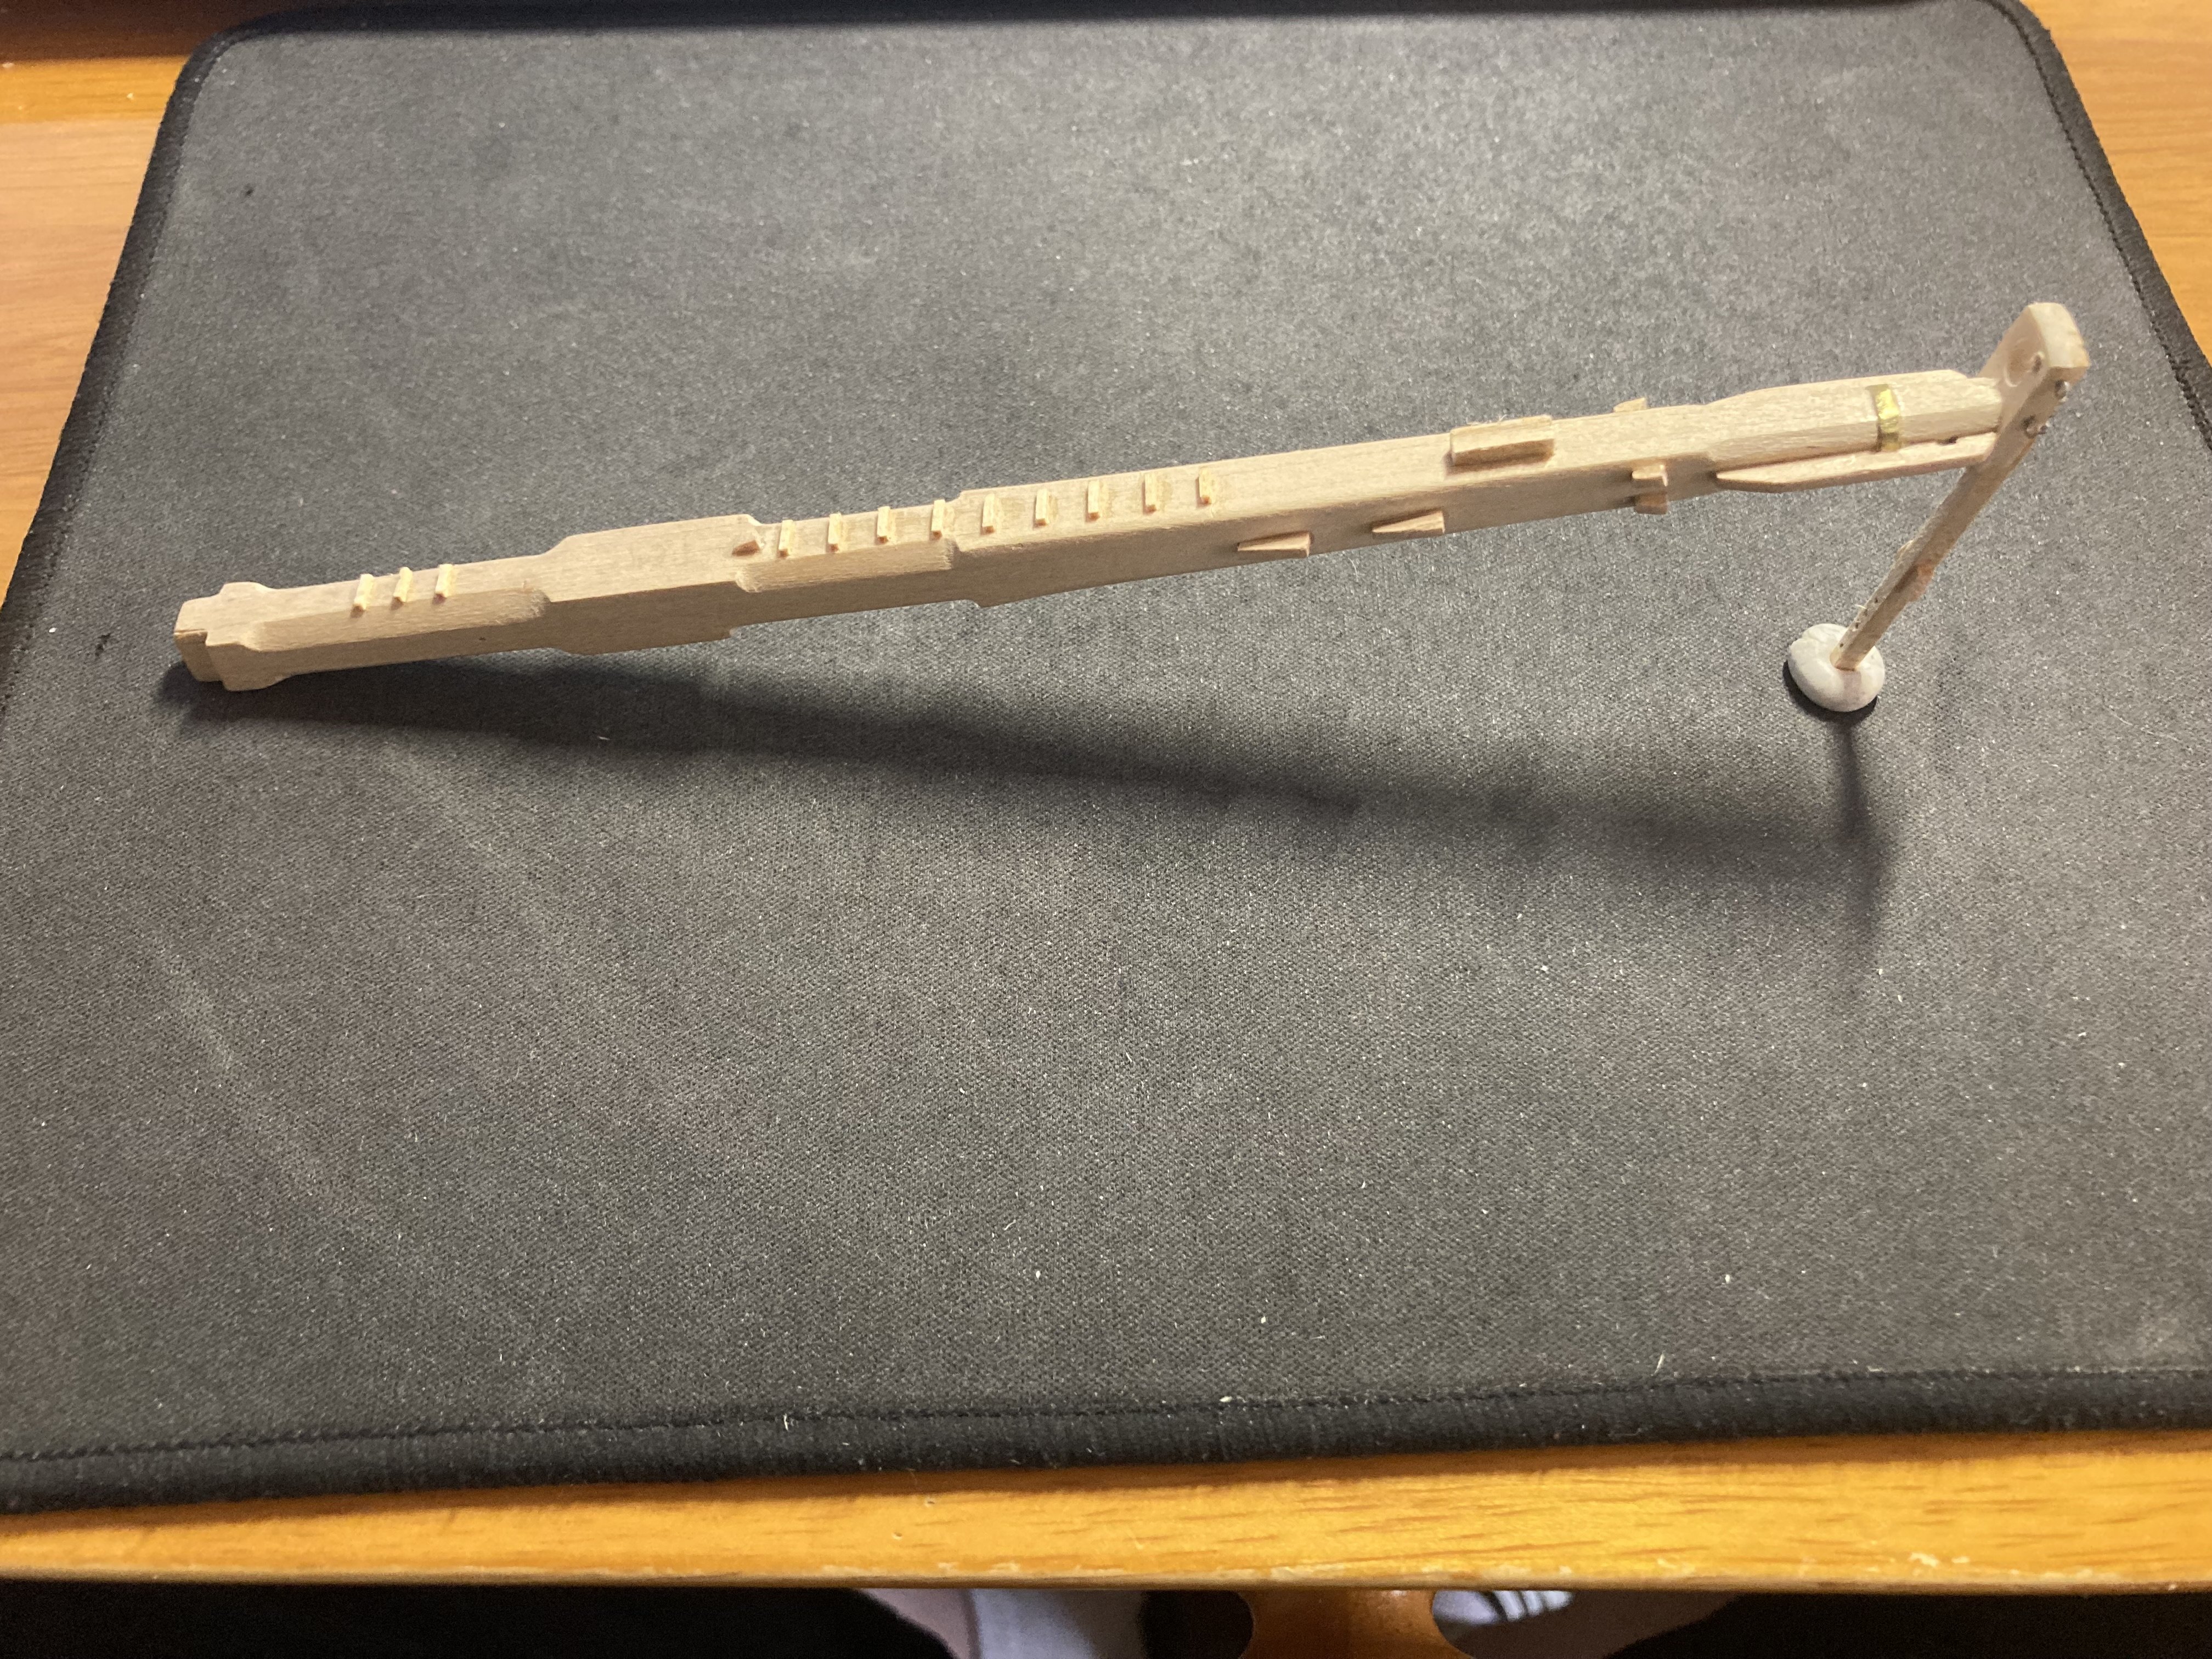
On to the bowsprit, jib boom, and flying jib boom


-
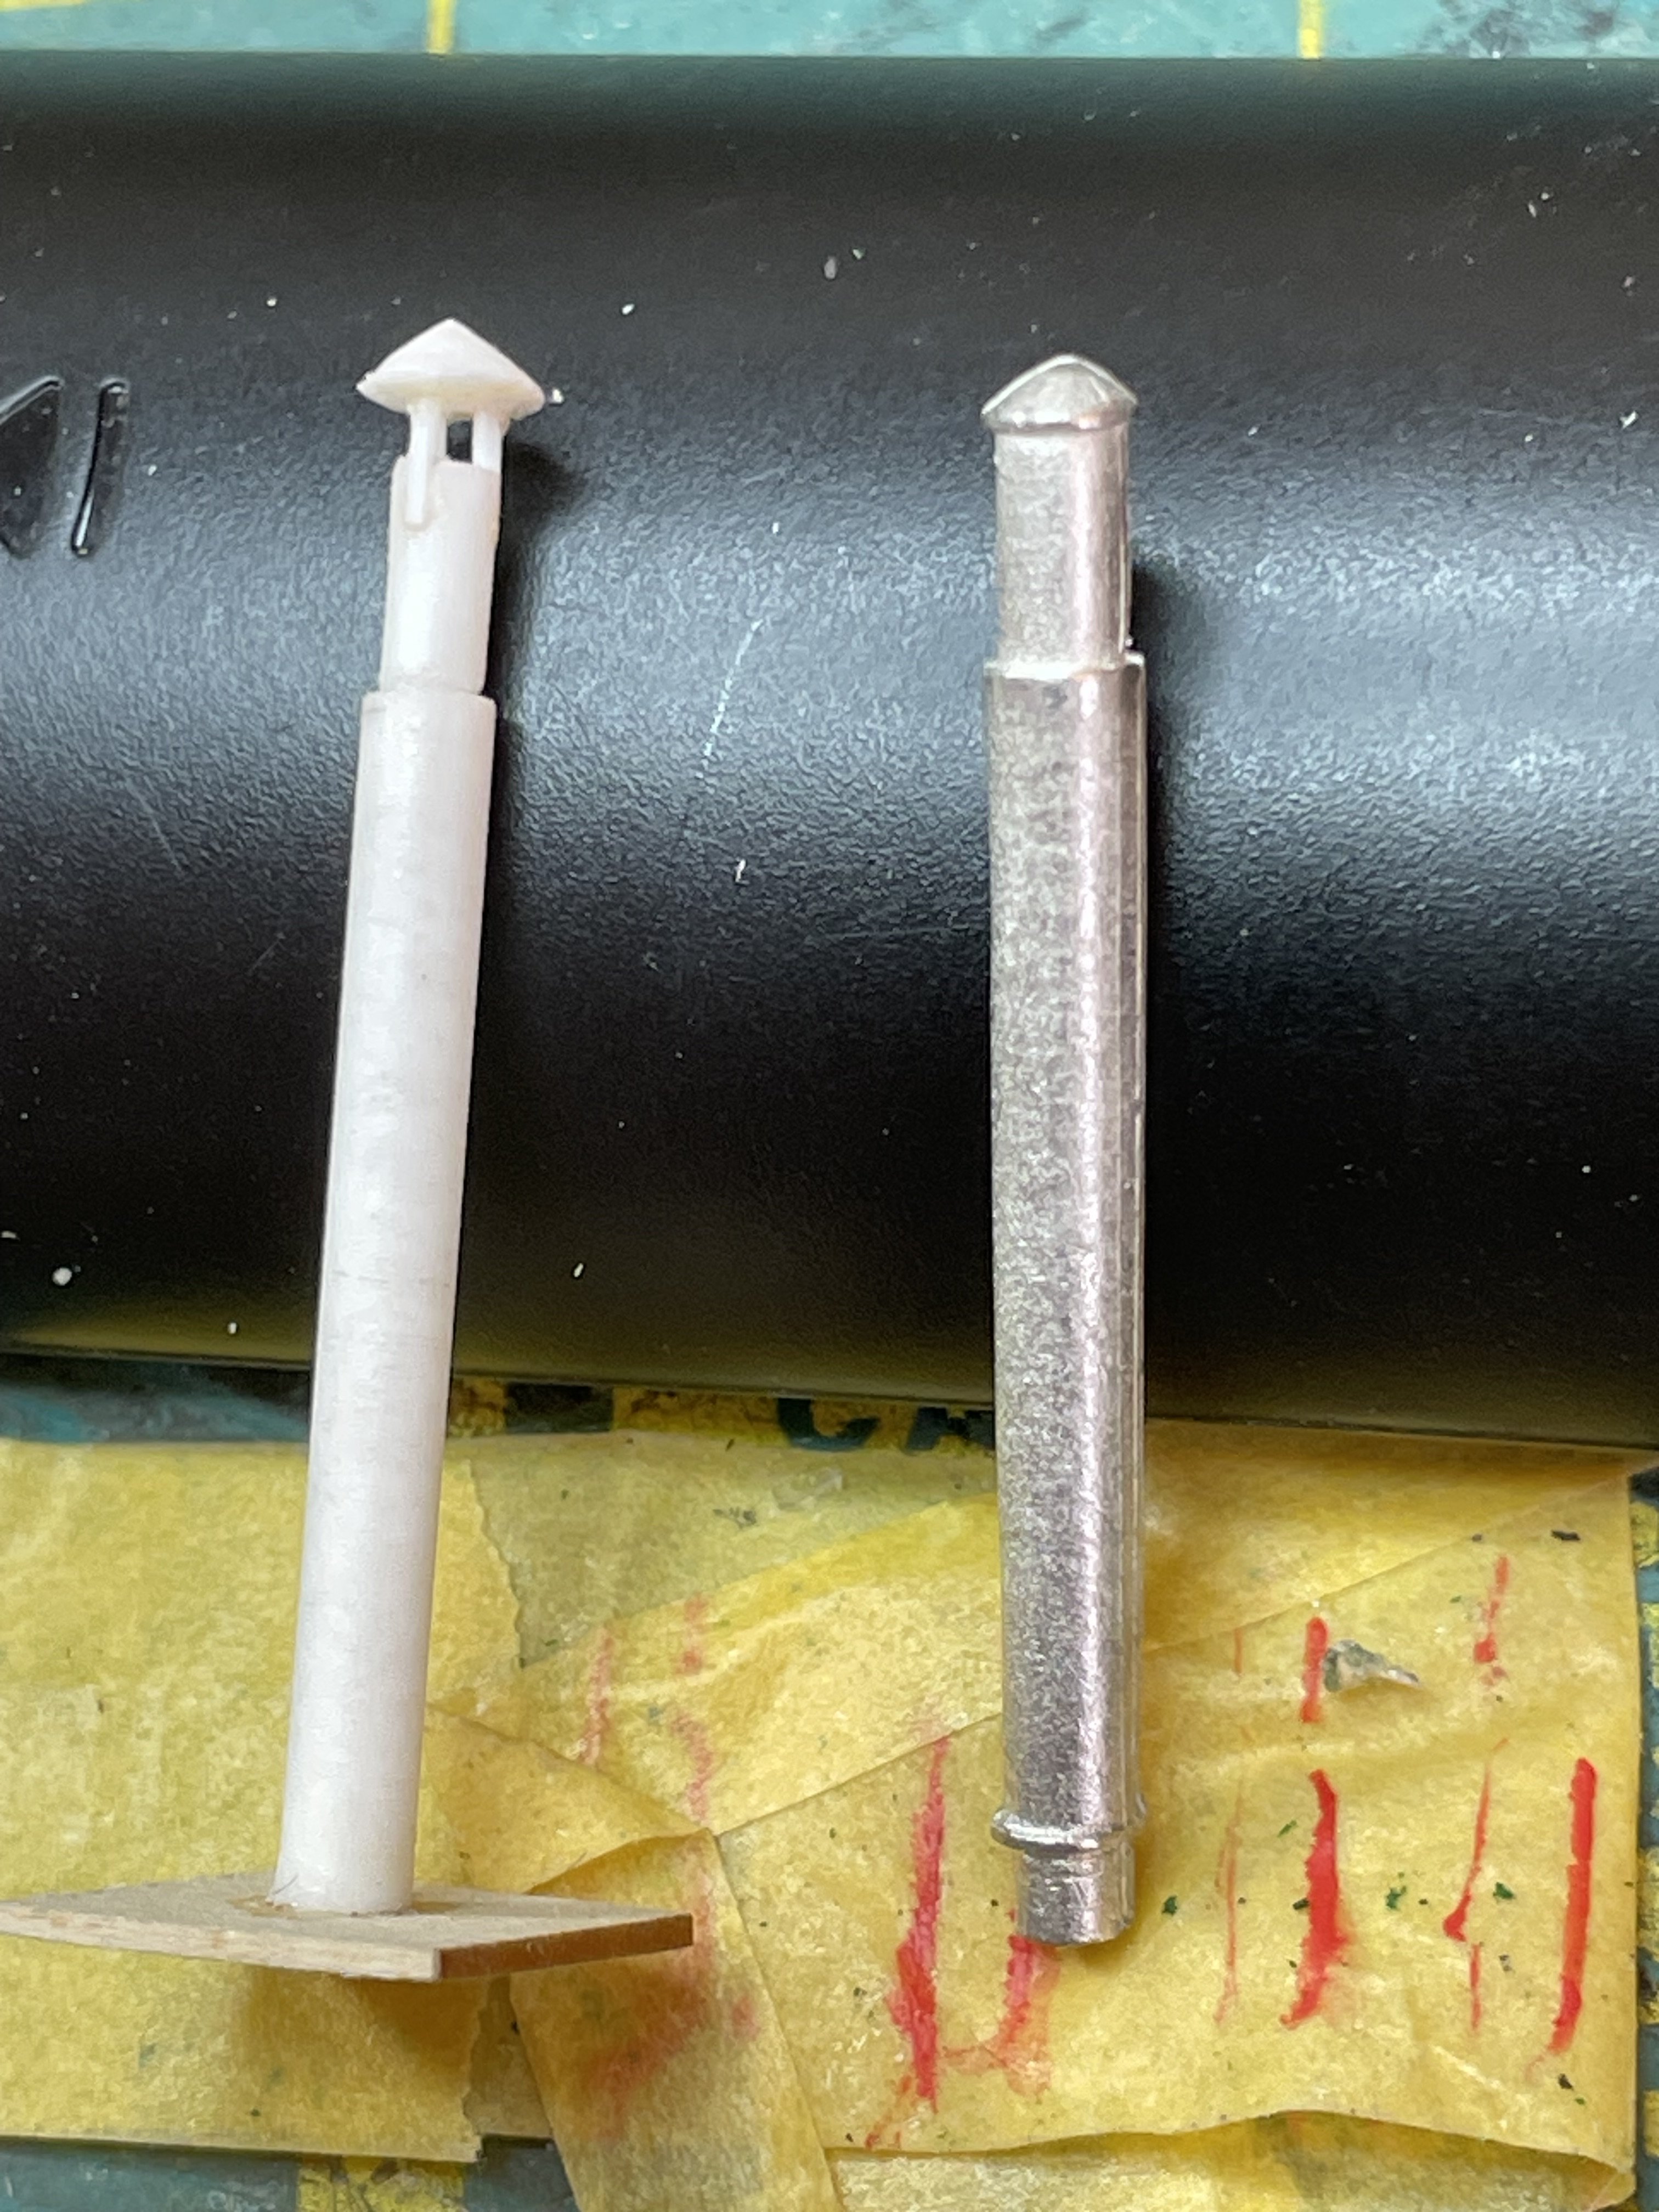
Decided to rebuild the chimney smoke stack from plastic rather than using the cast metal part provided. I felt that the cast metal part just didn't look too great: Also finished the bilge pump:


-
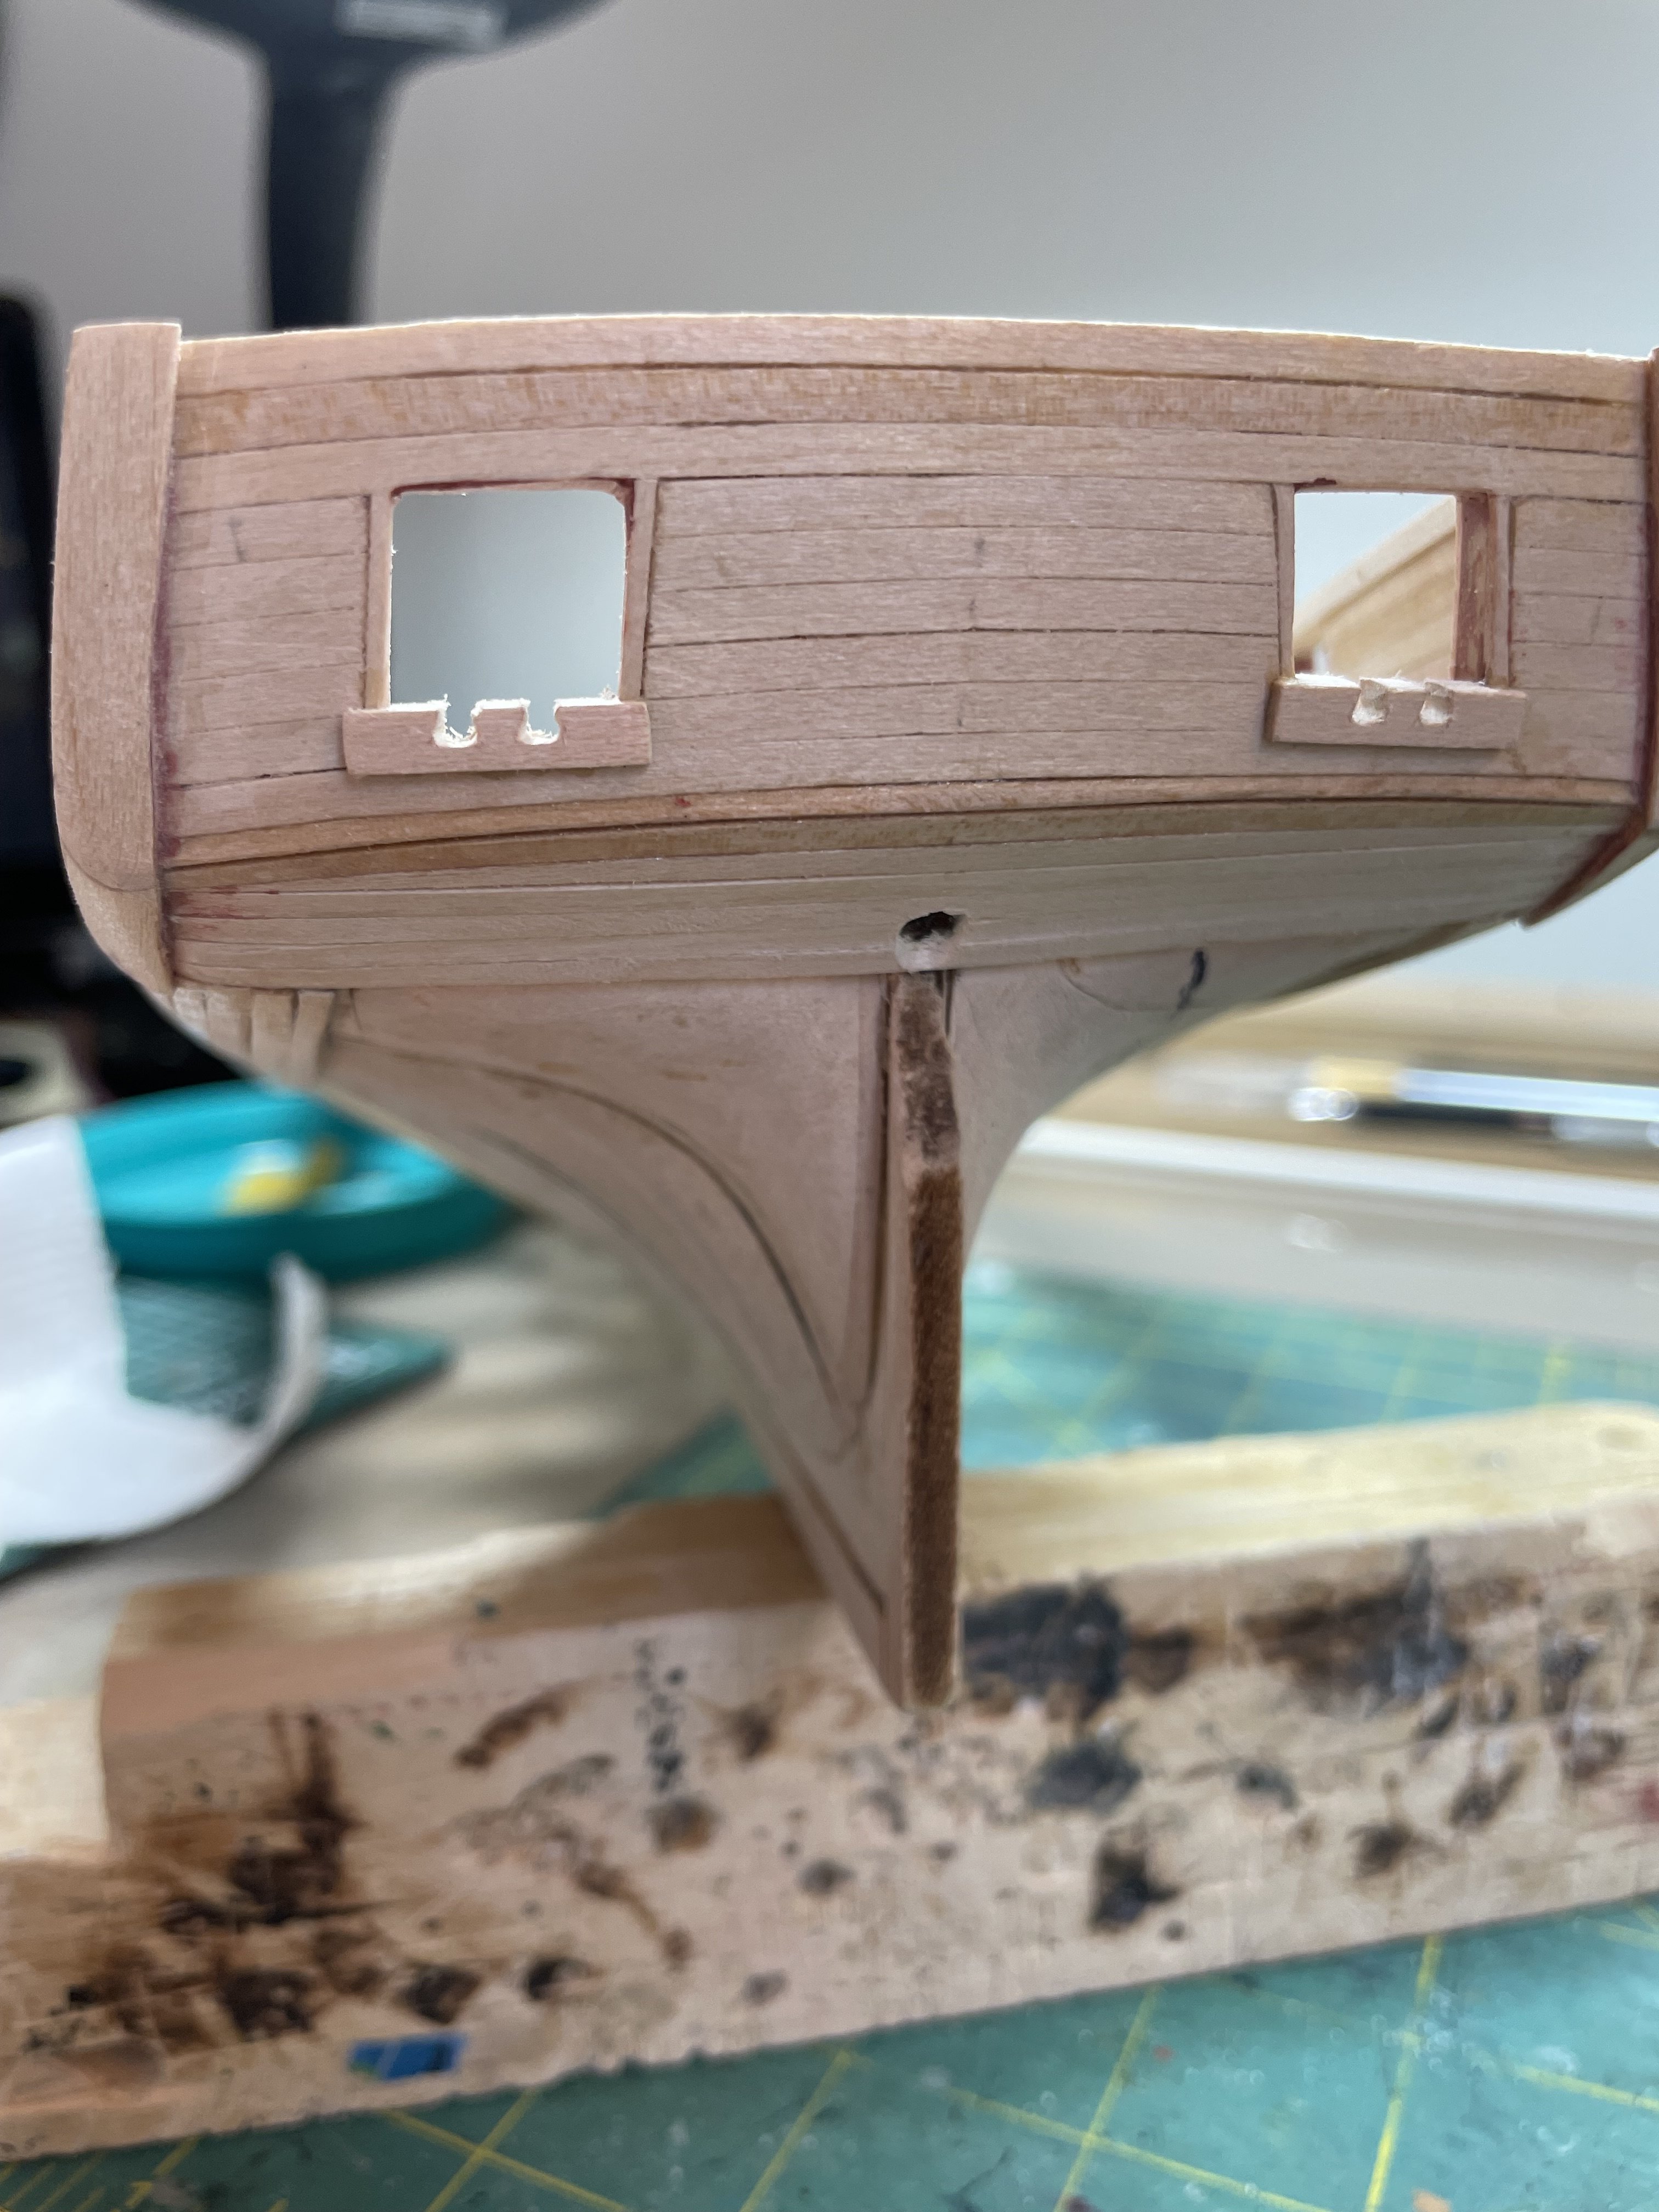
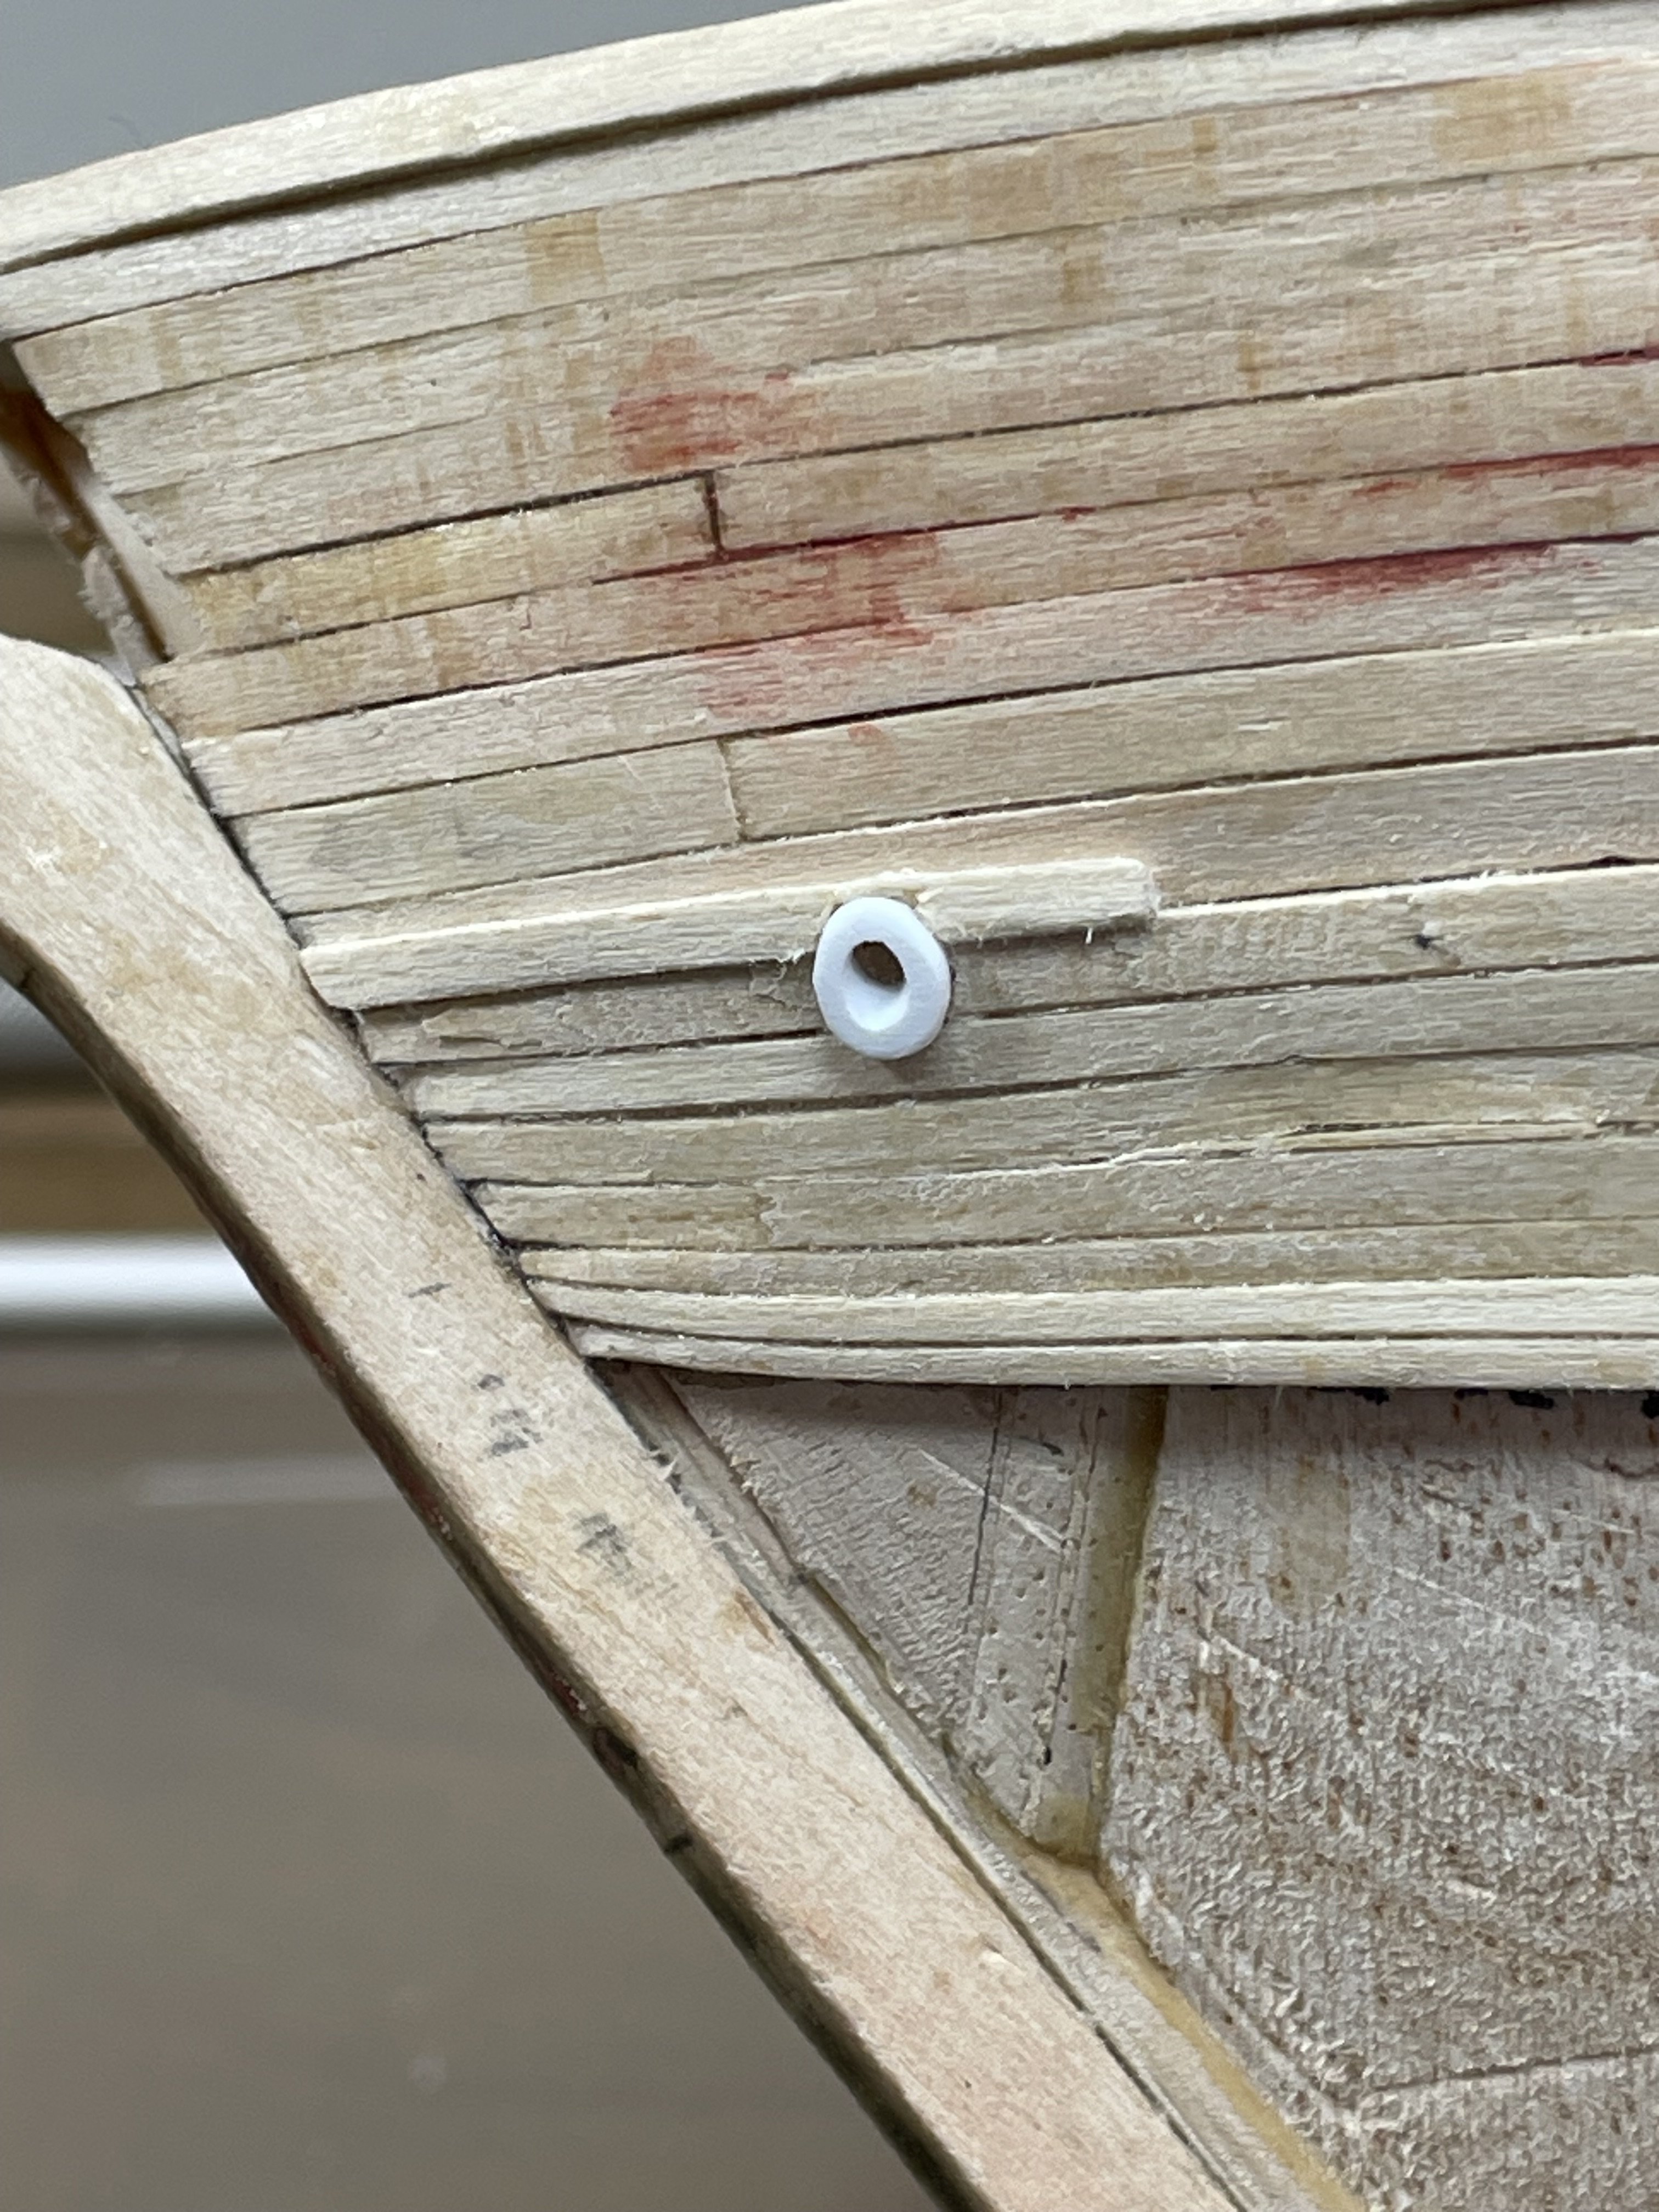
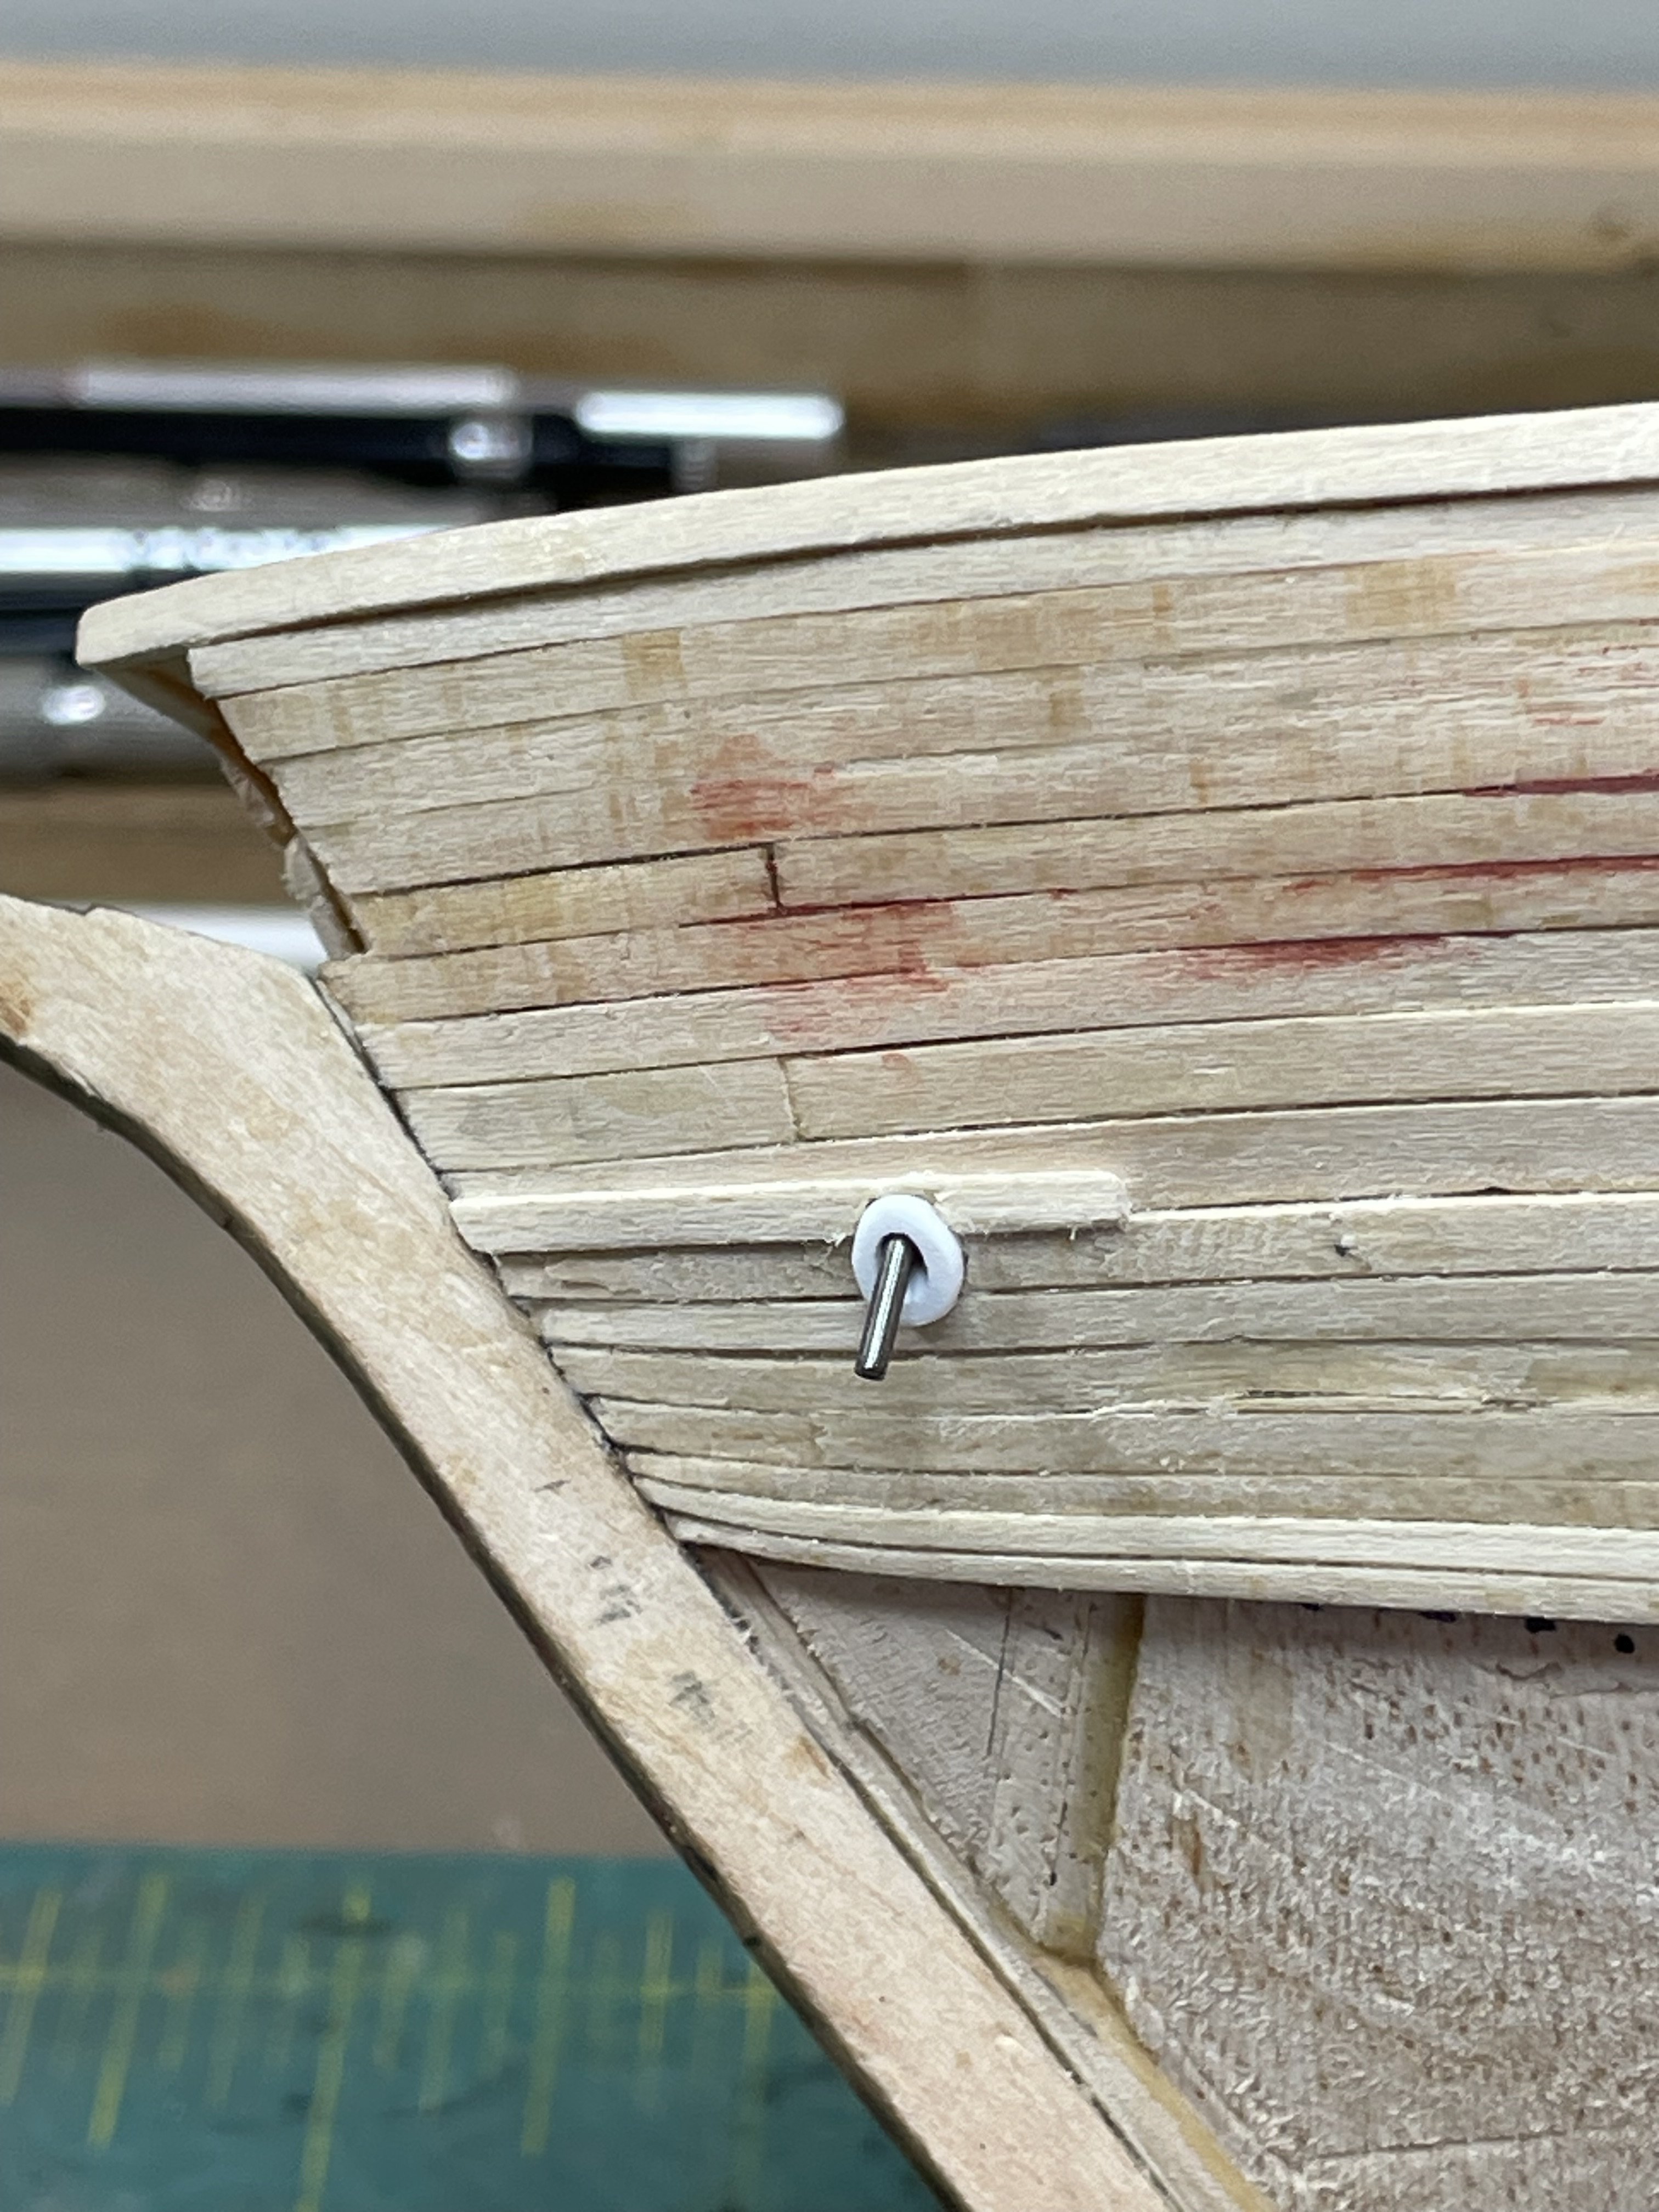
Mooring cleats attached and shaped: Hawse hole drilled on inside and outside. Small plastic piece shaped for outside of hull:


-
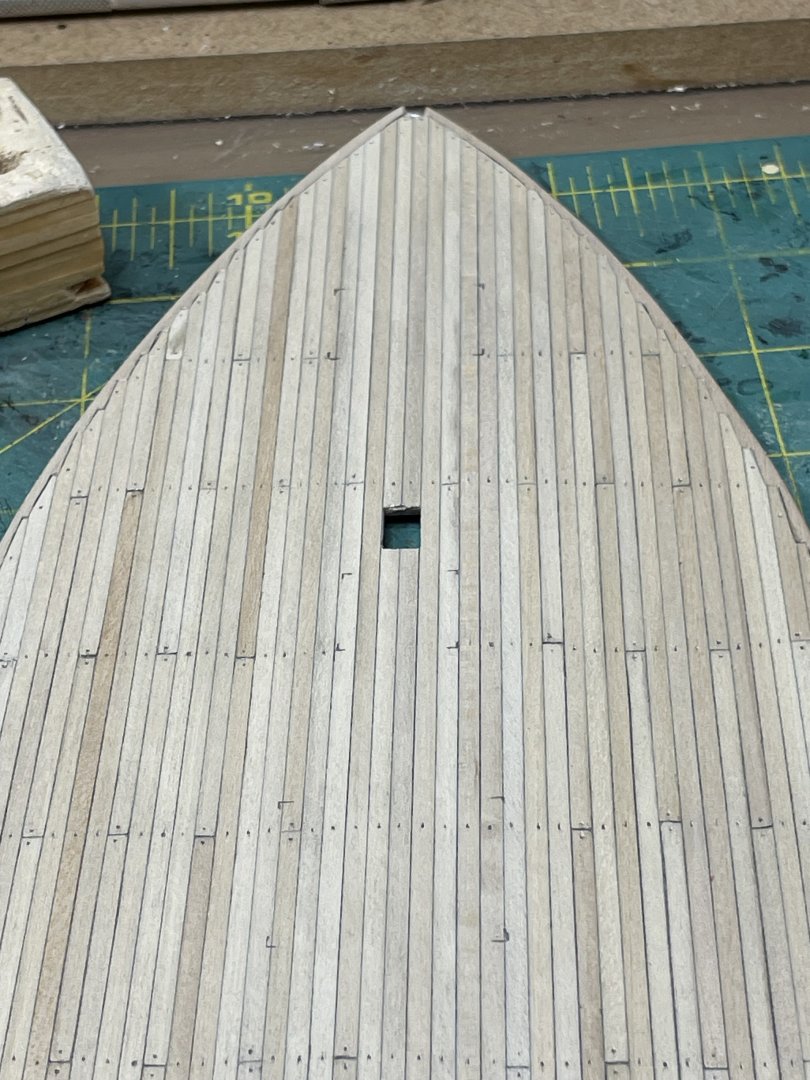
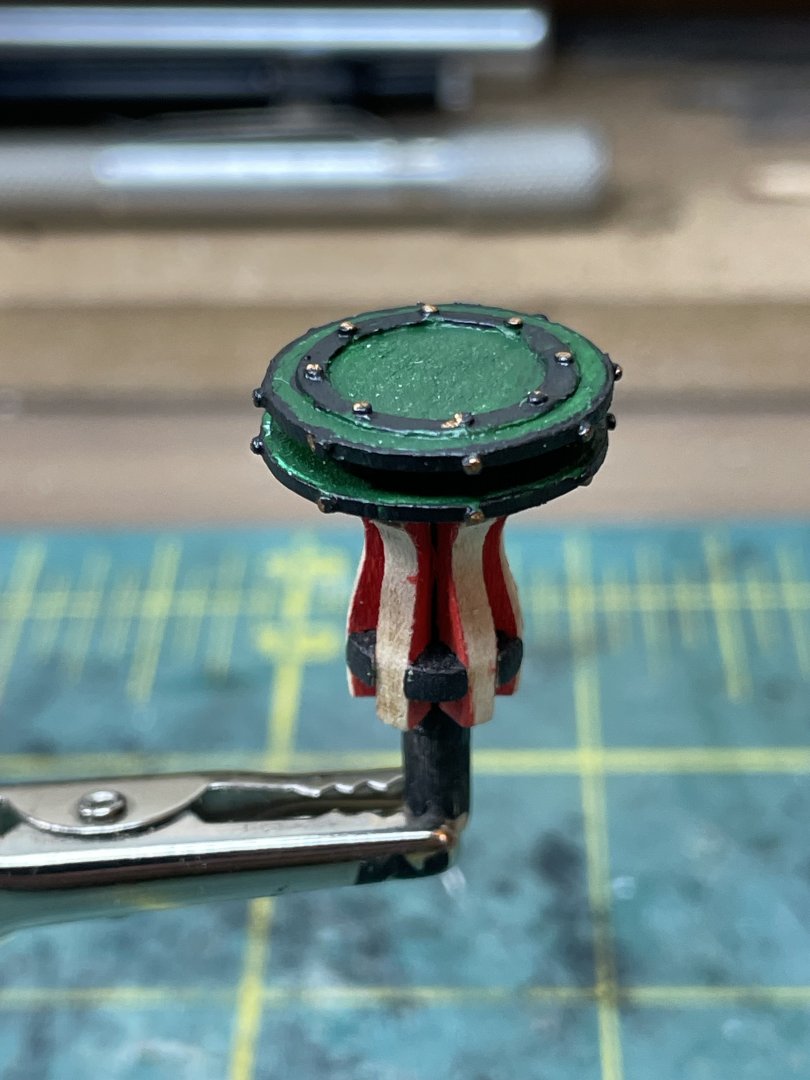
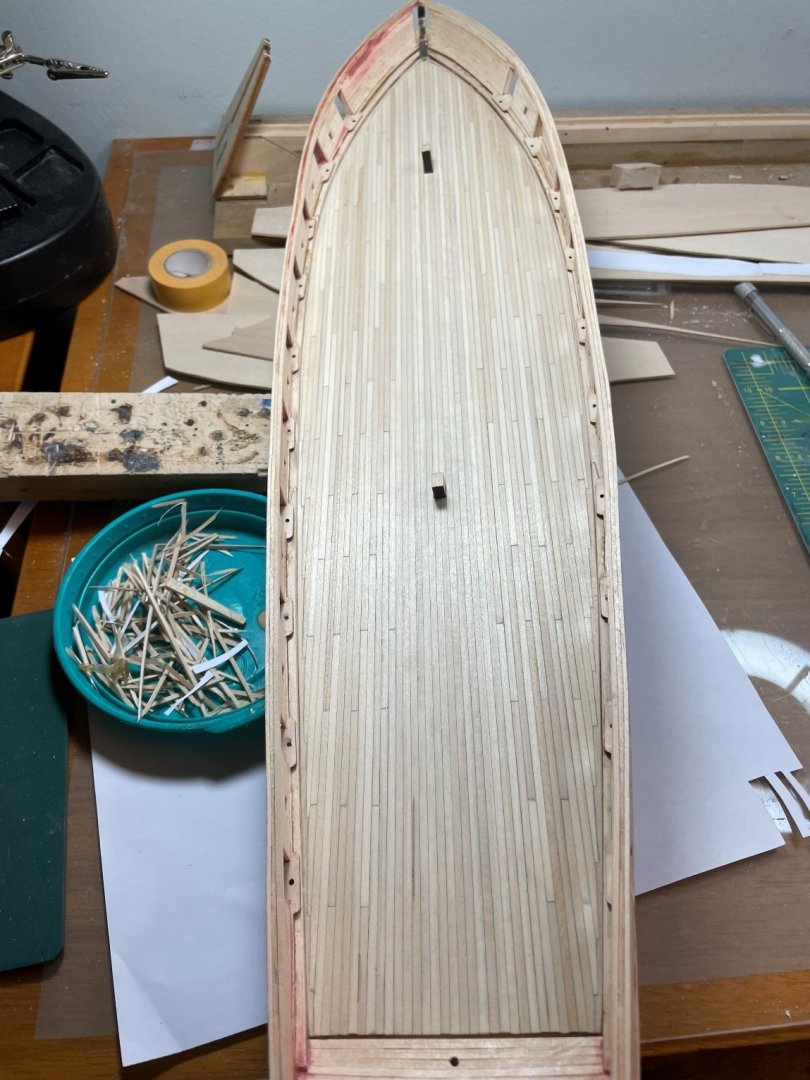
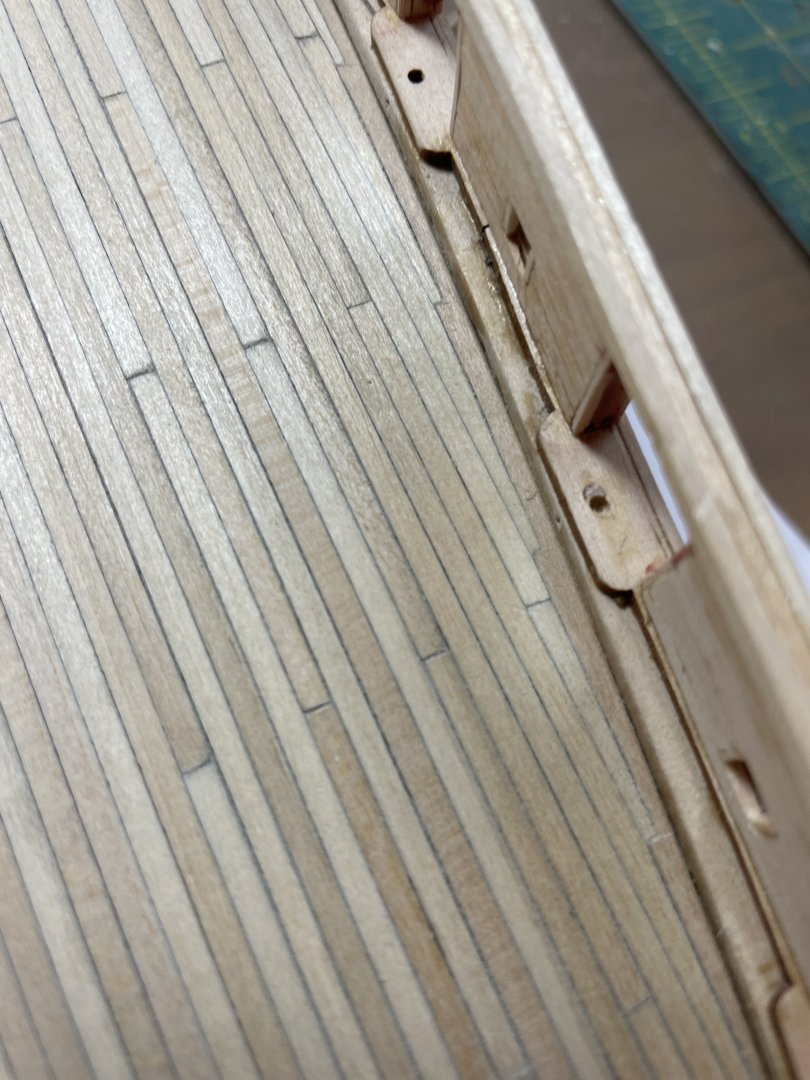
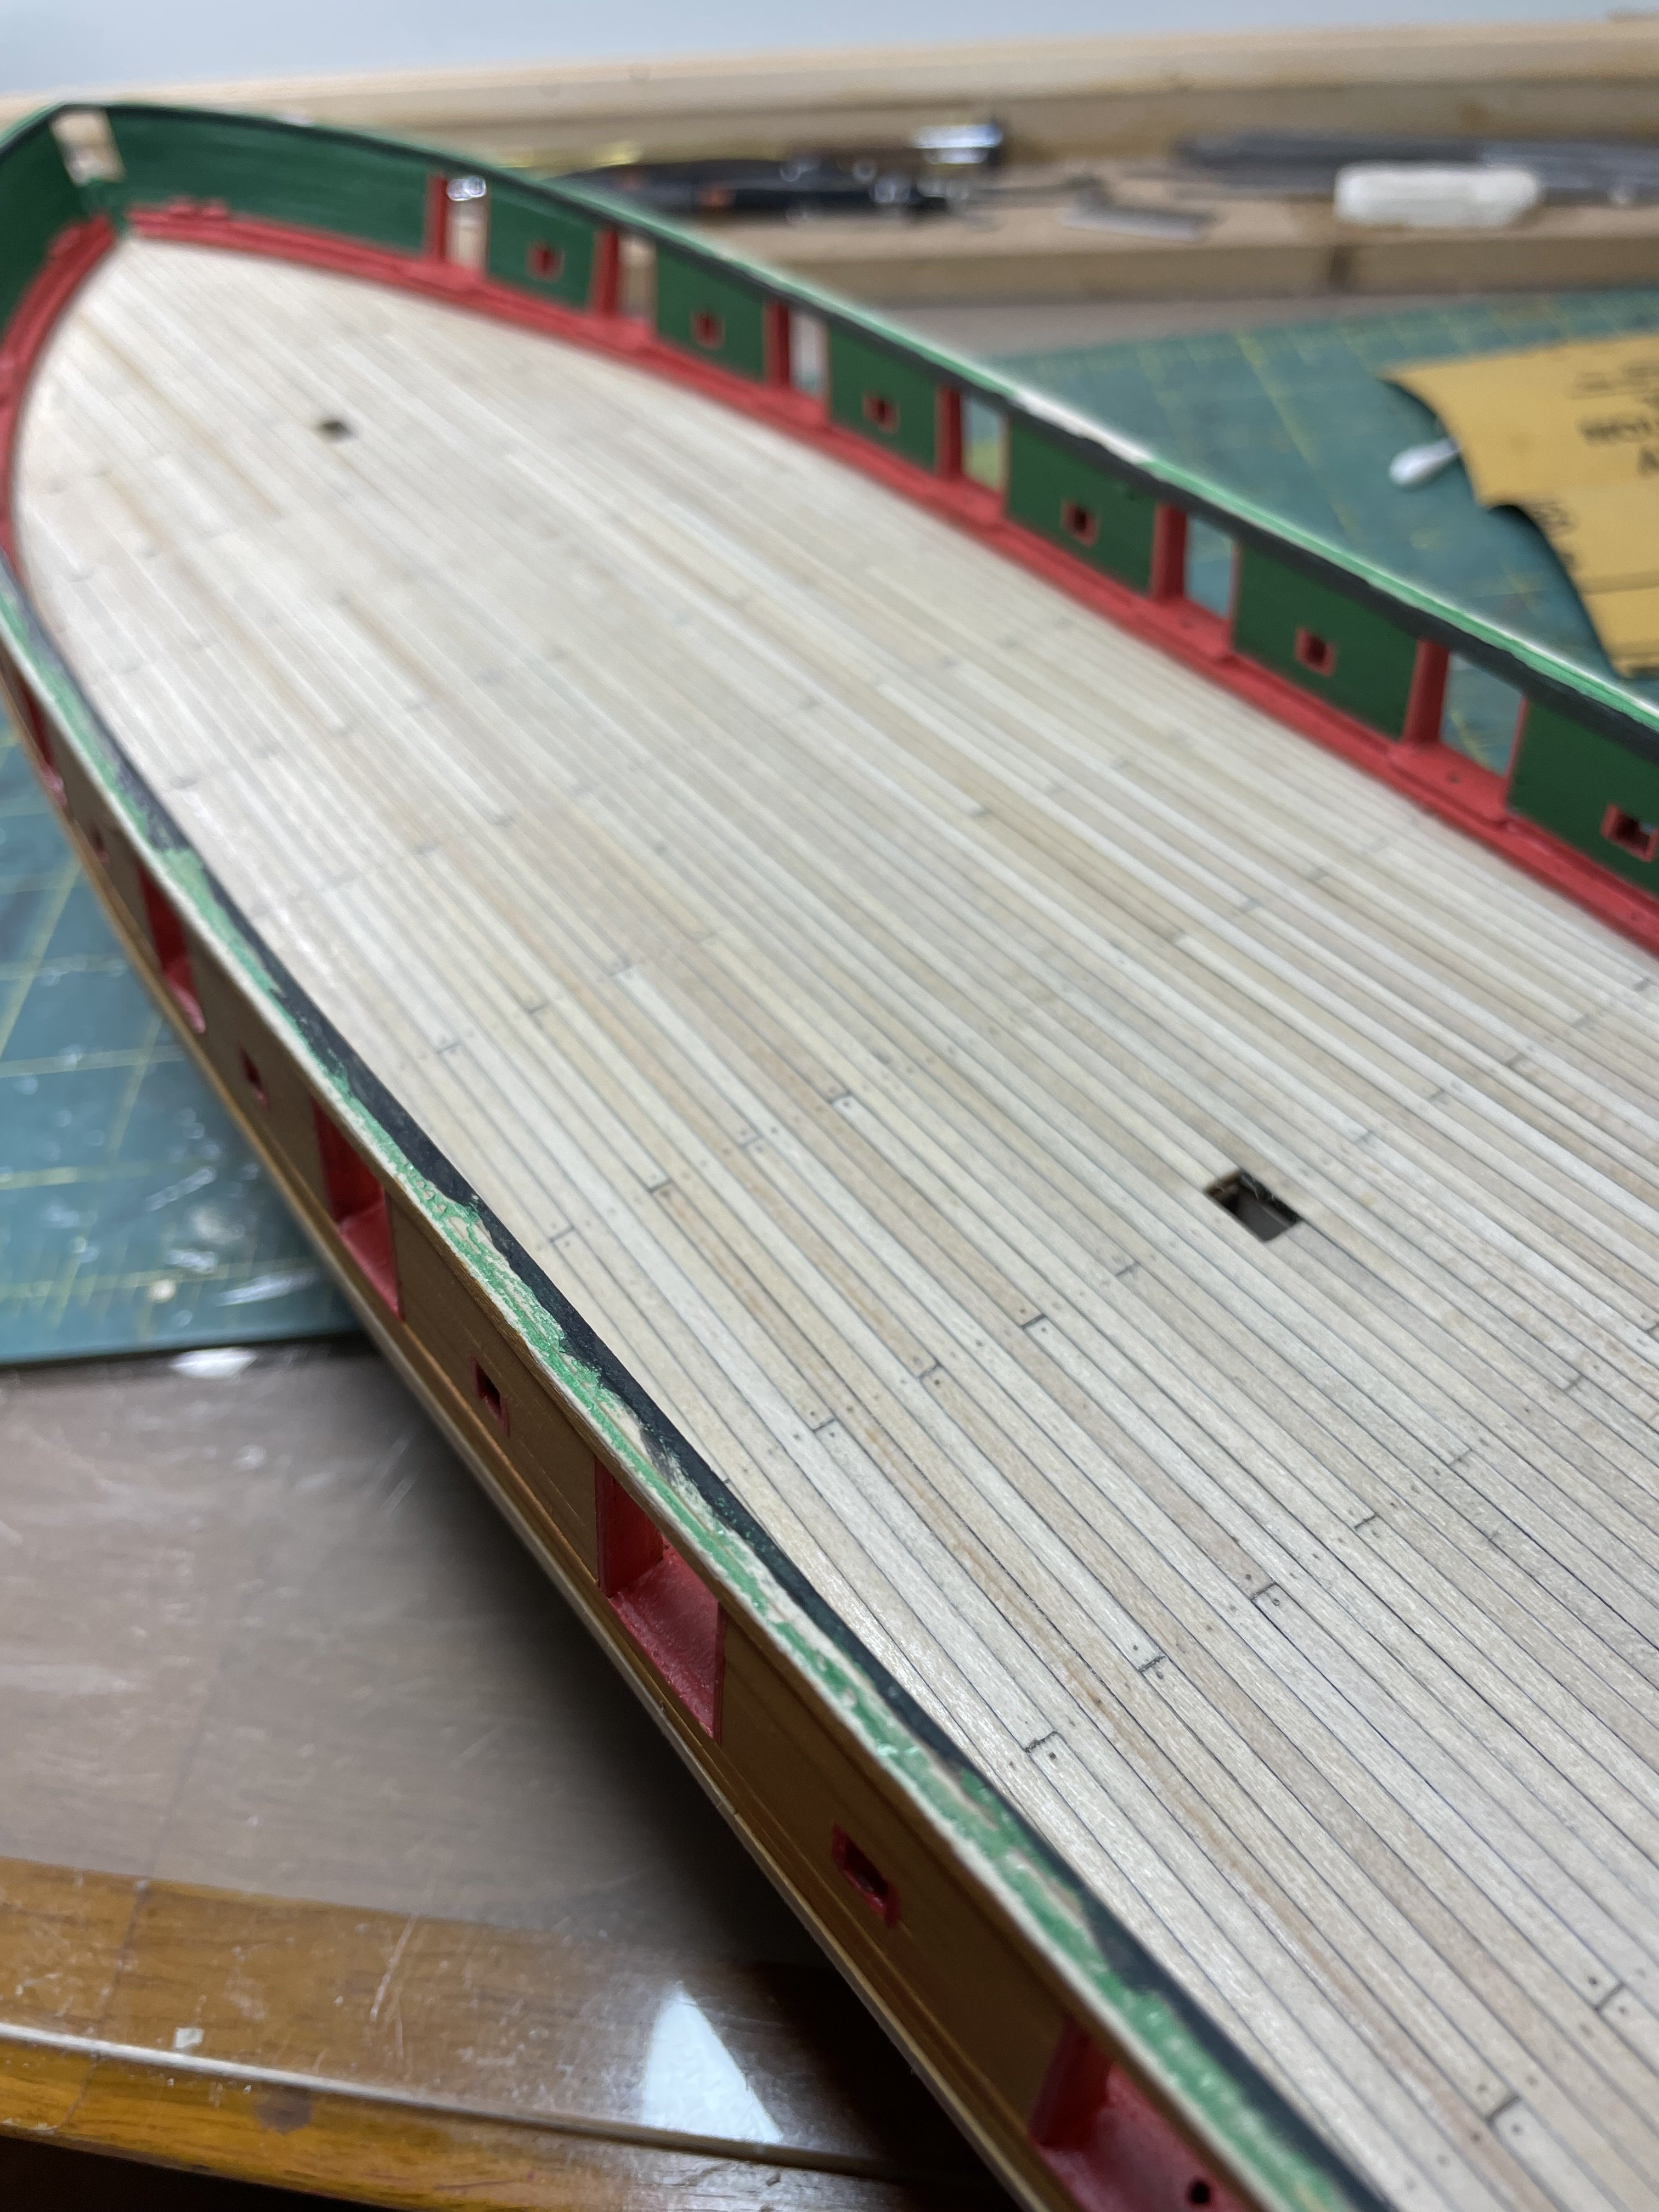
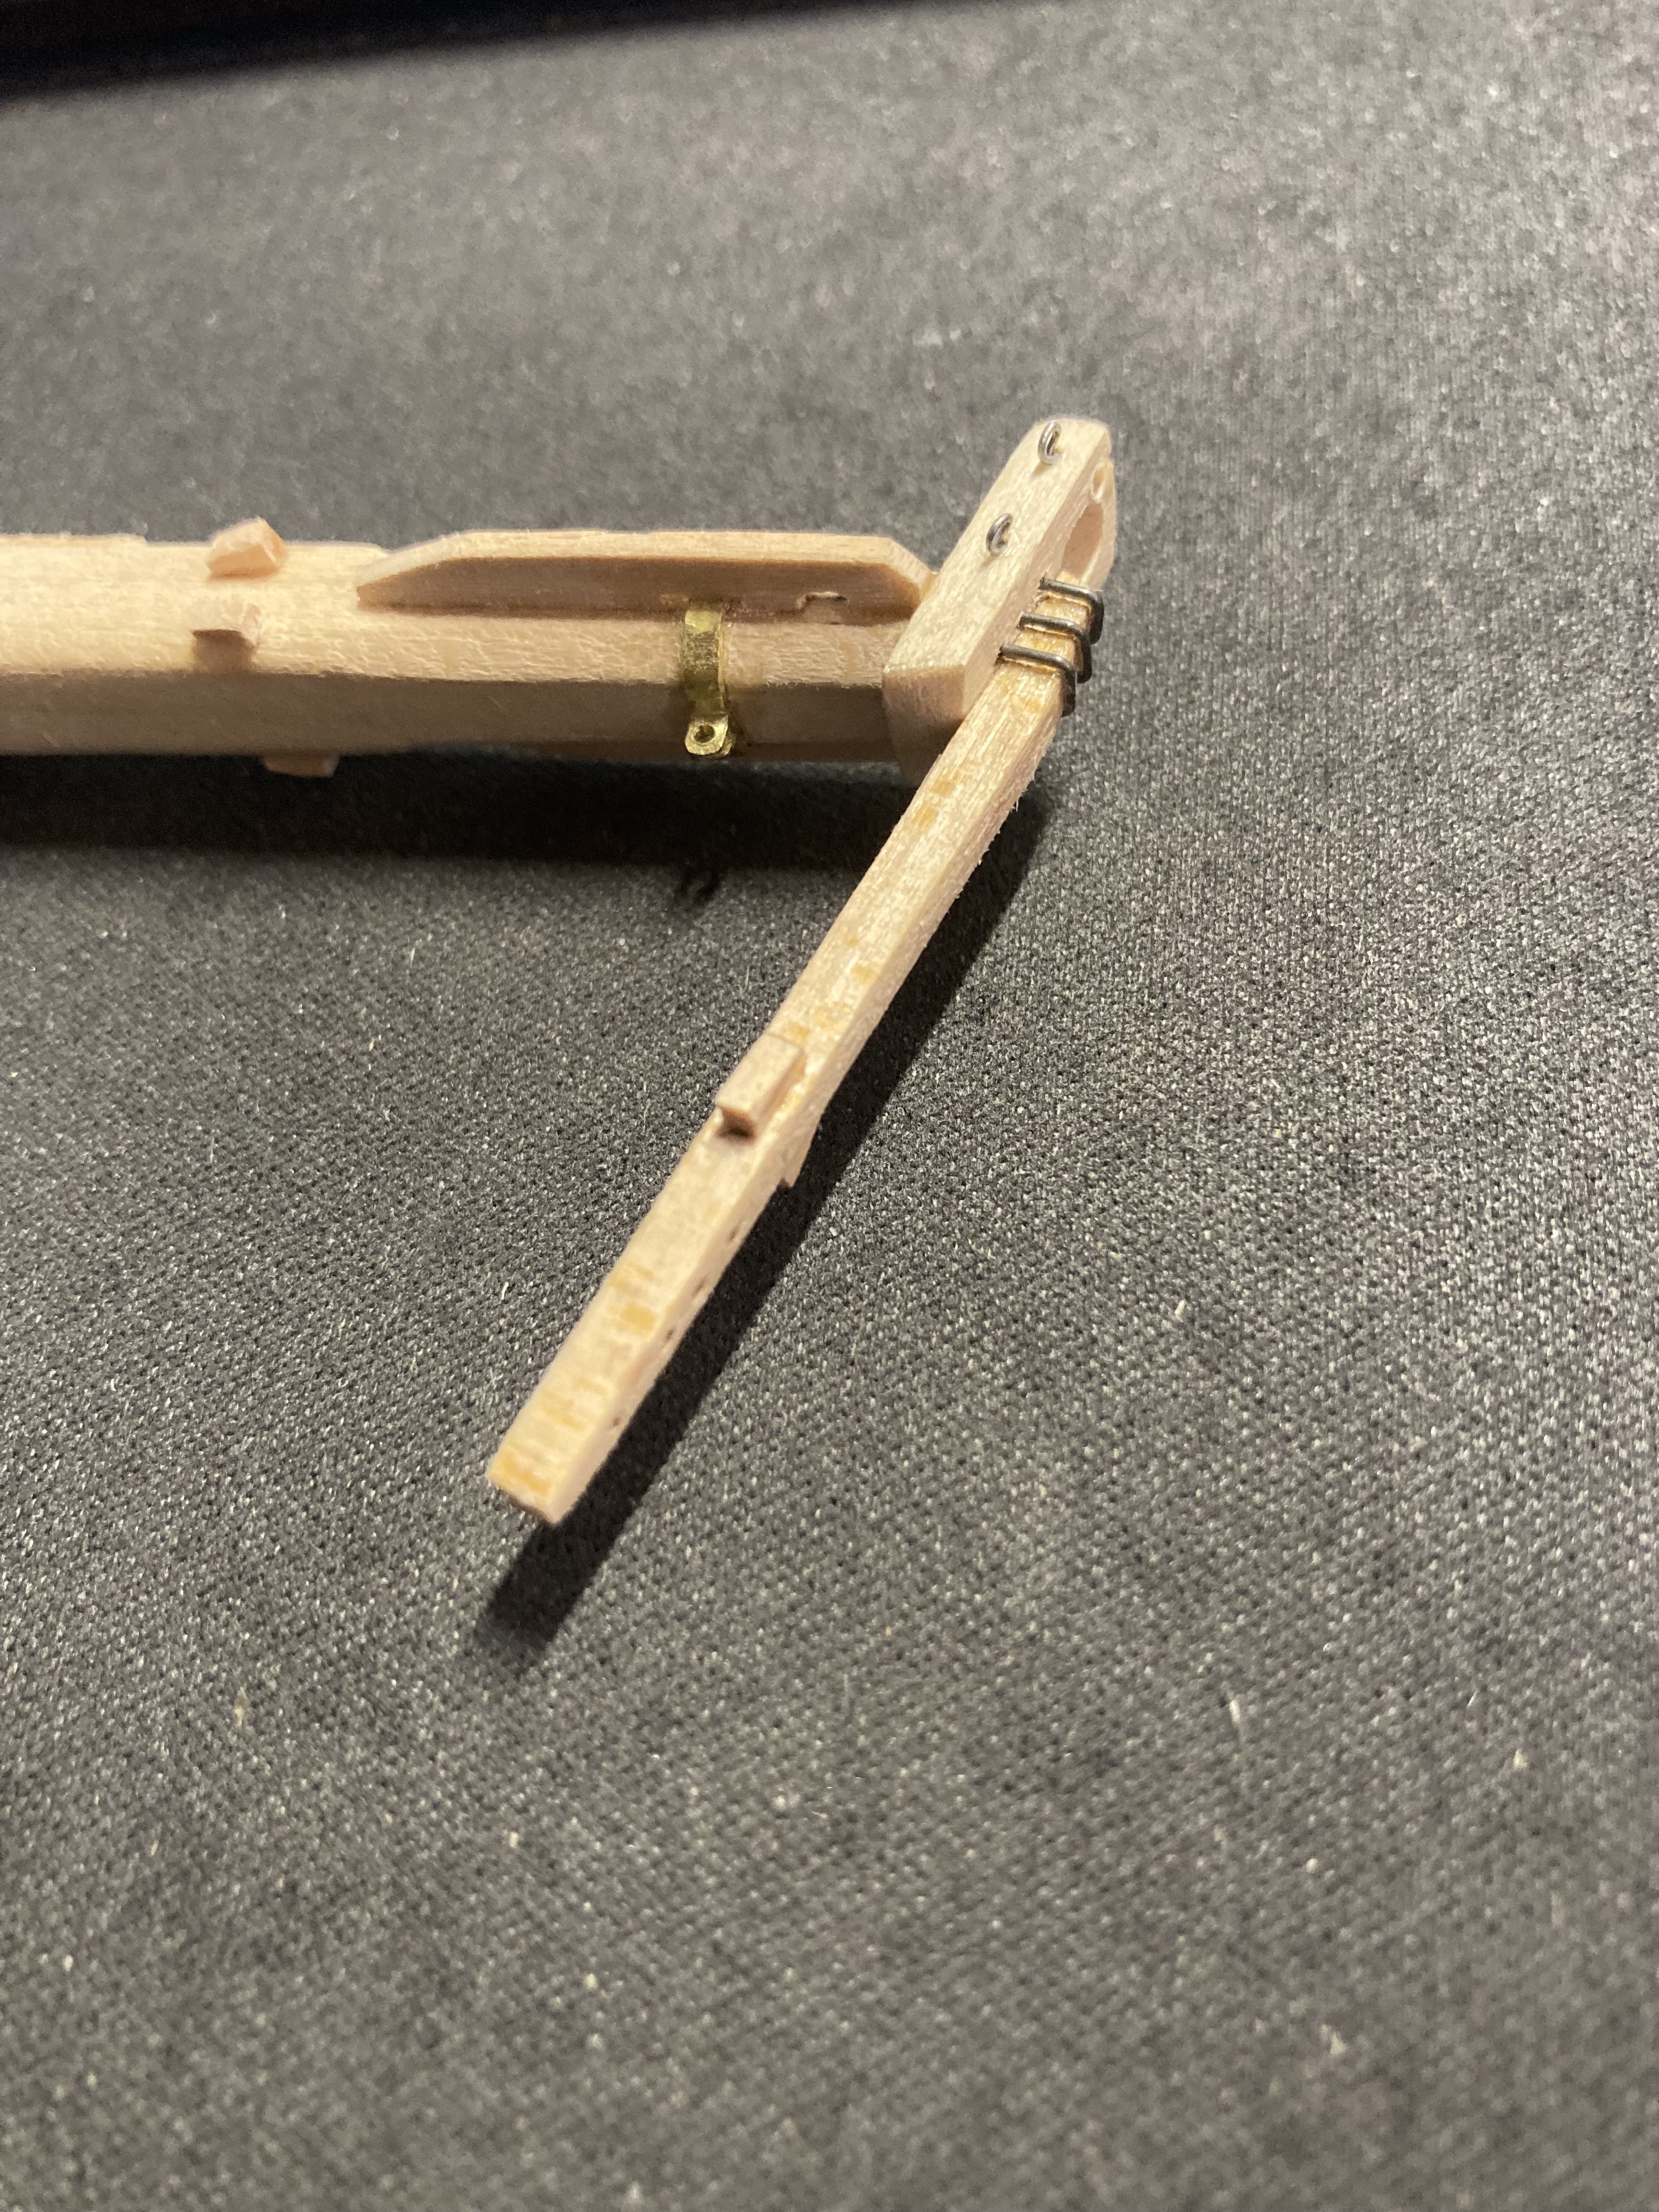
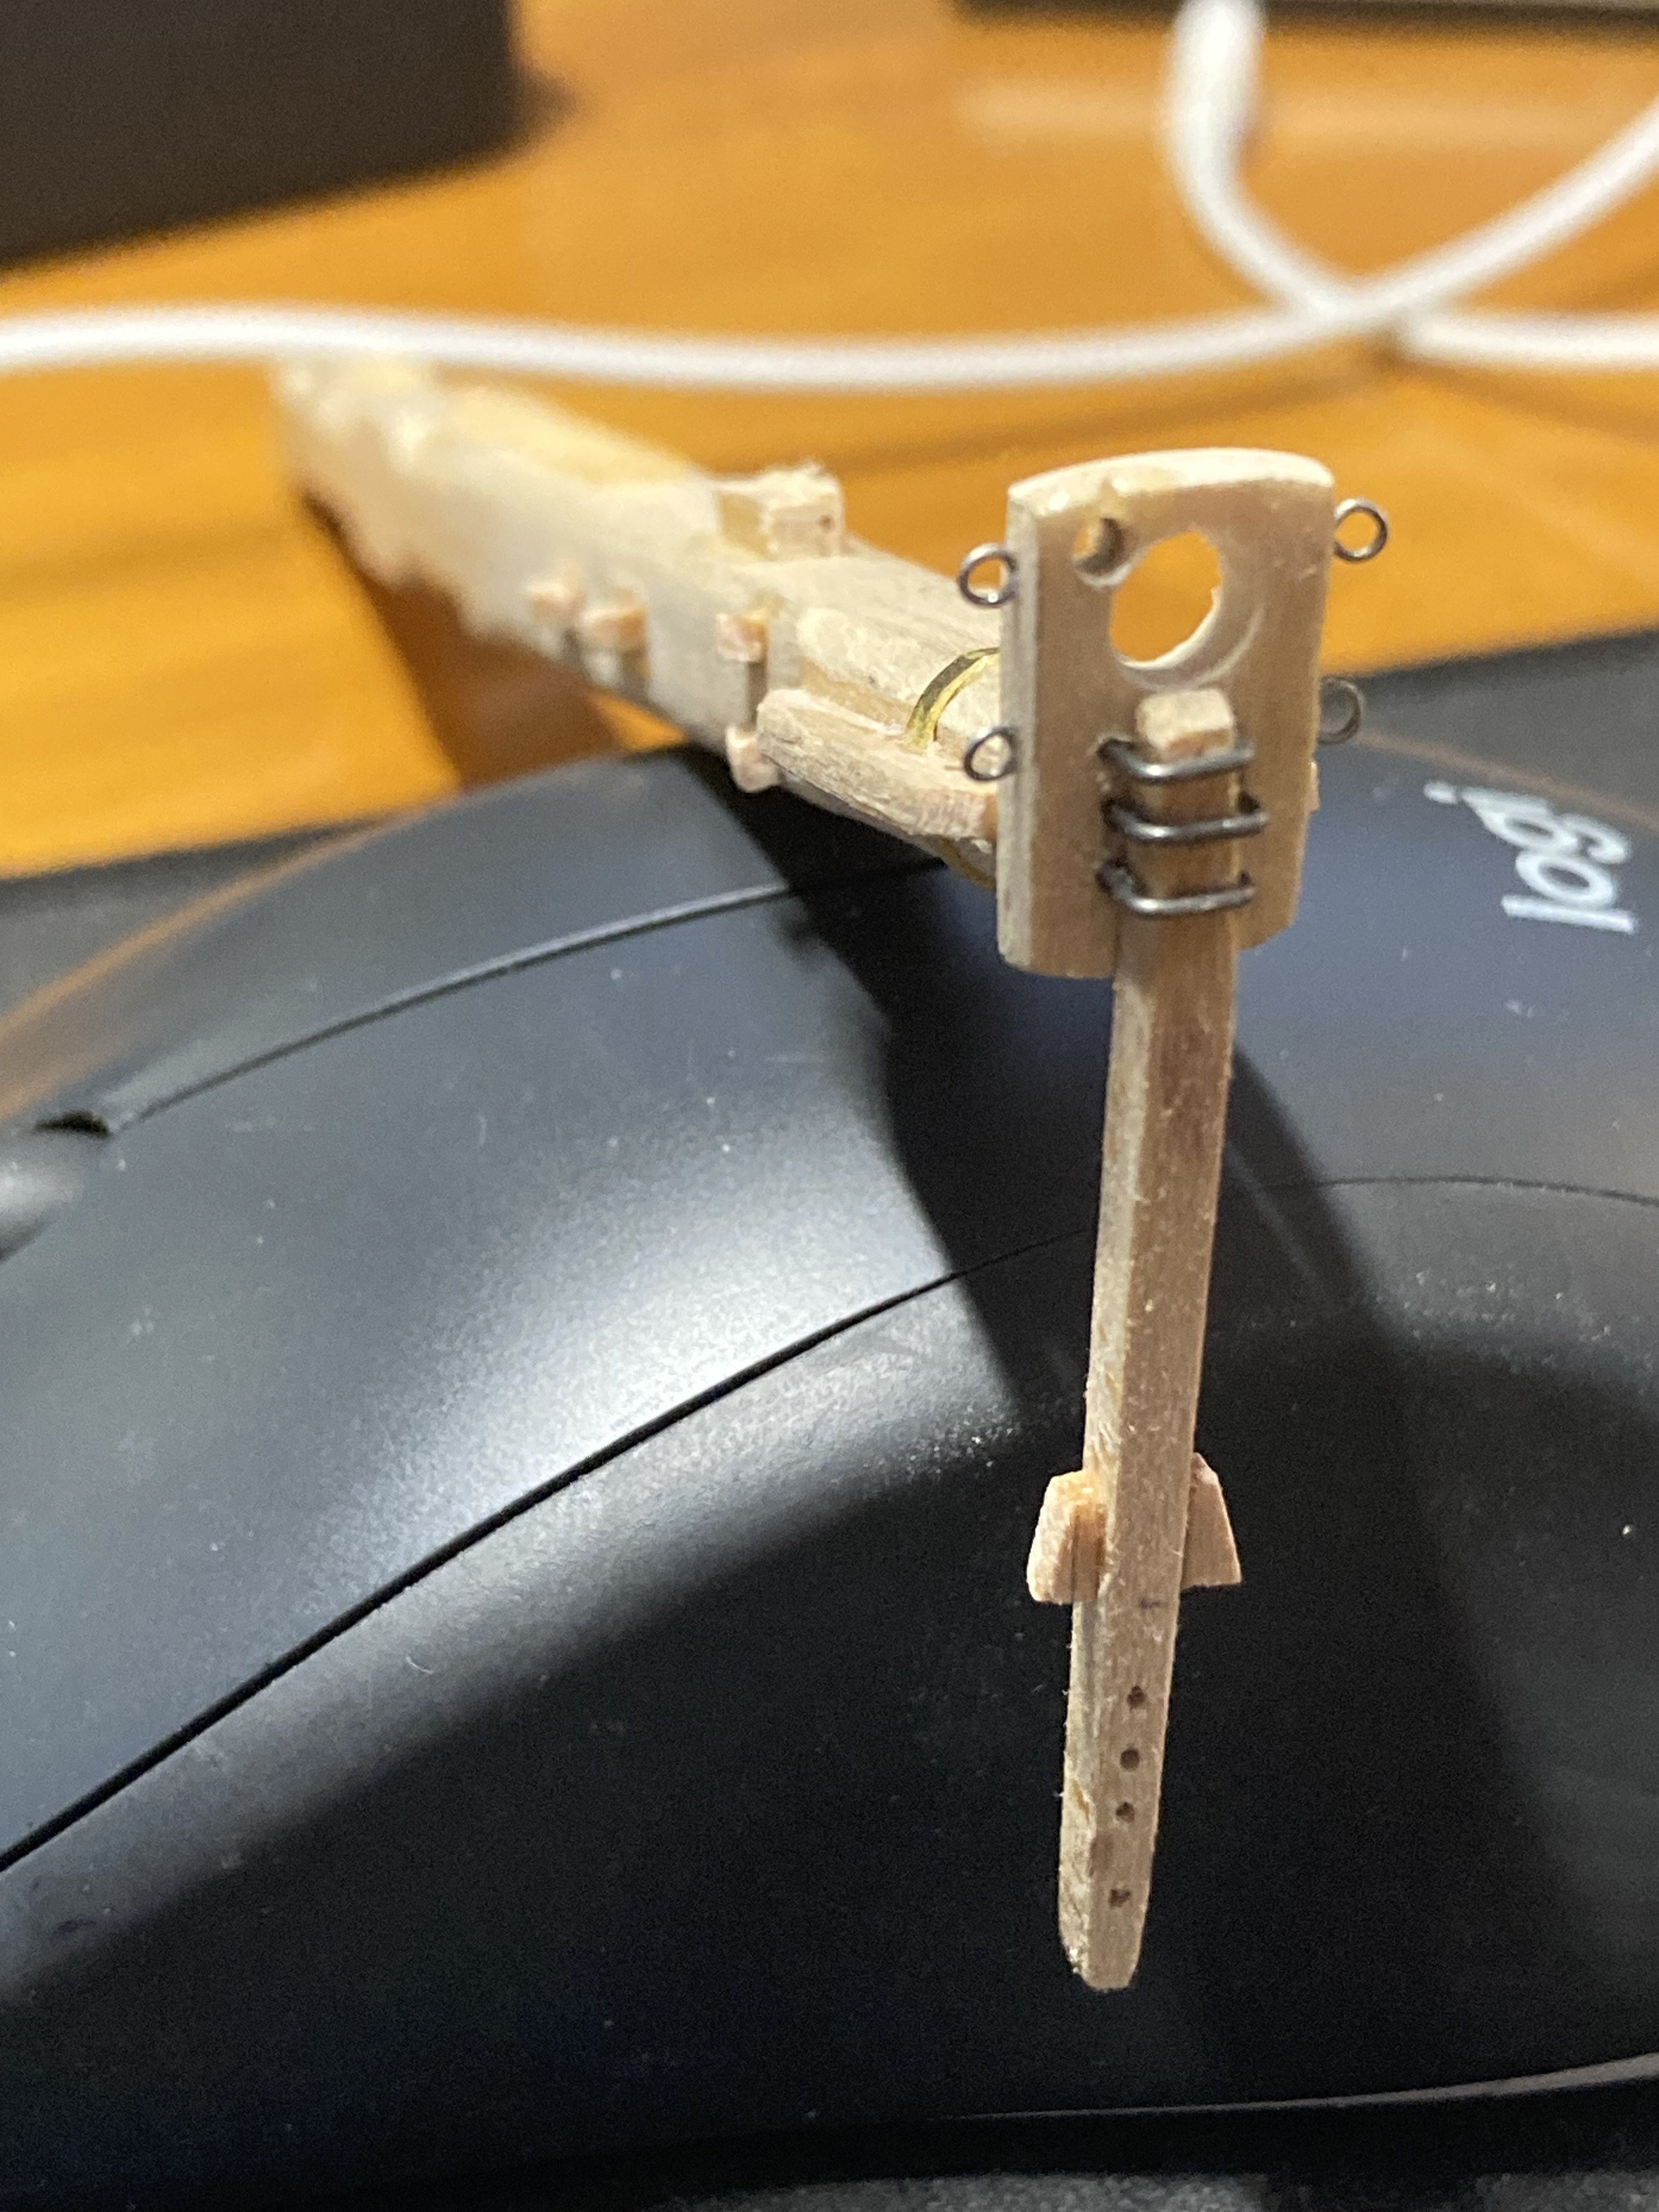
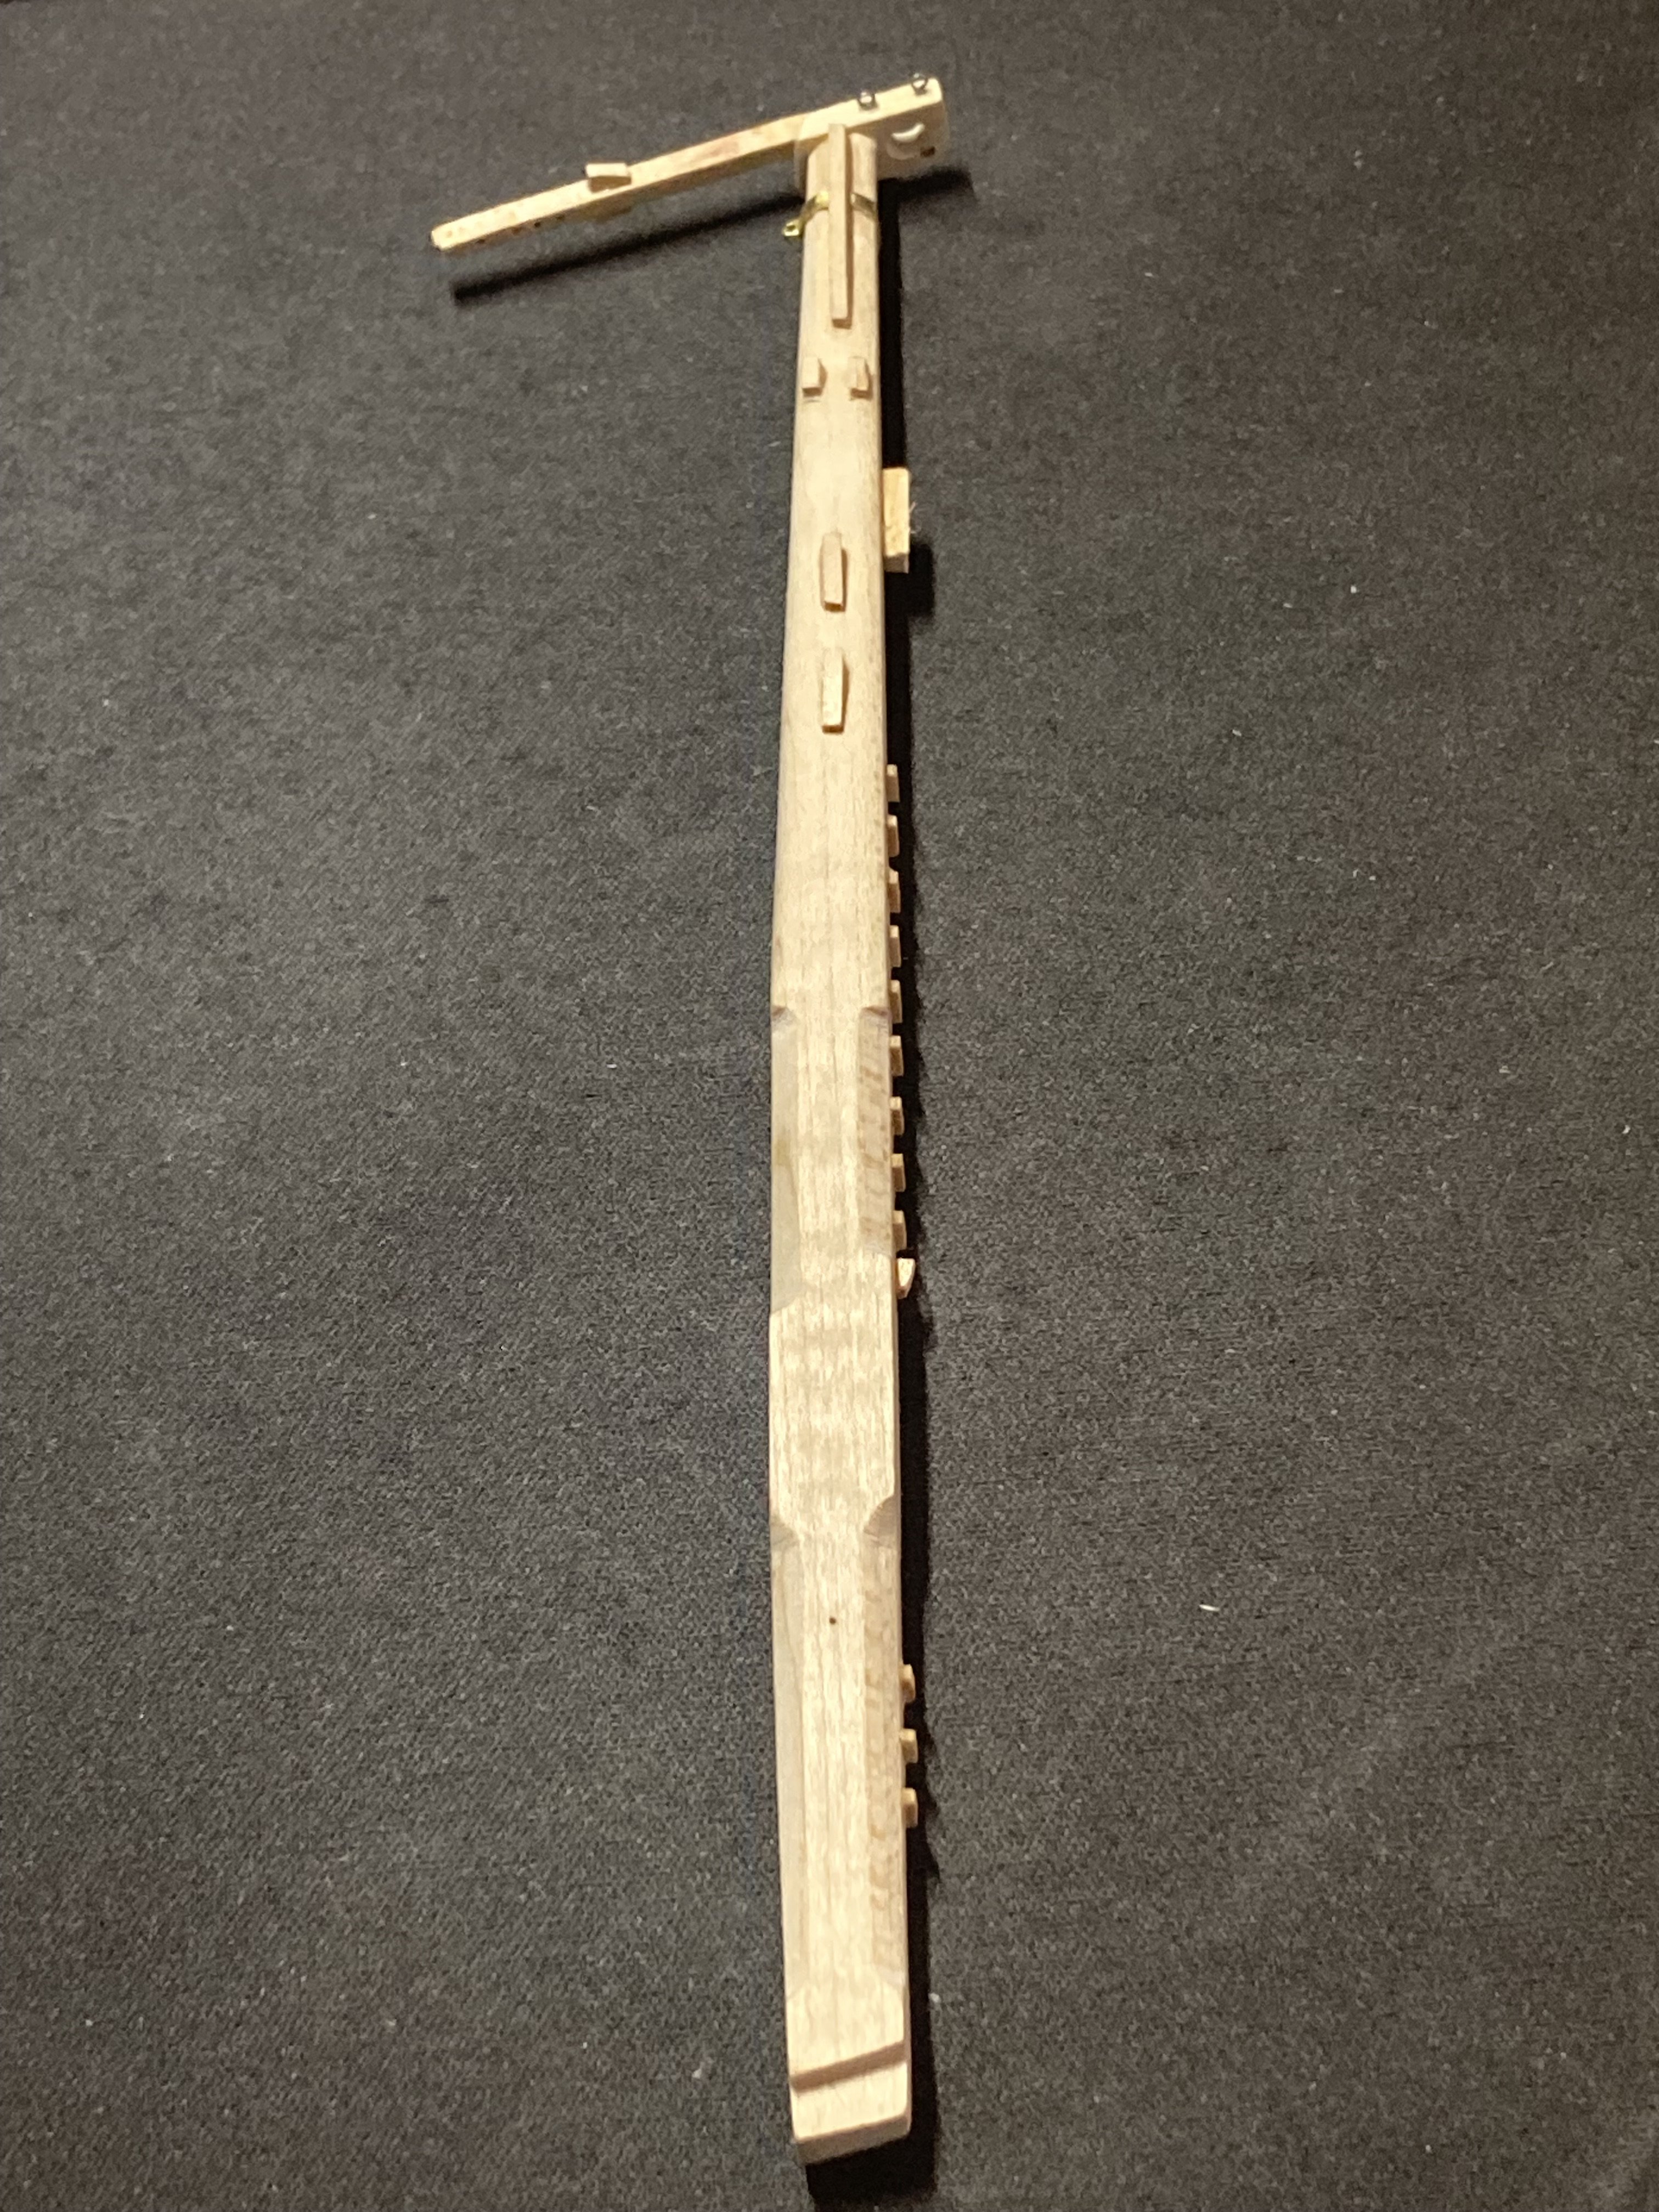
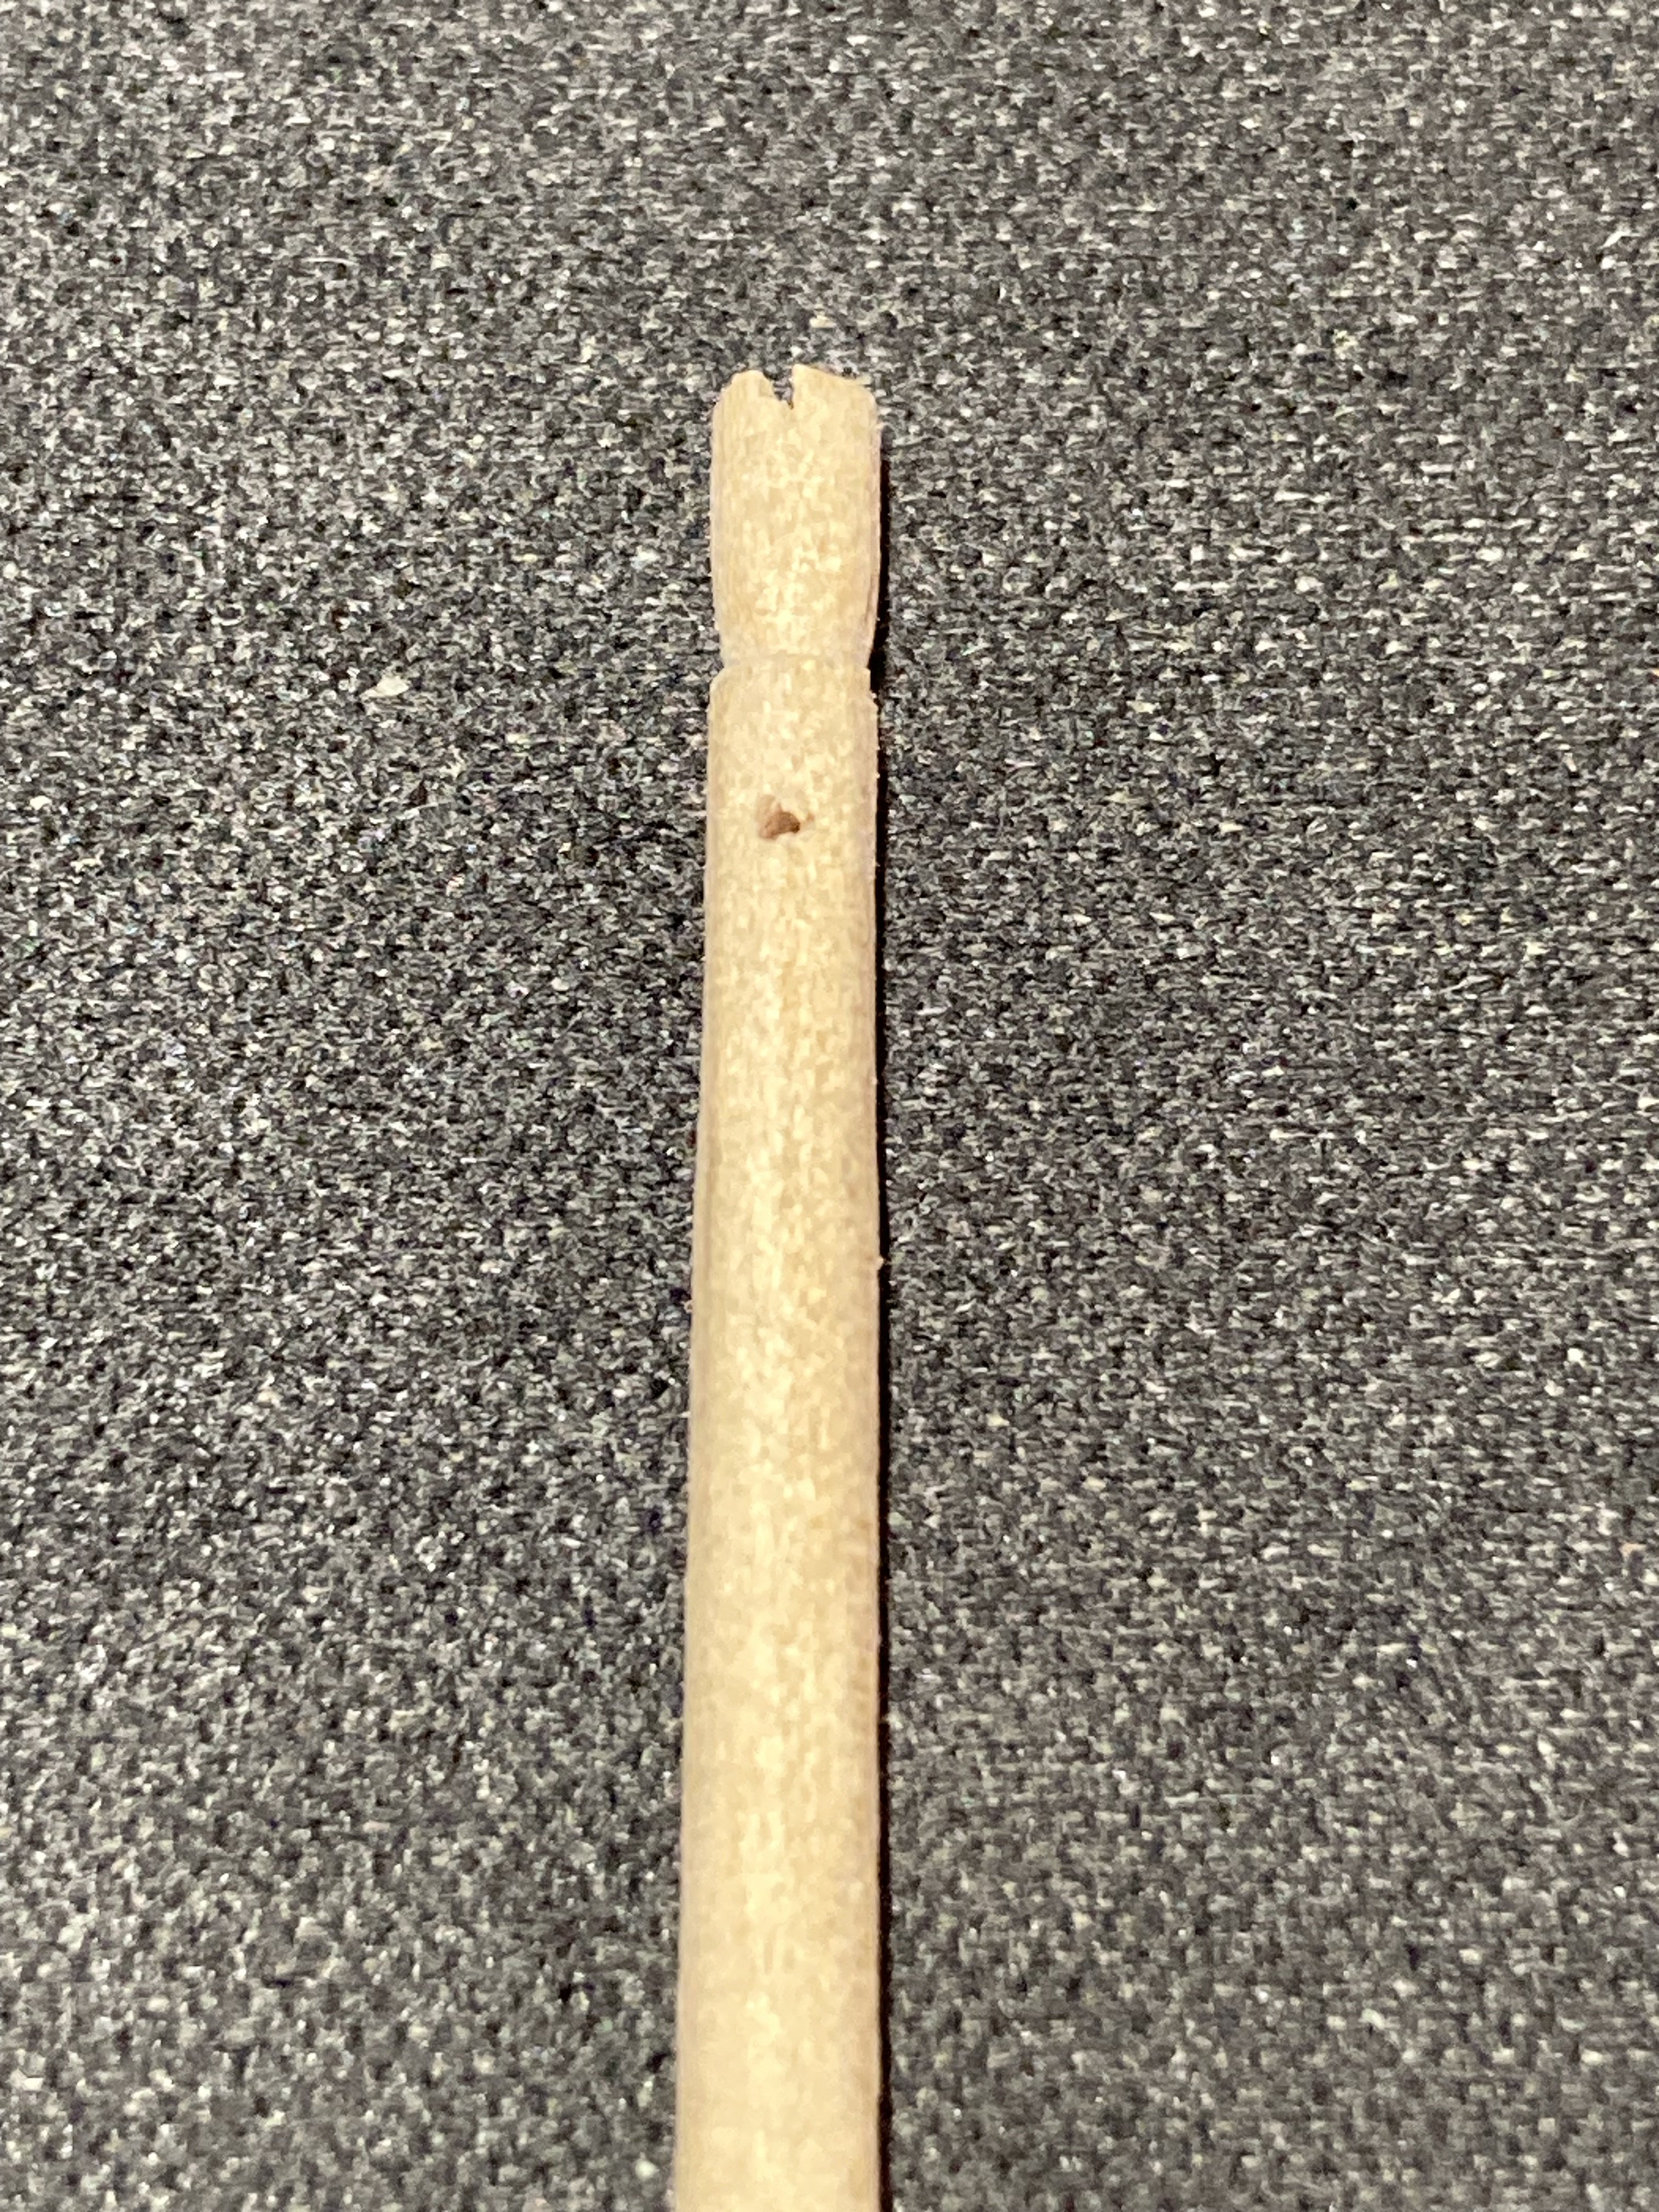
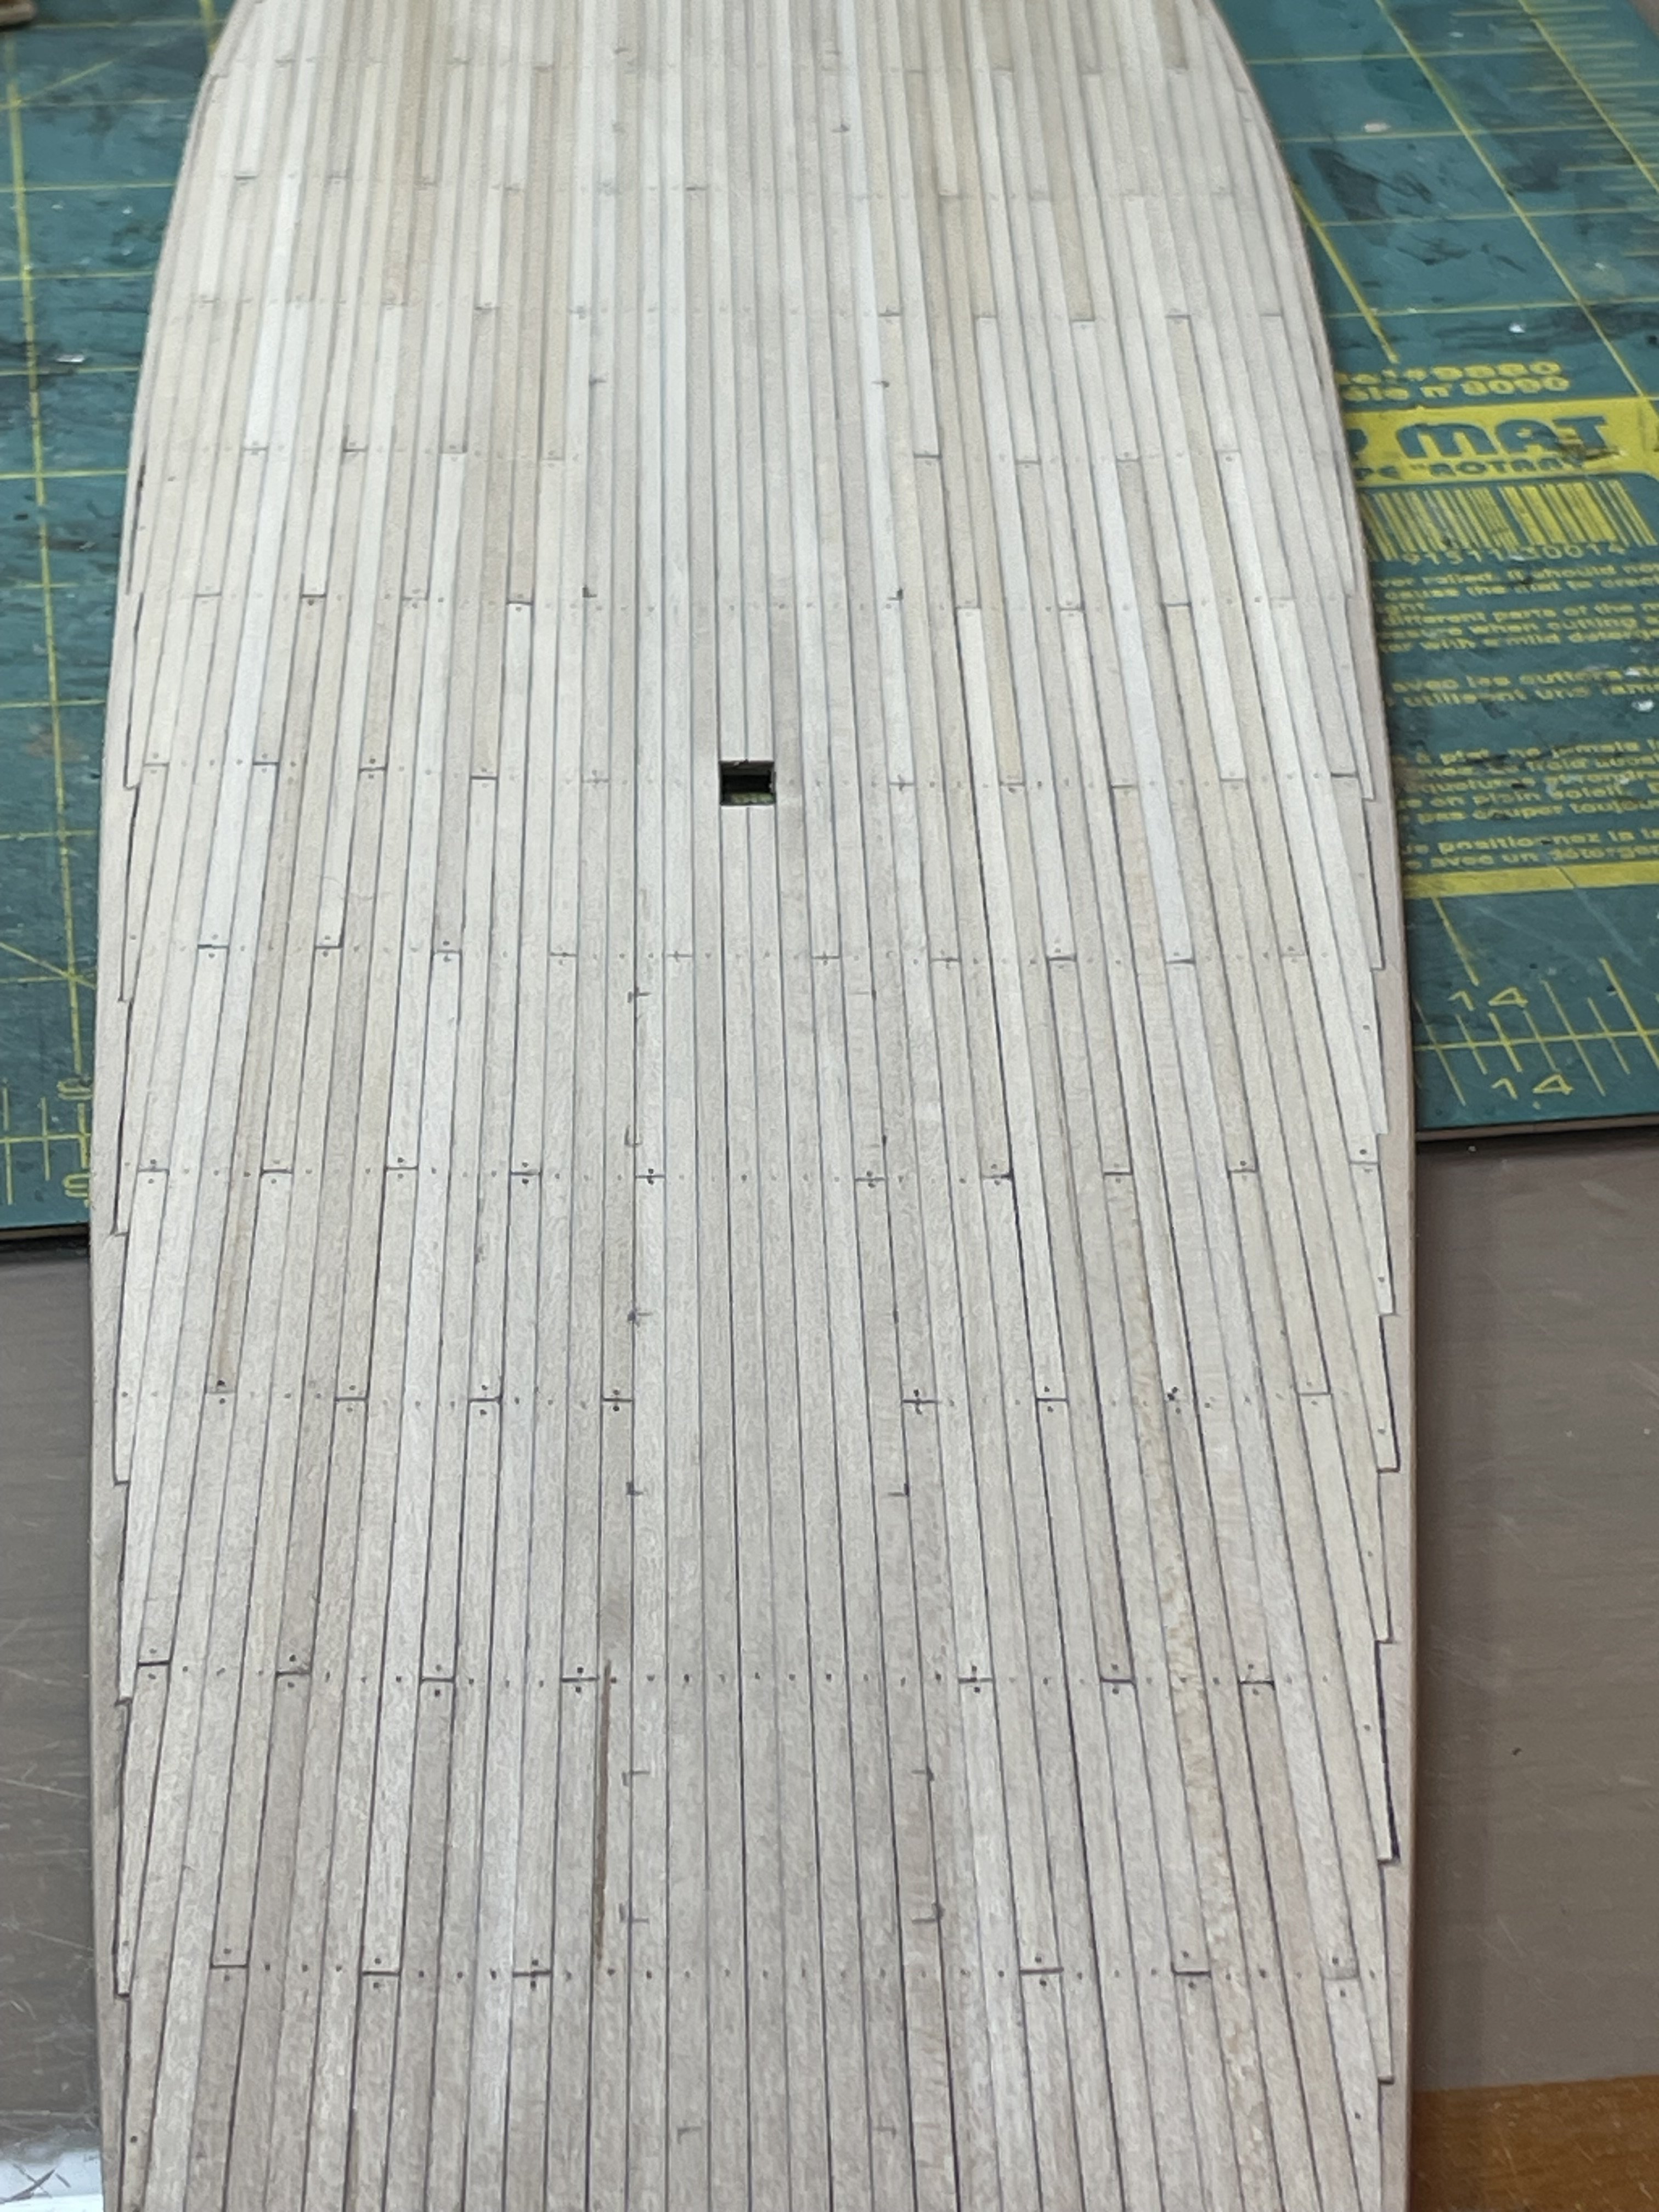
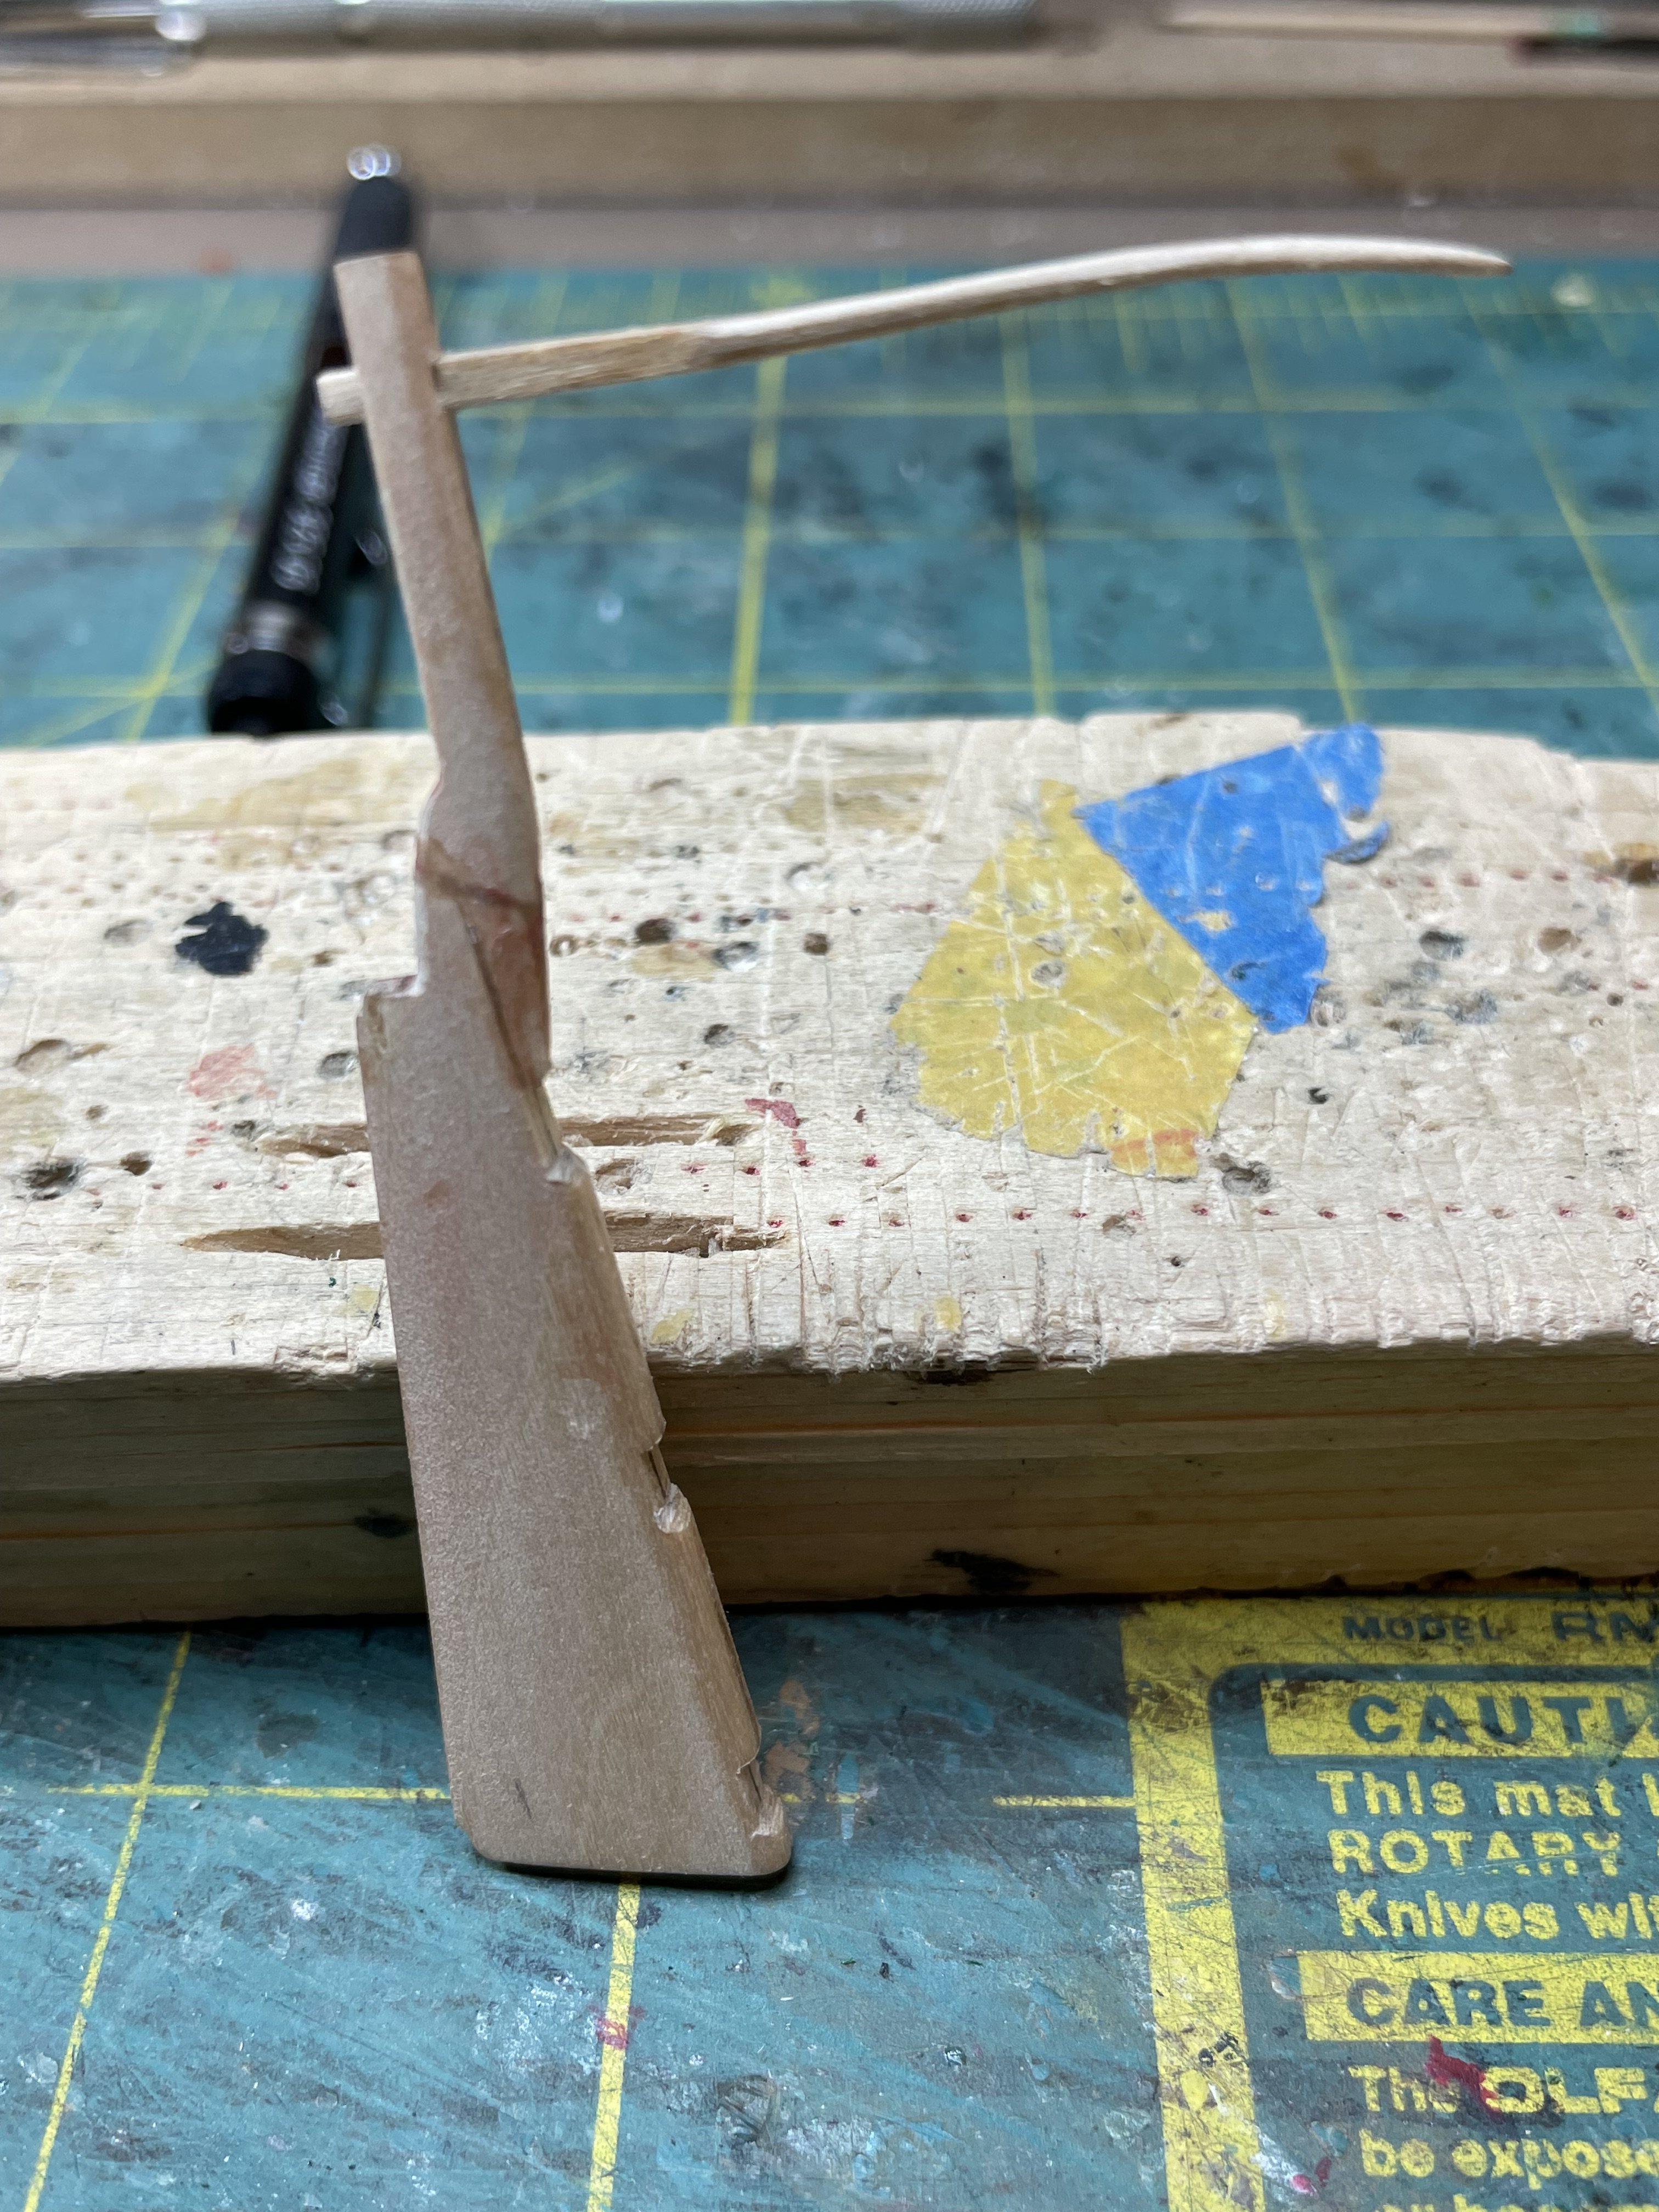
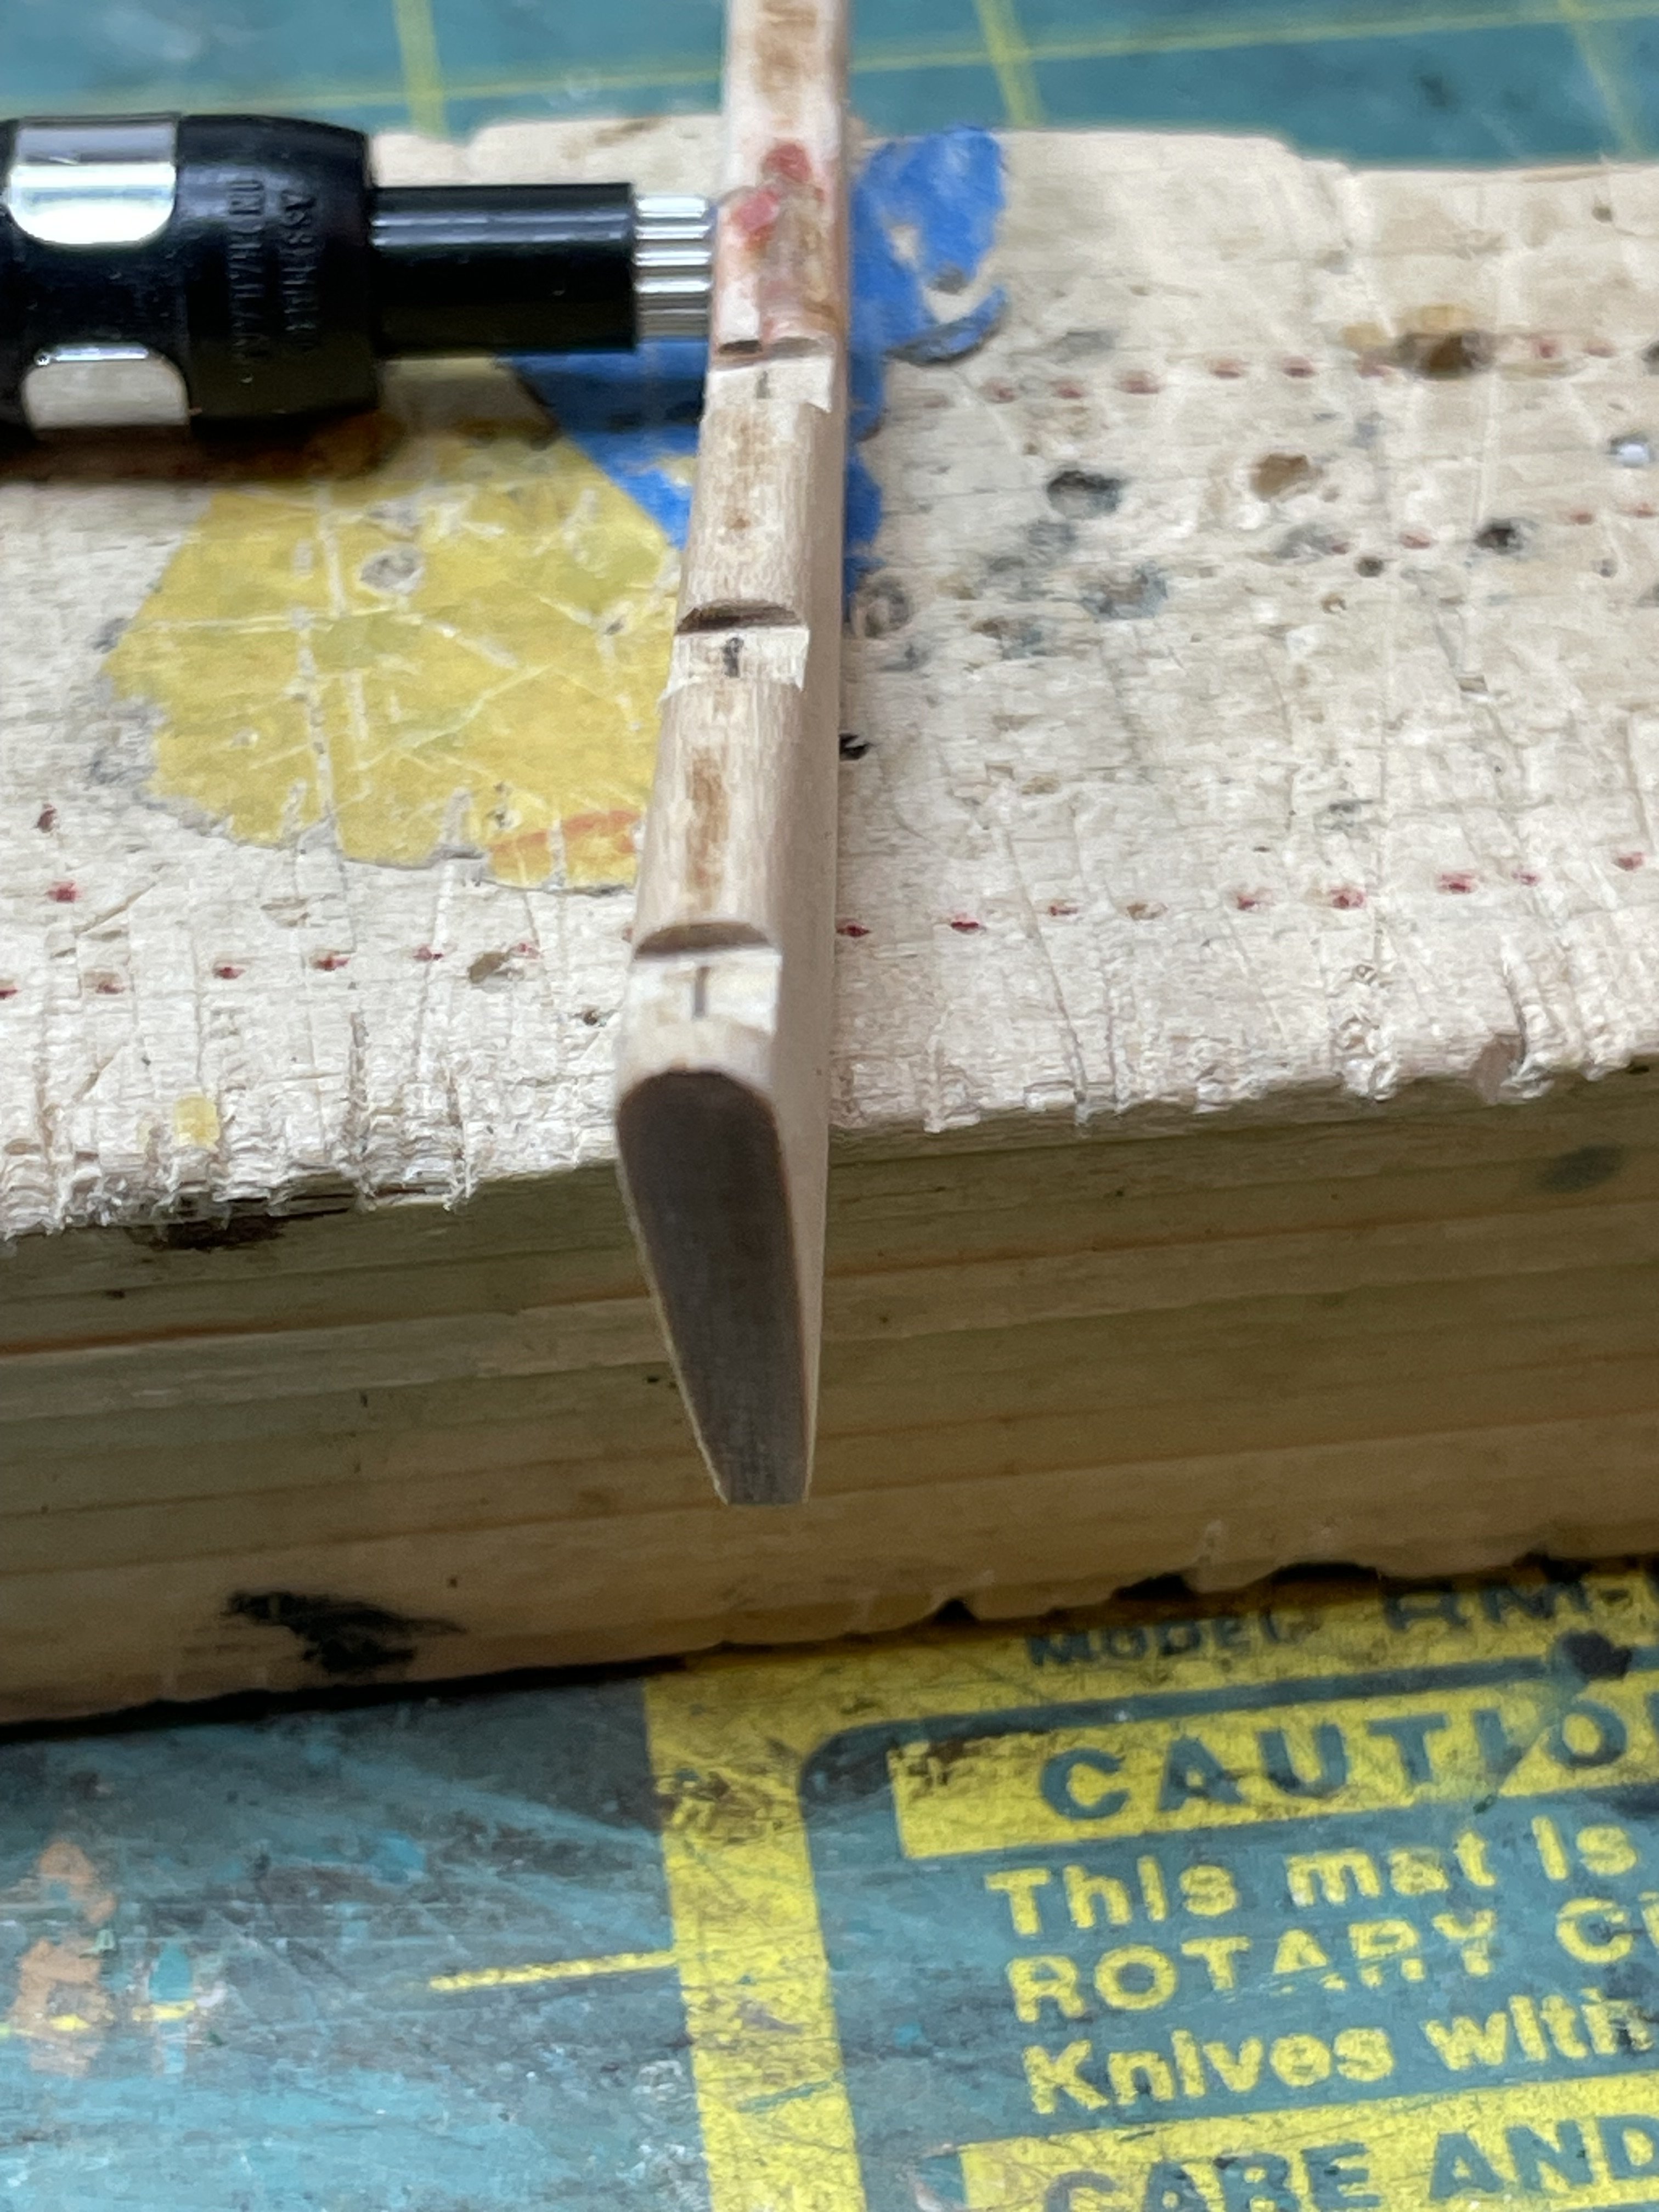
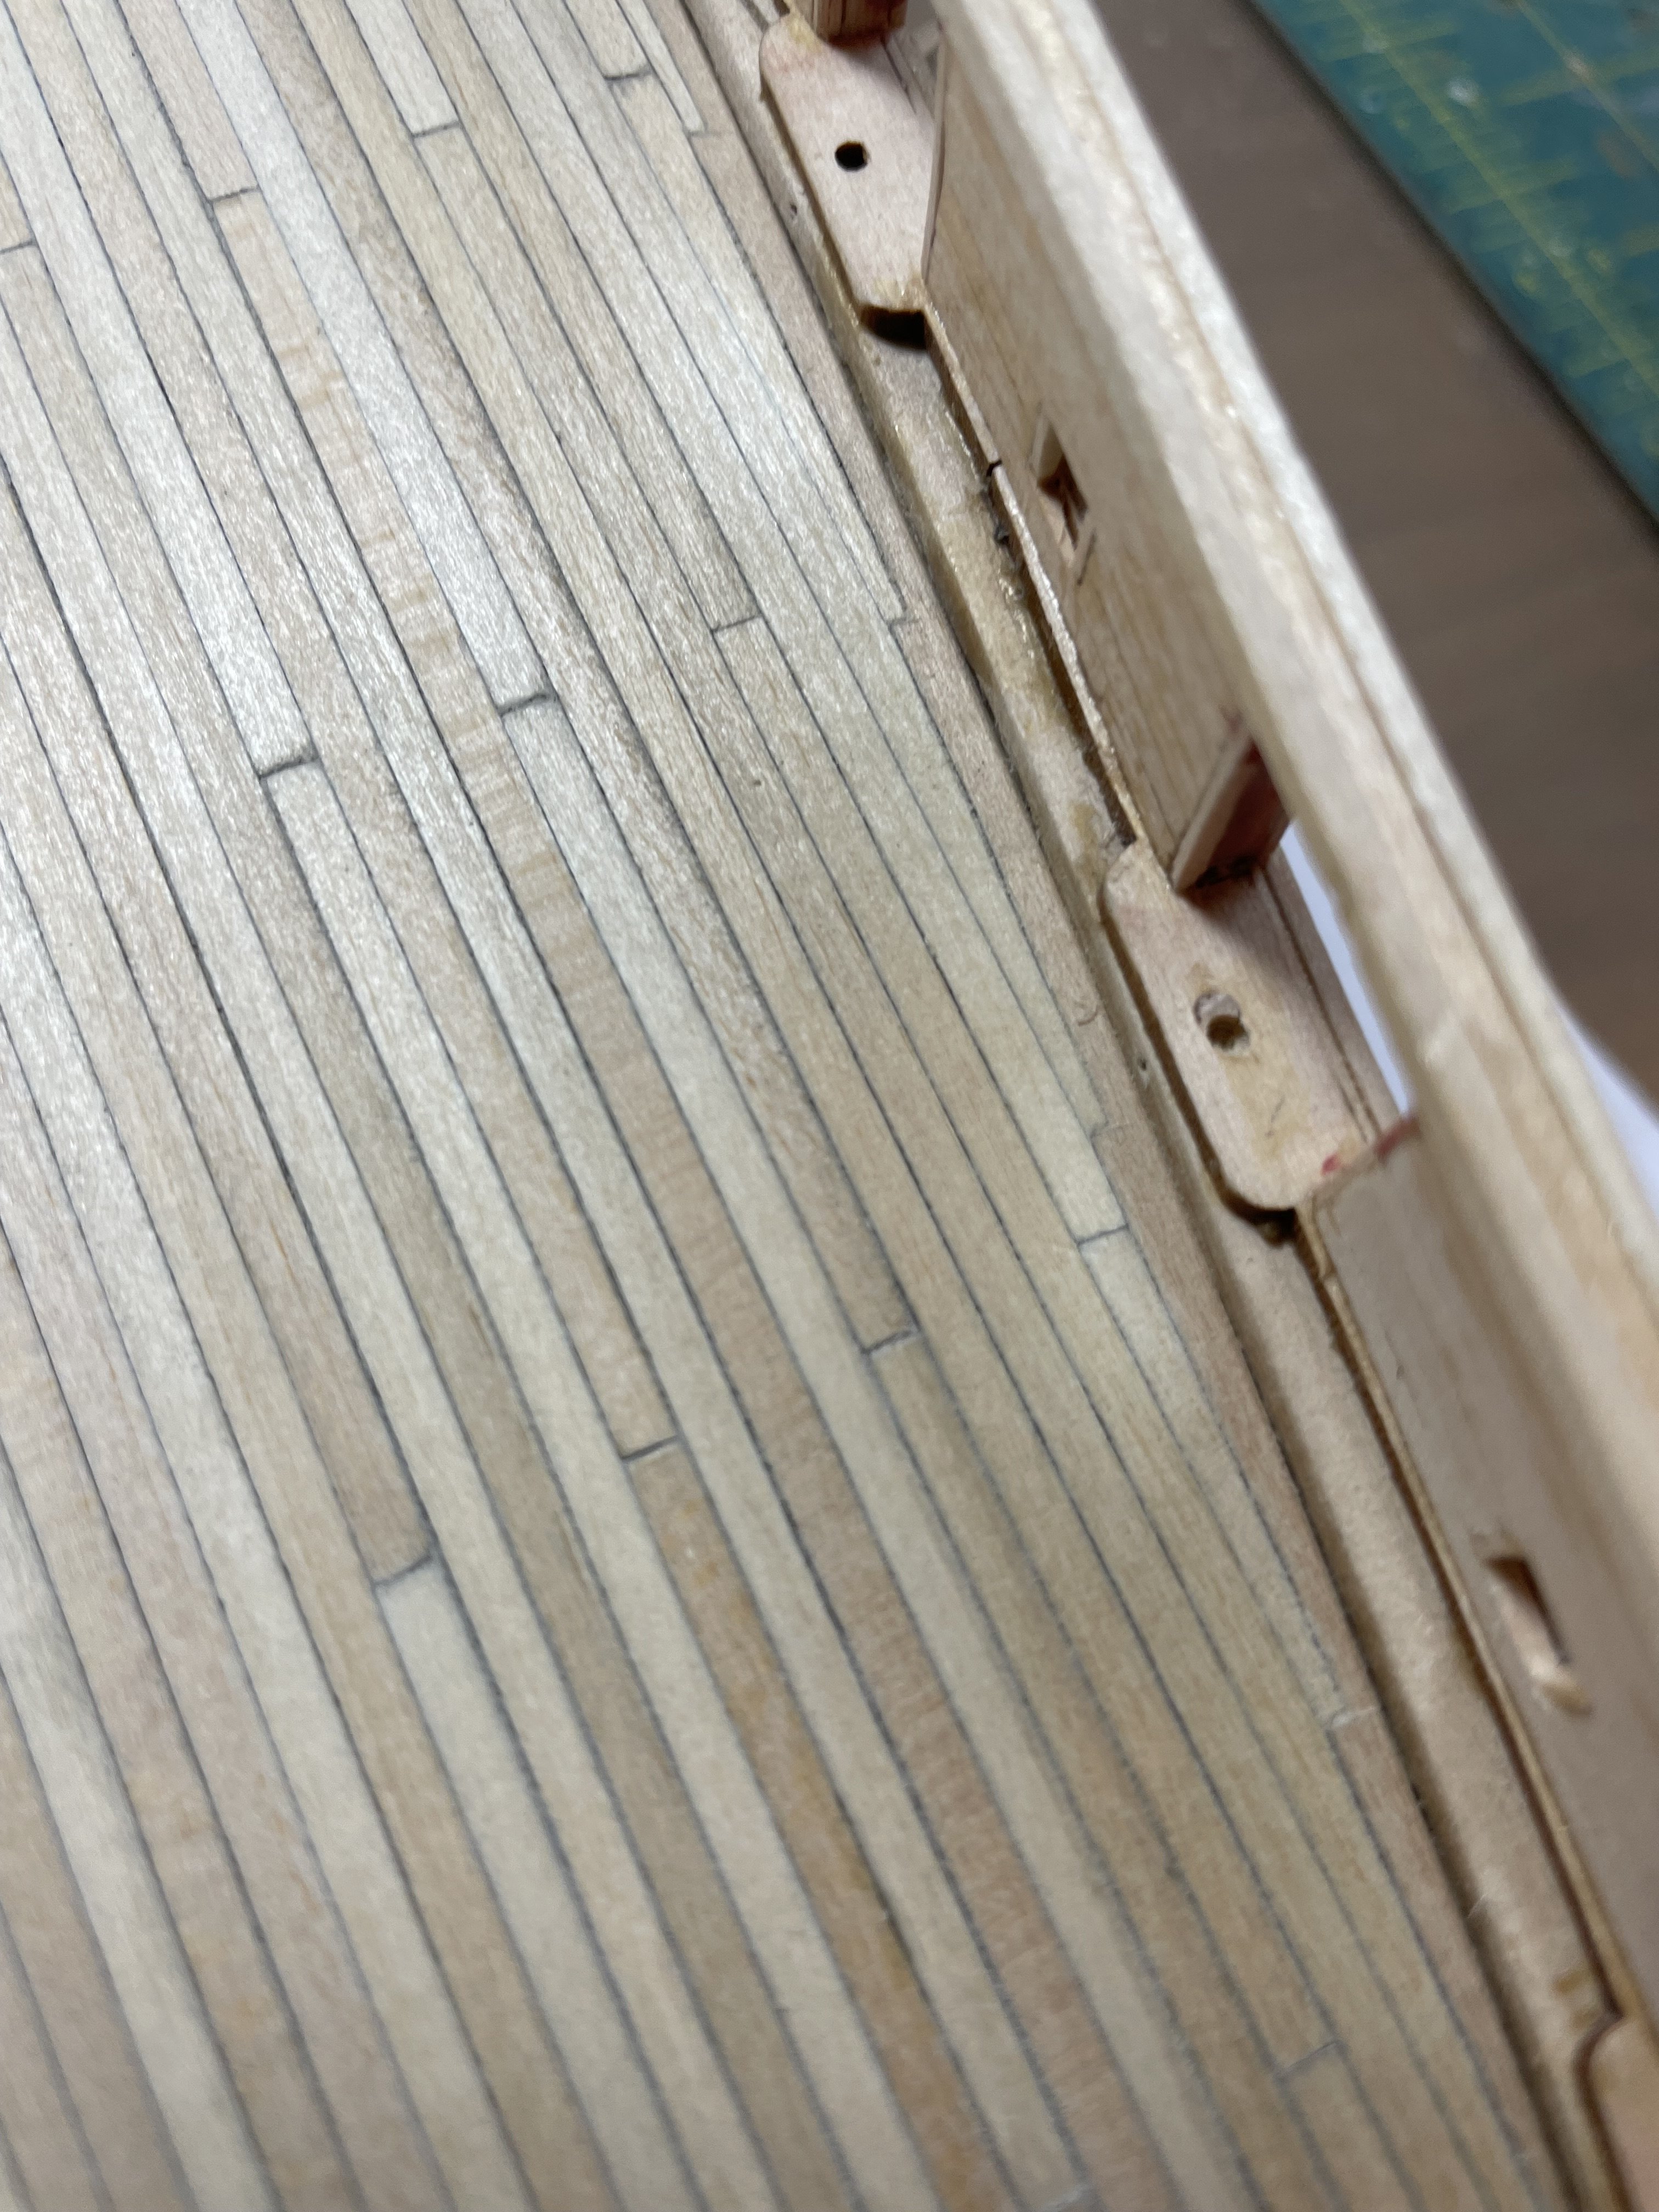
Work continues on various different areas. I have added representation of nail holes in the decking. The effect will be a little more subdued once sanding sealer has been applied, a few passes with fine sandpaper and then final staining. I don't think I am going to attach the deck to the hull until after I have done some painting of the hull, and that will not happen until warmer weather in Atlanta when I can use an airbrush outside in the garage. Also some work on the rudder: Excuse the fact that the rudder looks a little mangled. I did not like the alignment when sliding it into the holes already drilled in the hull. There was too large a gap for my taste where the rudder aligns to the back of the hull so I cut up the rudder a little and realigned it - the fit will be closed when it is attached now. Also decided to make the rudder hinges out of a combination of brass tubing I had and strip plastic. Why plastic - because I tried soldering brass strip and it looked awful so plastic it is. The brass is of two different diameters which fir snugly inside of each other. The plastic strip on the top and bottom of the hing can therefore pivot and will be attached to the rudder and hull, after replicating nails (bolts) by which the hinges would have been attached to the hull and rudder. Last work has been to put together the capstan which needs a little tidy up paint wise but otherwise is complete. The disc on top of the capstan is cut out of plastic sheet with very small diameter plastic rod inserted and sanded down to represent the fittings.


-
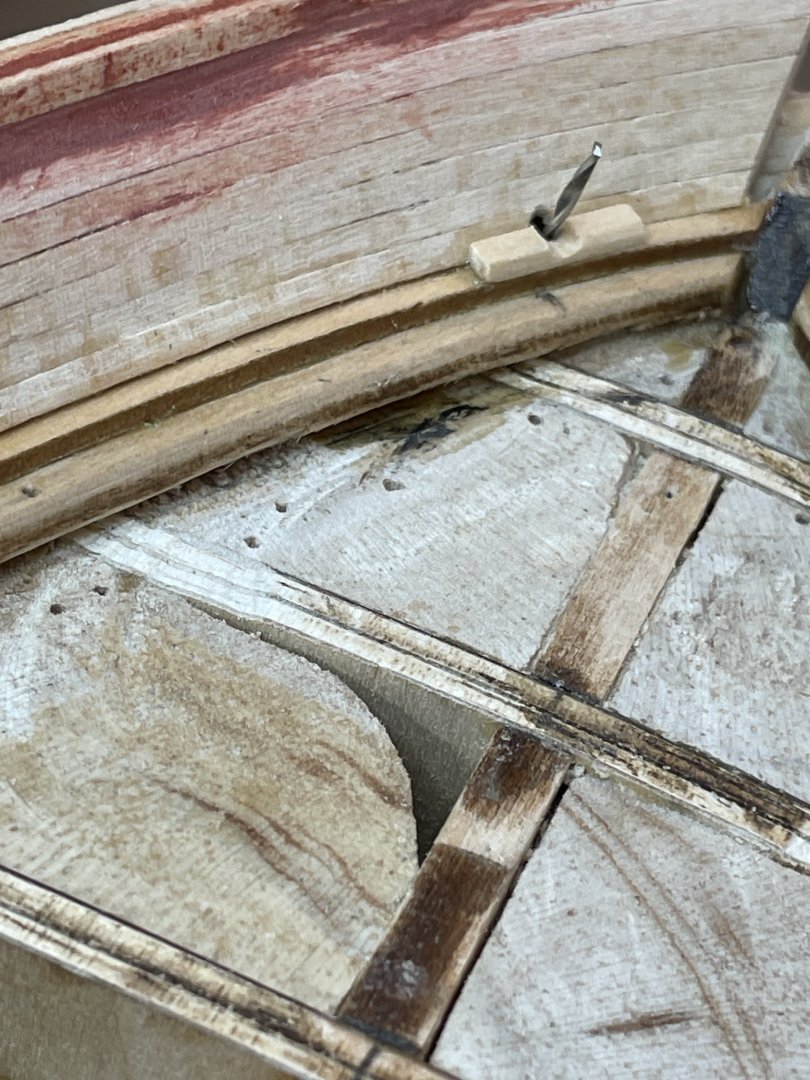
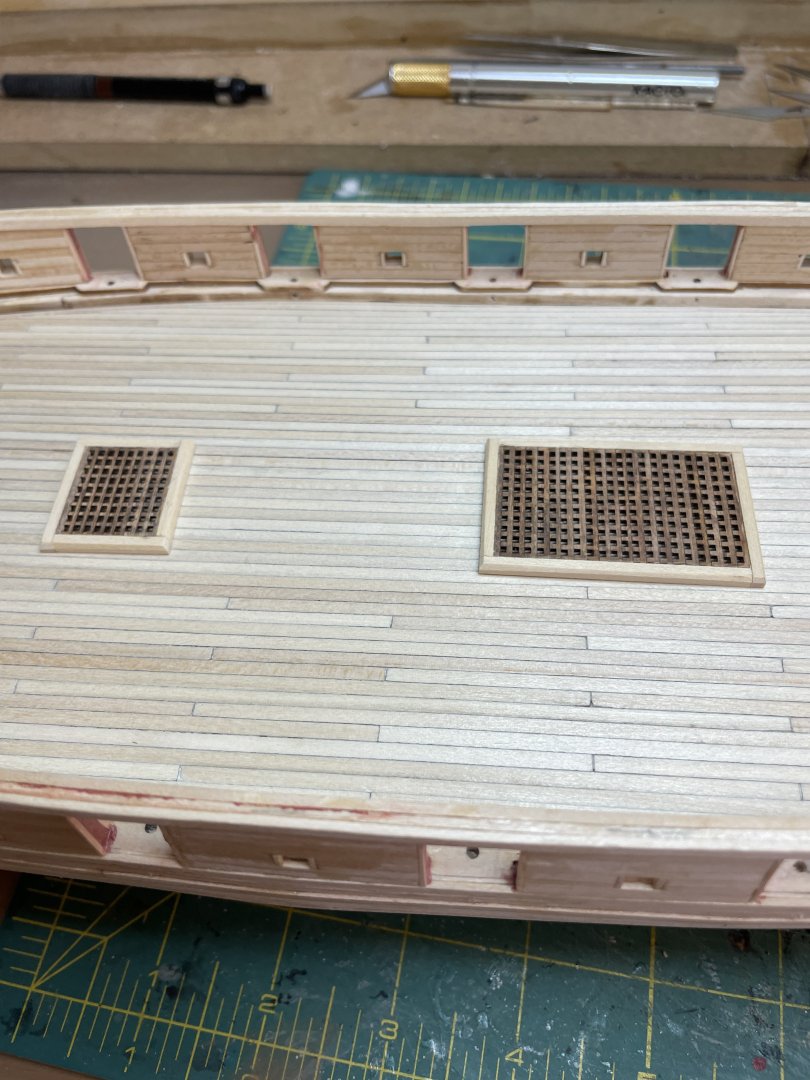
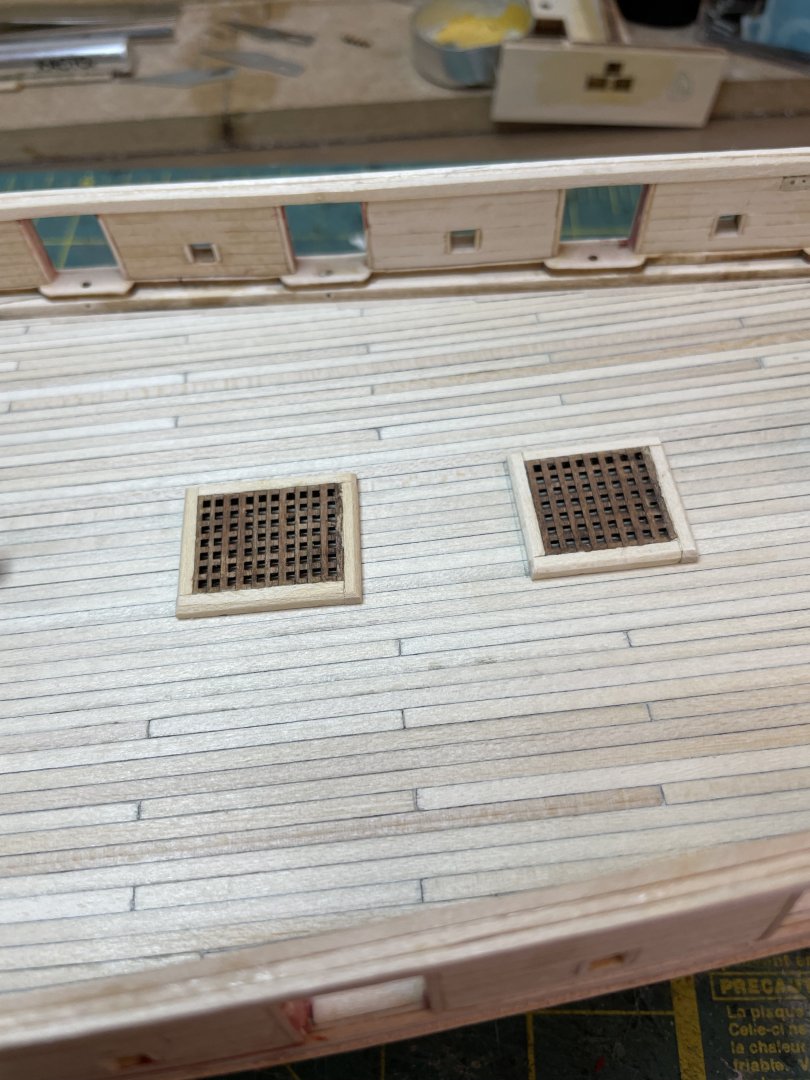
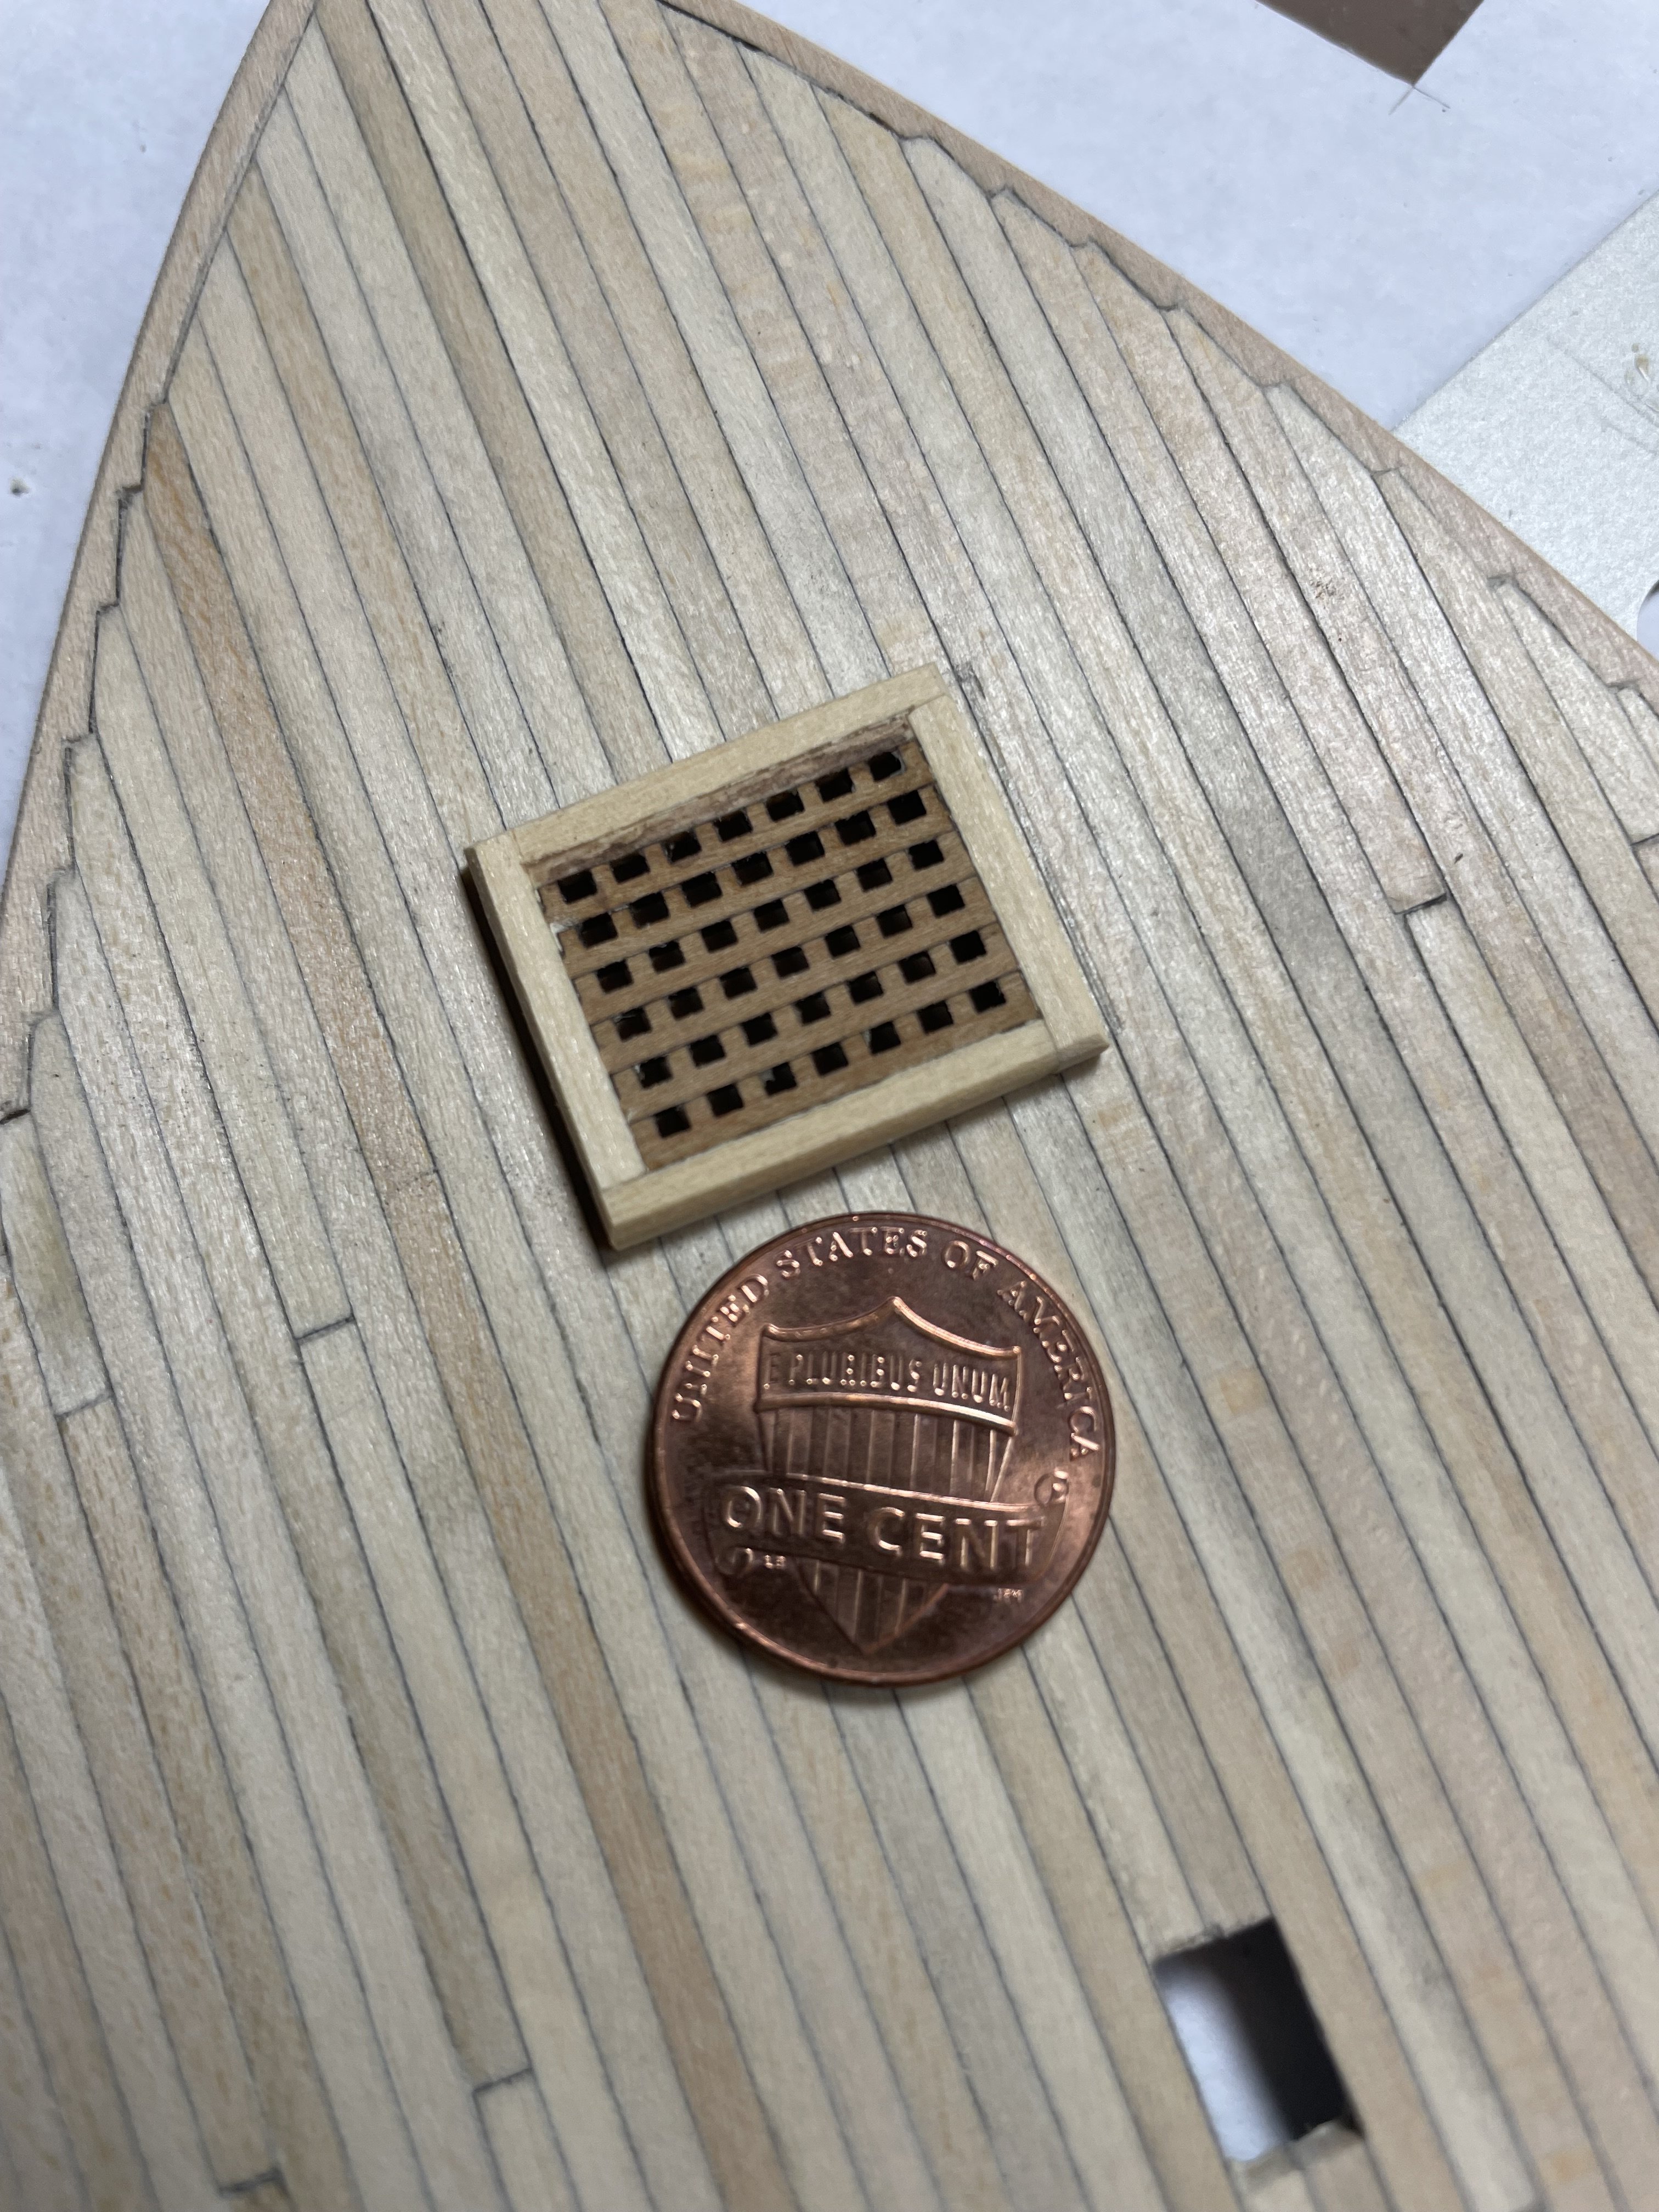
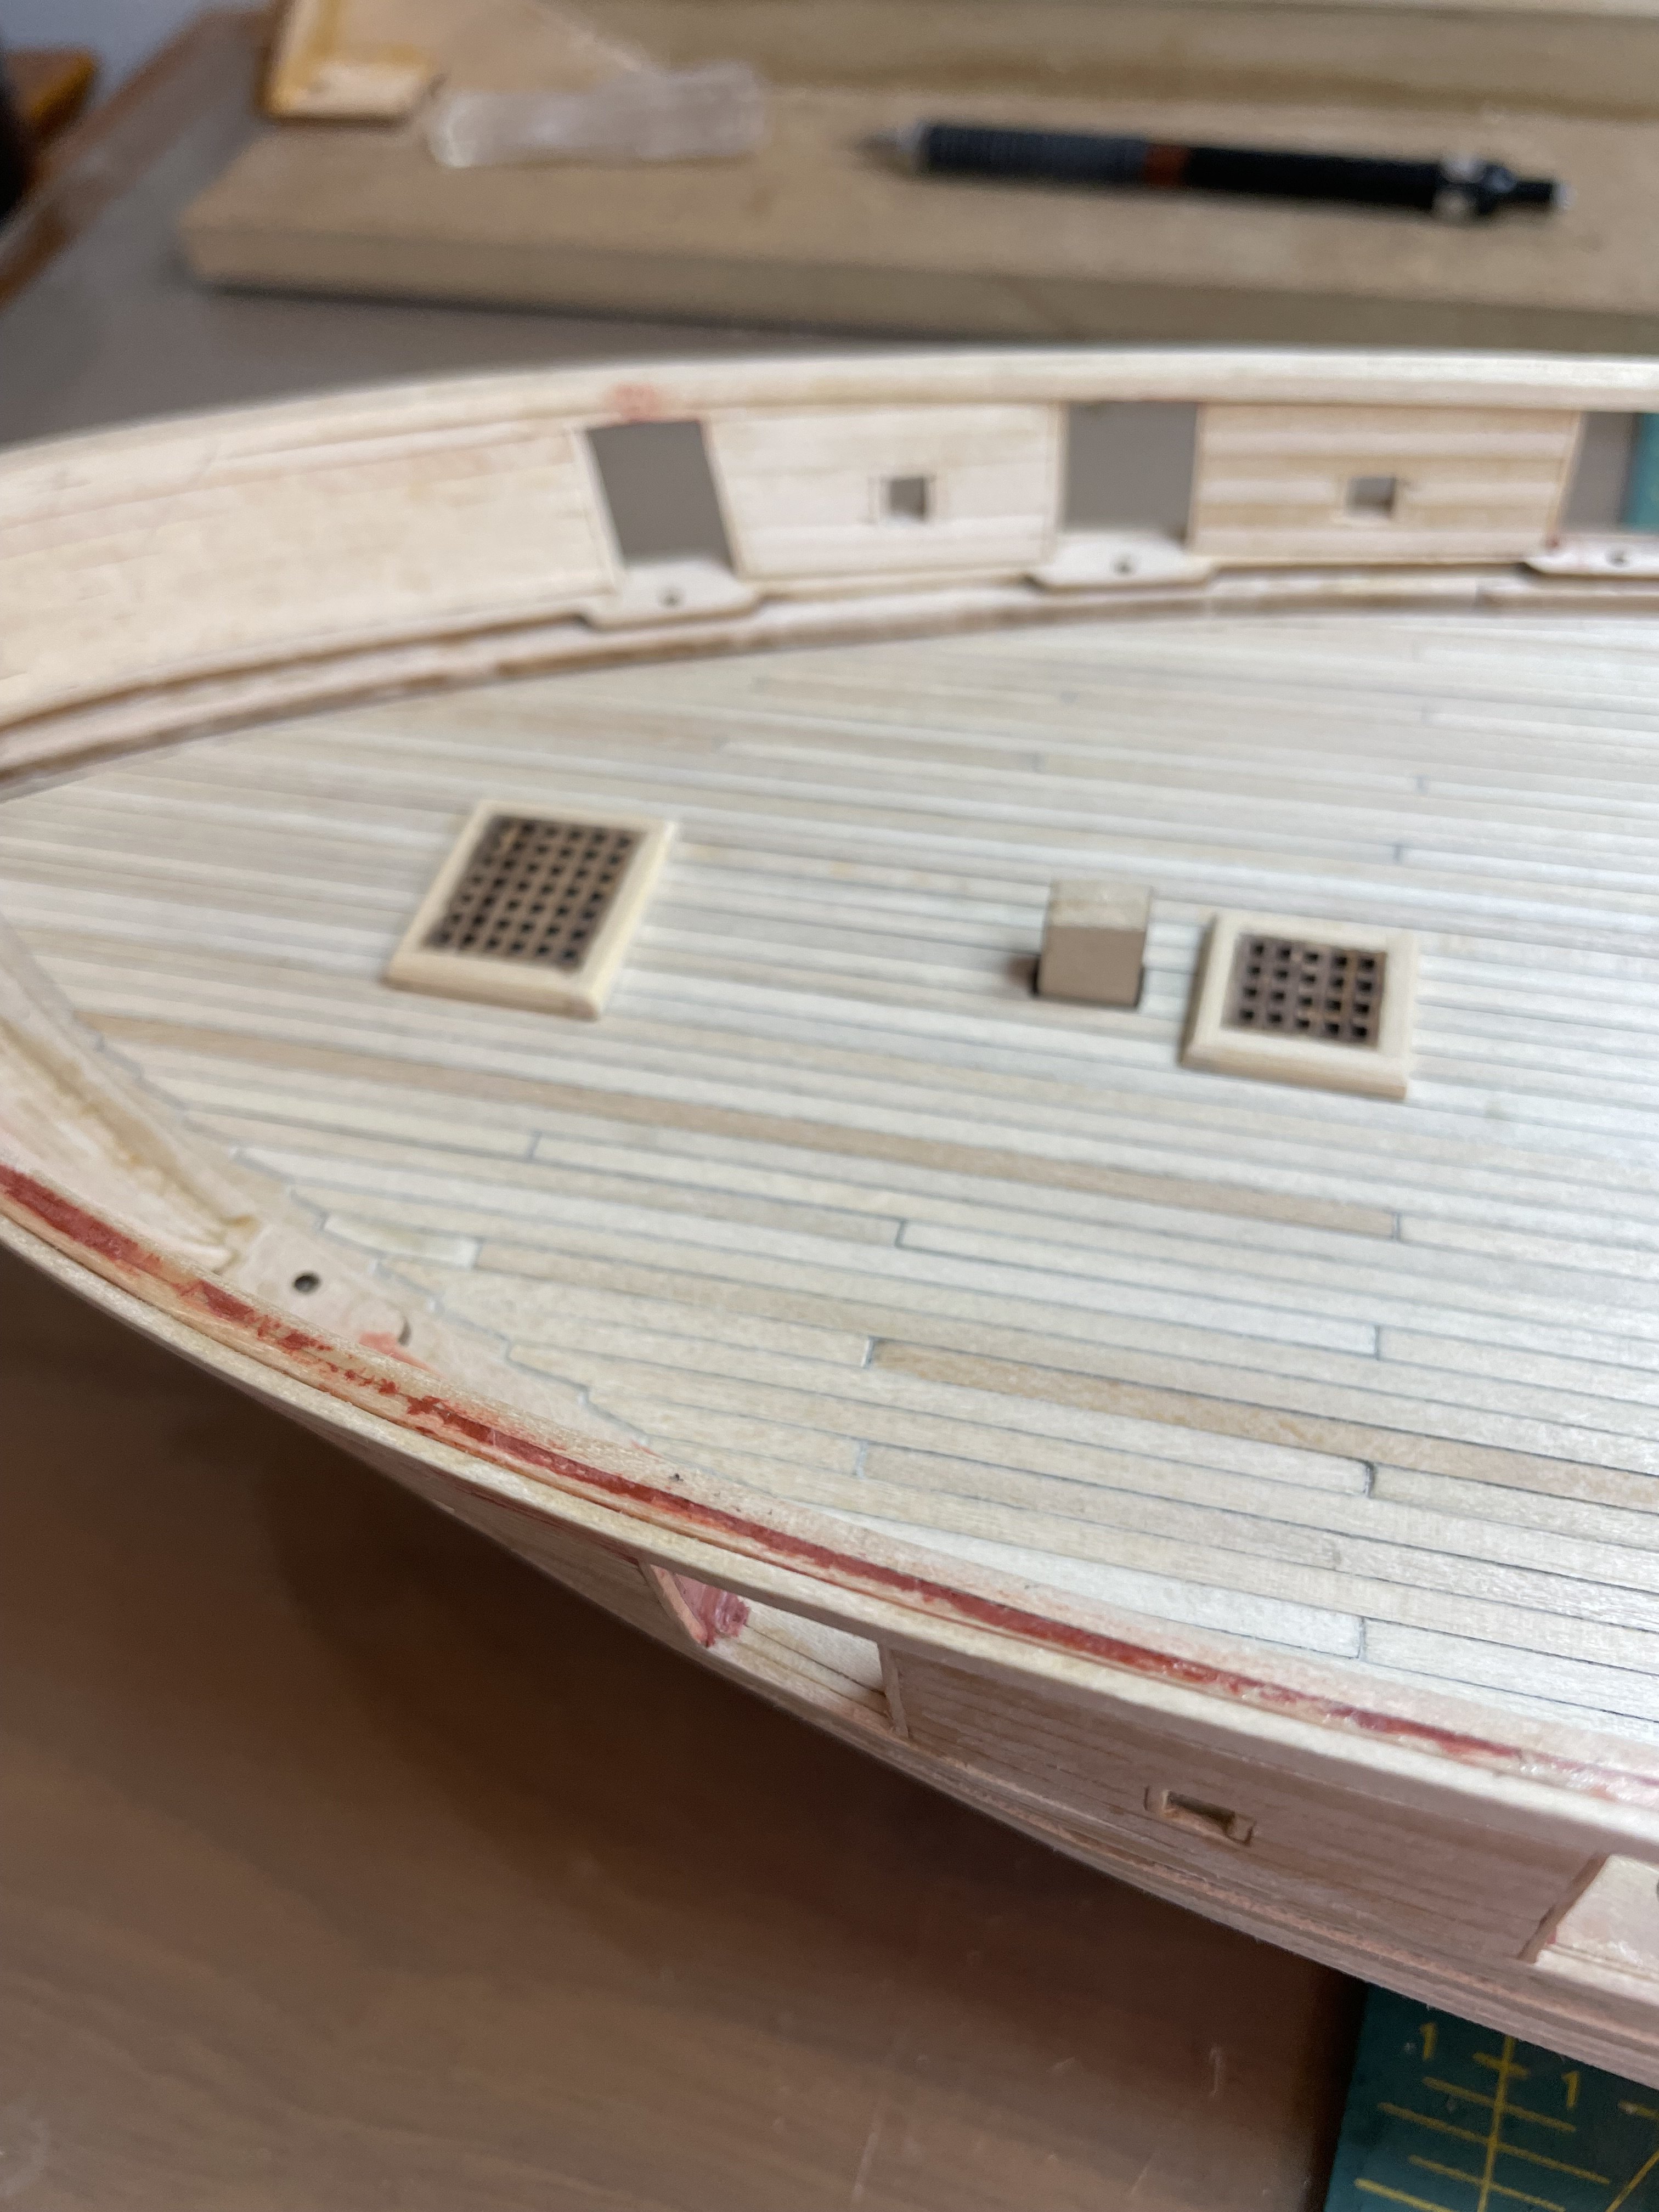
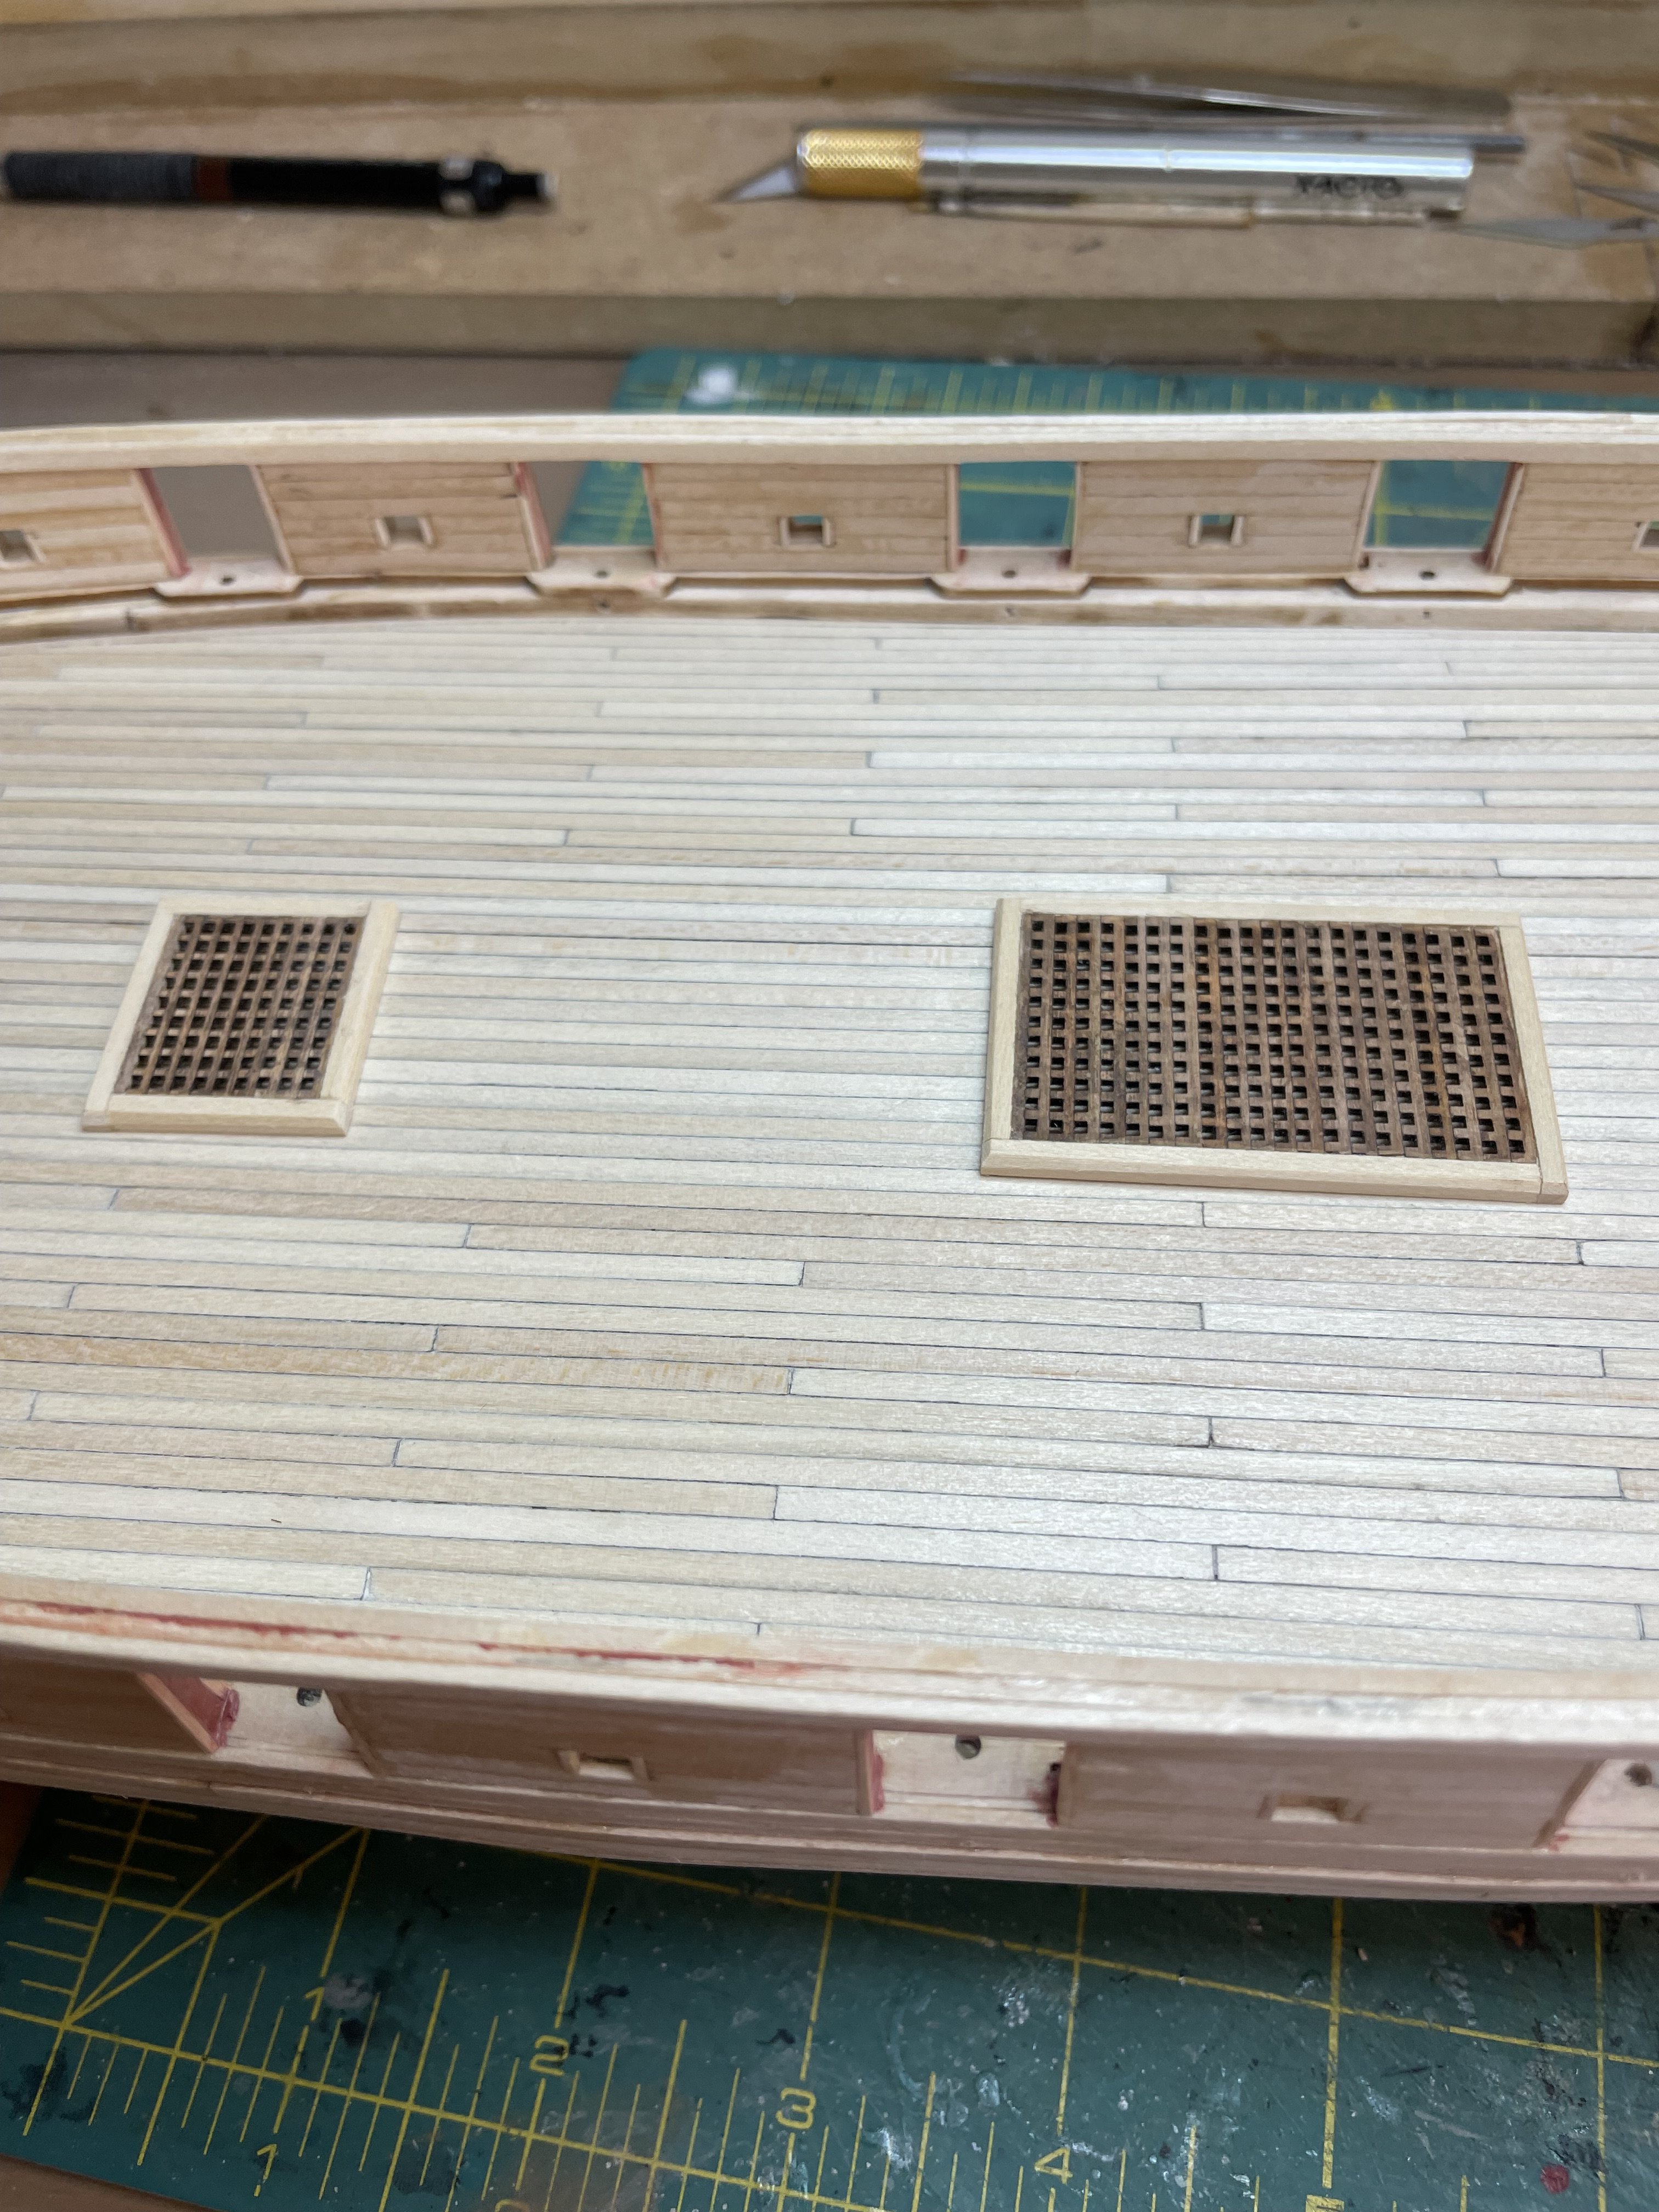
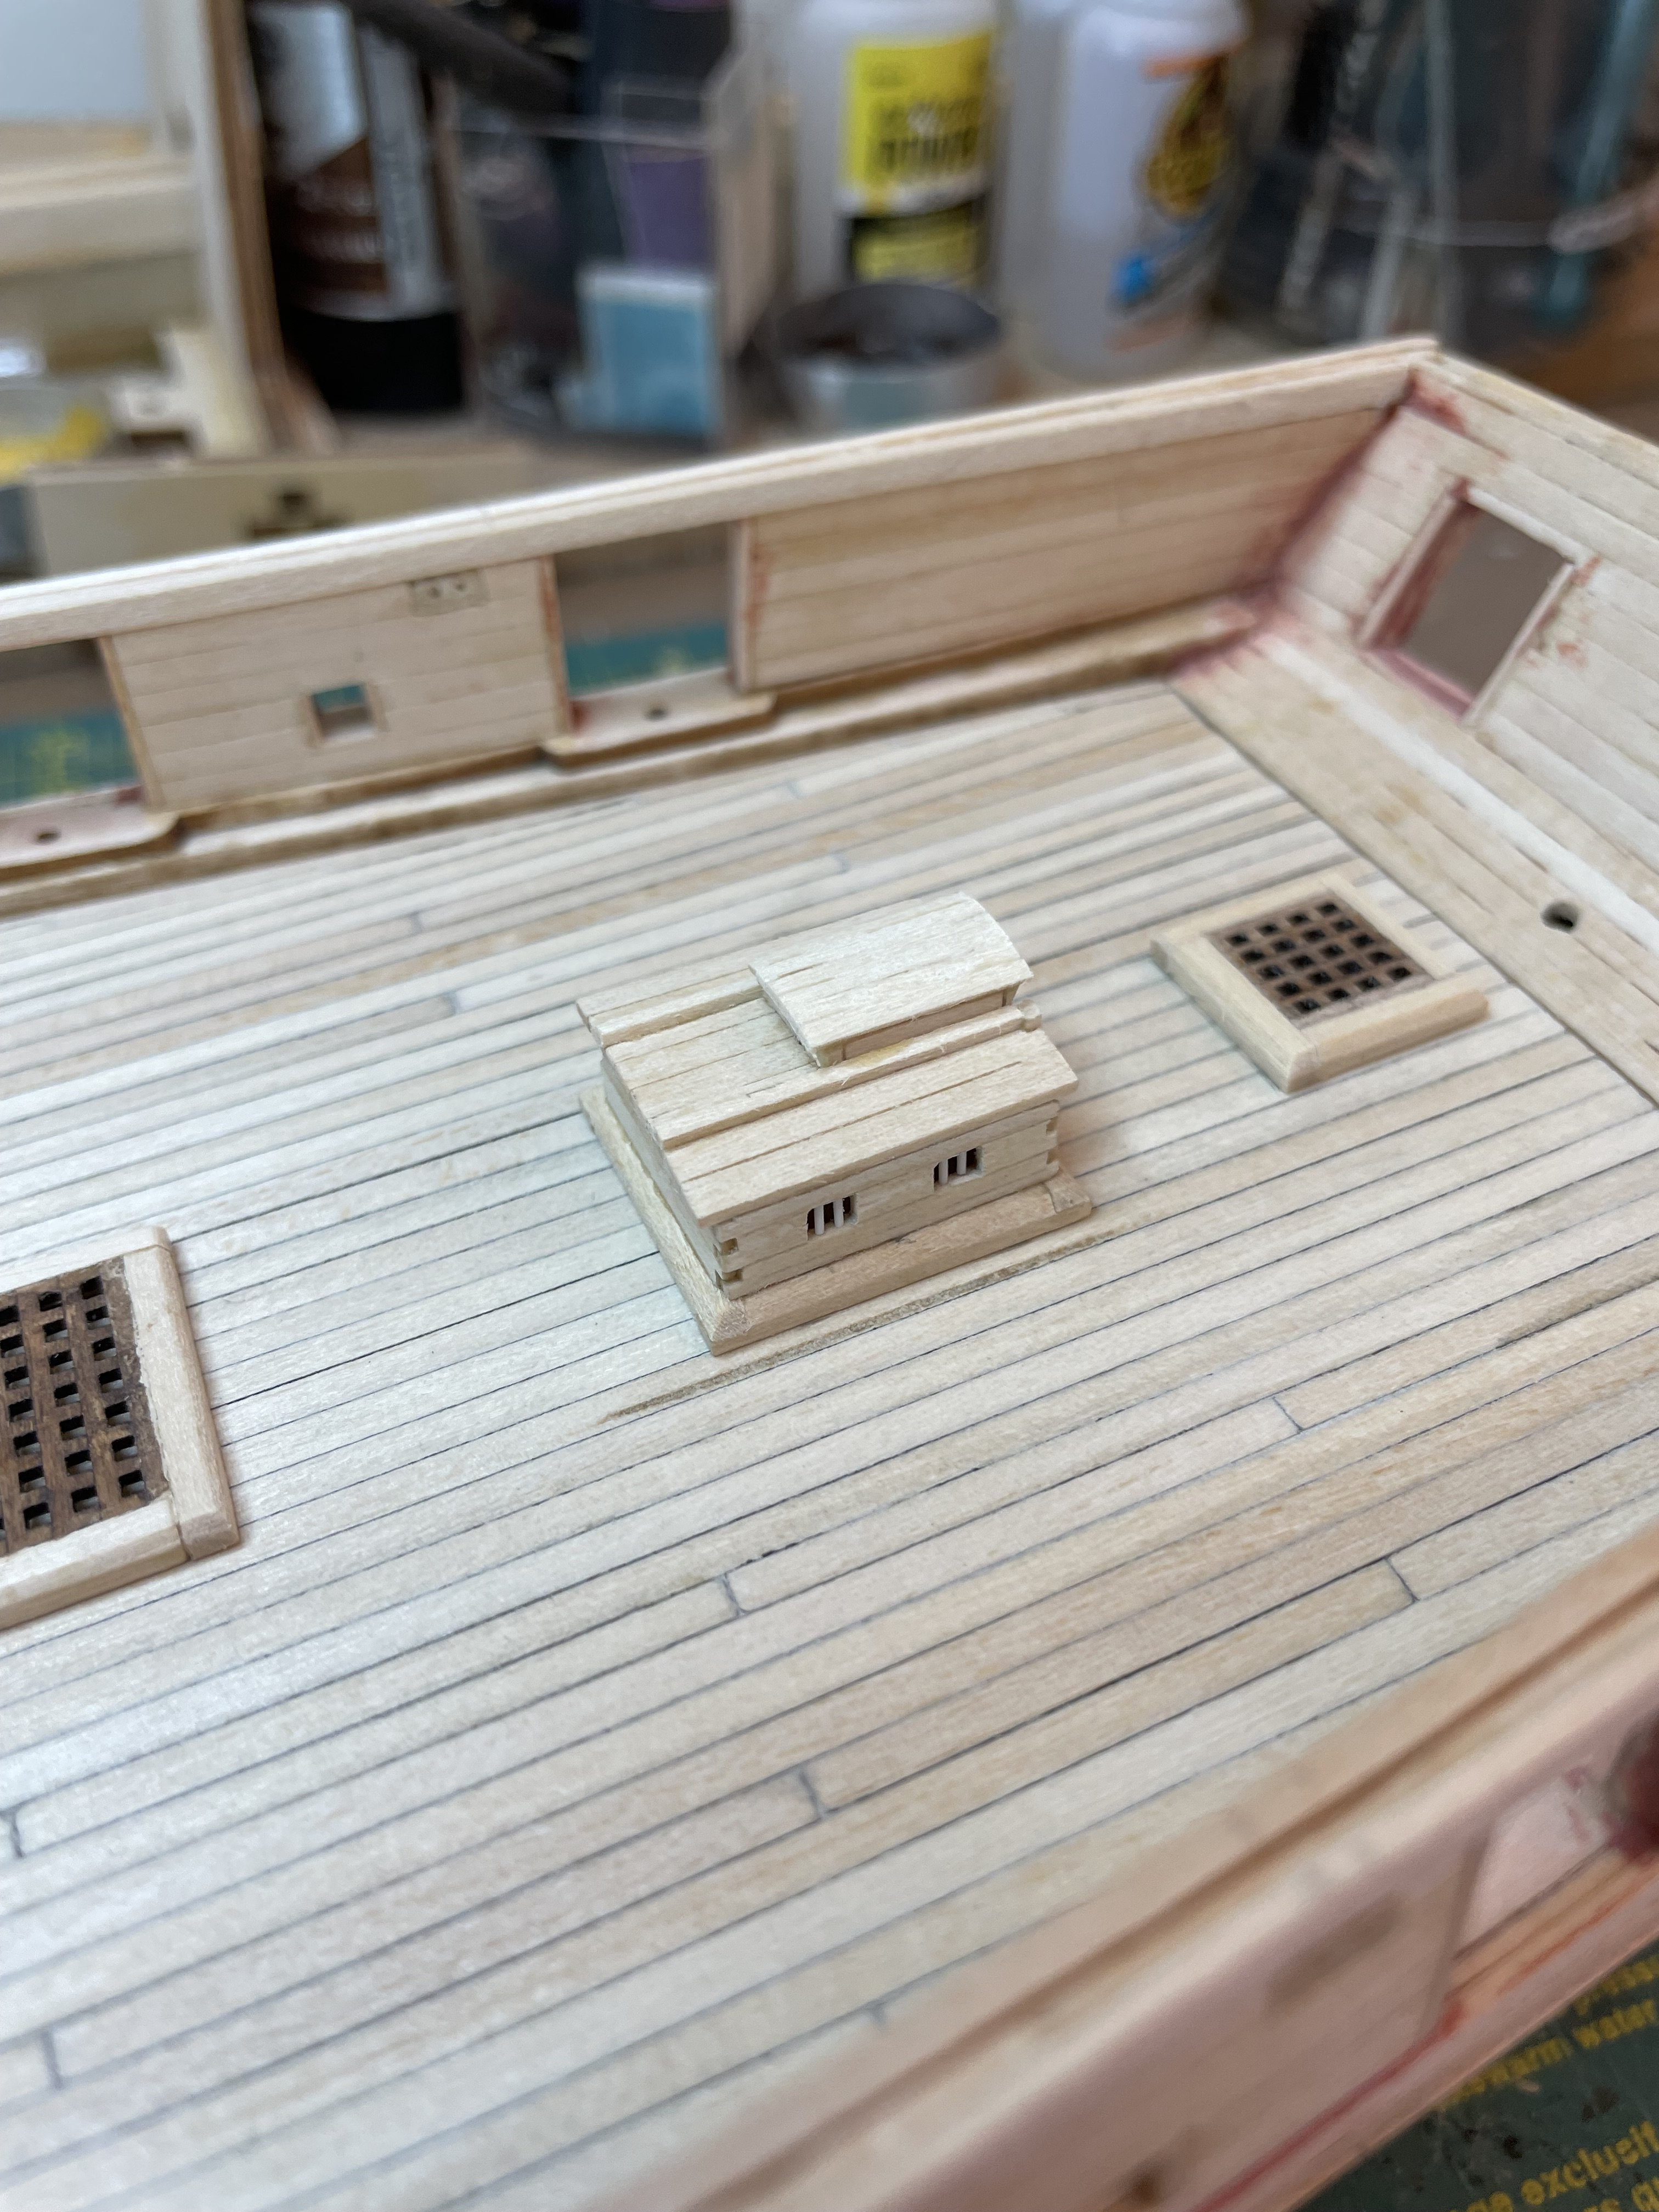
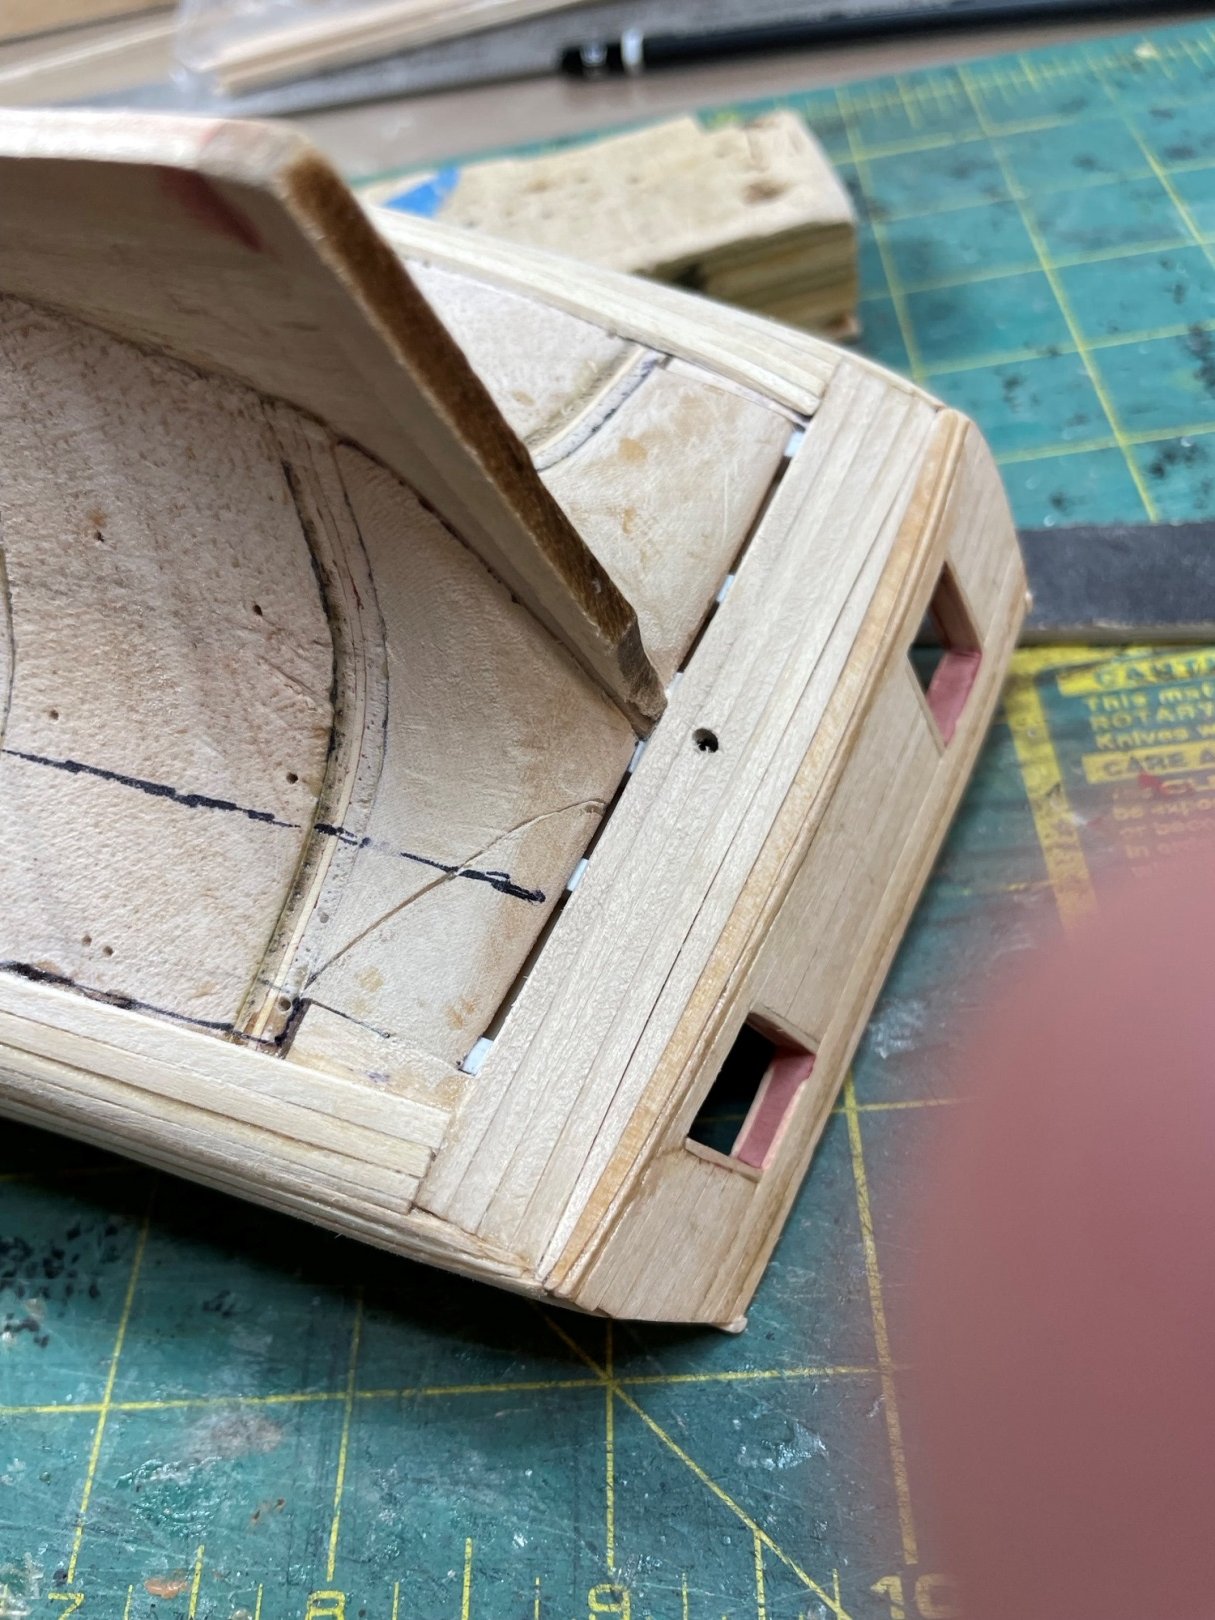
Decided to move next to deck hatches. As with some of the other builds already posted I felt the deck was too busy and elected to only add the skylight for the captain's cabin Also cut out holes to insert blocks for sheaves - I felt that this method was cleaner than just drilling holes through the hull


-
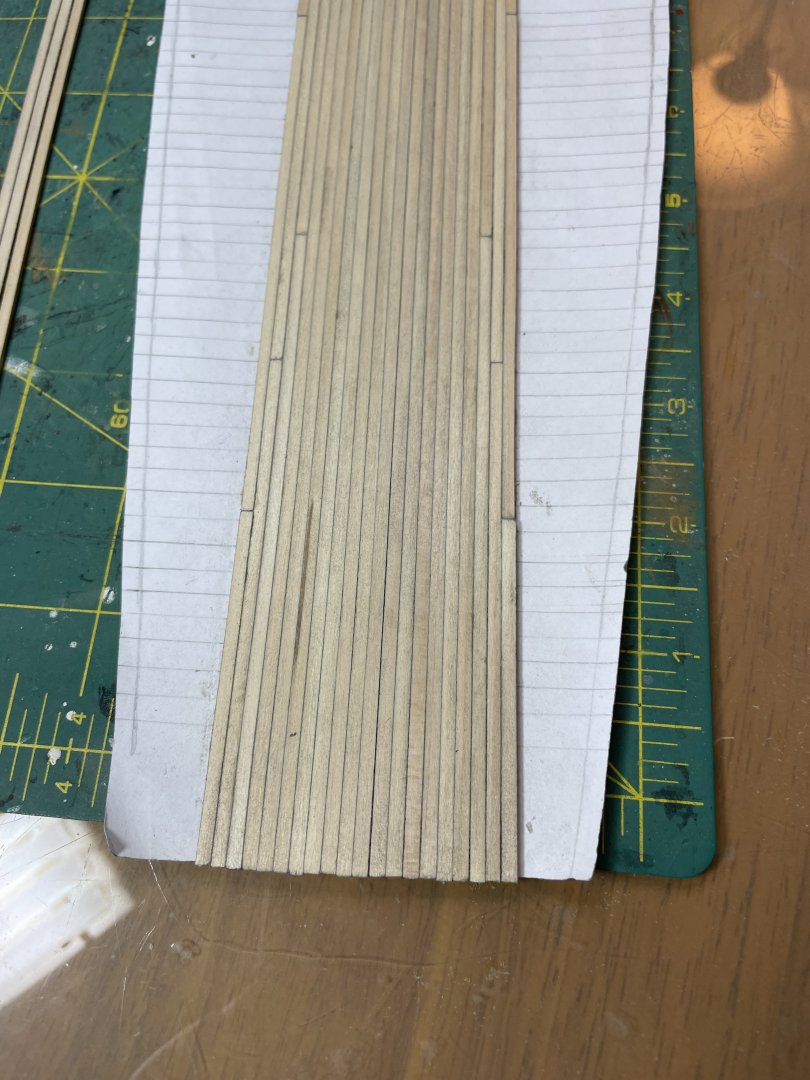
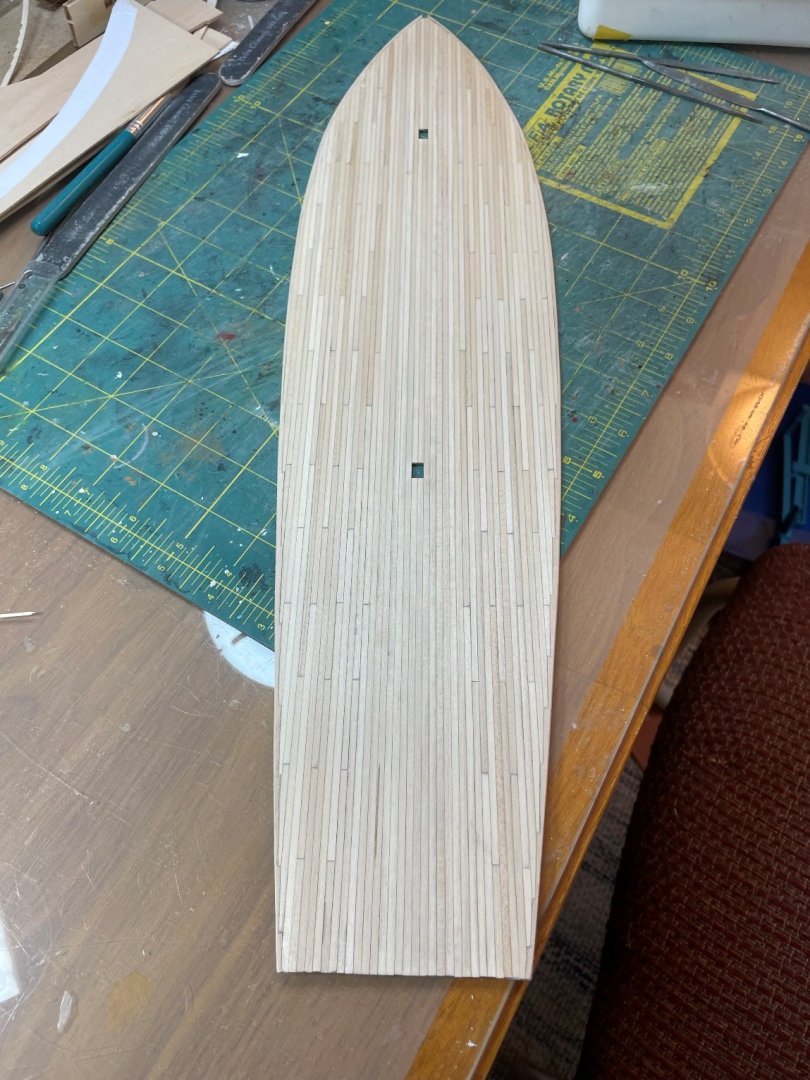
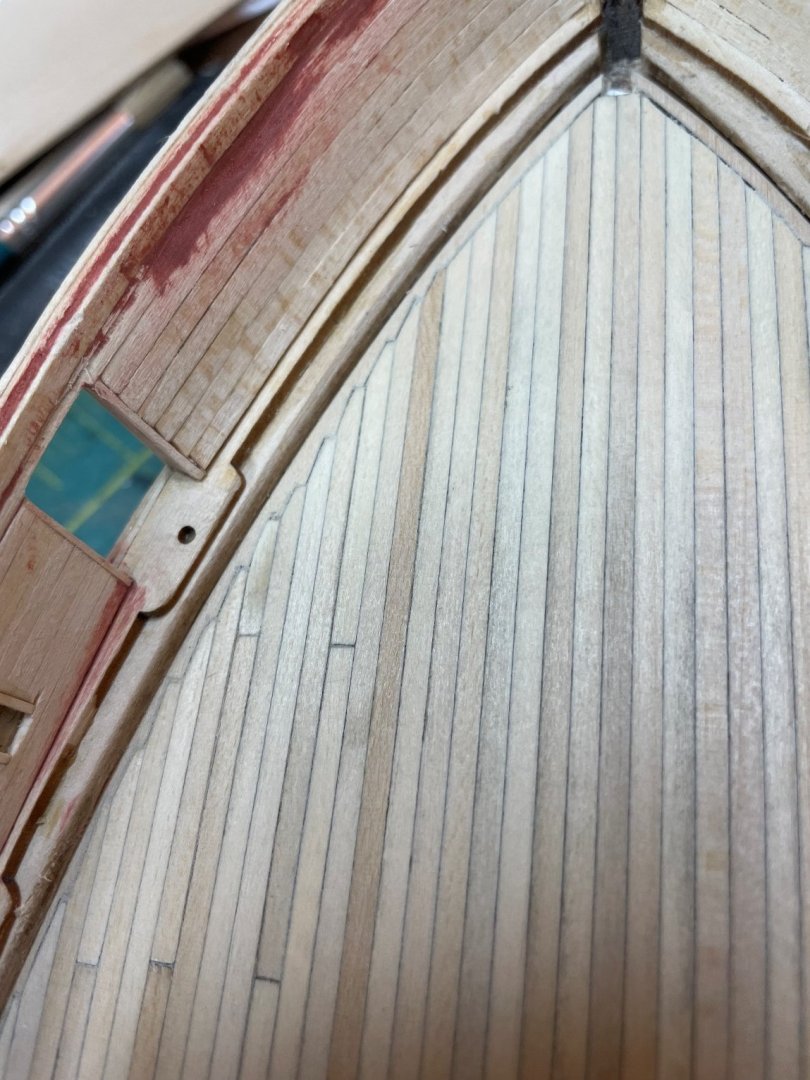
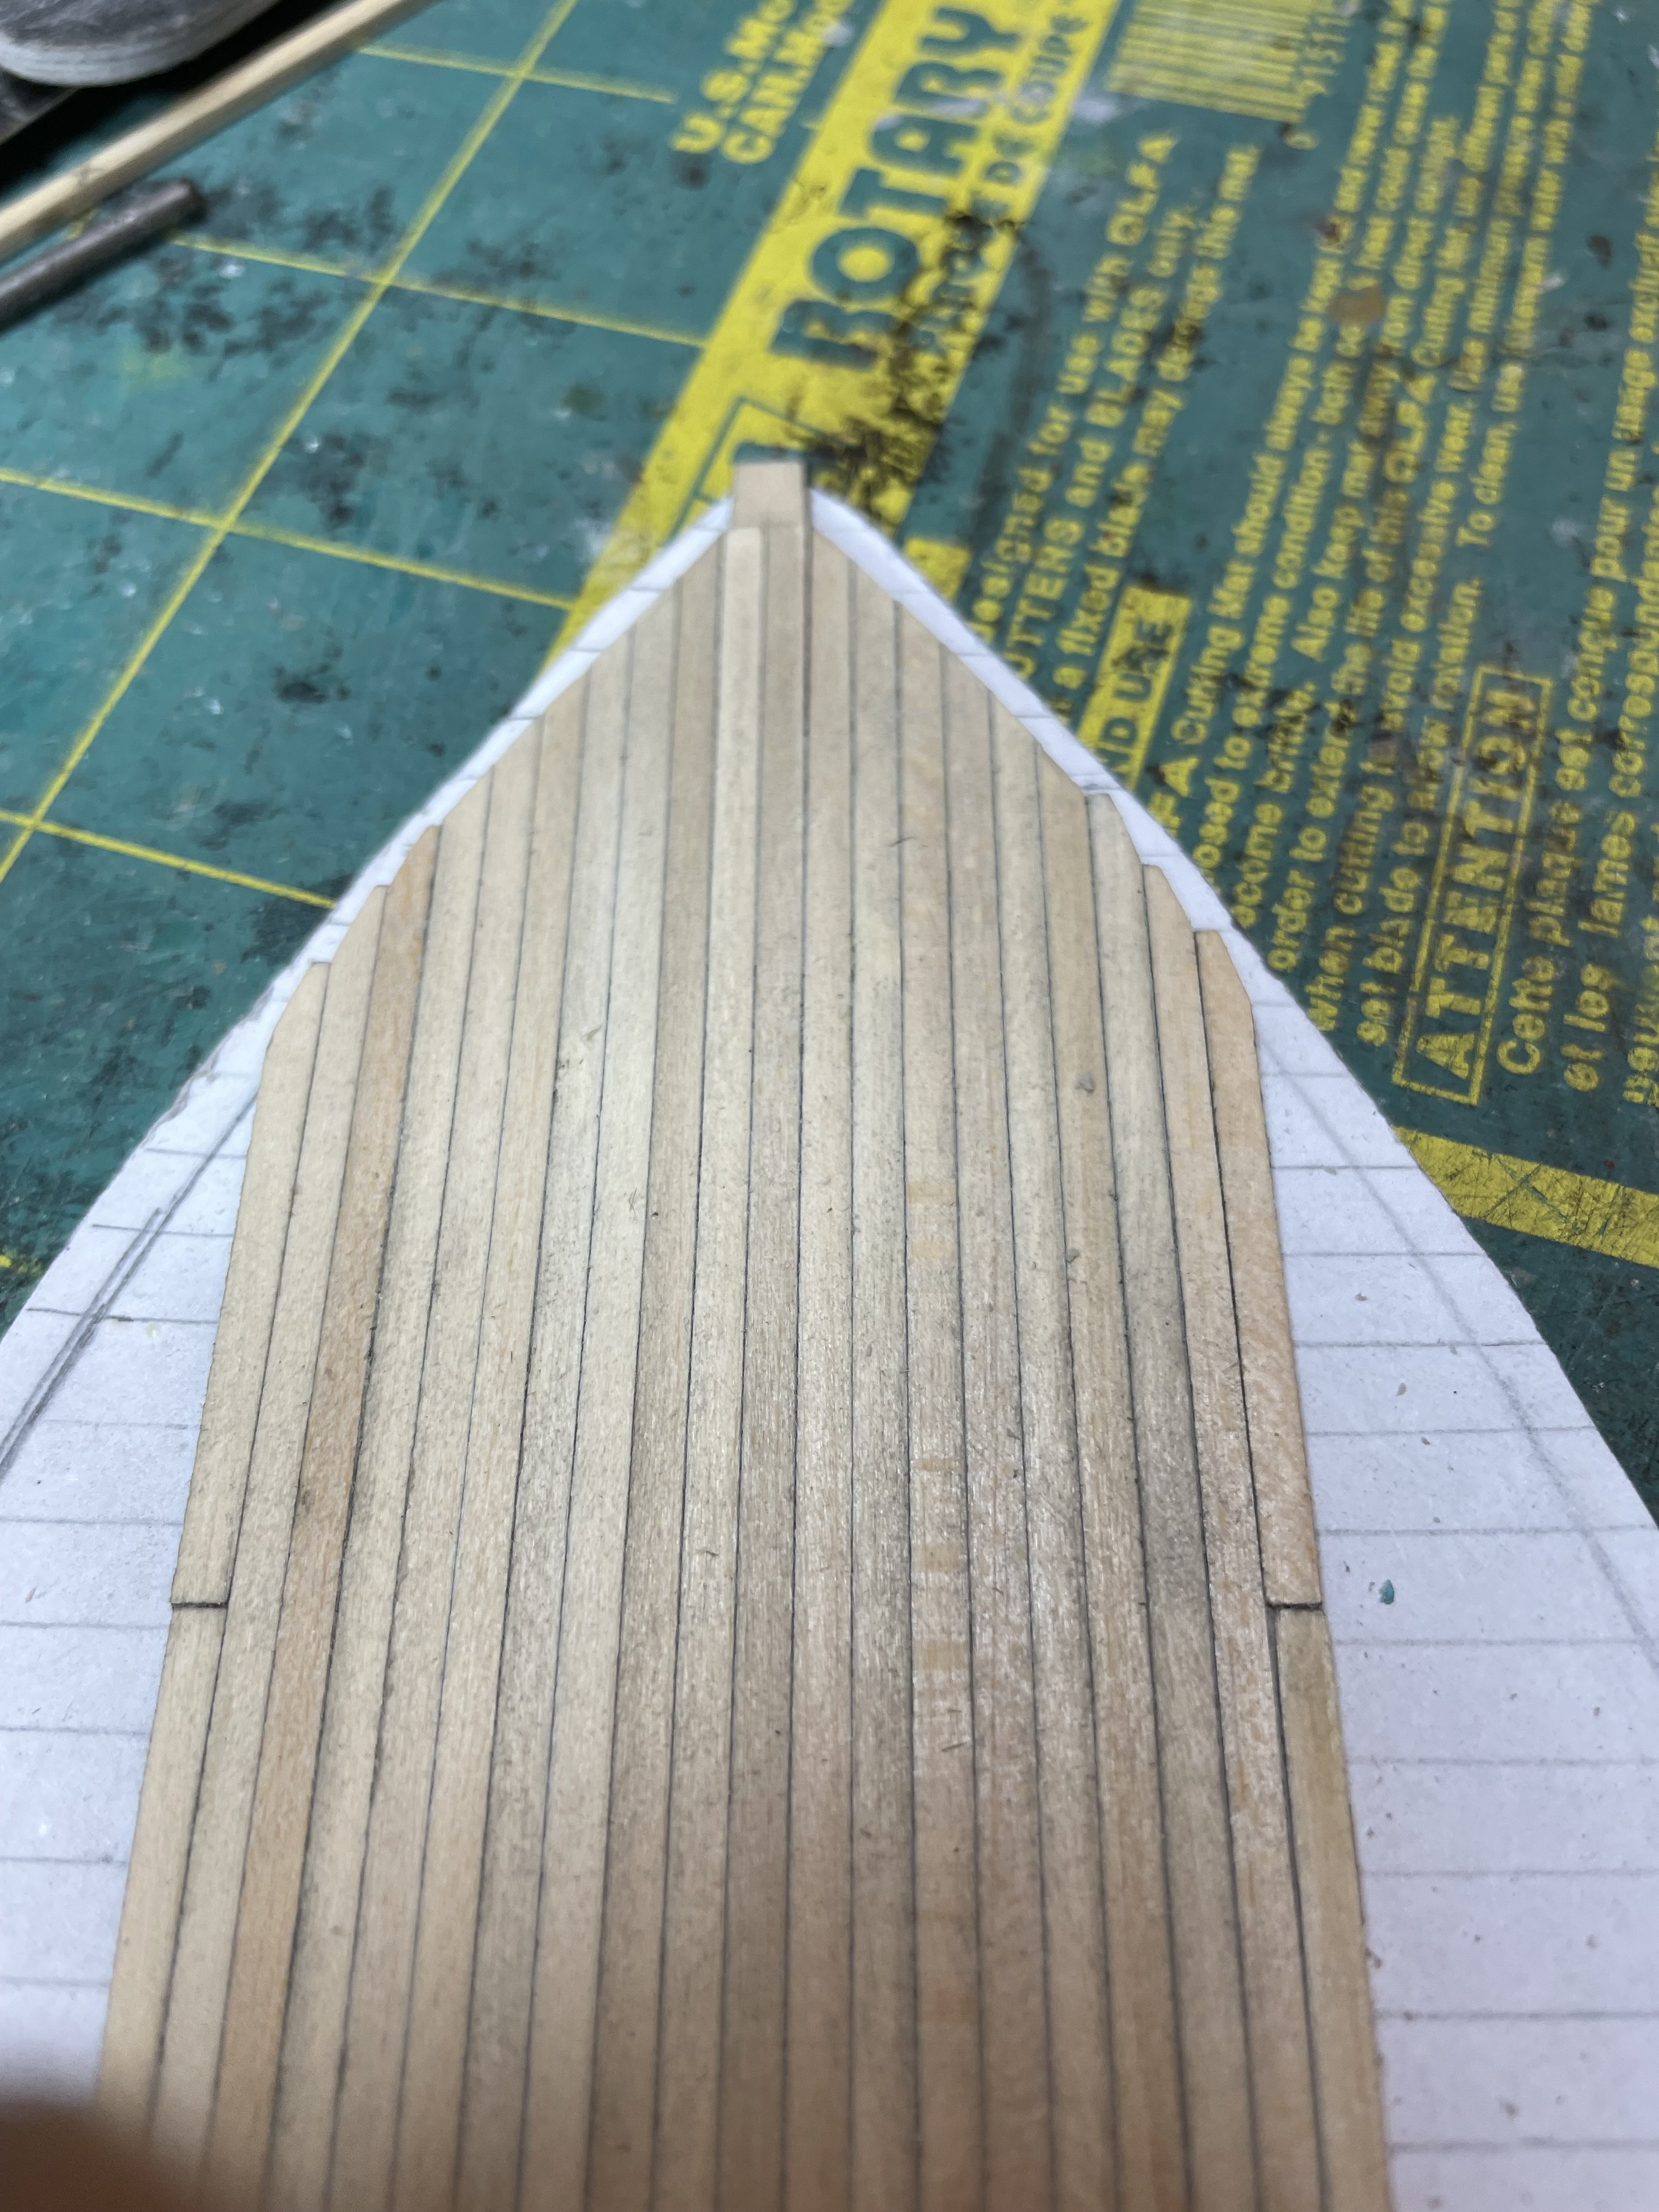
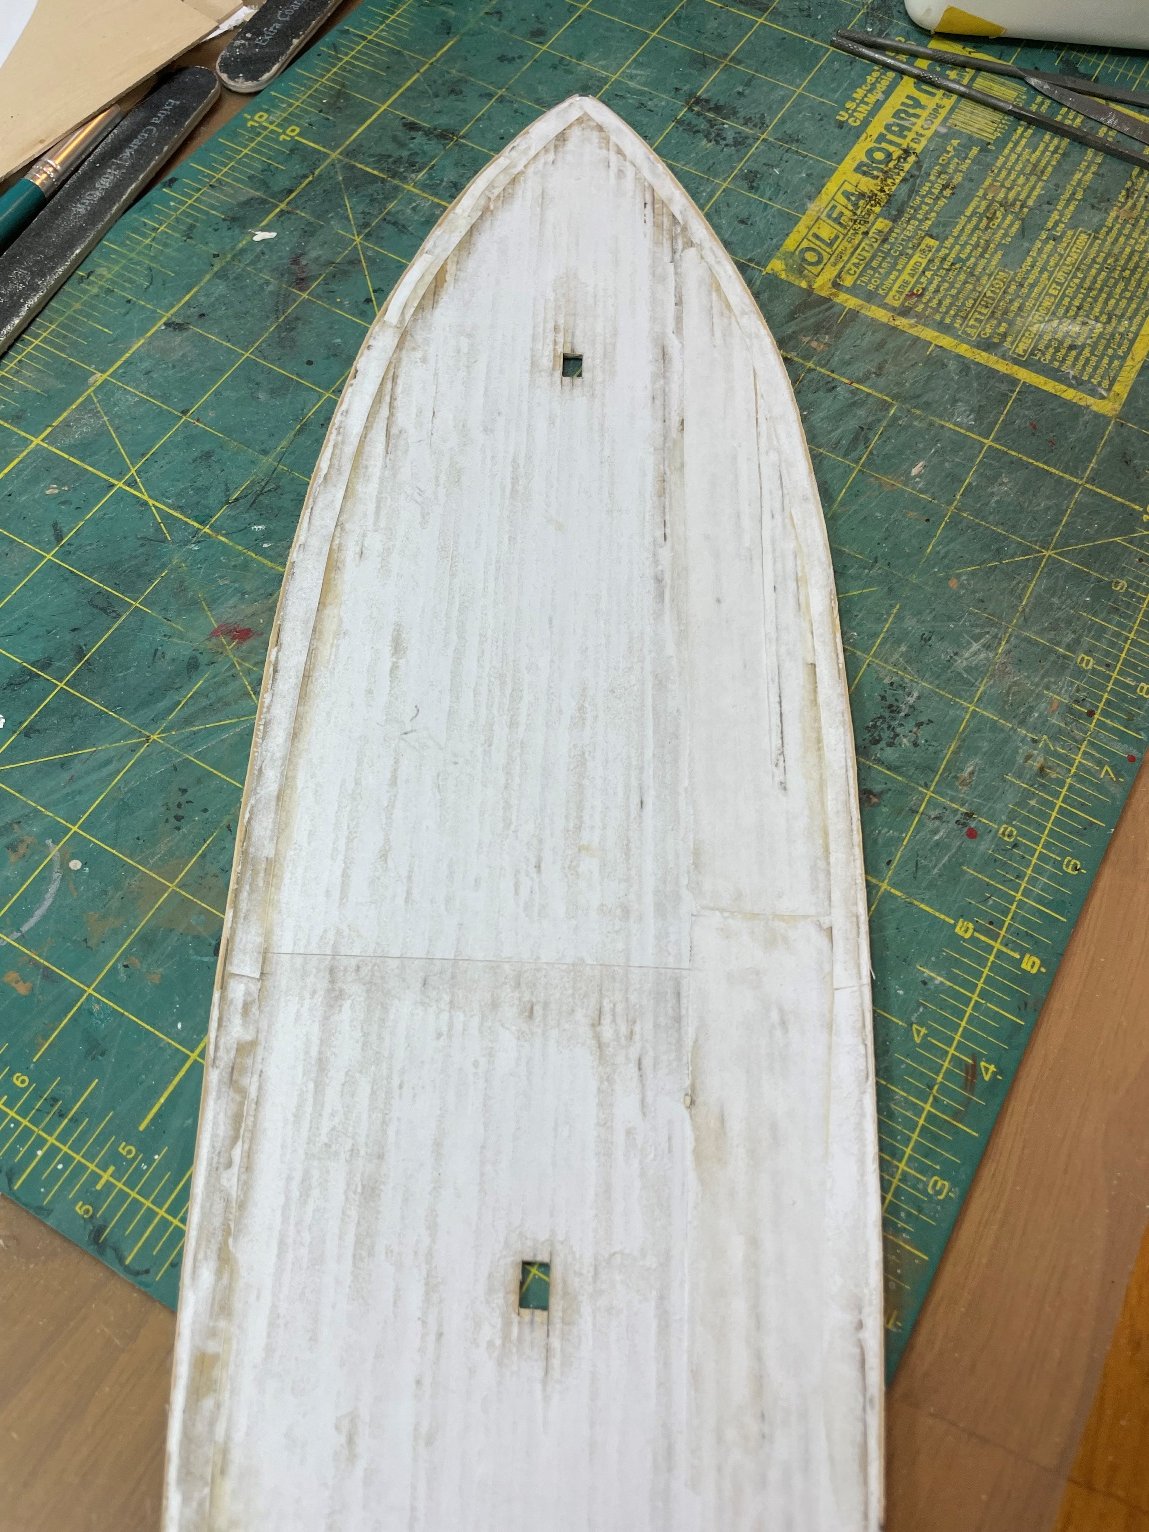
Decided to take a break from hull planking and moved onto deck planking. I decided I wanted to have the deck as a single "piece" so that I could then modify it for cut outs for hatching etc. That was accomplished by making a paper template of the deck area and attaching planking to that paper: That also allowed me to cut out the shapes for plank nibbing: The paper side of the deck after sanding edges and a lot of the paper off. And the actual deck side. The outer plank round the perimeter of the nibbed planks was cut from a sheet of basswood I purchased large enough to have a single piece around the port and starboard planks. This needed some gentle finessiing to fit the hull And the deck planking placed where it will ultimately go - not attached yet as I want to cut out holes for hatches etc And detail of nibbing


-
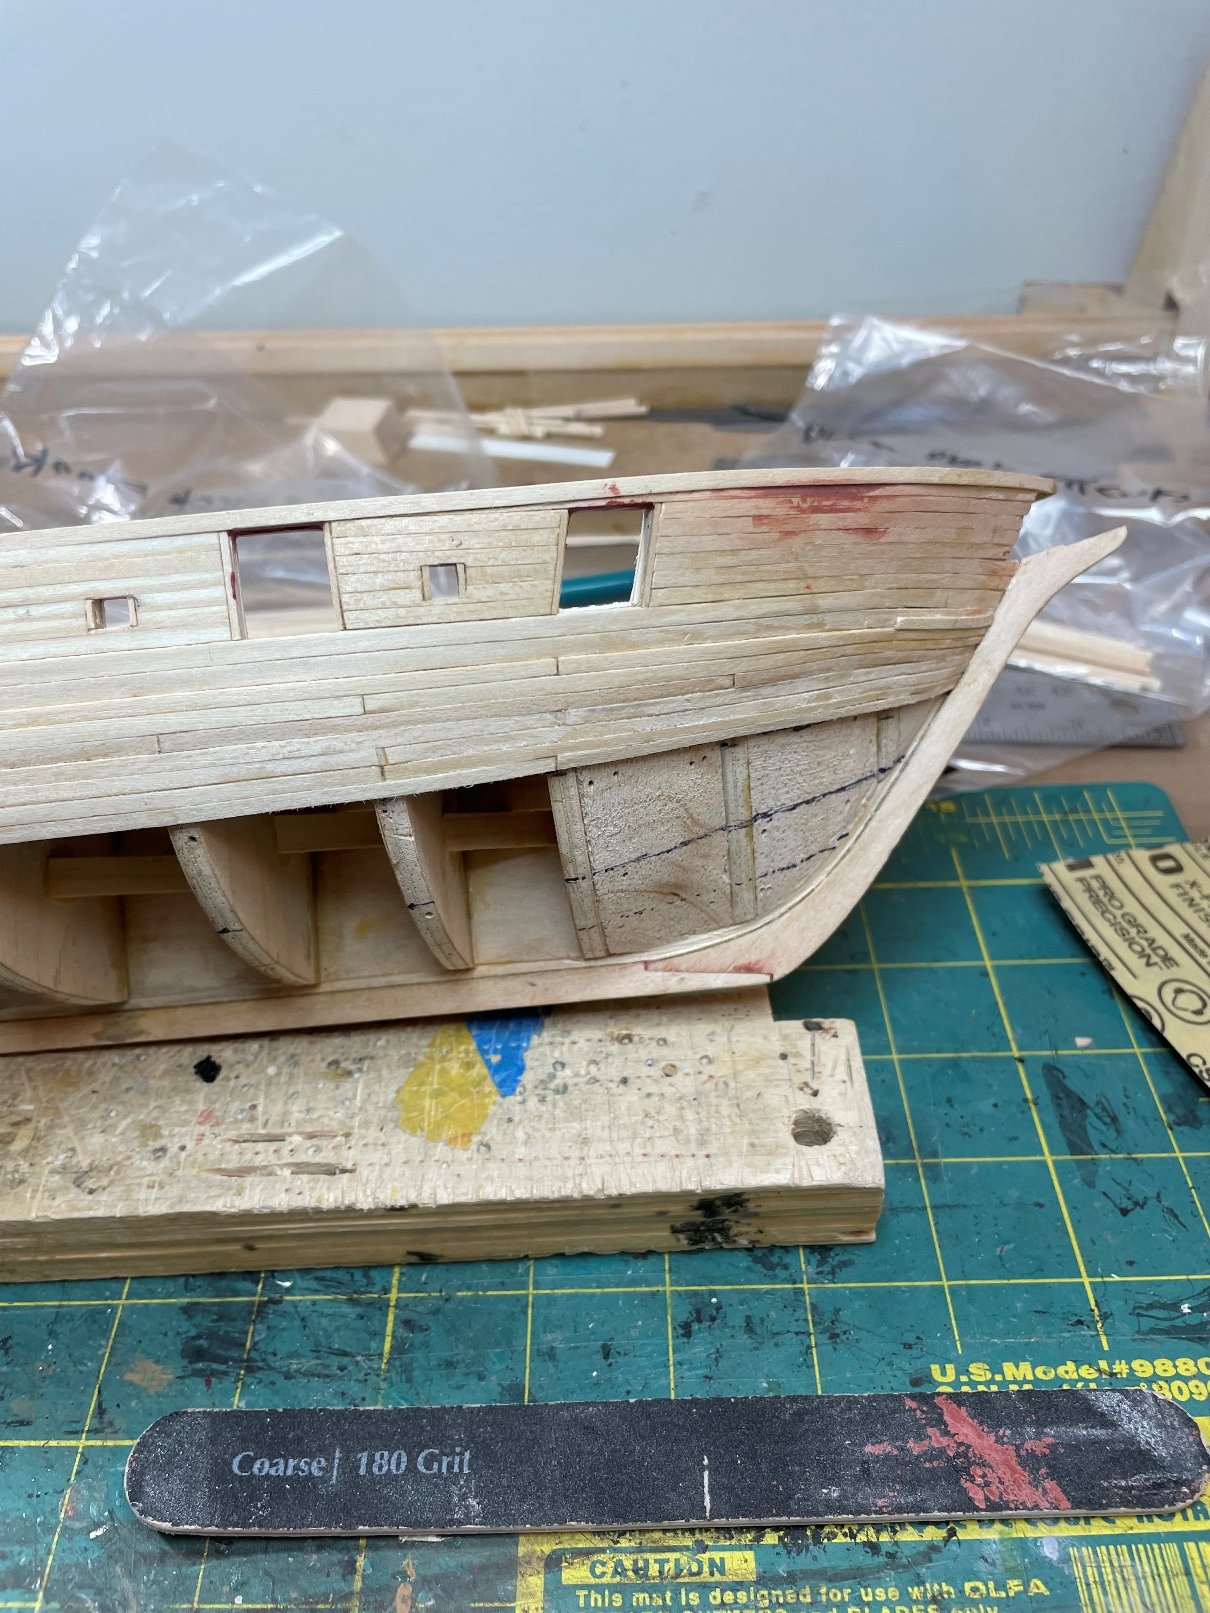
Onto the first batch of hull planking. My first time at doing this so I am not totally unhappy with it and as the hull will be painted I can apply filler when the hull planking is complete to even out my efforts

-
Great work - I refer to your build often in my ongoing Niagara build.
-
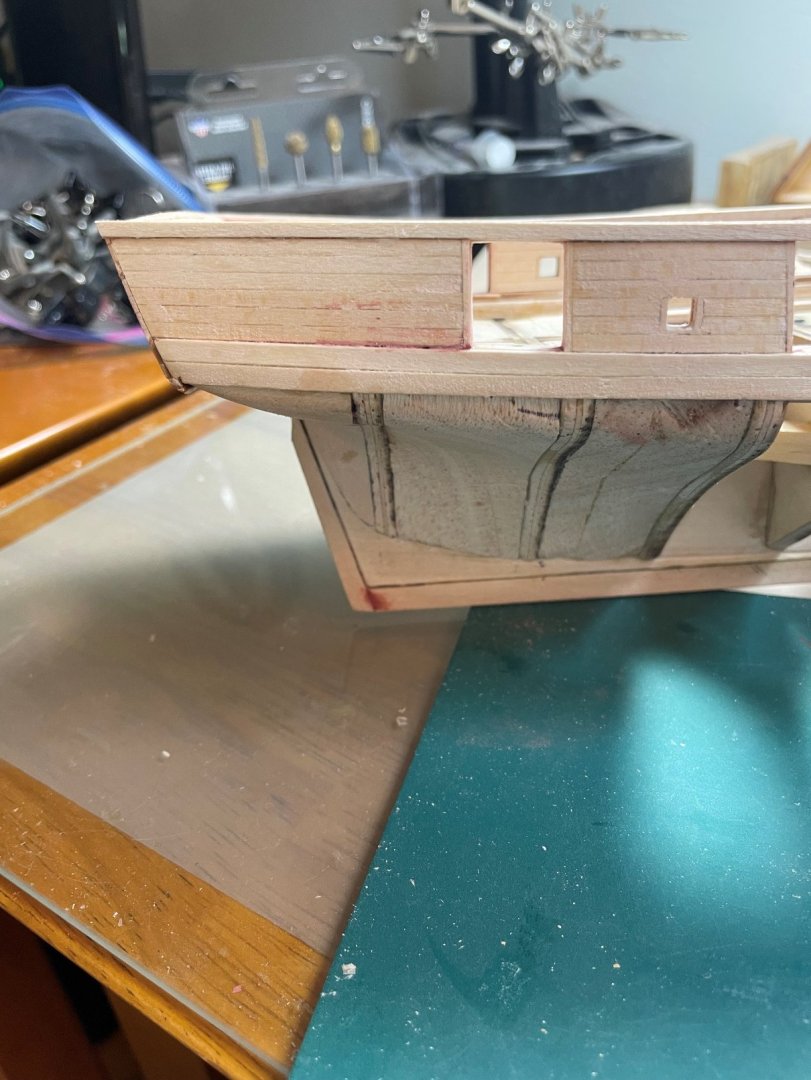
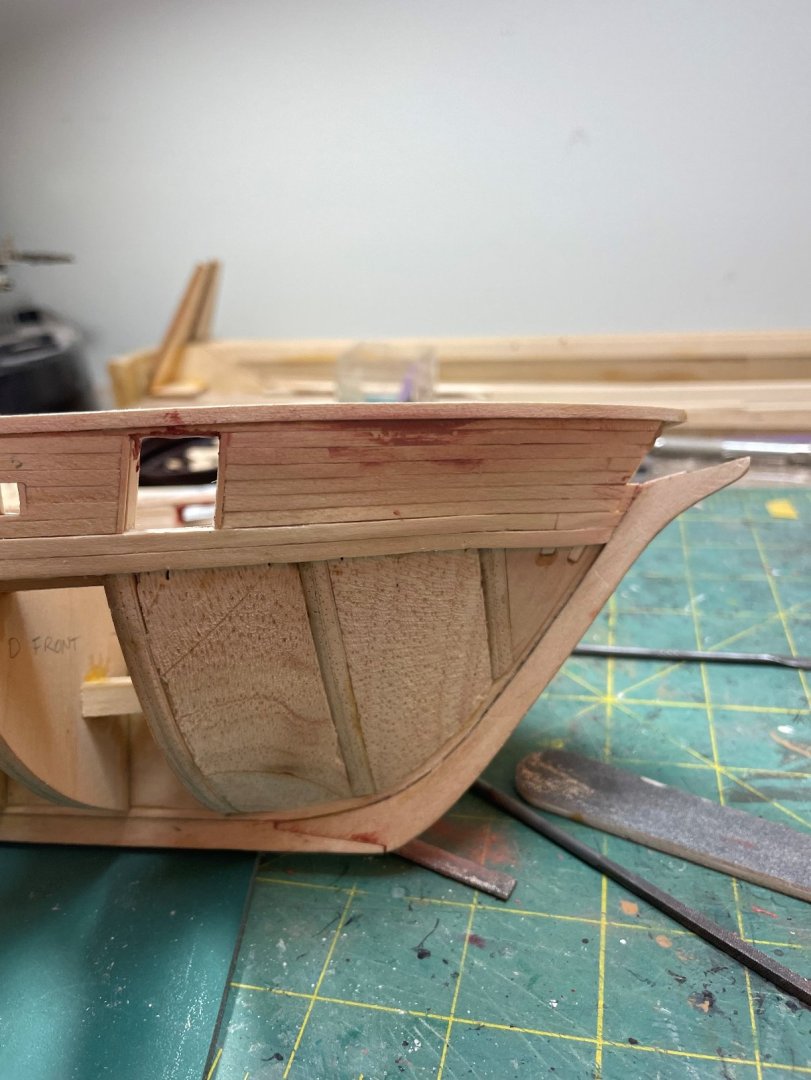
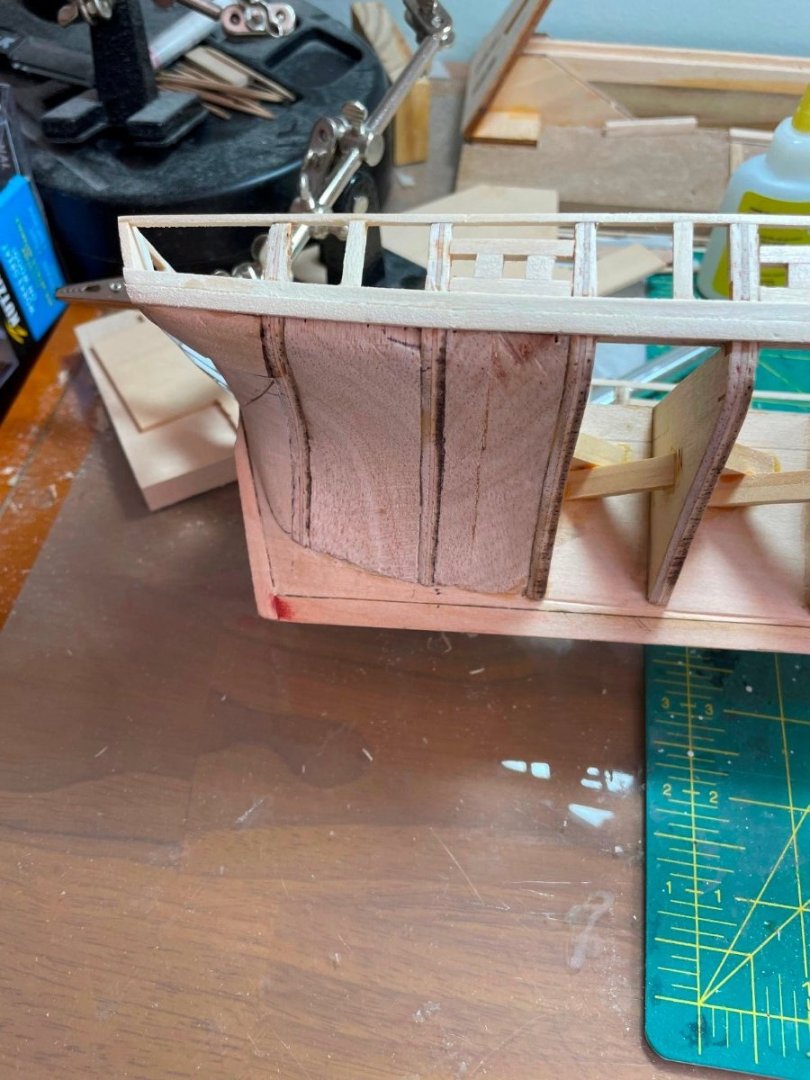
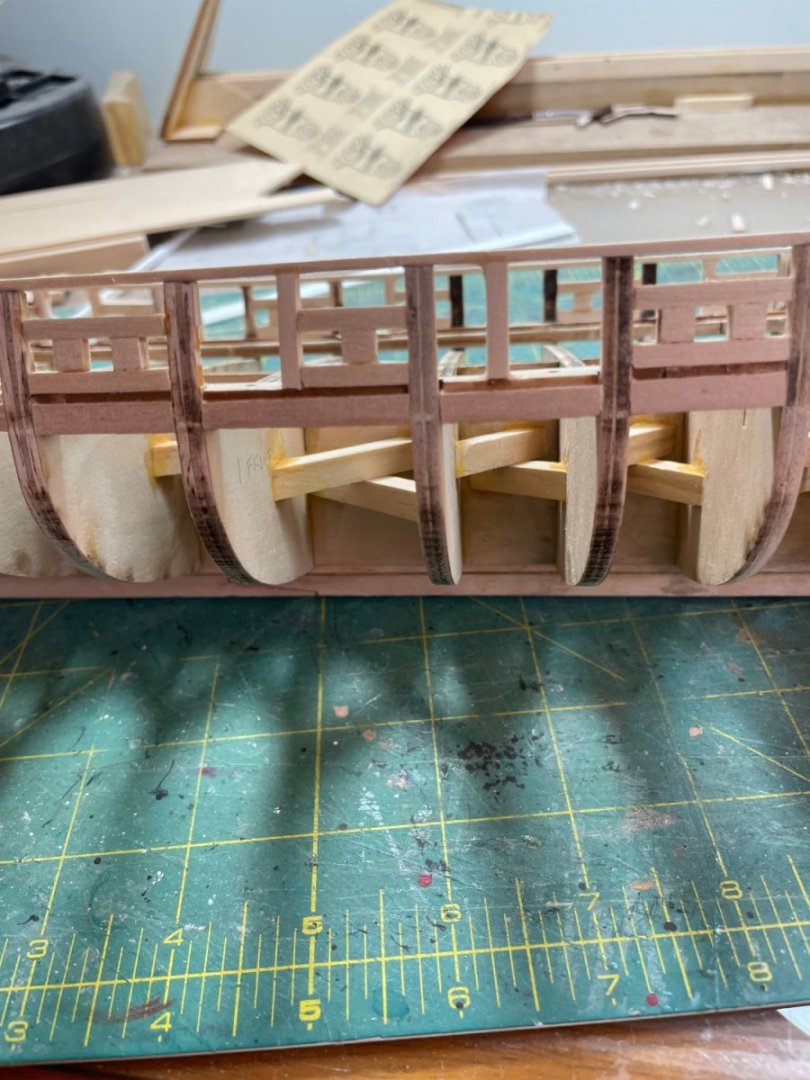
Some more progress on planking the transom - inside the hull and outside Also attached the rail on top of the ceiling - again both inside and outside the hull


-
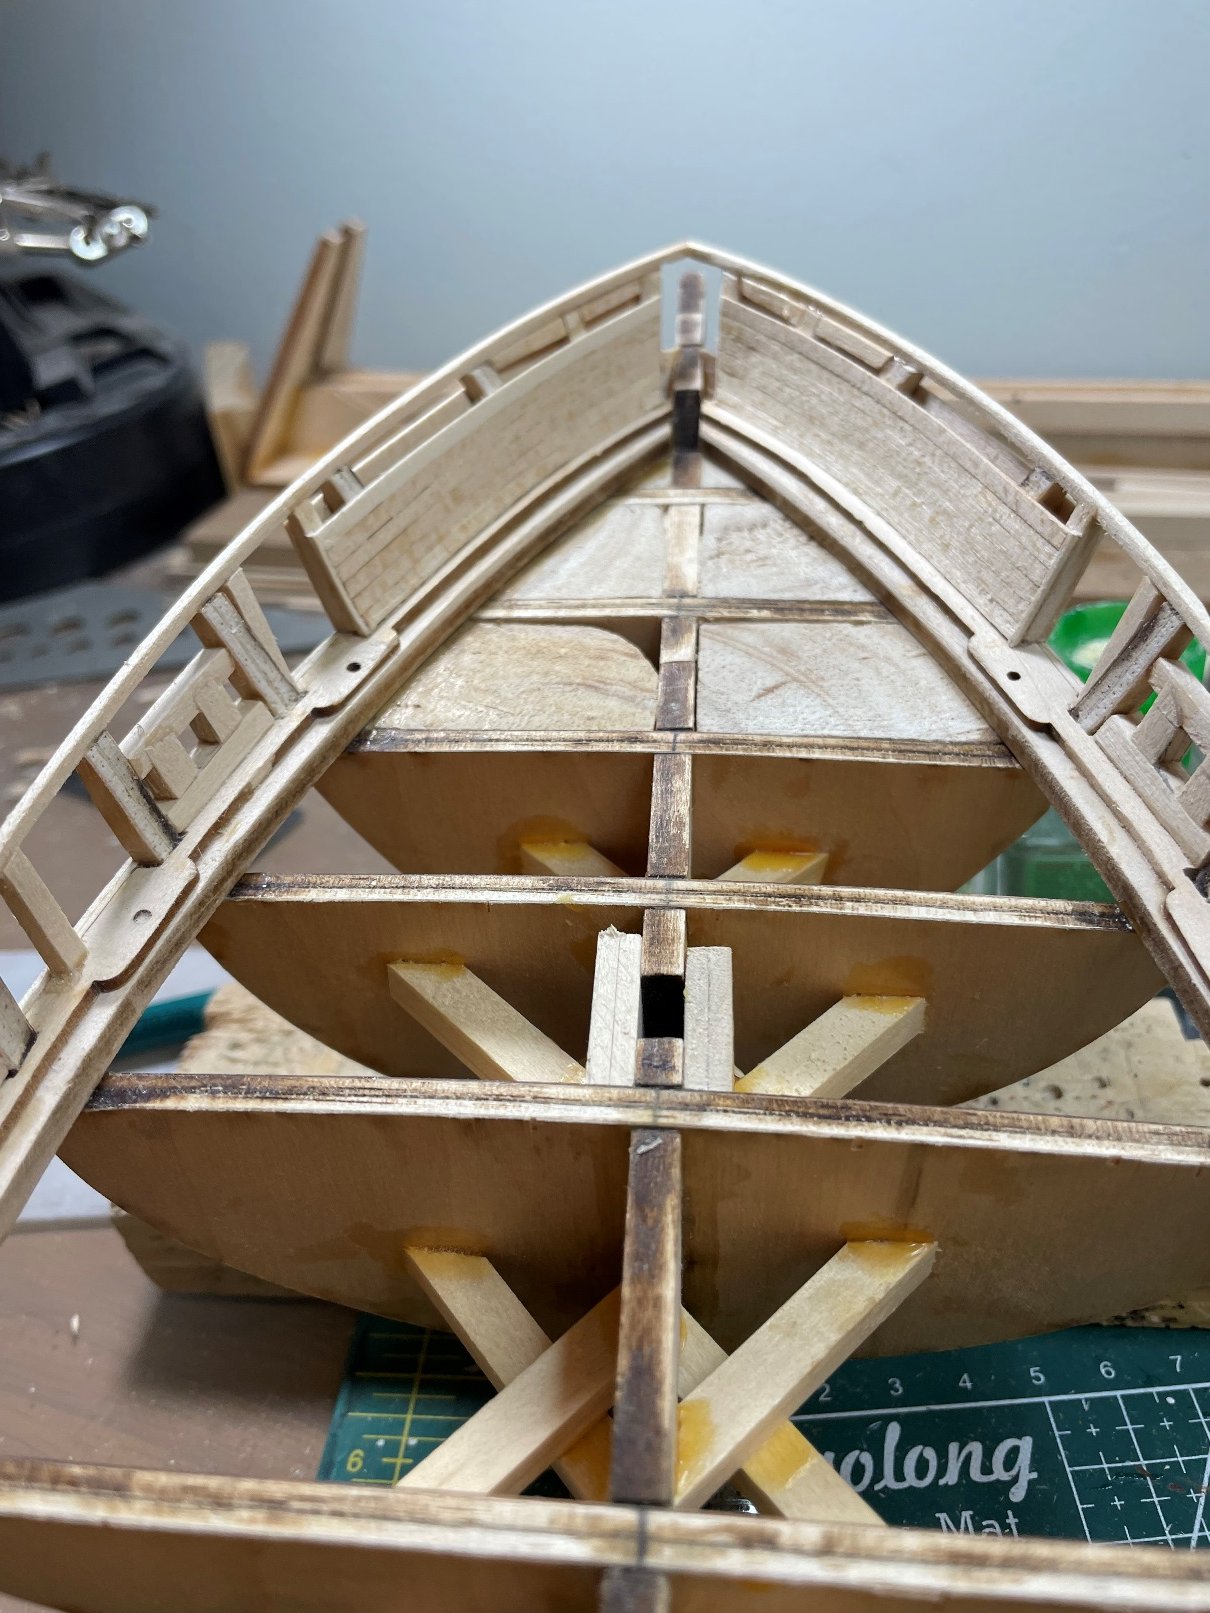
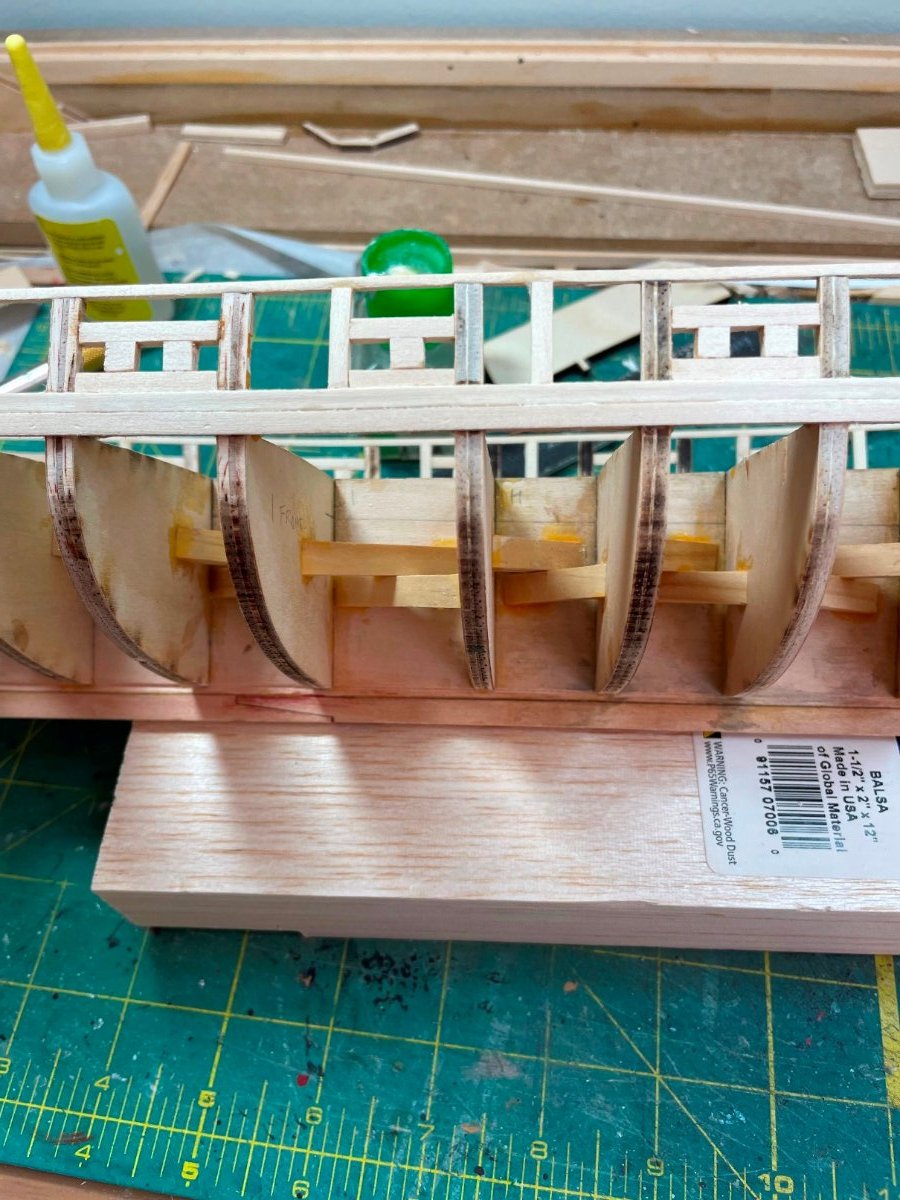
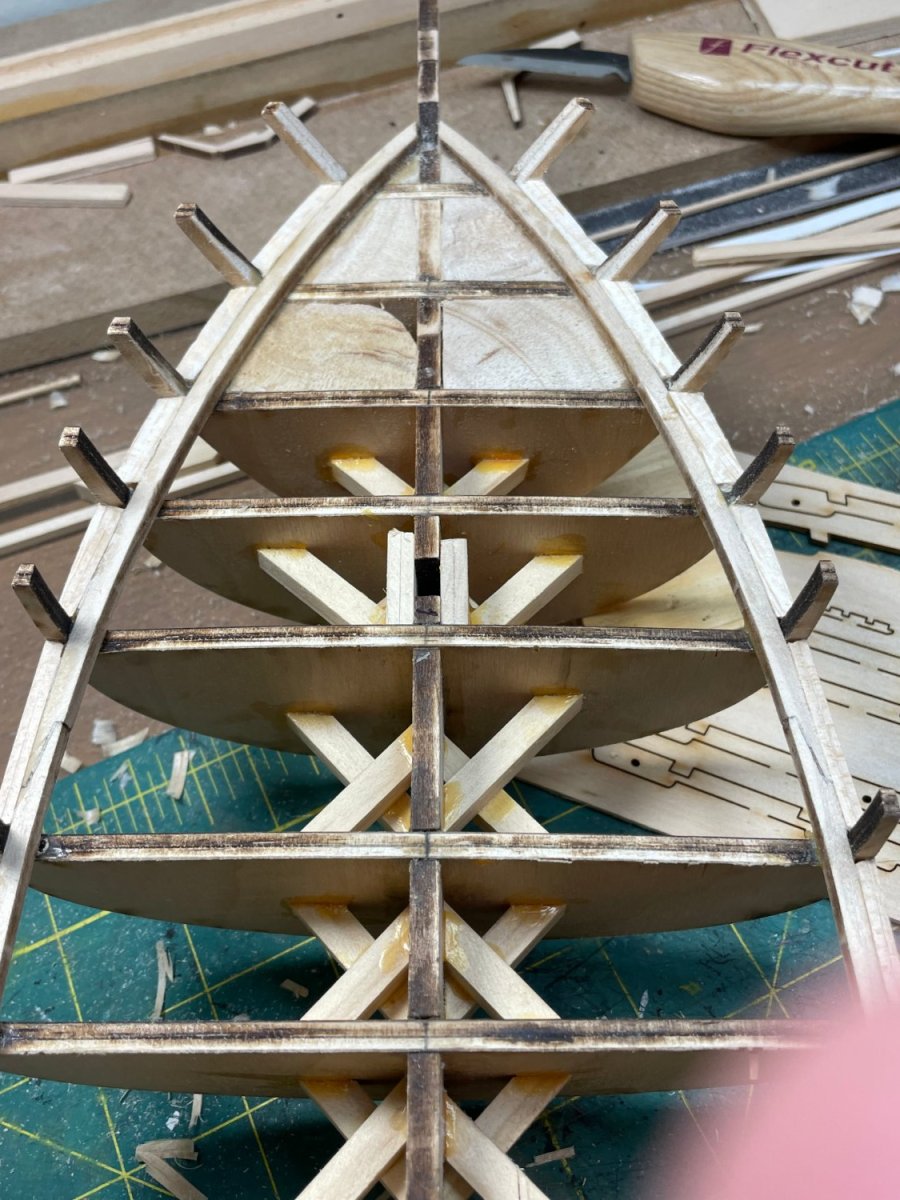
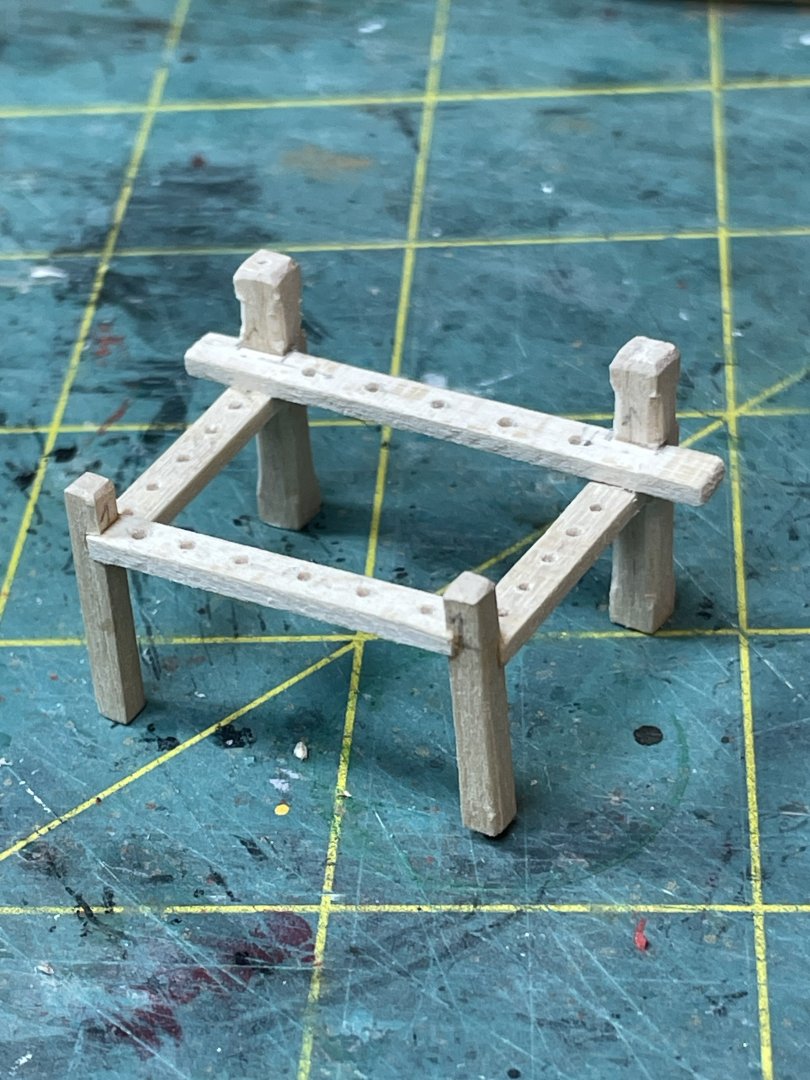
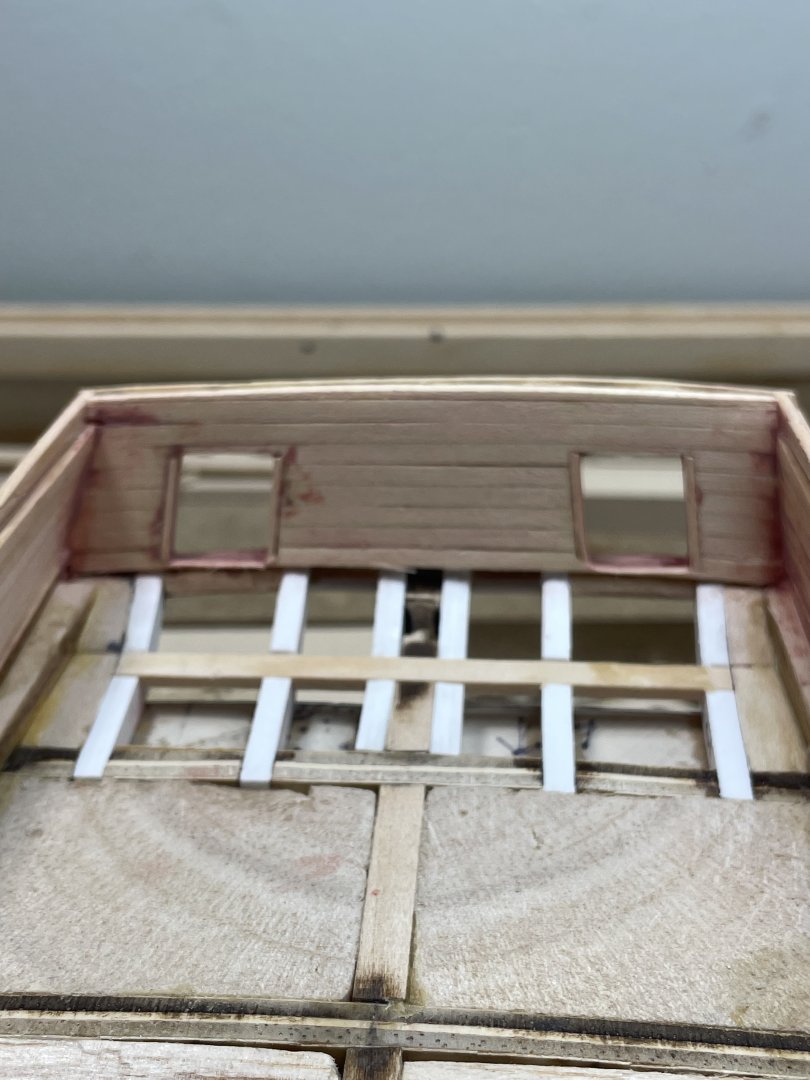
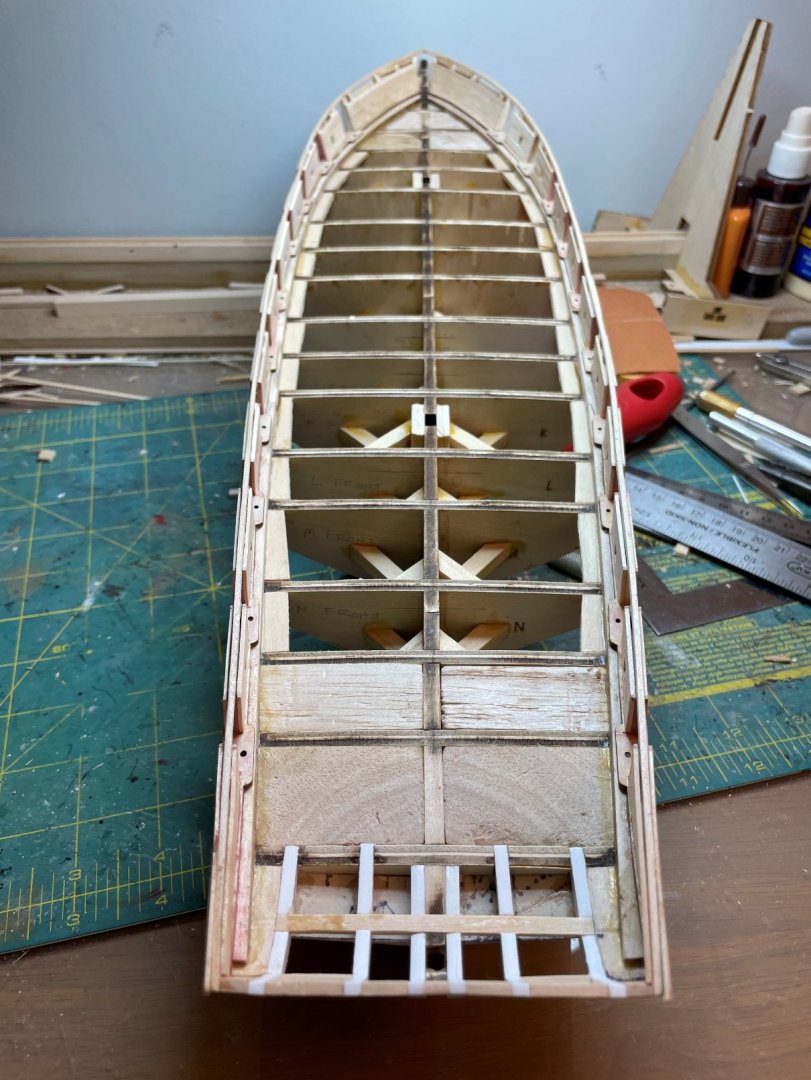
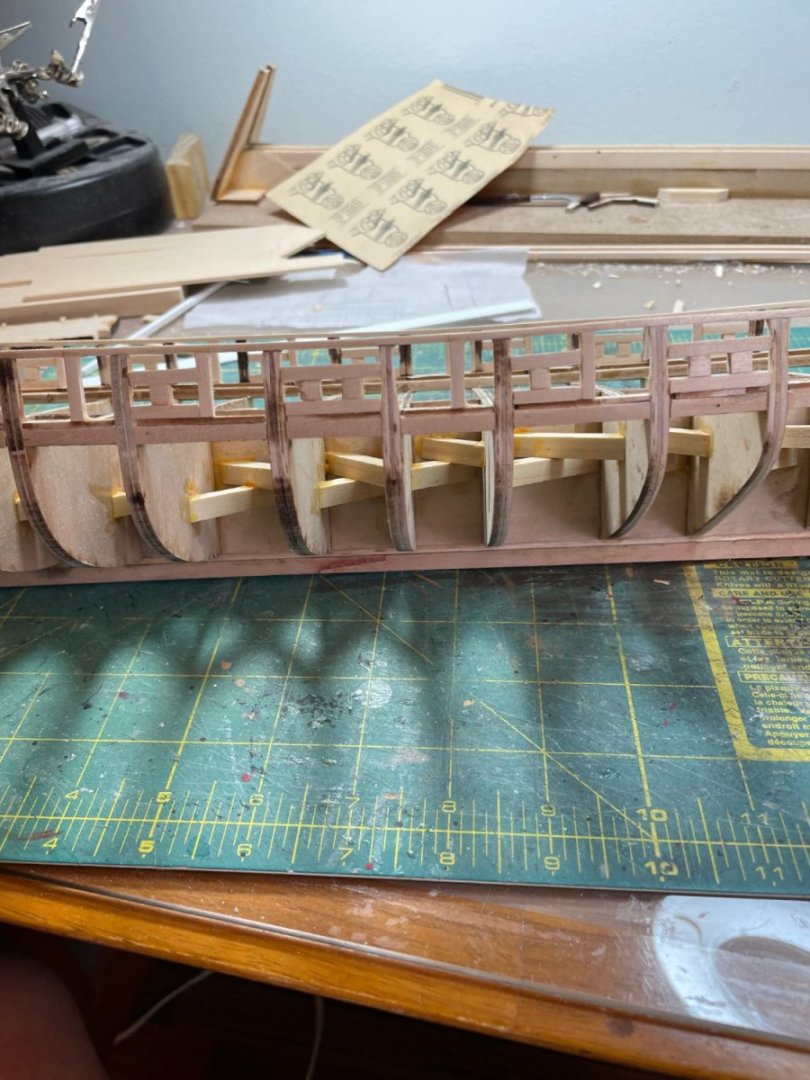
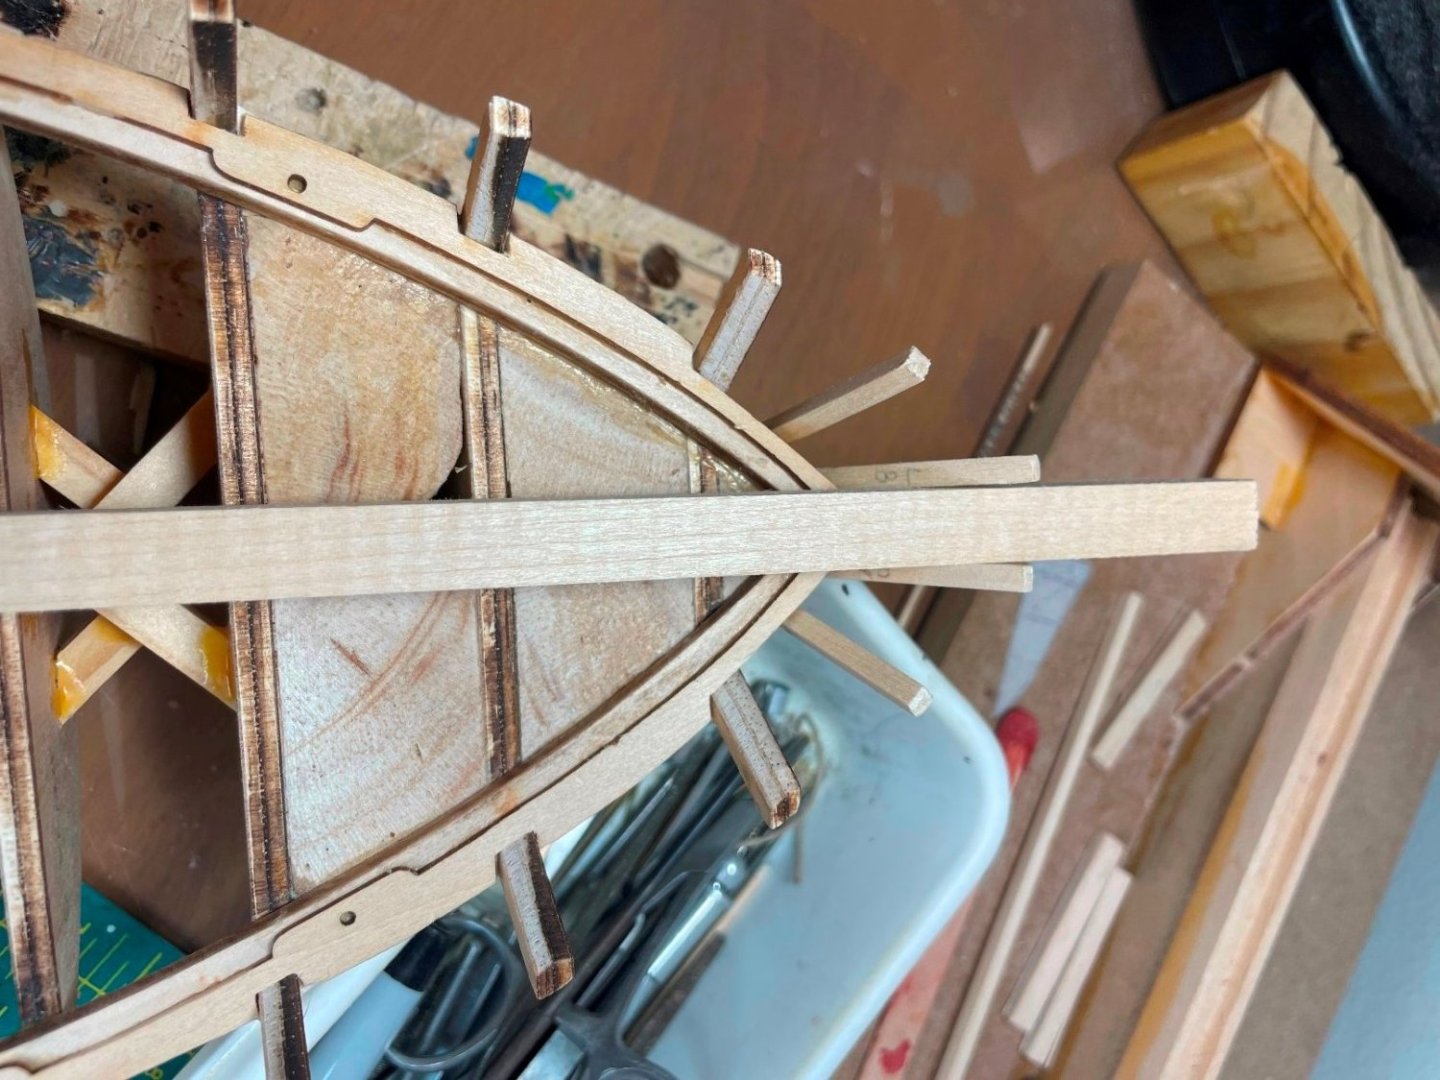
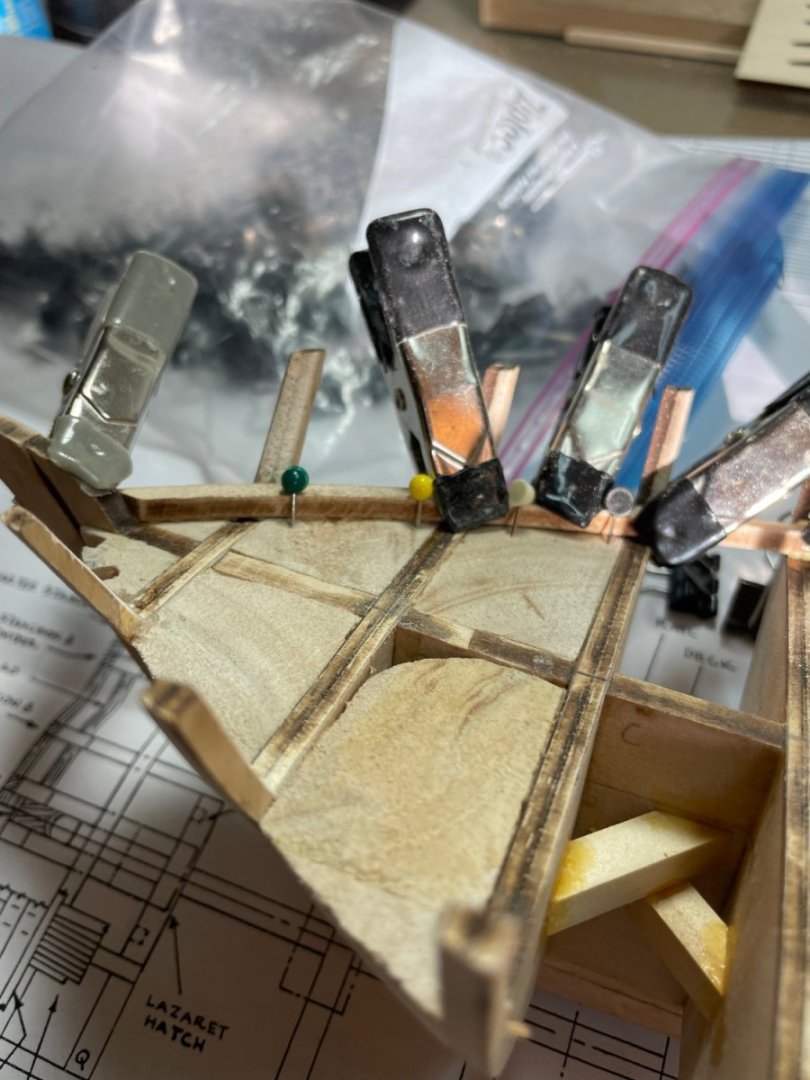
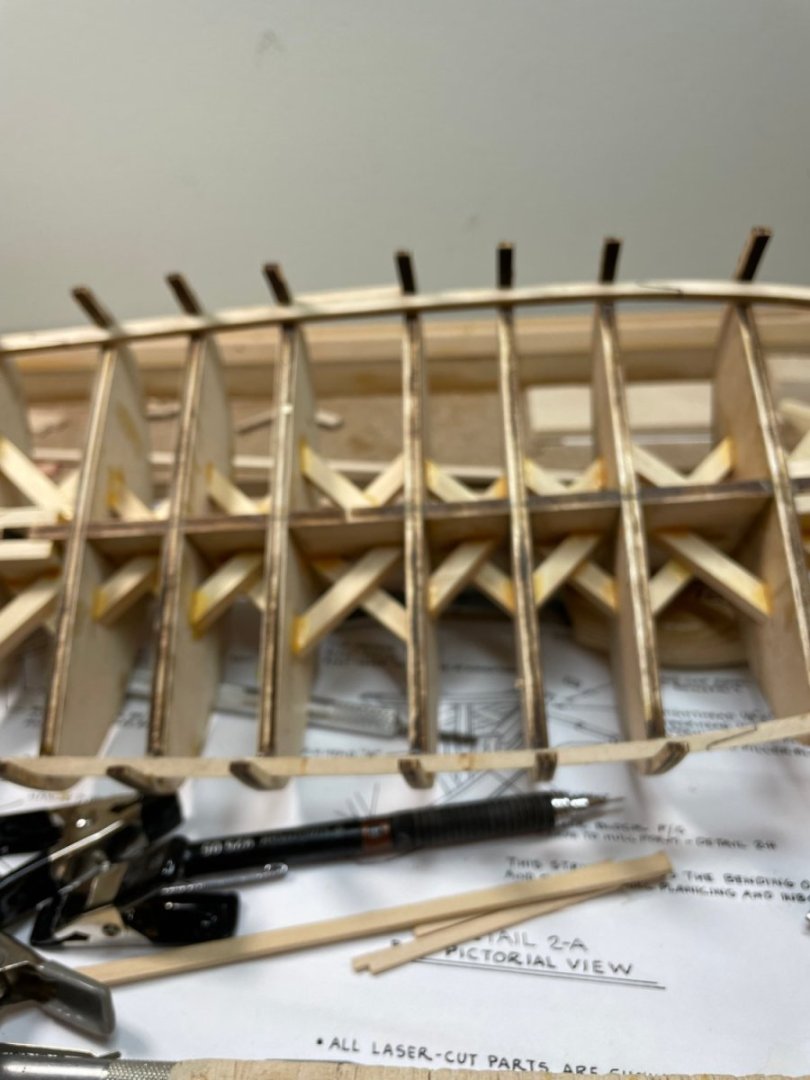
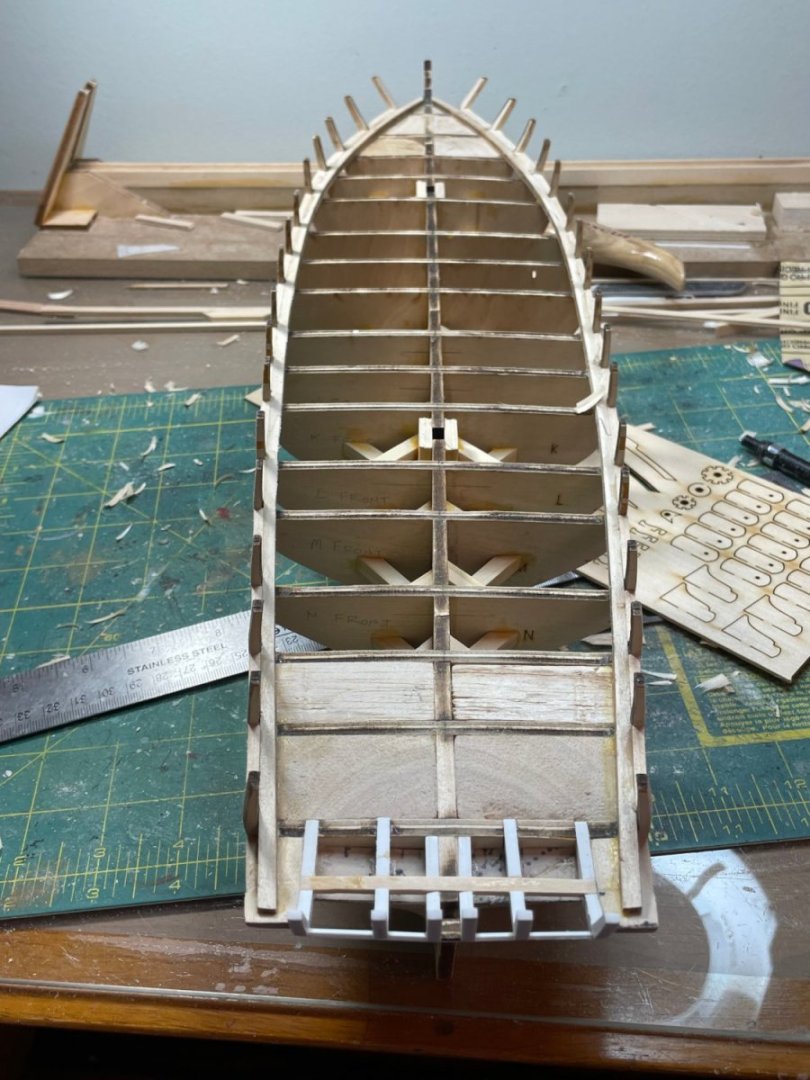
Appreciate the comment. I did the cross bracing like that as it was easier than trying to cut pieces to precisely fit between the bulkheads. Two 45 degree cuts in two pieces of wood allowed me to provide bracing more easily for me
-
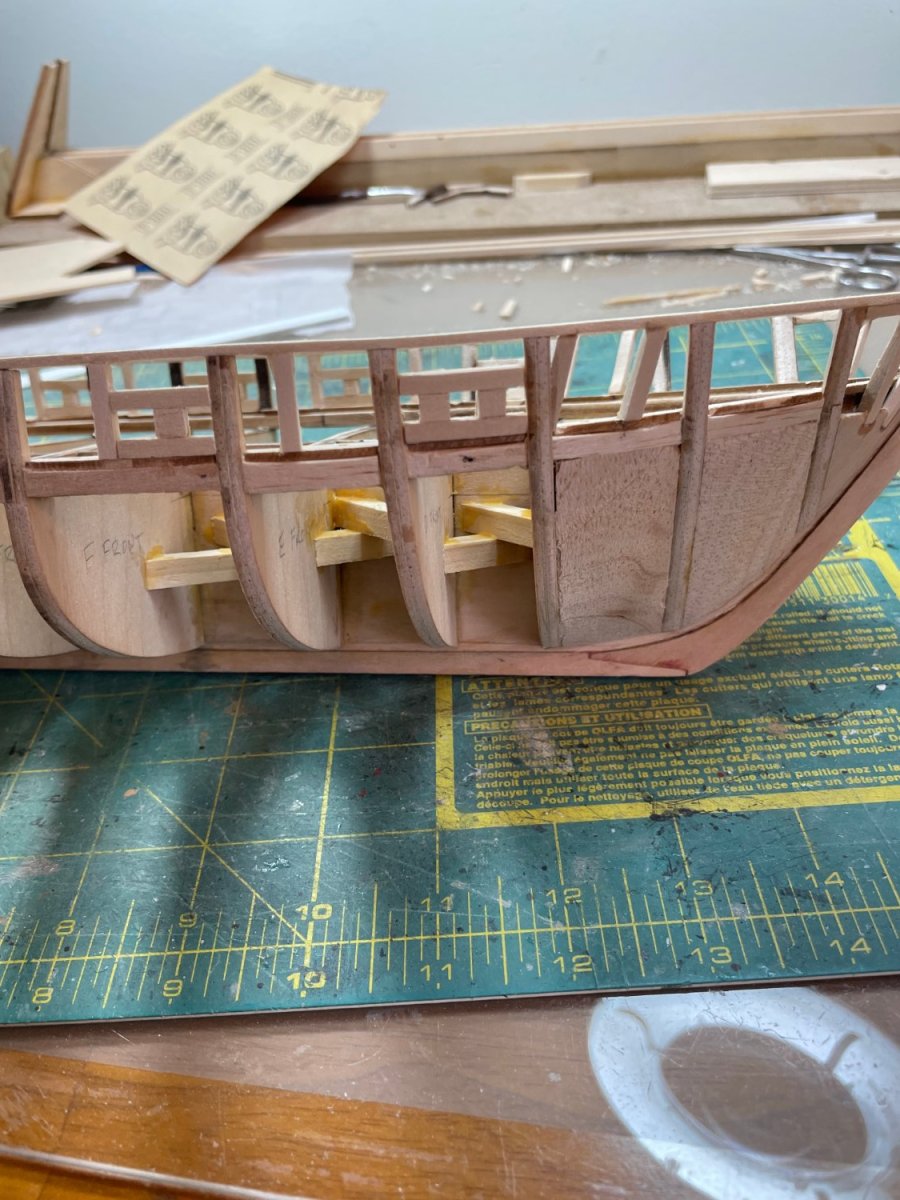
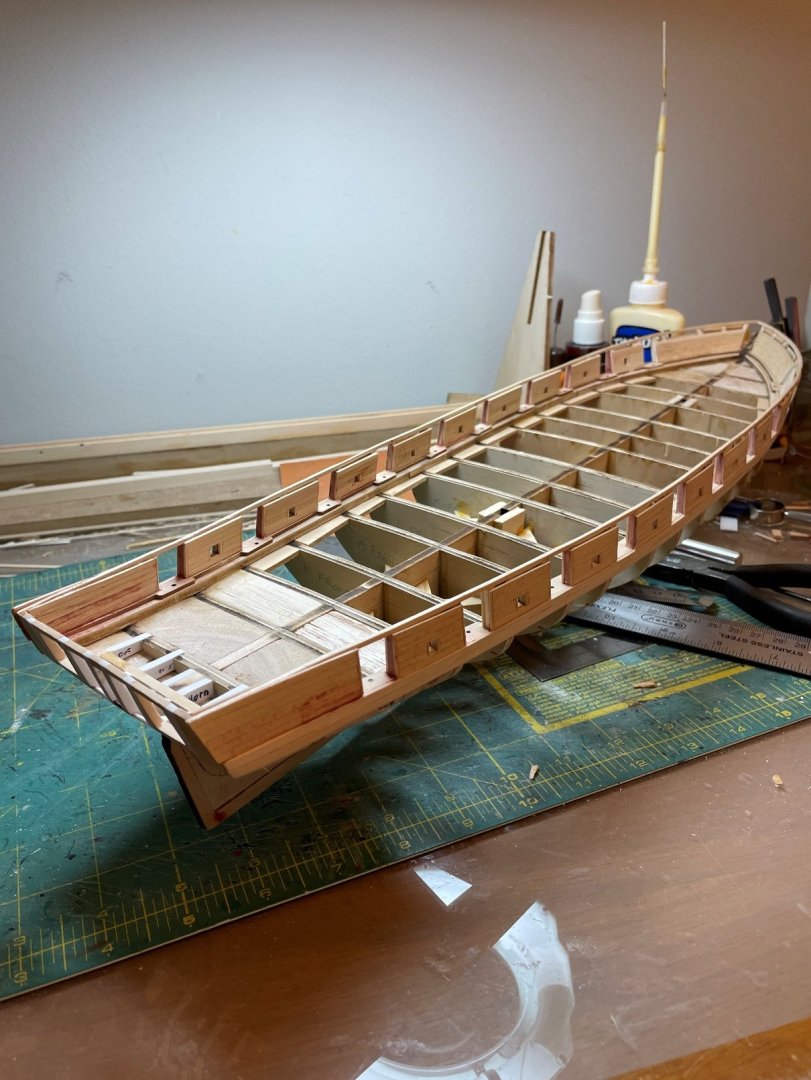
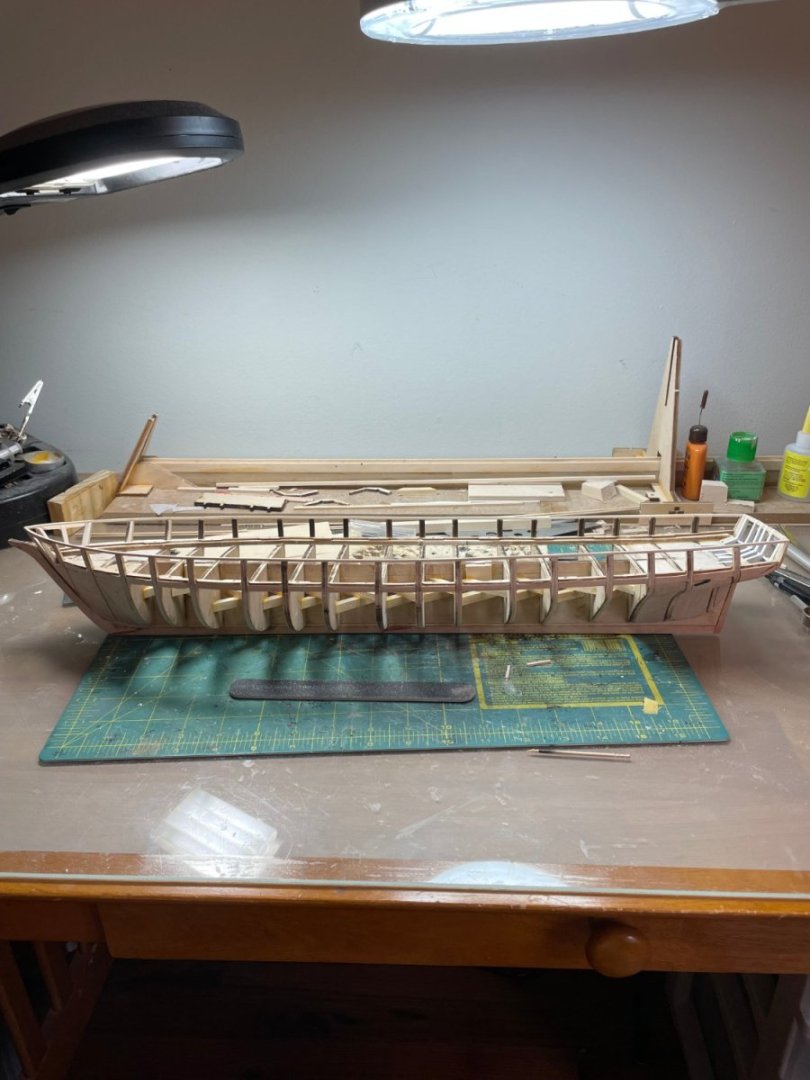
Ceilings now attached to the hull Also added some internal support for edges on deck planking
-
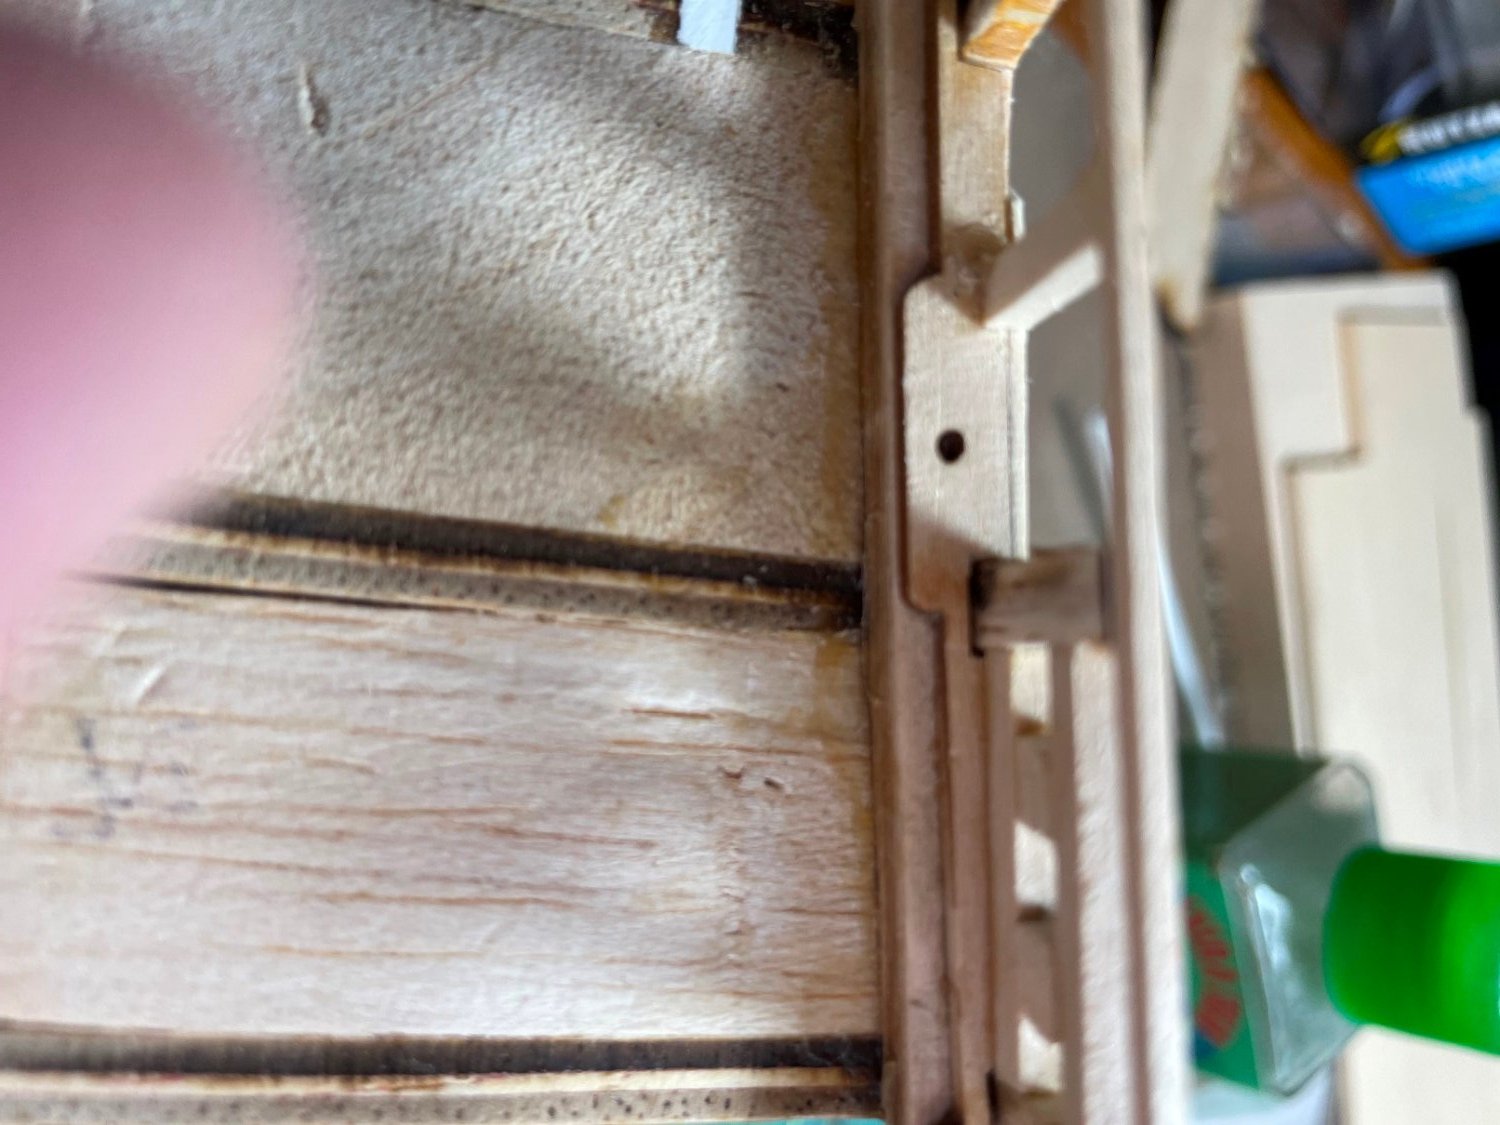
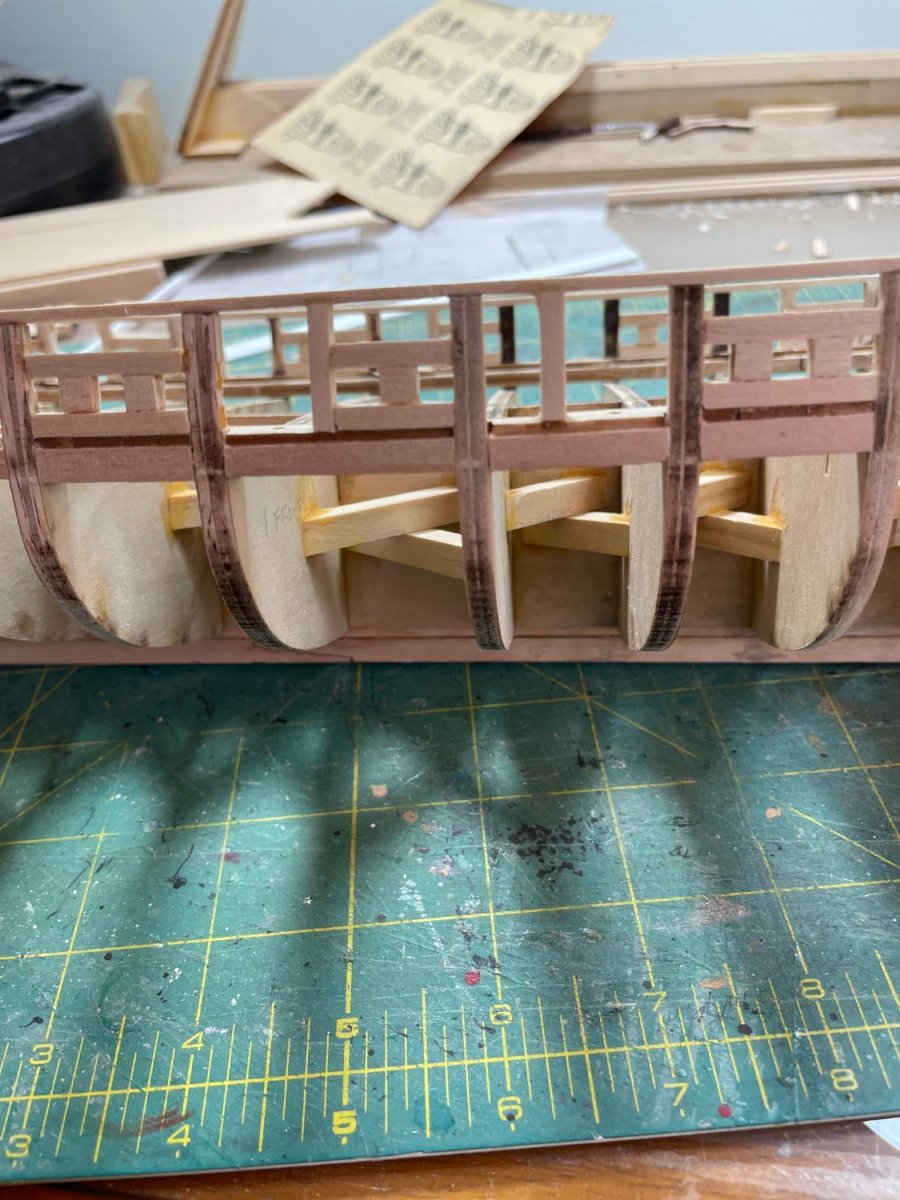
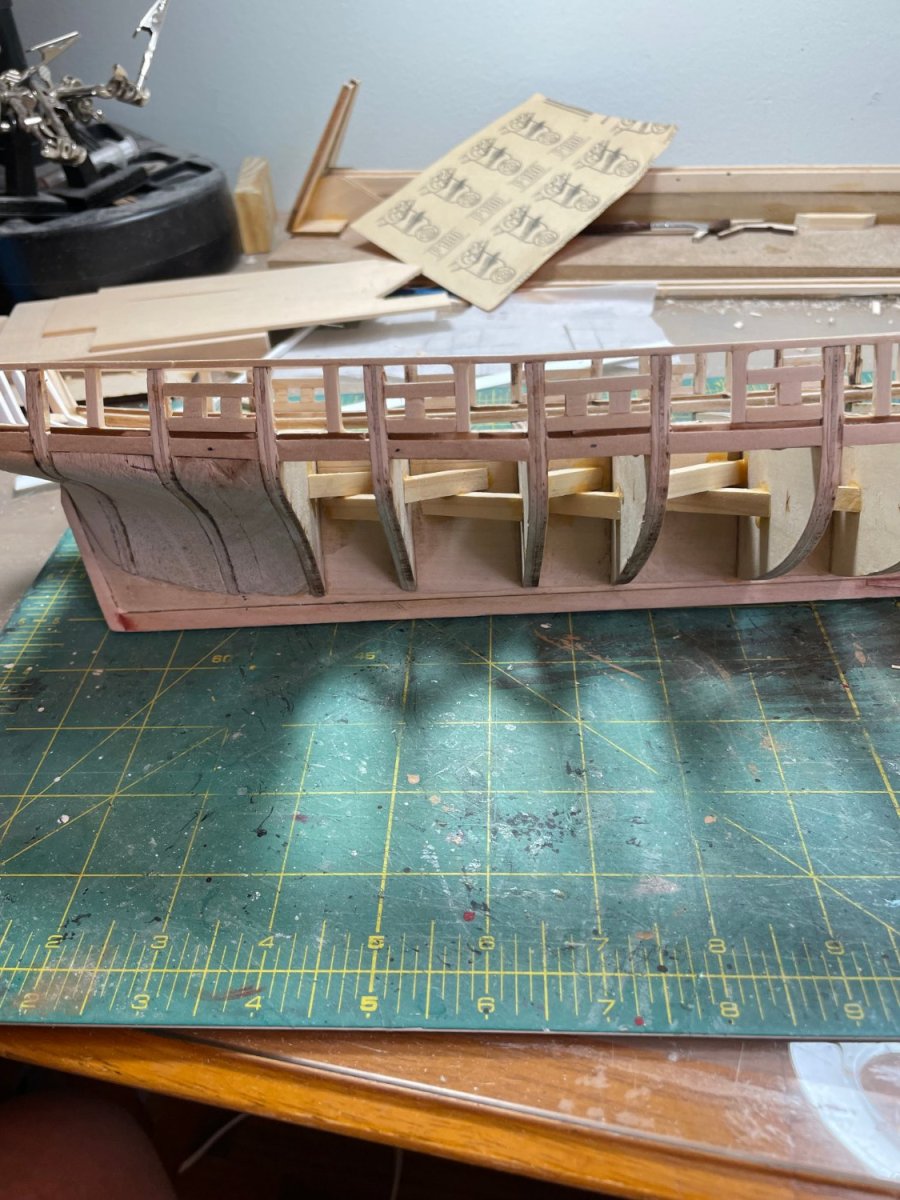
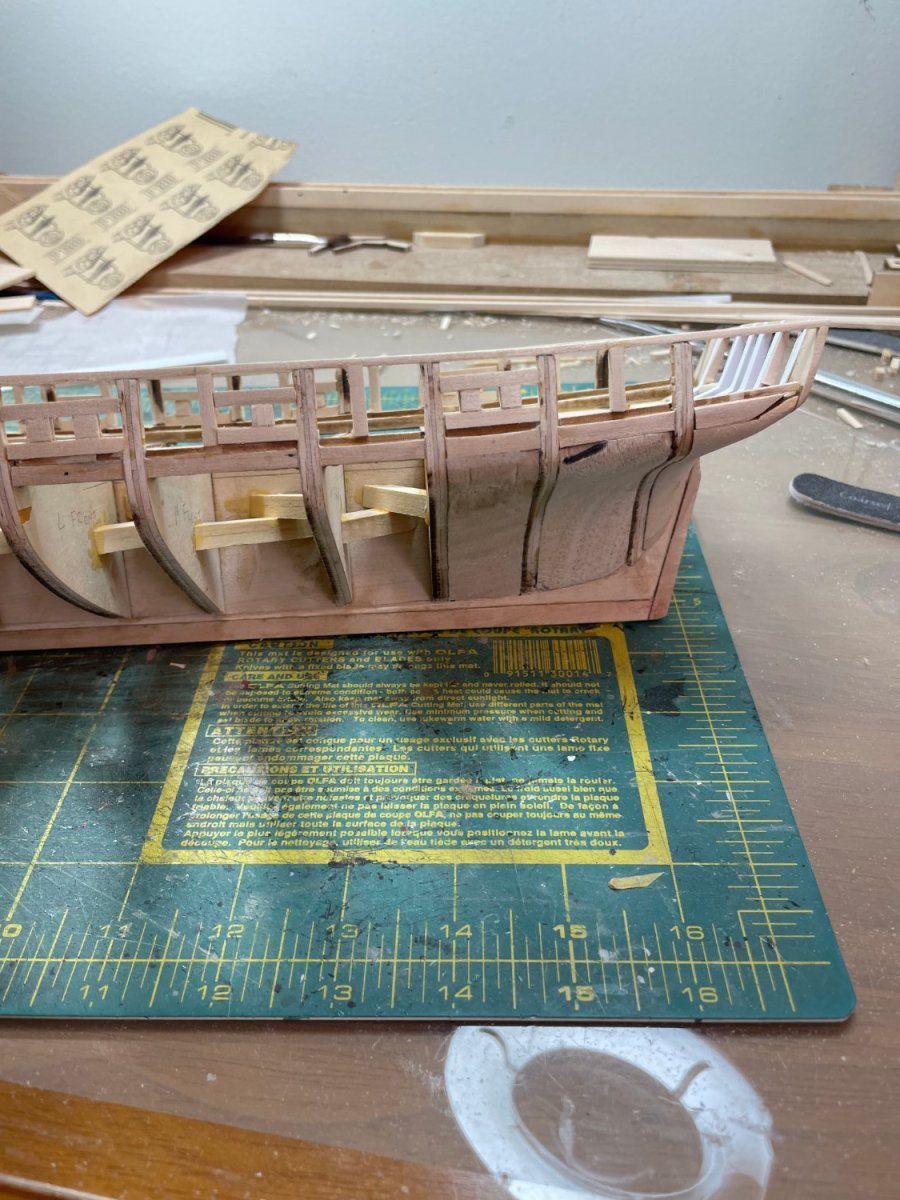
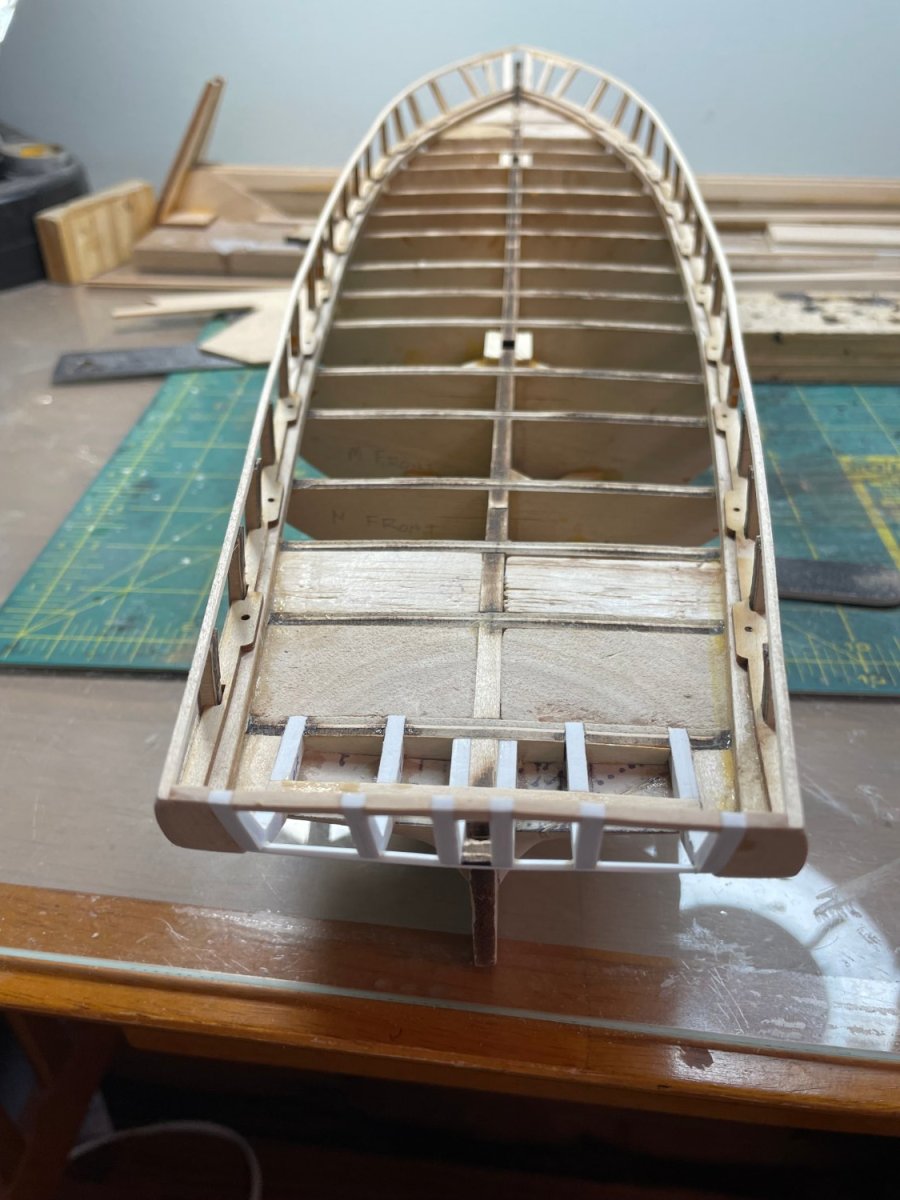
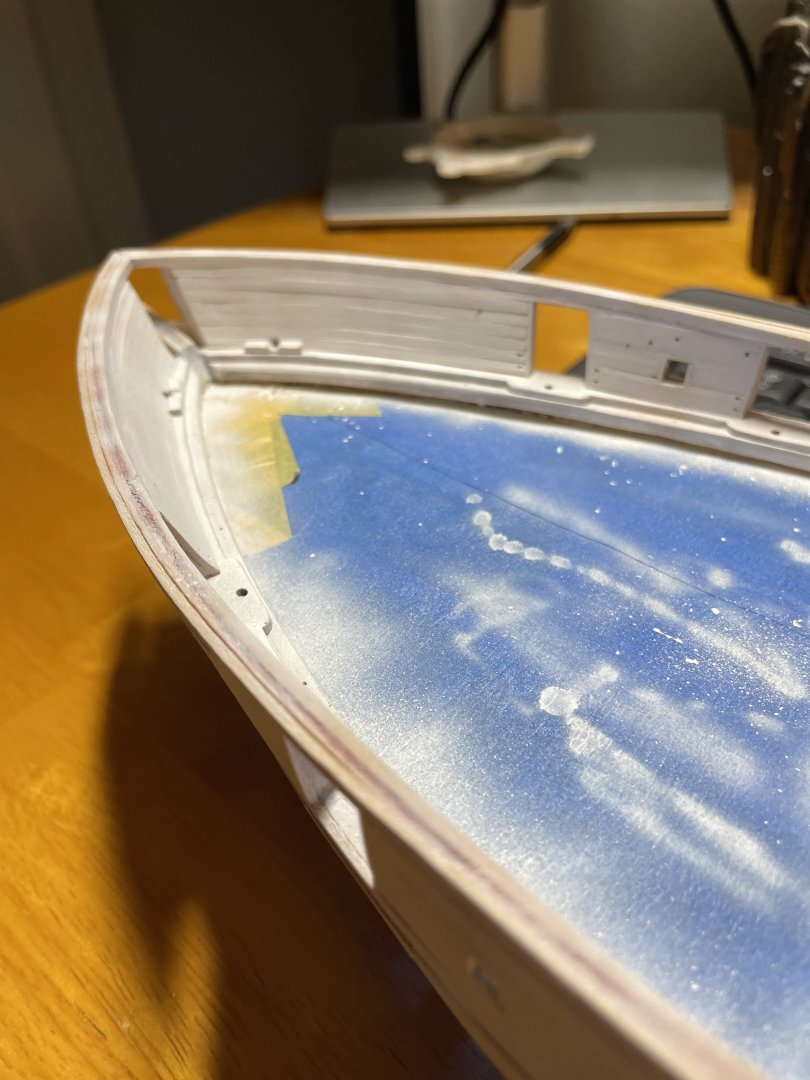
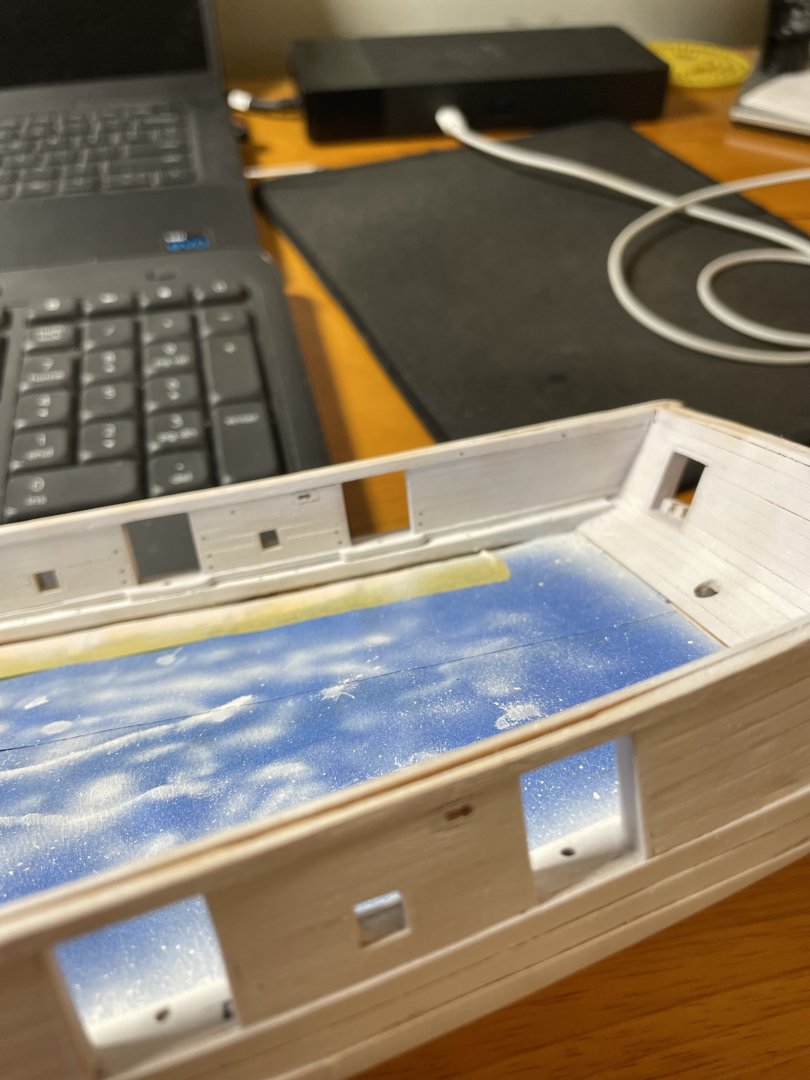
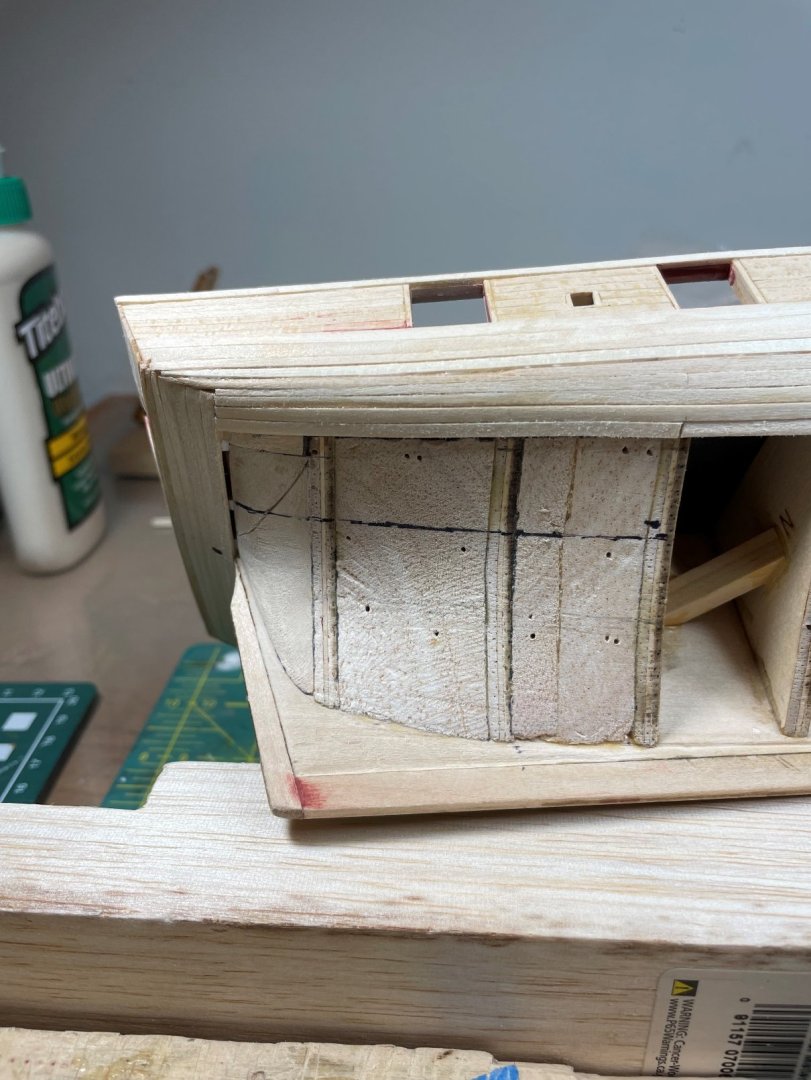
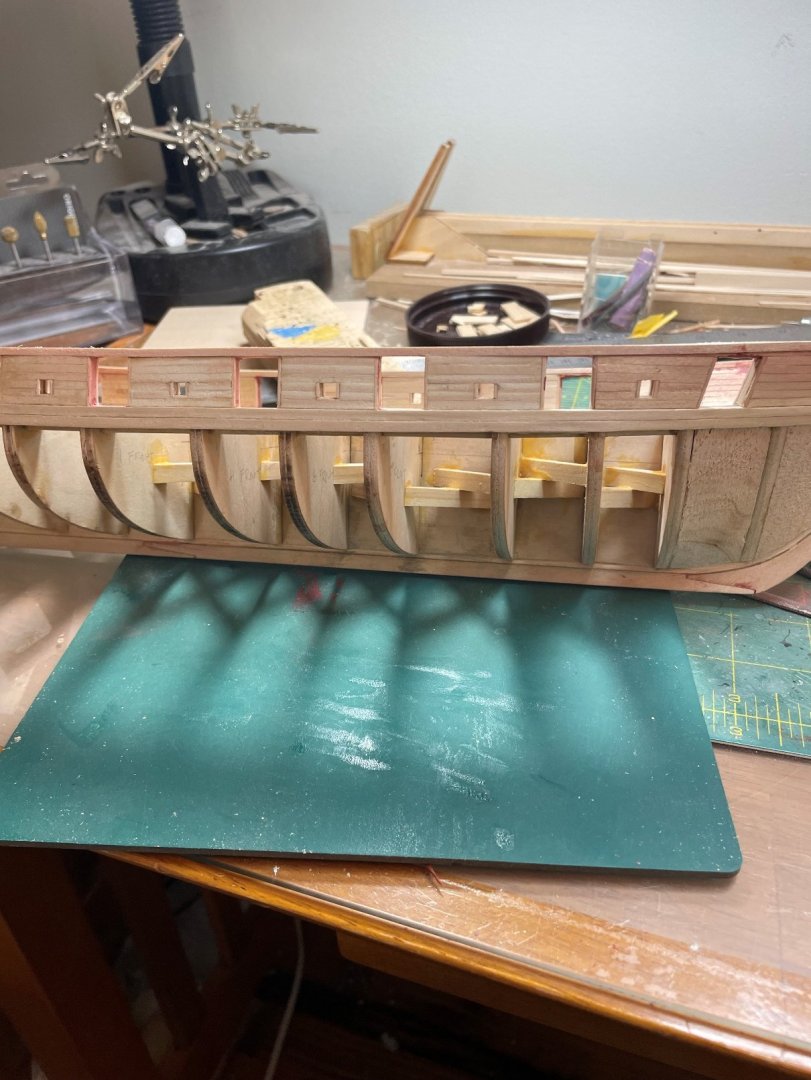
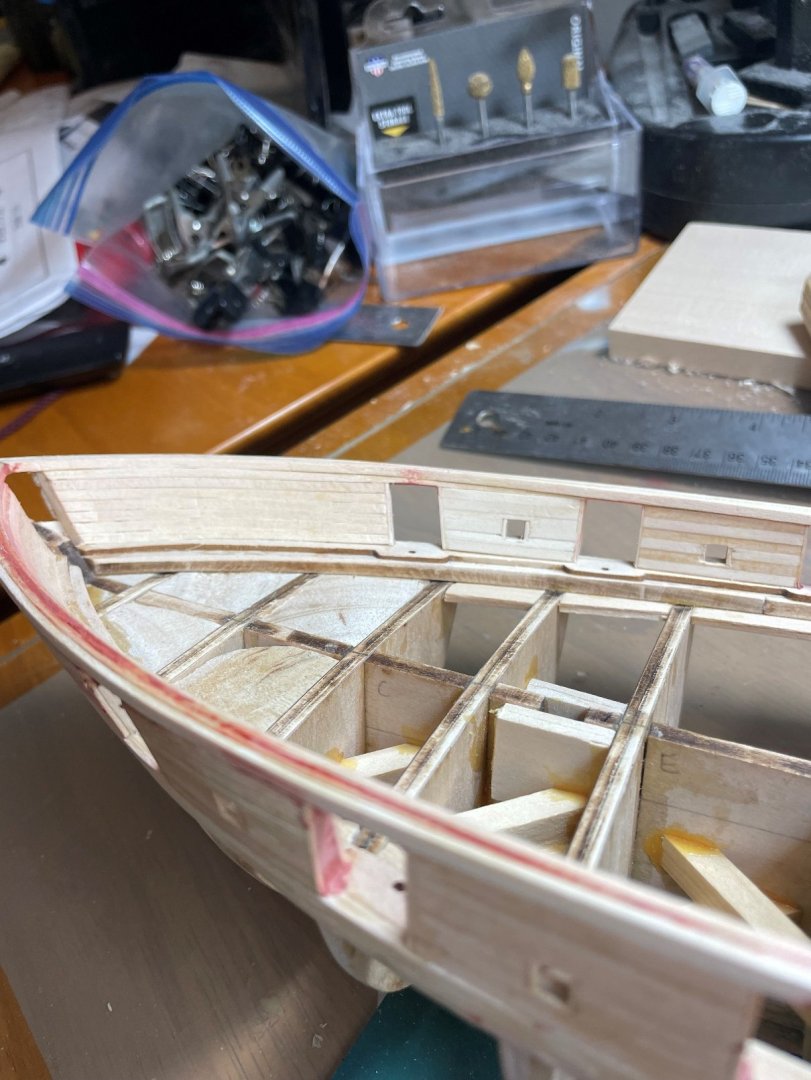
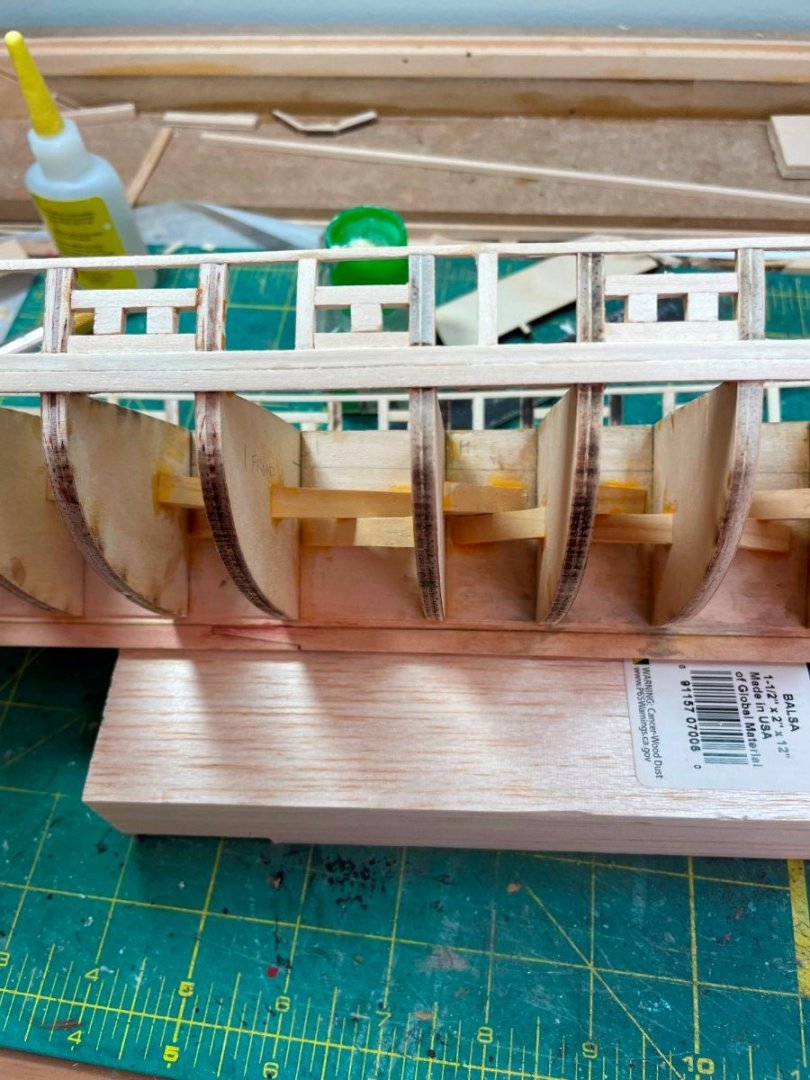
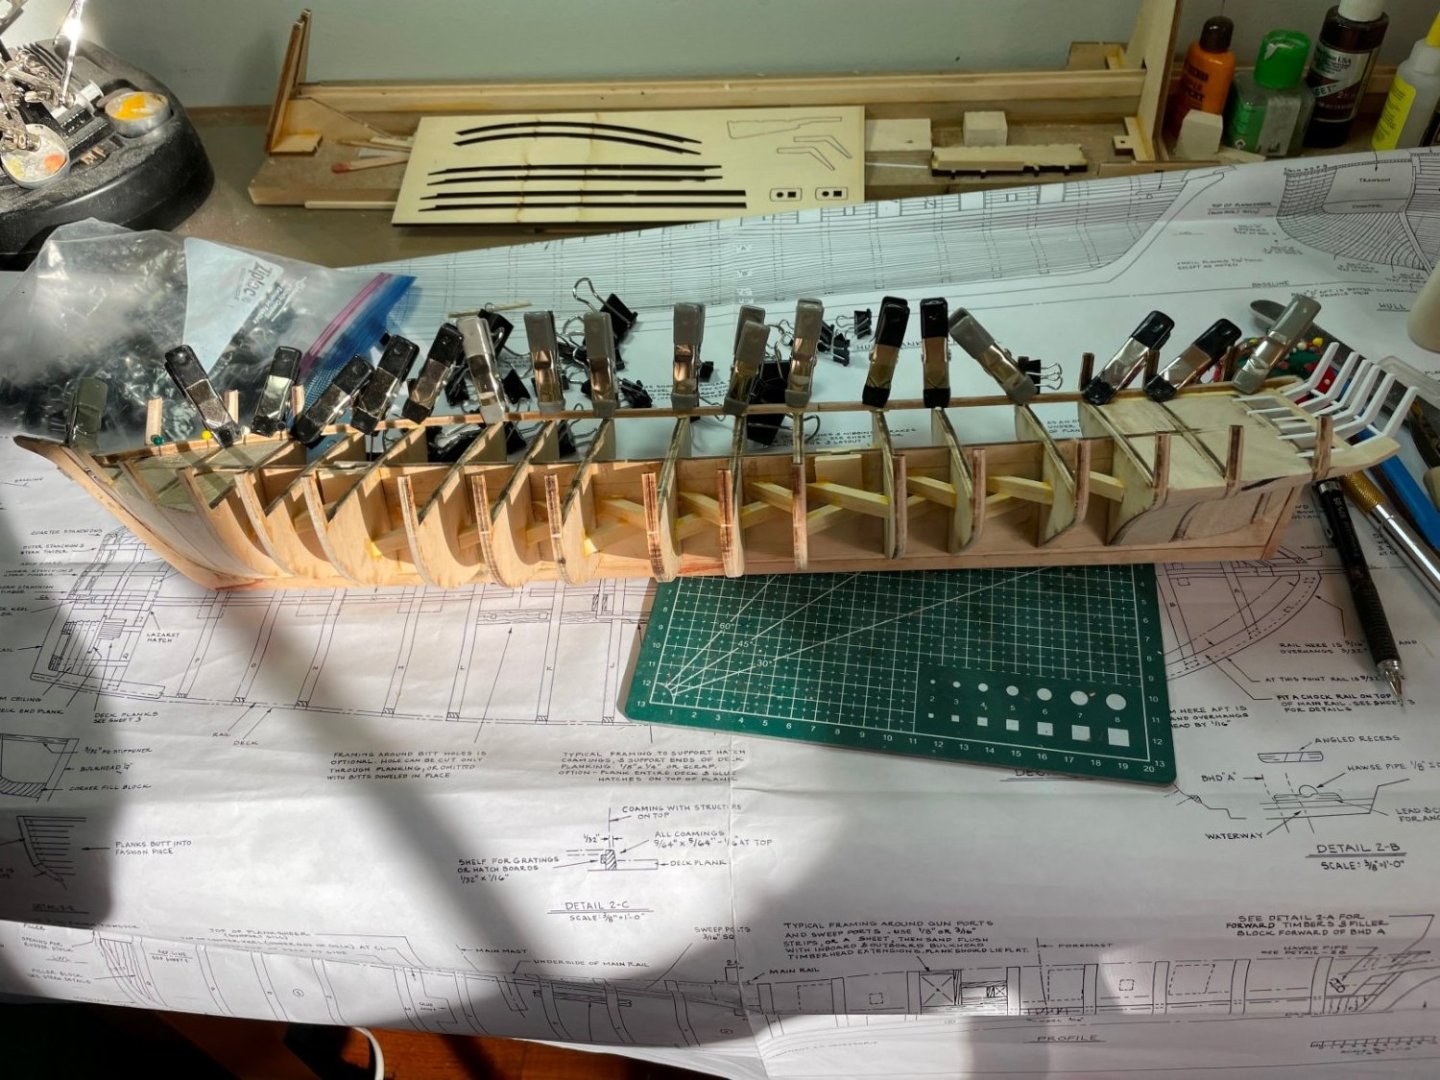
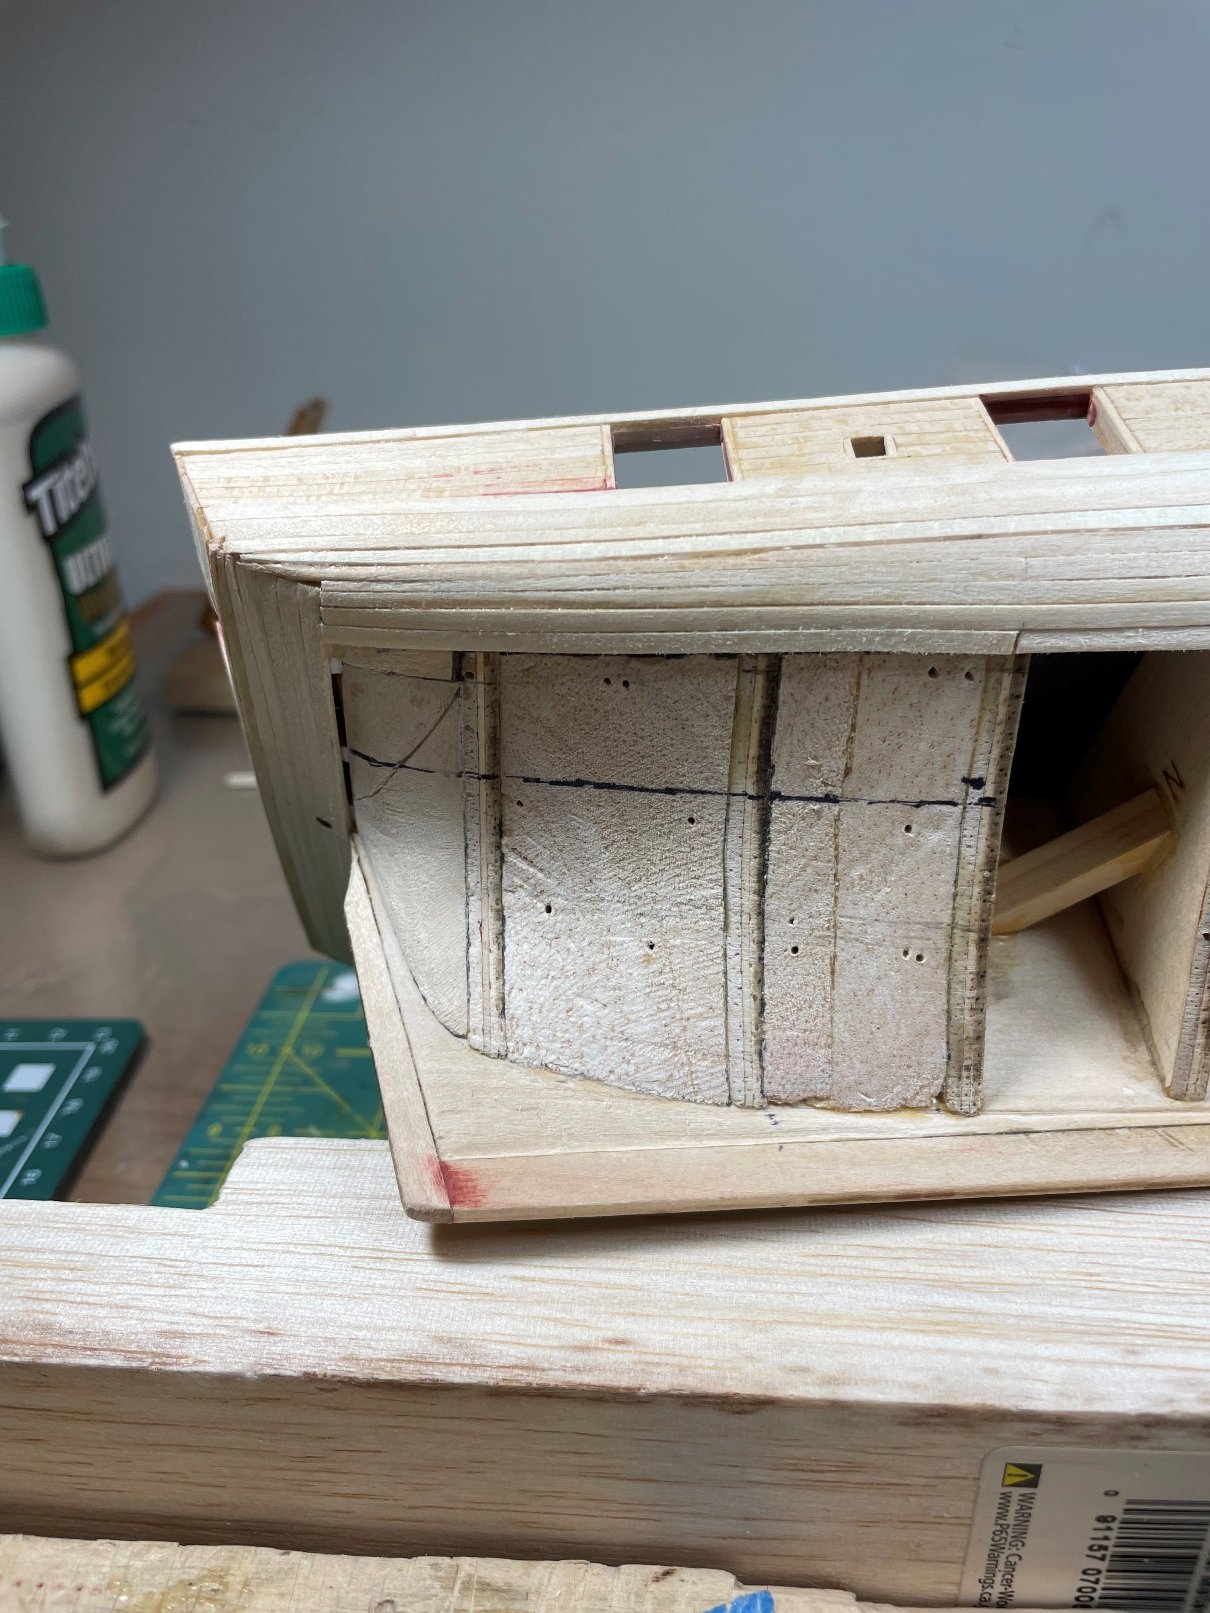
Started on the planing for the ceilings - on both inner and outer sides of the hull. I elected to cut them individually so progress has been slow I attached the planks directly to the hull at the bow, rather than pre-fabricating them as I have above
.thumb.jpg.4cf5d7fb10896770d021df558953c3aa.jpg)
.thumb.jpg.ed4d29a16e301ff0df1e05230cda9c67.jpg)

-
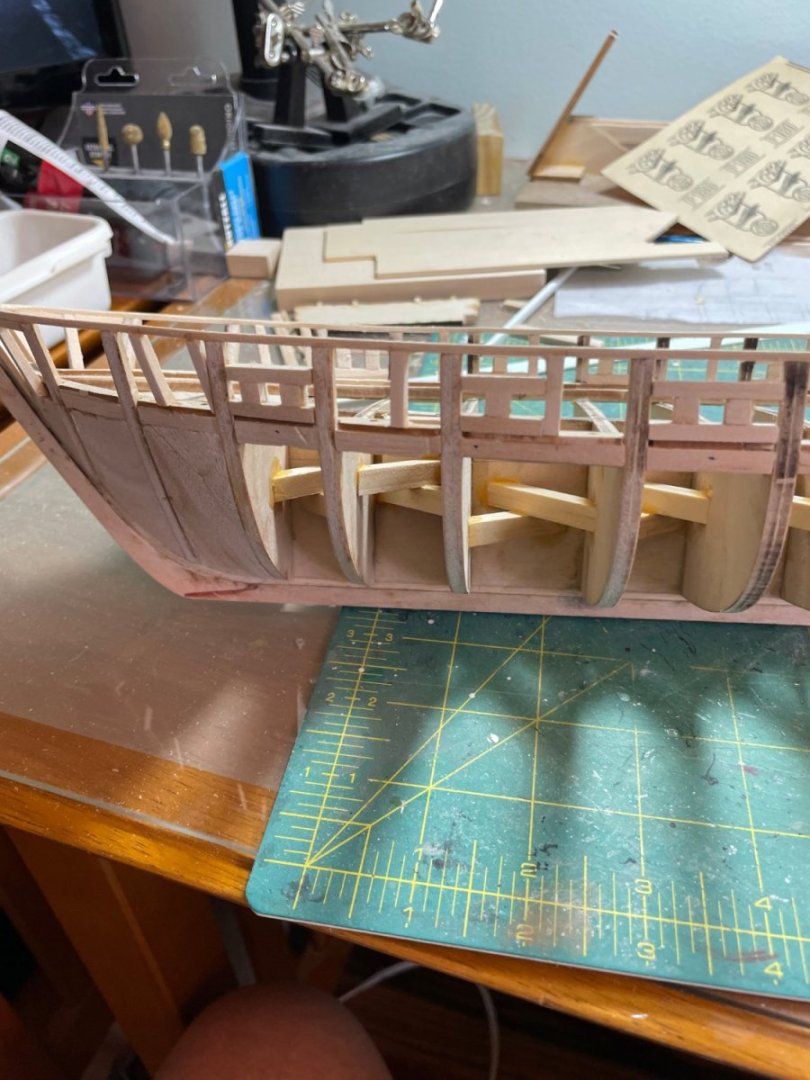
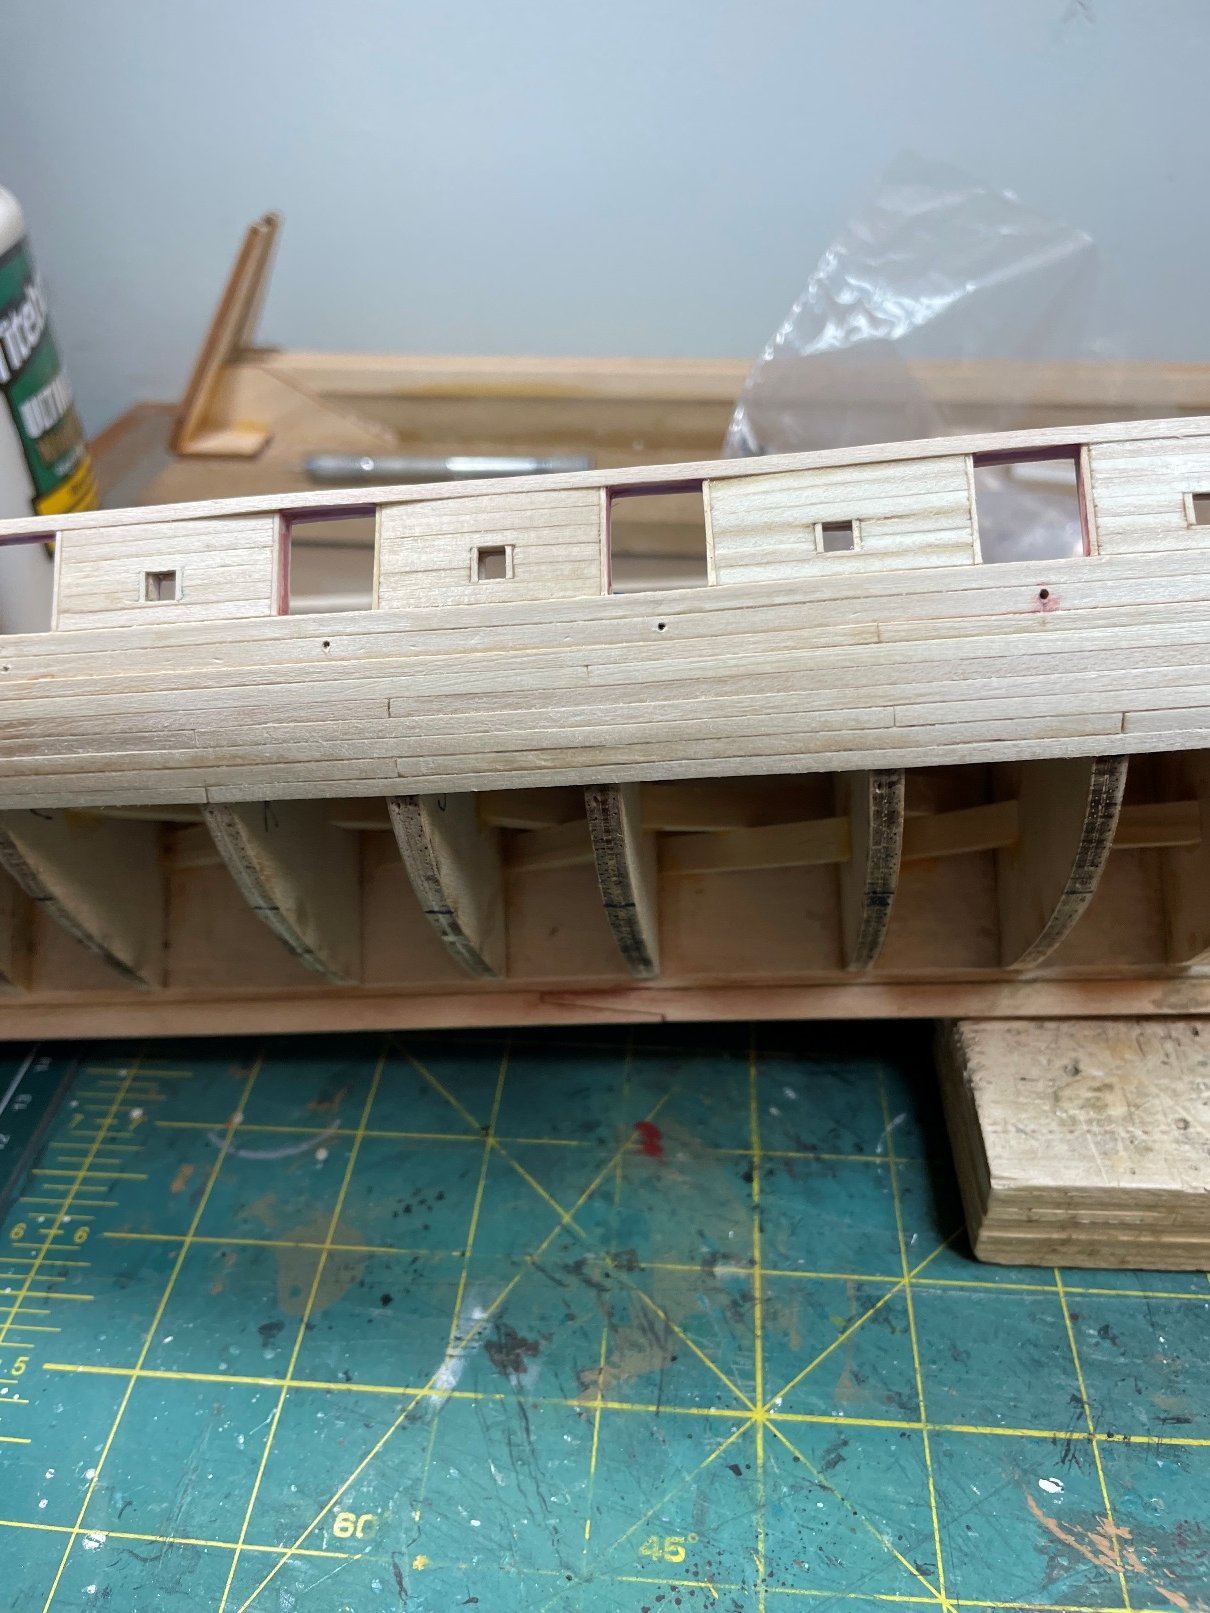
The first two lengths of planking attached to the outside of the hull progress!
-
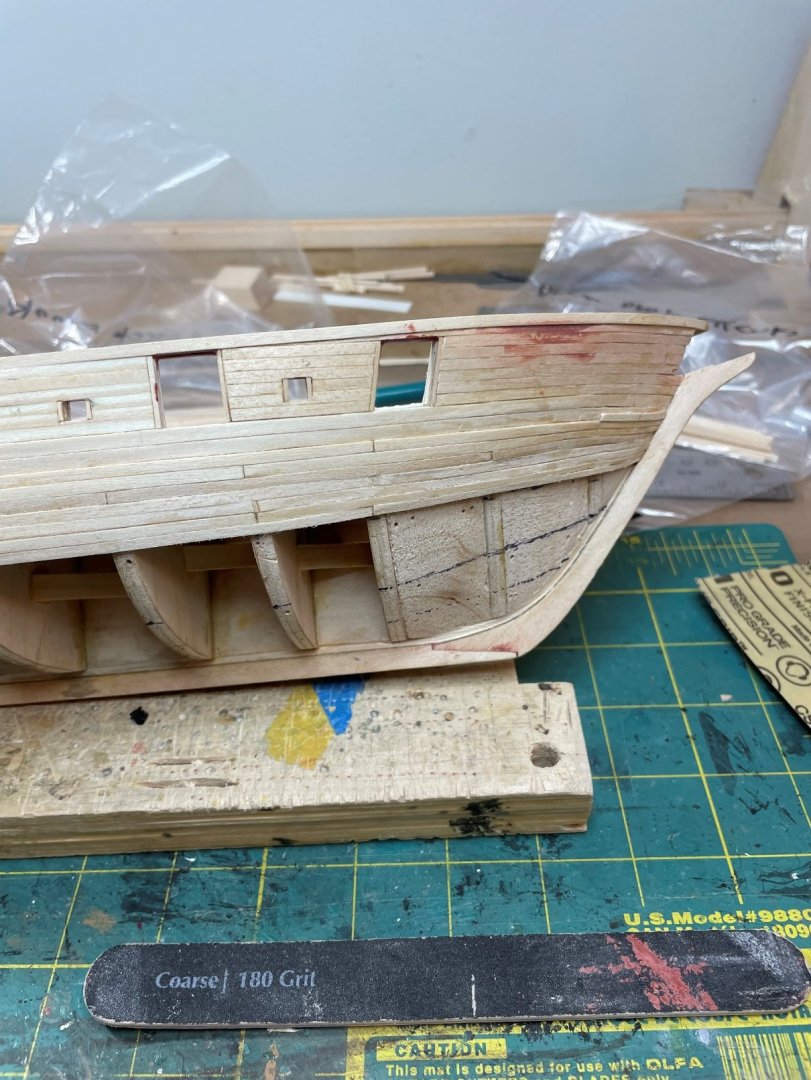
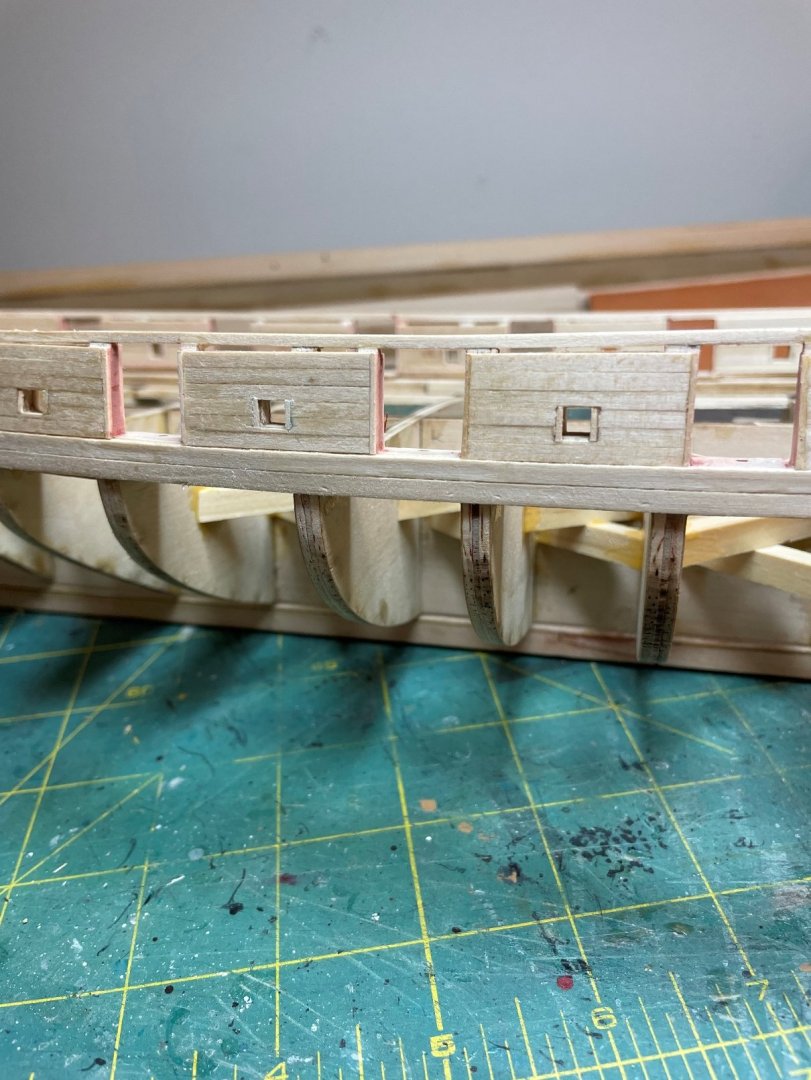
After framing the gun and sweep ports I found there was a gap between the plank sheer where the gun ports were and the edge of the frames. Filled this in with some thin bits of wood then sanded to ensure smoother fit once the first two hull planks were attached. you can see the result below on the outside edges of the cannon ports.

-
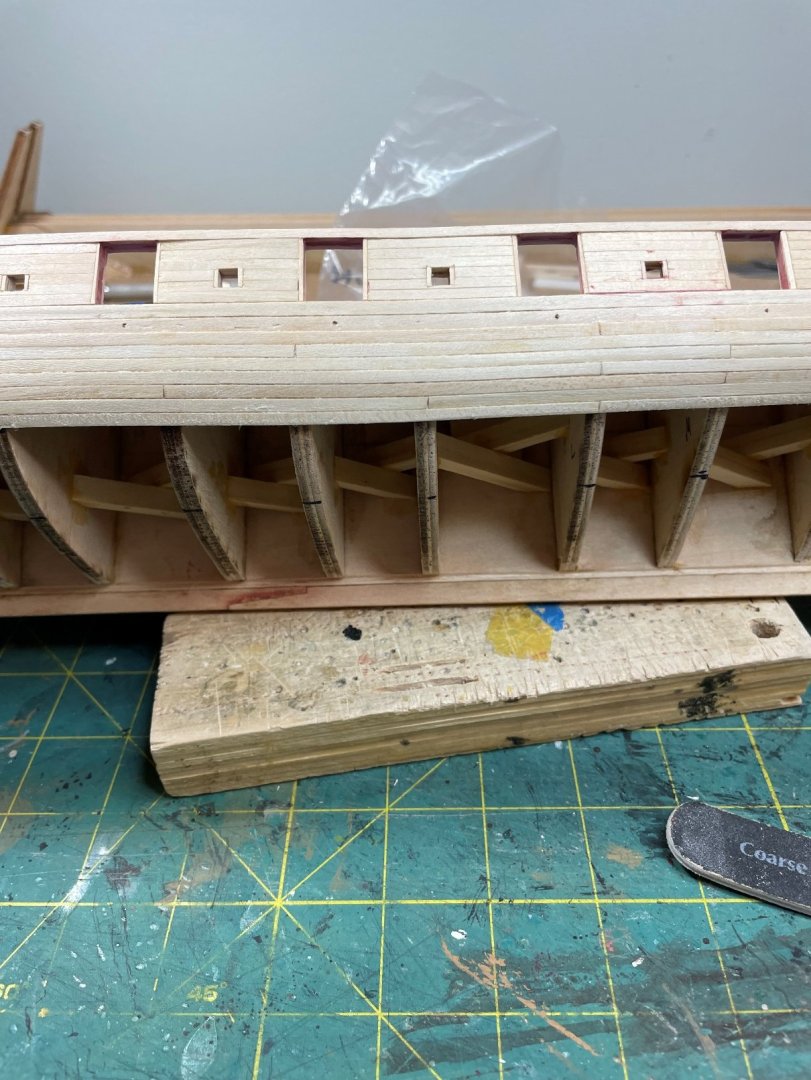
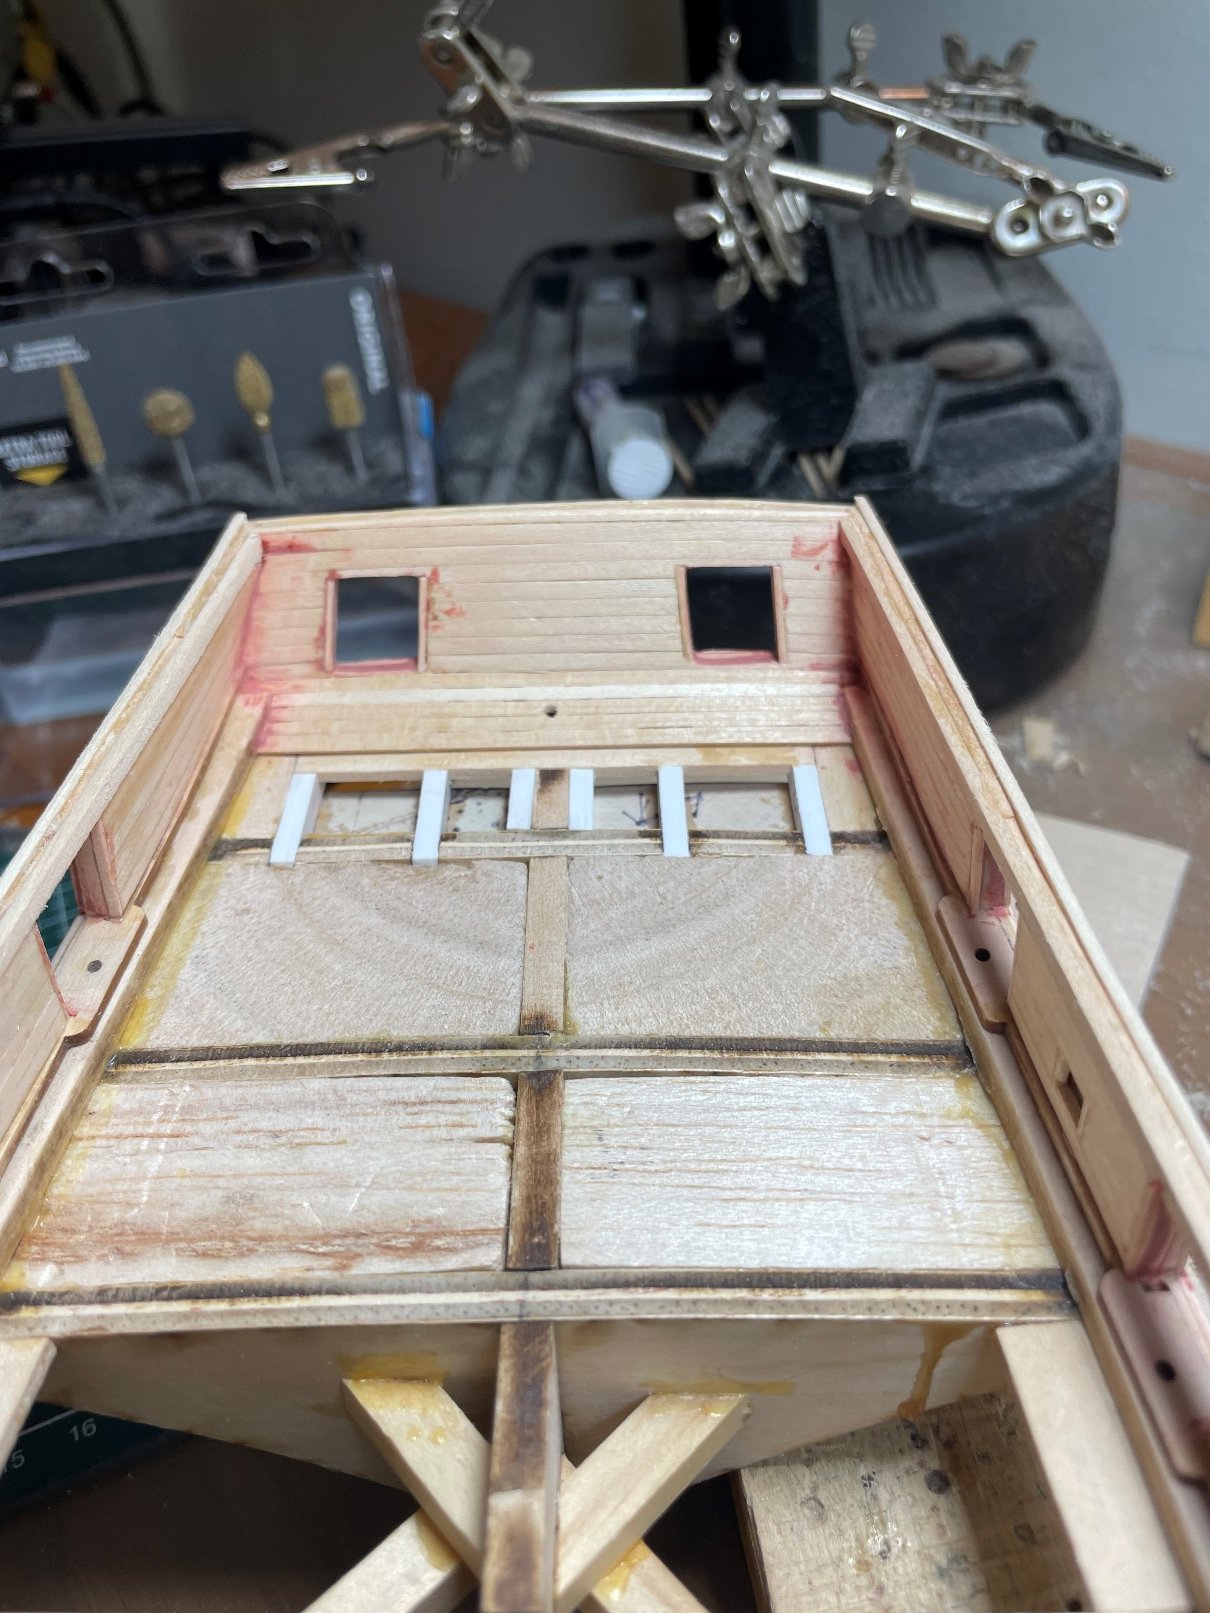
Framing for the gun and sweep ports completed, along with a lot of sanding to ensure a level fit for when planking gets attached


-
Thanks for the comment Abelson. I will be honest that if I had the equipment to cut the stern timbers out of hardwood, to replace the plywood that comes with the kit, I would have. As it is I was not willing to suffer the inevitable breakage of these parts as seems to afflict those that have posted their Niagara building logs in the past. The effect of trying to re-glue these parts, ensuring they were precisely aligned etc. and hoping they didn’t break again just didn’t make sense to me. Fabricating the parts in plastic was not simple and will in this case be covered by wood as construction progresses and it is something that I am personally ok with for my build. The question of use of parts other than wood in a wooden ship I will leave to others to debate. it is an interesting question however in the context of wooden ships. Would it imply that someone who scratch builds everything from wood they have cut from the tree more of a builder than someone who assembles laser cut wooden parts from a kit? Does it really matter in any case as the goal is got self satisfaction through completing the building process. Does someone who has a lathe and electric saw to fabricate parts and turn square dowels into masts deserve less regard than those that only use hand tools. i would note that those who have the capability, and not inexpensive tools, to complete a scratch build deserve real respect for their skills. Thanks Stuart
-
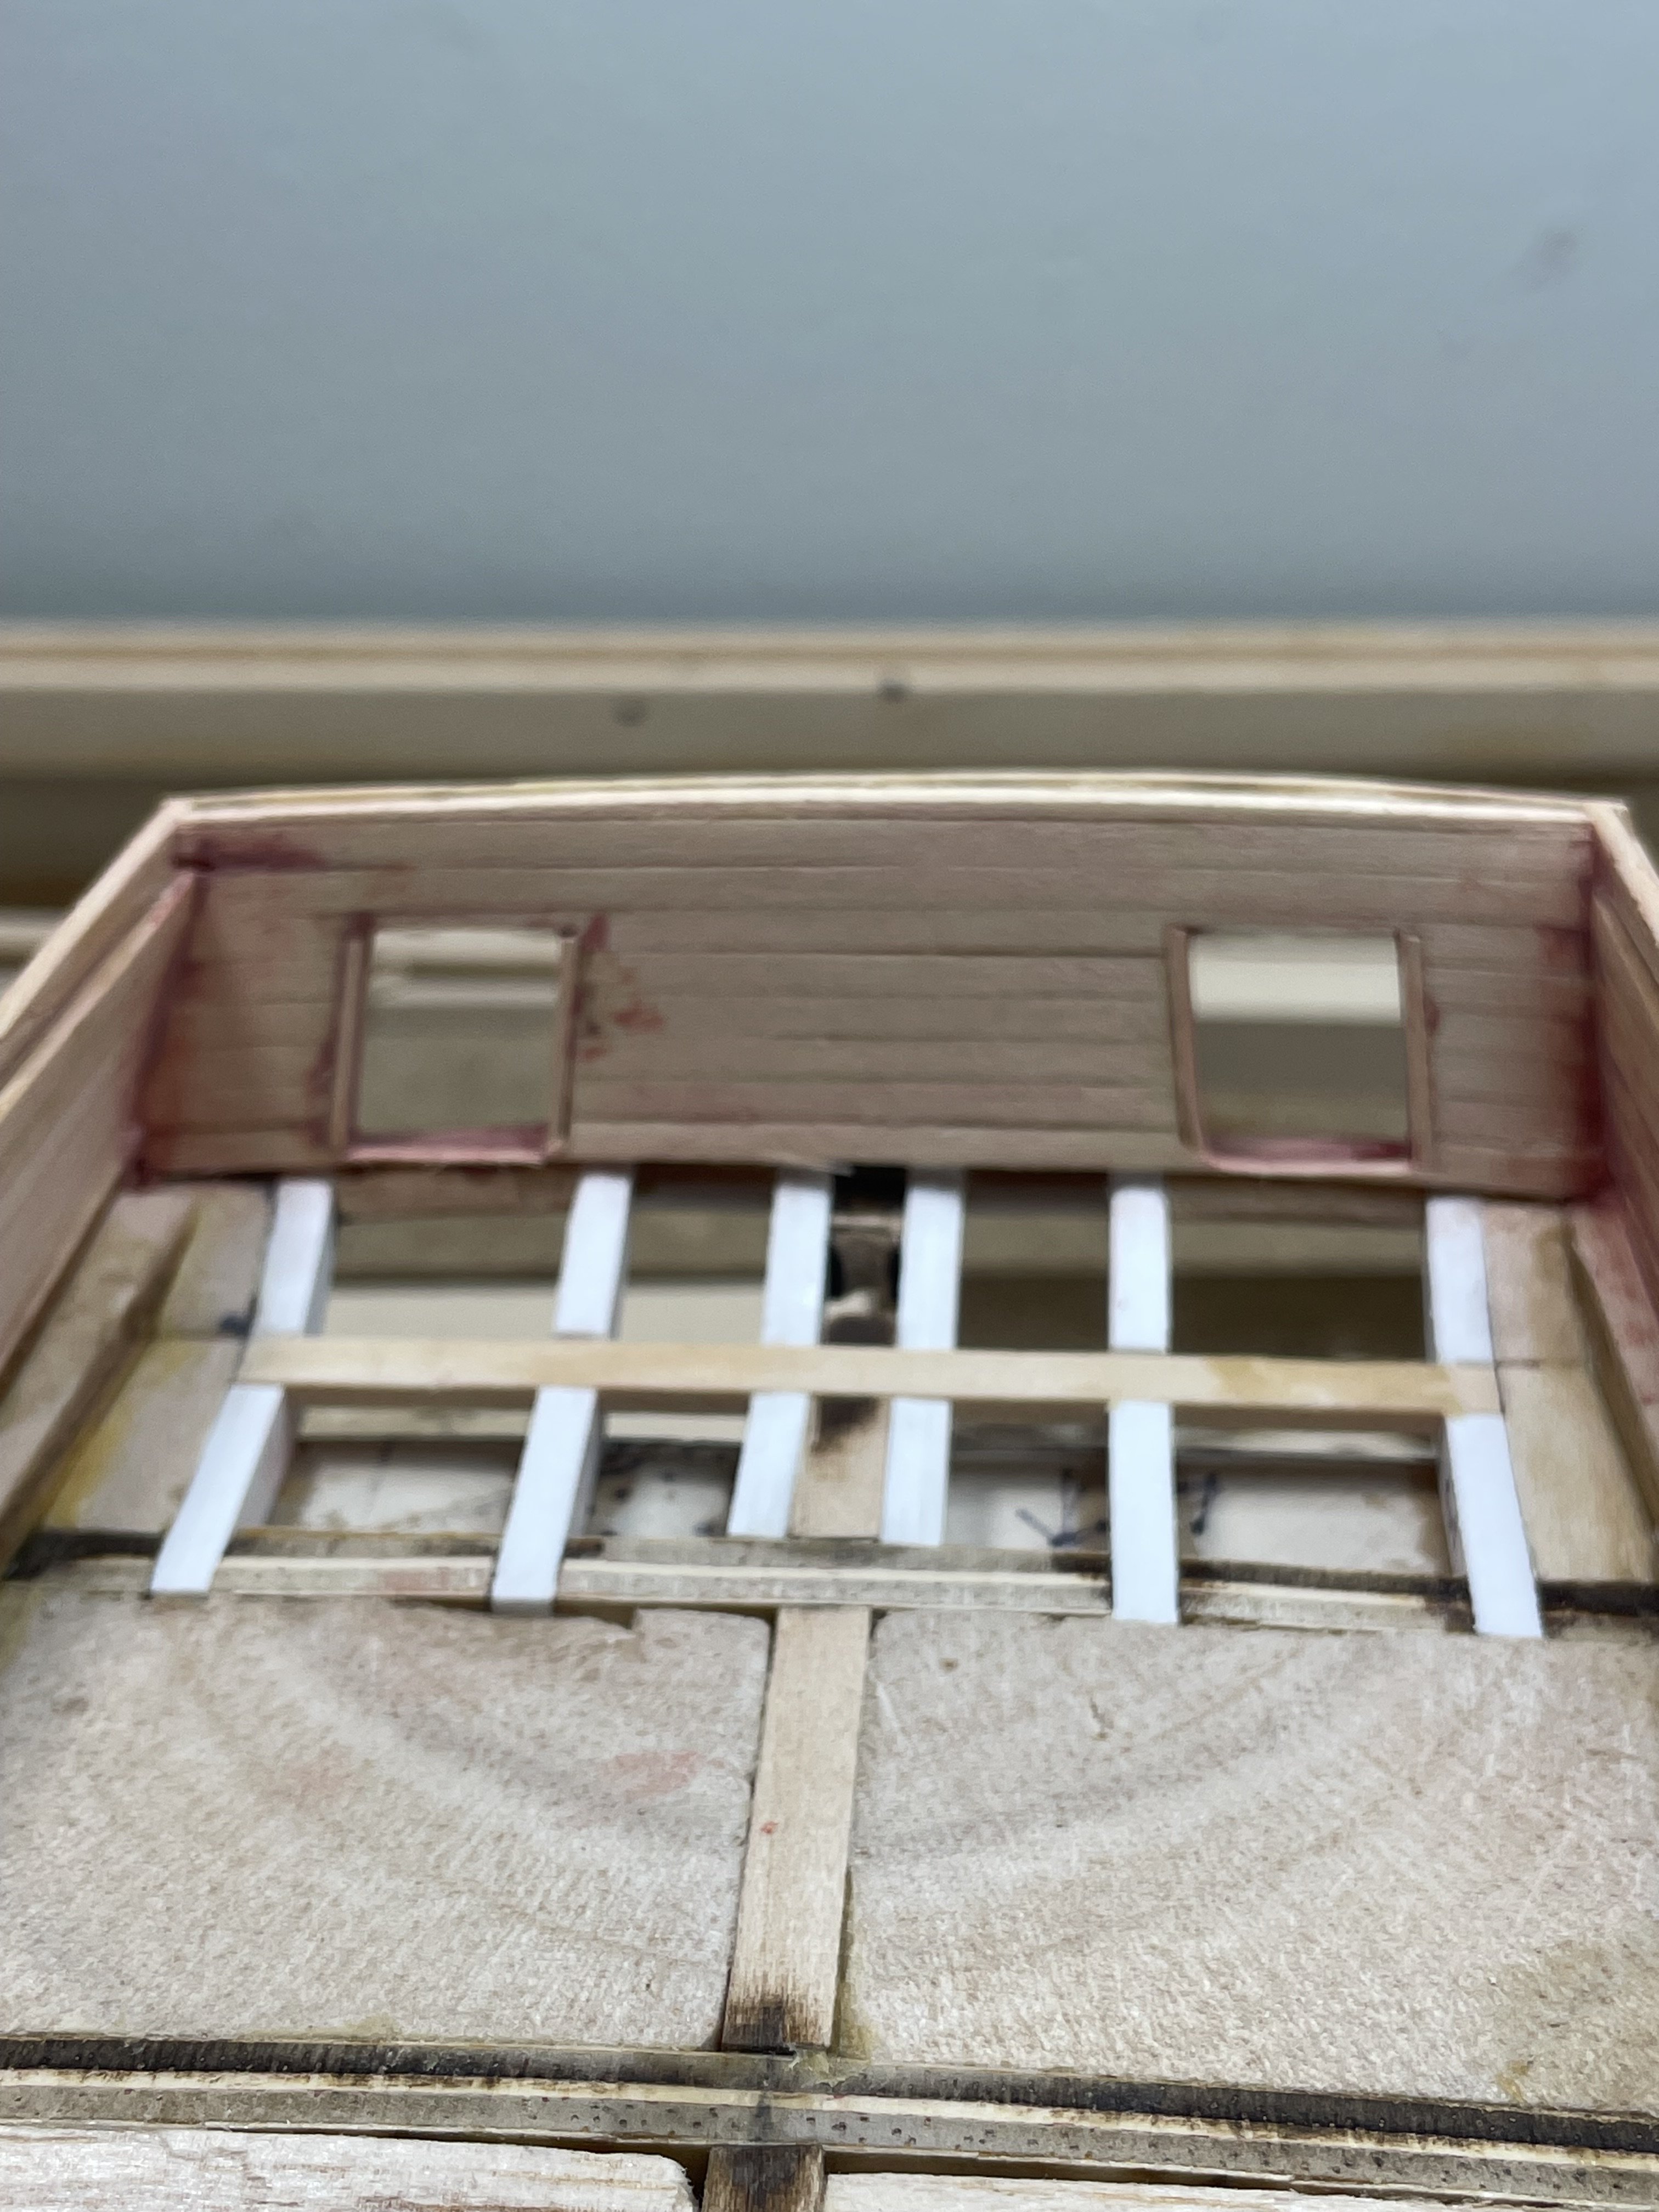
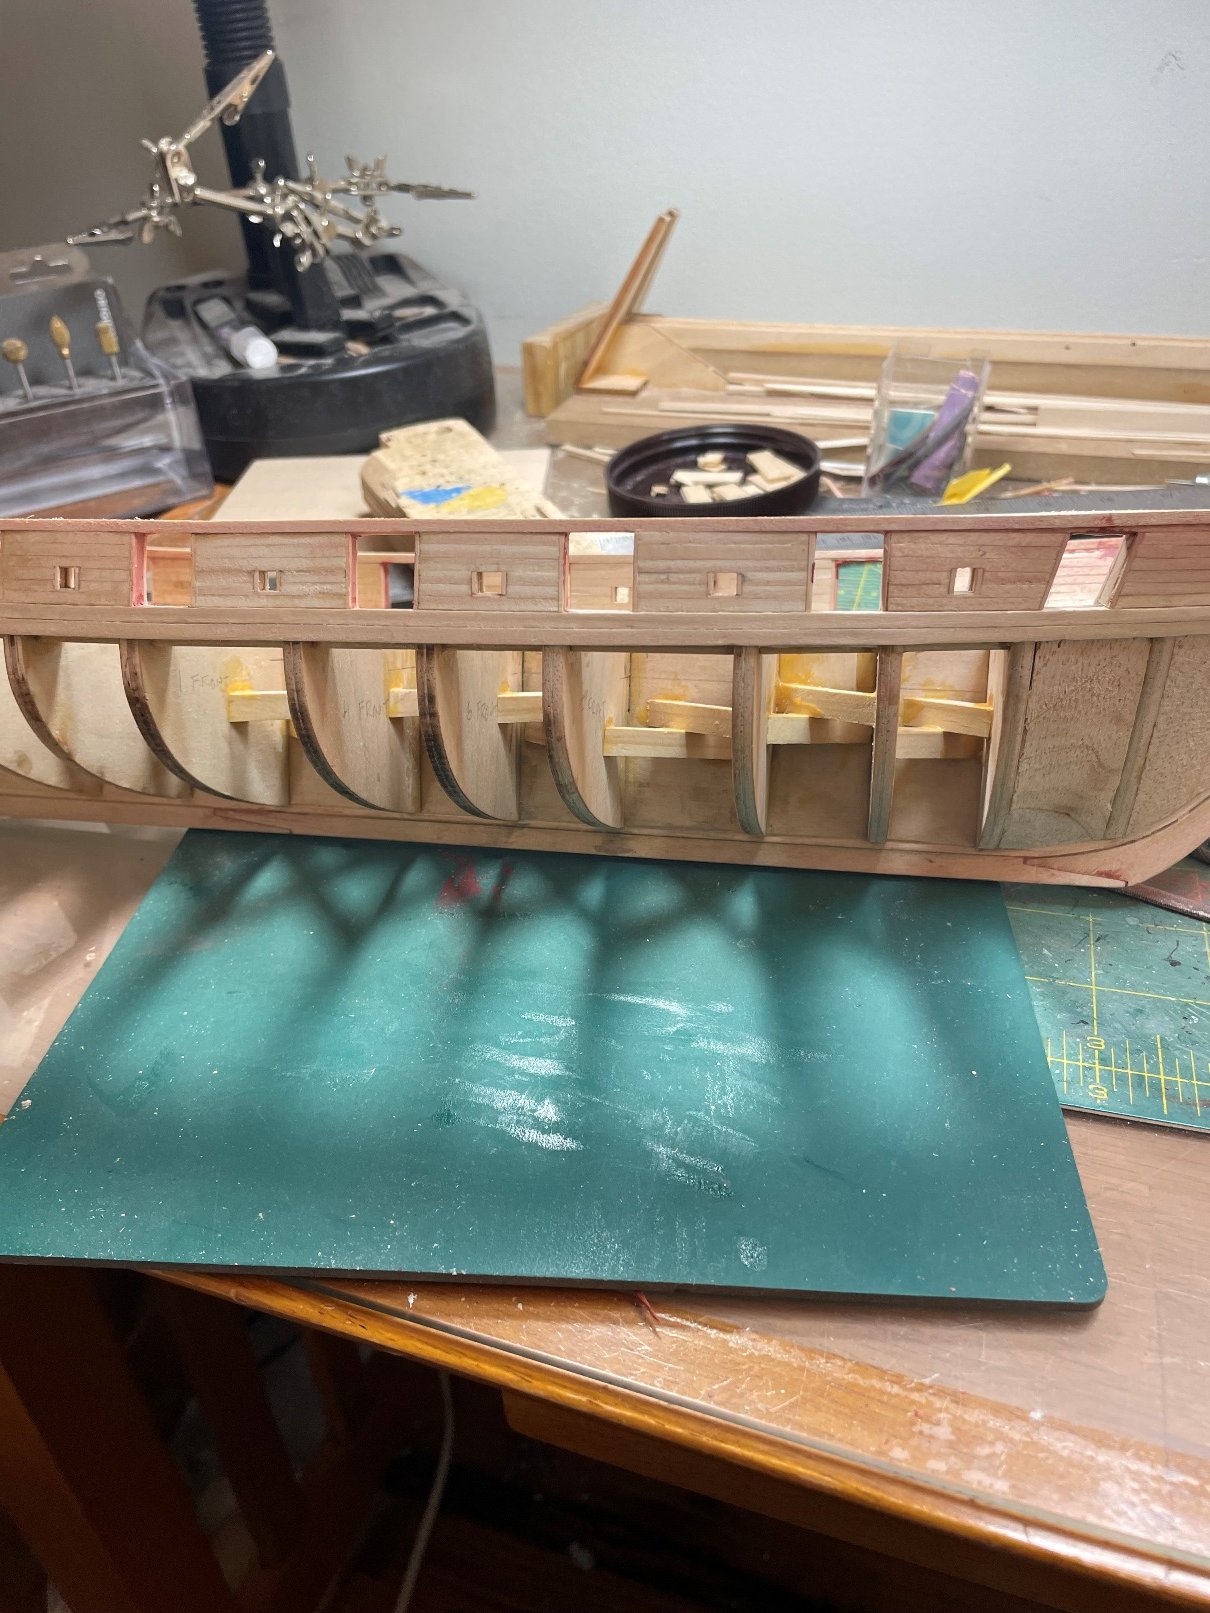
Some tidying up of space between waterways and bulkheads and 3/32 square section rail attached to top of bulkhead (seen in previous builds for reason of height needed fro cannon ports Next step - framing of cannon ports


-
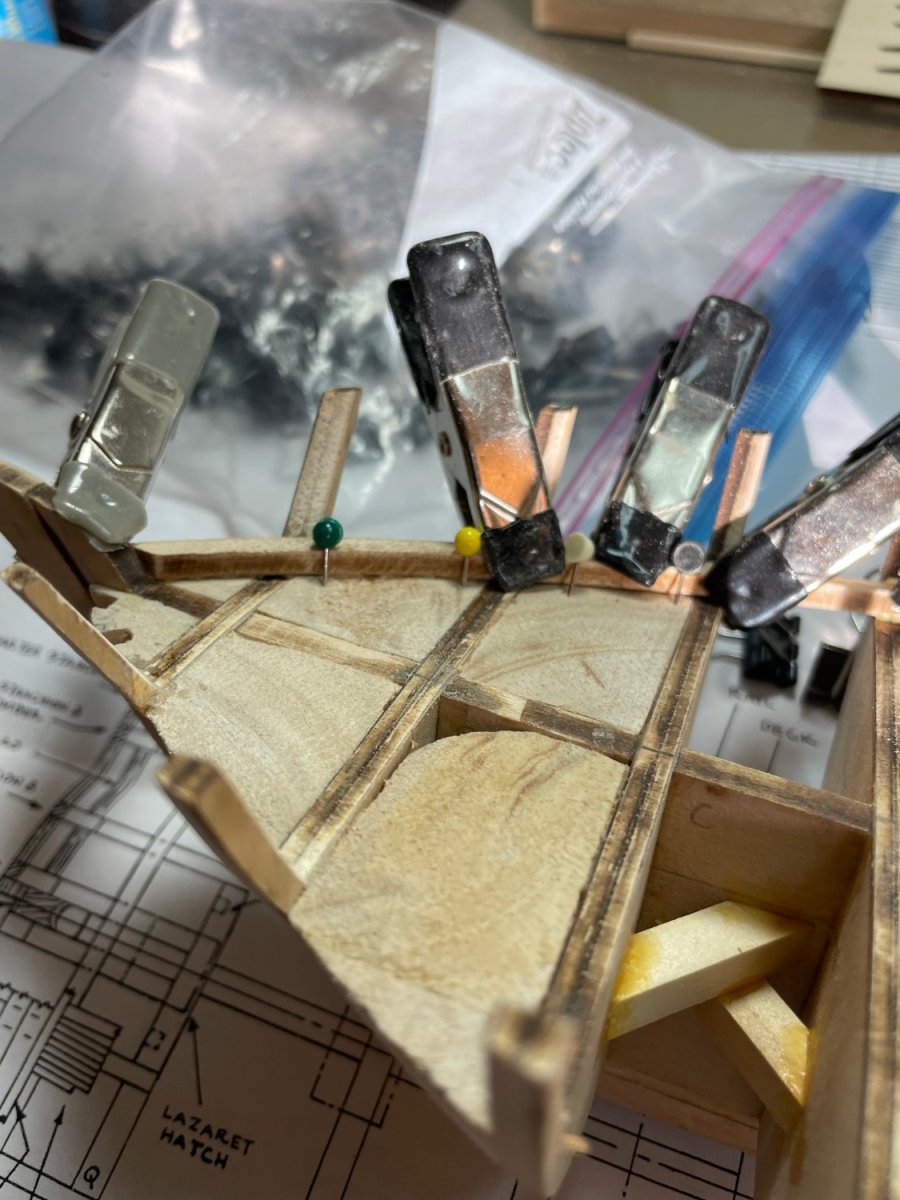
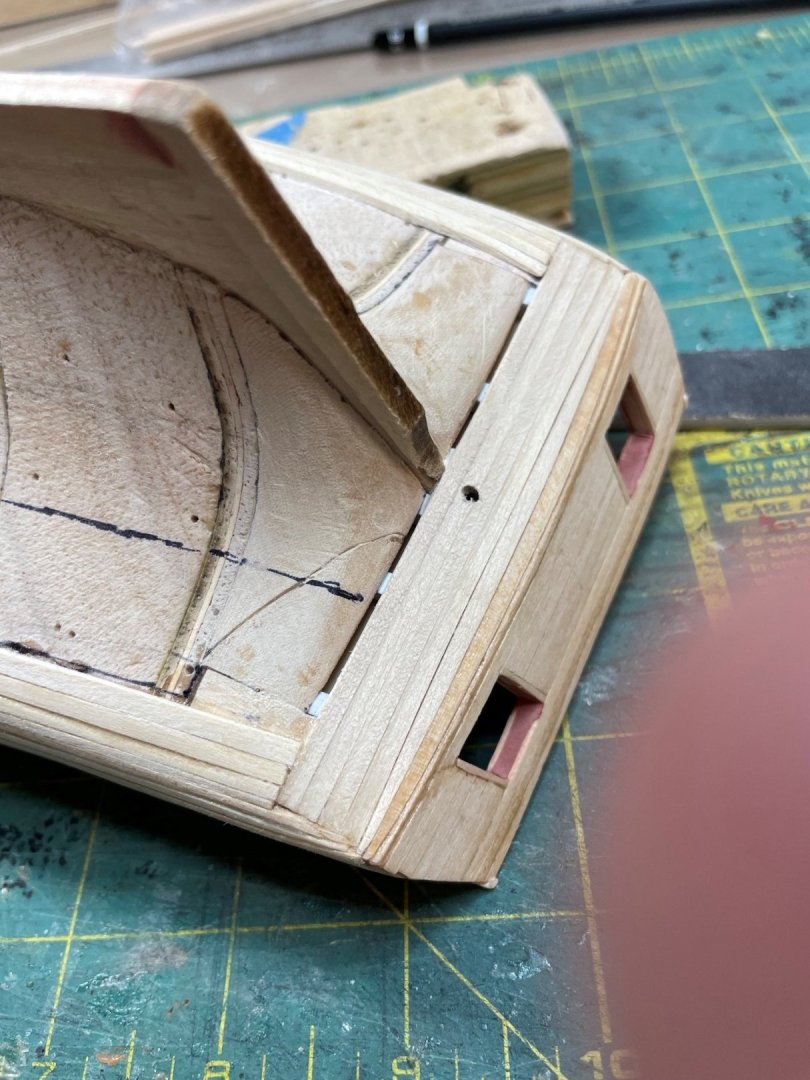
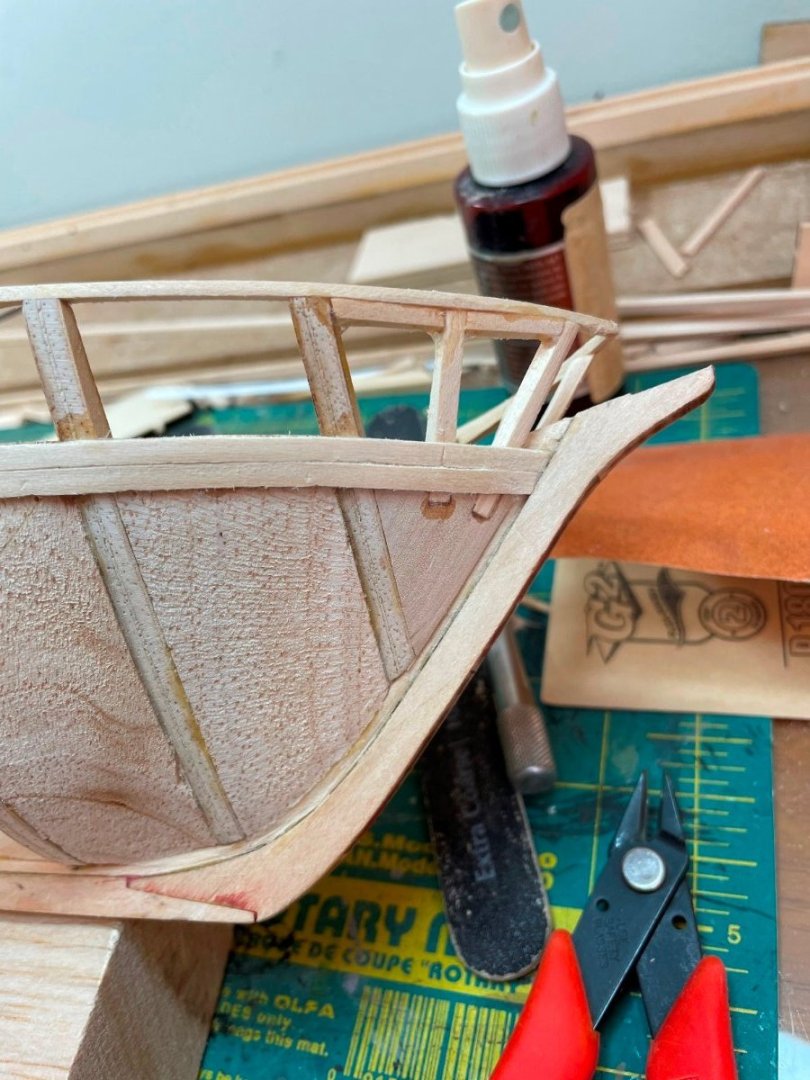
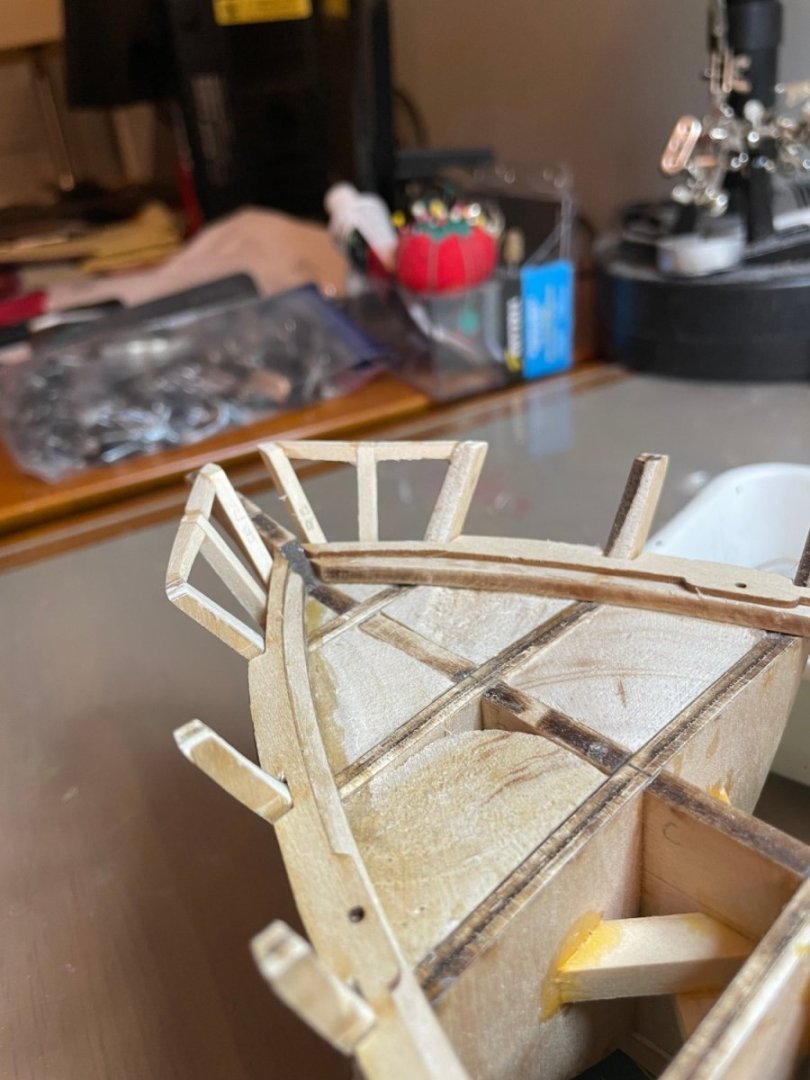
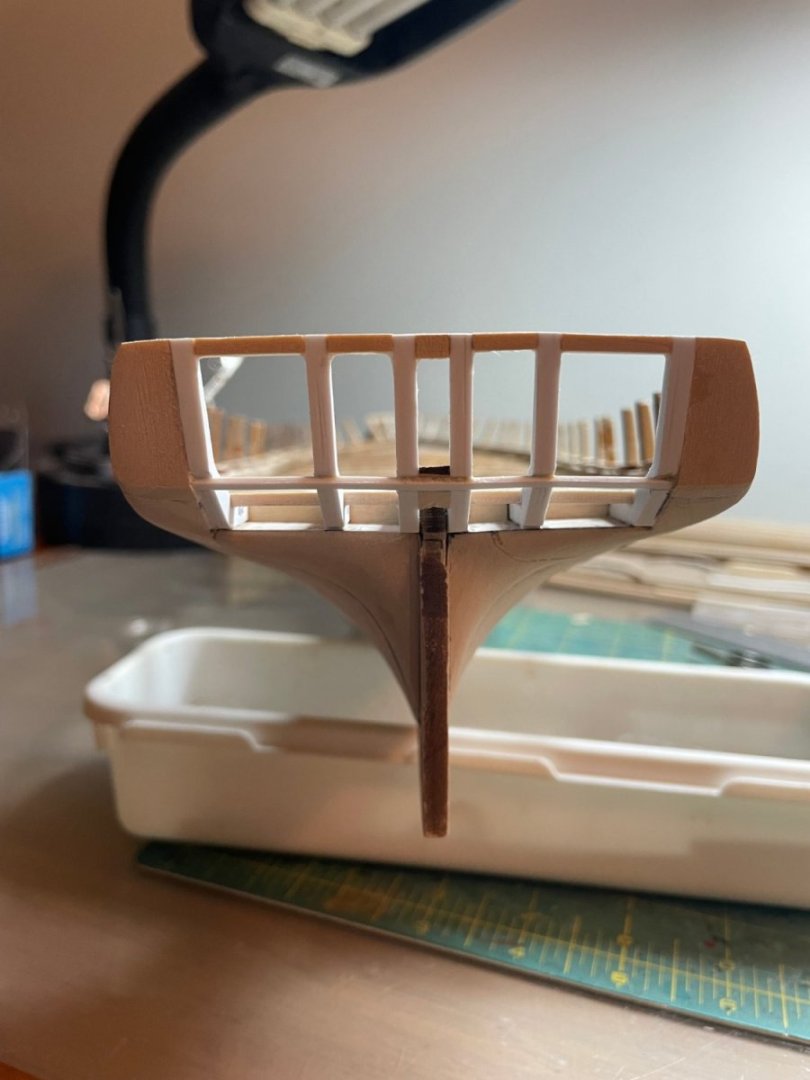
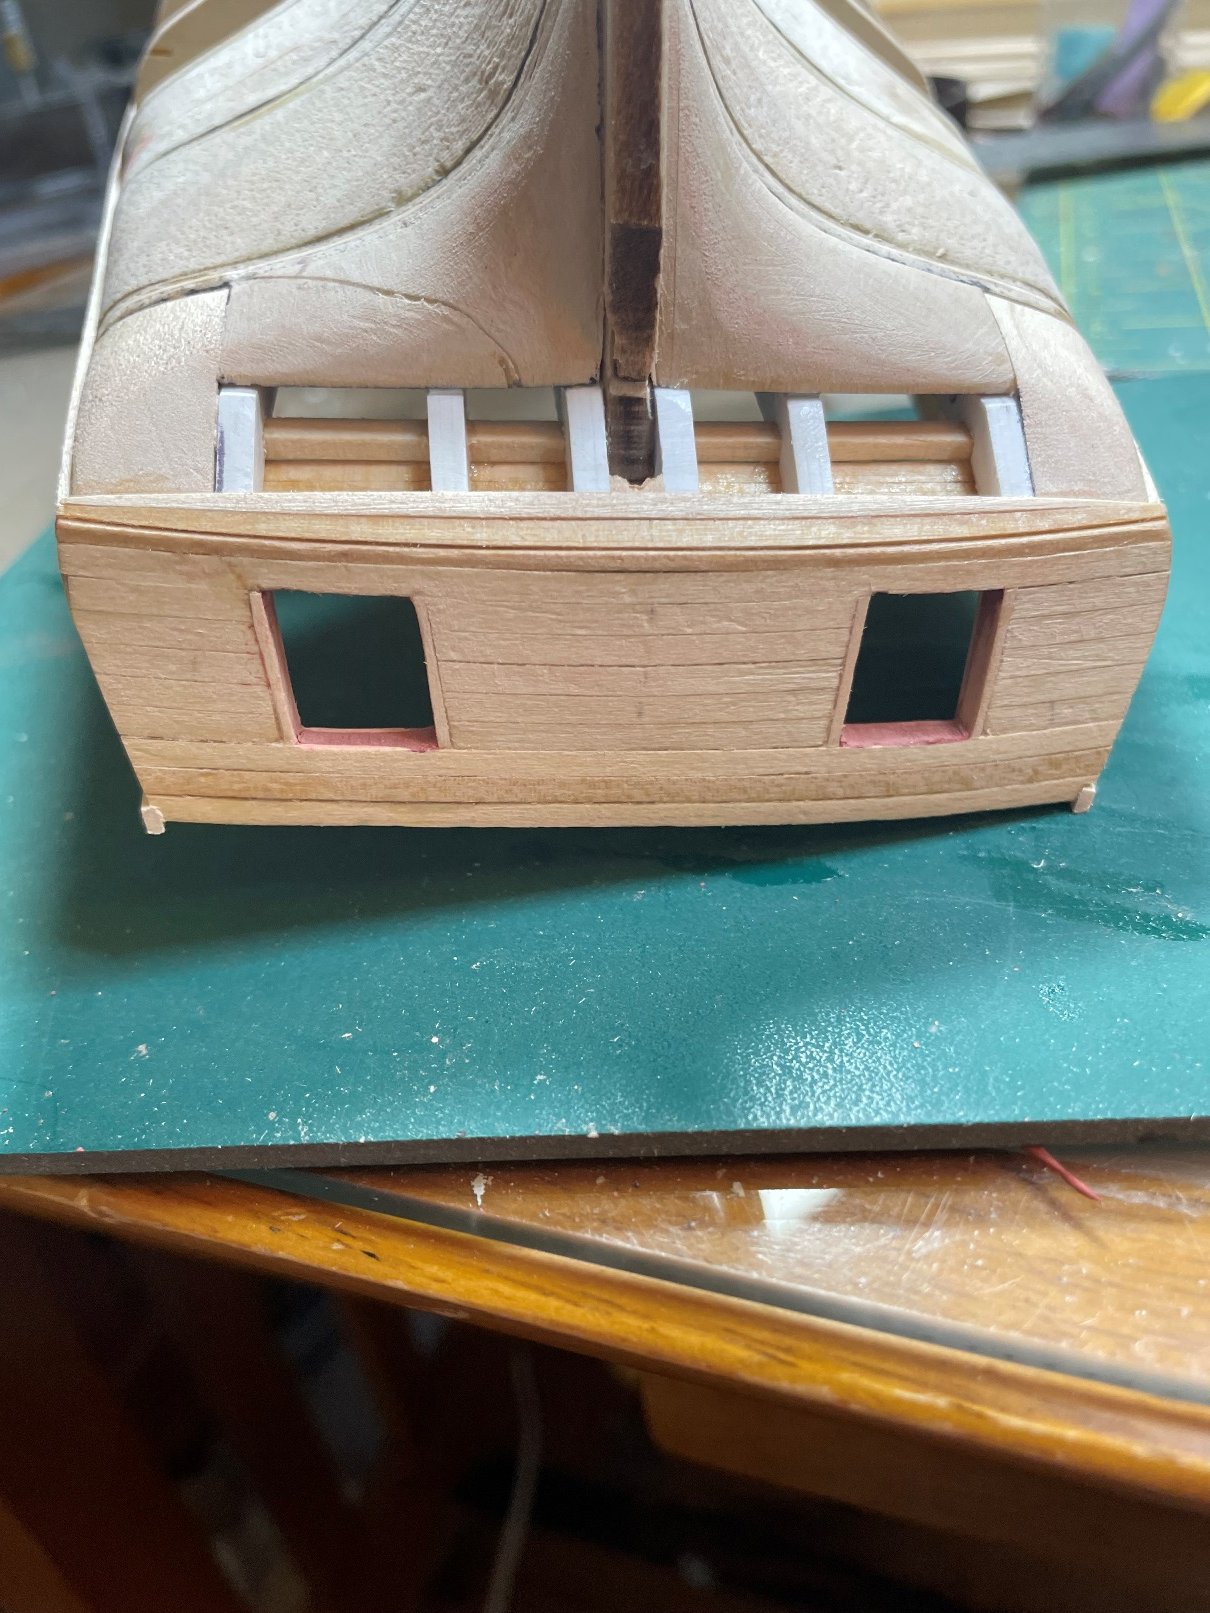
wrapped up the knightsheads and top stiffner first made sure the stiffners were snug to what will be the bowsprit Also worked o n the stern framing. Th plans didn't quick make sense to me and seemed more complicated than they need be for the quarter stanchions. Instead I decided to cut a piece of boxwood to the required shape and attached this to the horn timbers and the spacers blocks.

-
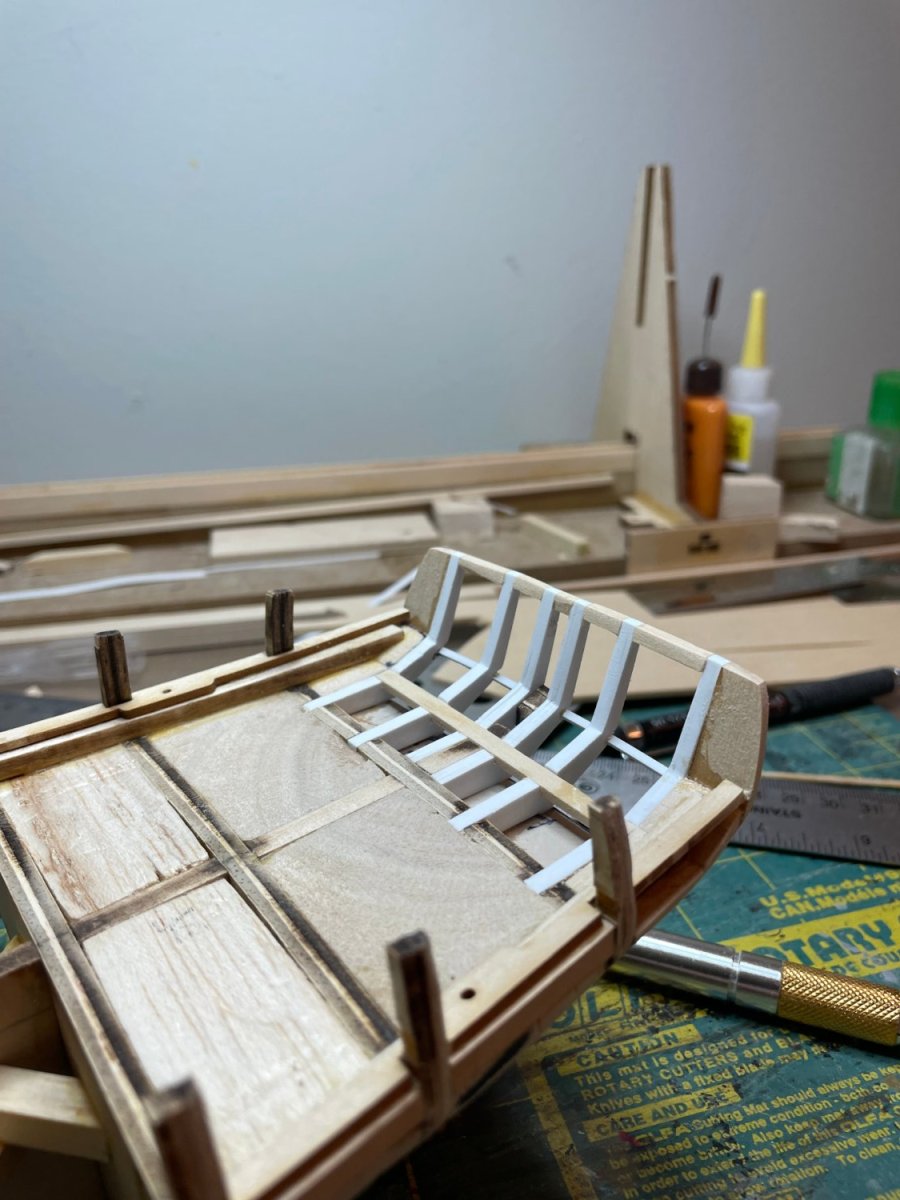
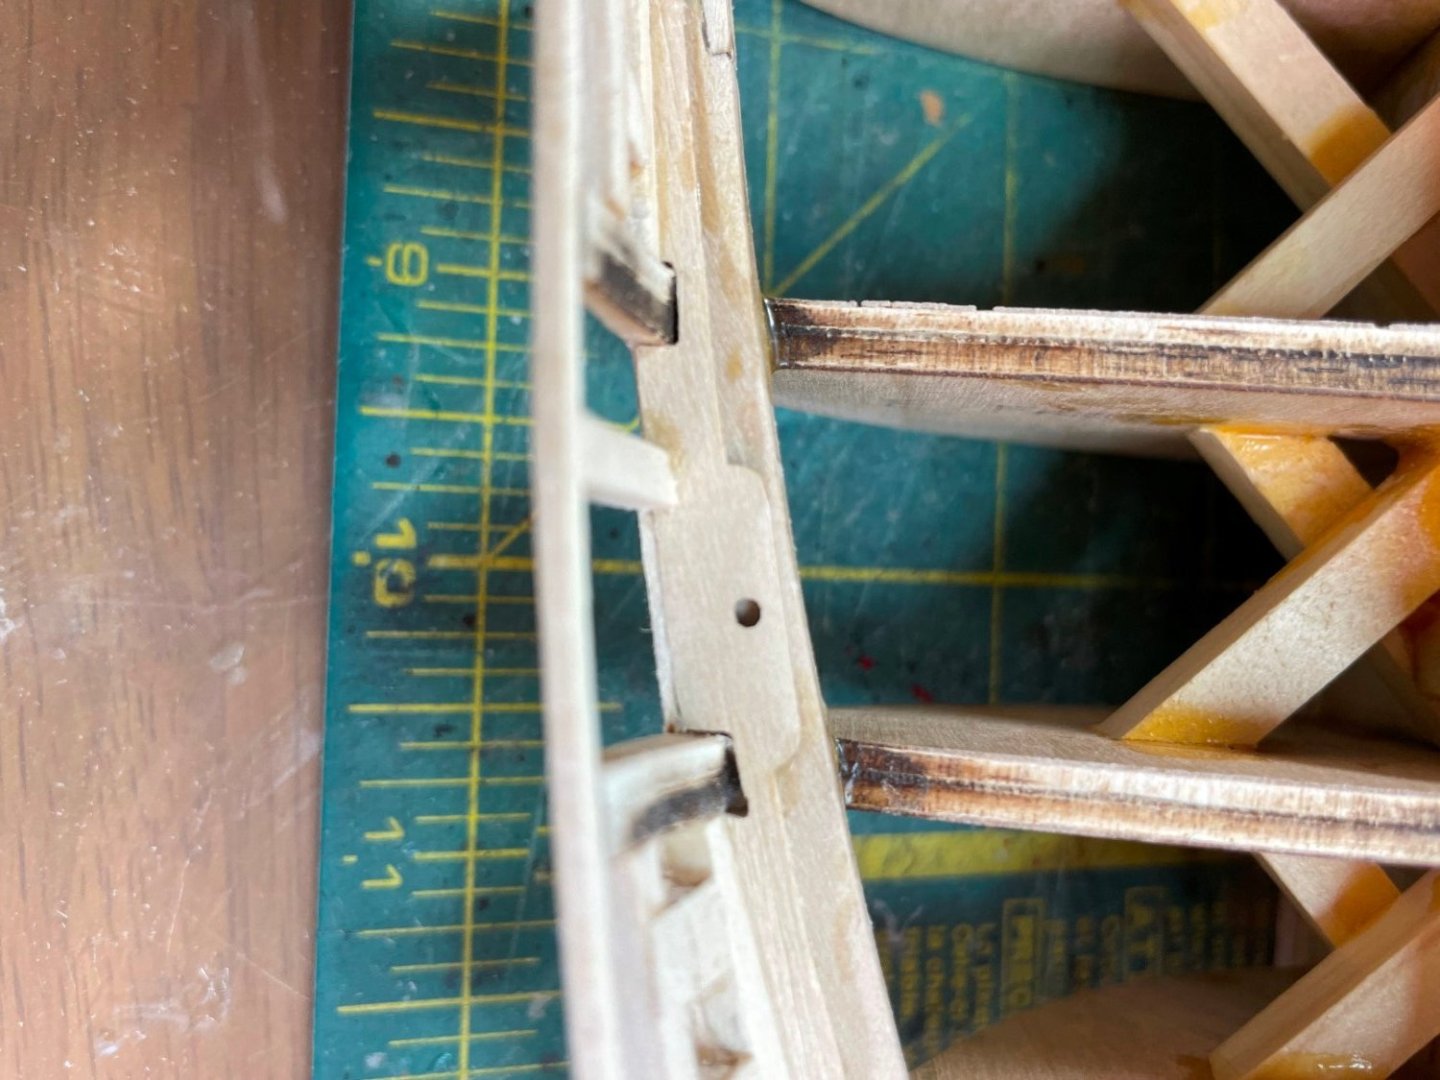
Next on the list - attaching the waterway and planksheer. Some of the slots for attaching the planksheer did need widening as others have noted.


.jpg.ce03403505e791bc4da925a0d84307a6.jpg)
.jpg.6d1317367be56880502f861a731fb1e7.jpg)