-
Posts
94 -
Joined
-
Last visited
Content Type
Profiles
Forums
Gallery
Events
Everything posted by Usgecko
-
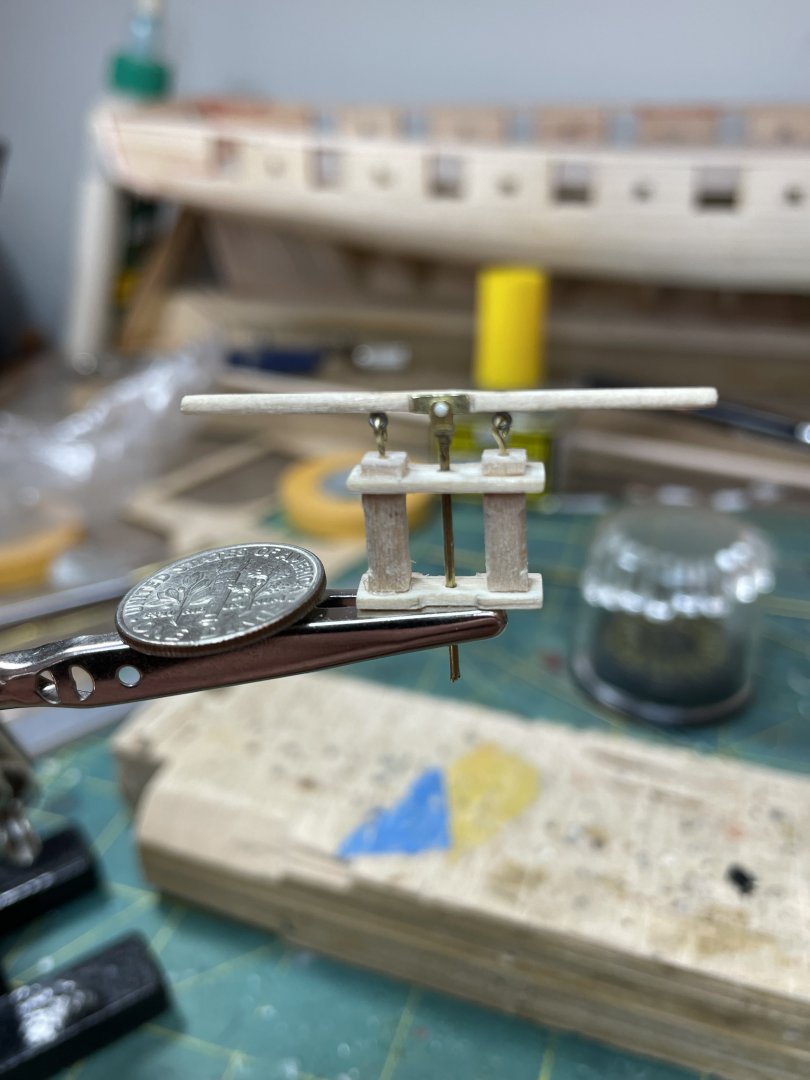
I could not put it off any longer - construction of the cannons and carronades and all the associated rigging. Got small very small hooks and eyebolts online as I just wasn't pleased with the hooks I coul make myself Started putting together, and painting the carronades, adding the required hardware. The hardware was made out of the rings and brass strip provided in the jit, blackened using a commercial blackening solution. And then on to the (for me) daunting task stropping the blocks for the rigging for the cannons and carronades. I purchased rope and blocks from Syren and as many other people have stated - what lovely stuff! I ended up going down the pre-made seizing route for stropping the blocks after unsuccessfully trying other methods - It's not perfect but I am ok with the results. I'm not 100% pleased with them, but what modeler ever is? 🙂 Working through the single and double blocks in groups of 25 while working on other parts of the construction to try to maintain my sanity!
-
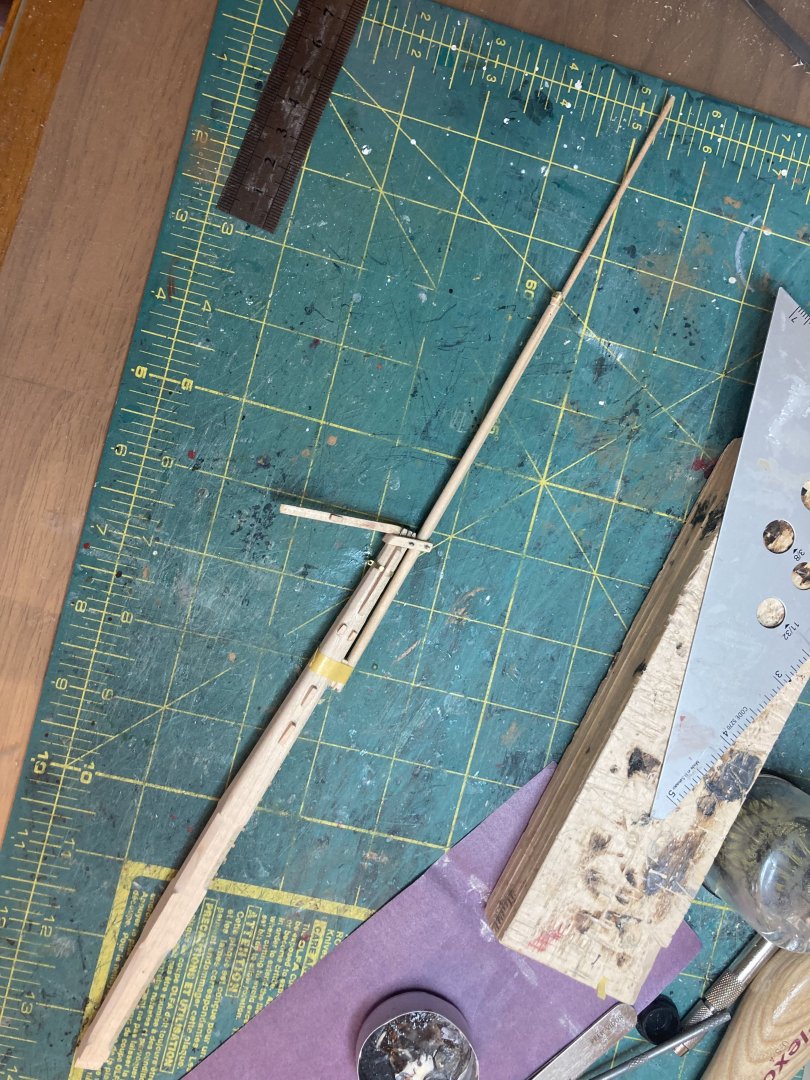
After working on the masts and yards I turned my attention to completing the planking on the hull. Not 100% happy with it but it's the first planking like this I have done and after use of bondo filler and judicious sanding it was completed and ready for a couple of coates of sanding sealer to get rid of "fuzzies" on the wood and next step will be priming.
-
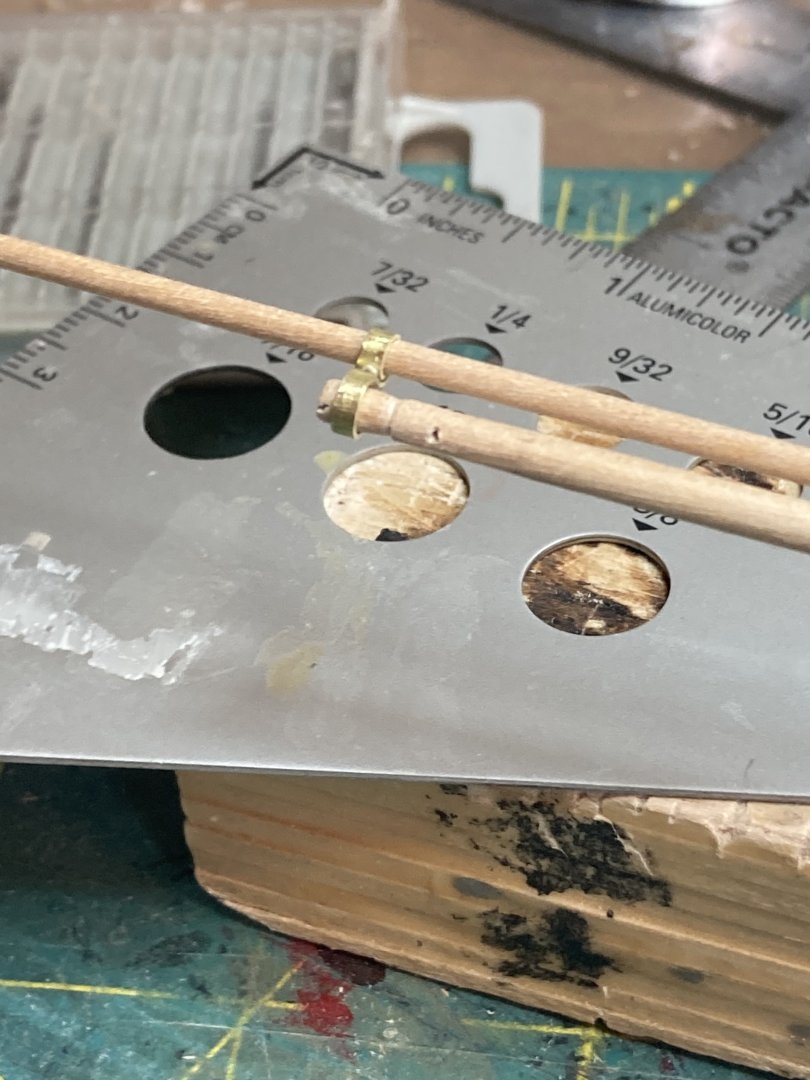
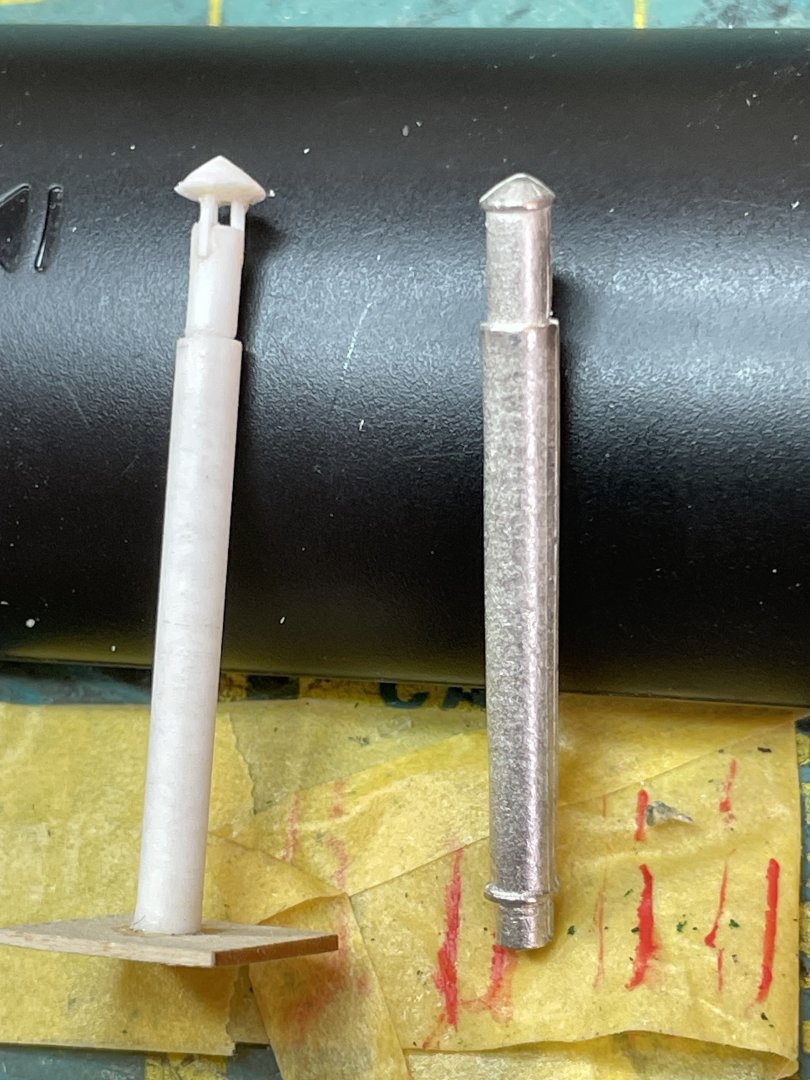
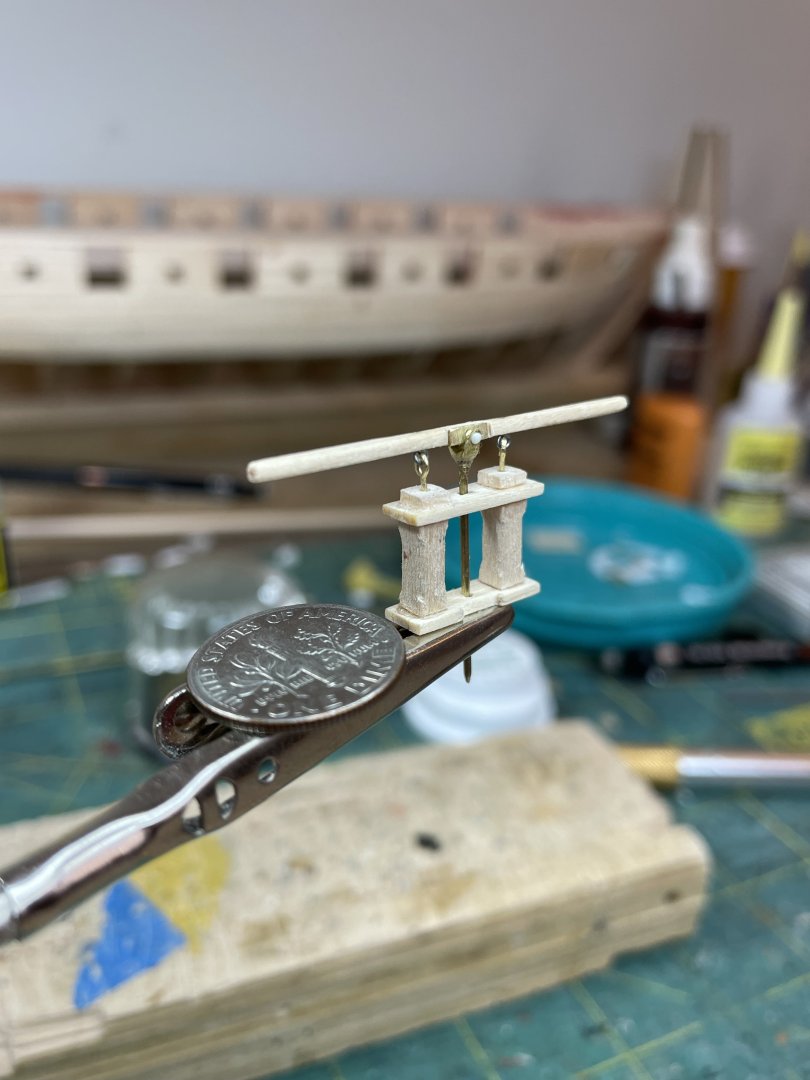
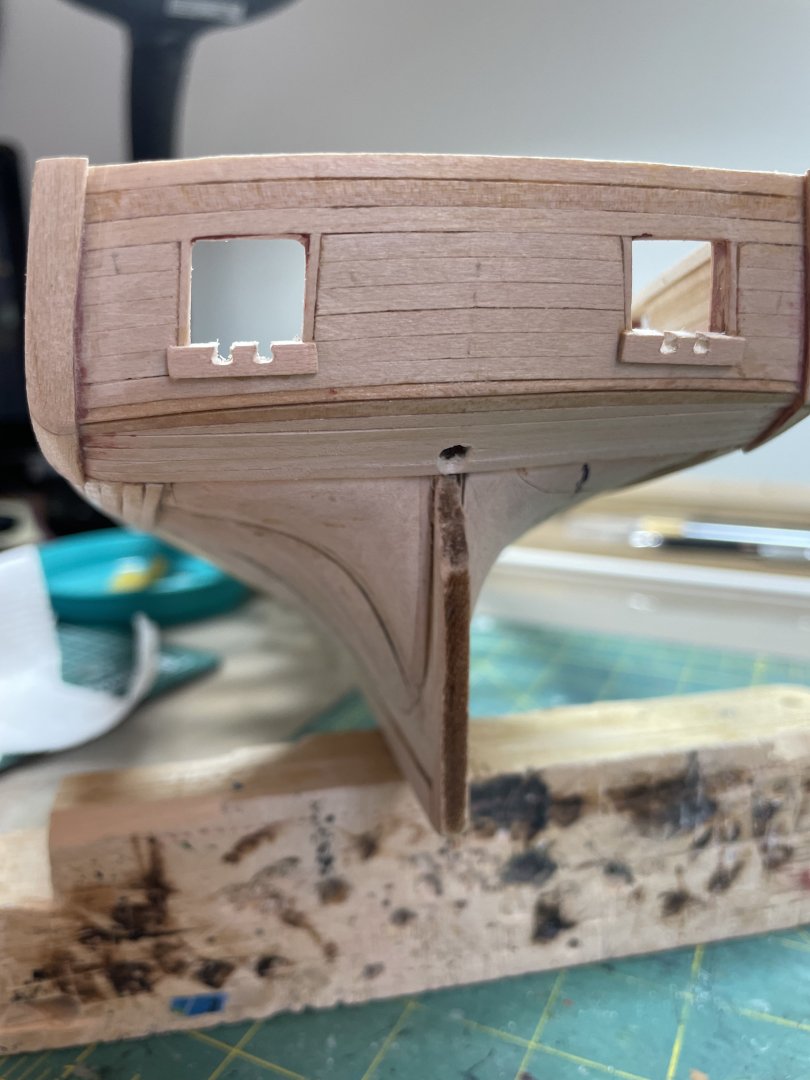
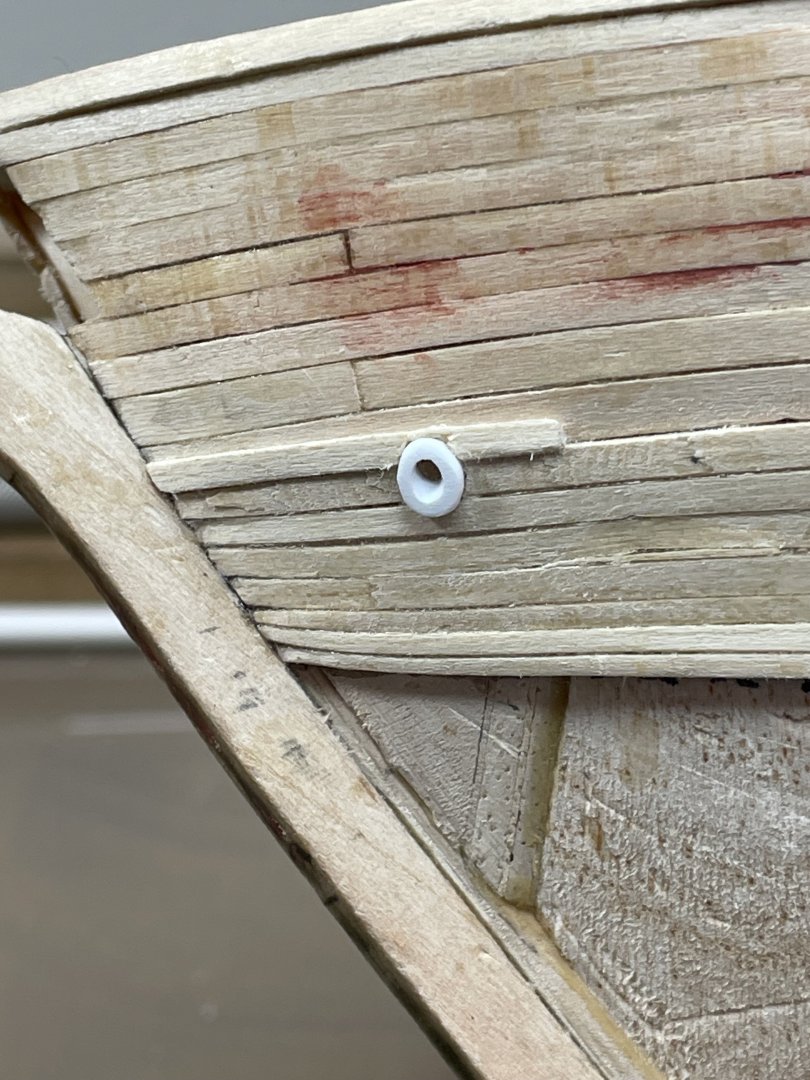
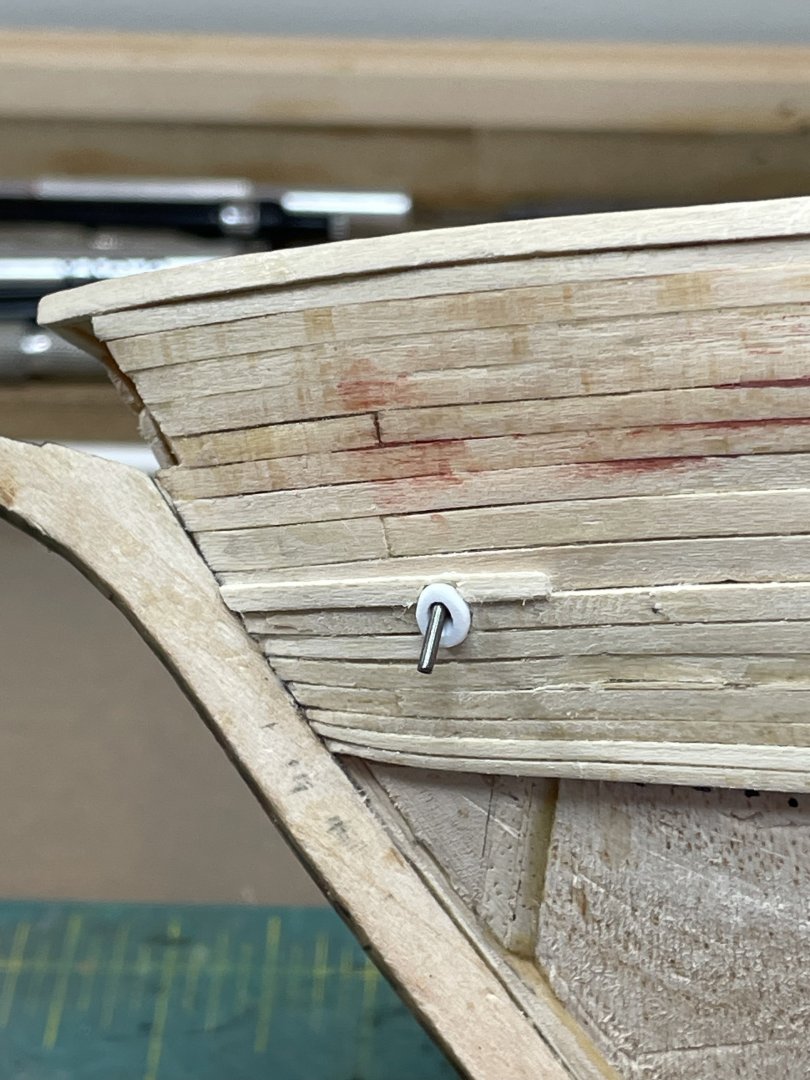
Work continues on various different areas. I have added representation of nail holes in the decking. The effect will be a little more subdued once sanding sealer has been applied, a few passes with fine sandpaper and then final staining. I don't think I am going to attach the deck to the hull until after I have done some painting of the hull, and that will not happen until warmer weather in Atlanta when I can use an airbrush outside in the garage. Also some work on the rudder: Excuse the fact that the rudder looks a little mangled. I did not like the alignment when sliding it into the holes already drilled in the hull. There was too large a gap for my taste where the rudder aligns to the back of the hull so I cut up the rudder a little and realigned it - the fit will be closed when it is attached now. Also decided to make the rudder hinges out of a combination of brass tubing I had and strip plastic. Why plastic - because I tried soldering brass strip and it looked awful so plastic it is. The brass is of two different diameters which fir snugly inside of each other. The plastic strip on the top and bottom of the hing can therefore pivot and will be attached to the rudder and hull, after replicating nails (bolts) by which the hinges would have been attached to the hull and rudder. Last work has been to put together the capstan which needs a little tidy up paint wise but otherwise is complete. The disc on top of the capstan is cut out of plastic sheet with very small diameter plastic rod inserted and sanded down to represent the fittings.
-
Decided to move next to deck hatches. As with some of the other builds already posted I felt the deck was too busy and elected to only add the skylight for the captain's cabin Also cut out holes to insert blocks for sheaves - I felt that this method was cleaner than just drilling holes through the hull
-
Decided to take a break from hull planking and moved onto deck planking. I decided I wanted to have the deck as a single "piece" so that I could then modify it for cut outs for hatching etc. That was accomplished by making a paper template of the deck area and attaching planking to that paper: That also allowed me to cut out the shapes for plank nibbing: The paper side of the deck after sanding edges and a lot of the paper off. And the actual deck side. The outer plank round the perimeter of the nibbed planks was cut from a sheet of basswood I purchased large enough to have a single piece around the port and starboard planks. This needed some gentle finessiing to fit the hull And the deck planking placed where it will ultimately go - not attached yet as I want to cut out holes for hatches etc And detail of nibbing
-
Great work - I refer to your build often in my ongoing Niagara build.
- 157 replies
-
- model shipways
- syren
-
(and 1 more)
Tagged with:
-
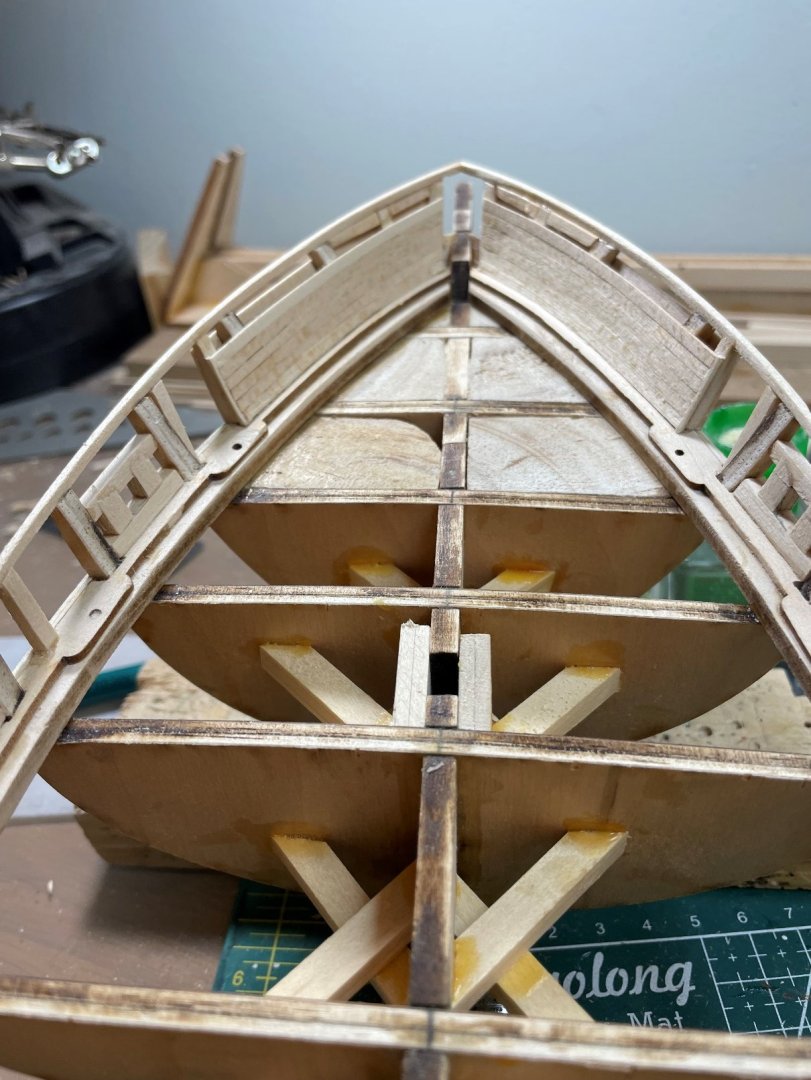
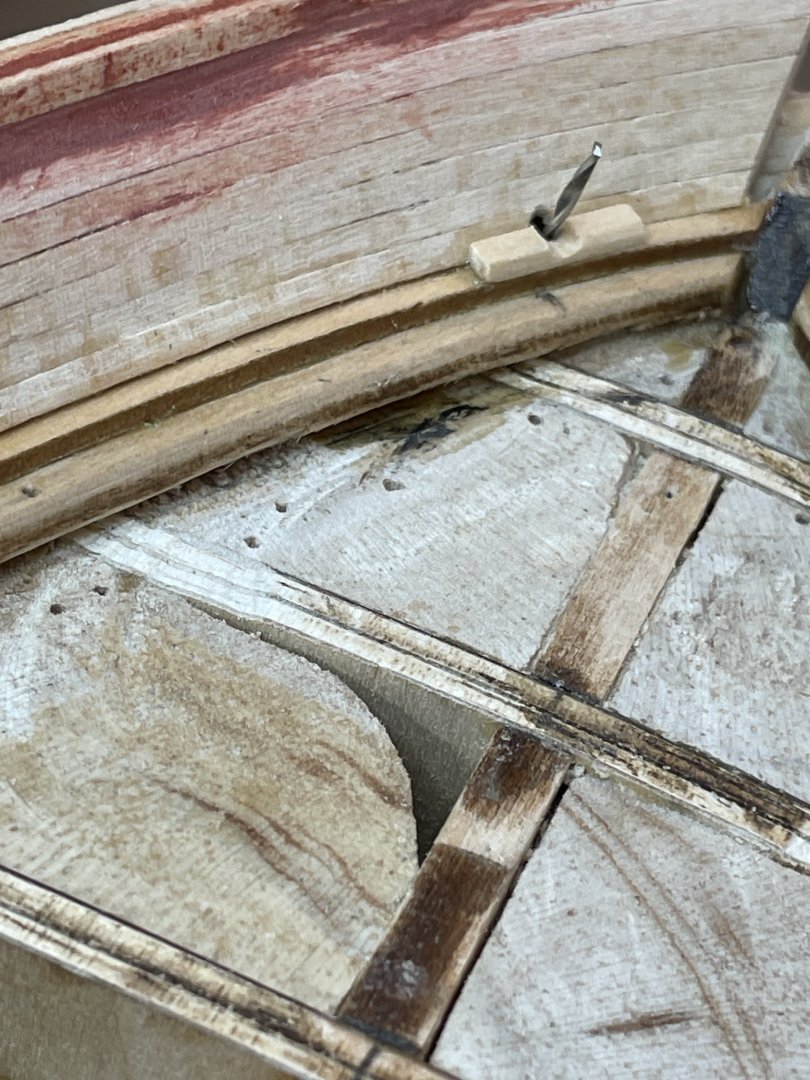
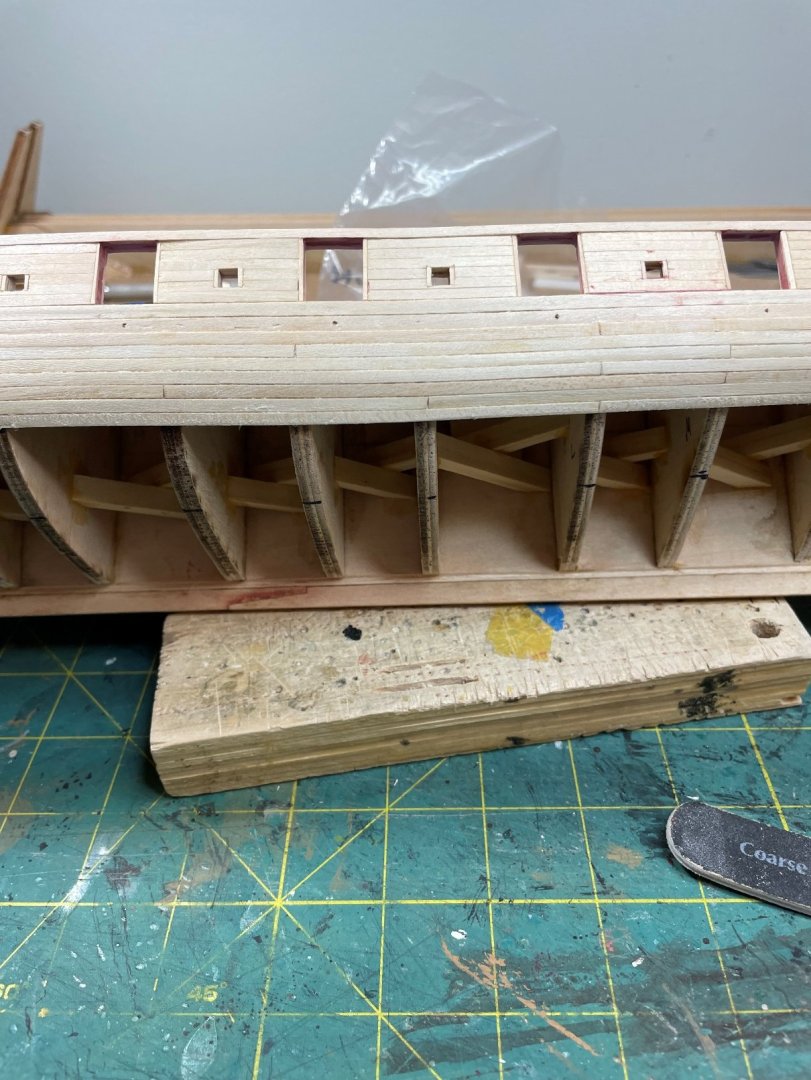
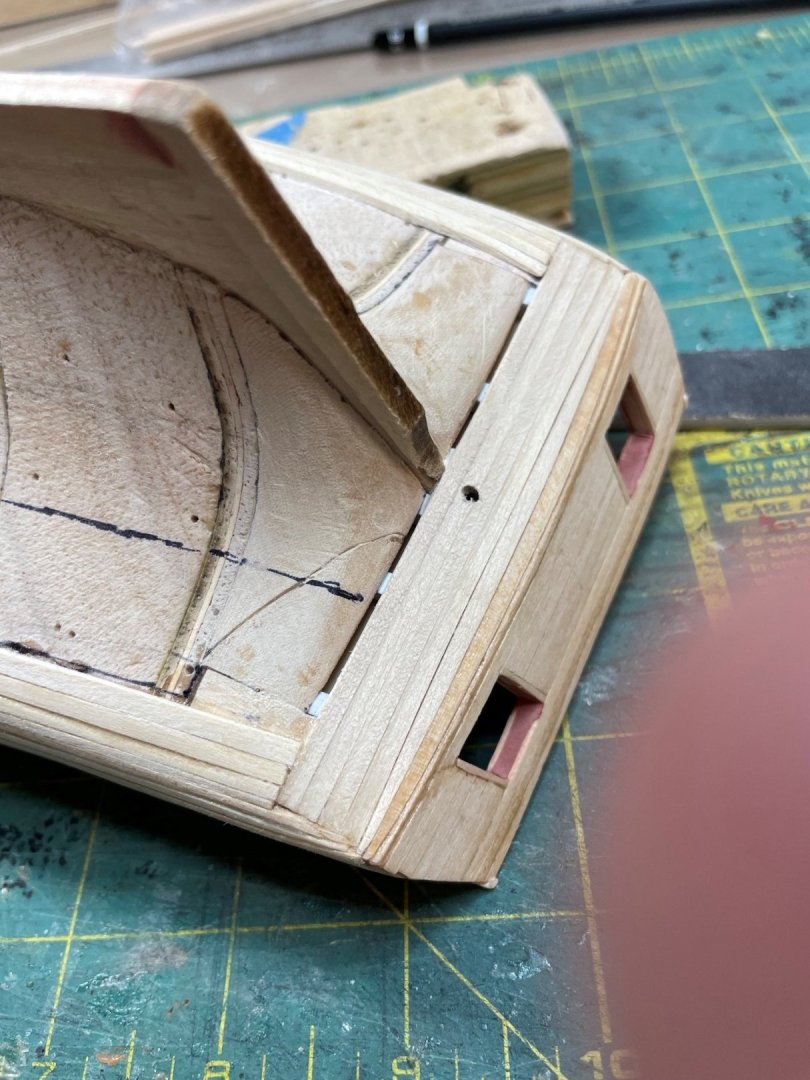
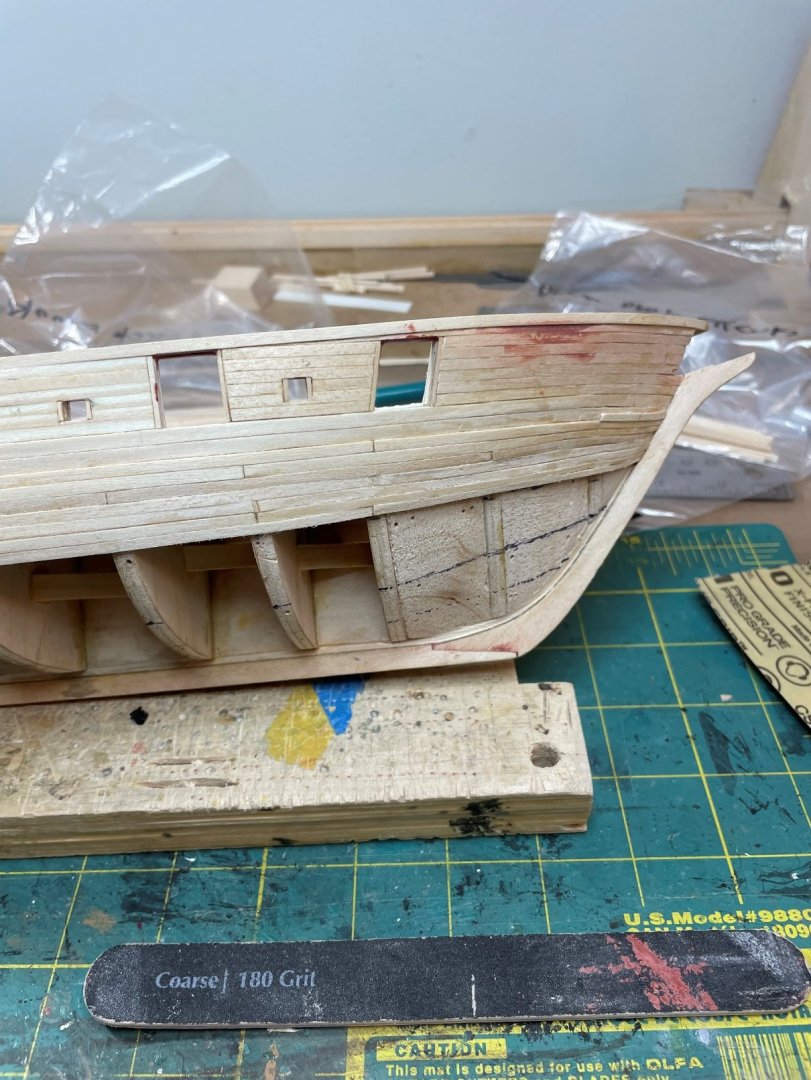
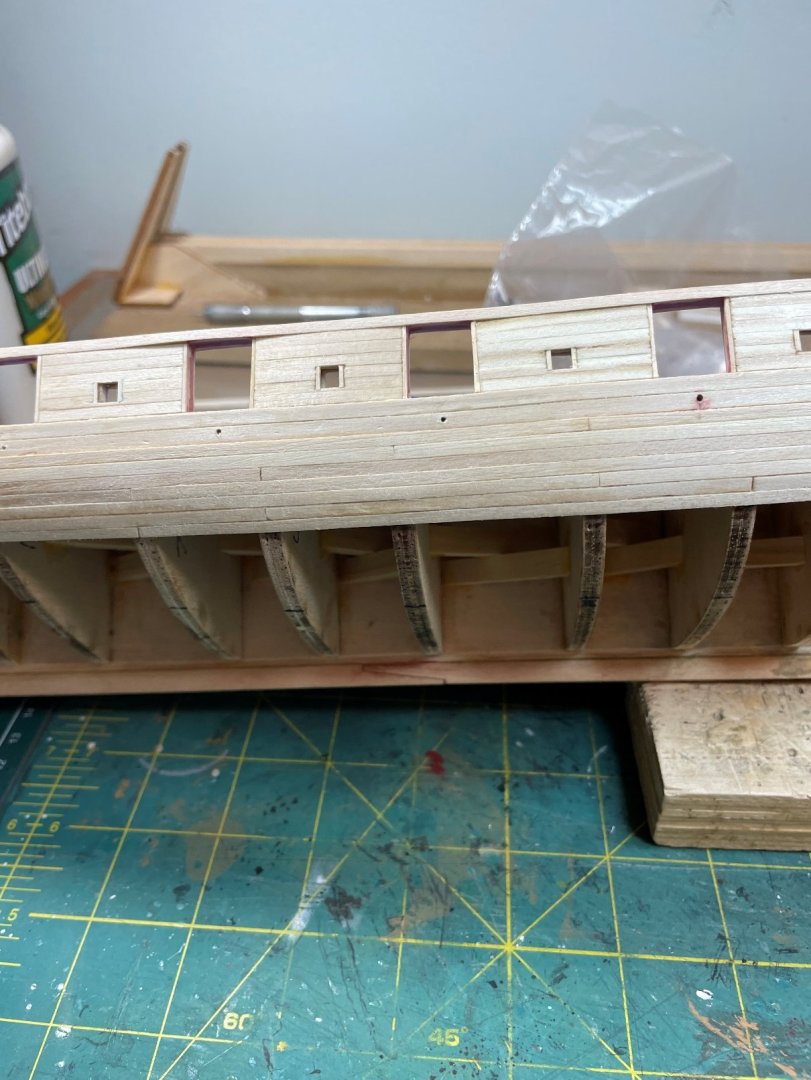
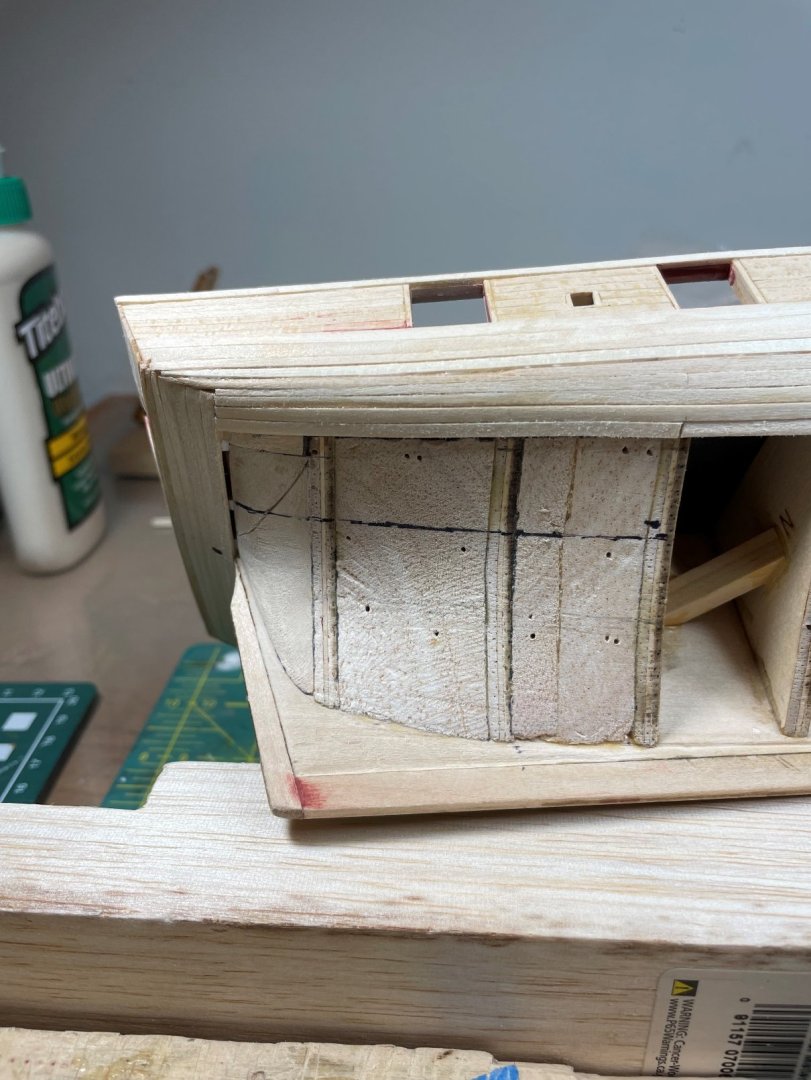
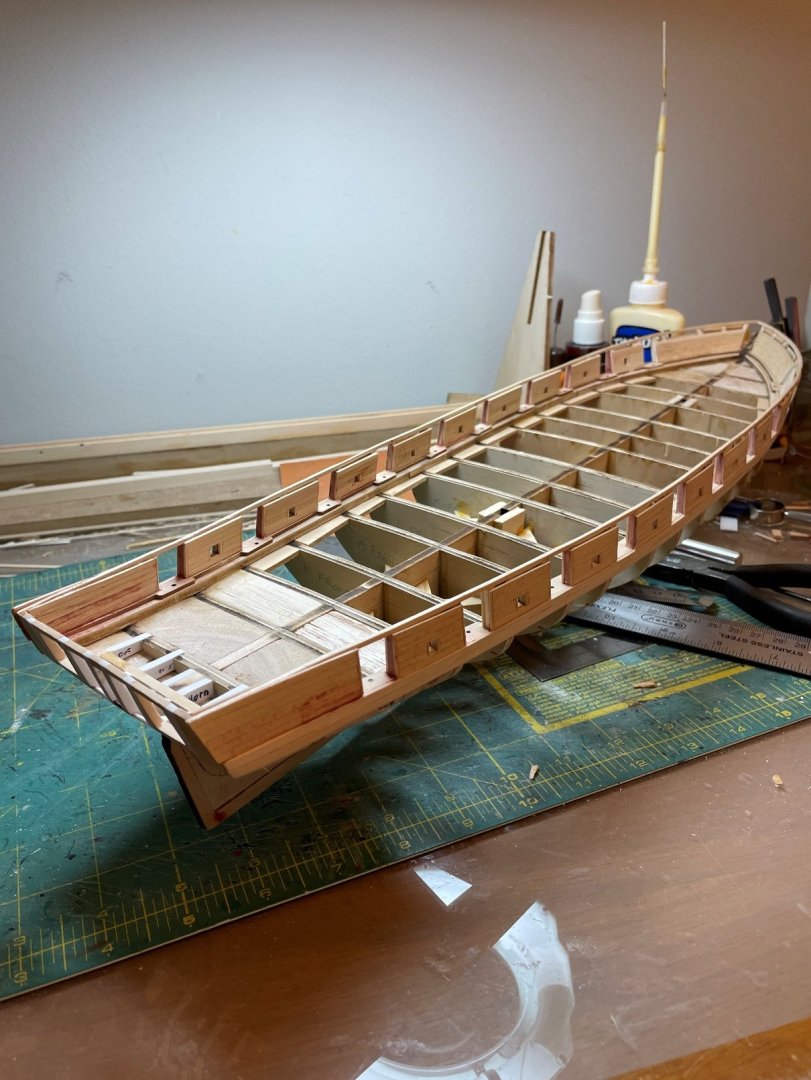
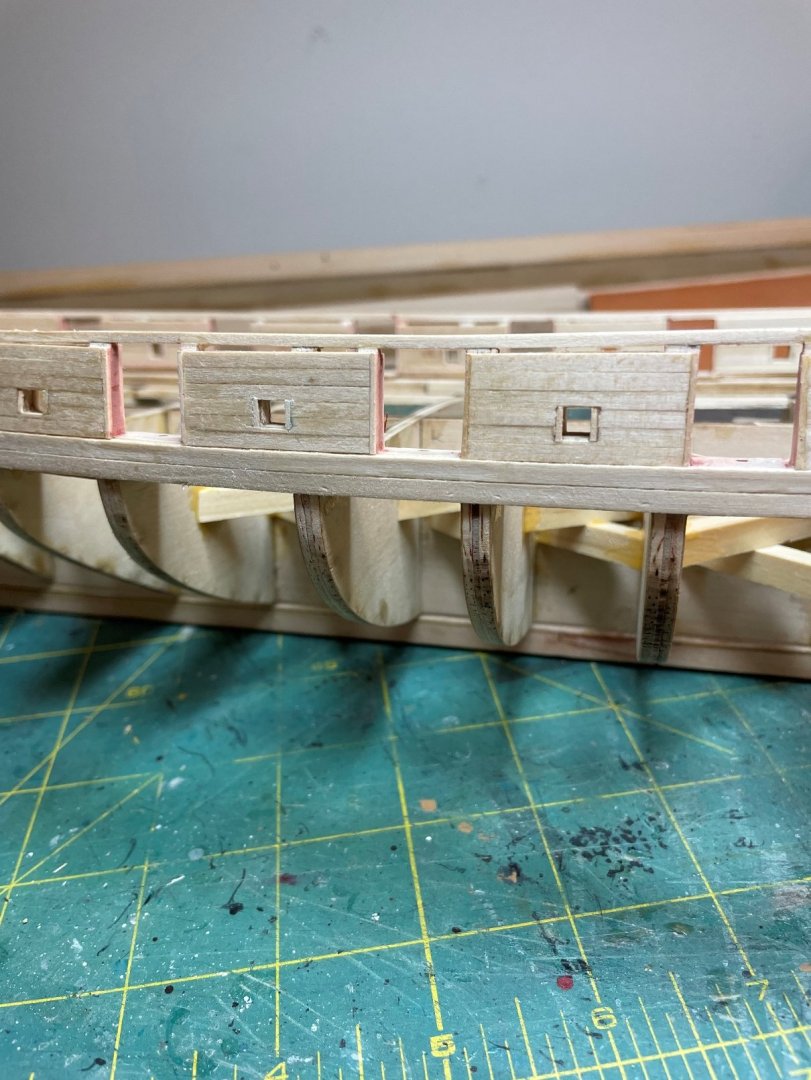
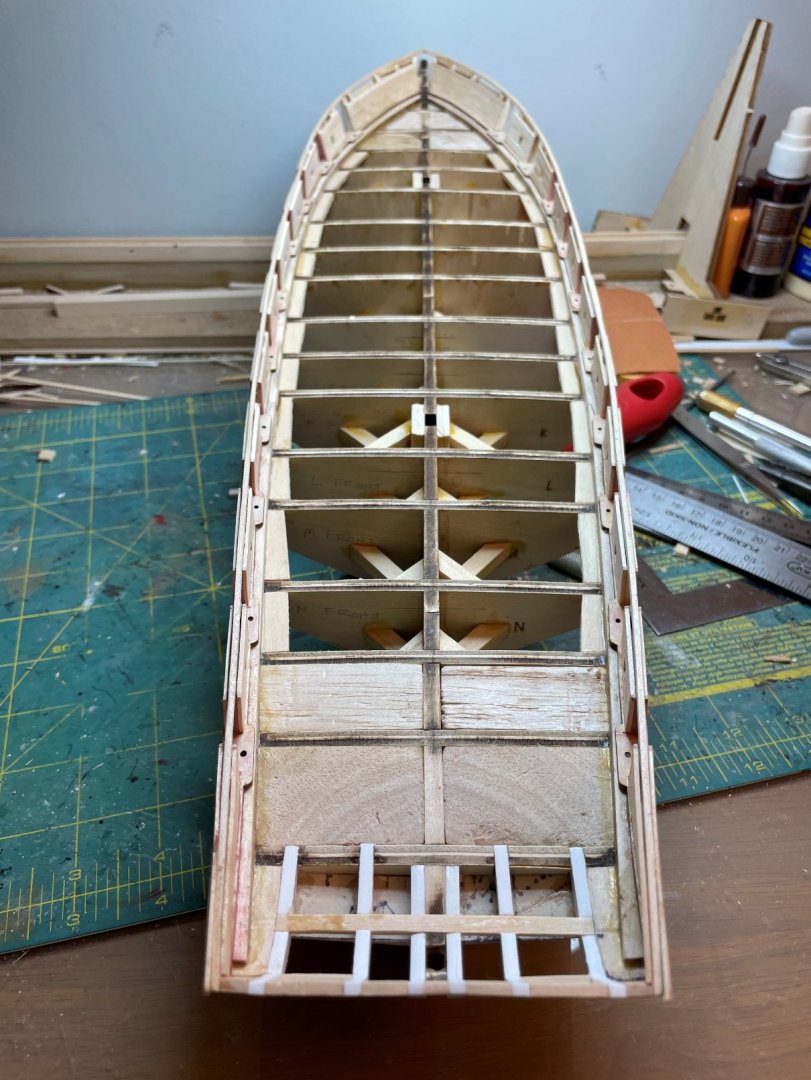
After framing the gun and sweep ports I found there was a gap between the plank sheer where the gun ports were and the edge of the frames. Filled this in with some thin bits of wood then sanded to ensure smoother fit once the first two hull planks were attached. you can see the result below on the outside edges of the cannon ports.
About us
Modelshipworld - Advancing Ship Modeling through Research
SSL Secured
Your security is important for us so this Website is SSL-Secured
NRG Mailing Address
Nautical Research Guild
237 South Lincoln Street
Westmont IL, 60559-1917
Model Ship World ® and the MSW logo are Registered Trademarks, and belong to the Nautical Research Guild (United States Patent and Trademark Office: No. 6,929,264 & No. 6,929,274, registered Dec. 20, 2022)
Helpful Links
About the NRG
If you enjoy building ship models that are historically accurate as well as beautiful, then The Nautical Research Guild (NRG) is just right for you.
The Guild is a non-profit educational organization whose mission is to “Advance Ship Modeling Through Research”. We provide support to our members in their efforts to raise the quality of their model ships.
The Nautical Research Guild has published our world-renowned quarterly magazine, The Nautical Research Journal, since 1955. The pages of the Journal are full of articles by accomplished ship modelers who show you how they create those exquisite details on their models, and by maritime historians who show you the correct details to build. The Journal is available in both print and digital editions. Go to the NRG web site (www.thenrg.org) to download a complimentary digital copy of the Journal. The NRG also publishes plan sets, books and compilations of back issues of the Journal and the former Ships in Scale and Model Ship Builder magazines.




.thumb.jpg.4cf5d7fb10896770d021df558953c3aa.jpg)
.thumb.jpg.ed4d29a16e301ff0df1e05230cda9c67.jpg)
