


Laxet
-
Posts
391 -
Joined
-
Last visited
Content Type
Profiles
Forums
Gallery
Events
Posts posted by Laxet
-
-
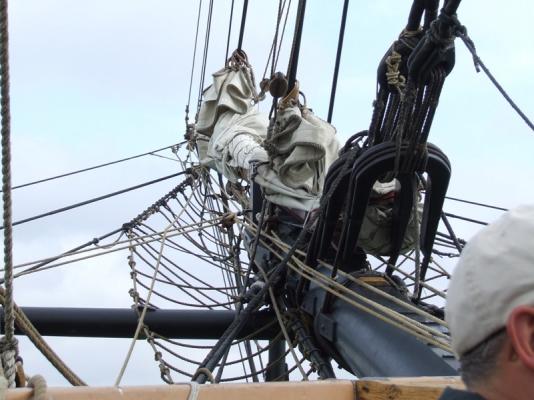
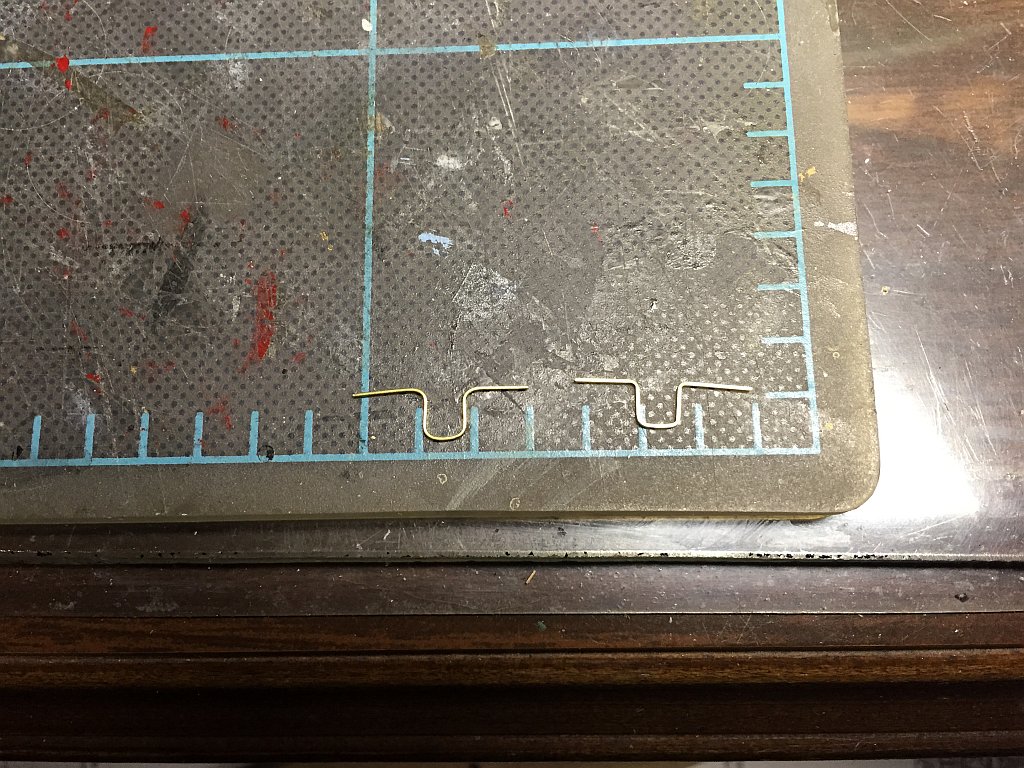
Now on to the manropes. They are also nothing like the prints show. Attached are a couple of pictures showing them now. I even have one picture where they just slung a net below. I don't really know which way looks best, but the current way is easier, so I will probably go with that.
-
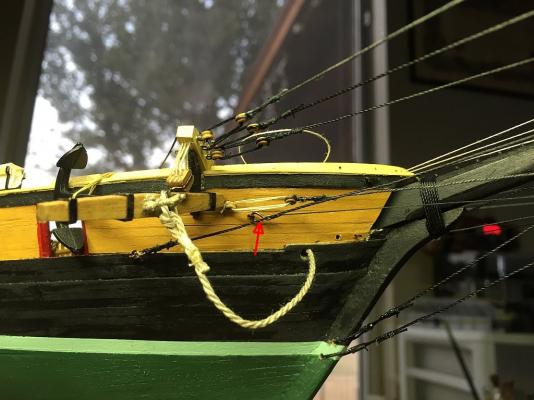
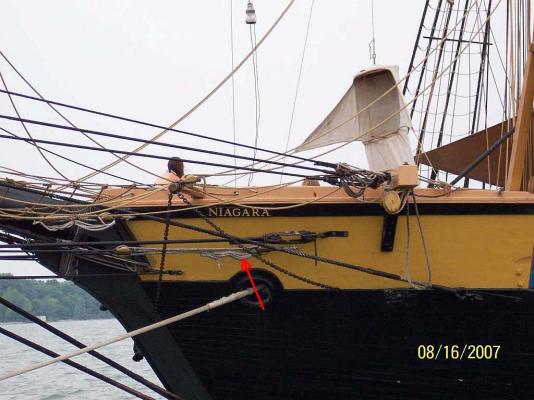
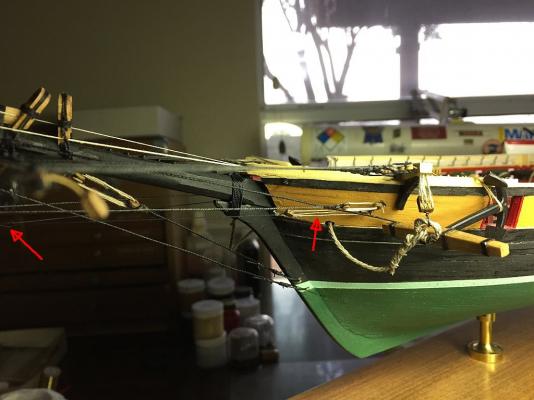
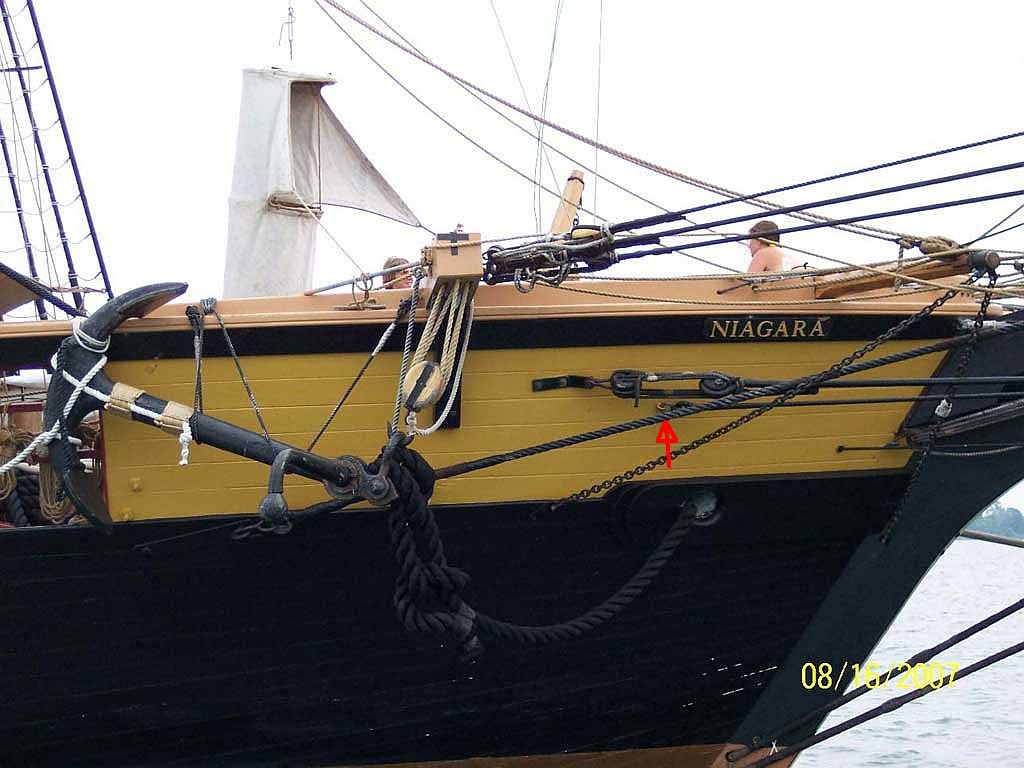
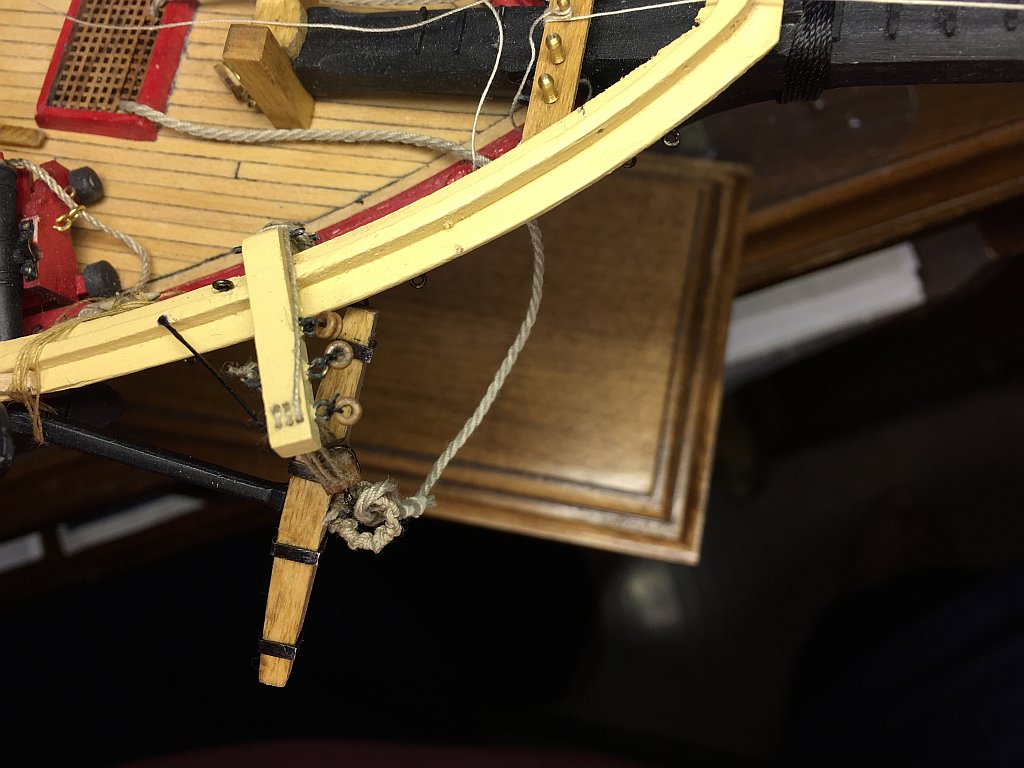
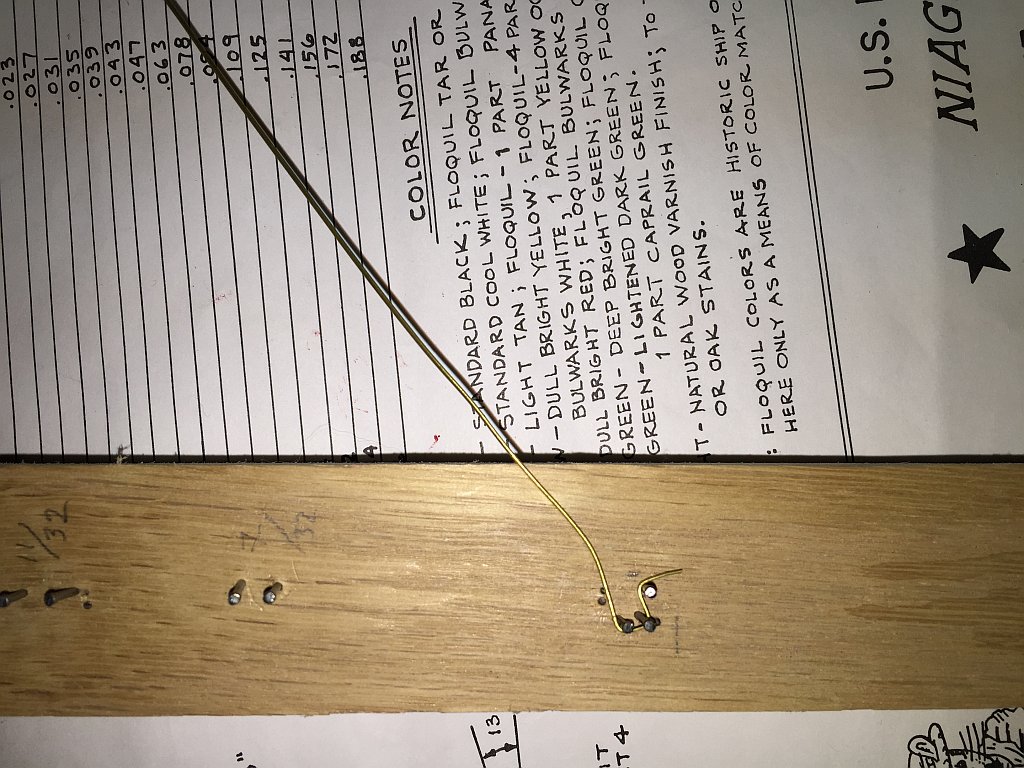
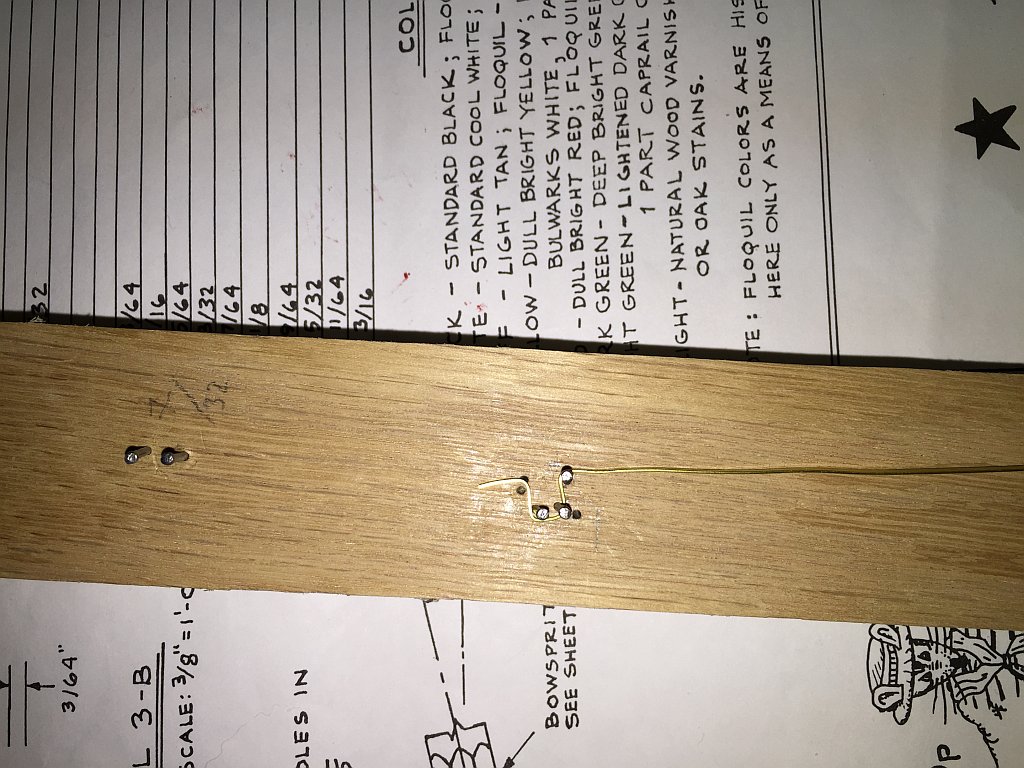
Just finished the flying jib martingale. It is now nothing like the prints/manual show it. Here are pictures of both sides (which are each different) of the real thing & my work. This line comes down through the dolphin striker to a thimble. Then it splits to both sides. I made the thimble a simple eye splice. It is pointed out by an arrow. It is barely visible.

-
-
-
-
-
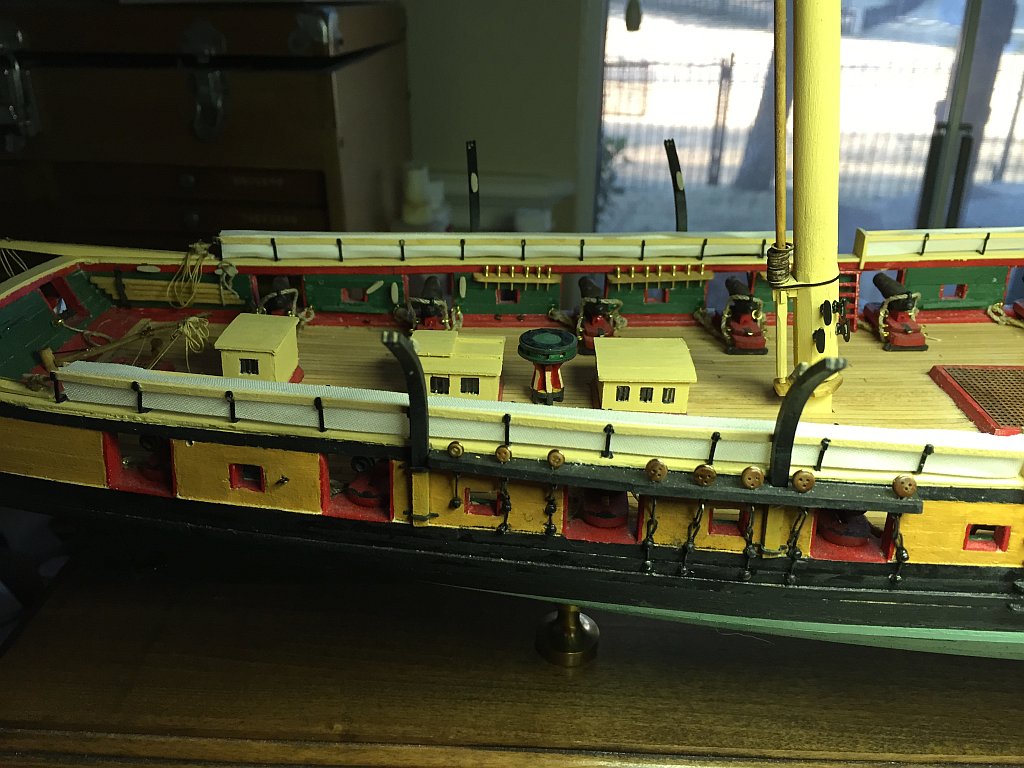
Hey everybody. Look at me, I'm rigging! Weeeee! Having a heckuva time telling where some of these lines go. I wish more people would post their rigging for this ship. Oh, well. I'm getting by, slowly.

- lb0190, SgtSki in MI, captgino and 3 others
-
 6
6
-
Something to watch out for if you are not aware, lasers don't cut parts square. They have a taper. You can see it here in one of my early posts.
http://modelshipworld.com/index.php/topic/7452-us-brig-niagara-by-laxet-model-shipways/page-9#entry231189
I can see some of this in your transom & may be part of your problem. -
-
-
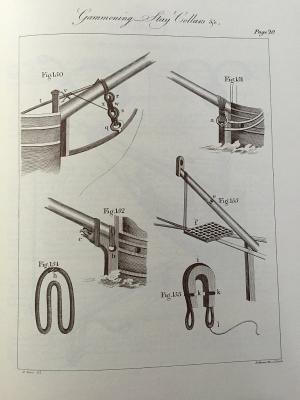
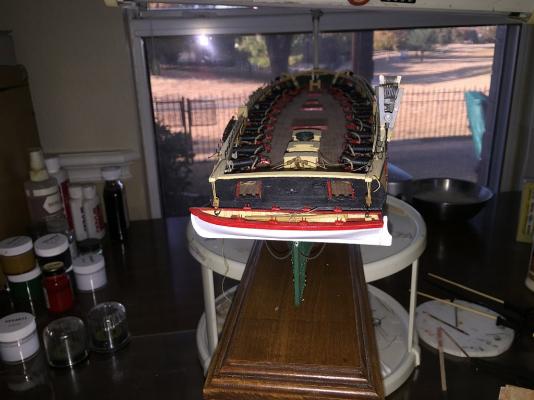
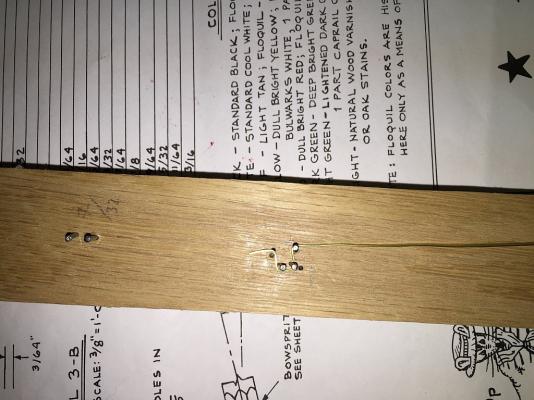
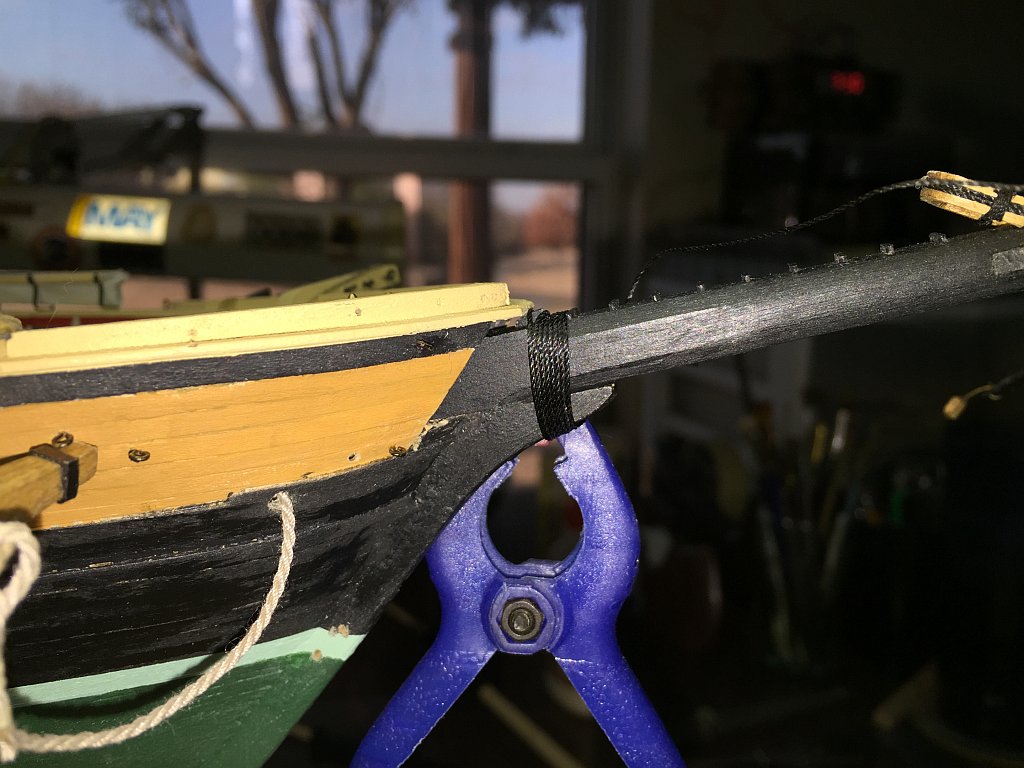
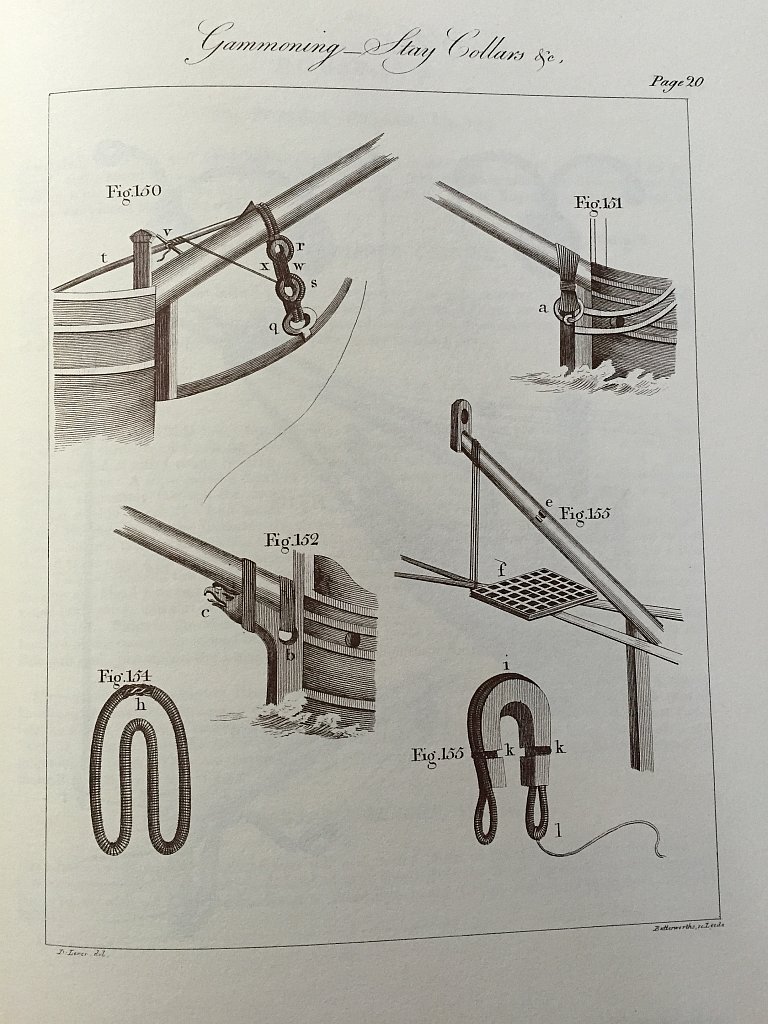
I started this blog hoping to follow other builds that were ahead of me so I could learn how to do this properly. That sure didn't happen. There are no builds that I could find that are active and are ahead of mine. It's been a grueling learning experience, being tossed feet first into the fire. I'm teaching myself everything & not always to the best result. I'll tell you one thing though...the next one will be a HELLUVA lot better than this one. That said, here is the next lesson I've learned. Referring to Darcy Lever, the gammoning for a ship with this type of prow was nailed to the bowsprit with leather strips below the nail heads. It says some captains didn't like to constrain the bowsprit so much, but I'm not sure if he means no gammoning or only one gammoning.
-
-
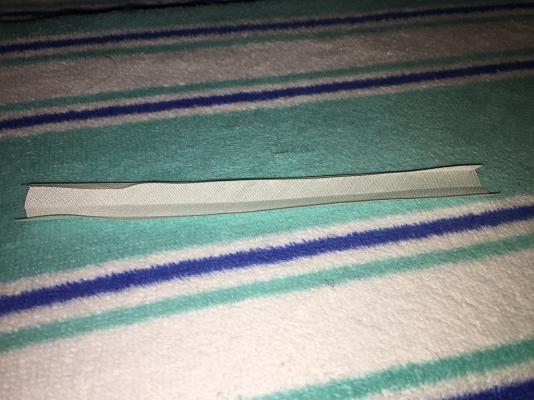
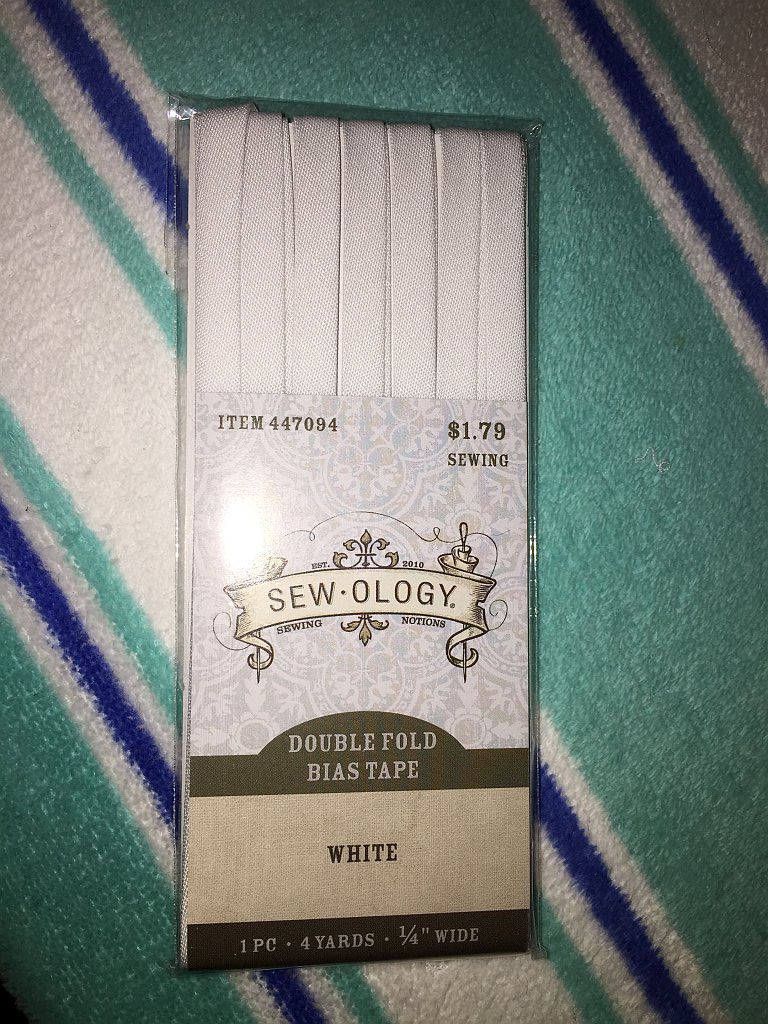
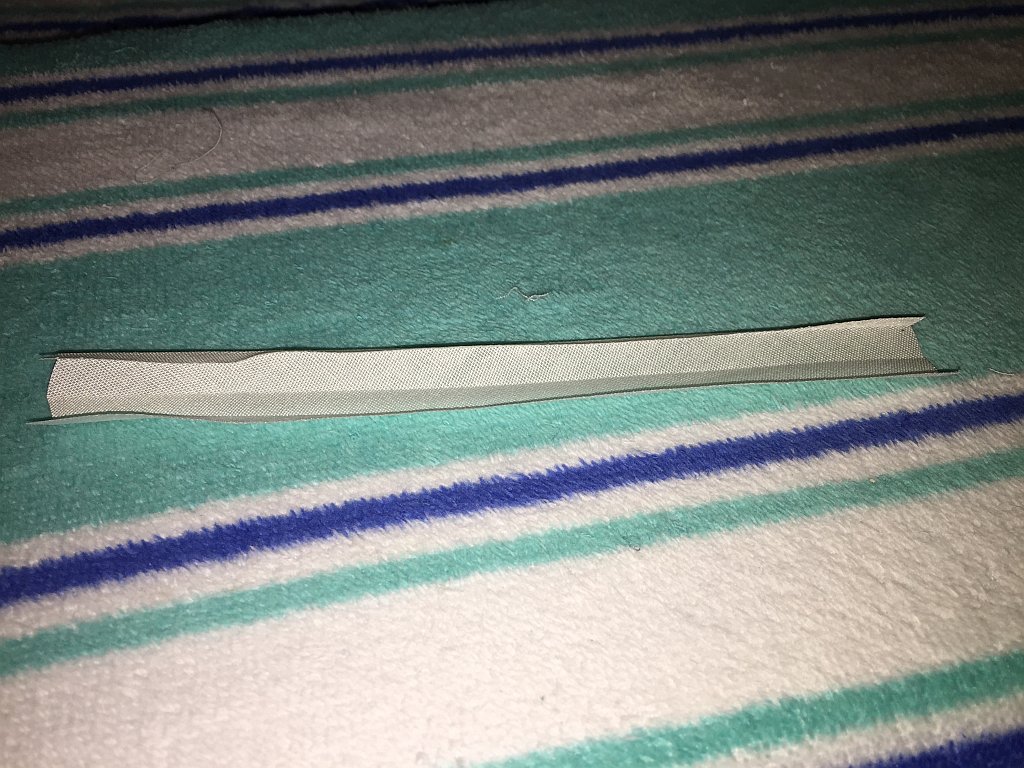
I've been fighting the hammock things for the past week. I've been trying to cut cloth, iron creases in it & stuff it in the rails, making it fit & trying to glue it down. It just looked so bad & I ended up making them five different times & it still looked bad. Today I went to the local crafts store again trying to fing something else. This is what I found. It is called bias tape & it is used in sewing. I found some that looked to be about the right size & bought white & ivory colors. I found after experimenting that if I iron two of the three creases lightly with a warm clothes iron, it fit almost perfectly in the hammock rails. The crease that I did not iron laid across the top very nicely. I didn't even have to glue anything. Here are pics of the material & process.


- lb0190, GLakie and jwhineryjr
-
3
-
The hardest thing would be trying to keep the deadeye strops in place in a slot on the lower tops while rigging. On the other hand, passing the strop through the hole will be a challenge also.
-
Hi Brian,
I realize that about the topgallant crosstrees, but I always thought there was a hole & not a slot. The first two pics show the fore/main tops both ways. That's where my confusion comes in.
The kit says to drill holes for all of these.
-
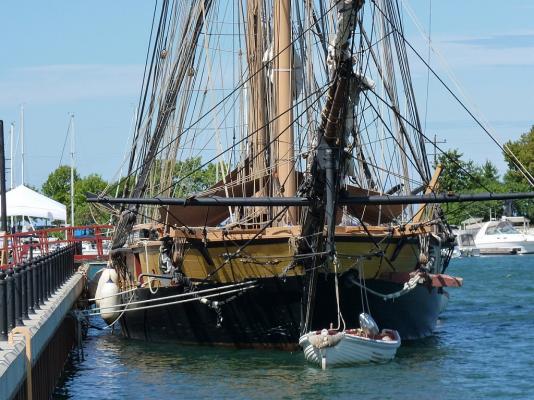
I came across these pictures on the net last night. There are two different configurations for the deadeyes & hardware on the tops. One shows what I always thought it would be like (enclosed), & the other shows just a slot that the strops fit into. I guess that means I could do it either way, but I wonder how common is (was) it to rig with just the slots. Does anybody know if this was common practice or if the Niagara ever did this in her first life?


-
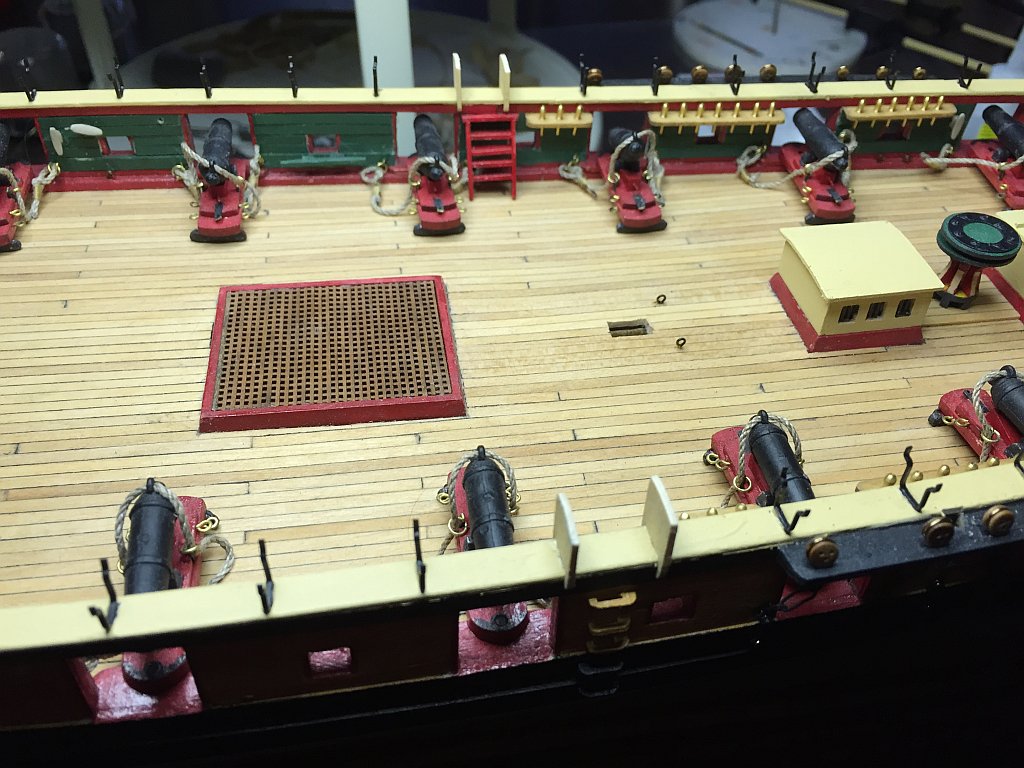
These are todays progress. I have installed some of the top rails on the hammock brackets. It's not all even, & I don't know how easy it will be to align them, or if it will matter once I get the white cloth over them. This is where that cheaper KSM comes in handy. The last picture shows the rigging for the yawl. I haven't secured the lines yet.

-
-
There you are. 46 somewhat less than perfect hammock rails. We'll see how good they are after I mount them. Also in the picture are the blanks for the hammock stanchions. It'll be interesting to see how they turn out. Keeping my fingers crossed.
-
Okay class. Today's lesson is learning the difference in quality between kit supplied material (KSM) & store bought material (SBM). In the picture below, one bracket is bent using KSM & the other is bent using SBM. If you guessed the left one is KSM, you get a gold star. The SBM is so much more rigid than the KSM that it makes a heckuva difference in the quality of the final piece. There is such a difference in these two materials that I'm weighing whether it will be faster to bend another 35 brackets to replace the KSM ones, or to take the time to tighten the bends of the KSM ones. I hate wasting the material & time-wise it is probably a wash. But here is another lesson learned *the HARD way*.

-
Hi Steve,
I didn't make enough rope to flake it on the deck, but that would have looked really good. I will more than likely do what you said & pass it down through the grating. I don't see much other choice.
-
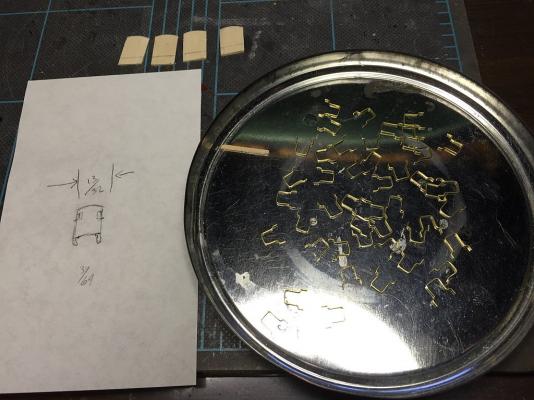
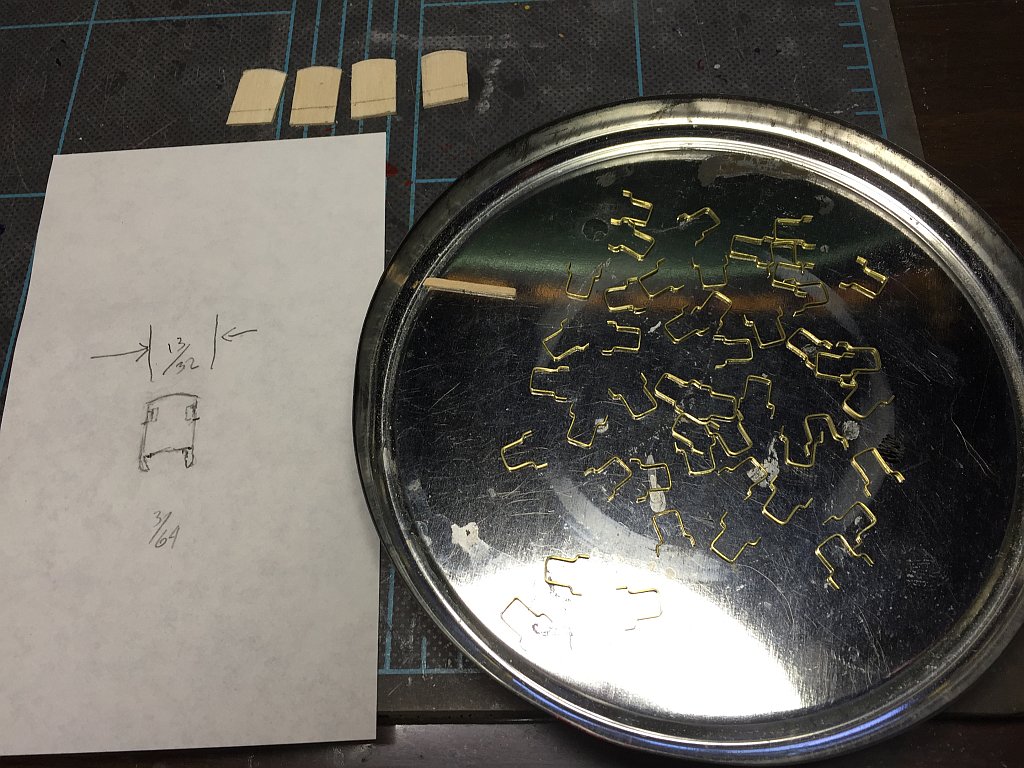
Started making the hammock brackets. I made a bending jig out of nails like I did with the chainplates. I couldn't get the sides symmetrical so I decided to only use one side to bend the uprights. Then I flipped the piece & bent the other side. What could be more symmetrical than using the same jig? After making all of these, I will tighten up the bends & bend the last small upright for the rail.
In the series of photo's, the first shows the first bends. Then flipped & bent the other way. The third photo shows a finished bracket & a scale for size.
-
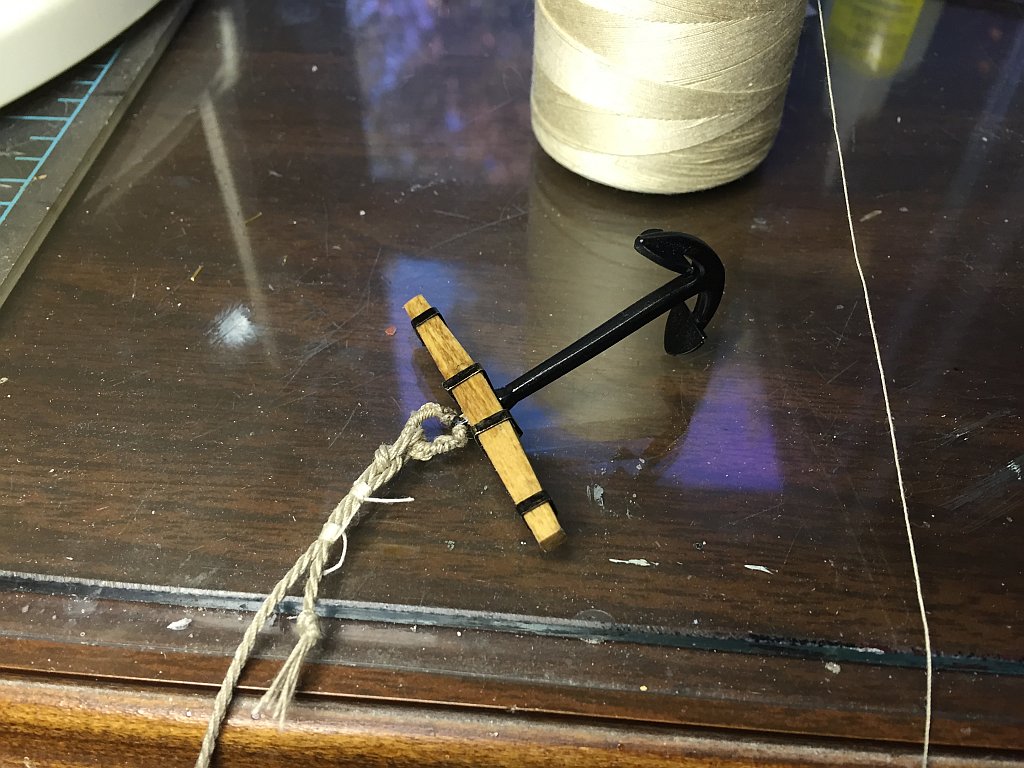
Hi Ken,
As of today that is the way my anchor ropes are running. I will have to do something with them eventually.
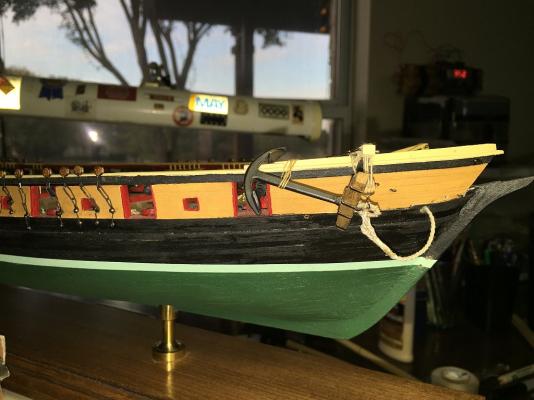
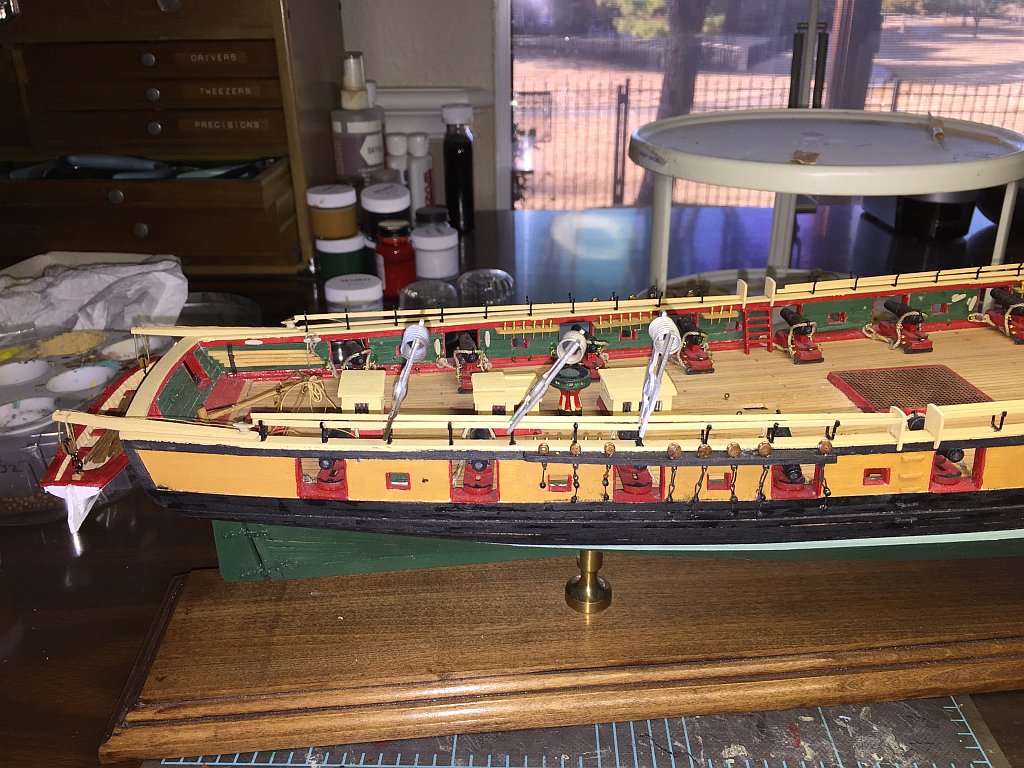
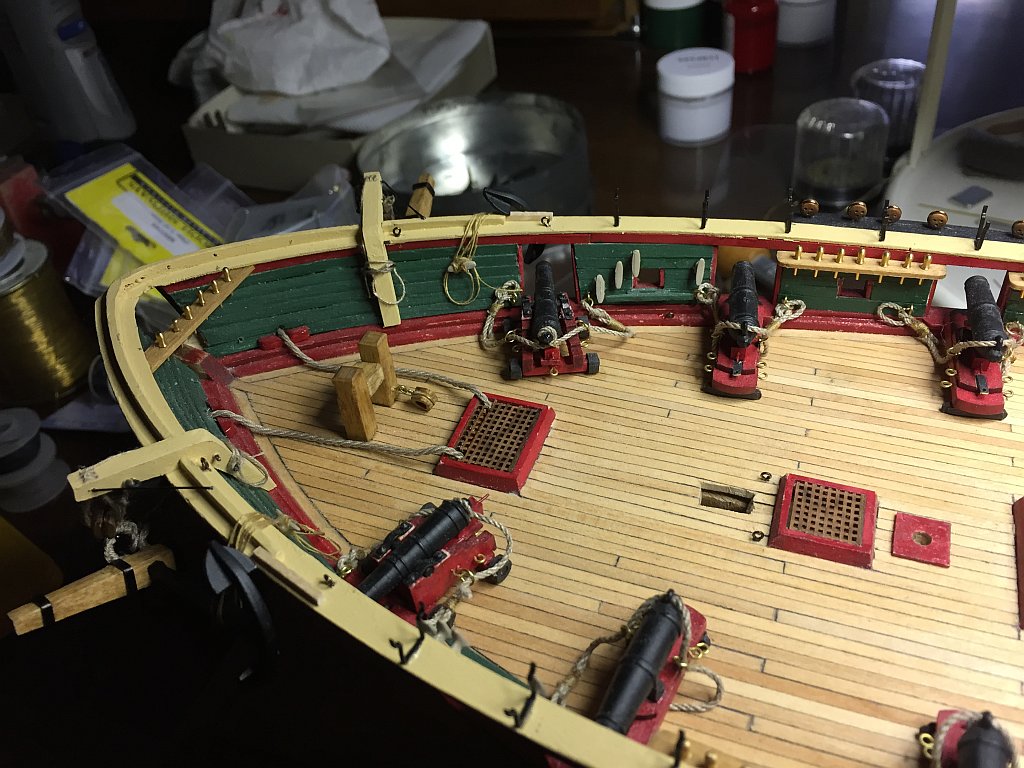
Here are pictures of my hanging anchors. I'm not sure how the real anchors hung, but I'm pretty sure it wasn't like this. You can also see the horrible job I did on the chain plates. I'm pretty embarrassed by them. I can't believe they came out so bad.
I also realized that I drilled the sheave holes on the catheads too close together.
I hope everybody out there is learning a lot from my mistakes. I'm blazing trails here.


- jwhineryjr, lb0190 and Aussie048
-
3
-
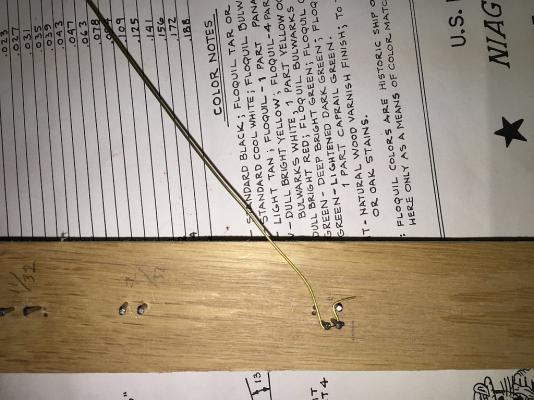
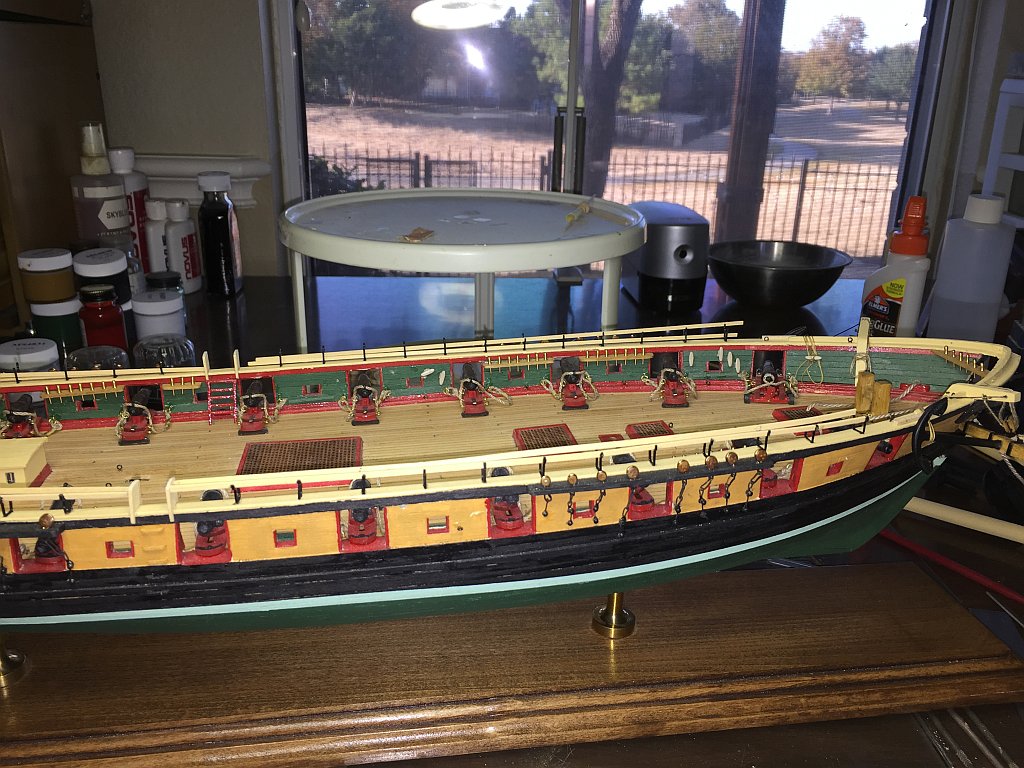
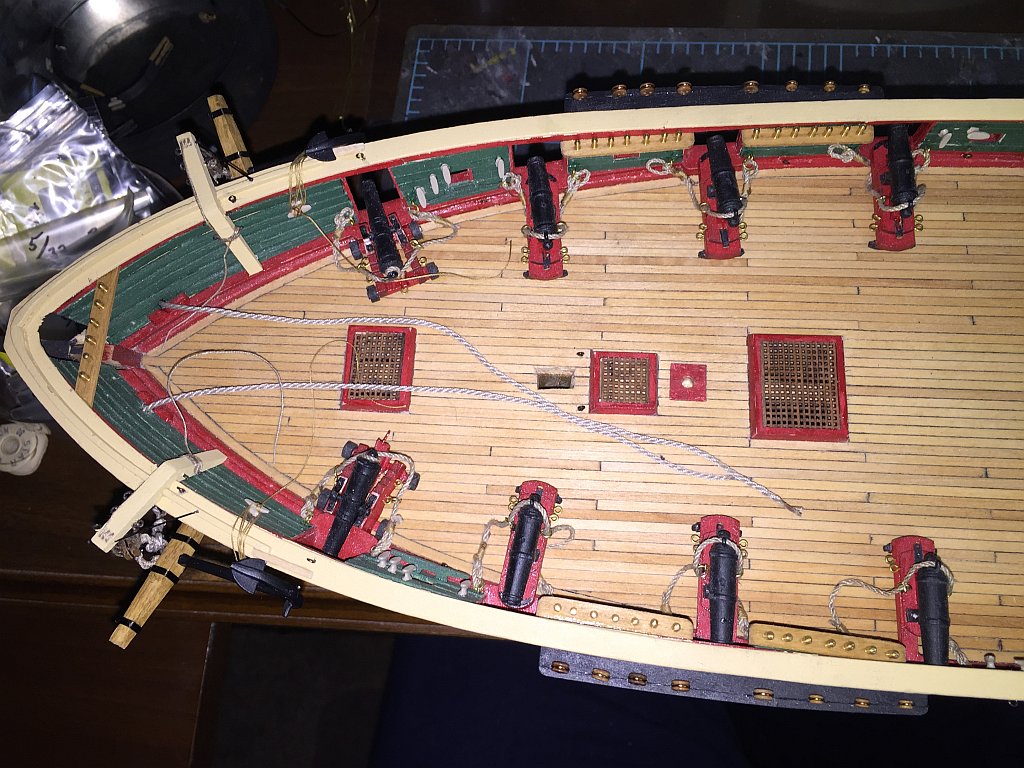
I've been working all day attaching the anchor rigging. I am using some rope that I made. It measures at .047" as called out in the plans, but it is too loose. That will be a lesson learned for the next rope I make. Anyway, I don't know what to do with the other end of the rope (the one not attached to the anchor). It doesn't fit through the grating, so I don't know whether I should enlarge a hole & make it fit or what. Any ideas? What did they do on the real ship.I Googled the snot out this but could not find any satisfactory information.


US Brig Niagara by Laxet - FINISHED - Model Shipways
in - Kit build logs for subjects built from 1801 - 1850
Posted
As an afterthought, I wonder if these are set up & taken down regularly when the boat puts to sea. It would seem to be a lot of work to do that, but it looks like they are different in almost every picture.
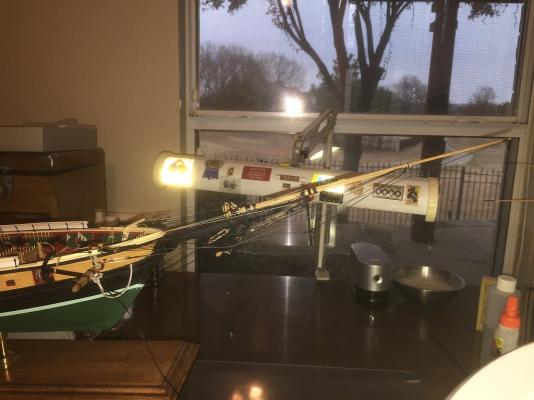
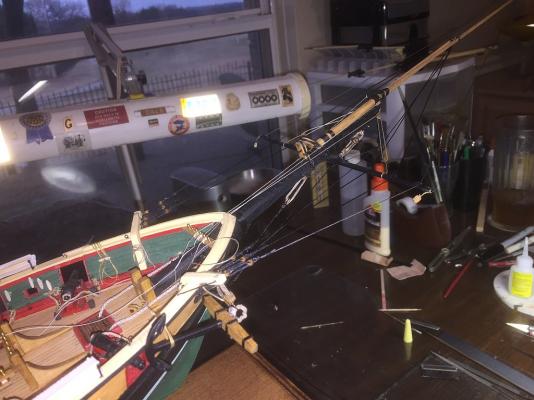
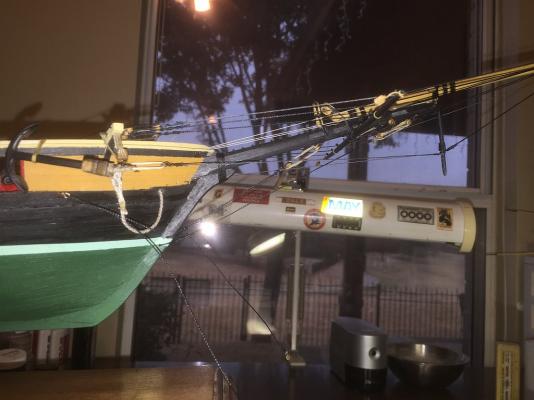
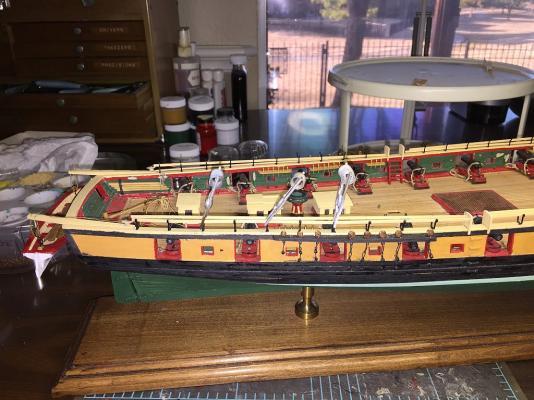
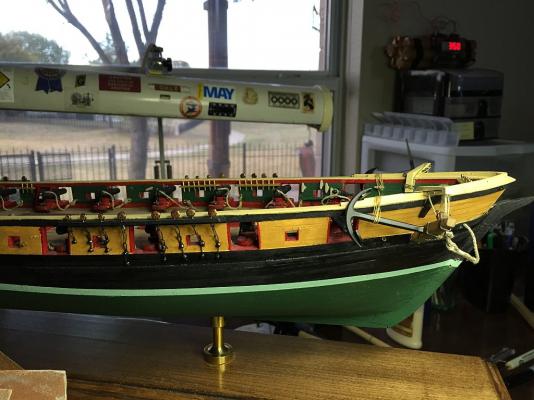
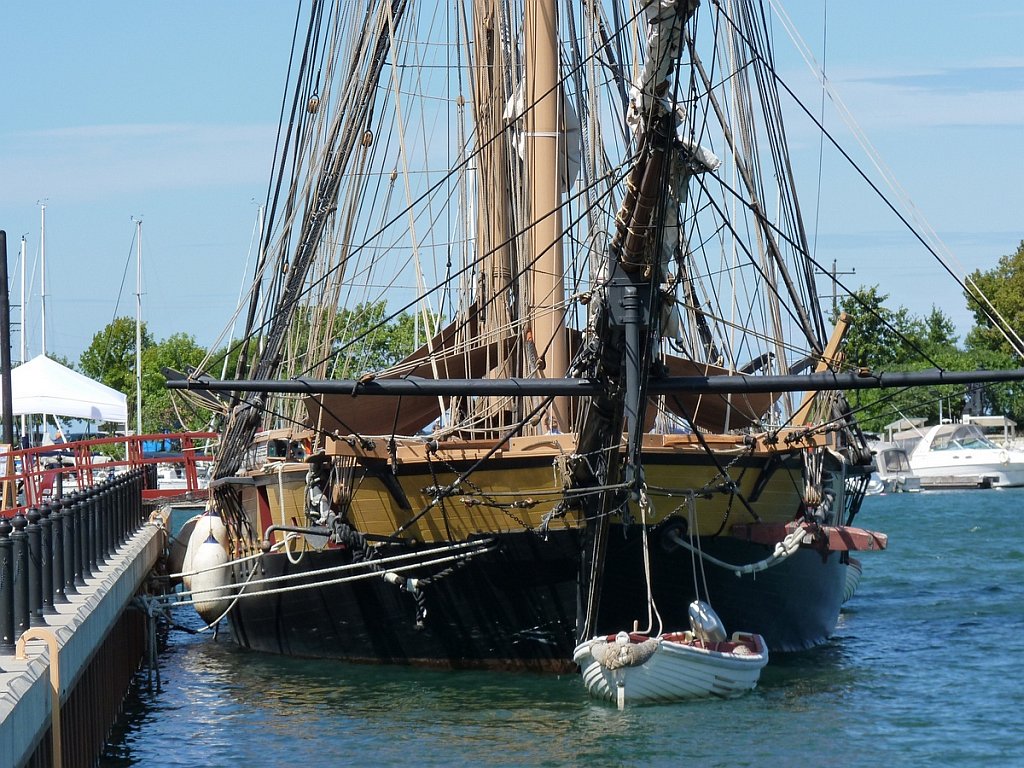
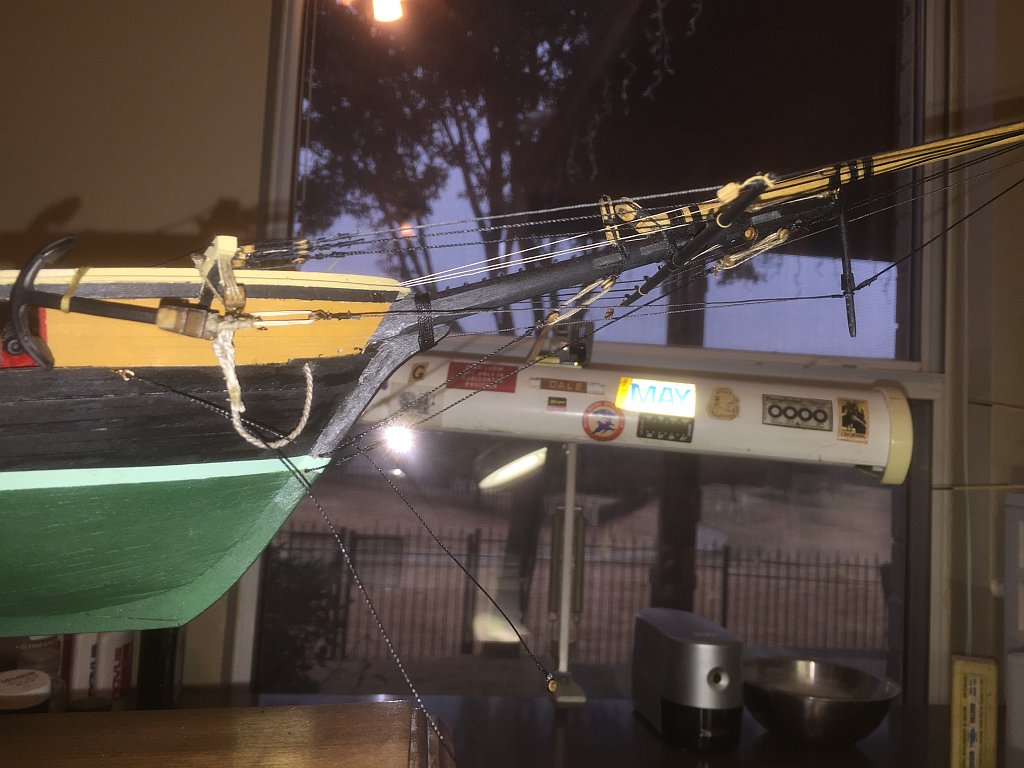
Oh, & here is another picture of the bowsprit.