


lunarlander
-
Posts
13 -
Joined
-
Last visited
Content Type
Profiles
Forums
Gallery
Events
Posts posted by lunarlander
-
-
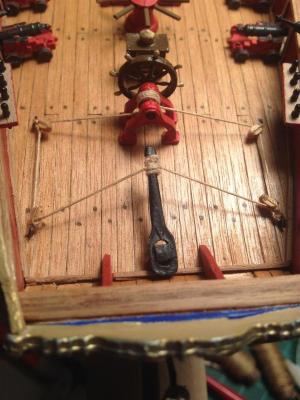
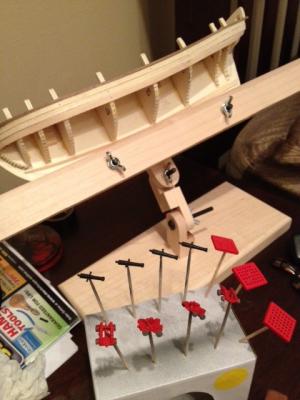
I didnt stick with the plans on the tiller/steering rigging I didnt see how the geometry would work in a real life application so this is what I came up with starting on the bowsprit now.I take the photos with my iphone and resize them on the computer they arent turning out very well if anyone has any sugestions for posting better quality pics.


-
your build is coming along nicely. Excellent work for your 1st build. I had the same problem with mamoli's metal parts. Belaying pins are hopeless and deadeye straps are even worse. How have you found Mamoli's plans and instructions ?
its been a while since ive been here sorry for the late reply I find mamoli's instuctions and plans confusing and the use of words its hard to dechipher I have spent alot of time on here looking through posts to find answers and make sense out of the instructions.Their wood is nice tho
-
-
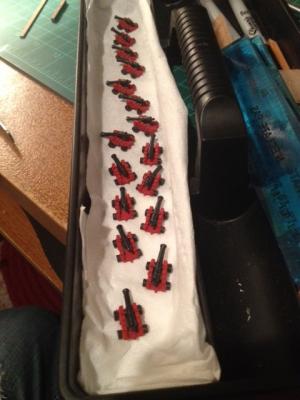
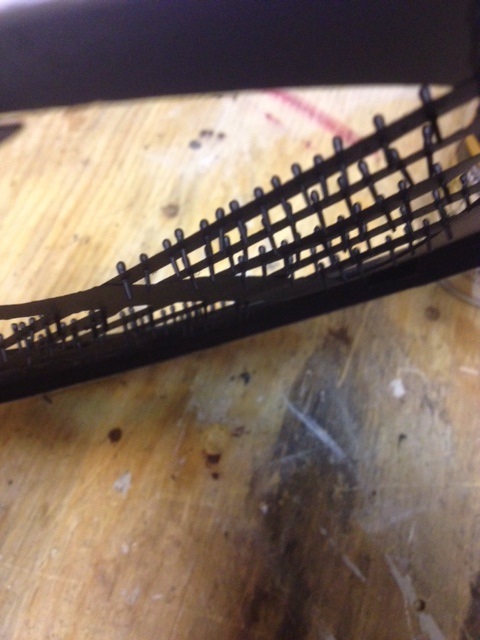
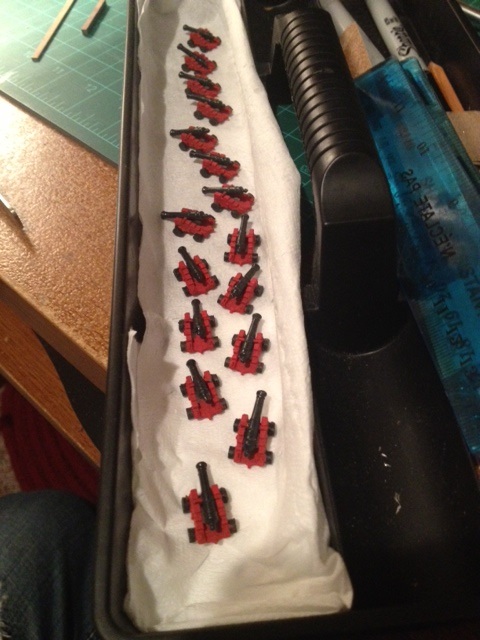
After painting the britannia cast belay pins with acrylic paint by hand and having it not work out I tryed wooden ones and they lookd horribly out of scale and too short then I tryd brass ones from my syren kit and they were too long I decided to clean off the paint which was a pain in the butt and spray the 7mm cast belay pins with a flat black primer and im very happy with the result.Should have just spray painted in the 1st place lesson learnt!!

-
Thanx yes its my 1st build I do hve the syren from model expo already here waitng to be built that's where I got the cannon balls from.i was concidering ordering a wooden boat for the ship boat the one that comes with this kit is cast metal primed white but maybe it will turn out ok after painting and building seats oars etc
-
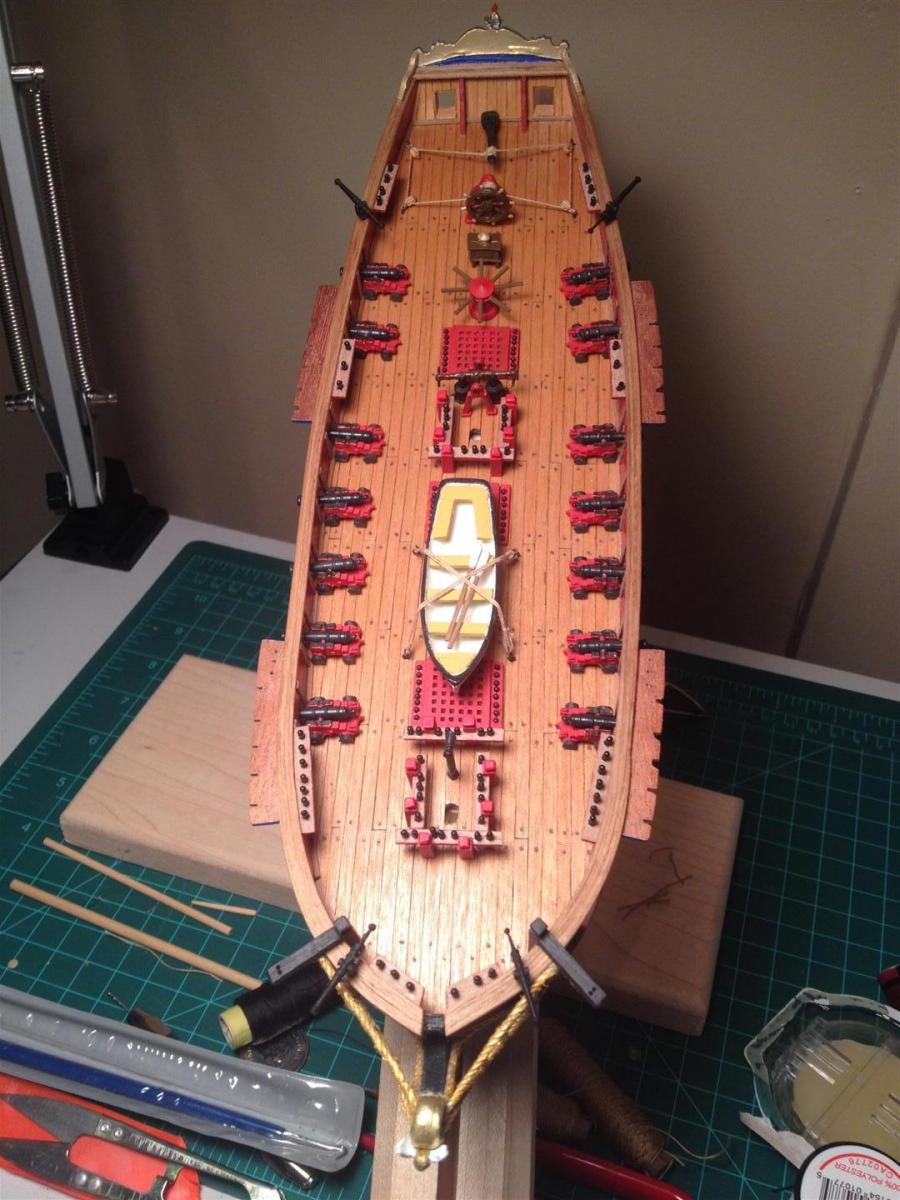
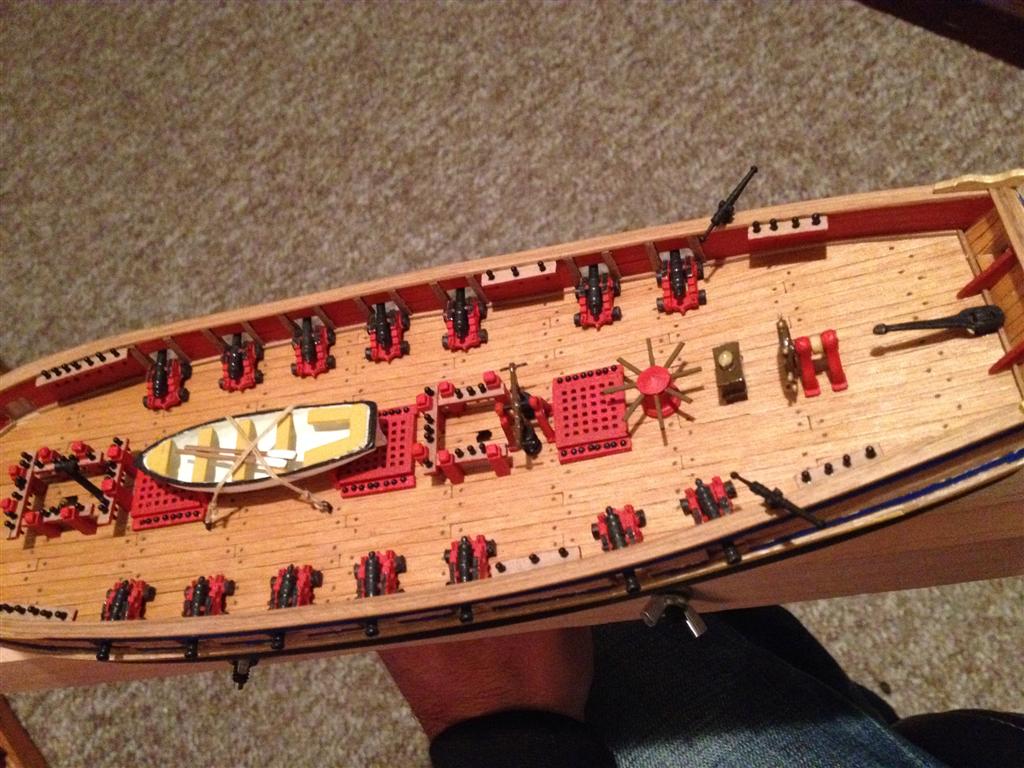
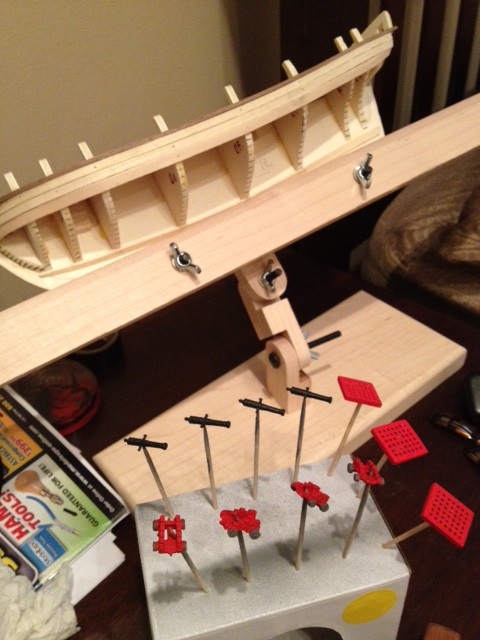
I couldn't help myself stole the 1.5mm cannon balls from the syren kit I just really want this model to be somewhat detaild as it will in the end be a gift for my father.I do have replacements coming but they are 2mm hopefully it doesn't hurt the scale for the next build.

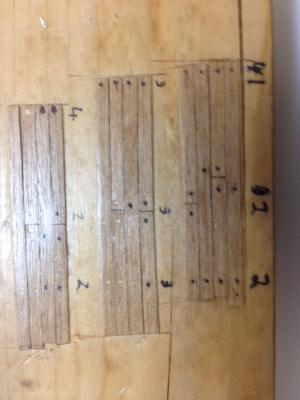
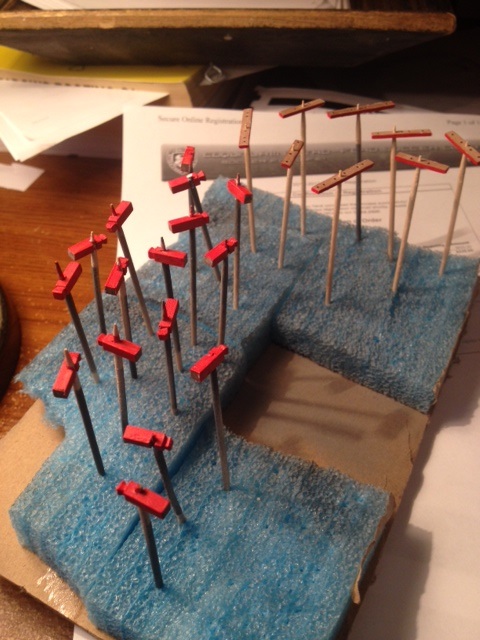
I have now started to get to work on the the belay racks and those little posts sure did a number on my eyes all 16 of them geesh time for some better lighting

-
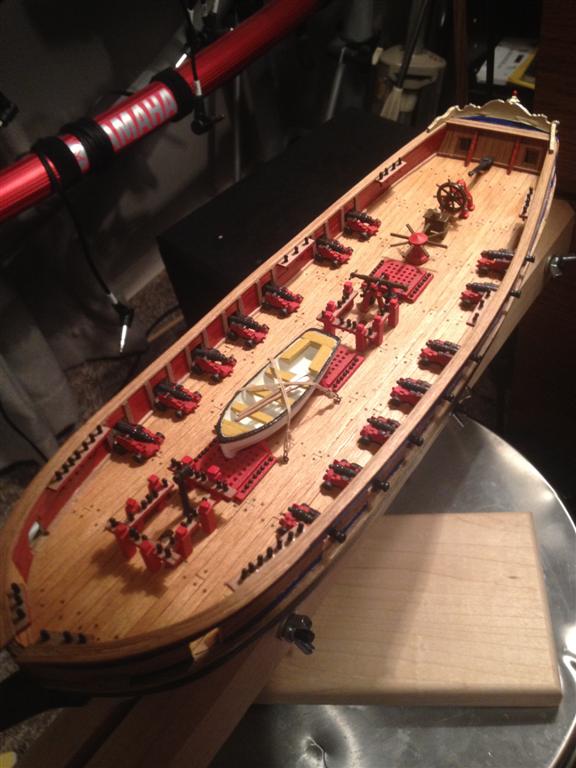
Adding on some more paint and details really makes it feel like its coming together even tho a long way to go still I really am enjoying this I have a syren kit sitting in the box waiting to be built also but that's looking like a long time away.

I gave the cannons a few more costs of paint and finished the cannons with a satin sealent I tried to paint the metal belay pins black but it turnd into a nightmare all the paint was stripping when I pulld them out of the holder which was a starcucks lid anyways out with the metal walnut belay pins are on the way:)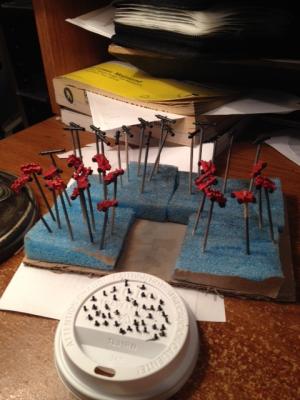
-
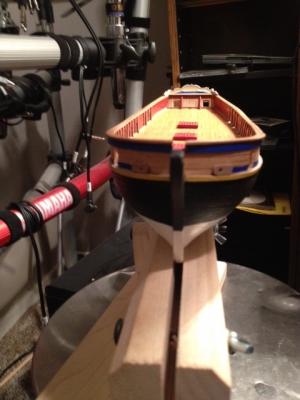
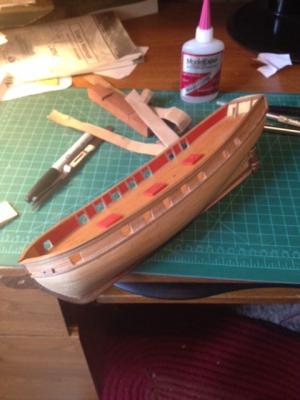
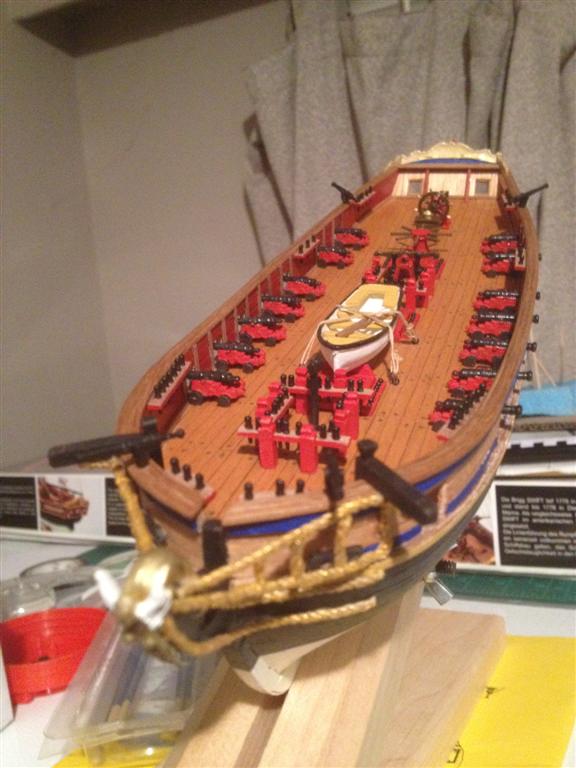
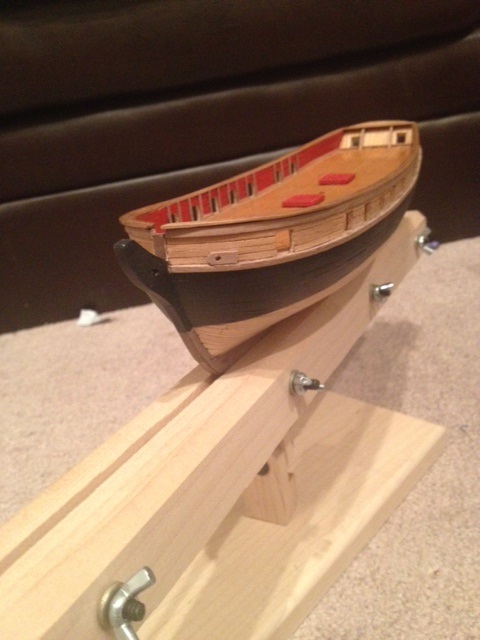
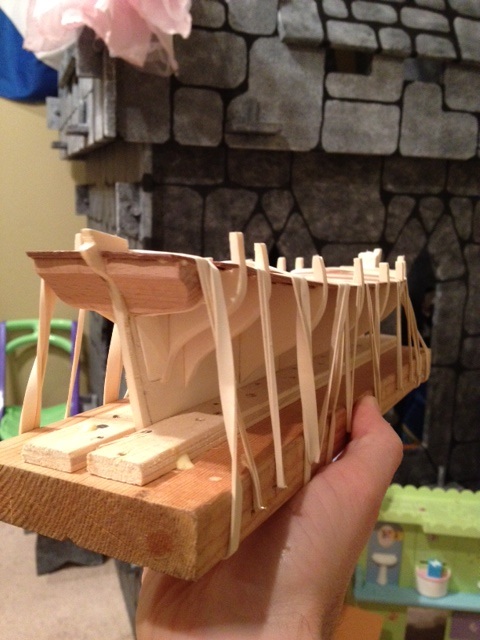
At this point im starting to feel excited I have been building this model when I can over a period of 6+ months to this point mainly because I have two young children and they need most of my attention nevertheless to see the ship taking shape is a pretty good feeling even with its flaws


-
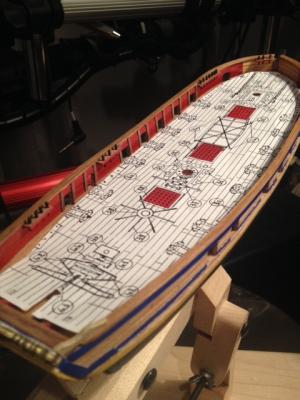
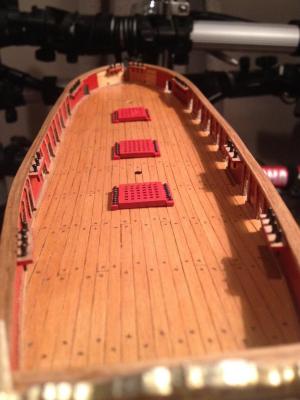
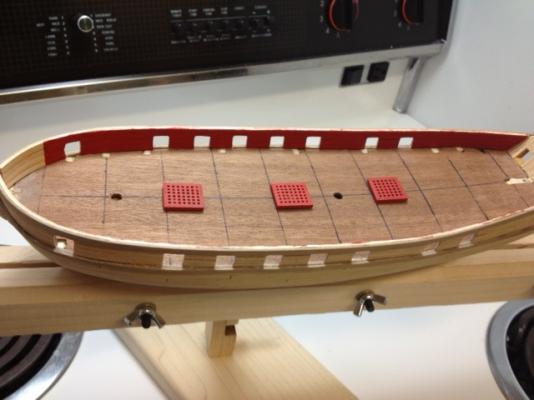
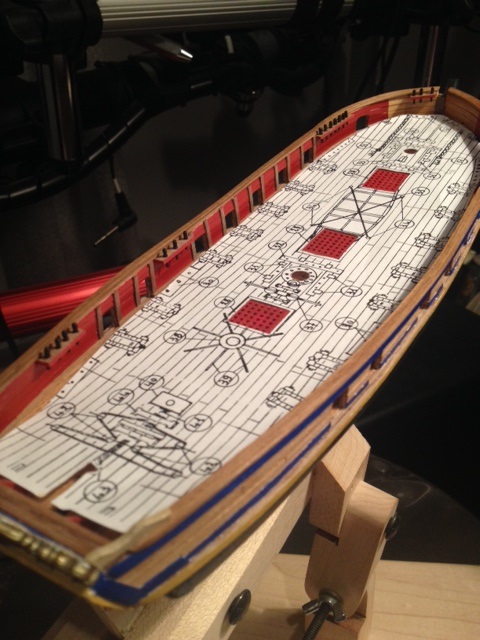
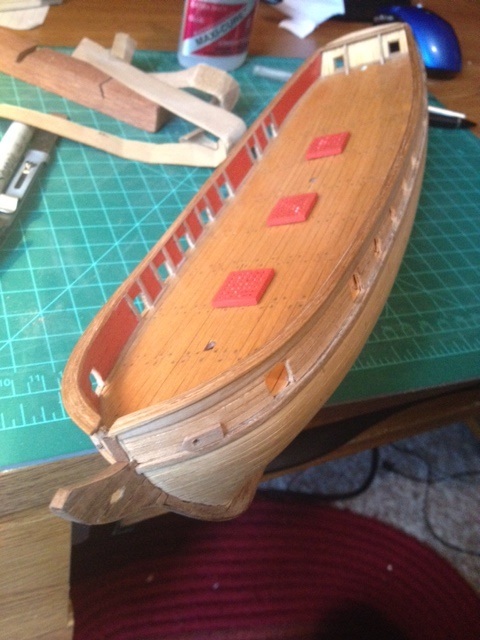
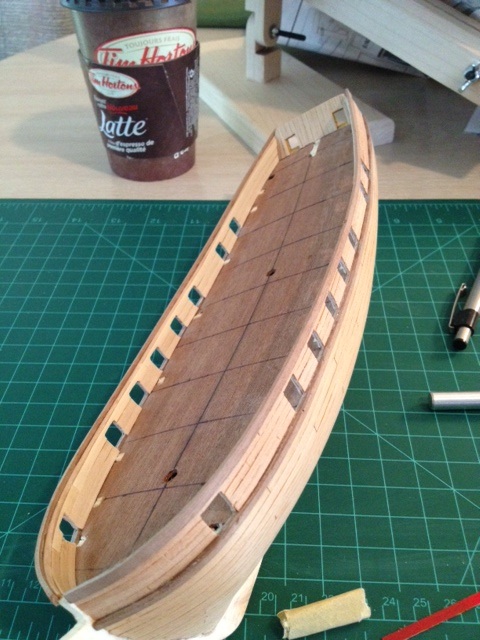
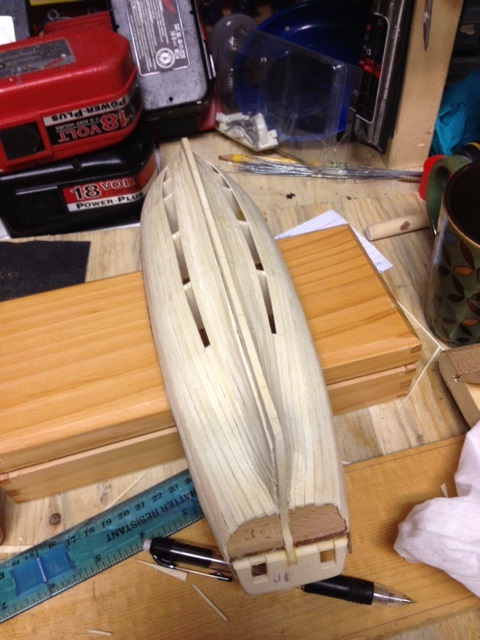
Getting ready to do the deck the coaming were just on there for the picture I had built them previously while scratching my head over mistakes while planking
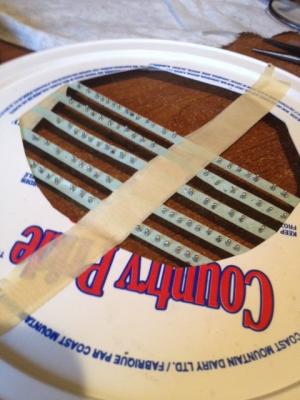
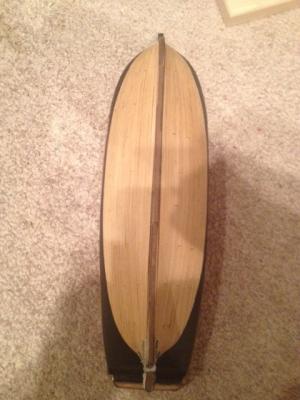
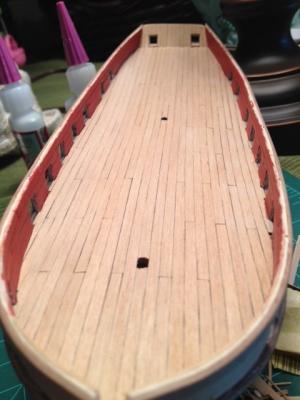
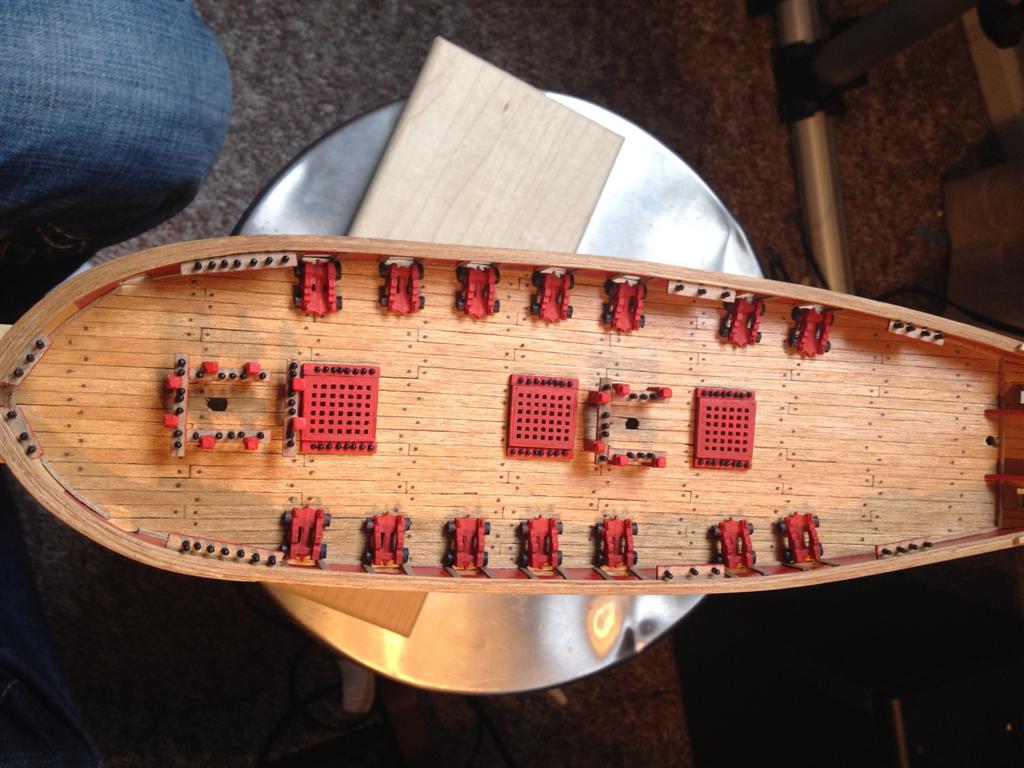
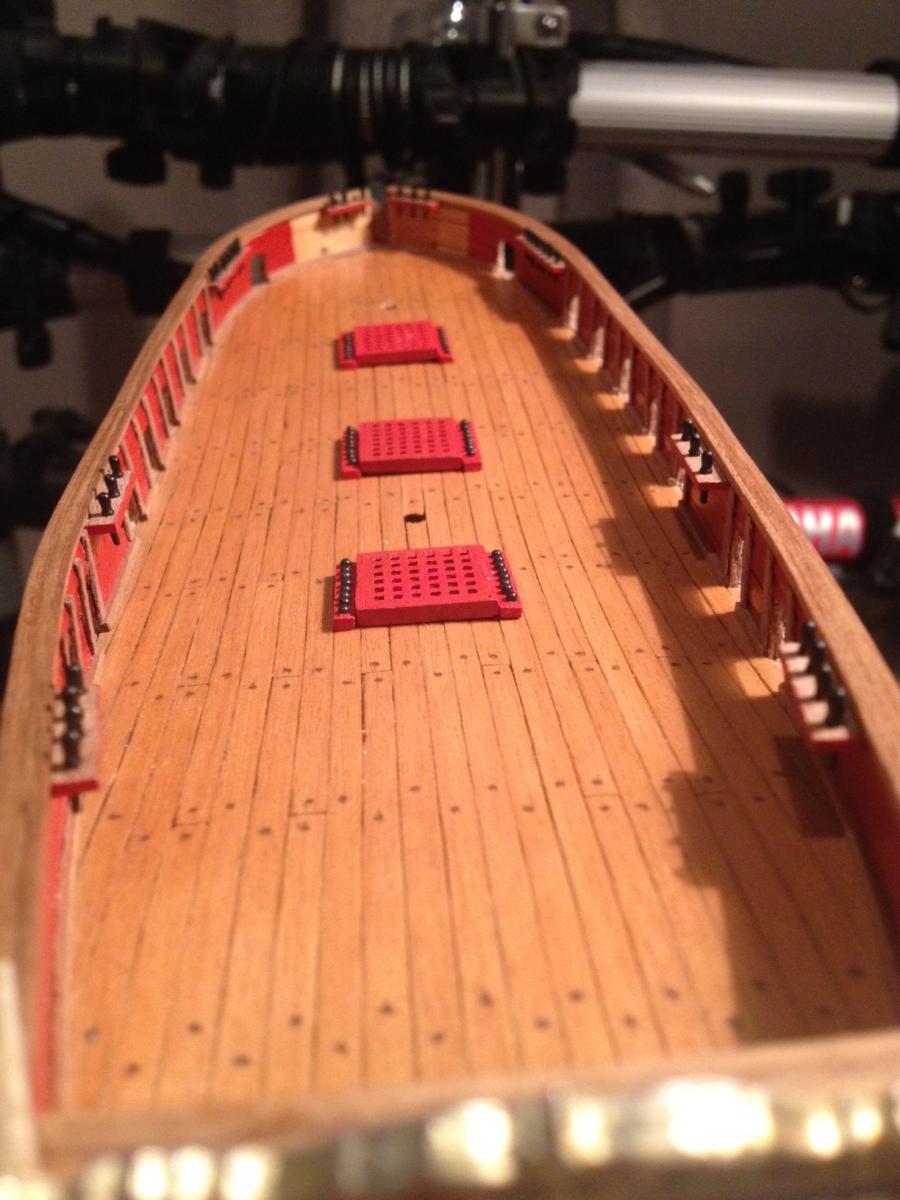
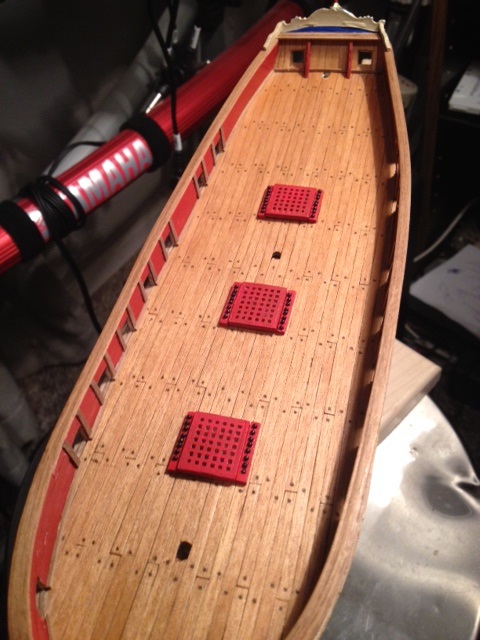
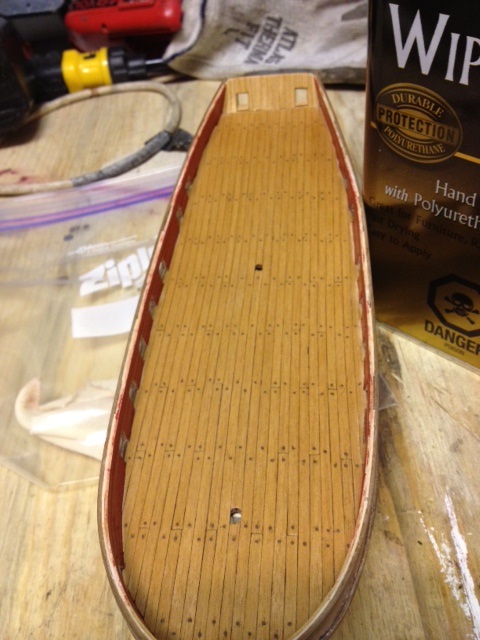
Getting the deck planks down was a fun part of the build for me im not sure why maybe it was just nice to deal with straight planks as opposed to the bent and tapperd ones for the hull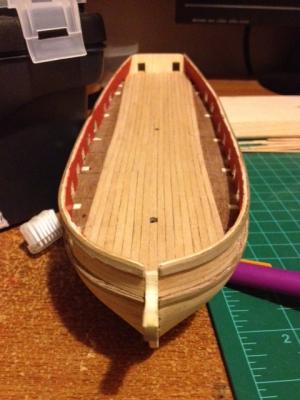
now drilling all those little holes by hand and then filling them was not so much fun I used the wrong kind of filler it was elmers and it drys very hard moreso than the planks so I was being very careful not to sand too much a.Next time around I think ill go for a softer drying filler
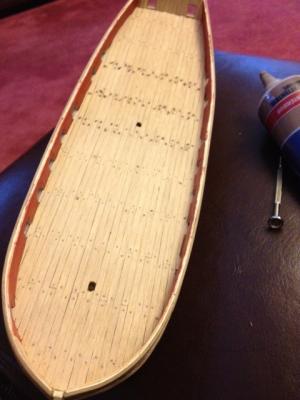
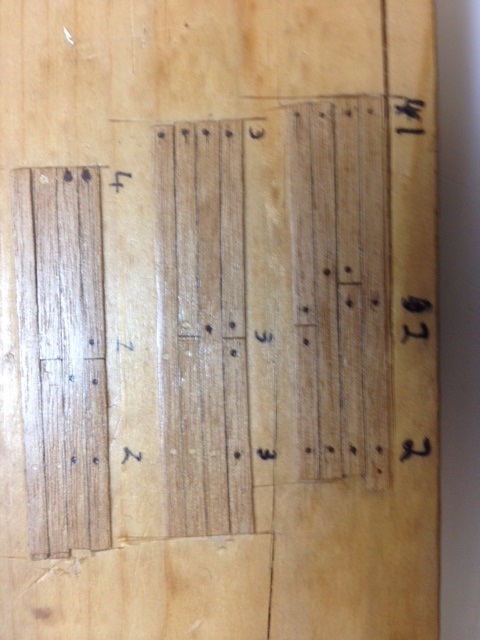
I then did a mock up to see how I wanted to finish the deck accually I did the holes b4 starting to drill on the deck to see which size seemd the best fit
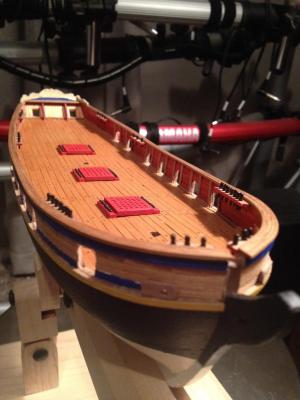
I then used just a wipe on poly as I read other people were using and was pretty happy with the result

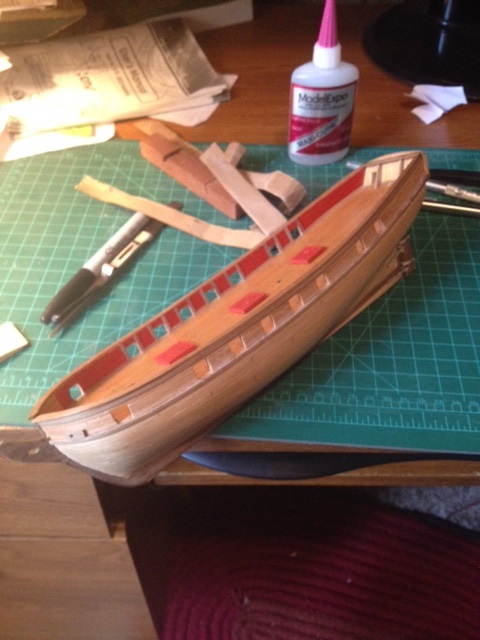
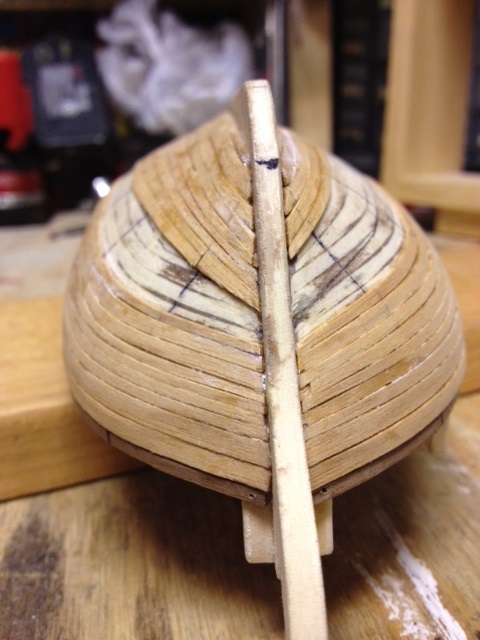
I then built the rails and they were a pain four lengths 1mm by 1mm had to be laminated together and formd to the shape of the bow it was very messy and took a few days to do

-
-
-
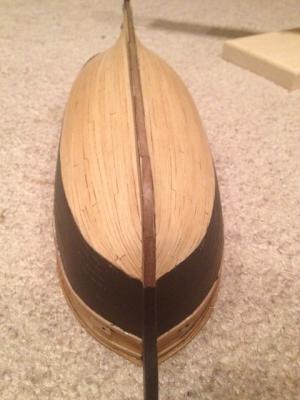
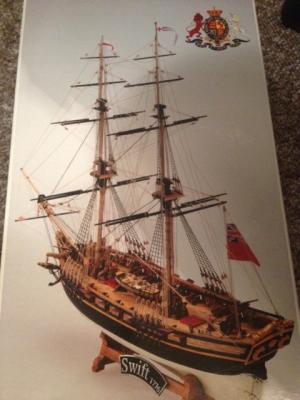
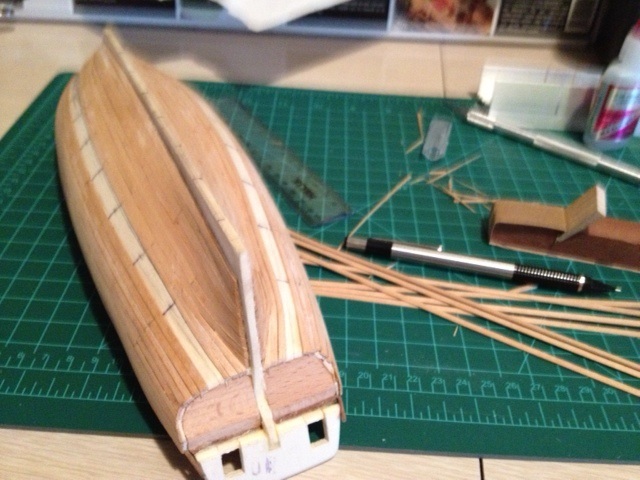
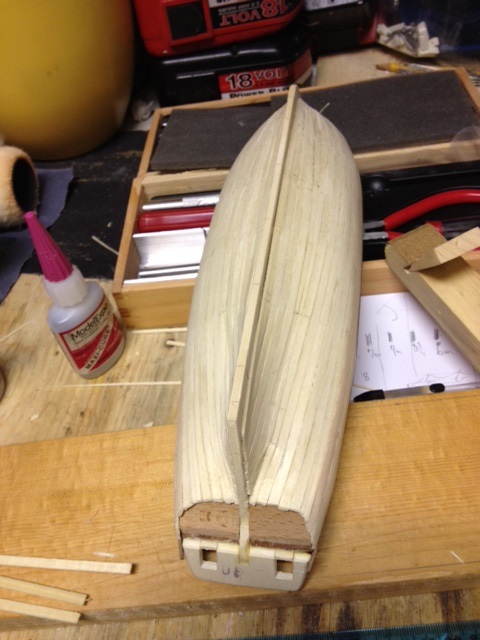
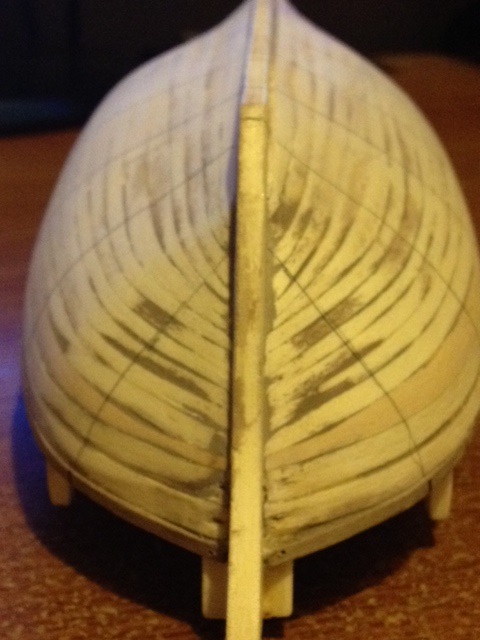
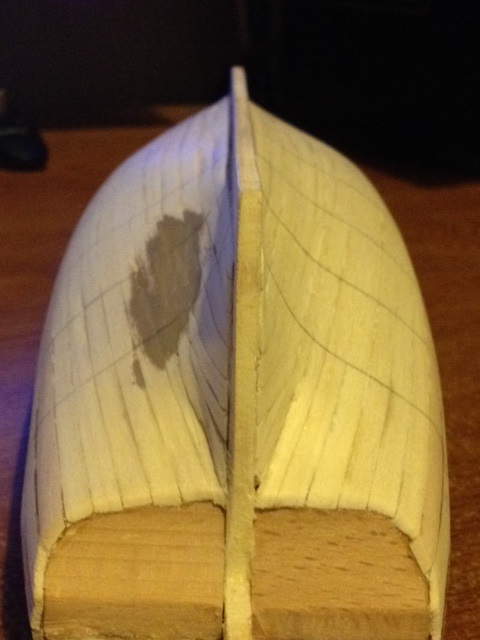
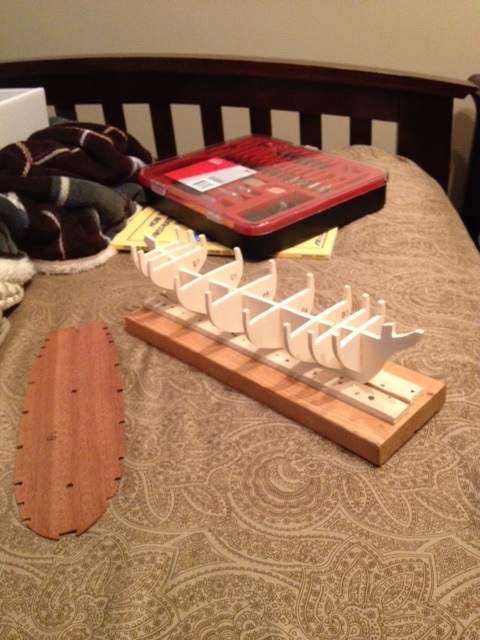
After looking at many other kits I chose this as my 1st build cause I love the hms ships and this one seemd to be the most reasonable in scale and detail for a 1st time build
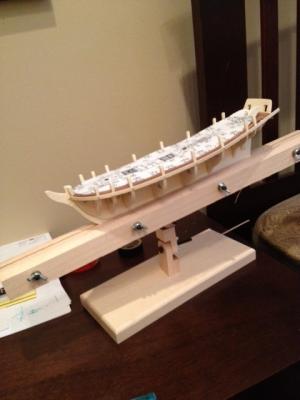
I got to work on it right aways trying to get all the bulkheads to line up properly was a bit of a pain as well as the deck you really have to bend it good to make it fit I used a lot of glue both ca and wood glue ca just to get it pinnd down and then wood glue to hoipefully keep it down over the years


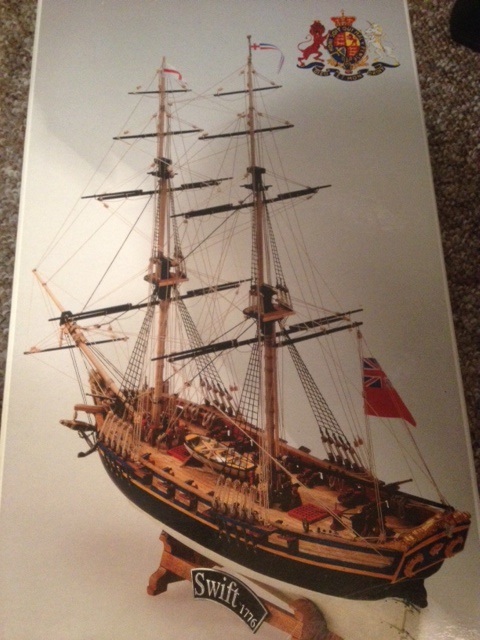

HMS Swift by lunarlander - Mamoli - Scale 1/70 - my 1st build
in - Kit build logs for subjects built from 1801 - 1850
Posted
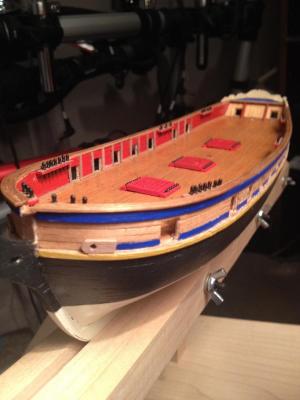
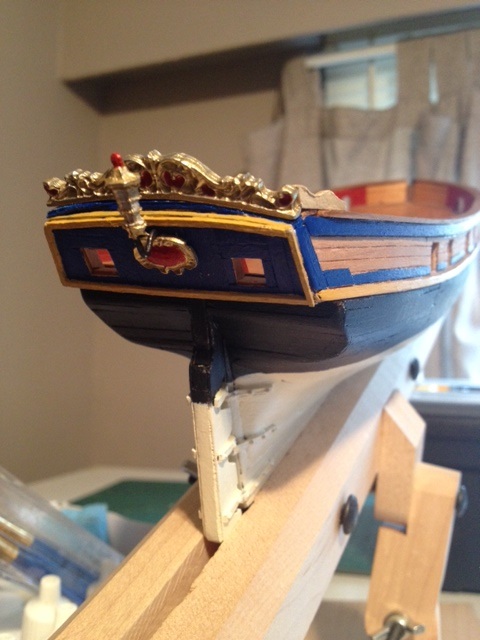
some more progress
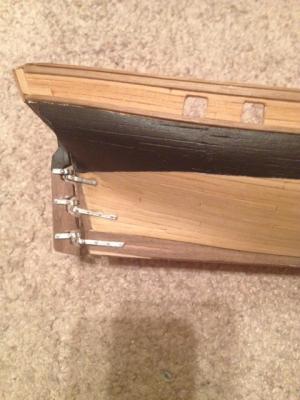
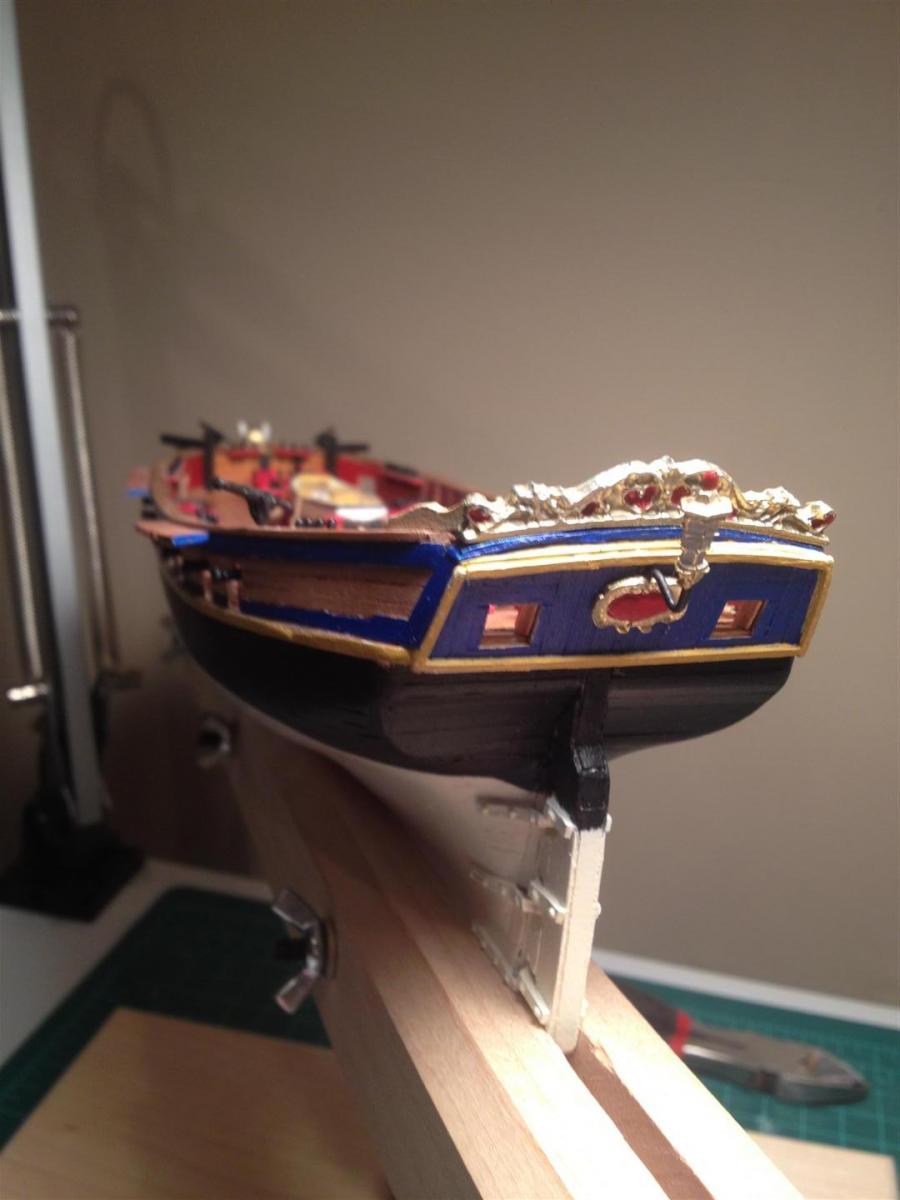
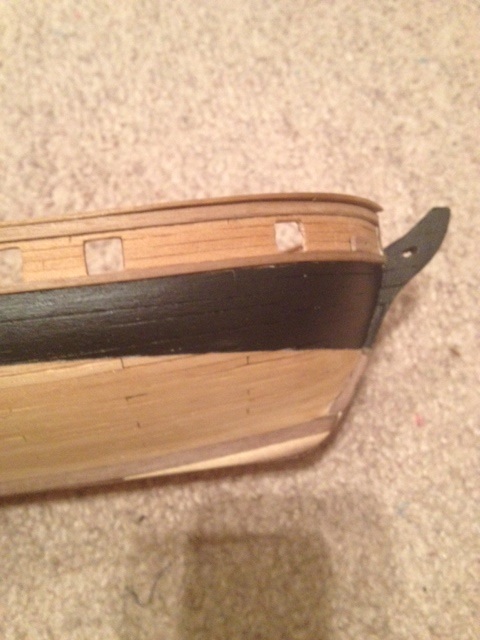
couldnt make up my mind between black or blue for the chainplate Blue seems to work well
still havent figured out how to get high quality pics onto here