


Steen B
-
Posts
61 -
Joined
-
Last visited
Content Type
Profiles
Forums
Gallery
Events
Posts posted by Steen B
-
-
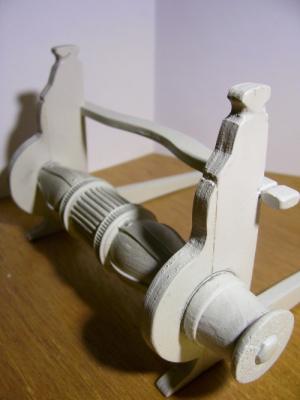
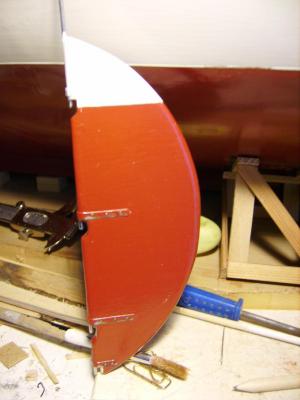
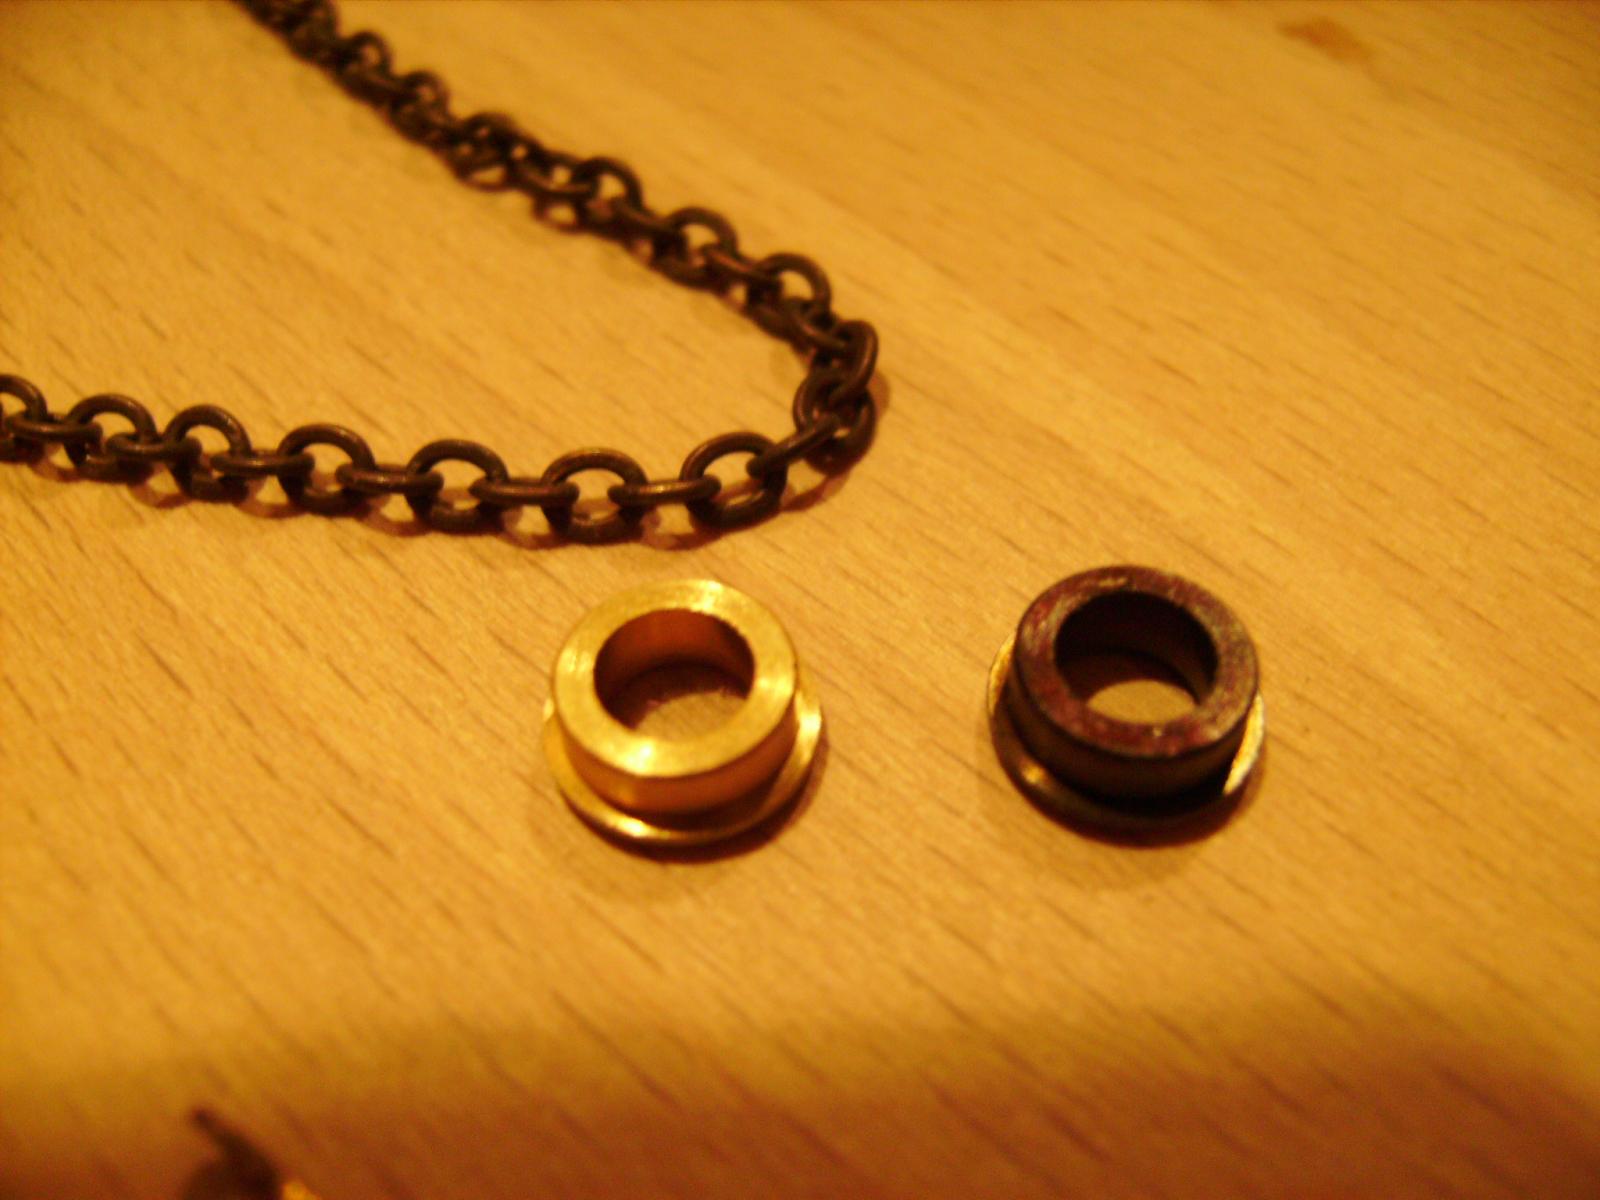
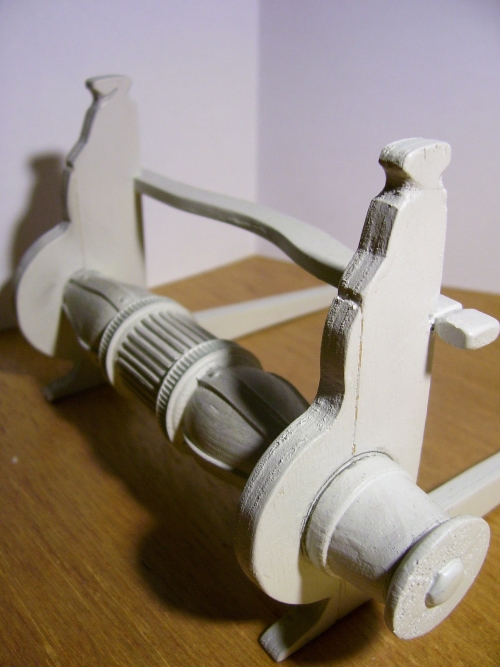
Some details of the sailwinch.
Again; I´ve tried to make a little dictonary:
Plasticrør - styr for line = Plastictube - guide for drawline.
Trækline = Drawline.
Fjeder = Spring.
Plasticringe = Plasticrings.
Sejlvinde = Sailwinch.
-
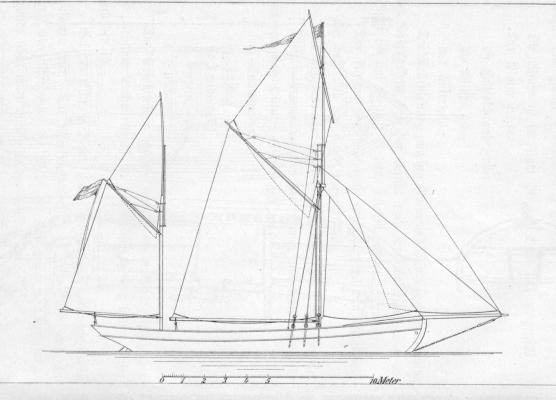
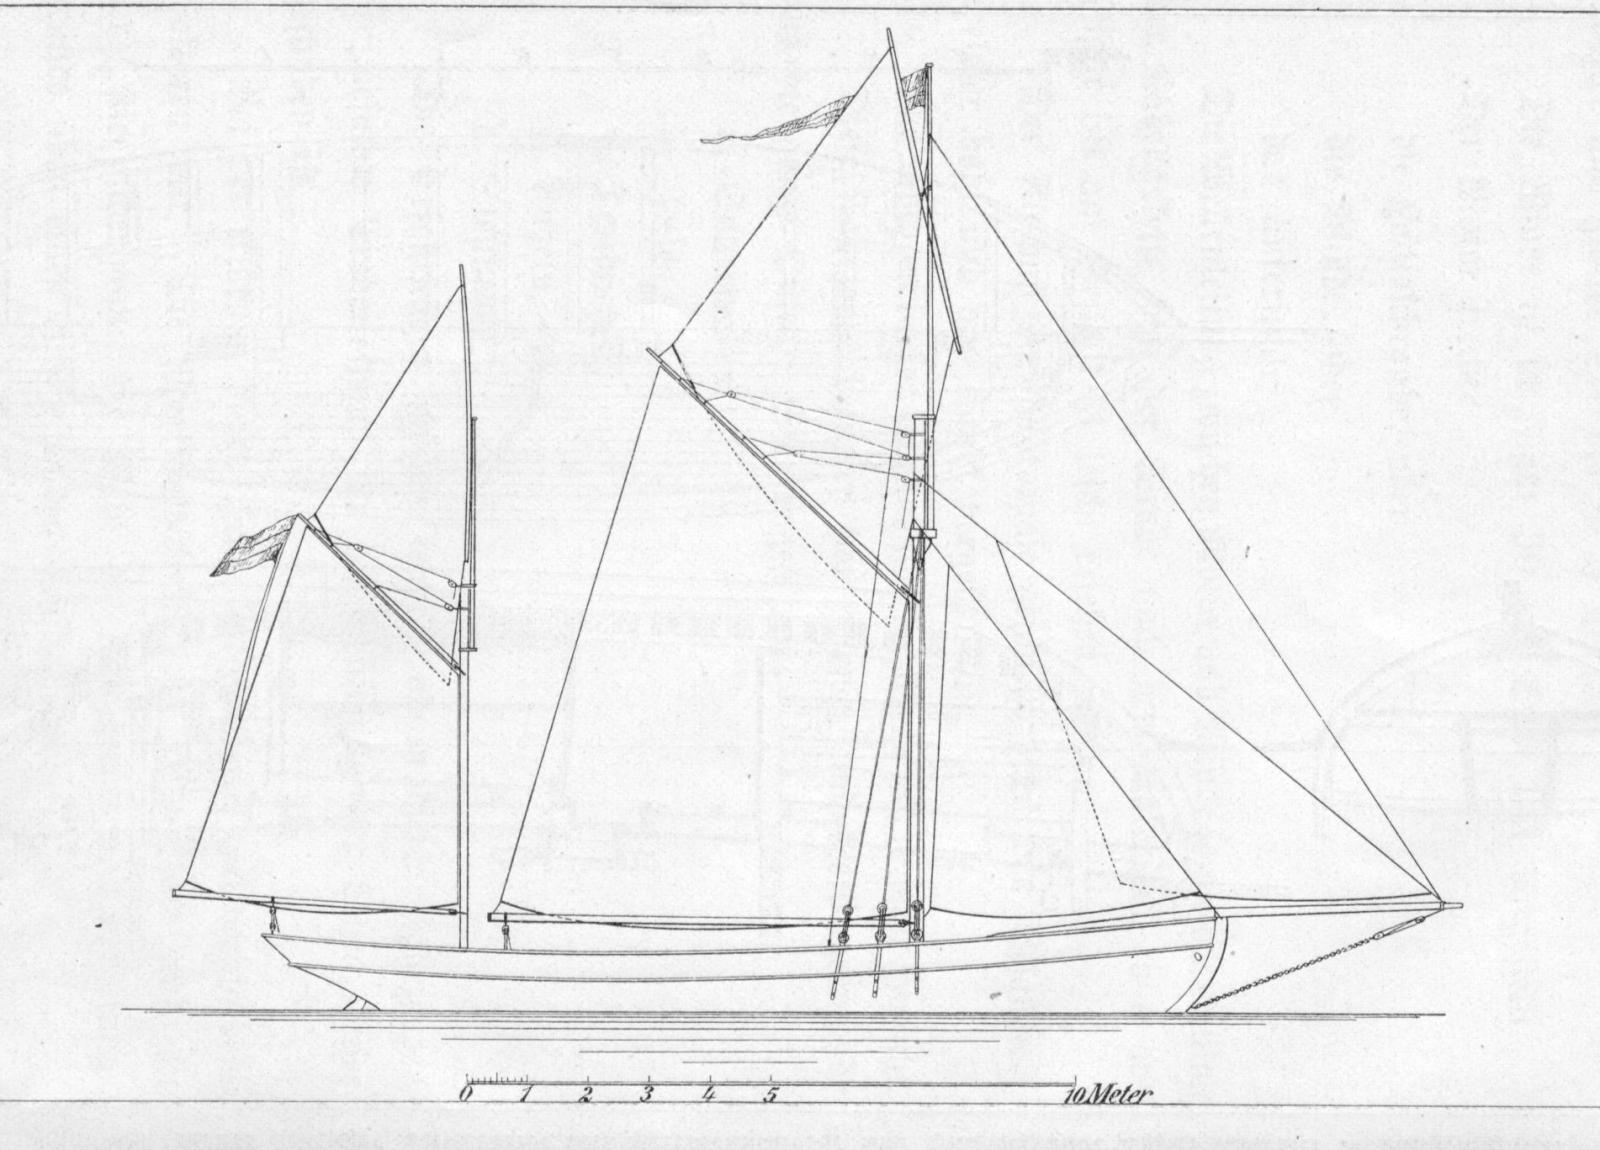
The principles of how I´m going to control the sails (Basicly the same principles I´ve used in my other RC-yacht "Heimdal").
And for that minority of you, who DOESN´T speak/read Danish fluently, I´ve made a little "dictionary".

Sejlvinde til forsejl = sailwinch for foresail, jib and flying jib.
Skøde gennemføring = feedthrough for sheet.
Linen passerer forbi ruller... = Line passes rollers.
Storsejlsskøde = Sheet for the mainsail.
Skødet løber gennem en.... = Sheet passes through pulley.
Line til storsejlsskøde = Drawline for mainsail.
Sejlvinde til storsejl = sailwinch for mainsail.
Line til forsejlsskøder = Drawline for foresail, job and flying jib.
Skøde til fok = Sheet for foresail.
Skøde til klyver = Sheet for jib.
-
-
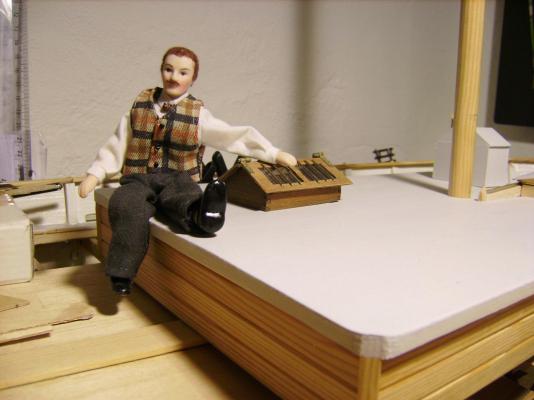
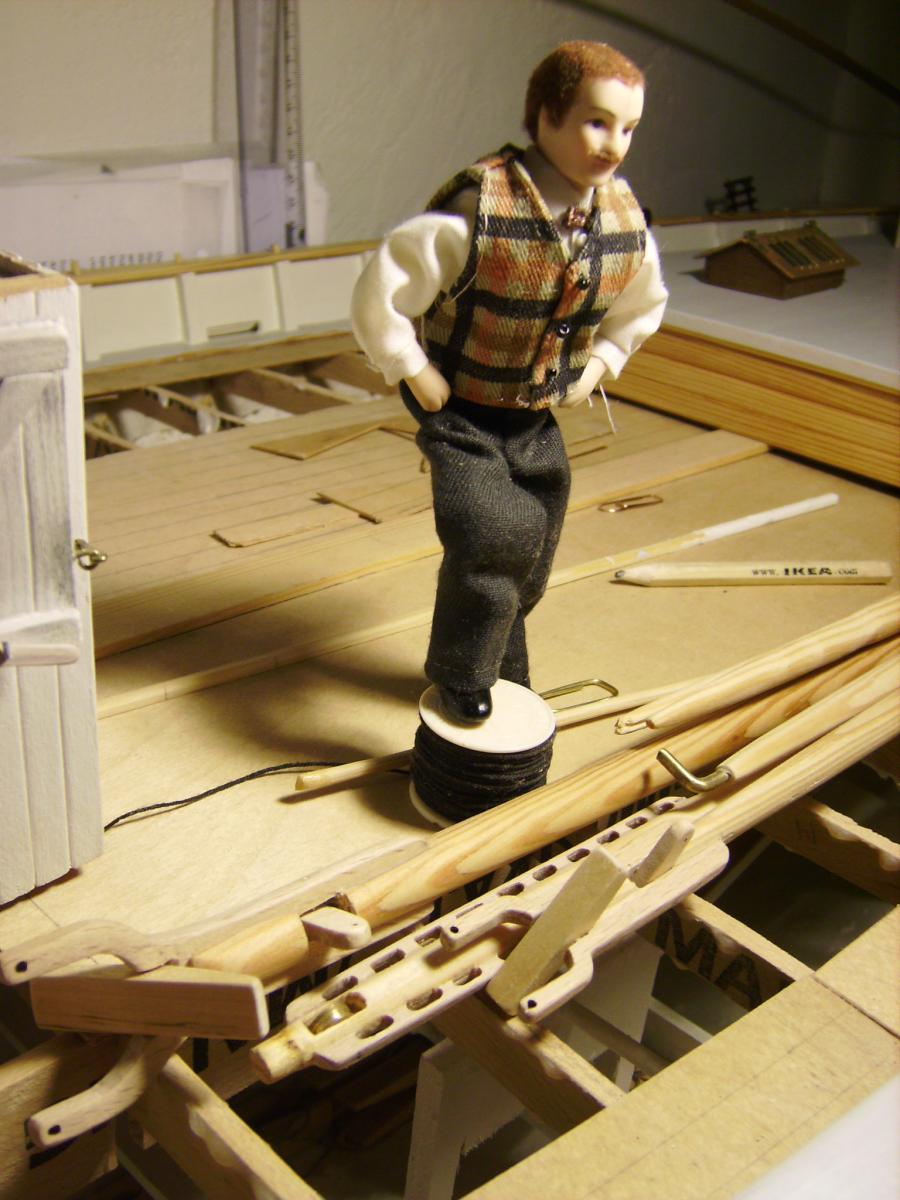
"Inspection in the shipyard by the skipper".
My oldest daughter made these Photos. I thought I would let you see them.


- mtaylor, Wintergreen, Omega1234 and 3 others
-
 6
6
-
-
-
-
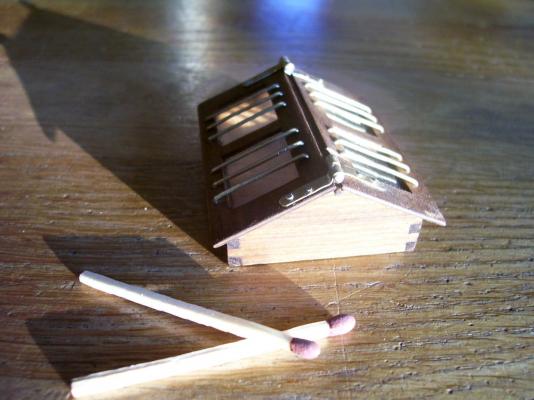
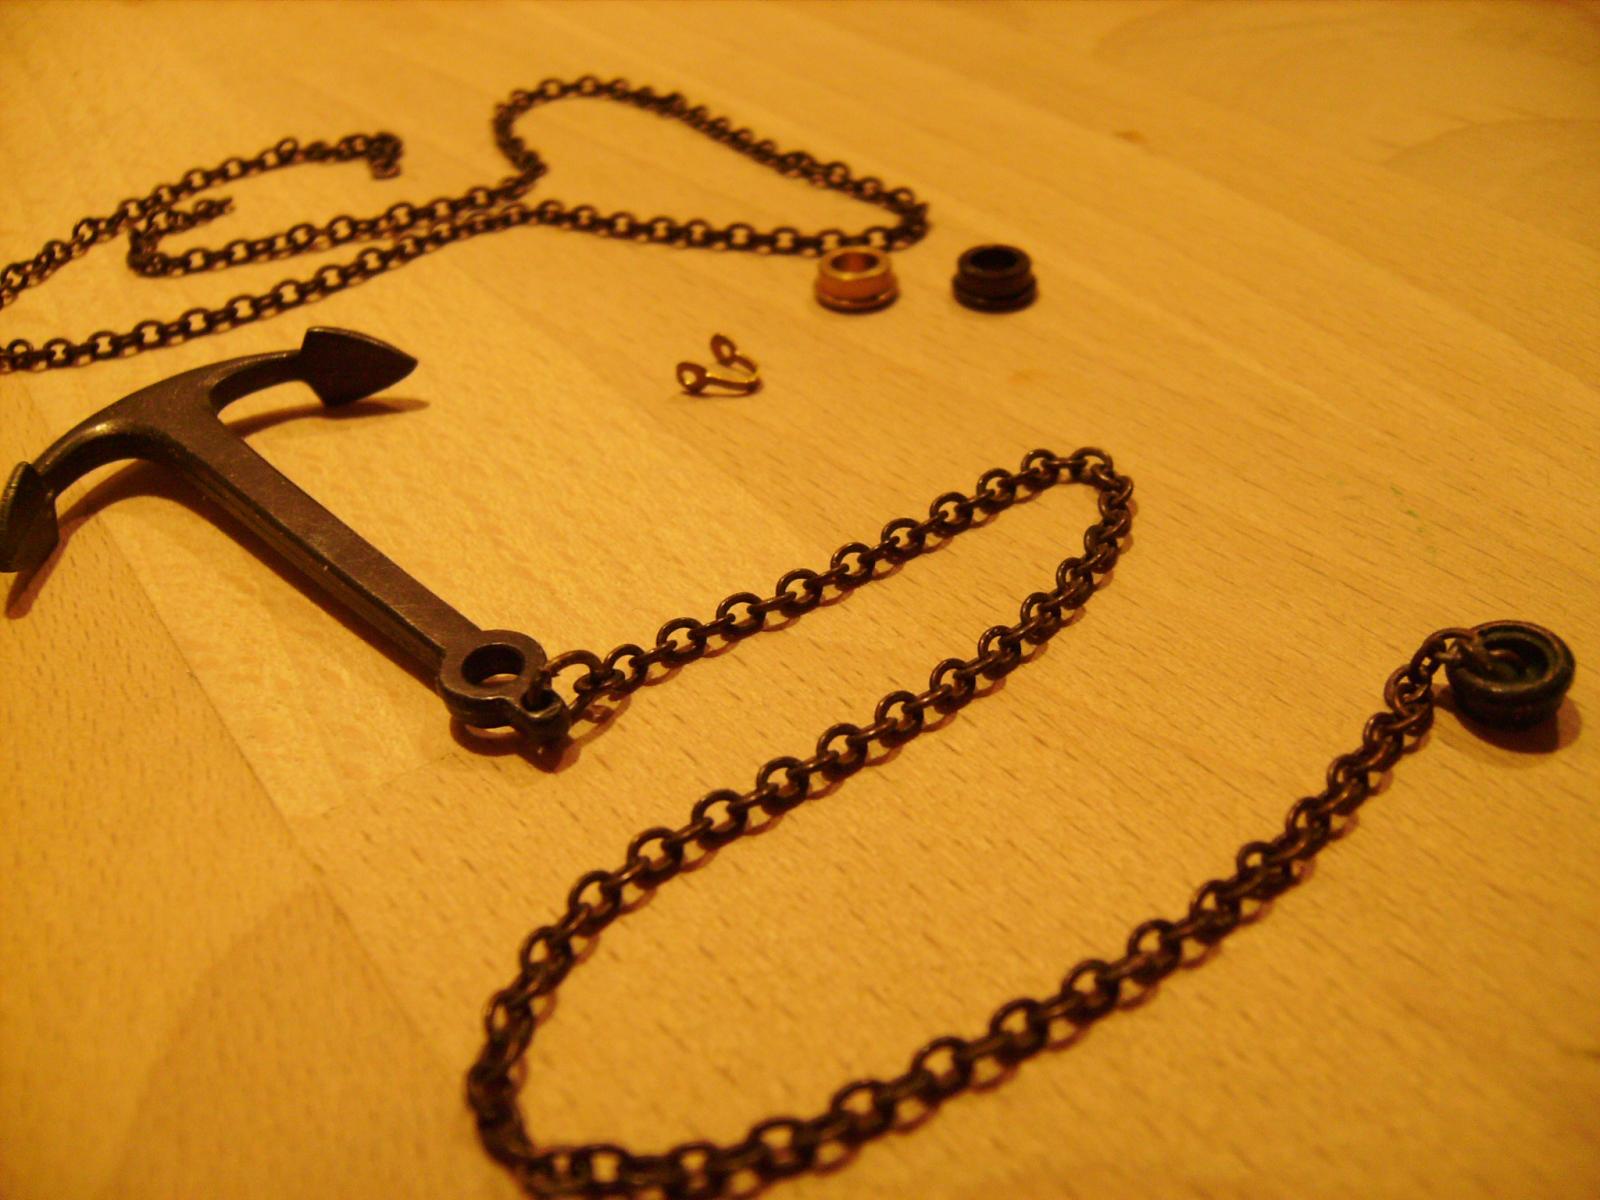
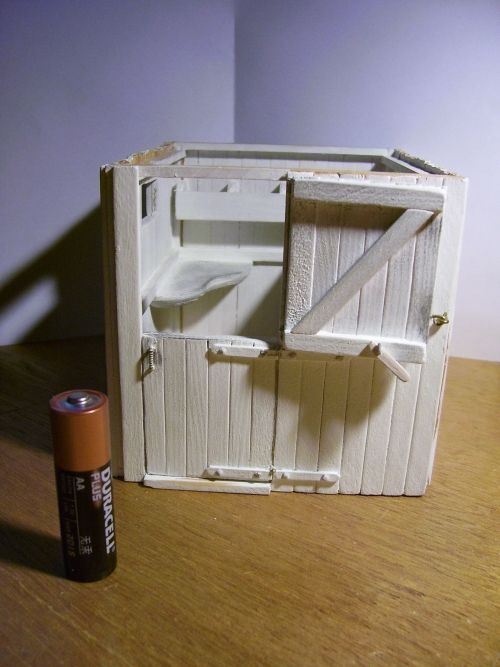
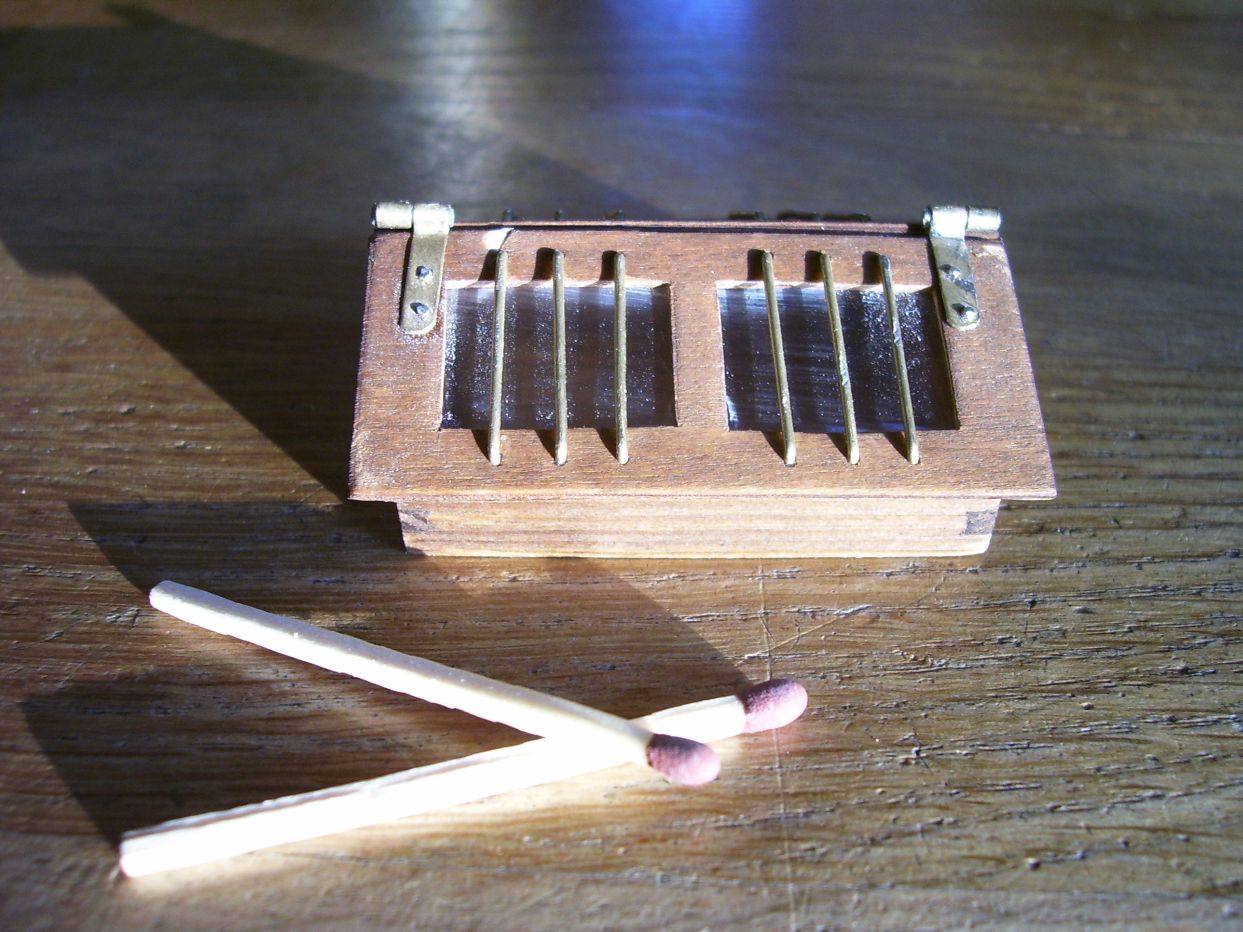
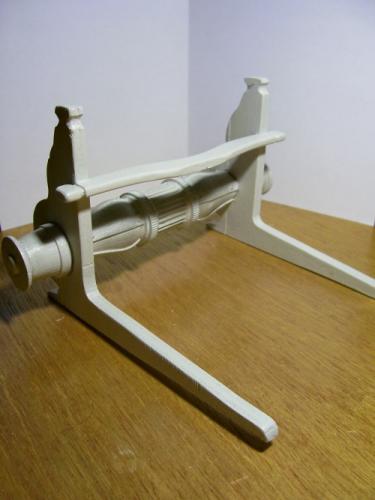
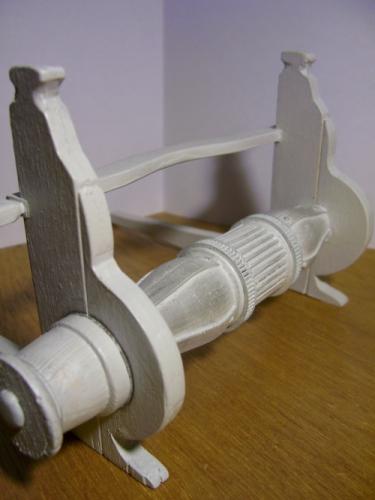
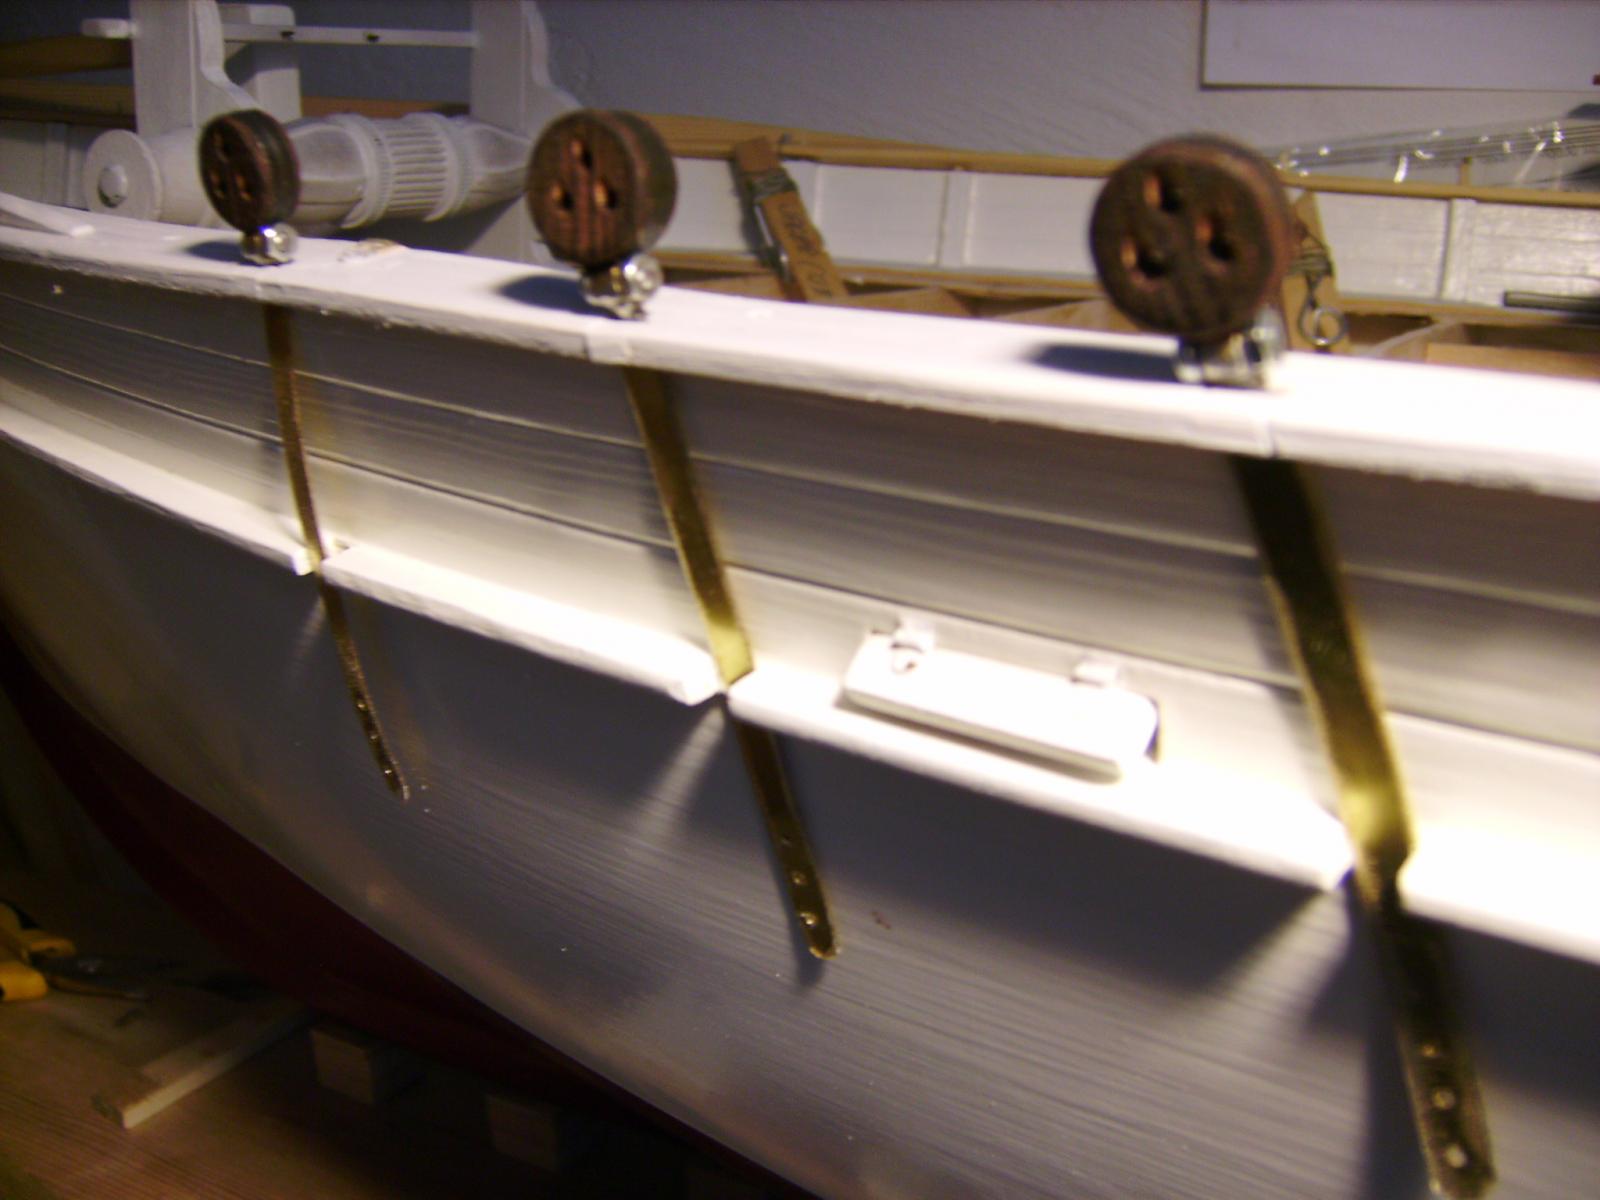
More fittings.
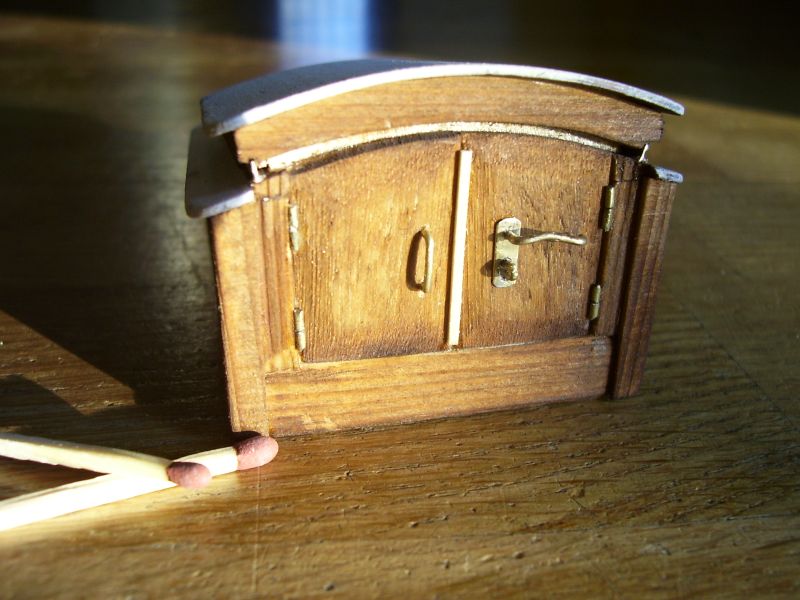
On these pictures, the "Cooking-house" still hasn´t got the roof mounted and the windlass is in a very rough state (= painting, sanding, painting, sanding, painting, sanding...... still needs to be done
 ).
).By the way: As my scale of building seems to be the same as many dollhouses (1:12) my wife has "threatened" to install some dollhouse-things in the cooking-house; plates, mugs, knifes & forks and some sausages hanging from the ceiling!


-
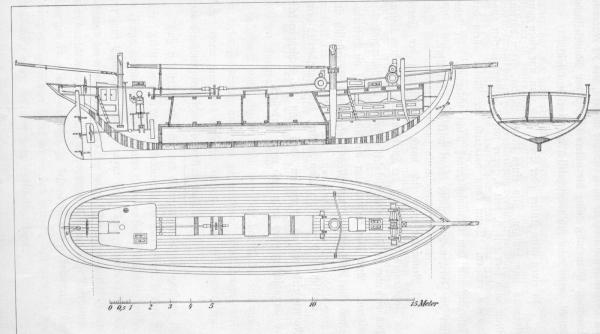
Hi Nils
I promised you some drawings of "Jens Krogh" - here they are.

- Mark Pearse, mtaylor, Omega1234 and 1 other
-
4
-
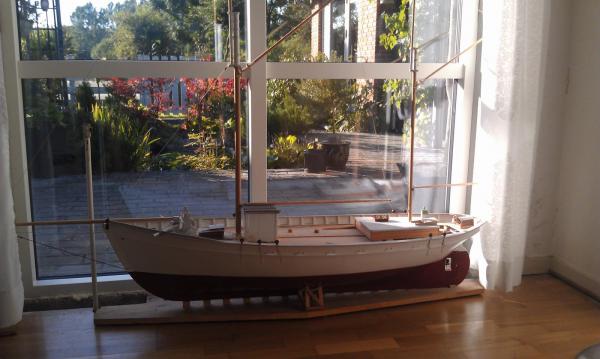
Hi Patrick
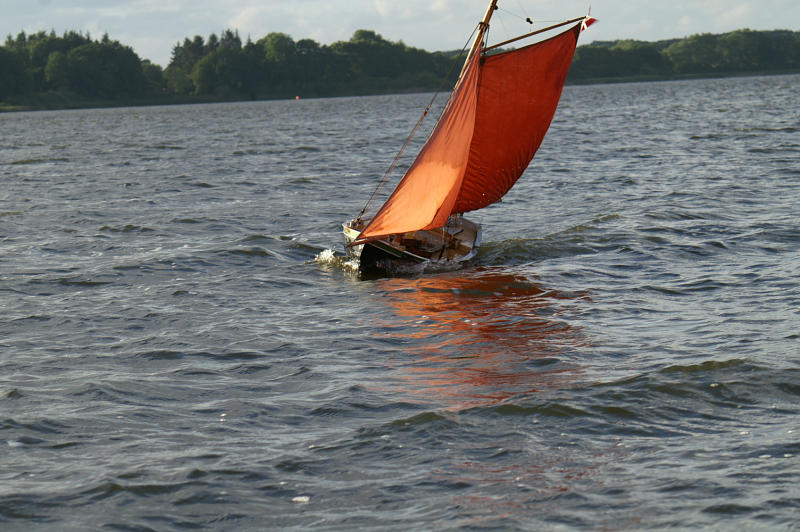
You´re right. "Jens Krogh" is not the first RC vessel I have build - it´s the second.
If you search for "Heimdal" here in the forum, you can see some photos of my first RC vessel - also some snapshots during sailing.
I myself specially like this picture

- Mark Pearse, mtaylor, Mirabell61 and 1 other
-
4
-
Hi Patrick.
Yes, it´s not a small model. The length of the hull is a Little more than 120 cm´s (4 ft.) and the bowsprit is ca. 30 cm (1 ft.).
I sure hope that she will sail in a realistic manner, and furthermore I hope I can avoid using an extern leadkeel. I´m planning to make some internal ballastpieces, which can be placed and removed through the hatch.
I have made a test in a bathtub, and about 12 kg.´s will be needed to bring her down to the waterline. I intend to make 6 small leadpieces (shaped to fit inside the cargohold) 2 kg´s each. Hopefully this will be sufficient to ensure realistic sailing.
Best regards
Steen
-
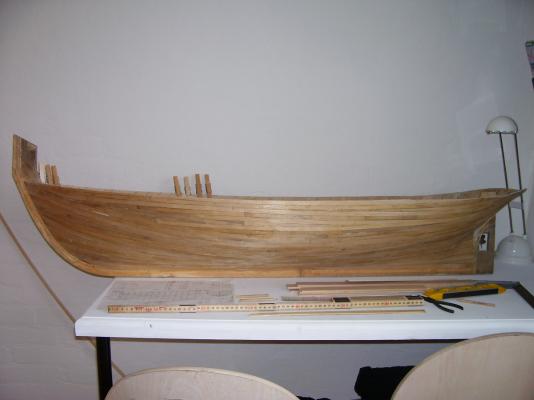
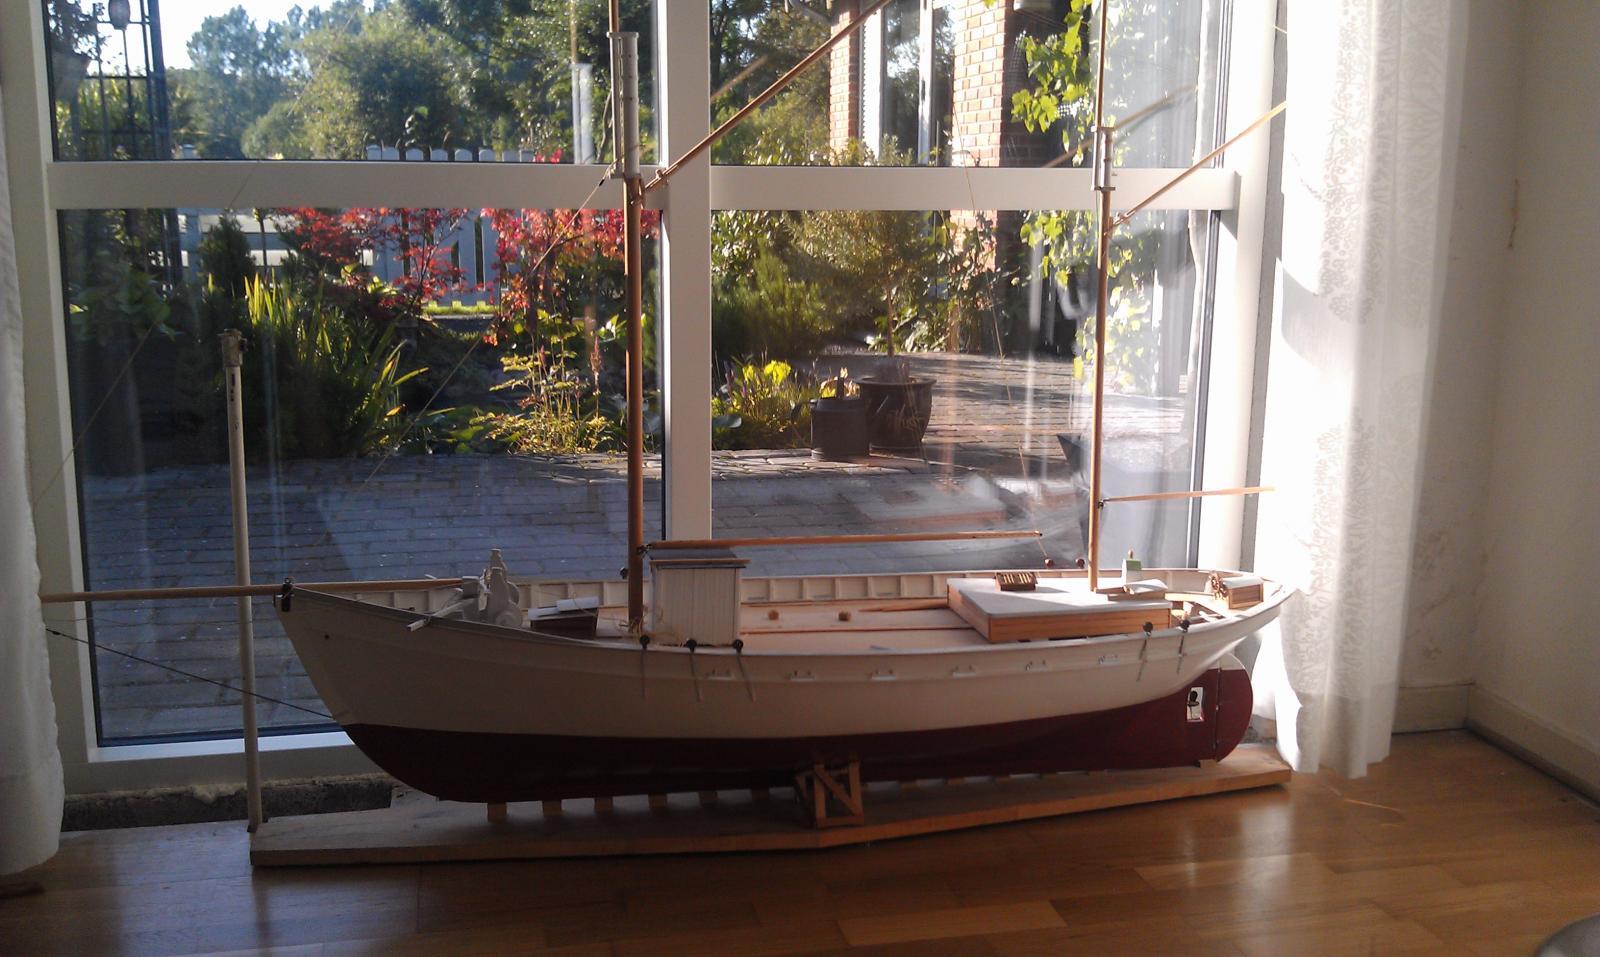
How the model looks today (8th of December 2015). A lot of more work is to be done.
As can be seen, I have made some more "fittings" including the wheelhouse and other bits and parts.
Notice the "Cooking-house" just aft the maimast. This was a special feature of fishing vessels from the Northern part of Jutland/Denmark.
- GrandpaPhil, SailorGreg, mtaylor and 5 others
-
8
-
-
-
-
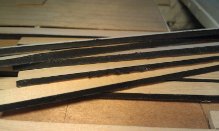
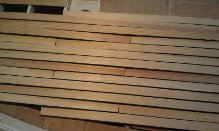
The deckplanks, which are made of 3 mm pinewood.
To simulate the caulking I glued black cardboard to one side of the planks. To do this in a smart way, I made a "sandwich" of planks, and then glued the cardboard on one side. When the glue had dried, I cut through the cardboard, and in doing that, I separated the planks.
-
-
-
-
Hi Nils
Yes I do have some drawings of the ship - I will post them as soon as possible.
By the way; the ship still exist! It´s still sailing, and is now owned by some boyscouts in the Danish town Aalborg. They have en homepage, where you can see some beautiful Pictures of the ship. ( http://jenskrogh.dk/jkdk/index/htm )
A few years ago - when I was doing some reseach on this vessel - I got in contact with the skipper. He invited me to visit the ship, which I did during the Tall Ship´s race that year - and I fell in love with this lovely ship at the first glance!
-
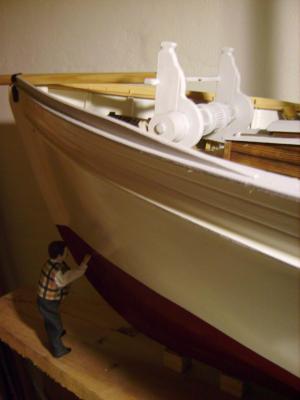
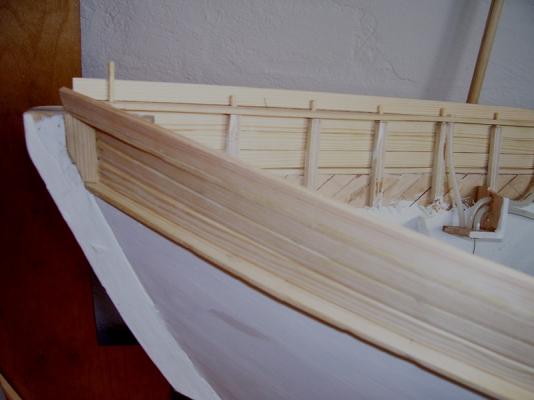
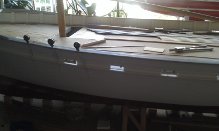
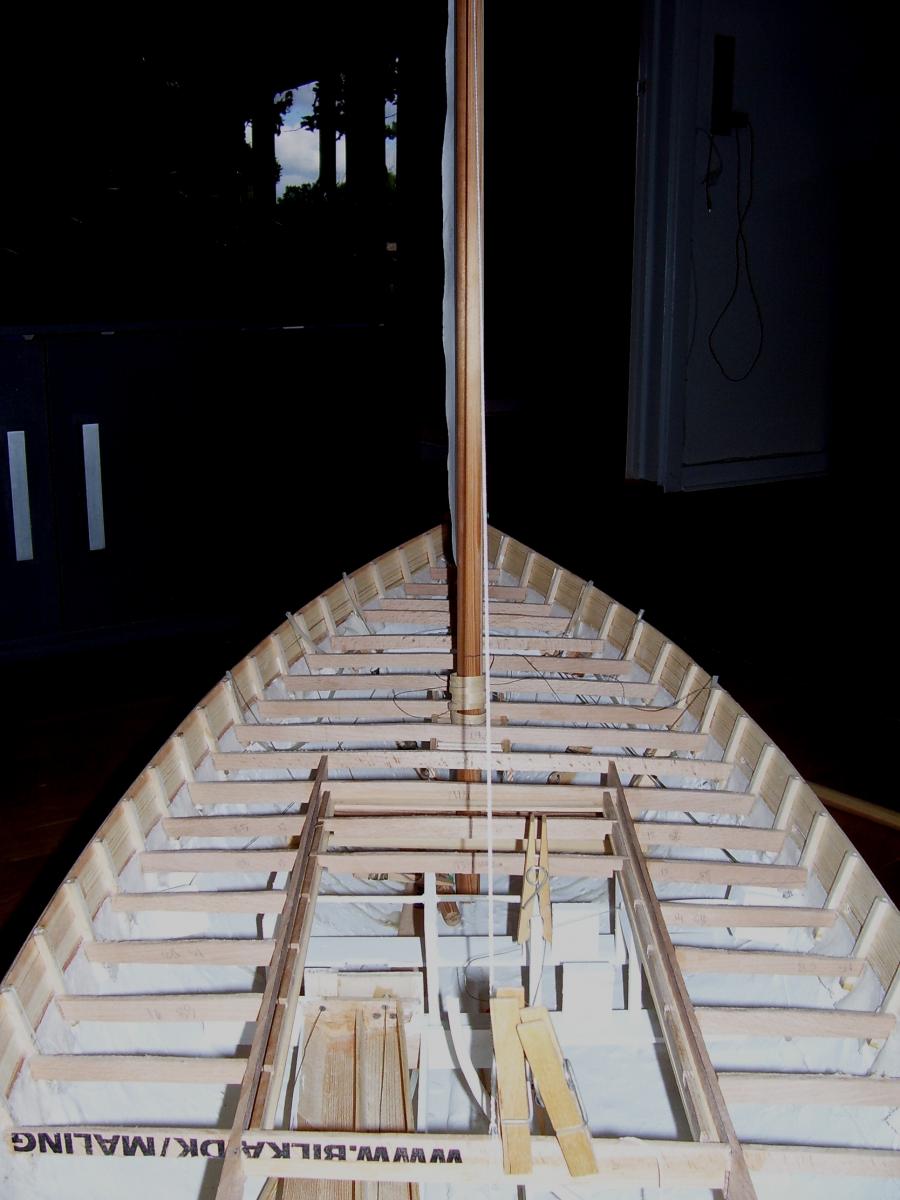
The bow - almost finished.
On the inside, you can see small plastictubes. They are for the controllines for the foresails.

- mtaylor, Mirabell61, hexnut and 1 other
-
4
-
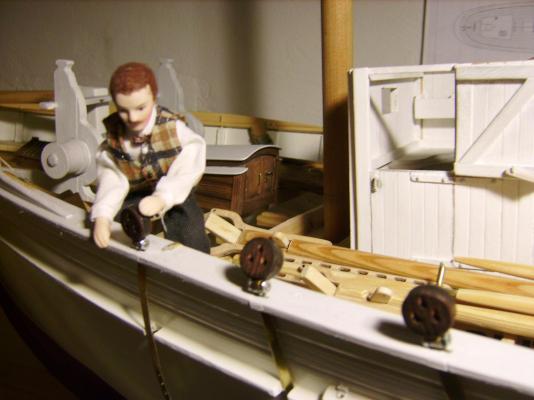
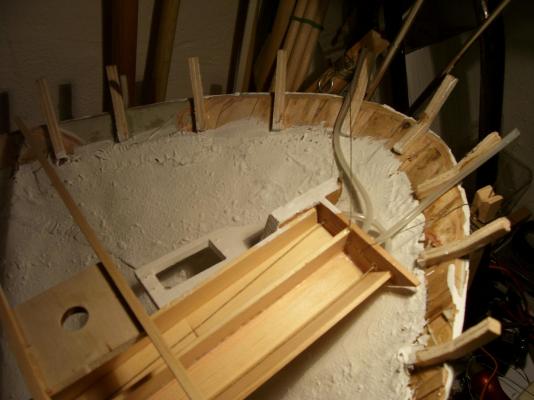
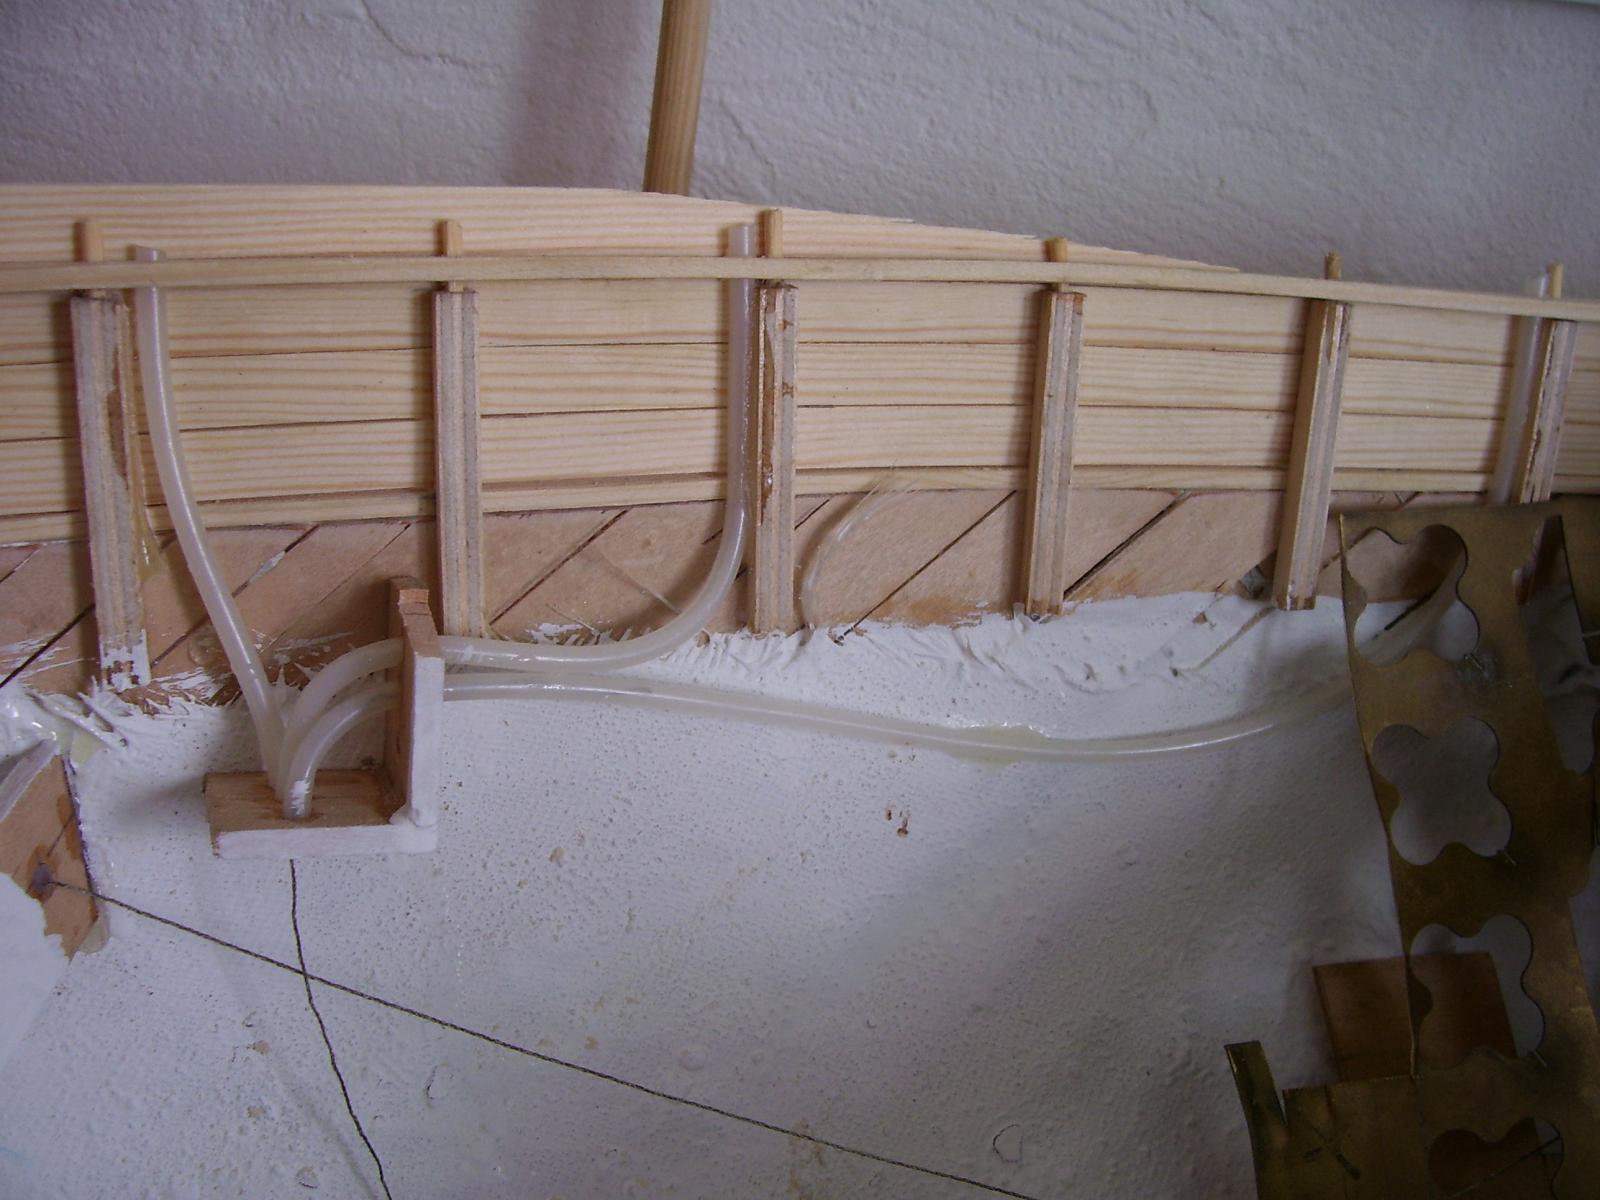
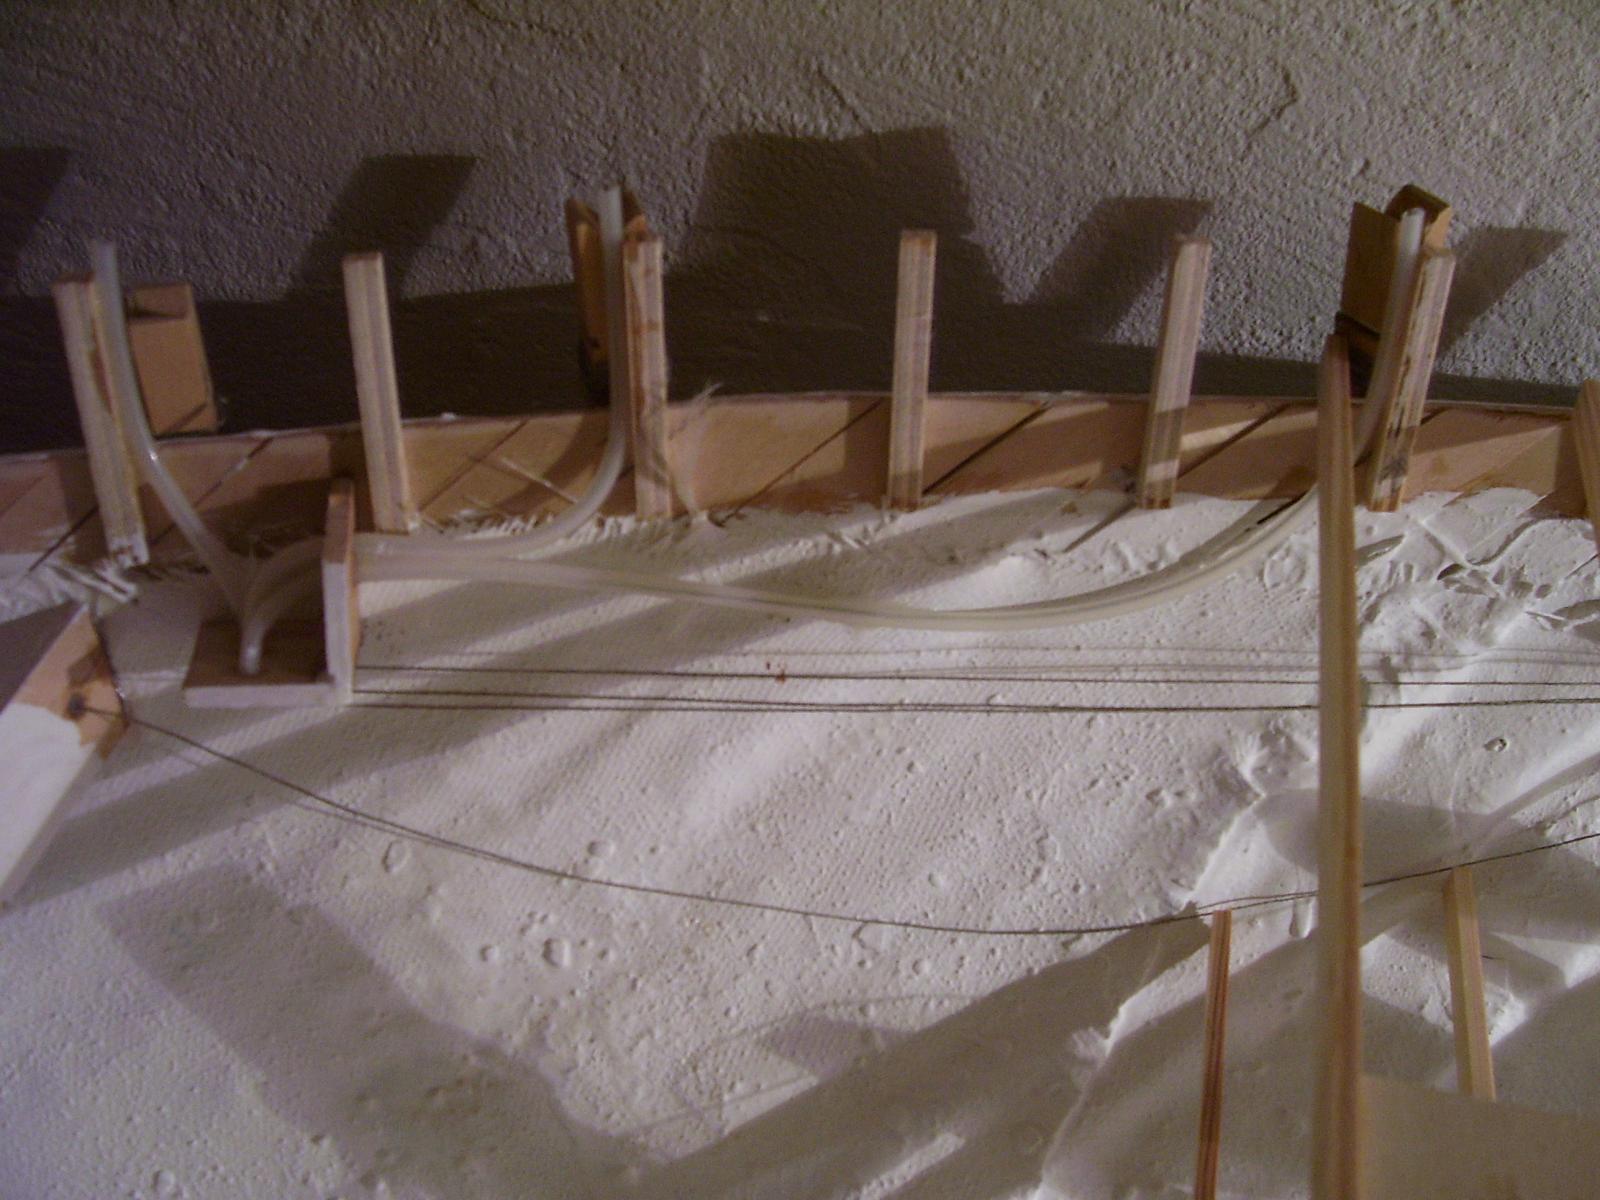
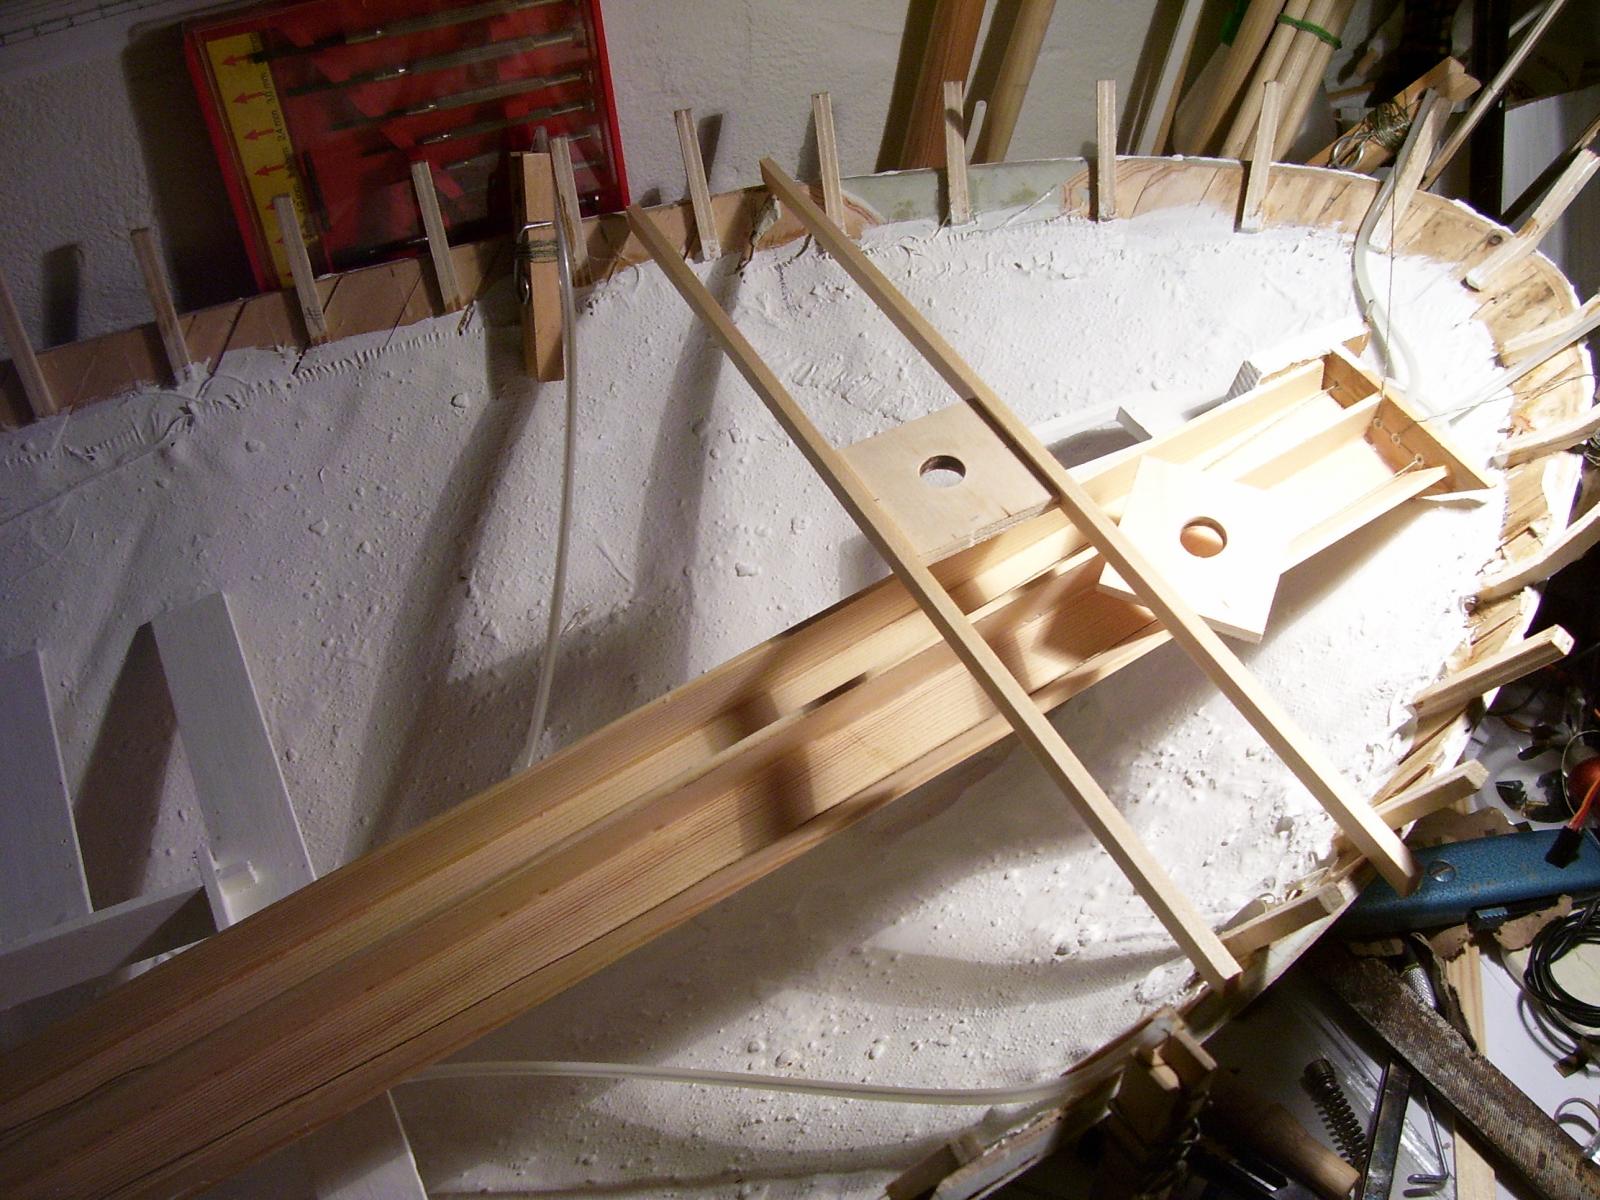
The stern.
The model is to be a R/C sailing model. So I have build a "craddle" in the middle, which is where the controllines for the sails will be running. I use this "craddle" to ensure, that the lines don´t get tangled up with anything below deck.
Again: I admit that the inside of the hull looks terrible.


-
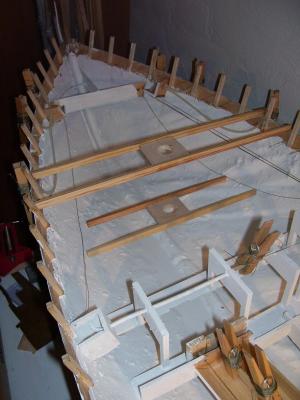
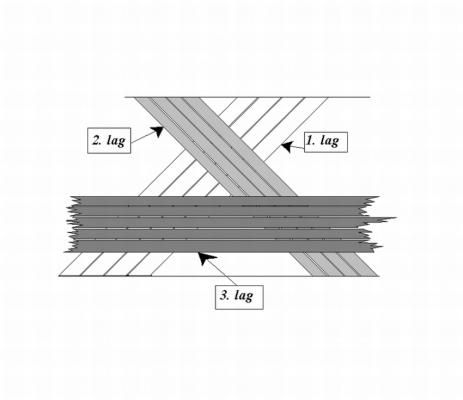
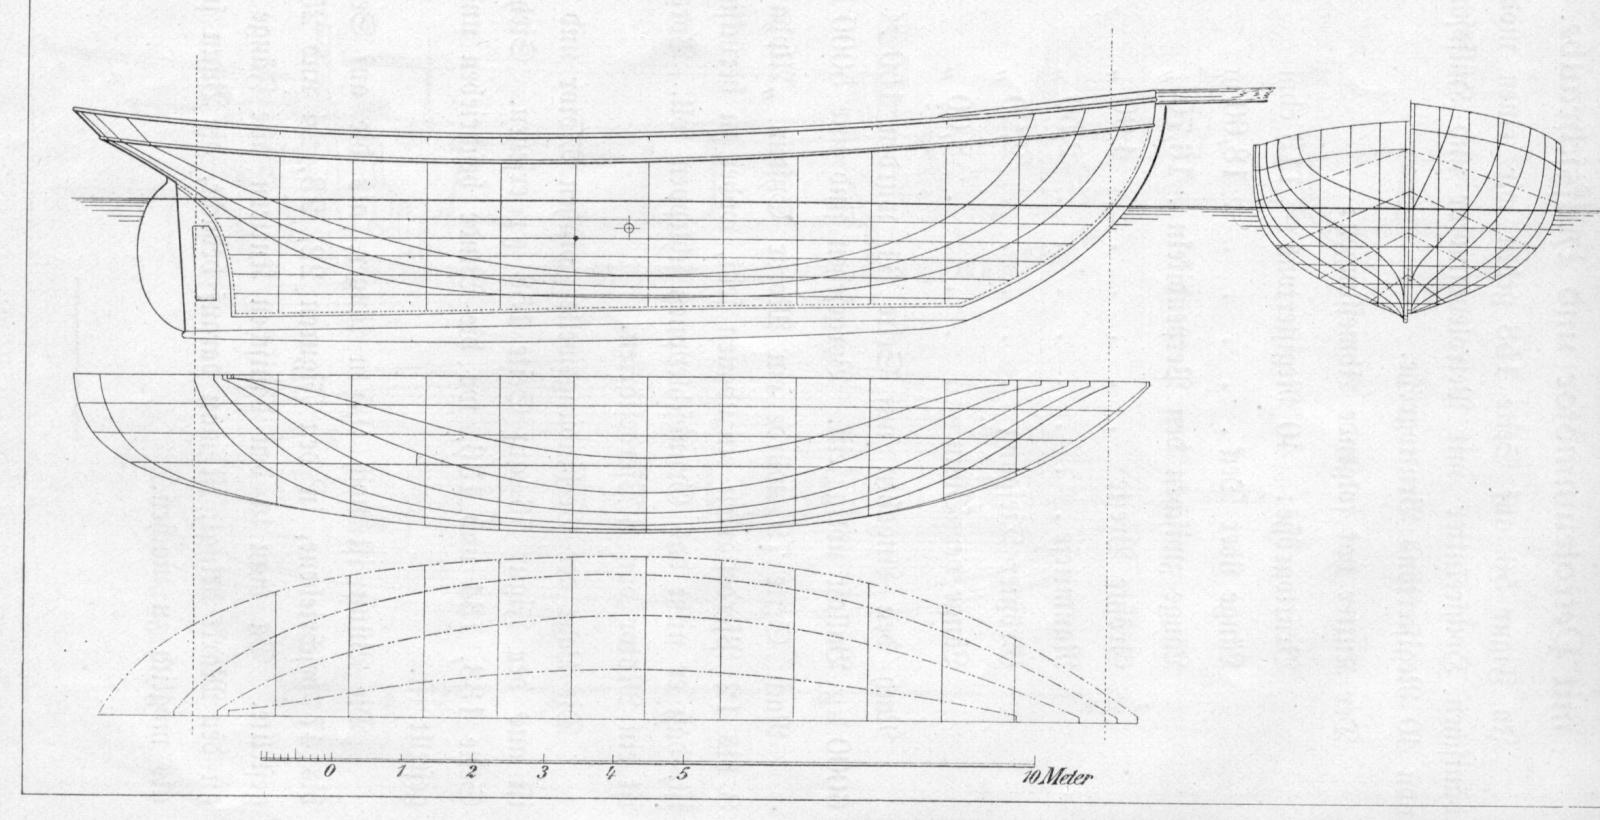
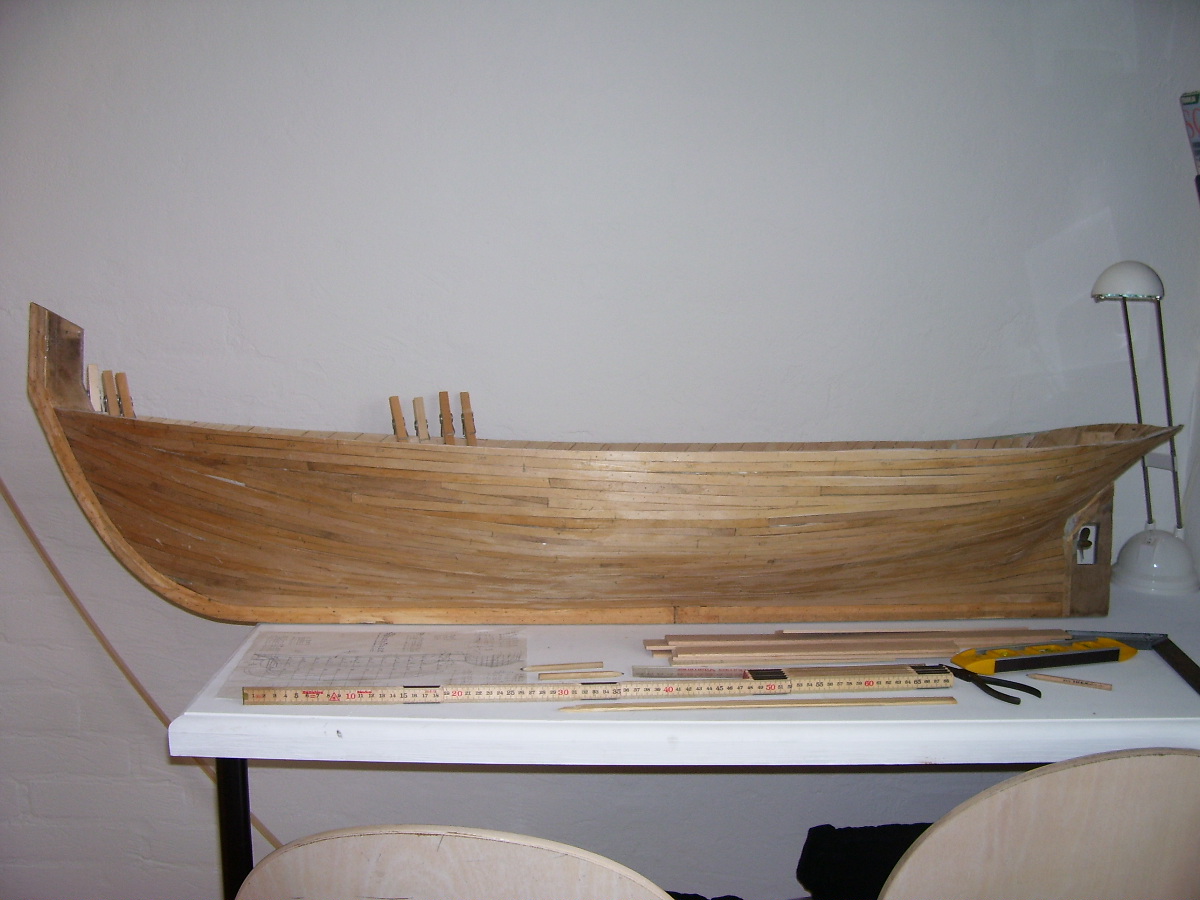
The hull is finished.
To get the shape of the hull, I used templates placed upside down on my building jig.
The hull is made up of three layers of 1 mm plywood; 1st. layer is set in an angle of 45 degrees toward the bow - 2nd. layer is also set in an angle of 45 degrees toward the stern. Finally the 3rd layer is positioned horizontal.
The inside of the hull has been covered with fiberglass to ensure it´s waterproof, and painted white (I admit; it dosn´t look that pretty at this stage).
- Mirabell61, Omega1234 and mtaylor
-
3


VOLVO 65 by pete48 - FINISHED - Scale 1/4" = 1' - Farr Yacht Design
in - Build logs for subjects built 1901 - Present Day
Posted
Hi Pete
Good craftmanship!!!
Best regards
Steen