bensid54
-
Posts
531 -
Joined
-
Last visited
Content Type
Profiles
Forums
Gallery
Events
Everything posted by bensid54
-
 Thanks Pat it's coming together slowly but surely.
 -
Thanks Guys, like the Bireme this one will be going for some time. Problem is I have two static models to do one a kit the other a scratch built Gillnetter.
-
Arms mounted and operating, many changes needed but at least I'm on the way to the final design.
-
The arms build, this is the first prototype and will be changed in a number of ways to improve the look and function.
-
Sort of gives you an inkling of shipbuilding obstacles man had to deal with.
- 77 replies
-
- 2
-

-
- robert wiltsie
- sloop
- (and 1 more)
-
Looking good! This is one of those builds that sets it apart from the rest because you took what you had available and turned it into something other than chopsticks.
- 77 replies
-
- 2
-
-
- robert wiltsie
- sloop
- (and 1 more)
-
Medical and dental benefits too! That guy could really use the dental and putting on some weight won't hurt either.
-
Ha ha Good one Arthur, it never dawned on me what that guy could make. Another question is how far or long are the trips and does he get vacation time?
-
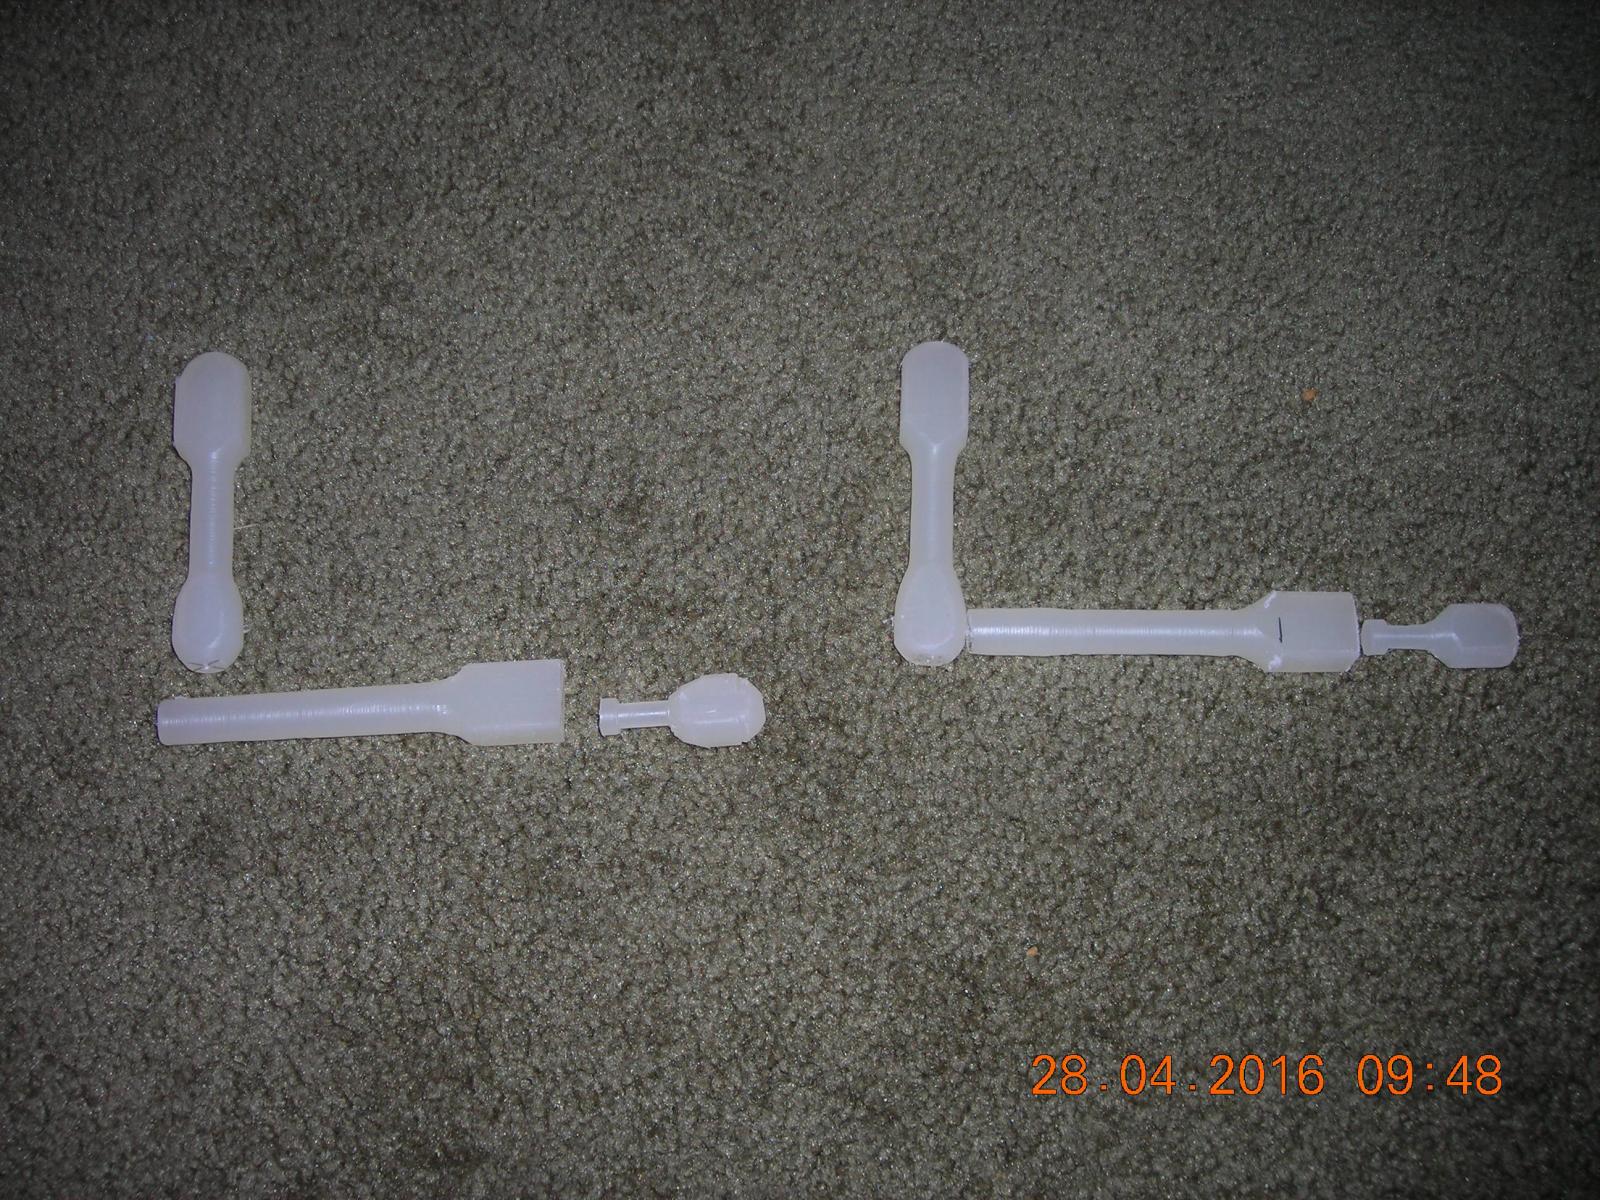
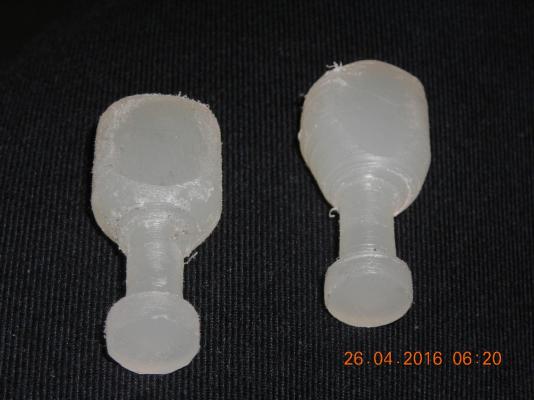
The upper arms, forearms and hands so far. Now I have to mill the elbows, wrists and shoulder to fit it all together then dress it up to look better. I think this will work if not there is always plan"B".
-
That makes sense Bob use resin to fill in the gaps and it would be strong then I could place planks over that for the interior of the boat. Thanks
-
Good point Arthur this is going to be tricky. Trouble with the wood that will be exposed to the water so it has to be sealed which may give it some gloss, unless there is a type of wood that can resist water like teak maybe. I could always make a clear plastic hull and glue the planks to it with CA glue, that could be a plan. I've started working on his hands the left hand will rotate the right hand will move up and down. They are rough now but once I finish the arms I will finish and fit the hands.
-
Thanks for the compliment Bob. That would work it would be tricky to do, I'm thinking build the nasty looking hull then use scotch tape inside to support the epoxy while it dries. I could do that if I'm very cautious but the more I think about it the better I like your idea.
-
I was thinking of making a water tight thin hull then adding weathered and rough looking planks to the outside and inside for effect. That may be the route to go because I want it to be water tight yet look unseaworthy, any other ideas that may be a better way to go?
-
Thanks Ken and Bob those are helpful tips, I'm sure I will be able to circle in on what I would like the finished product to be.
-
Thanks Ken and Mark those will be helpful, I've never built anything weathered so this is going to be a challenge. One thing about it though I'm sure screw ups could add to the weathered look.
-
Cool stuff guys thanks! Does anyone know how to give a wooden boat that weathered look?
-
I need to find pictures of wrecked and beached wooded boats. I want the hull to appear weathered, beaten and something neglected so close up shots of beached or wrecked boat sides would be good. I have a picture in my mind how I want it to look based on the look that you see with Viking ships. Broken boards that are poorly repaired would be part of the look I'm after too.
-
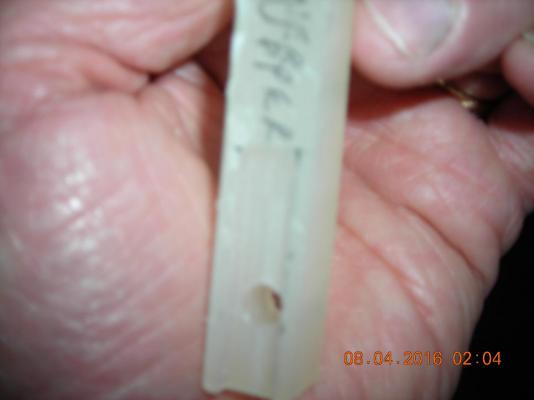
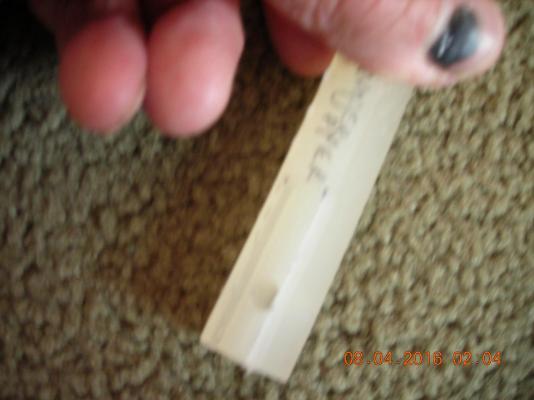
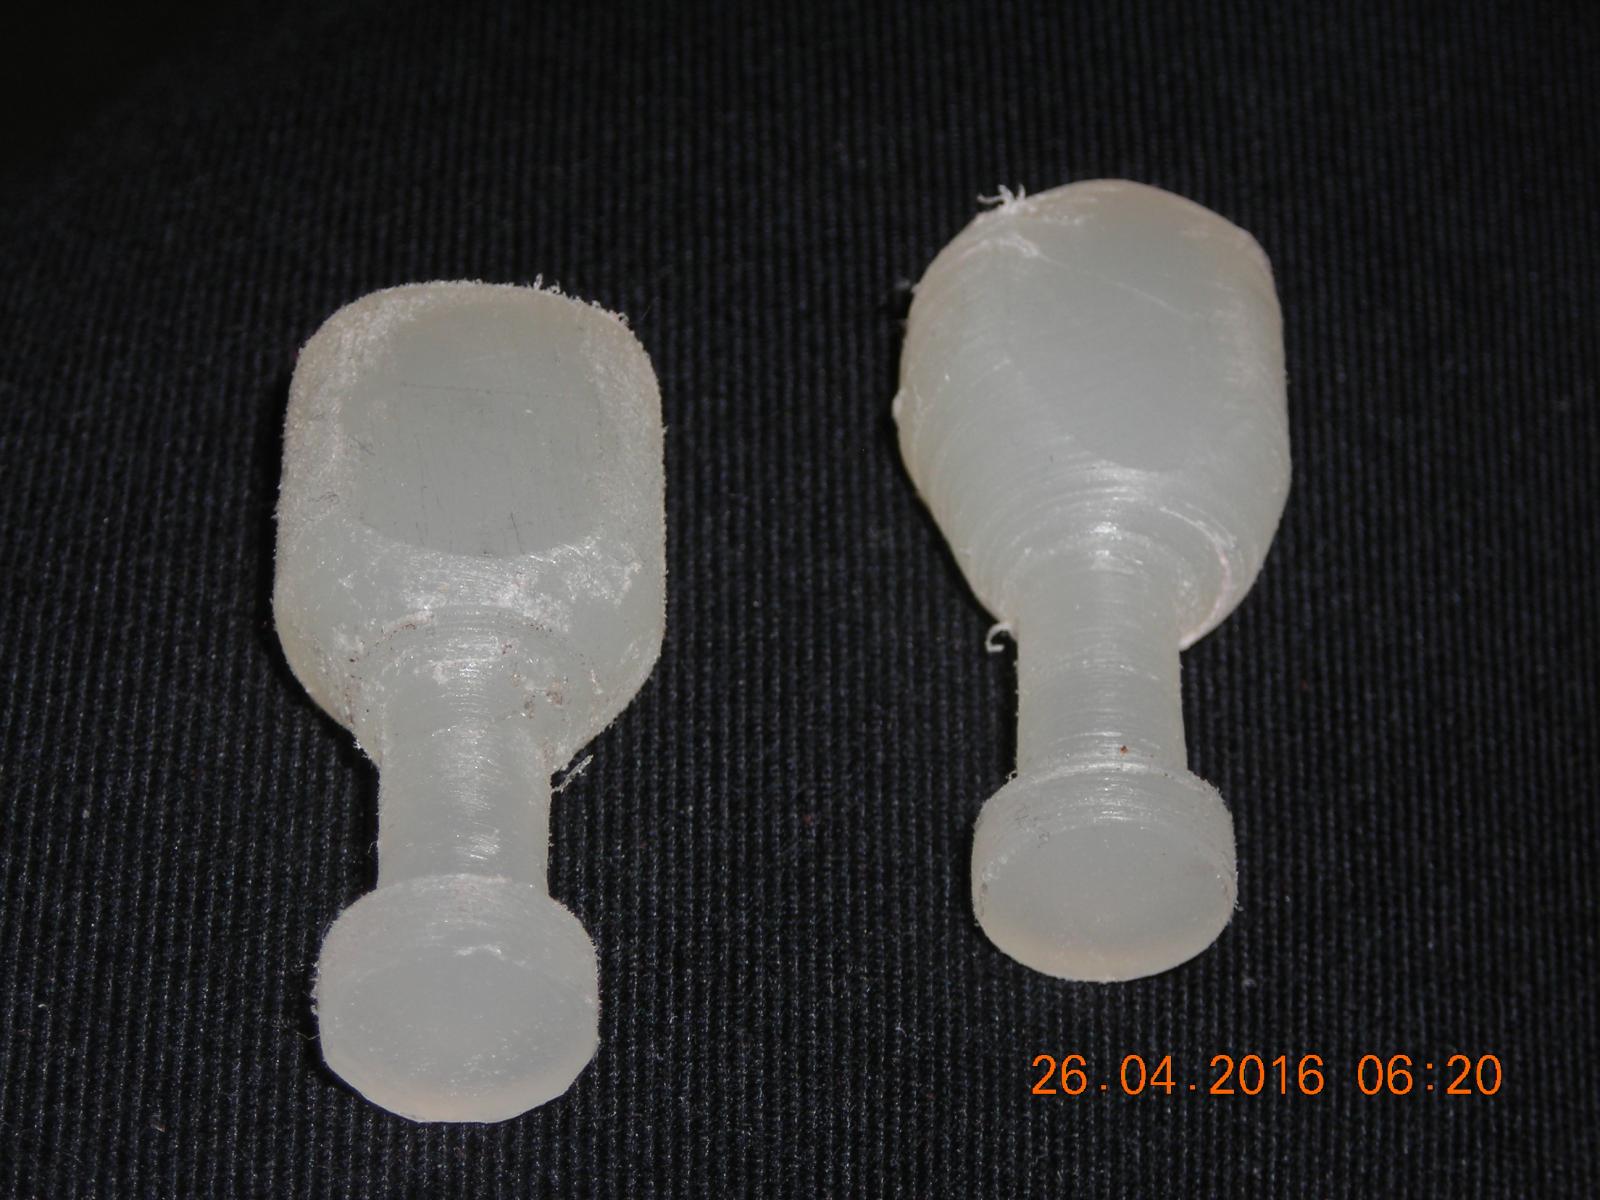
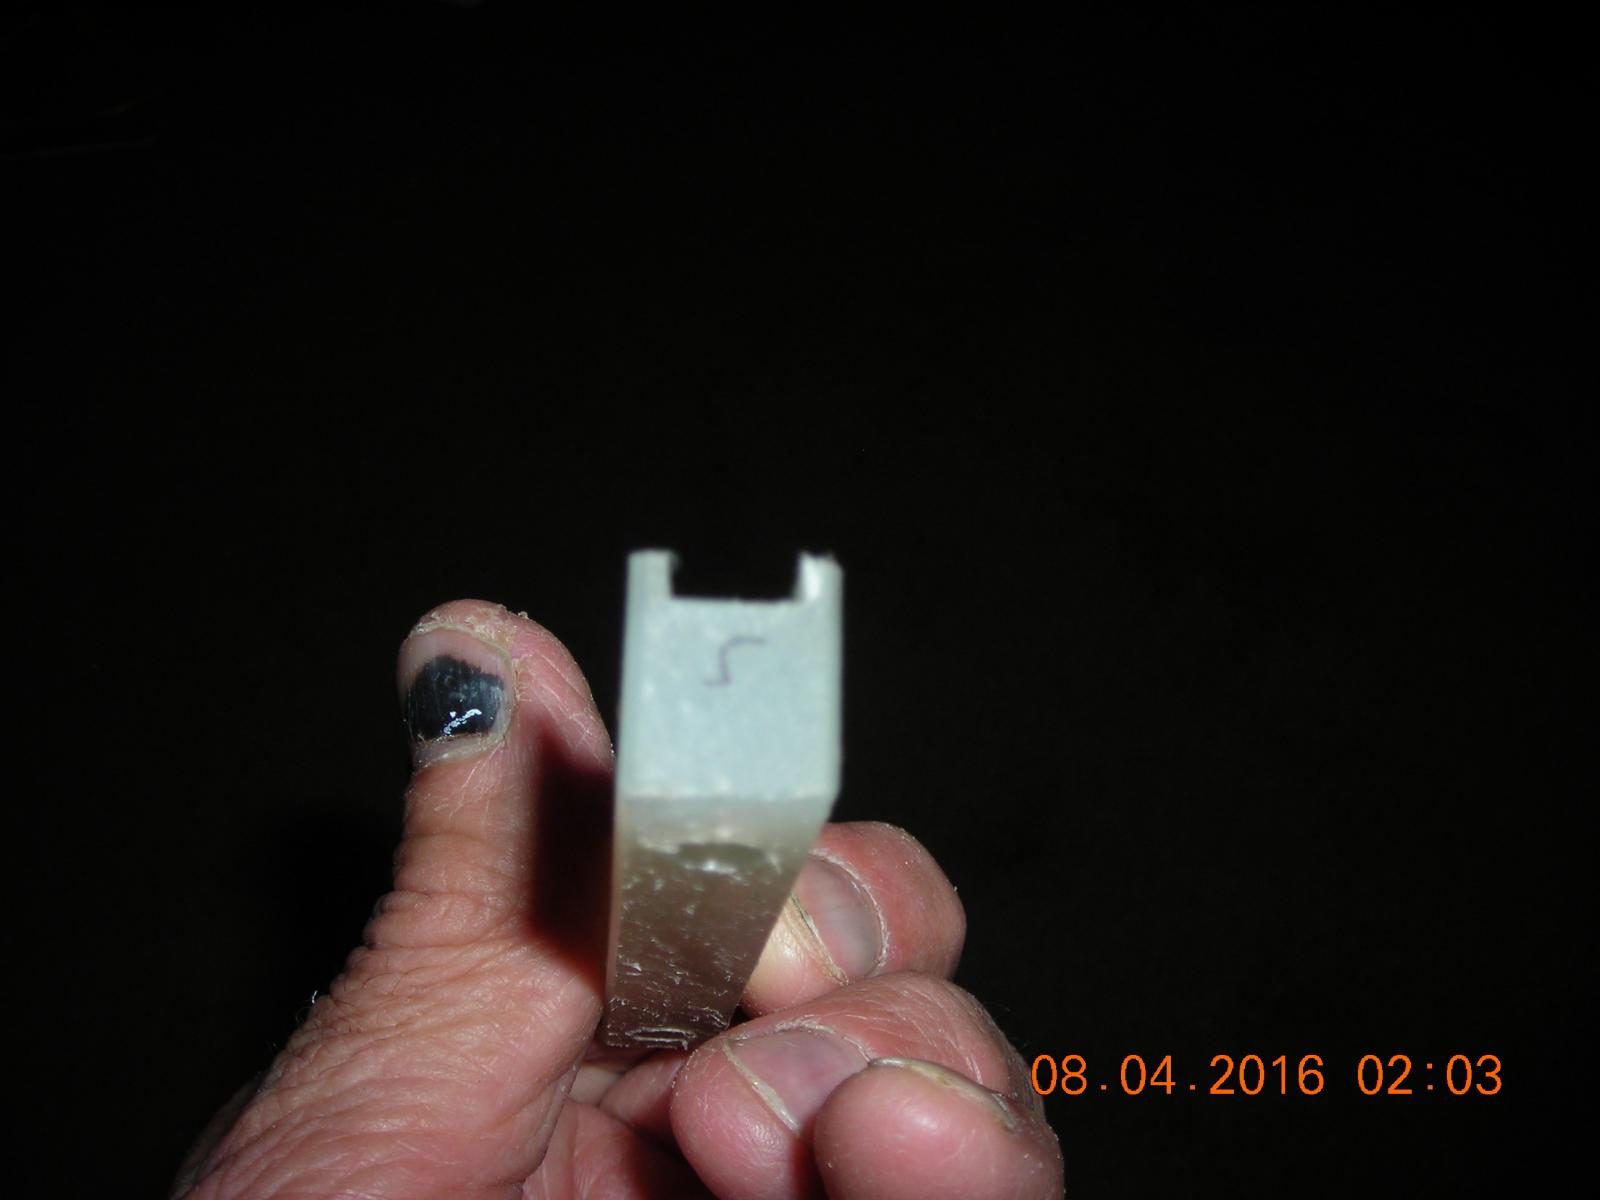
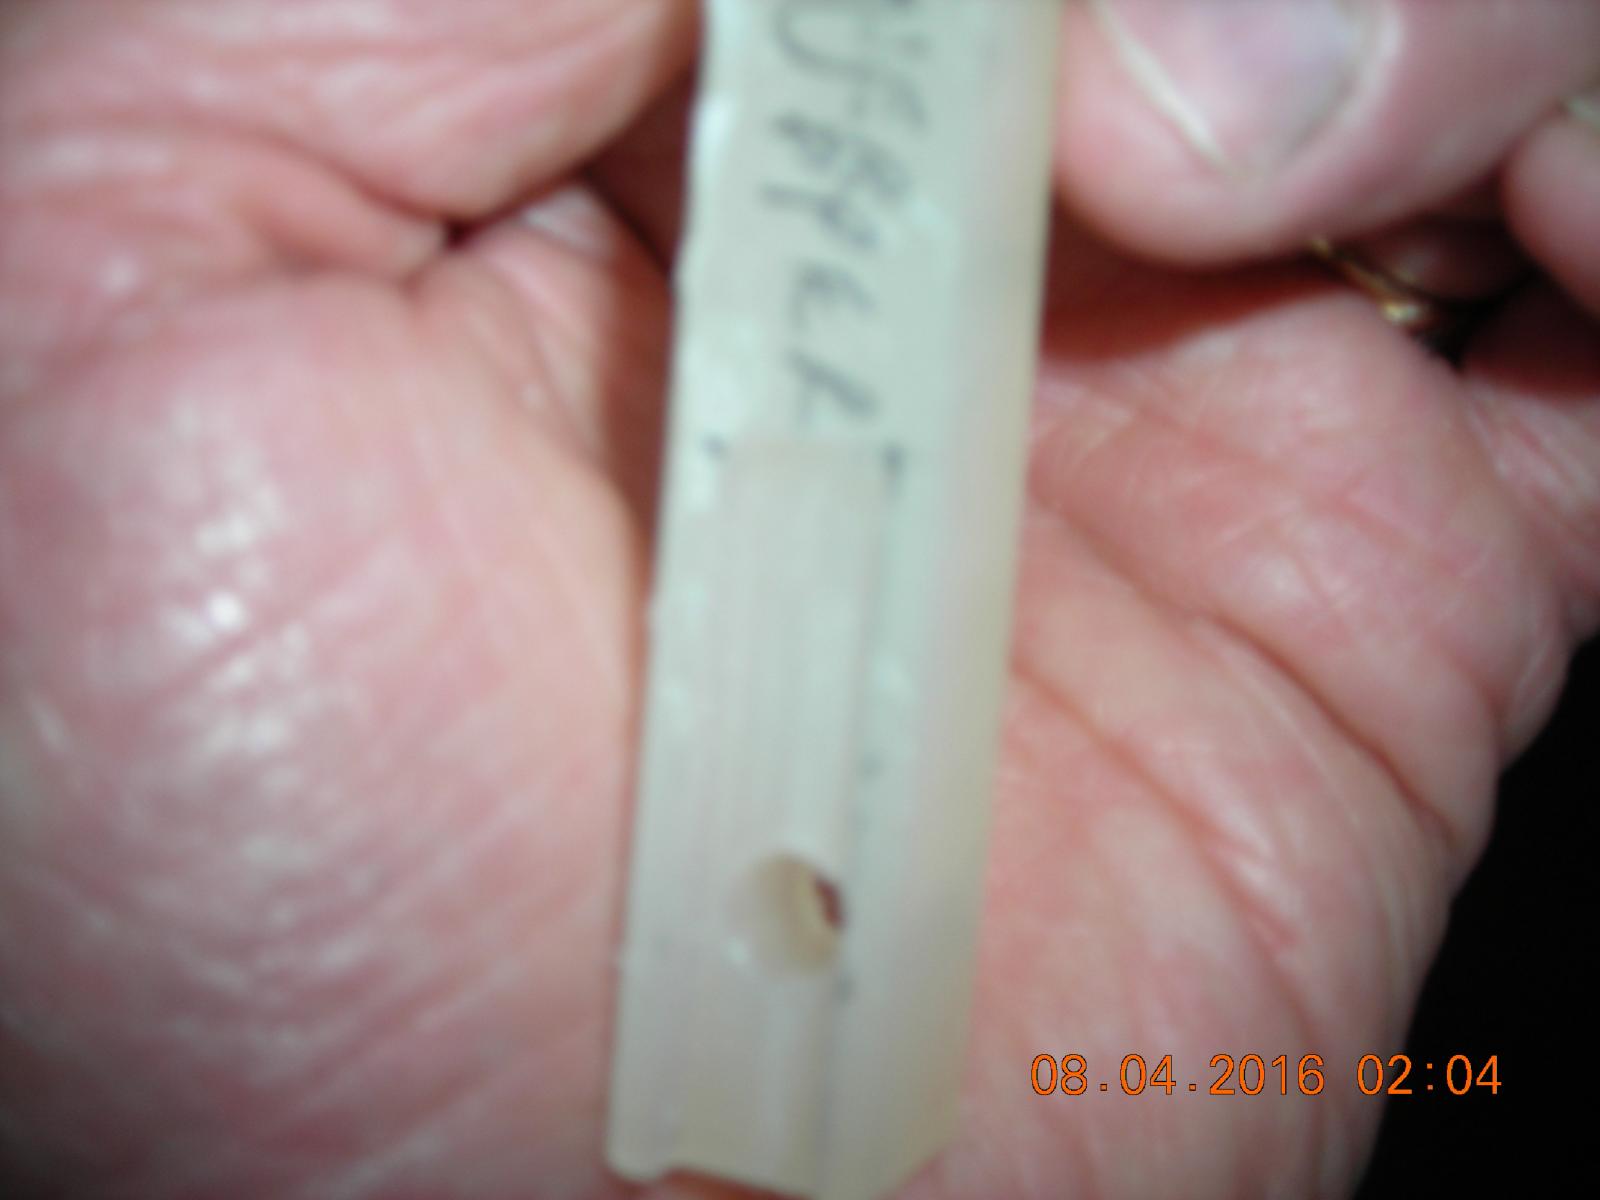
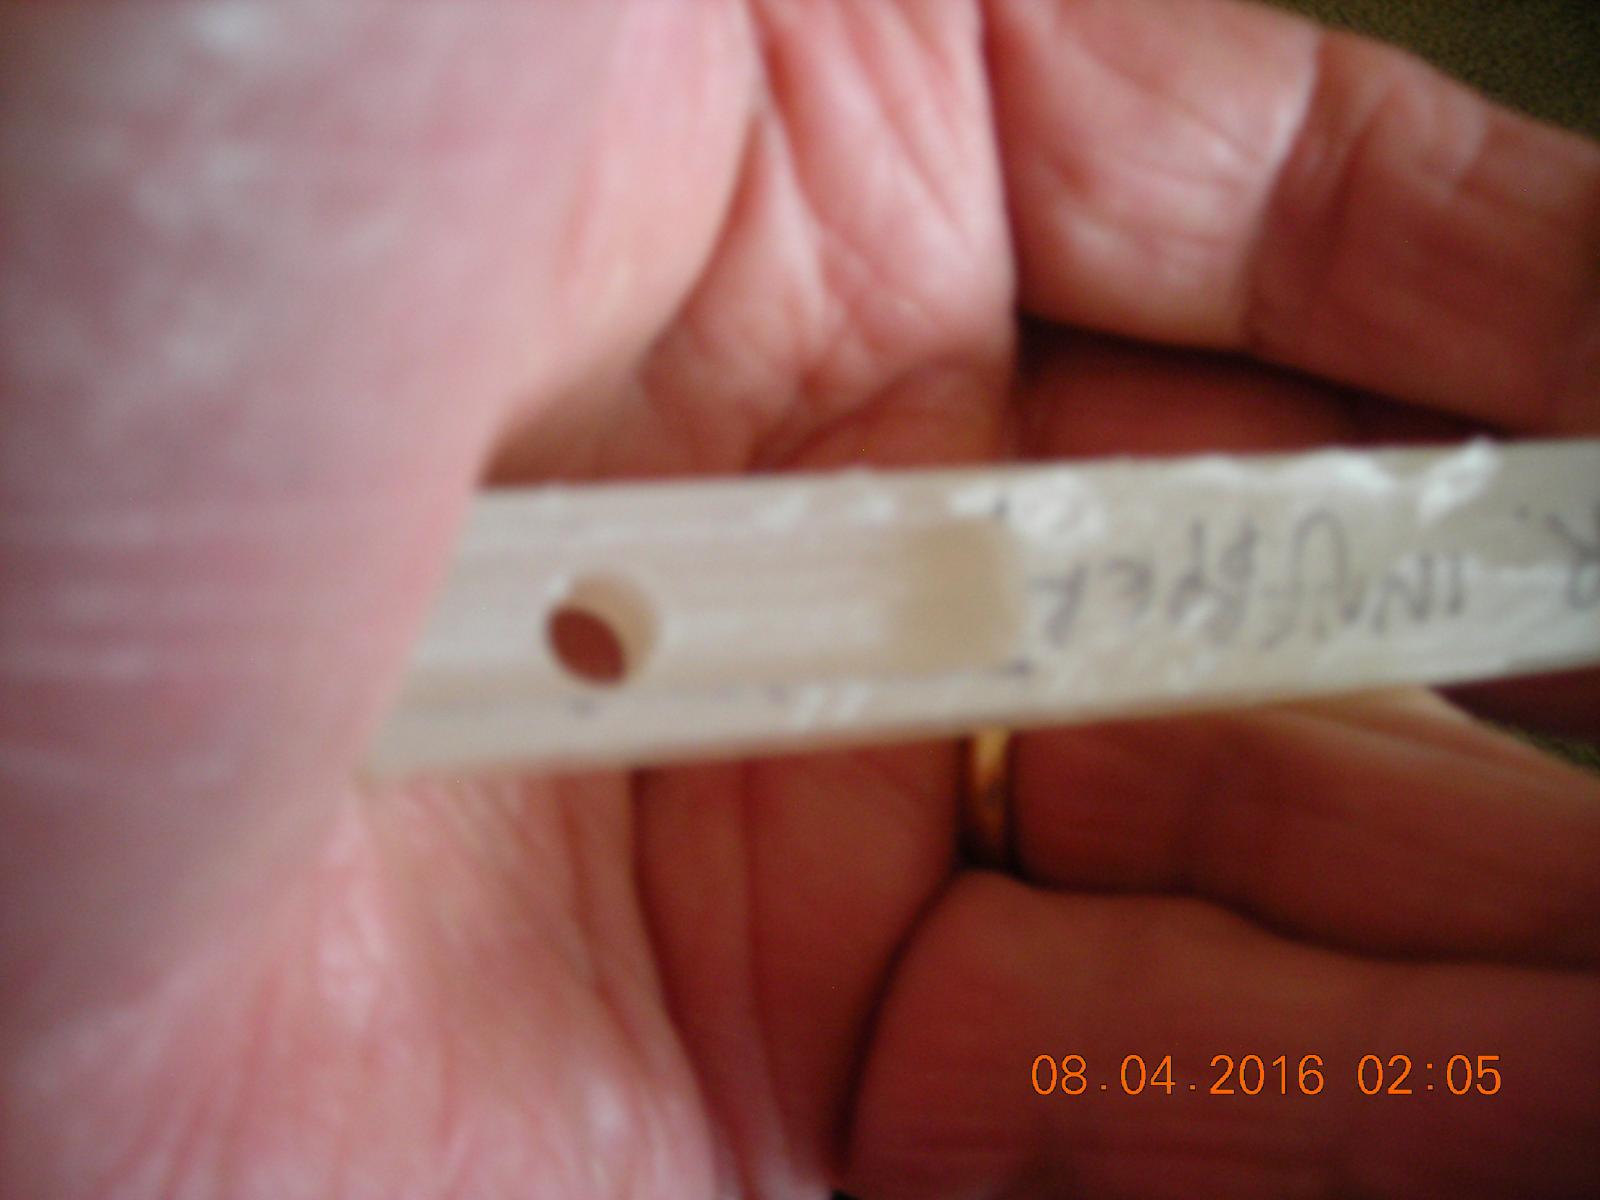
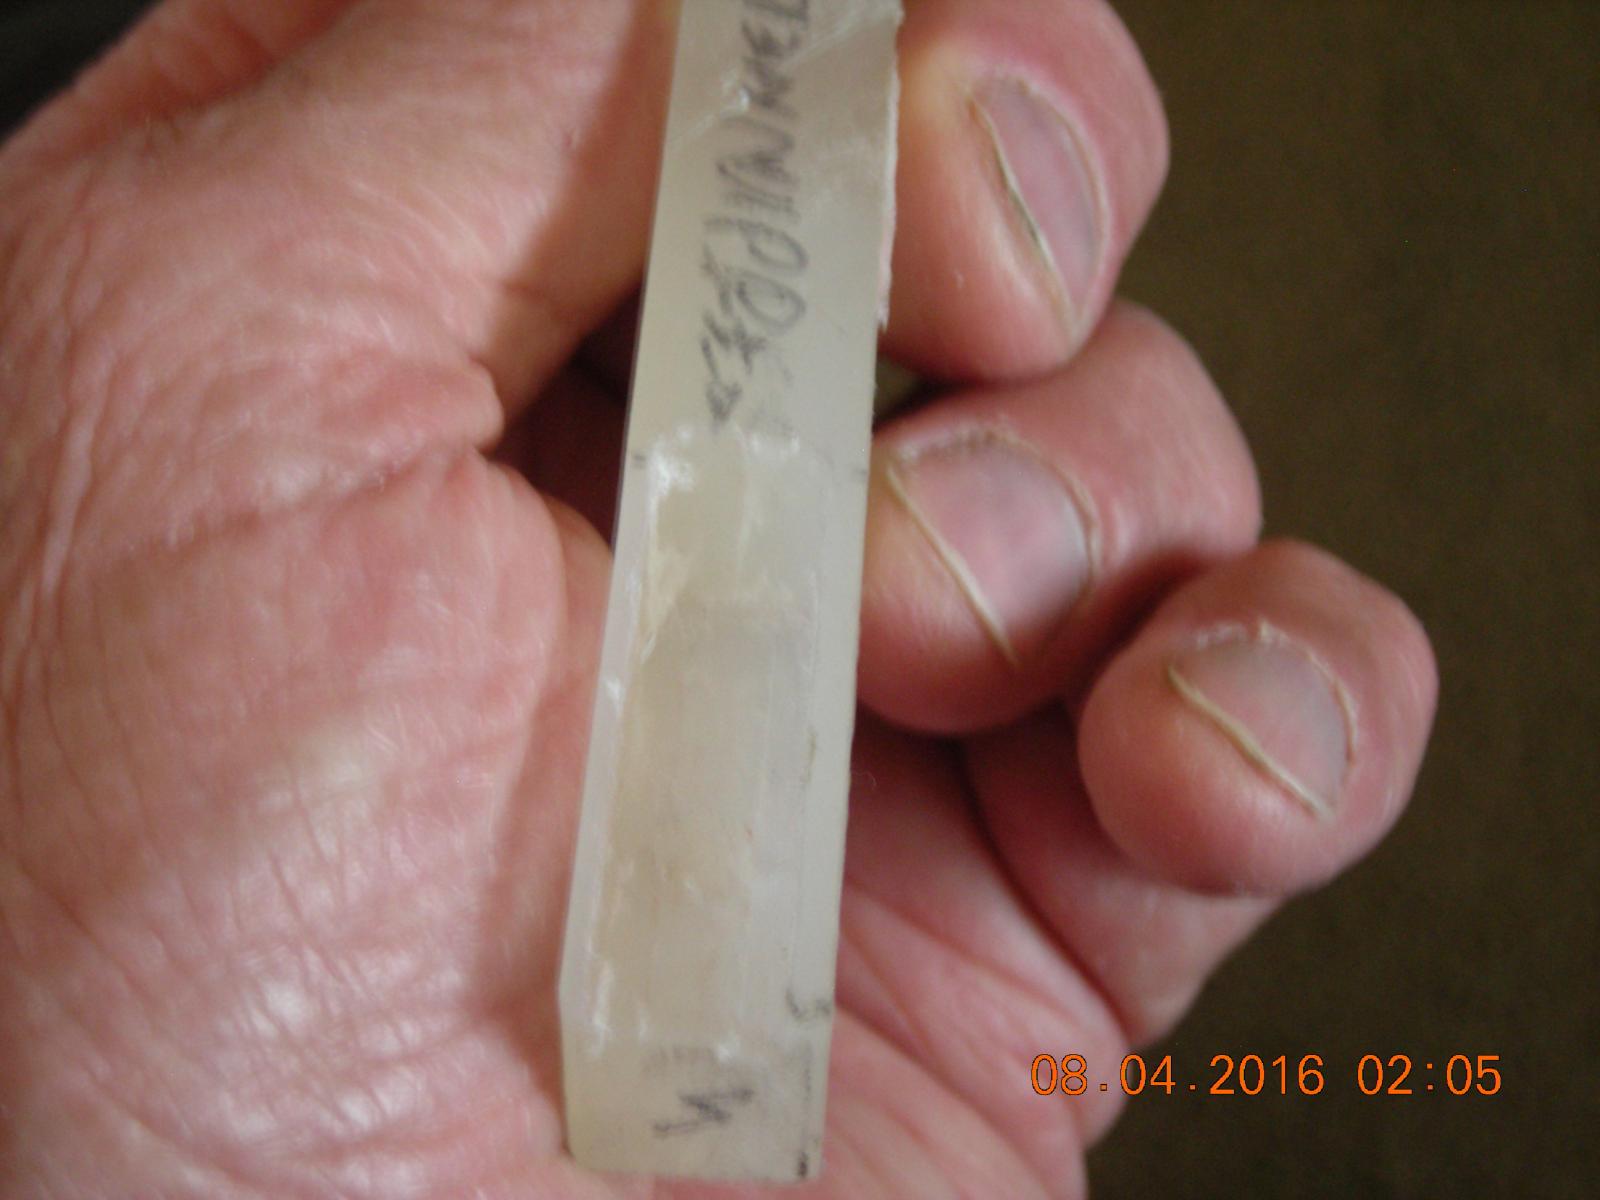
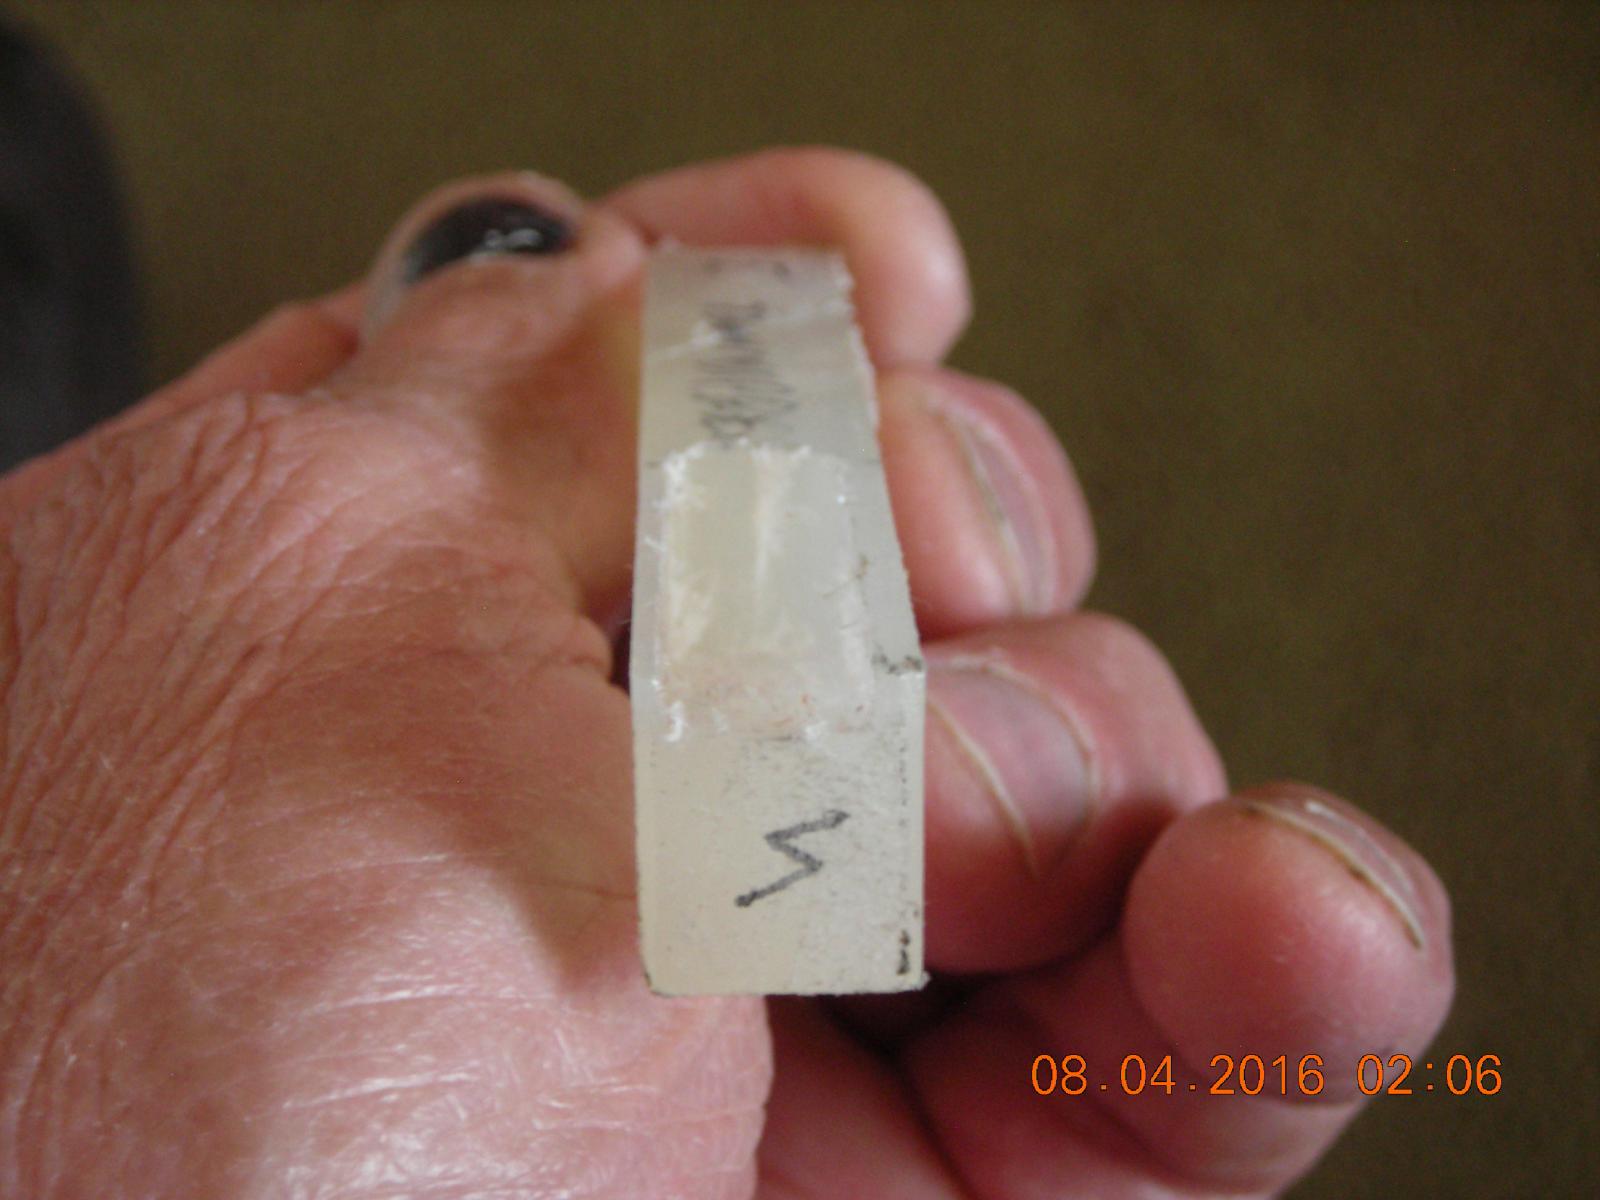
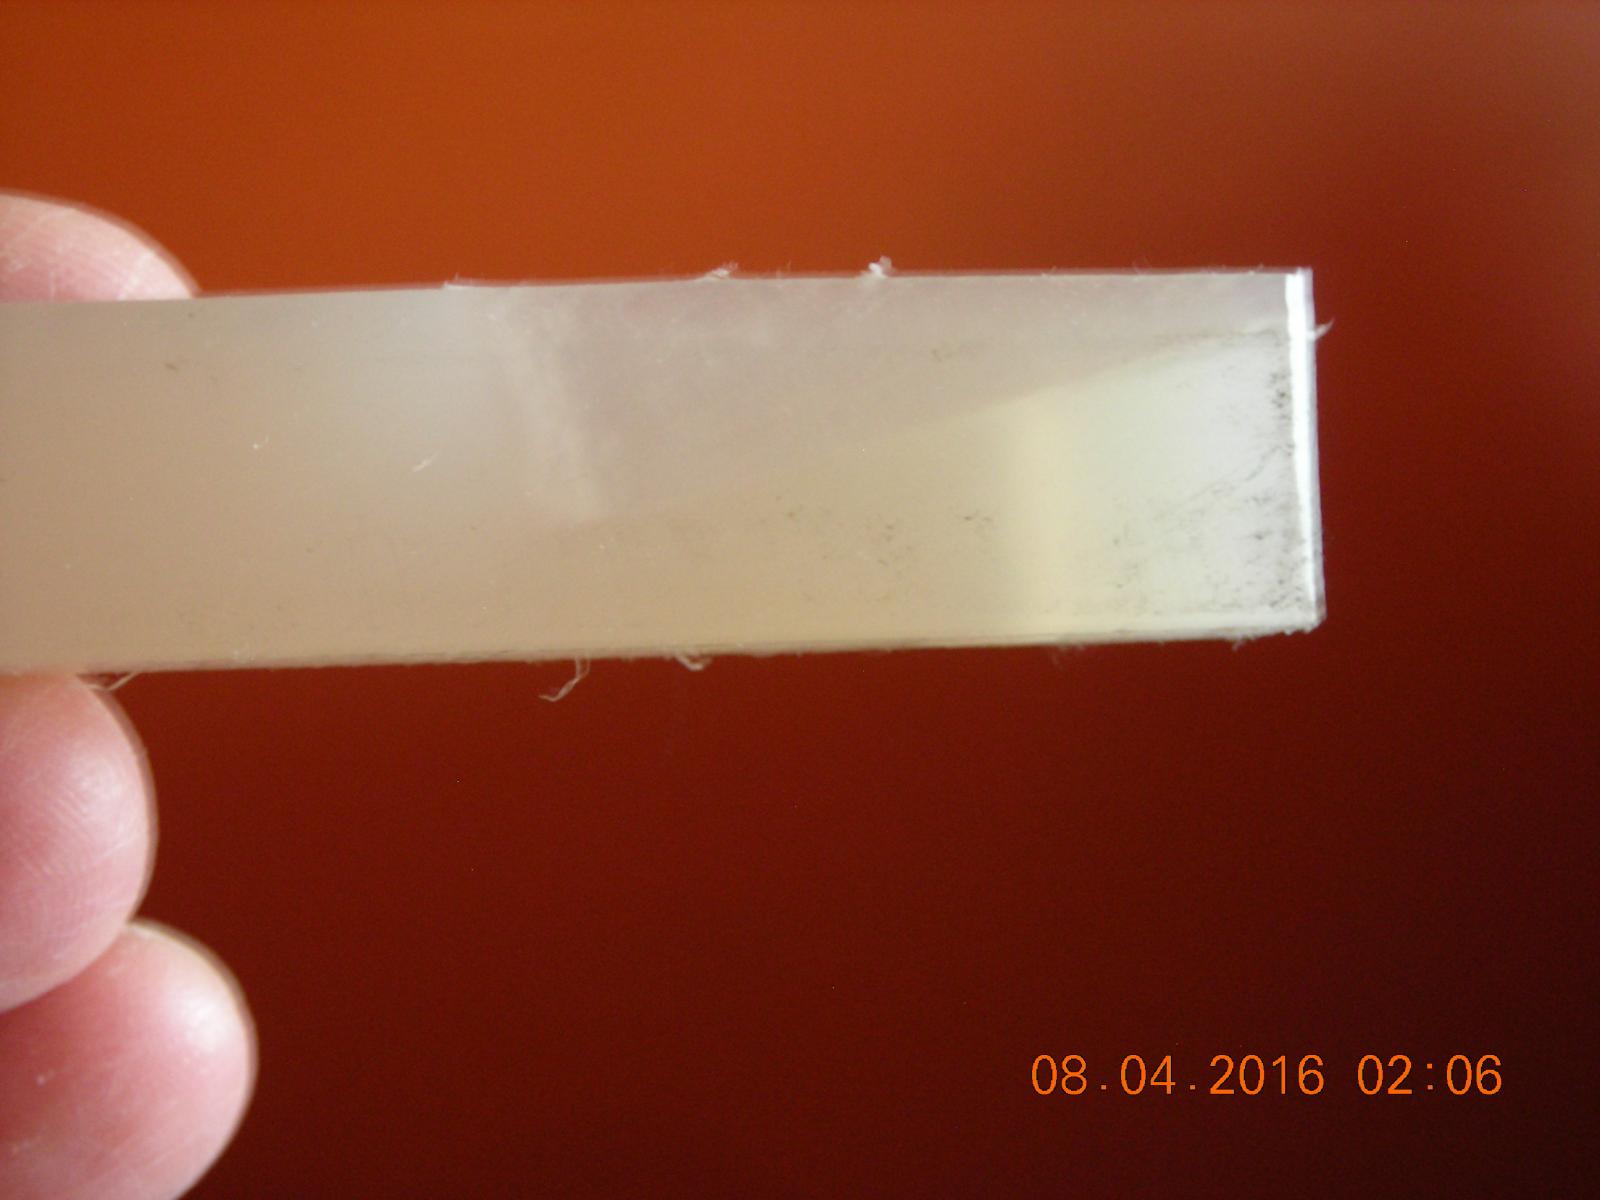
Builder: Bensid54 Advisor/ Electrical Engineer/ Patient person: AEW Scrapping the first set of arms and will be starting on the replacement arms. I predrilled the elbows without realizing they need to be drilled at 120 to 130 degrees instead of the 90 degrees that I drilled them, so they are now scrap plastic. The reason I'm using Nylon over wood or metal is I think Nylon will give a bit of flex at the elbows and I think that will better represent the properties of ligaments and joints on the average person.
-
Thanks Bob and you are right a difficult hurdle has been cleared. The electronics work and this is so nice because between Charons Electrical Engineer and myself (the later doing the least) we spent in the neighbourhood of around eight hours just getting this thing programmed to work. Now time for the video!
-
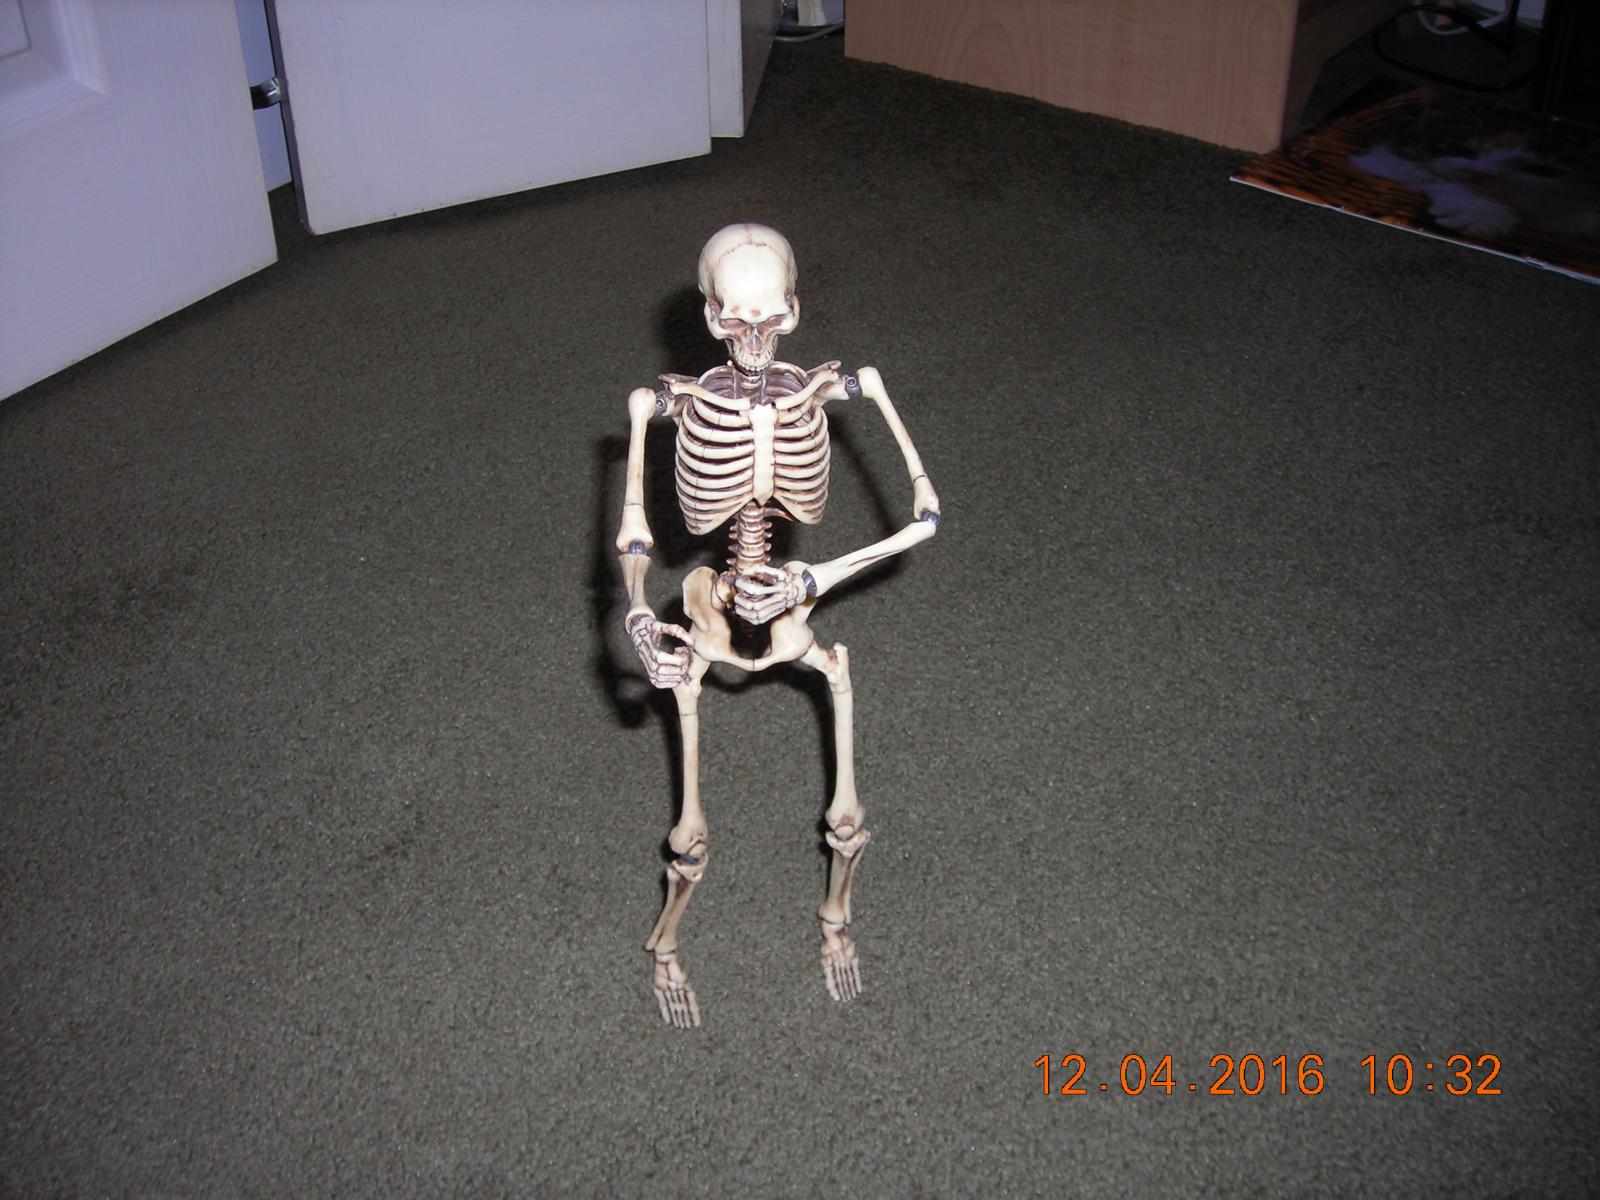
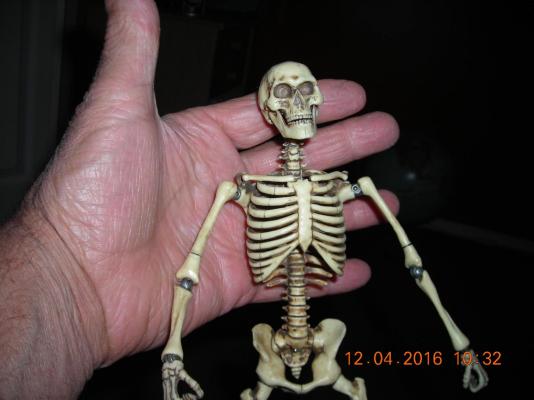
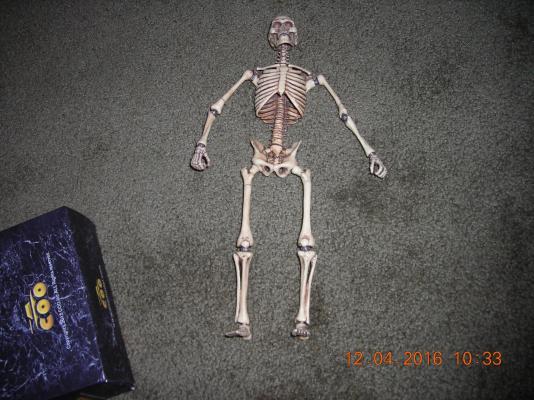
Charons friend that will reside in the bow of the boat. This skeleton came with three sets of hands so I'm debating about rebuilding Charon to work with one of the pairs of hands. So far the mechanics have been troublesome so hopefully the electronics can be sorted out, if not there is always plan "B" which I know can work.

-
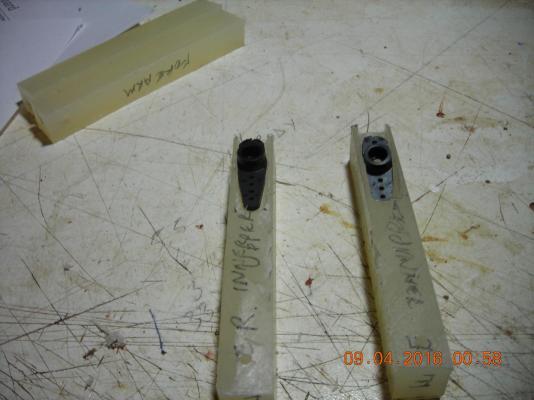
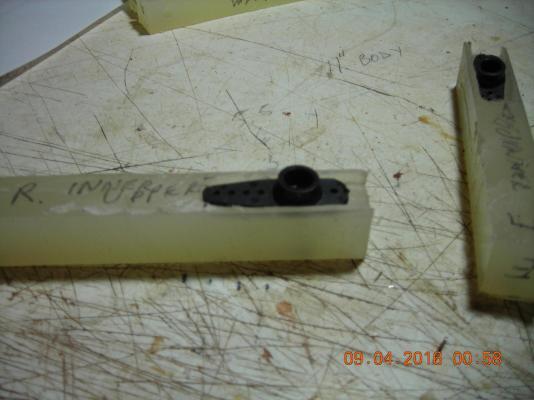
Fitting the servo horns, in the one picture you can see the approximate spacing and angle to each other the upper arms will be.


-
Thanks Captain, I see the bamboo is being very co-operative for gluing and sanding.
- 77 replies
-
- 3
-
-
- robert wiltsie
- sloop
- (and 1 more)
-
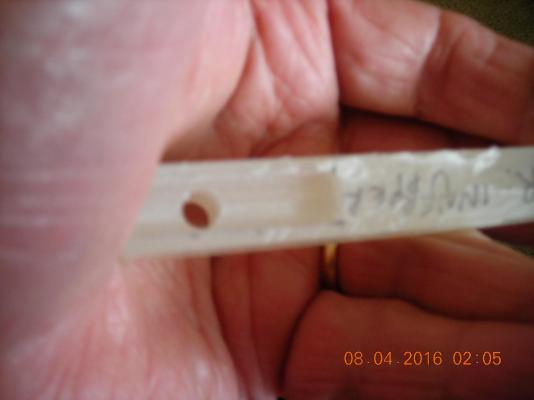
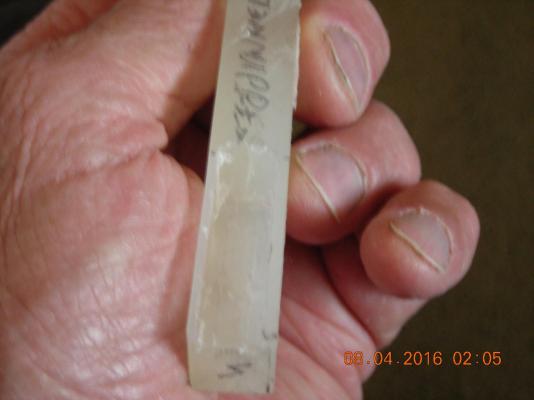
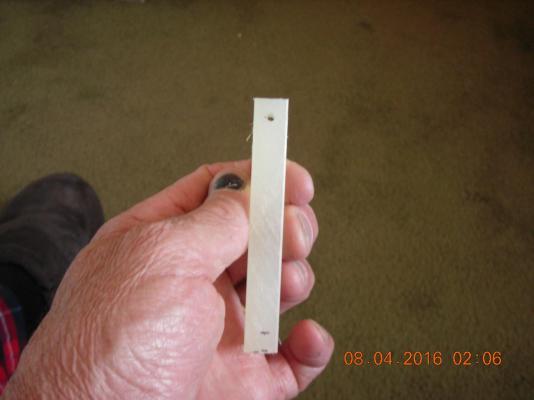
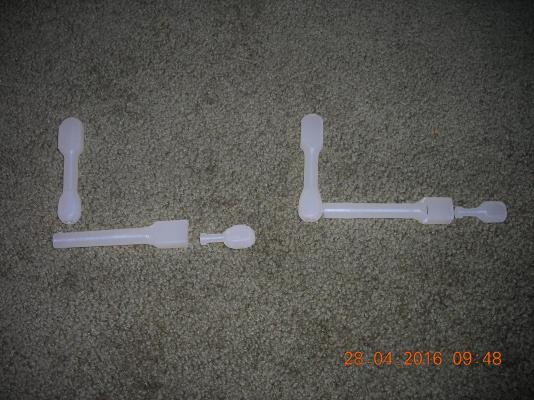
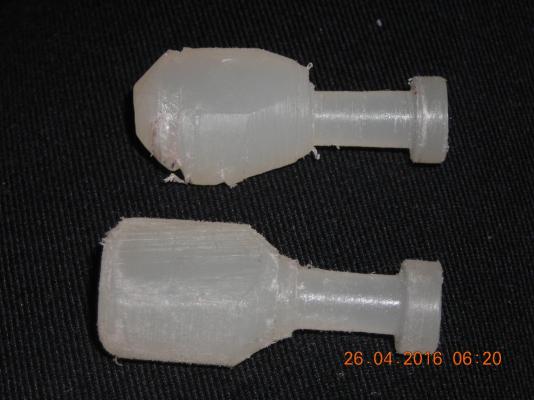
Work on the arms now, I've grooved them both to fit the servo horns one level the other 15 degrees. The reason one is 15 degrees is because his left arm has to cross over his chest then his elbow will be bent to make up the rest of the distance. The right arm will have a free pivoting elbow but the left elbow will be pinned or set screwed to not bend once I have the final setting. When I make the hands the right one will have the ability to spin and pivot whereas the left one will only be able to spin. Next I will be machining the servo horns to fit the shoulders.