HOLIDAY DONATION DRIVE - SUPPORT MSW - DO YOUR PART TO KEEP THIS GREAT FORUM GOING! (Only 24 donations so far out of 49,000 members - C'mon guys!)
×


jcoby
-
Posts
88 -
Joined
-
Last visited
Content Type
Profiles
Forums
Gallery
Events
Everything posted by jcoby
-
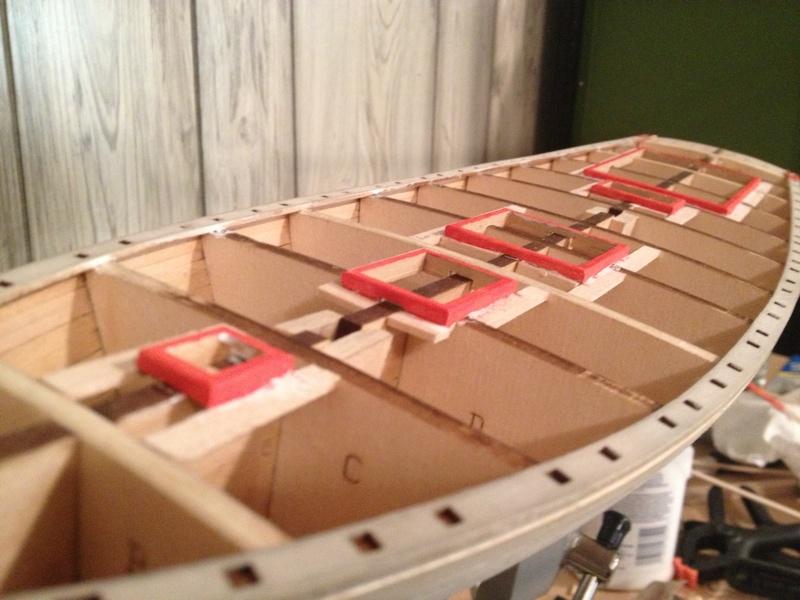
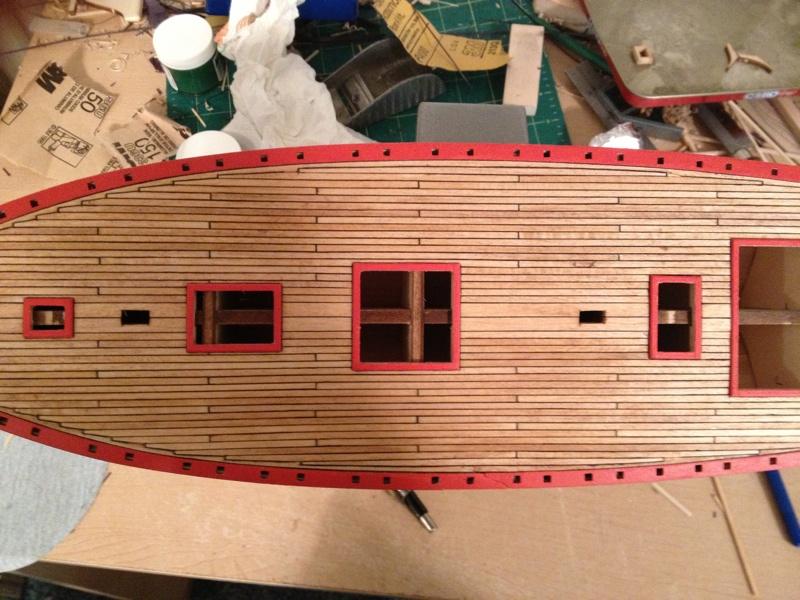
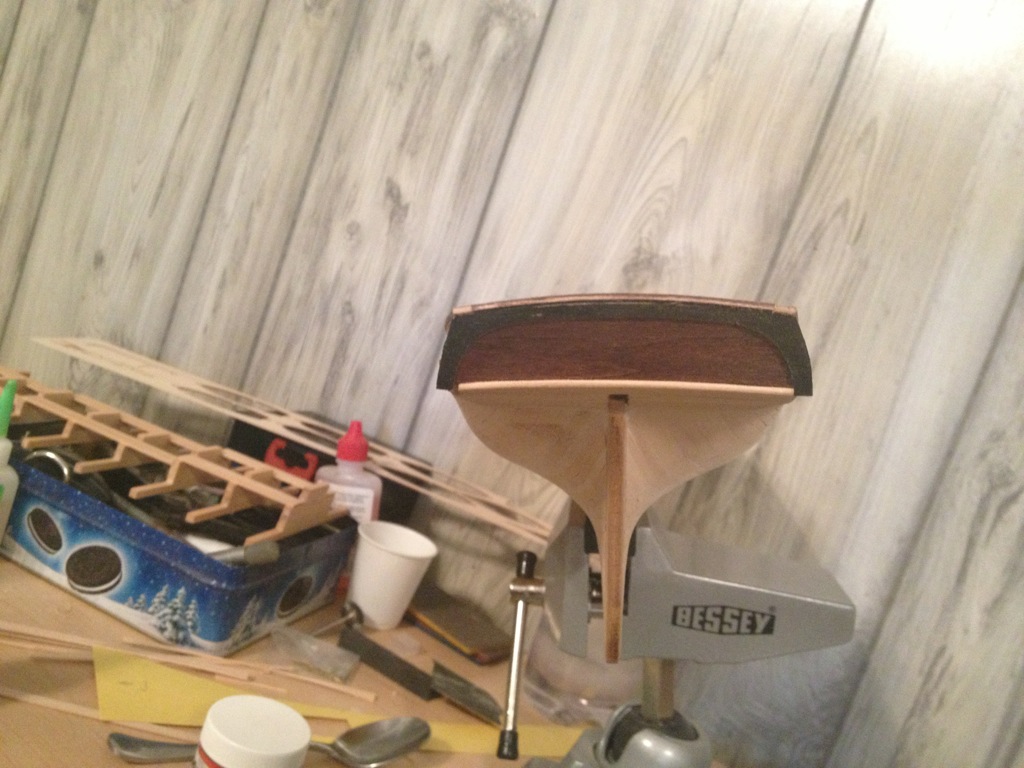
The coamings were called out to be put in before the deck as an optional step in the plans. Even though it took a couple hours to build and install them, I feel it made installing the deck quite a bit easier. And it was far easier to paint them first. I've been working on the Pride but very slowly. It's warm now and I've been spending most of my free time in the garage working with metal. I have built the frame for the hatch. I still need to make the verticals before I start planking the top. And as capnharv2 said, smaller numbers are bigger scale. 1:76 or 1:90 is tiny unless you are working on a huge ship.
-
That's a huge help, thank you. I also found this picture on flickr that matches with what you show: Pride of Baltimore II 39 by ameiss, on Flickr The instructions seemed to indicate that the sliding structure was added after the planking but it obviously needs to be installed first.
-
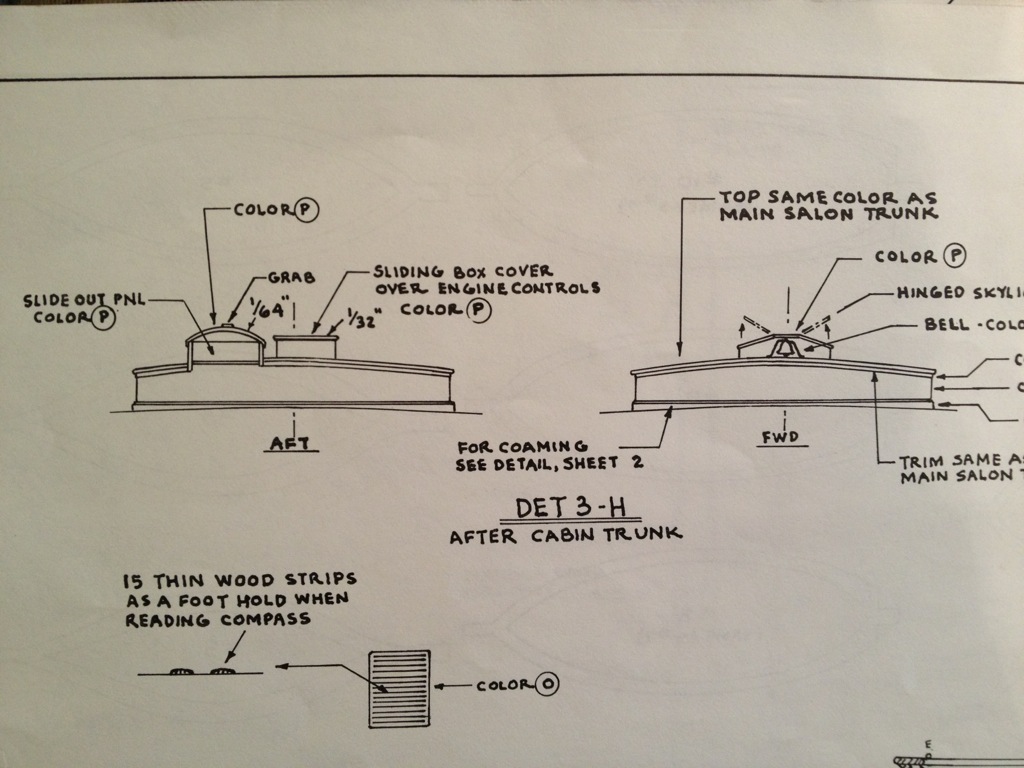
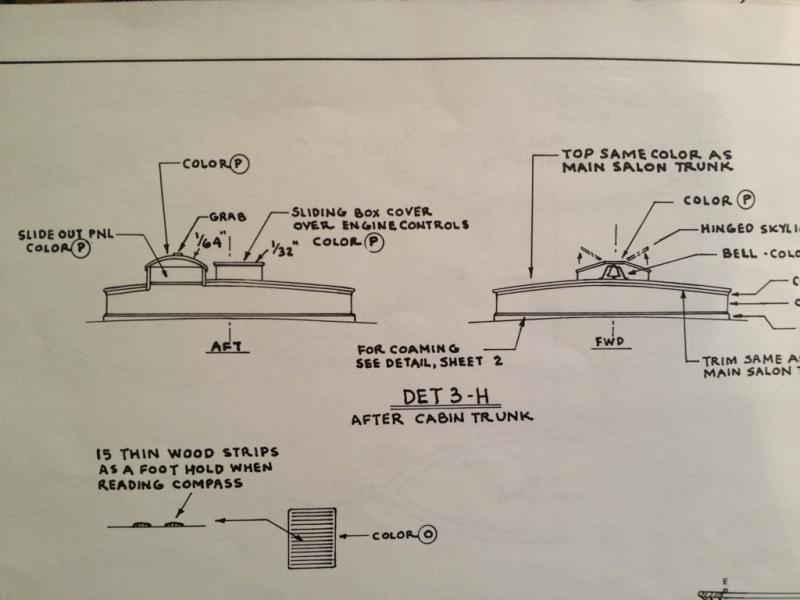
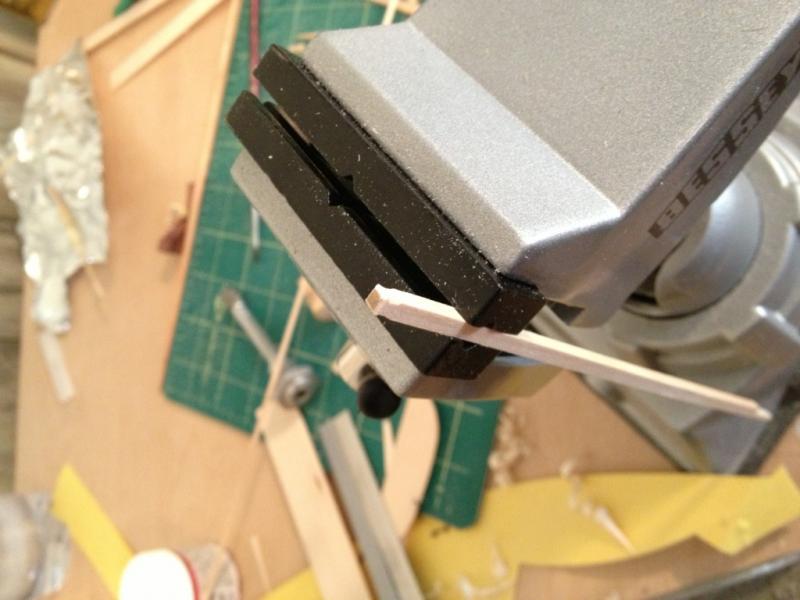
Started working on the samson posts. I'm not real happy with the result. I cannot seem to make those chamfers even. If anyone has suggestions on how to make them I'm all ears. Here is the picture of the after cabin trunk plans. I don't really understand what it's supposed to look like. The top is planked & caulked. I don't understand how that structure with the rounded top and slide out panel is supposed to attach. Especially since the fore and aft profiles don't match. This is the largest deck structure so I want to get it right.
-
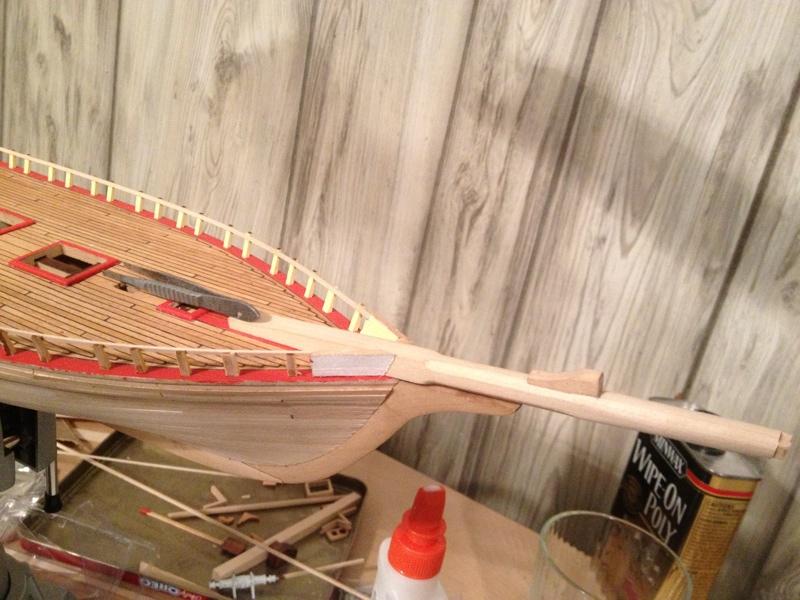
From what I see the bowsprit squares off at the tip. It looks like if you taper it to the final diameter in the round and then sand or plane off the four "cheeks" you would get the same effect. The second link I posted shows it a bit more clearly (http://www.flickr.co...in/photostream/). There are a ton of photos of the restoration in that flickr gallery worth looking at. The conny is a pretty popular model here. Hopefully someone who has built one can answer more authoritatively.
-
Maybe this will help: New bowsprit for USS Constitution: Made from hearts of 4 Douglas firs from Oregon forests. Diameter: 32 length: 64' weight: 5 1/2 tons. From here: http://www.flickr.com/photos/boston_public_library/5887999202/ Another good shot here: http://www.flickr.com/photos/boston_public_library/5888787038/sizes/o/in/photostream/
-
The instructions gave the option of installing the coamings first or after the planking. With some gentle prodding from Russ I installed them first. It's quite a bit of work to get them installed and level but it beats trying to sand them to fit later. I actually missed one coaming at the aft. Luckily it was small and easy to shape to fit. I do wish that I had installed the mounts for the winch and bitts/fife rails before planking as well. I will have to cut the deck to install them. Re: paint. I try to paint everything before installing it. That allows me to mount it to a stick so it can be held easier and I don't have to work around other things. Wherever the part gets glued stays unpainted and any paint on the glue joint gets scraped off. Usually a little touchup is required after installation as well. I'm working on the samson posts now. It seems like everything at the bow is dependent on them. I have built the wheel house and aft hatch. Binnacle is next. So I've sort of been working my way from the ends inward. I'm still scratching my head trying to figure out how the structure over the galley is built. I forget exactly what it's called. I'll take a picture of the plans; maybe someone here can help. It's planked but the two ends aren't the same. I'm just not sure how it's supposed to look. Thanks! I have family in Baltimore. If I ever make it back up there I'll at least try to visit it. I'm pretty sure I saw it sometime in the early 90s but I barely remember it. I've never been on a sailboat or ship; must have been quite an experience. This is my "first" build and I haven't found anything super difficult yet. Anything that I have questions about generally I can find answers to here. The only real ambiguity has been with the top rail and bulwark stanchions. In both cases I just sort of made them look right. The top rail doesn't match the plans exactly correctly at the bow. It's about 1/8" too long and is too pointy. I'm hoping it won't matter too much as it would be impossible to fix now. I have tried building POF models two times before. The first one caught fire under not-so-mysterious conditions. The second one almost met the same fate. I decided to get a Model Shipways model after being able to read the instructions online. They aren't perfect but they're significantly better than the other two kits I tried.
-
Ha, yeah. The planking was tedious but rewarding. With the deck furniture I work with little bits of wood that turn into little boxes. Or little bits of wood that become even smaller bits of wood. Everything is so small and fiddly. I found myself studying the plans looking for a good place to start. After an hour I would give up and go back upstairs. In software we call this "analysis paralysis" and the cure is to just pick something and work on it. So my goal for every night is to get something (anything) done! it could be as small as touching up paint or as large as building a mast. At least progress is being made.
-
Work is progressing, slowly. I'm finding that I don't enjoy this phase of the build very much. Everything seems to depend on something else getting built or bought or painted. And what can be built is ambiguous. I'm trying my best to slog through it all and get to the point where it feels like I'm doing something productive again. For example to install the bowsprit I need to: install the winch and bitts and add banding/blocks and do final painting on the bowsprit. To install the winch I need to paint the white metal casting. And fabricate the housing. To add the banding I need to get some blackening solution and silver solder paste. Not to mention that I don't know how to make some of the details it calls for. The bitts give me trouble. They're 1/8" square and need to have a bevel on top and a chamfer and lark's tongue shaped on each edge. The basswood does not like to hold sharp detail at that small of a scale. I'm thinking of leaving off the edge detail unless I can find a solution. So I finished installing the top rail. I need to add a couple pieces to the bow area and do final sanding/staining but the rail itself is in place and to size. I did the joint at the transom piece a little differently than the plans show but it's barely visible and saved me an hour of work. I can retrofit the fillet piece if I feel like it later with a couple cuts on each corner. The fancy piece at the transom is installed as well. It has not been final shaped yet, giving it an asymmetric appearance. The paint was applied just to get the edge painted. I will sand to final width when I add the side fashion pieces and a second piece of trim at the transom. The final painting will happen when I paint the hull. I also started on the main boom. It has been shaped to size and sheaves simulated. I need to add some bands, add the fork, and do final staining/painting/top coat. I work on the masting here and there because I'll probably go crazy if I had to do it all at once! It is satisfying to make shavings instead of dust though. I need to either pick up some silver solder paste and blacken-it or just resolve myself to painting the brass. I'm not real keen on painting brass though.

-
That's exactly what's in The Art of Rigging. Click on the link I posted. It shows every knot, splice, line, and stay for several rigging types. It goes into detail on each step.
- 160 replies
-
- 1
-

-
- harriet lane
- model shipways
- (and 1 more)
-
For what it's worth, The Art of Rigging is available for free in its entirety on Google Books.
- 160 replies
-
- 1
-
-
- harriet lane
- model shipways
- (and 1 more)
-
I struggled with whether I should detail it as a working ship or on the building ways. In the interest of time and inexperience (this is my first wooden ship model) I decided to go with the cleaner as-built style. It is nice to be able to bring up pictures on the Internet instead of having to do hours of research! The Niagra was my first choice actually but MS was out of stock when I ordered so I went with the Pride. I really like the lines of clippers.
-
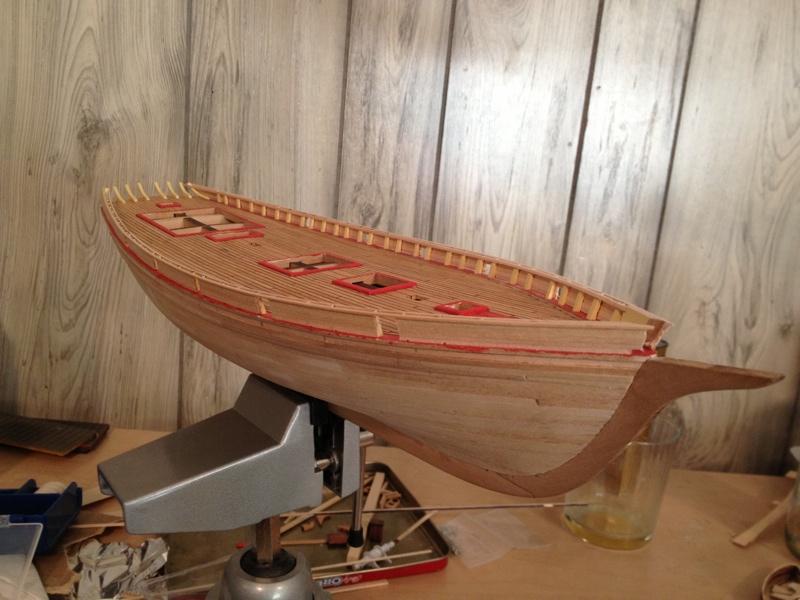
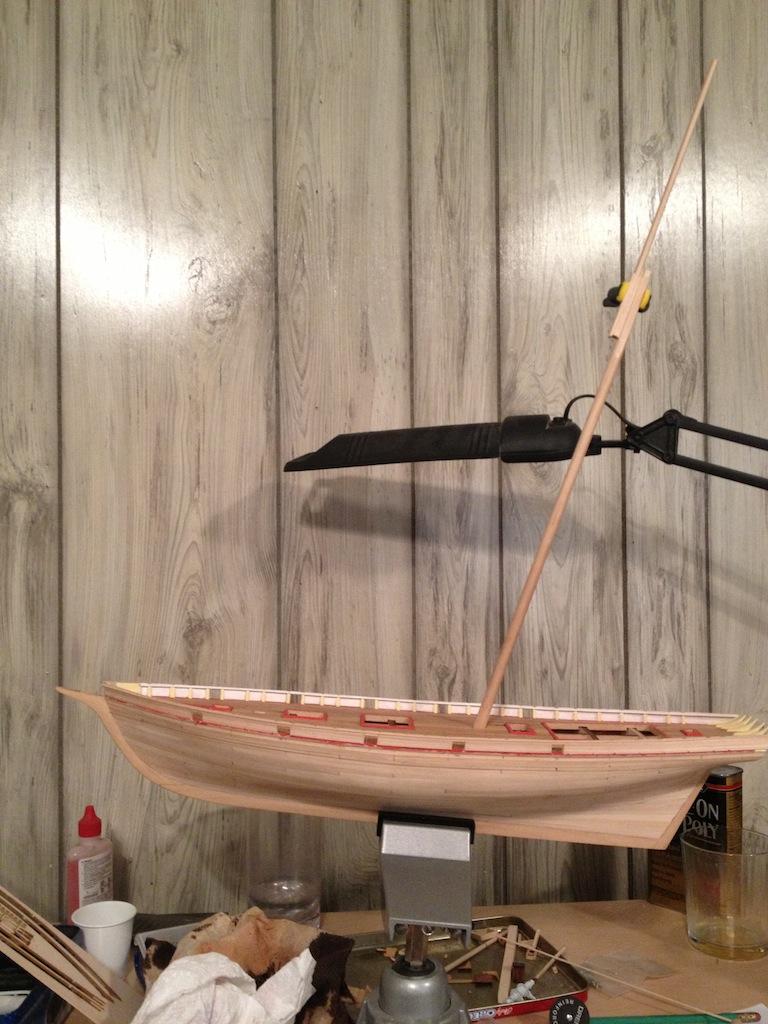
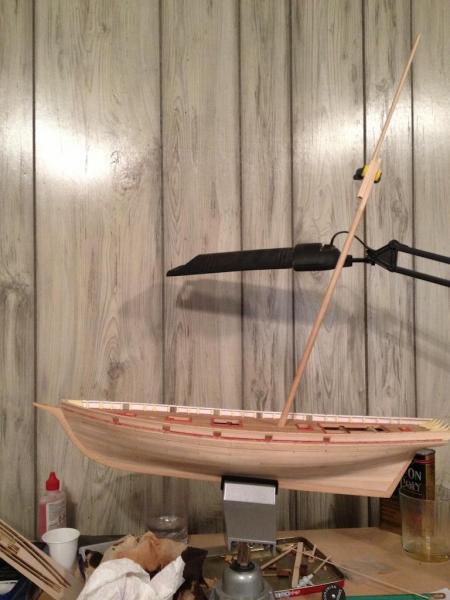
main mast mocked up and installed. it's amazing these ships even work with that much sail area. top rail installed. sides of the rail need the stain touched up where I adjusted the fit. the rail at the transom will have to wait until I get the transom trim installed.
-
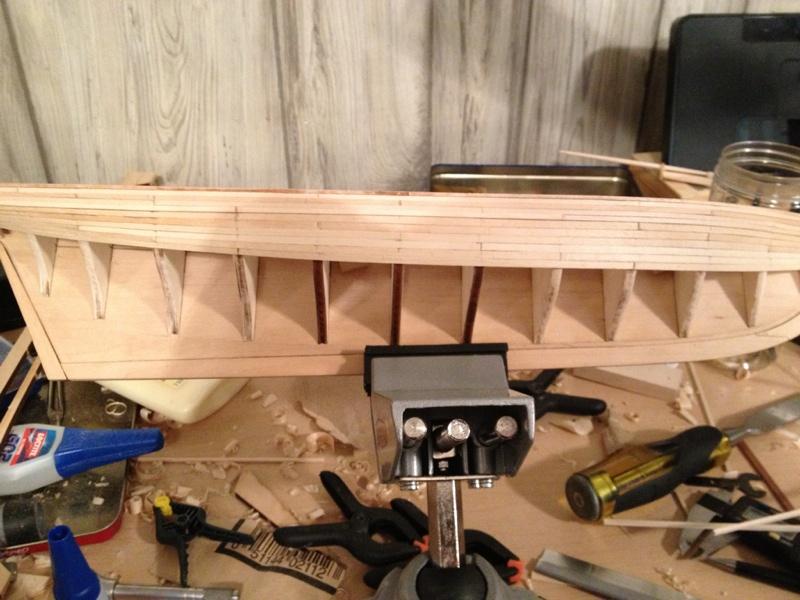
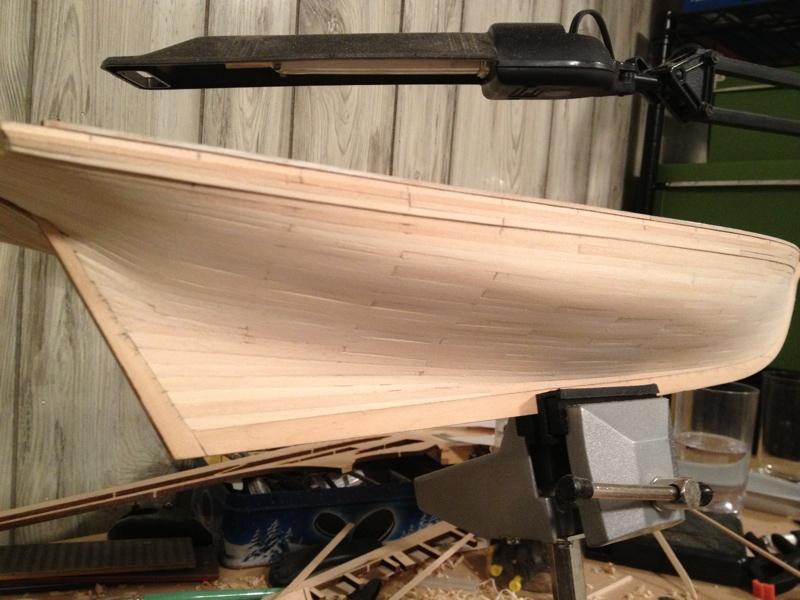
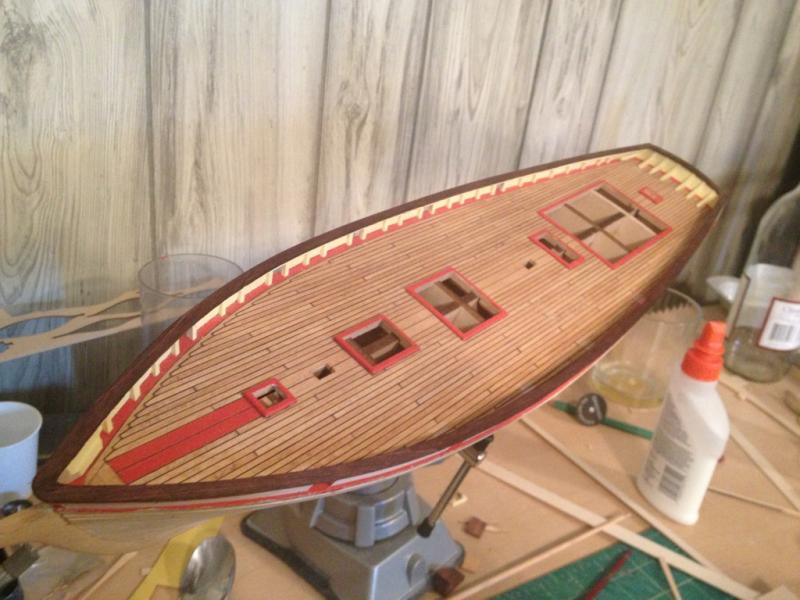
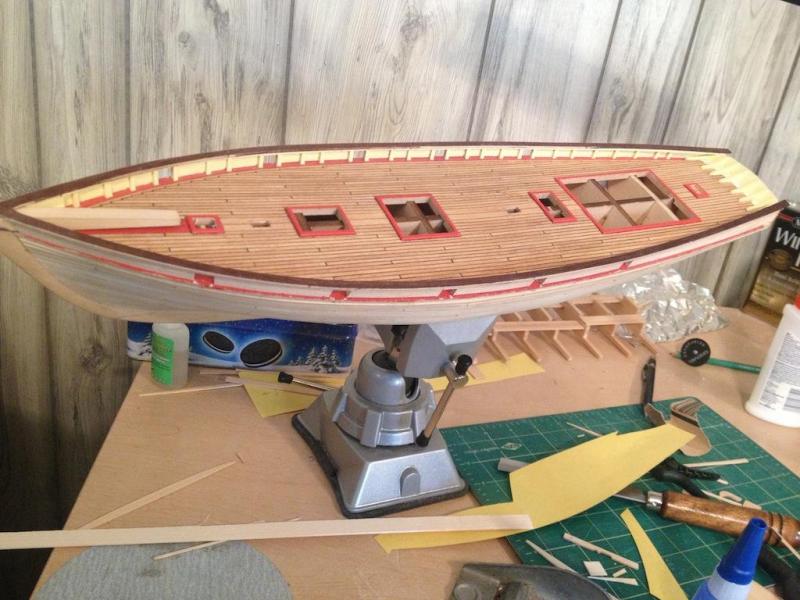
This is the third time posting this build log here. Hopefully this one doesn't get deleted :mellow: I started the build Jan 2 2013. I have 40-50 hours in it at this point. planking begins planking completed. unsanded. coamings installed and painted. deck planking begins deck planking completed bulwark stanchions installed bulwark completed