slagoon
-
Posts
465 -
Joined
-
Last visited
Recent Profile Visitors
2,703 profile views


-
 Scott Crouse reacted to a post in a topic:
Peterboro Canoe by slagoon - FINISHED - Midwest Products - 1:12
Scott Crouse reacted to a post in a topic:
Peterboro Canoe by slagoon - FINISHED - Midwest Products - 1:12
-
 LegoKing5522 reacted to a post in a topic:
USS Missouri by slagoon - FINISHED - SteelGolem - 1:2400 - Metal
LegoKing5522 reacted to a post in a topic:
USS Missouri by slagoon - FINISHED - SteelGolem - 1:2400 - Metal
-
FrankWouts reacted to a post in a topic:
ROYAL CAROLINE 1749 by Doris - 1:40 - CARD
-
Ken_2 reacted to a post in a topic:
HMS Bounty Jolly Boat by slagoon - FINISHED - Artesania Latina - 1:25 - first build
-
GrandpaPhil reacted to a post in a topic:
Harriet Lane 1857 by slagoon - FINISHED - Model Shipways - Scale 1:144 - steam paddle cutter
-
GrandpaPhil reacted to a post in a topic:
Harriet Lane 1857 by slagoon - FINISHED - Model Shipways - Scale 1:144 - steam paddle cutter
-
Organ tech reacted to a post in a topic:
Harriet Lane 1857 by slagoon - FINISHED - Model Shipways - Scale 1:144 - steam paddle cutter
-
 Next I added a piece of wood across the top to help stabilize the build - well I guess you actually saw that in the previous post. And then ever so slowly I took measurements from the plans for the top of the first plank and transferred those to the frame. I then pre-shaped my planks using the method that Chuck shows in the instructions, however our one hair drier is for hair use only so I had to wait for everything to air dry - if only the husband didn't care so much about his hair - oh wait he shaves it all off....must be the woman of the house - oops that's me! Anyway, once they were shaped and dry - and in retrospect I should have done it before soaking and shaping - I tapered the thickness of the front of the plank so its silhouette was sort of like this: /| which allowed it to stick into the rabbit line a little bit better. And photoey goodness! So I'm a little confused about why there is visible light between the two planks since I not only clamped the planks down but also clamped the two planks to each other. Oh well Its been 2 years since my last modeling - I'll get better - I hope.
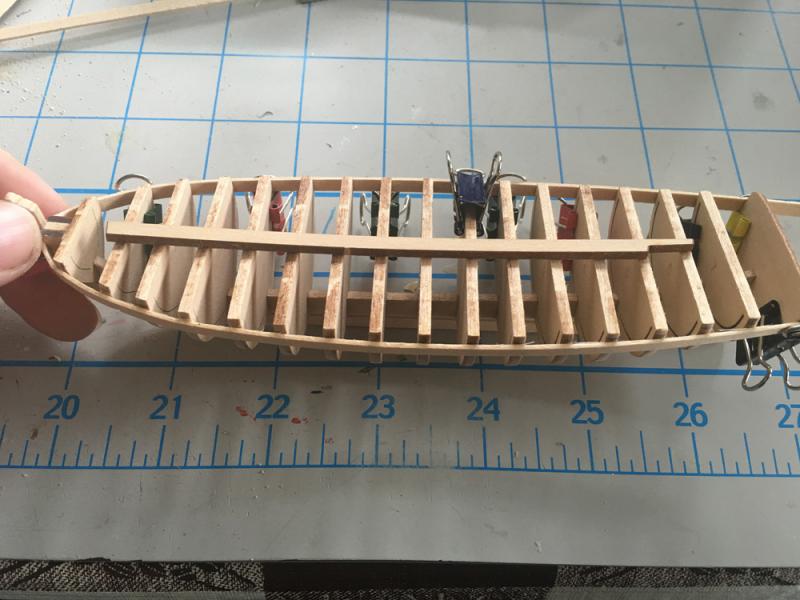


-
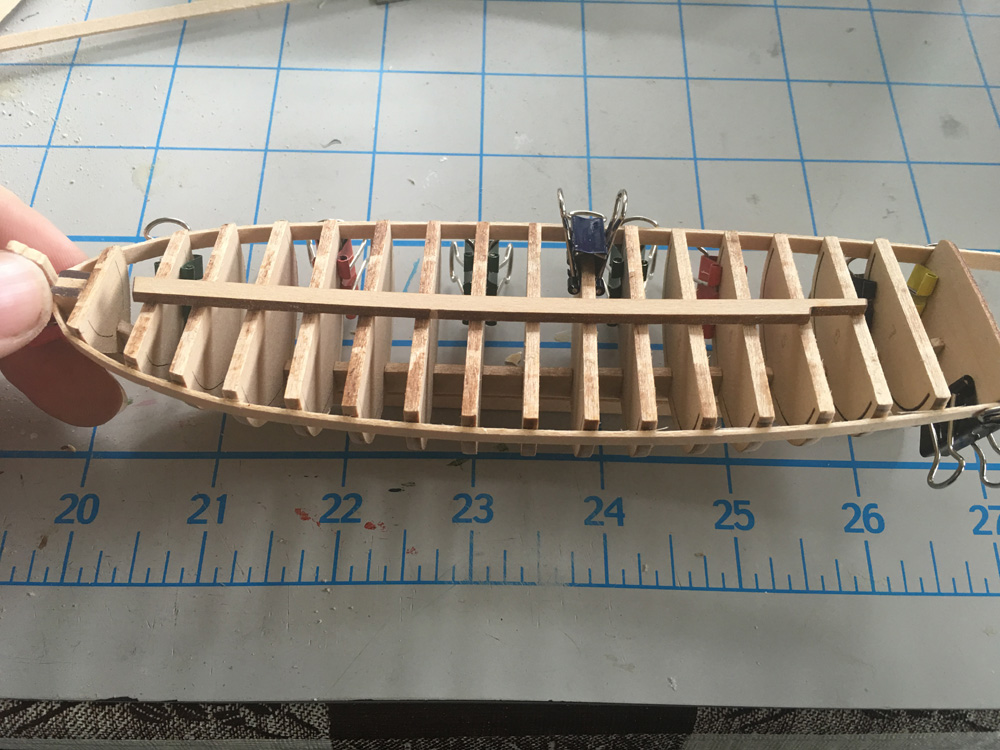
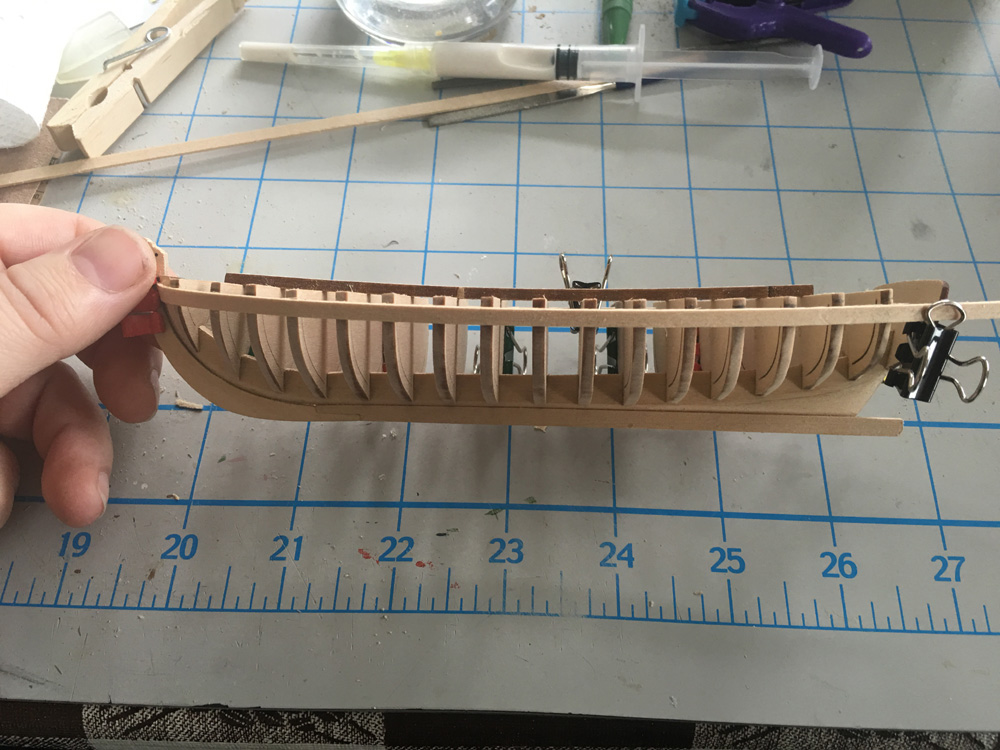
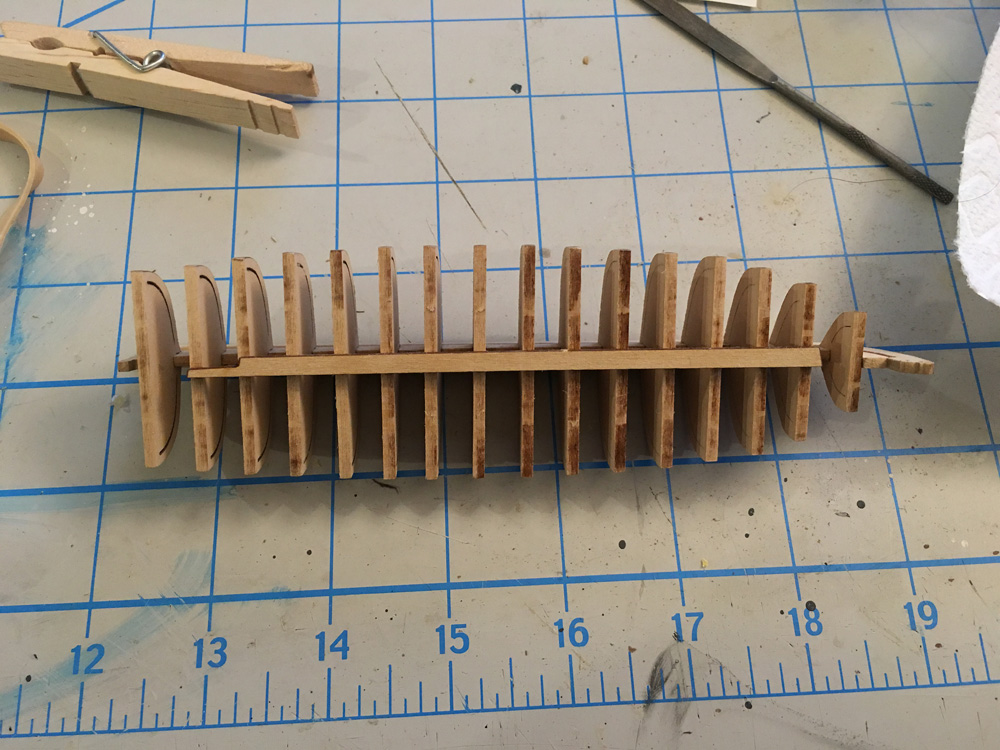
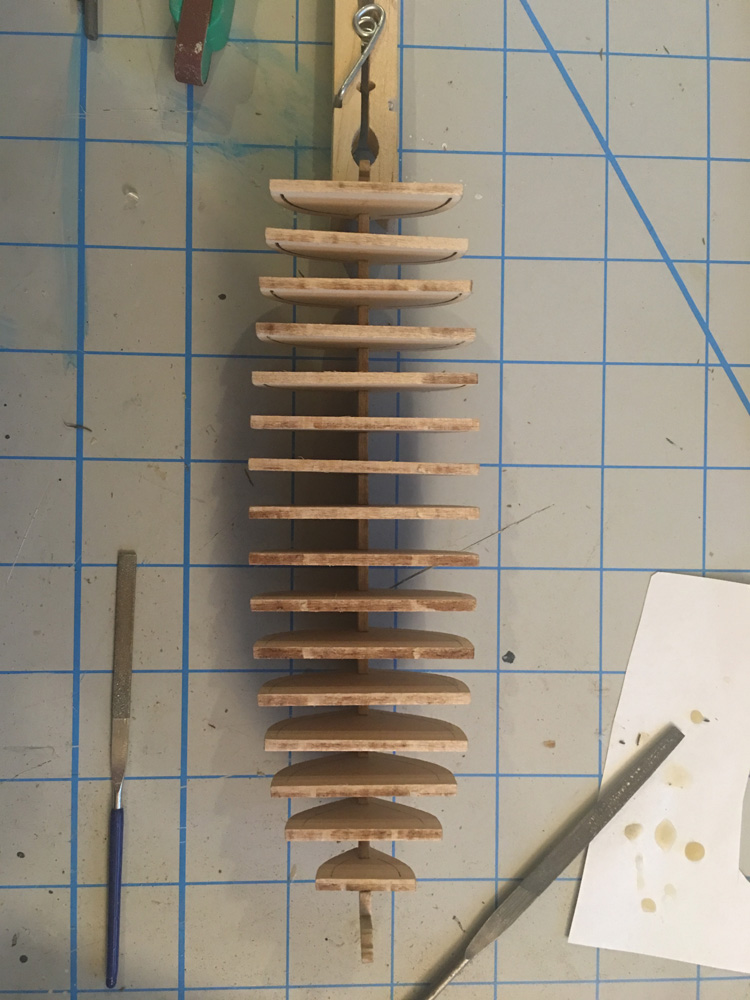
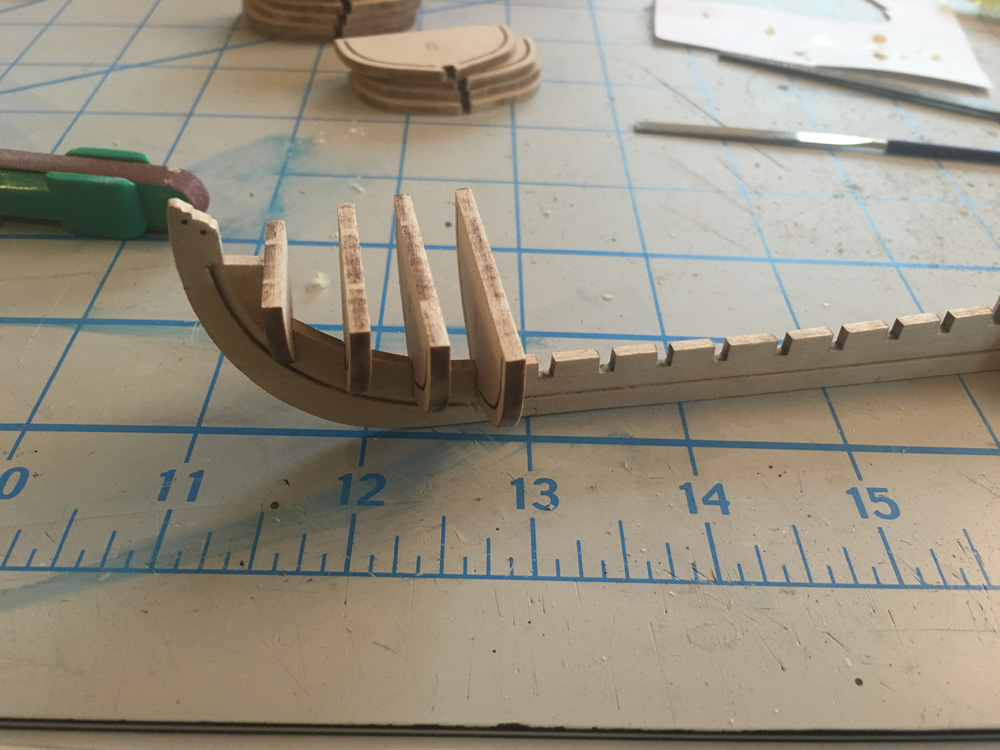
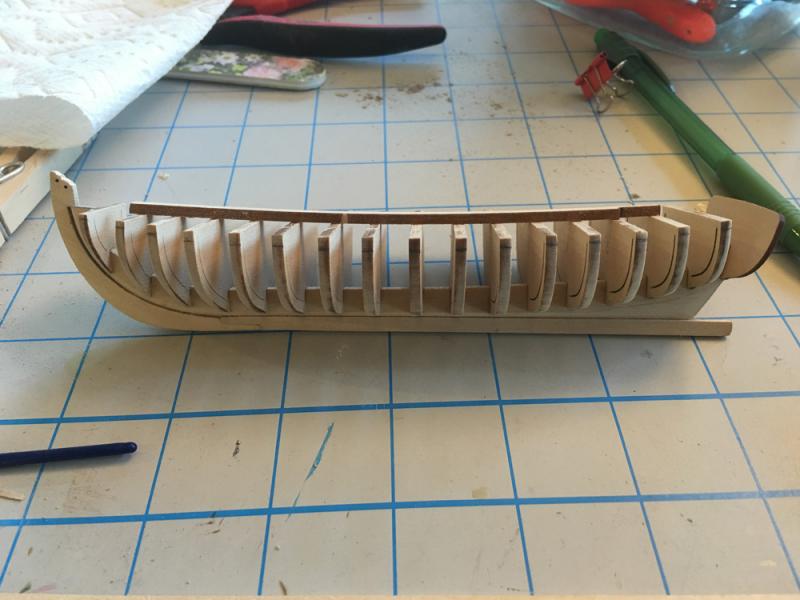
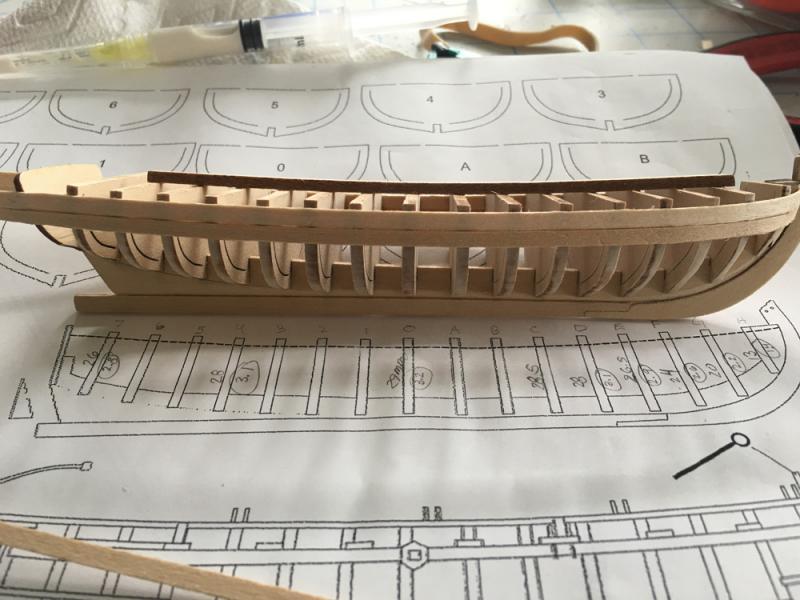
Hi guys still overwhelmed with all the love from you guys. Not only are the model builds fun but you guys all make it so much better! Over the last few days I've been adding the frame to the keel. Checking out from every angle made it appear as though all were nice and aligned.


-
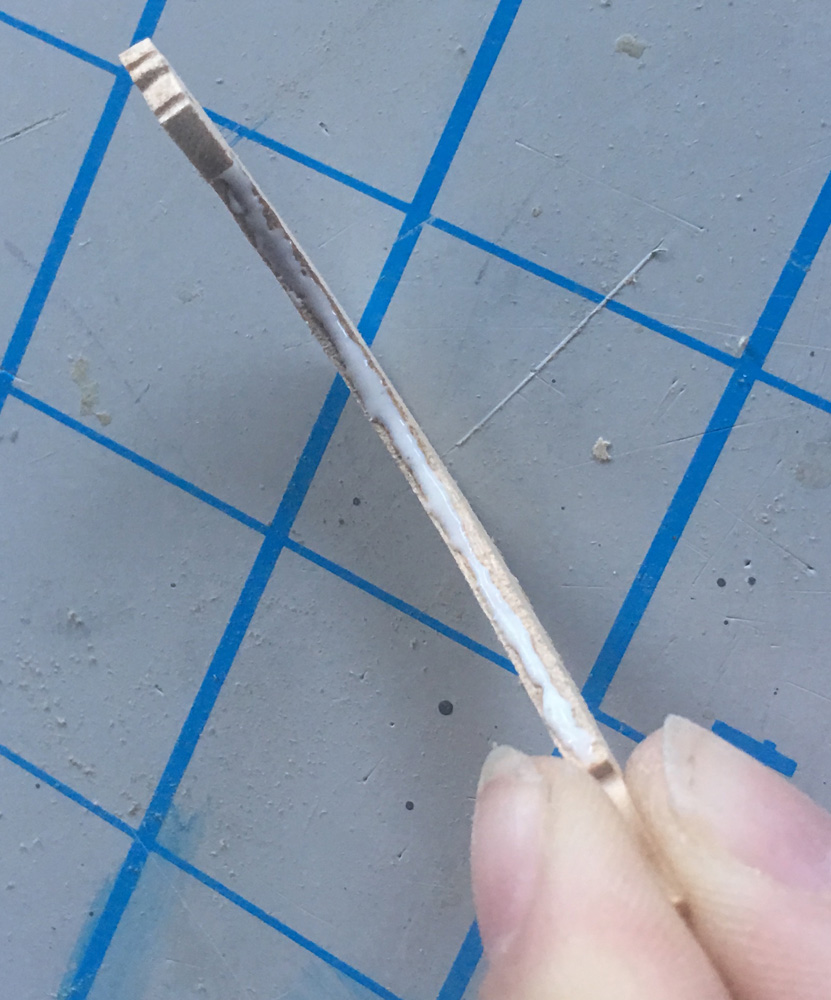
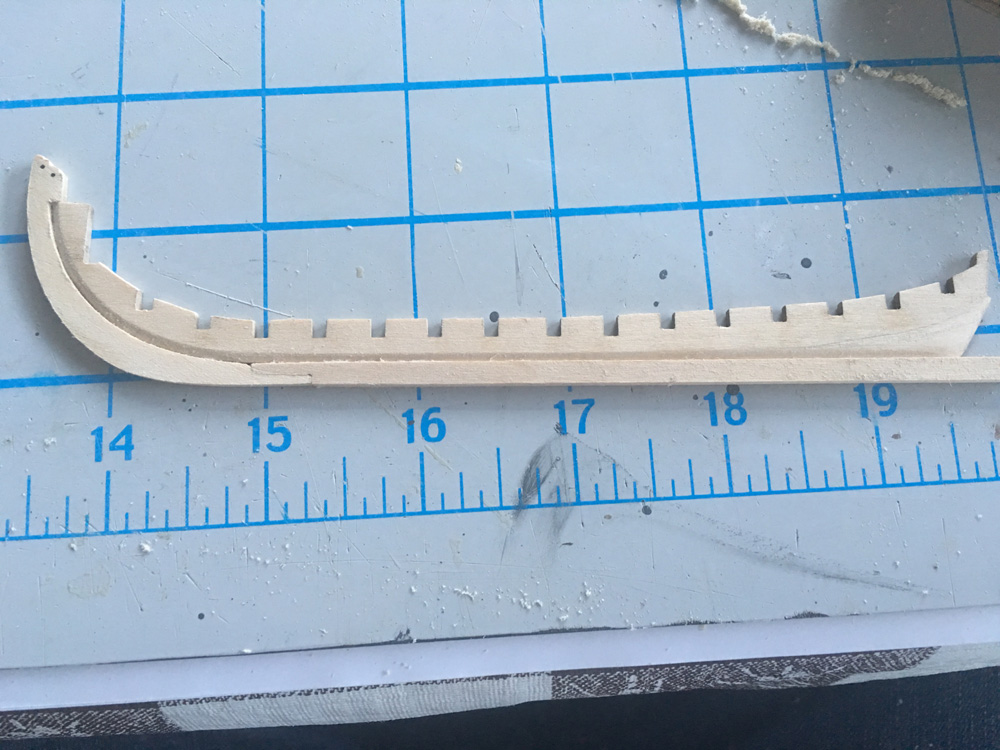
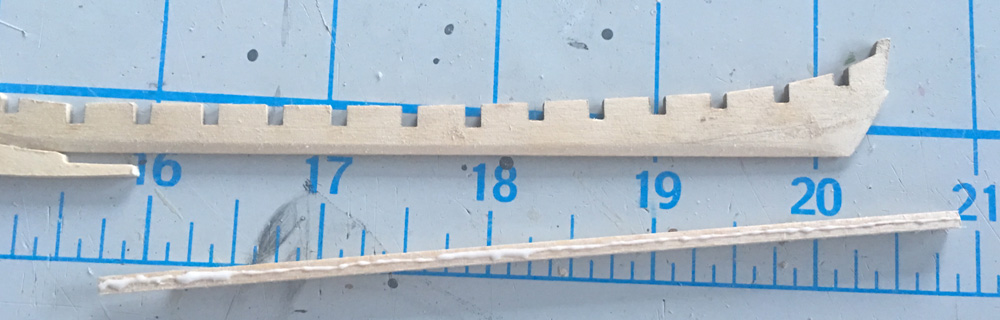
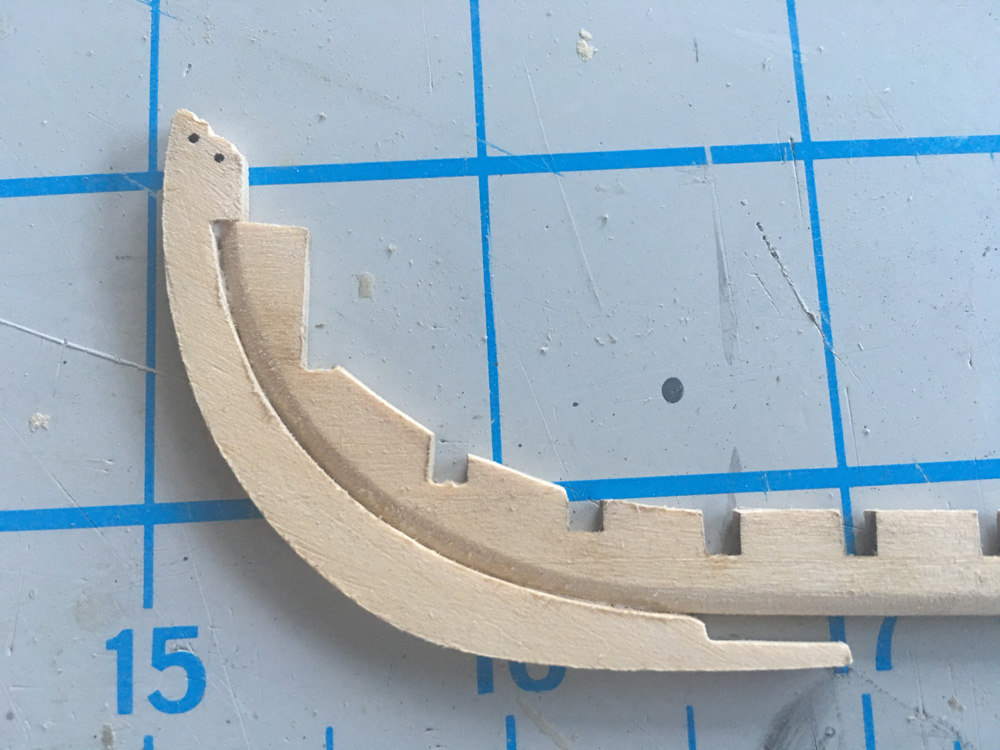
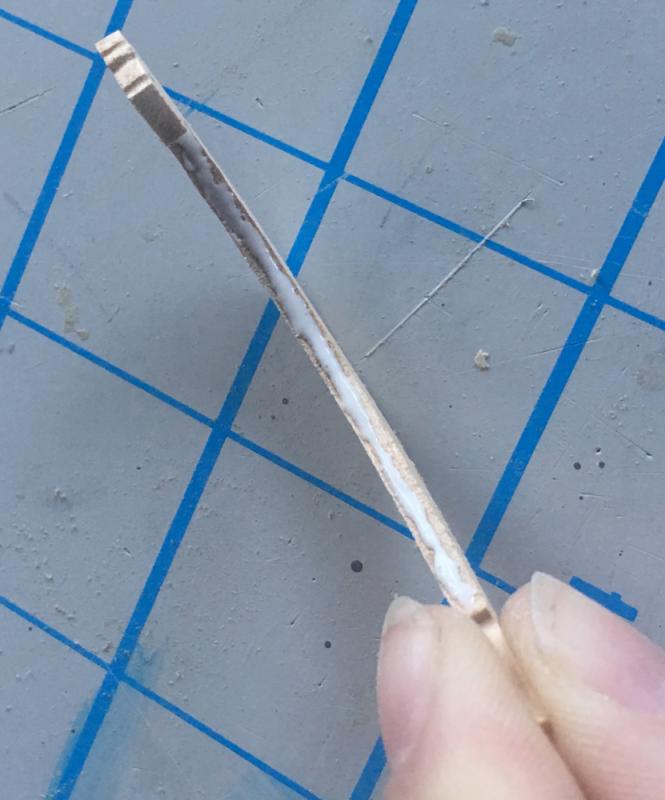
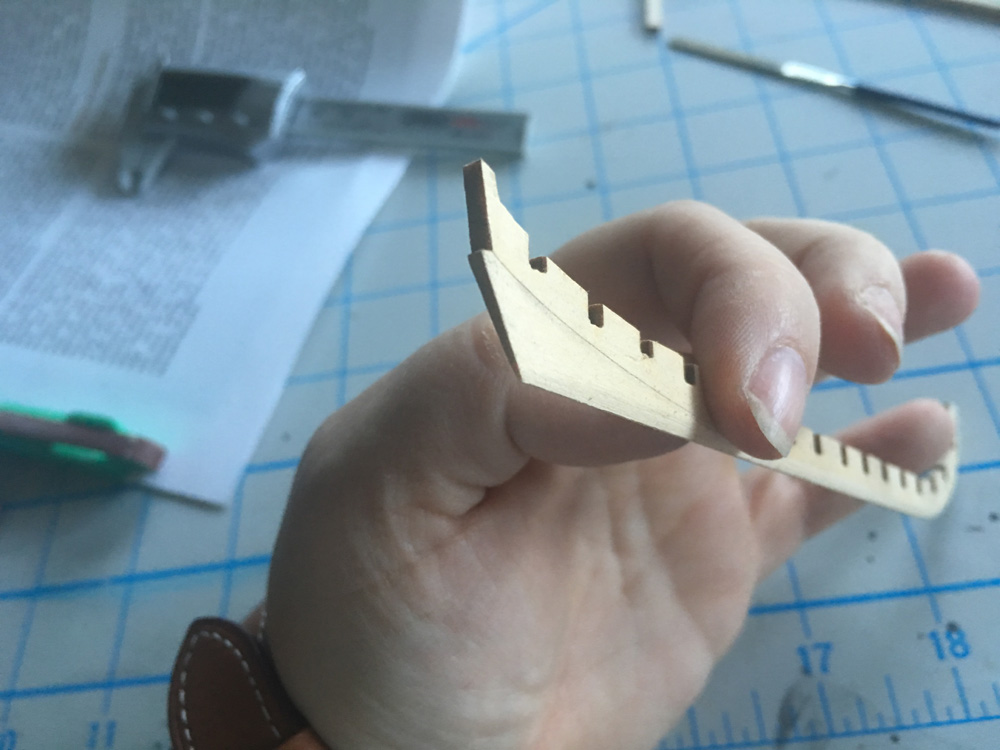
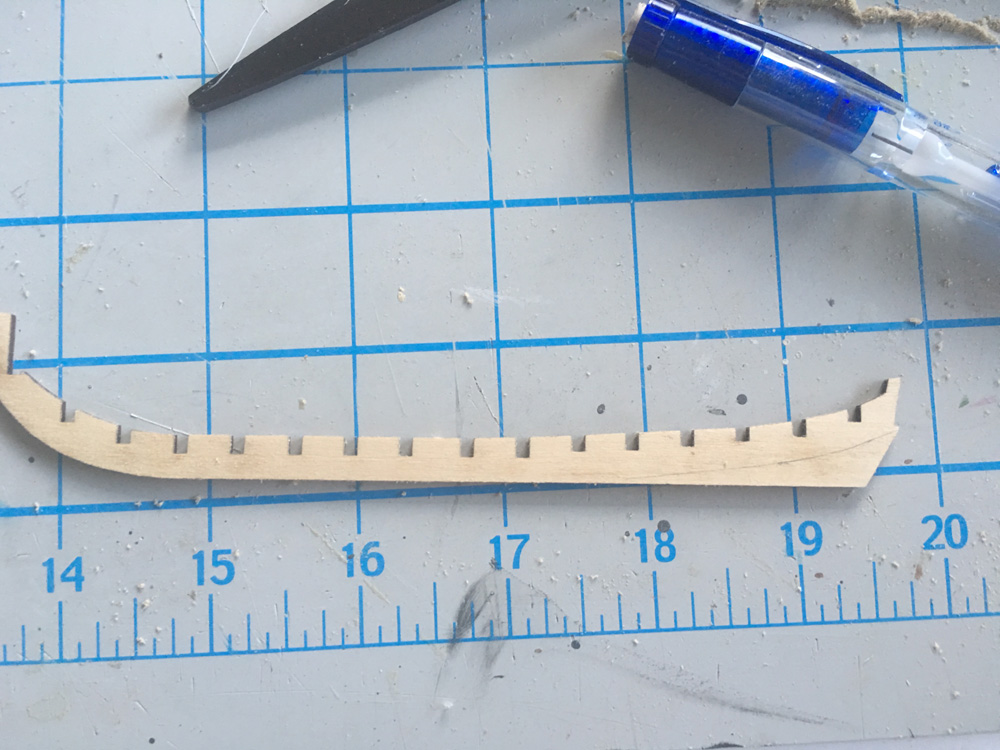
Ok last post for tonight! Then I used the needle trick and put a nice super fine line of glue down the middle of the stem before adhering it to the false keel. I also did the same for the keel and the false keel. By the way, since only the very edge of the false keel is tapered and the keel and stem are not they can lay on something flat to ensure false keel is exactly aligned with the keel and stem. (The engineer had a fever the last few days so since it took my brain a good 3 minutes to figure it out I figured anyone who hadn't had their coffee yet wouldn't mind the tip) Ok the feeling of sawdust under my fingernails was nearly as missed as sharing with you guys!

-
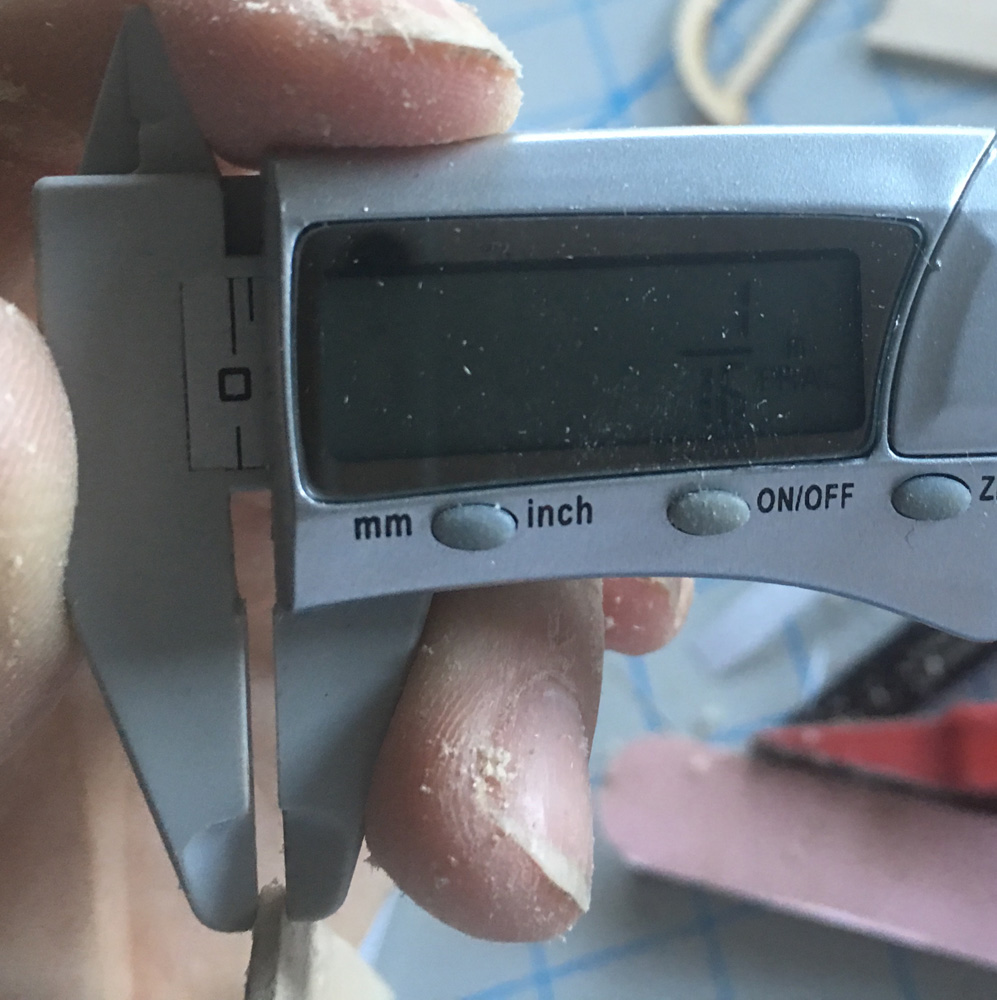
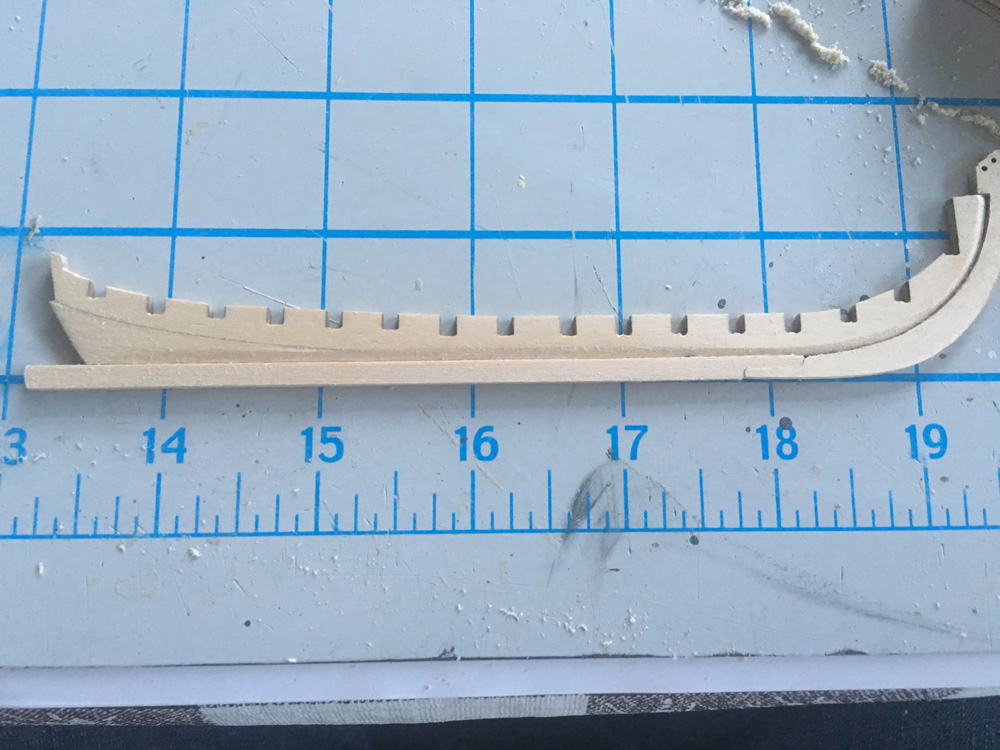
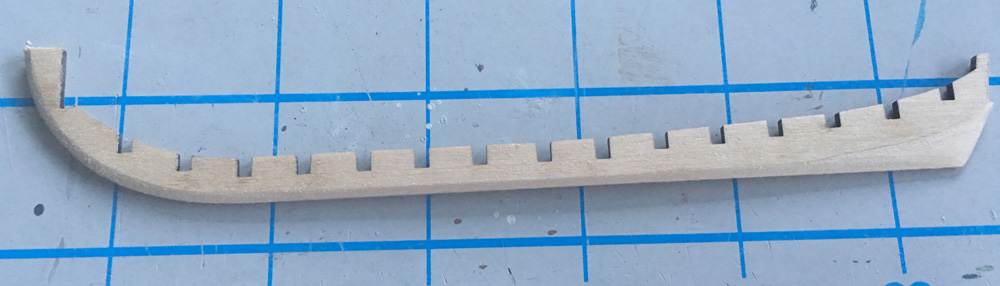
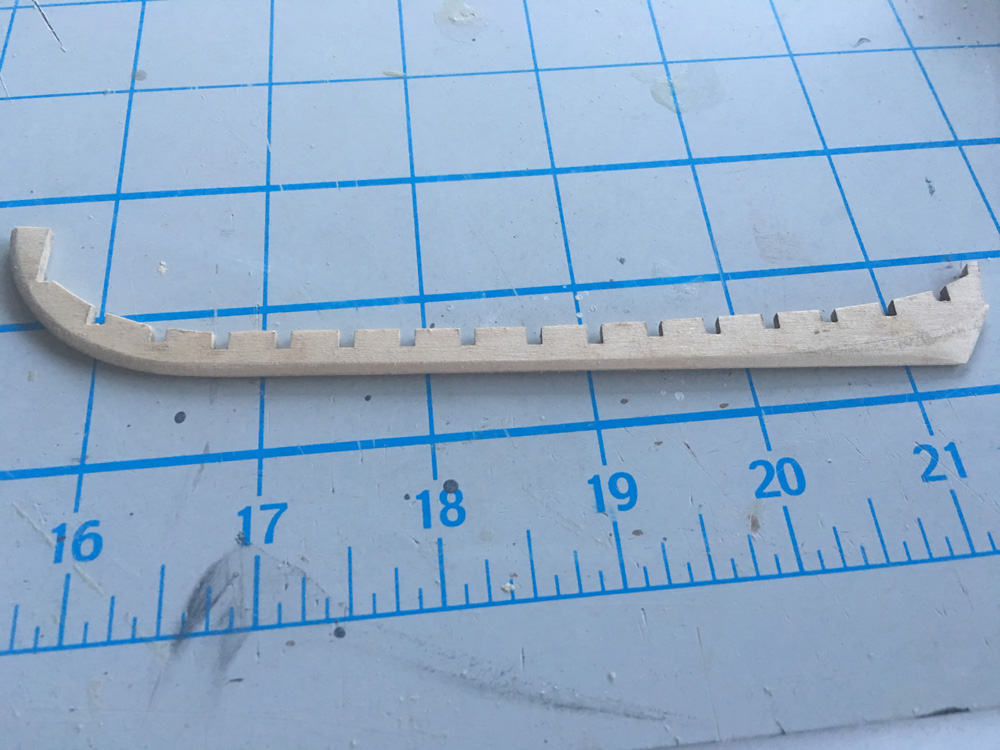
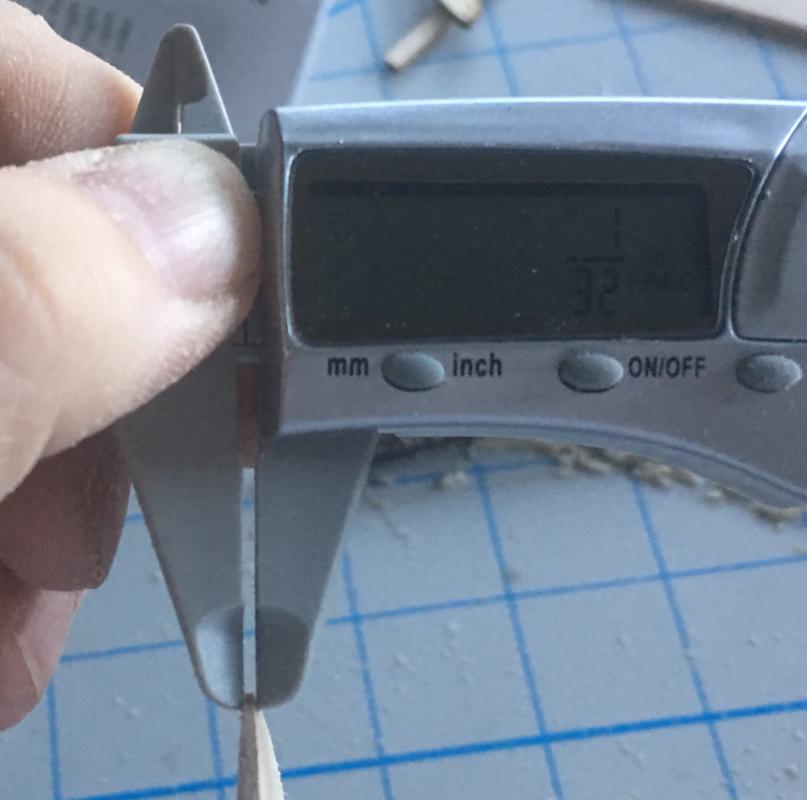
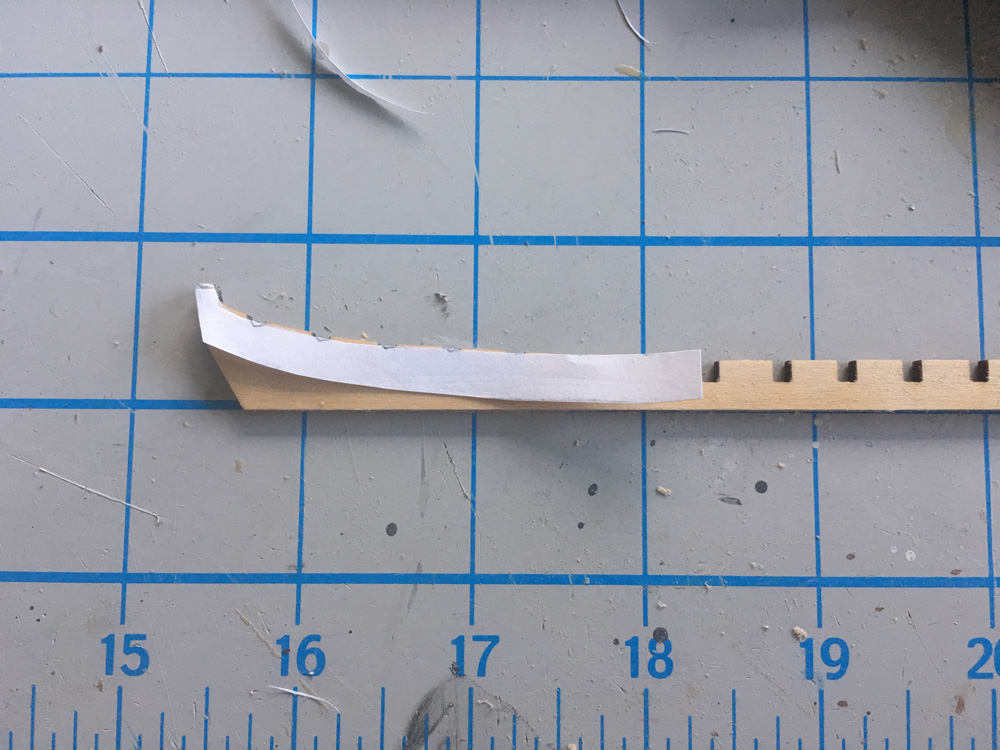
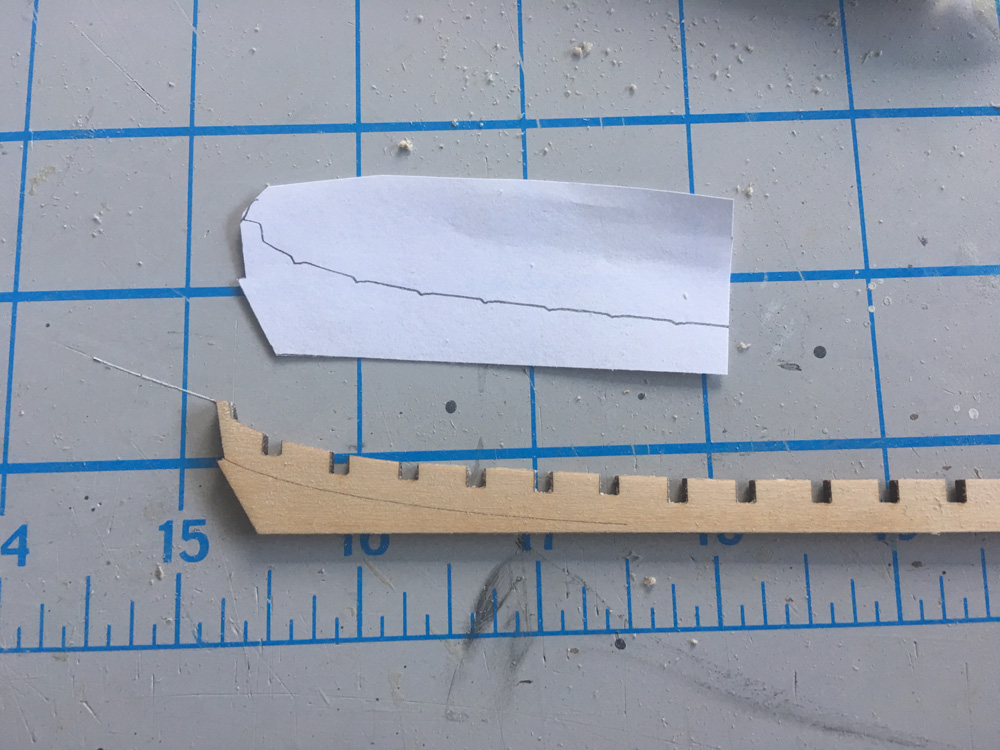
Thanks everyone for the warm welcome - you have no idea how much I've missed contributing. Ok so it looked like lots of people got super excited and jumped in without showing their tapering....so I just kinda winged it - the Mr. was working at light speed so I was just copying what he did really - except better I started by making a template for the beard line. Then I was really careful to remove 1/32 from each side of the false keel so that it was even on both sides (2/32=1/16 - thank you fractional calipers)


-
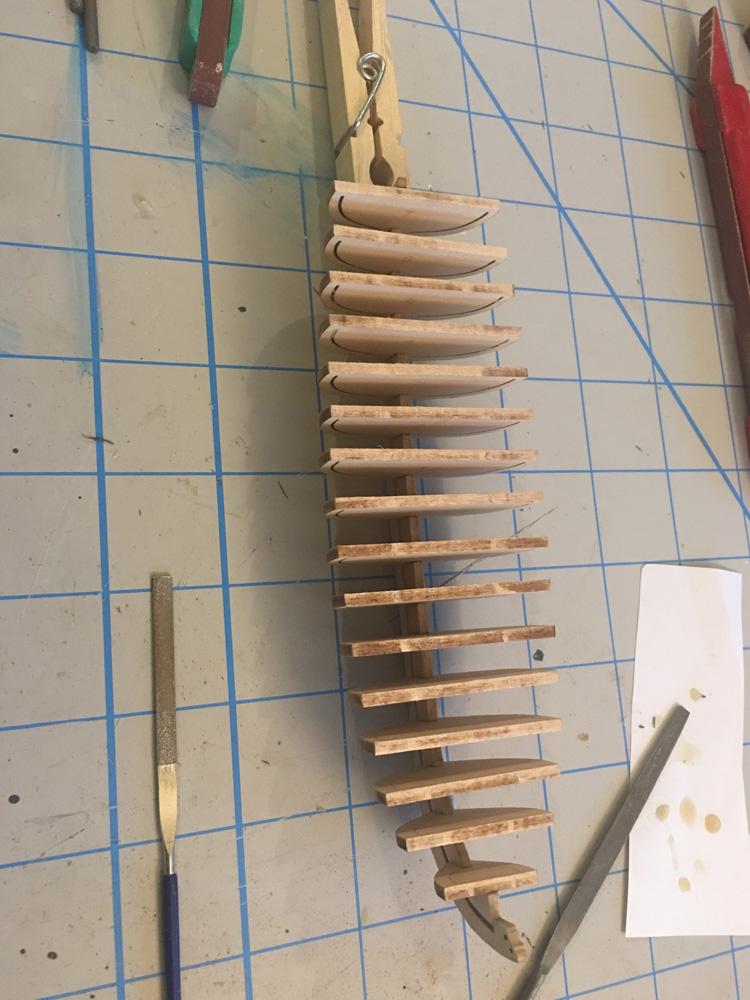
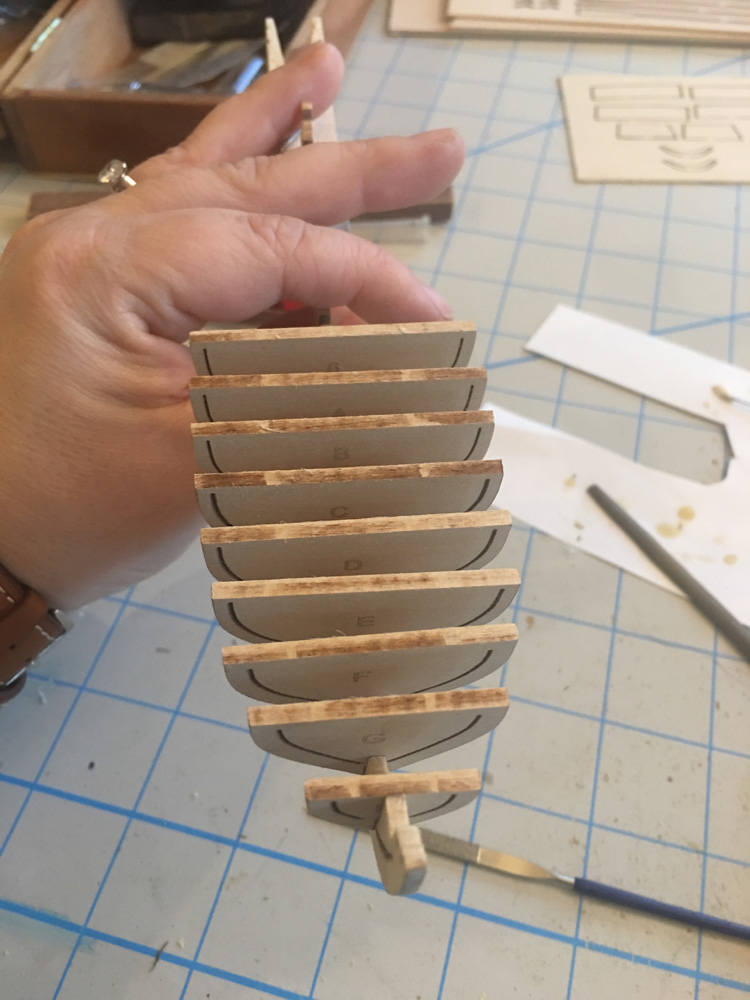
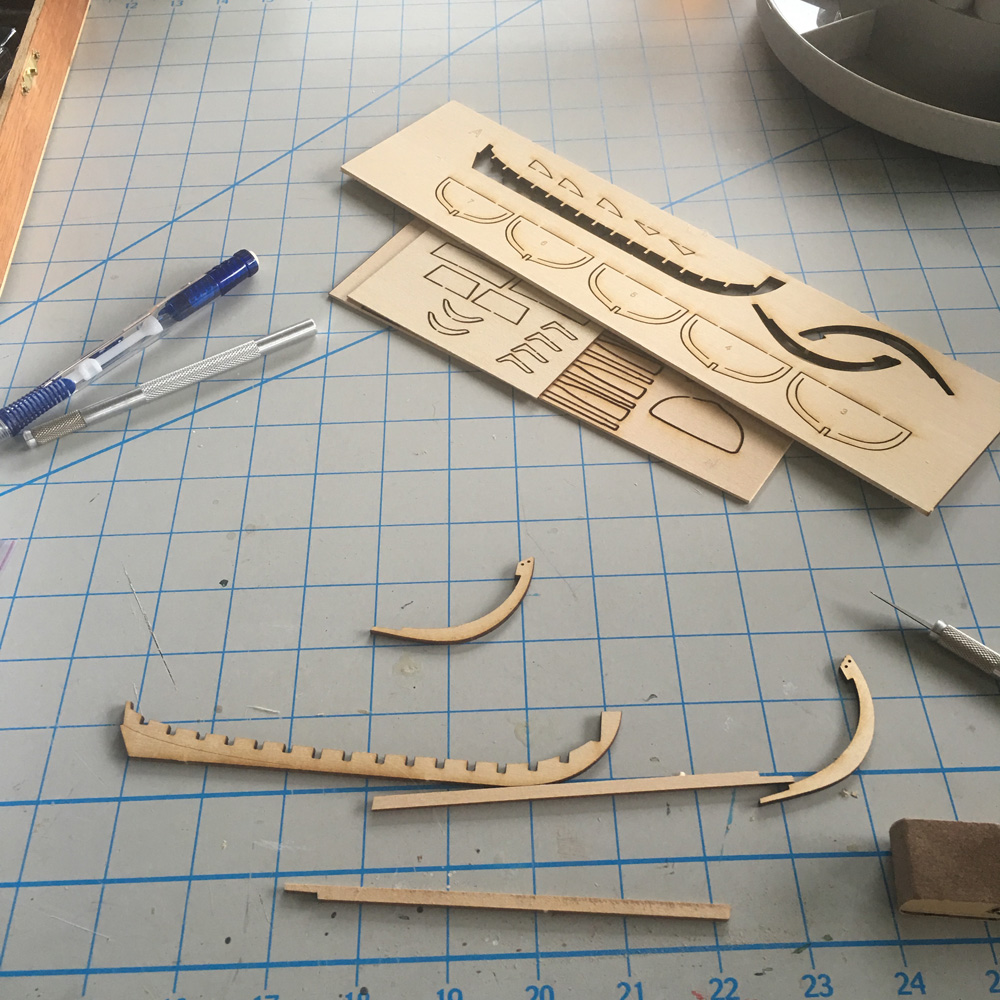
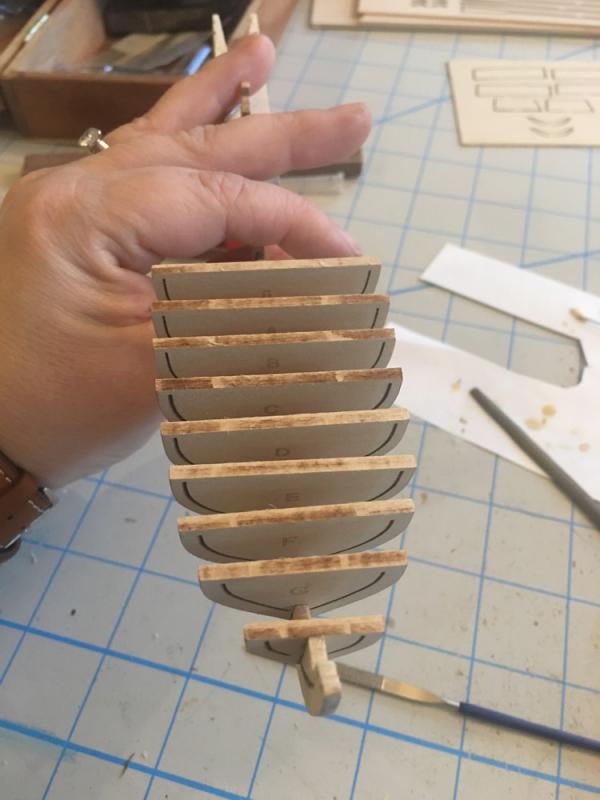
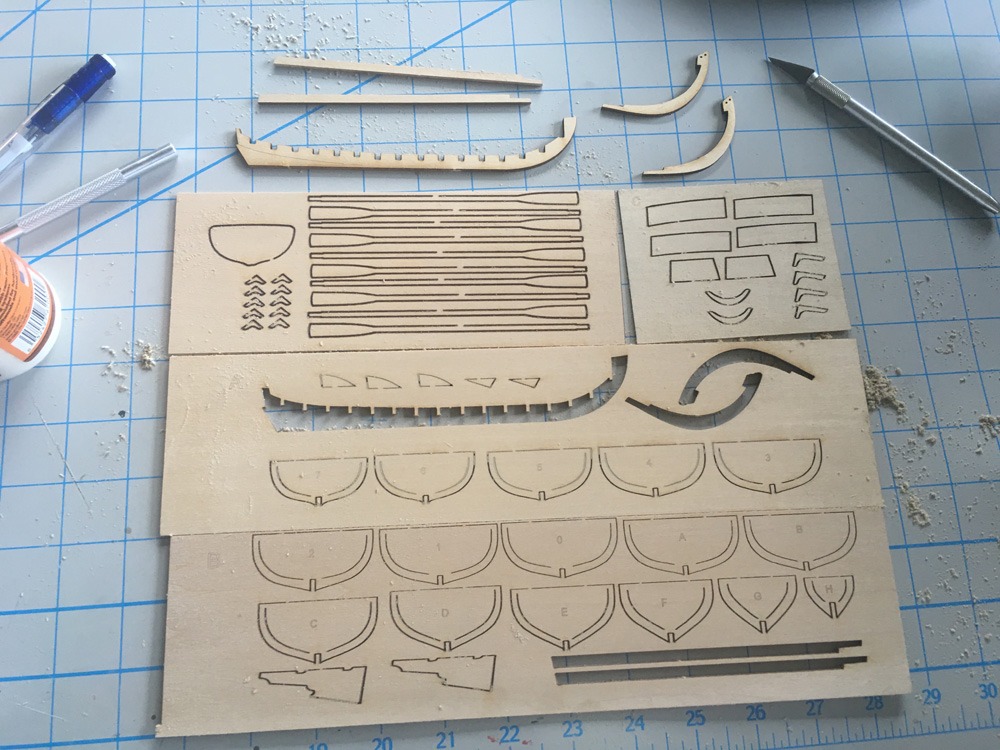
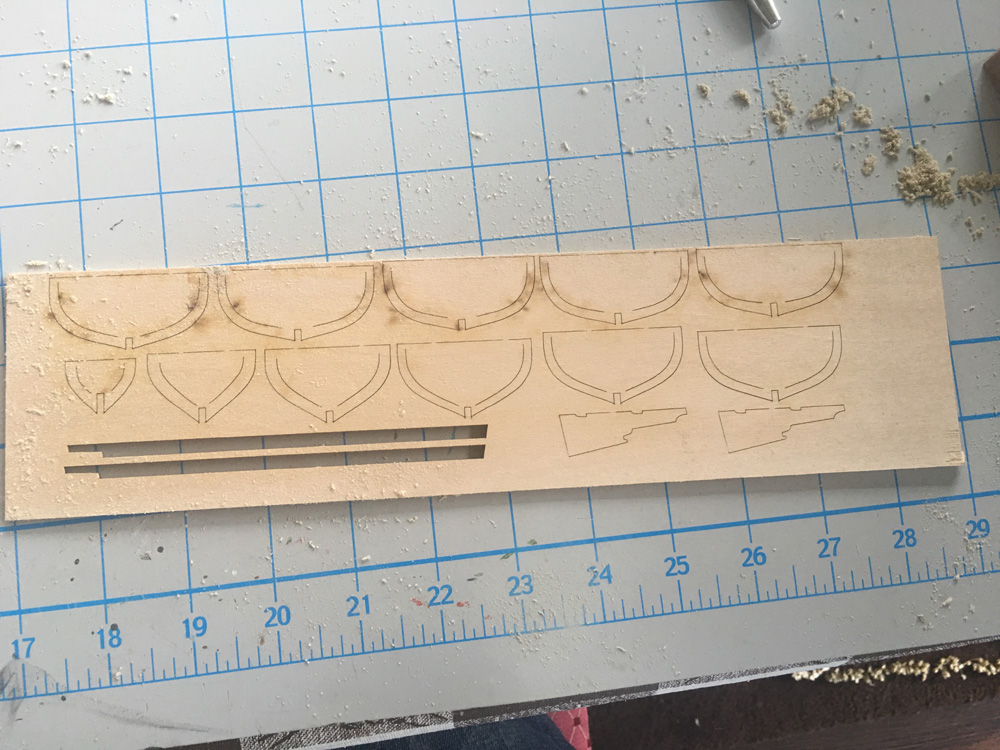
Hi all, I know, a 2 year absence is completely unacceptable! When we got to the new home the room intended to be the model room was too hot in the summer and too cold in the winter, so what did we do? We had to move (kinda joking, we moved for other reasons) but now we are getting situated in the new place and have been itching to get back to modeling. The Mr. and I decided to get our feet wet doing a model with "good" instructions (thanks Chuck). So without further ado, I bring you my build log! I started by cutting out the false keel, keel and stem. Then I didn't remember what a bearding line was so while the Mr. looked it up I got on here typed to say hi and took a couple pics. I'm gonna go sand some scorch marks now and then taper below my beard line (women with boats have beard lines too!) So the Mr. came back and let me know that the lightly etched line was indeed the beard line - and that I needed to be careful because lots of folks were breaking their false keels and stems. He also saw that many people had sanded off the laser cutting stains while everything was all together still so I went and did that. It looks way nicer in each of the after shots. Before After Before After Before After And finally all of the sheets sanded (both sides)


-
Jaws - let me know when you have photos up and what you need help with - I'd be glad to assist. Gulfmedic - thanks so much Everyone, since this log is essentially complete I've deleted a number of the "comments" that didn't add to the build including a bunch of "nice jobs" I definitely appreciate the conversation and the atta boys but since this log is now more for historical purposes for any builder who looks to make a transitional, solid hull, or this exact ship I thought it might help them get to the "meat" of the content faster. Please do not feel slighted if your compliment was removed - I re-read each of them and I was touched by the thoughtfulness behind each. Again I'm just trying to make this better for postarity sake. I know I haven't been around for awhile but I've made some TINY progress on my Krabbenkutter. You will see updates soon. Promise.
- 160 replies
-
- 6
-
-
- harriet lane
- model shipways
- (and 1 more)
-
congrats on starting the HL and the 9 years of not ticking someone off TOO much! I'm so glad to see the HL moved out of your shelf list...Anything you need to know just ask. There are lots of instructions but not all of them are useful, but I'm sure you'll do great! I'll check in later!
-
Varnish application
slagoon replied to S.Coleman's topic in Painting, finishing and weathering products and techniques
S.Coleman - YES if you have the ability to spray it then that works. If you don't, using a brush works just fine. Depending on how many coats you wish to do I would sand lightly between each one. I think you'll be good - if in doubt try it on a test piece. -
slagoon reacted to a post in a topic:
how much rope do I need
-
slagoon reacted to a post in a topic:
Painting eyelet chain (Moved by moderator)
-
If you can't figure it out analytically you can wrap the "yarn" around the back of one of your chairs. Count how many wrappings you did. Slide the yarn off the chair and measure the distance from one end to the other. Multiply that by two (since your circle is flattened into 2 lines) and then multiply that number by how many wrappings you completed. It shouldn't take more than 3-5 minuntes .
-
I think it might be because they expect us to do a bad job planking and want enough material that we can sand it smooth I really don't know why - but that's typical with the AL kits
-
I've said it before and I'll say it again...guys please leave our curling irons alone while it won't ruin them we really like our girl things....but don't worry they are really inexpensive at walgreens and rite aid! I'm with Spence...I find it much better to have planks that have soaked for awhile before bending either manually or electrically. This doesn't mean you must...but I find it is much easier.
-
Titanic Sinking Mystry Solved: New Evidence Emerges
slagoon replied to Hank's topic in Nautical/Naval History
but gosh the spoons and the ice cubes were soooo convincing! I really had a good laugh with the video. -
slagoon reacted to a post in a topic:
Titanic Sinking Mystry Solved: New Evidence Emerges
-
slagoon reacted to a post in a topic:
sharpening blades
-
slagoon reacted to a post in a topic:
Is this what I'm supposed to plank with?
-
typically, I believe, AL uses the super thinnest wood for planking the deck....hope this helps.
-
slagoon reacted to a post in a topic:
Plank lengths
-
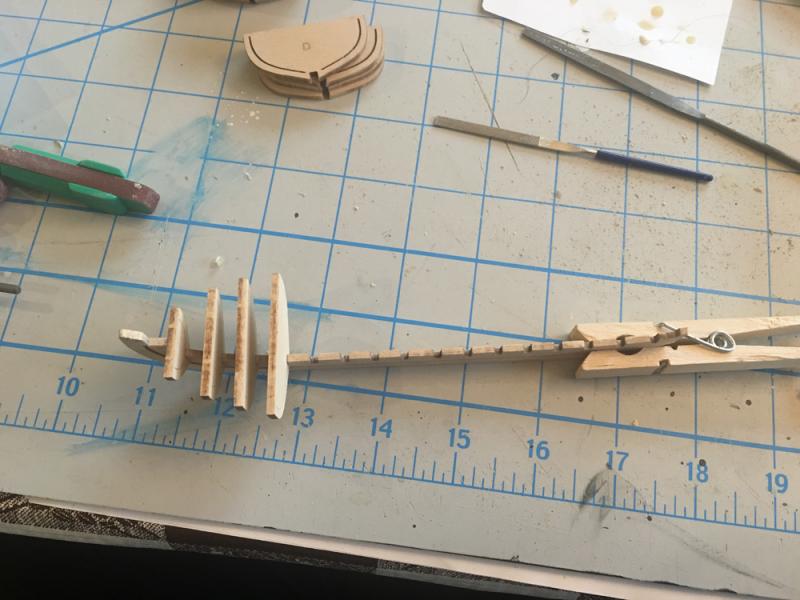
Reeving And Spacing Tool
slagoon replied to guitarguy687's topic in Modeling tools and Workshop Equipment
I'd say it falls under the category of tools that you can make at home....I made one for the specific size I needed on my Harriet lane from just some scrap wood I had lying around... here's a link to where I show it... http://modelshipworld.com/index.php?/topic/495-harriet-lane-by-slagoon-model-shipways-scale-1144-1857-steam-paddle-cutter/?p=20728 and http://modelshipworld.com/index.php?/topic/495-harriet-lane-by-slagoon-model-shipways-scale-1144-1857-steam-paddle-cutter/?p=22881 Seriously, it took about 10 minutes to build my two parts of my jig.