DONATION DRIVE - SUPPORT MSW - DO YOUR PART TO KEEP THIS GREAT FORUM GOING!
×

Snoepert
-
Posts
288 -
Joined
-
Last visited
Content Type
Profiles
Forums
Gallery
Events
Everything posted by Snoepert
-
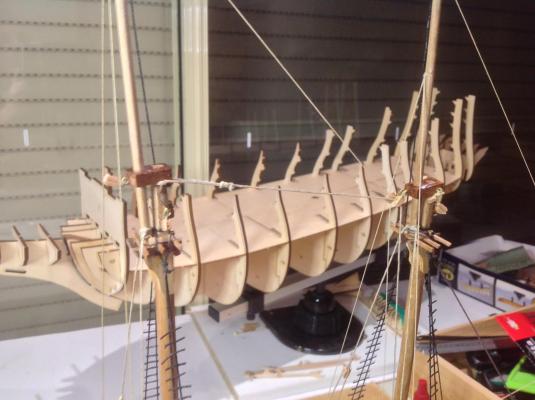
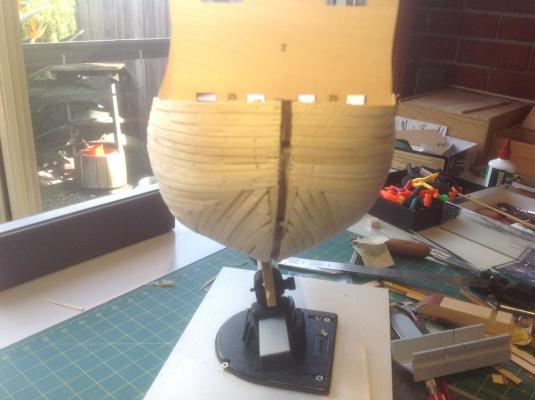
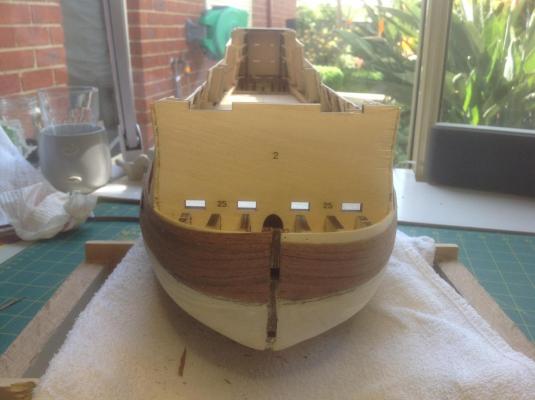
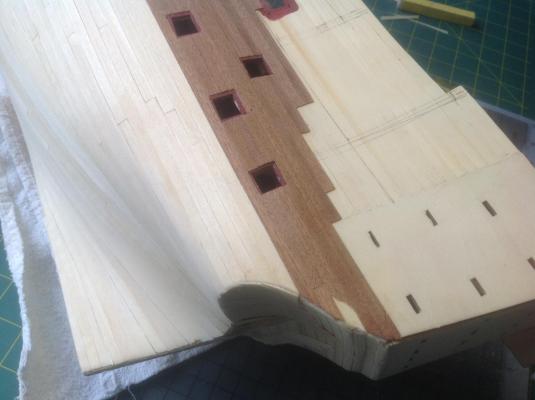
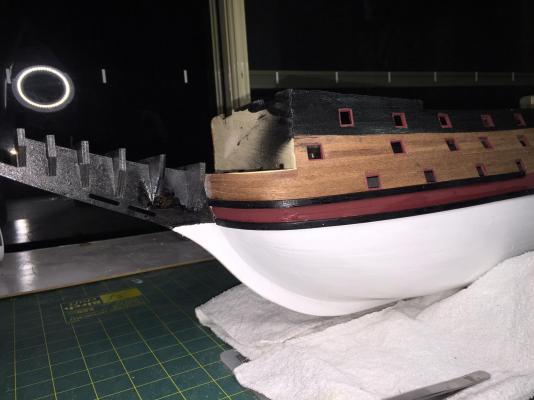
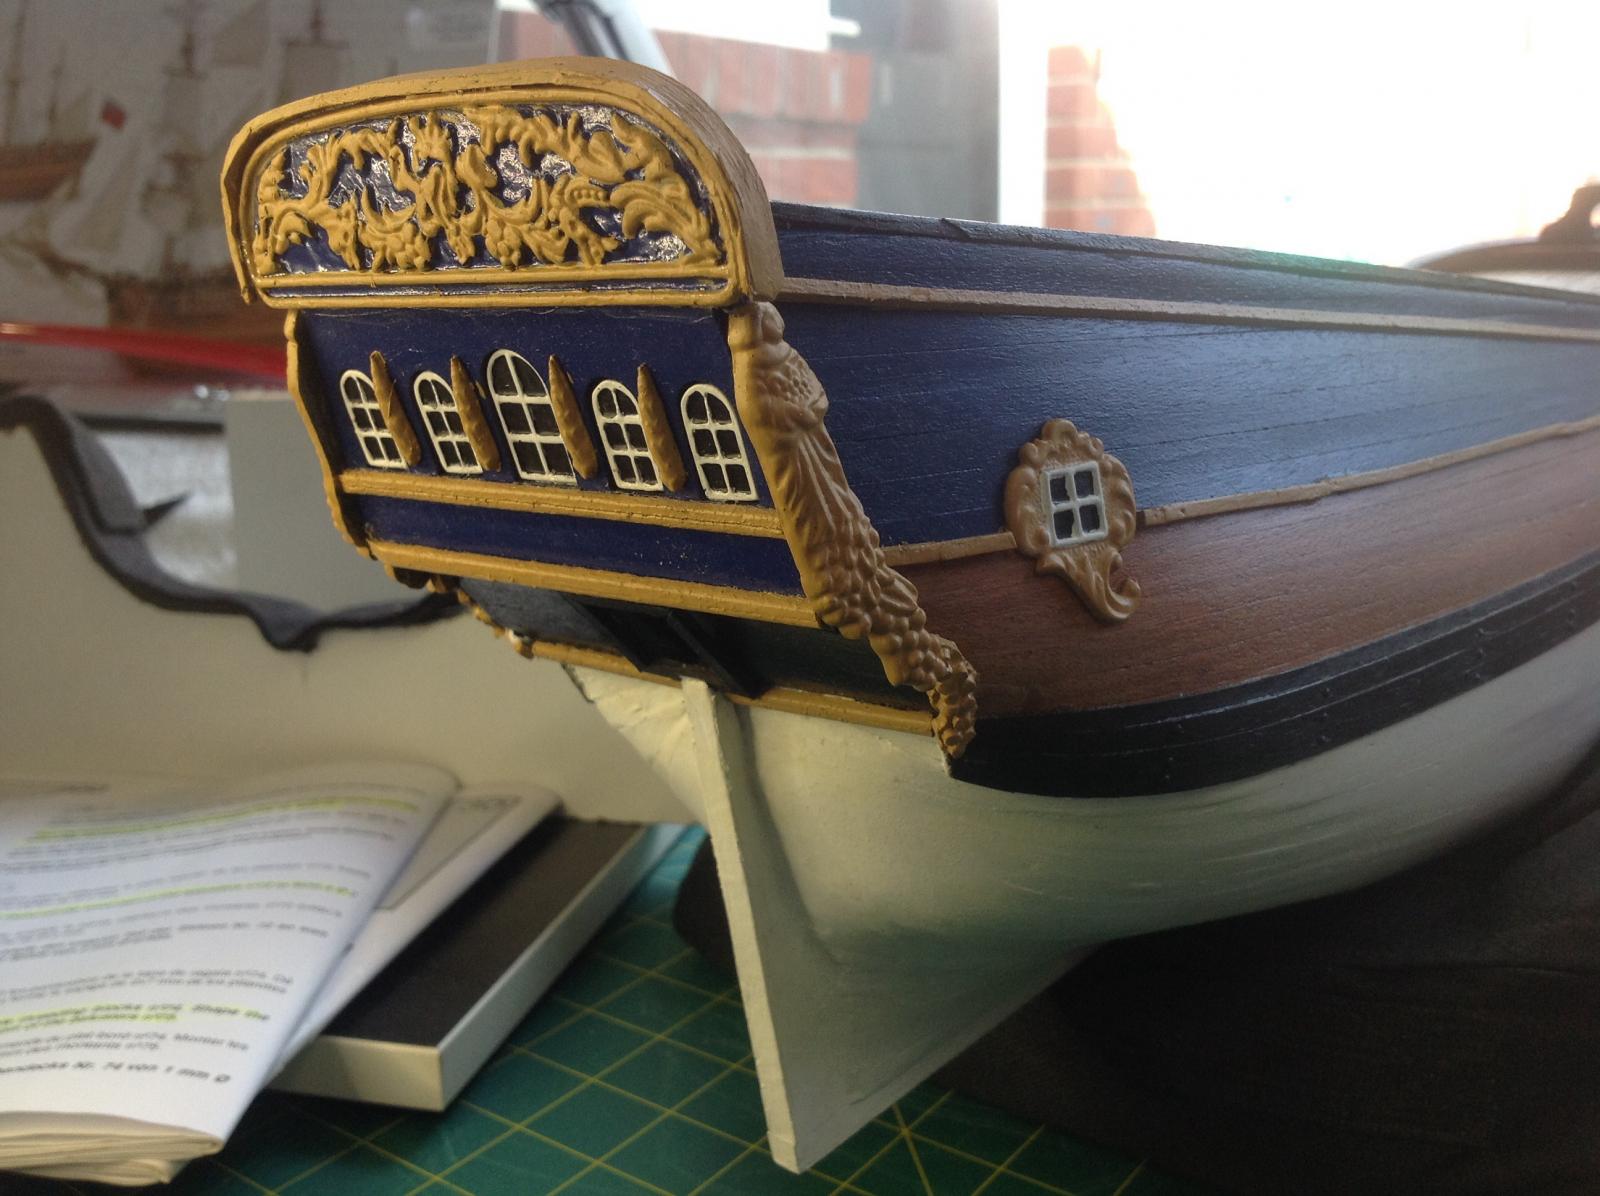
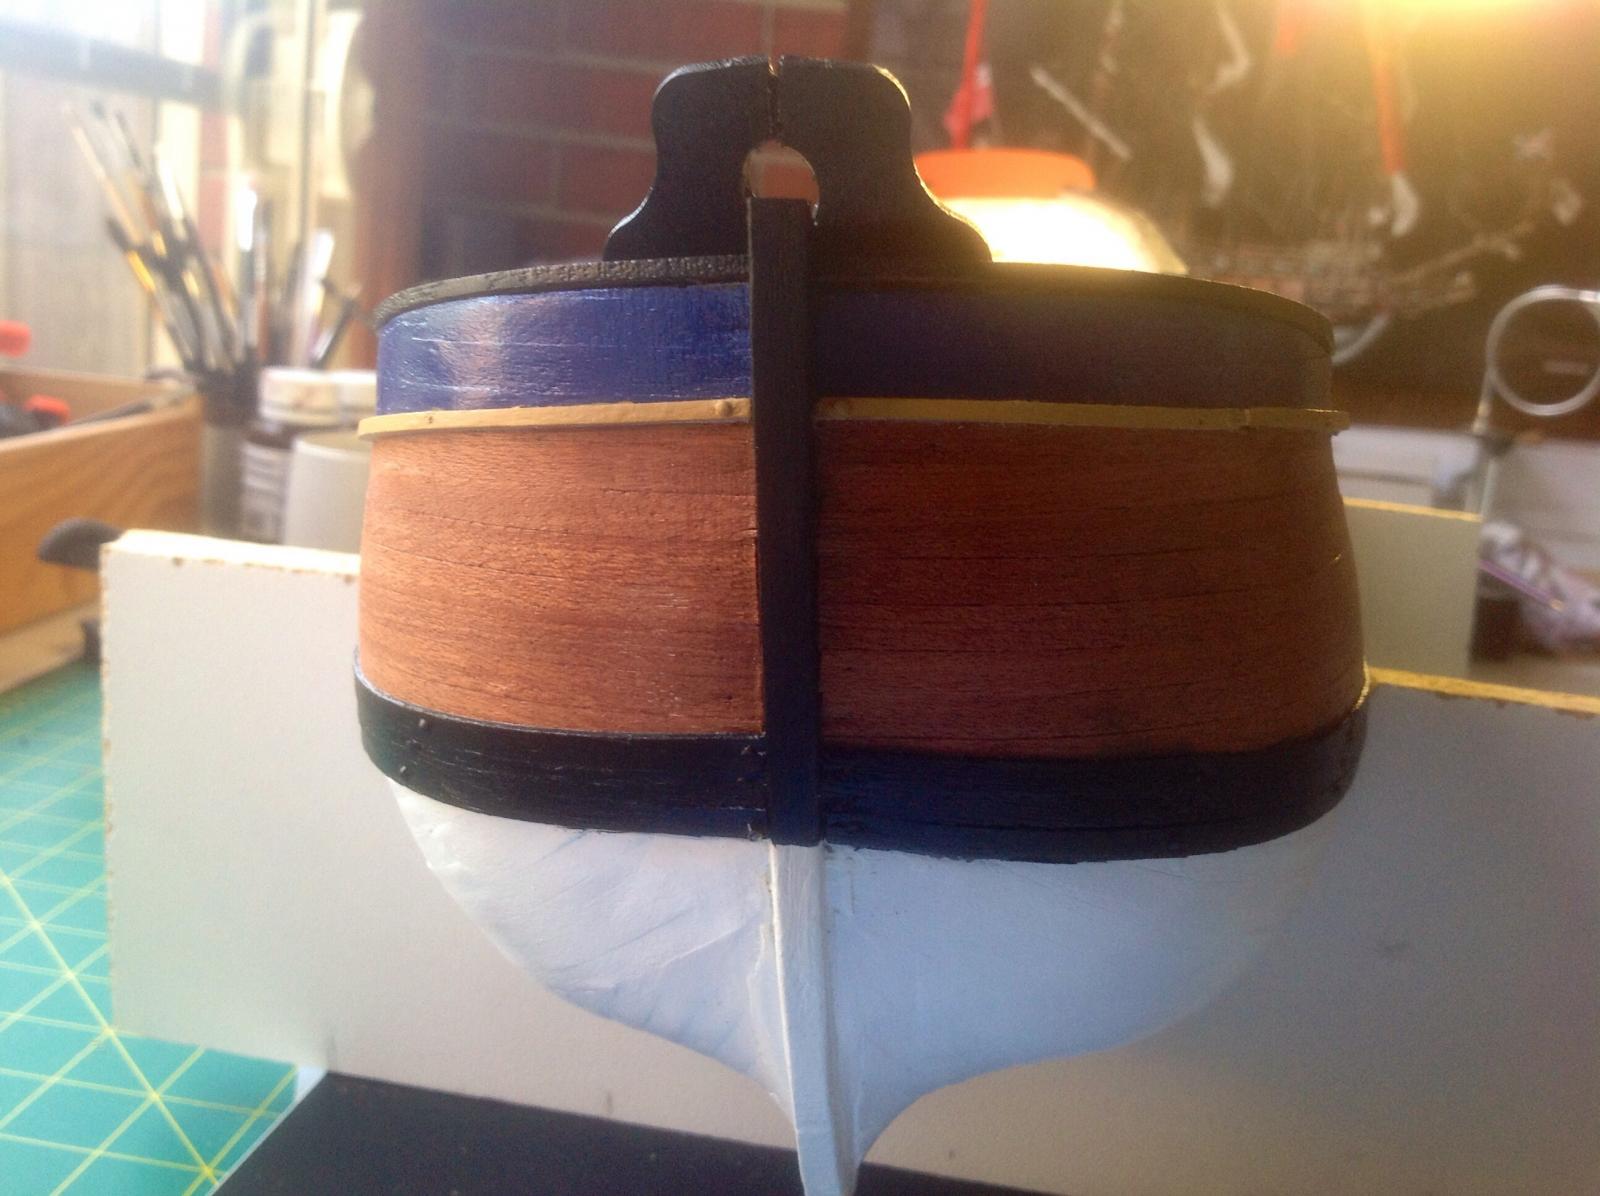
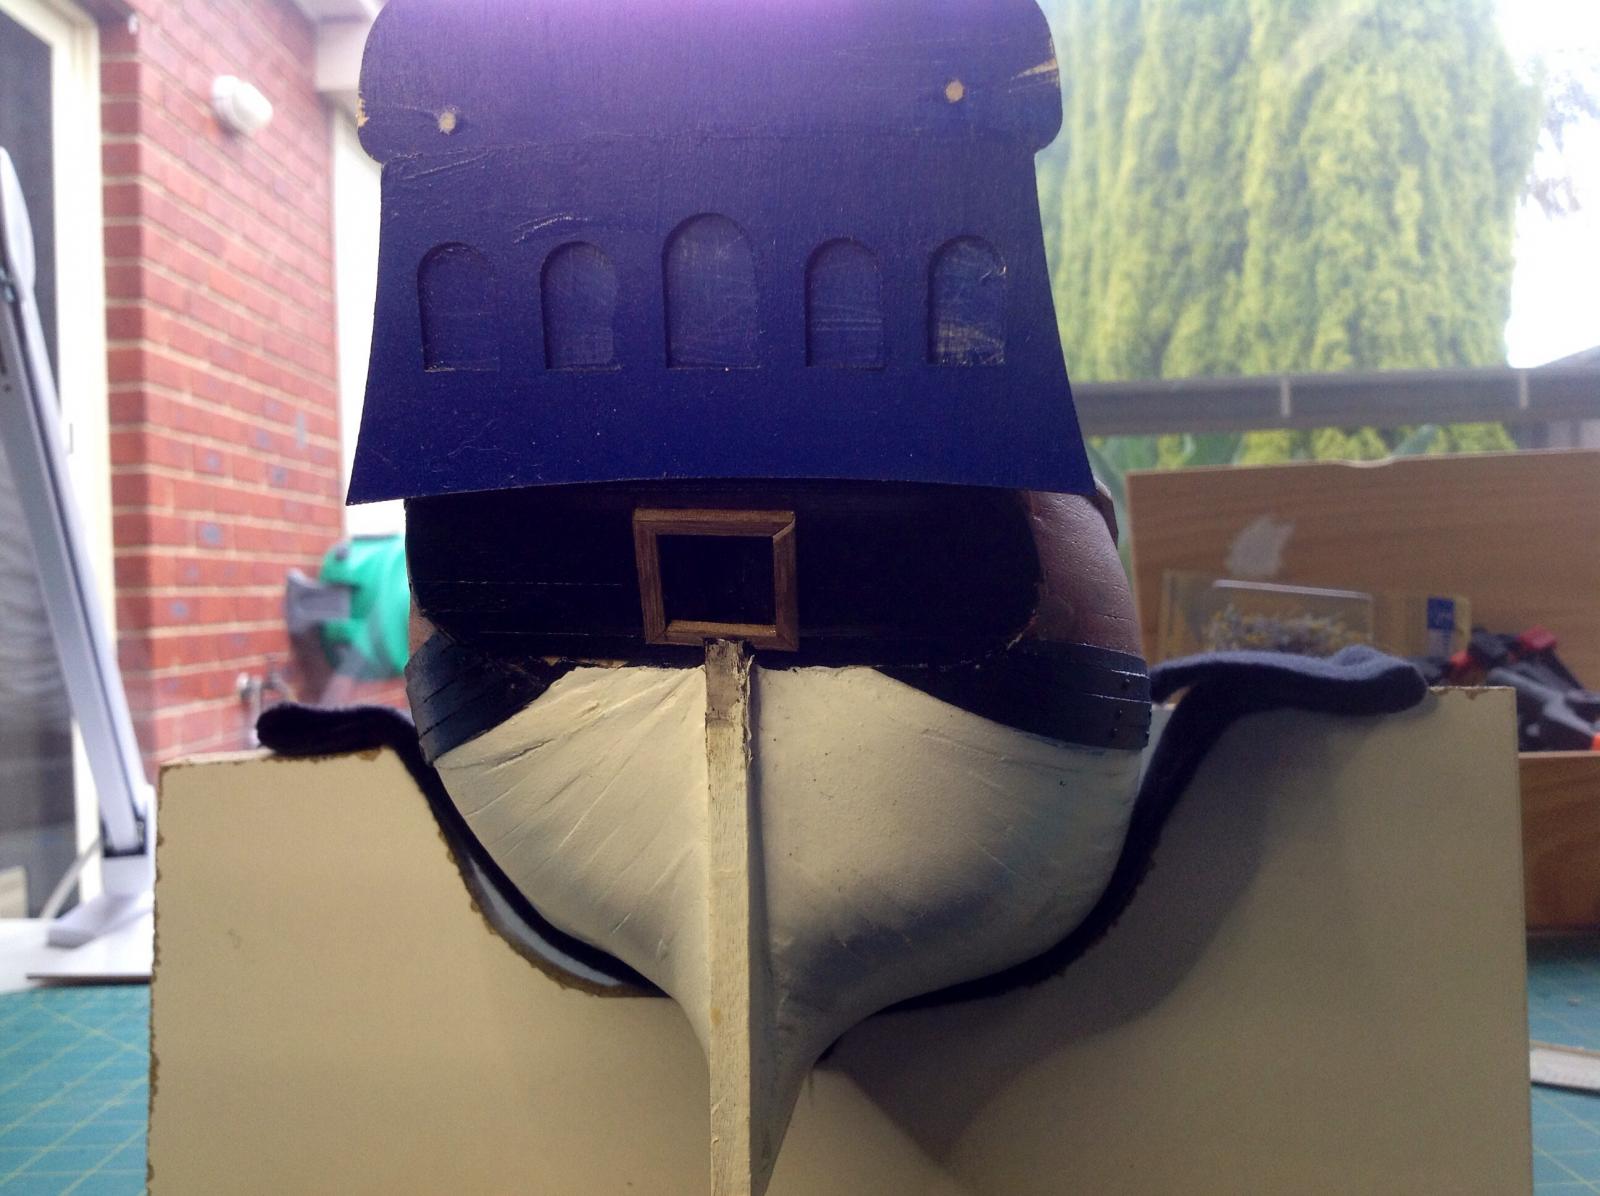
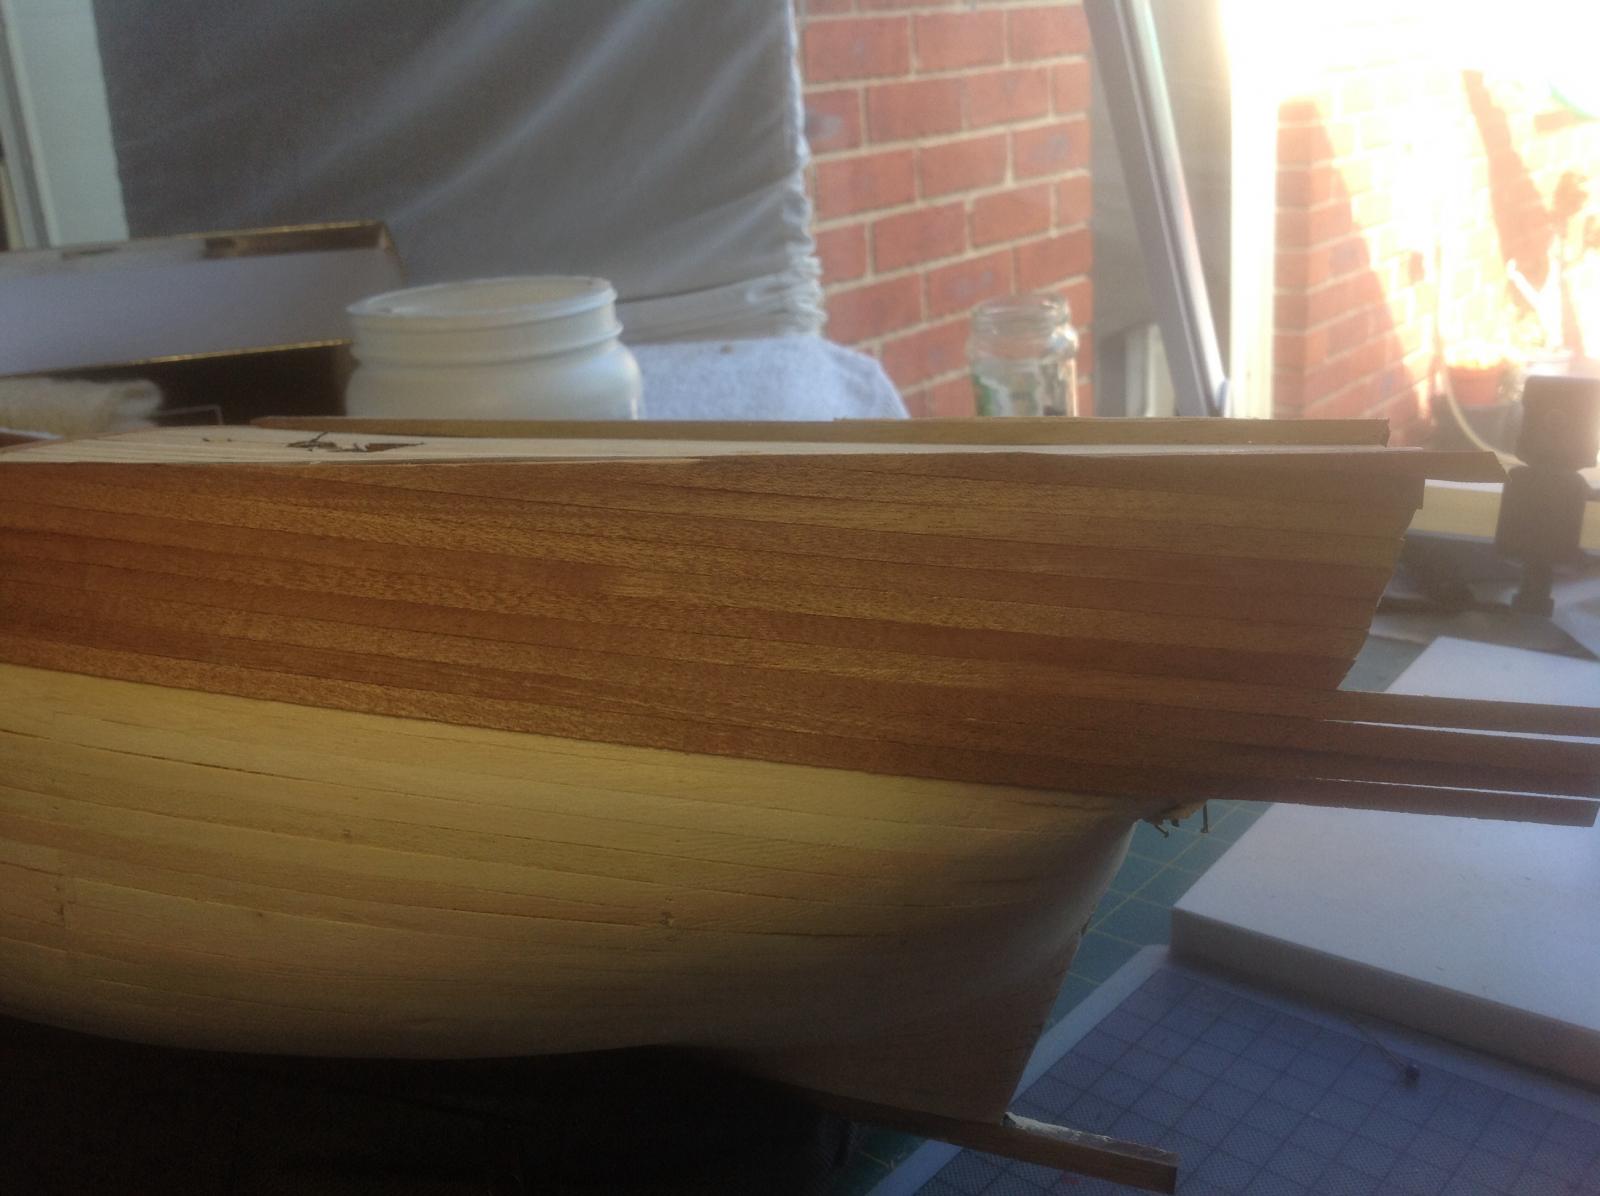
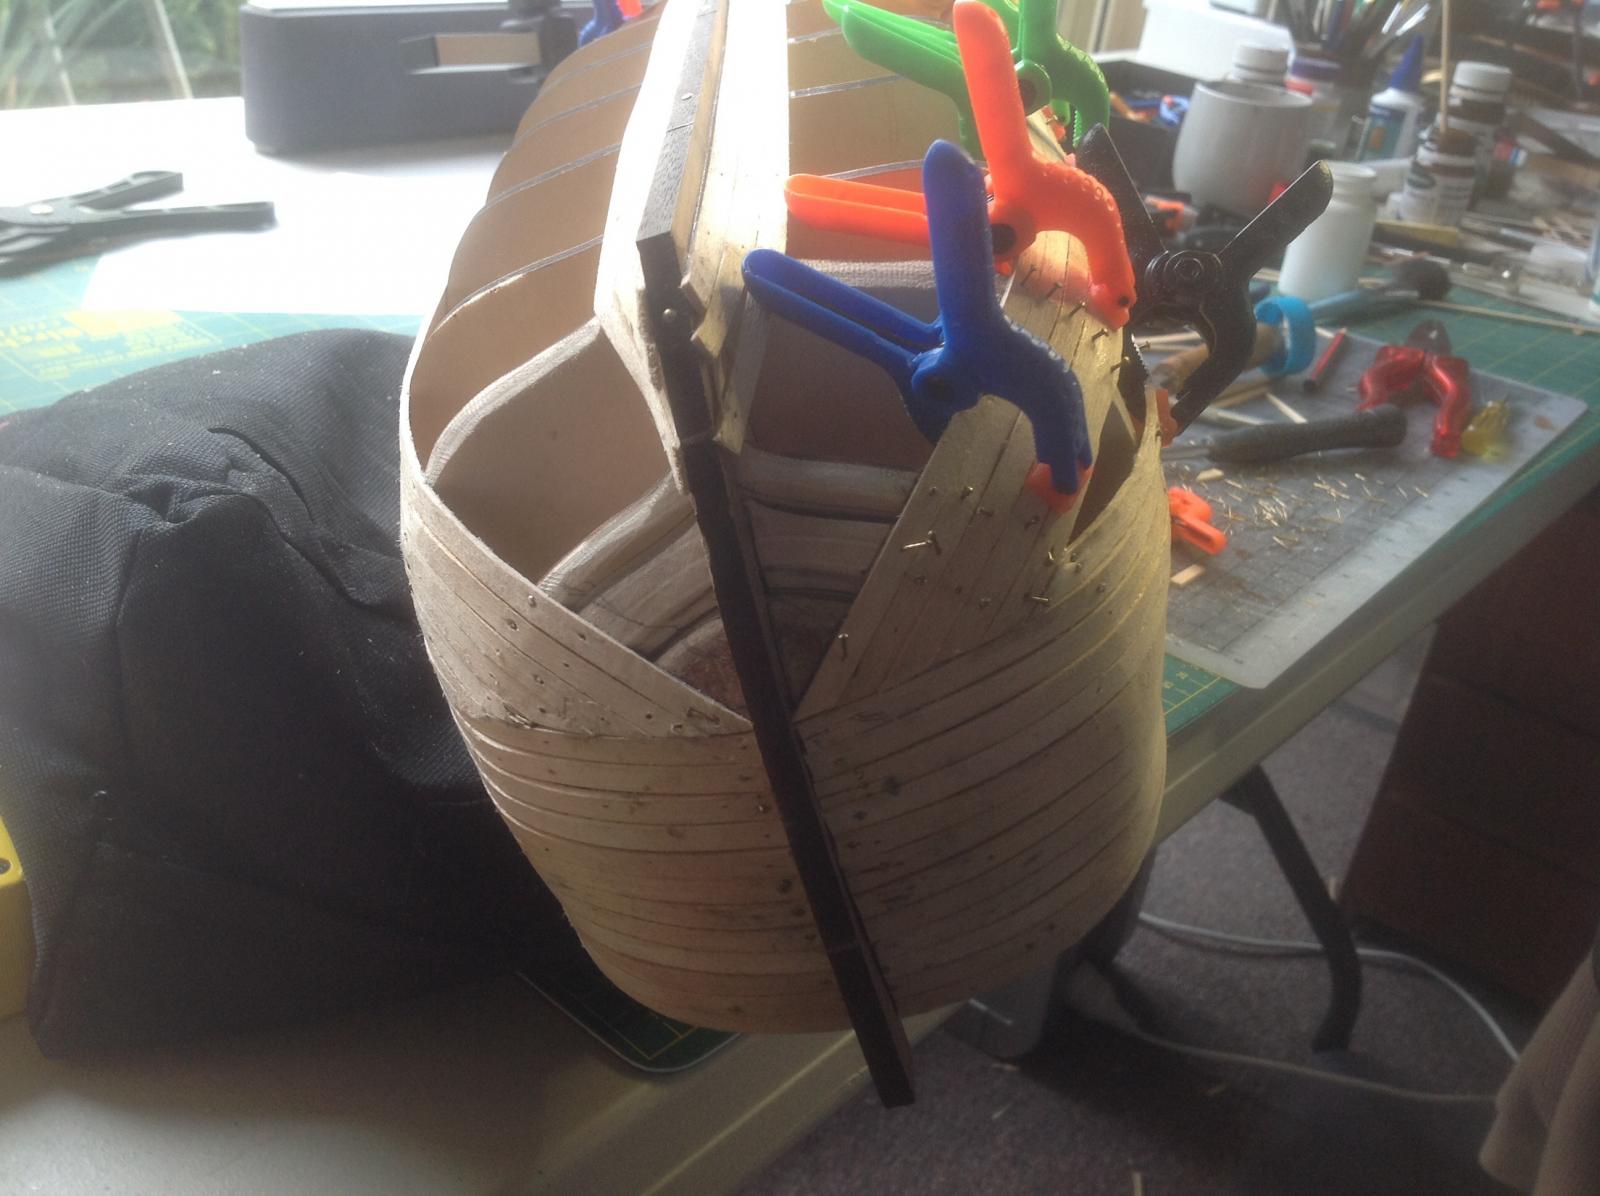
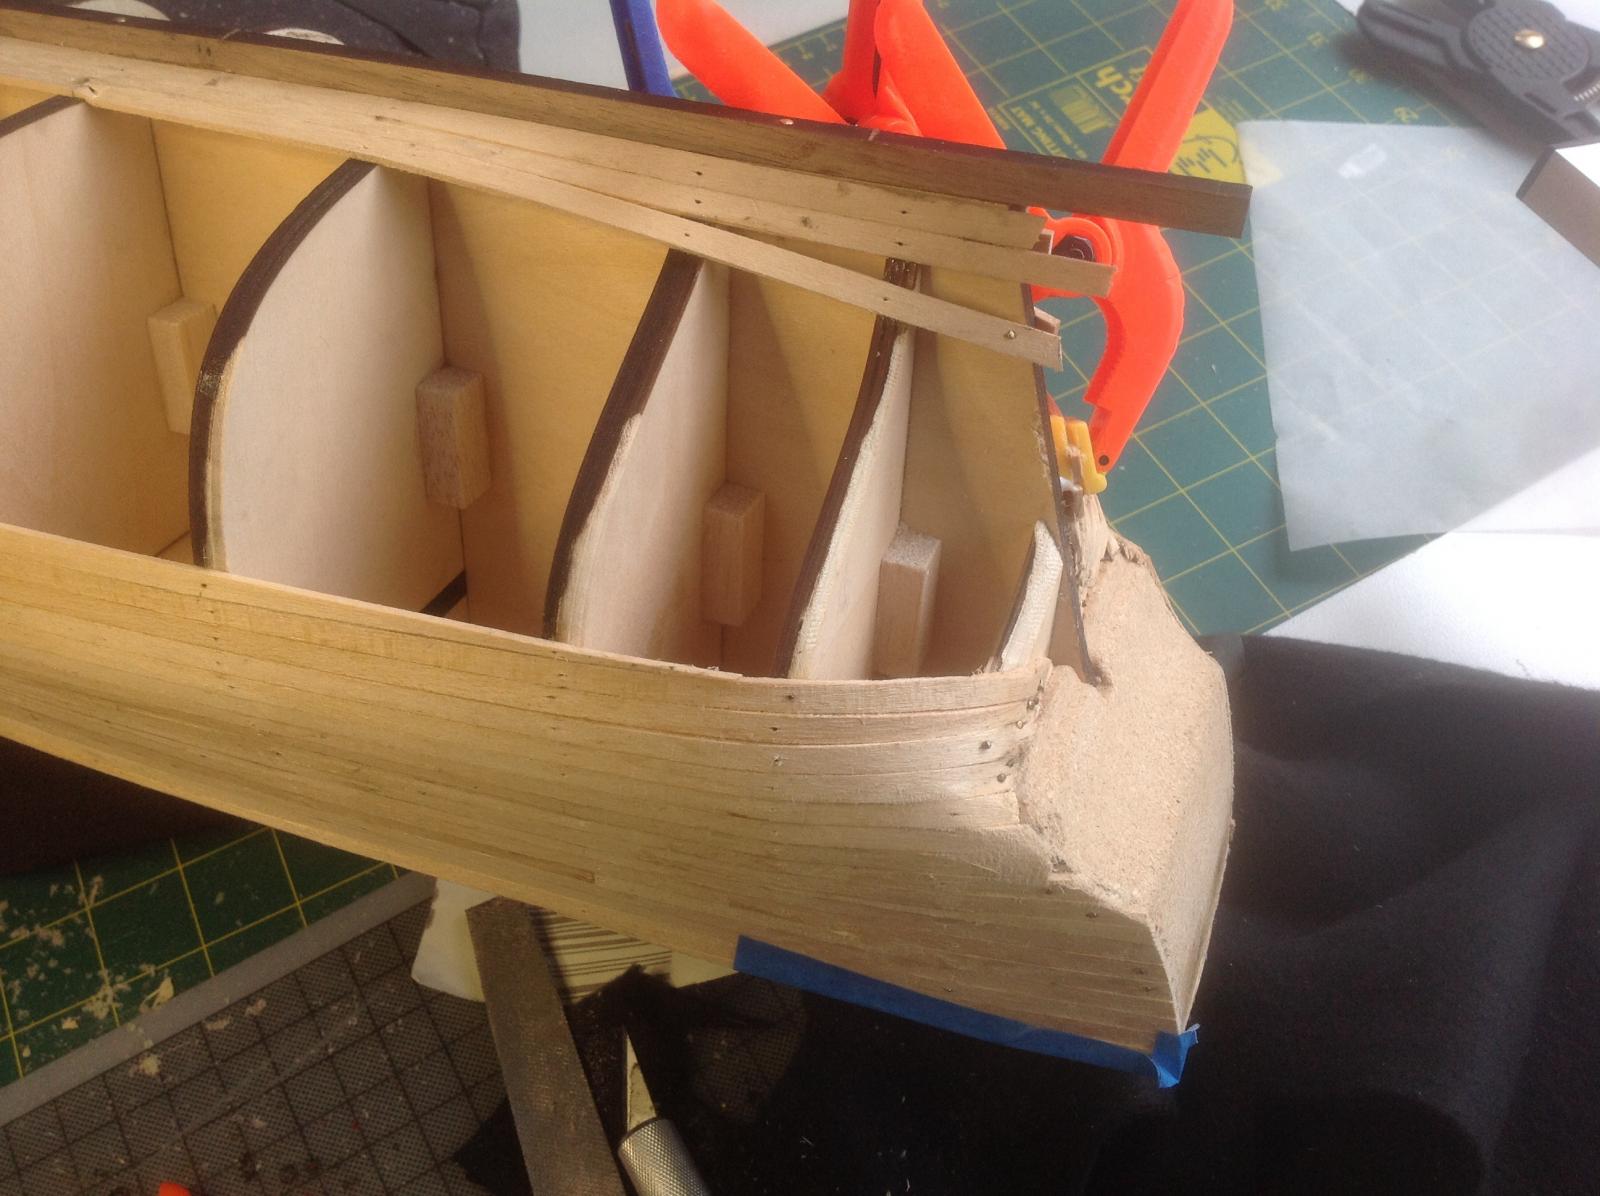
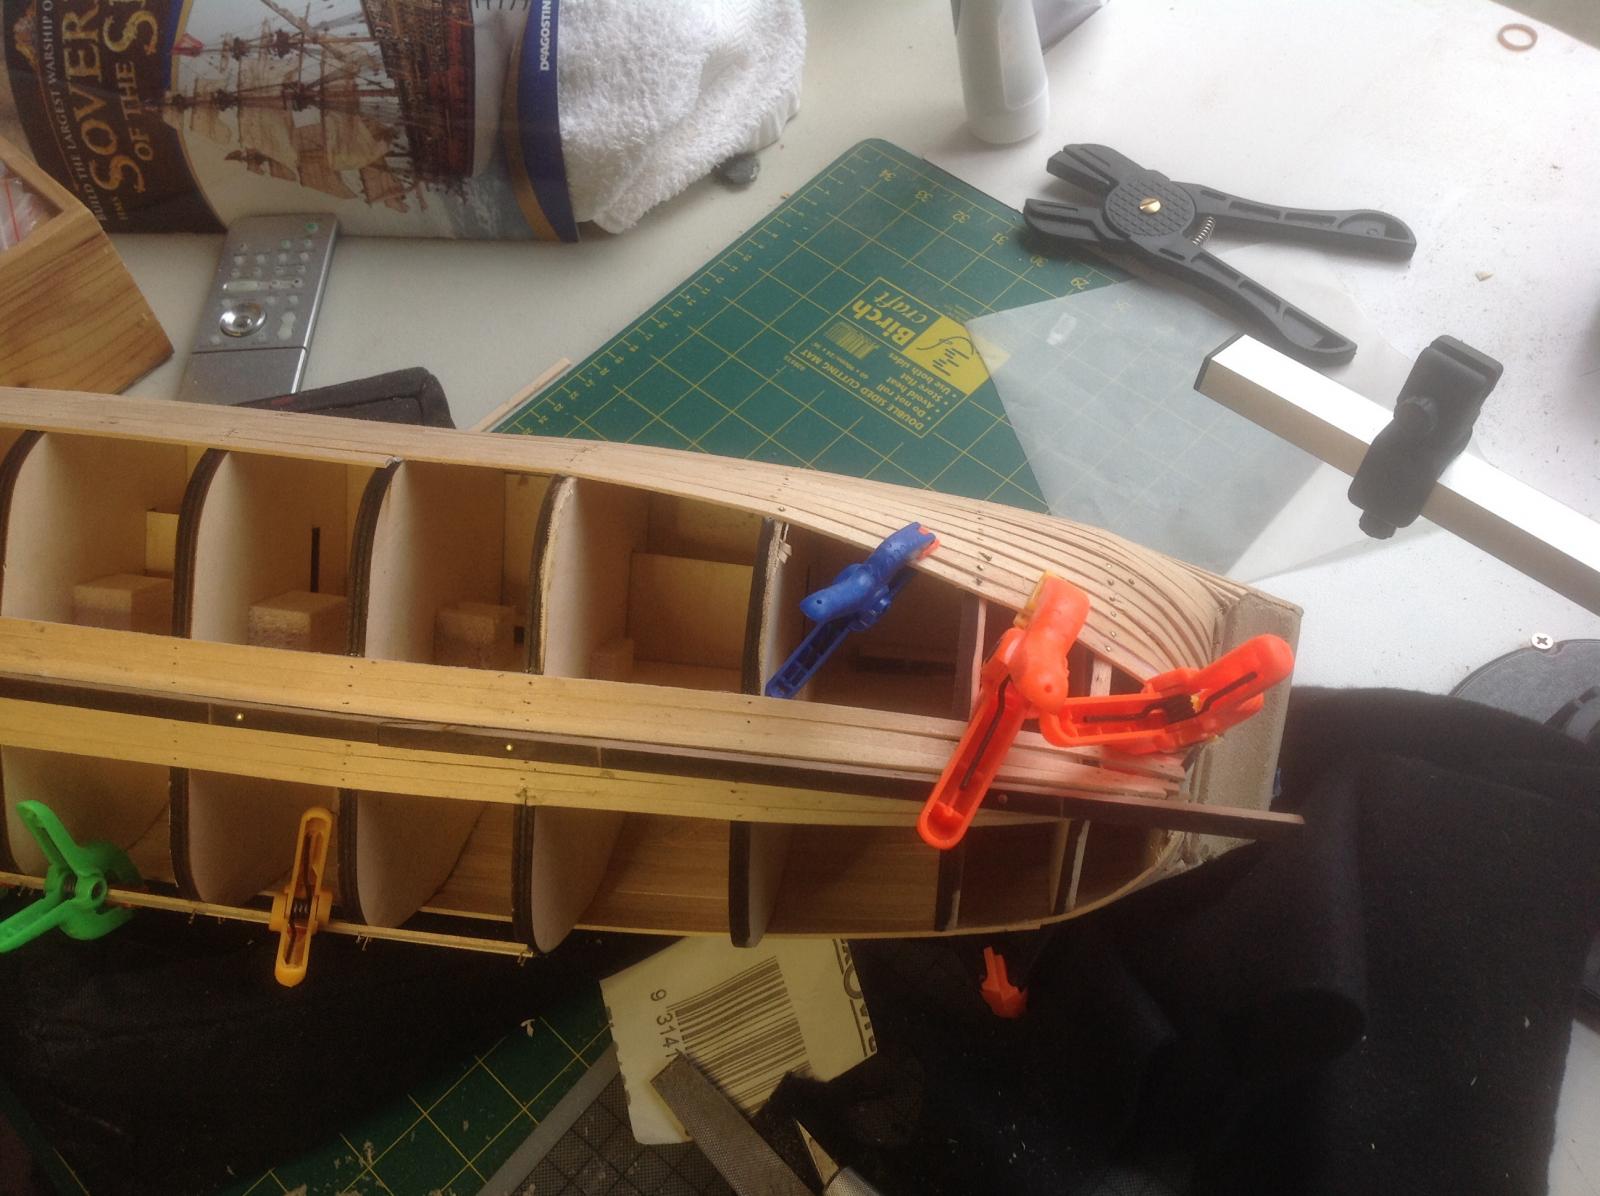
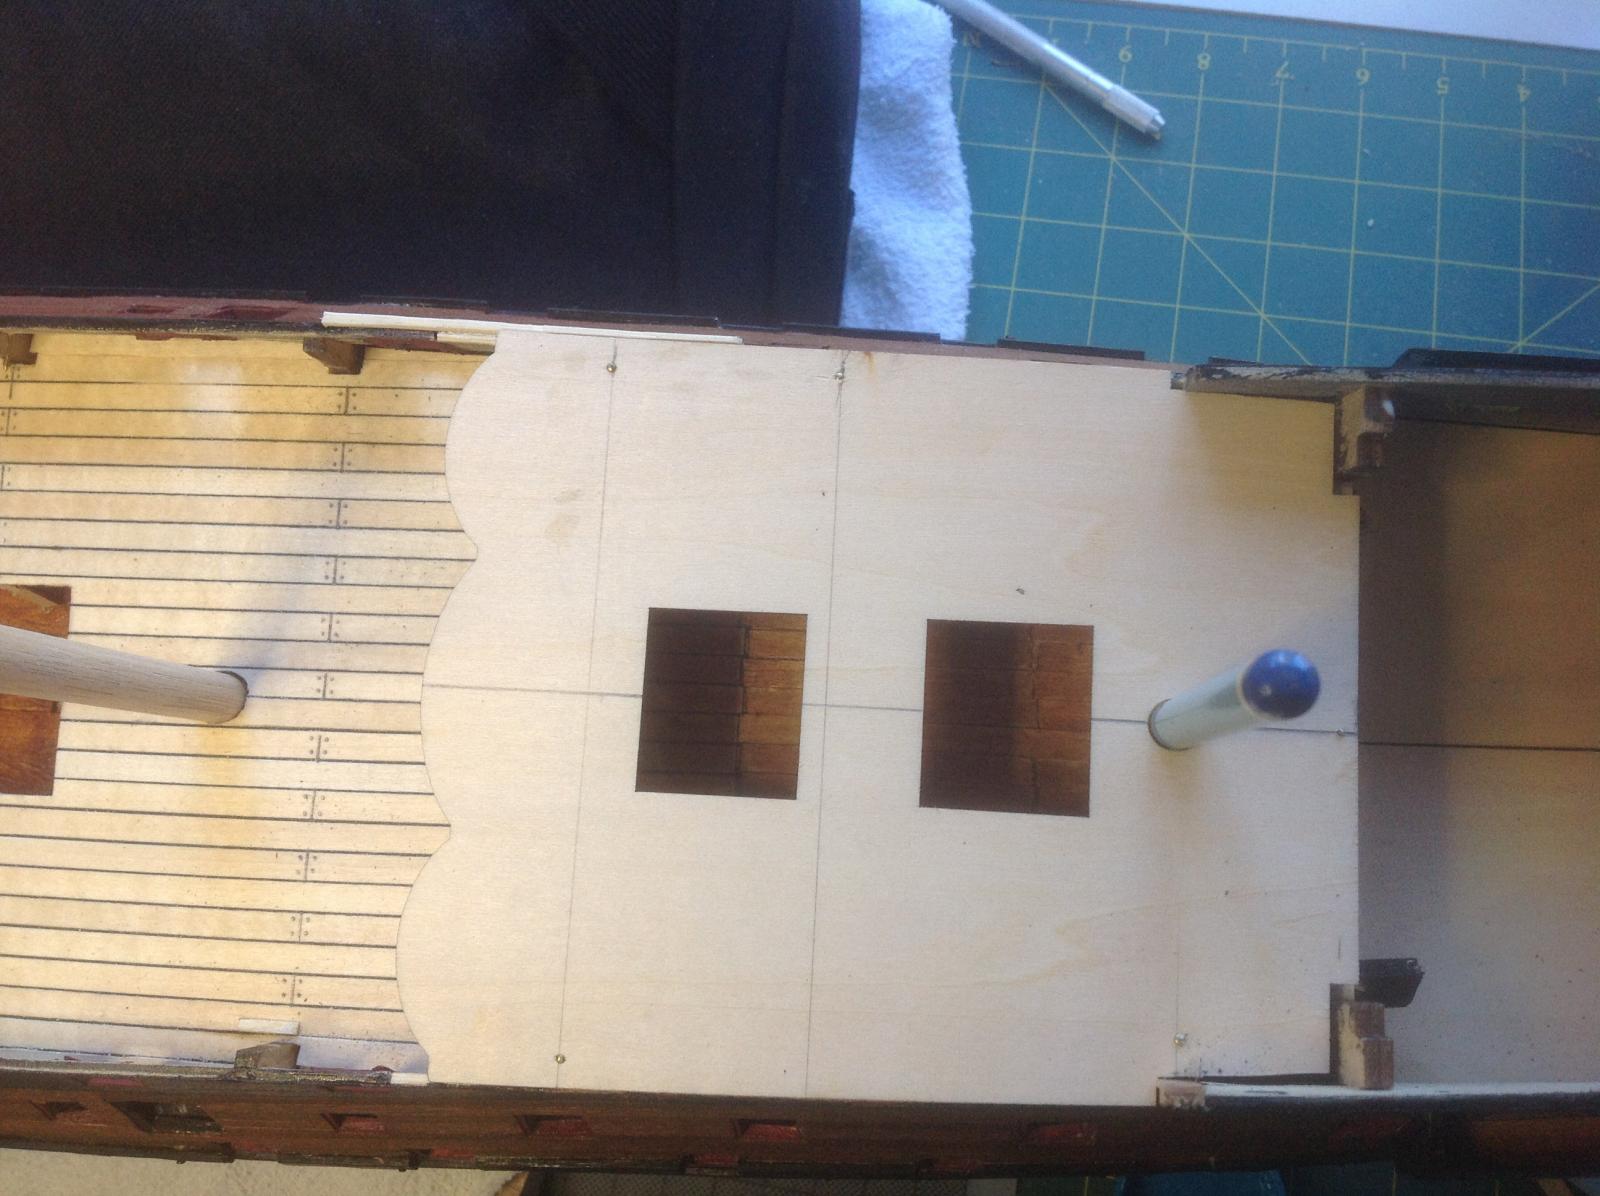
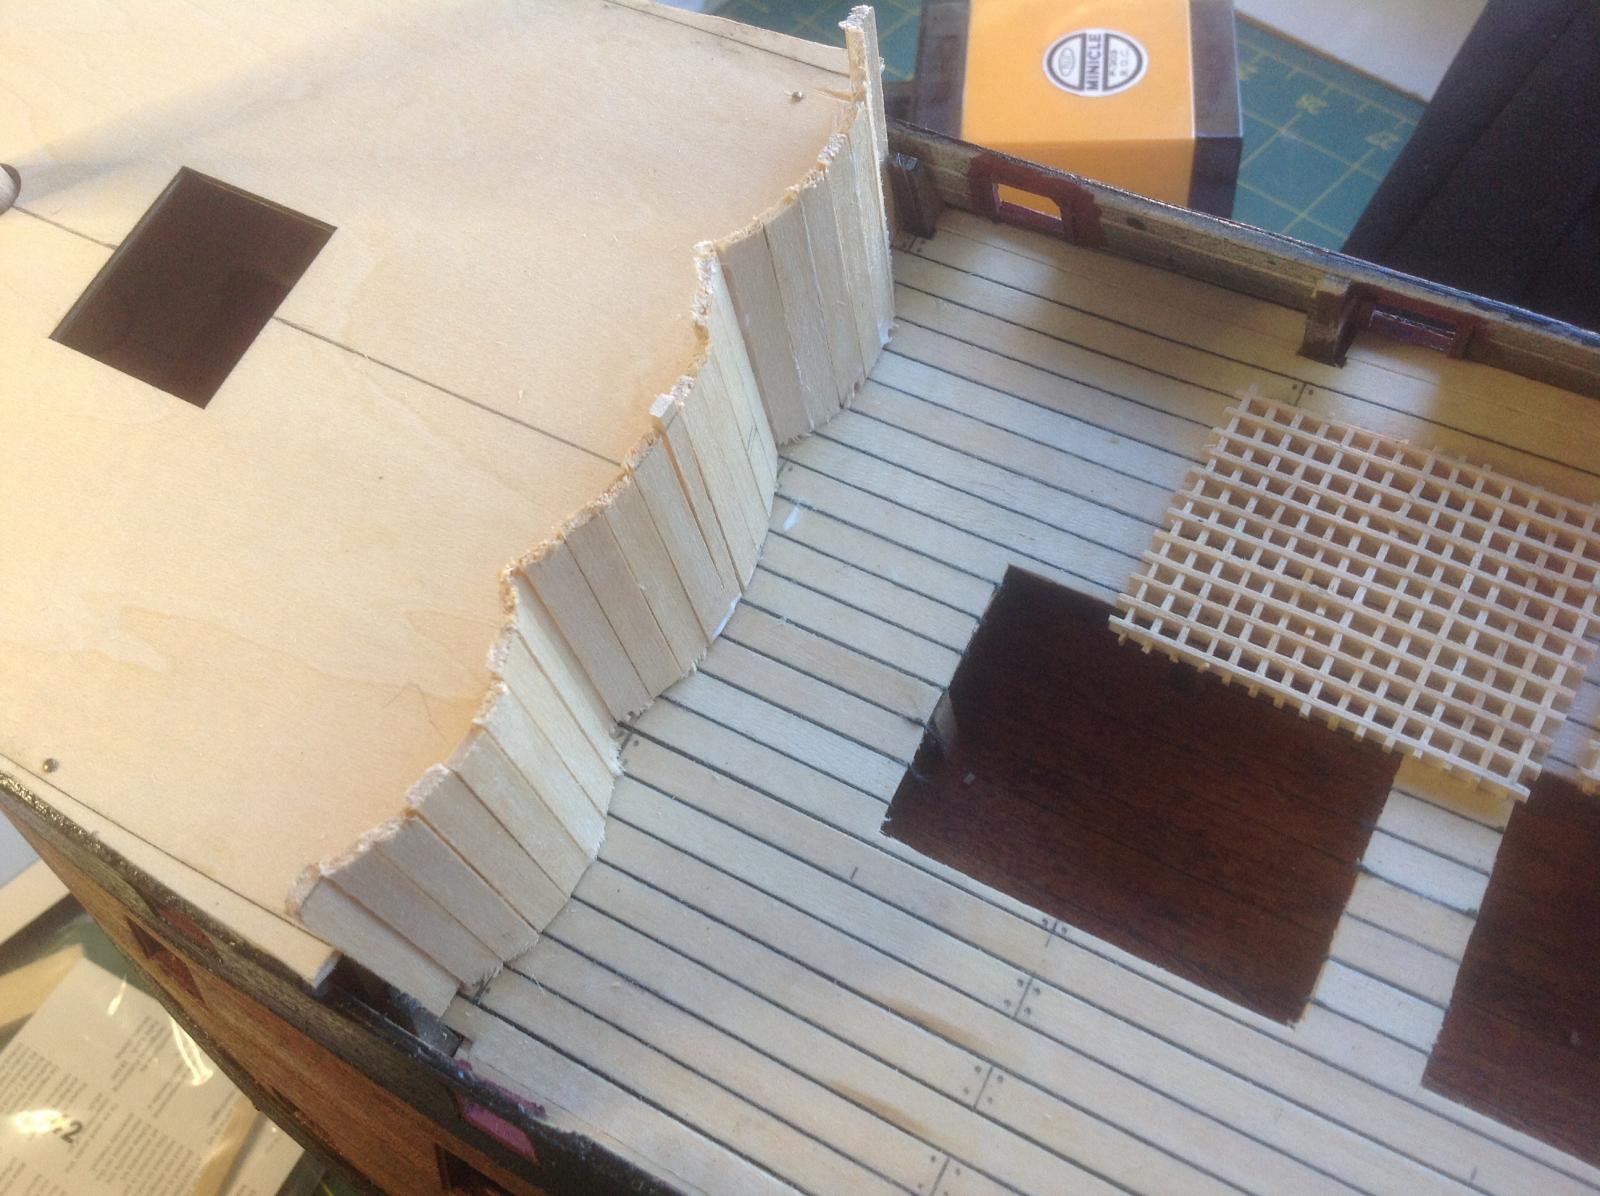
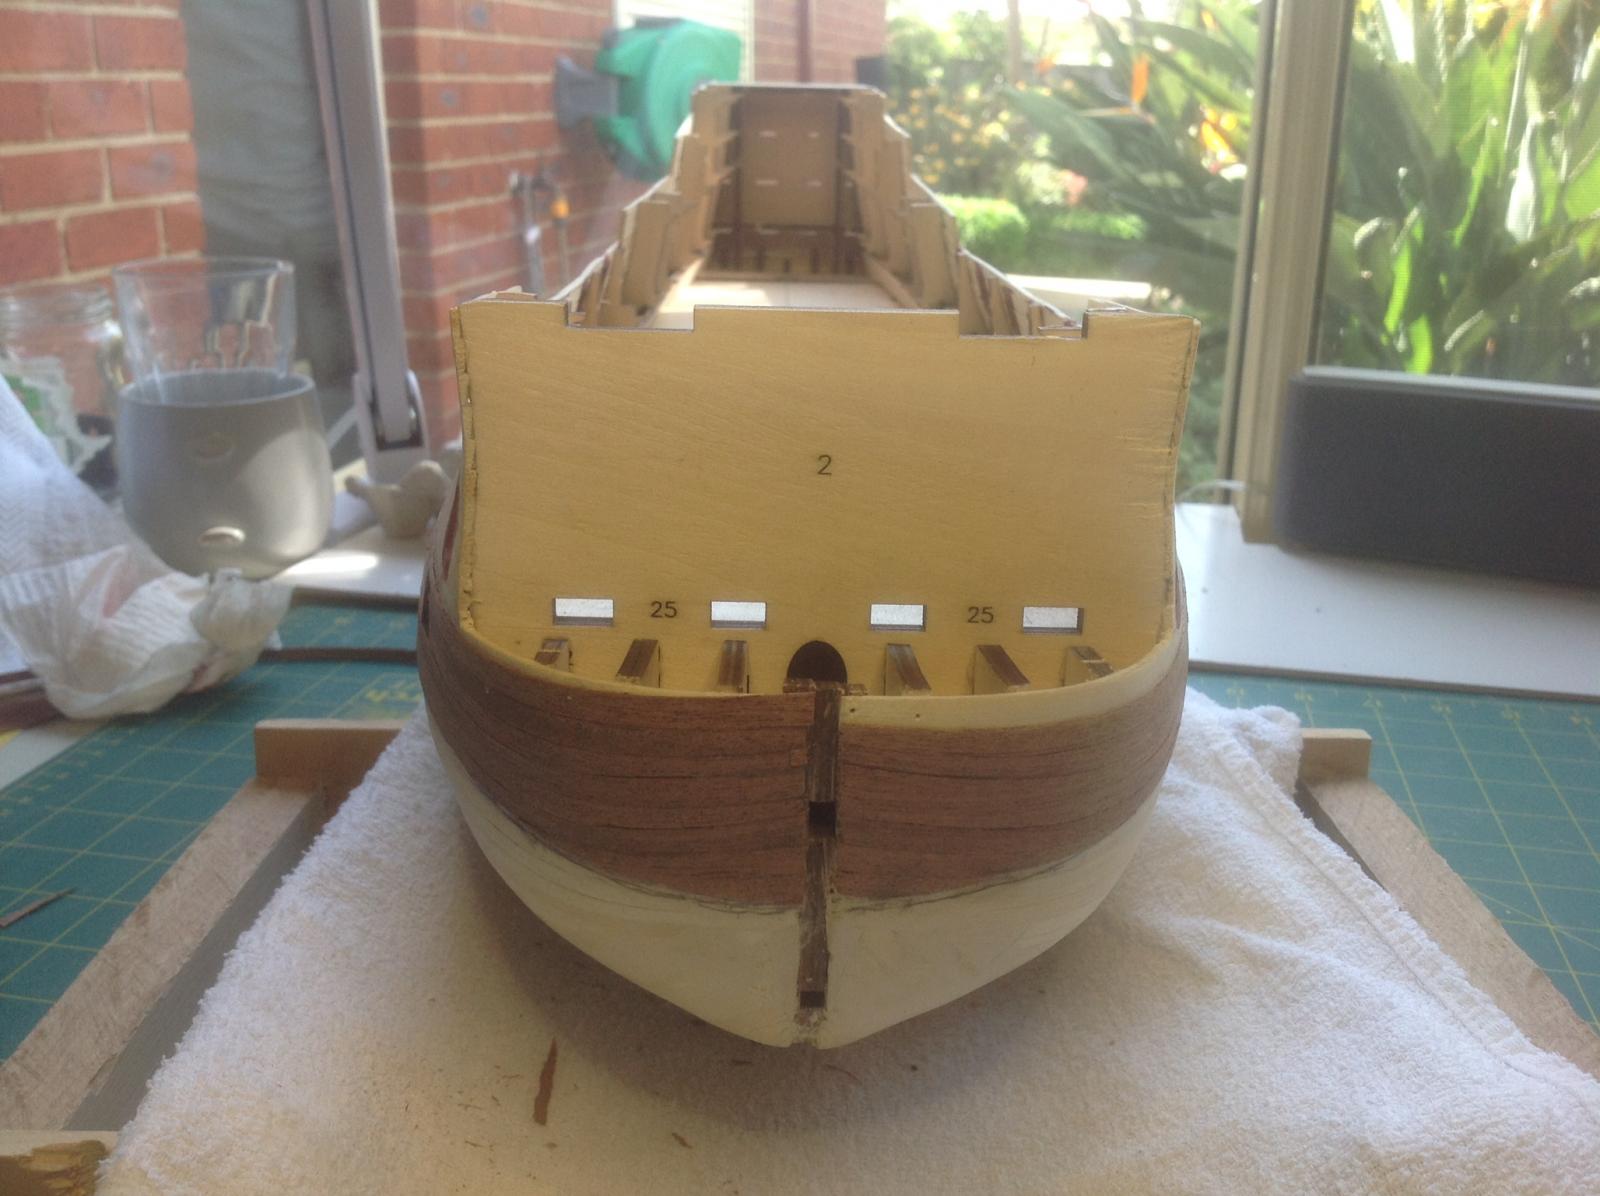
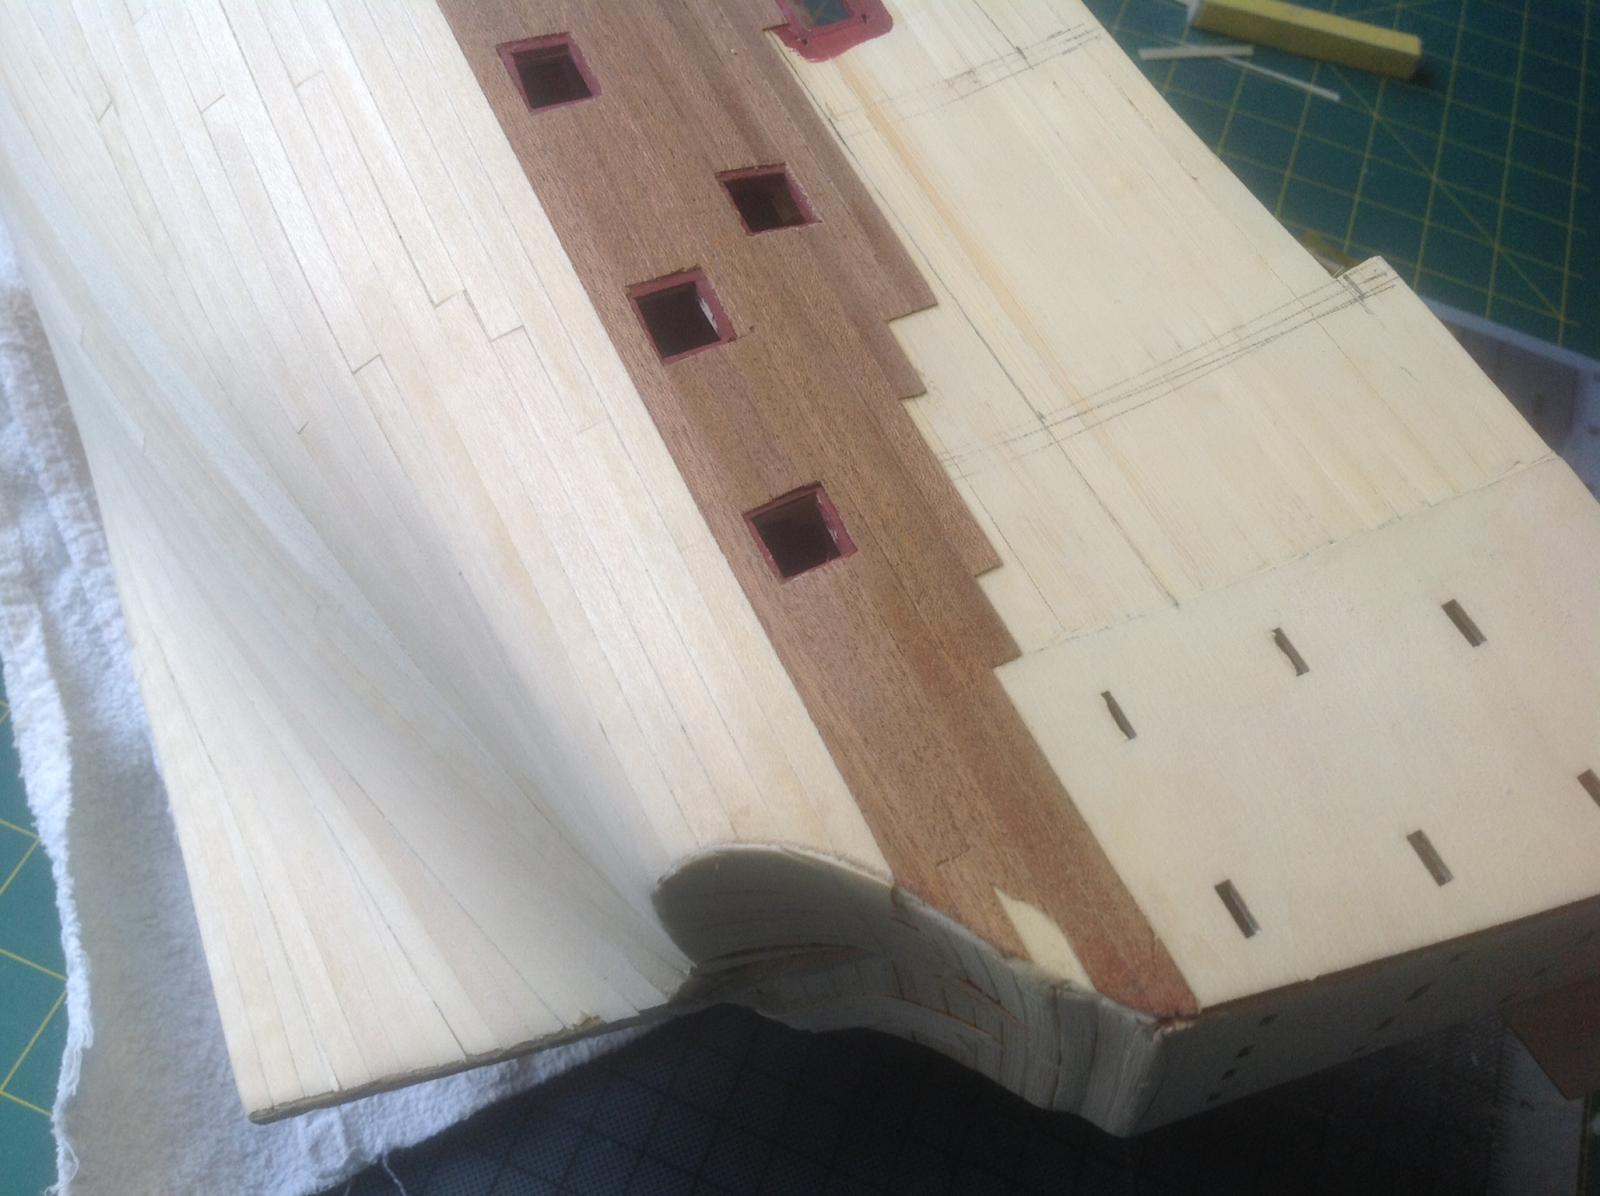
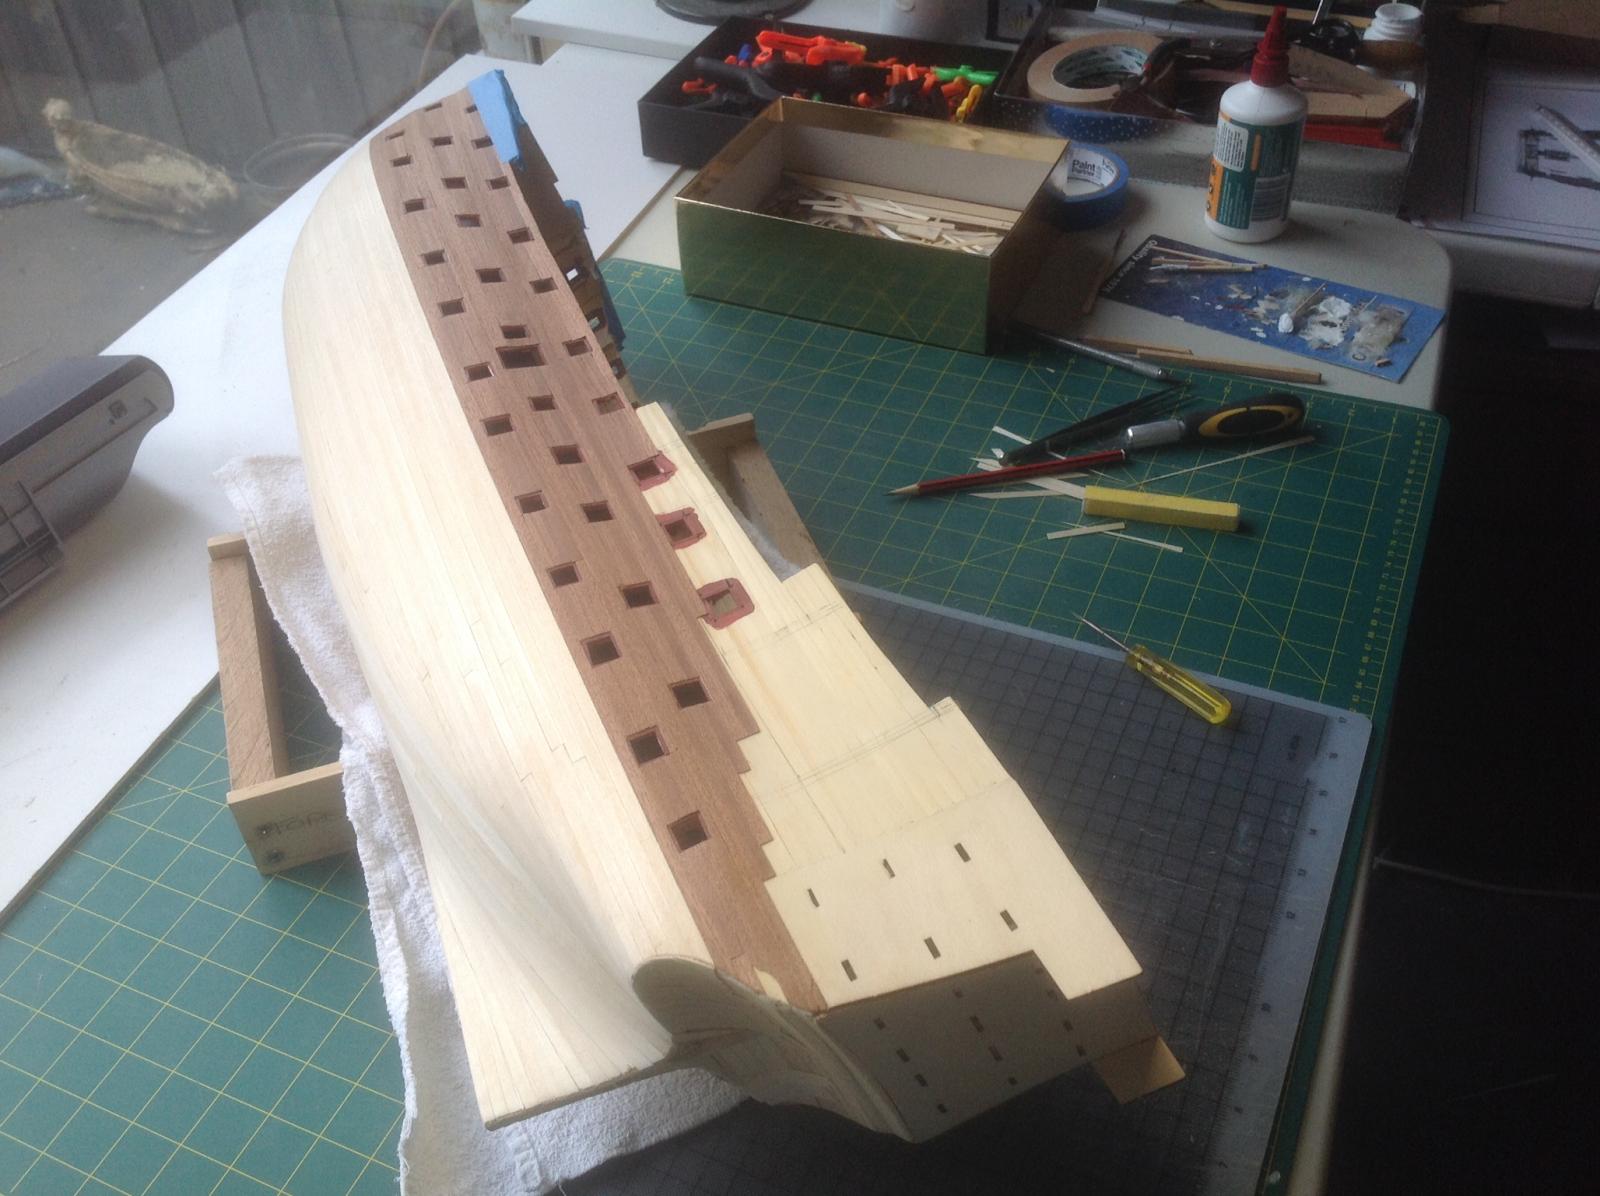
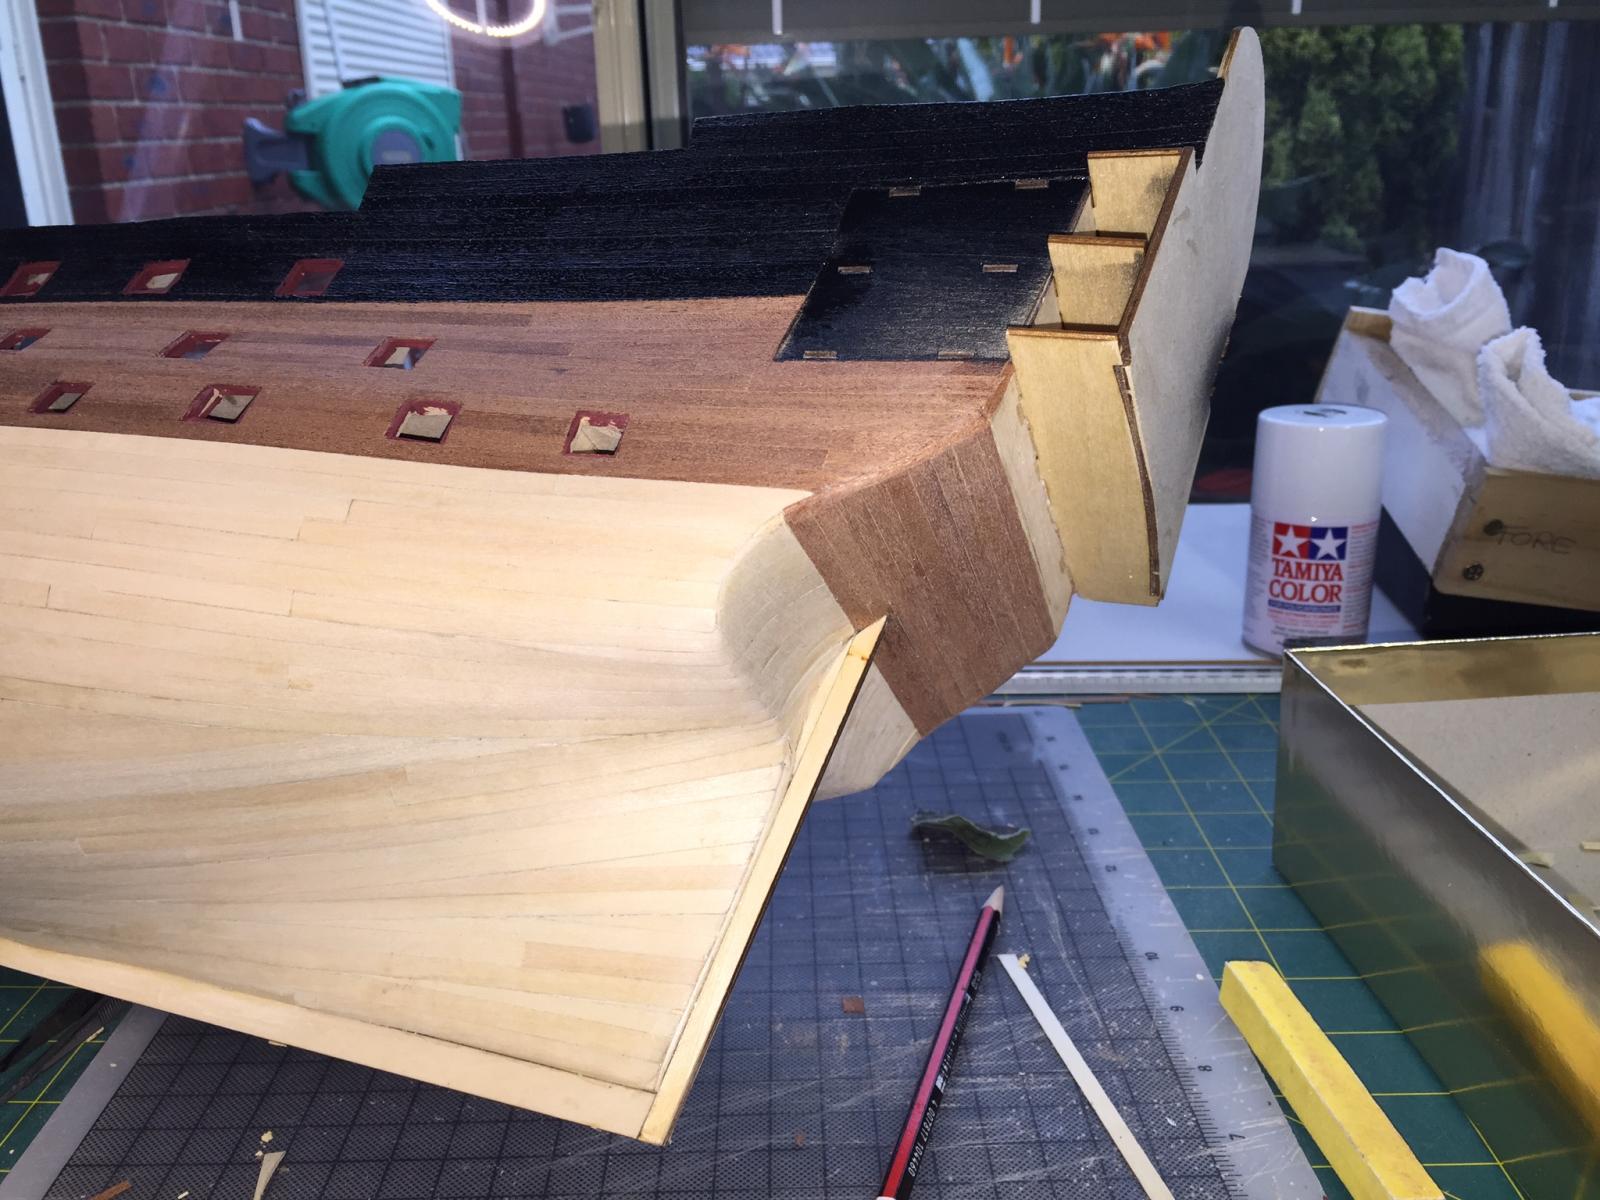
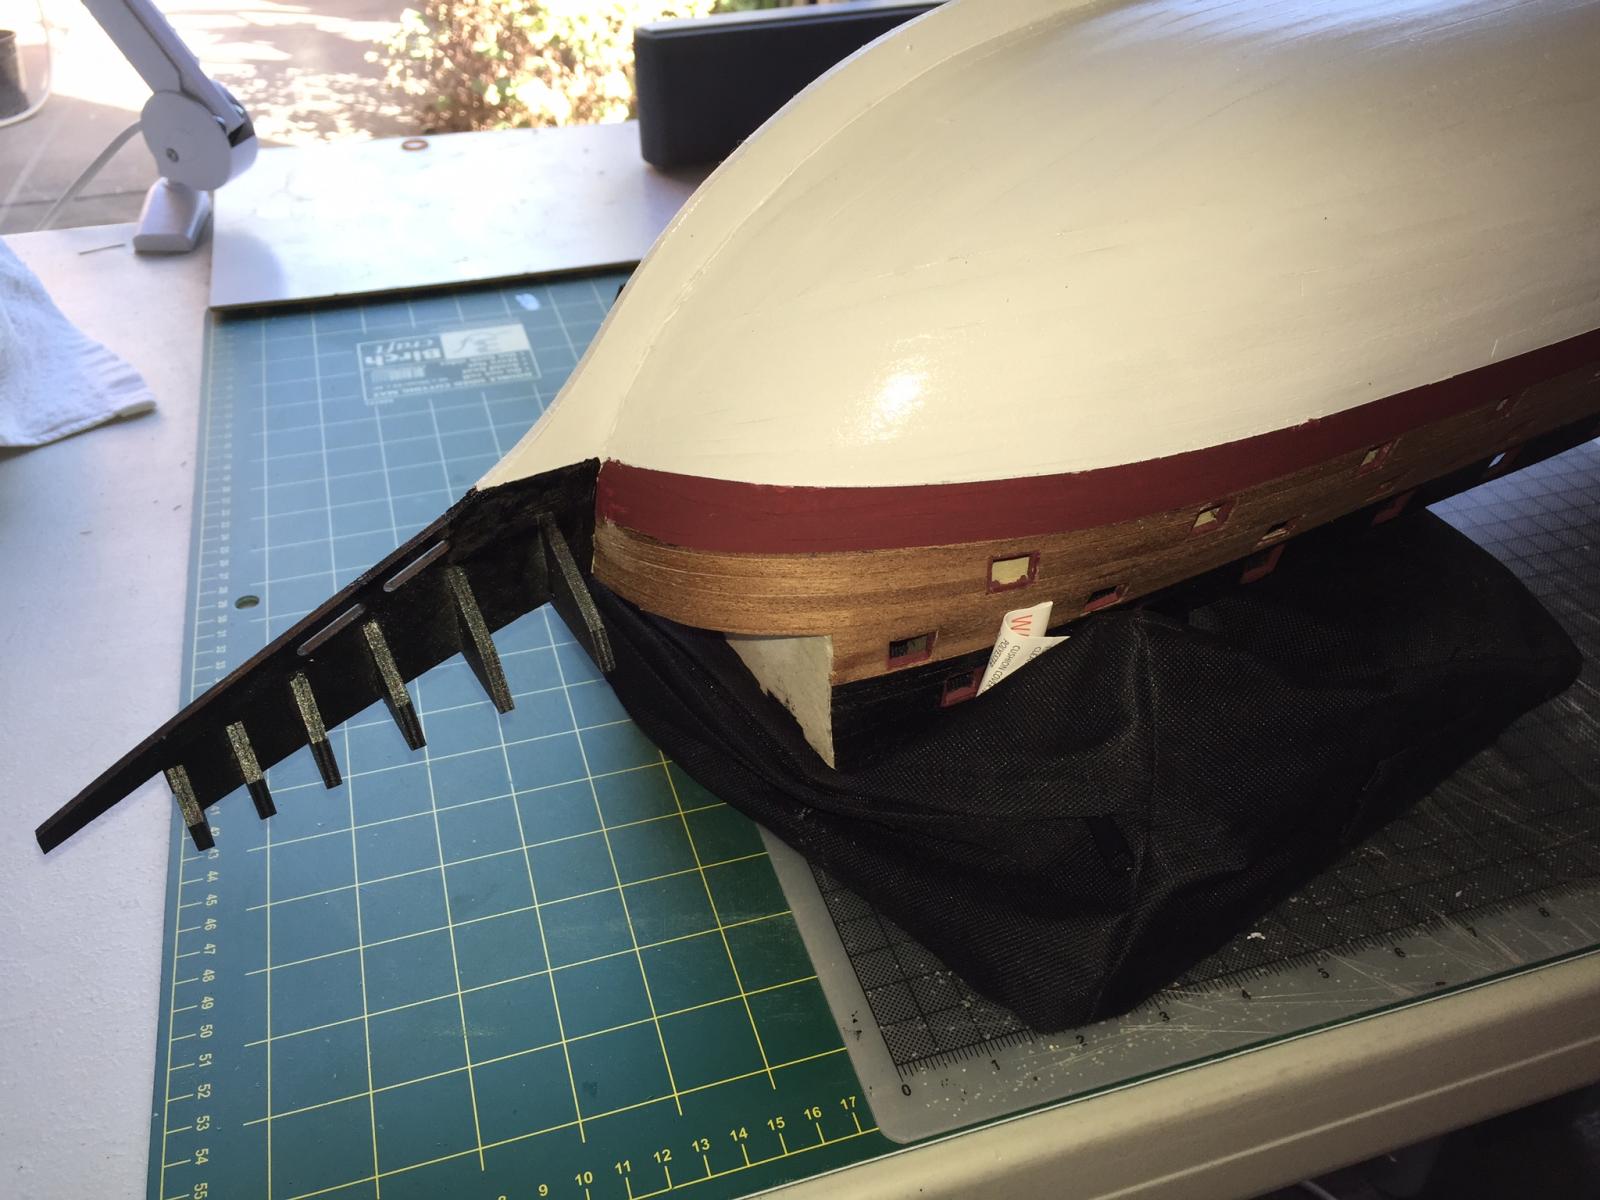
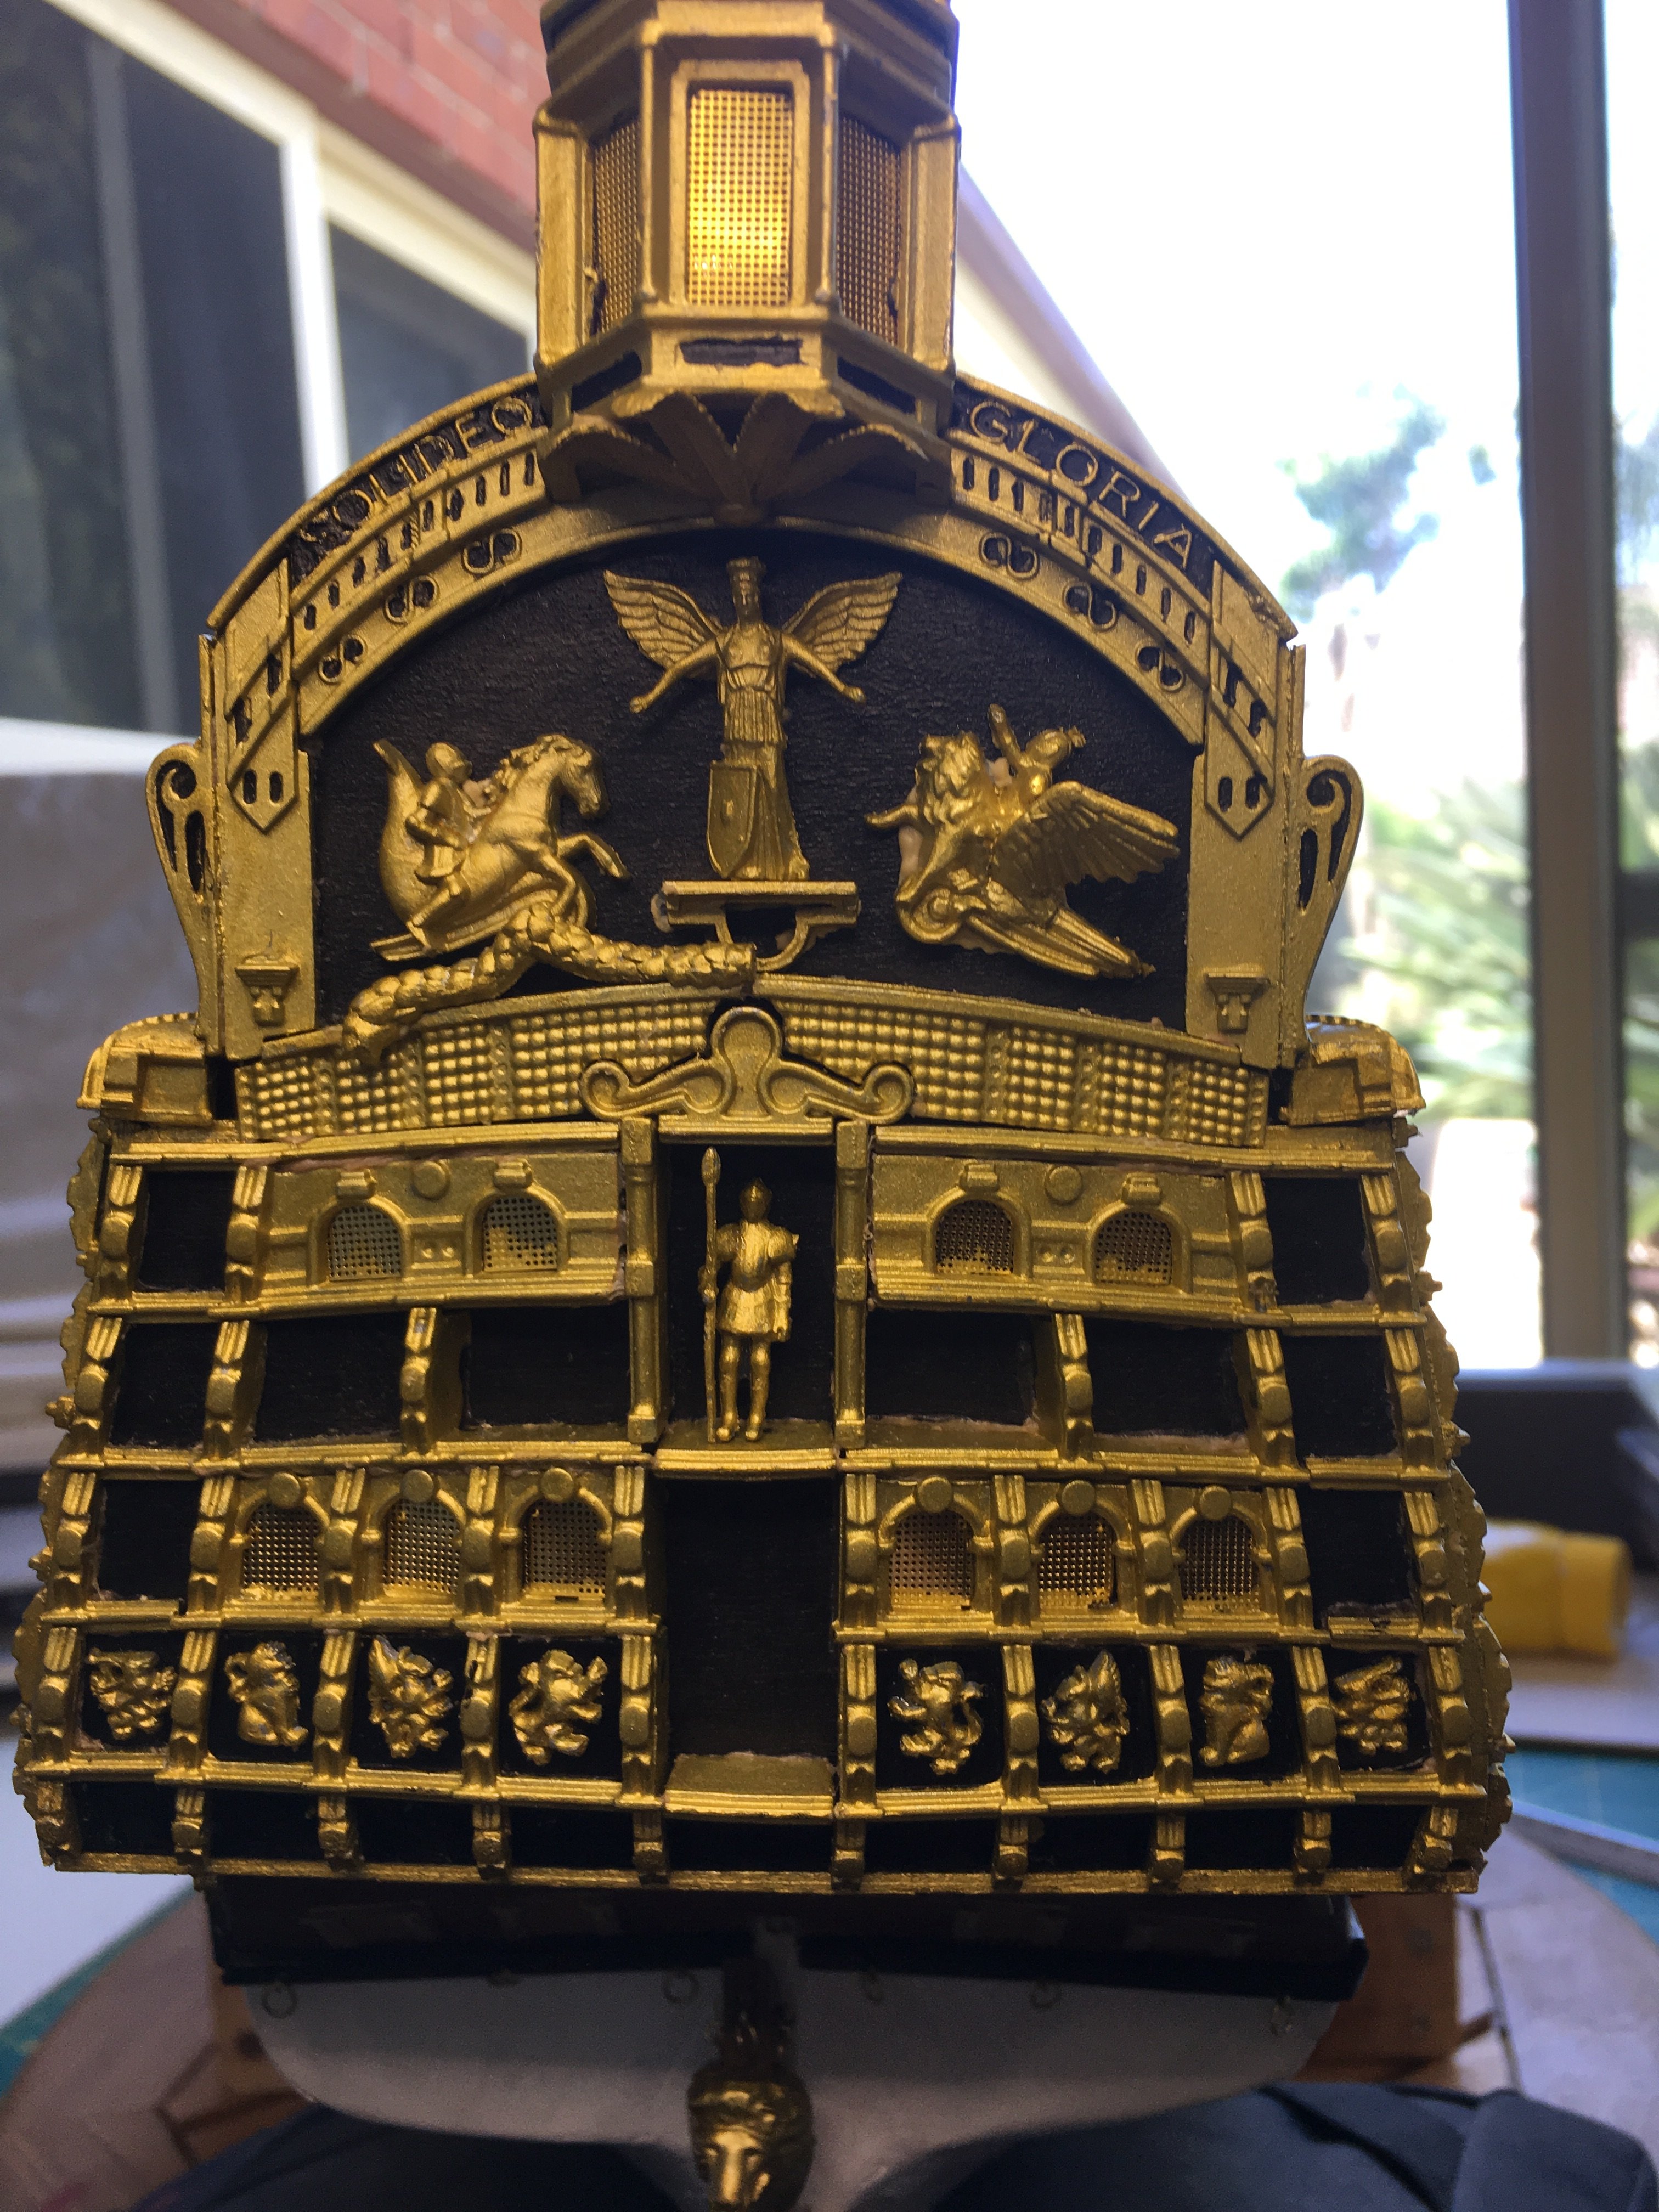
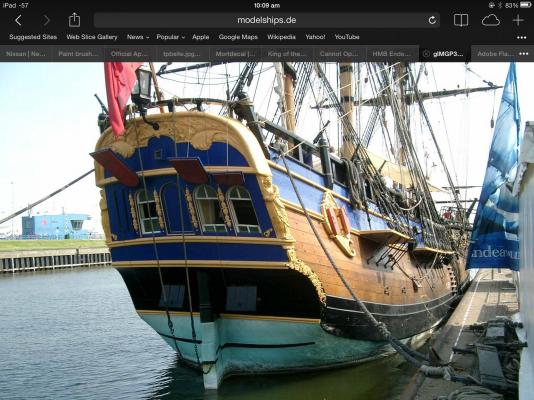
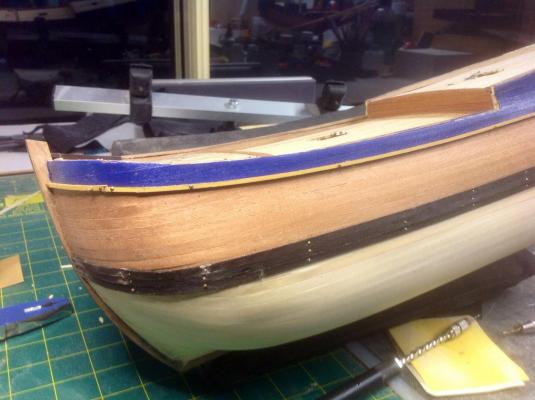
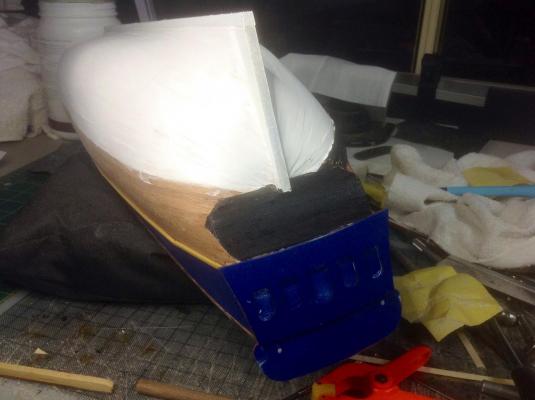
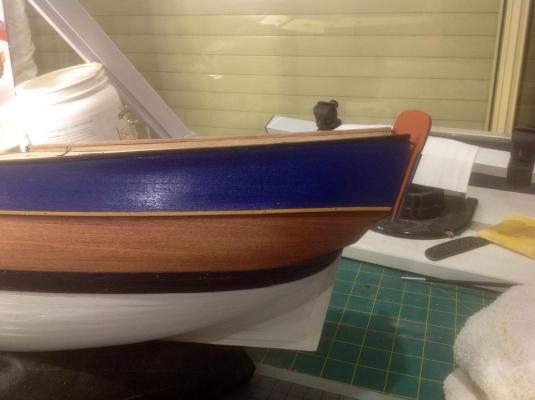
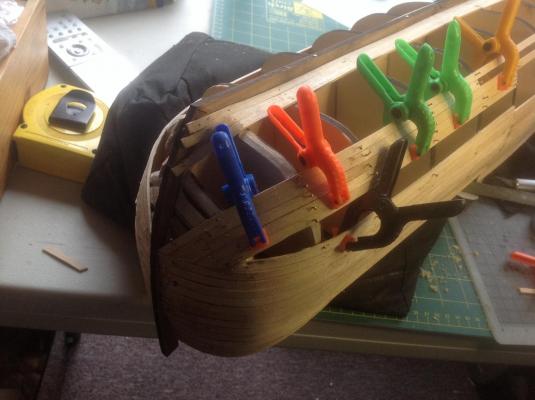
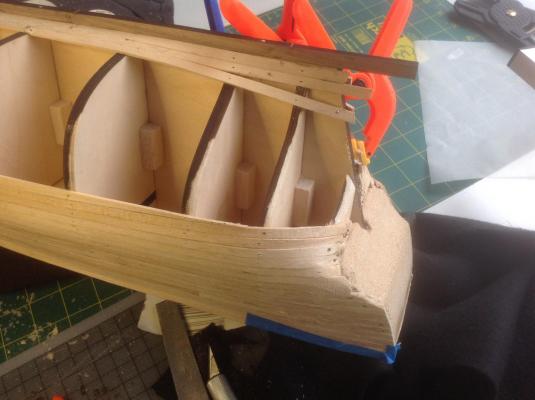
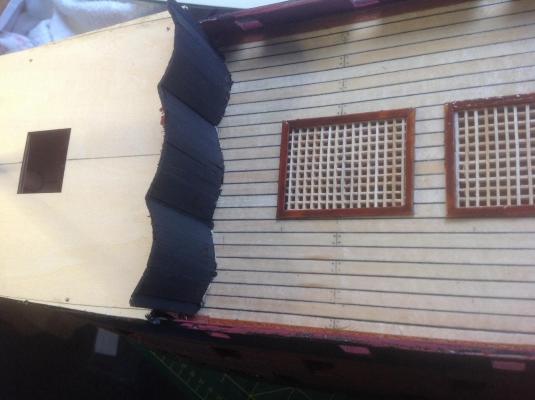
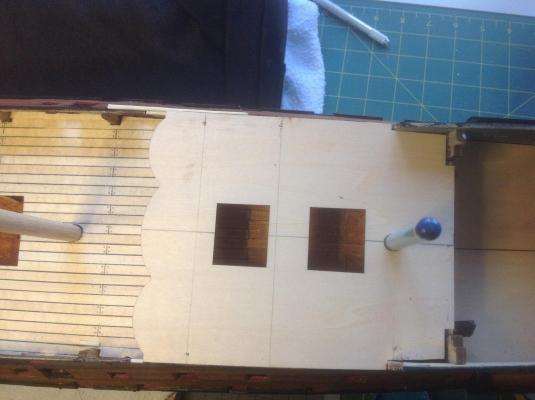
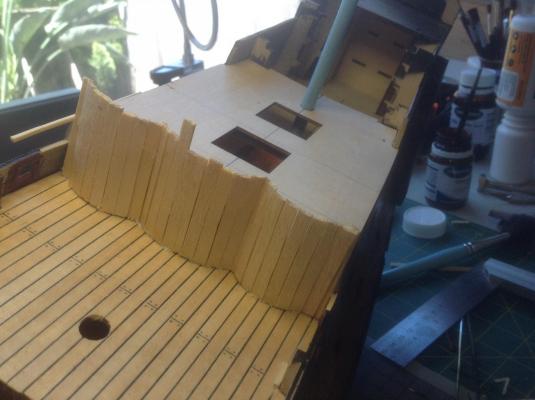
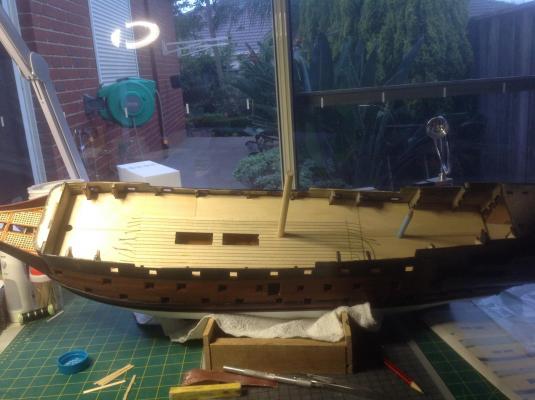
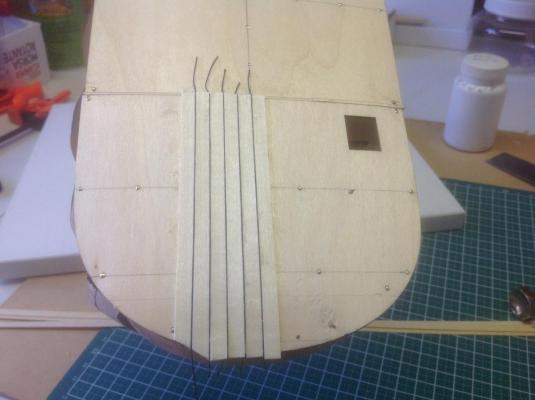
I have made quite some progress since my last post. The stern work has been a challenge as the poop pieces were larger in width to the formed stern area when planking and I have had to make some major corrections which where a little disappointing as I feel the kit was not quite correct. I have also built some scratch pieces to reflect the finished edges to the area as built in the replica attachment=217045:image.jpg] I copied the detail from this photo.

-
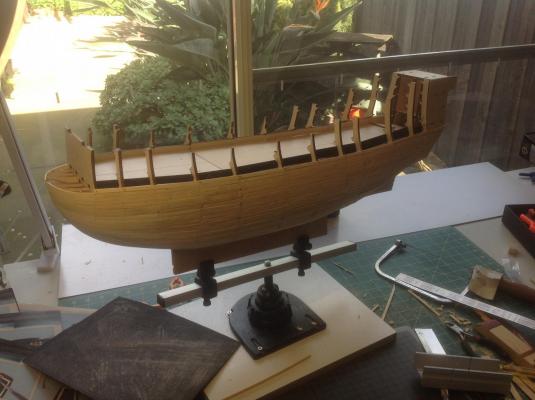
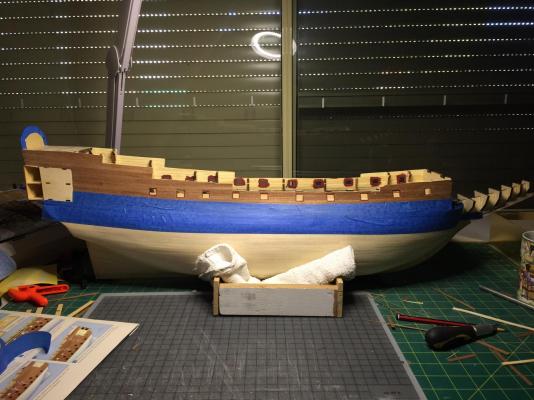
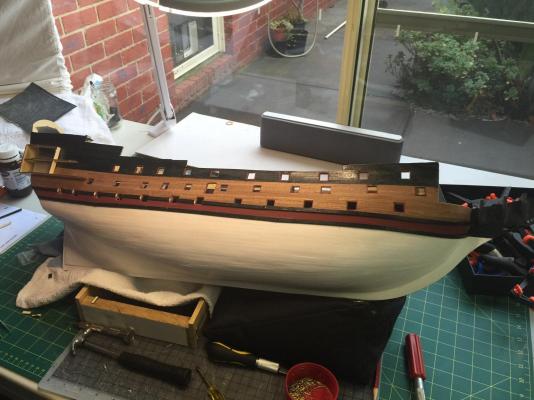
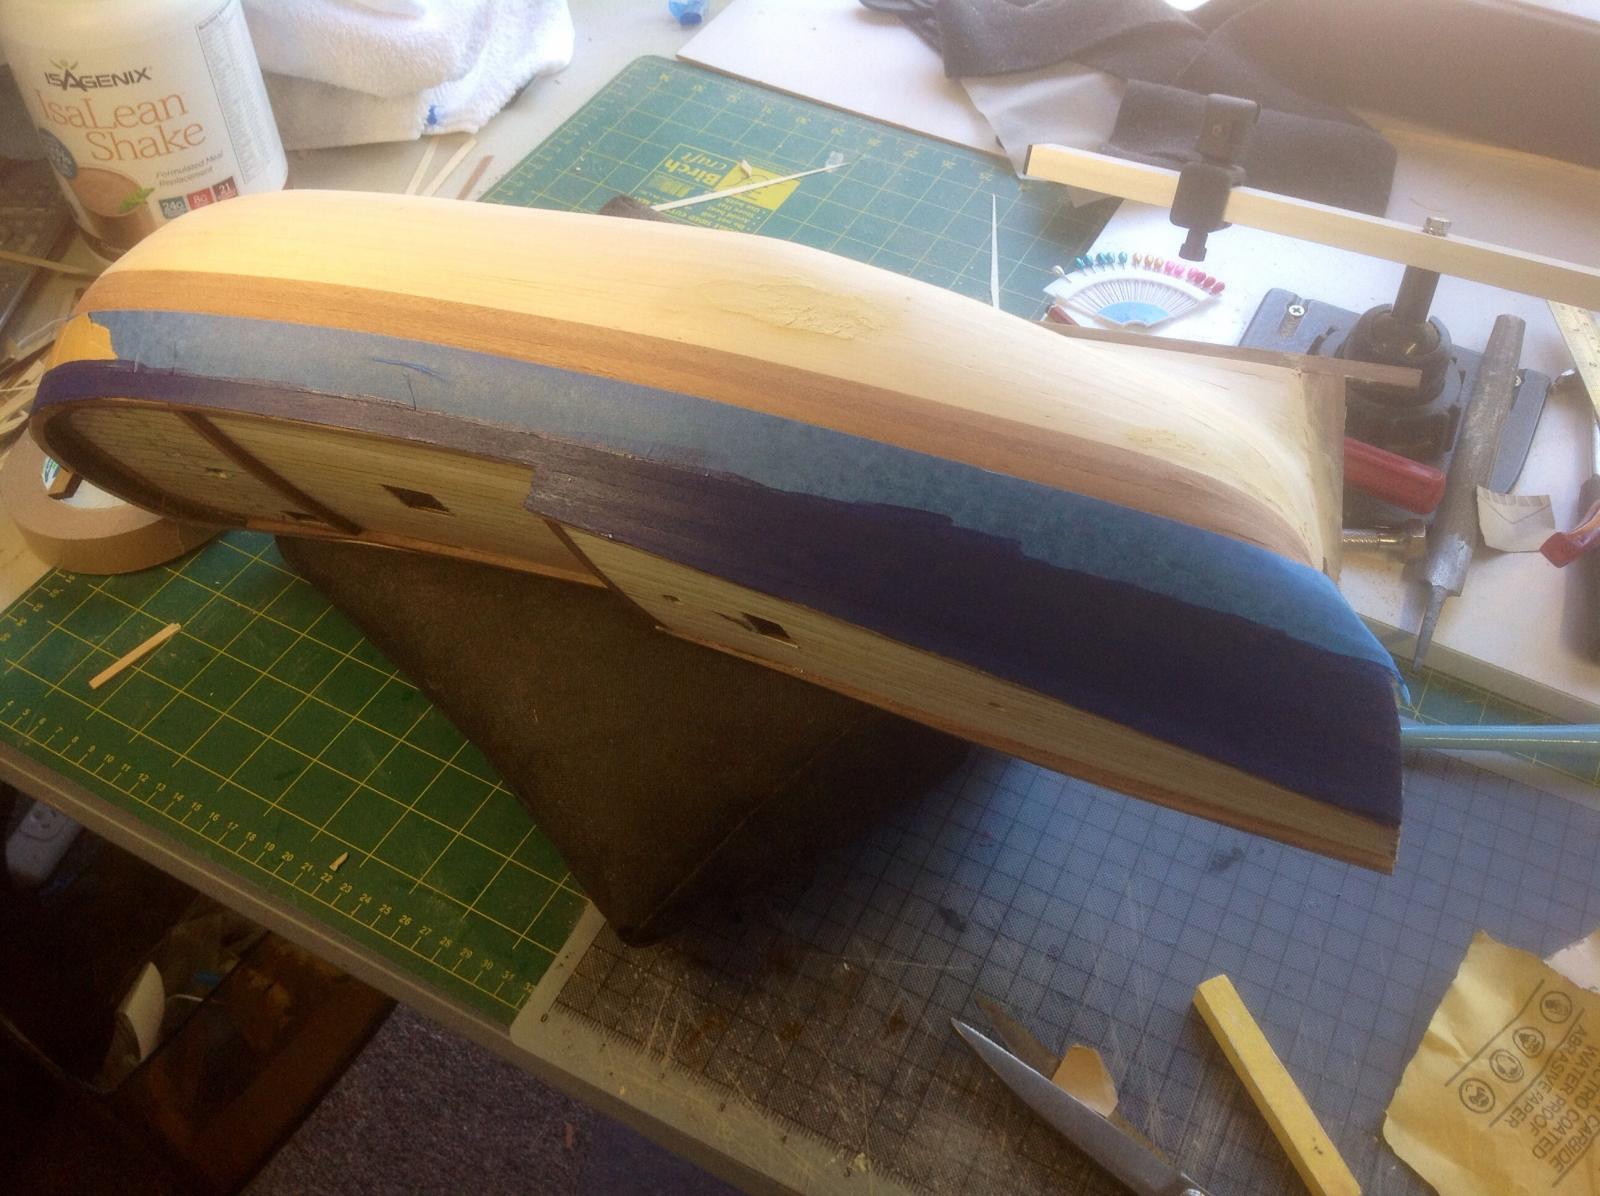
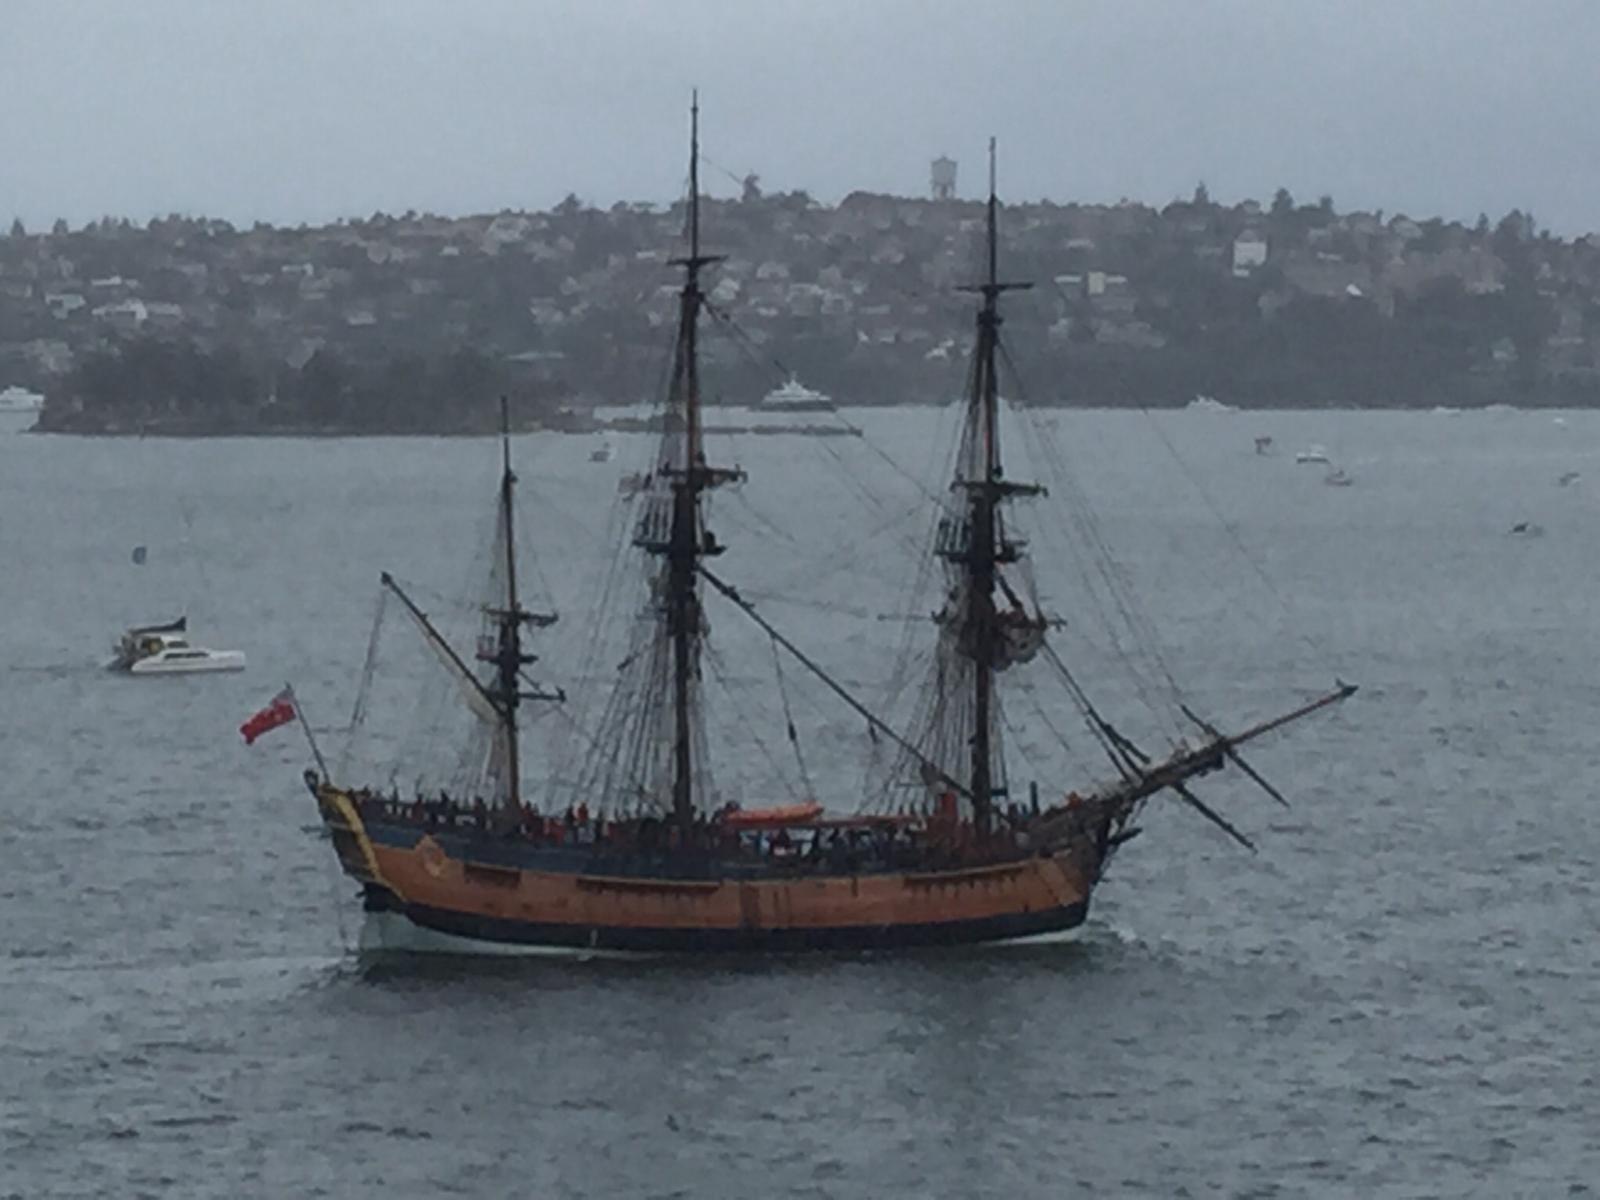
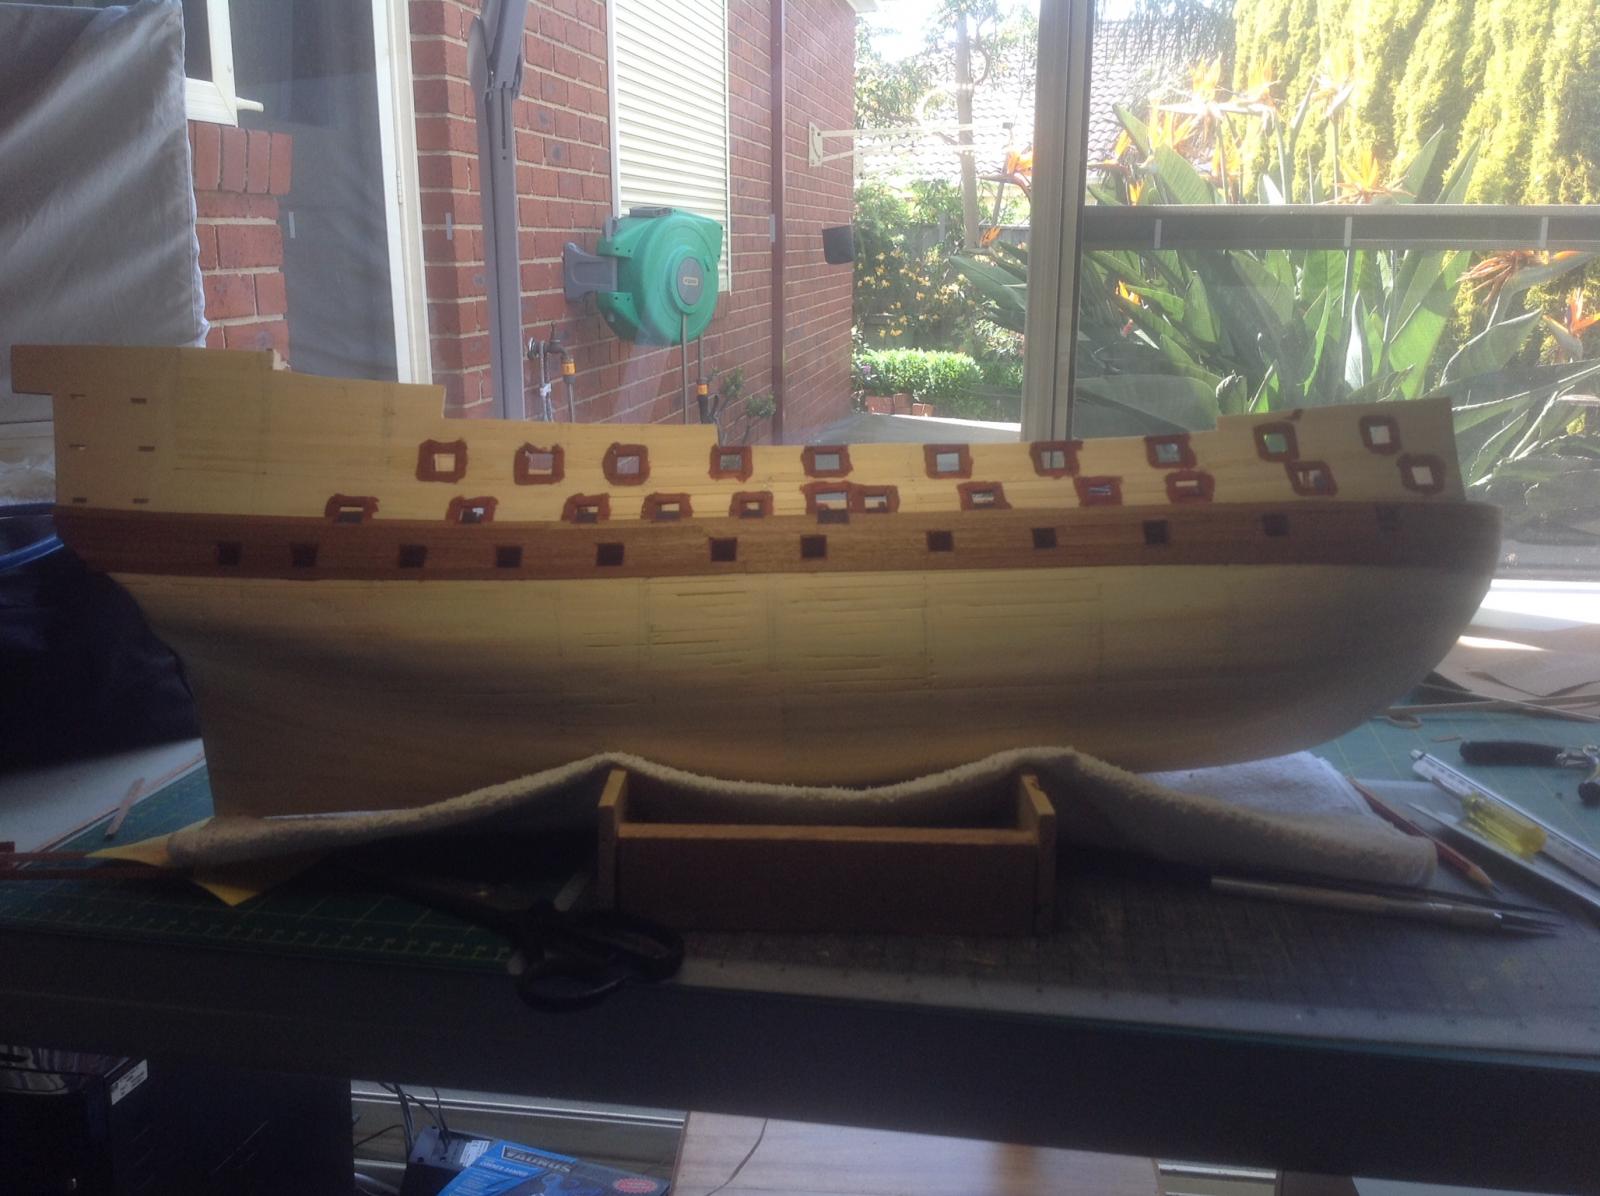
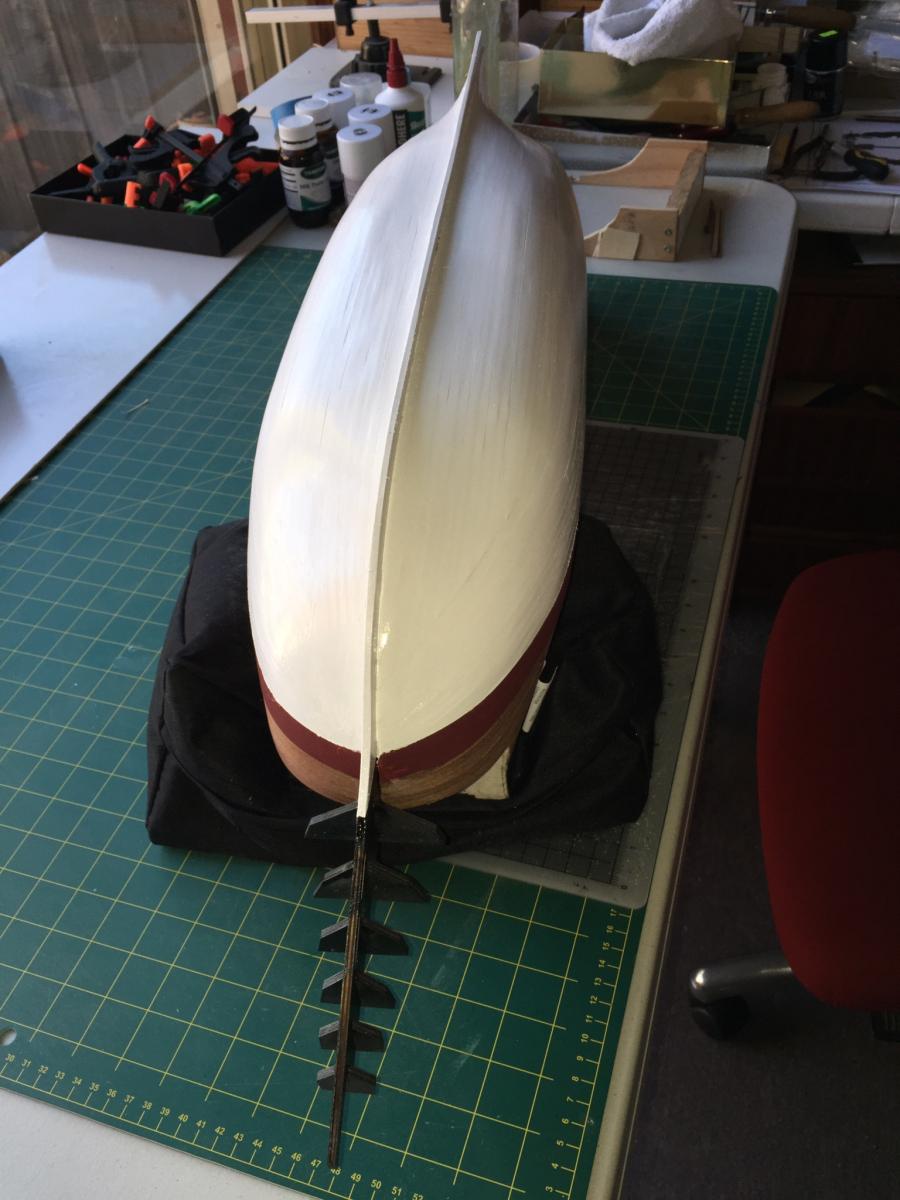
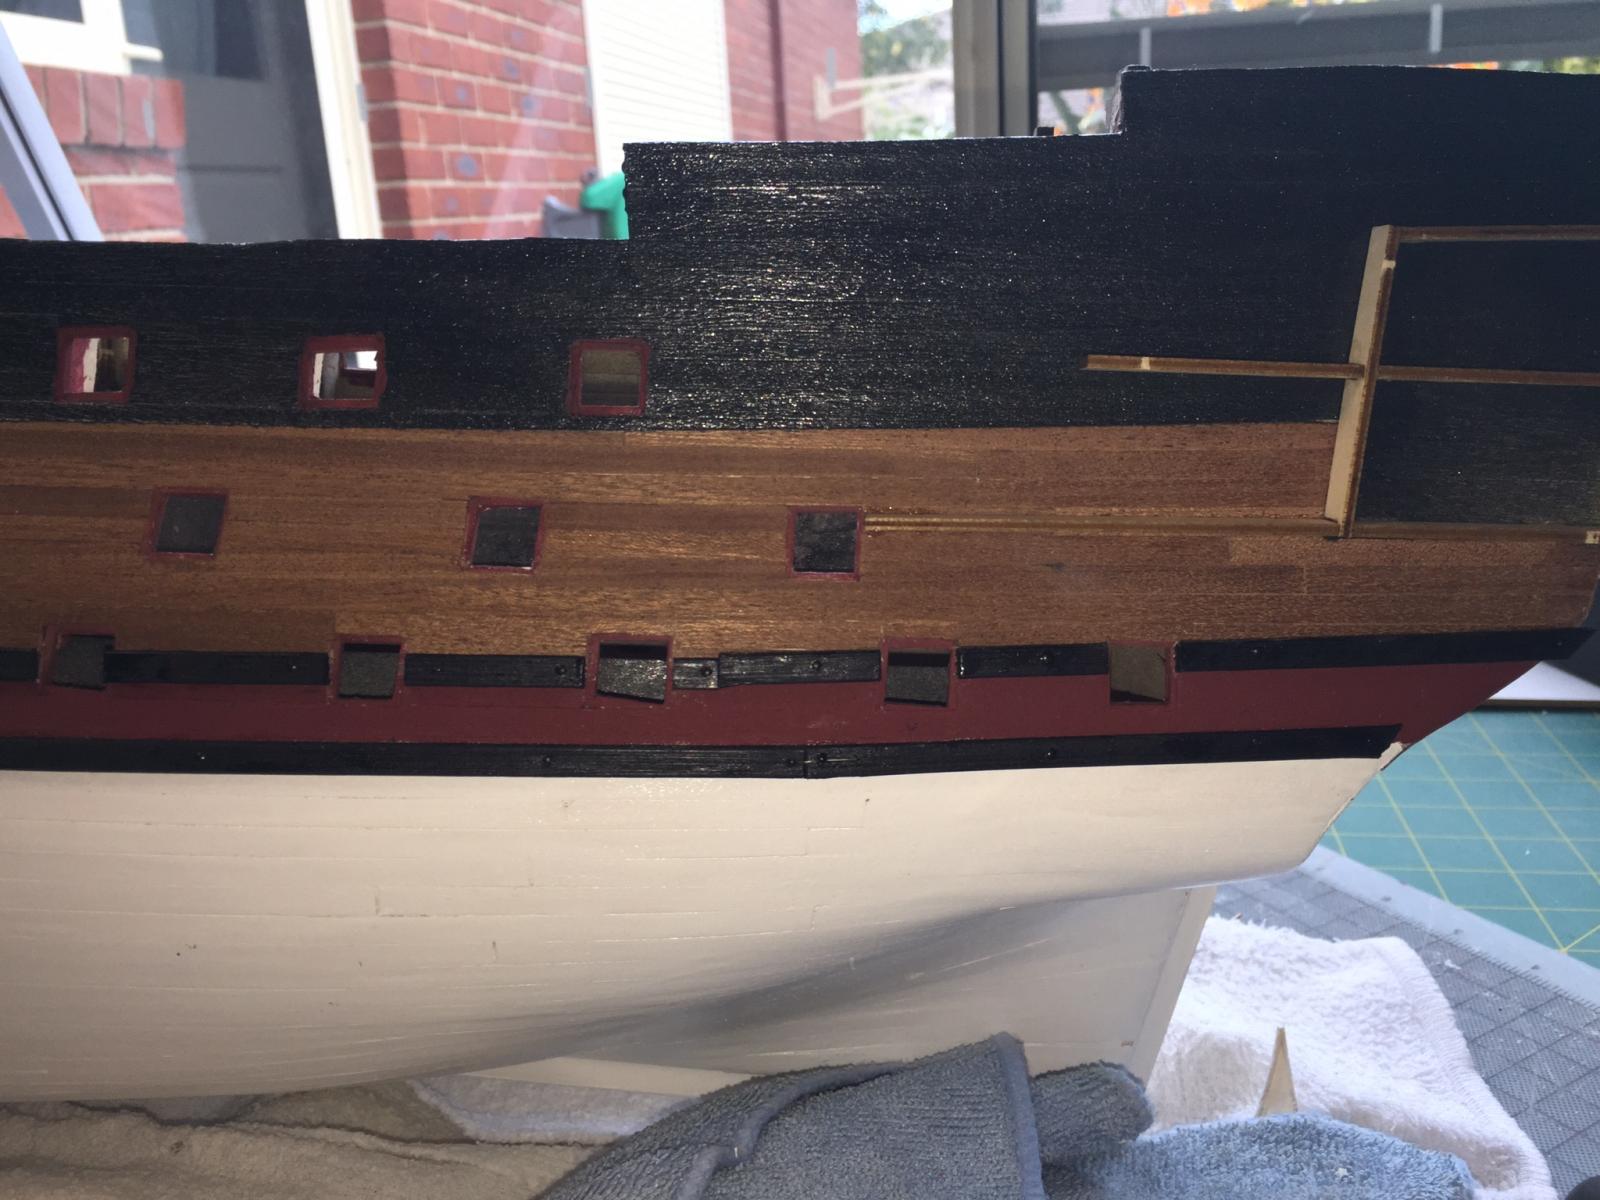
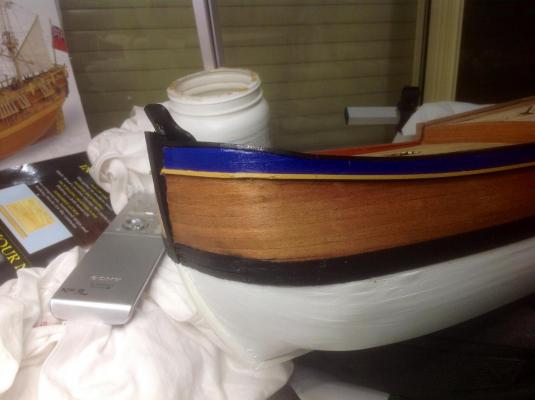
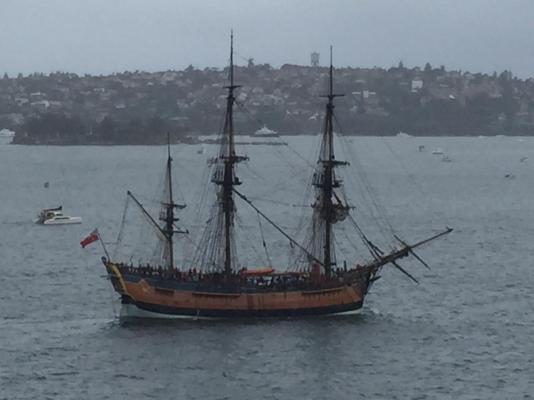
I have decided to build the replica and had to do a fair bit of research and look at heaps of photos on the web. These photos are the next step on my journey. Along the way I have made a few mistakes and had to do some major repairs,especially on the bow area and the wales but I think I managed at least some good repairs. Snoepert. I start spraying the bottom of the hull only to find I would have been better to hand paint instead. So I did the rest of the painting by hand I noticed the wales were uneven. So I did major repair work and it looks better.


-
Can anyone advise me where I can find a list or diagram that shows the true color scheme for the HMB Endeavor Replica Snoepert
-
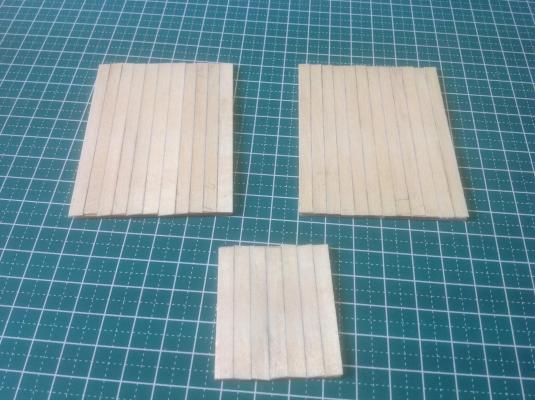
Further progress is being made. Big mistake I made was not to check on the quantity of the Mukell timber strips I had left after finishing the decking. Consequently I ran out and thought I had a delema on my hands. Thank god for Float a Boat who seems to have everything.


-
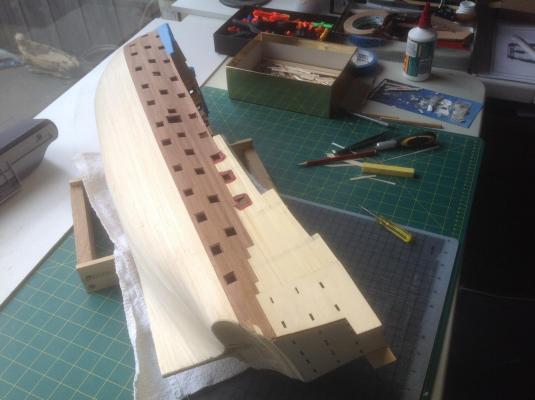
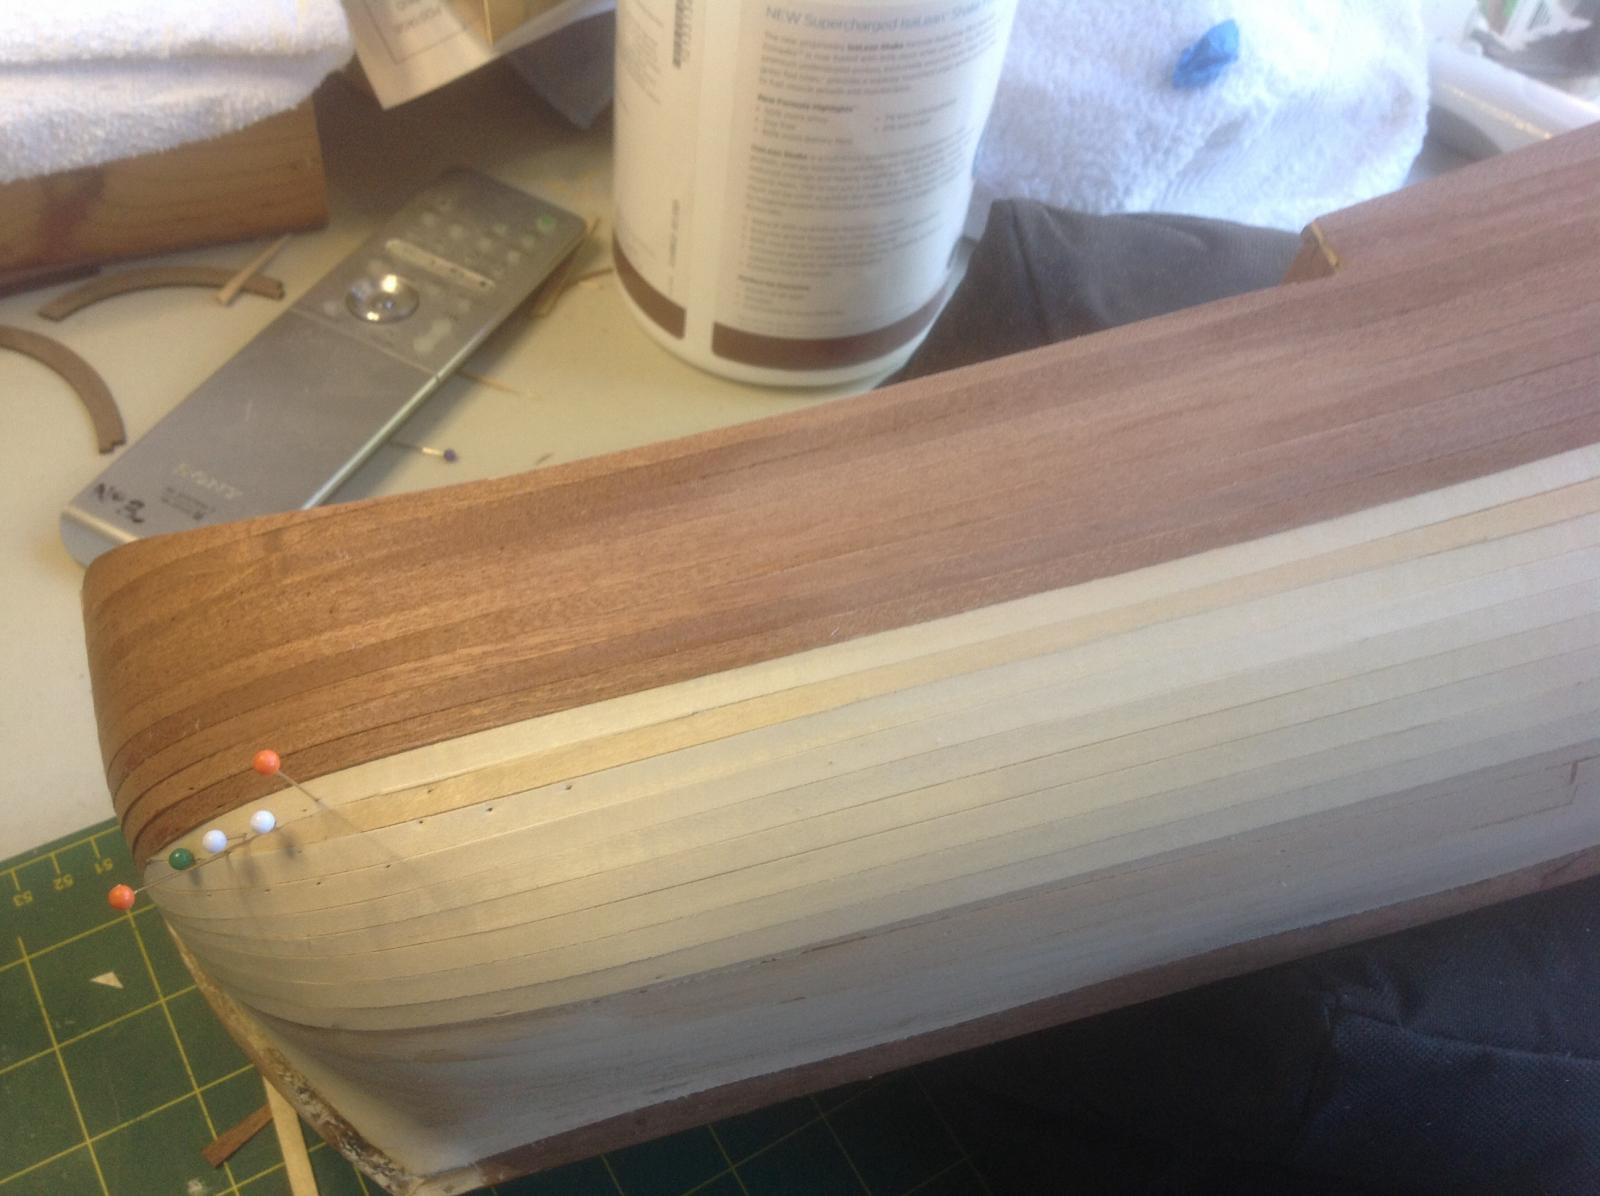
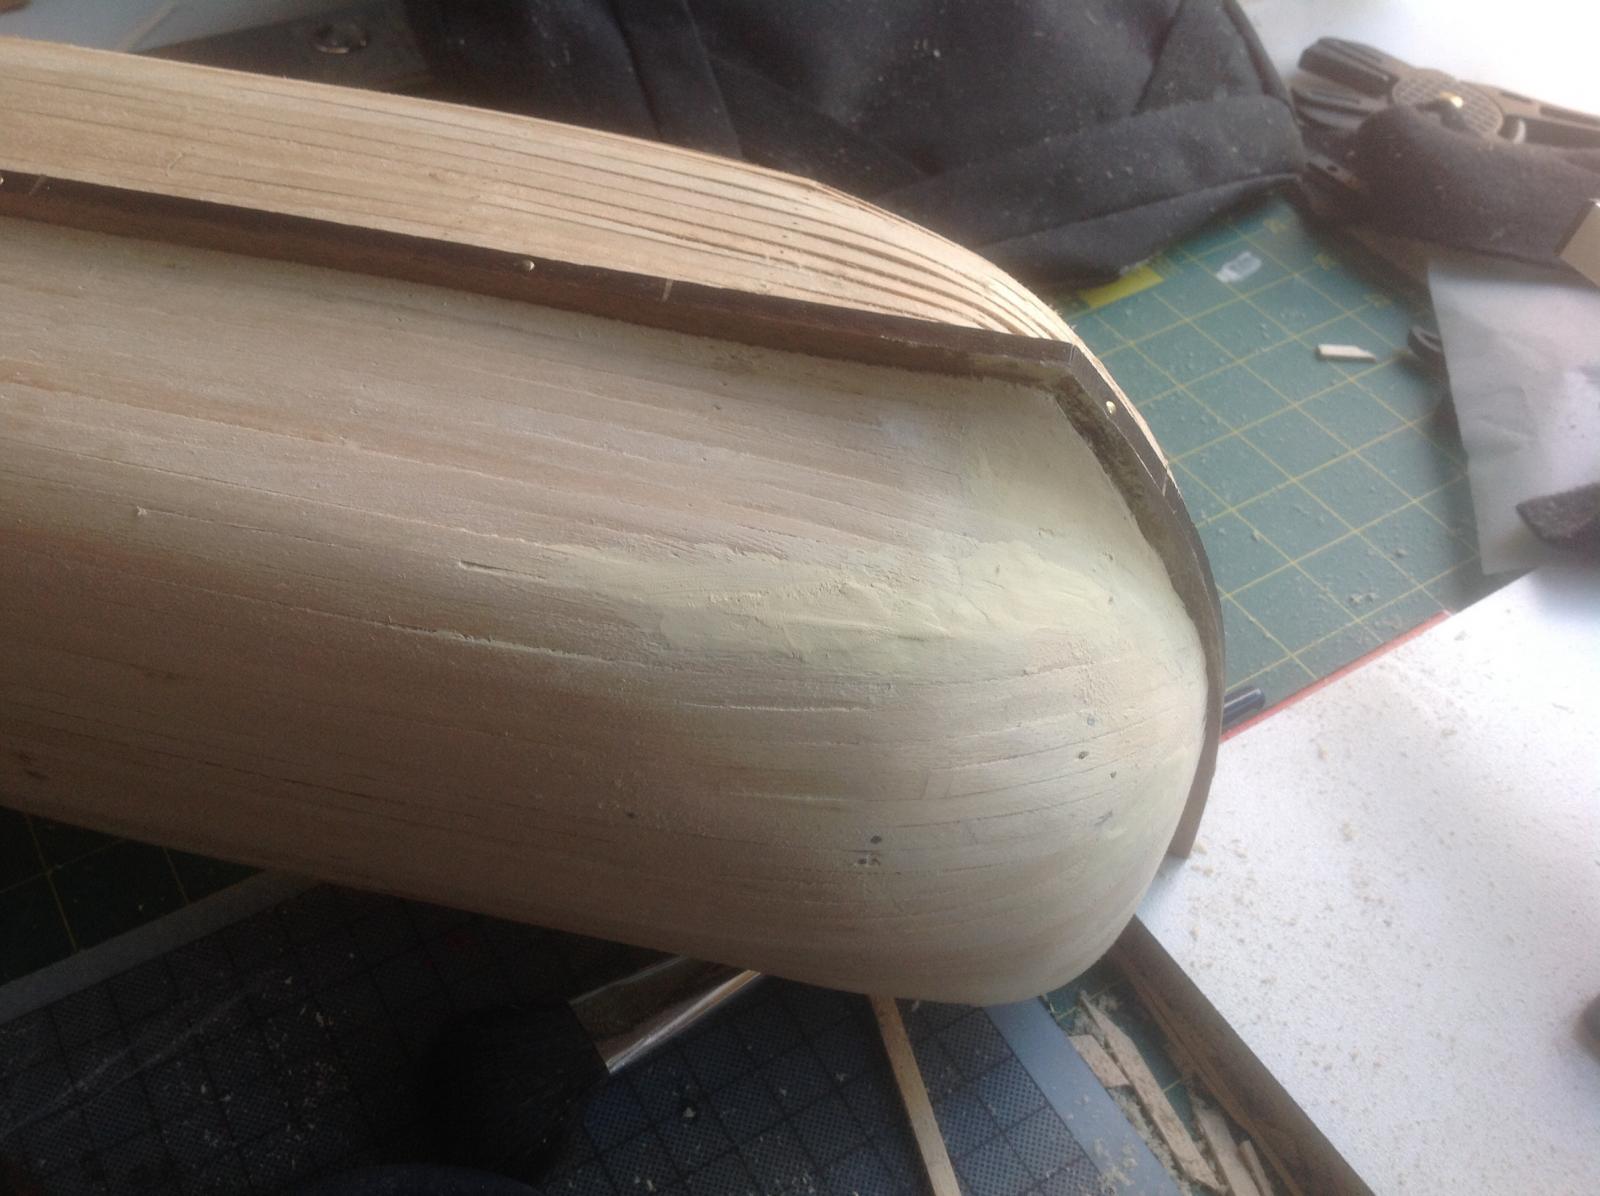
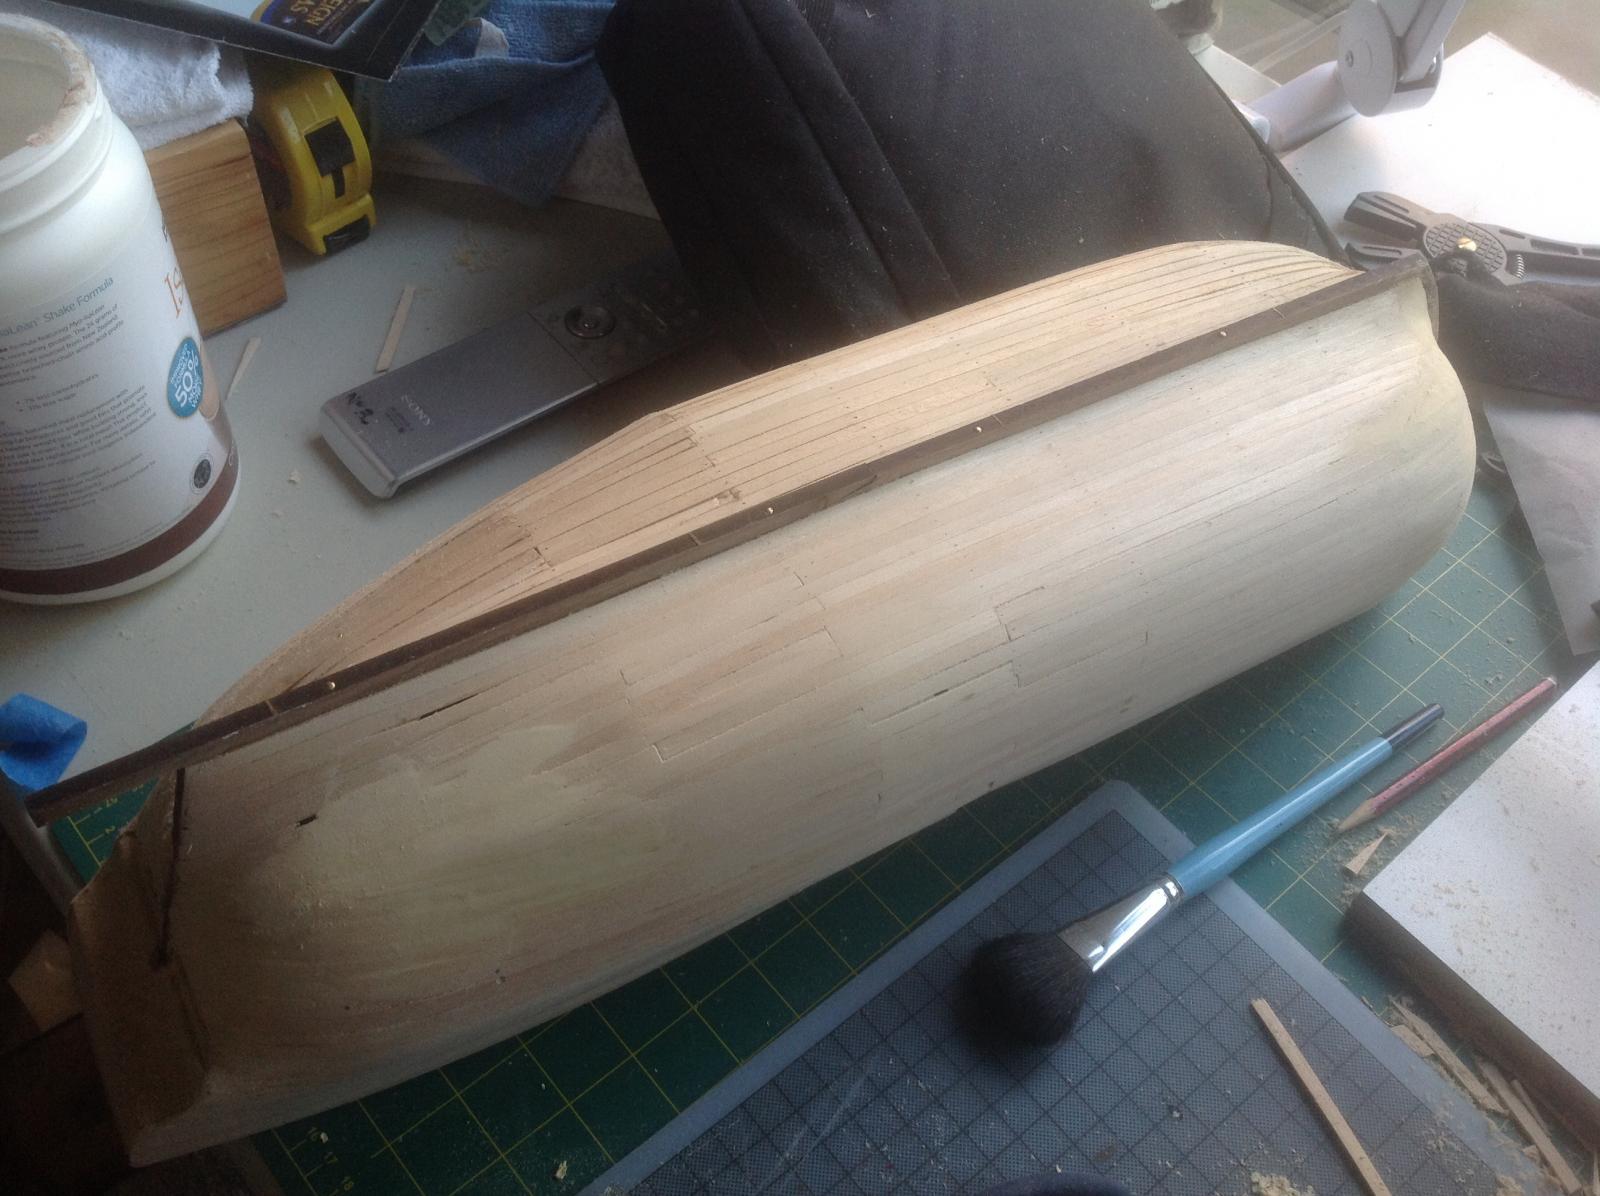
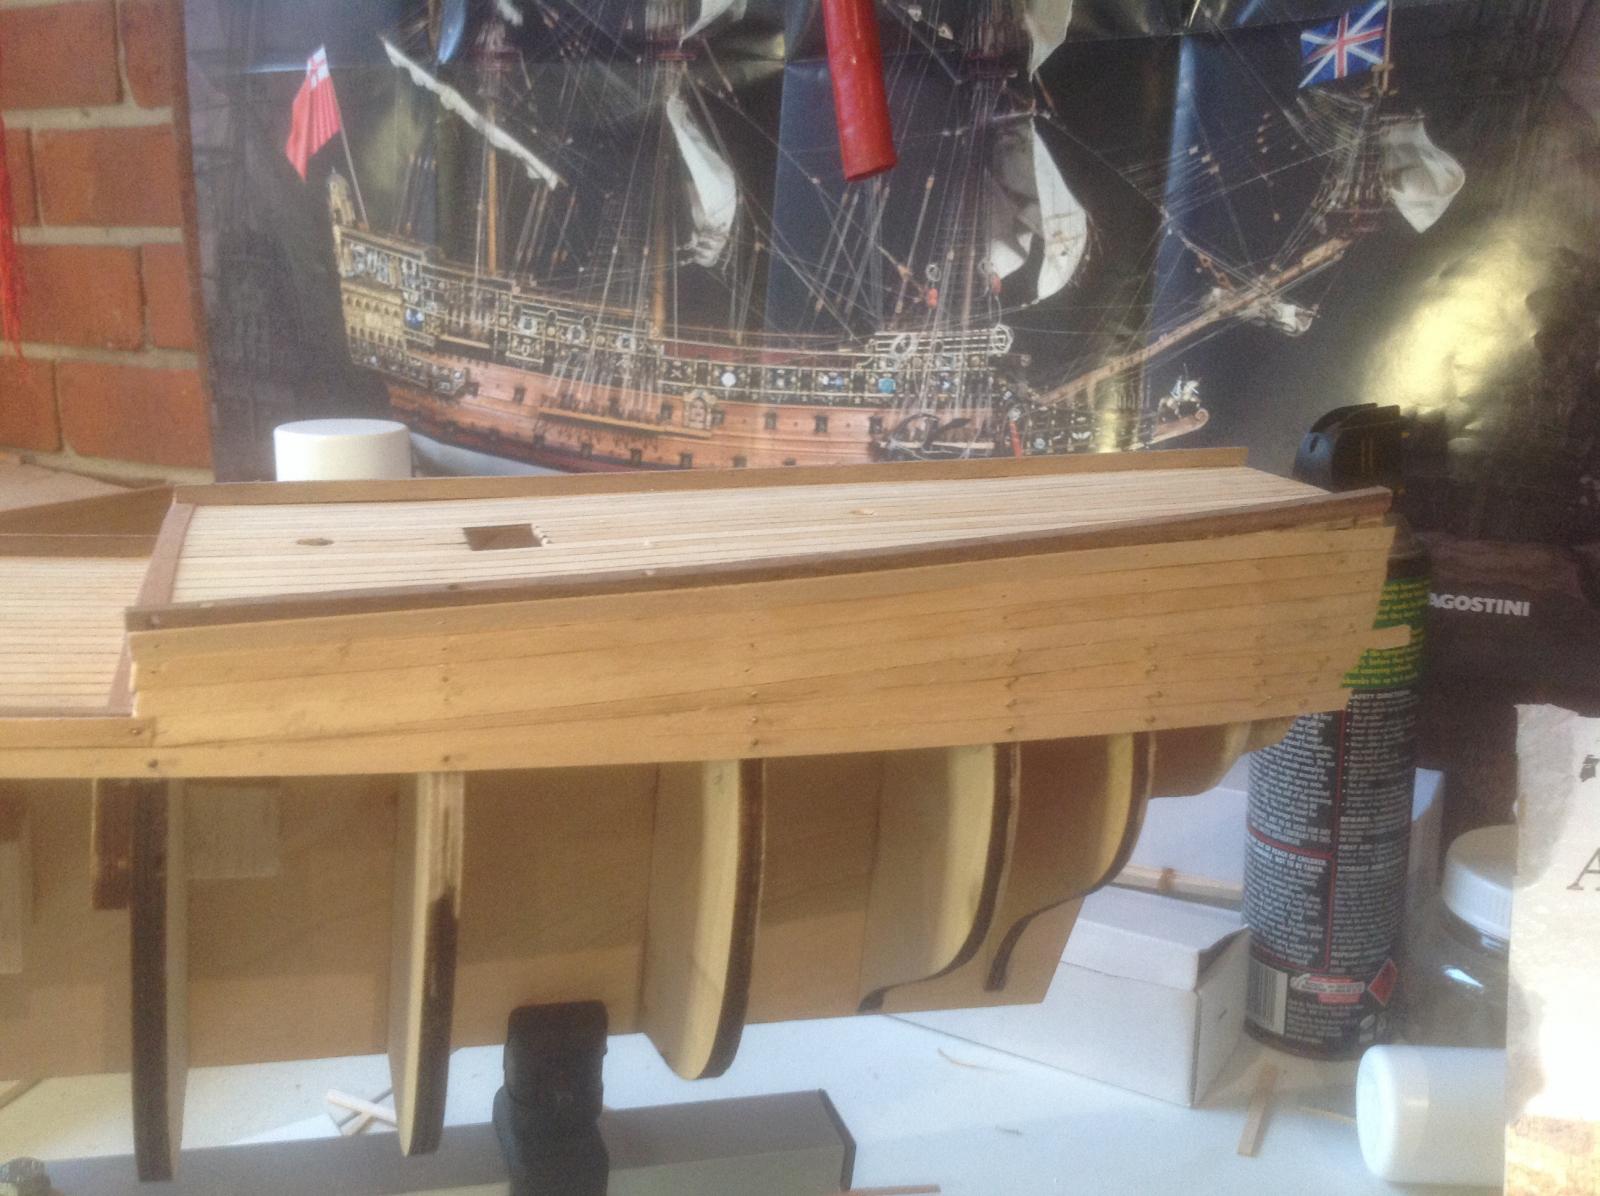
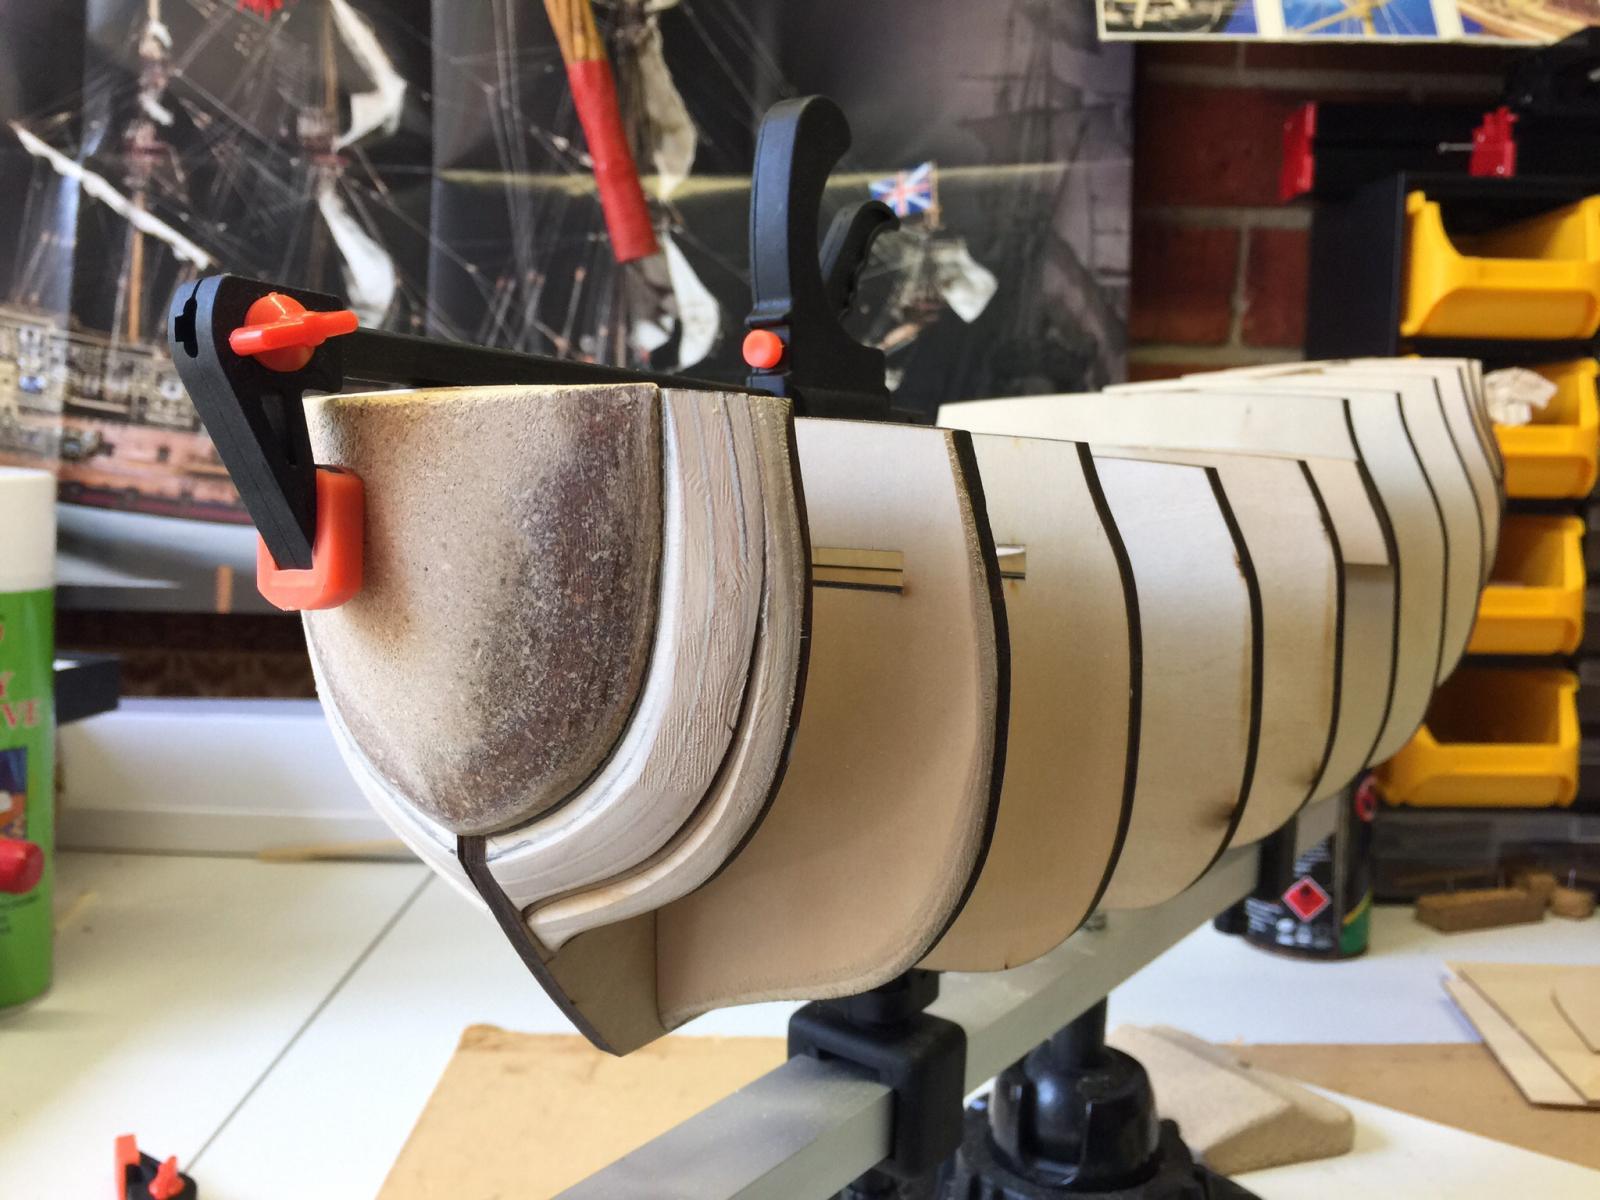
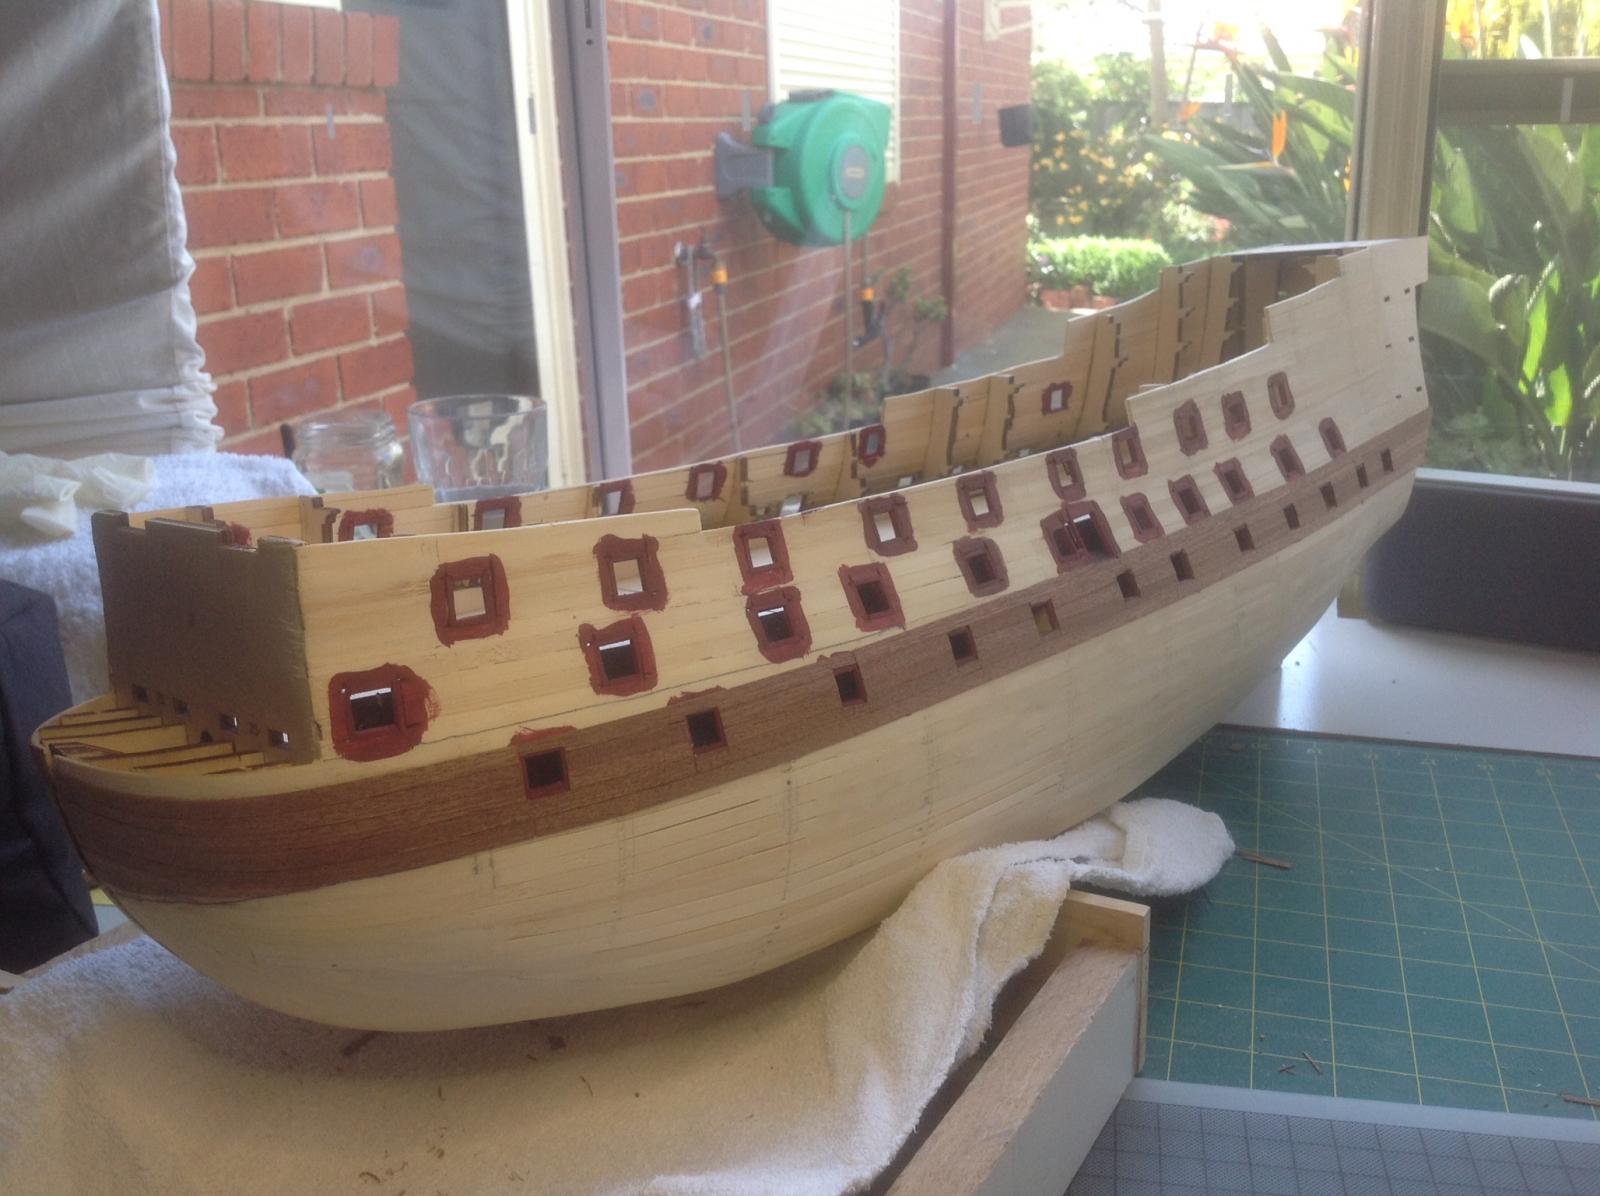
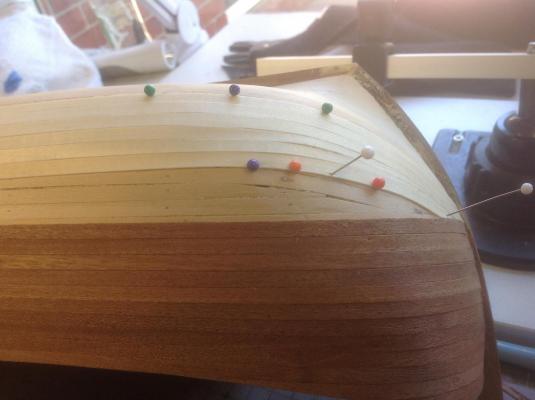
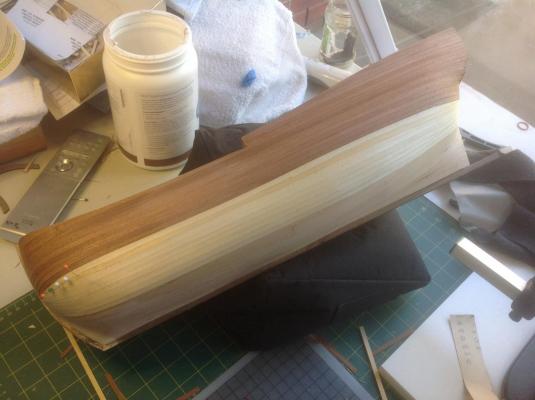
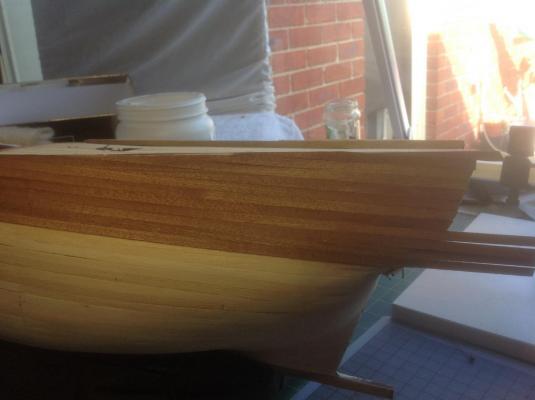
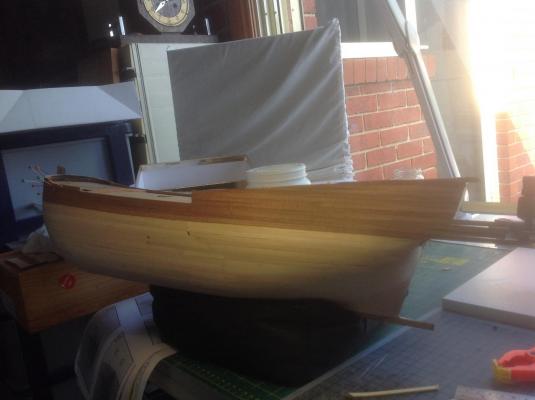
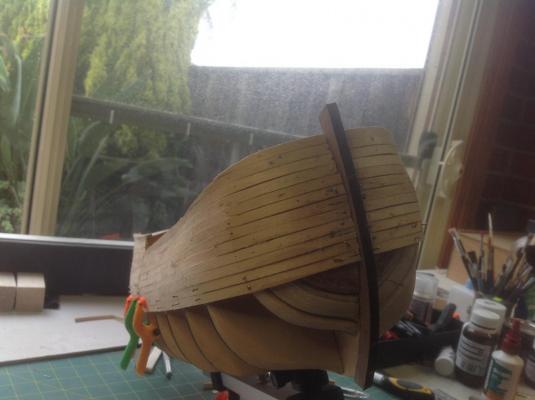
Hi fellow Endeavor builders. I have just finished filling and sanding my first layer of planking and have begun with my second planking and so far is going better than my expectations.


-
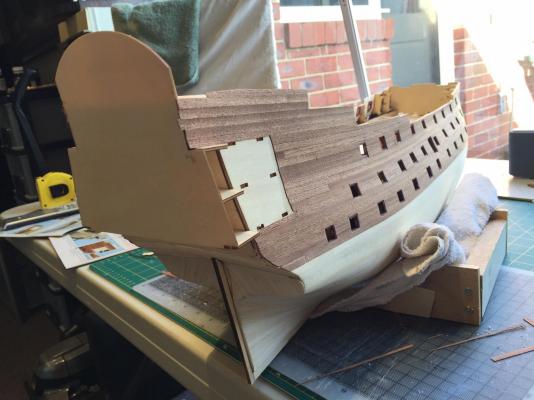
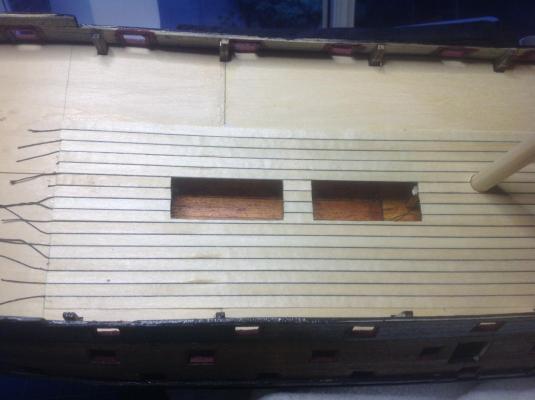
Hi Kiwi Shaun, Thanks for your comments. I found the stern piece to fit ok and after looking at a lot of other builds and details I found that the pre cut window piece does hang over by roughly 6 mm on both sides. I must admit I have wondered how the overhang gets finished off. Snoepert.
-
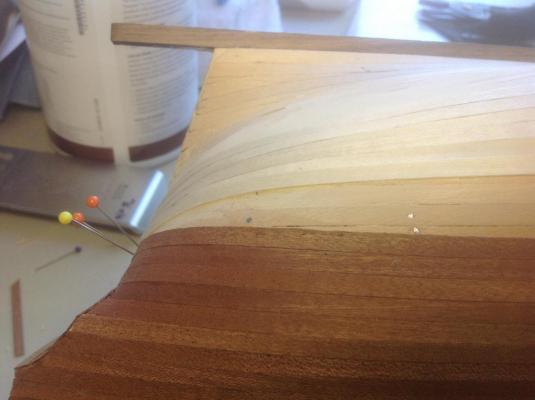
Just a few more planks . I am finding to wood is not as good as the bamboo I used on the SOS as I find bamboo is at least a bit more flexible. I am going to need to do a bit of filling and solid sanding to get the hull right for second planking.


-
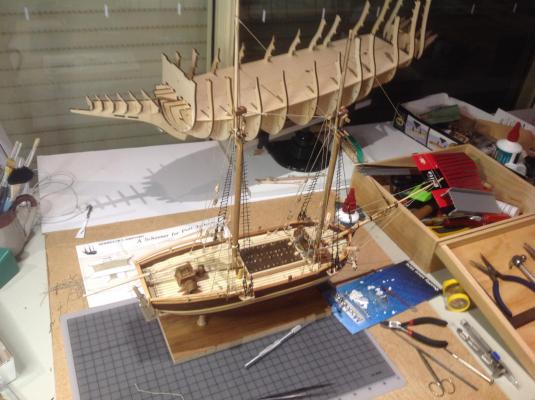
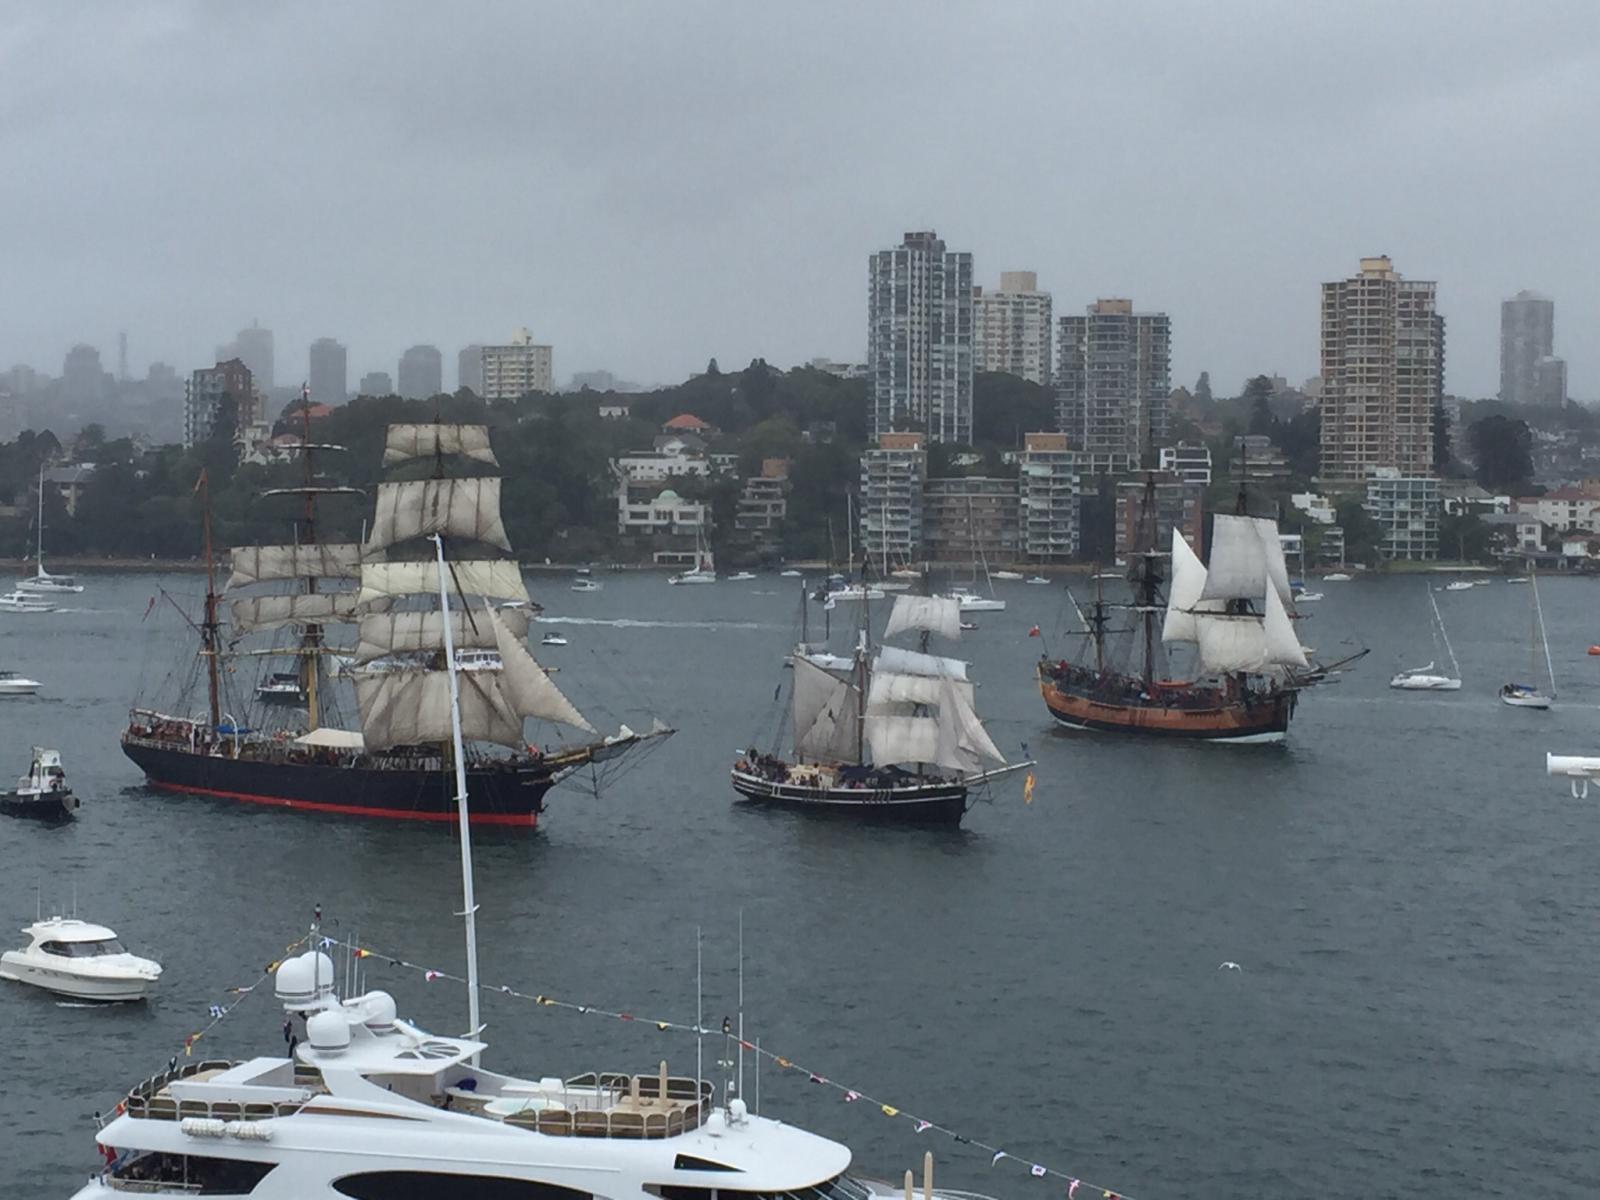
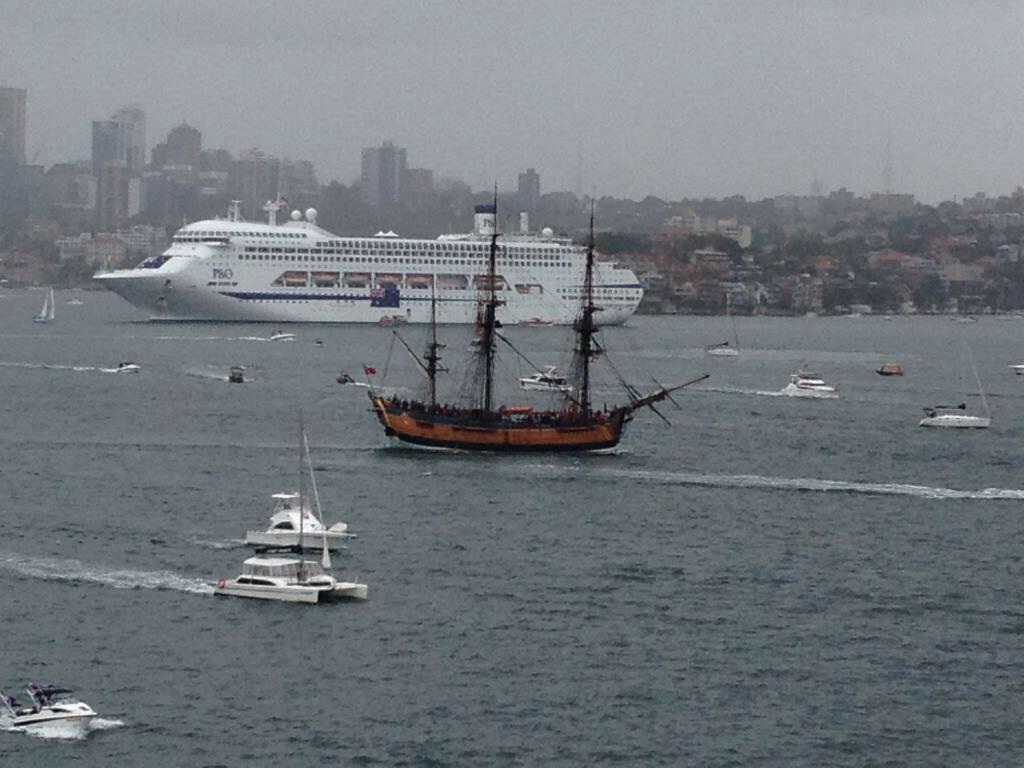
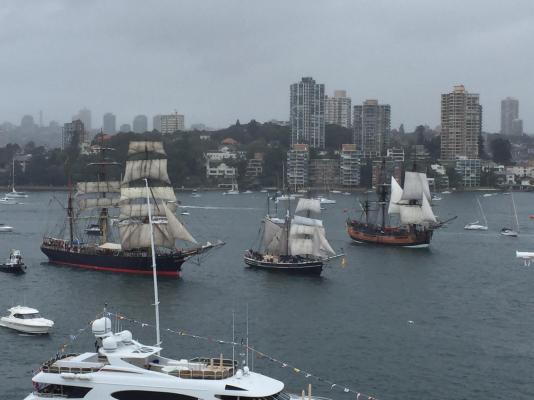
I have just spent 3 days on the Pacific Jewel celebrating Australia Day on Sydney Harbour and out at sea. Took the opportunity to take a few shots of the Endeavor Replica and have put them on for all to see

-
I am very interested in following your build of the Wasa.My wife and I saw the real thing in Sweden and it was so impressive that I would like a model of this vessel. I am currently building the Sovereign of the Seas and HMB Endeavor. E When these are finished the Wasa is my next challenge. Good Luck on your build Jollymillar. snoepert
-
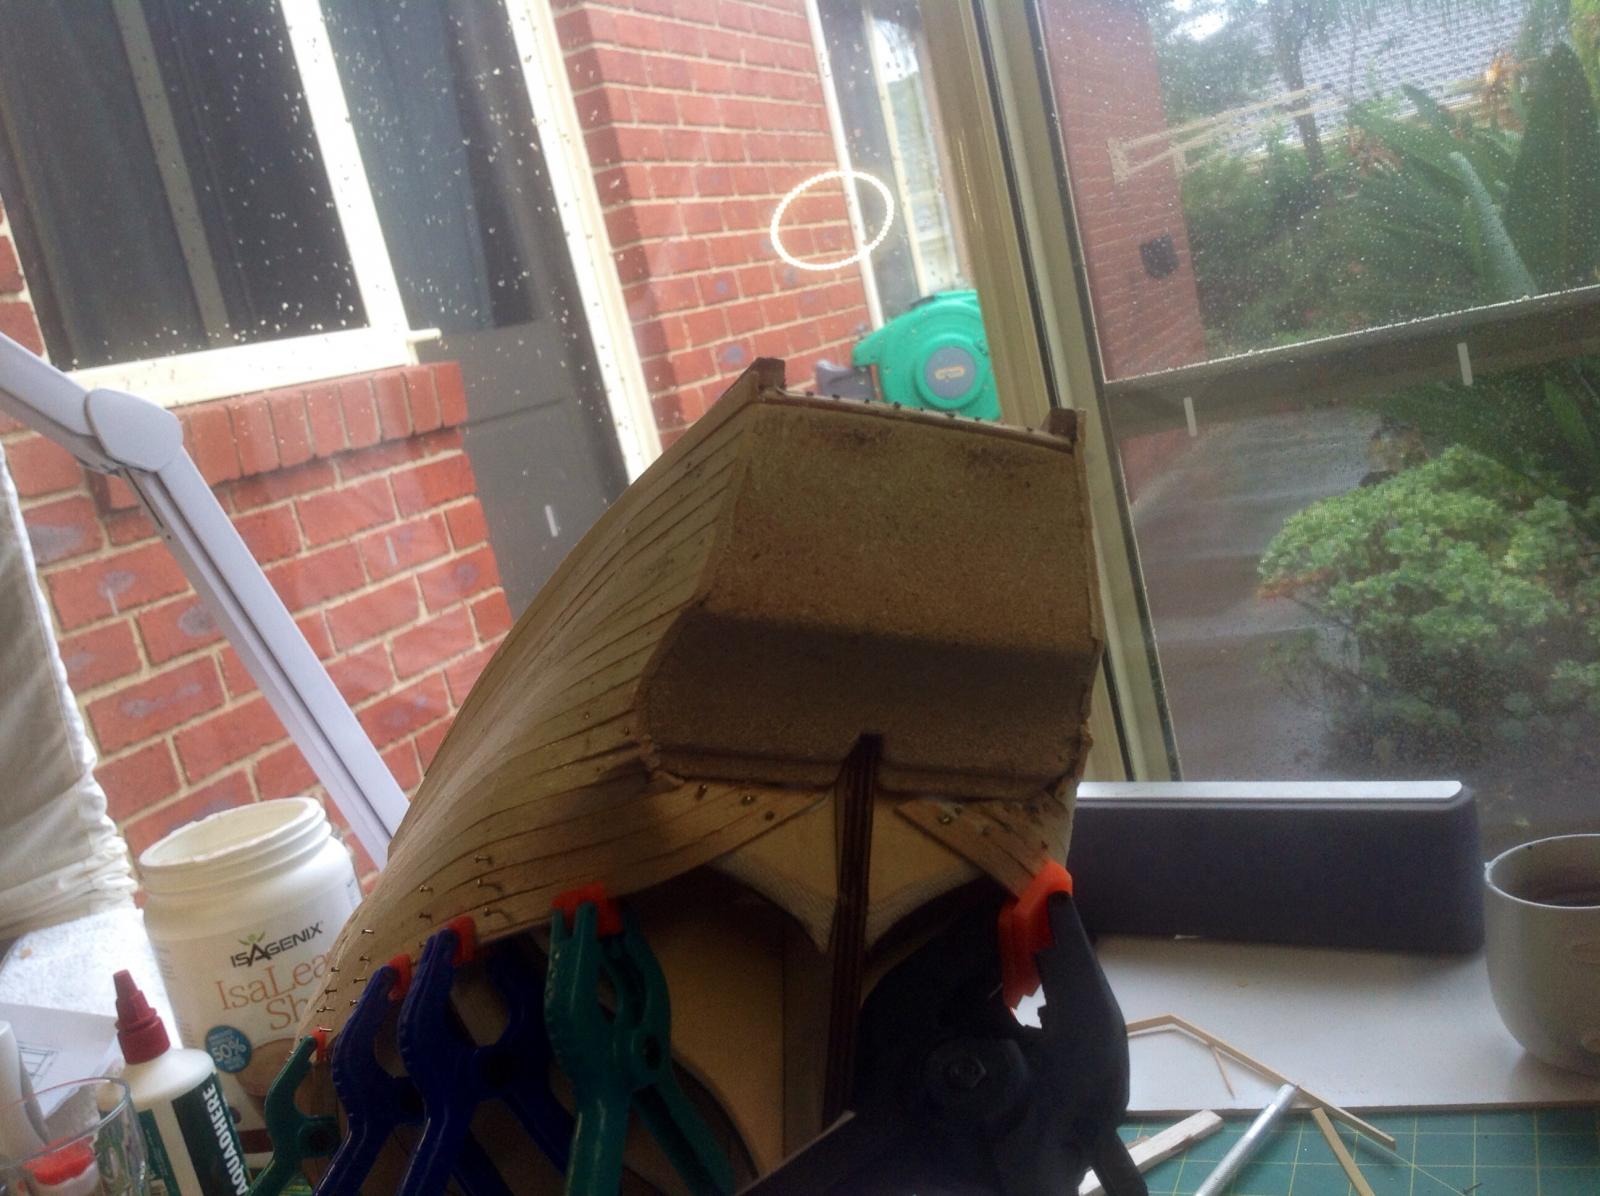
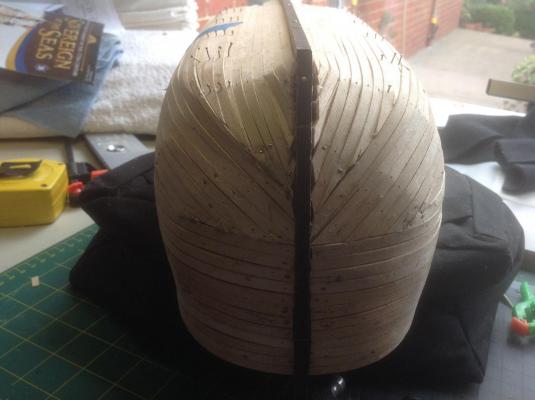
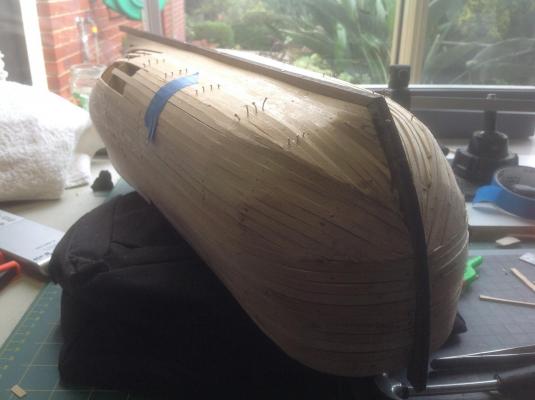
I have done some more planking on the hull but am not happy how it is going. I seem to be getting a bad overlap between the planks and I think it is more own fault as I haven't fared the bulkheads enough. Maybe when it comes to sanding I may have to fill some areas. Thank god it's only the first planking and I can correct still at this time. Snoepert


-
Progress is slowing down again as always waiting for more parts.

-
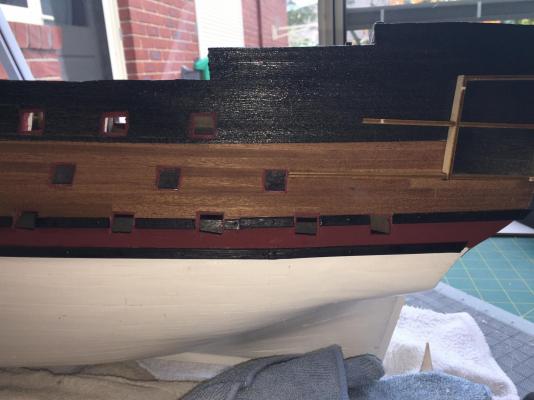
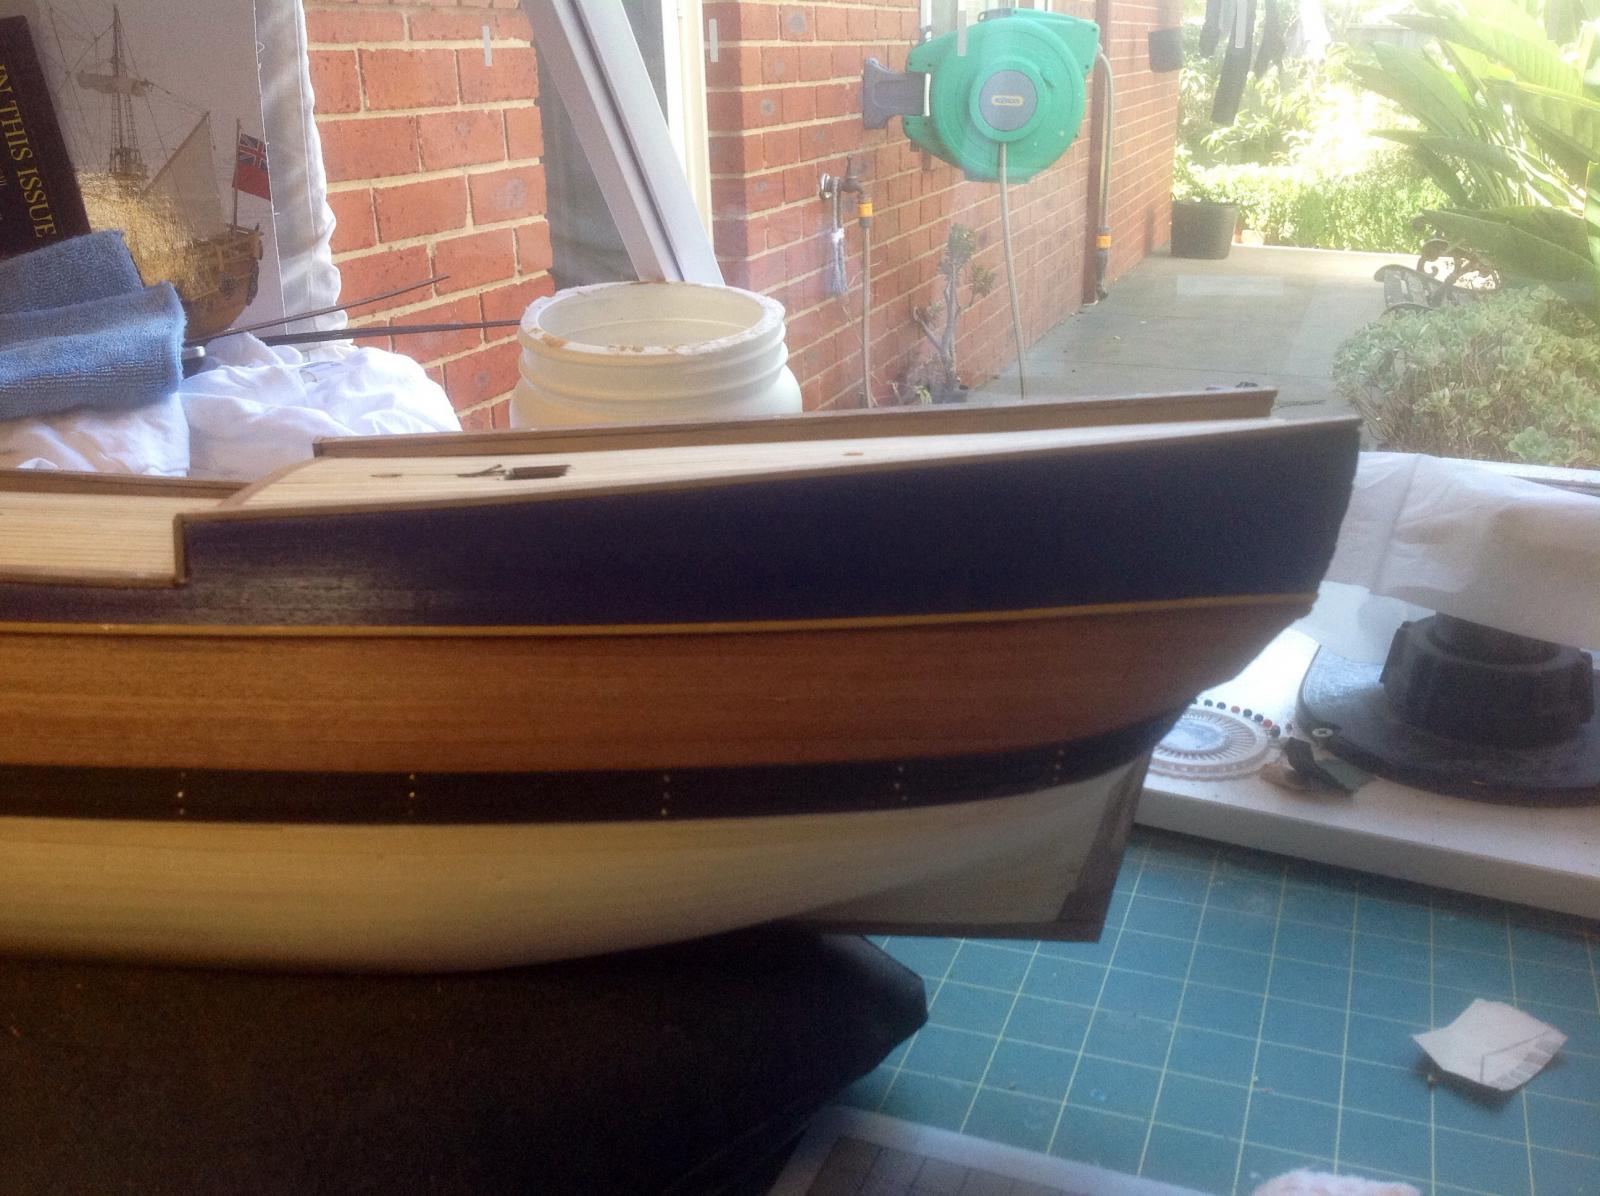
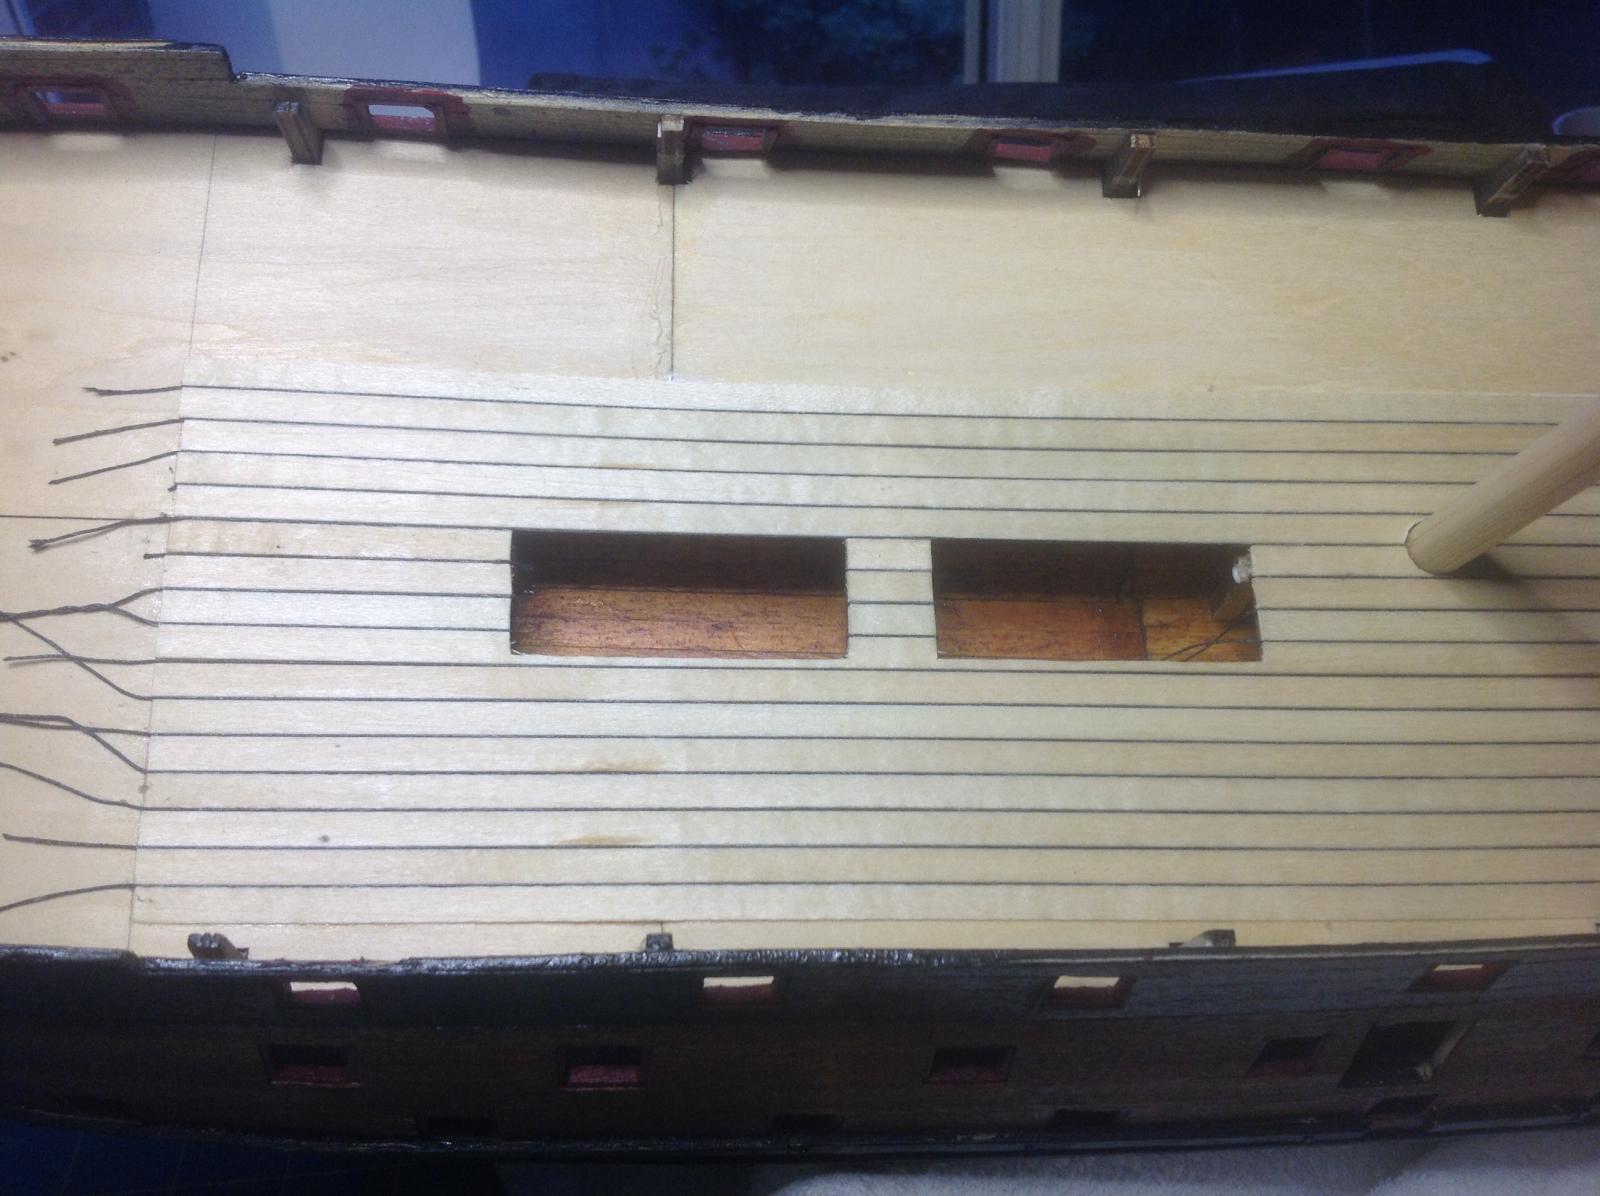
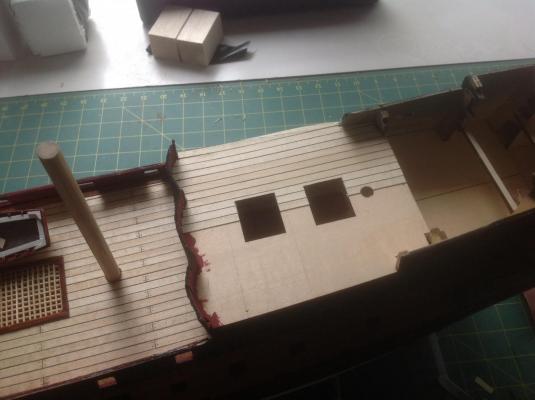
Further work has been done to the mid deck. I have painted the wales and forecastle walls .


-
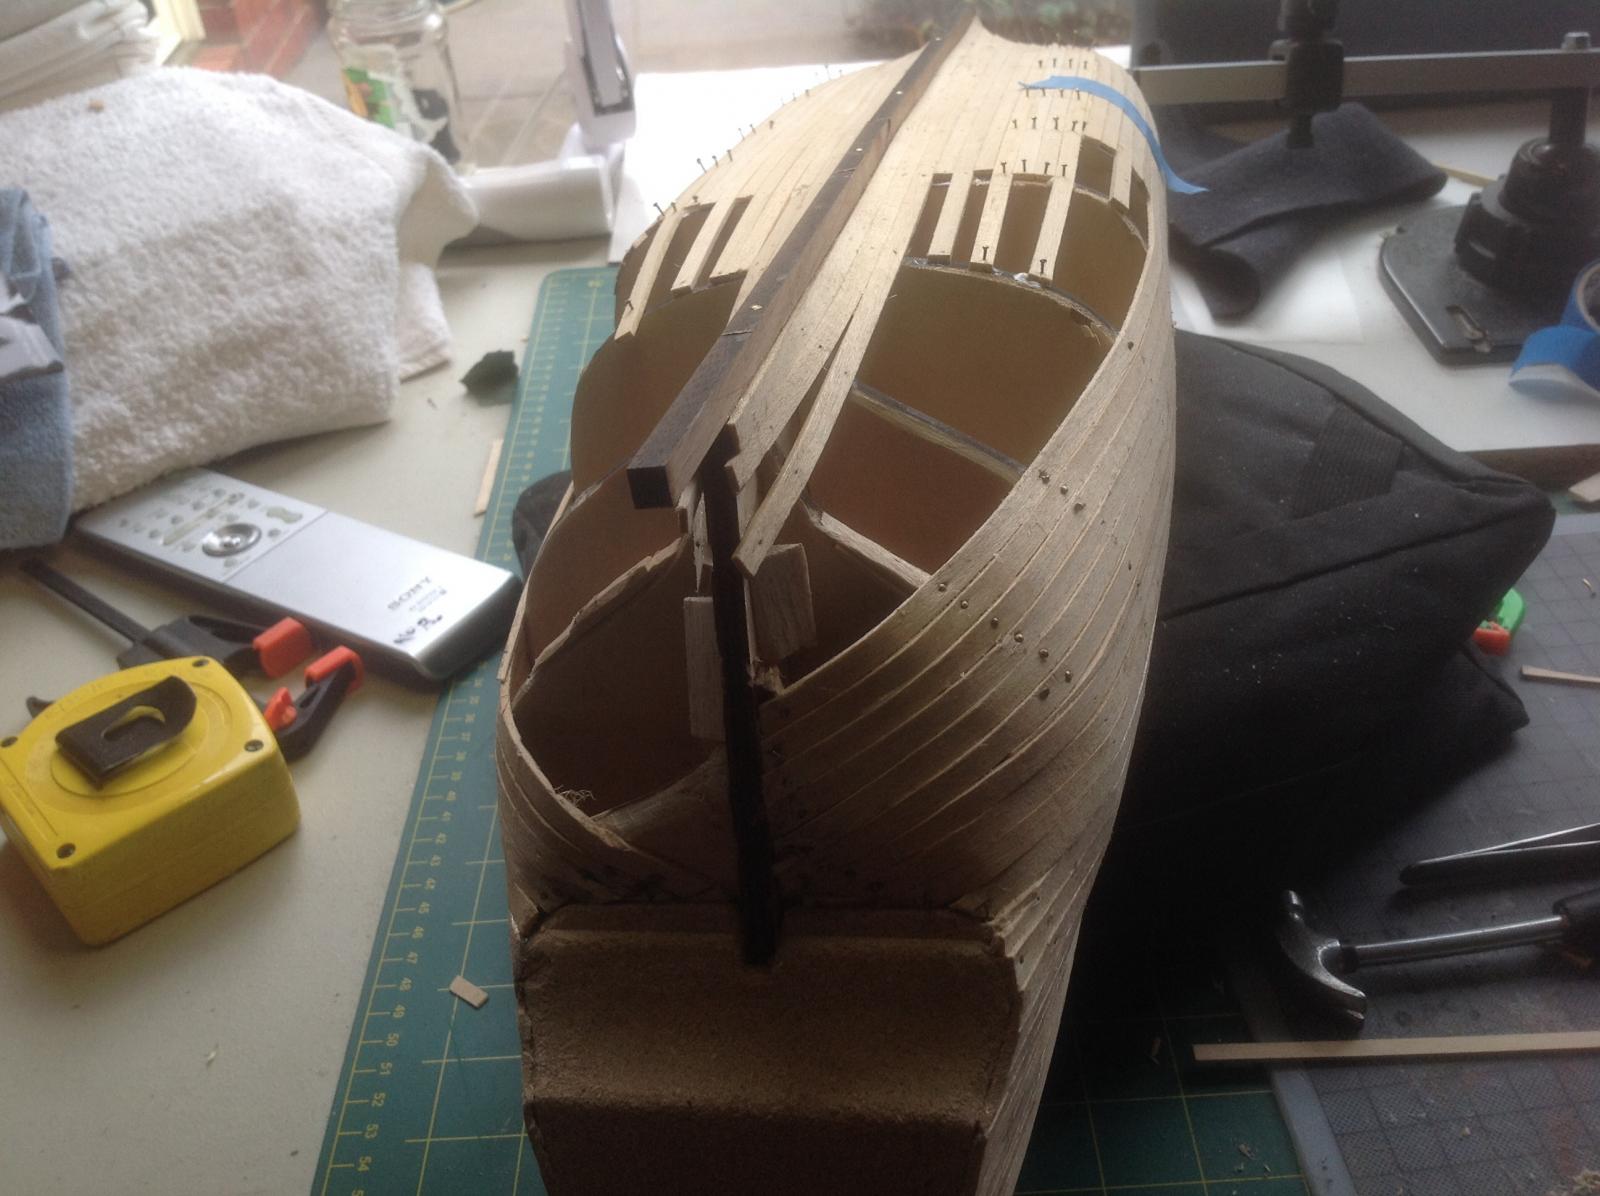
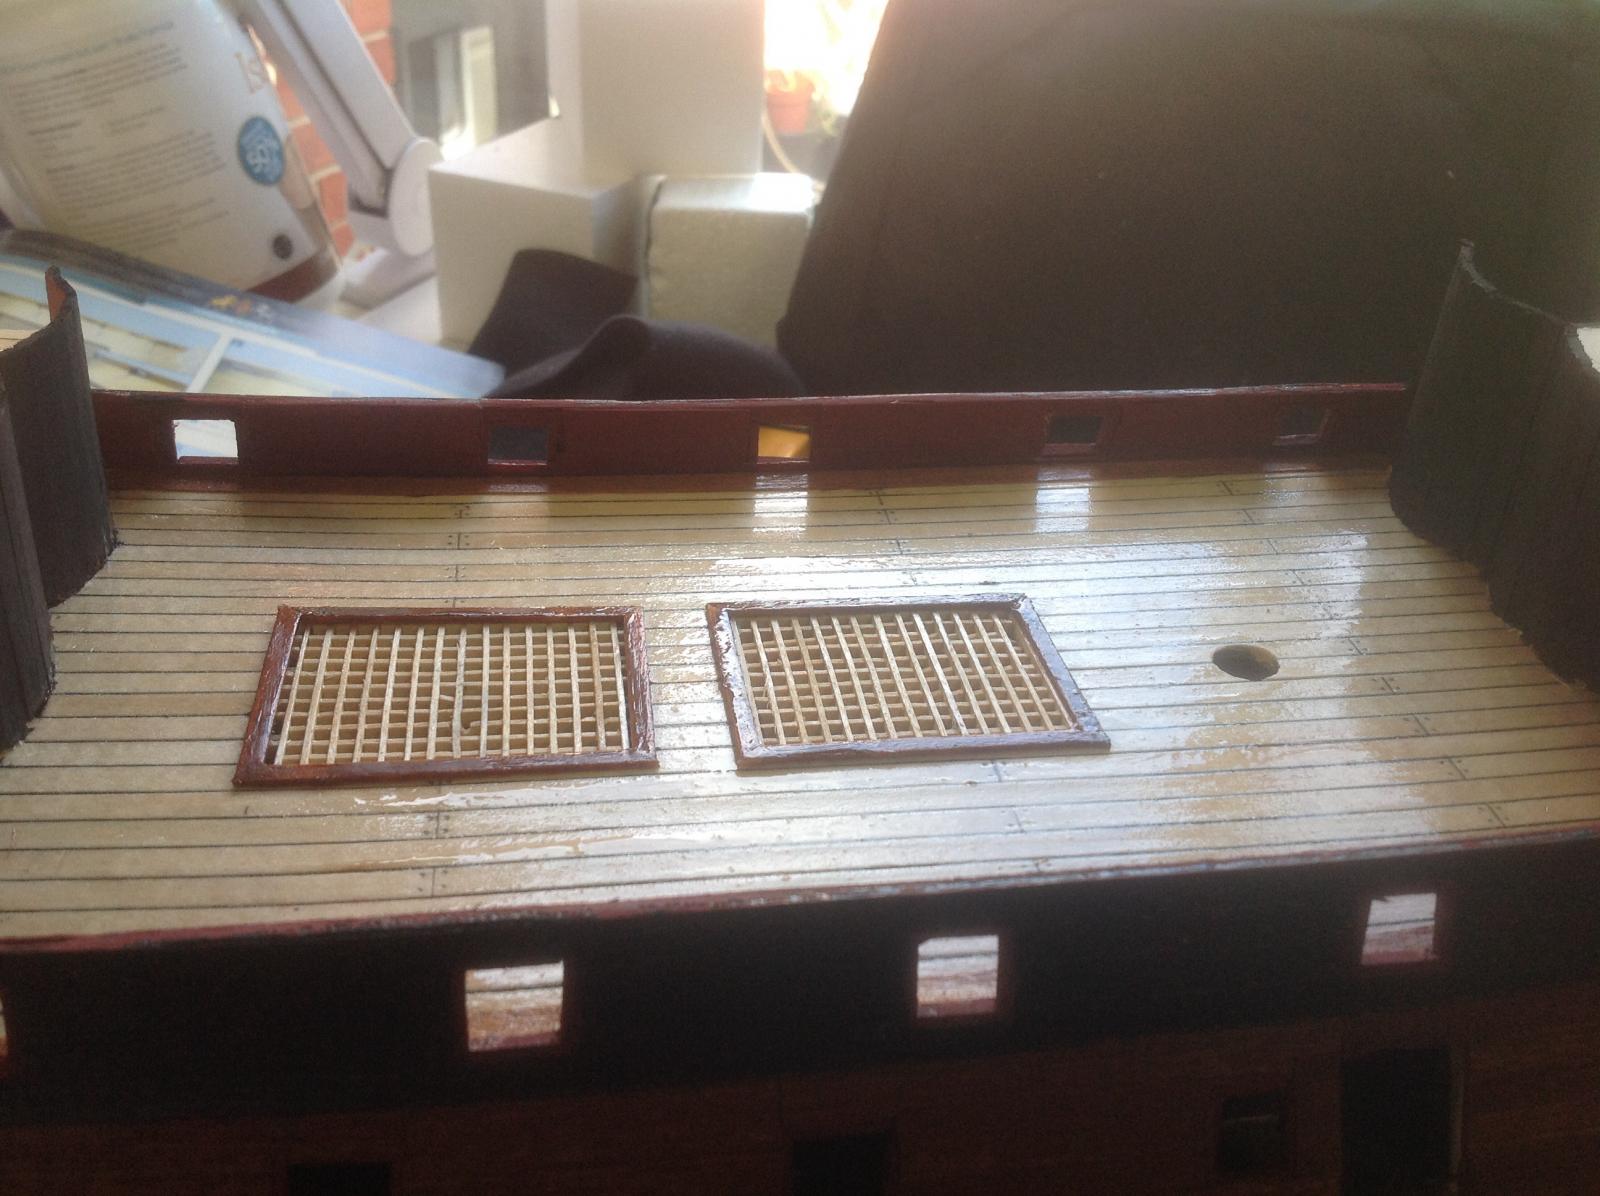
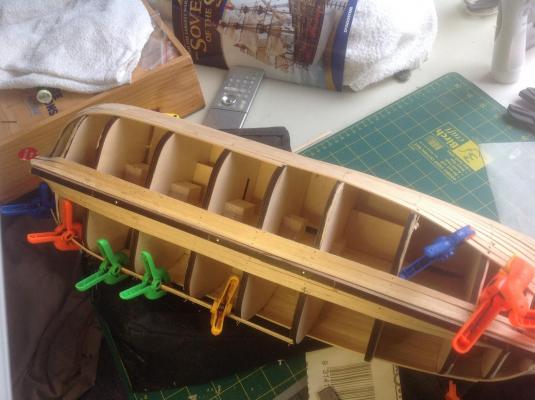
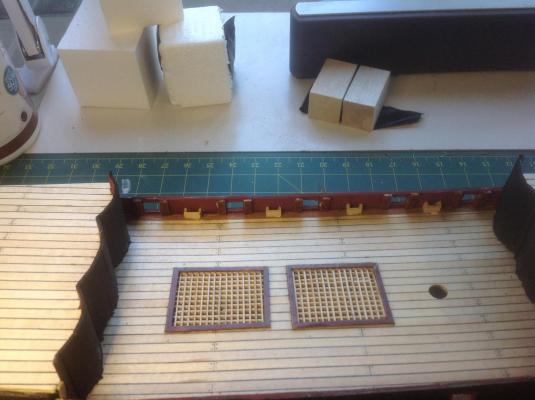
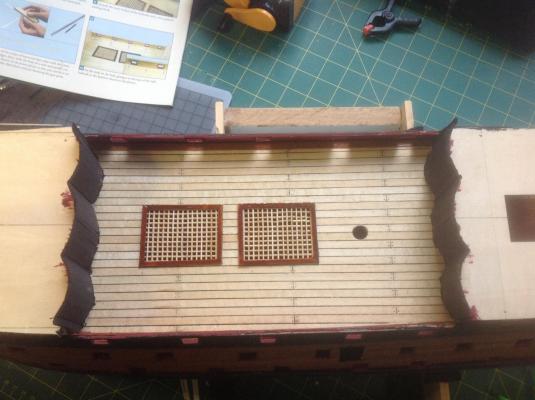
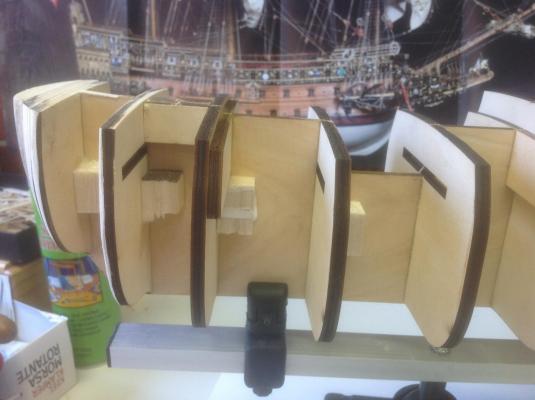
Further work has been done and with the advanced knowledge of some problems fifthace experienced I was forearmed and decided to use some Saple Wood from my Endeavor kit and used this wood to build the bulwarks and have found this to be more true than the bamboo. Also after seeing the grating fall through when installing I decided to size up the grating and then build the timber frame around this and will install both together. Thanks for your guided help in your forum Fifthace Snoepert


-
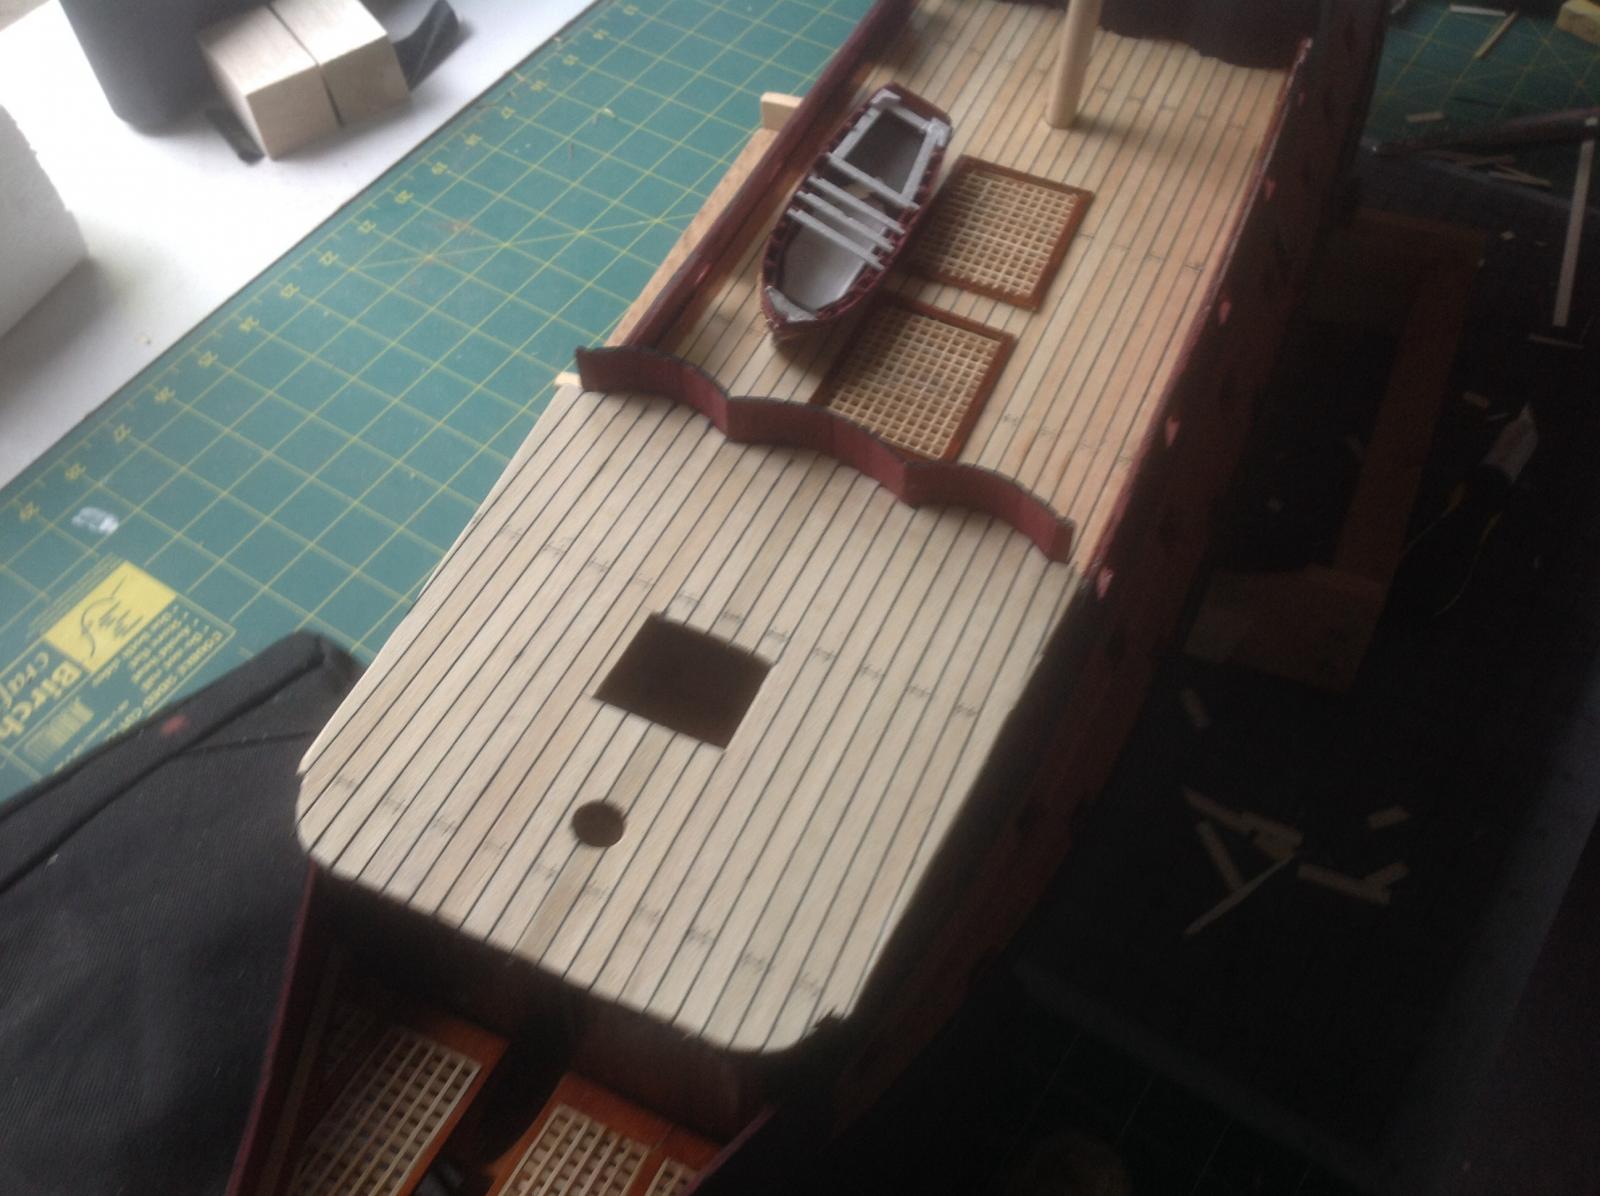
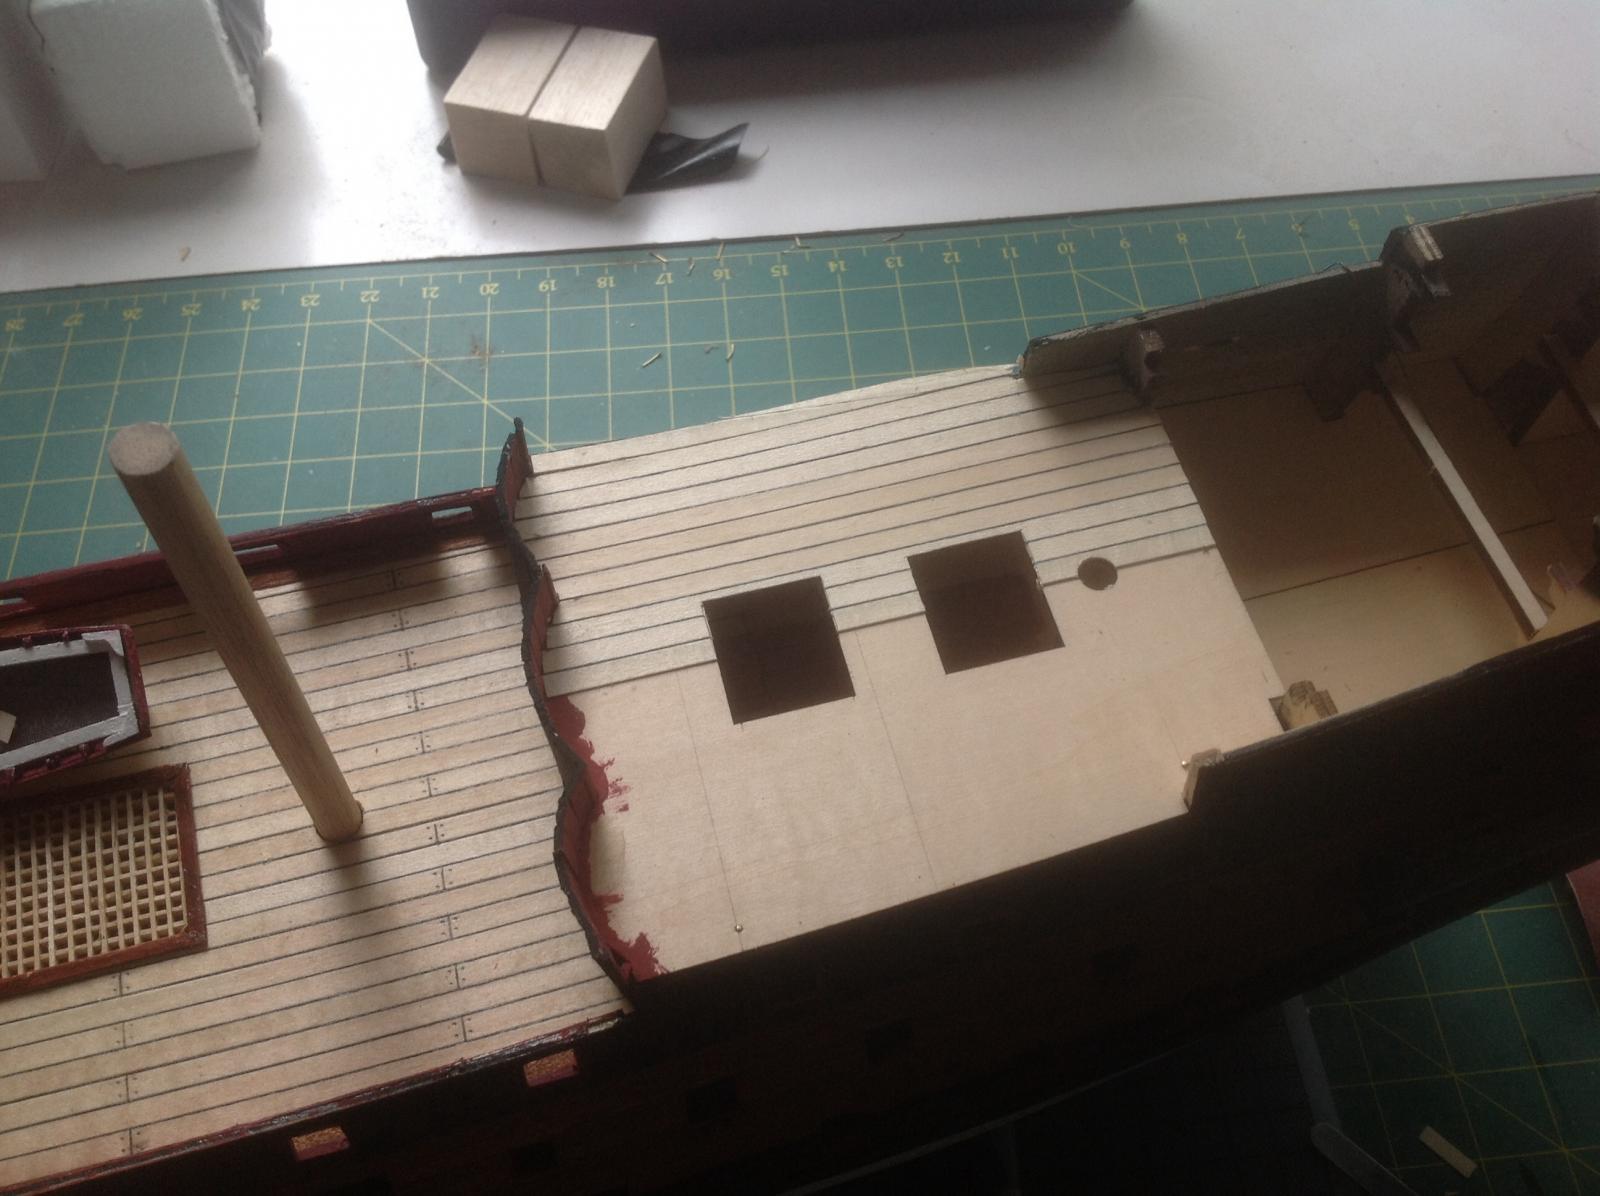
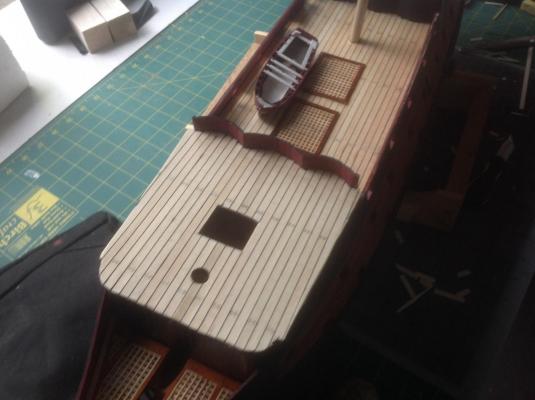
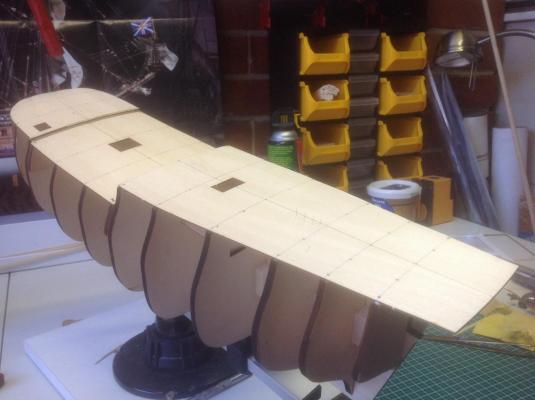
Got some more mags today and started some more work. Have put some more deck on and have begun the deck detail.
-
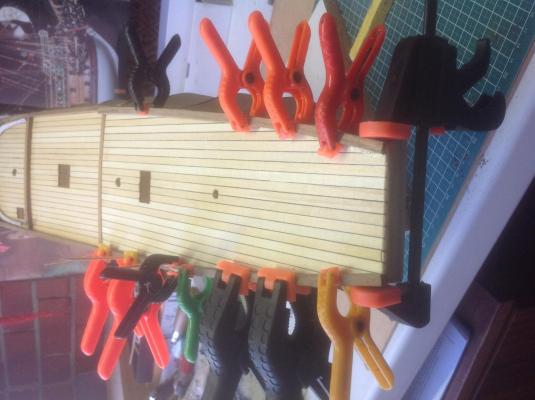
I have done some more work on my project and find as usual the planking a little challenging,however I am a quitter and will progress. I have started to mark up the deck and do a clear lacquer over it to protect it. Also decided to fix the part keel on to guide the planking on the bottom of the boat.


-
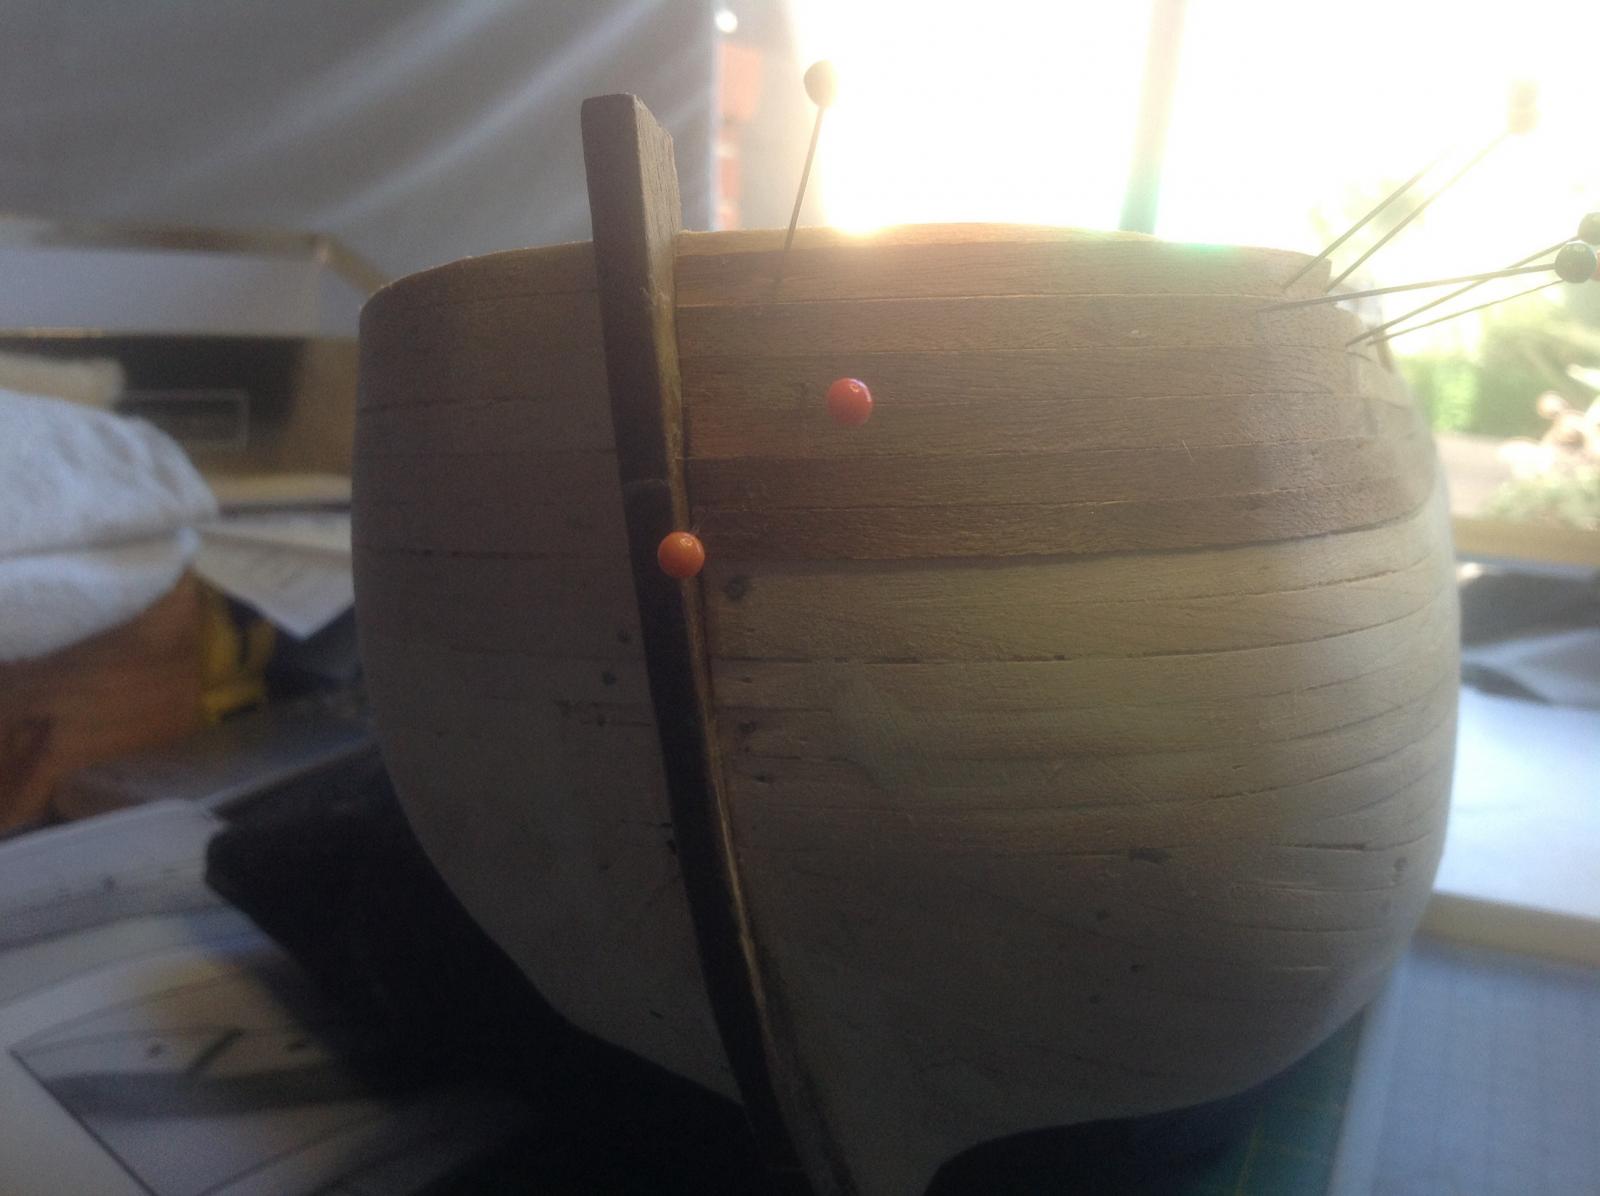
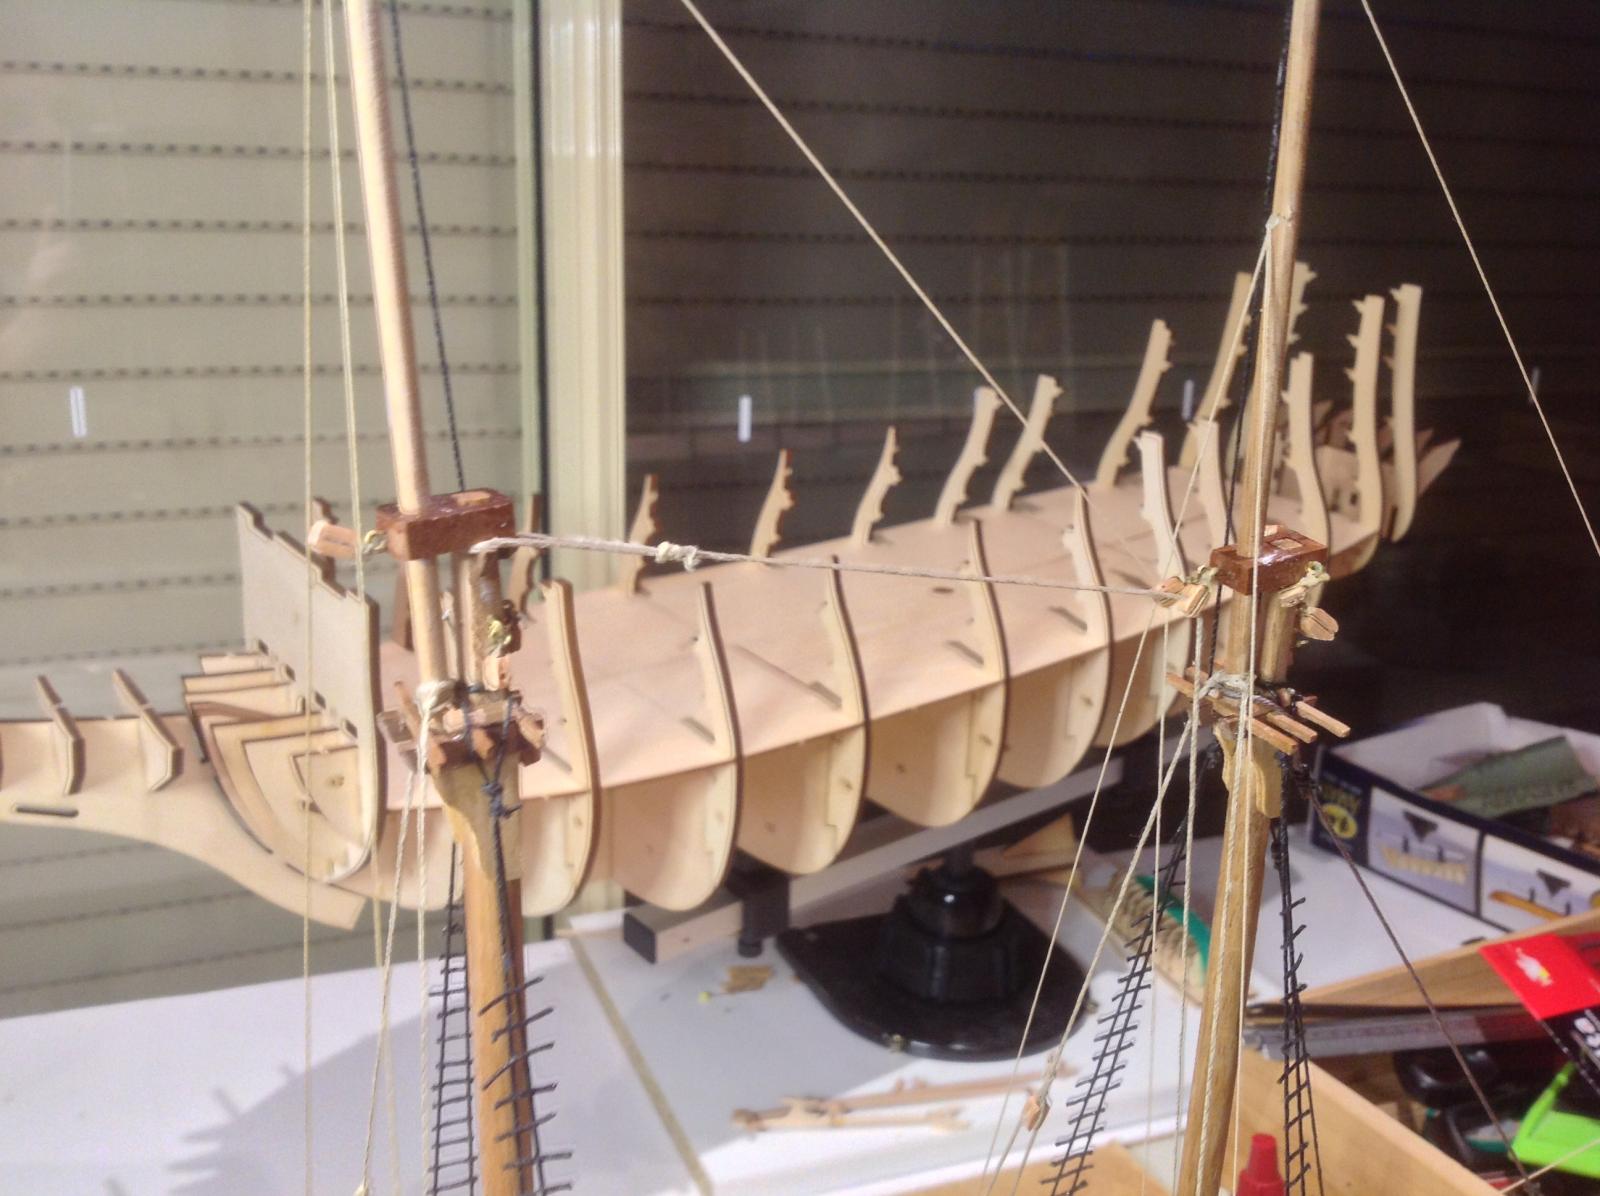
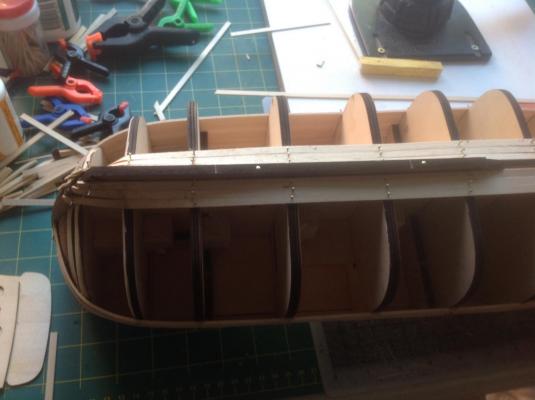
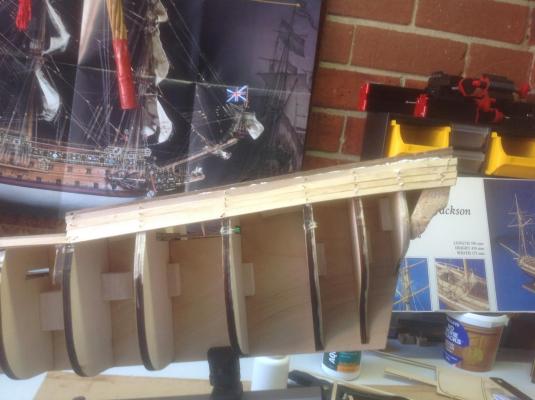
Well I have finally started the planking and found it a little daunting to start with due to the slack instructions and photo's. I was having a problem getting a true line and trying to understand how the wales tapered down.I finally got it running but noted a little pointed bit at bulkhead 10. On the next plank below I will chamfer slightly to gain a more true line.

-
Hi Captain Slog, I am now inclined to agree with you after also looking in many posts and lots and lots of photo's. I have been having great difficulty in working out the bow gun wales due to poor instructions supplied by AL but I think I have it worked out now. The instructions given by De Agostini's SOS are much more precise and clear. I have been looking also at the painted versions of the Endeavor and am swinging that way. A great example is the posts by Banyan. In my future collection of ships I am also thinking of building the Wasa after seeing the ship in the flesh in Sweden and this one will stay in timber finish. Any thoughts who might have the best kit for this one. Ta, Snoepert
-
Thanks, Jimz66 for your kind comment. Snoepert
-
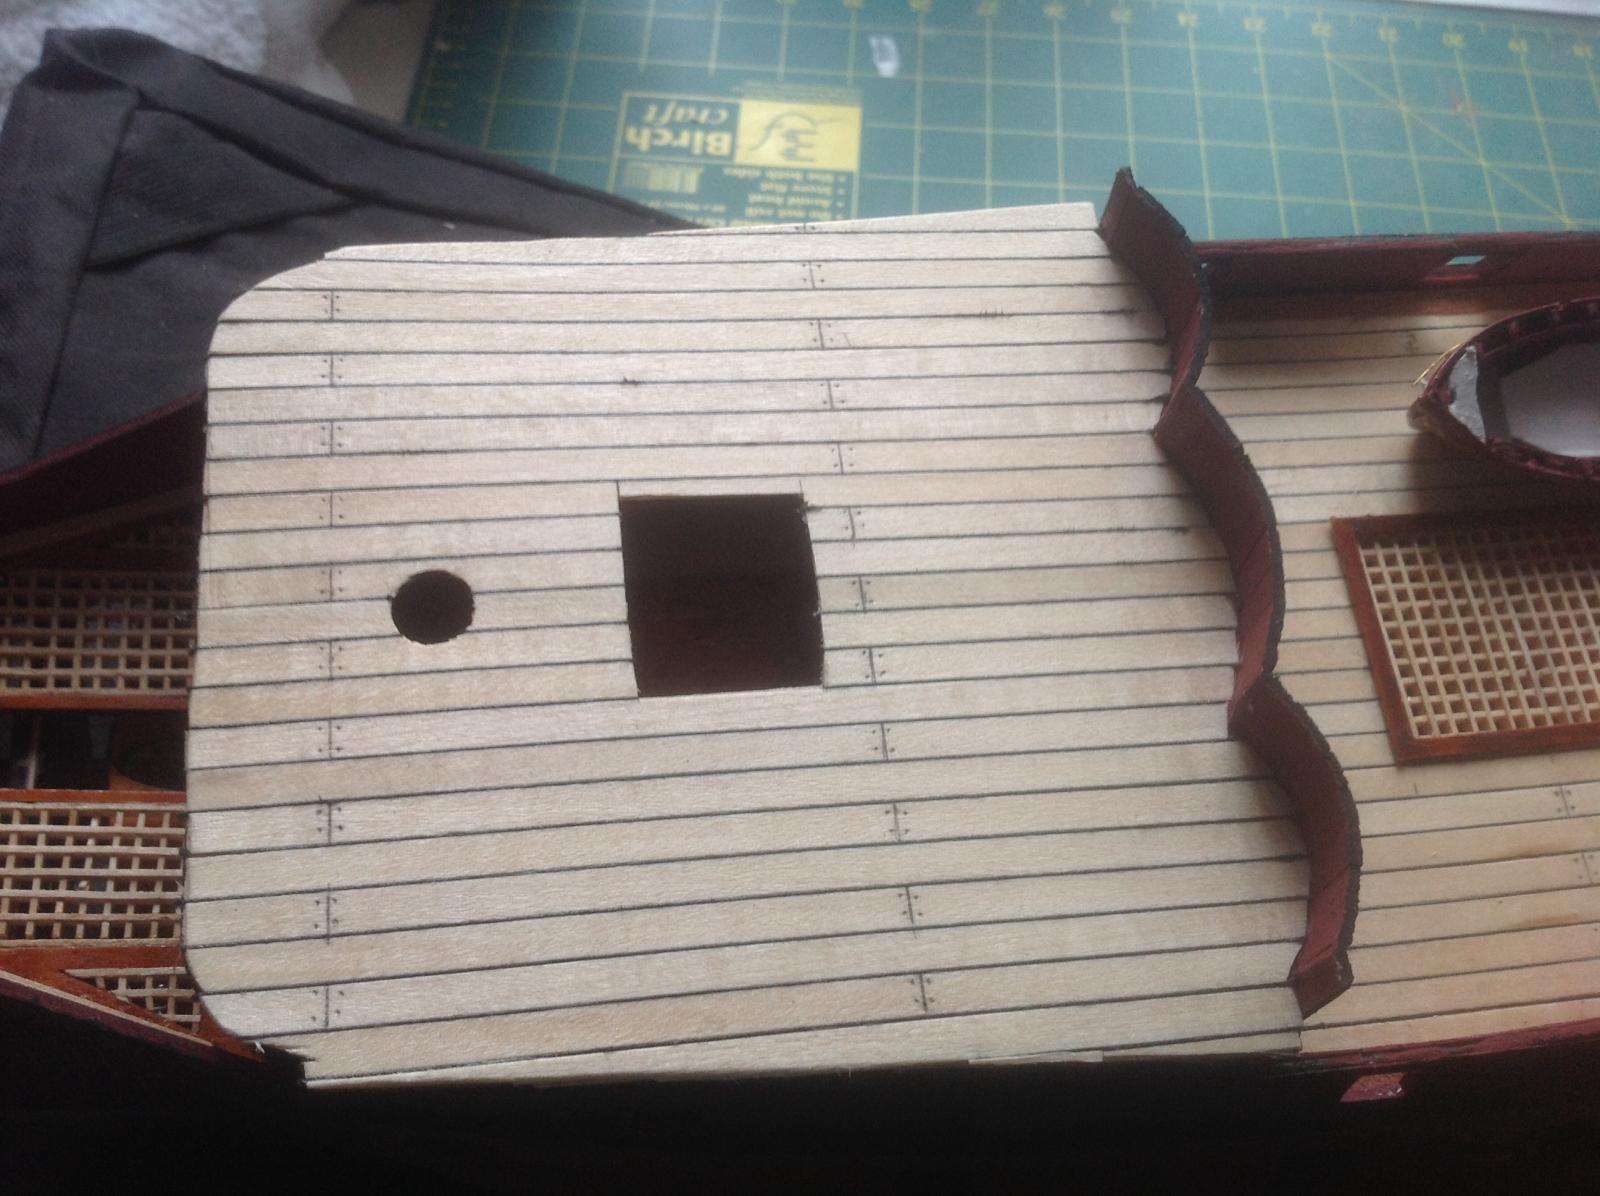
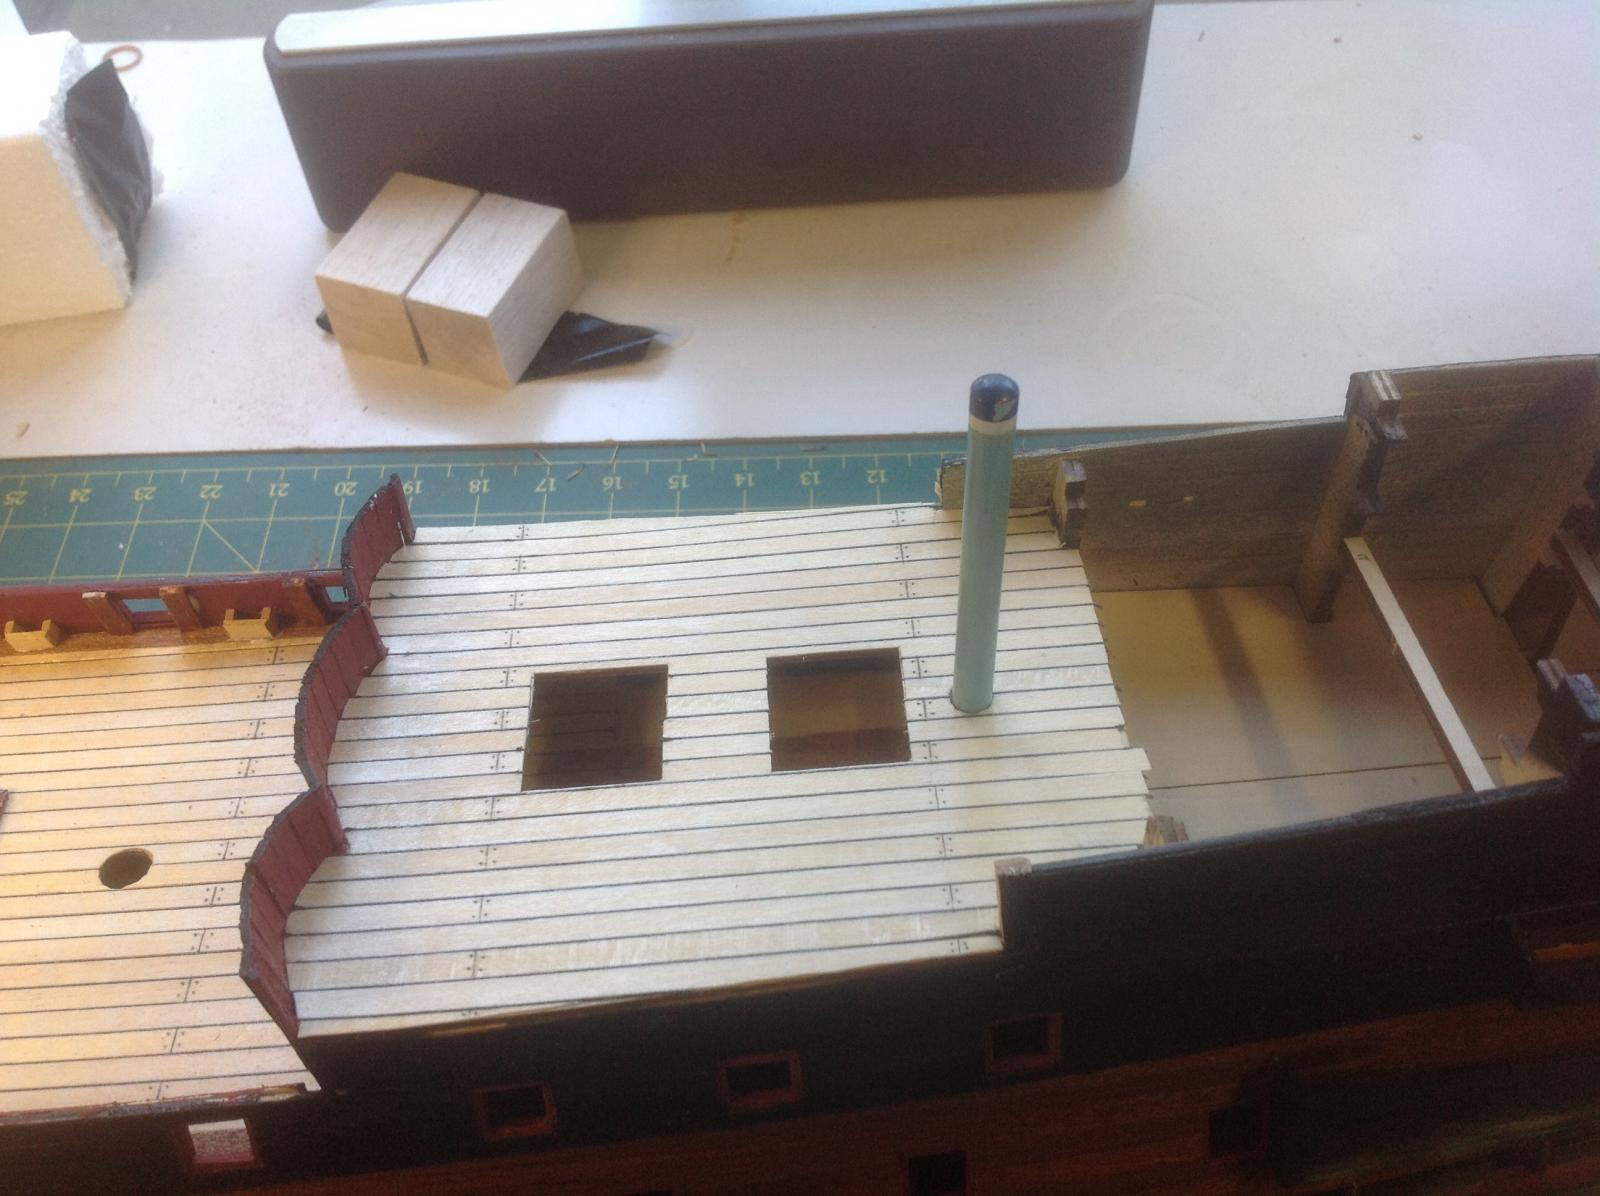
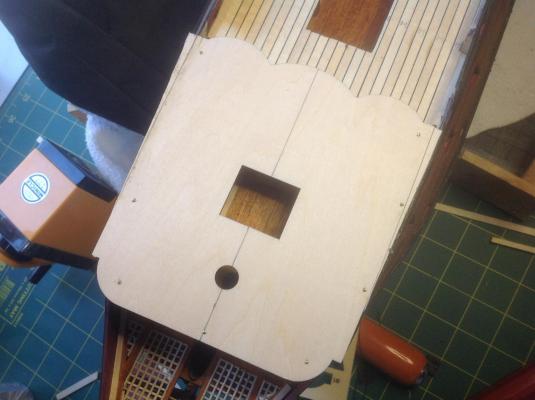
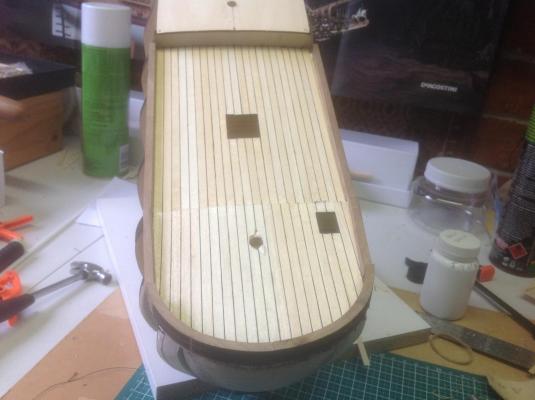
A little more of the deck work was carried out today. One mistake I made was not to use a sharp drill and I blurred the deck near the mast hole,hopefully this will be covered by the mast ring Can anyone suggest what stain I should use on the deck.I have some cedar stain and lacquer and has come up quite well on the SOS.
-
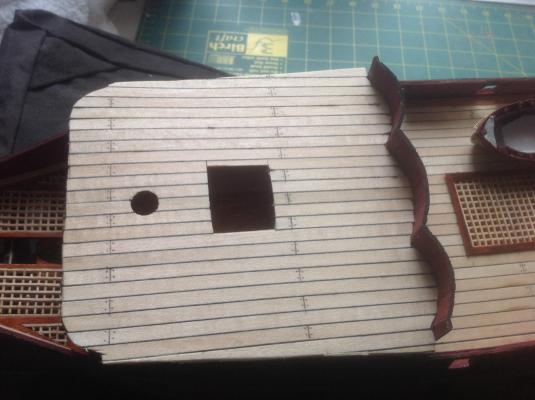
I have worked a bit more on the boat and decided to use polyester cotton run through bees wax for the caulking on the decks that I have started to carry out. Needed to trim back the deck on the stern to match the preformed gallery area. I would like to attach some photo's in my reply but not sure how. Can someone advise me on the process. Thanks Snoepert I worked it out,beginners luck.


-
Hi Shipmates, While I wait for more parts for the SOS I have begun the Endeavor. I find this kit by Artesania Latina not as good a quality as the De Agostini kit I am also working with. There is much more detailed explanation and coding in De Agostini's kit. This one will be my second attempt at a larger boat. I will post progress as things happen for comments and hints if I am going wrong. Thanks Snoepert


-
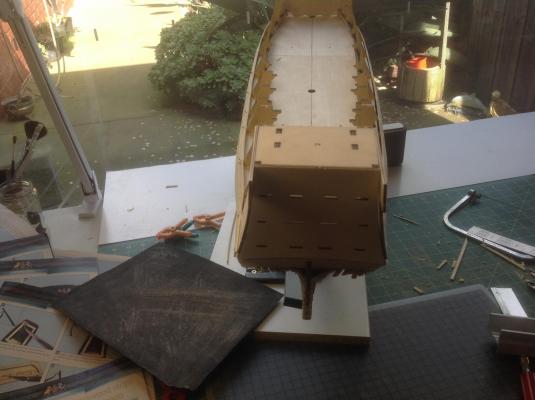
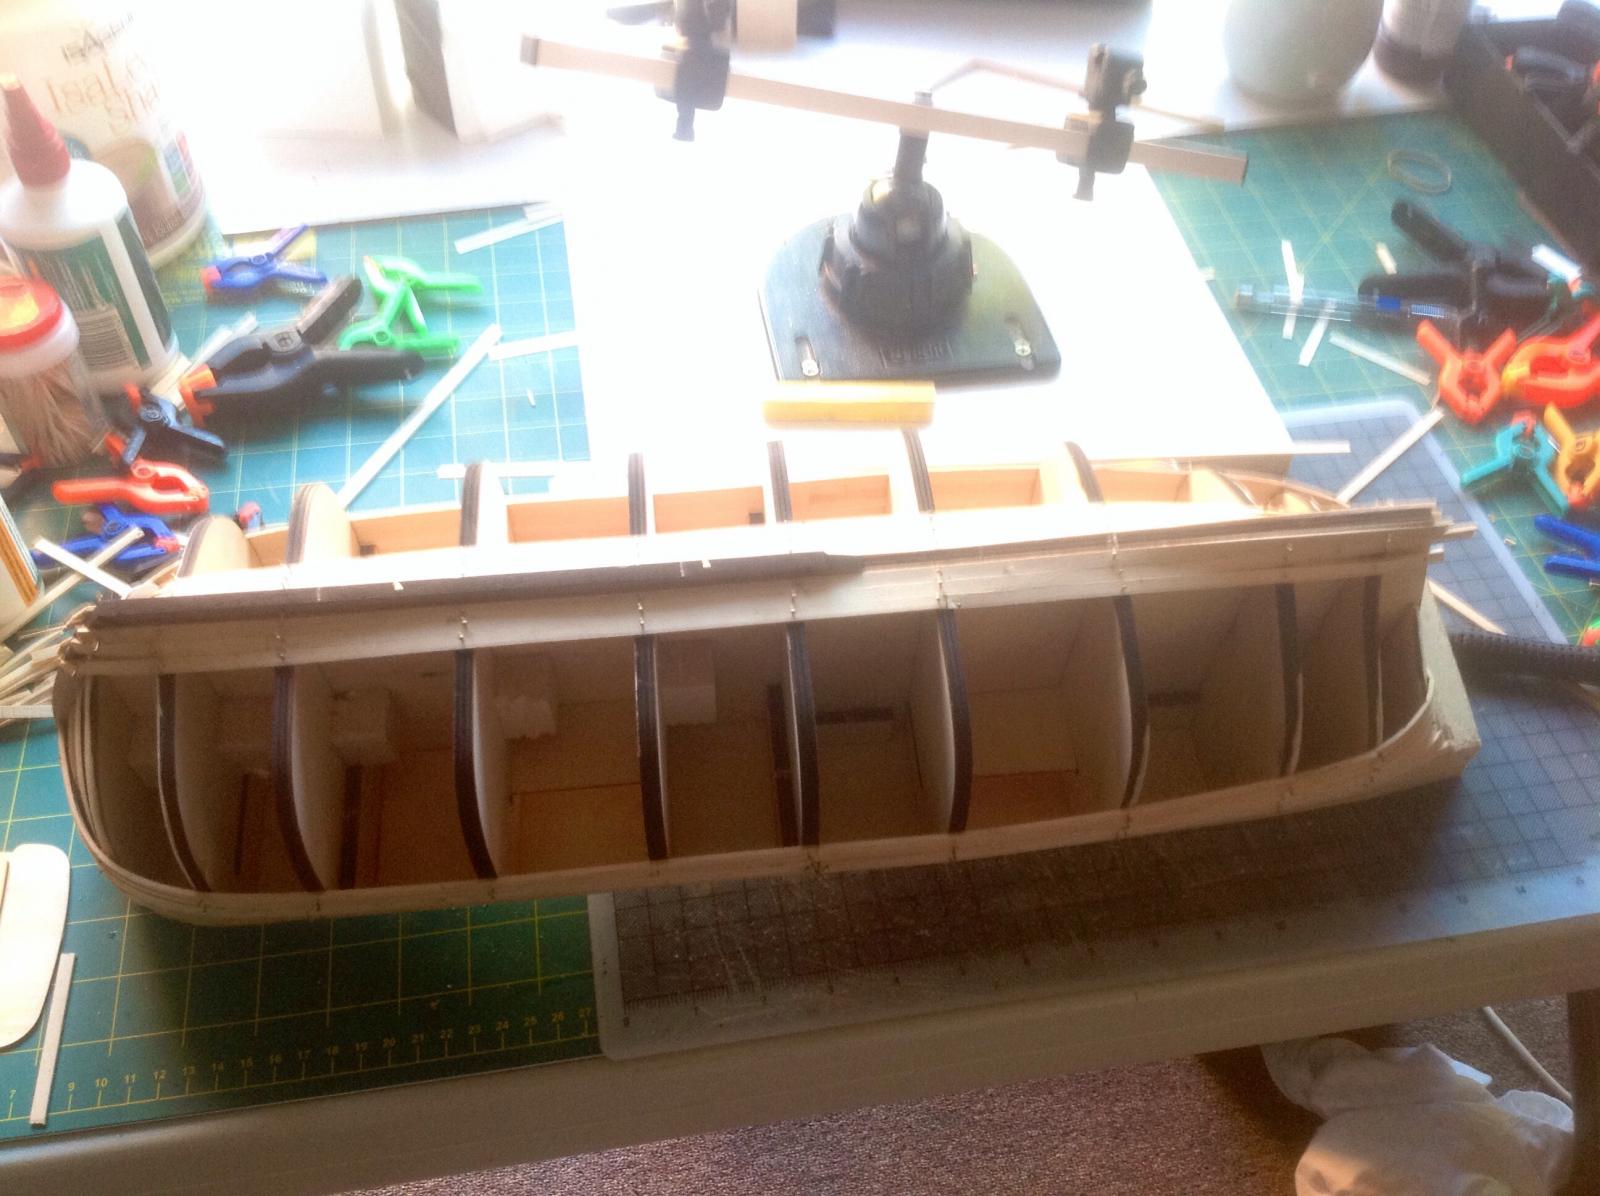
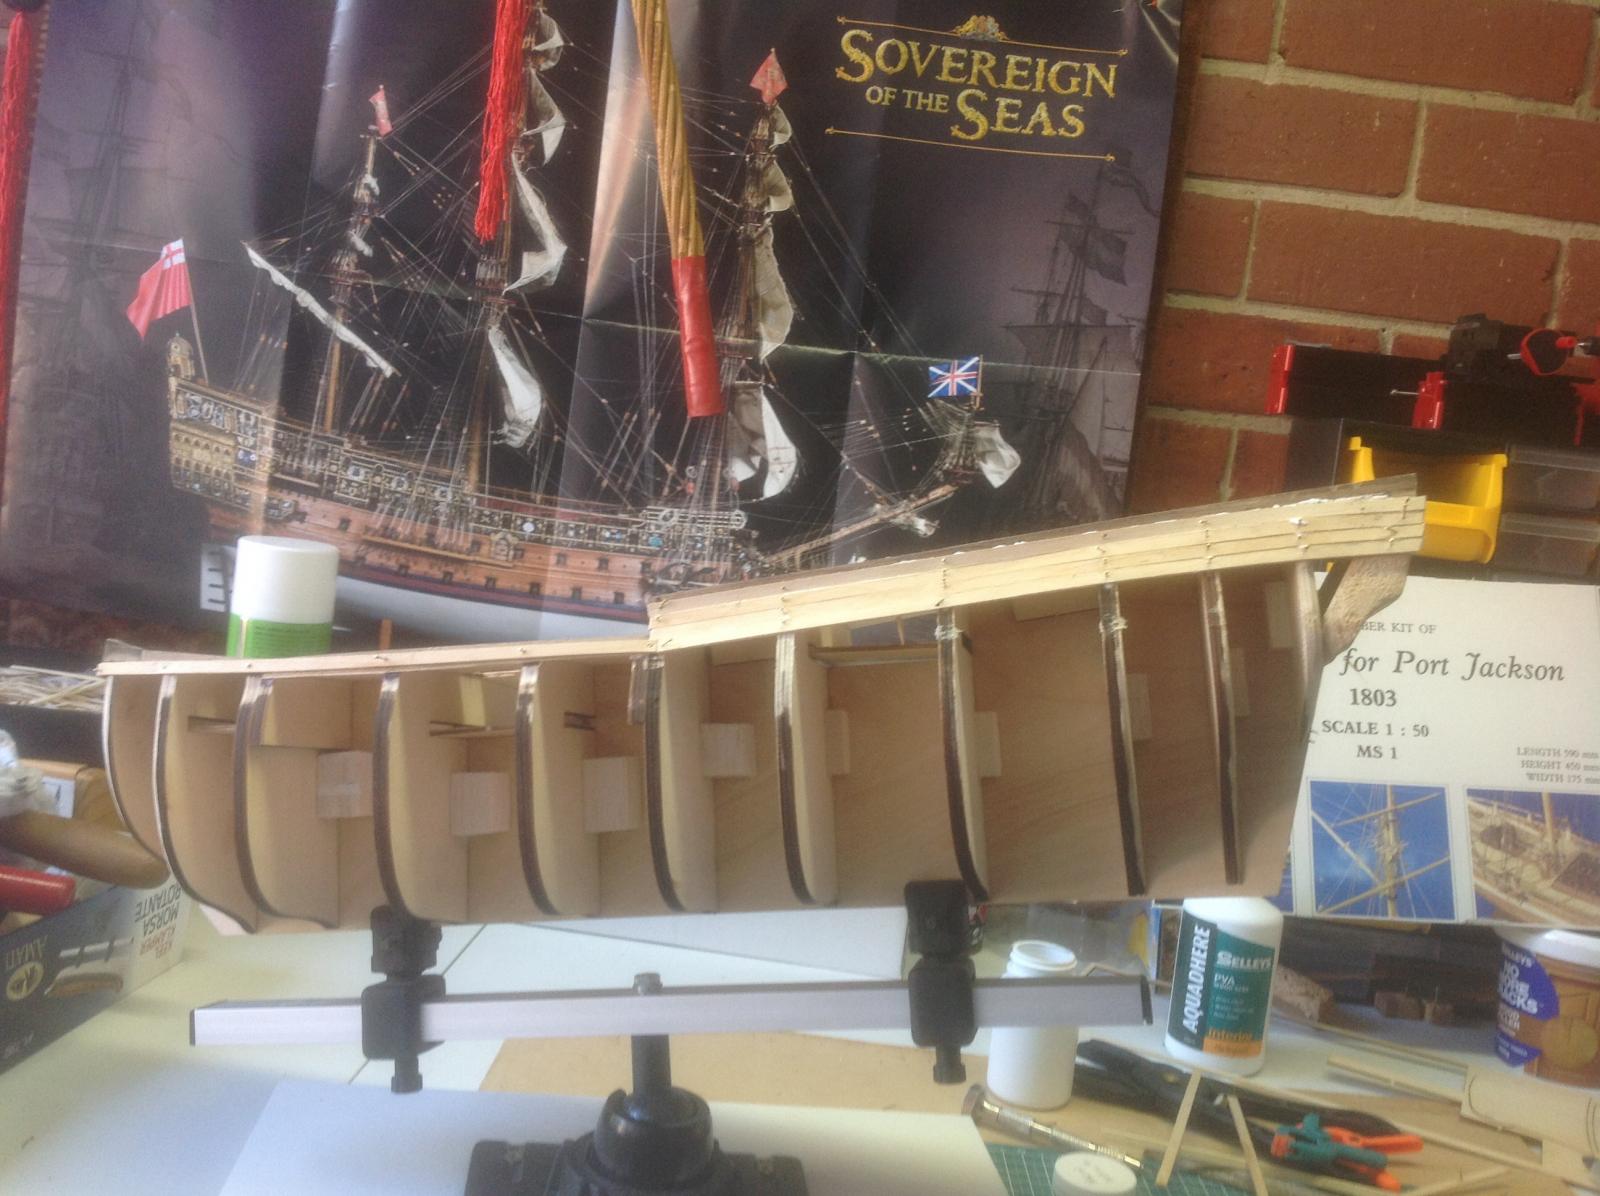
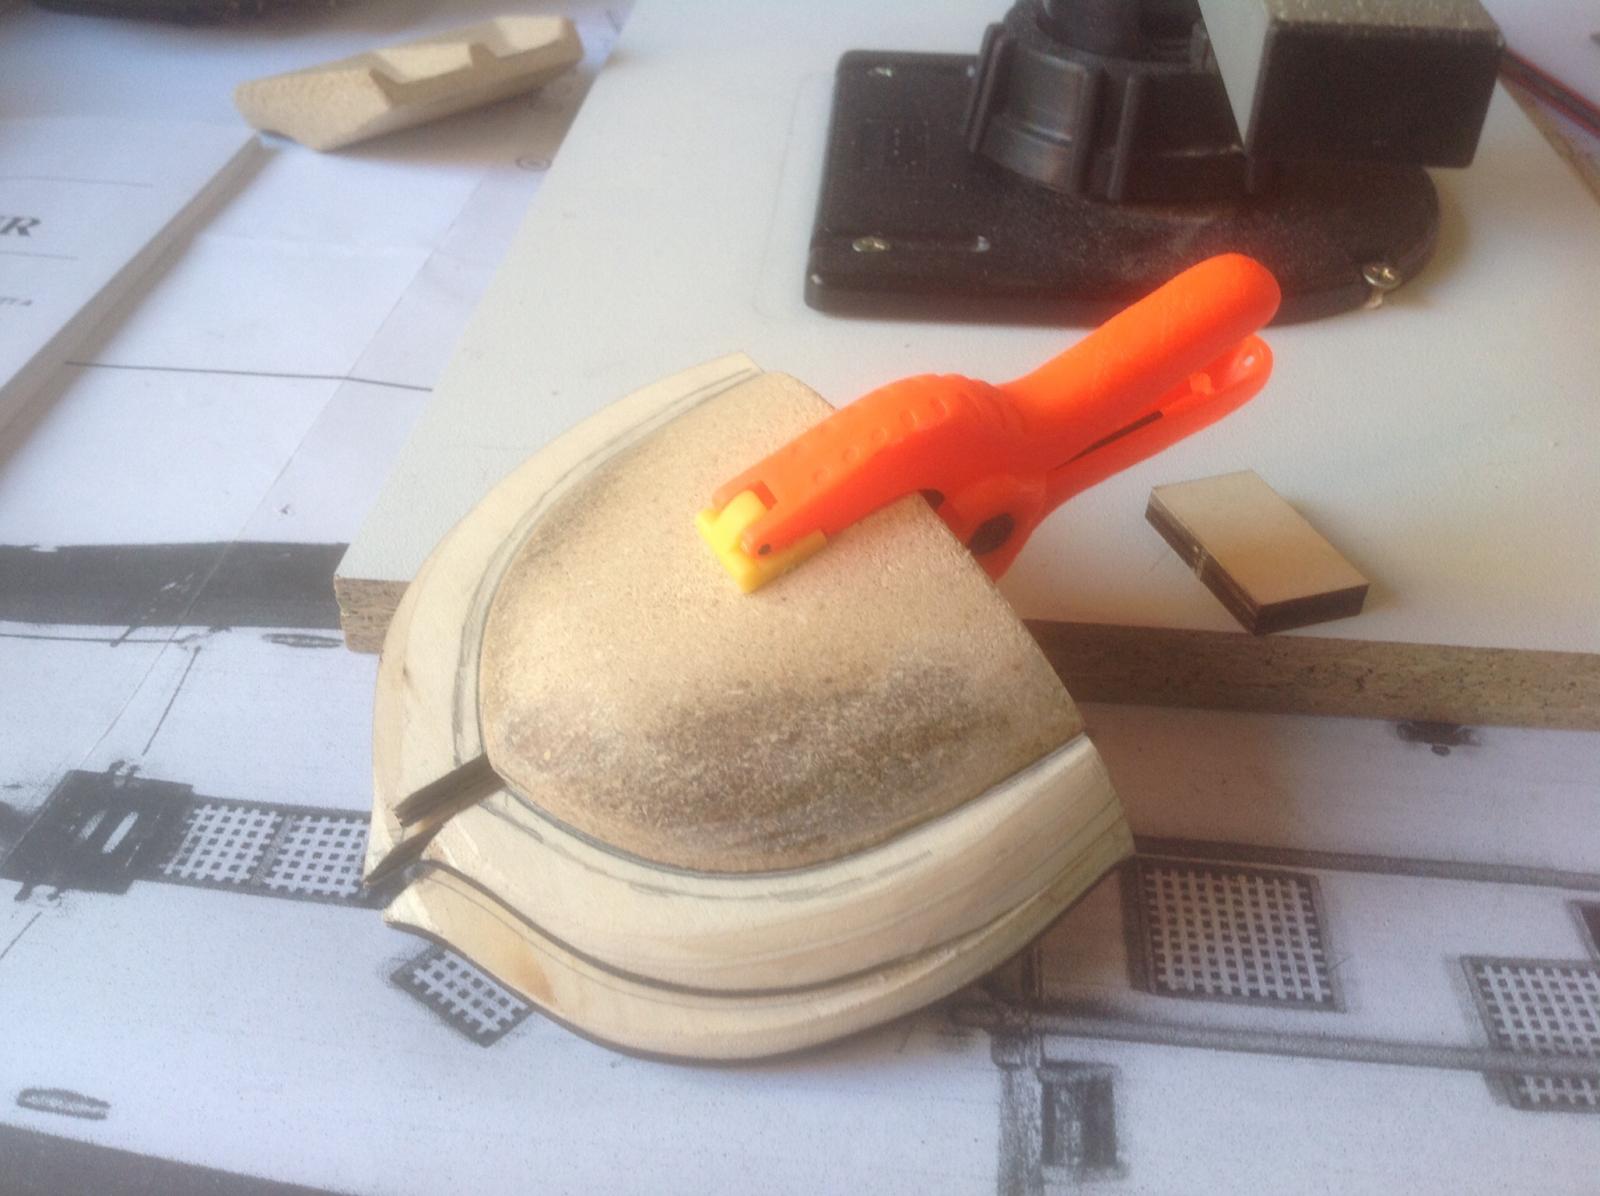
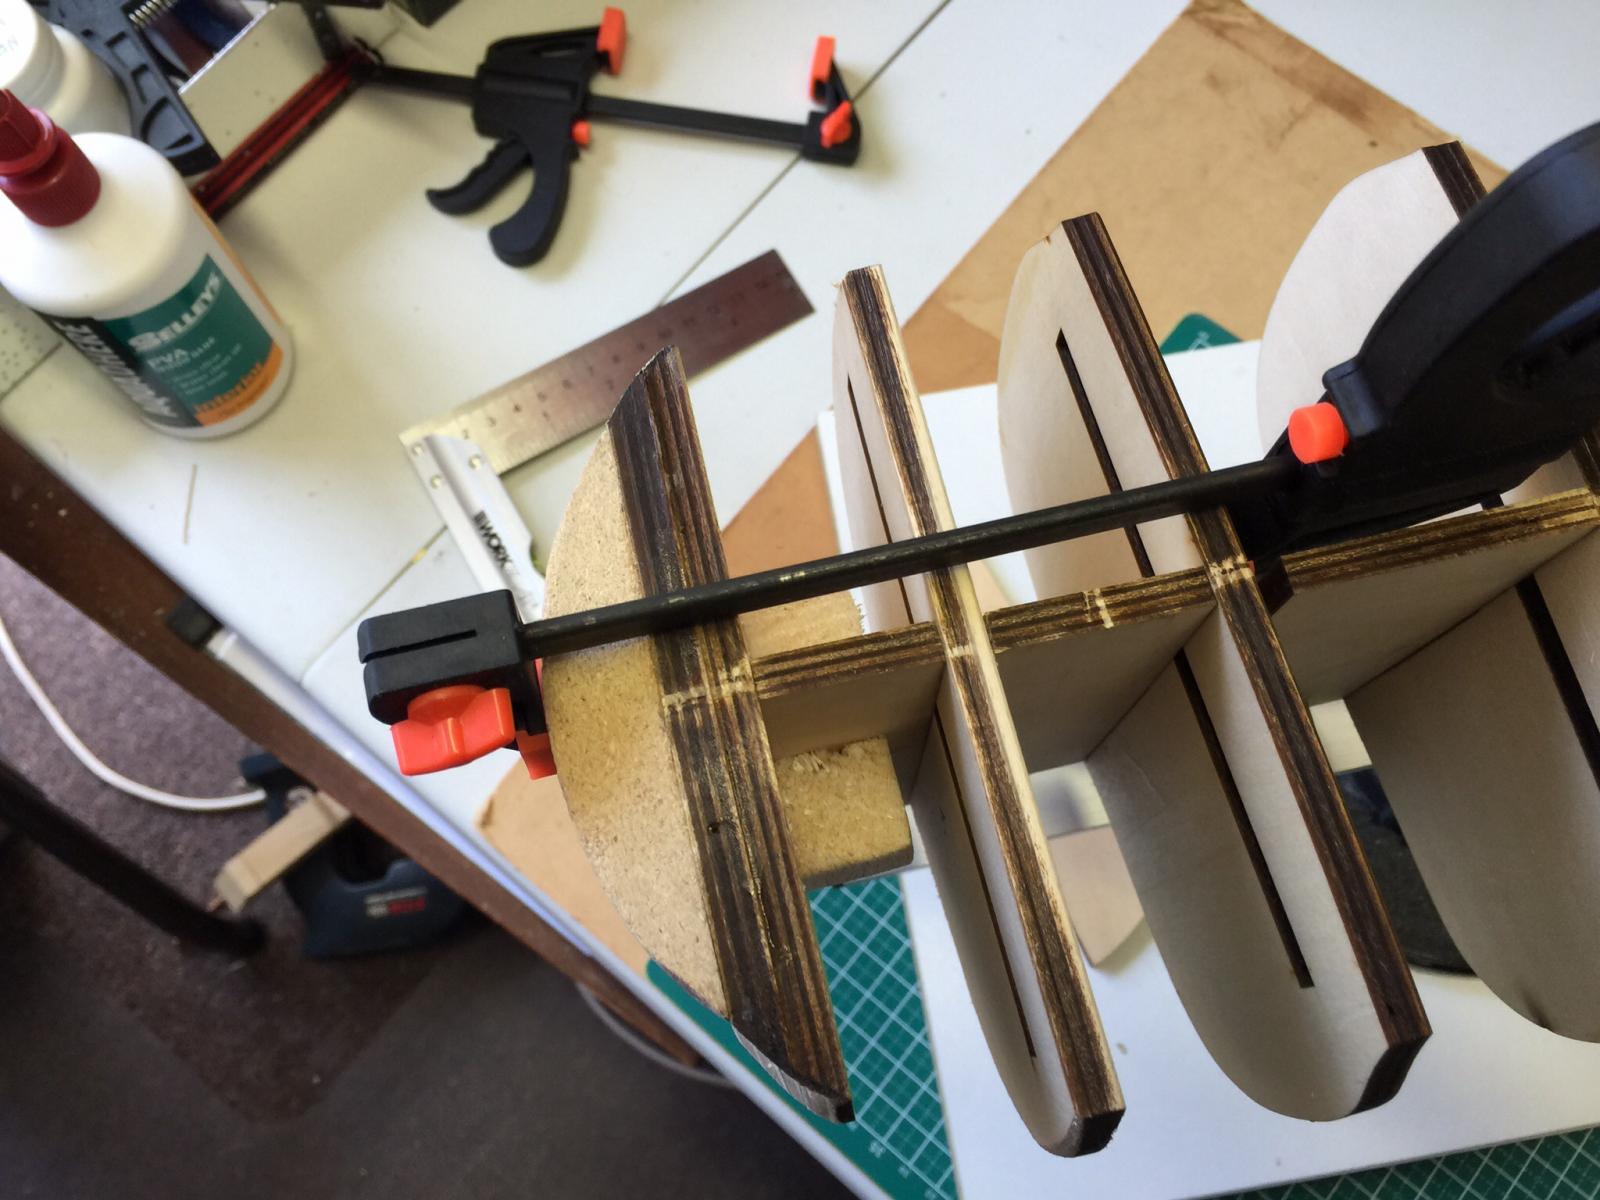
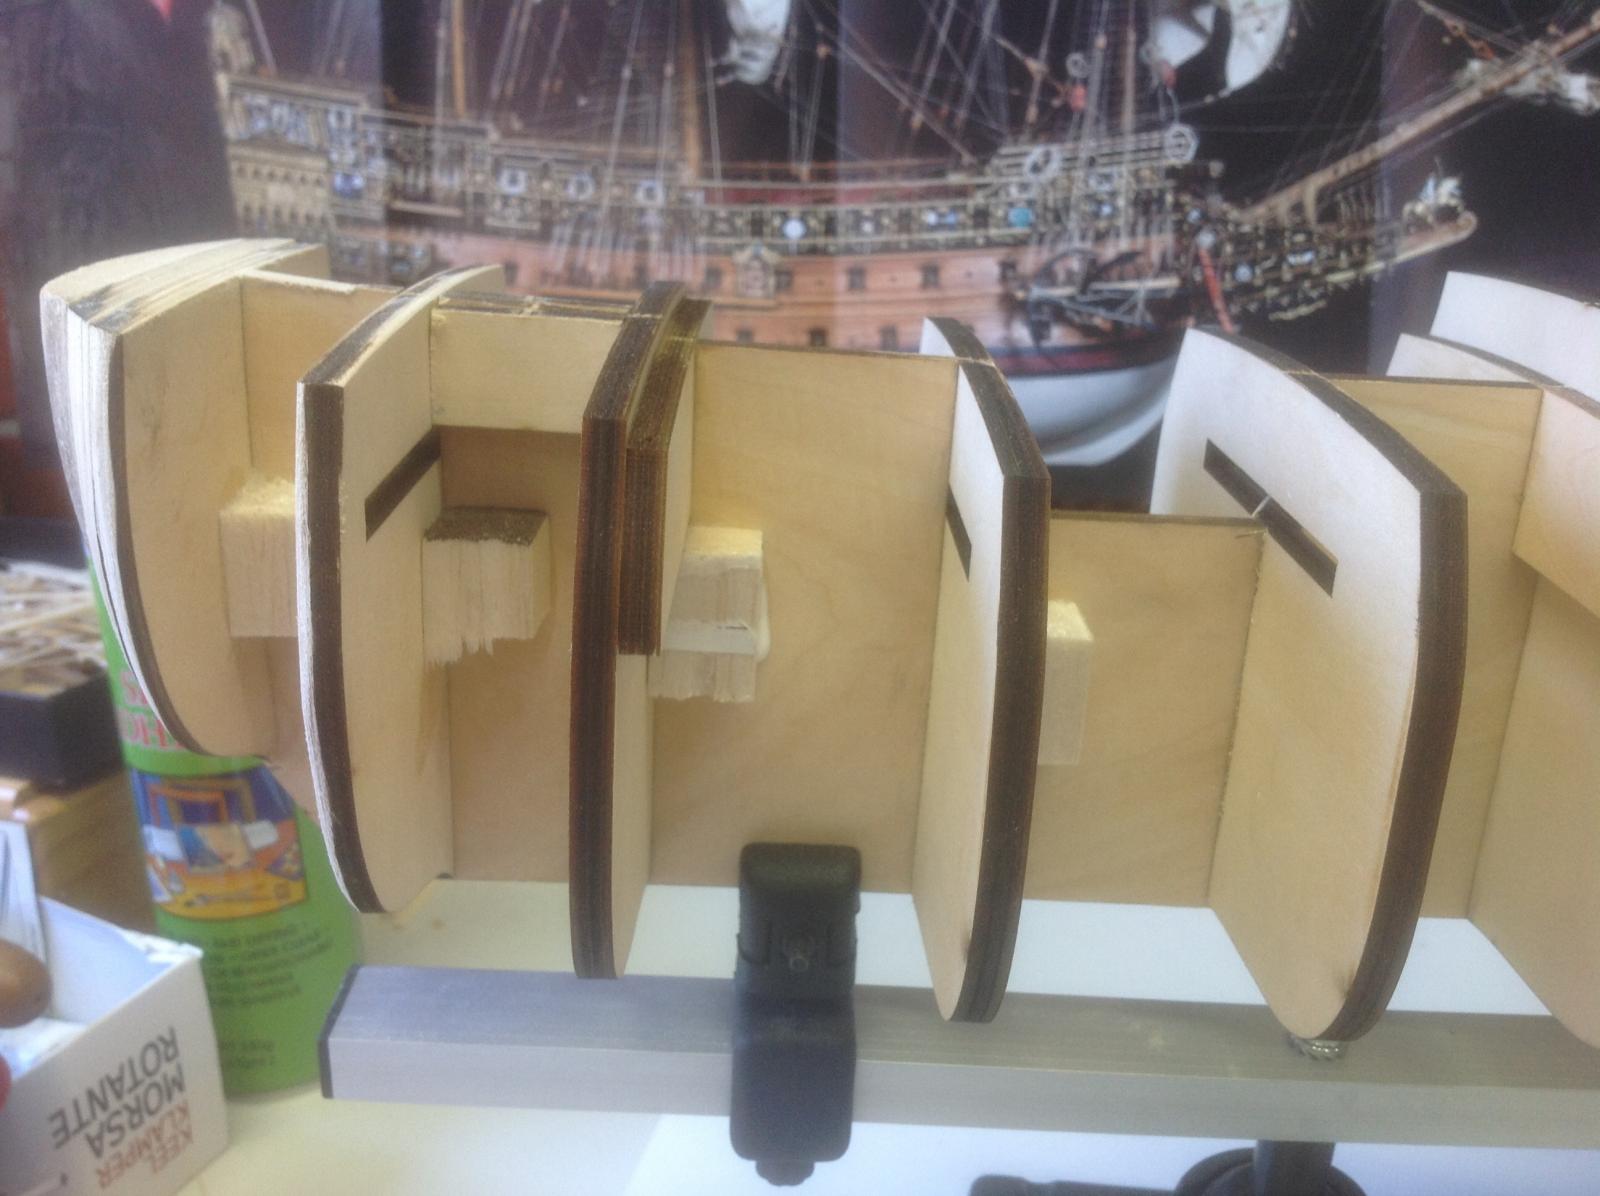
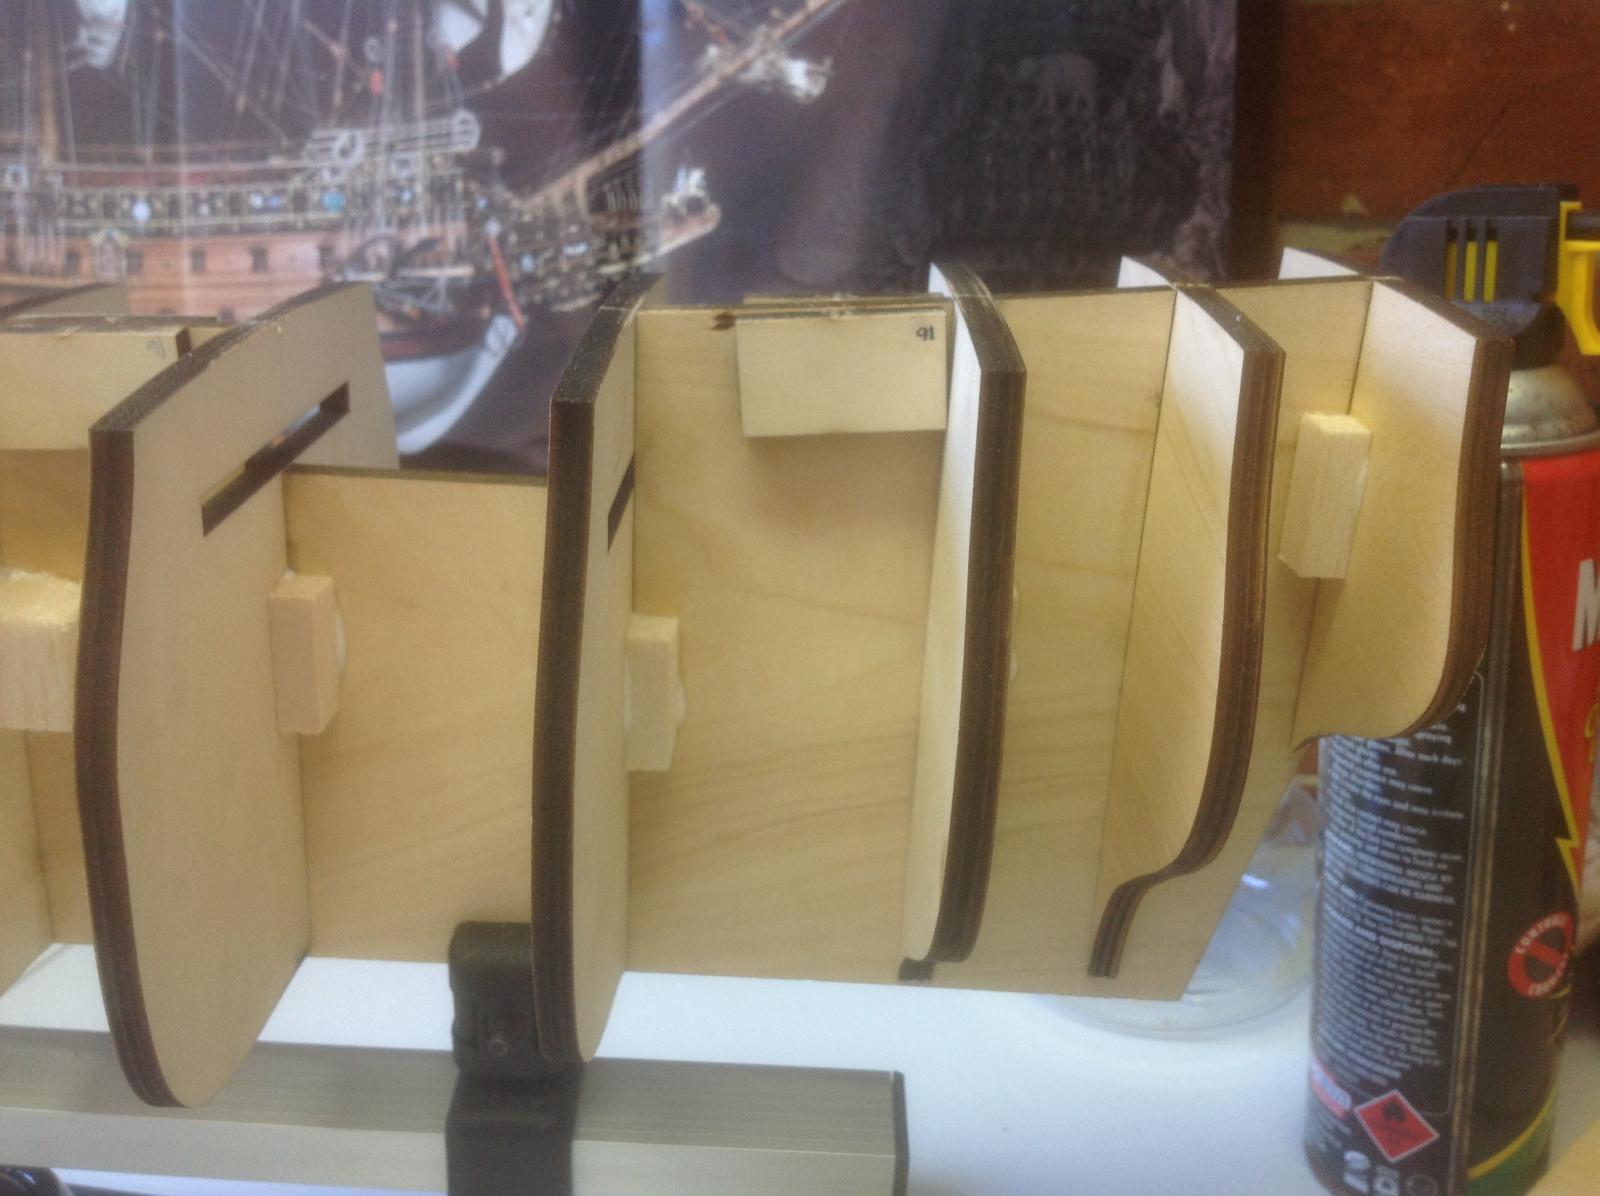
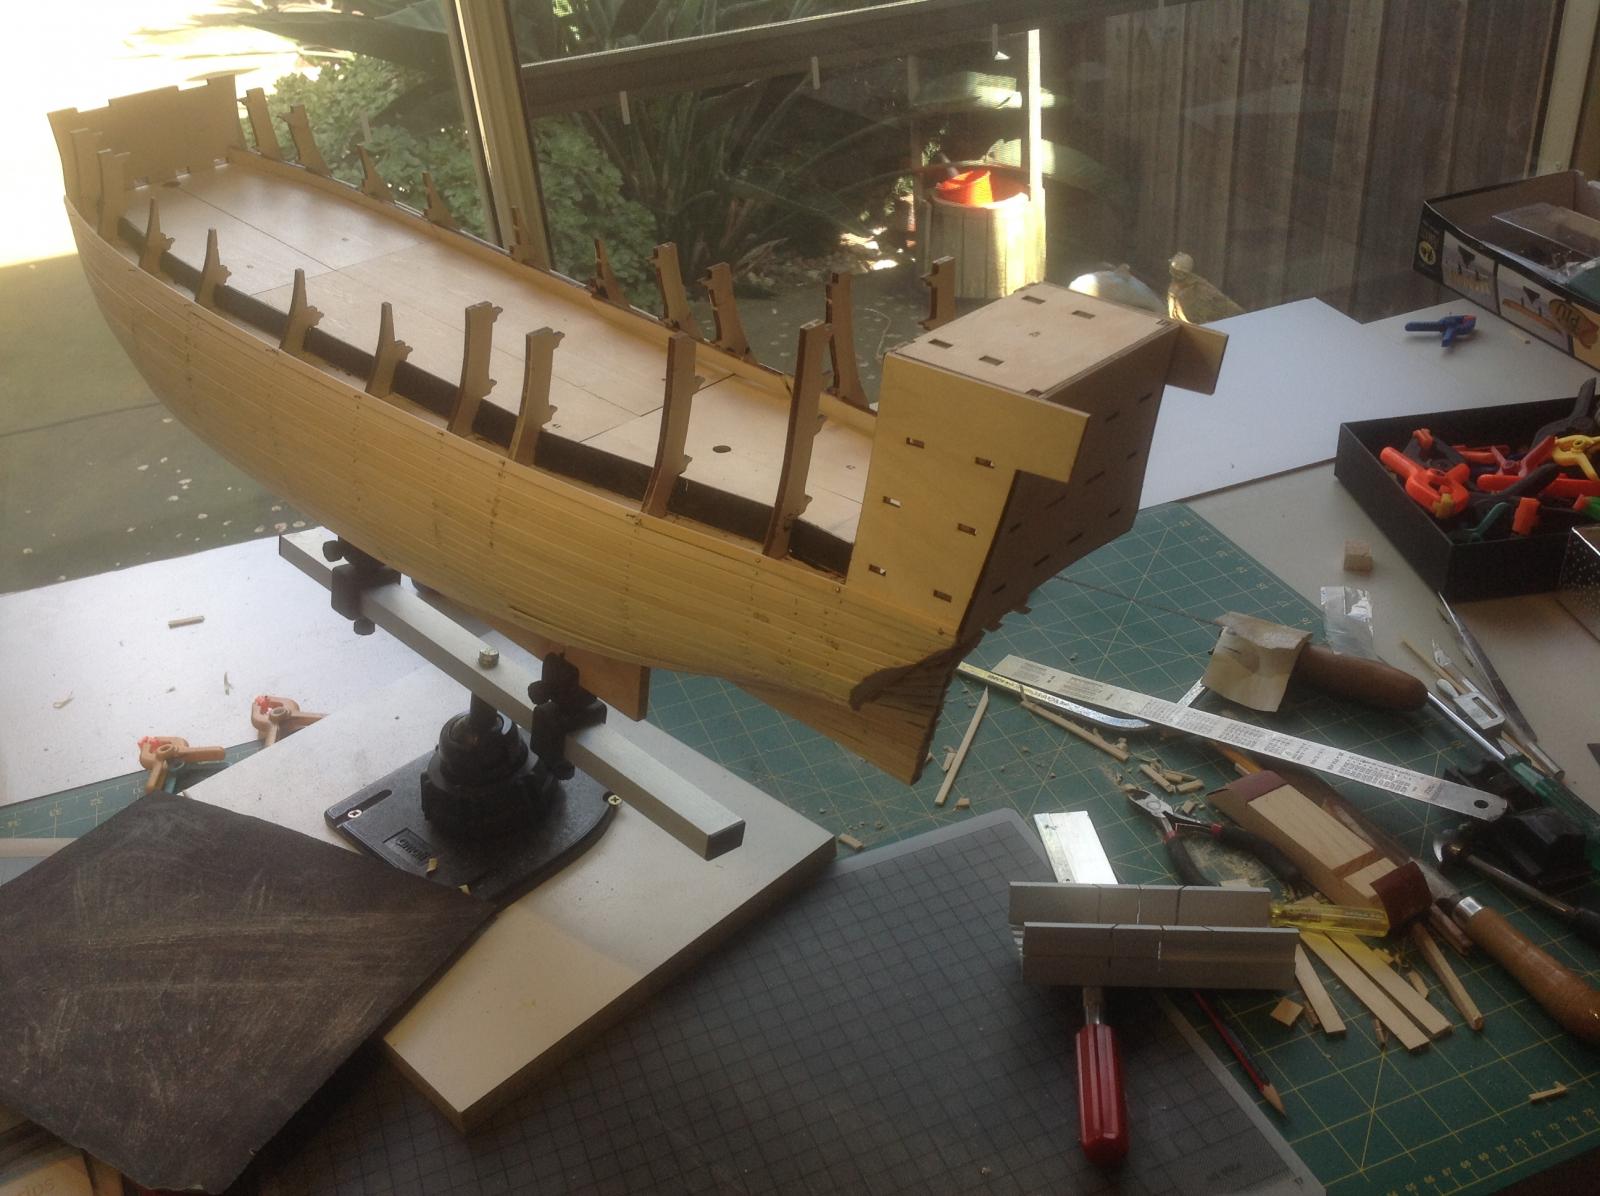
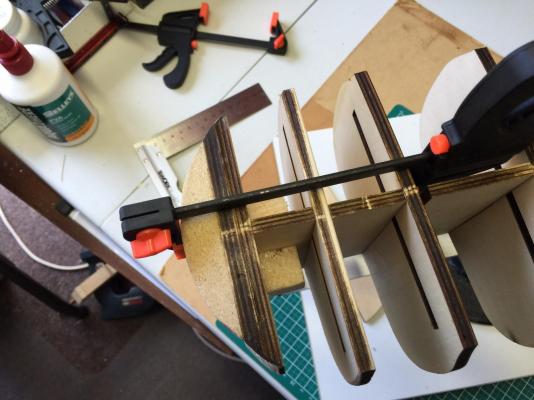
Hi Guys, I have been reading your notes on the Endeavor by Sjors and Adrieke and it has given me some good clues on checking things before glueing.As they say in the classics measure twice cut once. While I am waiting for the new parts for my main build The Sovereign of the Seas I have decided to start the Endeavor as well to fill in my time of waiting. I am starting to fair the first part of the bow and decided gluing the 3 parts together it appears to be easier to sand down all together constantly checking with the keel. I have taken a couple of photo's but not sure how to post on here. Snoepert
-
Thanks , I am getting setup to build the Endeavor by Artesania Latina while I wait for more parts for SOS.
-
Hi , This is my first attempt to show my progress on the forum. Excuse me if it is a little grey. First off I am delighted with the kit supplied by De Agostini in magazine form although it is a bit annoying that we must wait for the monthly delivery. I have built thee RED BARON in the same manner and it came out pretty good. The SOS is the first undertaking of this scale and I have built two previous wooden kits: One from Holand and it was a BOTTER boat and the other is the PORT JACKSON supplied by Modellers Shipyard. I would like at this stage to sincerely thank Fifthace and Tomick at this stage for the advice on many aspects of the build, I have certainly become the wiser after reading their notes and photo's I am posting the photos of the work I have carried out so far on the SOS for any comments or suggestions. Till the next post, Snoepert