HOLIDAY DONATION DRIVE - SUPPORT MSW - DO YOUR PART TO KEEP THIS GREAT FORUM GOING! (Only 51 donations so far out of 49,000 members - C'mon guys!)
×


Emelbe
-
Posts
92 -
Joined
-
Last visited
Content Type
Profiles
Forums
Gallery
Events
Everything posted by Emelbe
-
Hi All Thanks for your comments so far. In answer to Malcolm's question about fittings etc. the rigging blocks look pretty much standard Amati, lots of very small ones which look a bit daunting, there's the odd casting or two which look unique to the model, but all very good quality. The Cannons are very good castings and the carriages are made from a one piece milled wood rather than the cast ones Amati seem to use a lot. It's early days to comment too much more but I'll certainly be posting my thoughts as work progresses. Overall I haven't changed my opinion on the quality and accuracy of the kit. Will be posting again within the next day or two when the frames and gun deck has been fitted, but so far so good. Cheers, Martin
-
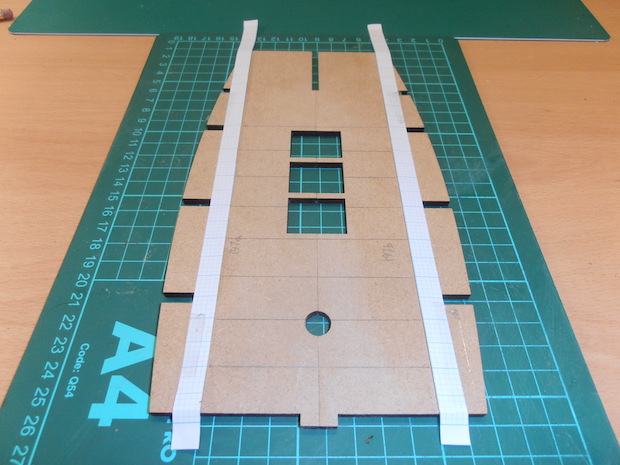
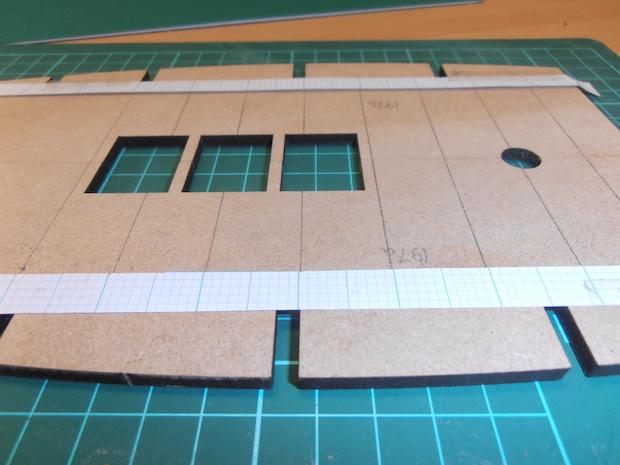
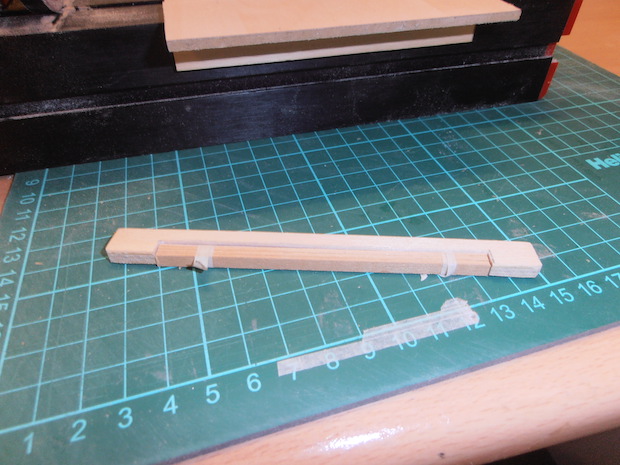
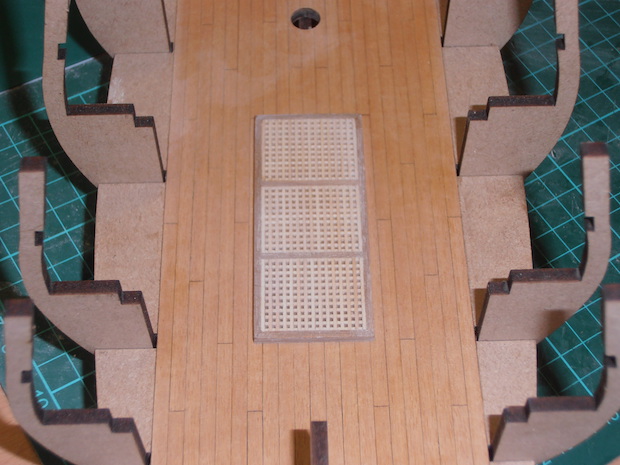
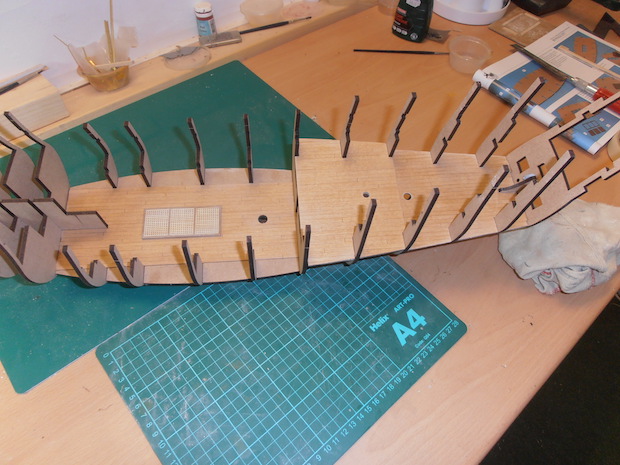
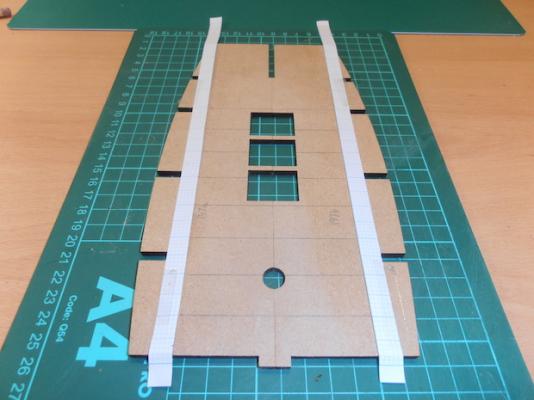
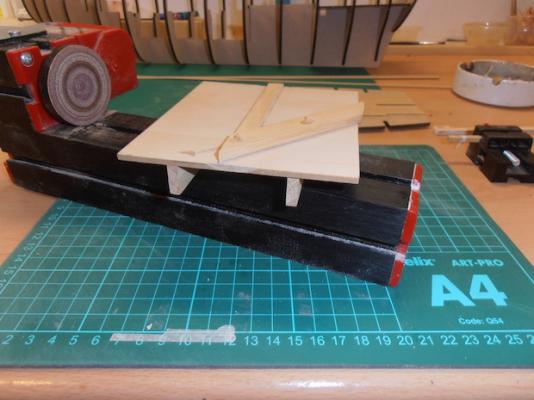
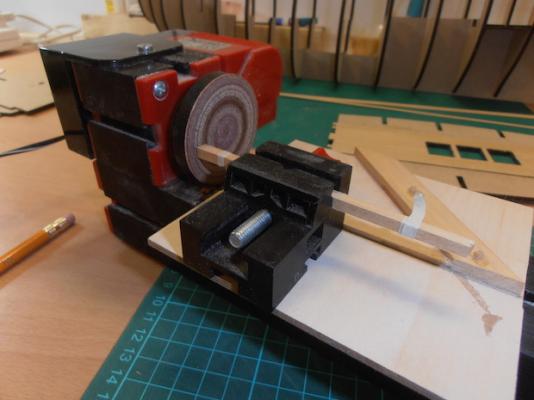
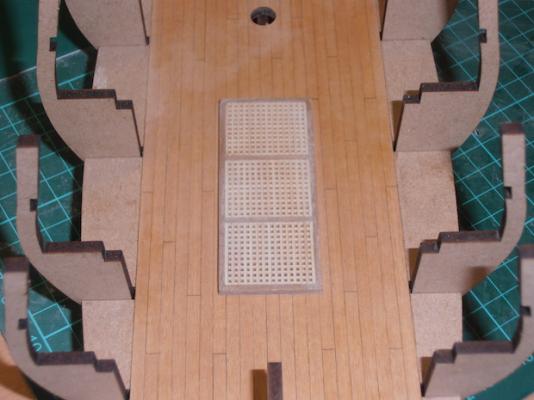
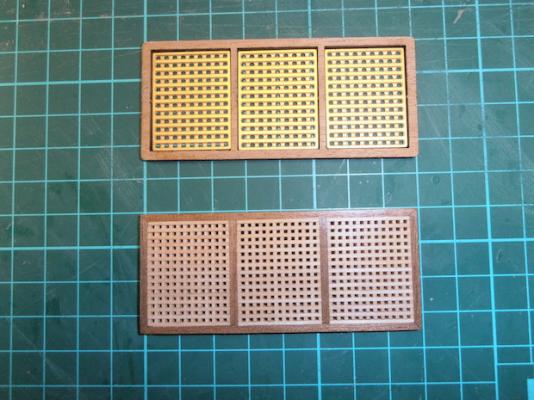
Time to make a start, nothing too taxing to begin with, so I’ve decided to plank some of the lower decks. I think it’s a case of what looks right for the model and decided that a length of 100mm is a good size to work with, laid out in a four butt shift pattern (I think that’s what you call it). First job is to mark where the planks will butt together, and just for interest I do this by lining up two strips of graph paper along the deck and marking every 20mm across. Keeps everything nicely at 90 degrees to the centre line. With regard to the caulking, I like to keep decks fairly subtle, so I simply run a medium pencil along the edges. The full length planks I cut in small batches, and with my Unimat and a jig I made to square the ends, sanding them to length checking with my ‘high tech’ measuring device. The sanding jig also has a 45 degree fence for mitre joints, I’ve included a photo so you can get the idea if interested. I lay the planks starting at the centreline and work outwards, the joints being a mirror pattern. Not sure if that’s how the Elizabethan shipwrights did it but it looks alright (to me anyway) when finished. Once the planks are laid I scrape them flat with an old Stanley blade and then seal with several coats of Shellac Sanding Sealer. I apply this with a cloth, much the way as in French Polishing, the idea being to squeeze the sealer between any small gaps and uneven surfaces. I allow 30 minutes between coats and sand lightly using progressively finer grades of wet and dry, every second coat, until I get an nice smooth, even finish. I then finish off with 2 to 3 coats of thinned matt varnish. Now we come to the first of my own personal criticisms, and it is my own personal preference and in no way a criticism of the kit. The etched brass gratings provided….. I really don’t like them. I think I know why they went for brass rather than the traditional wooden ones (scale thickness when displayed open) but the holes aren’t square, and they don’t look right (to me anyway, beauty is in the eye of the beholder, and all that). The design certainly simplifies the deck hatches, the frames being one piece laser cut so as to fit above the deck openings leaving a lip for the gratings to sit in, but call me old fashioned, I like to see the hatches properly lined when open. It’s not a big deal, it just means there will need to be a little doctoring when I come to the upper decks. (Sorry Chris) So now I’ve broken the ice its time to turn my attention to the keel and frames.


- 133 replies
-
- 21
-

-
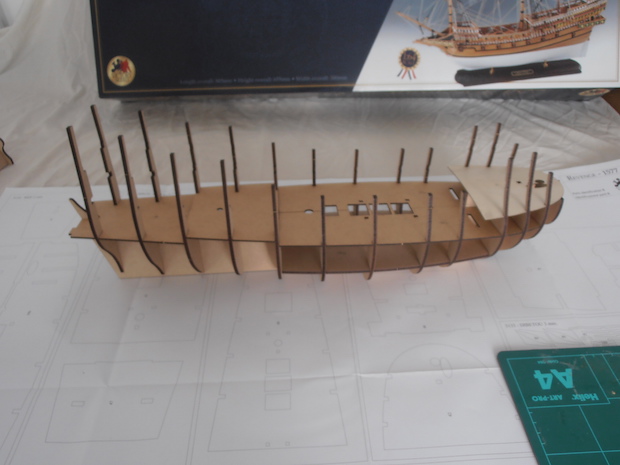
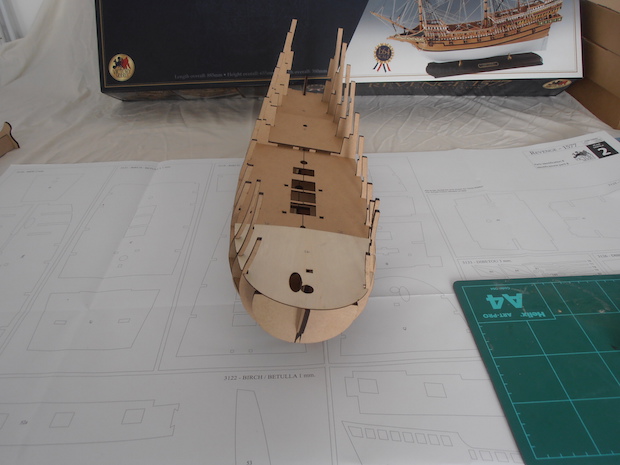
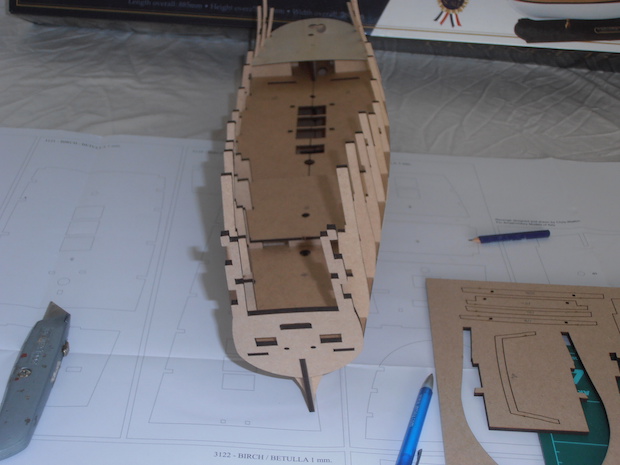
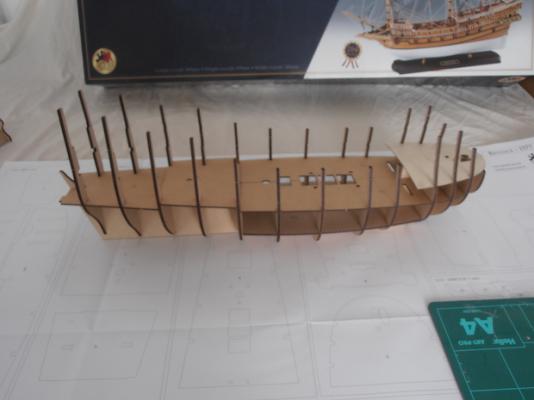
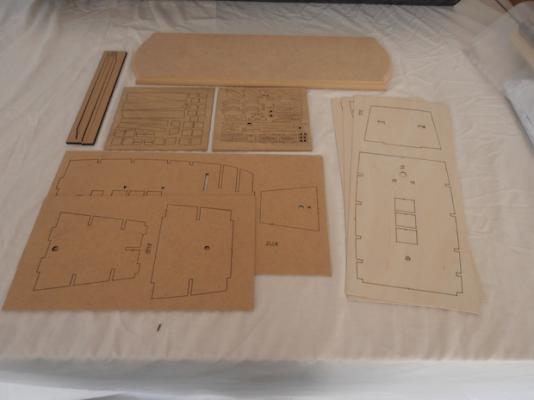
Hi Jan, it is My first job is to identify the parts and remove them from their sheets to test fit. The plans make this simple and checking them against the drawings the parts are very accurate. I’ve dry fit all the bulkheads and deck sections from the MDF sheets, again no problems at all. The frames fit easily but with enough play to allow for plenty of glue, and with the decks fitted the hull is very much self aligning. Looking at the general alignment from bow to stern the lines look pretty good so I don't anticipate any great problems profiling the frames ready for planking. Another consideration will be to take into account the plank thickness at the stern, the false keel is 4mm thick and the stern post is 5mm, so I’ll lose some thickness by tapering the stern. The actual bow, keel and stern post are fitted after first planking and the fit of the bulkheads create enough of a rabbet. It is my intention to follow the steps laid out in the manual as much as possible (it took me years to realise that when manufacturers provide instructions they generally have a good idea of what they are talking about) so my next step will be to plank the lower deck and rough profile the bulkheads before I start glueing.


- 133 replies
-
- 21
-
-
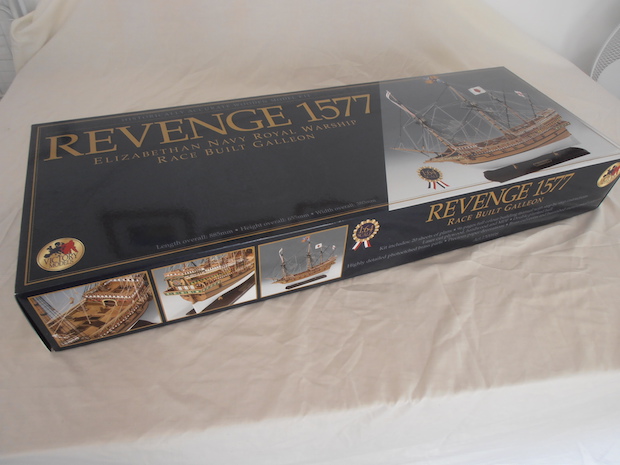
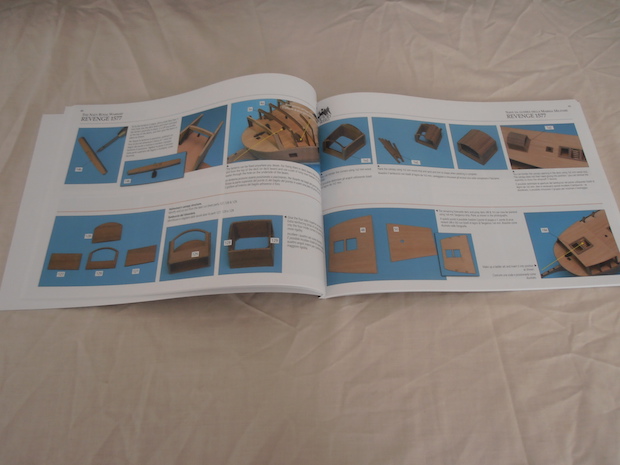
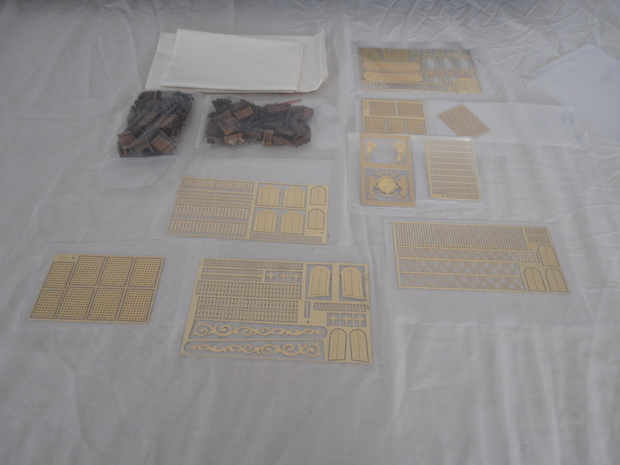
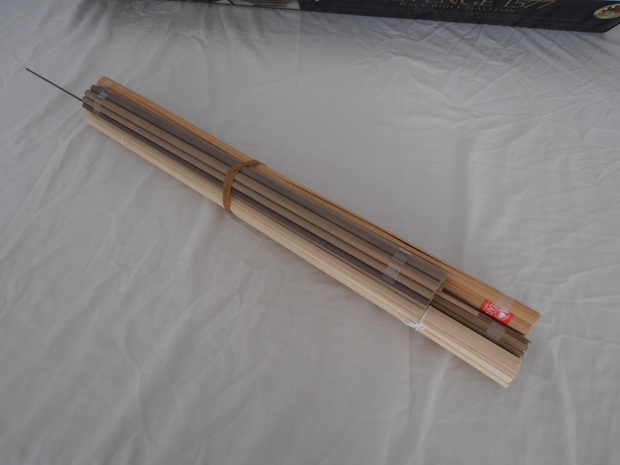
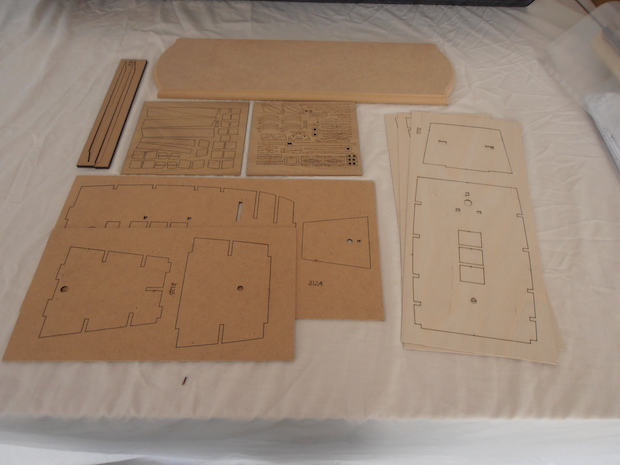
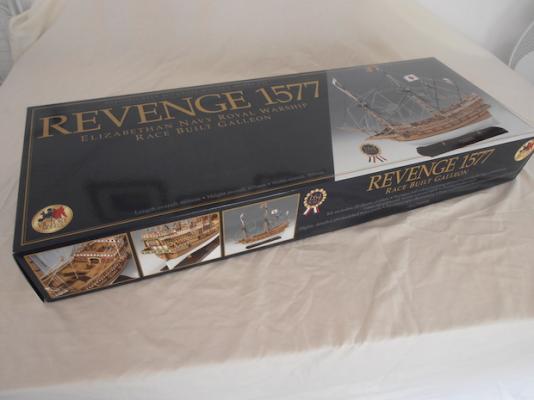
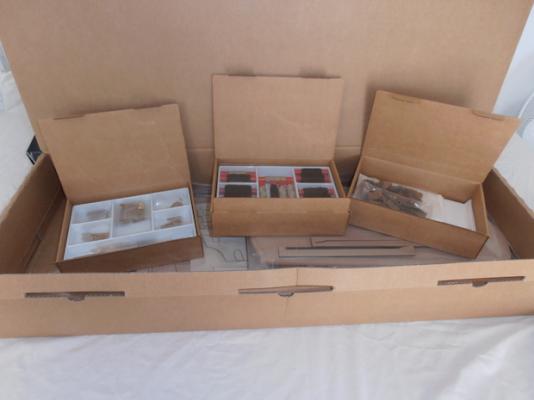
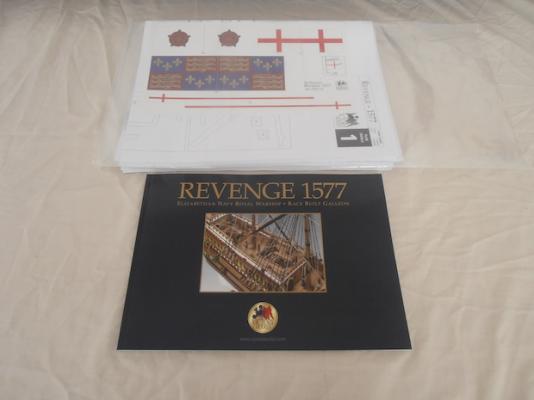
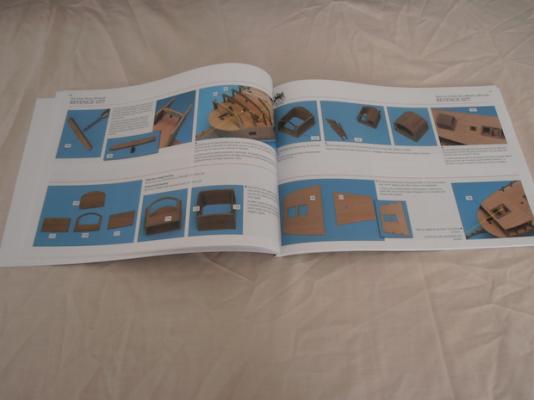
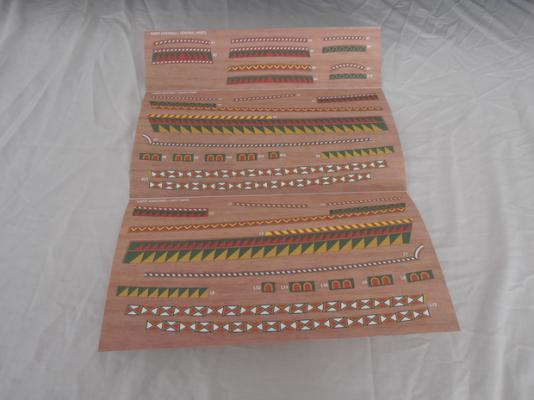
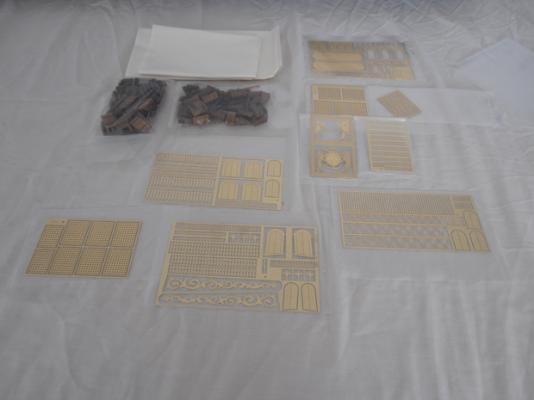
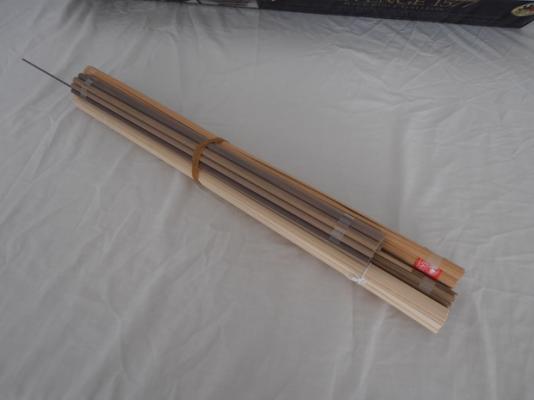
At last, the long awaited release of the Amati/Victory Models ‘Revenge’ is here, and I’m sure this will be one of many build logs of this vessel coming in the near future. Firstly let me introduce myself, my name is Martin (the emelbe are merely my initials), and I live in St Helier, Jersey. This is my first ever build log, in fact it’s my first ever posting on any forum. I’ve been modelling off and on for many years so I’m not new to the hobby and have completed probably 8 or 9 model ships over the years (I’ve probably started a lot more!). My latest models are HM Brig Supply, Amati Xebec, Amati New Bedford Whaler and the Amati Wells Fargo Stagecoach. I had decided over six months ago that the Revenge was a ‘must have’ after seeing the photographs of Chris Watton’s prototype, and have been keeping a watchful eye out for its release ever since. It was just by chance I logged in to the Cornwall Model Boats website to see the announcement on their home page ‘Revenge now in stock’. No brainer for me, out with the debit card, announce to the missus in my best authoritative voice “I’ve bought another model” (take the flack before you start building) and four days later here it is in all its crowning glory. At this point I would like to take the opportunity to give Cornwall Model Boats full credit, every time I have used them, their service is second to none. Anyway enough about me, what about the model, what exactly do you get for your money? To start with a healthy 8.2 kilo of glossy box, beautifully illustrated, usual Amati, and for once they haven’t gone to the great trouble of neatly packaging ‘fresh air’ as in some of their kits (big box with not a lot inside). The whole thing smacks of quality. On opening the box you can see how much pride Amati have taken to ensure everything is well protected from damage, and there’s not a great deal of spare space in there. The firs thing that grabs you is the plastic bag containing all the 20 sheets of plans, the sheet of flags, the ‘precious paper’ decorations and the instruction manual. The manual is in itself a masterpiece, beautifully finished, lavishly illustrated step by step instructions, and the added bonus of the primary language is English. The whole thing is like having one of those DeAgostini part works but without having to pay ten times the price for the kit. I did chuckle at the introduction when it stated they estimated around 200 to 250 hours of building, yeah right….and the rest!. The plans are extremely comprehensive and are as follows: 3 Part identification. 2 Ship profiles and decorations 3 Sails 5 Masts and Yards 7 Rigging (scary) I was intrigued as to what ‘precious paper’ decorations were, but I suppose it speaks for itself, very good quality paper, very nicely printed with the hull decorations. The fittings are packaged in three stout boxes which include all the rigging thread, blocks, cannons (wooden carriages thankfully), sail cloth and the etched brass sheets. There appears to be plenty of wood for planking etc. these being Tanganikya for the decks Lime for first planking and, I think it’s basswood for secondary. The rest of the wood is made up of Walnut strips of varying sizes. The sheet wood is mainly MDF for hull construction and Dibetou (African Walnut) for the rest of the parts, all nicely laser cut. The masts and Yards are Walnut. One really nice touch is the inclusion of a base with what appears to be brass pedestals, why don't more manufacturers do that? Overall the kit exudes quality, it seems the manufacturers have gone to great lengths to take the model kit to the next level. I a immensely looking forward to this build (perhaps not the rigging so much, but I’m sure I’ll get plenty of advice if I need it). So ‘once more into the breech’ or something like that, study the plans and dry fit so I get a feel for the model. Here goes.
- 133 replies
-
- 23
-