Siggi52
-
Posts
1,156 -
Joined
-
Last visited
Content Type
Profiles
Forums
Gallery
Events
Everything posted by Siggi52
-
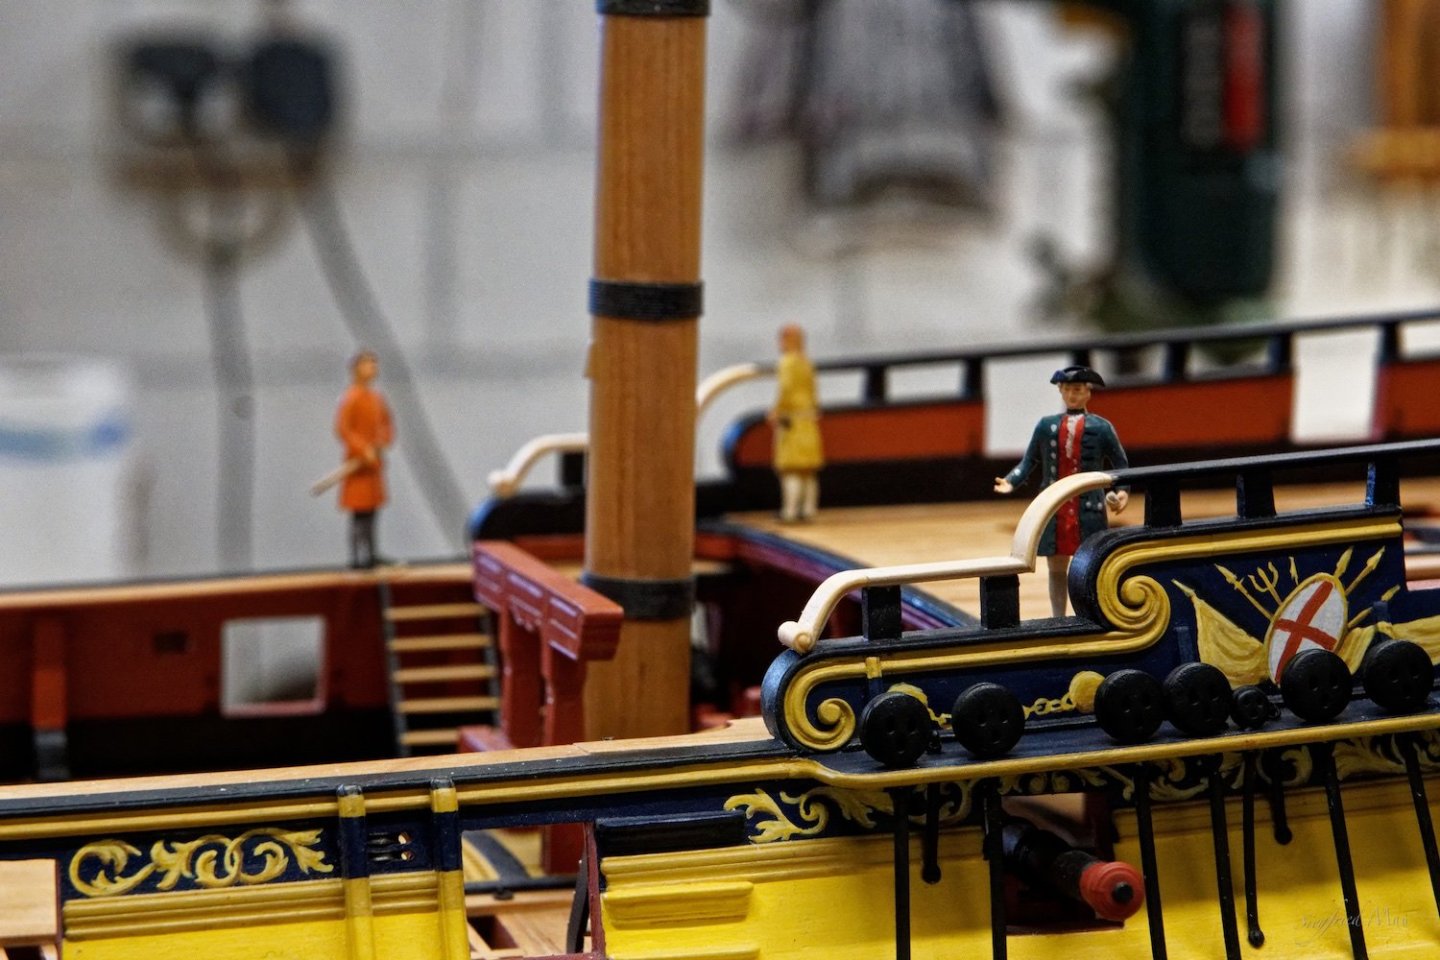
 Thank you very much for all your good wishes, likes and so on. I'm working at the moment to create the rail in front of the quarter deck, and that is not so simple as it looks. So it may take some time.
 -
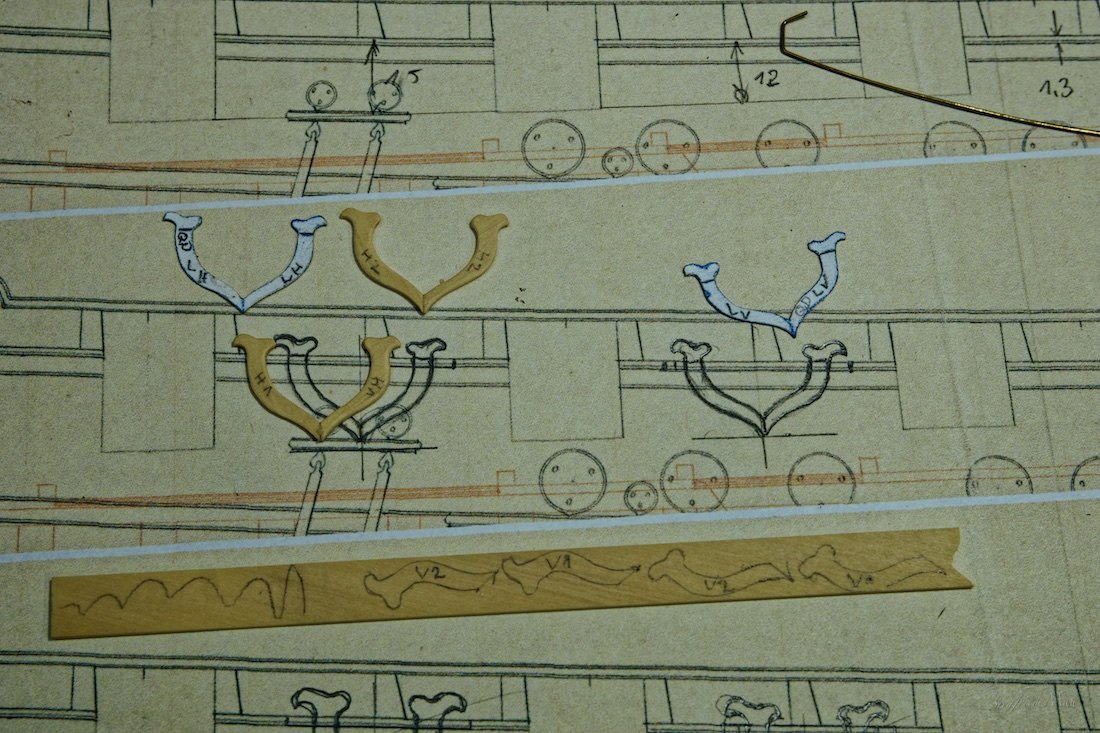
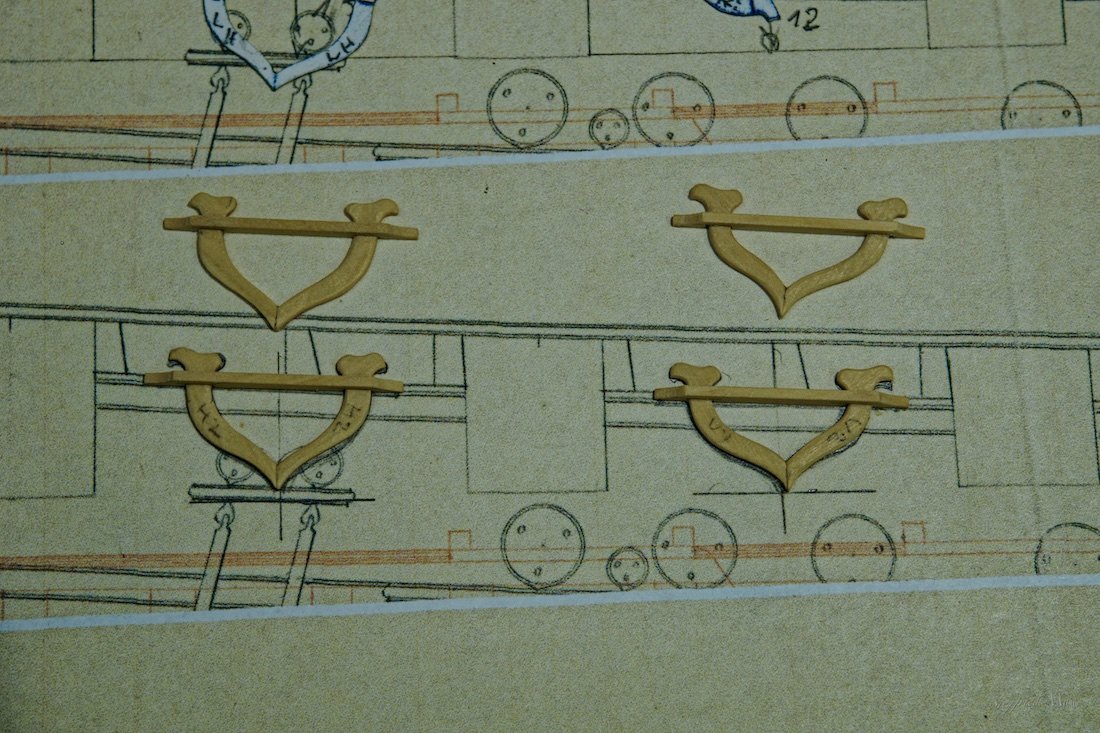
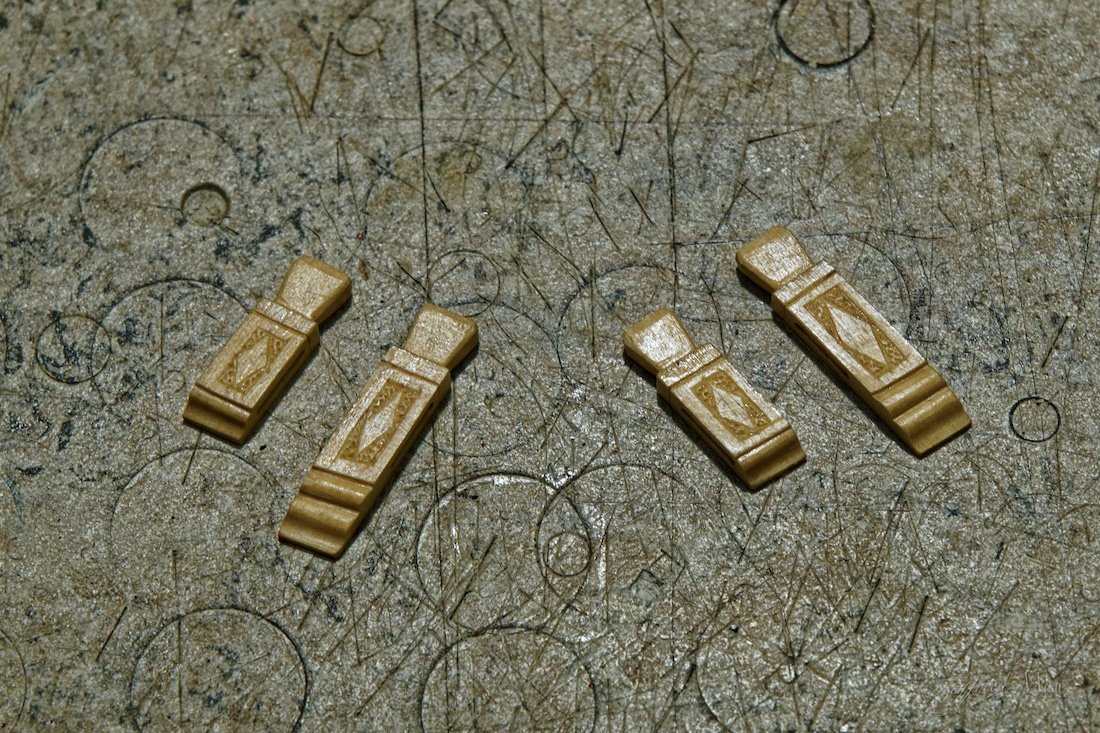
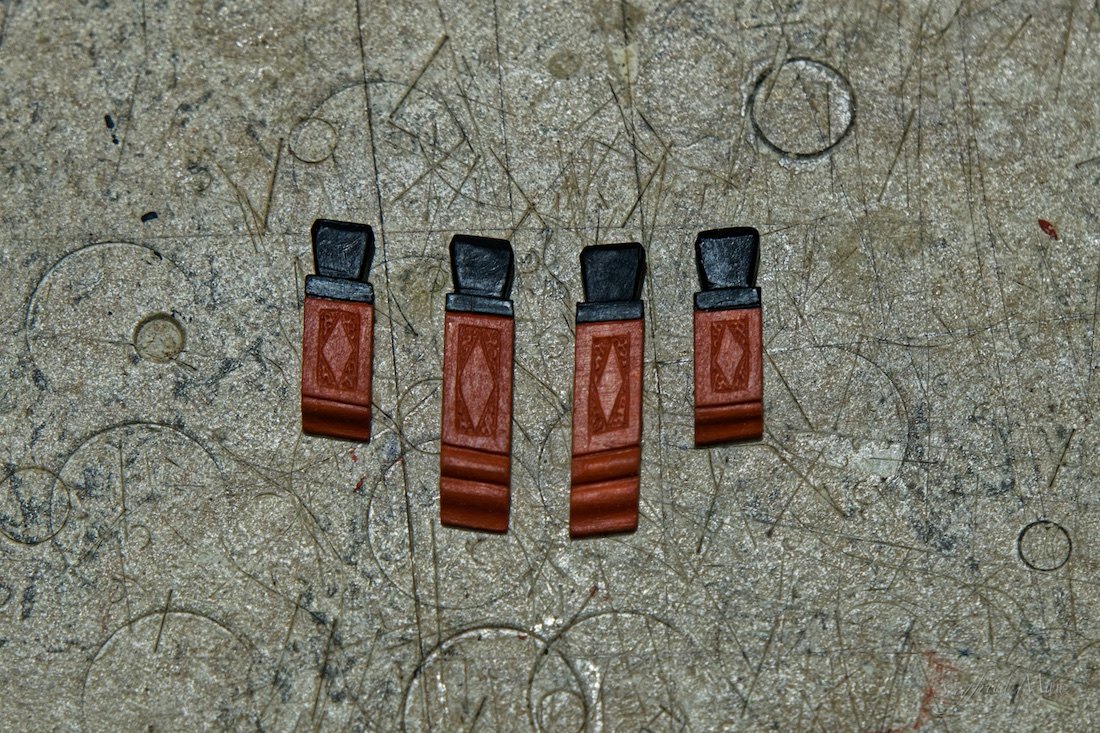
Hello, and thank you for all the likes and wishes. Since I sent the team home for the holidays, I worked a little for myself. The kevels and cavels were on the list. Here the kevels and the cavels

-
Hello Dan, thank you for your kind words. Yes you may ask me questions, may be over PM, but I must say that I'm not an expert about sails. All I know about the sails in these ships, I know from Ms Bischoff's book about the Oseberg ship. See here the first page. Could we see pictures of your ship somewhere?
-
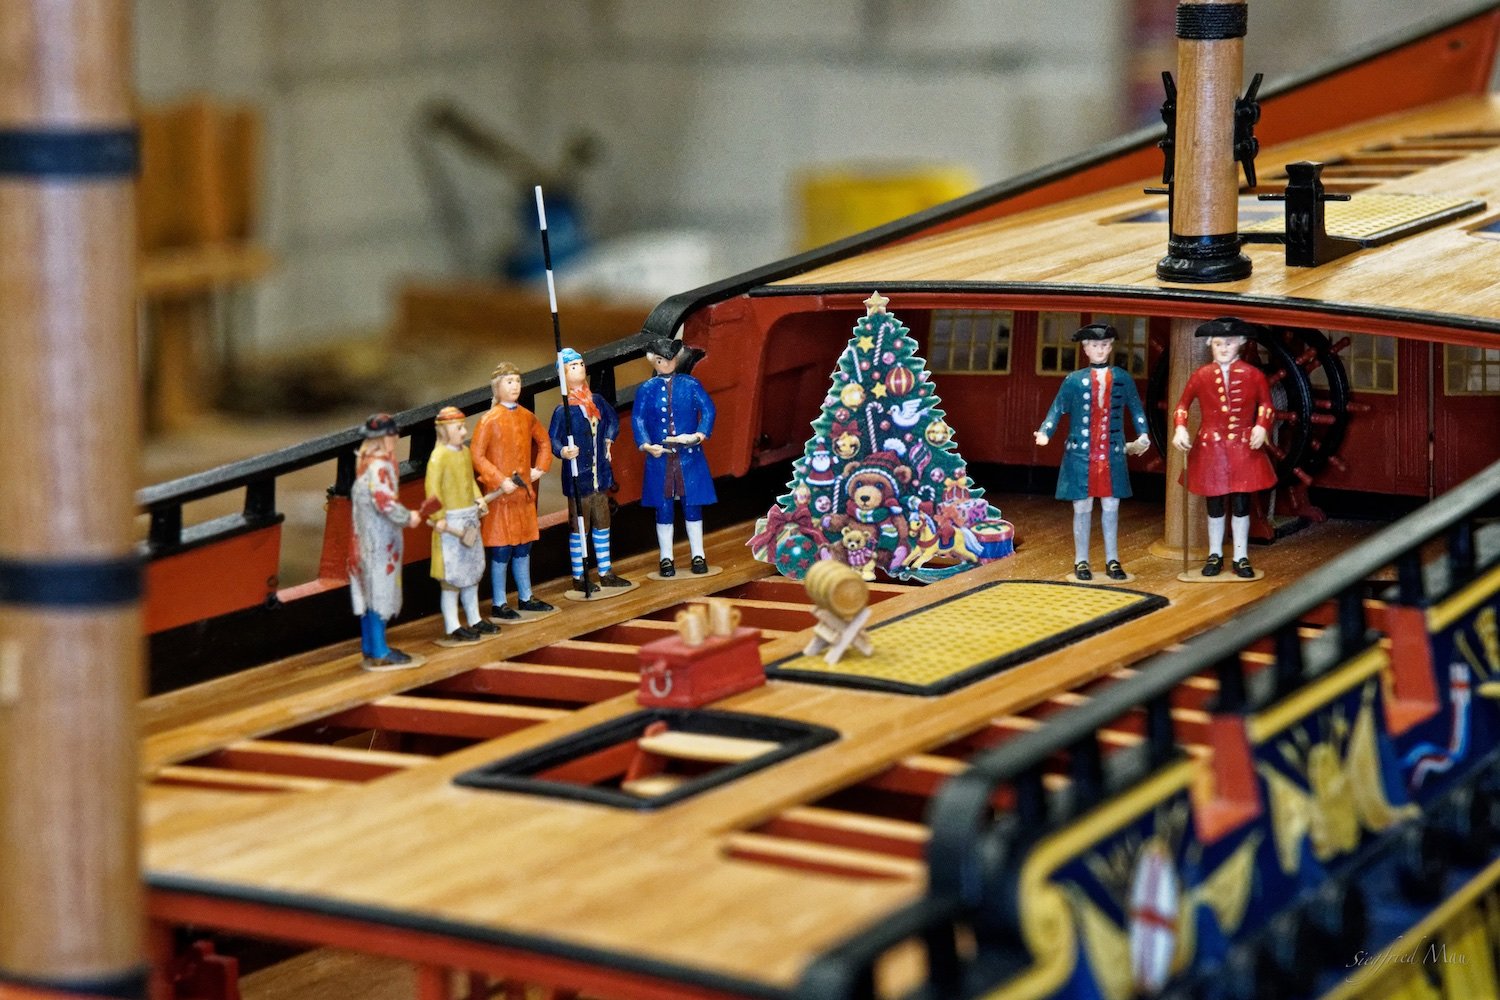
Hello, and many thanks for all your likes and comments. Because I unfortunately have a serious cold, we decided to prefer the Christmas party and then close the ship yard first. So we all from the ship yard wish you a Merry Christmas and a Happy New Year 2026

-
Hello, it is done! In the former version was too much zig zag, especially with the lage bows. So I laid the short plank a little to the inside and at least made the end pieces new. I don't know why I build them straight? May be my cold. But now all is more or less flush with the surounding area.


-
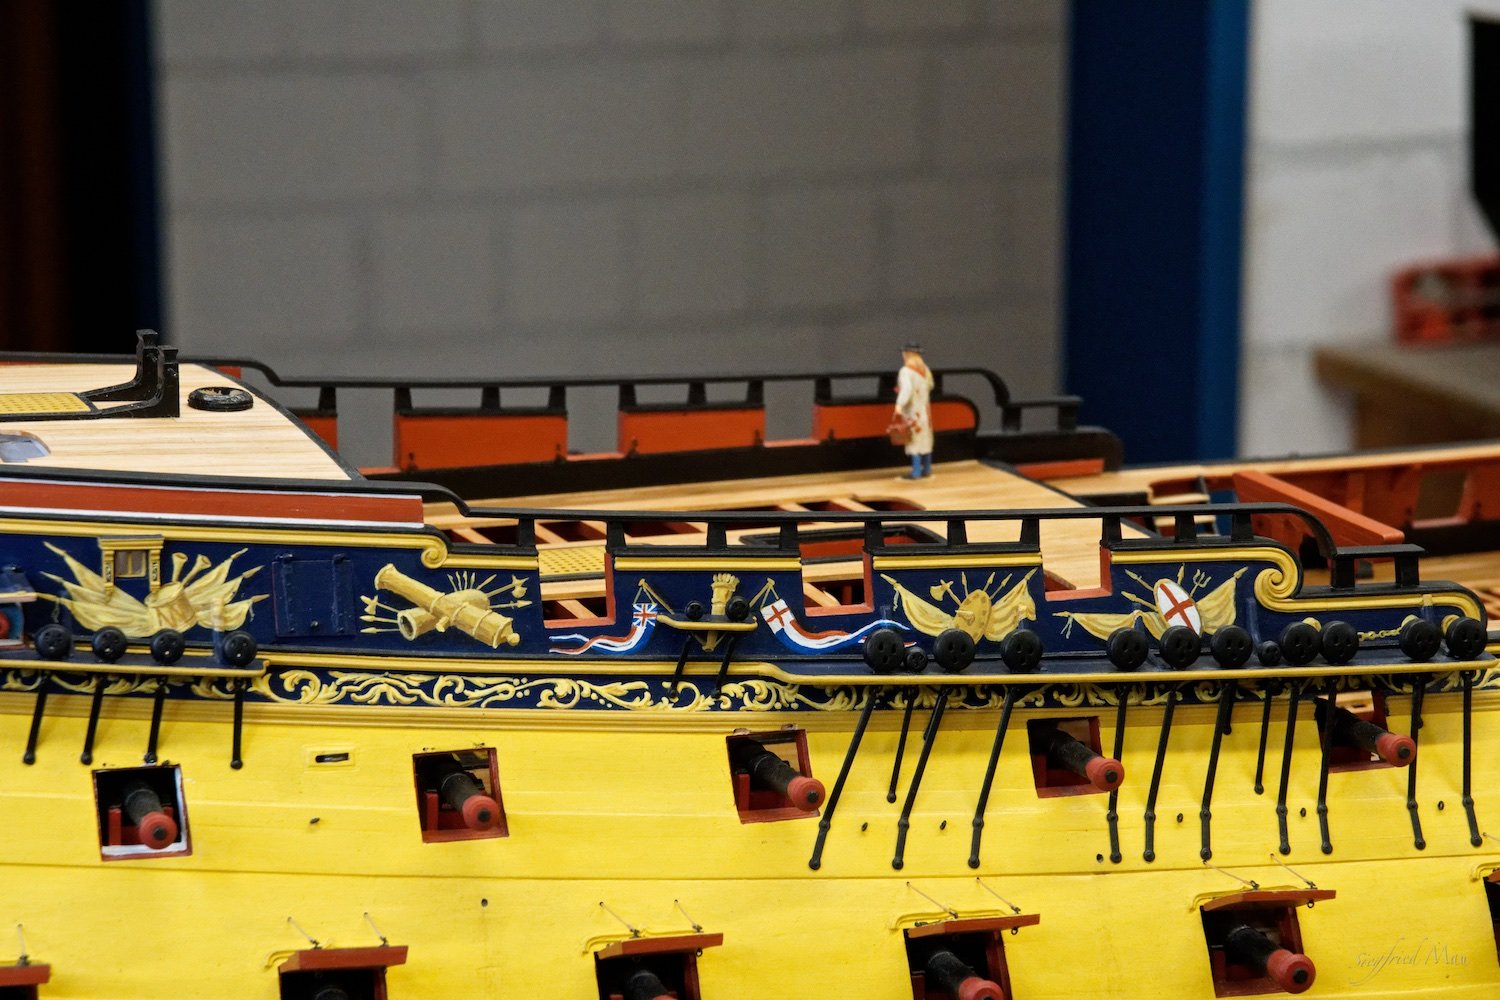
Hello, today only bad news. Because I'm not really satisfied with my work of the last days, I decidet to build some things new. If it come out better, who knows The last stand

-
Hello, the carpenters build the end pieces and the painter had painted them. The shipwright is pleased. When the painter has varnish all tomorrow, I think we are ready with this.


-
Hello, the carpenters have finished the arches and the painter had all this afternoon painted. Now only the two end pieces left.

-
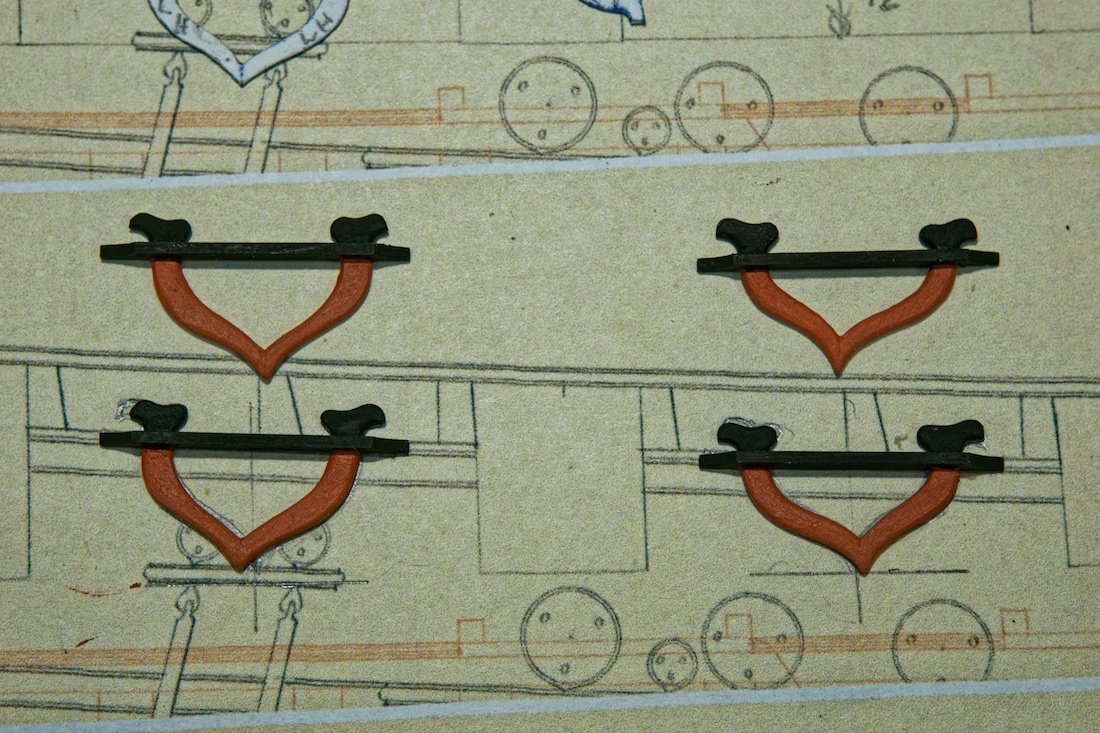
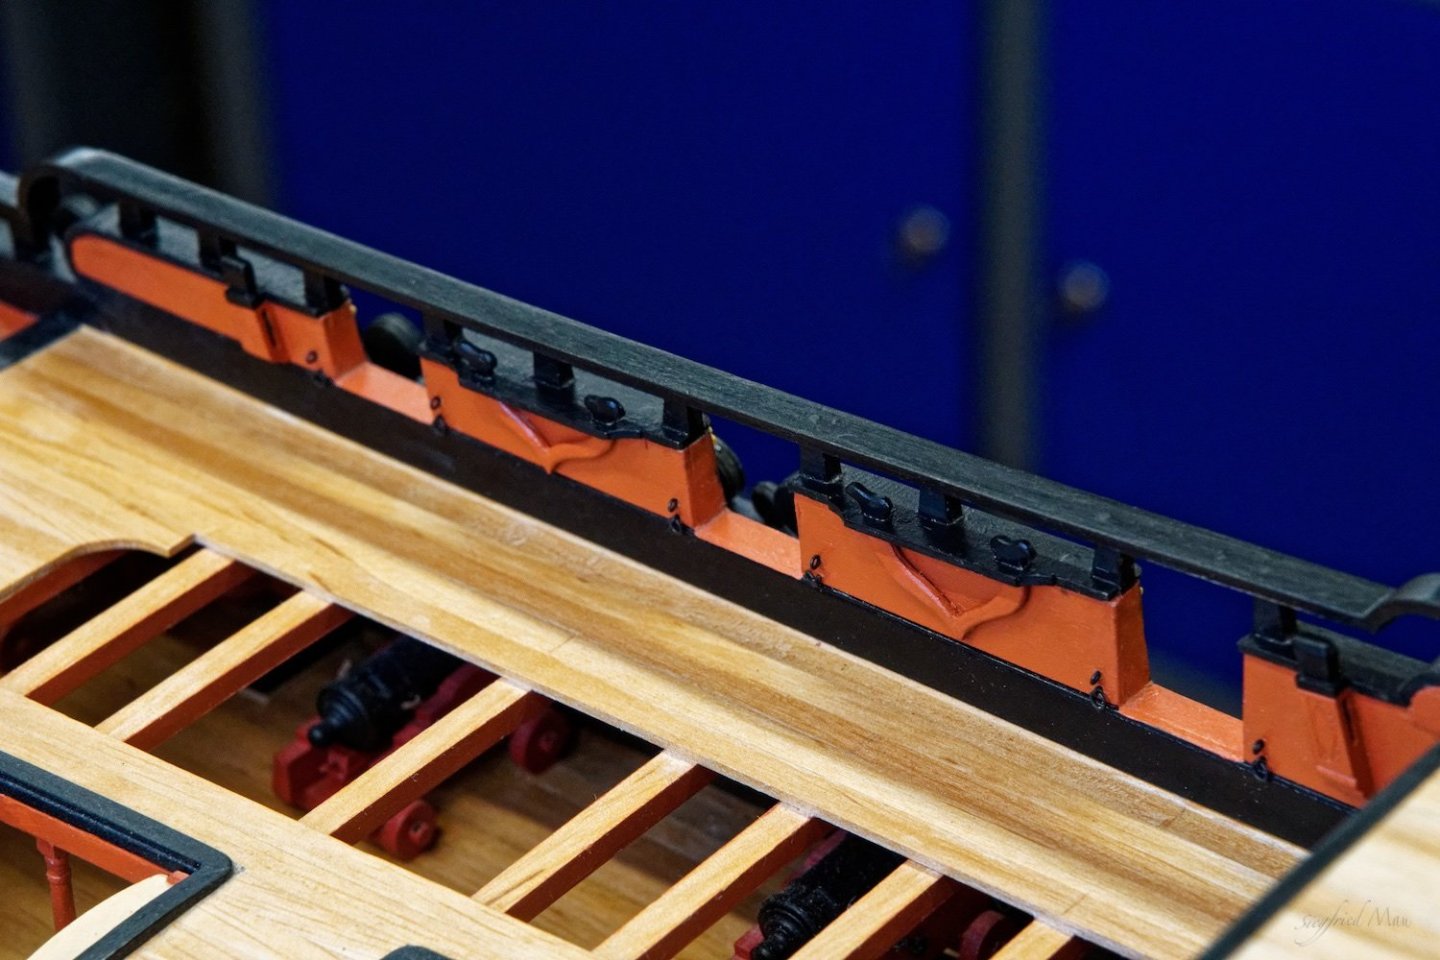
Hello, and thank you very much for your kind coments and likes. Today only a small update, I could't resist to file, sand and paint the fife rail here.

-
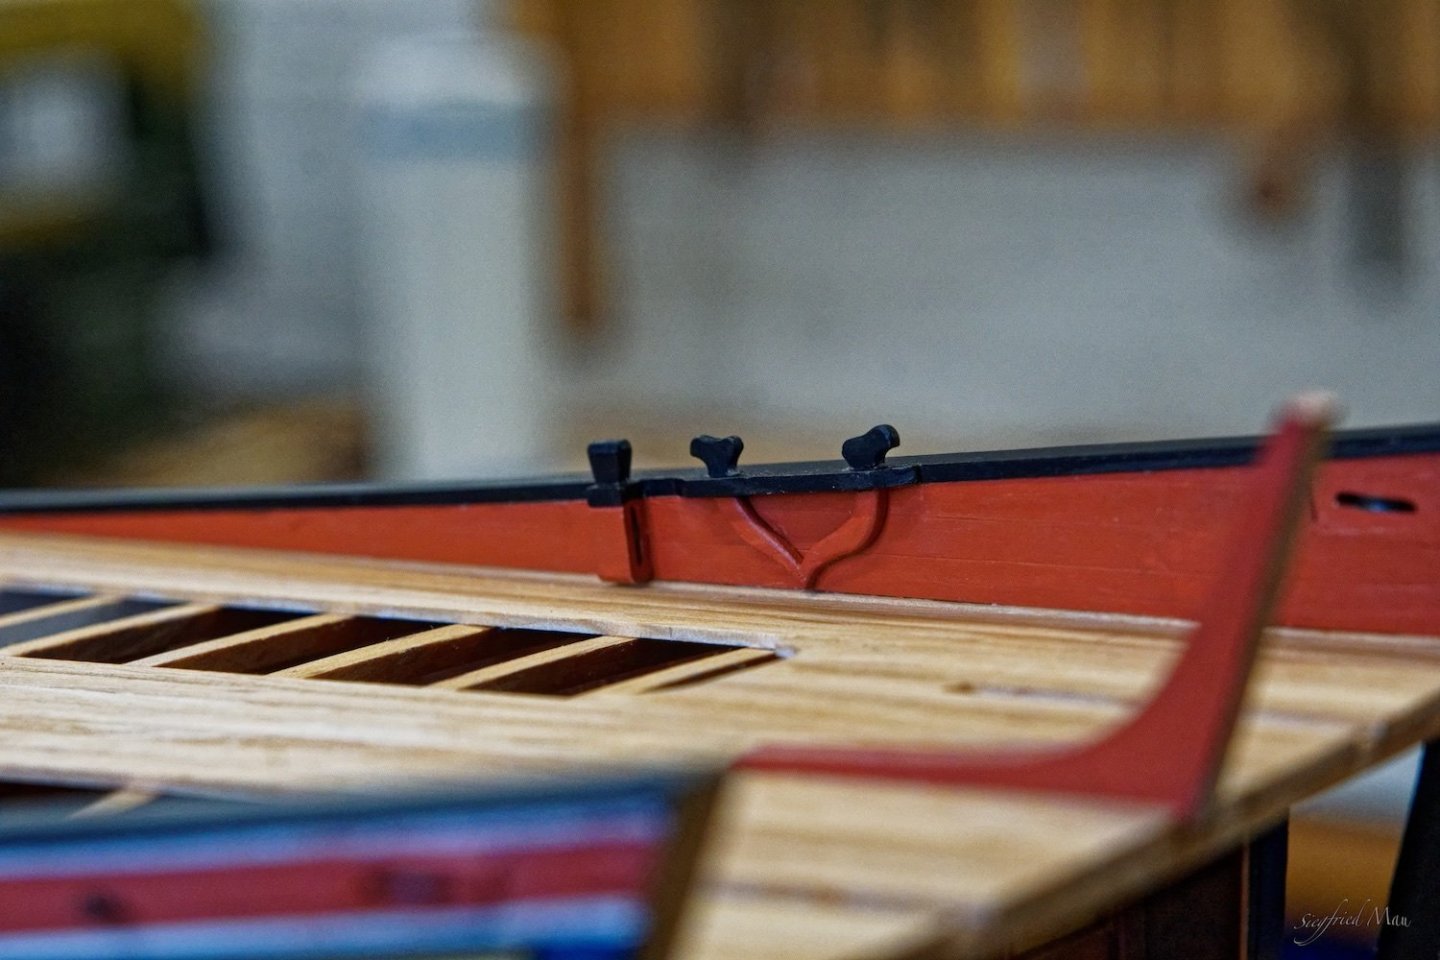
Hello, today I build in the first arch. But before that I had to repair the drift rails here. I had installed them at the wrong side 😐 I turned the arch much wider than the rail Fitting in the arch was the most complicated part here.


-
Hello, the first fife rails are installed. This was the light part, the complicated part with the arches is the next challenge 😐 But I have very talented carpenters, so I hope that this would not cause any problems.

-
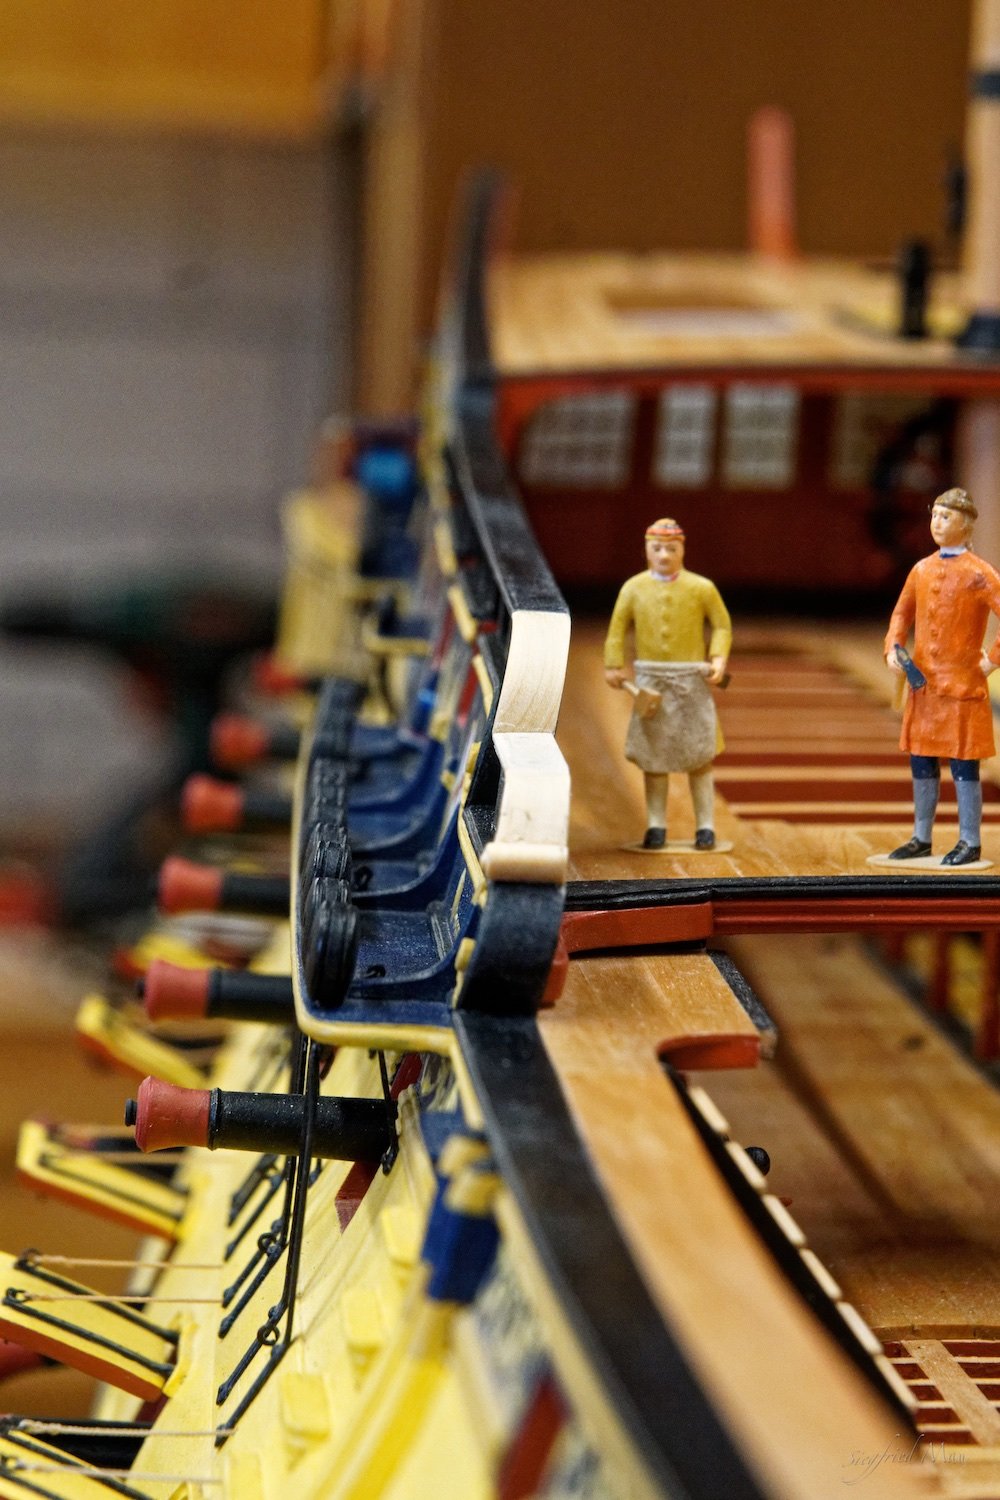
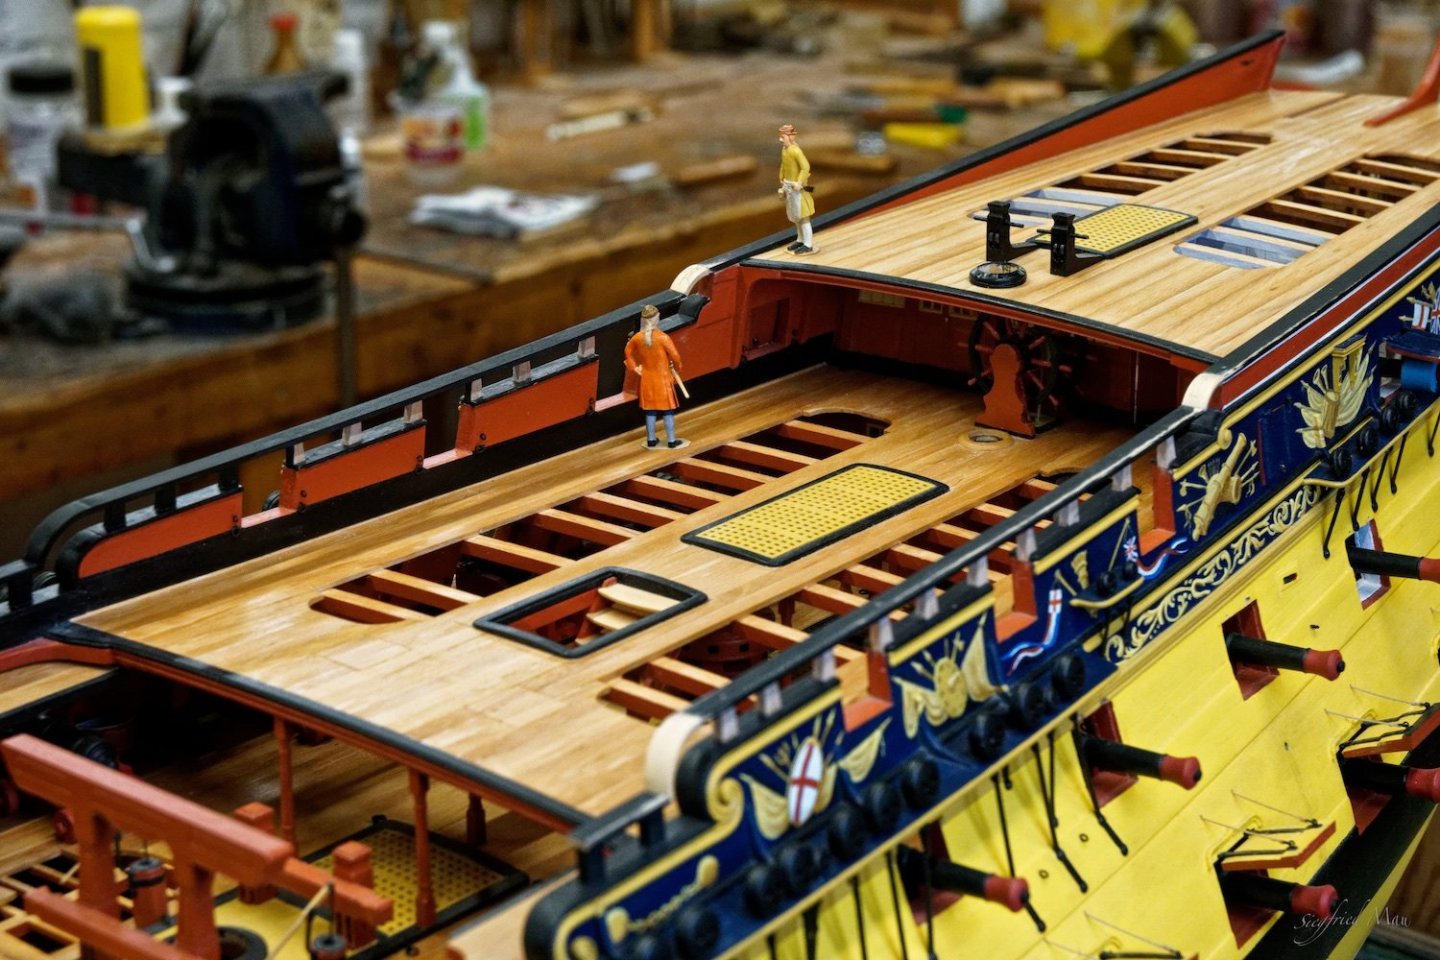
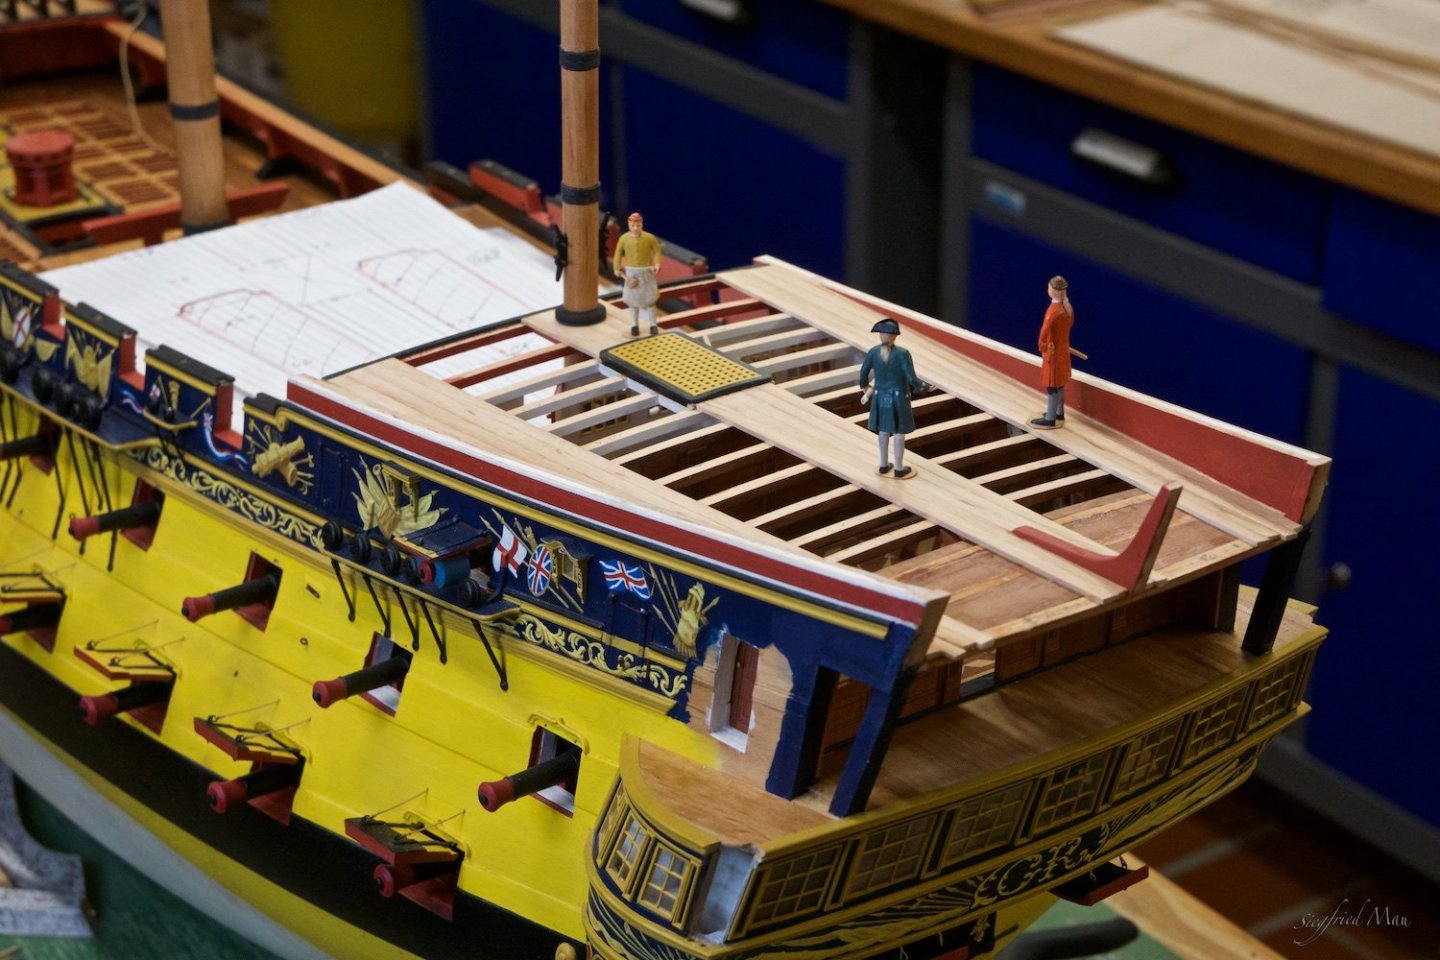
Hello, and many thanks for your kind comments now everything is pretty again and the deck is oiled. Next on my list are the Fife Rails. At the last picture you could see, how low the deck at these ships where. The shipwright is 1,80m tall, so it's just comfortable for smaller people.


-
Hello, today there is only little progress to report. The two bits behind the mast are ready, and two sheaves at the stern are built-in. There I have to do some fine tuning tomorrow and also to set in the sheaves.


-
Hello, thank you for your kind comments and the many likes. And yes Ian, I'm constantly busy repairing errors. I also don't photograph the mistakes. And if I do and seeing it, I'm immediately taking them out and delet the picture. 😚
-
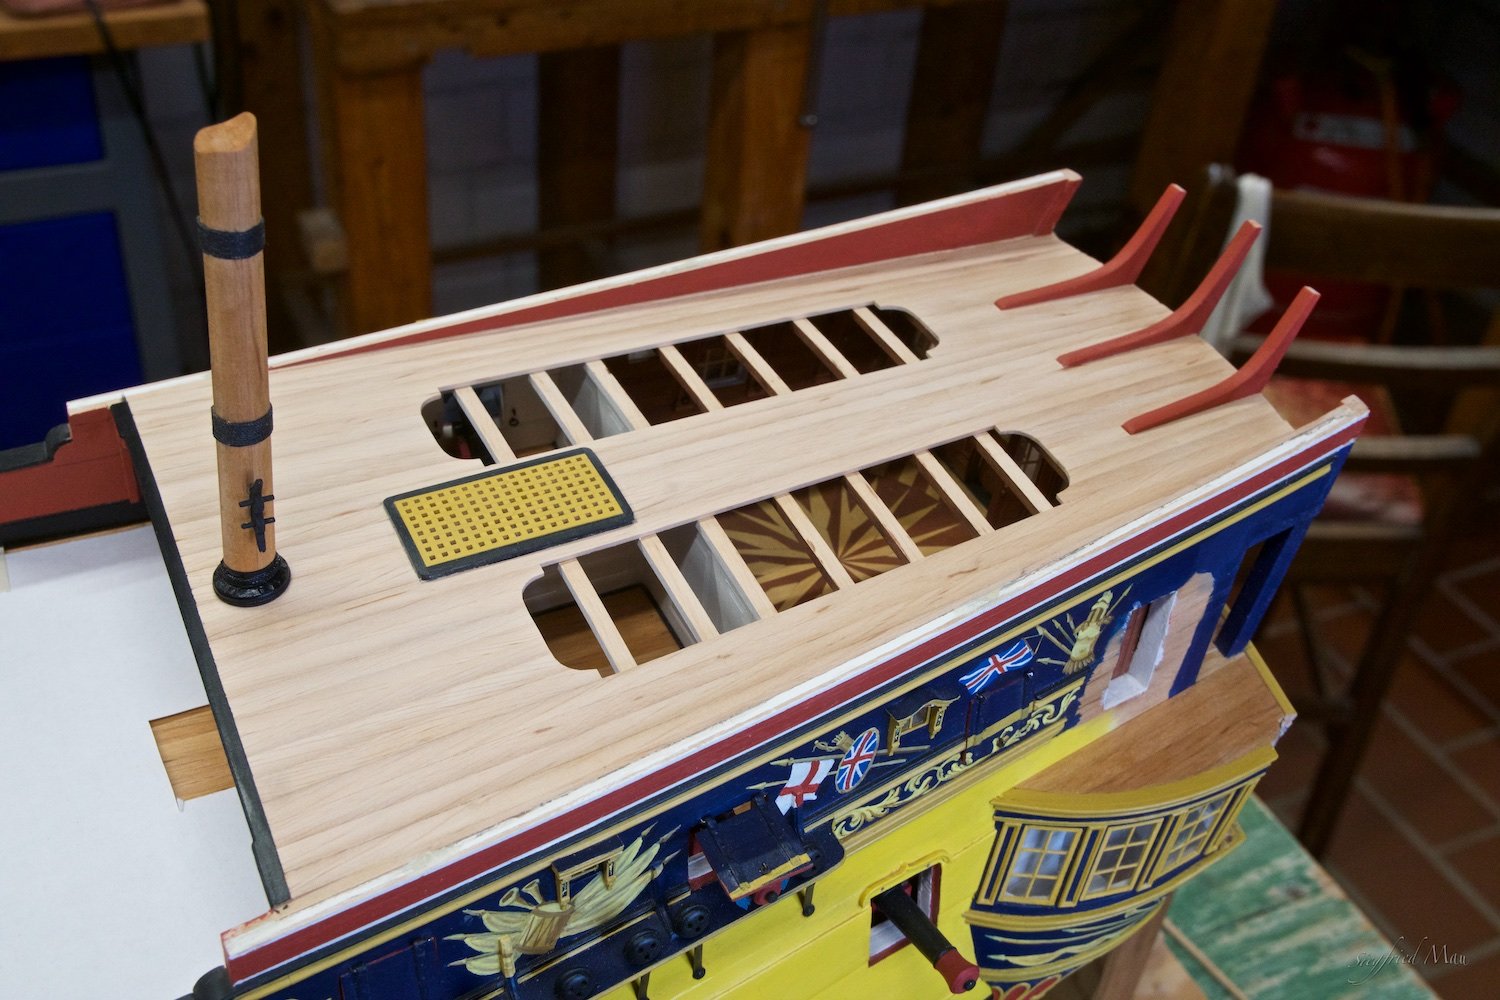
Hello, Today I've finished the deck so far. Everything is smooth and sheer. I left the knees at the back end a little longer, you never know.


-
Thank you Keith and Scrubby. Keith, if the paint becomes too thick, it is necessary to dilute it. Maybe he misunderstood that.
-
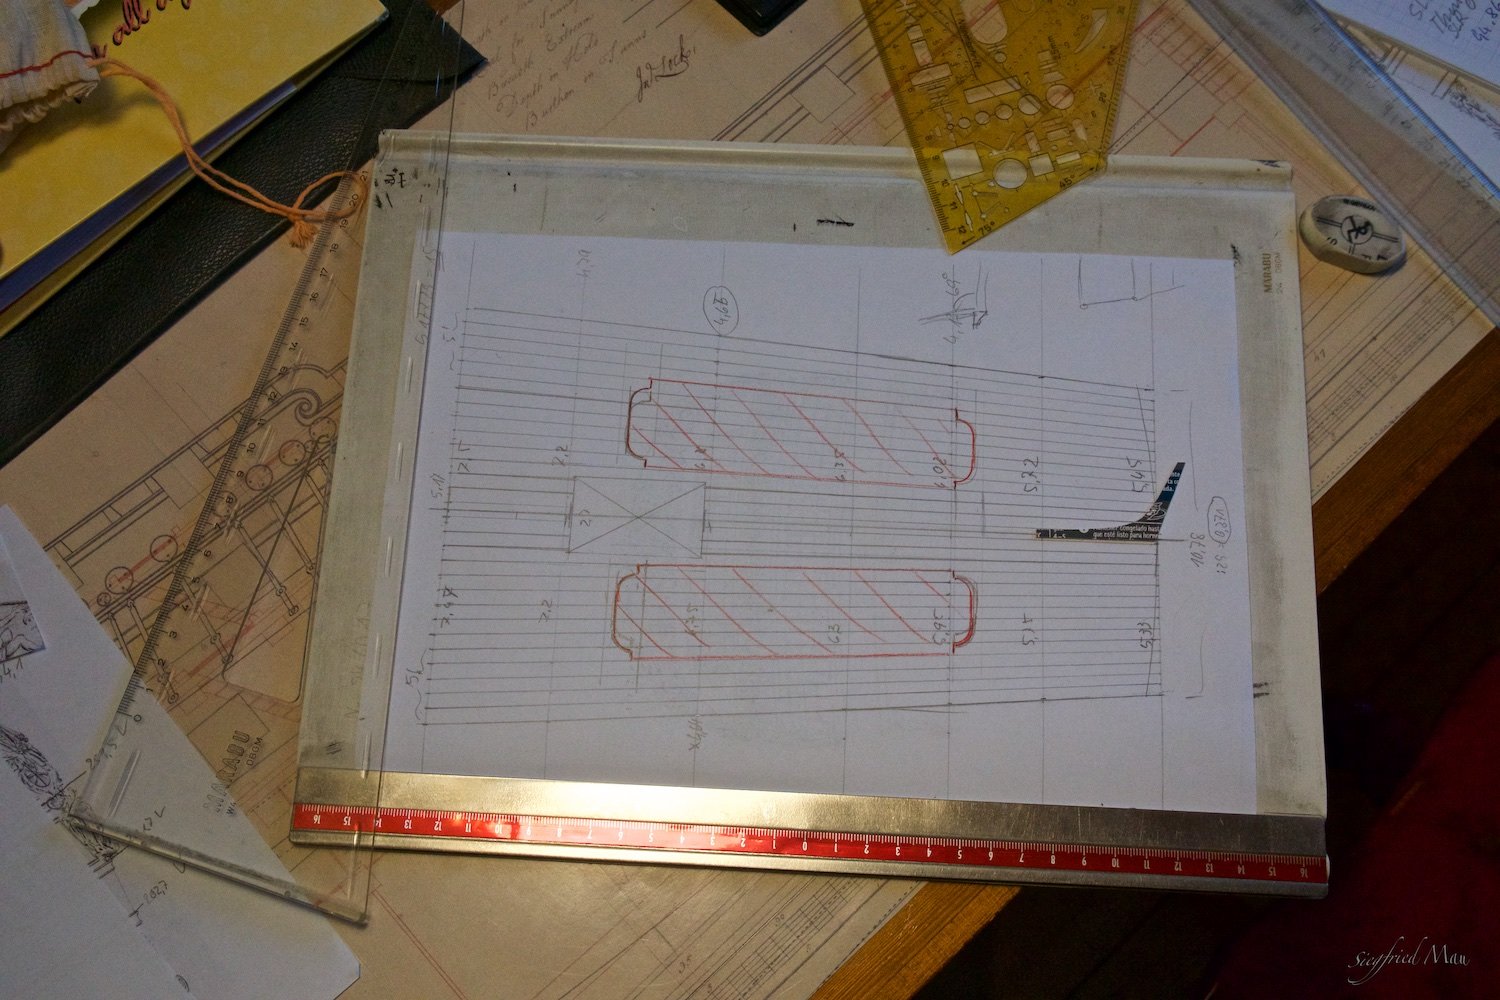
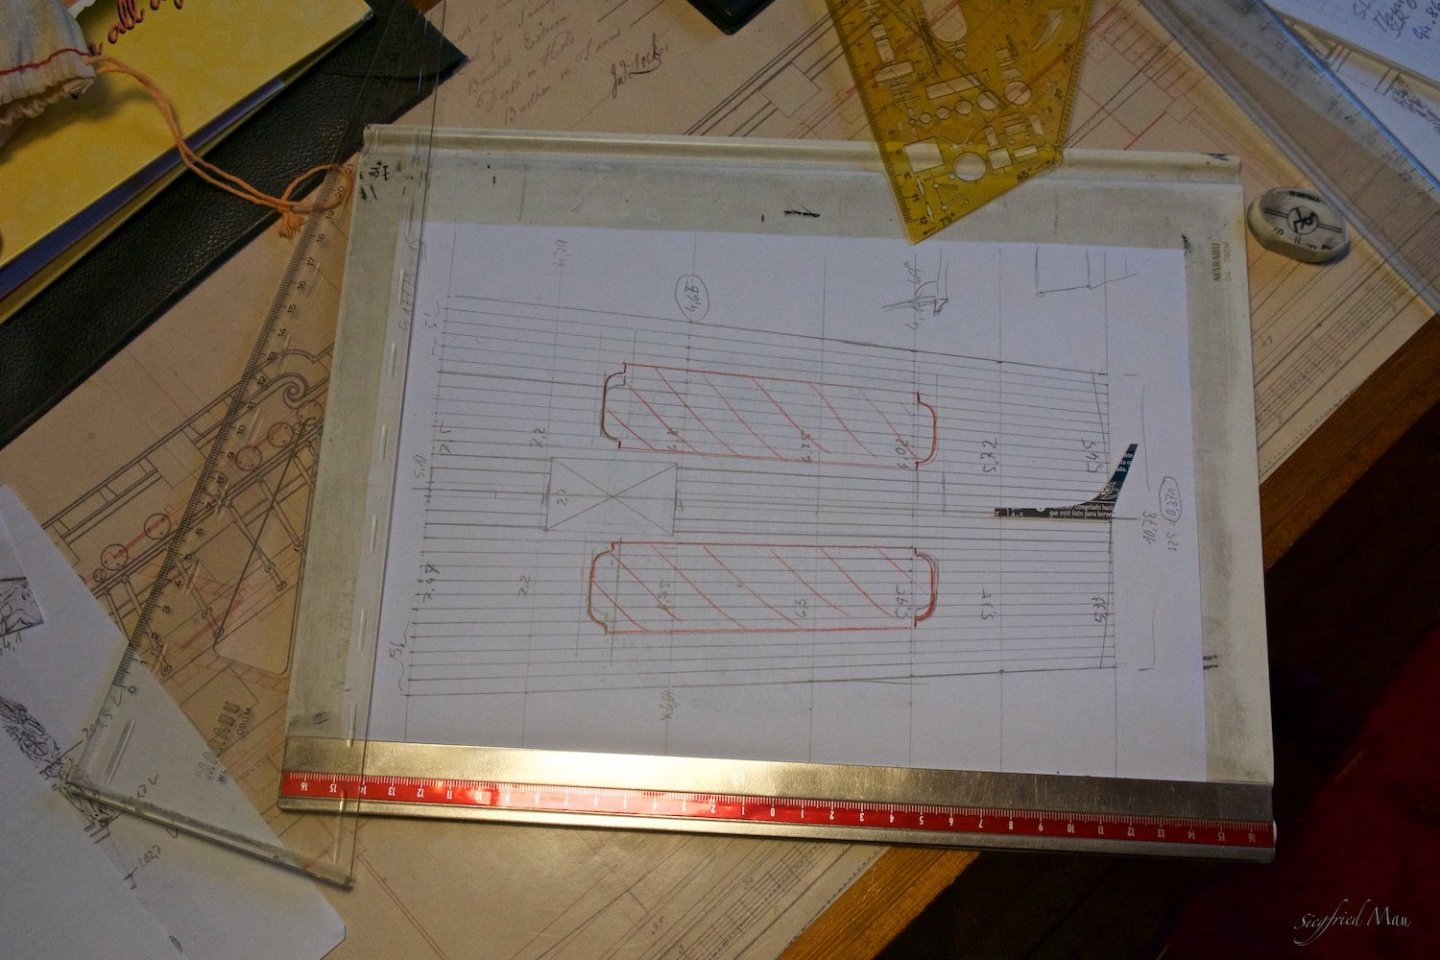
Hello, today I started with planking. Last week I had cut the planks and yesterday I made the plan. So that I was able to make great progress today.

-
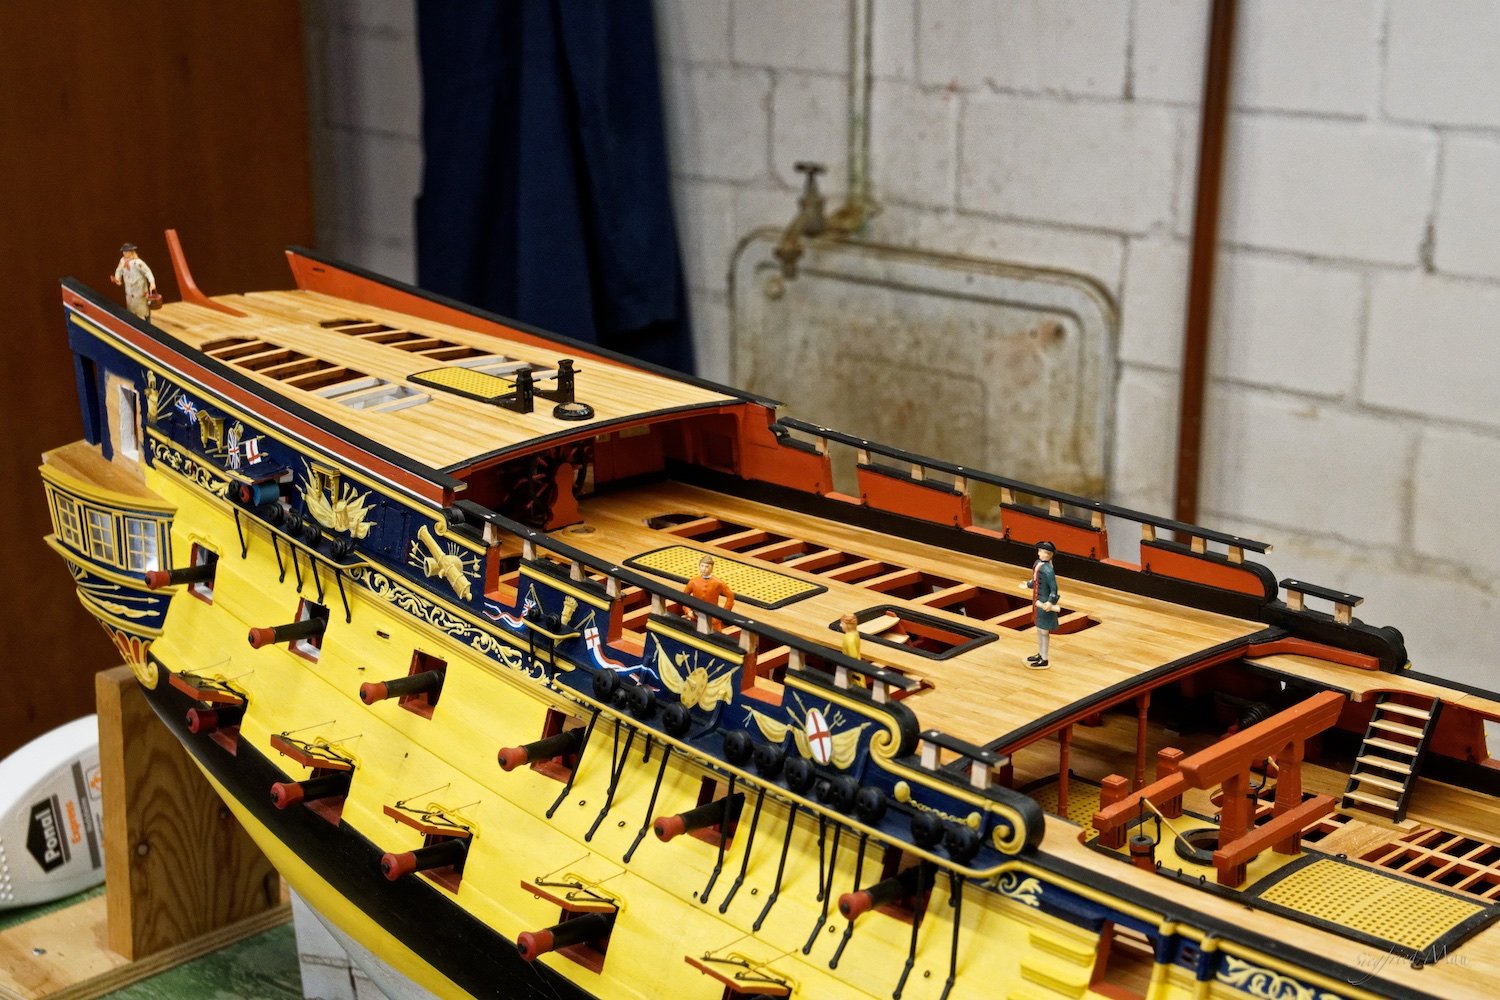
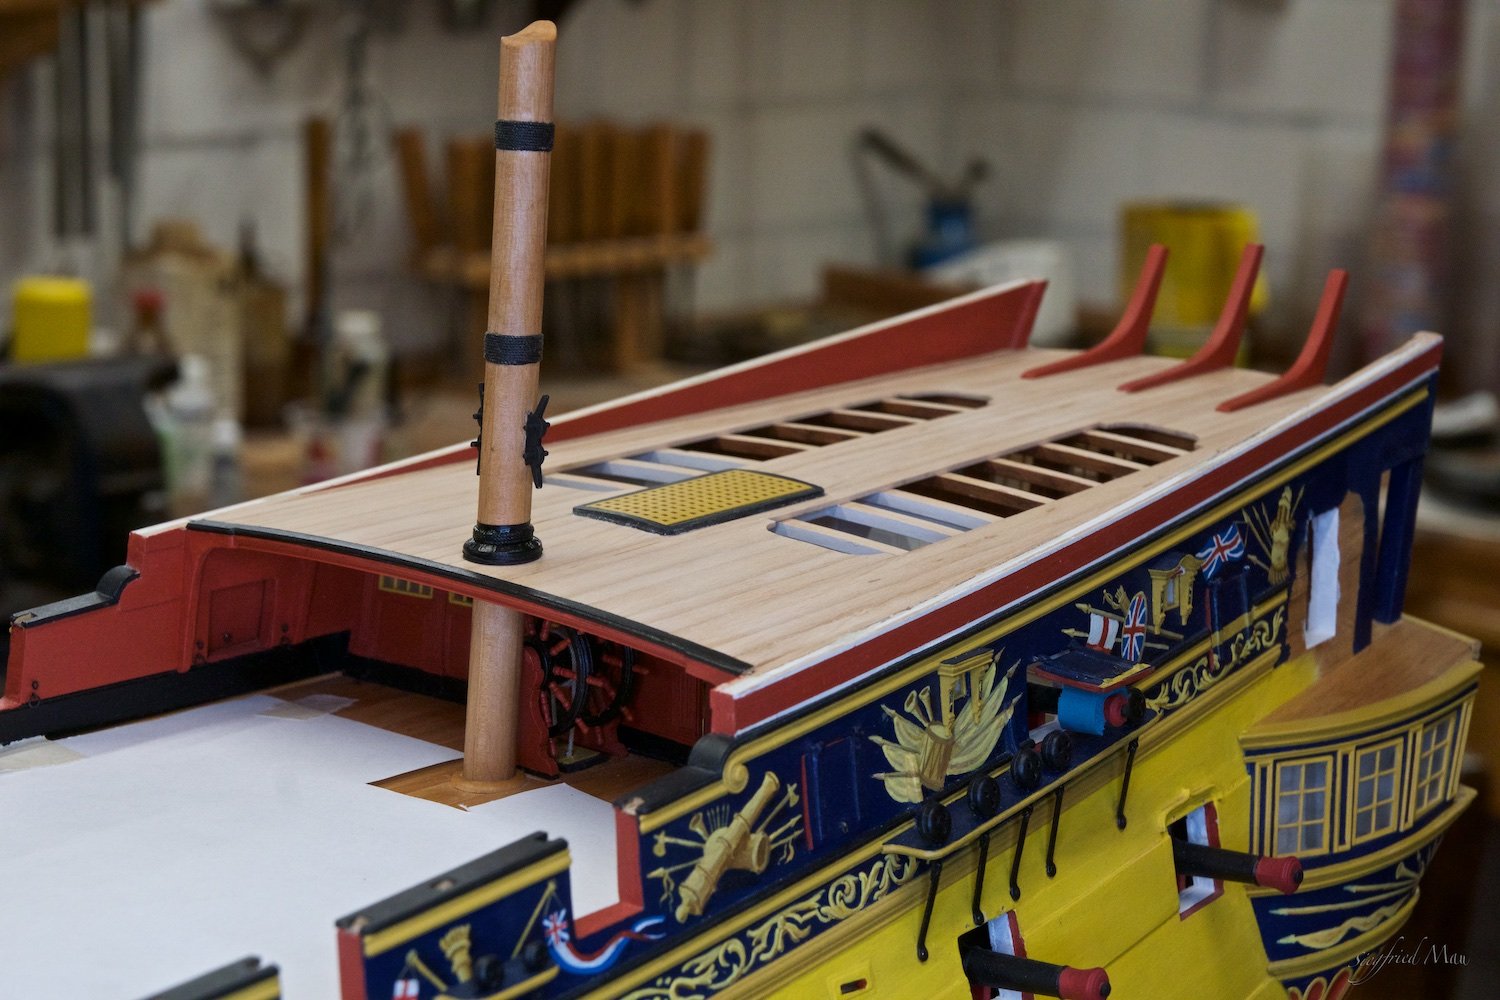
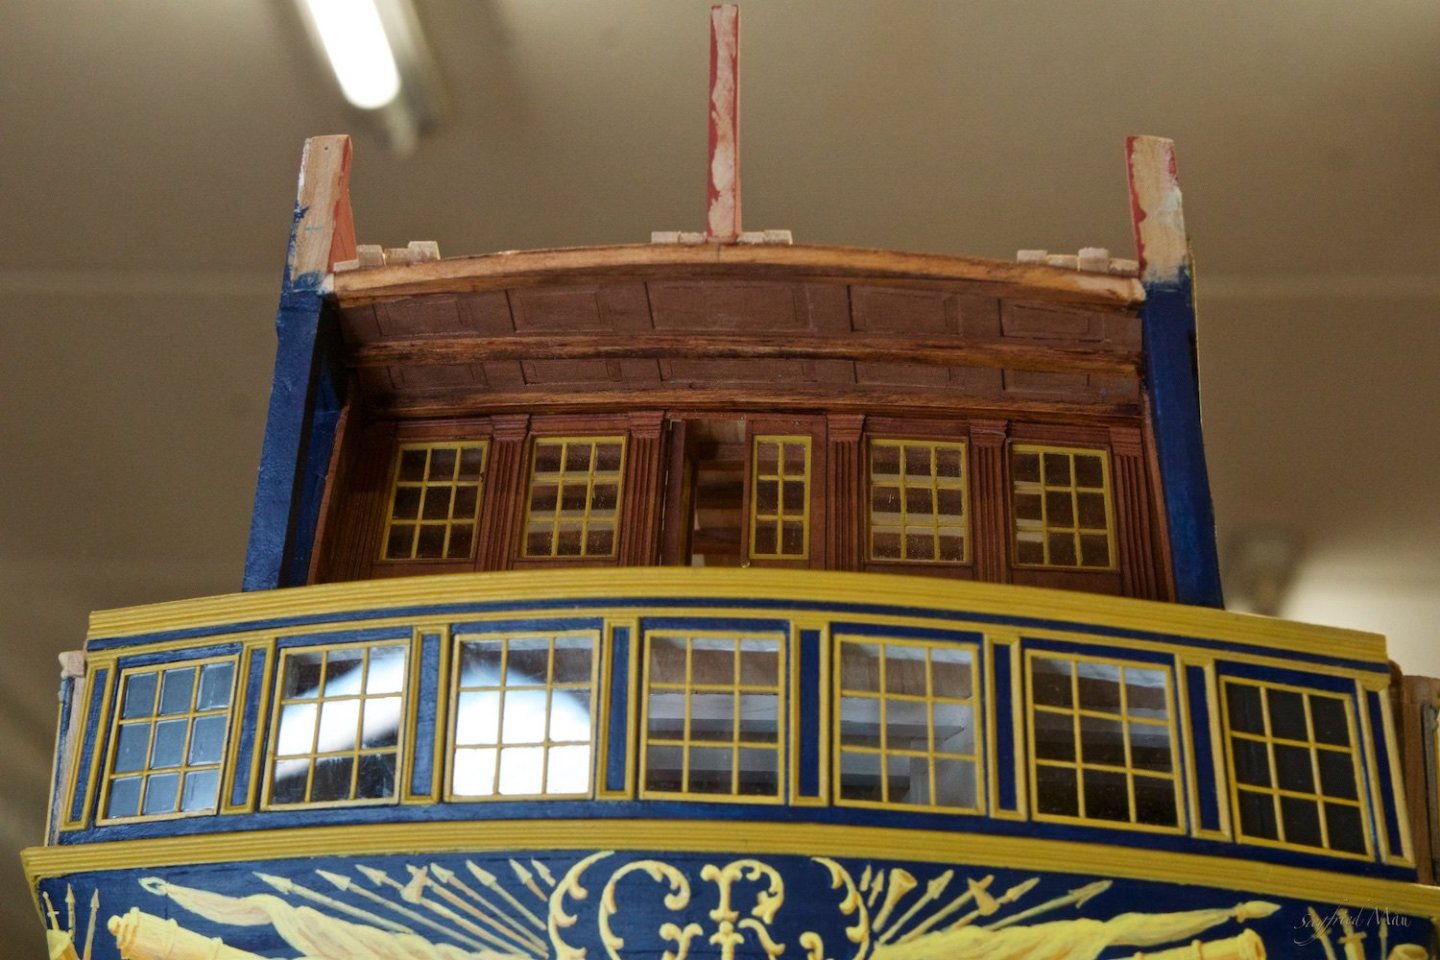
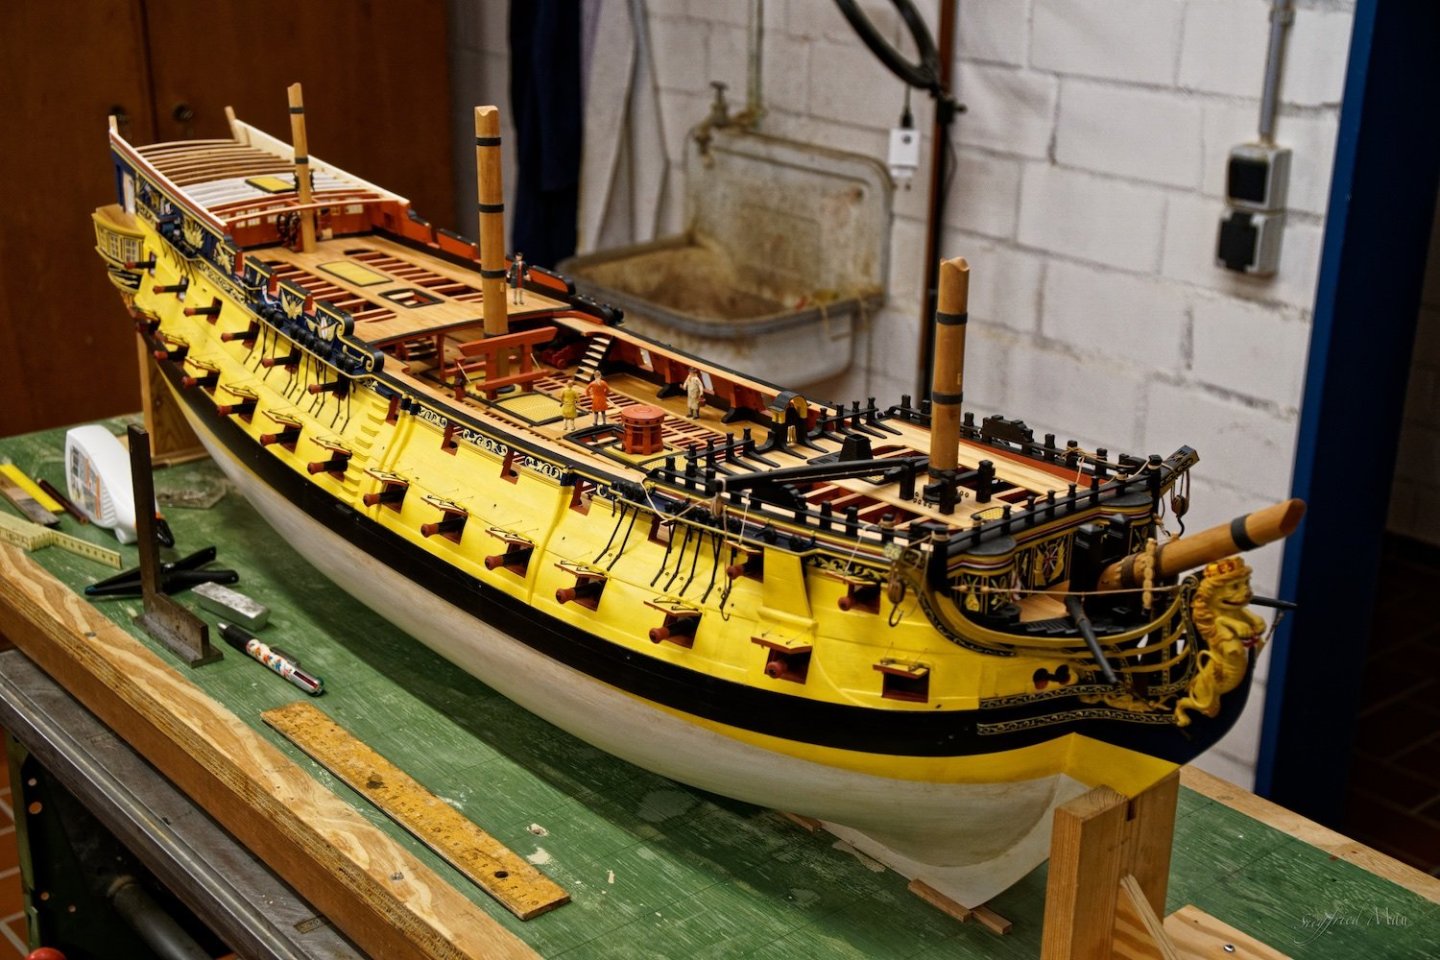
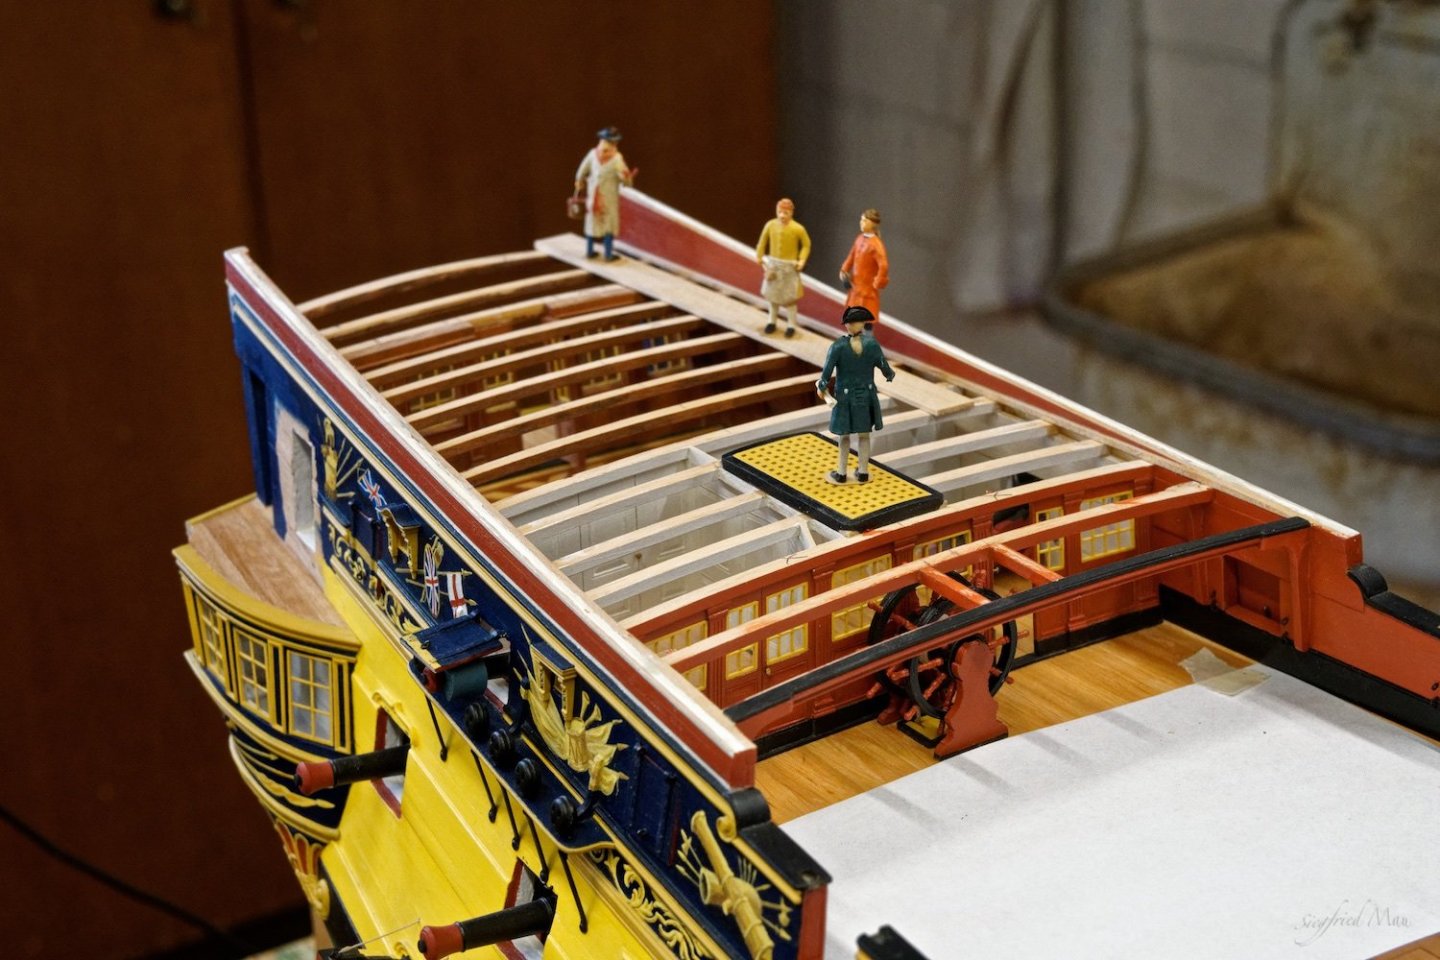
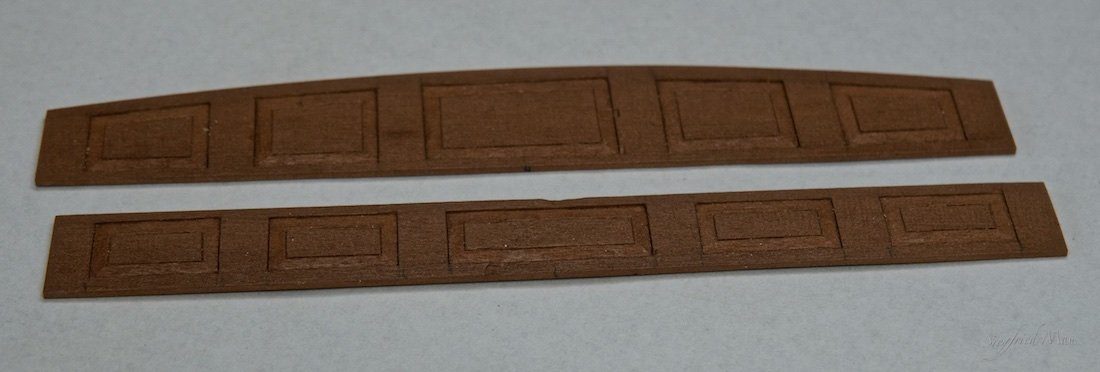
Hello, after such a long time the waiting has an end. I worked for some time a little at the shipyard, but without really results. But now it should rain for the next days, so I'm the whole day at the shipyard. First a picture of the last stand I had a discusion with the shipwright, and we decidet first to plank the pop deck. Here the waterways and the inner planking of the outer walls are ready. The carpenters had made also the paneling for the underside of the balkony. I would think that the whole cabin had this paneling, but you would't see it, so I leave it.

-
Thank you, thank you, thank you for all the nice comments and likes.
-
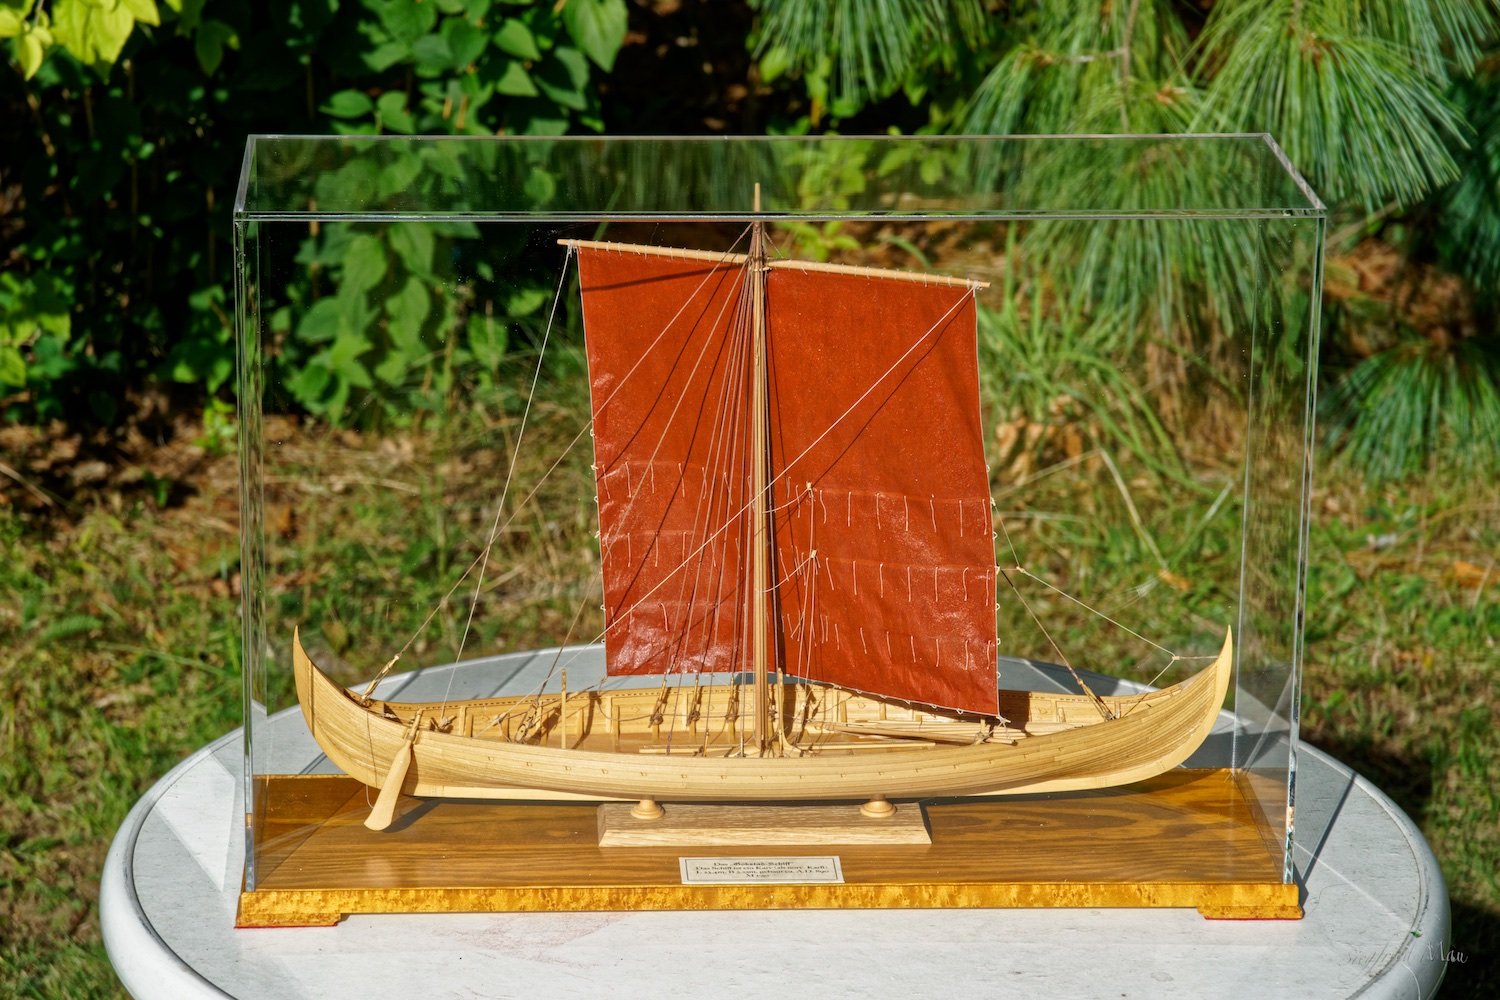
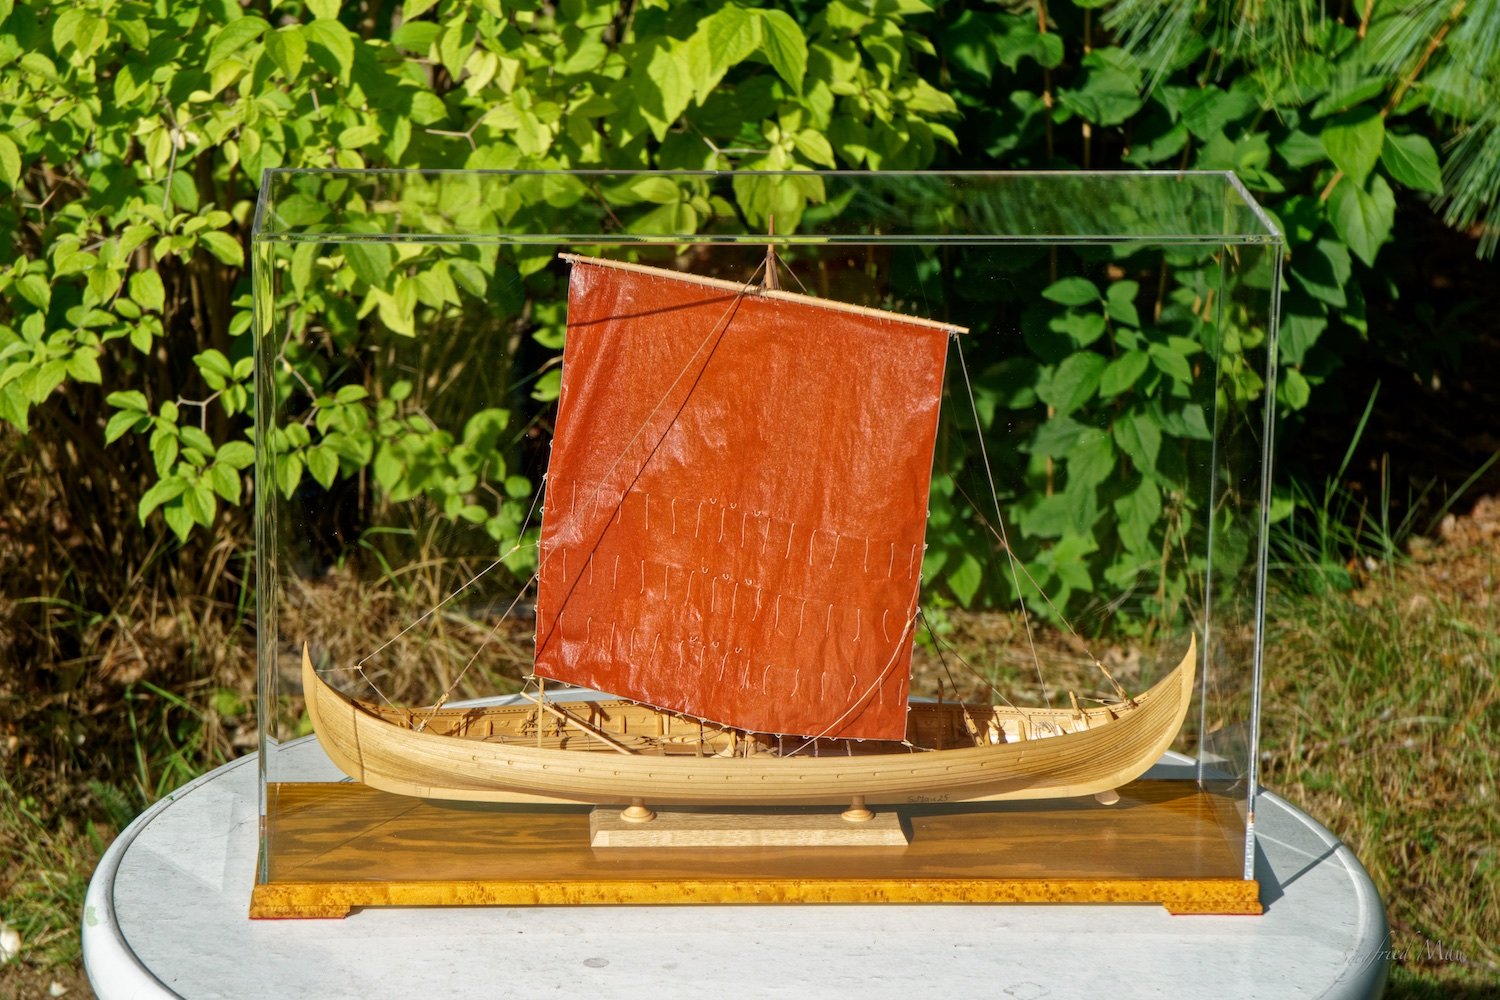
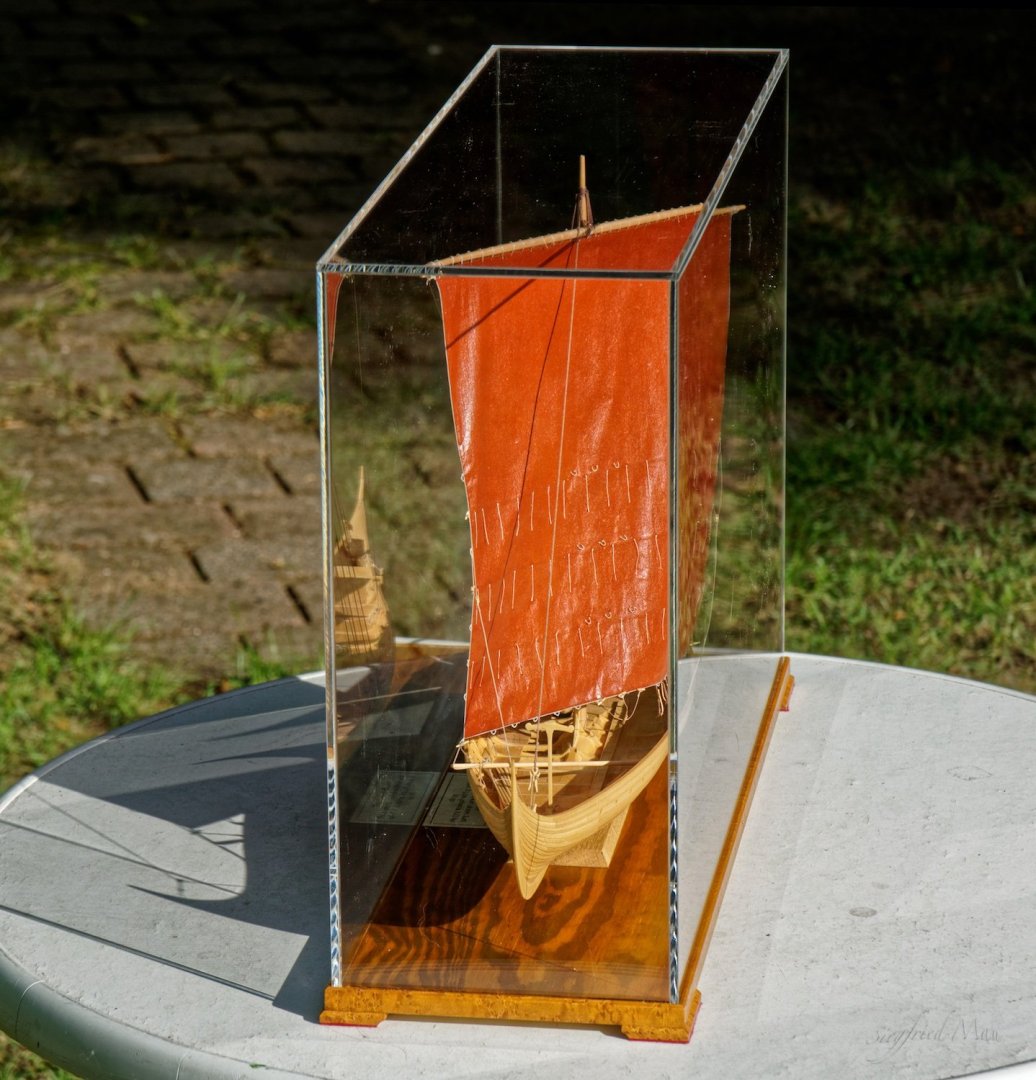
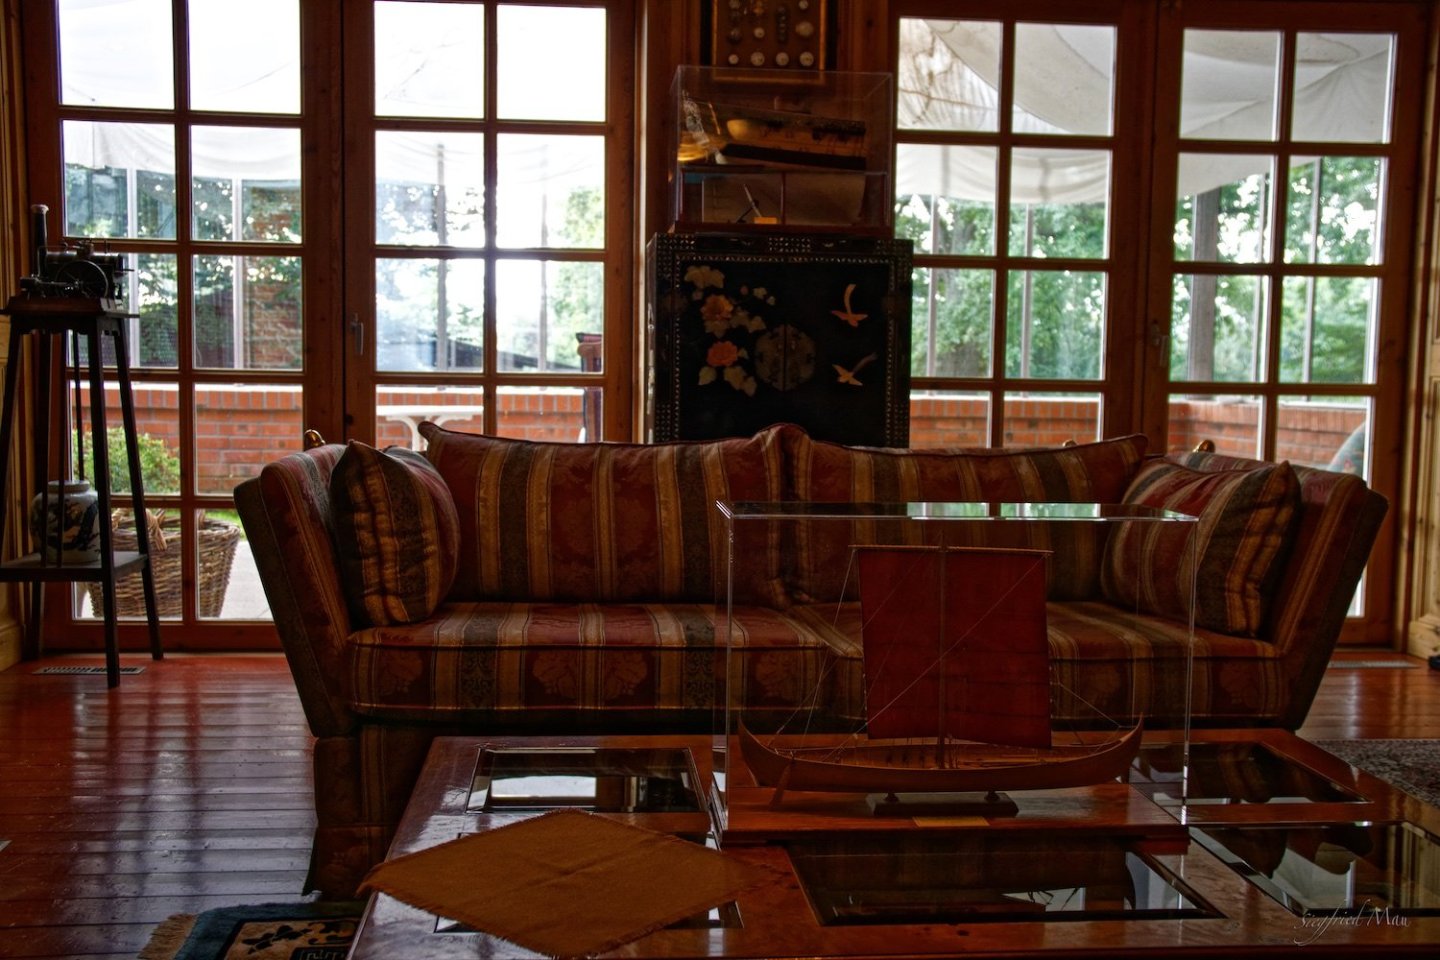
Hello, yesterday I set the model into the now finished show case, and thereby is the building process complete. The last picture shows the model where it stands during the building process, and that should be for the first time it's place.


-
Hello Keith, Tiger is since 3-4 weeks again in my shop in the basement to acclimatize. So when I have nothing else to do, I will start there again.