Hog2sail
-
Posts
19 -
Joined
-
Last visited
Recent Profile Visitors
746 profile views

.thumb.jpeg.fc5d633a7b34428fcf19419a73d56d55.jpeg)


-
 EricWilliamMarshall reacted to a post in a topic:
Benjamin W Latham by Hog2sail - FINISHED - Model Shipways - 1:48 - 1st wood ship build
EricWilliamMarshall reacted to a post in a topic:
Benjamin W Latham by Hog2sail - FINISHED - Model Shipways - 1:48 - 1st wood ship build
-
GrandpaPhil reacted to a post in a topic:
Benjamin W Latham by Hog2sail - FINISHED - Model Shipways - 1:48 - 1st wood ship build
-
GrandpaPhil reacted to a post in a topic:
Benjamin W Latham by Hog2sail - FINISHED - Model Shipways - 1:48 - 1st wood ship build
-
GrandpaPhil reacted to a post in a topic:
Benjamin W Latham by Hog2sail - FINISHED - Model Shipways - 1:48 - 1st wood ship build
-
GrandpaPhil reacted to a post in a topic:
Benjamin W Latham by Hog2sail - FINISHED - Model Shipways - 1:48 - 1st wood ship build
-
GrandpaPhil reacted to a post in a topic:
Benjamin W Latham by Hog2sail - FINISHED - Model Shipways - 1:48 - 1st wood ship build
-
GaryKap reacted to a post in a topic:
Benjamin W Latham by Hog2sail - FINISHED - Model Shipways - 1:48 - 1st wood ship build
-
schooner reacted to a post in a topic:
Benjamin W Latham by Hog2sail - FINISHED - Model Shipways - 1:48 - 1st wood ship build
-
sideliner reacted to a post in a topic:
Benjamin W Latham by Hog2sail - FINISHED - Model Shipways - 1:48 - 1st wood ship build
-
vincent lombardi reacted to a post in a topic:
Benjamin W Latham by Hog2sail - FINISHED - Model Shipways - 1:48 - 1st wood ship build
-
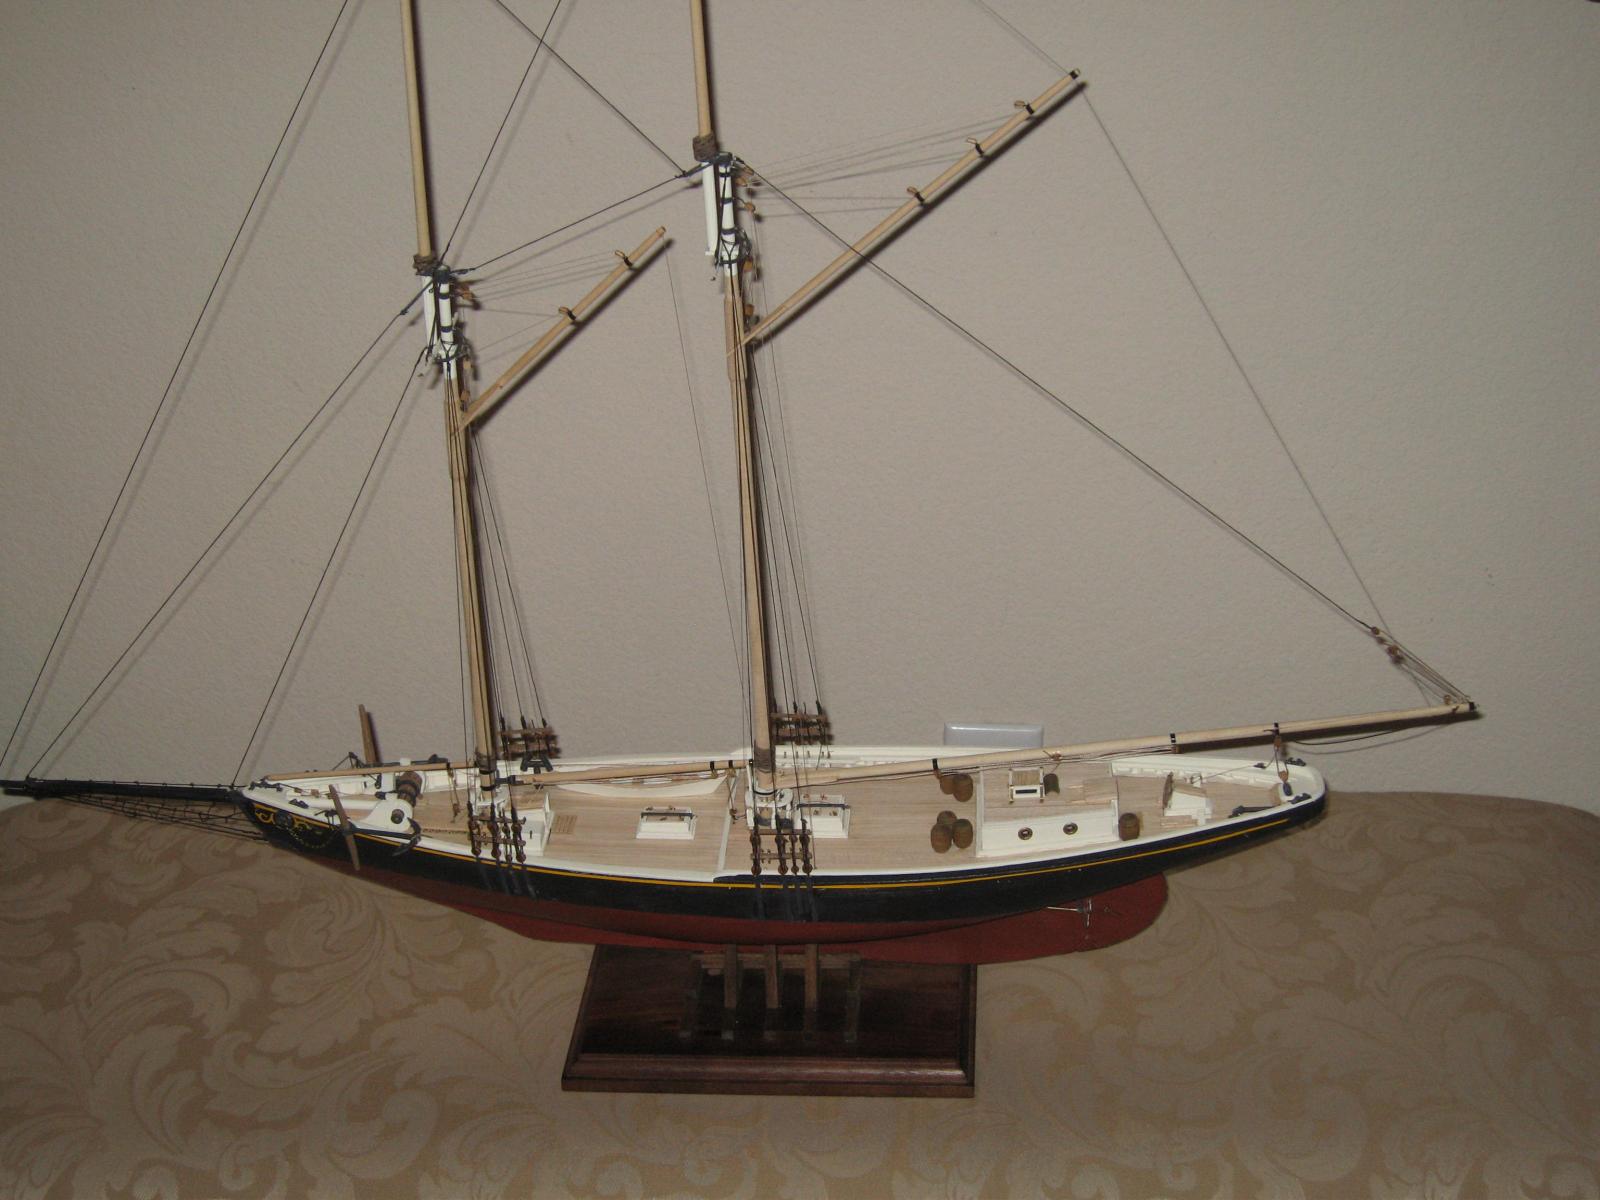
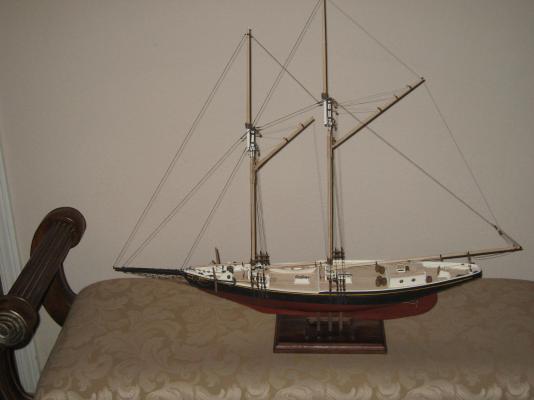
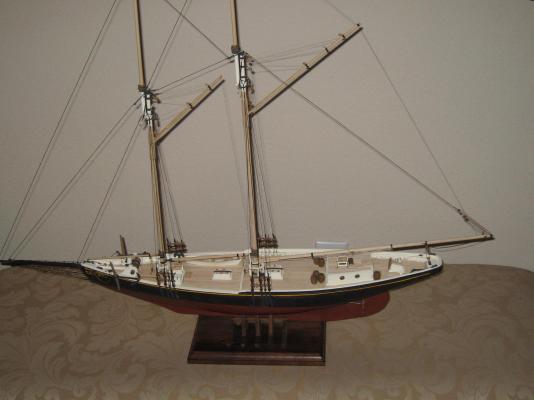
Well, It's almost done. I cheated a little bit on the Rigging and used CA to make some of the connections. Remember the 3 ft. rule. I also added ghost sails. I know there isn't suppose to be a line from the aft end of the Main boom to the Main Gaff to the top of the Main Mast. But I added it to give the eye a vision of the sail. Besides anyone who comes to my house and sees it will never know. So you purist don't sink my ship! I still have to tie the Rat Lines (eek) and add the spreader Stays as well as add some rope coils and a couple other finishing touches as well as touch up a few places of paint. It was a fun build and for my first ship build I'm very happy with the results. Eddie

- 20 replies
-
- 9
-
-
- benjamin w latham
- model shipways
- (and 2 more)
-
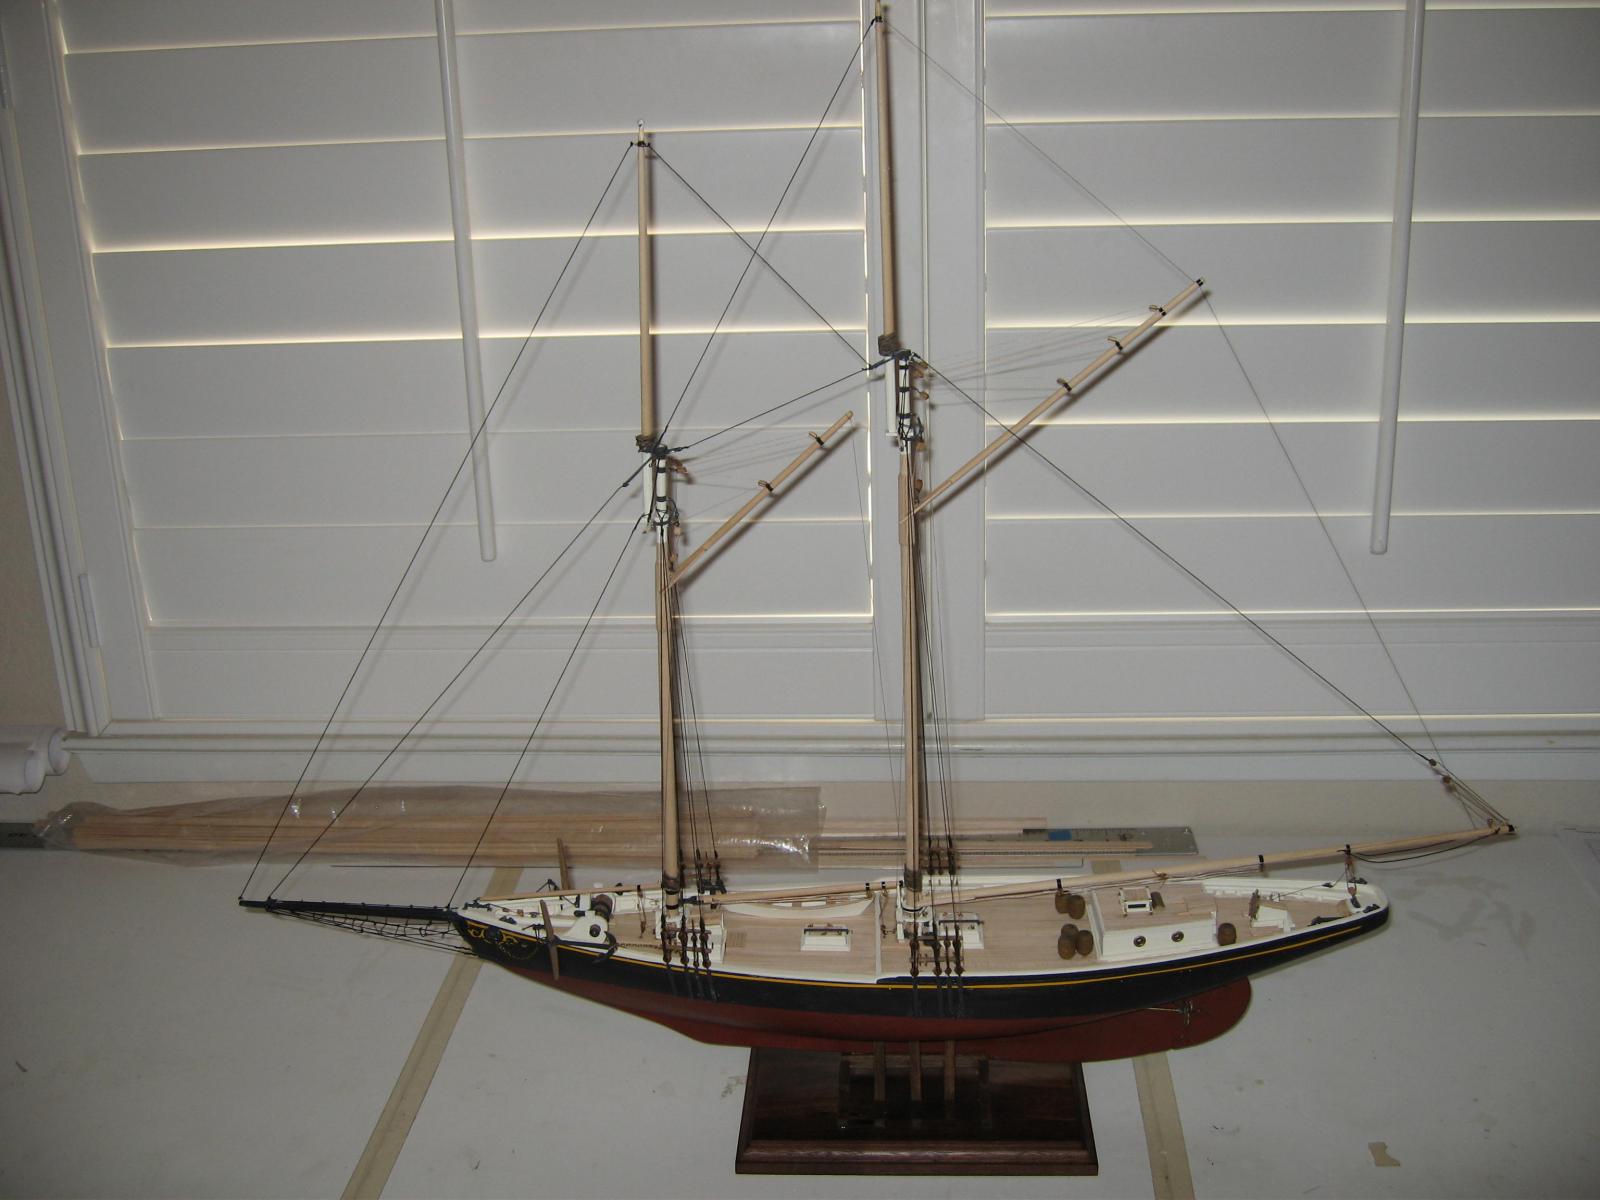
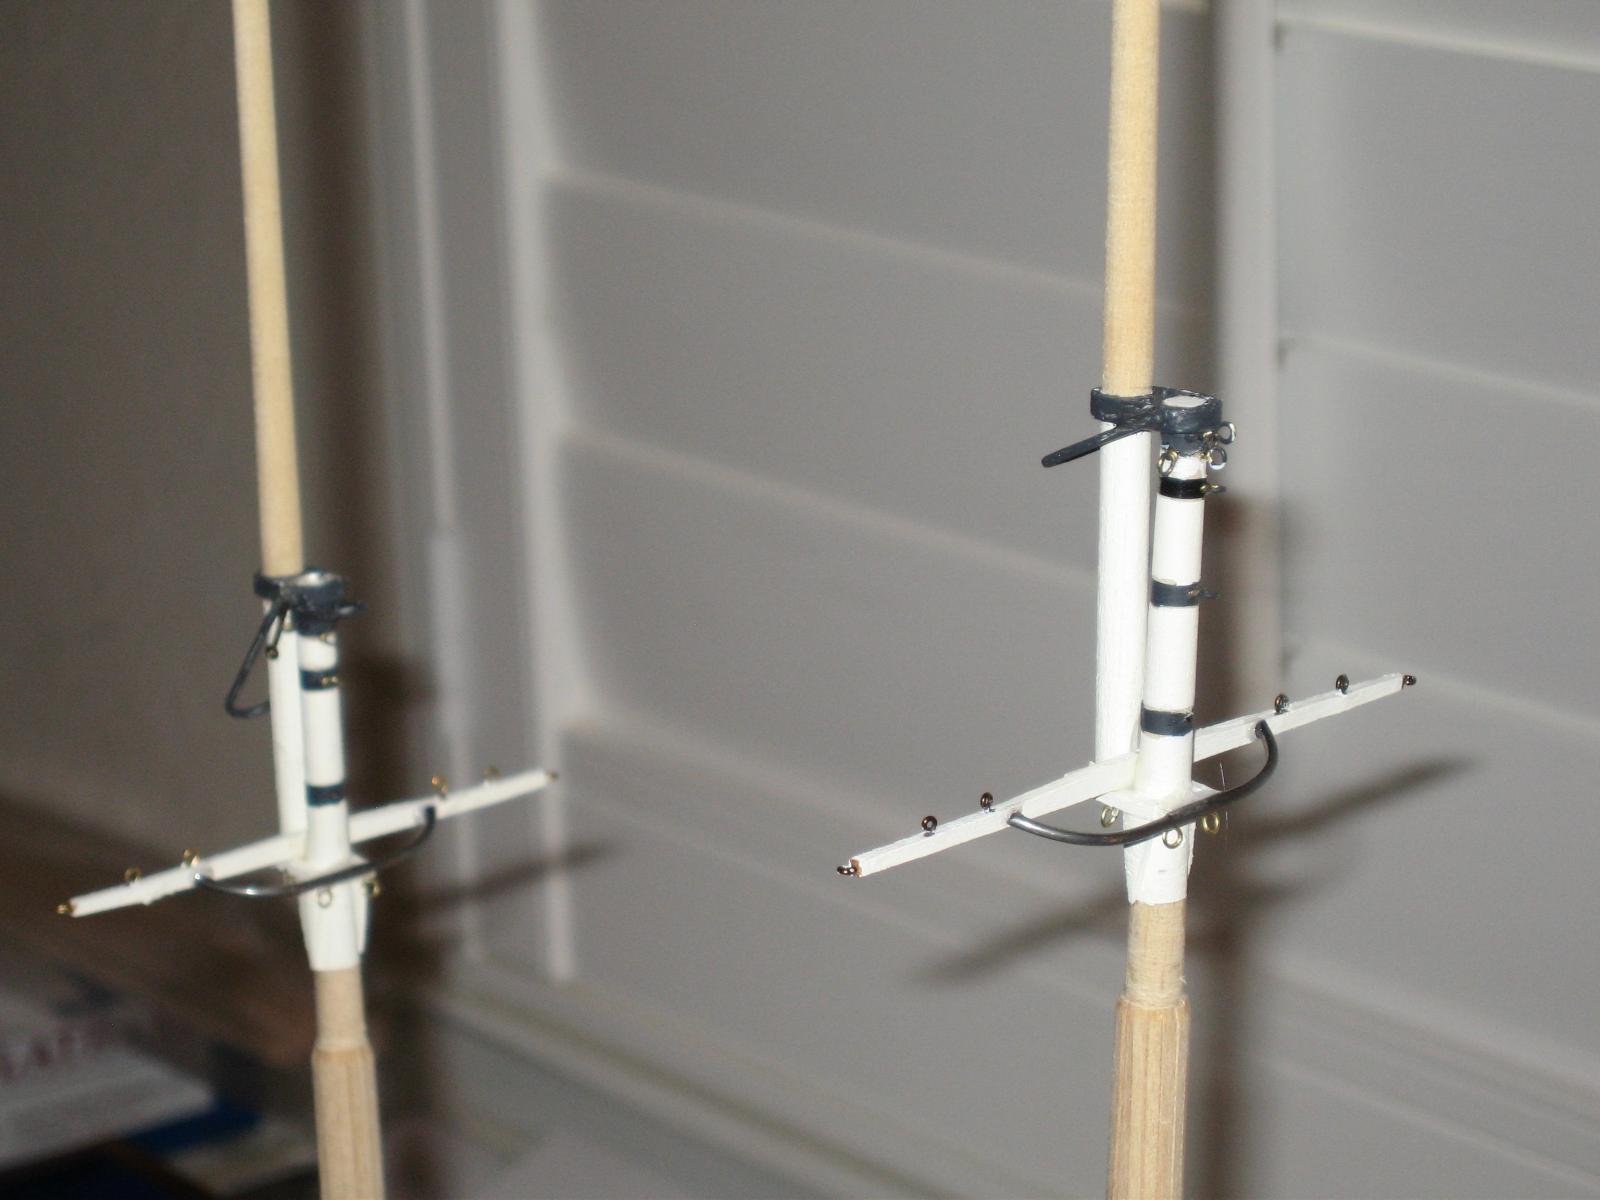
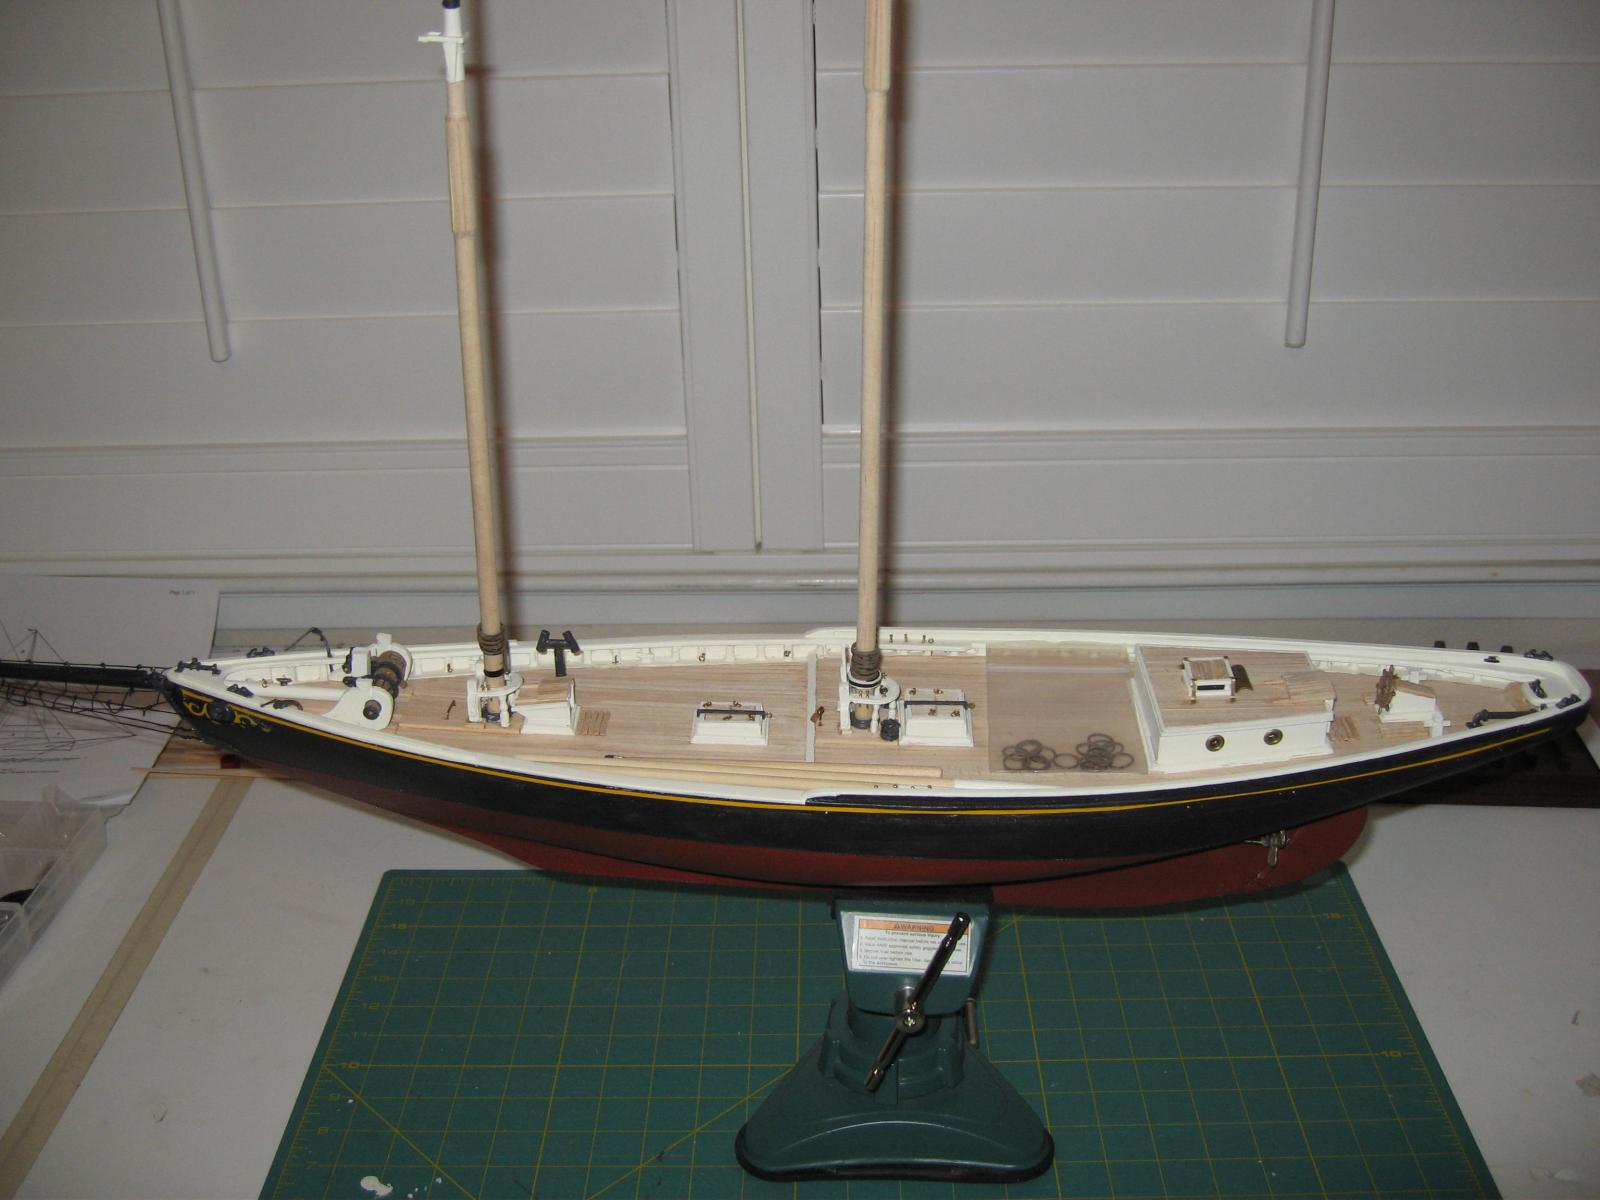
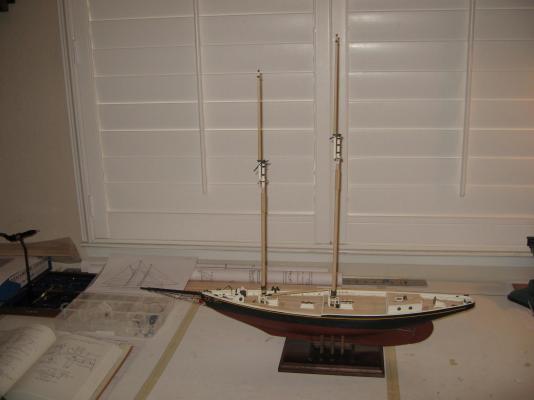
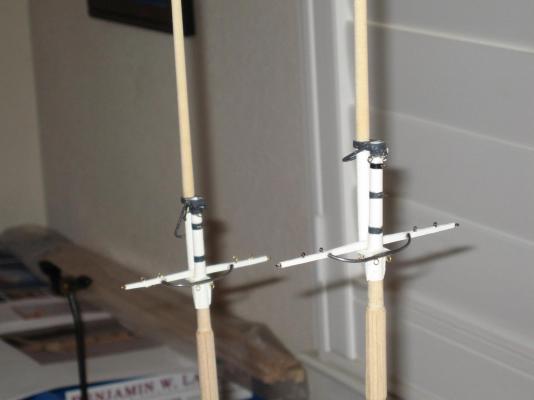
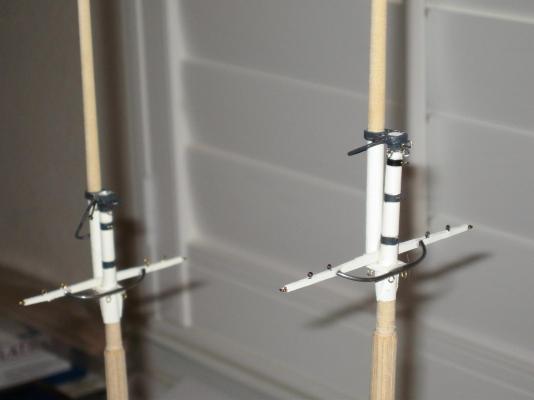
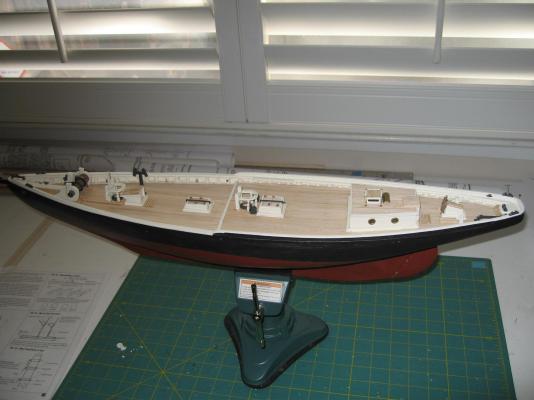
Elia, Thank you. A little up-date. I mounted her on the display plaque I made. I also added the spreaders to the mast's and added the spreader struts. I first made the struts out of wood but I didn't like the way it looked. So I used a piece of Piano wire that I use for my sailplanes. It's not exactly how it's suppose to be, but it serves the purpose and the average person will not know any difference. I also added the tip of the mast's. I used a piece of Bamboo Skewer you would use to Bar-B-Q with and cut the sharp end off and glued a BB from my Red Ryder BB gun to the tip. I'll probably paint the BB later. Right now it looks like a brass ball on top of the mast. The masts are just setting in the deck hole and not glued. Also the top mast and the Mast caps are just setting on the main mast and fore mast for a visual and to take a picture. I'm so use to it sitting in my vice, that it looks funny to me in sitting in it's base. Here's a couple more pictures. Eddie

- 20 replies
-
- 5
-
-
- benjamin w latham
- model shipways
- (and 2 more)
-
Thanks. Yes I will add the anchors and chain later and connect them to the Catheads.
- 20 replies
-
- 1
-
-
- benjamin w latham
- model shipways
- (and 2 more)
-
Well, I did something wrong, no picture. I'll try again. Remember, this is the 3 foot rule. Don't look too close. He,he he. Eddie


- 20 replies
-
- 7
-
-
- benjamin w latham
- model shipways
- (and 2 more)
-
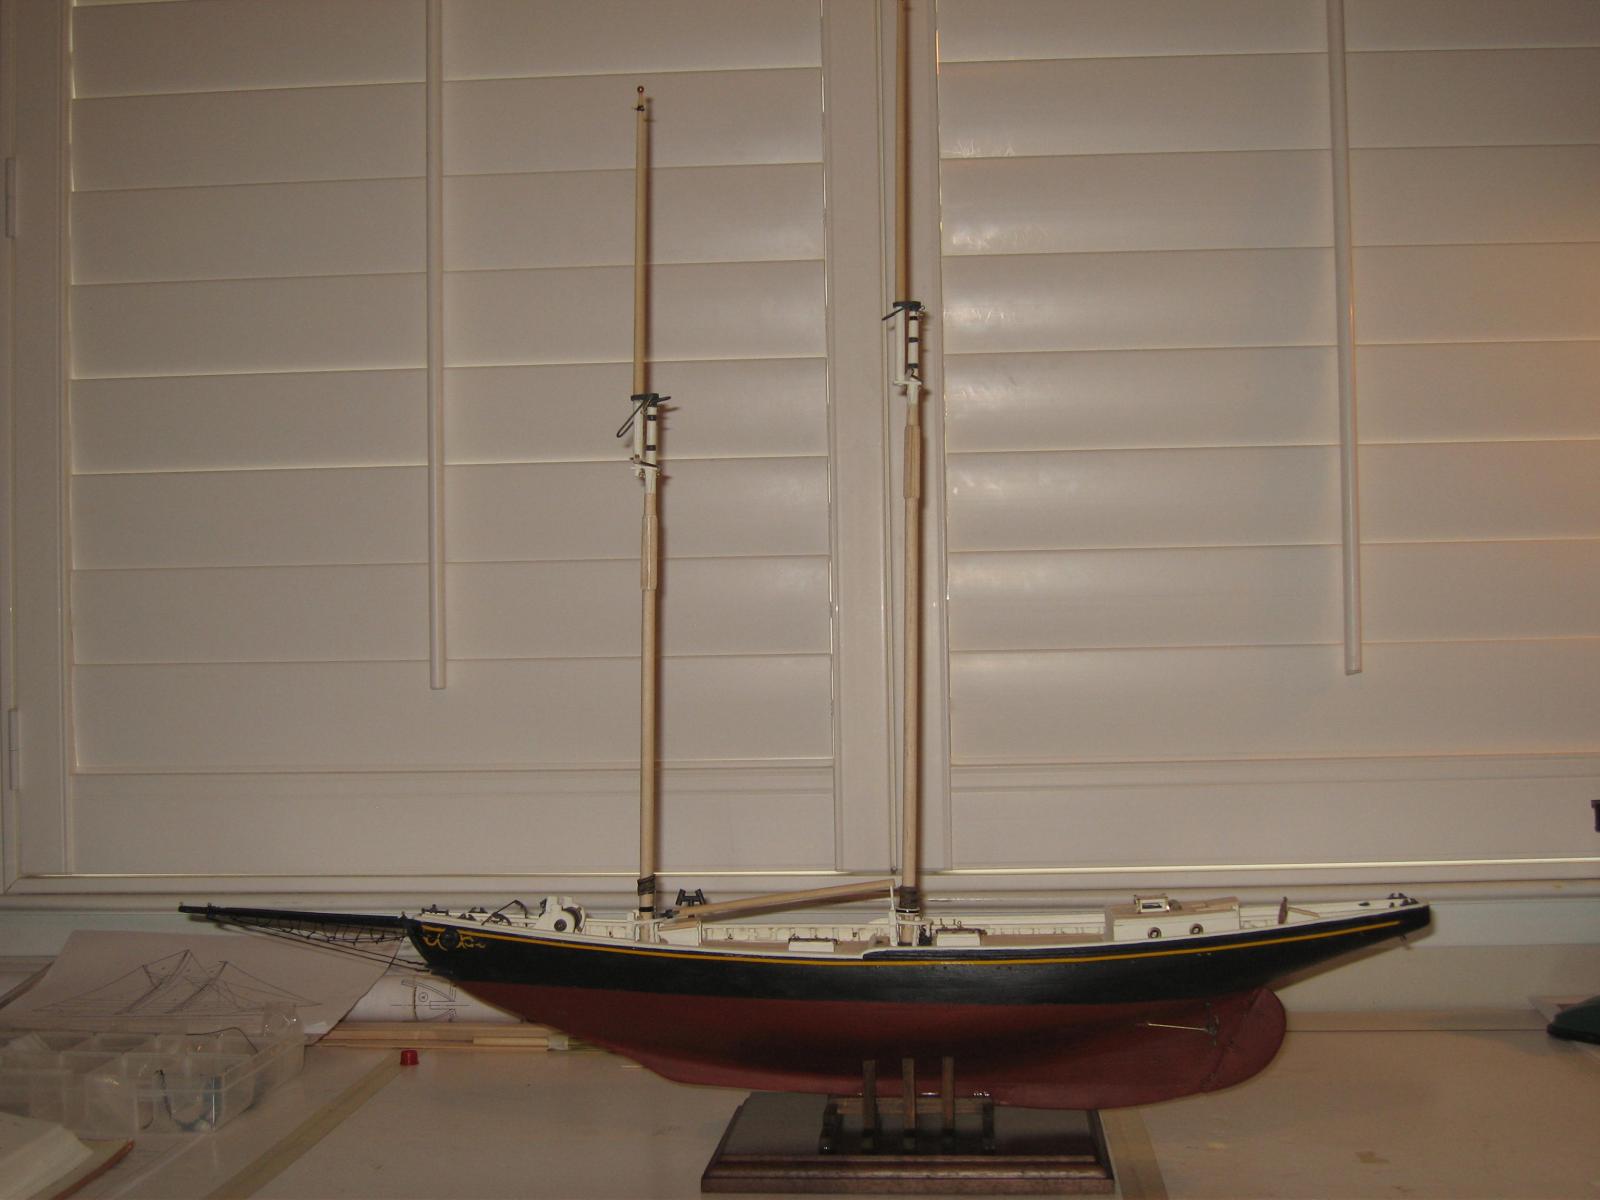
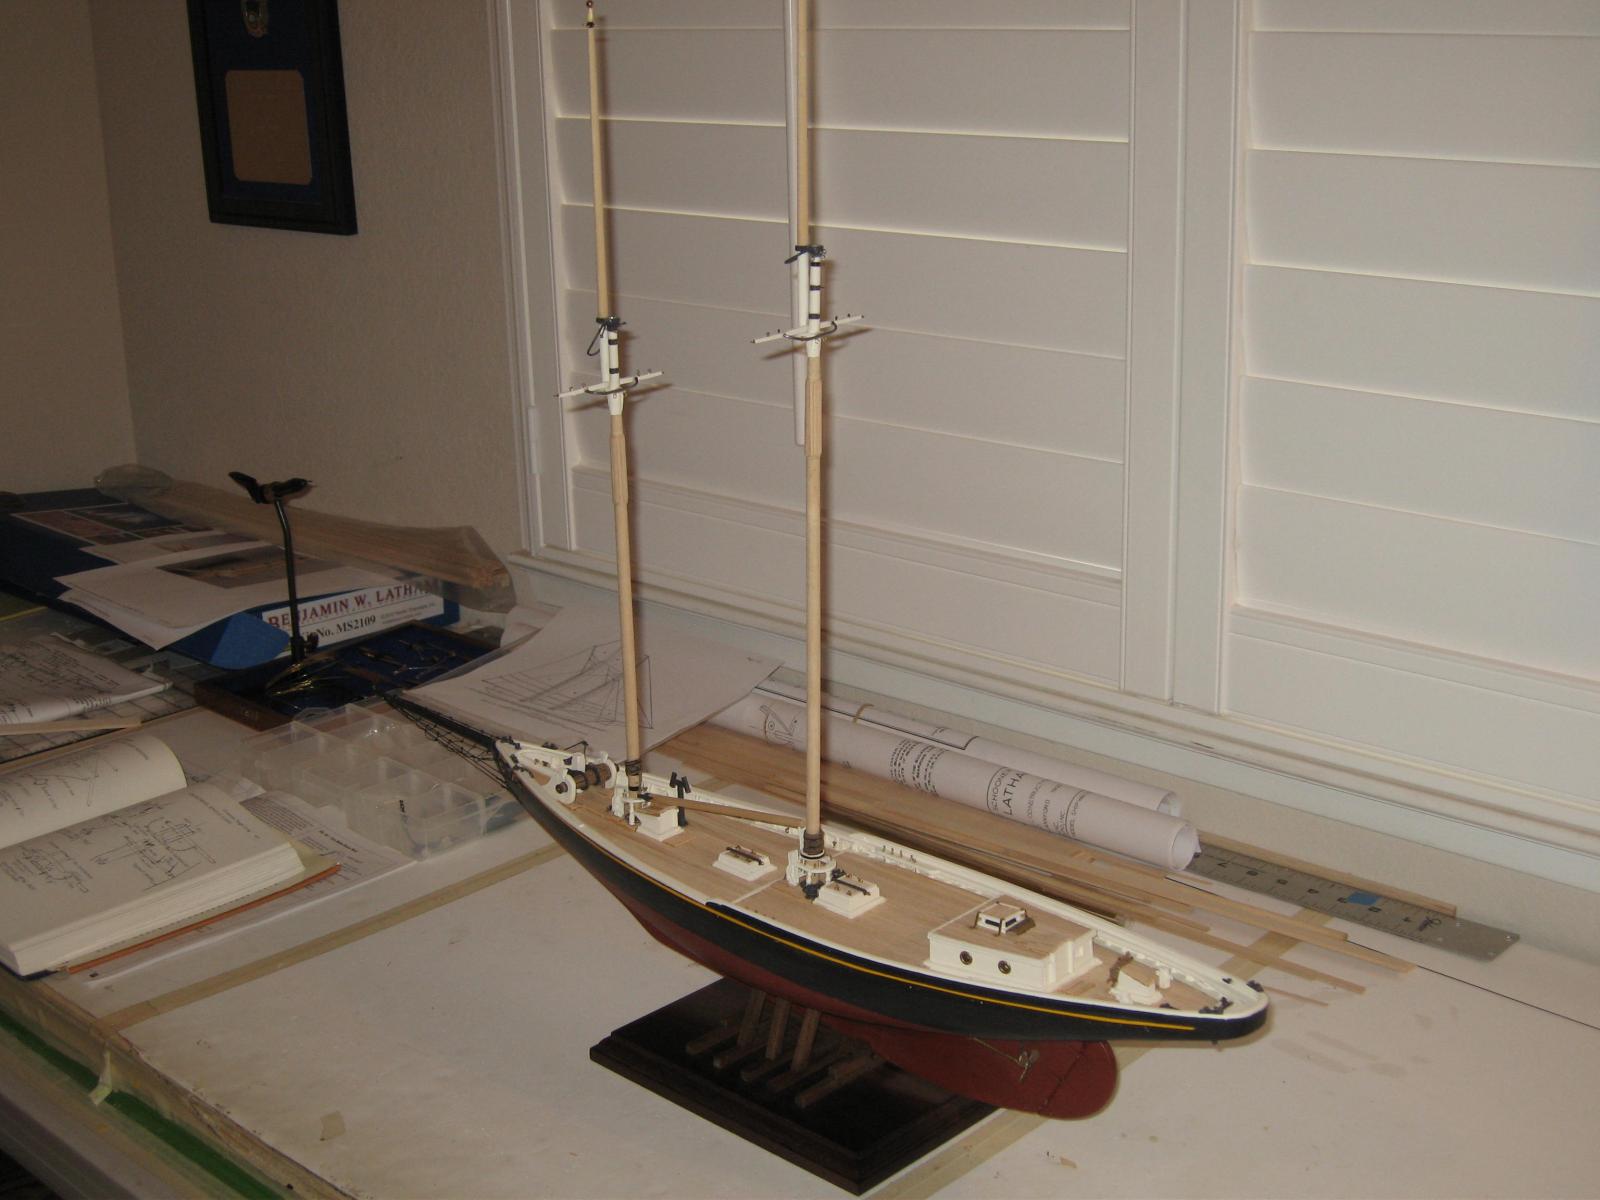
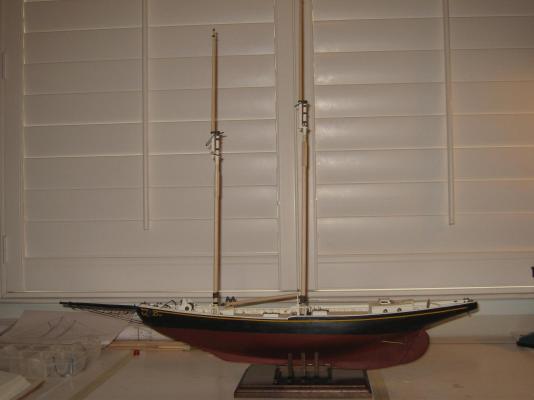
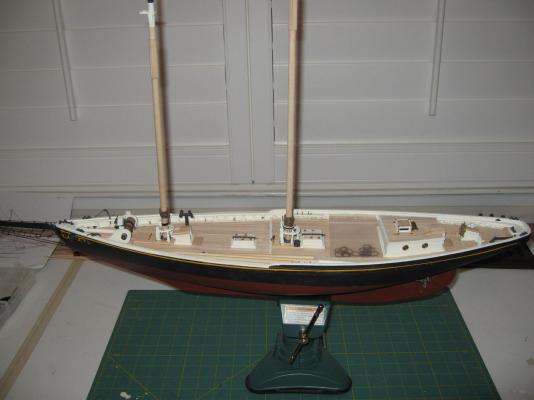
Well, I haven't had a chance to work on it today. I was being one of Santa's Elf's today. I'm kind of at a stage that I'm not liking very well. I'm ready to mount the spreaders on the Mast's and installing the Mast's, then start the standing rigging. First I'll mount the ship on it's stand and get it out of the vice. Then I'll mount the mast's and start the standing rigging. However I'm debating whether or not to do the lower Chainplates before mounting the Mast's. I don't want to get too far ahead of myself, so I'm trying to think of things I can do now that will help with my tumbling hands and fingers breaking something. Any thoughts? I'm building this by the 3 foot rule. From 3 feet it looks really good! (eek) Here's a few updated pictures I've taken. The Mast's are not installed and glued. I just put them in the deck holes for the pictures. I'm not going to add the sails when it's done. However the Gaff's and Booms will be in place as if the sails were mounted and ready to sail. I'm really not looking forward to the rigging. Both the standing and the running (however much I need without the sails). And for sure I'm not looking forward to tying the rat lines. I just hope I don't get frustrated and put it aside before I finish. Every time I do that with one of my builds It's hard to come back to. Anyway here's some pictures as she stands now. Thanks for looking. Eddie
-
Hi Gary, I'll try and post some updated pictures later today if I get a chance. I haven't gotten a whole lot farther due to the Holidays. Hopefully later today I can get the Mast's mounted. That's if Moma quits dragging me to the Mall. Happy Holidays and Merry Christmas everyone. Eddie
-
Tadeusz, thank you very much. Eddie
-
Thanks guys, I do have the Model Shipways Manual MS2109 and Howard Chapelle's book "The American Fishing Schooners". I also managed to find a couple pictures on the internet. So a little more studying and I should be able to figure it all out. Some of this stuff takes longer researching than the time it actually takes to build it. Thanks again for the info. I'm enjoying the build. If nothing else it's teaching me to be patient. I've got another 3M sailplane I partially designed to scratch build after this. That will be a piece of cake after building the "Latham". Eddie
-
I started a build log on here in the Kit Build section and I'm getting close to starting all of the rigging. However this is my first ship build and I'm having some difficulty determining all the rigging. I don't plan to add the sails. I like the look of the ship without the sails, showing all the rigging. However the drawing that shows all the rigging for the Latham has it's sails showing all the stitching along with the rat lines and it's very difficult to determine where all the rigging line(sheets) go. I do have the book by Howard Chapelle "The American Fishing Schooners" and it's very helpful. However I was hoping to find a diagram or a photo just showing the rigging without all of the other stuff. Any help would greatly be appreciated. Thanks in advance. Eddie
-
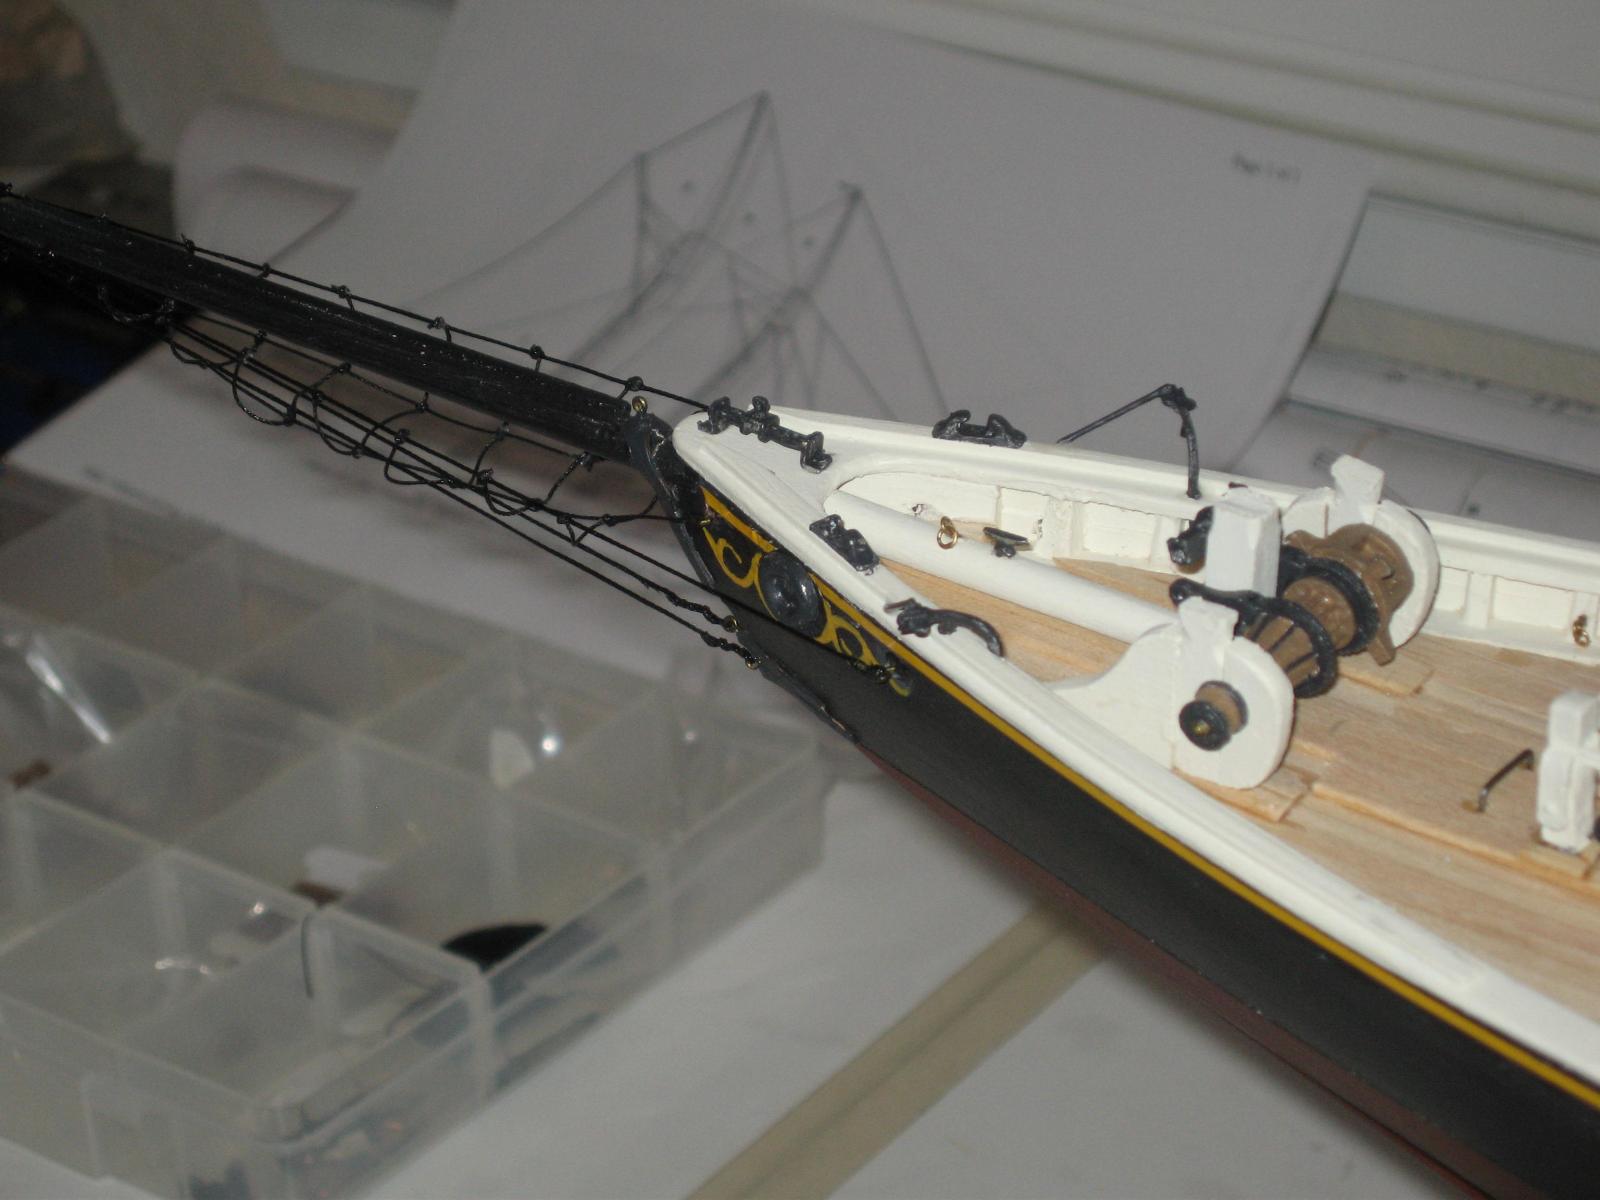
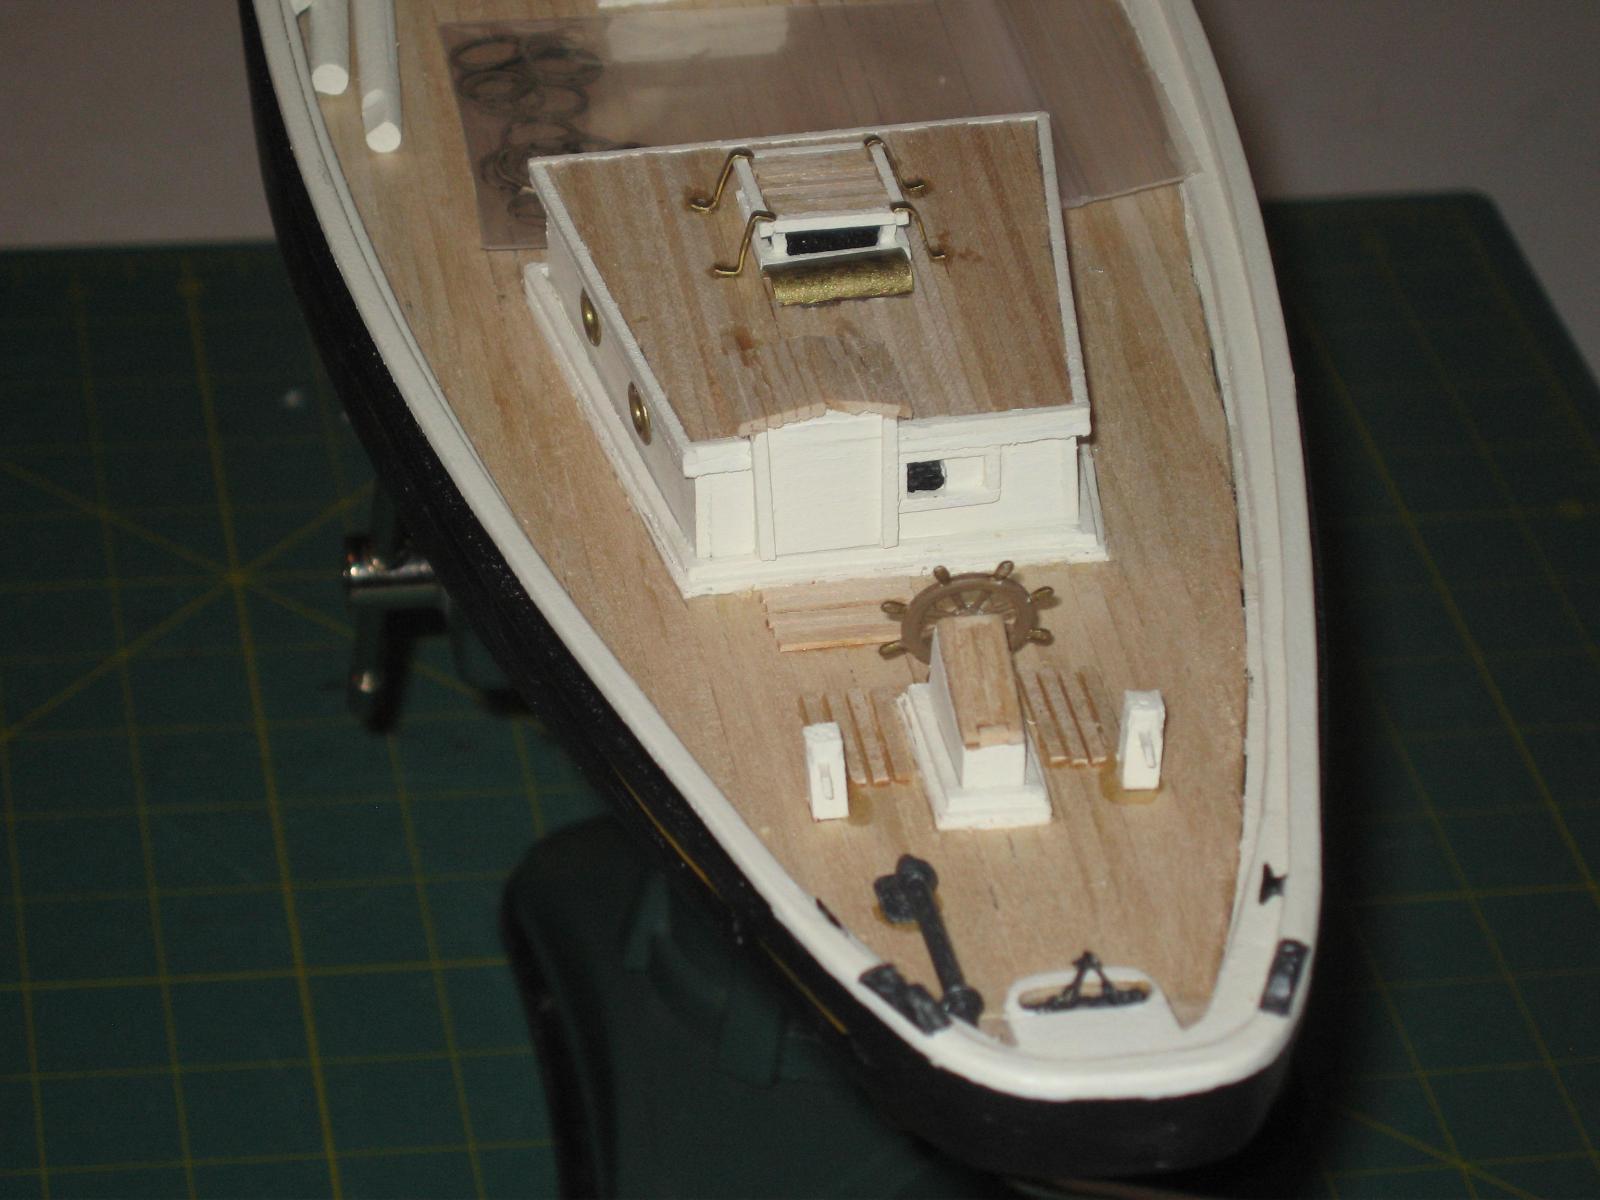
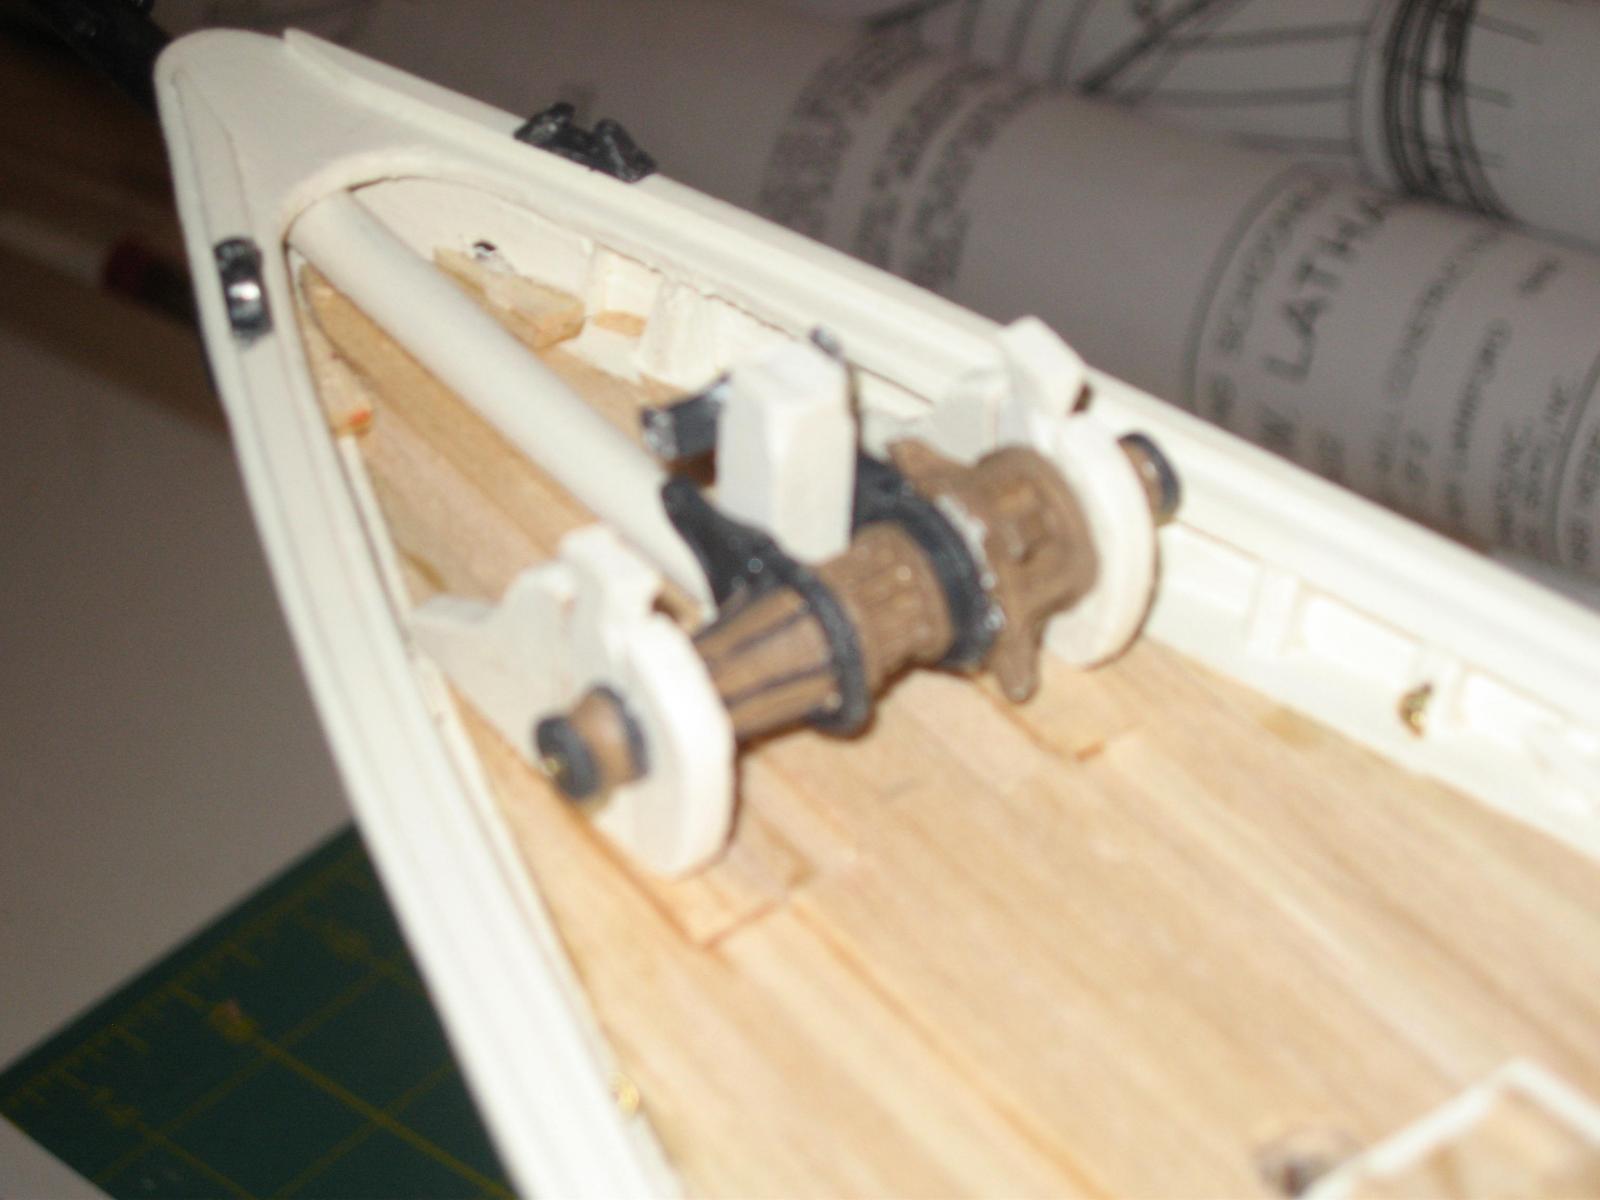
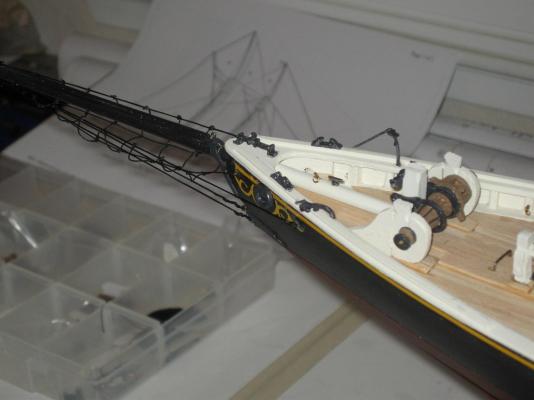
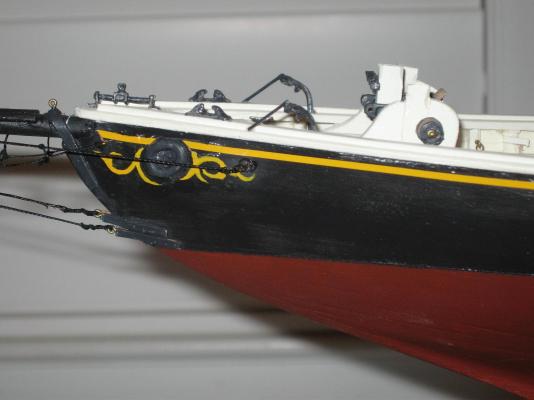
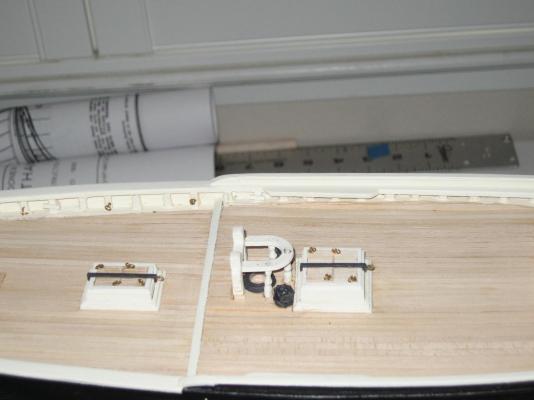
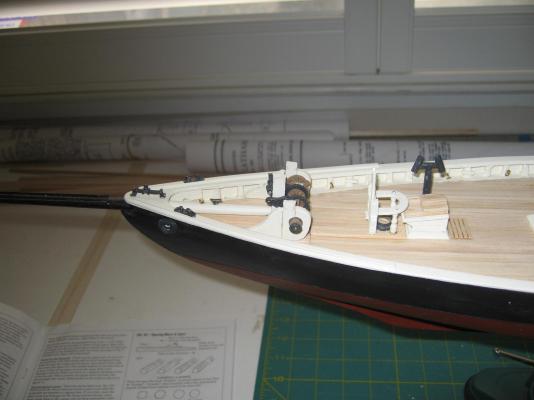
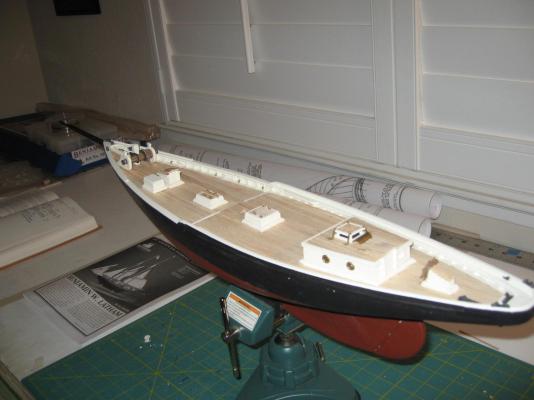
Thanks everyone. I'm going to try and finish off the hull and deck prior to starting on the masts. I need to add a couple more little things to the deck, like the Iron Cat-Head and a couple cleats. Build an anchor box and add the propeller and paint the yellow stripe and scroll around the Hawse pipe. I think I'll wait until the end to paint her name on the transom. We'll see. I also need to add the chain and anchors to the Cat-Head, but I think I'll wait until it's about done before adding the anchors. I'll post more pictures as I get farther along, as well as pictures of my mast construction and it's fixtures. Thanks everyone for viewing and your comments. Eddie
- 20 replies
-
- 2
-
-
- benjamin w latham
- model shipways
- (and 2 more)
-
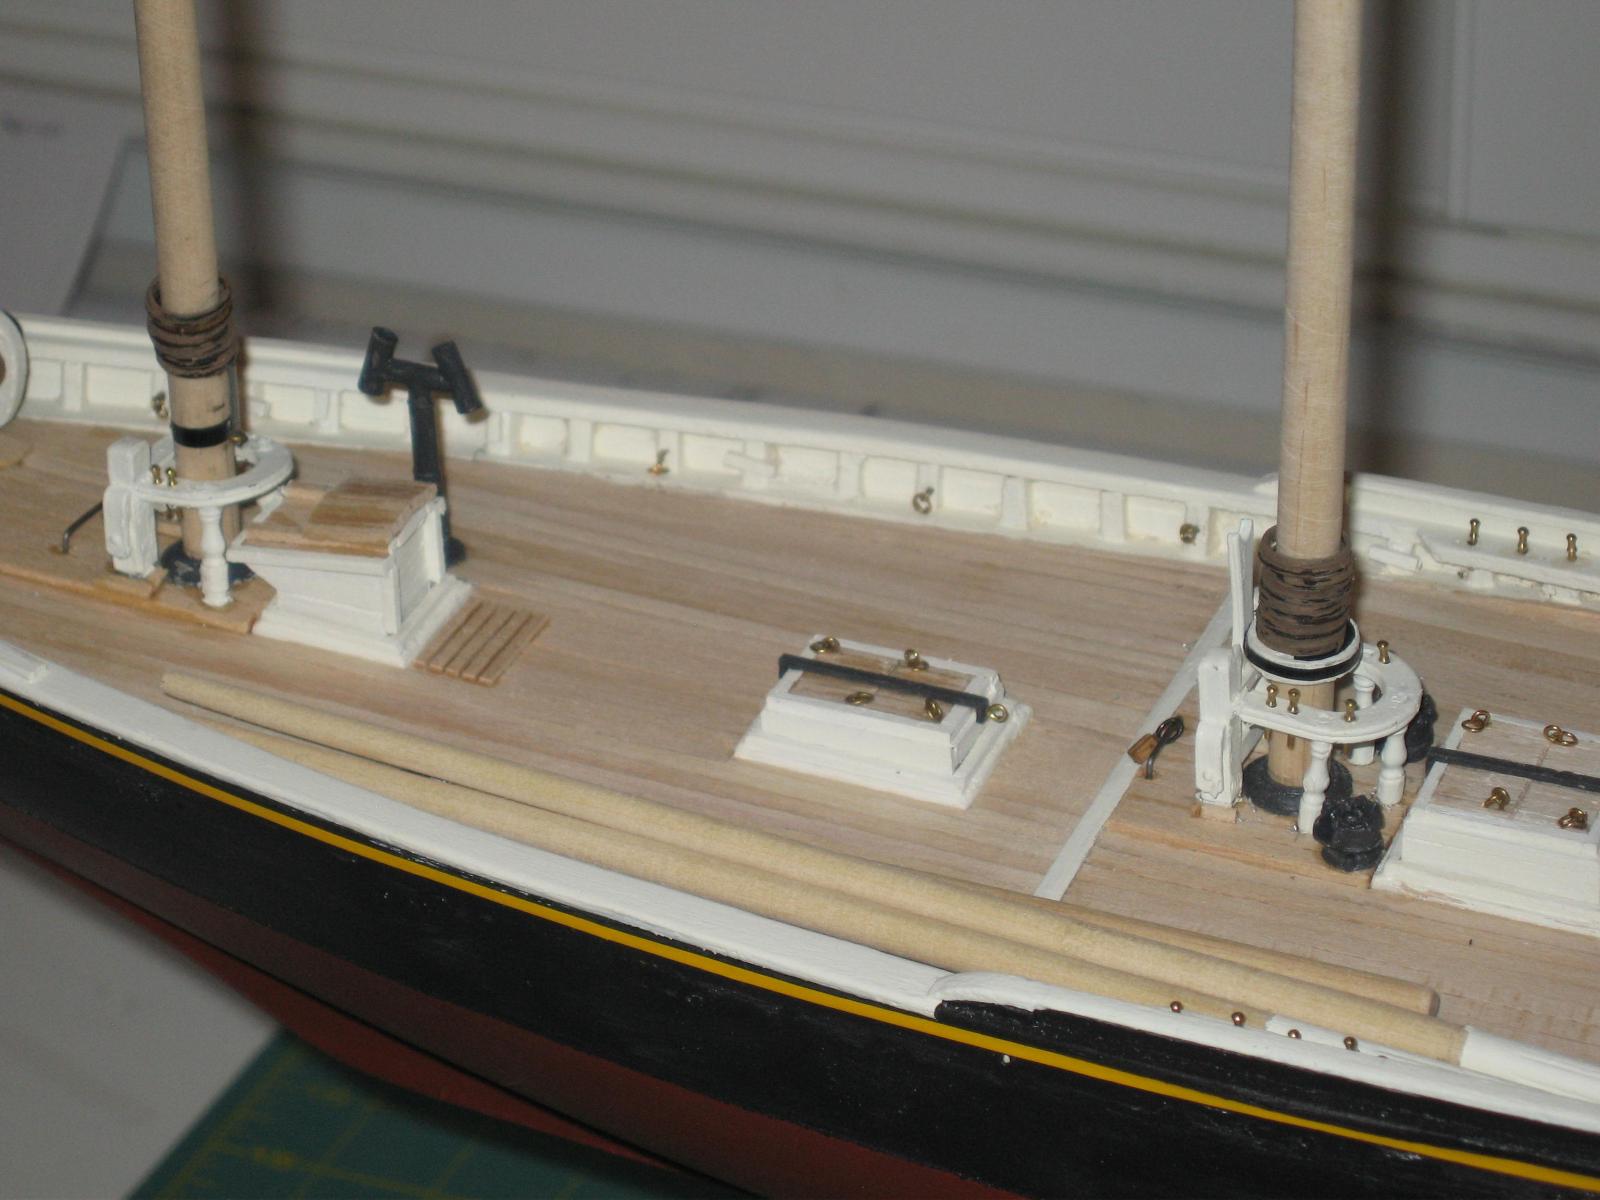
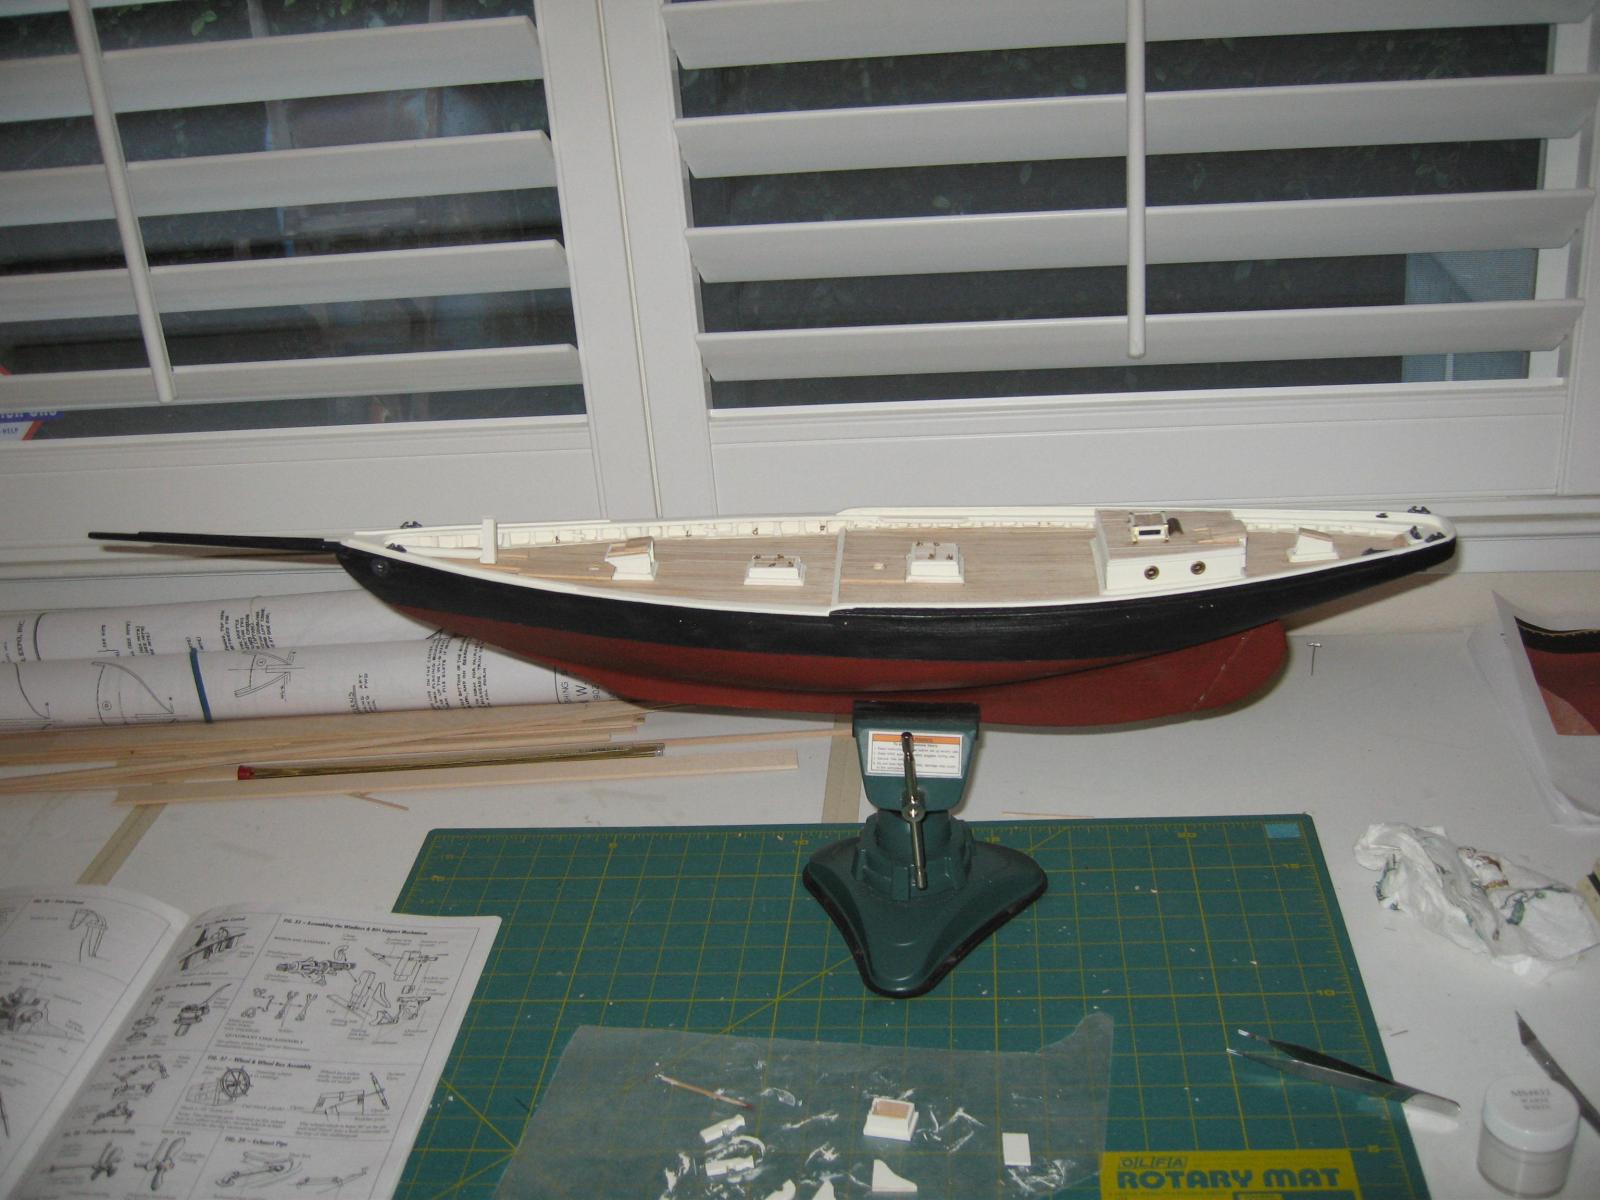
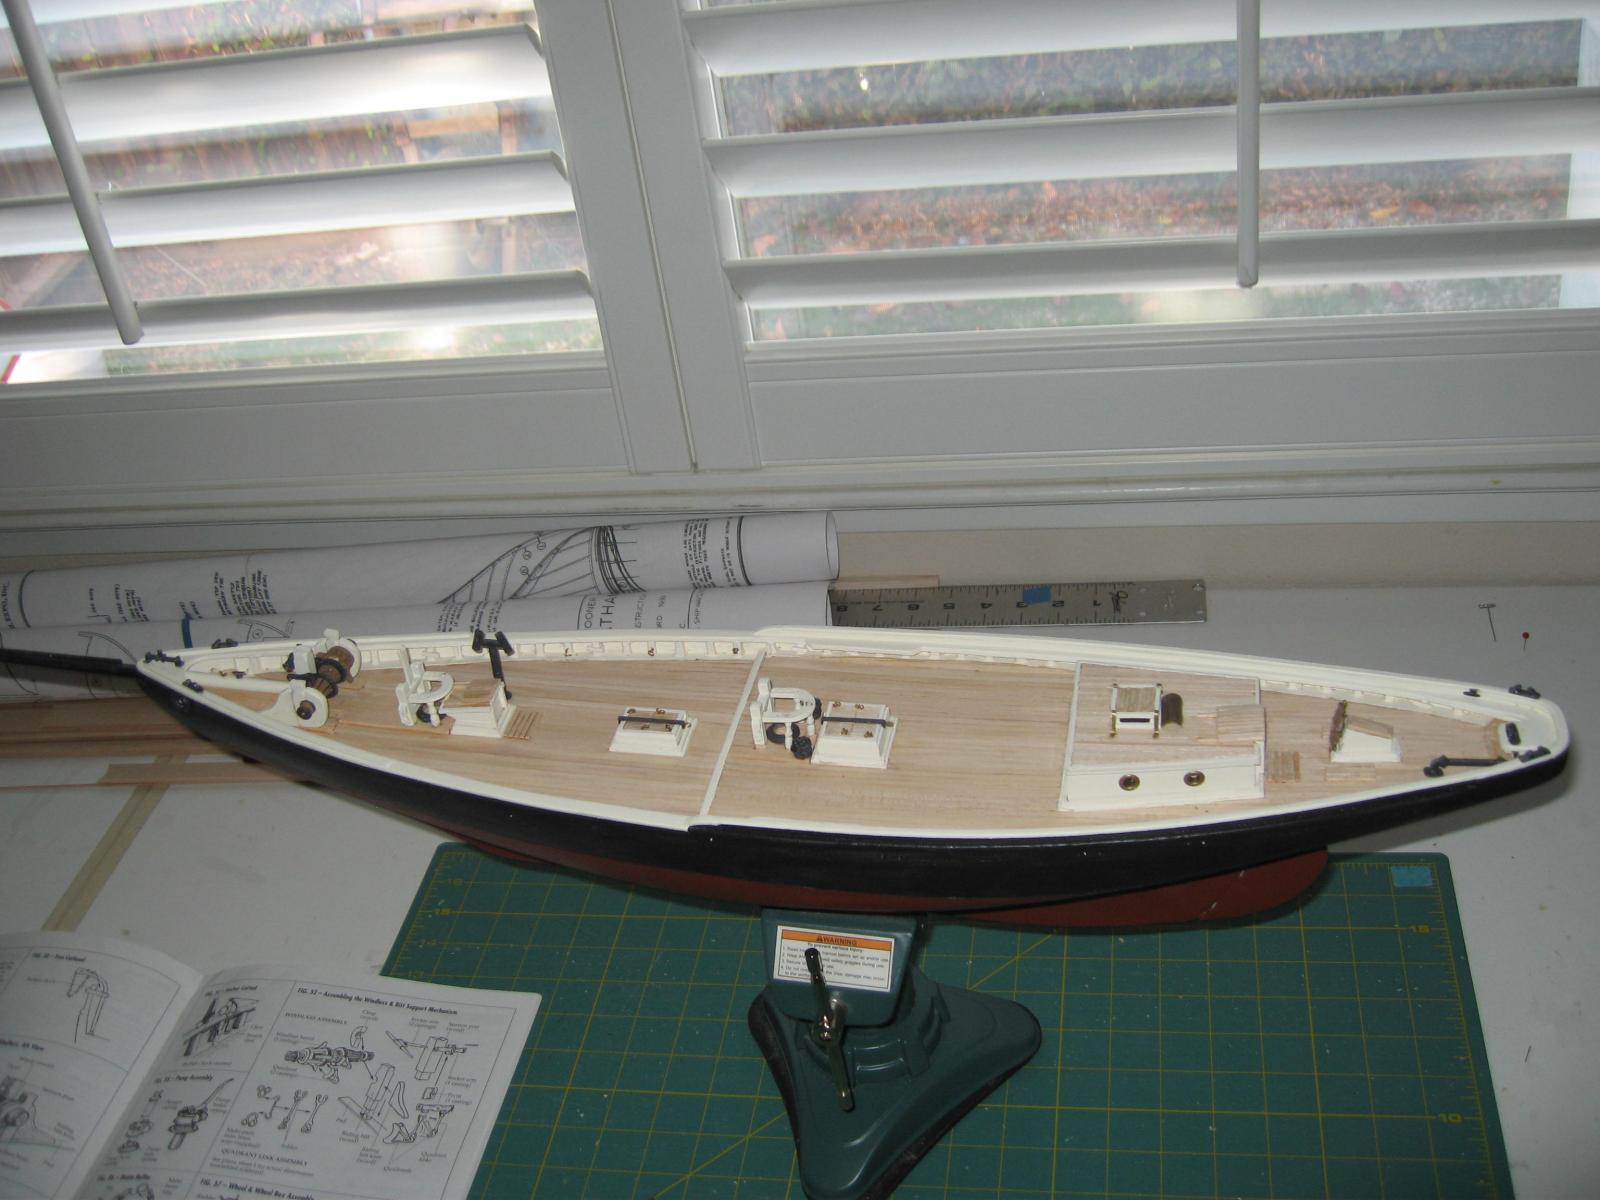
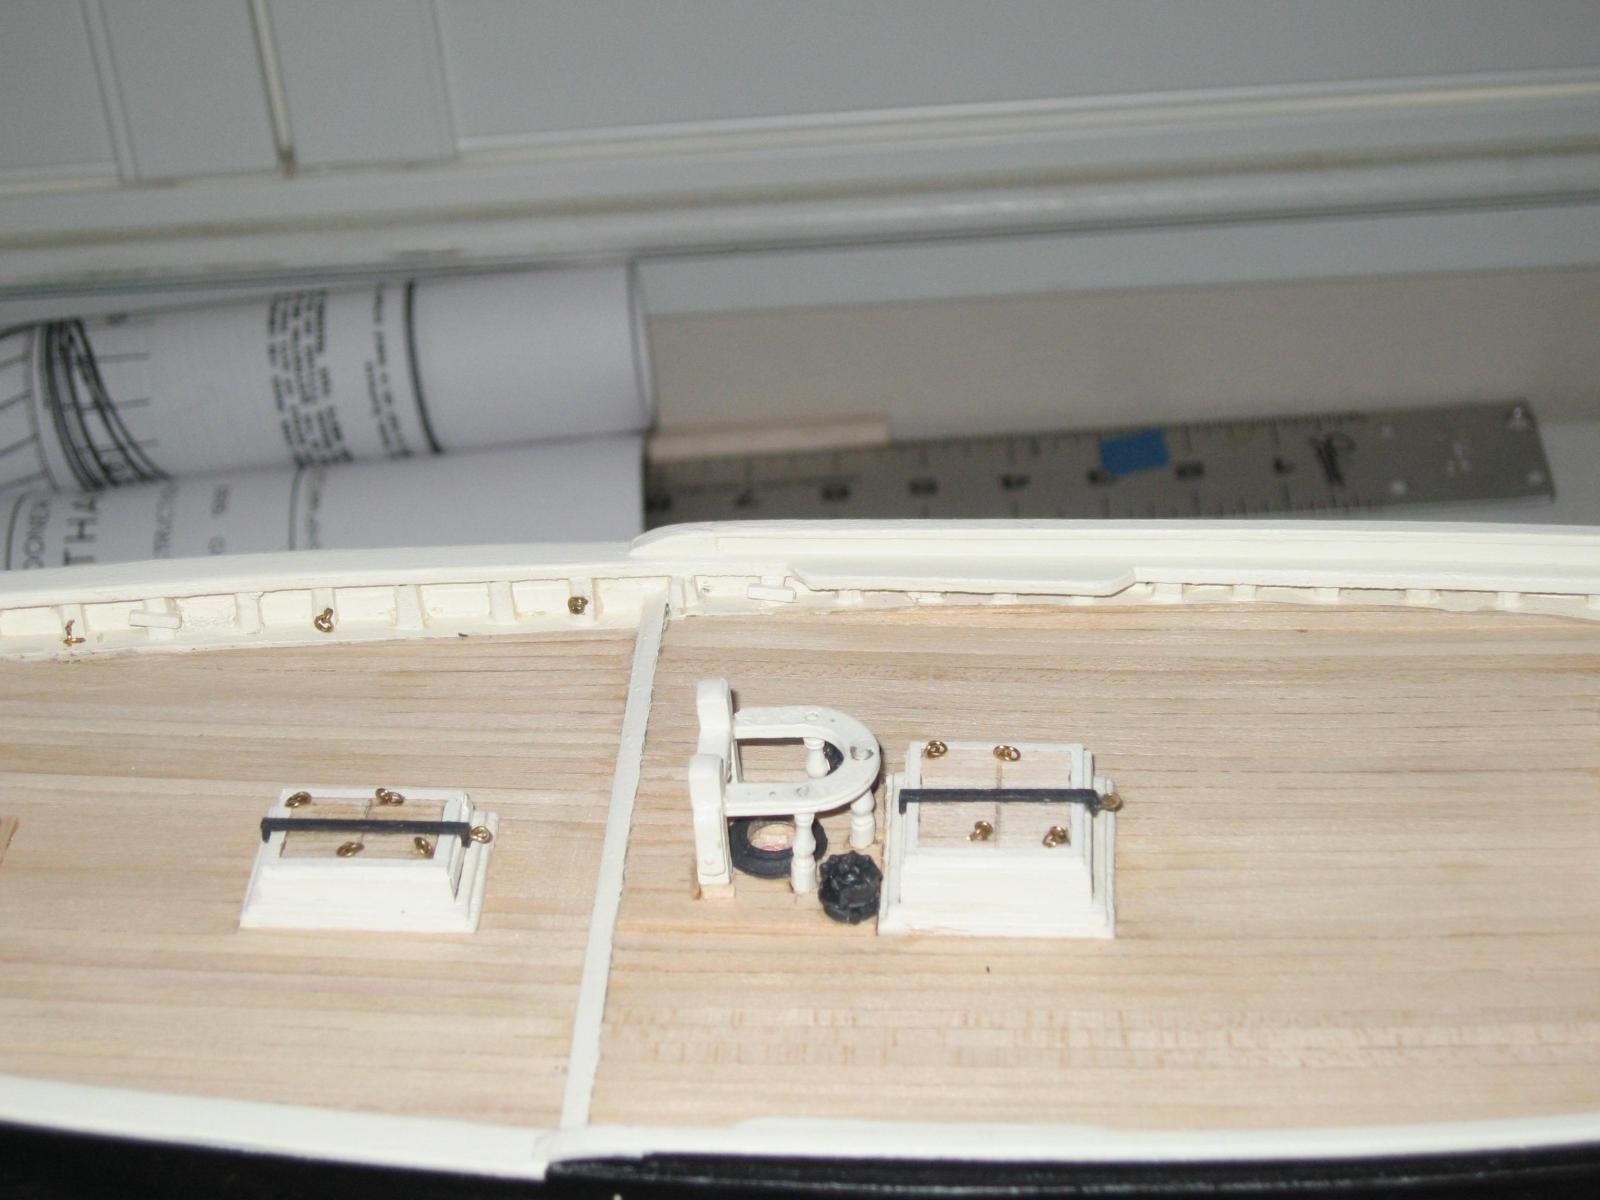
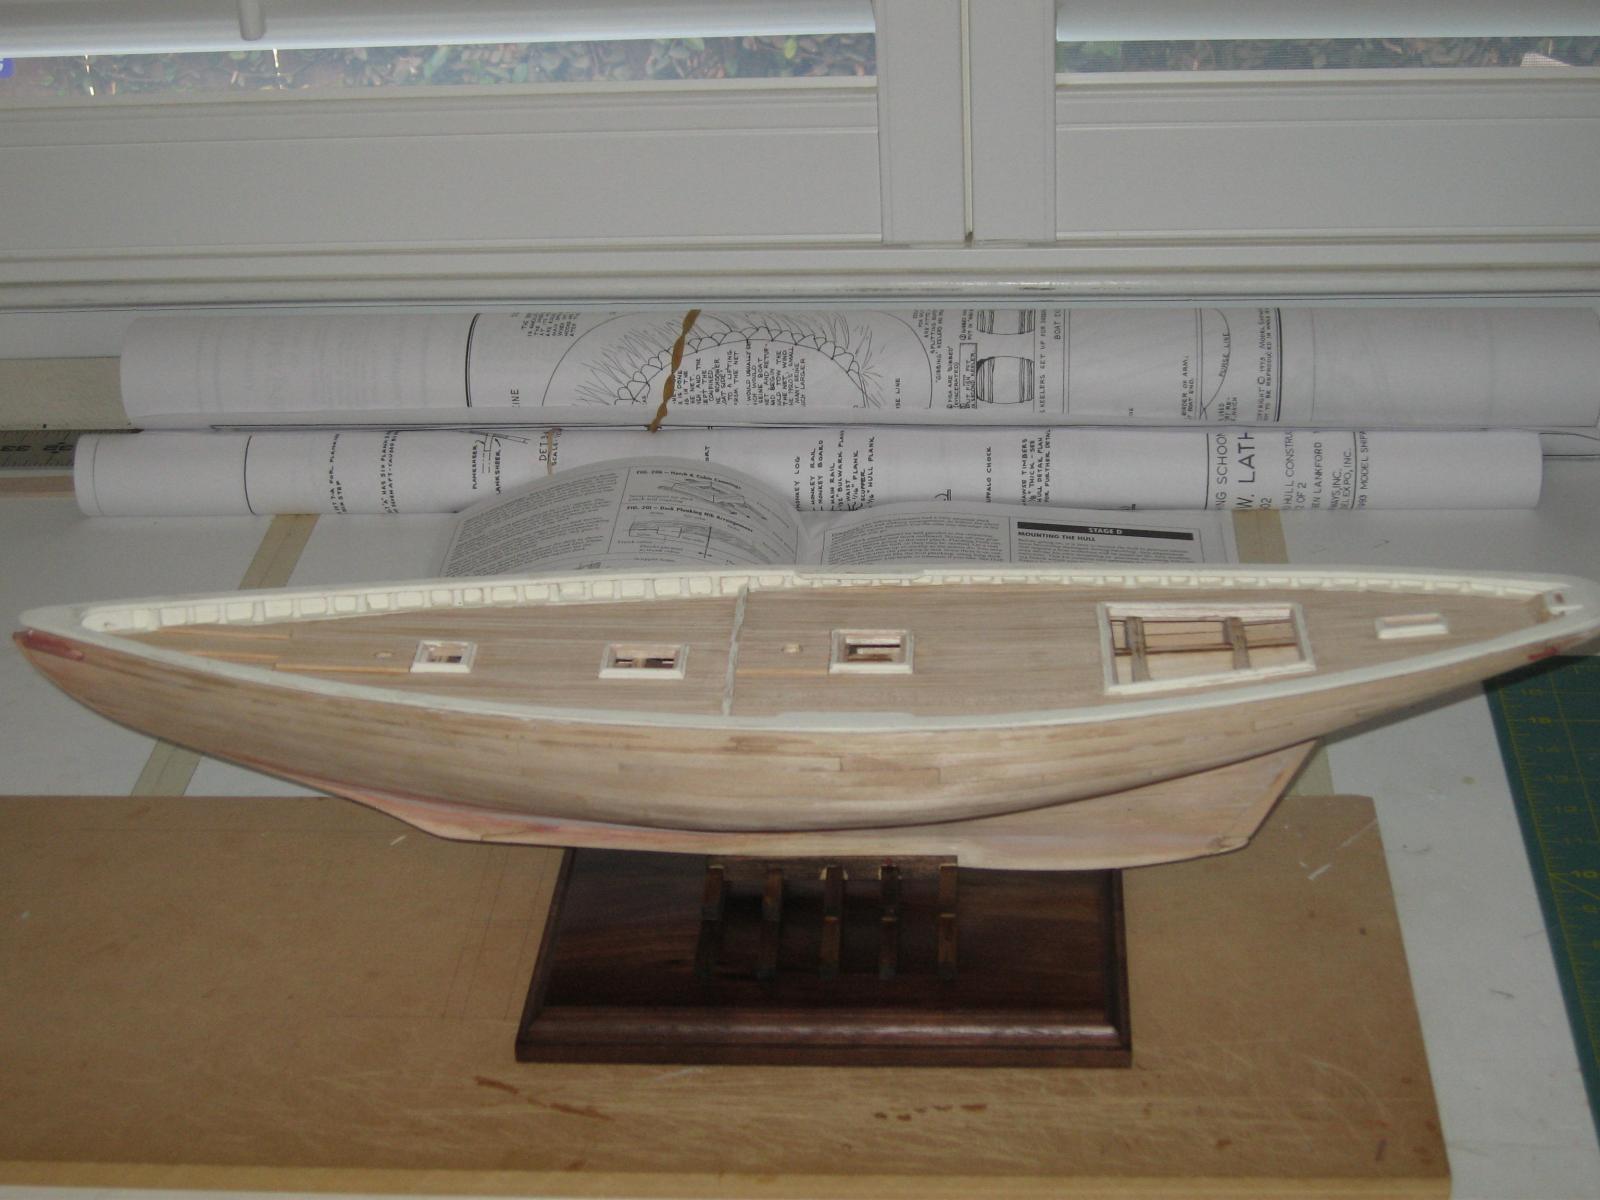
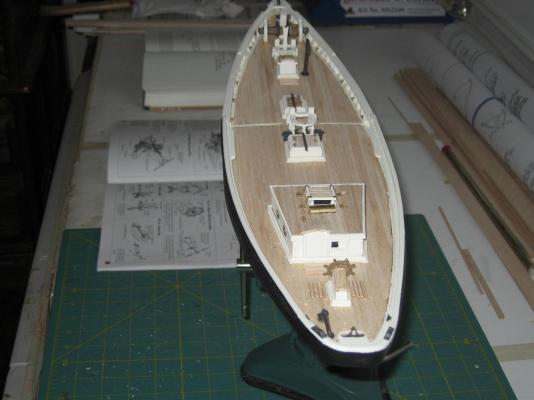
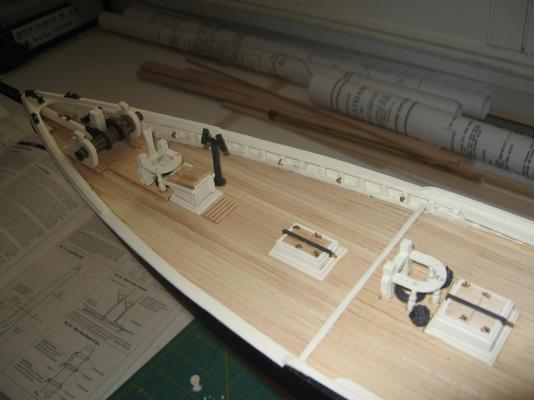
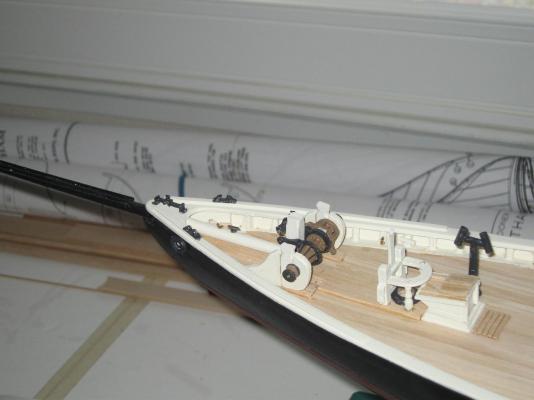
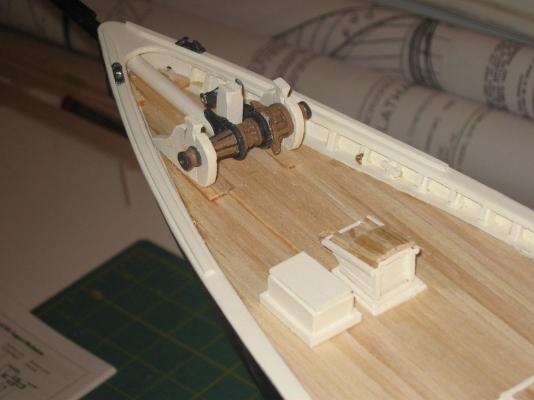
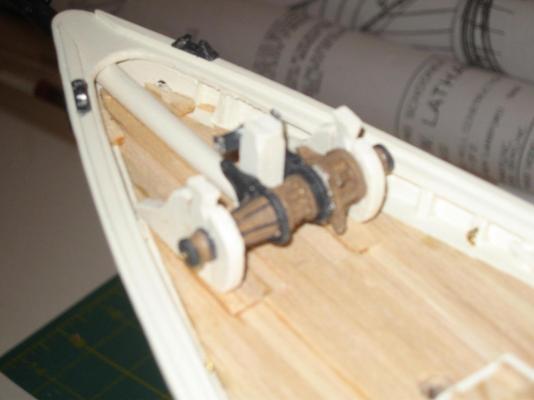
Continuing with the build. Next will be pictures of the deck structures and paint. That pretty much gets us up to date. I'll post more pictures as I build. I'm sure I'll have questions regarding the rest of the build. Should I post questions here or somewhere else on the forum. Thanks for looking. Eddie


- 20 replies
-
- 11
-
-
- benjamin w latham
- model shipways
- (and 2 more)
-
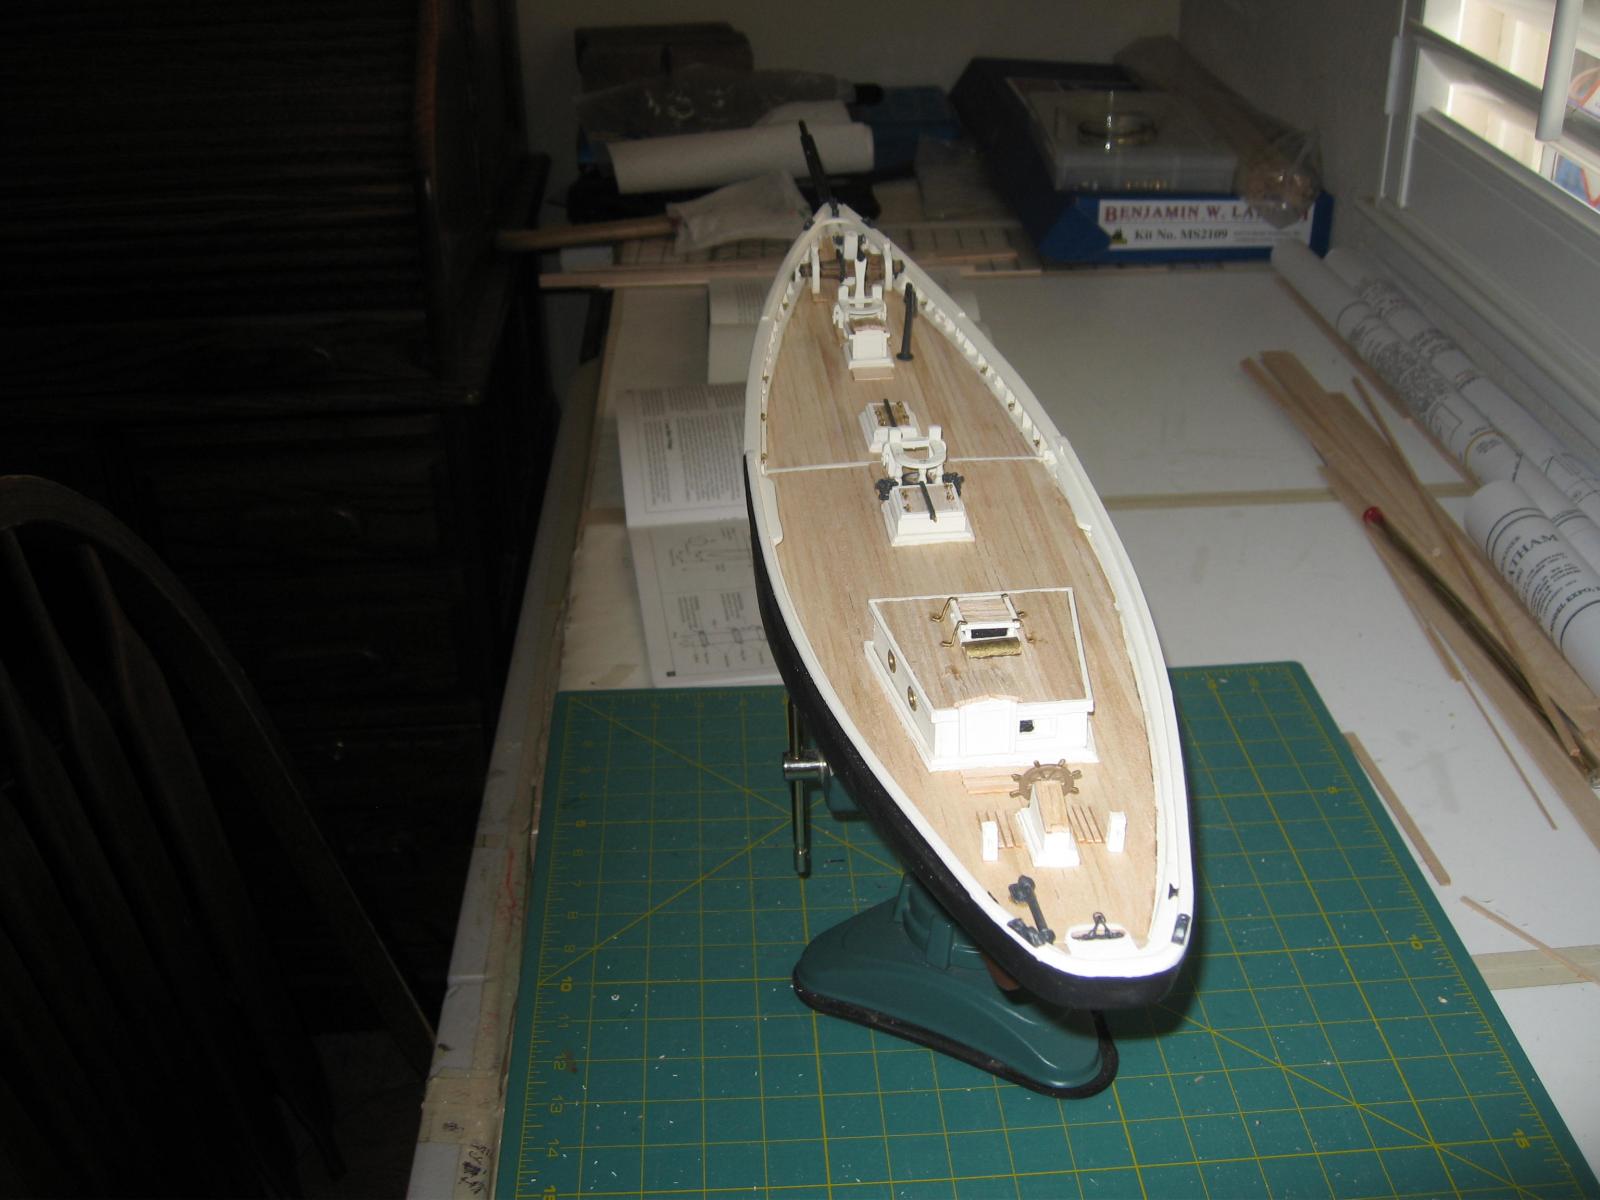
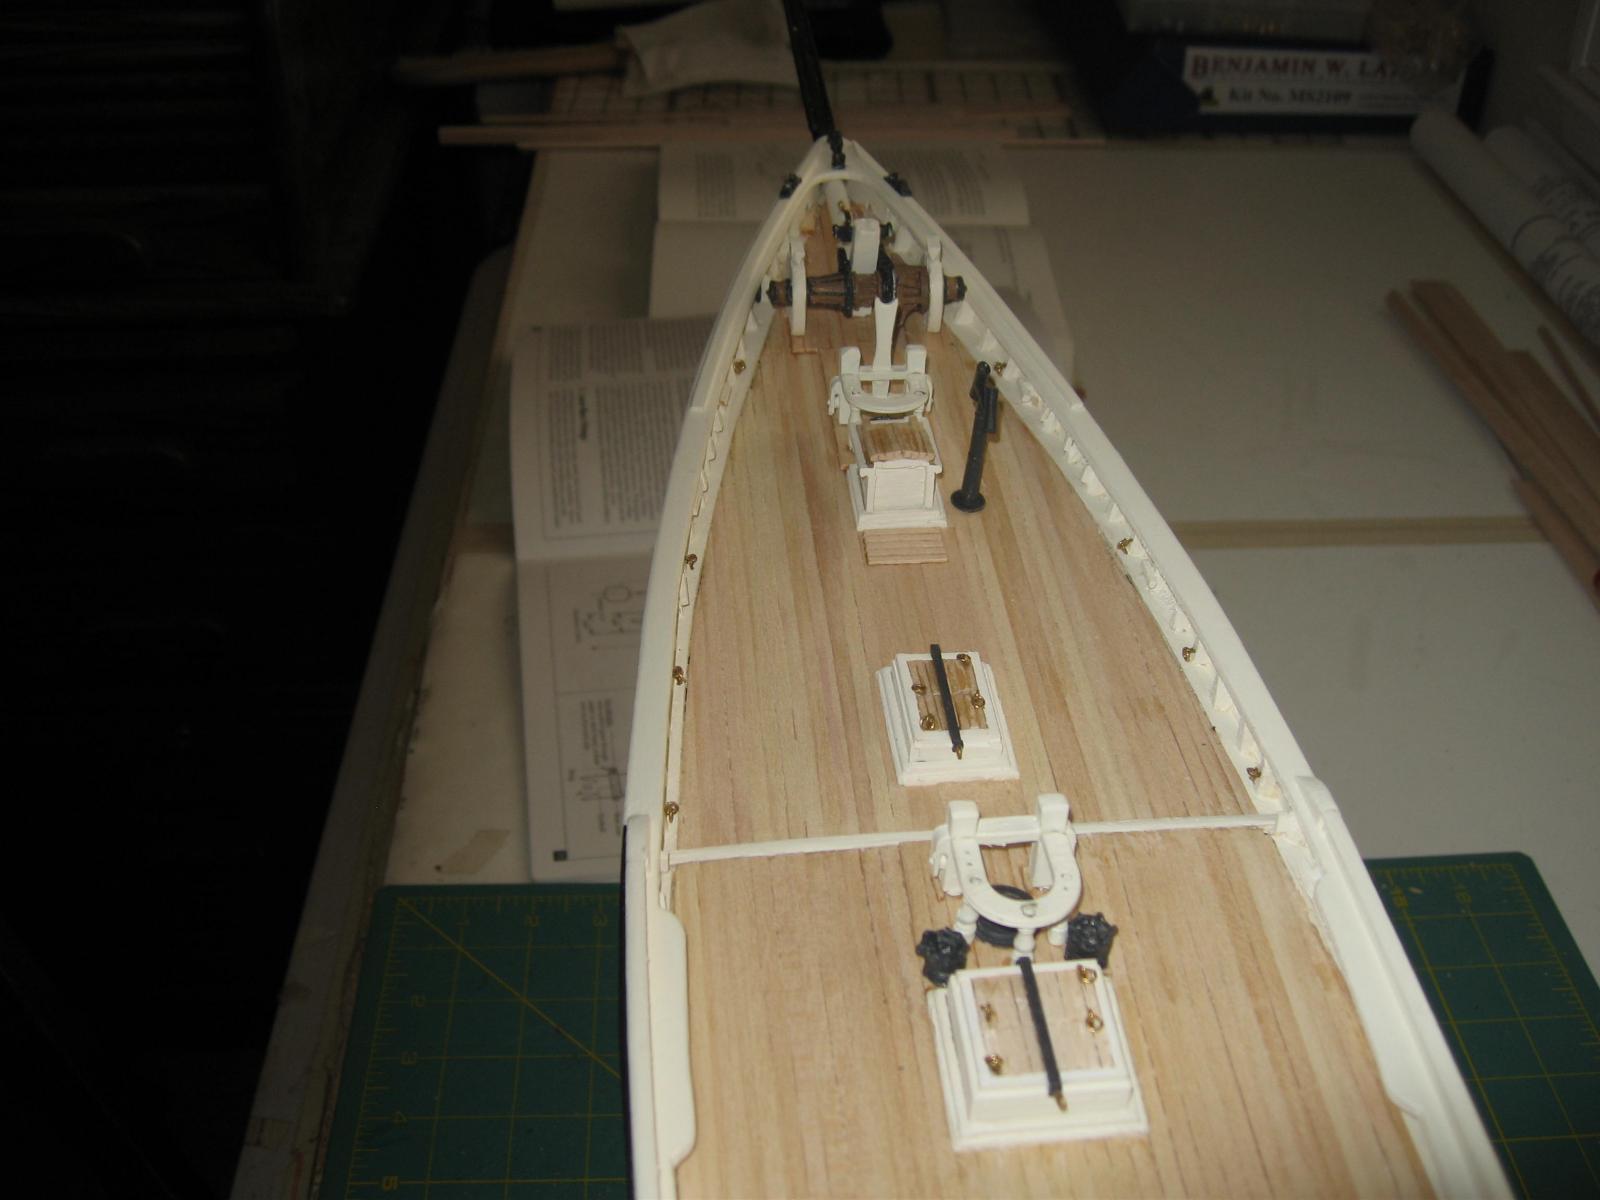
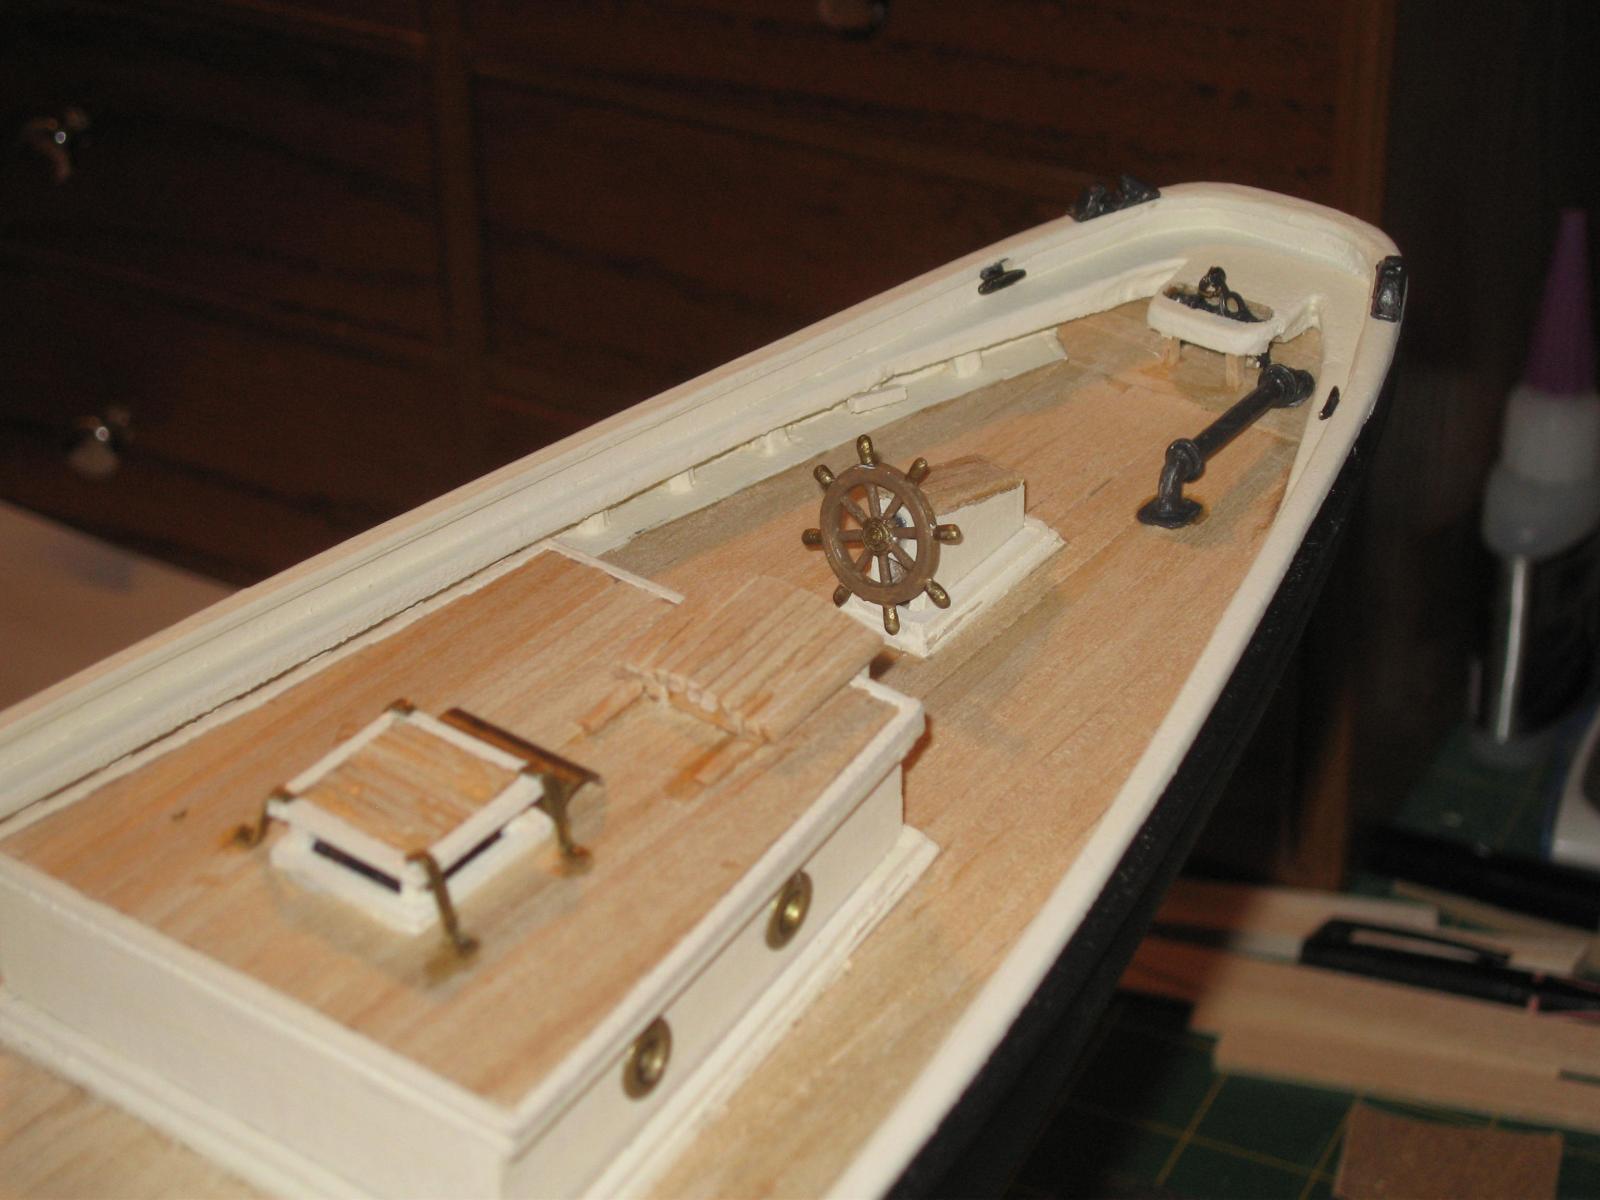
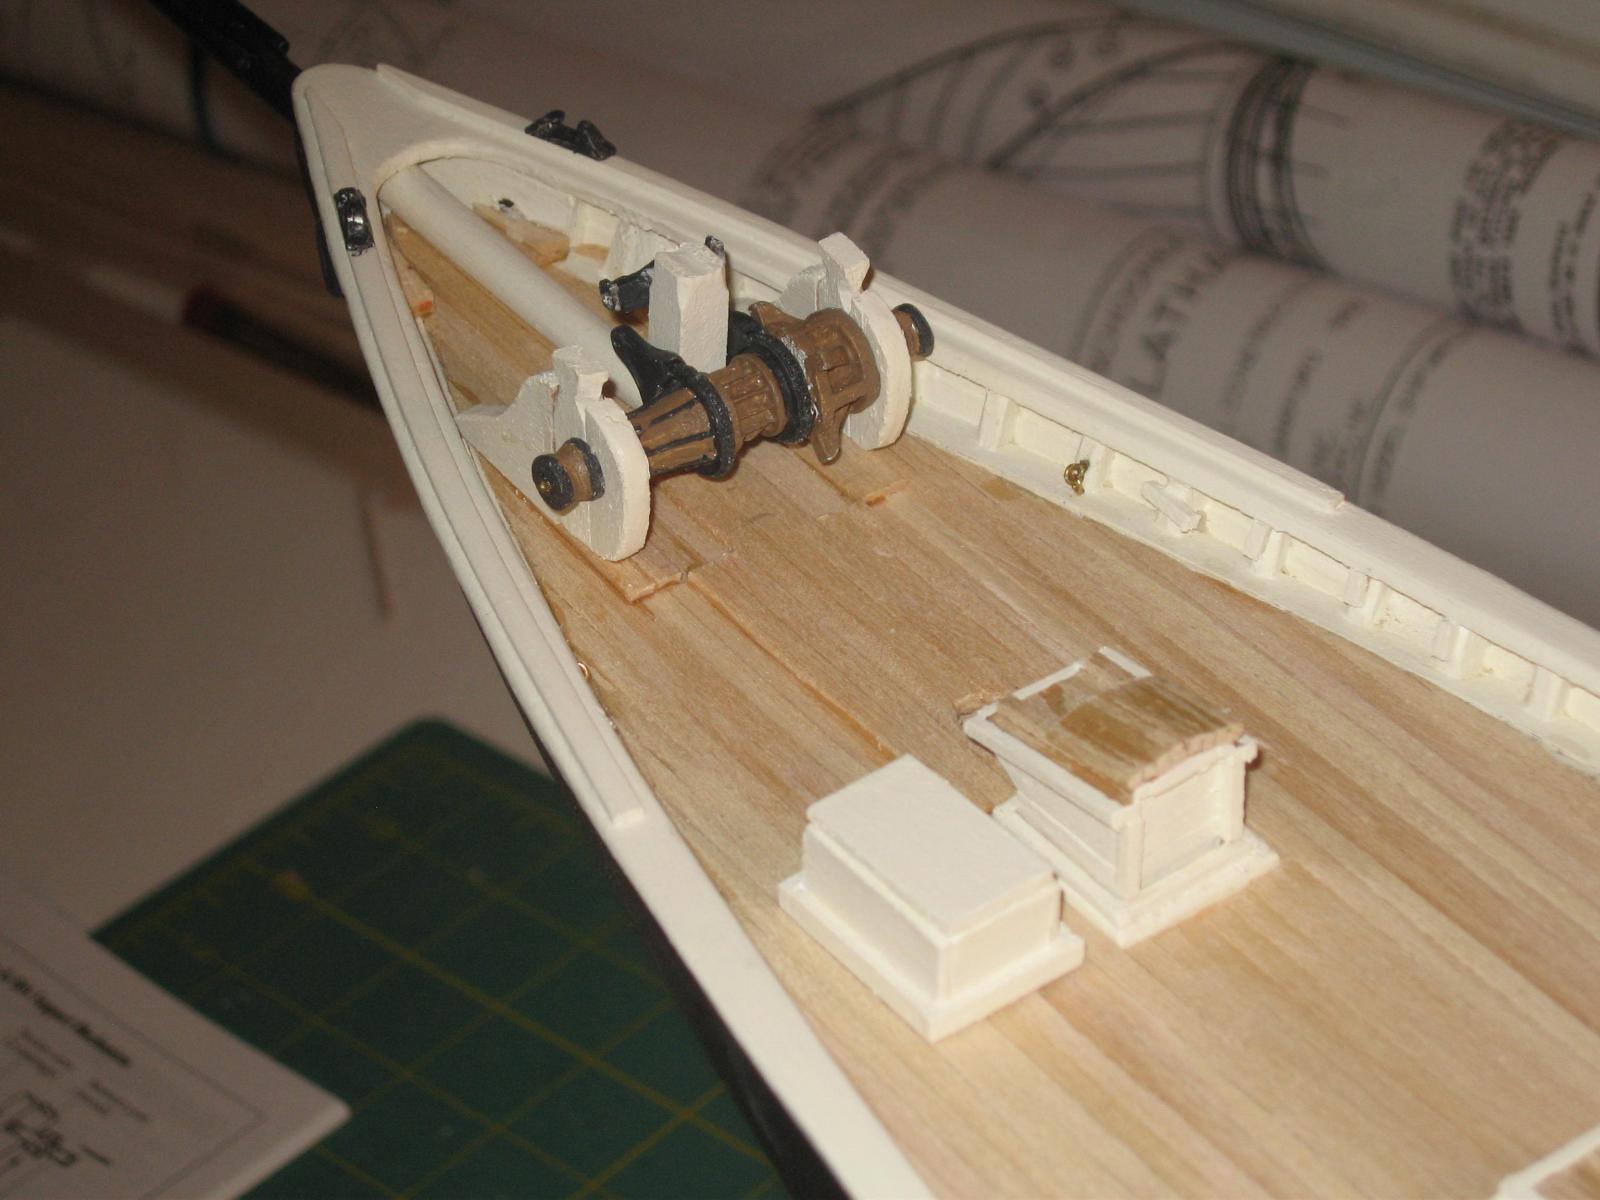
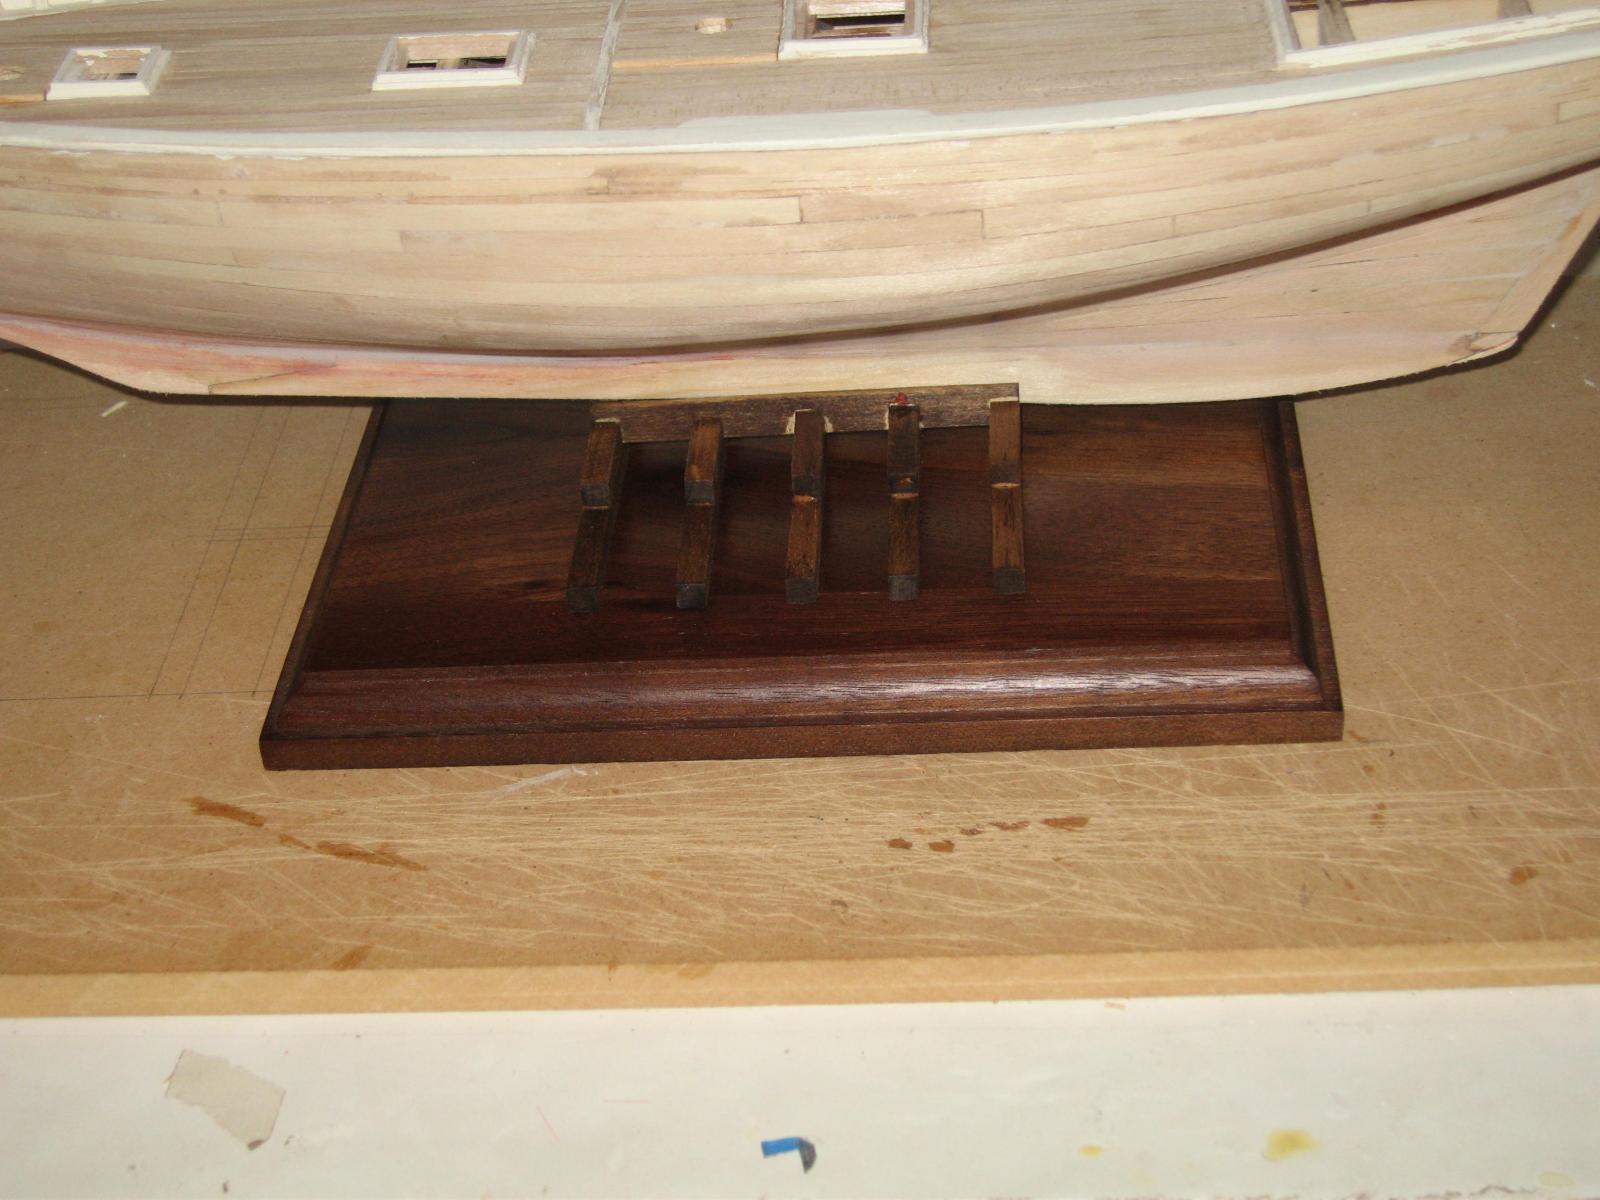
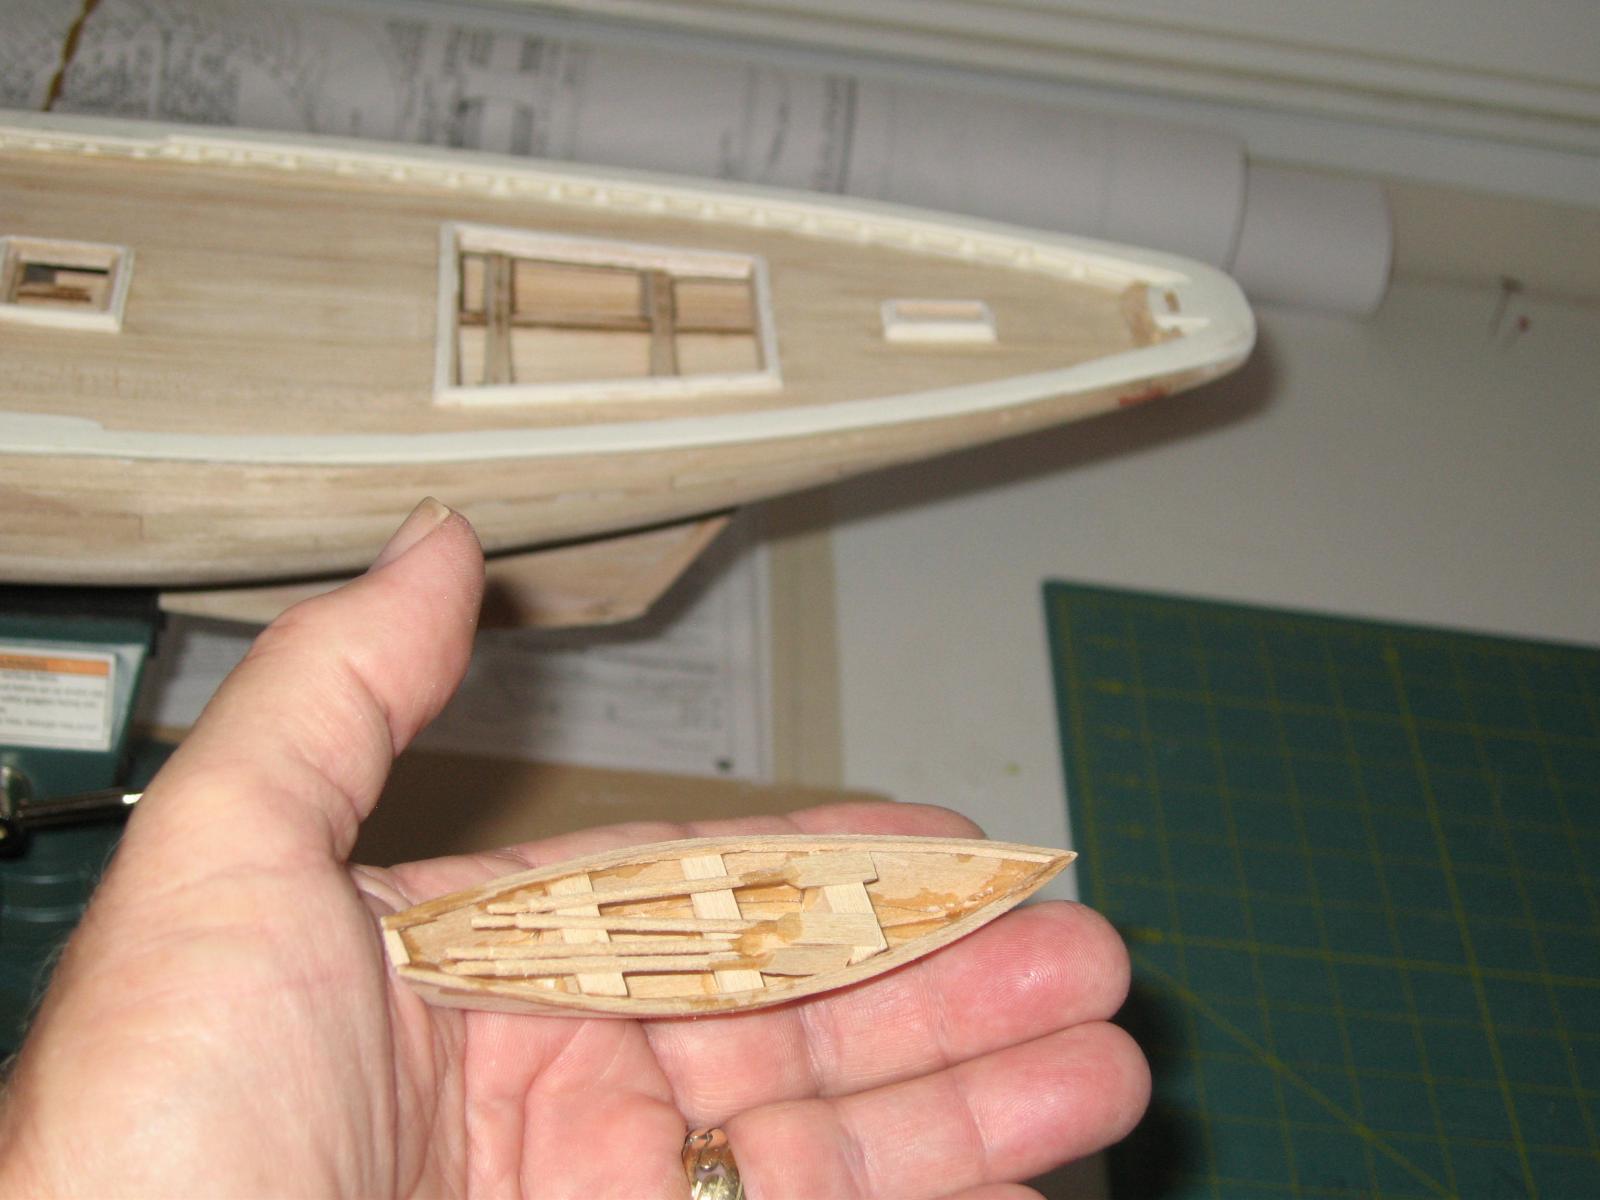
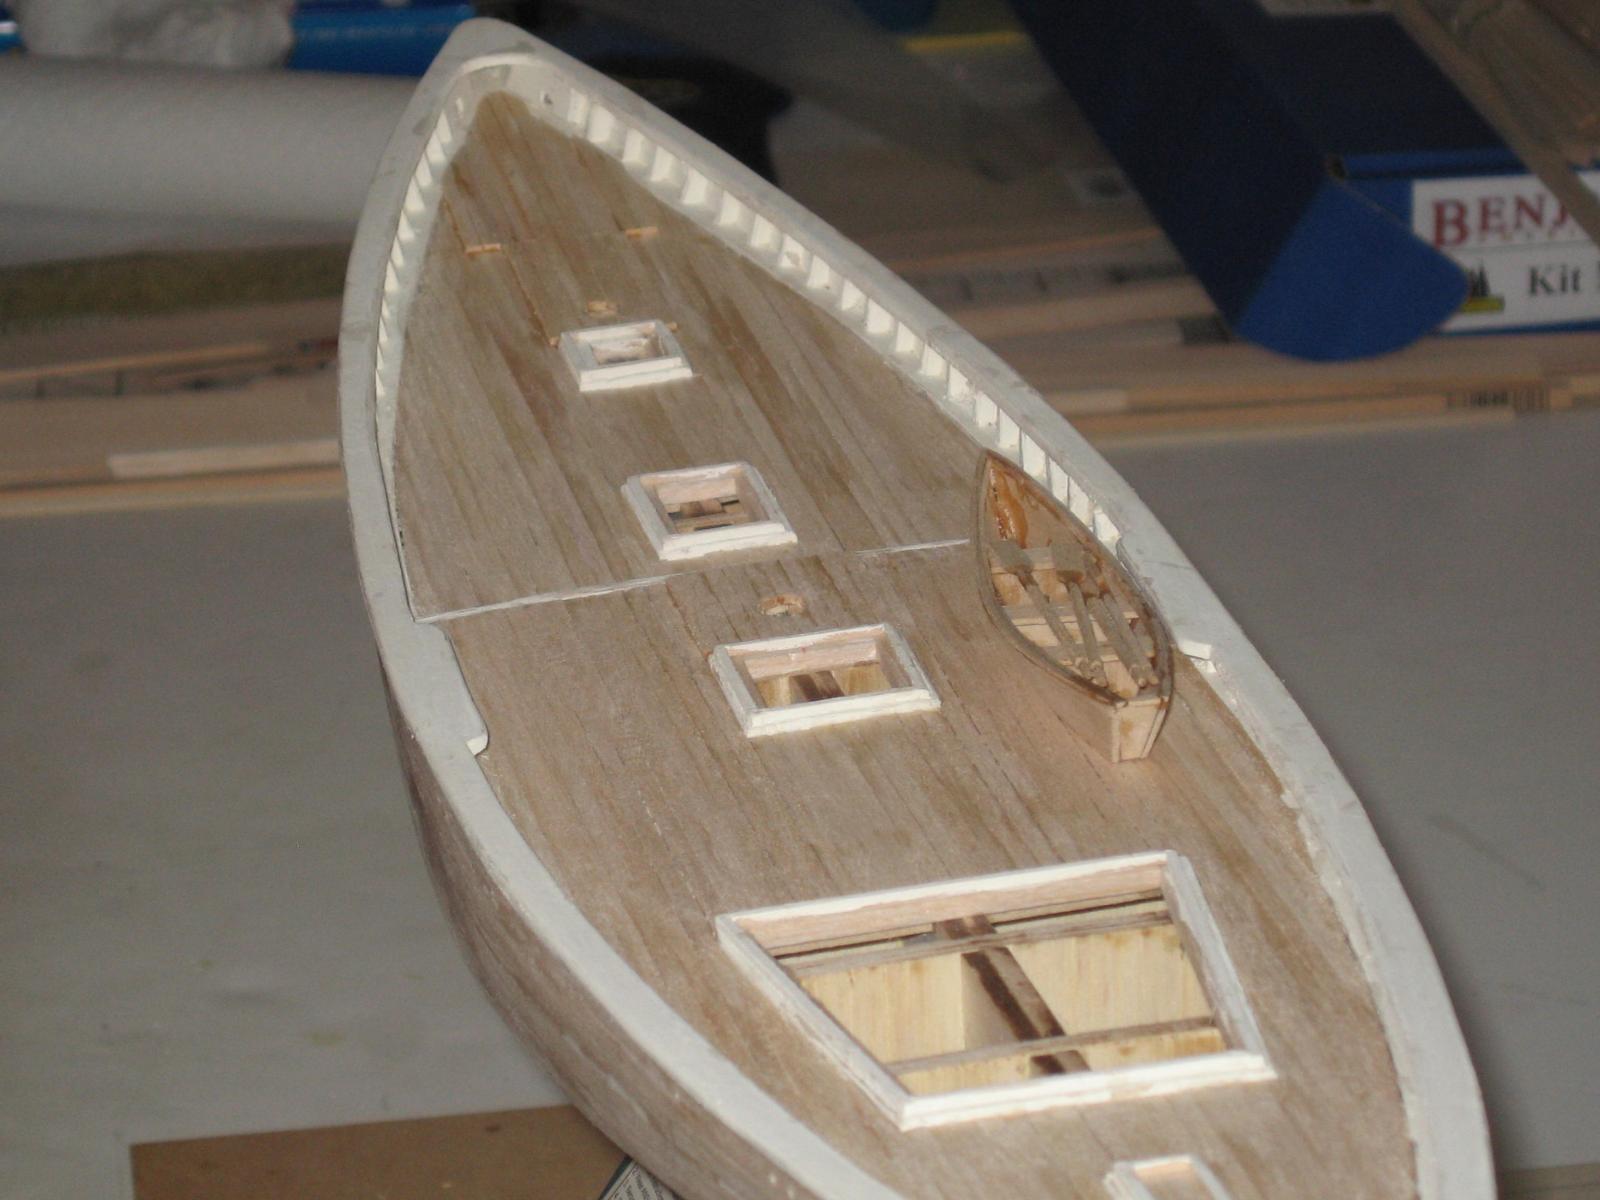
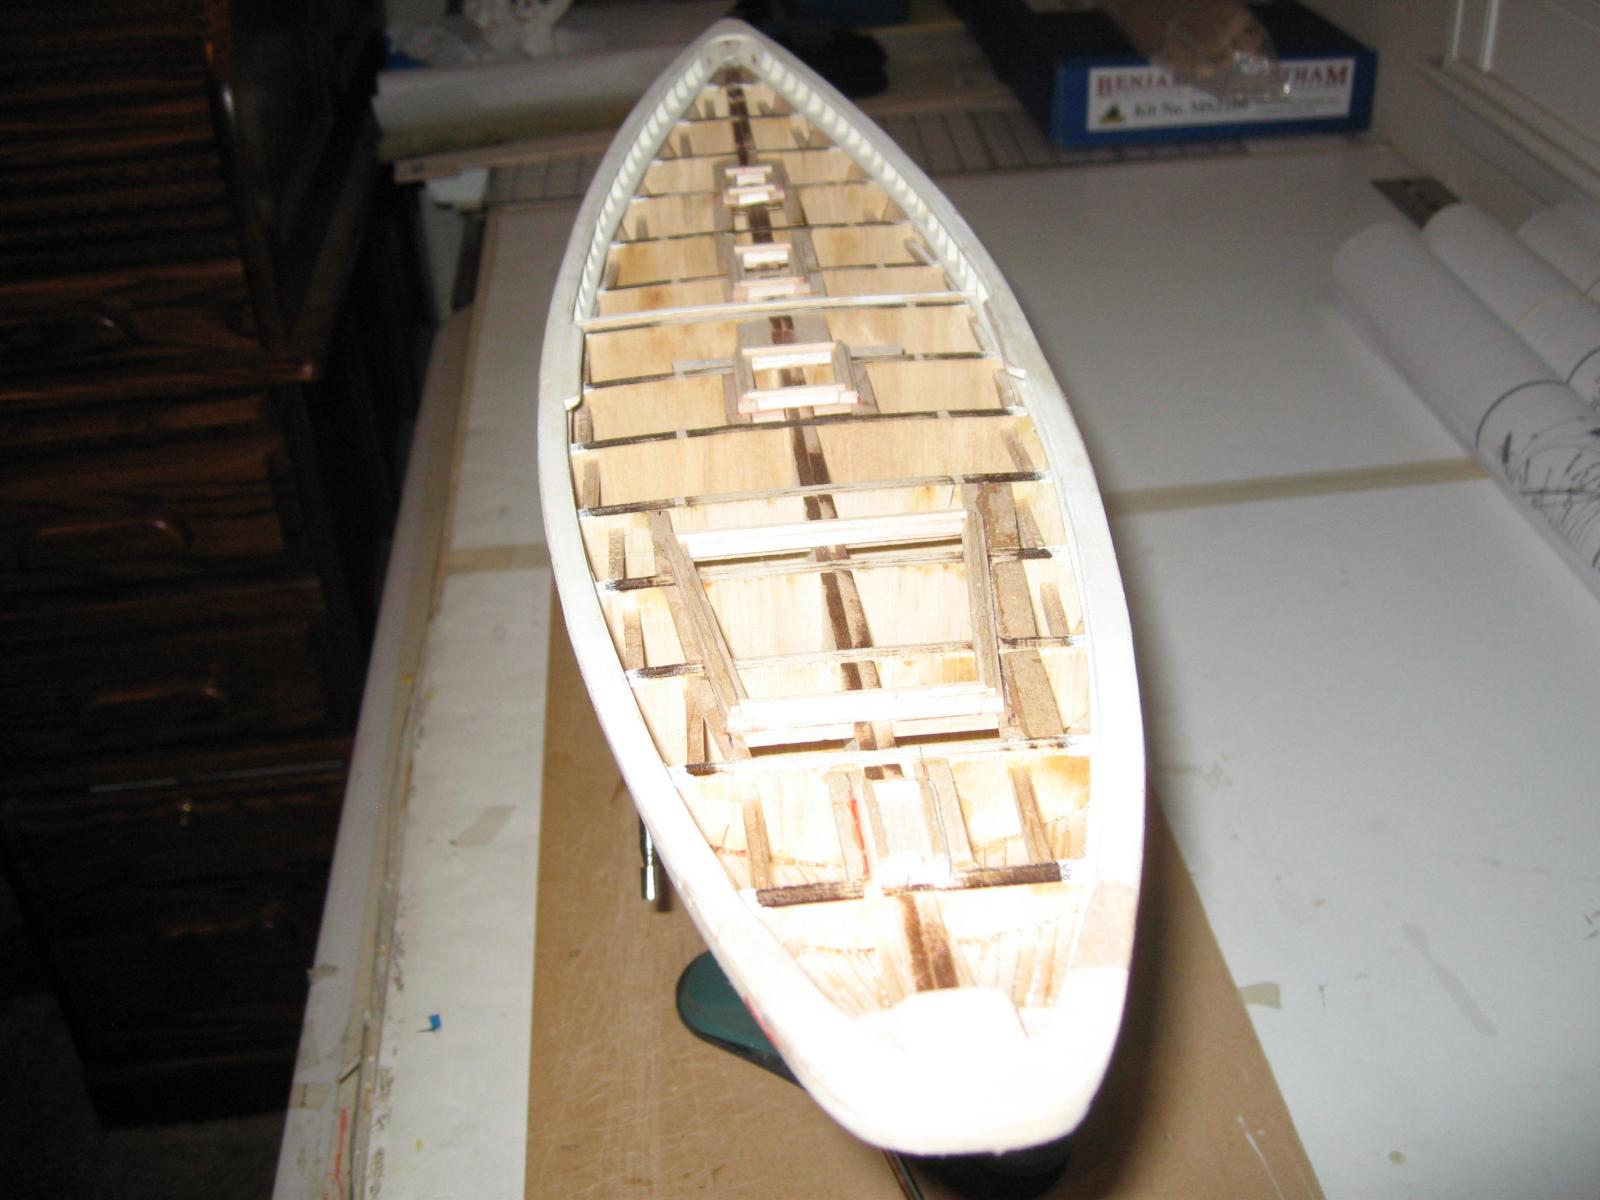
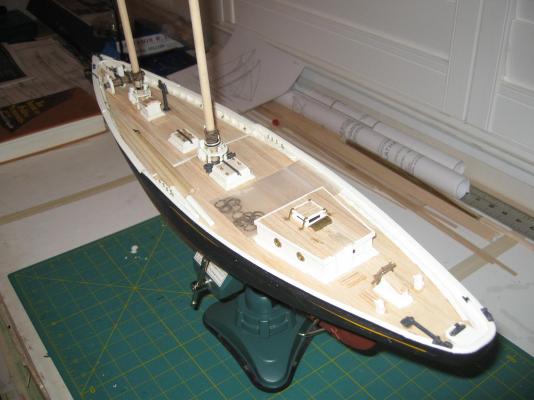
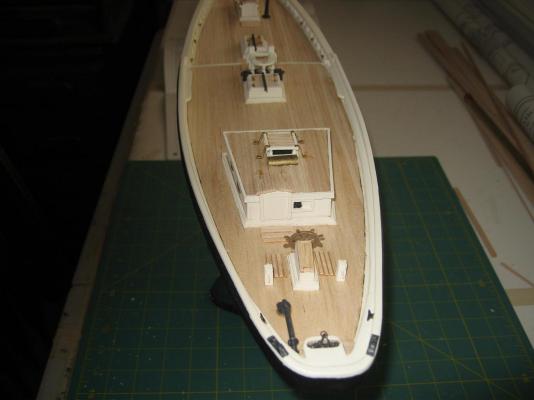
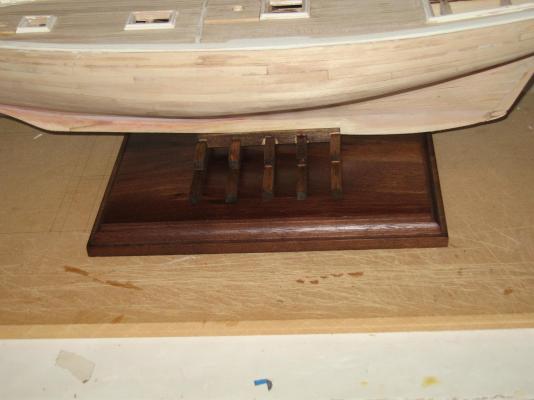
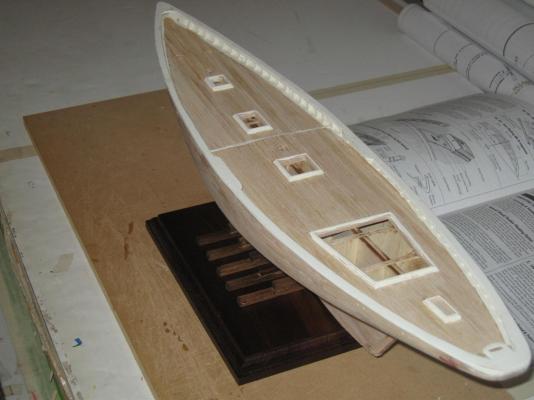
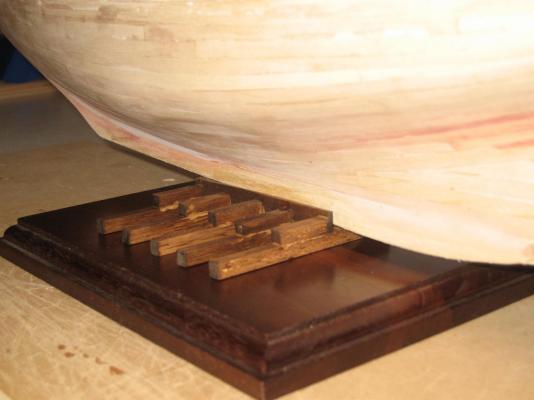
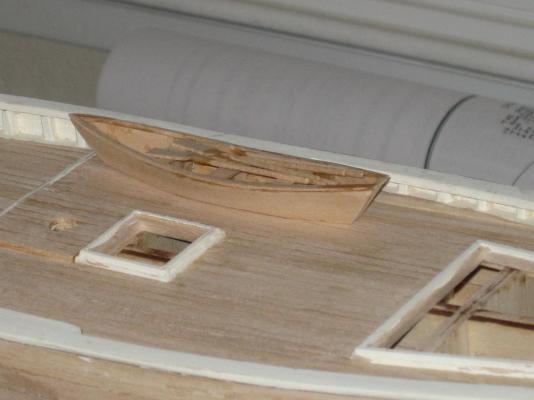
More pictures of completed deck. Also the Plaque and Waterways I made that it will be mounted on when complete. I got bored working on it, so for a change of pace I built a Dory to sit on the deck when complete. Eddie


- 20 replies
-
- 7
-
-
- benjamin w latham
- model shipways
- (and 2 more)
-
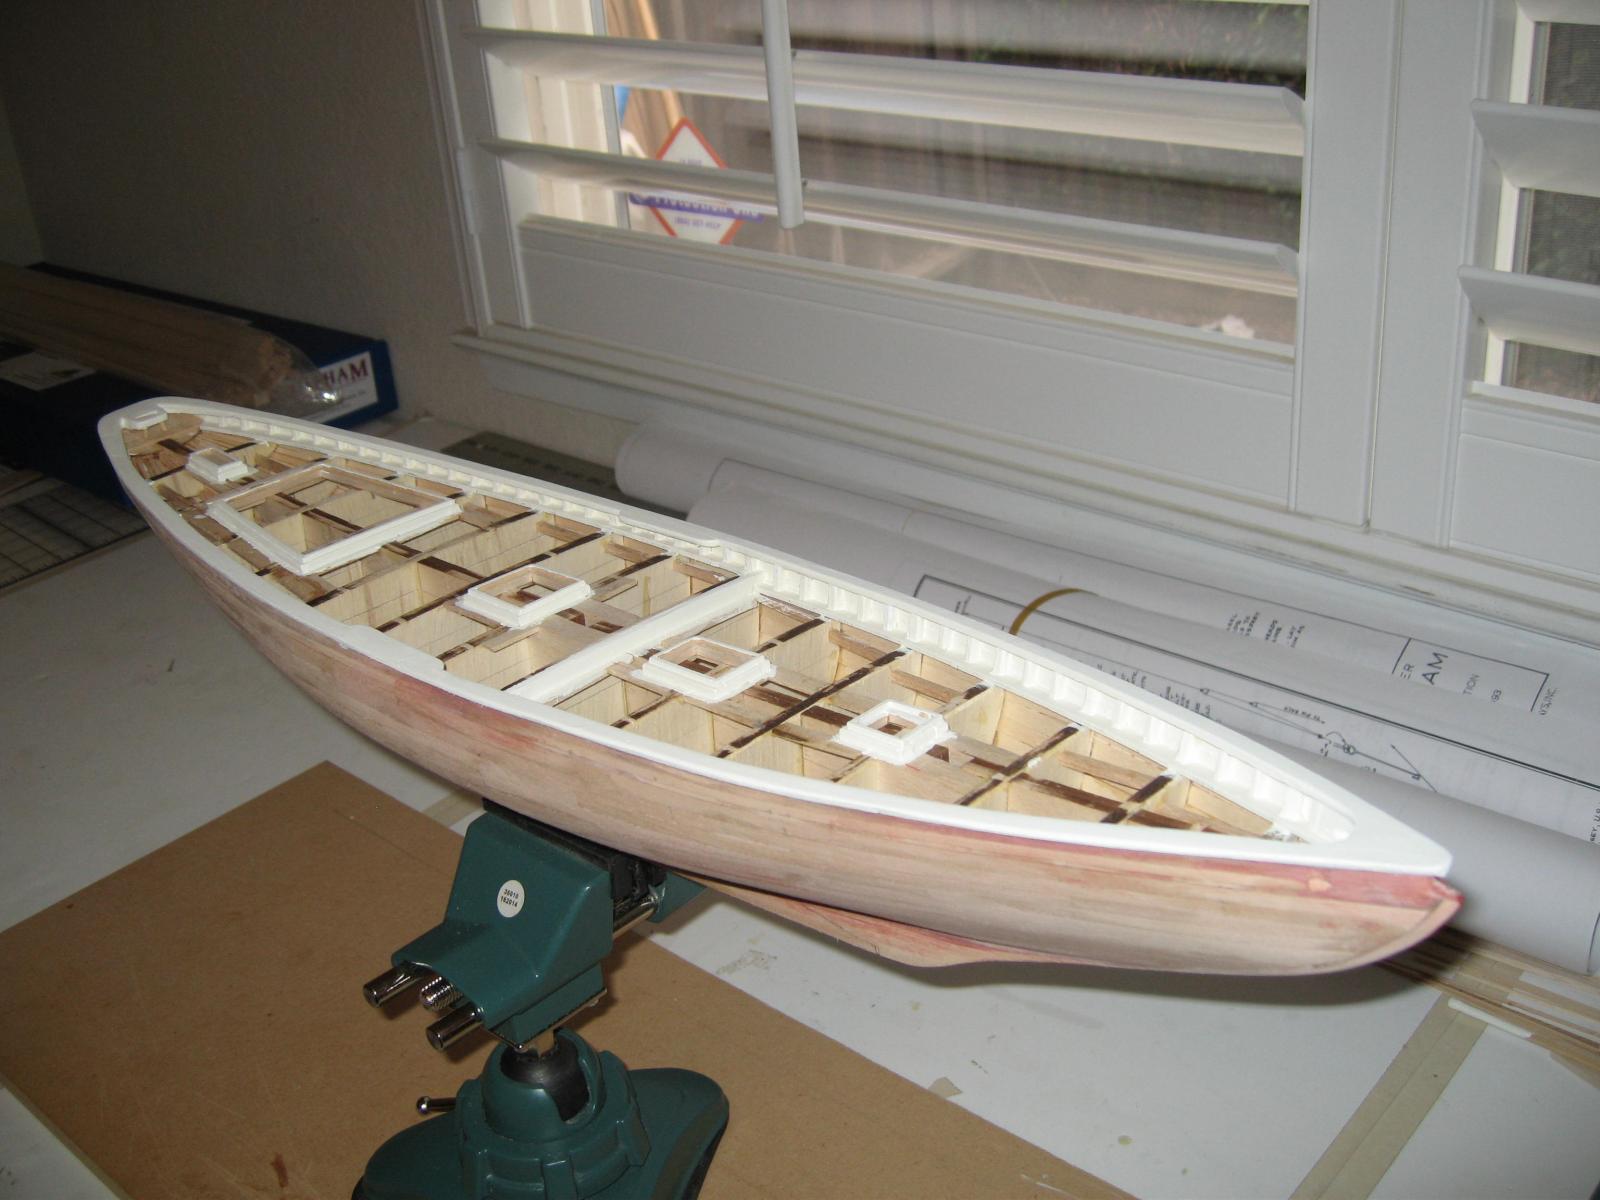
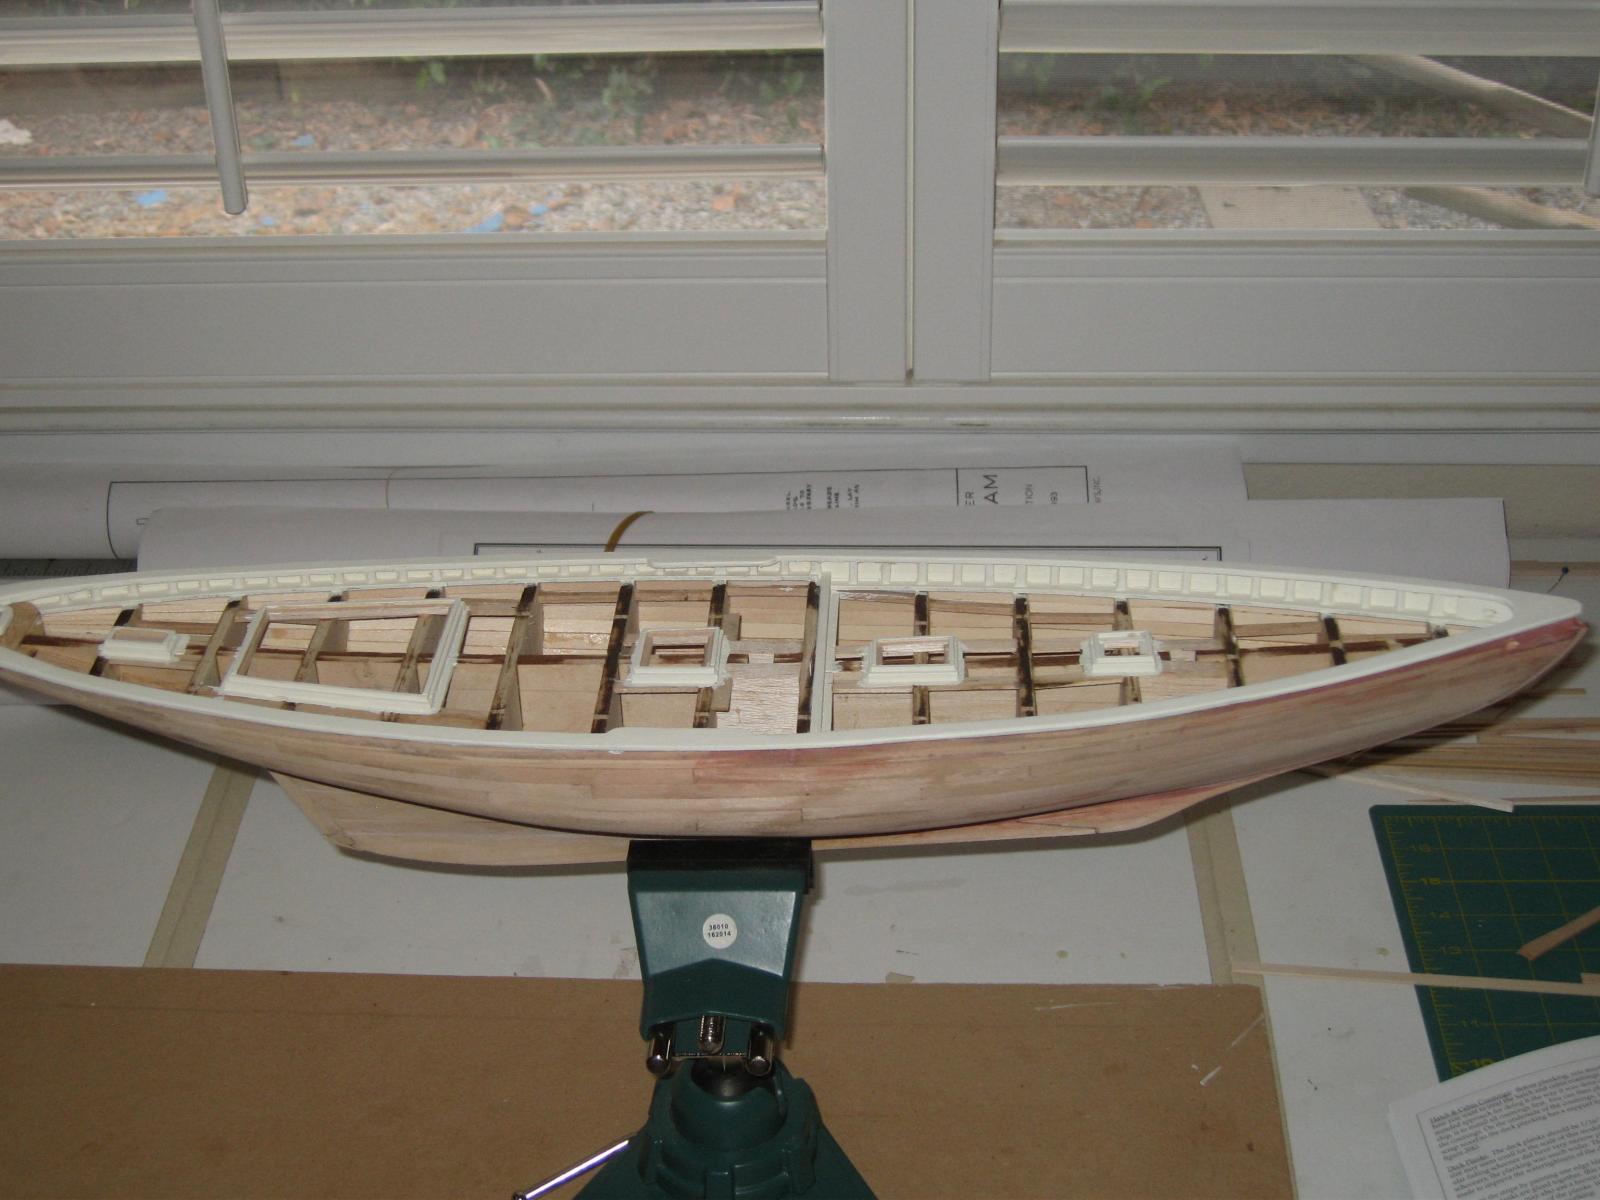
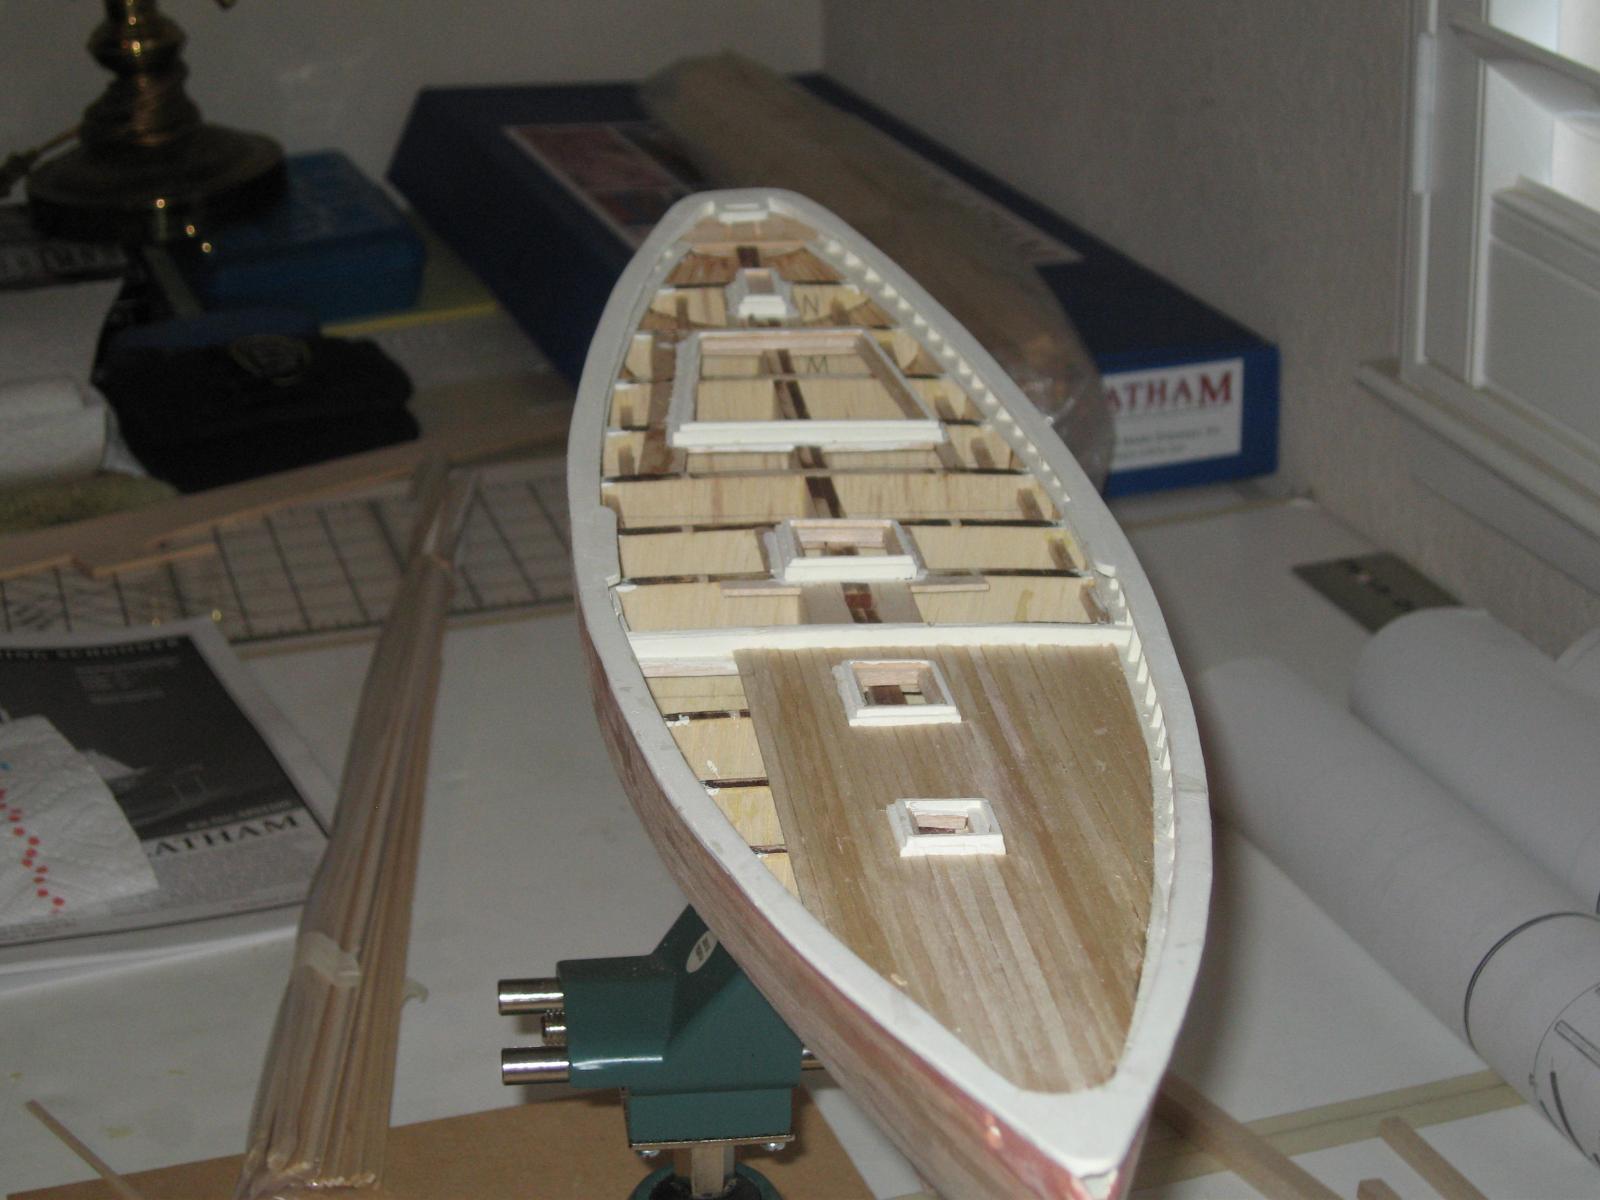
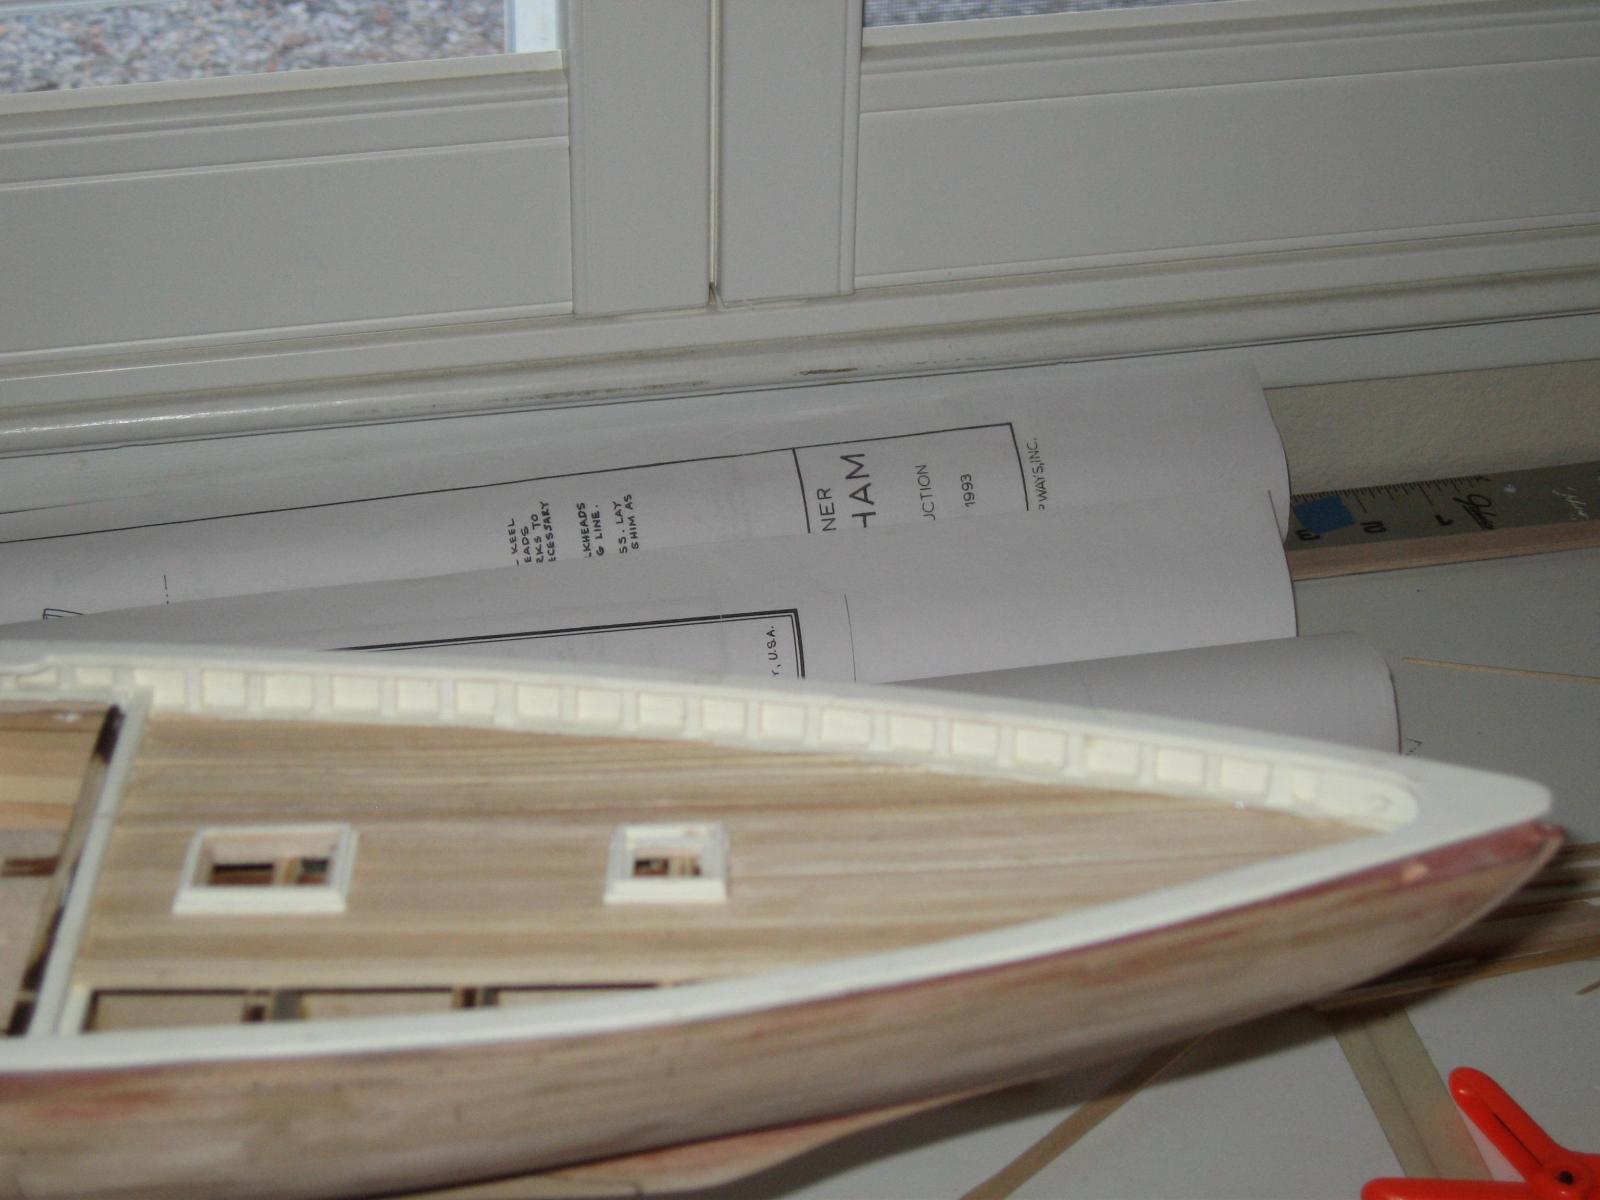
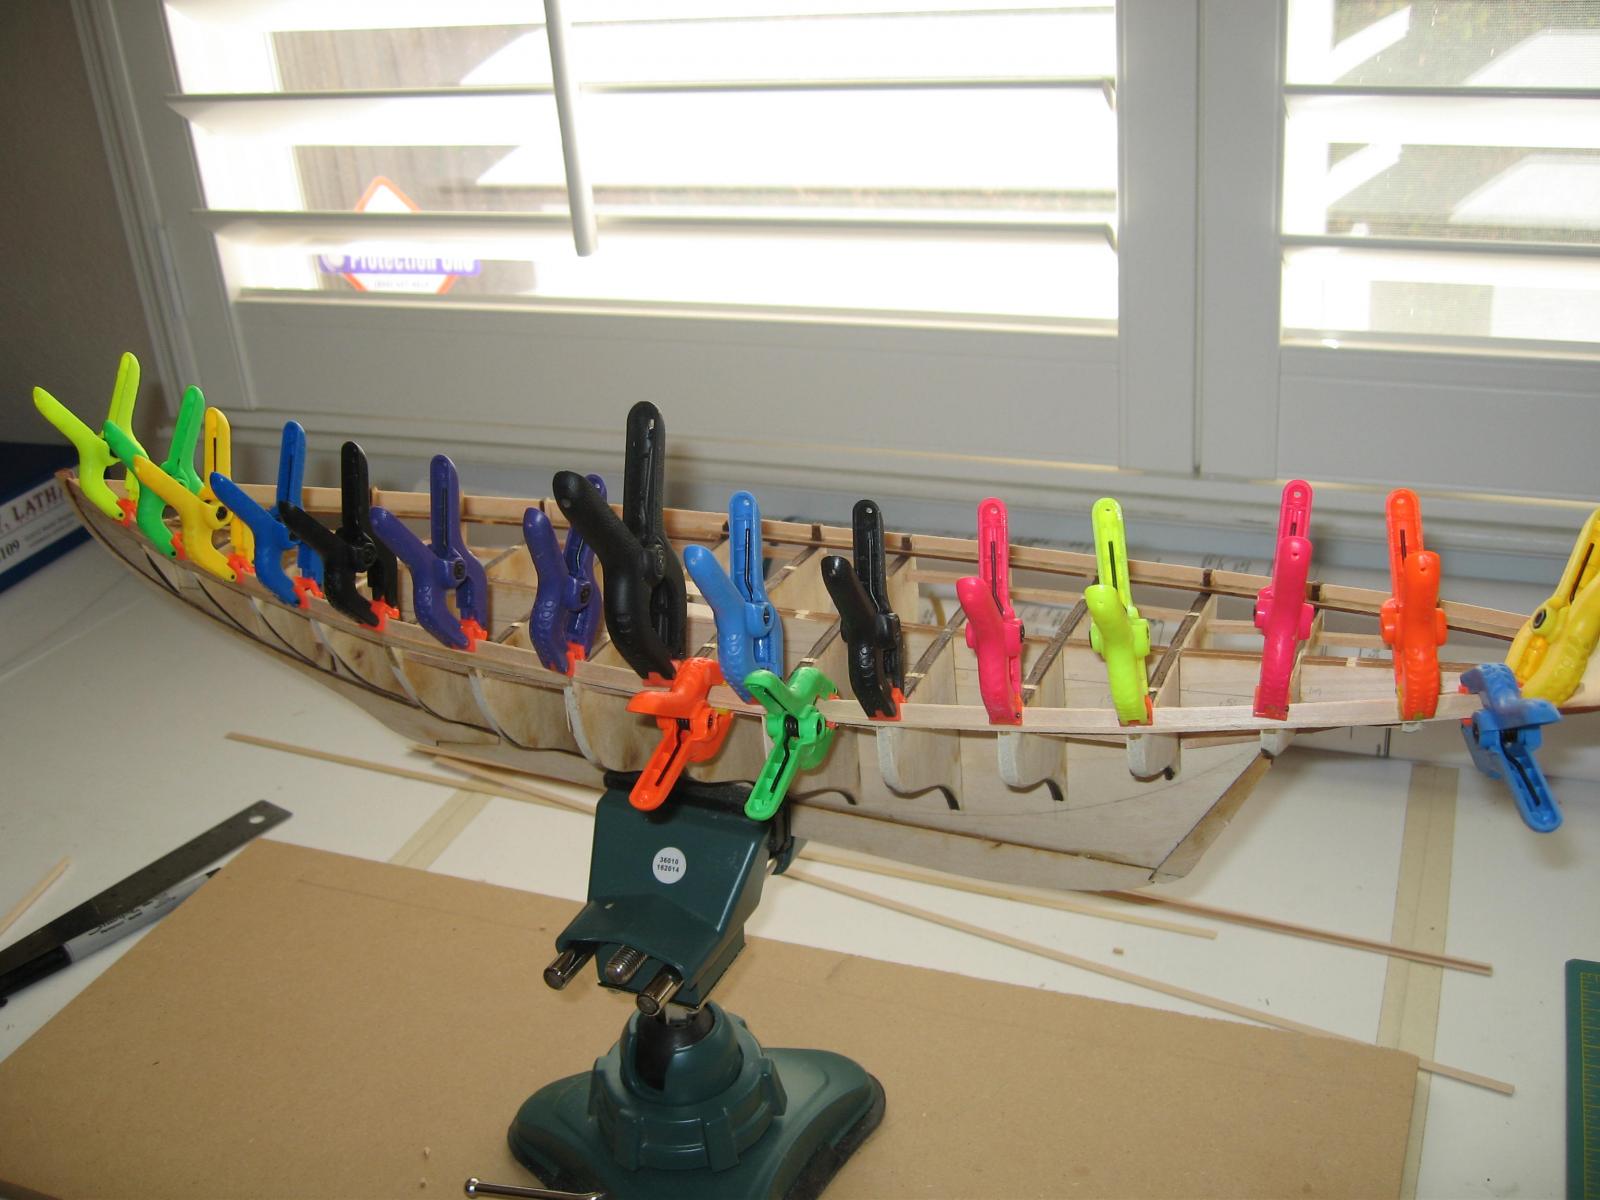
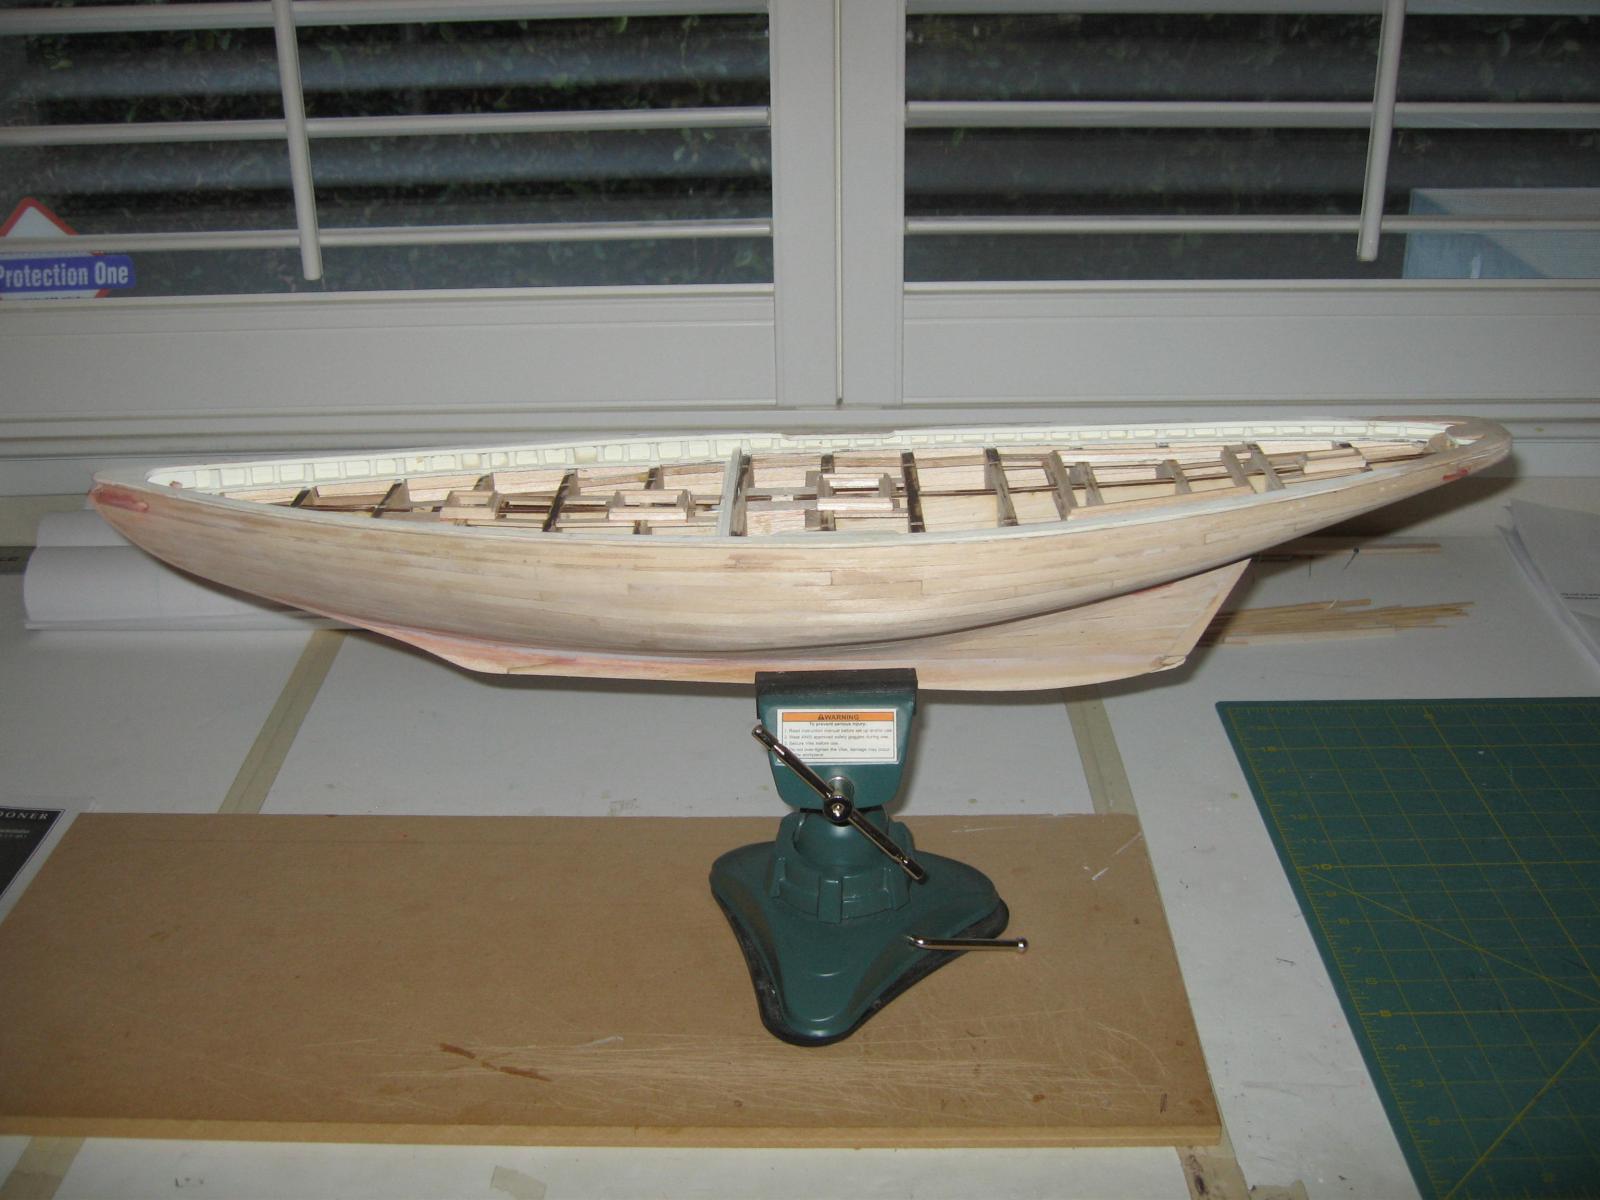
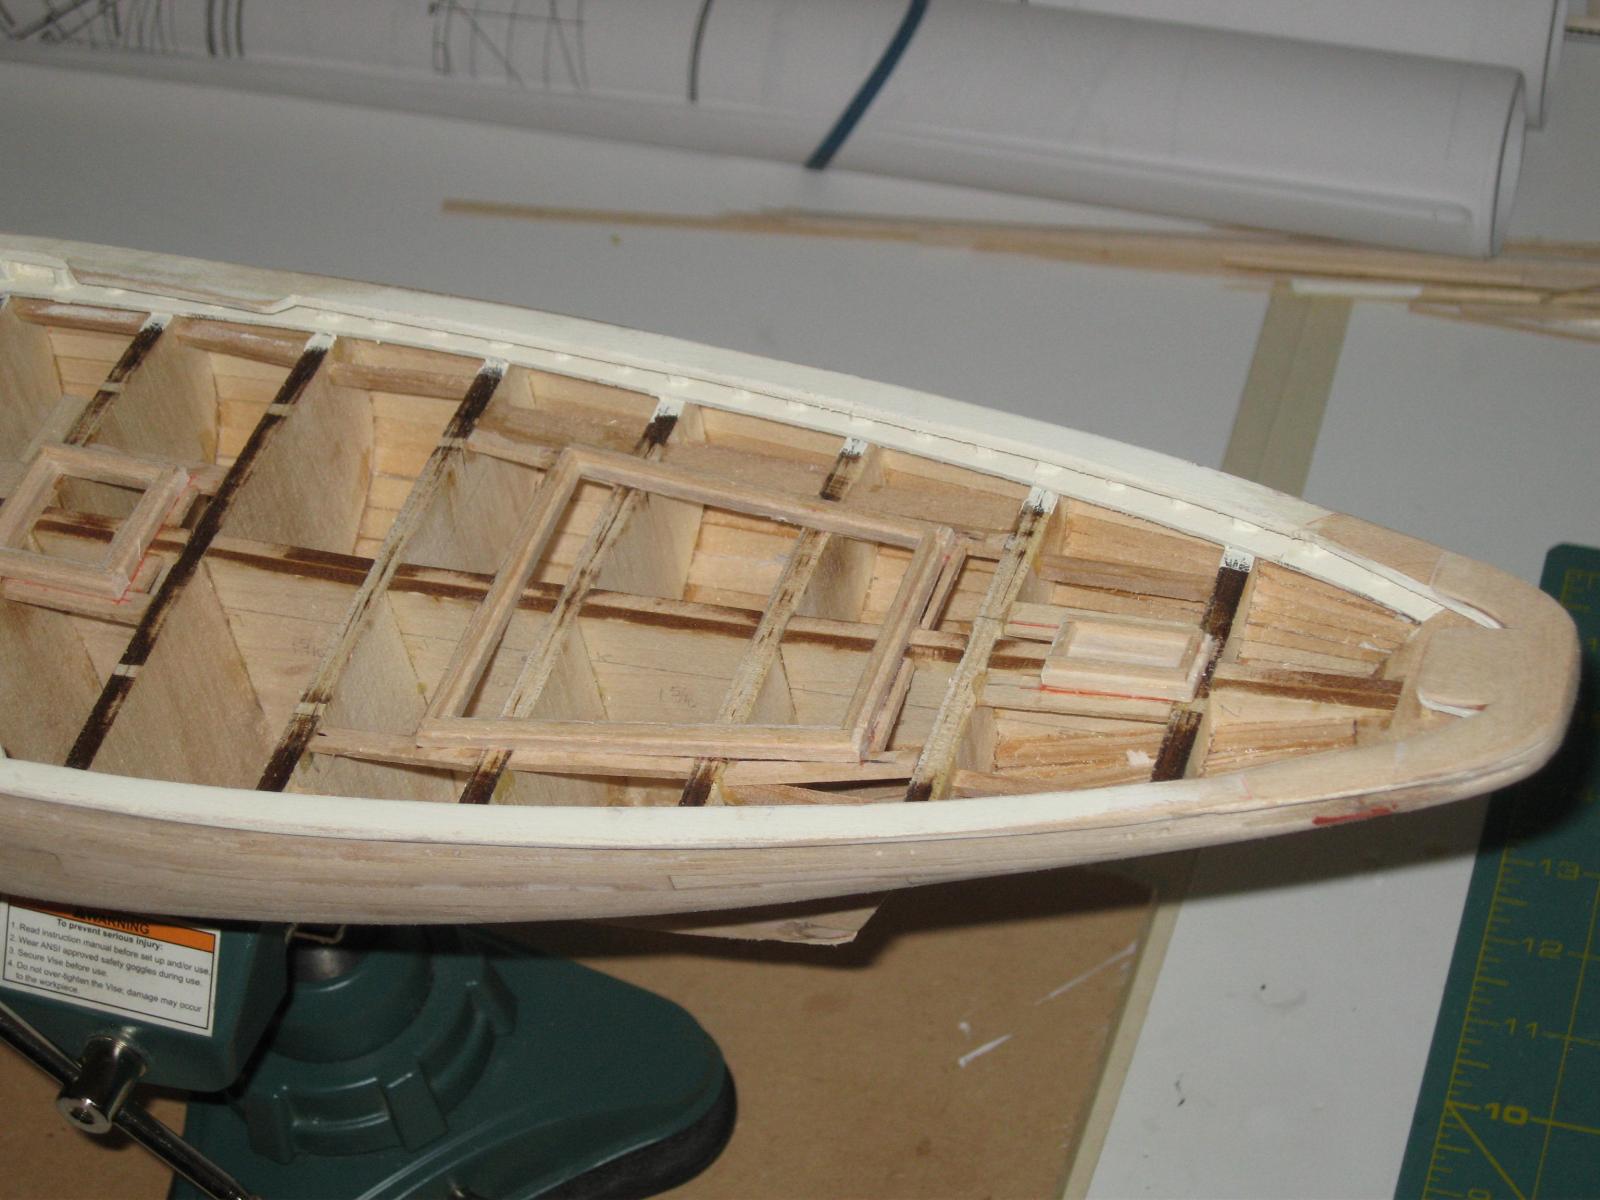
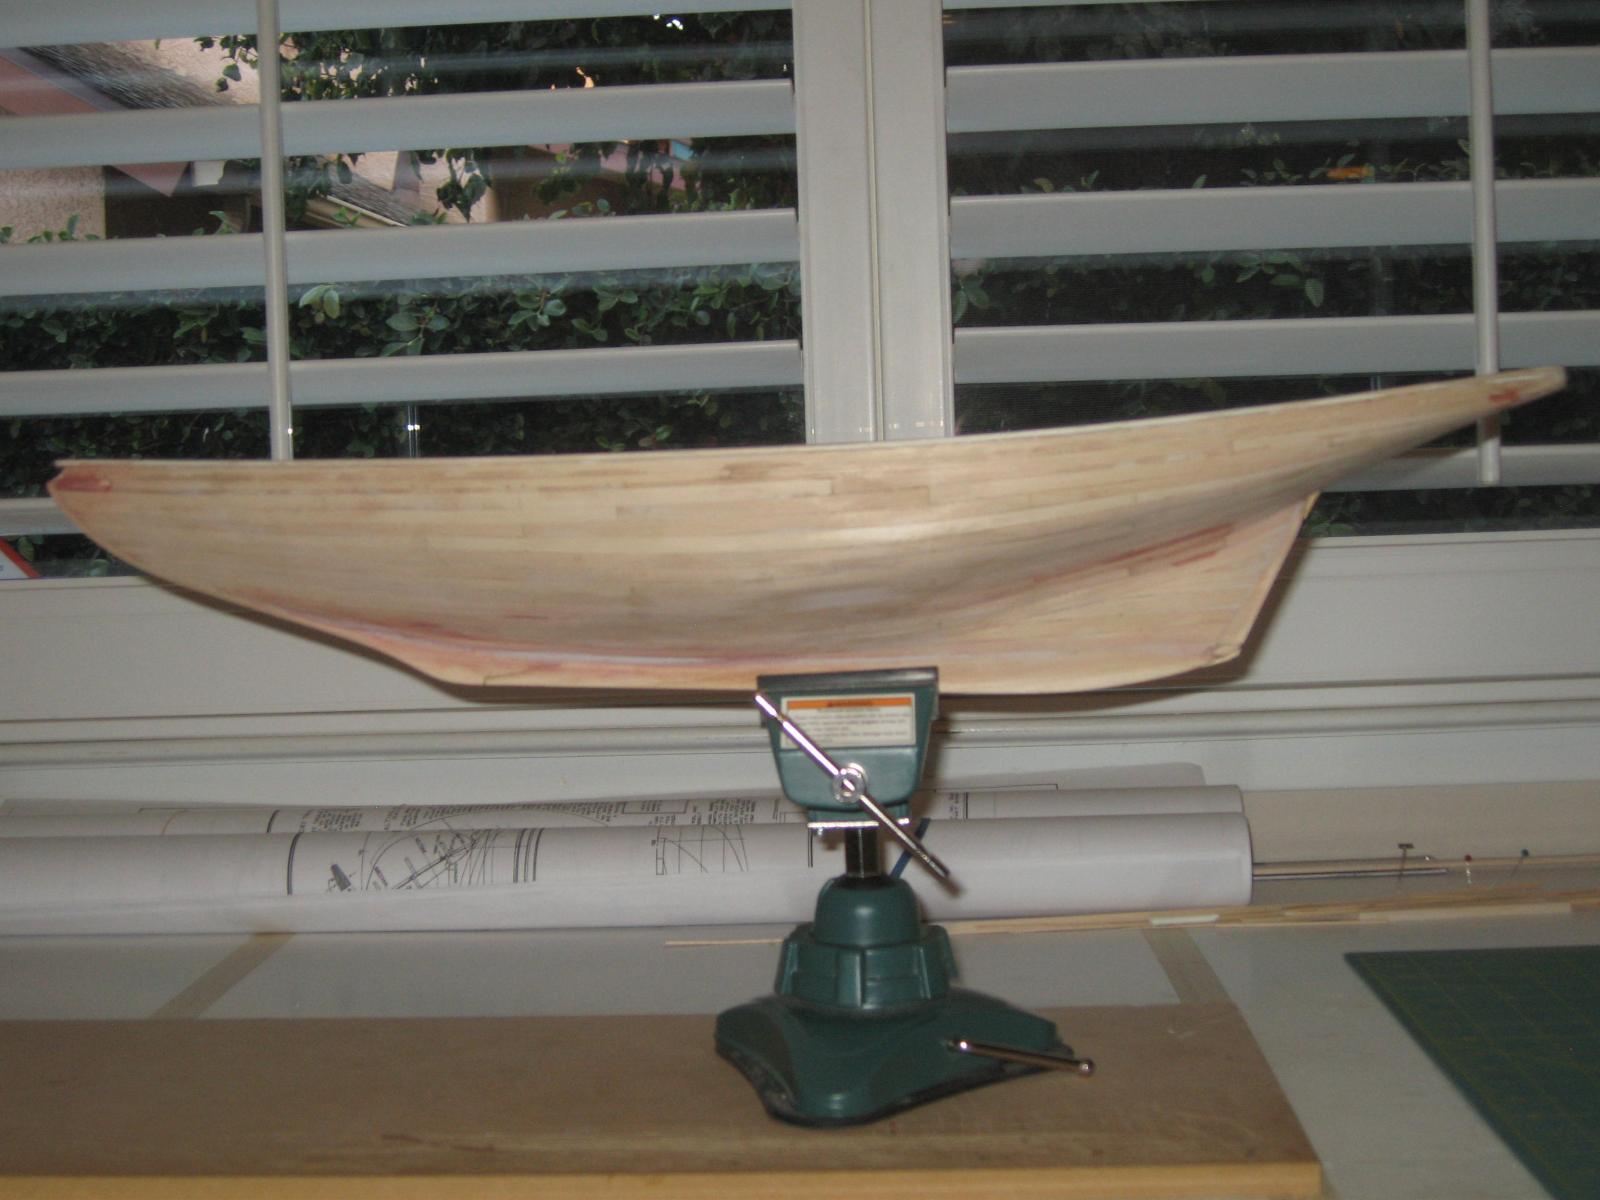
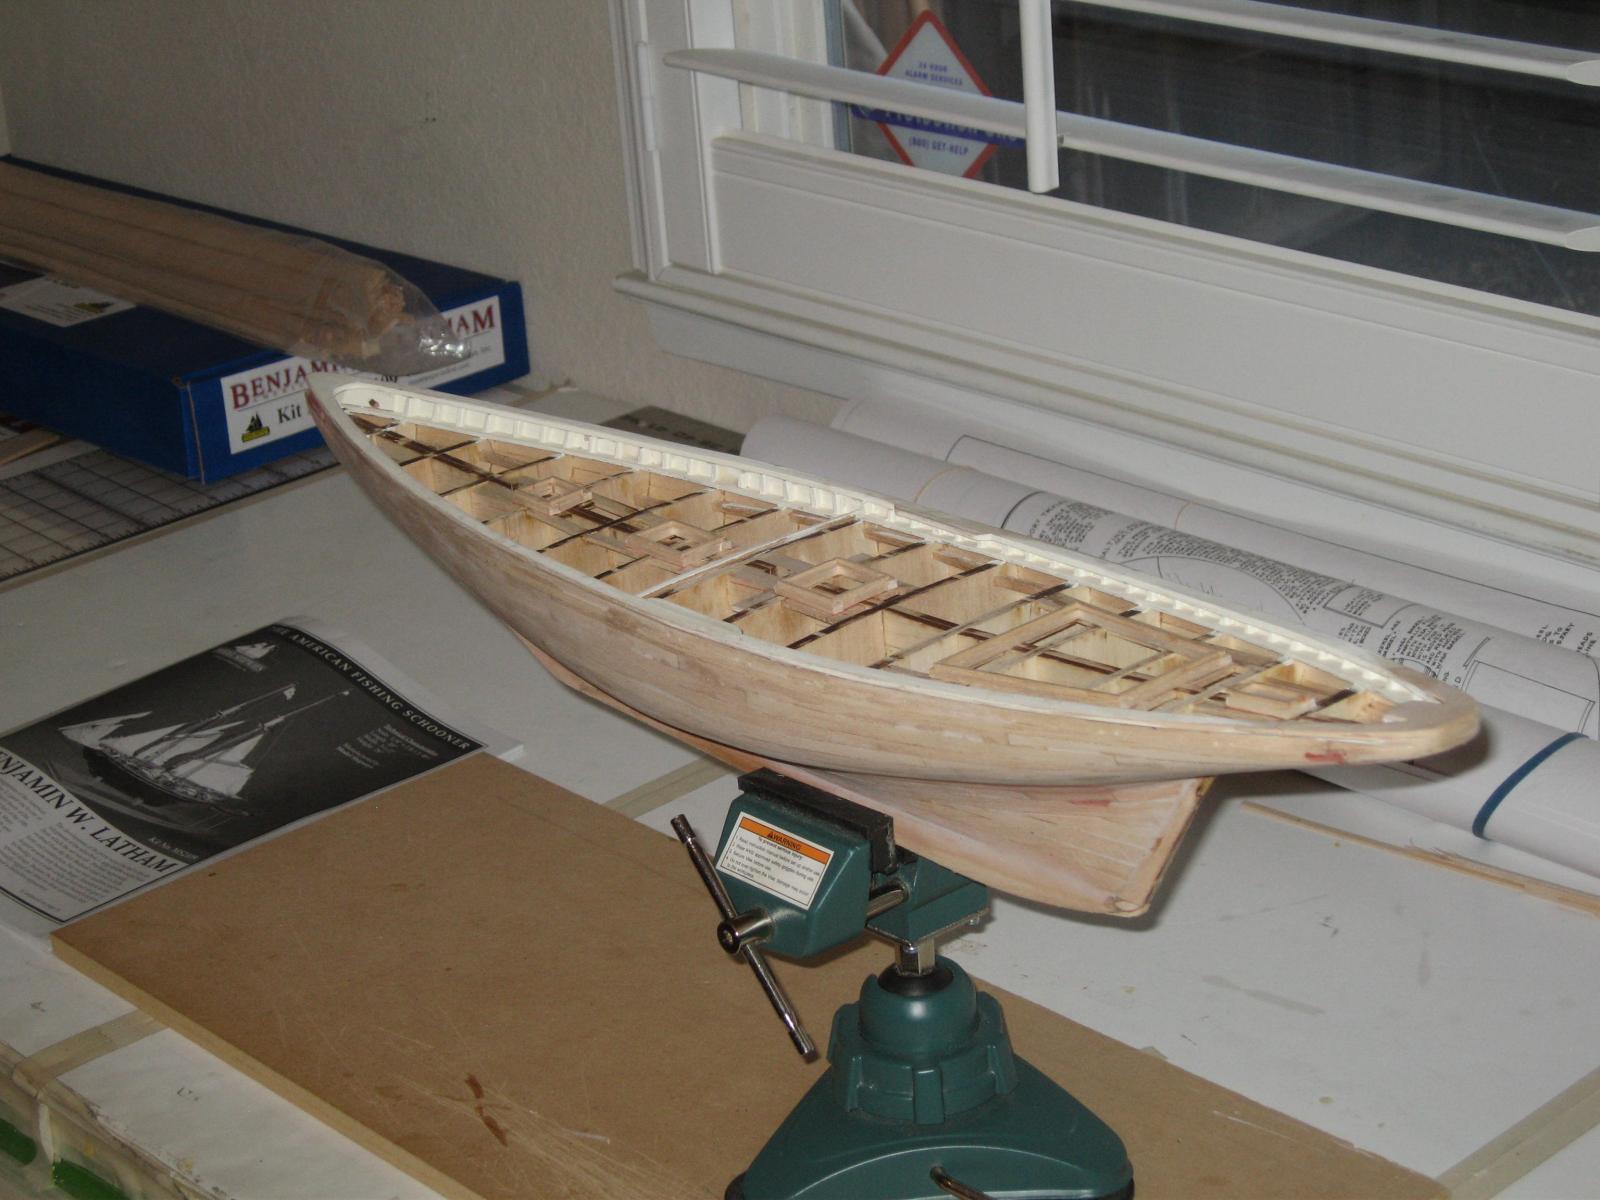
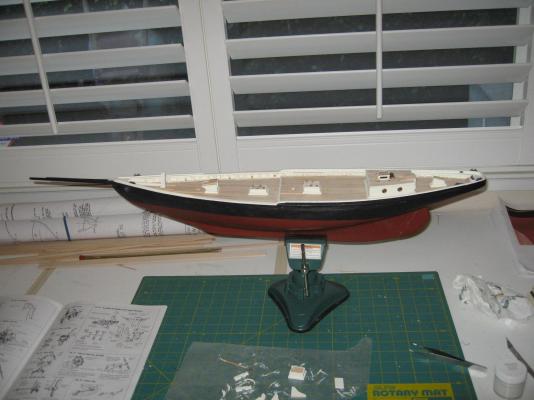
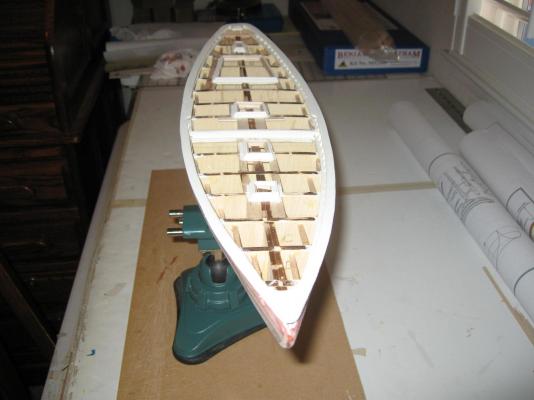
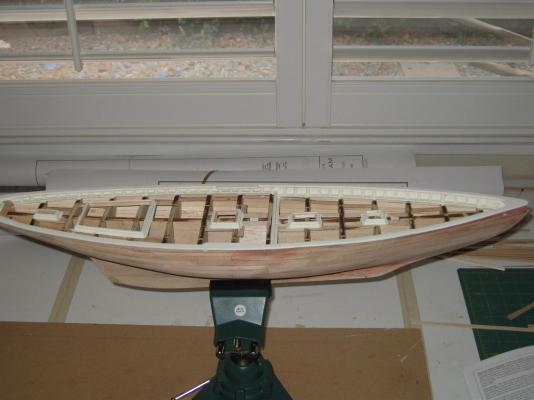
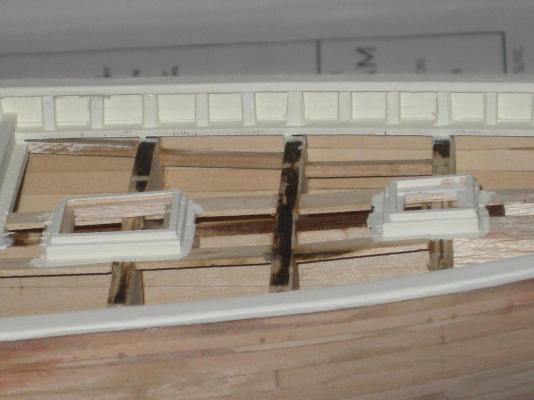
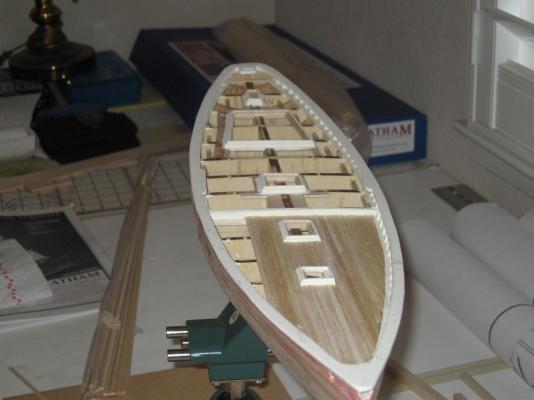
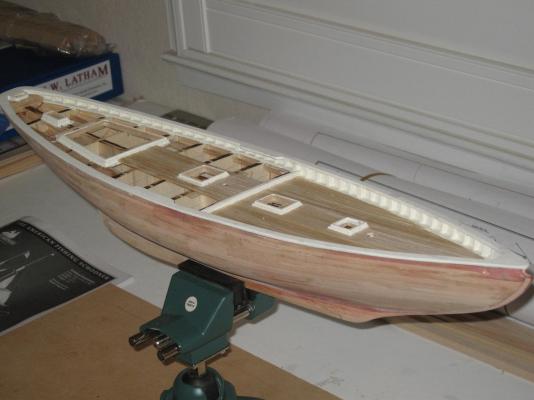
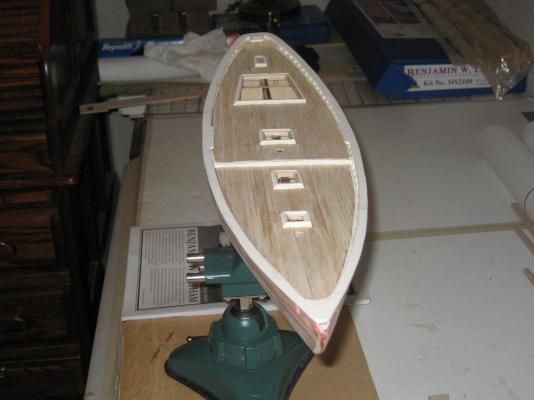
OK, I'm back. All the pictures previously shown gets us to the completion of the hull planking. Here's some more pictures. Eddie


- 20 replies
-
- 7
-
-
- benjamin w latham
- model shipways
- (and 2 more)
-
For some reason I didn't take any pictures while I was planking the hull. A couple things regarding a couple of the pictures. You can see a bit of red in a couple pictures. That's auto body filler to fill in a couple low spots ( or should I say bad planking). There is also some white. That's light weight spackle to fill in some of the seams. I learned this from my sailplanes. Dinner time, Moma is calling. I'll post more later. Eddie