HOLIDAY DONATION DRIVE - SUPPORT MSW - DO YOUR PART TO KEEP THIS GREAT FORUM GOING! (Only 24 donations so far out of 49,000 members - C'mon guys!)
×

highlanderburial
-
Posts
148 -
Joined
-
Last visited
Content Type
Profiles
Forums
Gallery
Events
Everything posted by highlanderburial
-
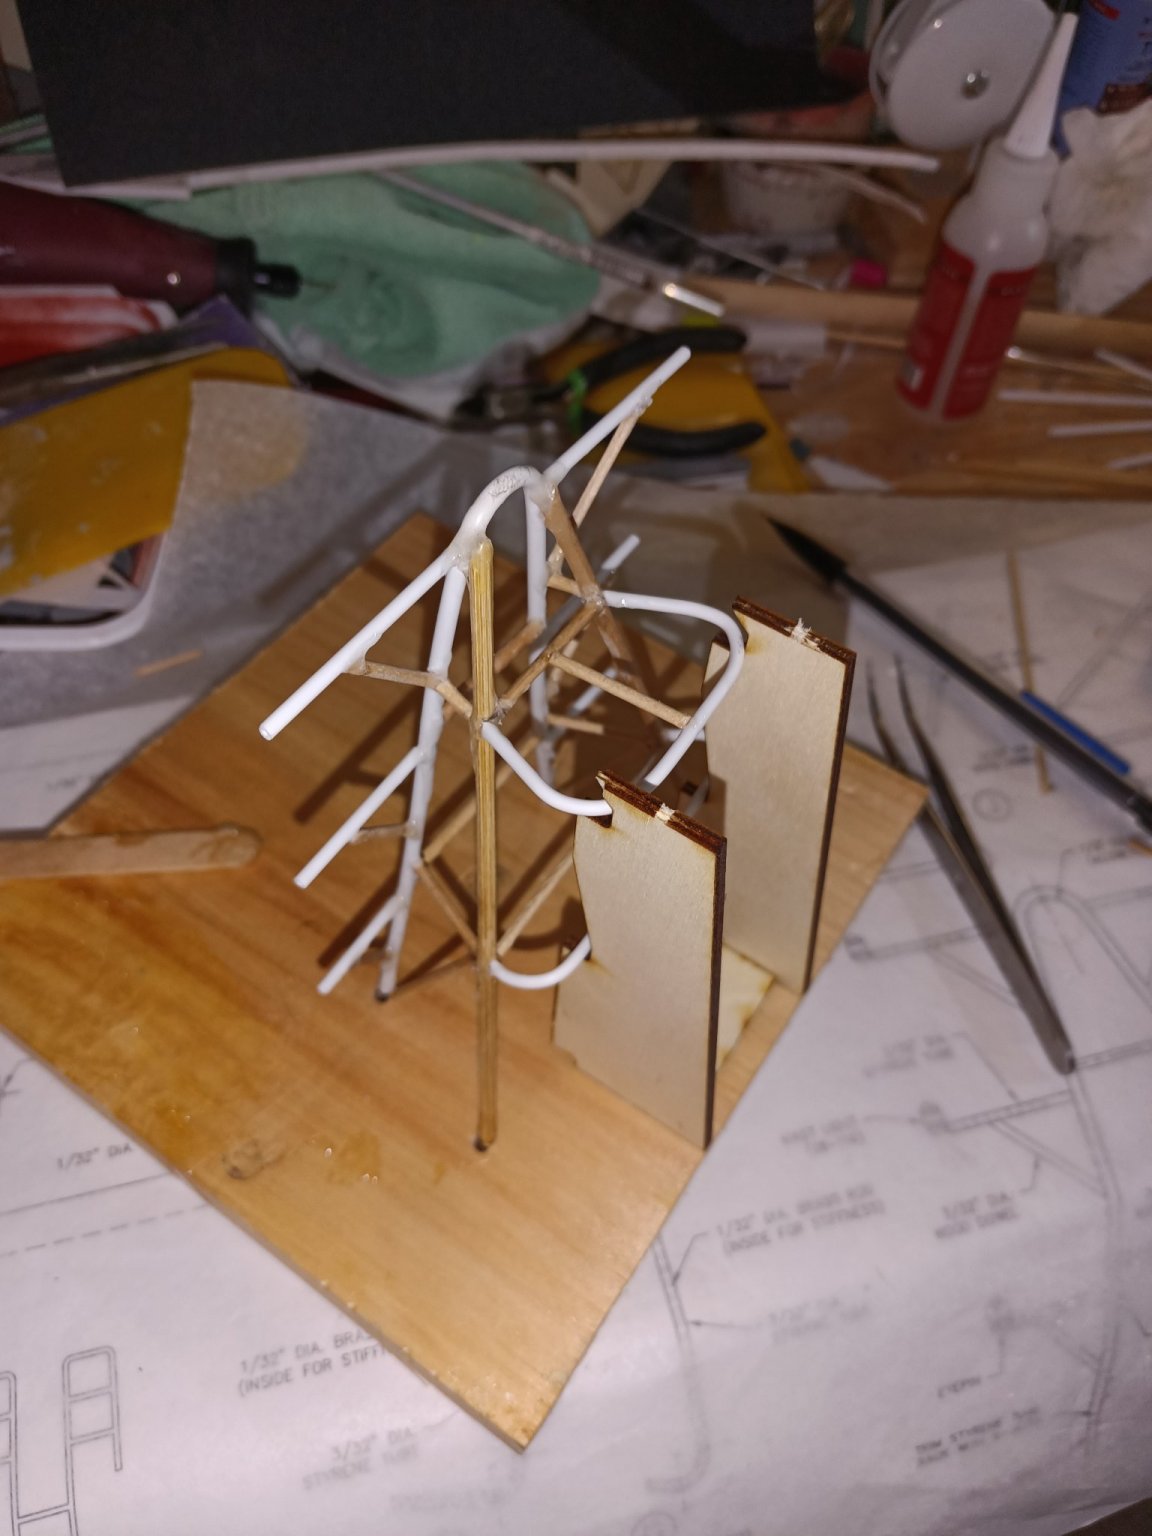
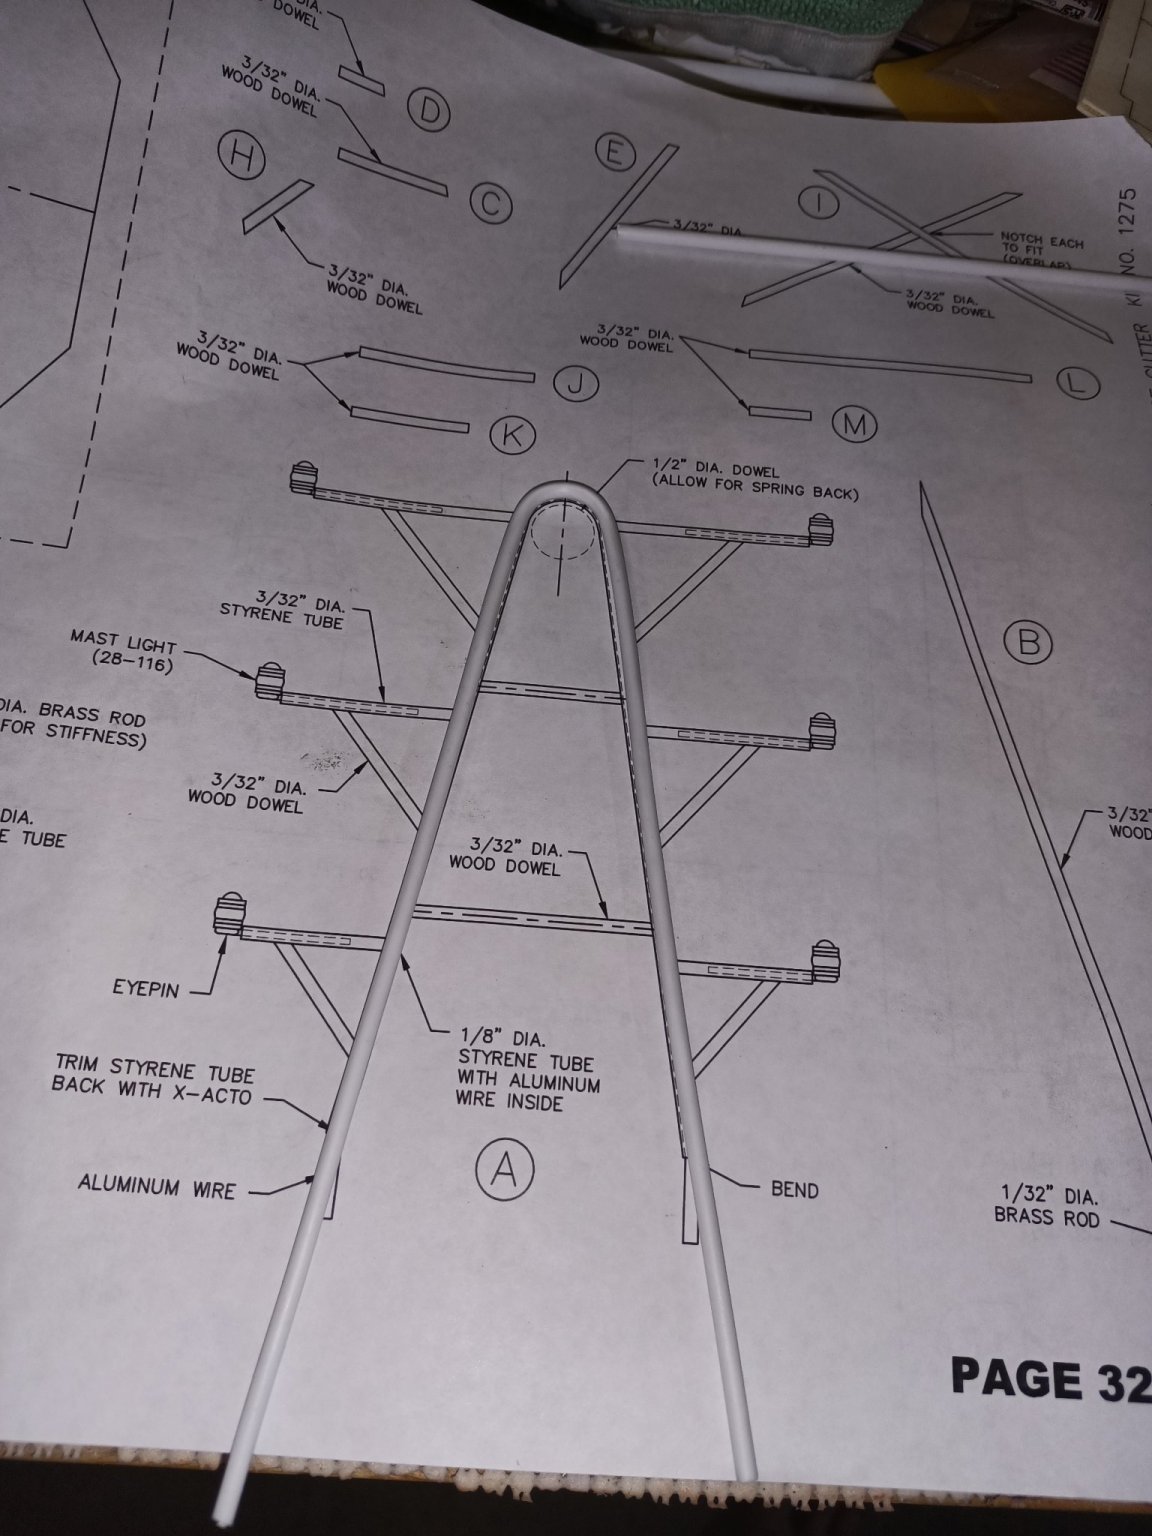
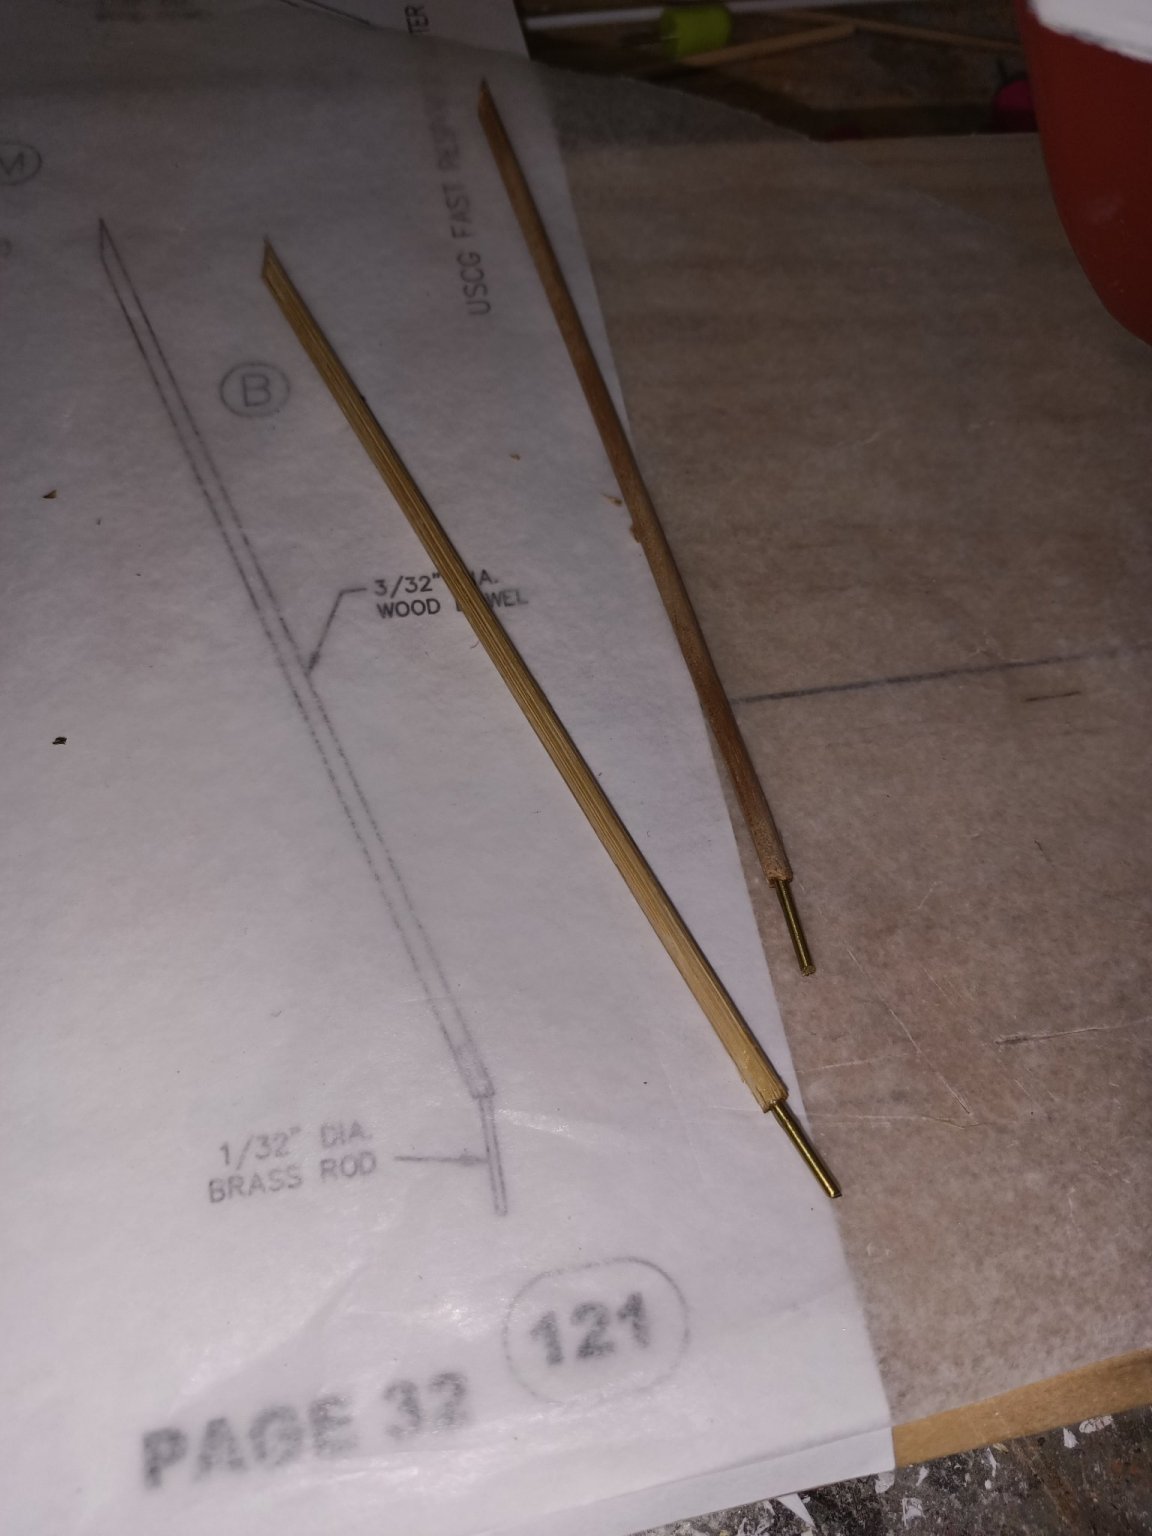
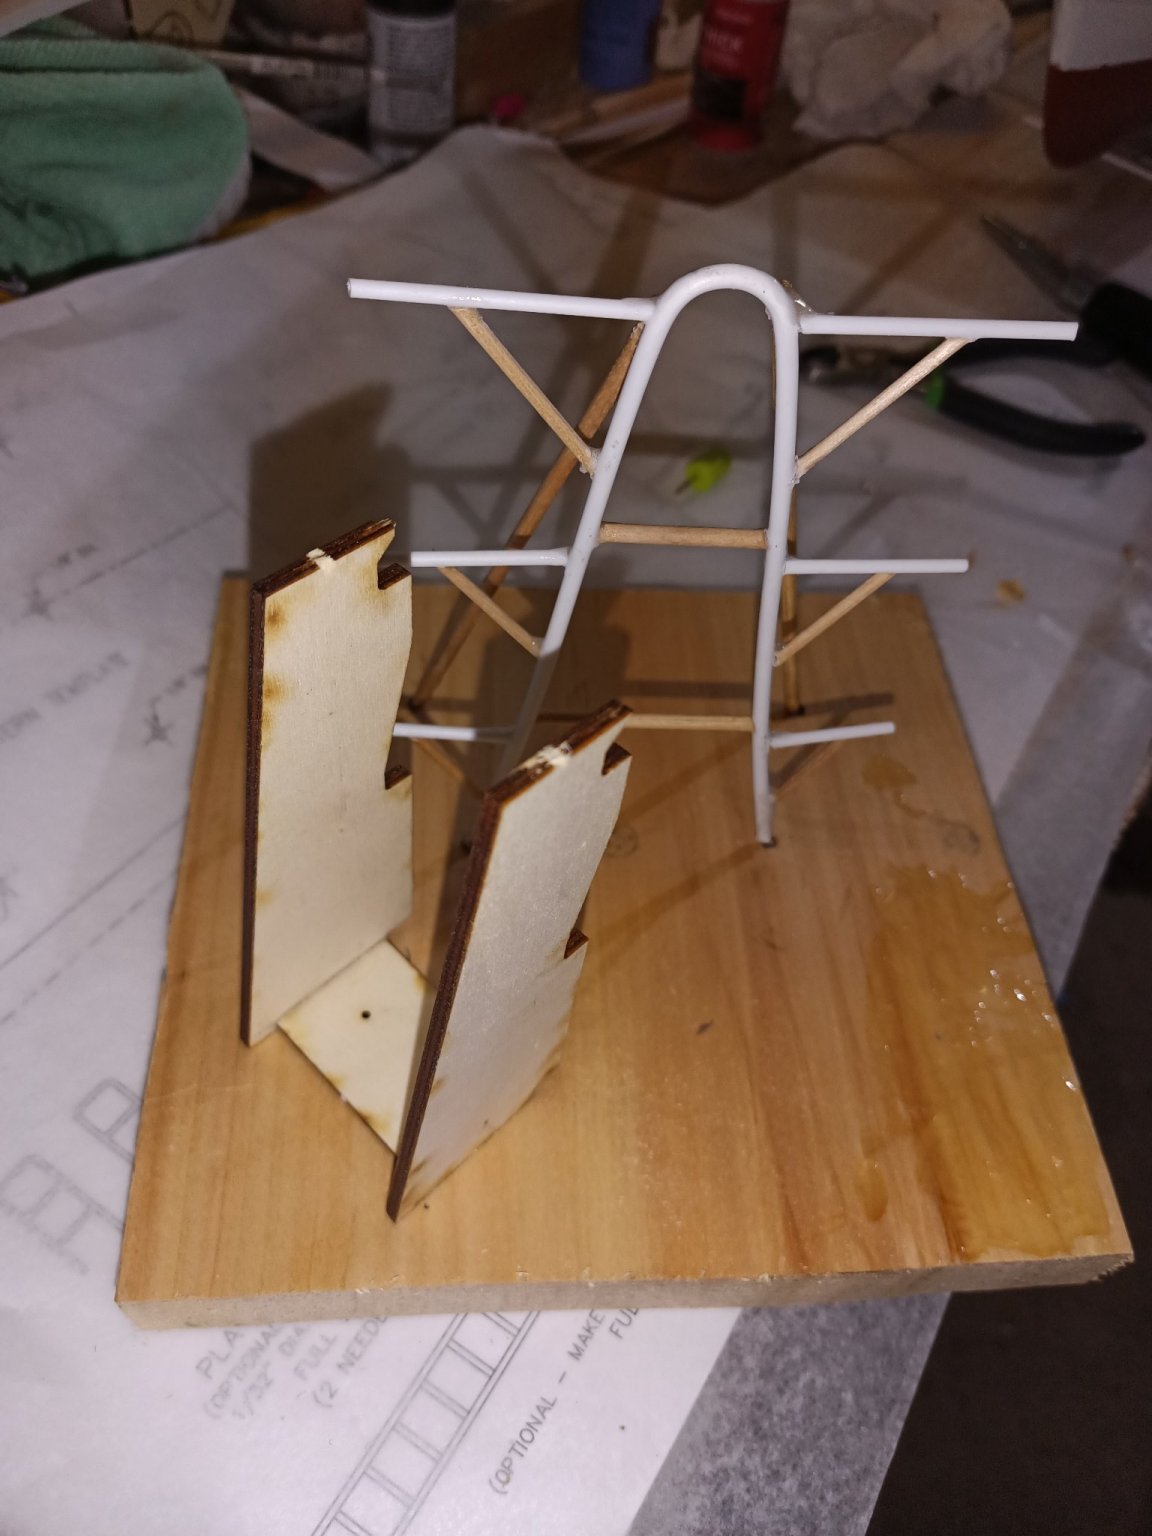
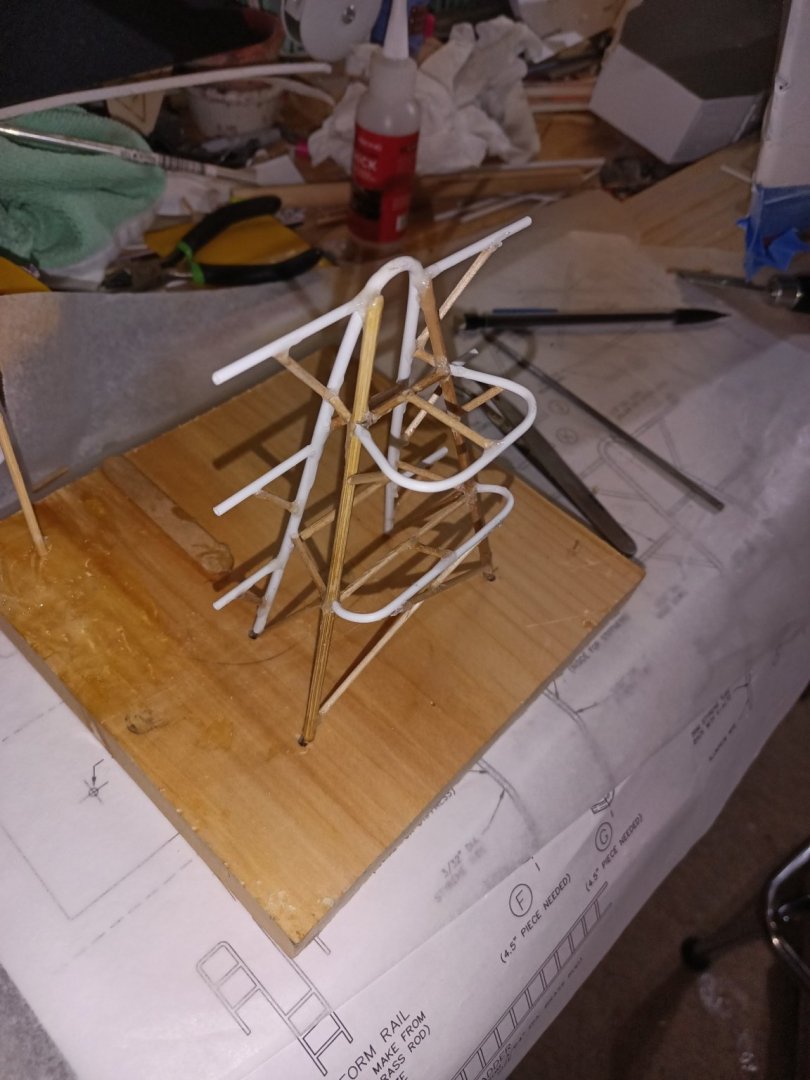
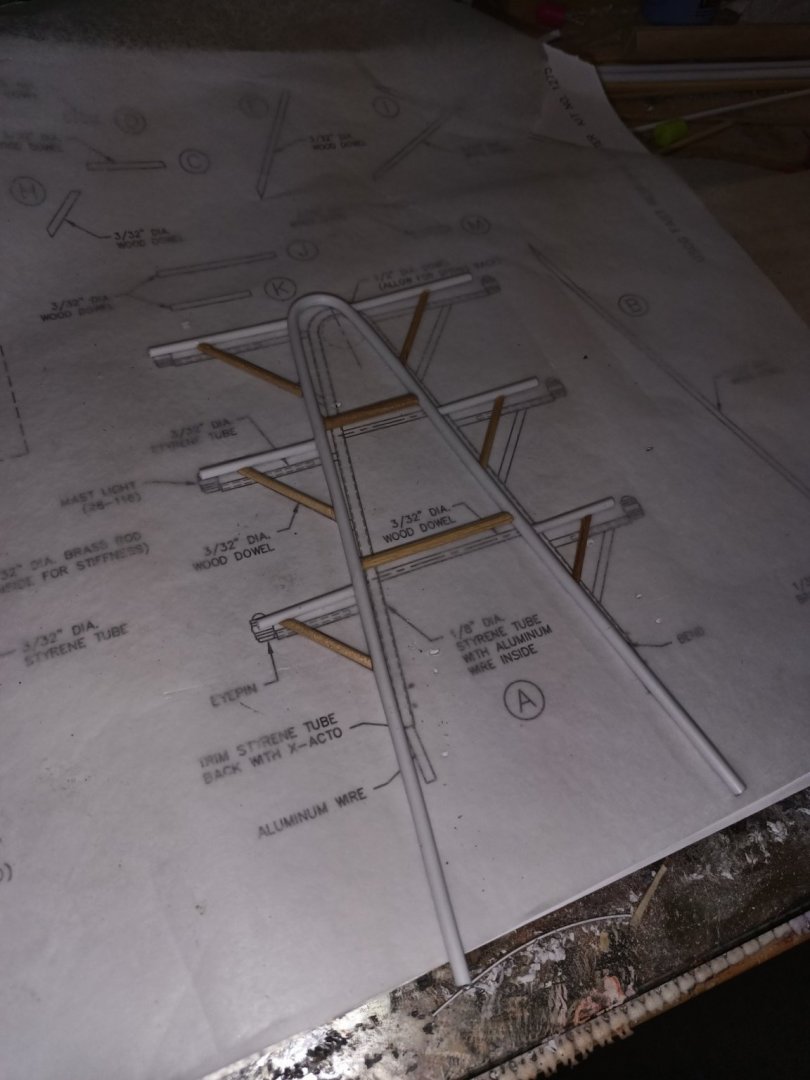
 The mast so far has been a kit in itself and I am still not done yet! I think it would have been easier if the kit had stuck with all plastic instead of wood and plastic.


-
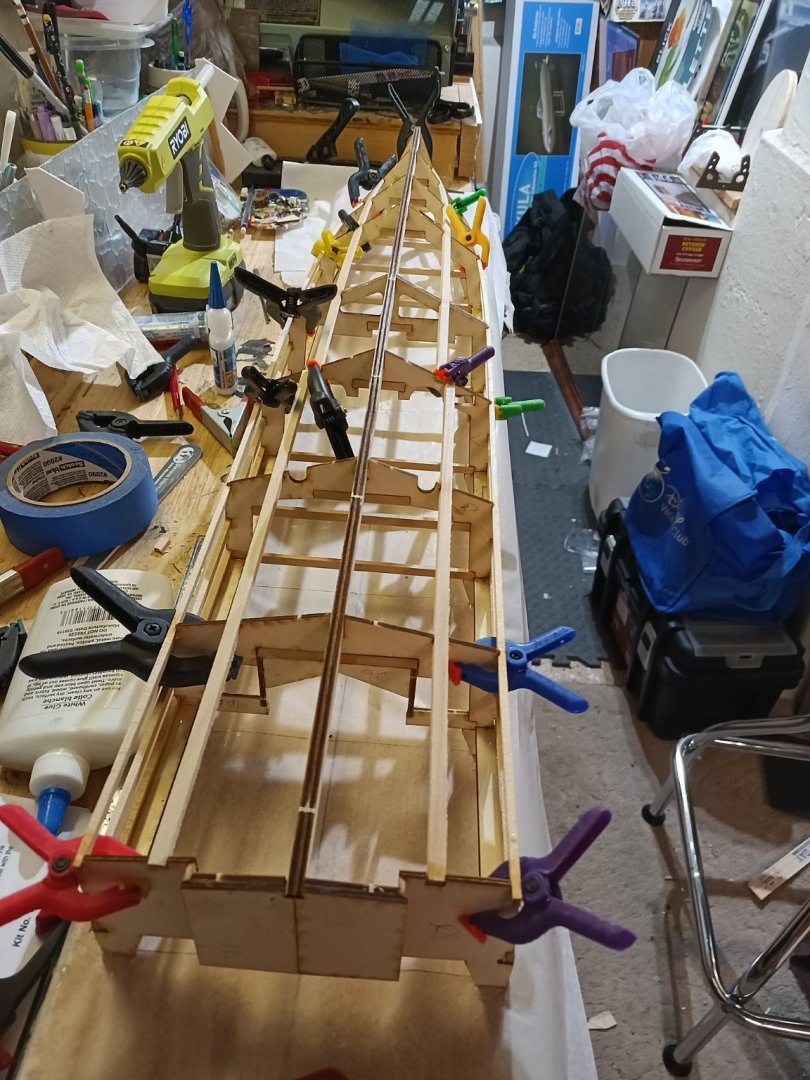
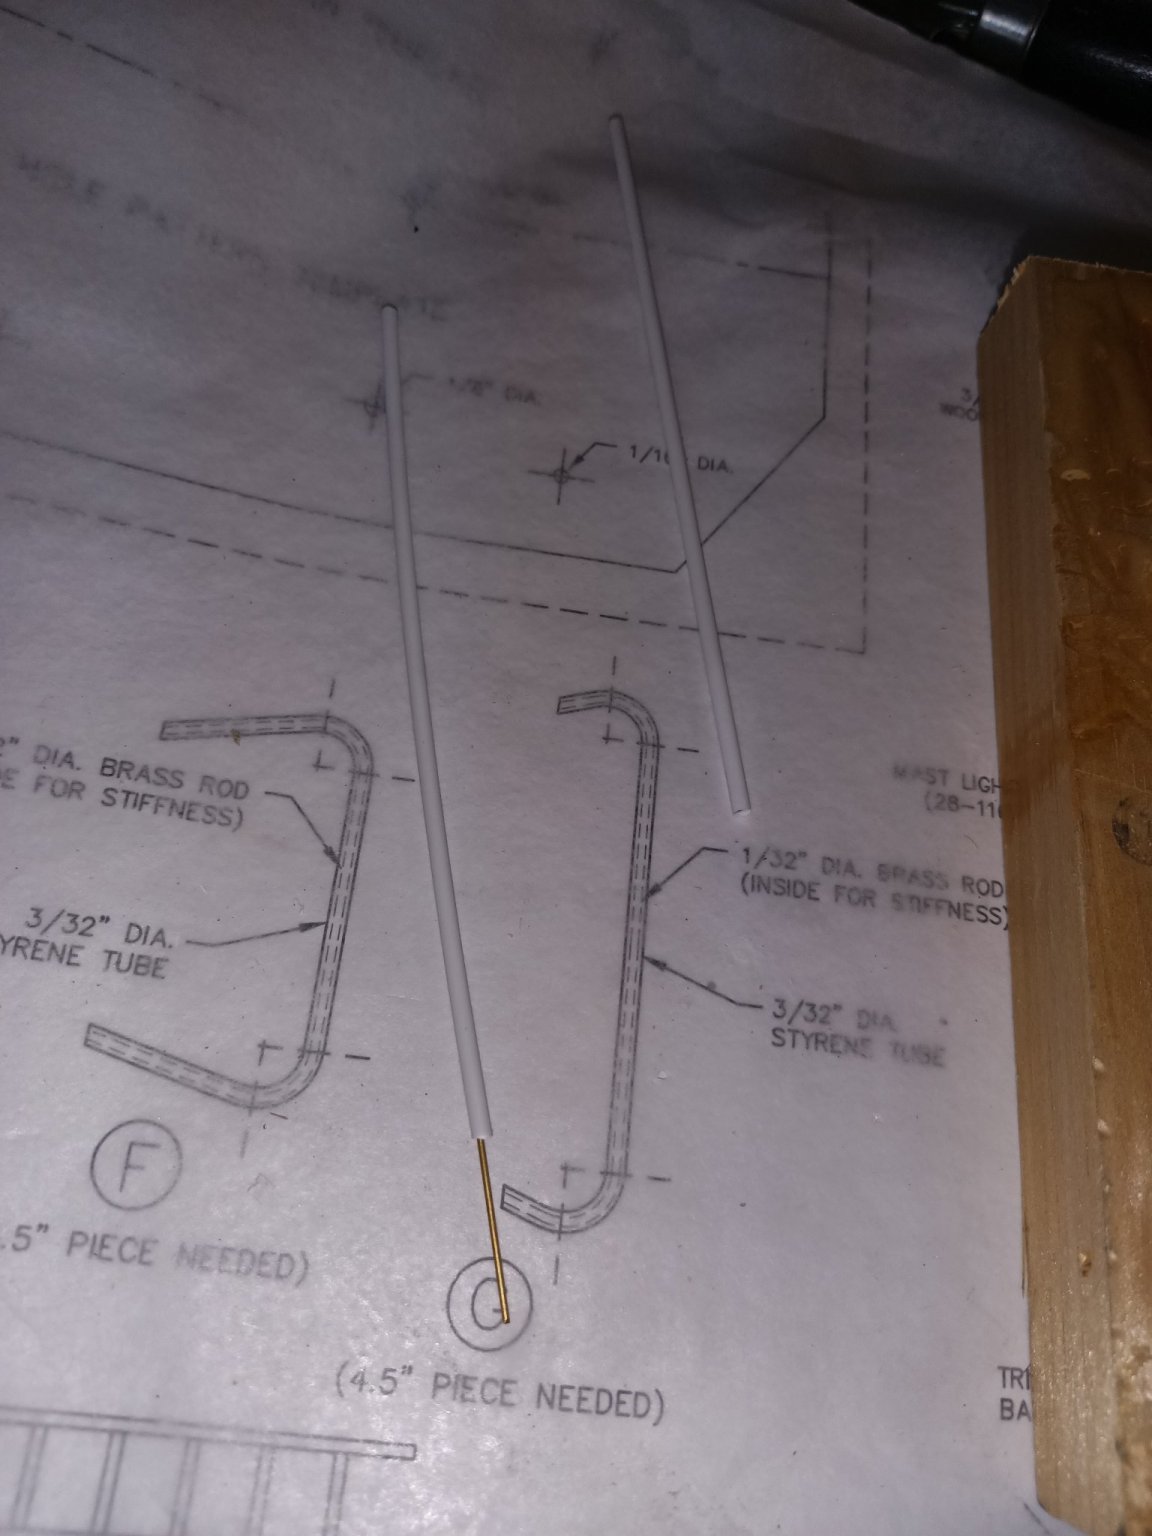
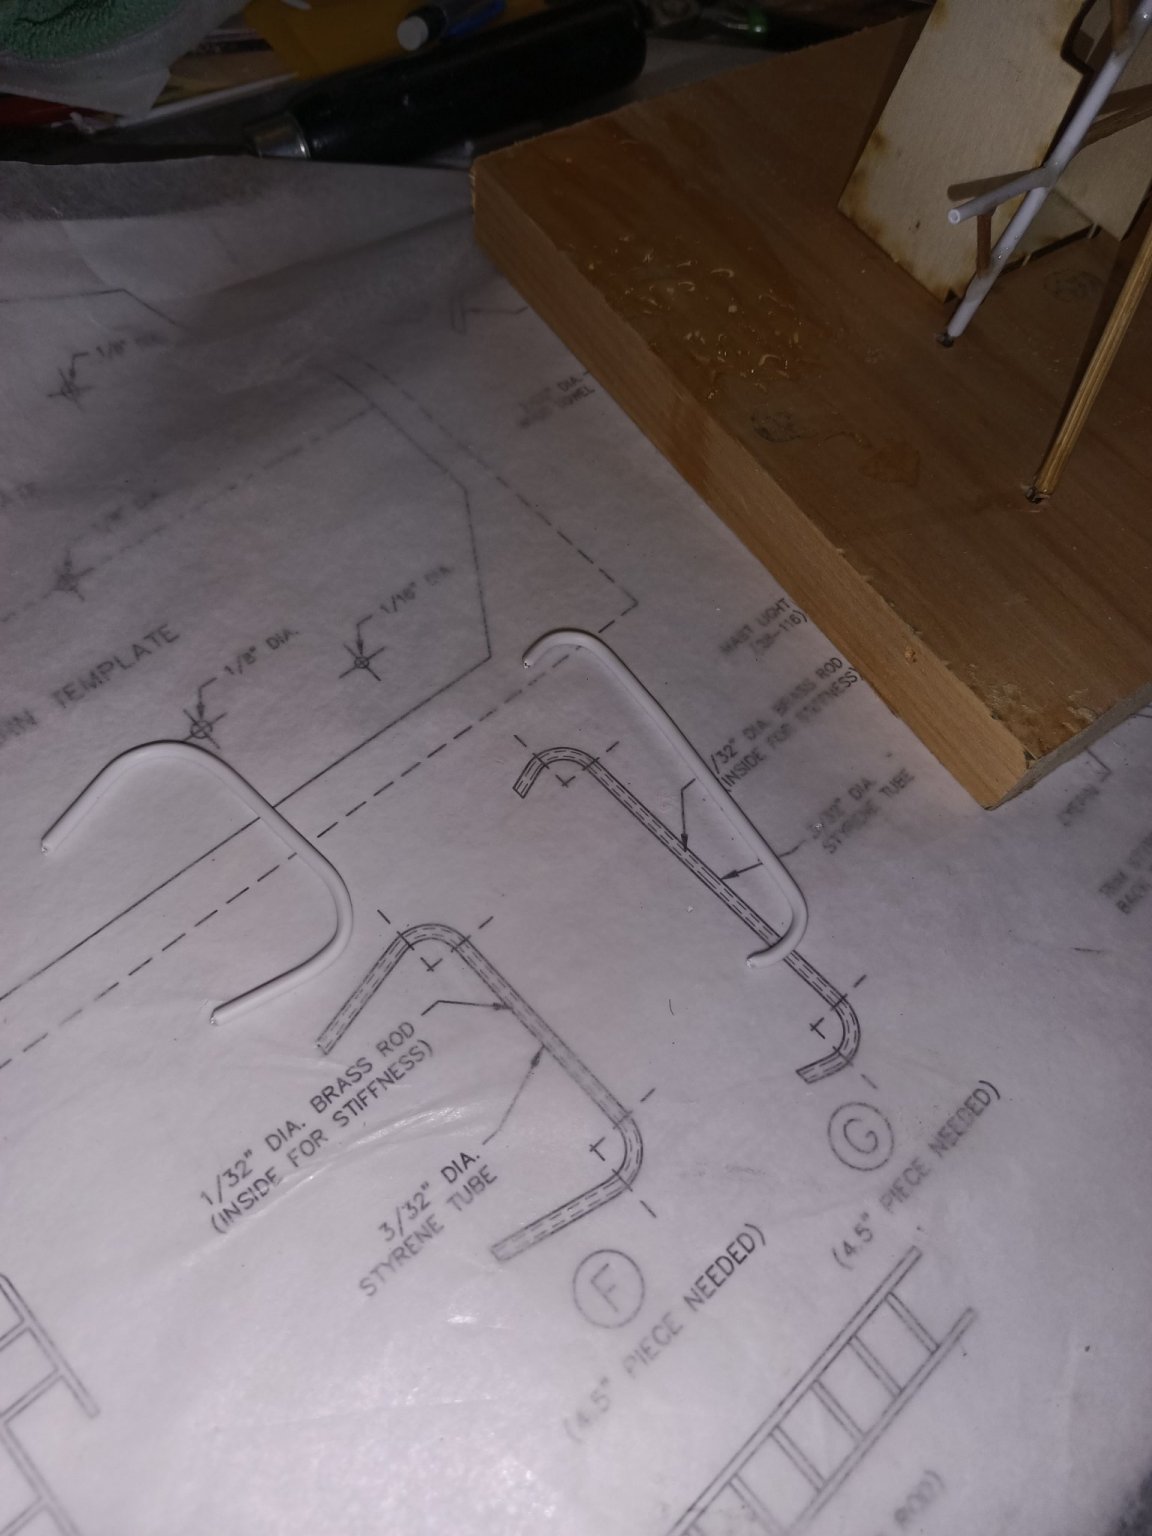
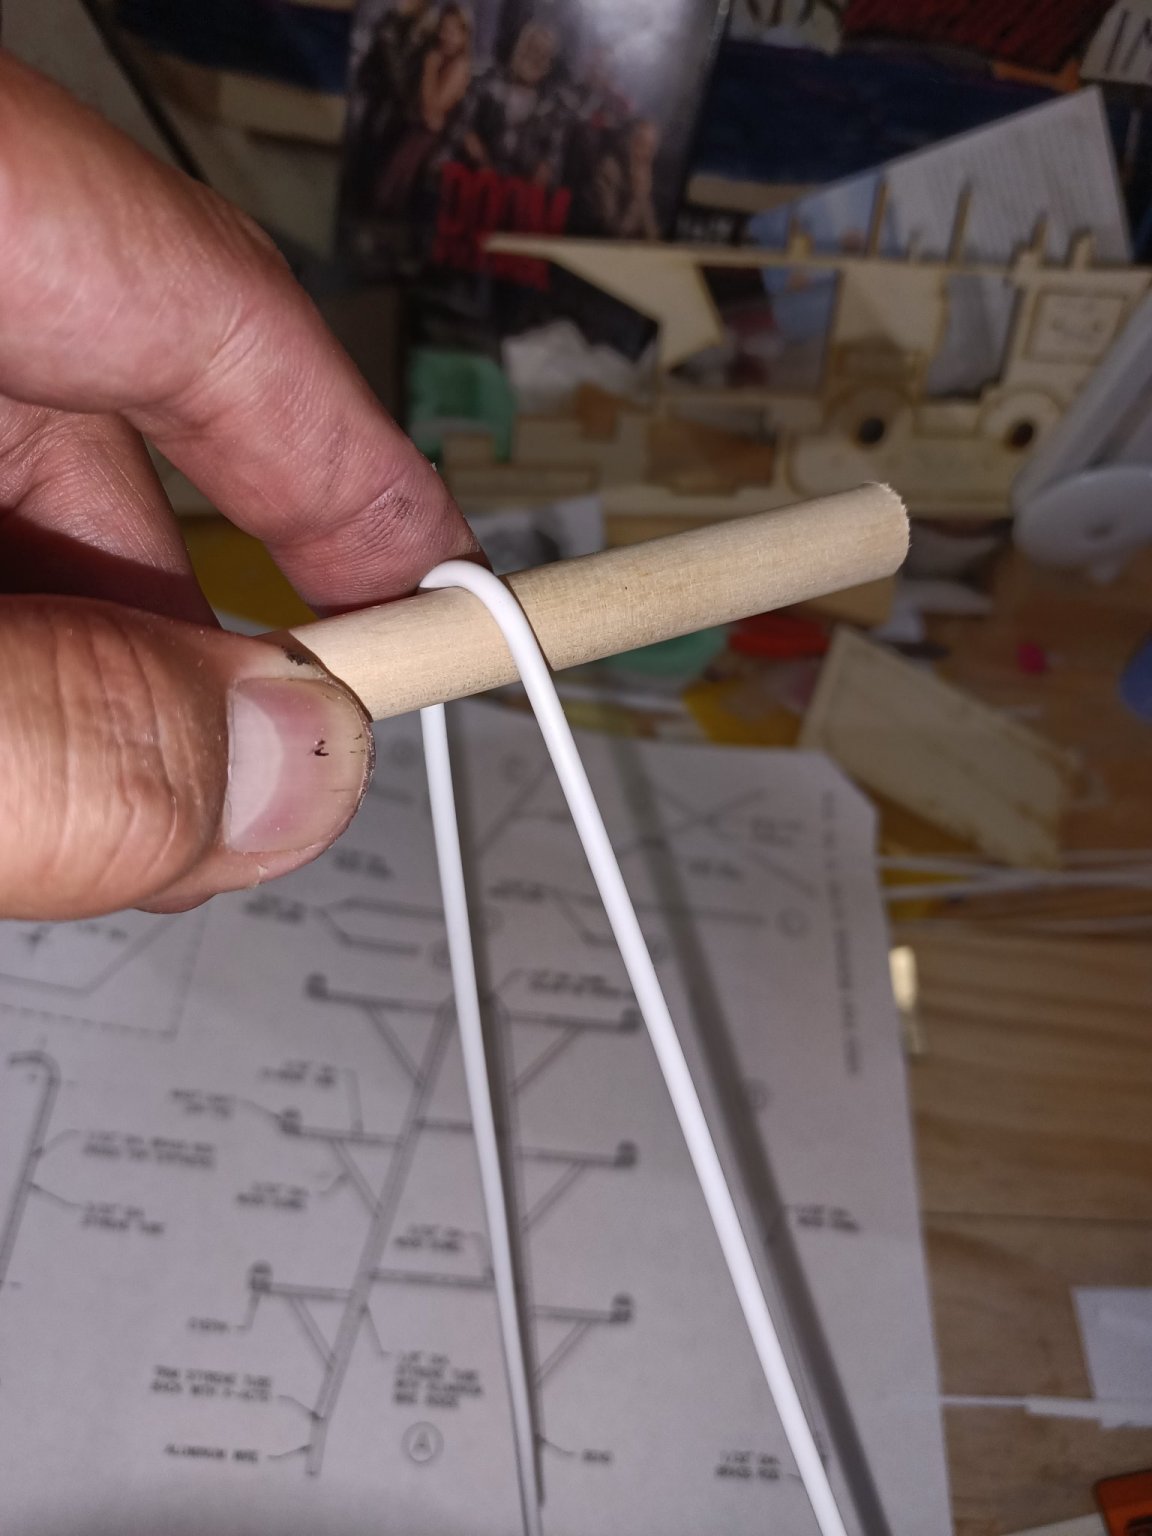
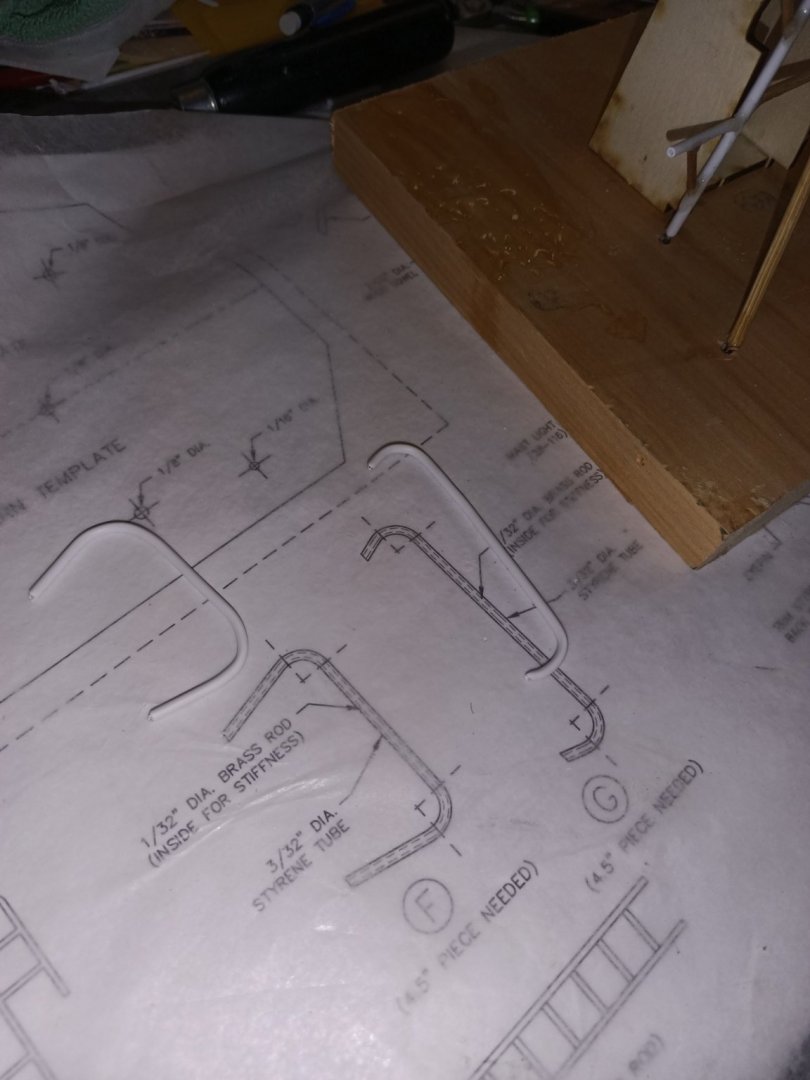
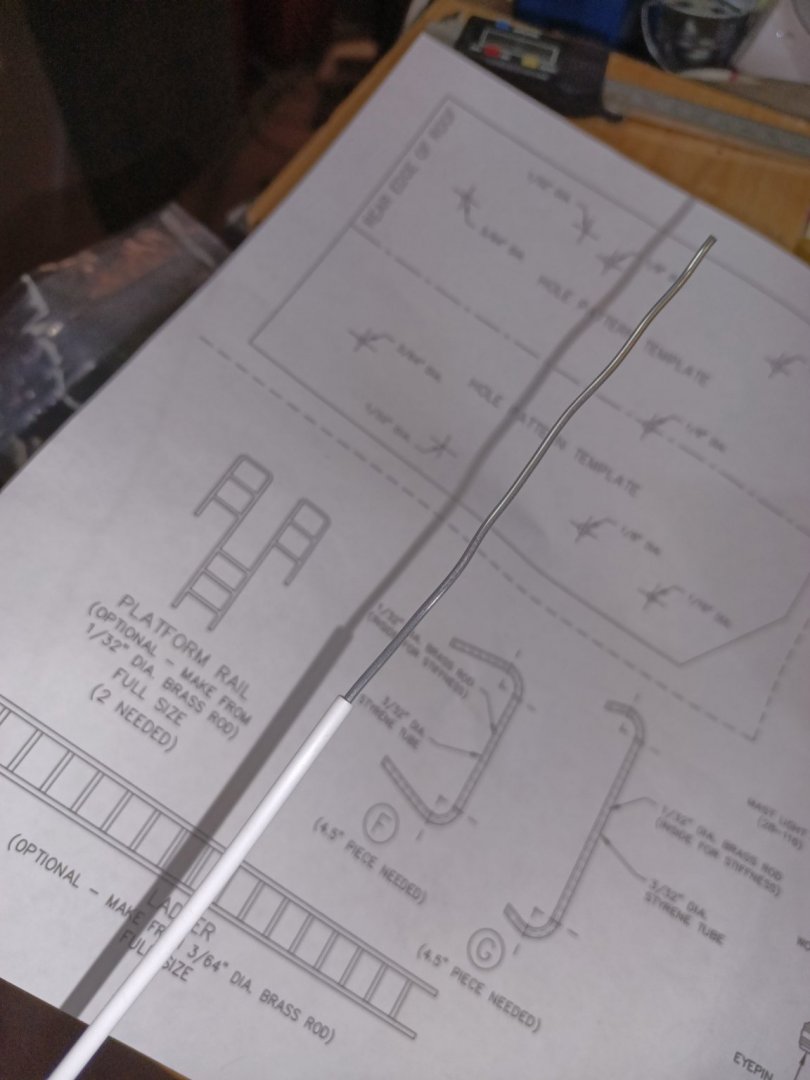
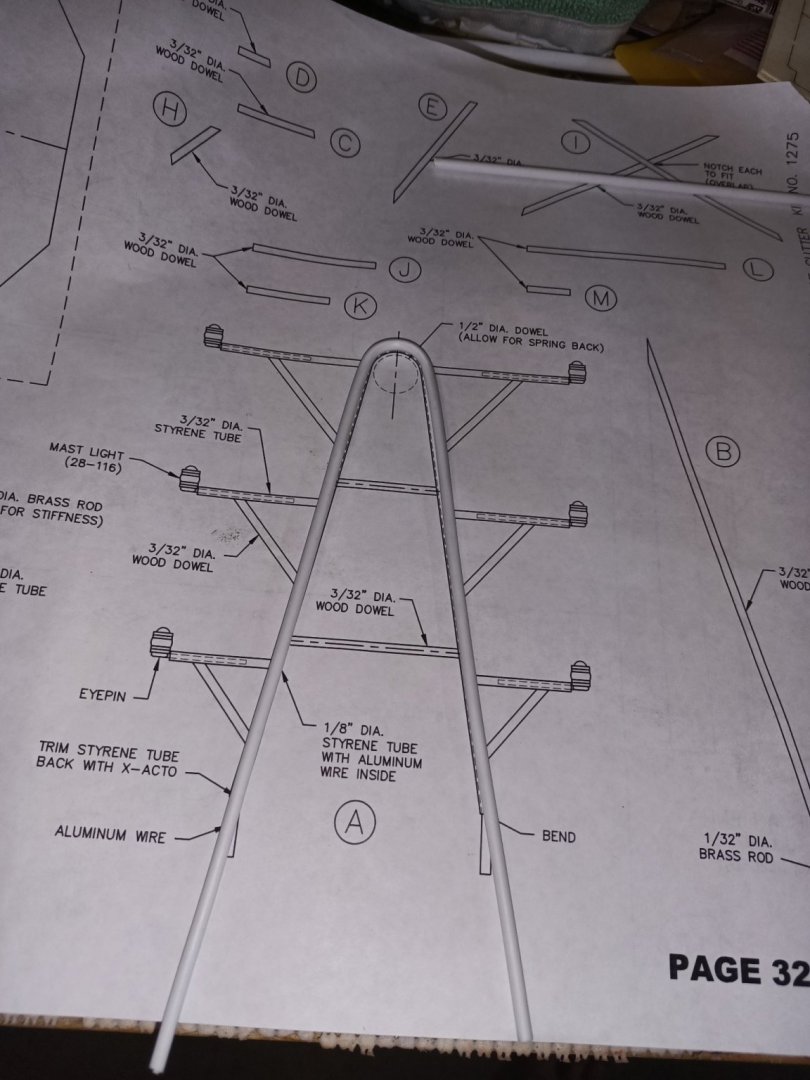
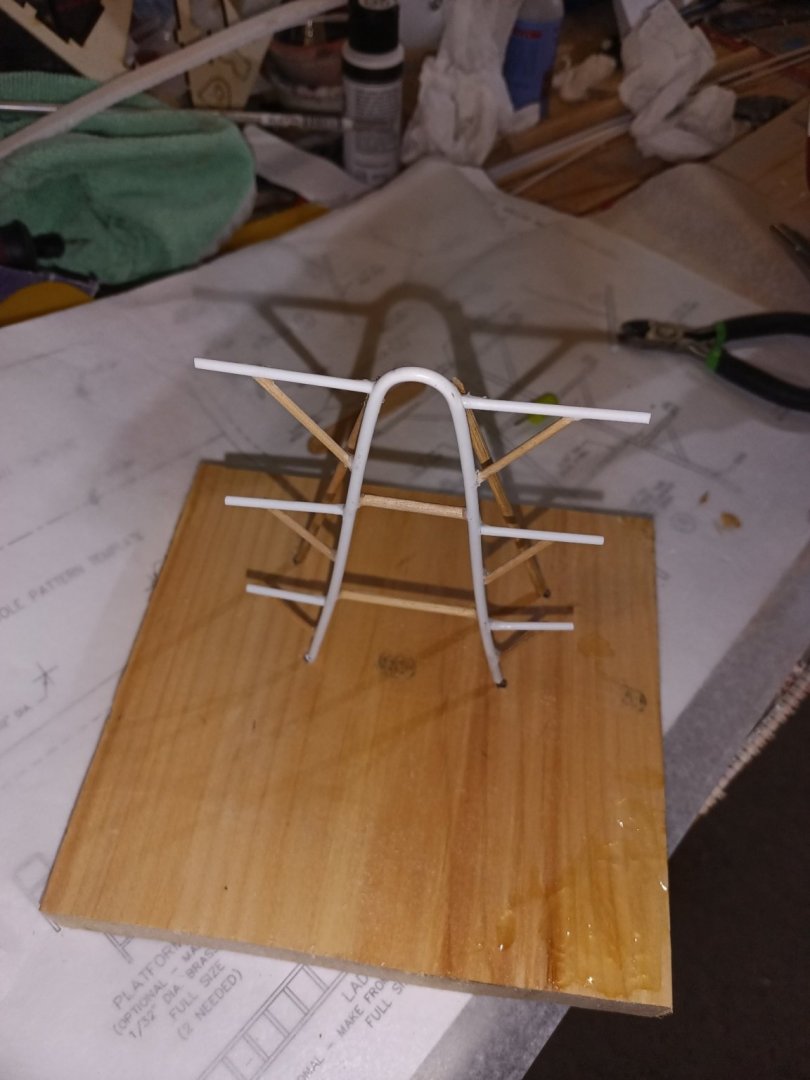
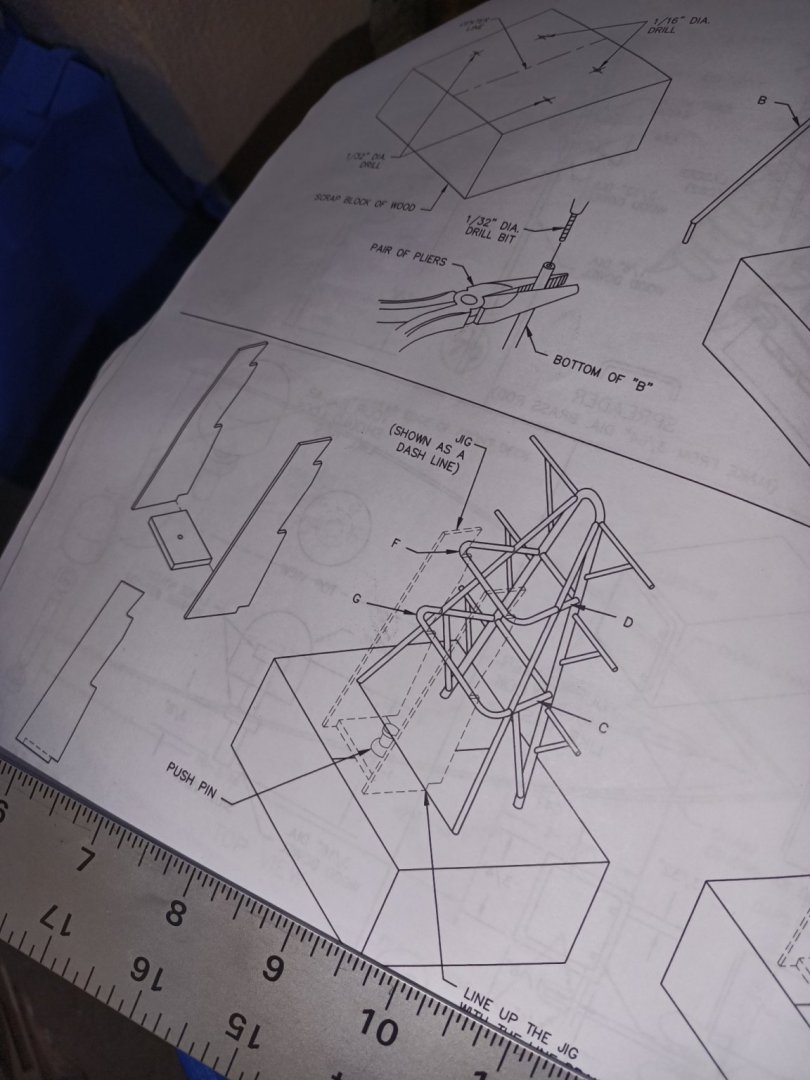
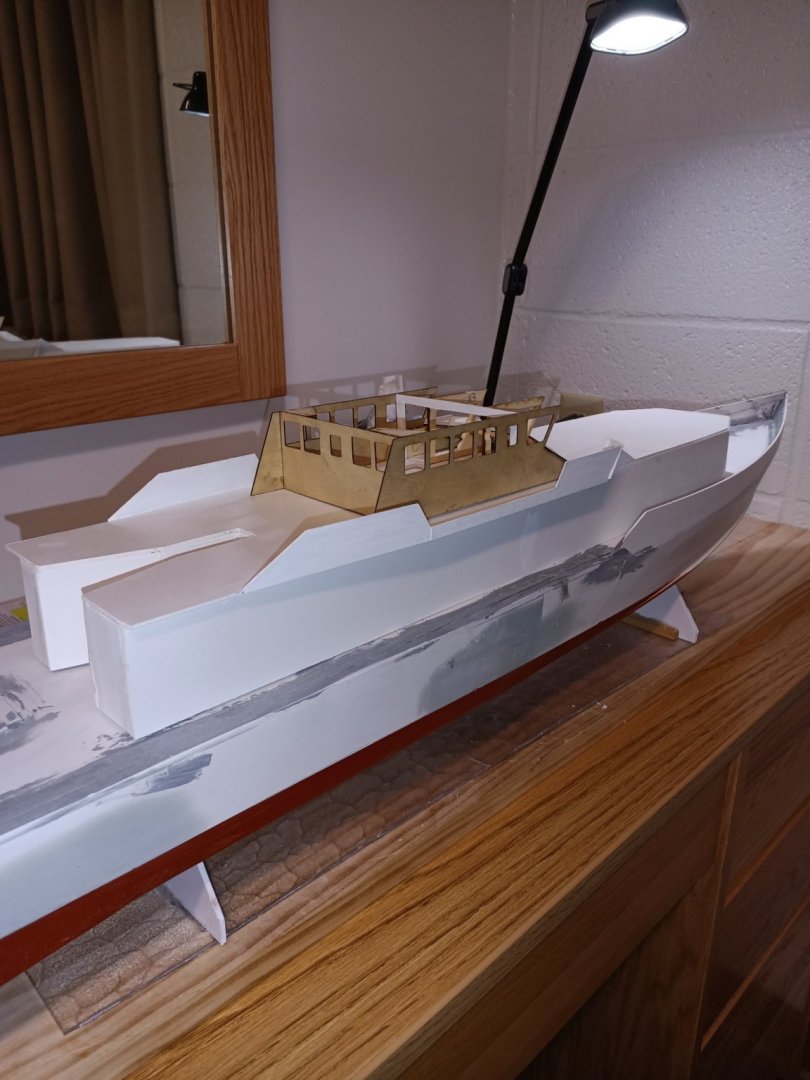
Mast work begins. I think the kit shorted me a dowel but I had extra. The kit gives you a jig to make to hold up the radars and connecting beams. The main part of the "A" frame is some 3/16 plastruct tubing but you have to push through some very malleable aluminum wire. This keeps the plastic from deforming and lets it hold its shape.


-
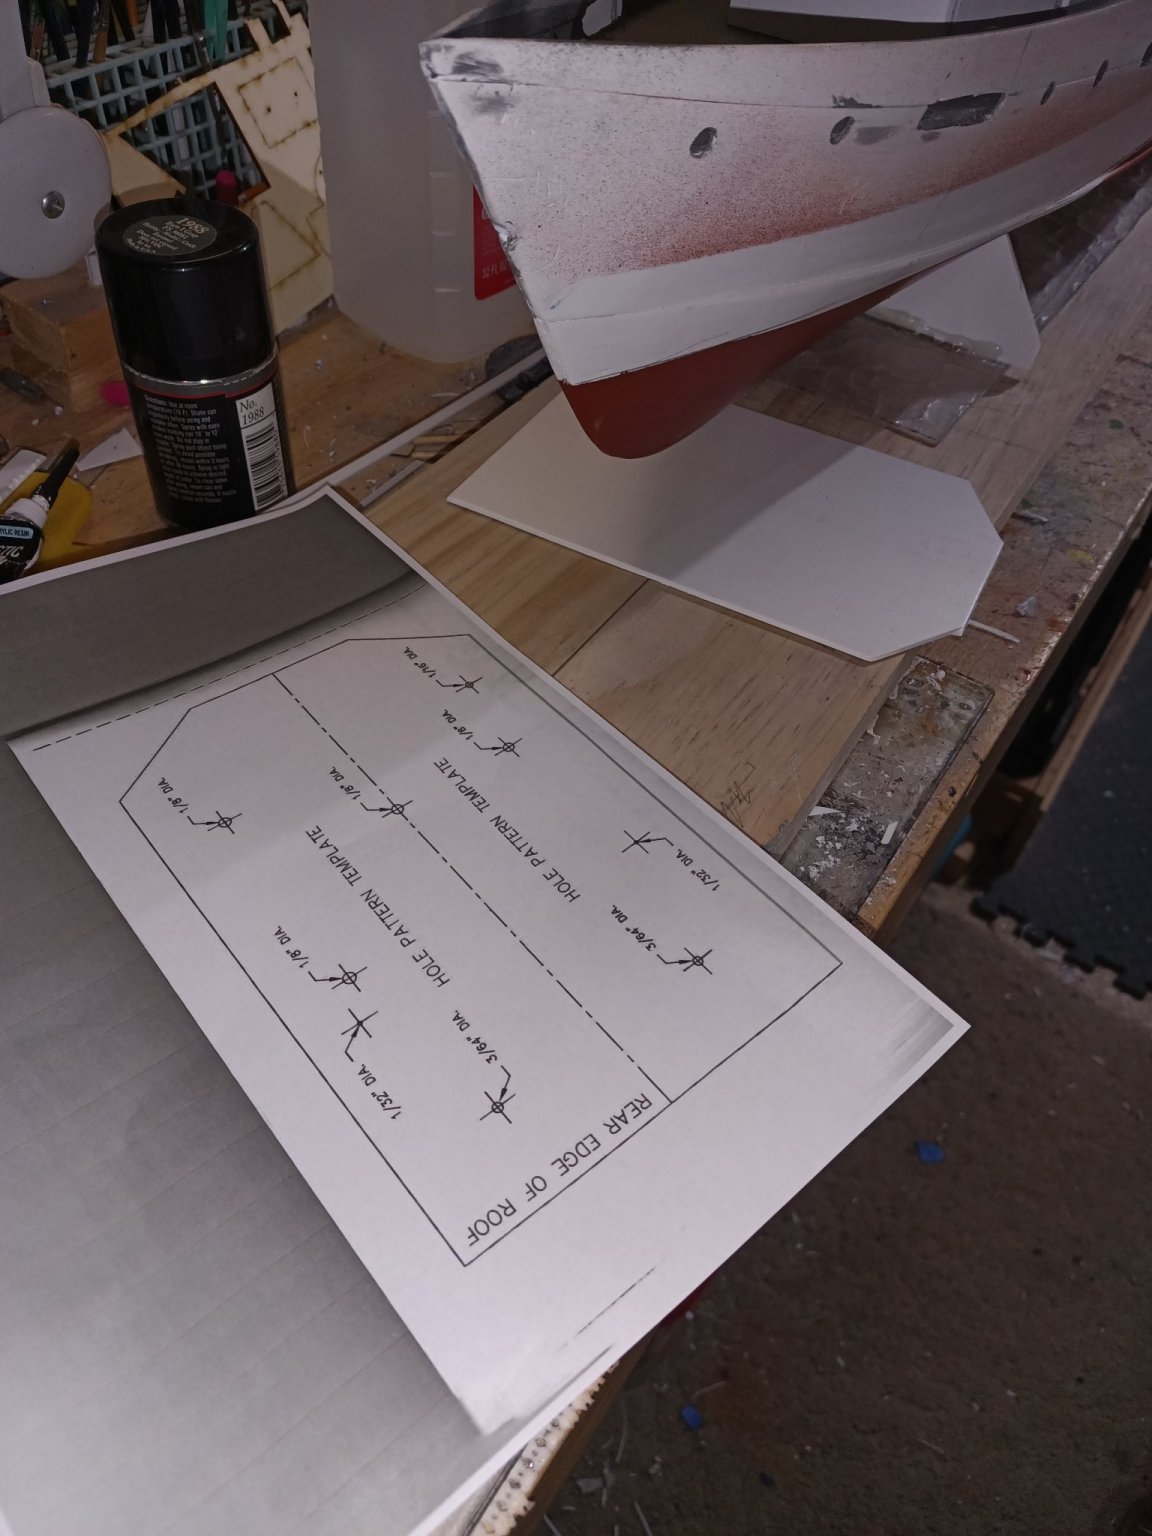
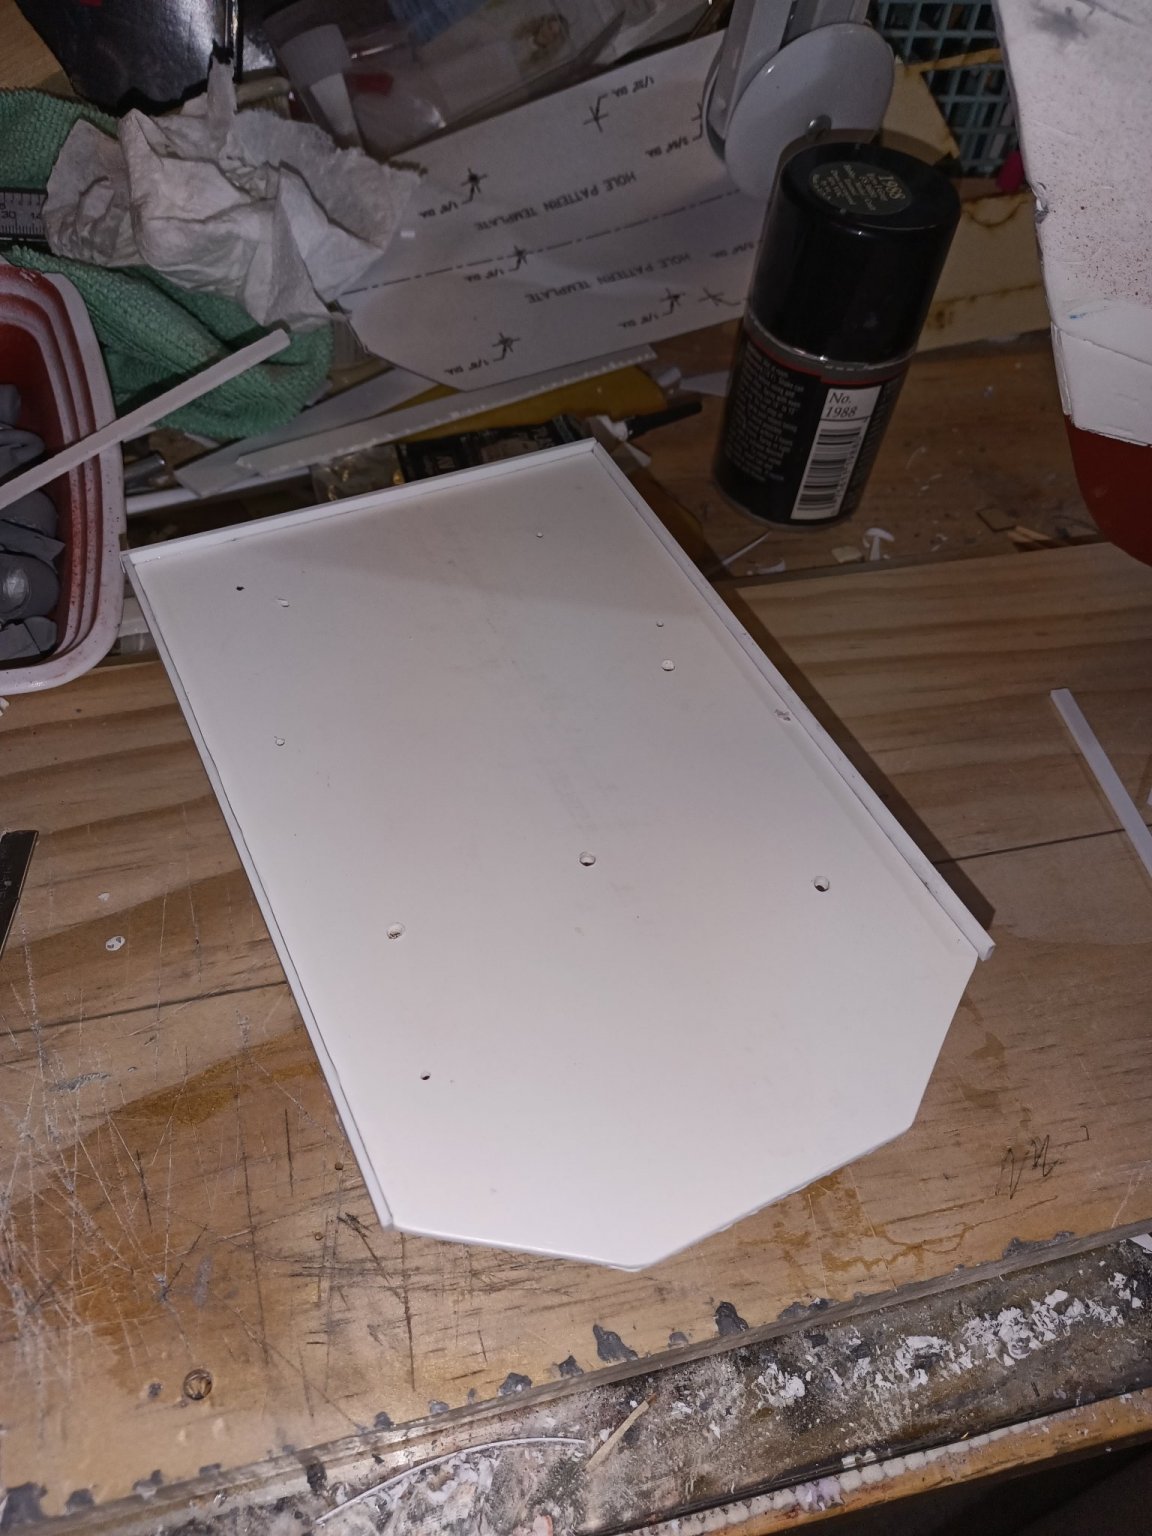
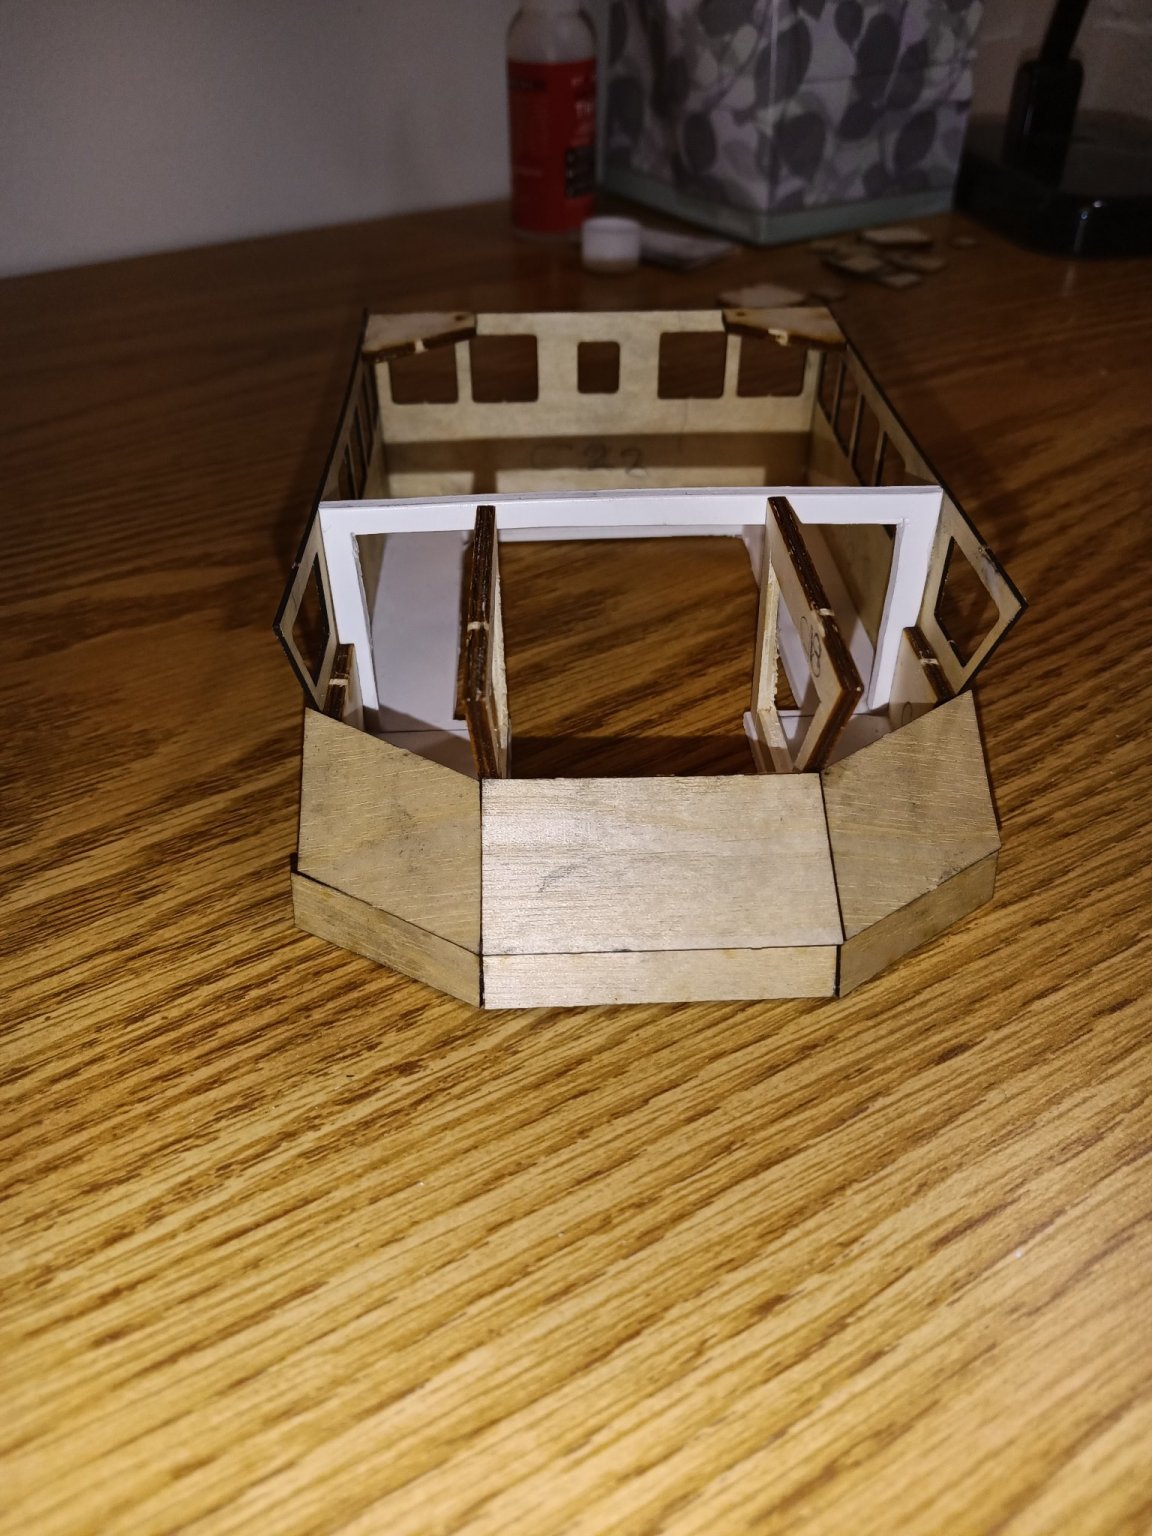
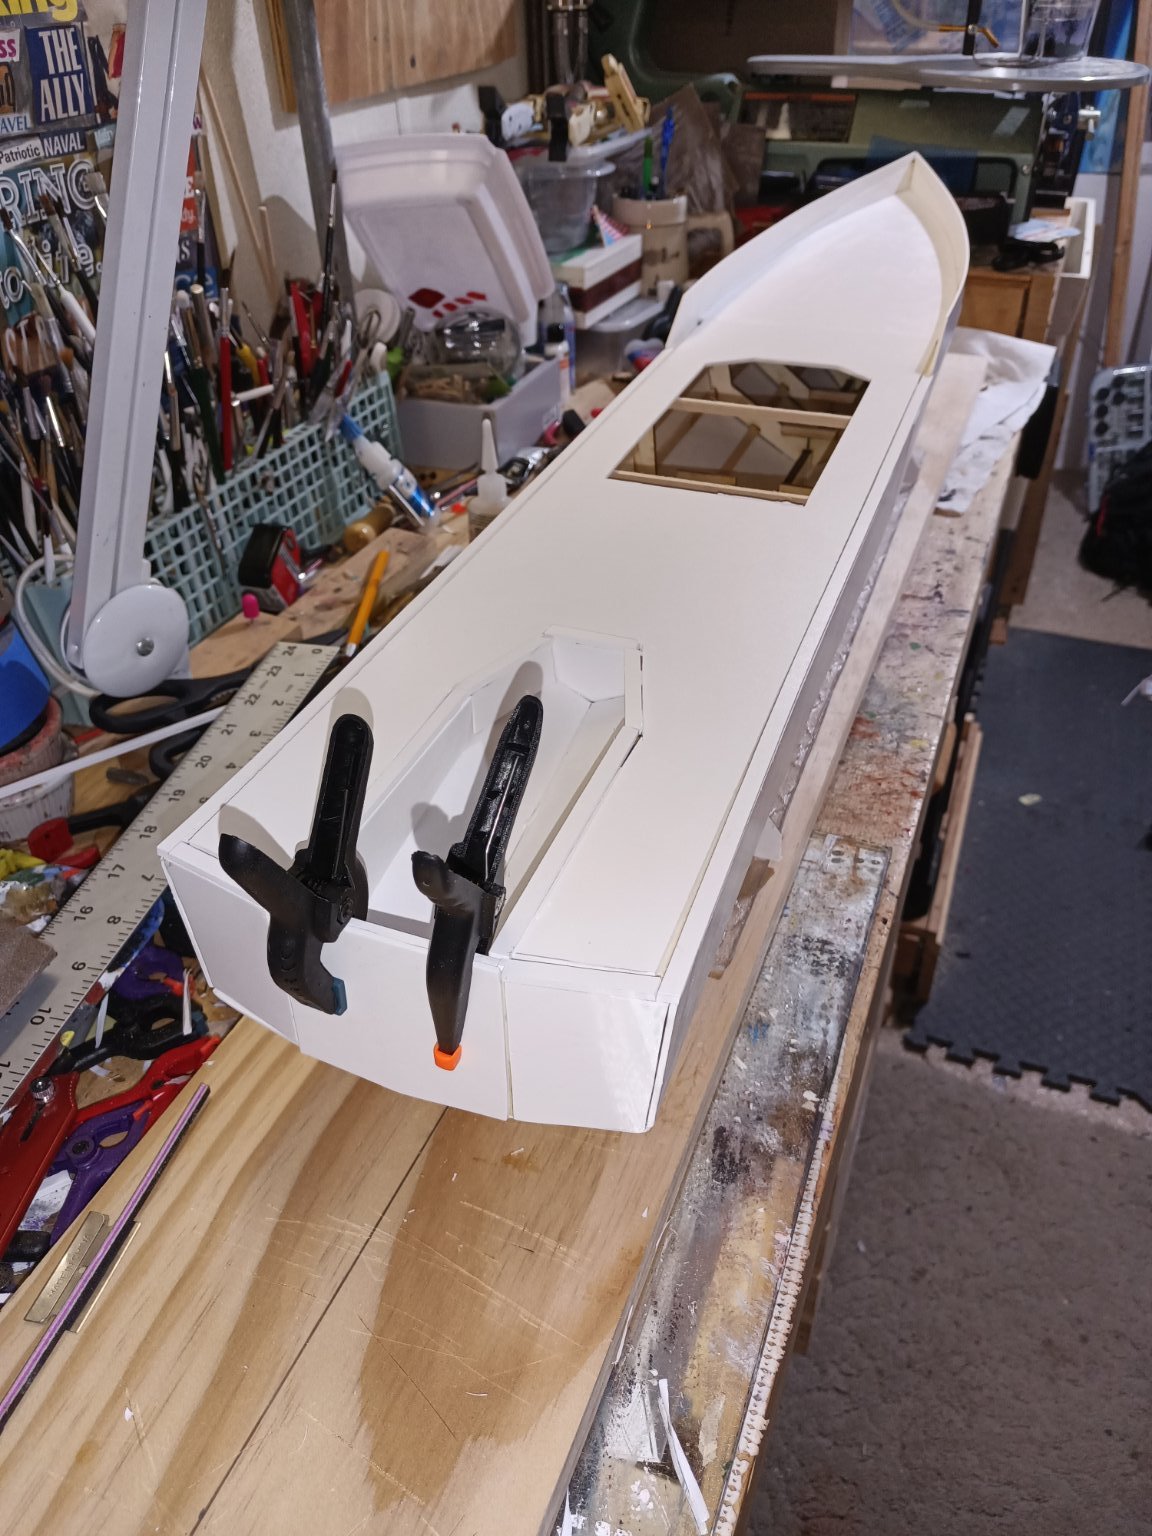
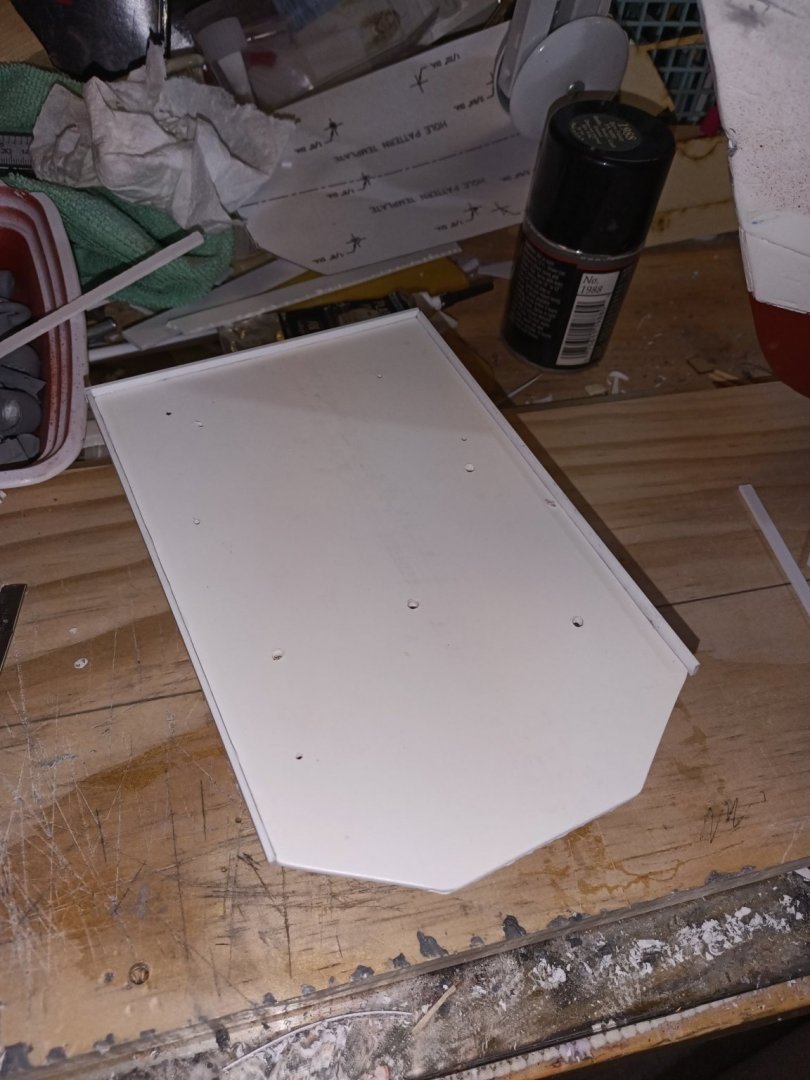
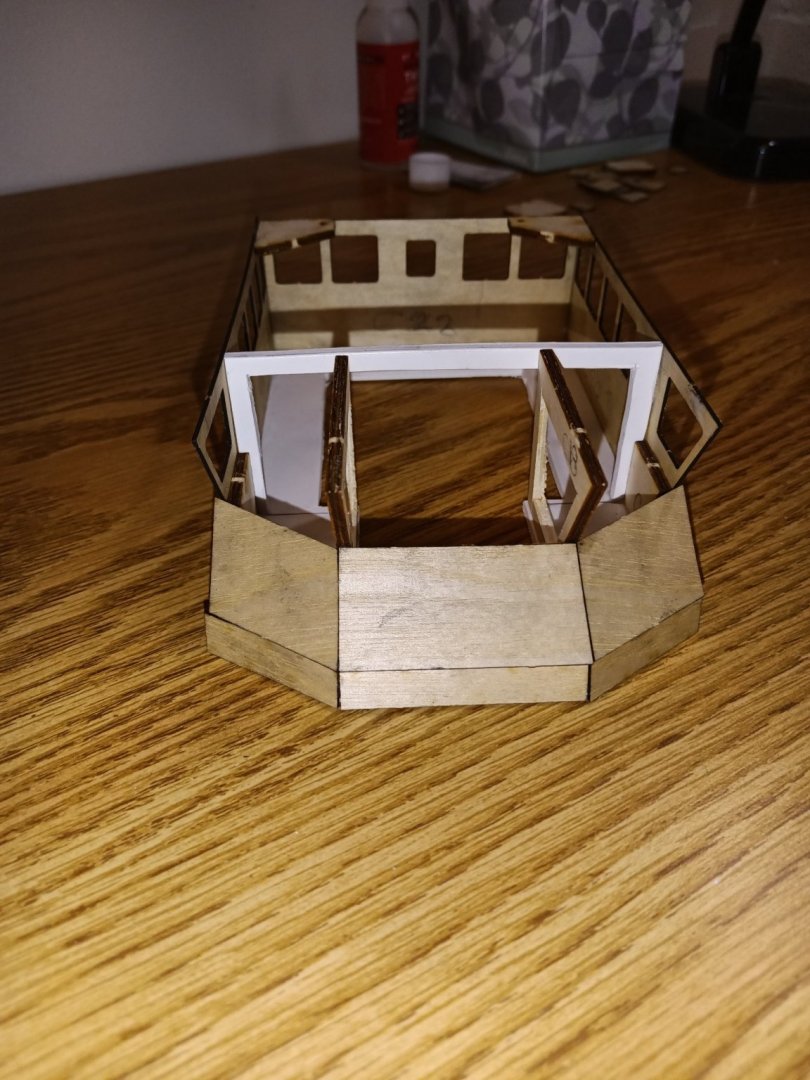
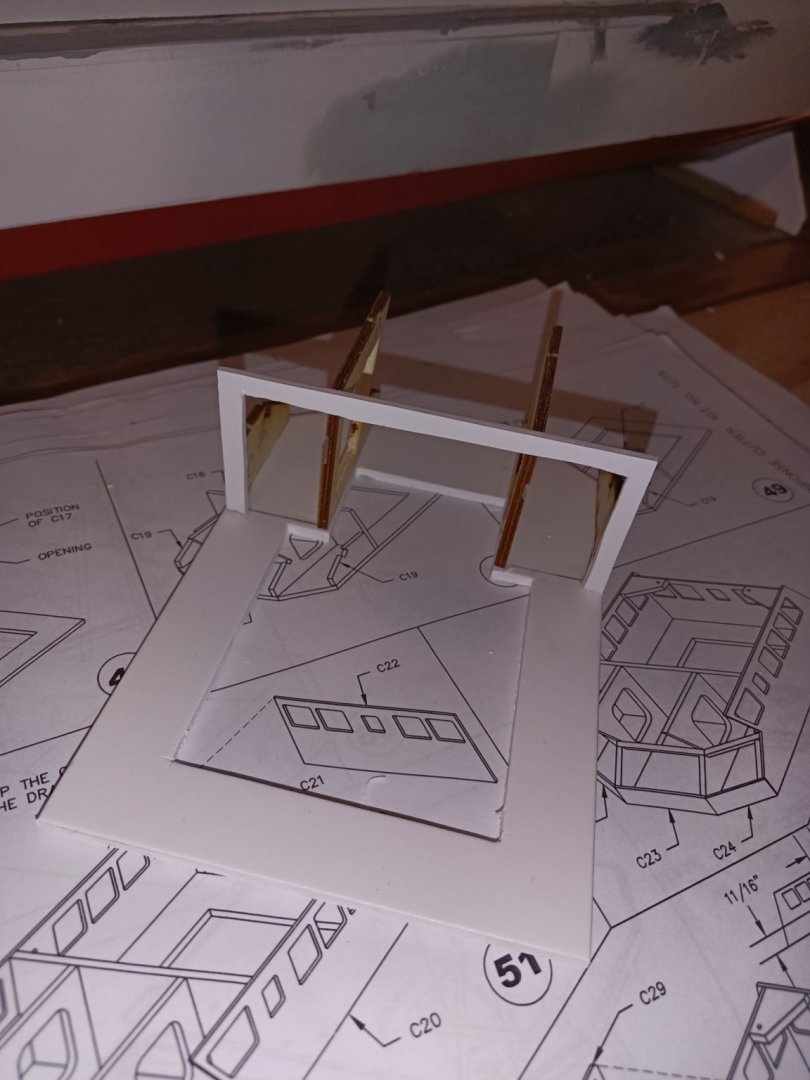
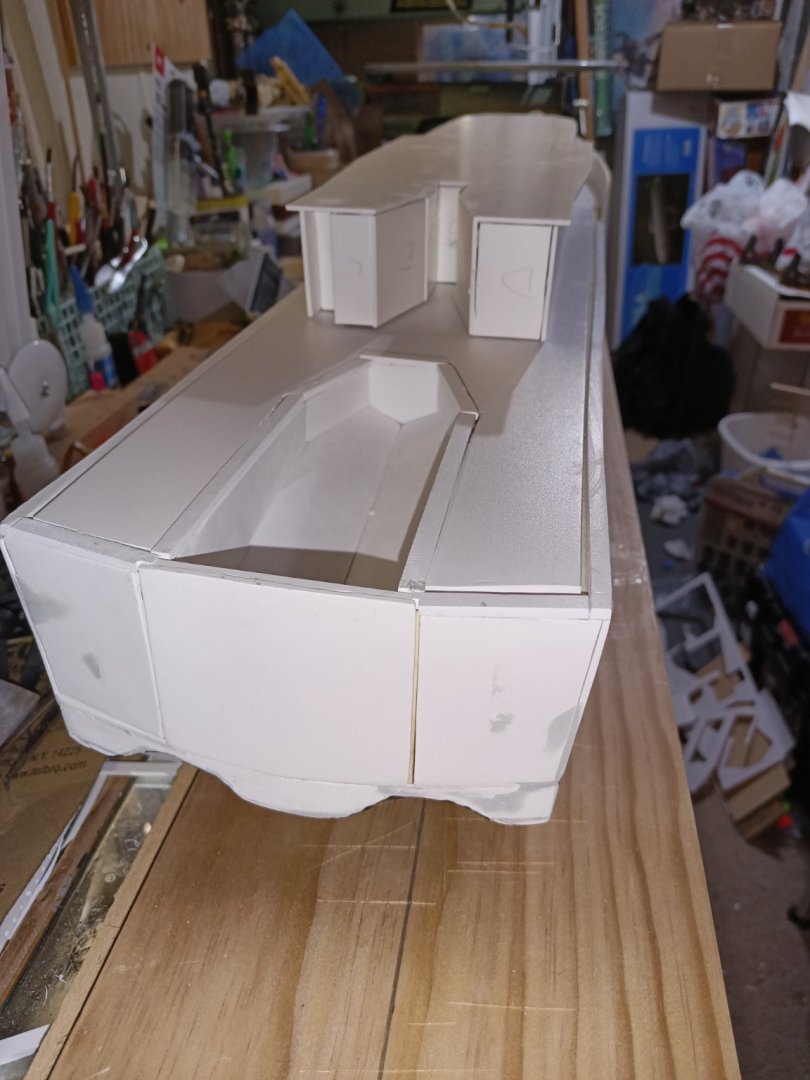
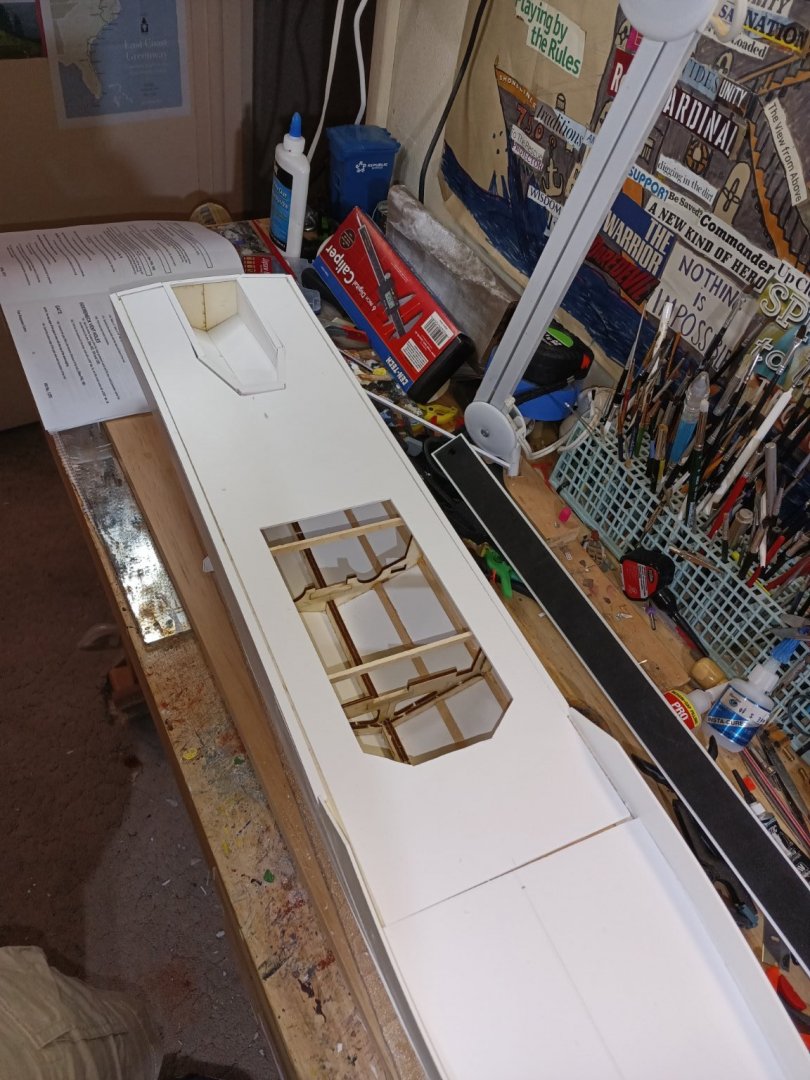
I started today cutting pilot holes for the pilot house and began the complex edging of the vessel's bridge top.

-
I have moved into doing more of the pilothouse. Pics to follow. Attached is the roof top template for the antennae. Tunnell Pilothouse Antennae Holes.pdf
-
DB This particular model will be static. I do have another that I will likely make R/C. I think it would have a pretty tipsy profile at high speed turns like a destroyer. Your build looked awesome by the way I went to your link. Thx for your comments.
-
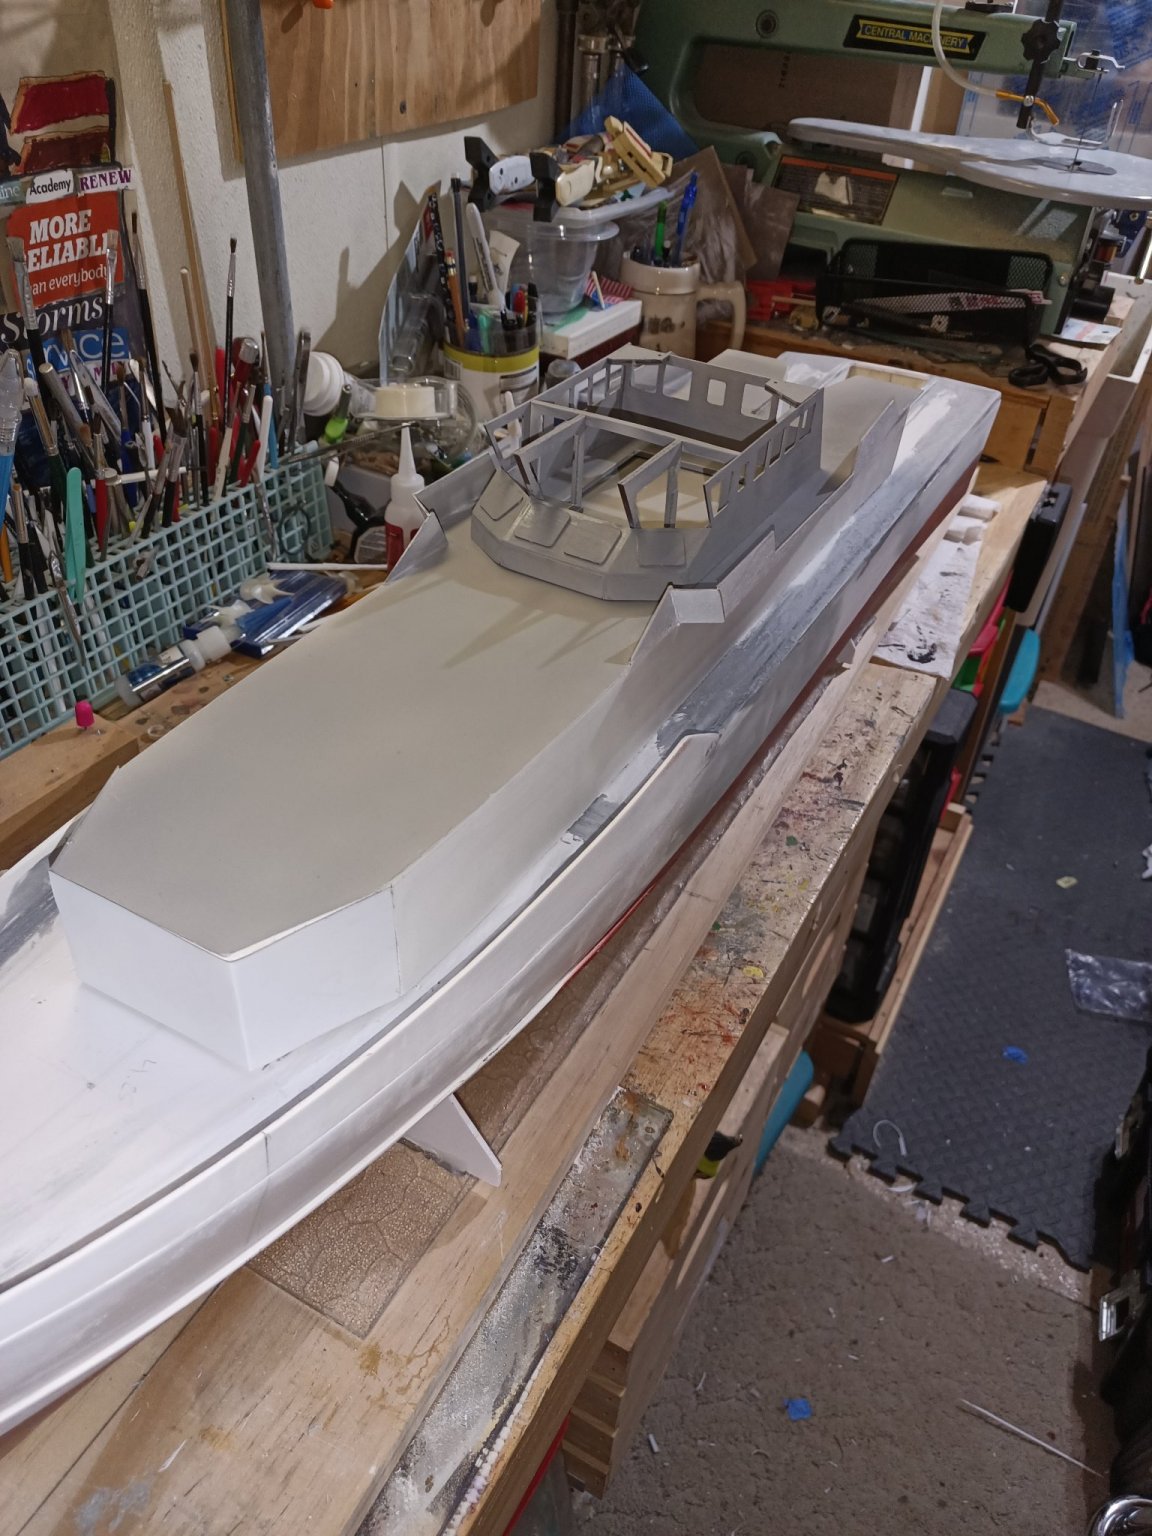
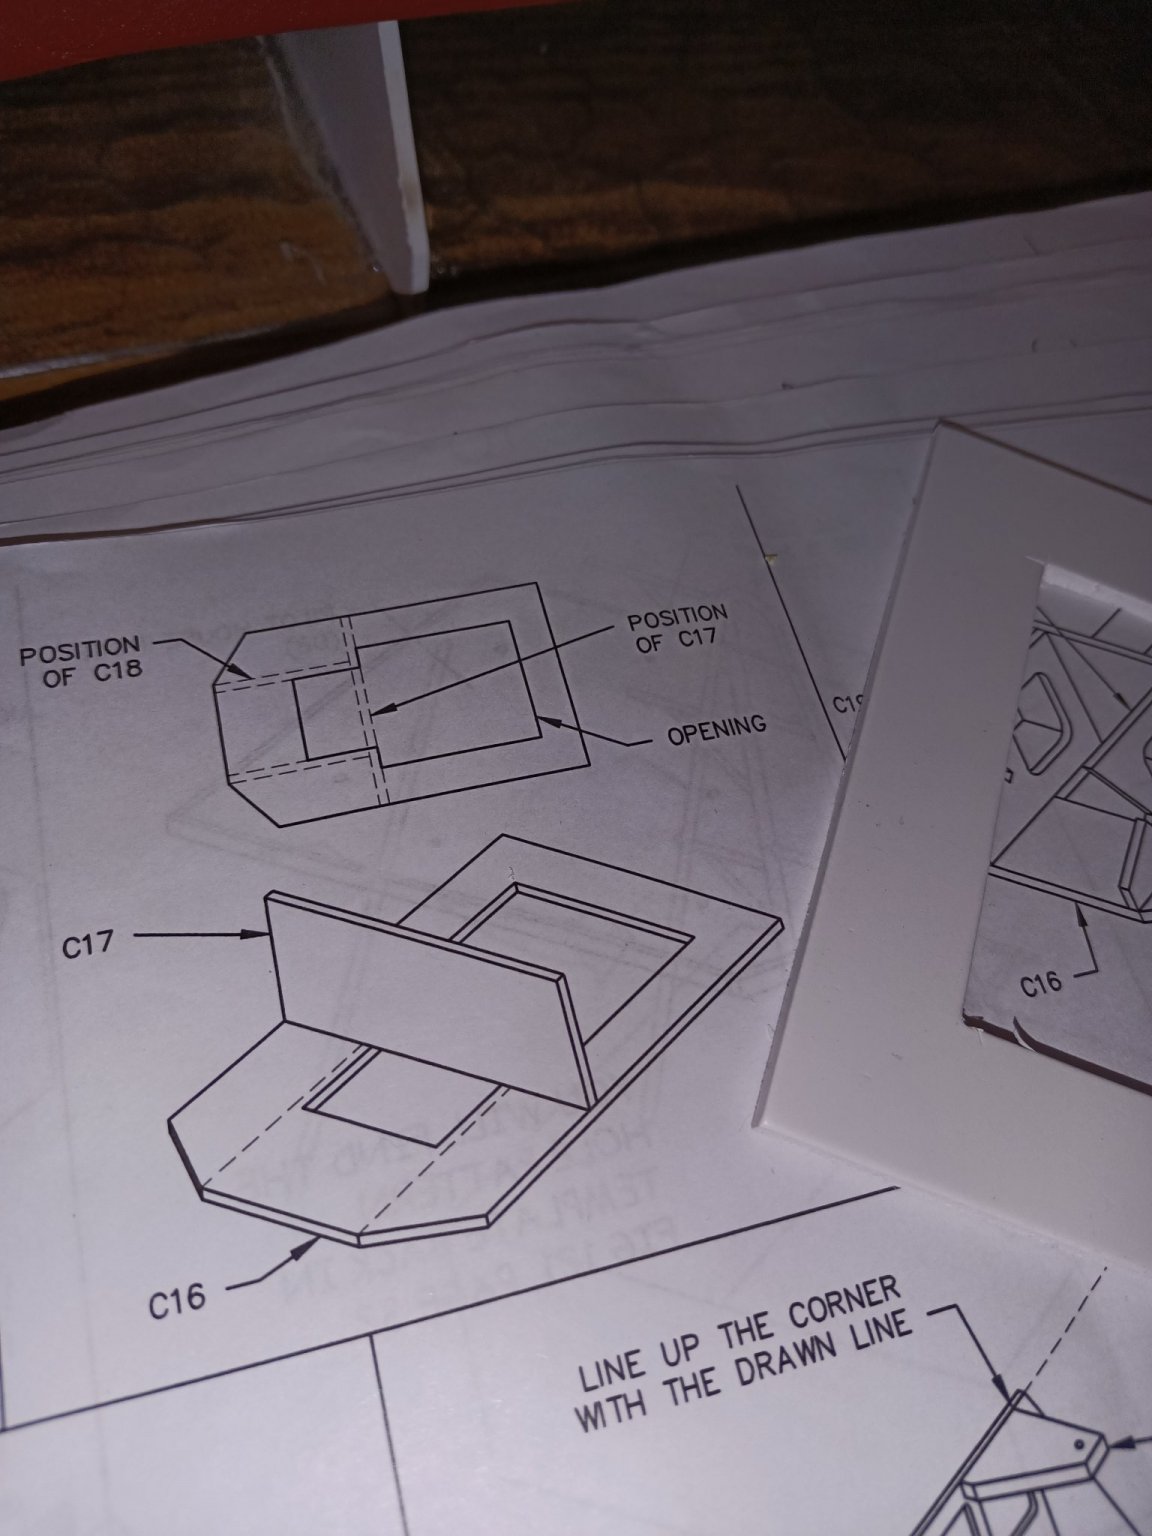
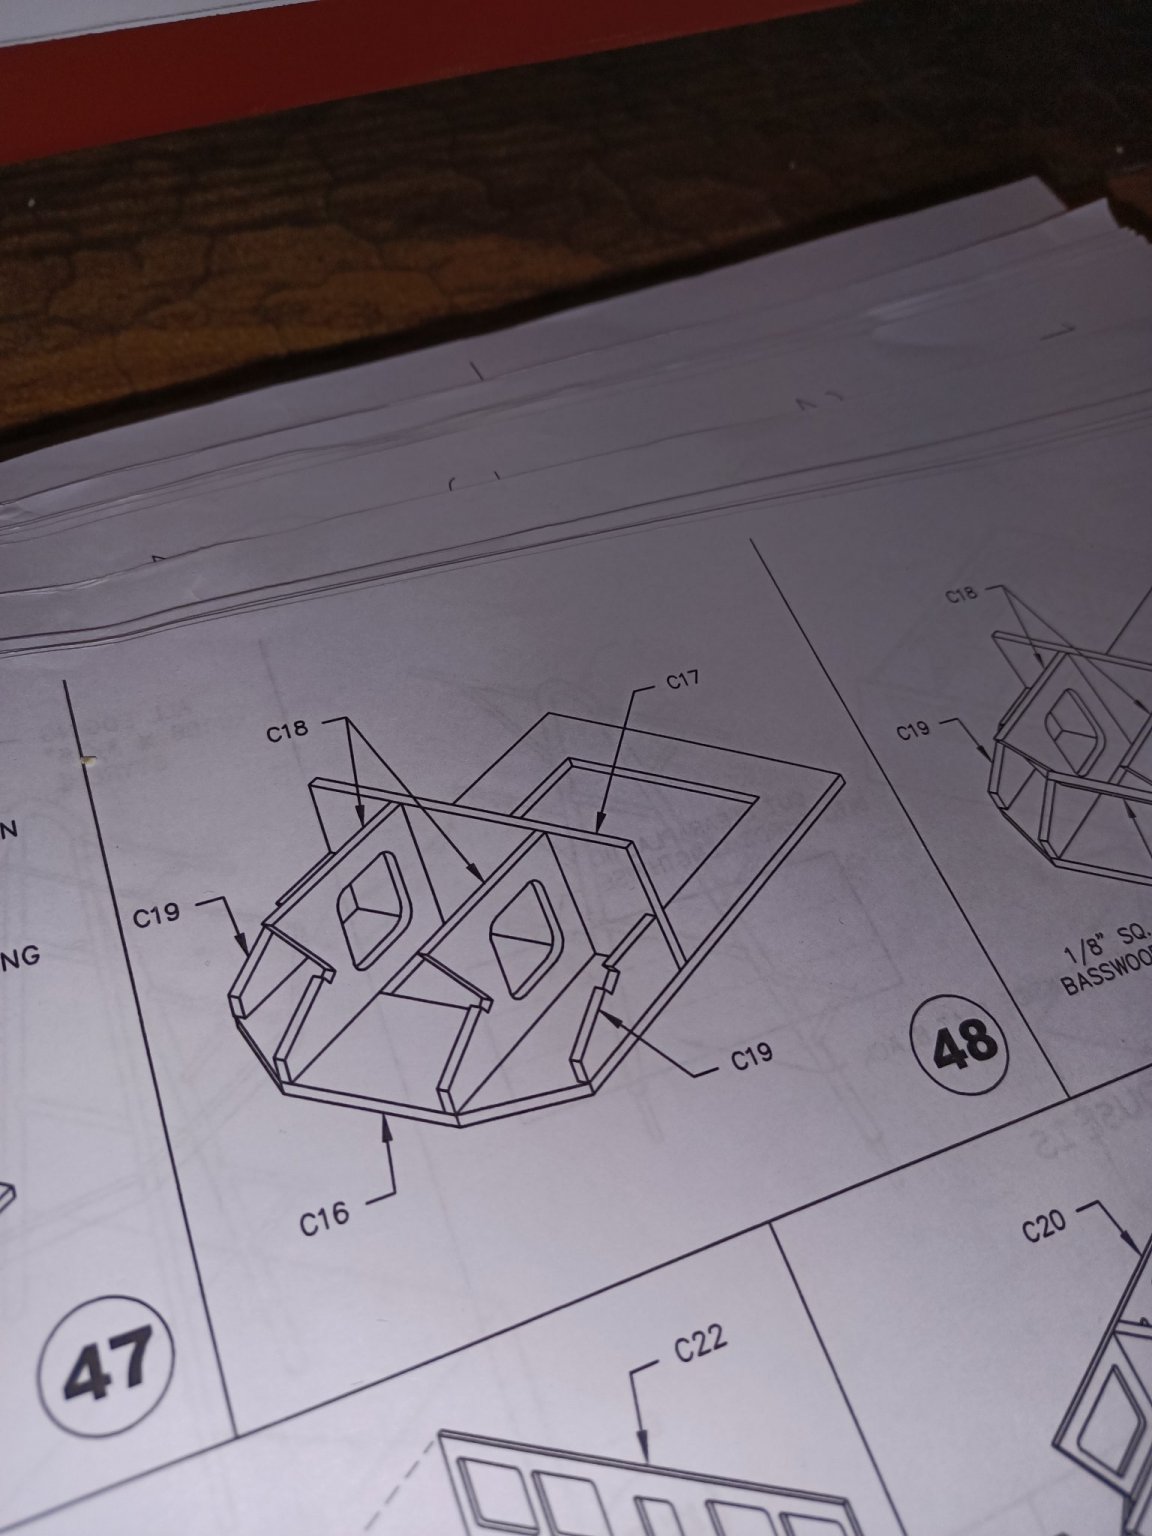
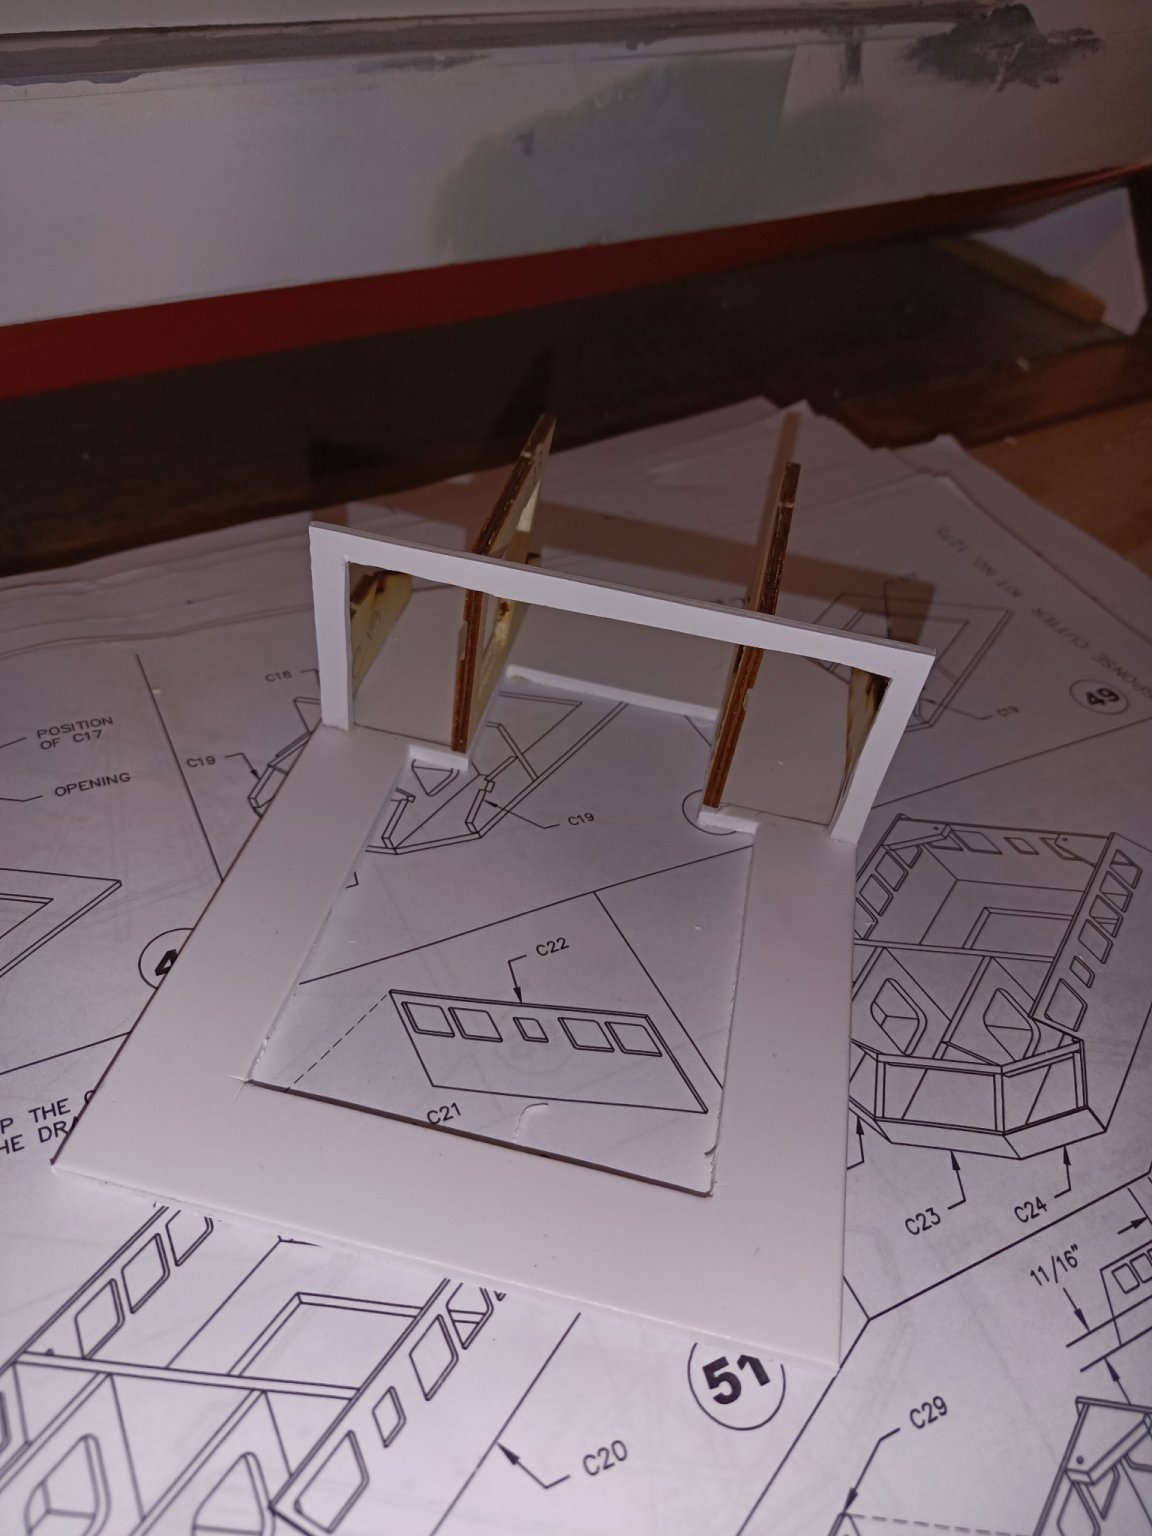
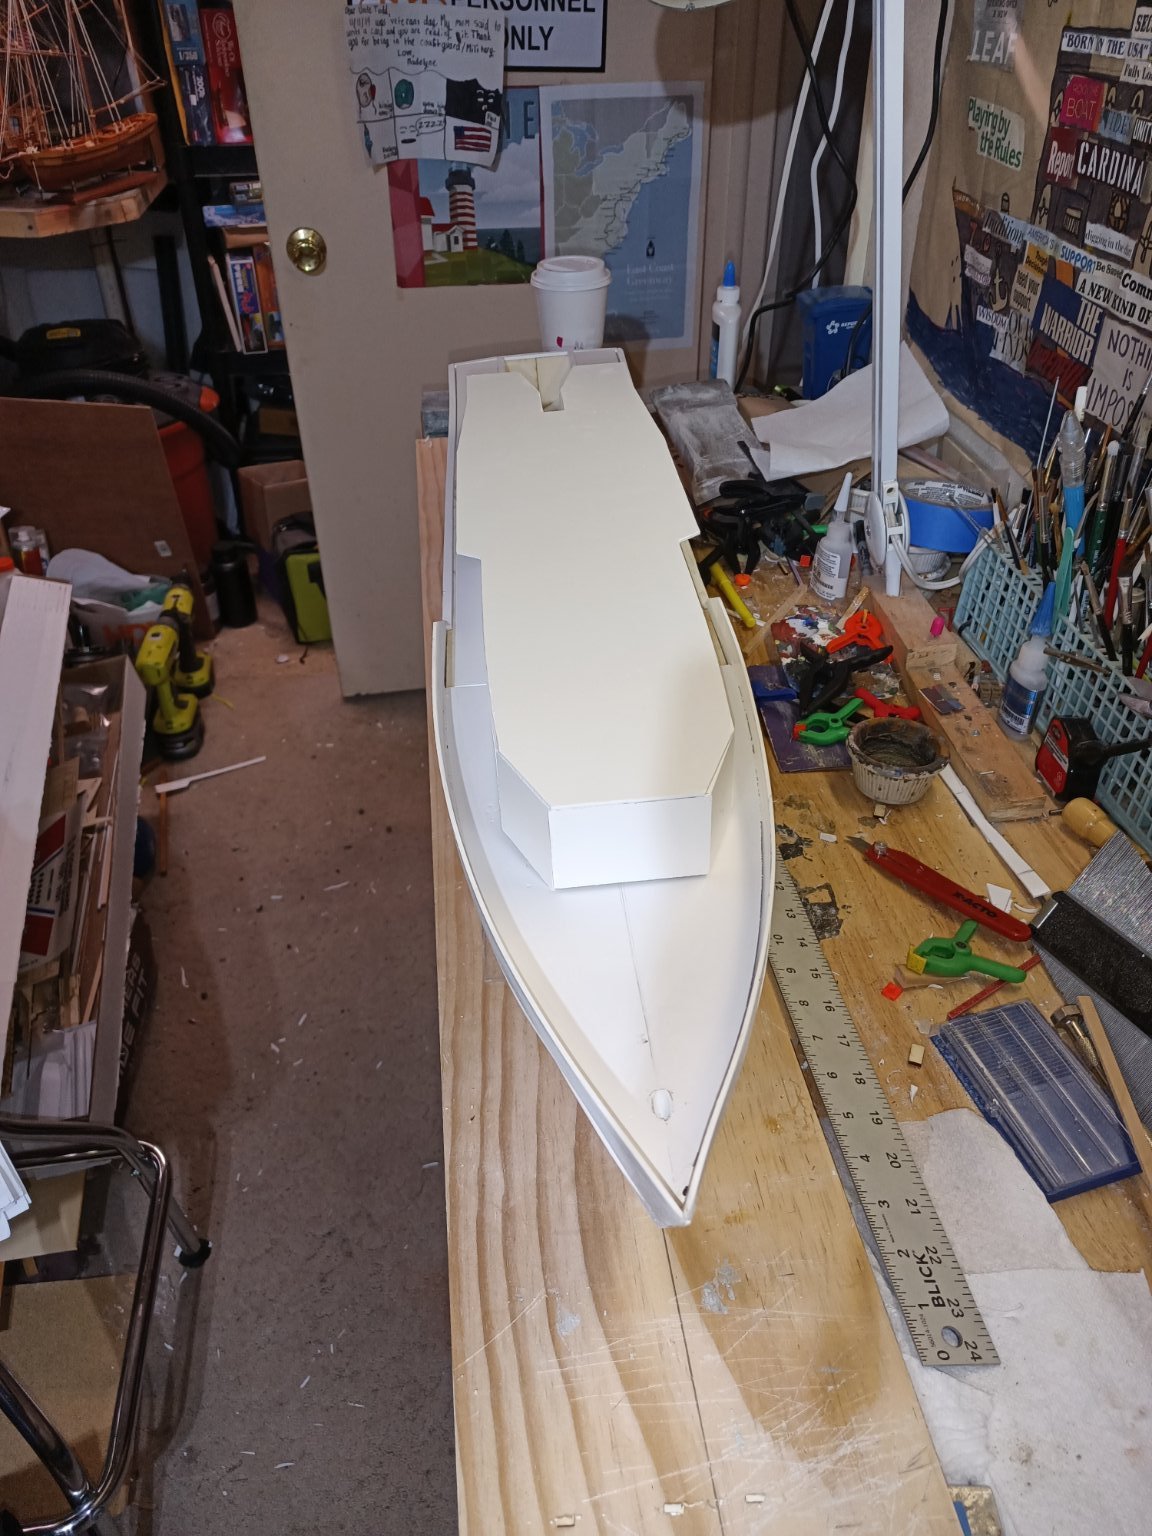
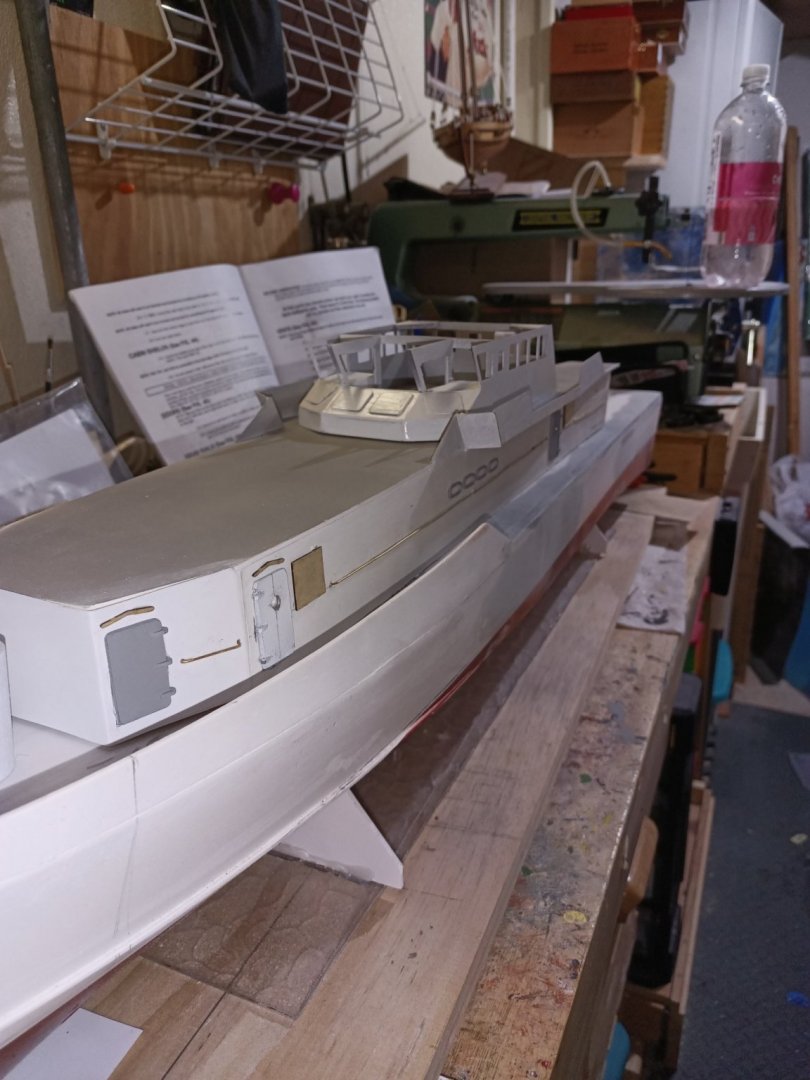
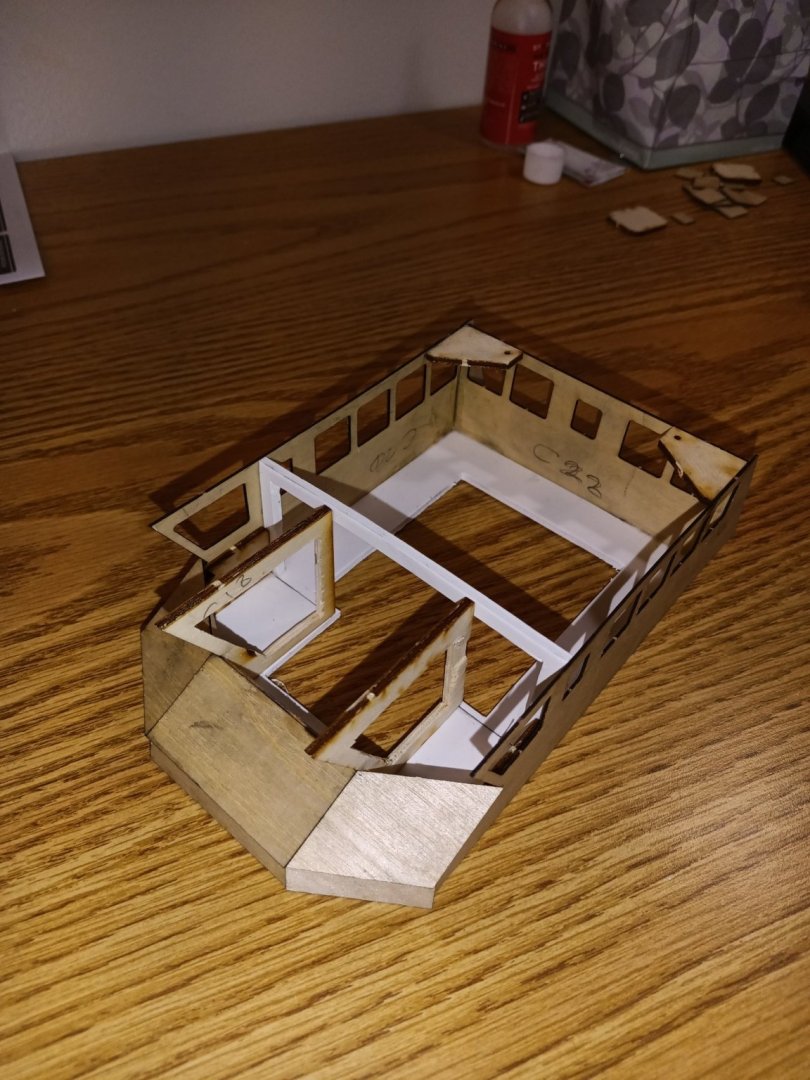
Hatches and hand rails added to the main deck. Pilot house interior details scratch built and added.
-
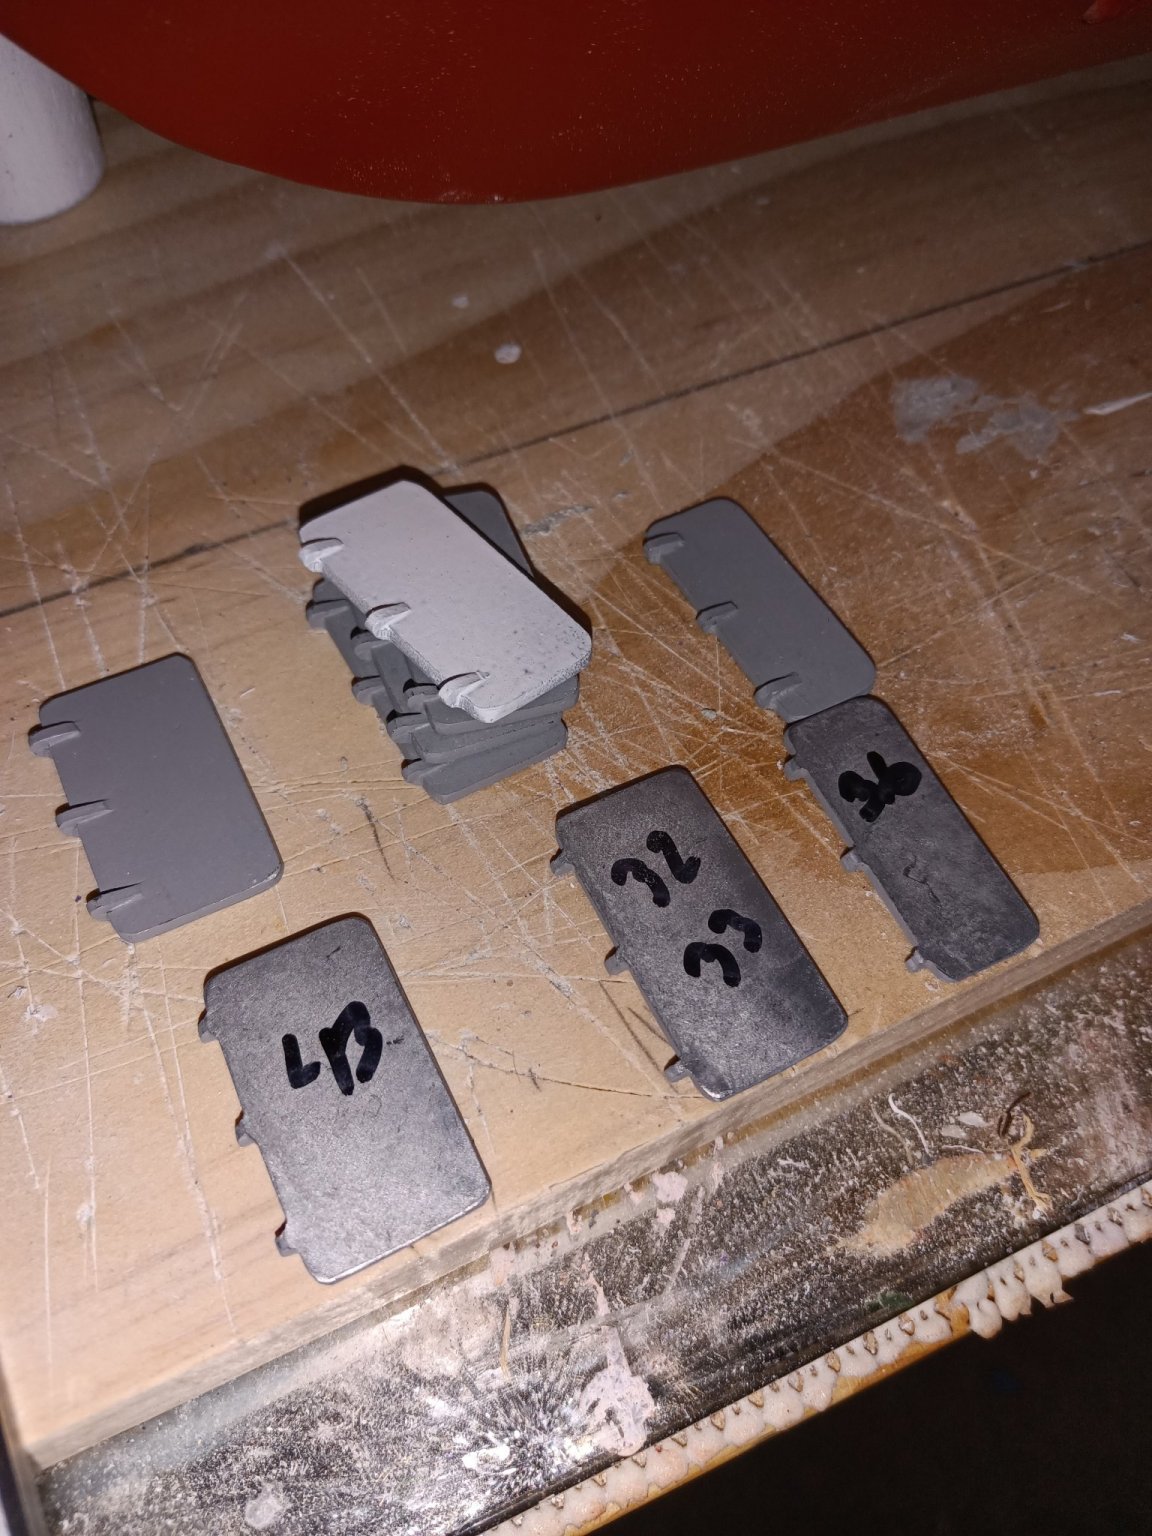
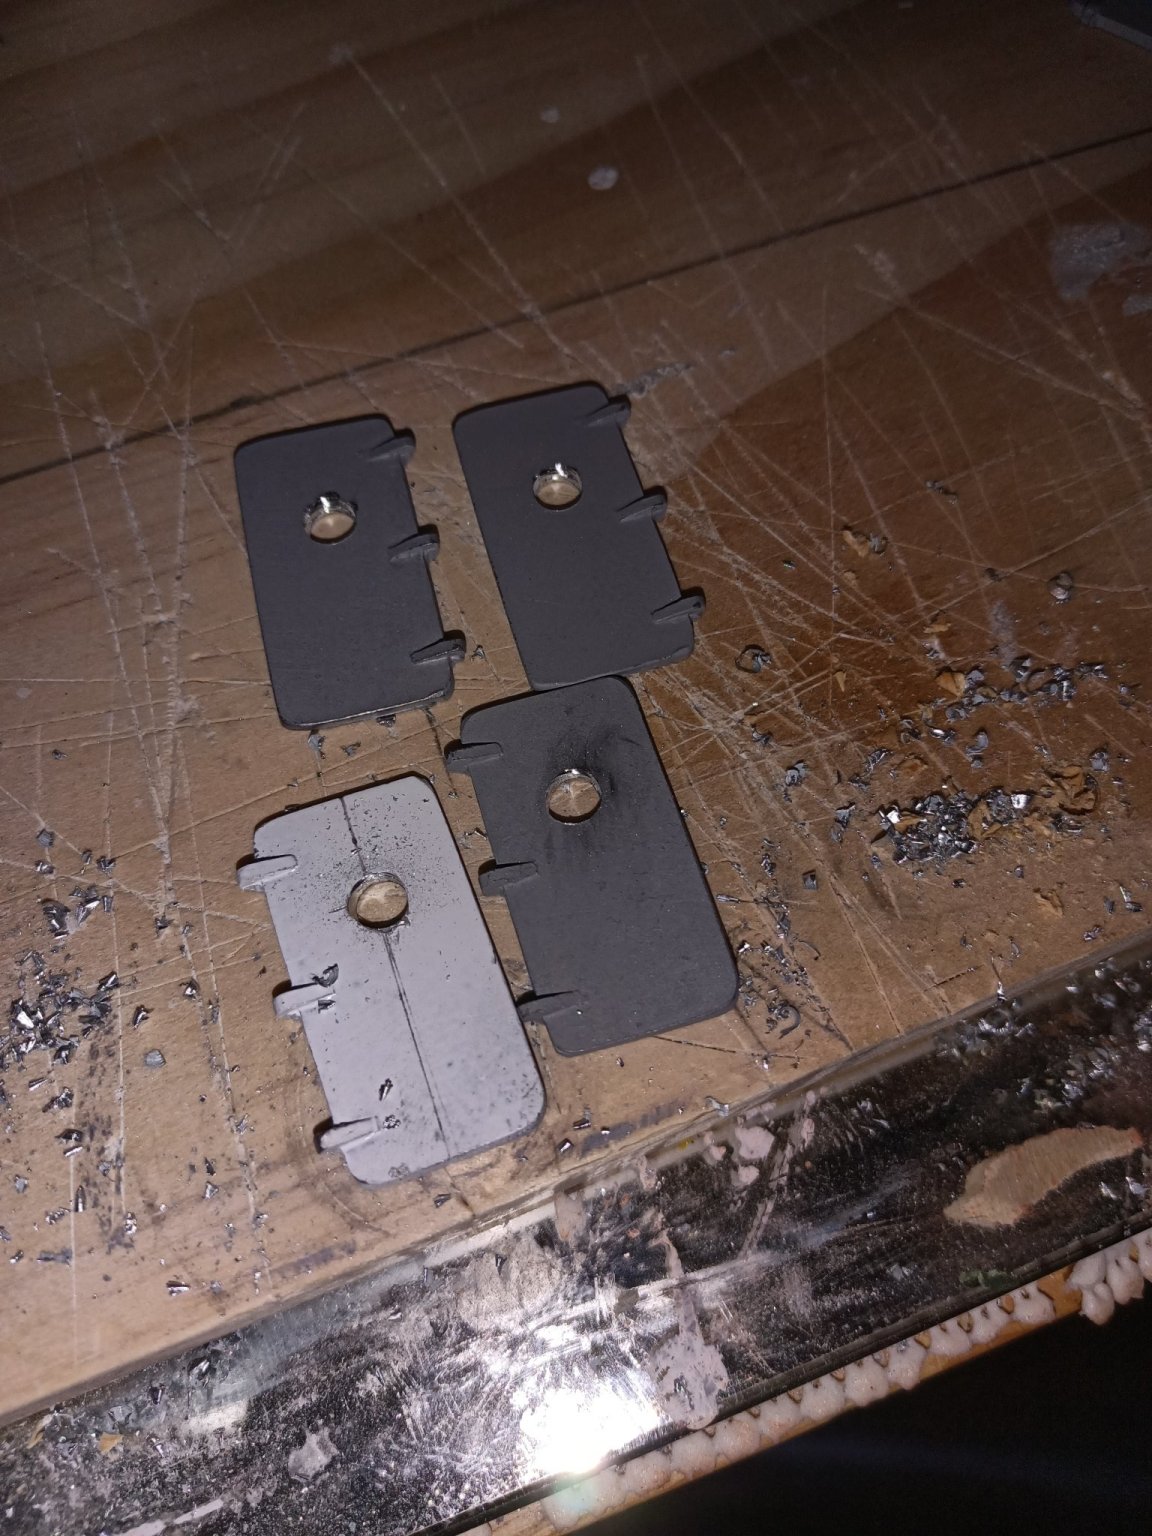
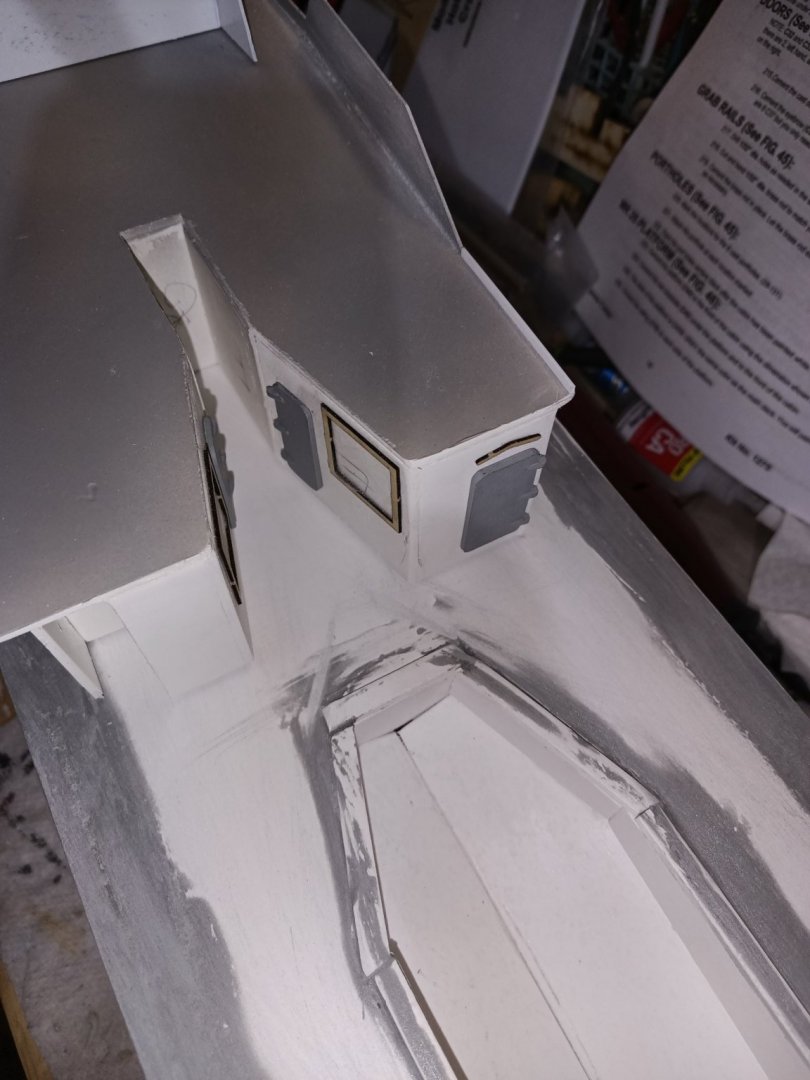
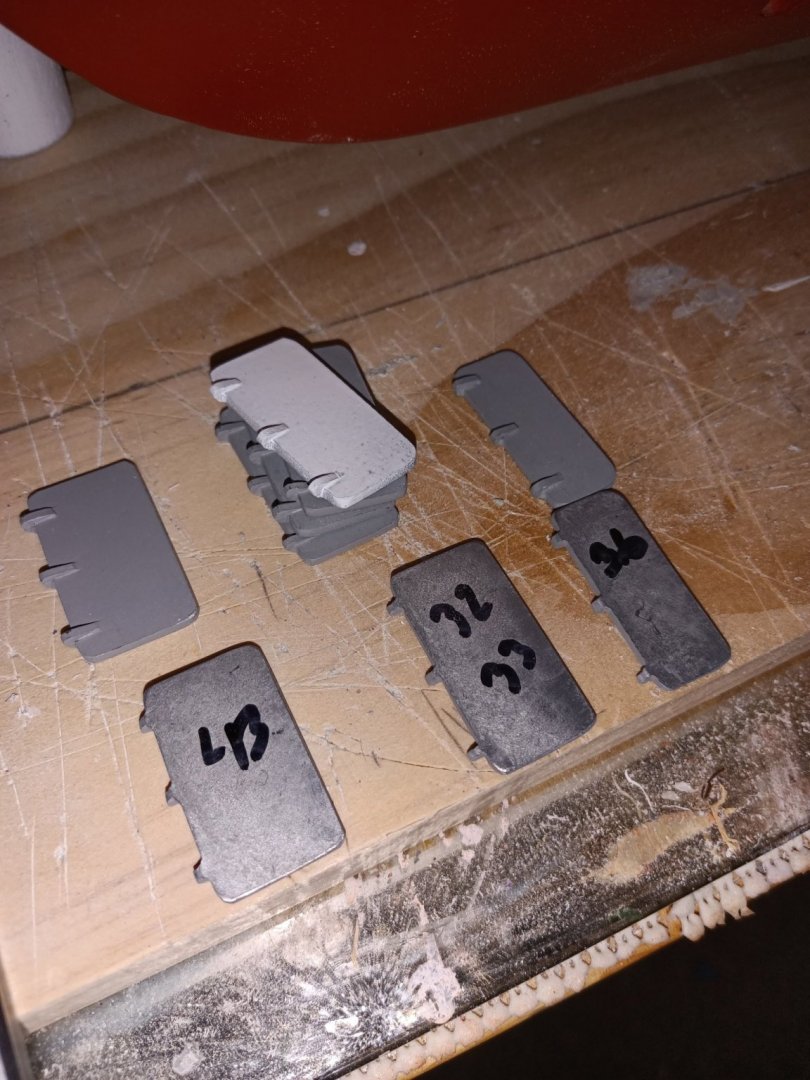
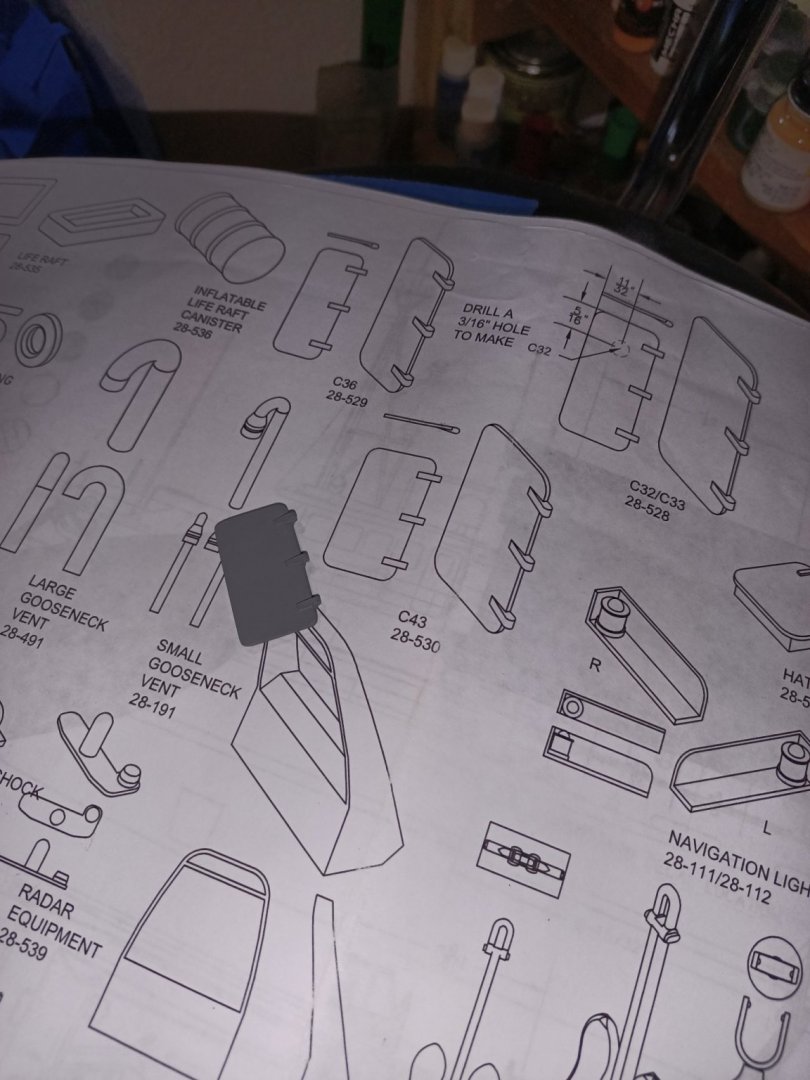
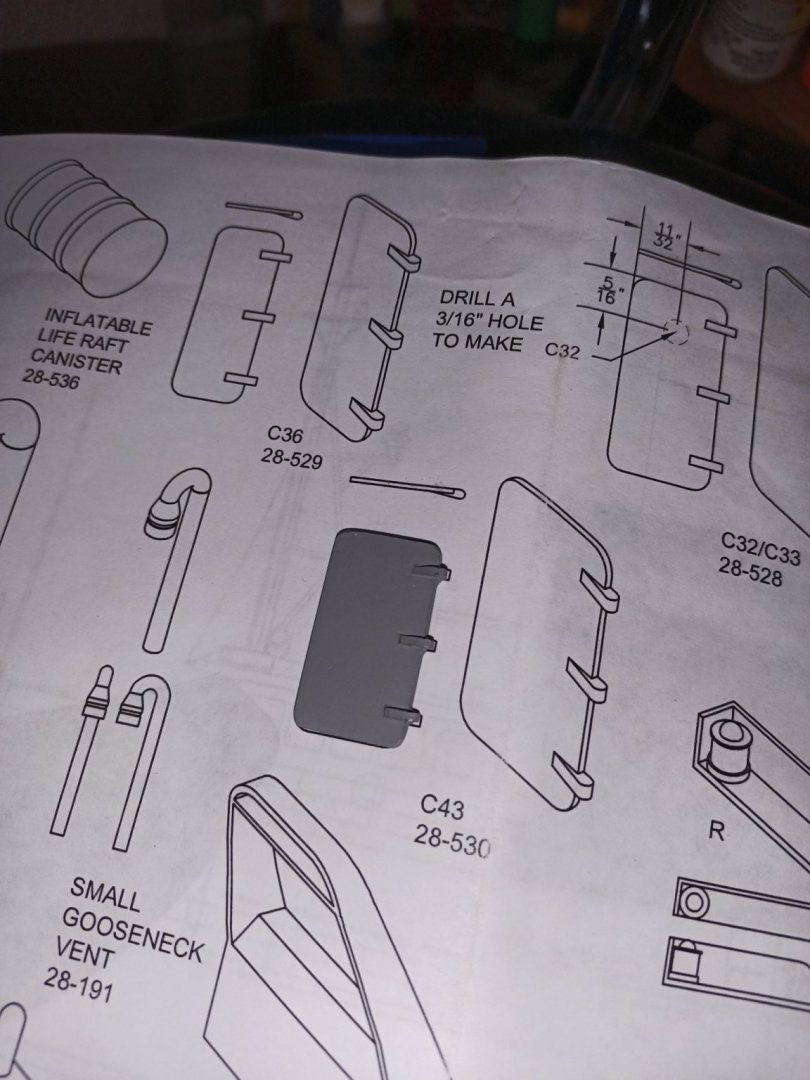
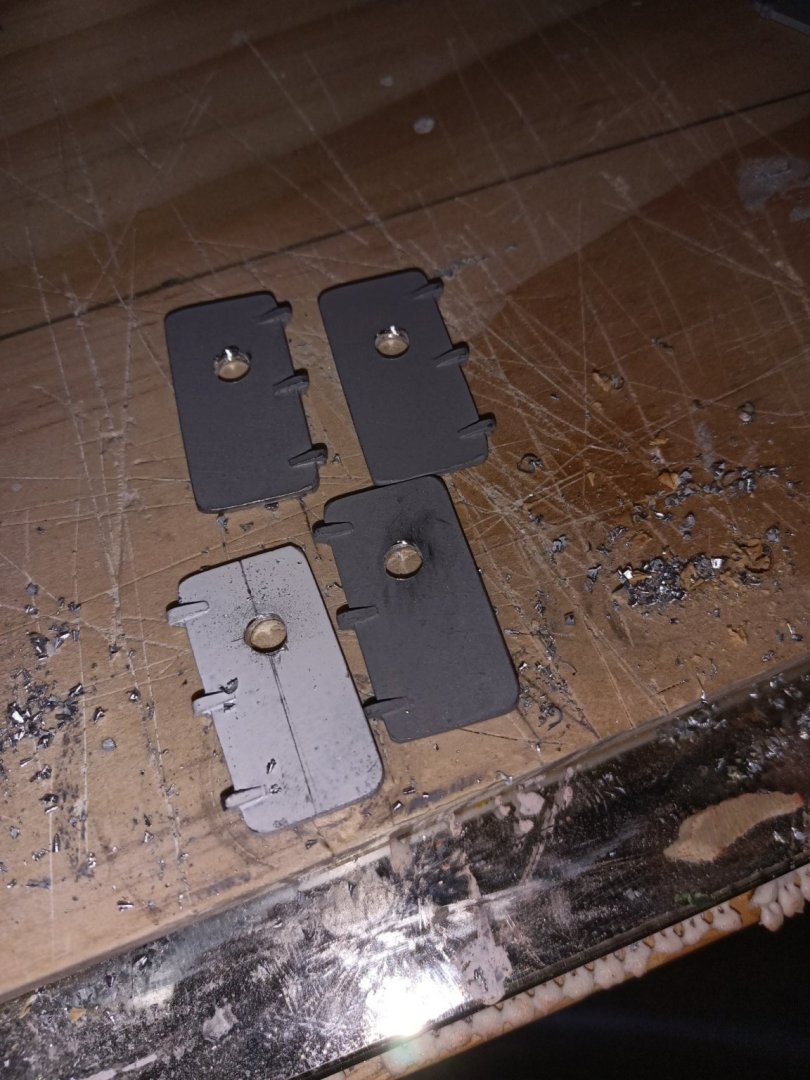
I started working on hatches and scuttles. As a note to all those attempting this build should note that there are 3 different sizes of doors. I spent 40 minutes figuring out which ones were which when I could have simply held them up to the parts sheet. See photo. You will need to use a 3/16 drill bit to cut port holes in the water tight doors. You also need to do this with 2 different doors each with hinges both left and right.

-
A lot more filling and sanding and priming. I pulled out the bag of deck hardware "goodies" that were metal fittings and primed ahead if their use


-
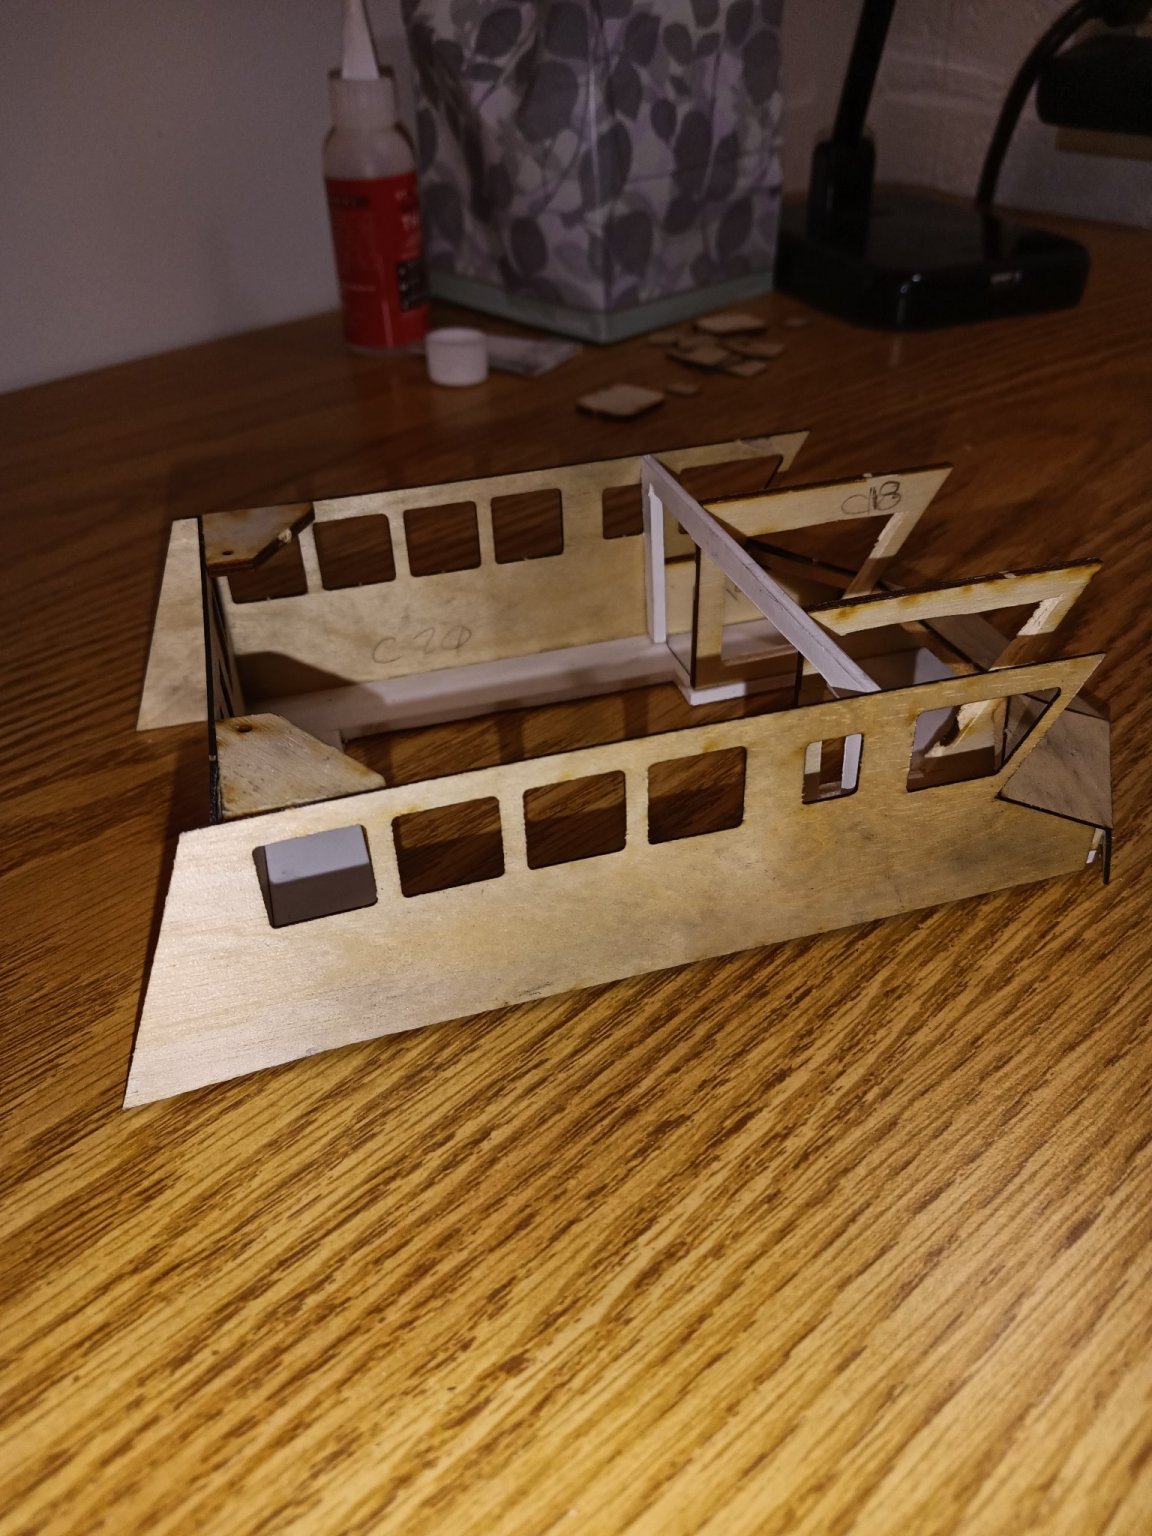
More work on the pilot house tonight.

-
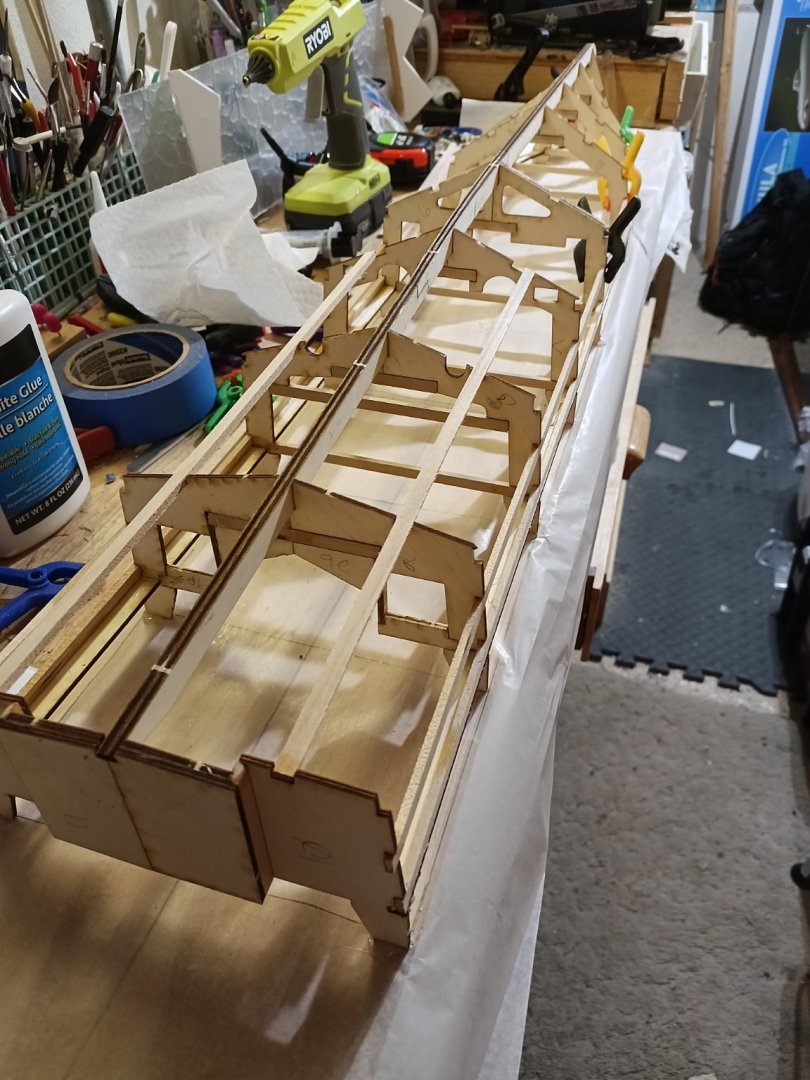
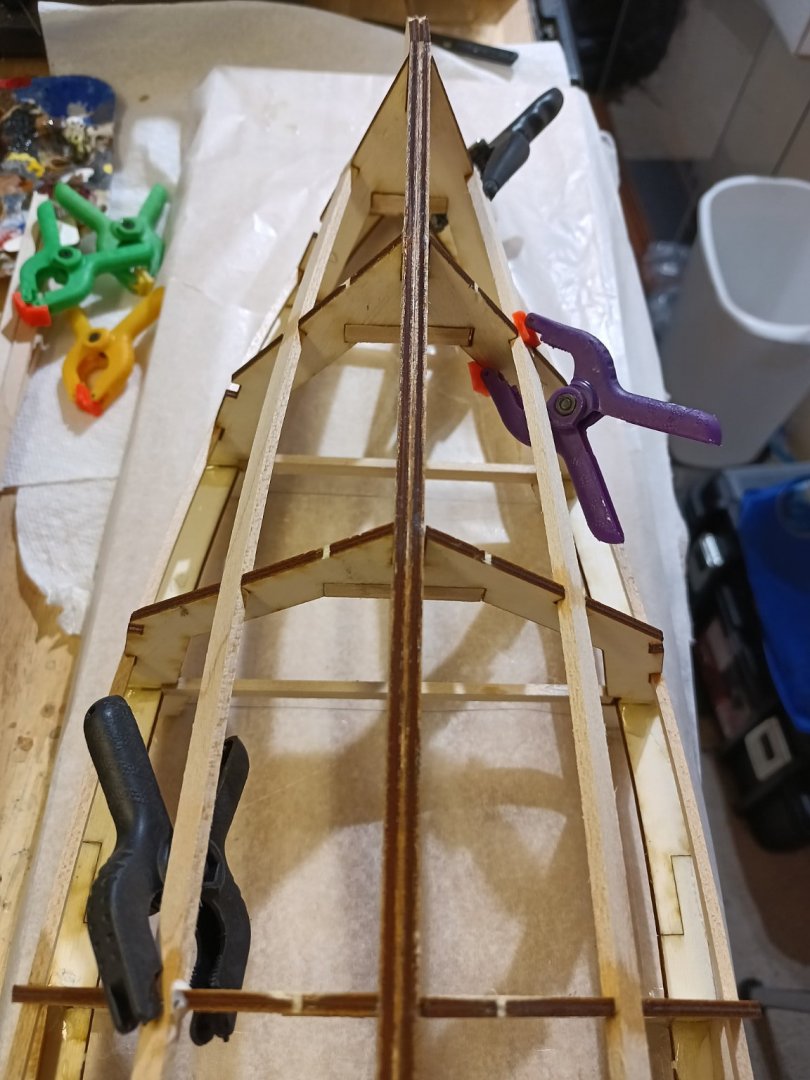
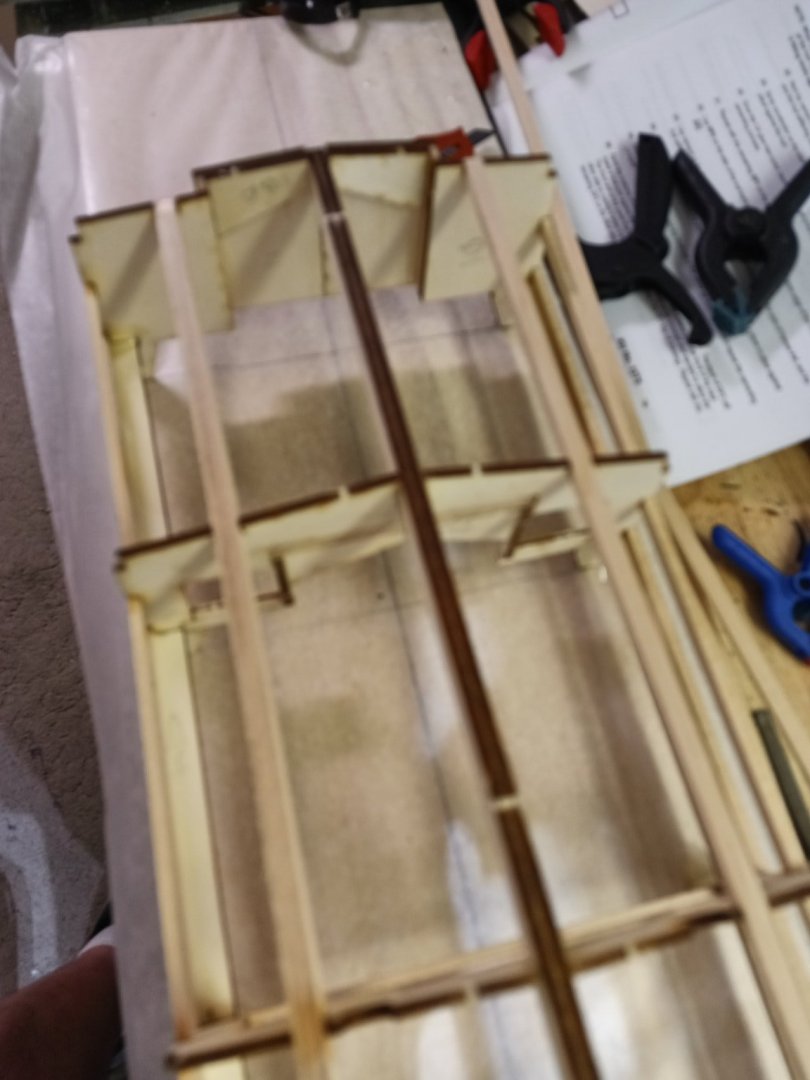
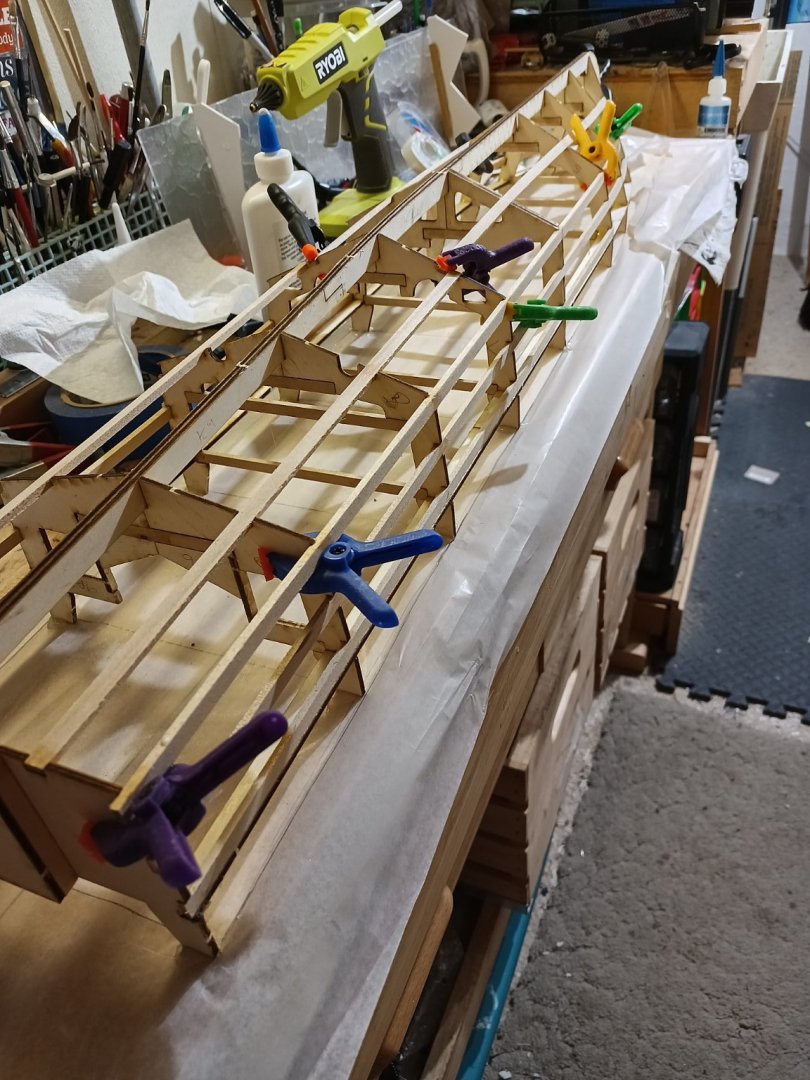
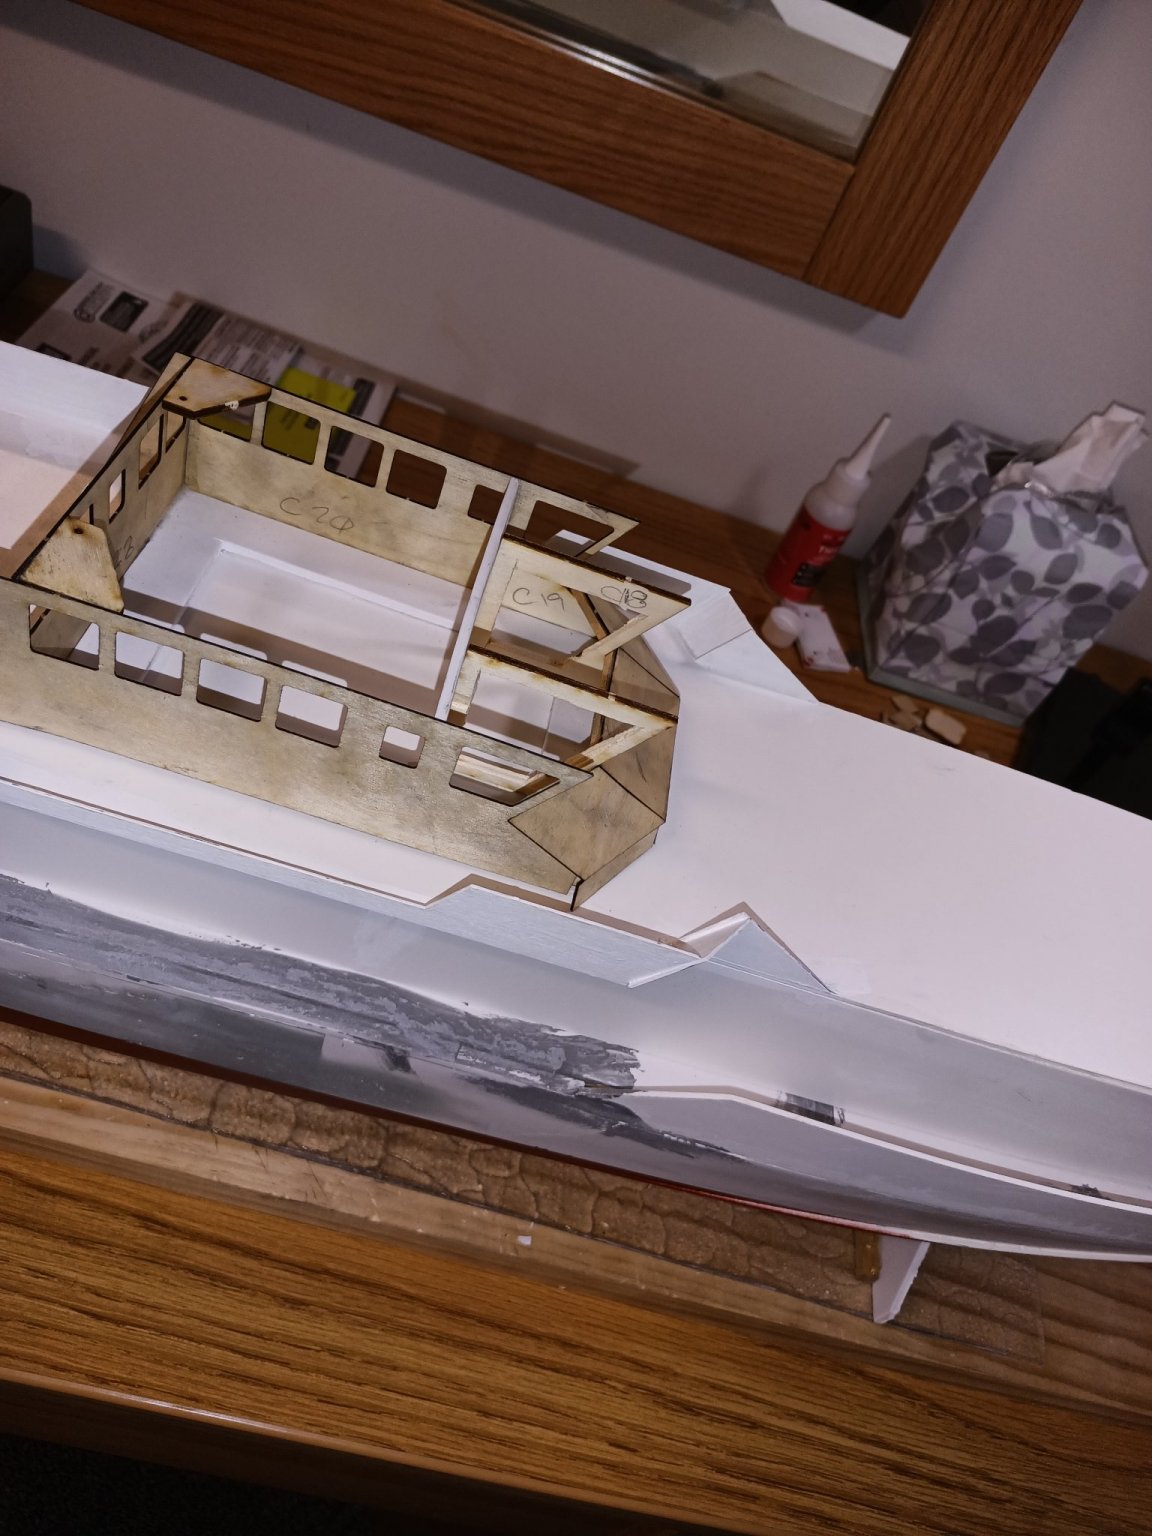
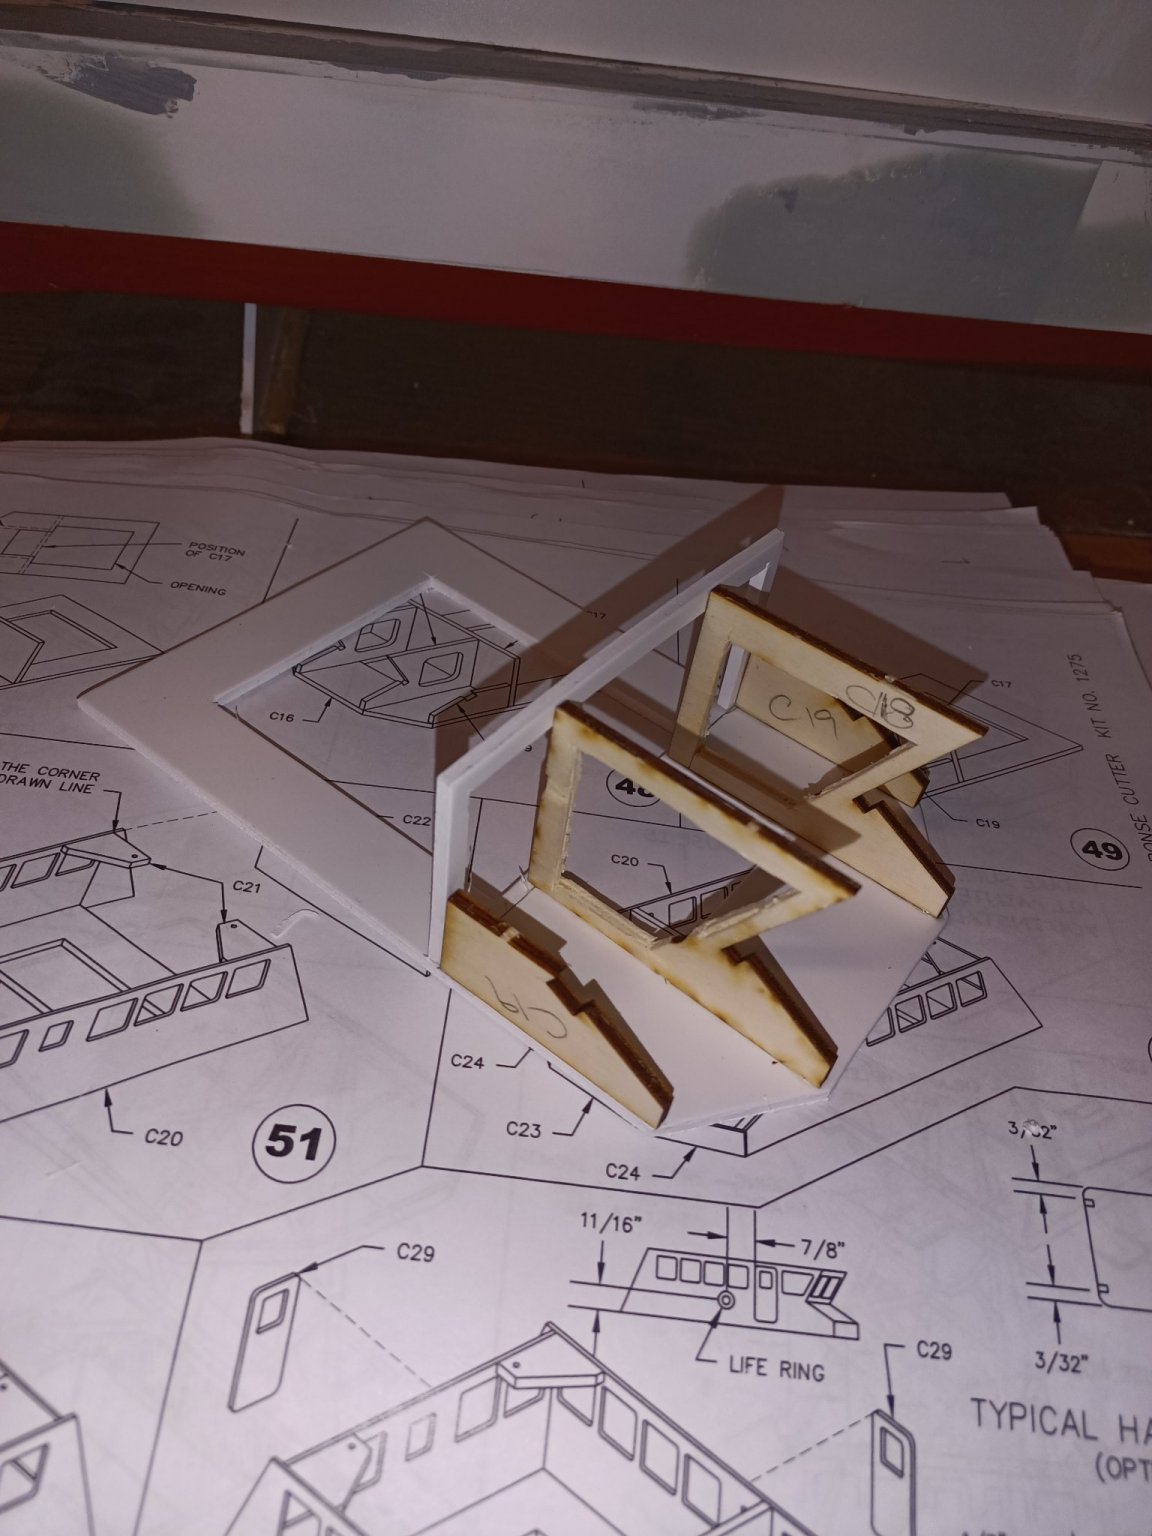
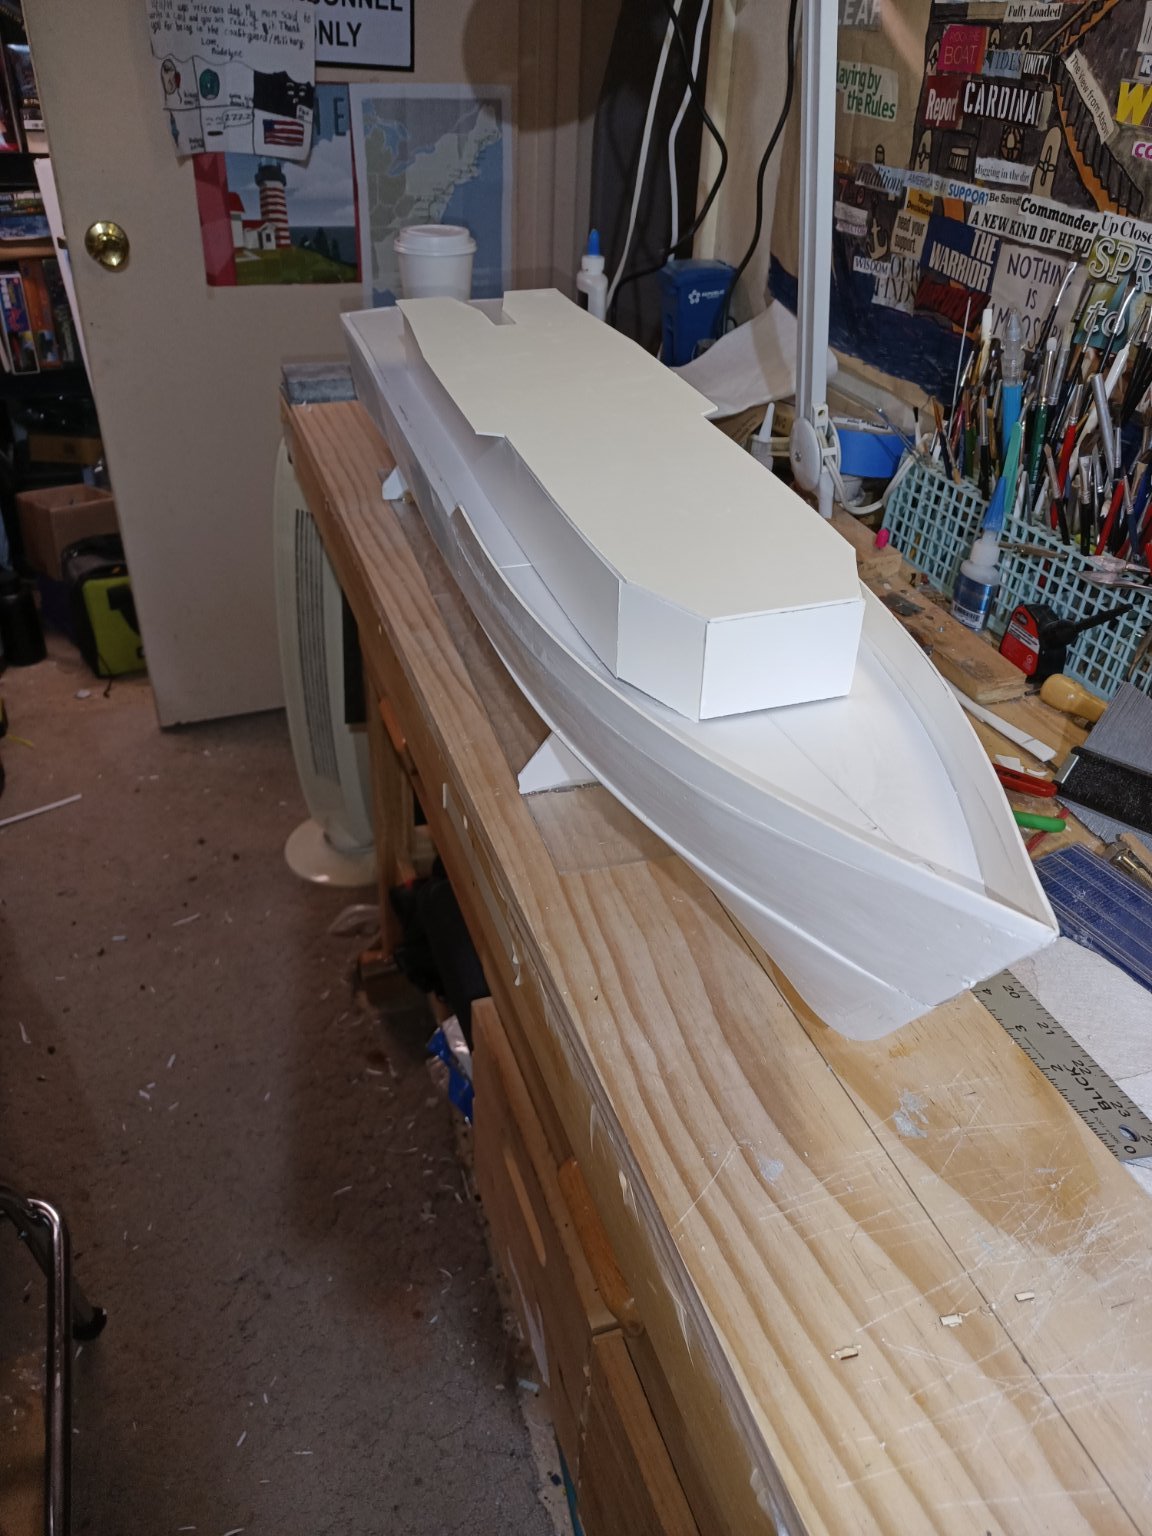
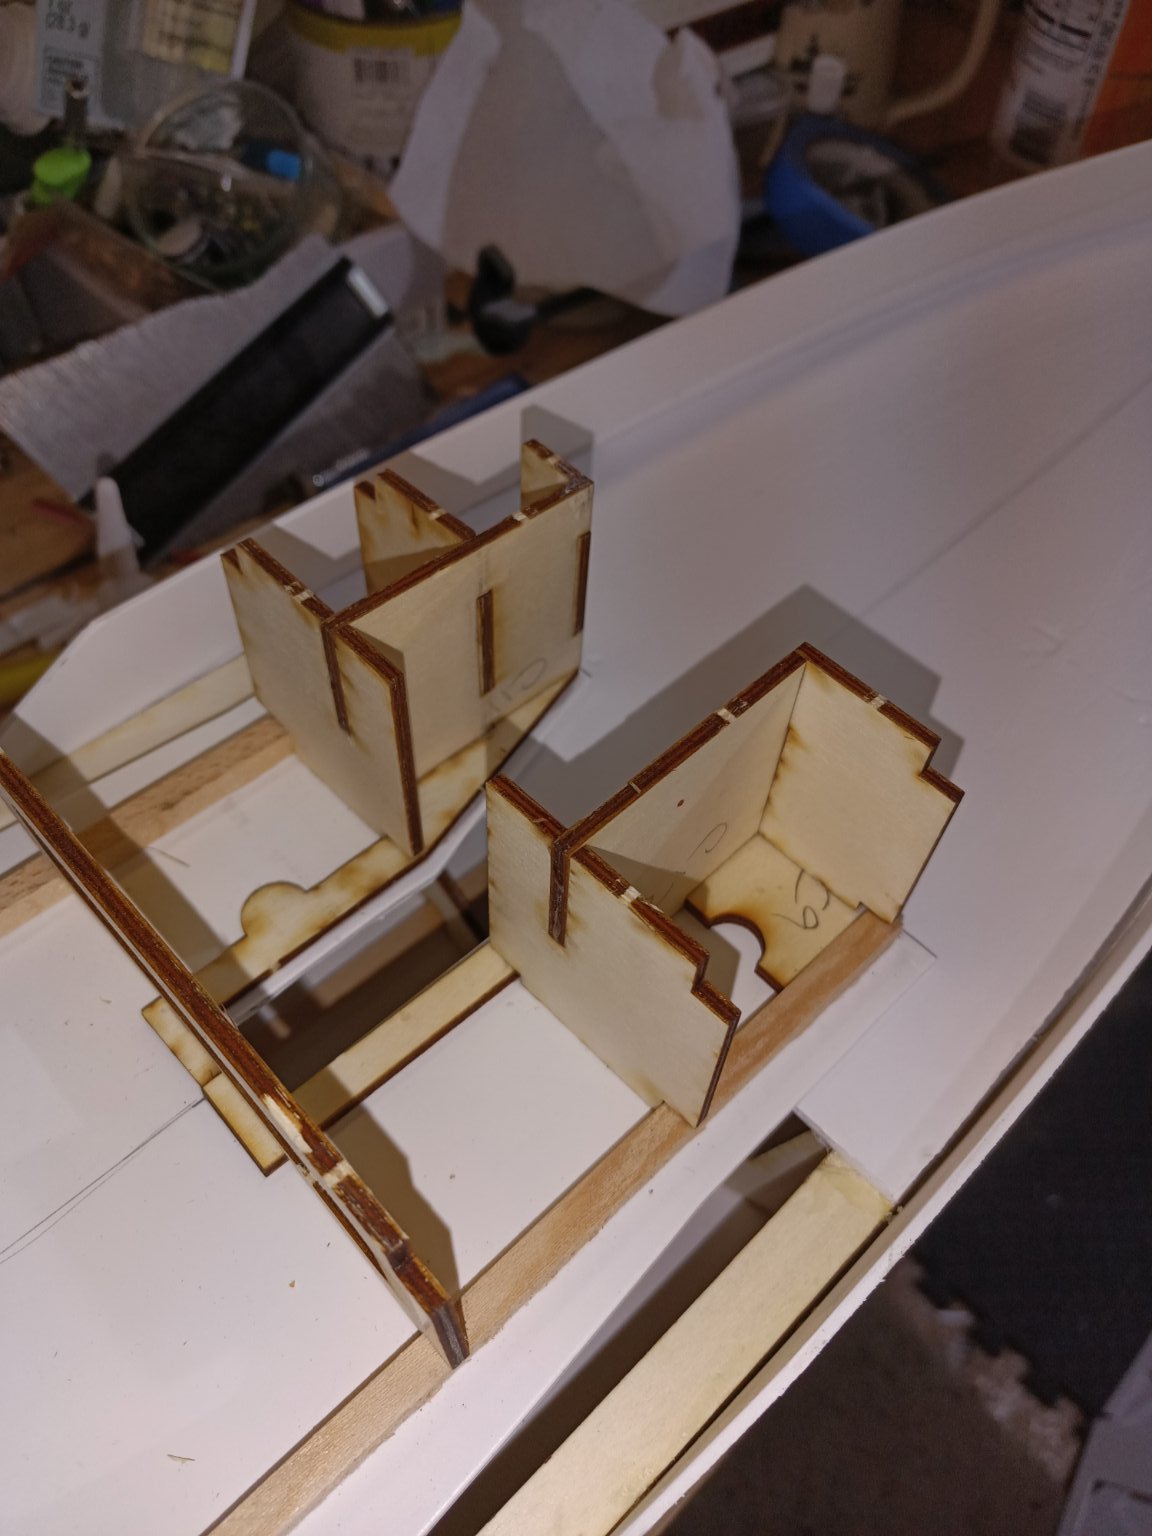
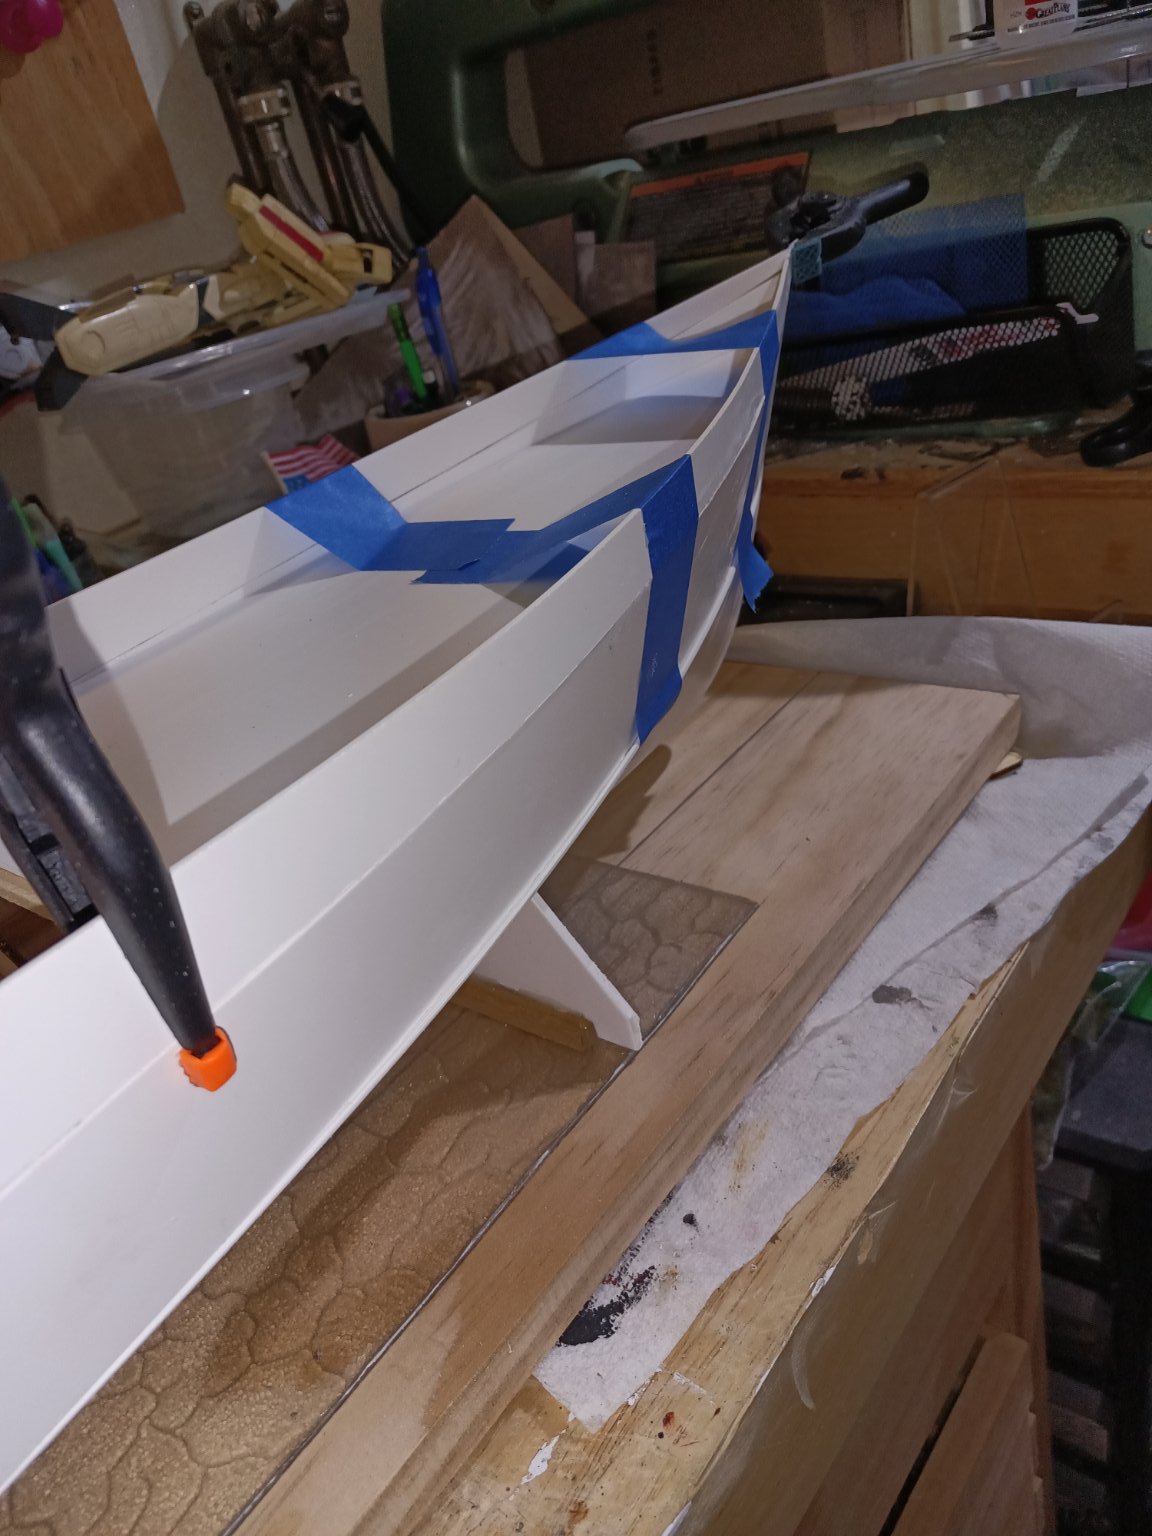
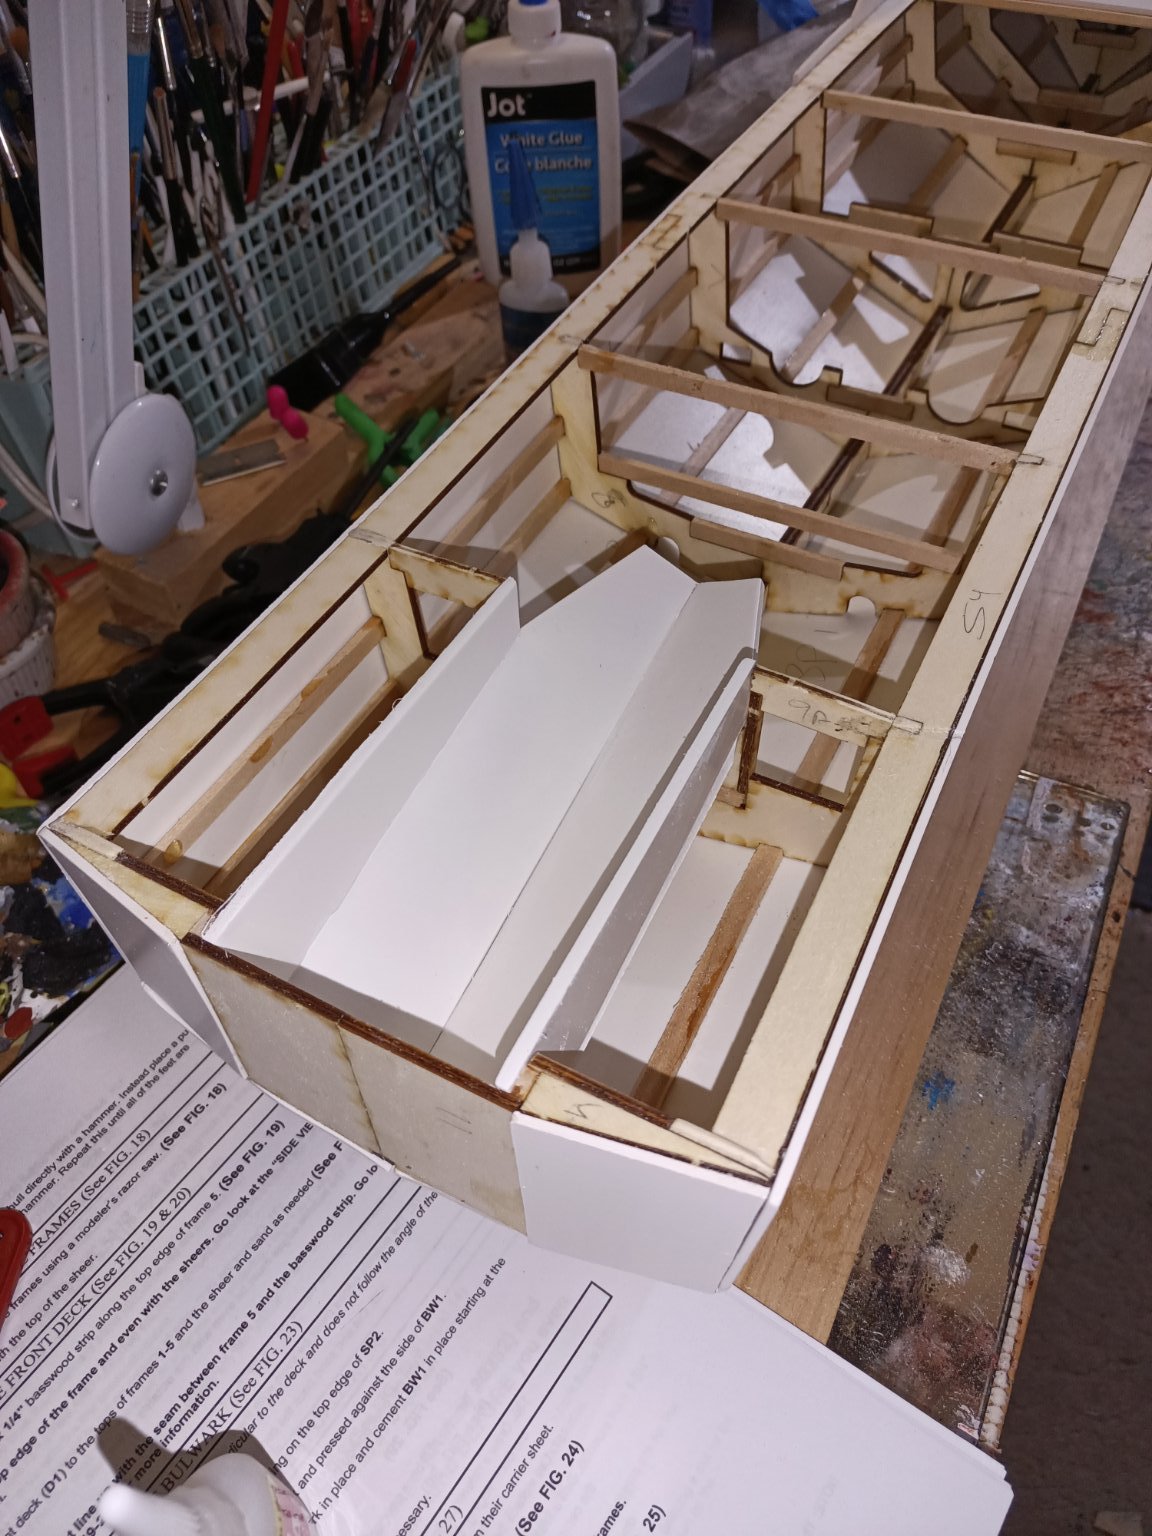
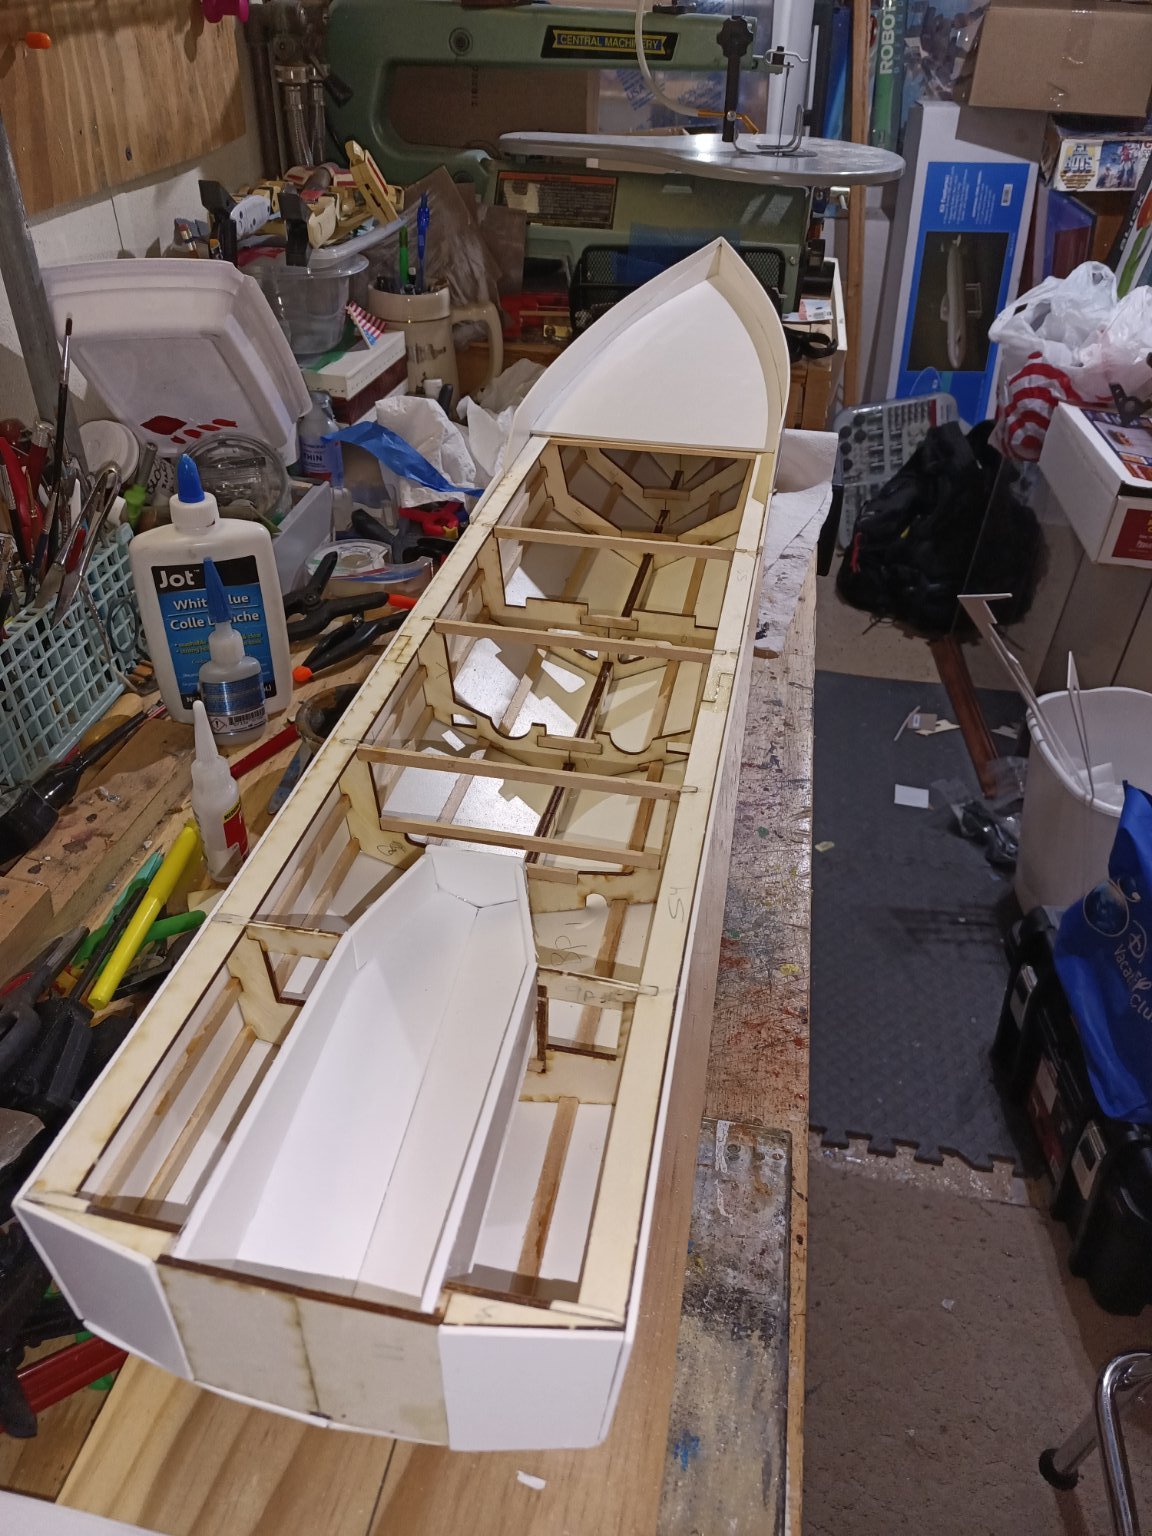
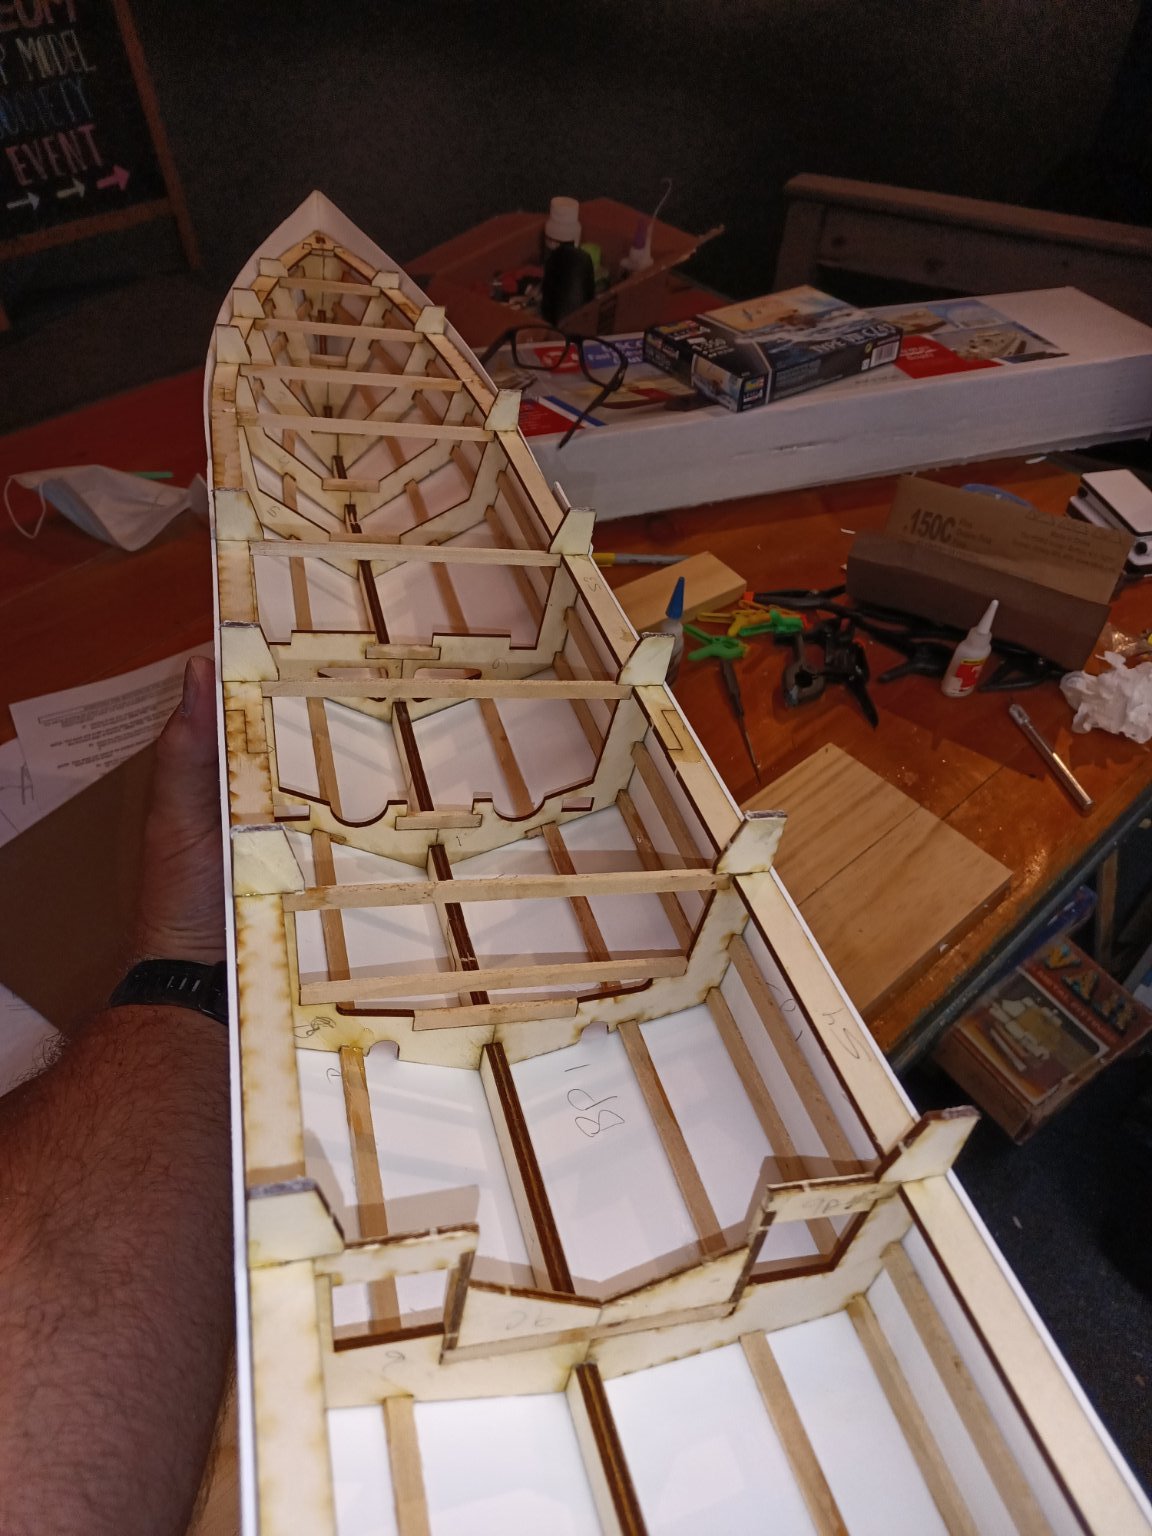
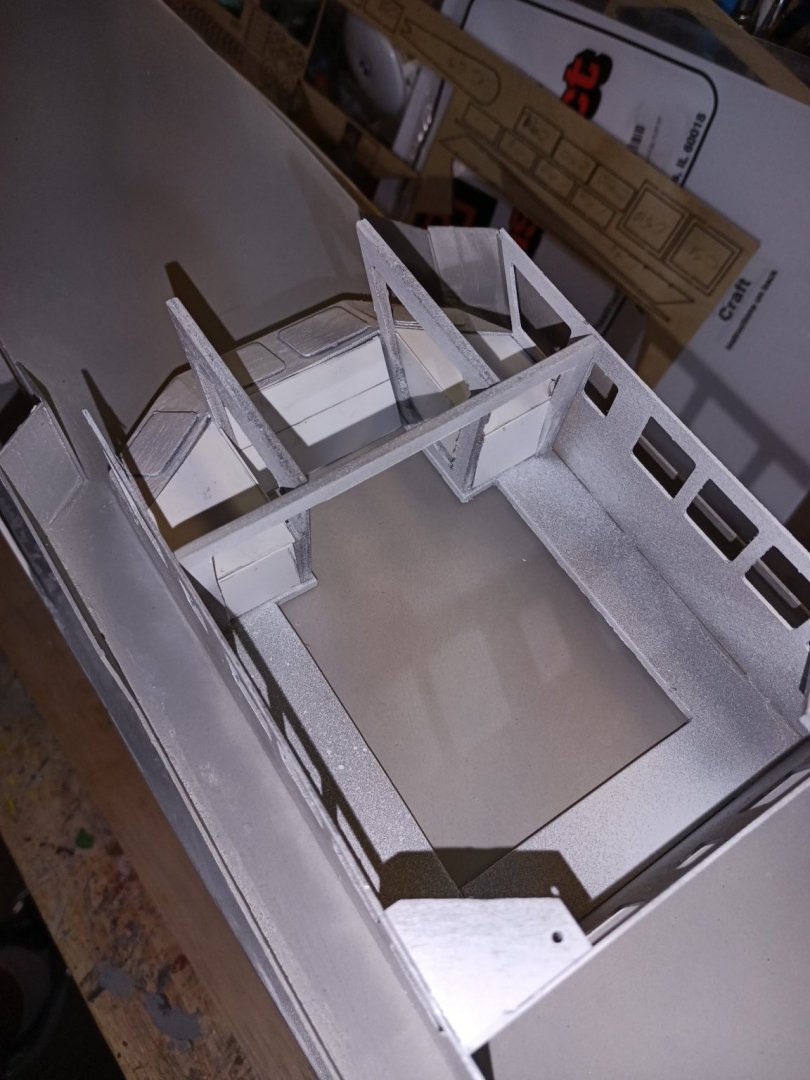
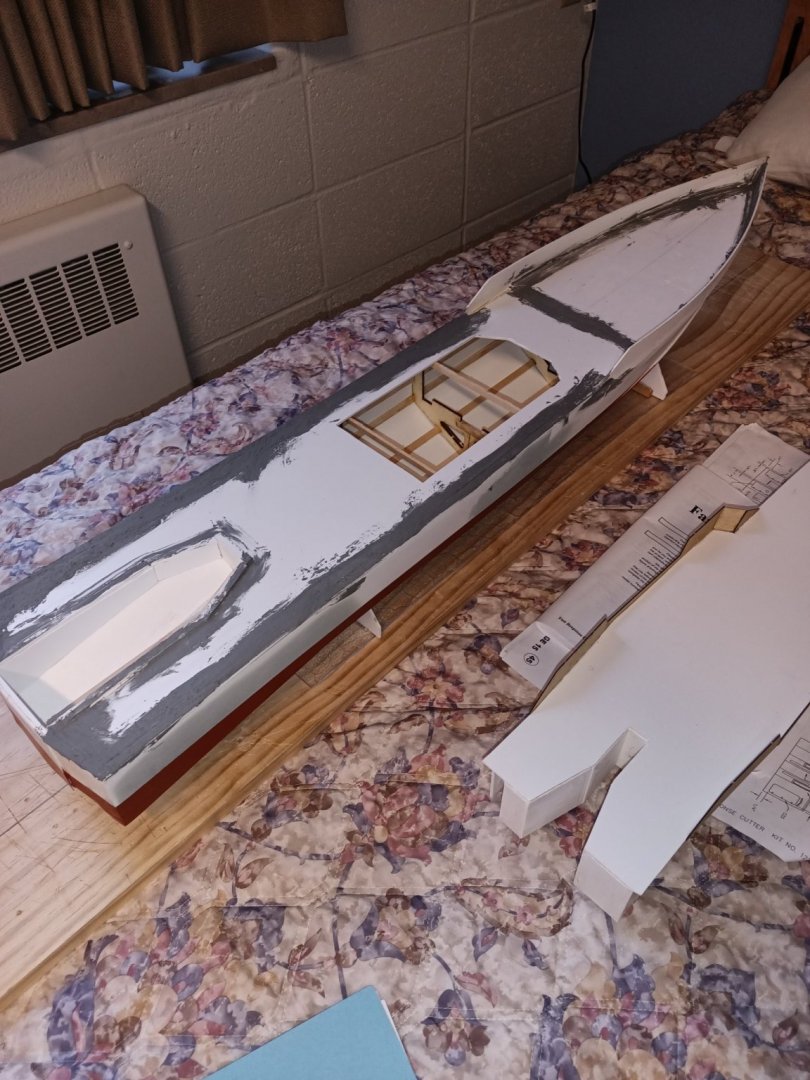
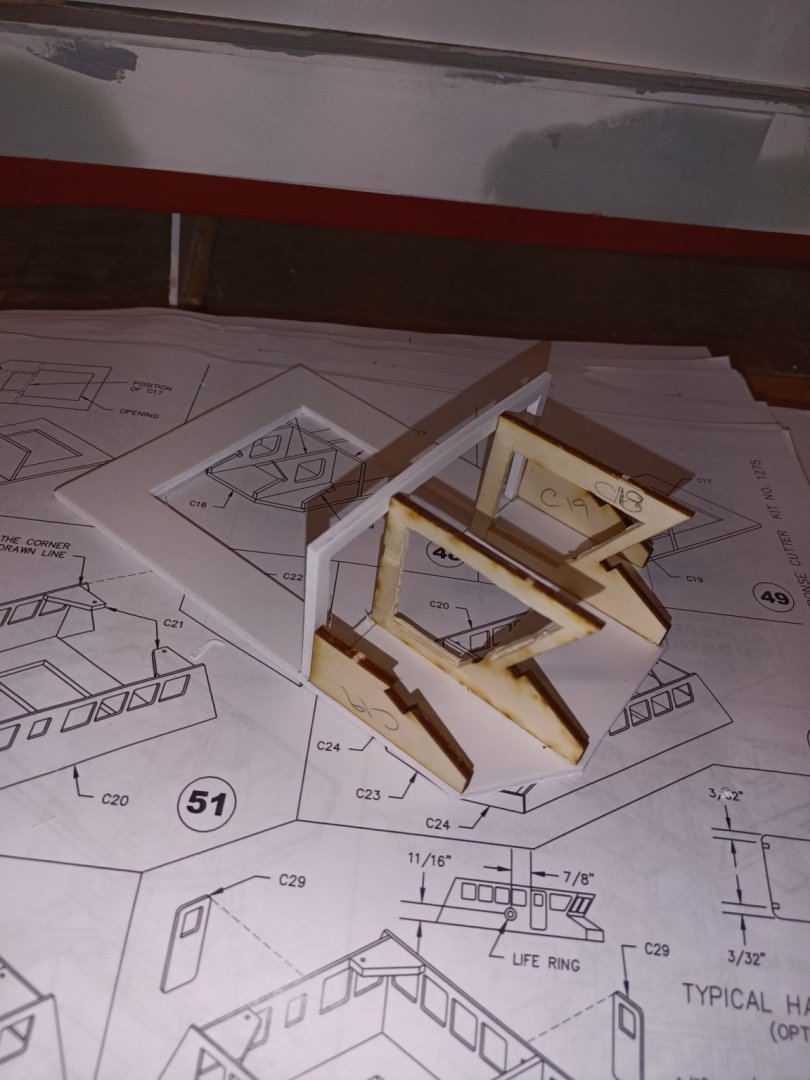
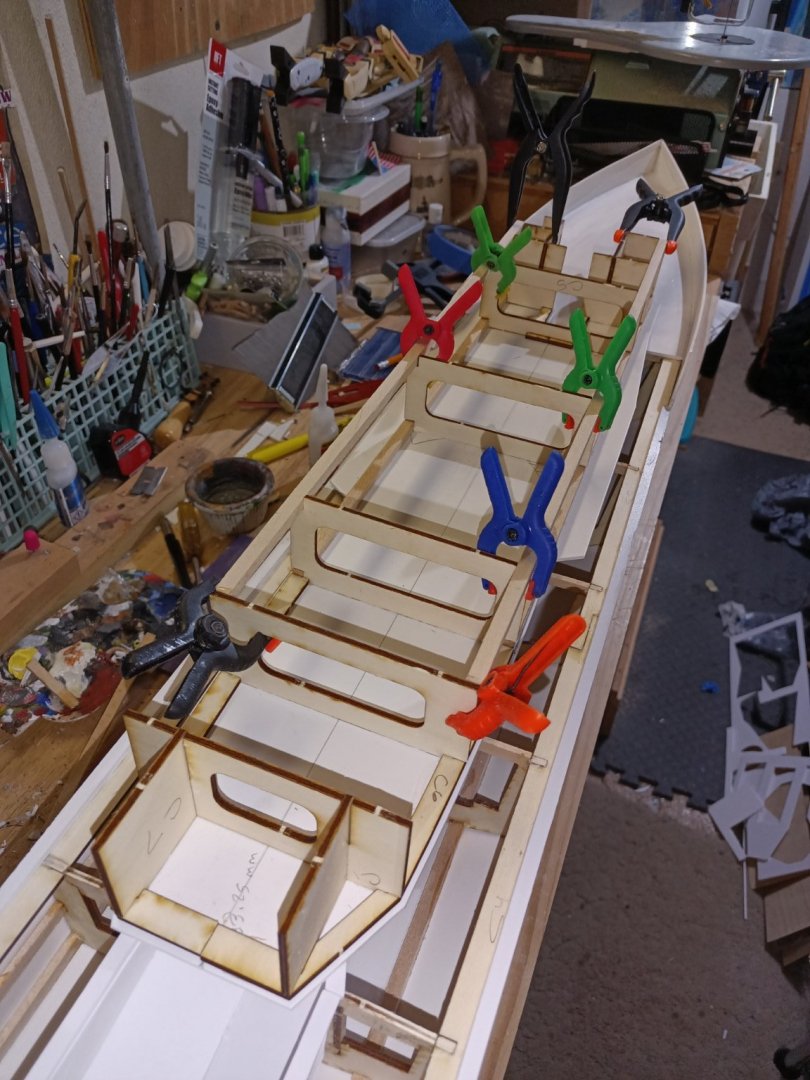
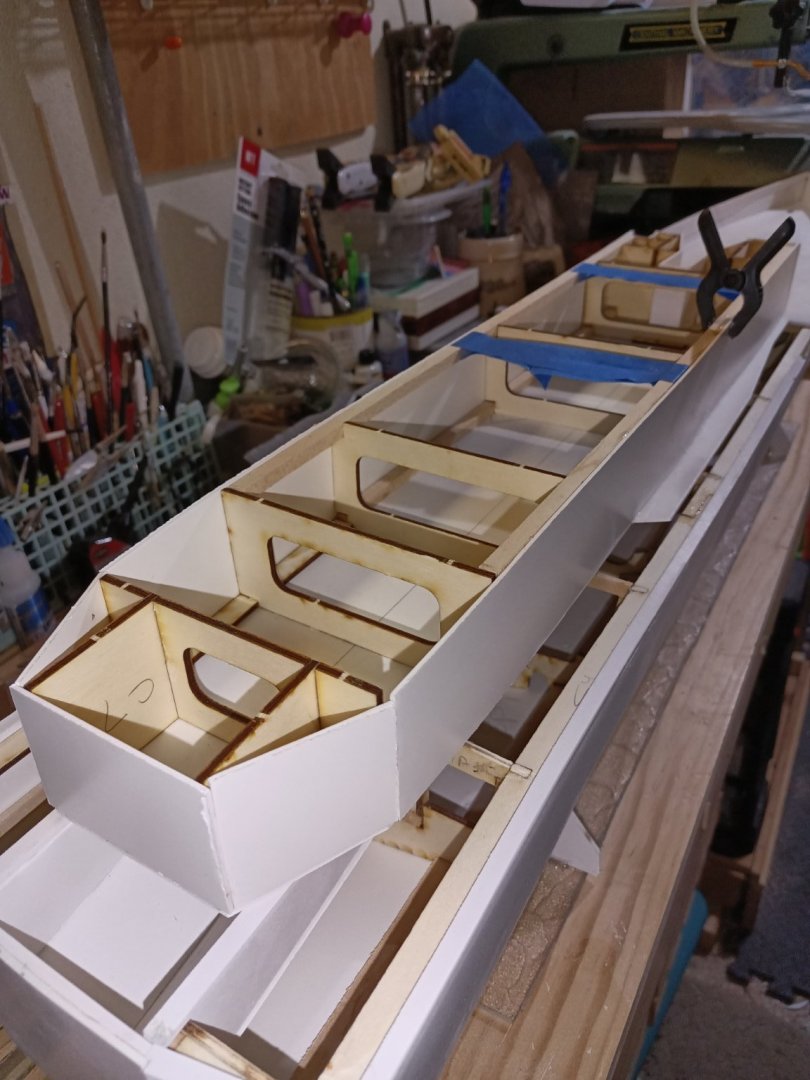
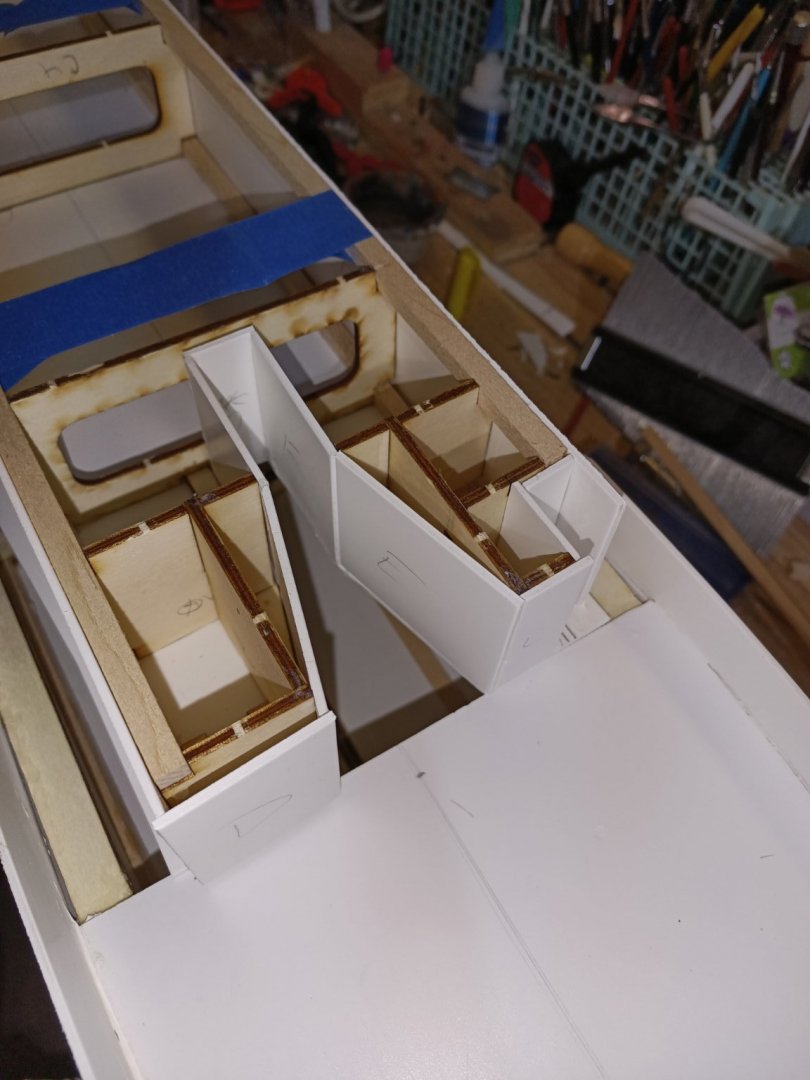
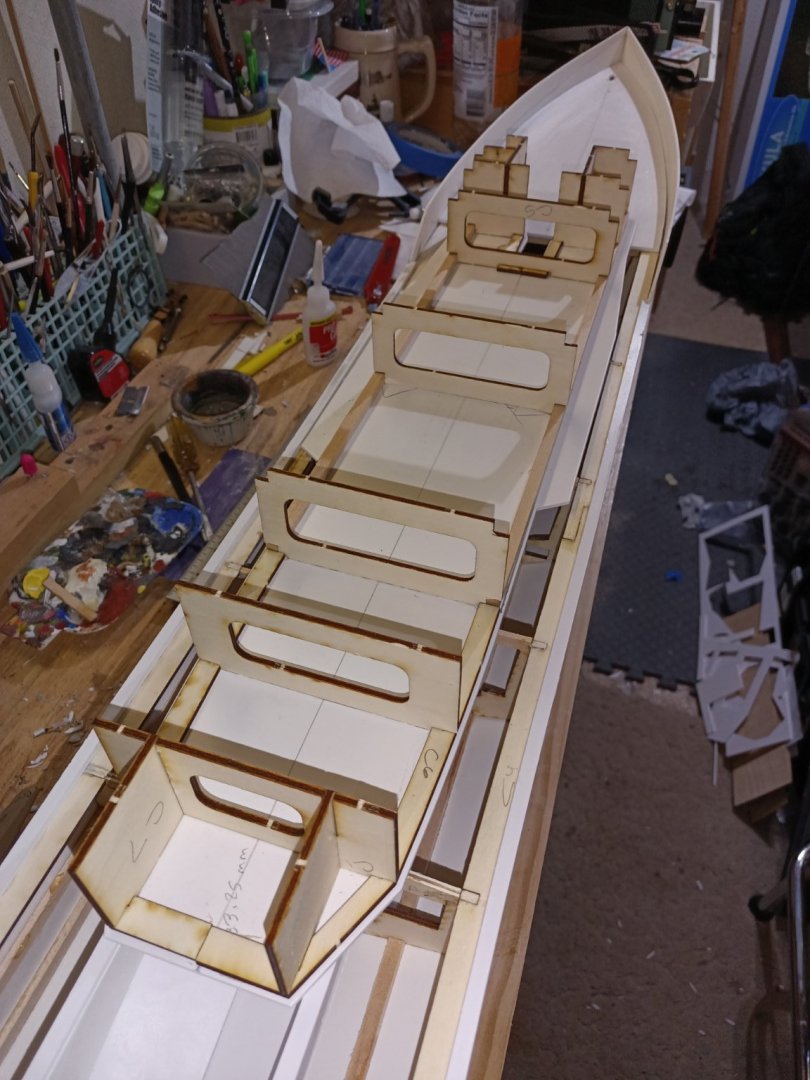
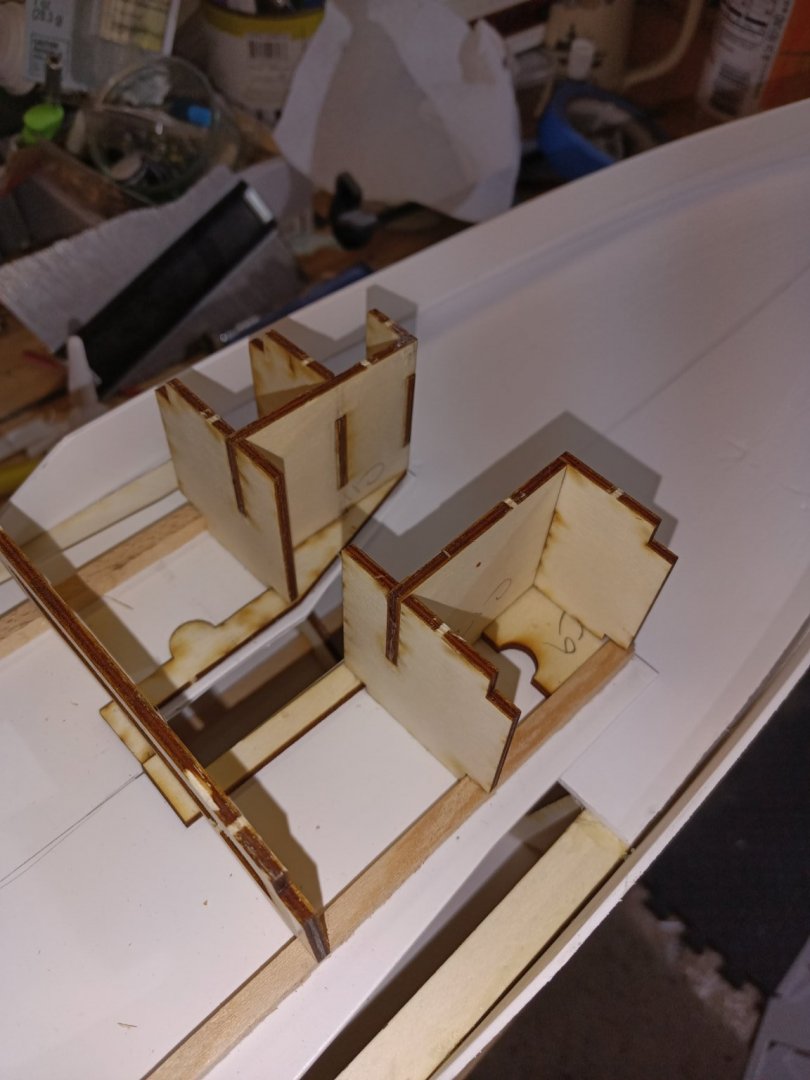
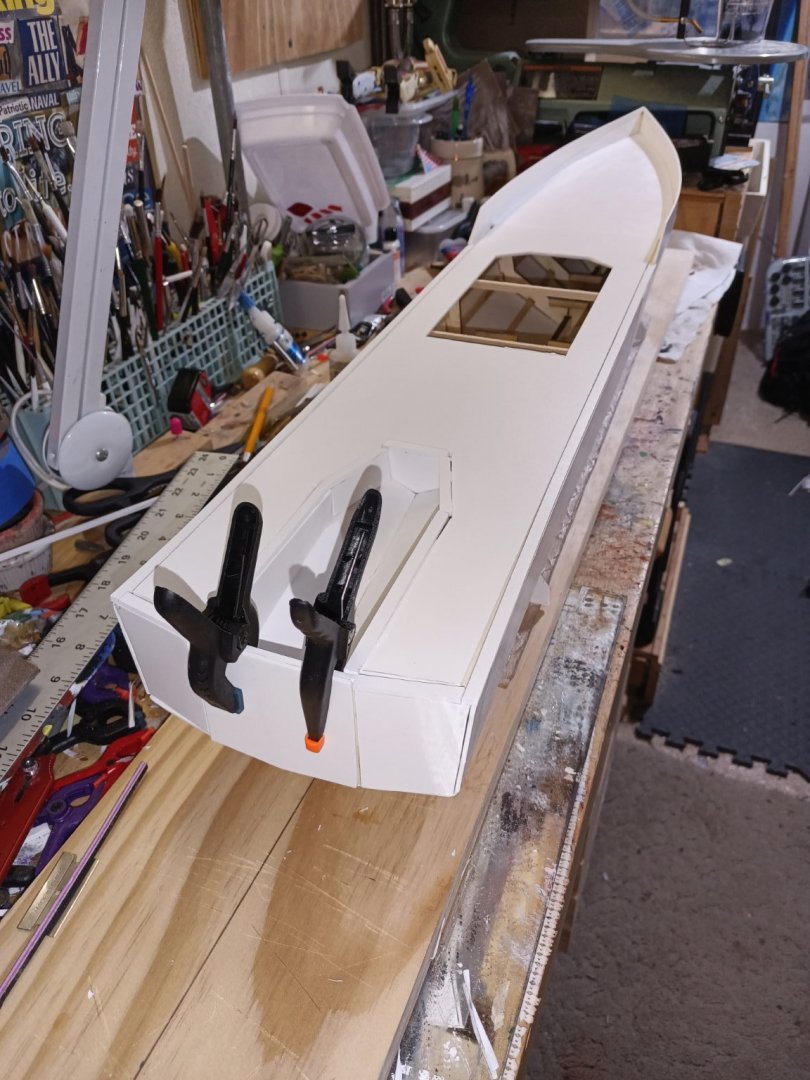
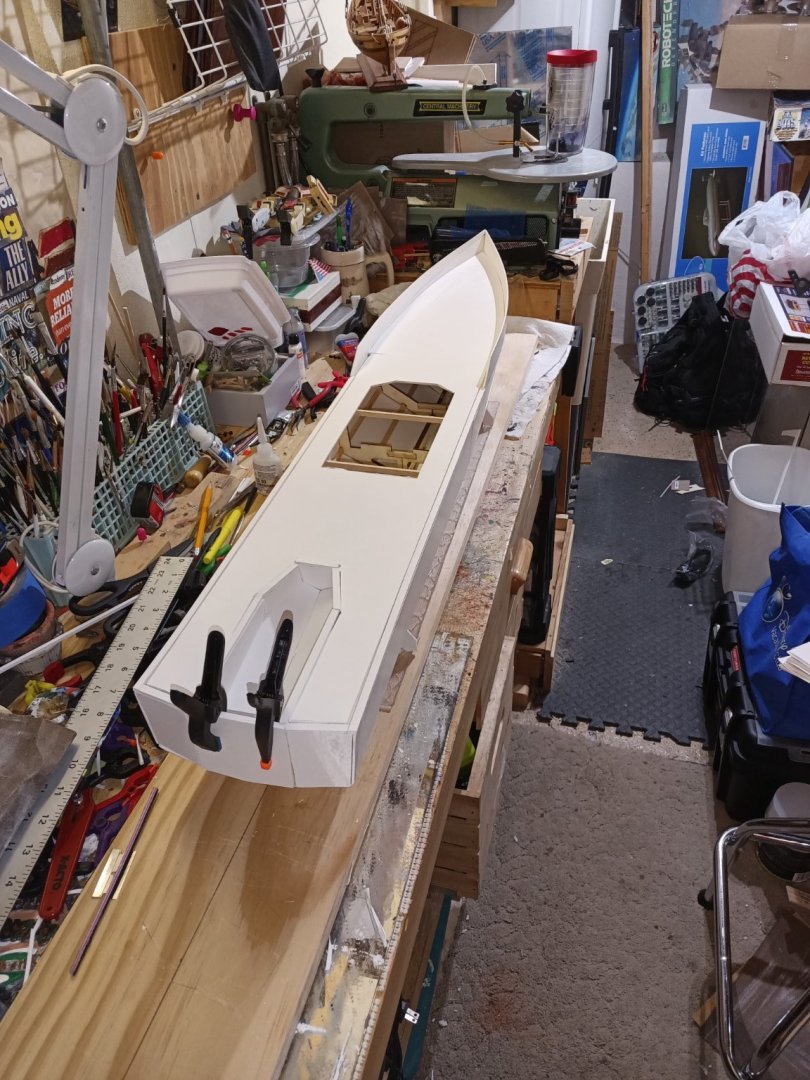
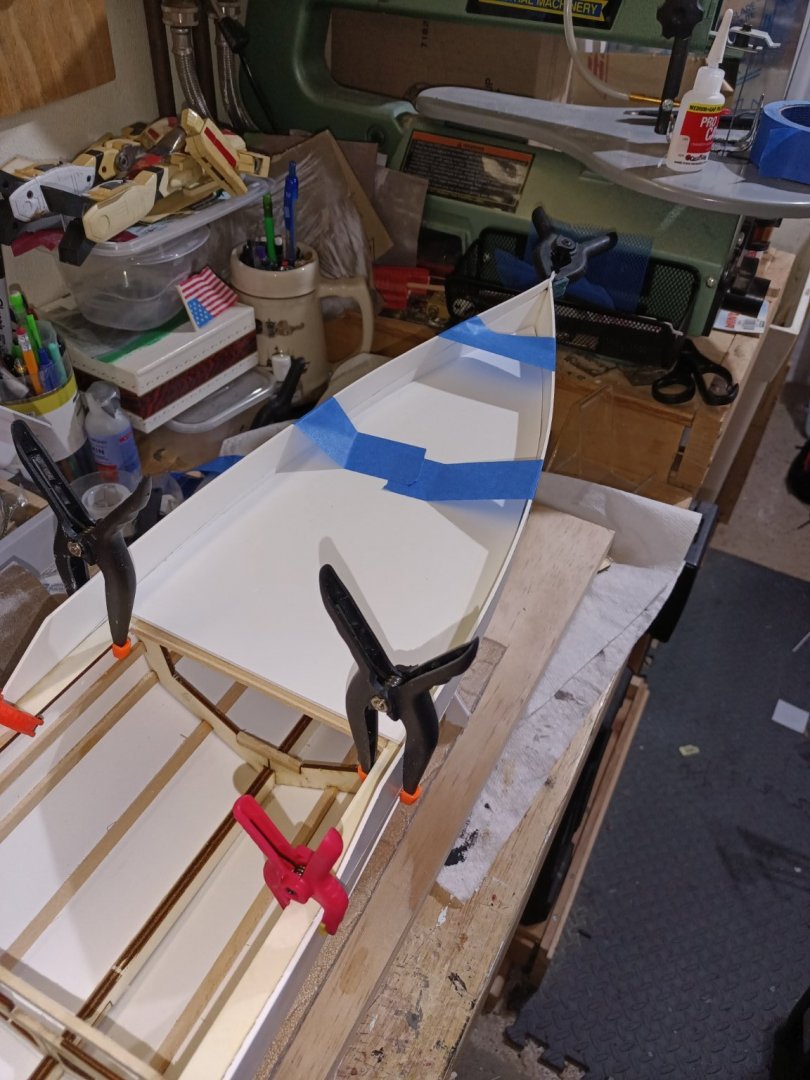
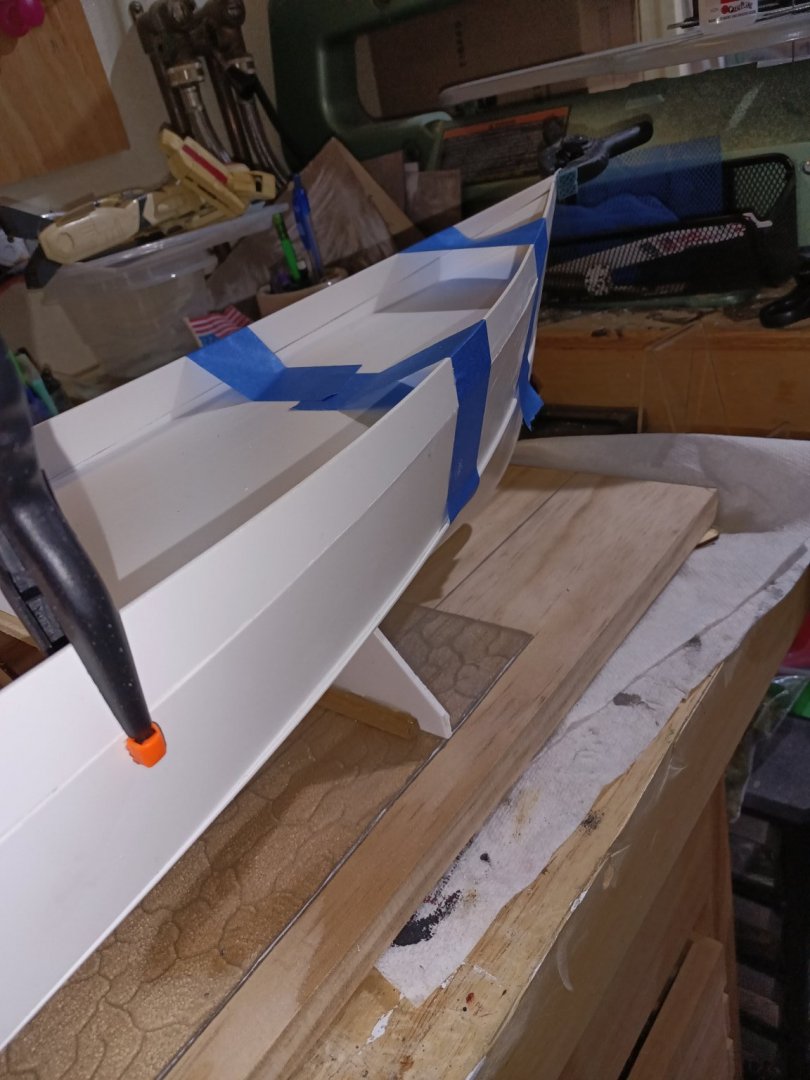
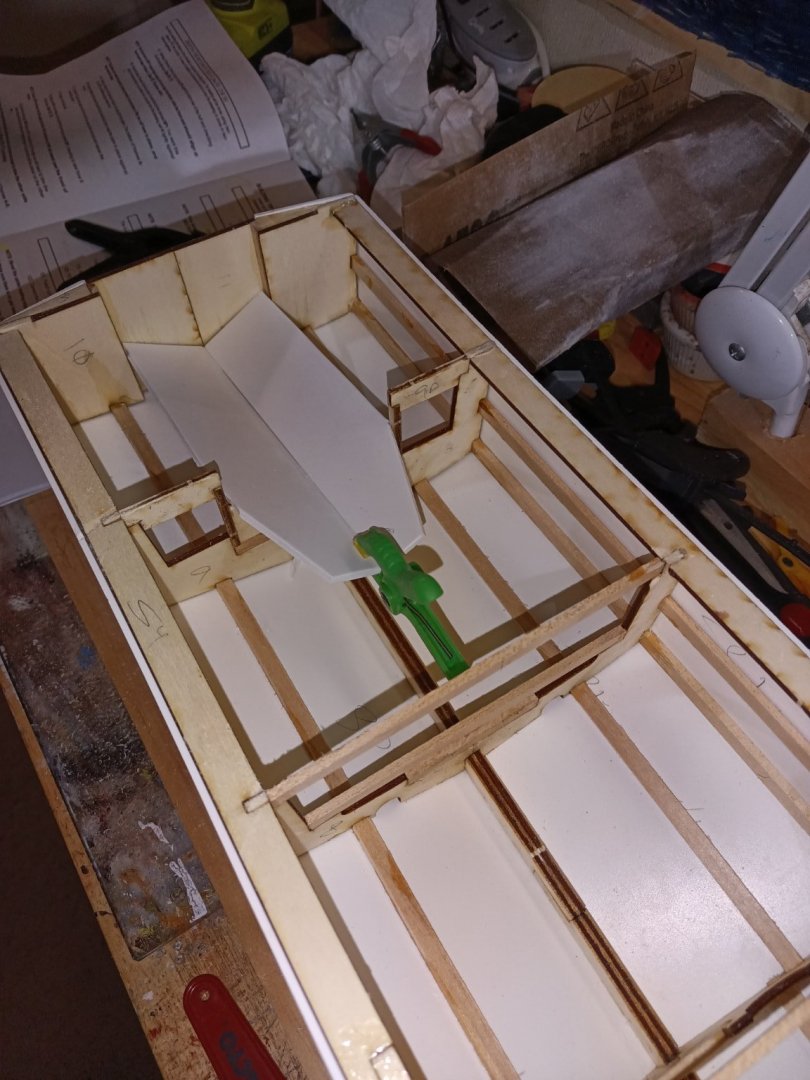
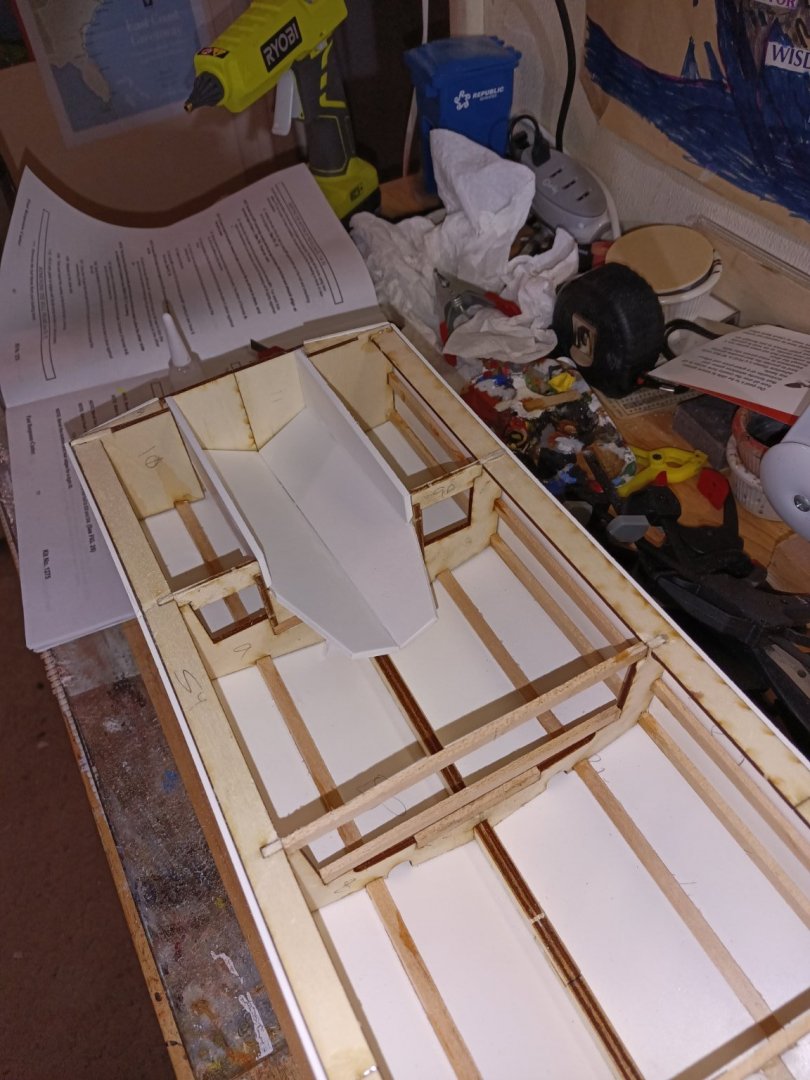
First layer of bottom paint applied. More putty added and deck attached. The bridge wing bulwarks and stringers were added. Construction started on the pilot house. The kit has solid bulkheads which the real ship does not. I opened up the frames so I could add details to the interior.


-
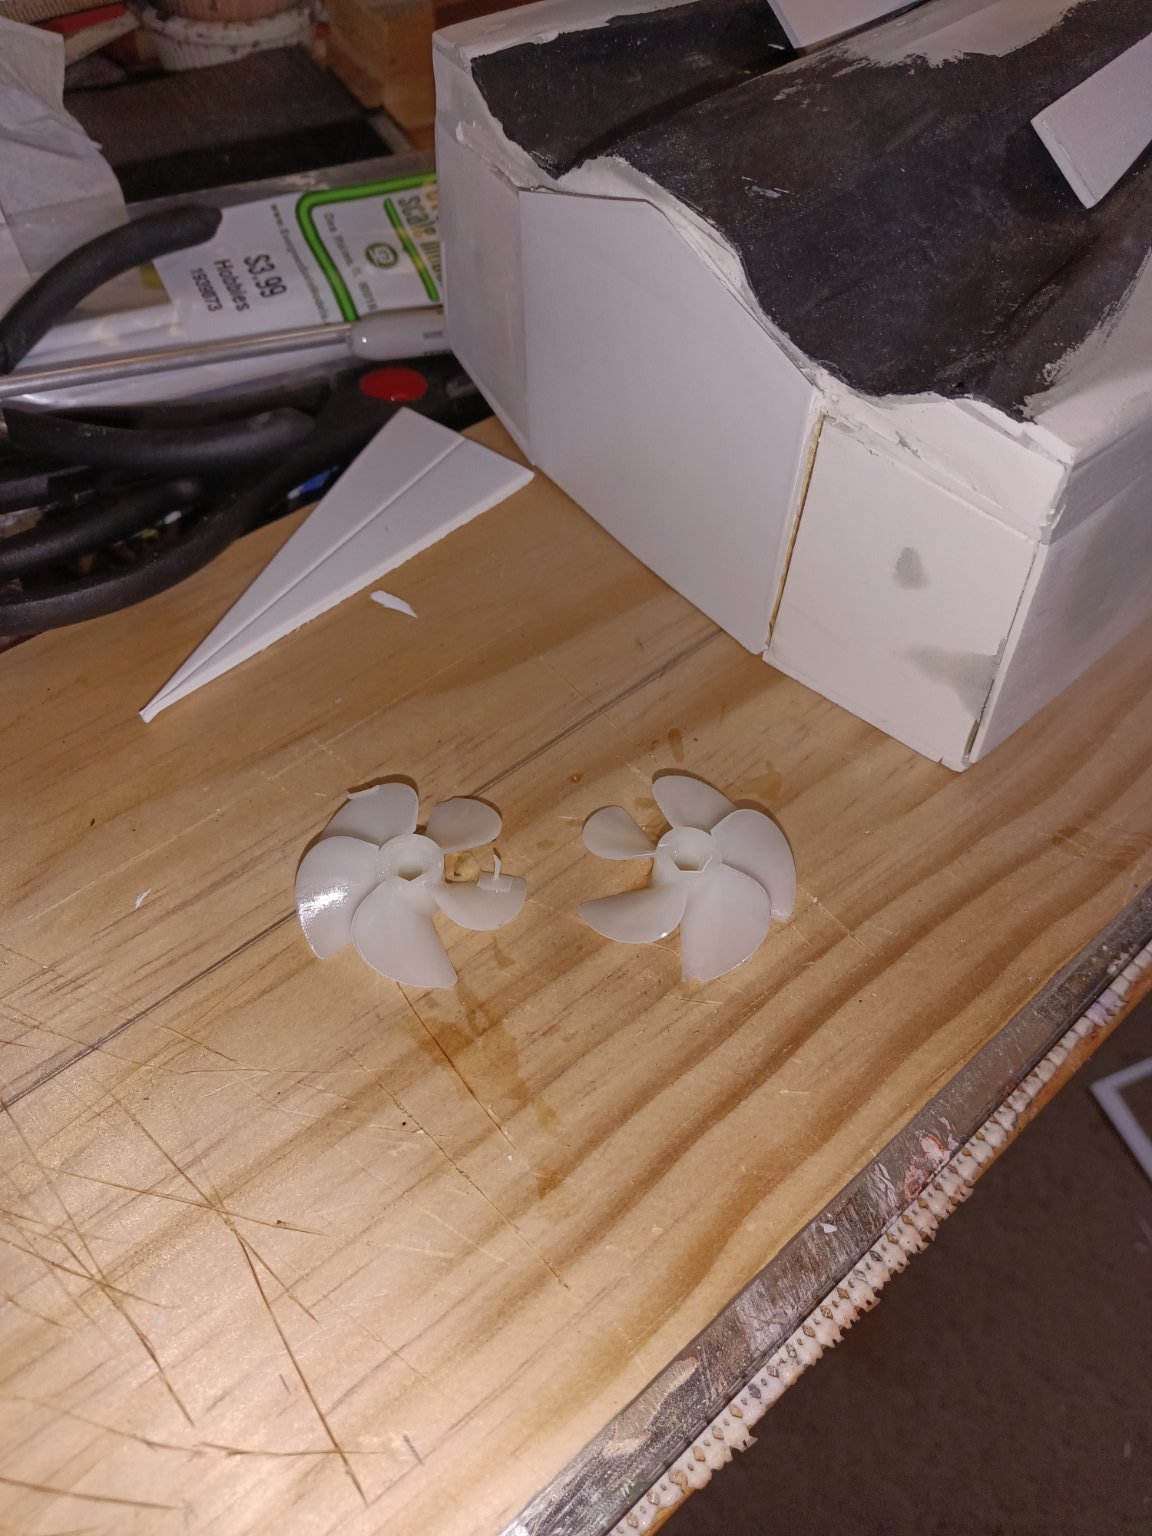
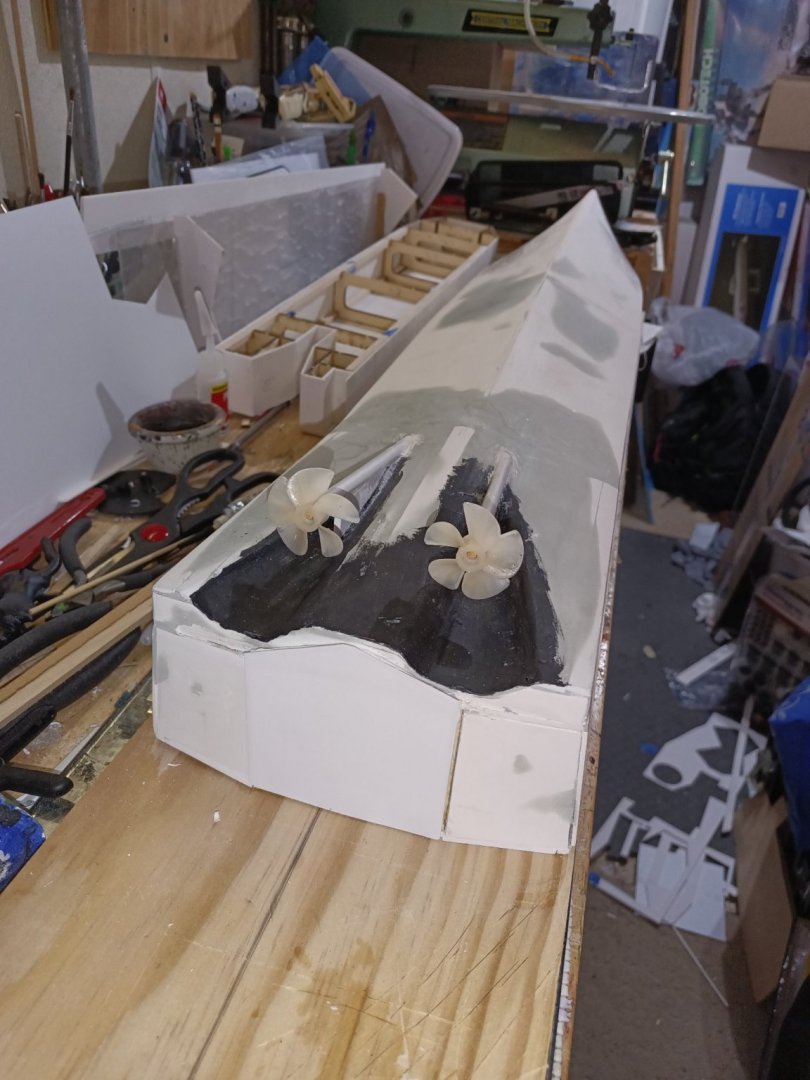
Skegs complete. Test fit of the props and shafts.

-
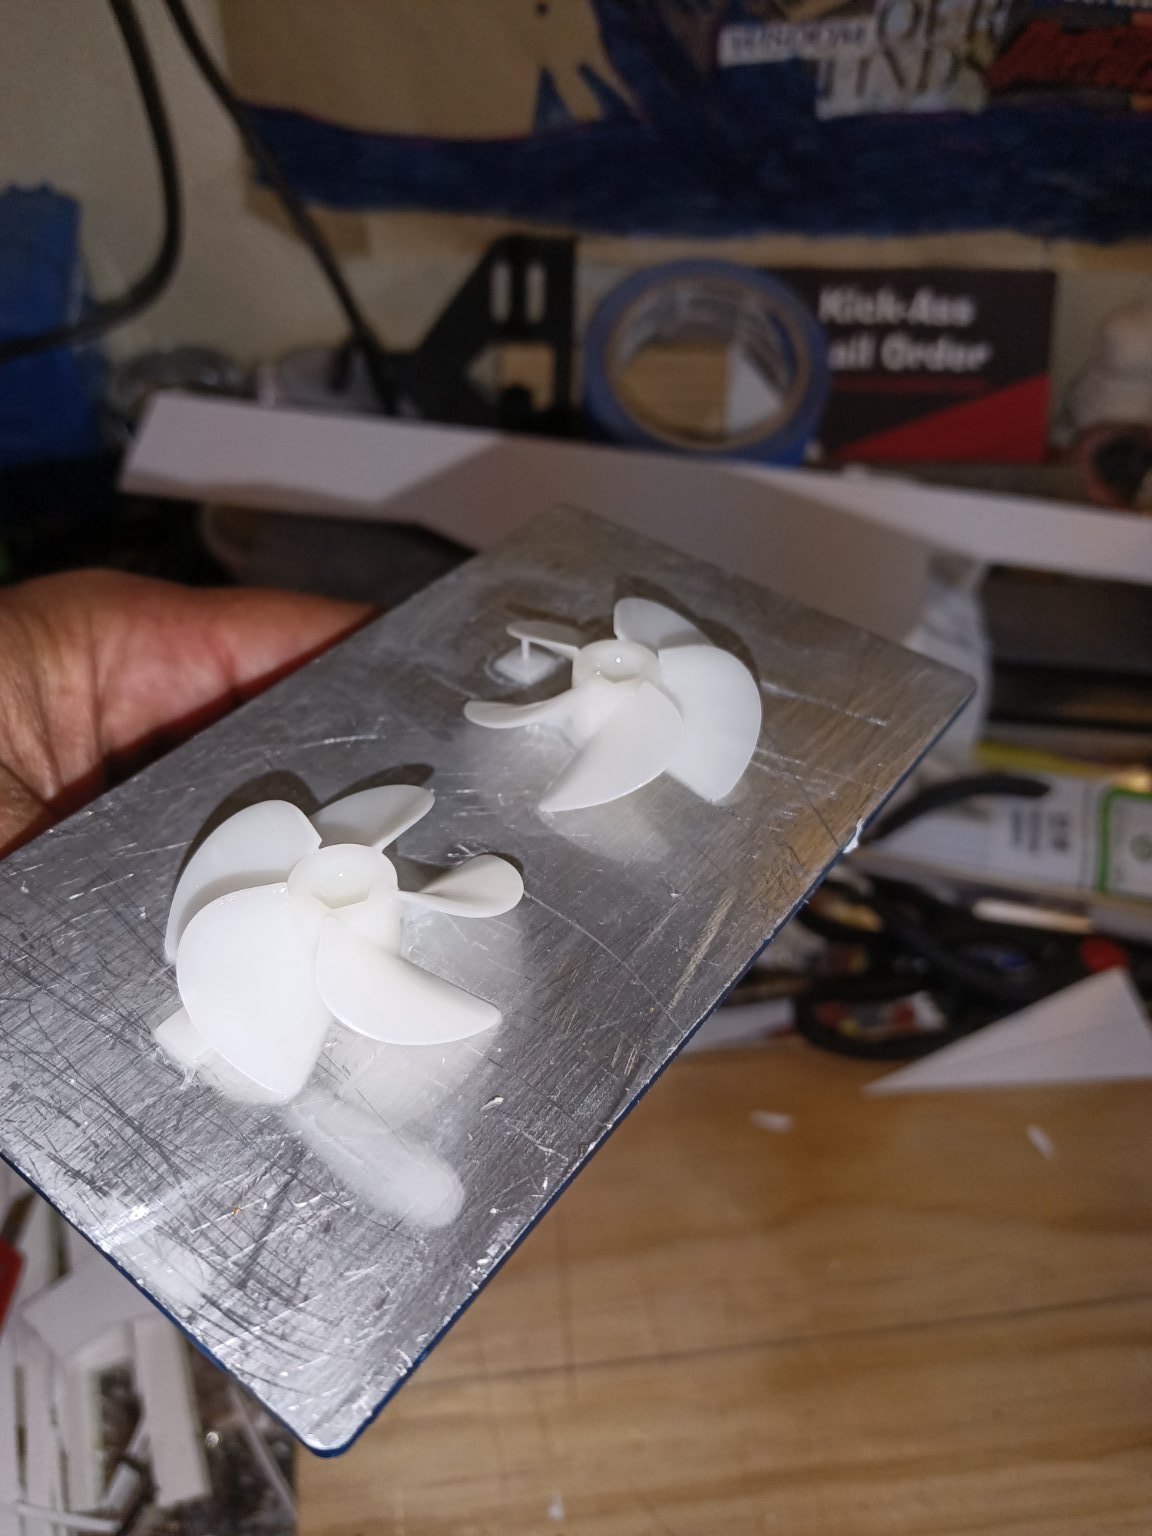
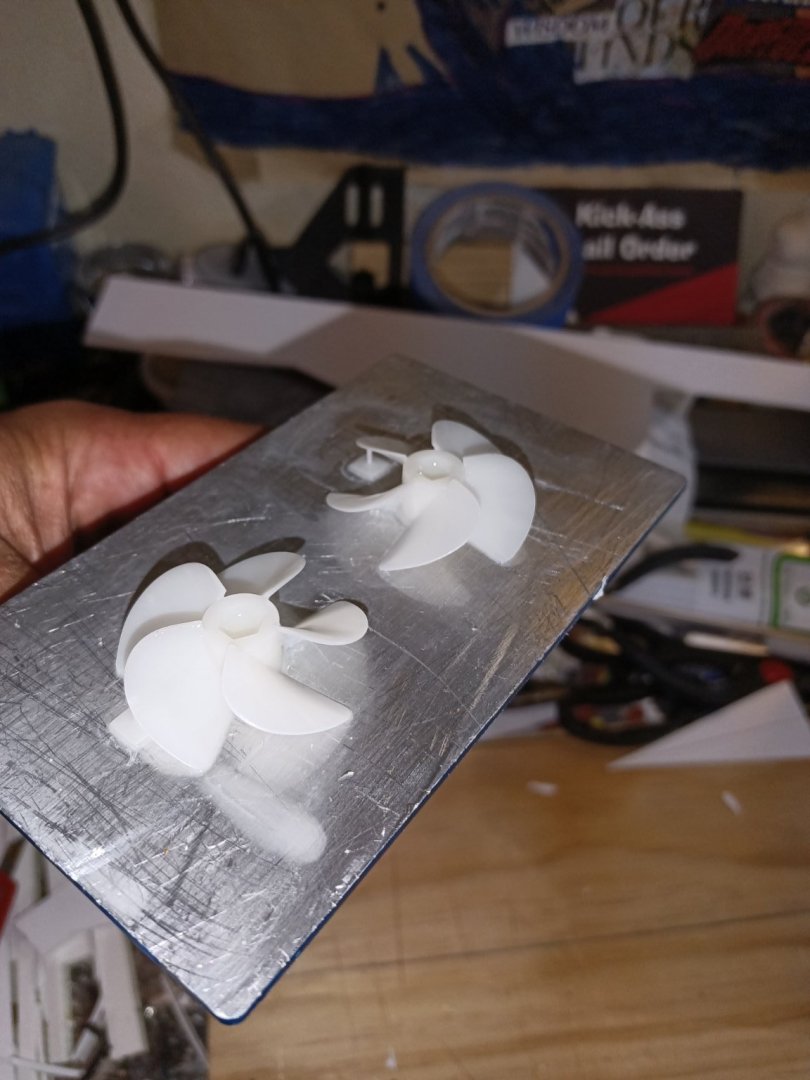
Still moving forward. I did a lot of design work in the computer to get the props and rudder correct. So far here as the first round of attempts on counter 5 bladed prints.


-
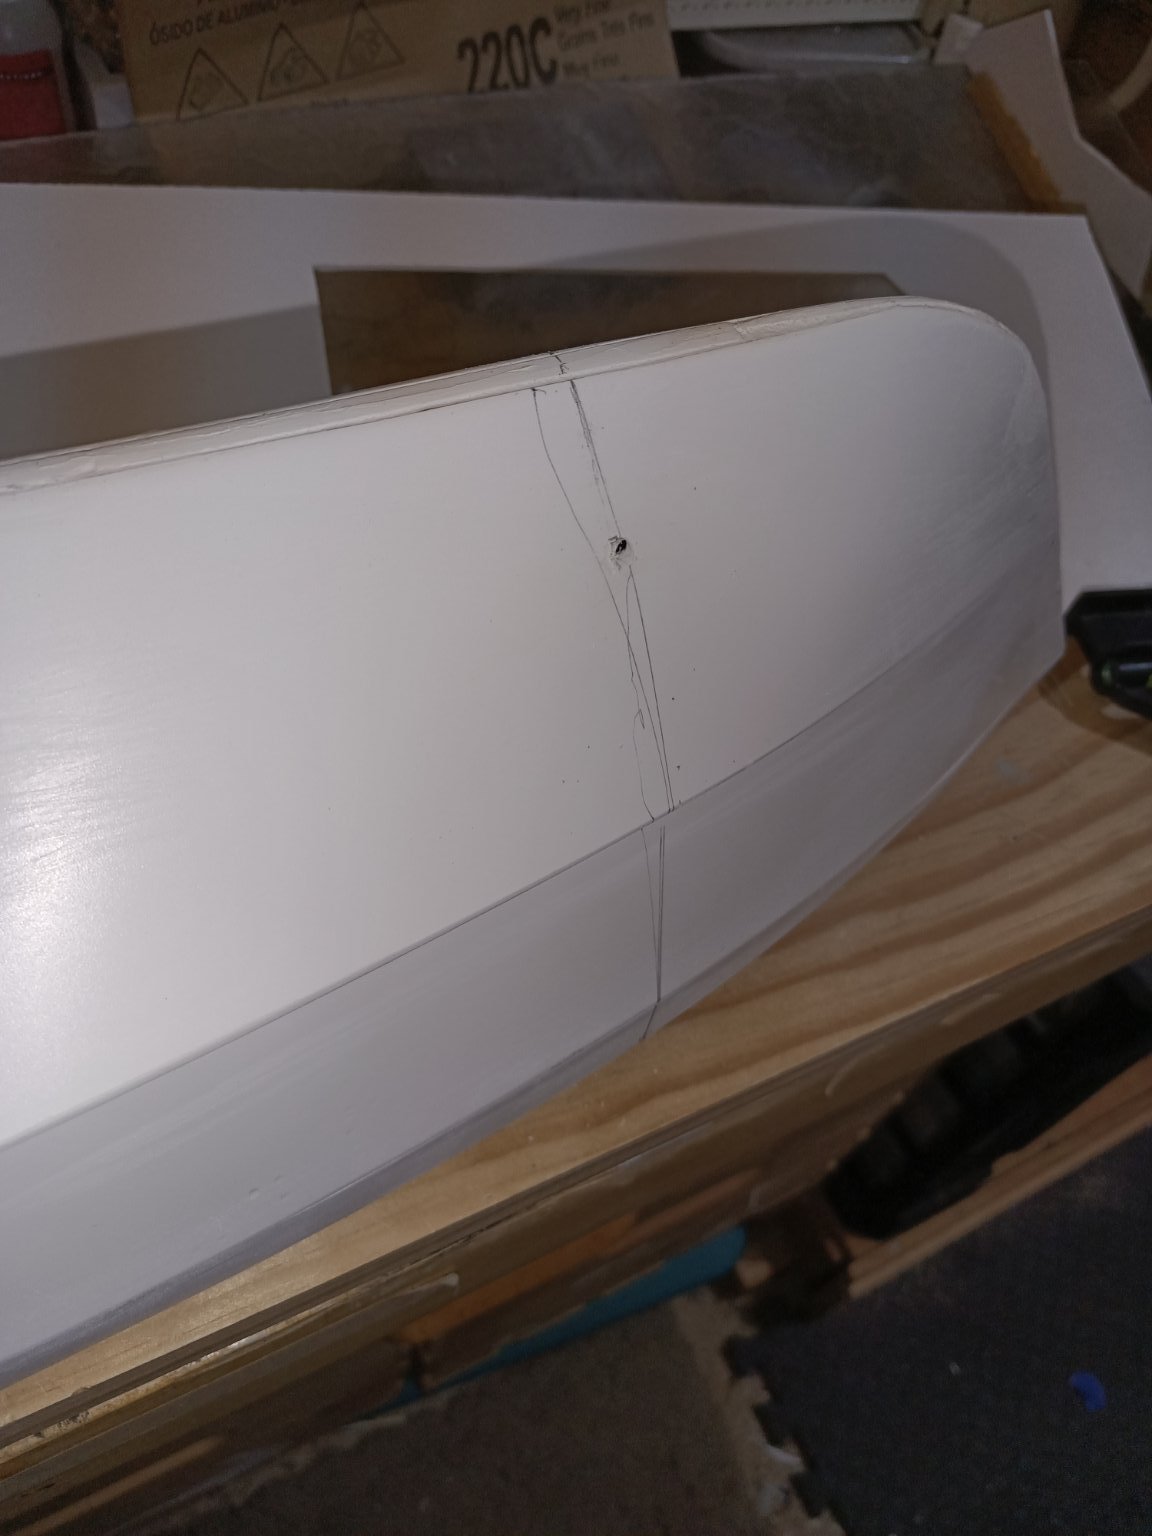
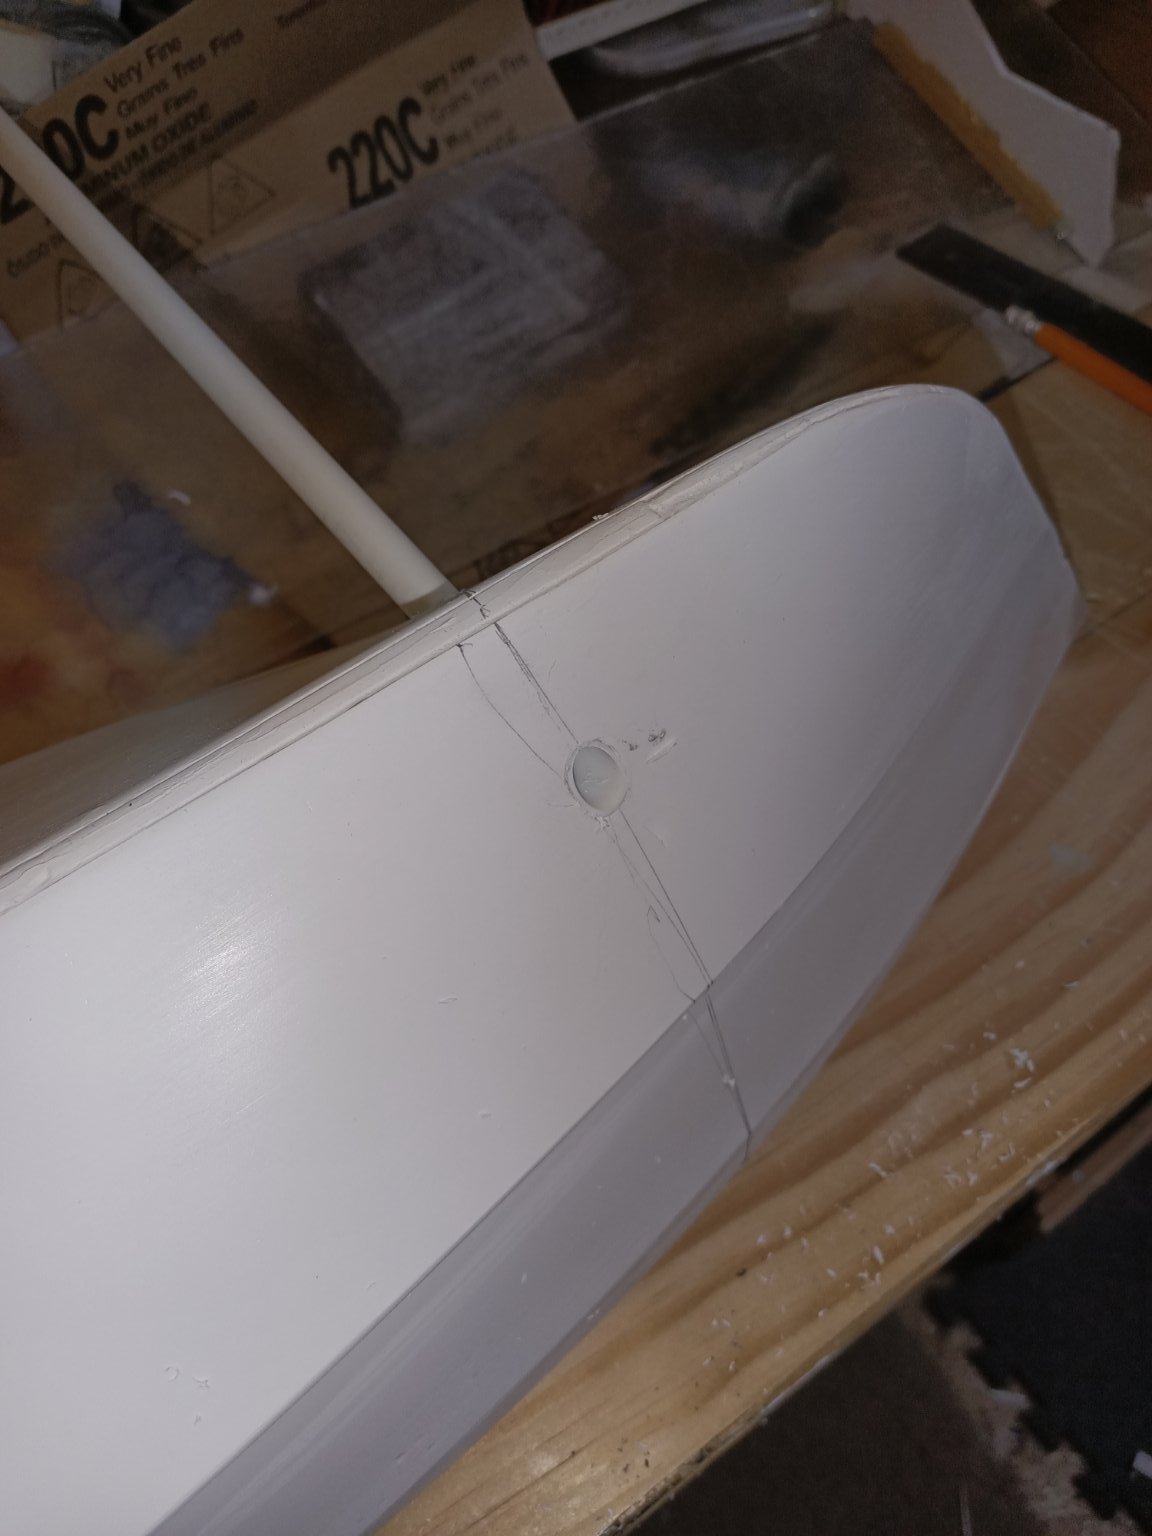
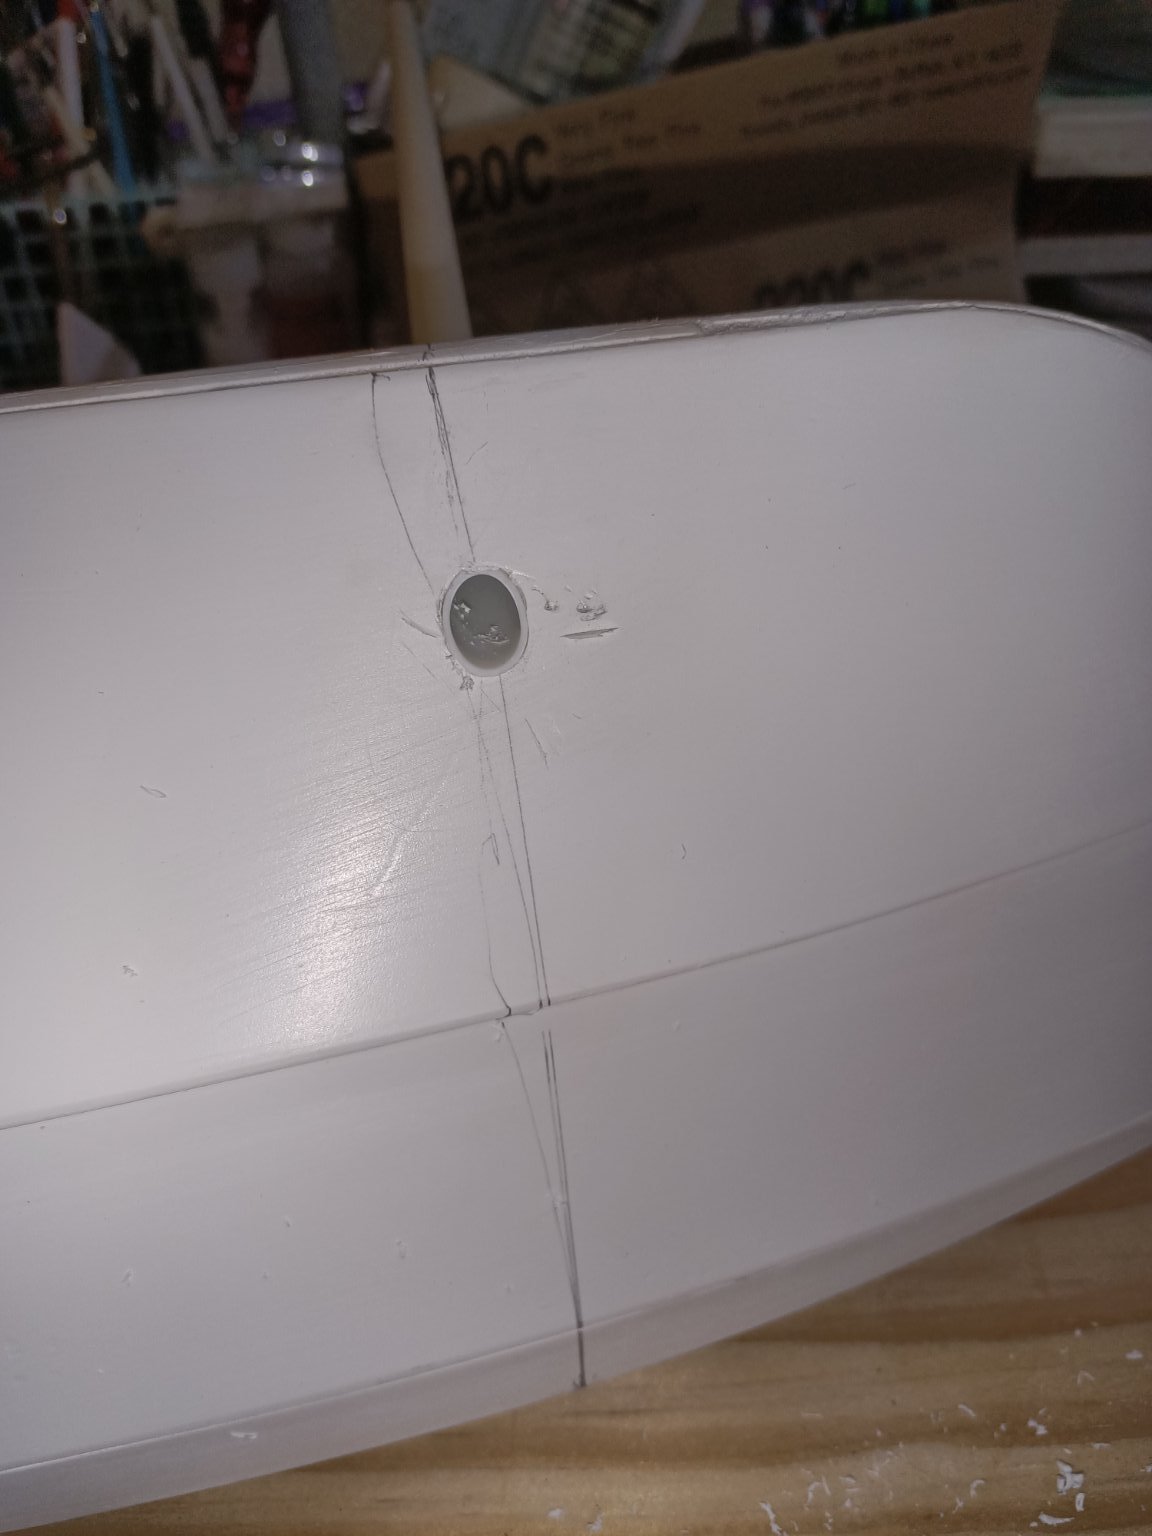
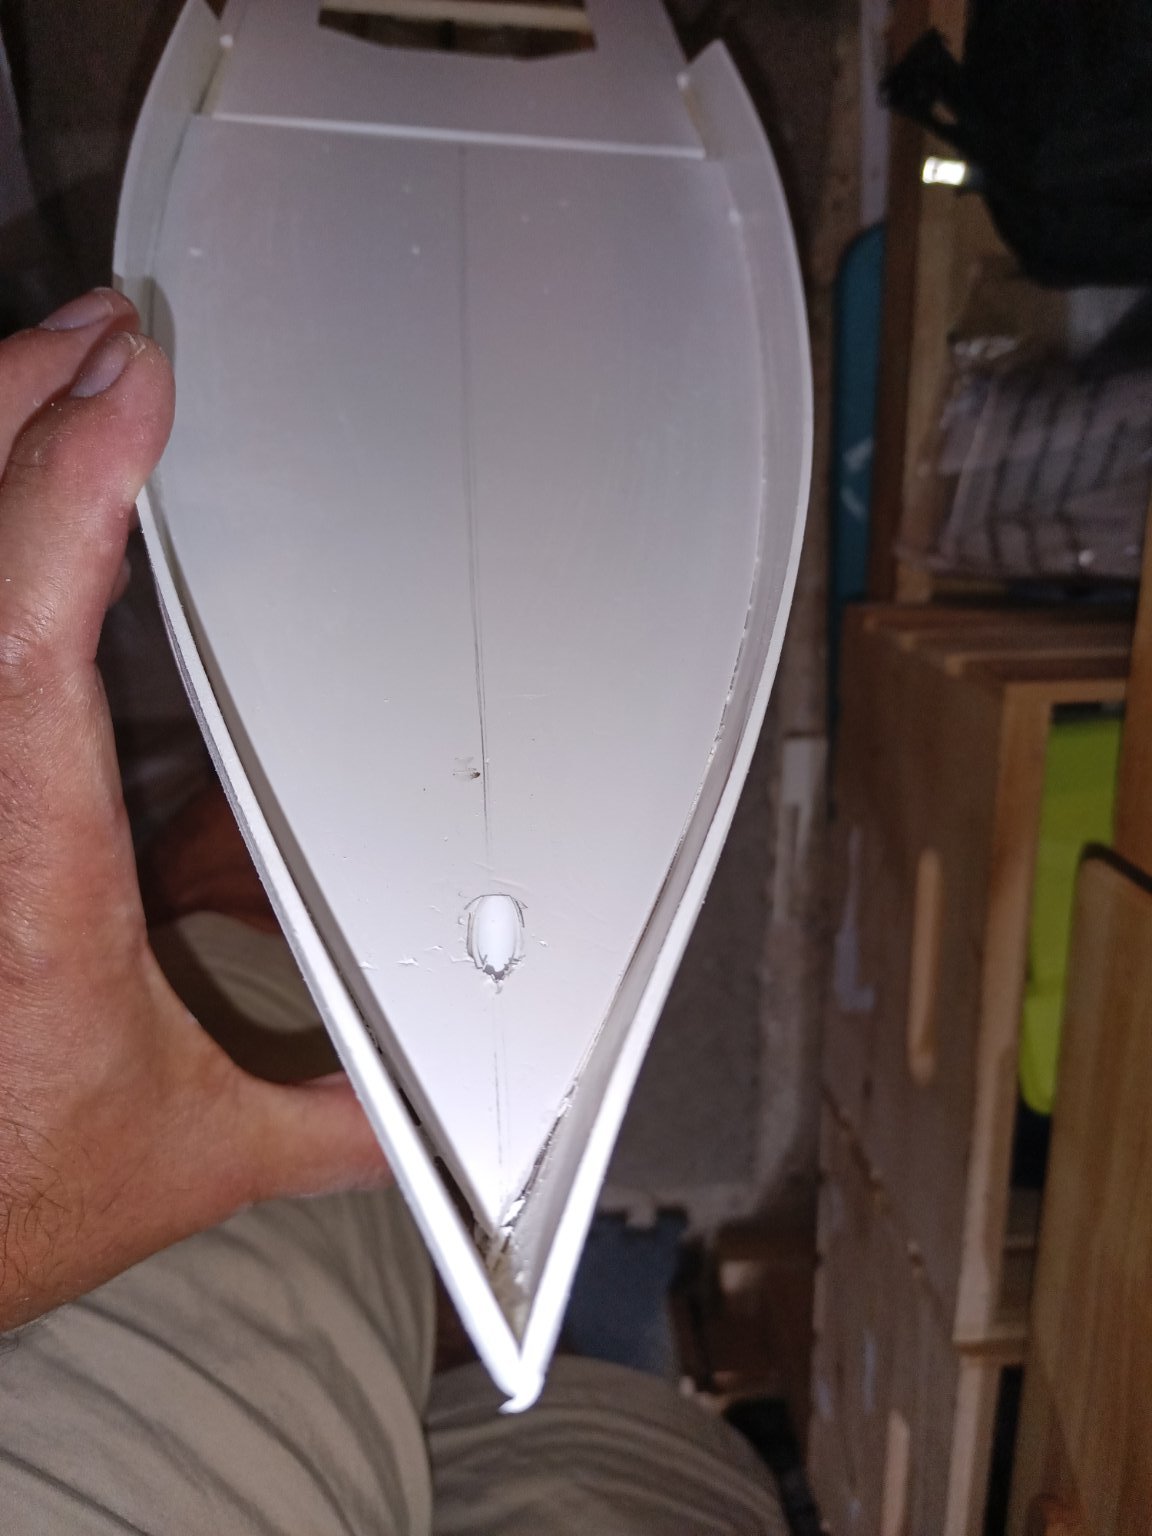
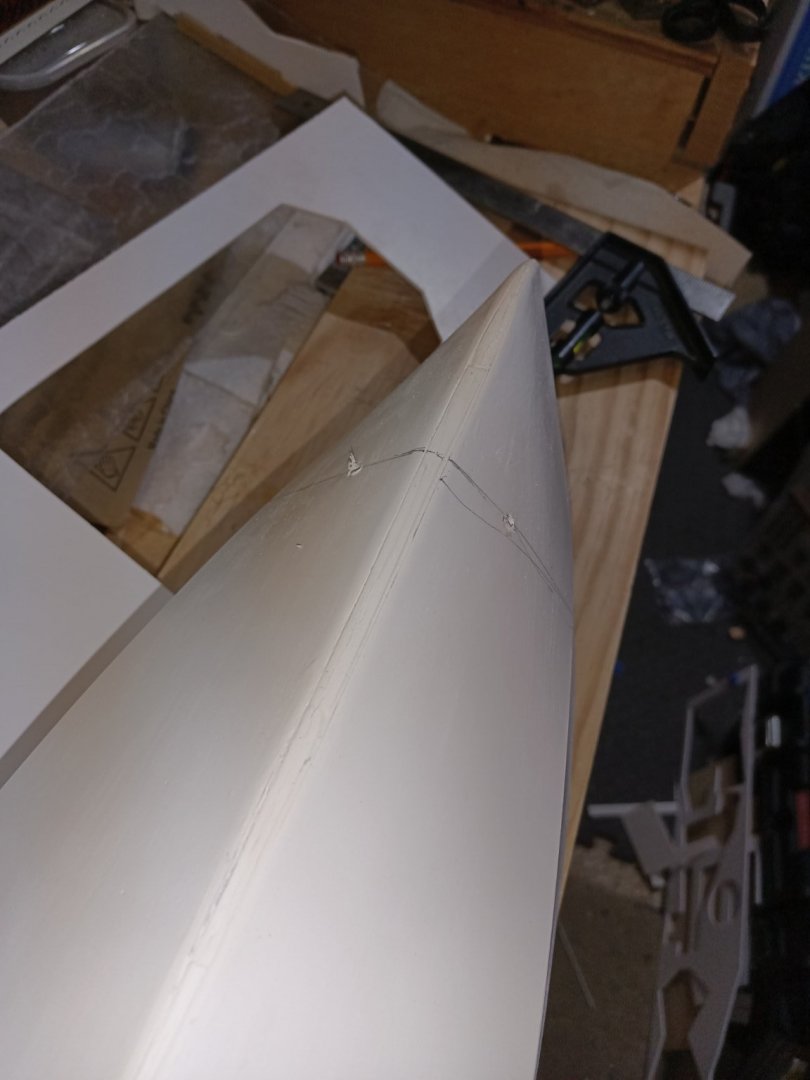
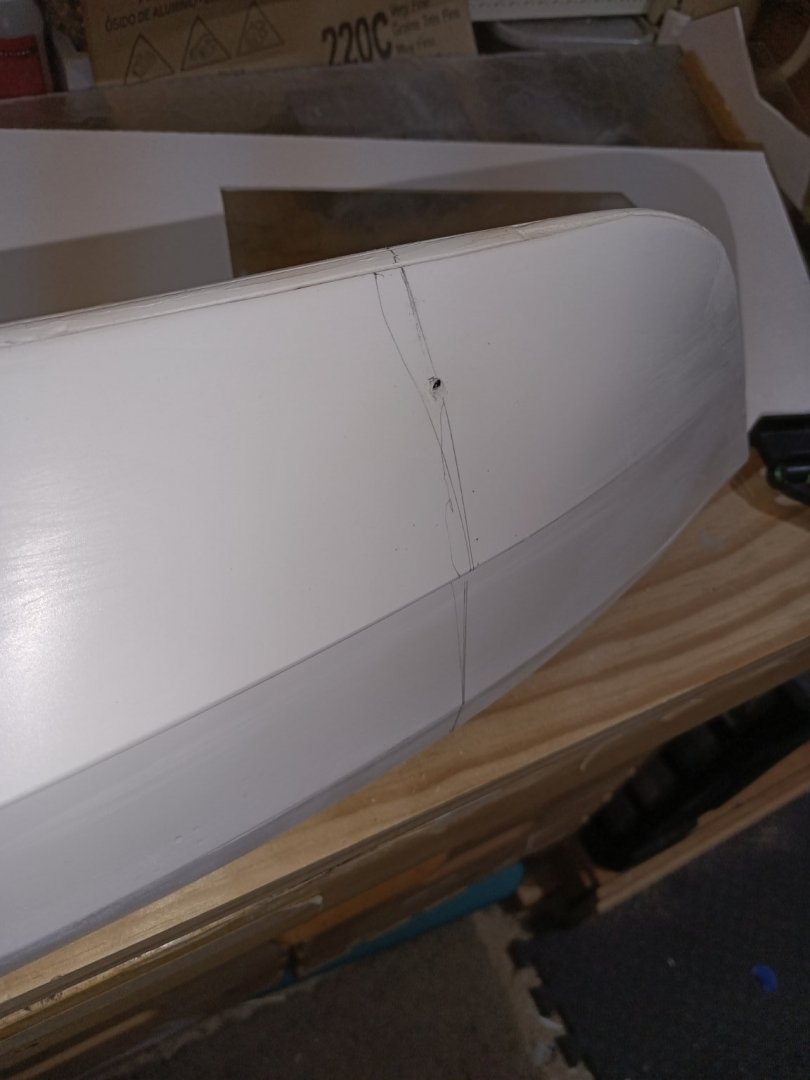
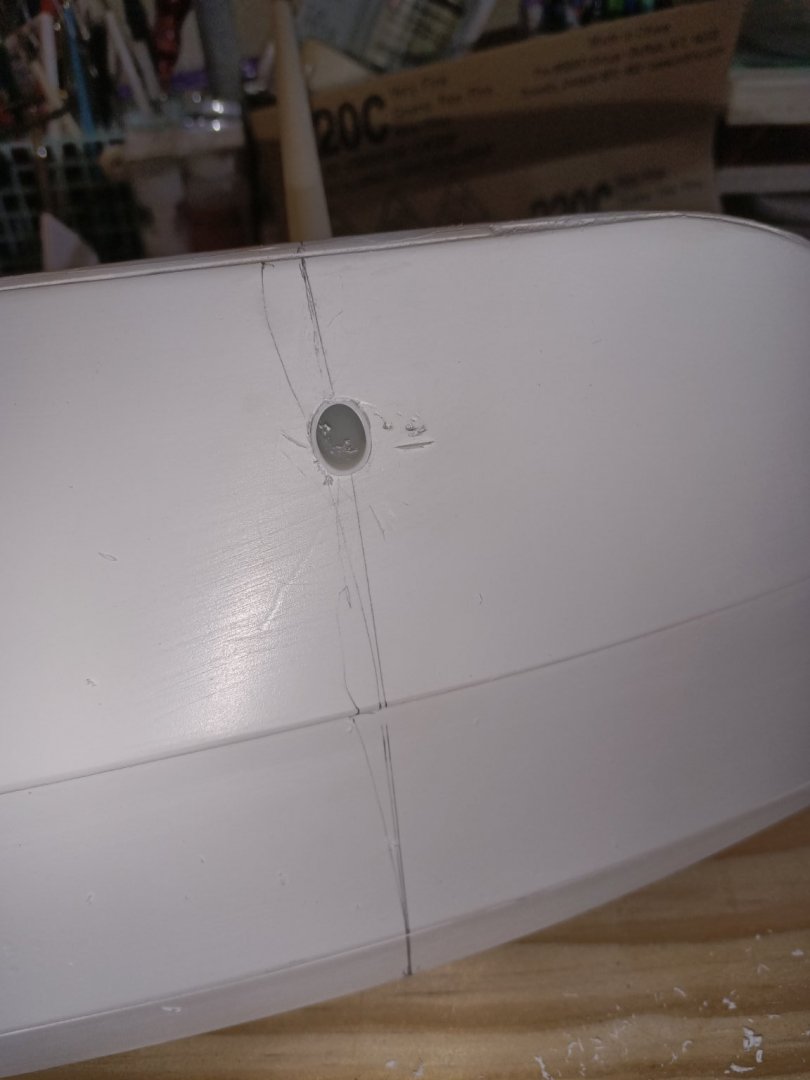
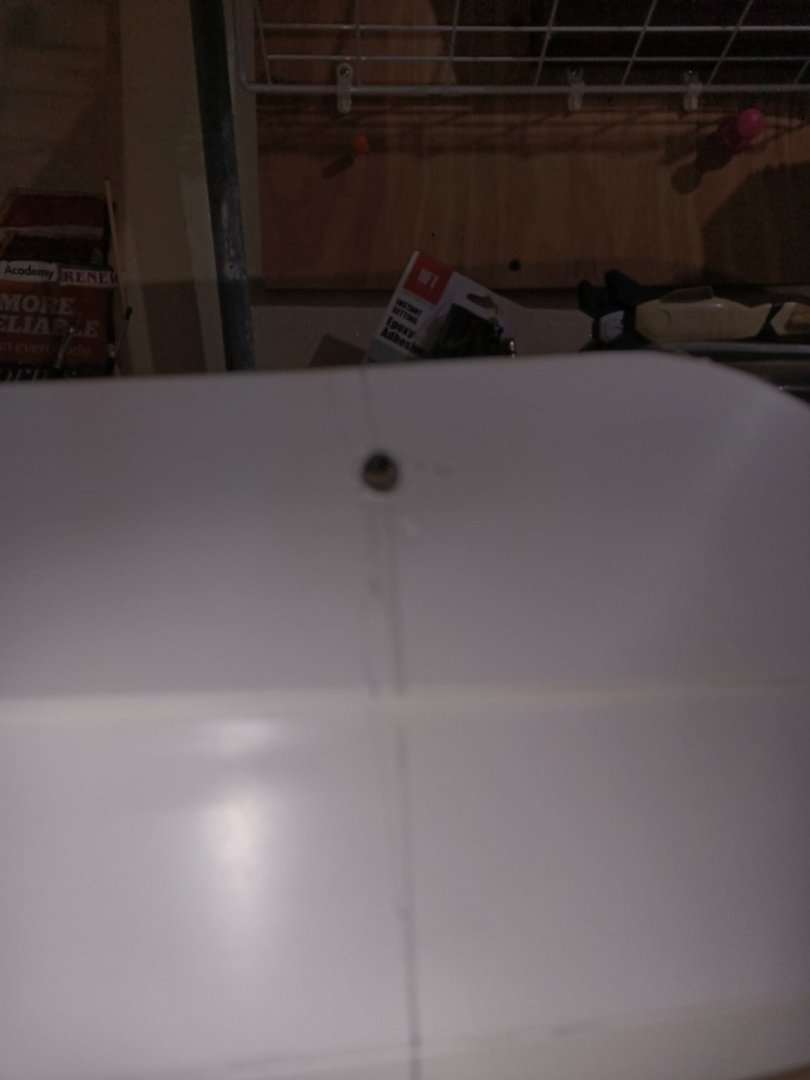
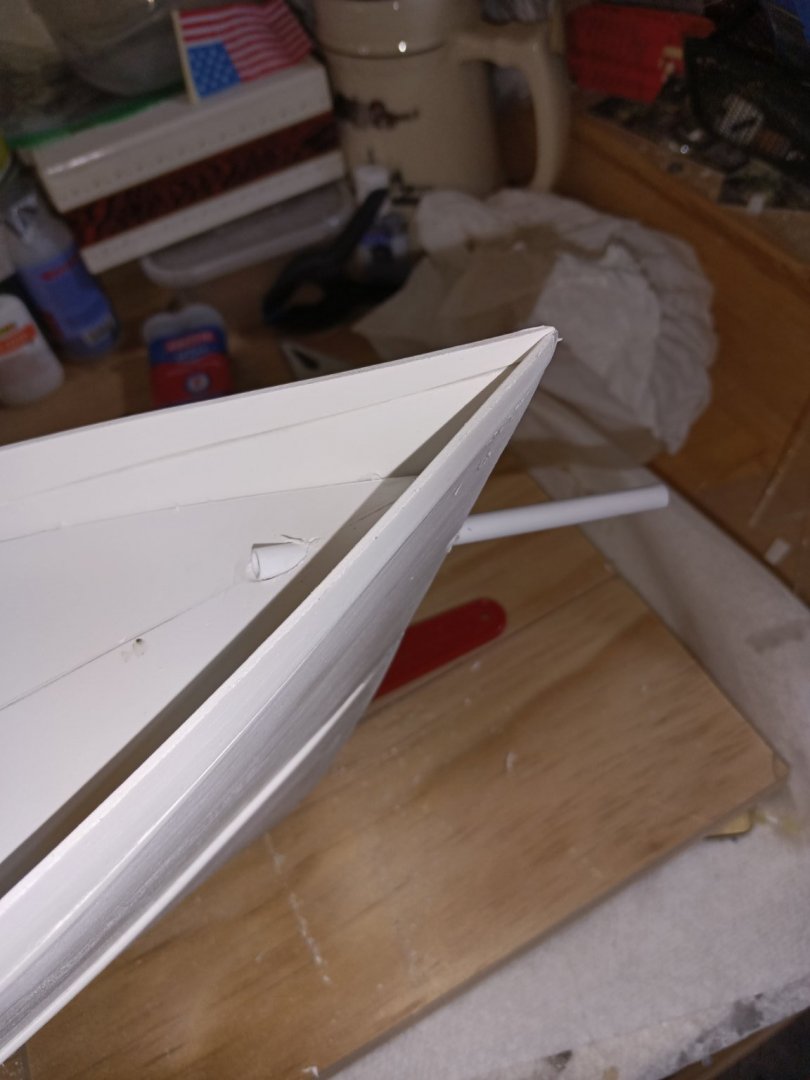
Today I puttied up some more low spots. The real ship has a bow thruster but the model makes no call out for this. I measured back about 4.25 inches from the hawser hole in deck and drew a circle around the boat to find the placement. I never like cutting a hole in a perfectly good hull. I used a small starter drill bit as a starter. I then moved up to 3/8ths then 5/8ths. The plastruct tube in inserted was larger than that one the outside diameter. MAKE SURE you glue one side prior to cutting the tube flush or it will pop out.

-
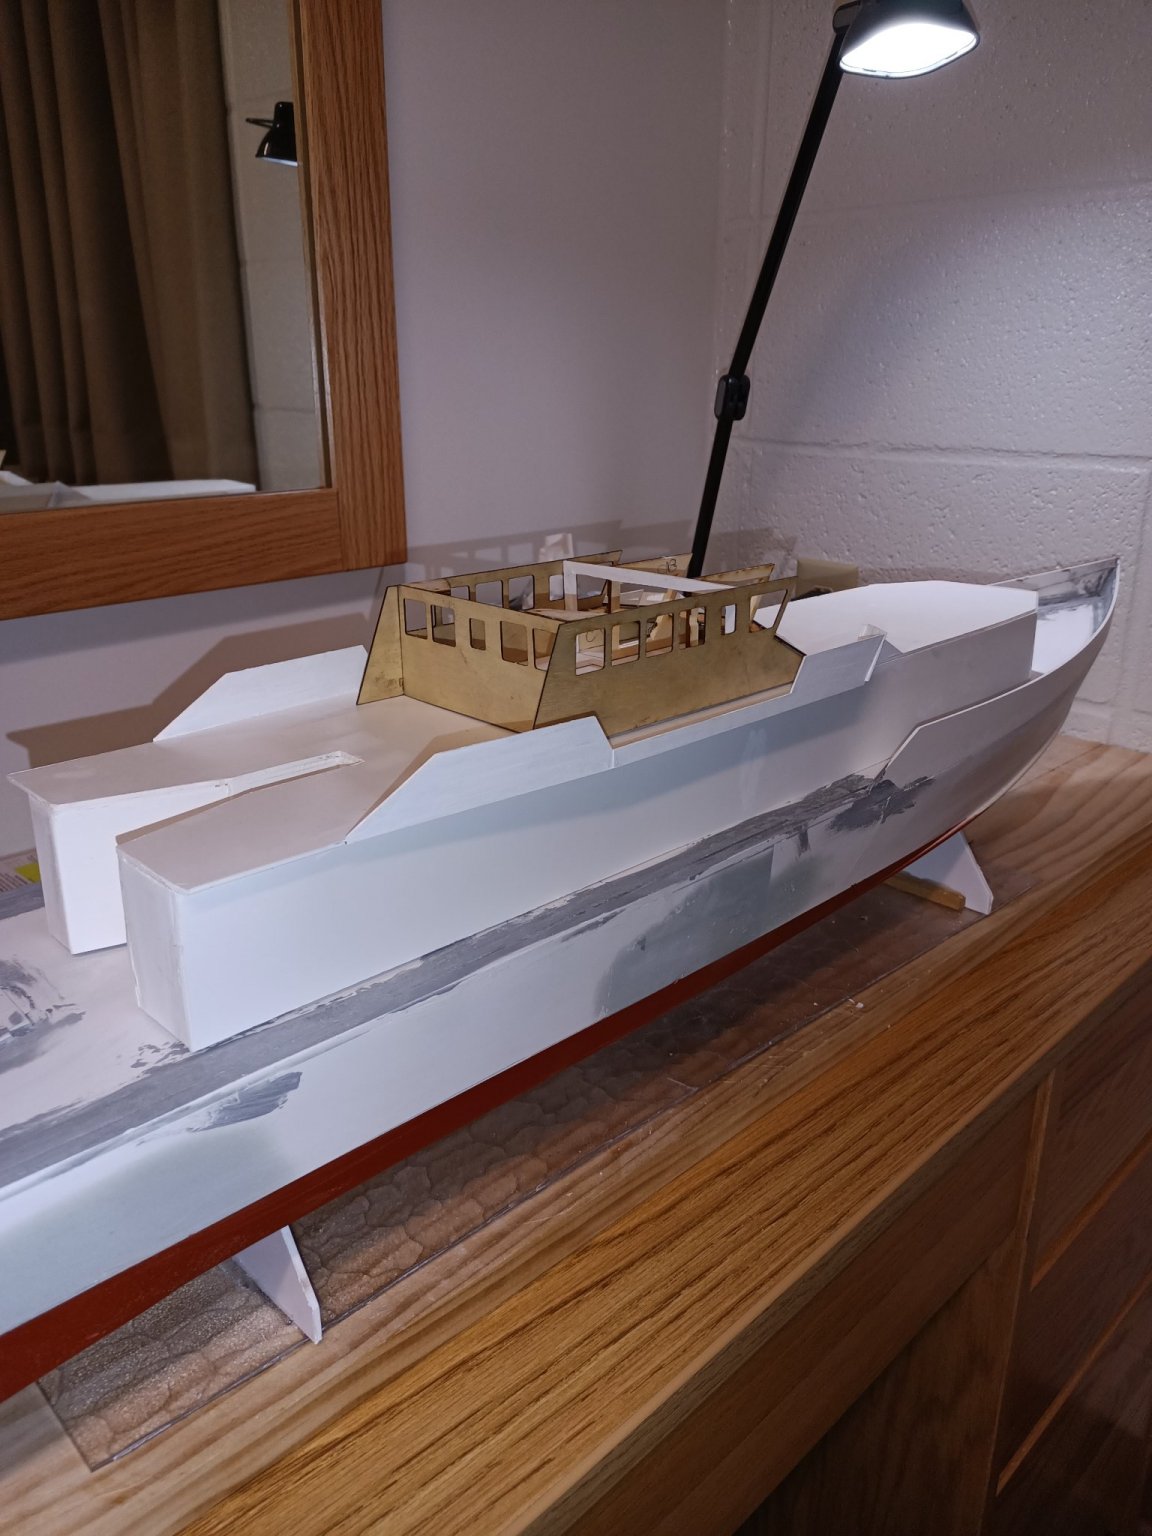
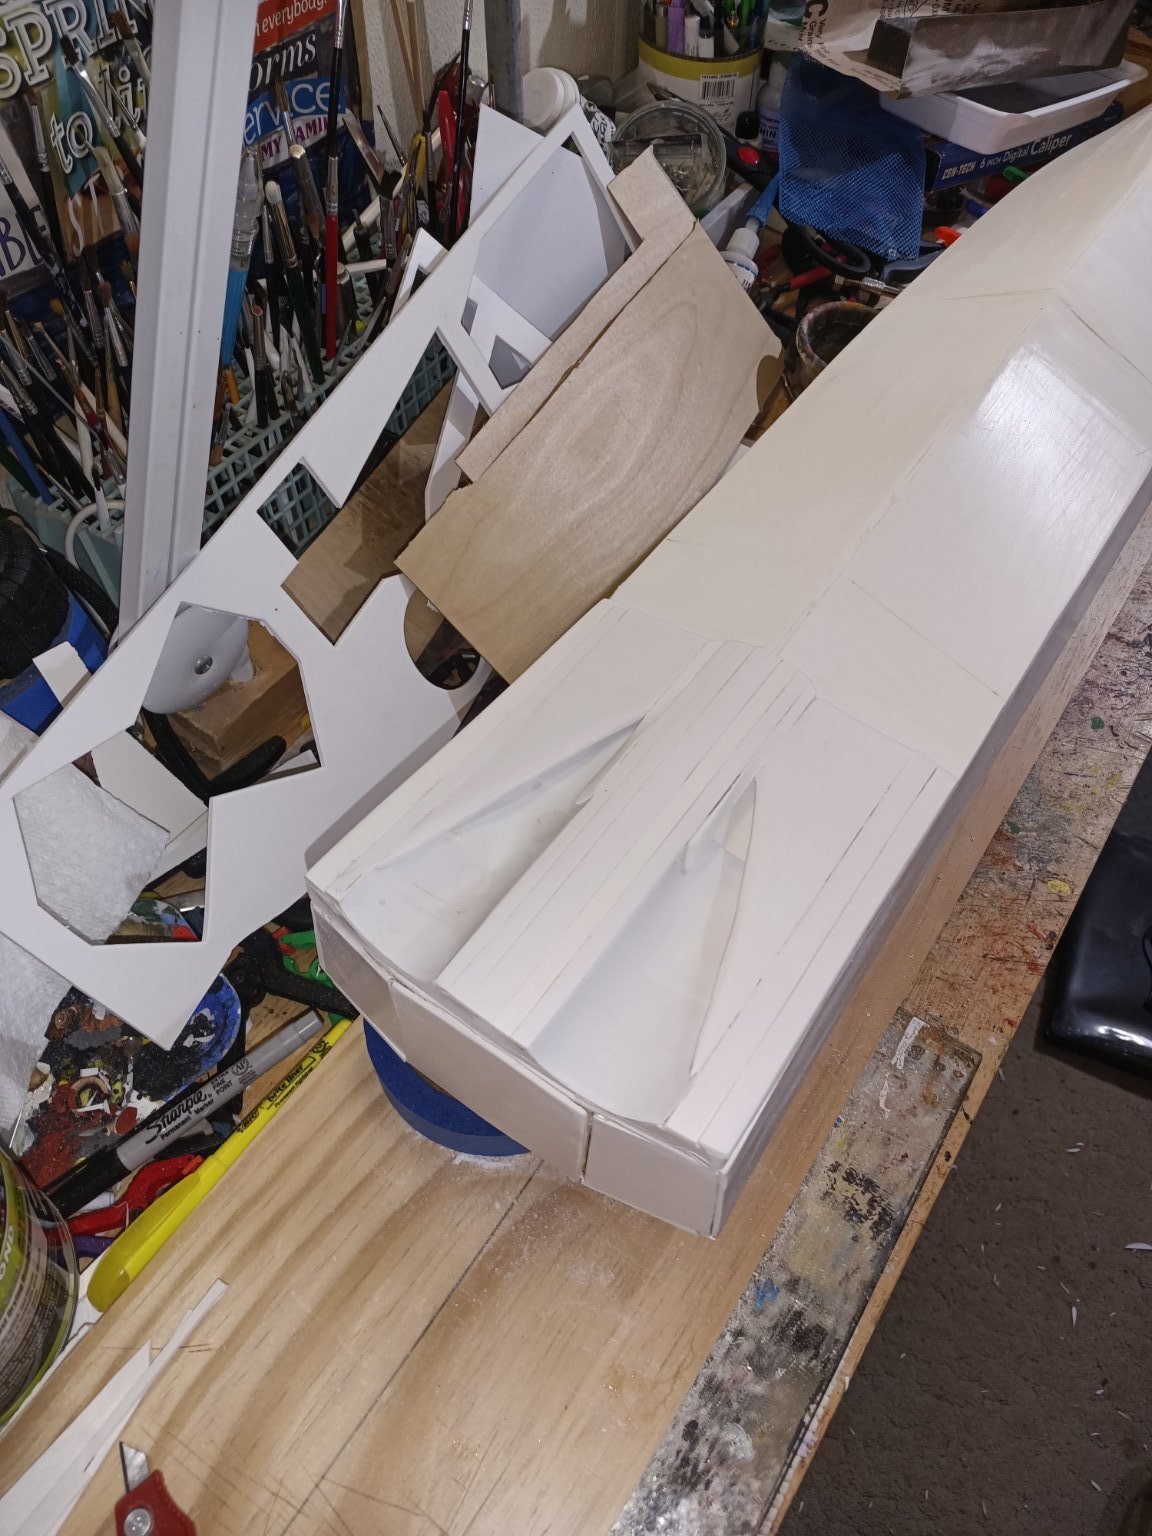
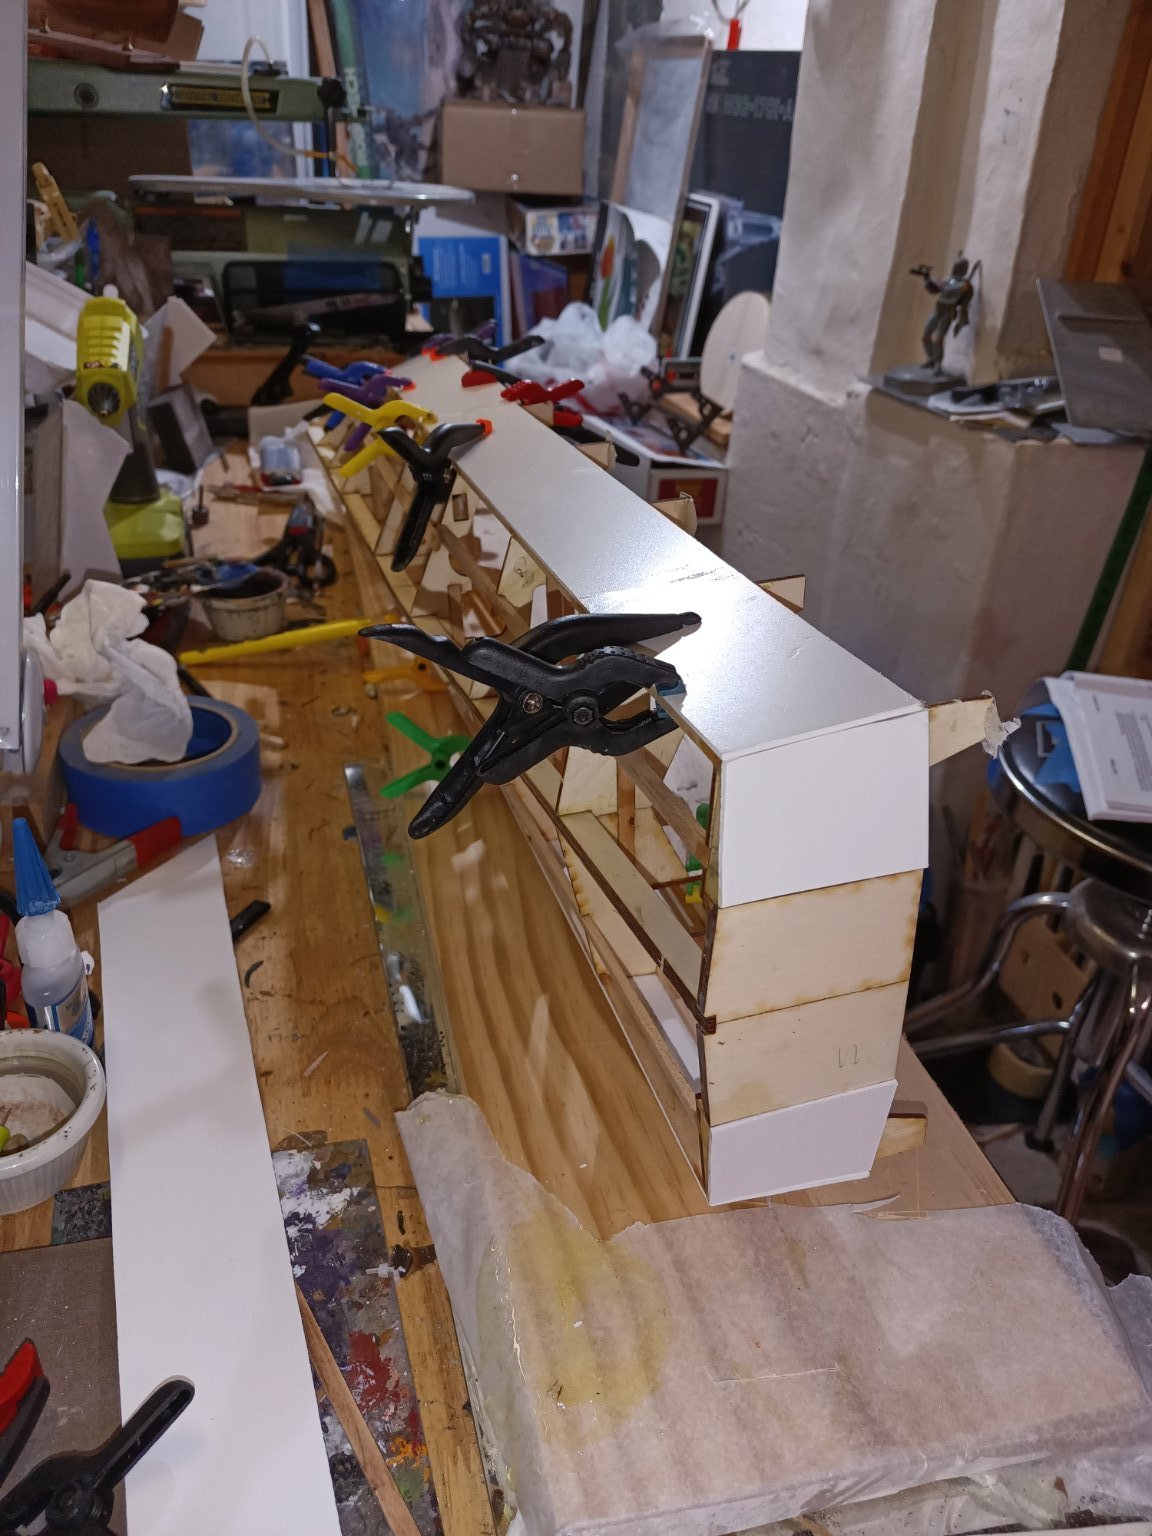
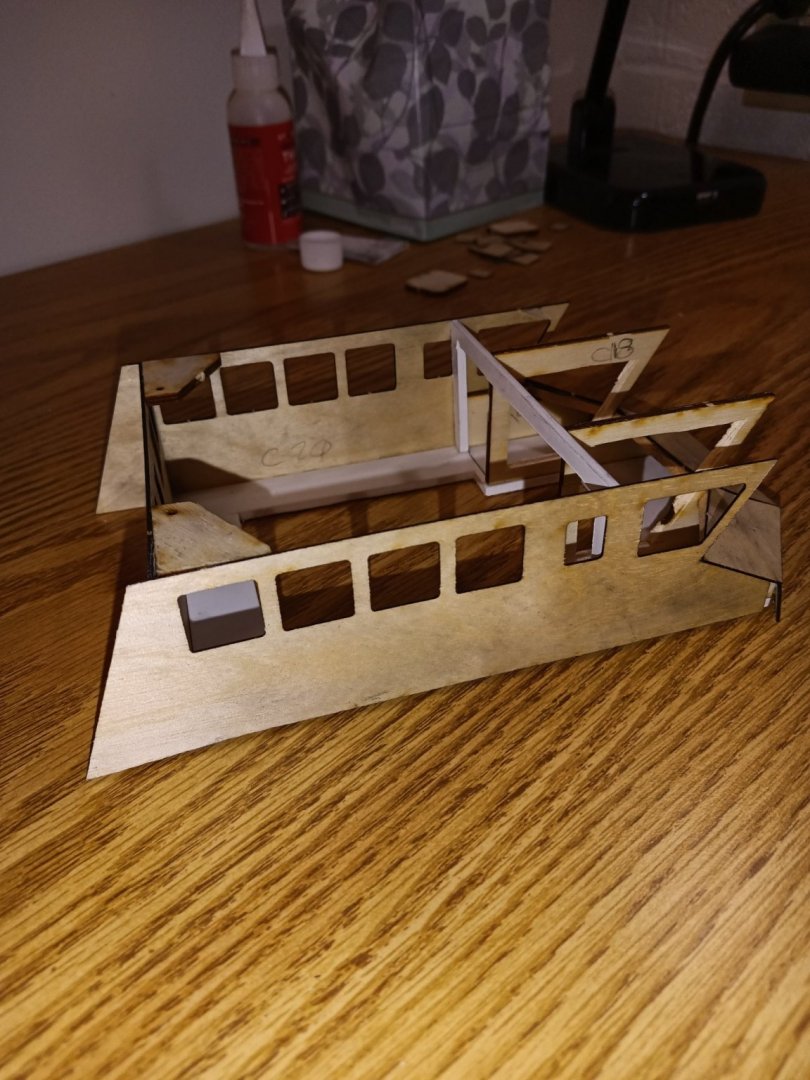
Progress on the cabin today. Sheeted and framed. It will need putty and touch up.


-
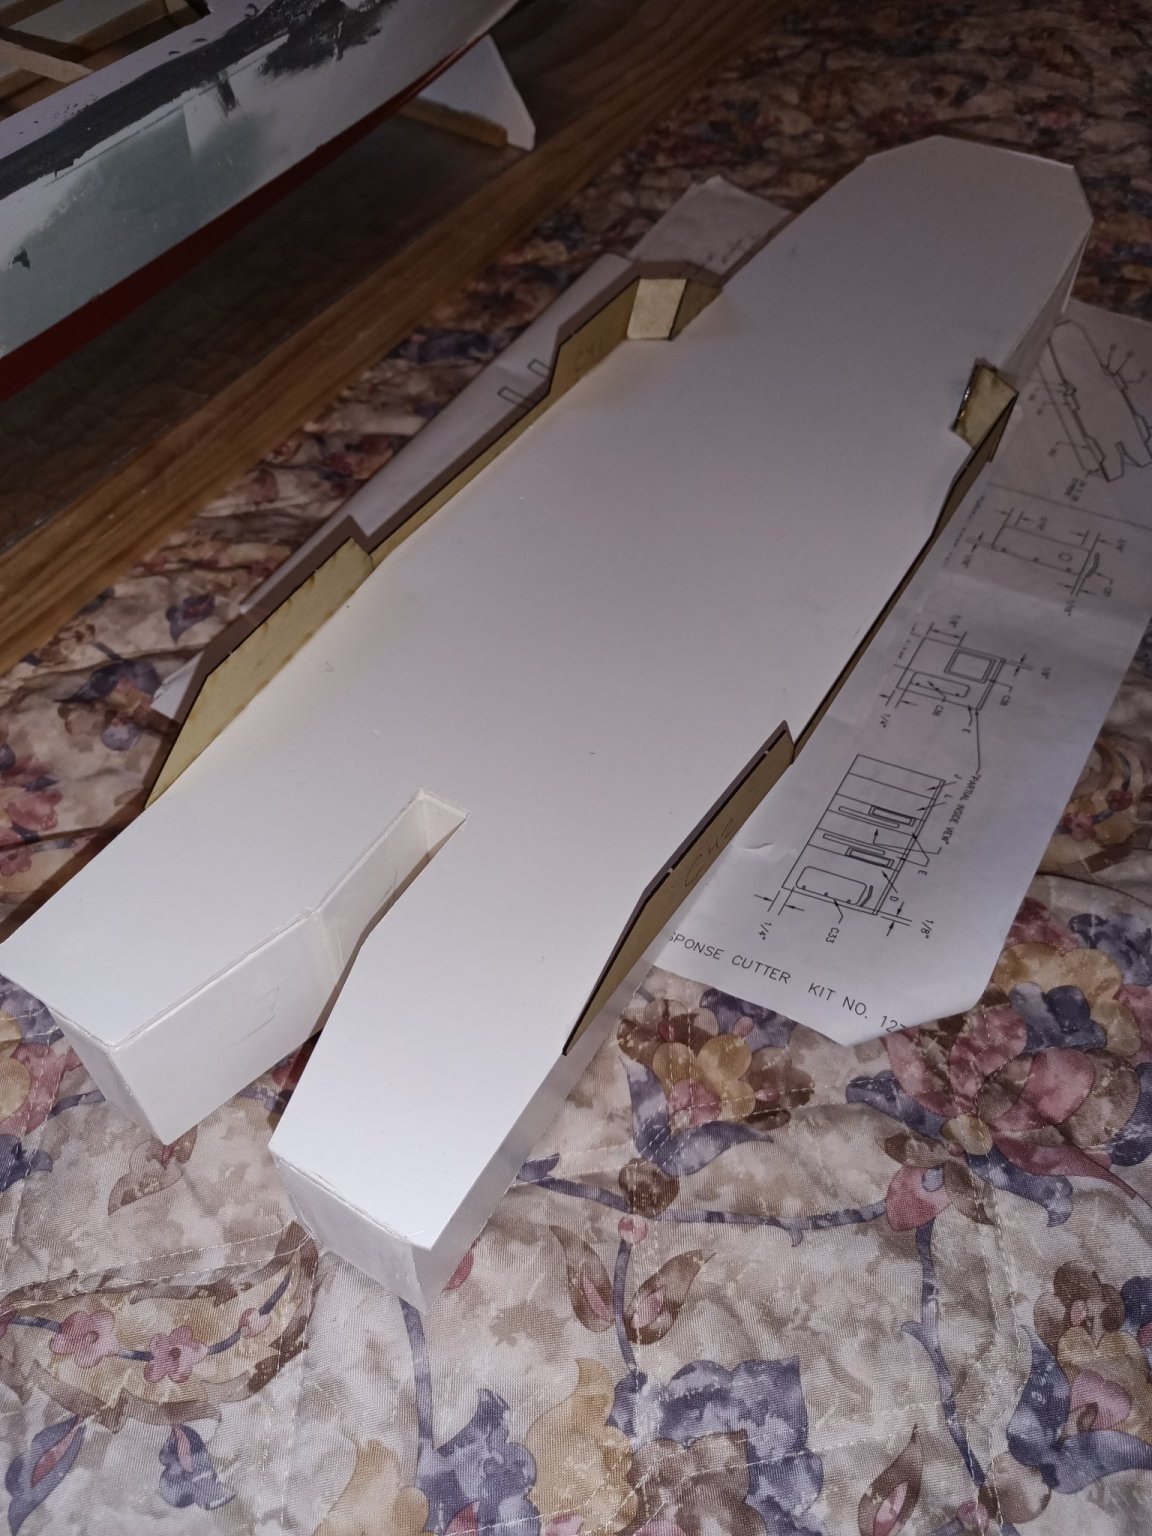
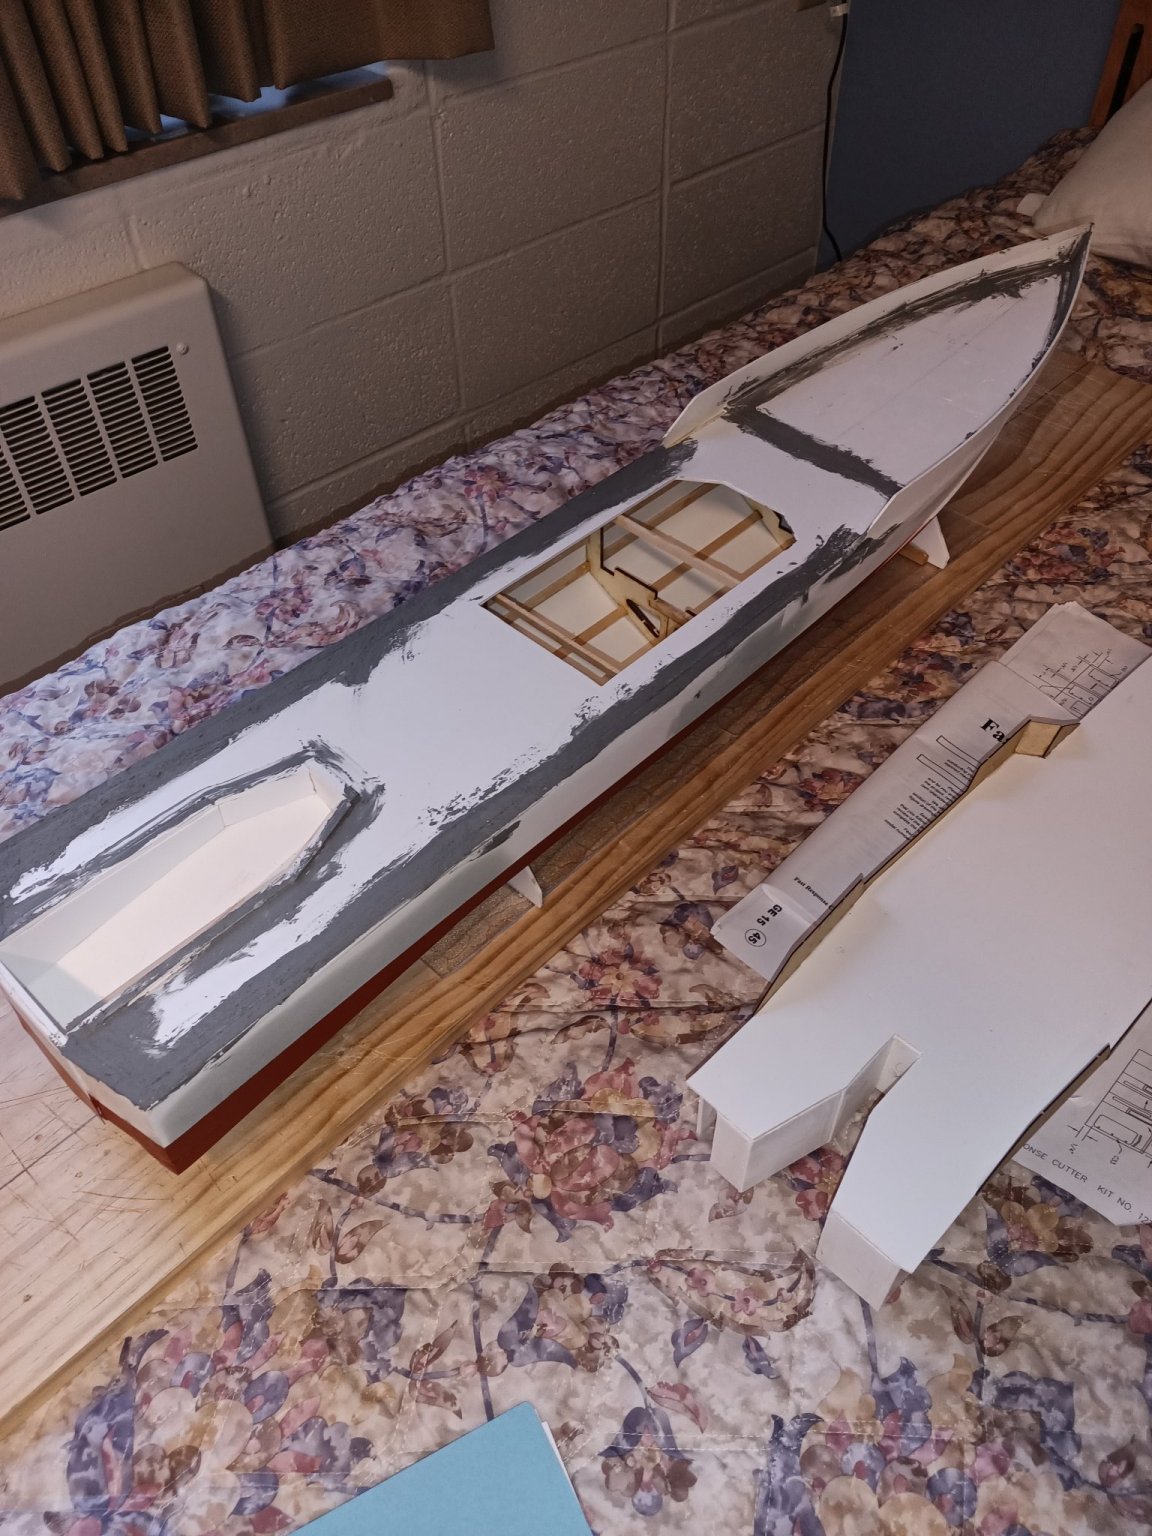
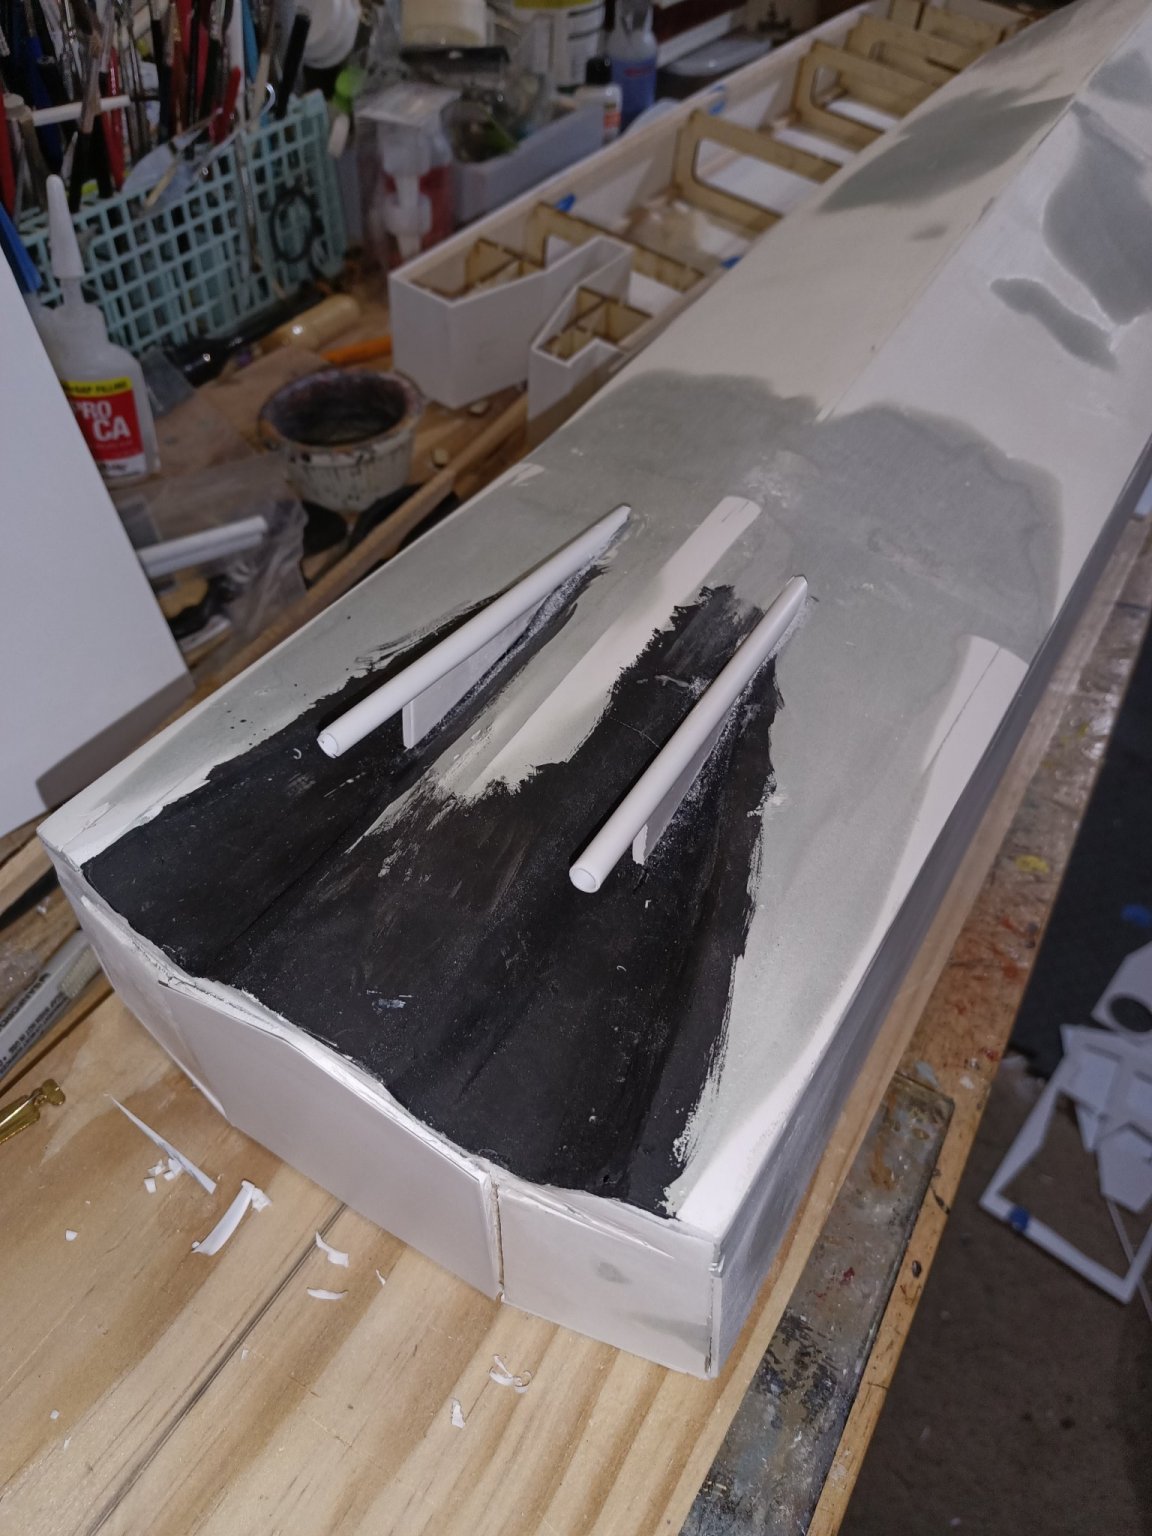
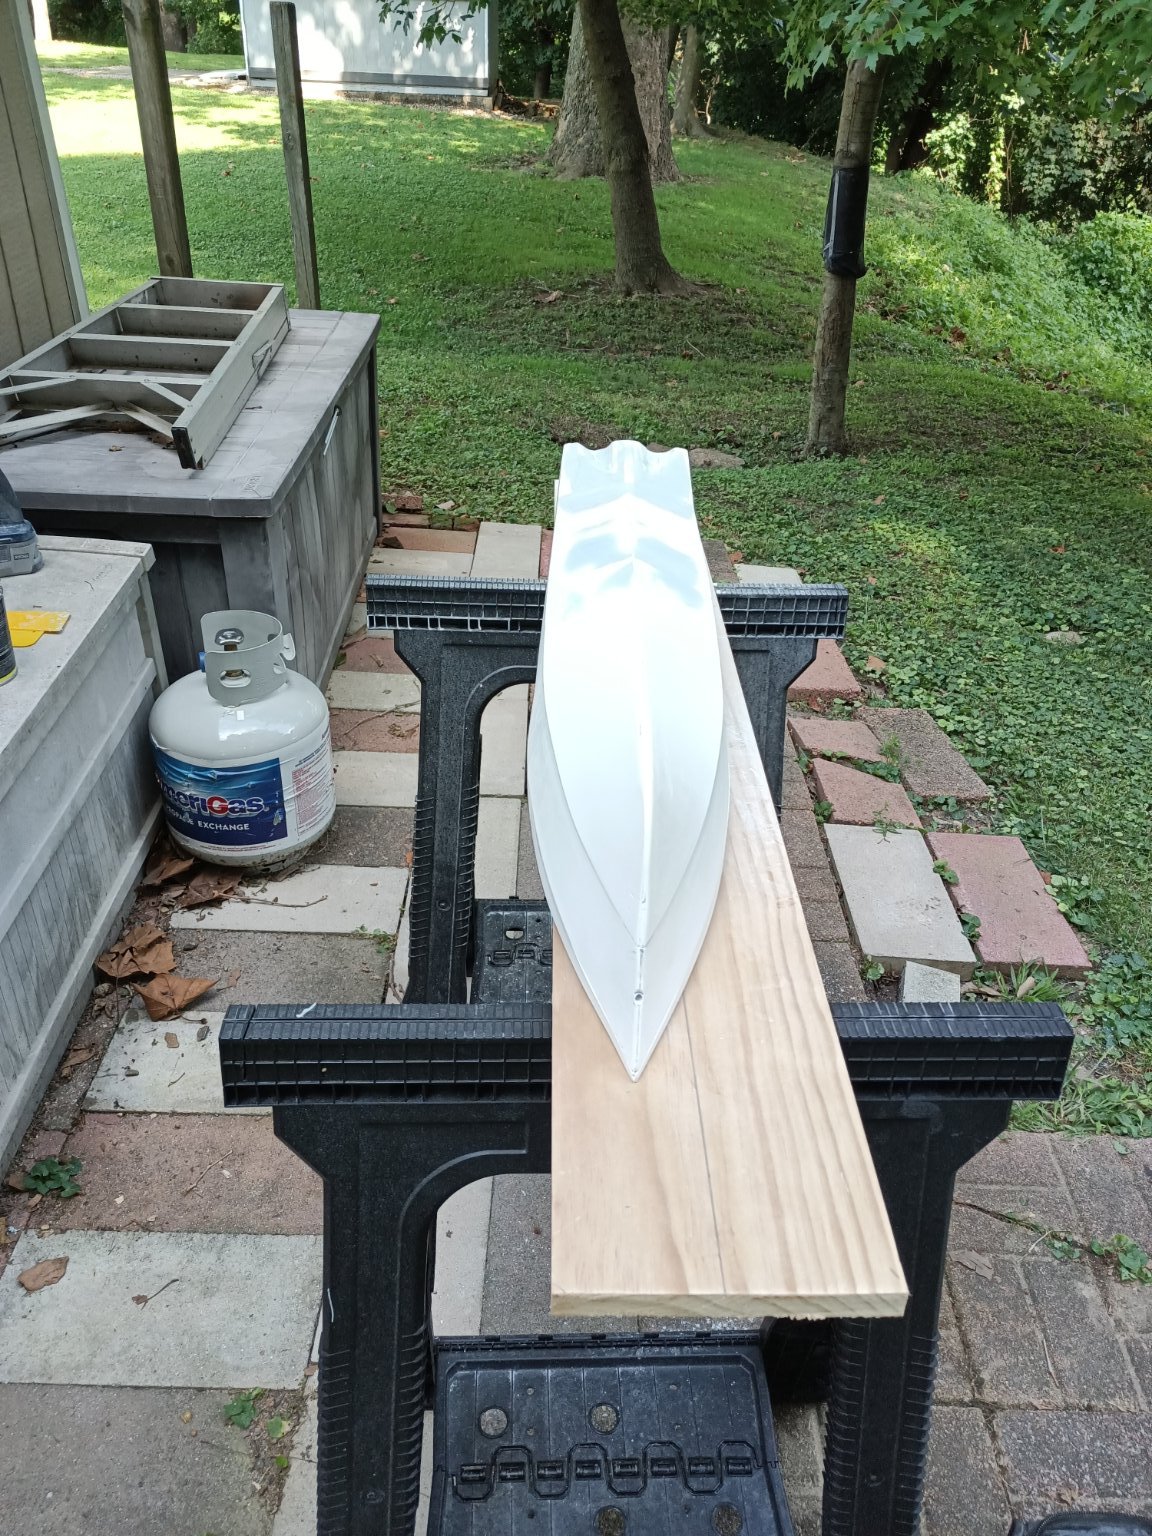
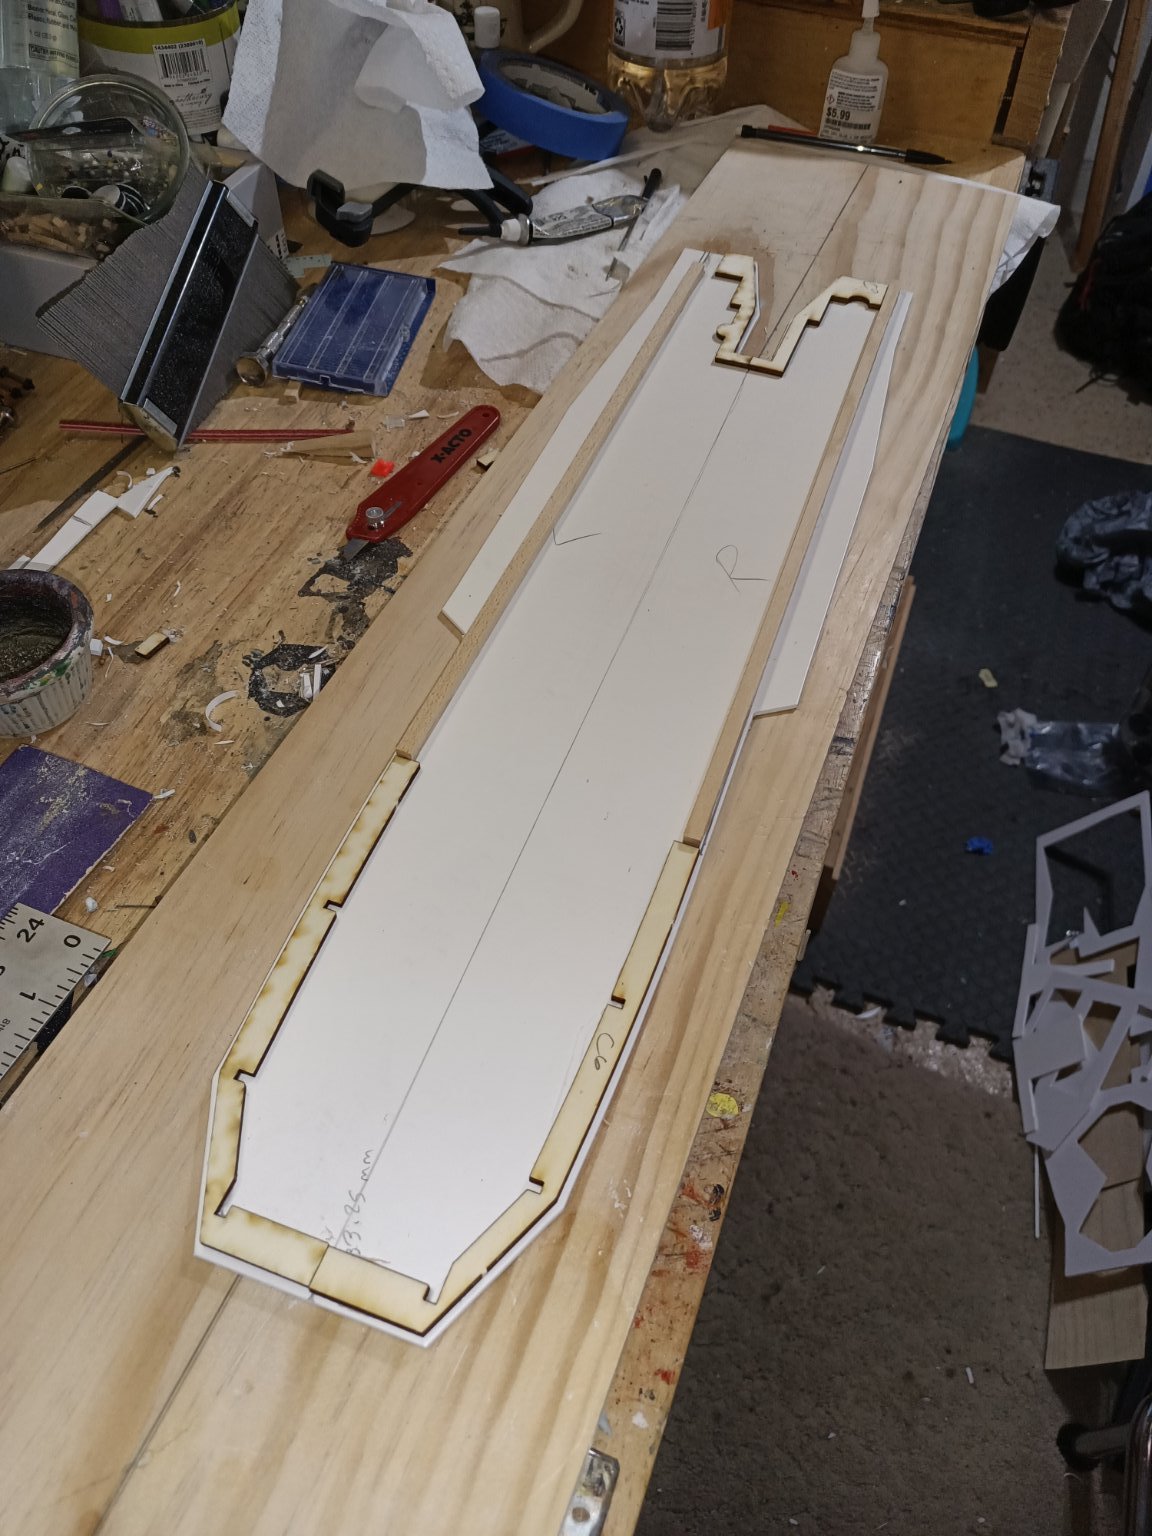
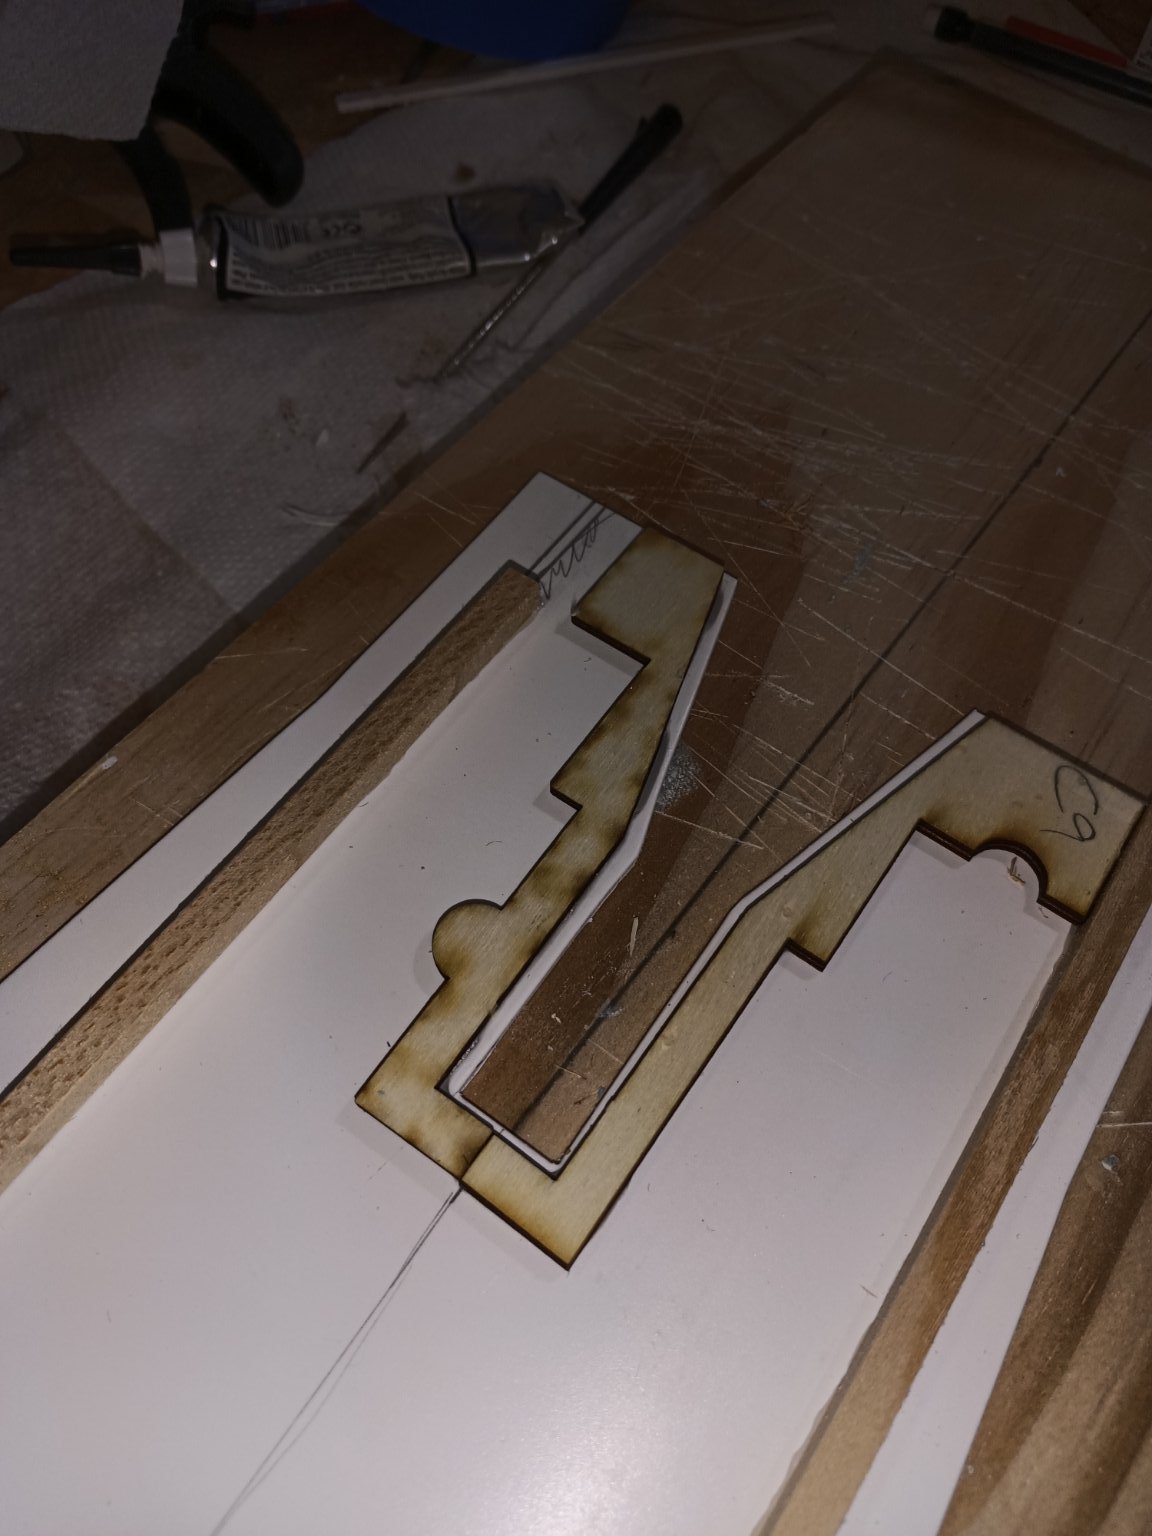
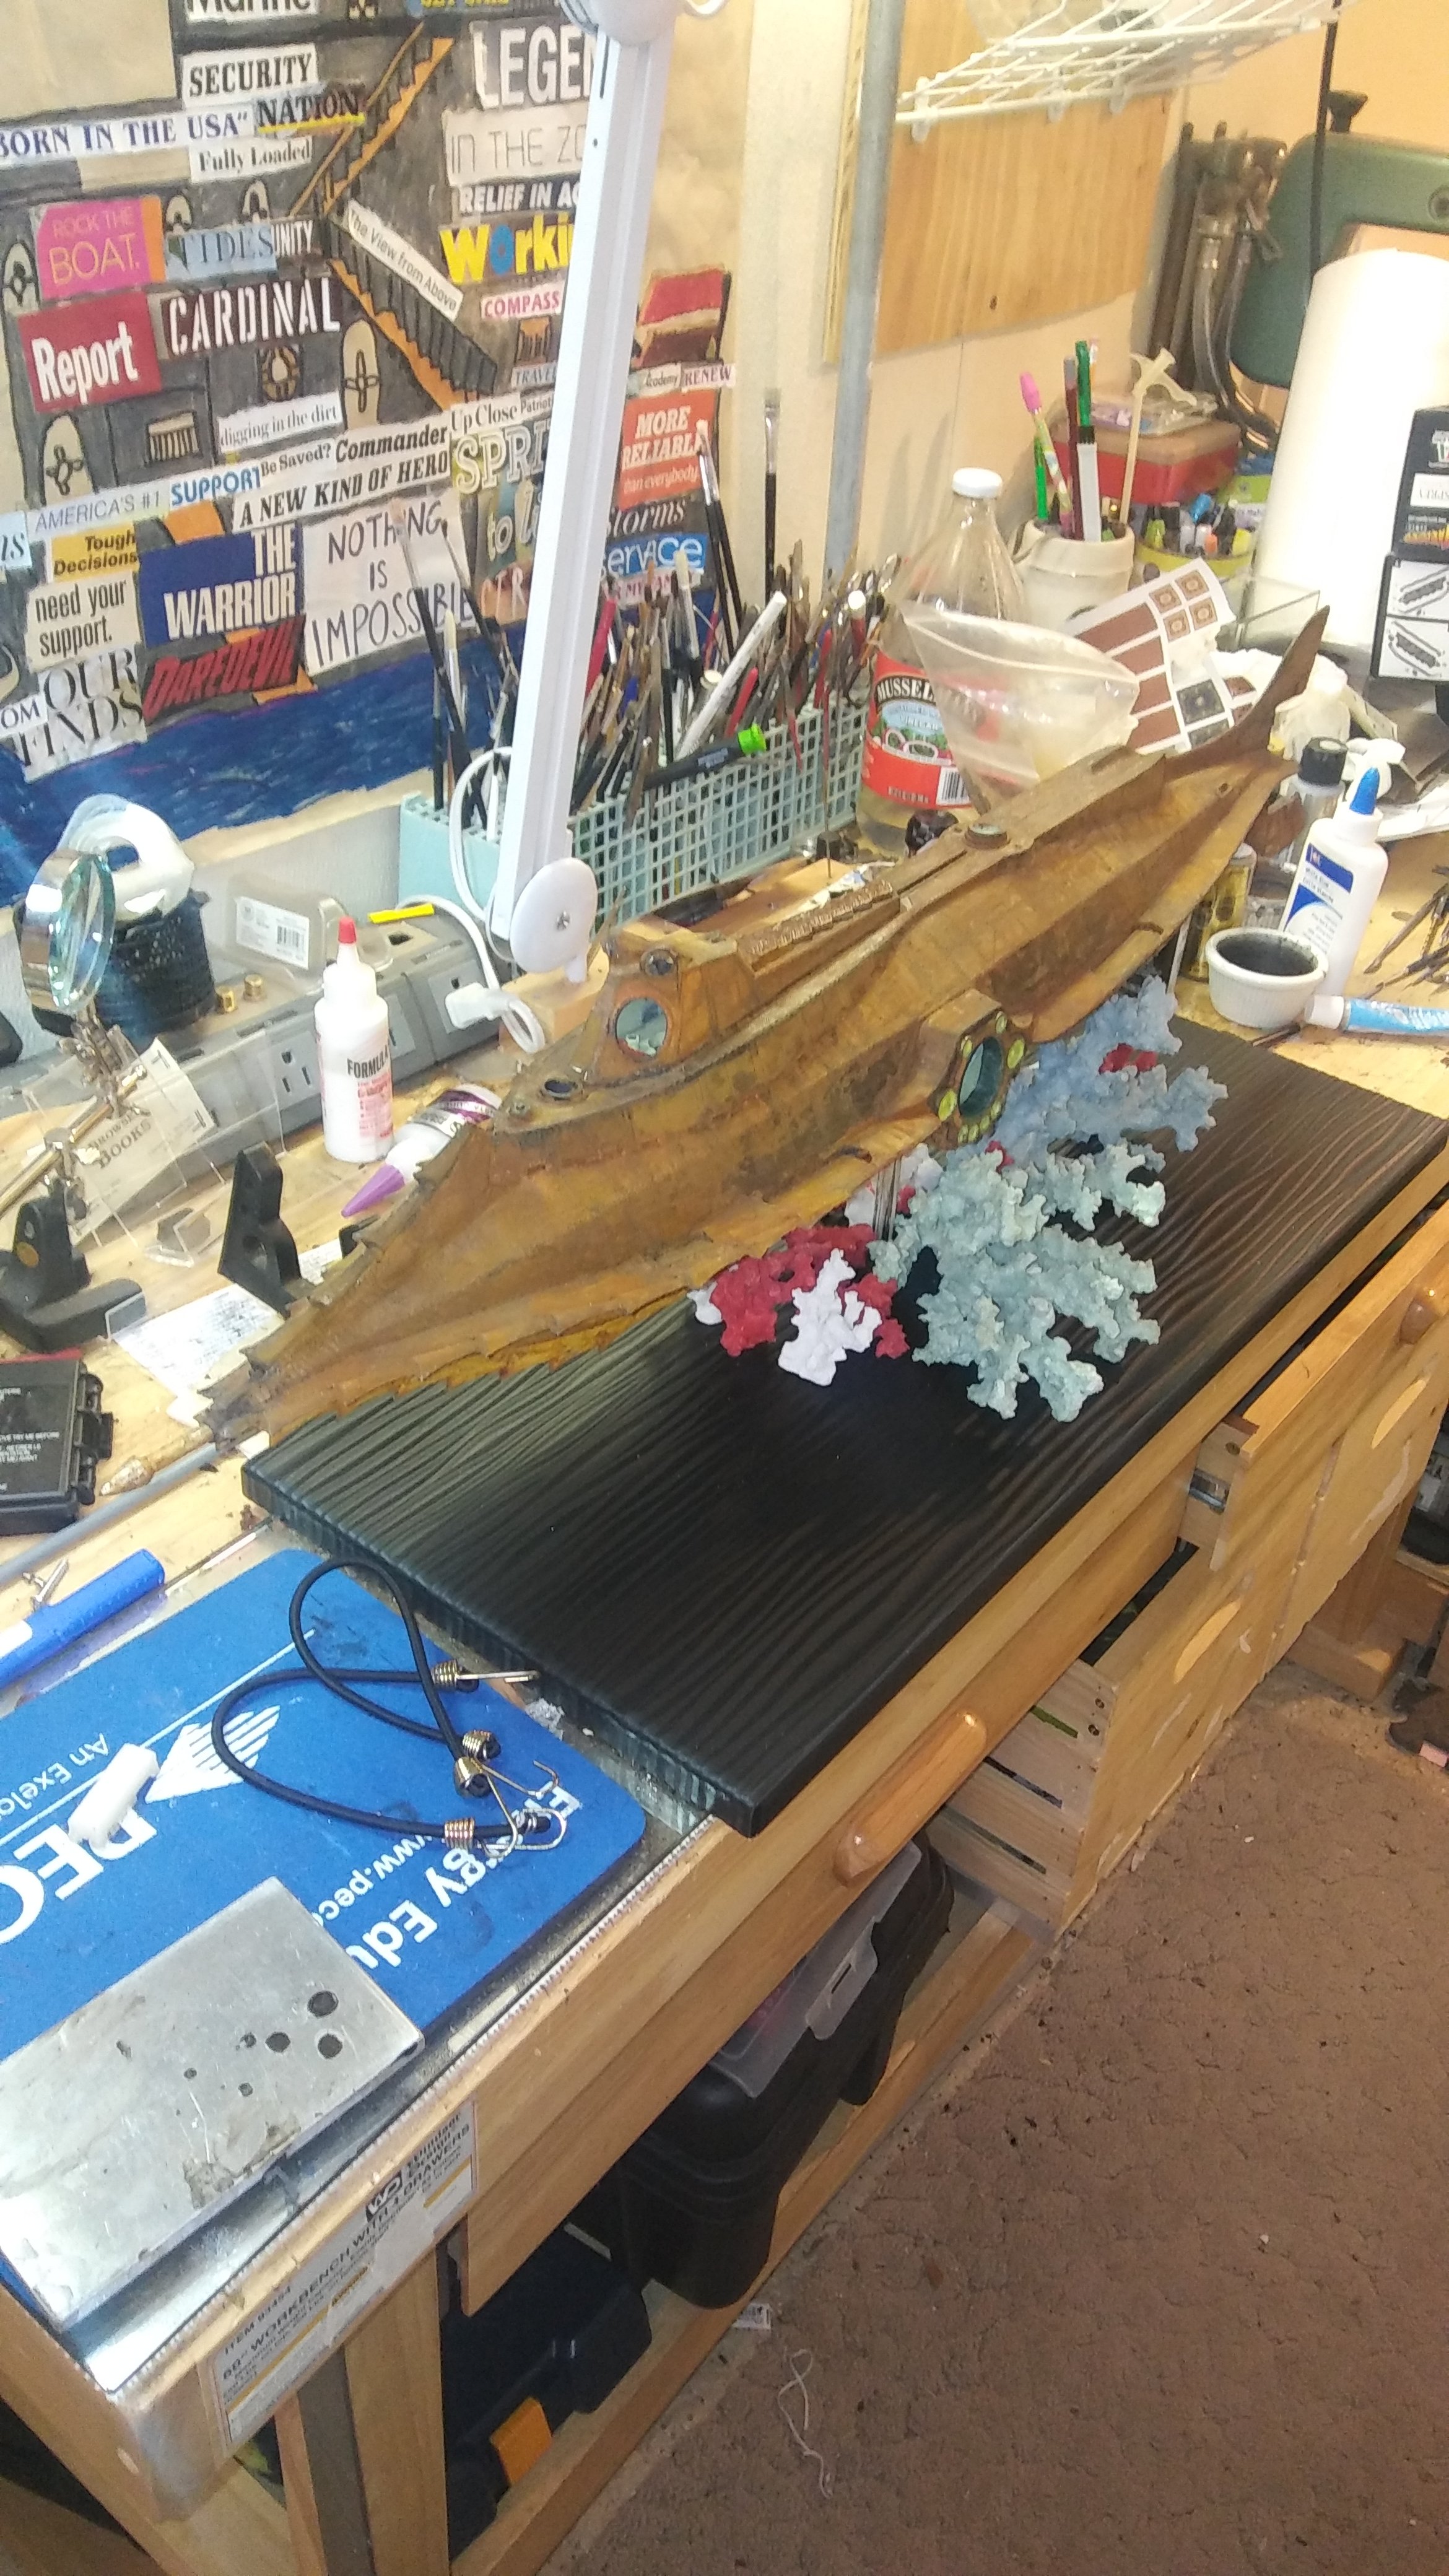
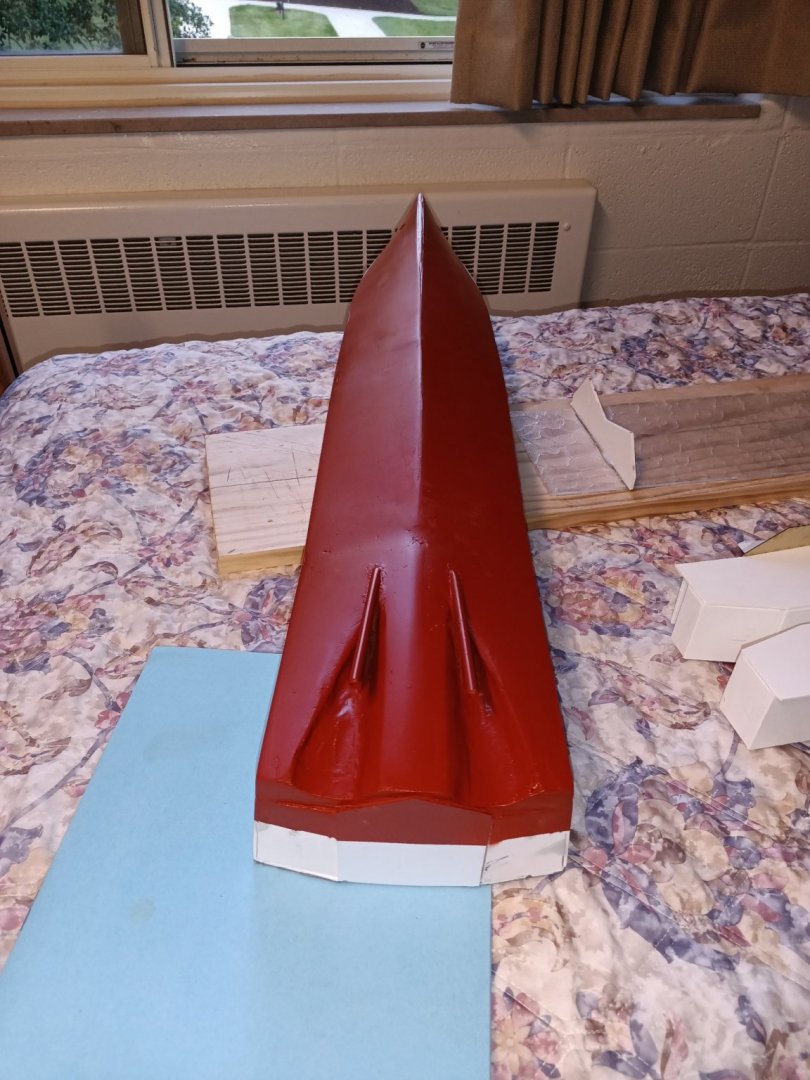
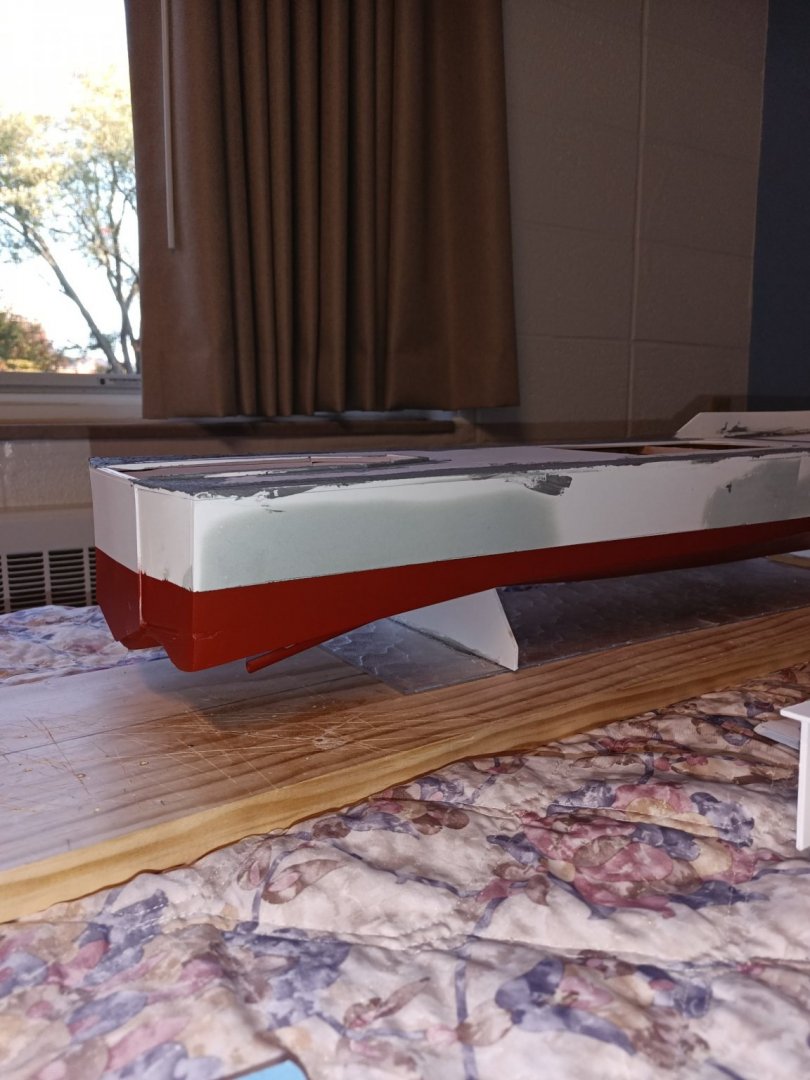
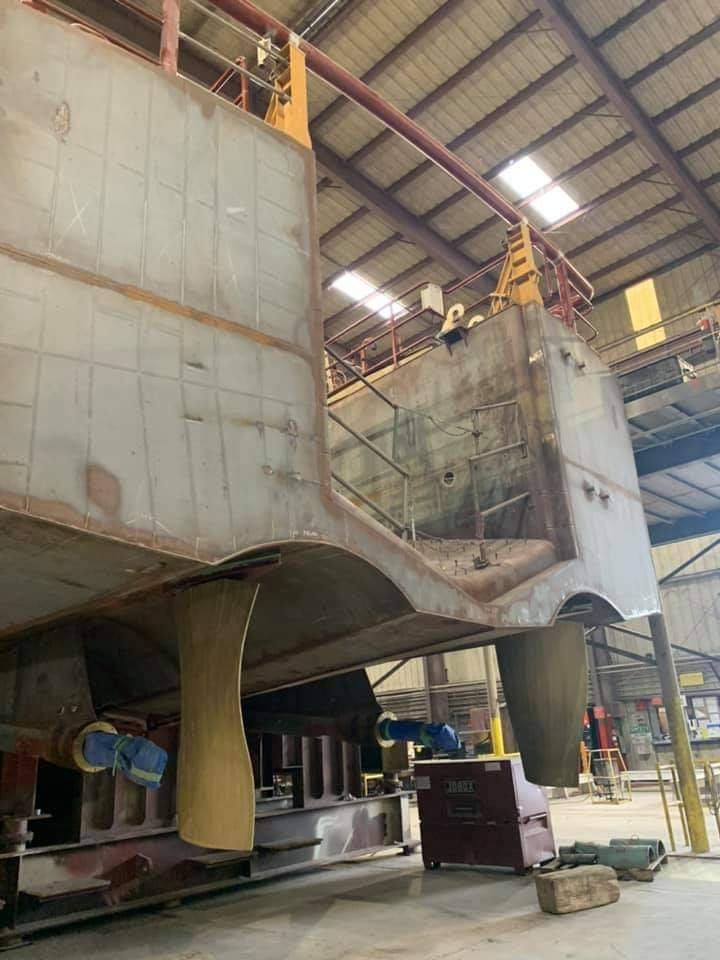
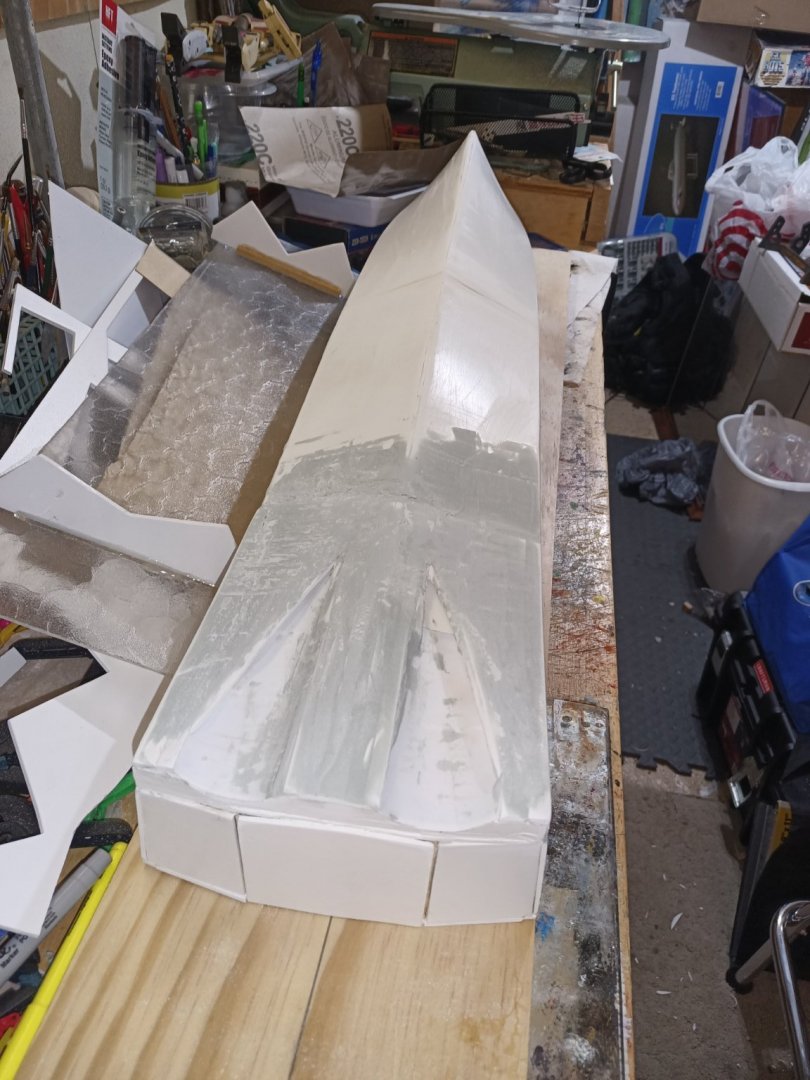
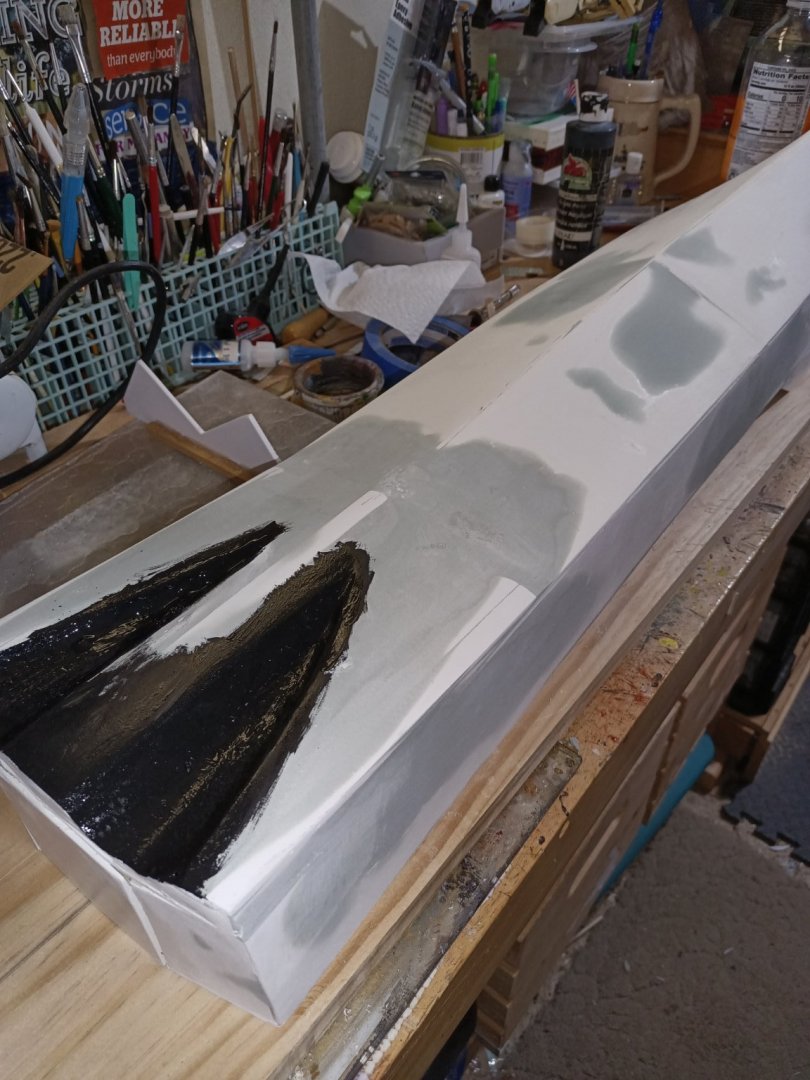
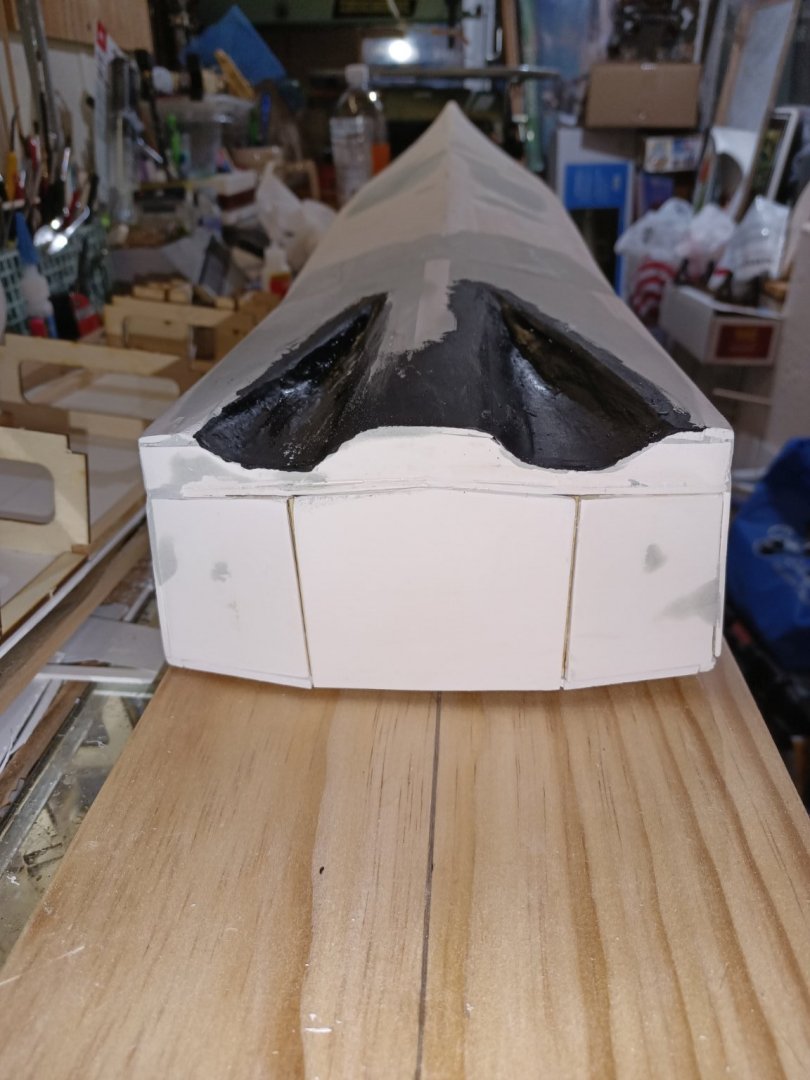
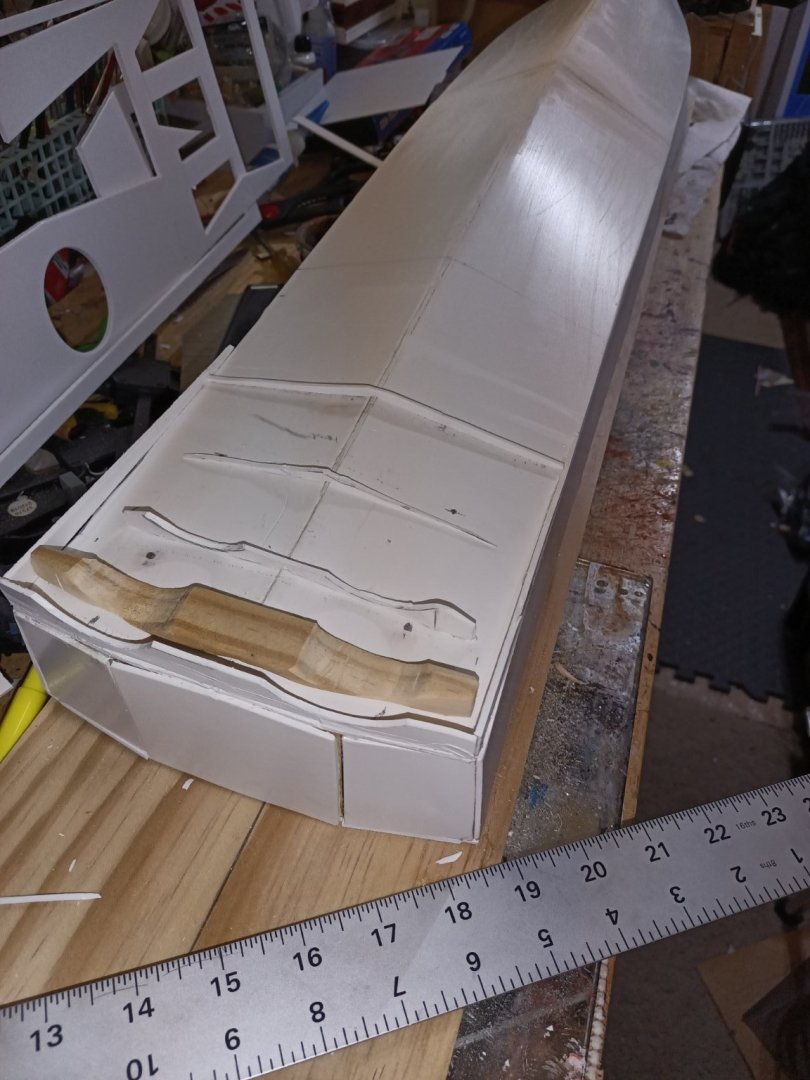
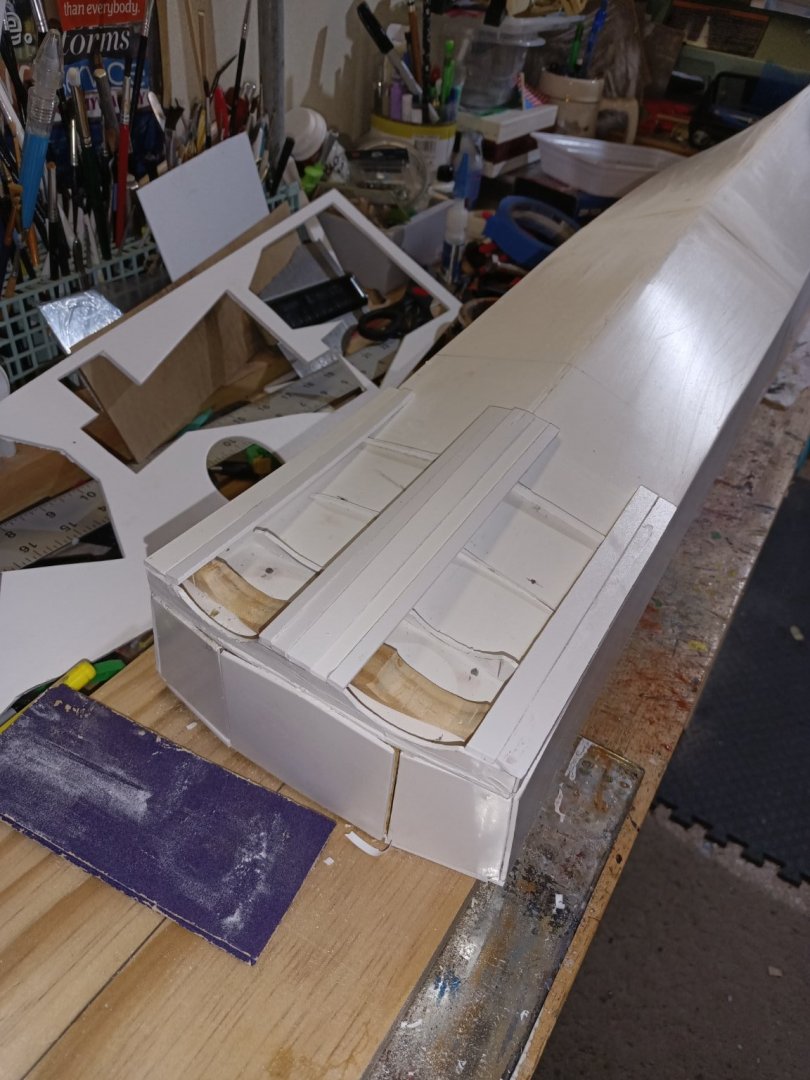
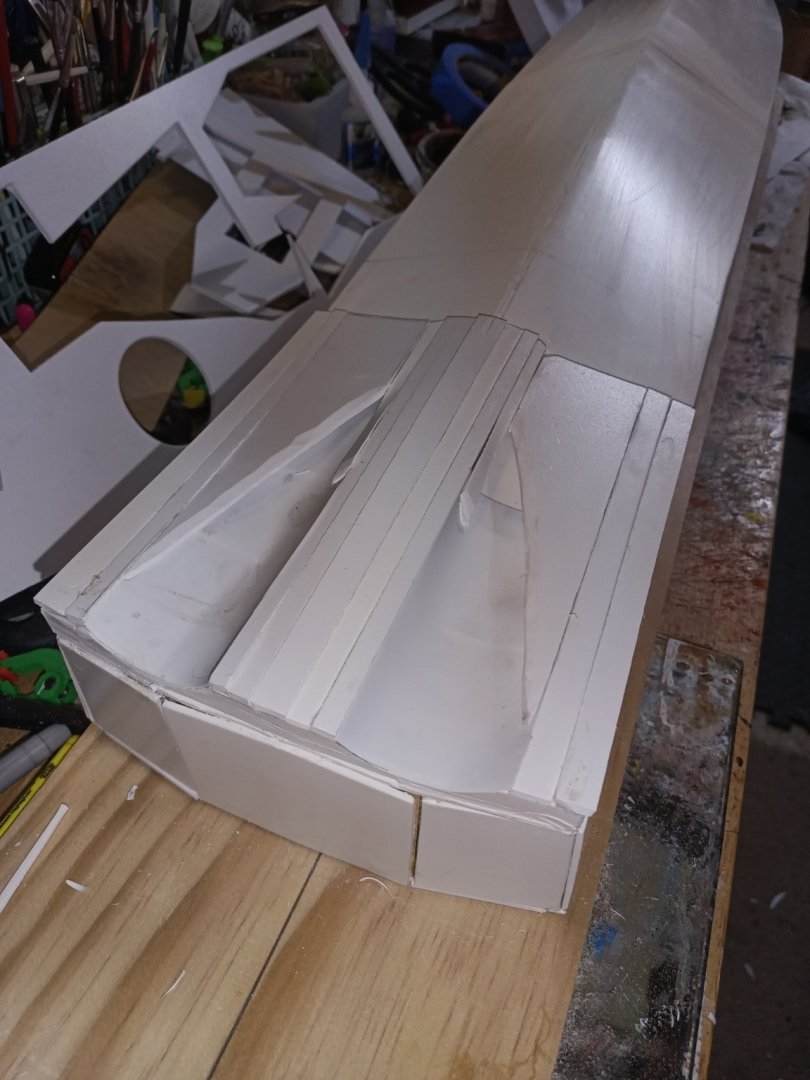
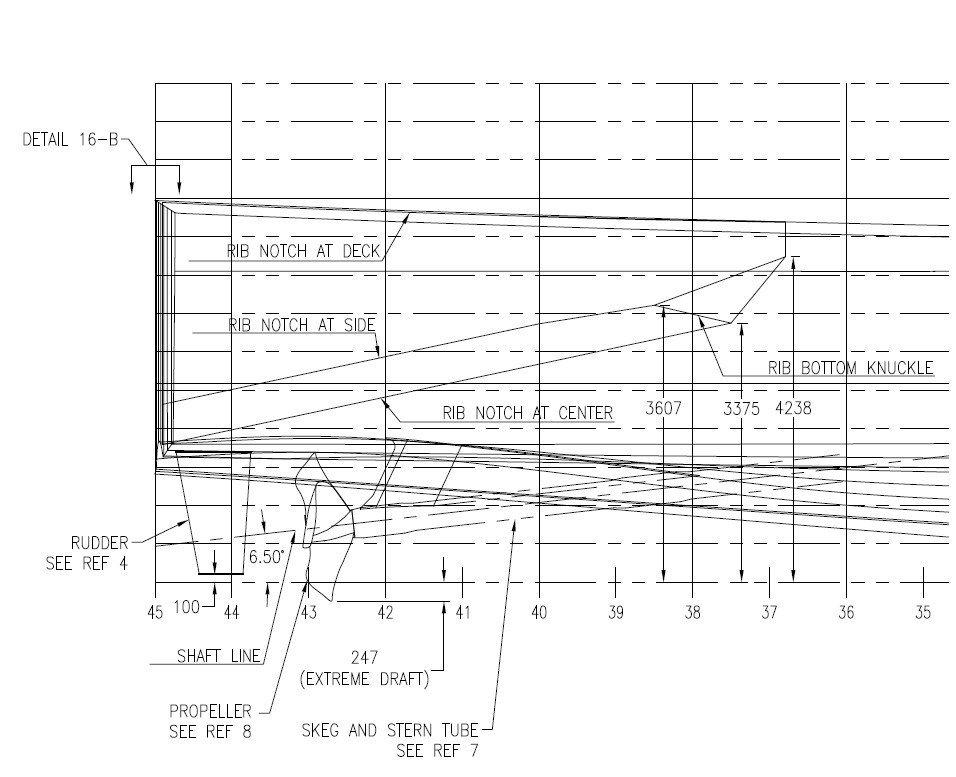
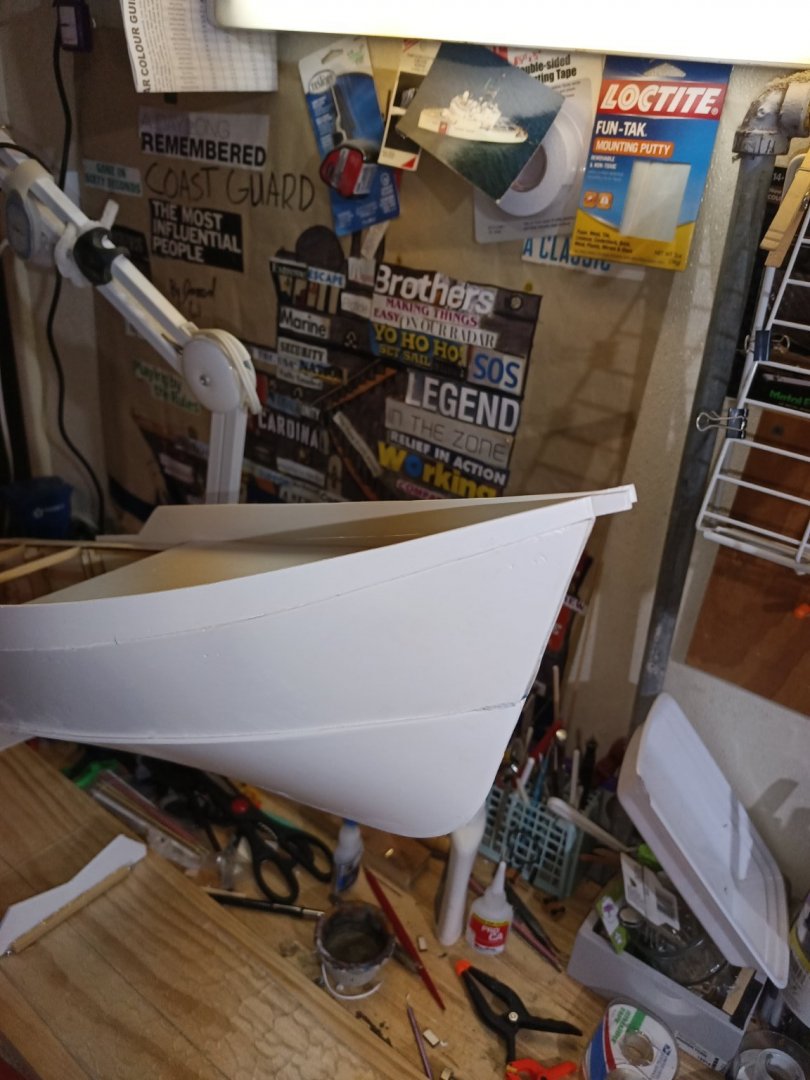
I used a lot of epoxy putty and sanding to get the tunnels complete. So far I am glad I did it because the stern will look sharp once the anti fouling paint and draft marks are on. I slapped some black paint on the stern to look for high spots when I sand it a final time. A shipmate sent me a photo of the stern of another FRC soon to be launched. This helped me out so I will post it here. I also started building the roof of the 01 deck and installing bulkheads. These are super tricky and the port and starboard structure rails are different sizes. The instructions are a bit ambiguous with the markings but just got slow and make sure you test fit a few if the basswood "C" bulkheads prior to gluing in the rear C9 flat panel guides.


-
There was a lot of thought and fiddling that went into this one but I decided to use scrap Abs strips that were part of the pars spruces. I built the stern up then added strips. Tomorrow I will be hitting the area with epoxy filler and sanding. The shape came out how I wanted it so that was a win.

-
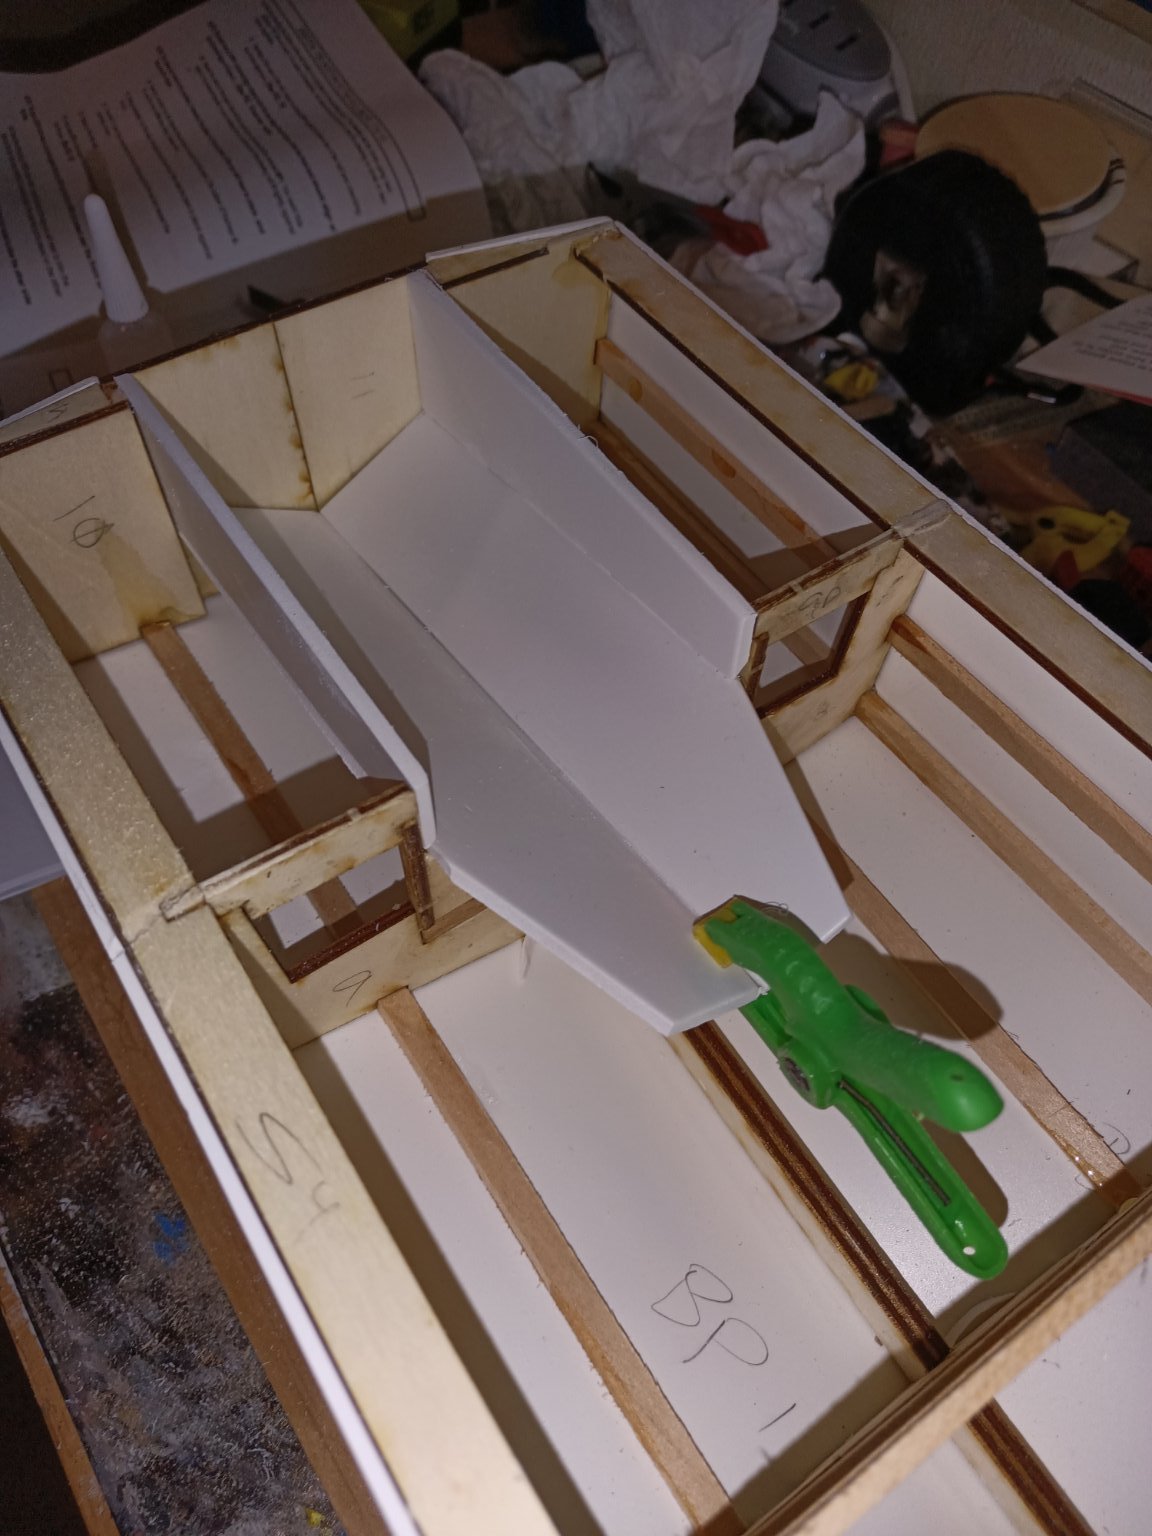
I decided to try and make the stern more accurate based on the original design. The stern has defined tunnels which house the rudders. I do not totally have the basis of the structure lined up, but I wanted to get this set prior to putting on forming putty.


-
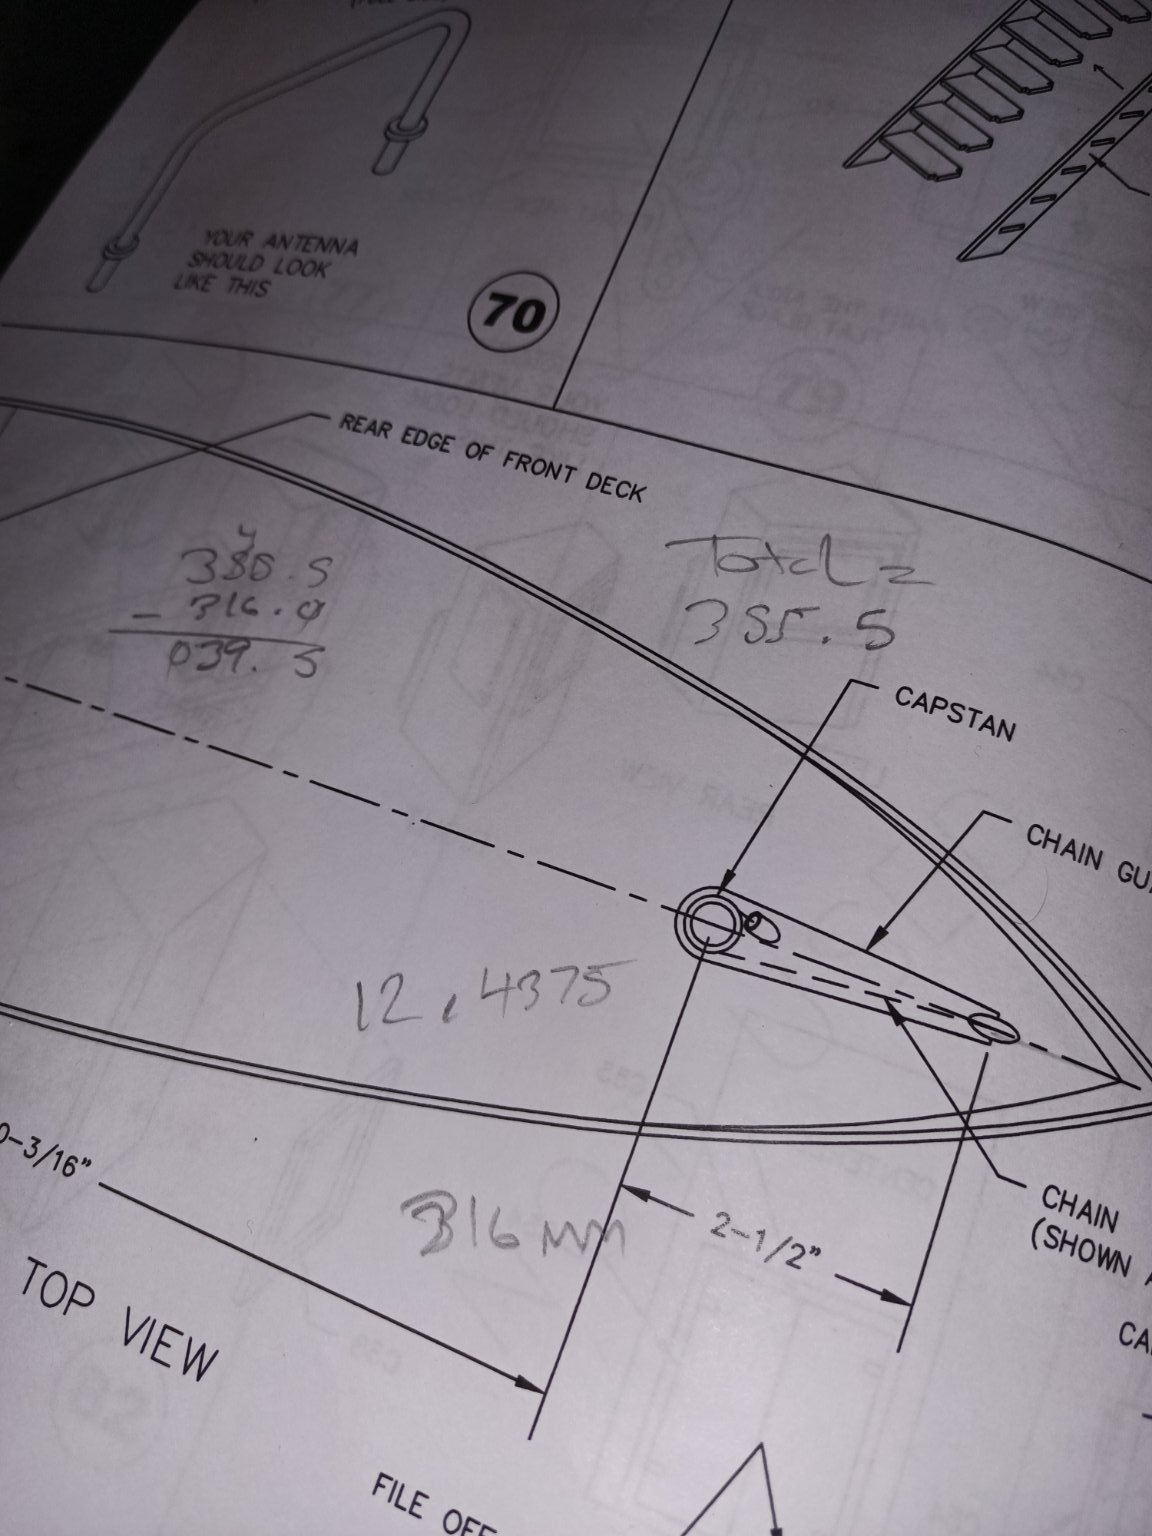
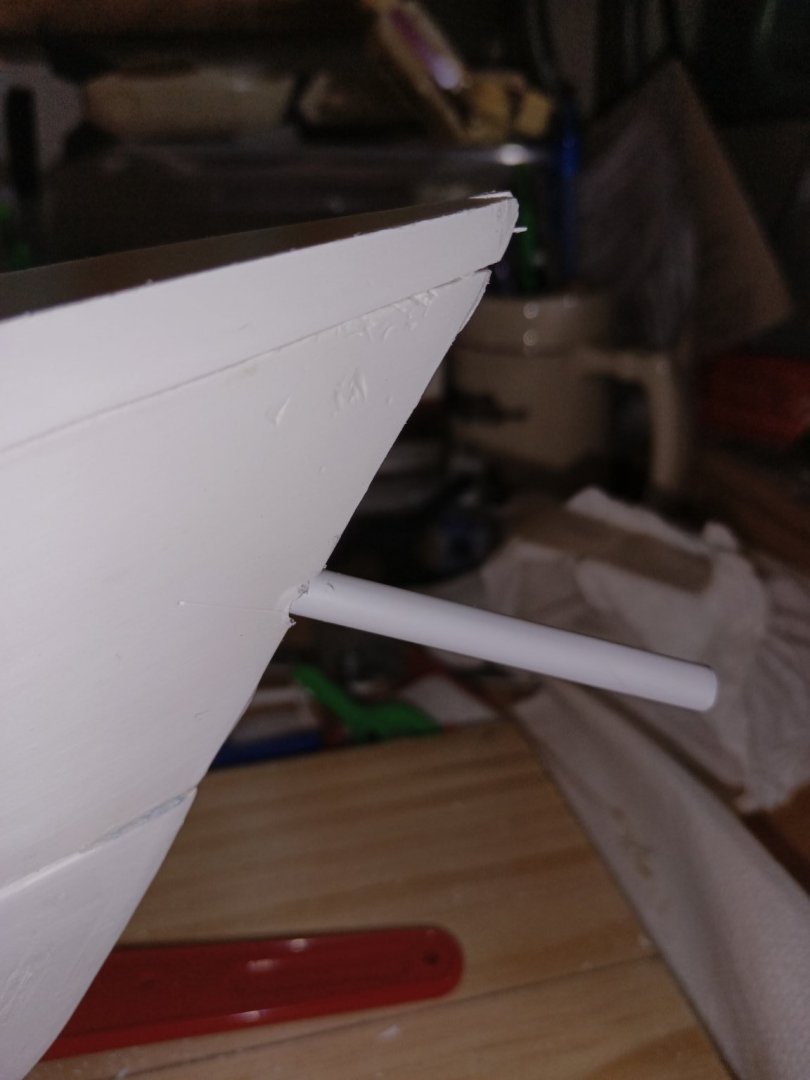
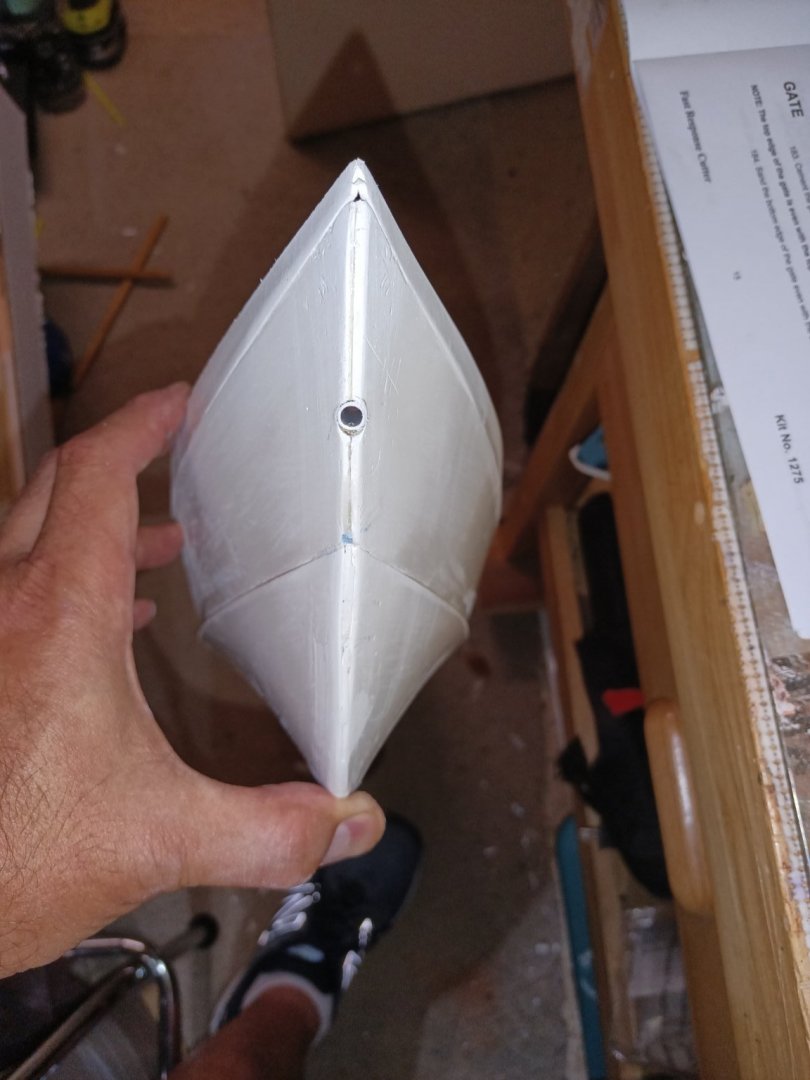
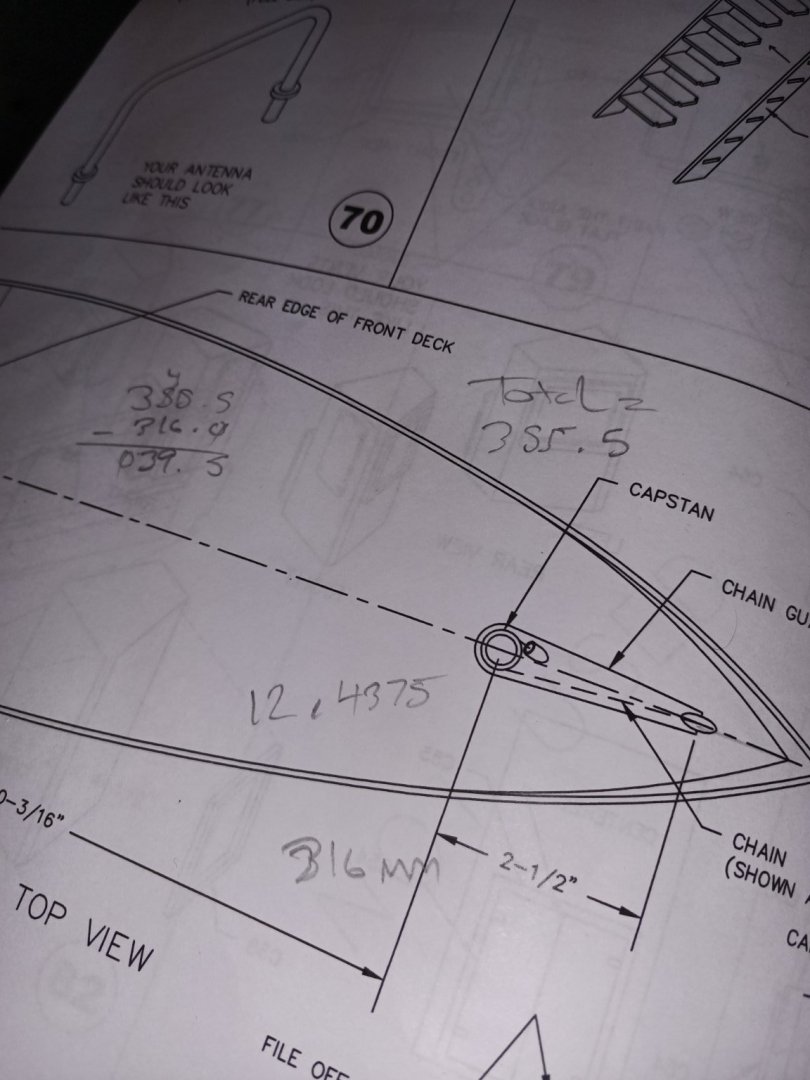
I finally got the courage to cut out the anchor chain tube in the forecastle. The diagrams on where to put the hole in the deck. Use a small bit first and go slow. Move up to a 1/4 inch bit. Slide the 1/4 inch tune up into the hole and cut flush. The boat door was glued up on the stern. The back deck was also cut to fit as a slide in.


-
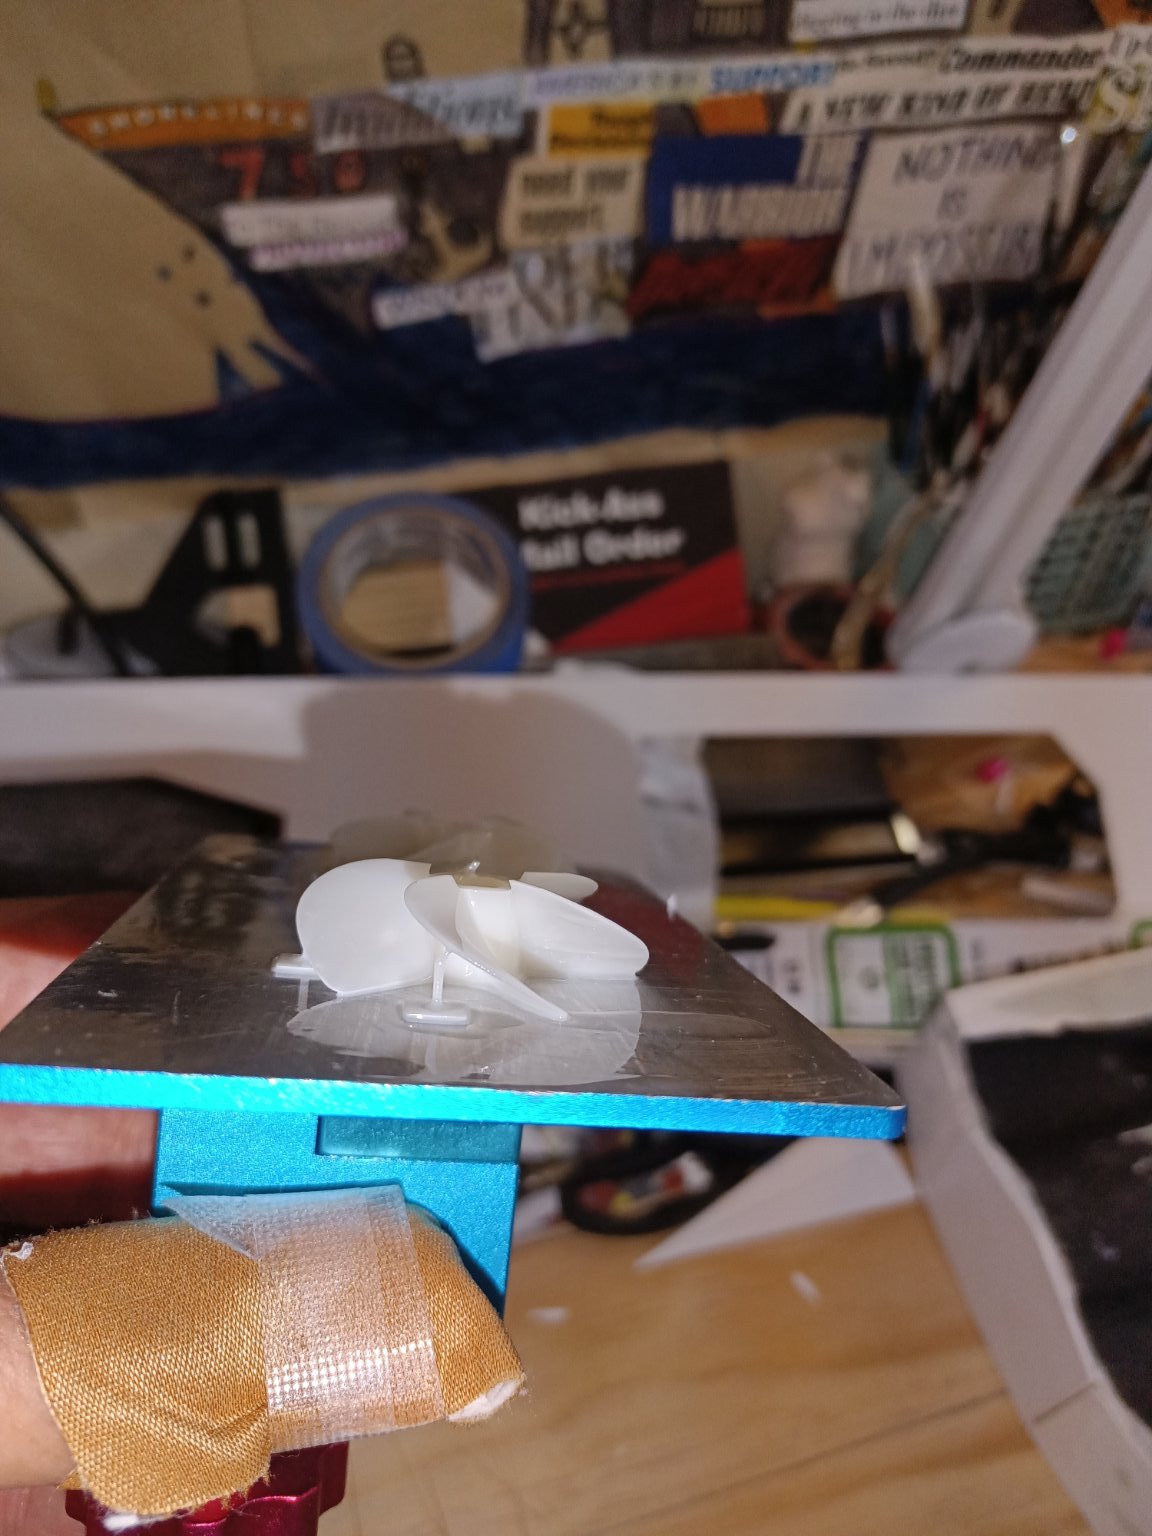
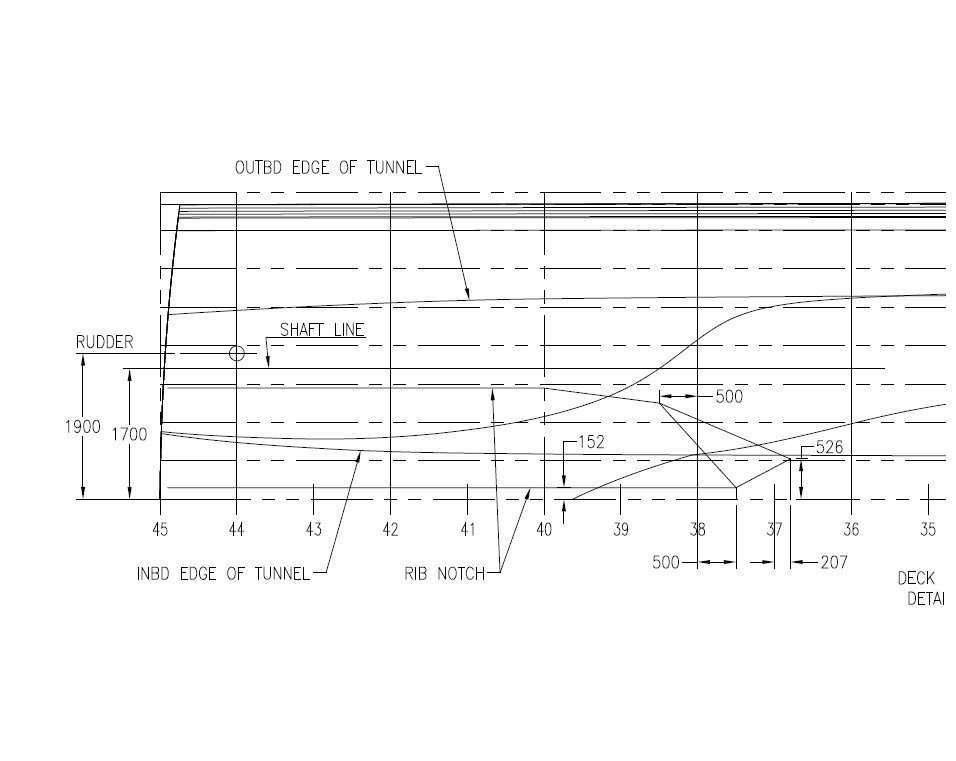
I created a couple of 3D print files today. The props on the FRC's are four bladed. I have seen various photos of the real ships but several of them seem to look different. I settled on the 4 blade model attached here as an .obj file. This kit comes with NO PROPS so you are welcome! In addition I needed two decently scaled rudders to replace the brass flat plate and copper tube stock that Dumas included. While the rudder I made (on the computer) is still not perfect to my liking I will be playing with it. I started the print about 20 minutes ago for the rudder so I want to see if the file is viable in the real world at this point. In 1/48 the rudder from tip to hull protrusion should be about 19mm high. The fore and aft length should be similar at around 17mm at its widest. propeller.obj Rudder final scale.stl
-
I have been laying out the rudders. The kit clearly makes some changes from the original cutter for R/C operation. I looked at the actual line drawings of the cutter and see that the rudders are very far back on the actual ship. I scaled the drawing up from 1:50 to 1:48 which is what the kit scale as. The picture I took was of where the kit says to put the rudders stocks.
-
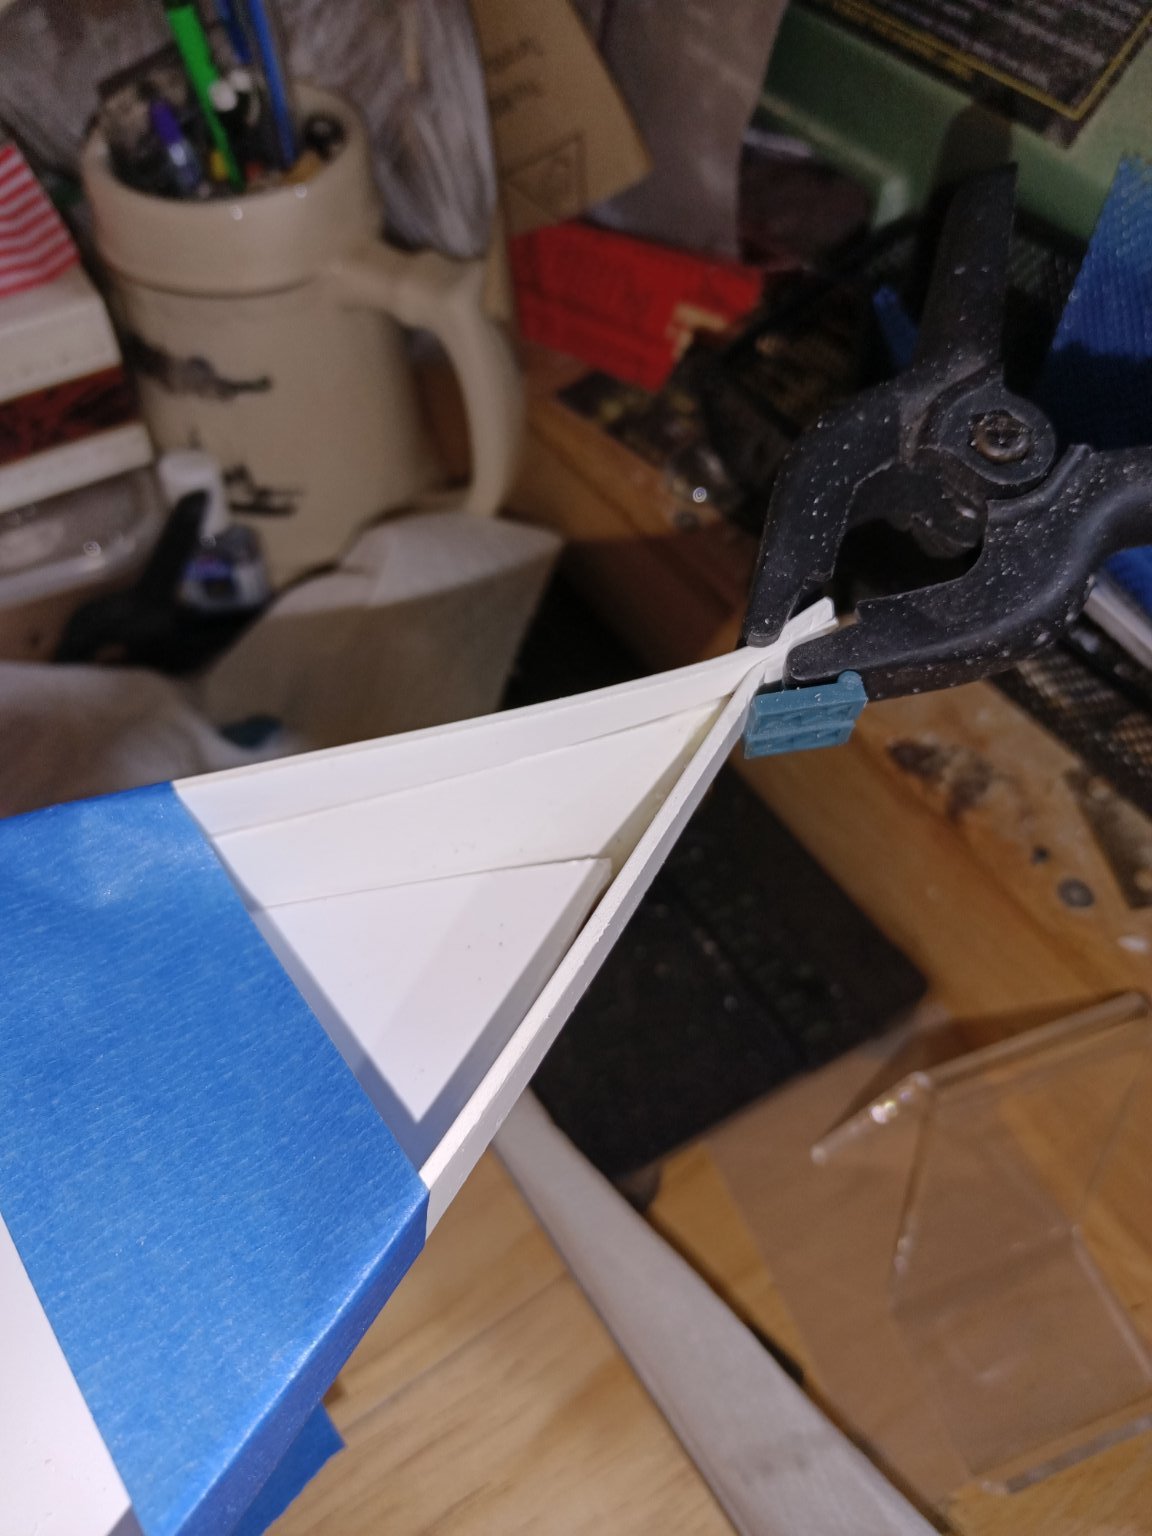
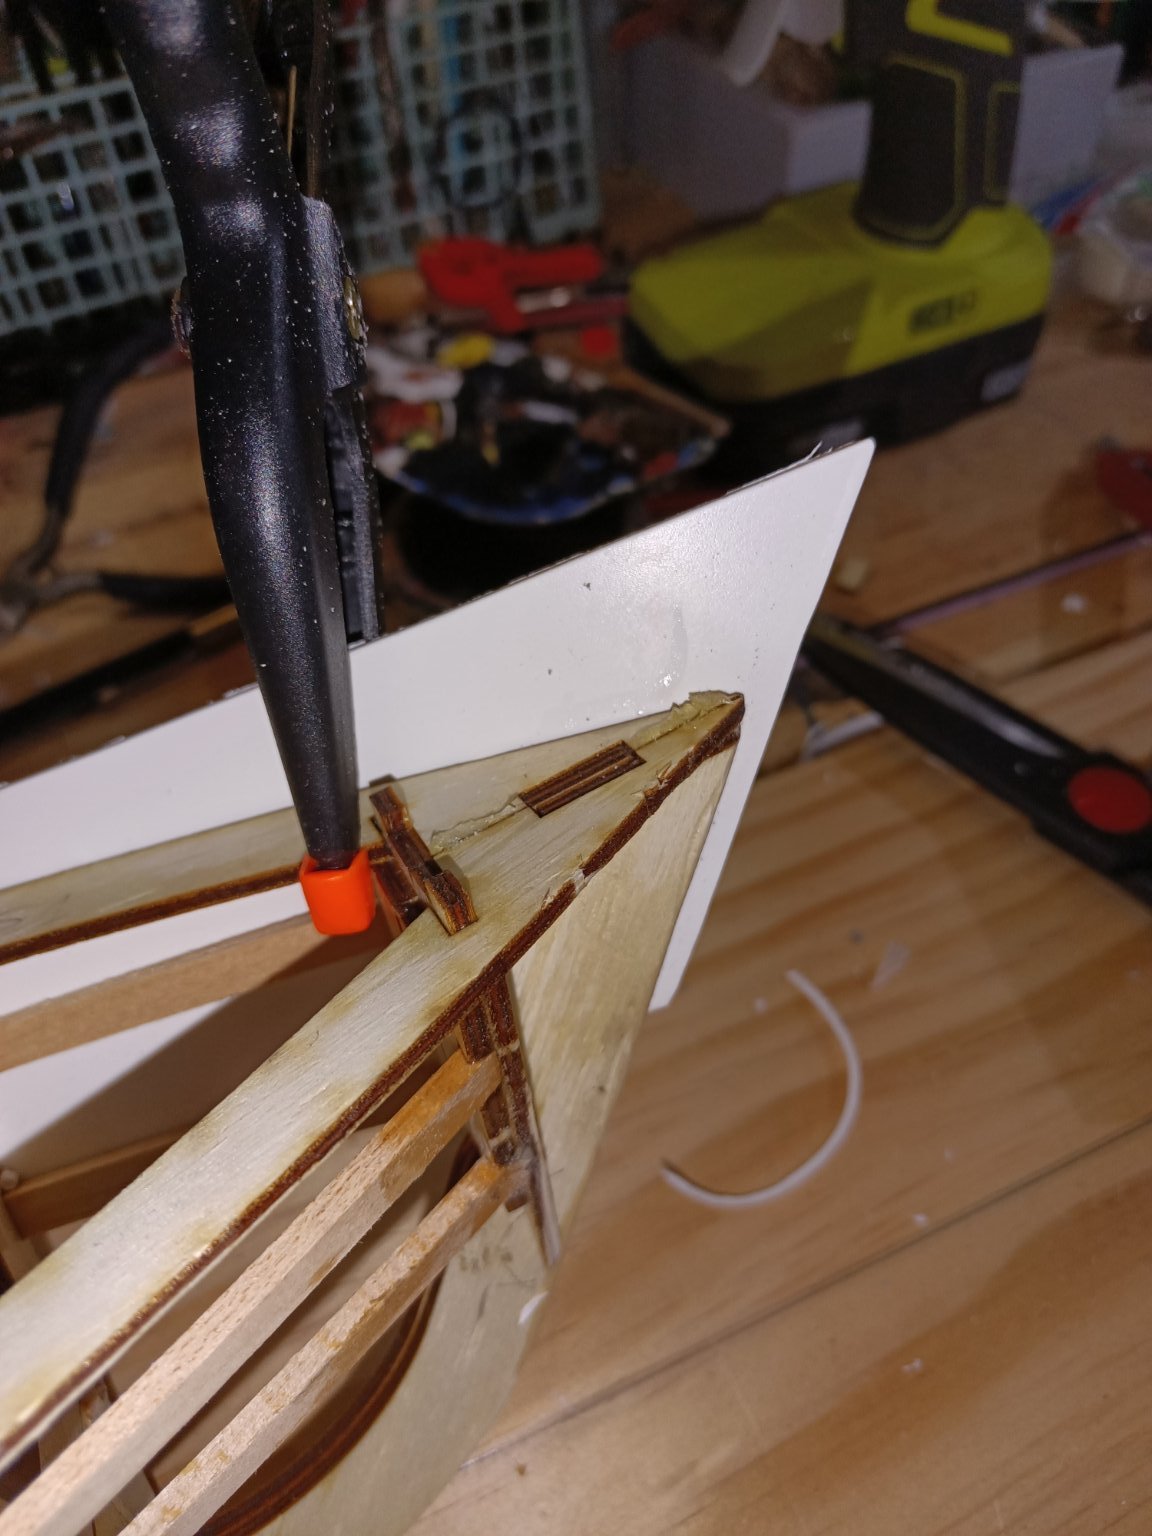
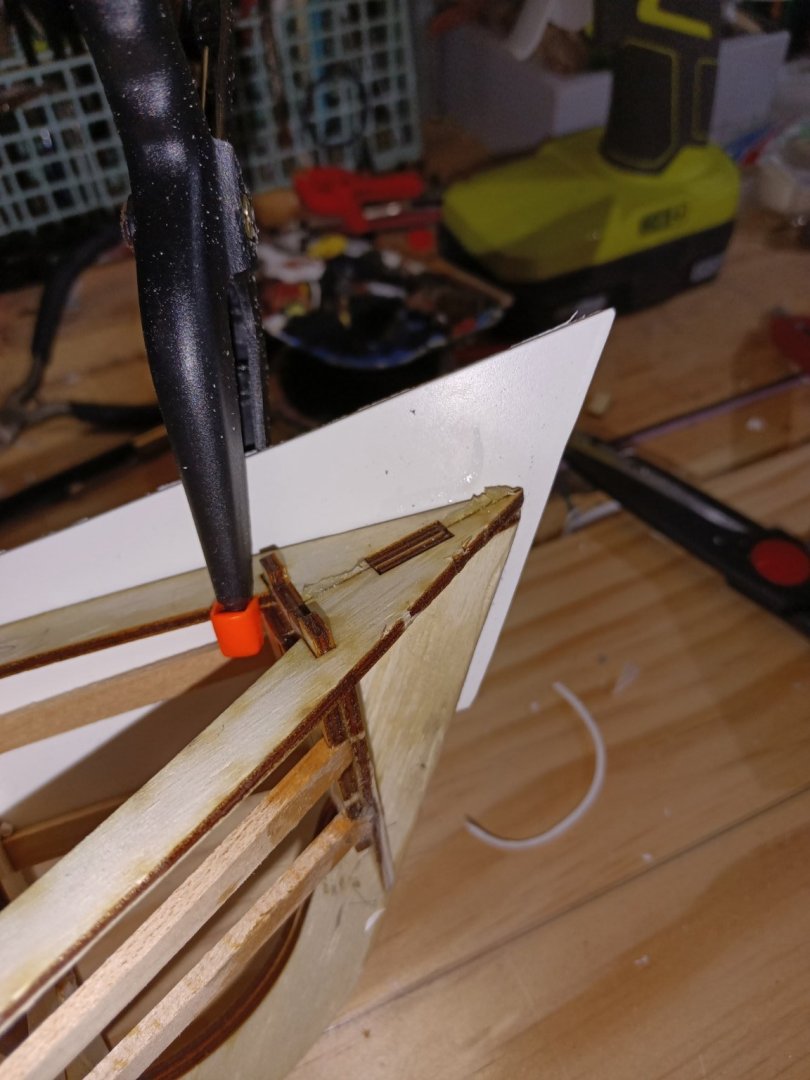
The final bow rail pieces were fitted. There is a jig provided in the kit to true these up relative to the deck. Since both pieces extend beyond the stem I decided to simply bend the plastic back and use it as a clamping point. The worked well. They boat well in the stern went in fairly easy but your need to do a bunch of angle tapering to get it to fit. The plans say to sand the pieces flush with the frames. I highly encourage you to do this prior to glueing them in.


-
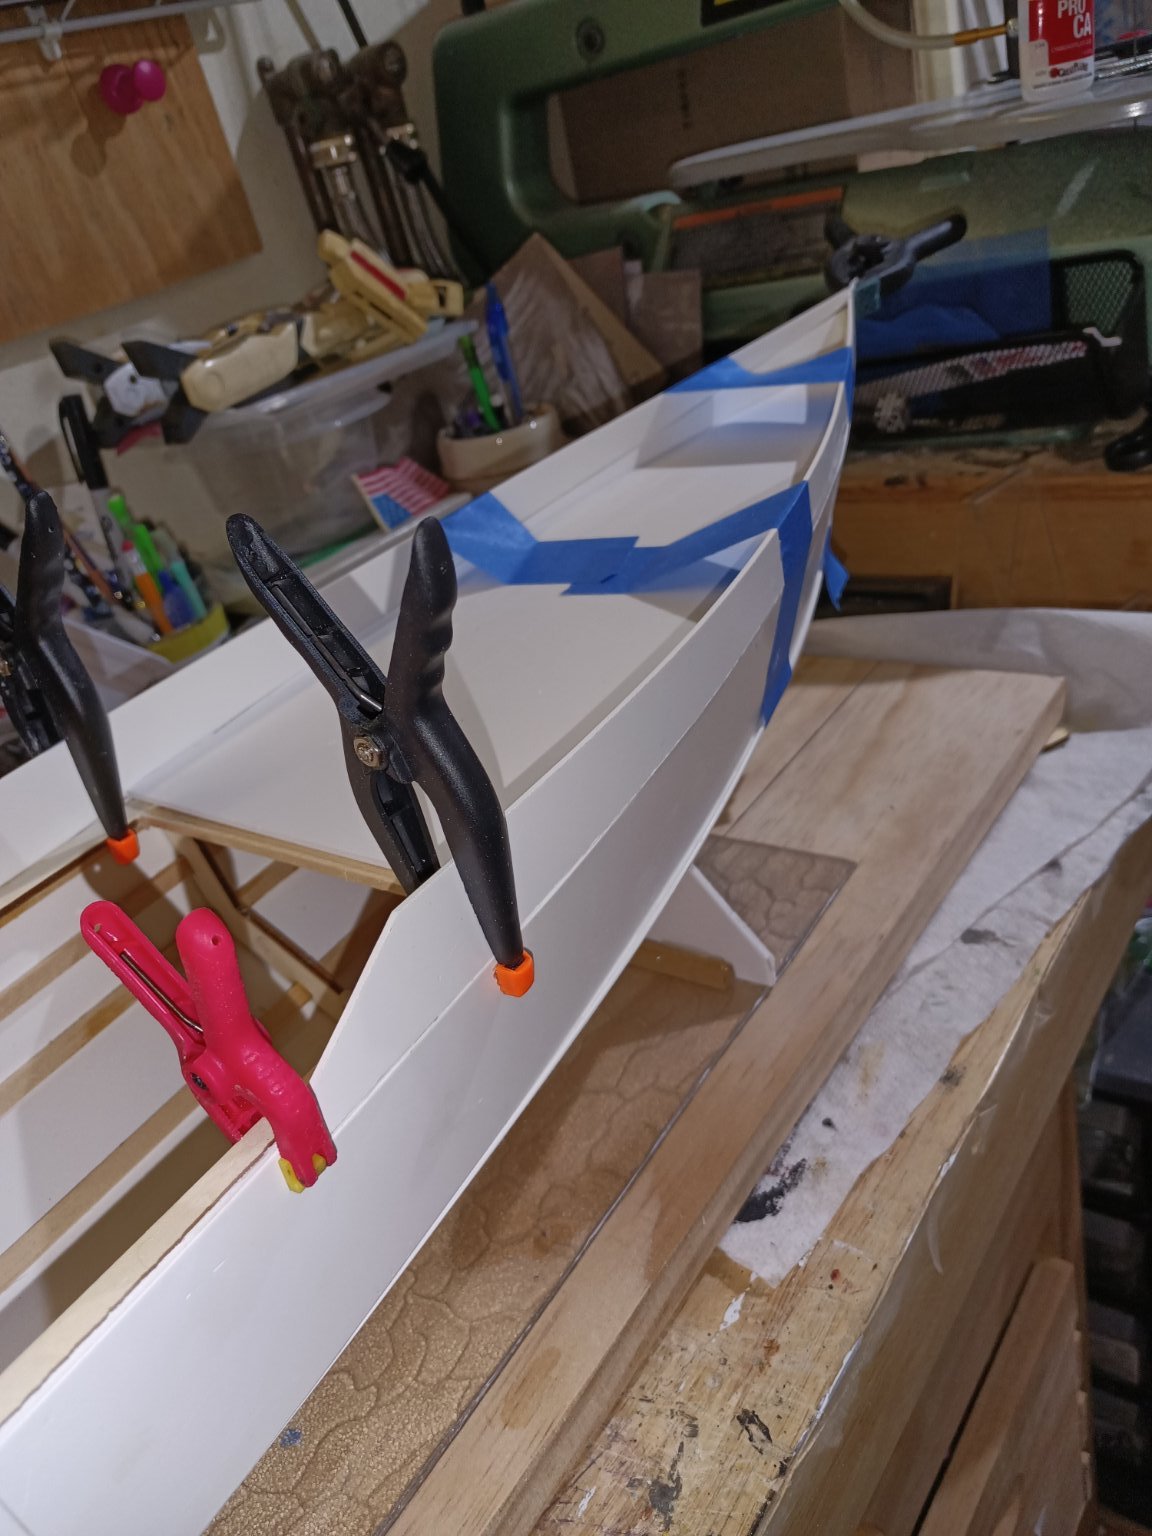
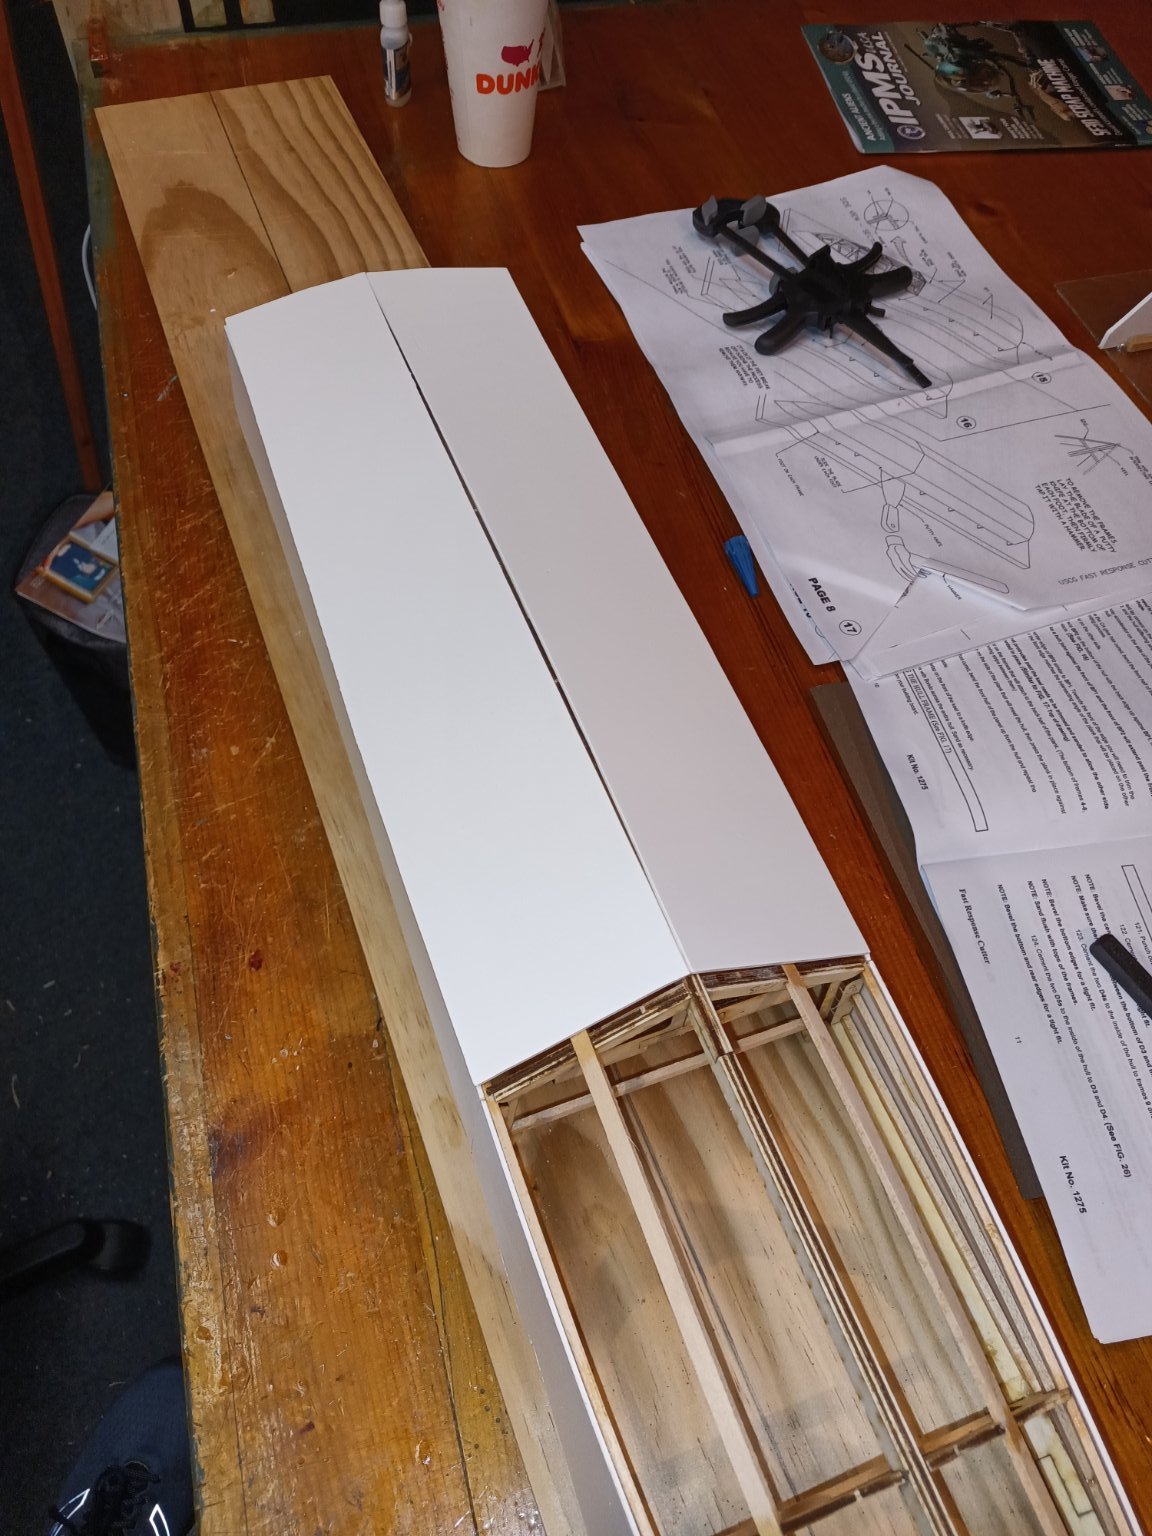
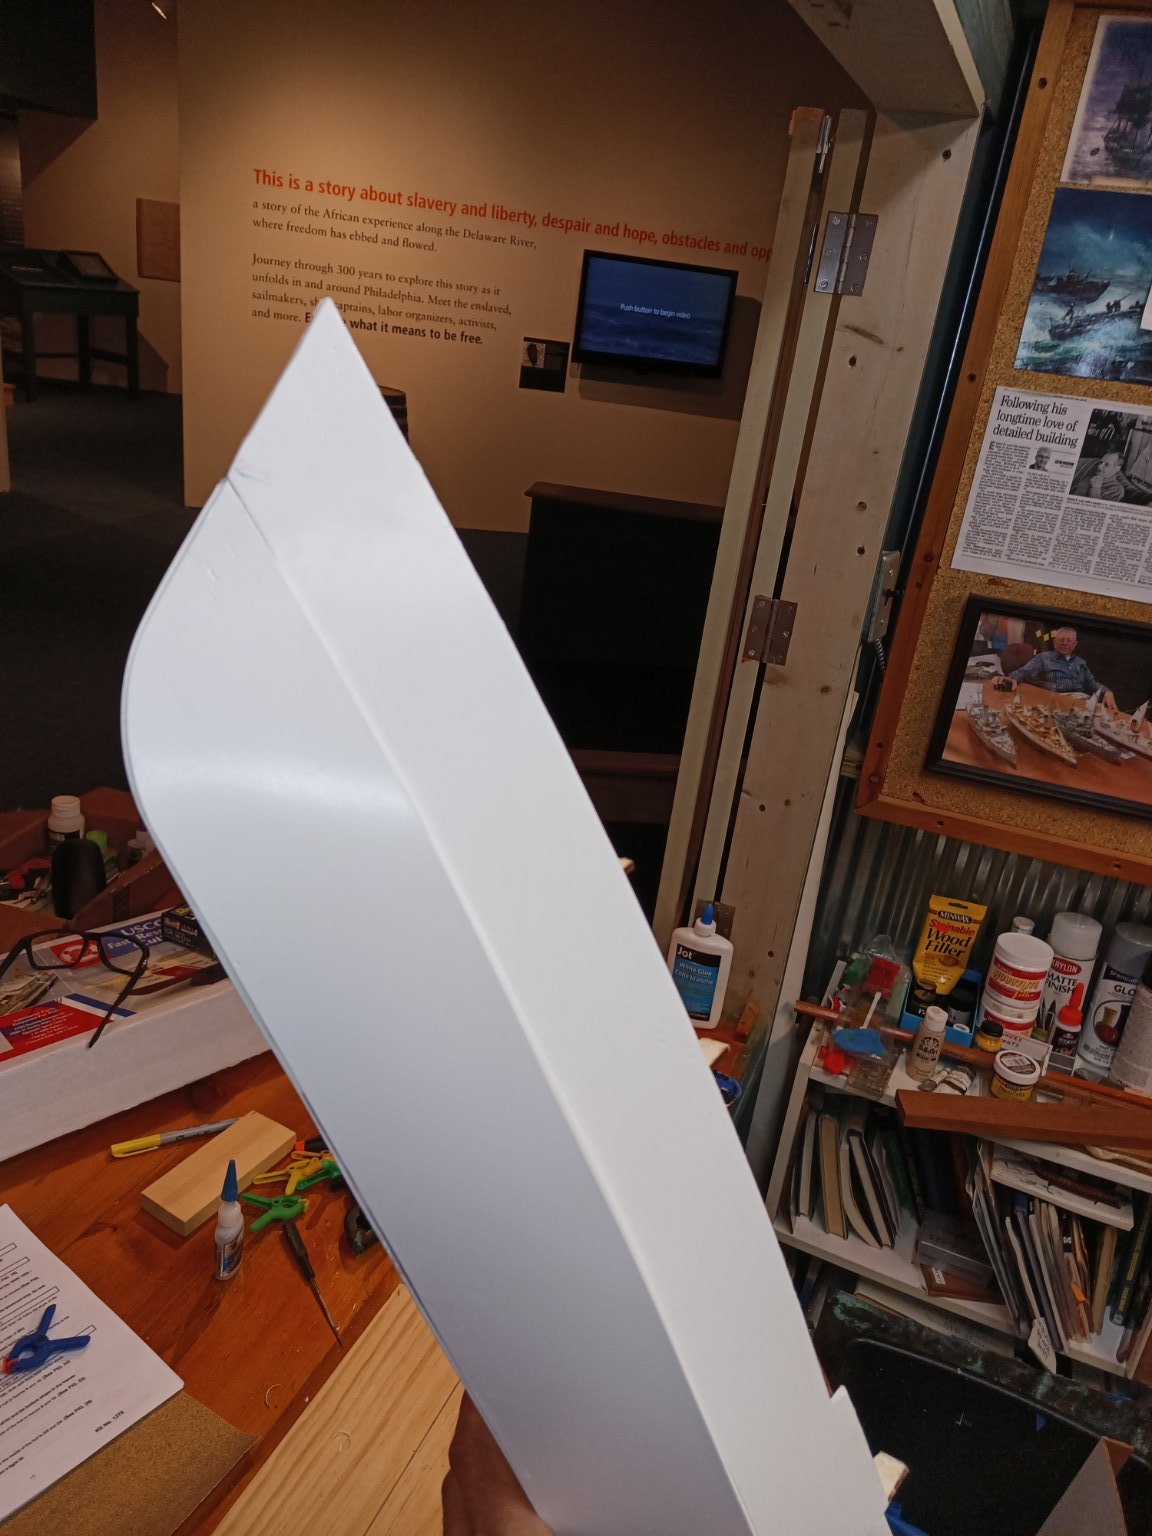
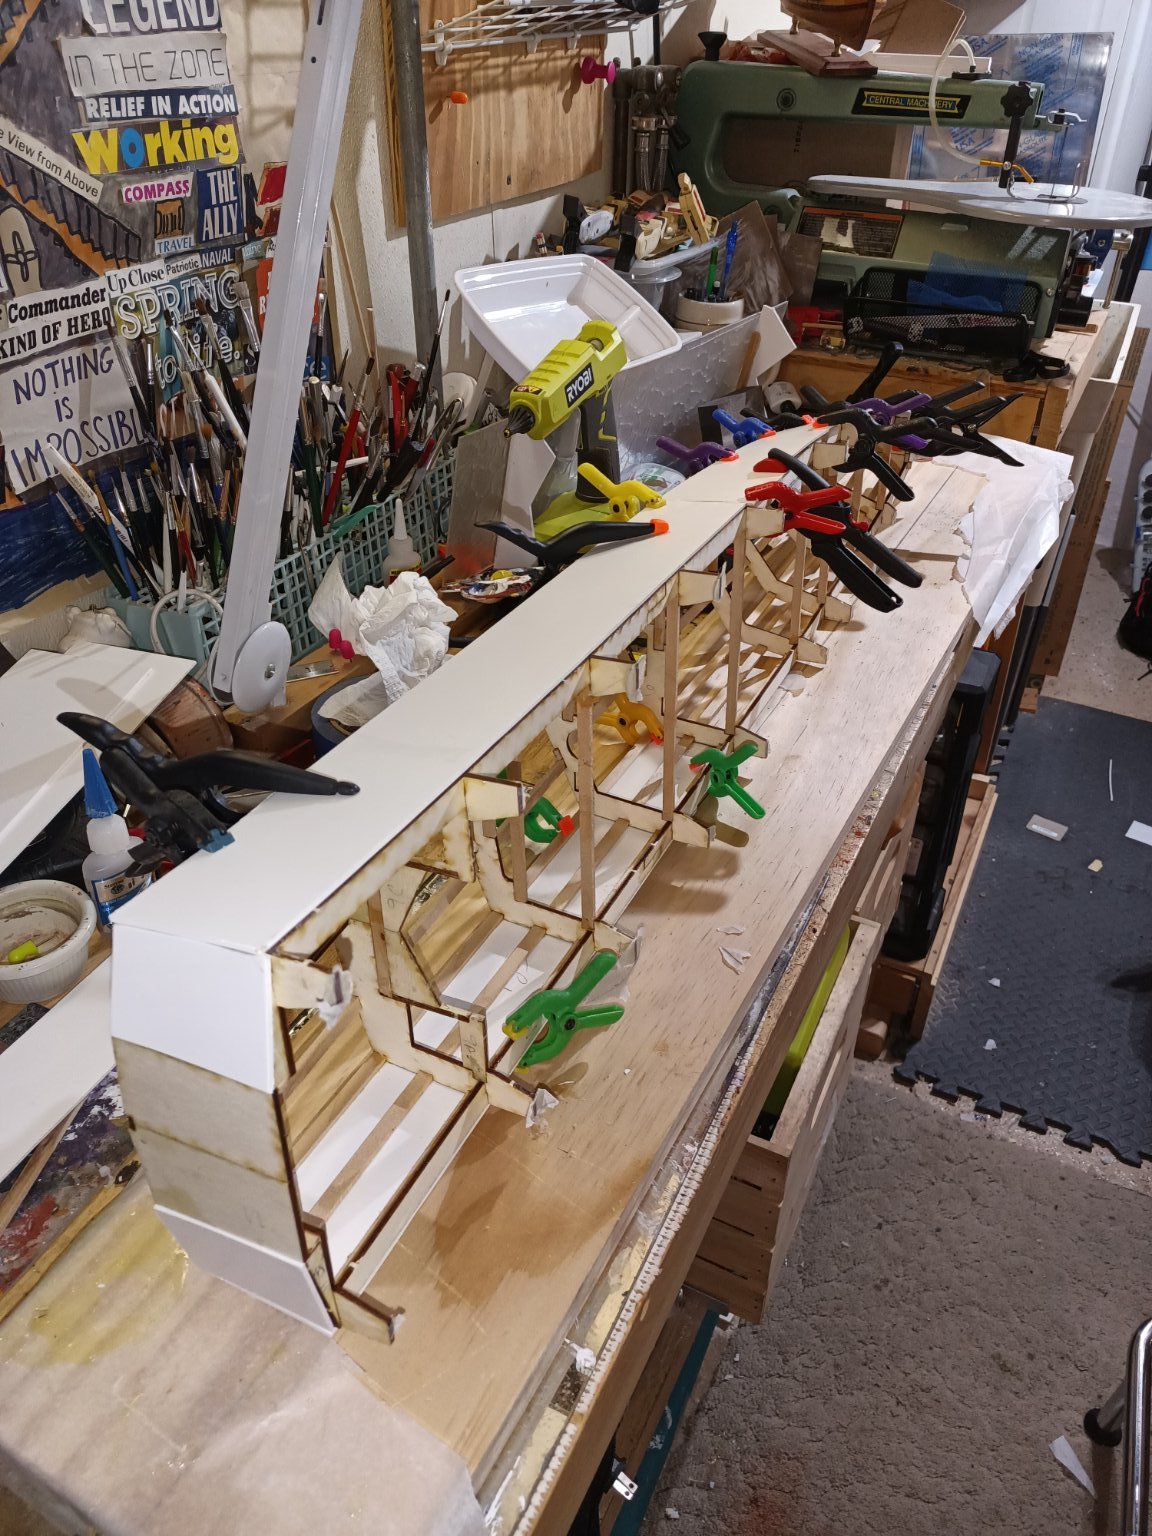
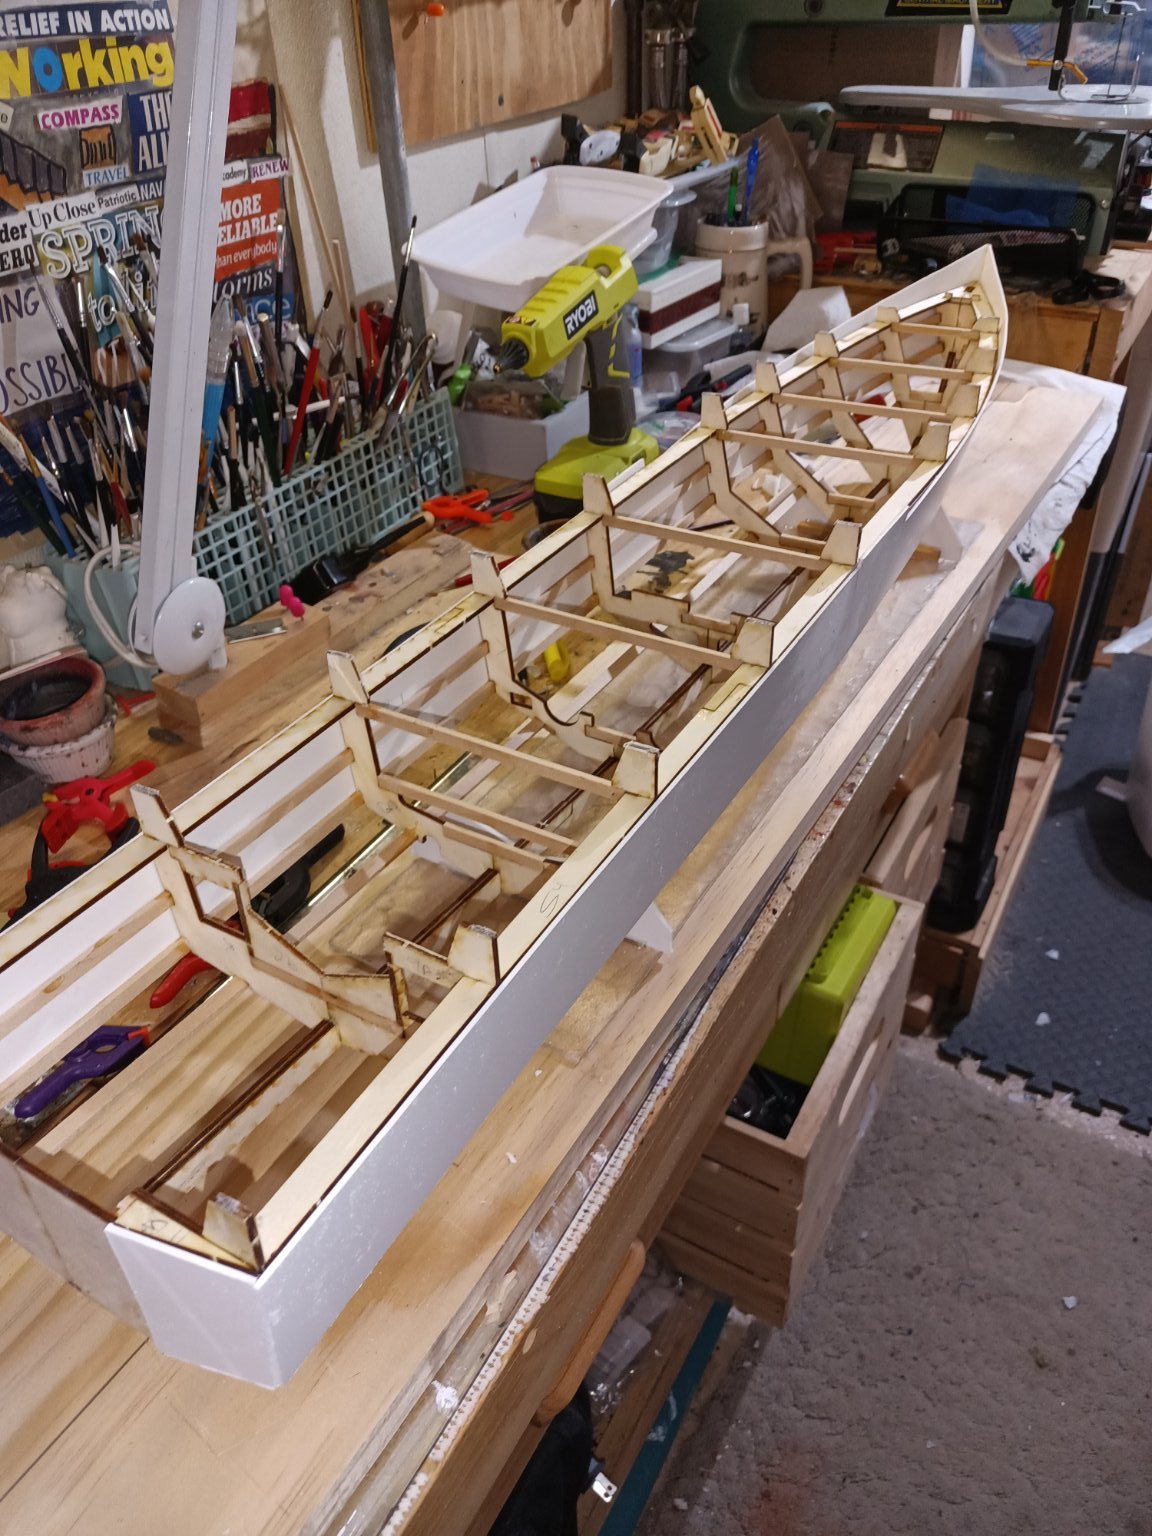
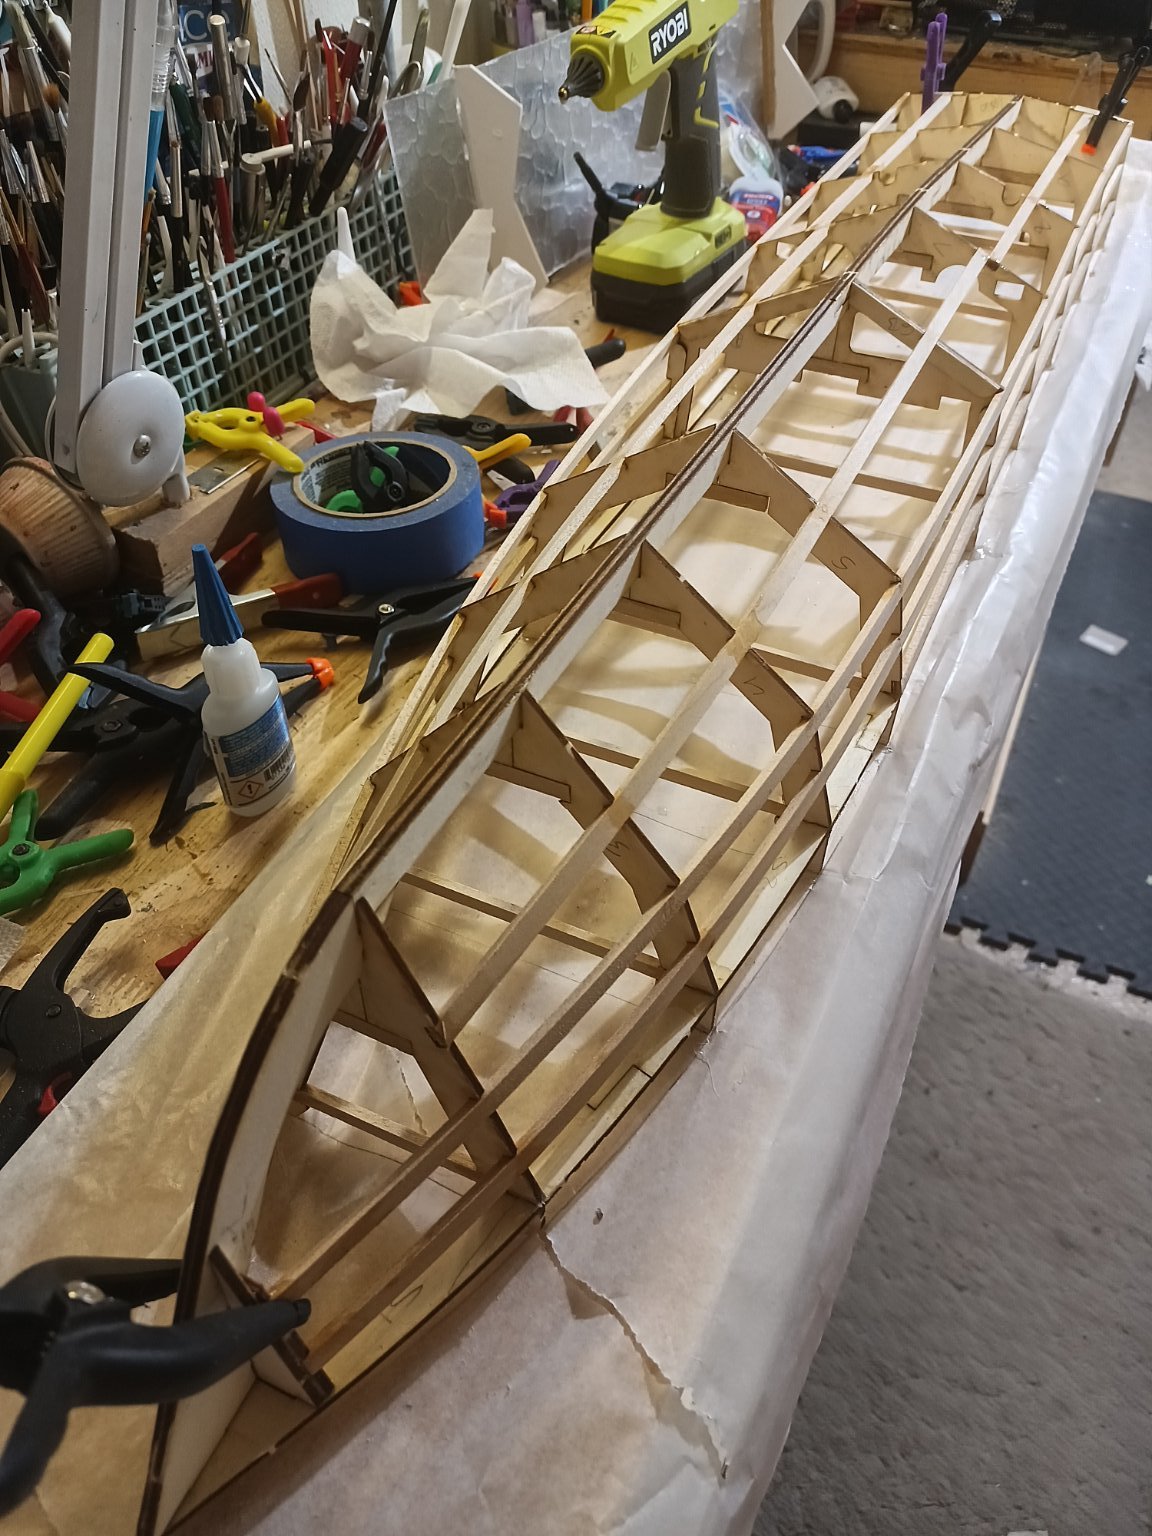
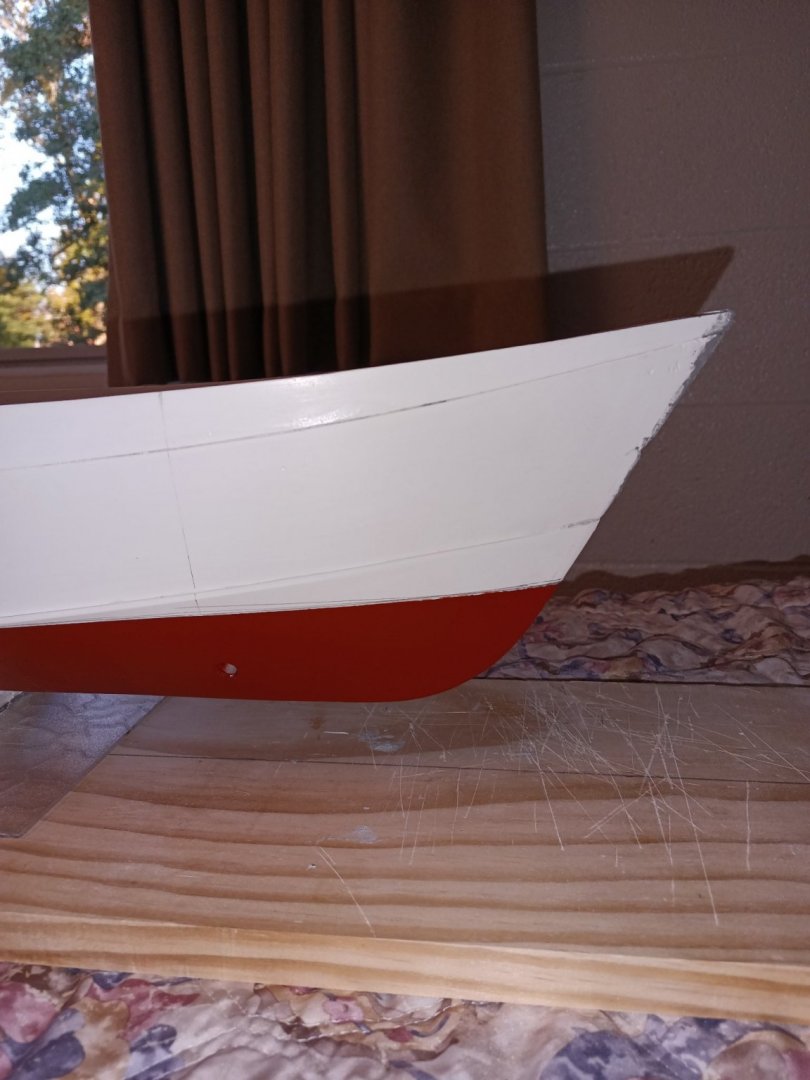
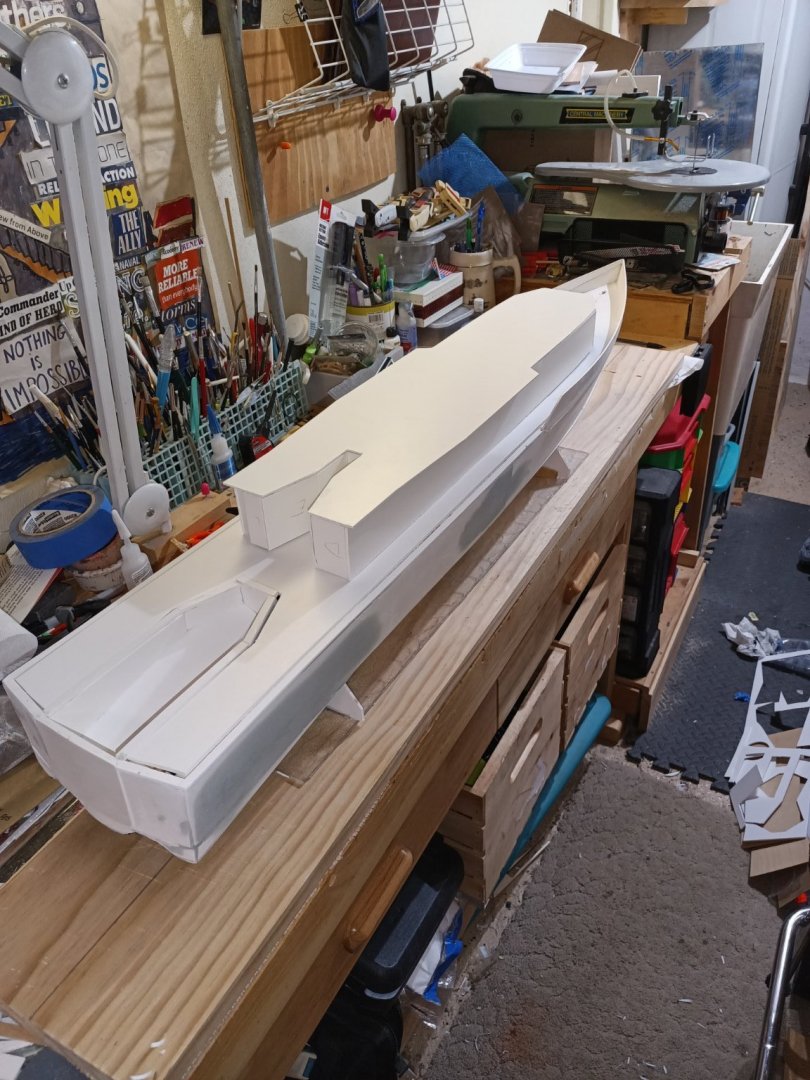
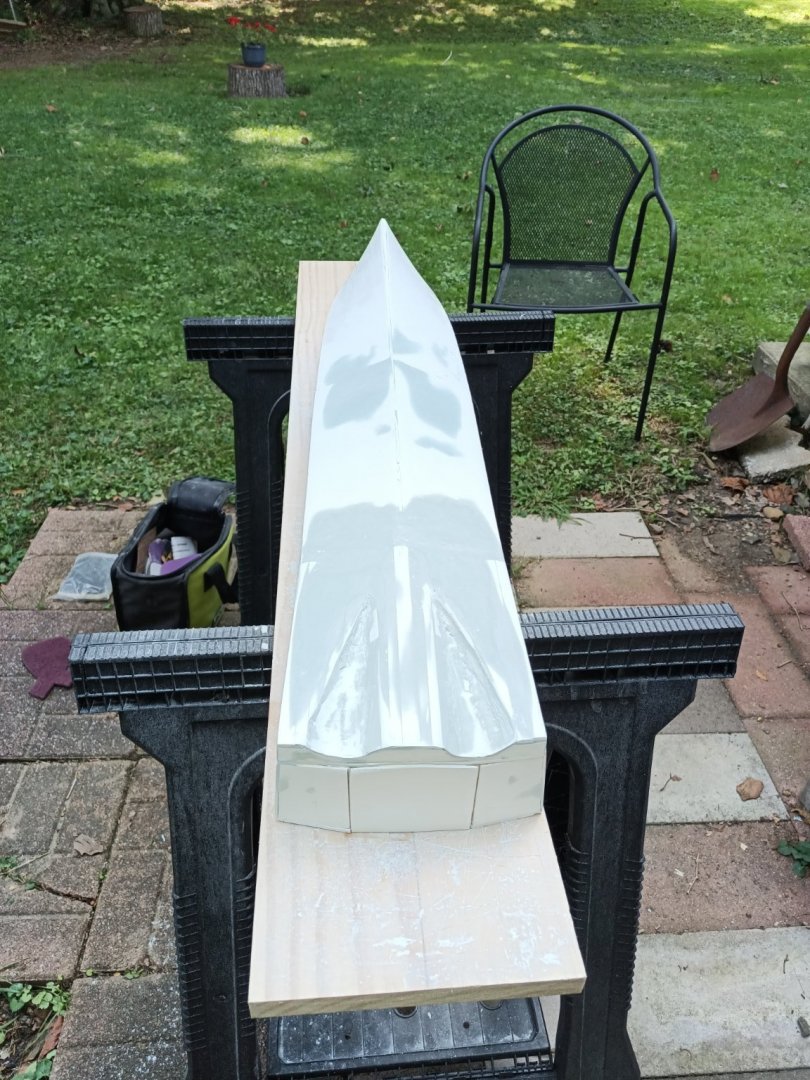
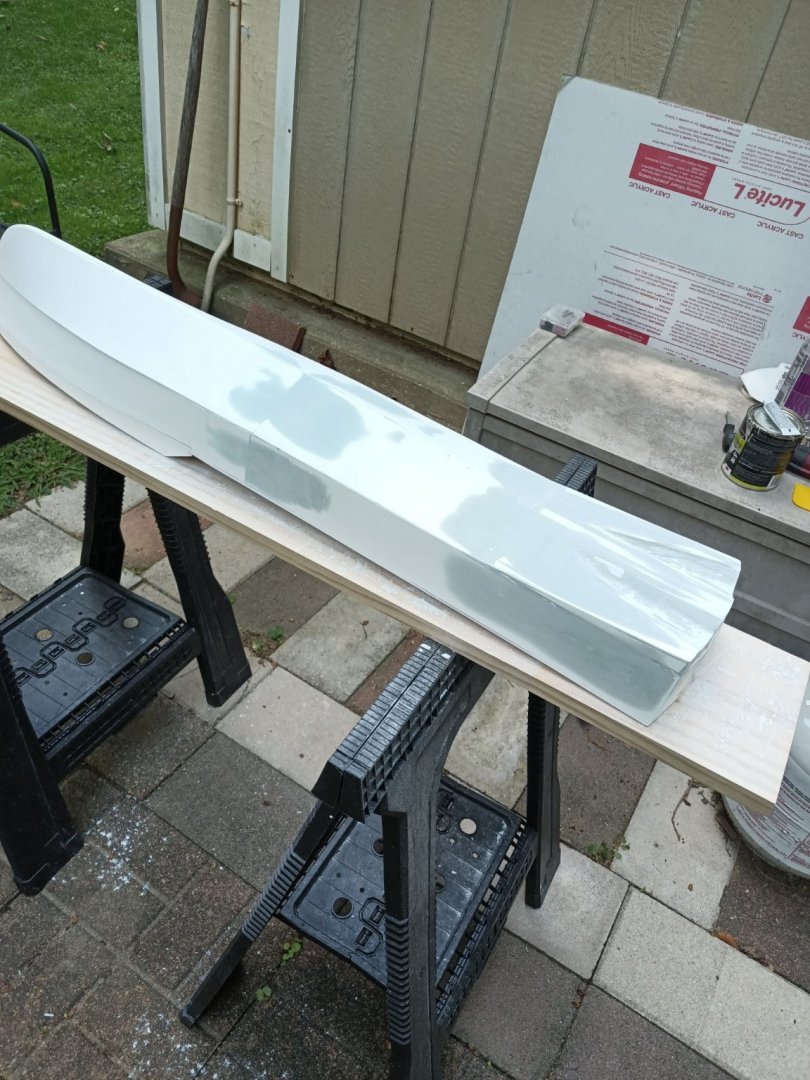
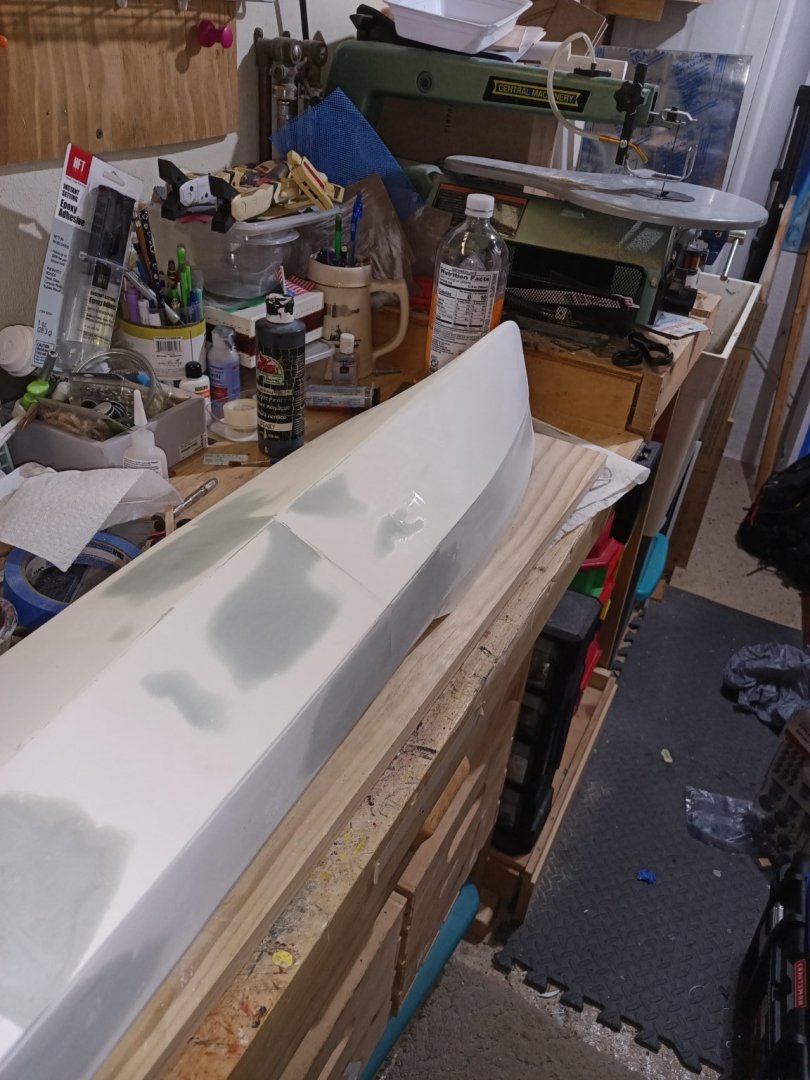
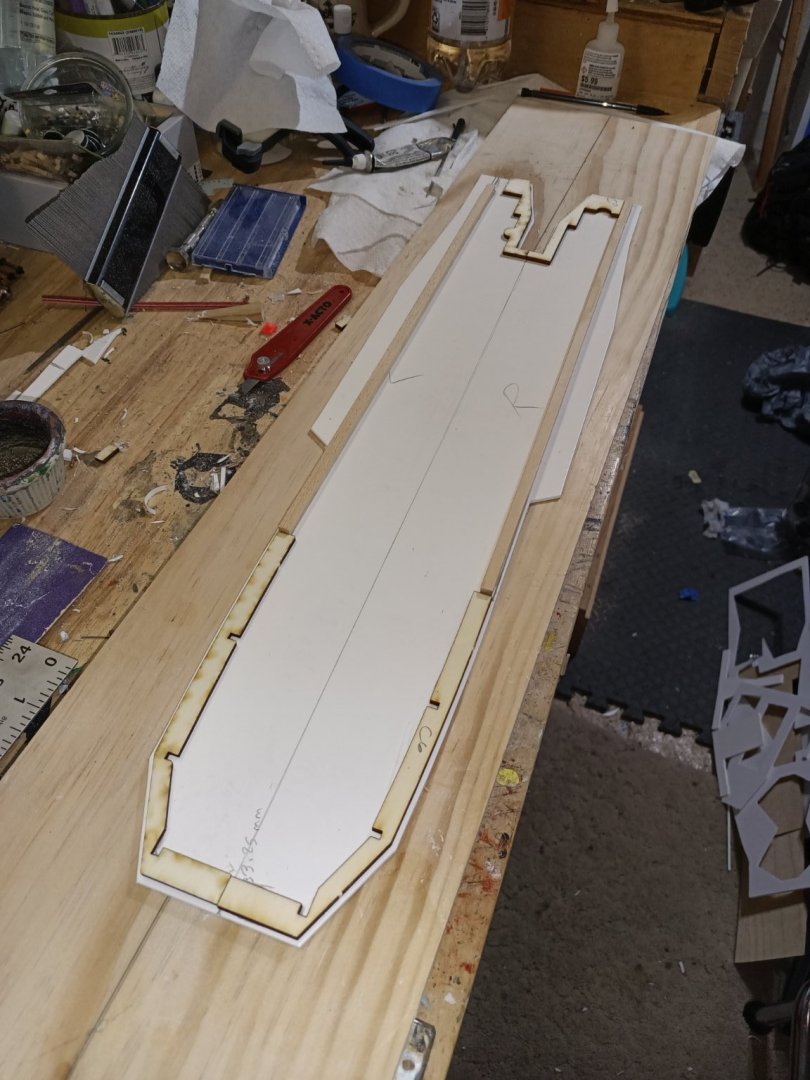
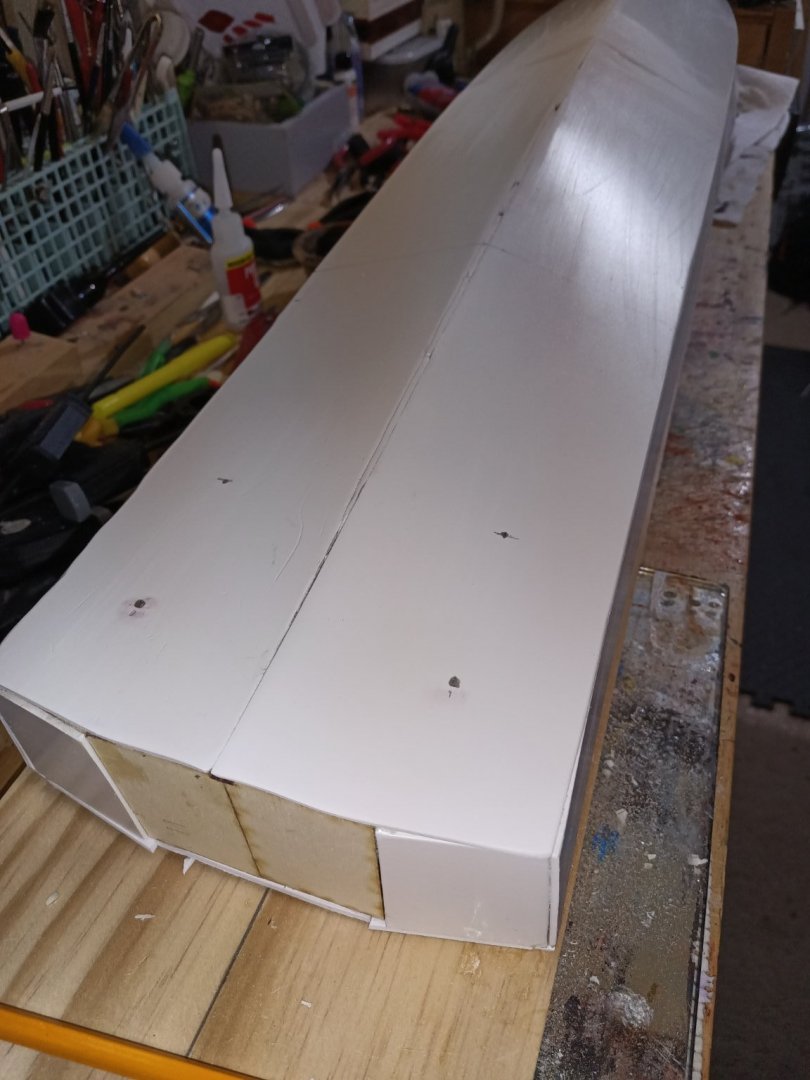
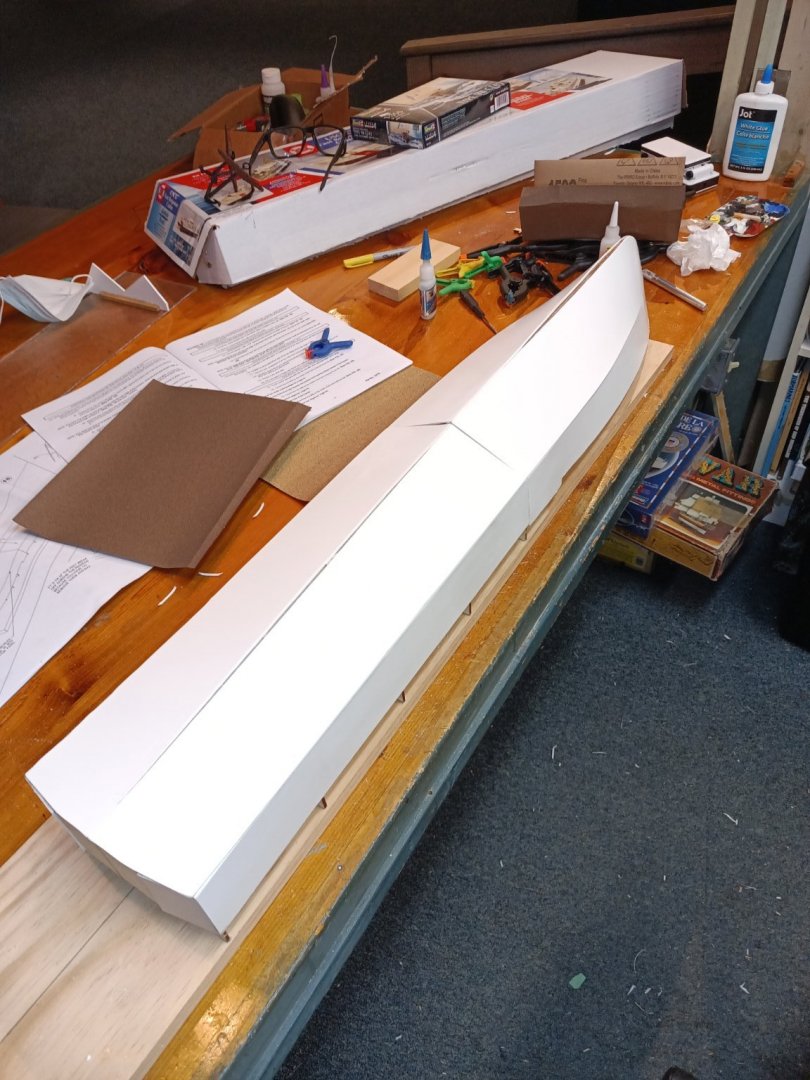
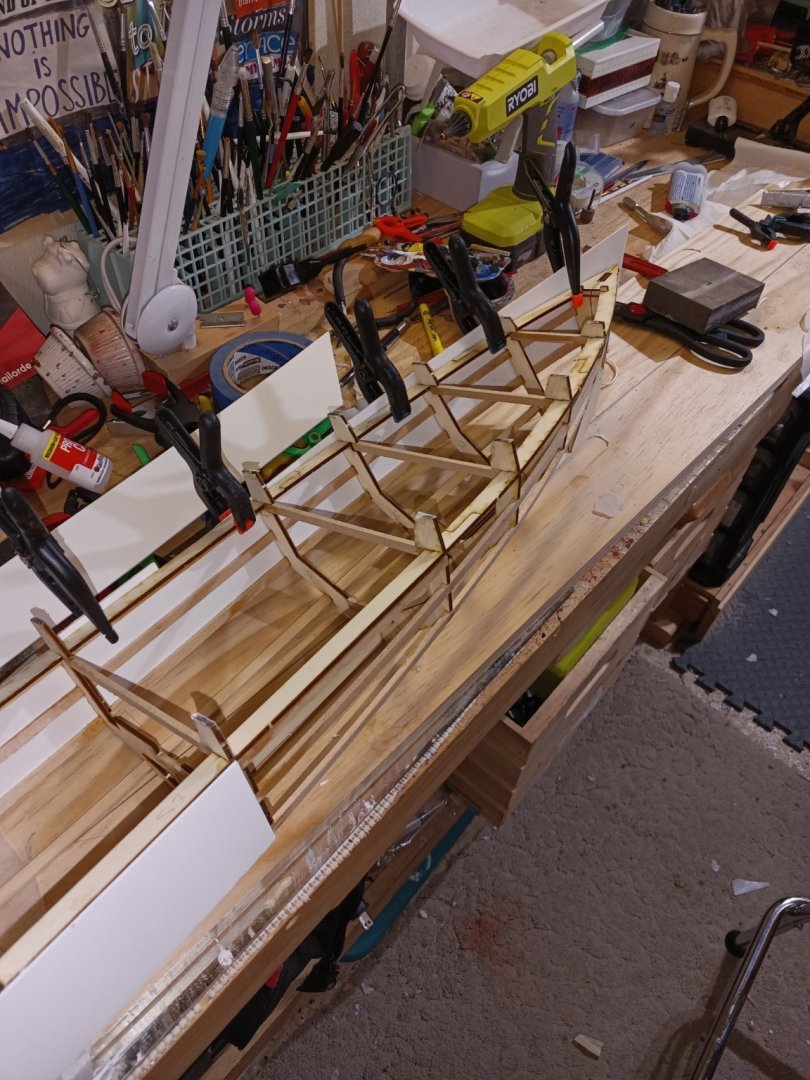
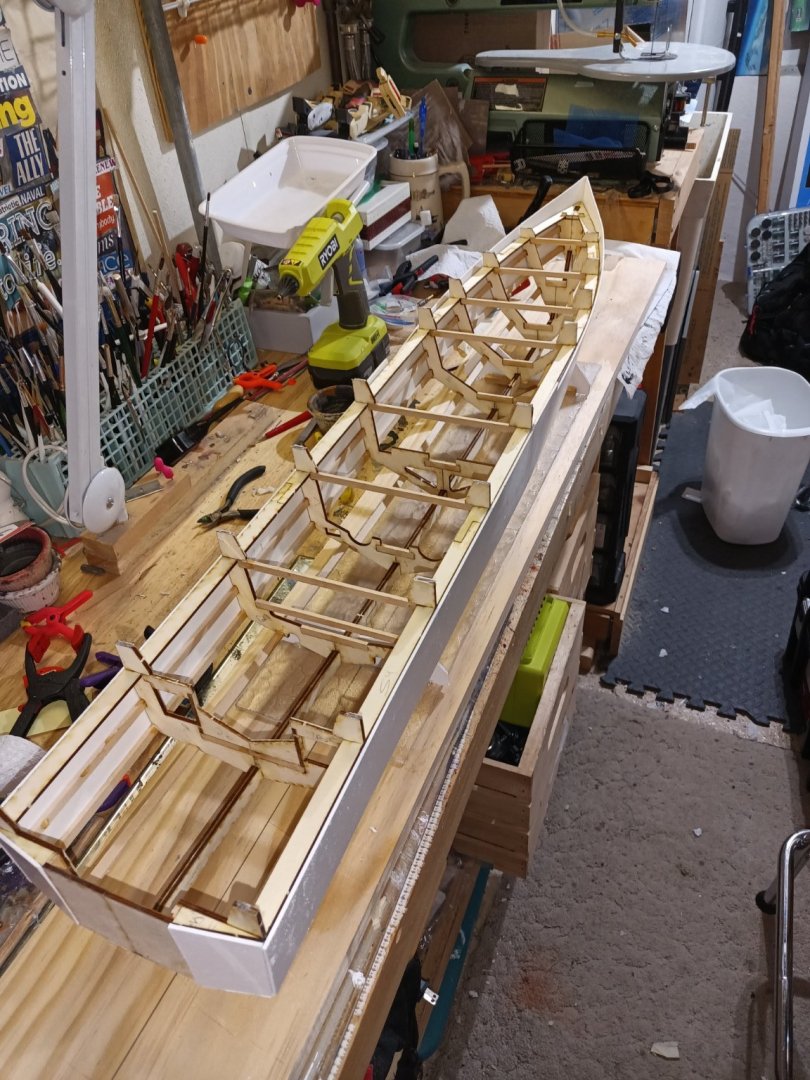
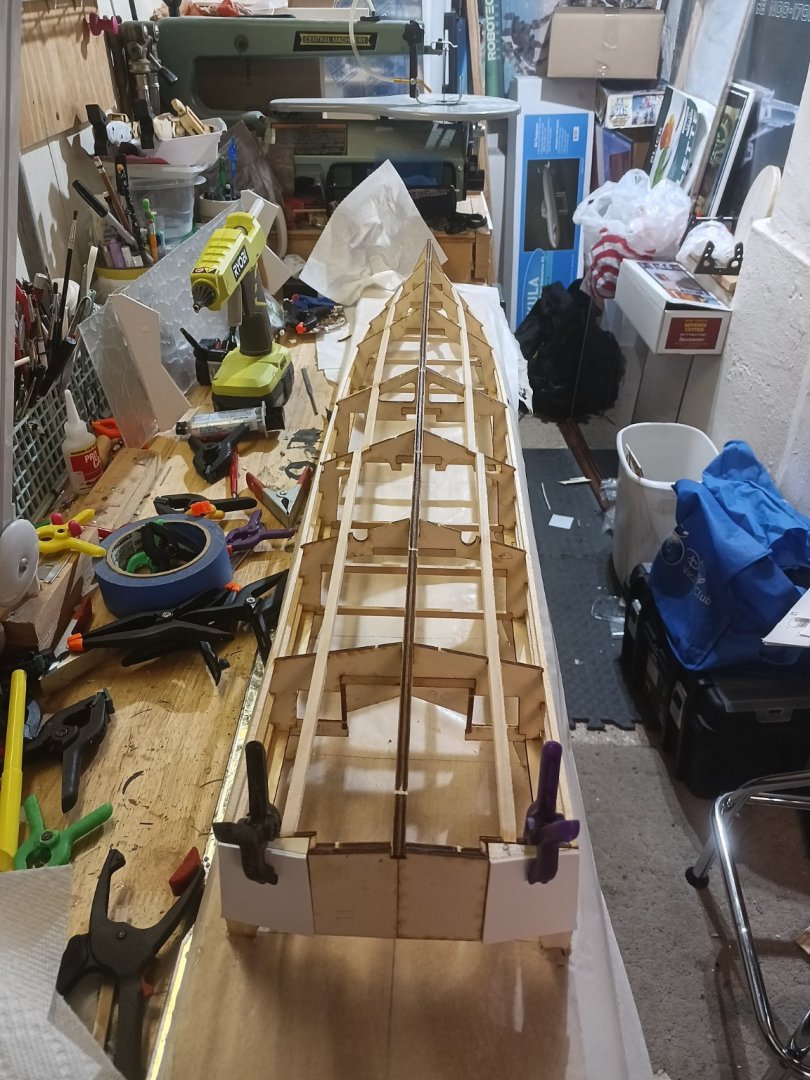
Hull sheeting complete today. I will need to use some filler despite a nice fit up.


-
I had to take the kids to visit the Mouse in Florida and now I am back to the build. The hull is made of ABS plastic so I have been using both epoxy and super glue to post the panels.


-
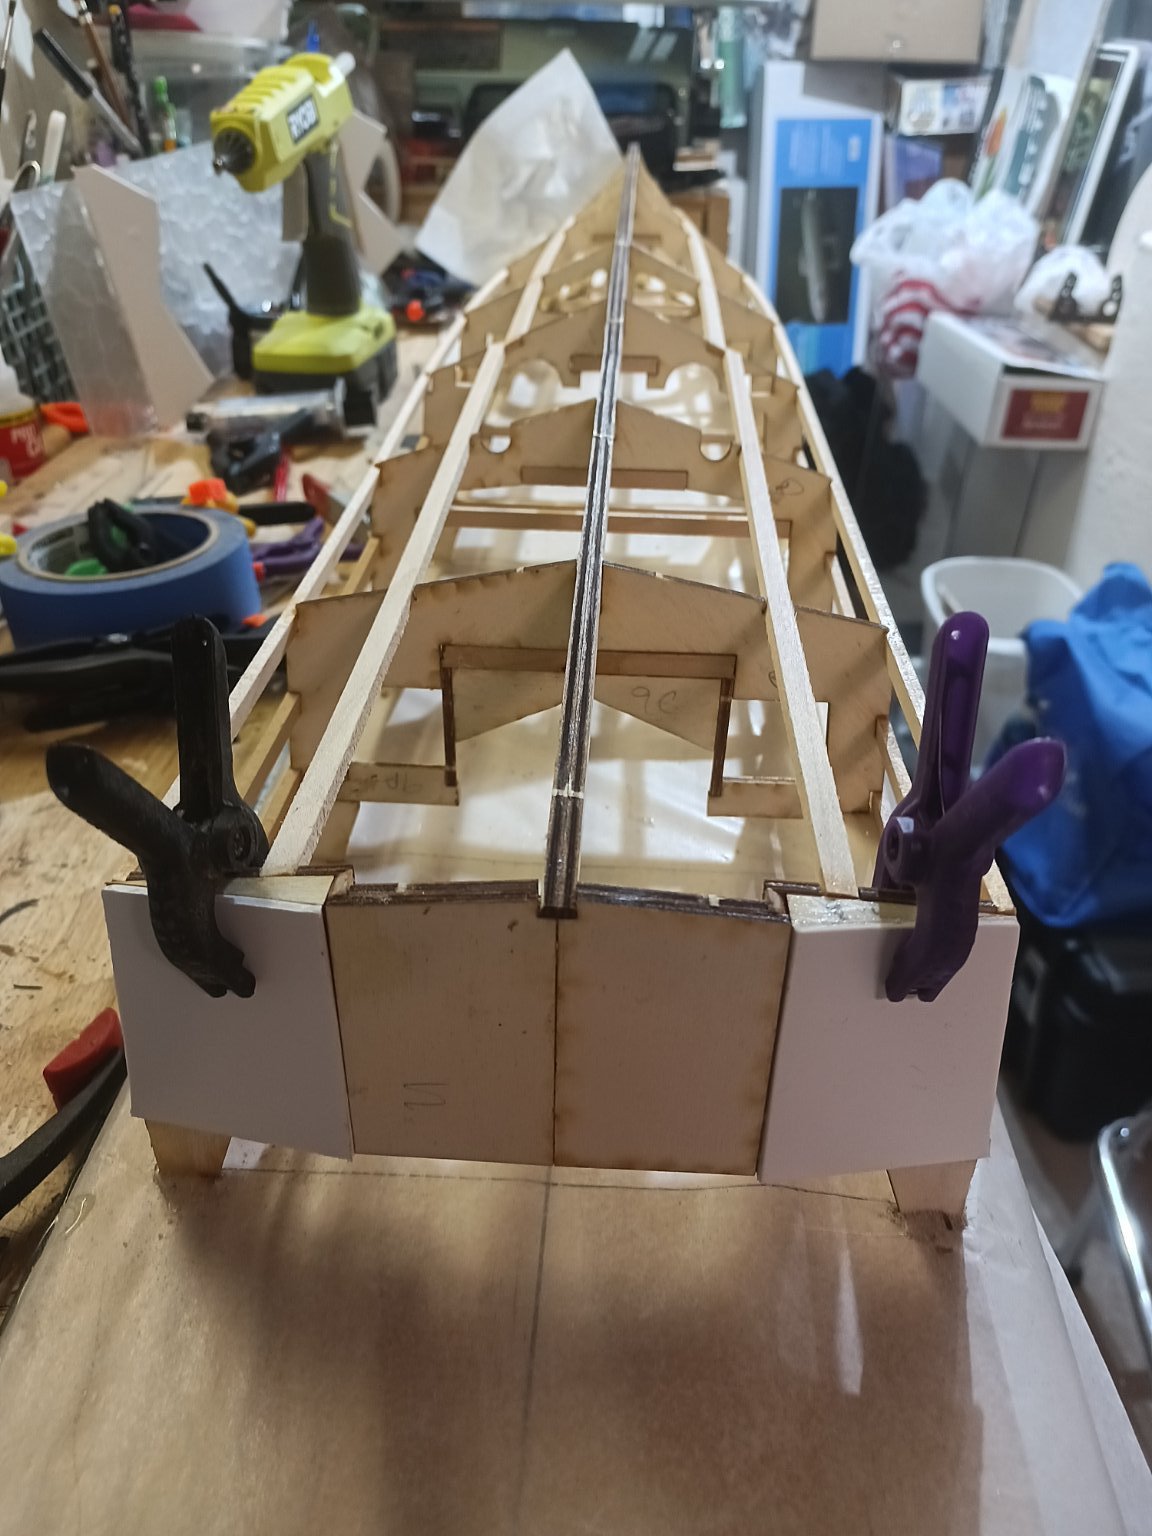
Rear transom pieces attached.


-
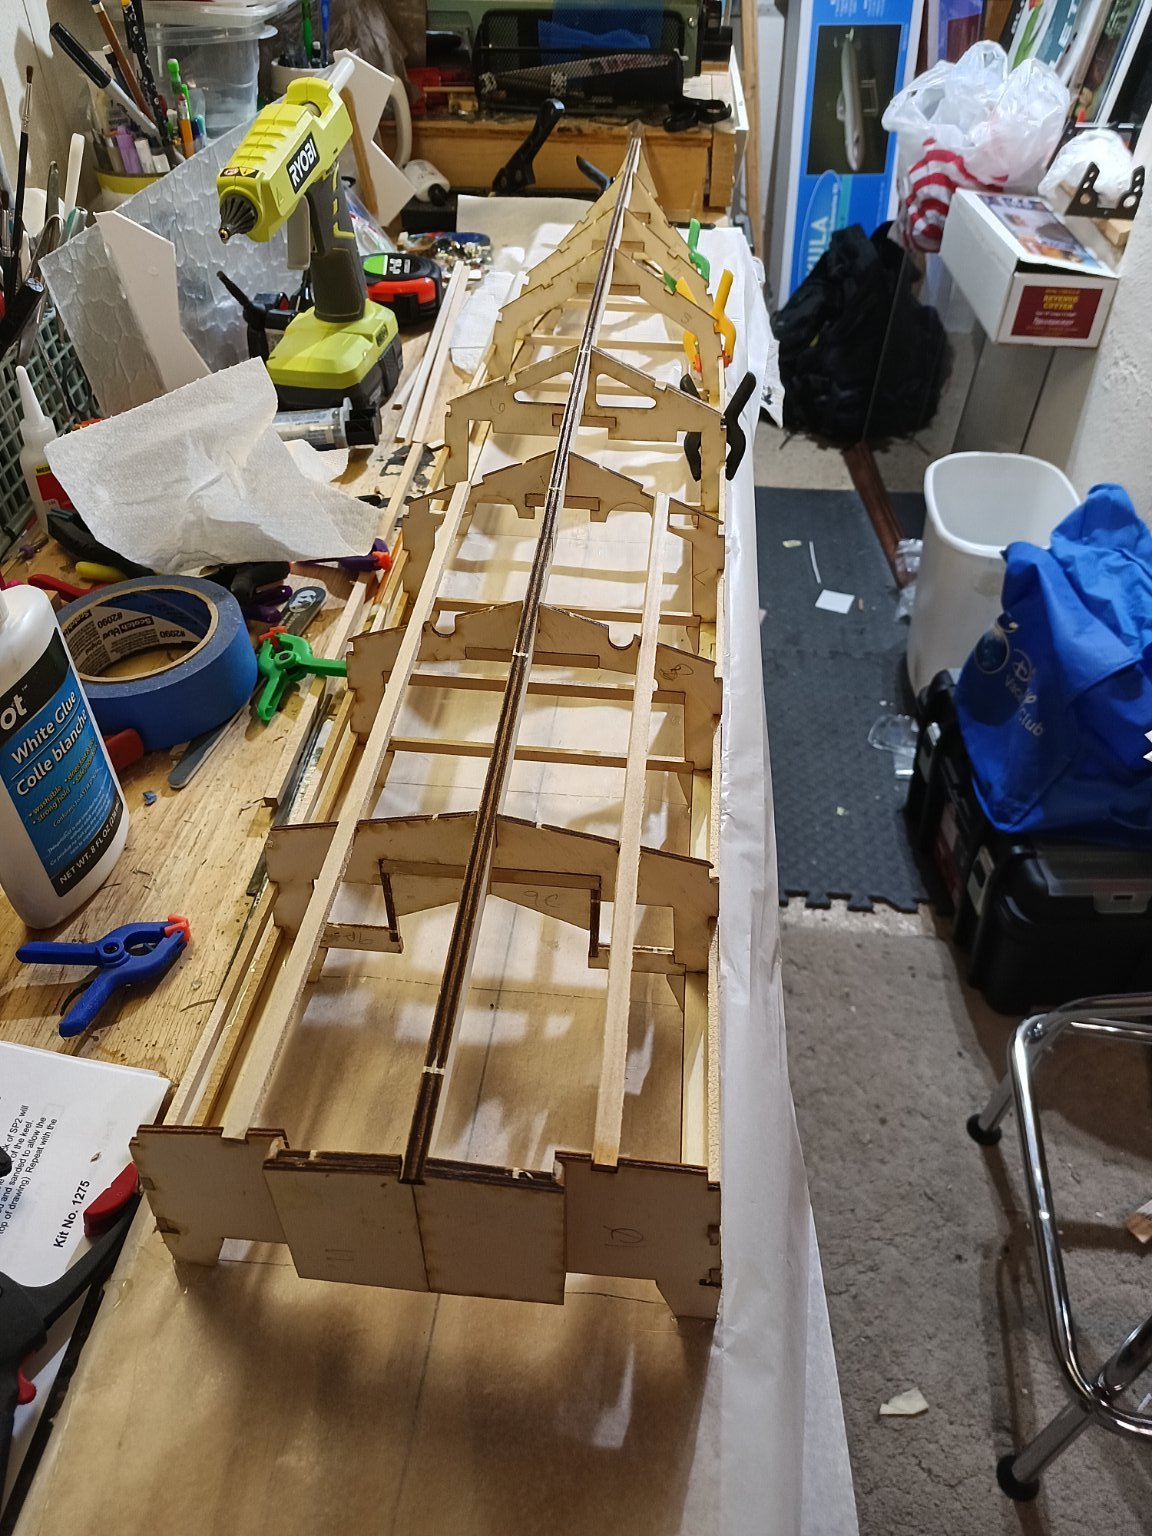
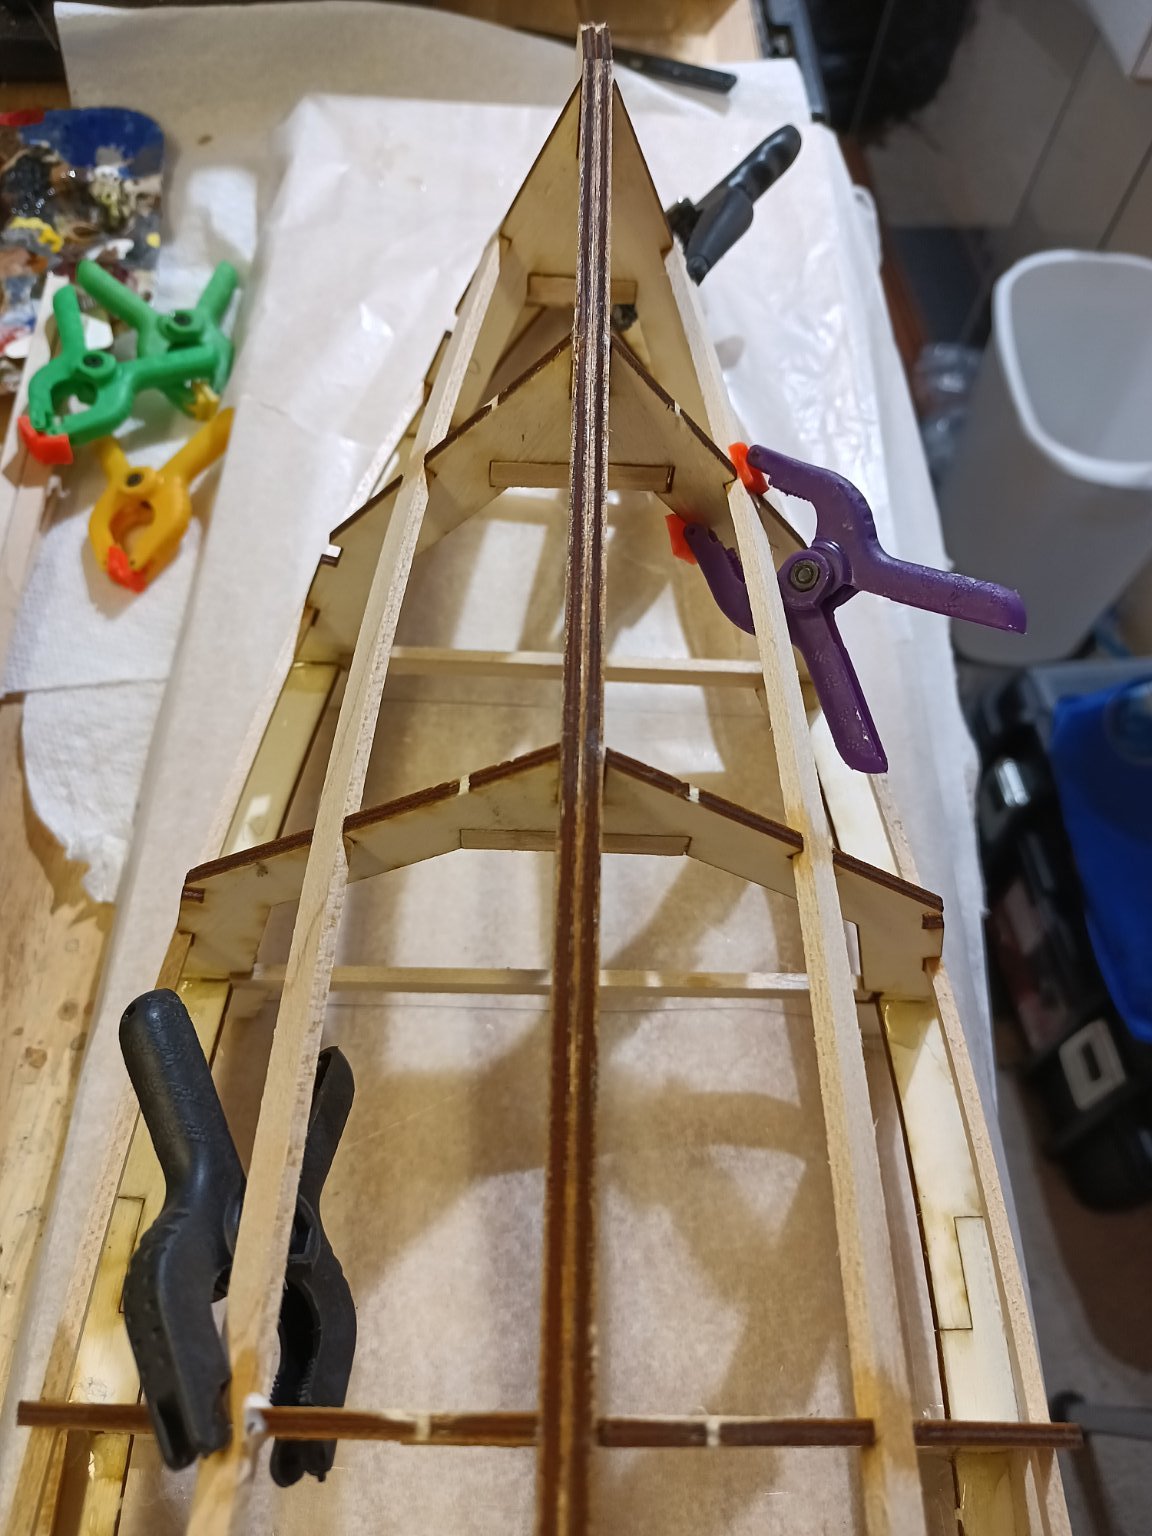
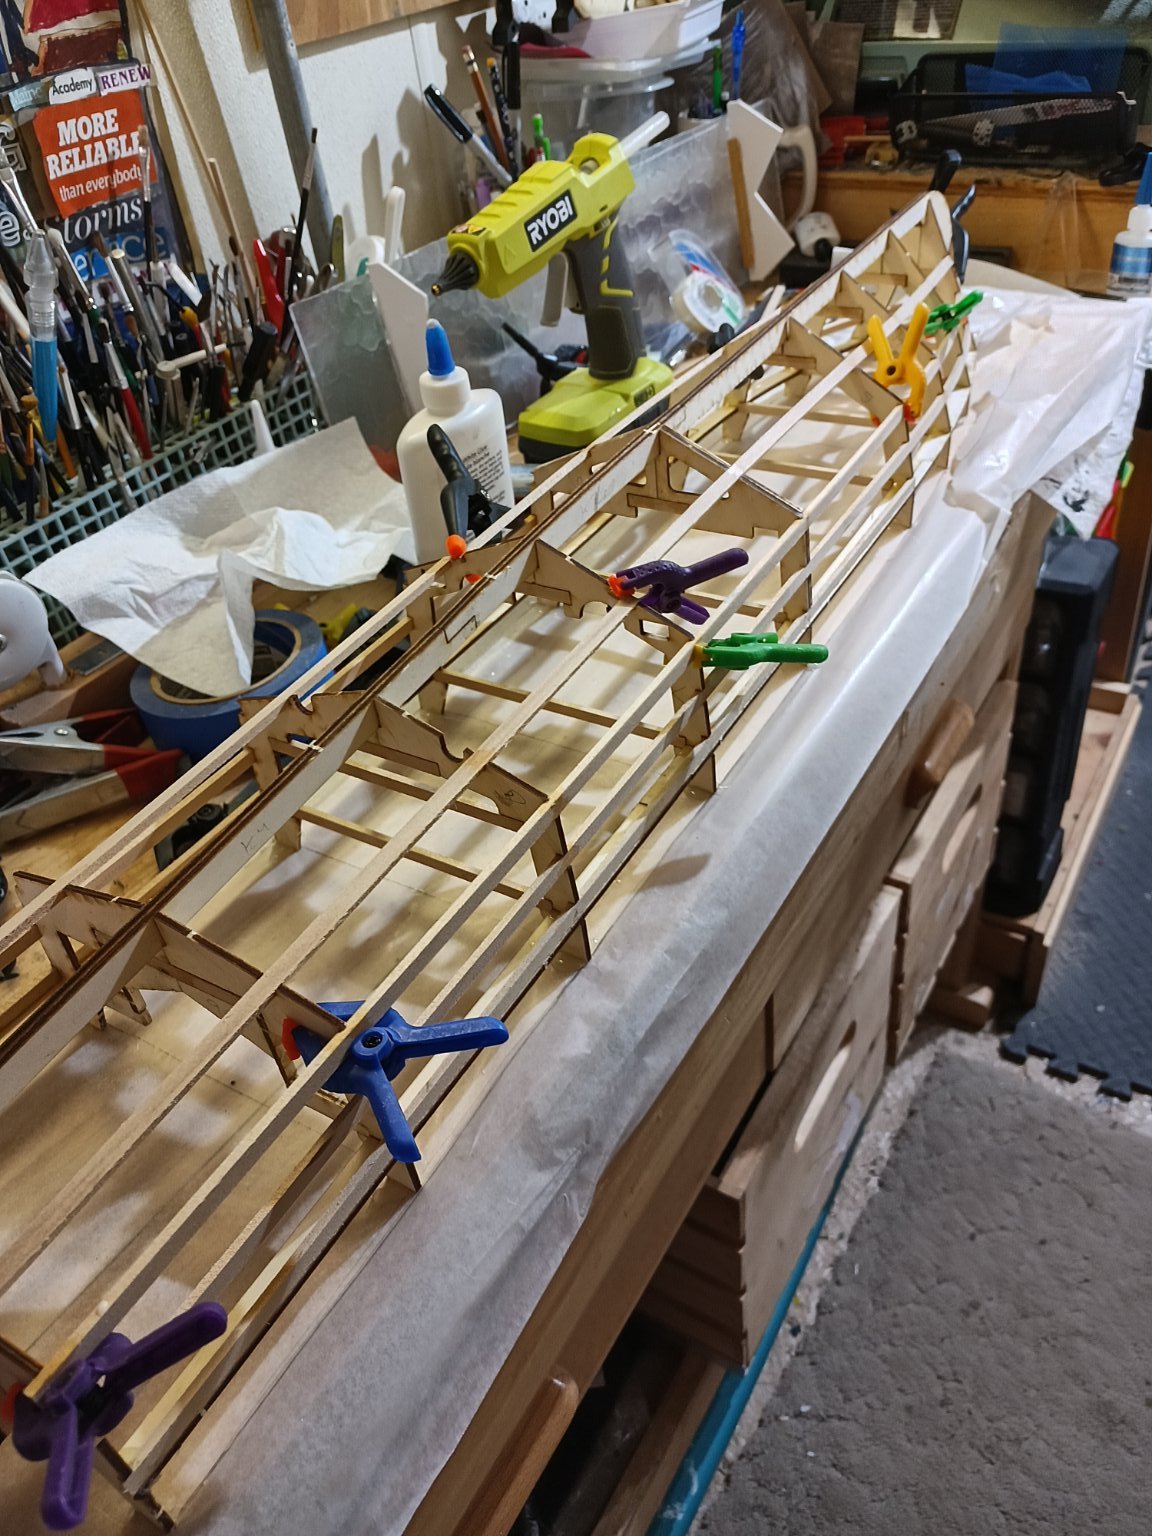
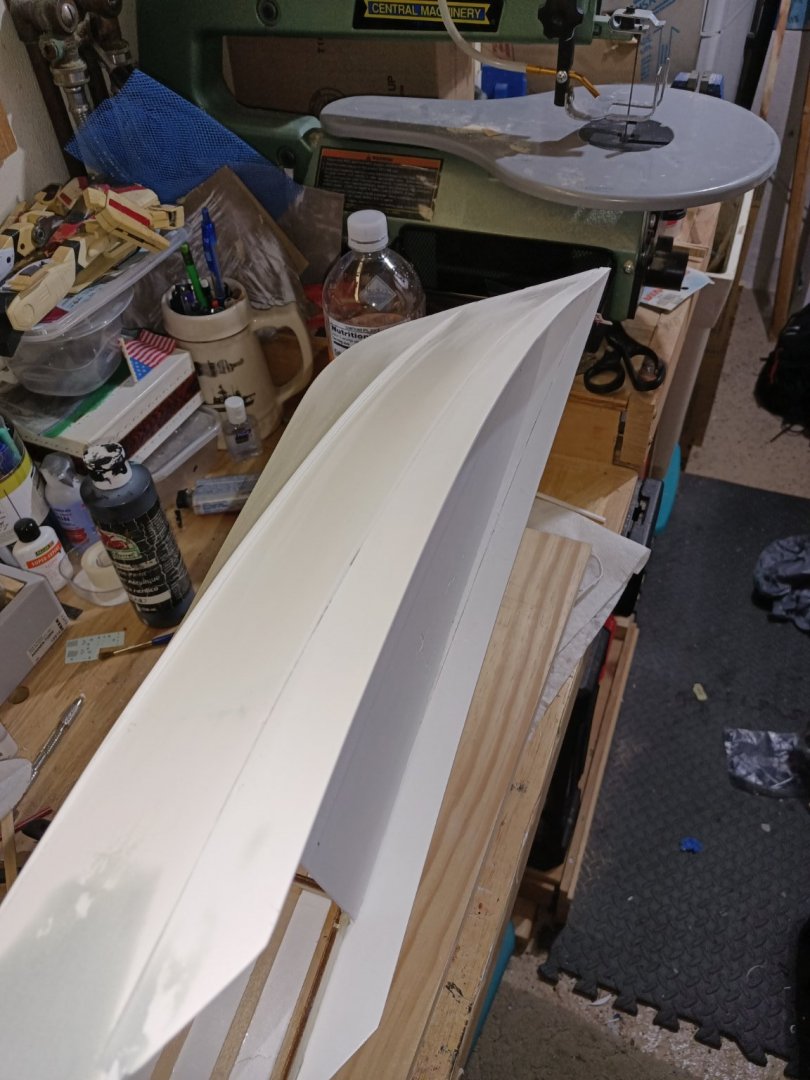
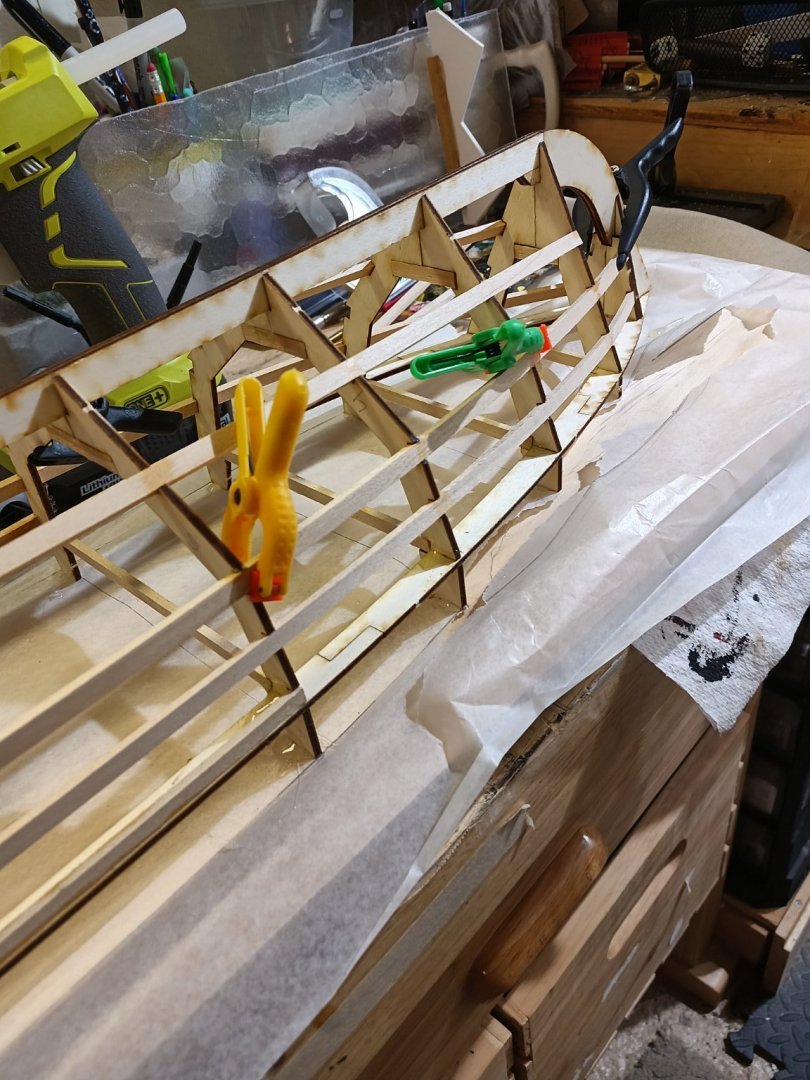
More battens added. Final structure in place. The stern needs sanding as well as the keel at the bow.