HOLIDAY DONATION DRIVE - SUPPORT MSW - DO YOUR PART TO KEEP THIS GREAT FORUM GOING! (Only 24 donations so far out of 49,000 members - C'mon guys!)
×

highlanderburial
-
Posts
148 -
Joined
-
Last visited
Content Type
Profiles
Forums
Gallery
Events
Everything posted by highlanderburial
-
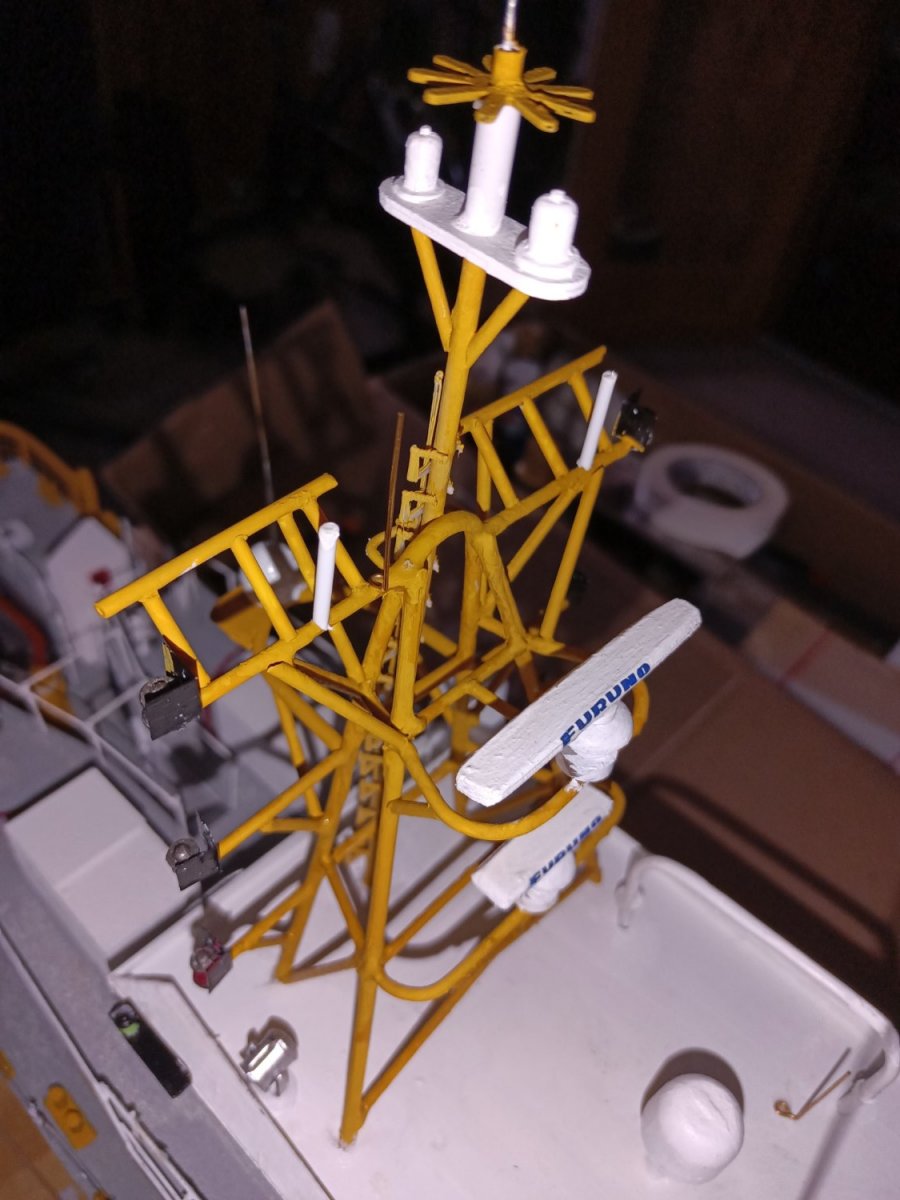
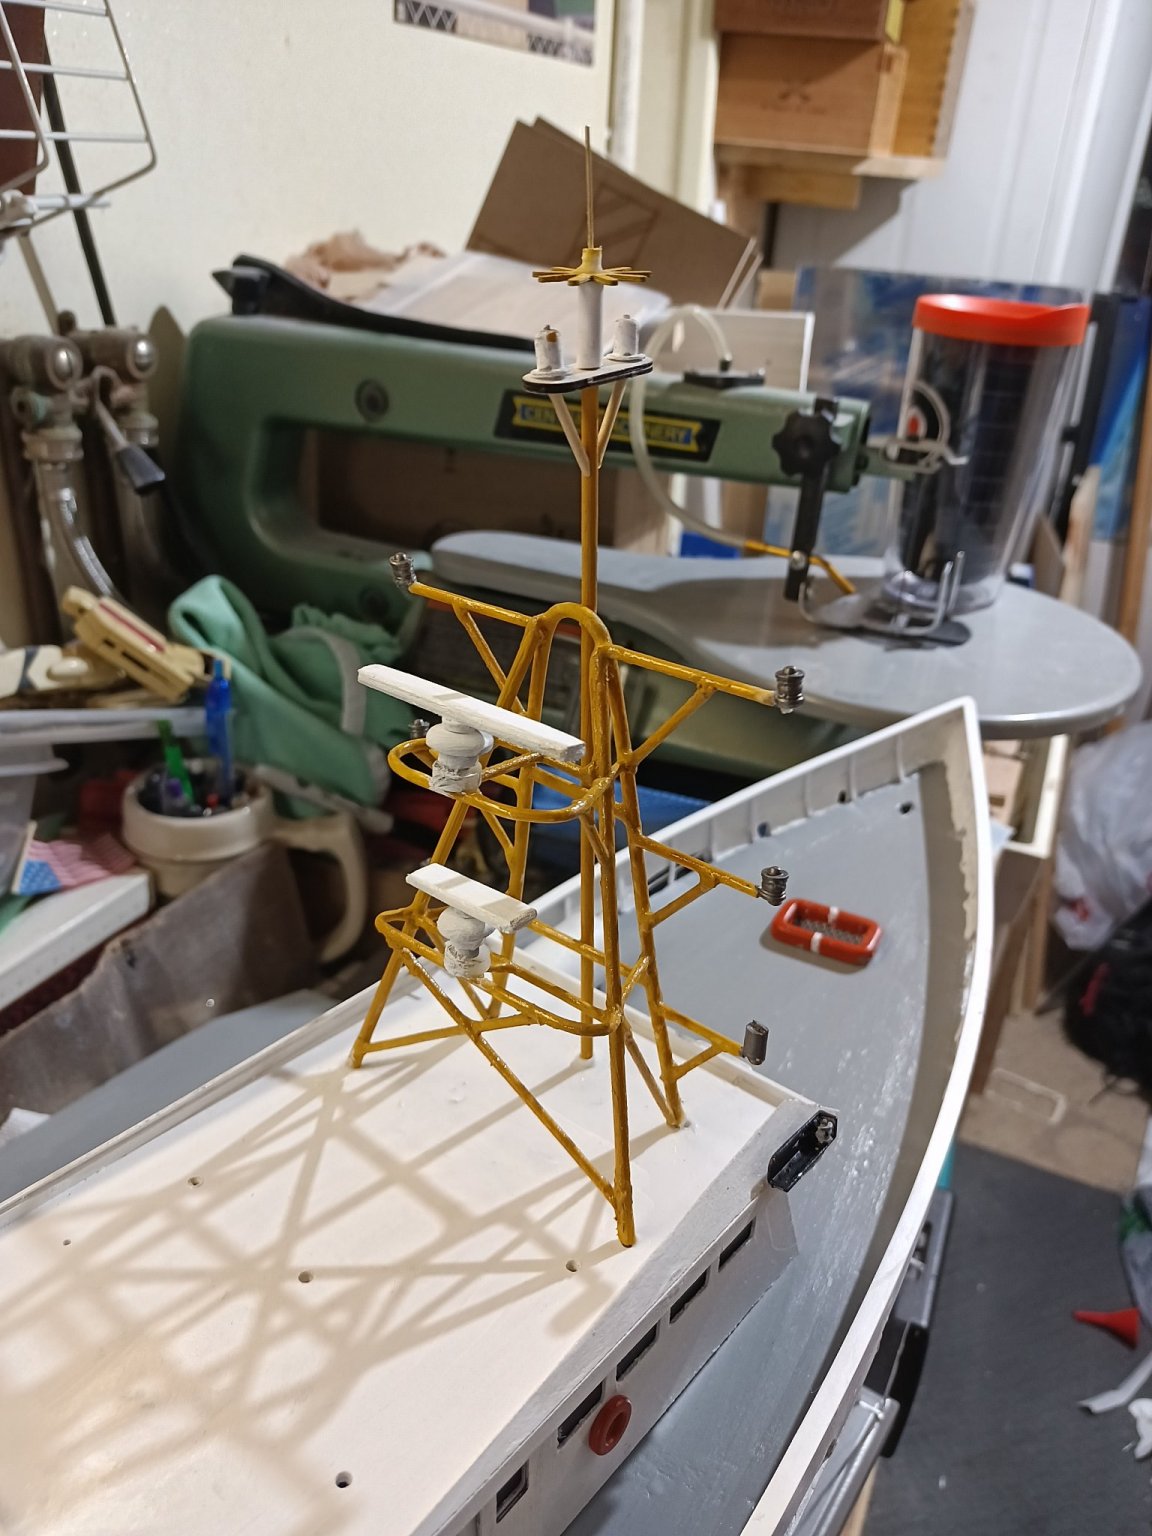
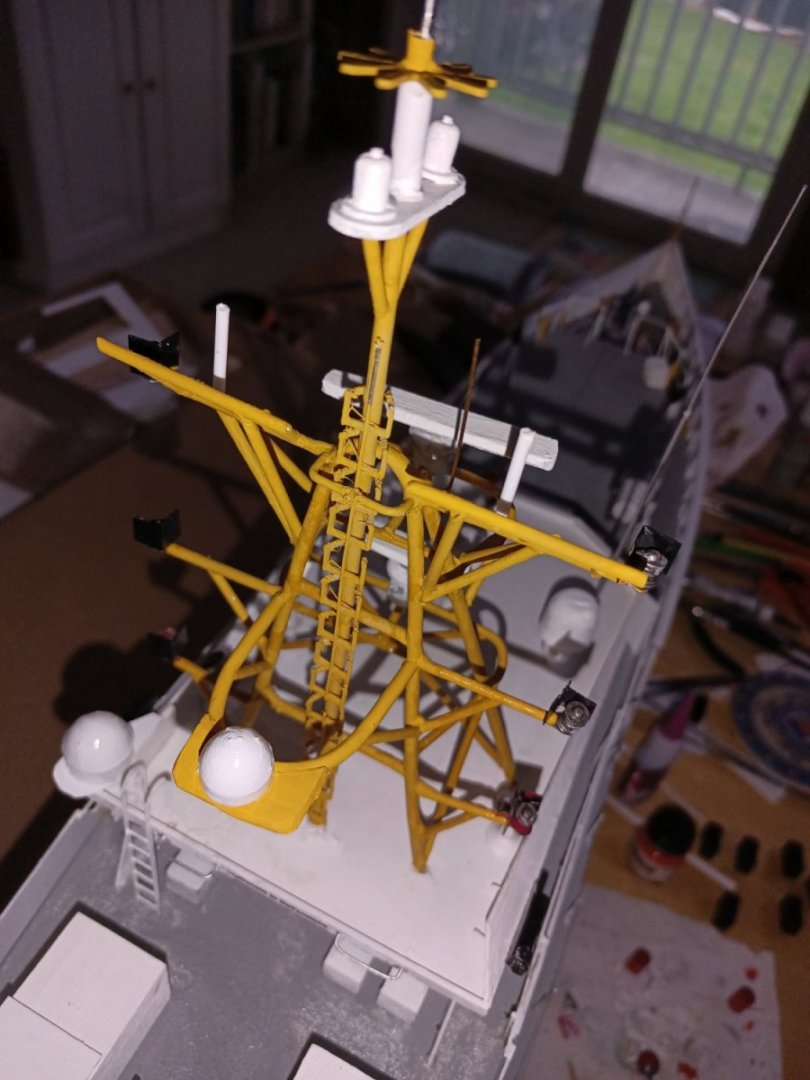
 I realized that the signal arms for the national ensign was separate and slightly higher. I also fixed the import ensign pole.

-
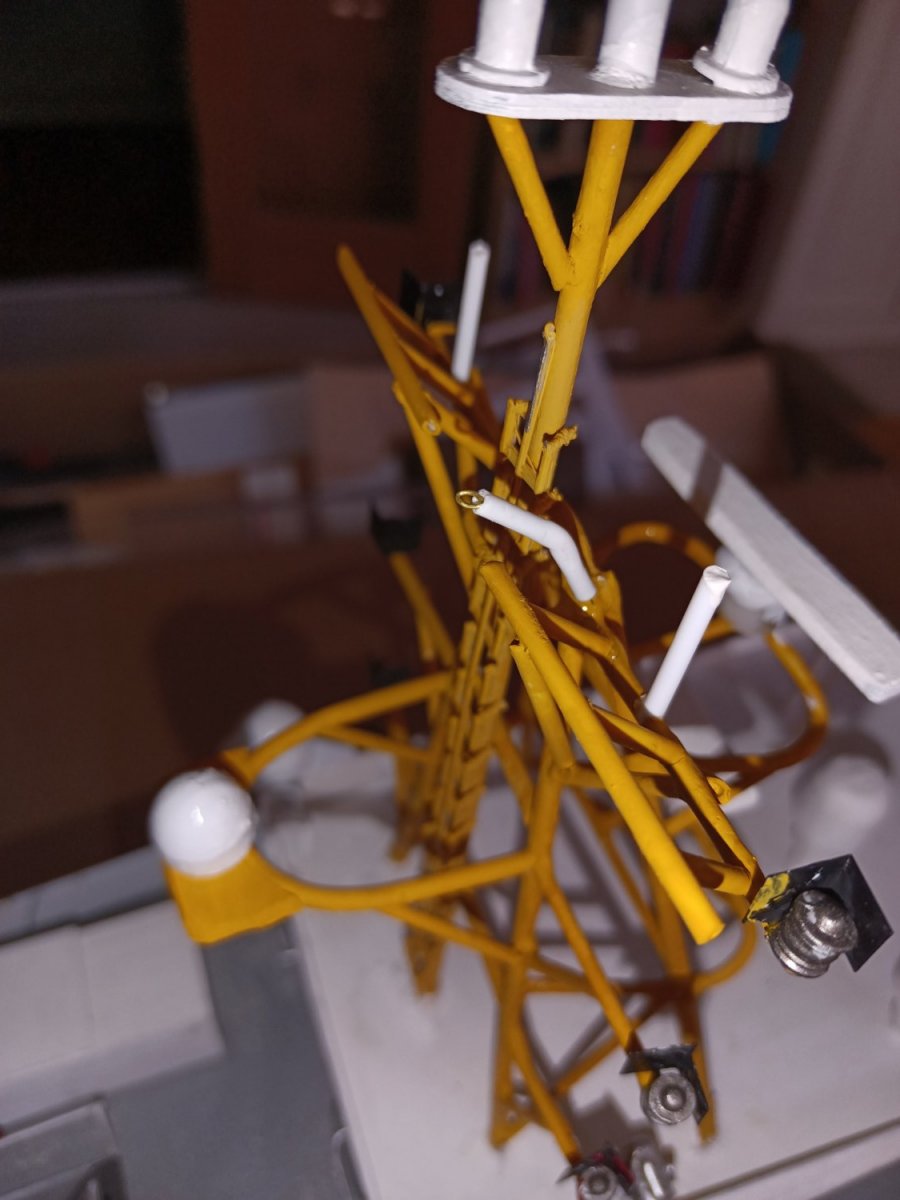
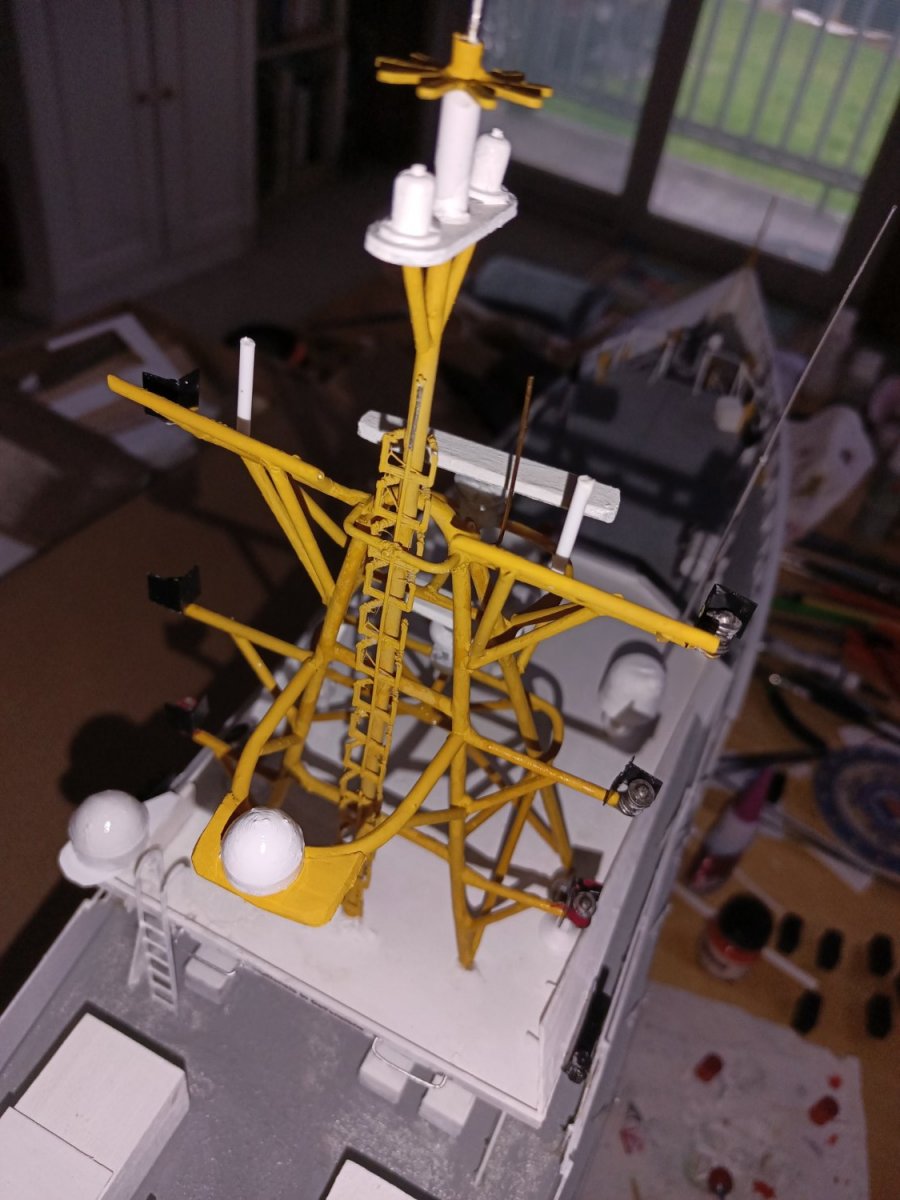
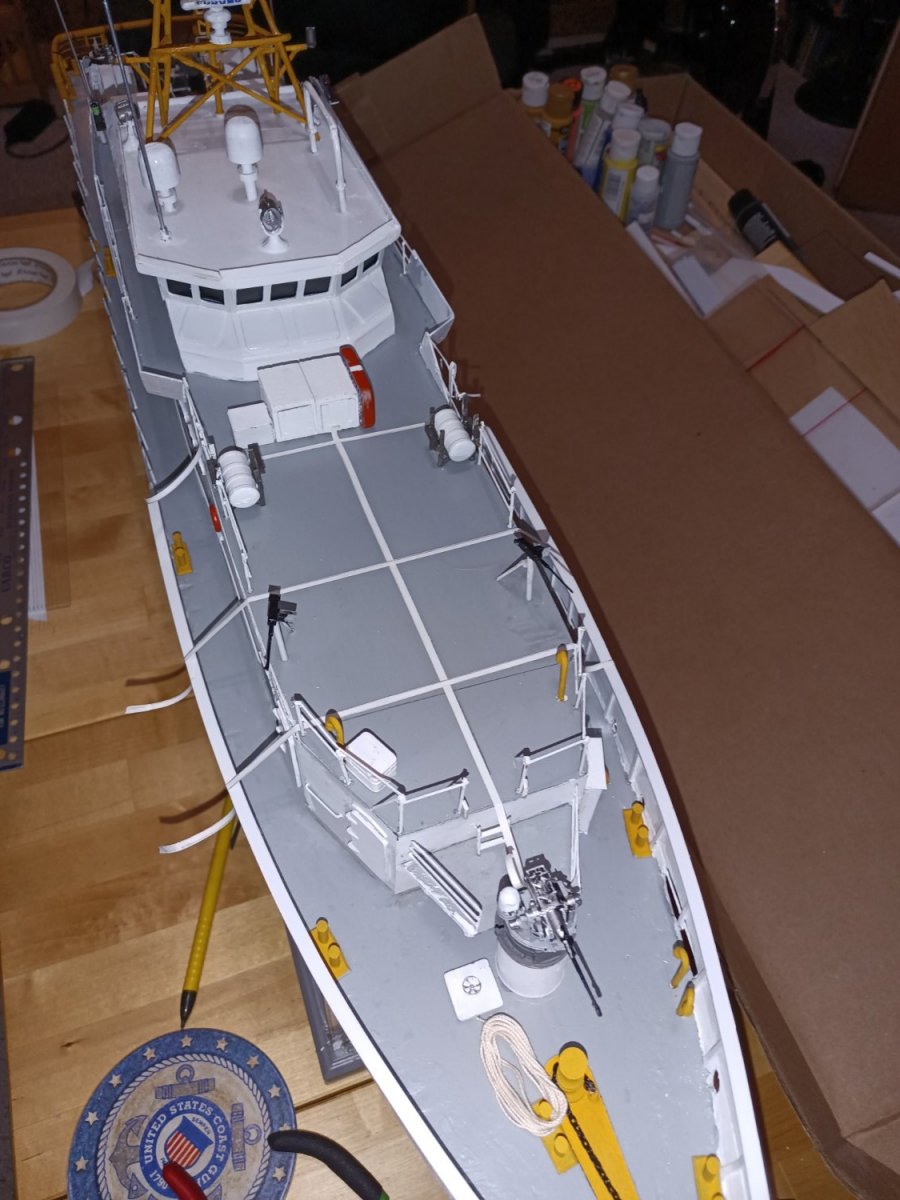
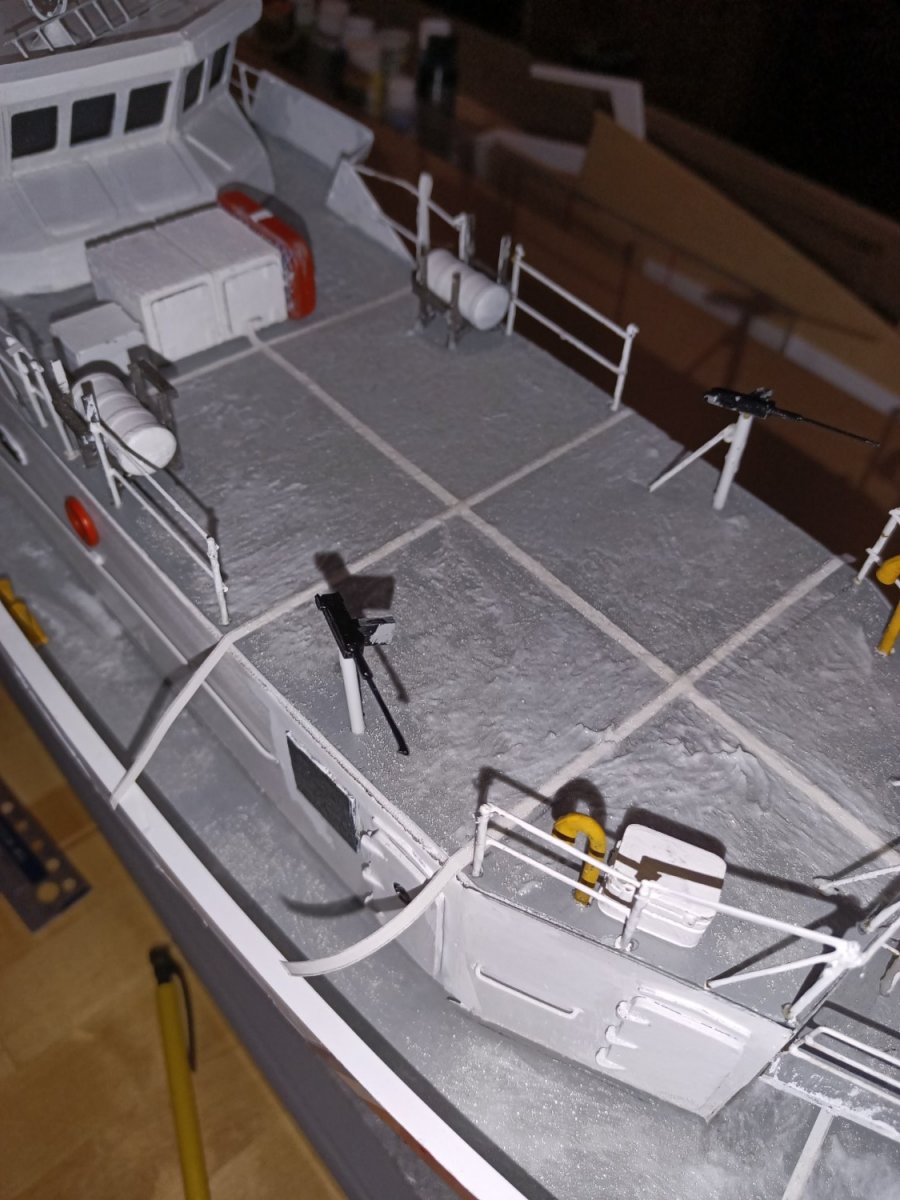
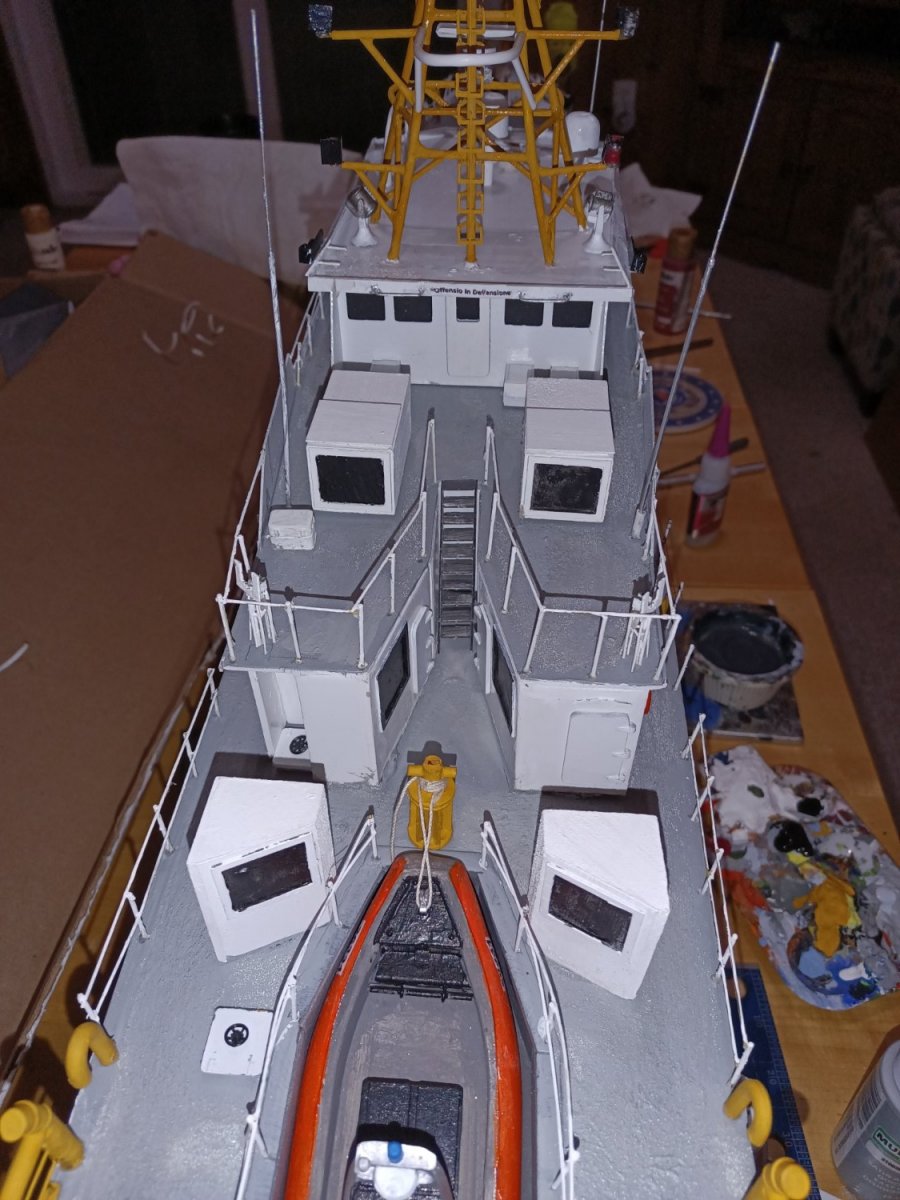
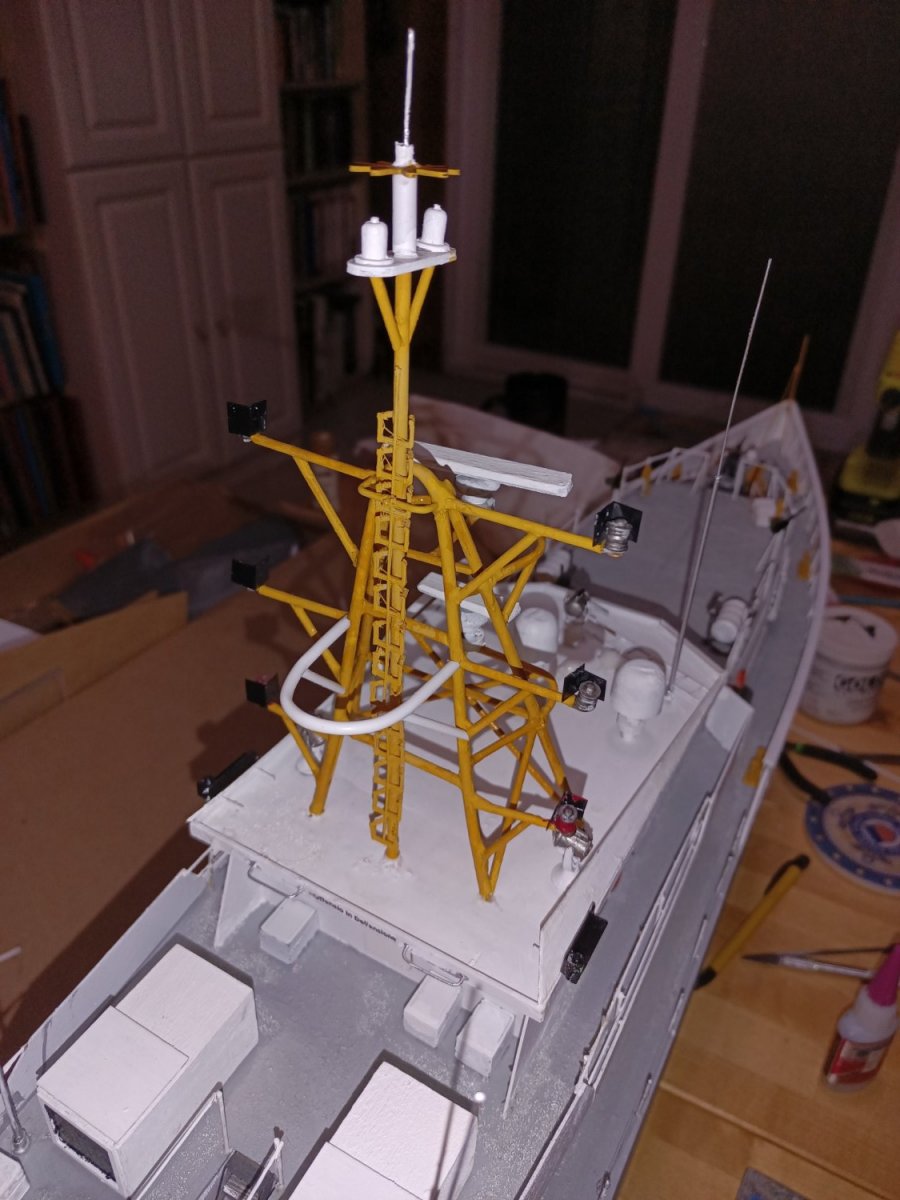
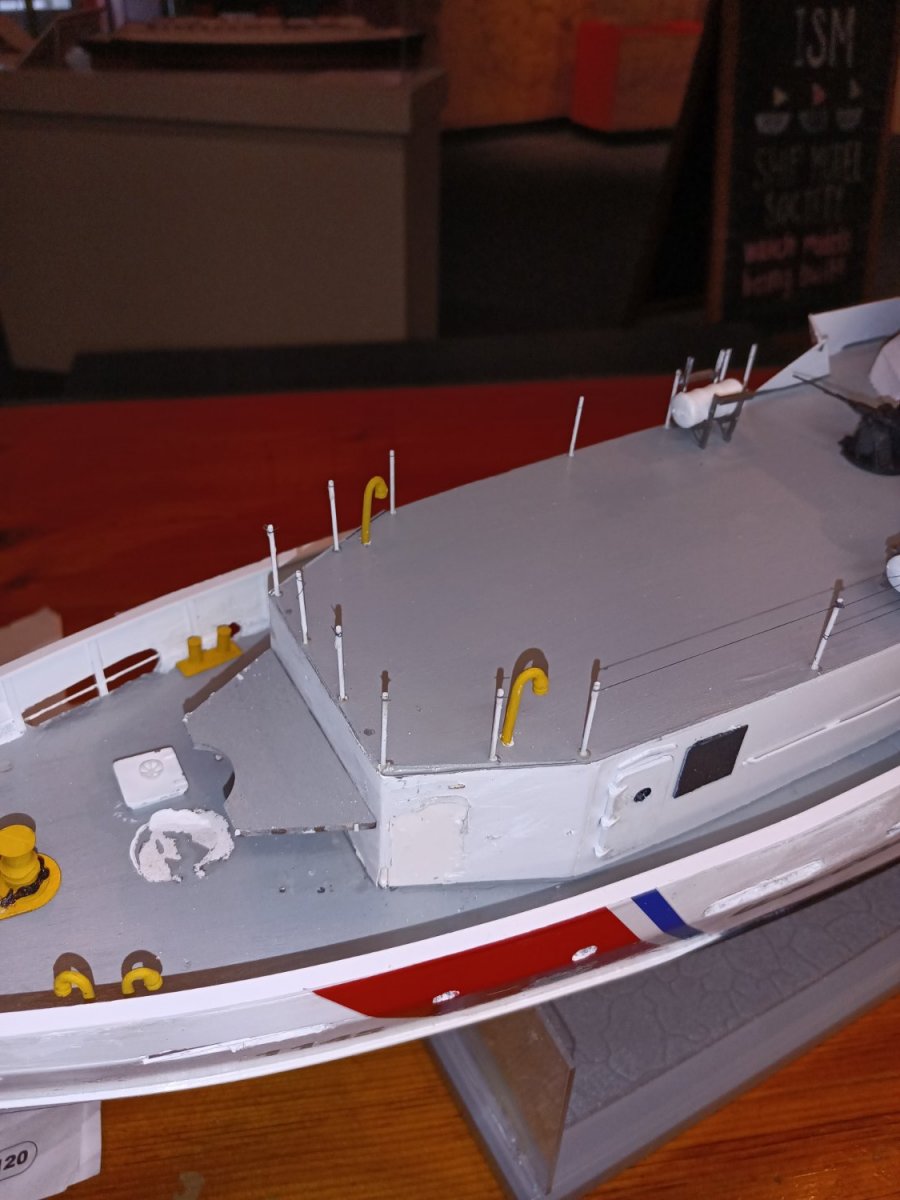
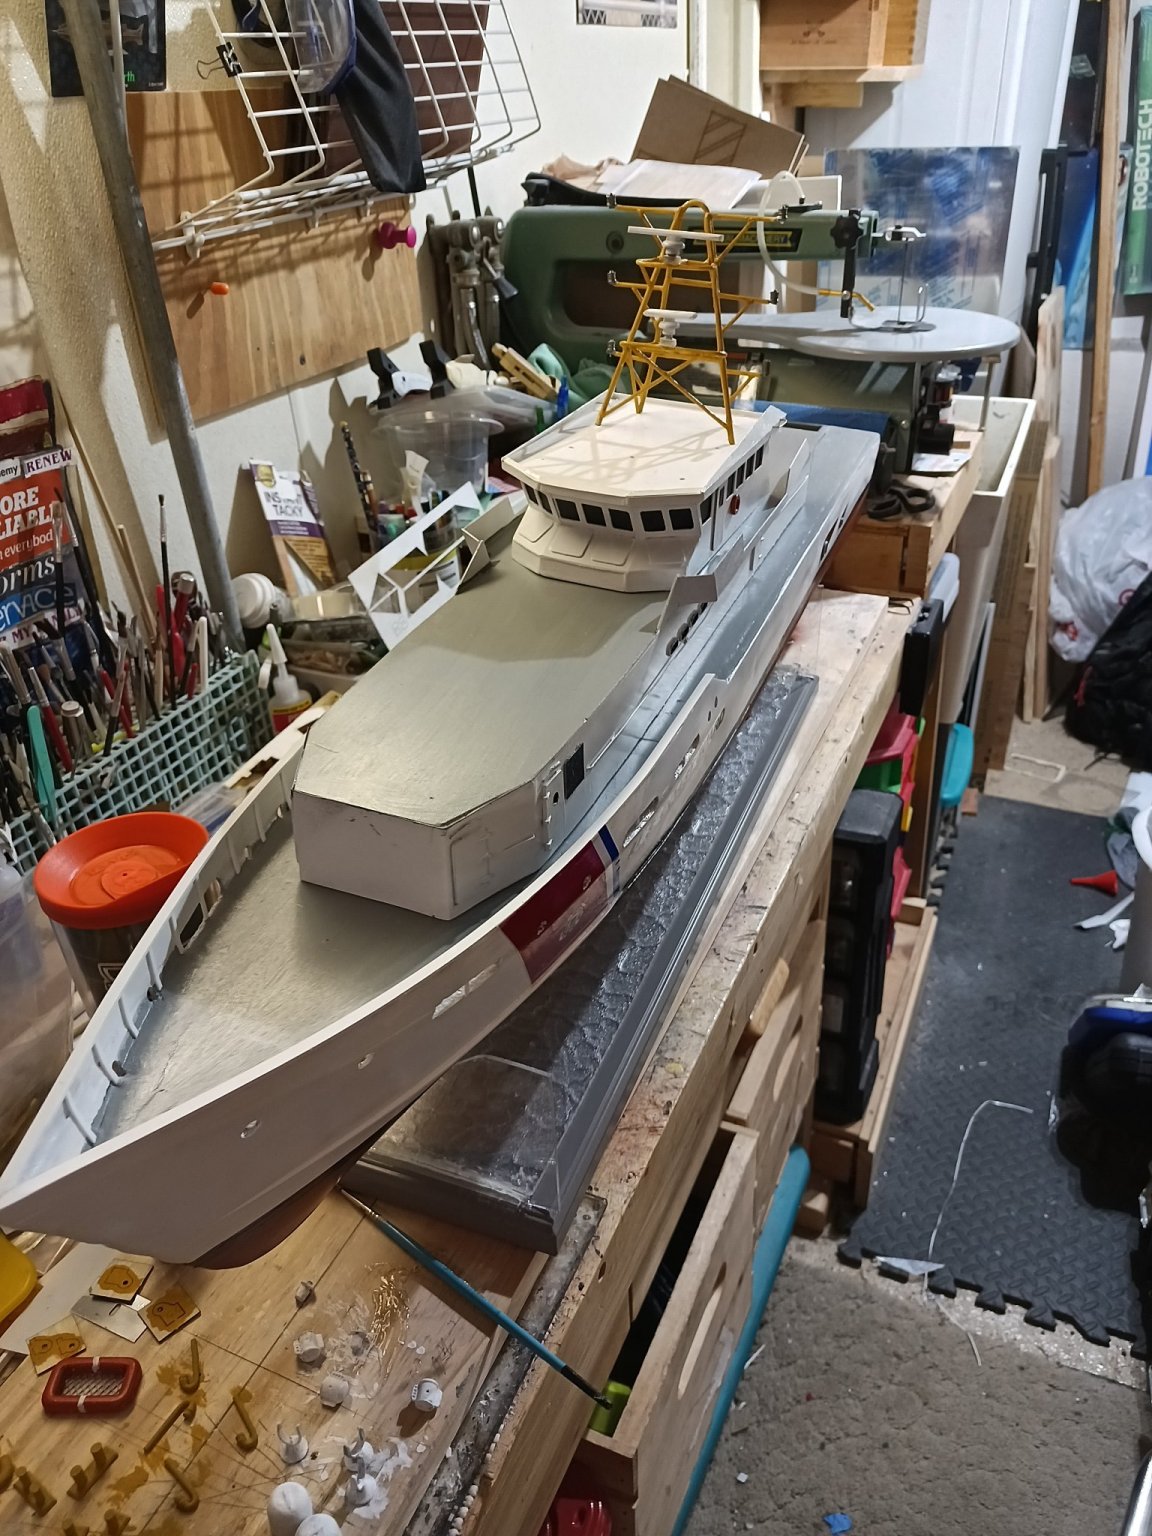
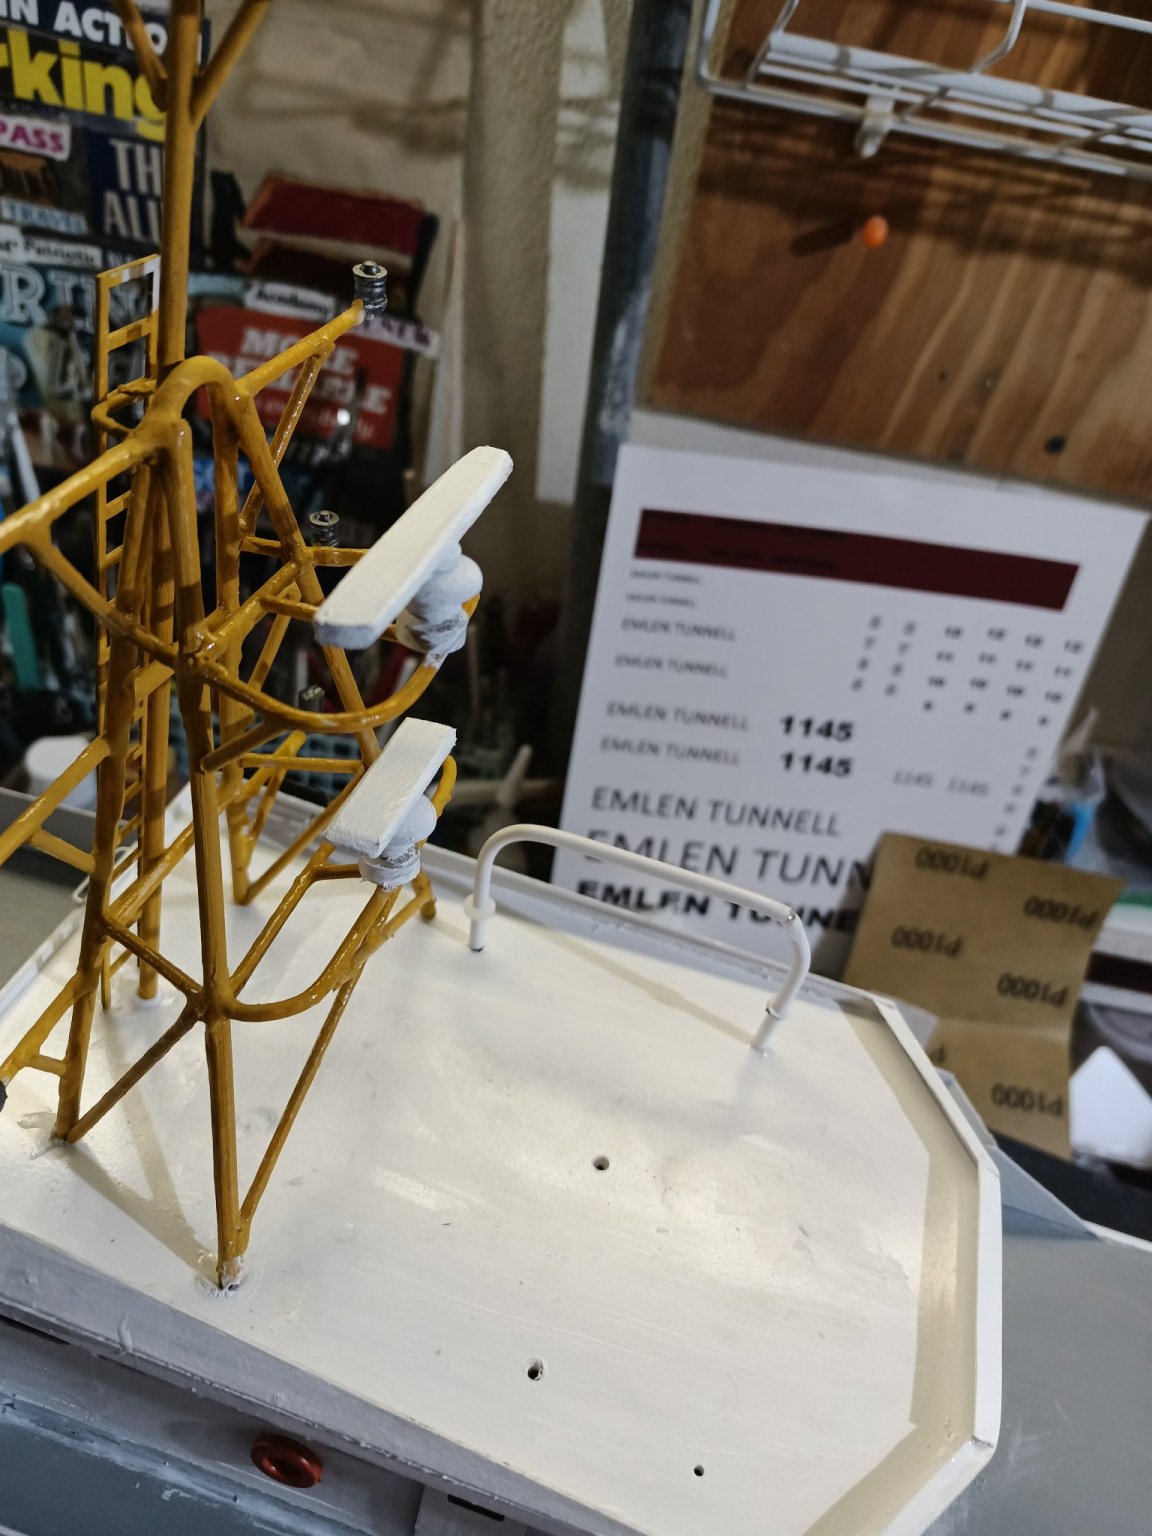
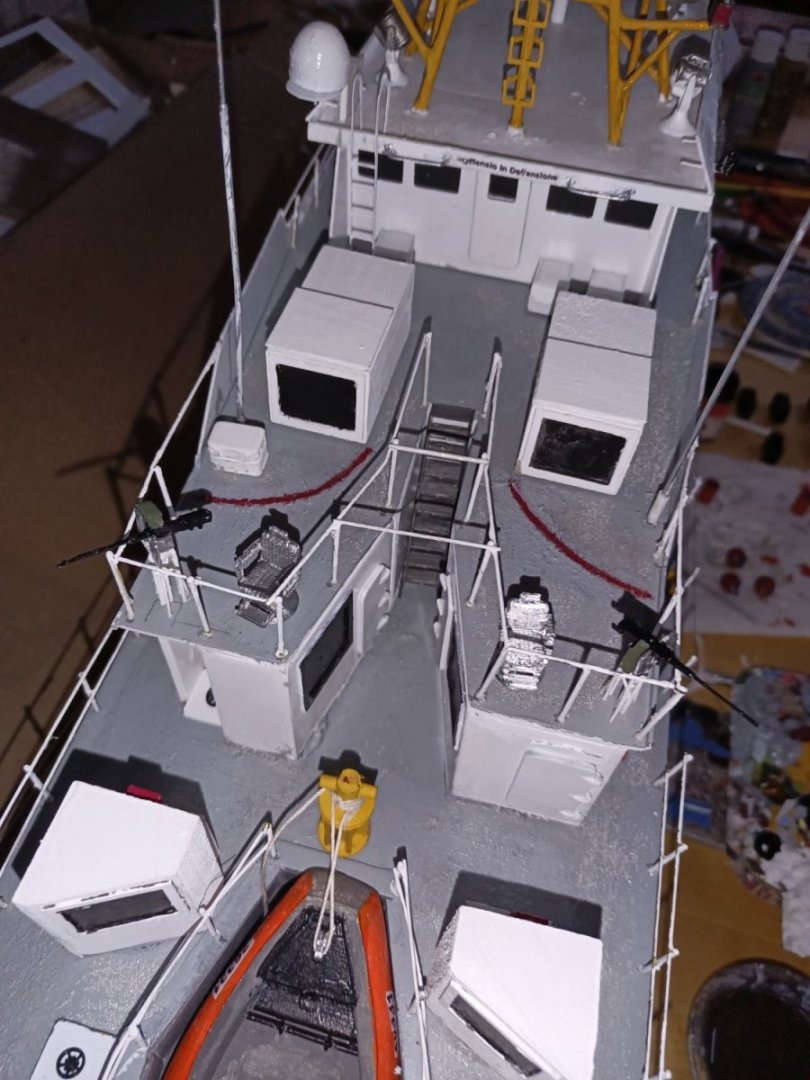
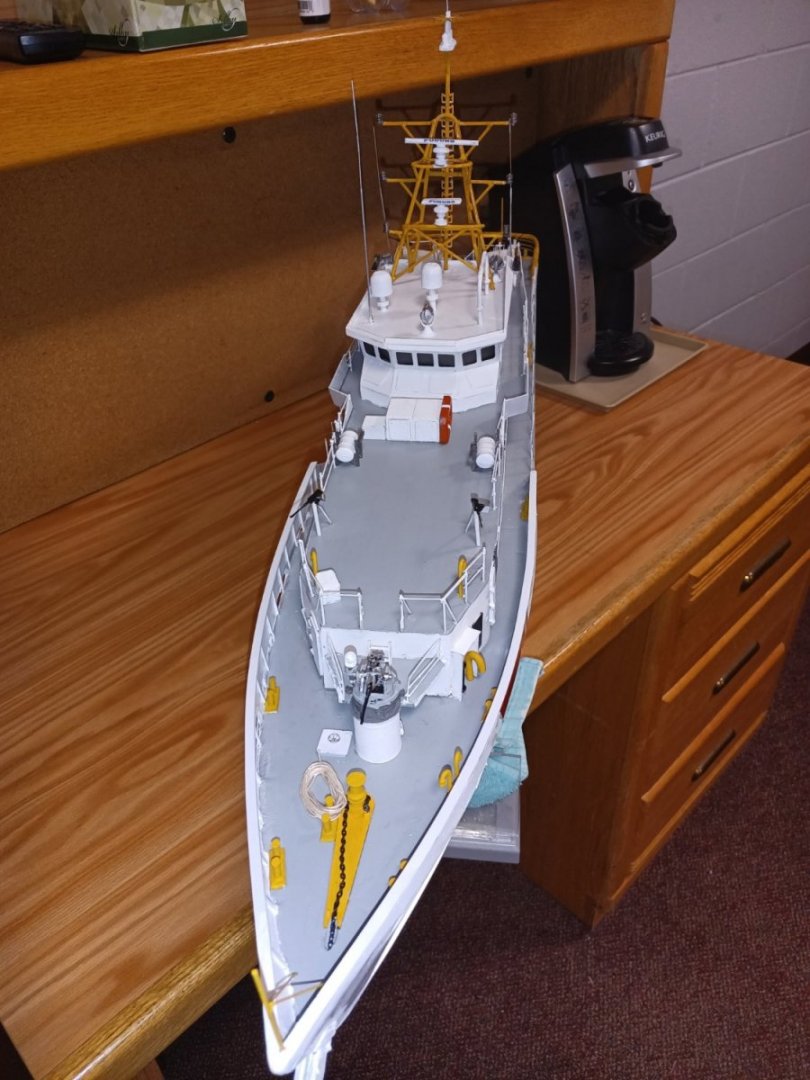
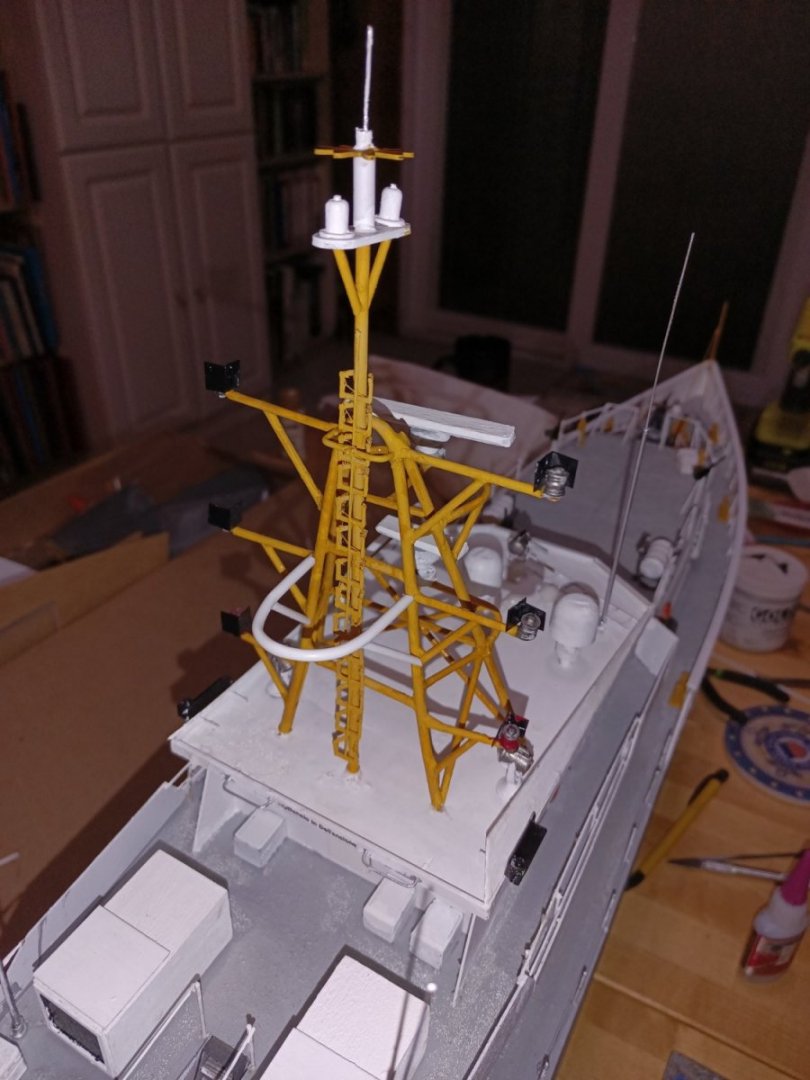
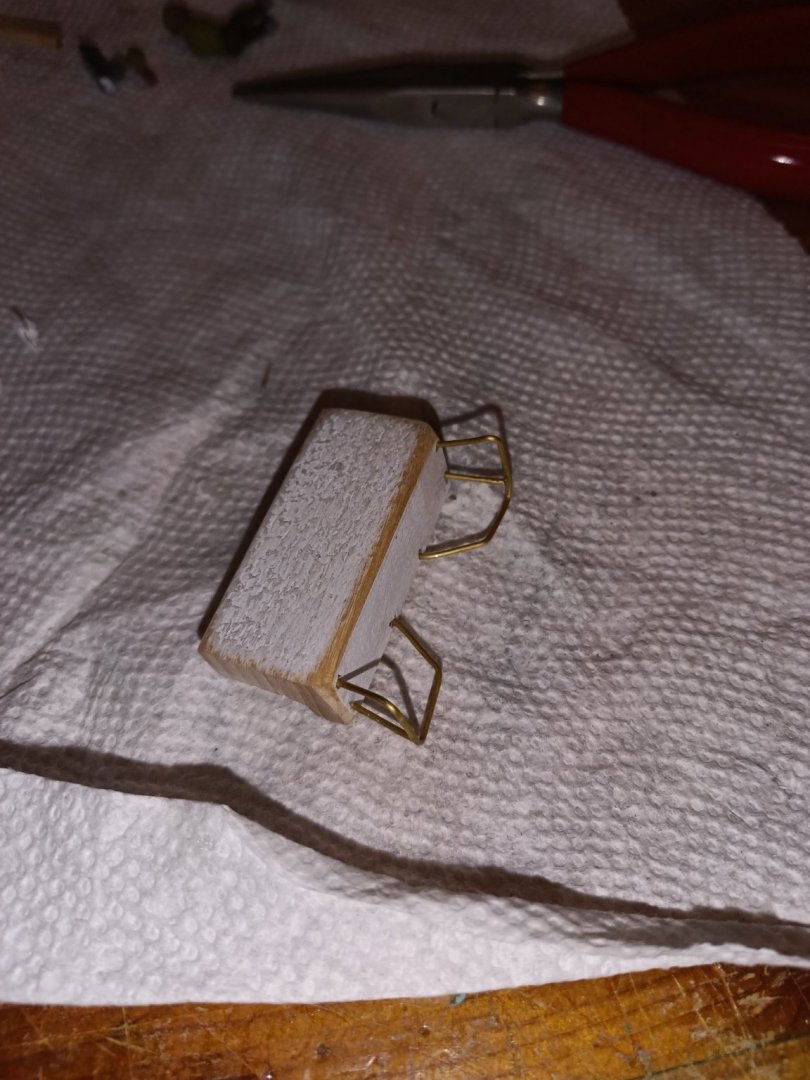
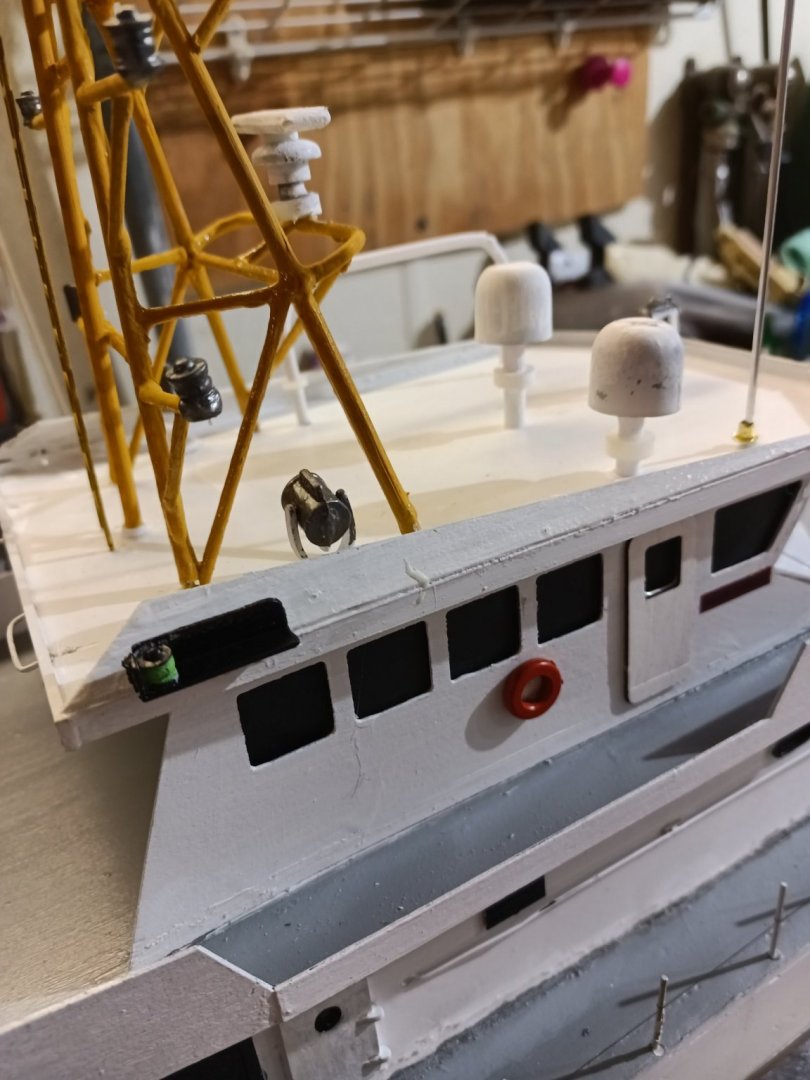
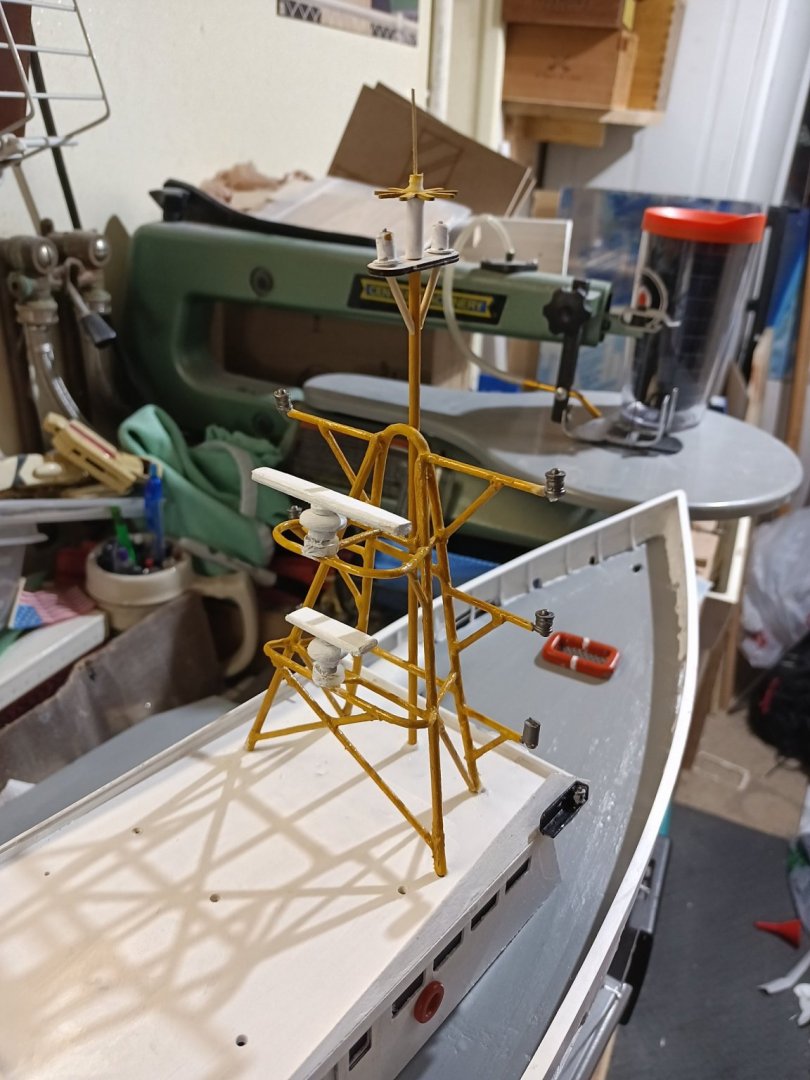
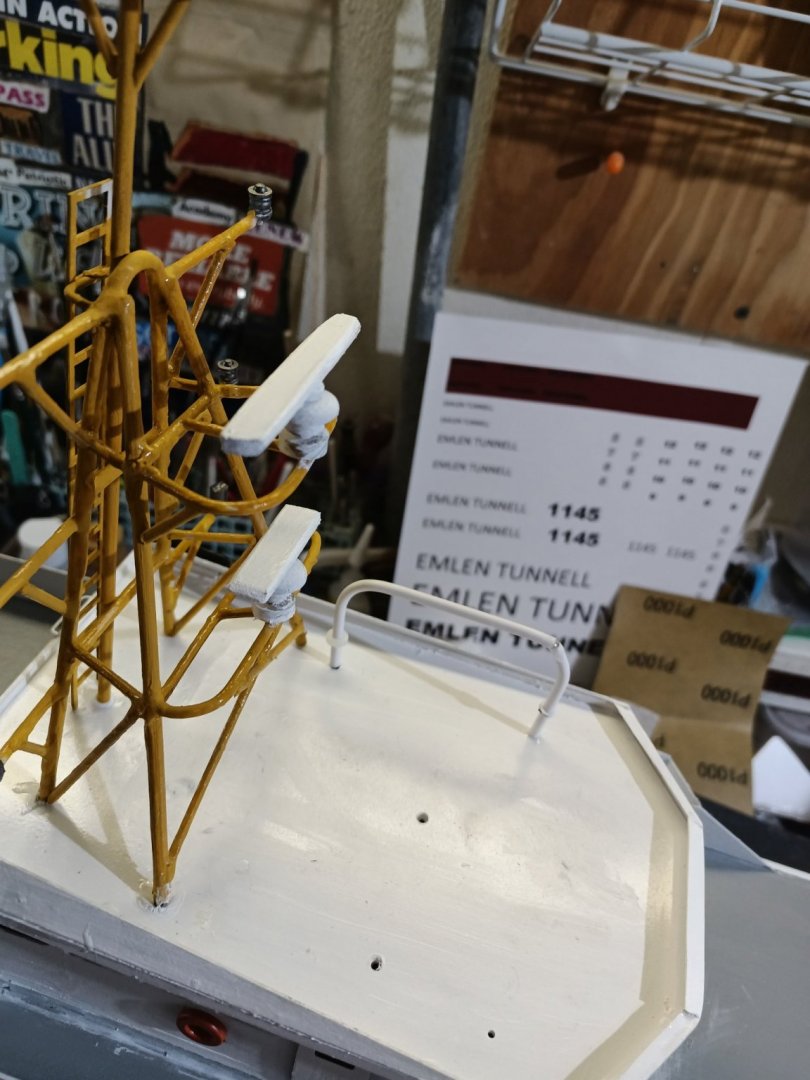
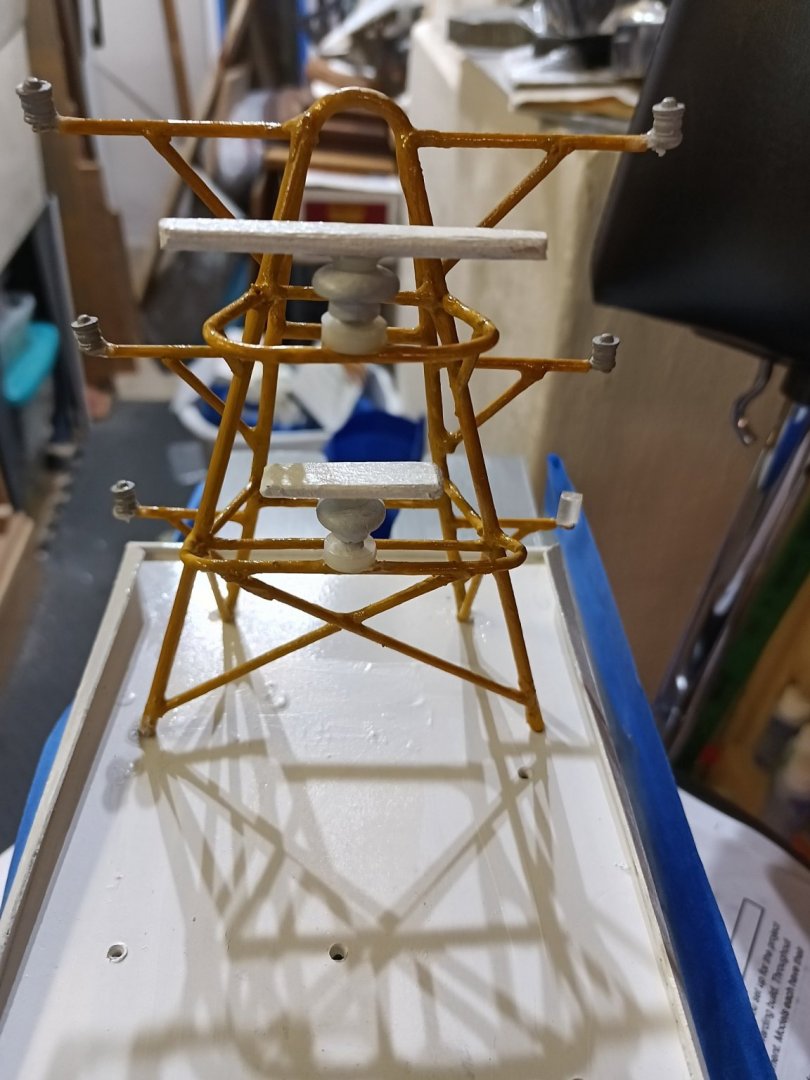
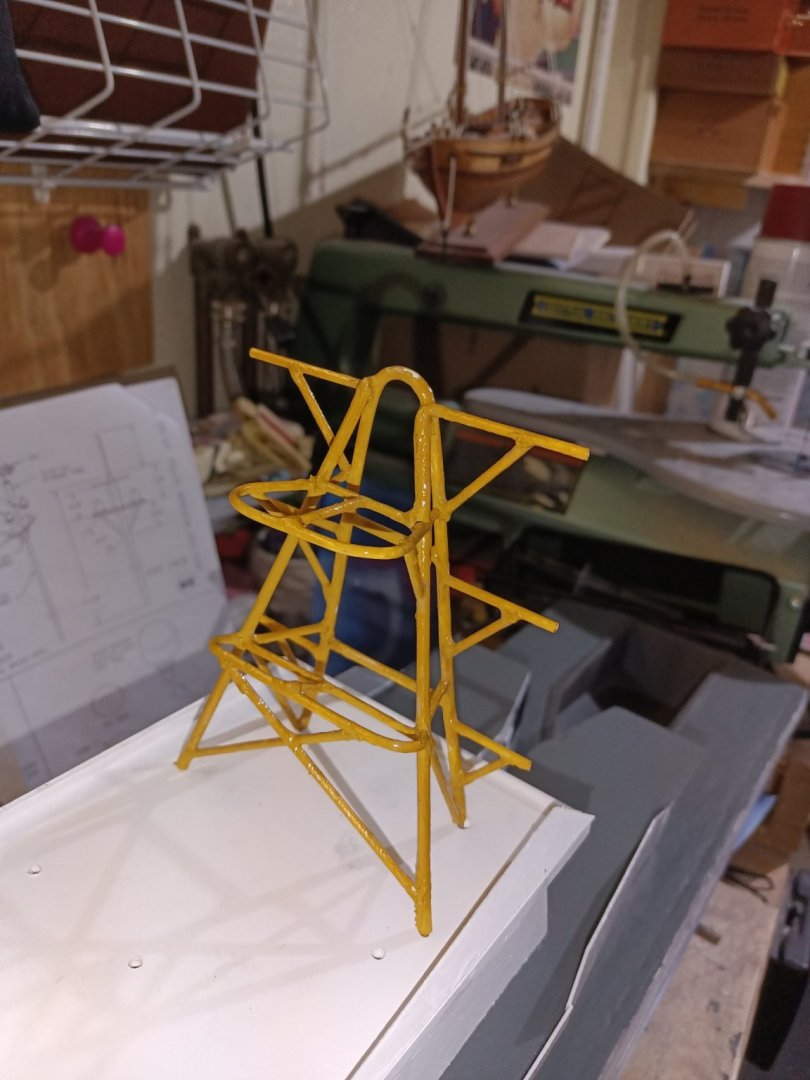
I finally got around to building the flag and signal arms on the mast. I also added a pair of GPS gain antennas as well. Lastly I got the 2 "fighting" chairs built on the 01 deck near the .50's.


-
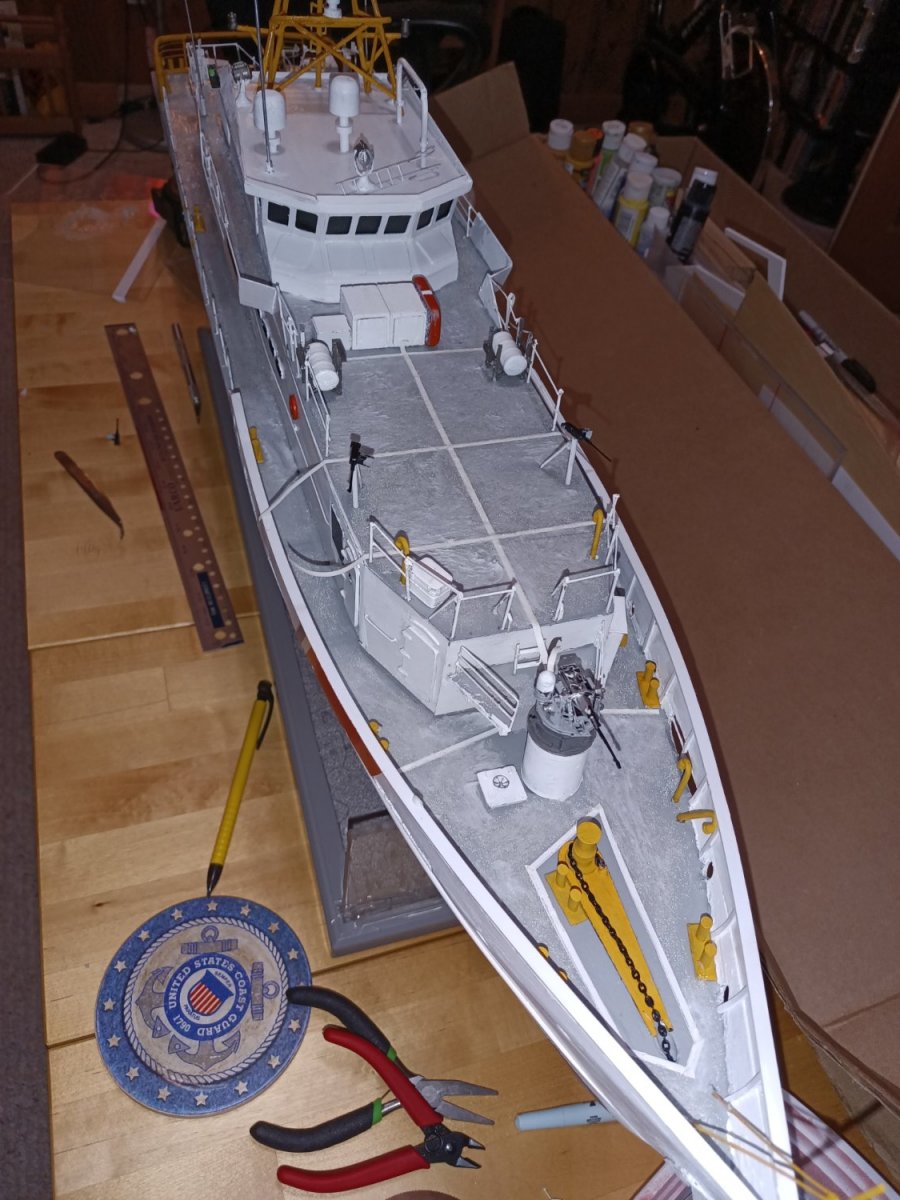
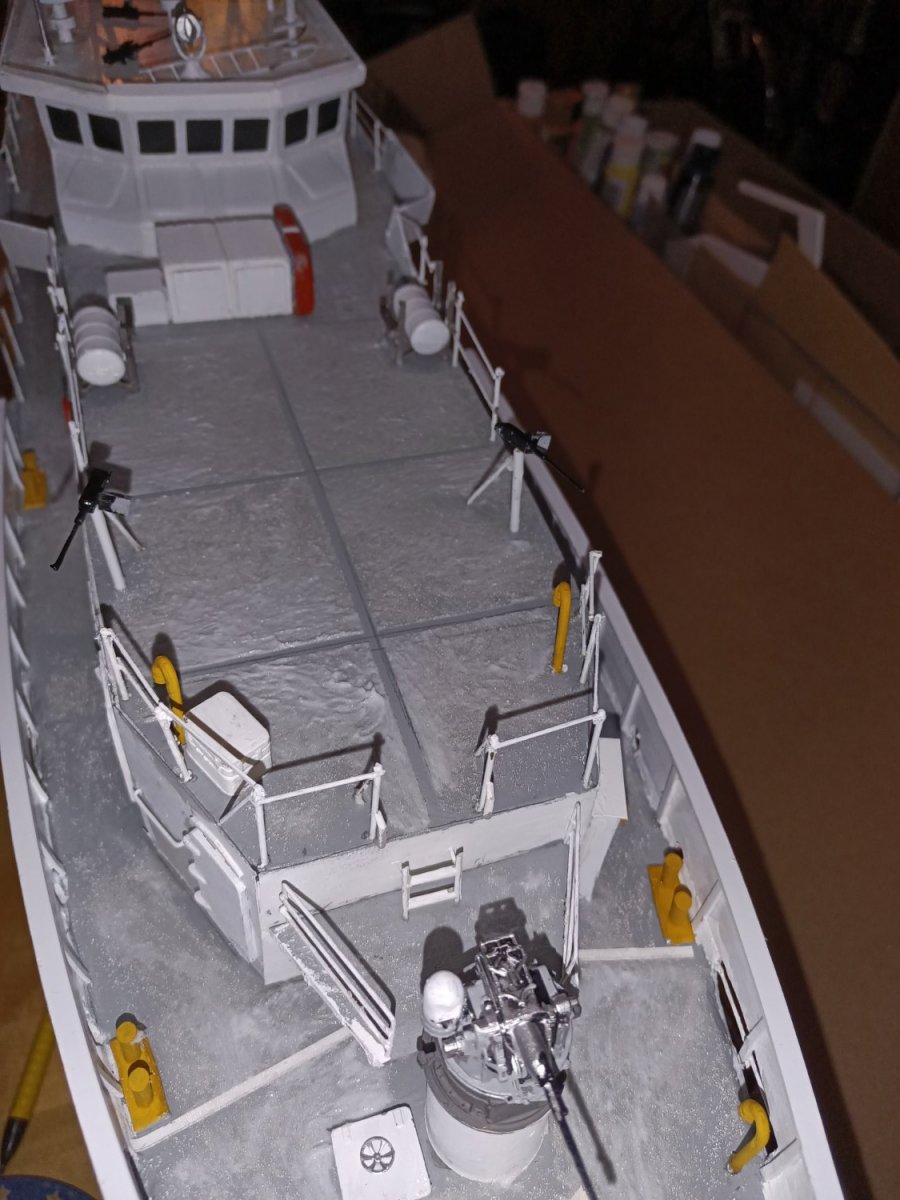
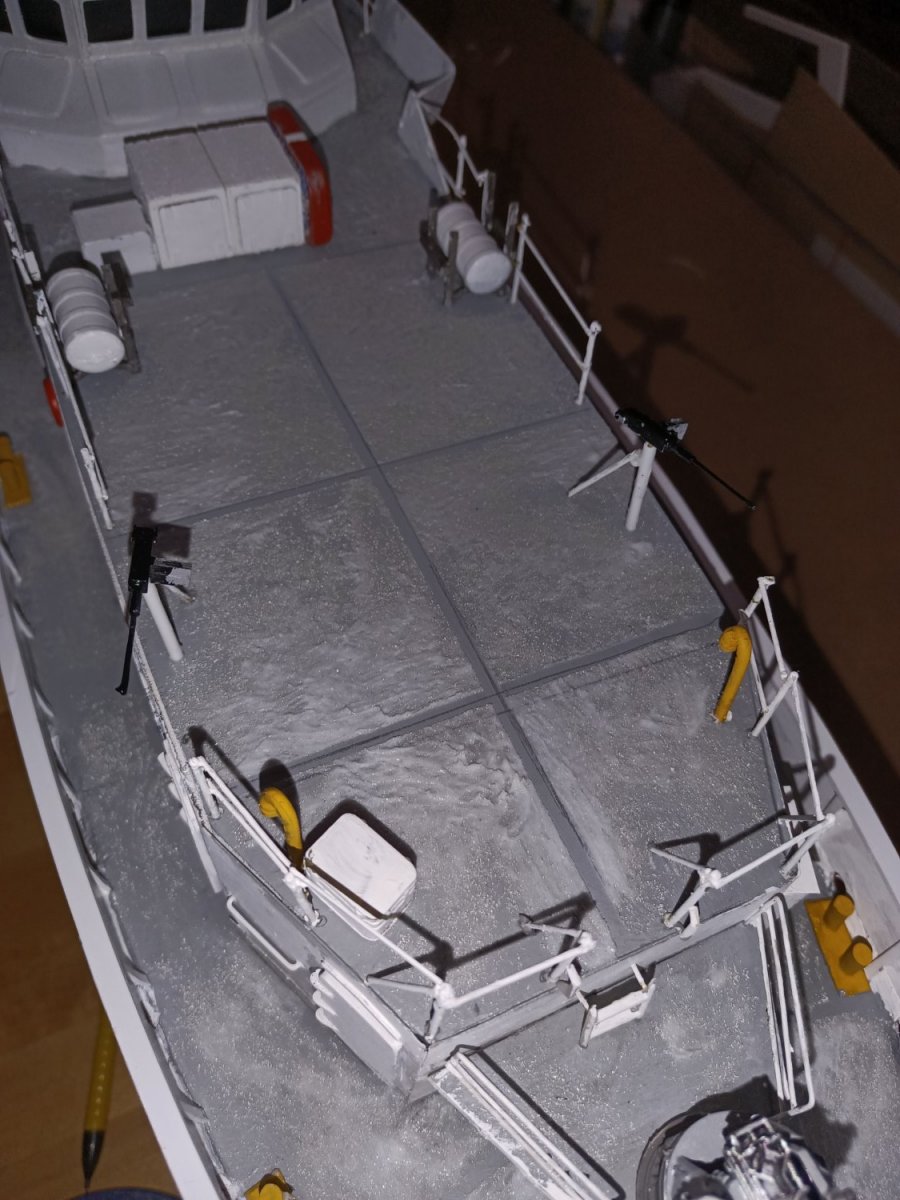
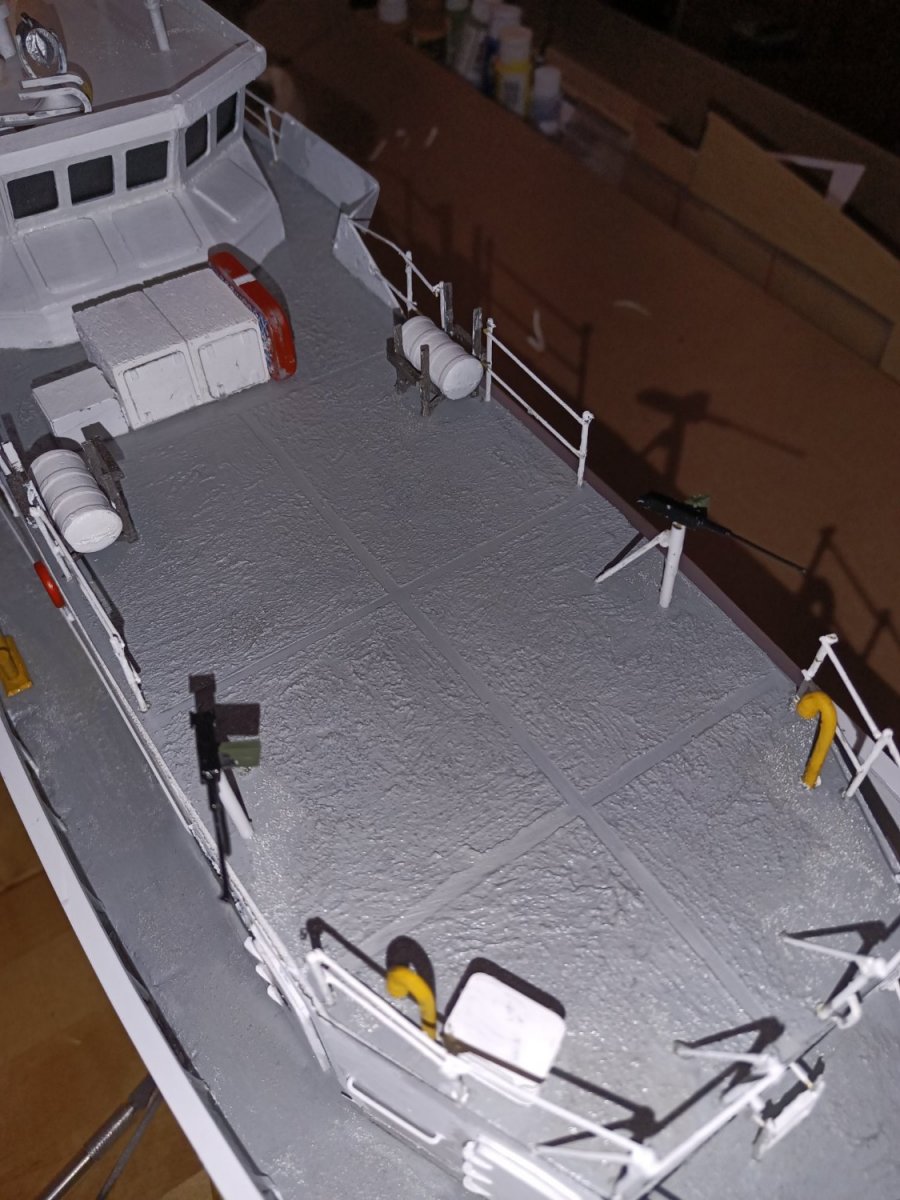
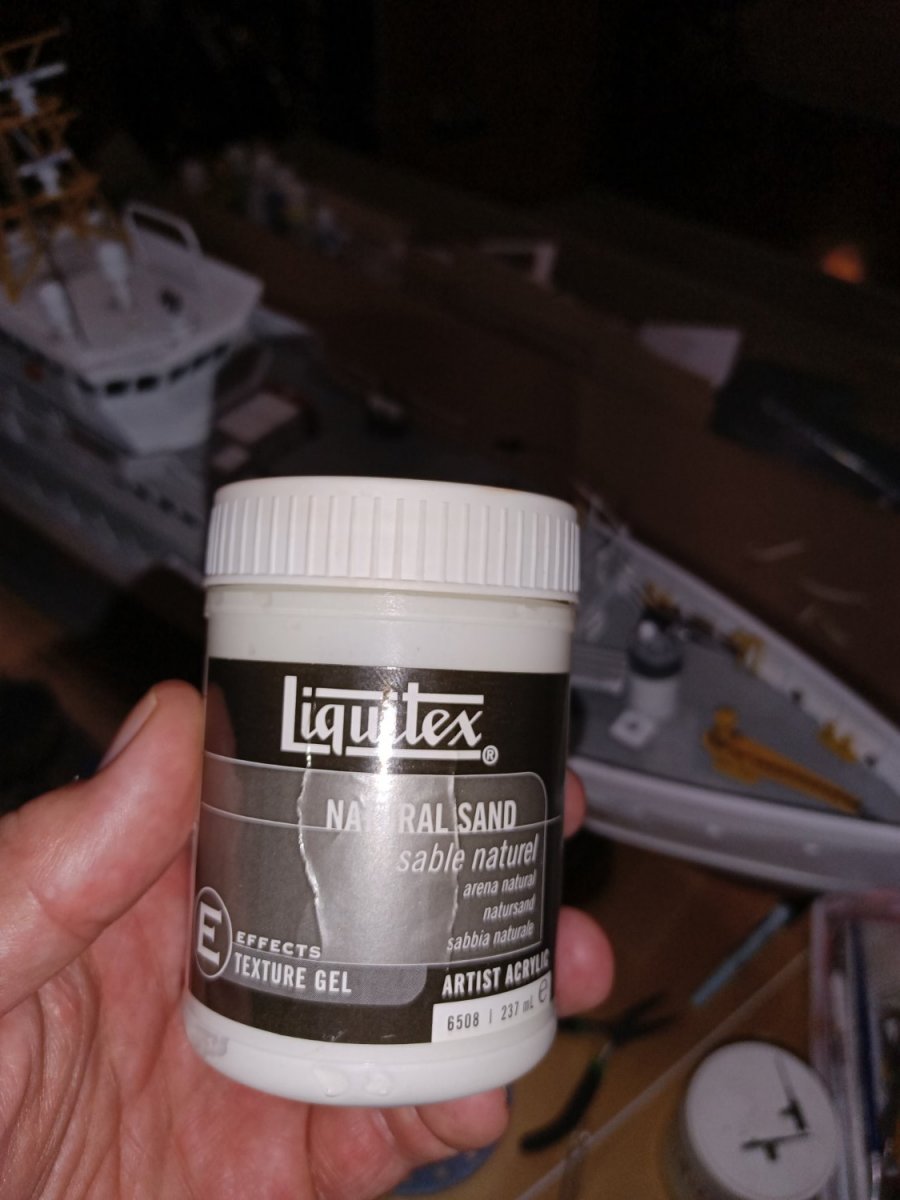
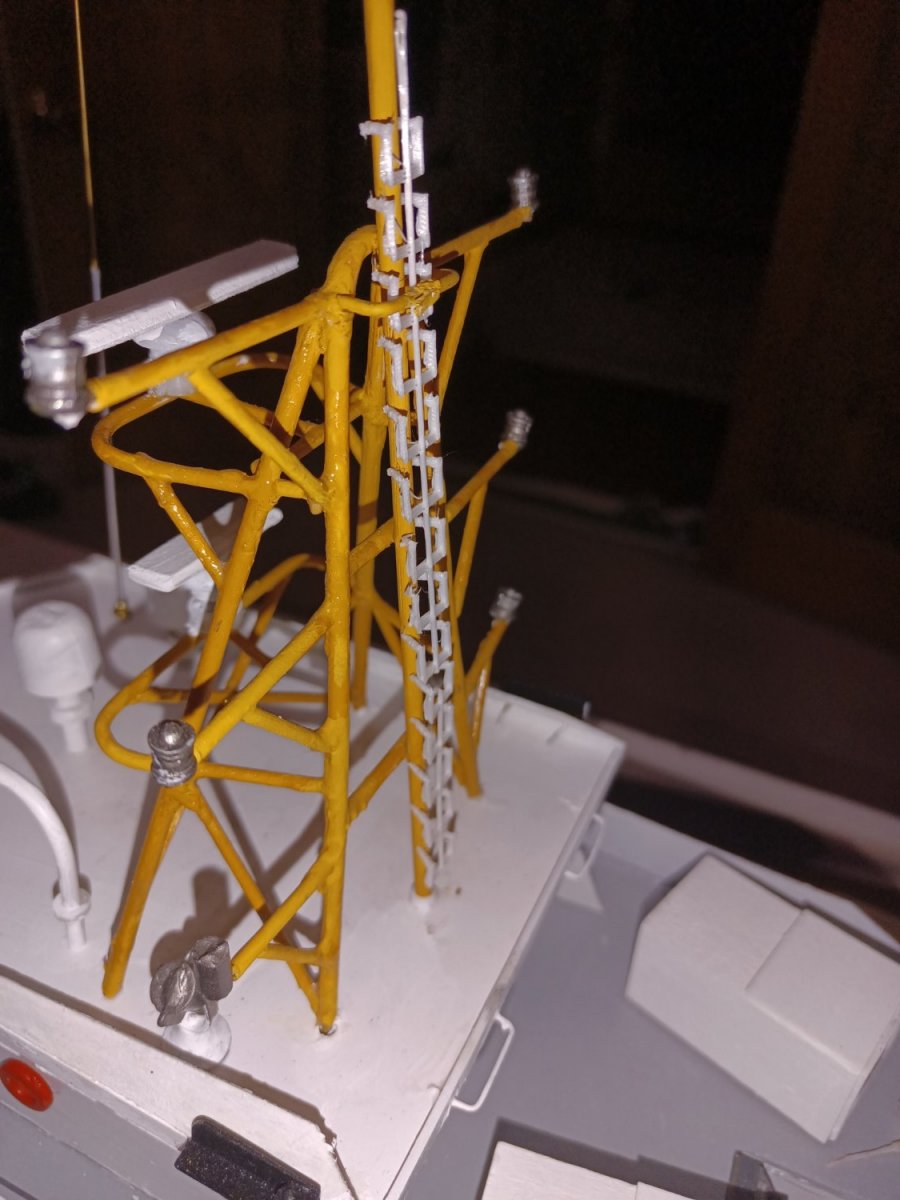
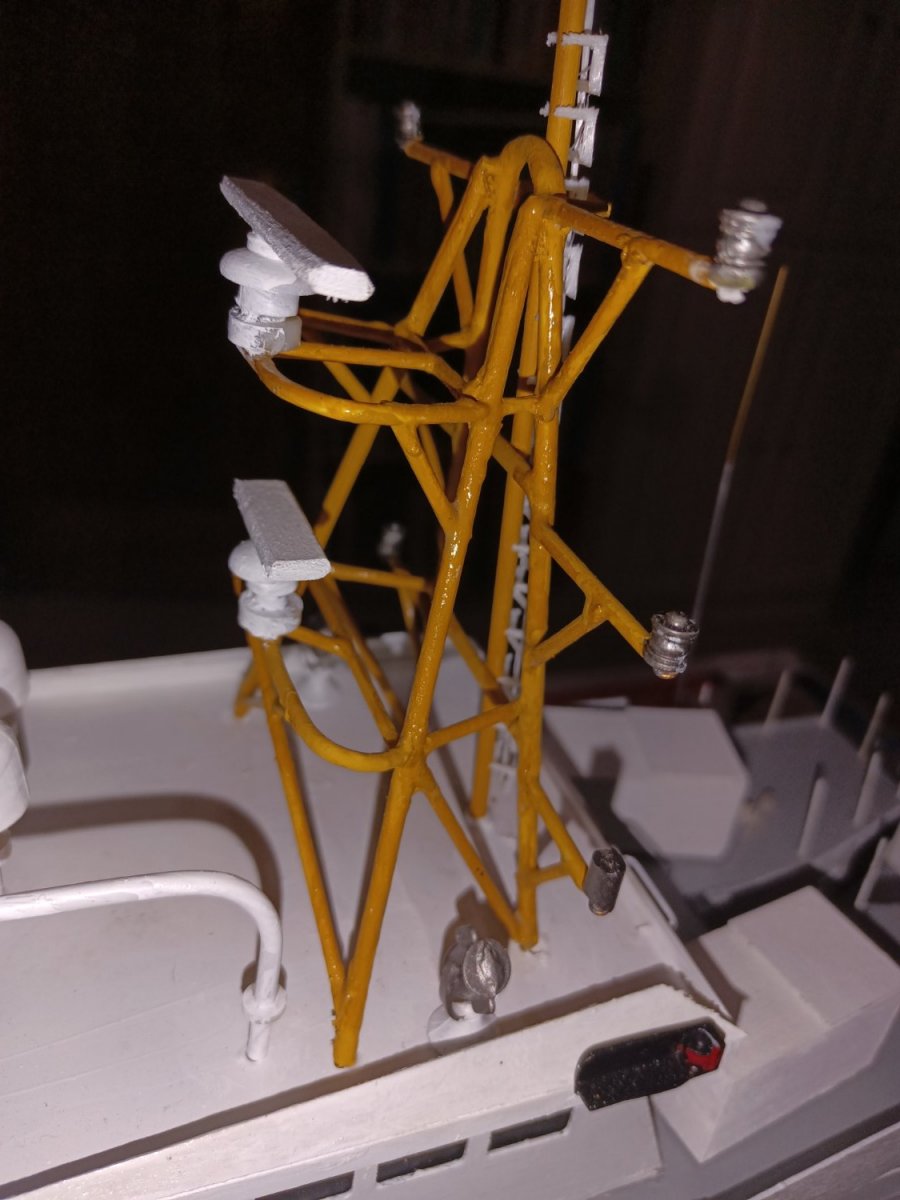
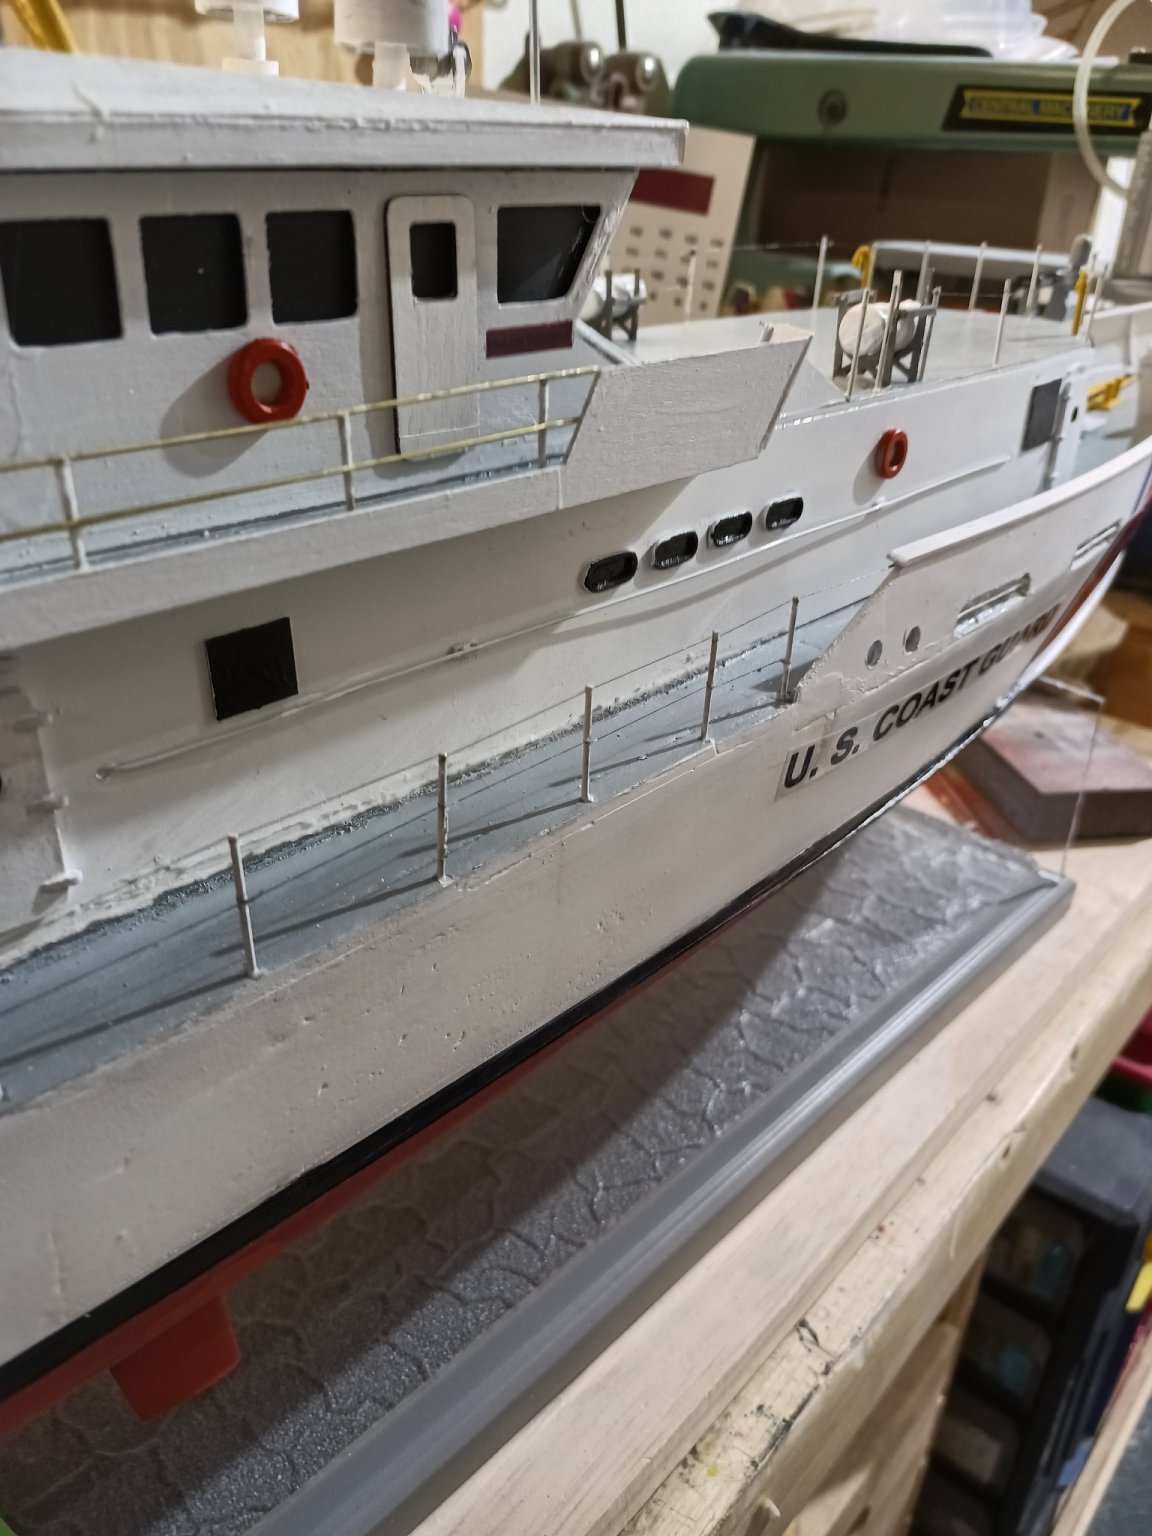
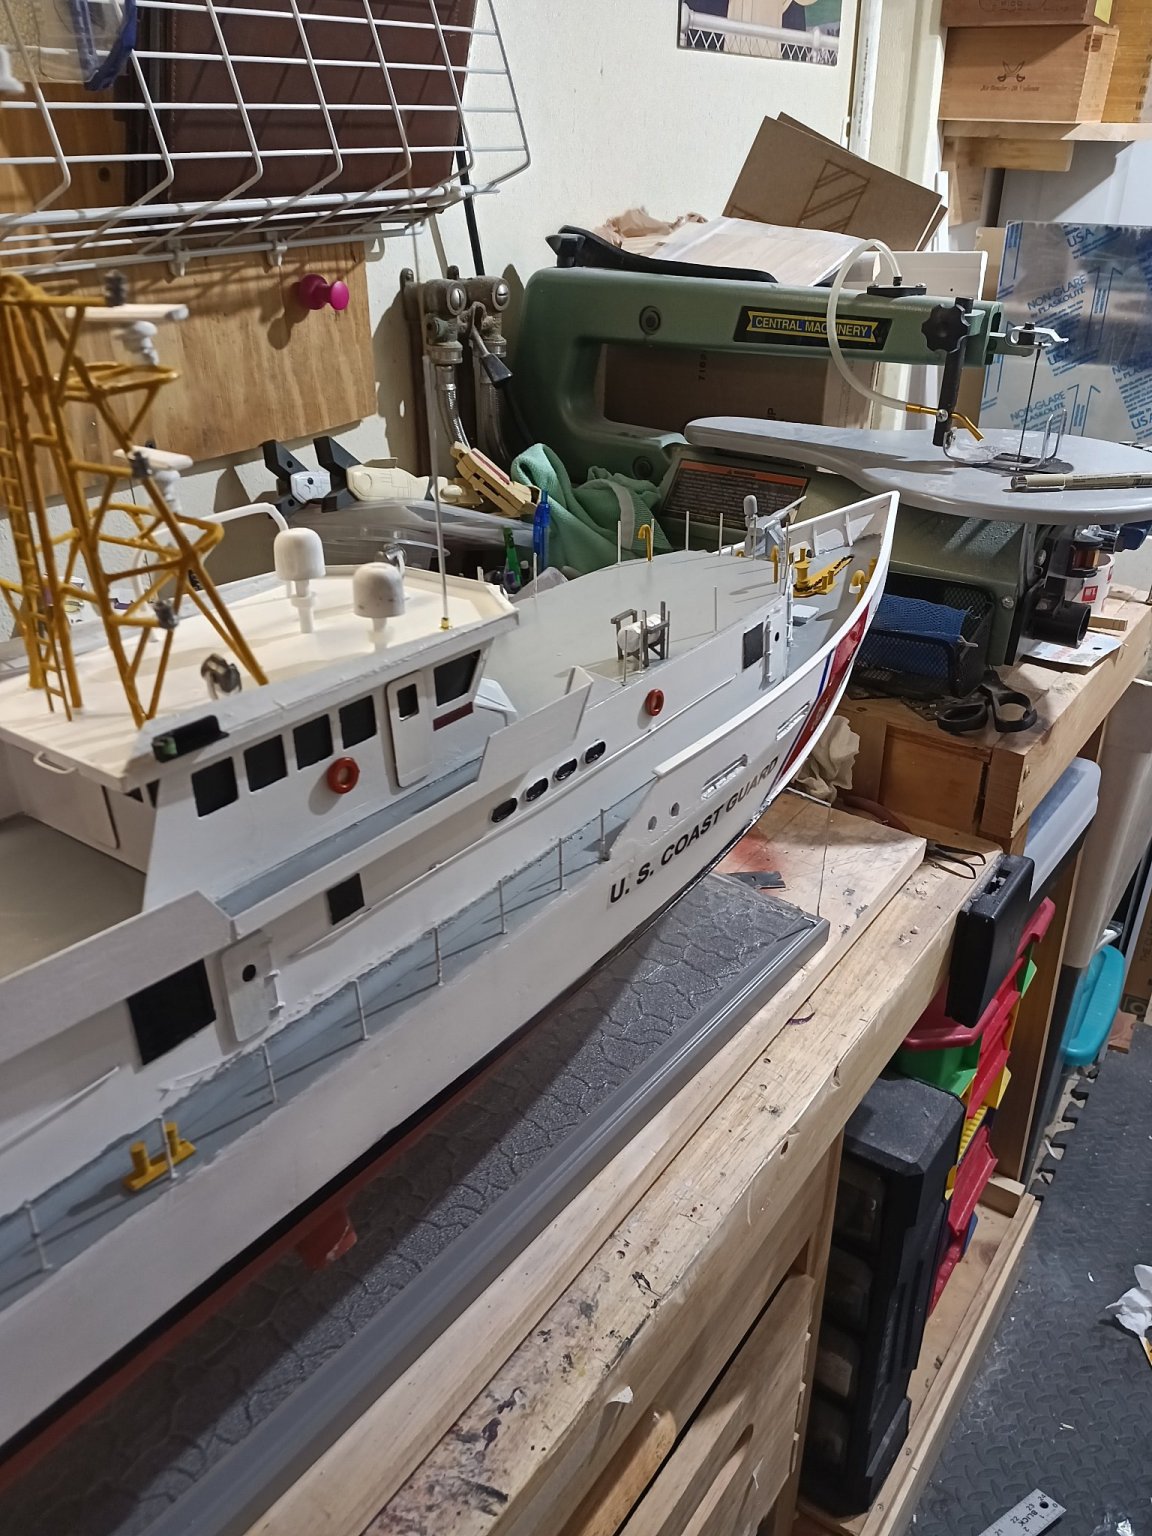
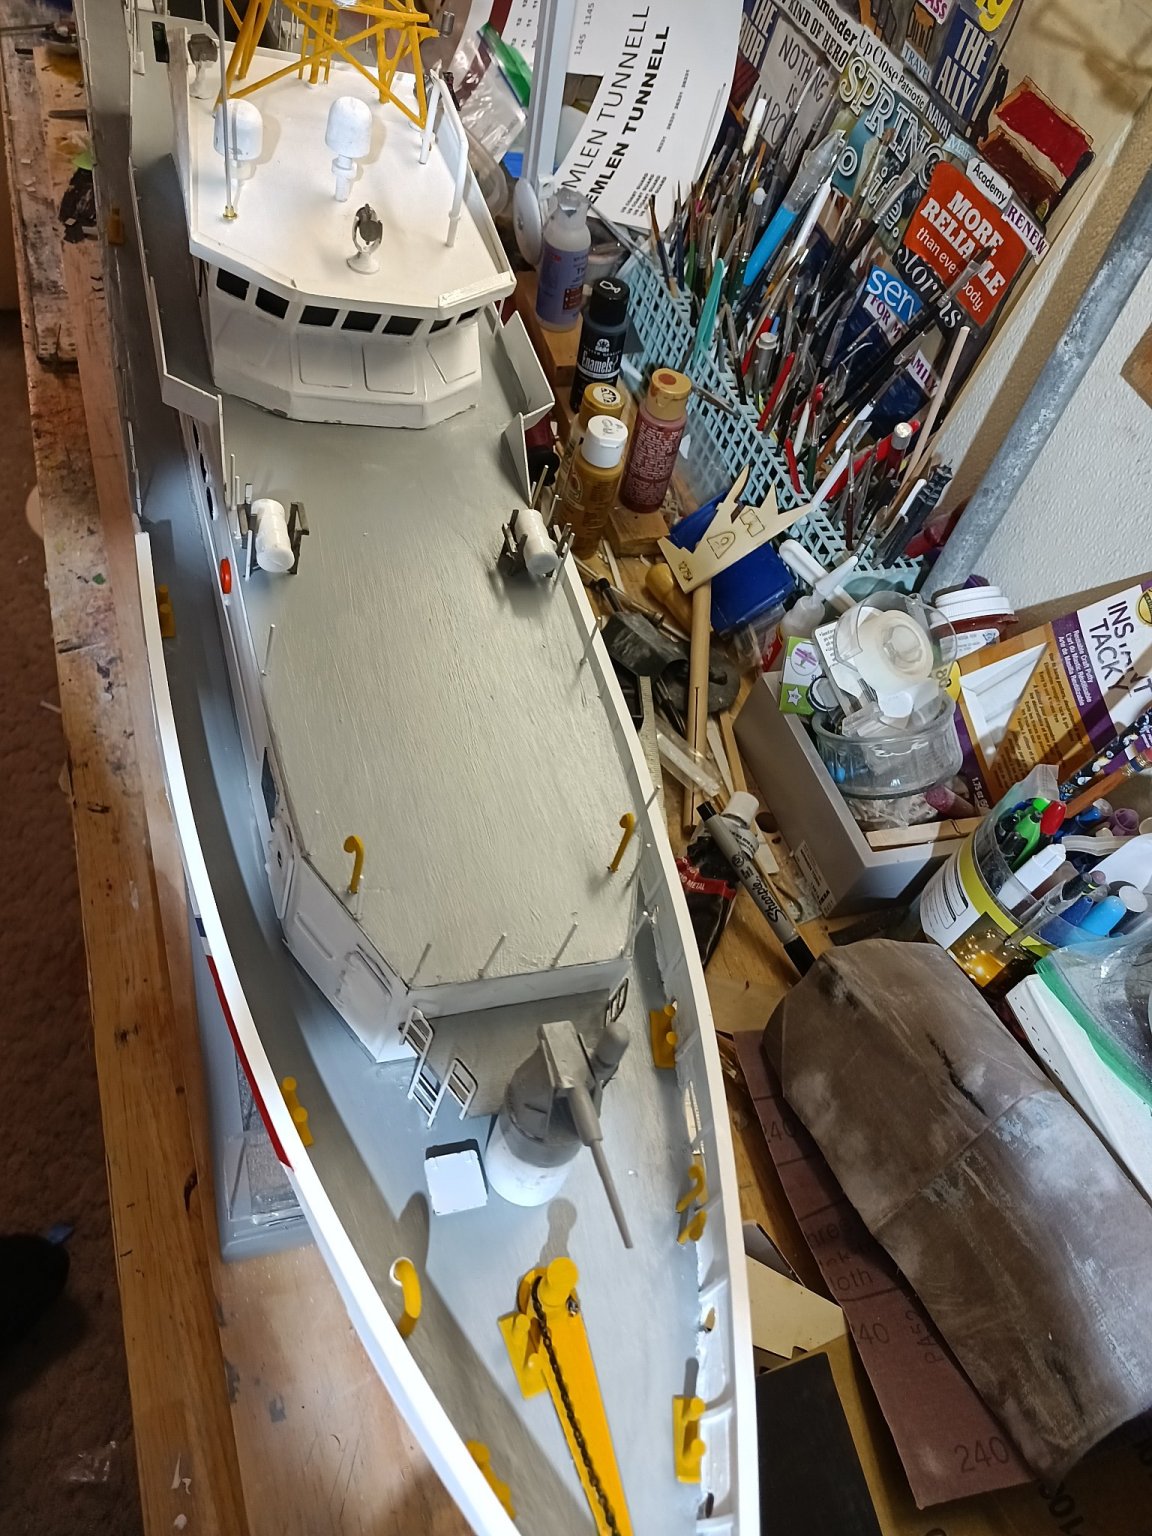
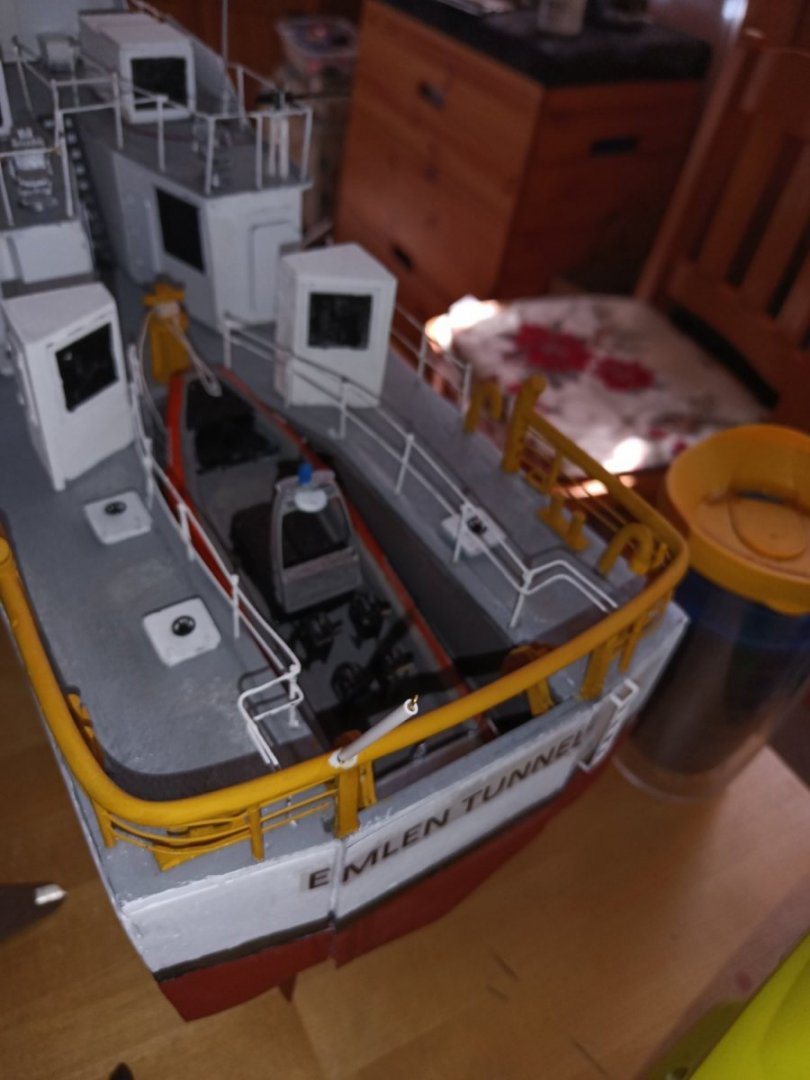
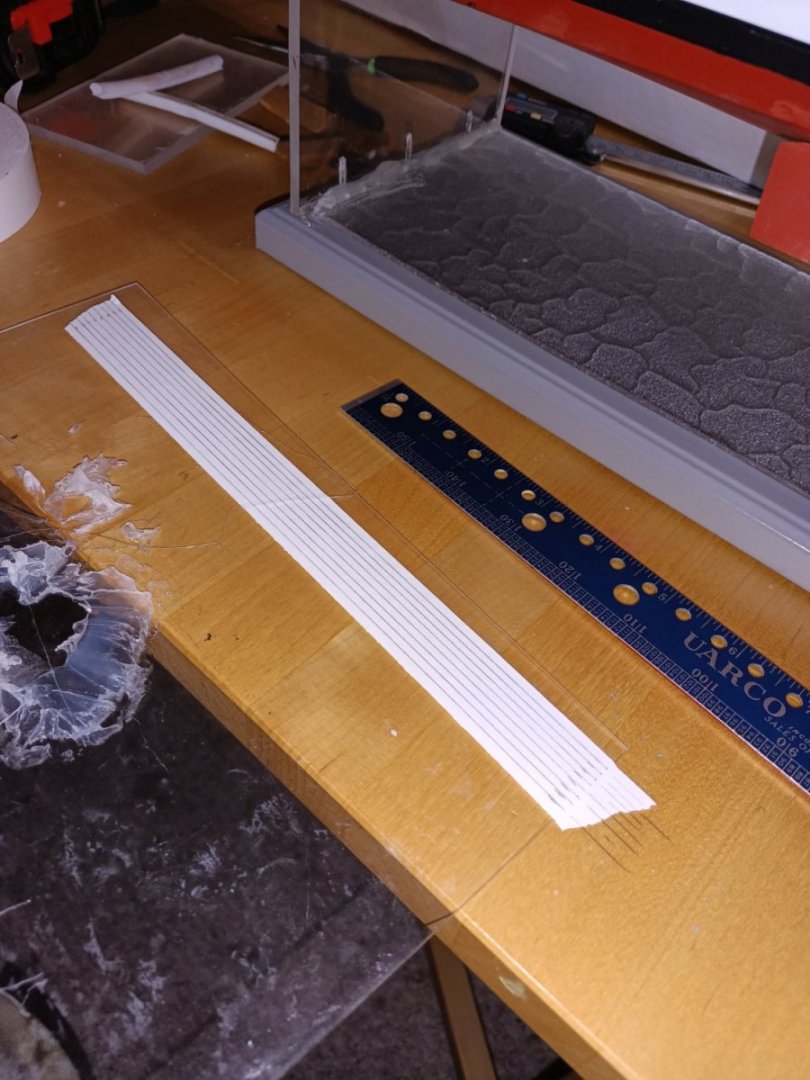
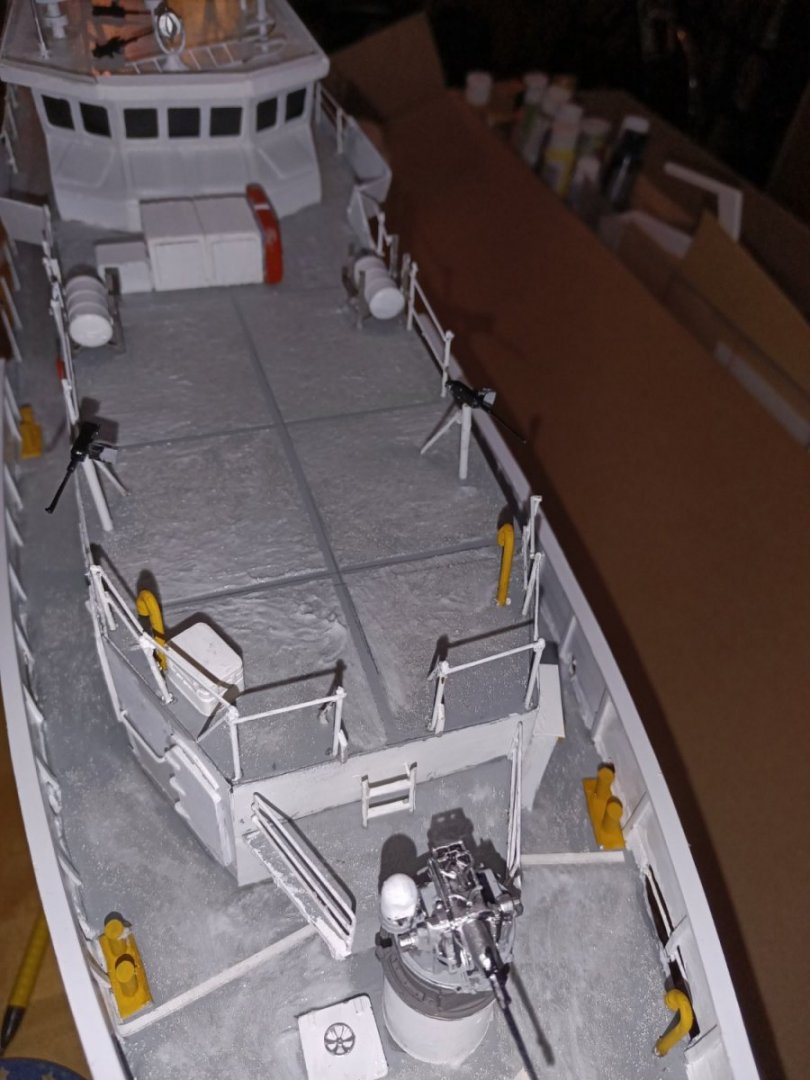
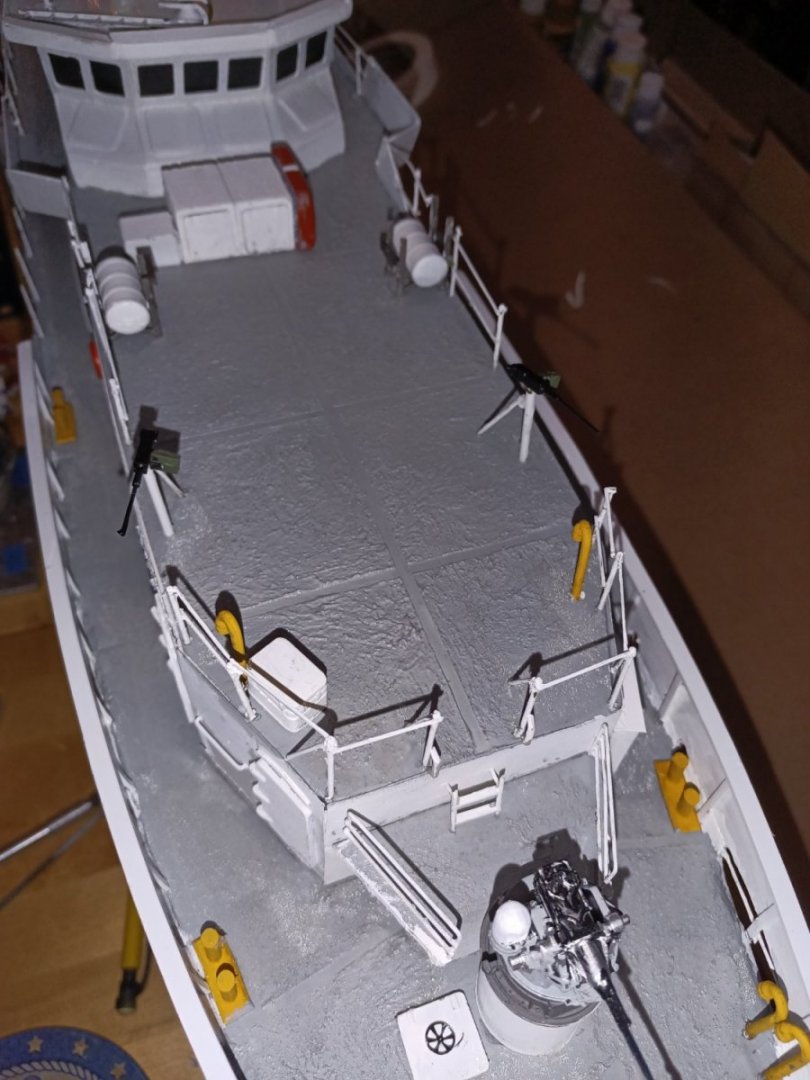
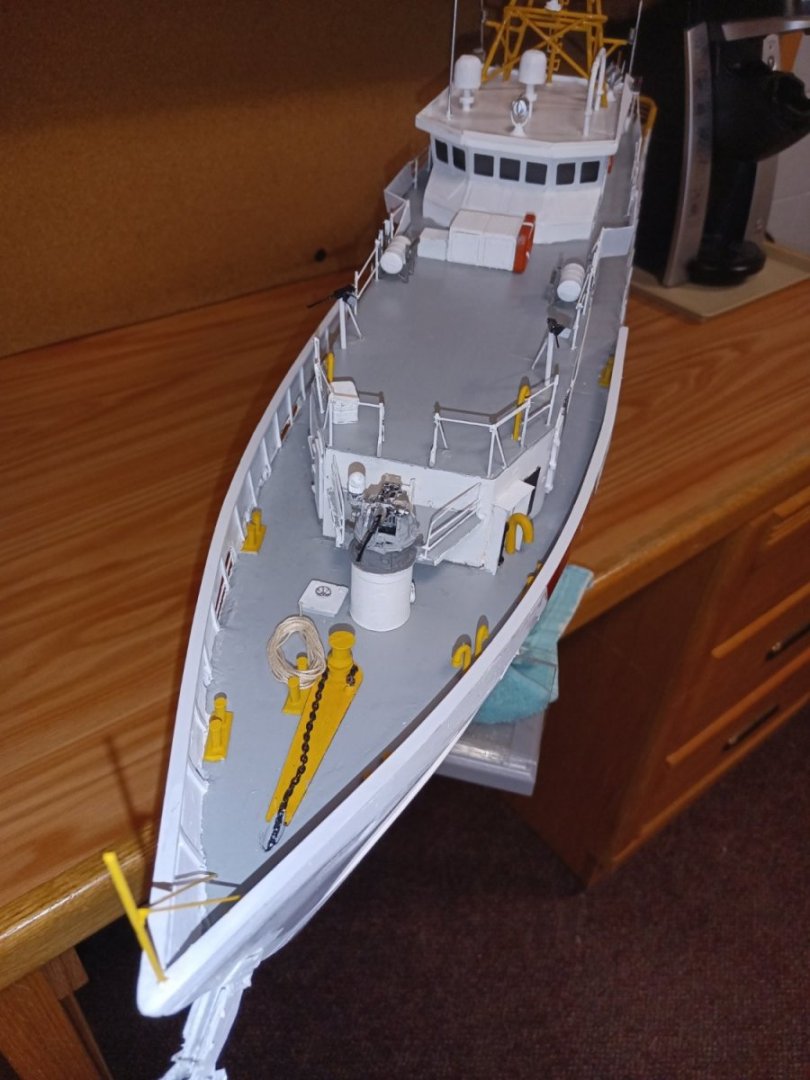
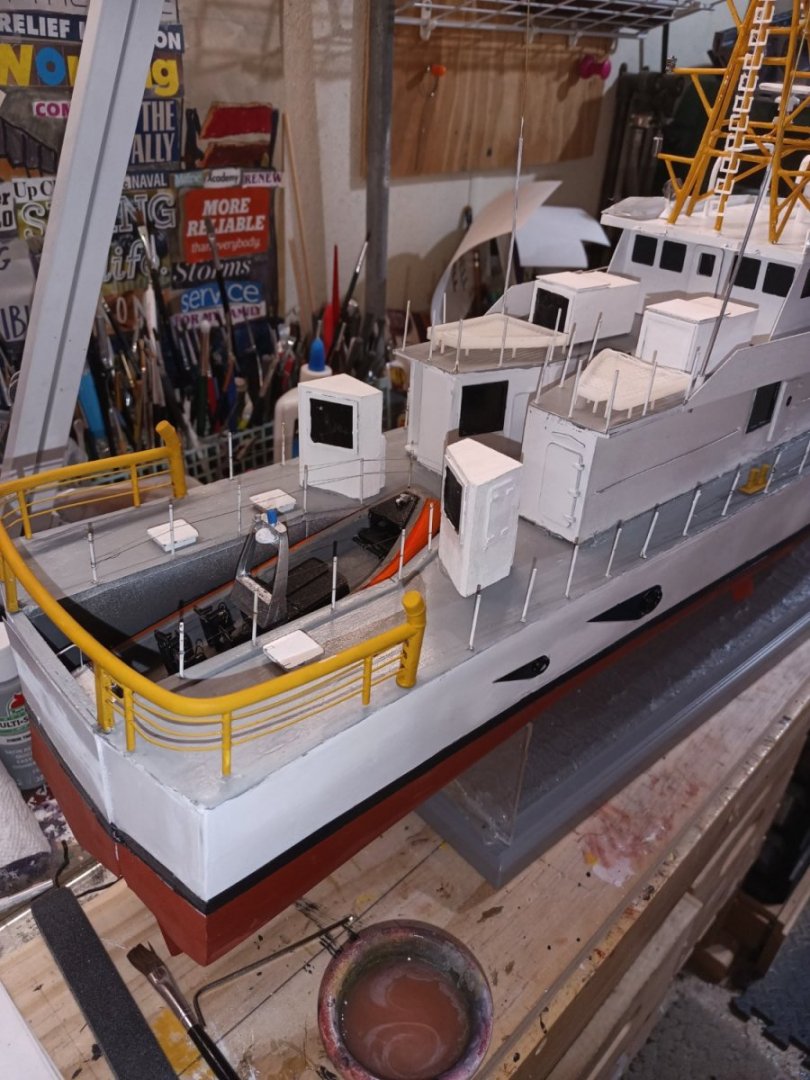
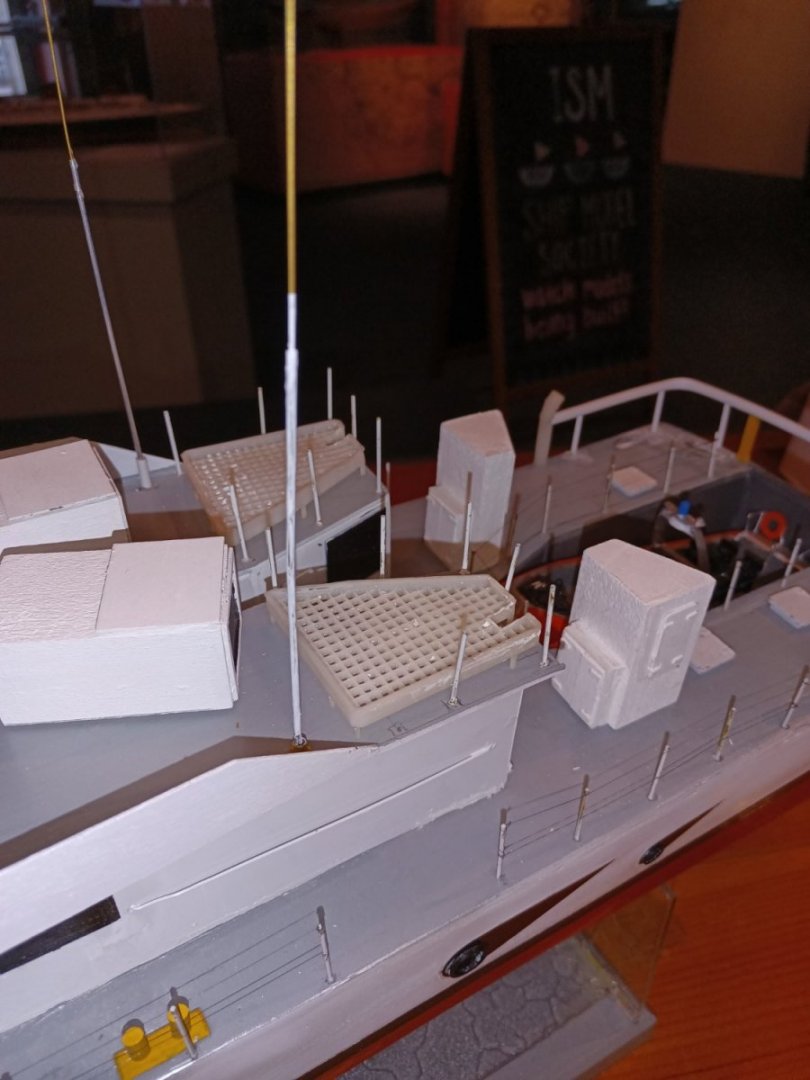
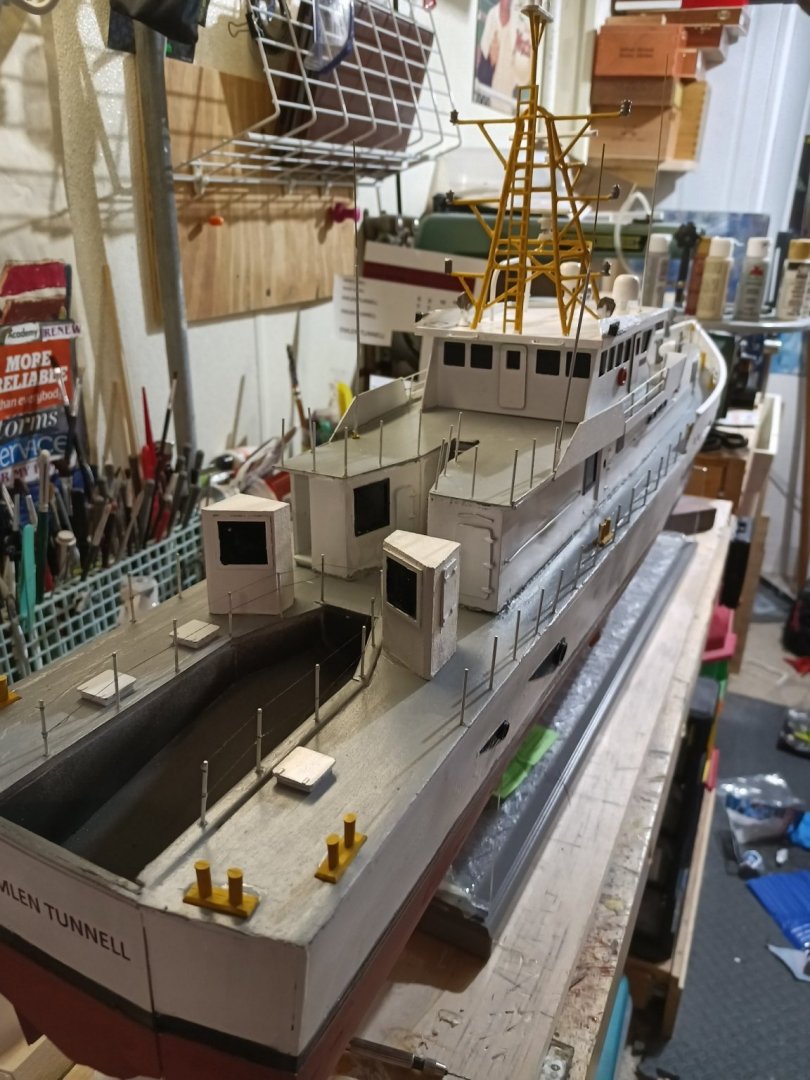
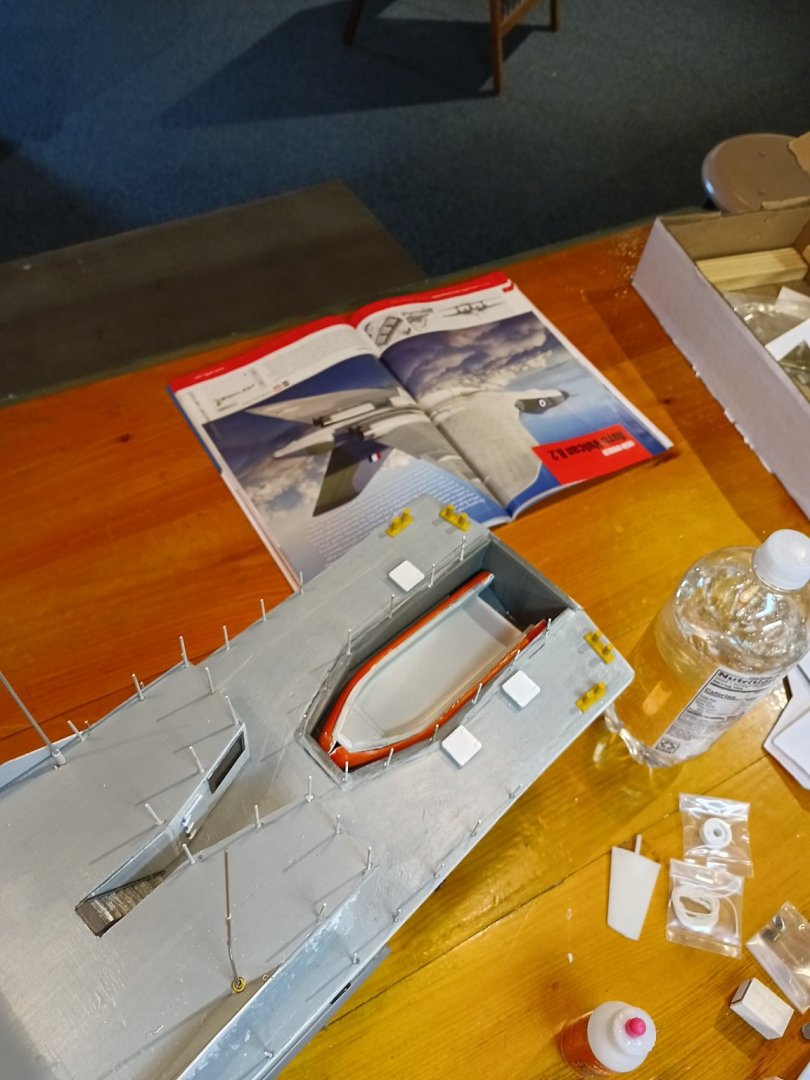
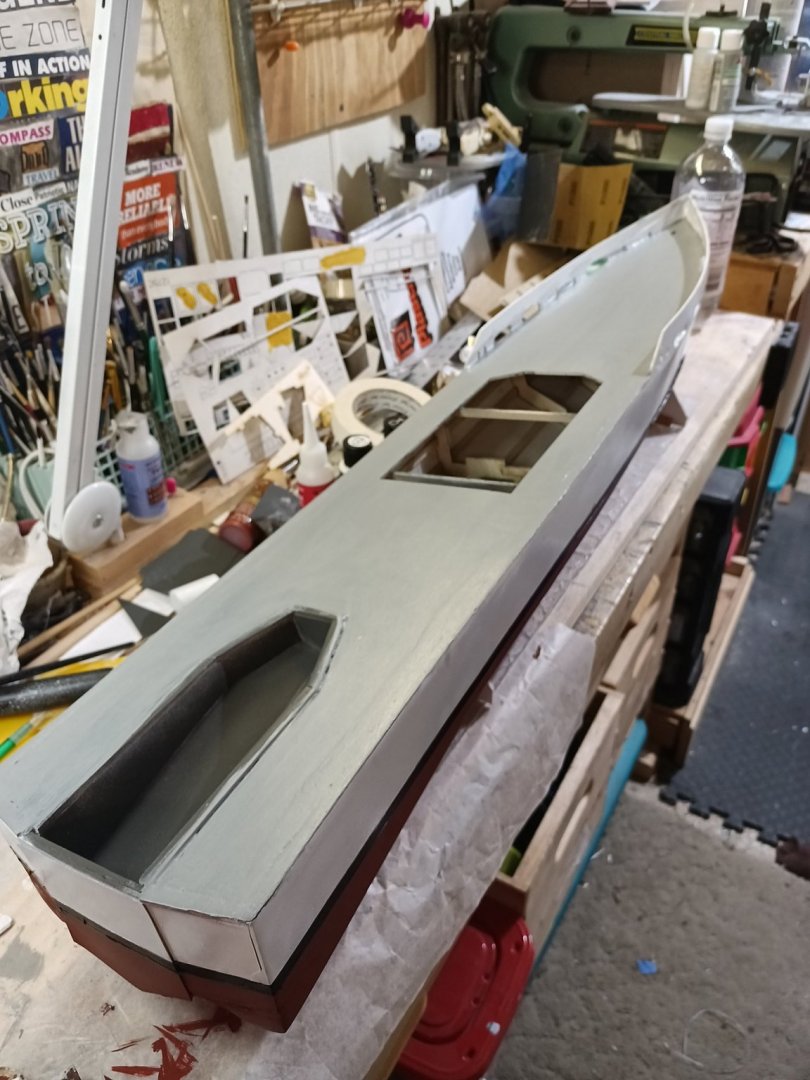
Some serious progress finally. .50 mounts are on and most of the hand rails are on. Tonight I finally figured out how to get the textured non skid decking. I used thinly cut artist tape and marked off the "channels". I then painted the deck with fine pumice textured acrylic gel. It went on pretty thick so I dappled it down. After it dried I used a very water thinned base coat of acrylic flat paint to get rid of the gloss. I also started final completion of the rear mast sat nav assembly.


-
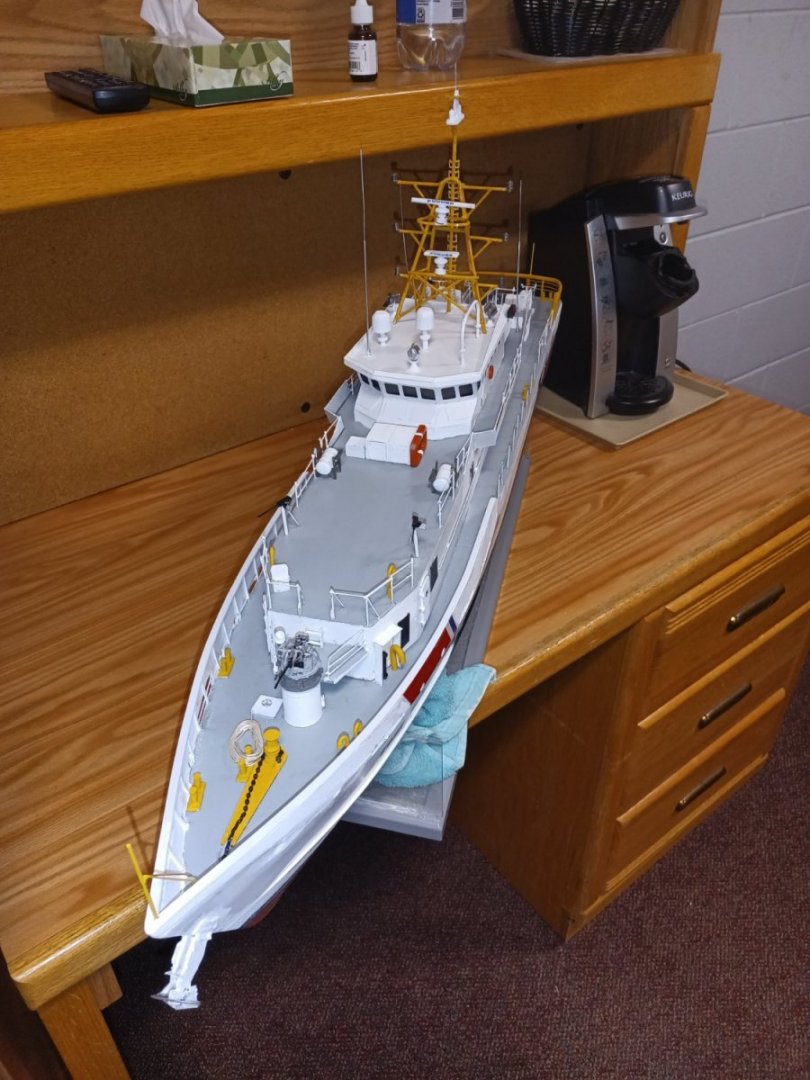
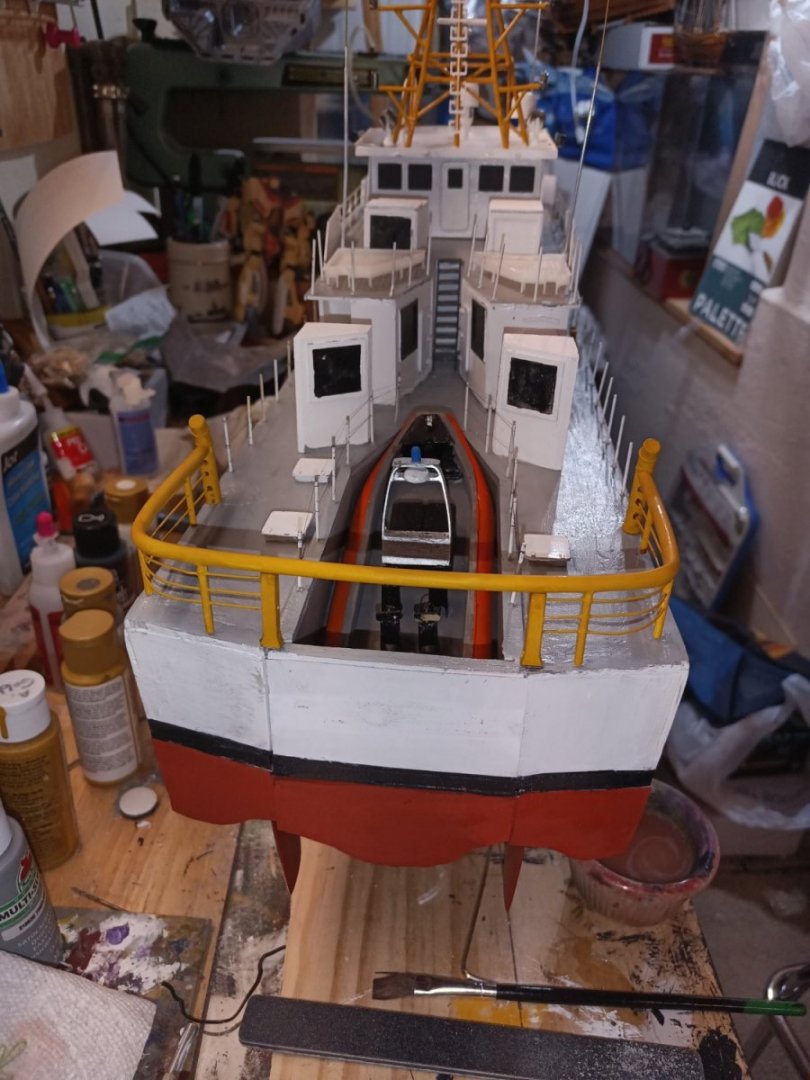
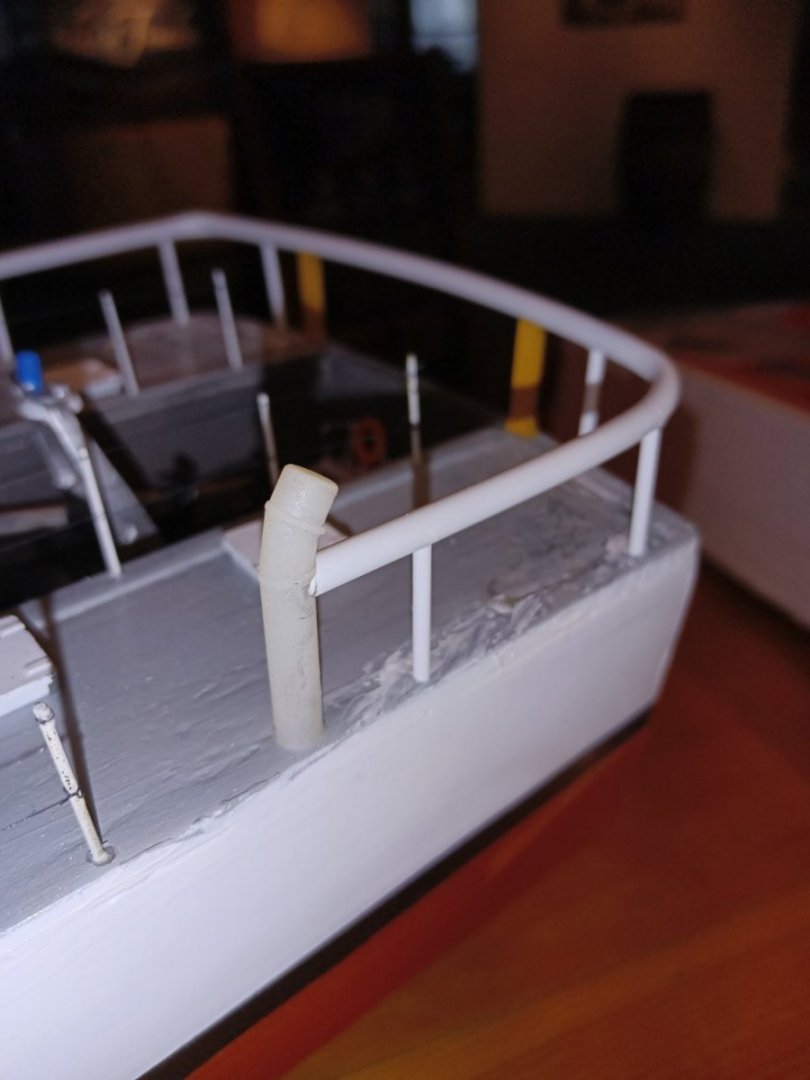
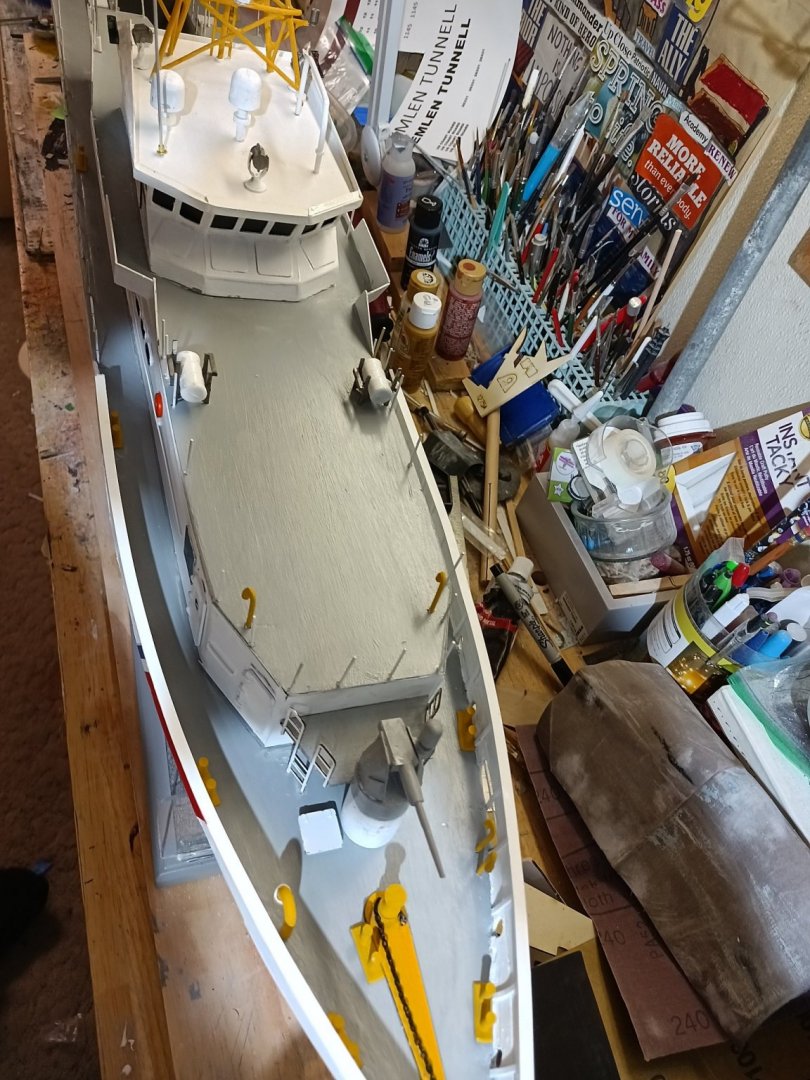
Slowly moving forward but approaching the finish line. Stern rails mostly complete.
-
3d printing crew figures
highlanderburial replied to highlanderburial's topic in 3D-Printing and Laser-Cutting.
I just recently used white primer on some AfAm troops in 54mm. I then built up layers using sepia and brown inks in light coats. I dont know if it would work on your scale though. Worth a try? -
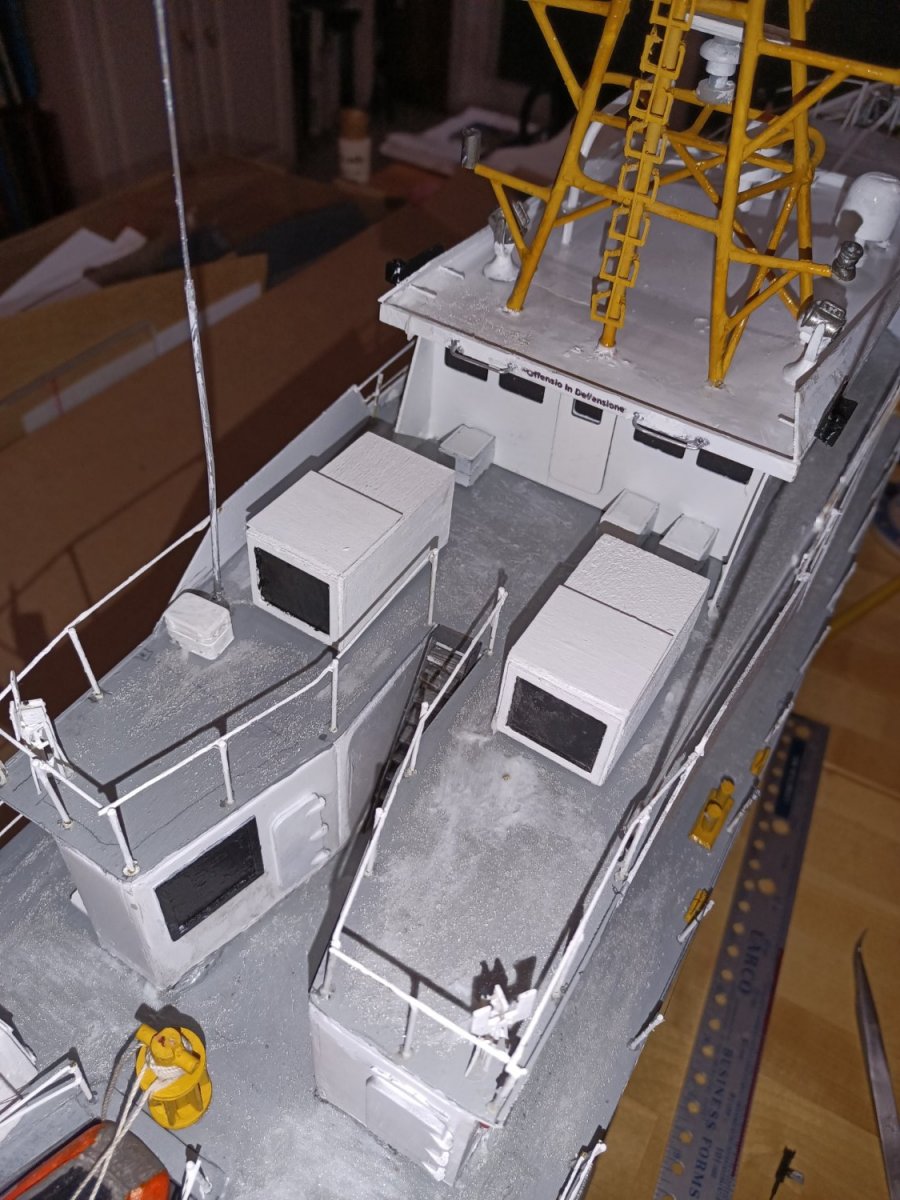
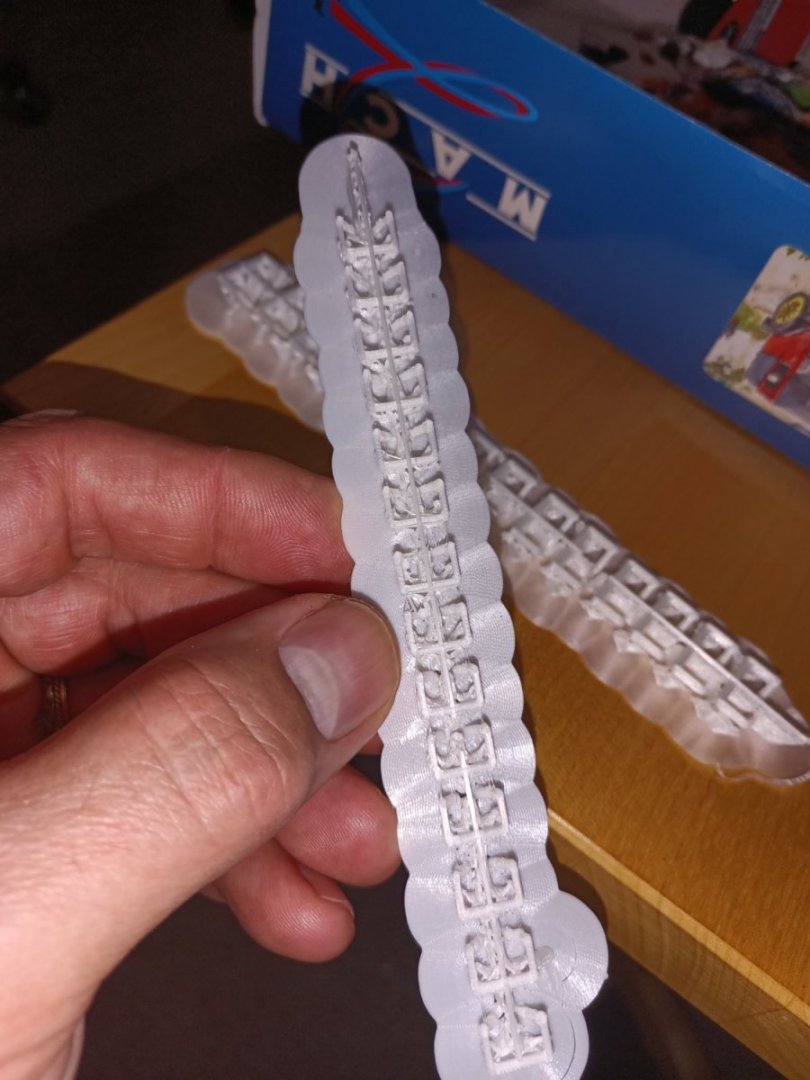
More touch up work on the decks and figuring out the deep well rails. I designed and printed deck grating for the rear of the second level. The design needs work but I will get it right. I was very happy how the back of the stern rail posts came out.


-
3d printing crew figures
highlanderburial replied to highlanderburial's topic in 3D-Printing and Laser-Cutting.
I agree that making these guys is really distracting. The HF website gives you lots if opportunities to "slim down" your mini or to make it taller or shorter. Additionally I was able to change it up in the slicer software as well. Your figs look good! -
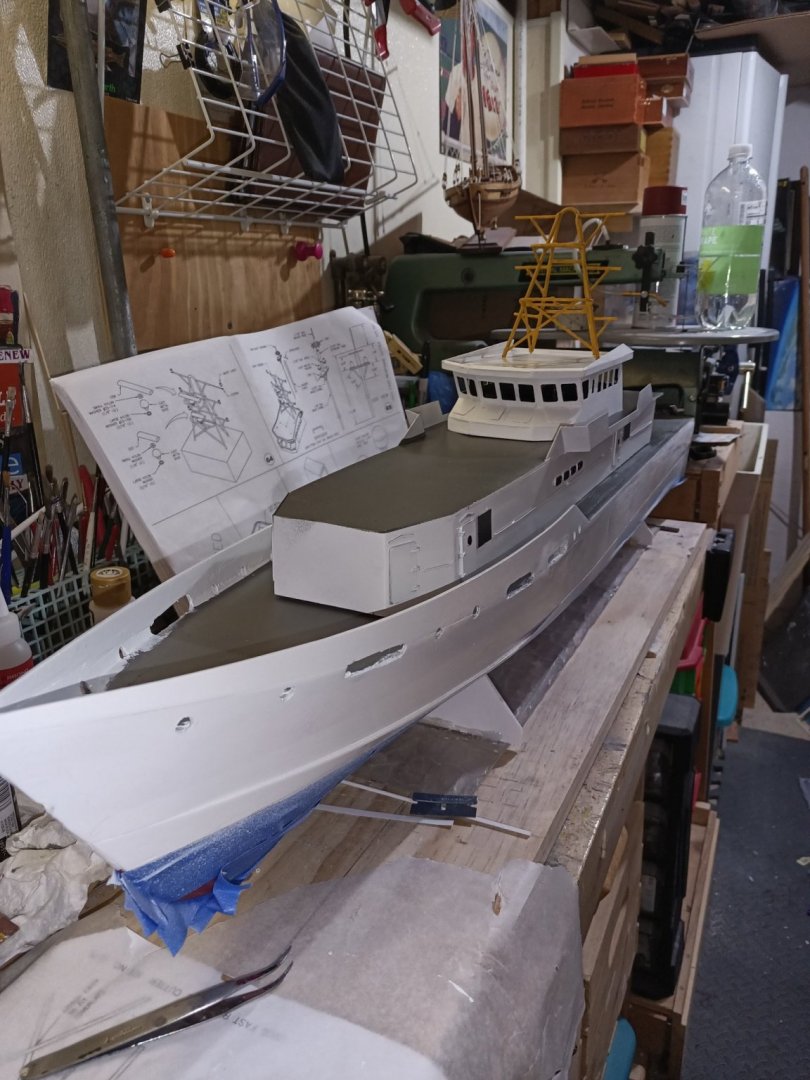
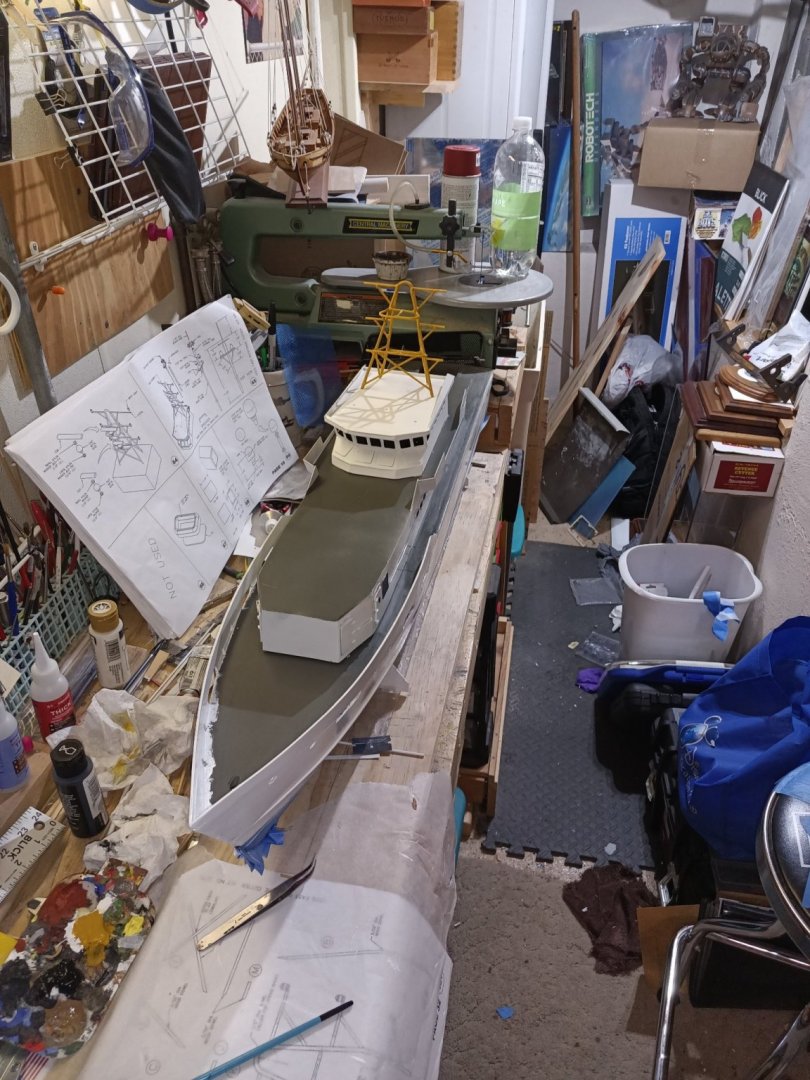
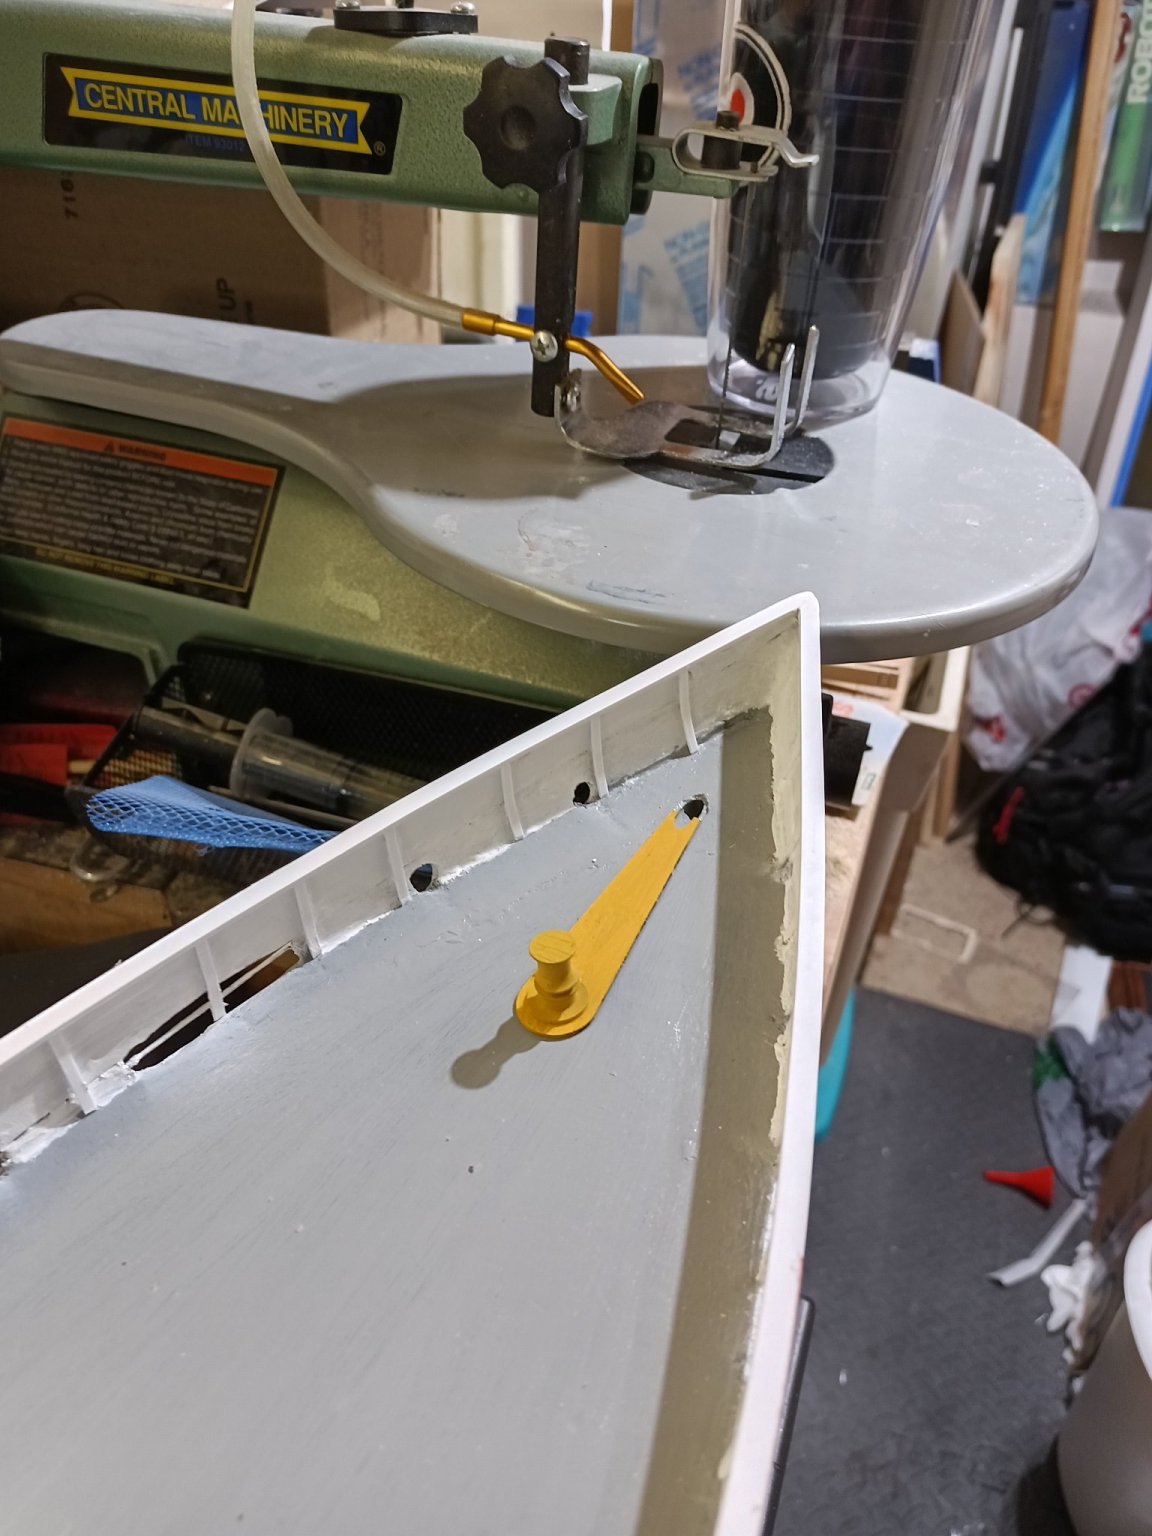
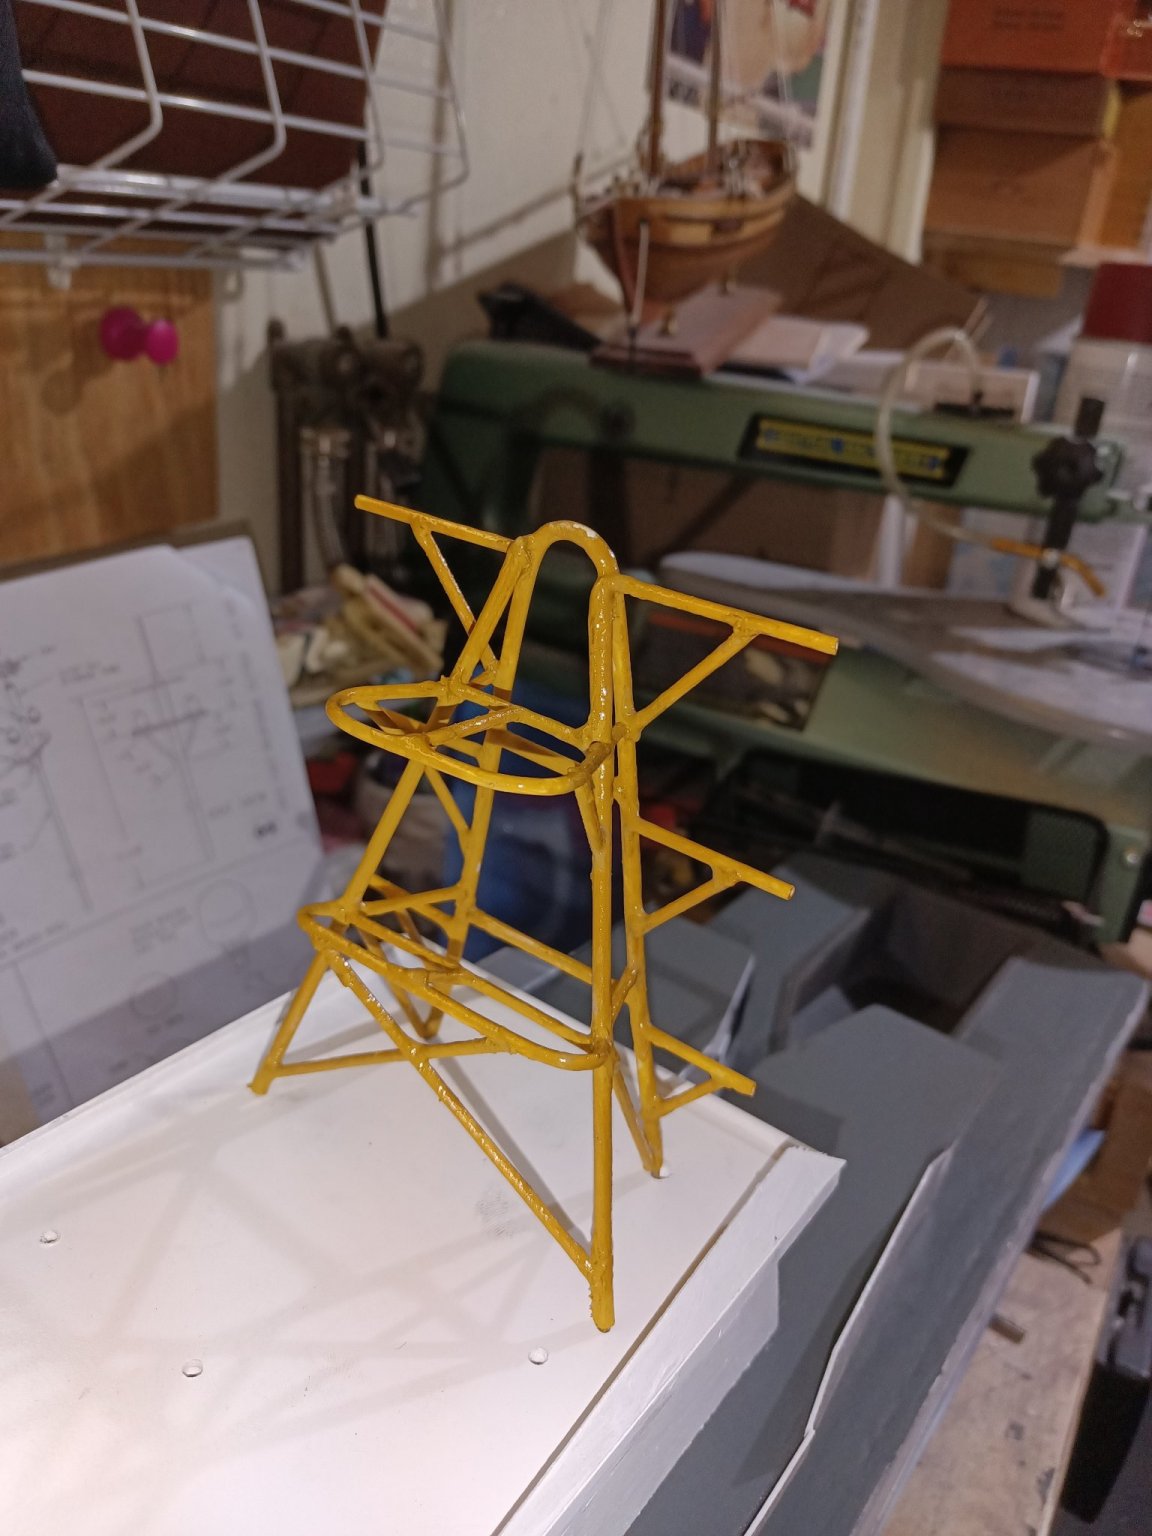
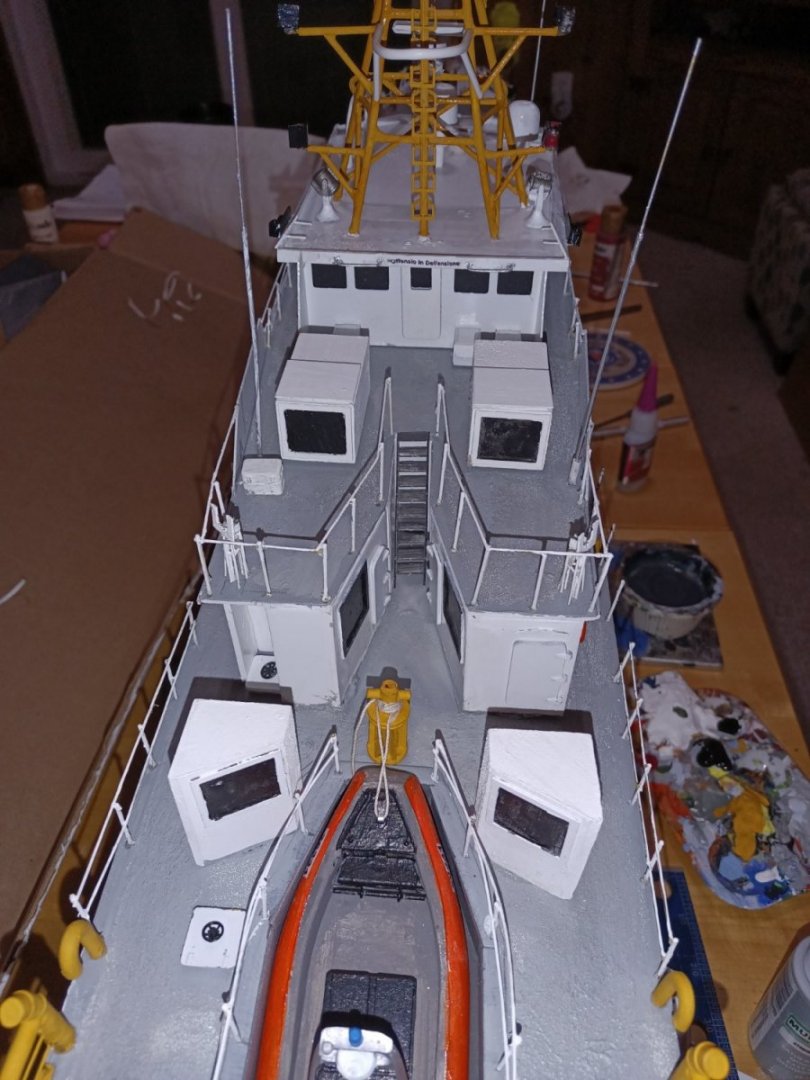
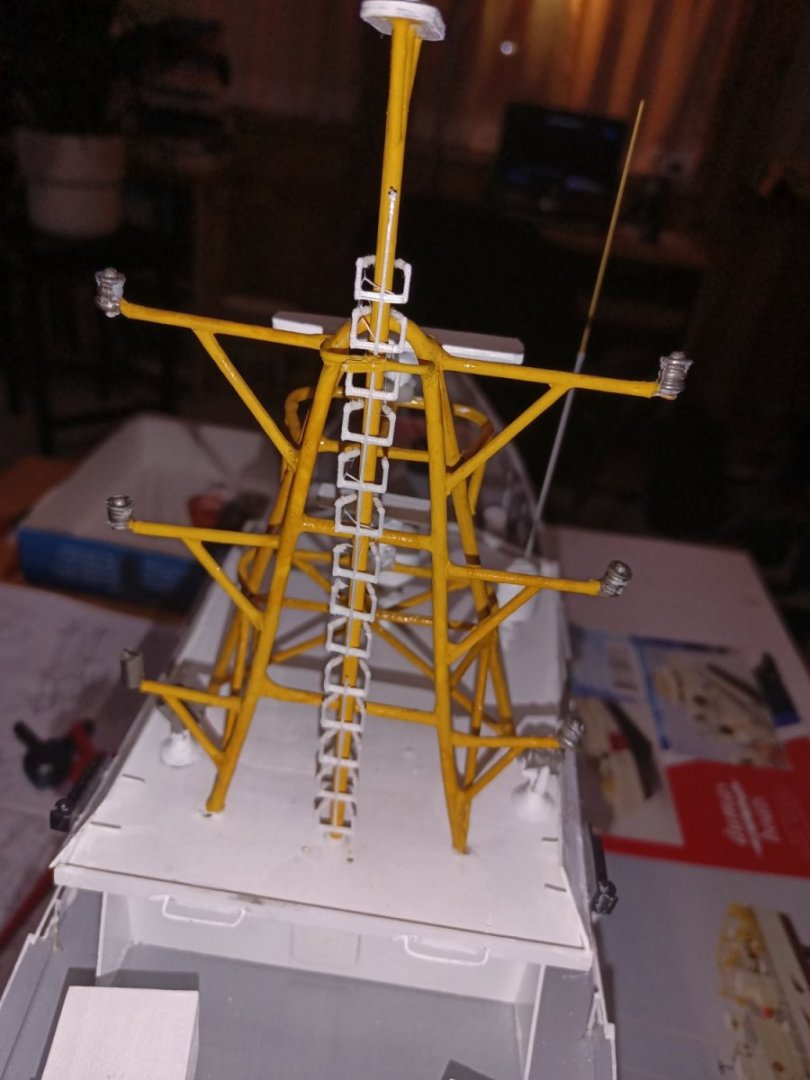
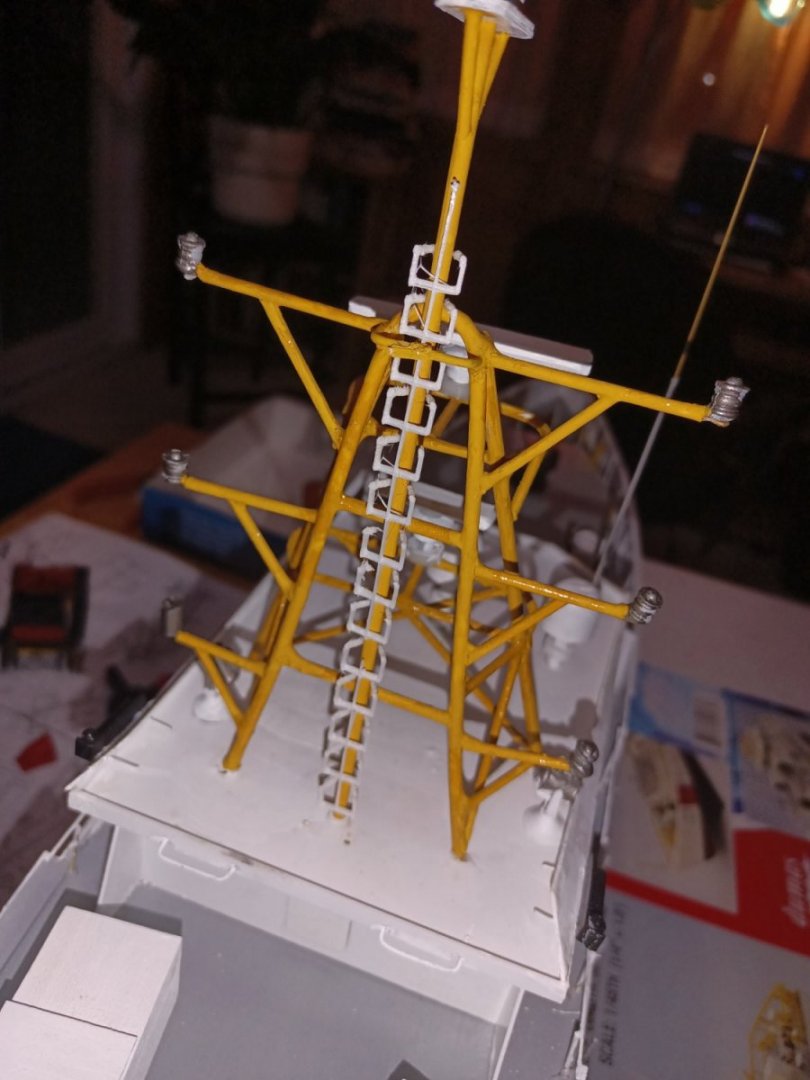
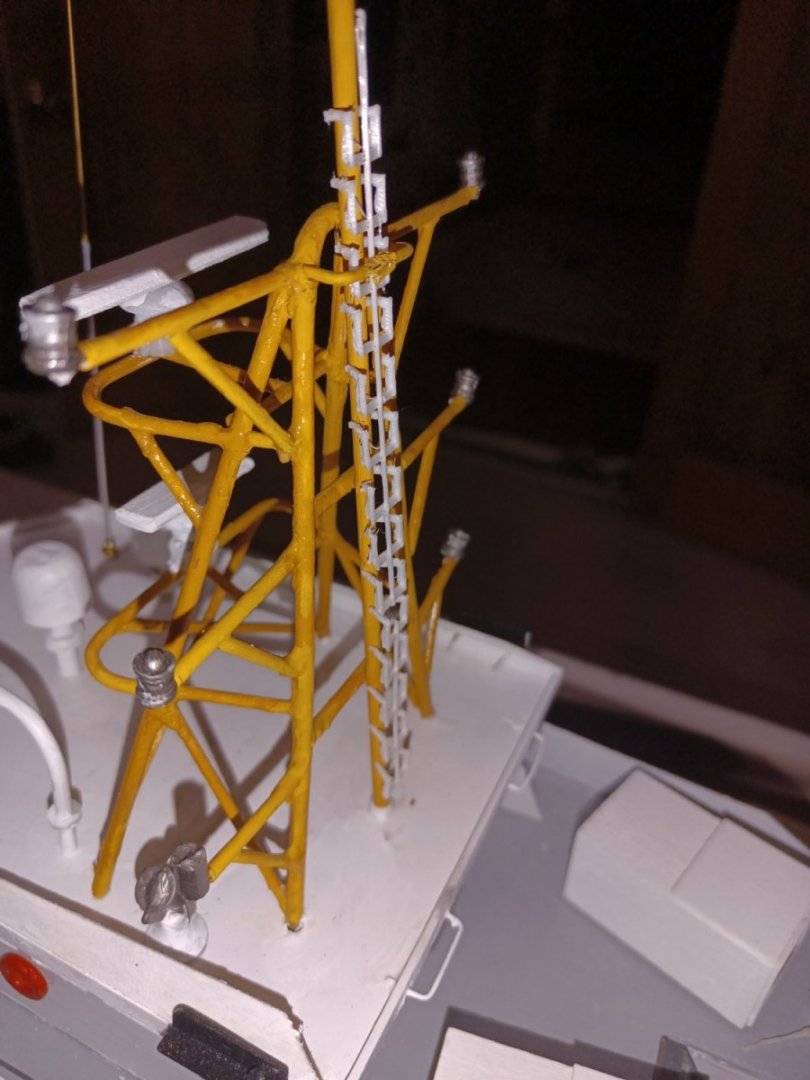
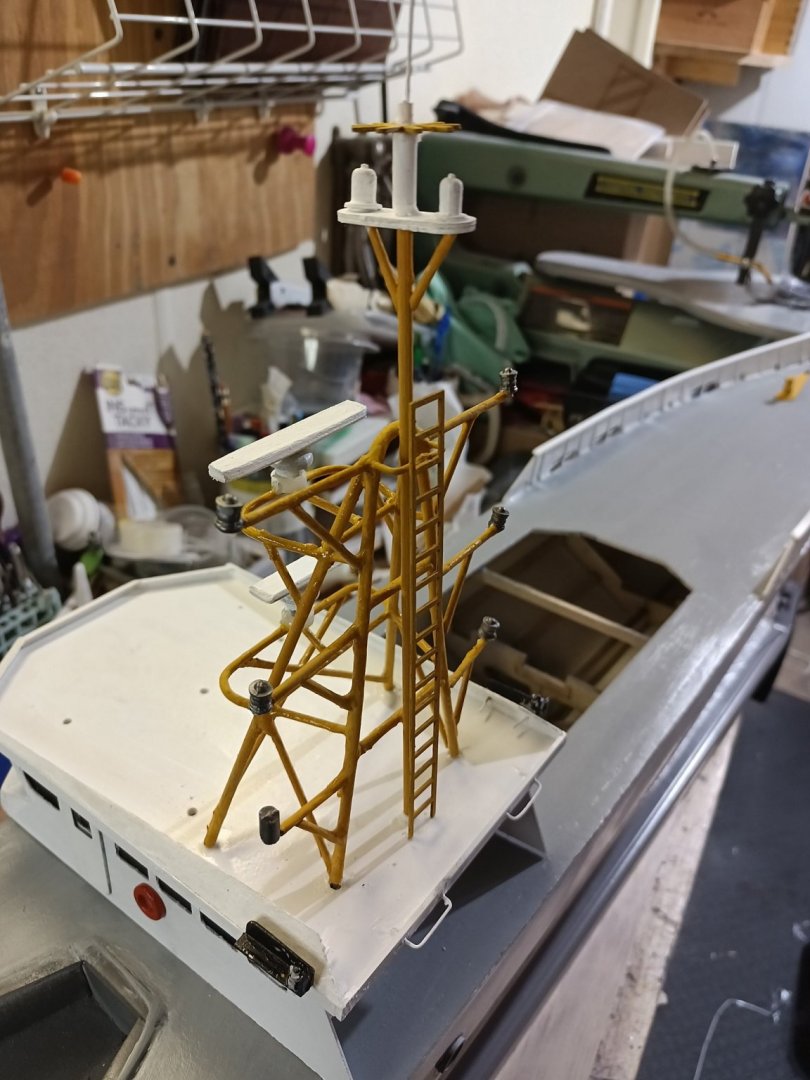
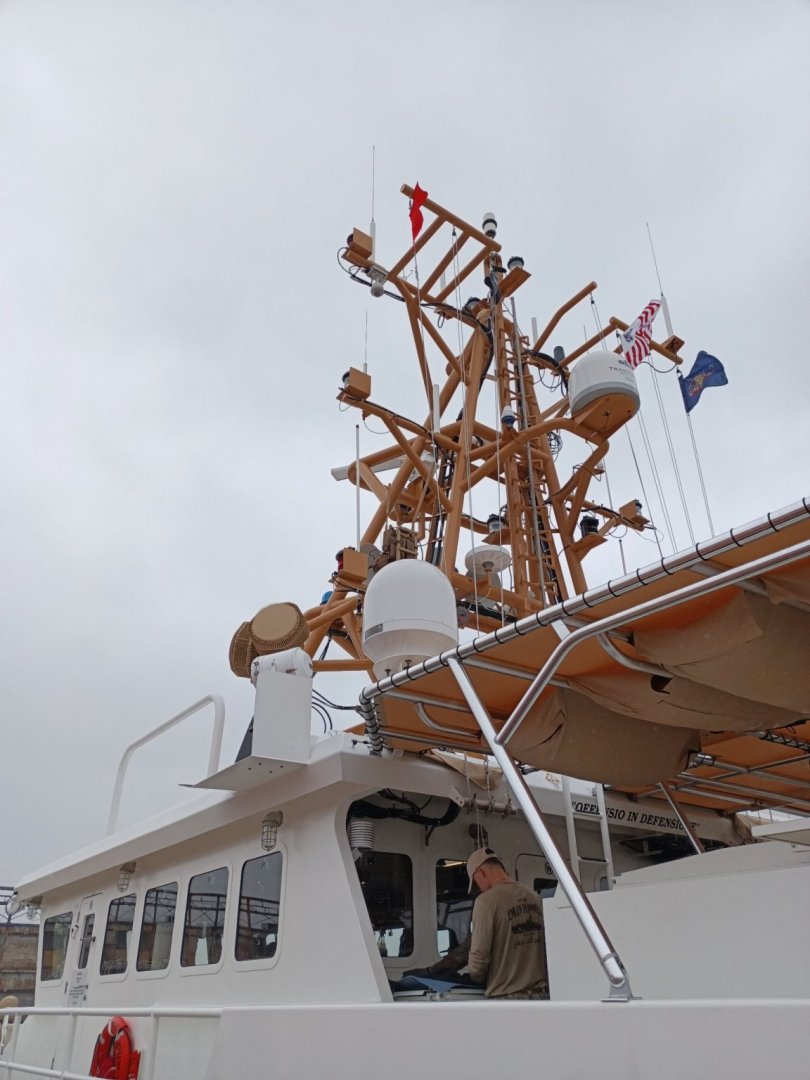
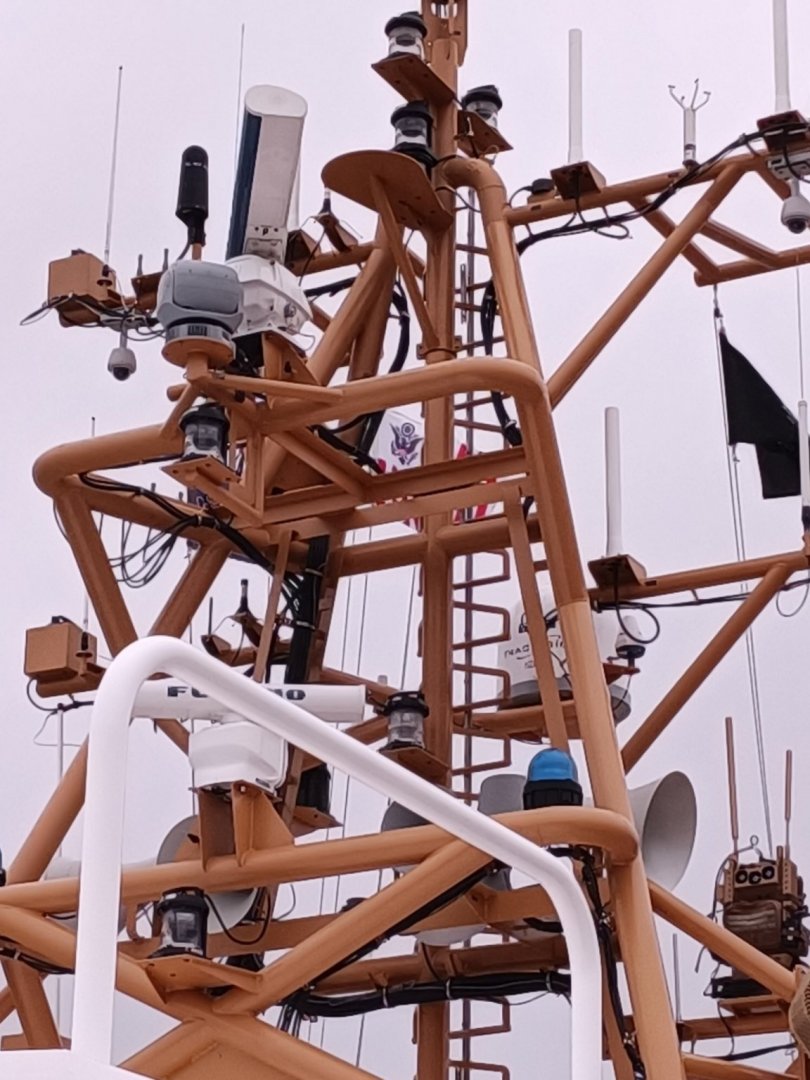
Work is progressing at a very slow pace. I have spent many hours designing detail parts on CAD for the 3d printer. My latest triumph was to change out the kit ladder for the light weight triangle rung ladder. If you go back and look at the mast pics of the real ship I posted you will see what I mean.

-
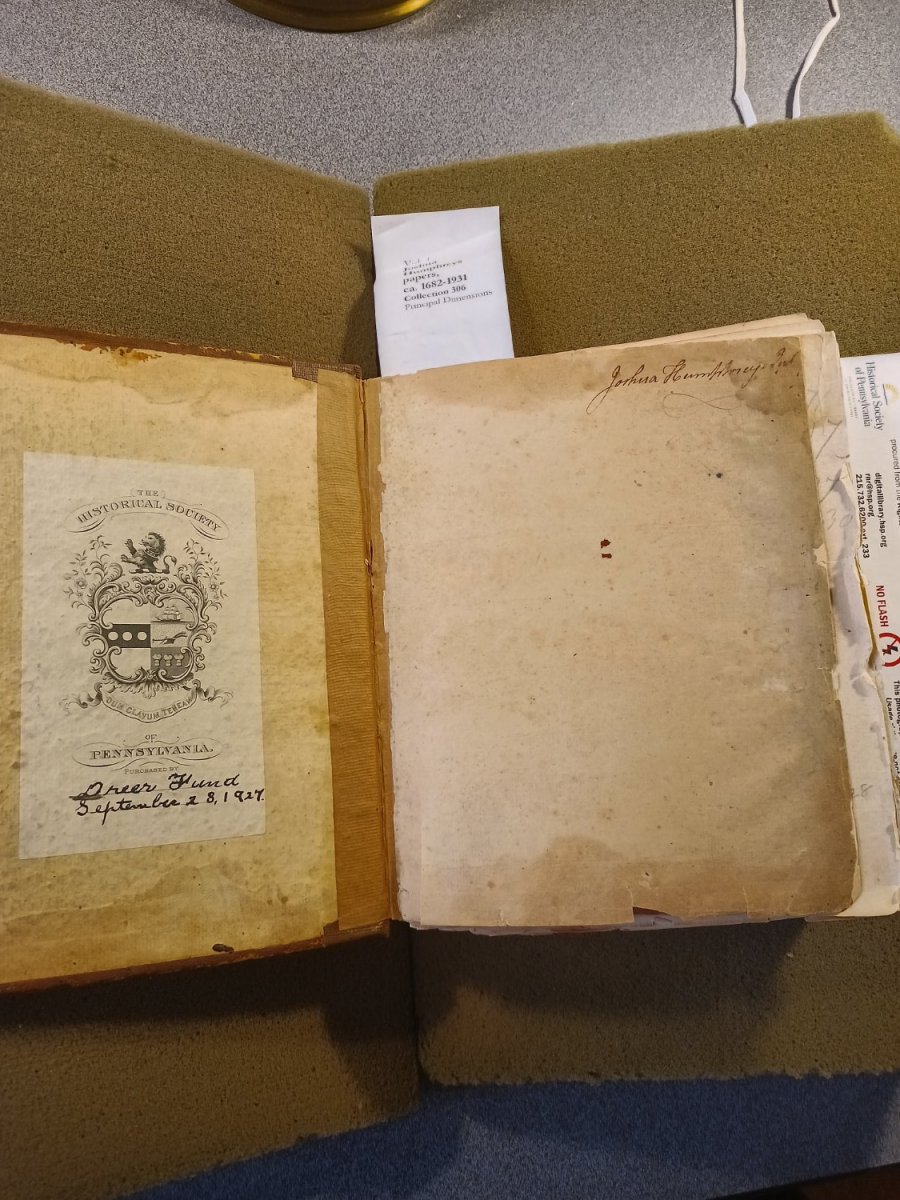
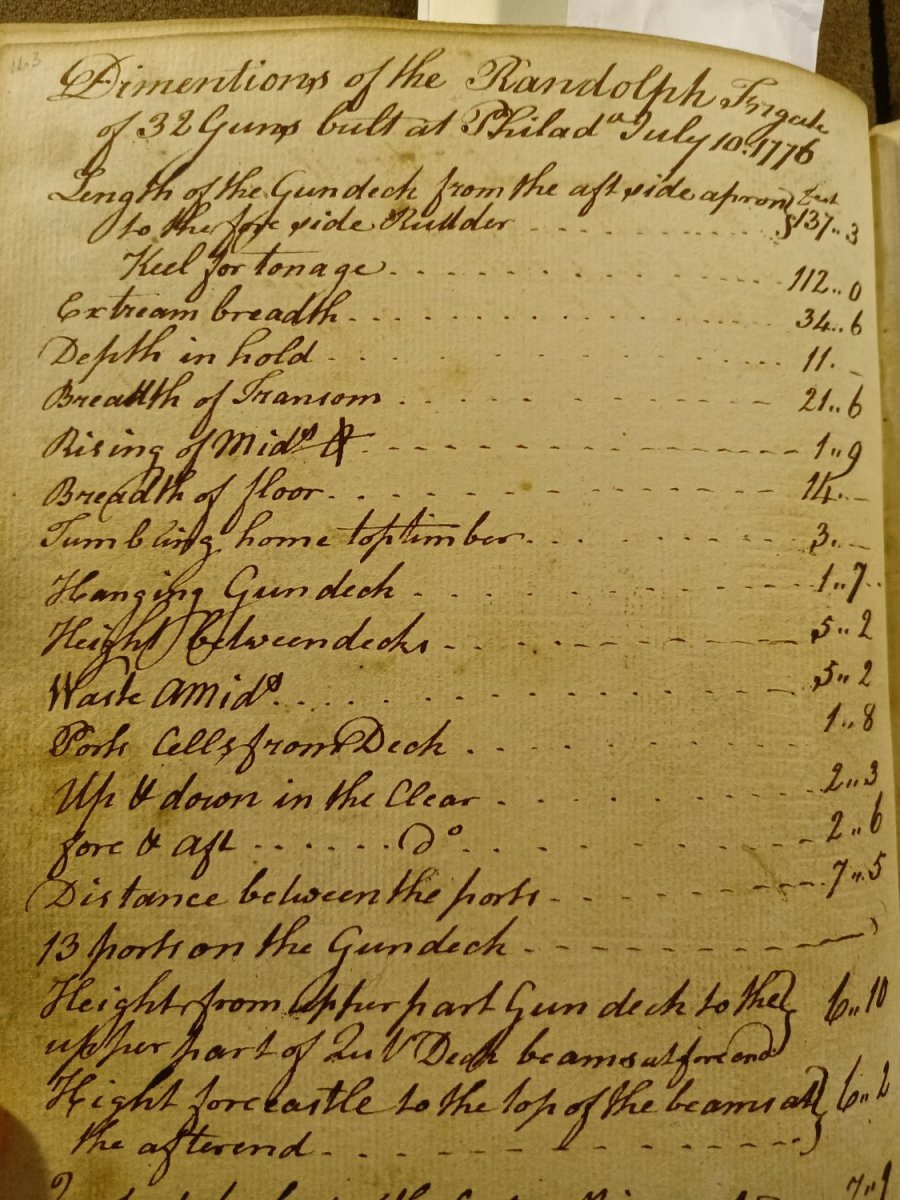
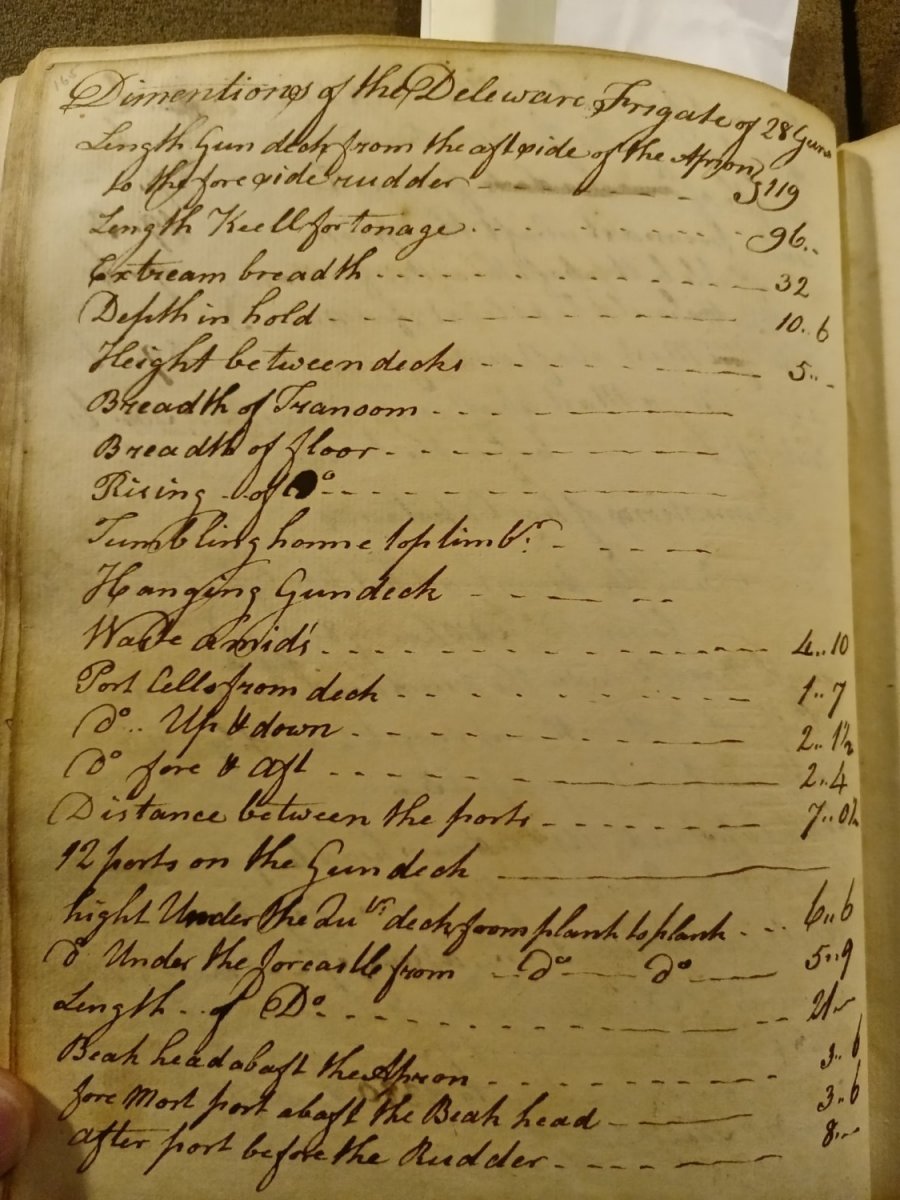
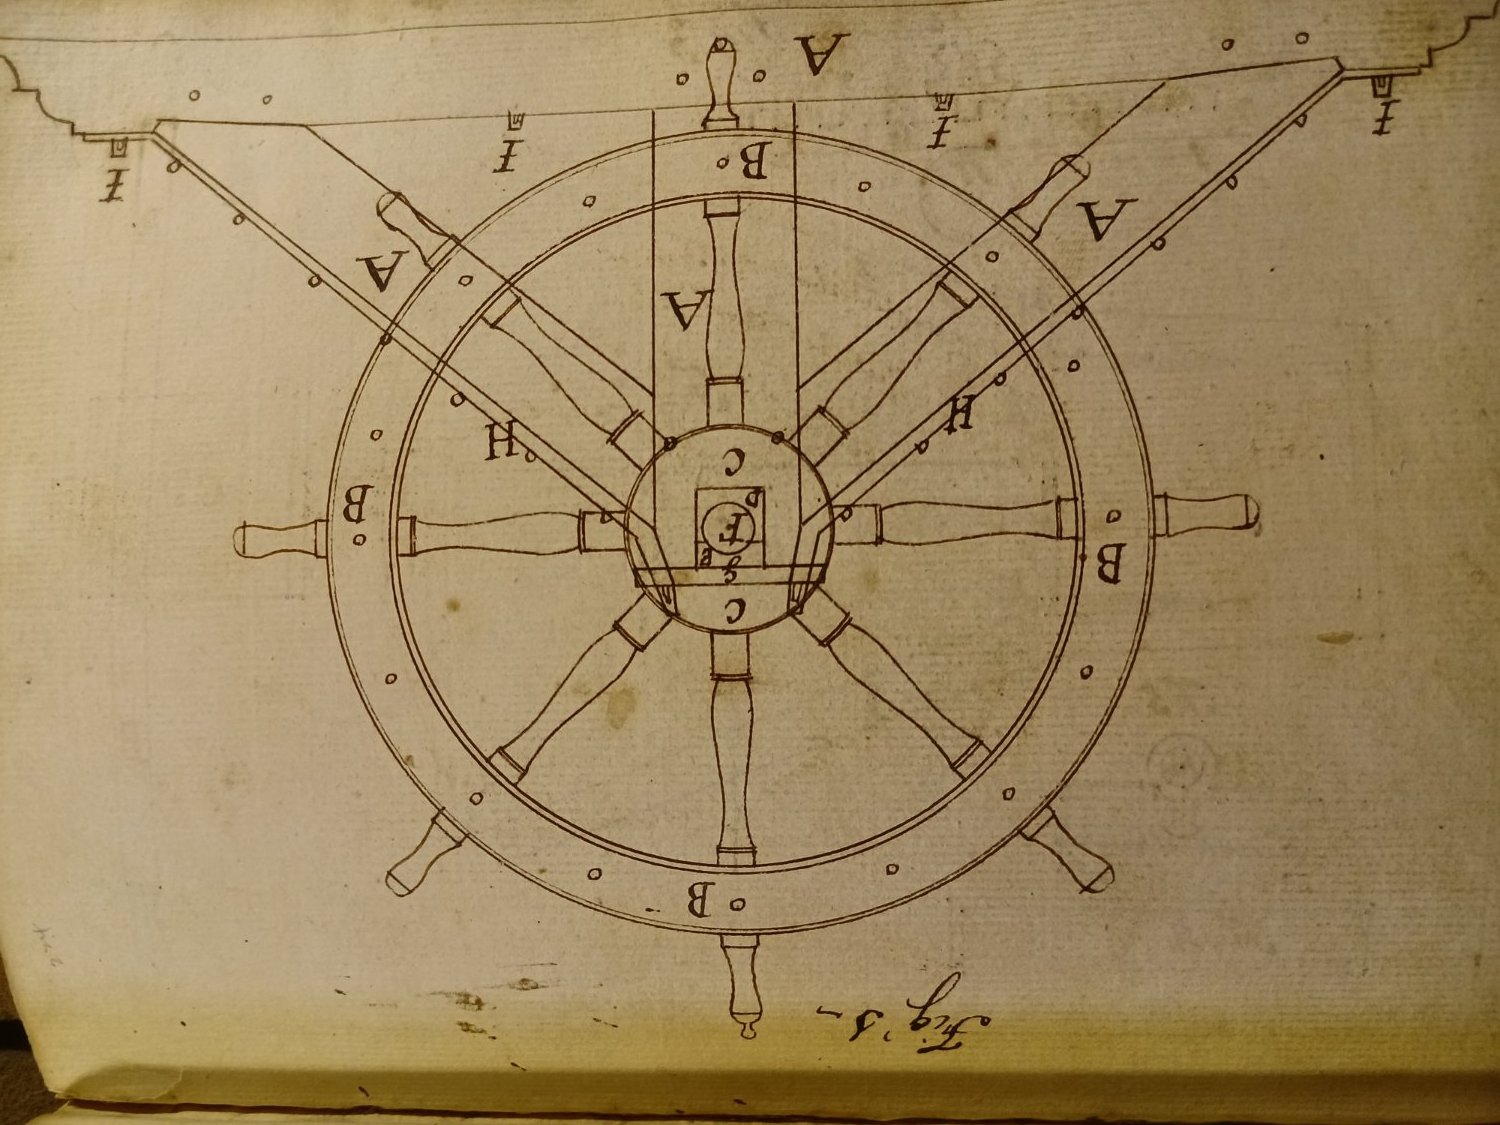
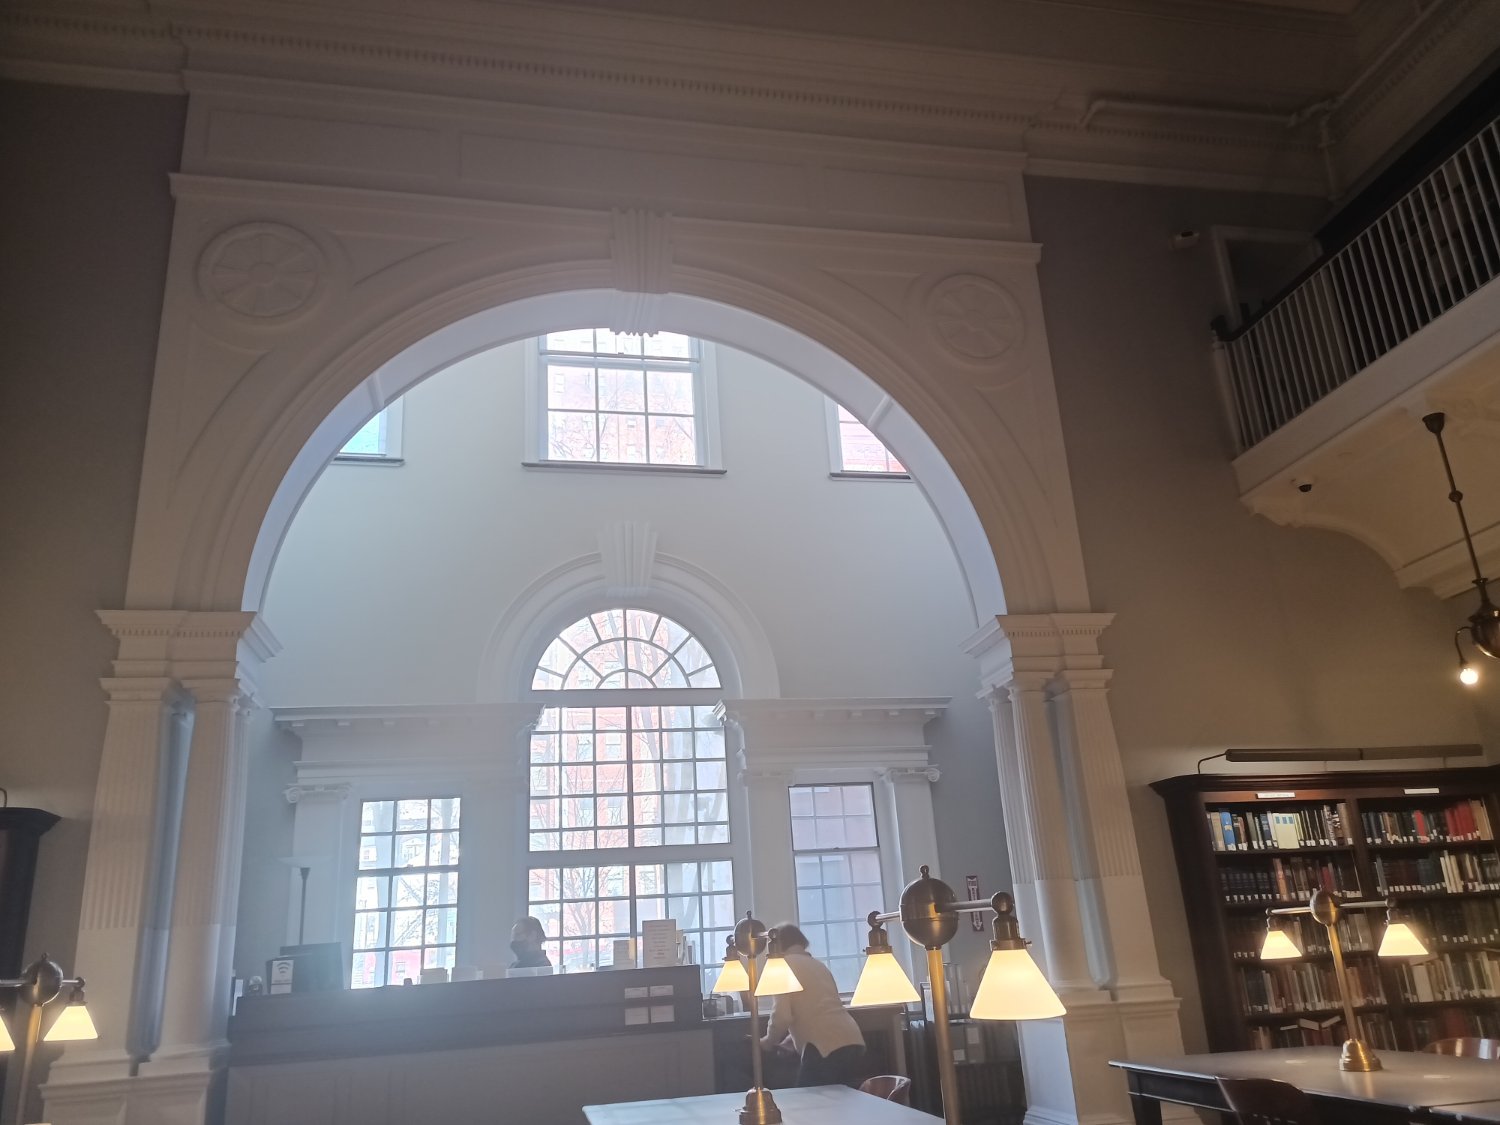
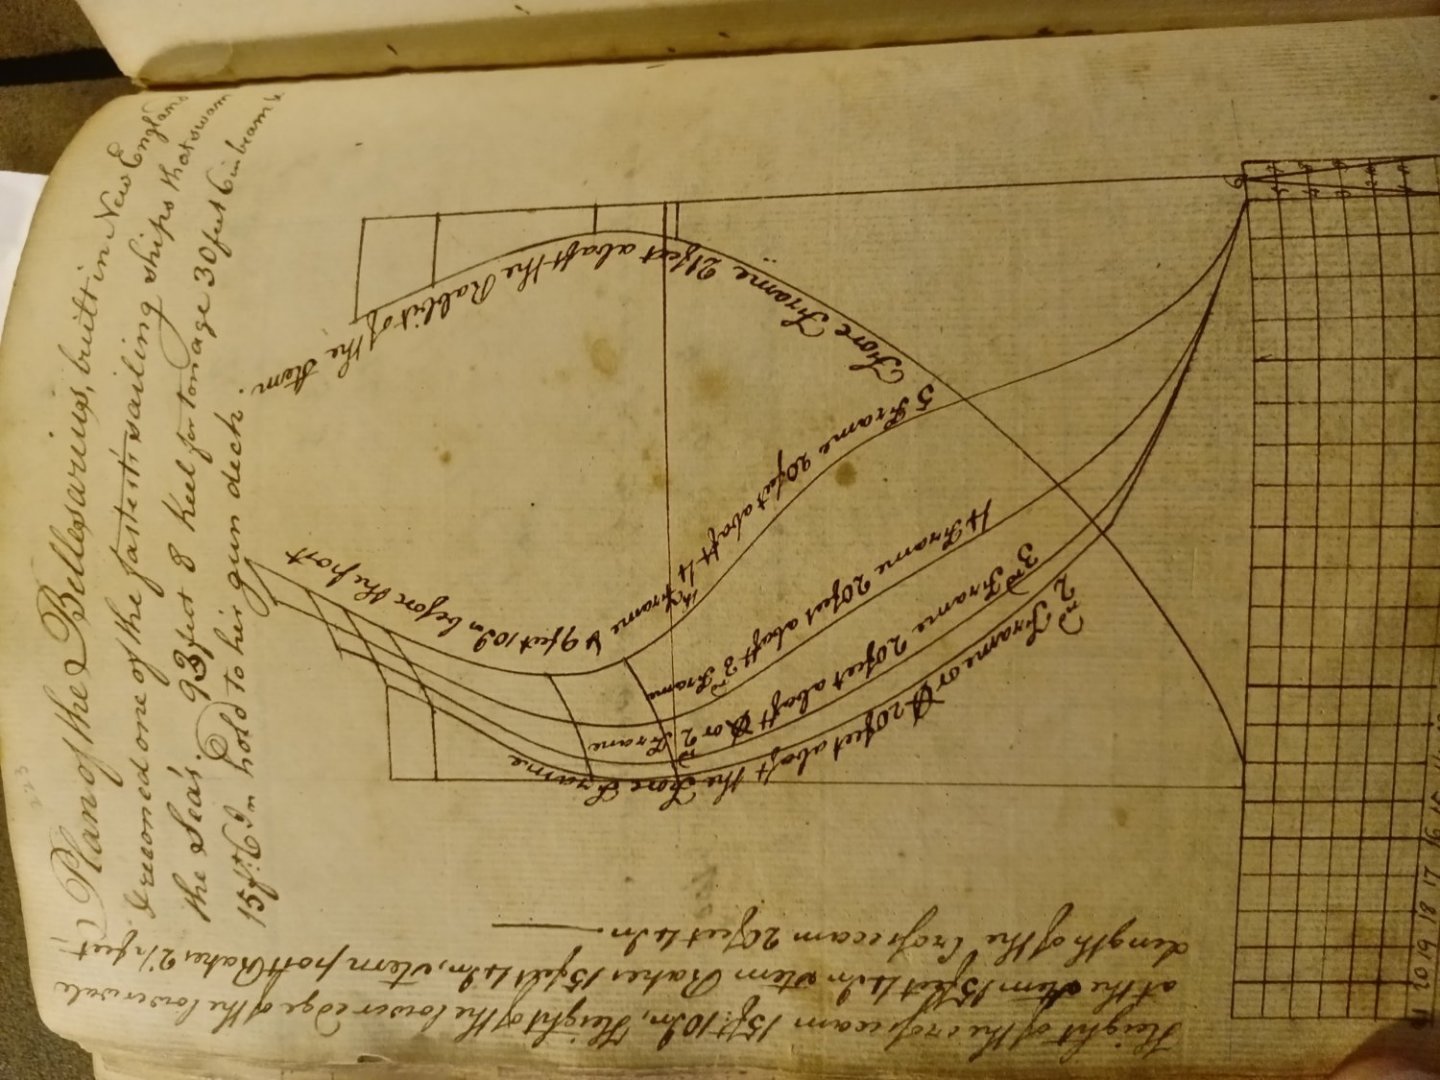
I just spent HOURS reading through this topic. I was putting together a presentation for my modeling group about the Battle of Turtle Gut Inlet and modeling the ships that took part in it. The ships I could NOT find any hope of plans for were the following: Wasp (the first one) Reprisal (Wickes ship that delivered Ben Franklin to France) the Brig Nancy Most of the British vessels were fairly easy to find plans on. The HMS Liverpool is a very lovely ship BTW. The topic on the Lexington has been pretty worn through in this forum, however. I feel that the practicum offered by NRG is very likely on the money for the true Lexington. The reasons for the lack of plans seems typical for many of the American yards seems pretty normal. I did take a trip to downtown Philadelphia to visit the PA Historical Society where the yard logs of Humphreys are still held in excellent shape which can be personally reviewed at special tables. Here are some pics of the logs from my visit. These images are the copyrighted property of the PA Historical Society and can only be posted here for scholarly/research purposes. Please don't repost anywhere else.


- 401 replies
-
- 6
-

-

-
- John Adams
- Alliance
- (and 3 more)
-
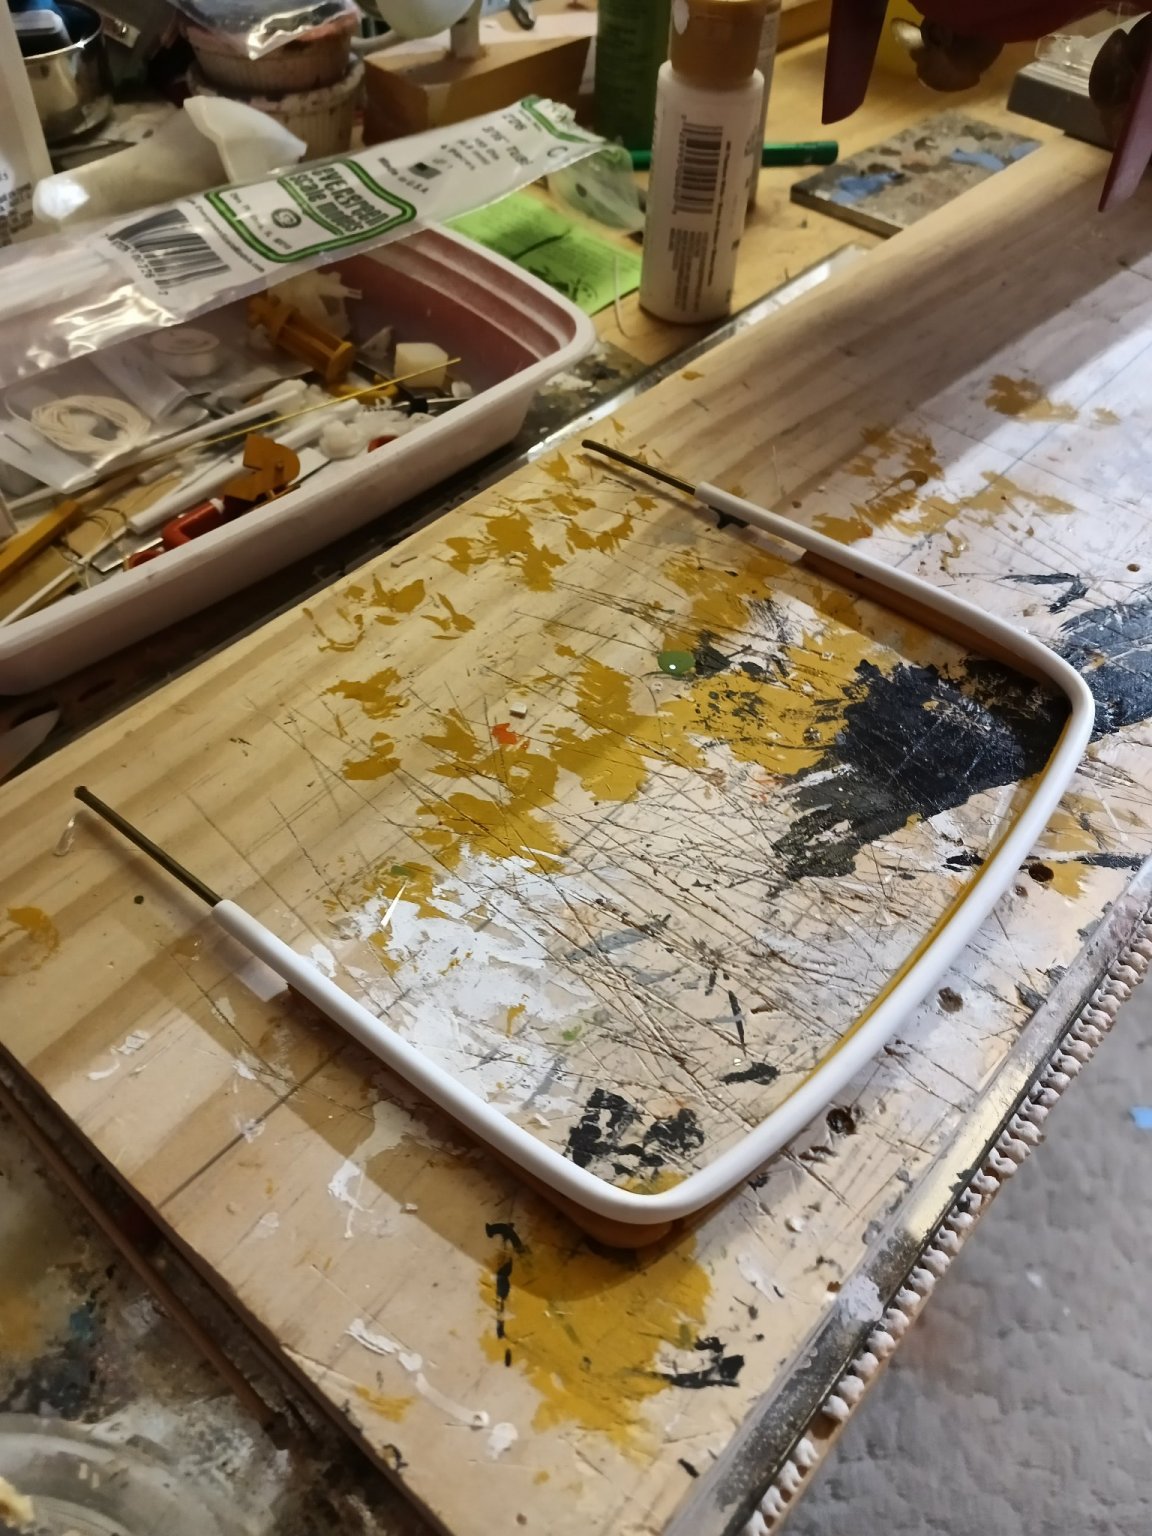
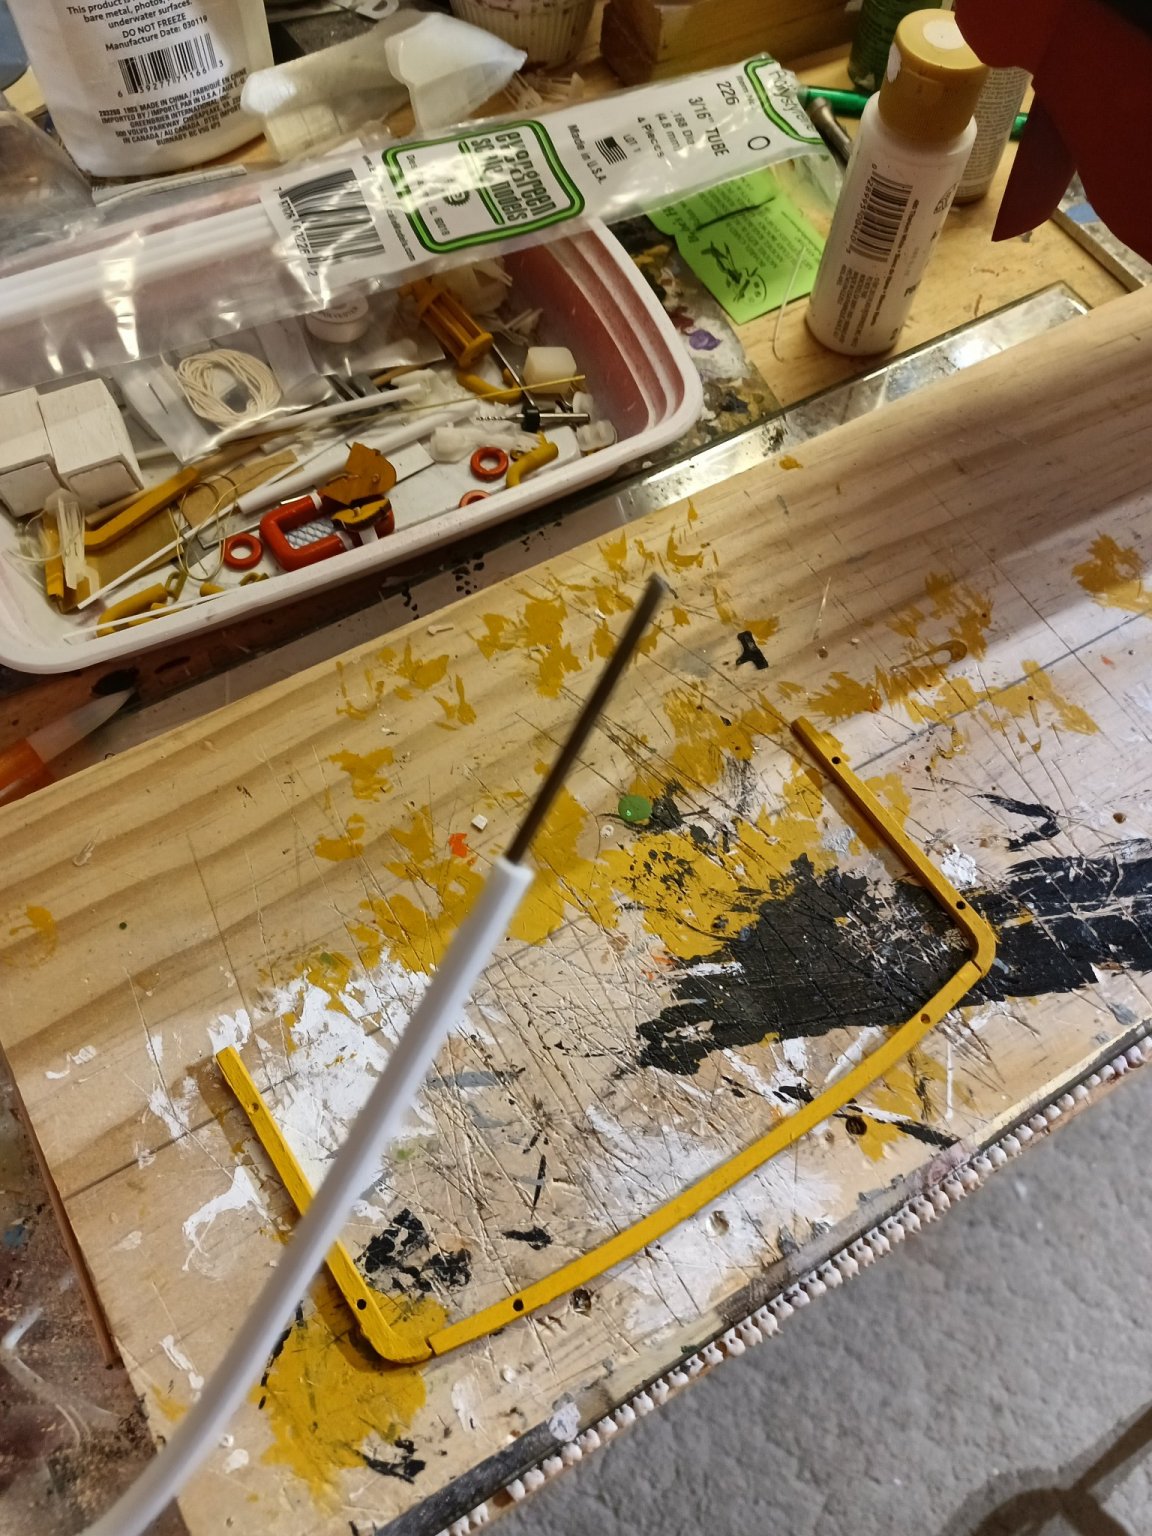
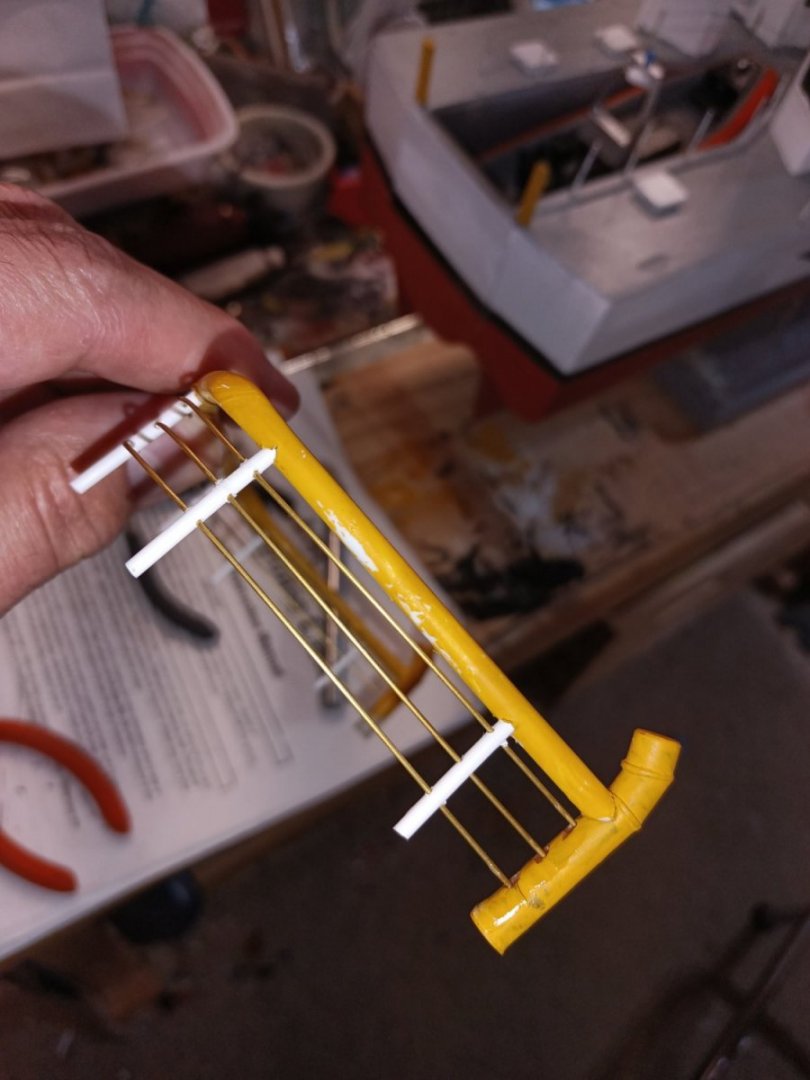
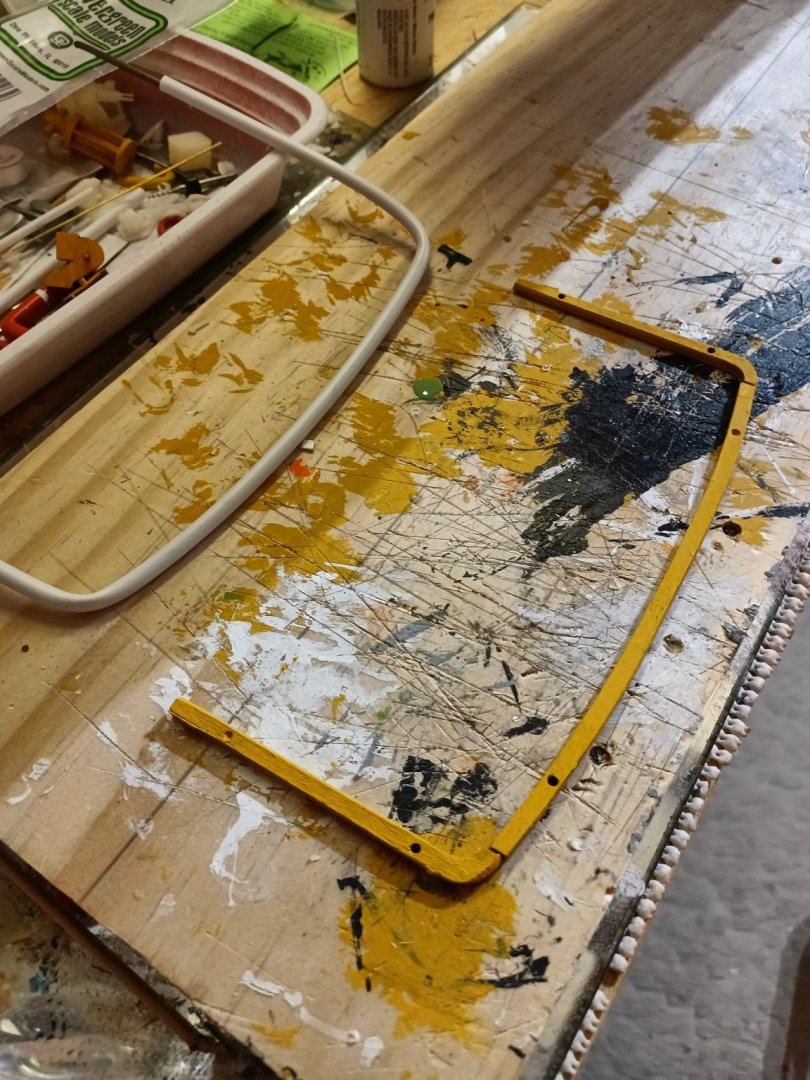
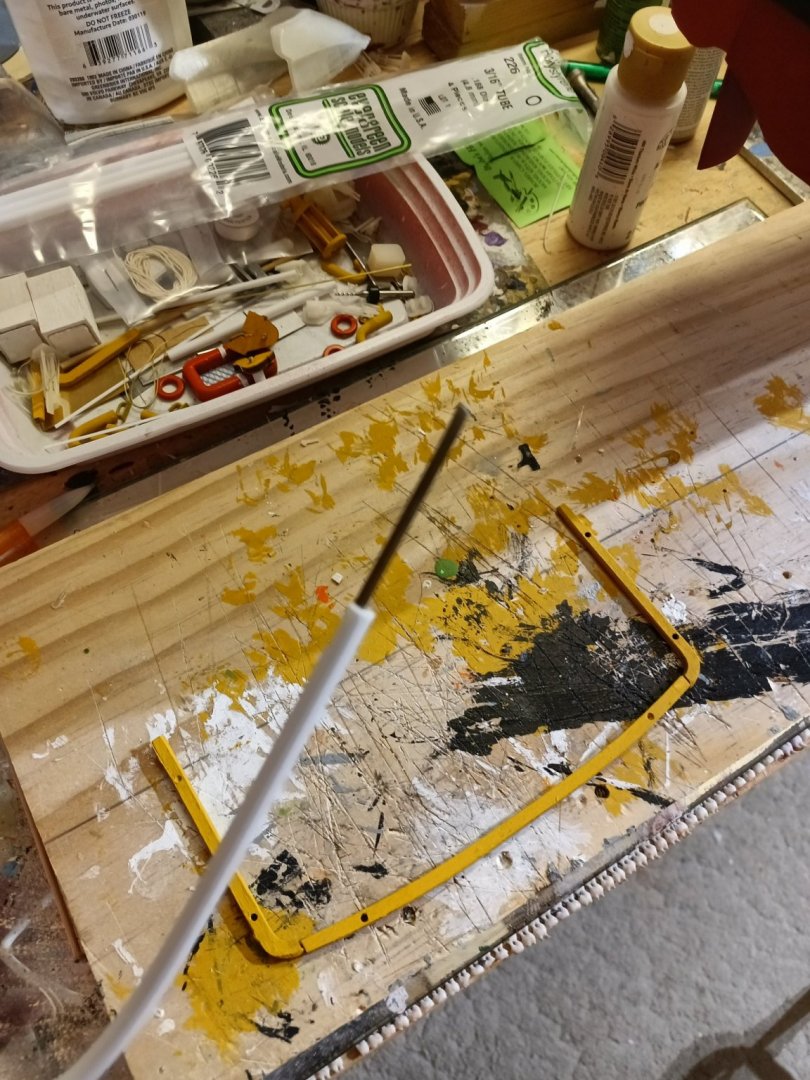
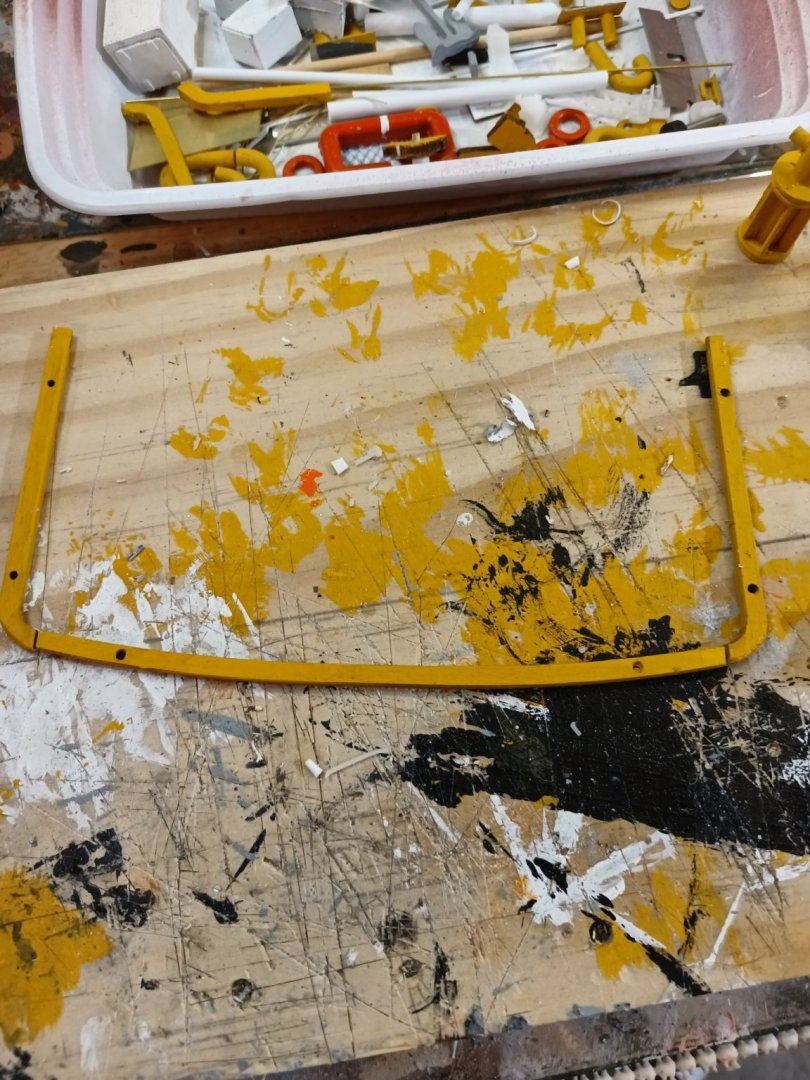
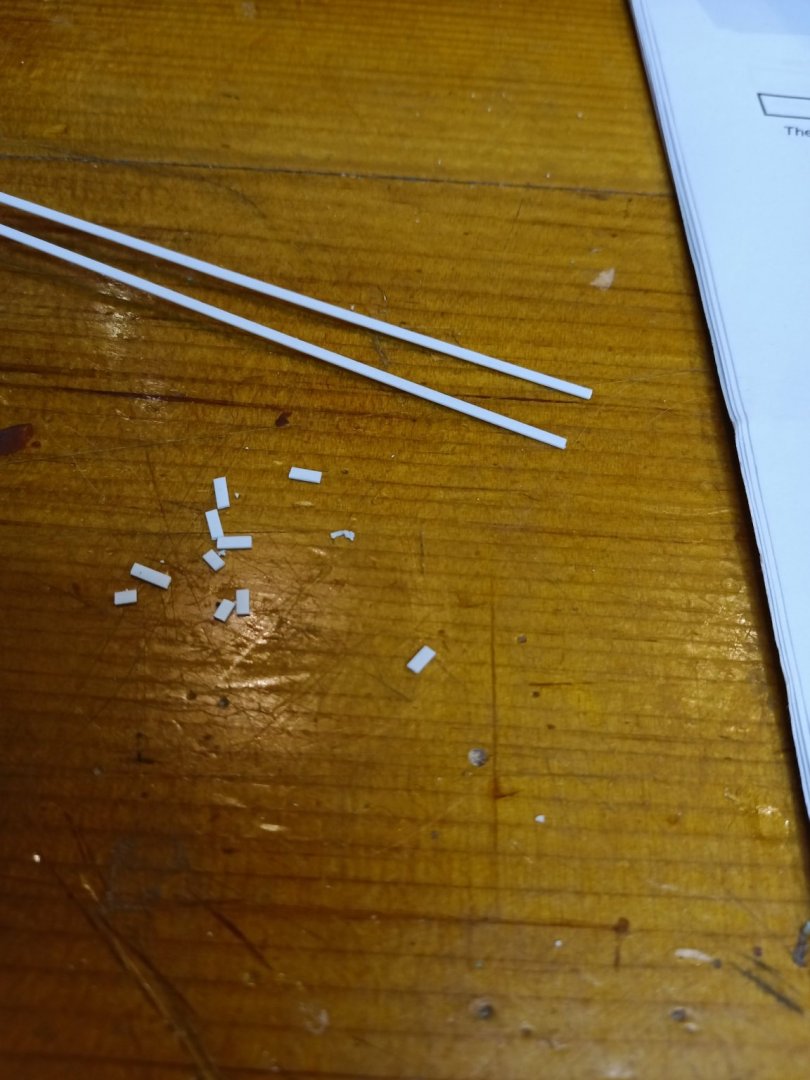
Sorry for the late post. I was.trying to figure out how to make the stern tow rail look better. I ended up using some plastruct 3/16 tubing with a coat hanger where to keep the tube intact.


-
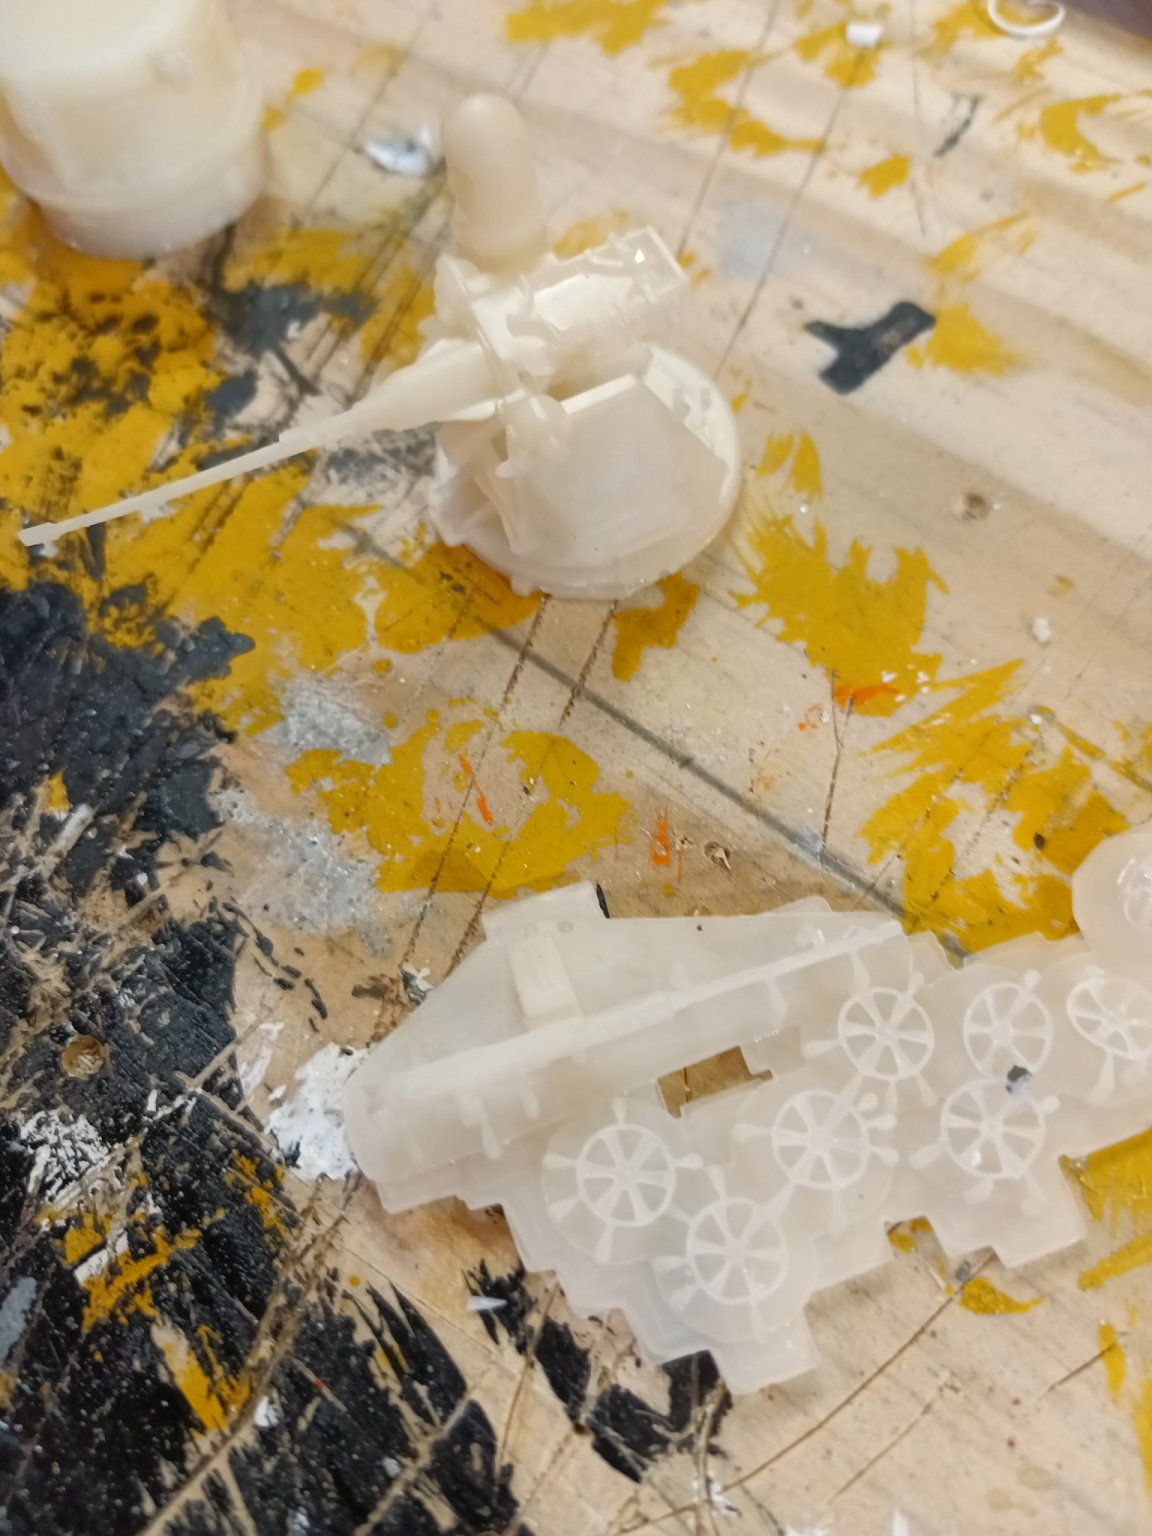
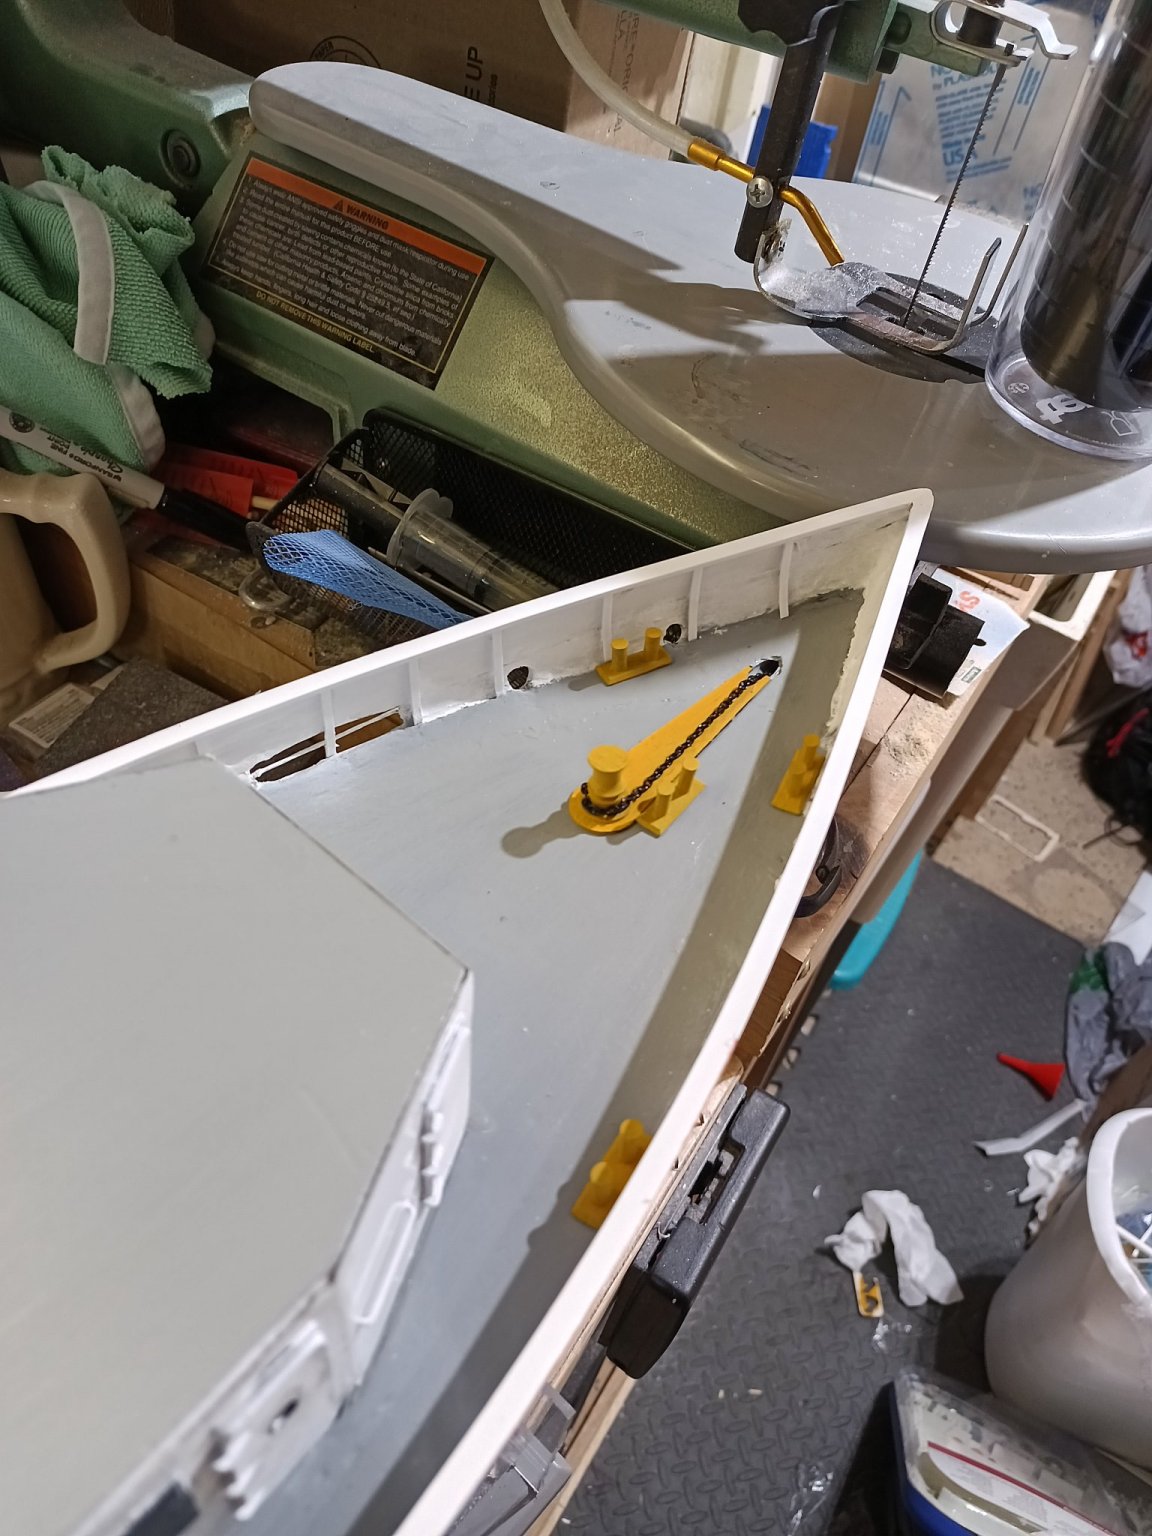
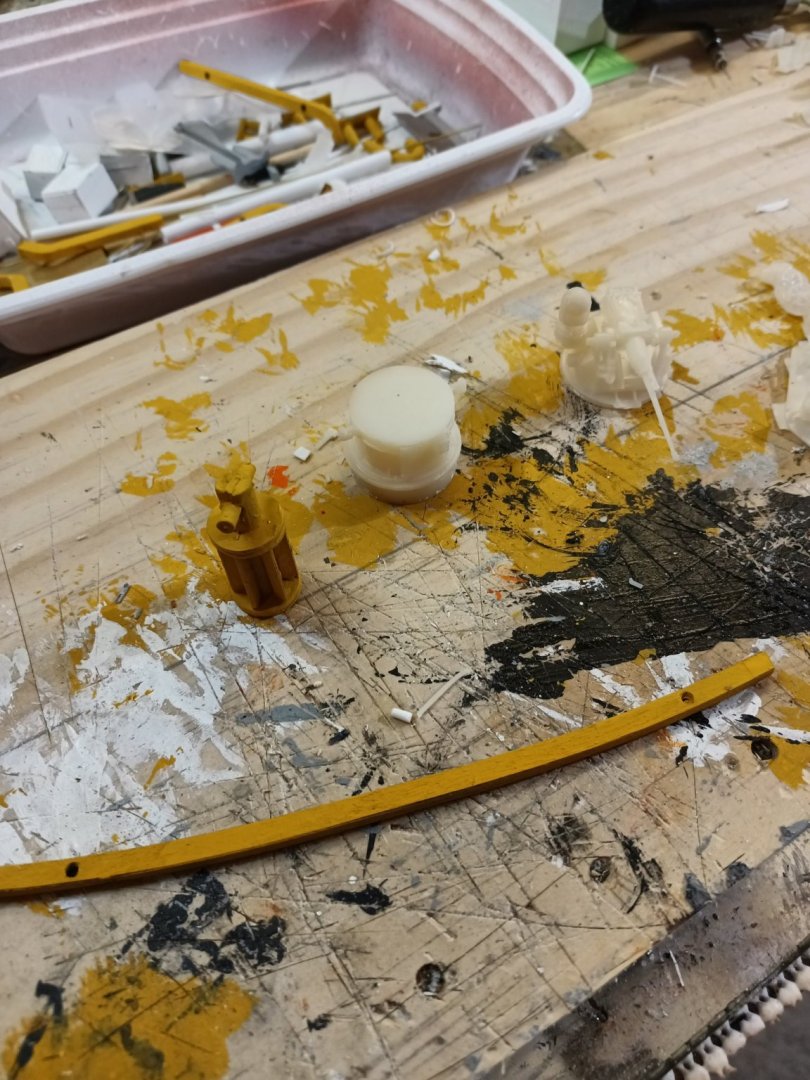
I spent some time modeling the guns and coming up with a better solution for the stern rail. I built a new 25 mm chain cannon and printed it out along with some hatch wheels and 50 call machine guns.


-
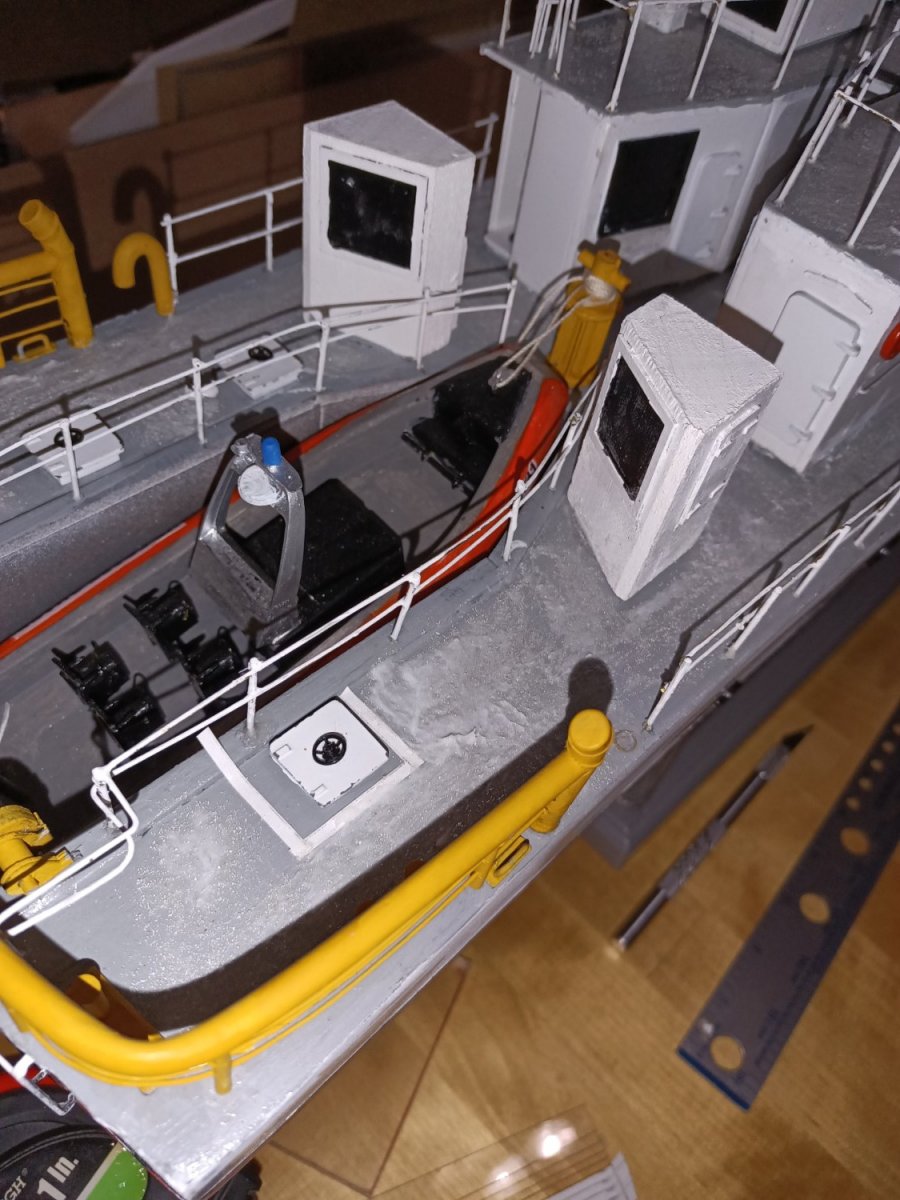
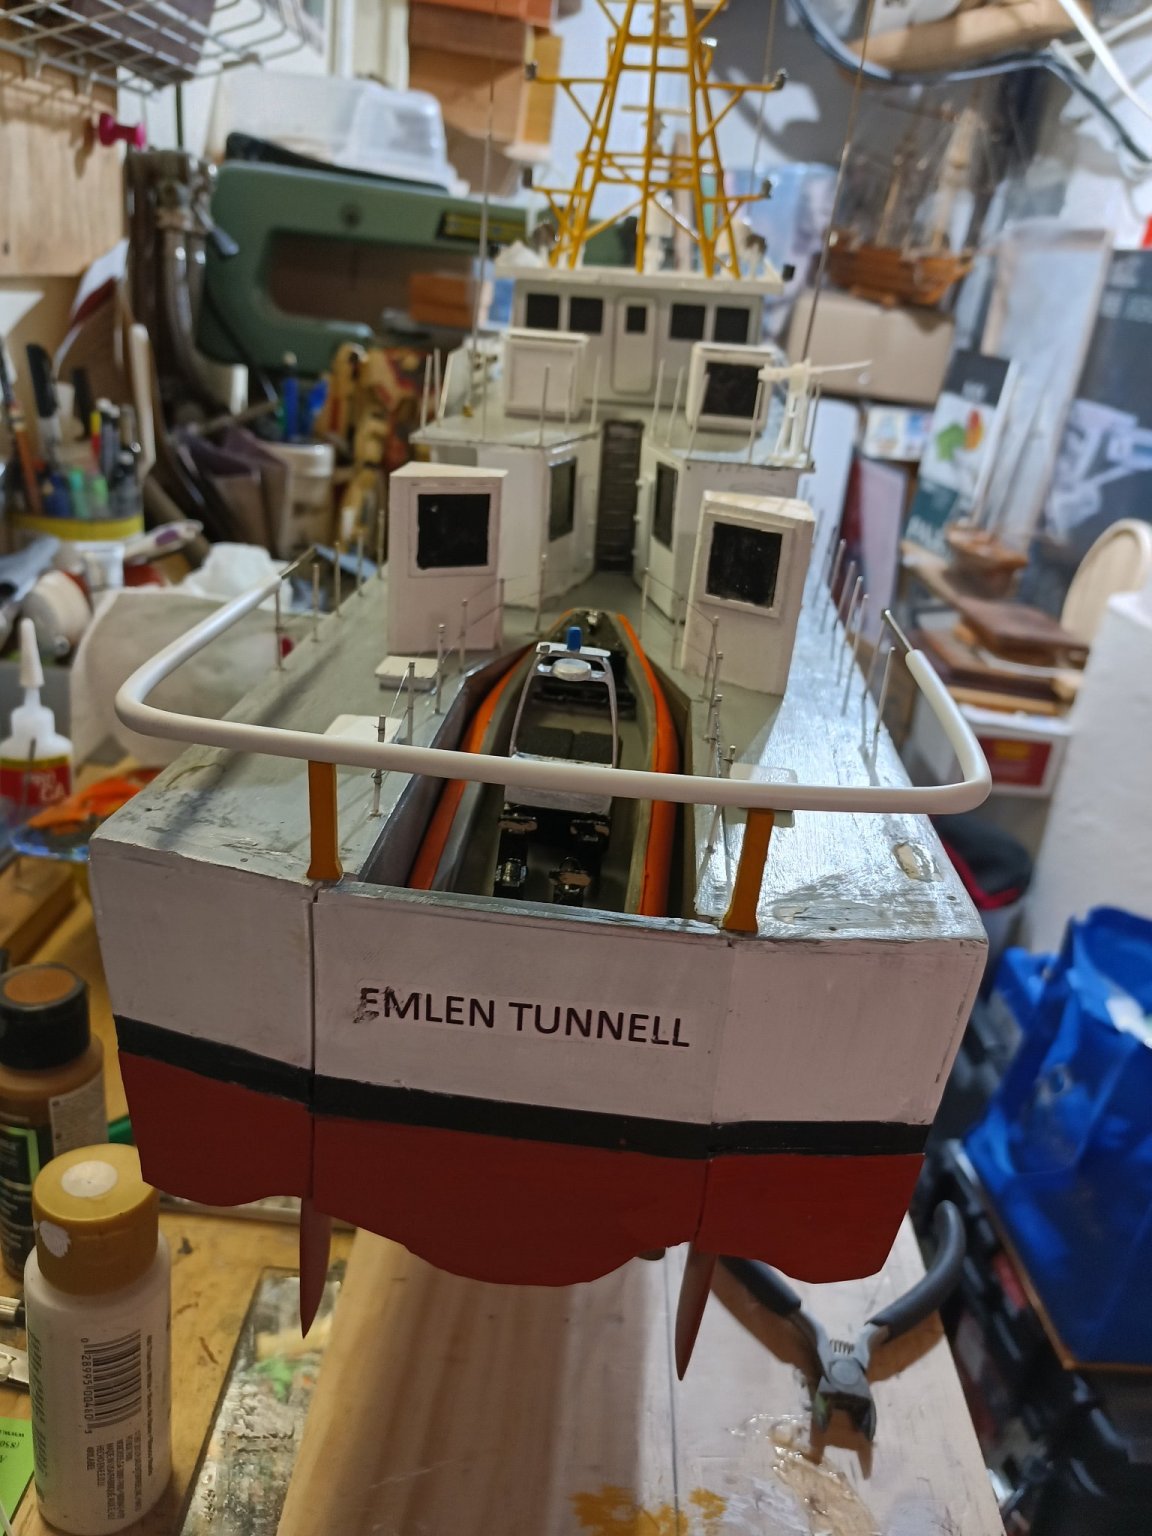
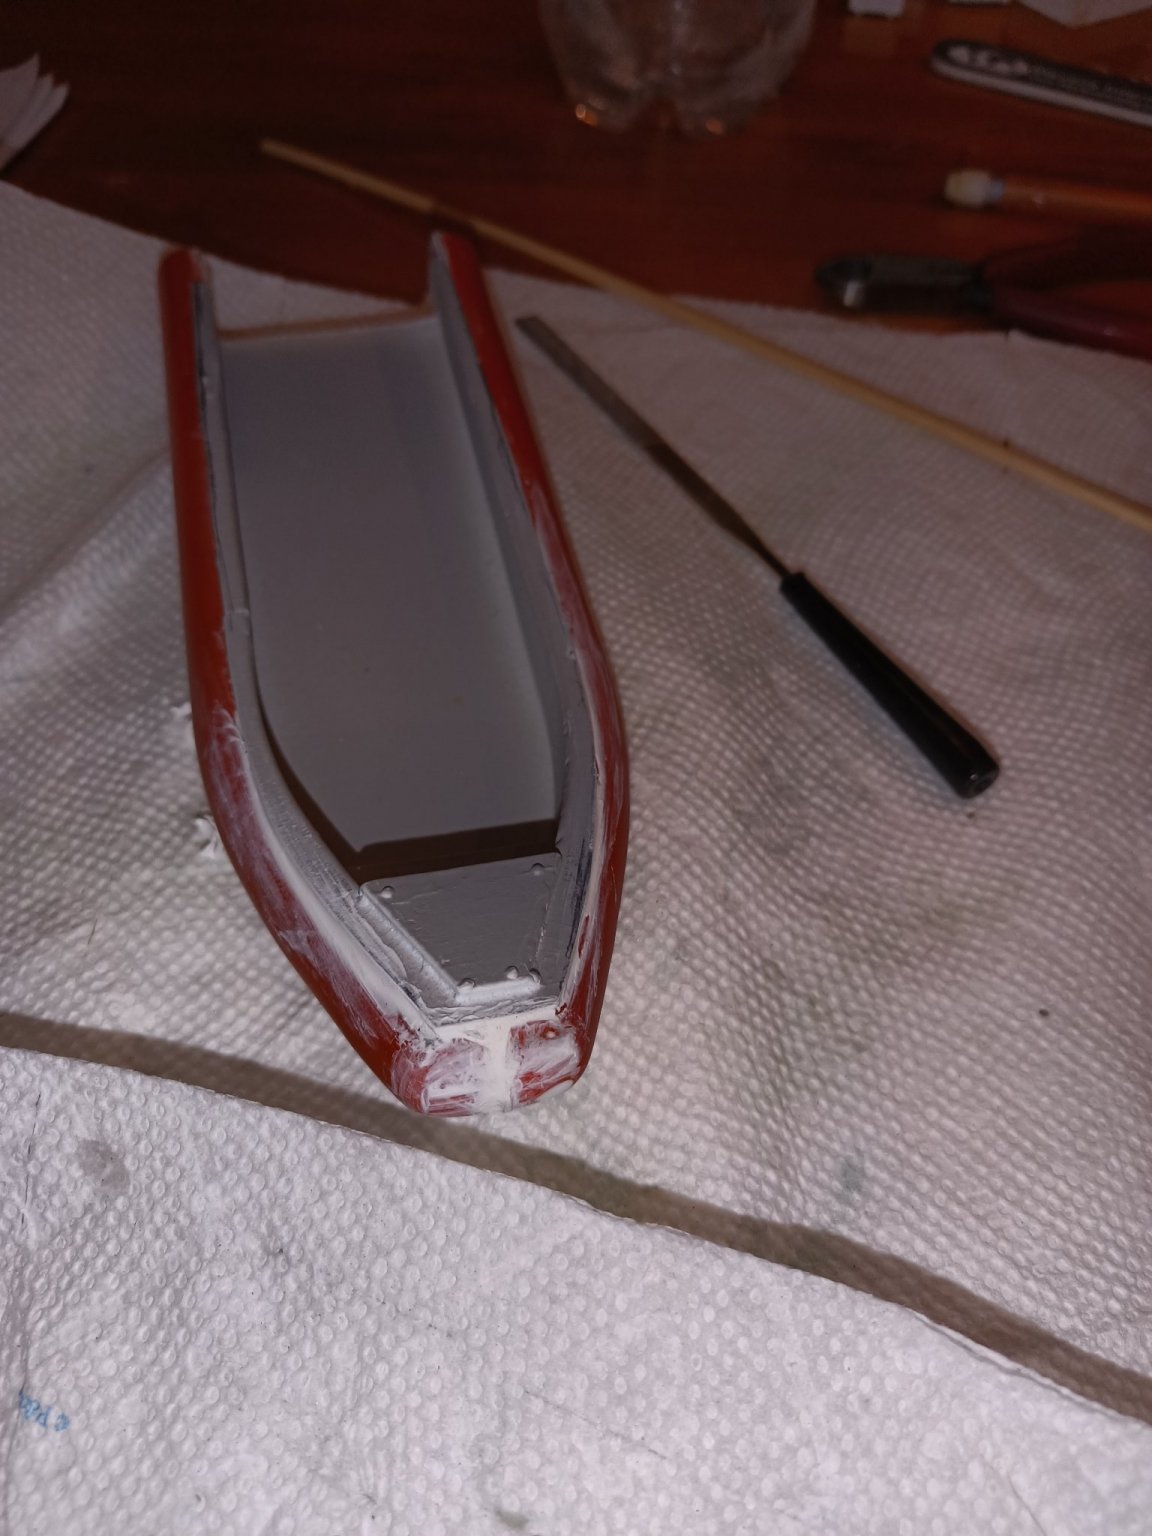
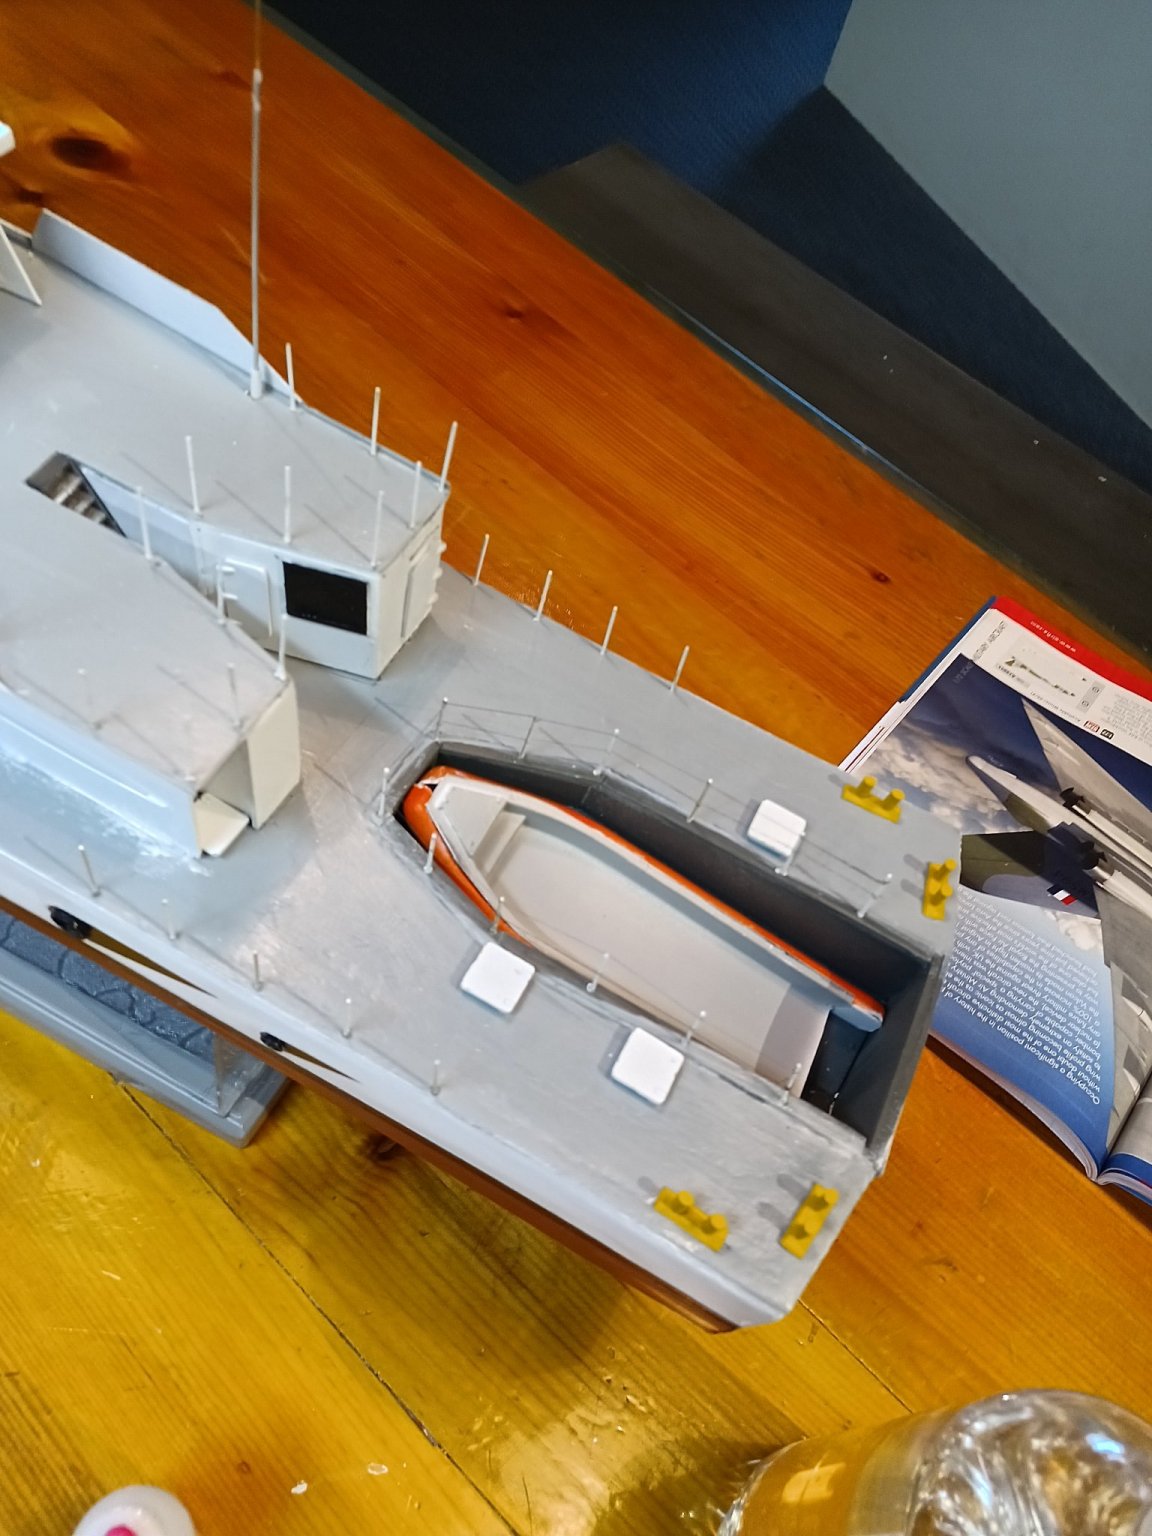
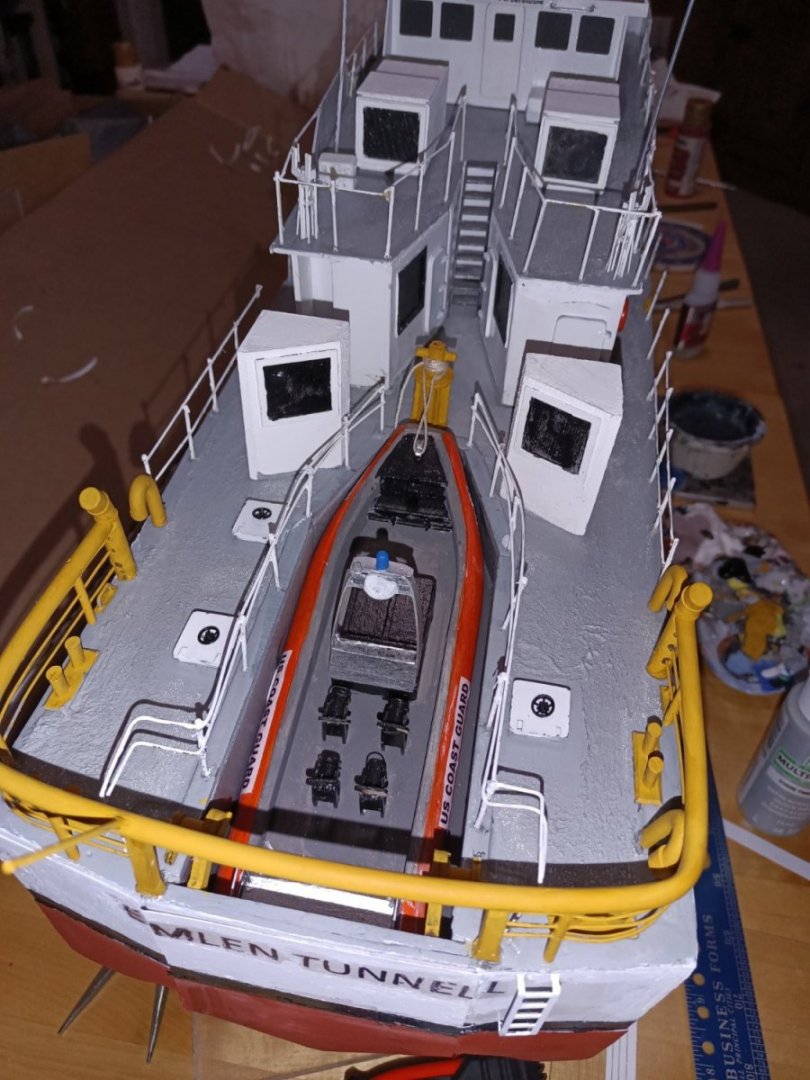
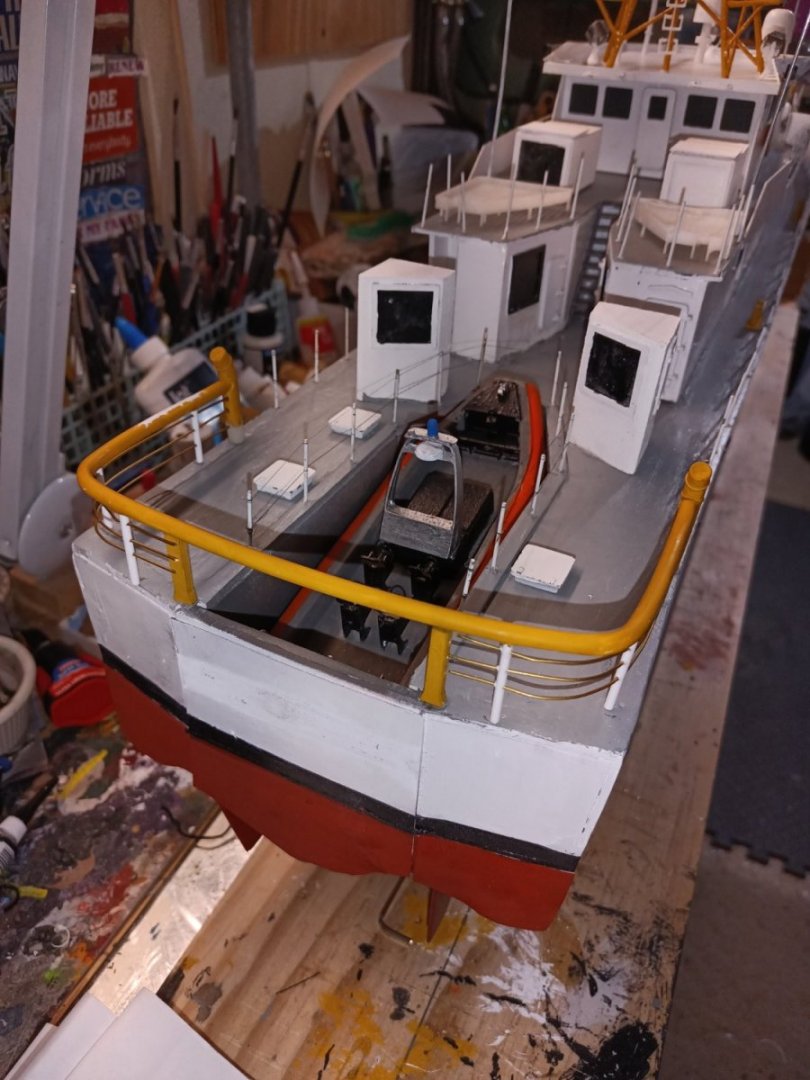
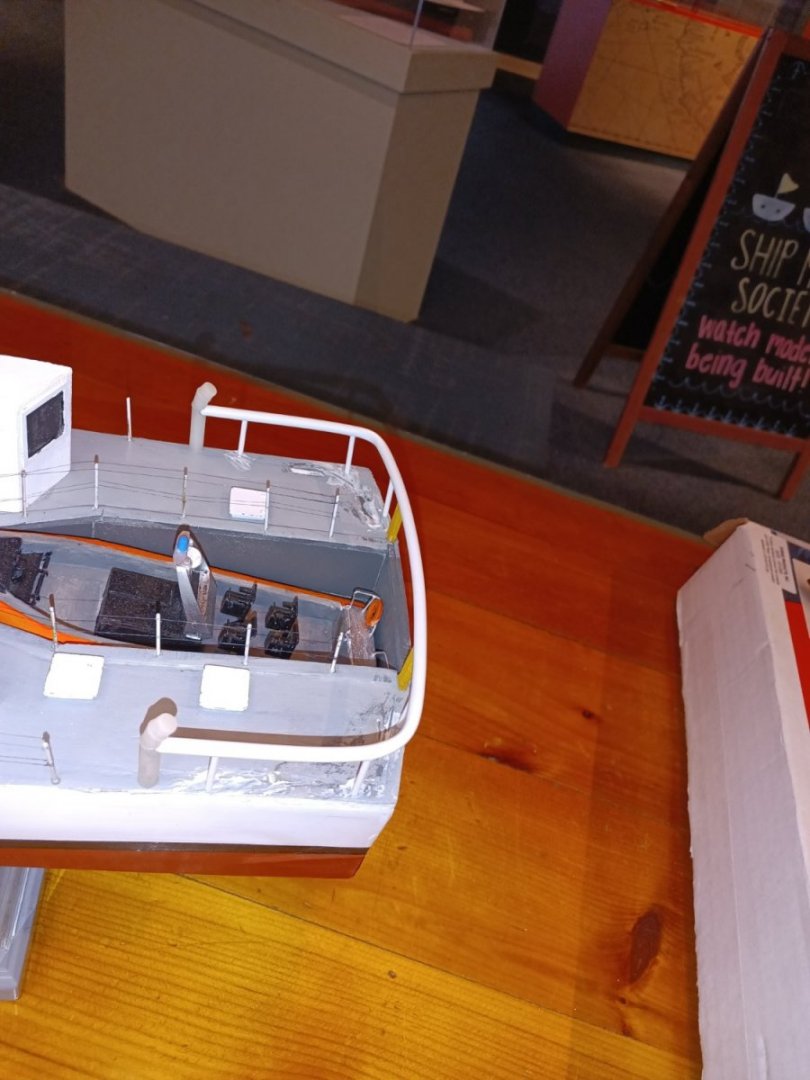
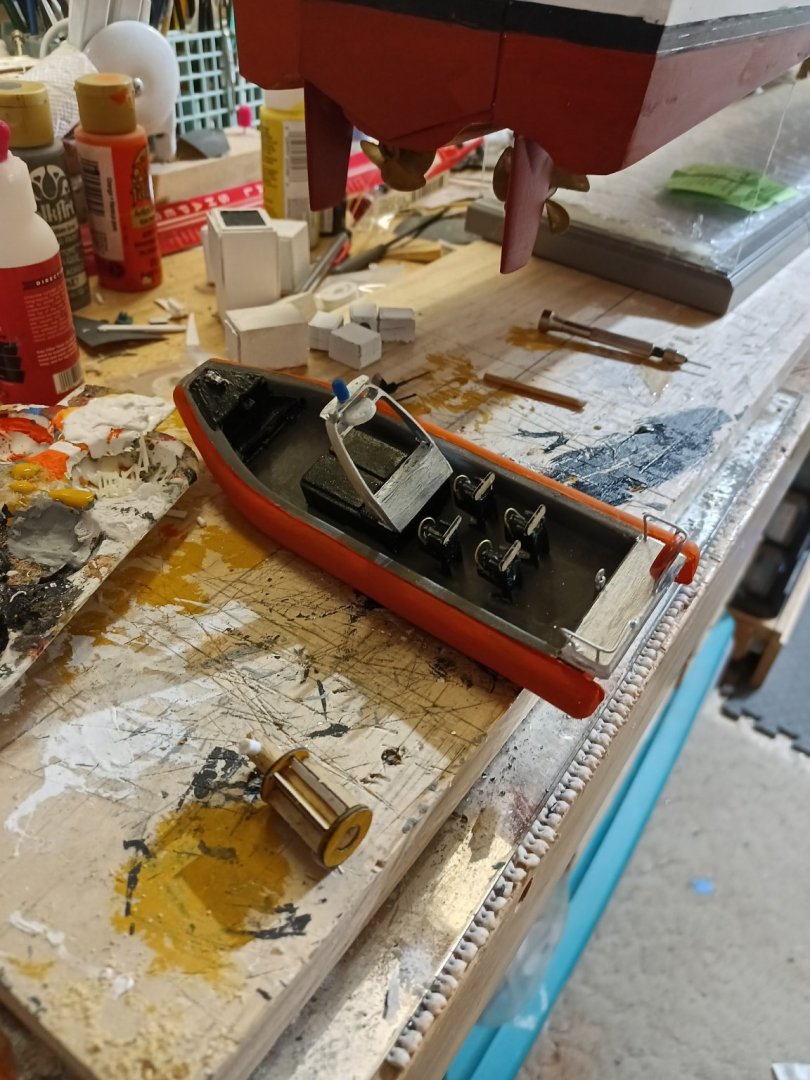
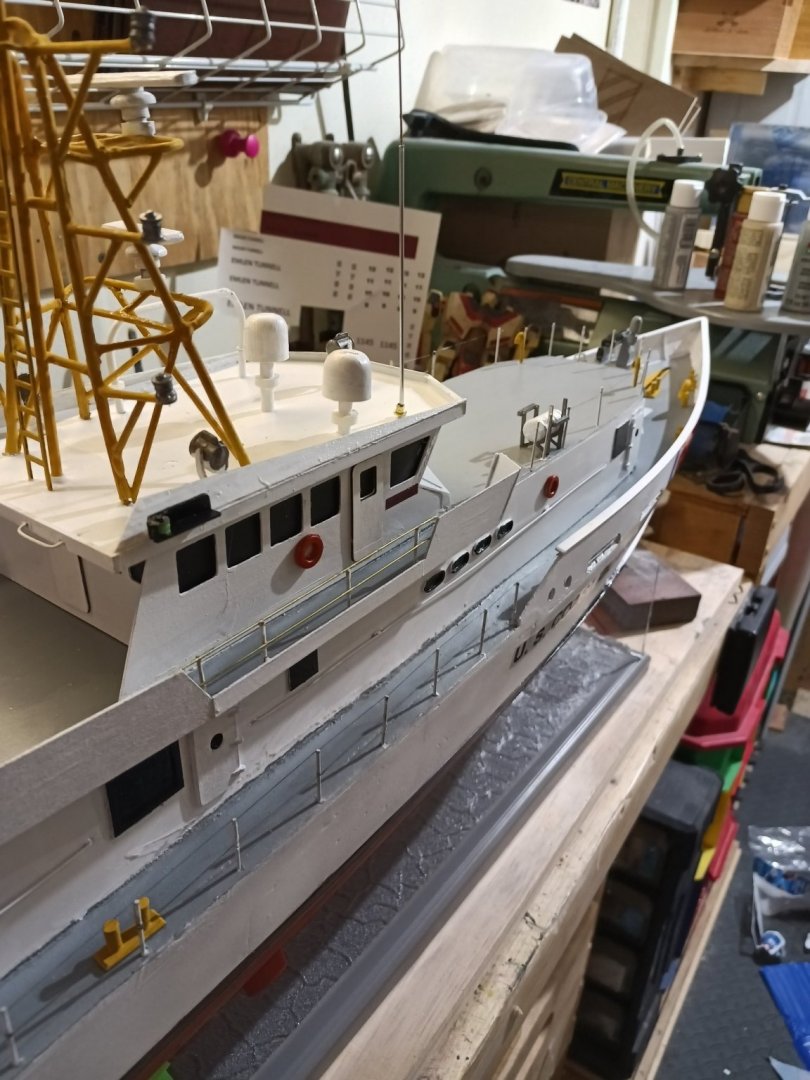
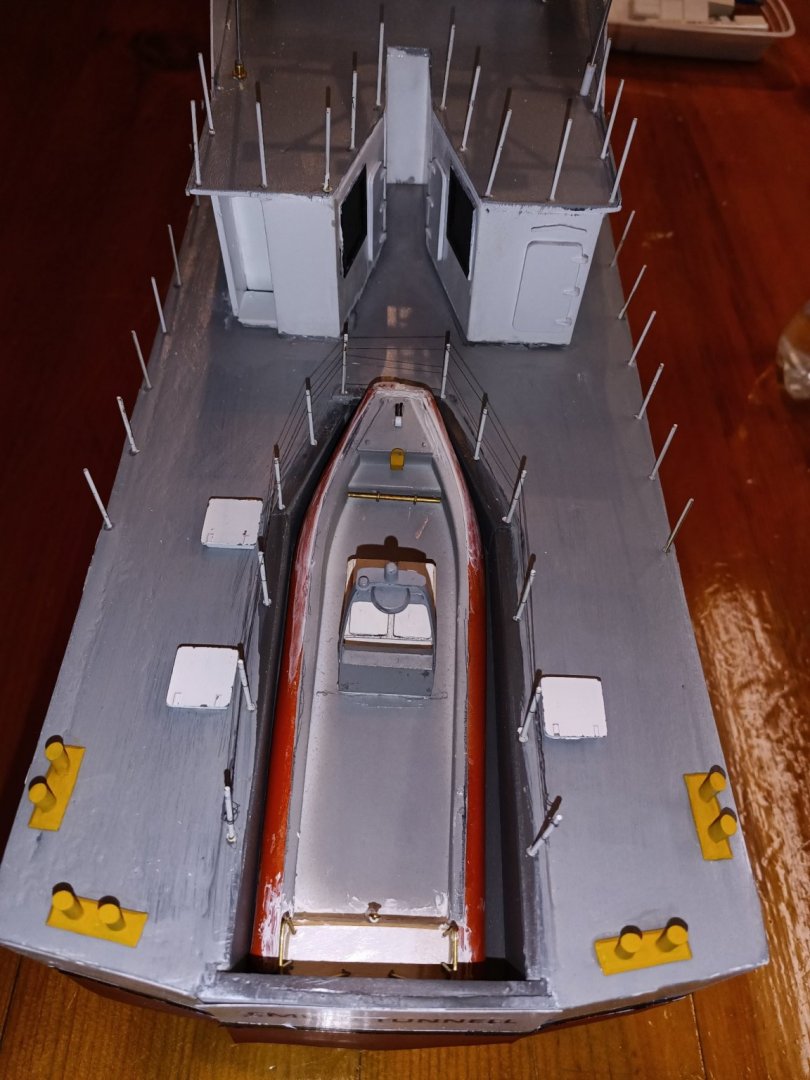
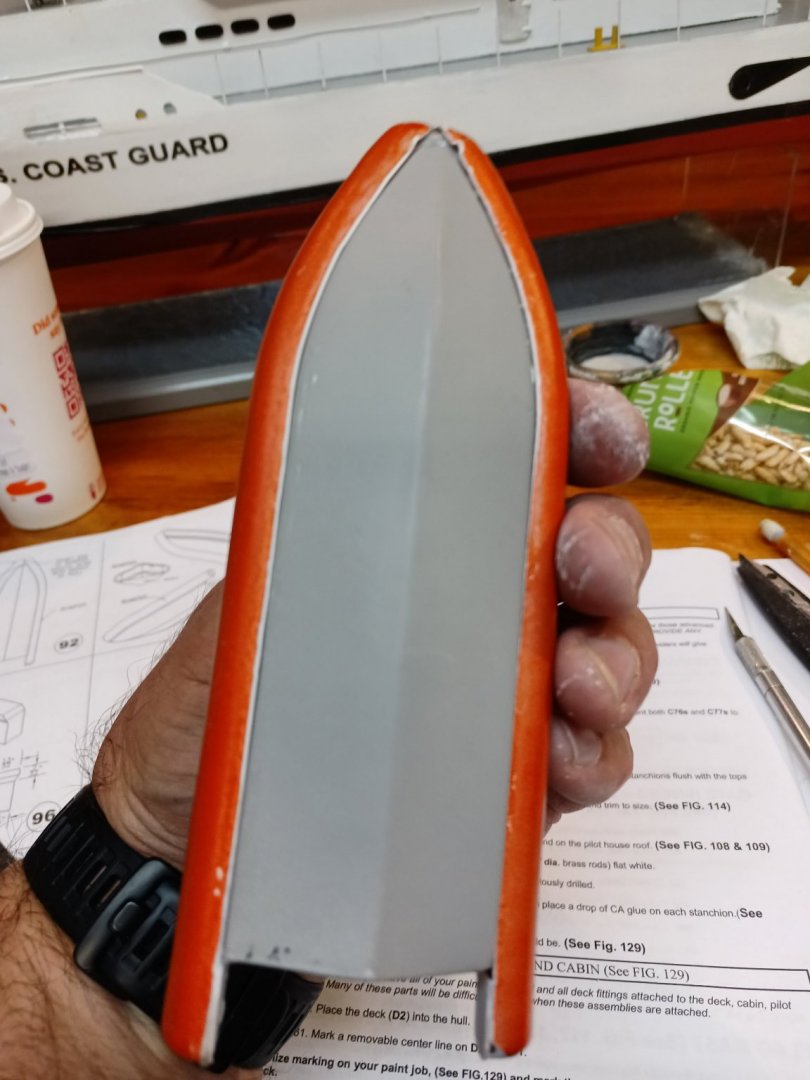
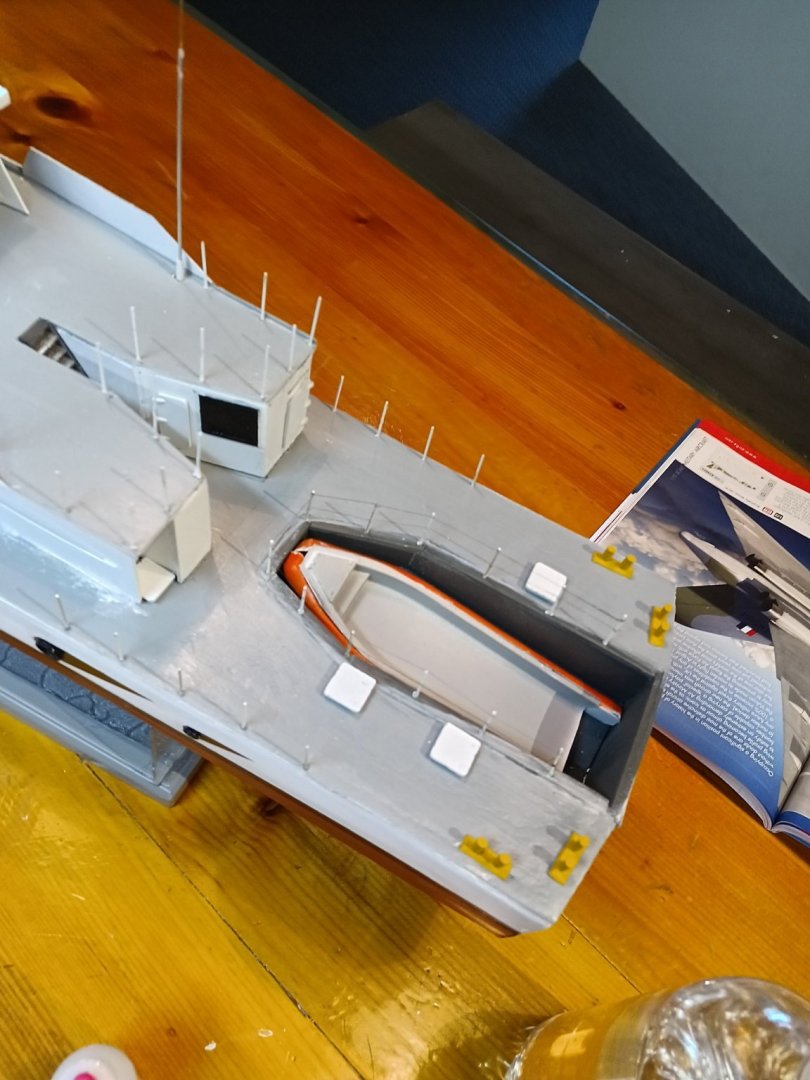
Greetings all. I had to do some running around for work but have gotten back to building. The small boat is almost done save the paint and making an instrument panel. I also installer EZ Line for the lower hand rails.


-
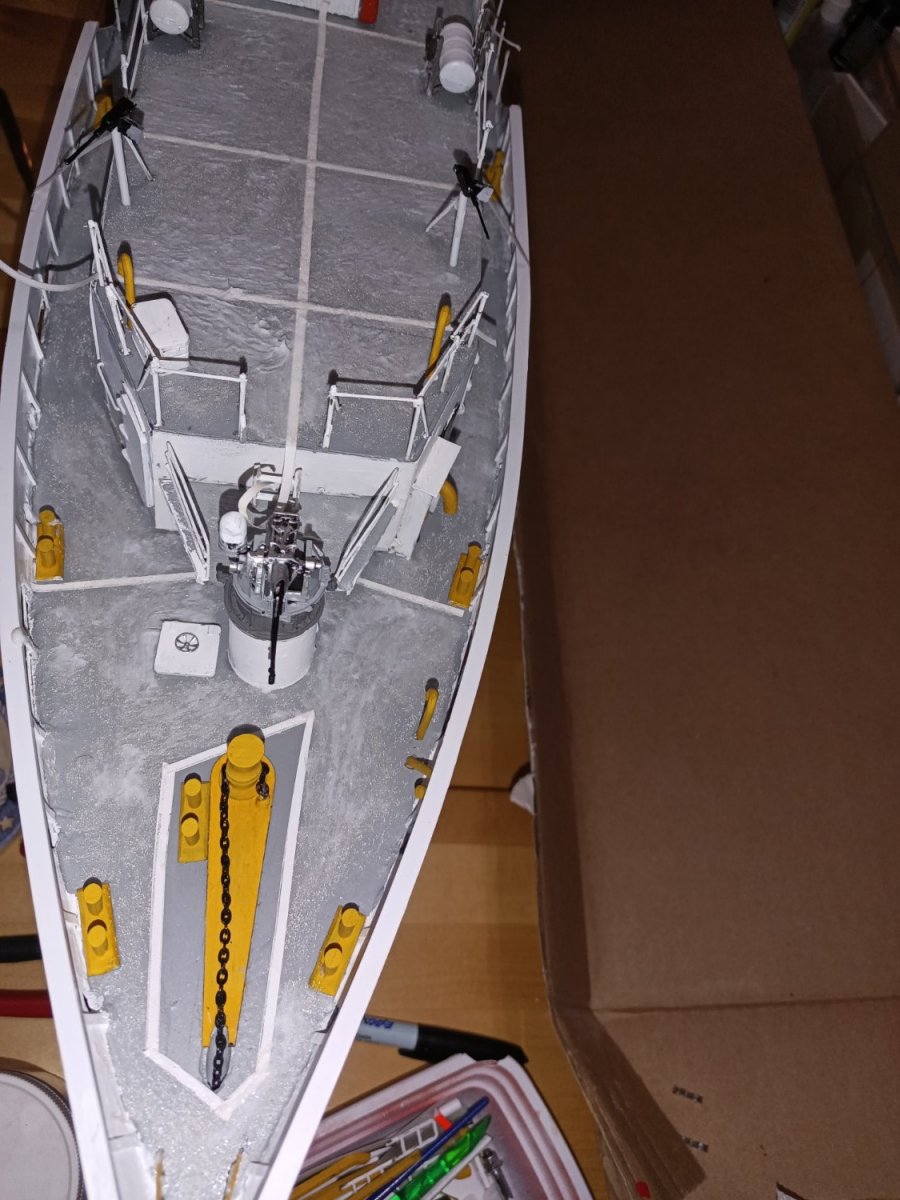
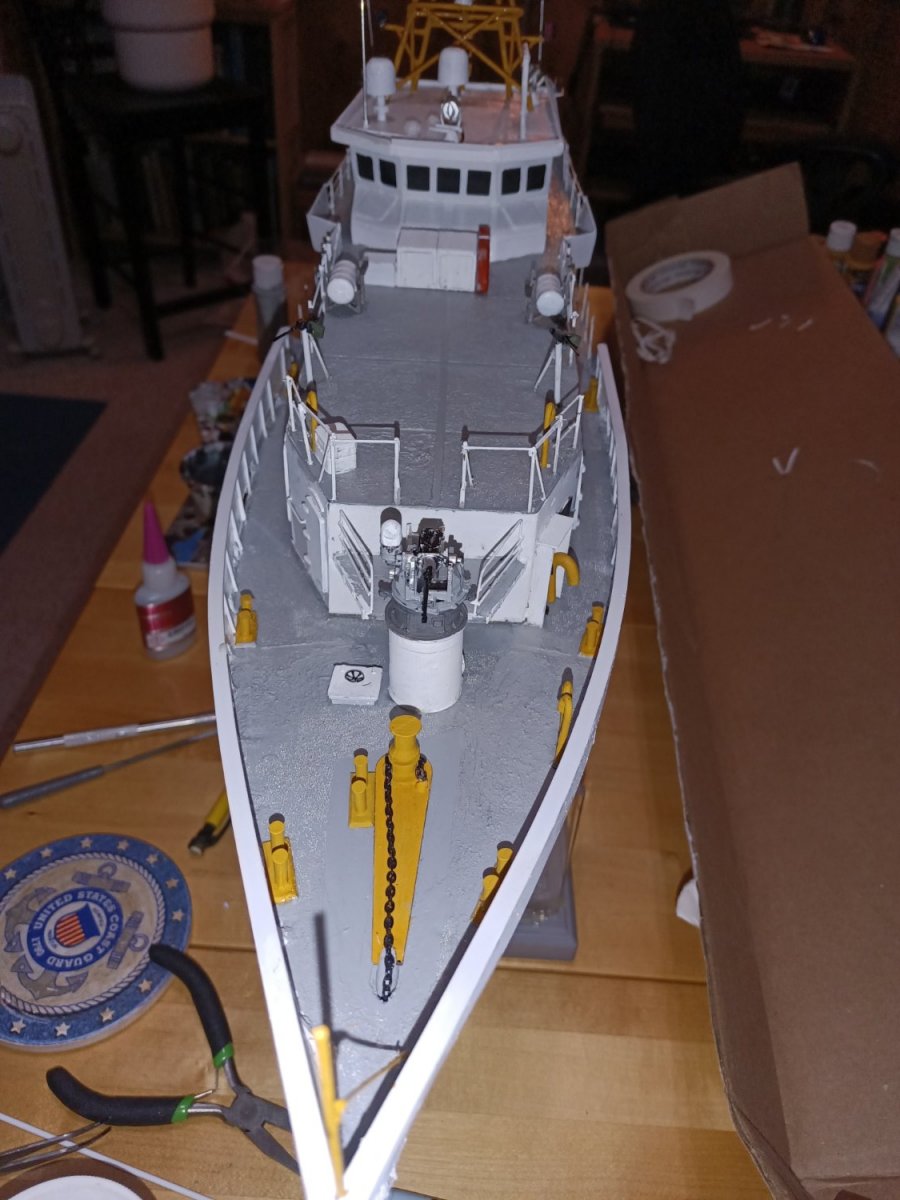
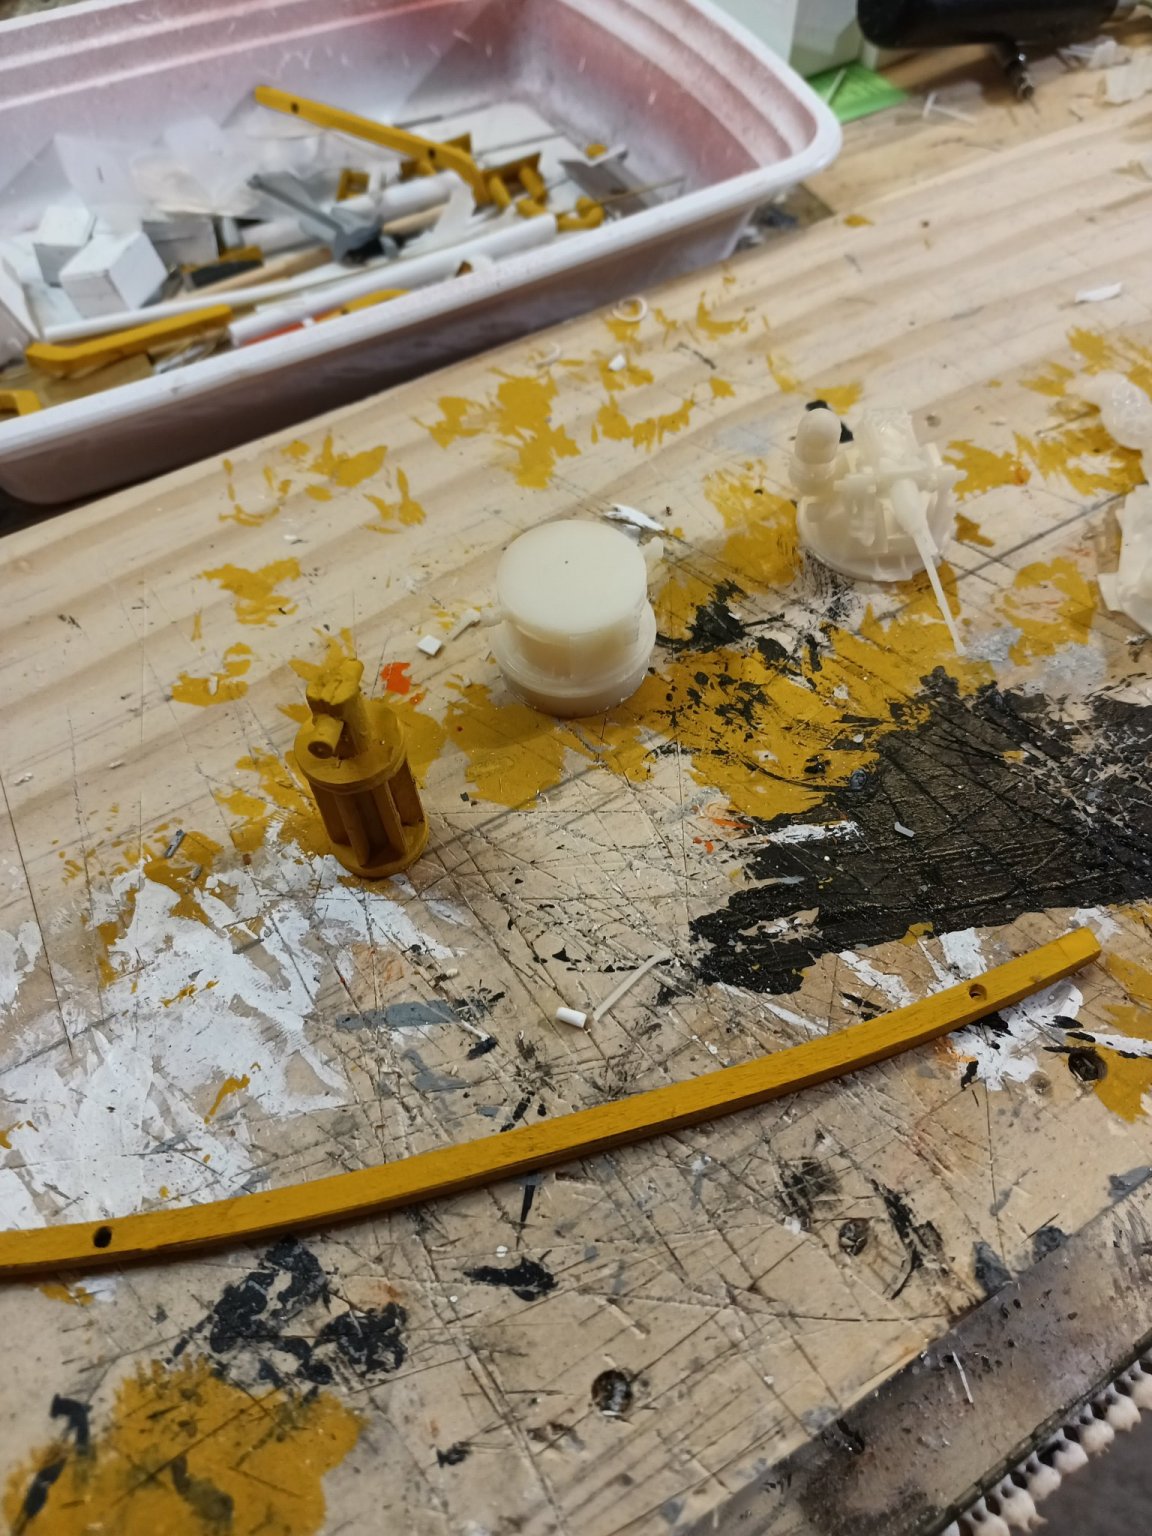
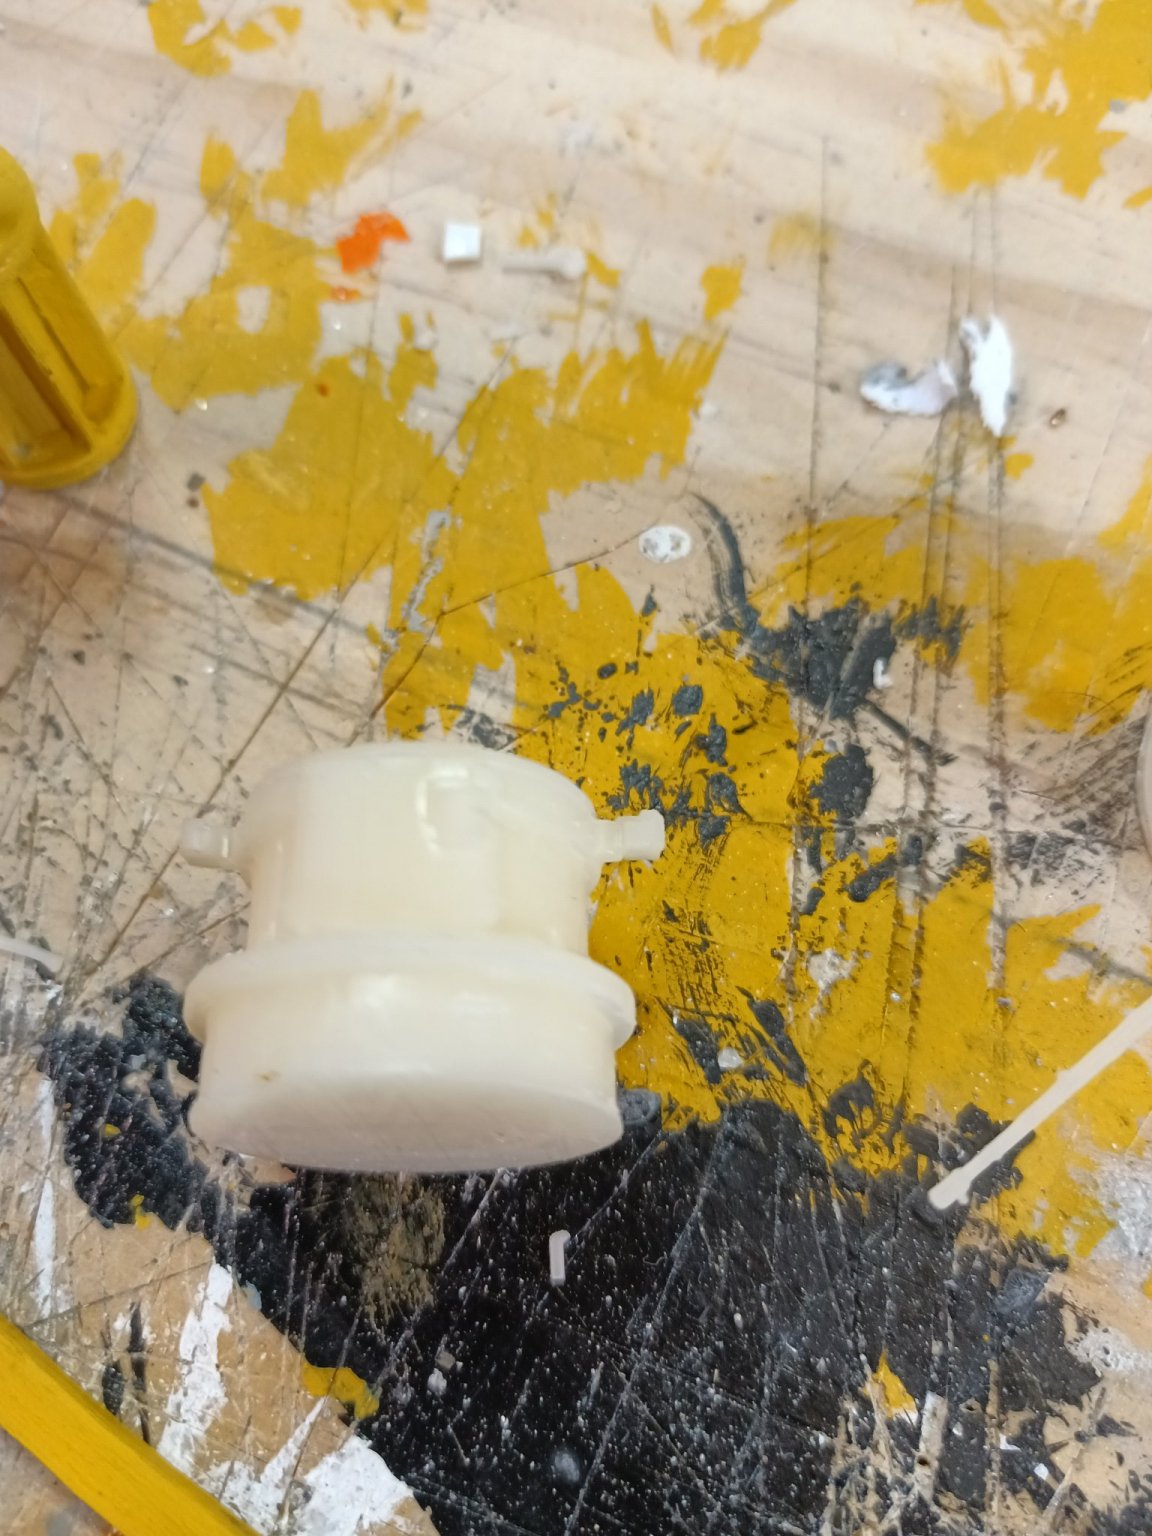
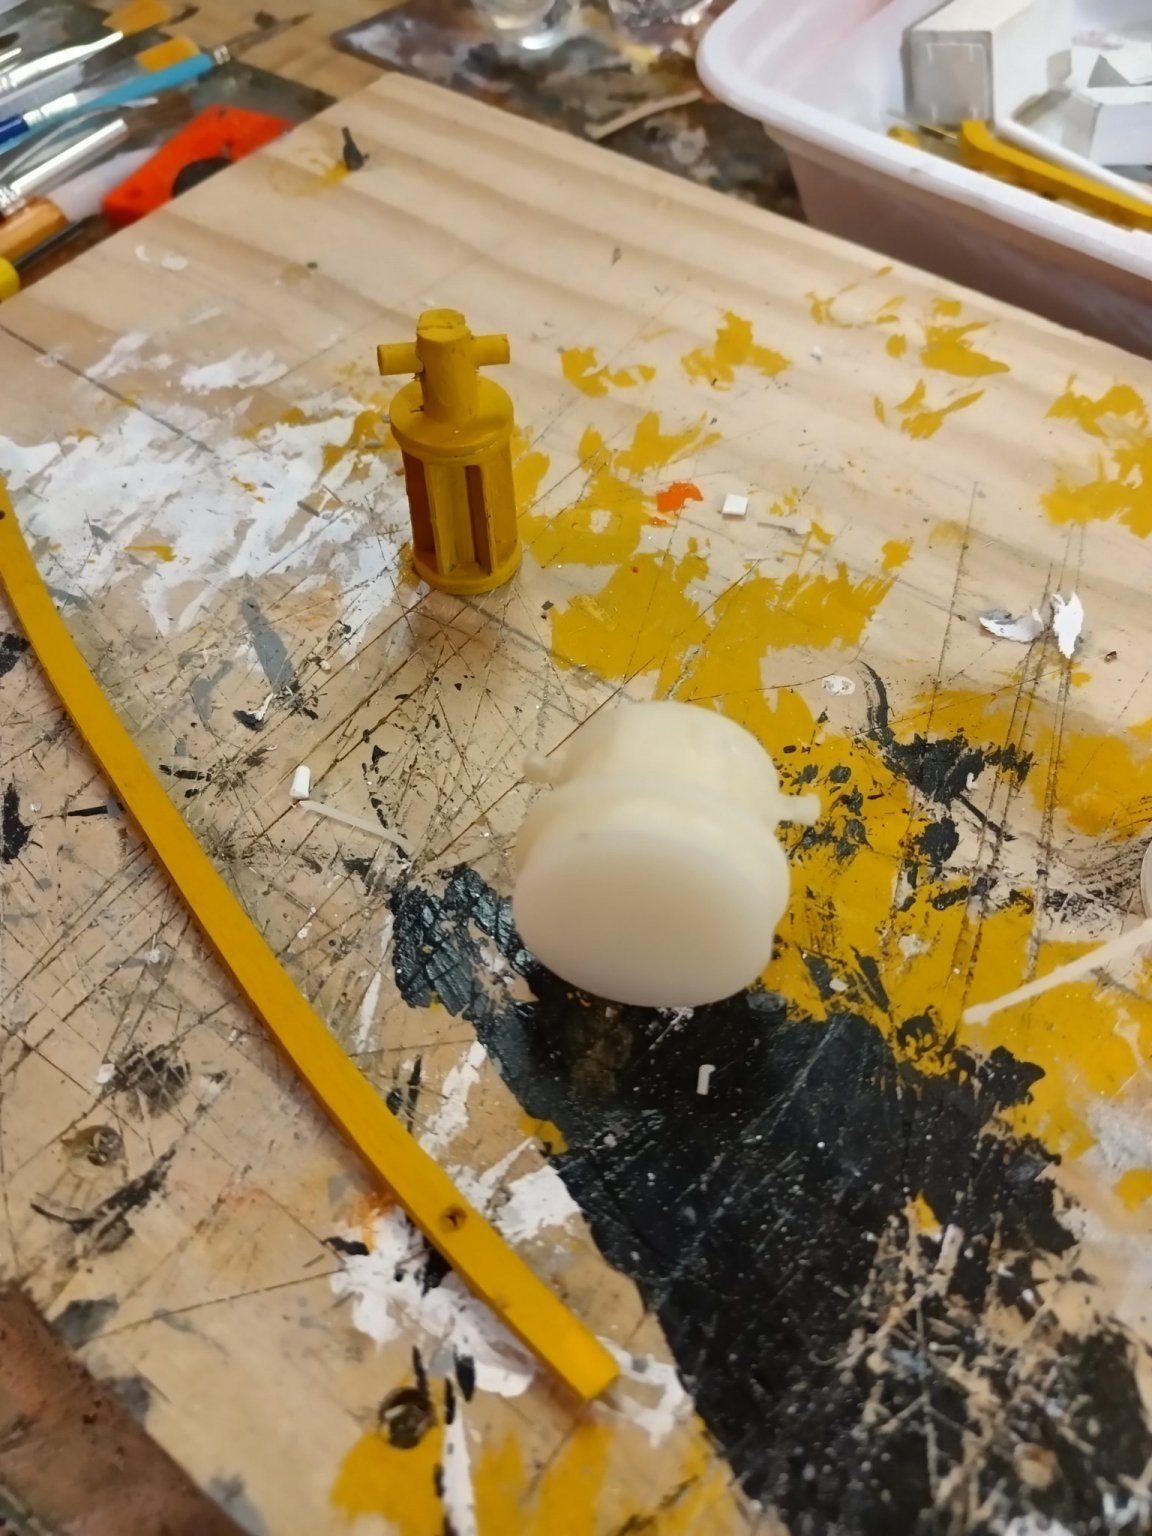
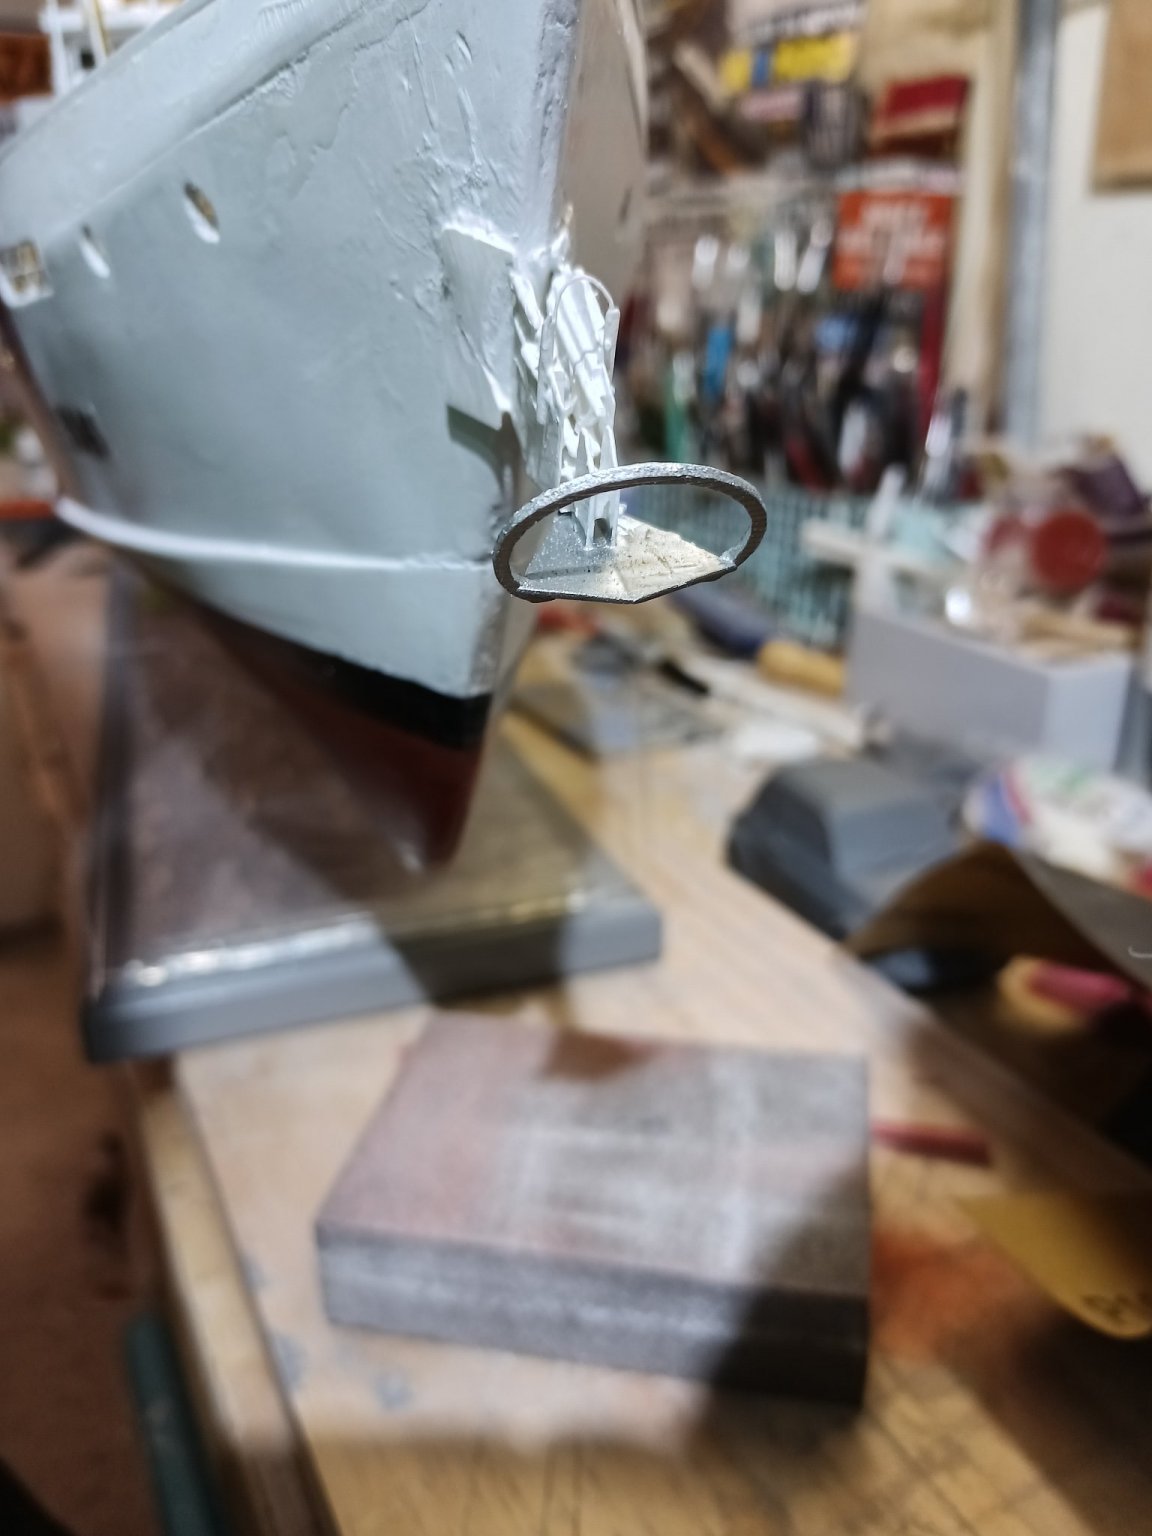
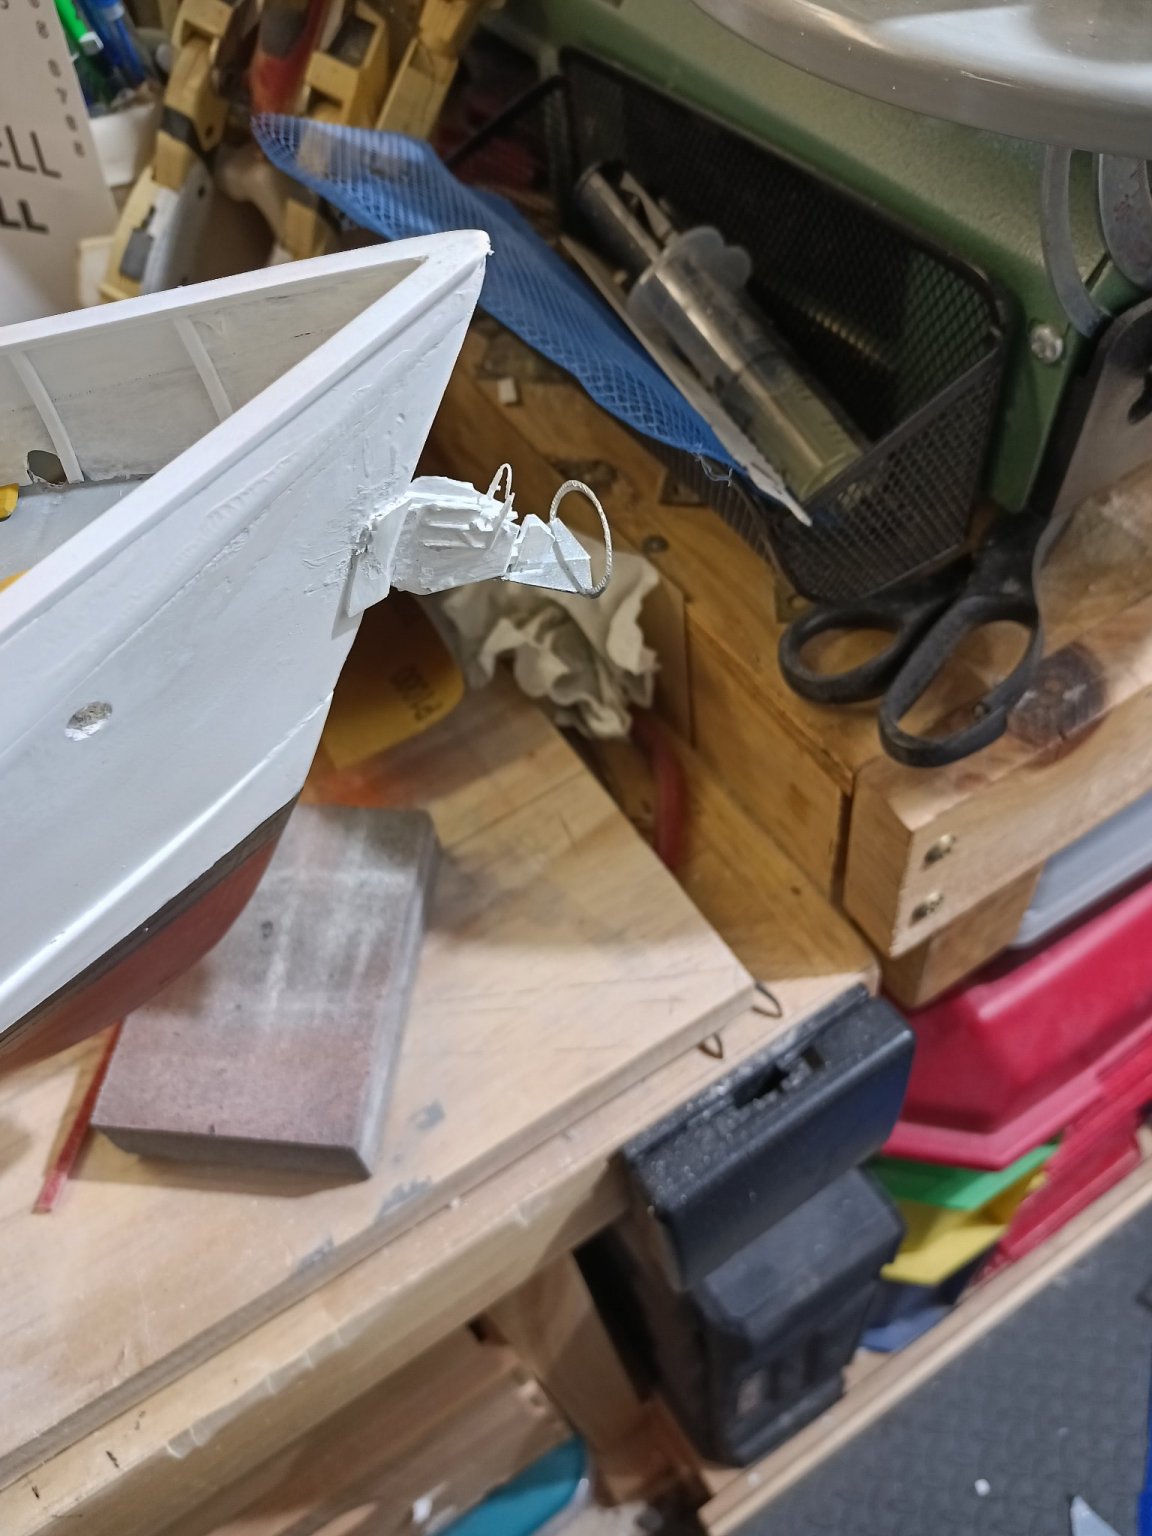
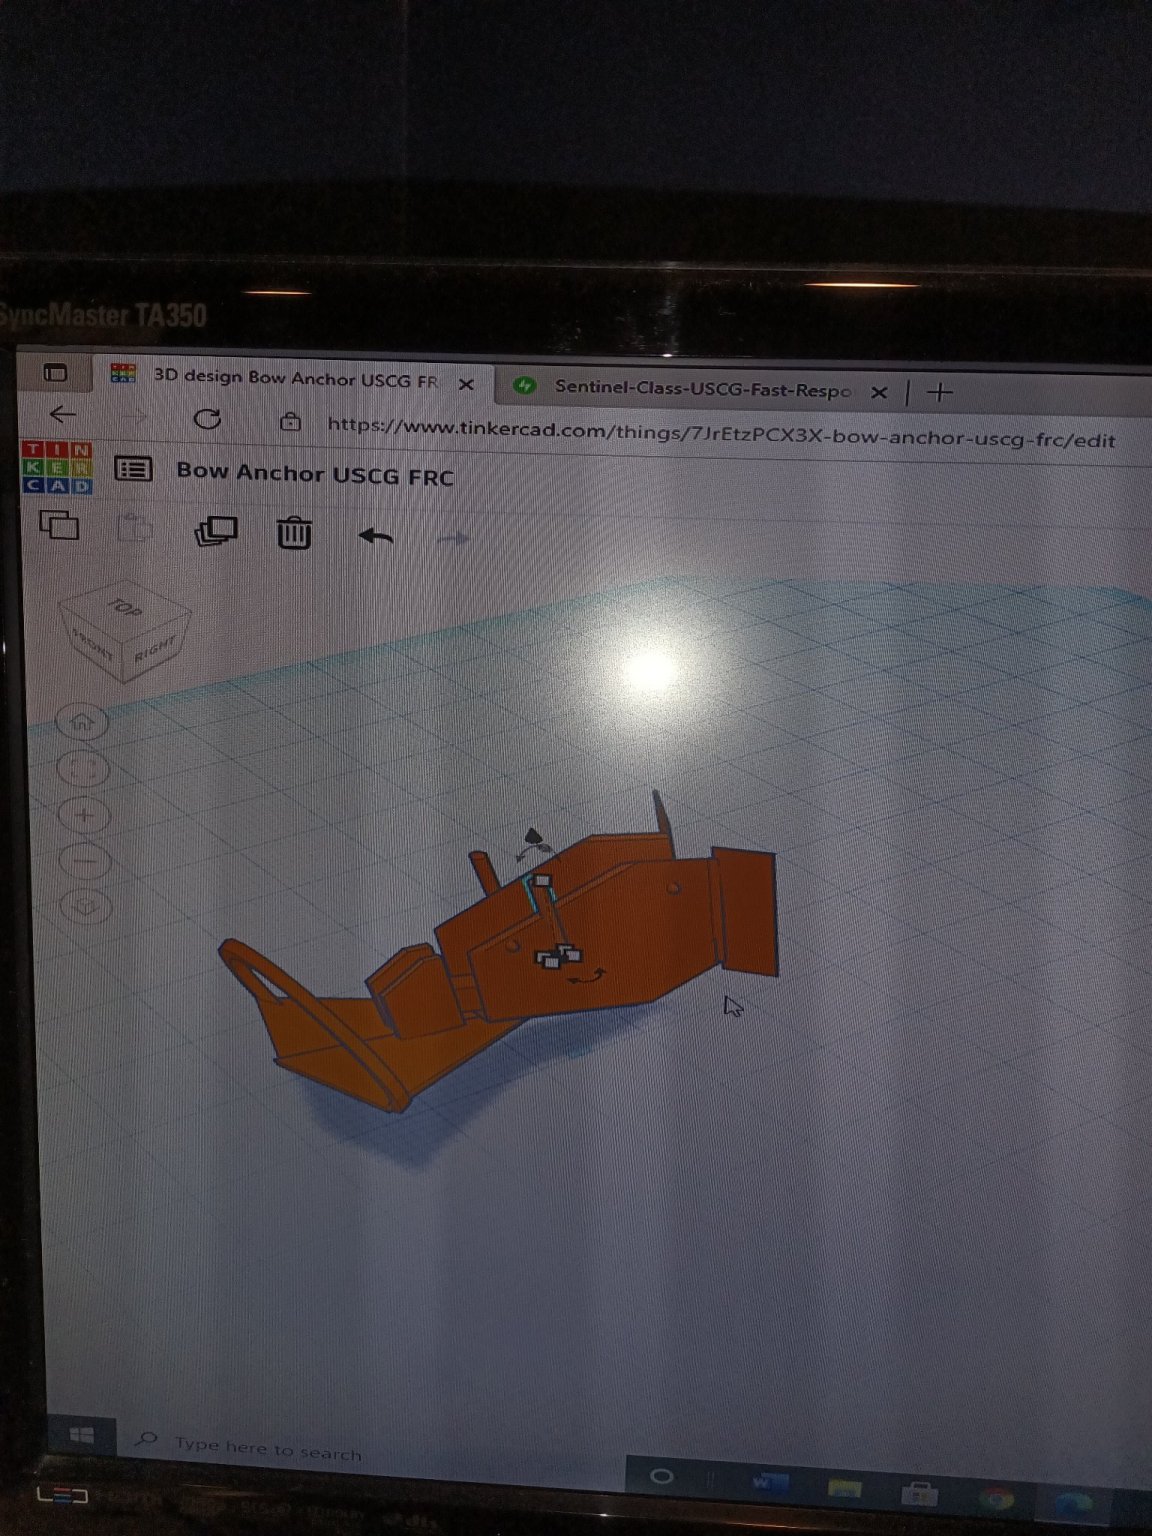
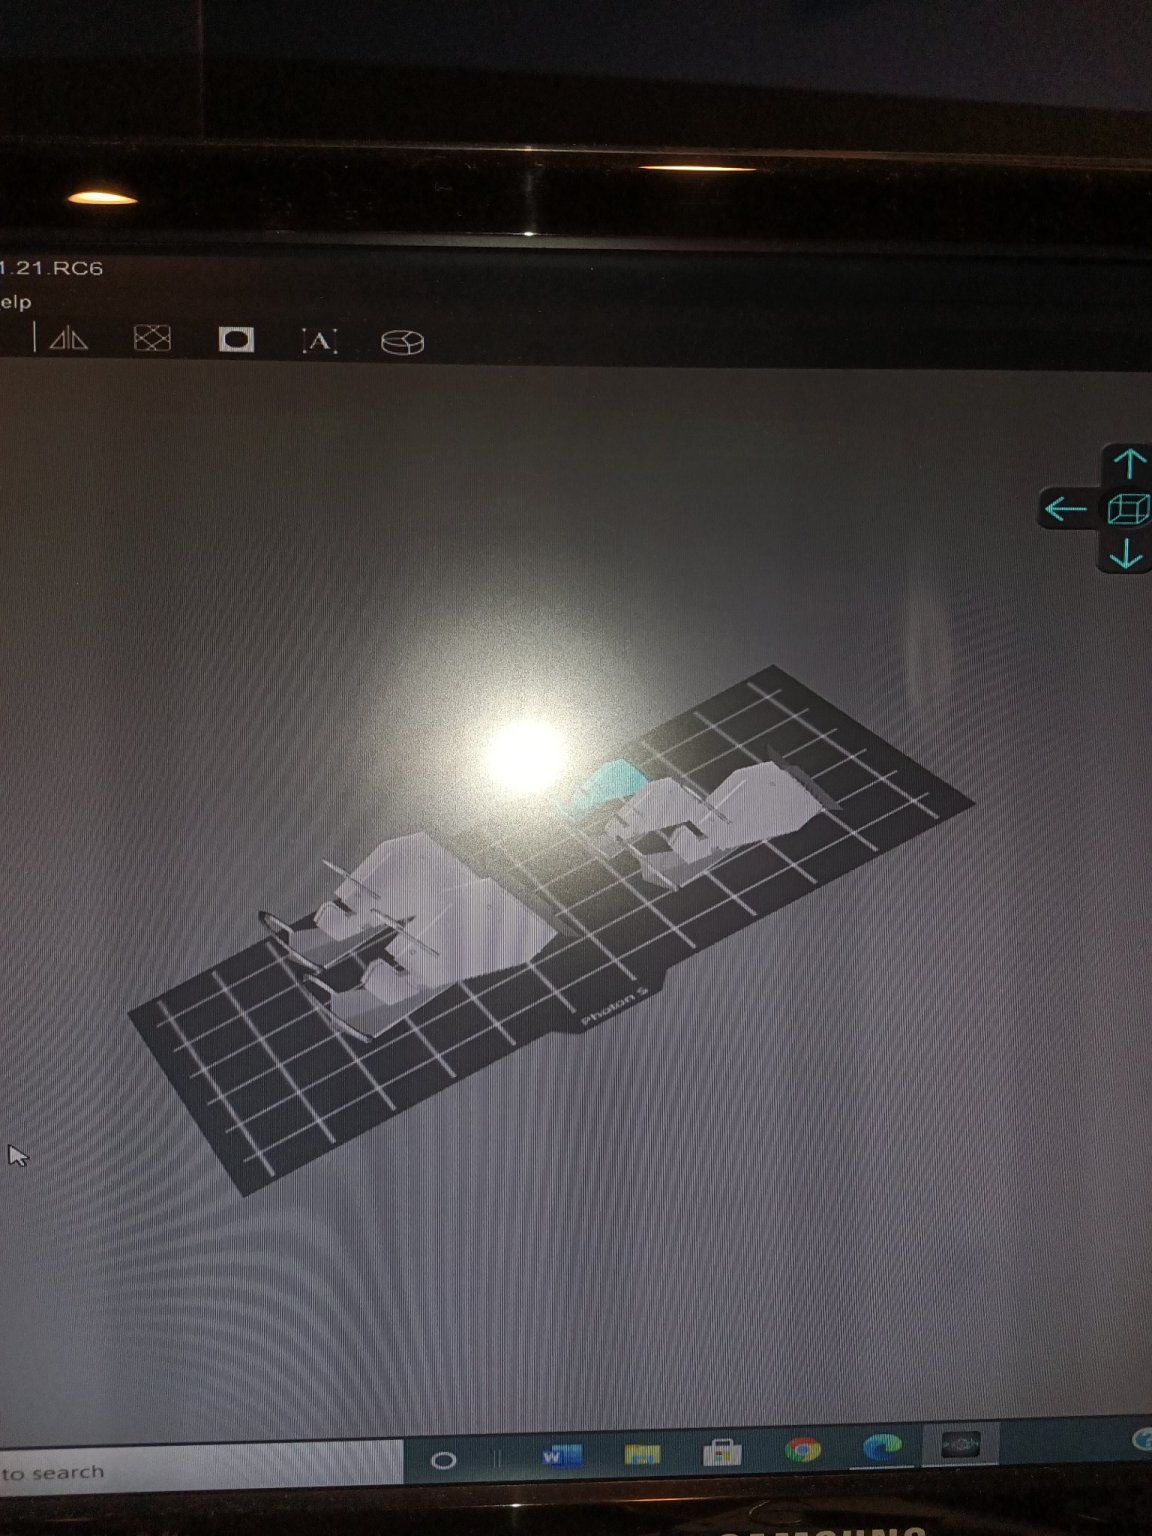
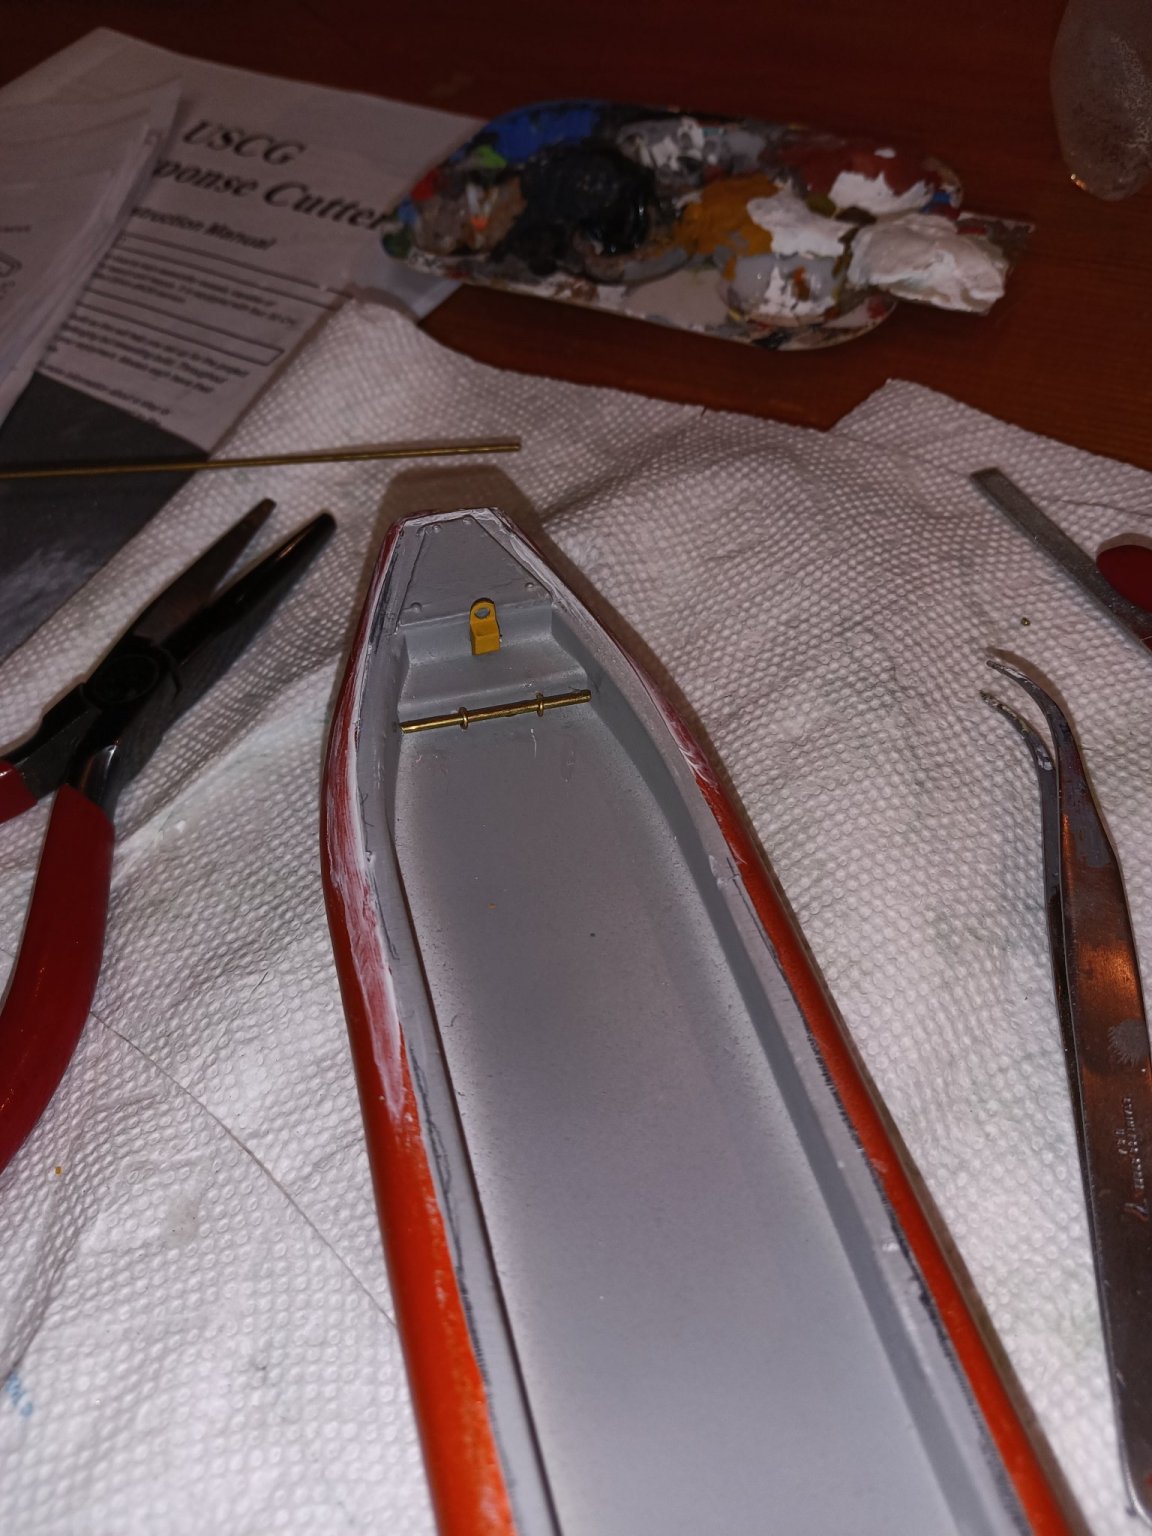
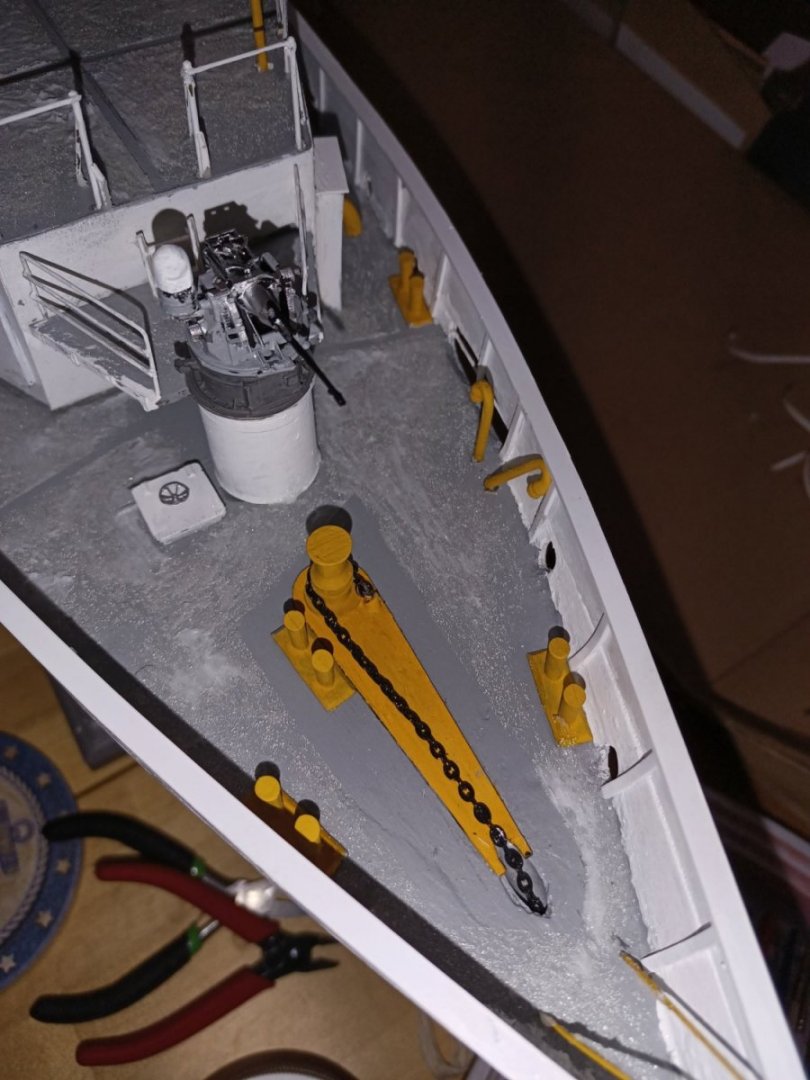
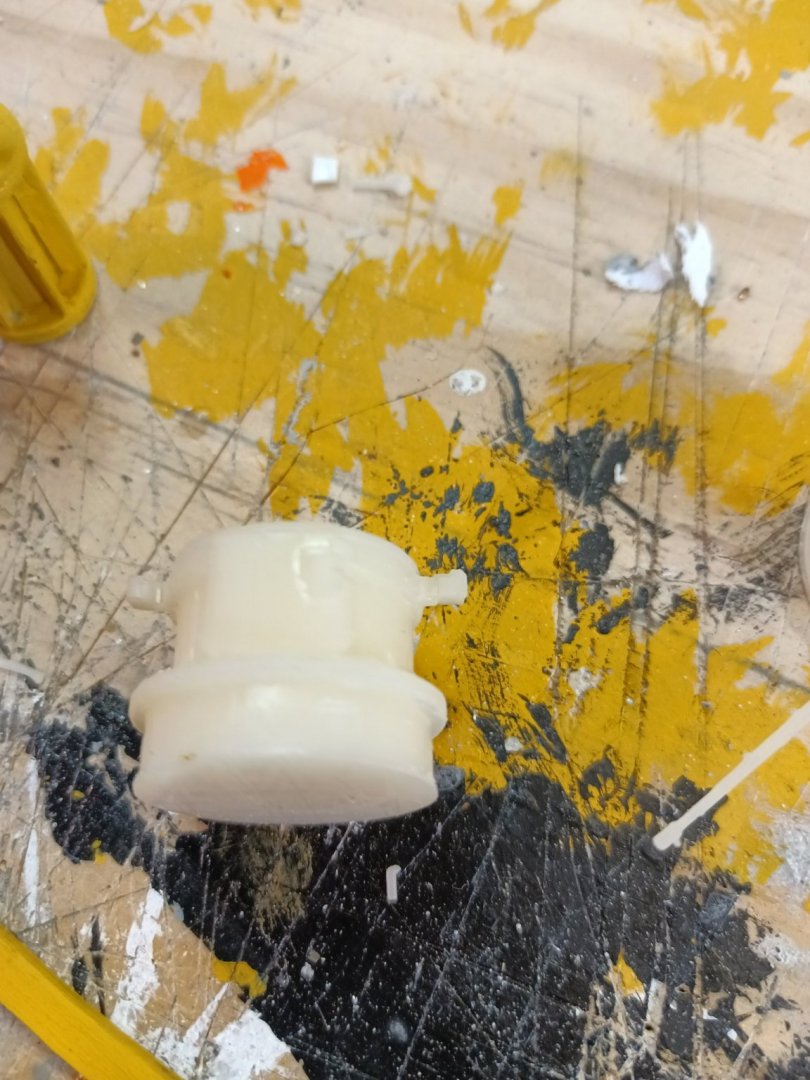
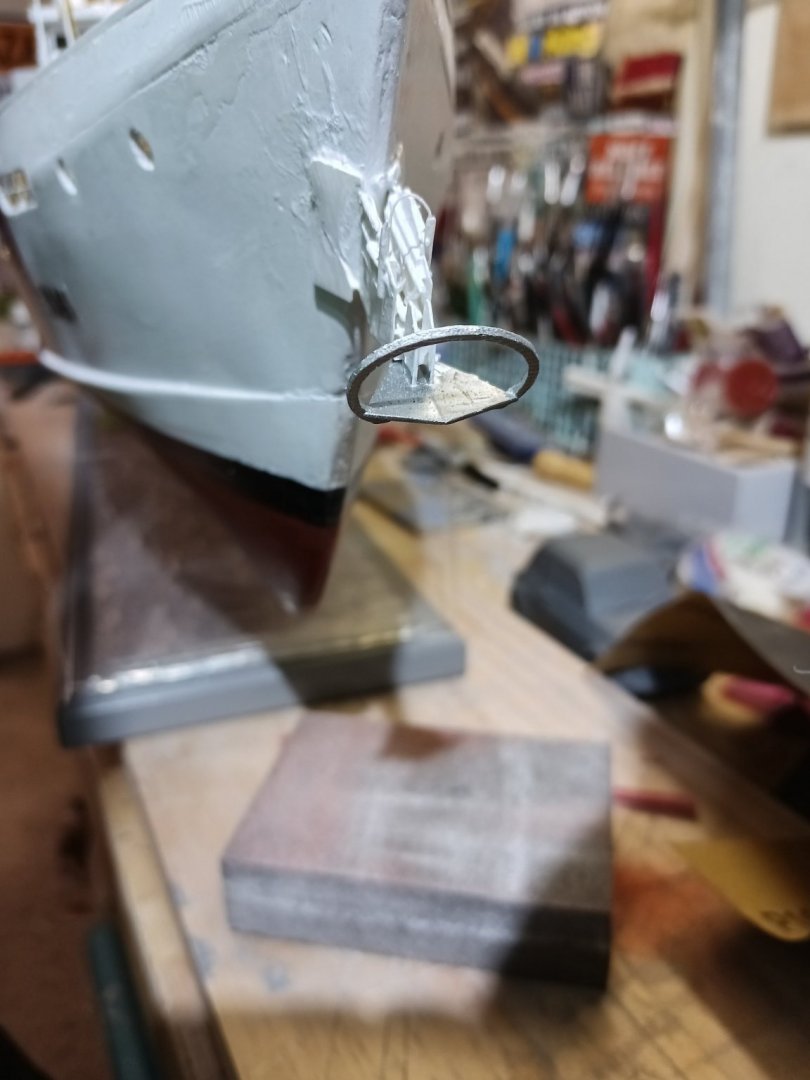
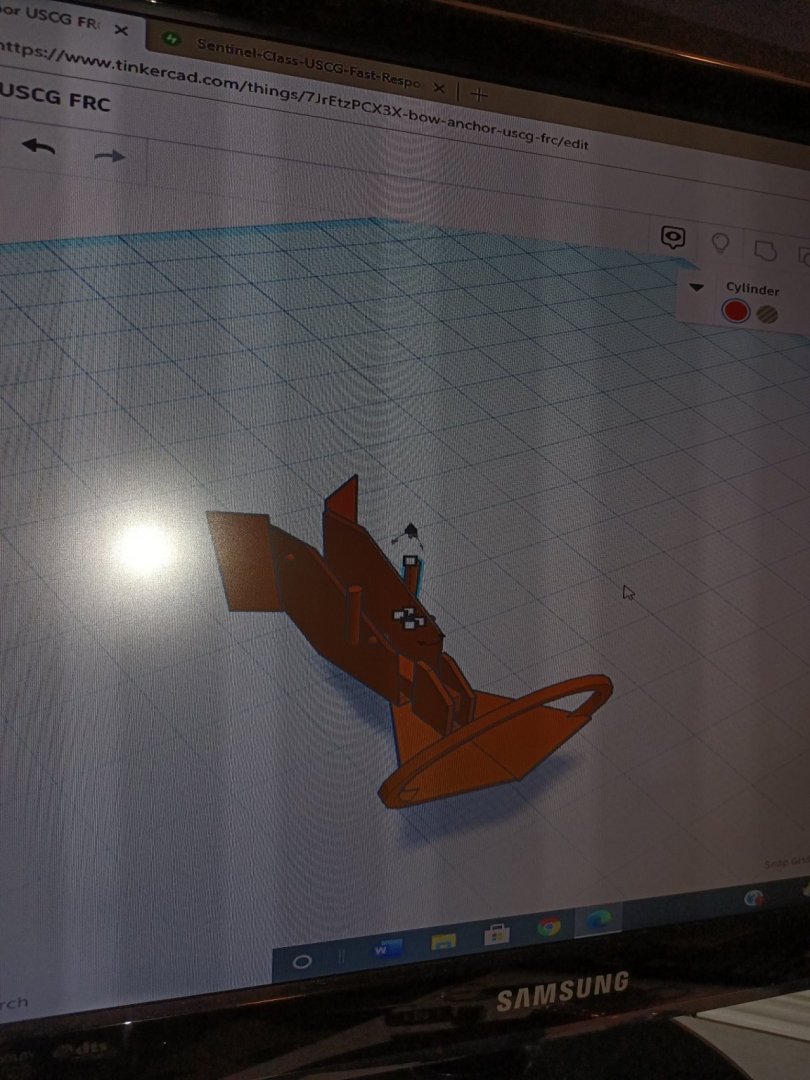
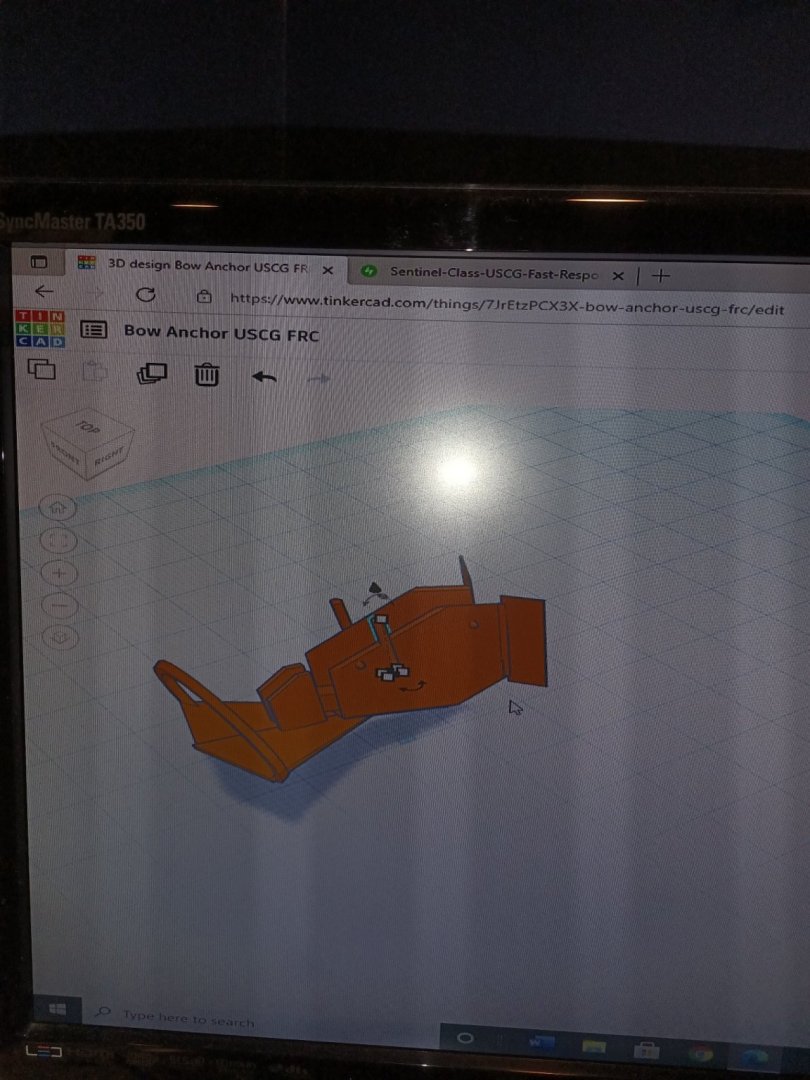
I spent a bunch of time trying to design the unique bow anchor on the computer. I got a decent prototype finished and started the print prior to bed. Results in the morning.

-
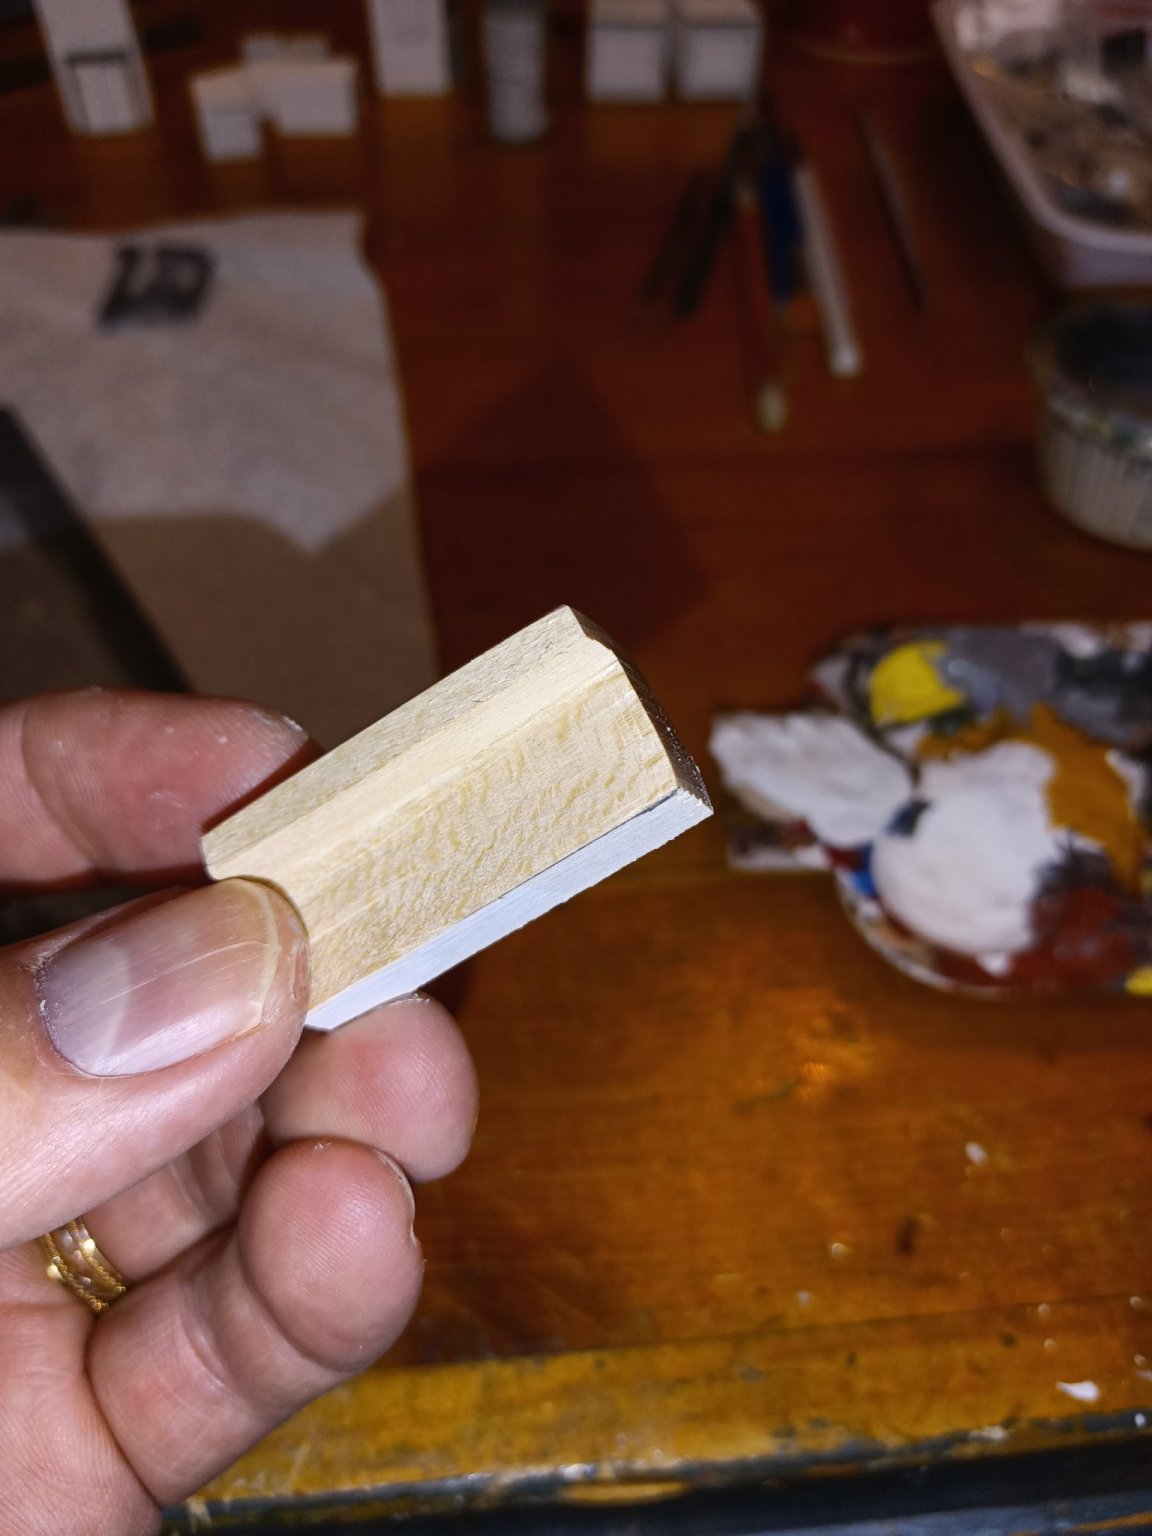
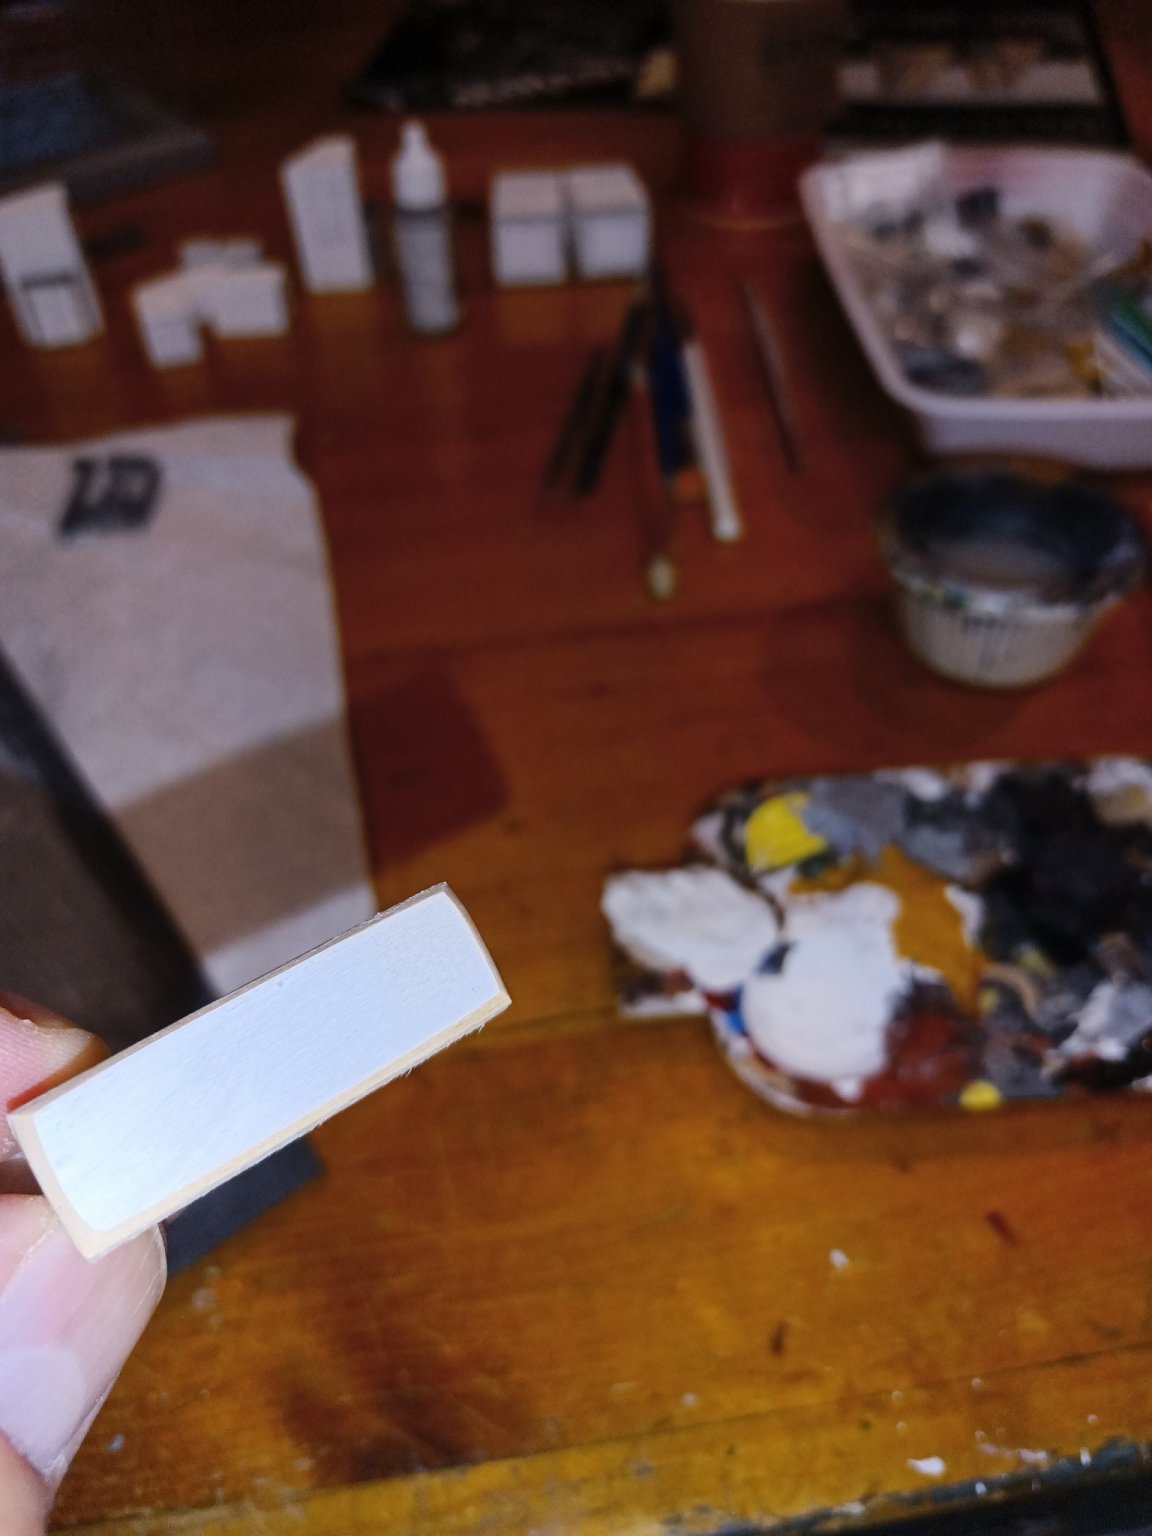
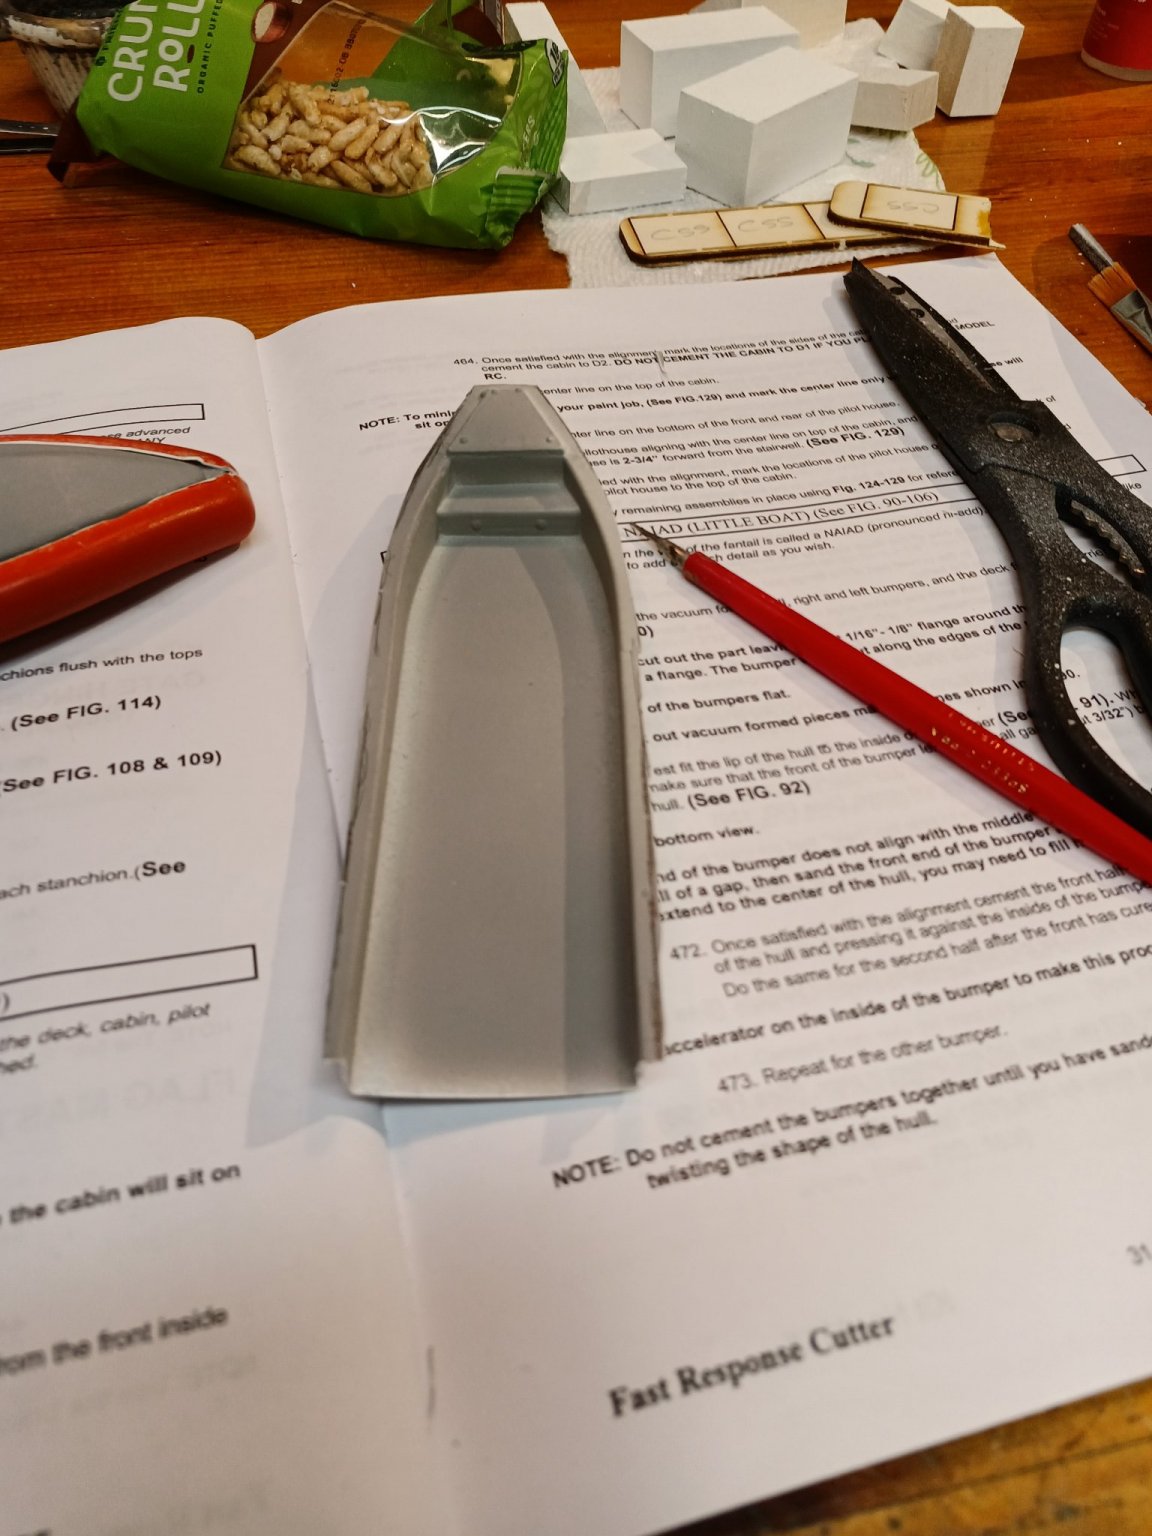
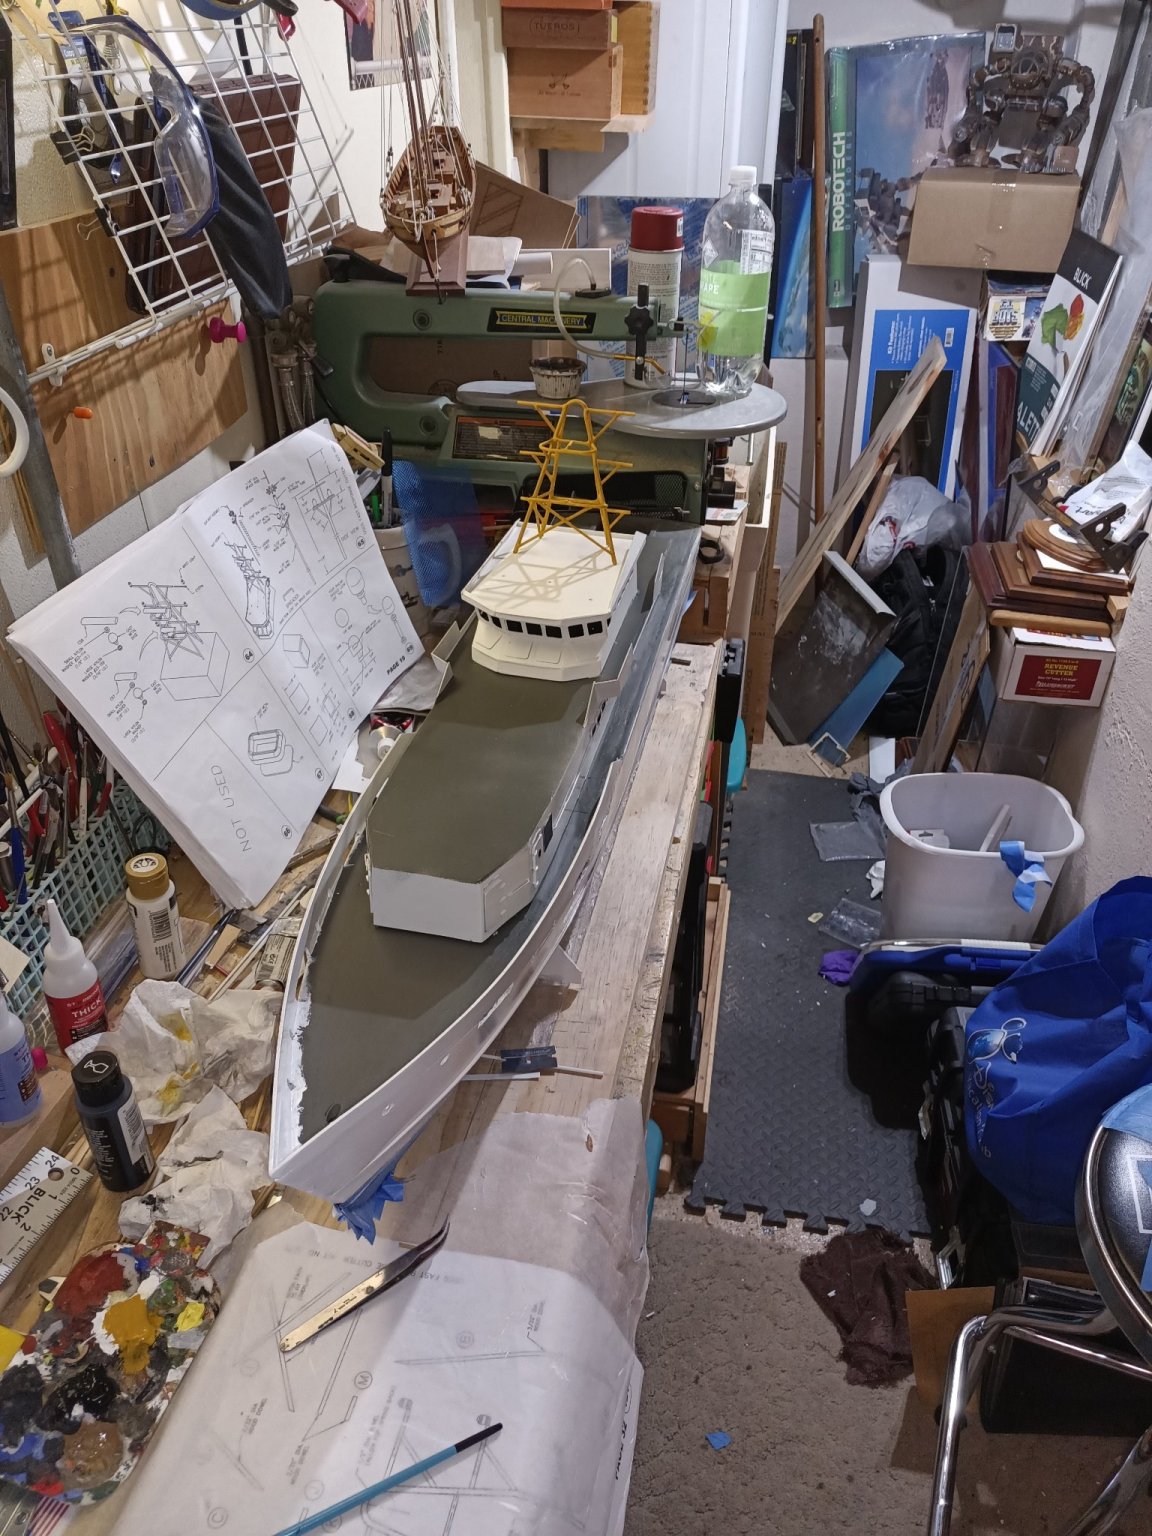
More work on the NIAID boat. Slow going today. I second coated some of the vents and sanded some wood pieces.


-
This is without a doubt one of my favorite historical cutters. I recently saw the new kit marketed and have far too many kits ahead if her. I am jealous but will live vicariously through your logs!
-
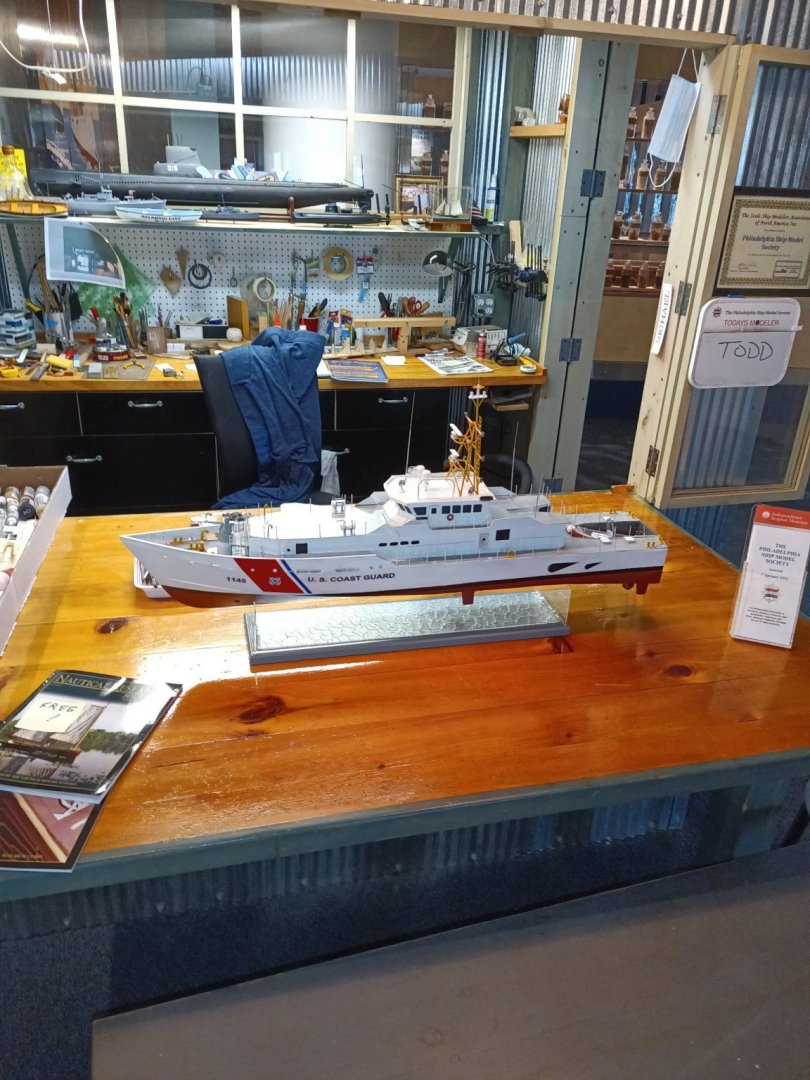
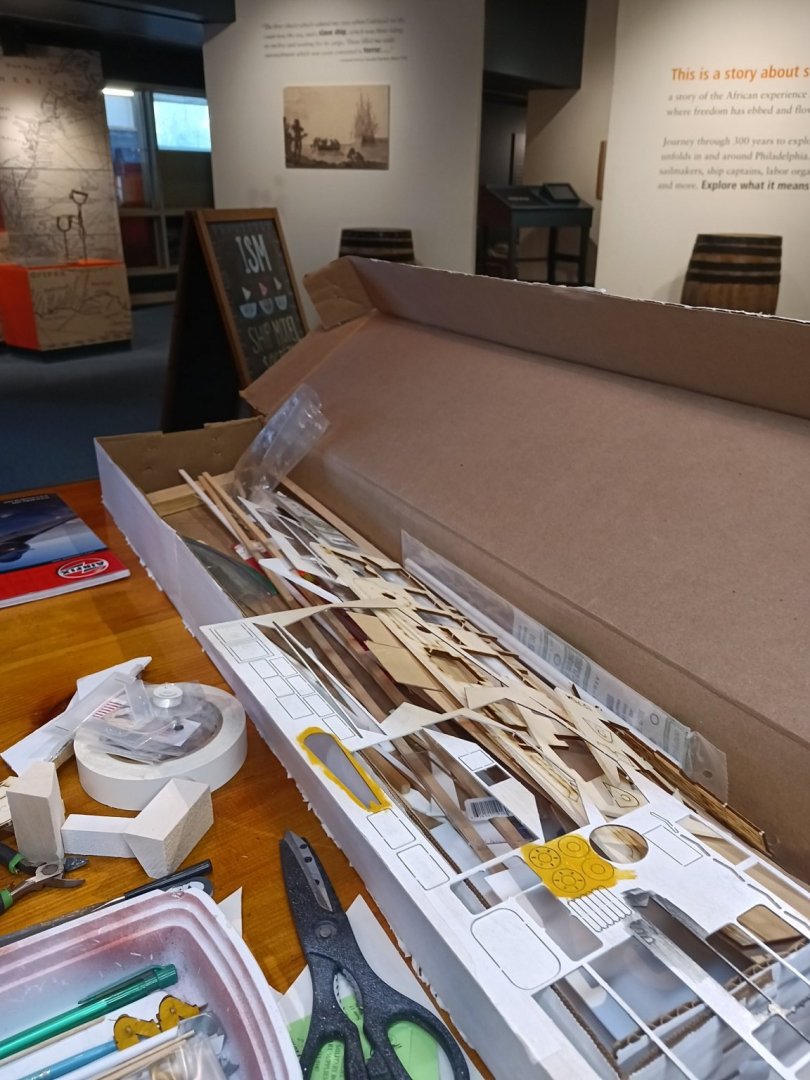
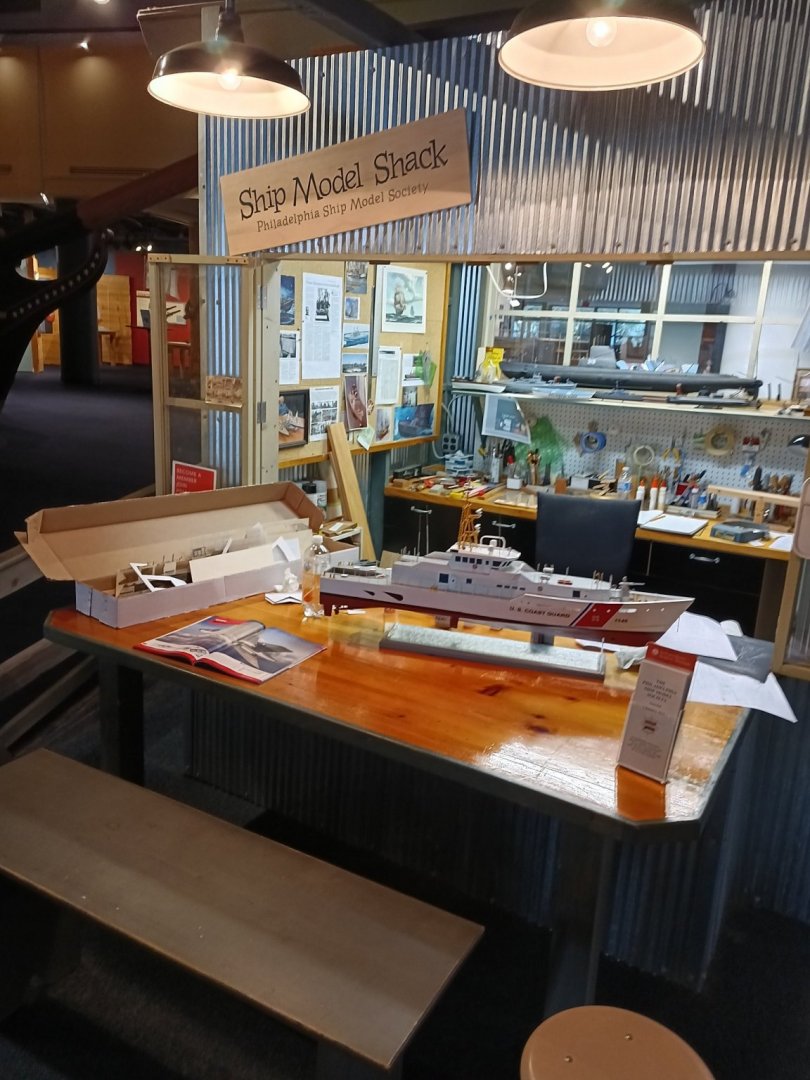
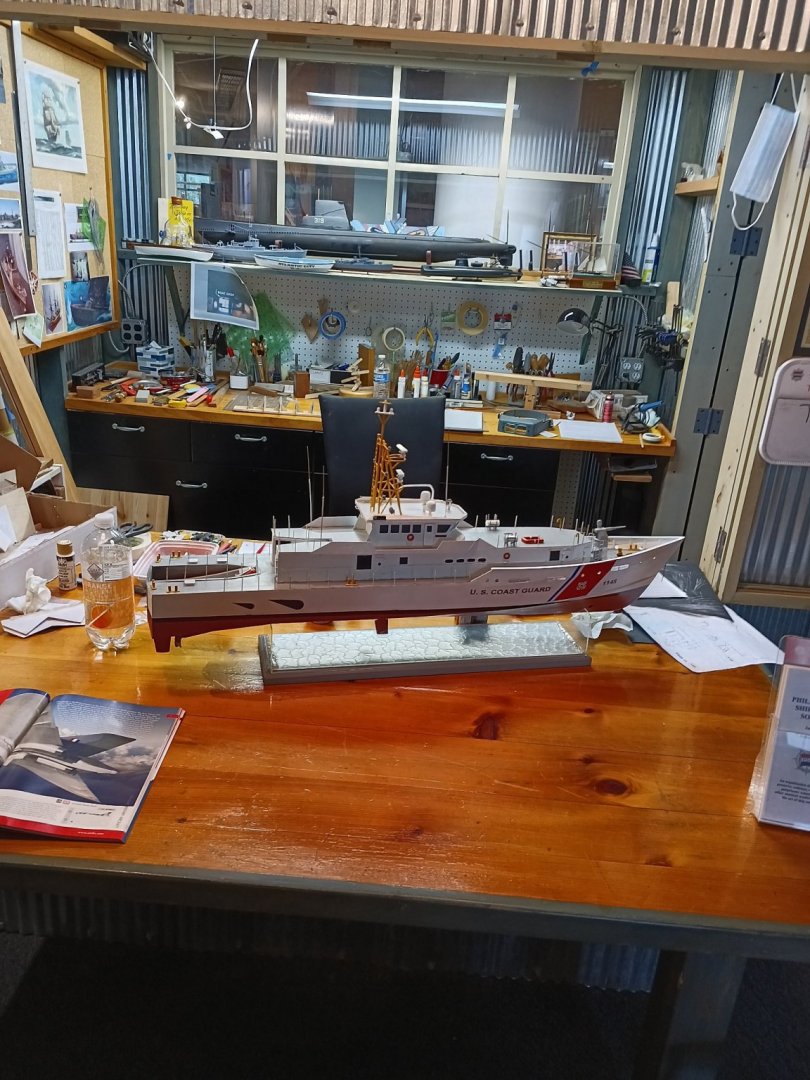
Members of our club volunteer there every weekend. The museum gives us the space to keep tools etc. Modeling in public is pretty awesome.
-
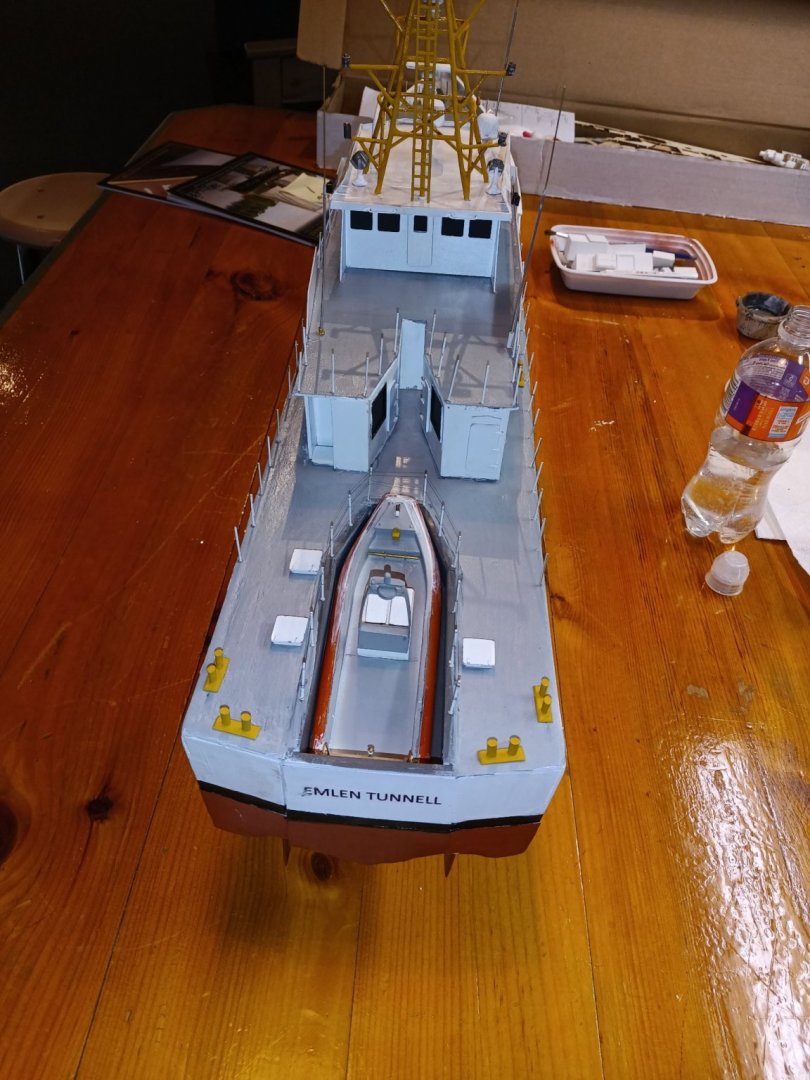
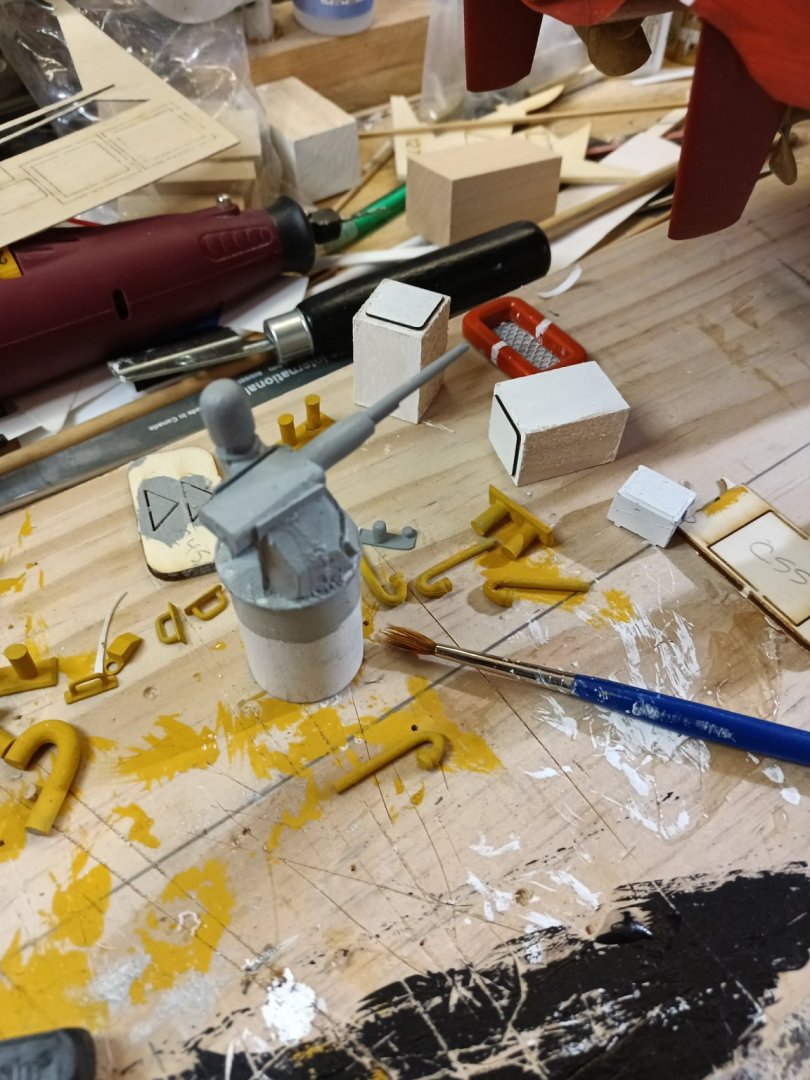
Got some work done today while manning the ship model shack at the Philadelphia Seaport Museum. I got the main ladderway, vents, and Naiad RHI boat started.


-
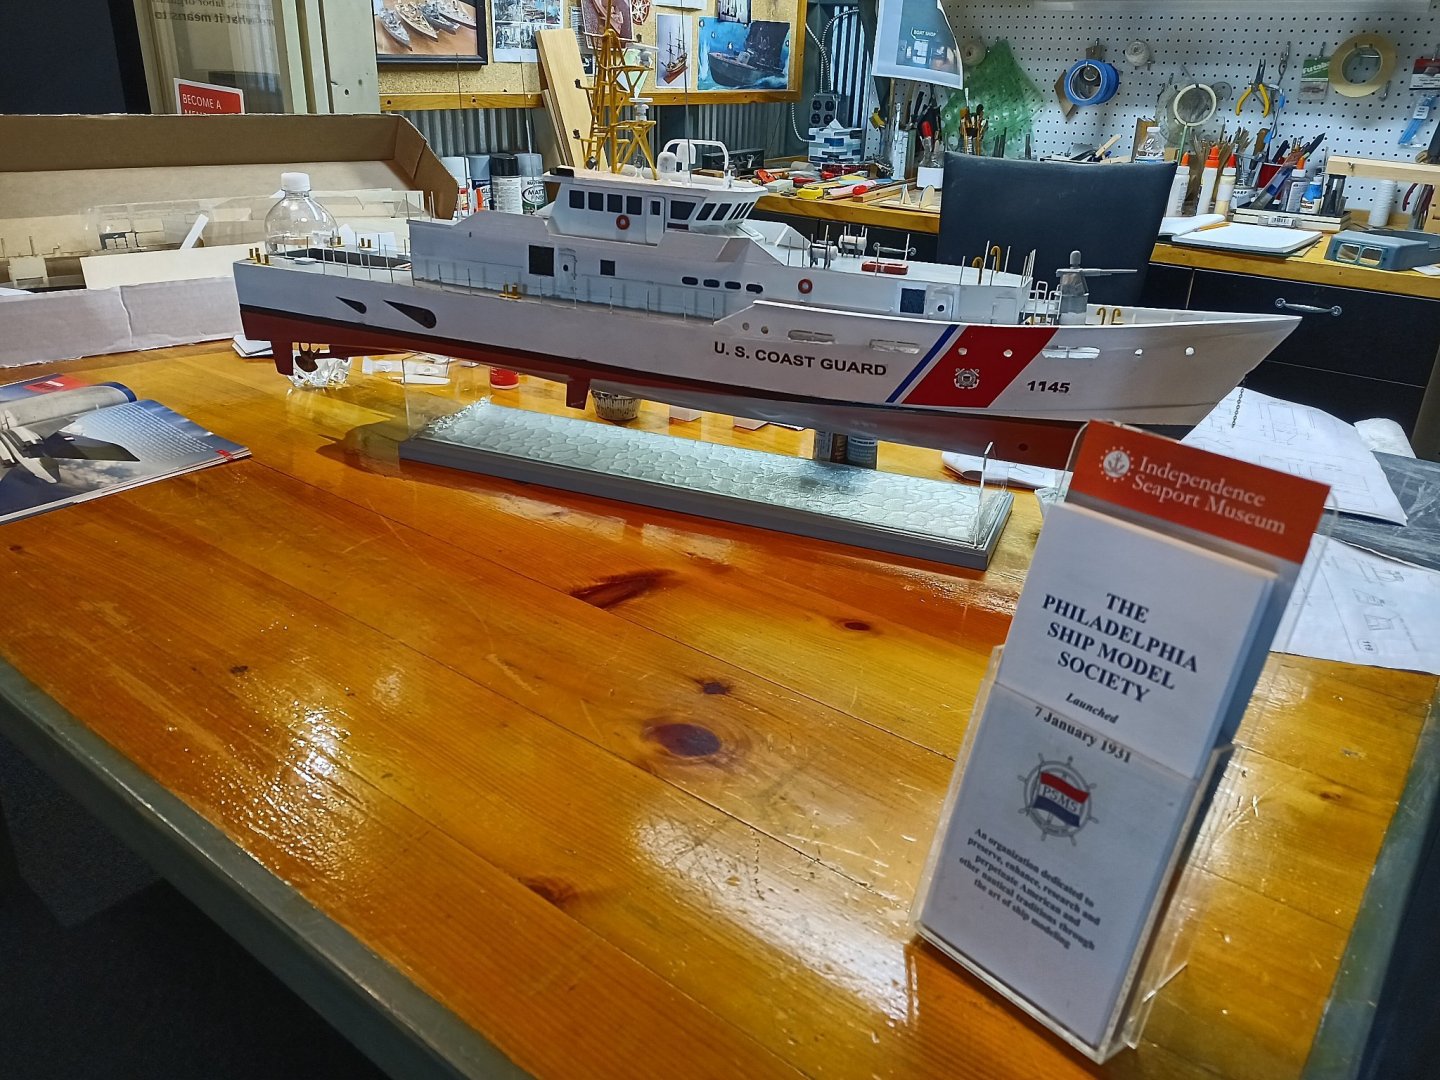
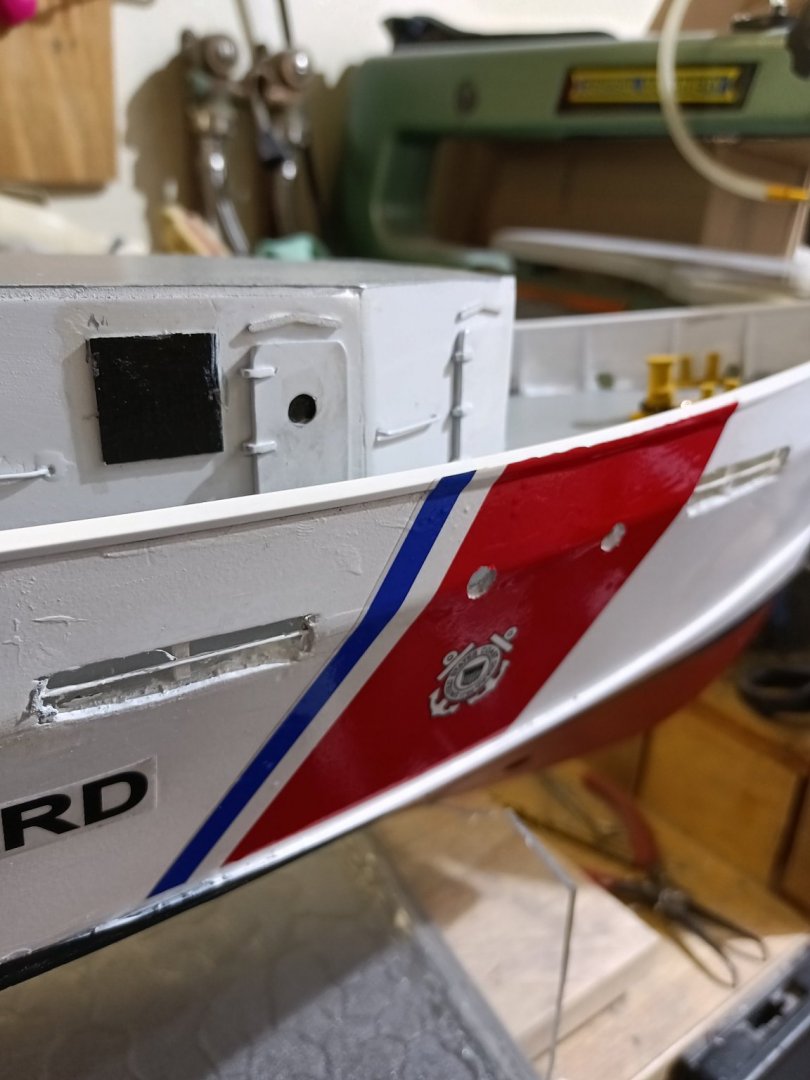
A couple shots. I will be redoing the name decal as well as the numbers. The ink bled a bit so I will be adding an additional coating on the carrier sheet. I also believe the gun radome is reversed so I will need to fix it. Additionally the stabilizers had the paint peel off.


-
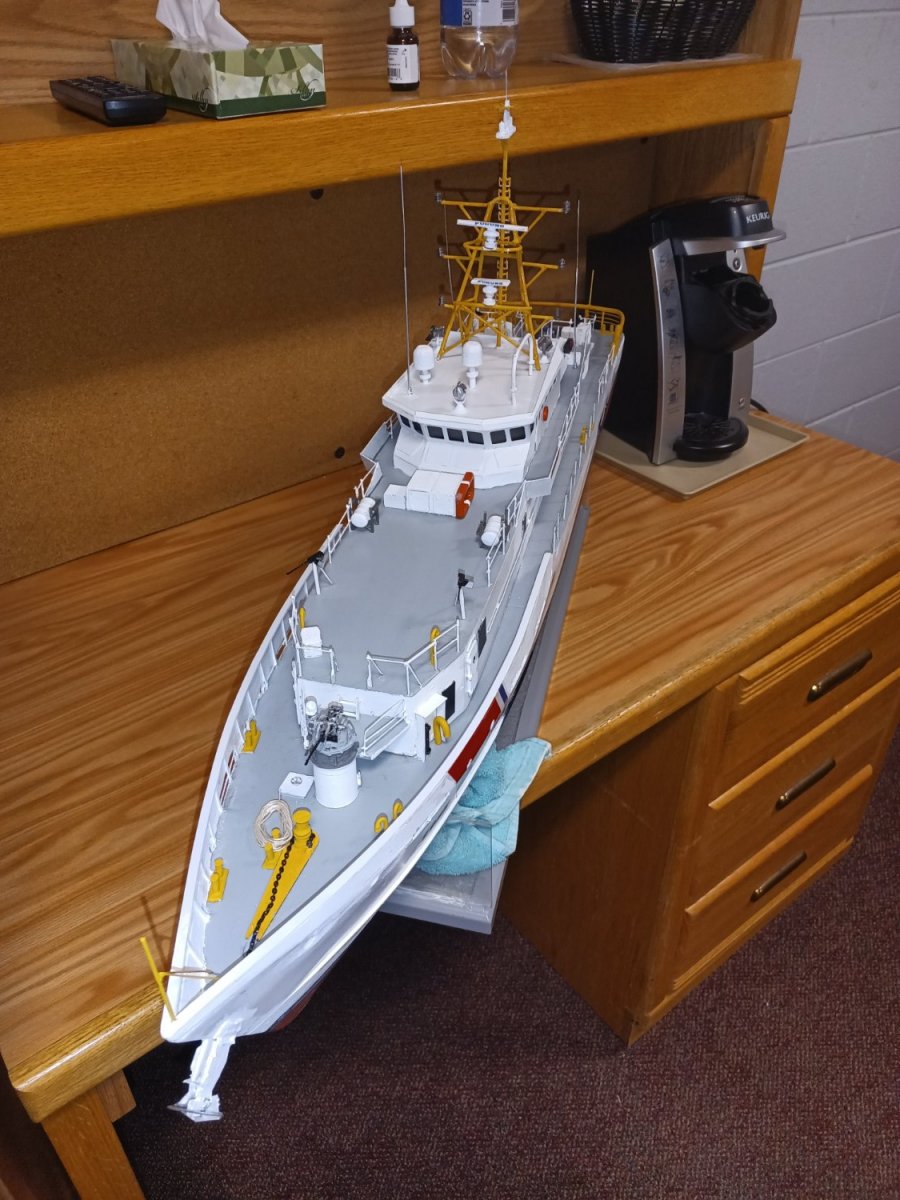
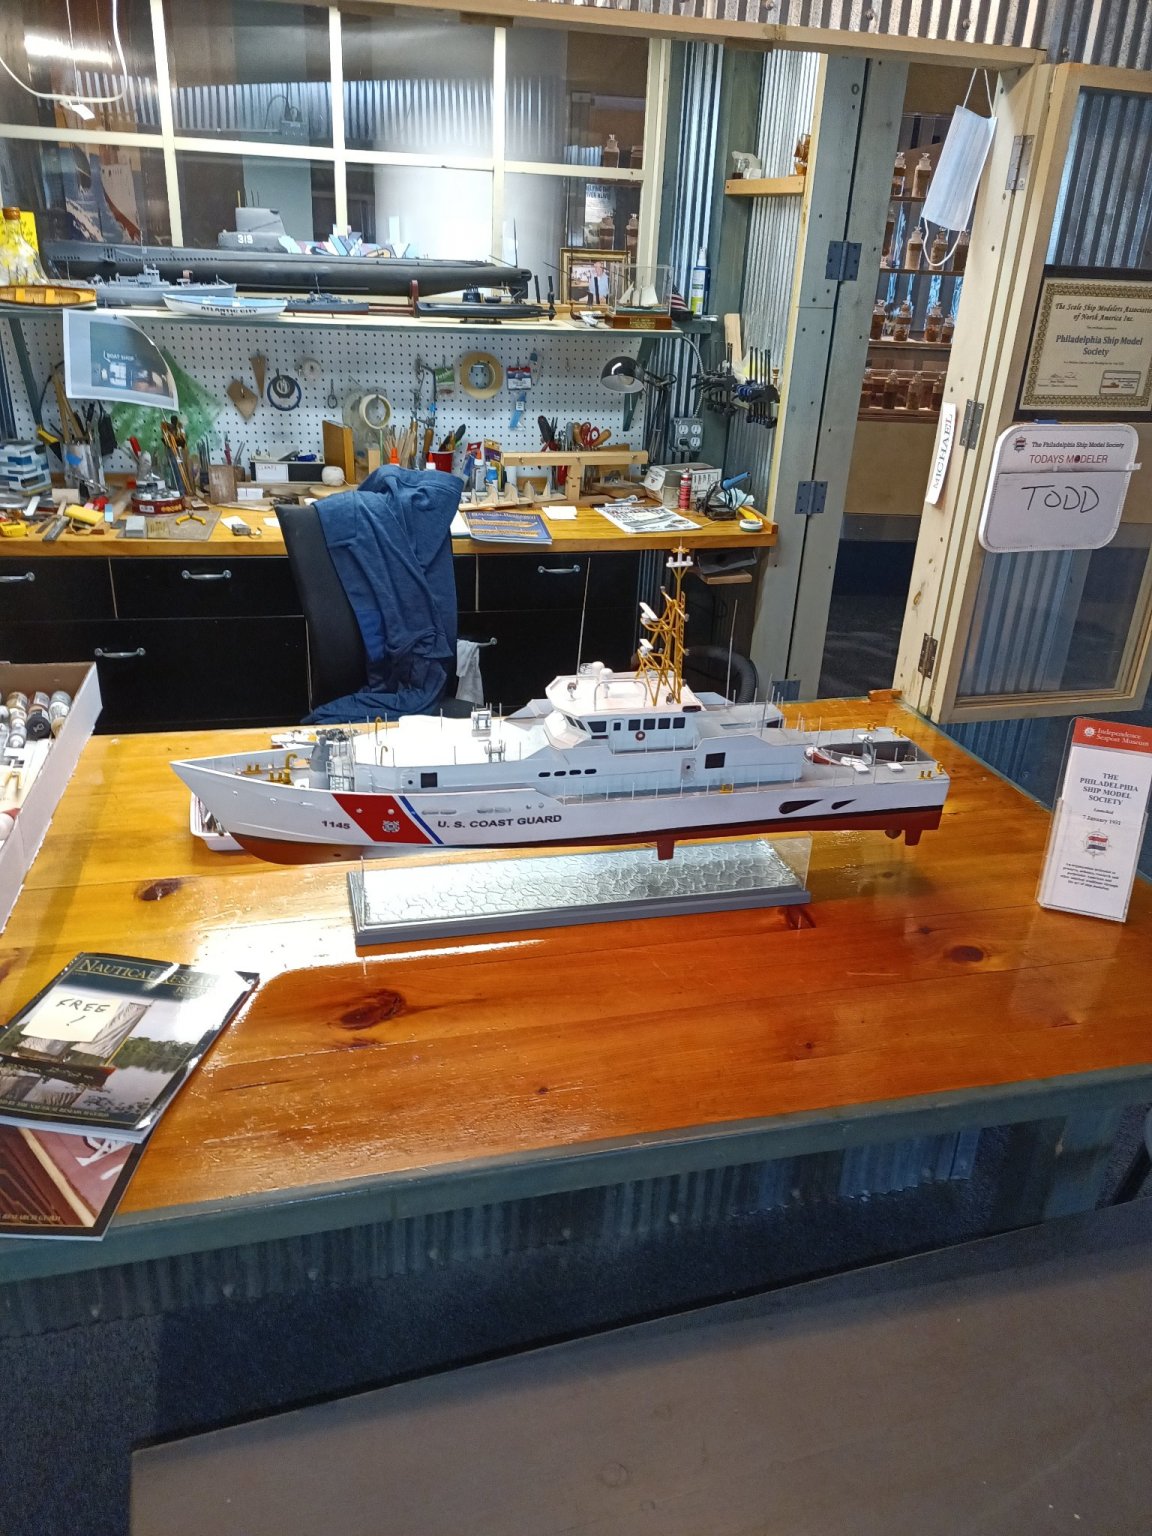
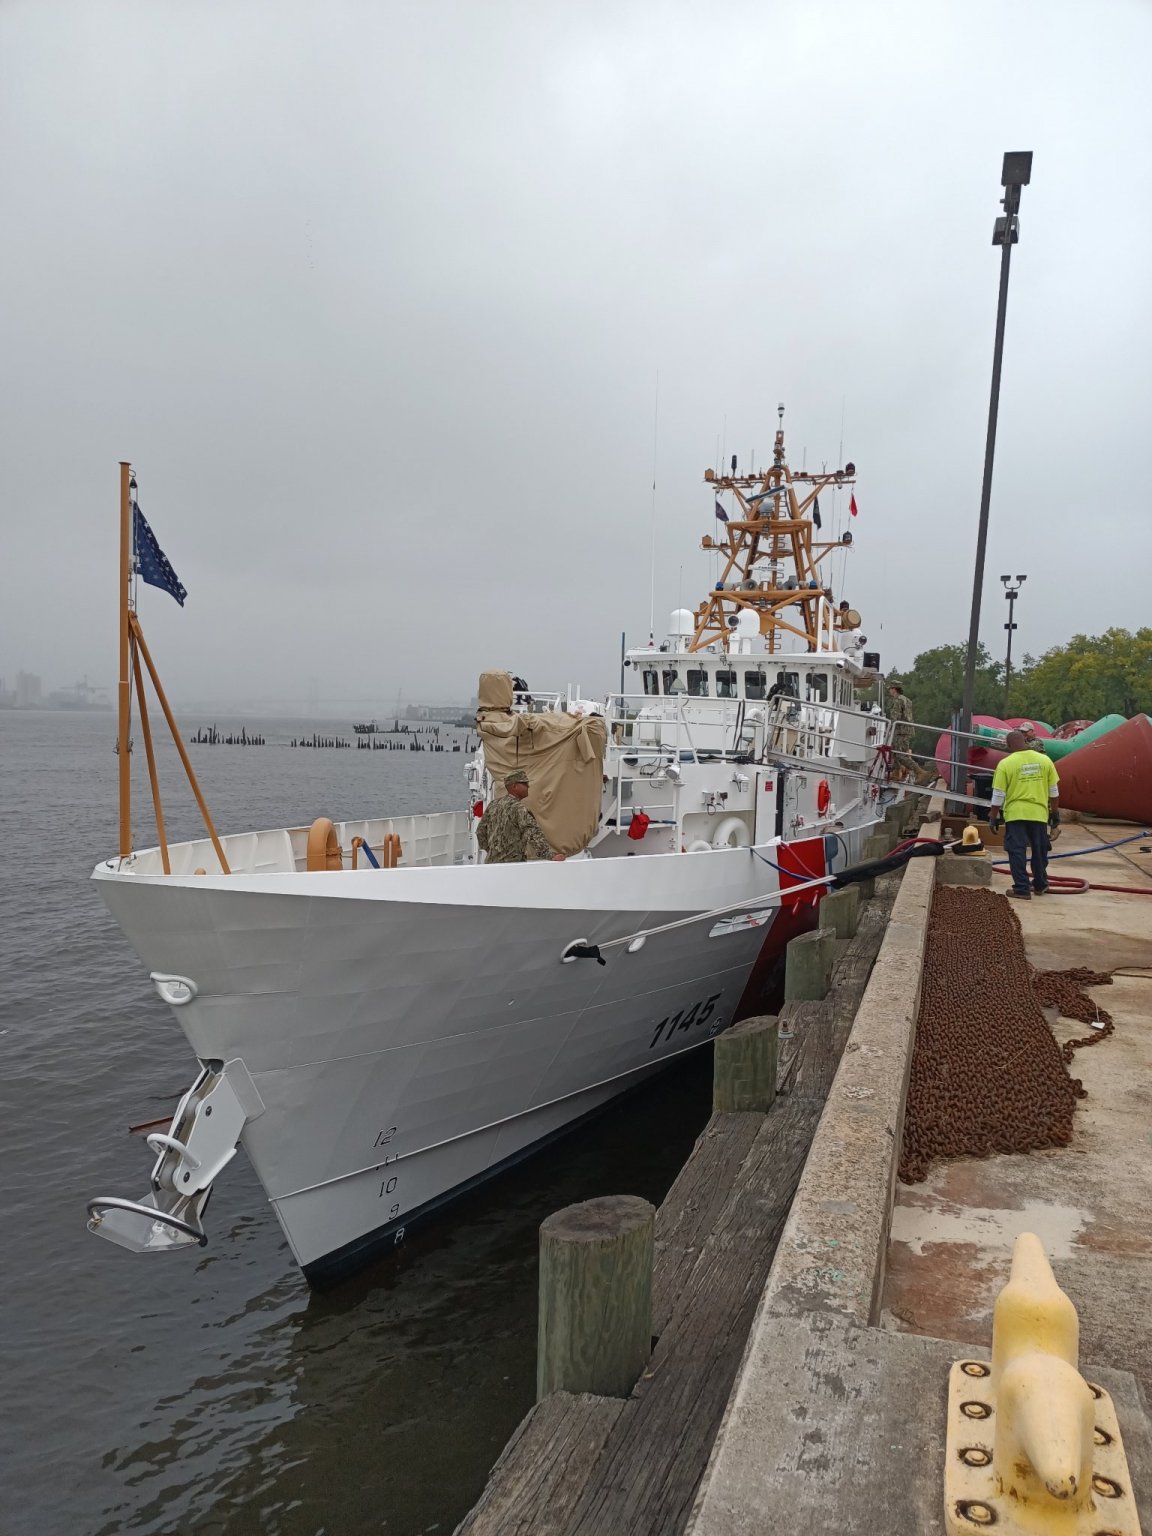
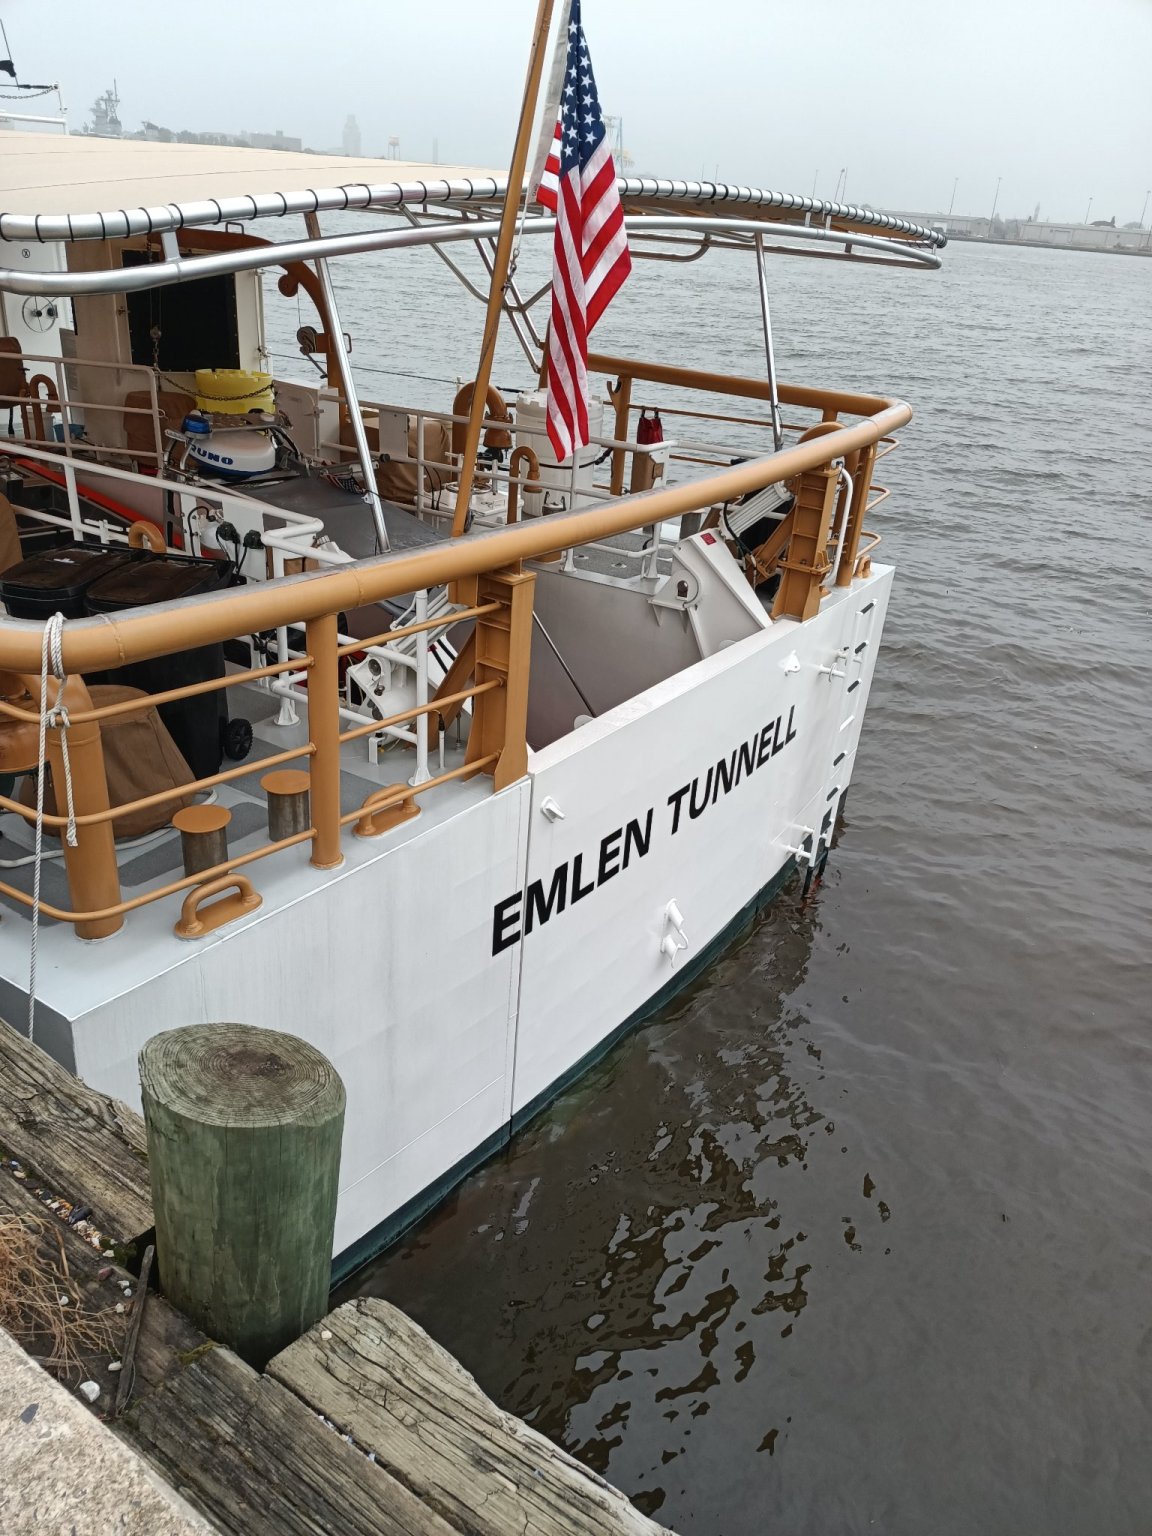
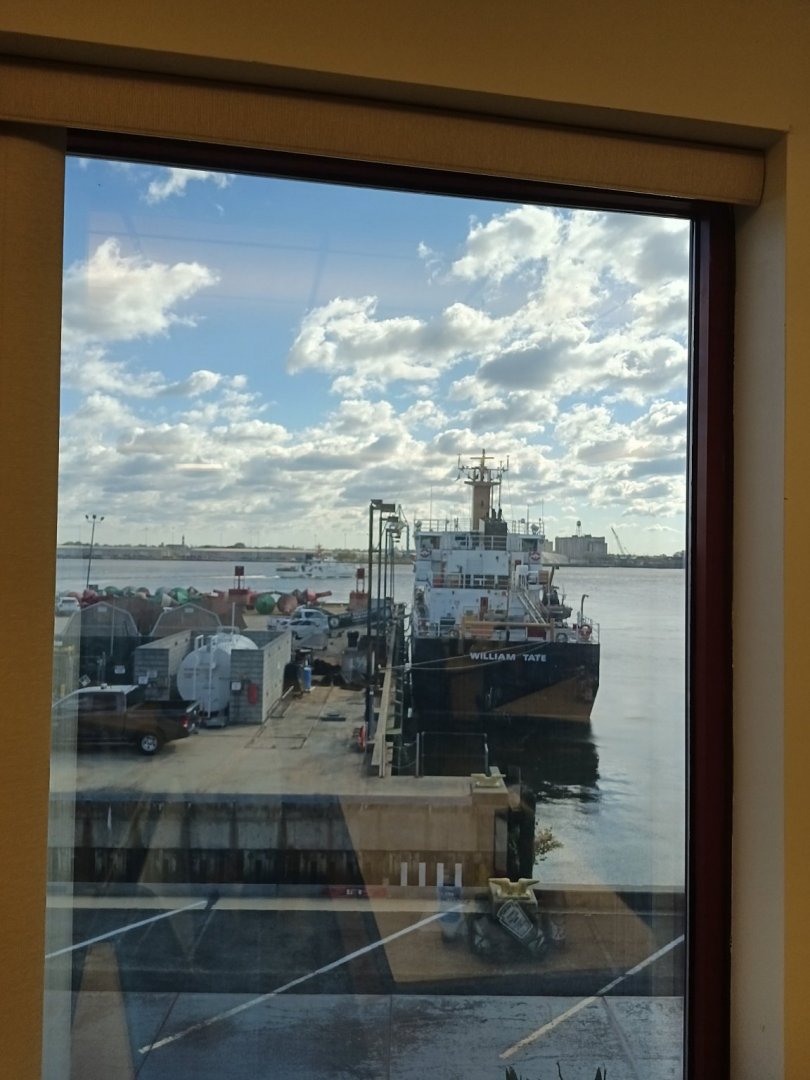
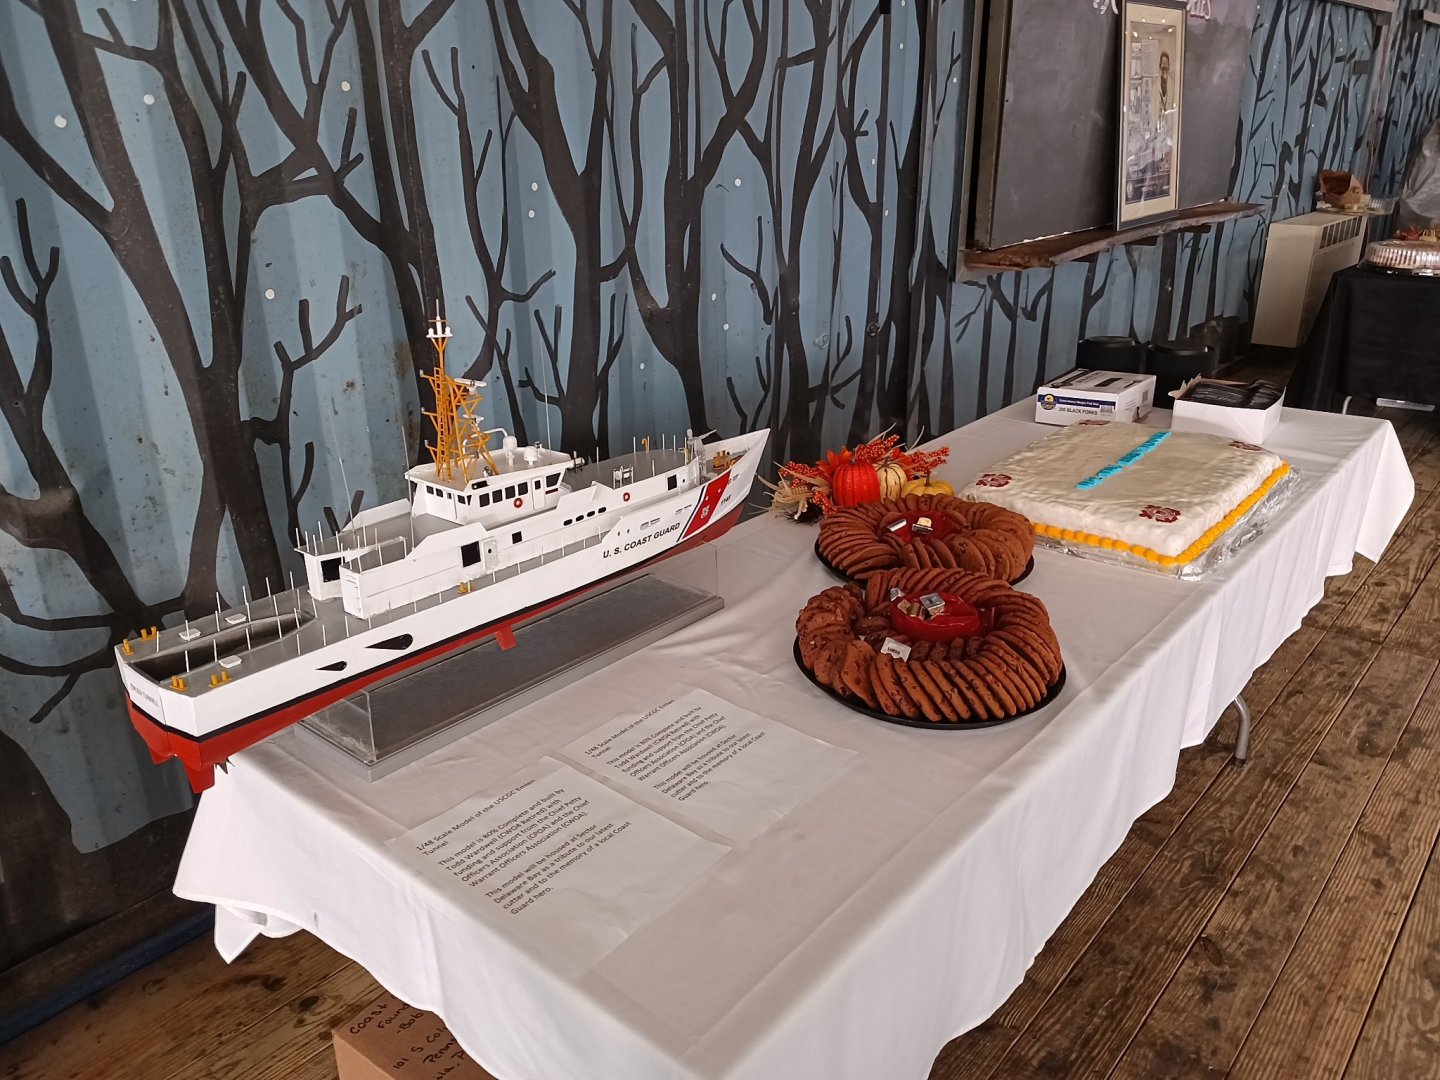
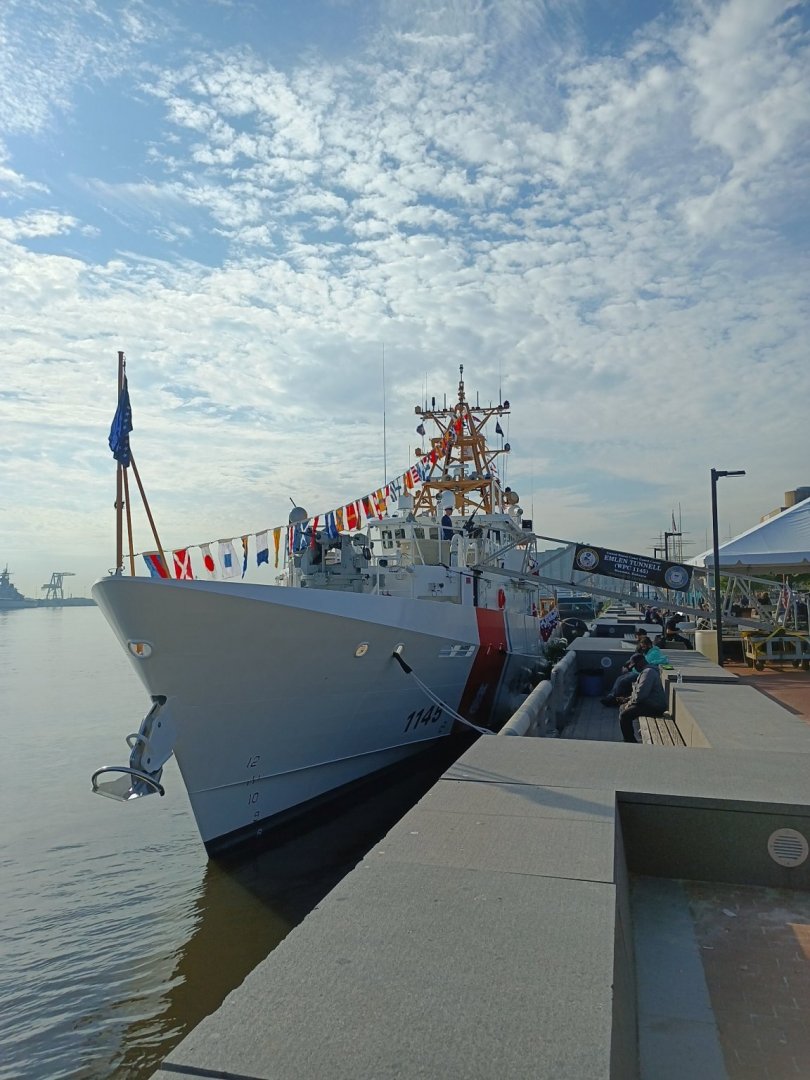
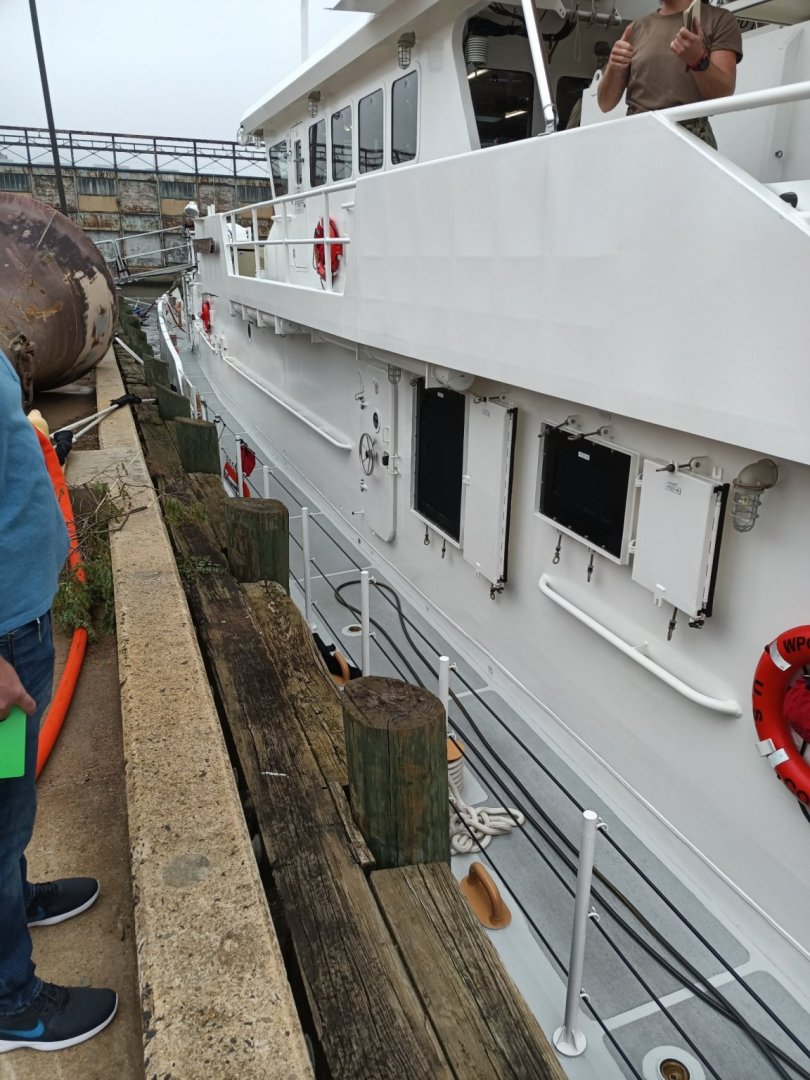
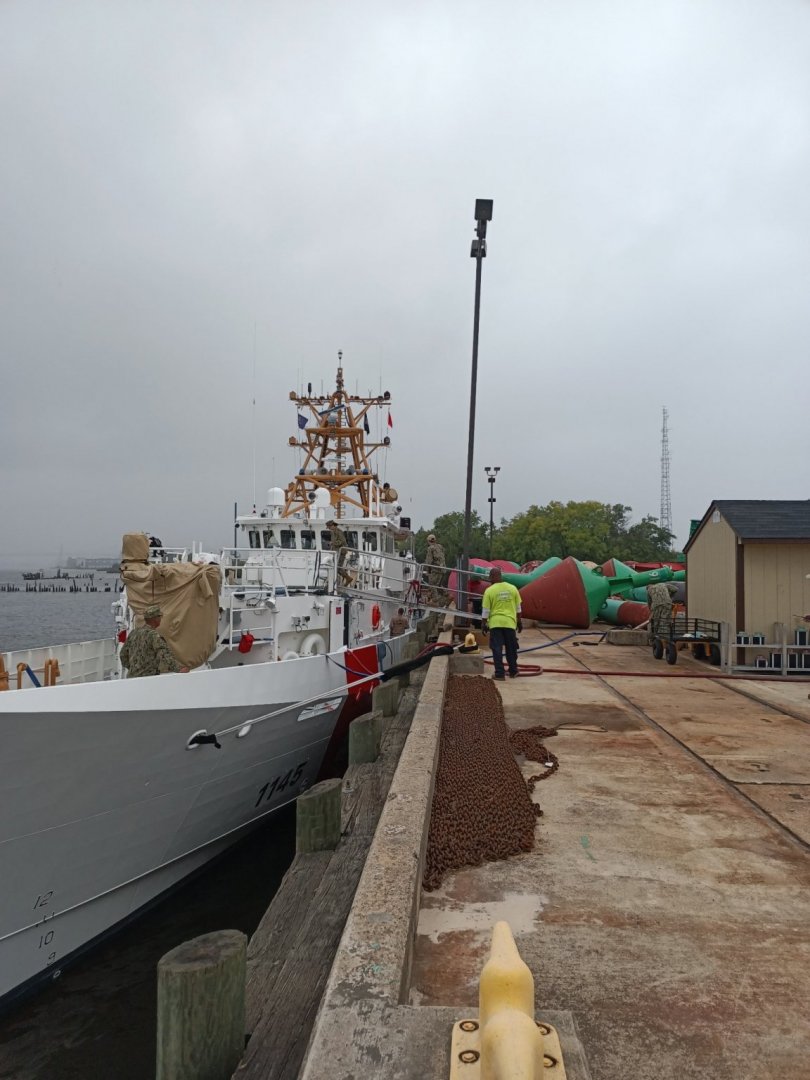
The cutter left today for Florida. She will head down there before going across to Bahrain for her final homeport. She will likely never come back to the USA. The model will reside in Philadelphia at the USCG base once finished.
-
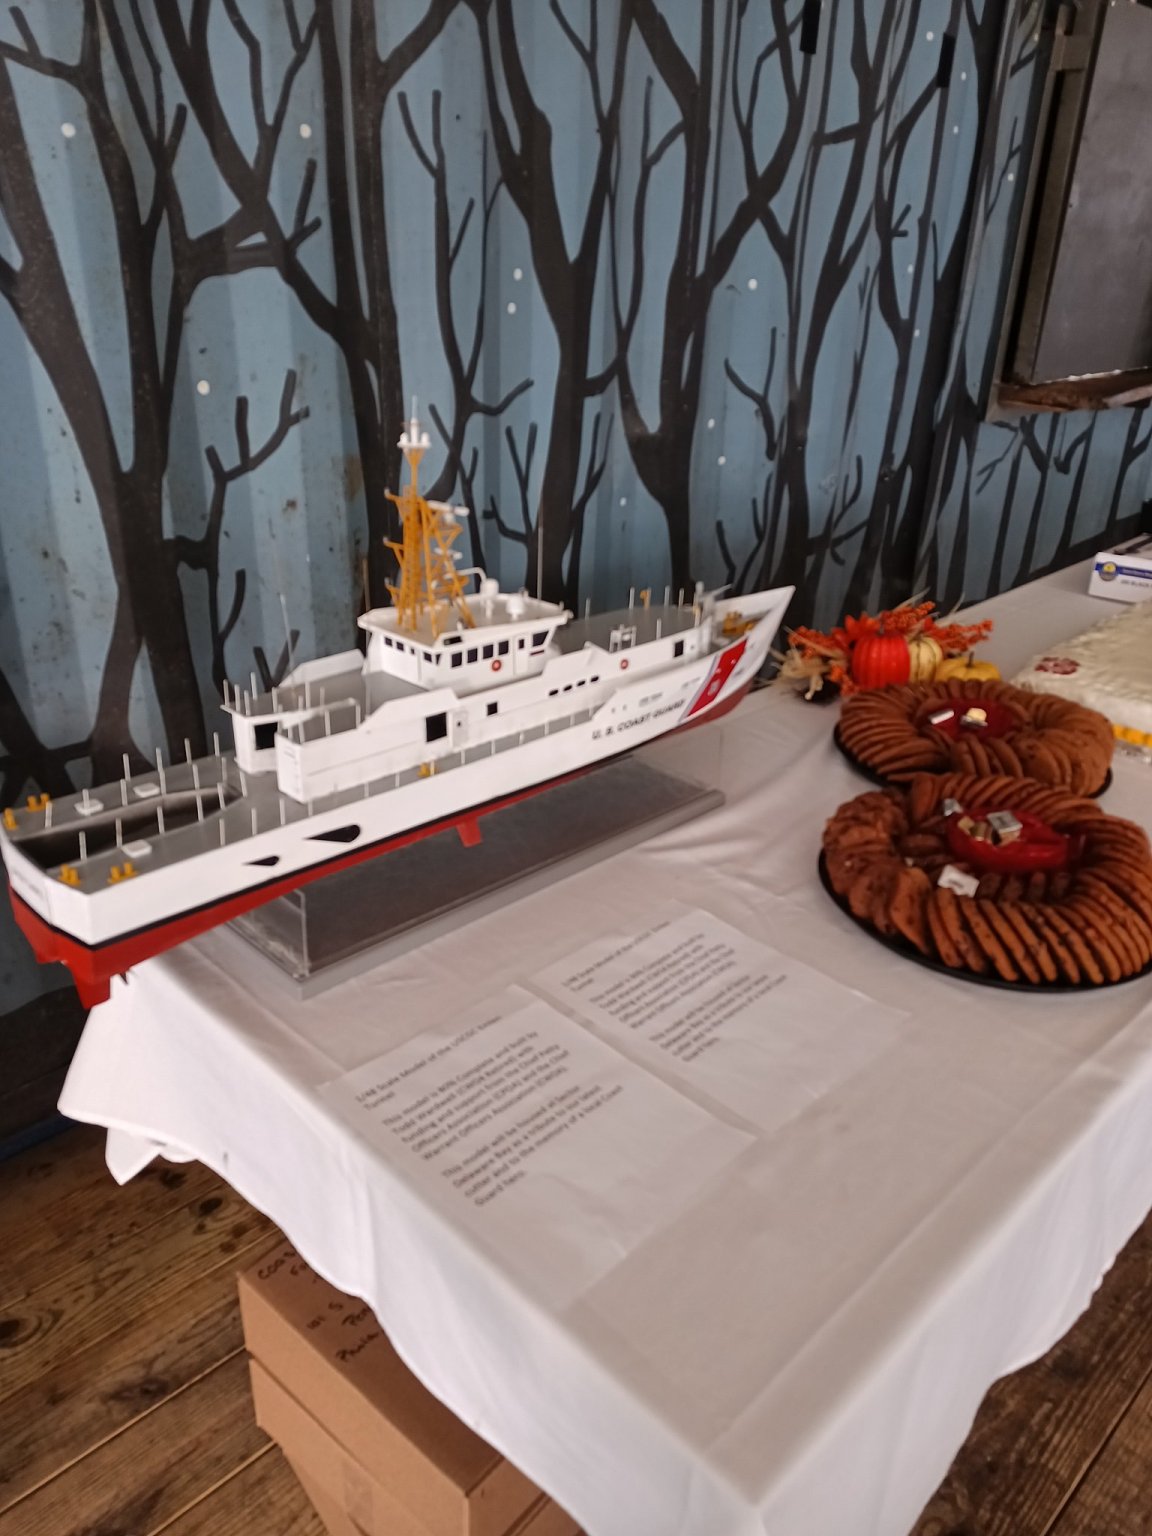
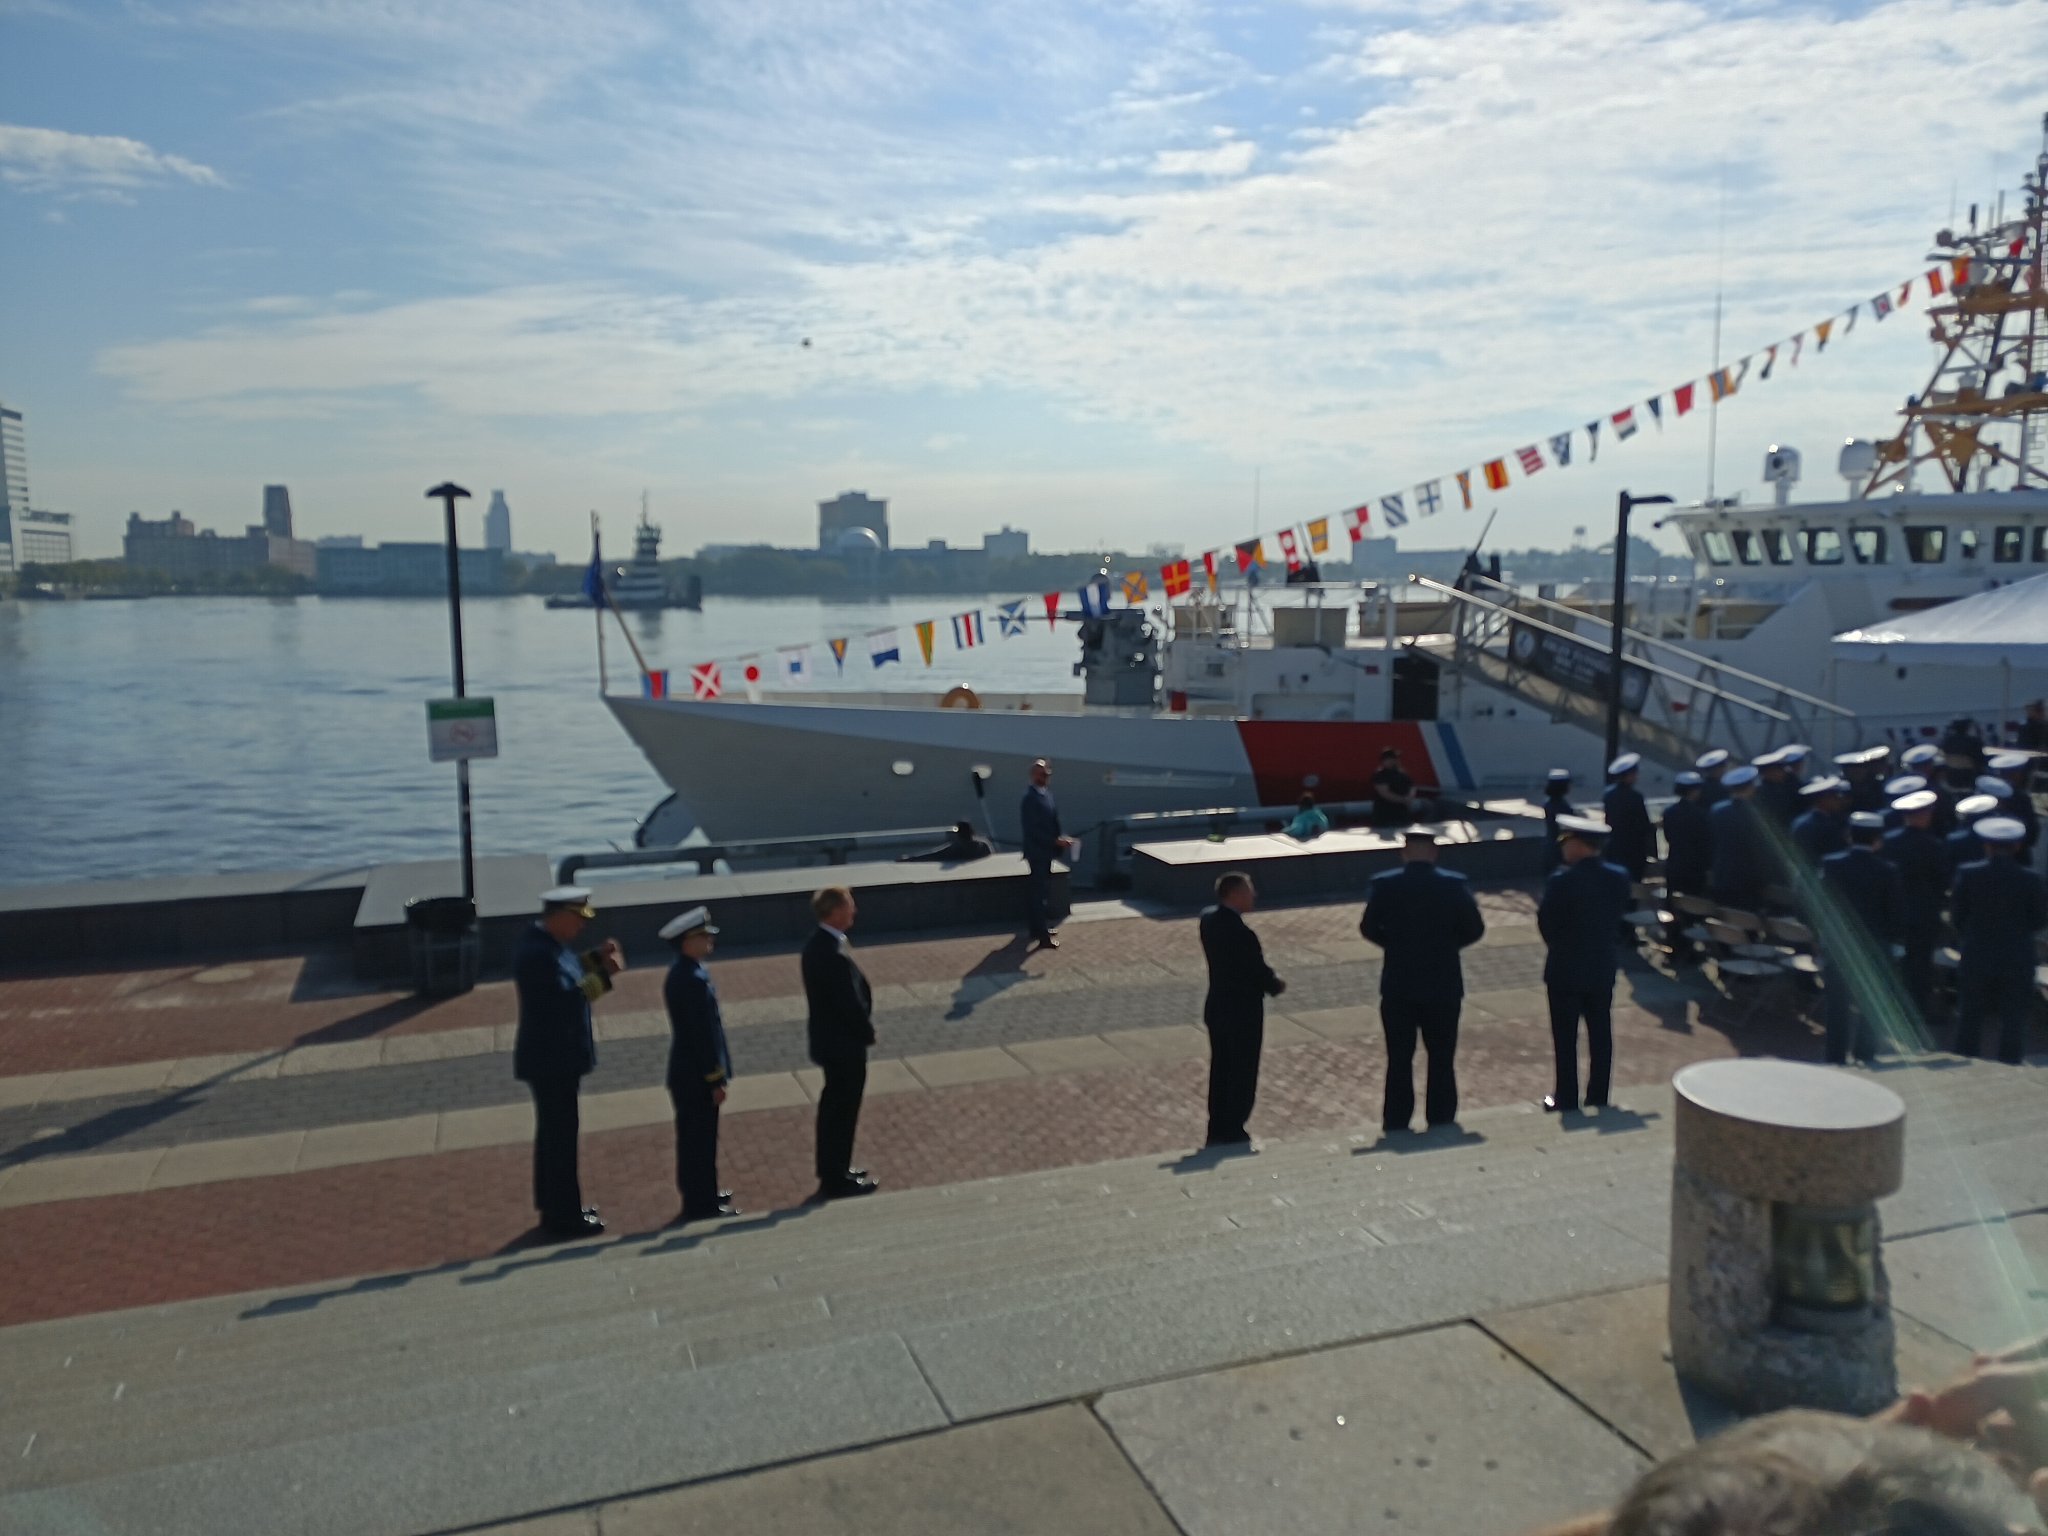
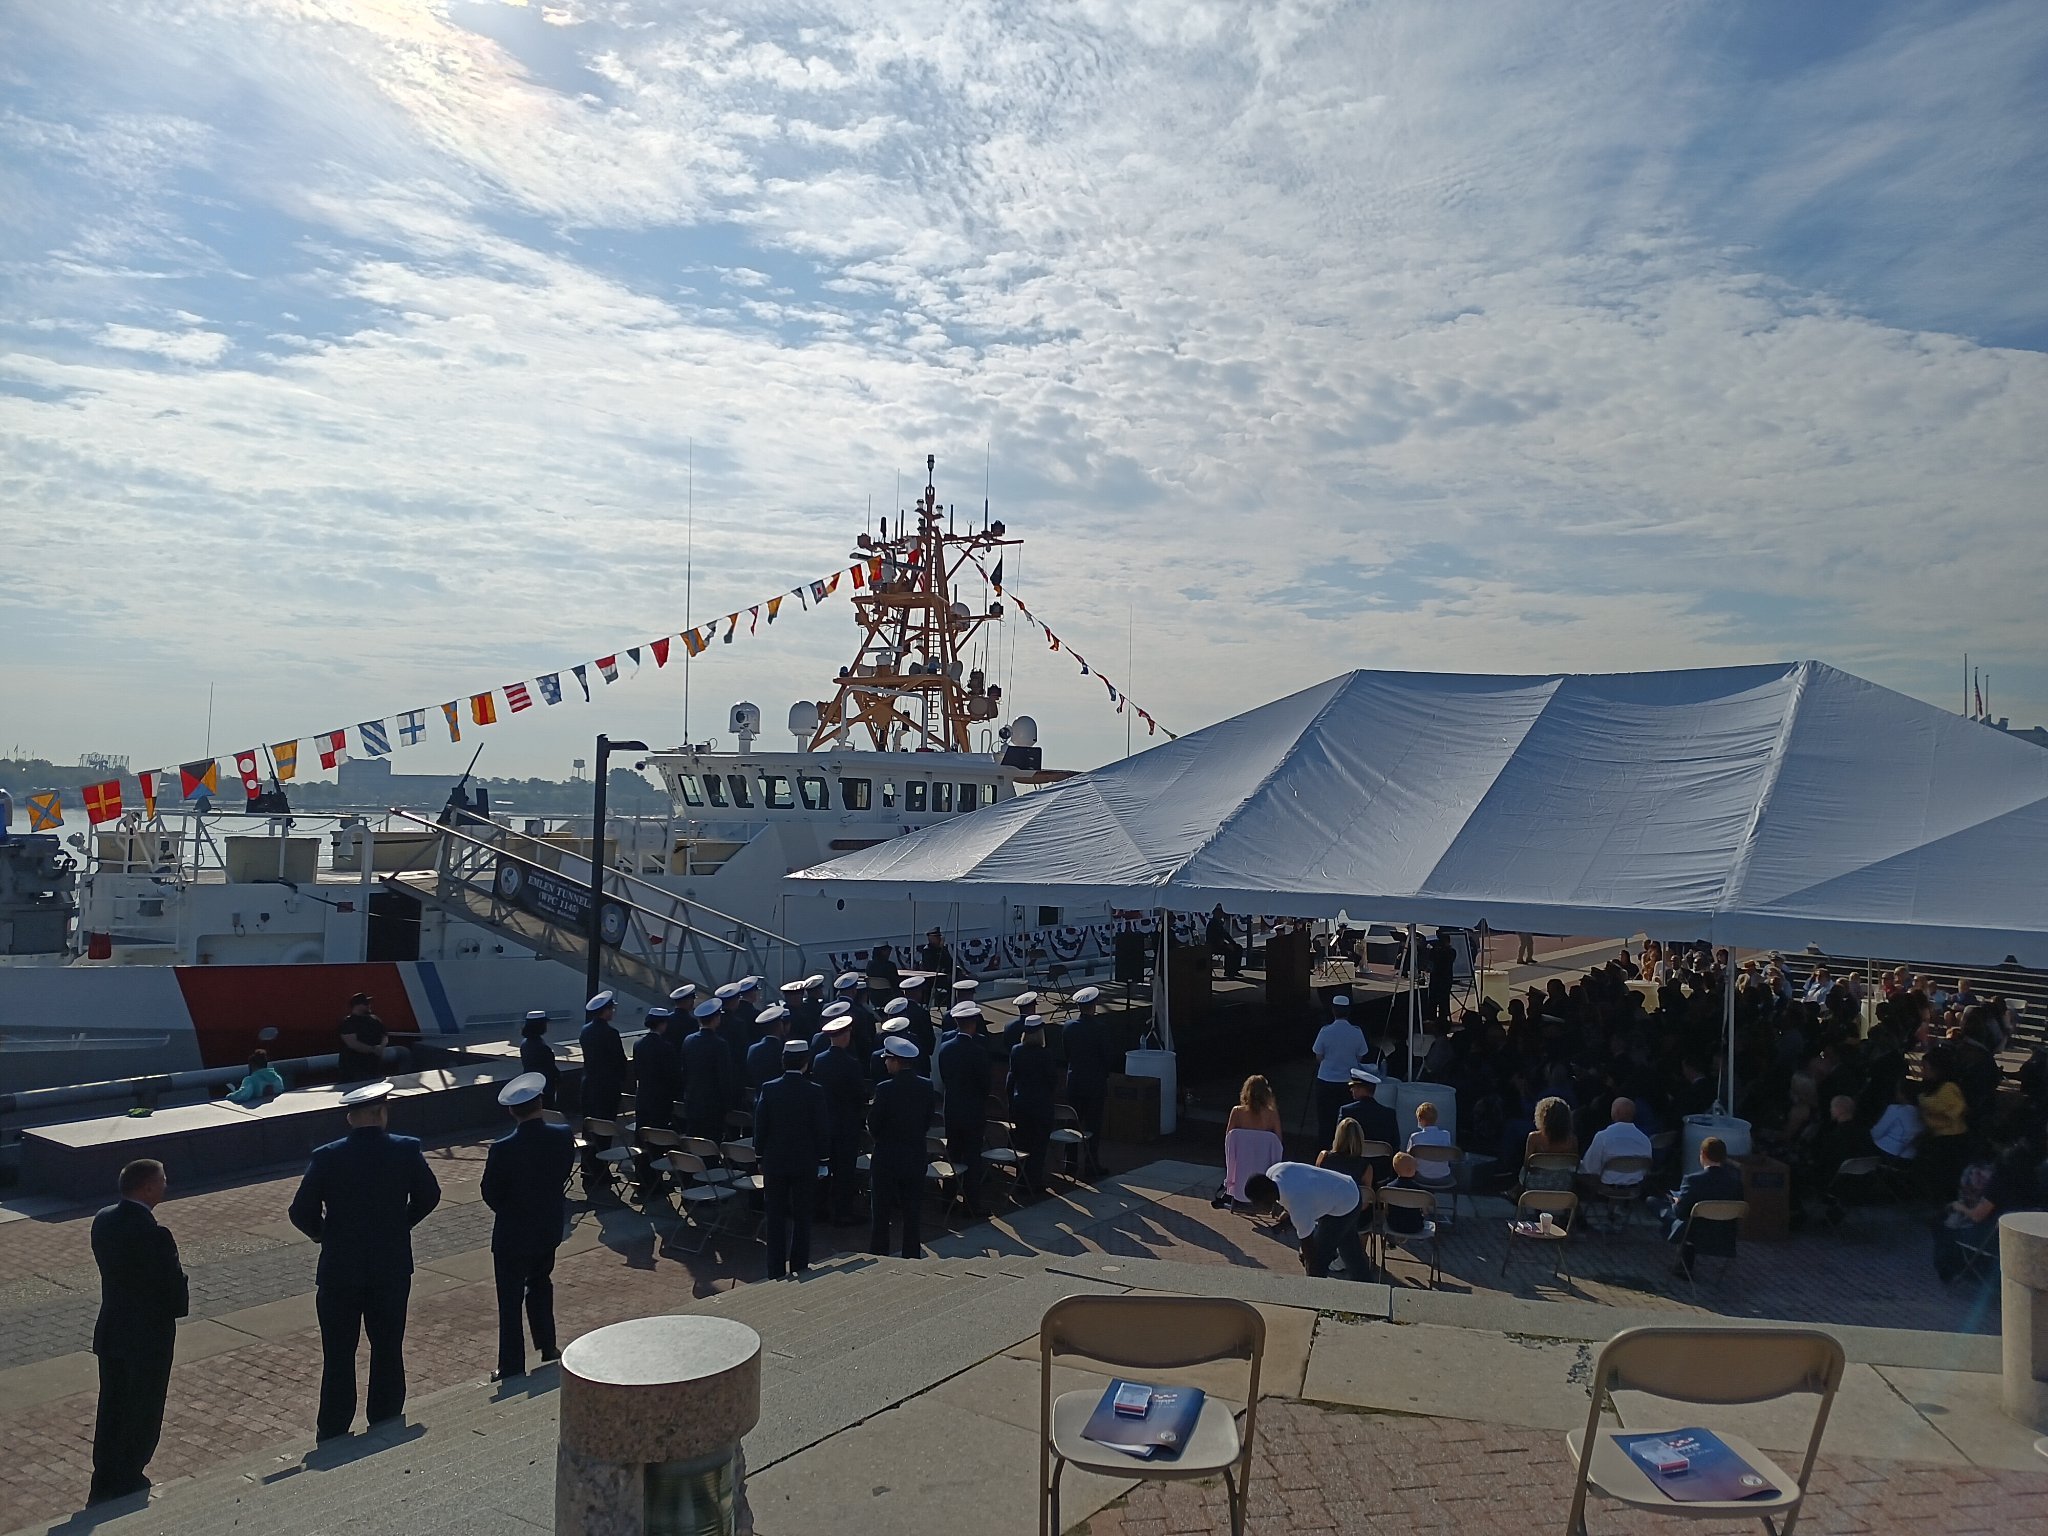
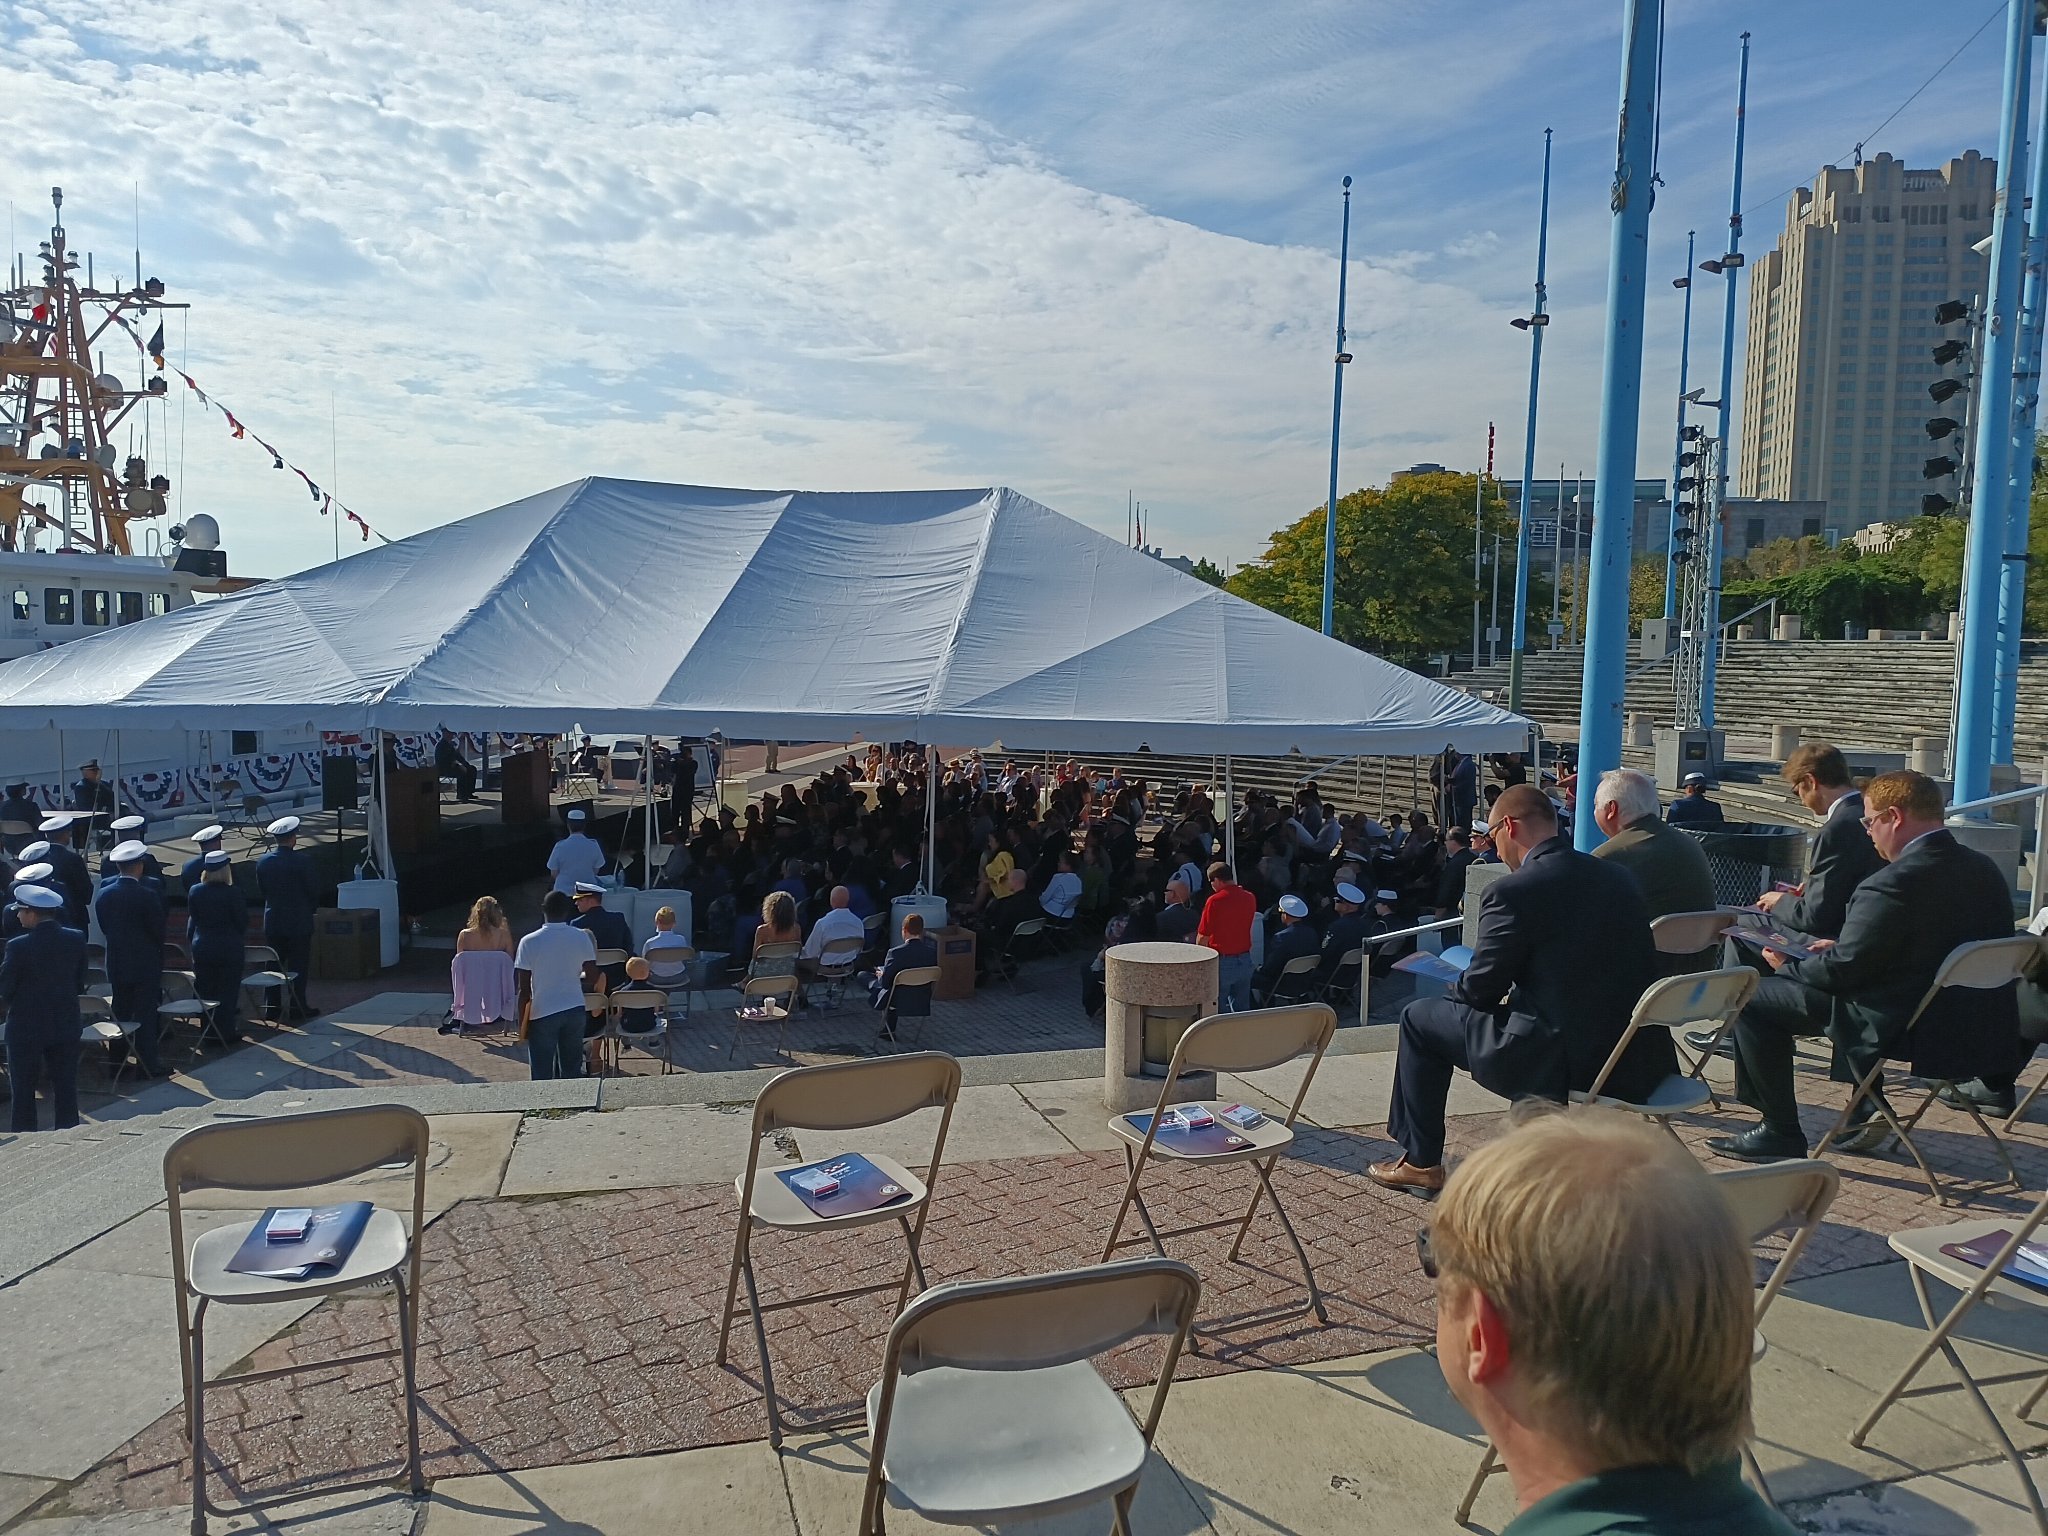
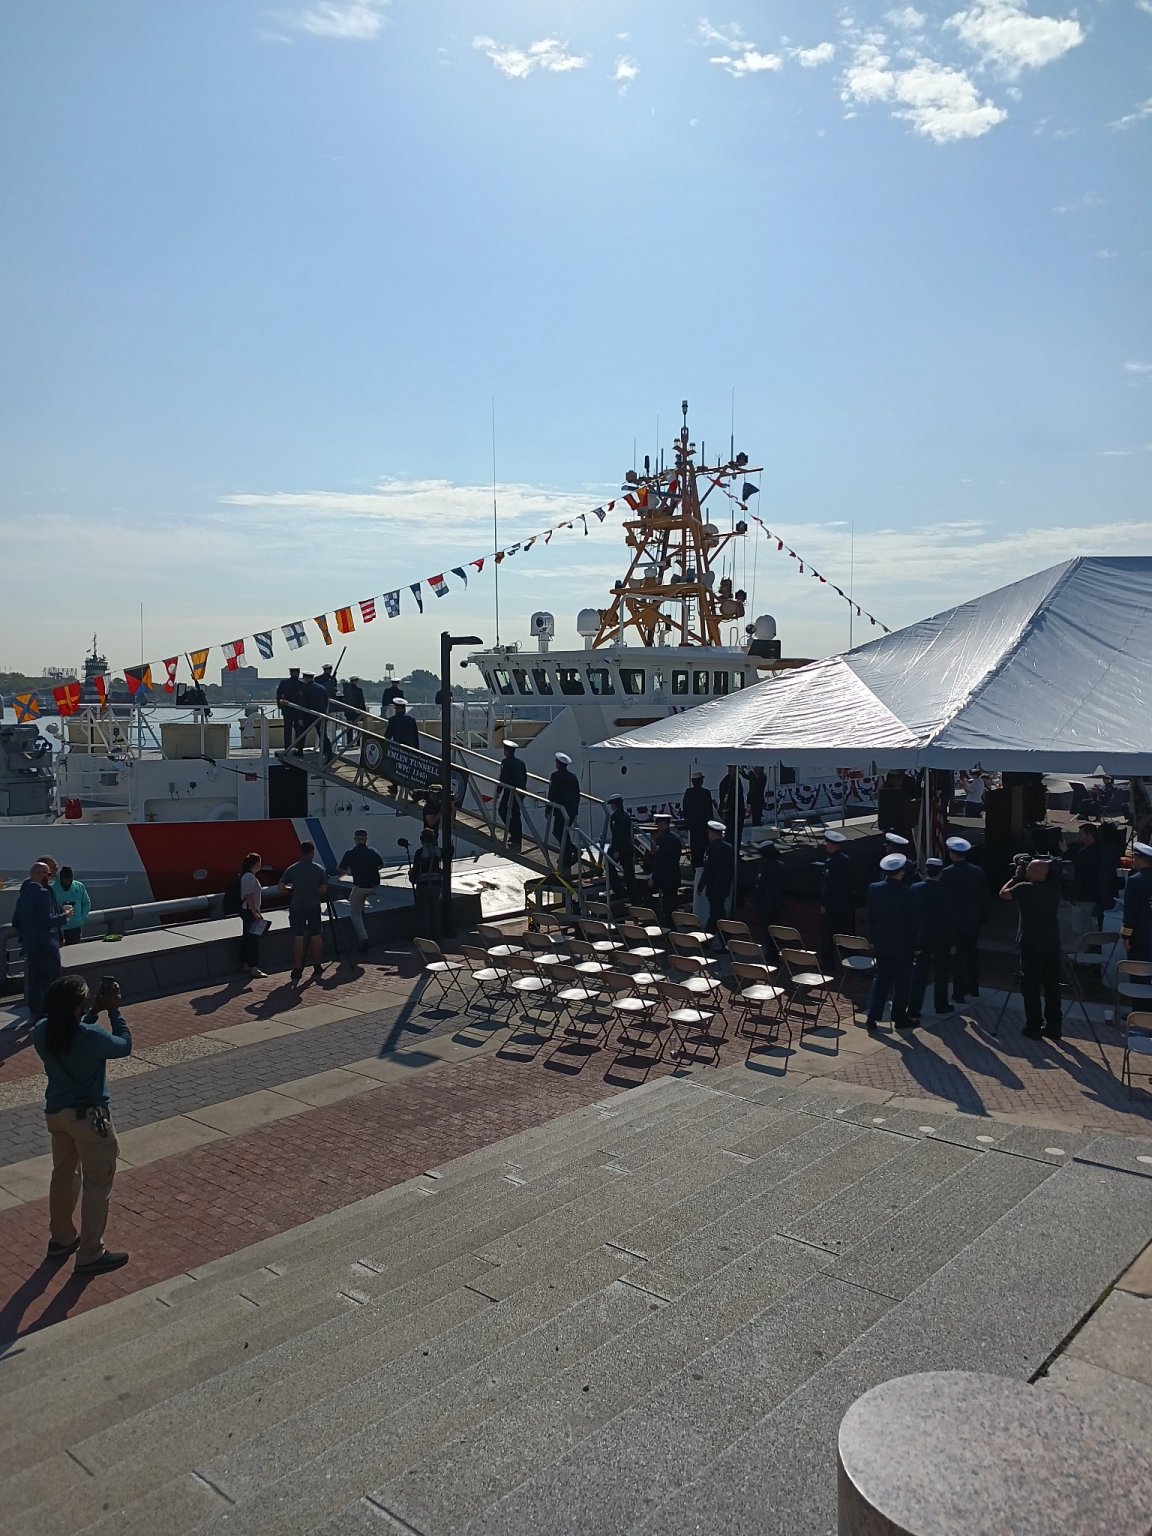
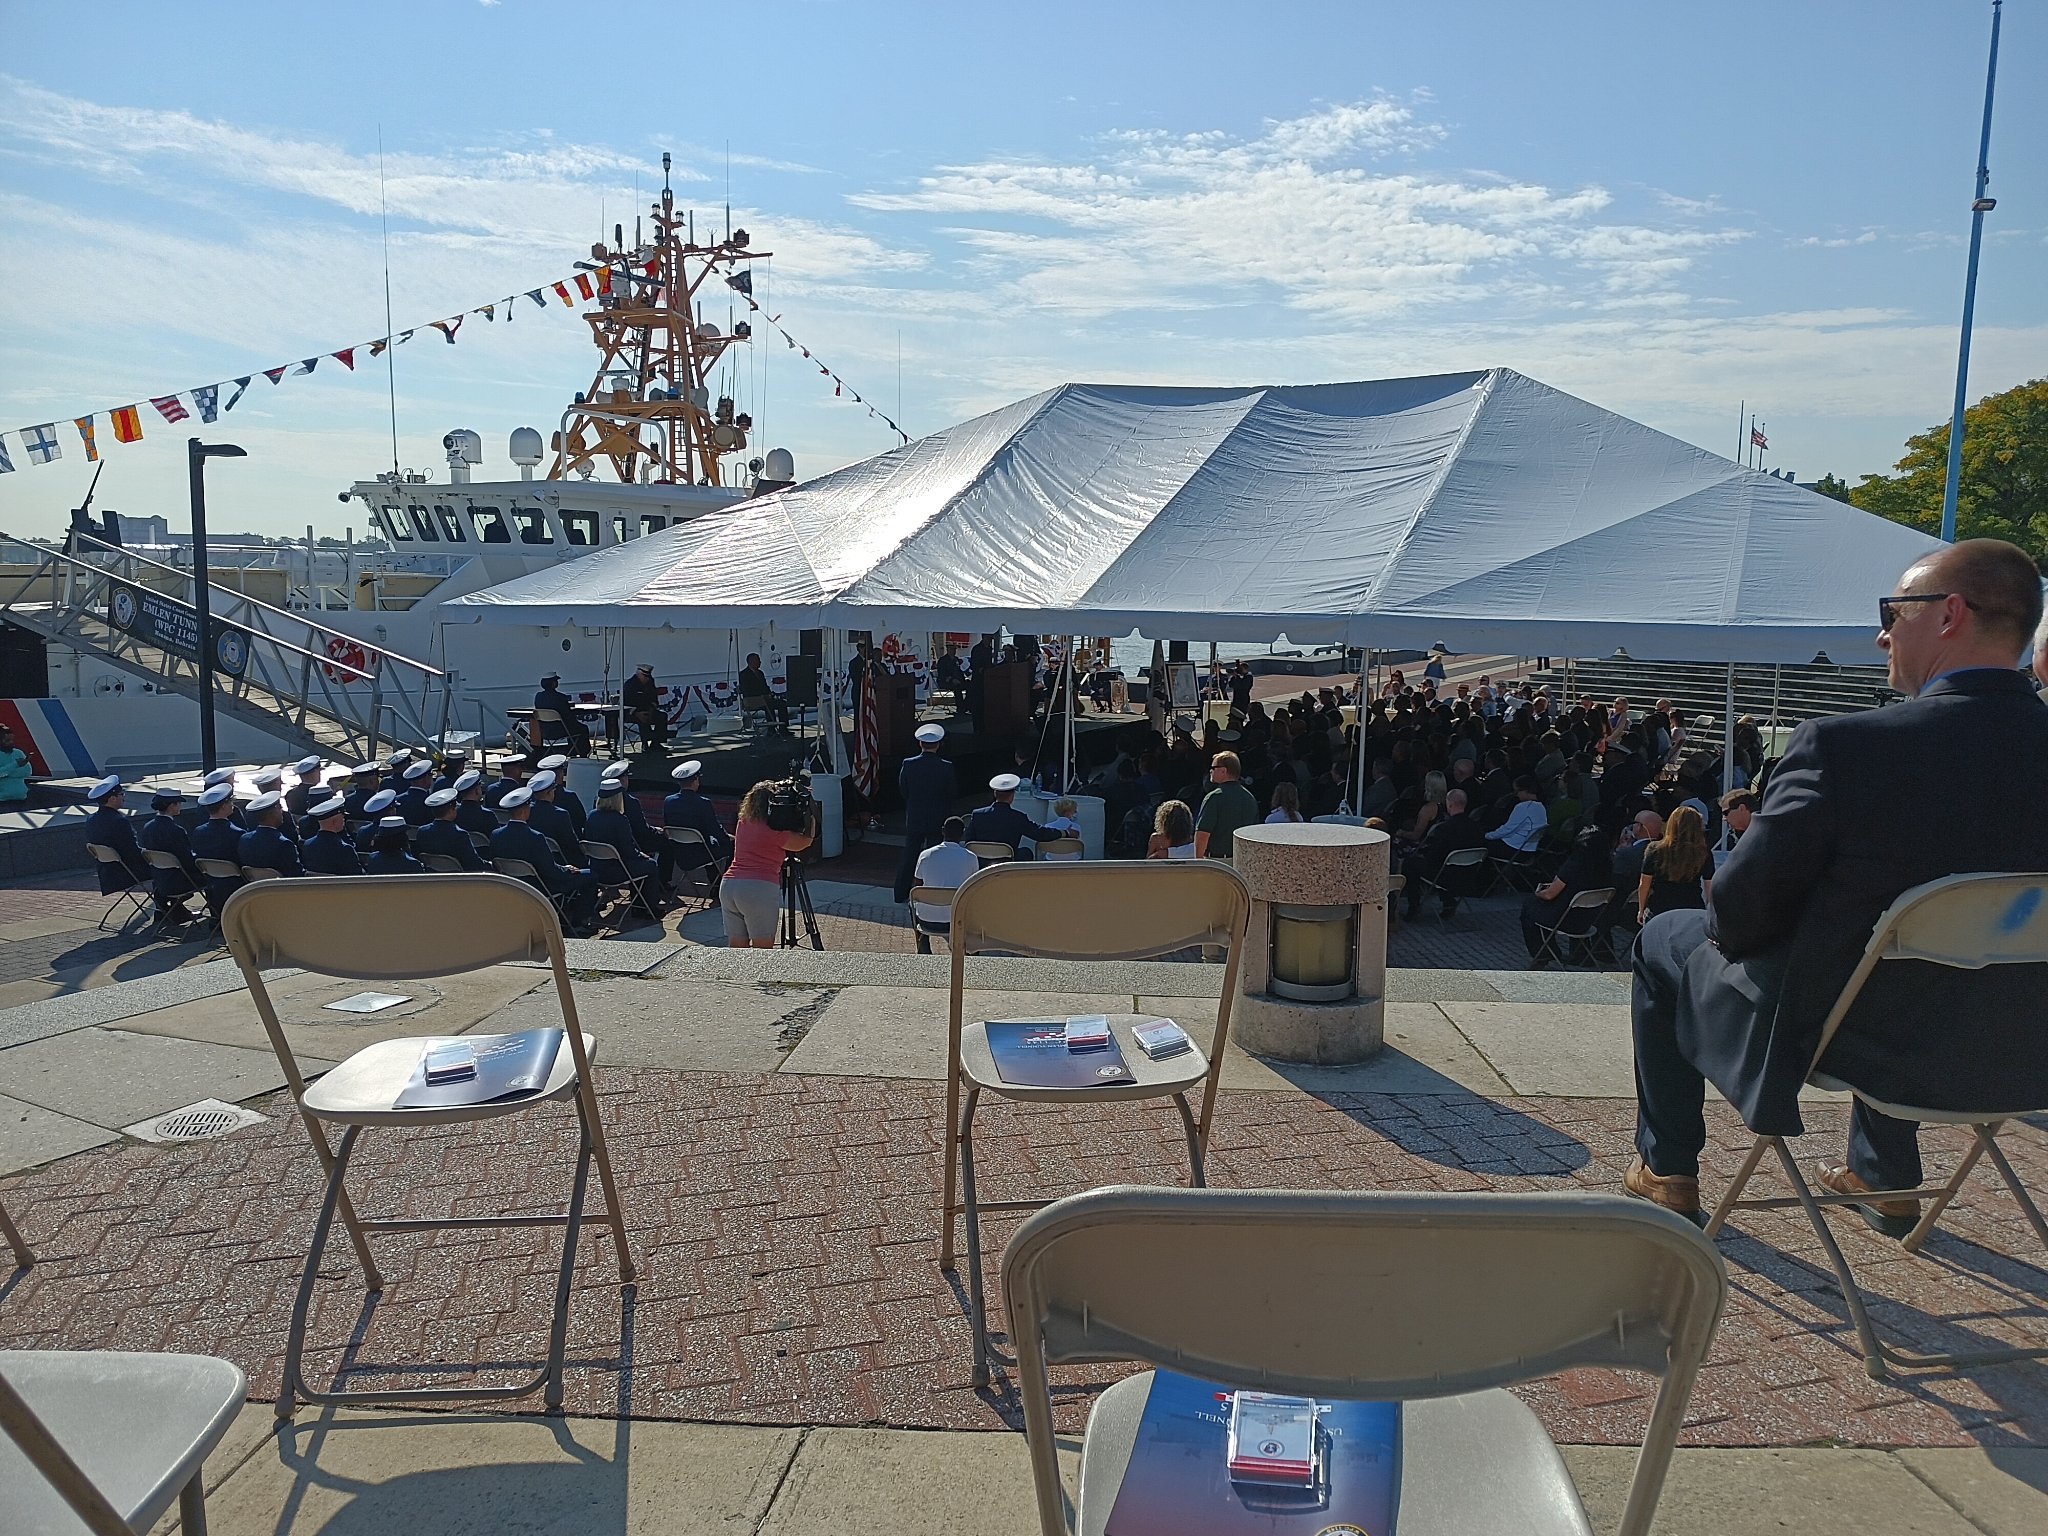
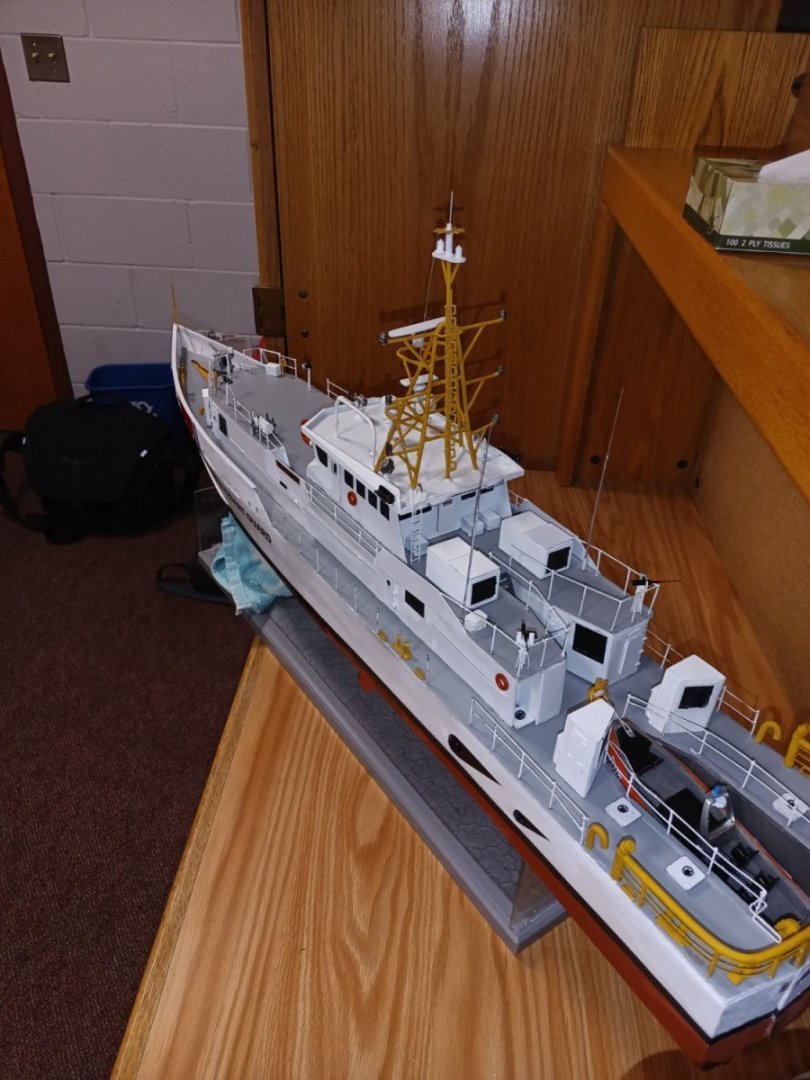
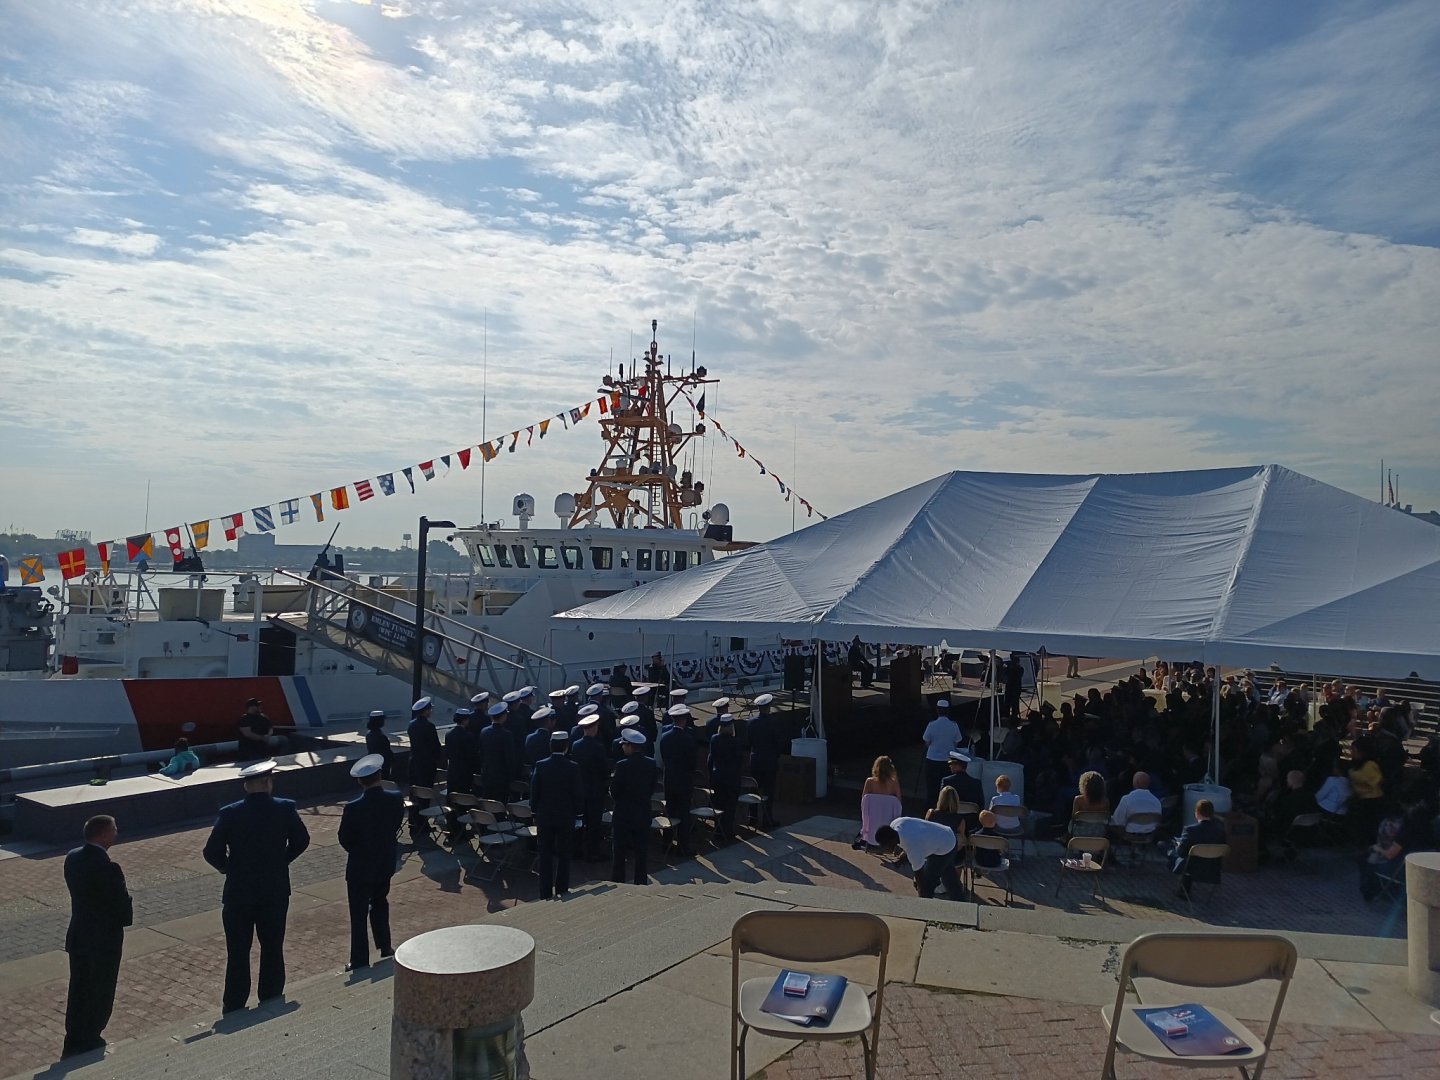
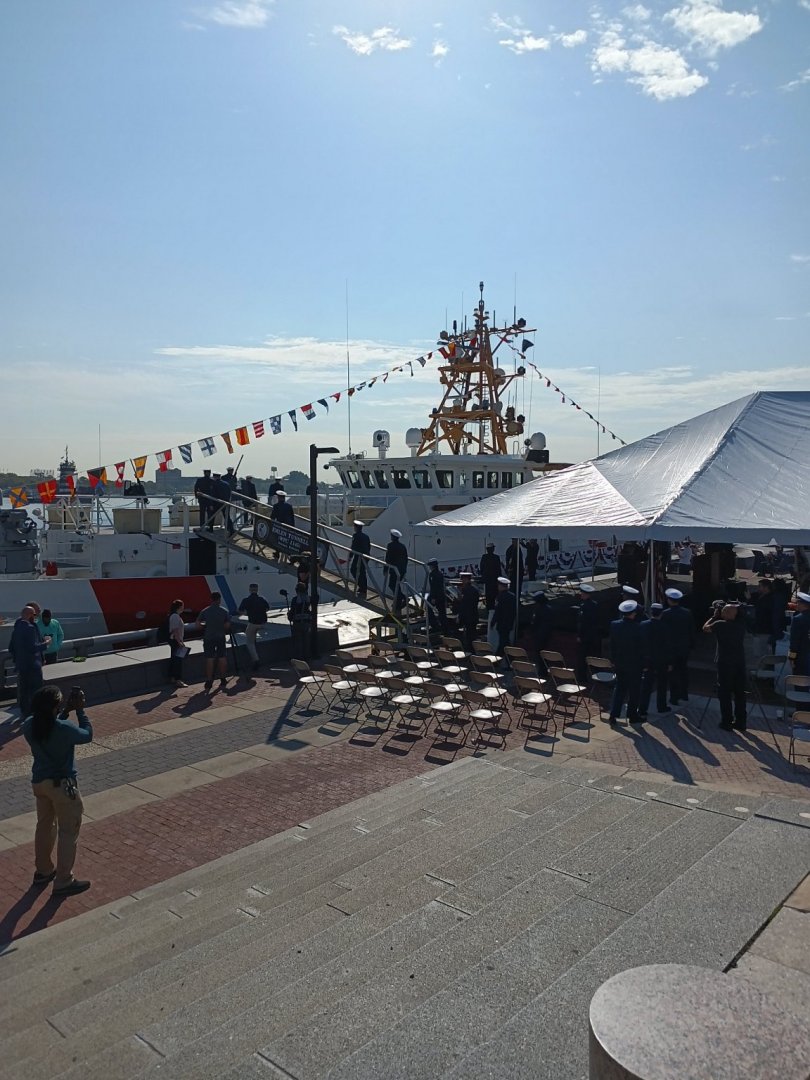
I made a huge amount of progress but alas was not able to fully complete the cutter by the commissioning date. The officers still wanted it there albeit unfinished. From a distance it looked good but overall I was pretty annoyed with my project timing. I also included some pics from the ceremony. 20211015_104136.mp4


-
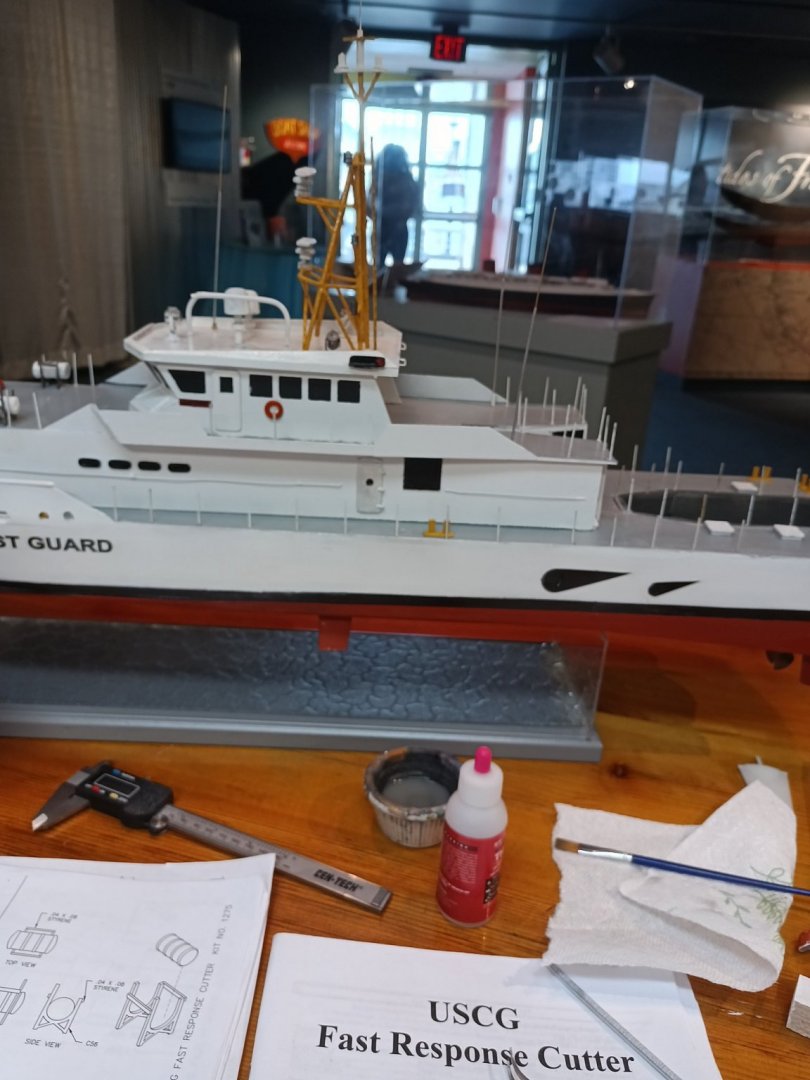
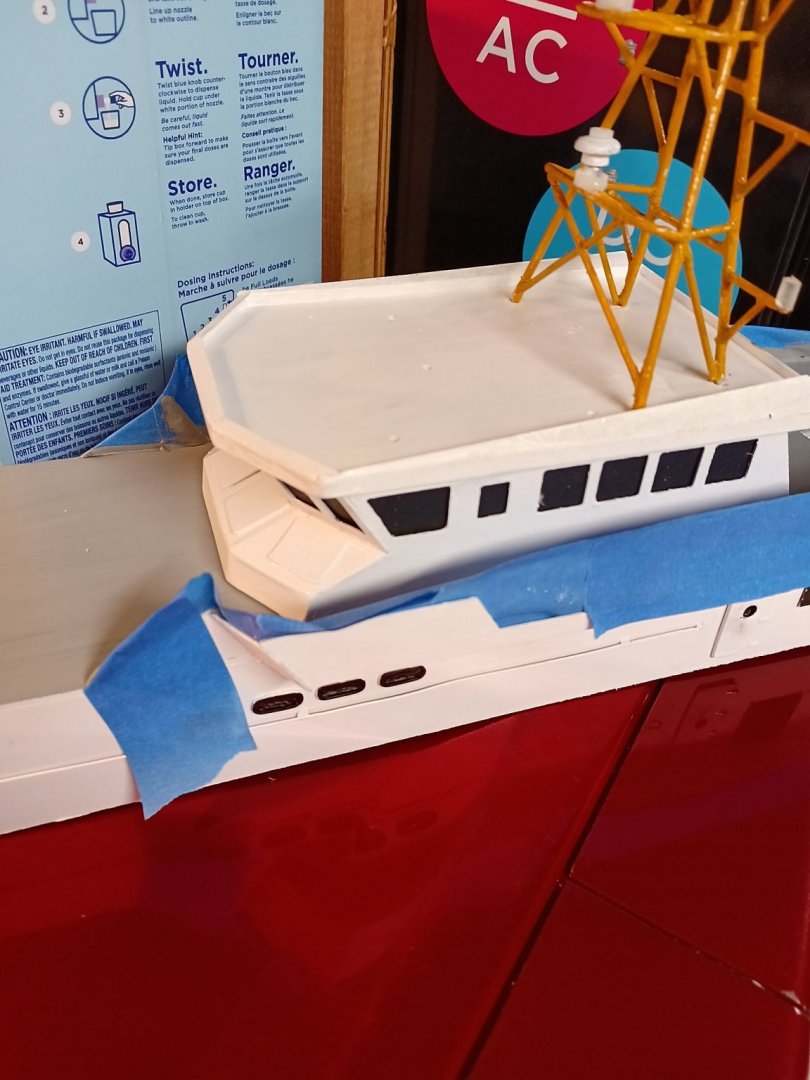
I would like to add a bunch more detail when I am able. I have applied flat black window glass but will leave the roof removable so I can add a more detailed pilot house later. Additionally there are a bunch of decals I would like to add to the deck as well. I understand that dumas had to run the line between details and reasonable durability for R/C purposes but I would like to add more.
-
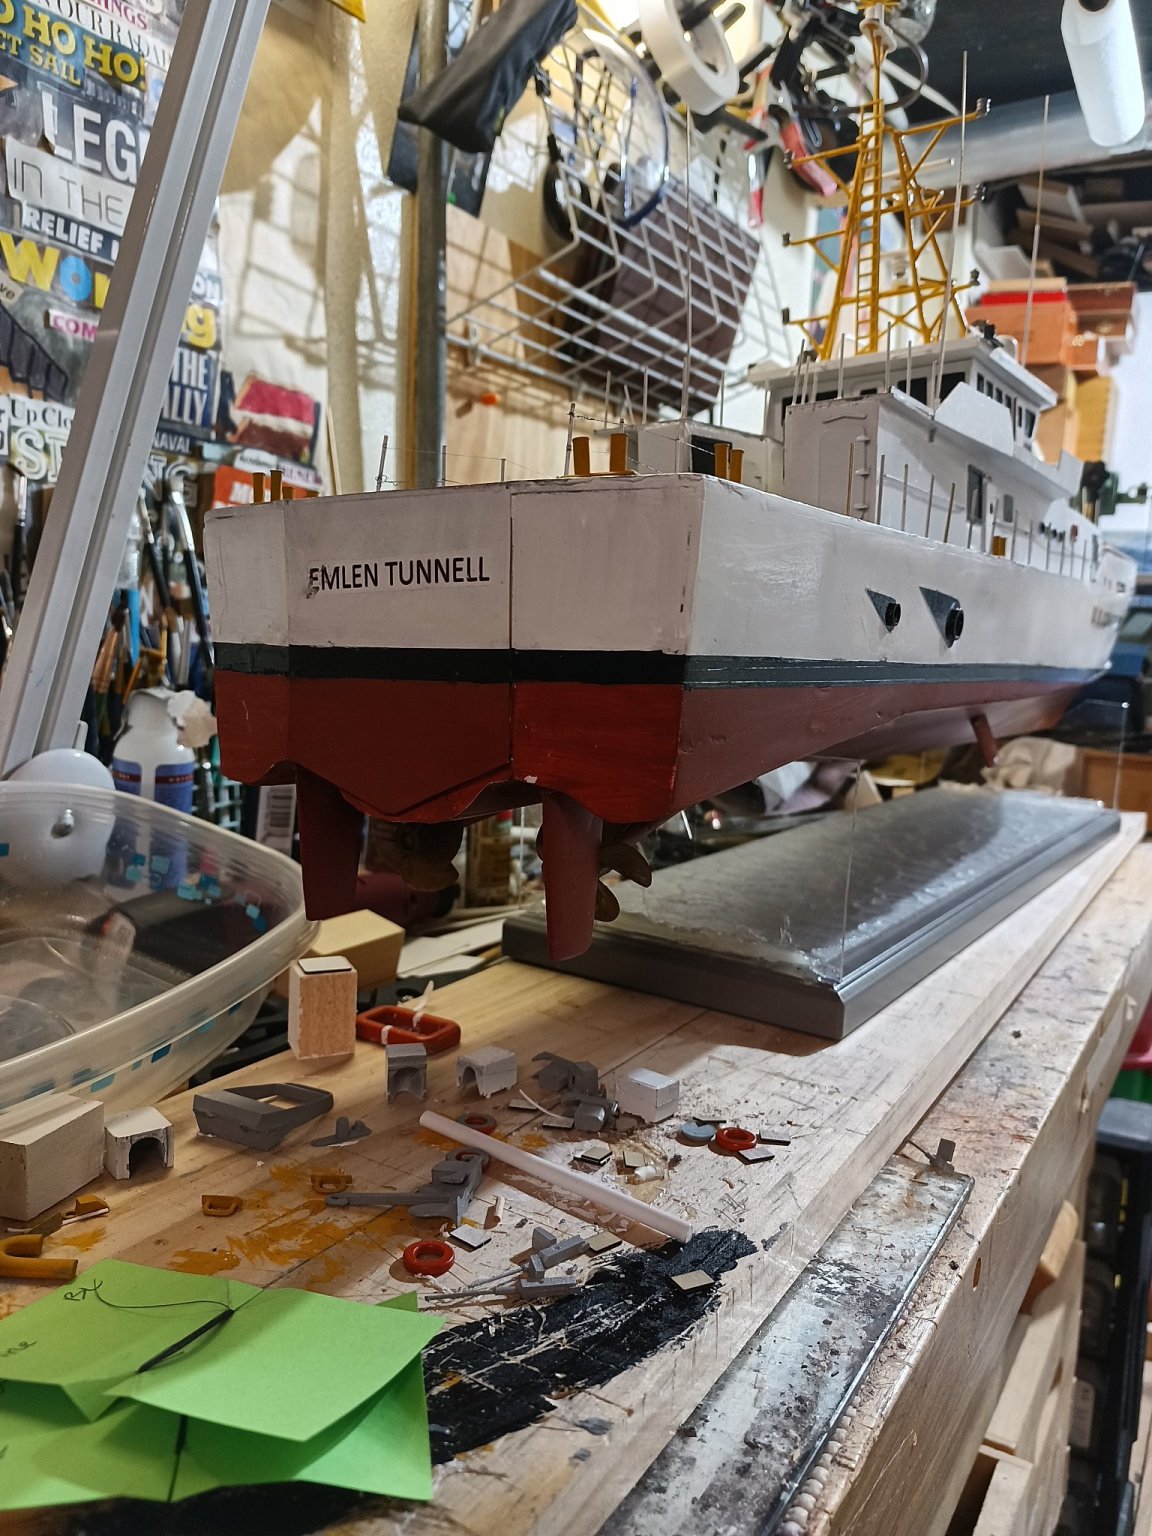
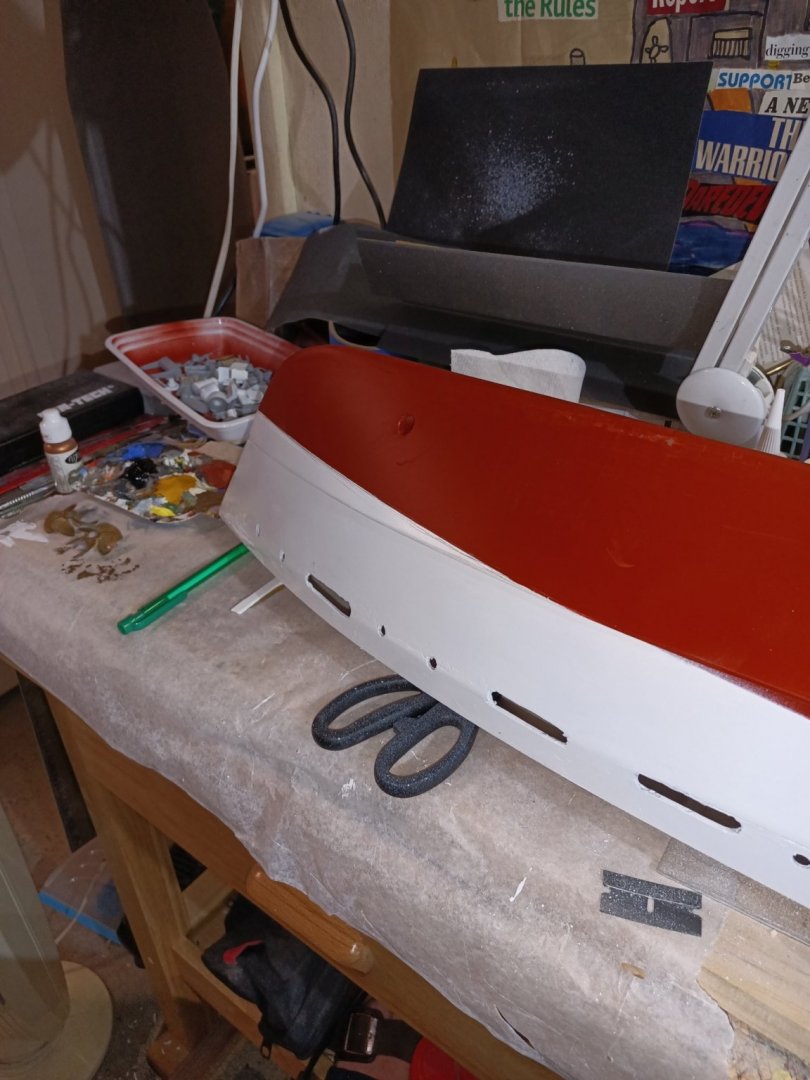
More paint work tonight and added the mast signal and nav lights. Boot top paint finally done well enough notate make me cringe.

-
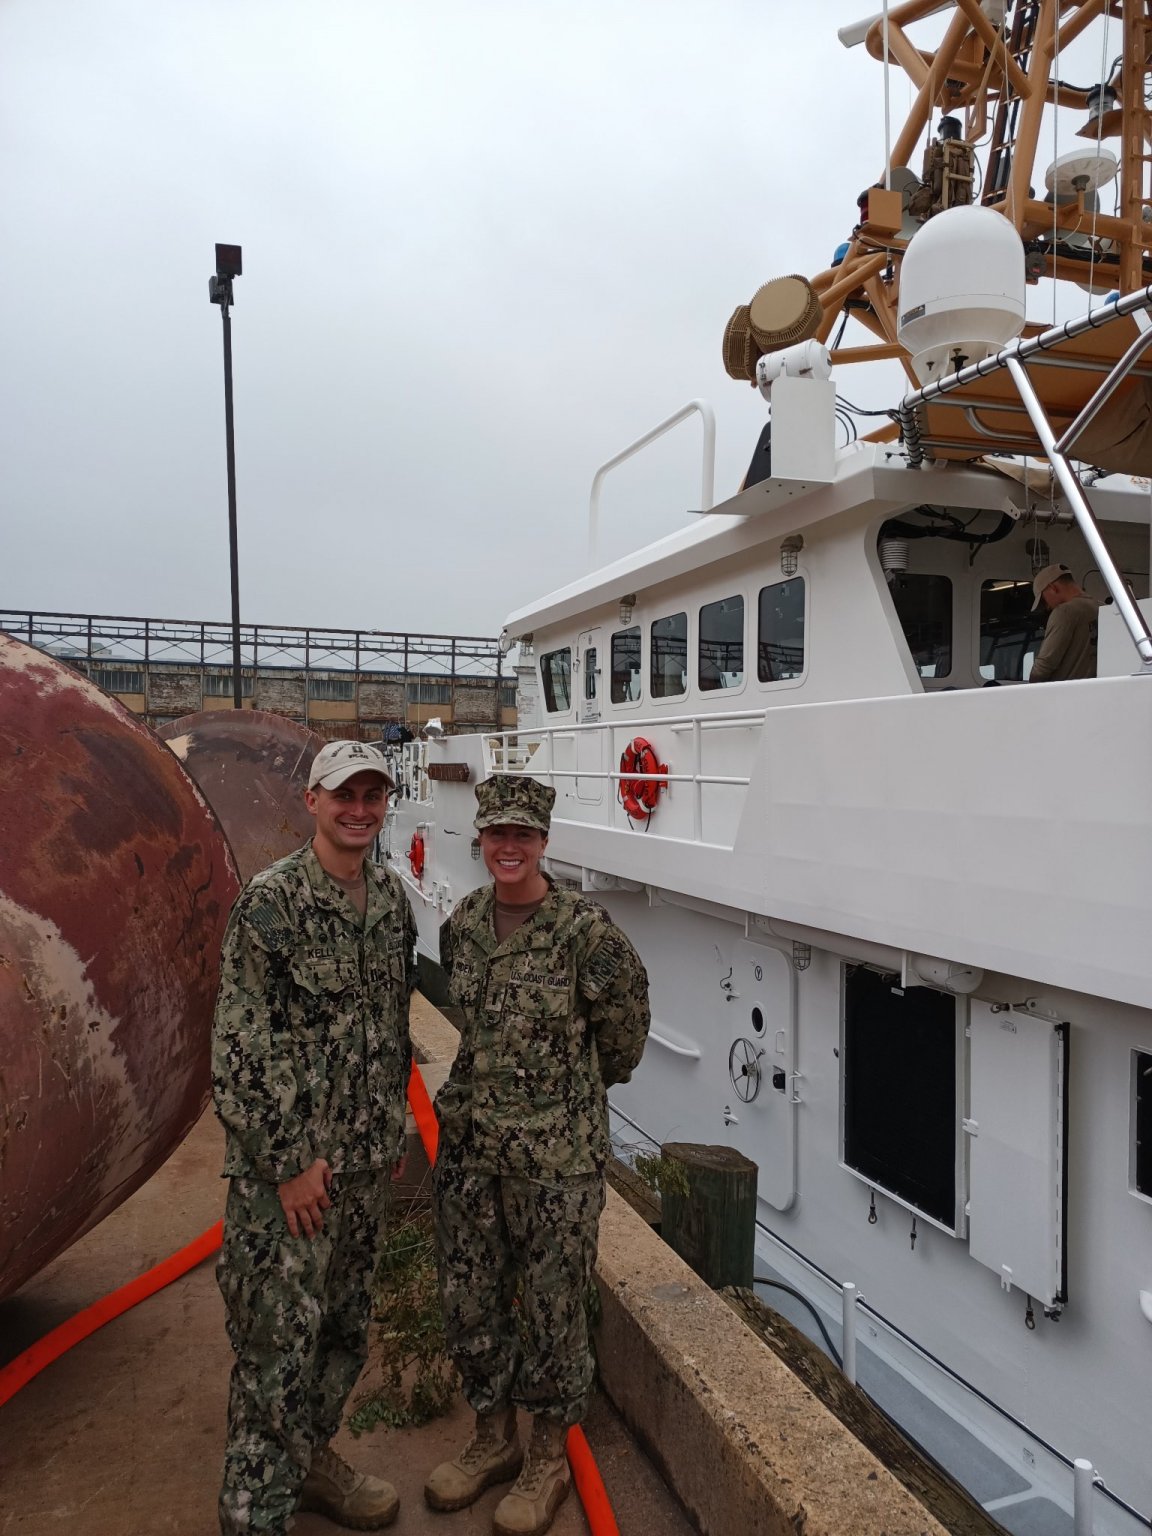
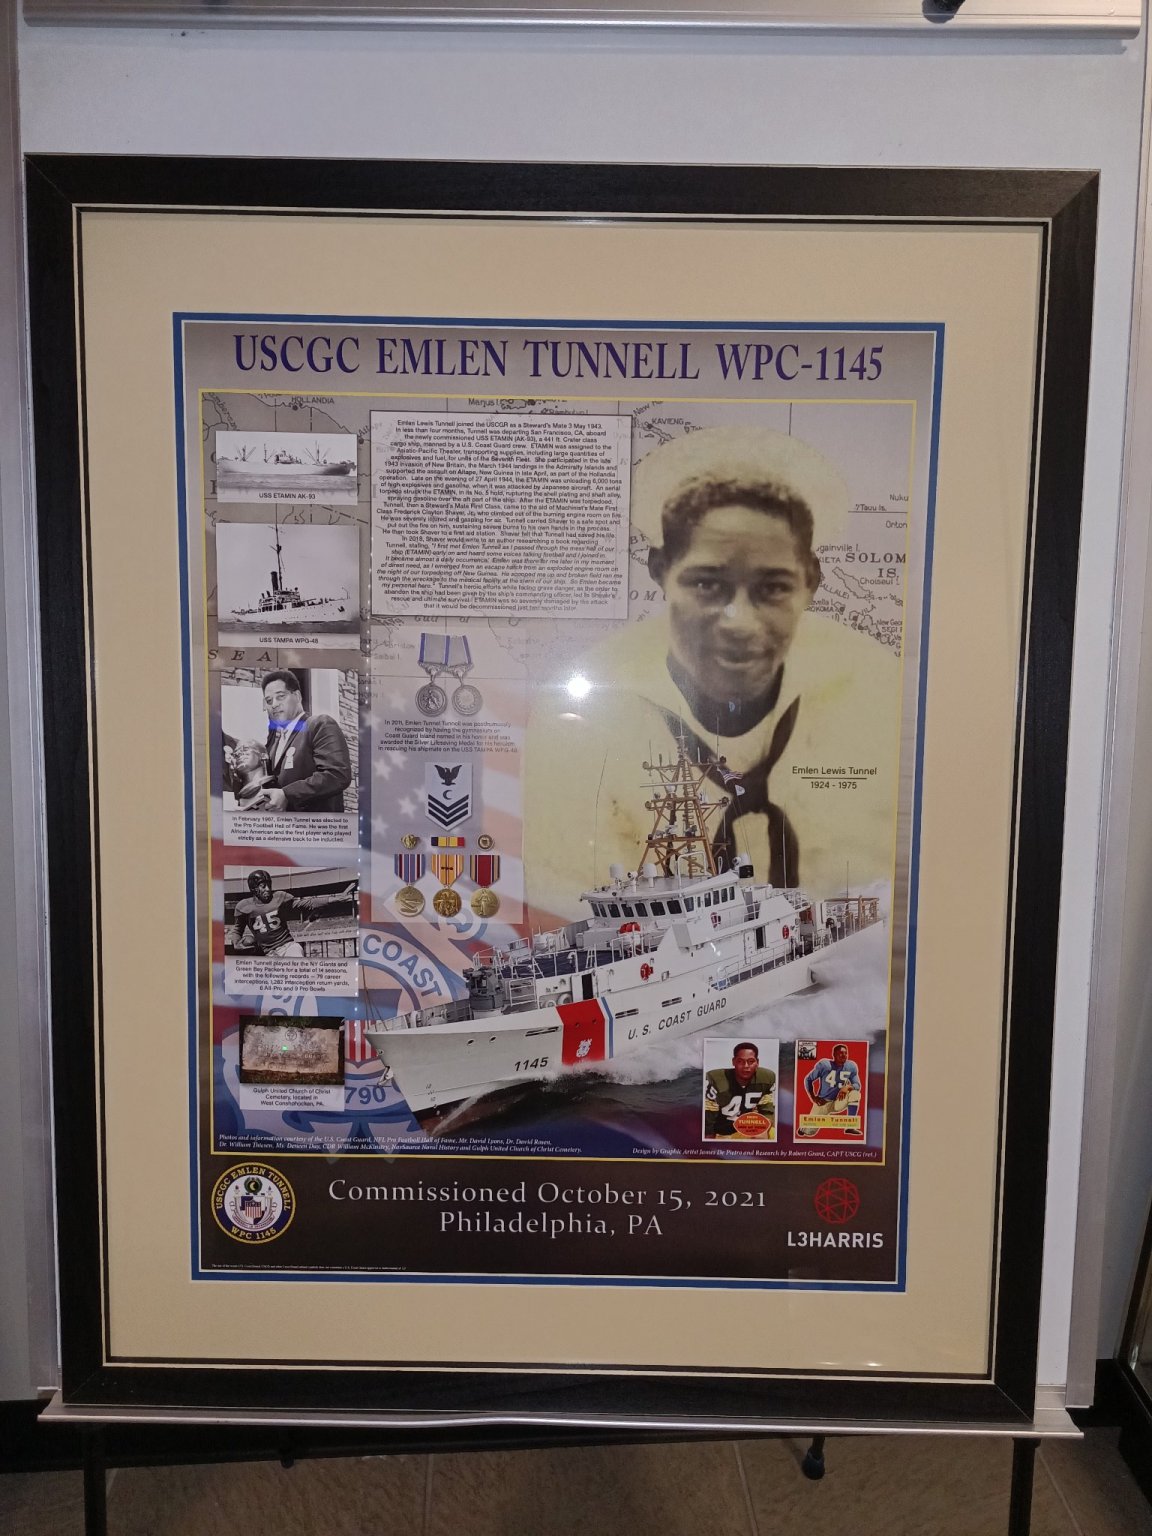
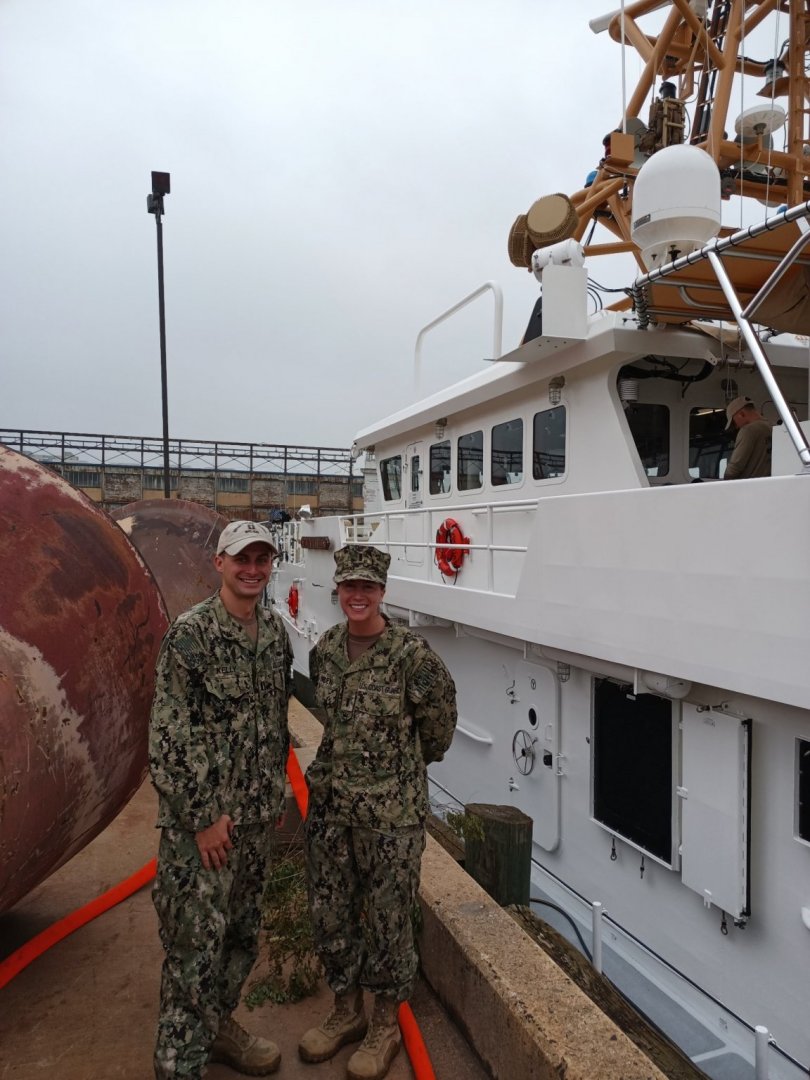
I got to visit the 1/1 scale model of the cutter today. I was in a hurry and will grab more pics when I can. I got the CO and XO to pose in one of them. The poster is for the commissioning day. It includes 2 of Tunnel's NFL trading cards.


-
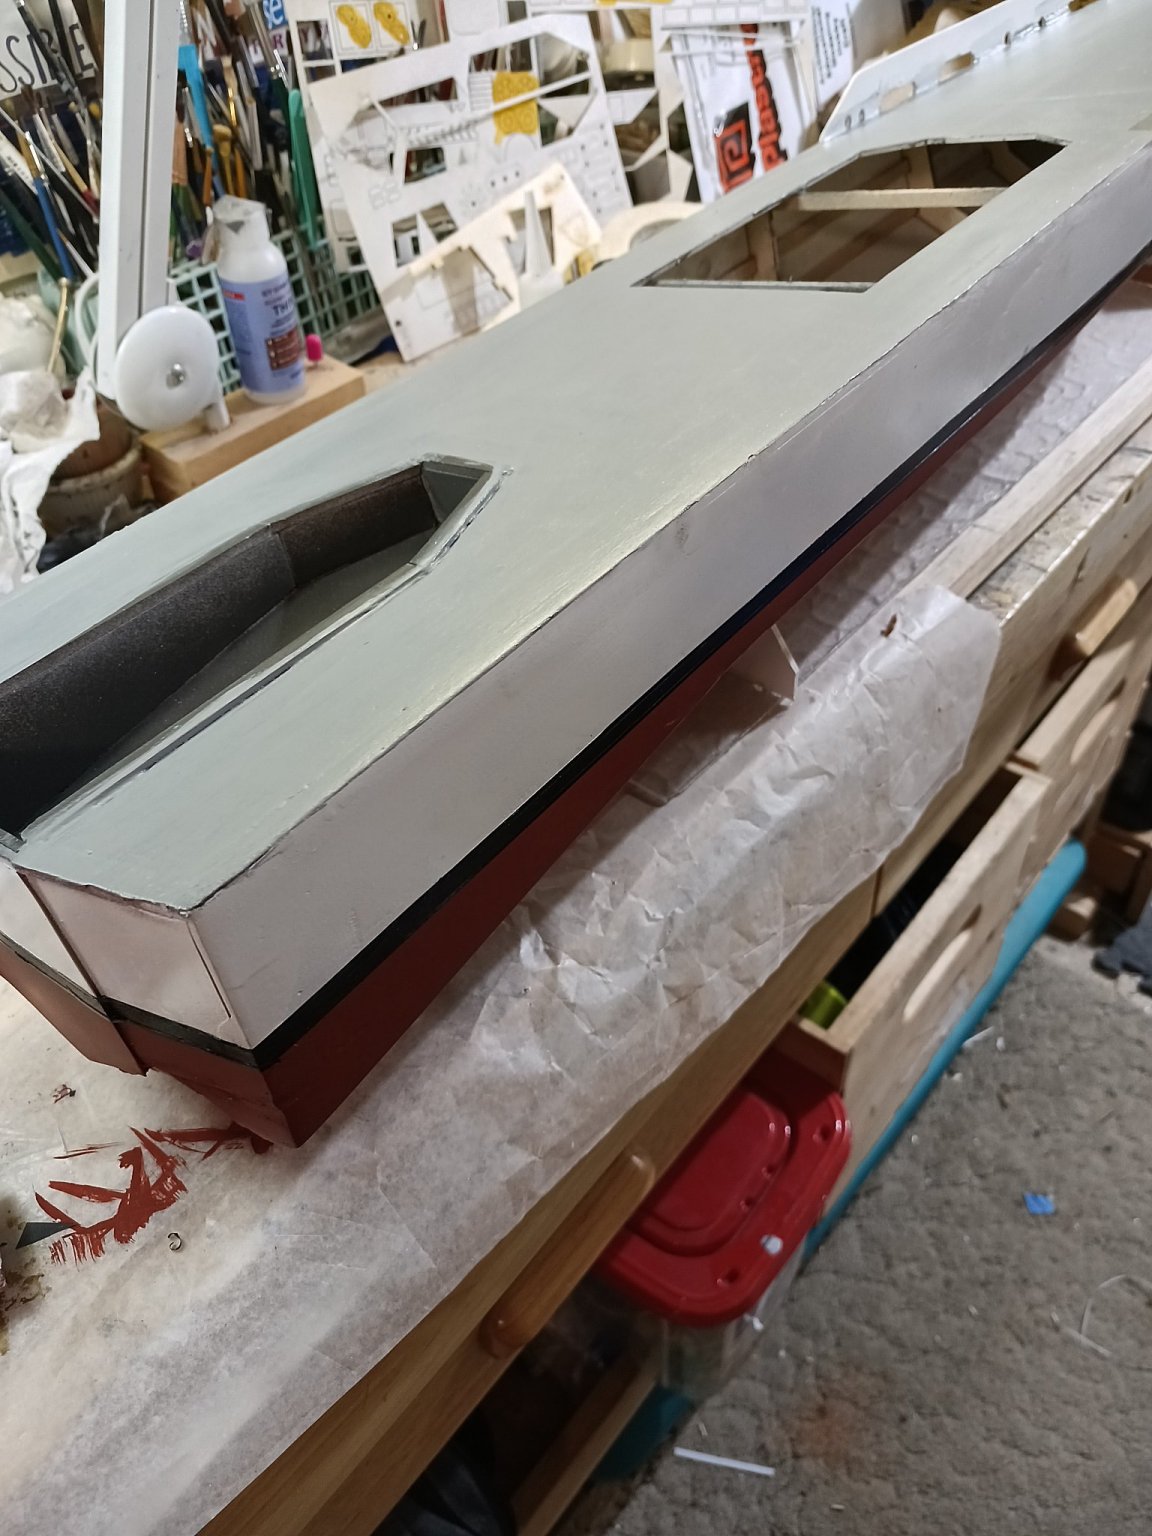
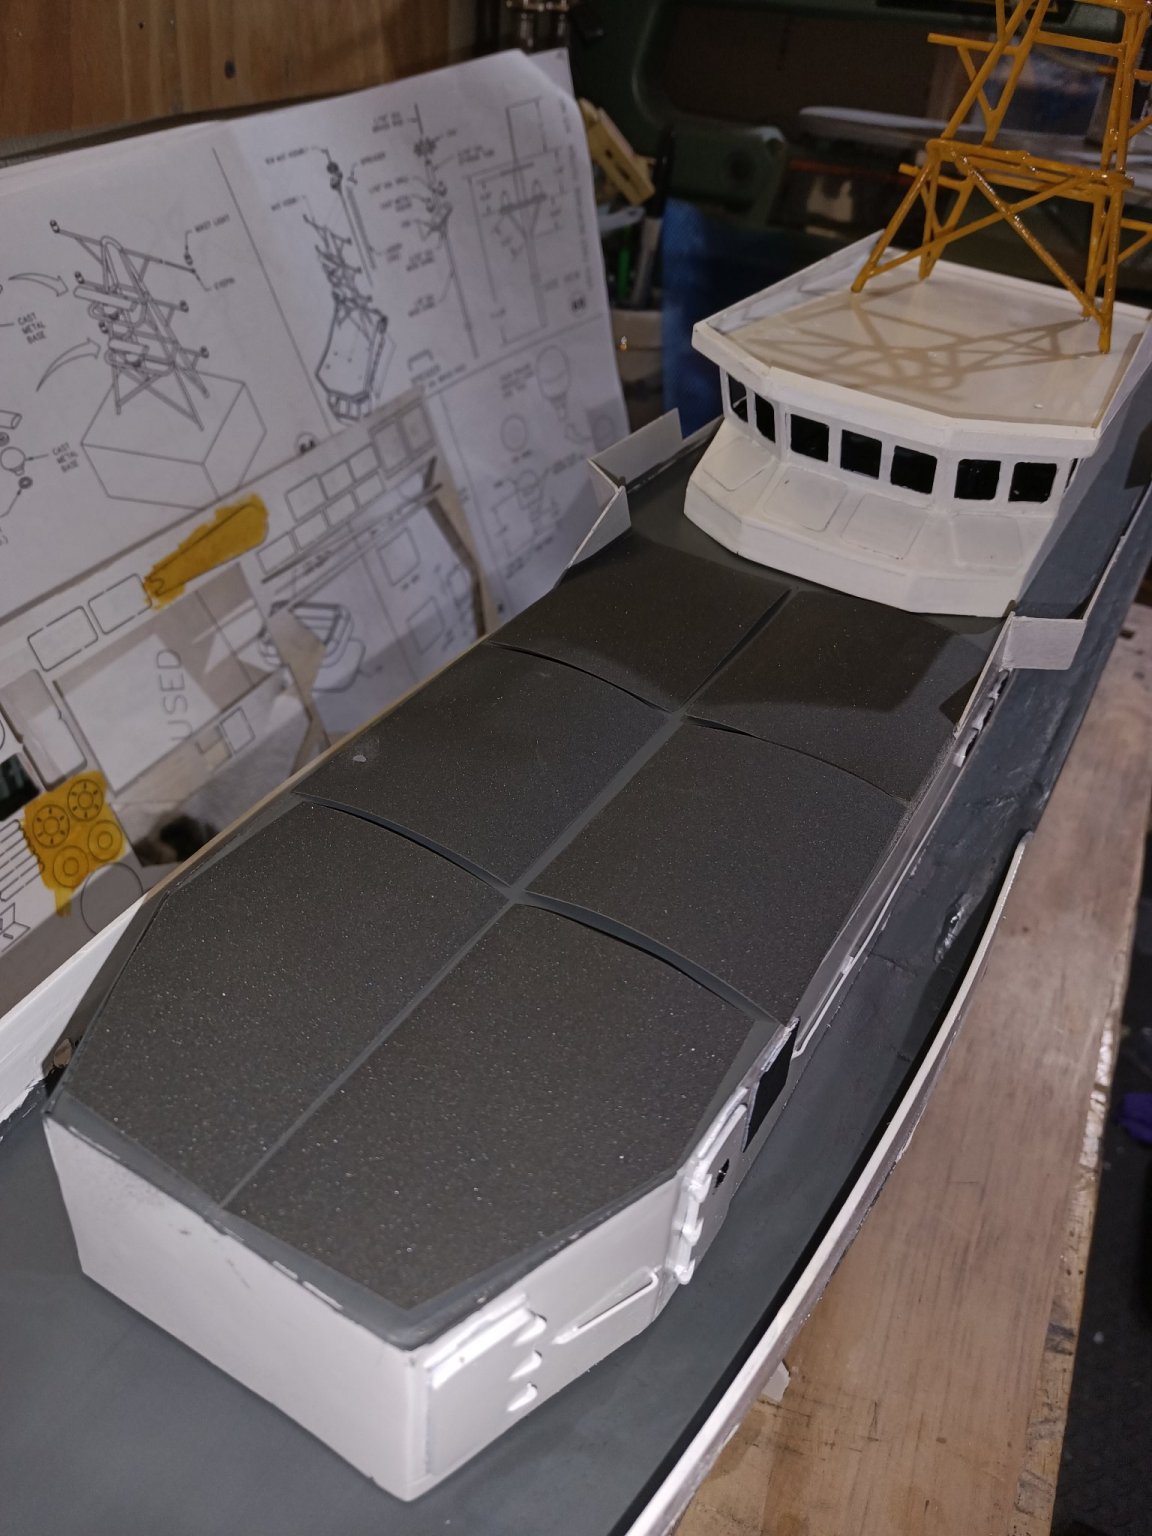
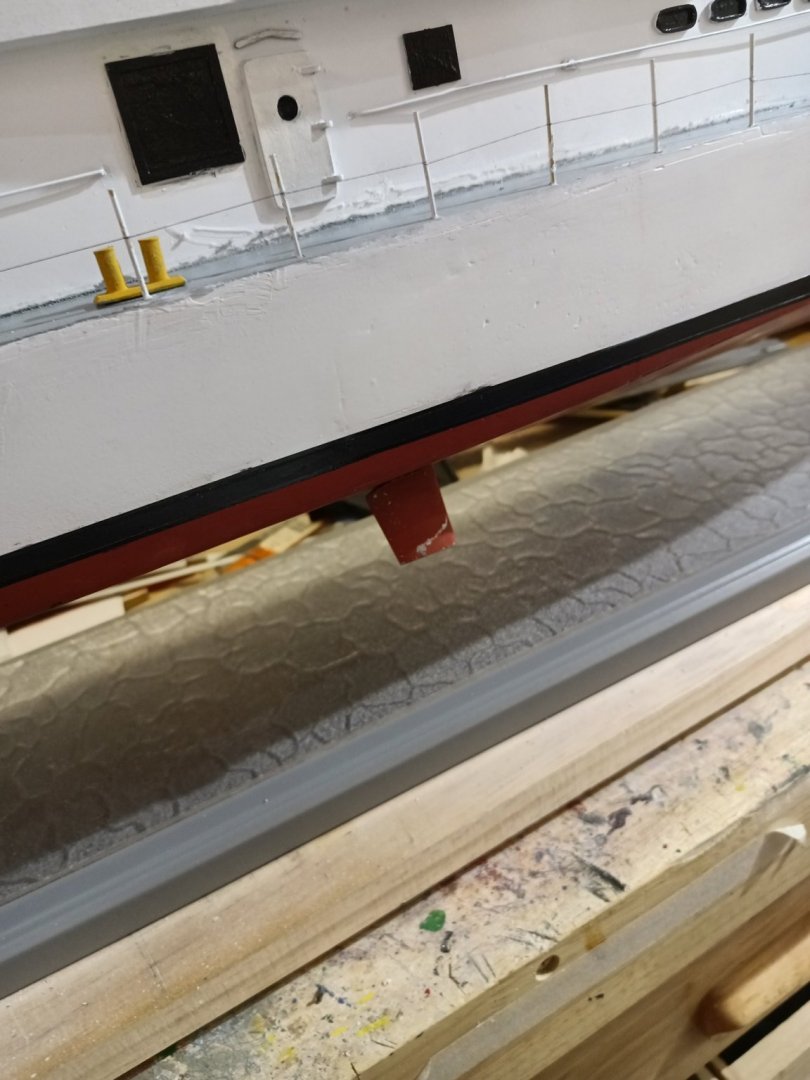
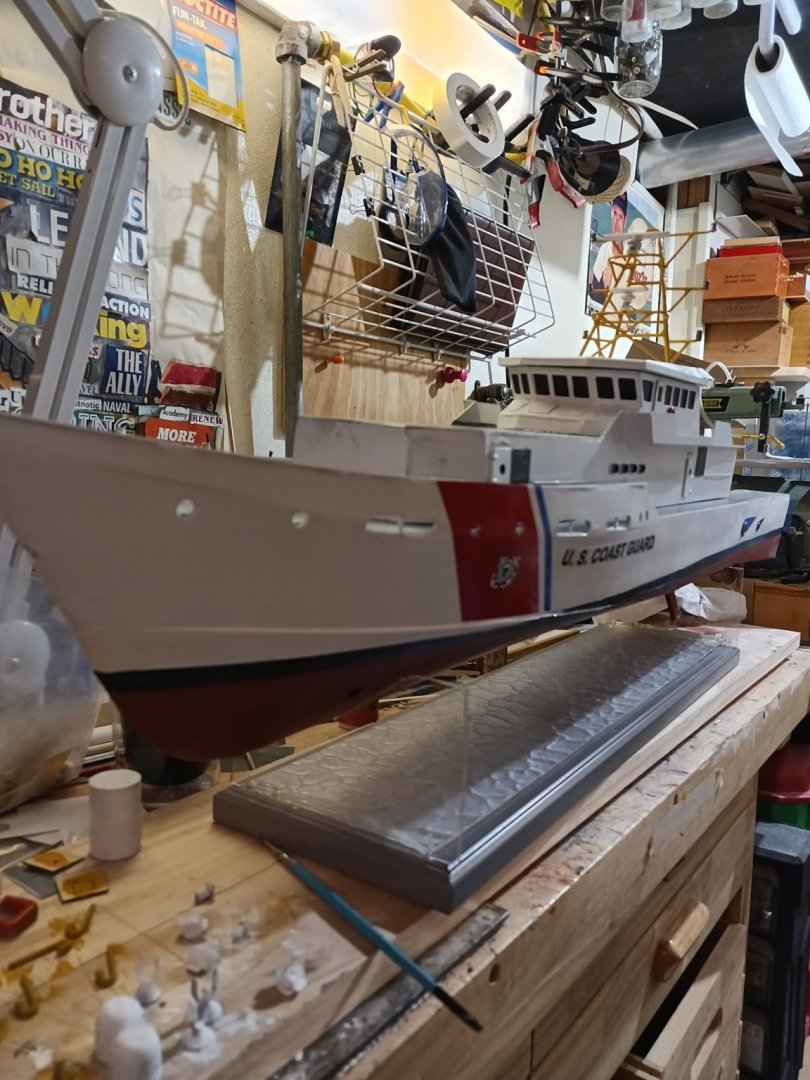
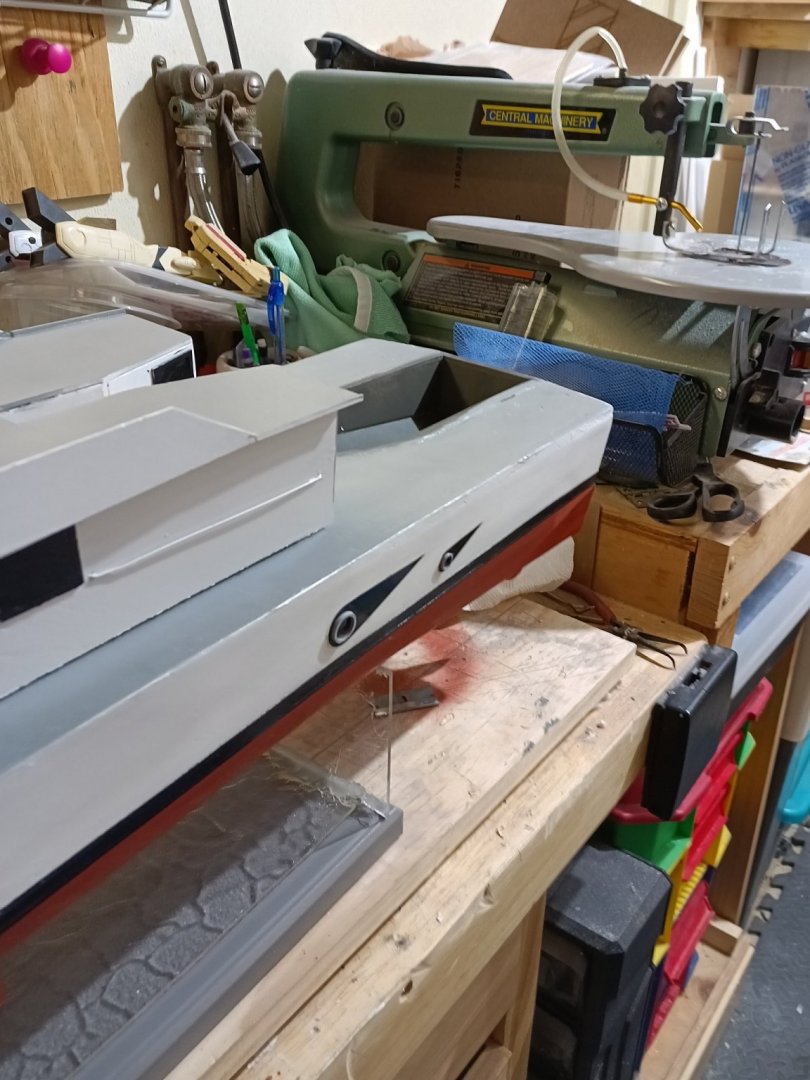
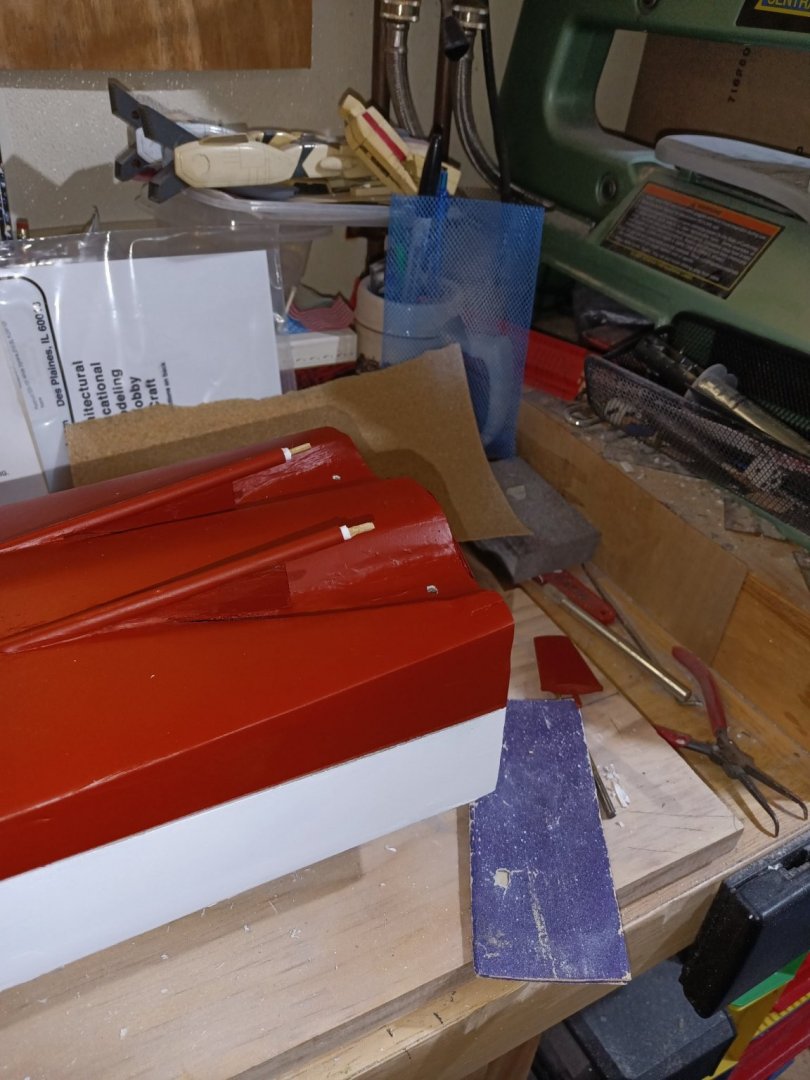
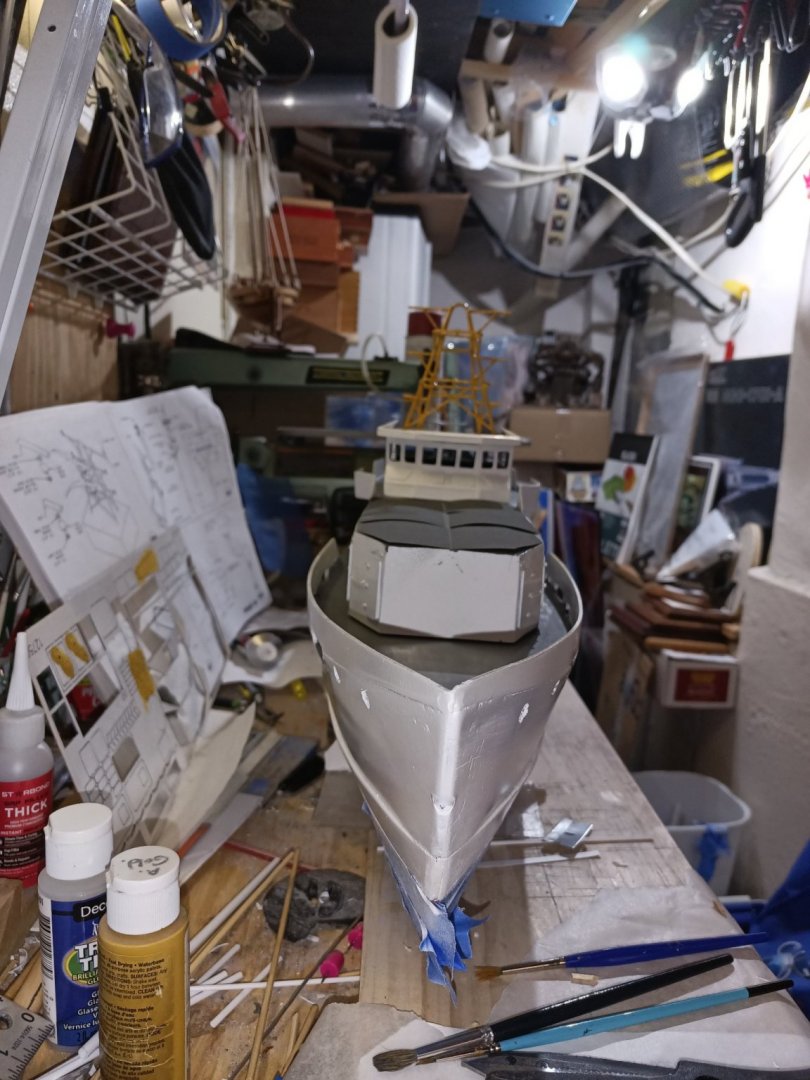
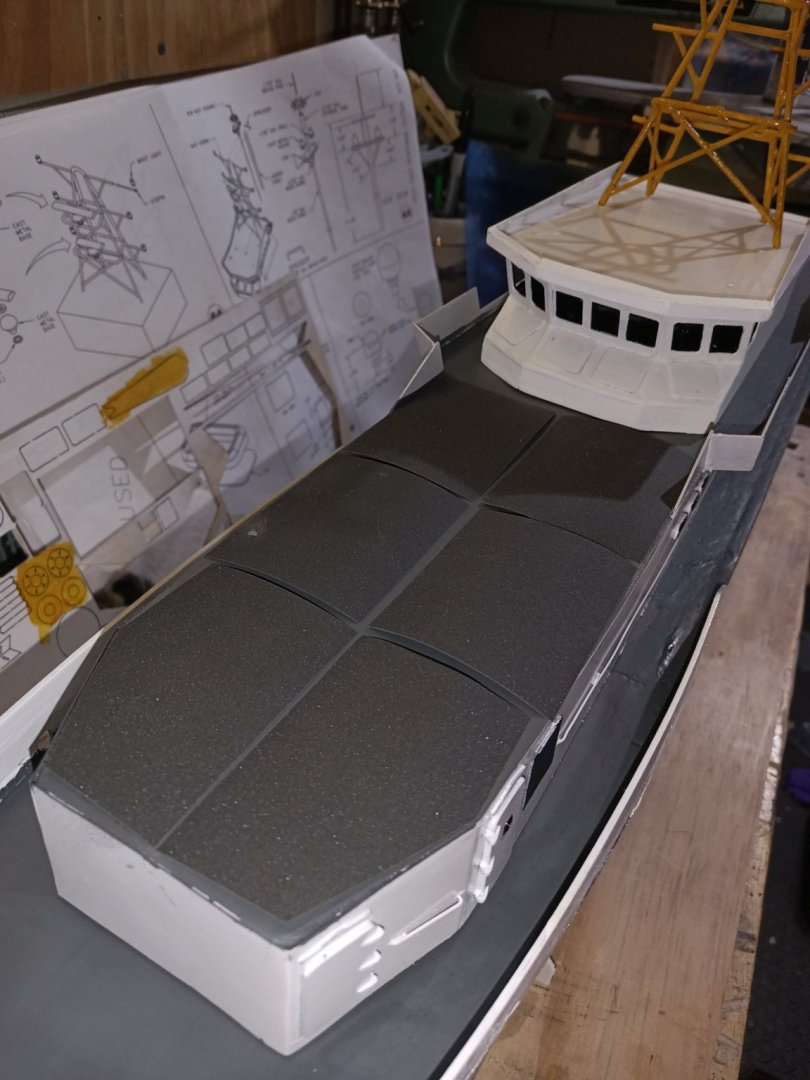
Paint touch ups and I am finished for the night. I put a gloss cote on the mast. The deck was darkened and I am debating on using panels of sand paper to simulate non skid paint. I have some panels laid out in the pics. This is the first ship of a scale it feel comfortable trying this technique on.
-
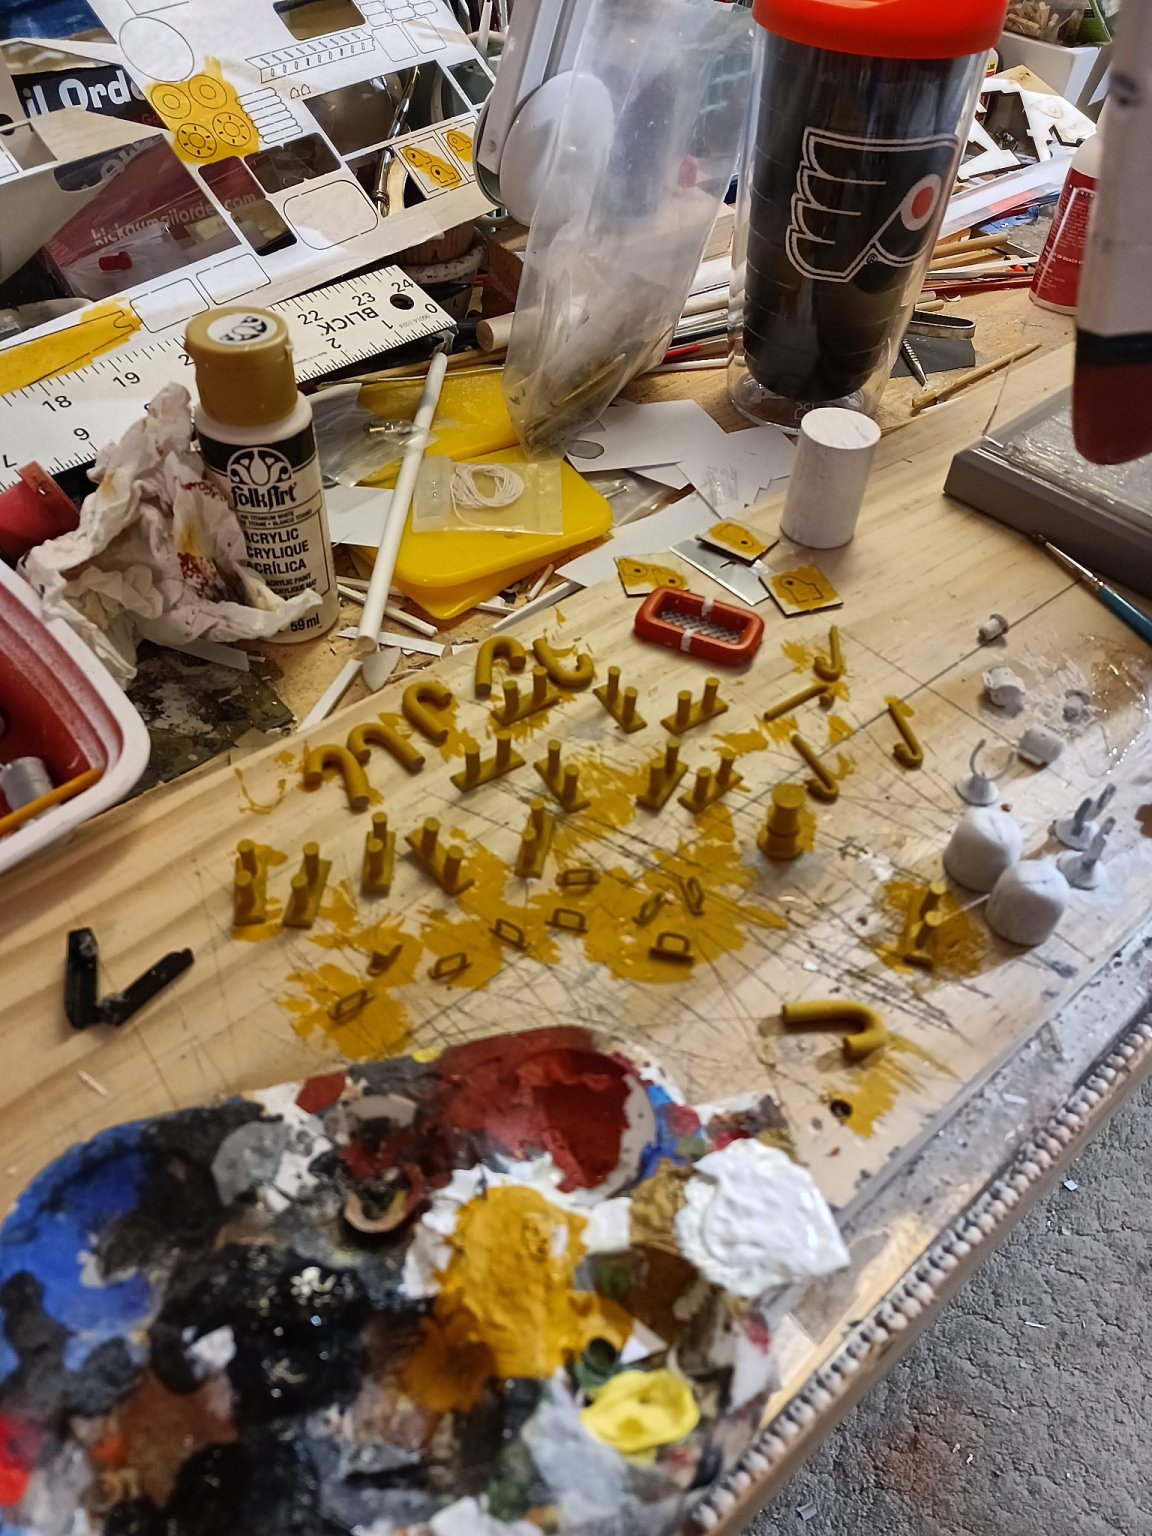
Buff paint on a ship or boat is one of my favorite colors. Depending on lighting or weathering of a vessel it can look very different to the beholder. I use Apple Barrel acrylic paint colored Autumn Gold to simulate this. I then put in some acrylic gloss sealer in a couple coats to make it shiny. The mast has not been coated so far.