HOLIDAY DONATION DRIVE - SUPPORT MSW - DO YOUR PART TO KEEP THIS GREAT FORUM GOING! (Only 20 donations so far - C'mon guys!)
×


mattsayers148
-
Posts
685 -
Joined
-
Last visited
Content Type
Profiles
Forums
Gallery
Events
Everything posted by mattsayers148
-
 Excellent job CH, she looks great! I too like the color scheme.
- 64 replies
-
- 4
-

-
- 18th century longboat
- model shipways
- (and 1 more)
-
Excellent job Brian, she's beautiful! The copper strip could be used for anything iron(once blackened). Pintles and gudgions maybe?
-
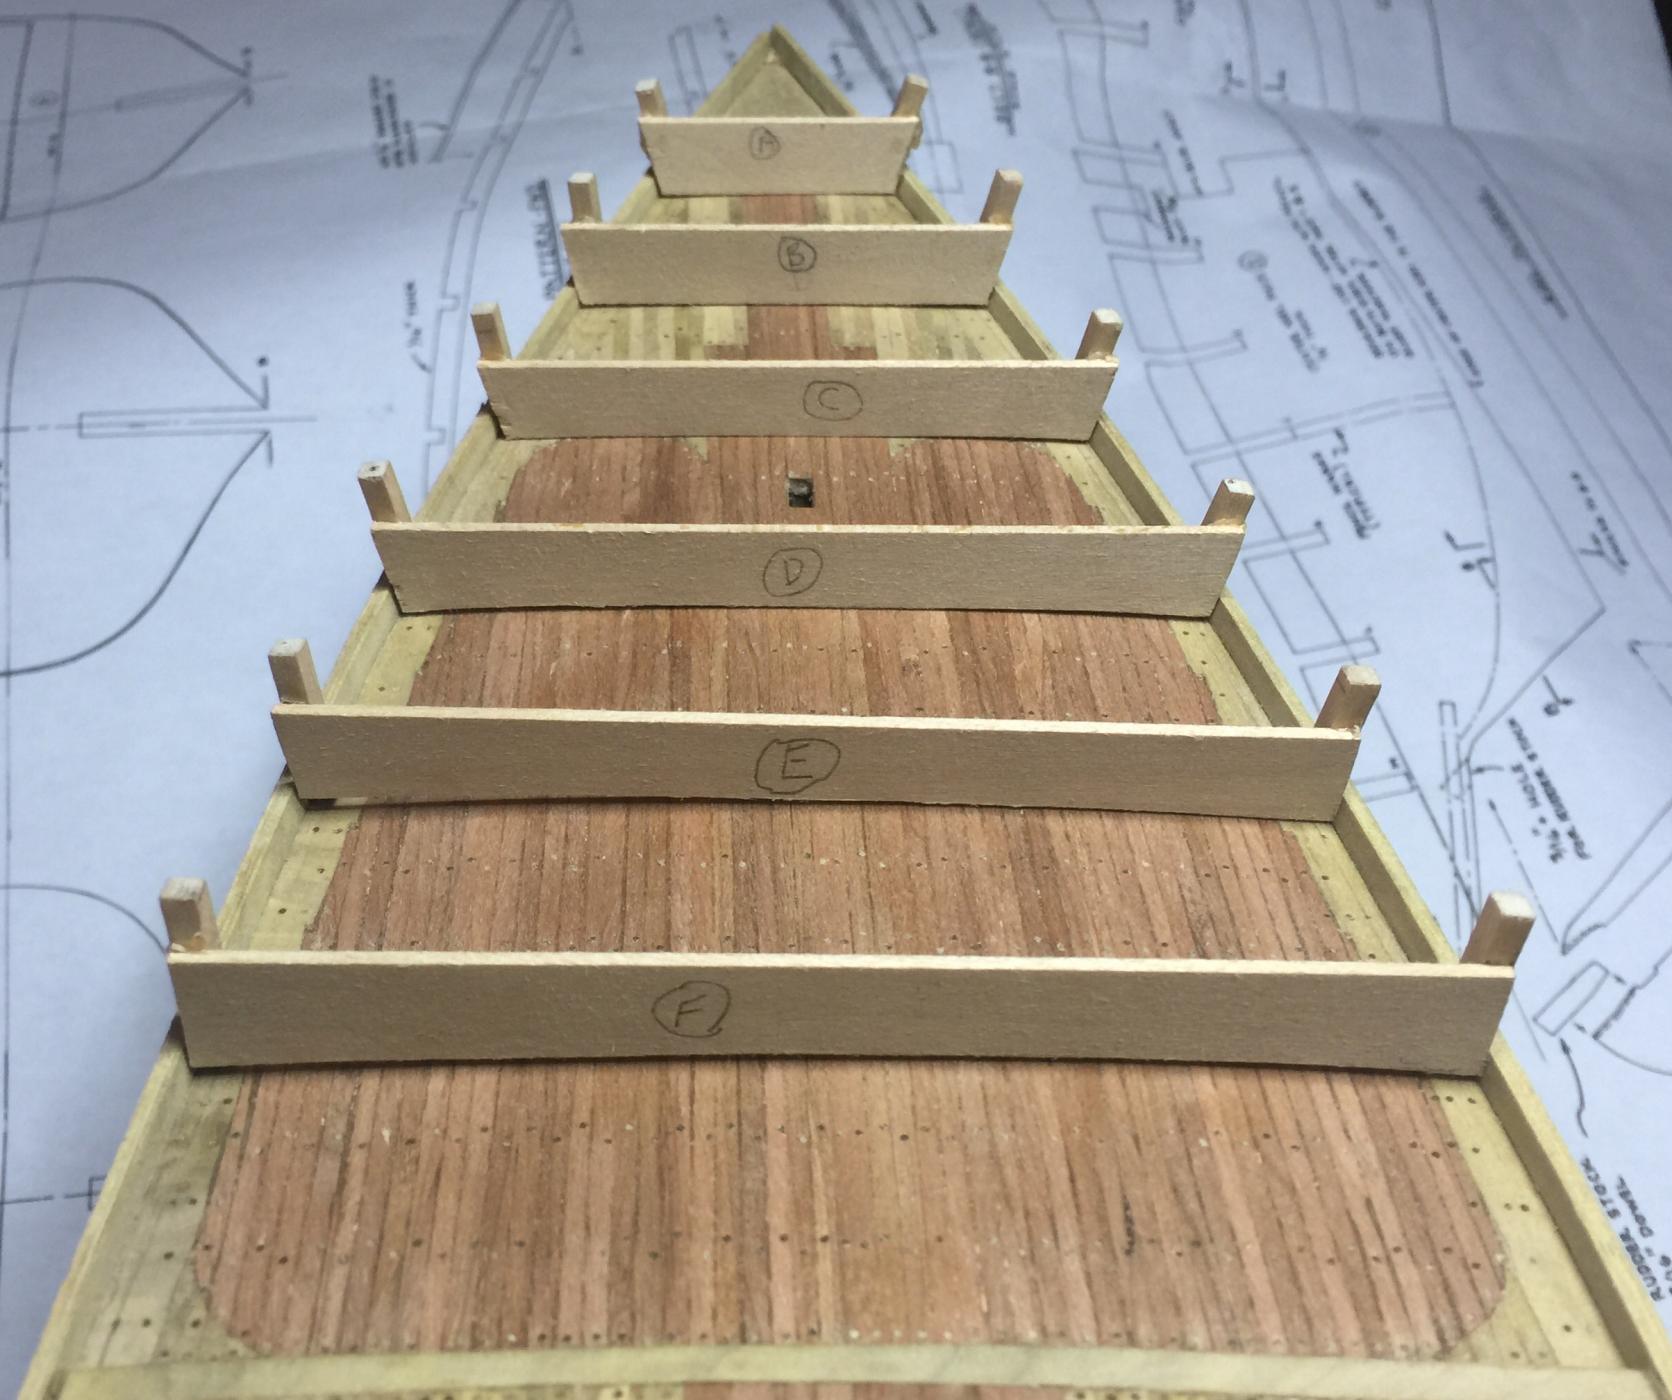
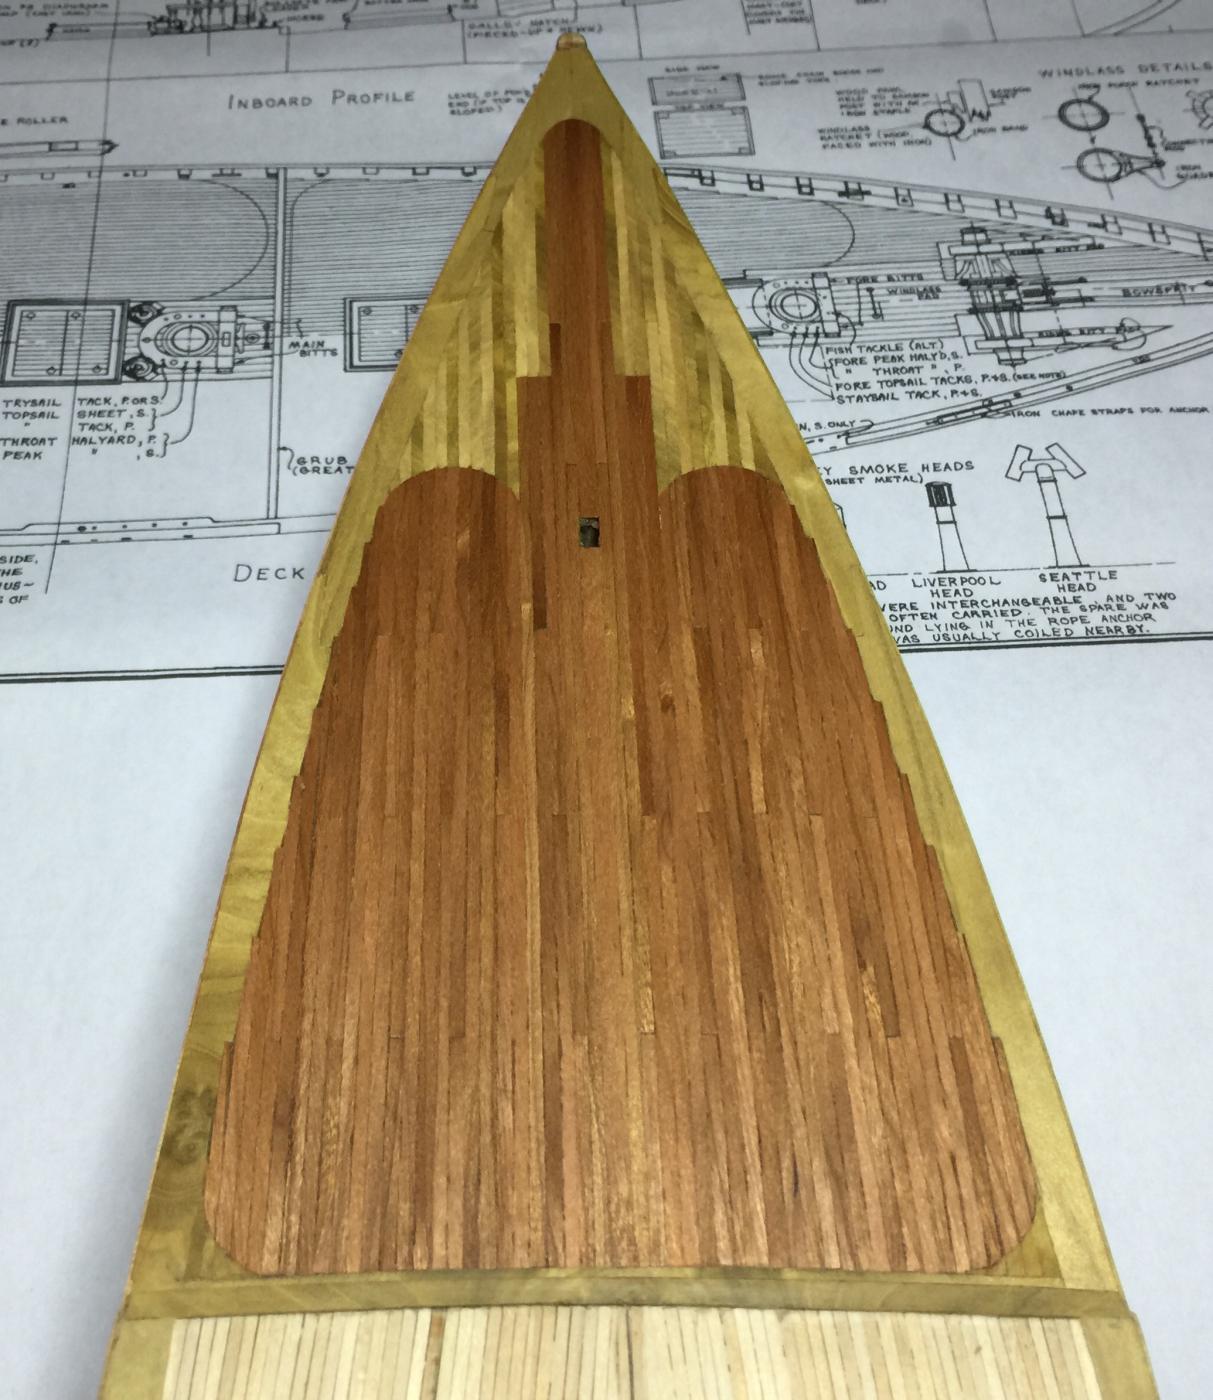
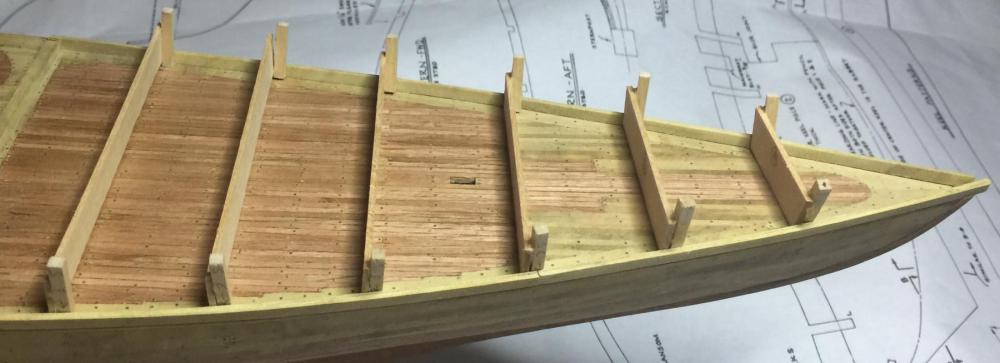
After countless hours I finally finished the treenails on both decks. I look at my draw plate in a whole new light now. Having the stanchions out of the way worked well. Now begins the process of installing the stanchions and planking them. I made templates at every bulkhead to ensure the proper curves were maintained. The fore deck had a 5/32 plank added first to bring it to the same level as the aft deck. Then a 1/16 square piece was attached the entire length of the ship. I'm now in the process of making and installing the stanchions. This will be followed with one more 1/32 plank below the main rail.

-
Excellent job CH! It's been a busy year here so I just got caught up on your build. I did this model as my first attempt years back, and will not be showing any pictures of it. It sits upon my shelf as a reminder of where I started. This was the first, then the 21ft English Pinnace before I did my Launch. Each of these were very similar in size and construction so I found referring to all three helped quite a bit. I look forward to seeing more.
- 64 replies
-
- 3
-
-
- 18th century longboat
- model shipways
- (and 1 more)
-
CH, no apologies necessary, sometimes photos do not do things justice. Buck, thank you. Your words of encouragement are always uplifting. Sam, thanks. The treenails are .02inch / ,53mm. I oversized the holes just a hair for glue allowance. Thanks to everyone for hitting the like button.
-
I can imagine the beauty now. Looking forward to seeing soon.
-
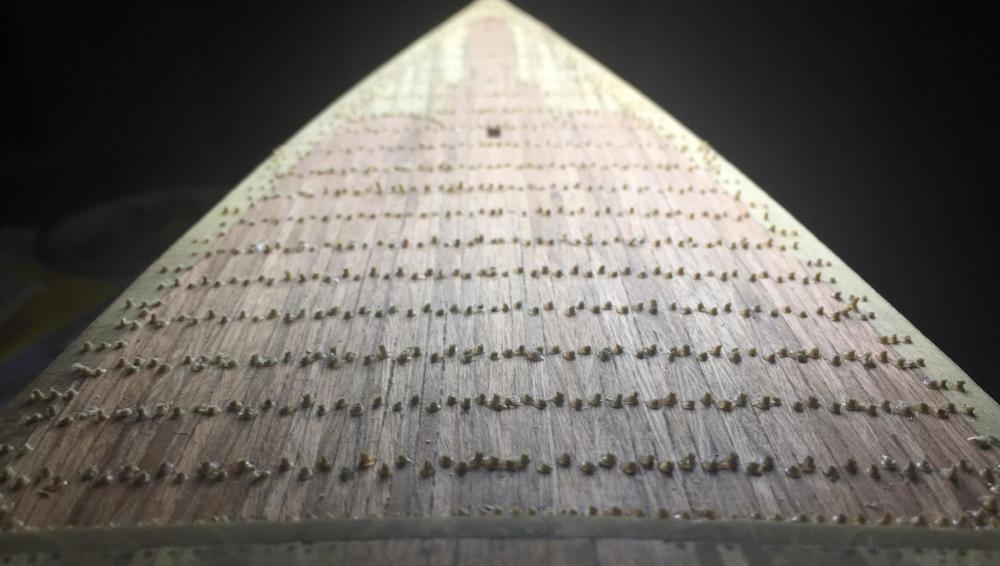
Thanks CH, Mark, Ken and all who hit the like button. CH, some of the treenails really blend in so its hard to see them, but they're there. If you click the picture and zoom in you can barely make them out. Also, what appears to be the top plank with no treenails is actually the plank sheer. Once I complete the deck I'll build in the stanchions which get two or three rows of planking to finish off. I didn't like the look of the ply bulkheads as stanchions so I chopped them off. It'll also help me to make a nicer looking deck with no obstructions. As you know, I rairly know what I'm doing next, this time I looked ahead a bit so we'll see.
-
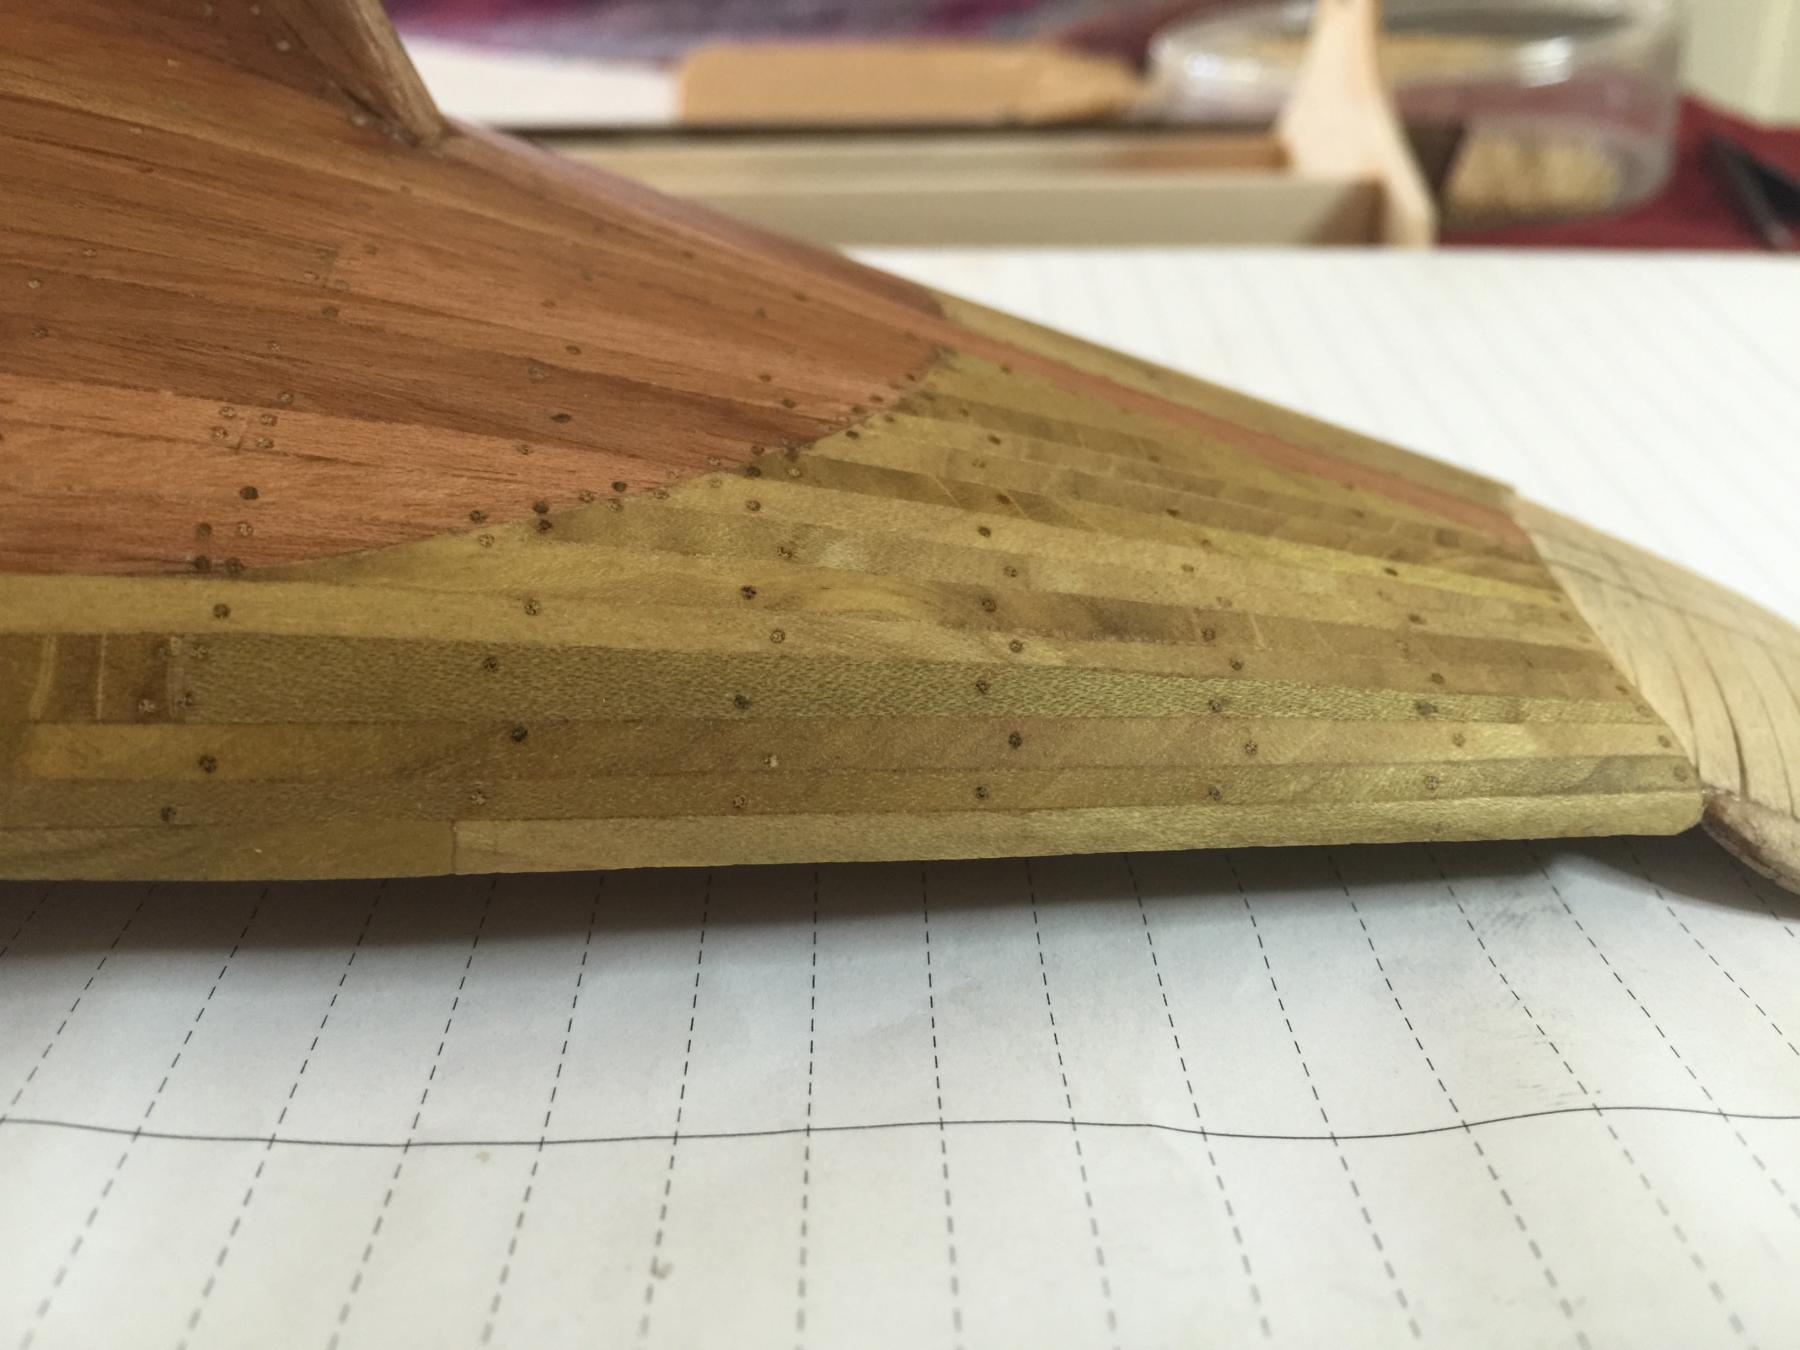
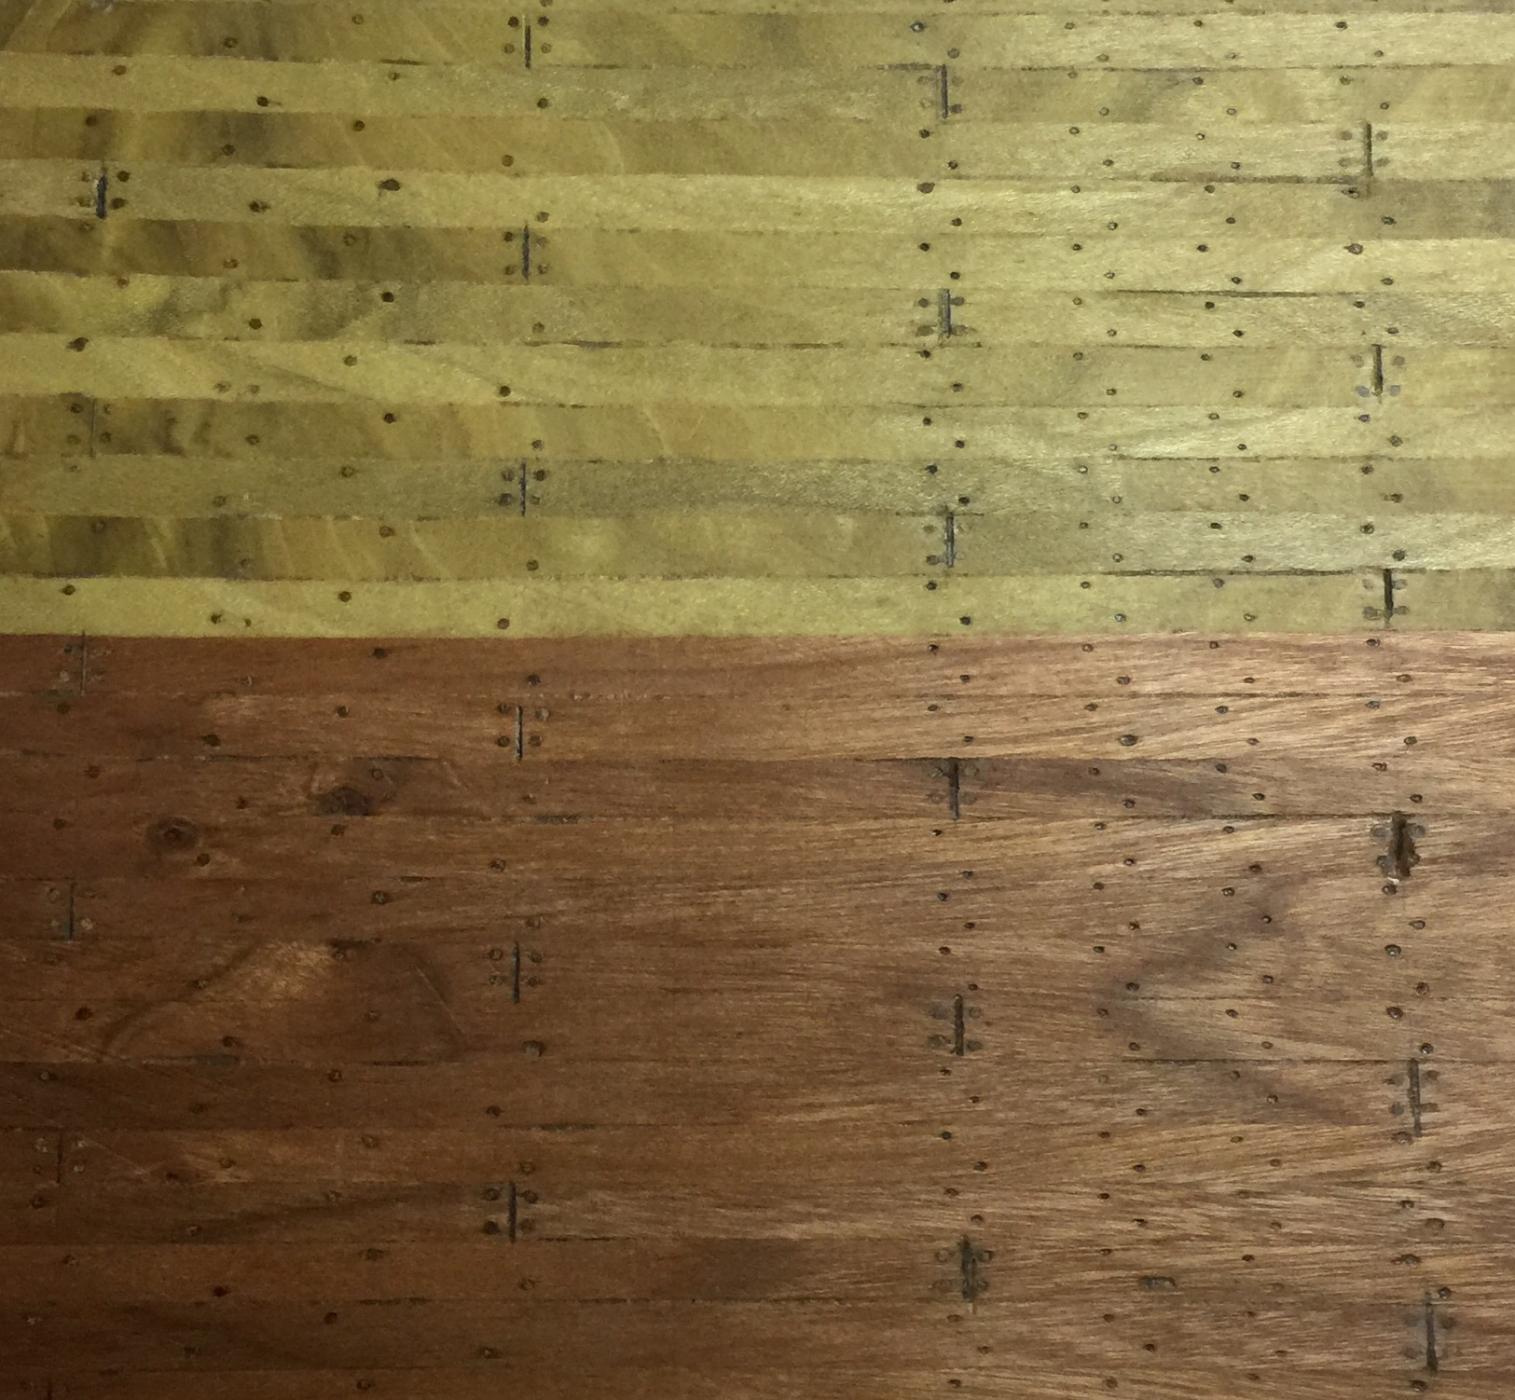
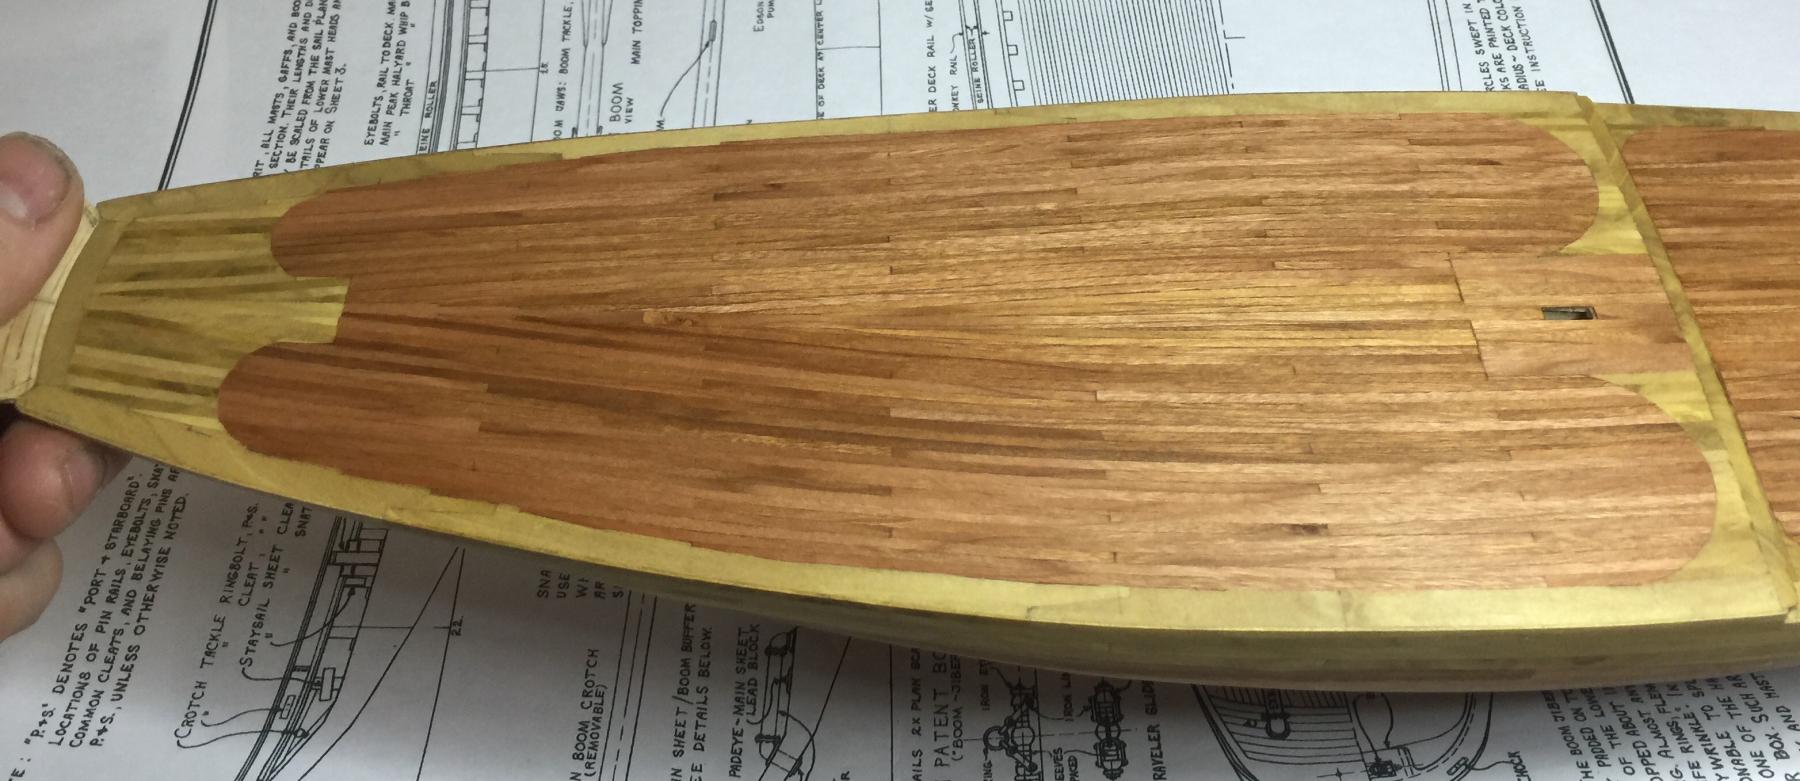
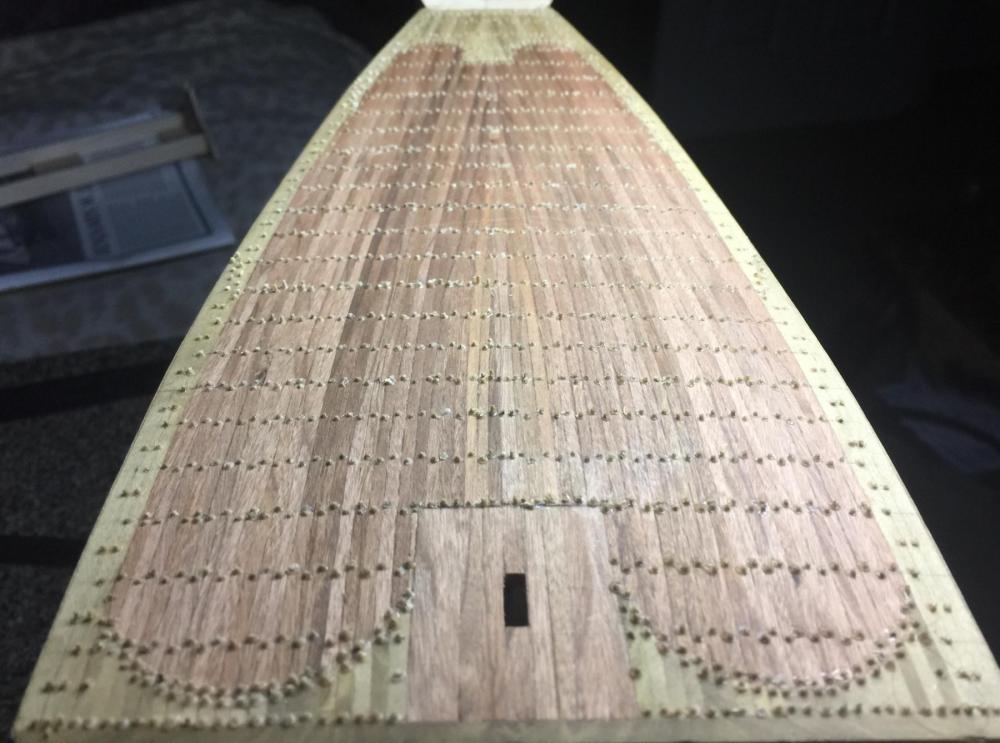
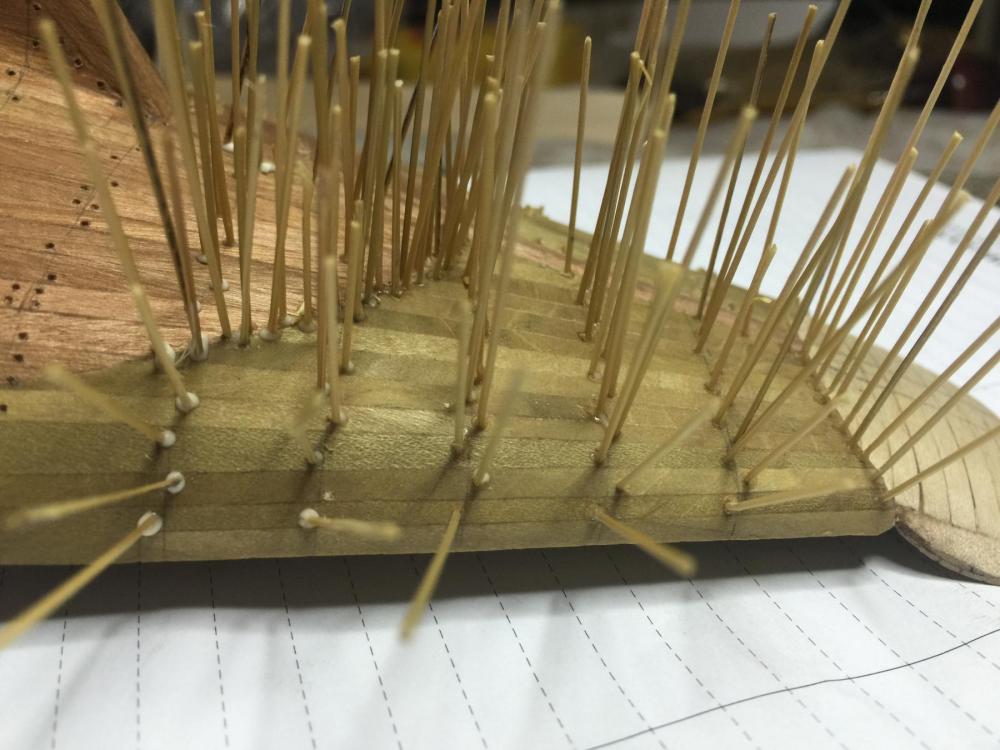
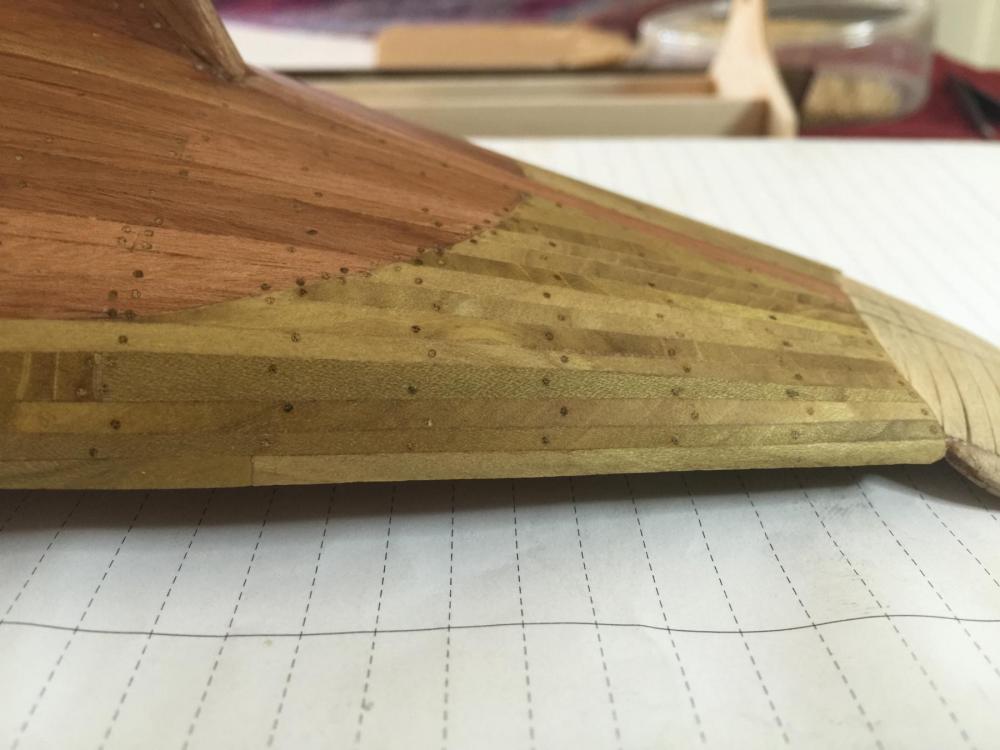
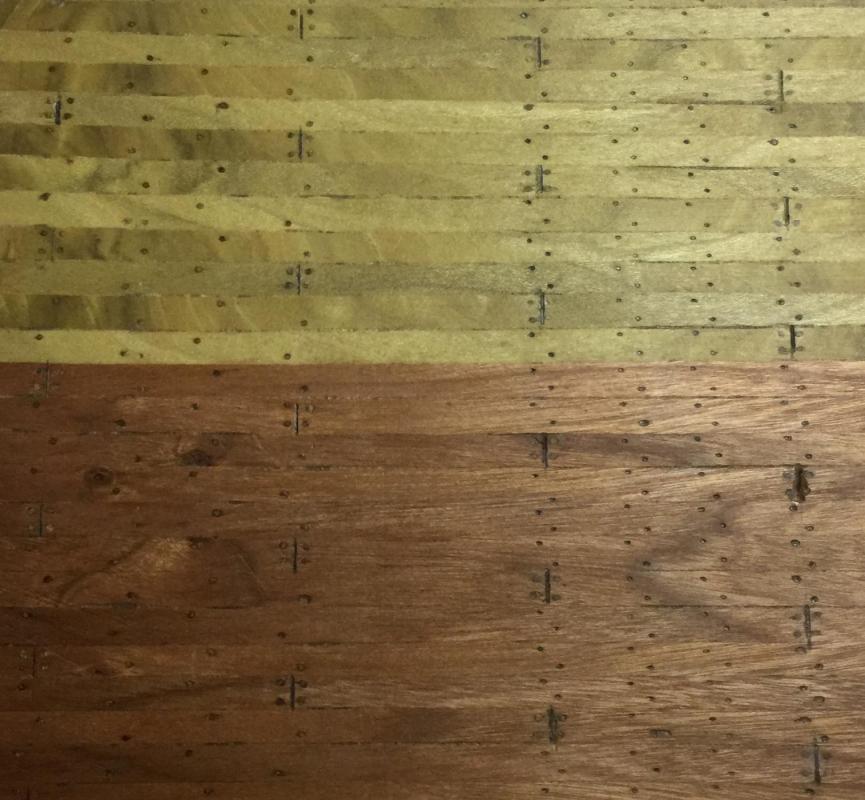
Thanks again to everyone for your encouragement and likes. So goes the treenails. I went with the popular consensus of the #2 pattern and so far looking good. After doing the small mockup I saw how easy it was to mess up on hole placement. I ended up drawing a grid on the hull and marking every single hole. I did each section, port and starboard, at the same time so everything would be symmetrical. After I glued in a few hundred, then I'd clip off the extra length and move on to the next section. Once that phase was completed I followed up with a very sharp chisel, cutting the treenails flush with the planks. Then a light sand and follow up with a little wax. Now I move up to the deck.

-
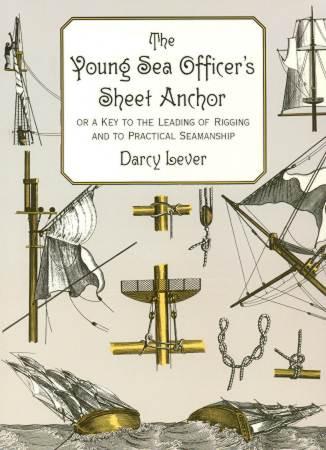
Hey Brian, the ships looking great. This is also a book that may be of use for you as well. You can find used copies for just a few bucks and is well worth it. It was first published in 1808 so some of the language is no longer common. Written for young bucks so the descriptions are straight forward with excellent drawings of most every aspect of sailing. I would have been lost on my USS Ranger/pirate ship bash without this gem. A lot of the head scratching is because of the multitude of both standing and running rigging. This book shows the order of rigging since many of the blocks in the drawings aren't shown all at once to help avoid confusion, which can add to the confusion. If every line and block were shown in a drawing at once, it would be a mess. Take a gander at my Ranger build log towards the end, standing rigging first, then running. No part of the masts were glued since the ropes hold them there. Then if something gets messed up its easier to fix.
-
Stubby, when you cut, do it close to the node(leaving it). It'll help prevent it from splitting while it dries. Leaving them in a window sill exposed to the sun works well.
-
Elijah, I use the raw plant, cut and dried. Since it can grow like weeds, I look on Craigslist and search for 'free bamboo'. I use bamboo for different projects so I have a decent stash built up. I just cut and split into manageable pieces then run through a draw plate. Once they're sanded down, I wax them. CH, thanks for your insight. The planks scale to 9 inches and I believe under 8 would be number two, 8-11inces would be number three. As you said the 'correct' way is a bit busy.
-
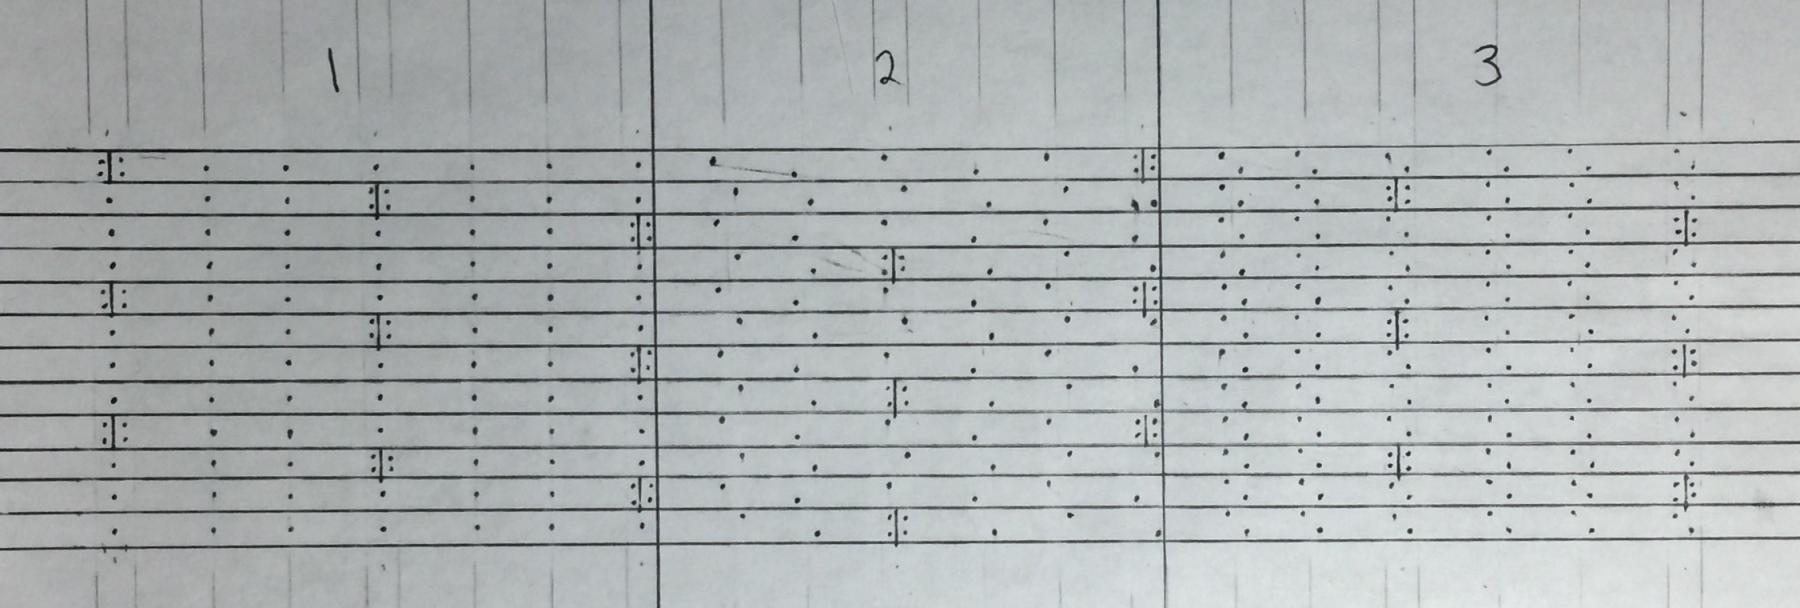
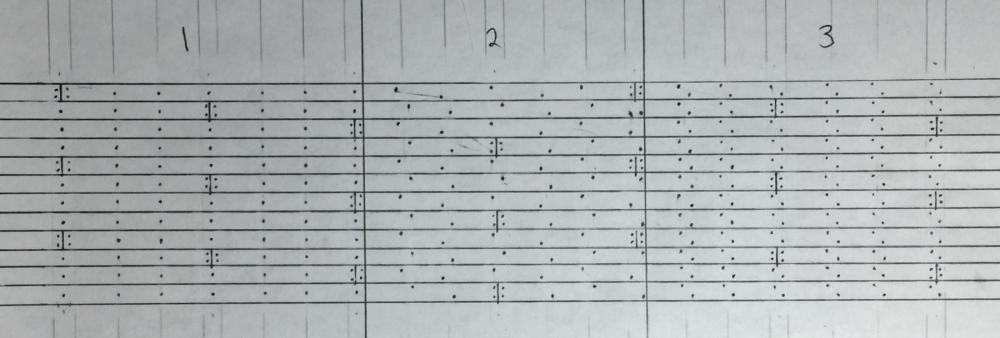
Thanks CaptainSteve, Mark, Buck, Sam, Bob and everyone for the likes and words of encouragement. Here's a small mock up of the treenail patterns. The left side is #2 with bamboo plugs and the right is #3 that I just punched the holes with a ,5mm lead pencil. More time will be spent on the final product to get the holes evenly spaced. I'm liking #2 as several of you thought so as well. But #3 doesn't look to bad either. Any thoughts?
-
It's great to see another pirate ship! It's looking really nice. Corel is another company that can be confusing at times from Italian to English. Looks like we're neighbors as well(Cornelius Pass/Amberwood area).
-
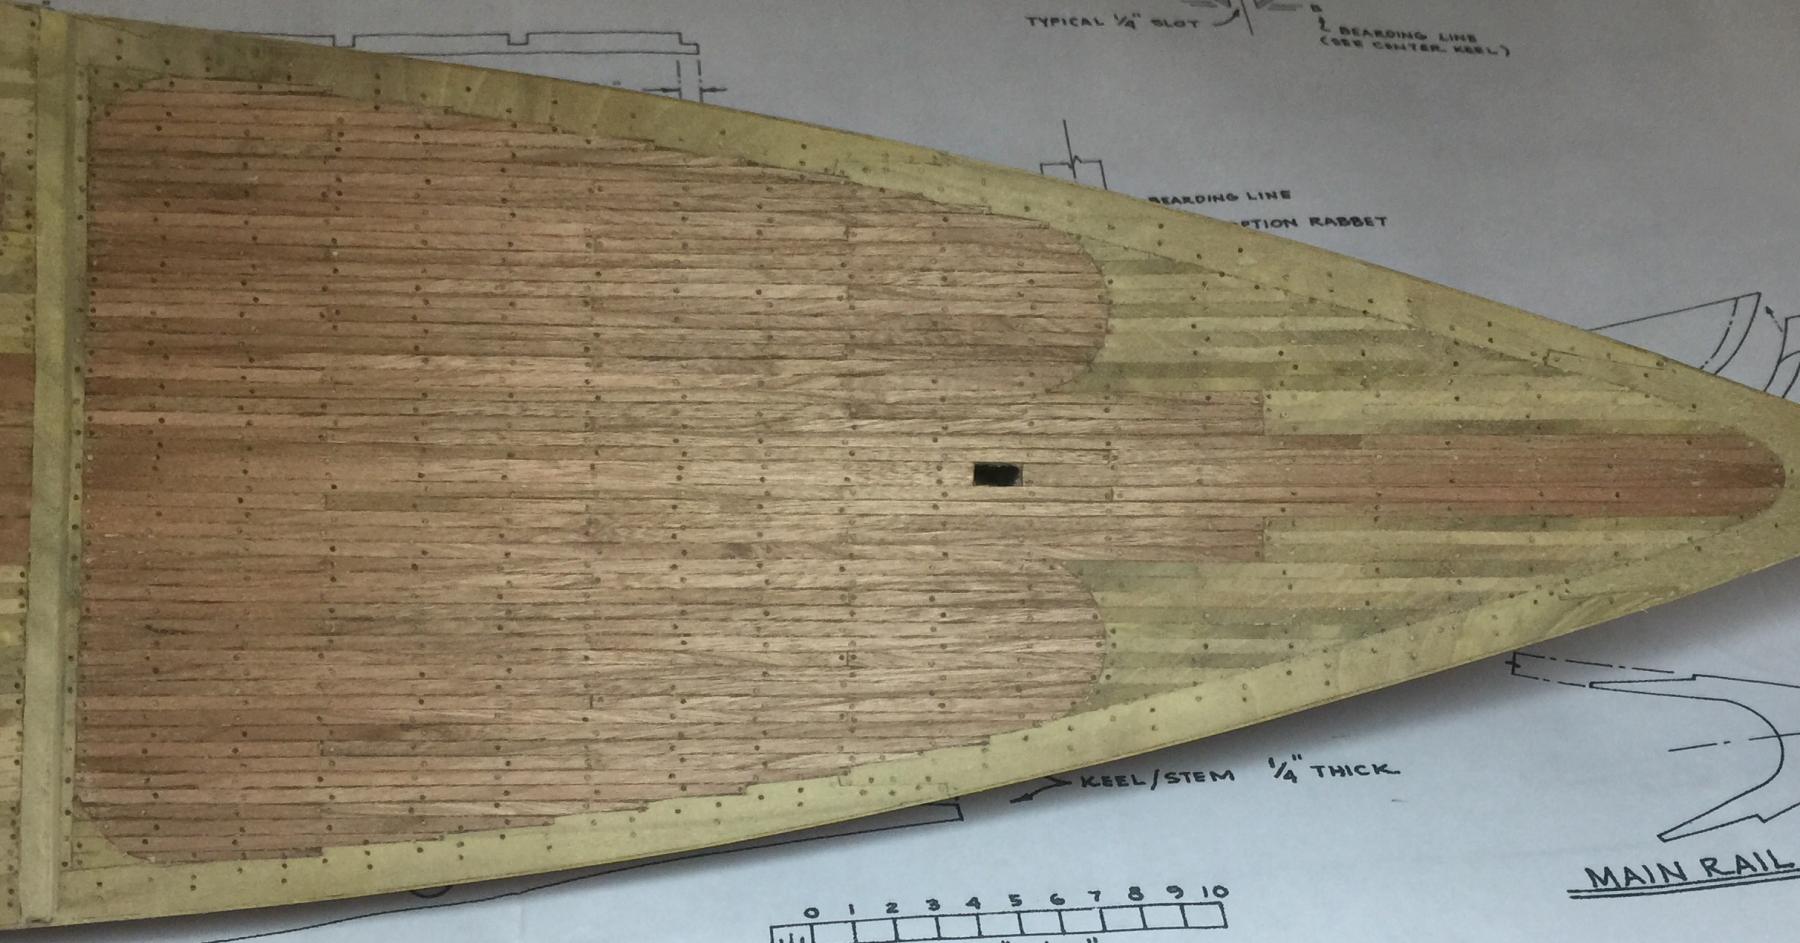
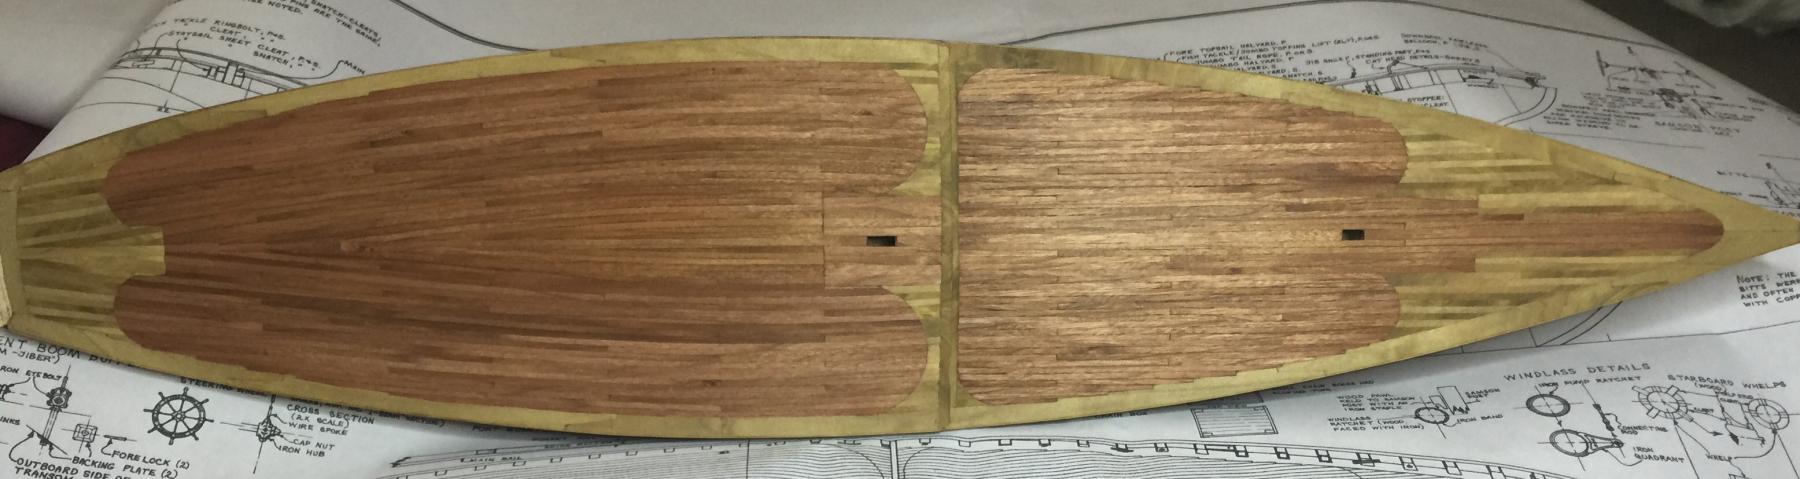
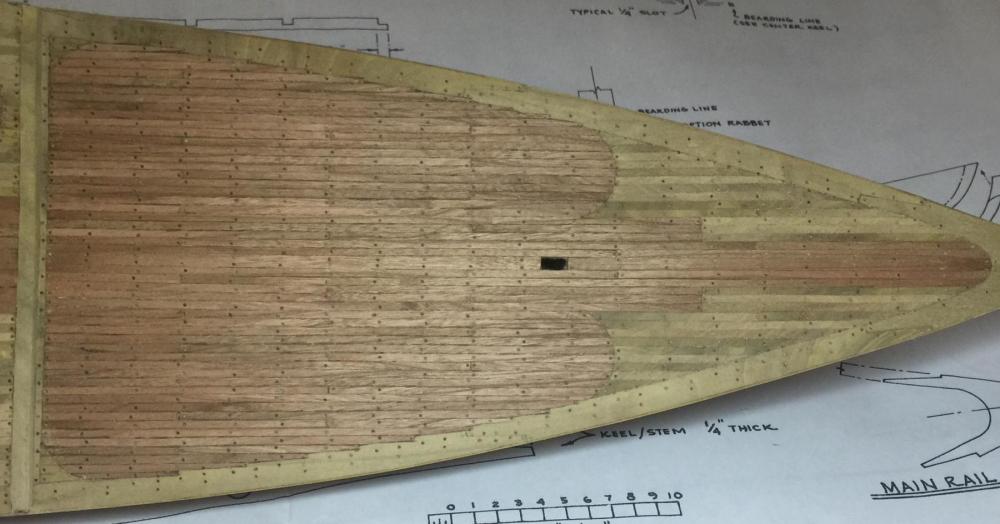
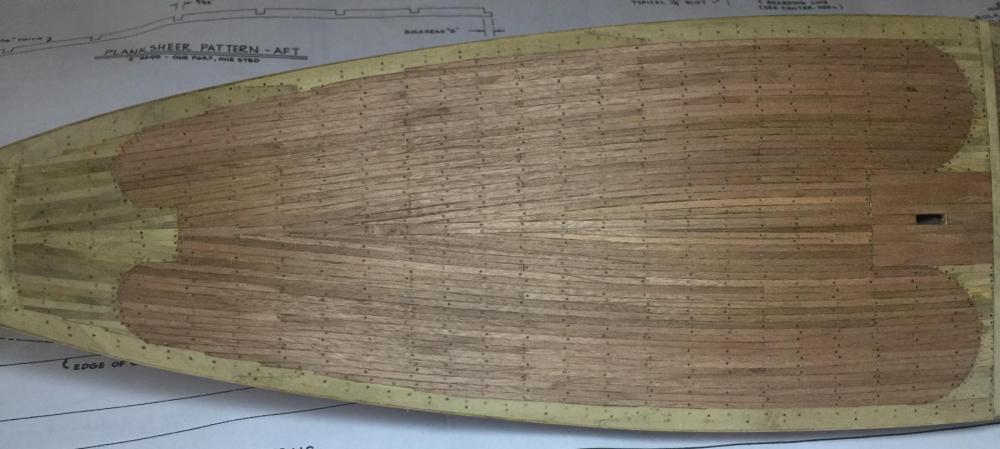
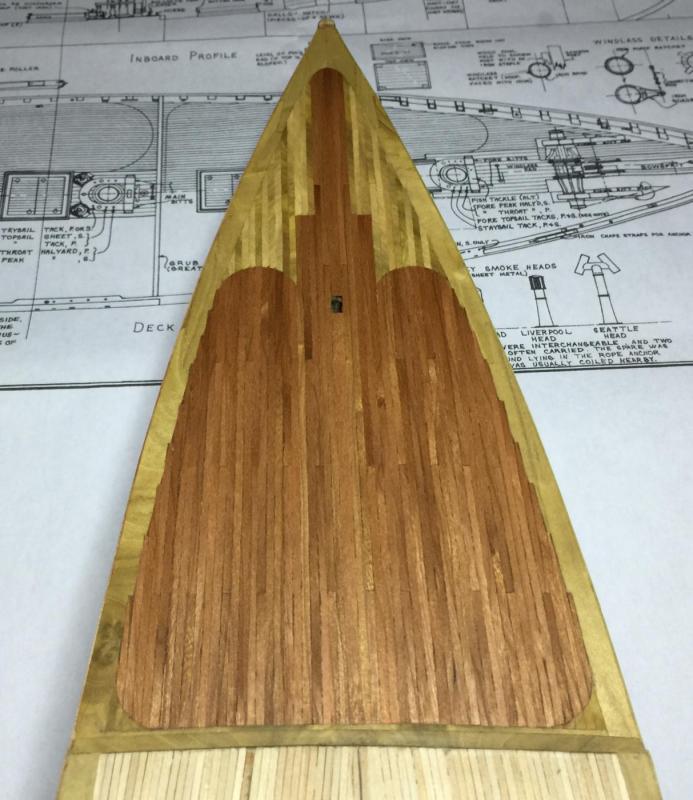
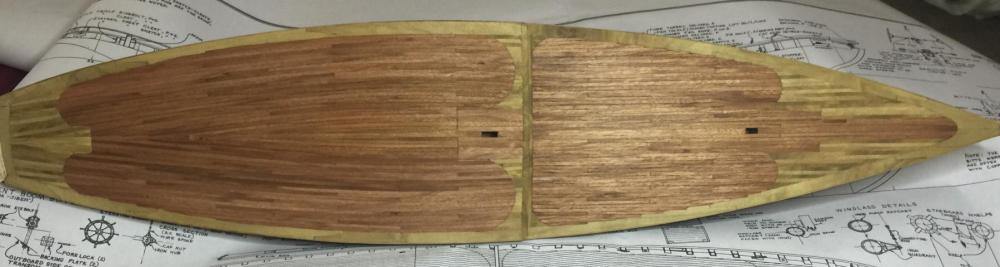
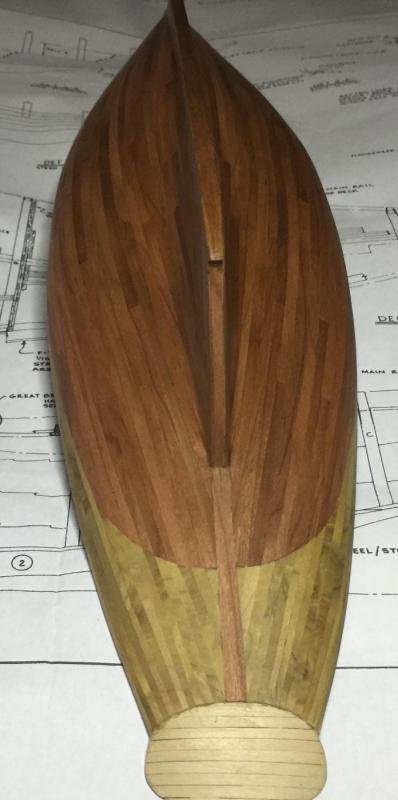
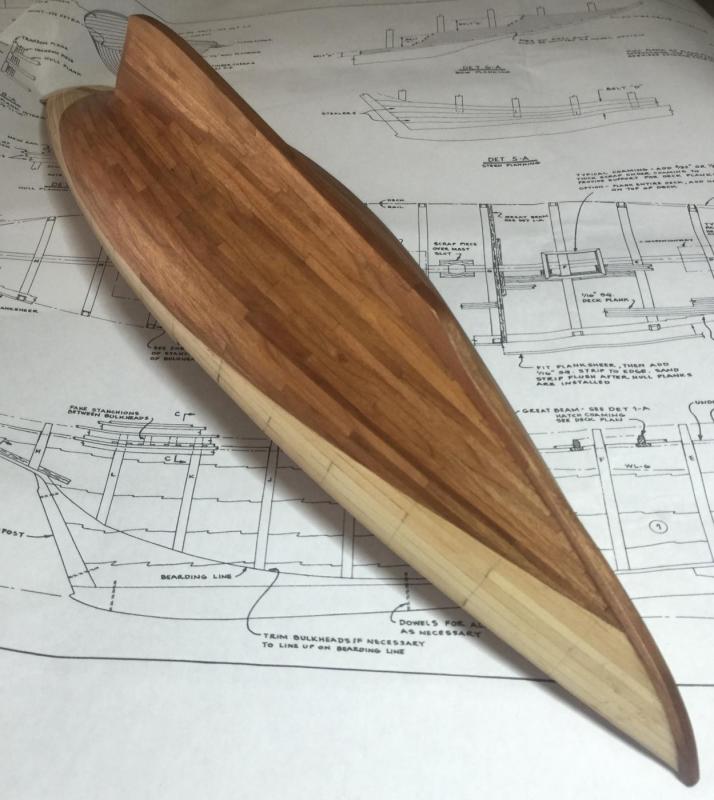
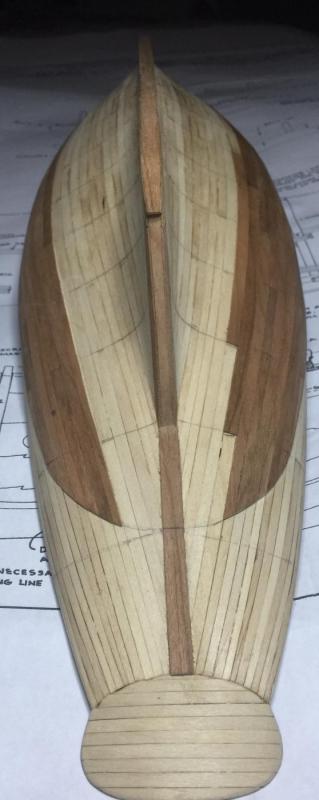
Thanks again to everyone for the likes. The deck planking is mostly complete. For this fishing schooner there were the semicircles painted onto the decks. So I did the division with the two woods. The fore deck lays straight while the aft deck follows the curve of the ship. Scaled out, the deck planks are at 3 inches by about 20 feet. There are also going to be thickened areas around the masts and bowsprit, which will be added a little later on. Buck, I love the look of the French polish but am unsure if I have the skills to pull it off. I am considering it though. My plan is to add treenails, which leaves me at a crossroad. Pattern 1 will be used on the decks, but I'm unsure what is the best pattern to use on the hull. The hull planks scale to 9 inches at the widest points. 1 & 2 work out to around 5000 treenails, while number 3 will double that figure. I'm in the process of making them out of bamboo so I have a little while to get that figured out. What does everyone think? I also scaled them to a one inch treenail(.02 inch/,53mm) which I'm also in question over. Any thoughts or suggestions?

-
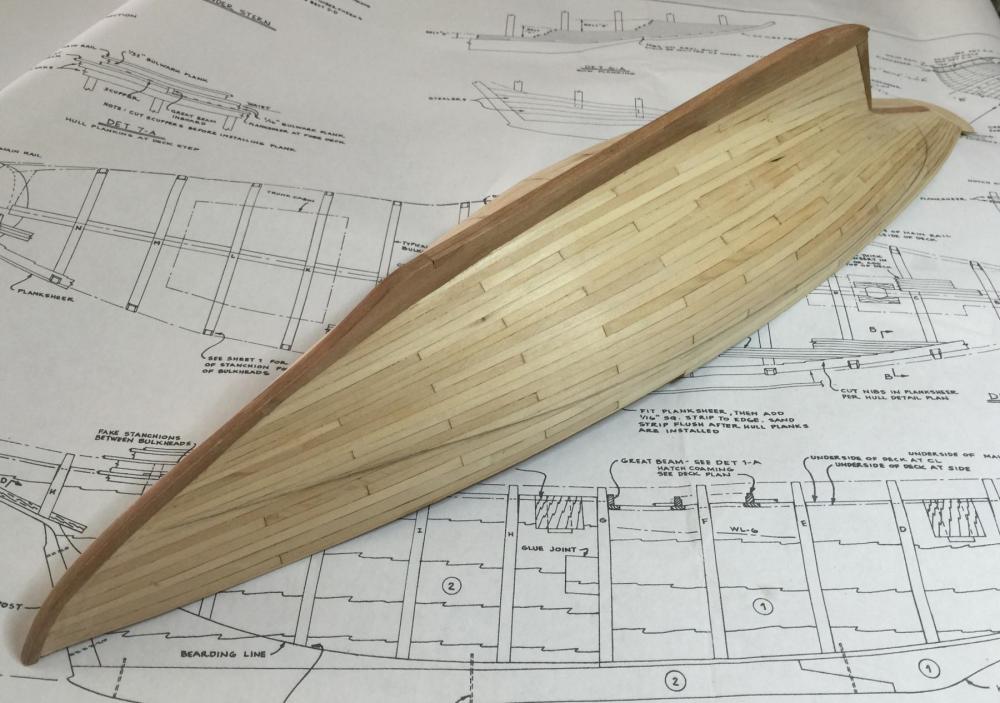
Thanks CH, Sam, Mark and for all the likes. Sam, the poplar is pretty decent to work with. It helps that this boat has fairly smooth lines. Also cutting the planks to scale helped quite a bit.
-
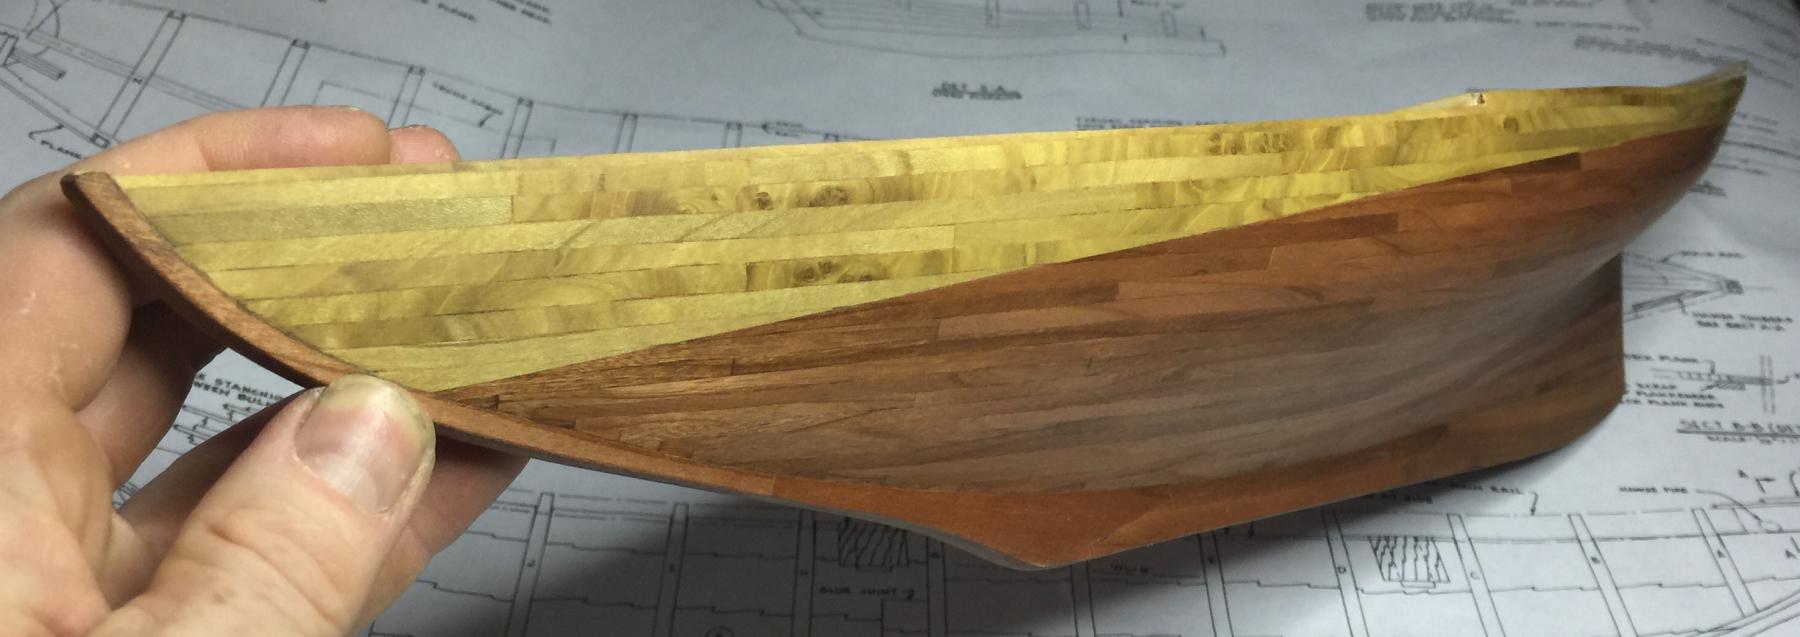
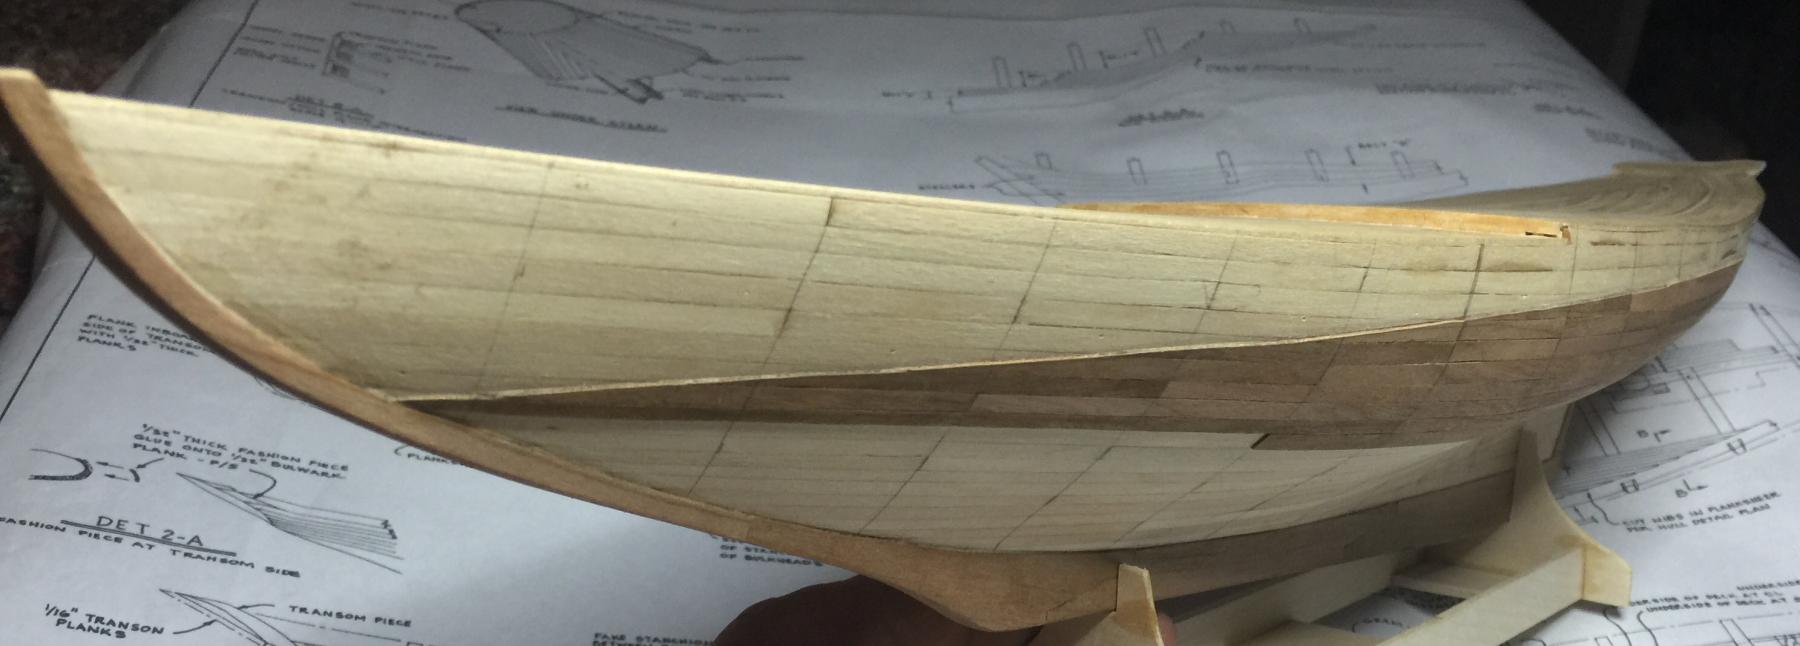
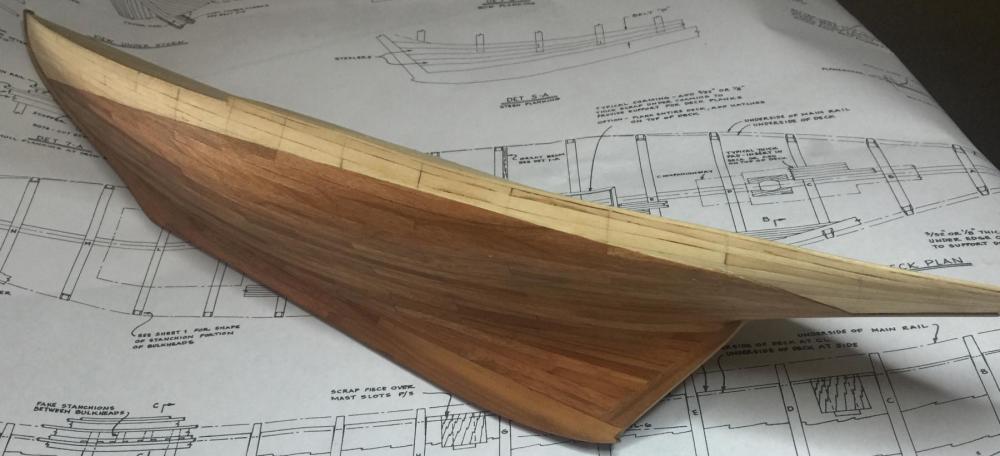
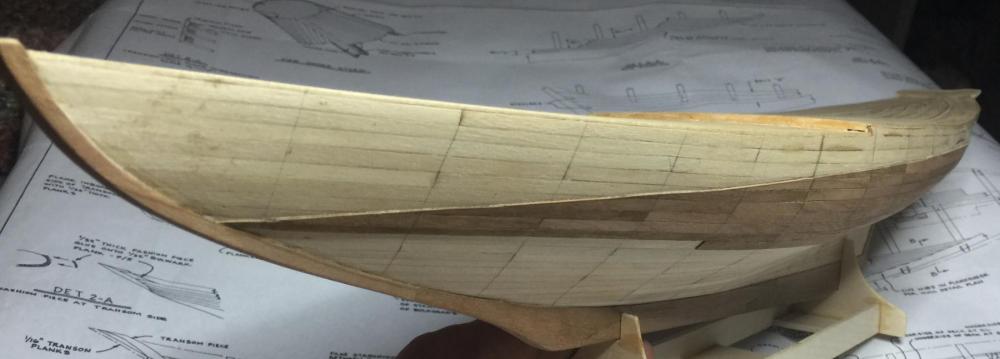
Thanks Buck, Nils and for all the likes. I finished up with the planking above the waterline as well as the planksheer on the fore and aft decks. Now comes the process of planking the decks. I took a bit of time also on getting the transom fine tuned a little better, it looked a little wonky.


-
Thanks Ken, David, CH and everyone for the likes. That's what I was thinking CH. My info said the Latham was painted copper below the waterline.
-
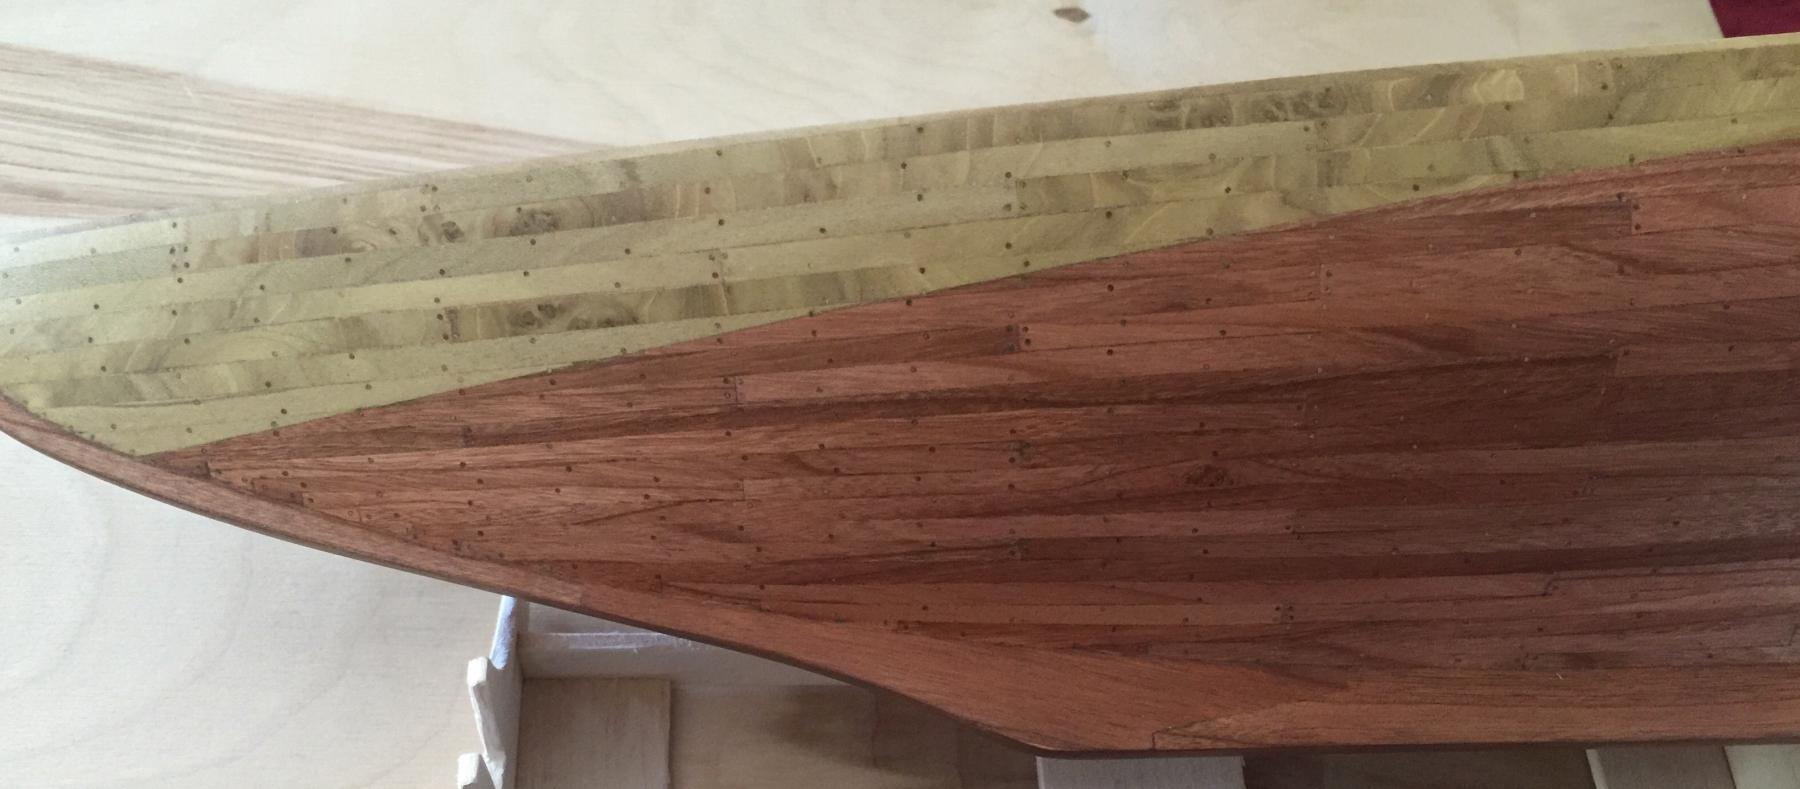
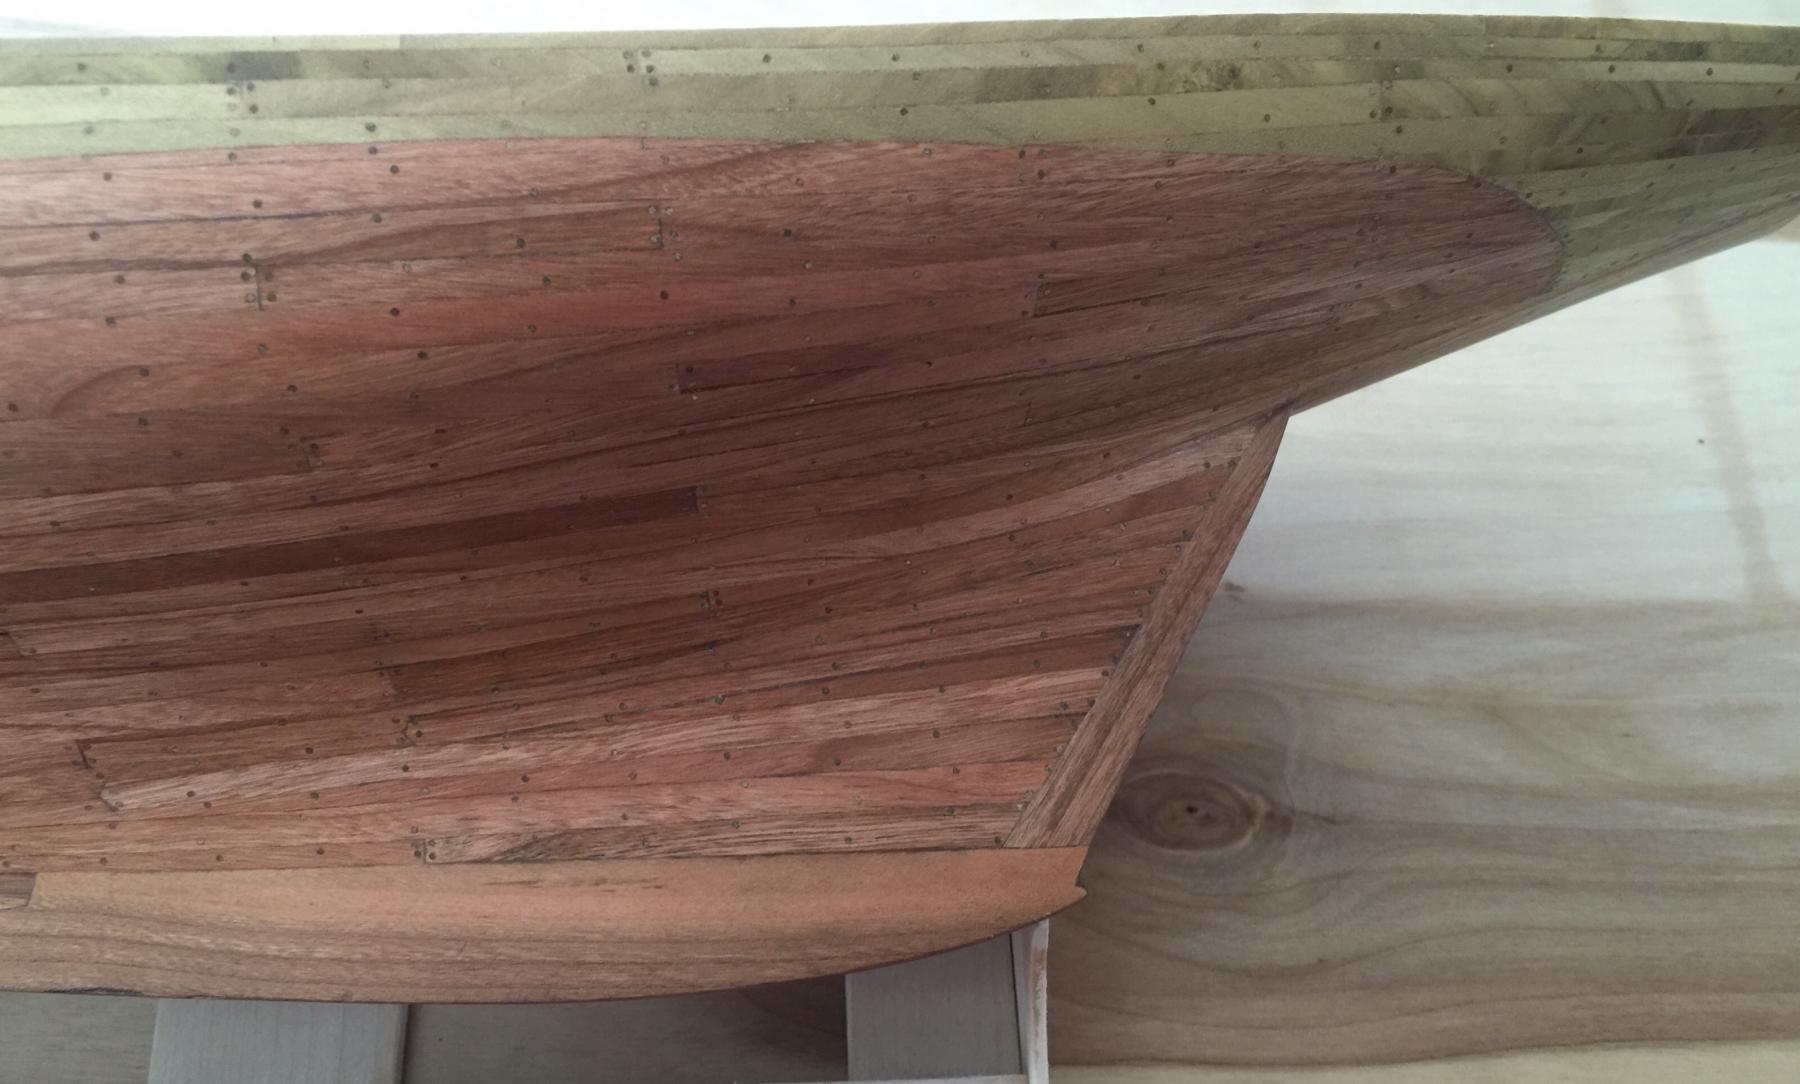
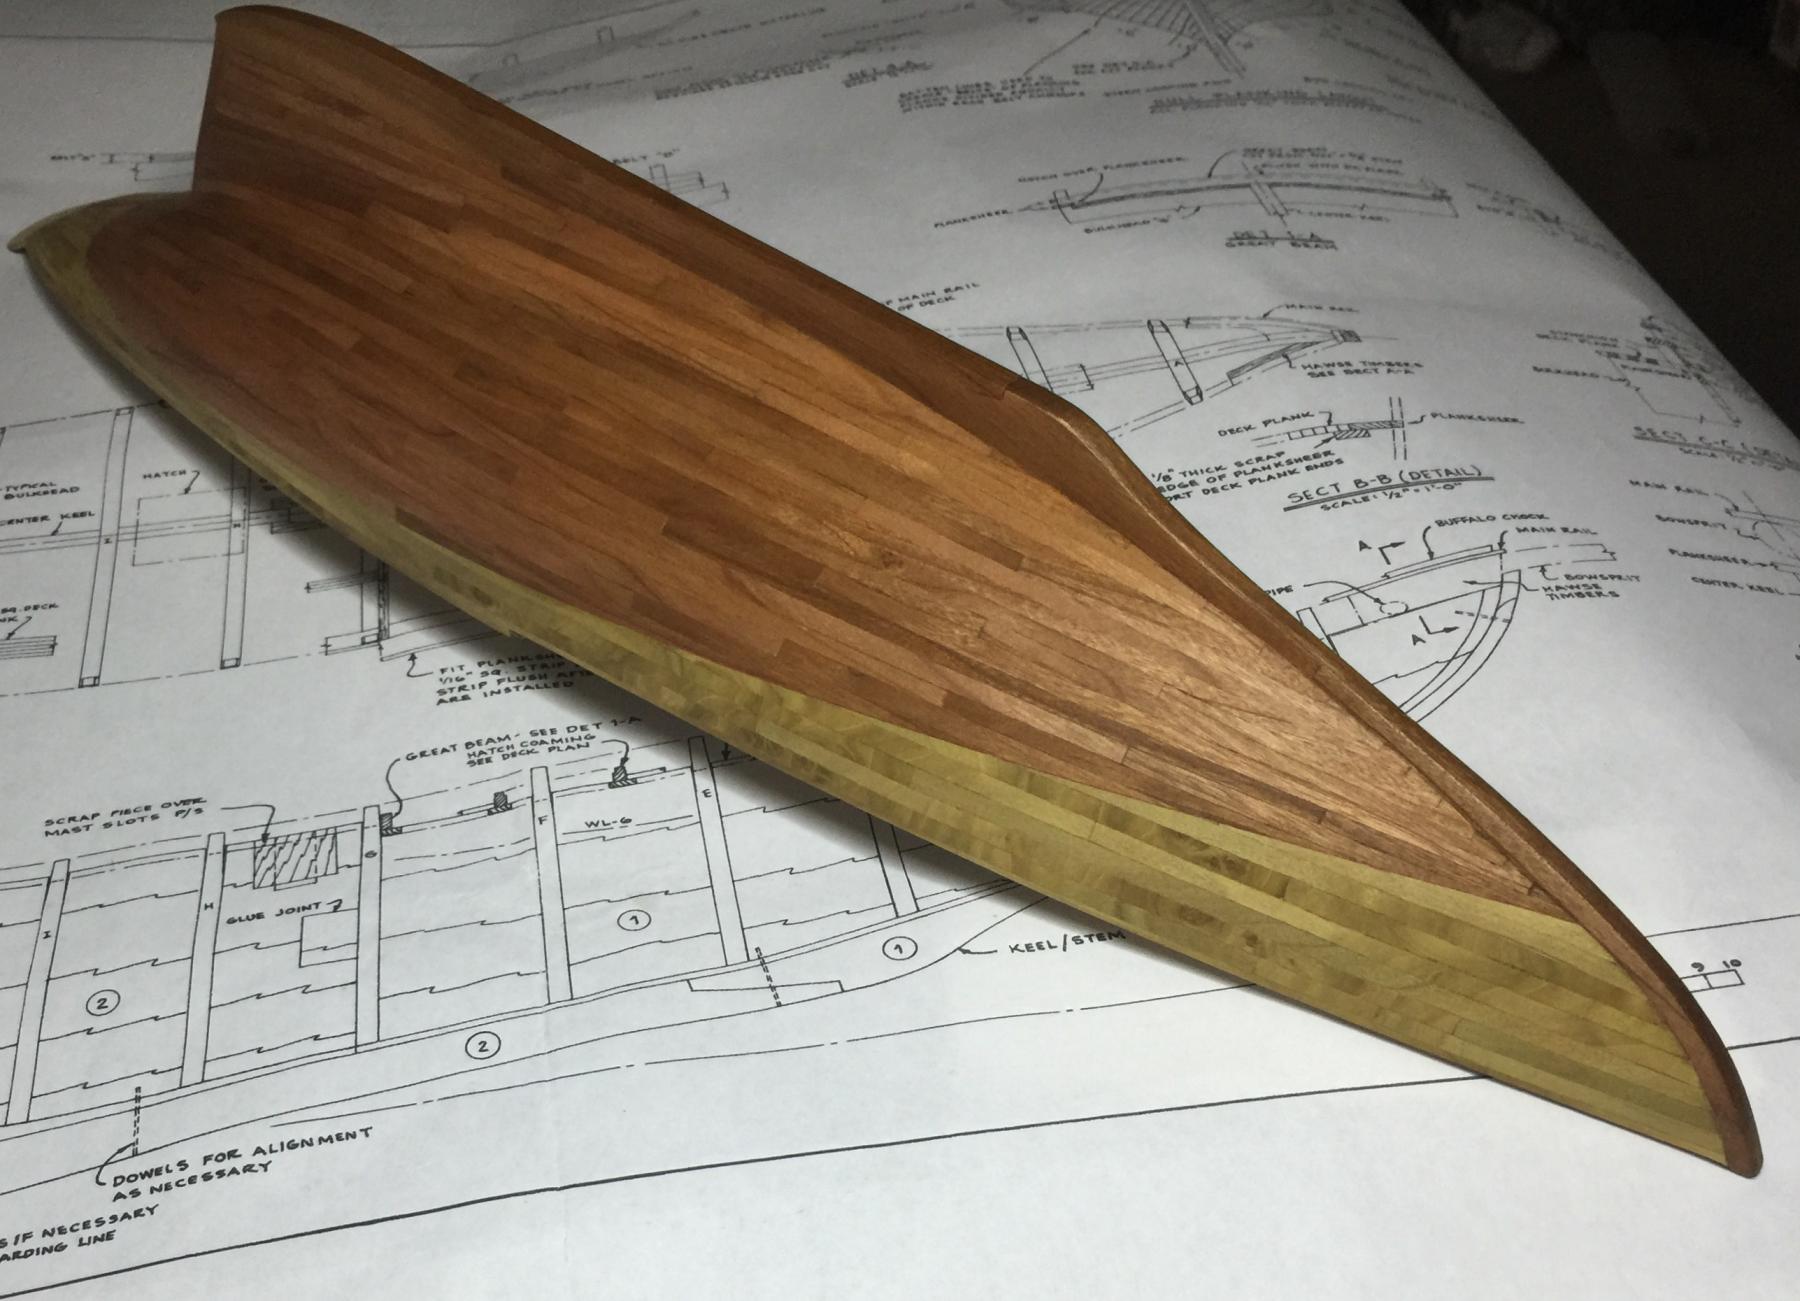
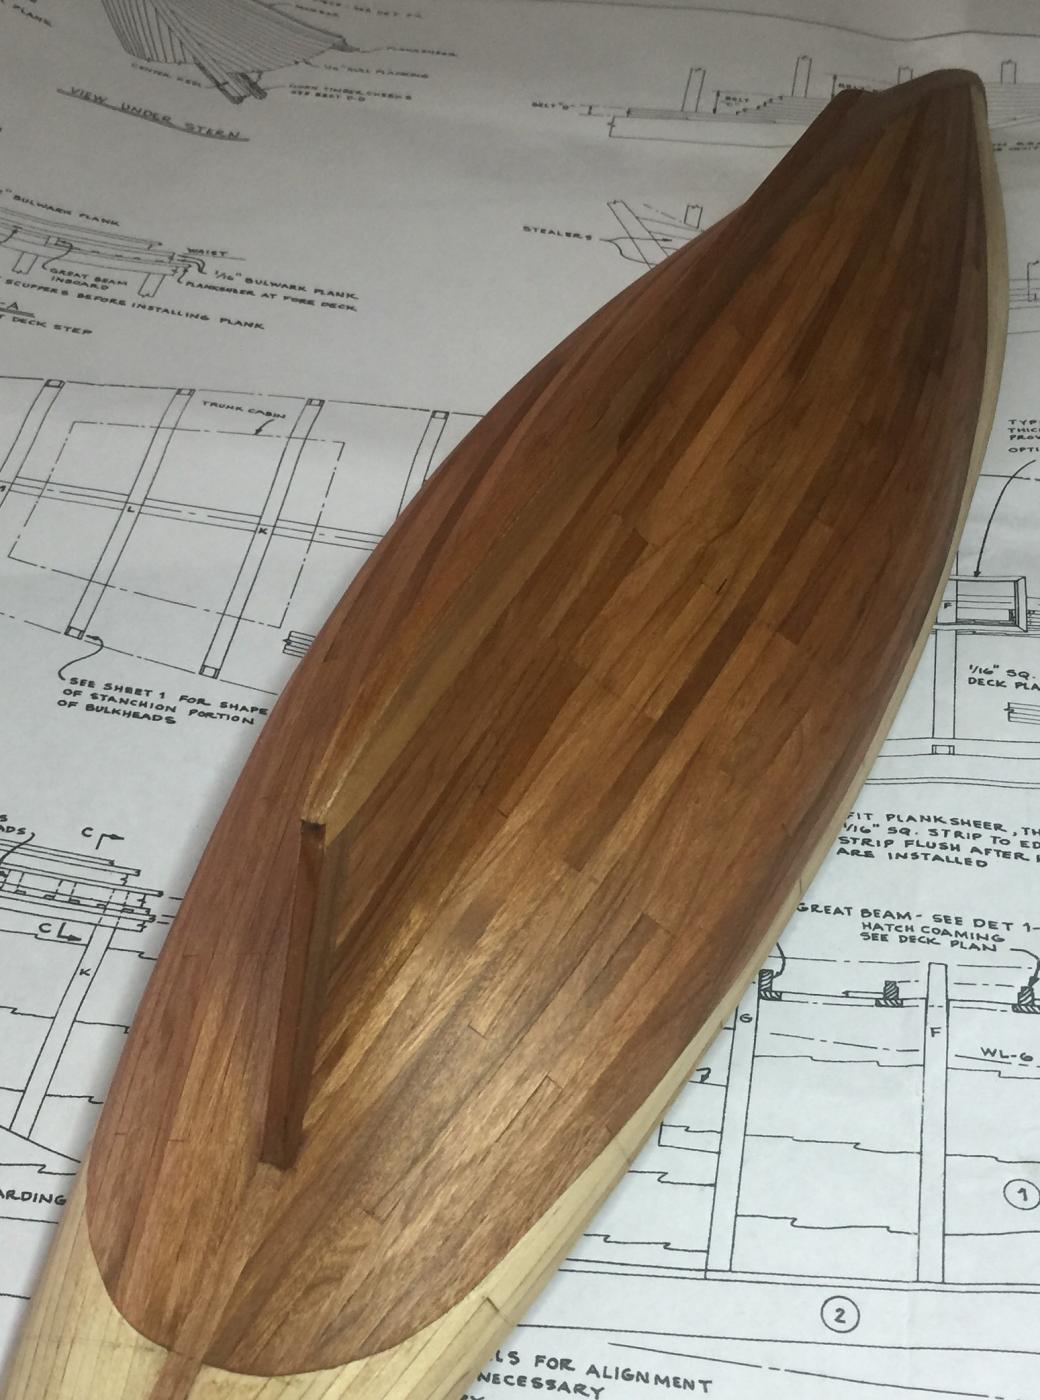
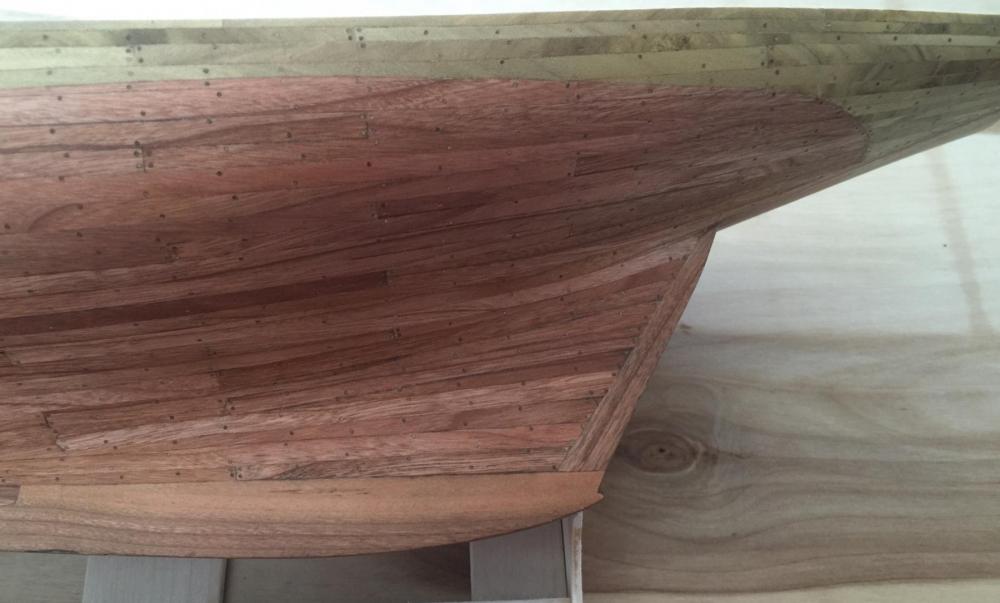
Thanks Don, Mark and everyone for the likes. Finished up with the planking below the waterline. Filled the cracks and gave it a light sanding, then a coat of wax for protection. The final finishing will be done later on.

-
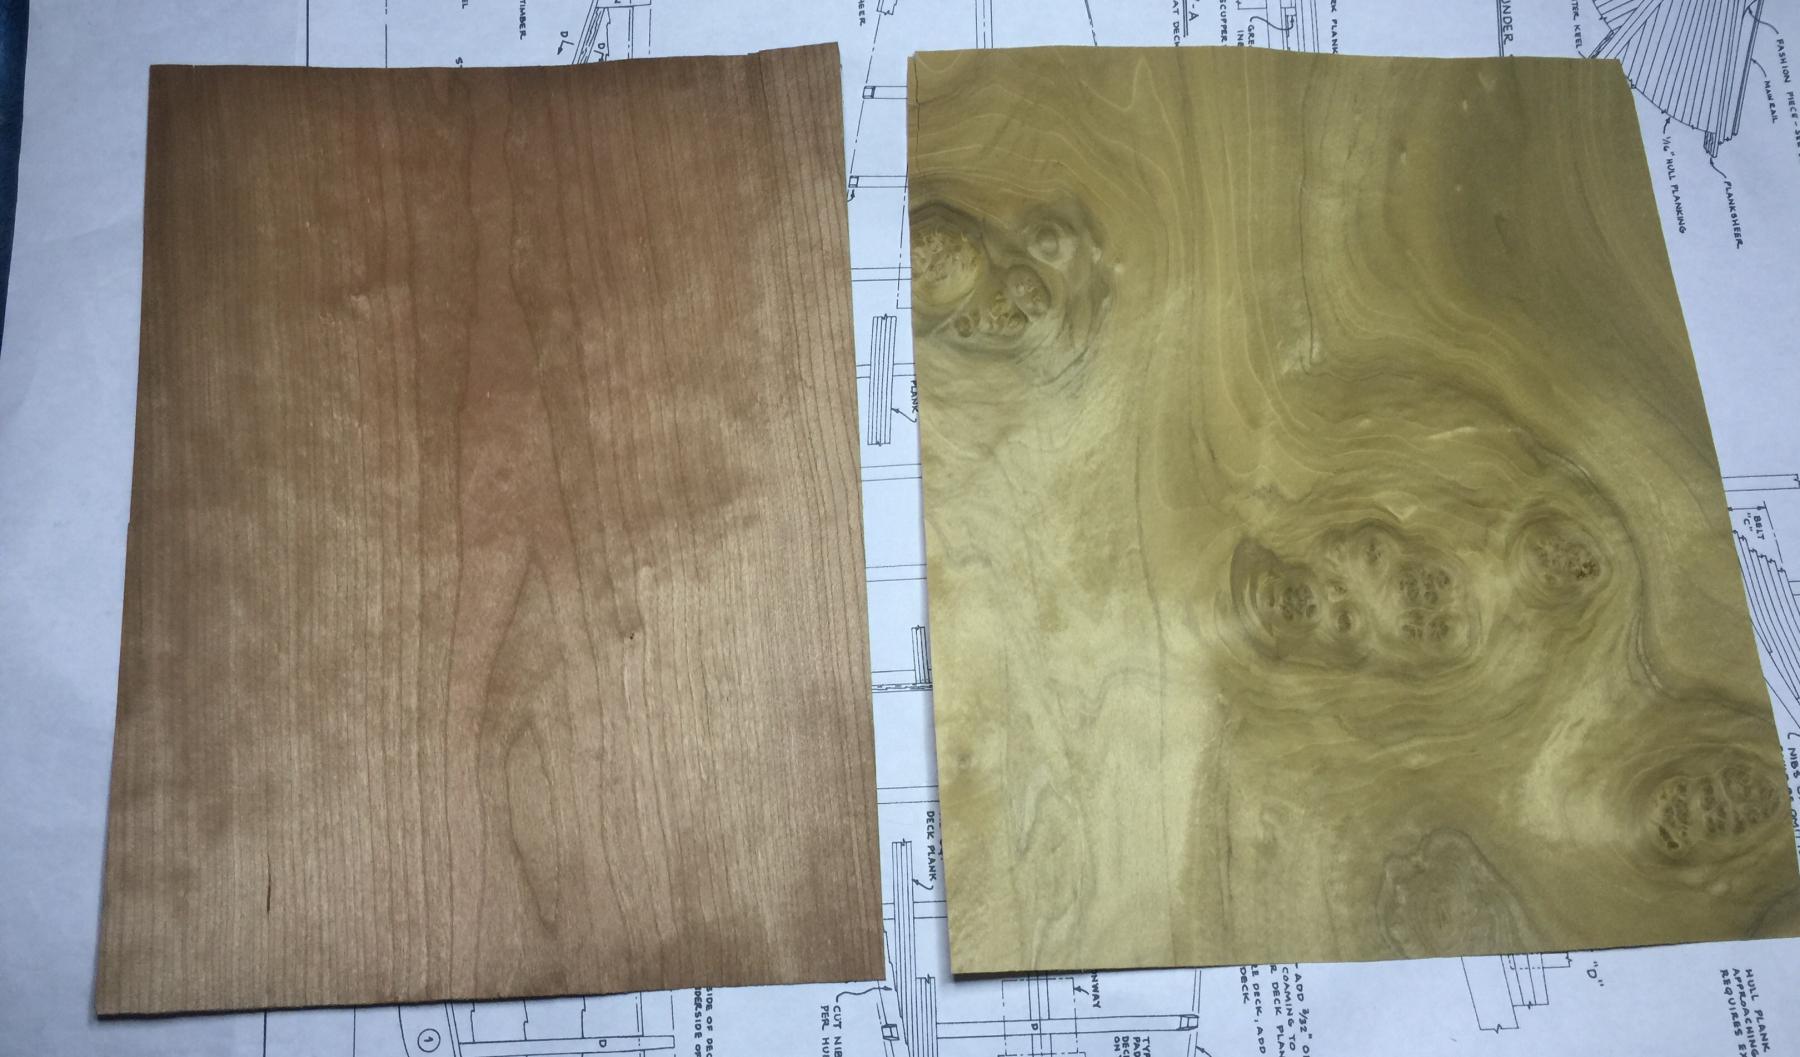
Thank you Frank and Buck. I always enjoy hearing from a couple of master-craftsmen. So I decided on these two woods(cherry and yellow poplar I think) and will split these on the waterline. Got the keel/stem and stern post covered as well as a portion of the planking below the waterline. More to come soon.

-
Thanks Sam. I've painted a couple of boats in the past and I'm starting to like the look of wood. Kinda makes me take longer to make it look good.