aymodeler
-
Posts
19 -
Joined
-
Last visited
Recent Profile Visitors
458 profile views


-
 GrandpaPhil reacted to a post in a topic:
Virginia 1819 by aymodeler - Artesania Latina
GrandpaPhil reacted to a post in a topic:
Virginia 1819 by aymodeler - Artesania Latina
-
EricWilliamMarshall reacted to a post in a topic:
Virginia 1819 by aymodeler - Artesania Latina
-
EricWilliamMarshall reacted to a post in a topic:
Virginia 1819 by aymodeler - Artesania Latina
-
EricWilliamMarshall reacted to a post in a topic:
Virginia 1819 by aymodeler - Artesania Latina
-
EricWilliamMarshall reacted to a post in a topic:
Virginia 1819 by aymodeler - Artesania Latina
-
EricWilliamMarshall reacted to a post in a topic:
Virginia 1819 by aymodeler - Artesania Latina
-
EricWilliamMarshall reacted to a post in a topic:
Virginia 1819 by aymodeler - Artesania Latina
-
EricWilliamMarshall reacted to a post in a topic:
Virginia 1819 by aymodeler - Artesania Latina
-
EricWilliamMarshall reacted to a post in a topic:
Virginia 1819 by aymodeler - Artesania Latina
-
EricWilliamMarshall reacted to a post in a topic:
Virginia 1819 by aymodeler - Artesania Latina
-
Thank you all for the kind wishes!
-
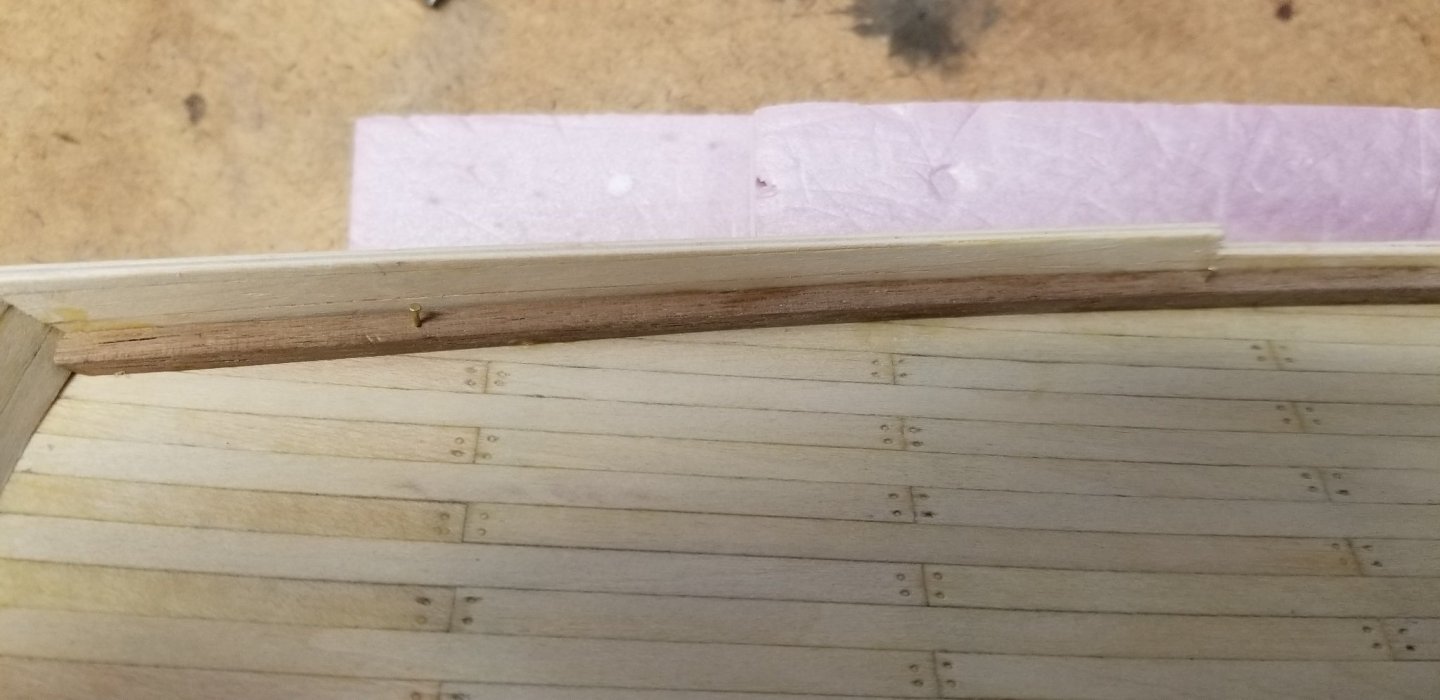
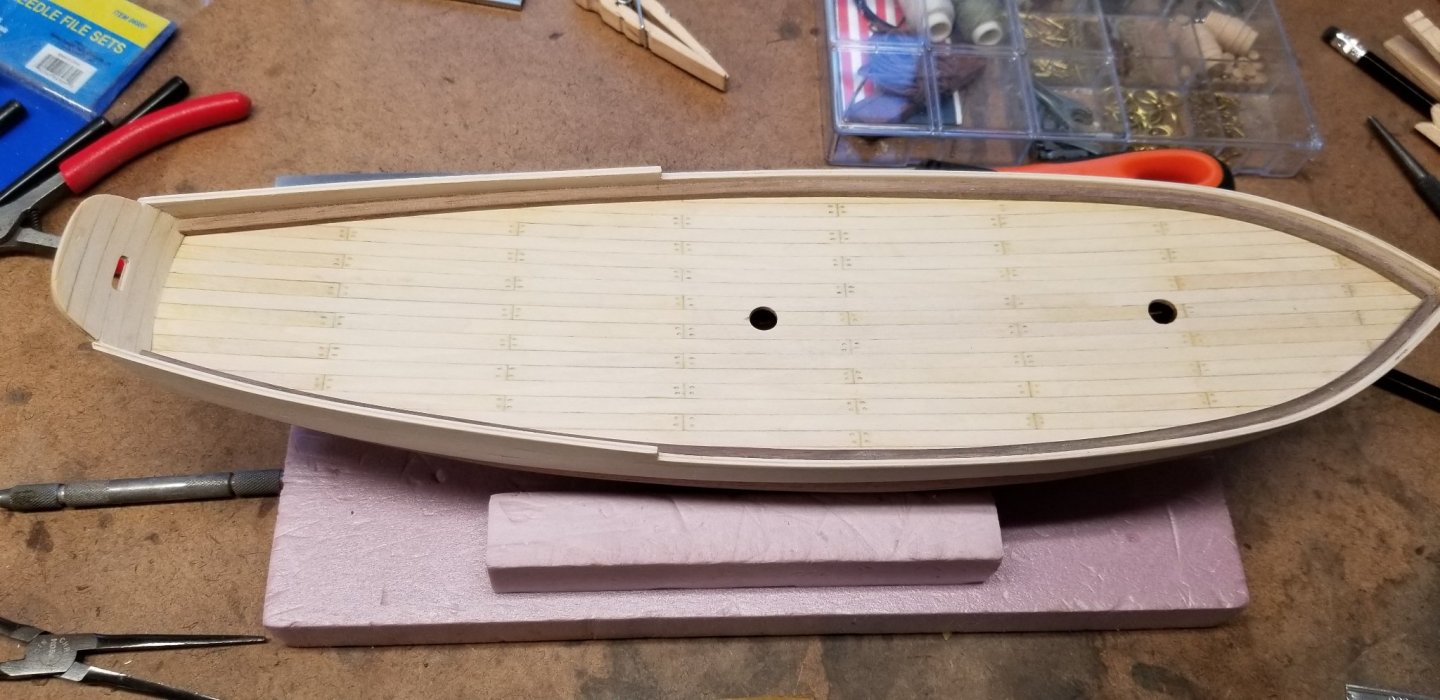
Not much new progress to report. I did get the stringers installed inside the bulwark. I soaked them in hot water then formed them around the edge of a small saucepan to get the bend near the bow in place. I still had a bit of difficulty getting them to stay tight into the corner between the deck and the bulwark and I really didn't have a good clamping solution, so I used some temporary pins to hold everything in place (filling the holes with glue and sawdust after they were removed). Unfortunately, I am dealing with a bit of health issue right now, so I will not be posting for a bit (I have high confidence that I will be back later this spring though!).

-
aymodeler reacted to a post in a topic:
Primer for small metal parts
-
Agreed. I use shellac on smaller, decorative pieces. There is something about the look and even the feel of a traditional shellac finish that gives a handmade piece a sense of warmth and even soul that cannot be recreated with poly finishes. But acrylic poly is my go to for anything that needs to stand up to daily wear and tear, and with a good HVLP setup, it is fast and easy to apply.
-
aymodeler reacted to a post in a topic:
Primer for small metal parts
-
I was originally thinking Binz, which is a shellac based primer, but decided to give the Tamiya spray primer a try. I don't currently have an airbrush (and these parts are a bit small for my HVLP setup 😀), so I will brush on Tamiya flat black. I only have a few small parts (one cannon, 2 anchors, and a few other small parts). If anyone is interested in seeing the kind of finish you can get with good old shellac, look for a video on applying "french polish". This is essentially a process of wiping on many, many, many super thin coats of thinned shellac with a linen pad. The end result is a deep gloss that will put any modern polyurethane finish to shame!
-
Thanks Roger. Yes, I am referring to the typical "white metal" castings. I'll give the Tamiya spray primer a try.
-
I am progressing to the point on my Artesania Latina Virginia build to where I need to start thinking about painting some of the smaller metal parts. Any advise on a good primer to use on such small parts? I will be using acrylic paints. I am thinking of just good old Binz primer as I have plenty of this around and it has always served me well (albeit in MUCH larger applications 😀).
-
Thanks! It really just seemed like the easiest solution I could come up with.
-
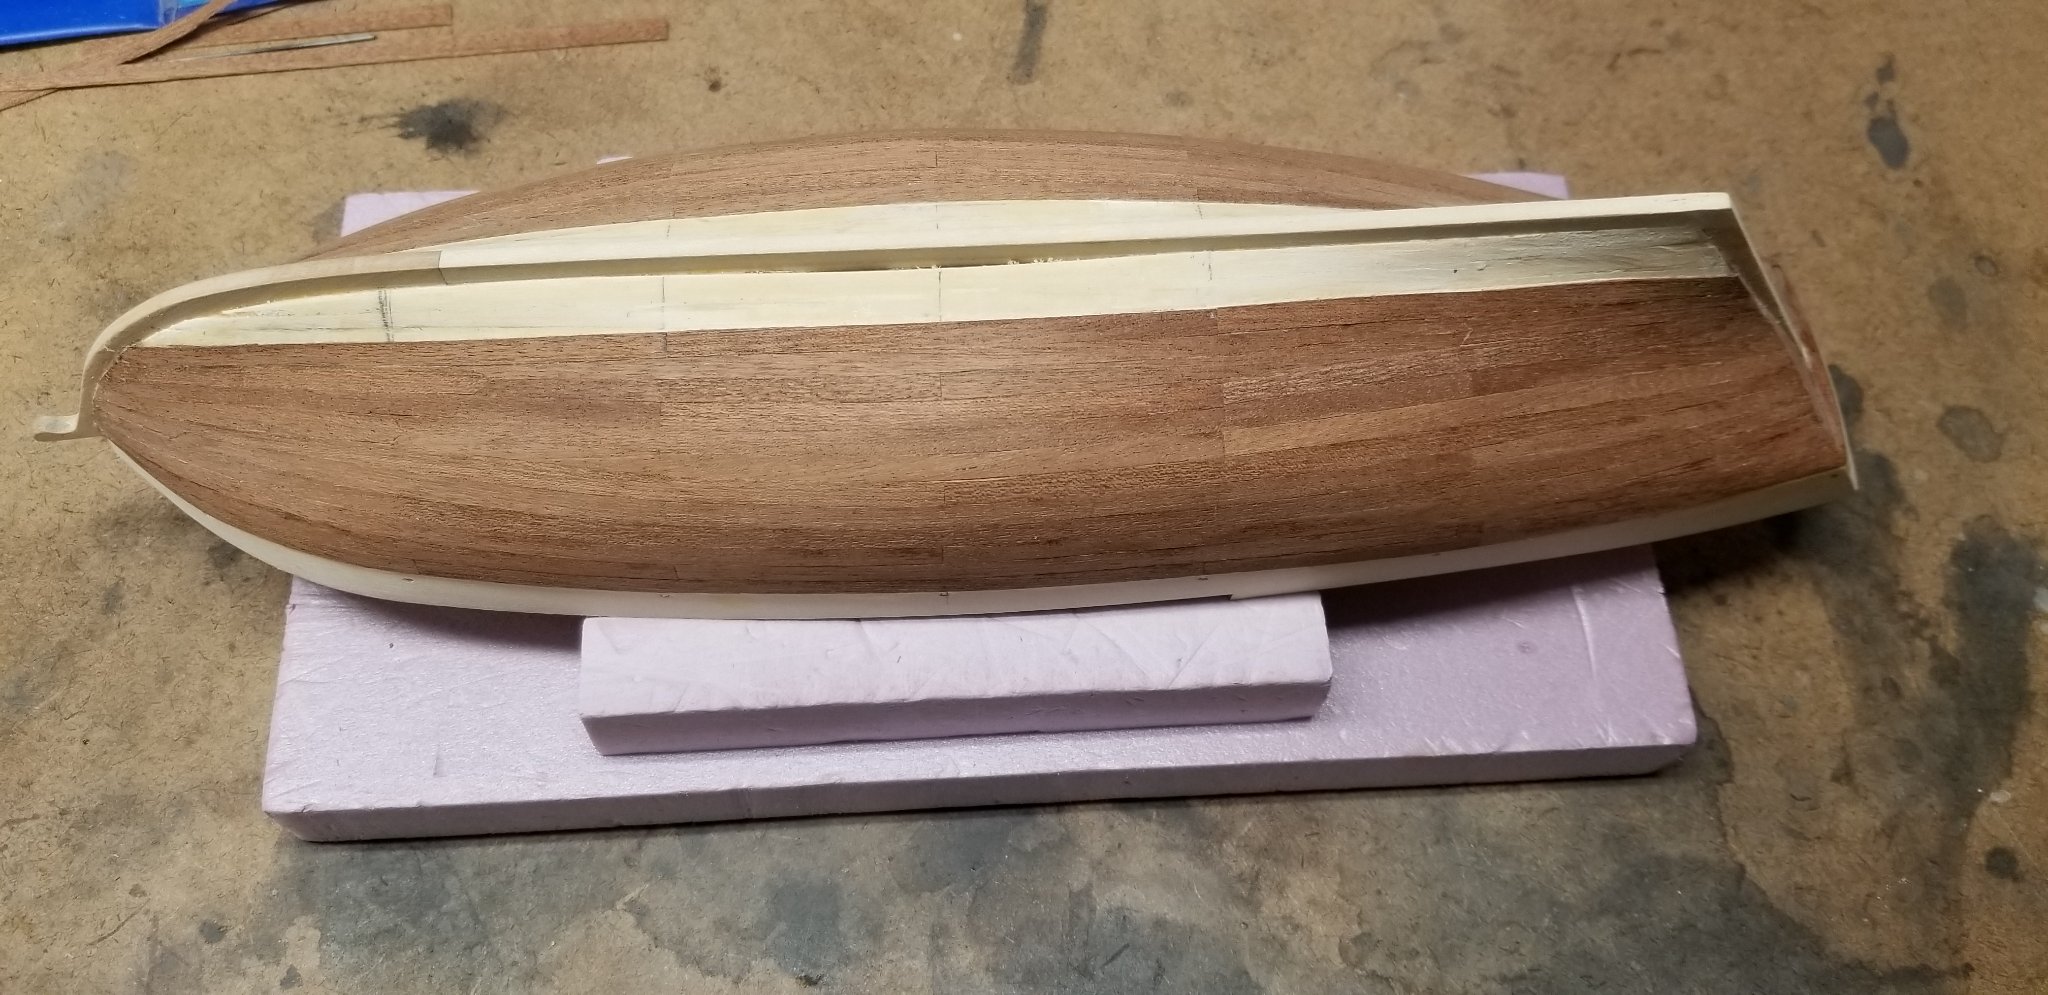
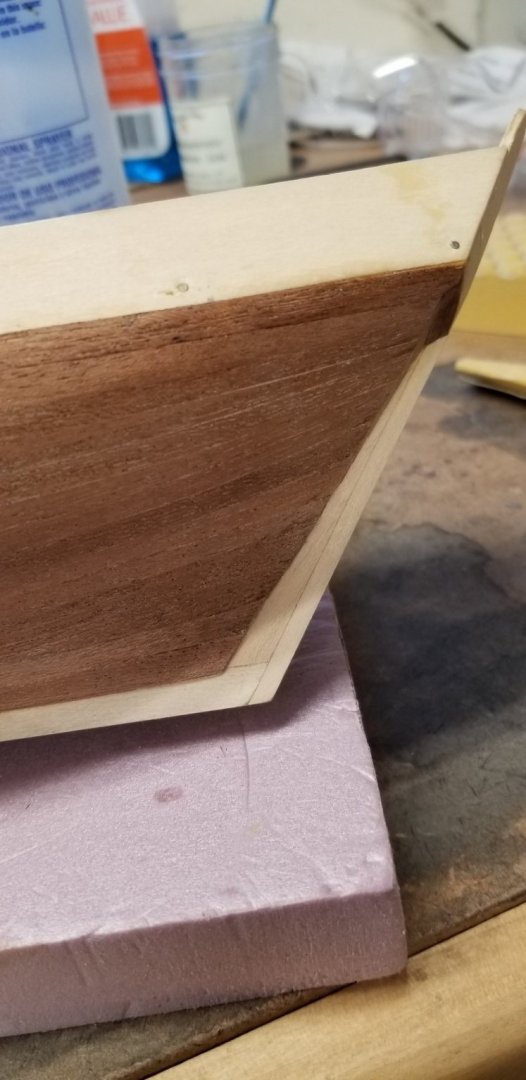
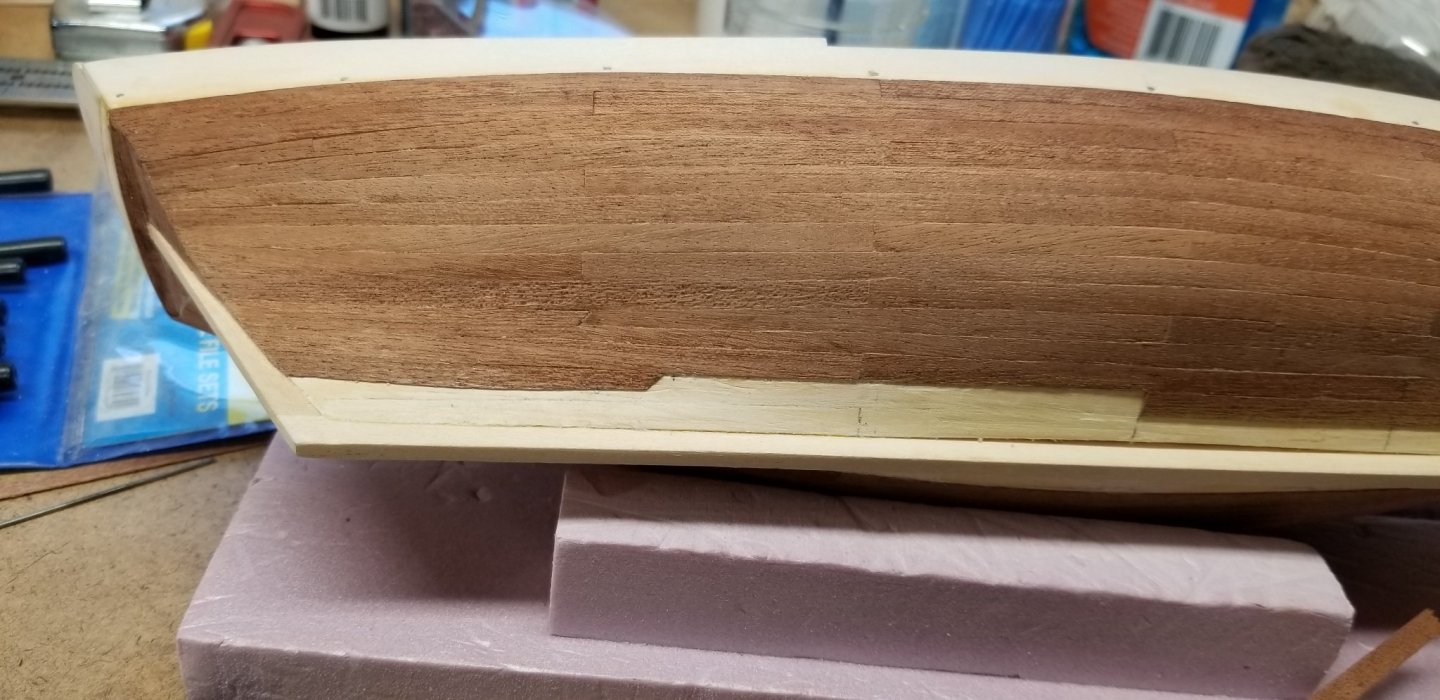
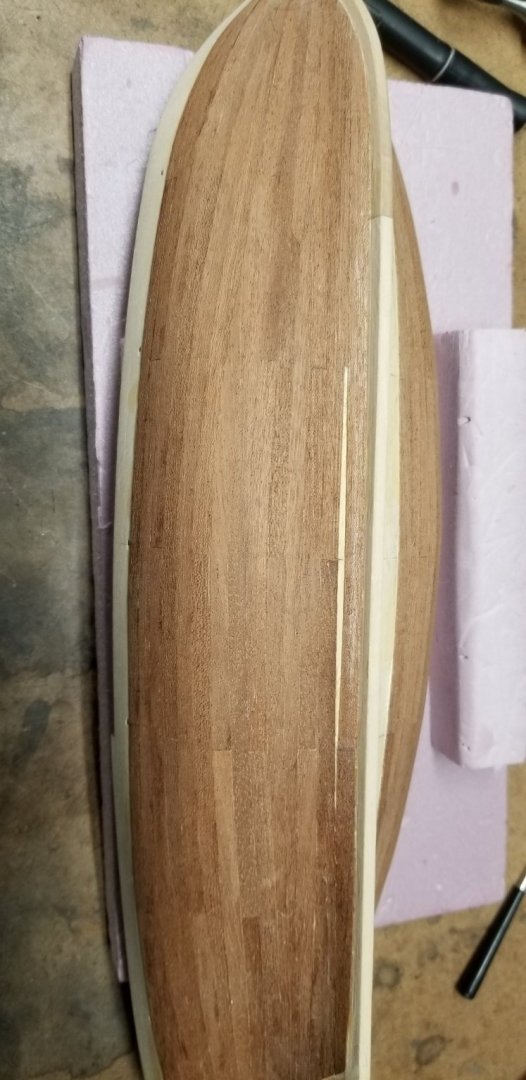
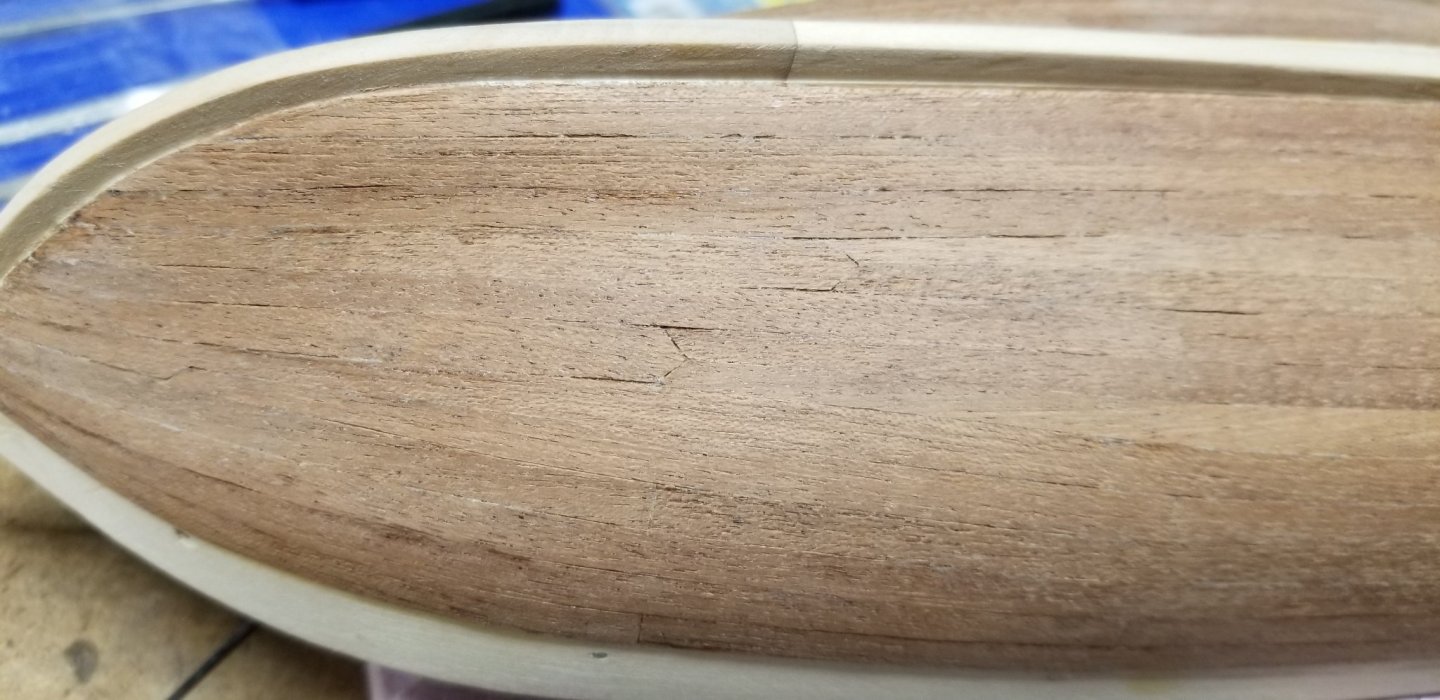
I completed the planking on the bulwarks this weekend. That should officially complete all the hull planking activities. I am glad to have the behind me (it was starting to get a bit tedious). I'm looking forward to working on something that has more "construction" elements.

-
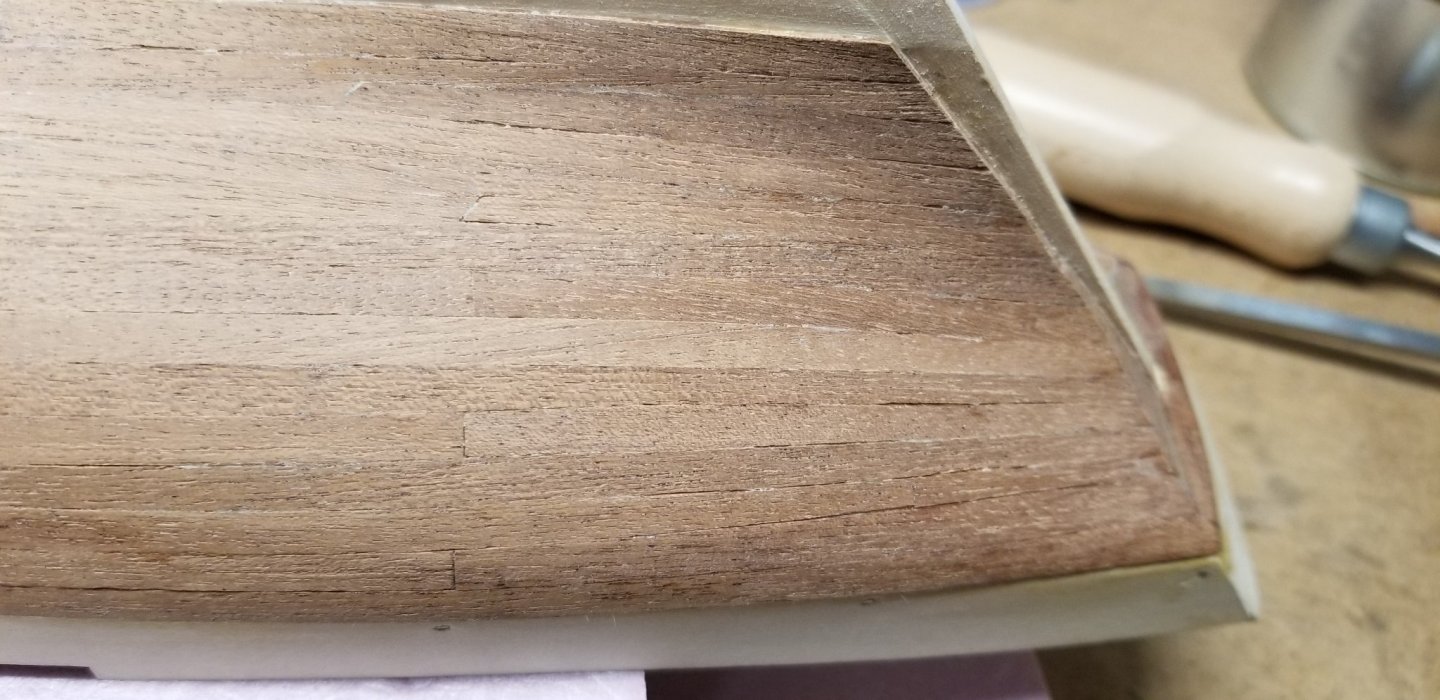
Not too much additional progress today. Just got the planking onto the transom.
-
aymodeler reacted to a post in a topic:
Virginia 1819 by aymodeler - Artesania Latina
-
Thanks for the feedback. I really liked your rudder fix too and came close to doing some similar. I ended up going this route because it seemed simpler. I tried to match the stem and bowsprit angle to the plans as best as possible. I'll check it again though.
-
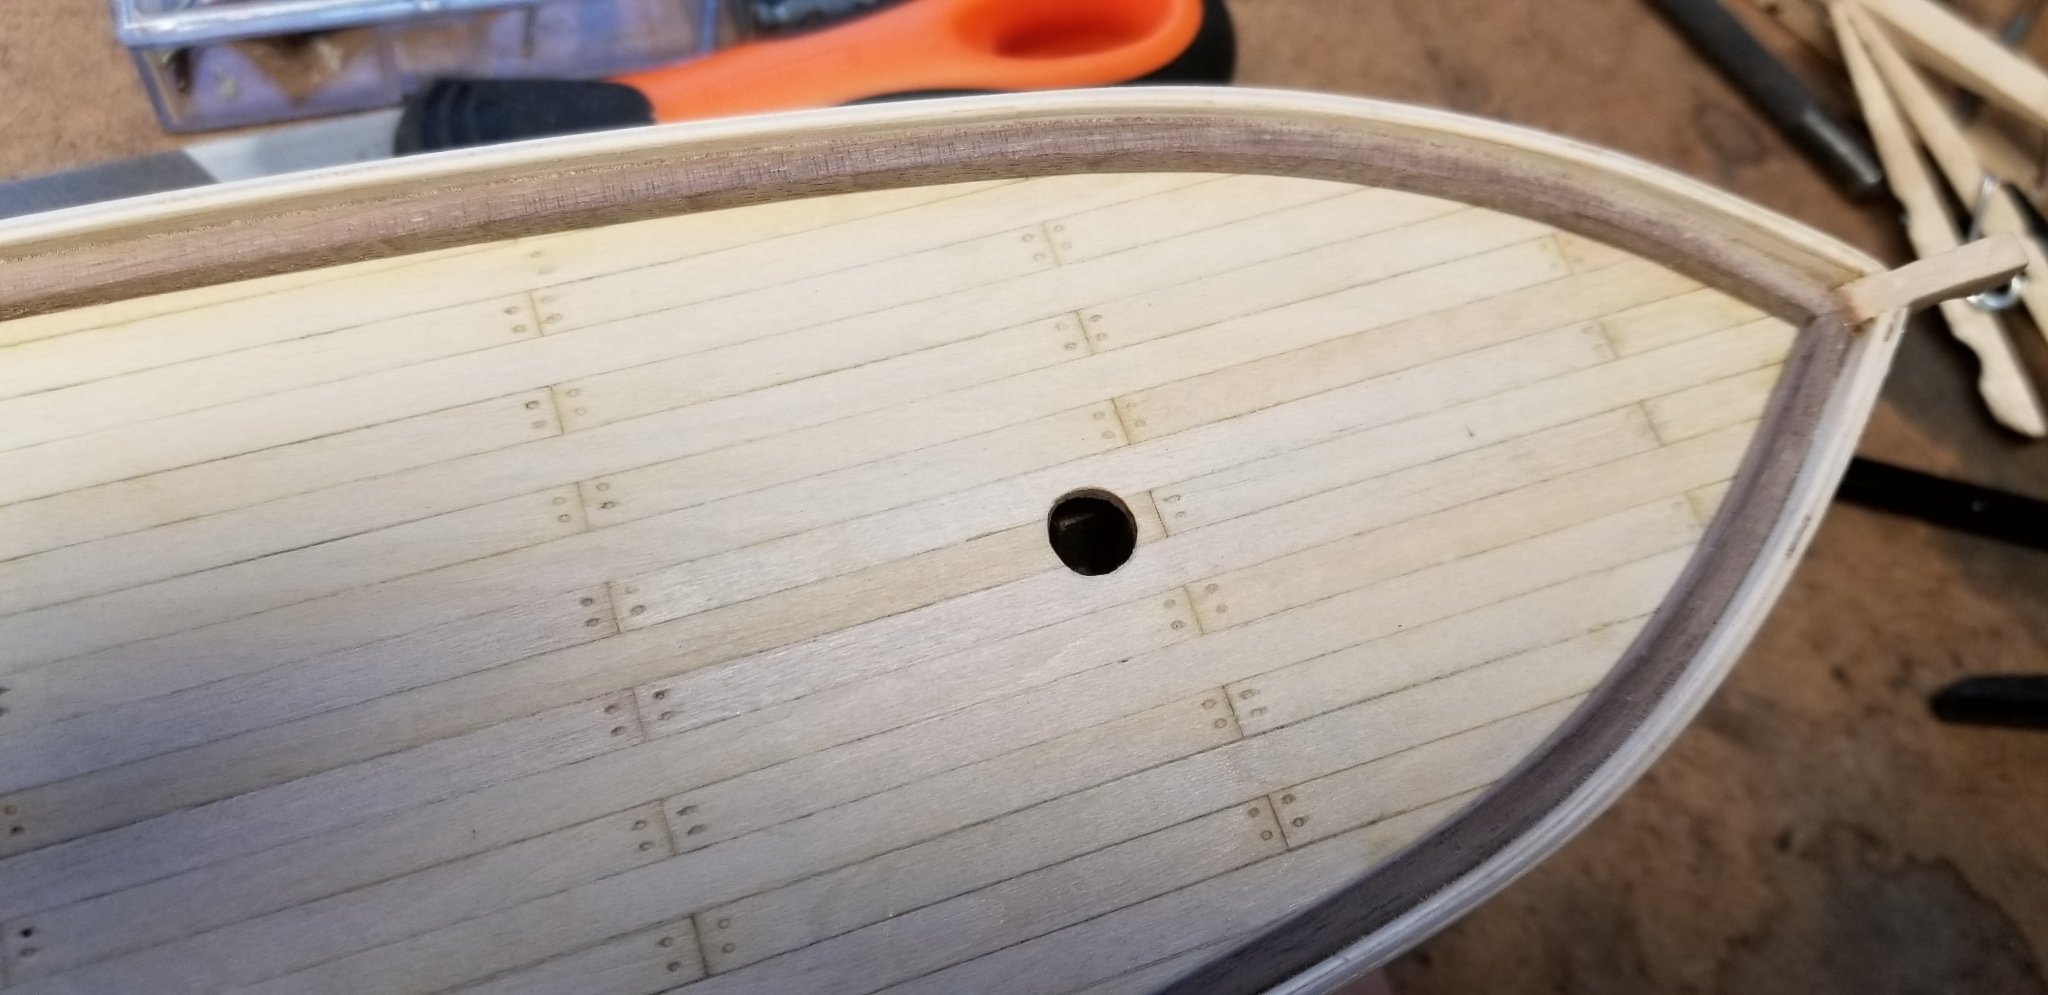
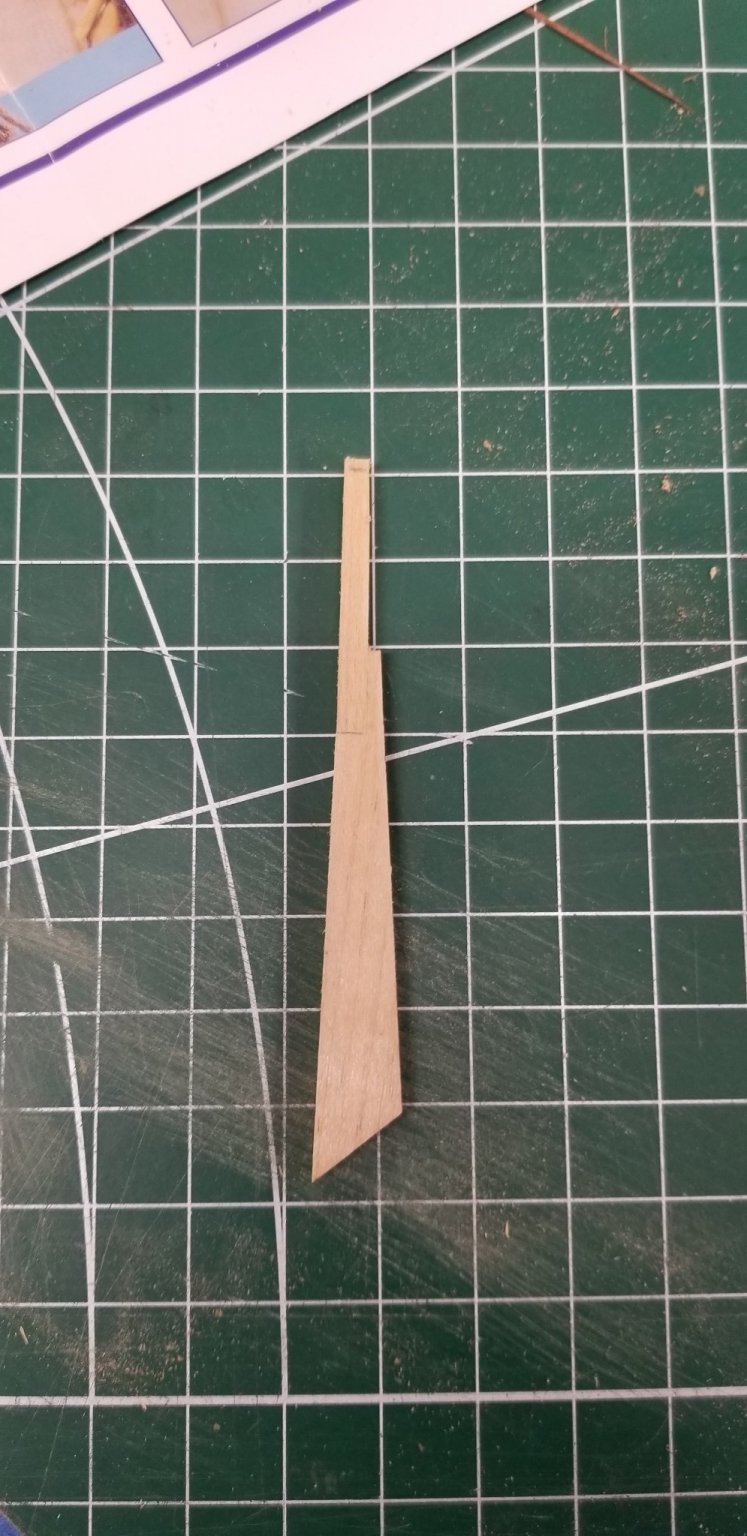
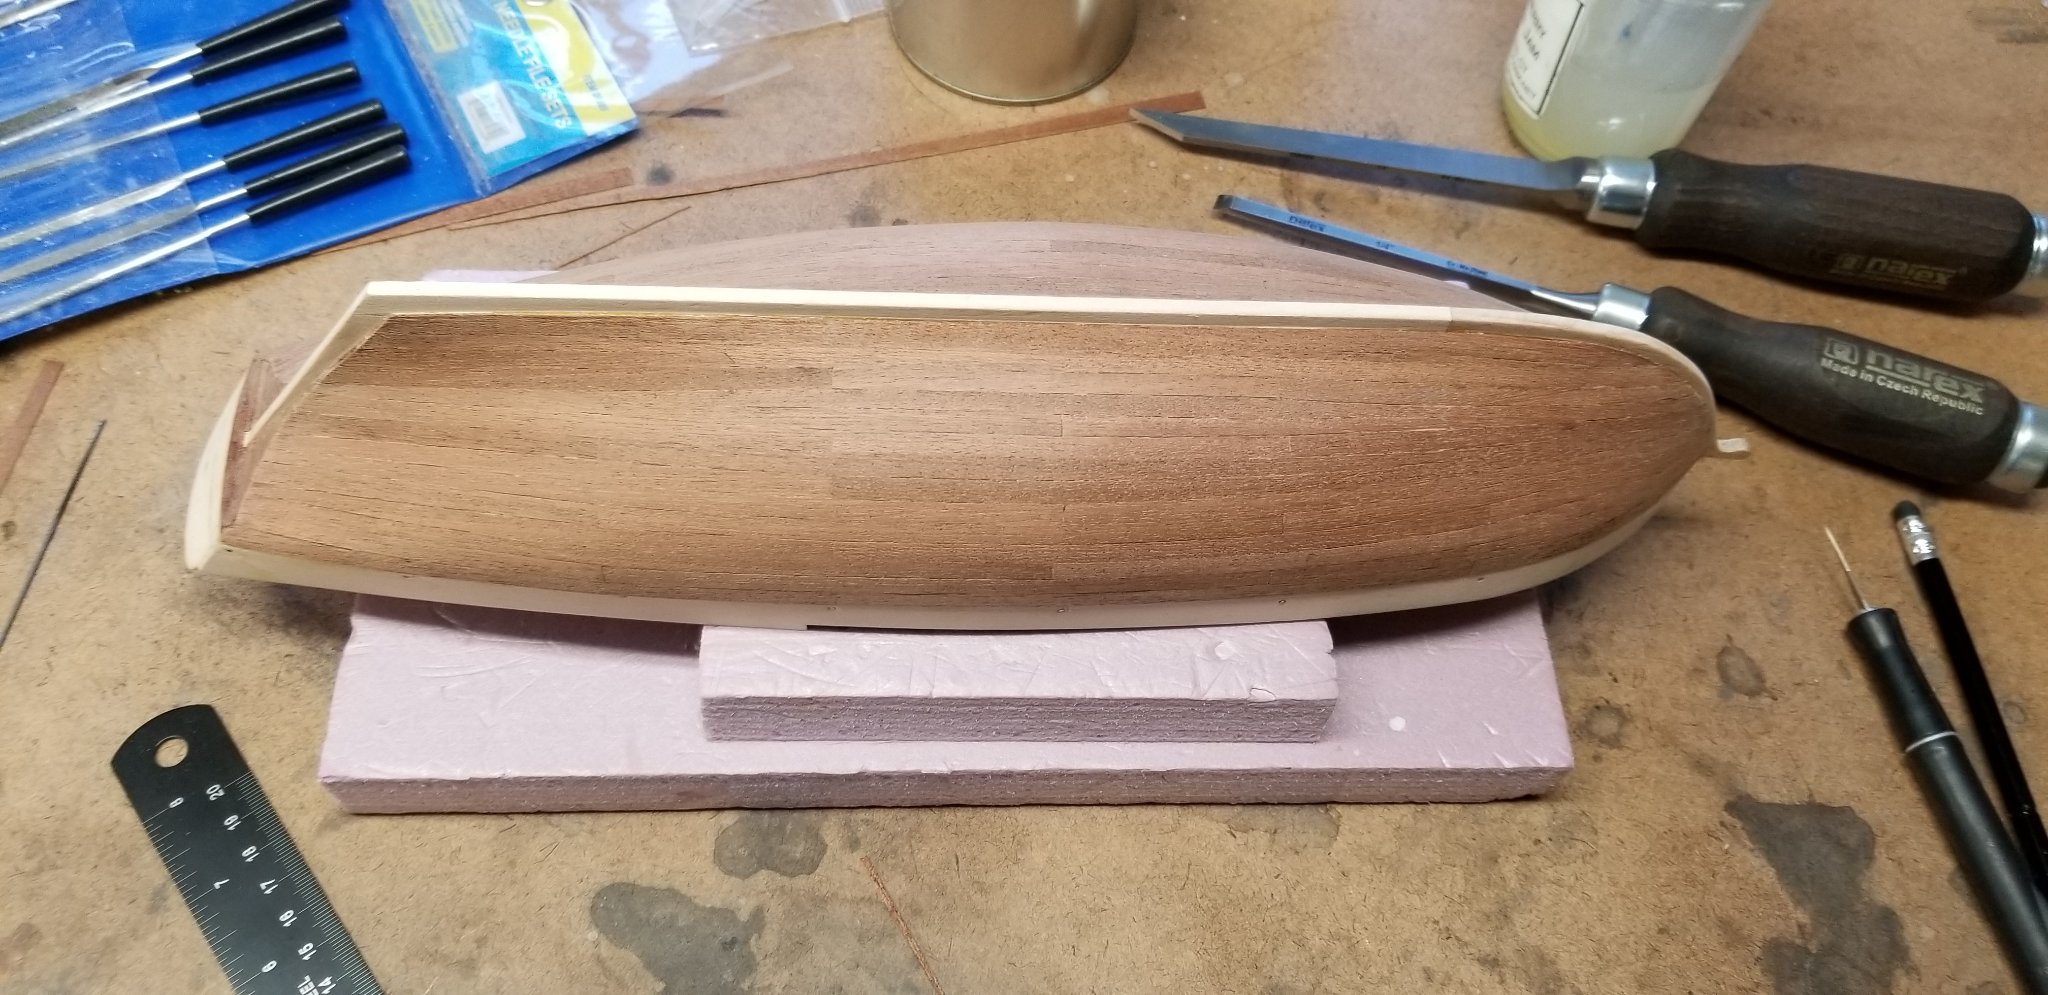
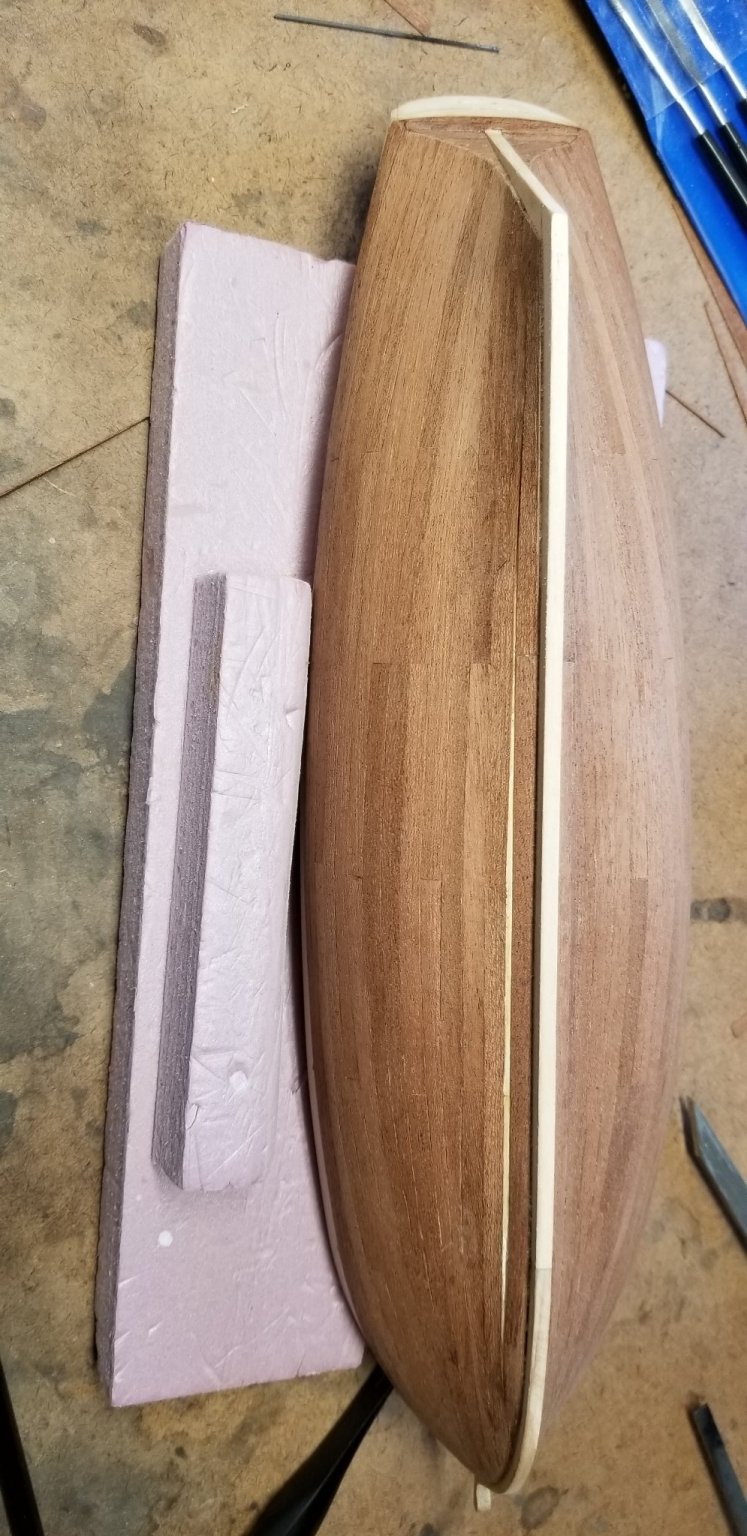
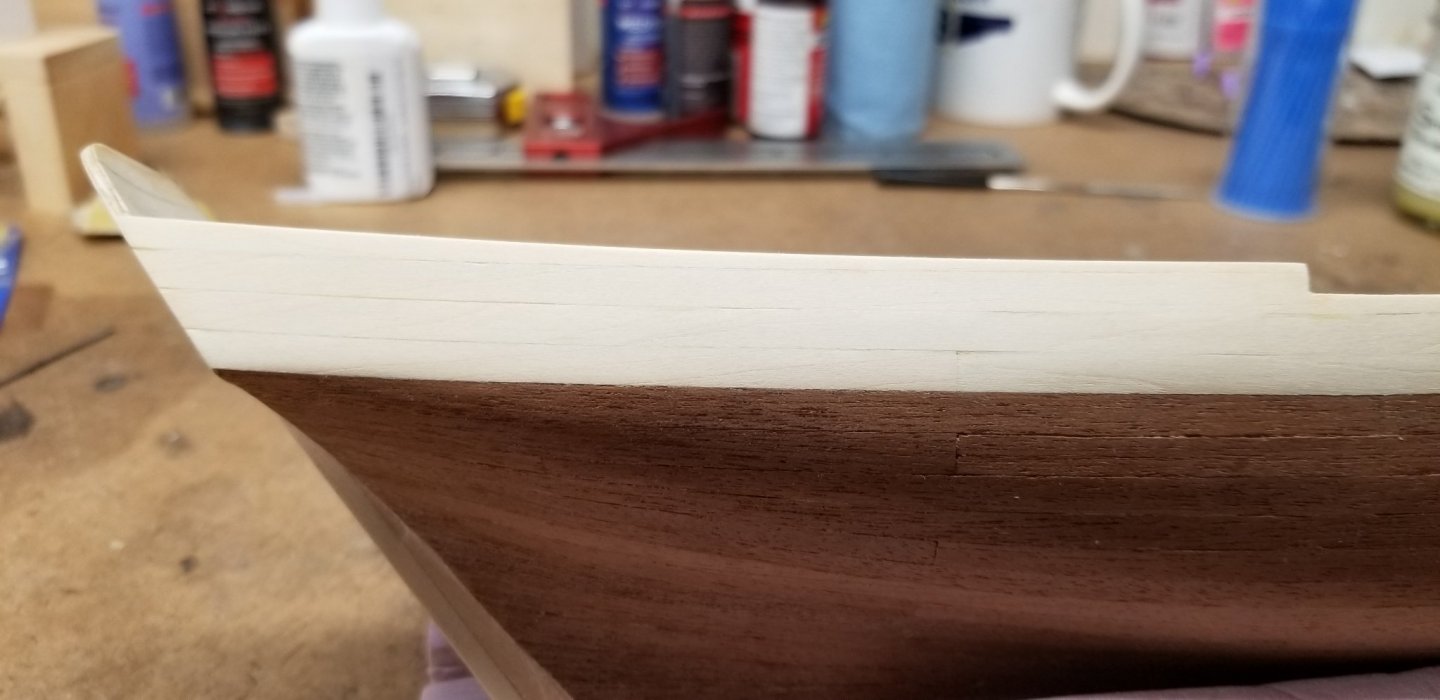
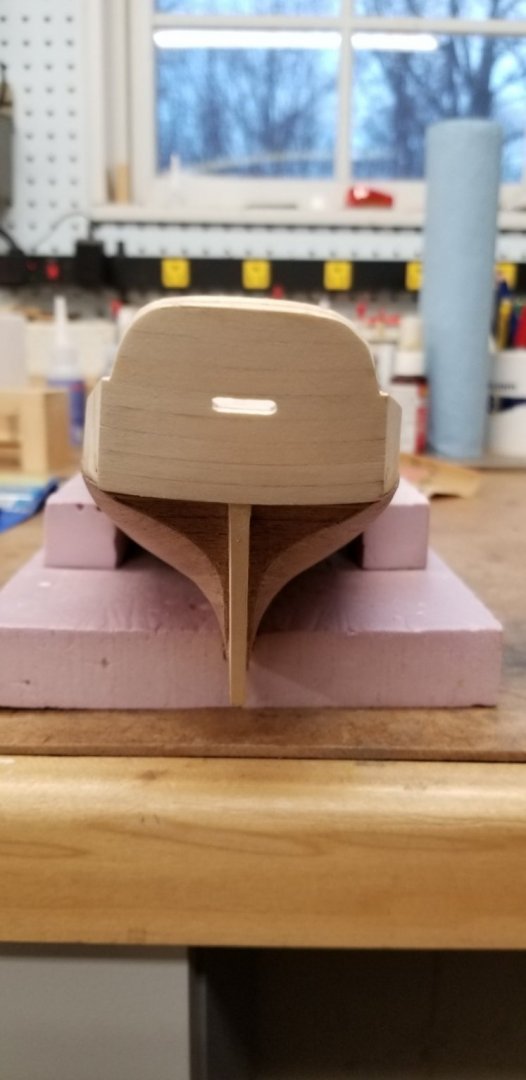
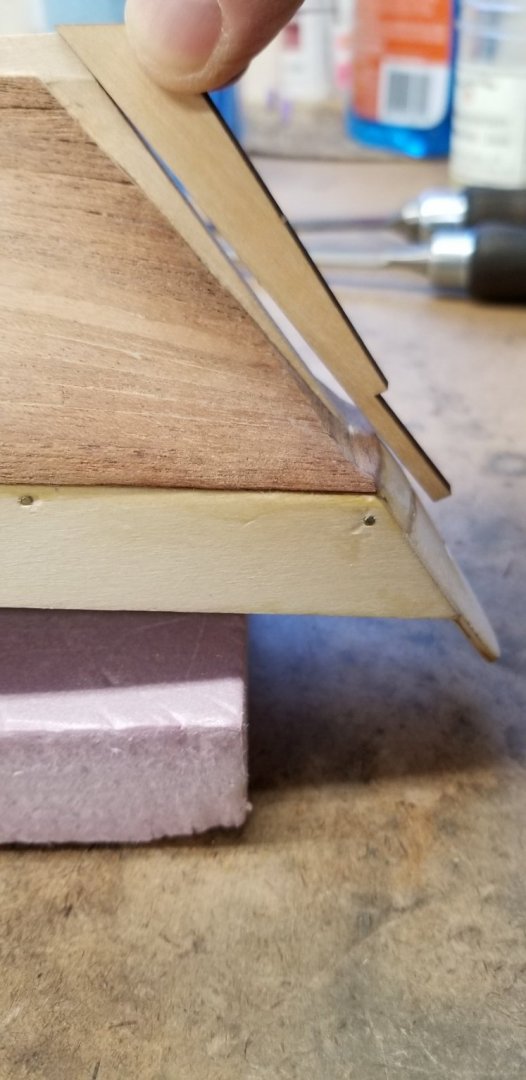
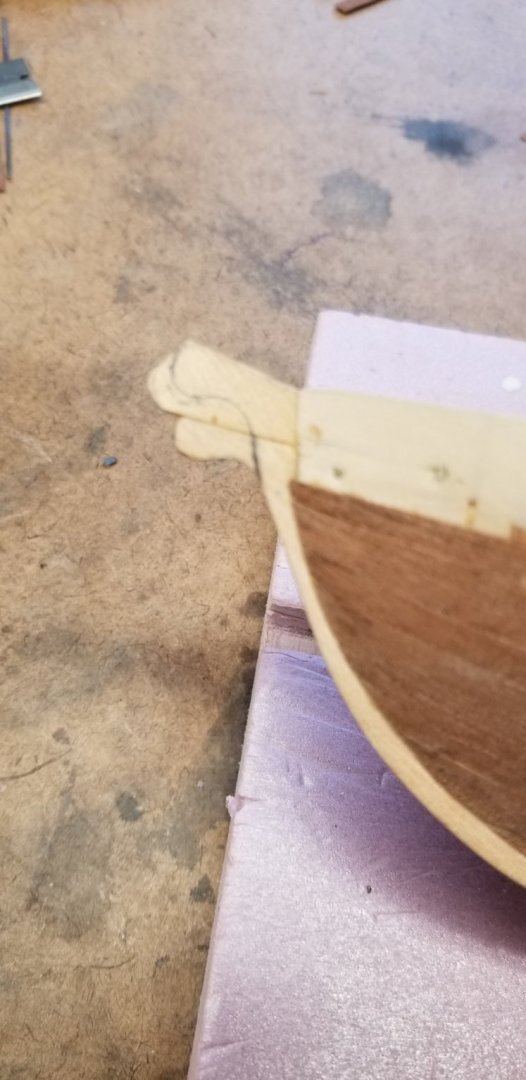
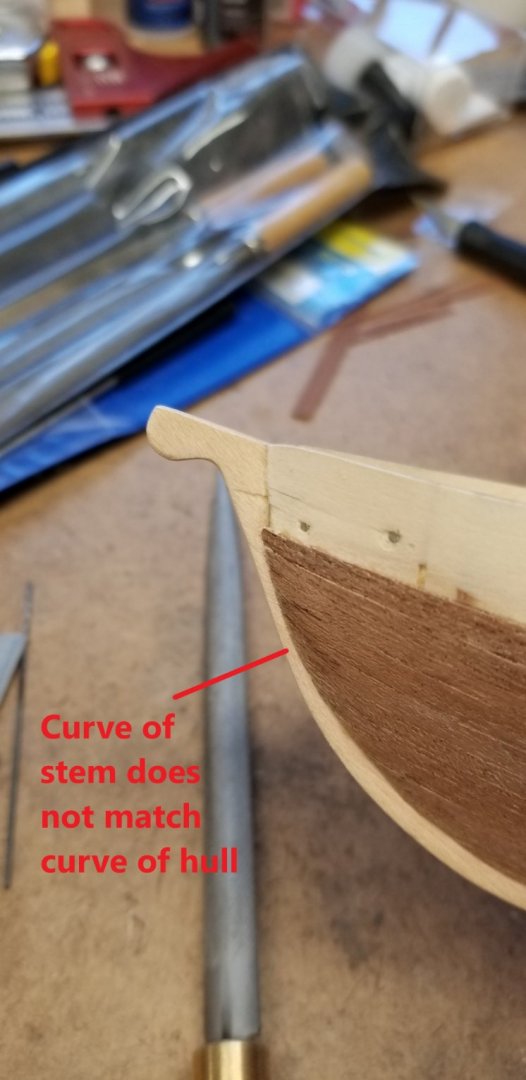
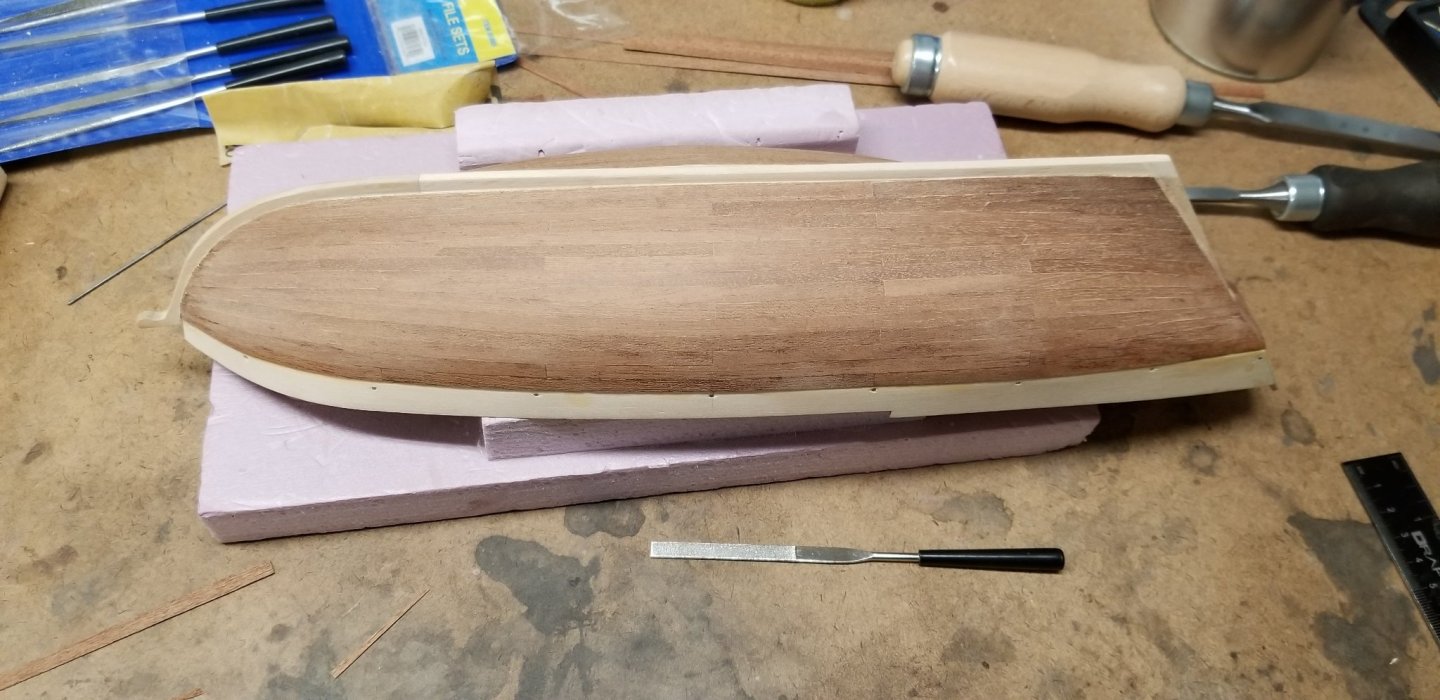
Today, I did a bit of filling of the planking gaps with homemade sawdust and glue "putty". I did this vary sparingly deciding that less is more here. After a bit of sanding, I am declaring this part done and moving on. It's not quite perfect, but it will be fine and I am quite confident that once it gets a coat of poly, I will be happy enough with it. After reading the Virginia build thread by SardonicMeow, I discovered a couple of mistakes that I made and need to address before moving on (I wish I had spent some time reading through other build threads before starting - lesson learned). The first mistake is that it apears that I did not assemble the transom properly, leaving a big gap when you try to fit the rudder. This seems to be quite a common problem as it appears in several build threads for this model. To fix this, I added a bit of material to the stern post so that the rudder will end up in line with the transom. Also, I needed to lengthen the post on the top of the rudder so that it will line up with the tiller slot. The next problem that I discovered was that I installed the stem too low down on the hull, such that the bowsprit would not sit at the right angle. To fix this, I glued a bit of scrap to the top of the stem, then rough cut it with a jewlers saw followed by a bit of cleanup with a small rasp and some needle files to get the right shape. Unfortunately, I also now see that the curve of the bow stem does not match the curve of the hull quite properly. There is not much I can do about that now, so it will be left as is. These repairs will leave some seam lines were the fixes were attached, but they are minimal and should get lost when all the remaining details are added. Onto the upper hull planking next.

-
GuntherMT, thanks for the tip. I have done something similar in the past with larger woodworking projects, and will give it a try here. I finished up the planking on the port side today. I did end up with a bigger gap on the last row, but was able to fill it like I did the starboard side. I had plenty of small cut-off scraps, so I would find a bit that was just a tiny bit oversized and then press it in with glue and the trim iron for nice tight fit. Both sides have been lightly sanded. I will try filling in some of the remaining gaps next.


-
A little more progress. Have the planking done on one side. Stealer added on the stern planking. A bit fussy but produces nice results. I ended up with a small gap near the bottom. I know the "proper" way to fix this is with a correction plank, but I just fit in a small filler piece. It will never be seen. Close examination does reveal some small gaps due to the relatively ragged edges to the sapele planking material provided with the kit. I tried to joint the edges by lightly sanding, but would have to have gotten very aggressive to get them completely square. I am tempted to apply a tiny bit of filler, but not sure if it will make things worse in the end.
-
Thanks, I have been using card scrapers and a bit of very, very light sanding as I go, mainly to clean up any glue squeeze out while the glue is still relatively soft.
-
A bit more progress. A few more planks on each side, and this part will be done.