
whitejamest
-
Posts
209 -
Joined
-
Last visited
1 Follower

Recent Profile Visitors
3,439 profile views


-
 whitejamest reacted to a post in a topic:
HMS Speedy and El Gamo by Linus Spjutsberg - 1/700 scale - diorama - 3D printed
whitejamest reacted to a post in a topic:
HMS Speedy and El Gamo by Linus Spjutsberg - 1/700 scale - diorama - 3D printed
-
whitejamest reacted to a post in a topic:
HMS Speedy and El Gamo by Linus Spjutsberg - 1/700 scale - diorama - 3D printed
-
 I'll be following this with great interest Linus. I don't have much experience with 1/700 models, but have made a lot of 1/1200 gaming miniatures, rigged with bristles from a nylon paint brush. At 1/700 you could even add photo etched crew figures.
 -
whitejamest reacted to a post in a topic:
HMS Speedy and El Gamo by Linus Spjutsberg - 1/700 scale - diorama - 3D printed
-
catopower reacted to a post in a topic:
ALFRED by schooner - FINISHED - BlueJacket Shipcrafters - 1:96 - Continental Navy Frigate
-
whitejamest reacted to a post in a topic:
HMS Speedy 1782 by dunnock - FINISHED - Vanguard Models - 1:64 Scale
-
 whitejamest reacted to a post in a topic:
ALFRED by schooner - FINISHED - BlueJacket Shipcrafters - 1:96 - Continental Navy Frigate
whitejamest reacted to a post in a topic:
ALFRED by schooner - FINISHED - BlueJacket Shipcrafters - 1:96 - Continental Navy Frigate
-
whitejamest reacted to a post in a topic:
22 ft Yawl ship boat by Johngr - FINISHED - Vanguard Models - 1:64
-
whitejamest reacted to a post in a topic:
HMS Speedy by usedtosail - FINISHED - Vanguard Models - Scale 1:64
-
whitejamest reacted to a post in a topic:
HMS Speedy by usedtosail - FINISHED - Vanguard Models - Scale 1:64
-
whitejamest reacted to a post in a topic:
HMS Speedy 1782 by dunnock - FINISHED - Vanguard Models - 1:64 Scale
-
 Dave B reacted to a post in a topic:
HMS Speedy by Dave B - FINISHED - Vanguard Models - 1:64
Dave B reacted to a post in a topic:
HMS Speedy by Dave B - FINISHED - Vanguard Models - 1:64
-
whitejamest reacted to a post in a topic:
ALFRED by schooner - FINISHED - BlueJacket Shipcrafters - 1:96 - Continental Navy Frigate
-
AJohnson reacted to a post in a topic:
HMS Speedy by Dave B - FINISHED - Vanguard Models - 1:64
-
Mr Whippy reacted to a post in a topic:
HMS Speedy by Dave B - FINISHED - Vanguard Models - 1:64
-
SUBaron reacted to a post in a topic:
ALFRED by schooner - FINISHED - BlueJacket Shipcrafters - 1:96 - Continental Navy Frigate
-
ccoyle reacted to a post in a topic:
HMS Speedy by whitejamest - Vanguard Models - 1:64
-
Ronald-V reacted to a post in a topic:
HMS Speedy by whitejamest - Vanguard Models - 1:64
-
Glenn-UK reacted to a post in a topic:
HMS Speedy by whitejamest - Vanguard Models - 1:64
-
BLACK VIKING reacted to a post in a topic:
HMS Speedy by whitejamest - Vanguard Models - 1:64
-
Ryland Craze reacted to a post in a topic:
HMS Speedy by whitejamest - Vanguard Models - 1:64
-
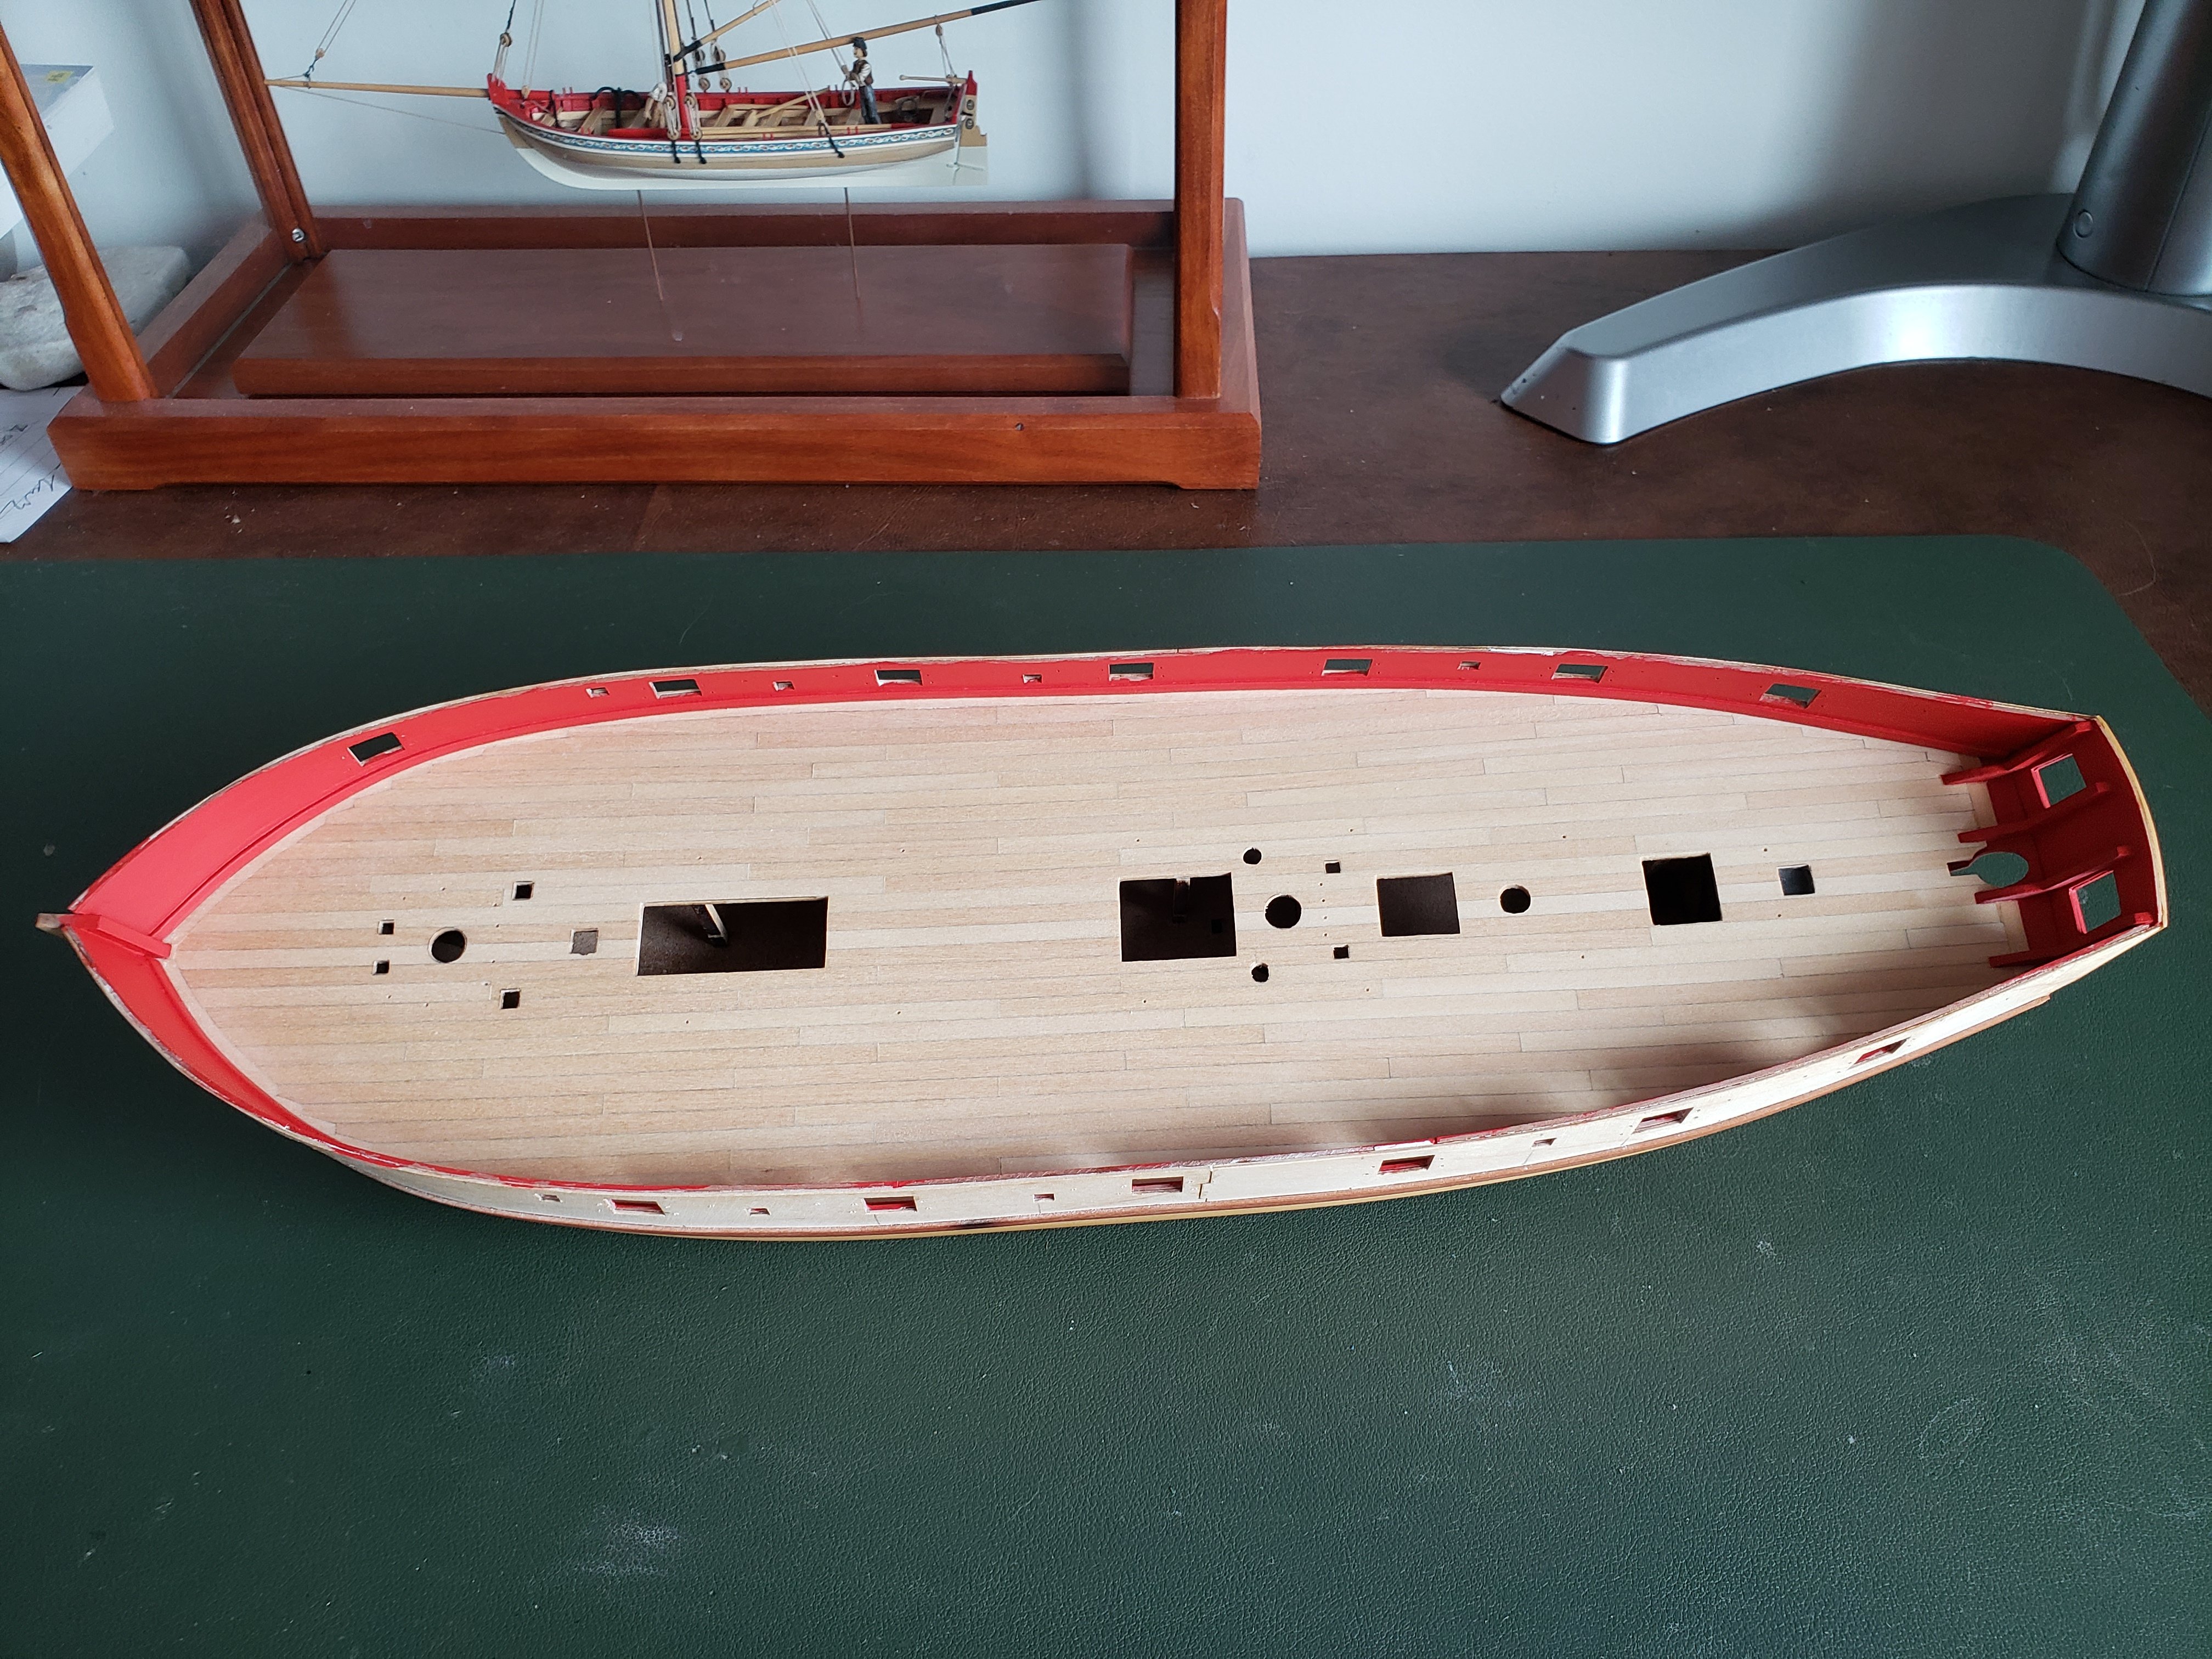
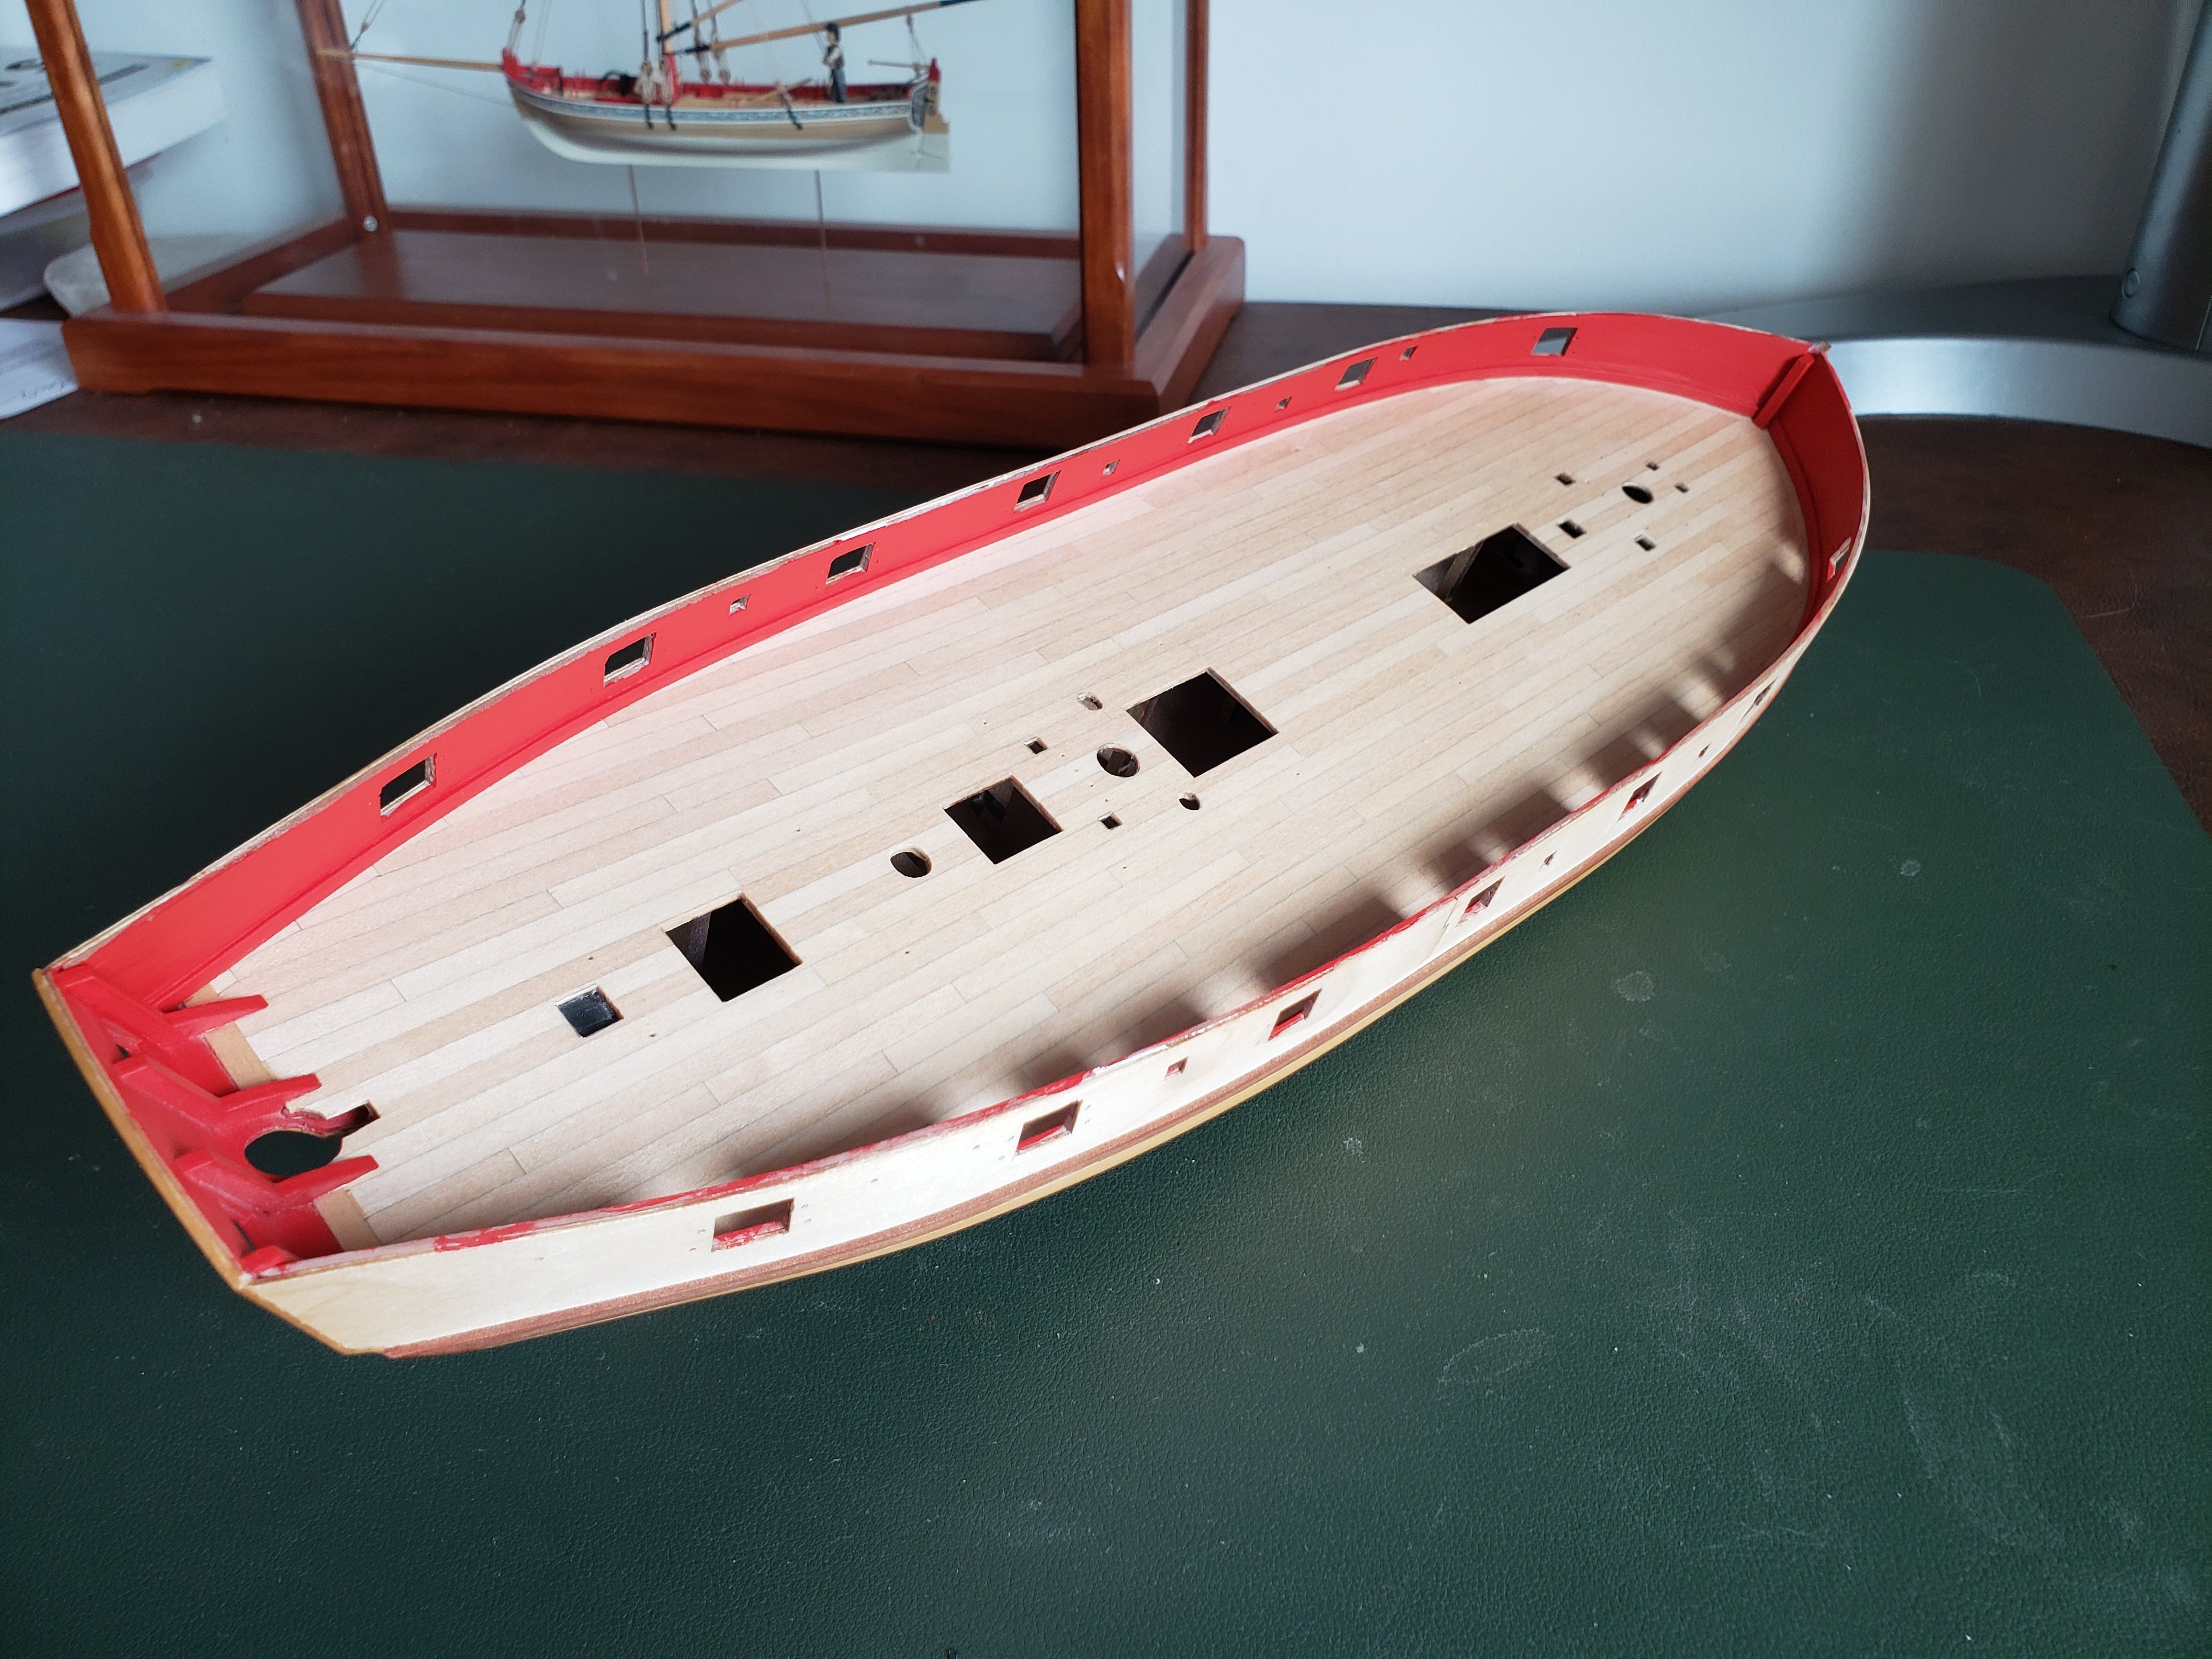
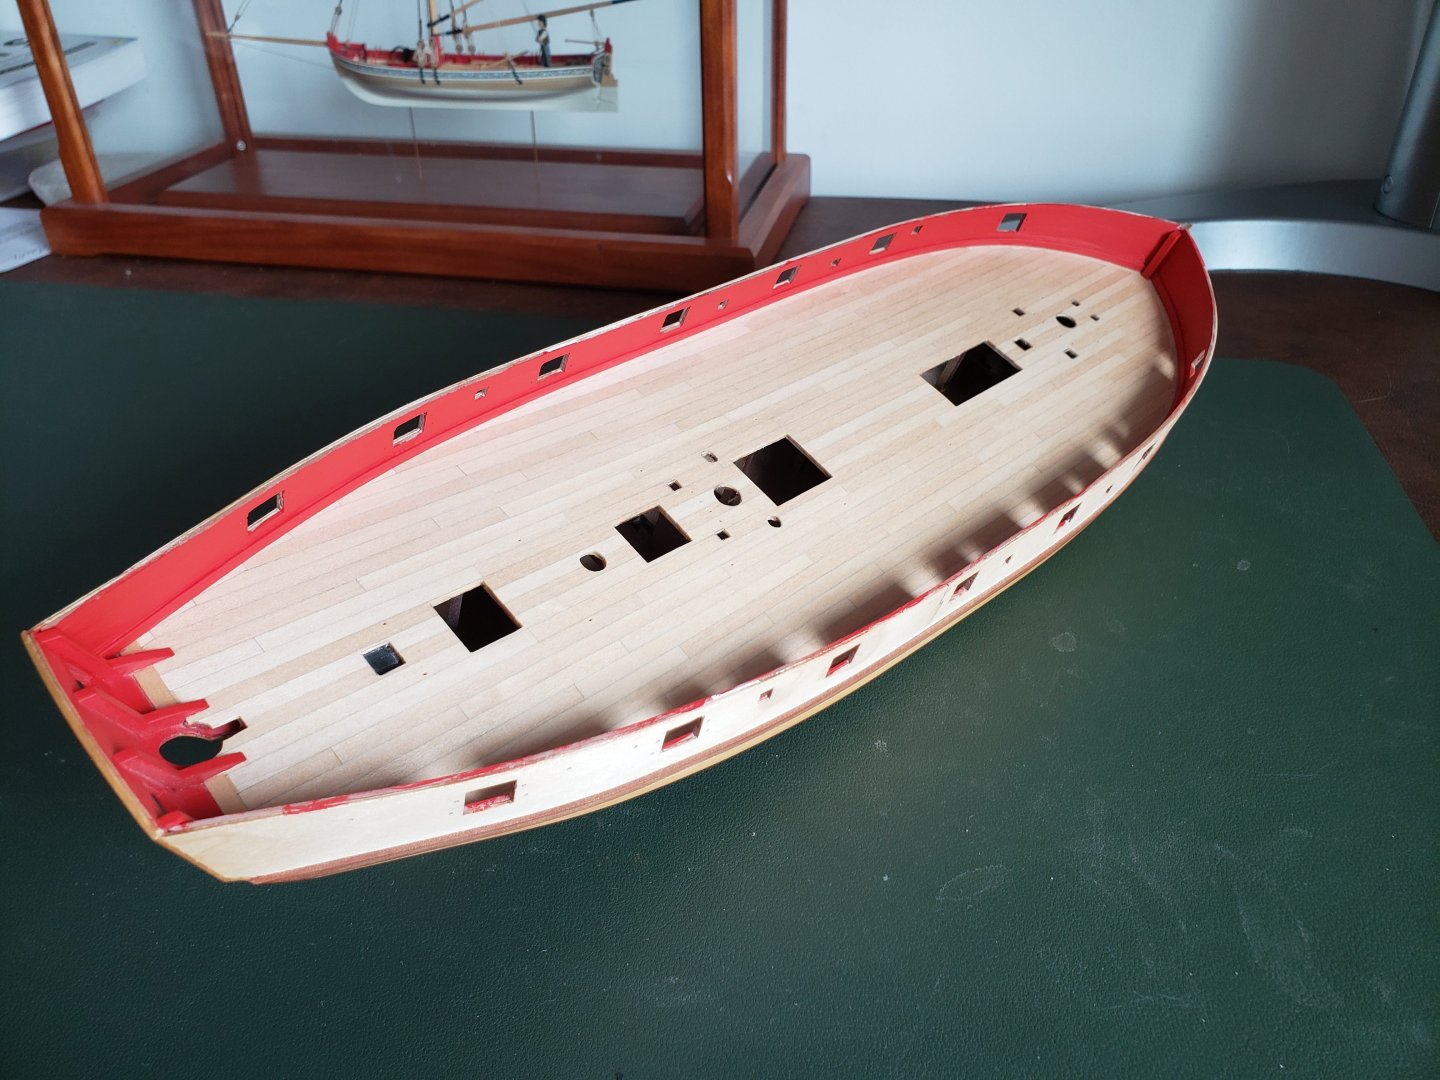
Here is a small update on a very leisurely build log. I've added the planking to the insides of the bulwarks and painted them. The paint has shown me a few areas that will need to be cleaned up a bit, and then I'll start adding planks to the outside of the bulwarks. Strange to think that I might one day conceivably be done with the planking of this model. But that's crazy talk. I did add a detail that was not part of the kit, but that I have seen several other Speedy builders add - the spirketing strip at the bottom of the bulwarks. I thought it was a very attractive feature on those other models, and it wasn't hard to make. For what it's worth, I think if I were doing this step over again, I would probably not use pear wood. It's pretty tough stuff, which makes cutting out the gunports a little more laborious, and takes a little more elbow grease to sand down. If the intent is for the wood to be entirely hidden under paint, I think basswood would probably have been an easier way to go. Just something I'll bear in mind the next time I am planking inner bulwarks.

-
Thanks for checking in, I appreciate it. I coincidentally just recently started up again, slowly adding planks to the inside of the bulwarks. I hope to have some more pictures to post soon.
-
I think your planking looks very nice, and when all the copious amount of detail is added to the inside, you won't even see most blemishes that are catching your eye now. And in any event they are probably far more noticeable to you than to anyone else. I think you have a great looking hull. If I can offer more unsolicited advice, getting the tops of the frames a lot thinner will help you a lot when you move on to making the cap rail. Otherwise it ends up being much too thick and out of scale.
-
Something that I found handy at this step was to take a cylindrical plastic pen cap, cut it down to a length that spanned just a couple ribs, and then glue semi coarse sandpaper to the outside. It gave me a small sanding drum that could get into tight spaces. It was a bit of a pain to hold in my fingers while sanding, but it helped. Your boat is coming along very nicely.
-
Really sharp looking, I love the colors.
-
Looking lovely. I'll be watching your sail work with a lot of interest, as I hope some time in the distant future to do the same for my own Speedy. I think silk span will suit you very well.
- 144 replies
-
- 1
-
-
- HMS Speedy
- Vanguard Models
- (and 1 more)
-
Personally I like the Minwax Natural look, though neither is a bad option. Nice looking deck, well done.
-
I have no experience with those particular figures, and will be curious about what you learn if you do go that route. I know 28mm figures tend to be a bit on the beefy end for 1/64 scale ship models, though it depends on the manufacturer. The chunkier ones I think are more like 1/56 or so. Perhaps the 25mm figures will be a better fit. Definitely way too small for 1/48 though.
-
I had the pleasure of going aboard her just this past weekend. I look forward to seeing how the kit comes together.
-
That's a fantastic looking boat. And I think the brass tubing for the shafts of the oars has come out well, nice idea.